Tag Archives: shaping a stem

A New Pipe Born from a Pre-drilled Block


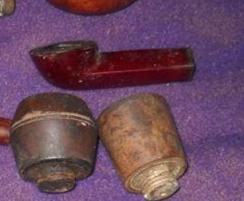
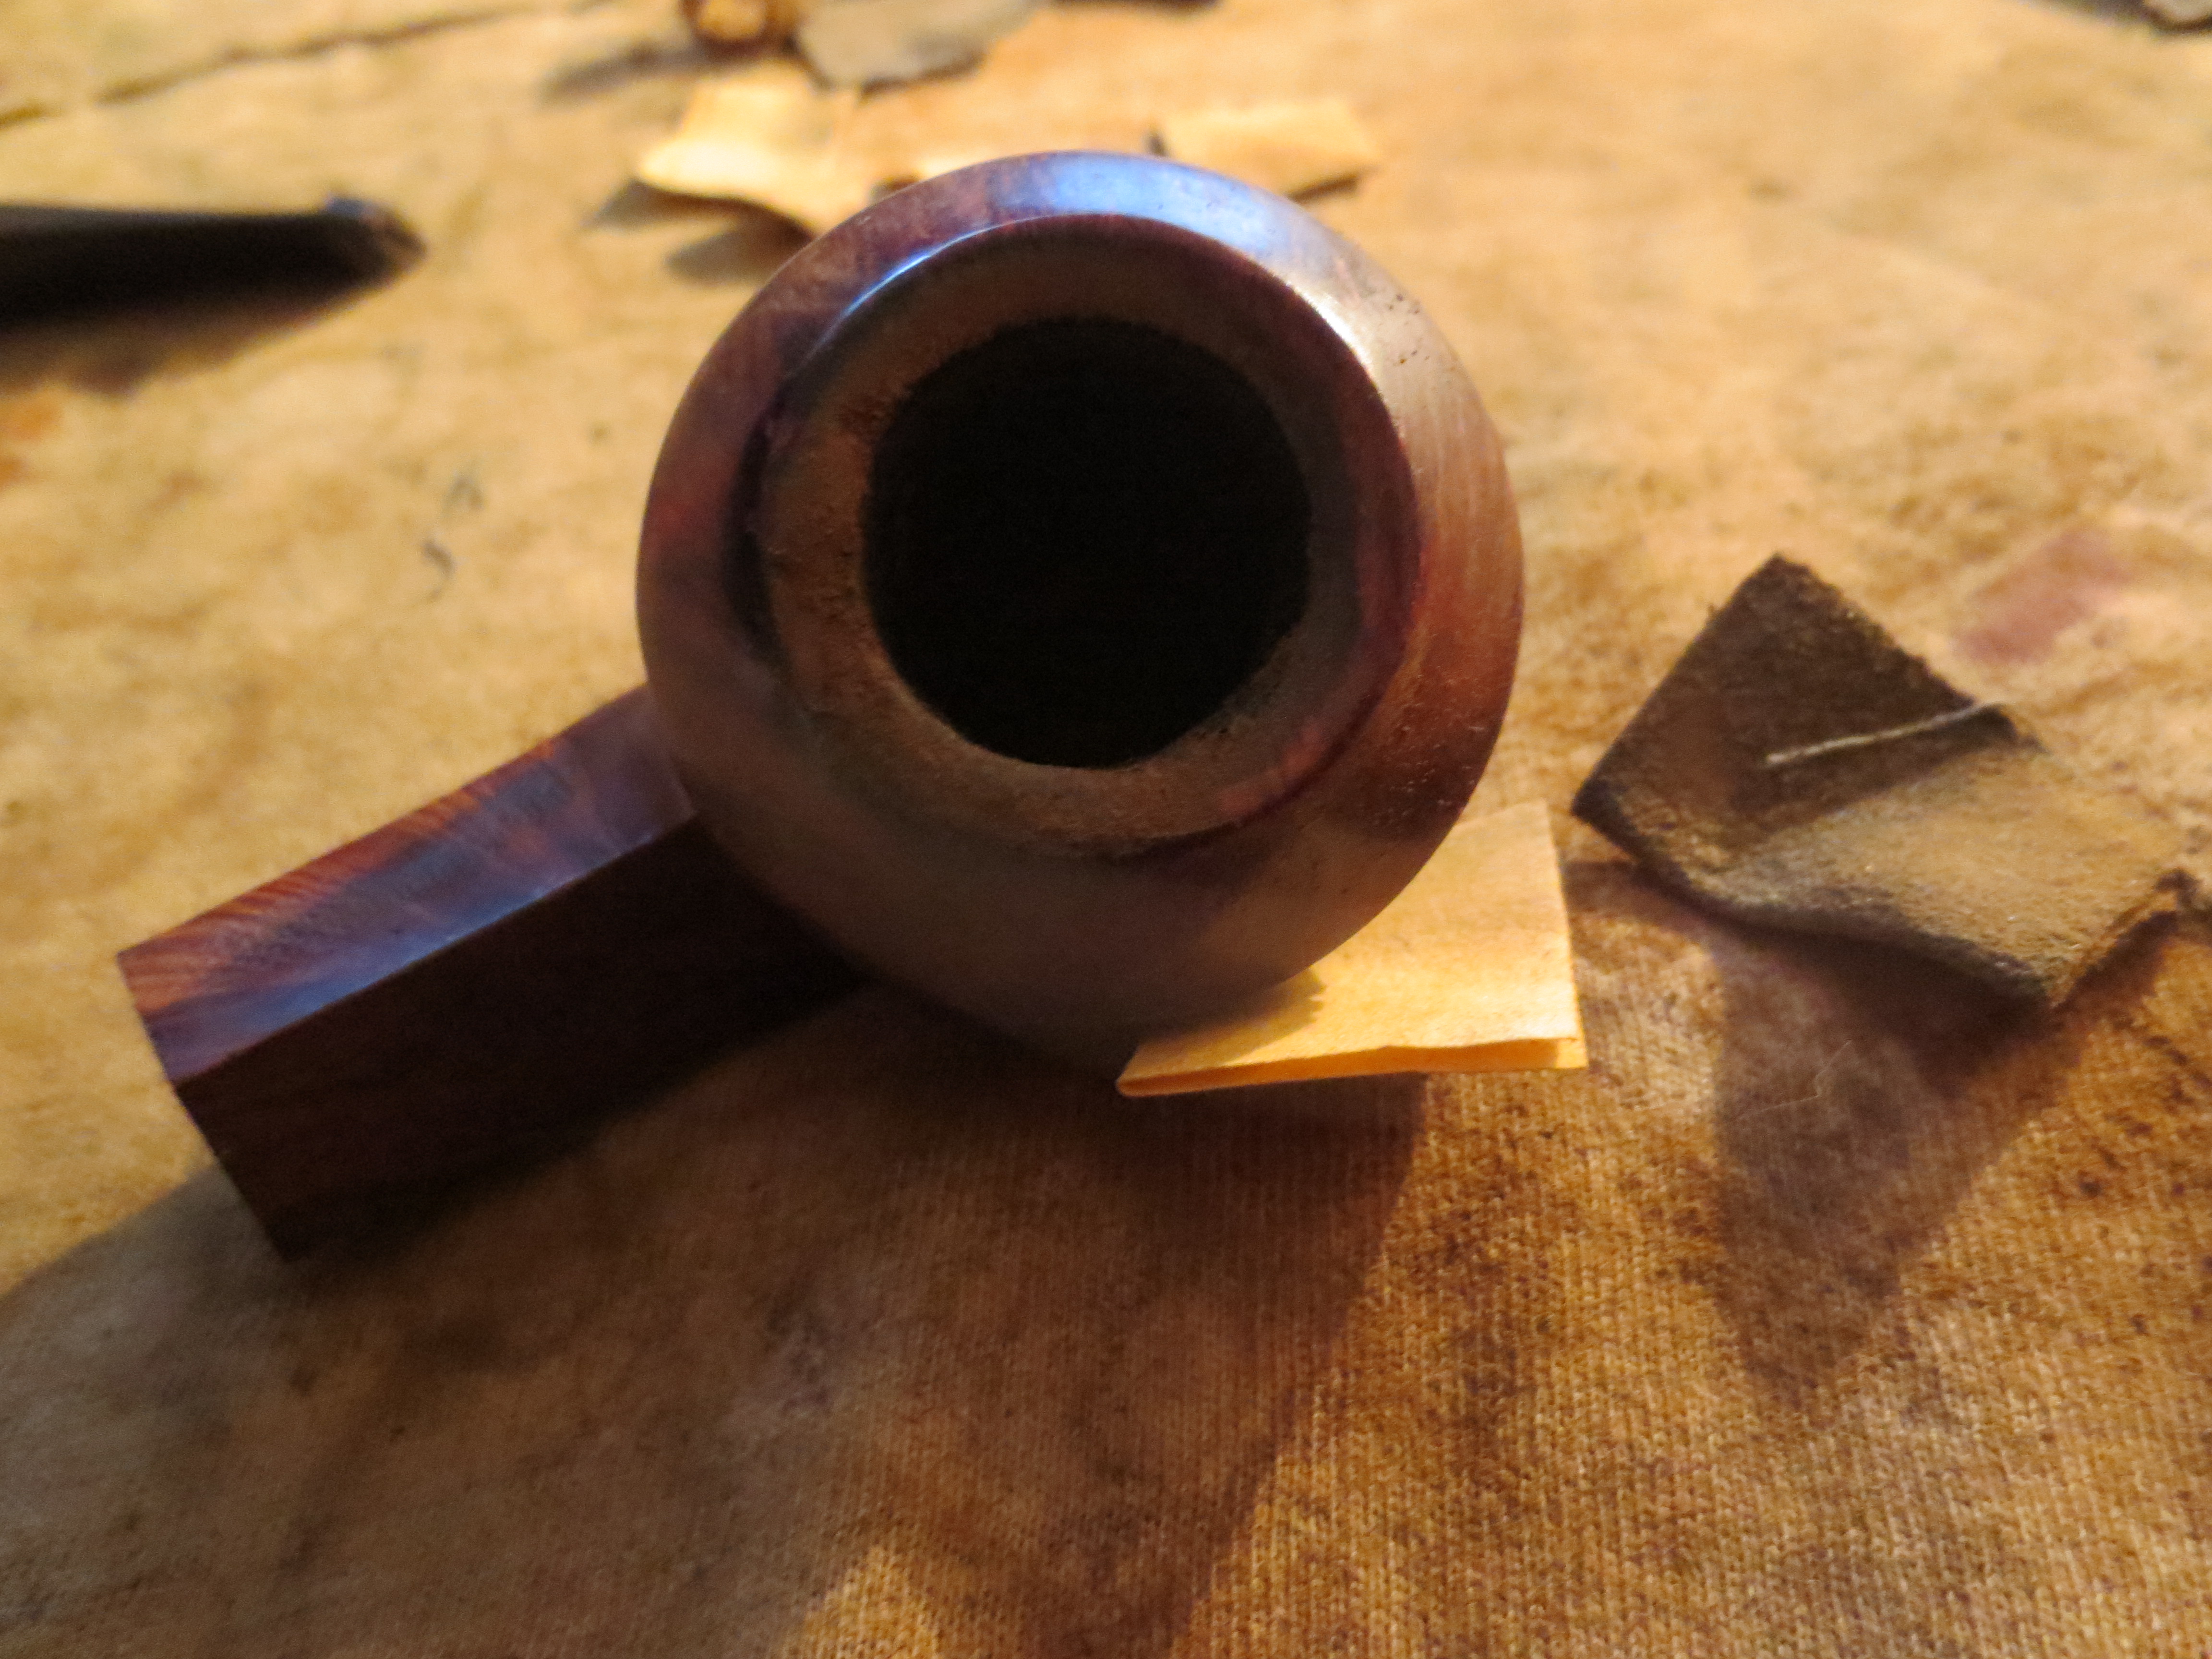
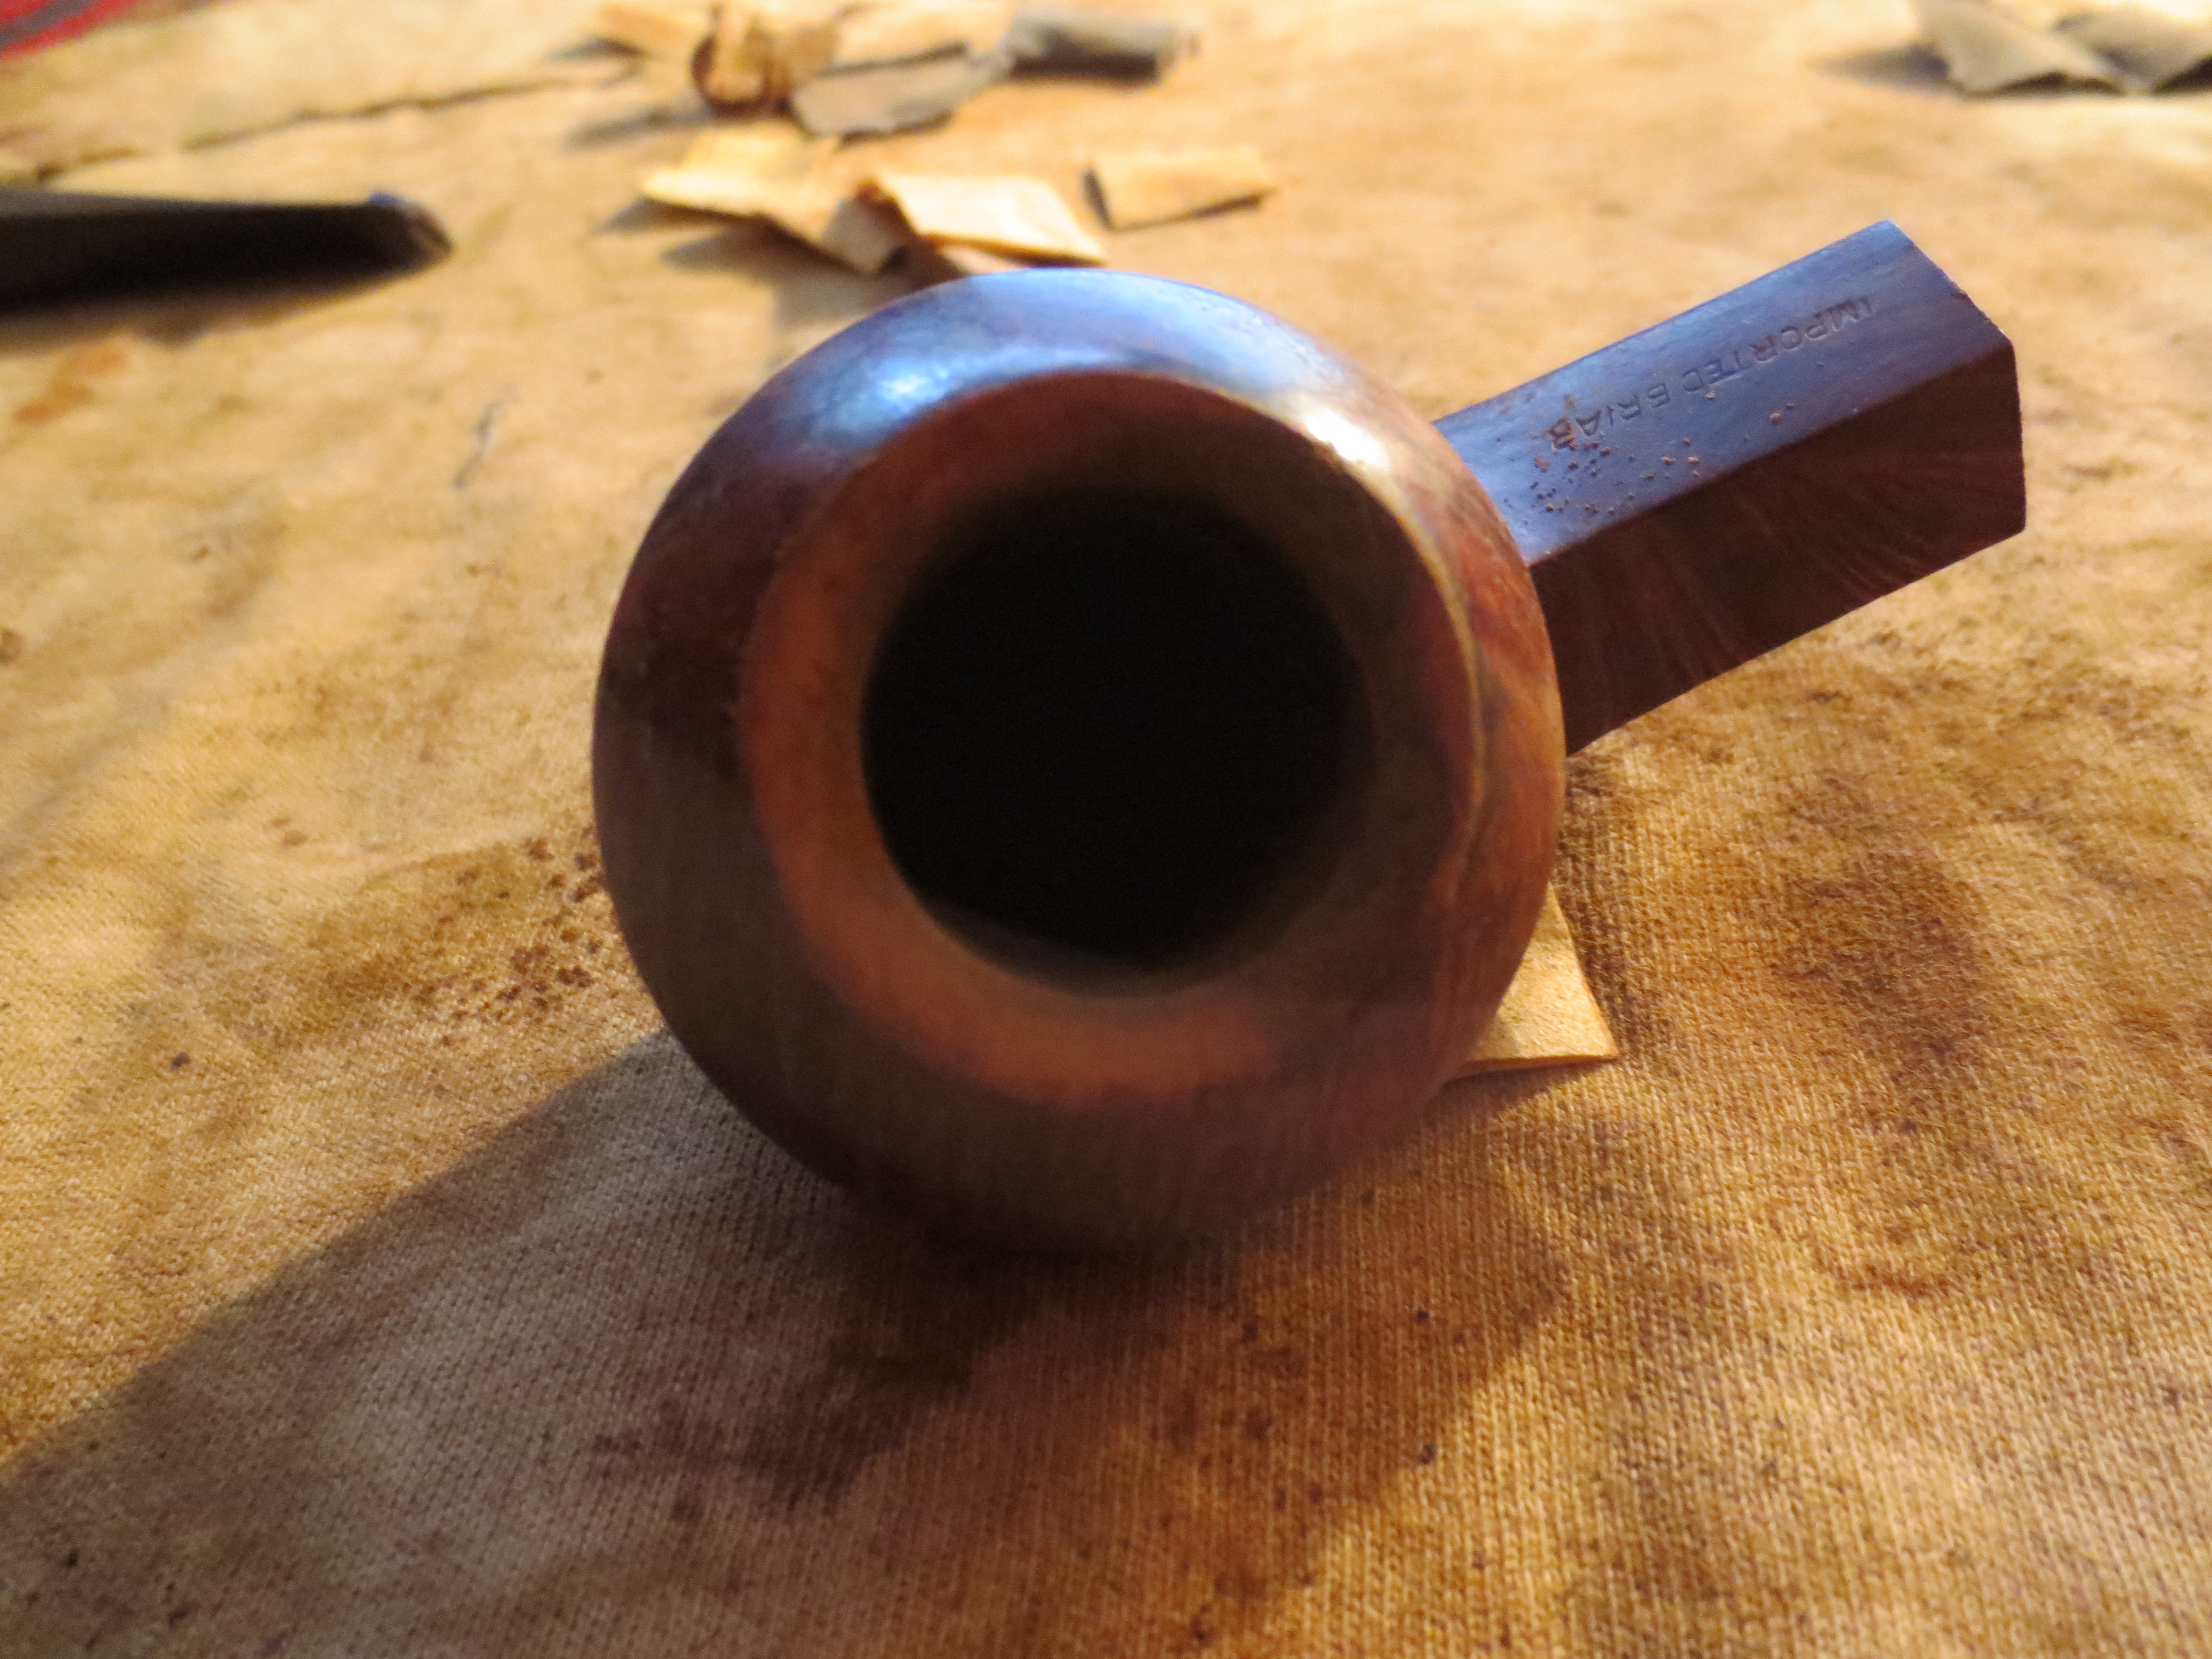
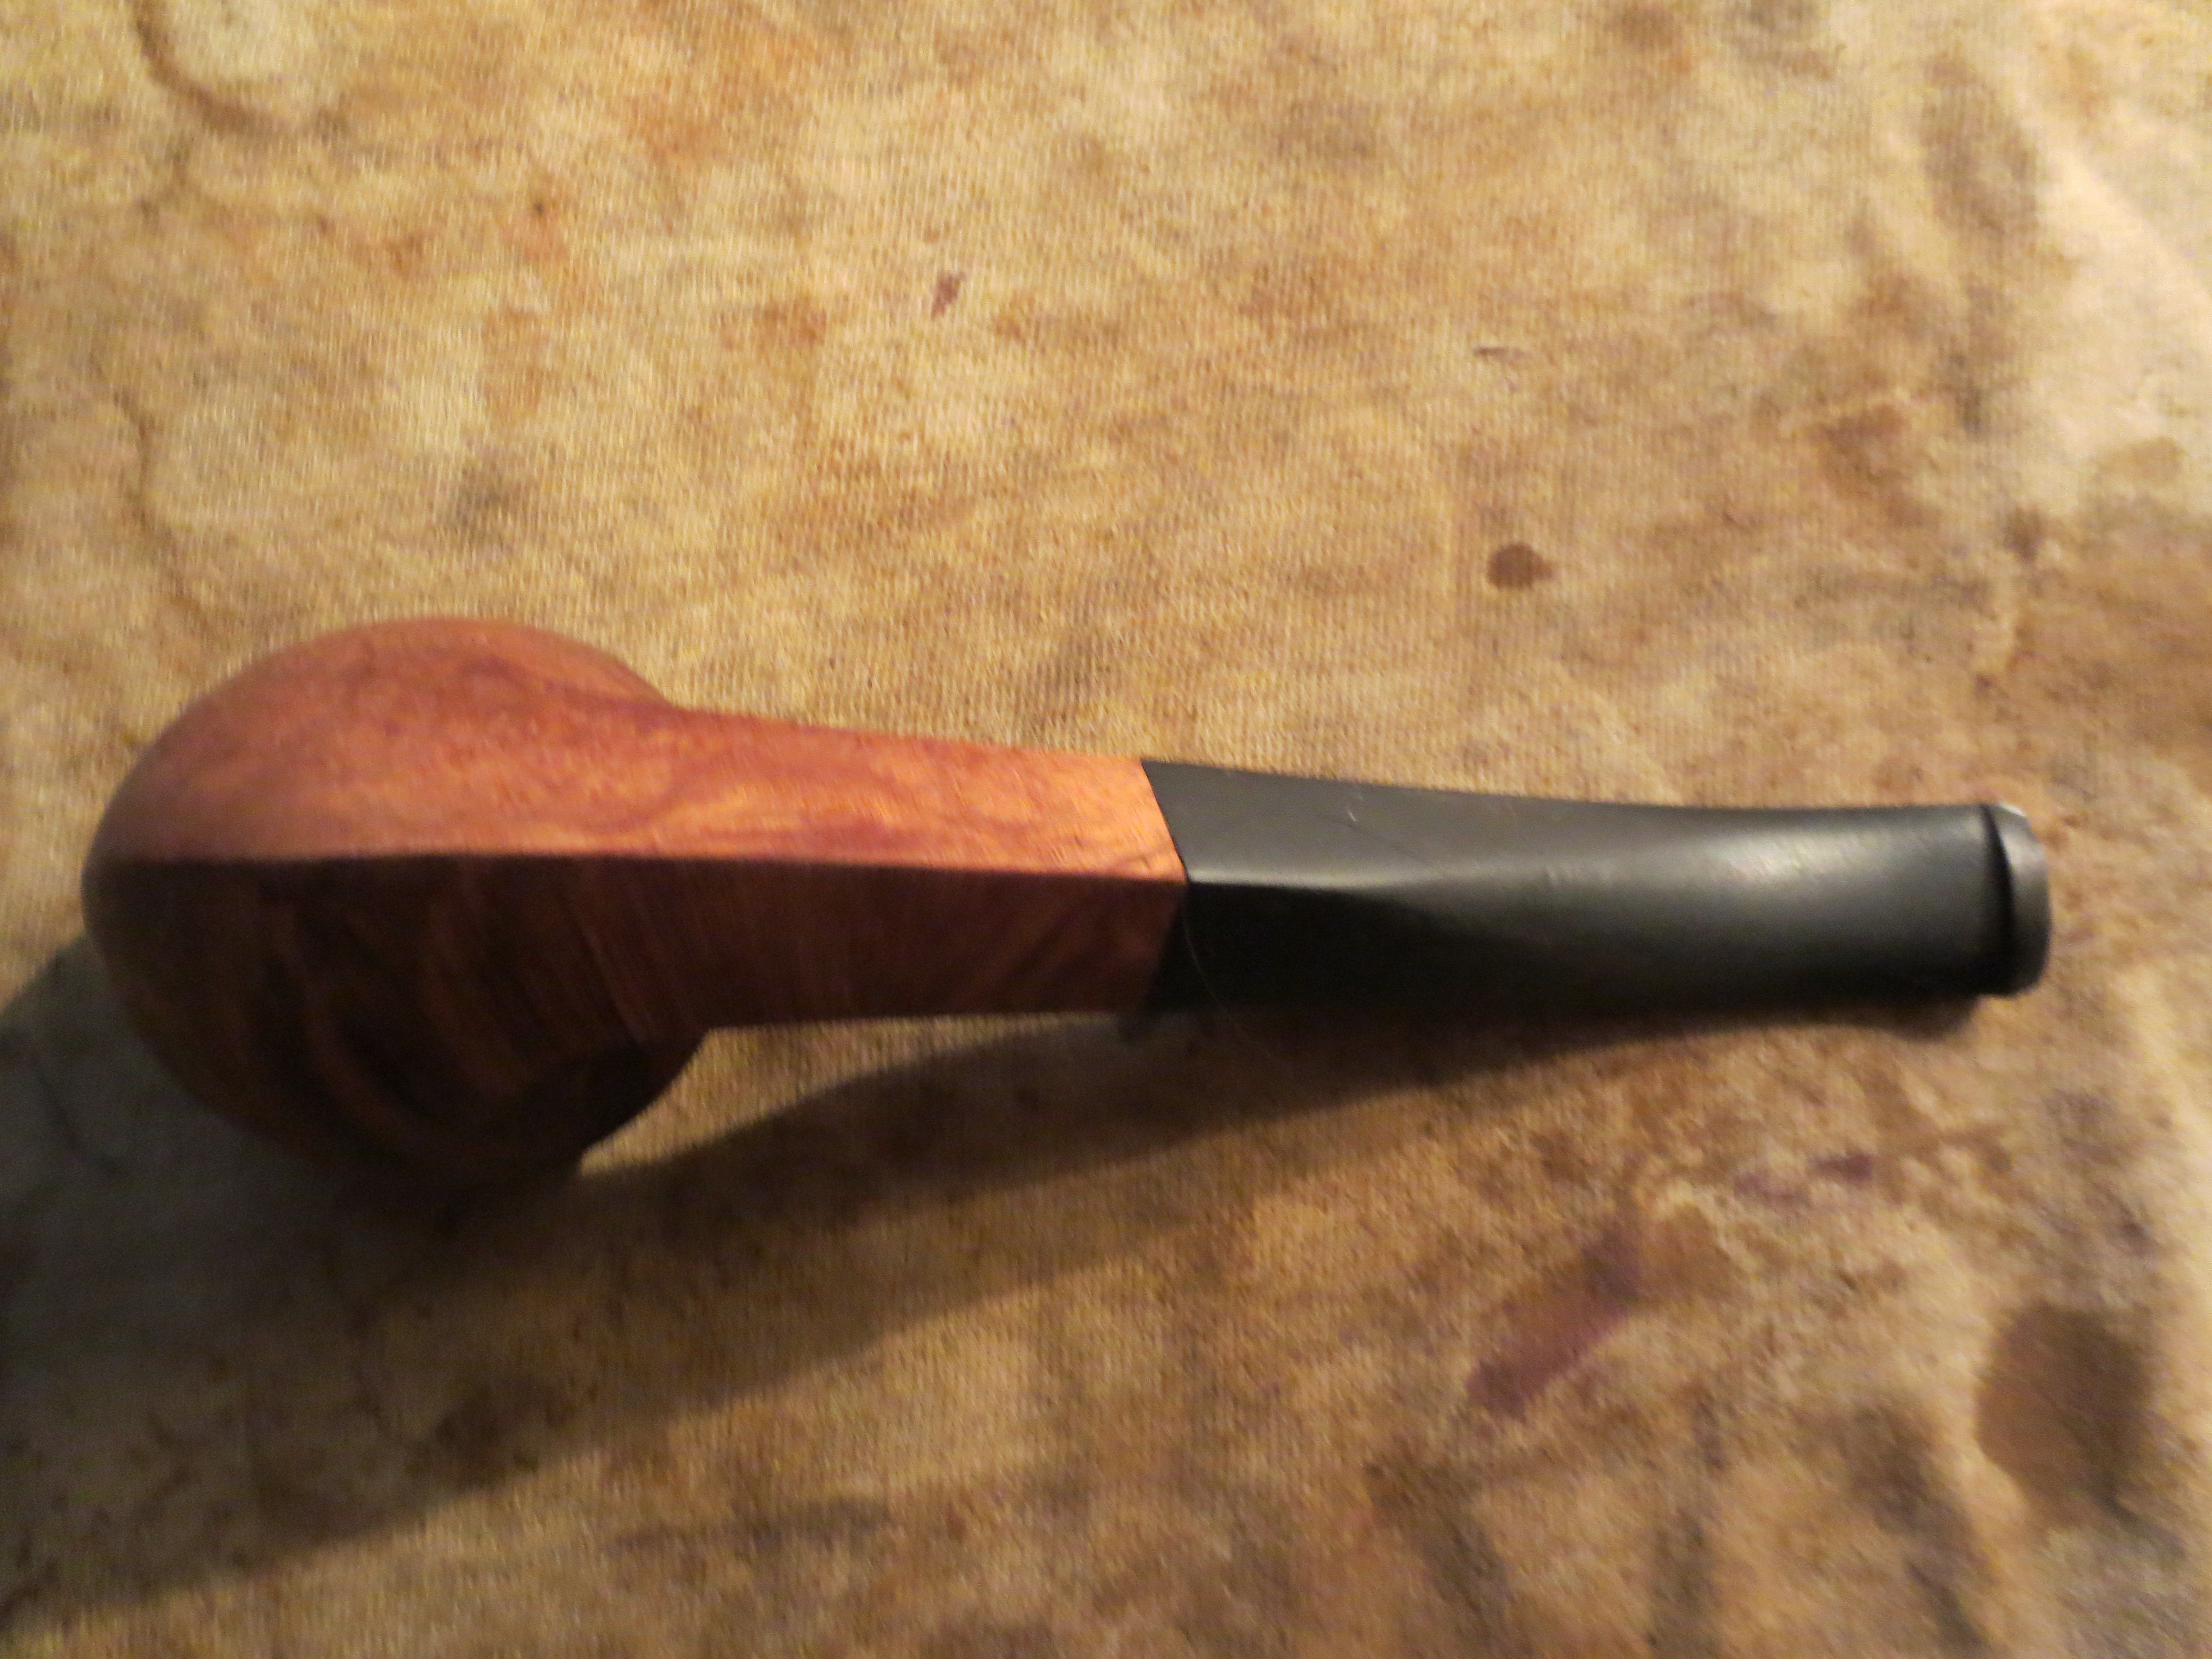
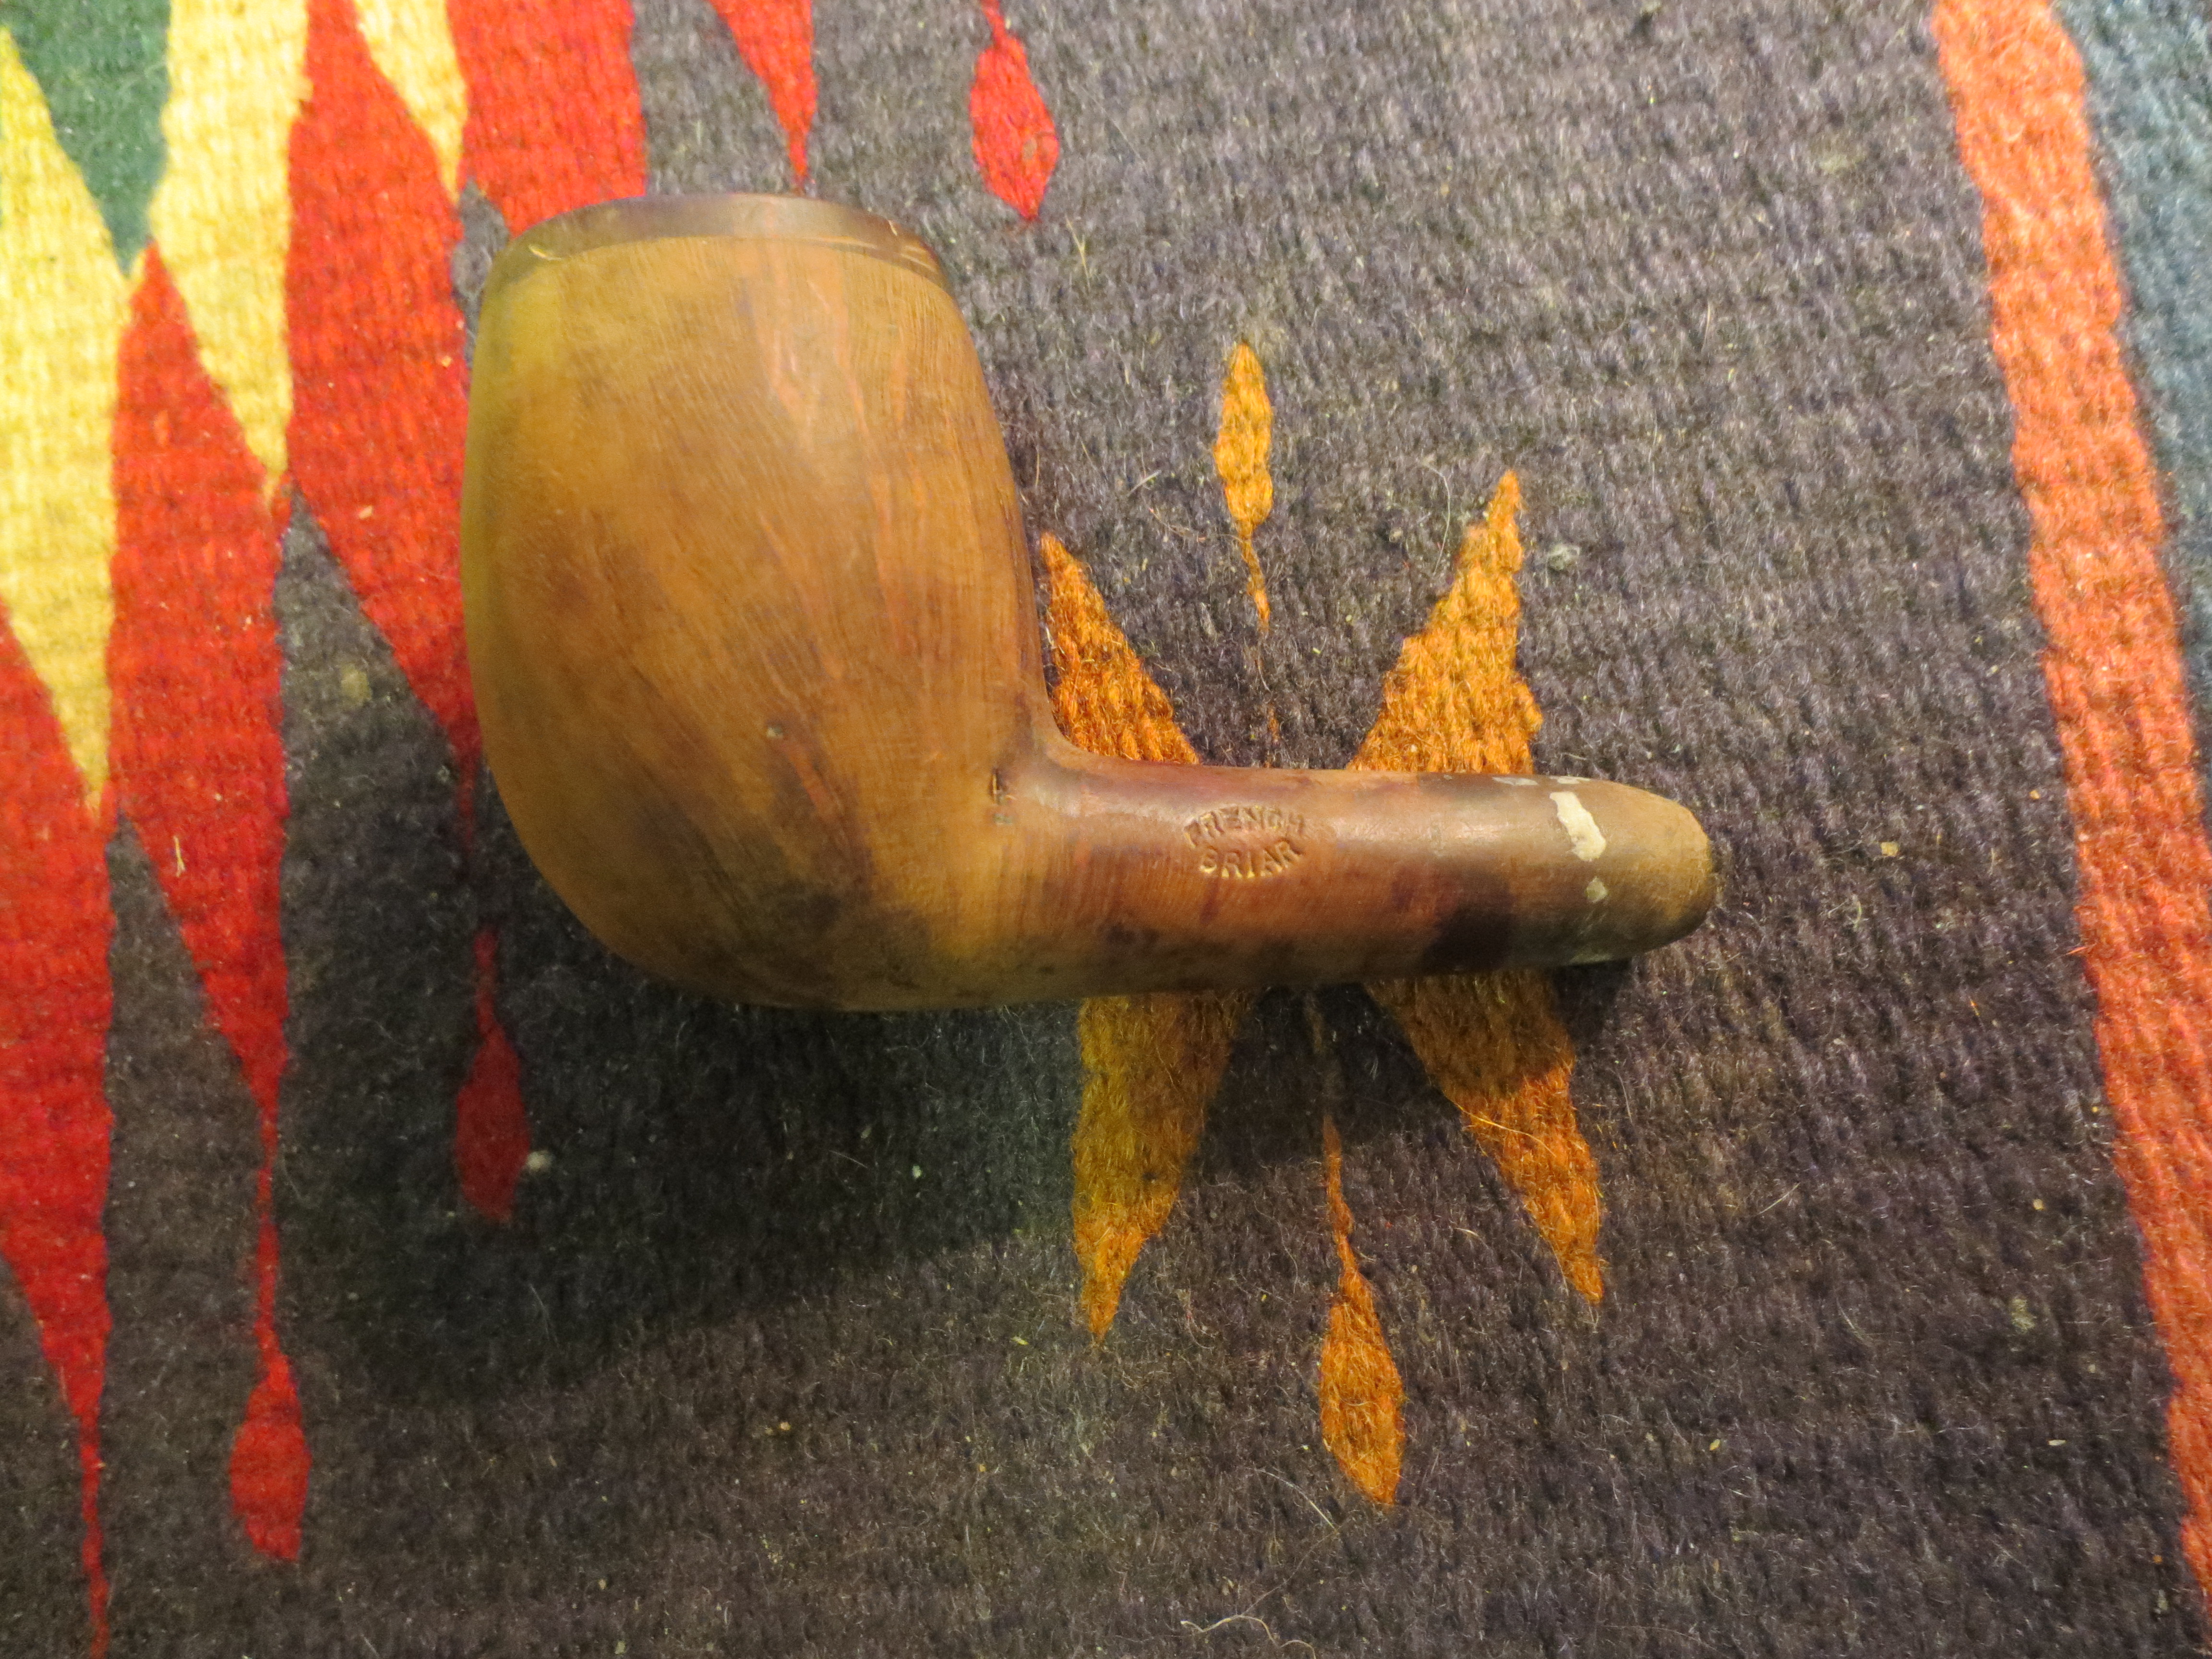
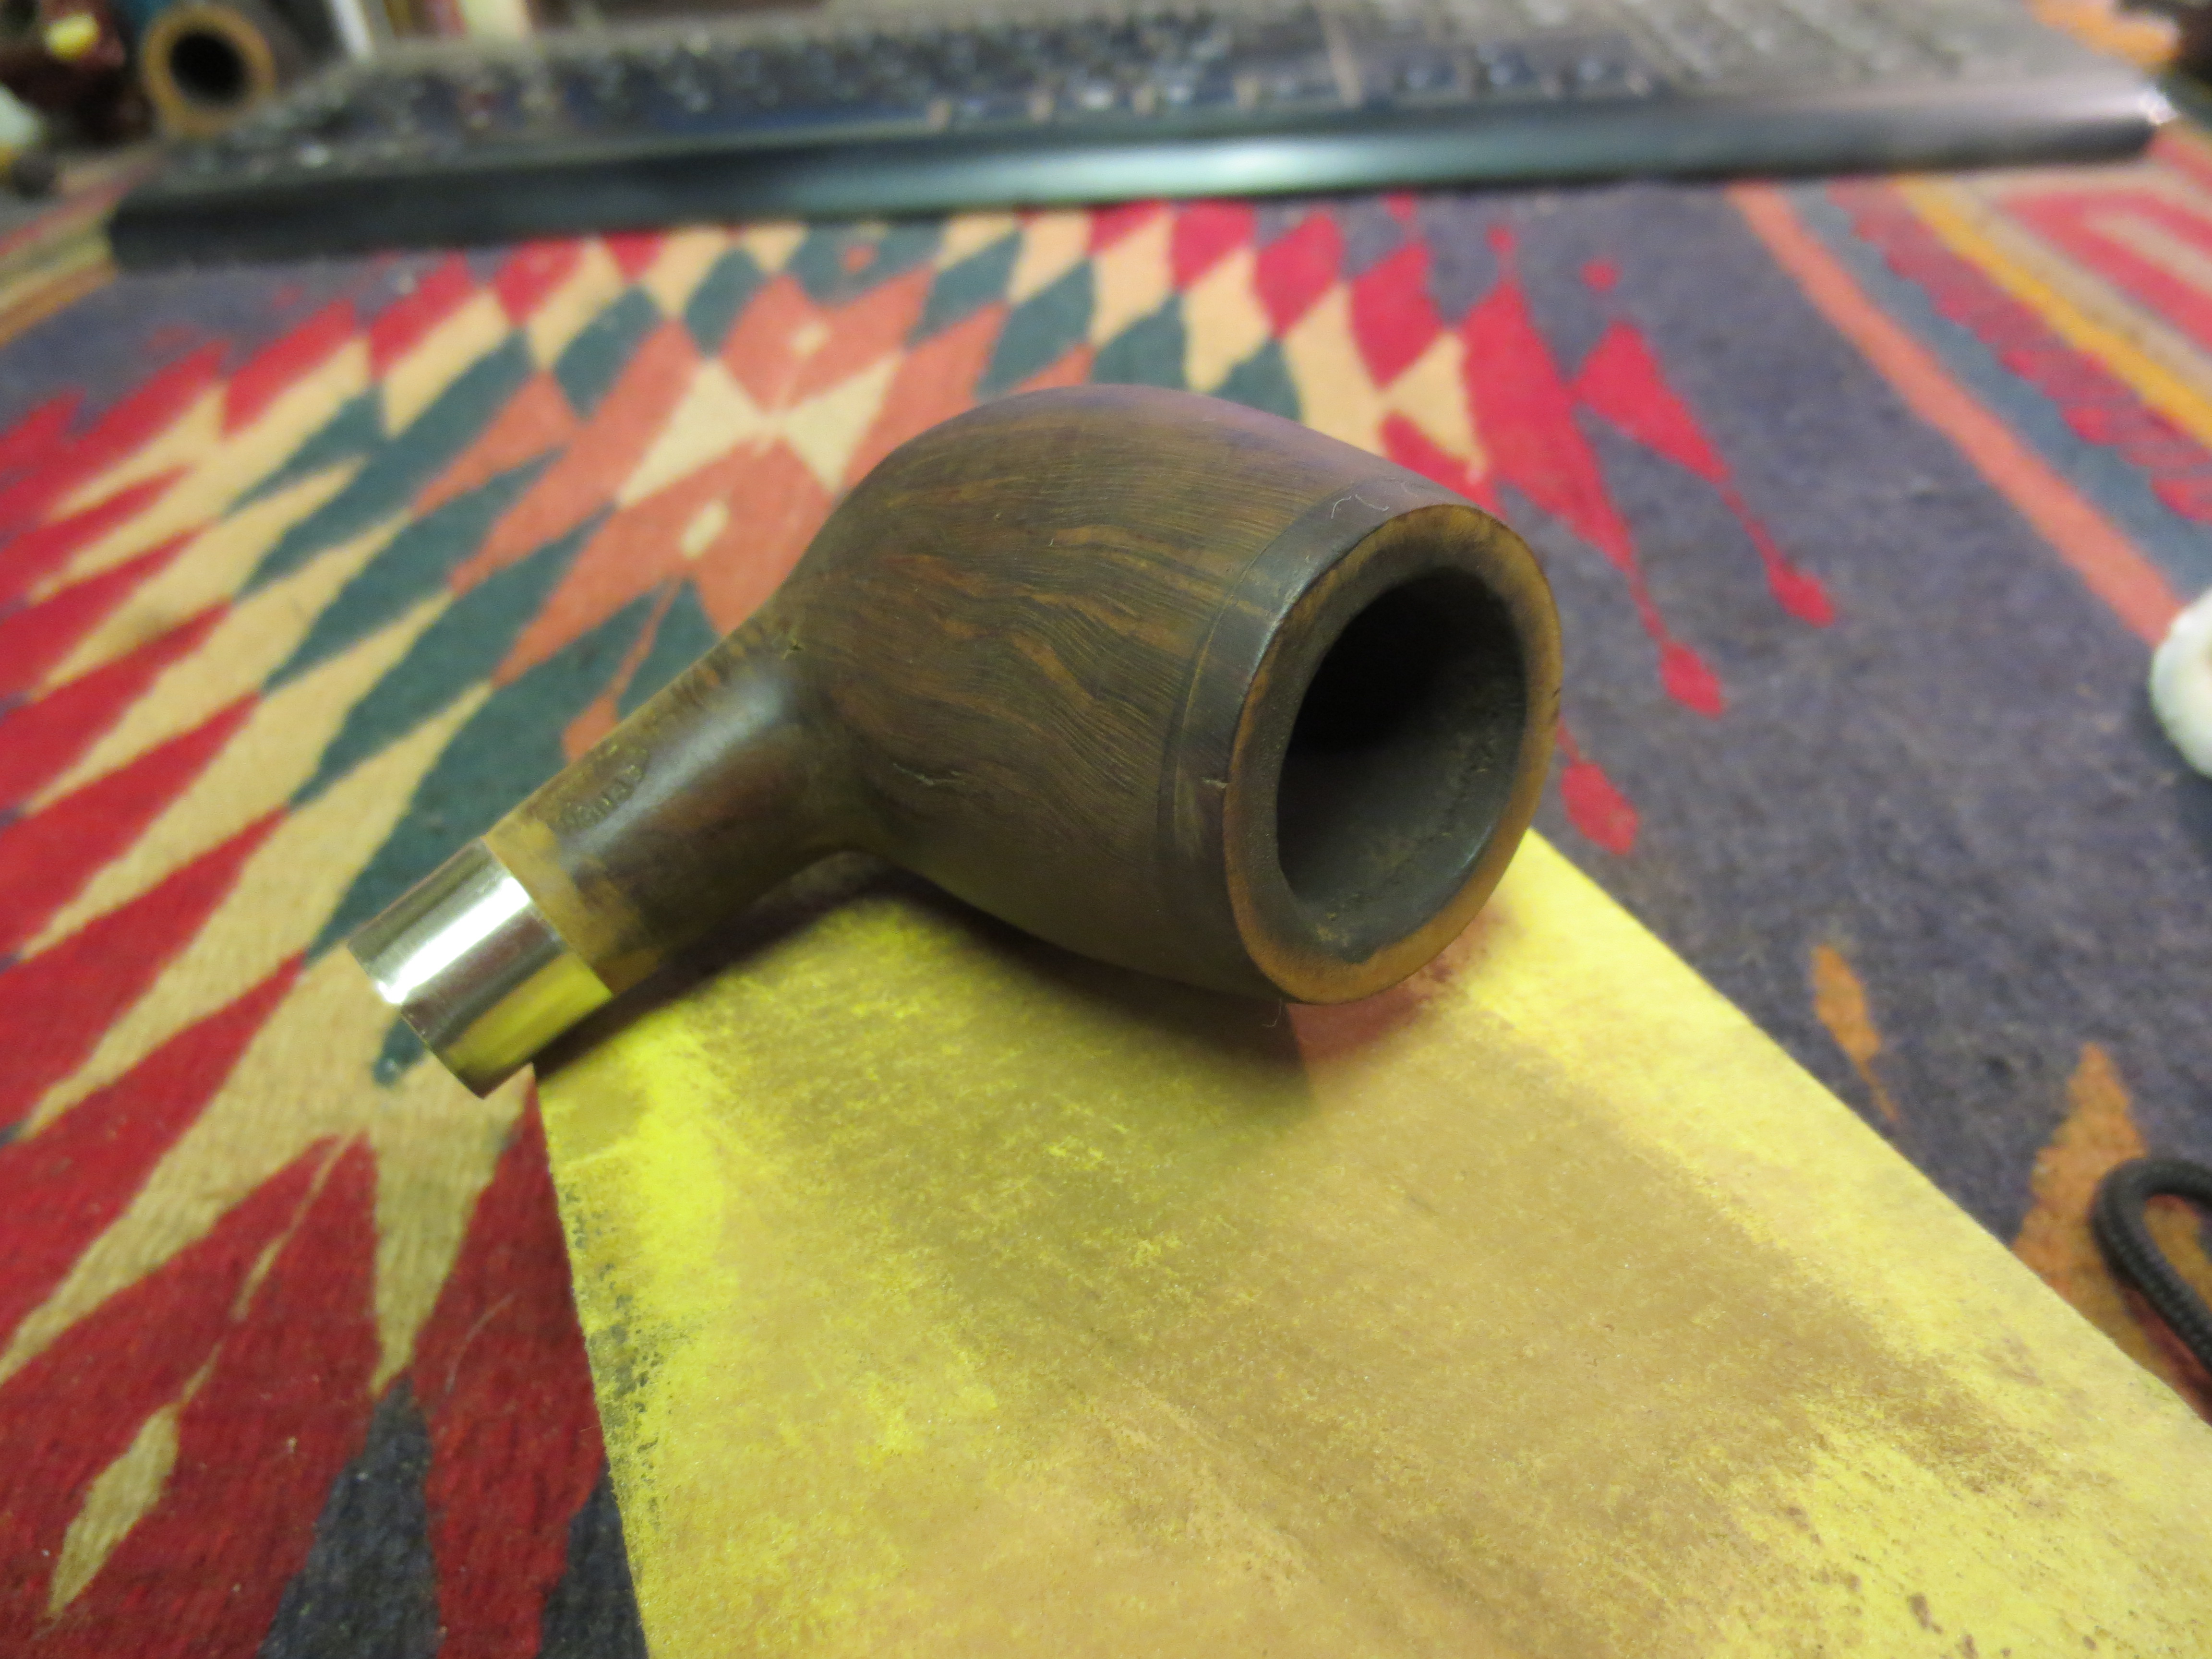
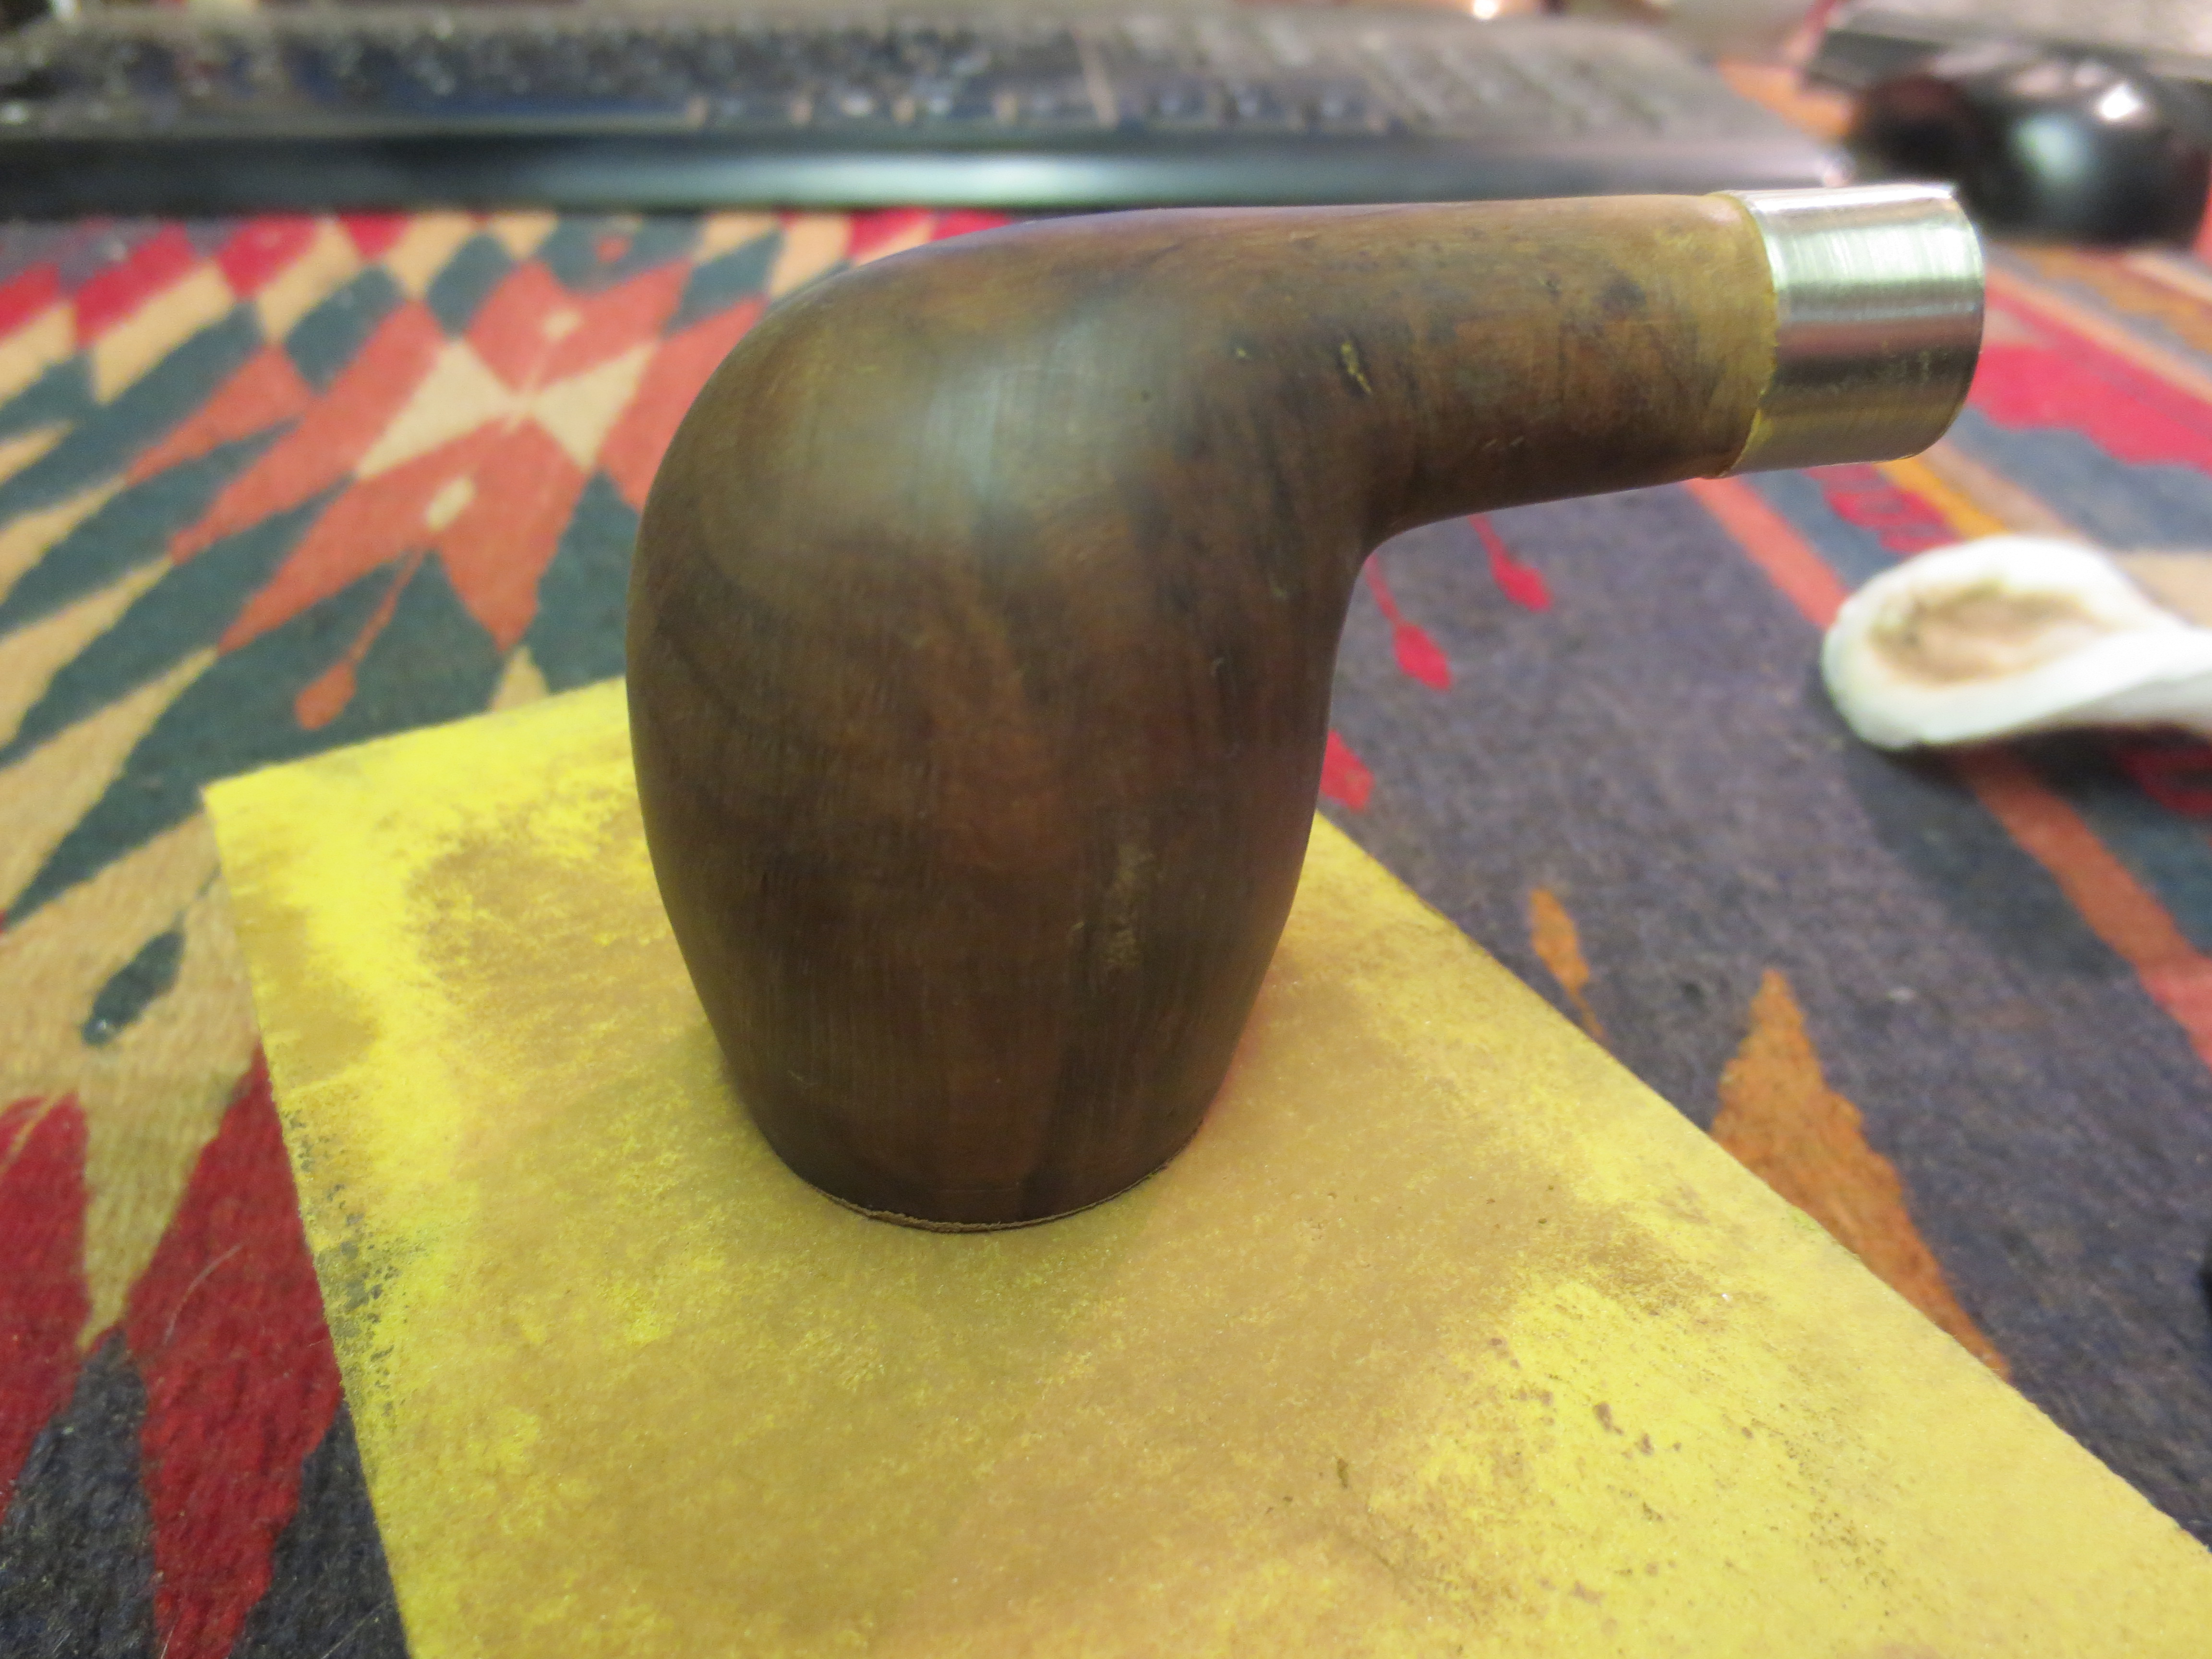
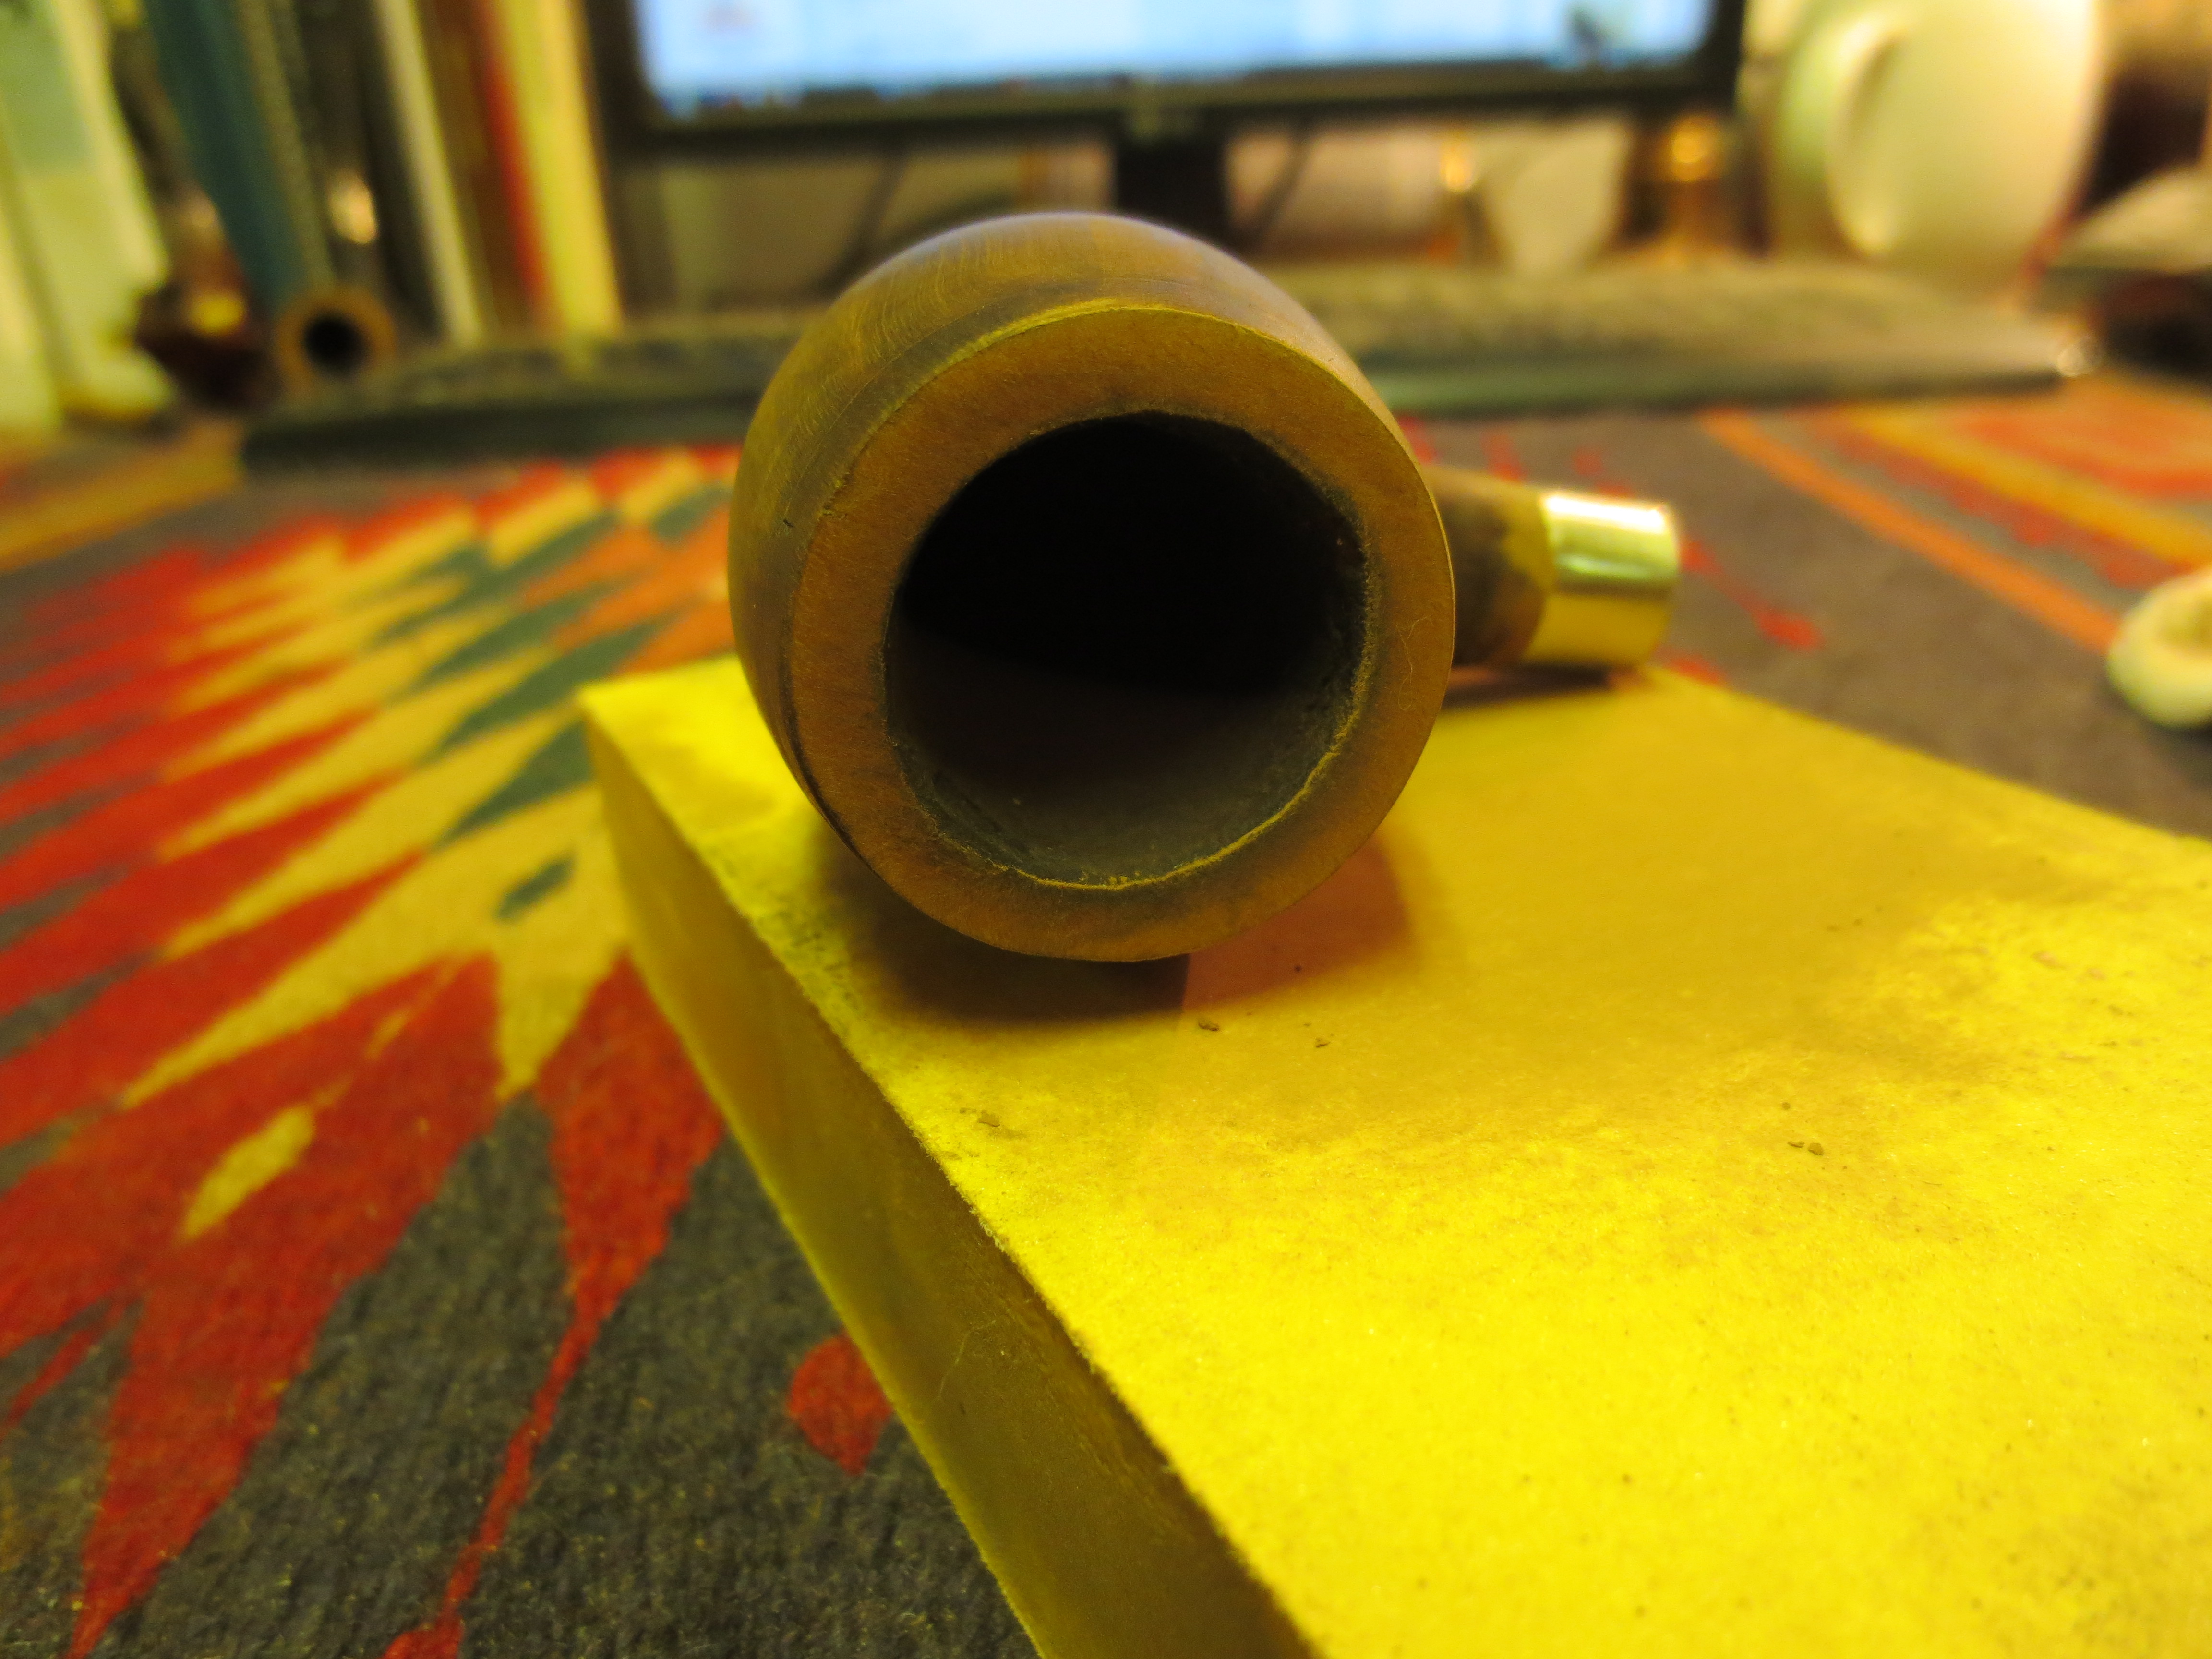
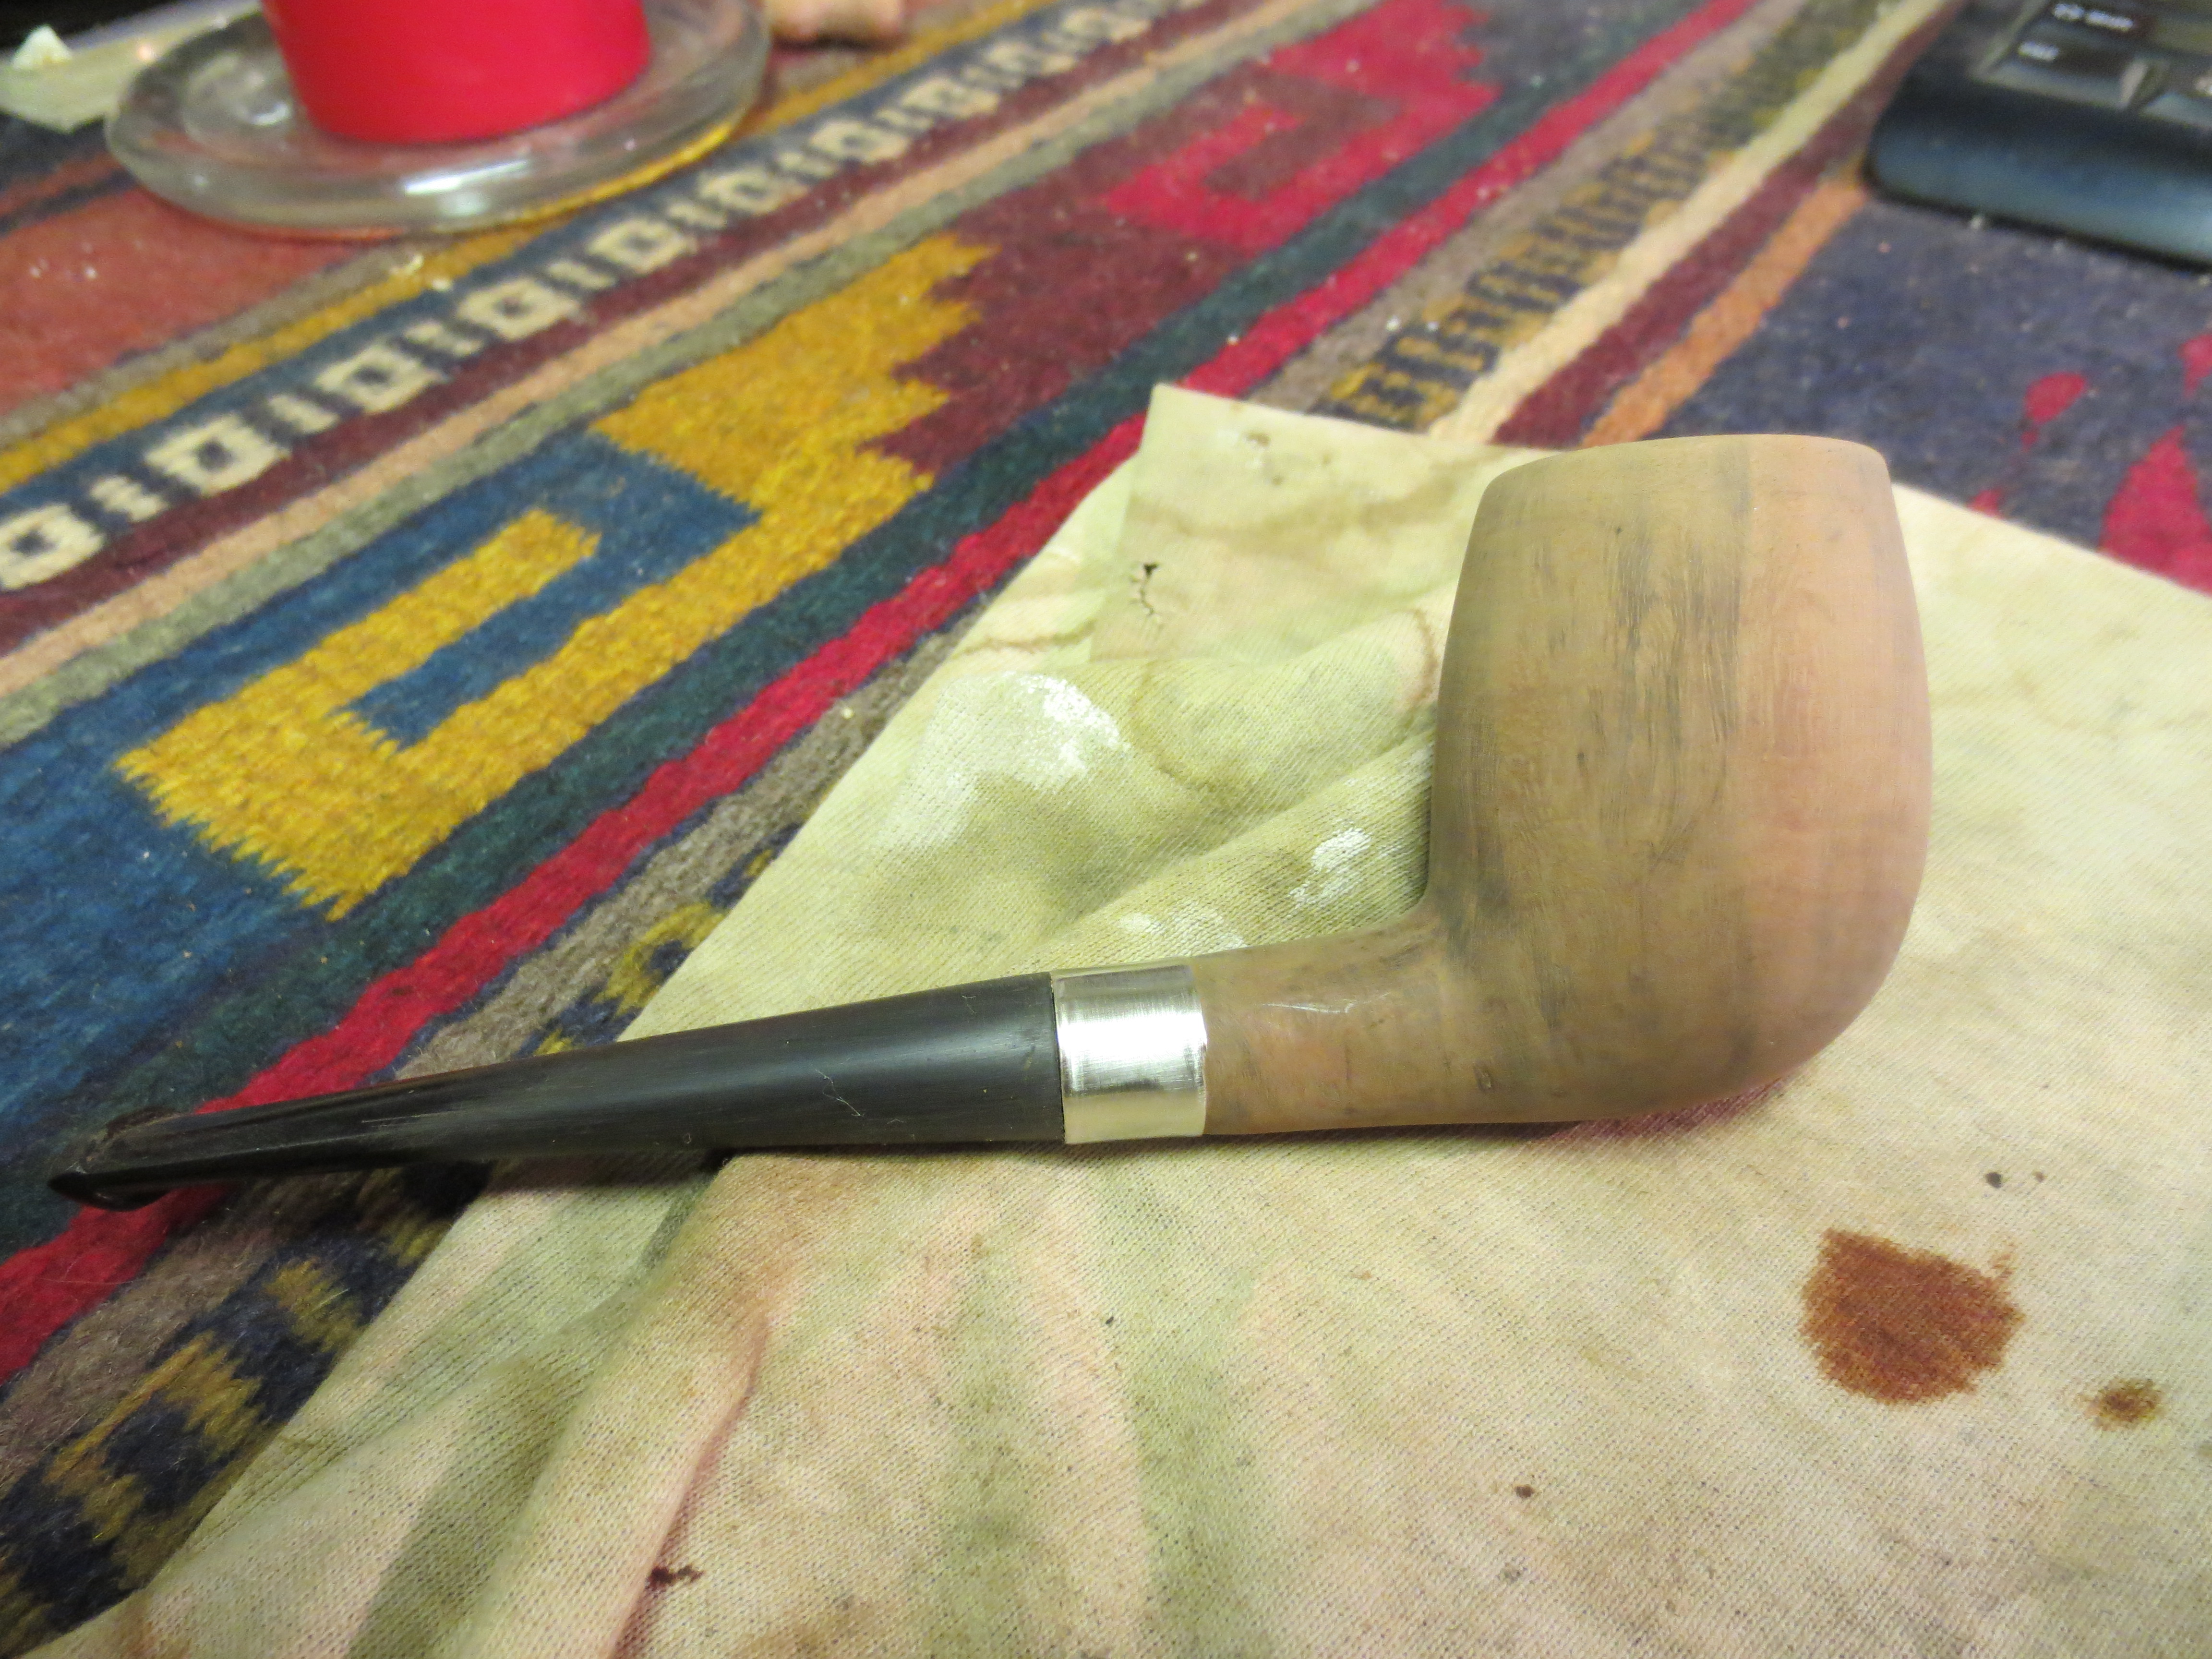
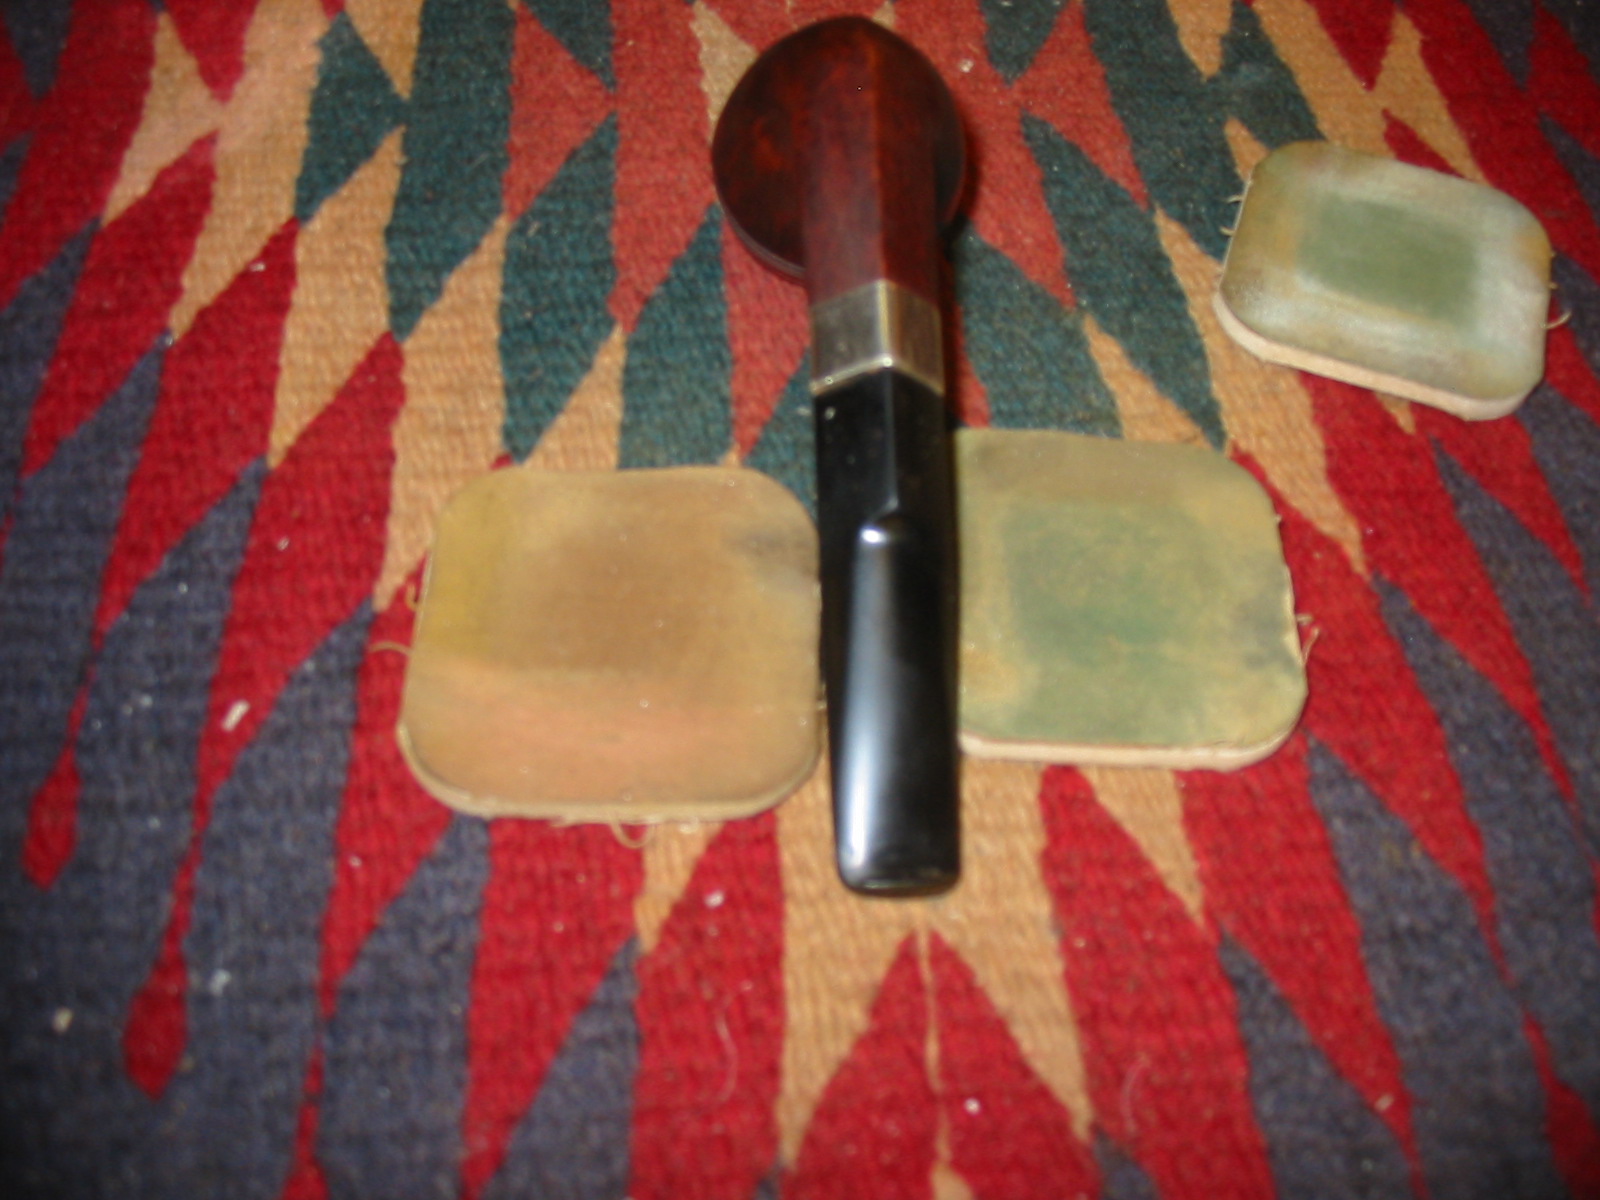
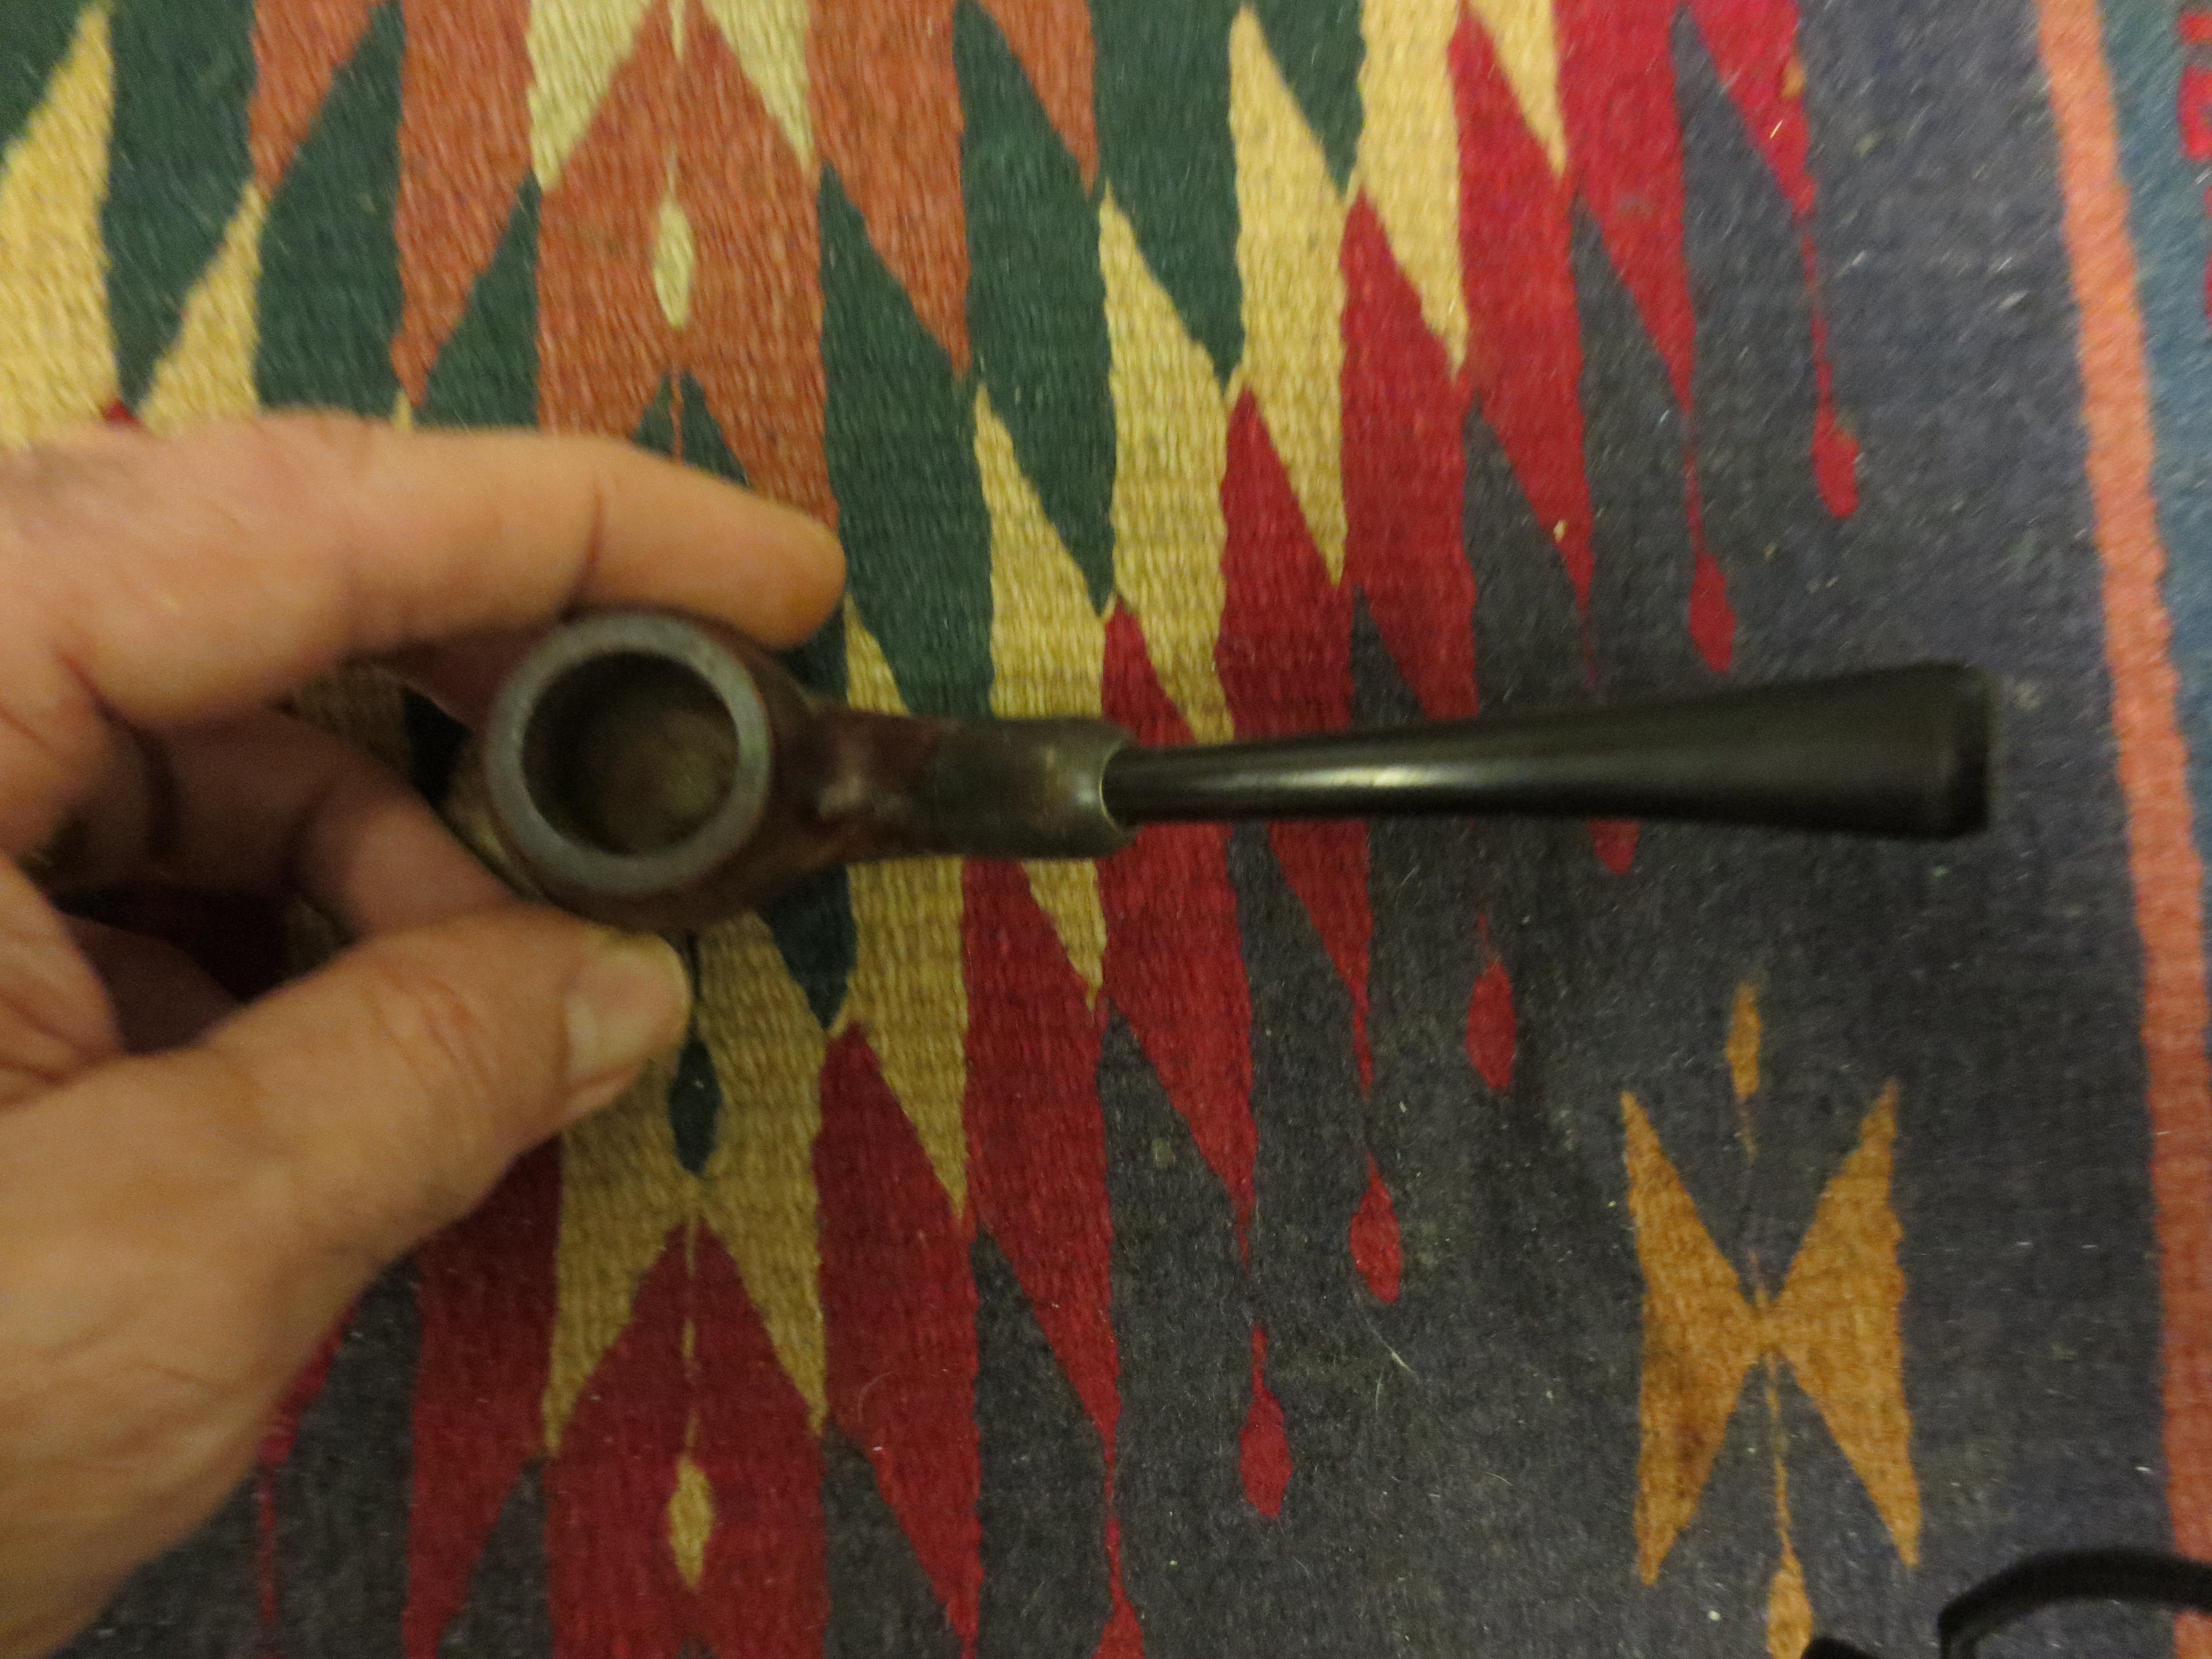
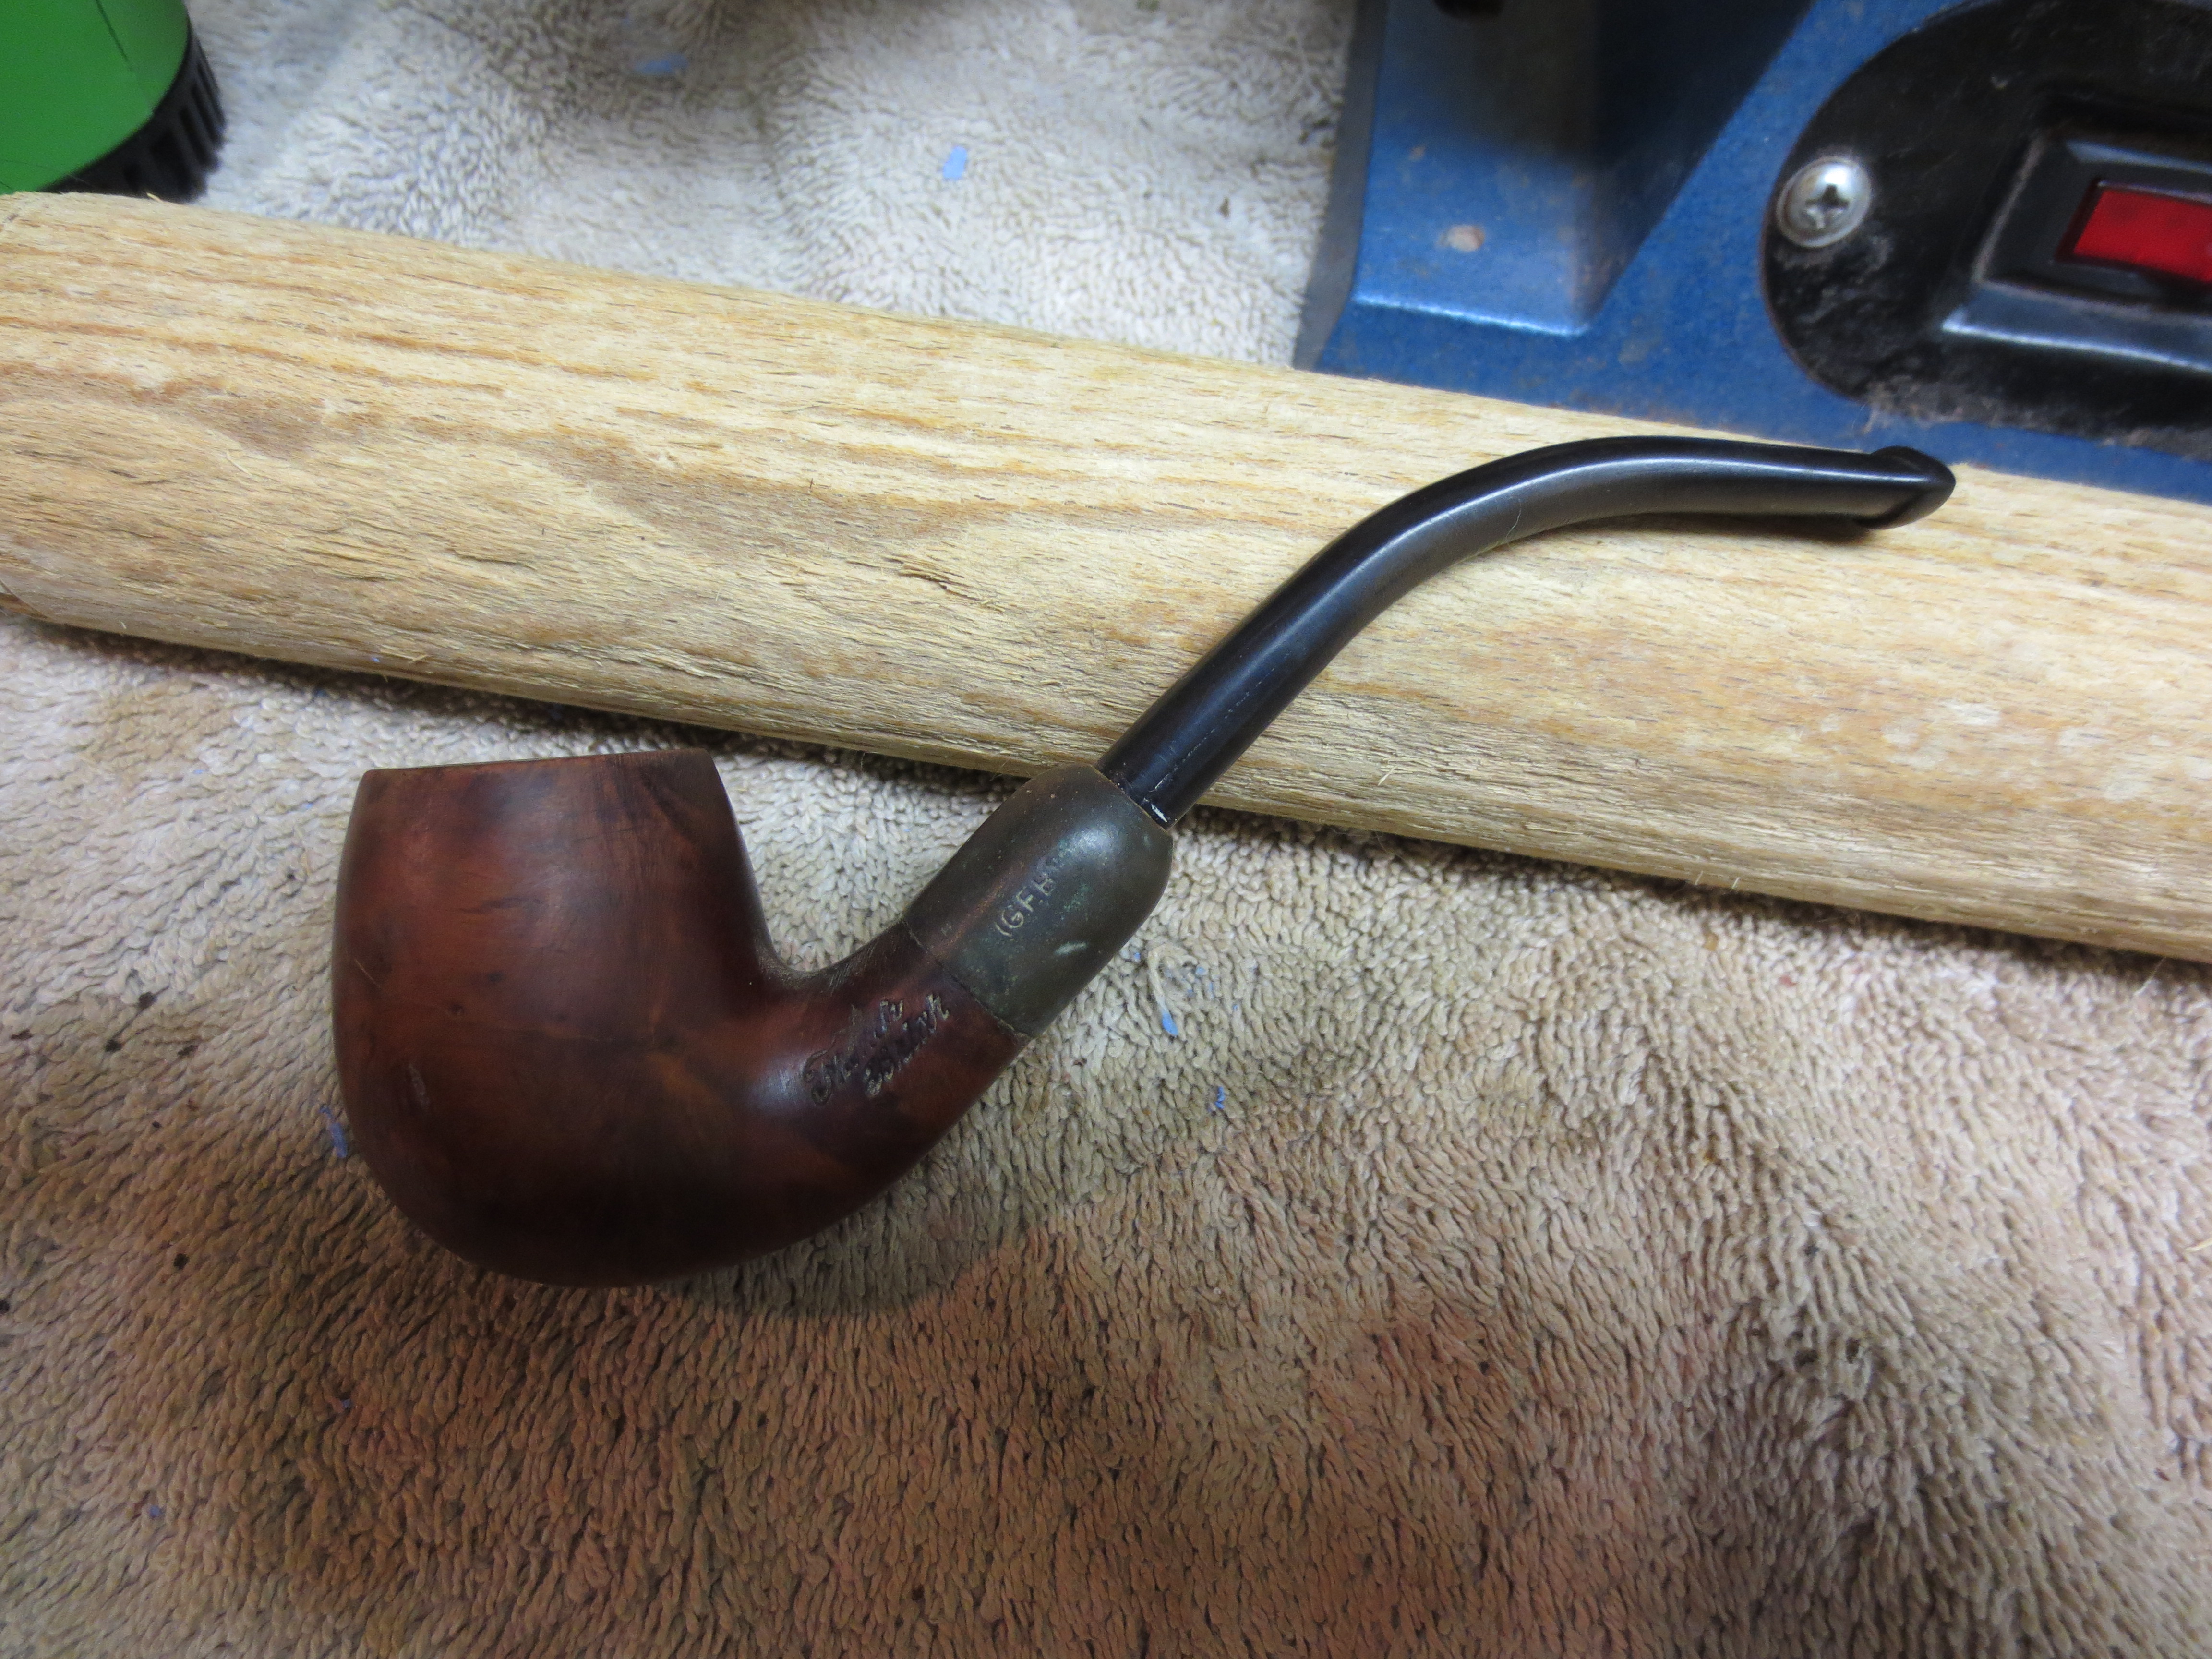
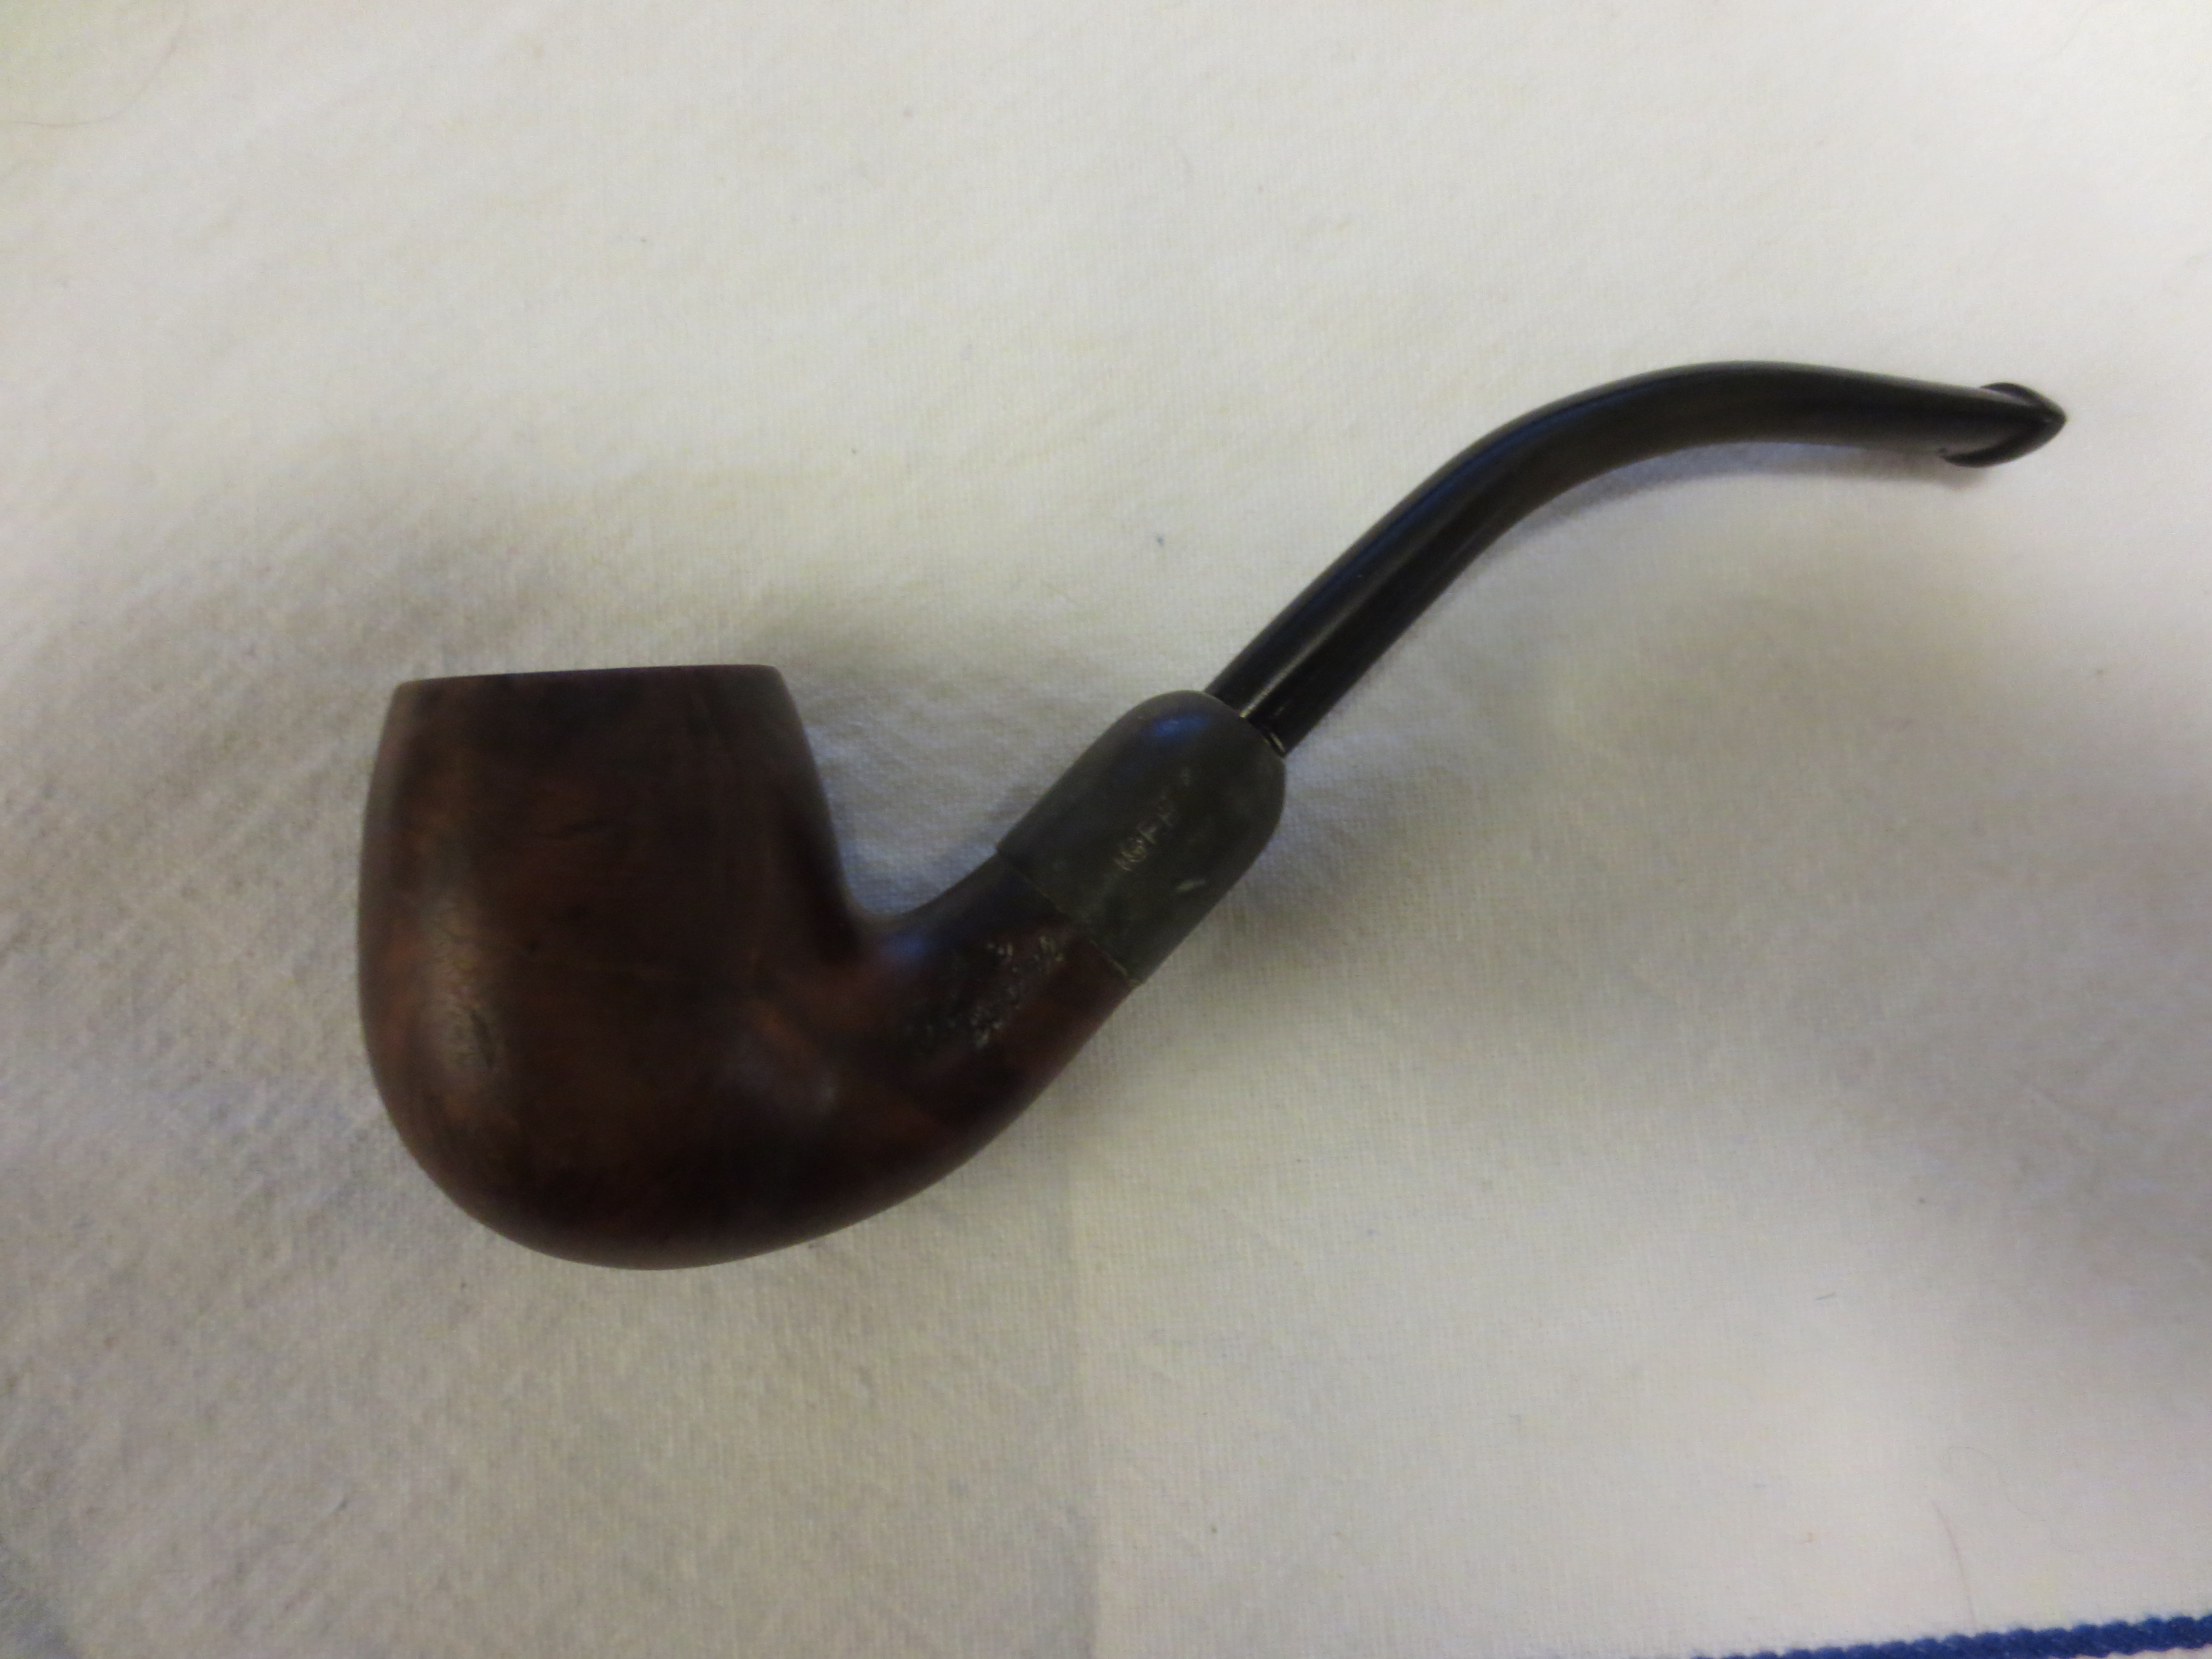
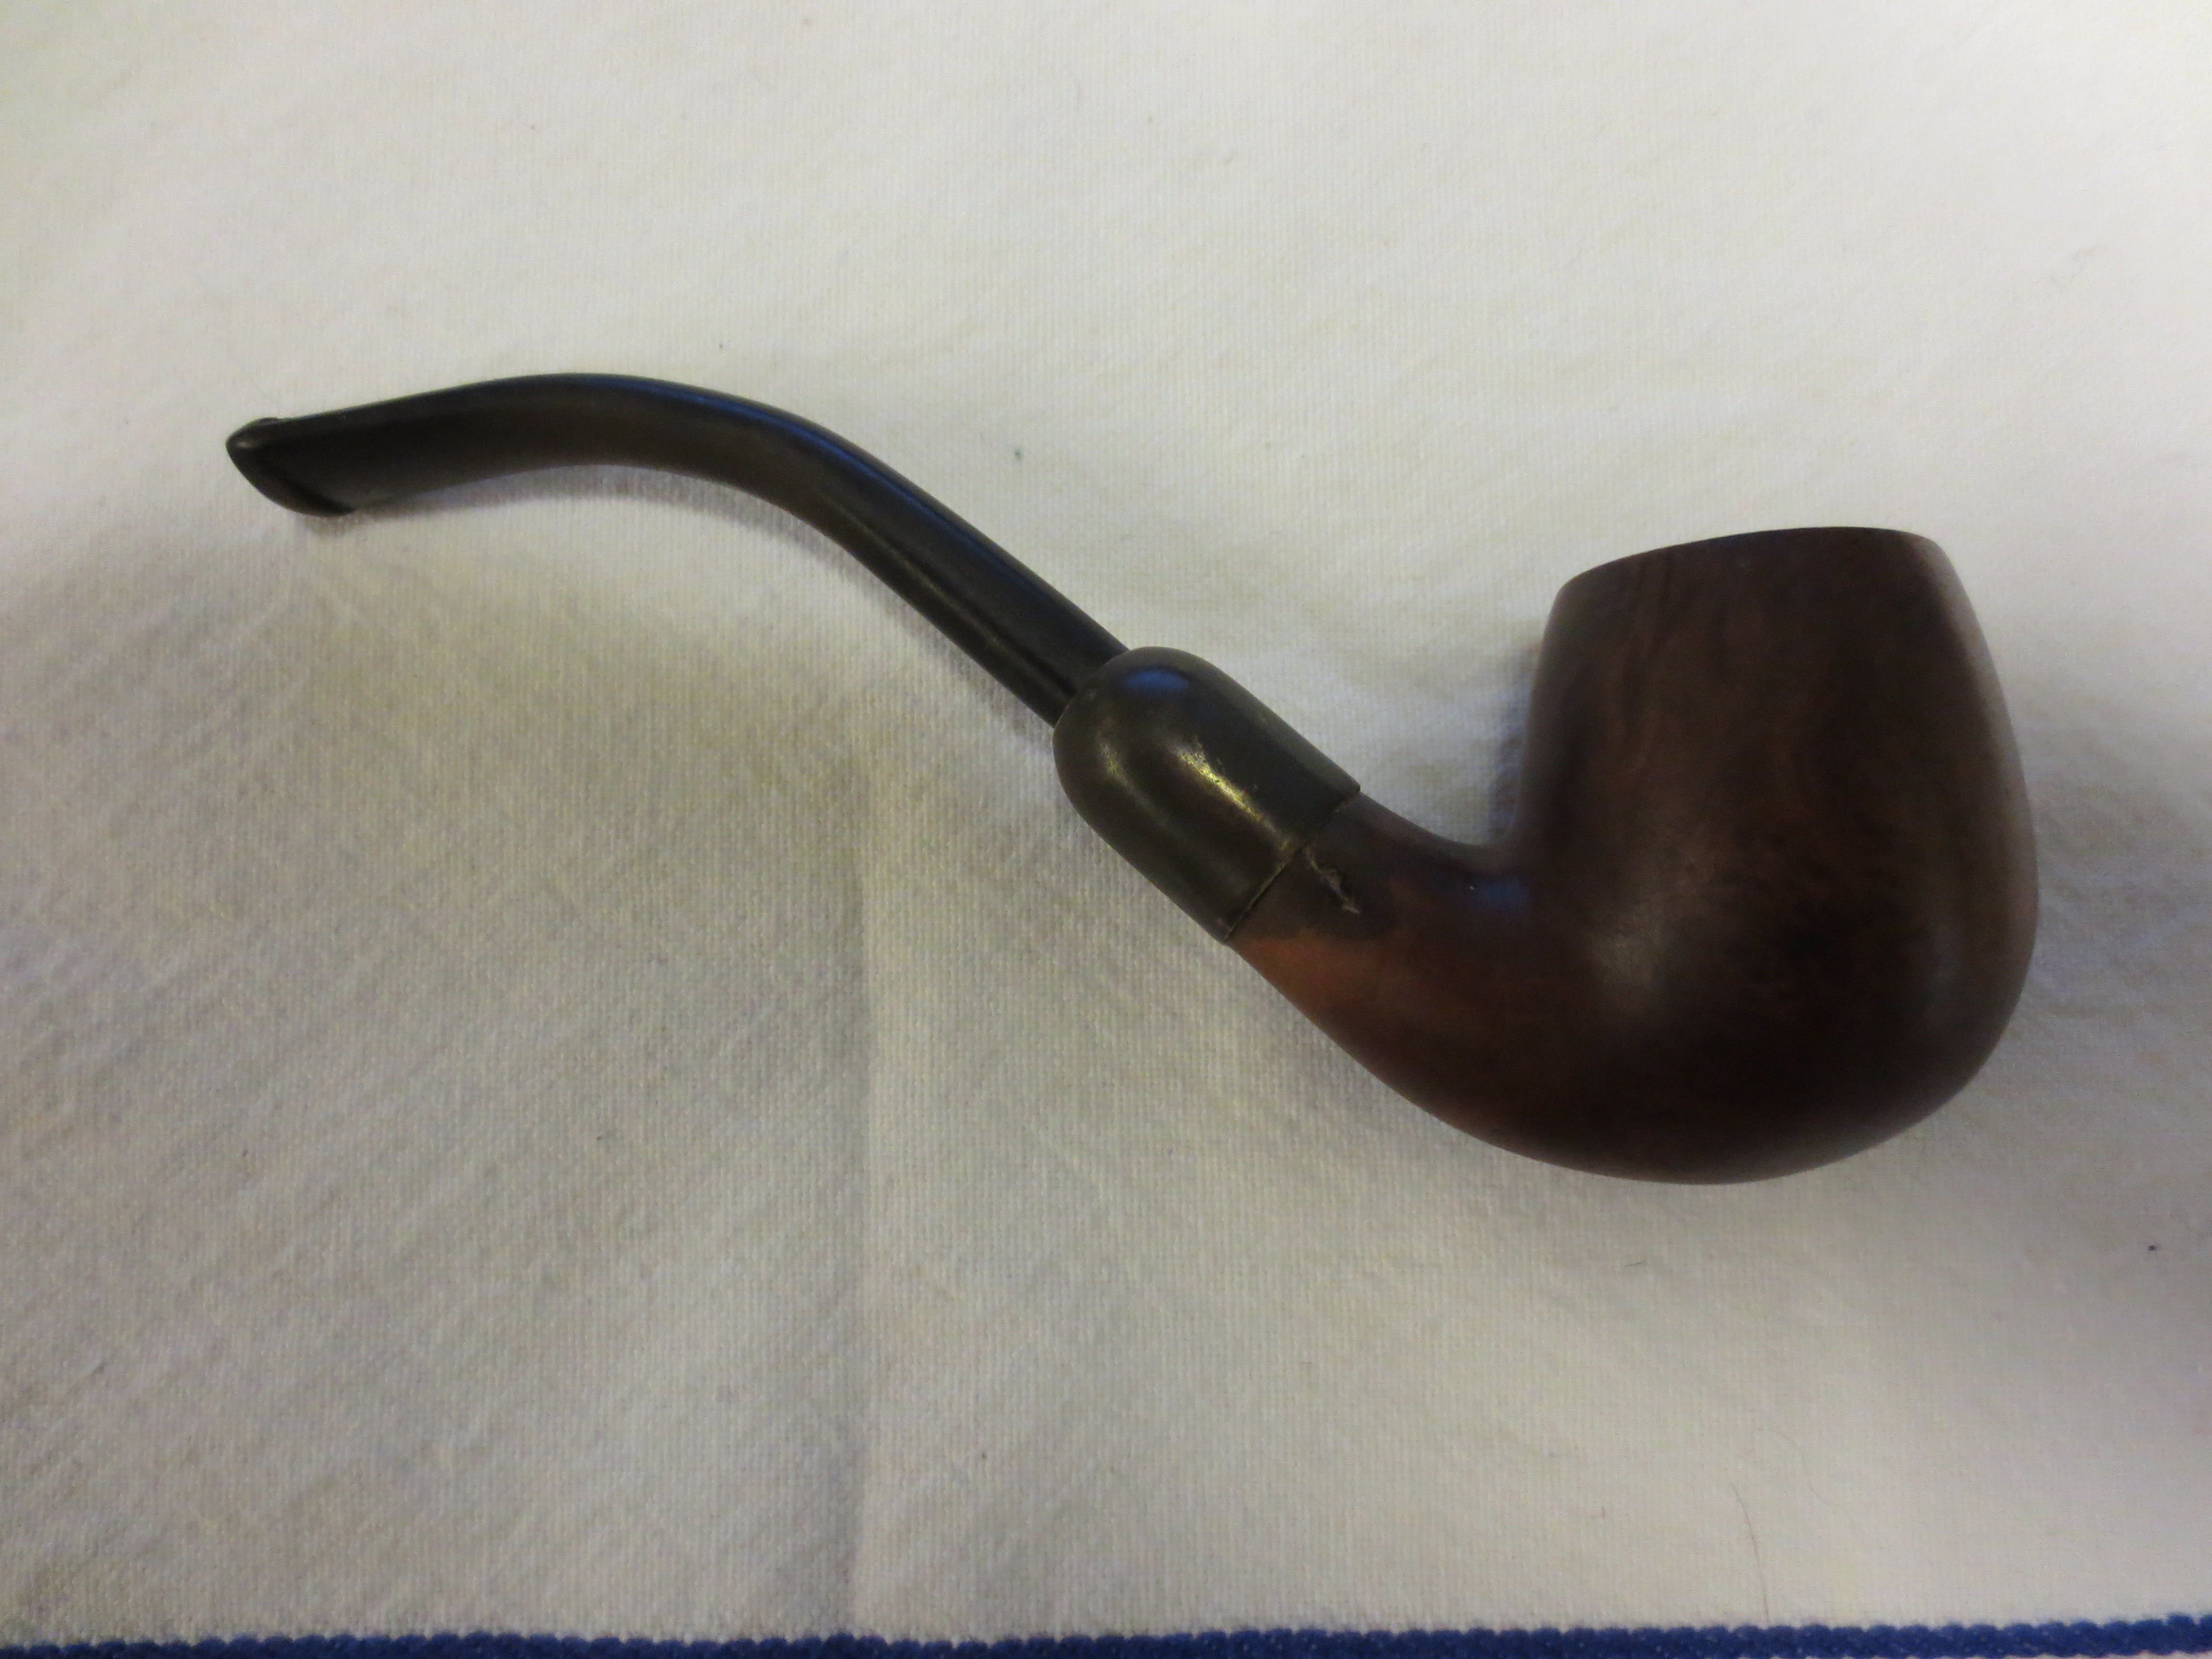
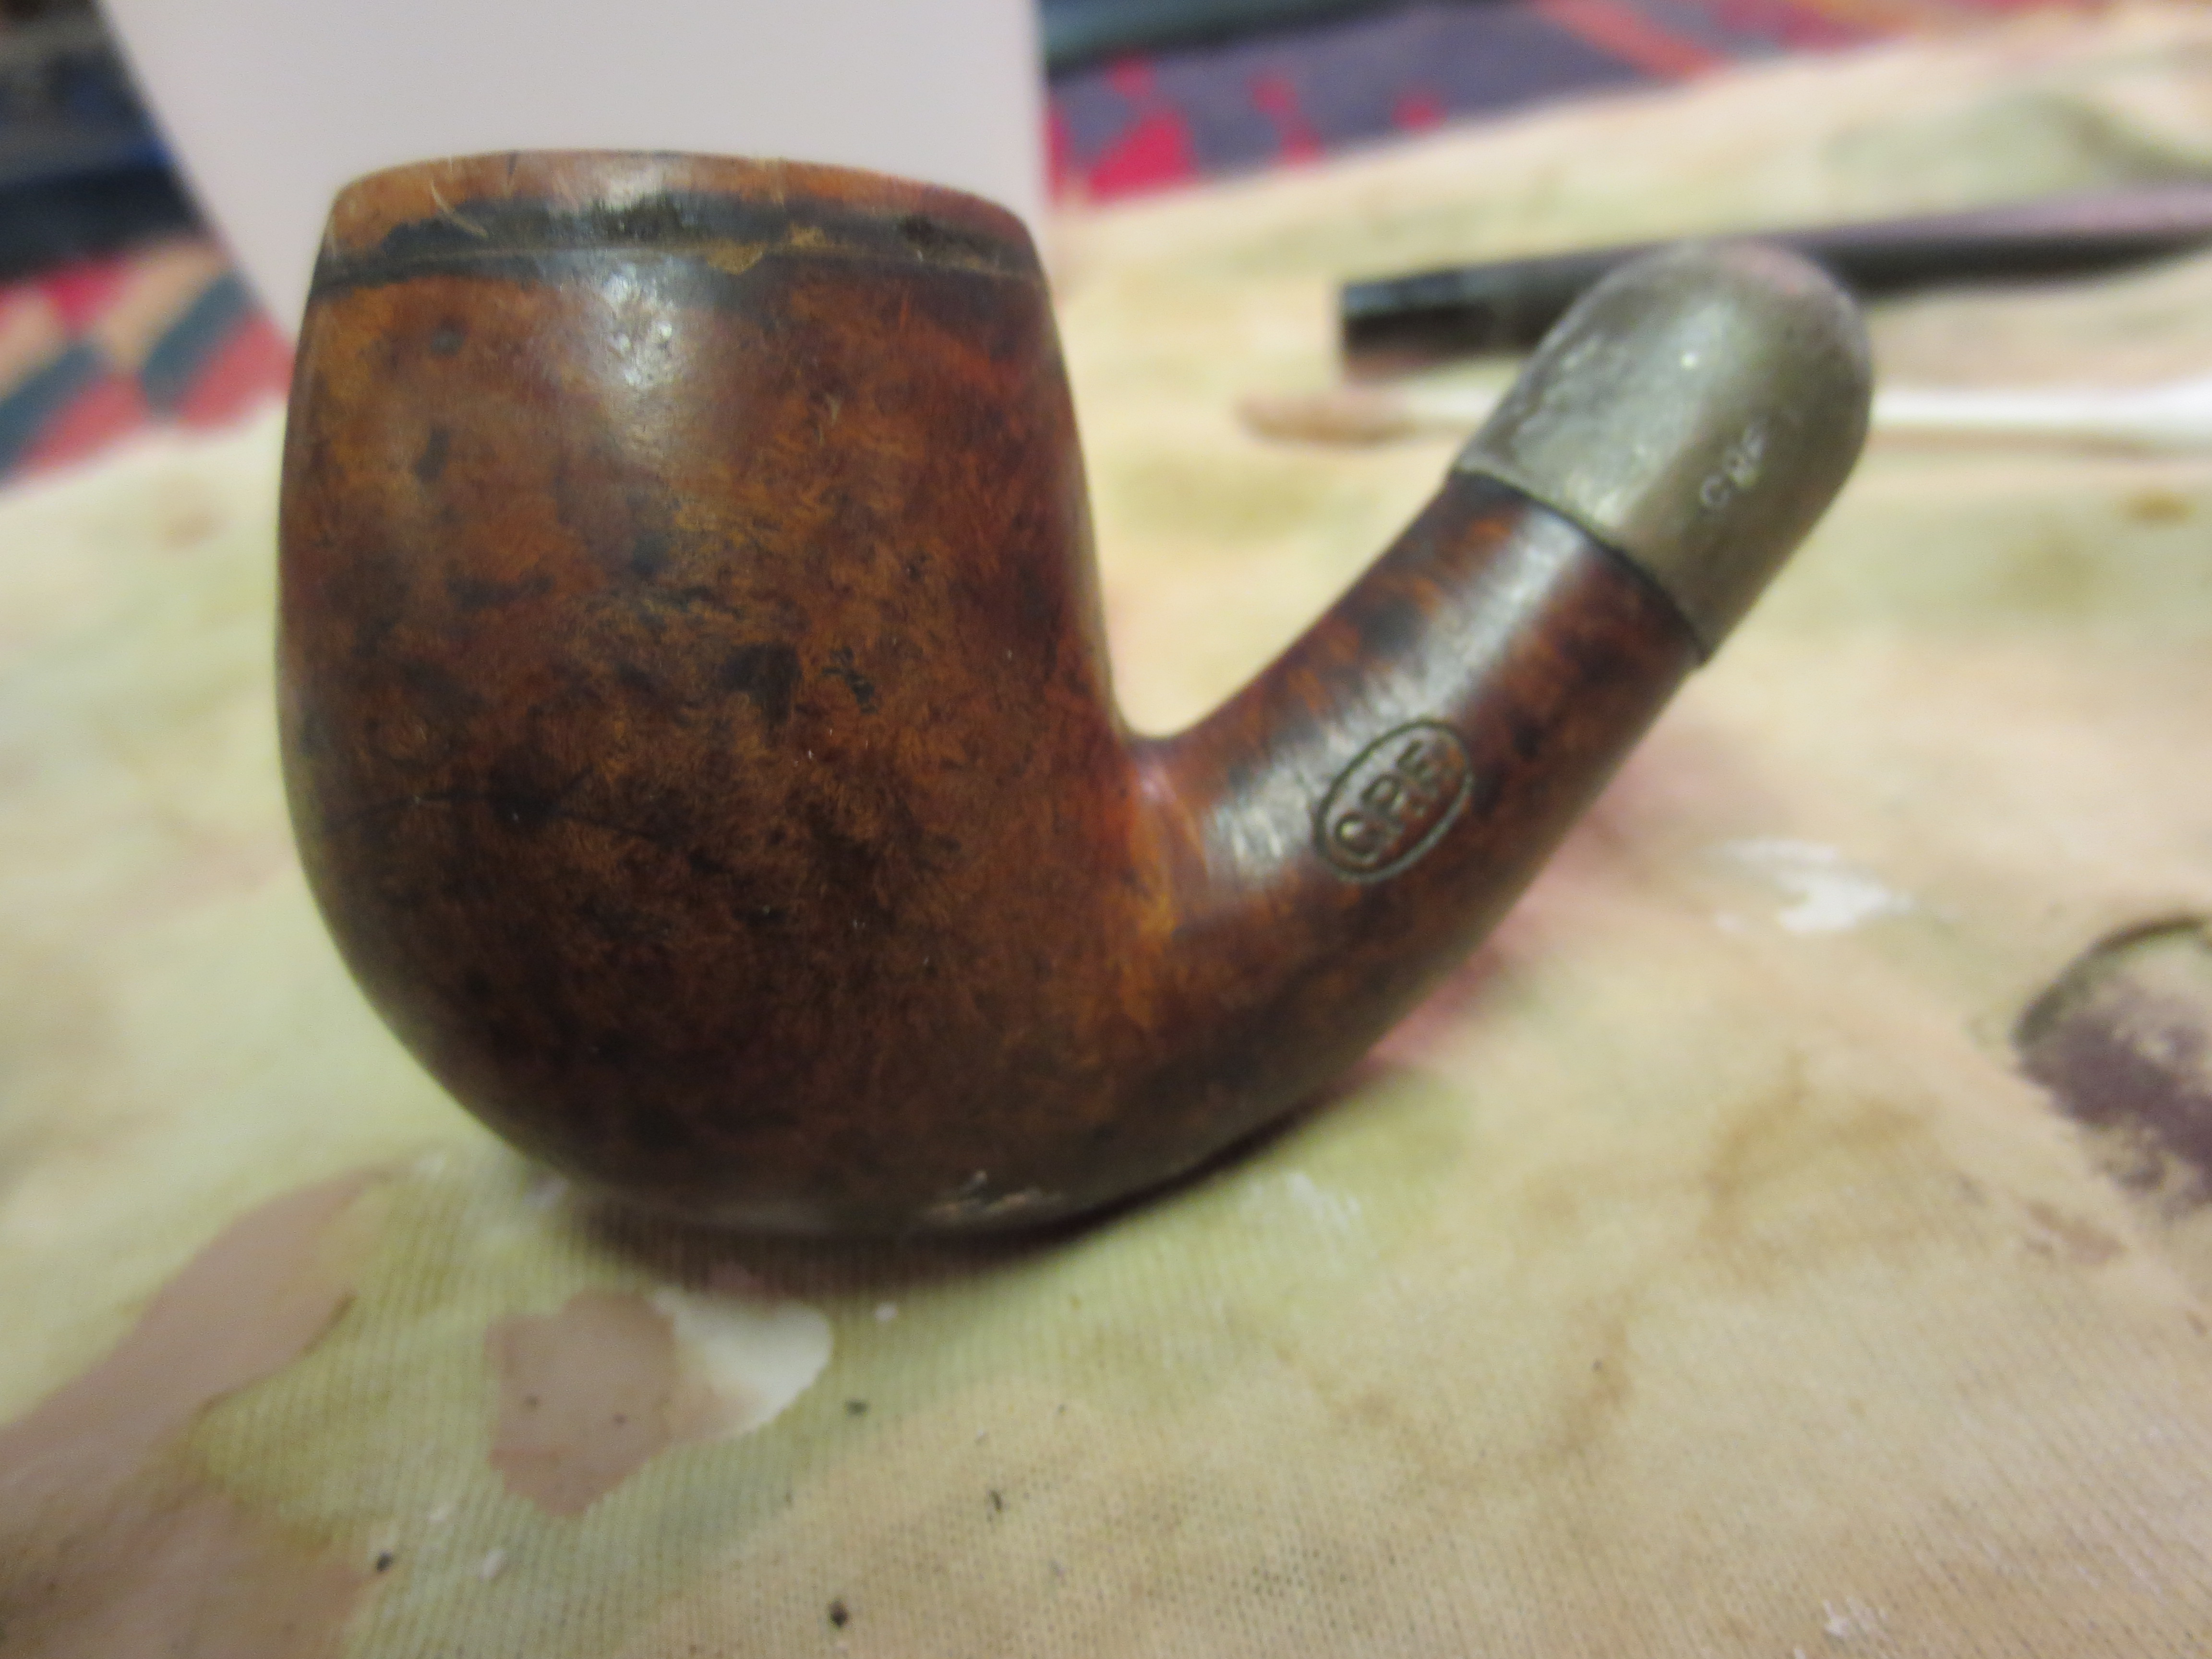
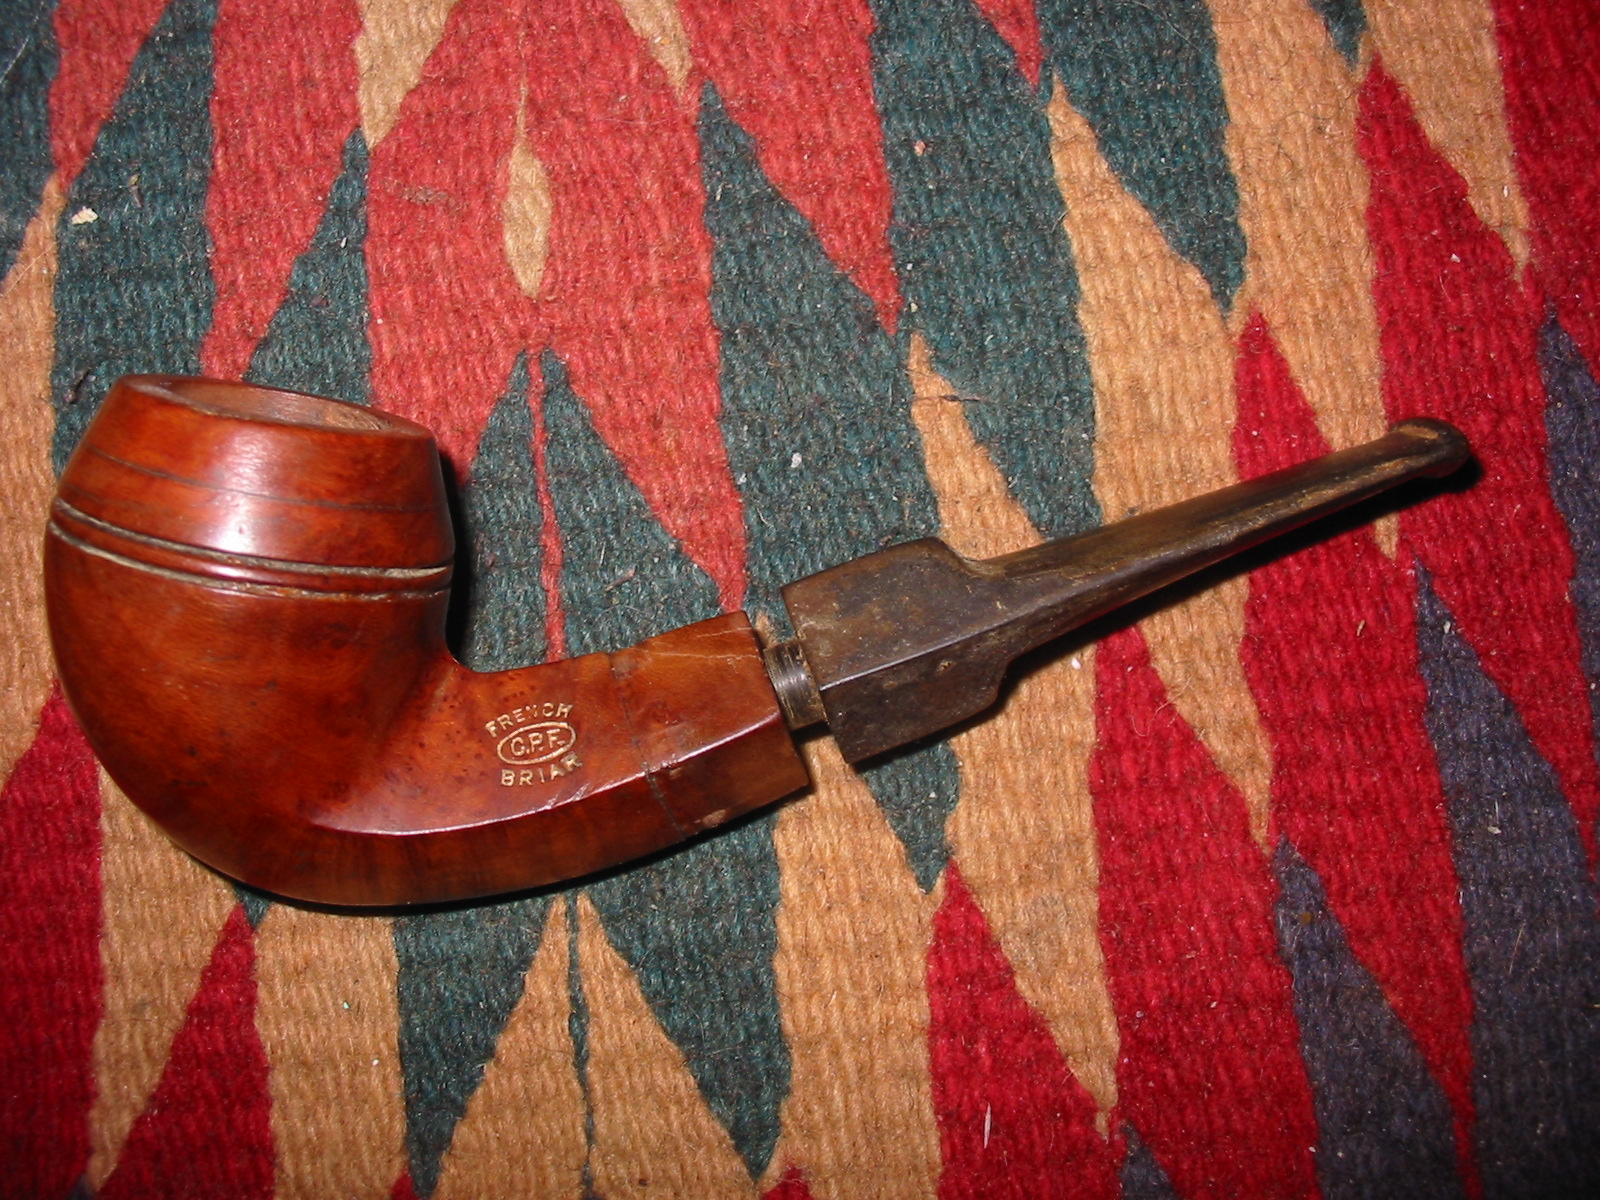
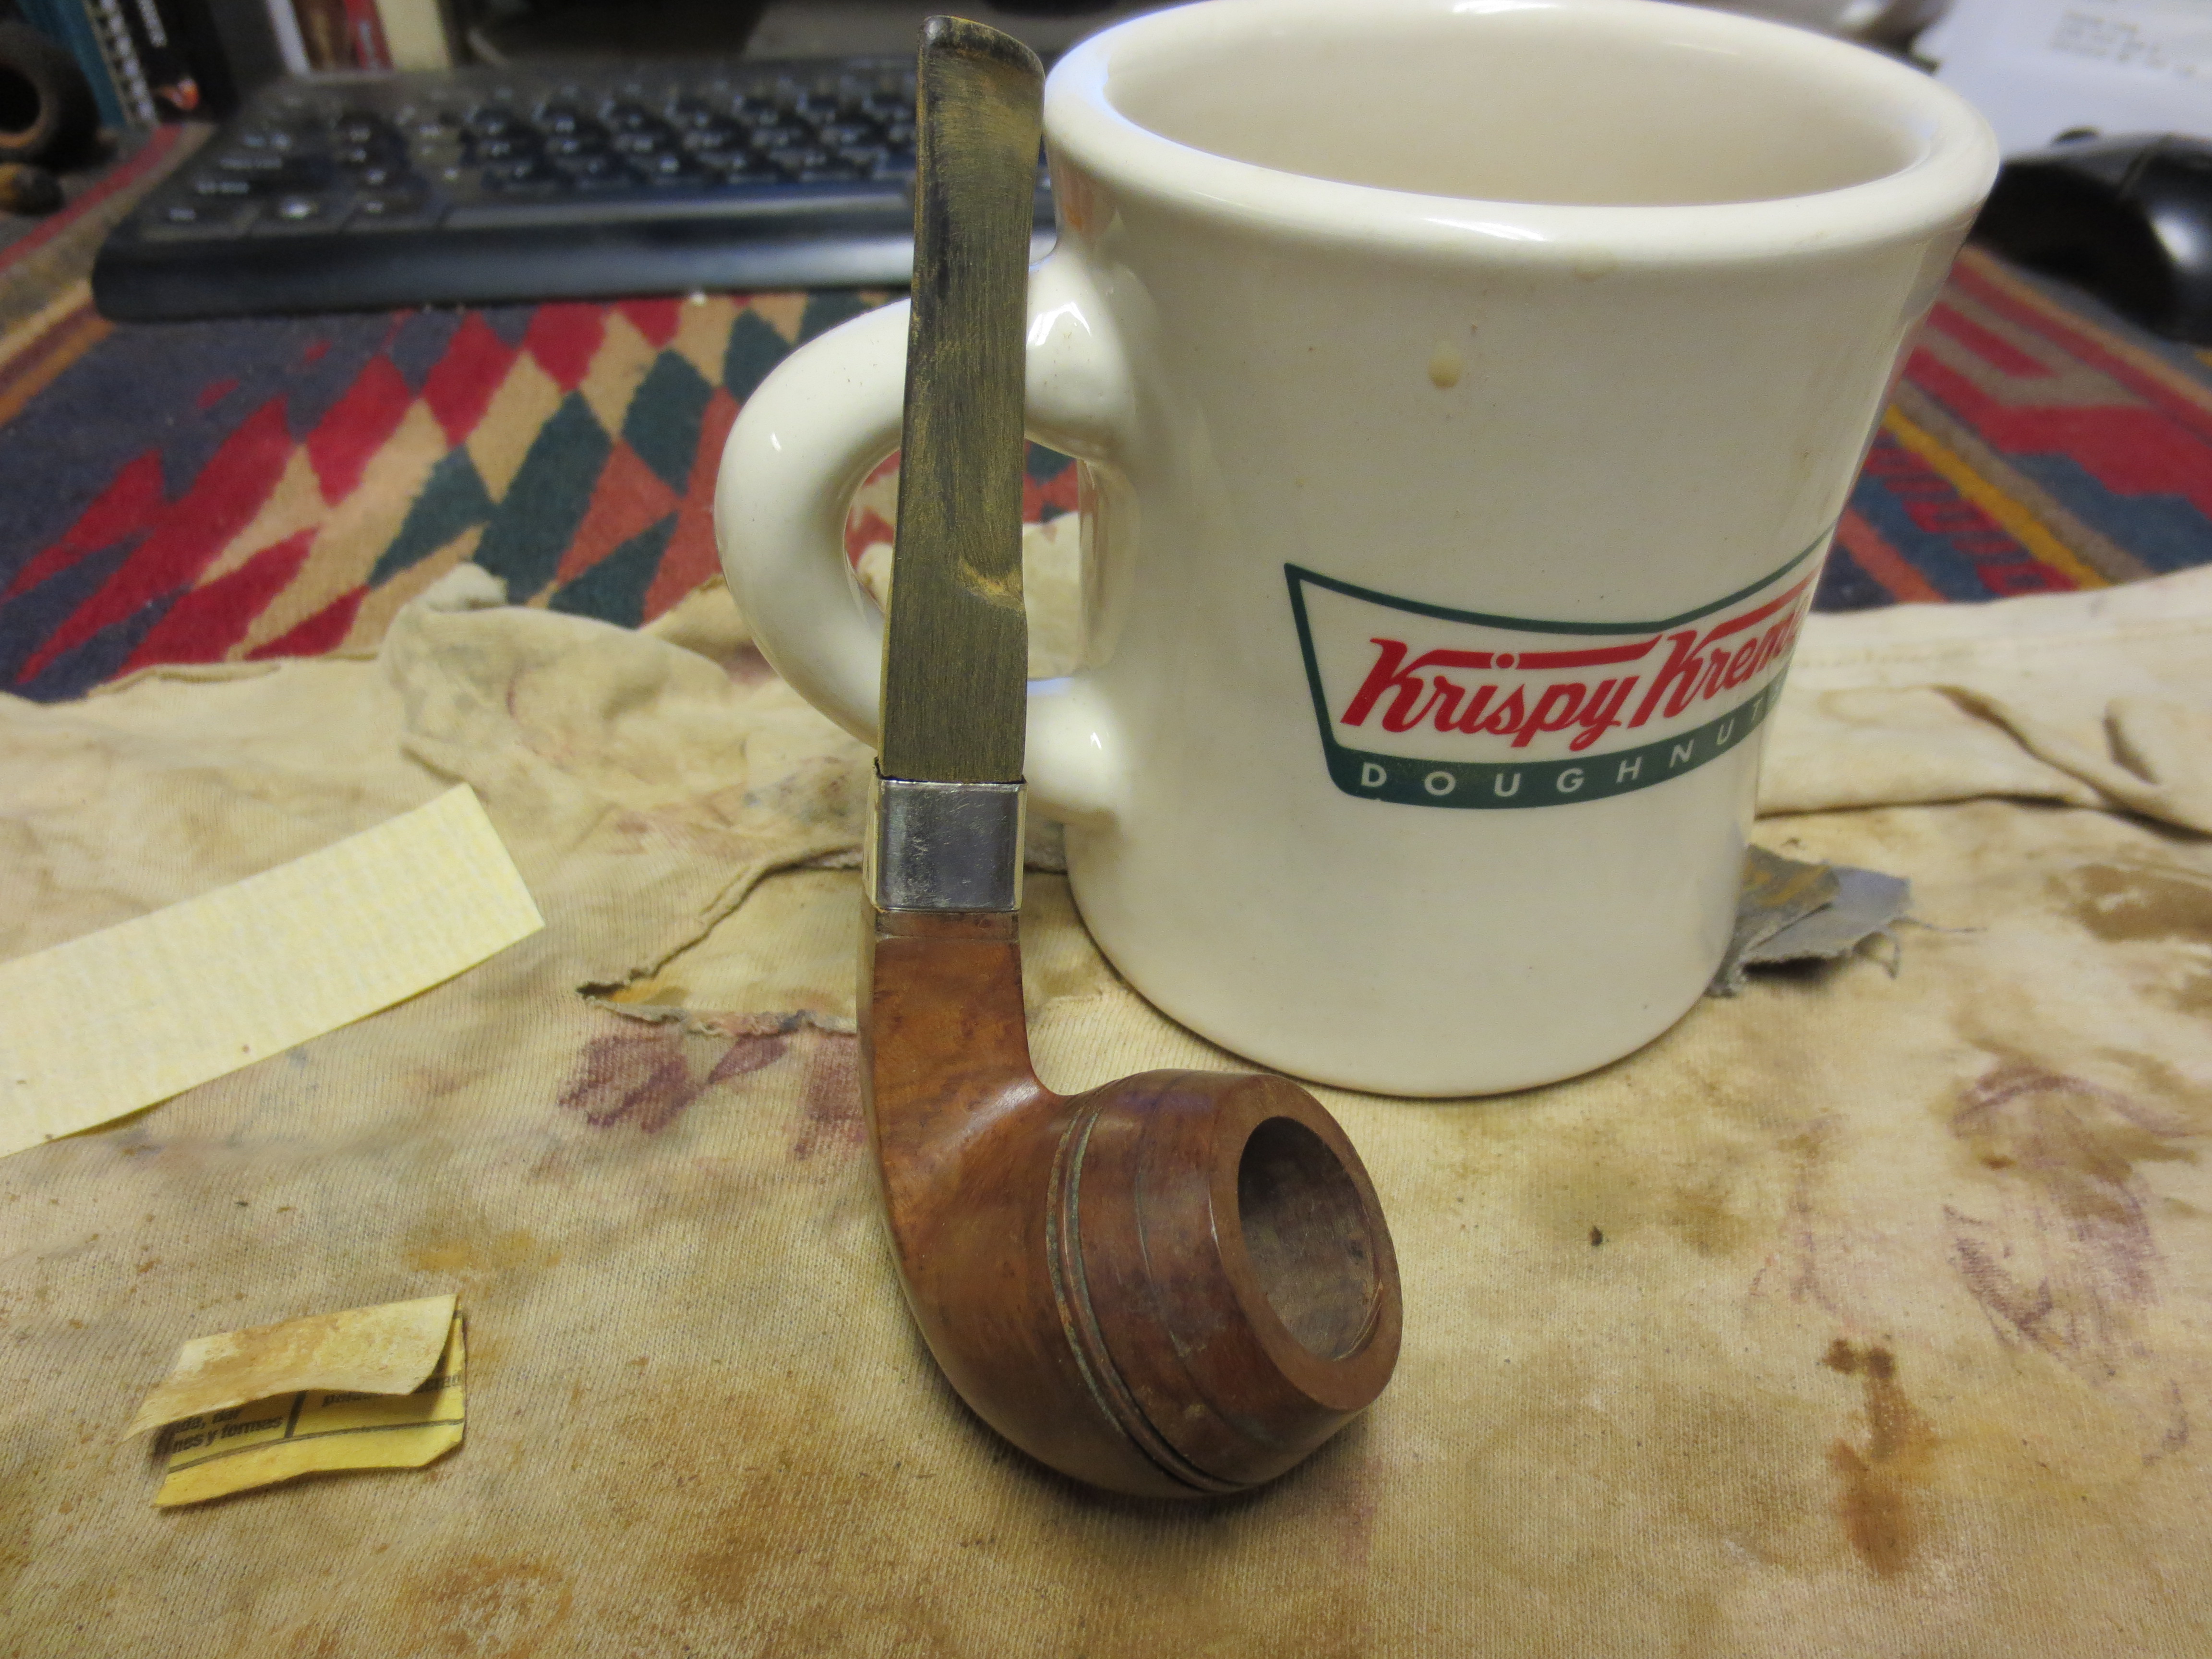
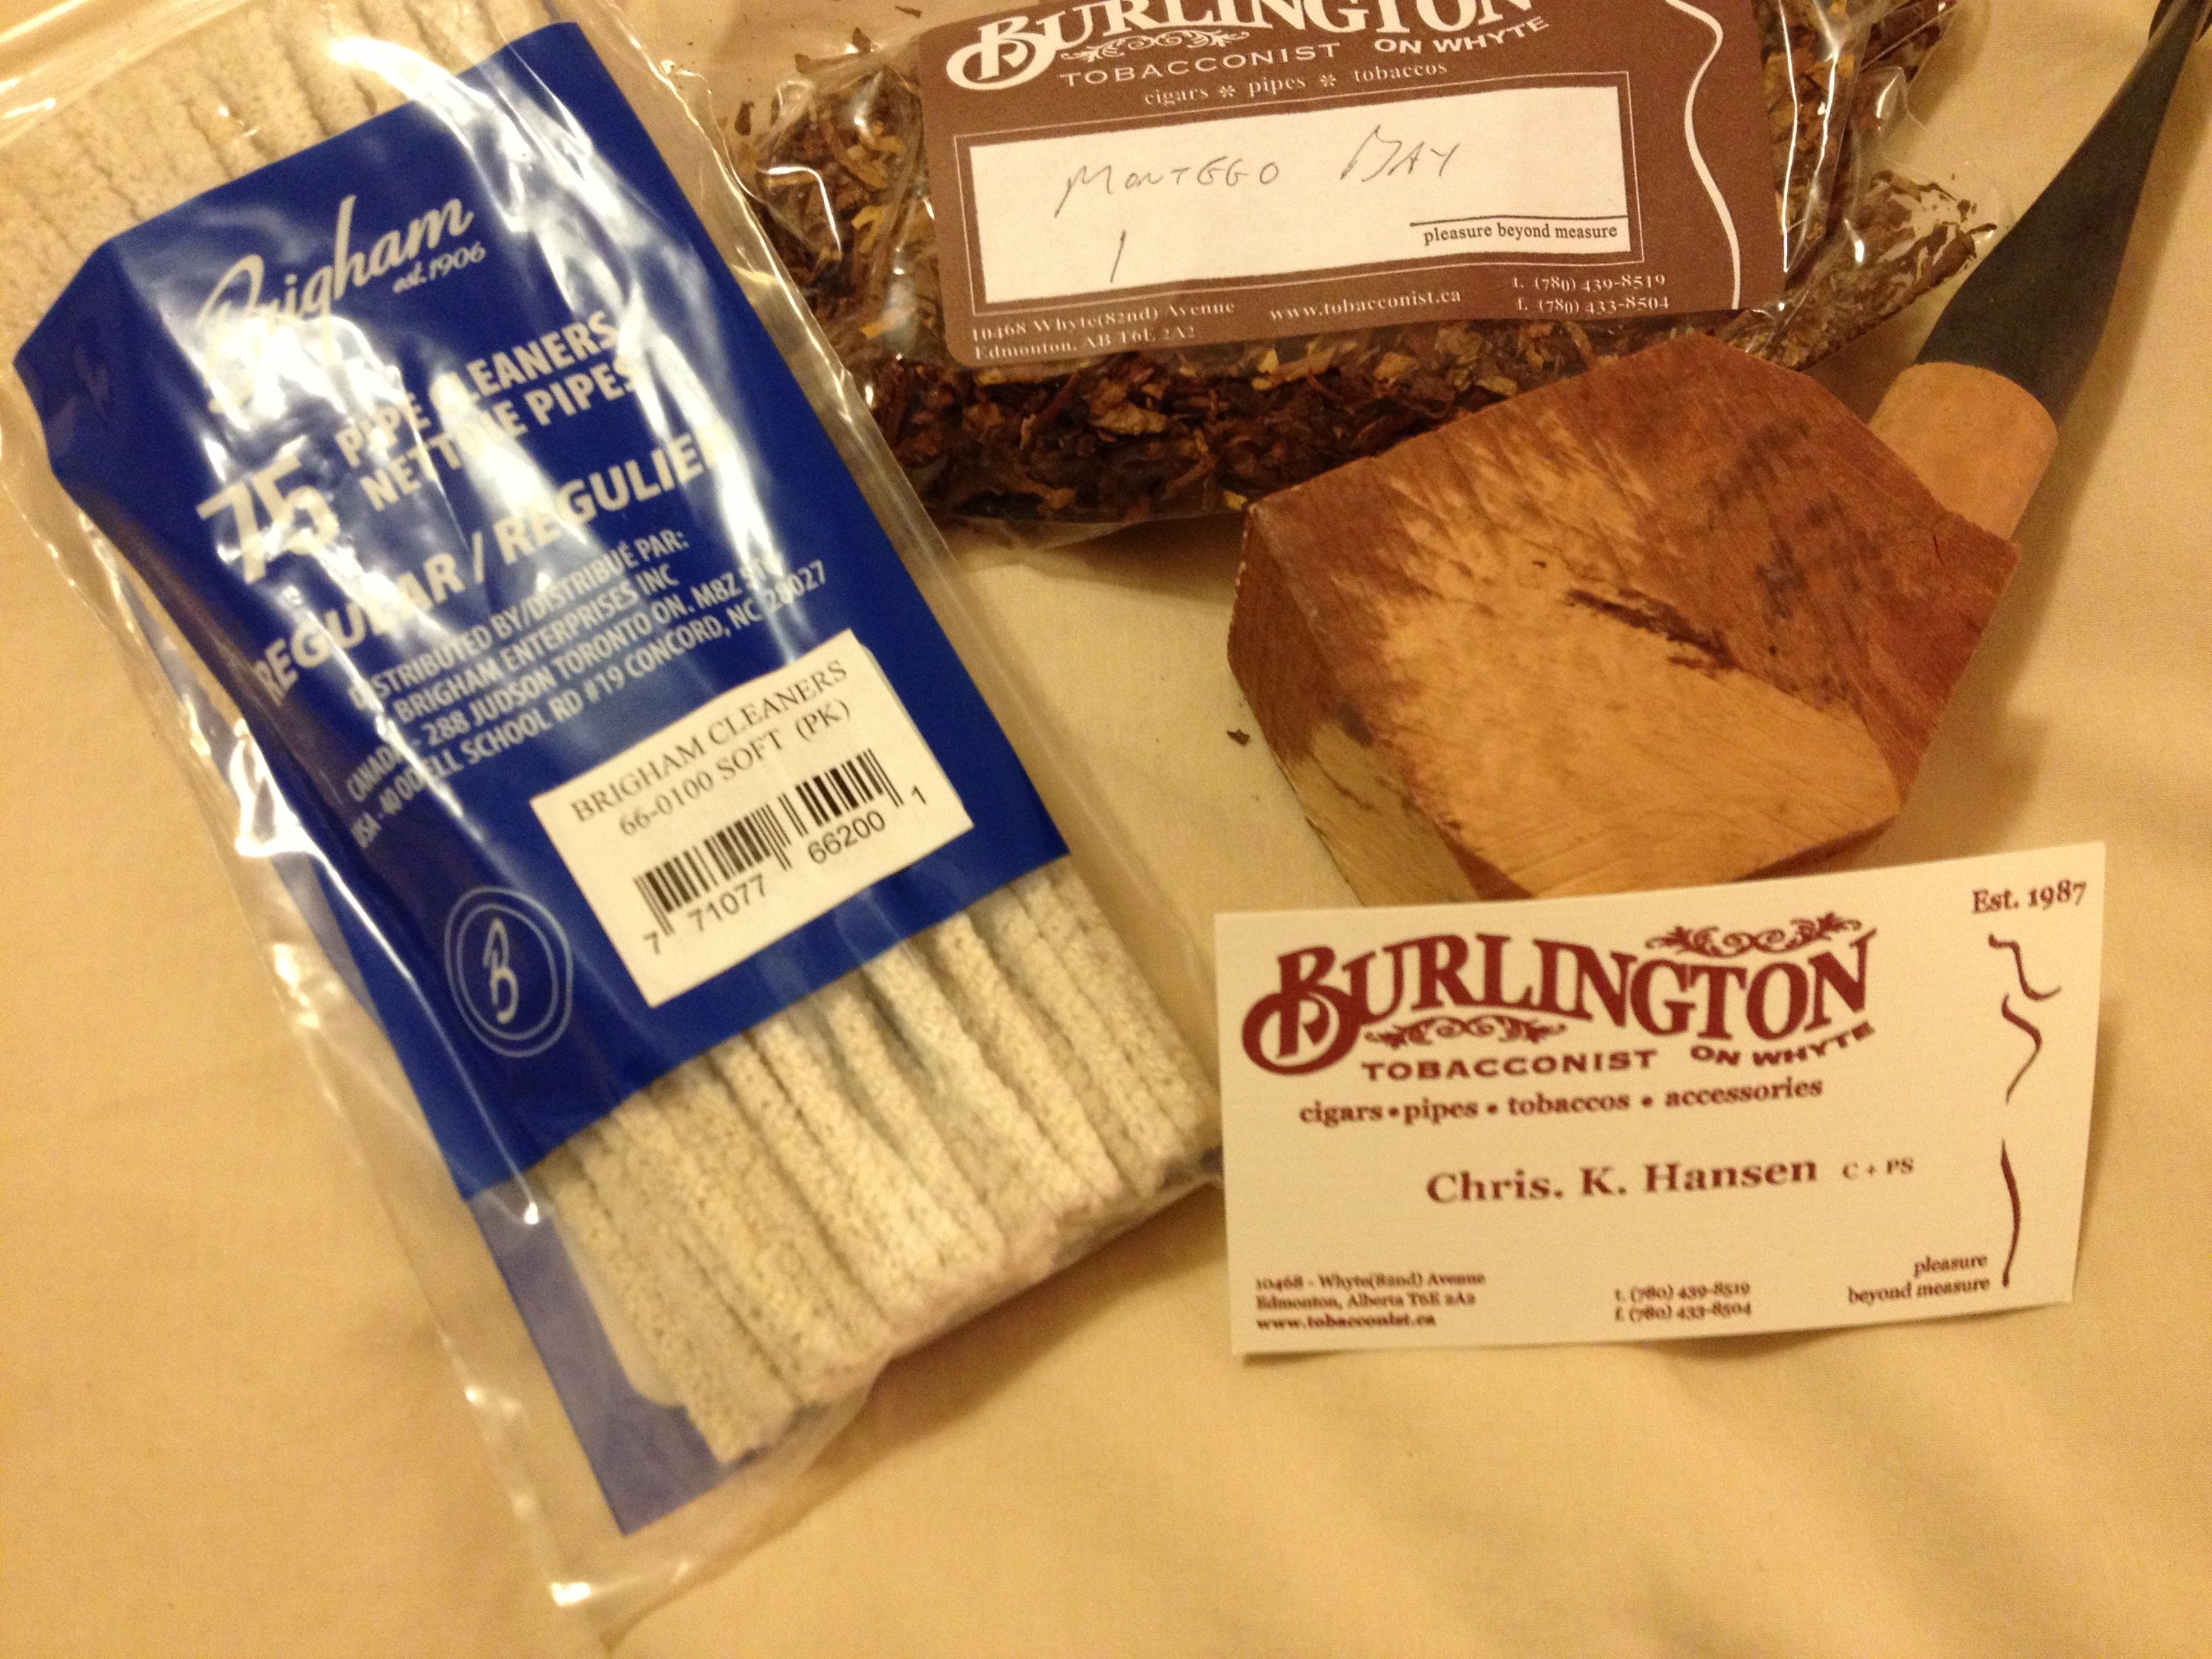
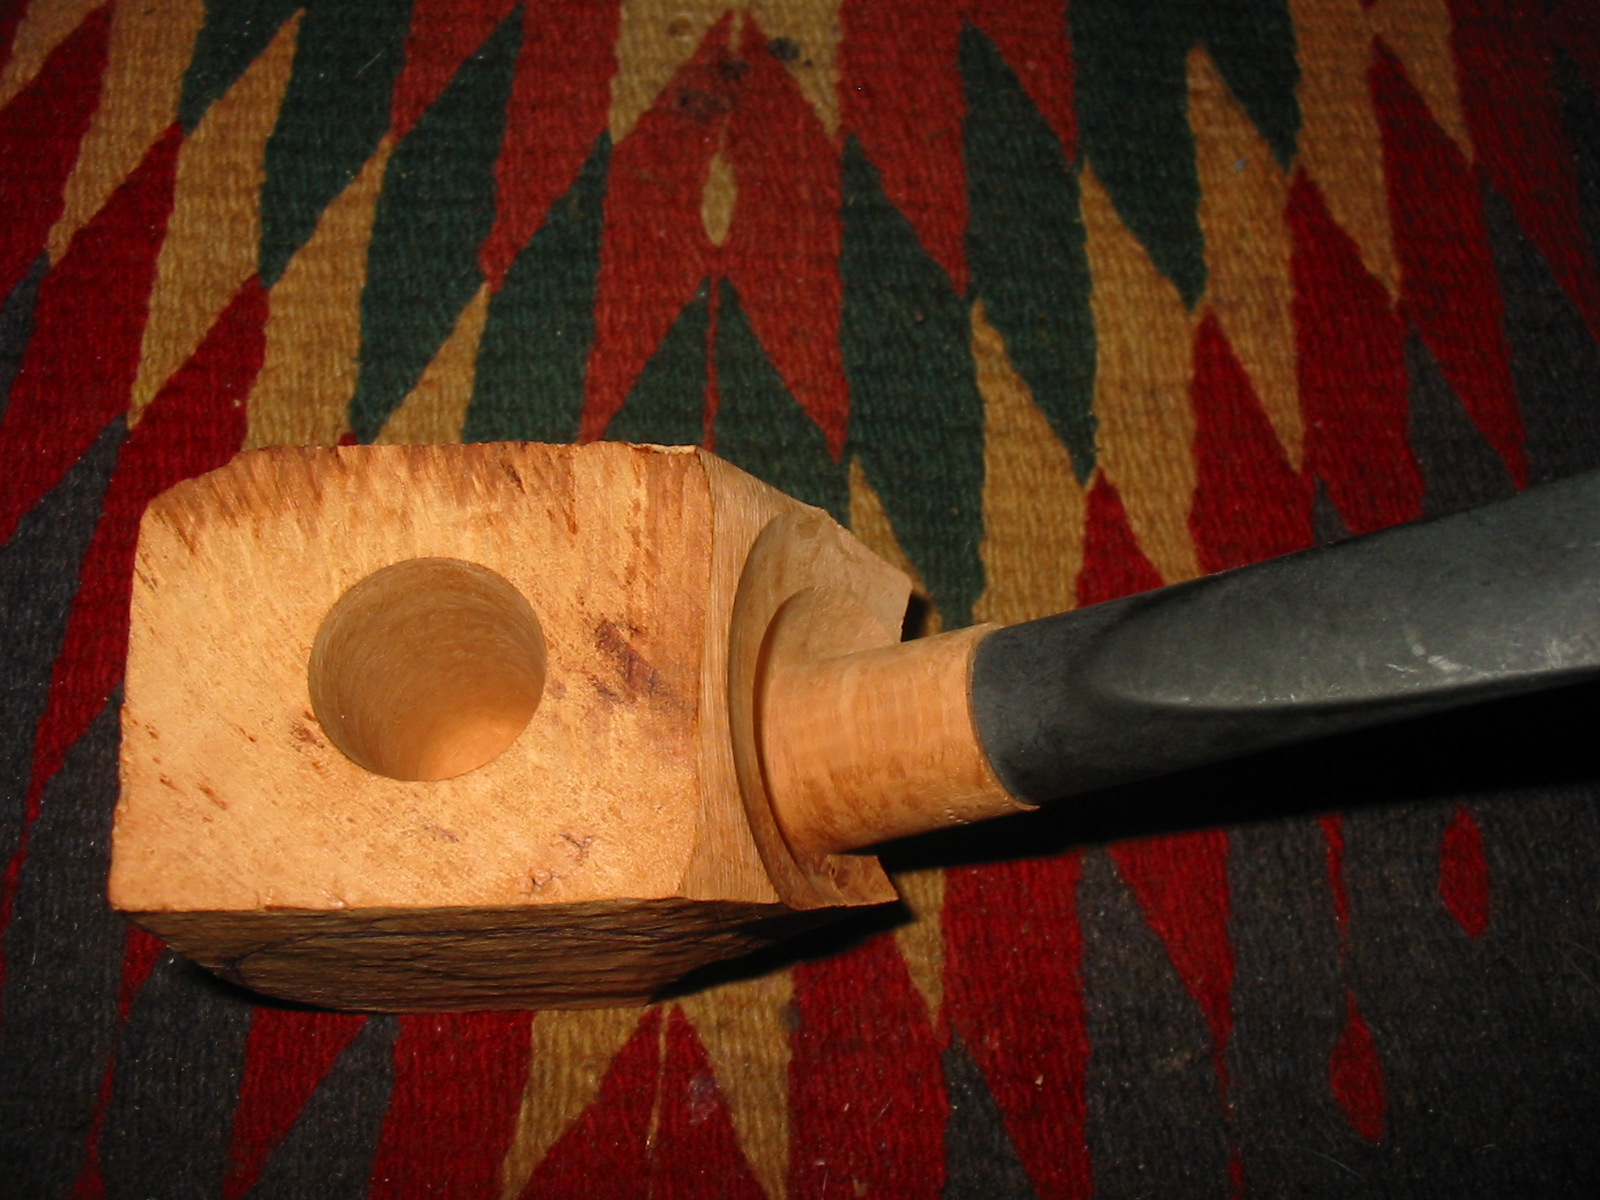
I purchased a pre-drilled block of briar with a Lucite stem from Burlington on Whyte Tobacconist in Edmonton a few weeks ago. I sorted through the box of blocks they had at the shop and chose this one. It showed some interesting birdseye grain on the sides and some straight grain on the front and back. I also like the angle of the stem on it and figured it might be an interesting project to work on between some of the refurbs that I have going all the time. I put it on my desk in my basement office next to the computer keyboard and looked at pretty much daily trying to figure out a shape that would fit the grain and the angles of the block. I used pencil and scribbled a lot of them on the block, erasing and reshaping the image repeatedly until I finally saw a shape that I kind of liked and figured I could carve it easily enough.

IMG_0301

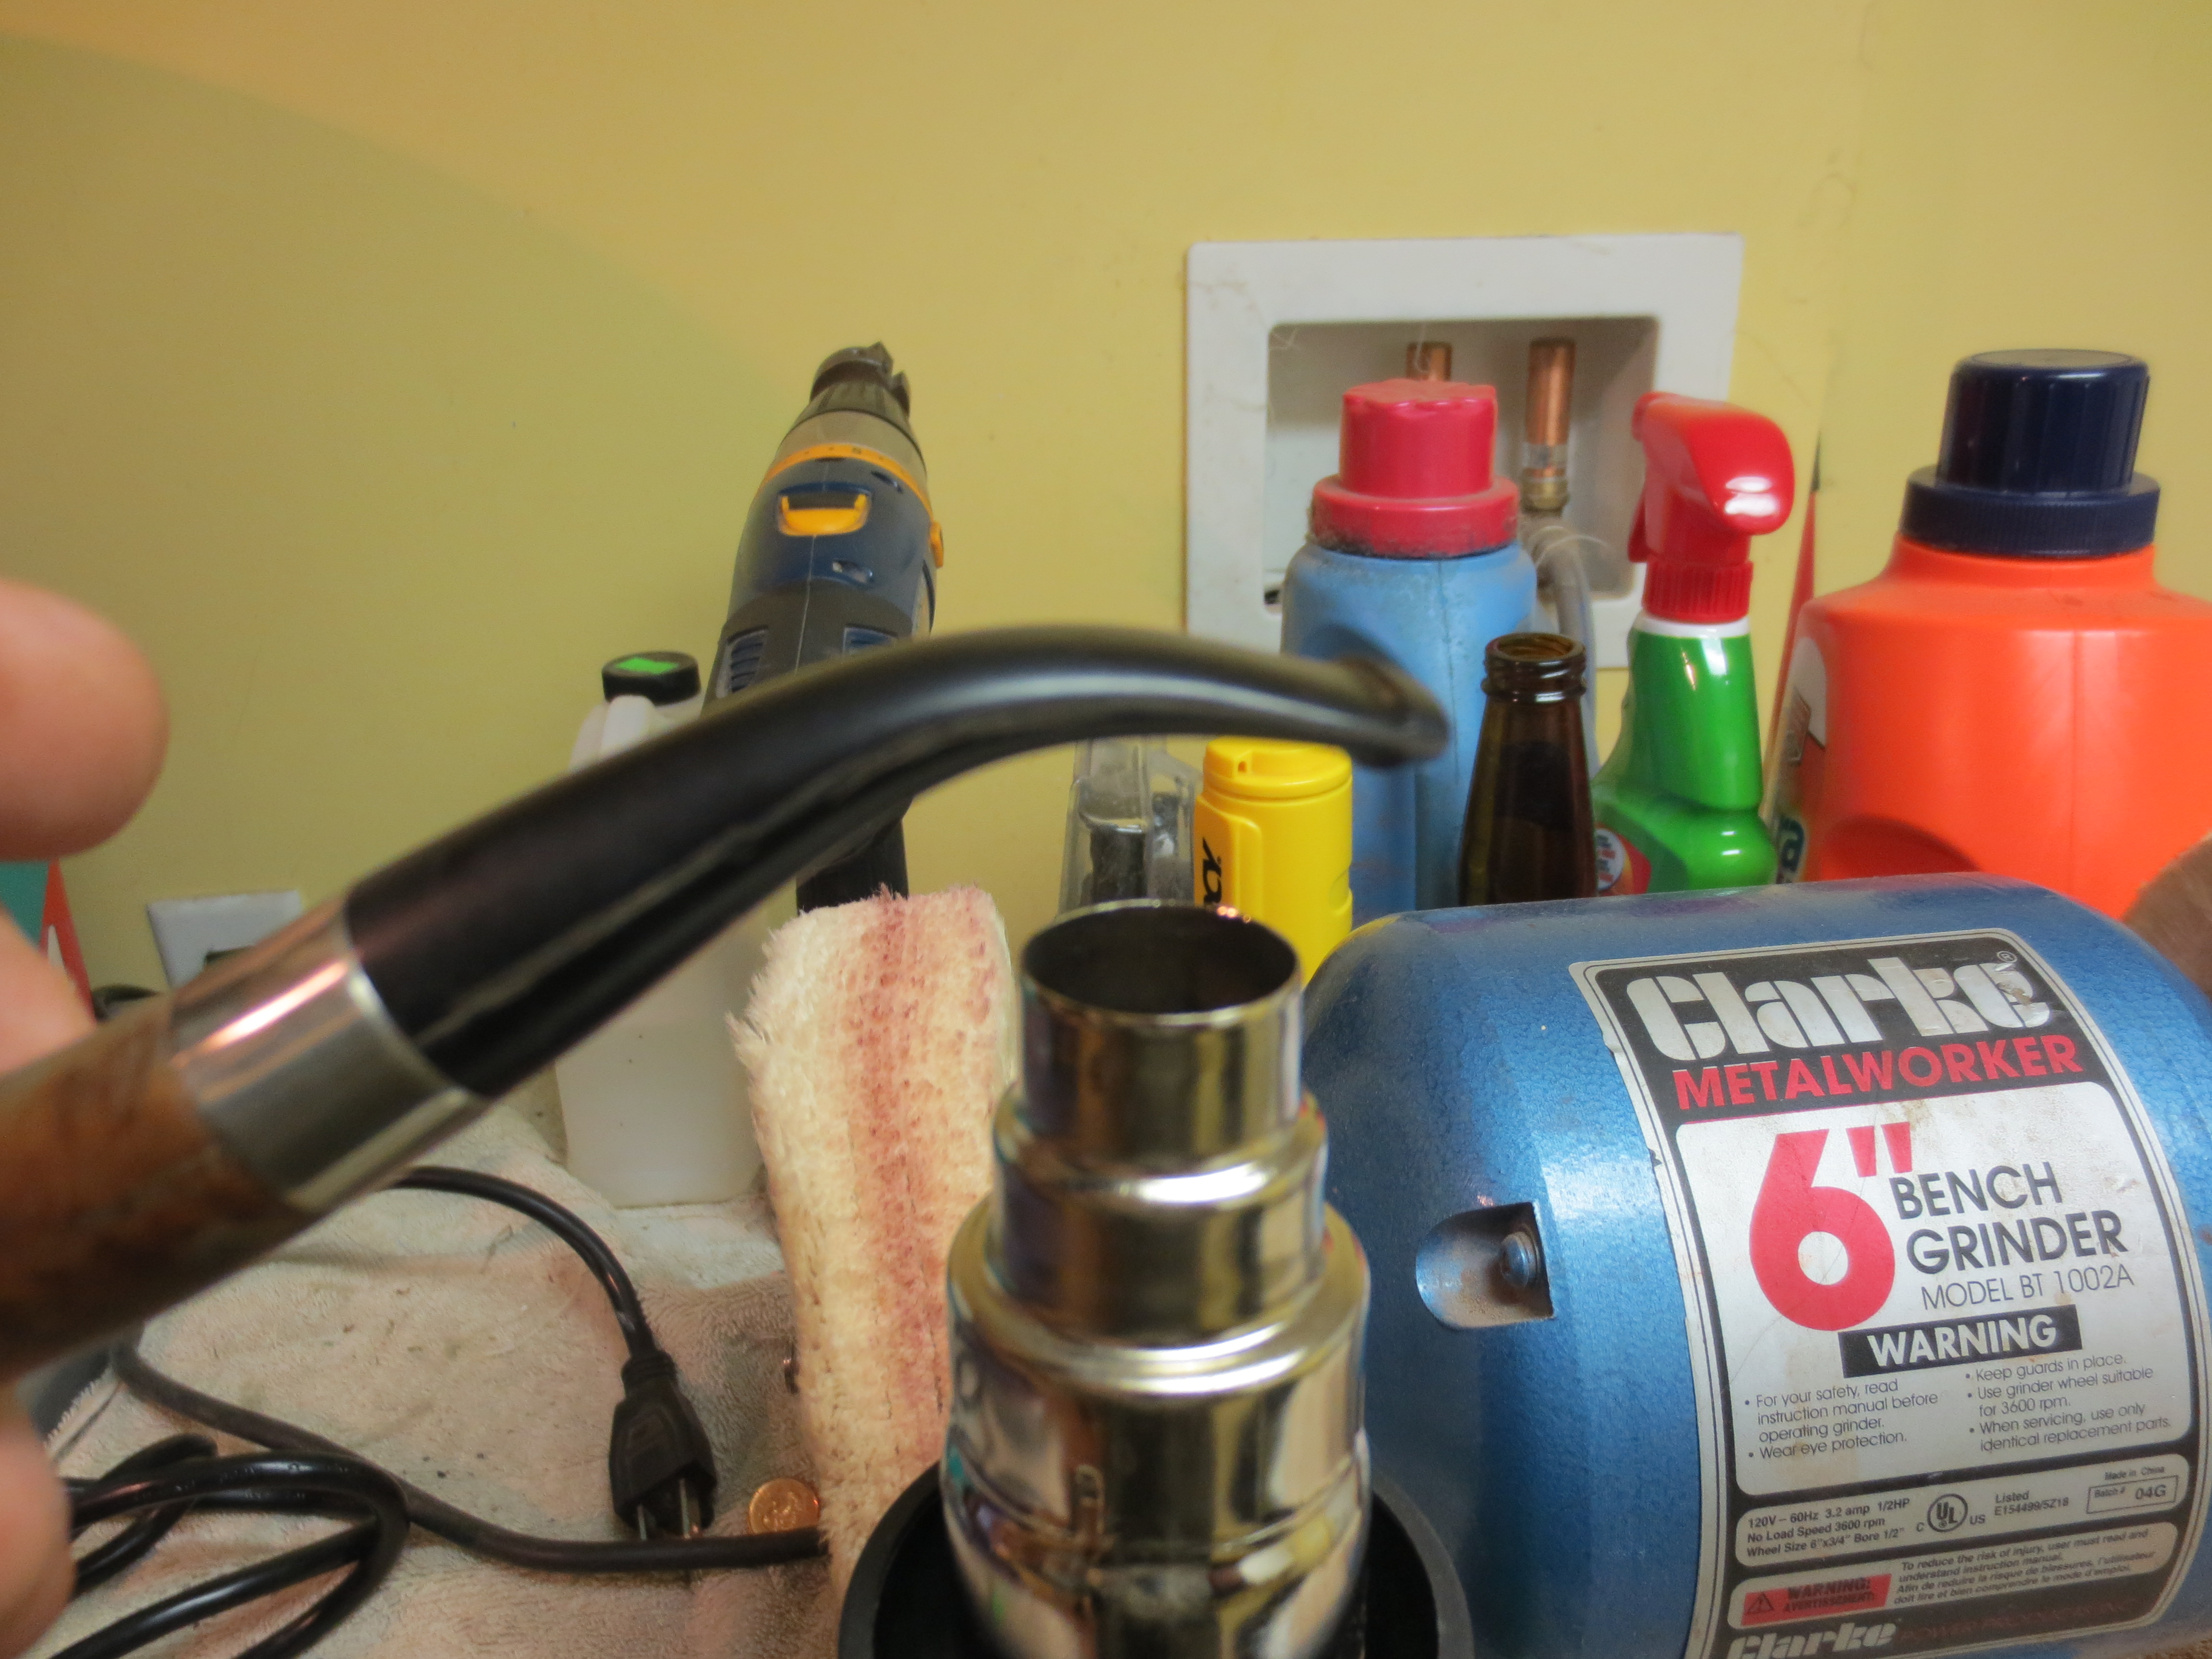
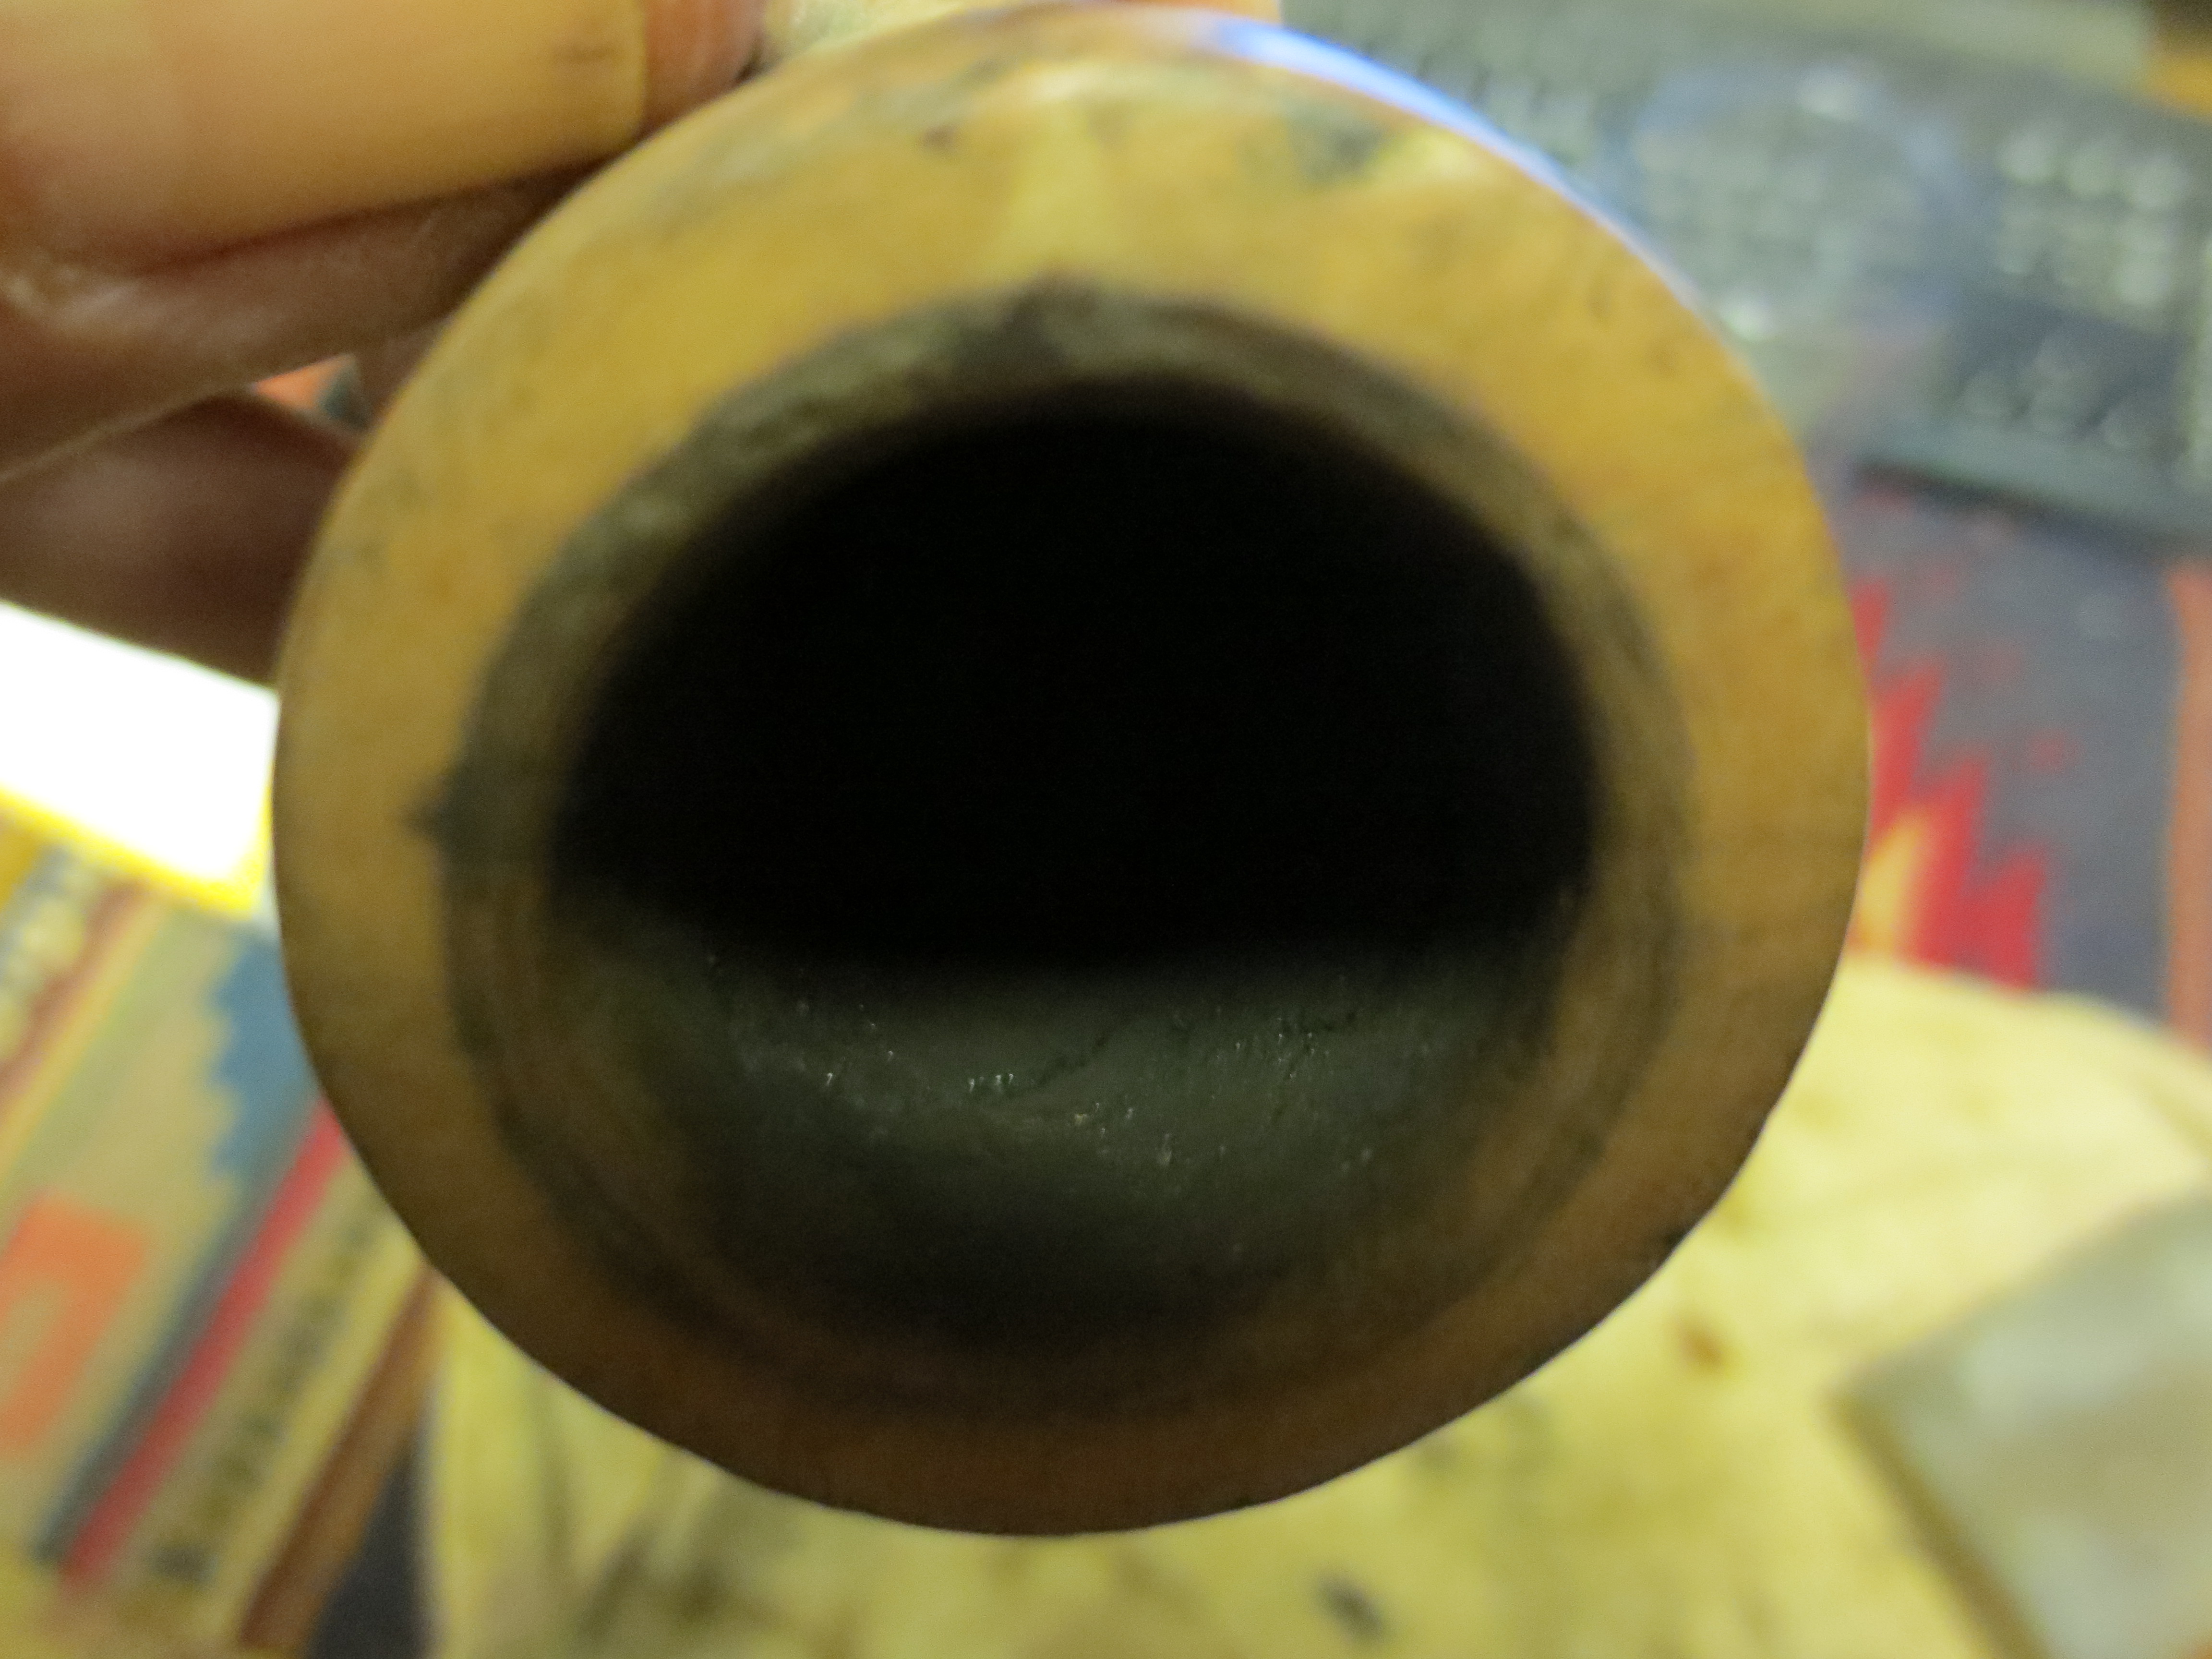
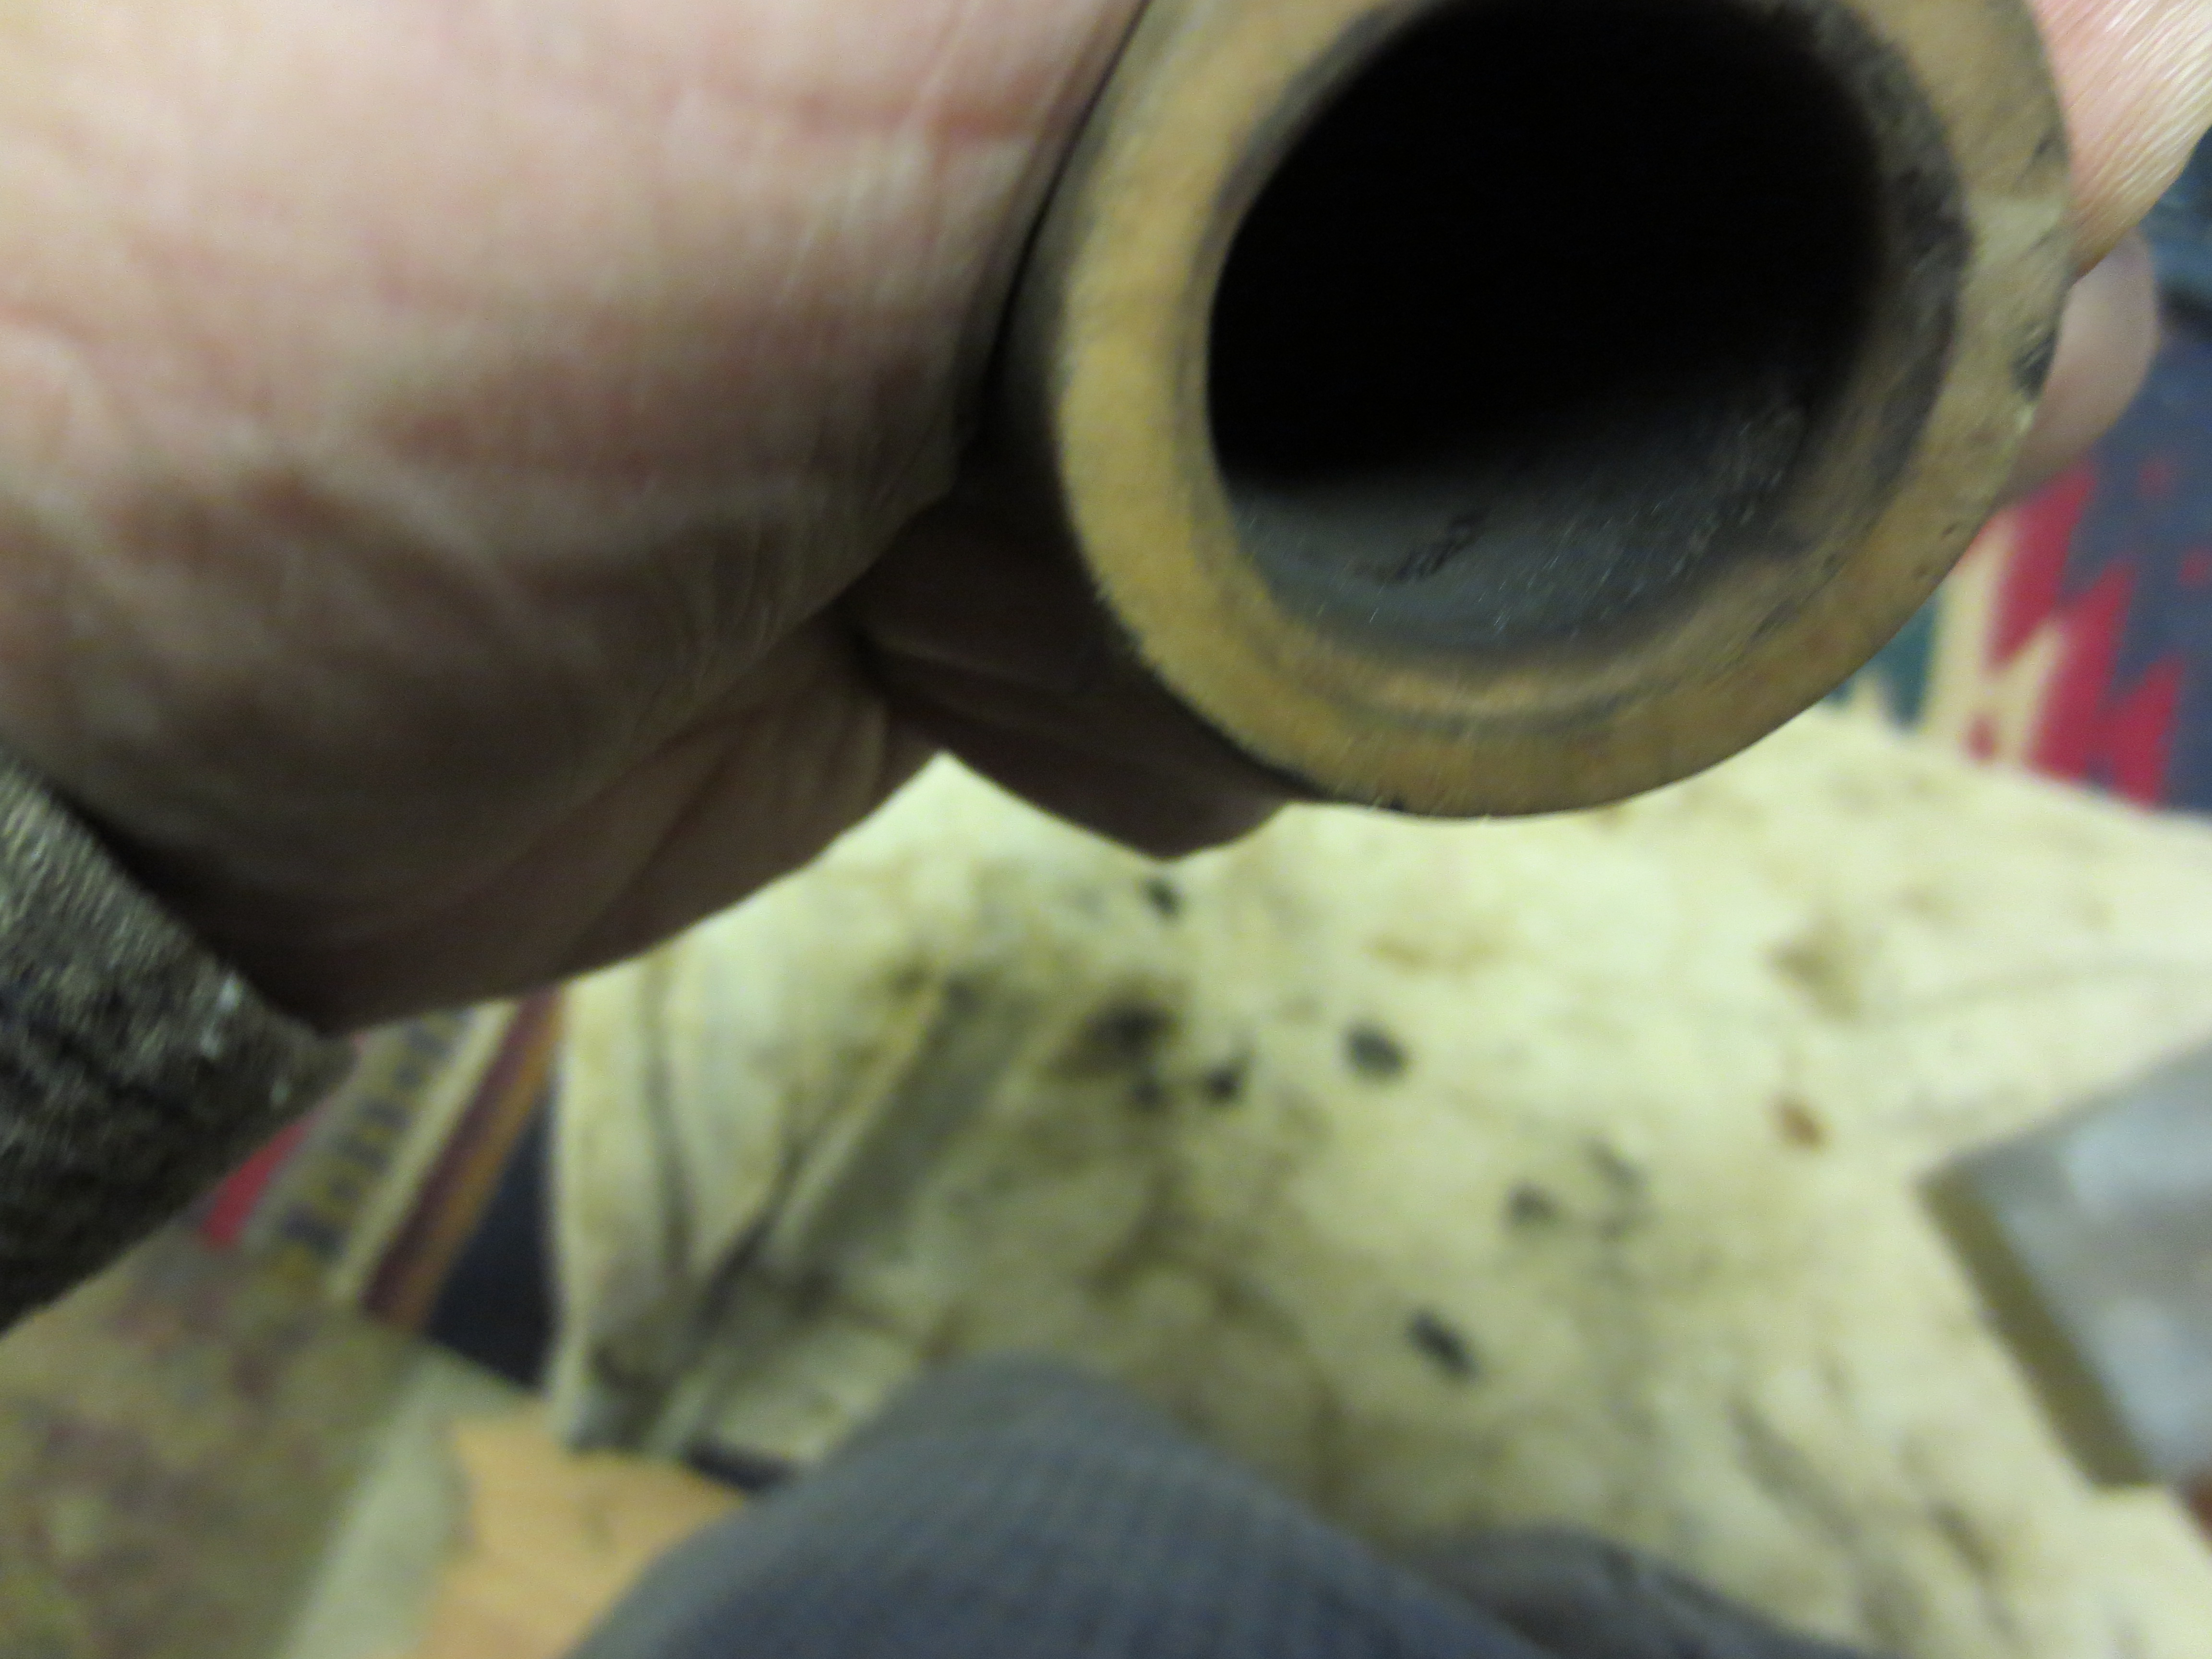
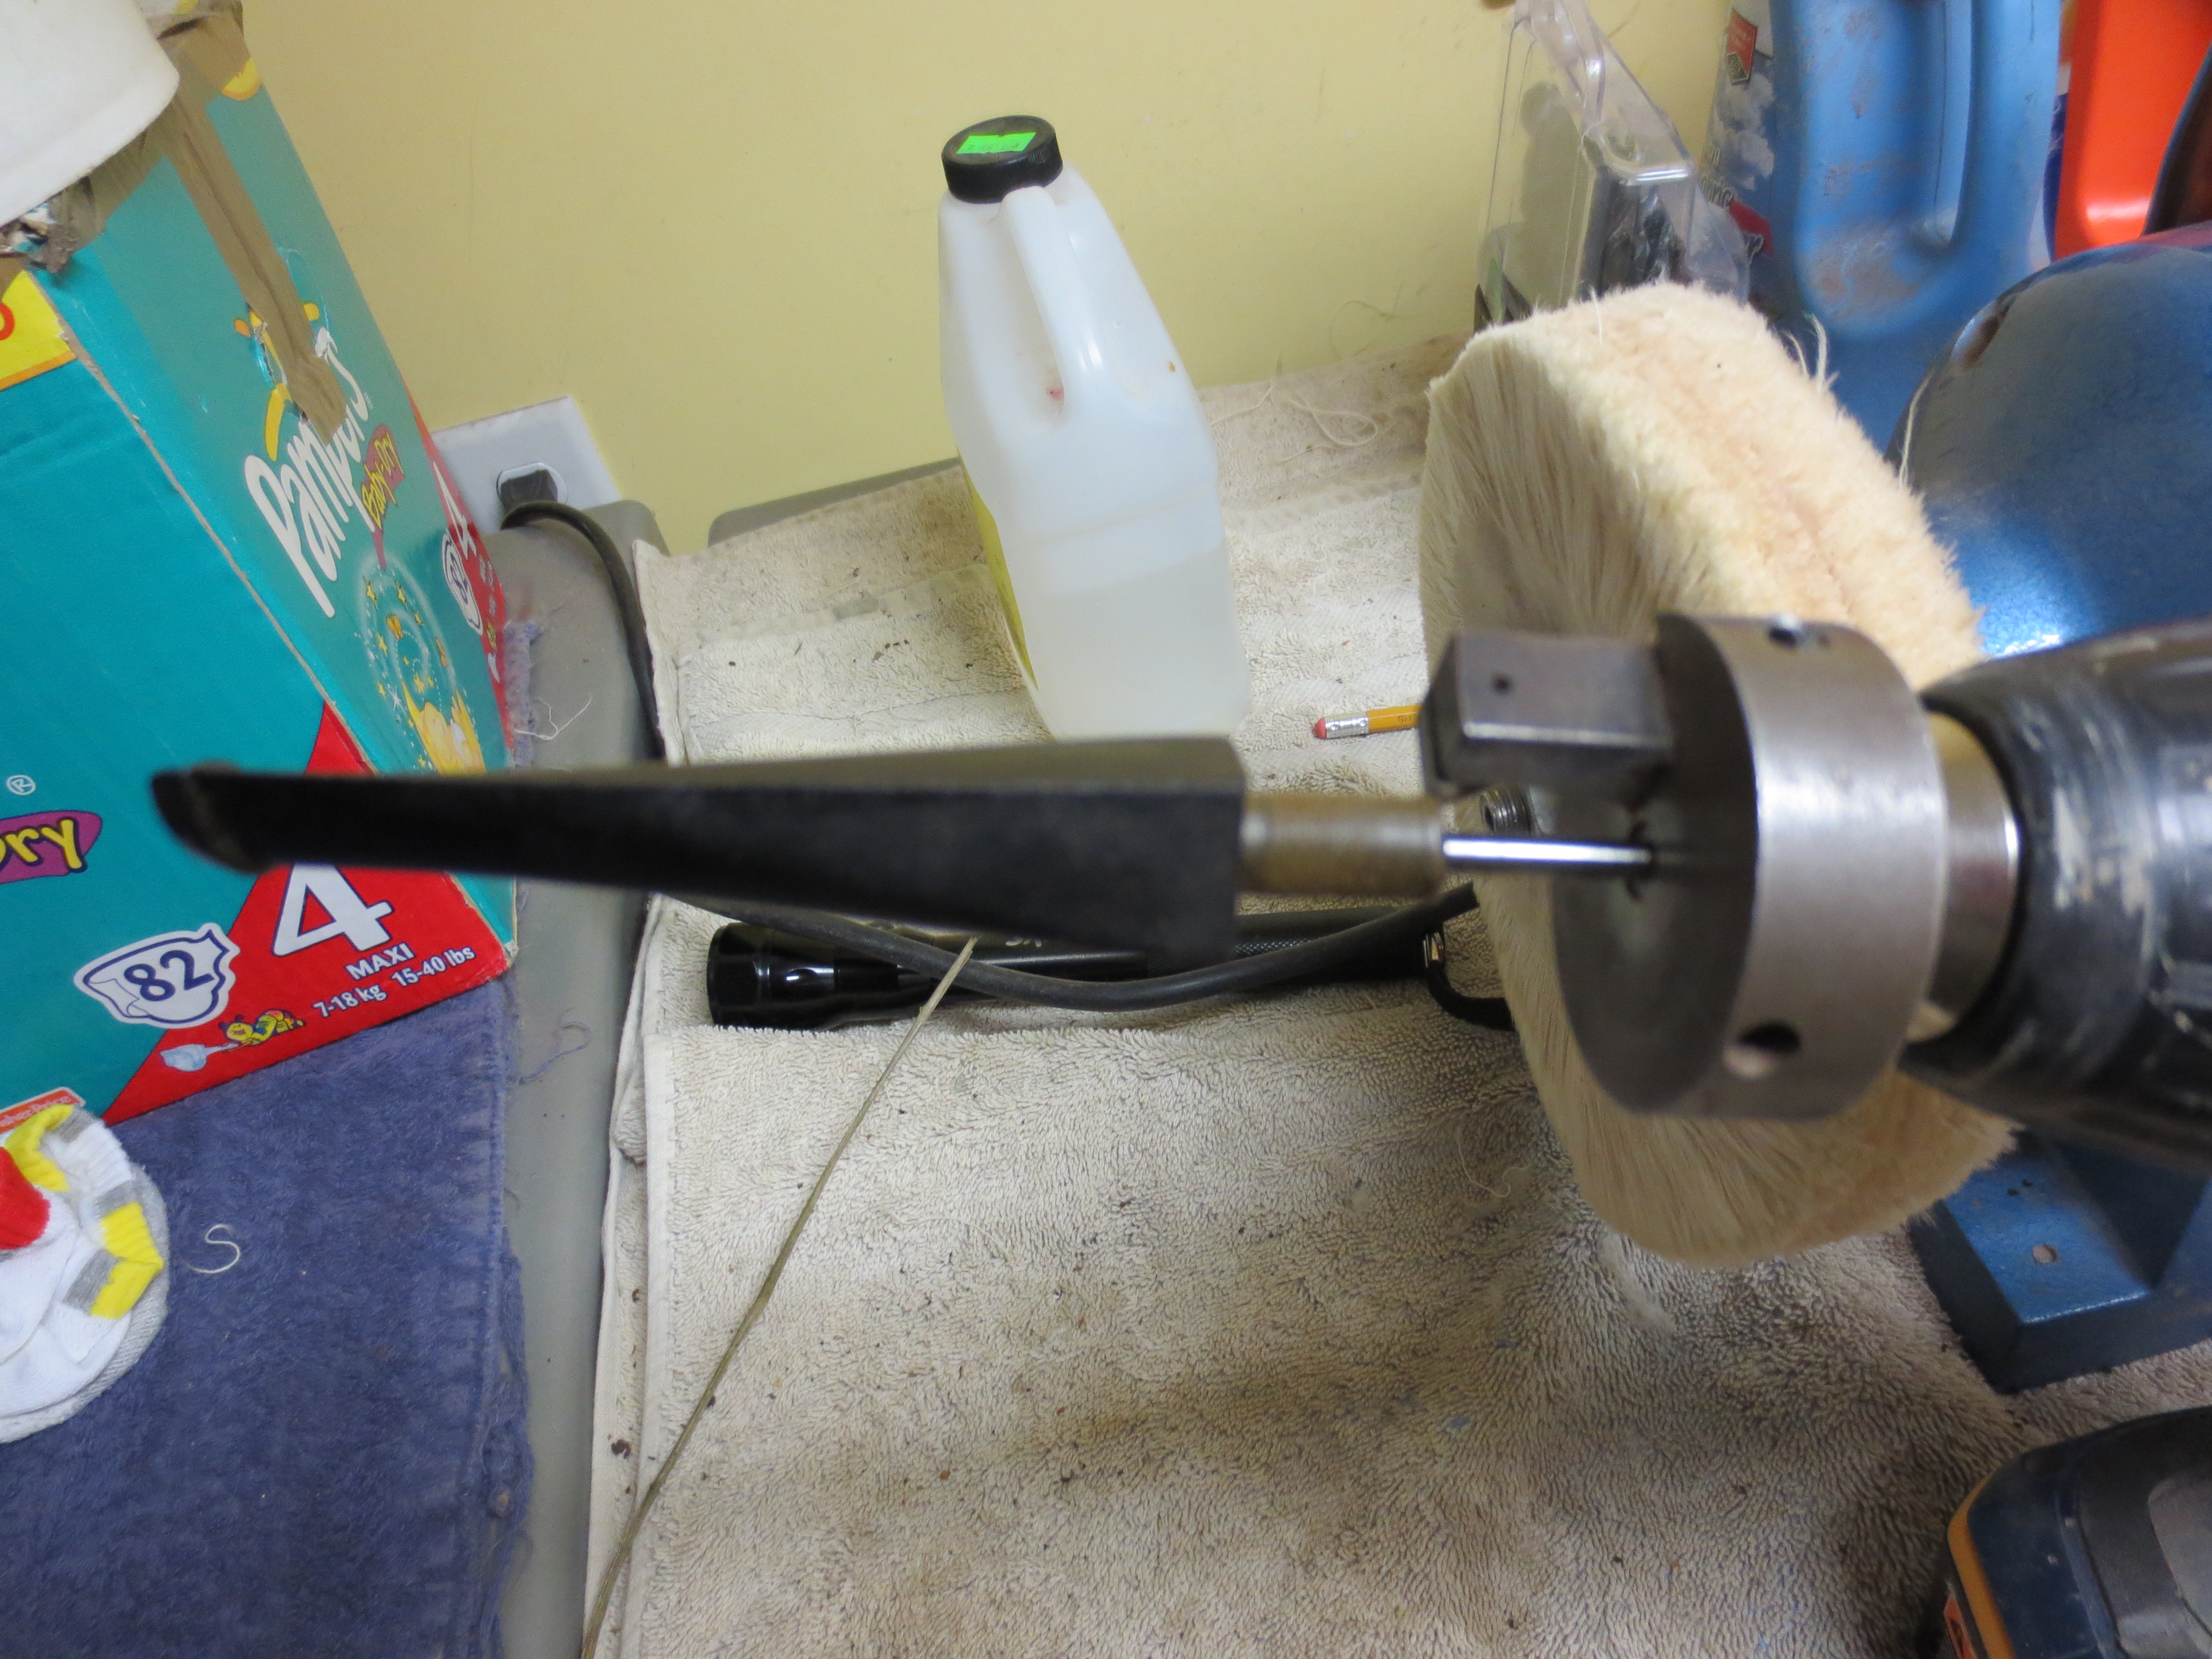
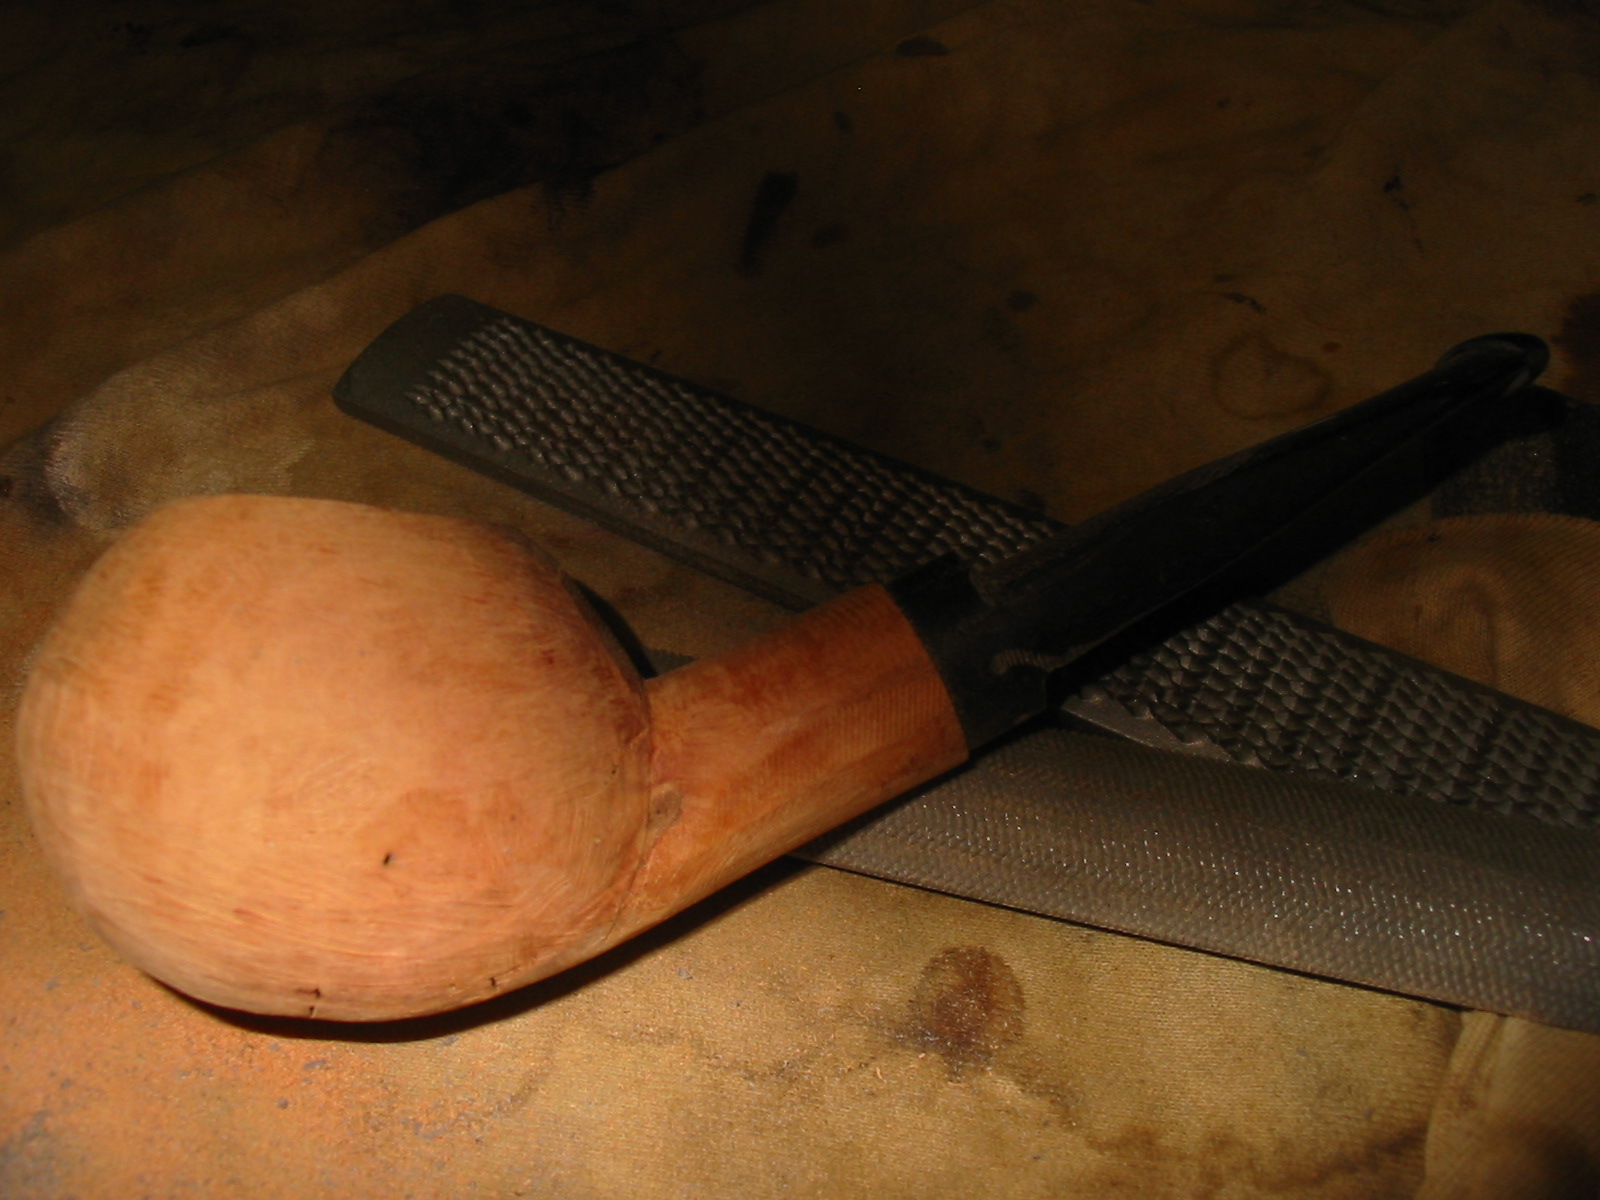
I used a blunt pencil and sketched the rough idea on the block. I have carved enough to know that what the original sketch looked like may be far removed from the finished pipe. As the excess briar was removed there would likely be flaws that would change the shape of the finished pipe until it became quite different from the original concept in my mind. Also I have learned that the height of the bowl can also dramatically change as I carve into the block. But at least I had an idea and was ready to begin the carving. The next series of five photos show the block after I removed the surface material to get a look at the grain. After sketching the drawing on the block I took it into the back yard and began to remove briar from the block with my Dremel and a large sanding drum.

IMG_0865

IMG_0866

IMG_0867

IMG_0868

IMG_0869

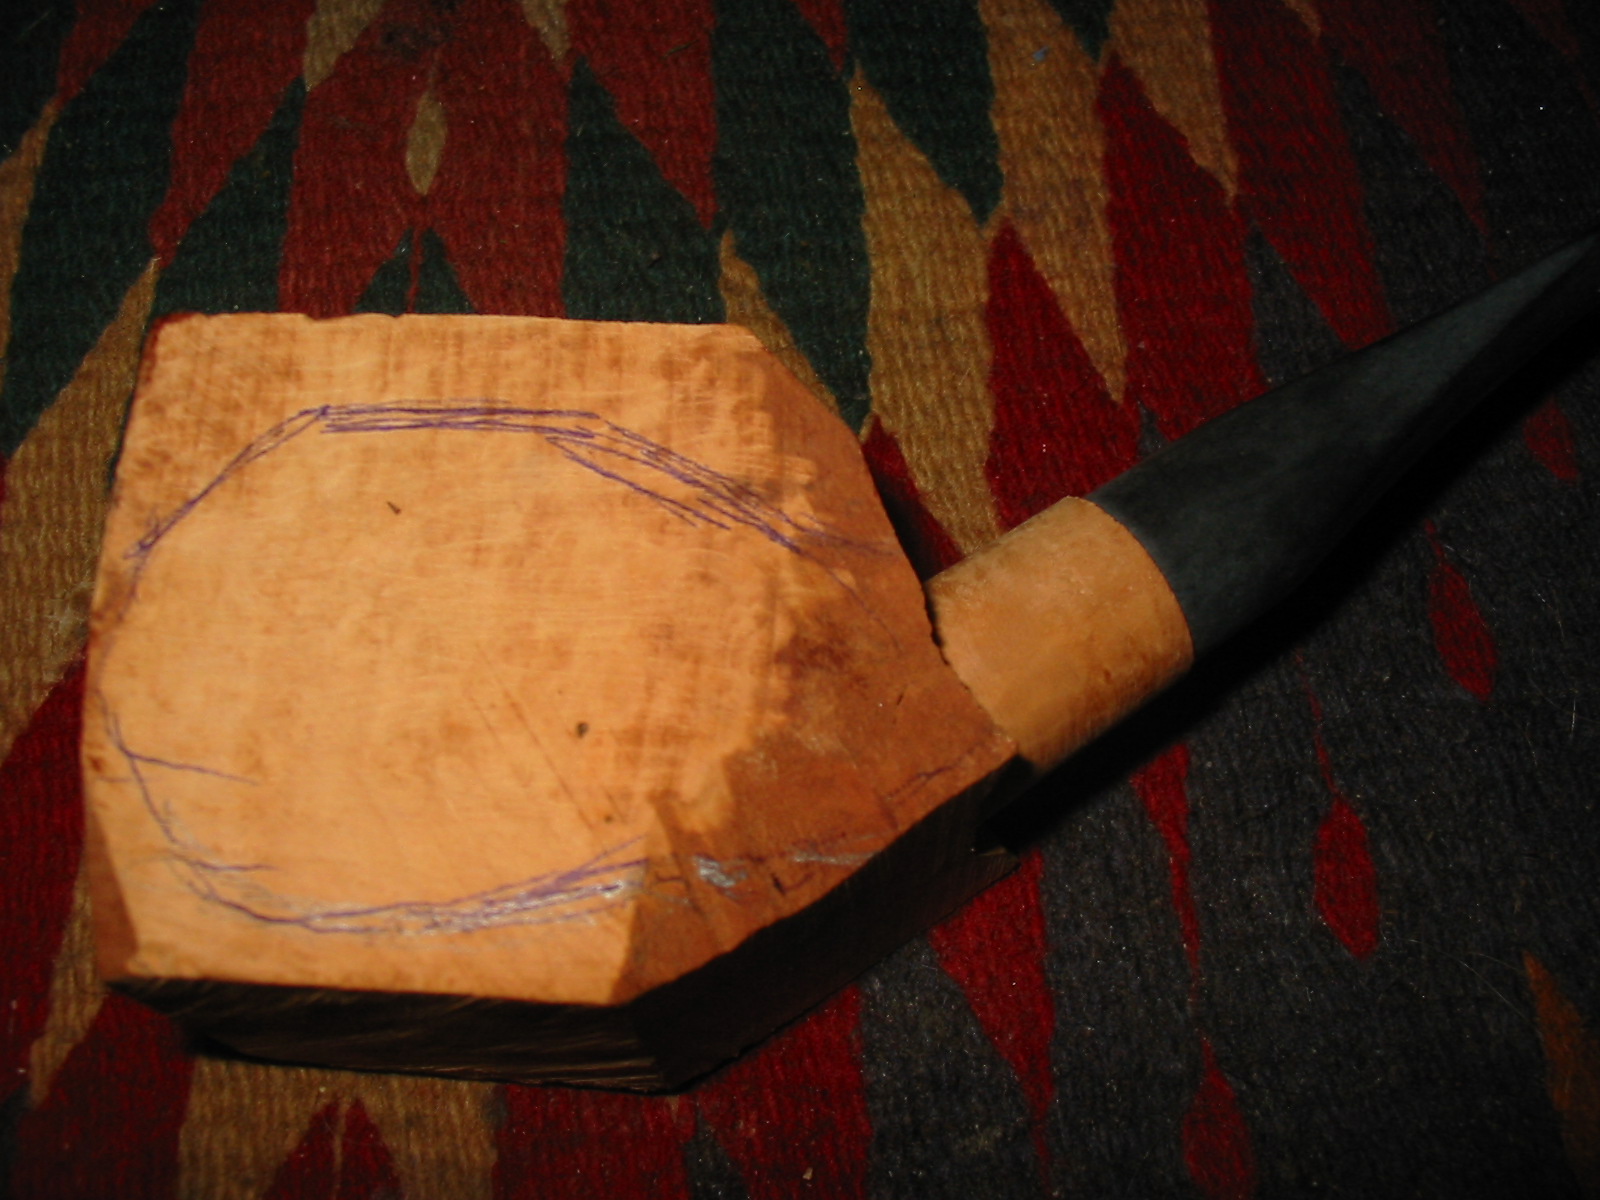
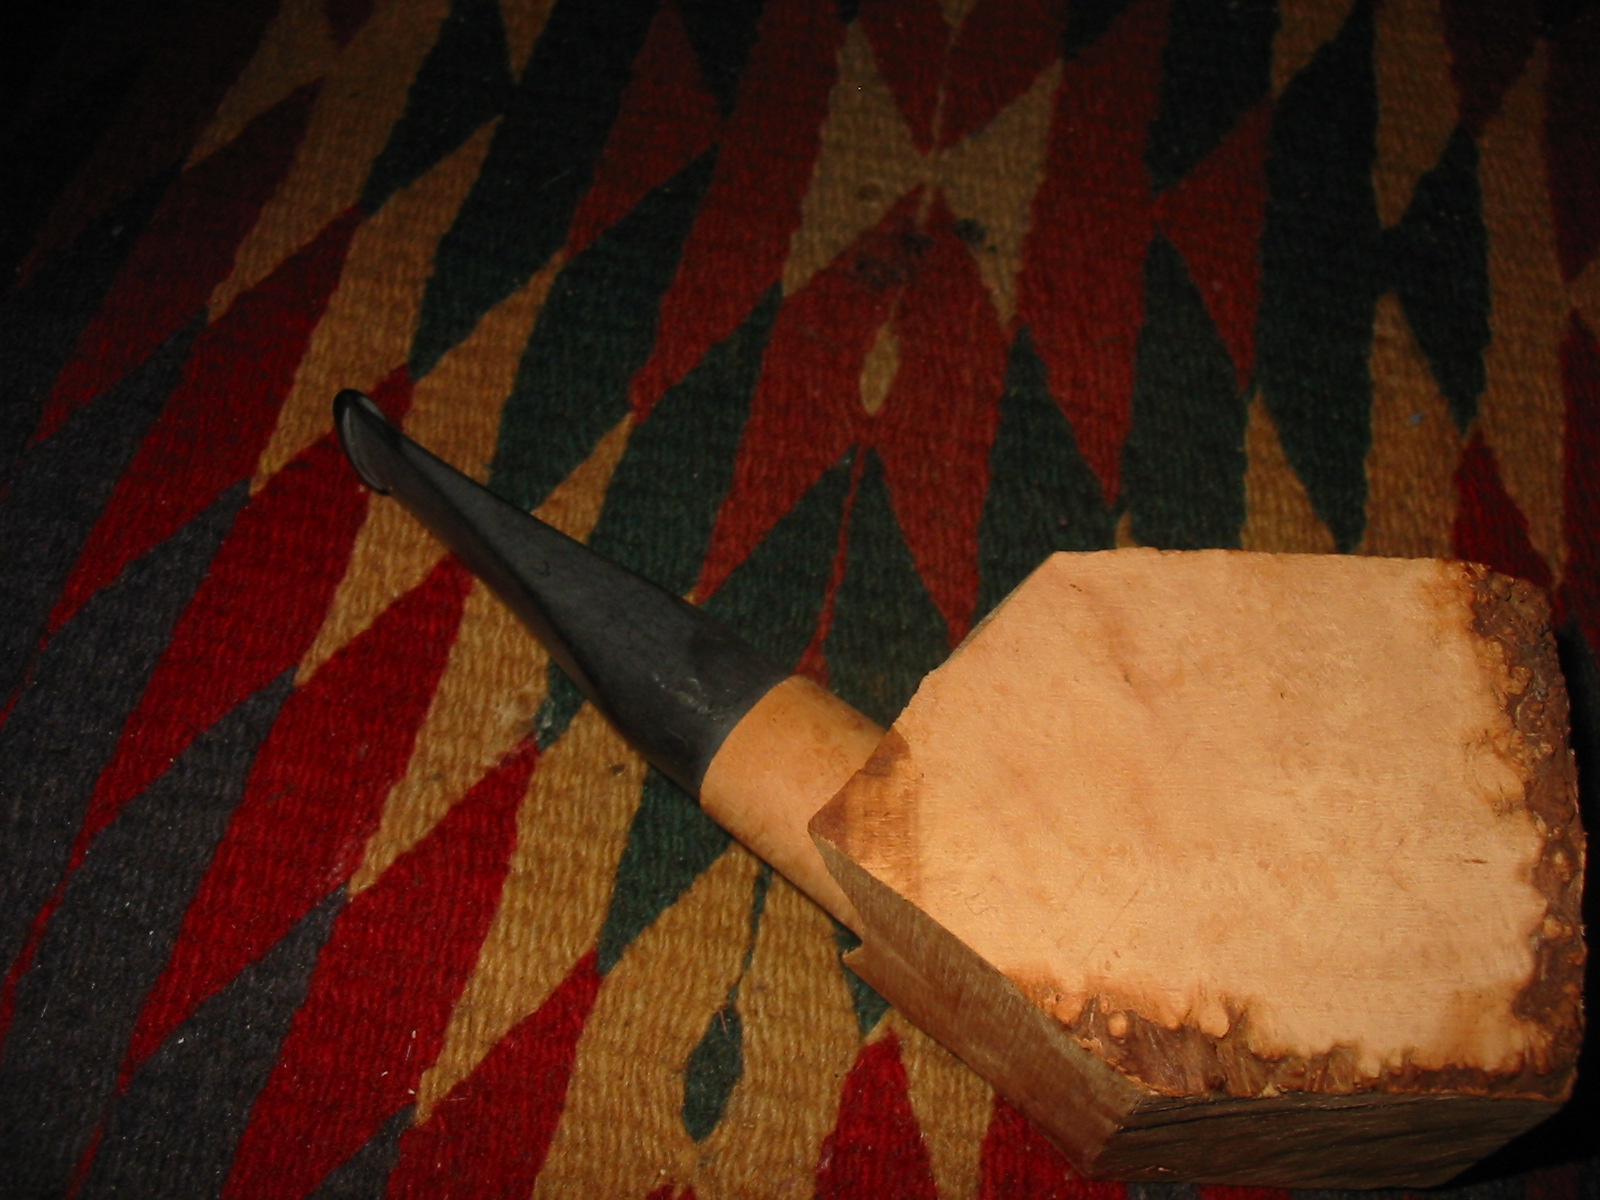
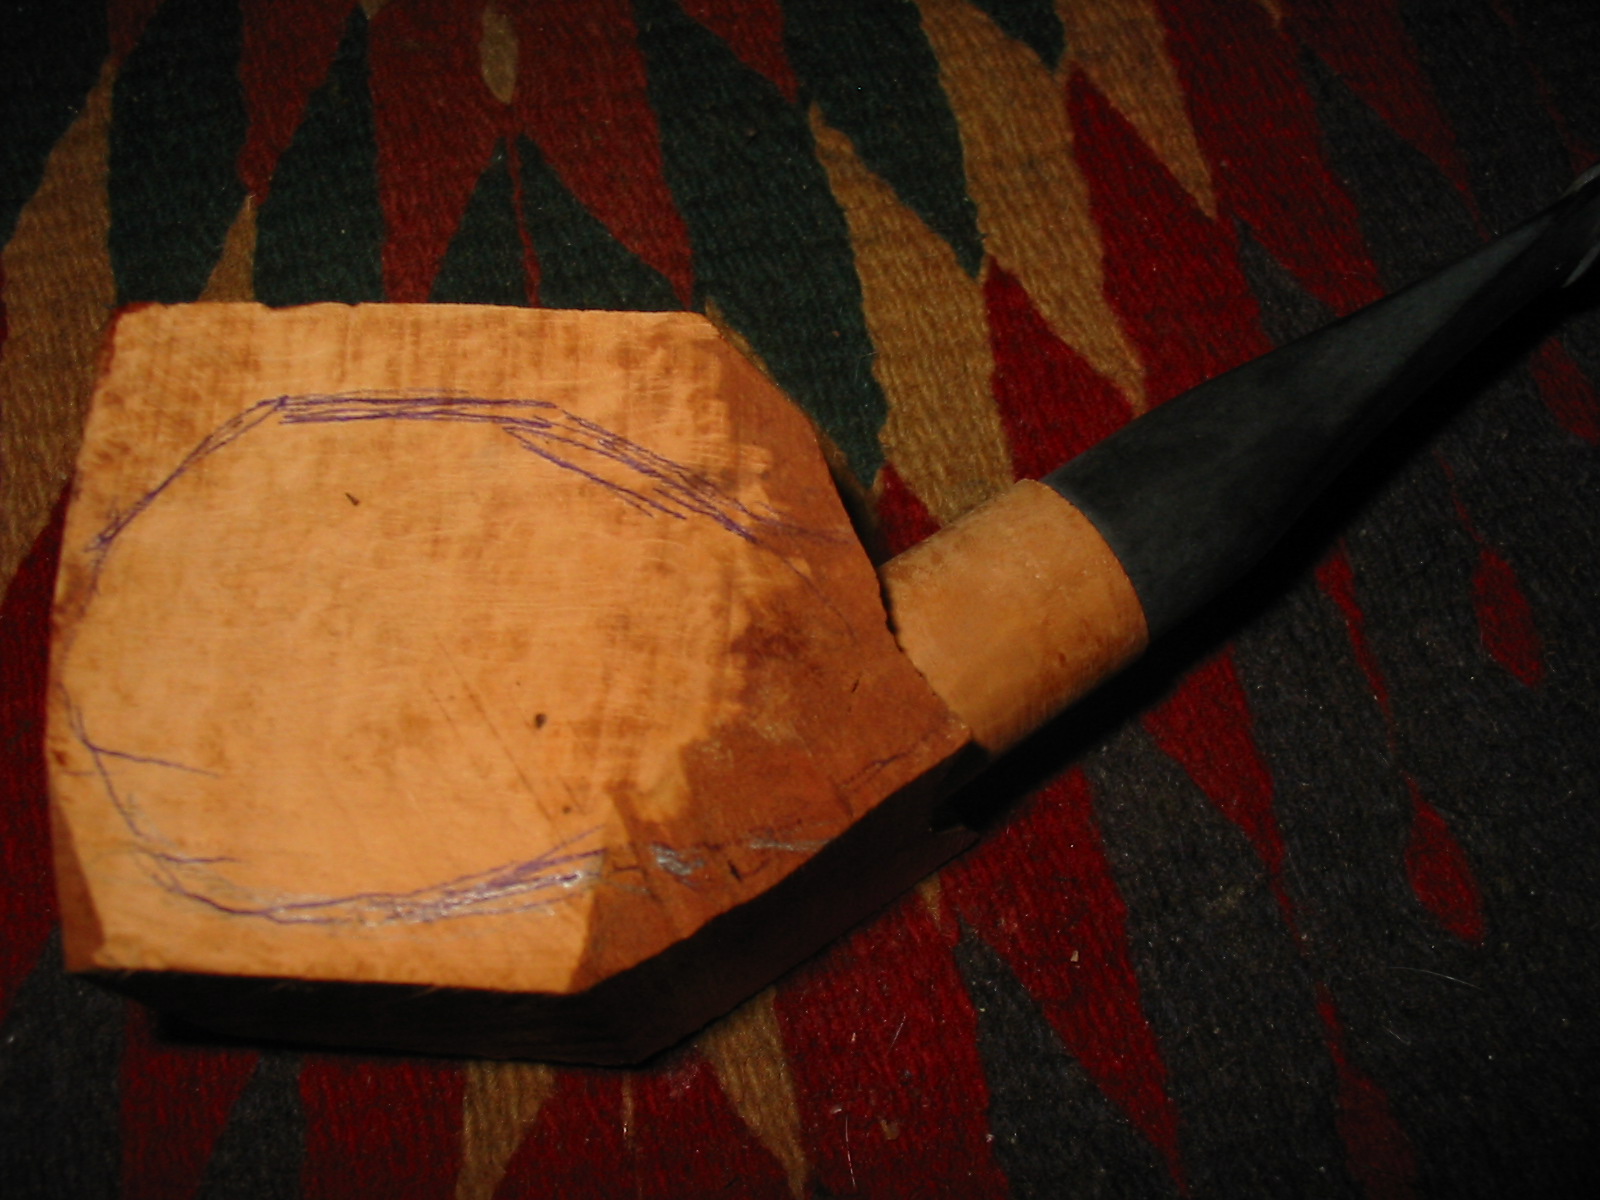
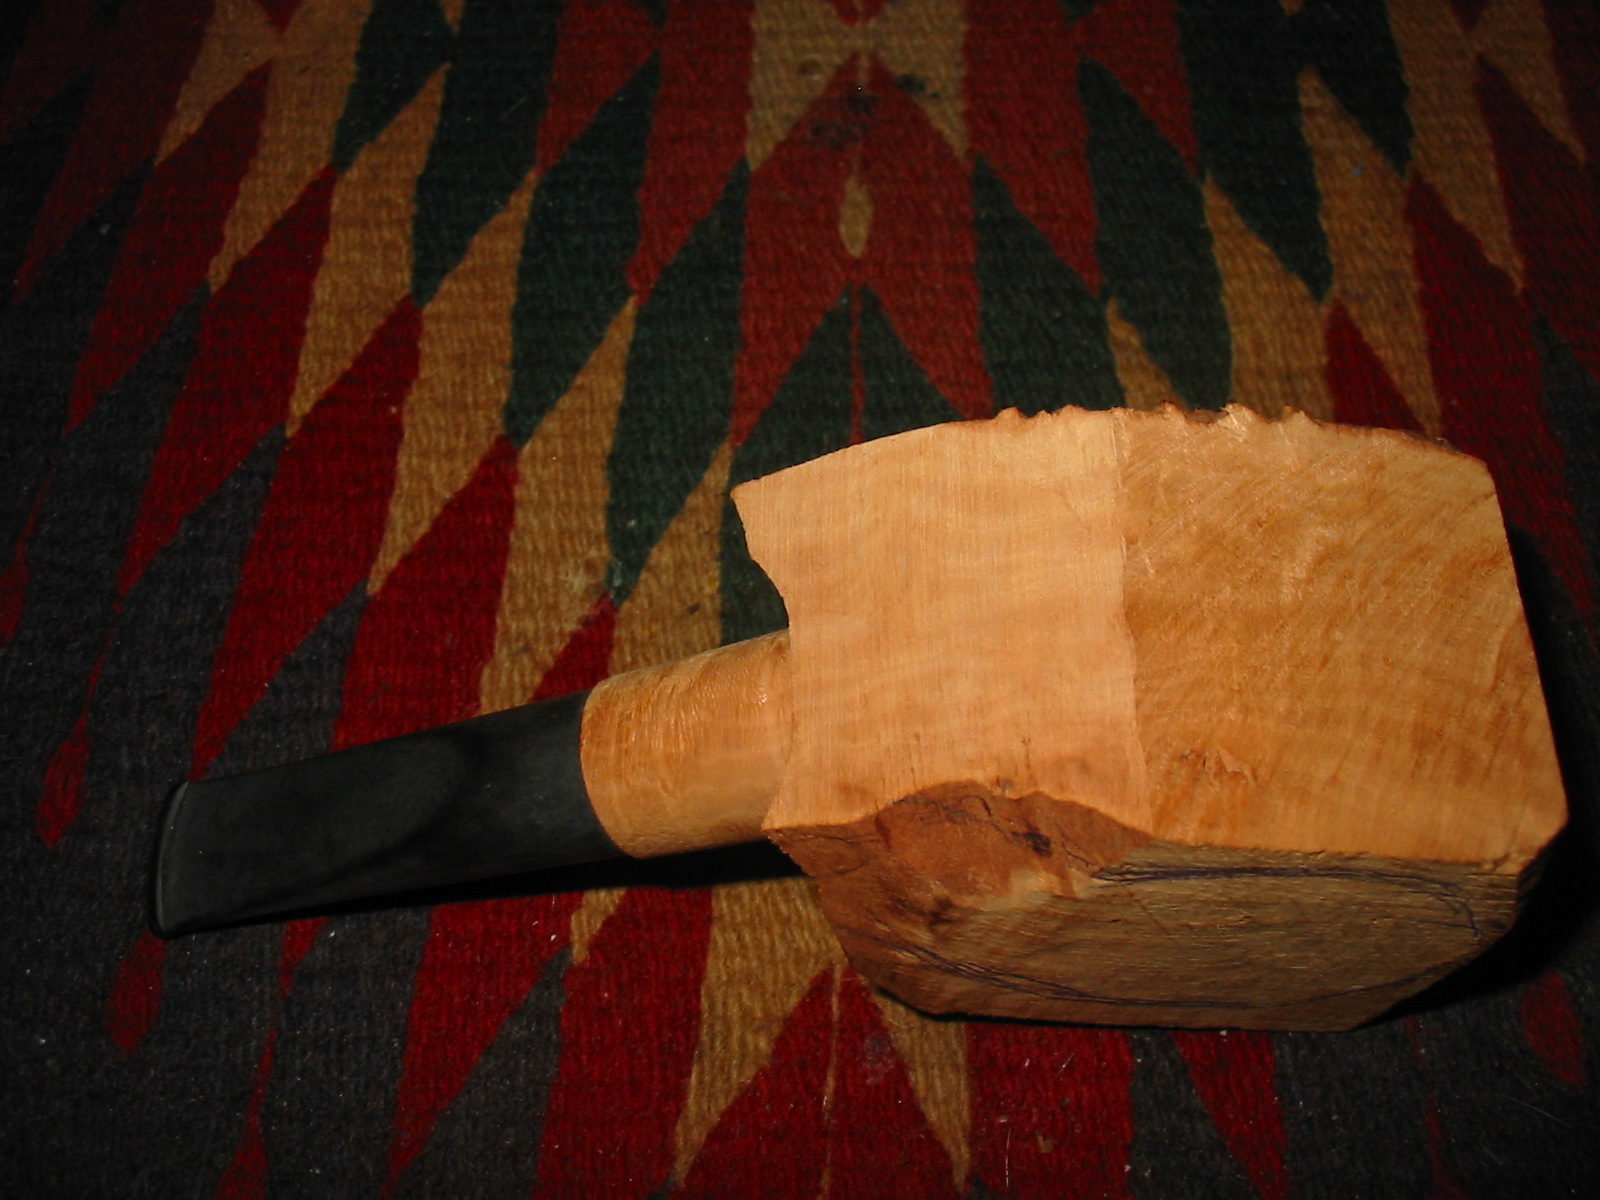
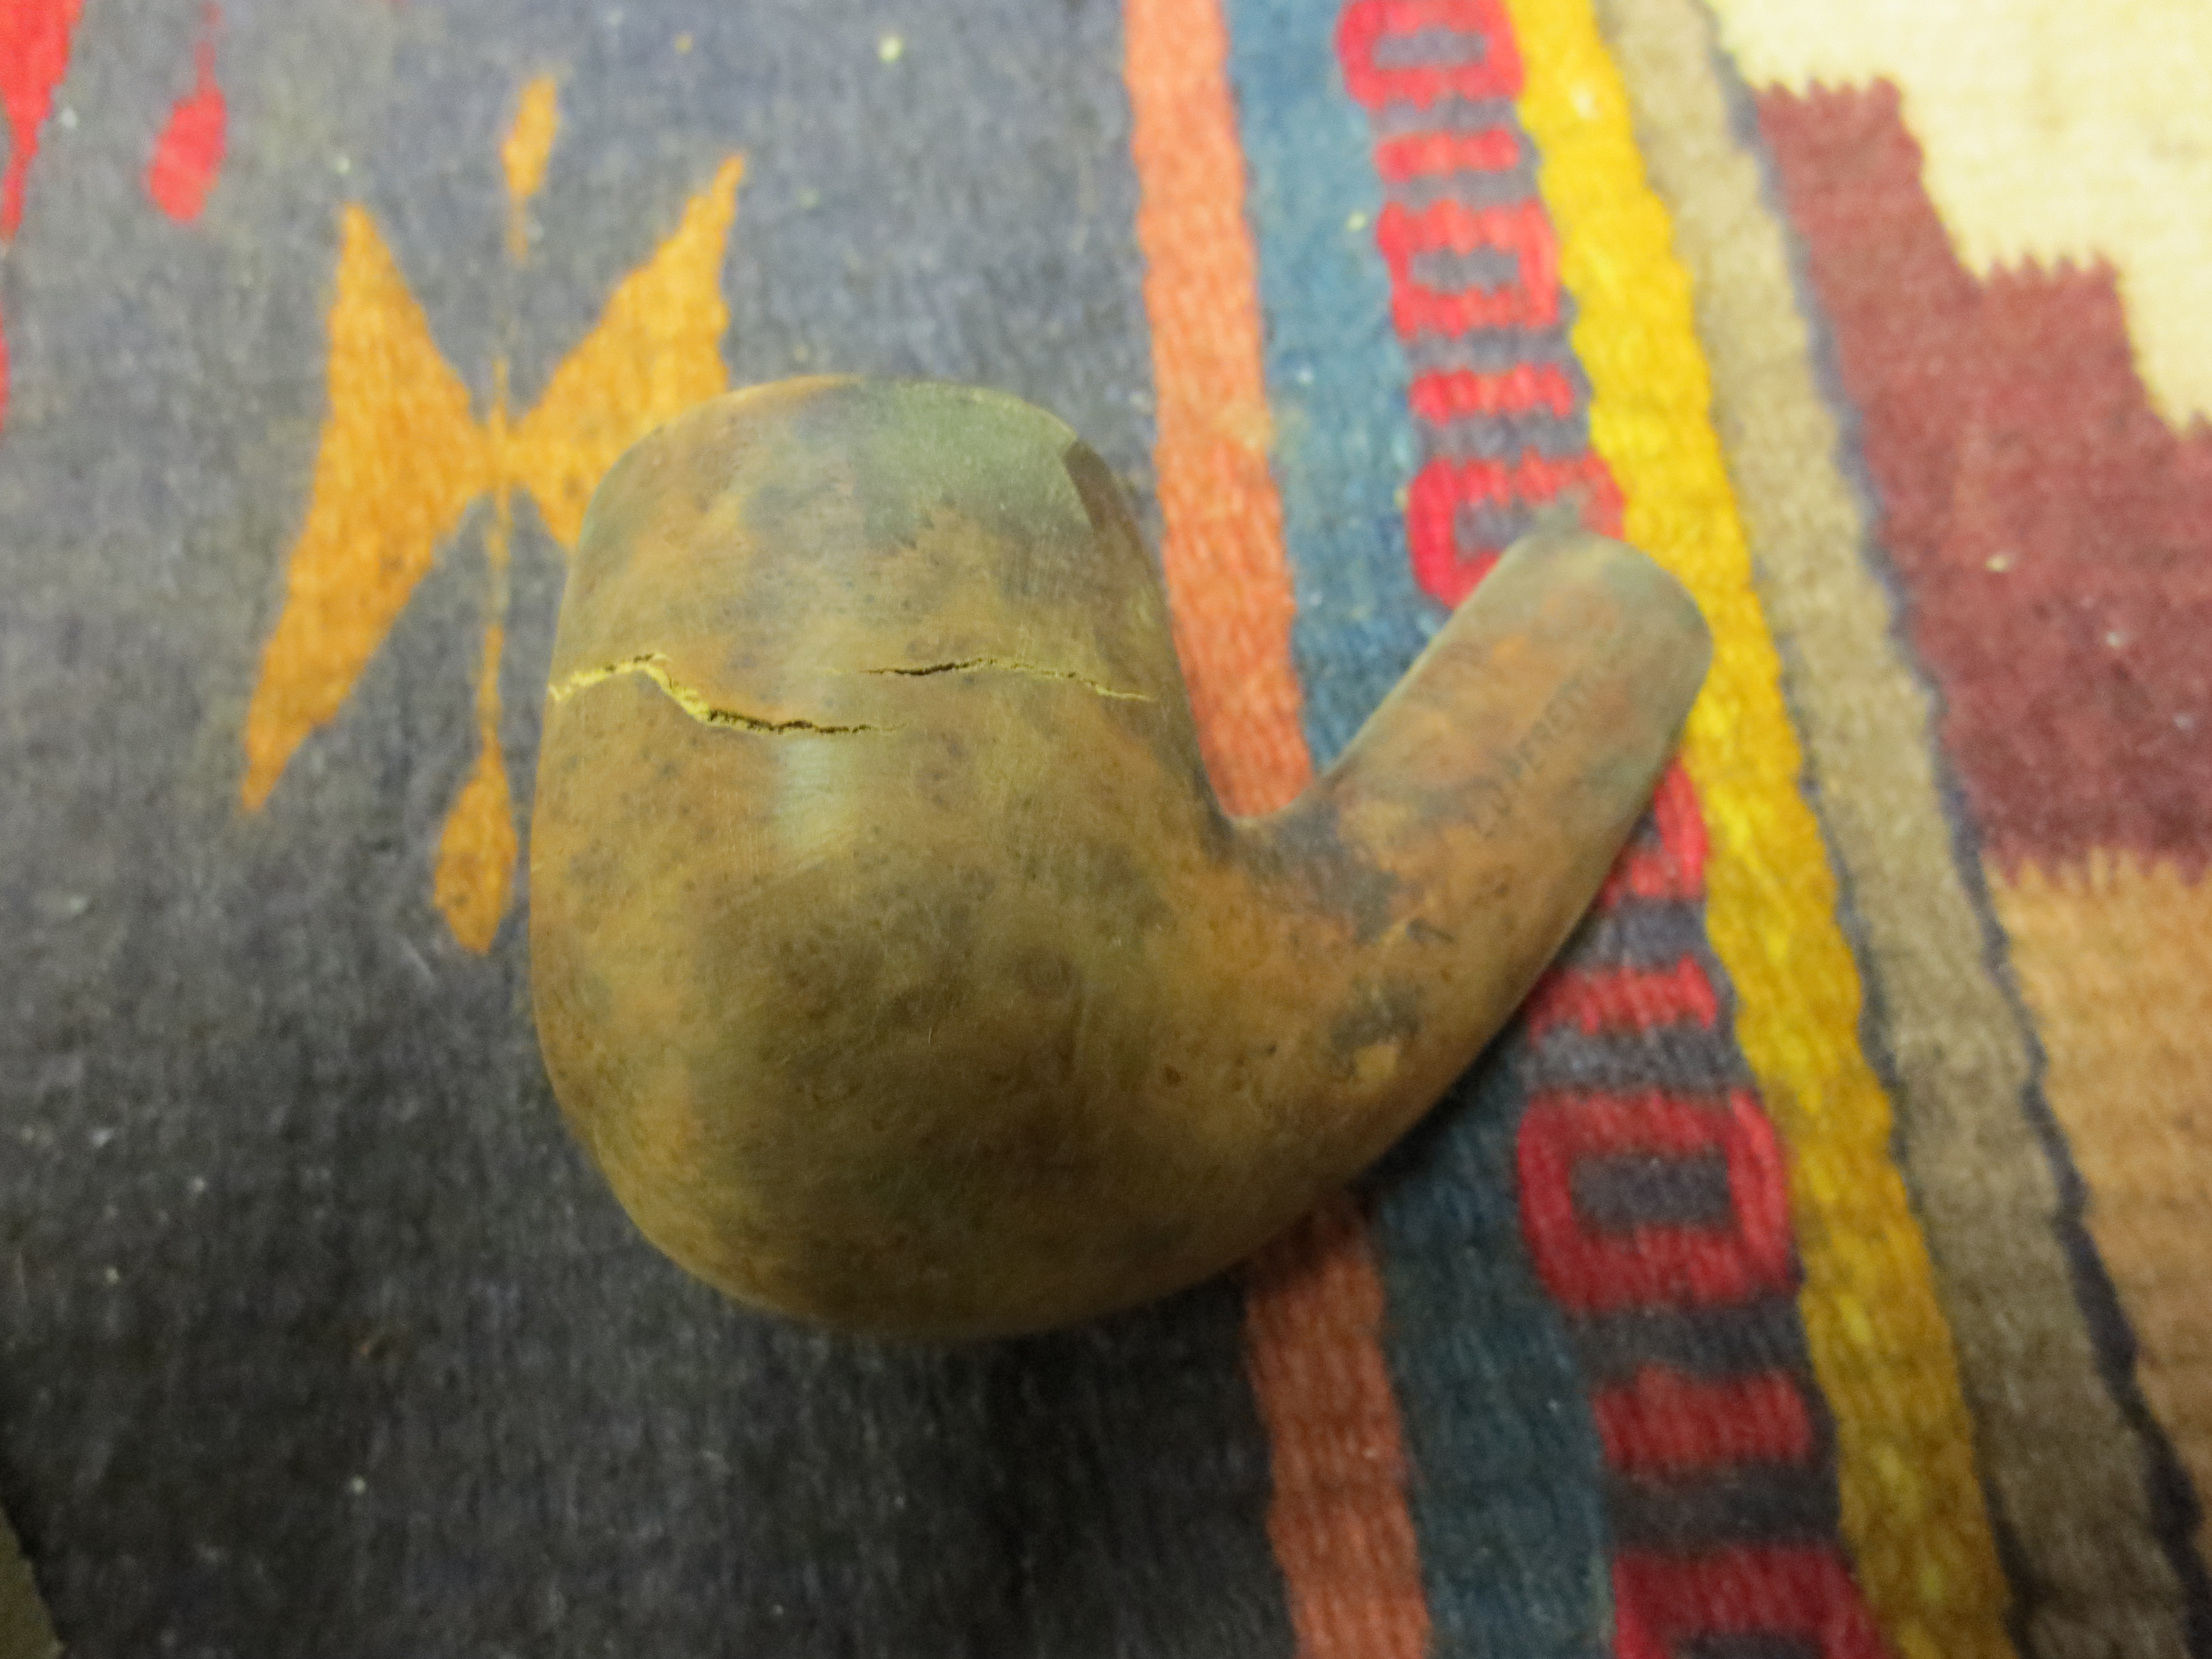
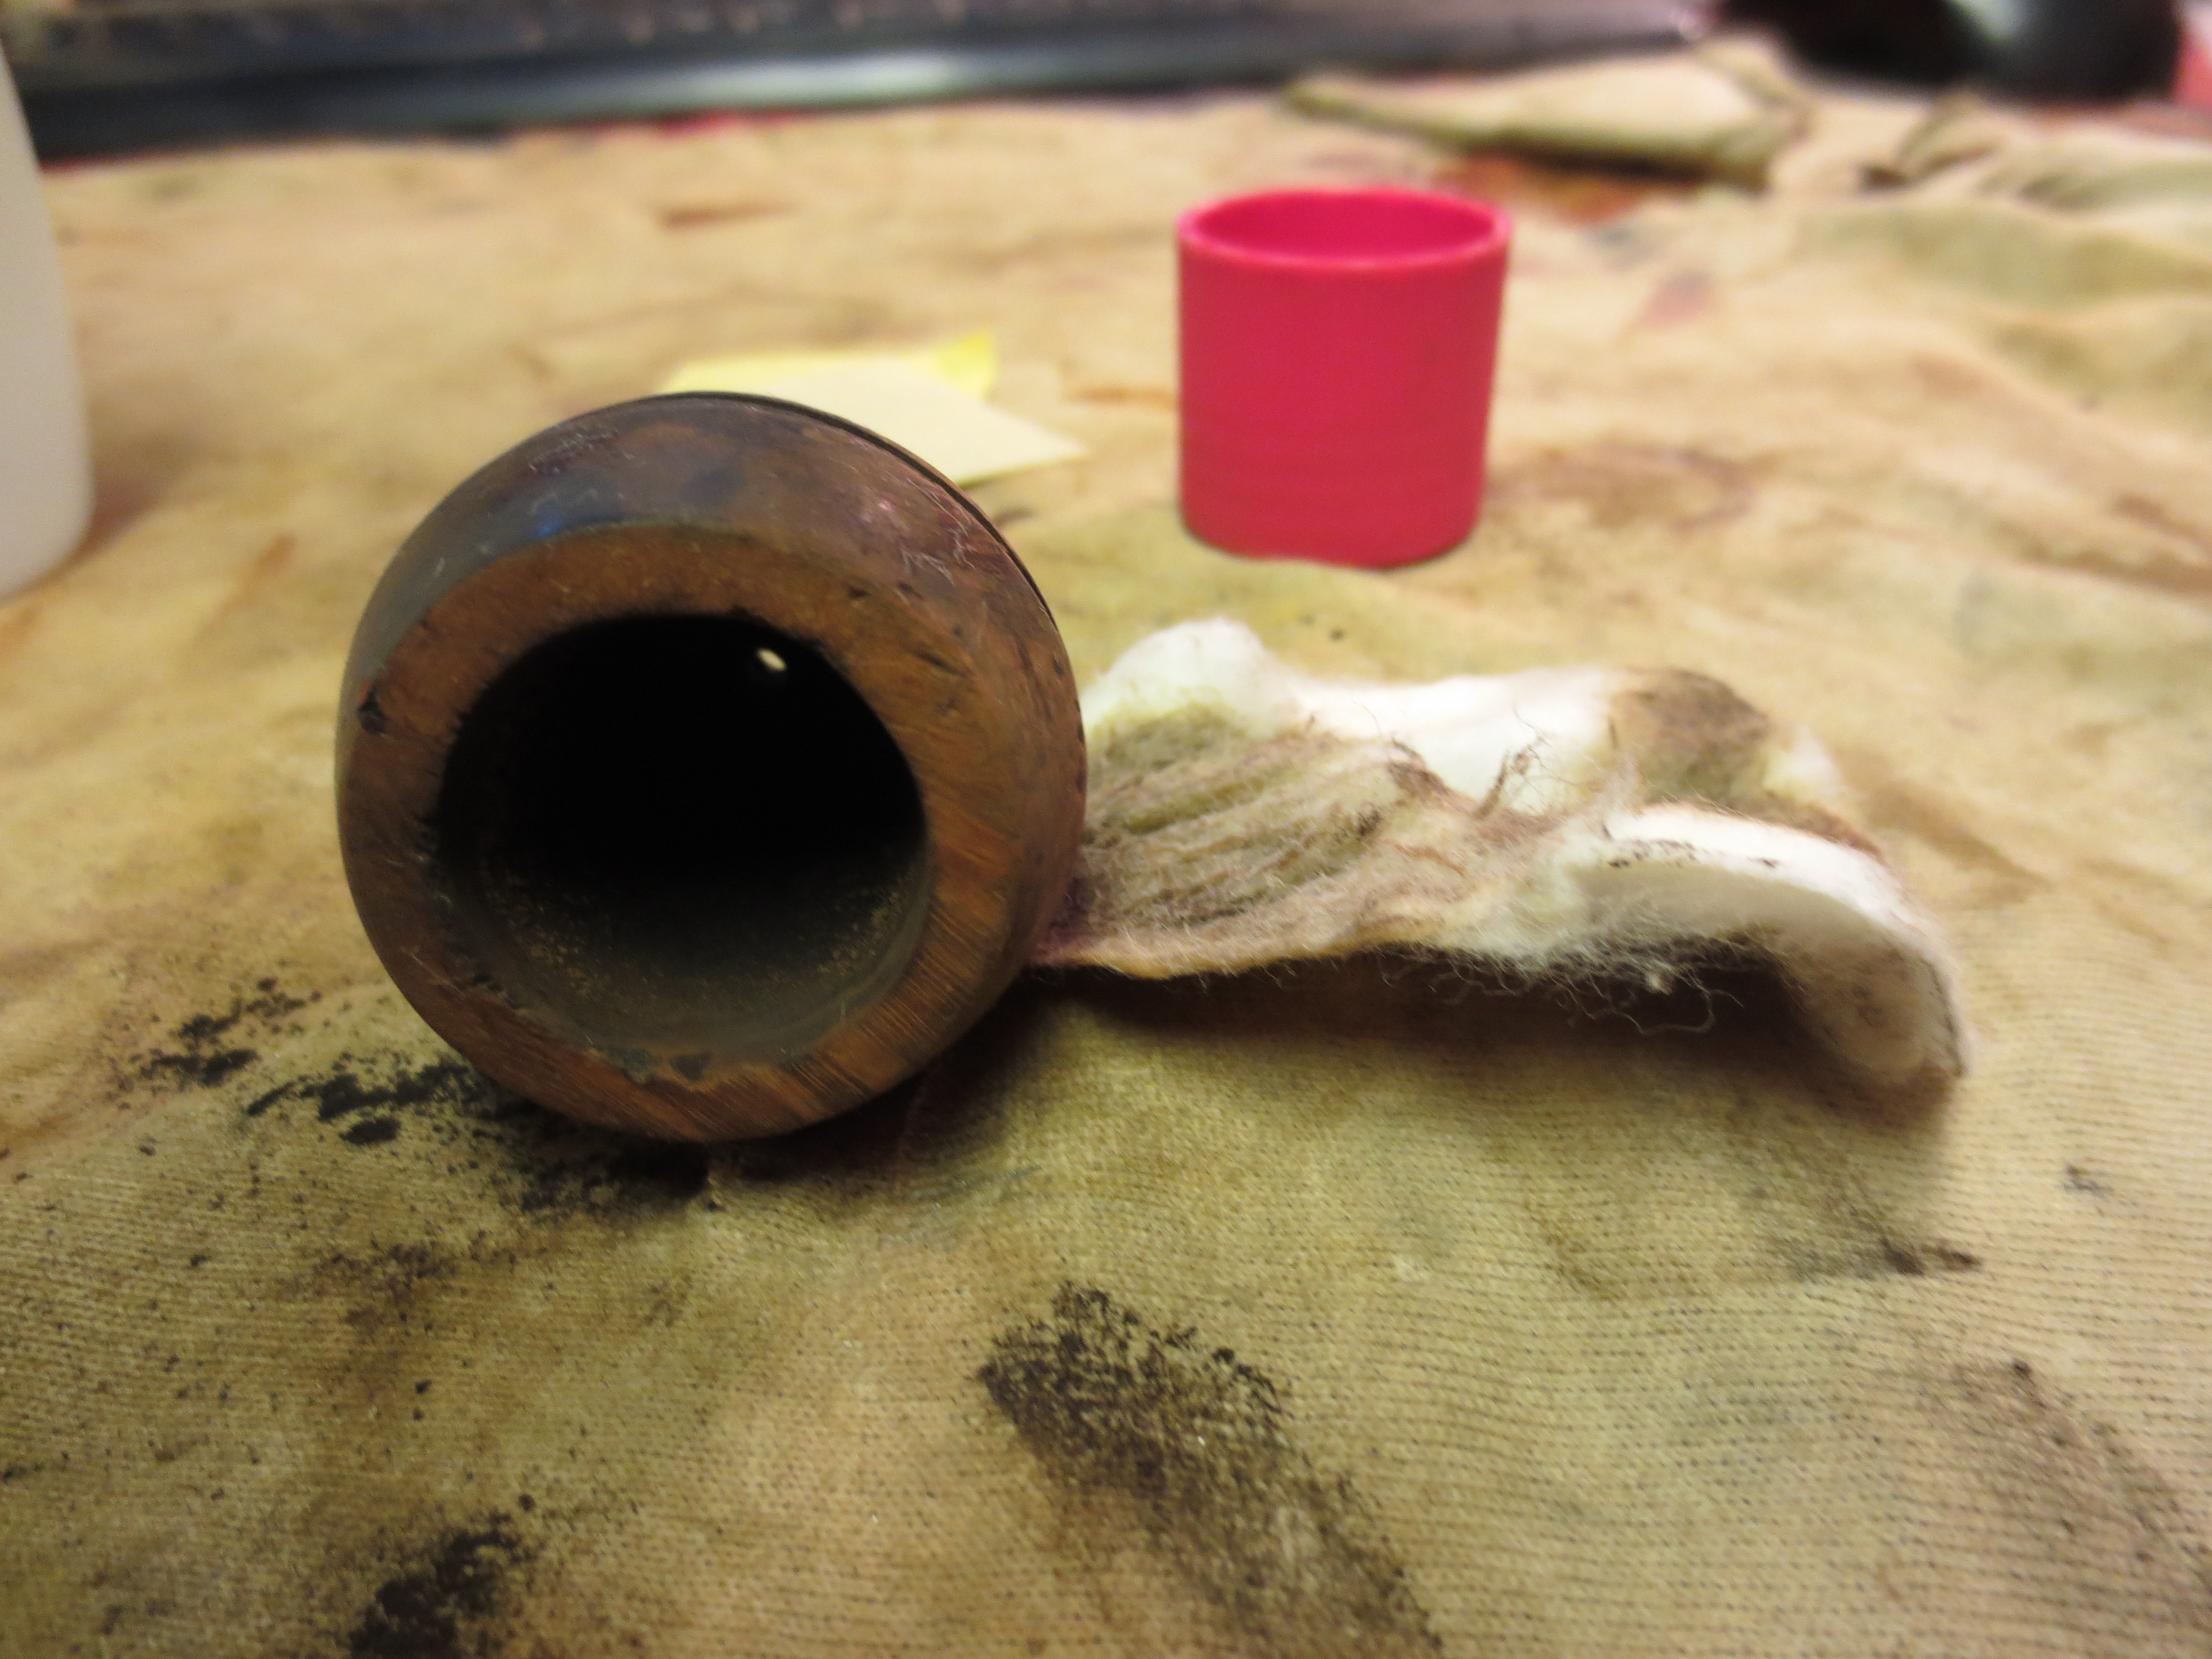
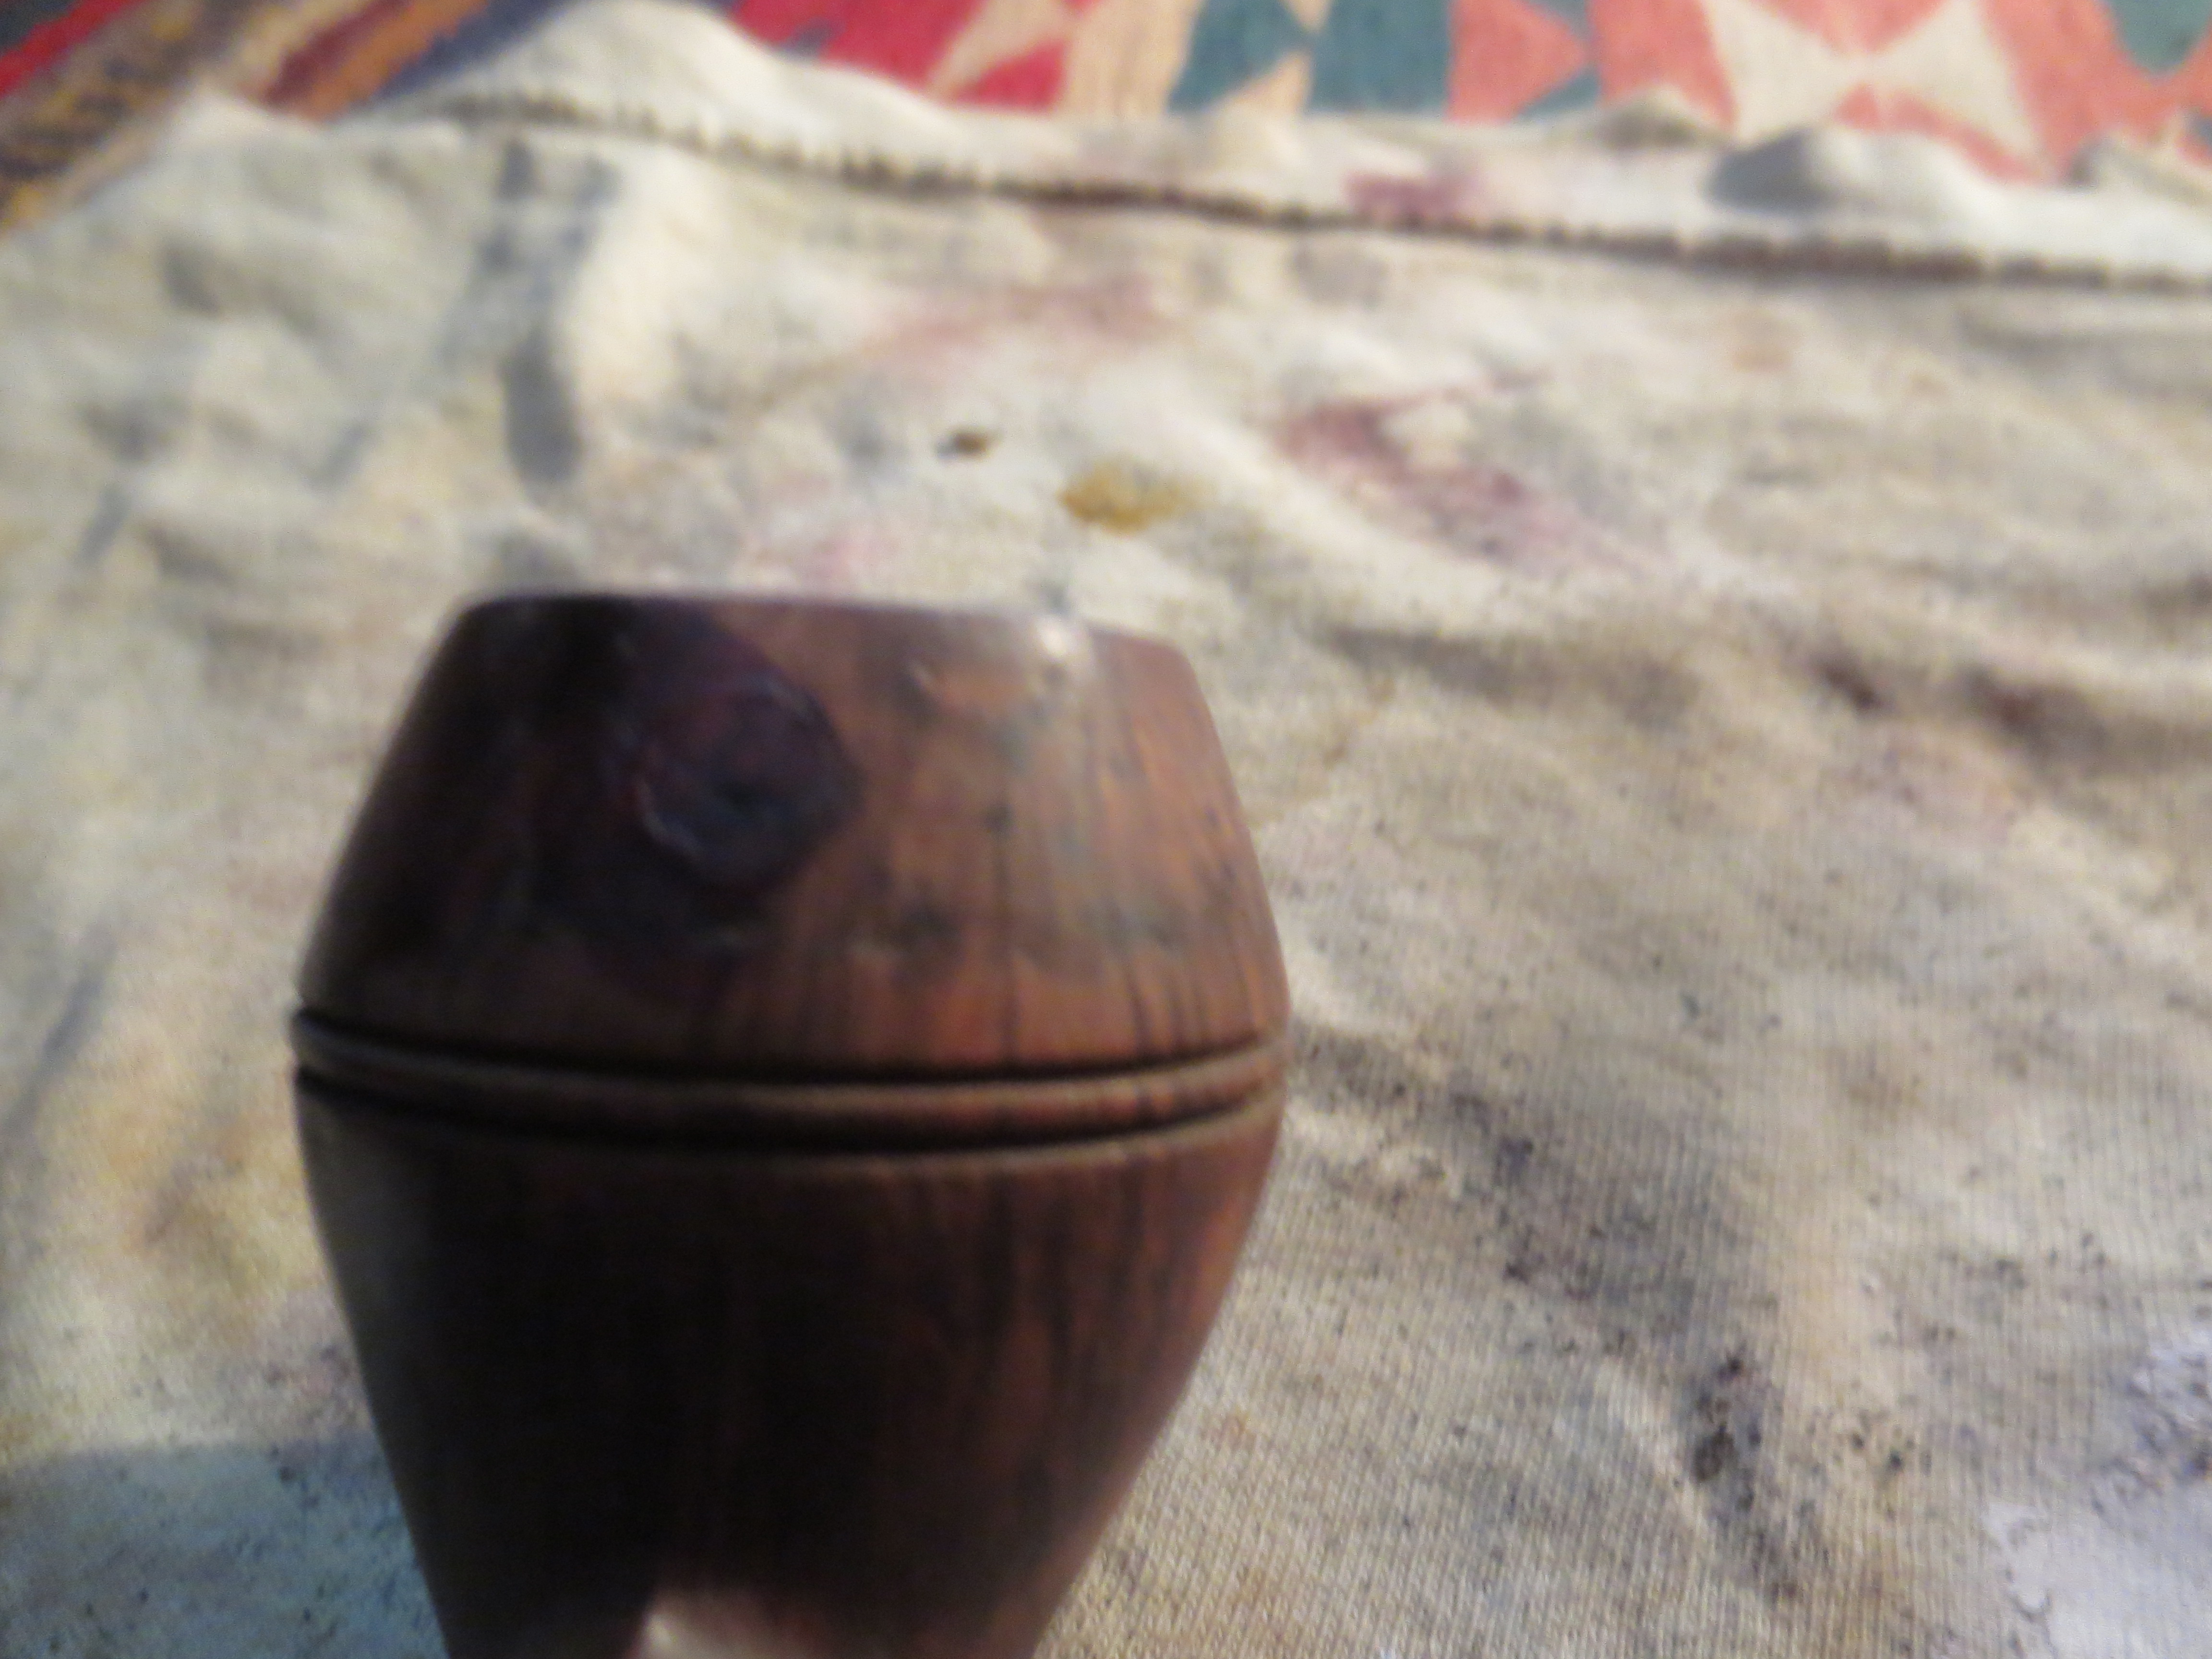
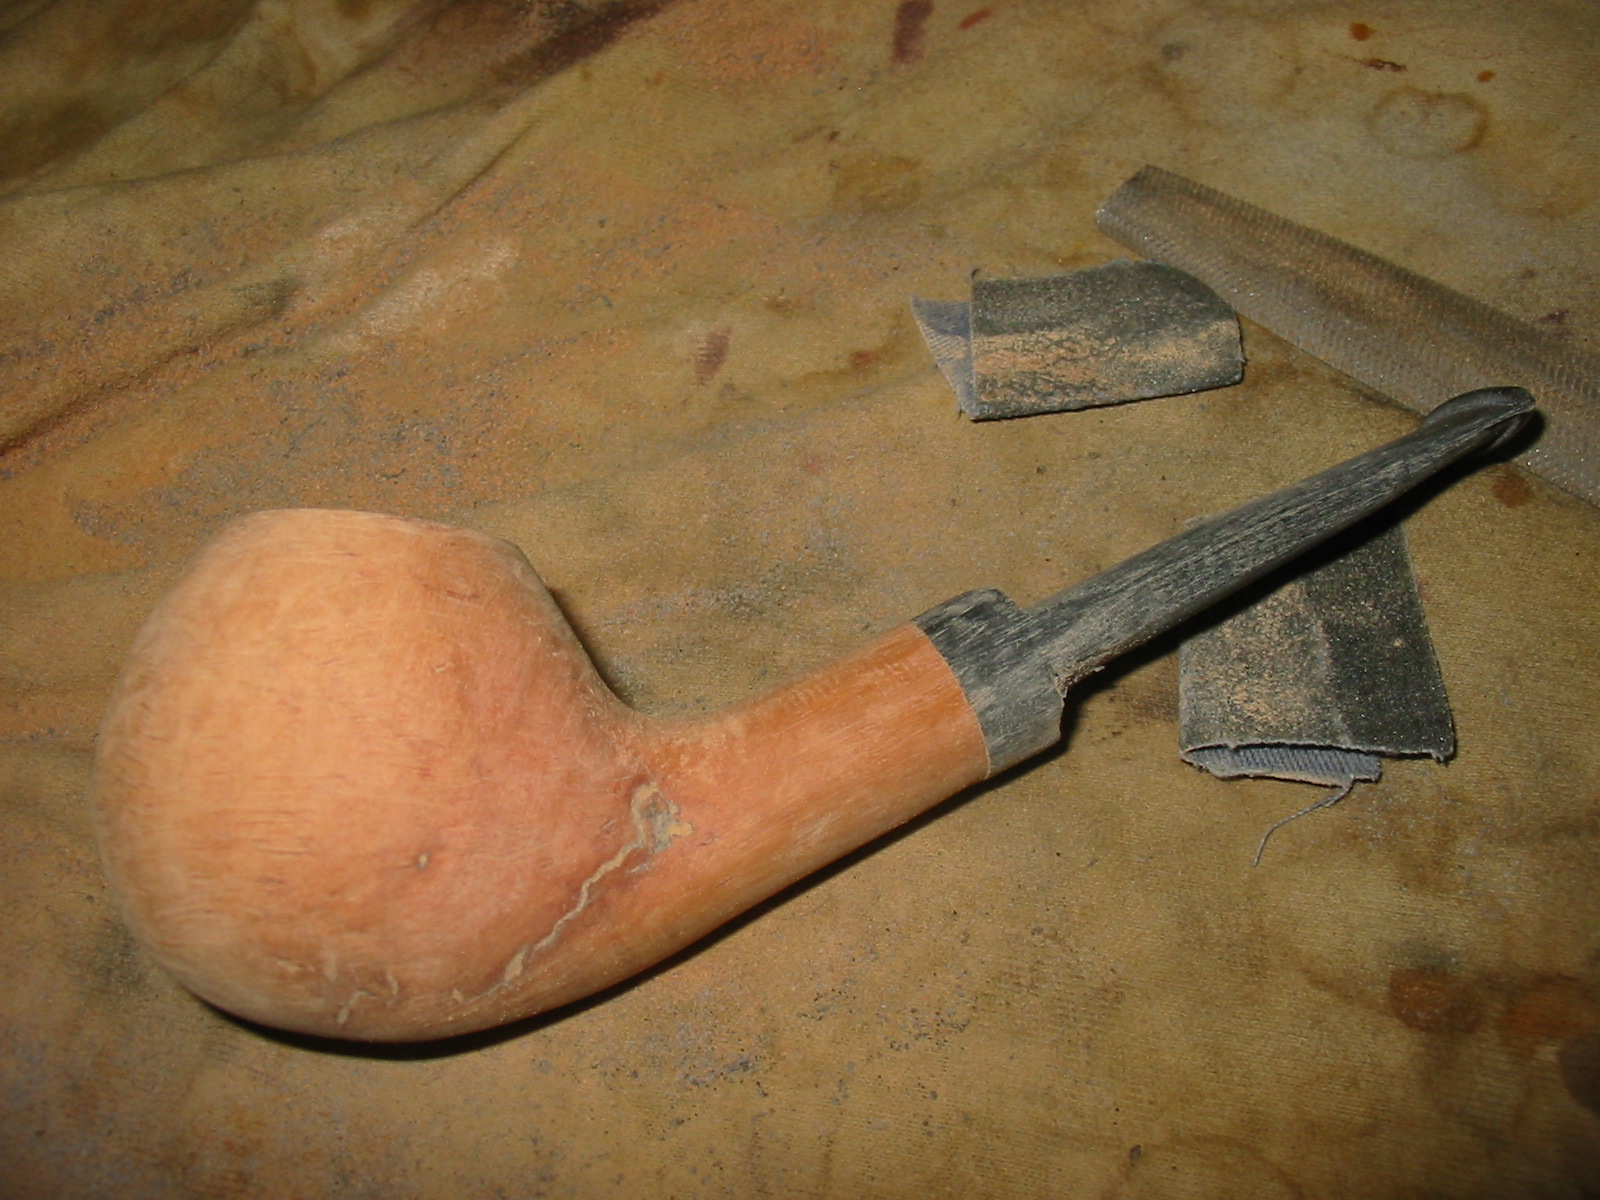
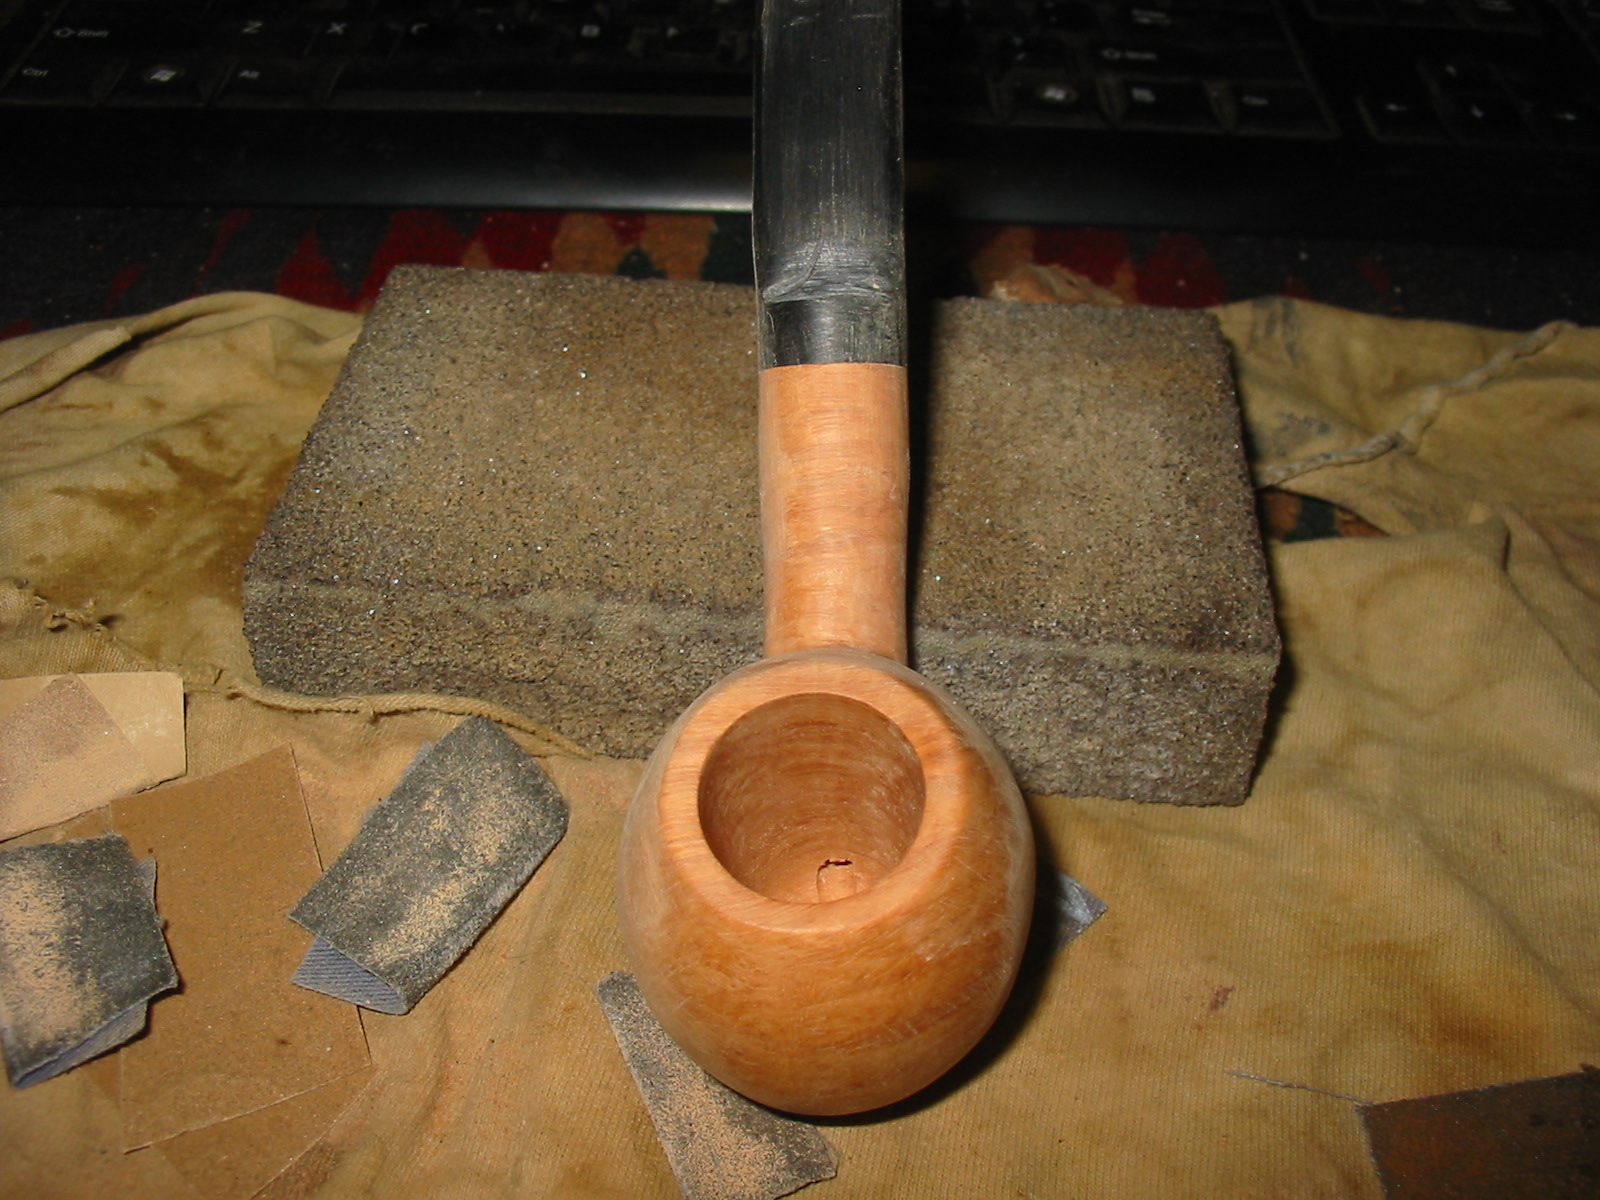
The next four photos show the block after the initial work with the sanding drum. I removed all of the square edges and the excess height of the block and began the rough shaping of the new pipe concept. The grain is actually going to be quite nice as far as I can see at this point. There were also some flaws showing up in the block on the left side near the shank bowl junction and also on the bottom edge of the left side of the bowl. These are visible in the first photo and look like a line across the bottom edge. At this point I brought the block inside and took the photos below before taking it back out to work on rounding out the edges of the bowl and shank.

IMG_0870

IMG_0871

IMG_0872

IMG_0873

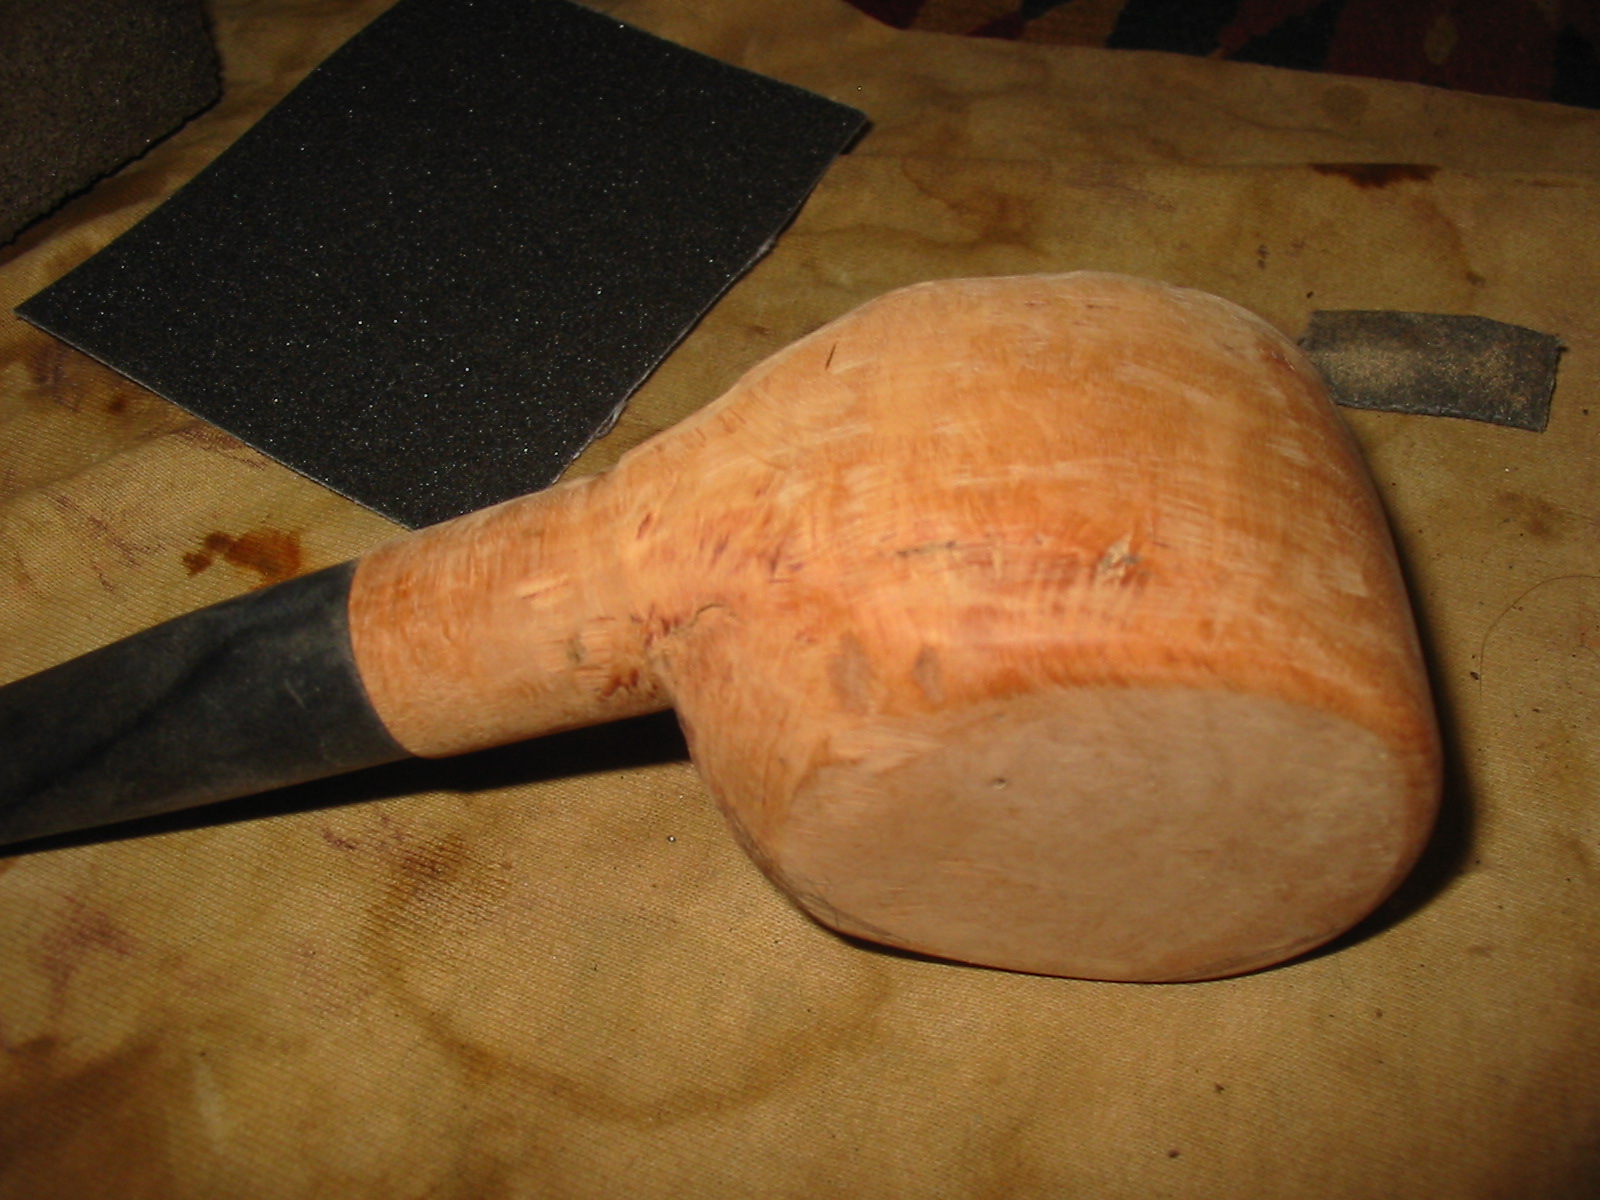
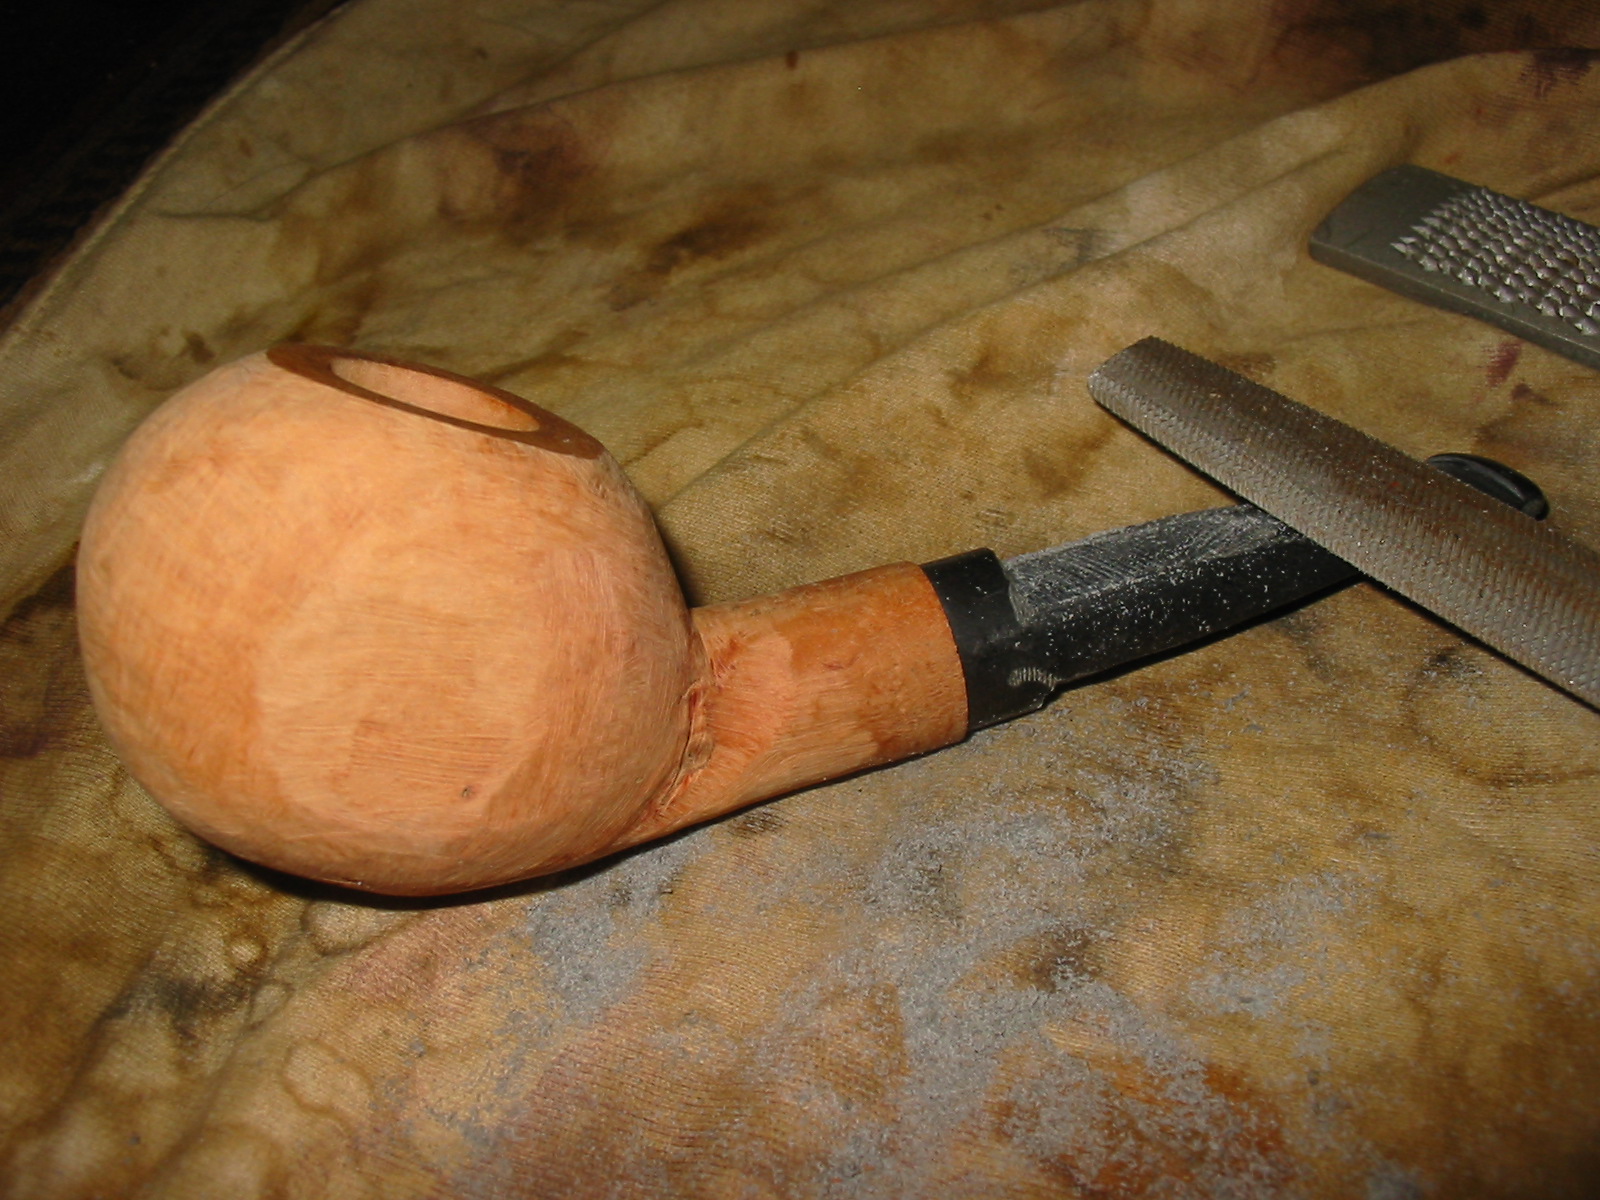
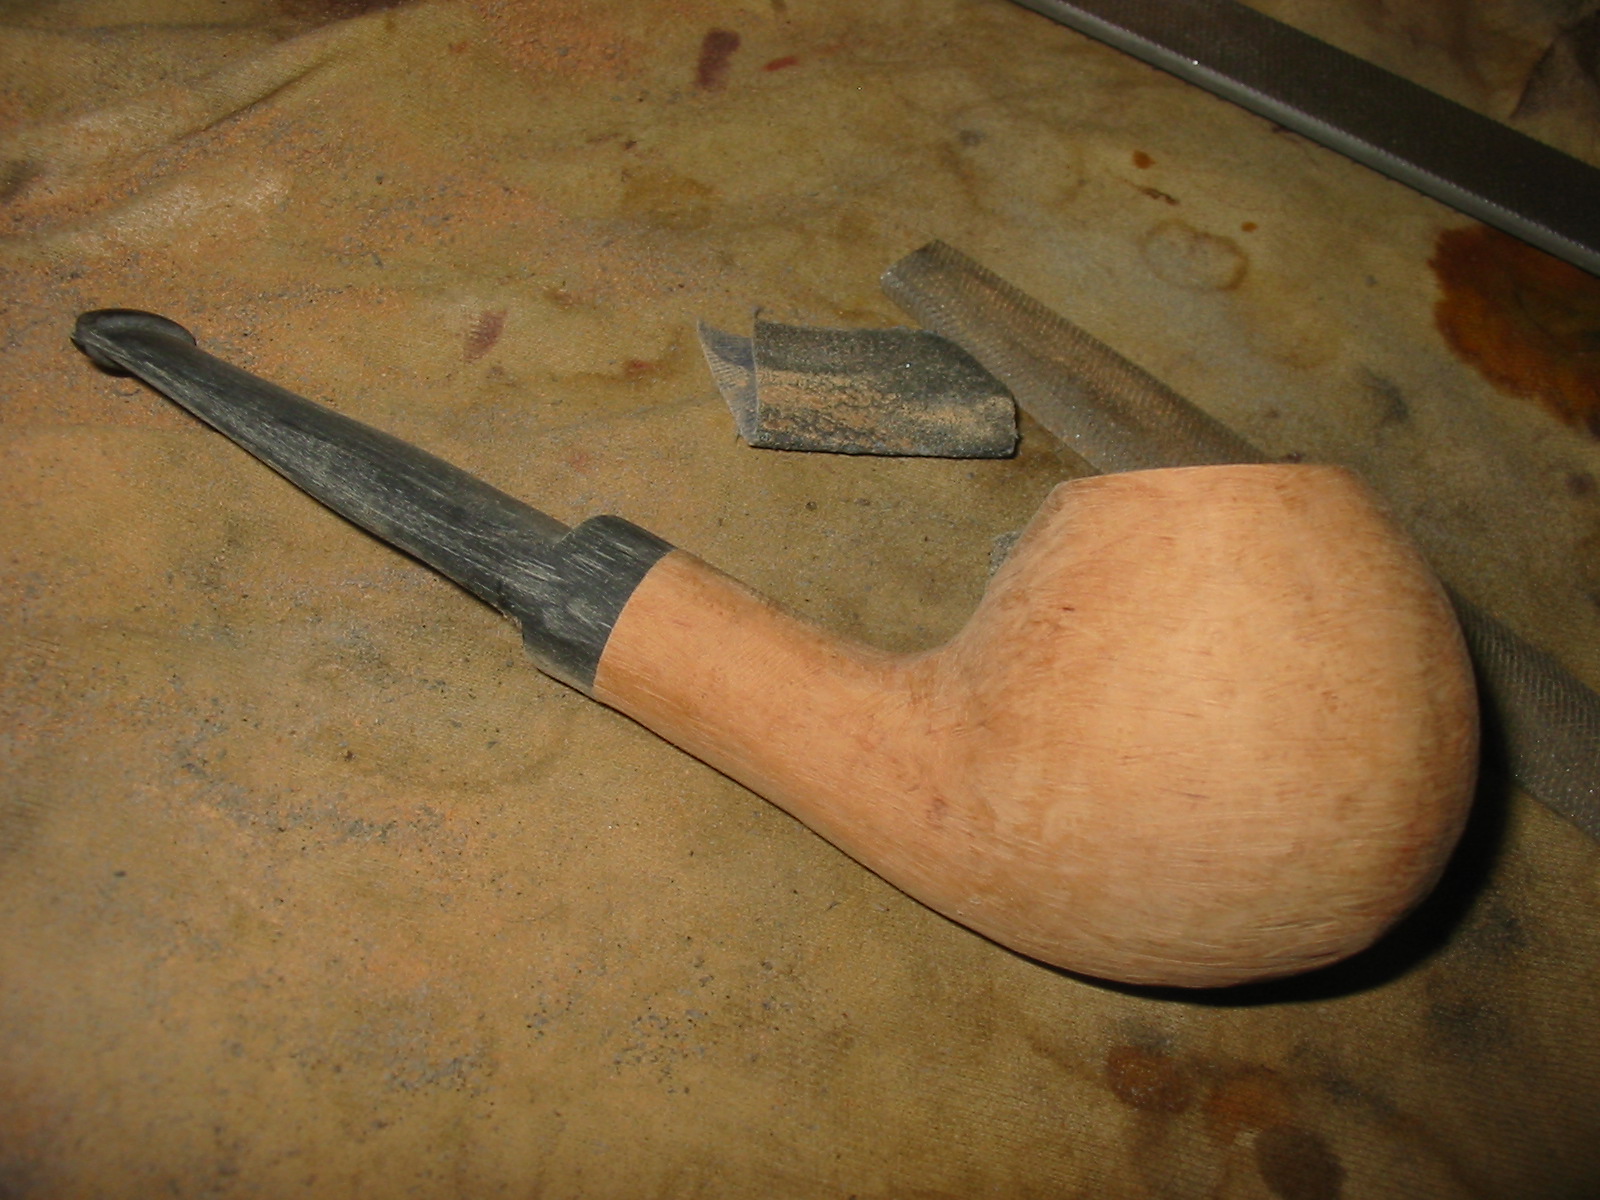
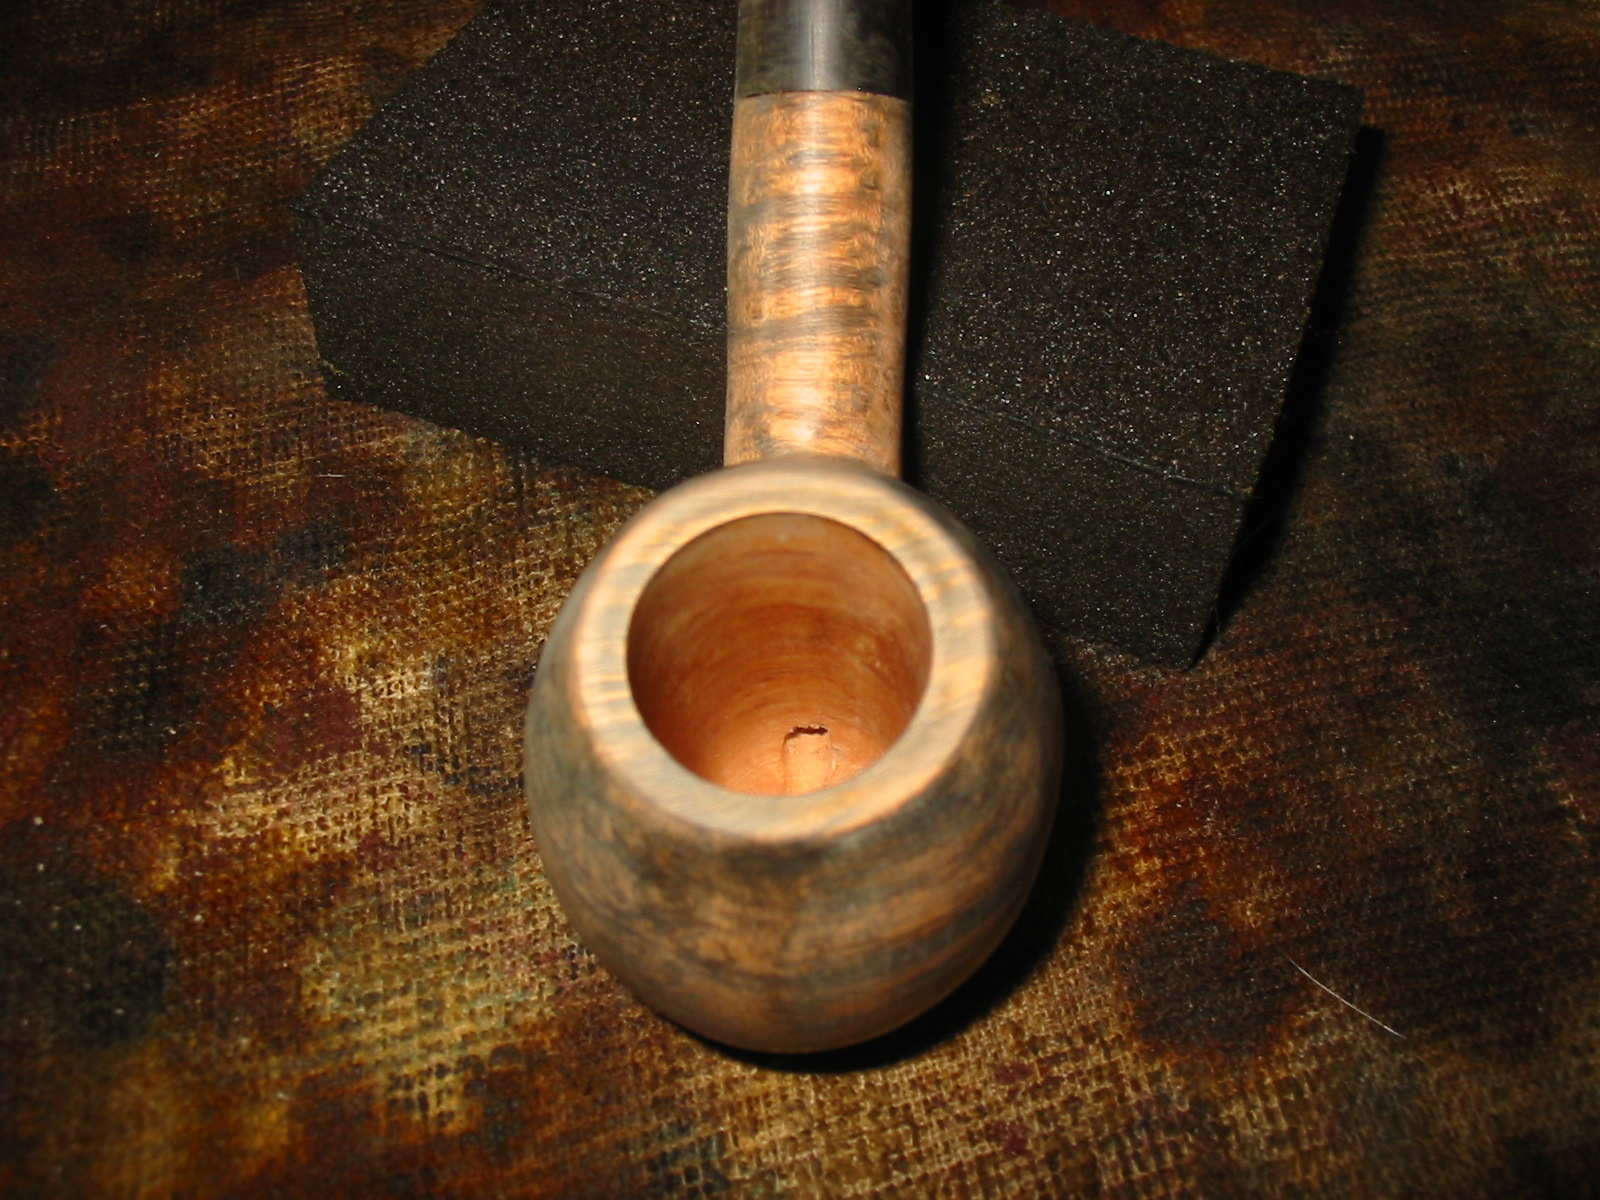
I took it back outside and used the Dremel and sanding drum to remove the edges and begin to round out the bowl shape. At this point I was not aiming for smoothness only rough shape. The next three photos show the bowl after this shaping was completed. You will note that the inside edge of the shank bowl junction is quite rough. I took a lot of briar off at this point to lengthen the shank and to clean up that junction. A lot more work would have to be done but the shape was beginning to show more clearly. The flaw at the bottom of the left side of the bowl and shank was actually becoming bigger and are visible in the first picture as a darkened line at the bottom of the bowl and shank. I apologize for the lack of clarity in these photos but it was late evening at this point and I did a poor job of focusing.

IMG_0874

IMG_0875

IMG_0876

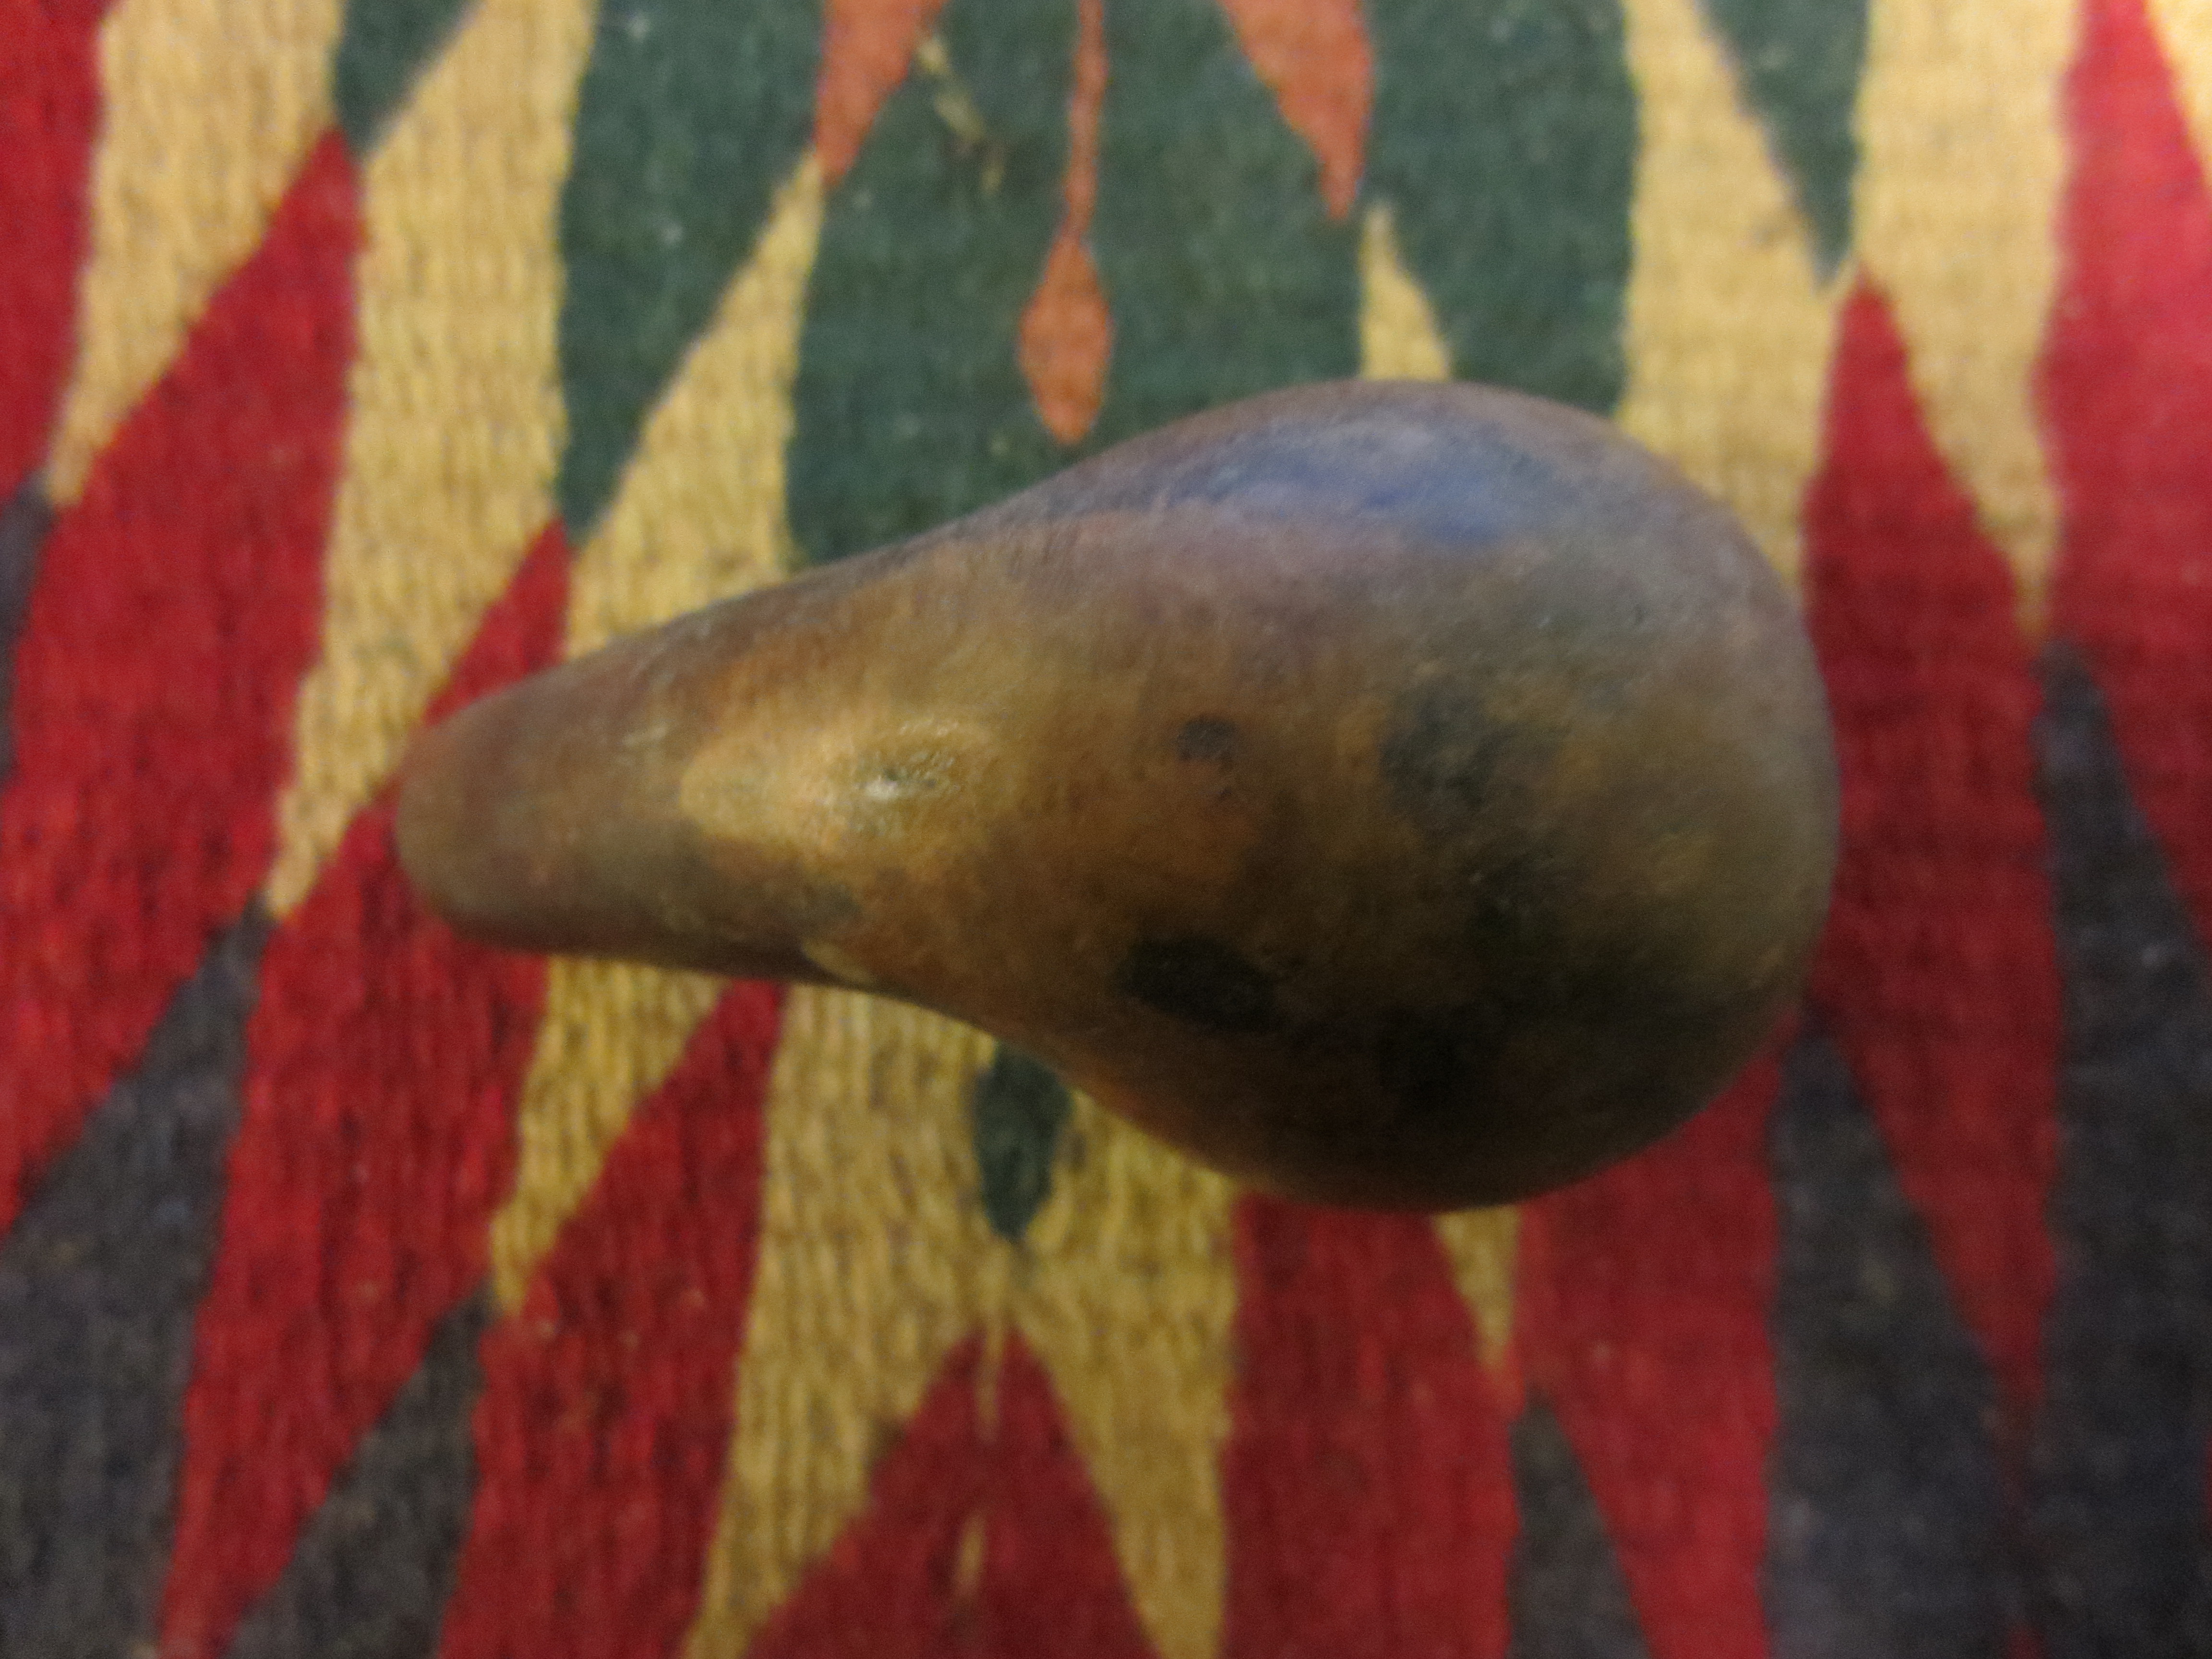
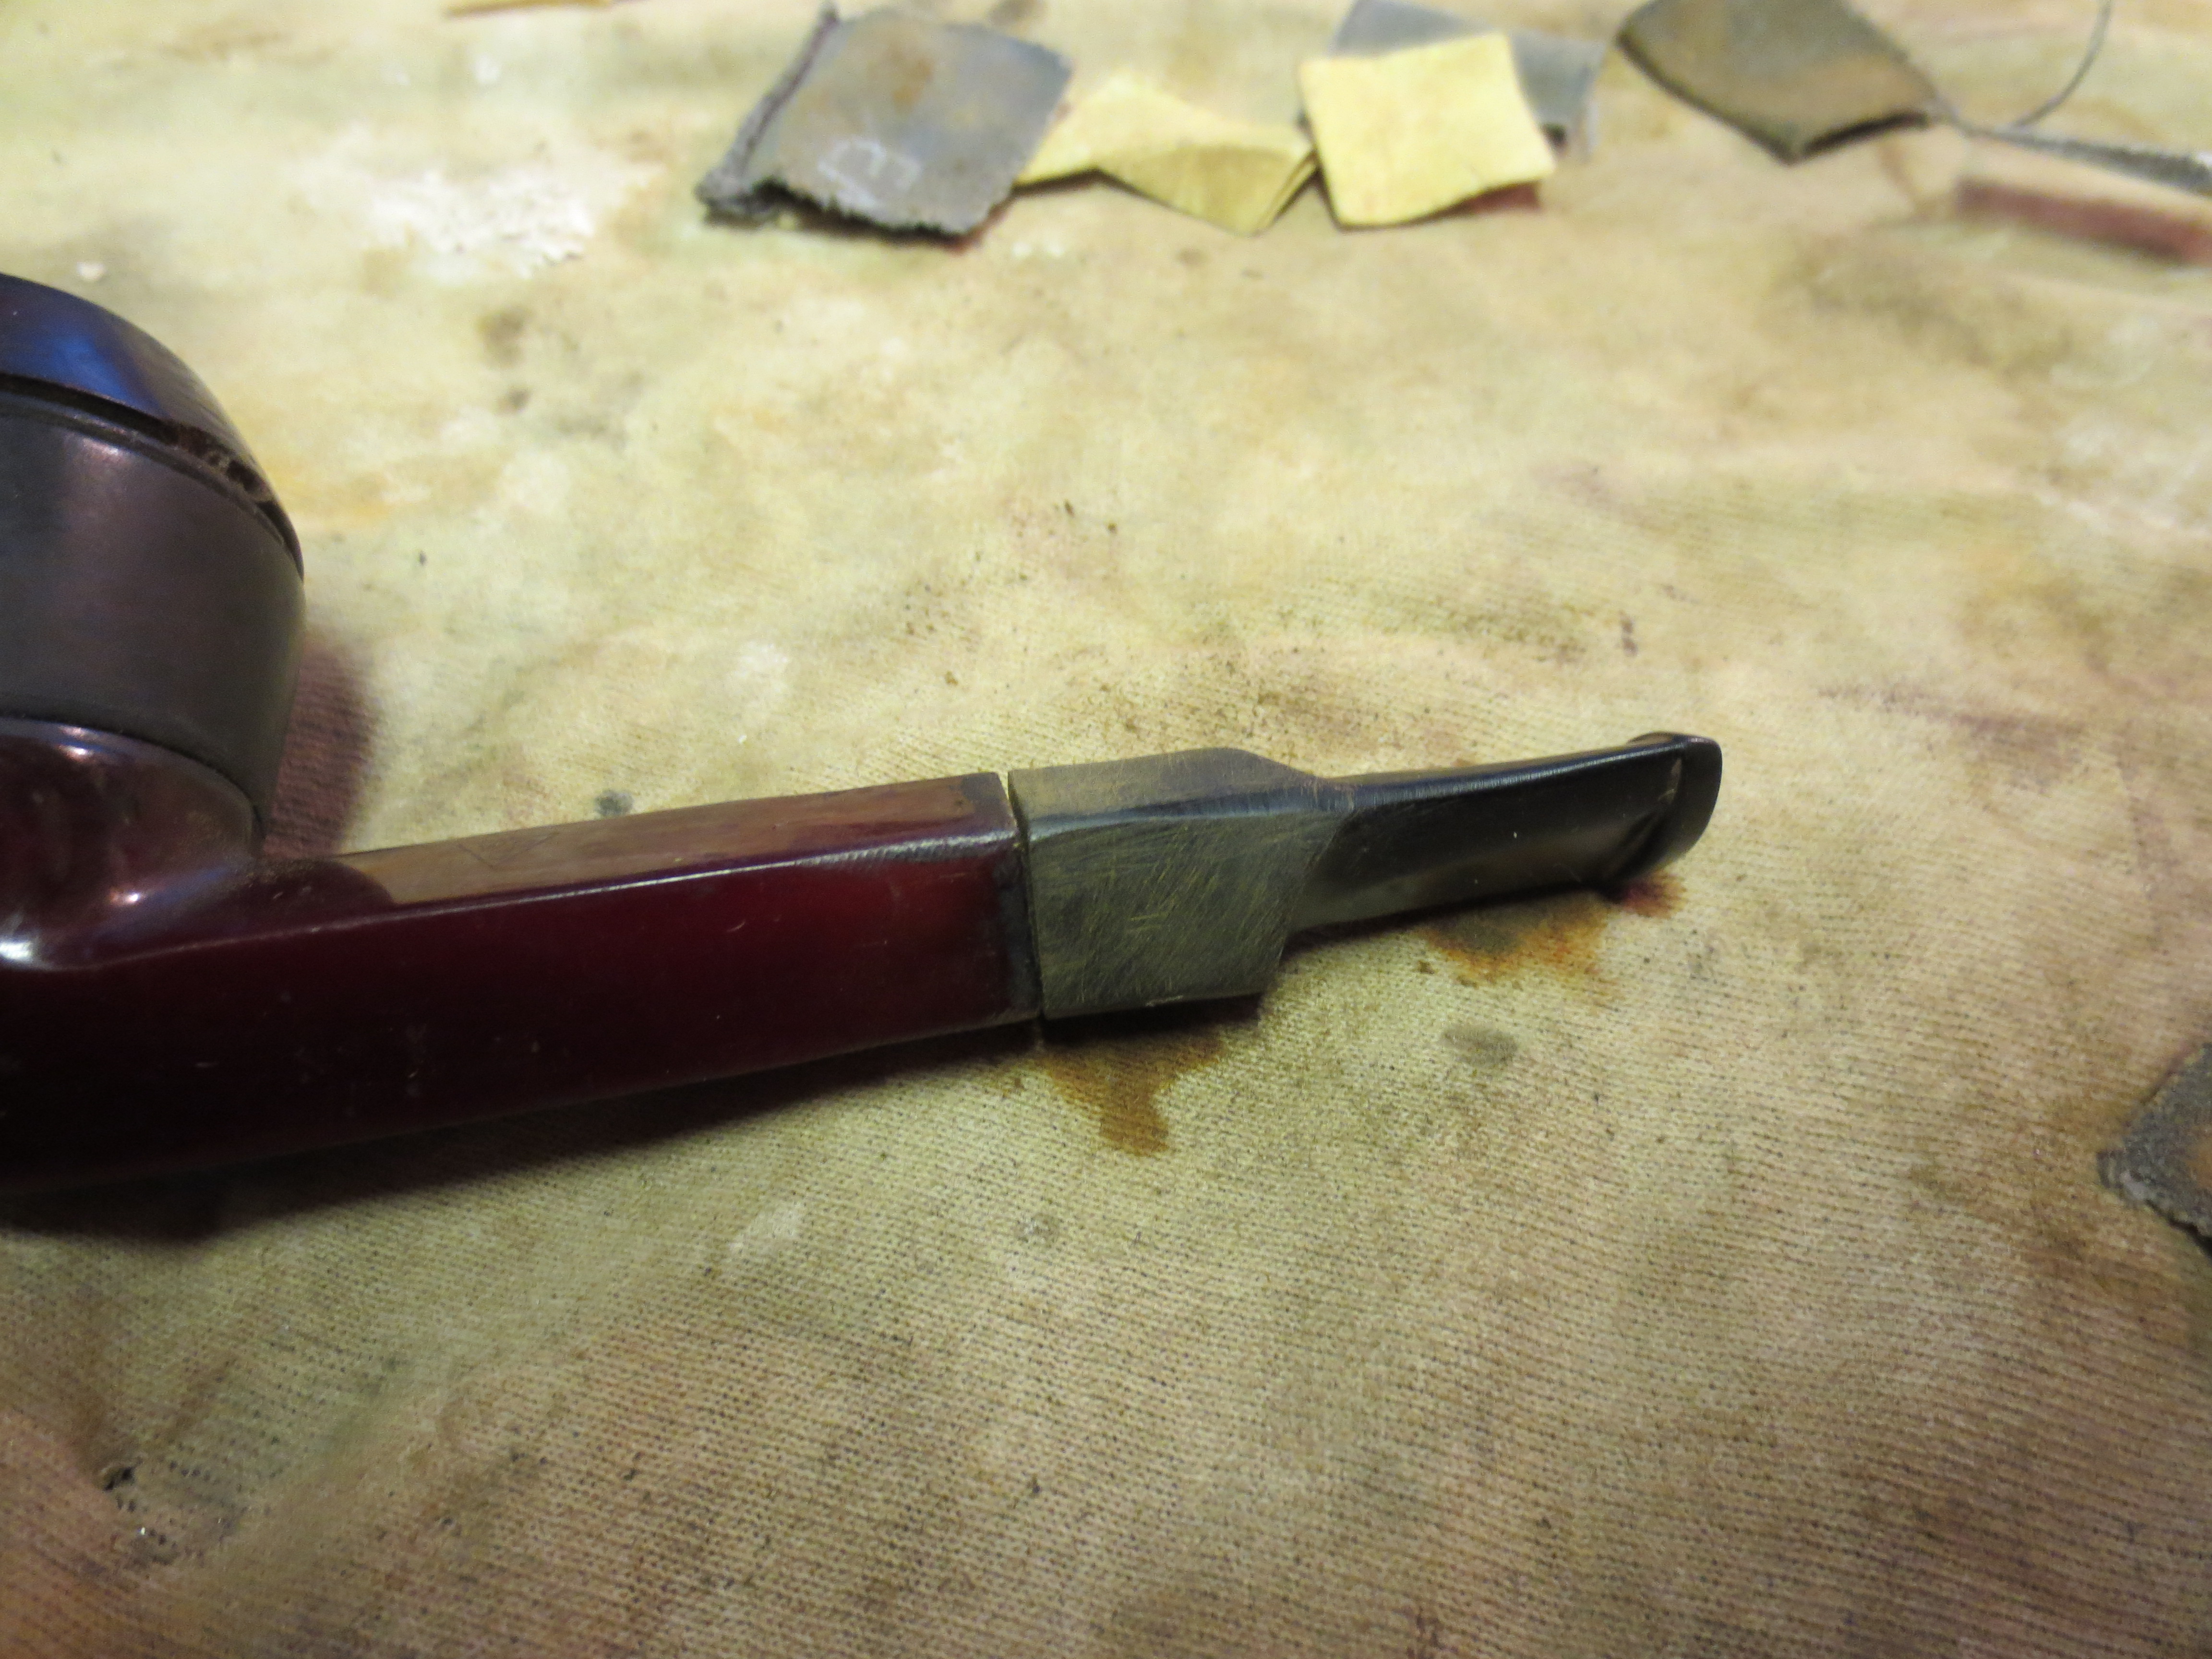
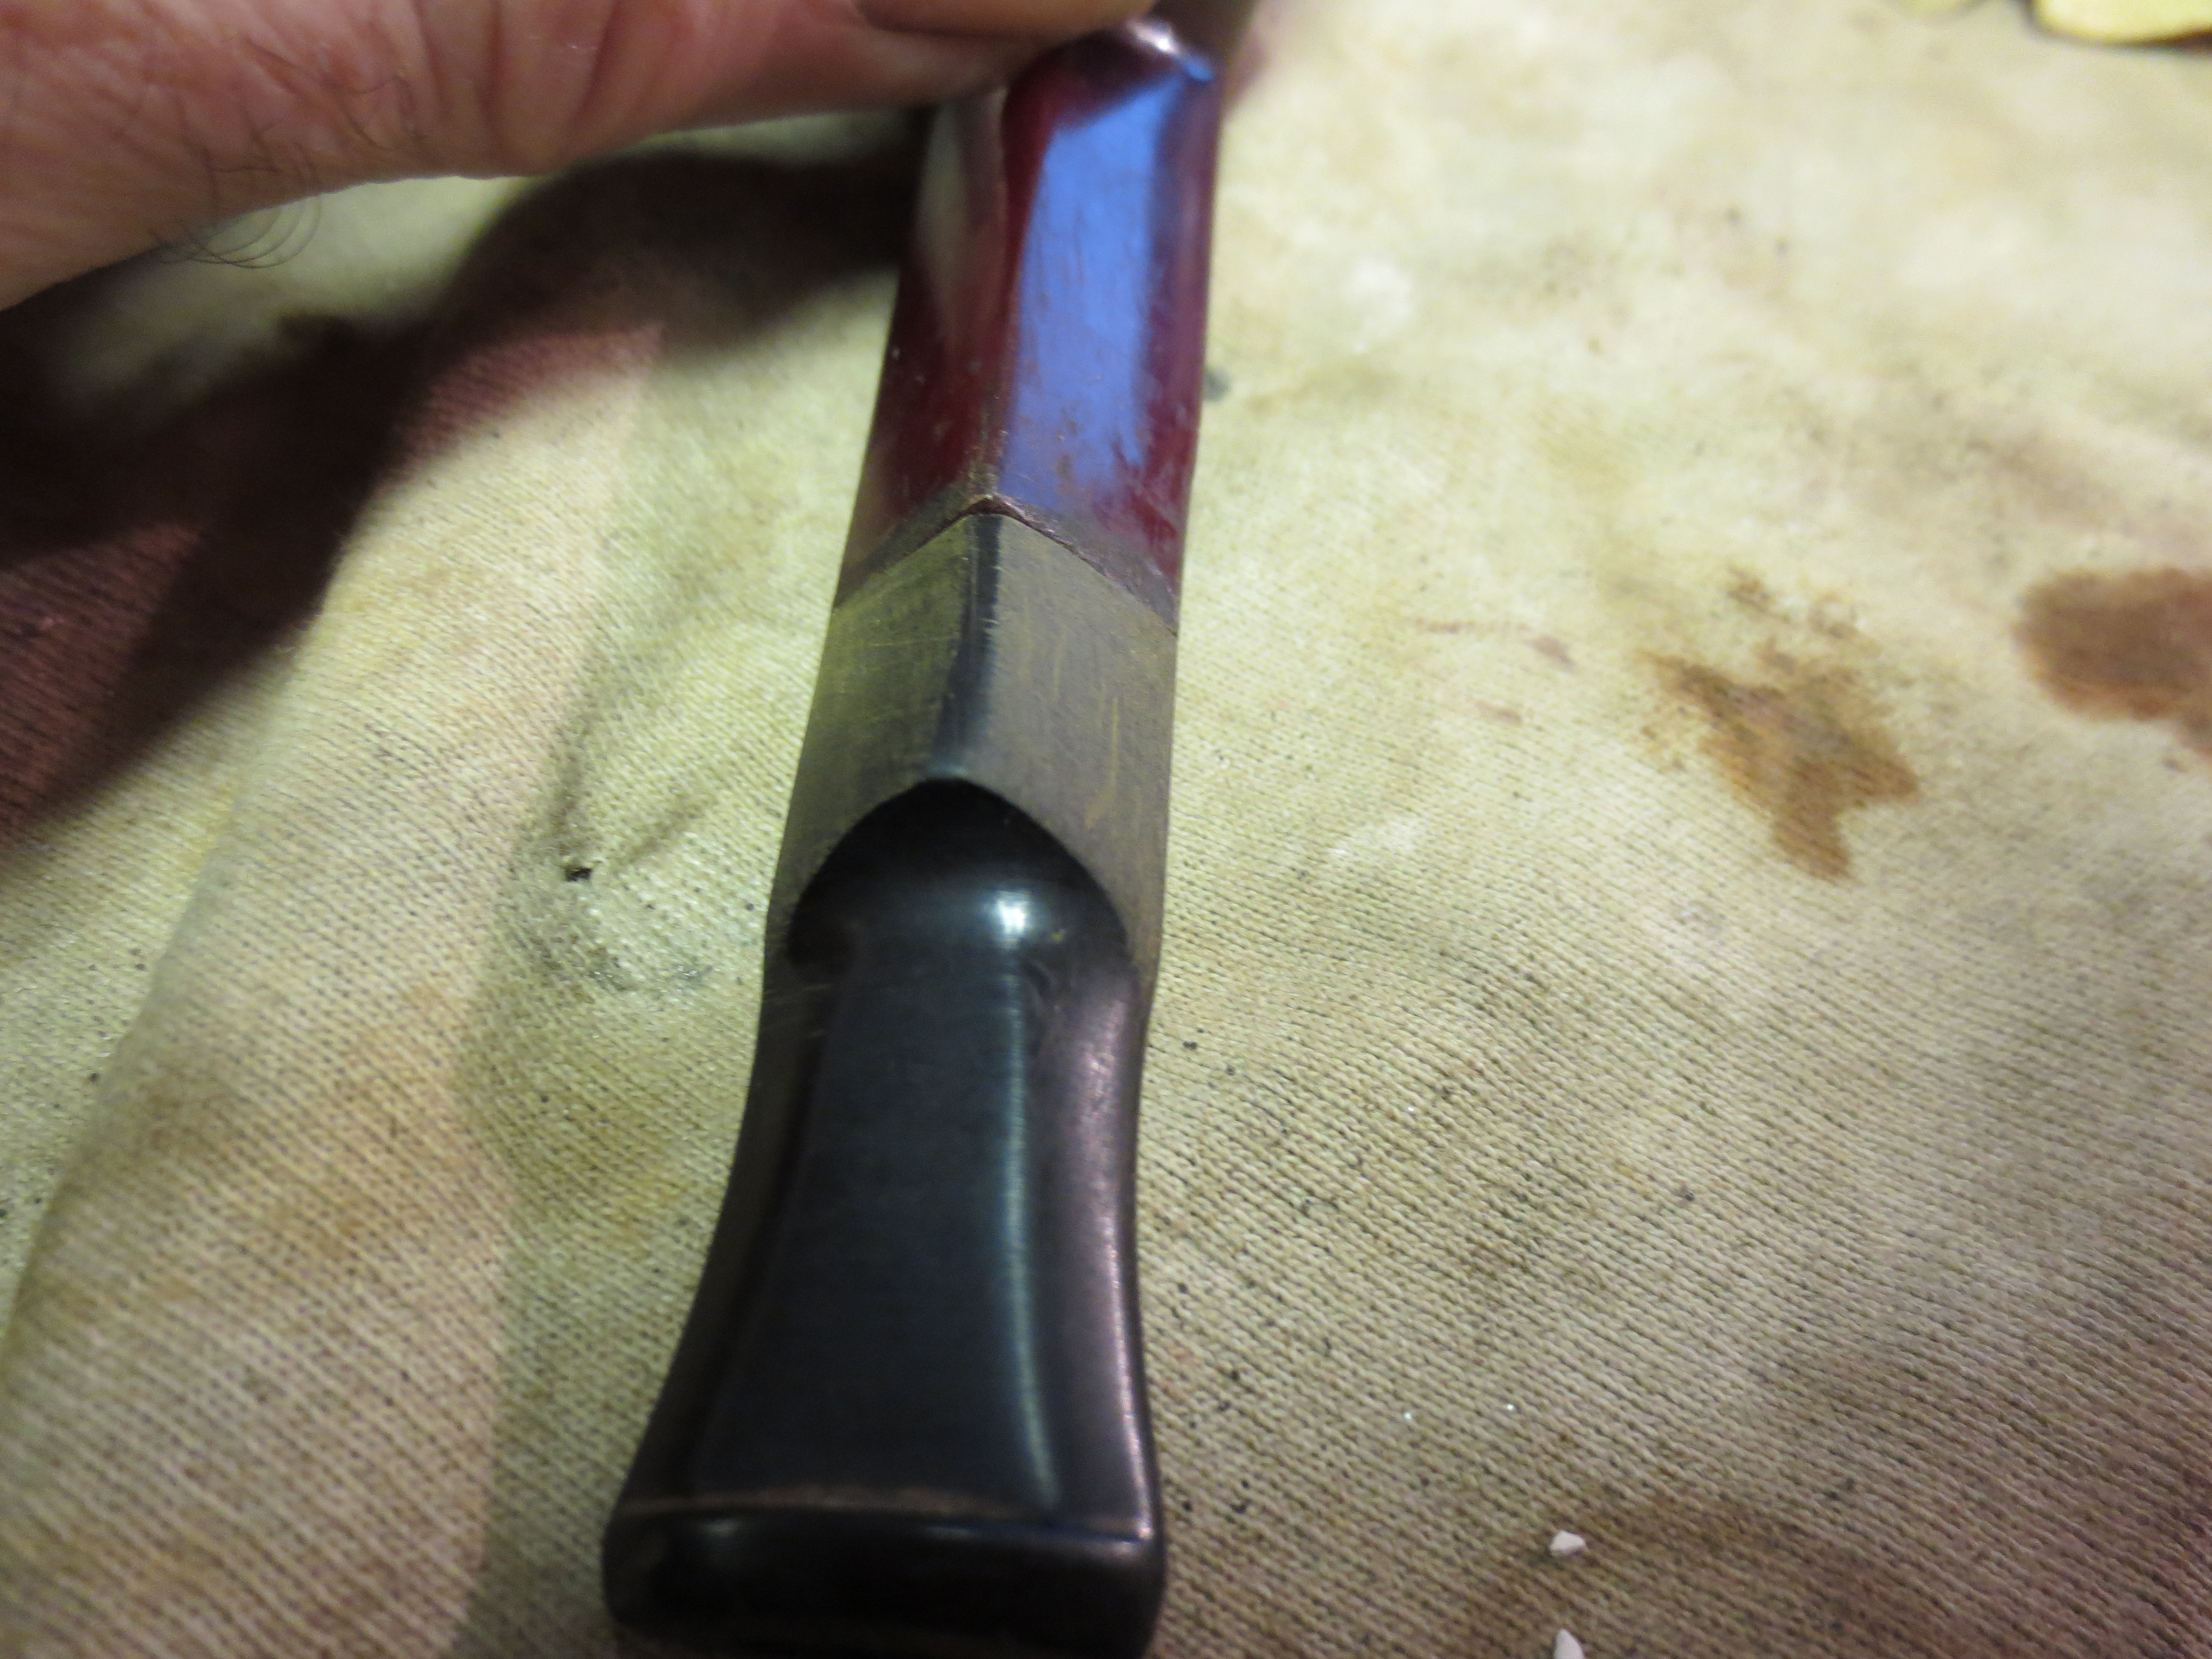
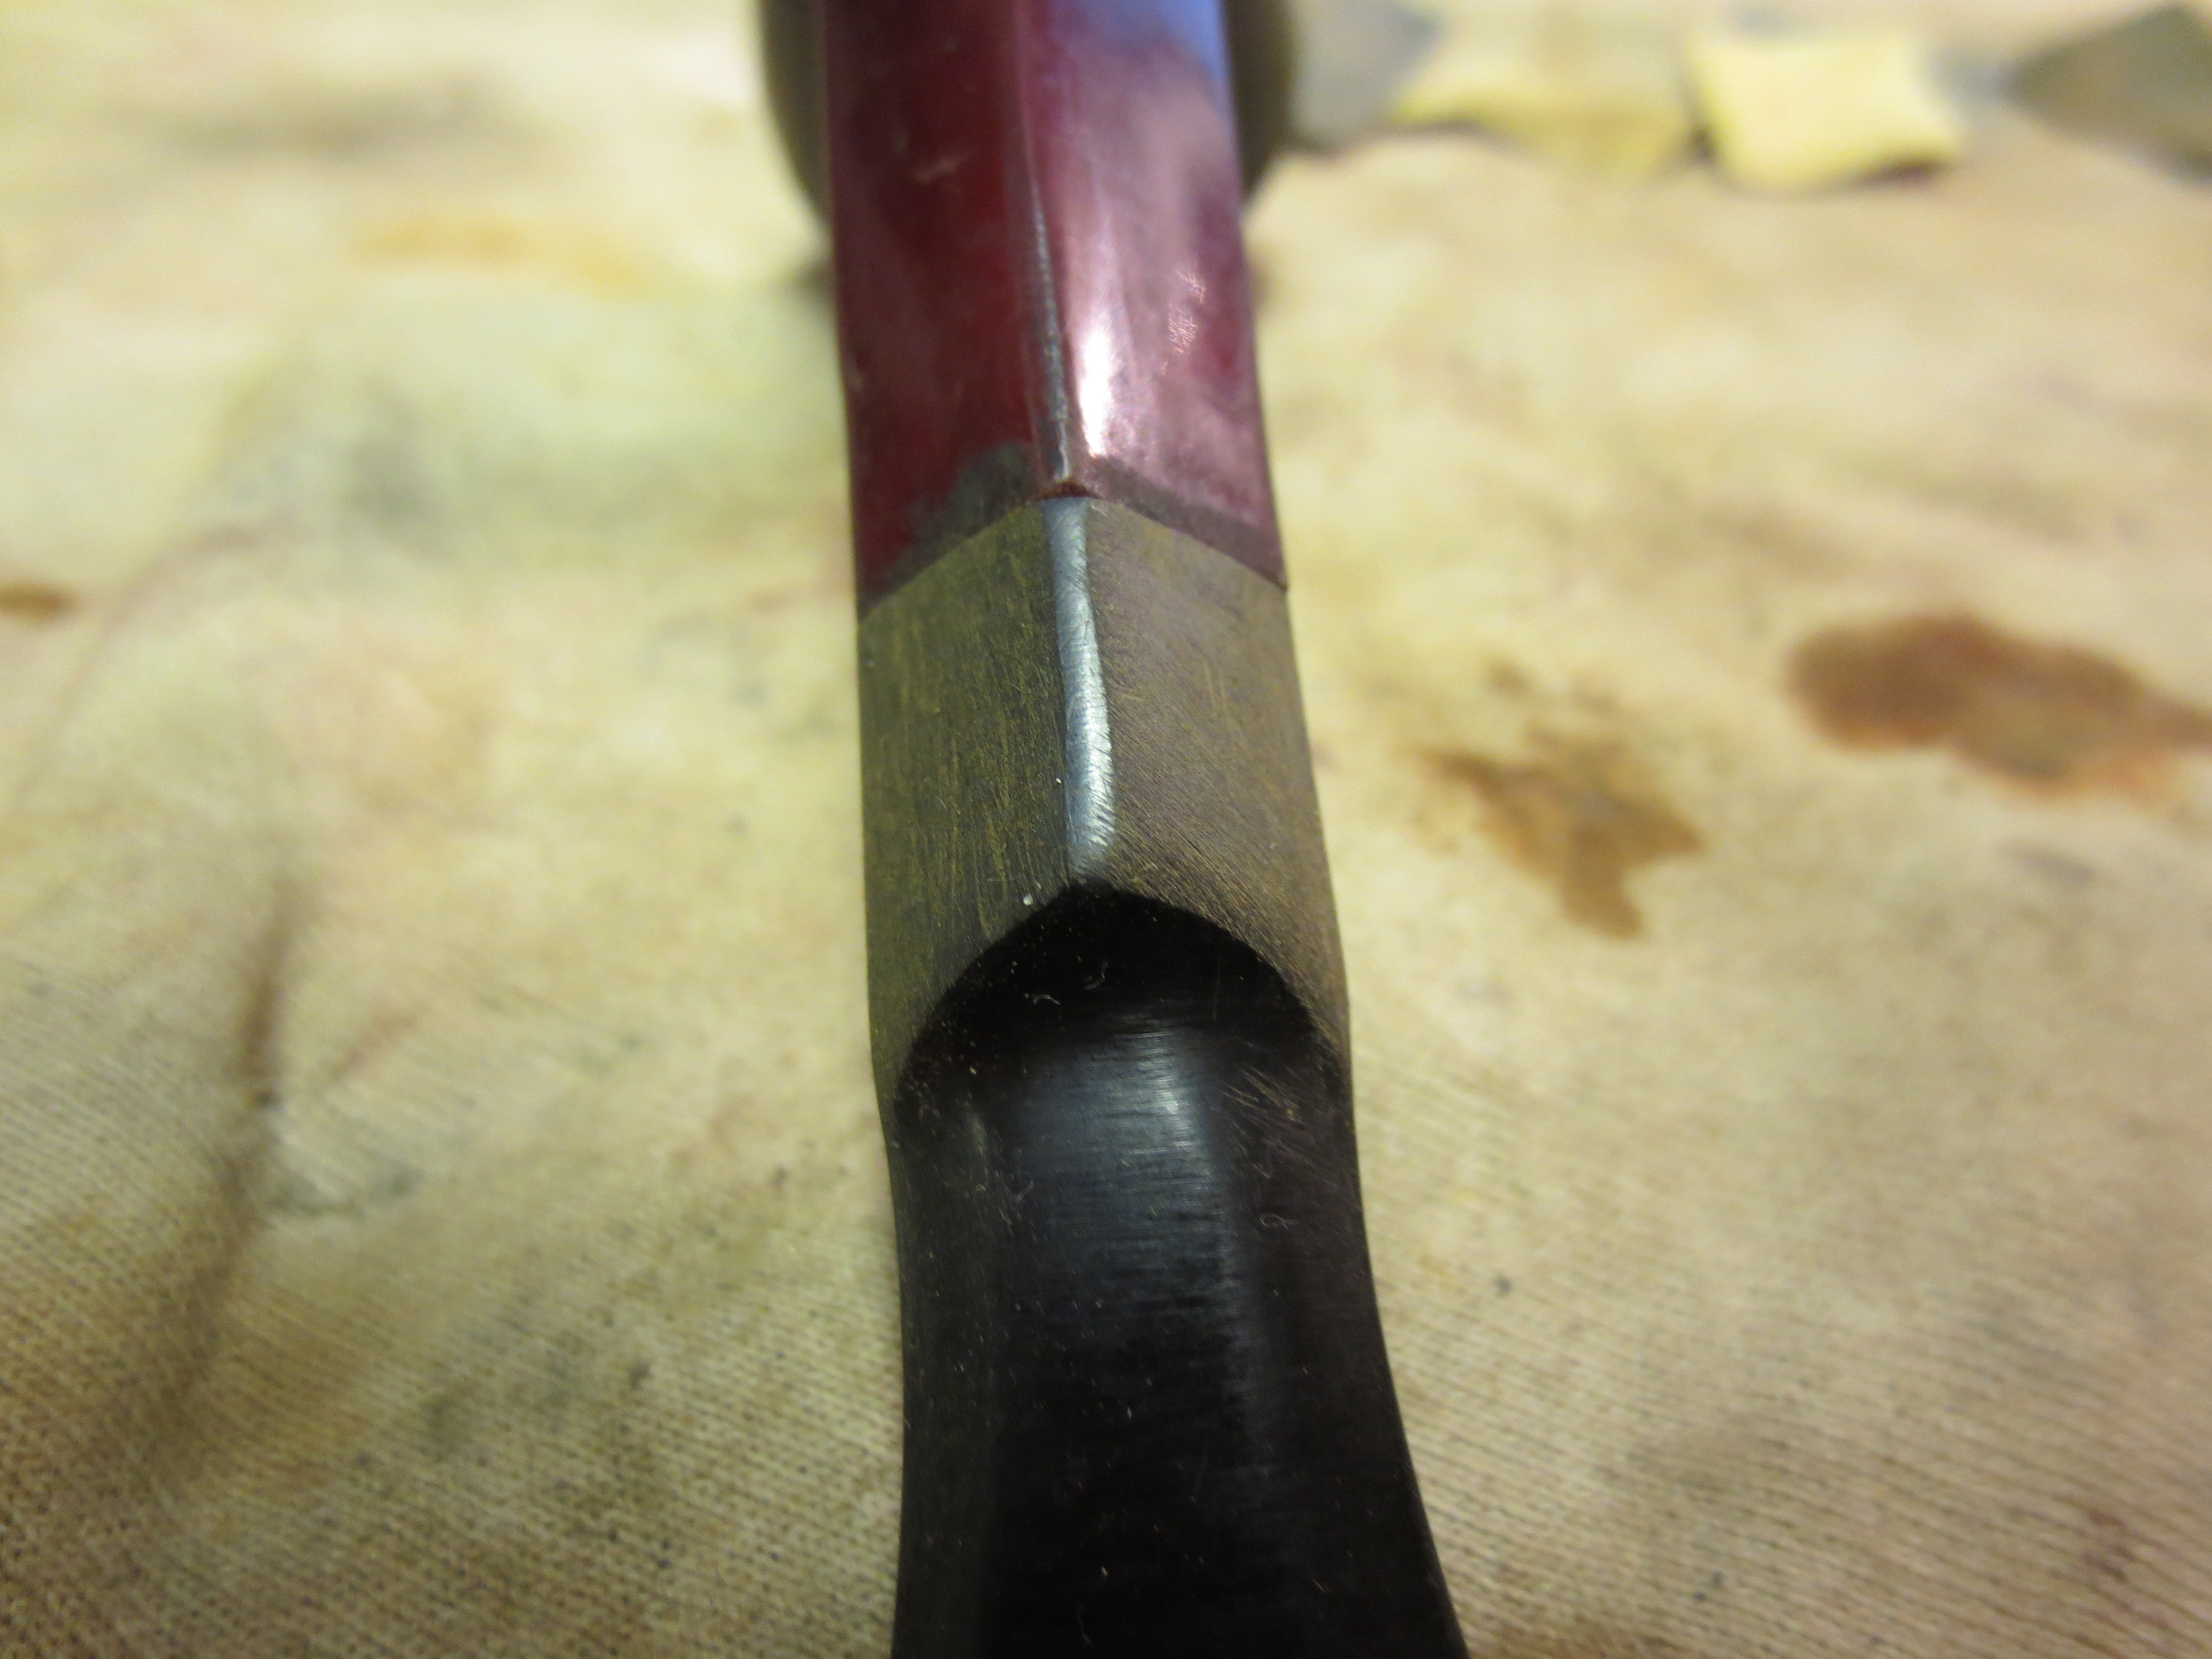
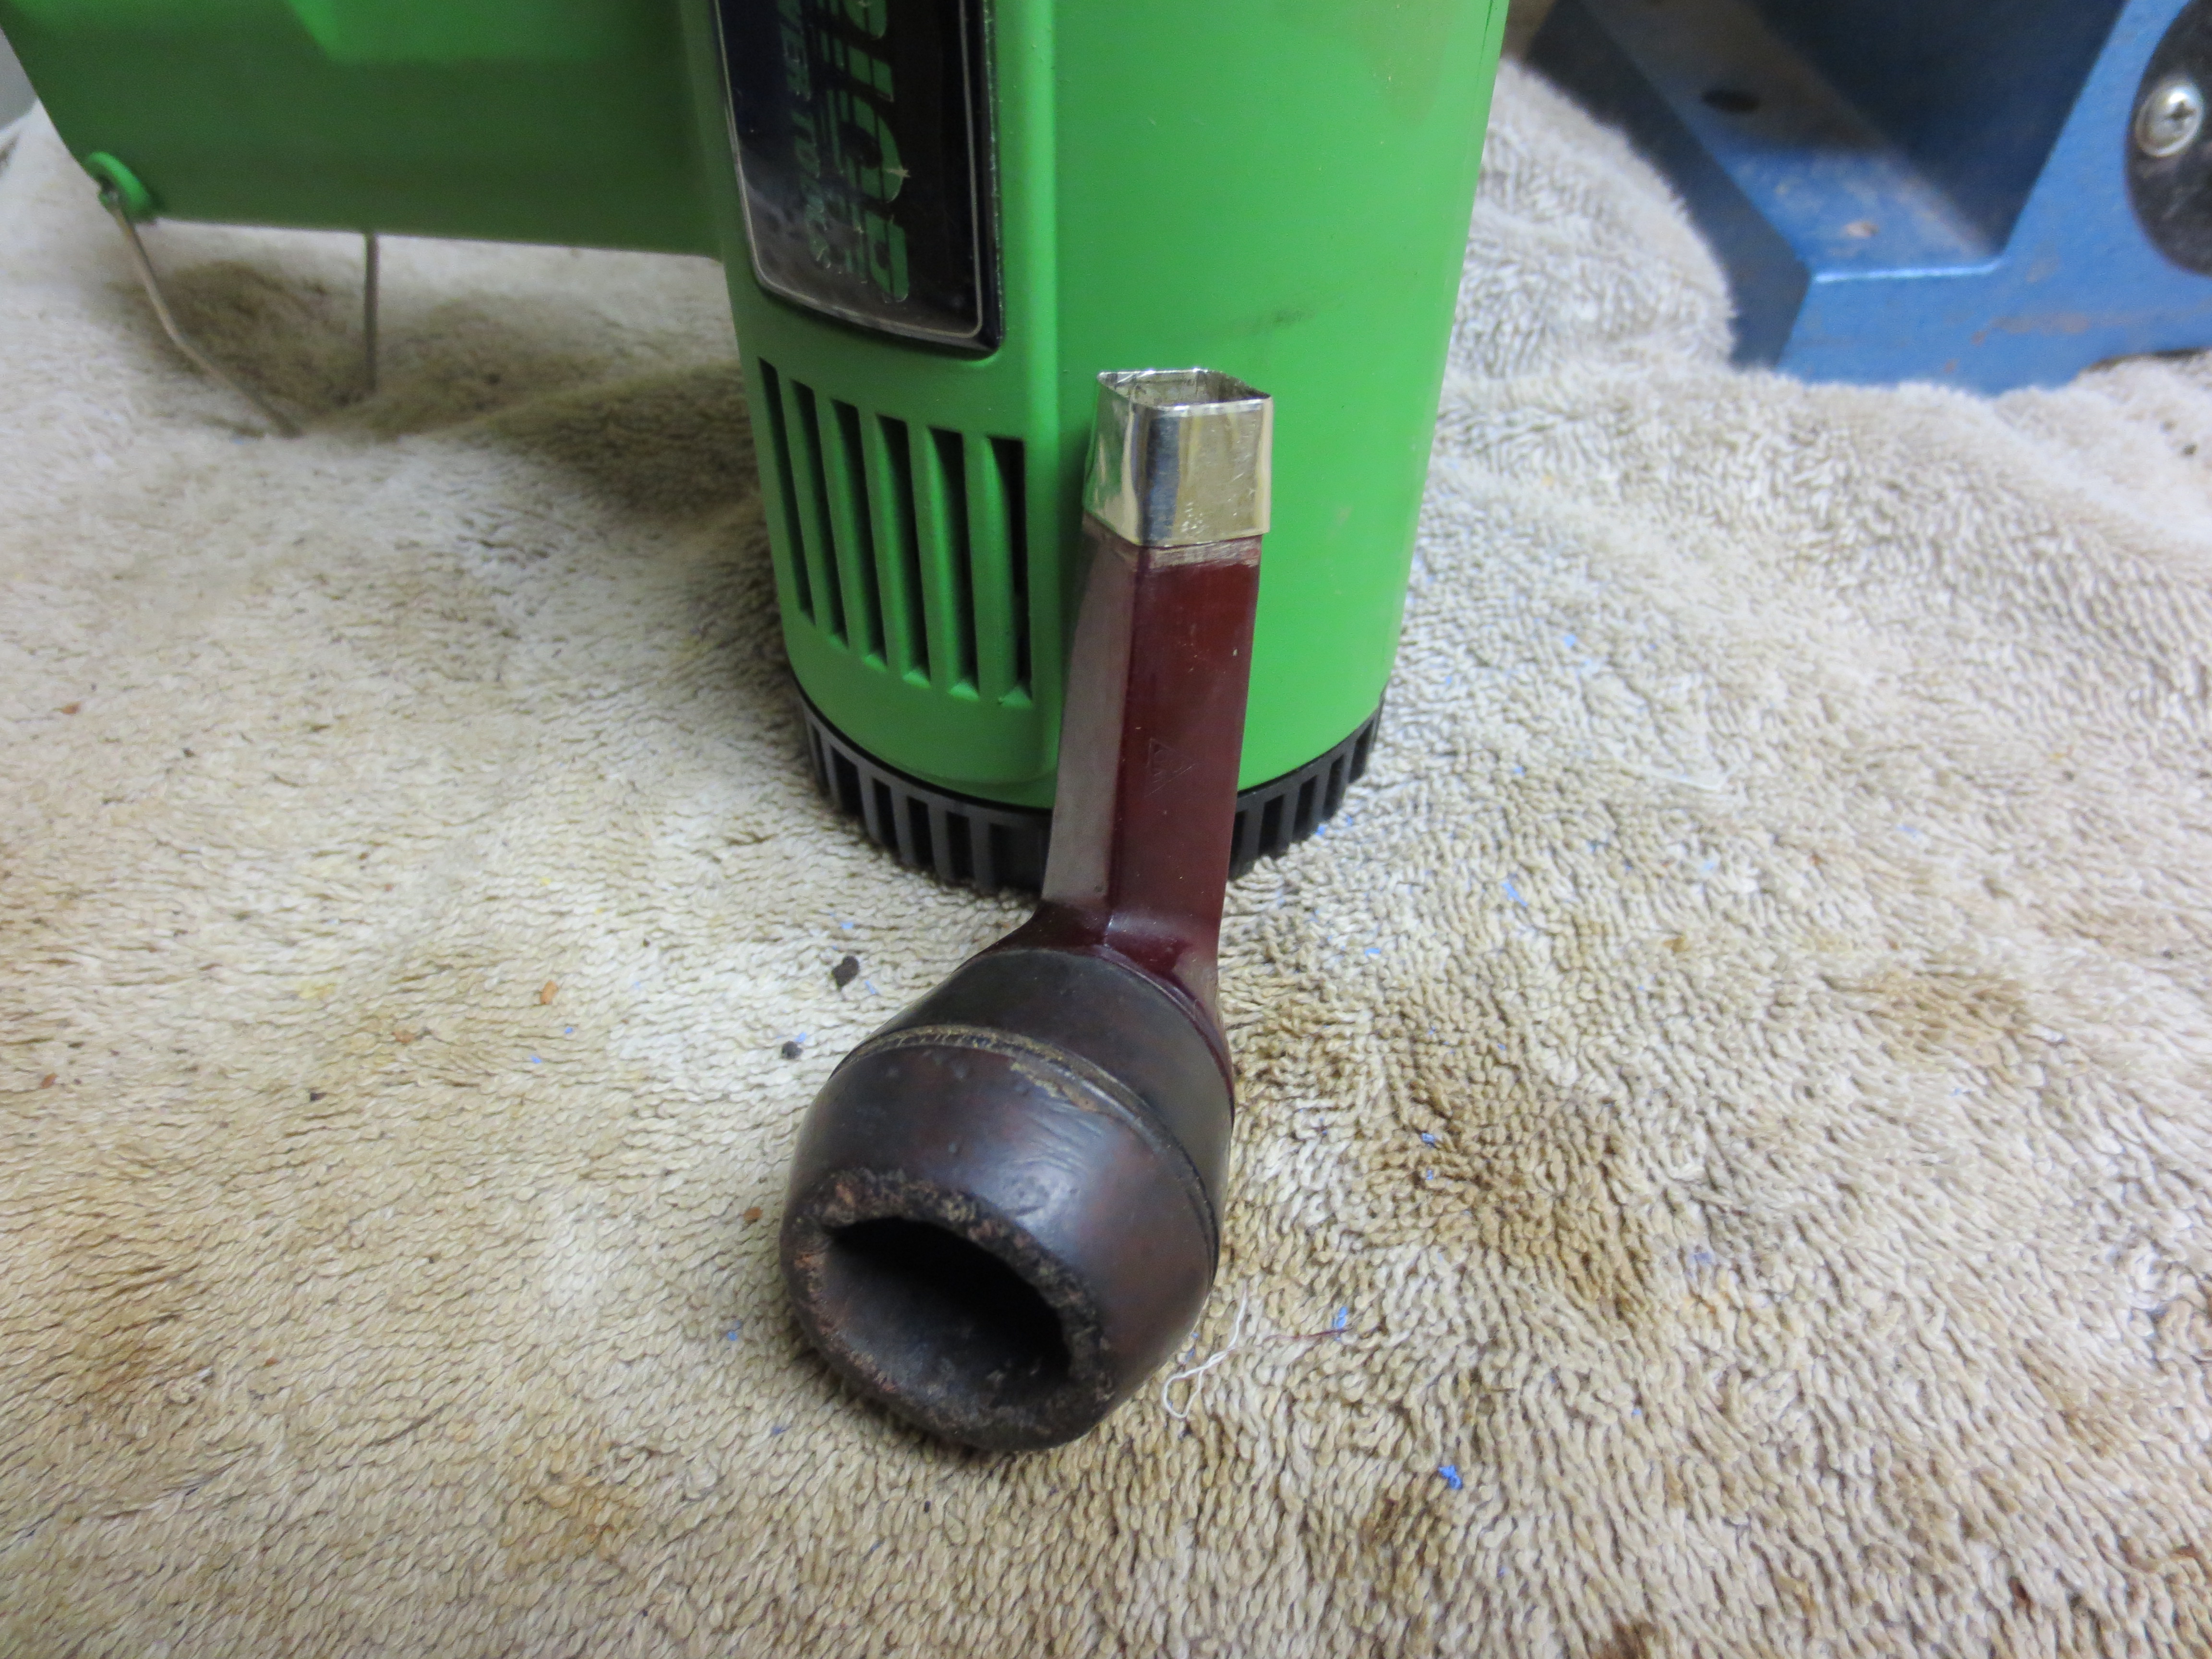
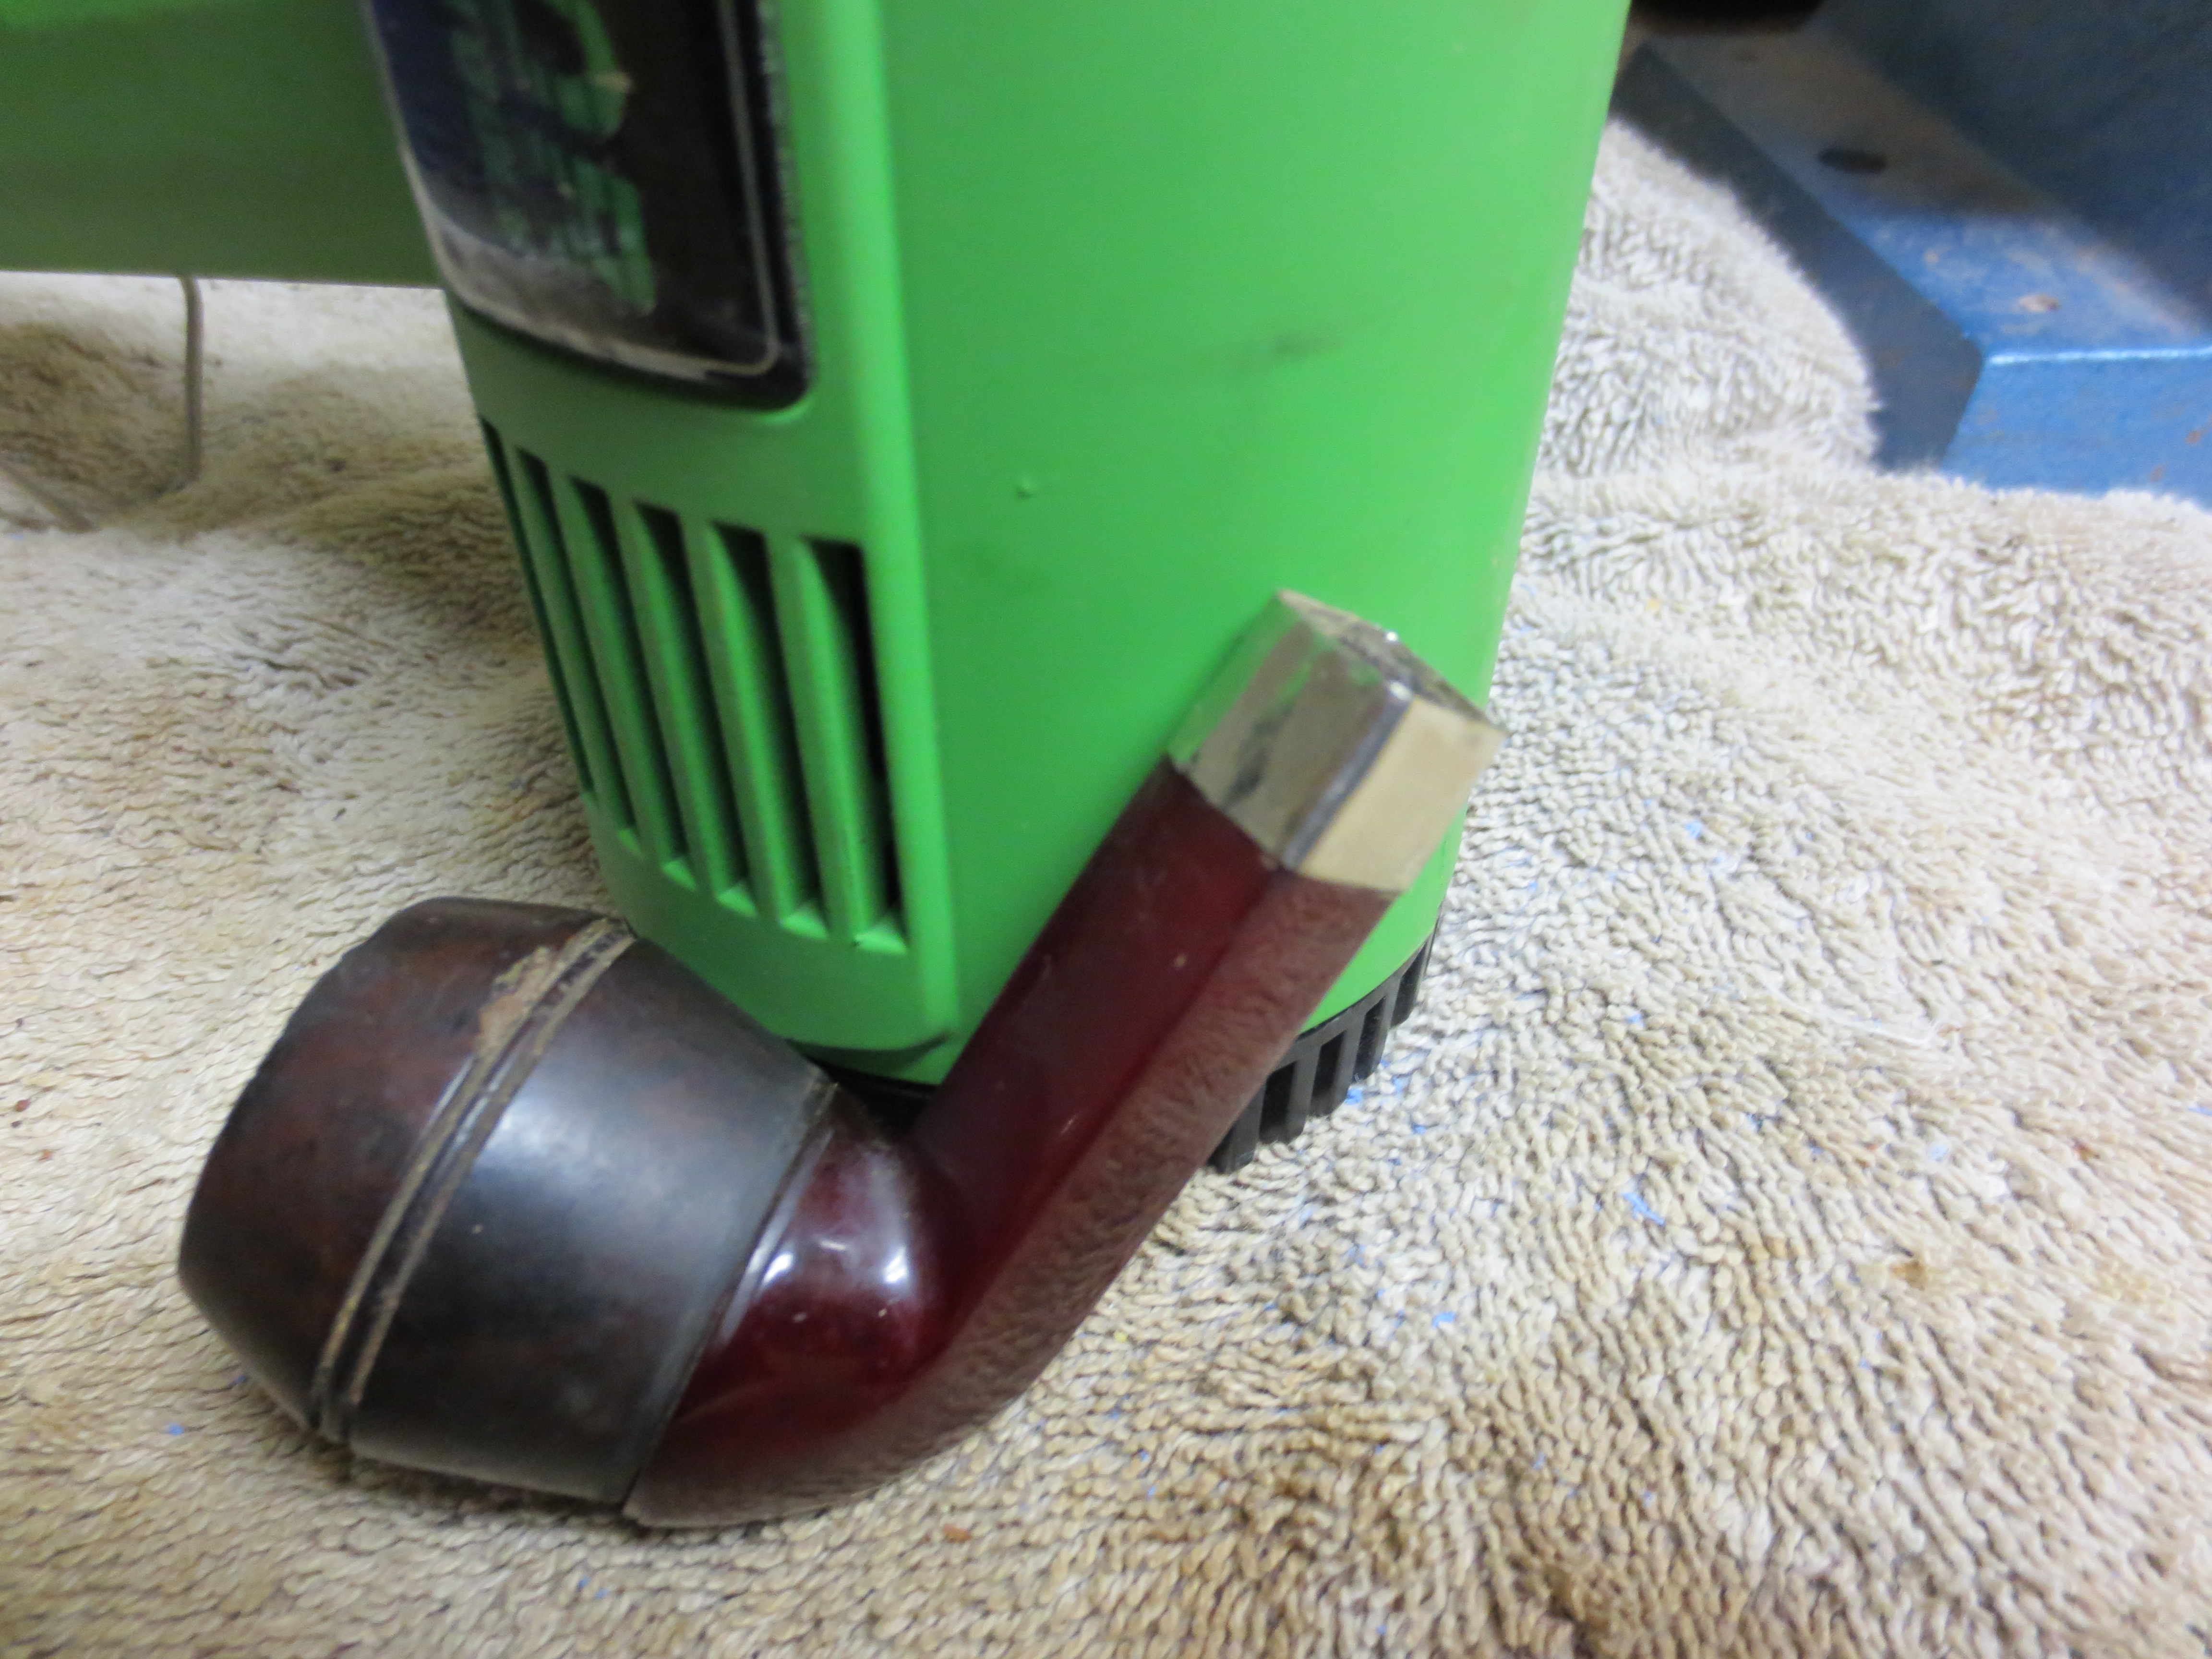
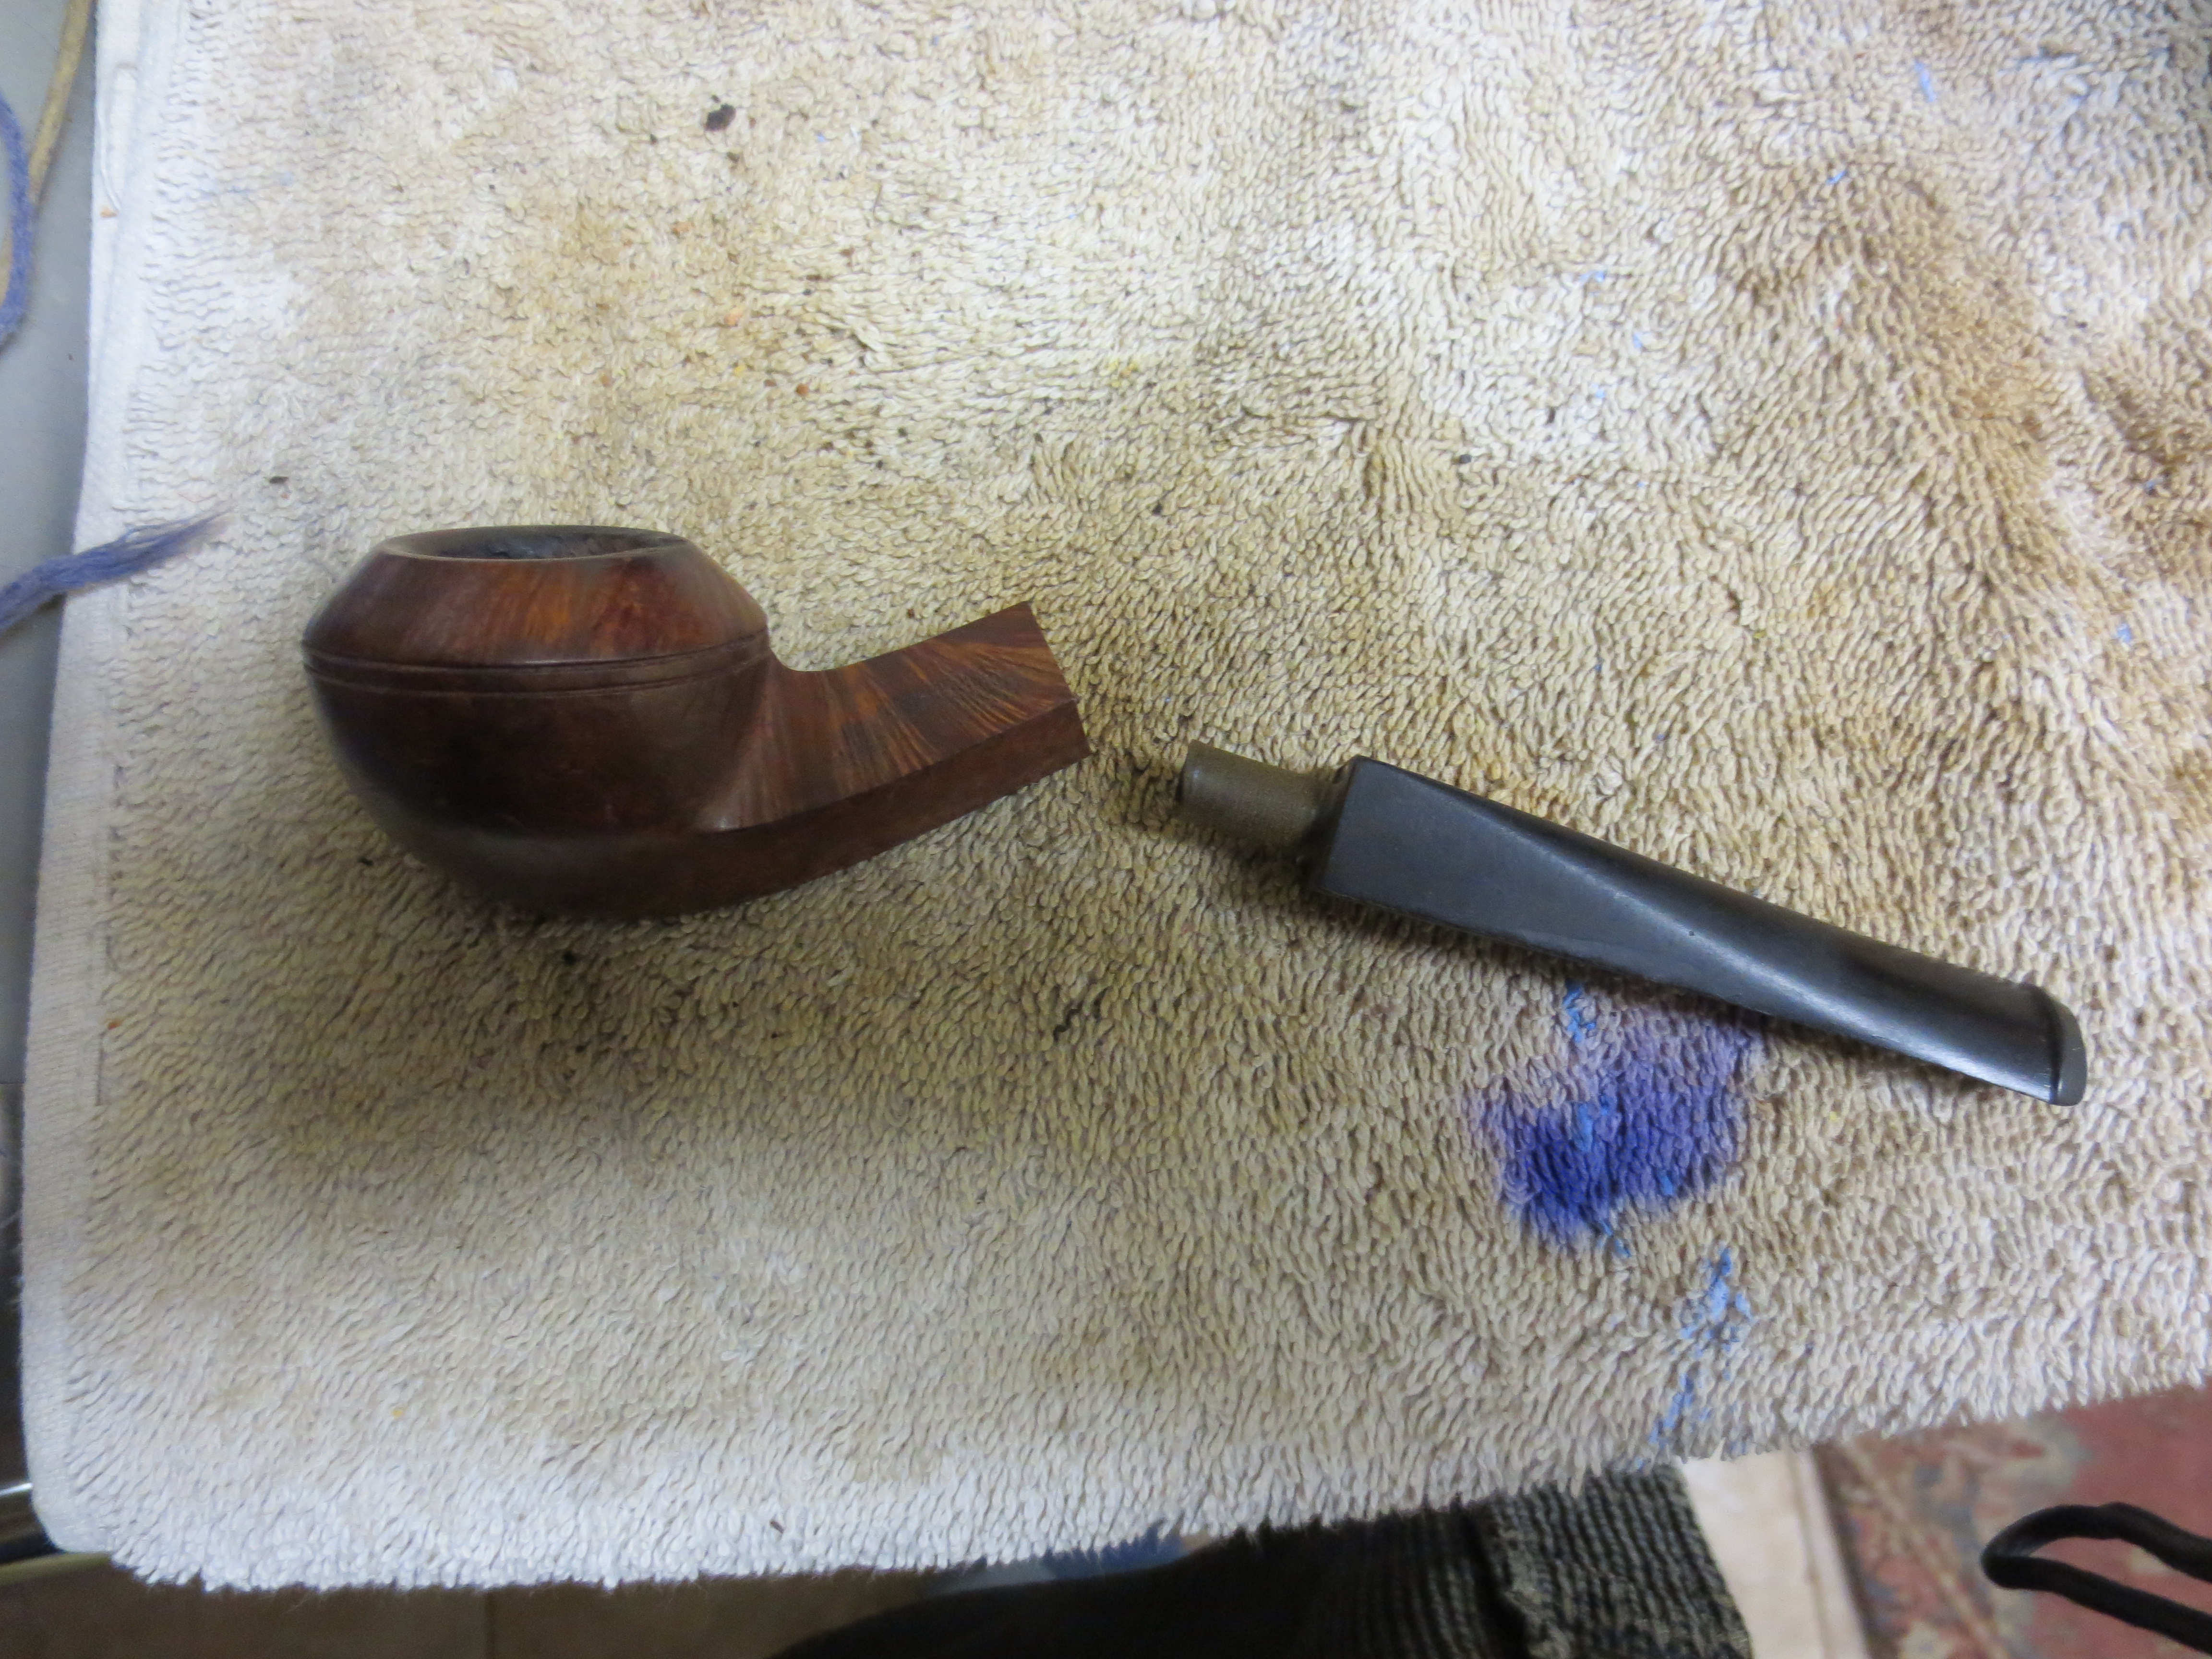
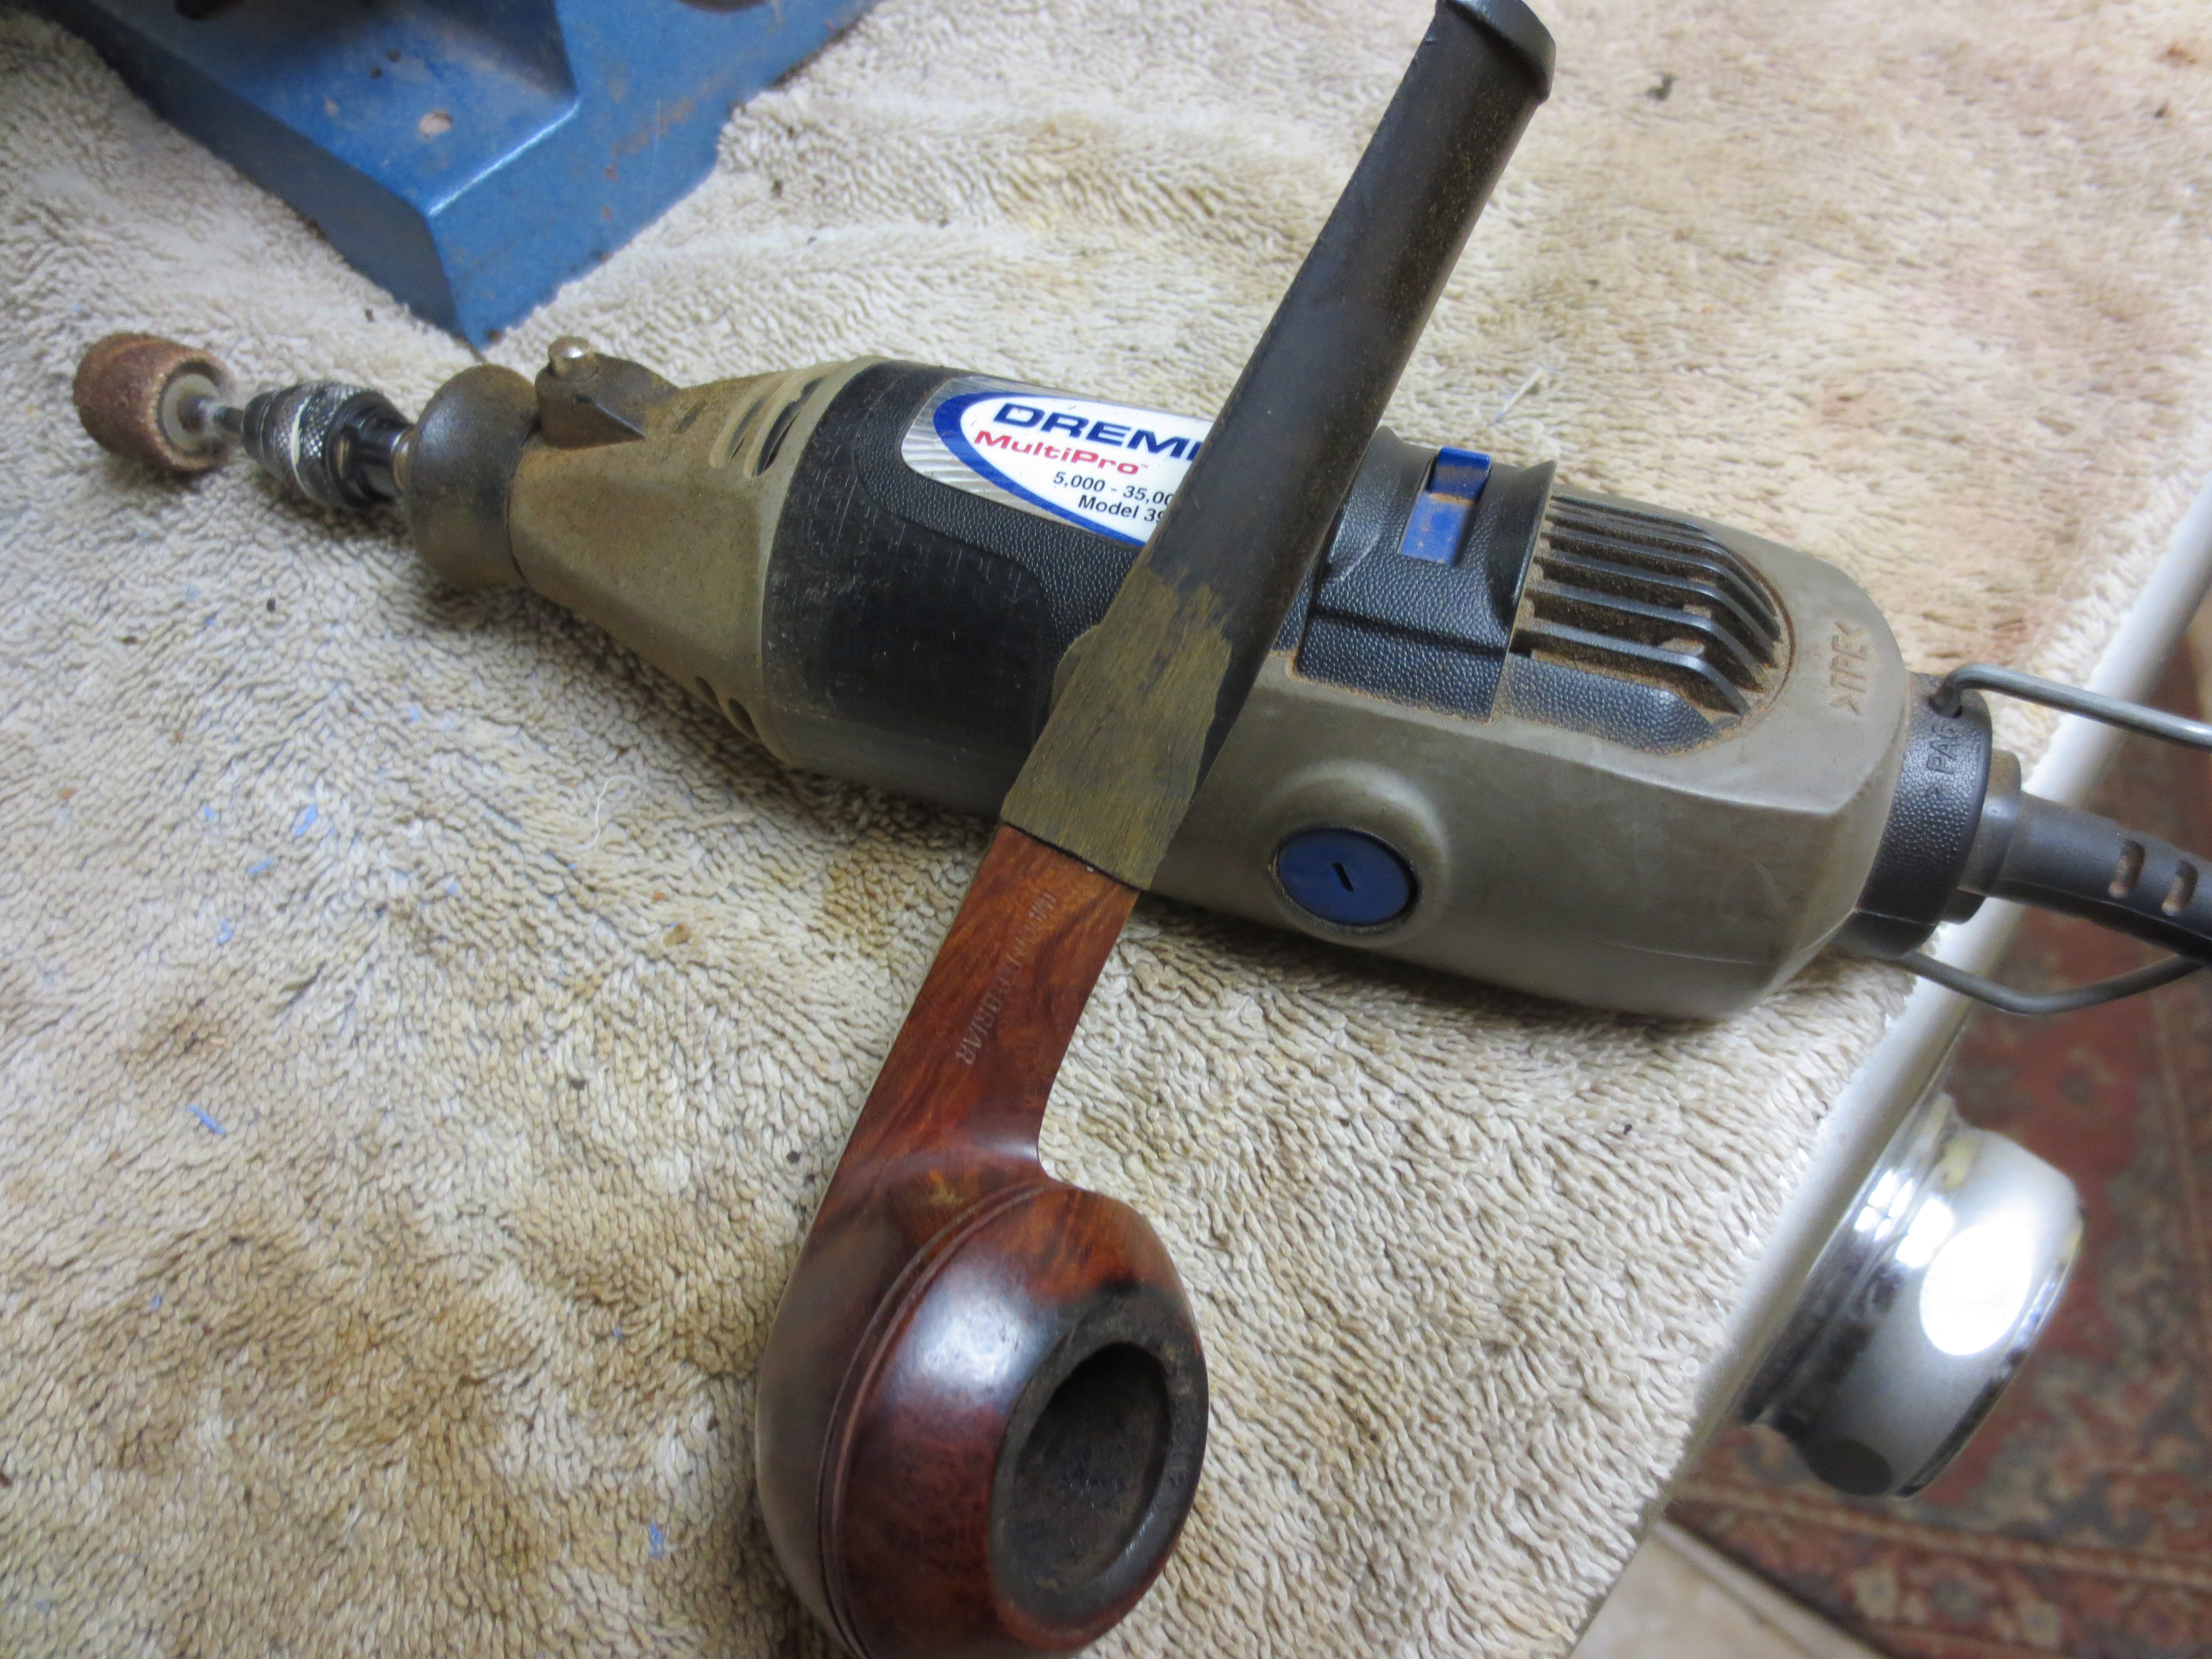
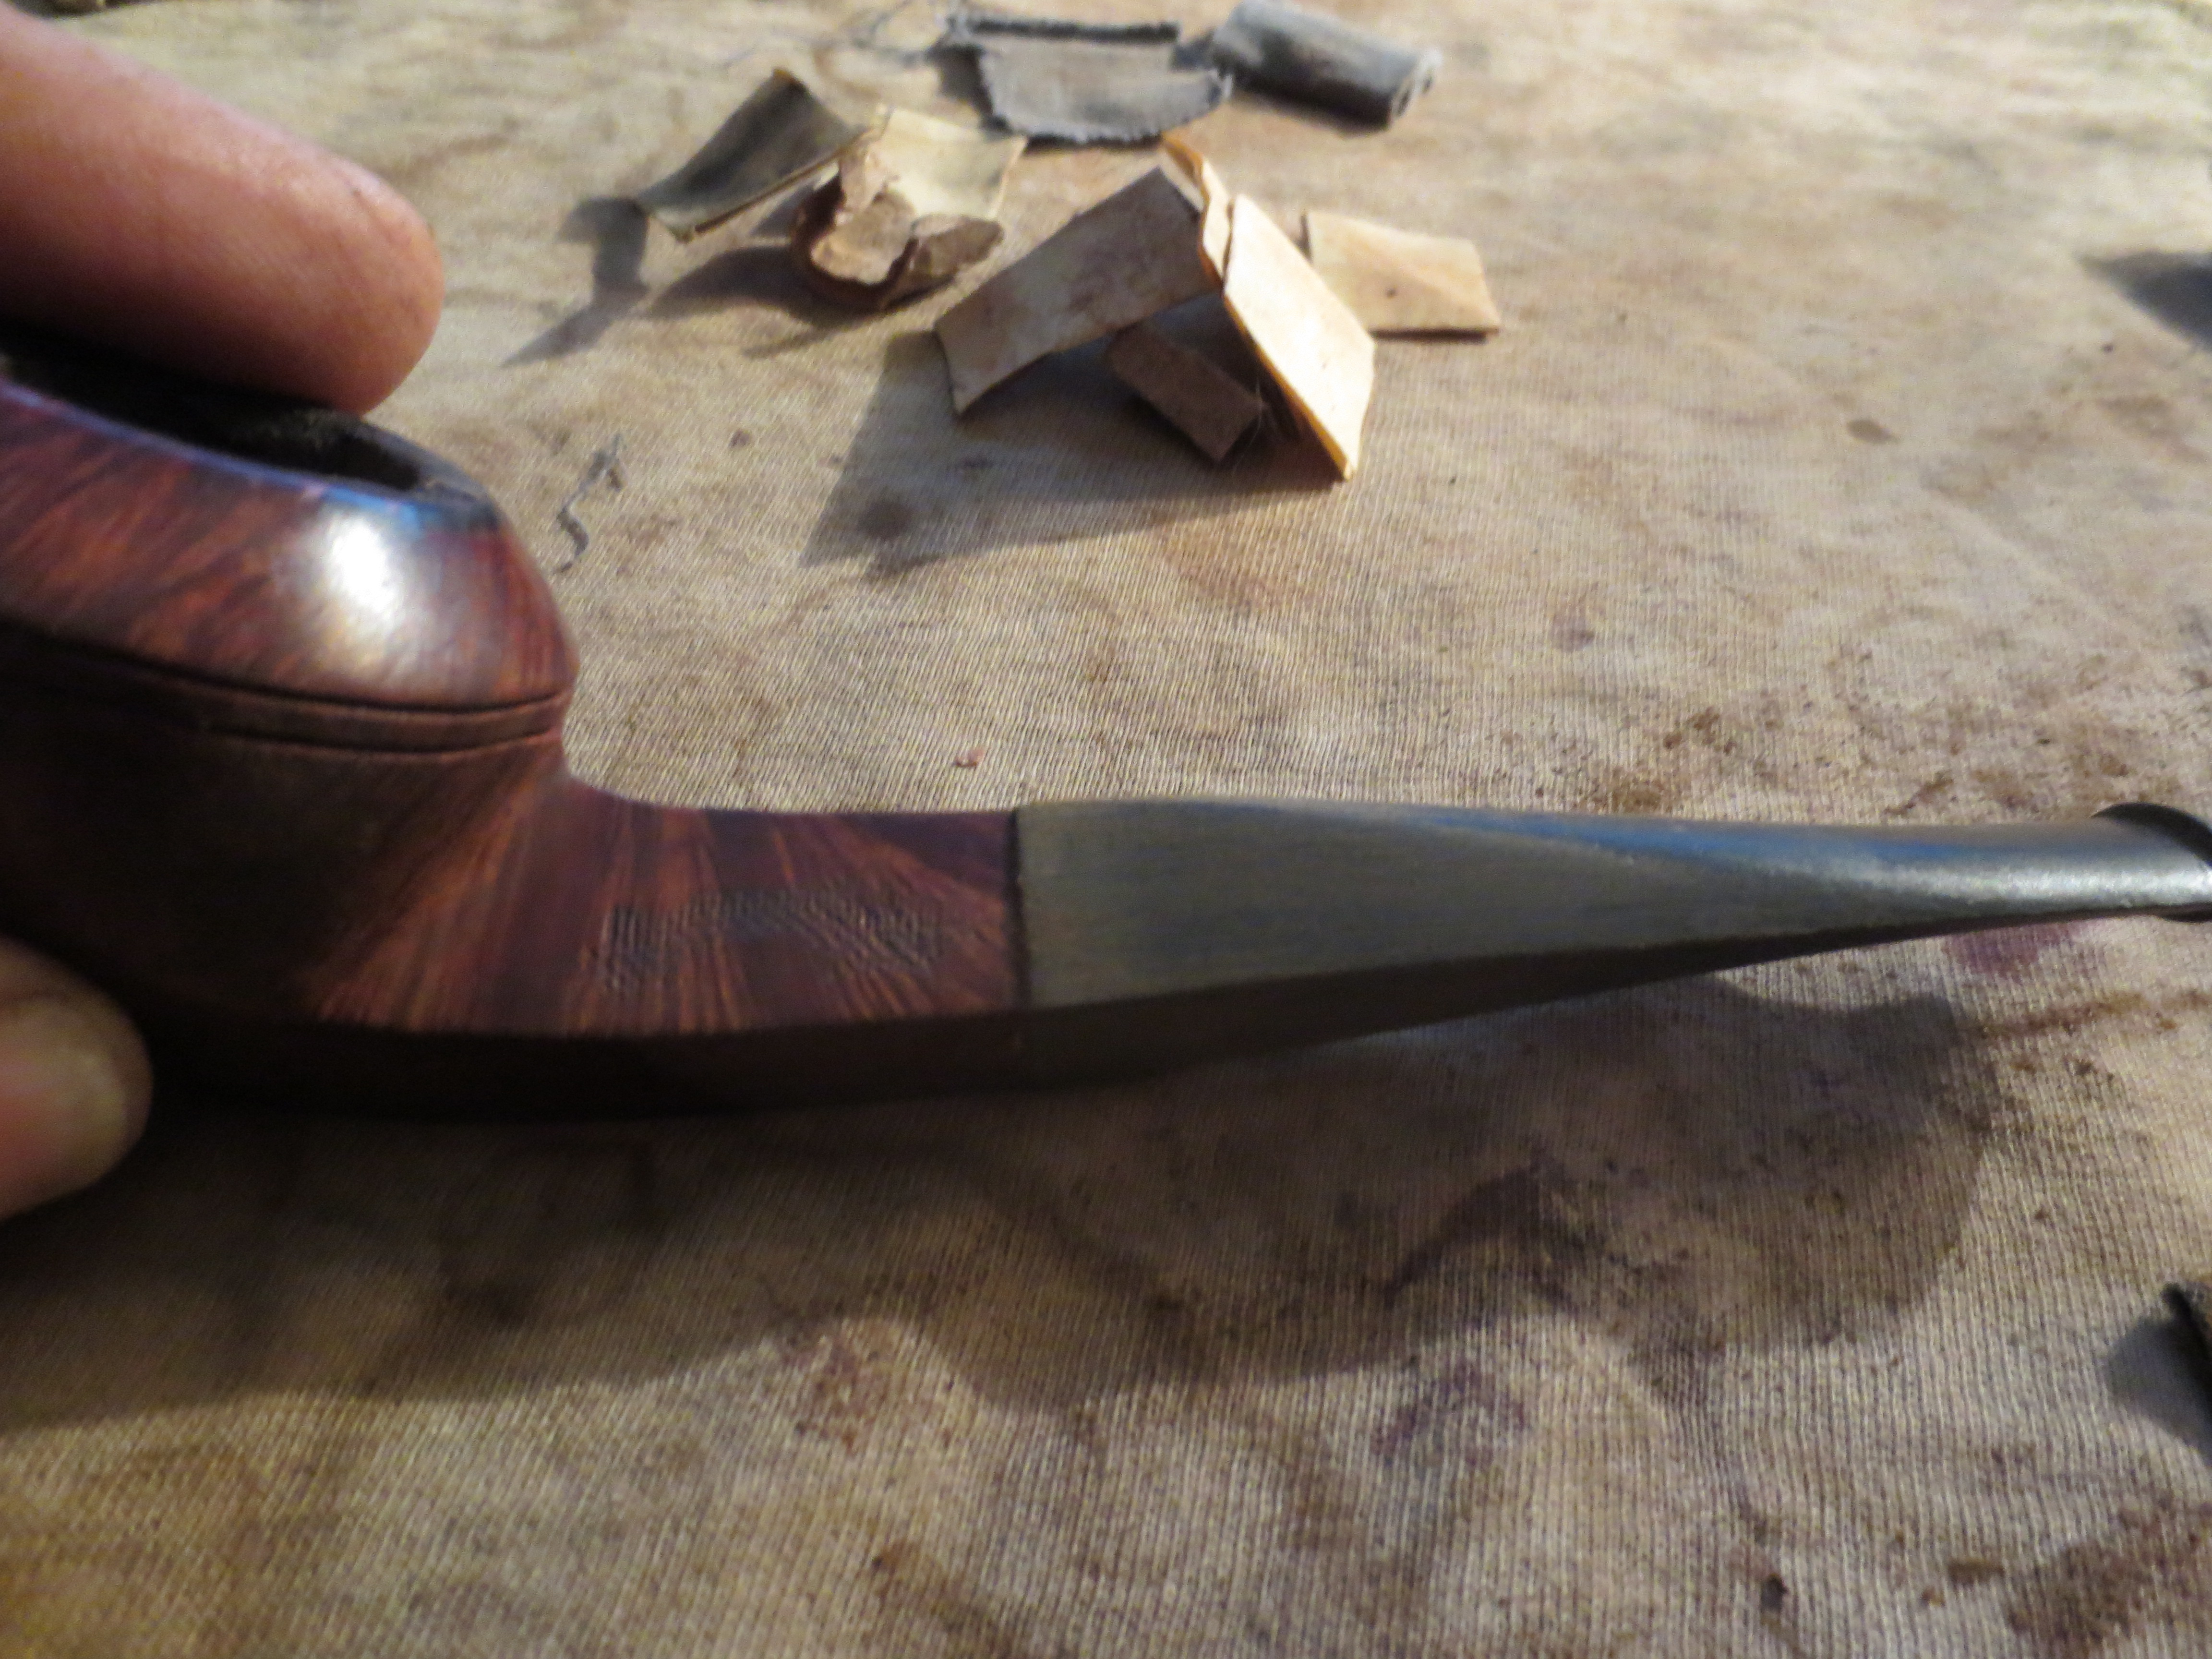
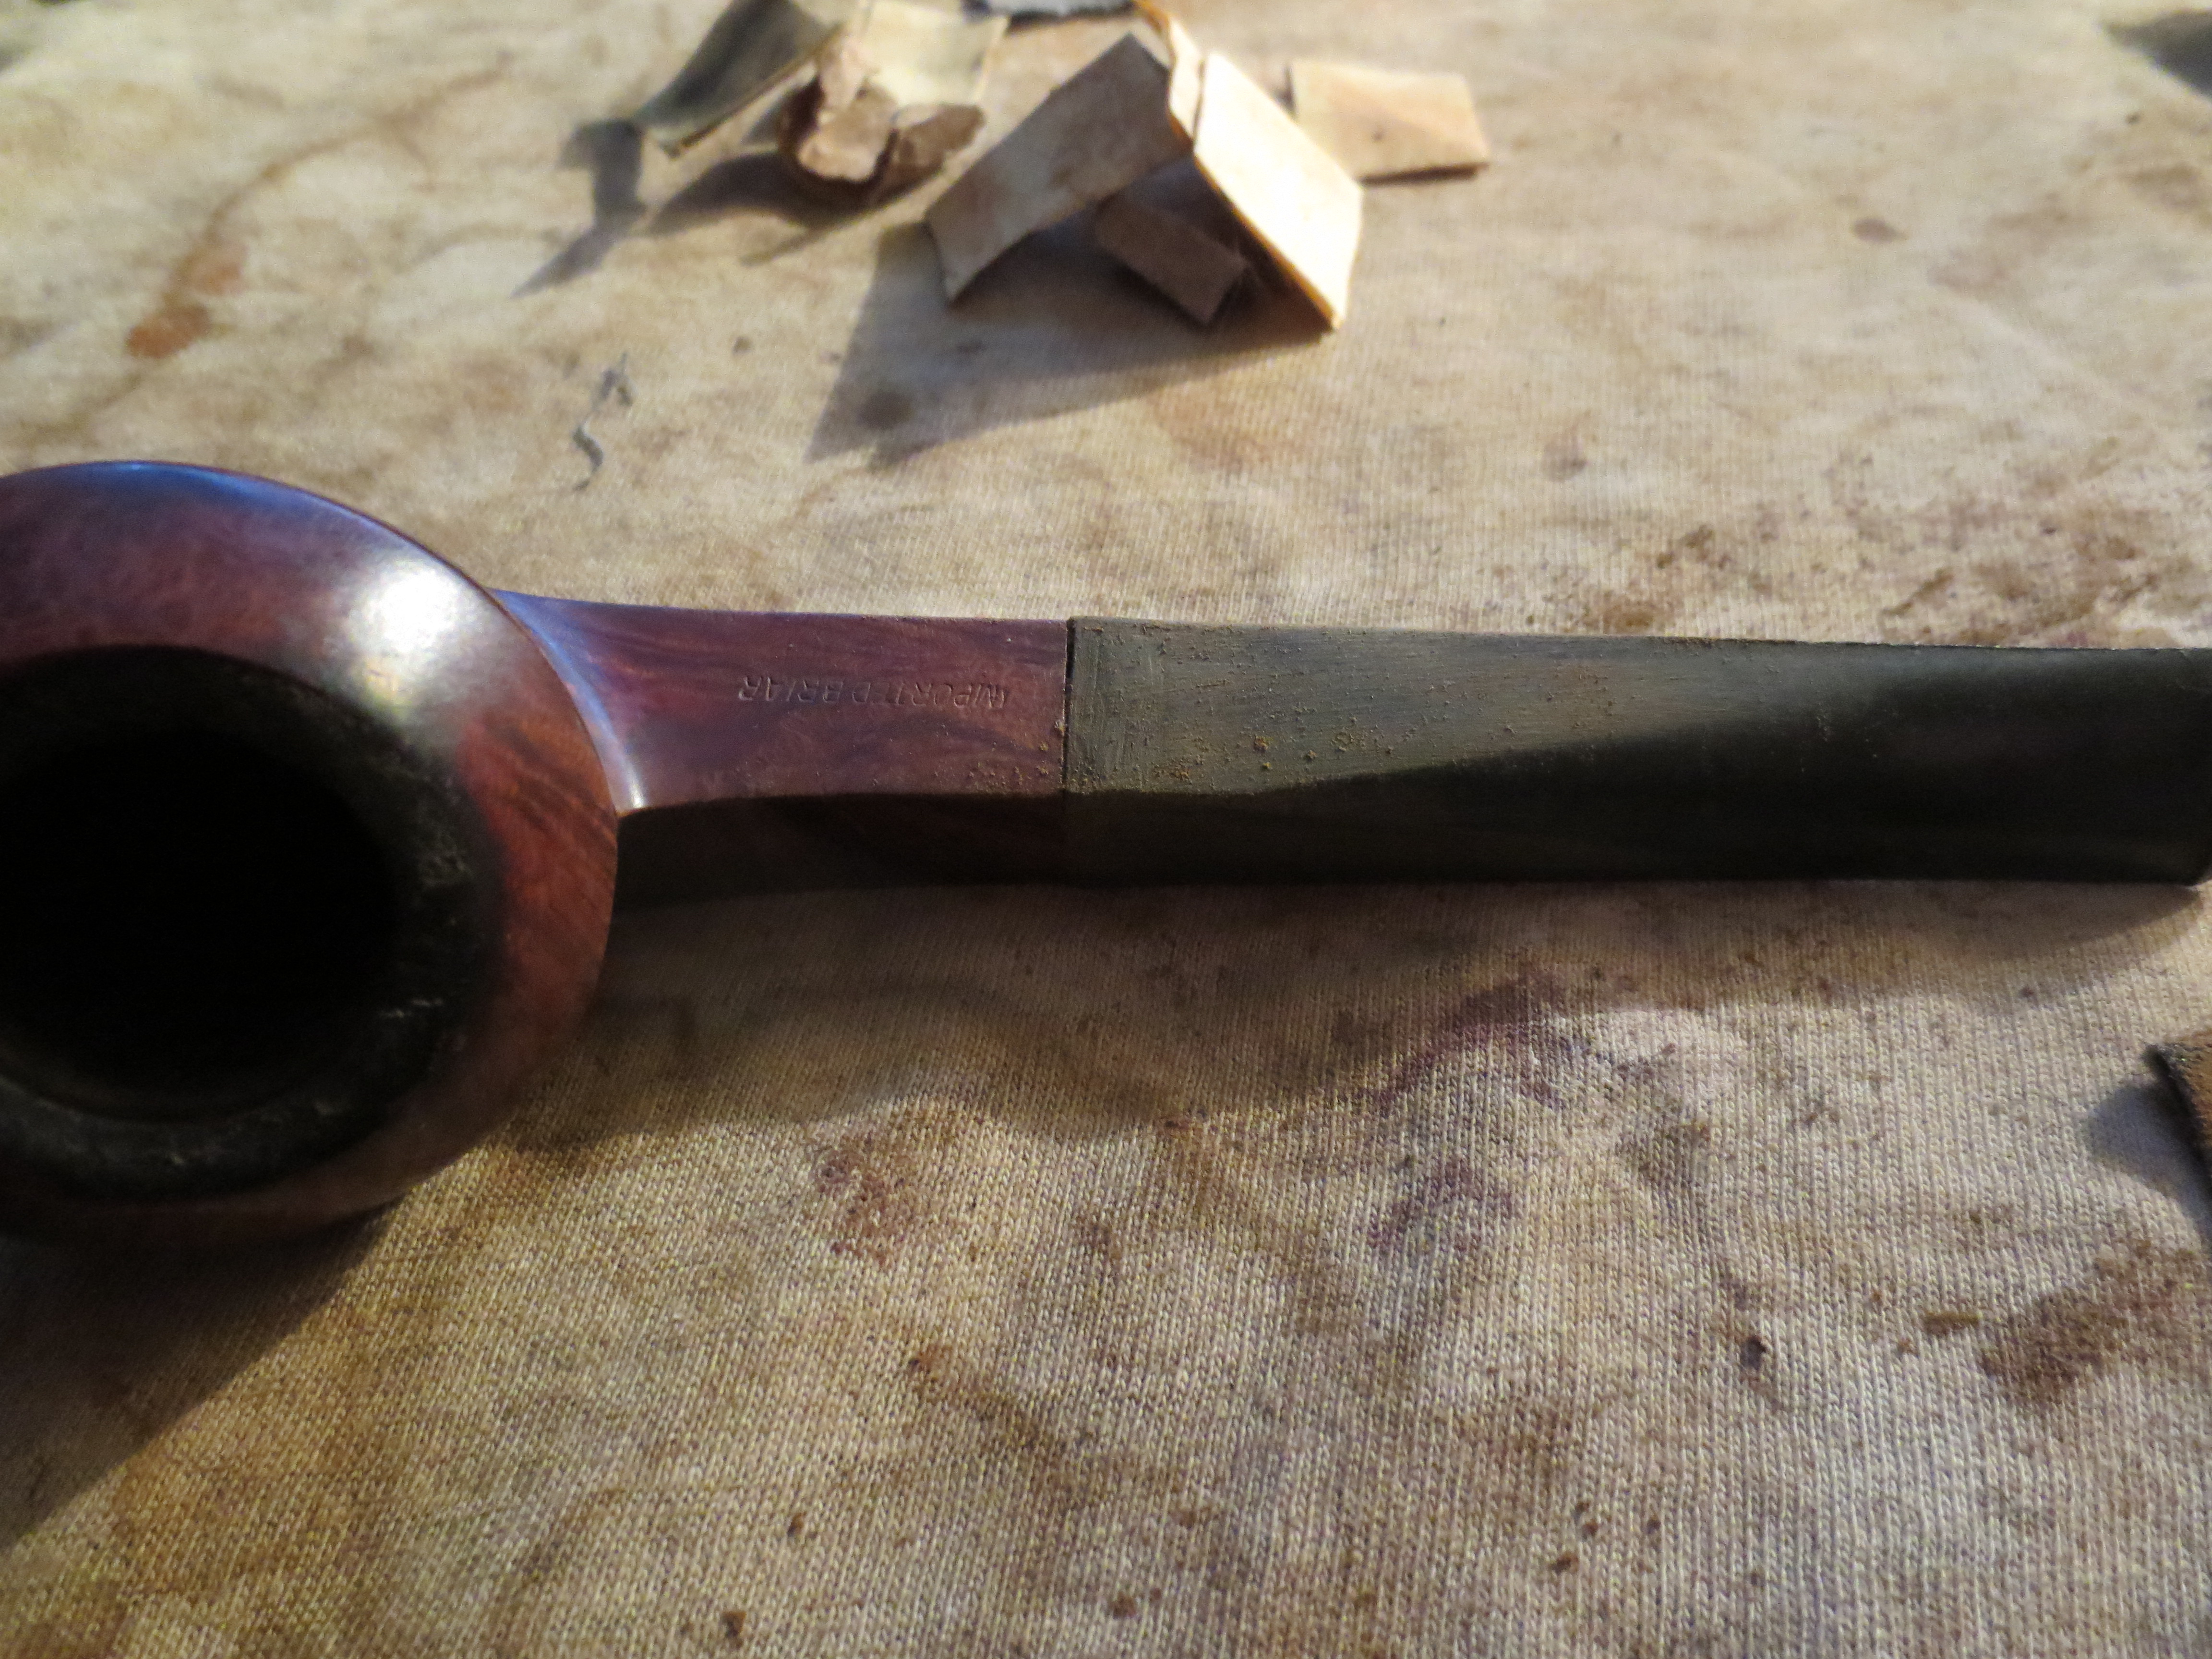
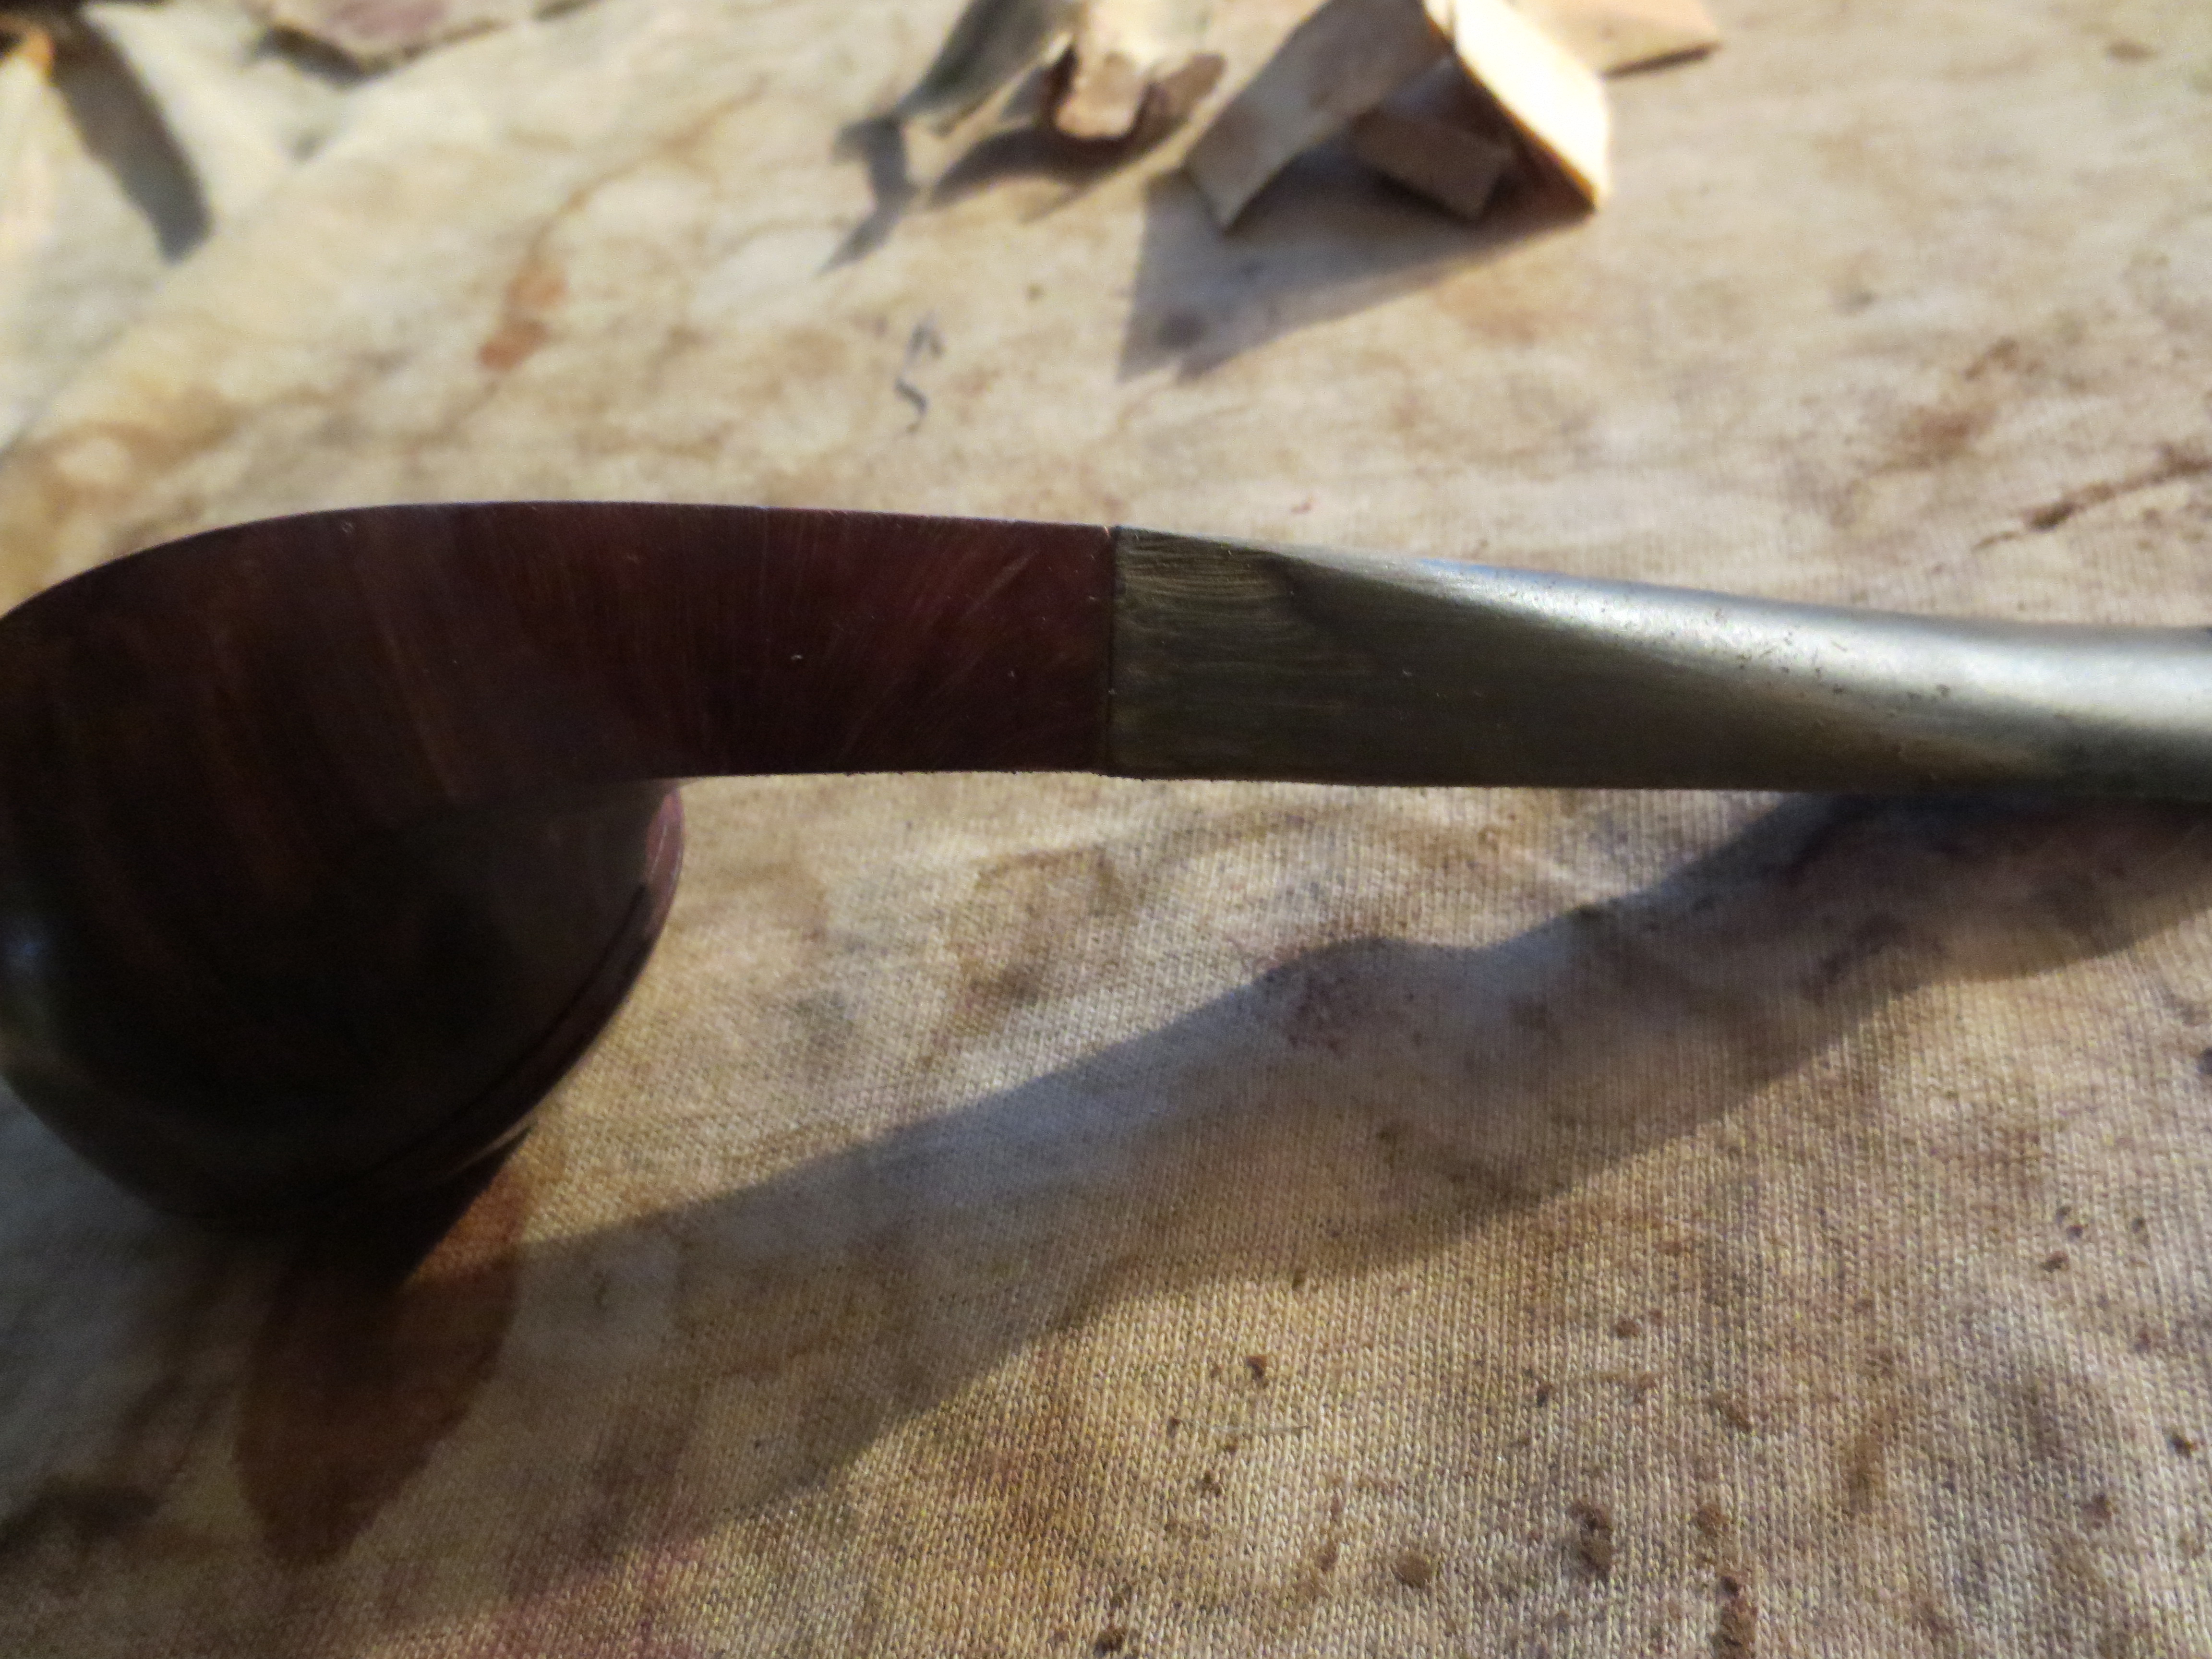
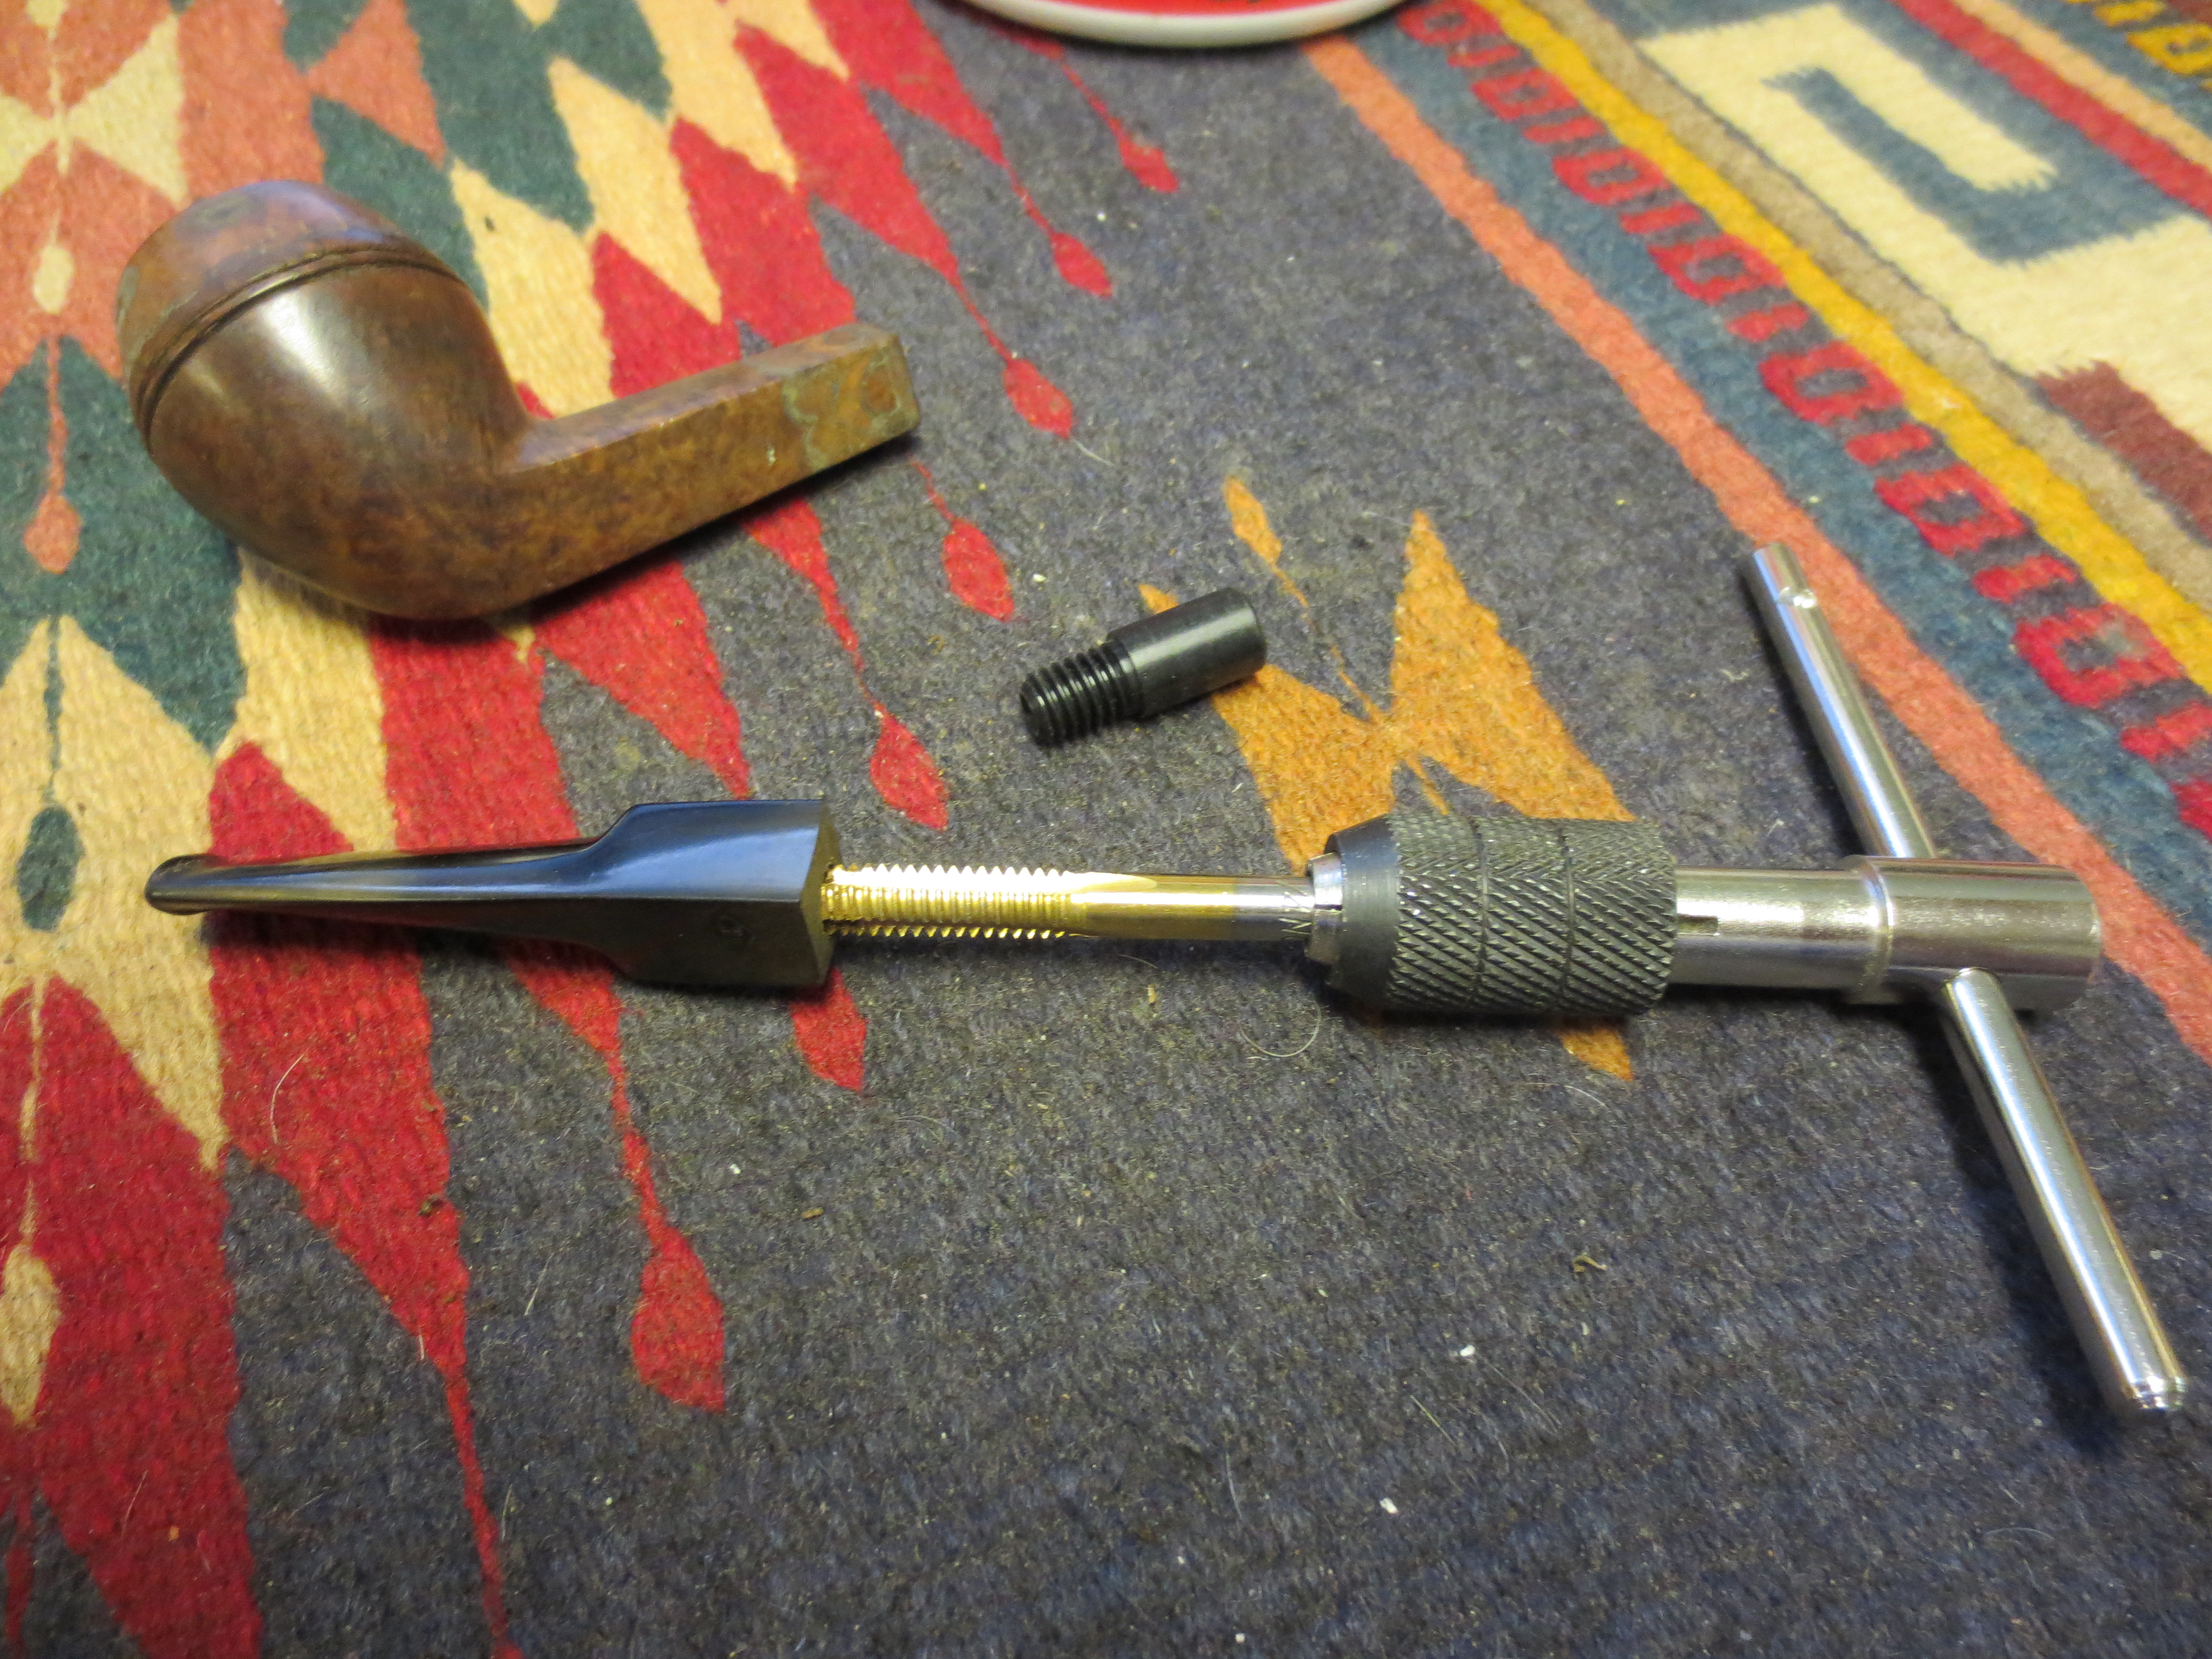
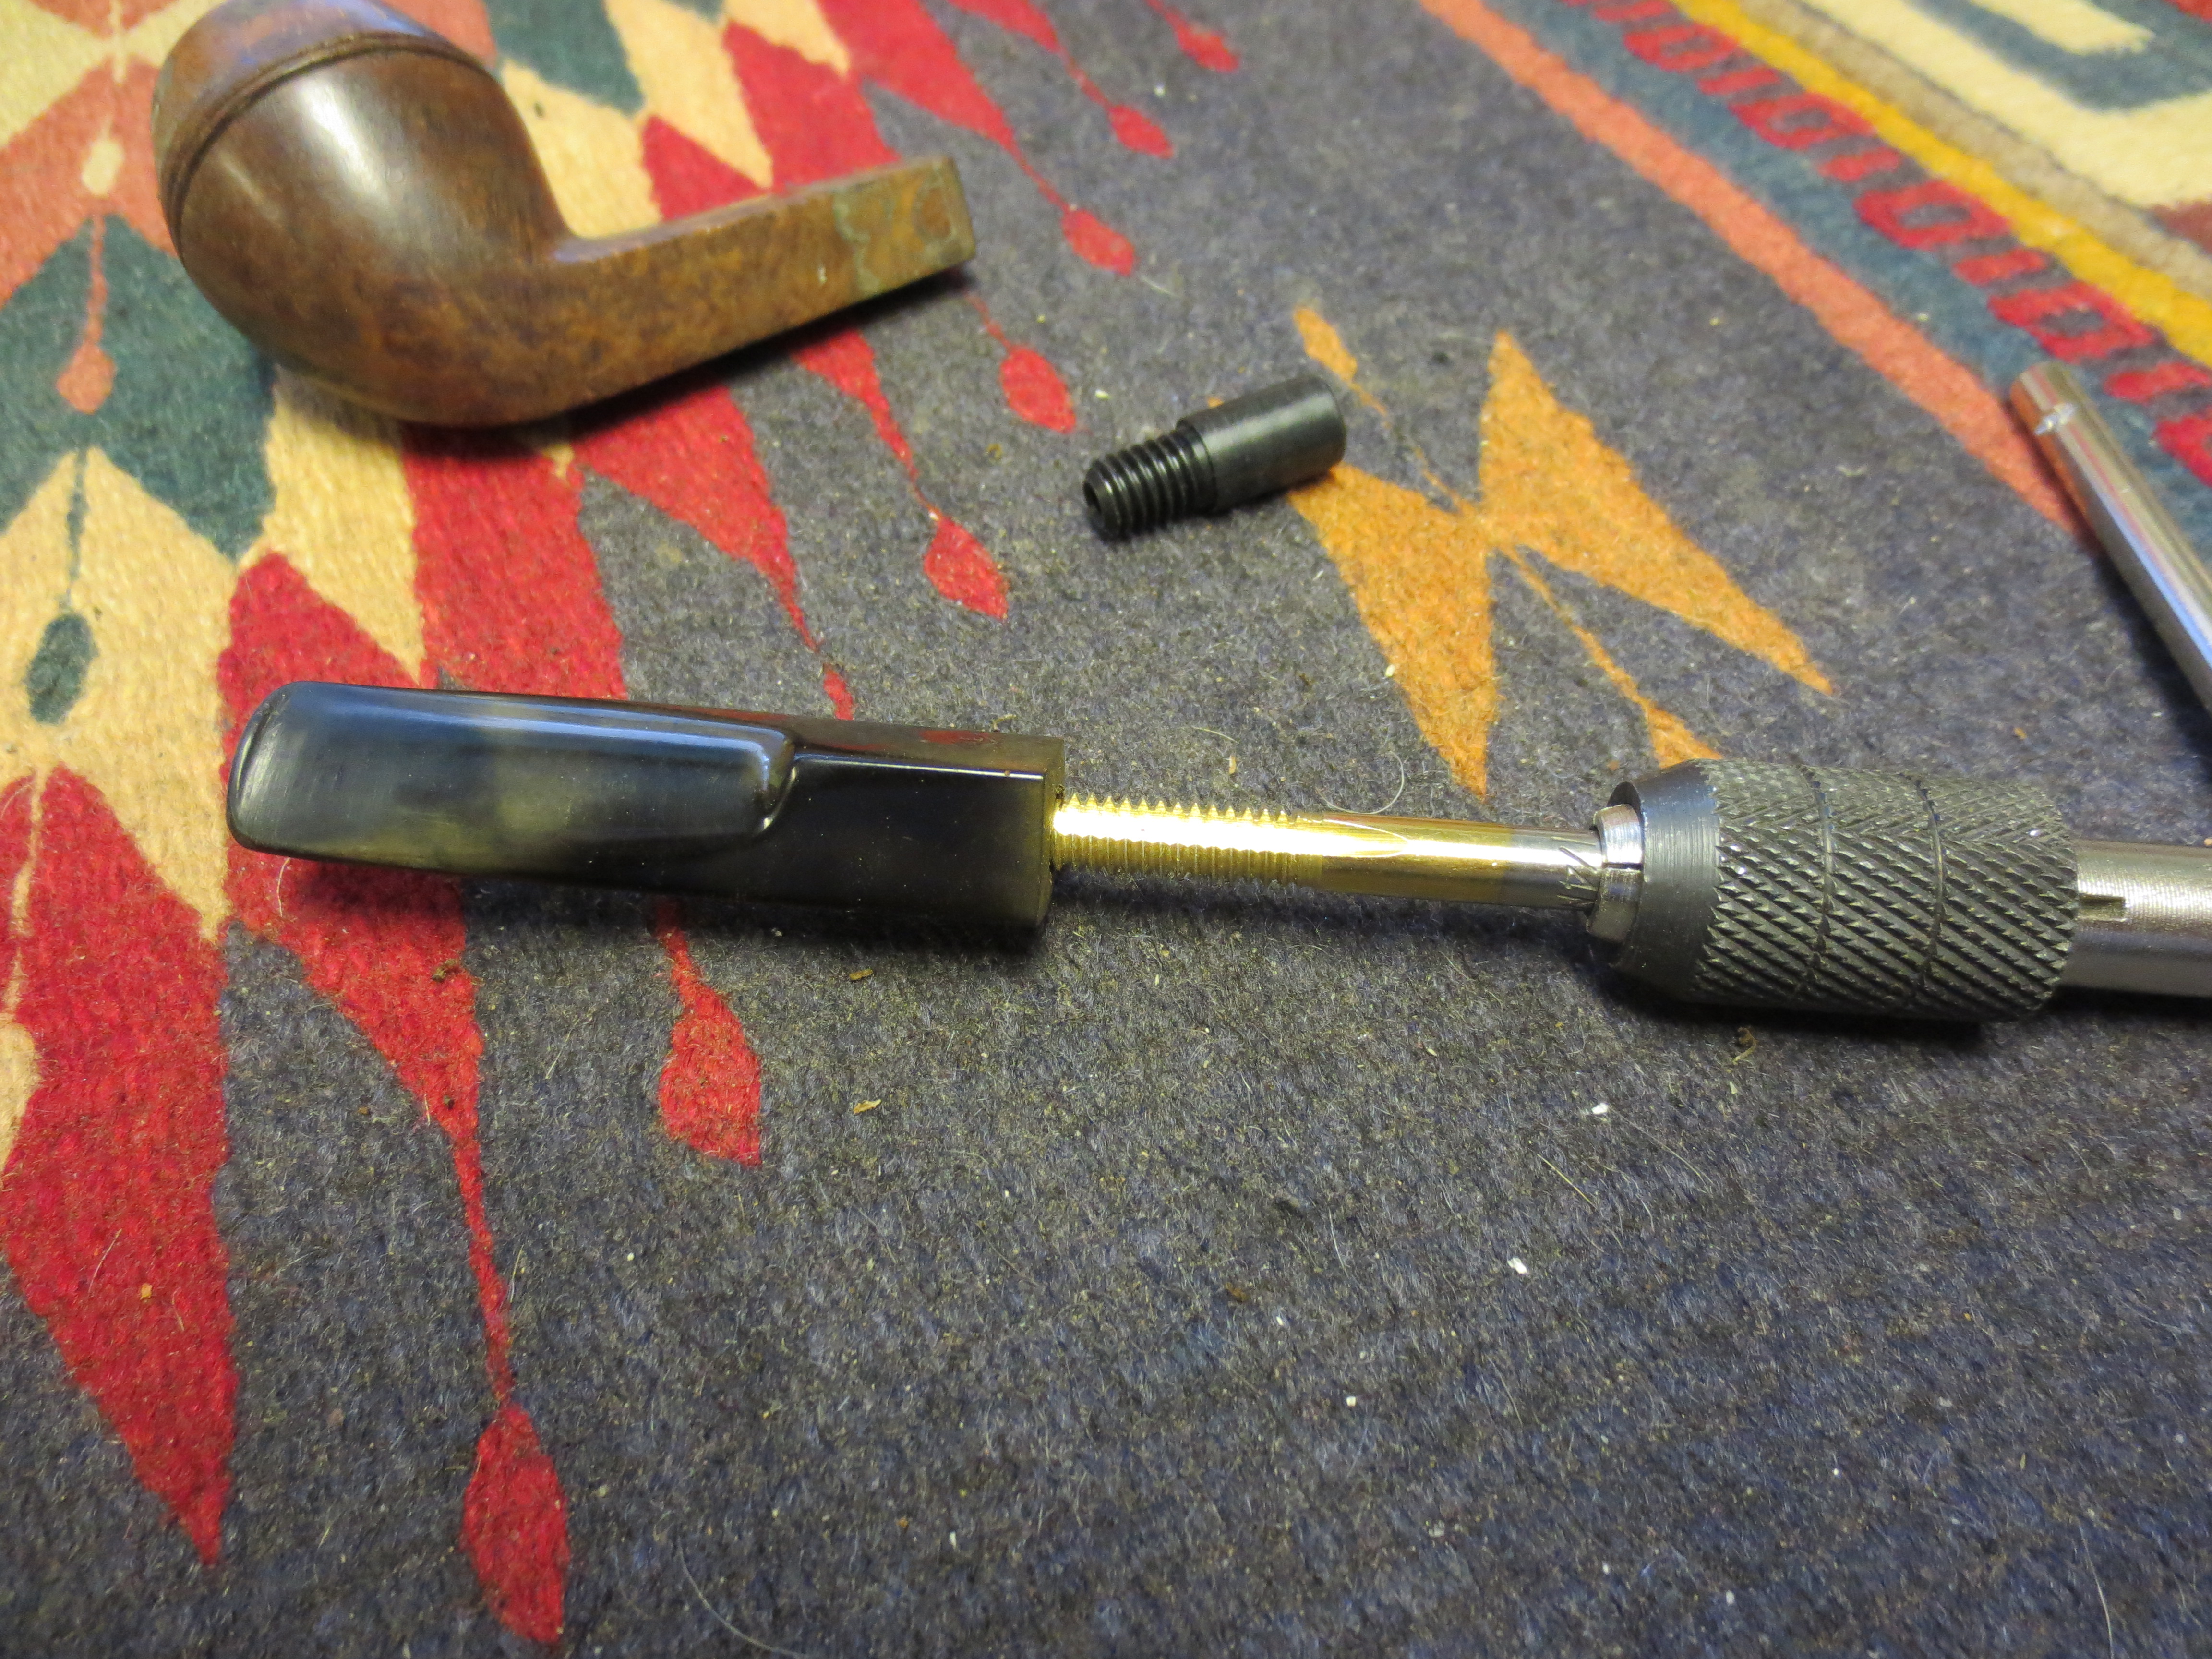
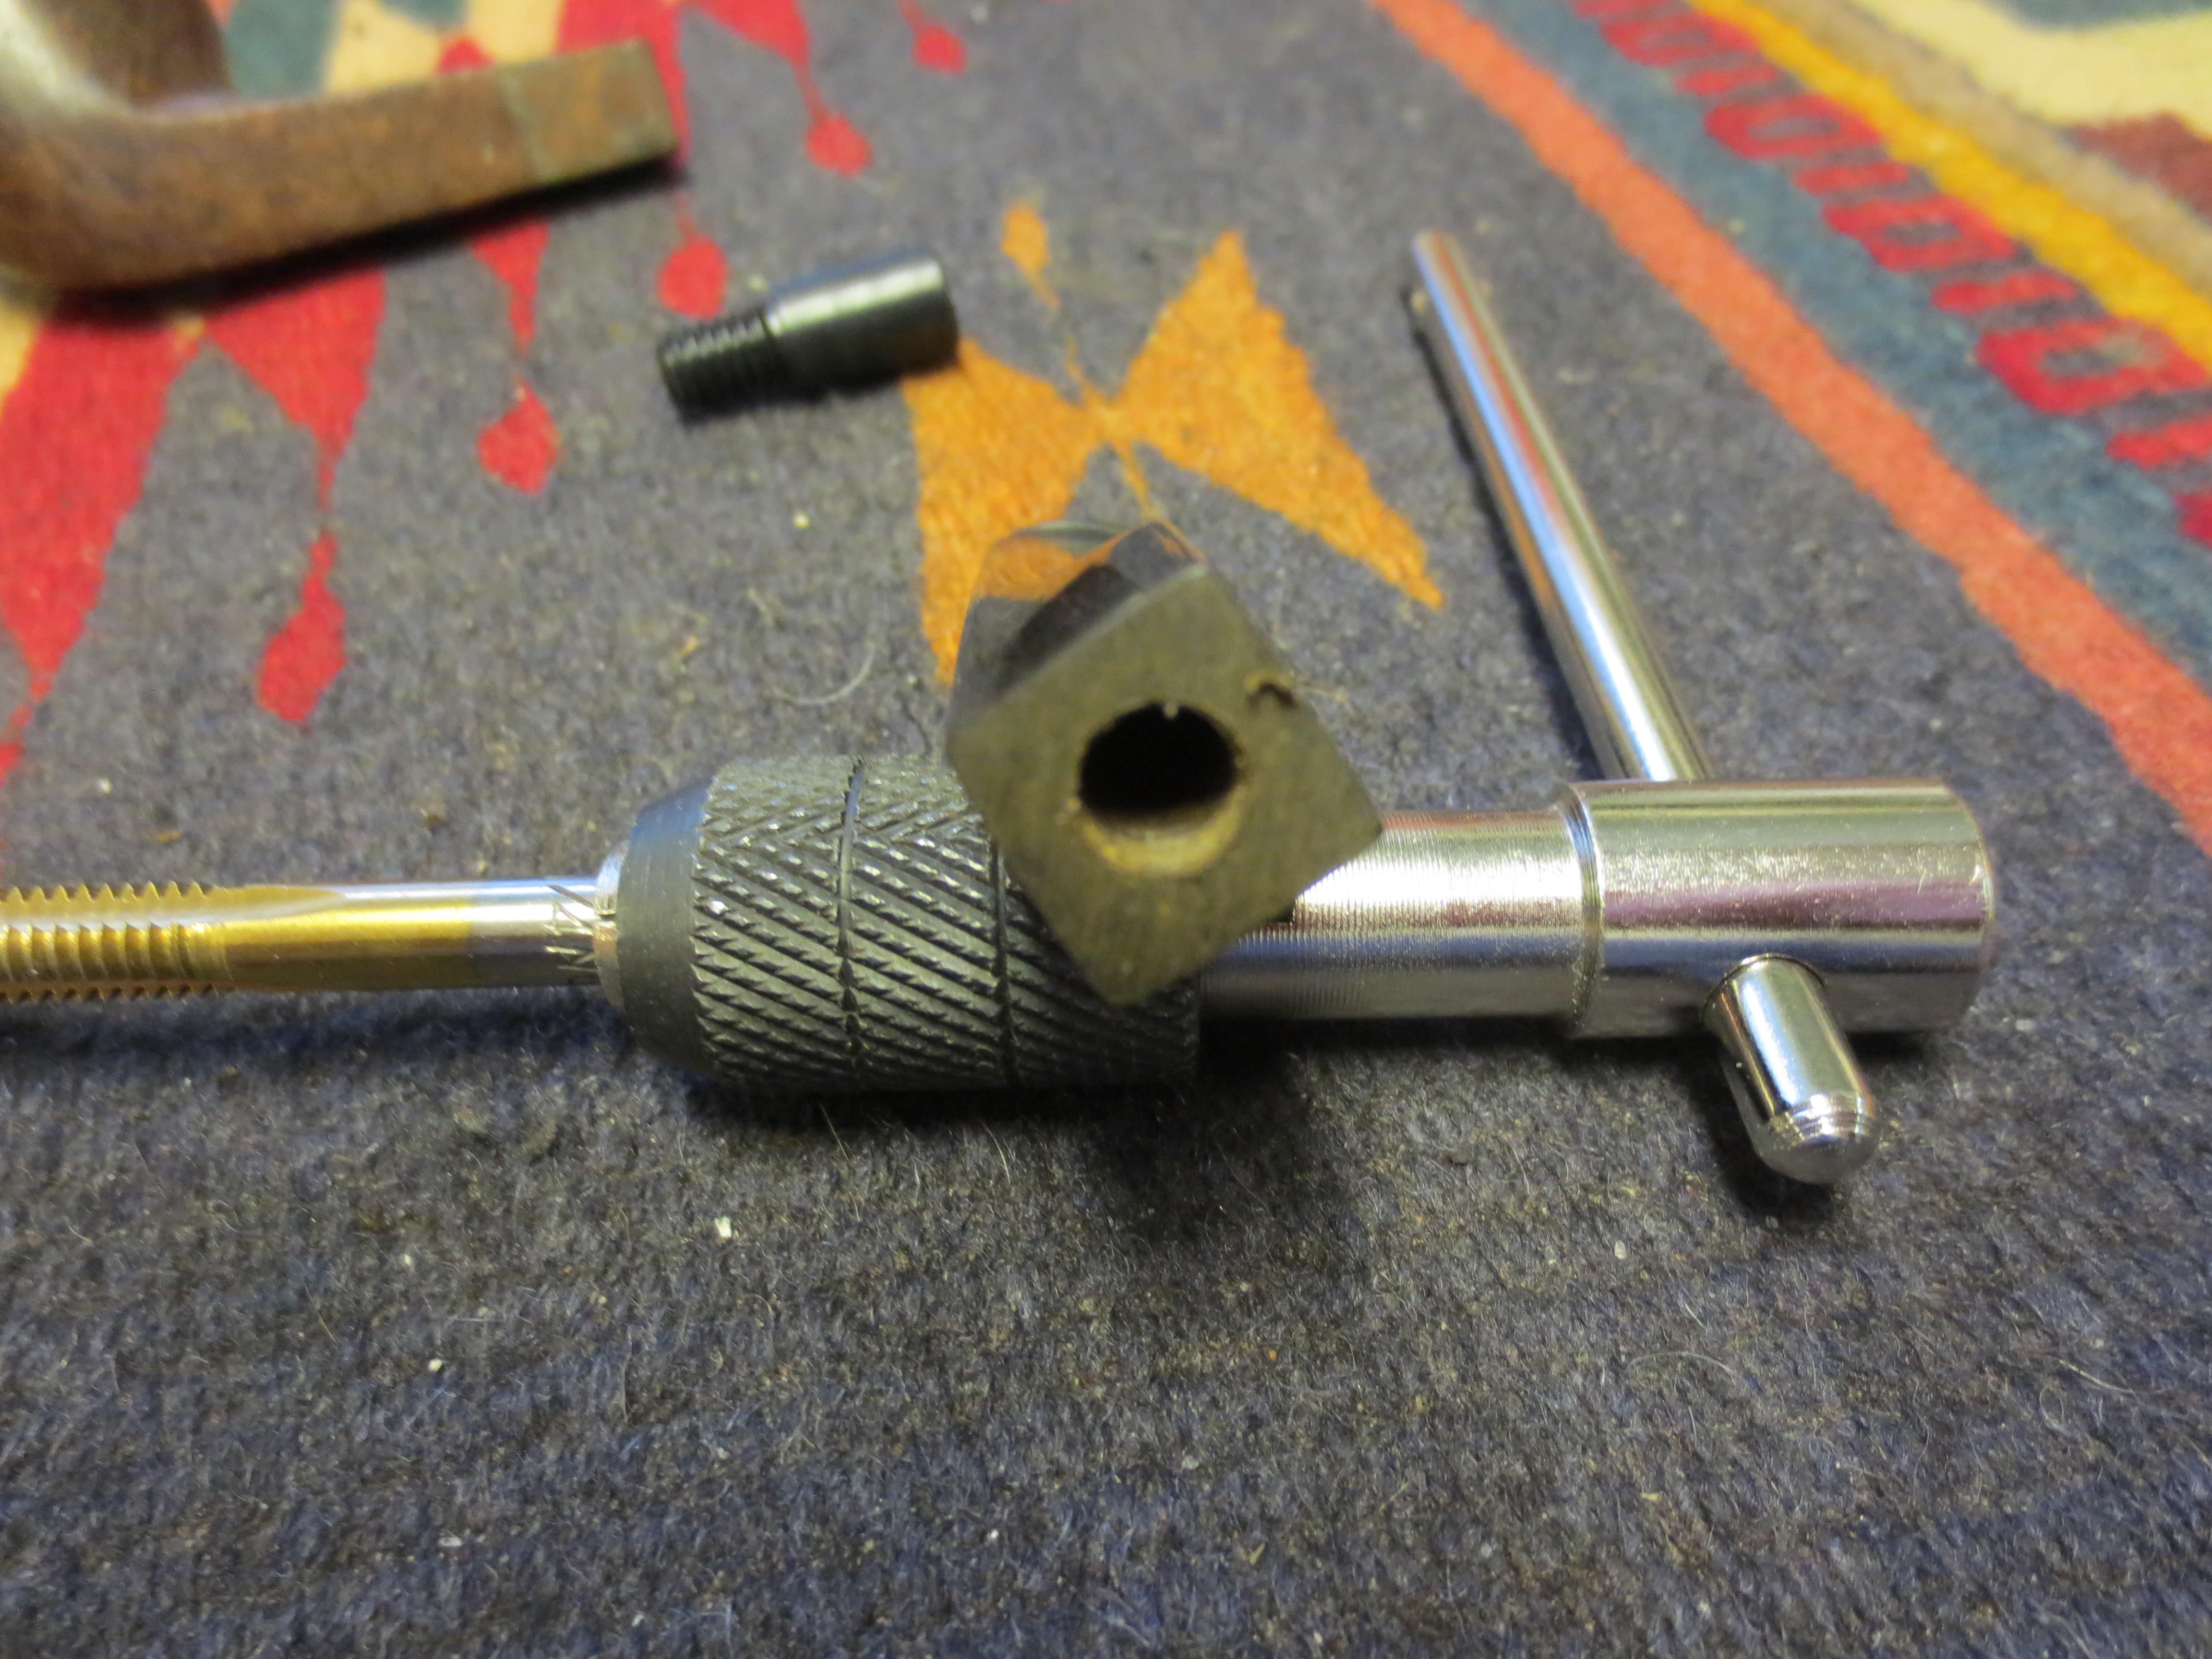
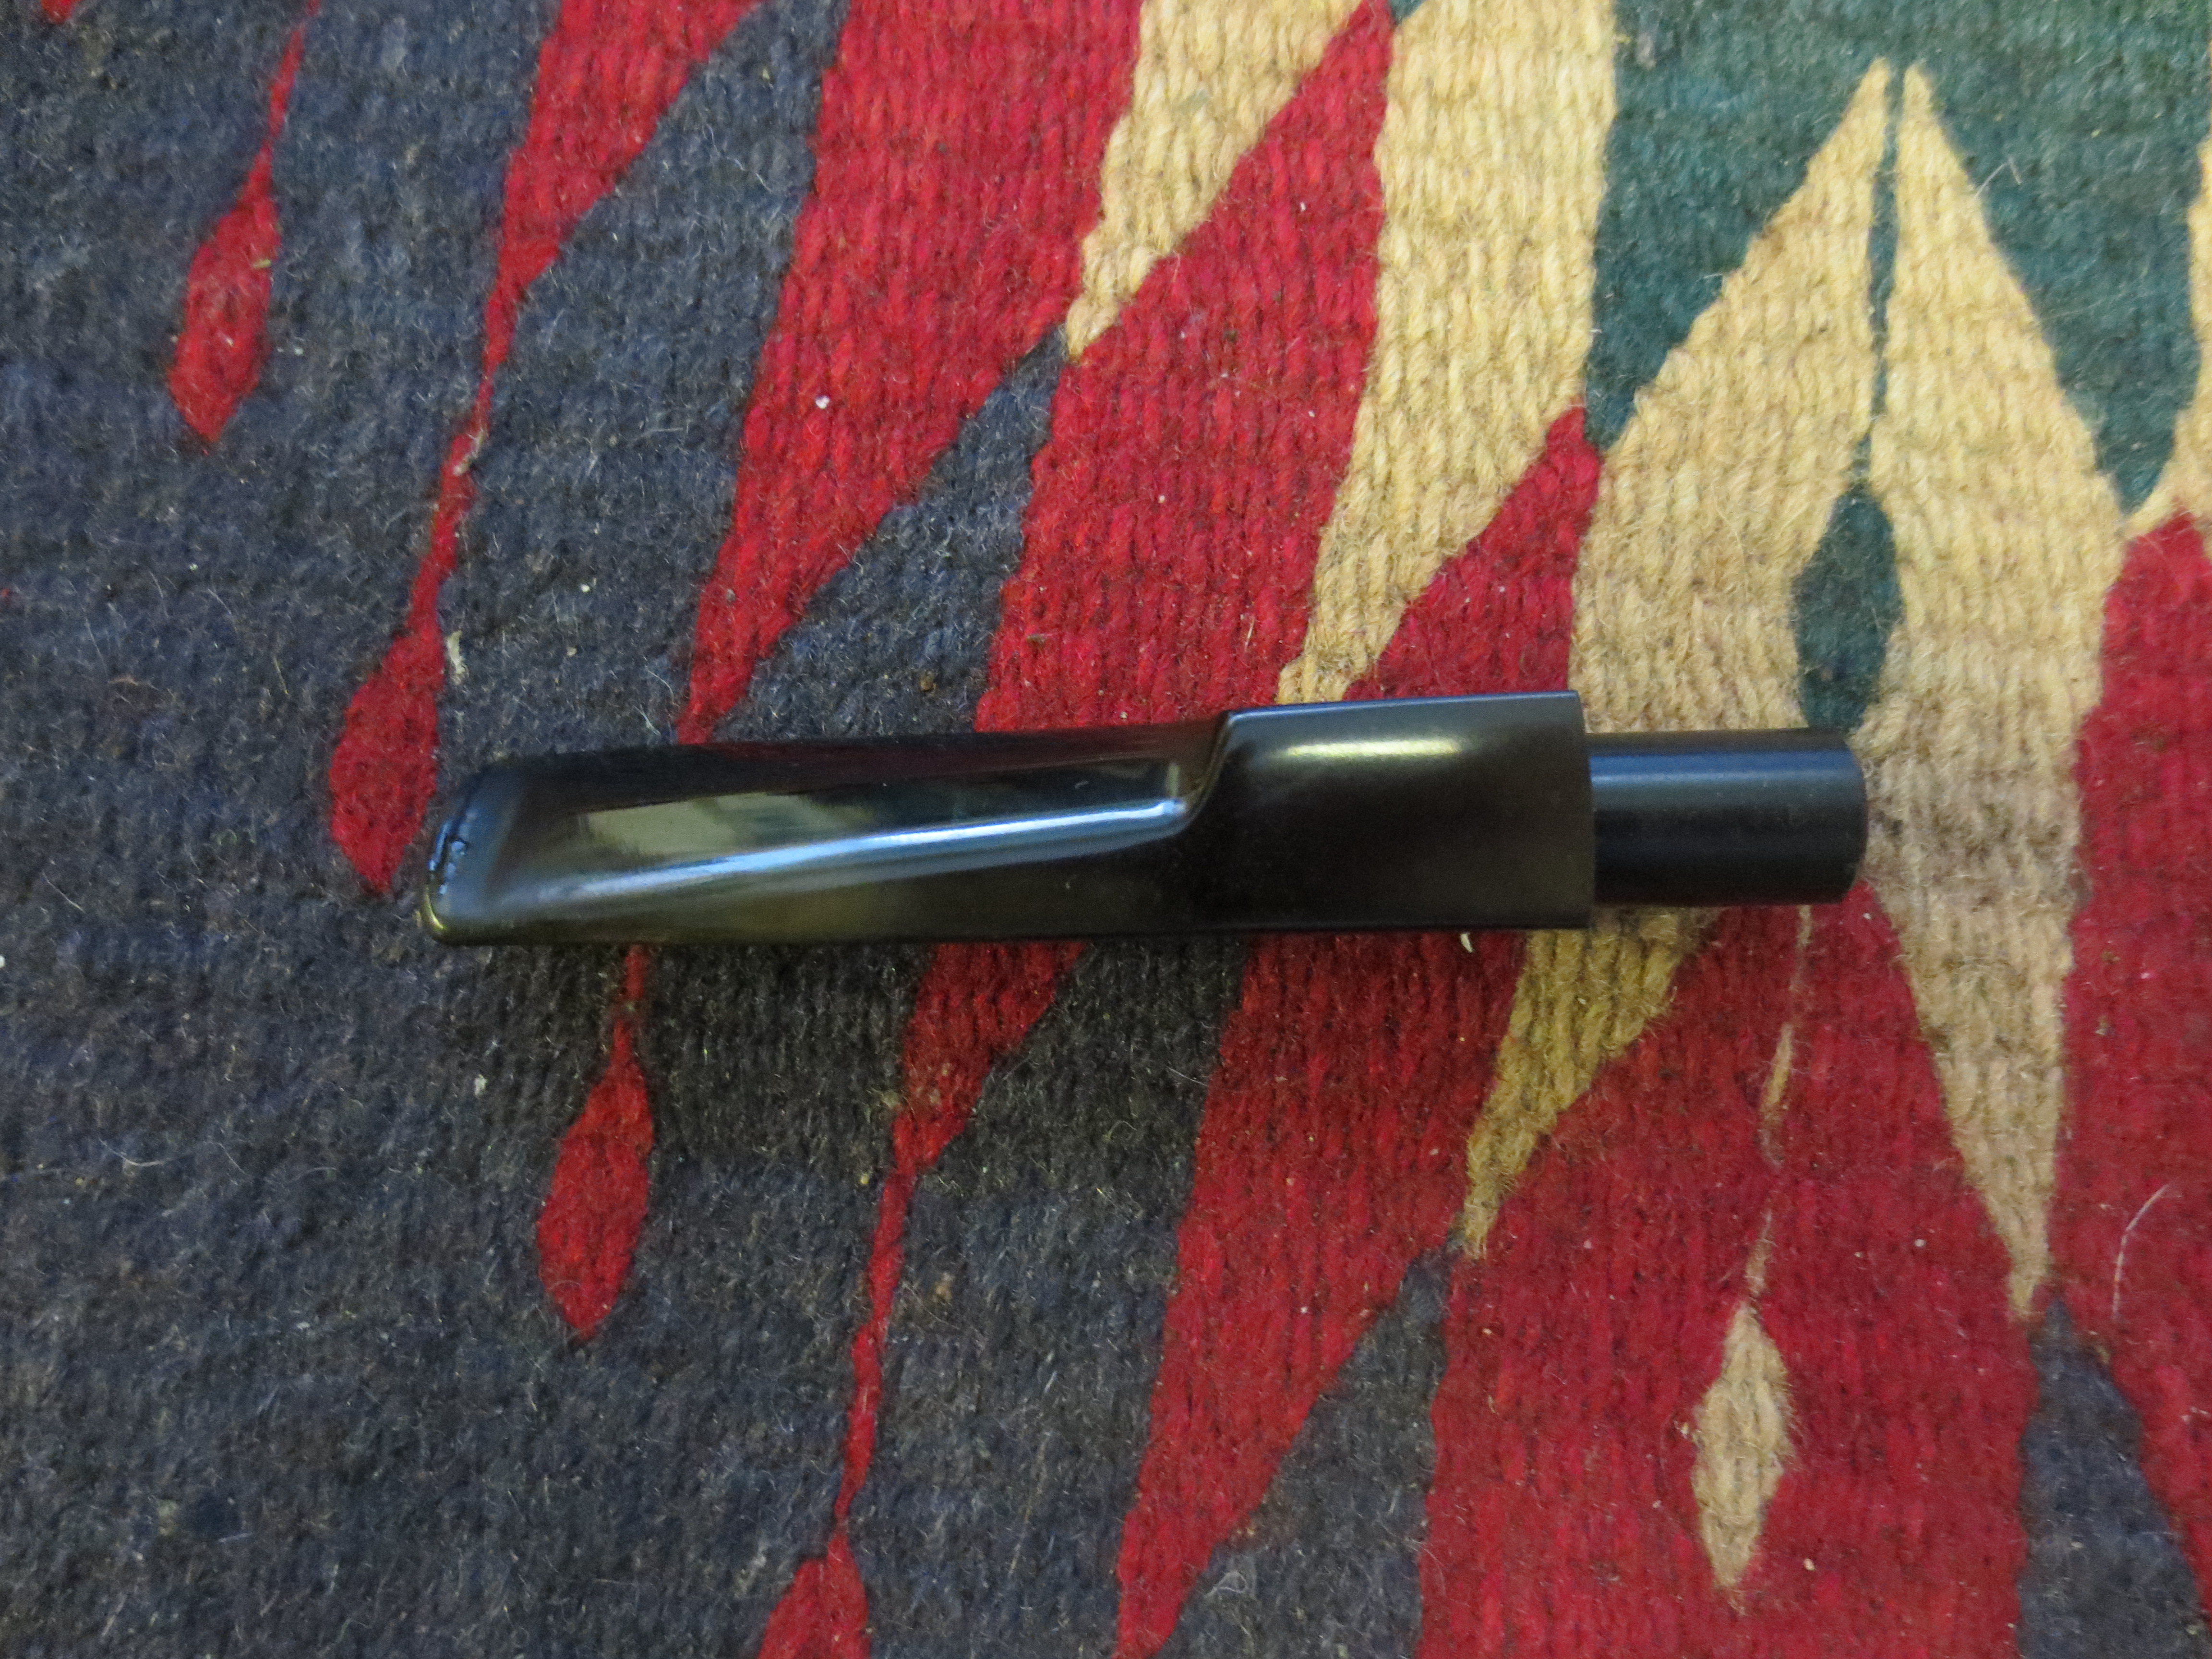
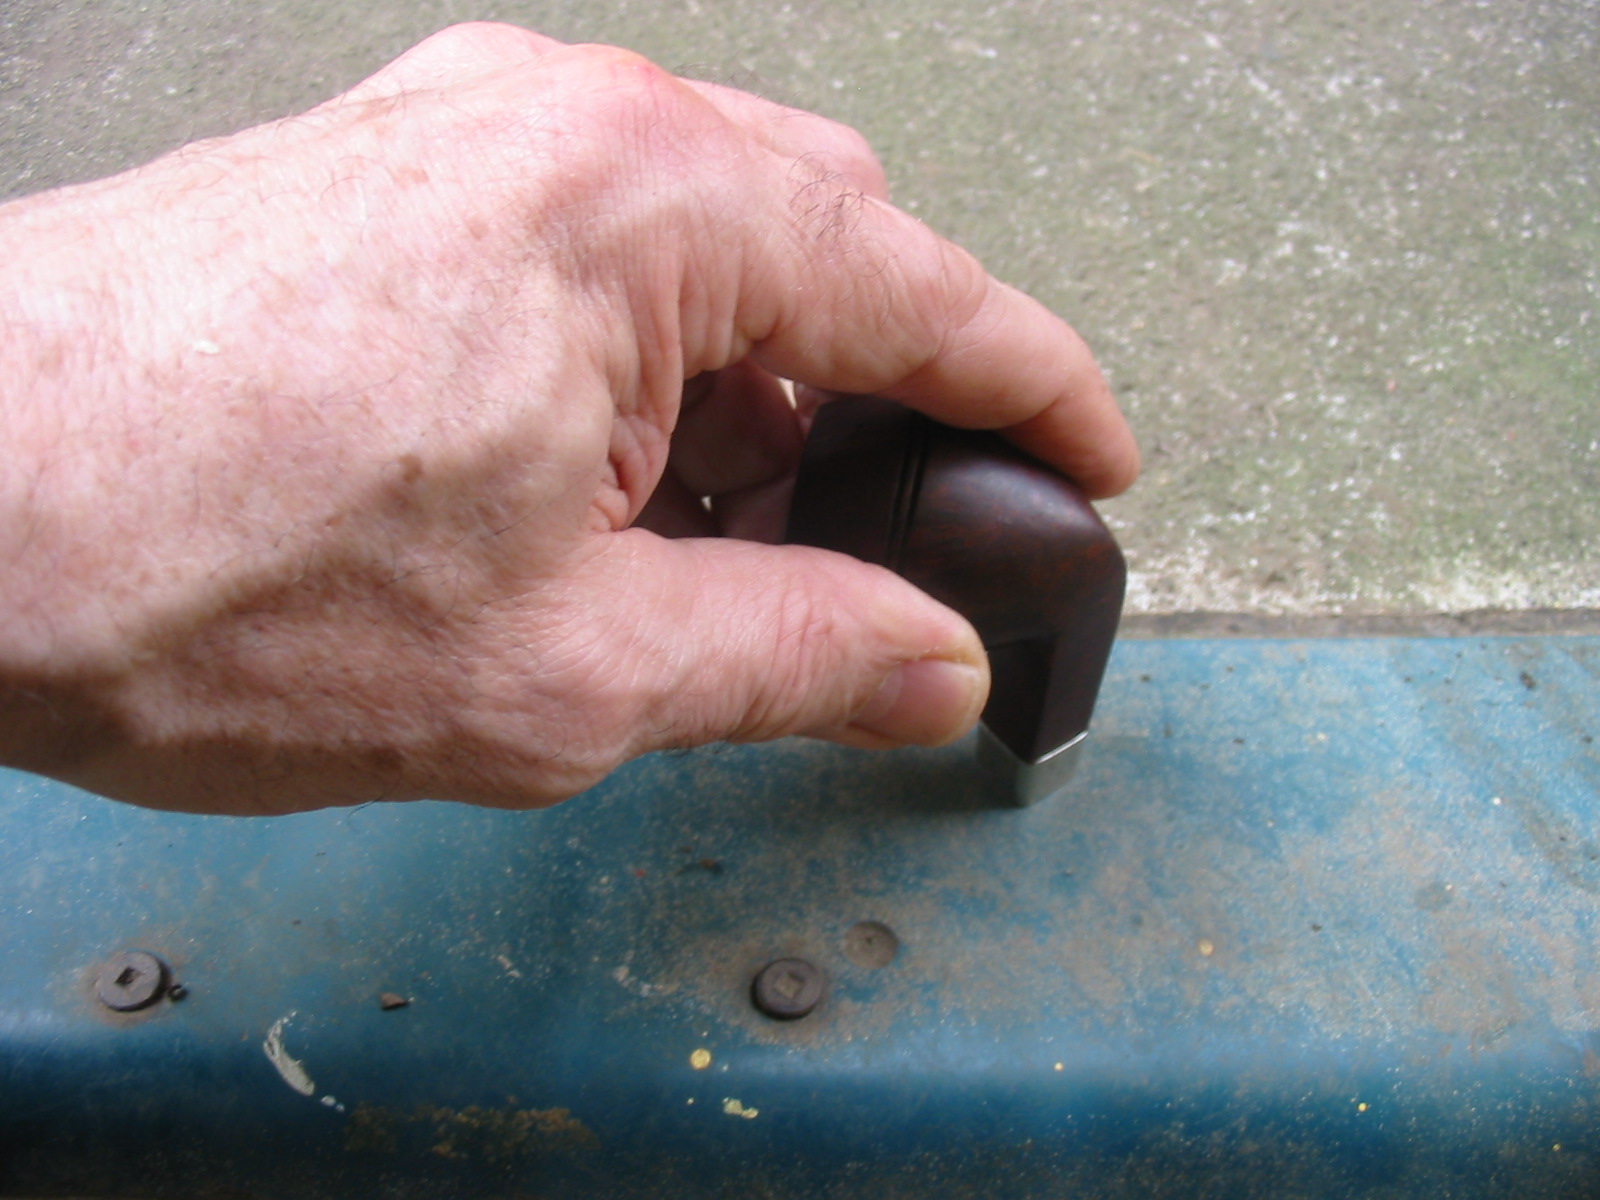
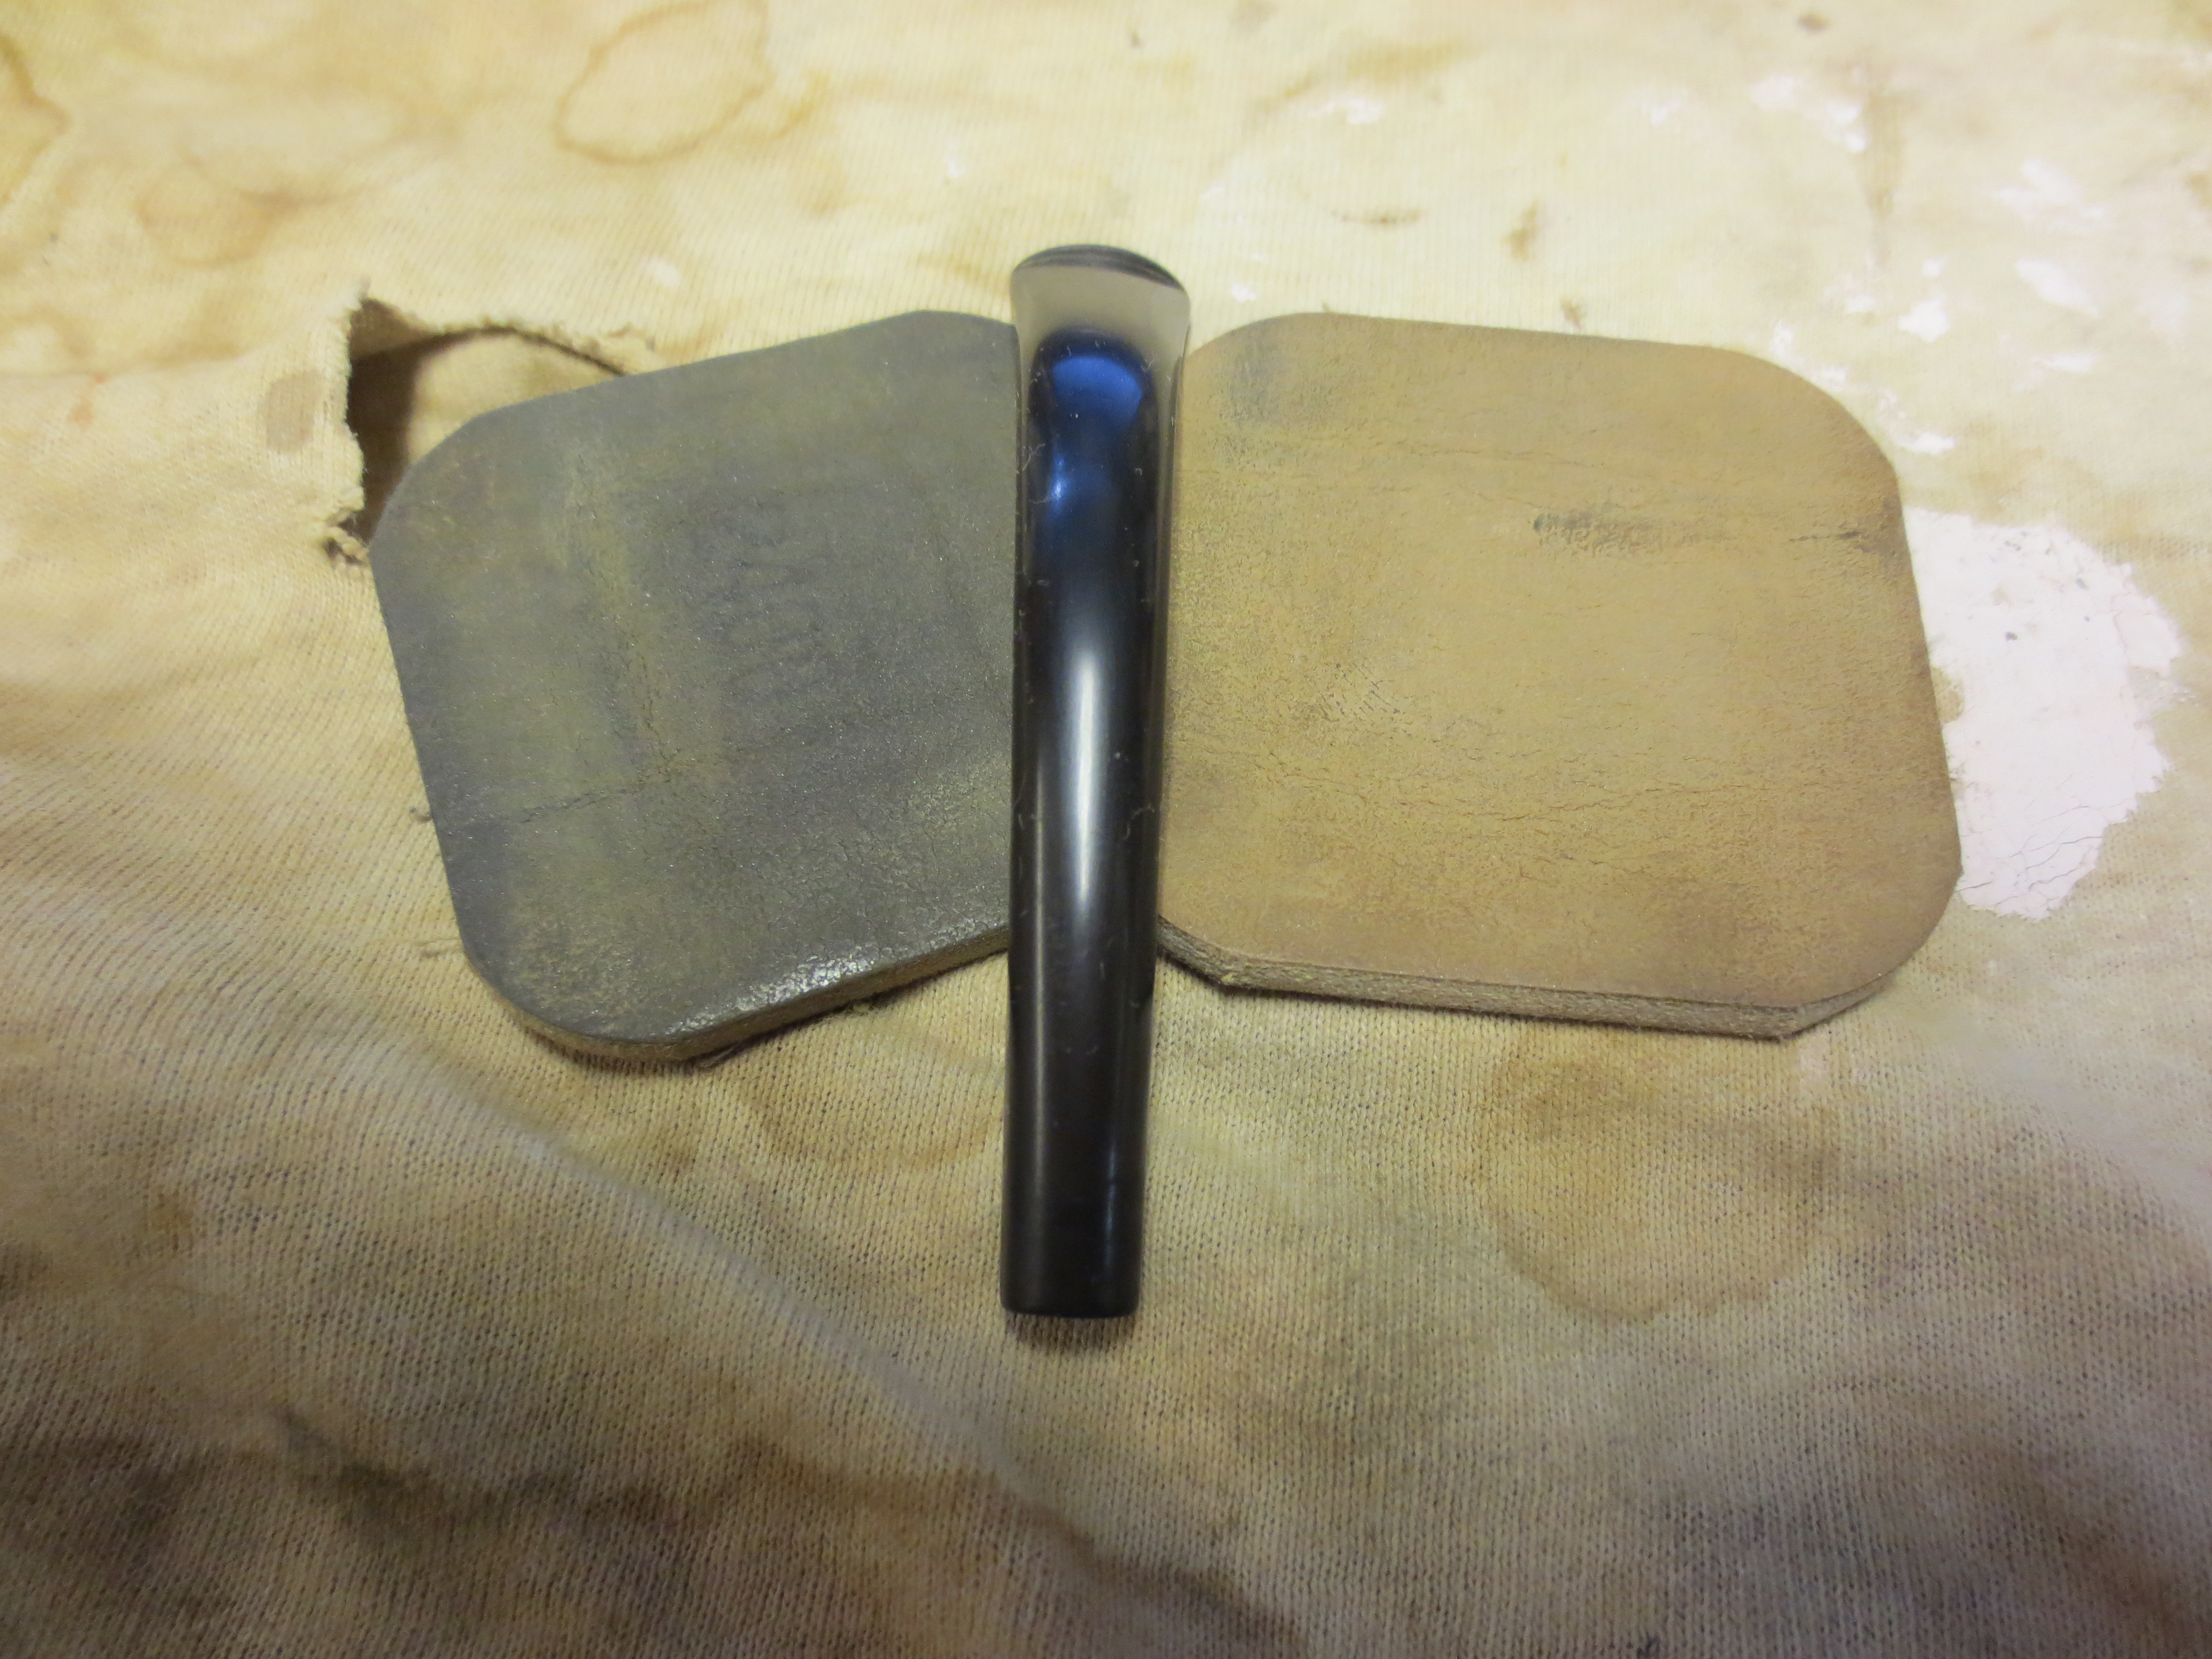
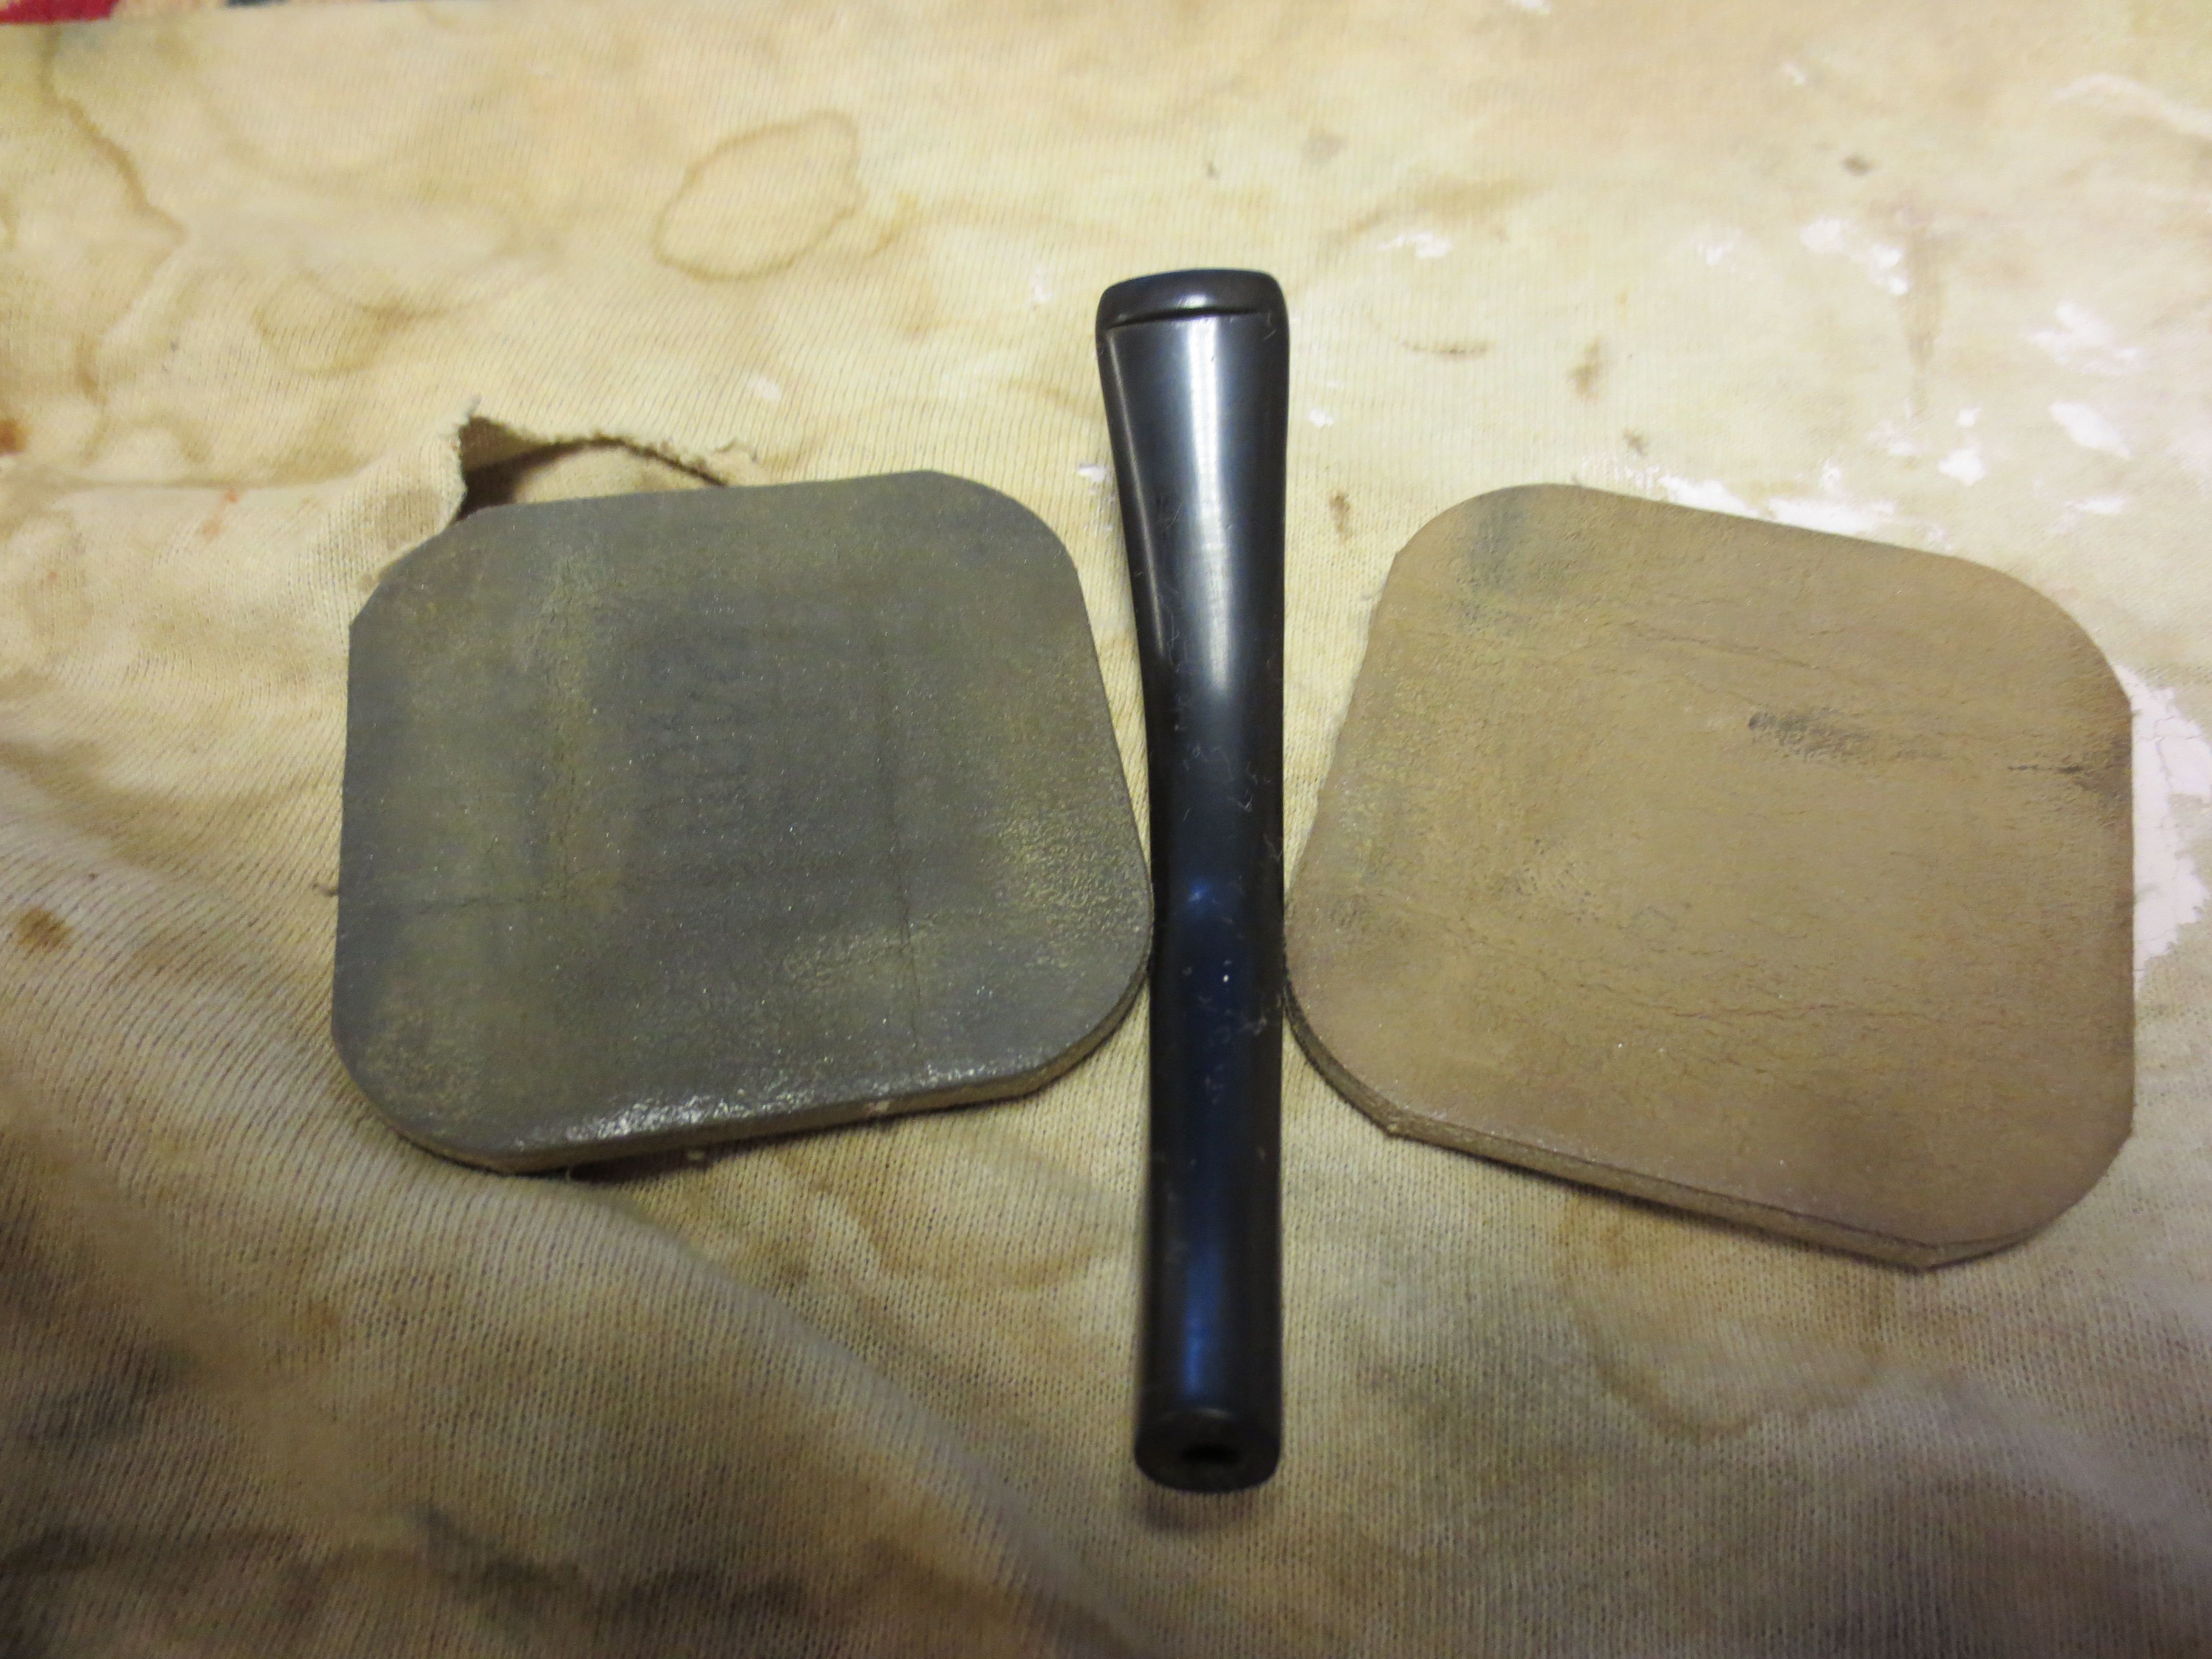
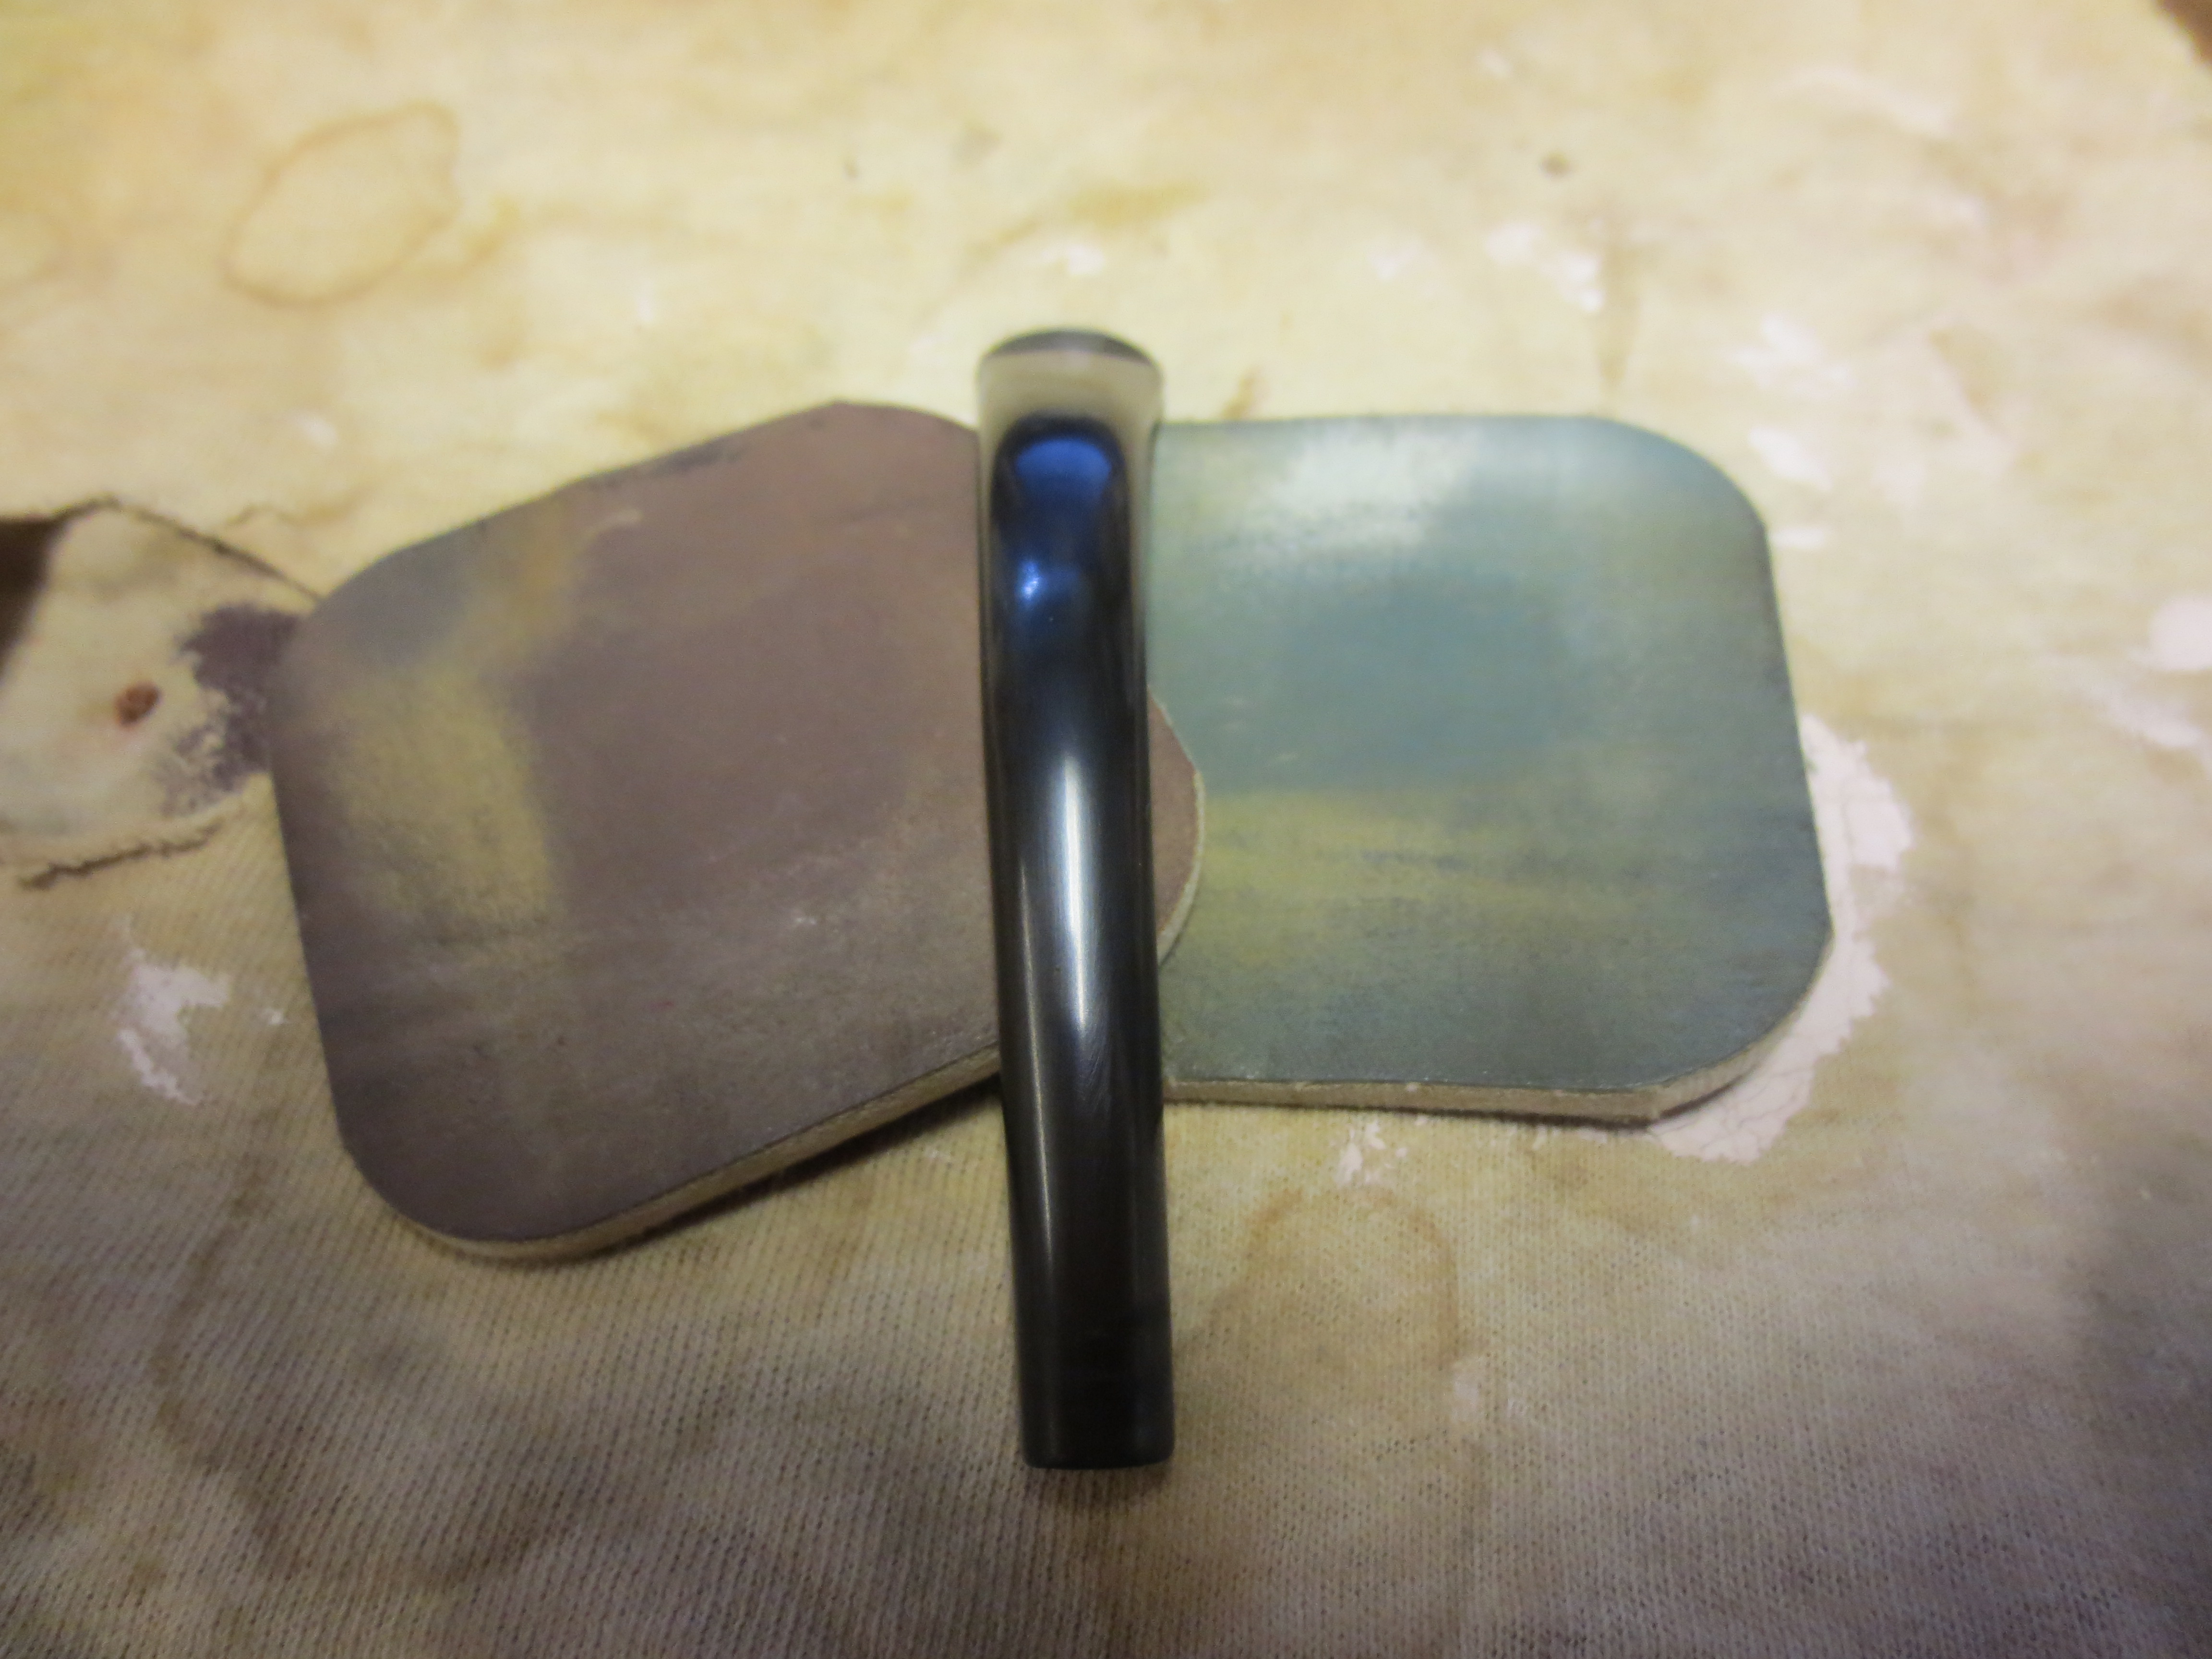
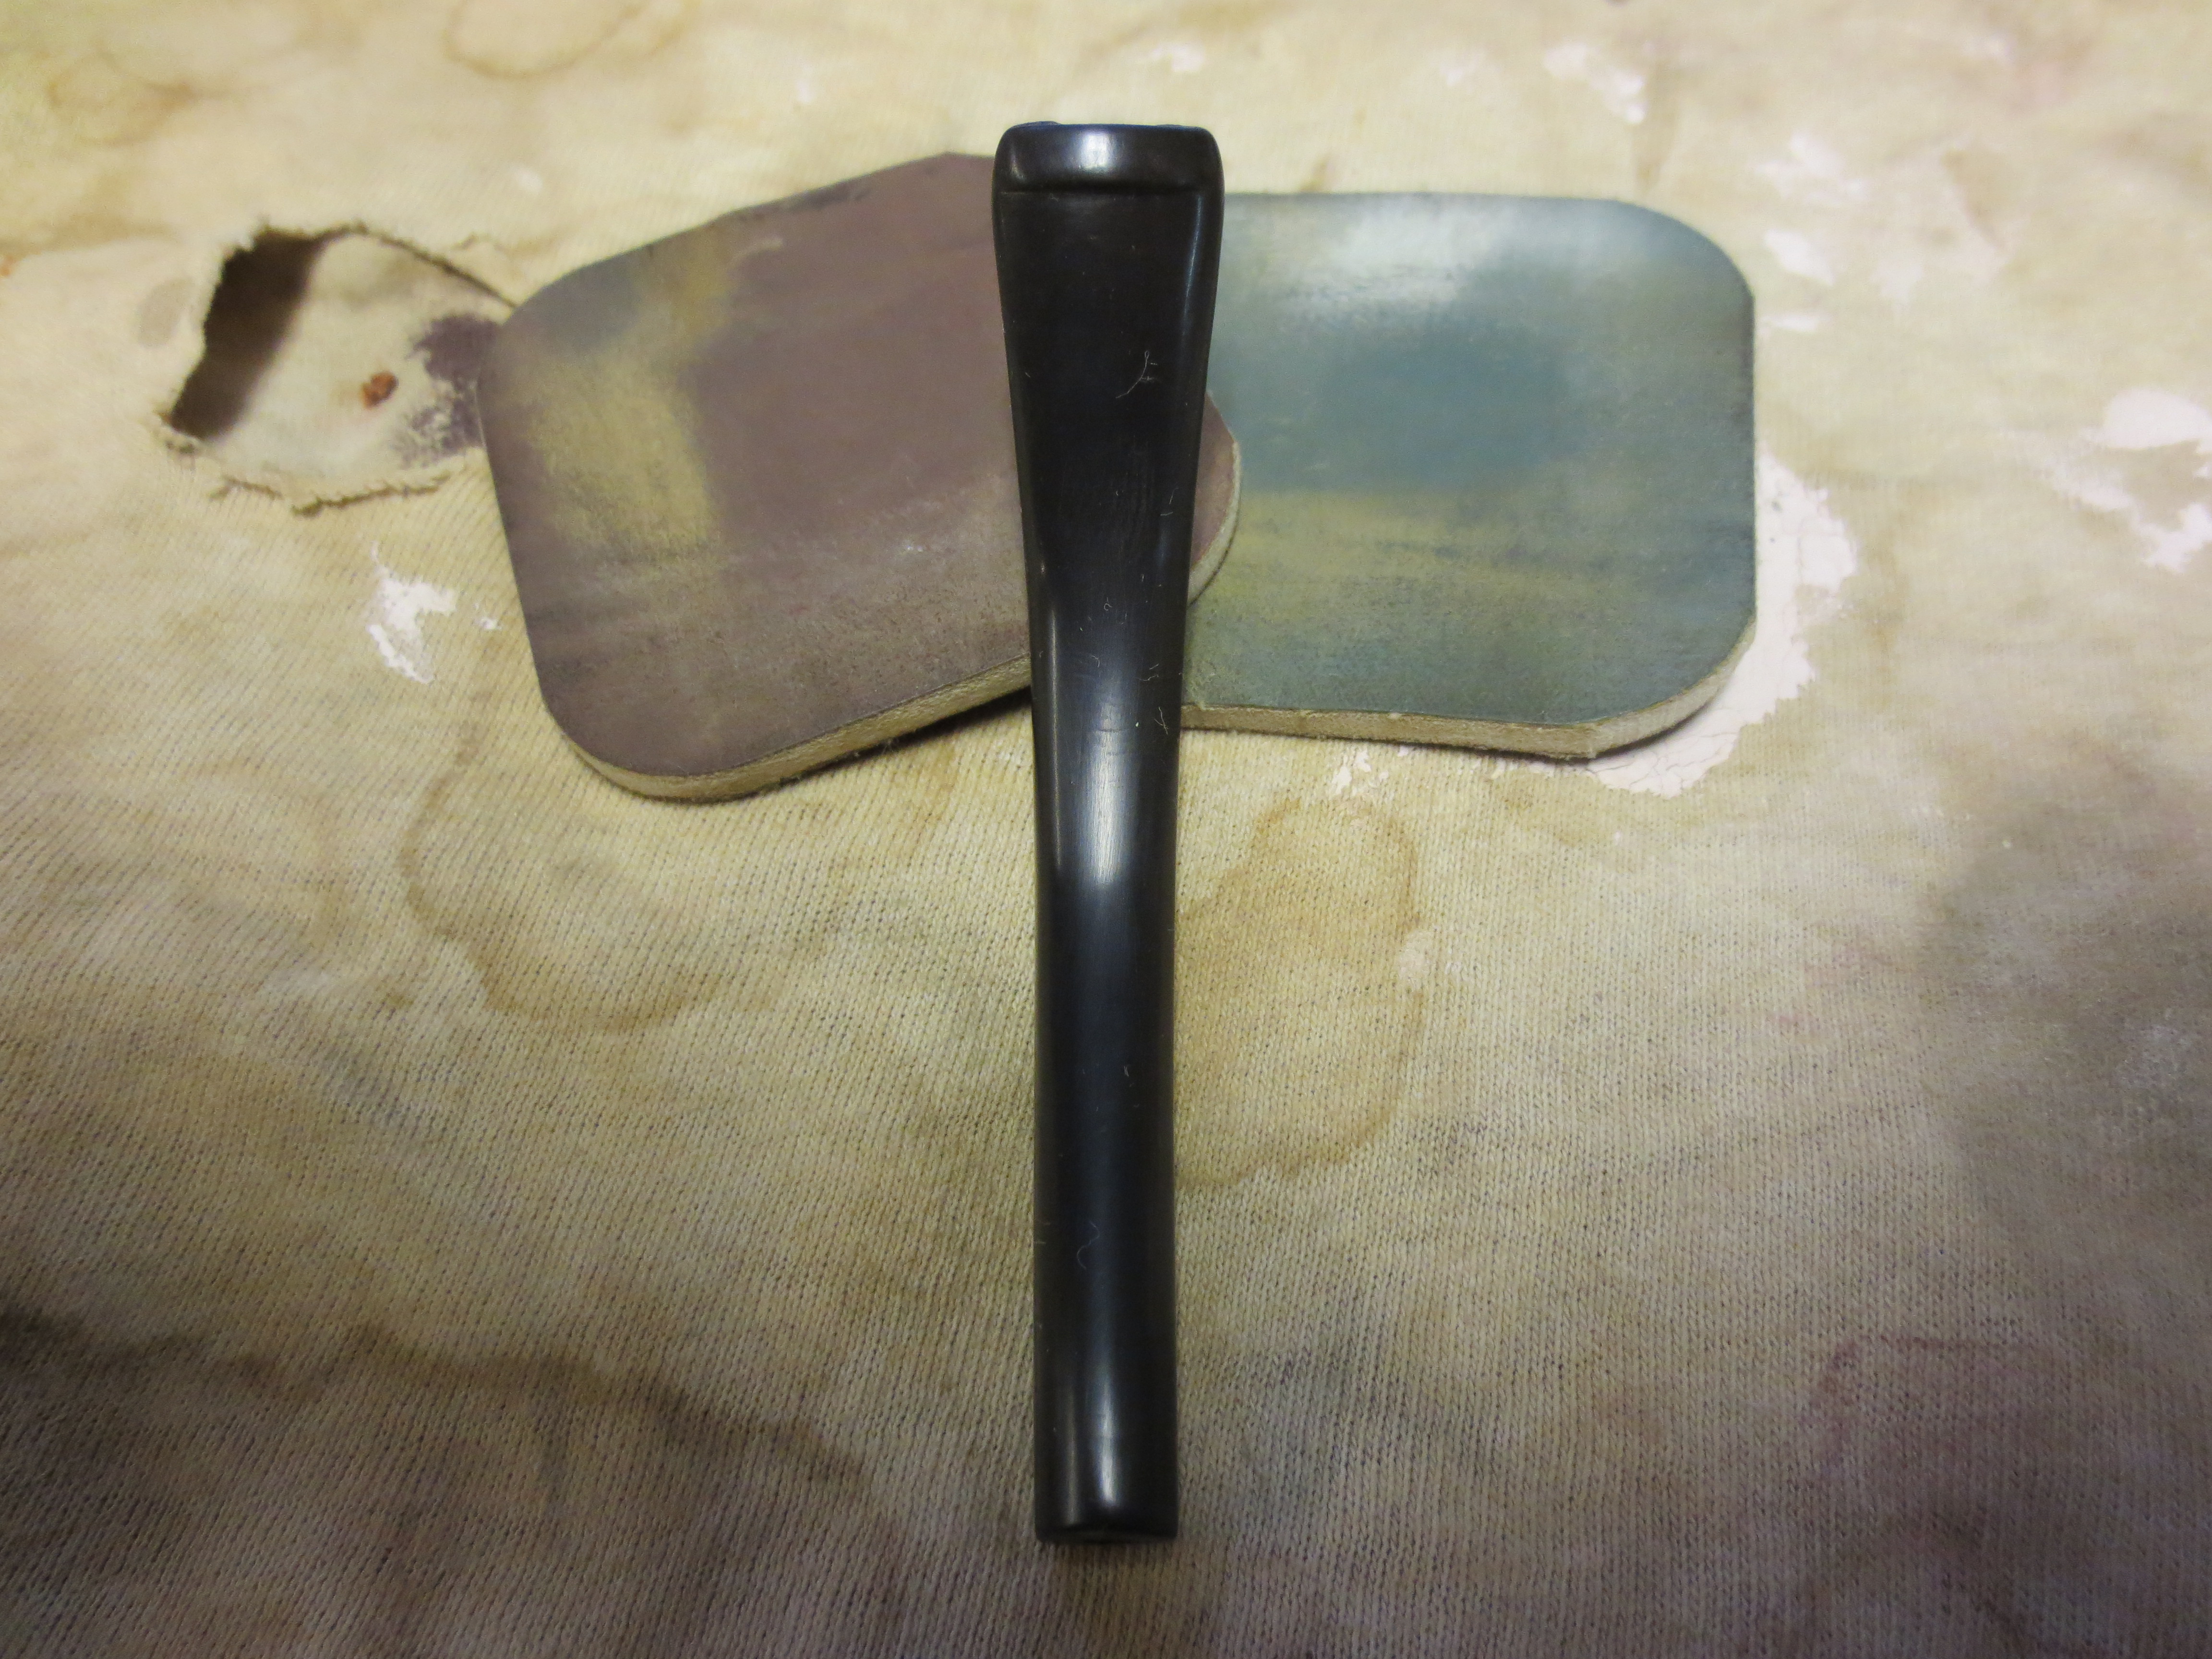
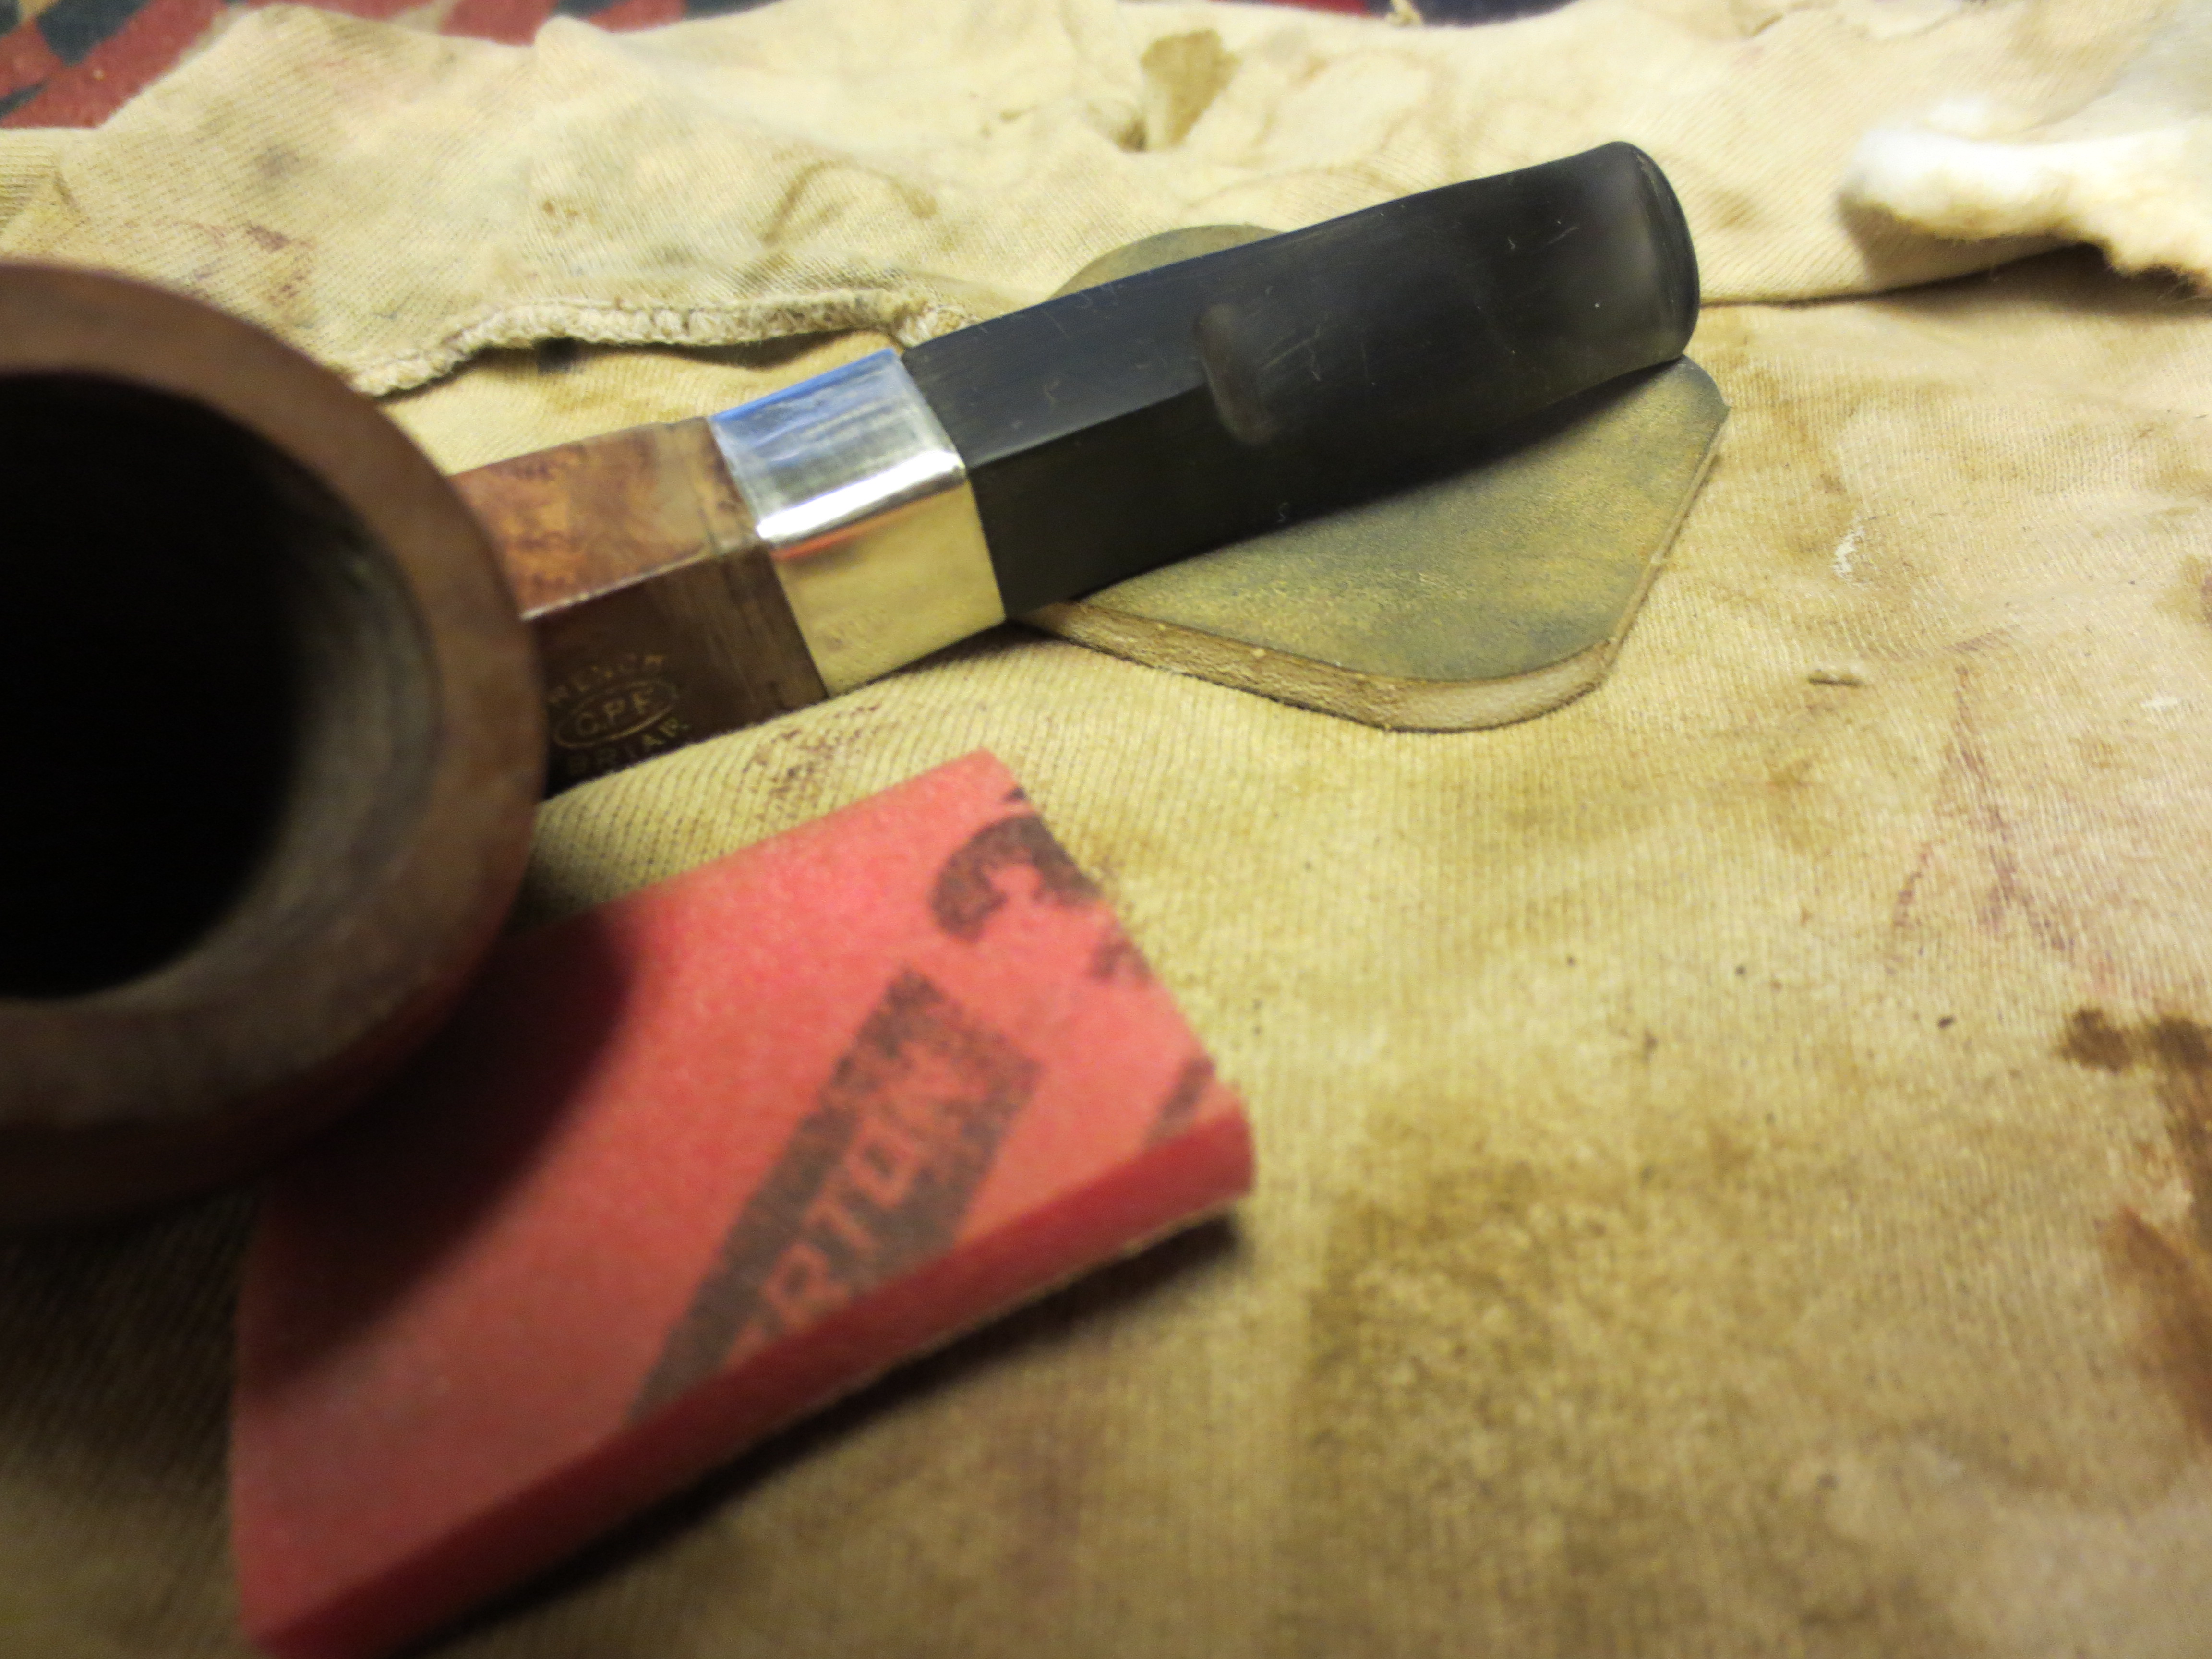
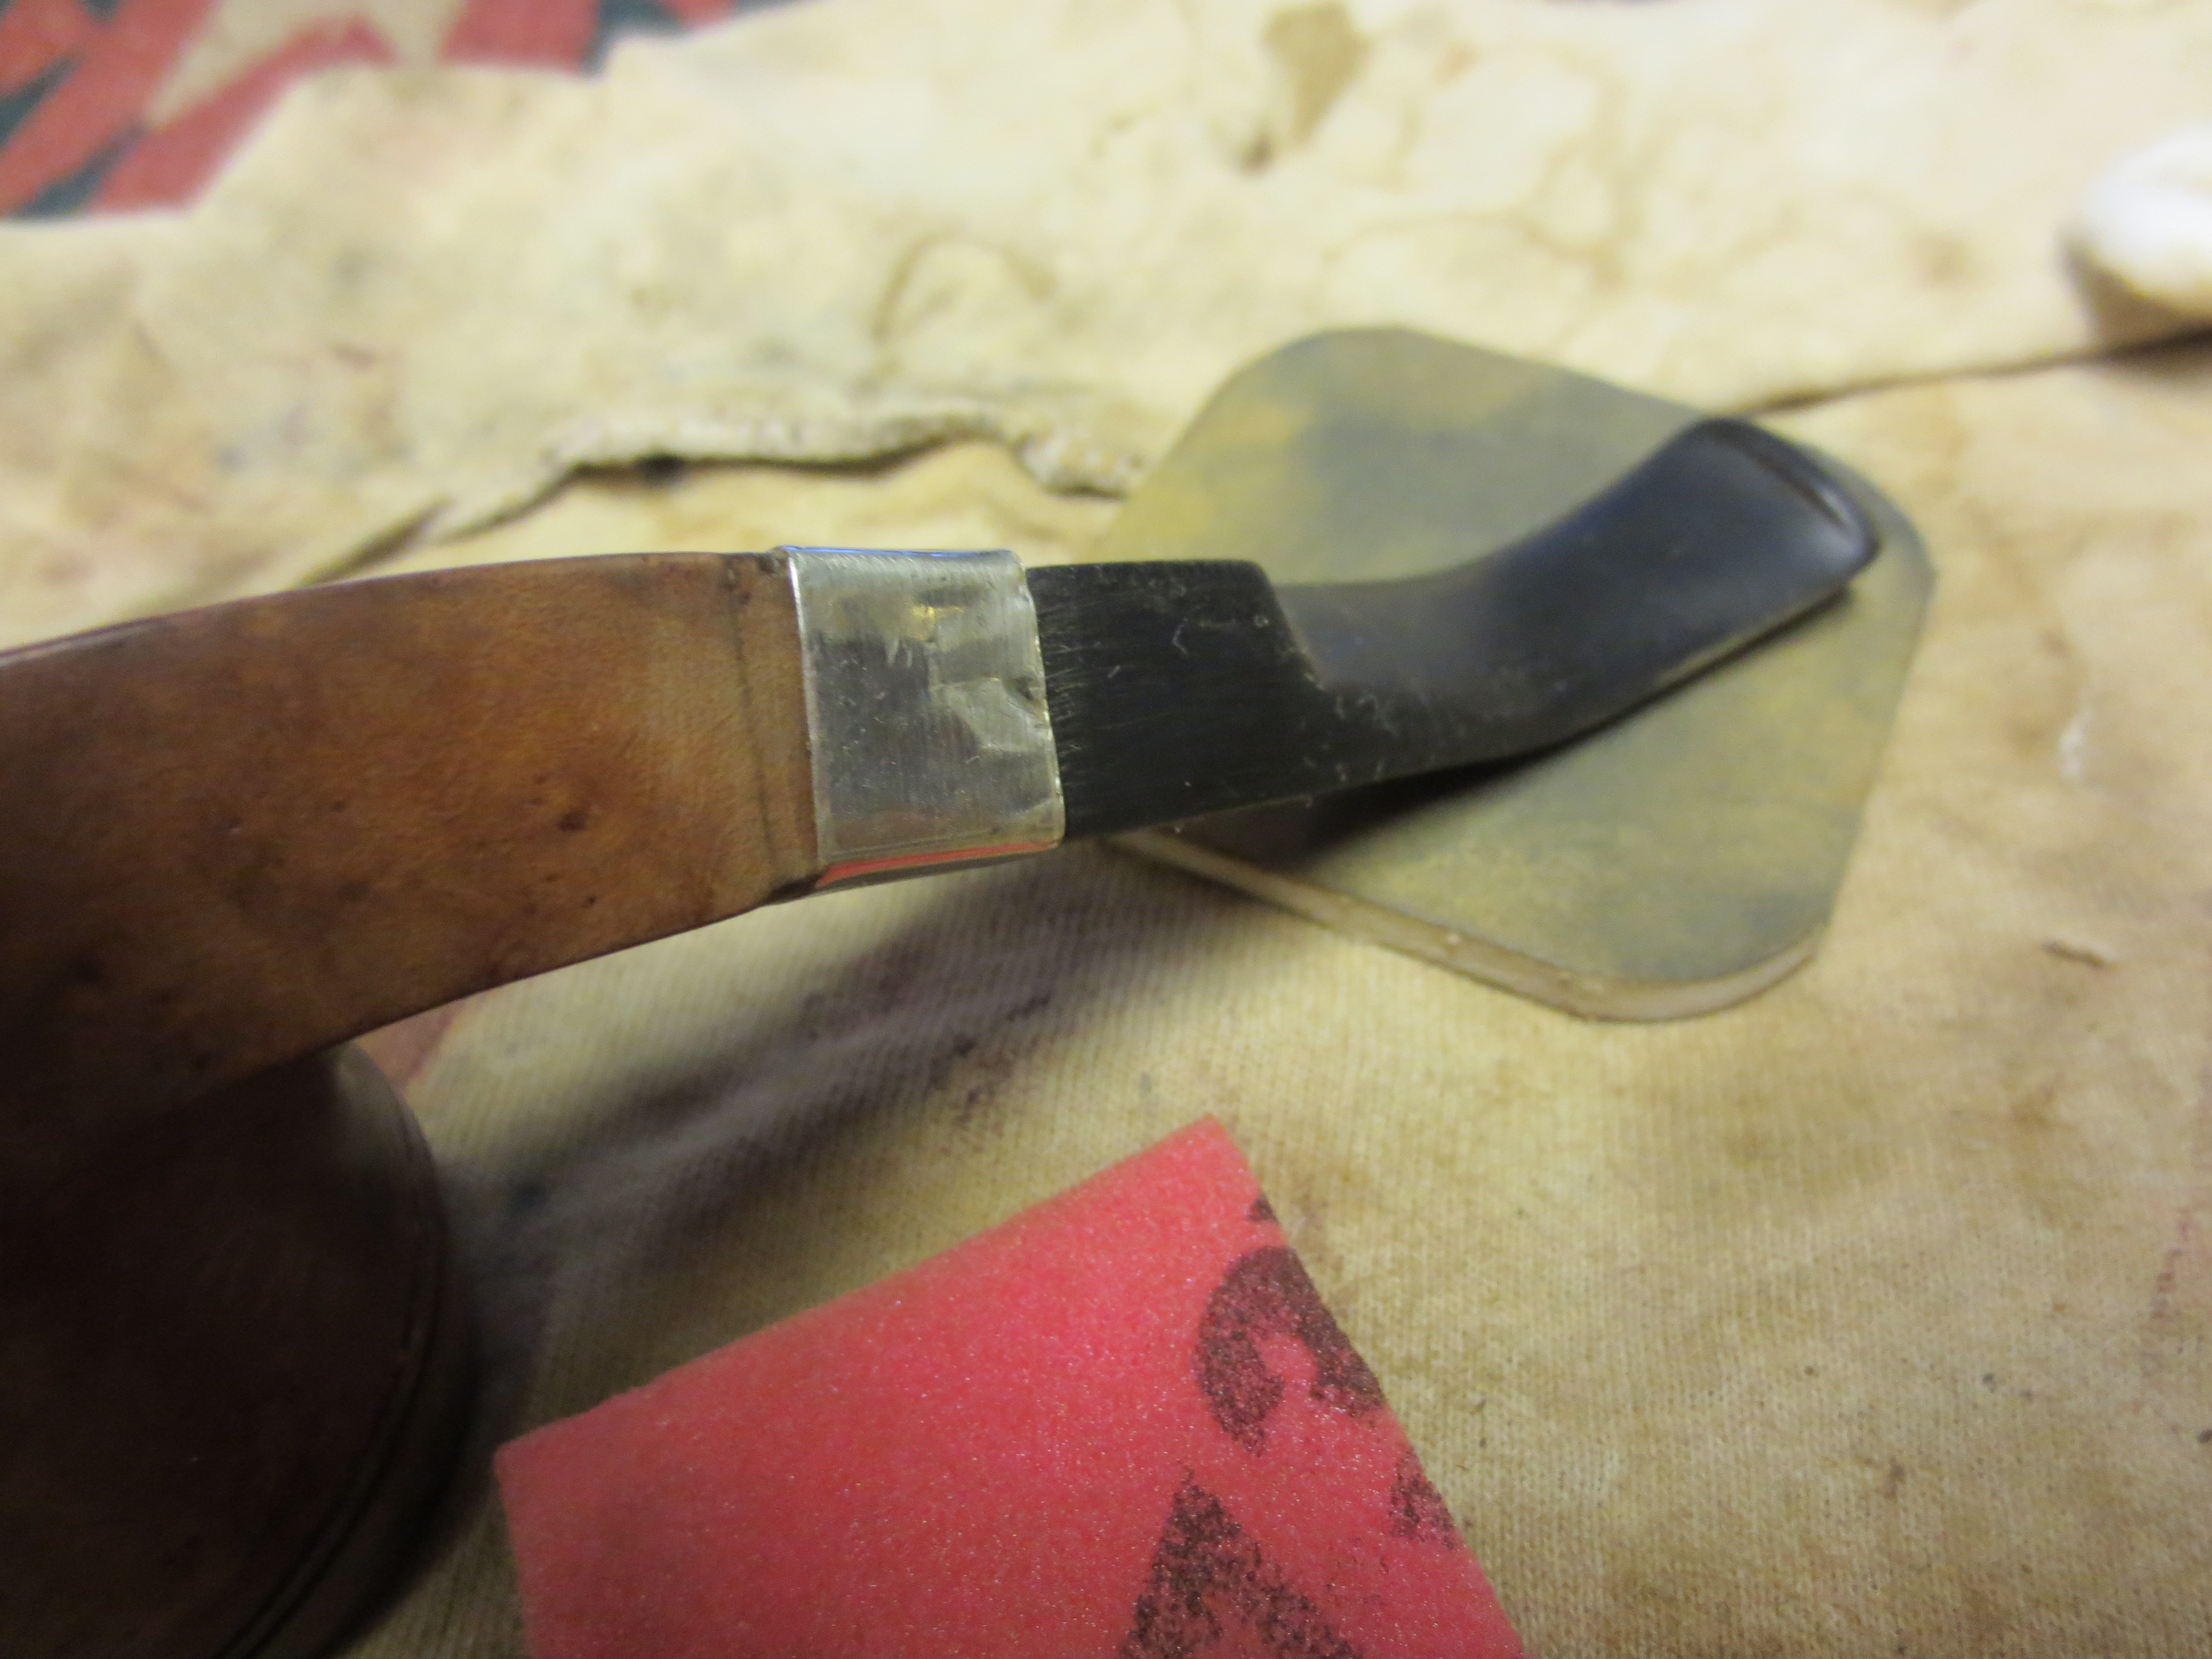
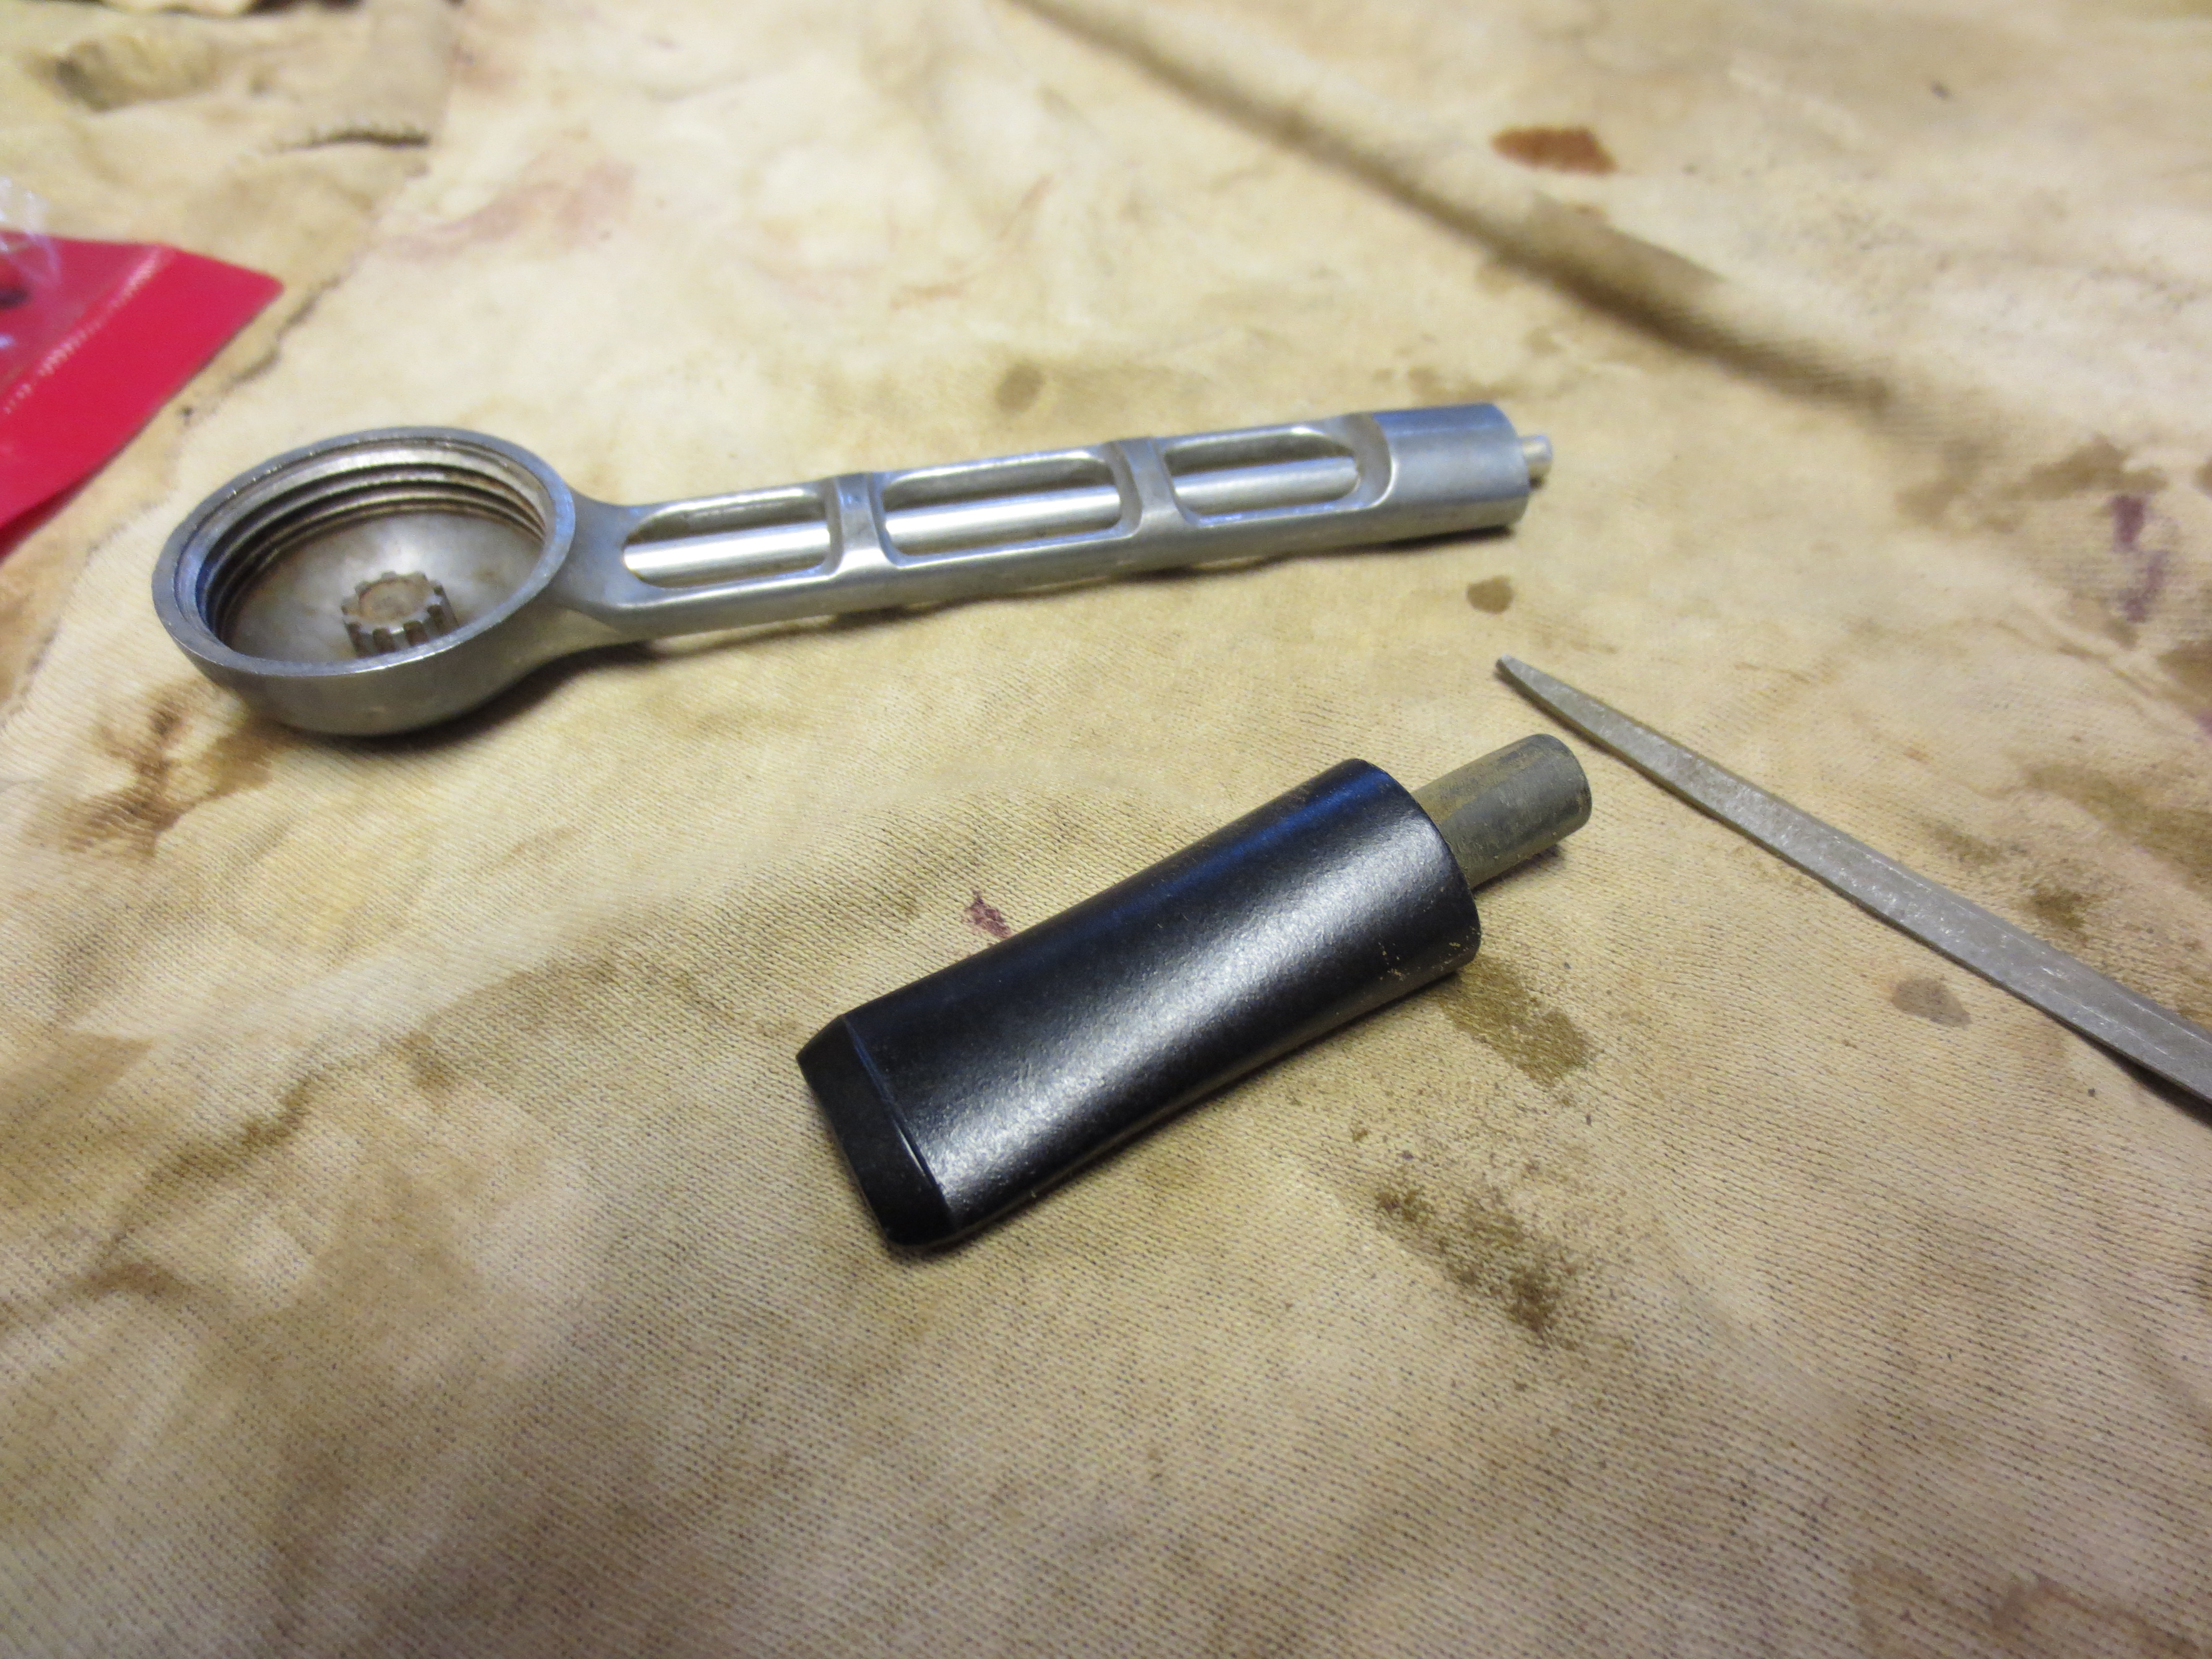
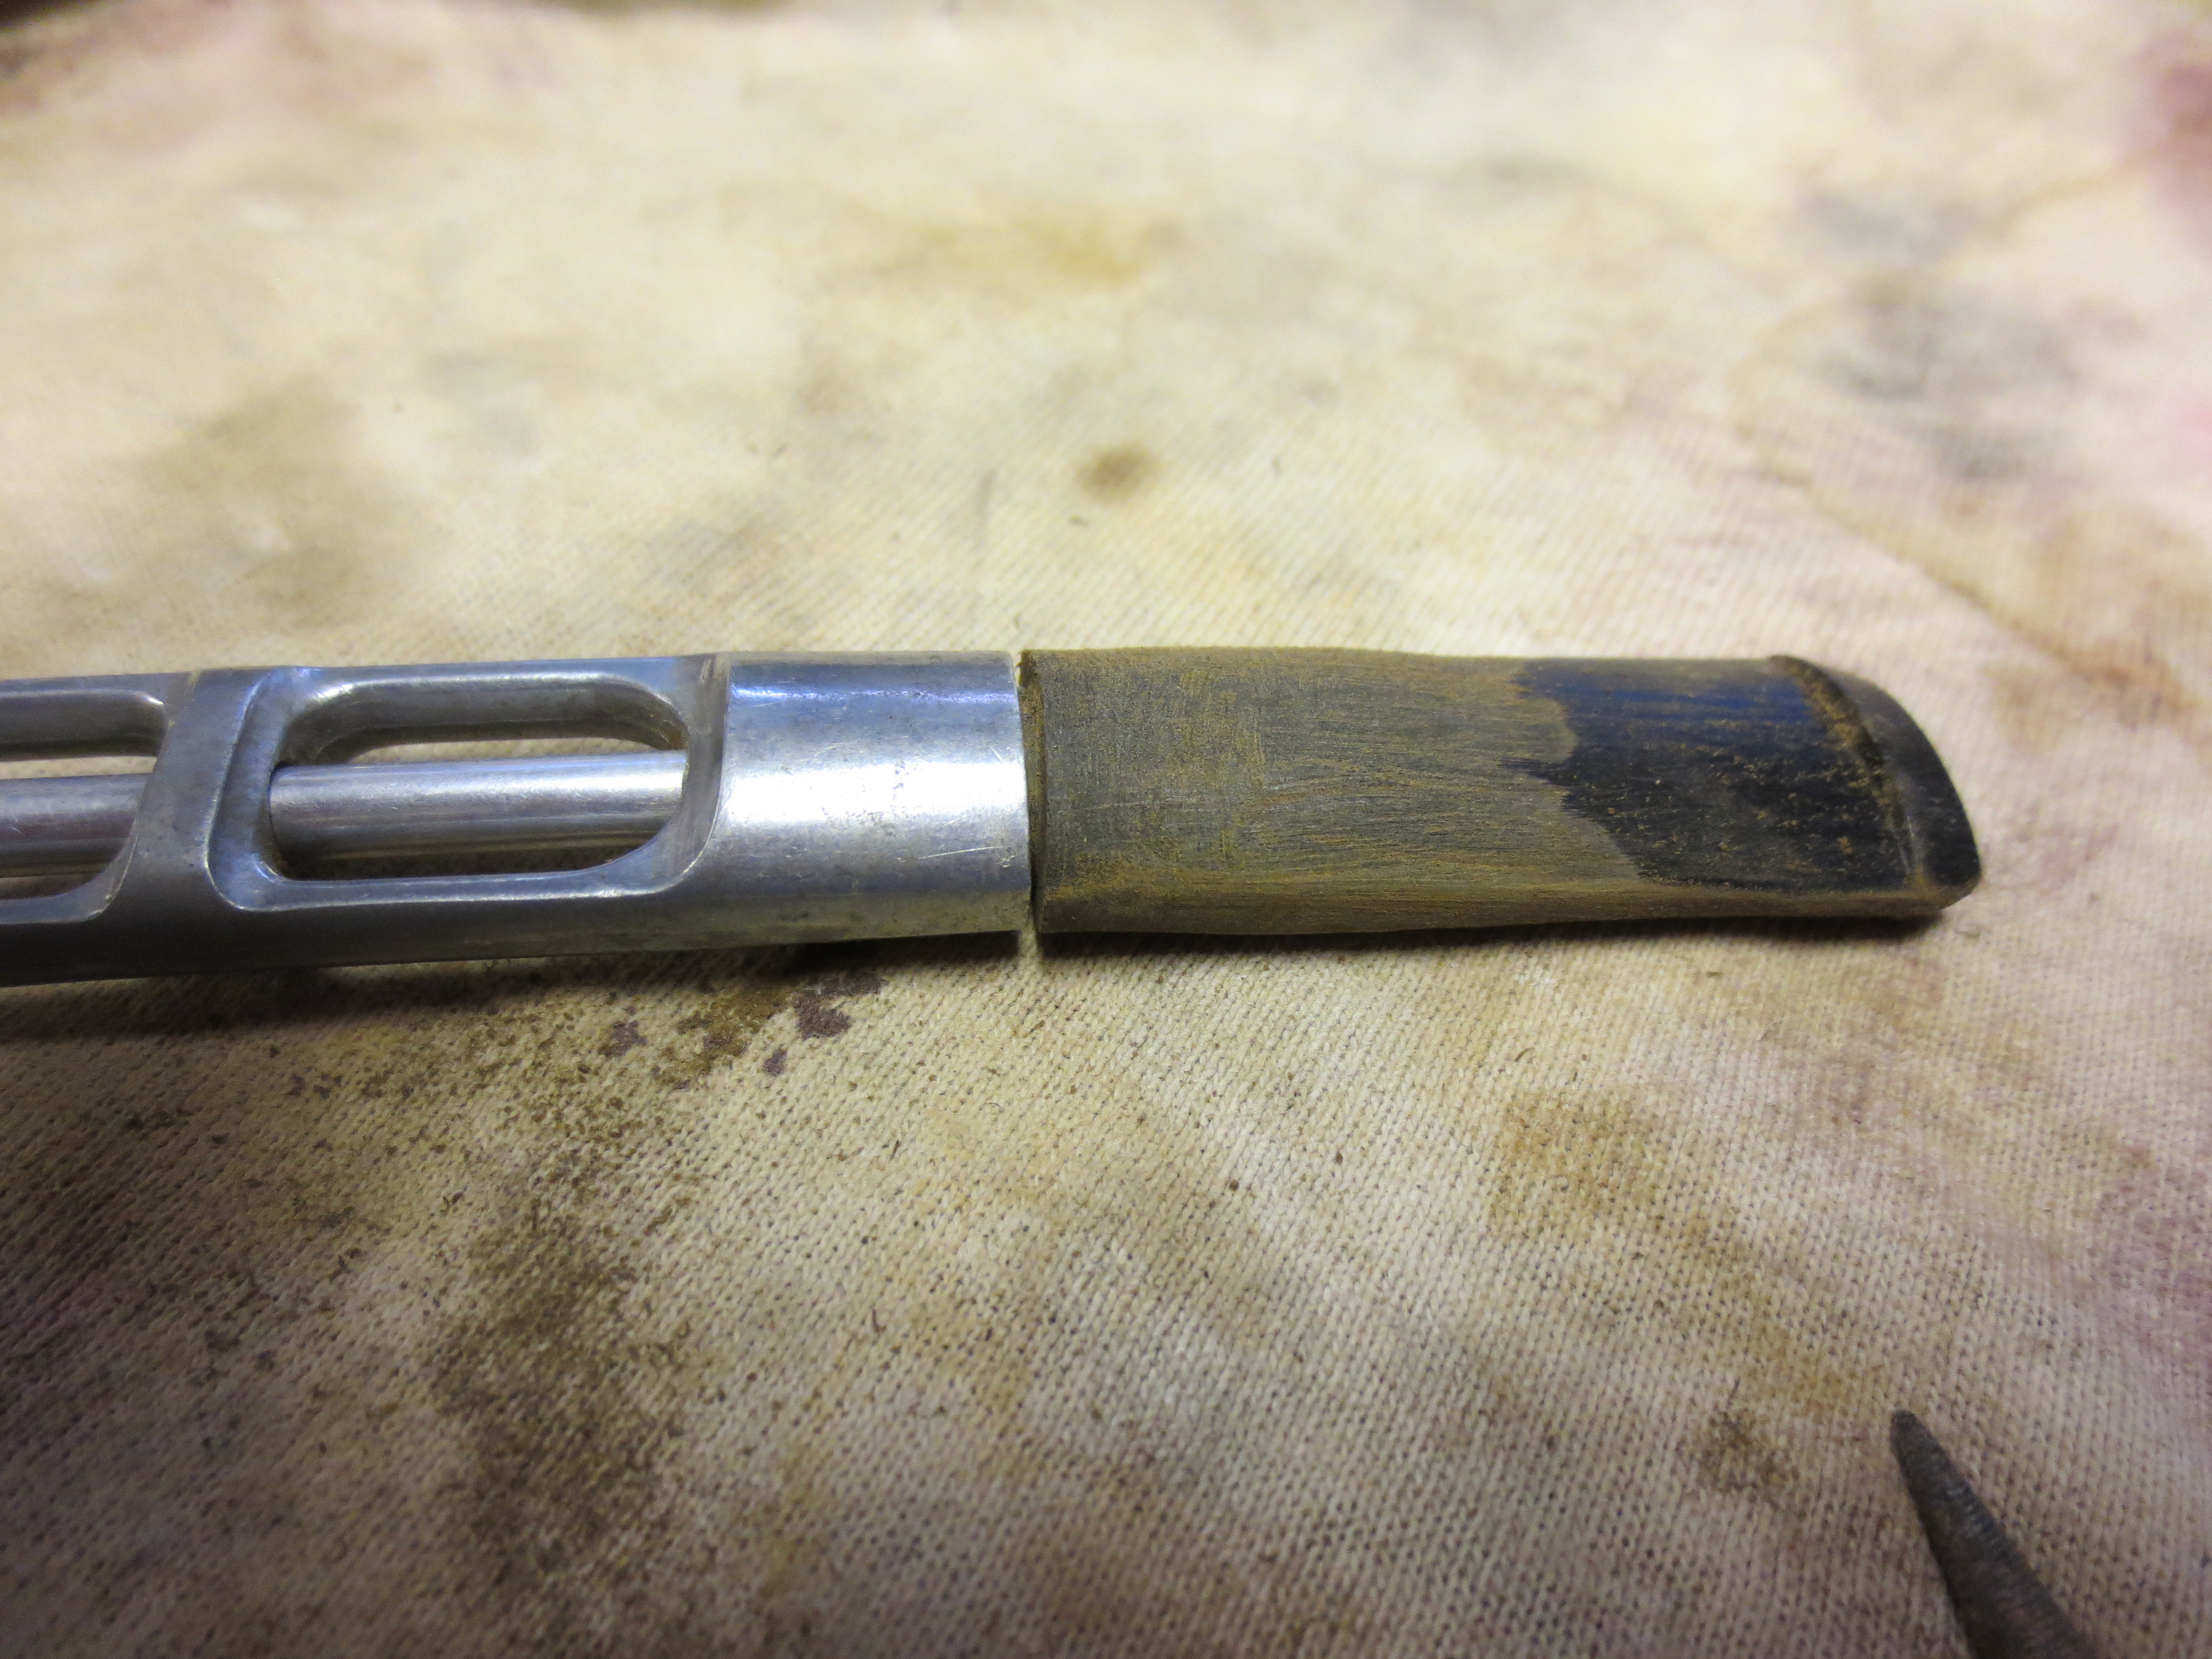
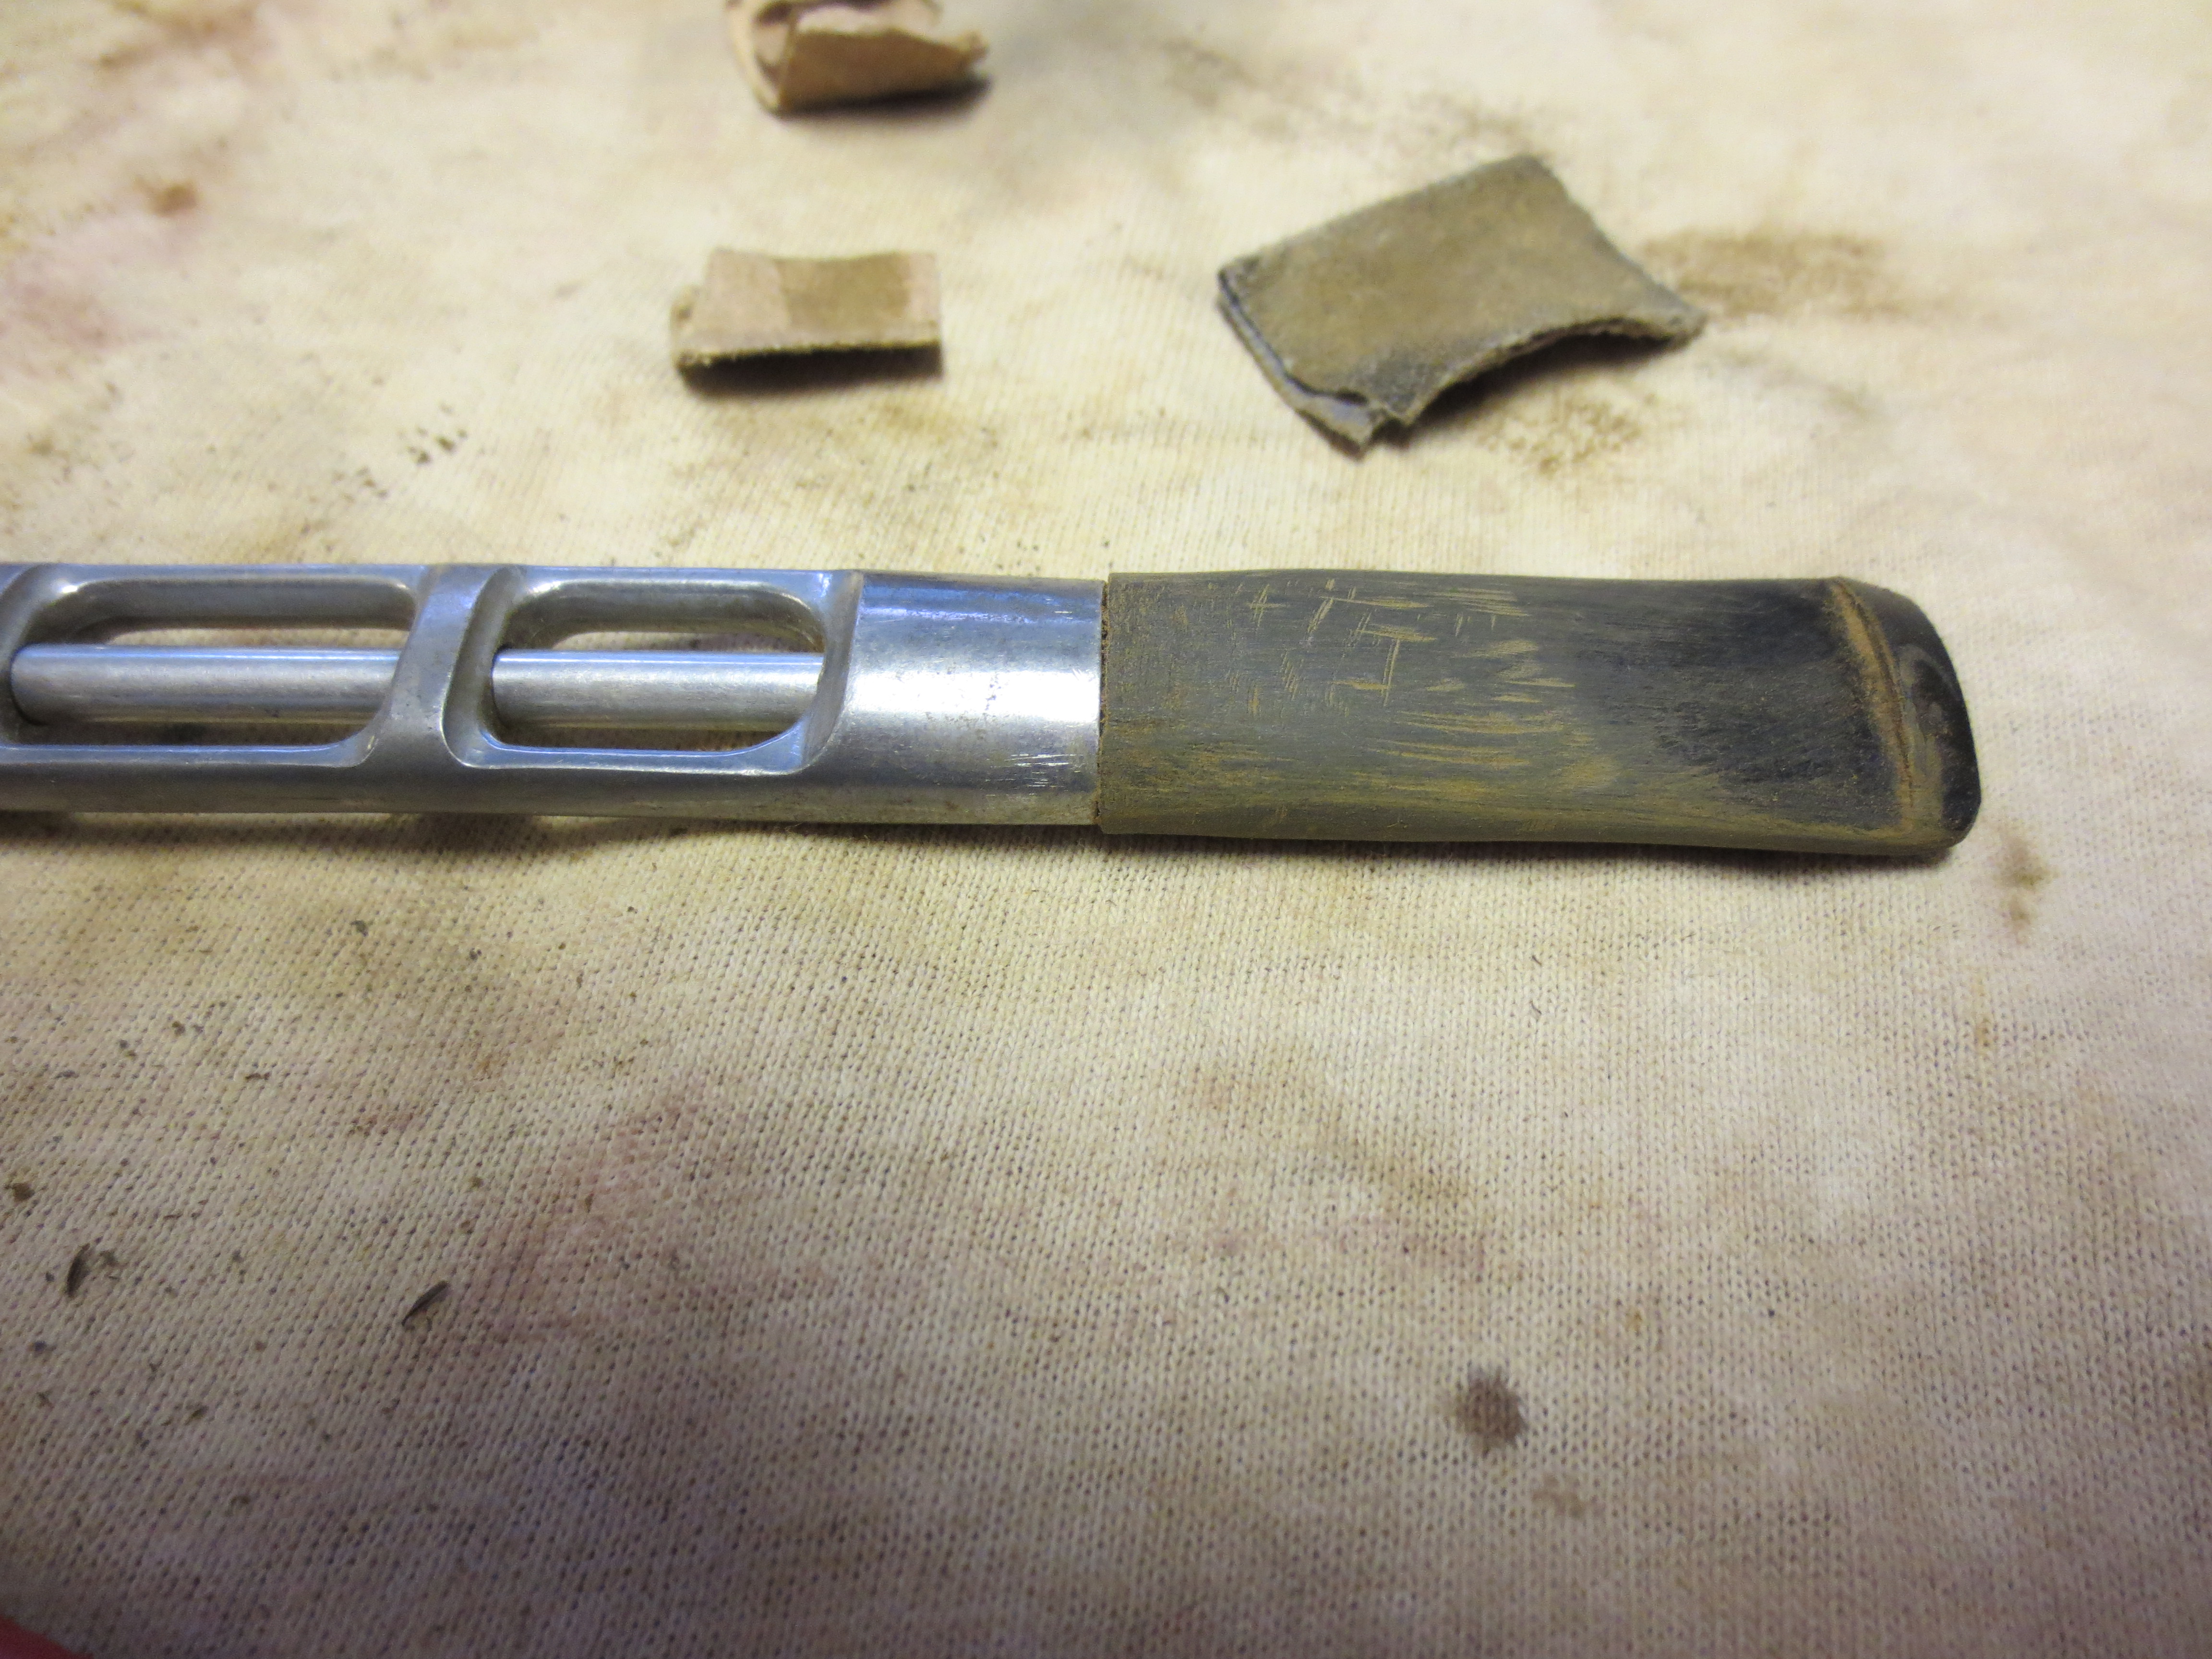
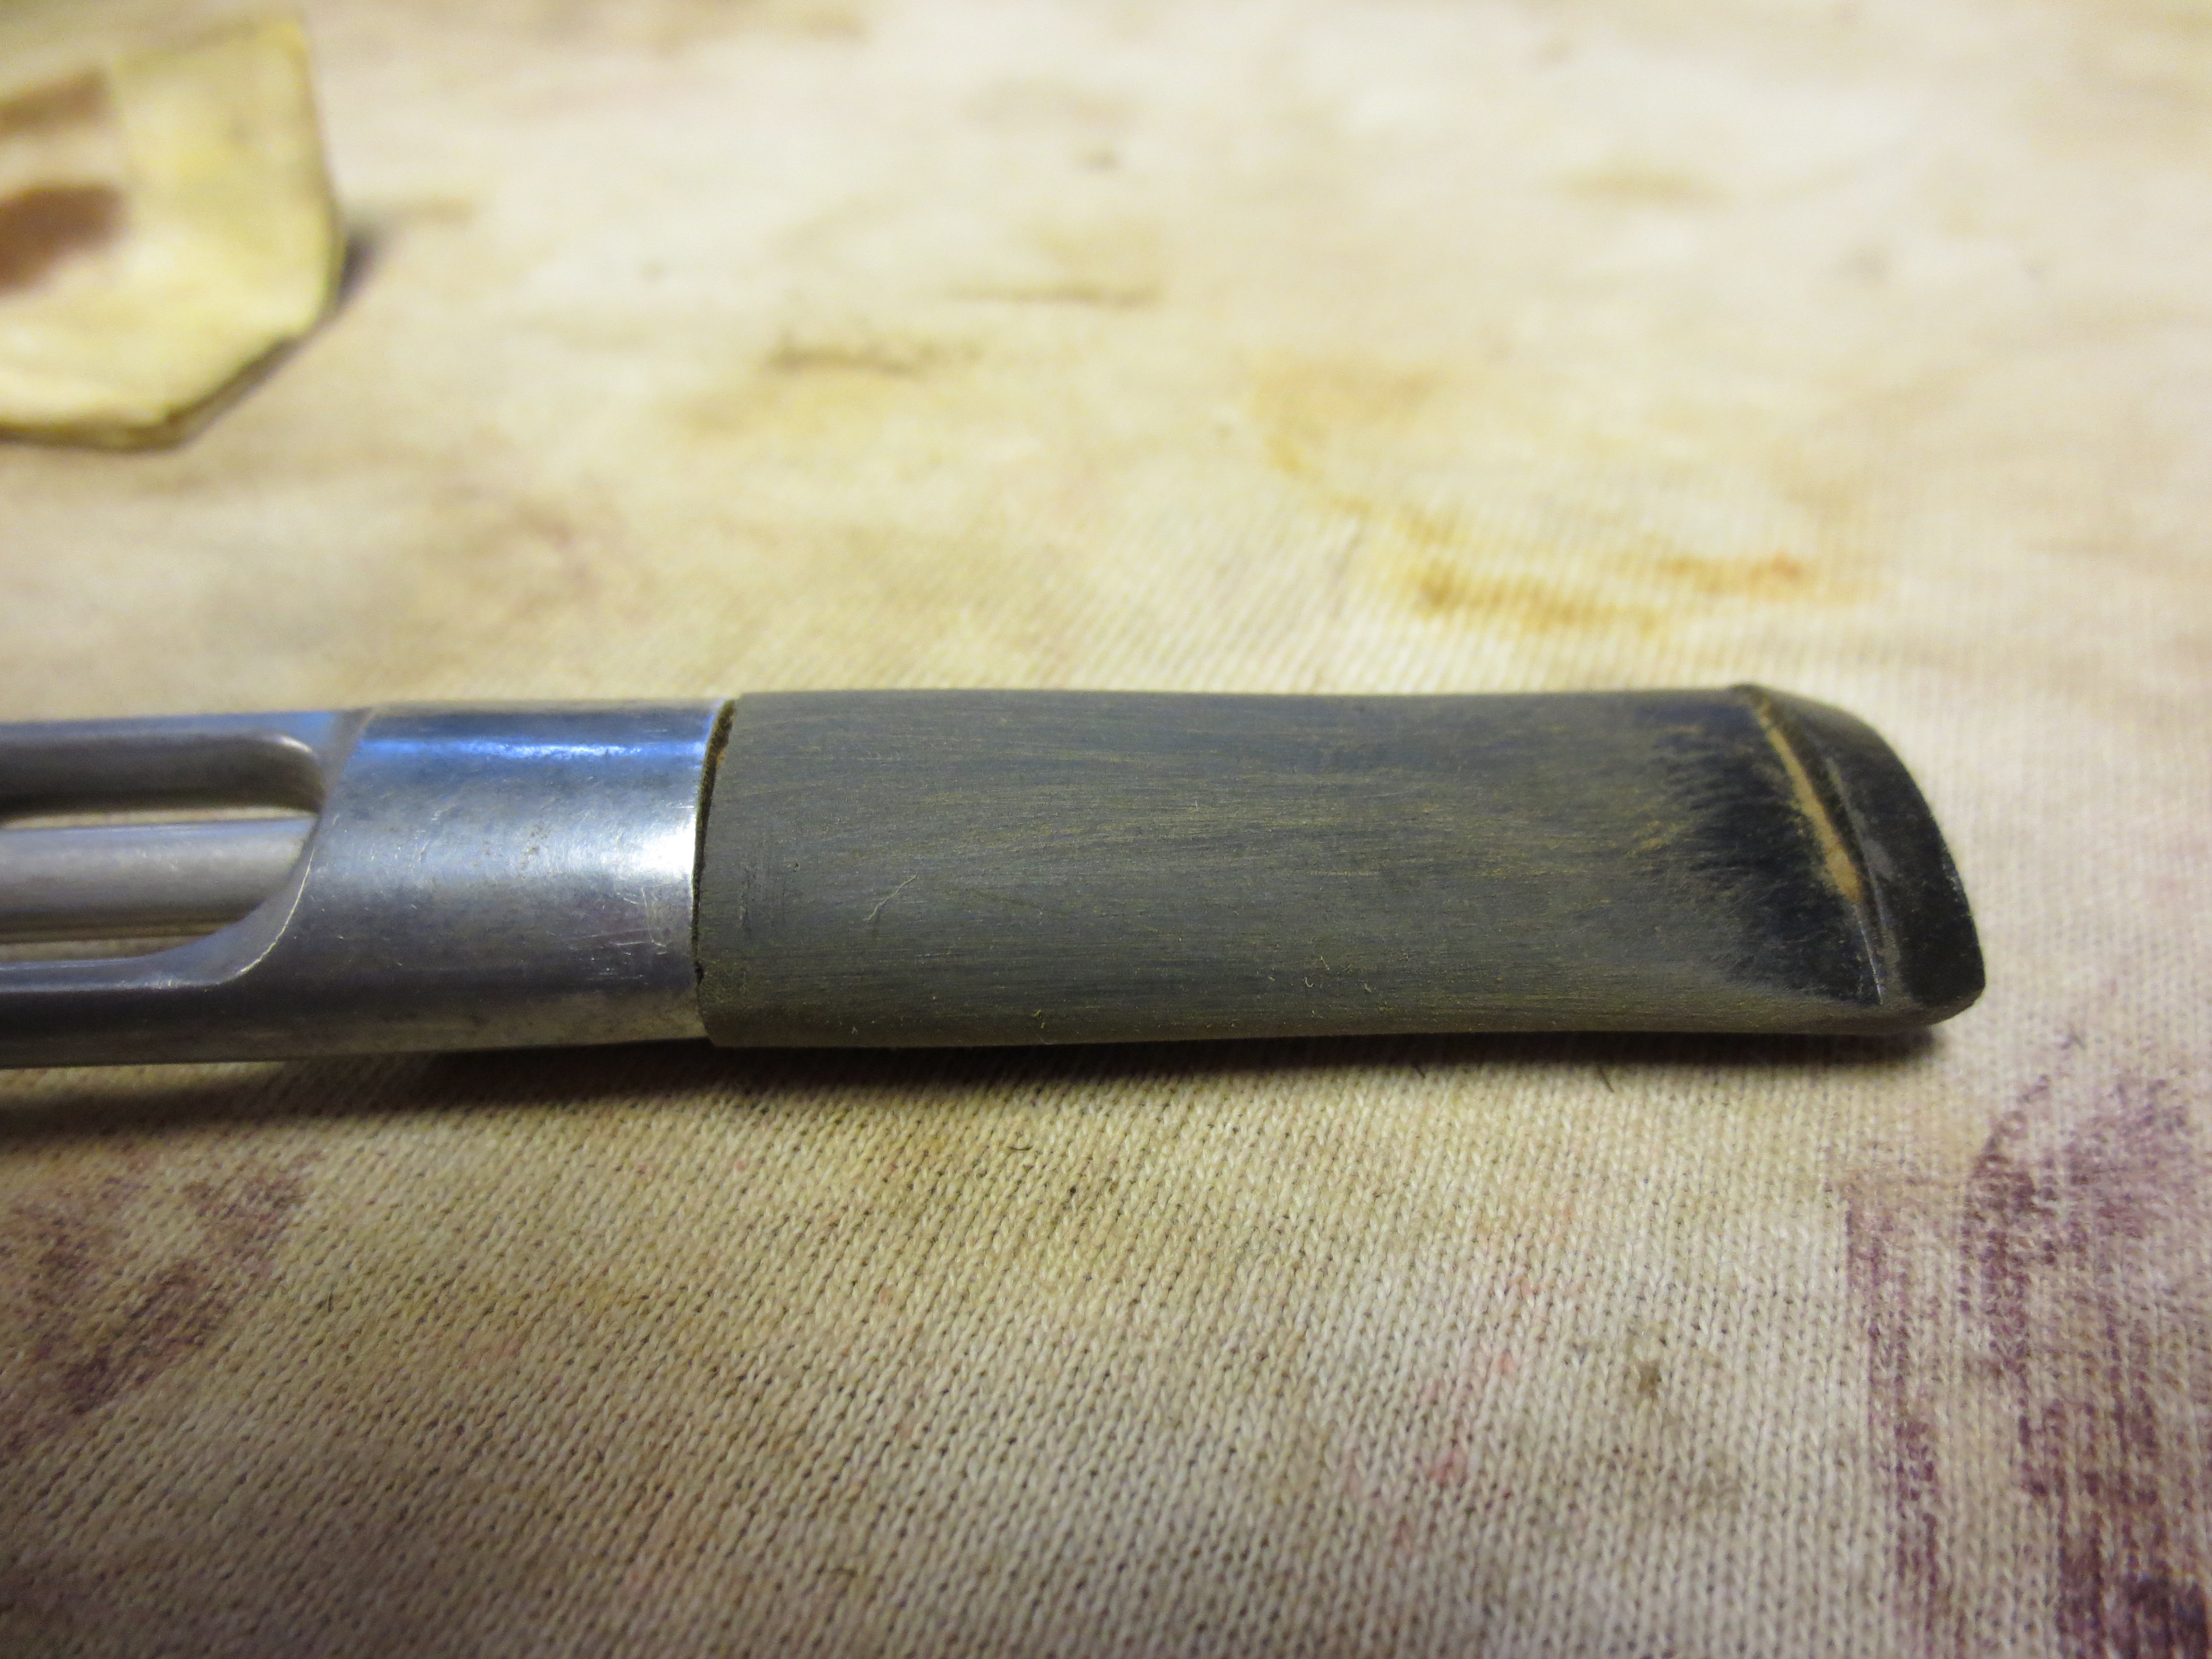
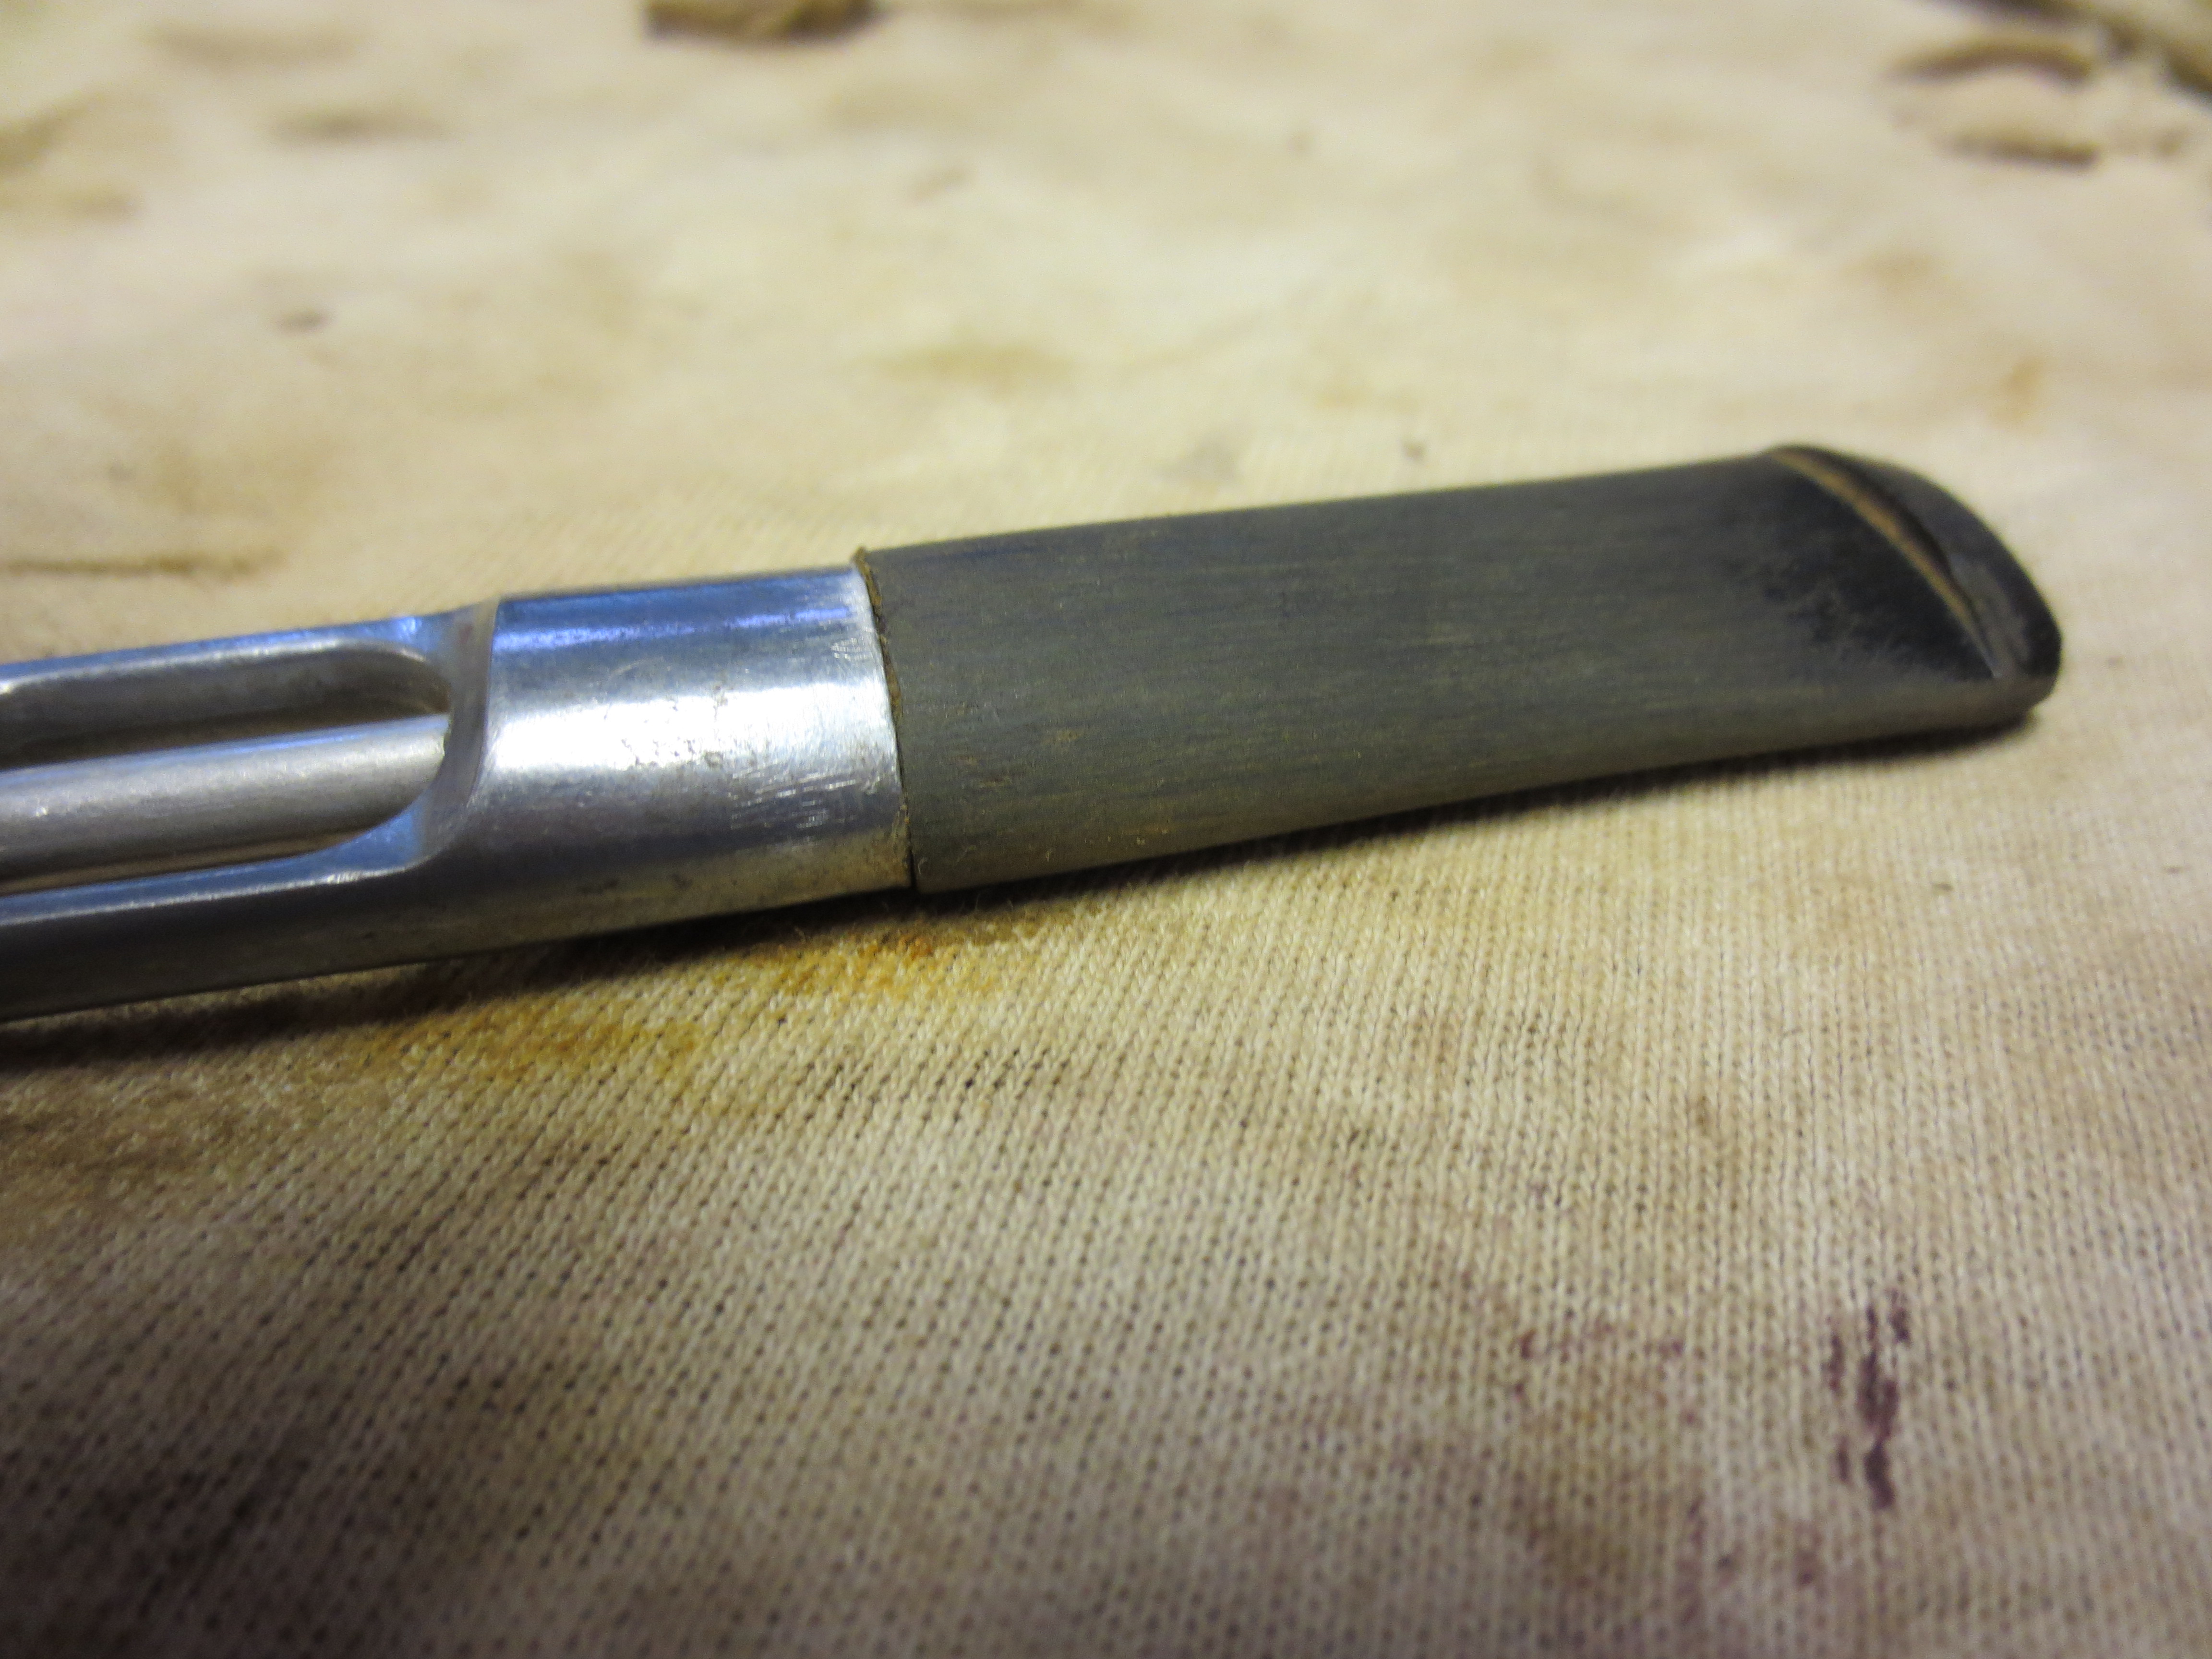
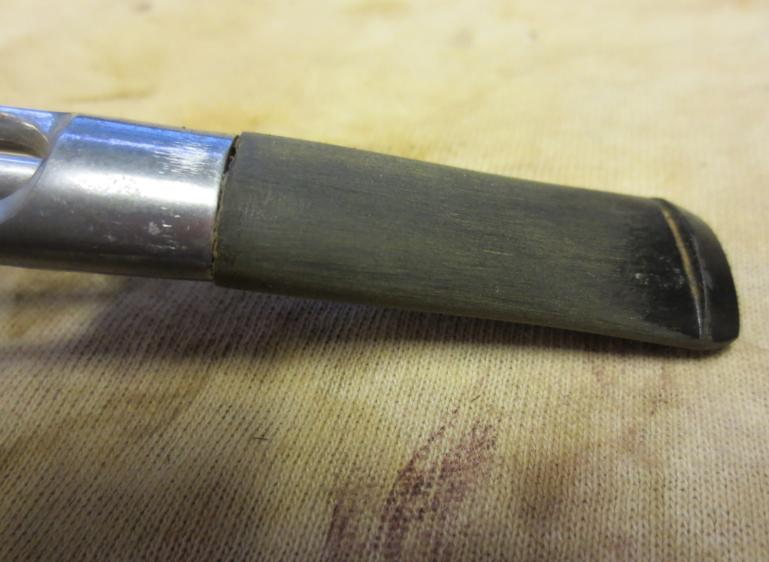
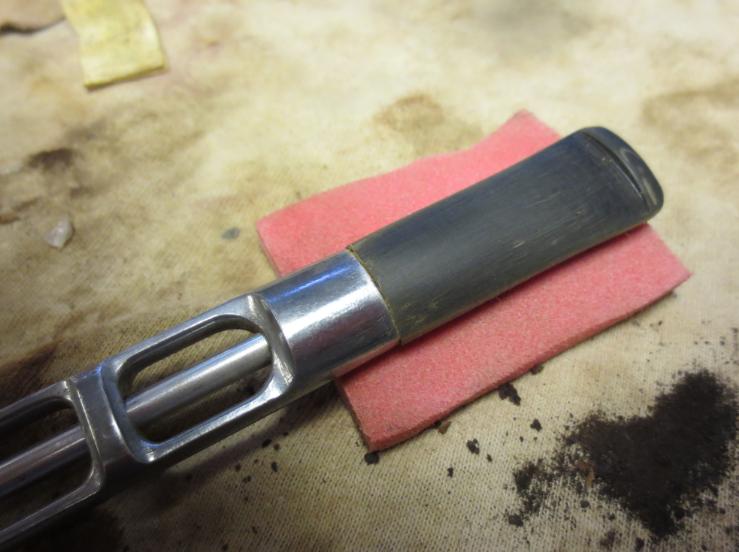
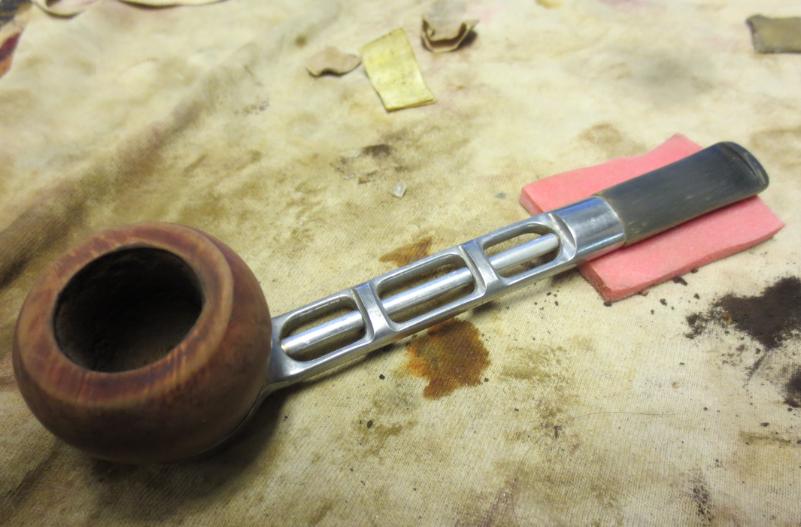
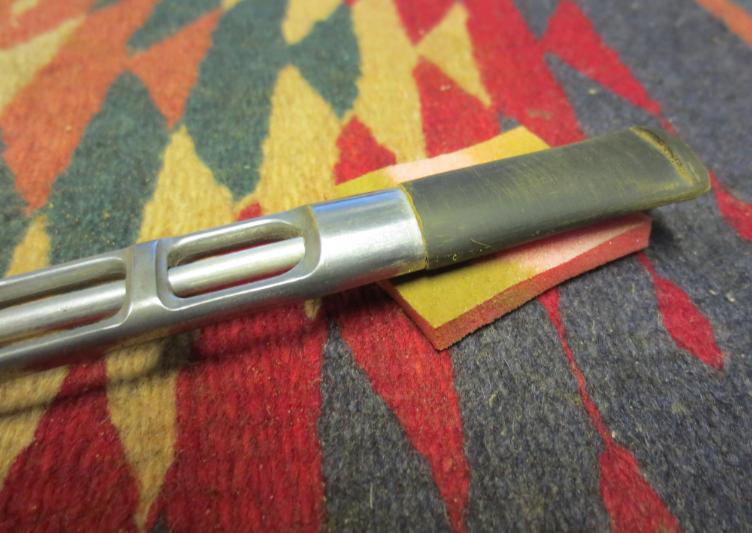
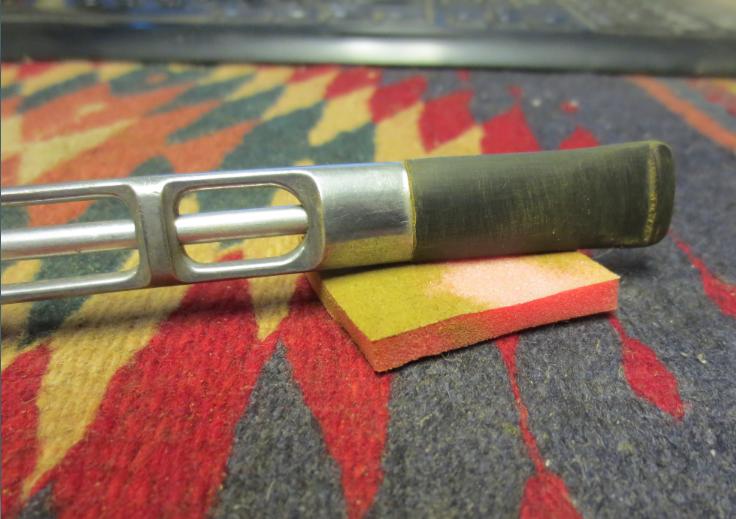
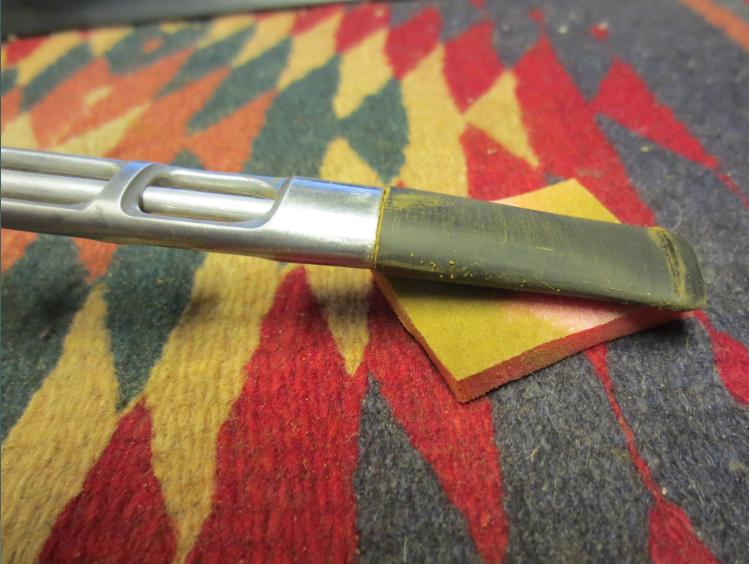
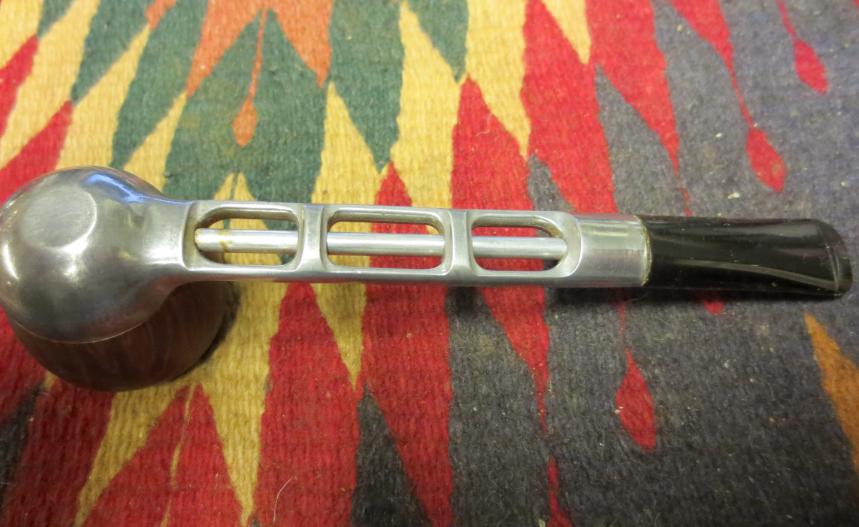
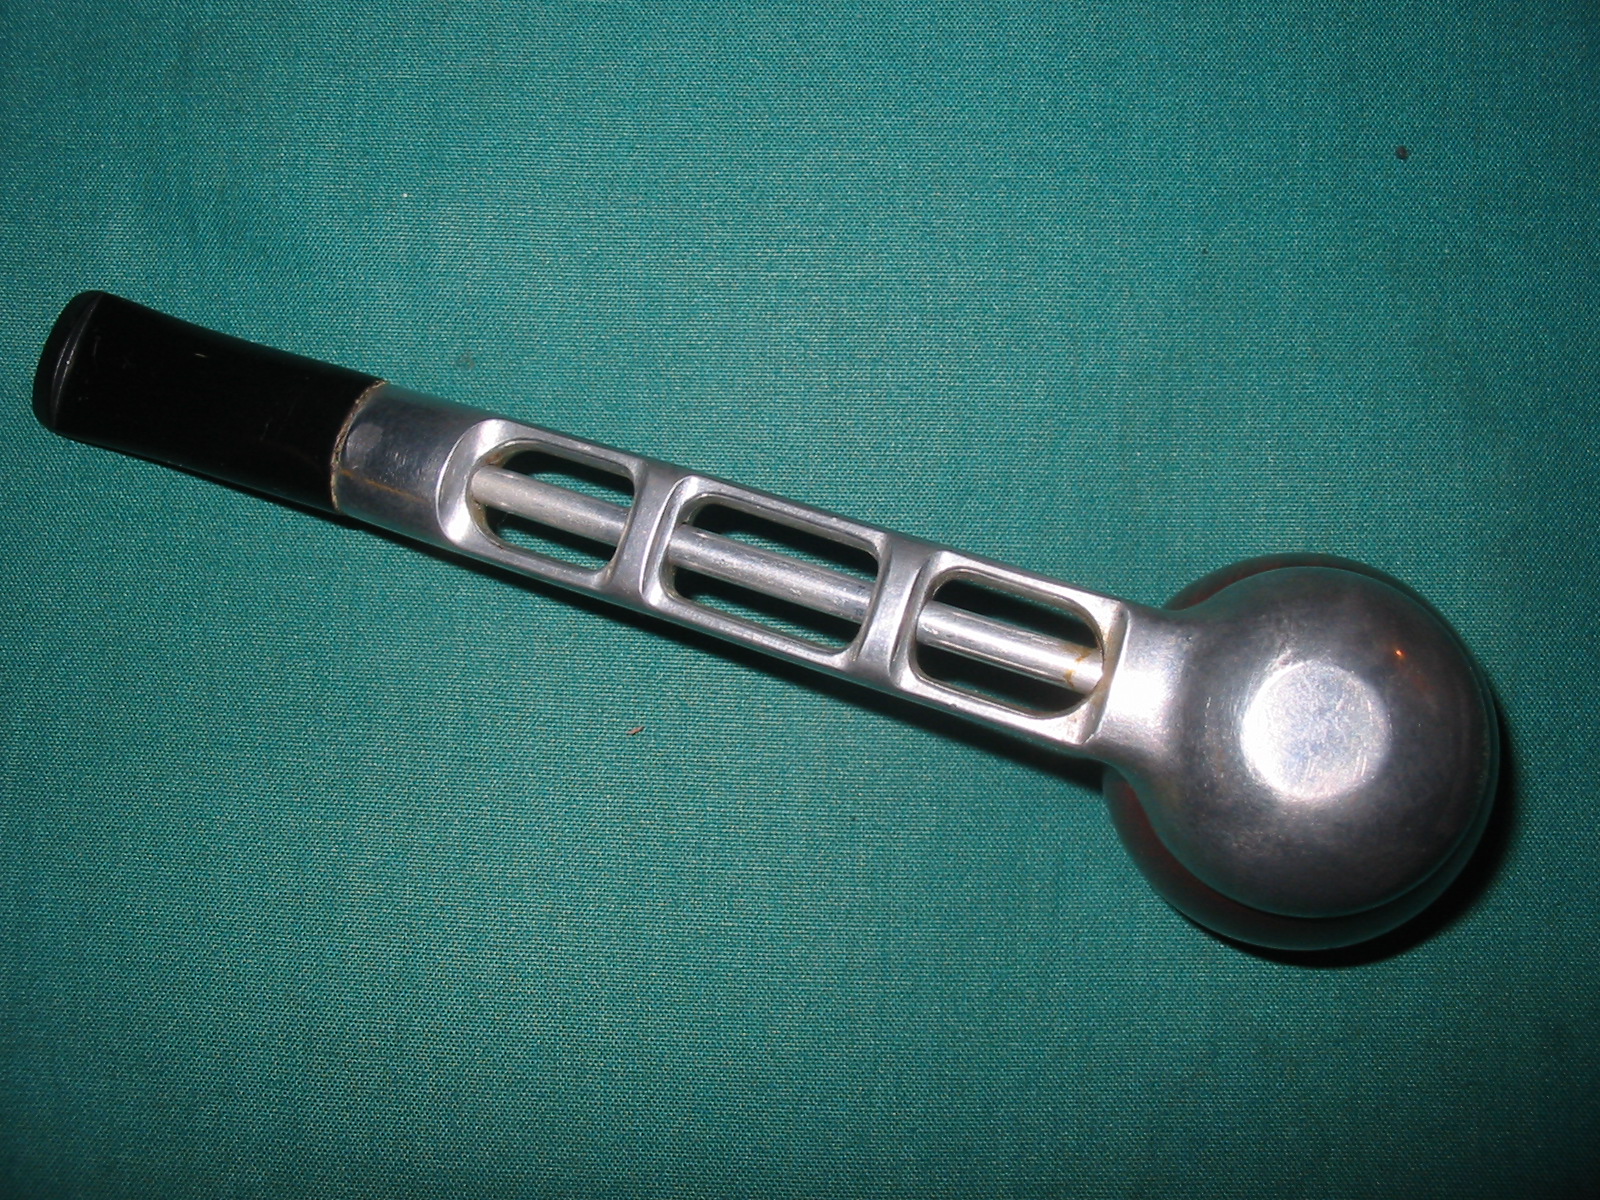
From this point in the process I used files and wood rasps to remove more of the briar and to refine the shape of the bowl. I also decided to cut the stem into a saddle bit as I thought that look would go well with the shape I was working on. The pipe was becoming a modified egg shape. Where it would go from here would be worked out with the files and the work at removing the flaws in the briar as much as possible. The next four photos show the shaping of the saddle stem with the wrasp and files.

IMG_0879

IMG_0880

IMG_0877

IMG_0878

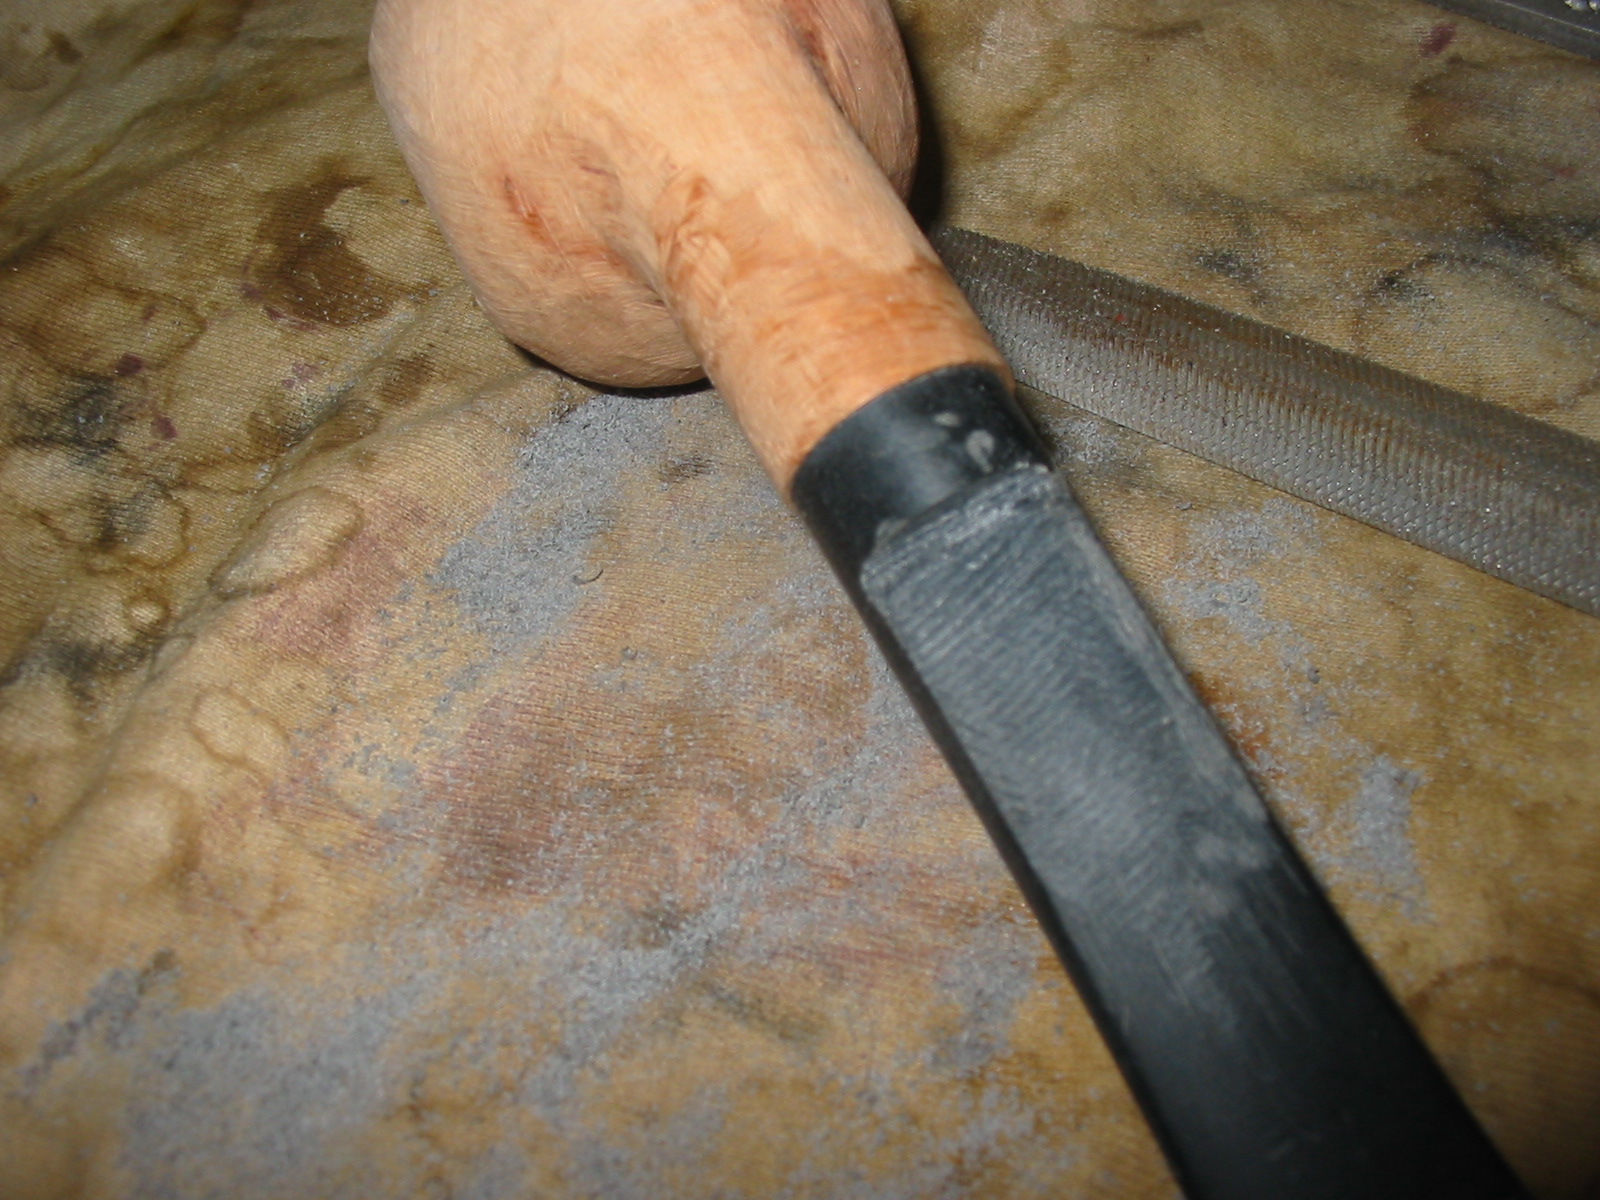
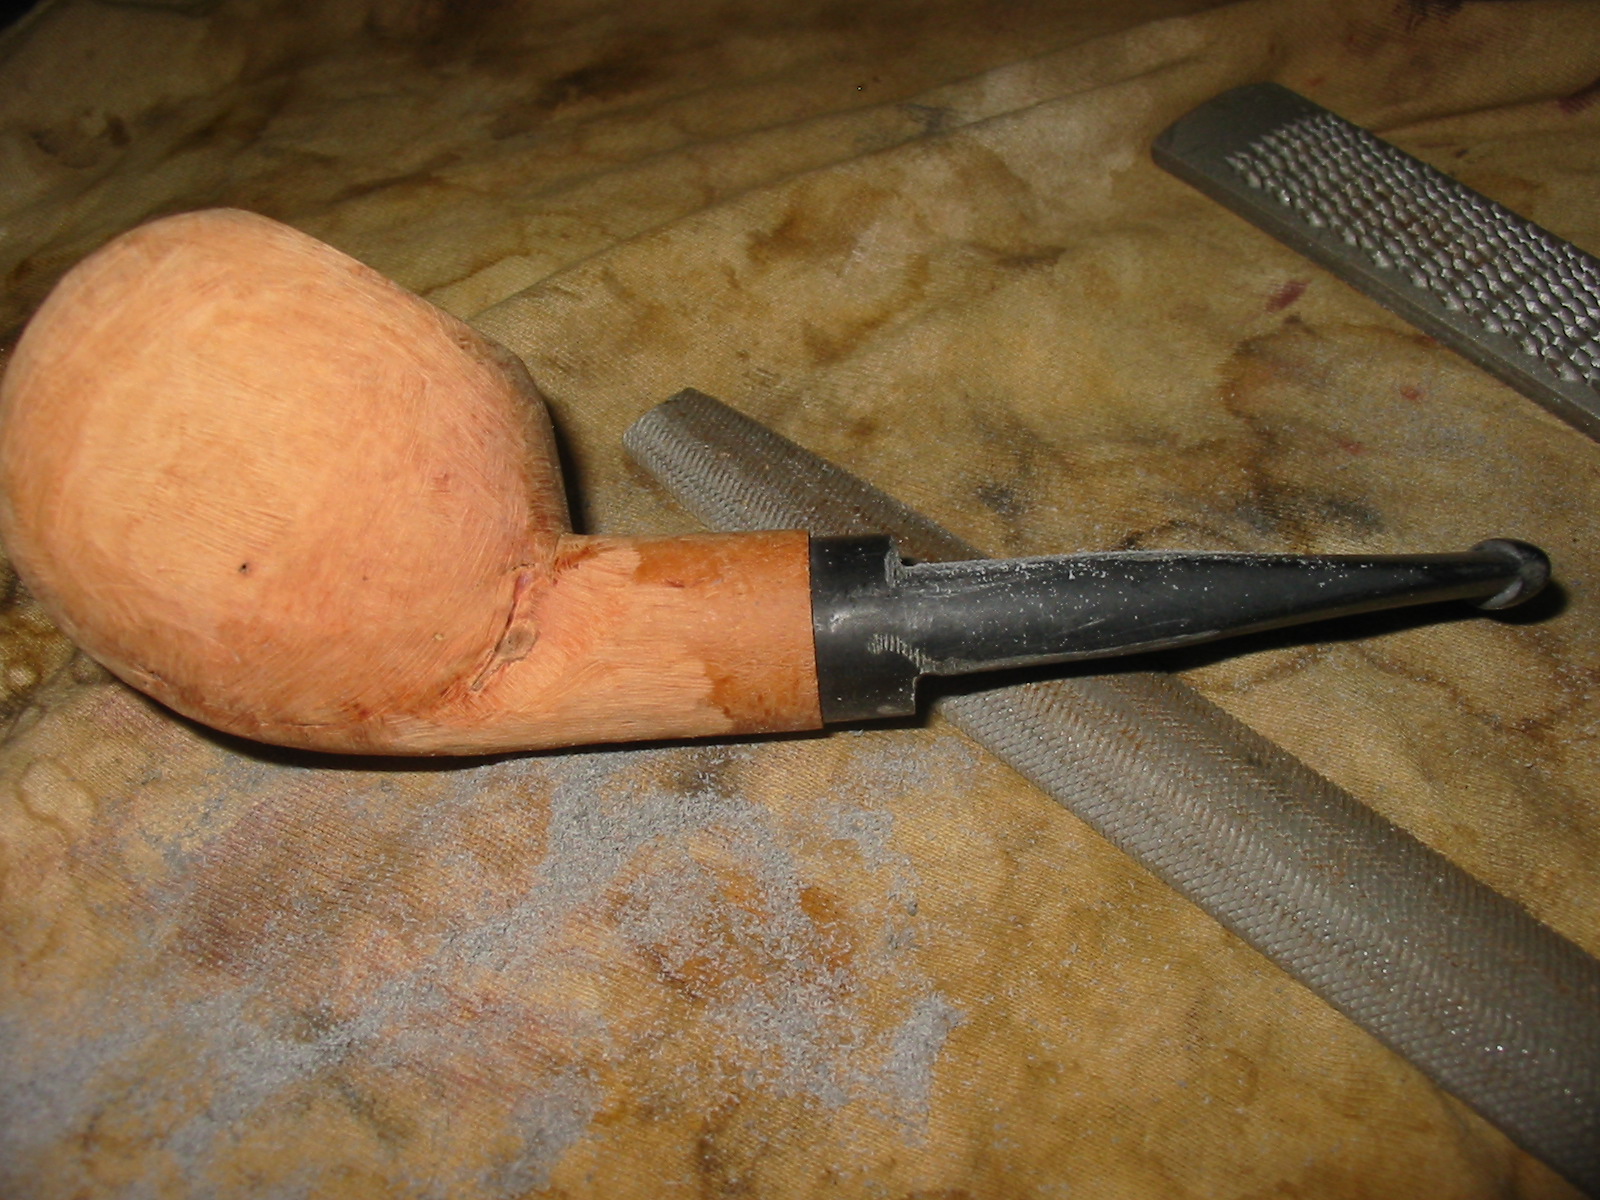
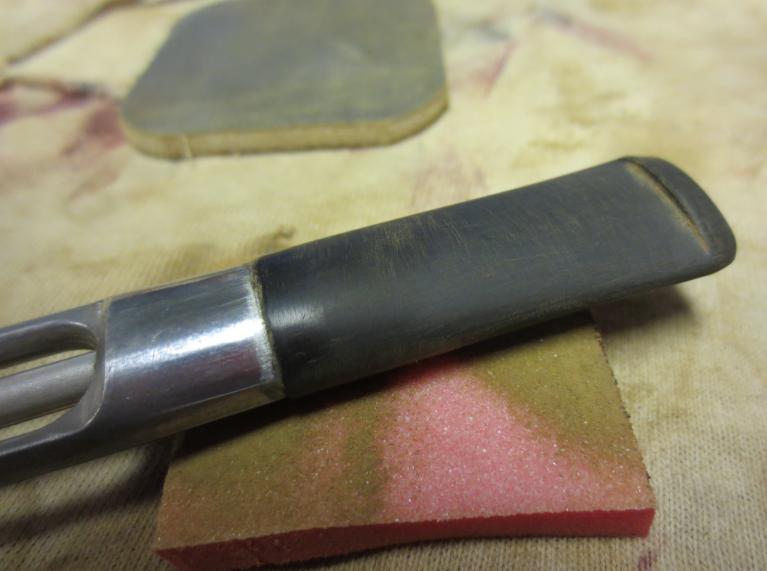
Once I had the rough shape on the stem I used the files and rasp on the bowl of the pipe. I filed away the briar to further round out the shape of the bowl and shank. The flaw in the shank and bowl bottom on the left was still an issue that would take a lot more work to see if I could remedy it or work around it. The next five photos show the rounding of the bowl after working it over with the files and rasp.

IMG_0881

IMG_0882

IMG_0883

IMG_0884

IMG_0885

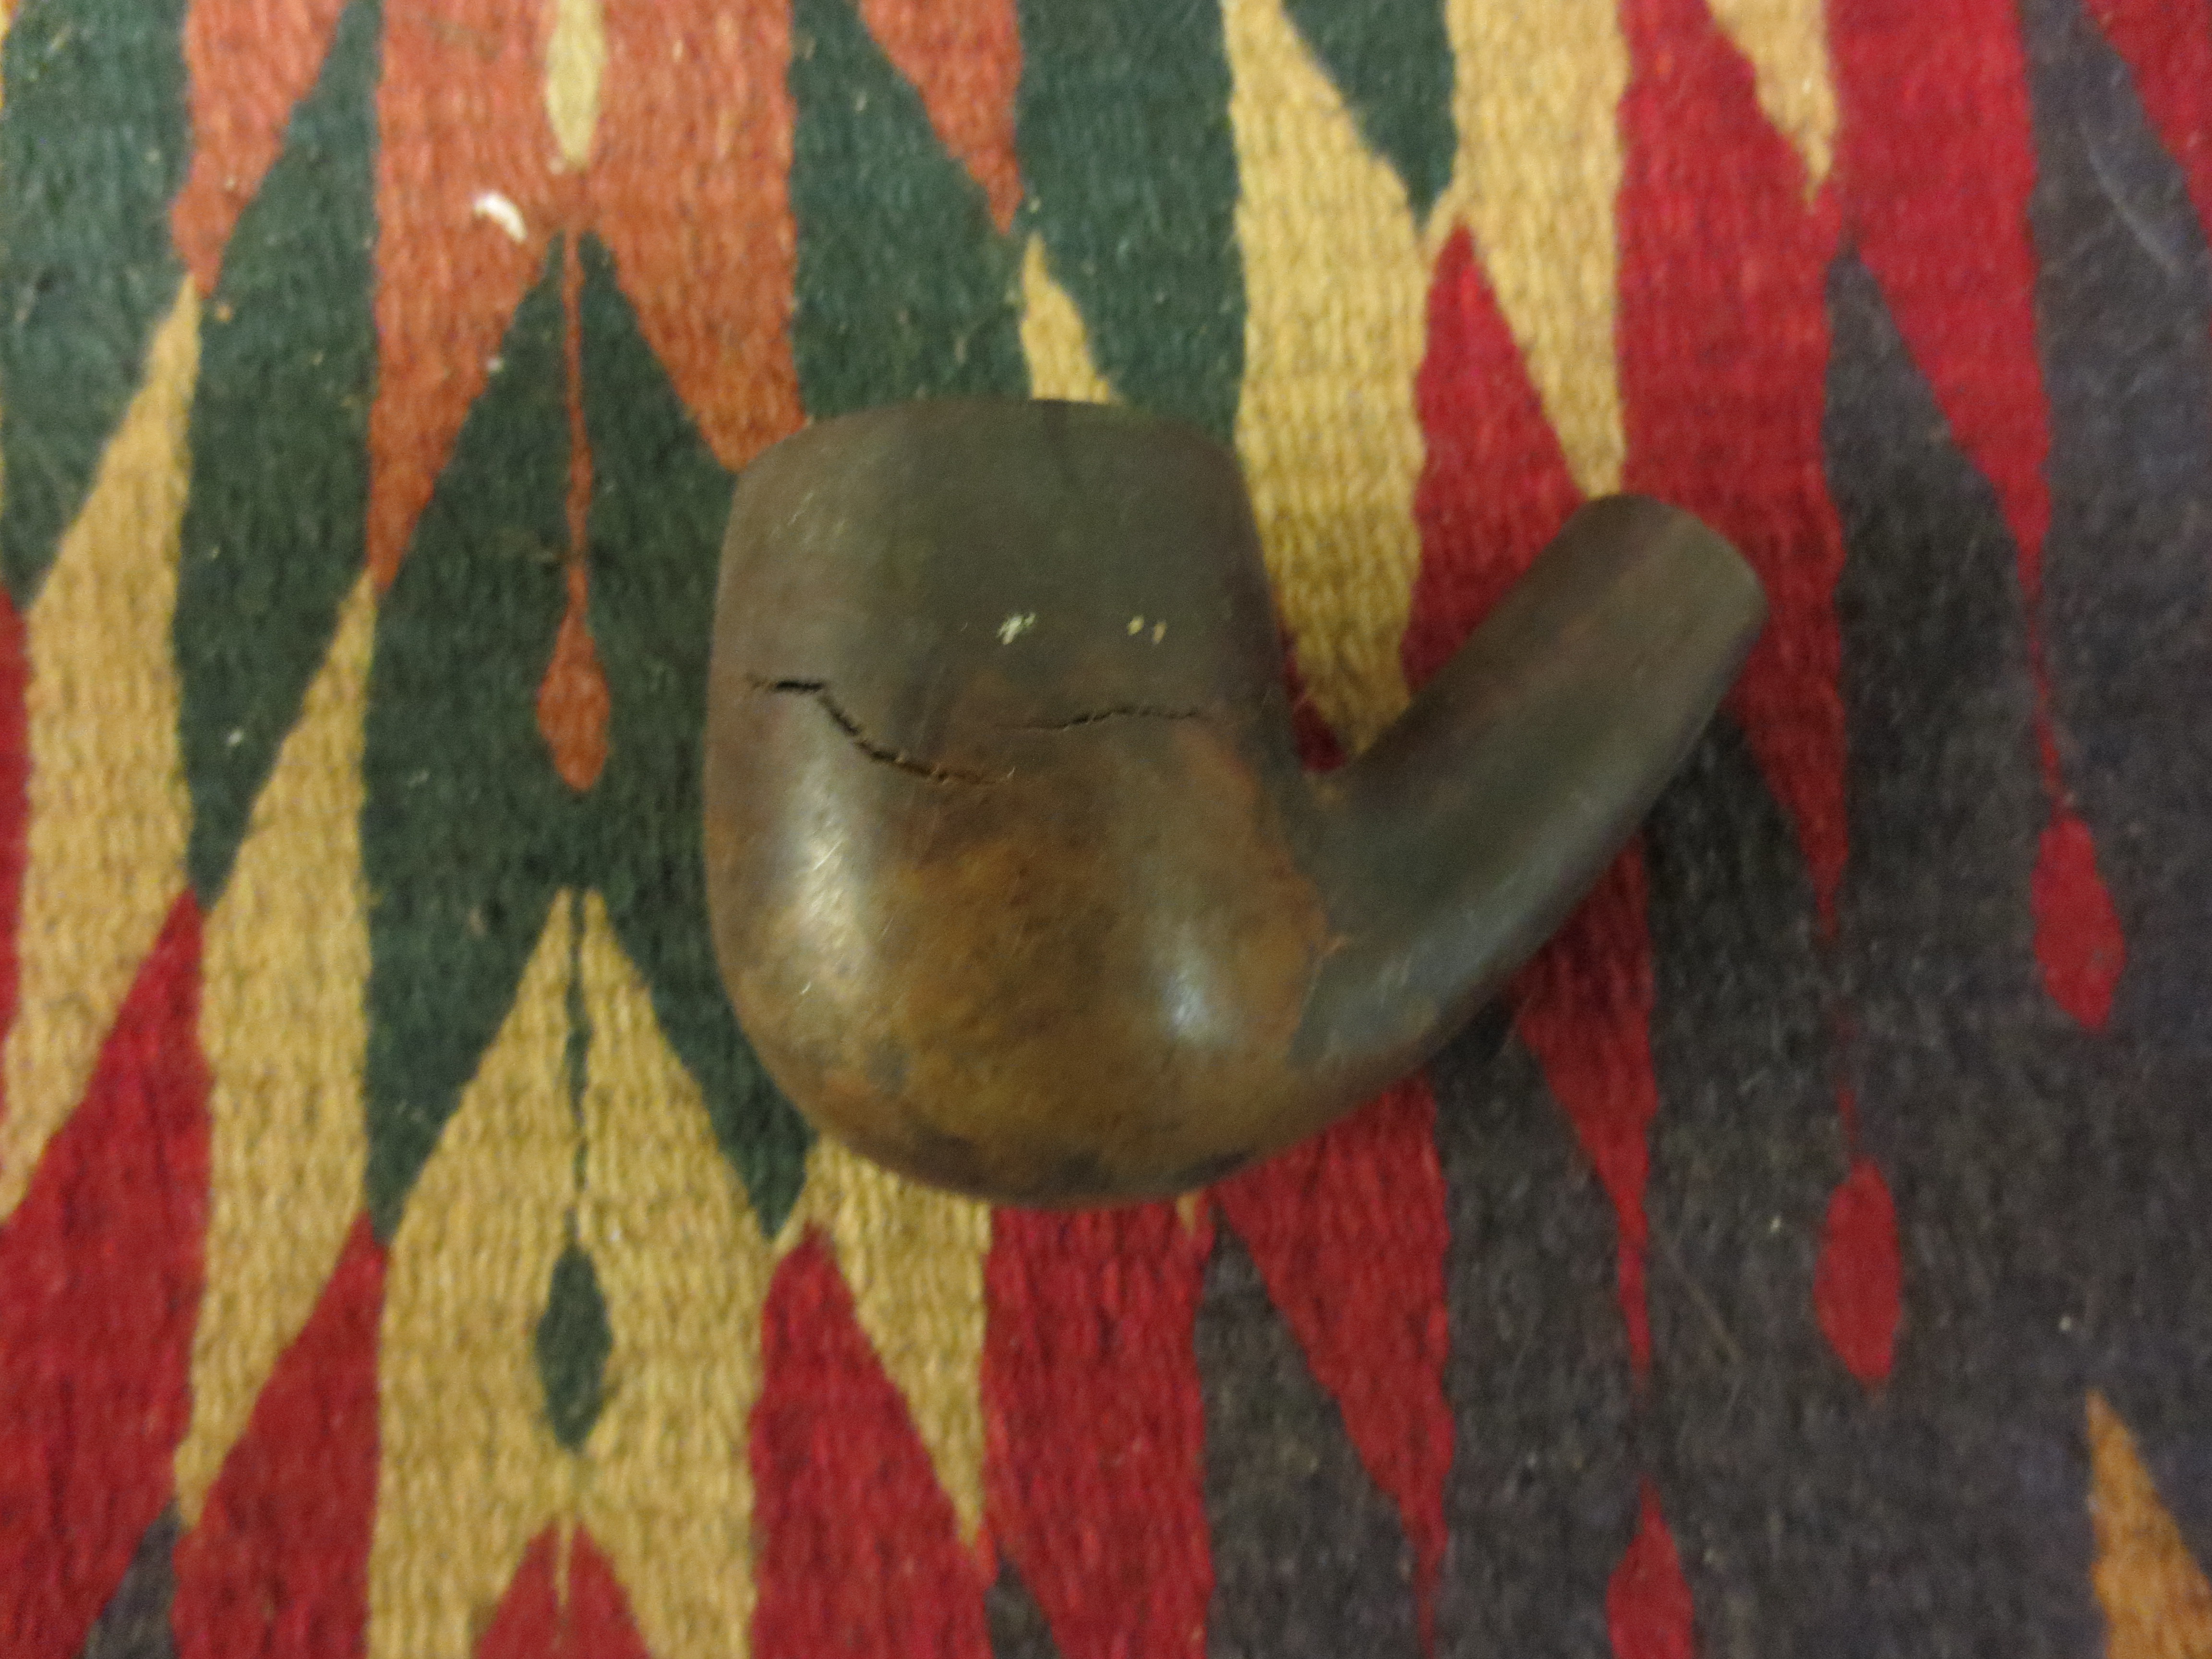
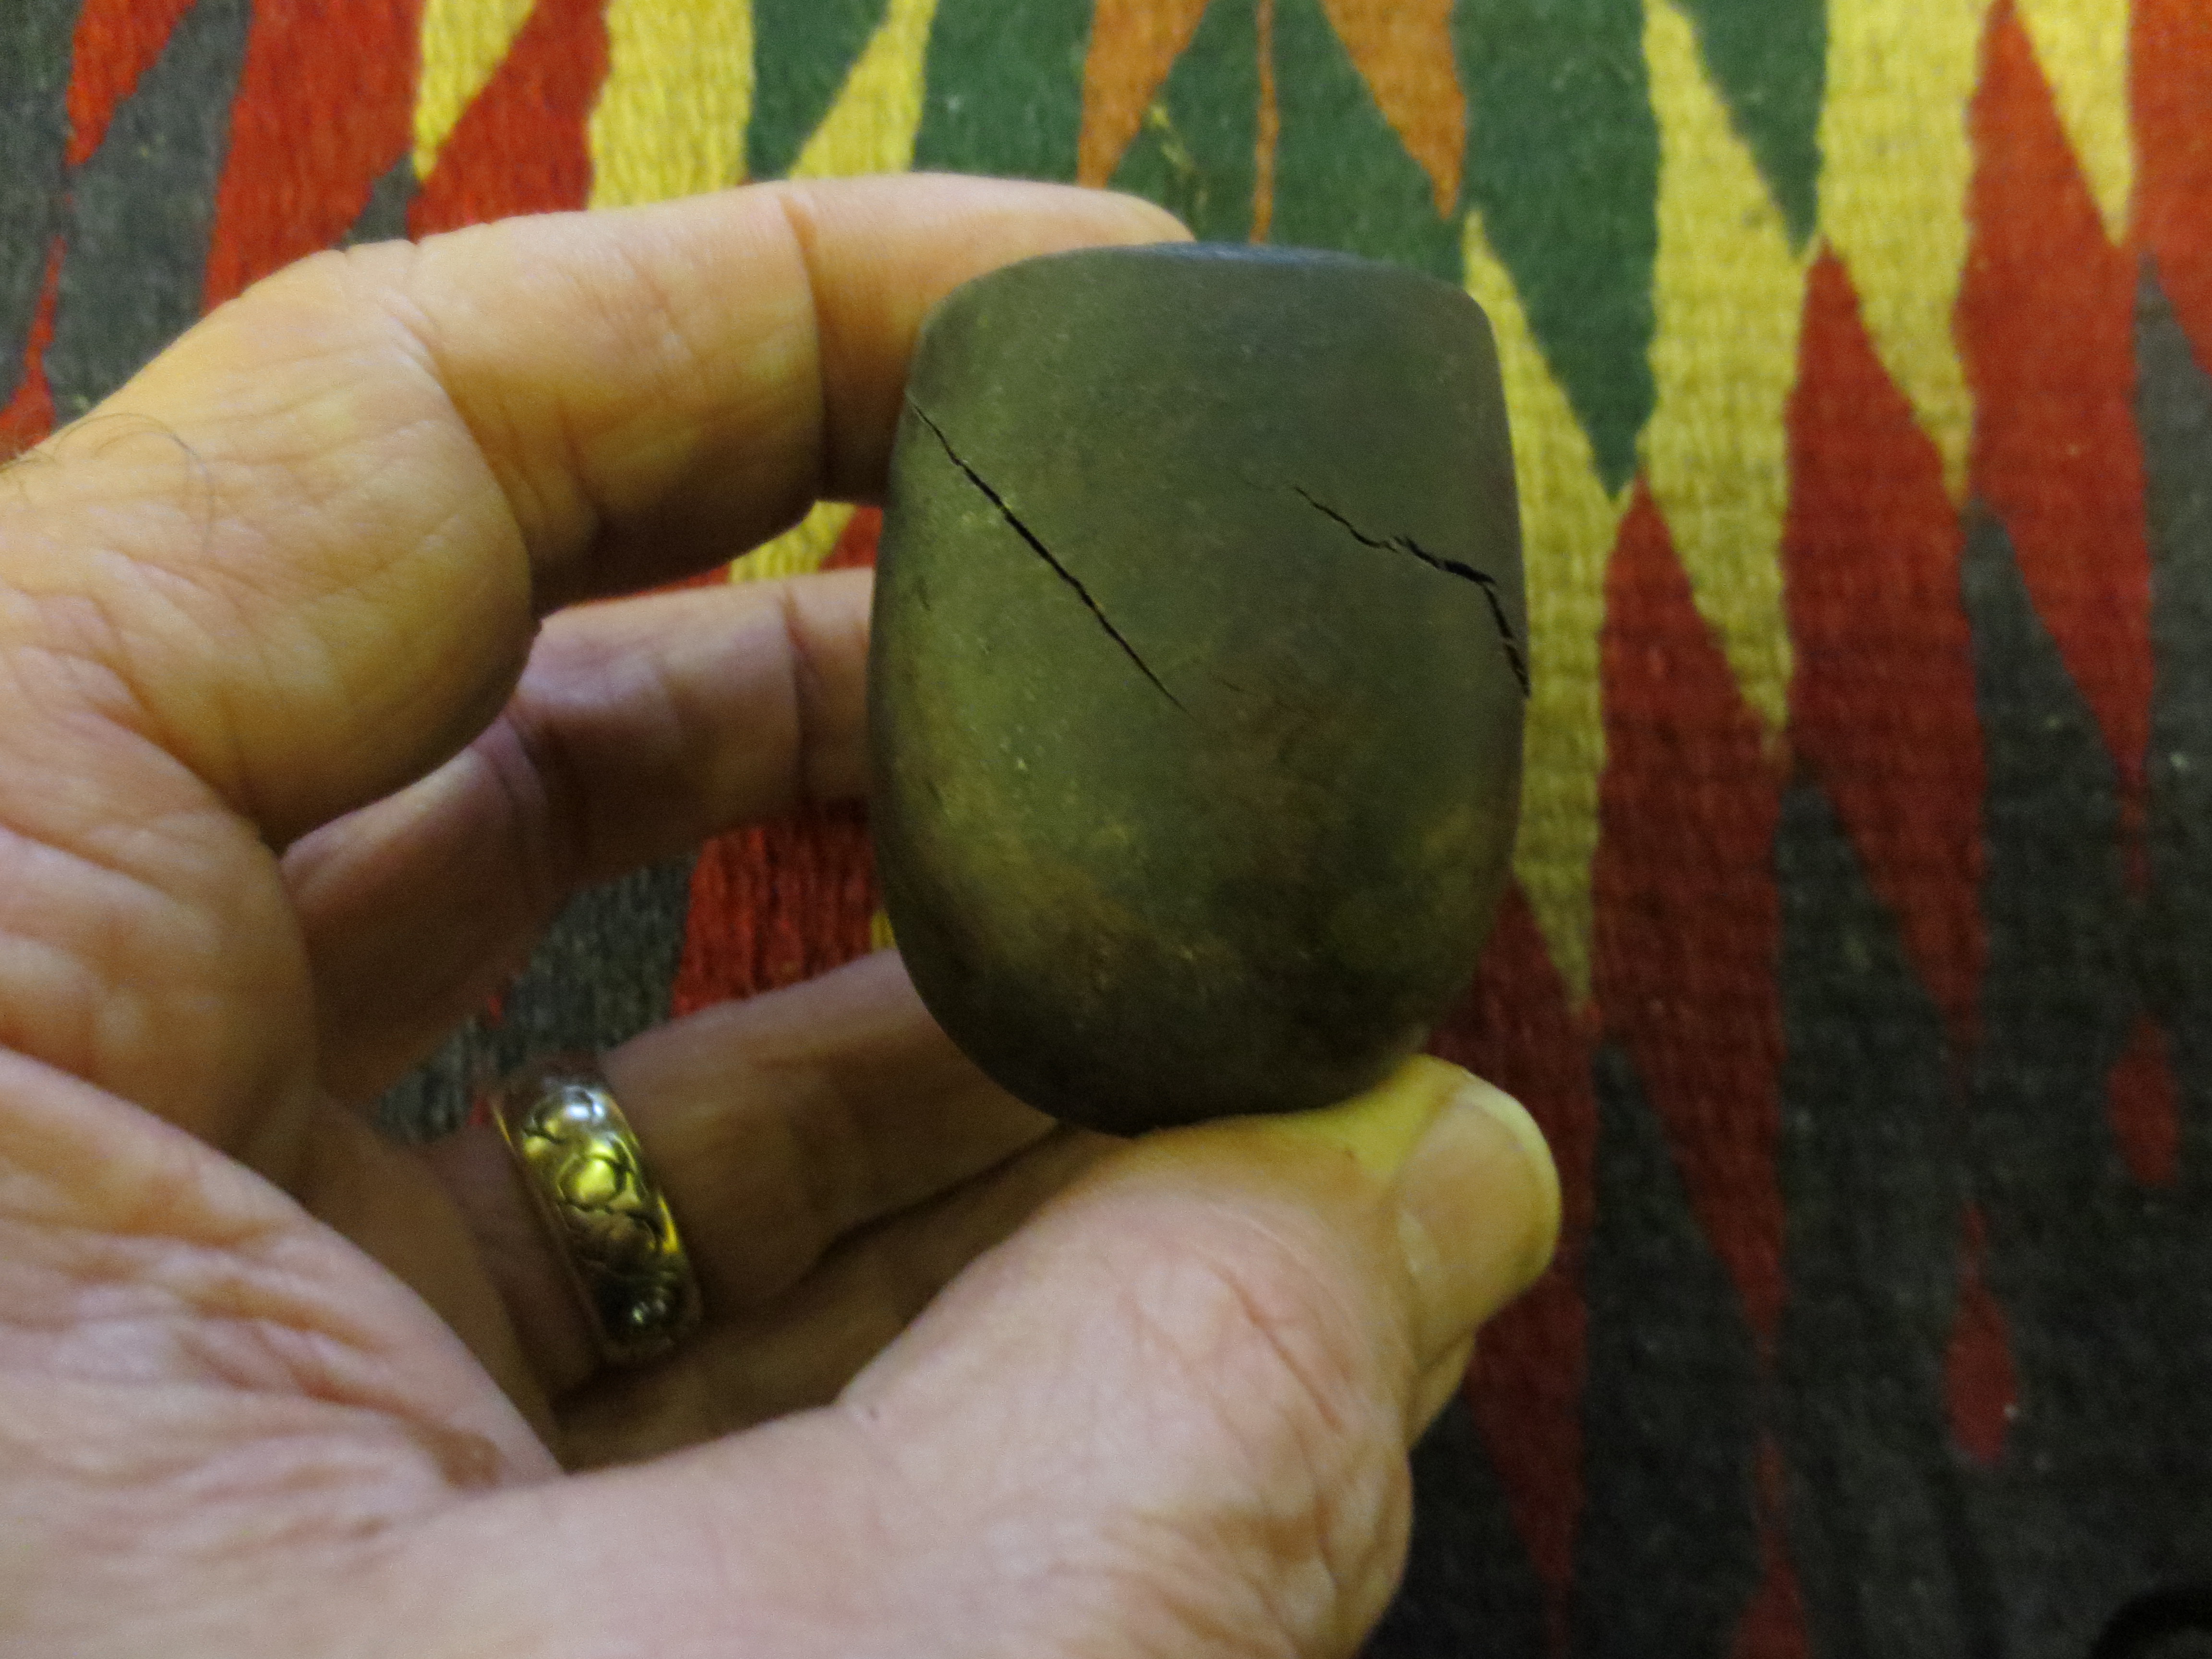
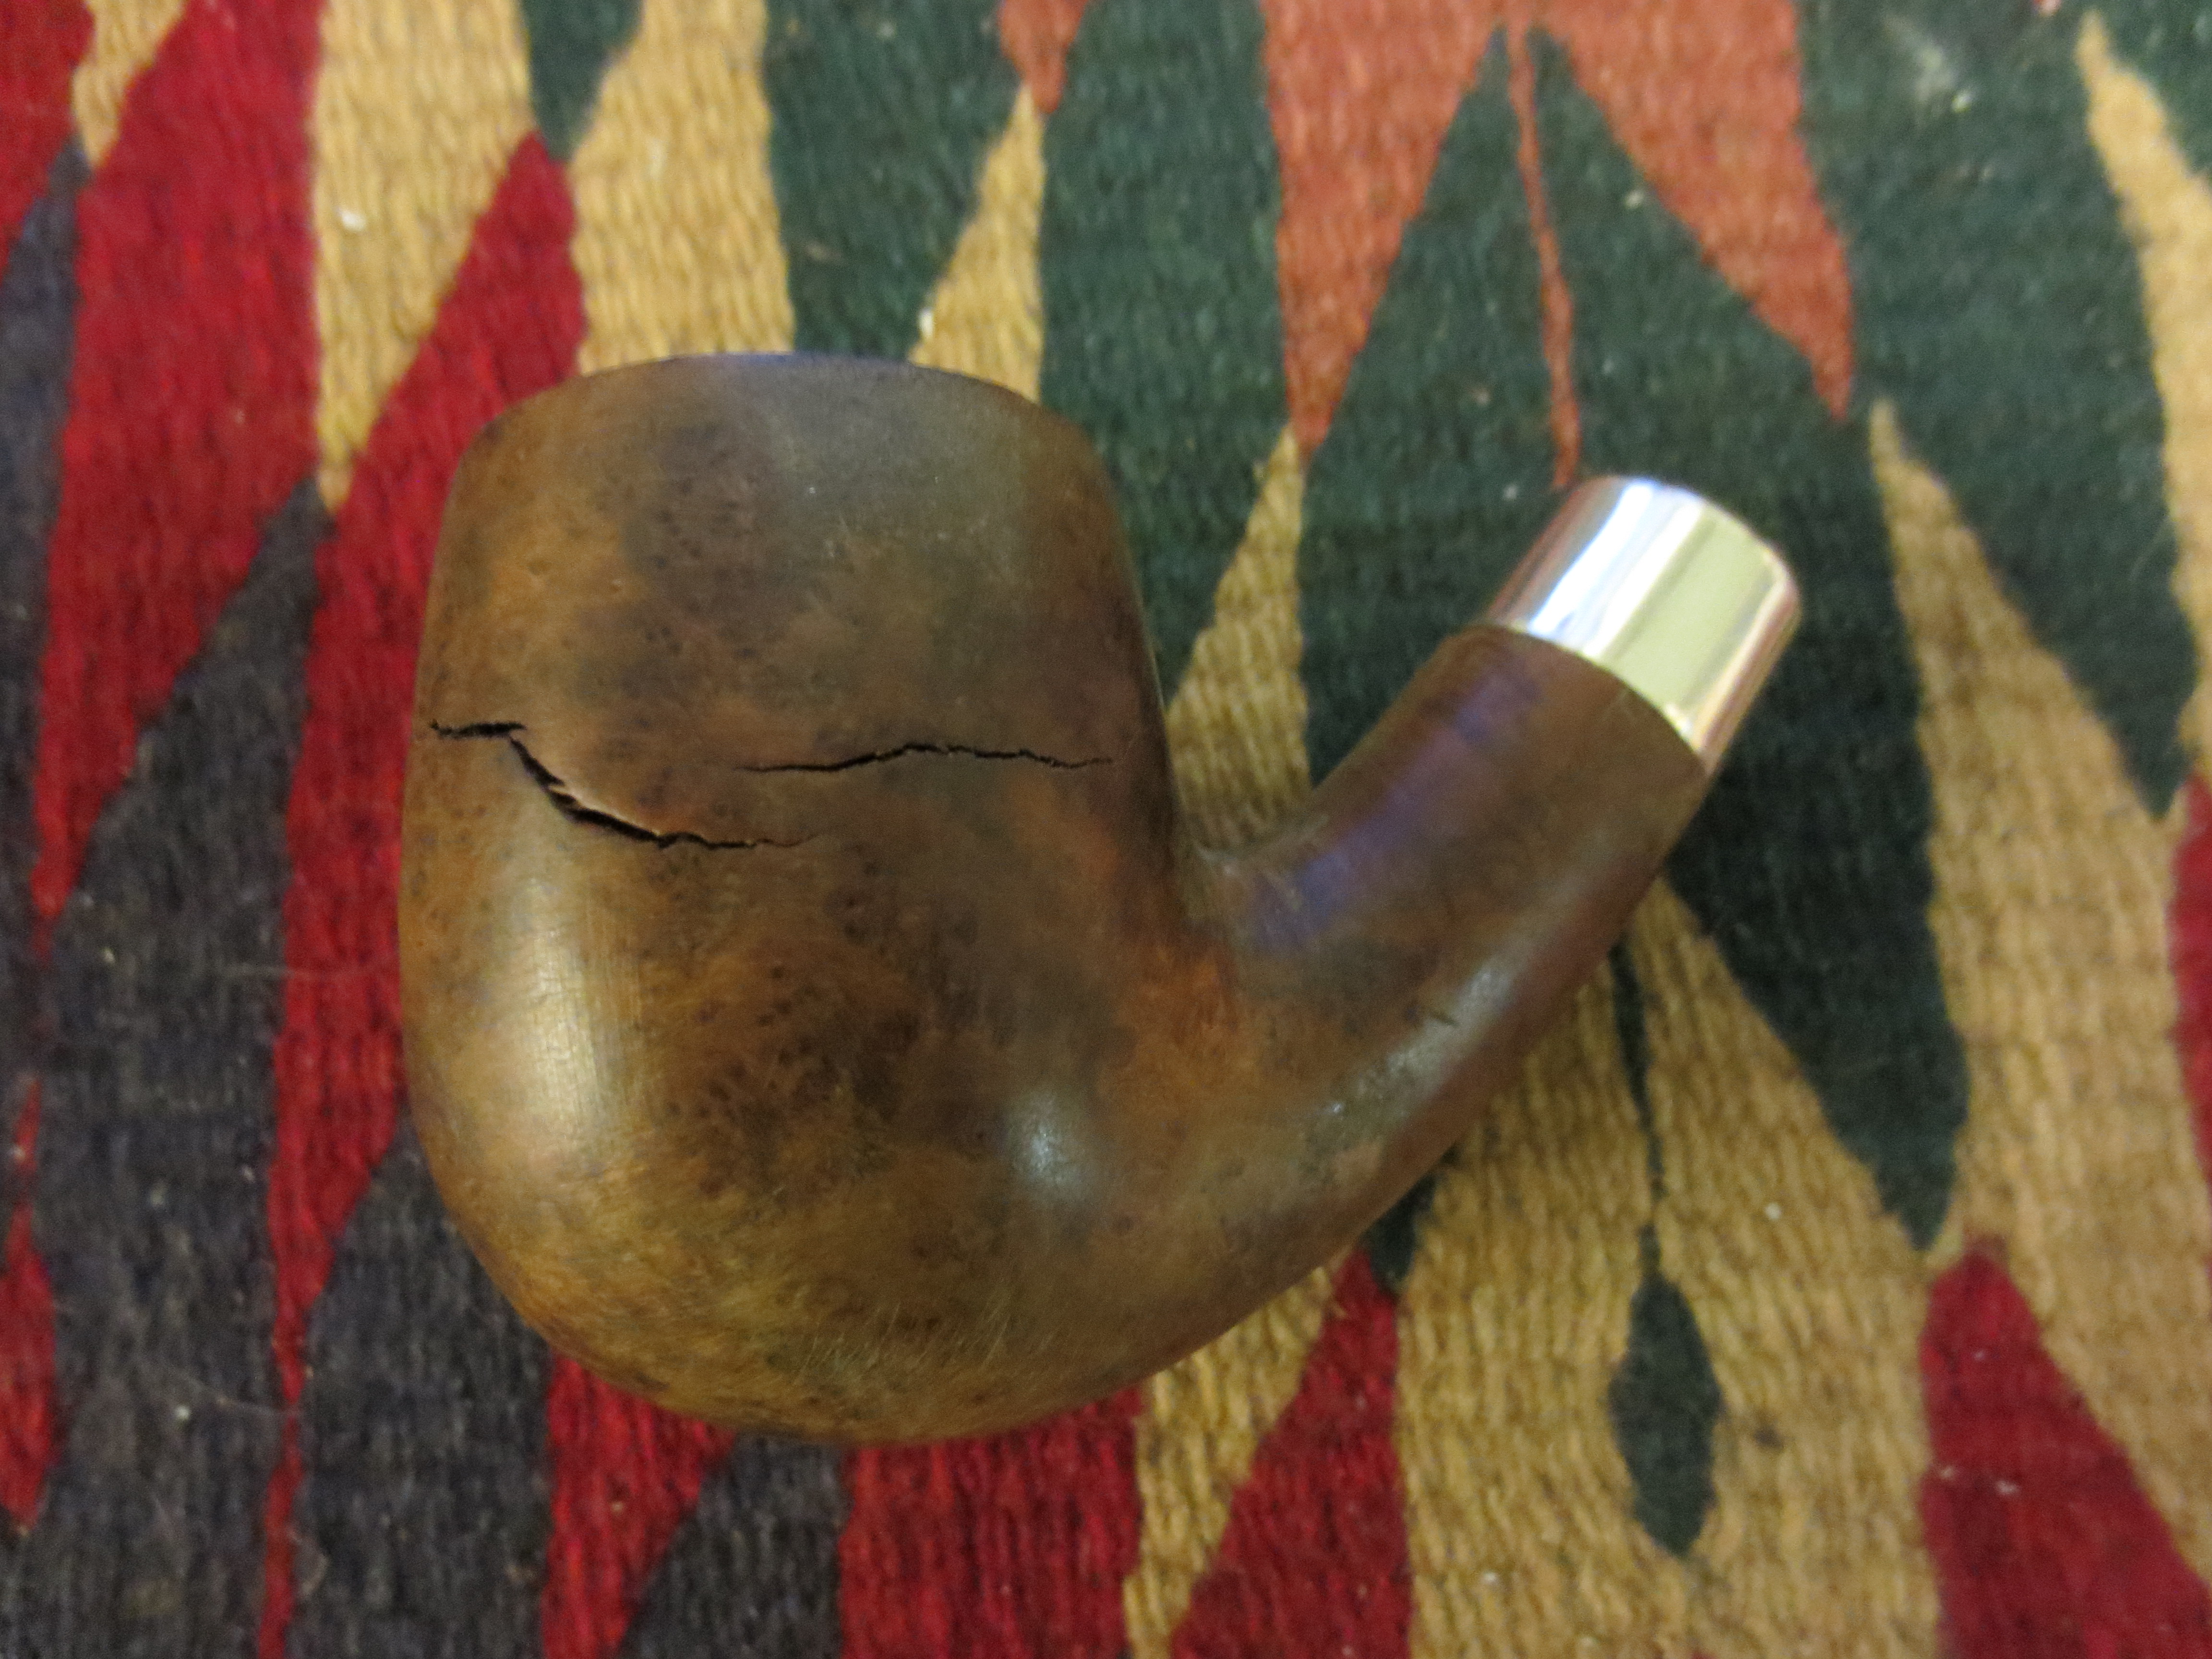
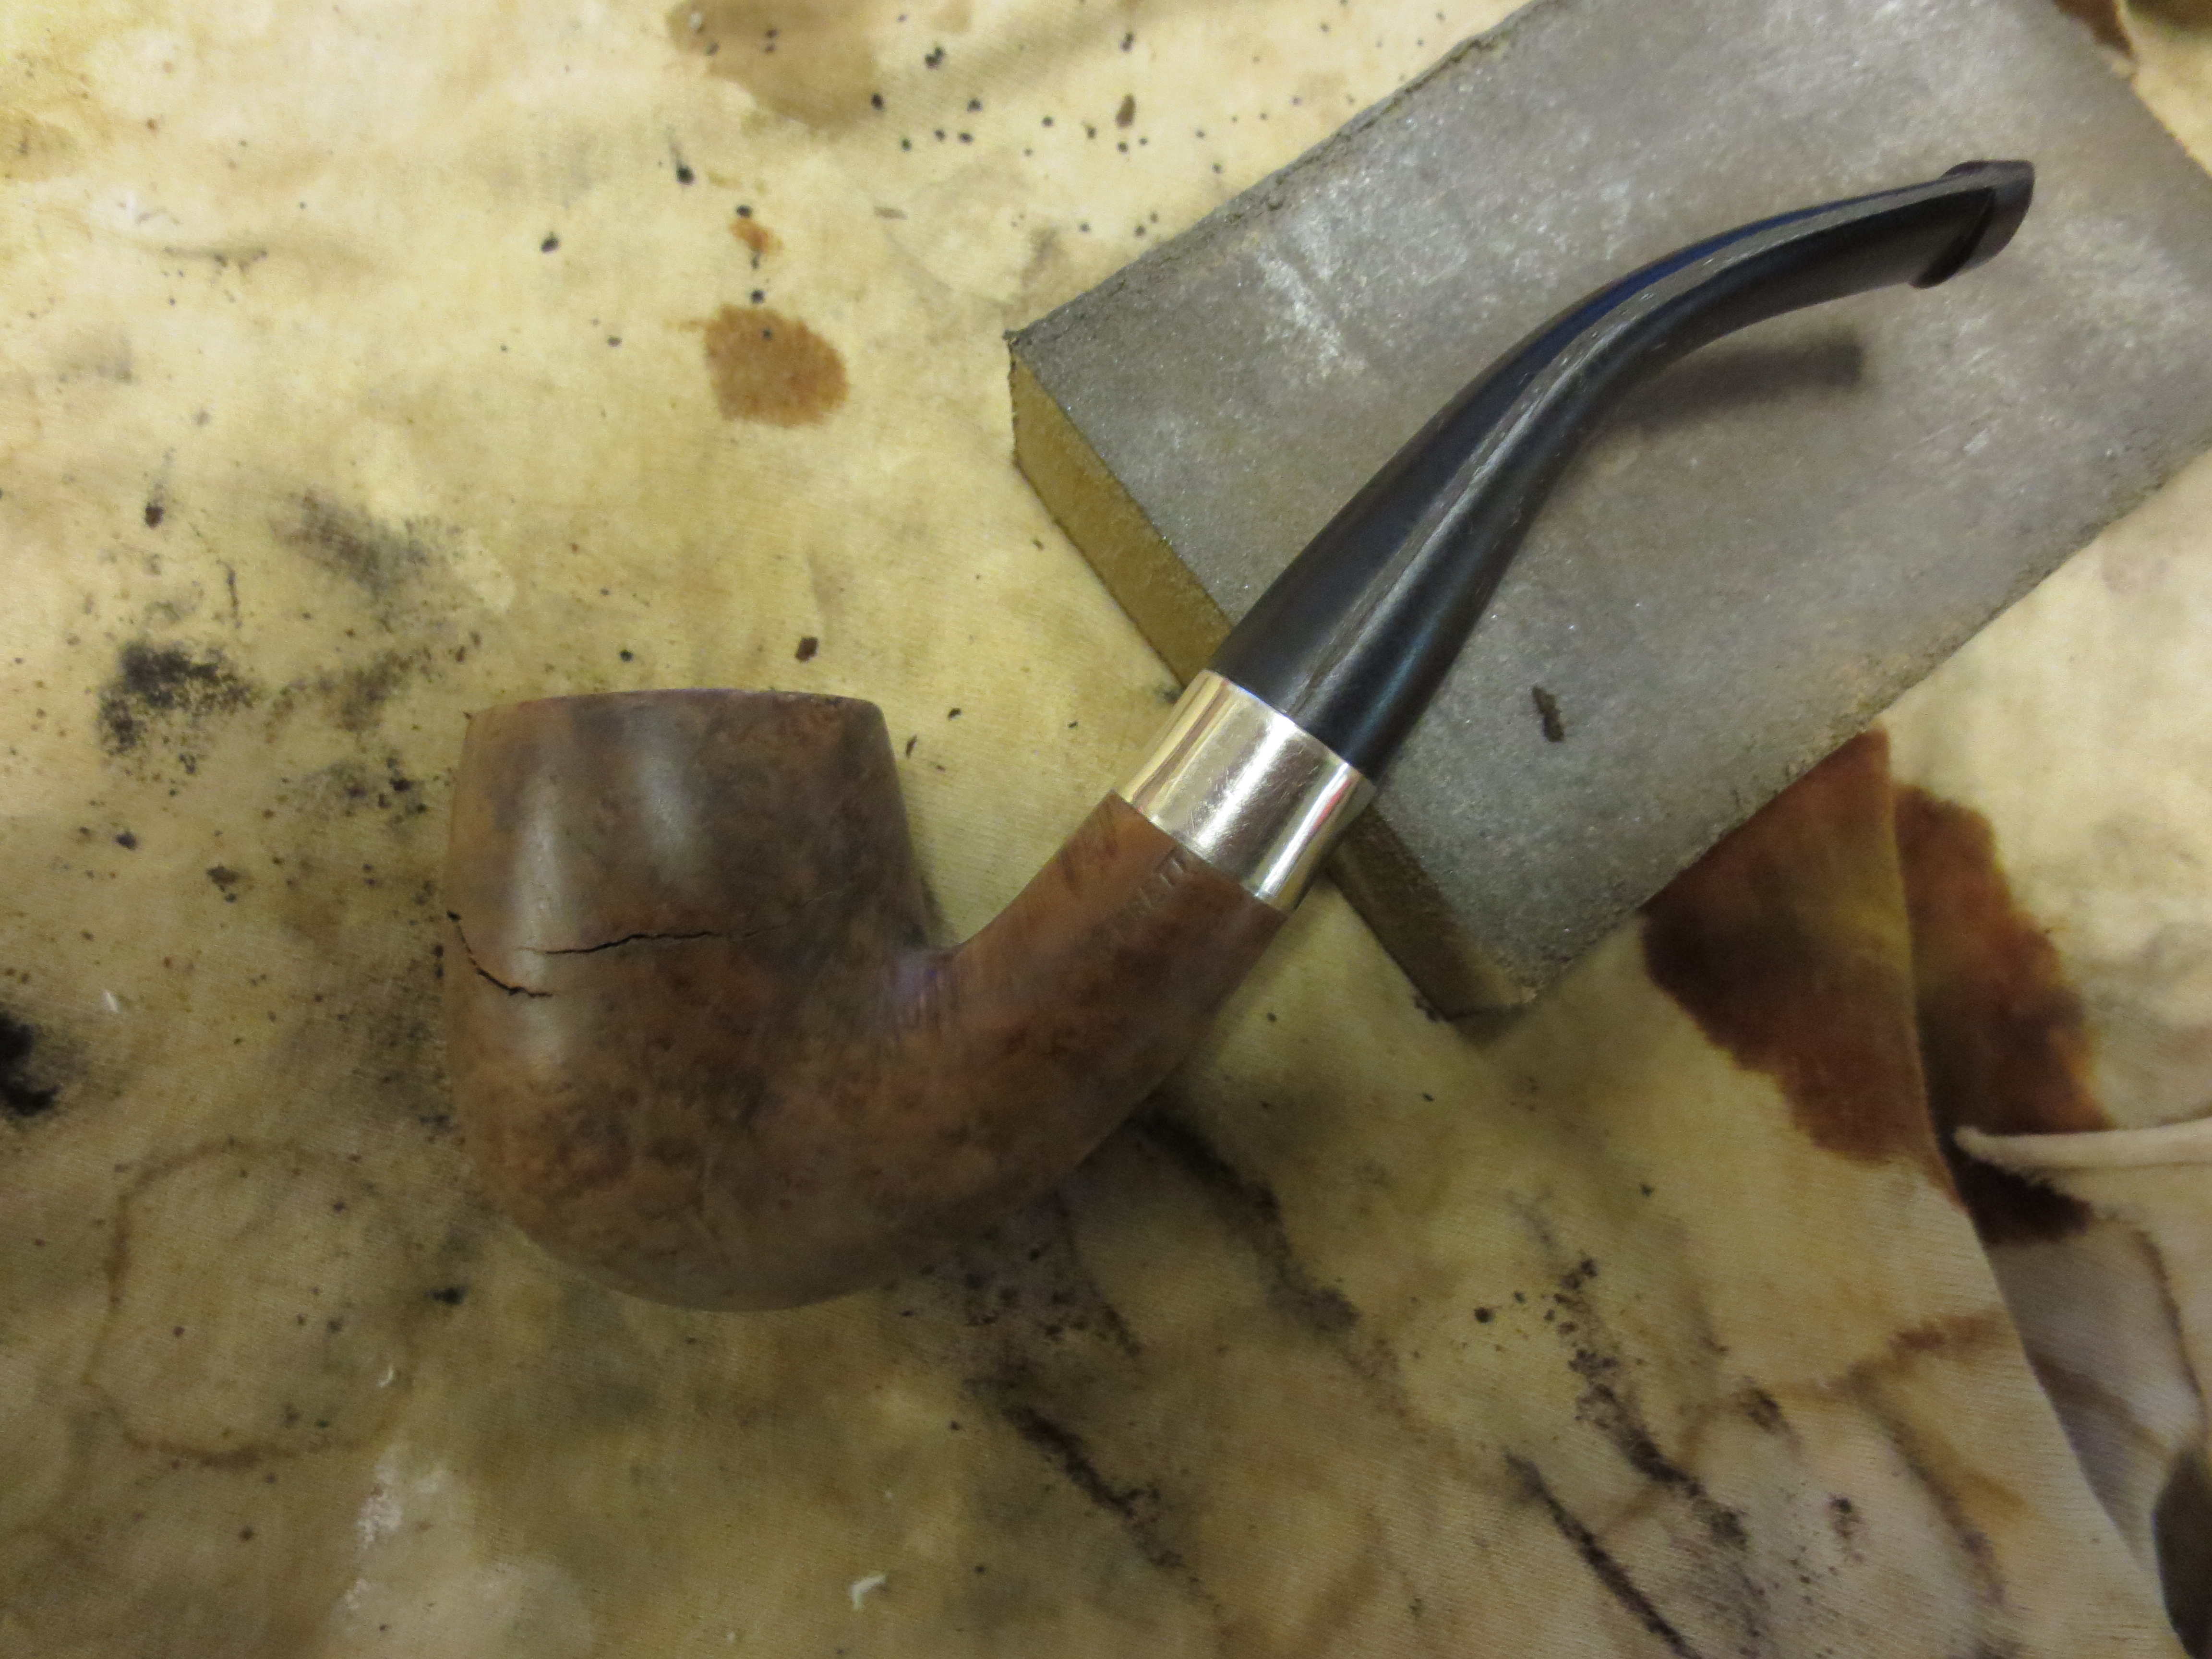
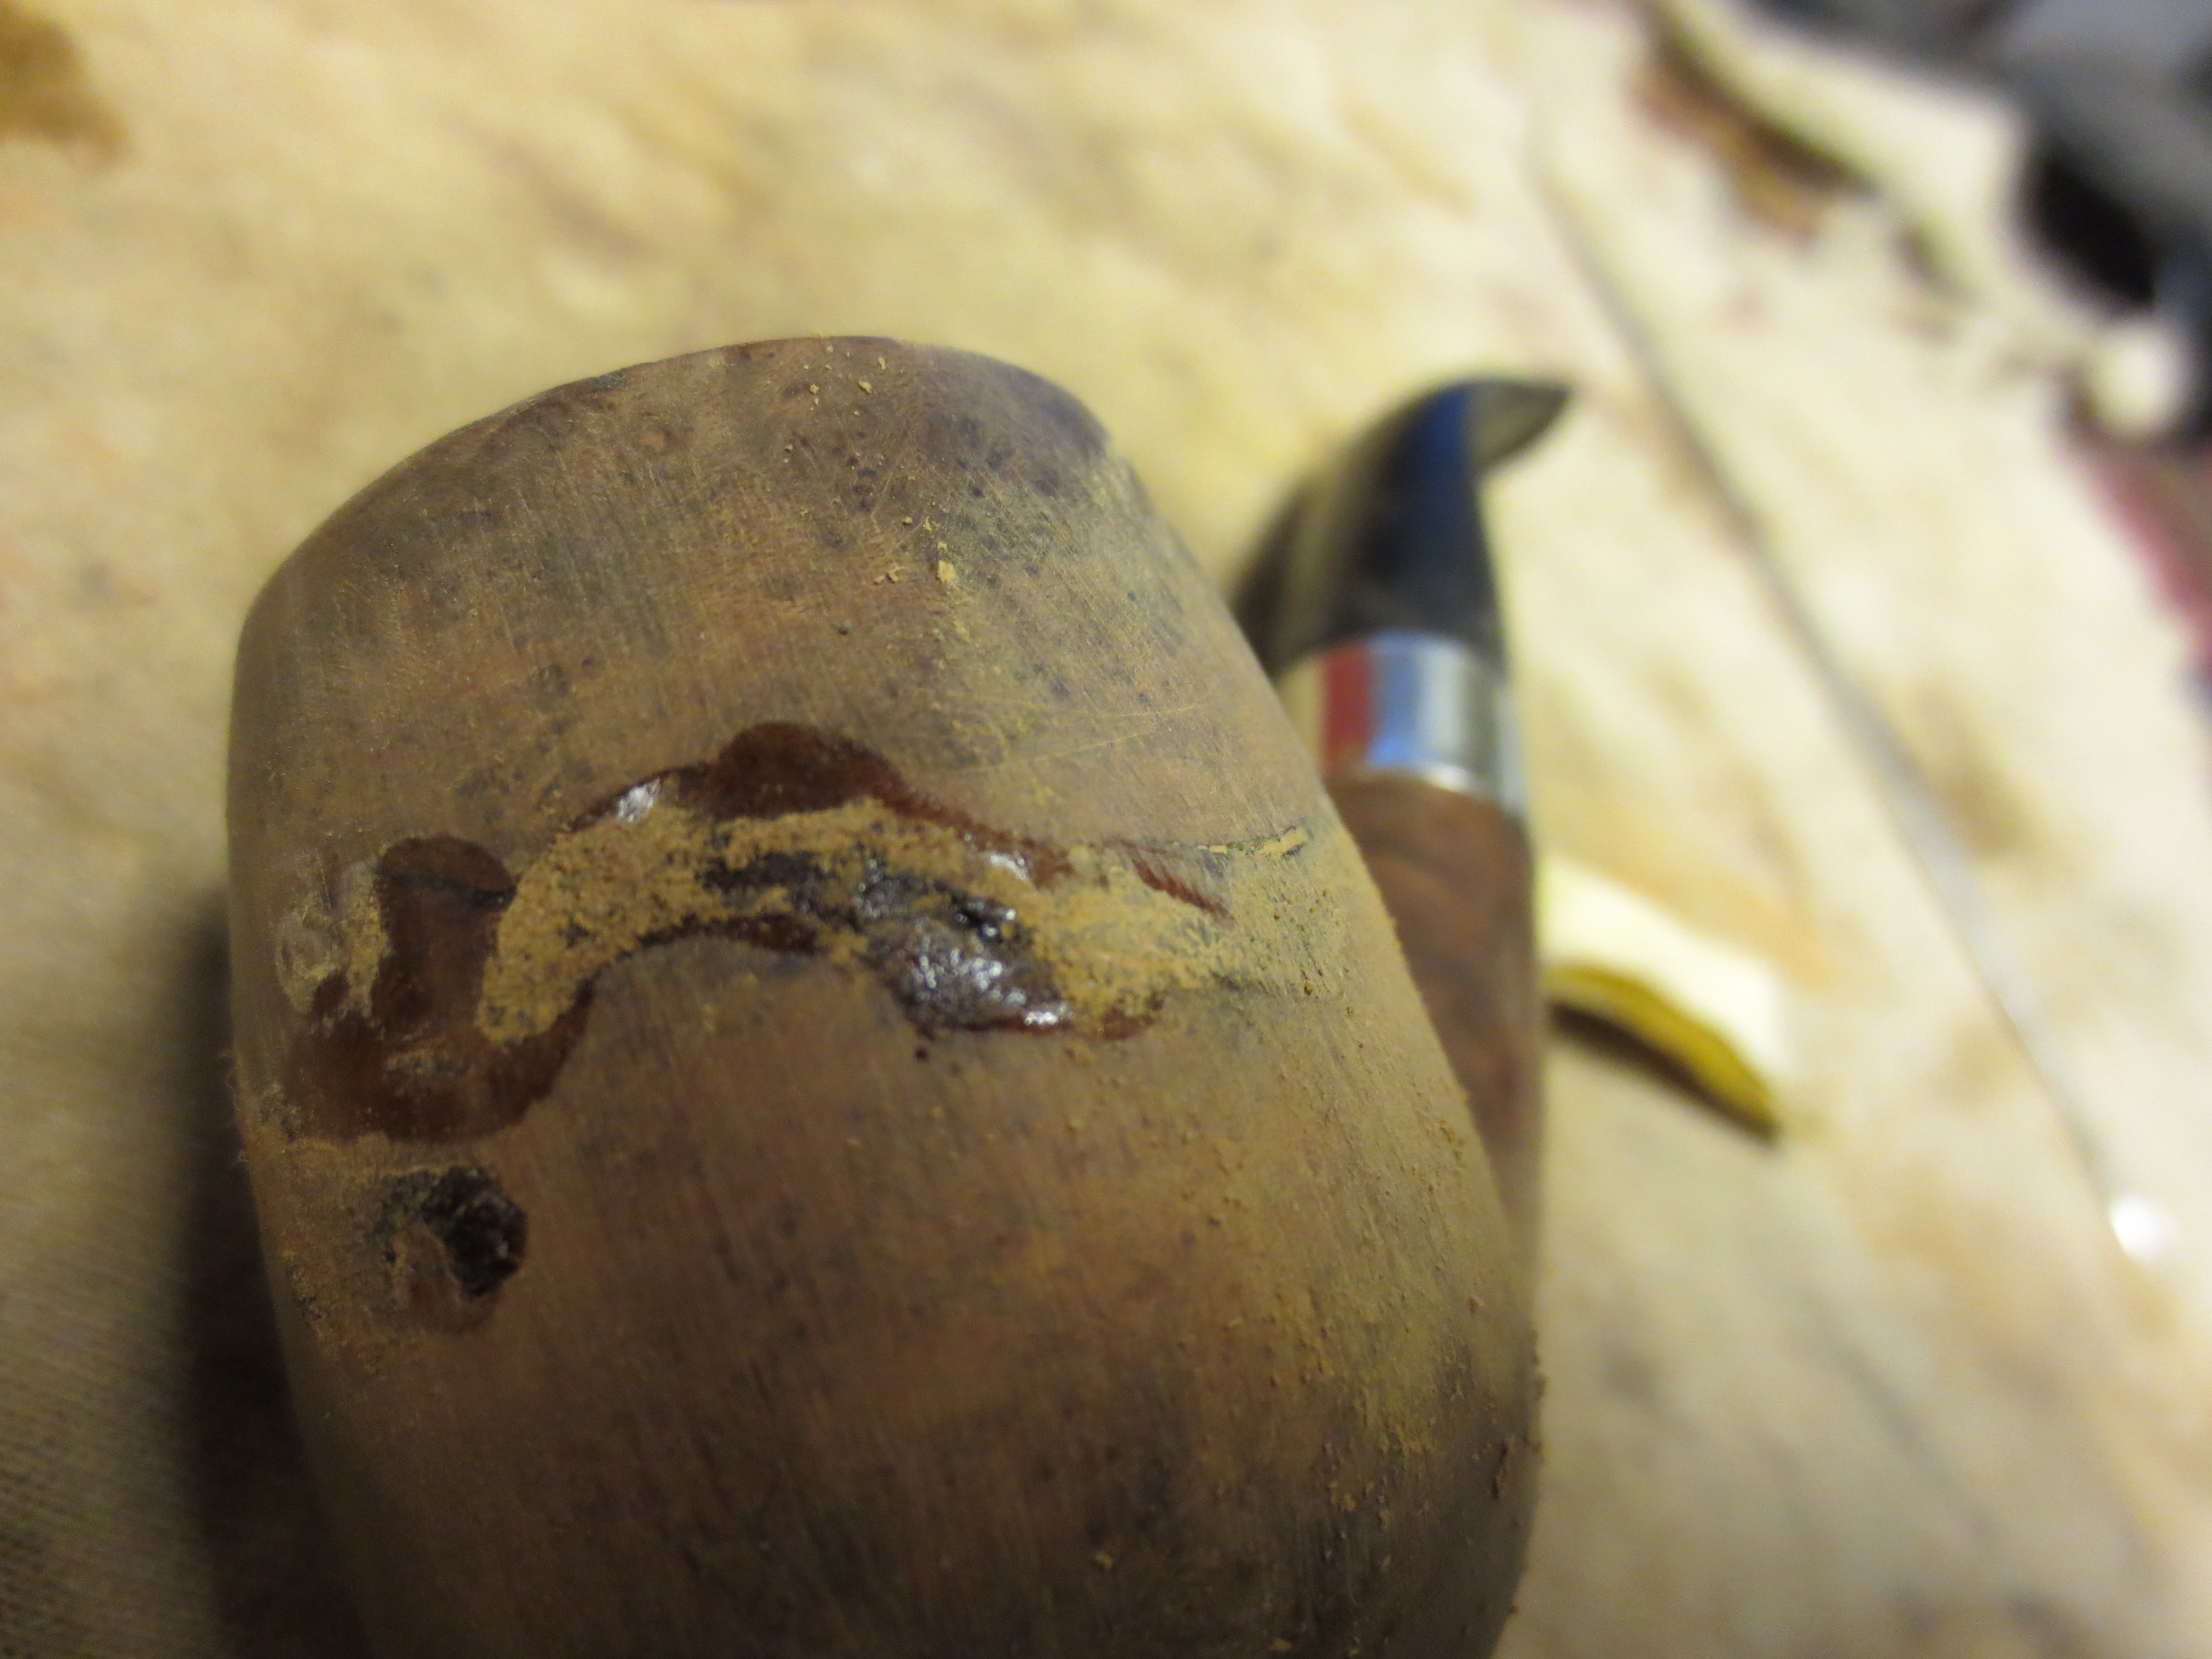
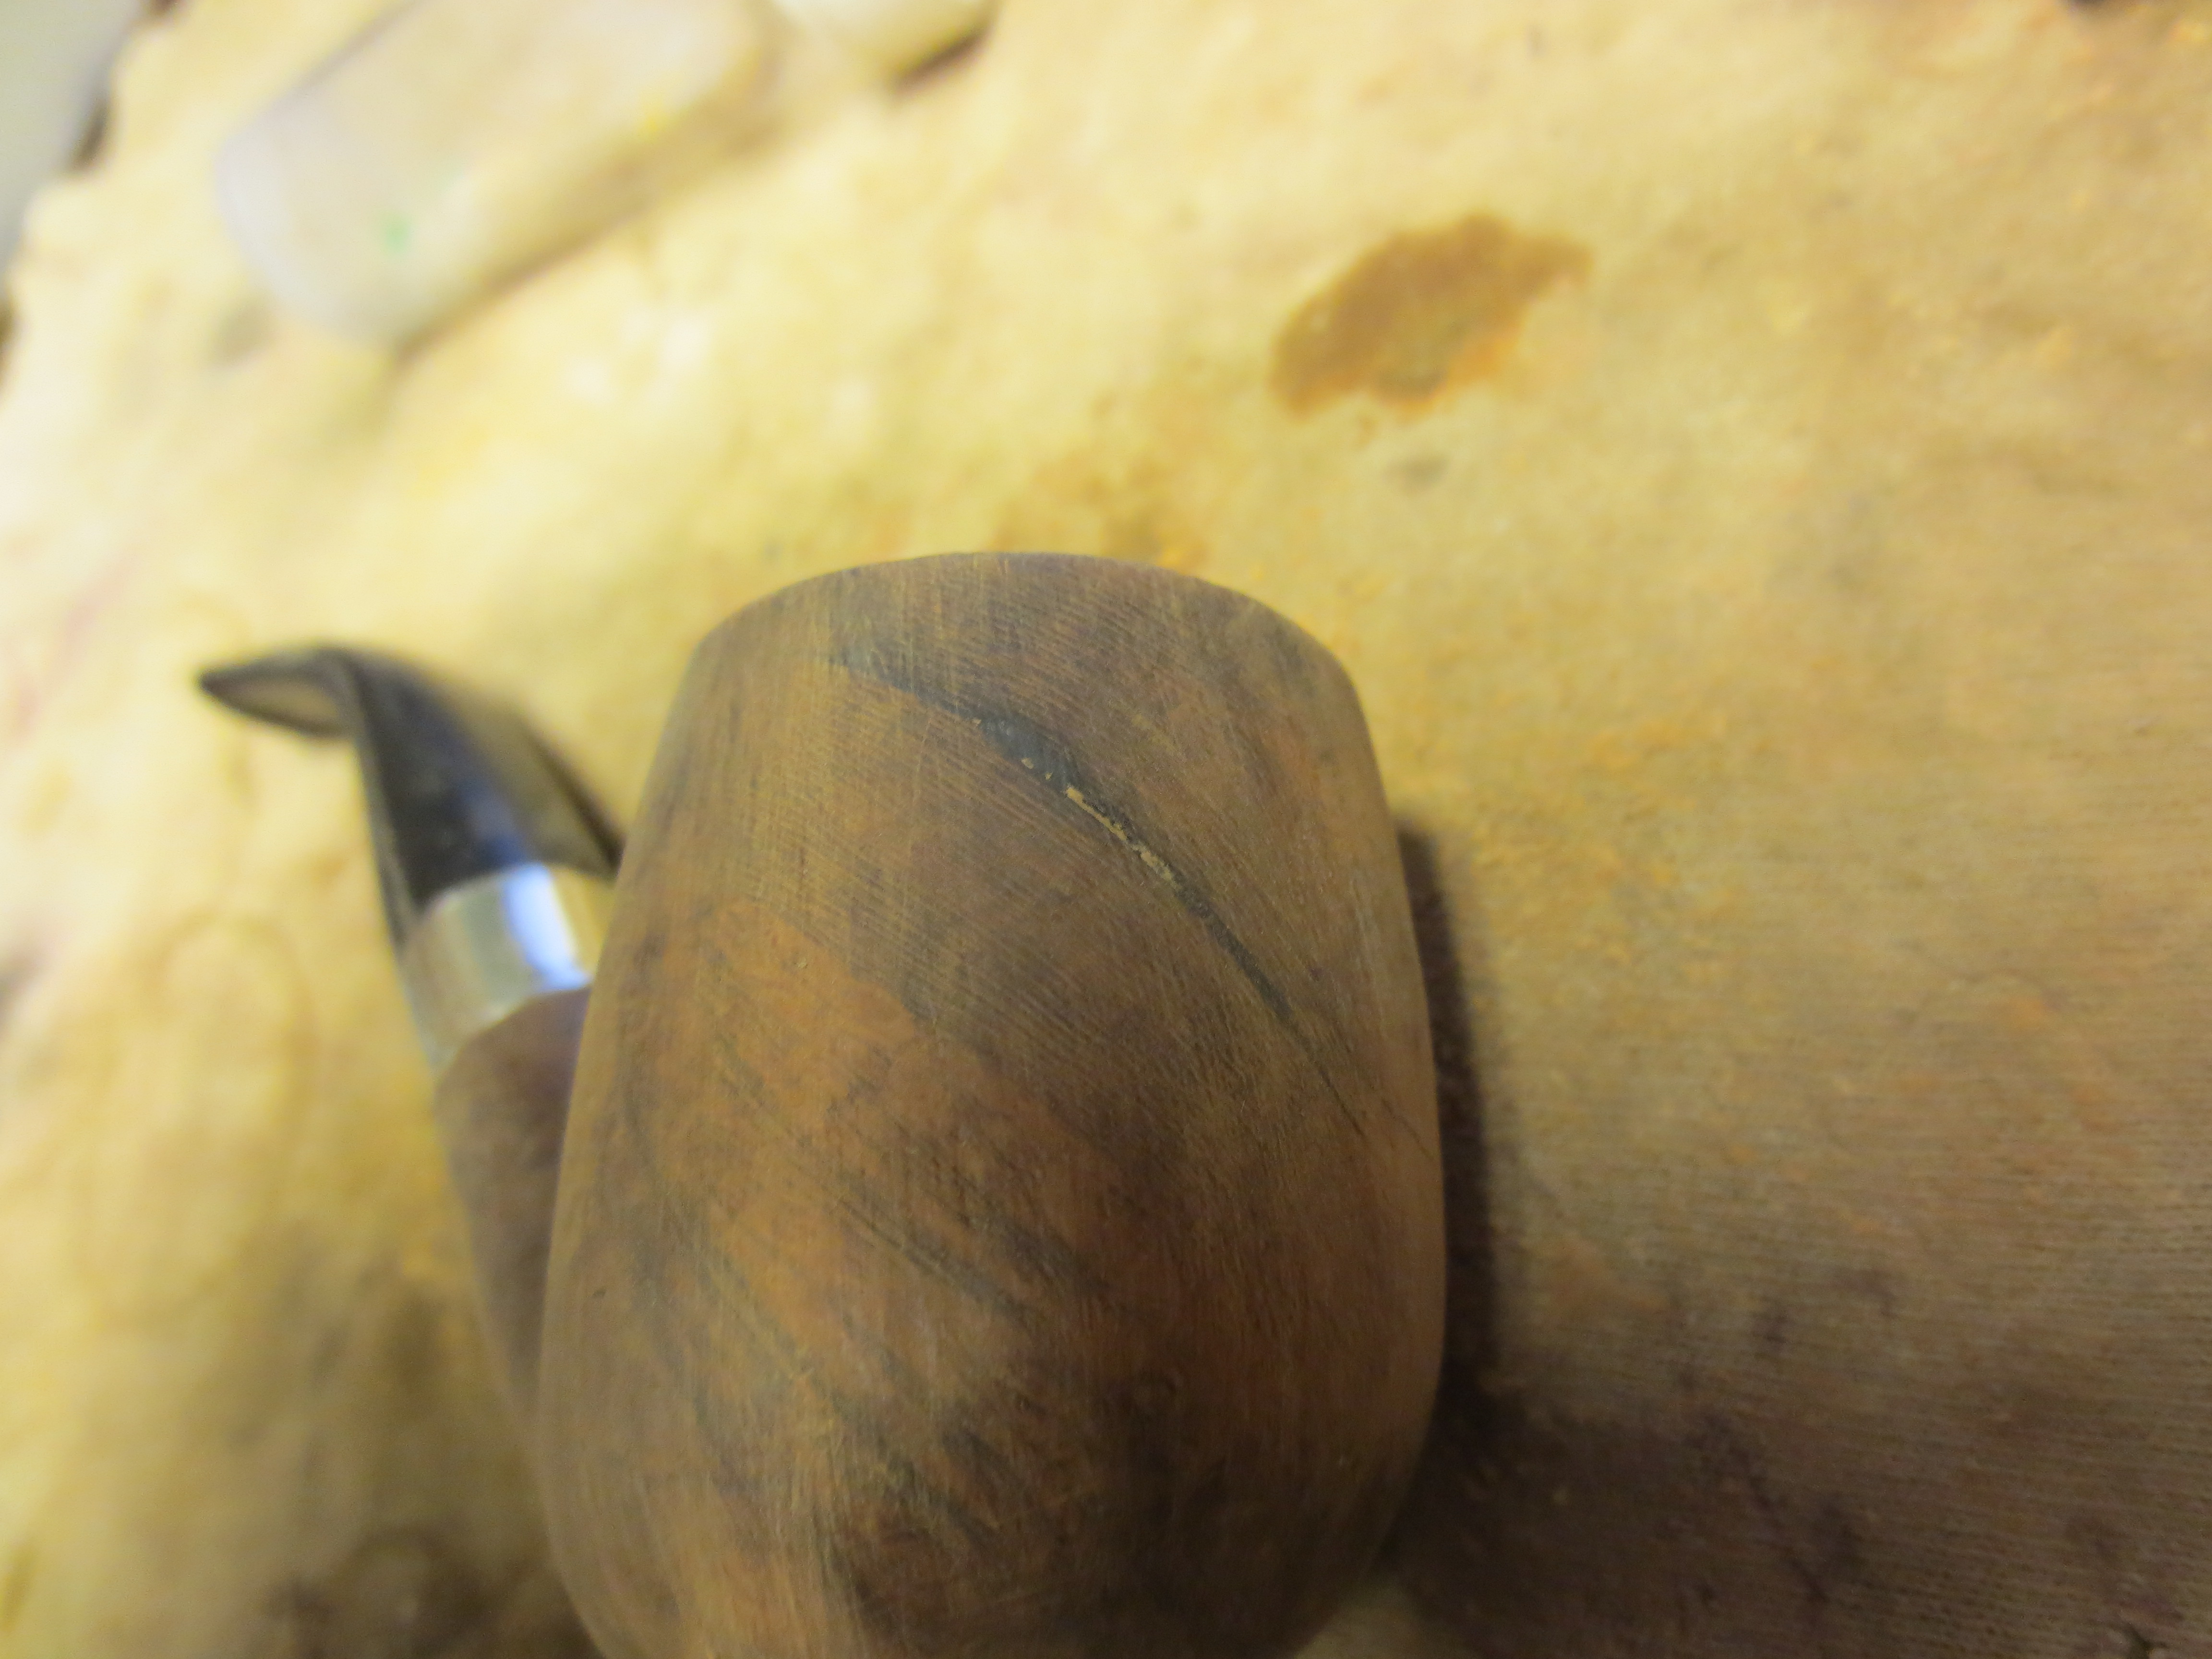
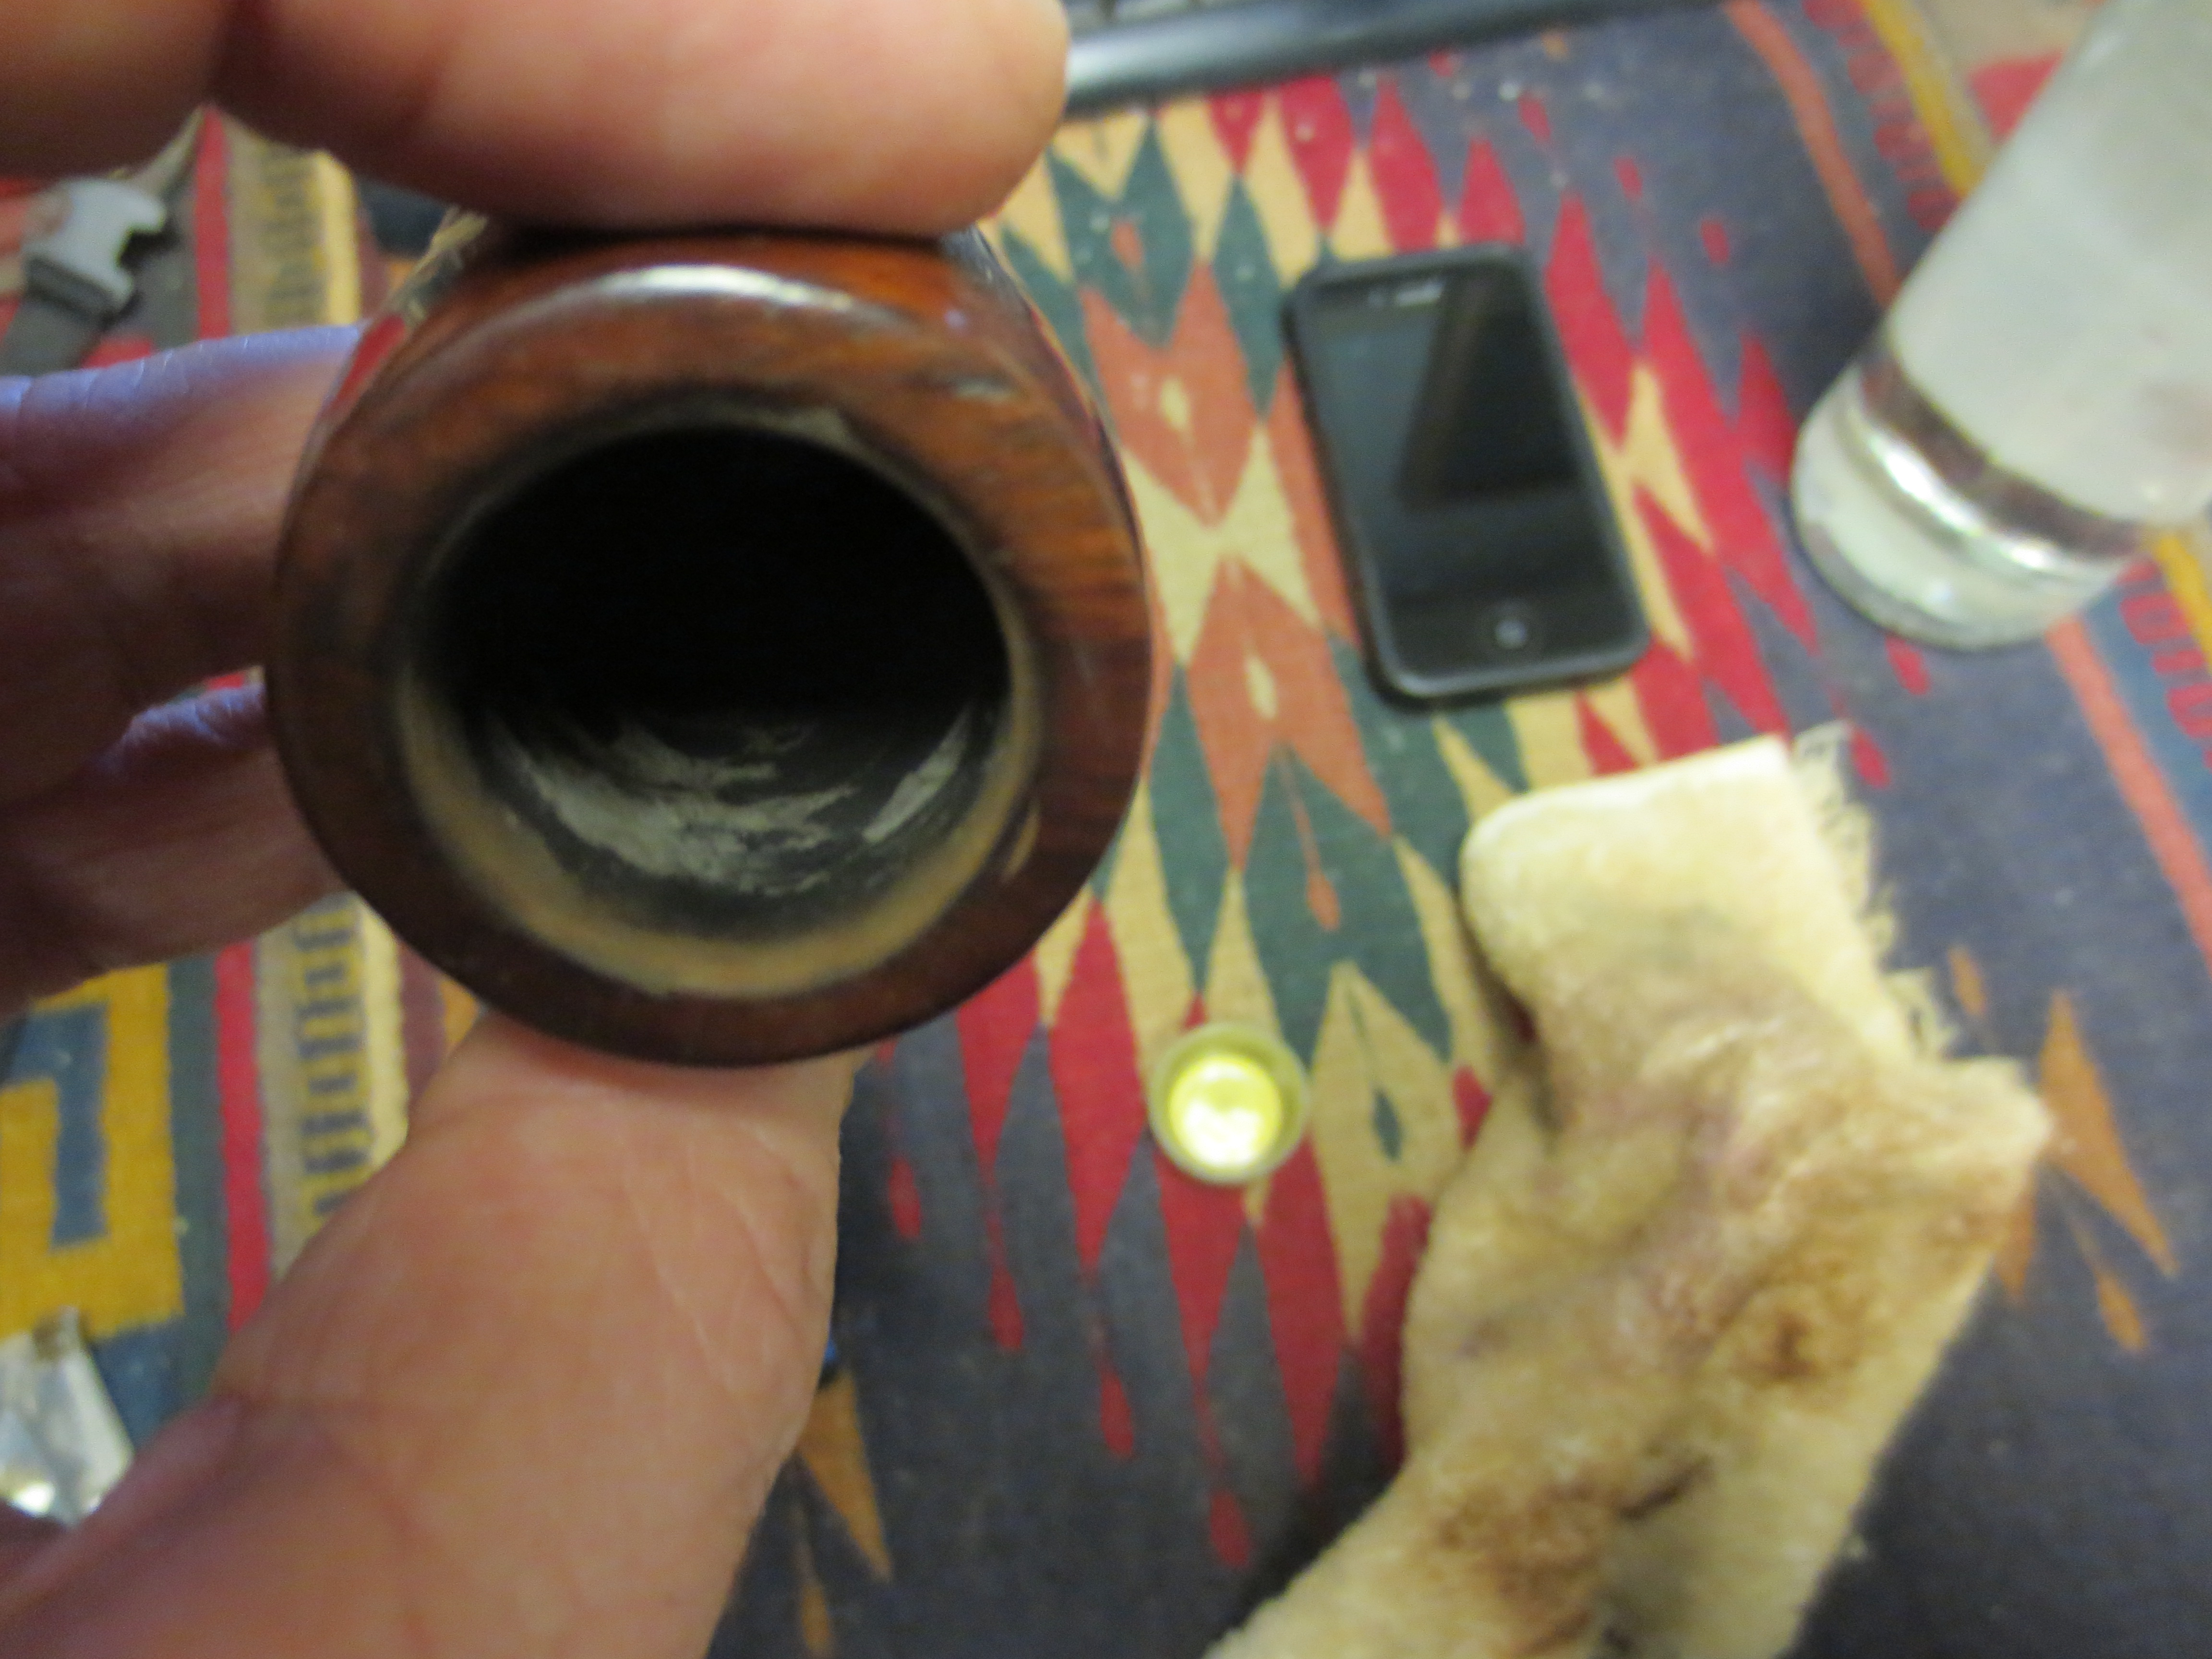
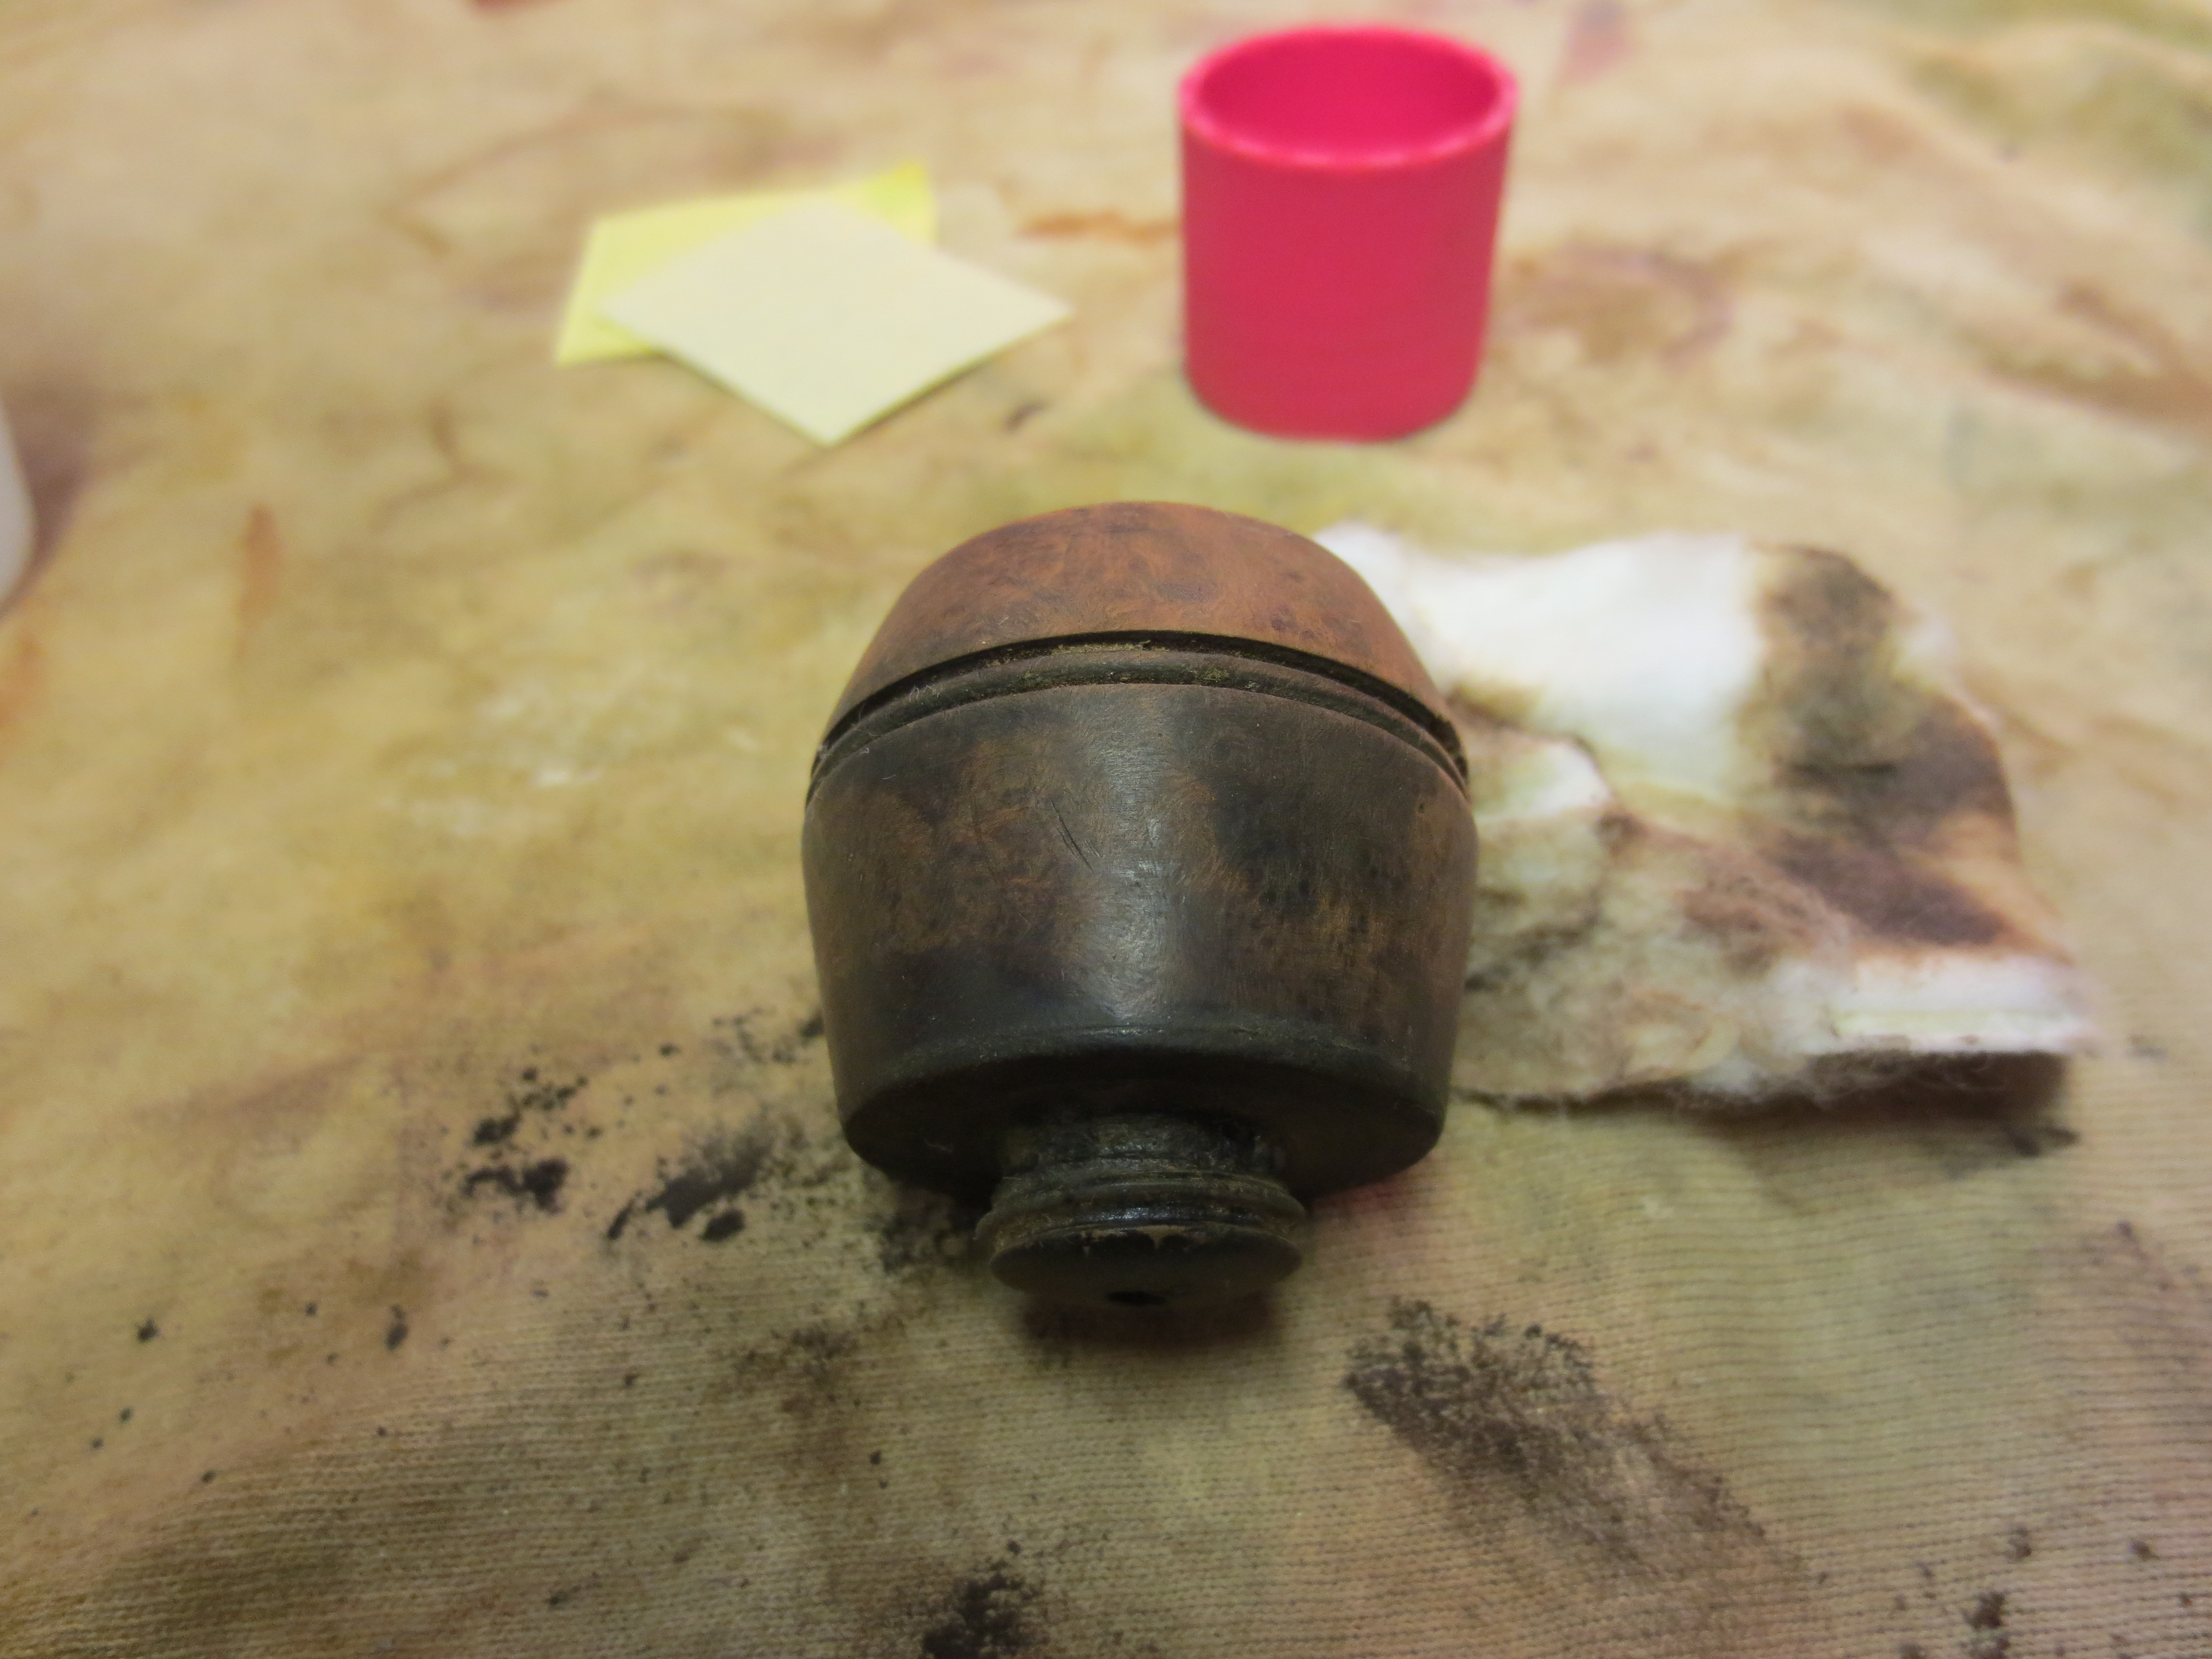
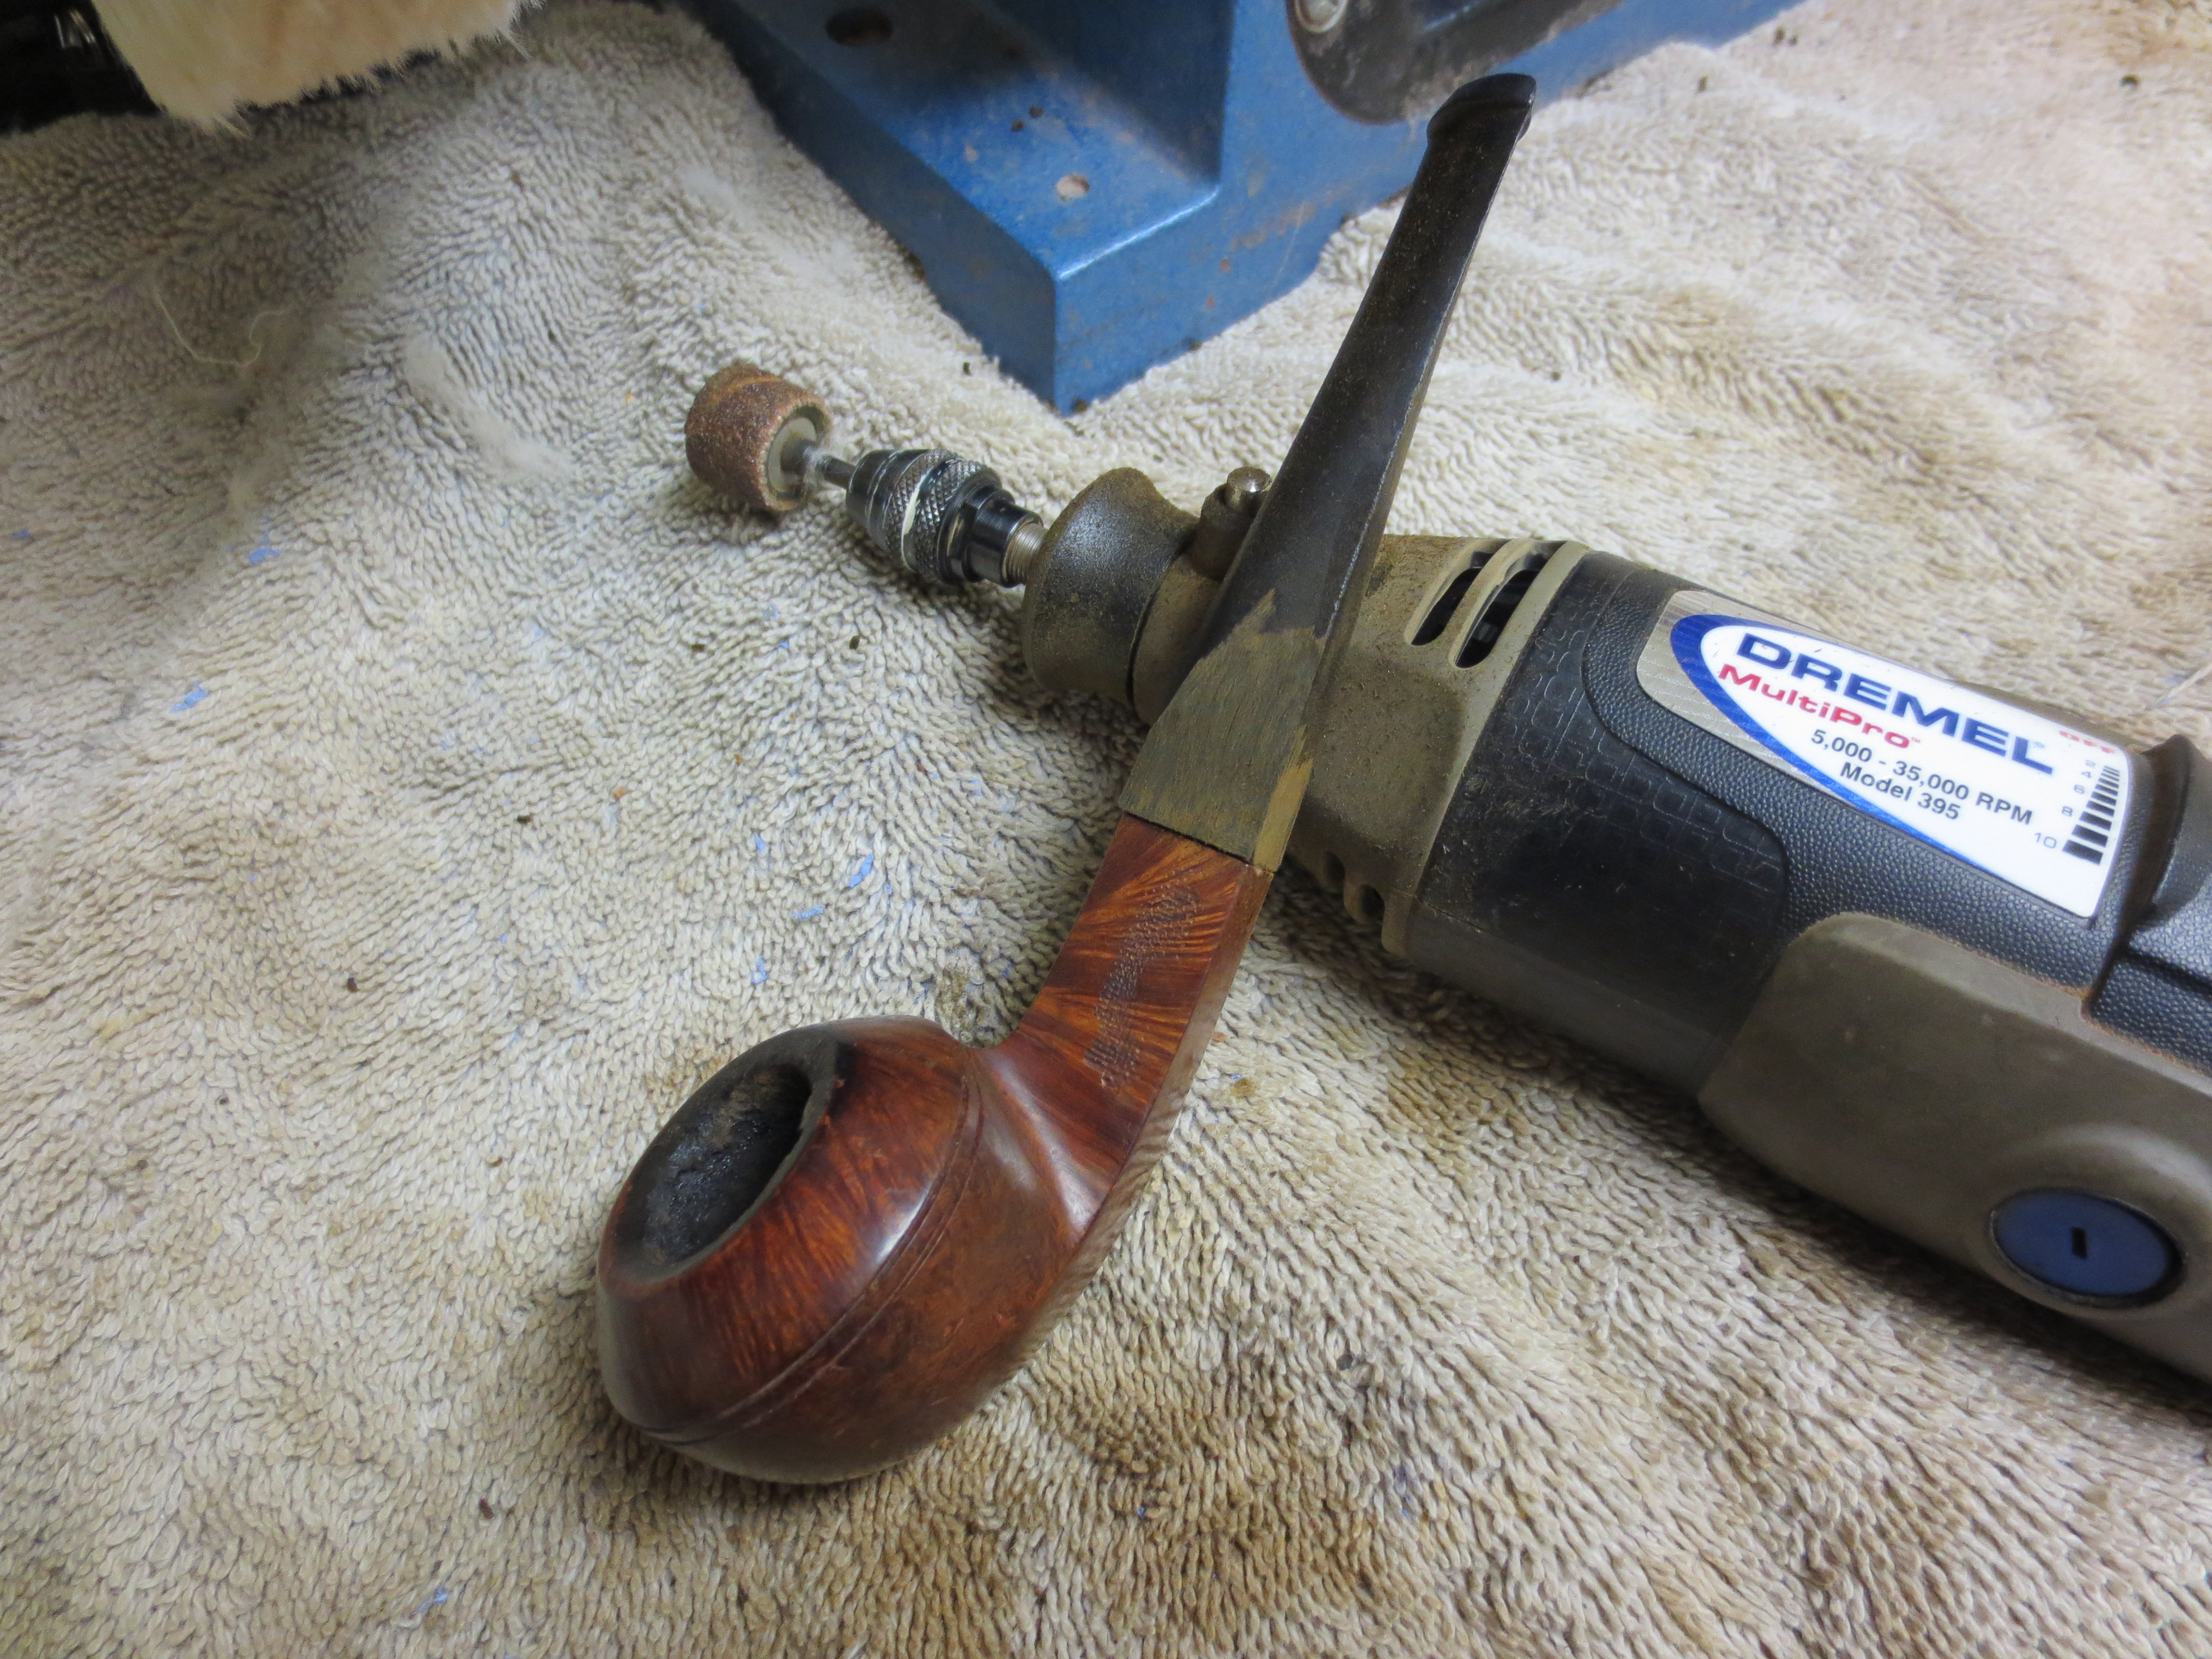
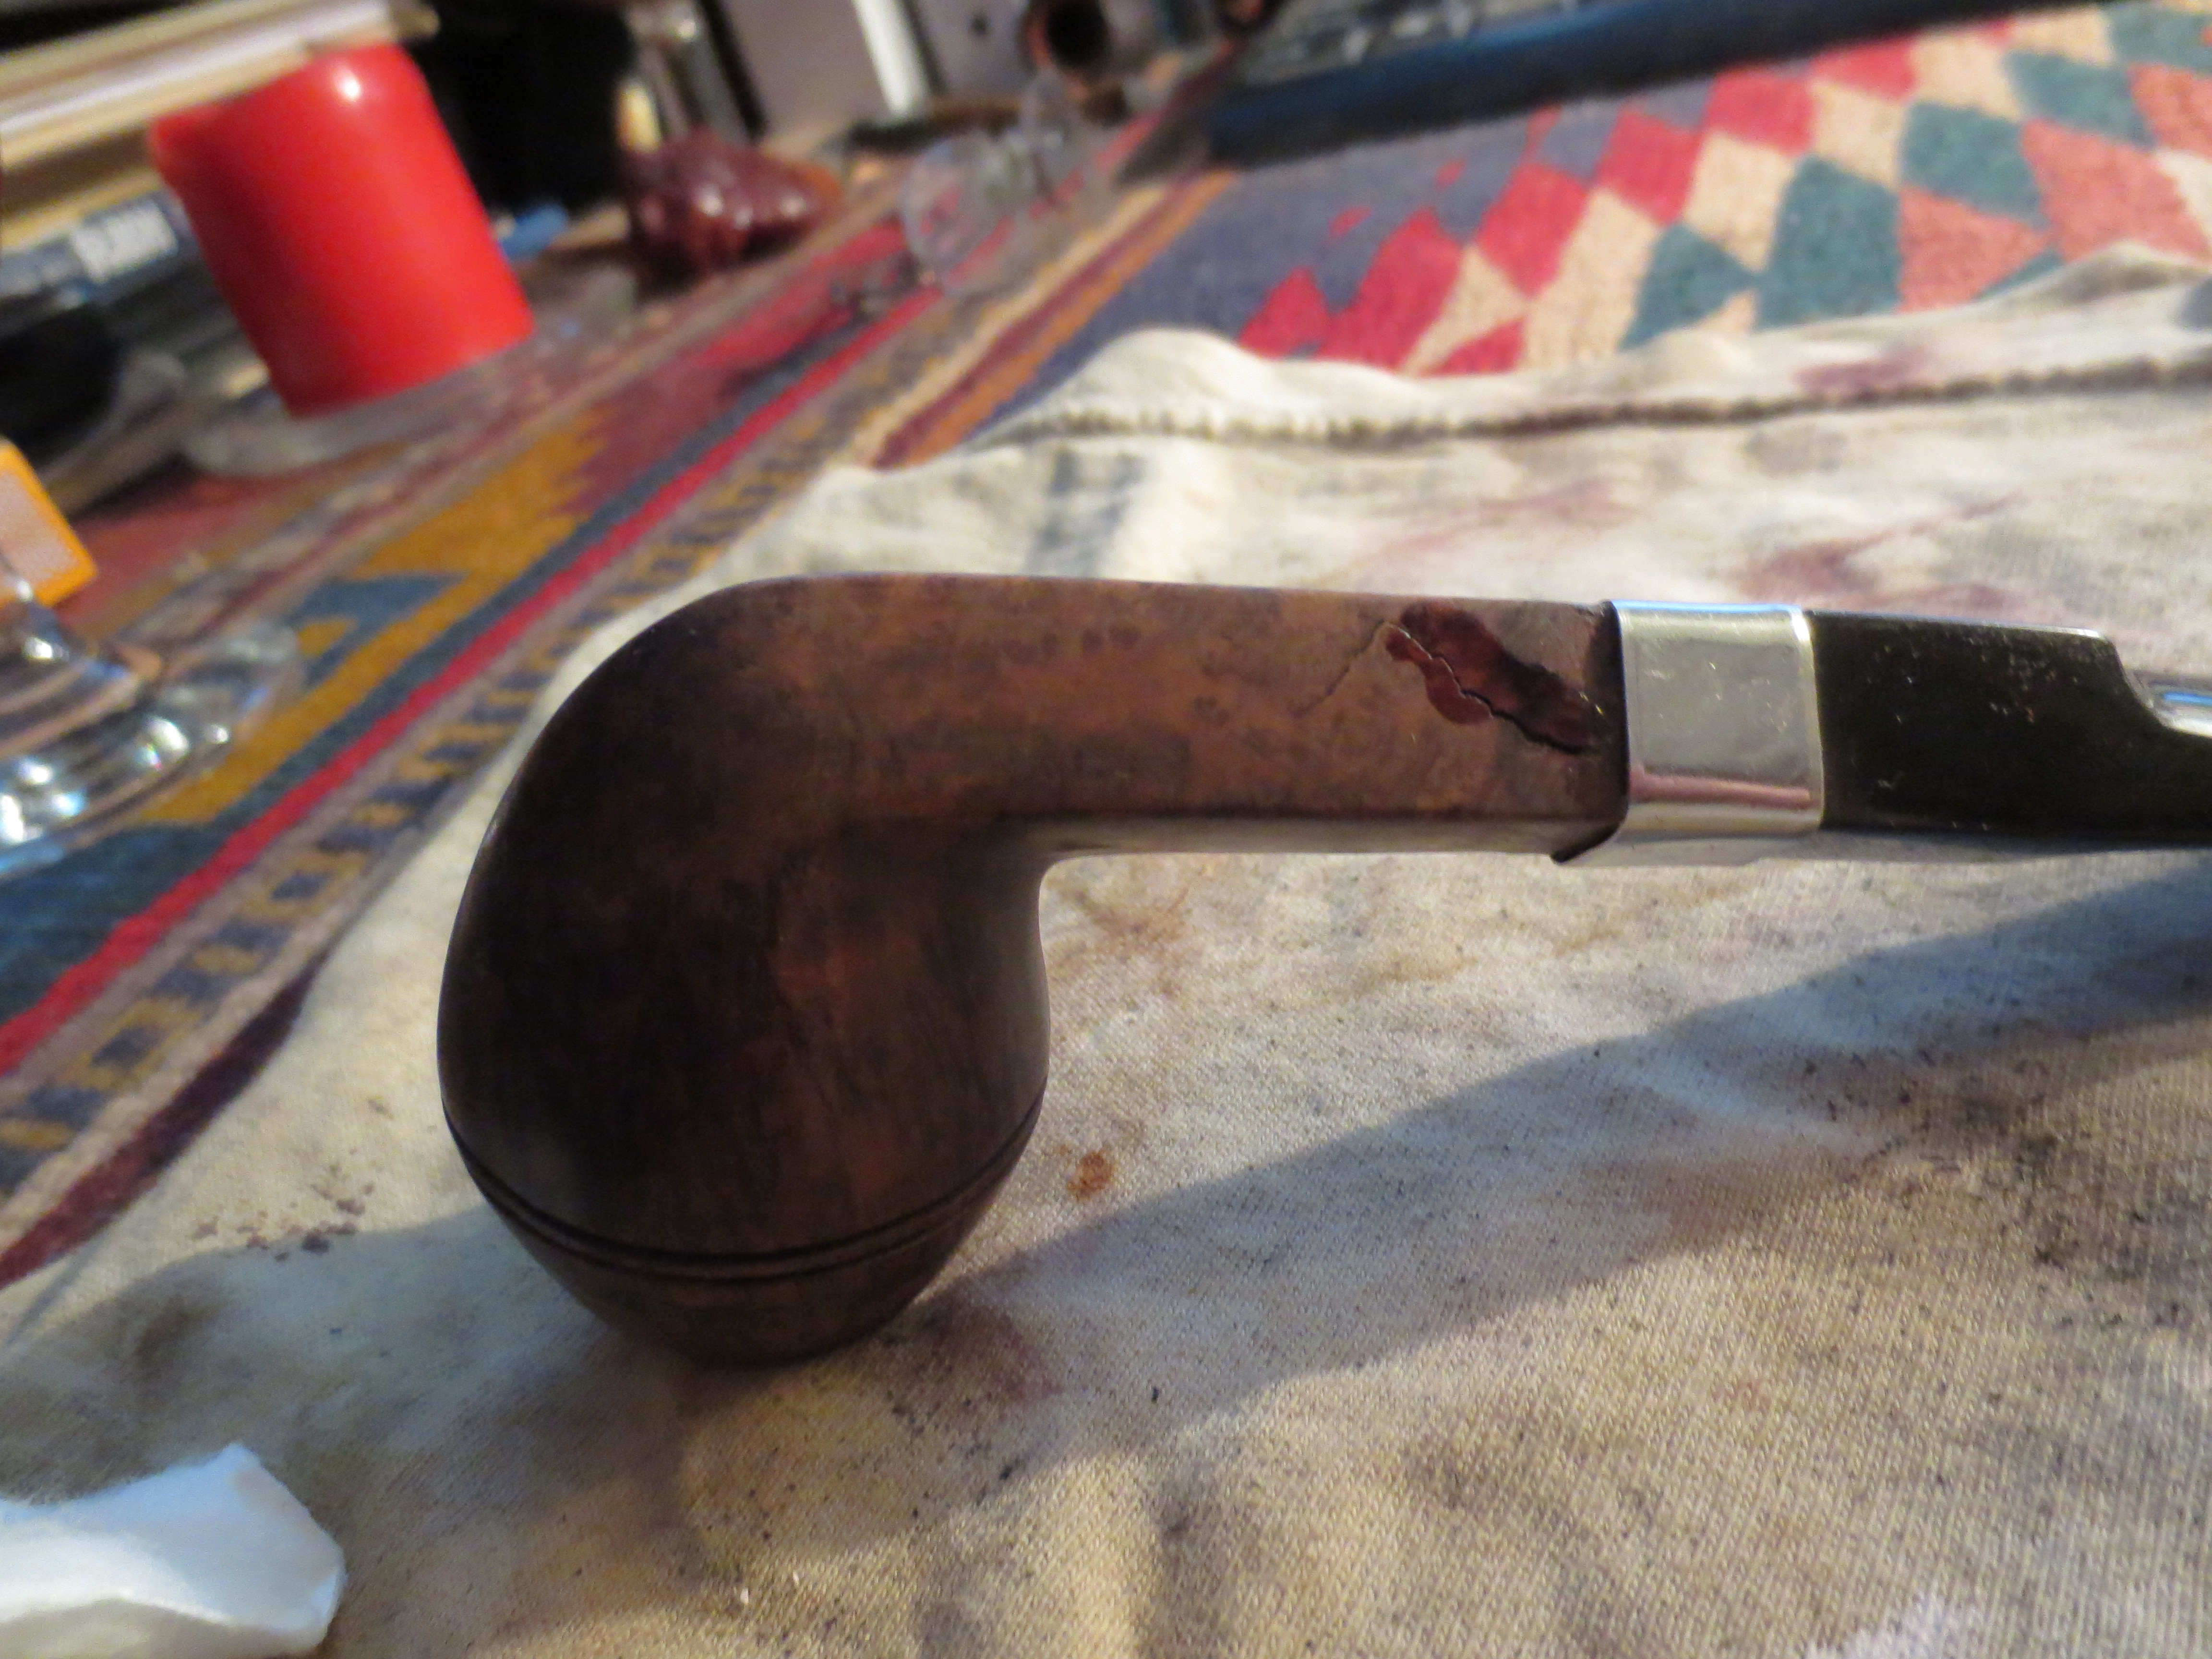
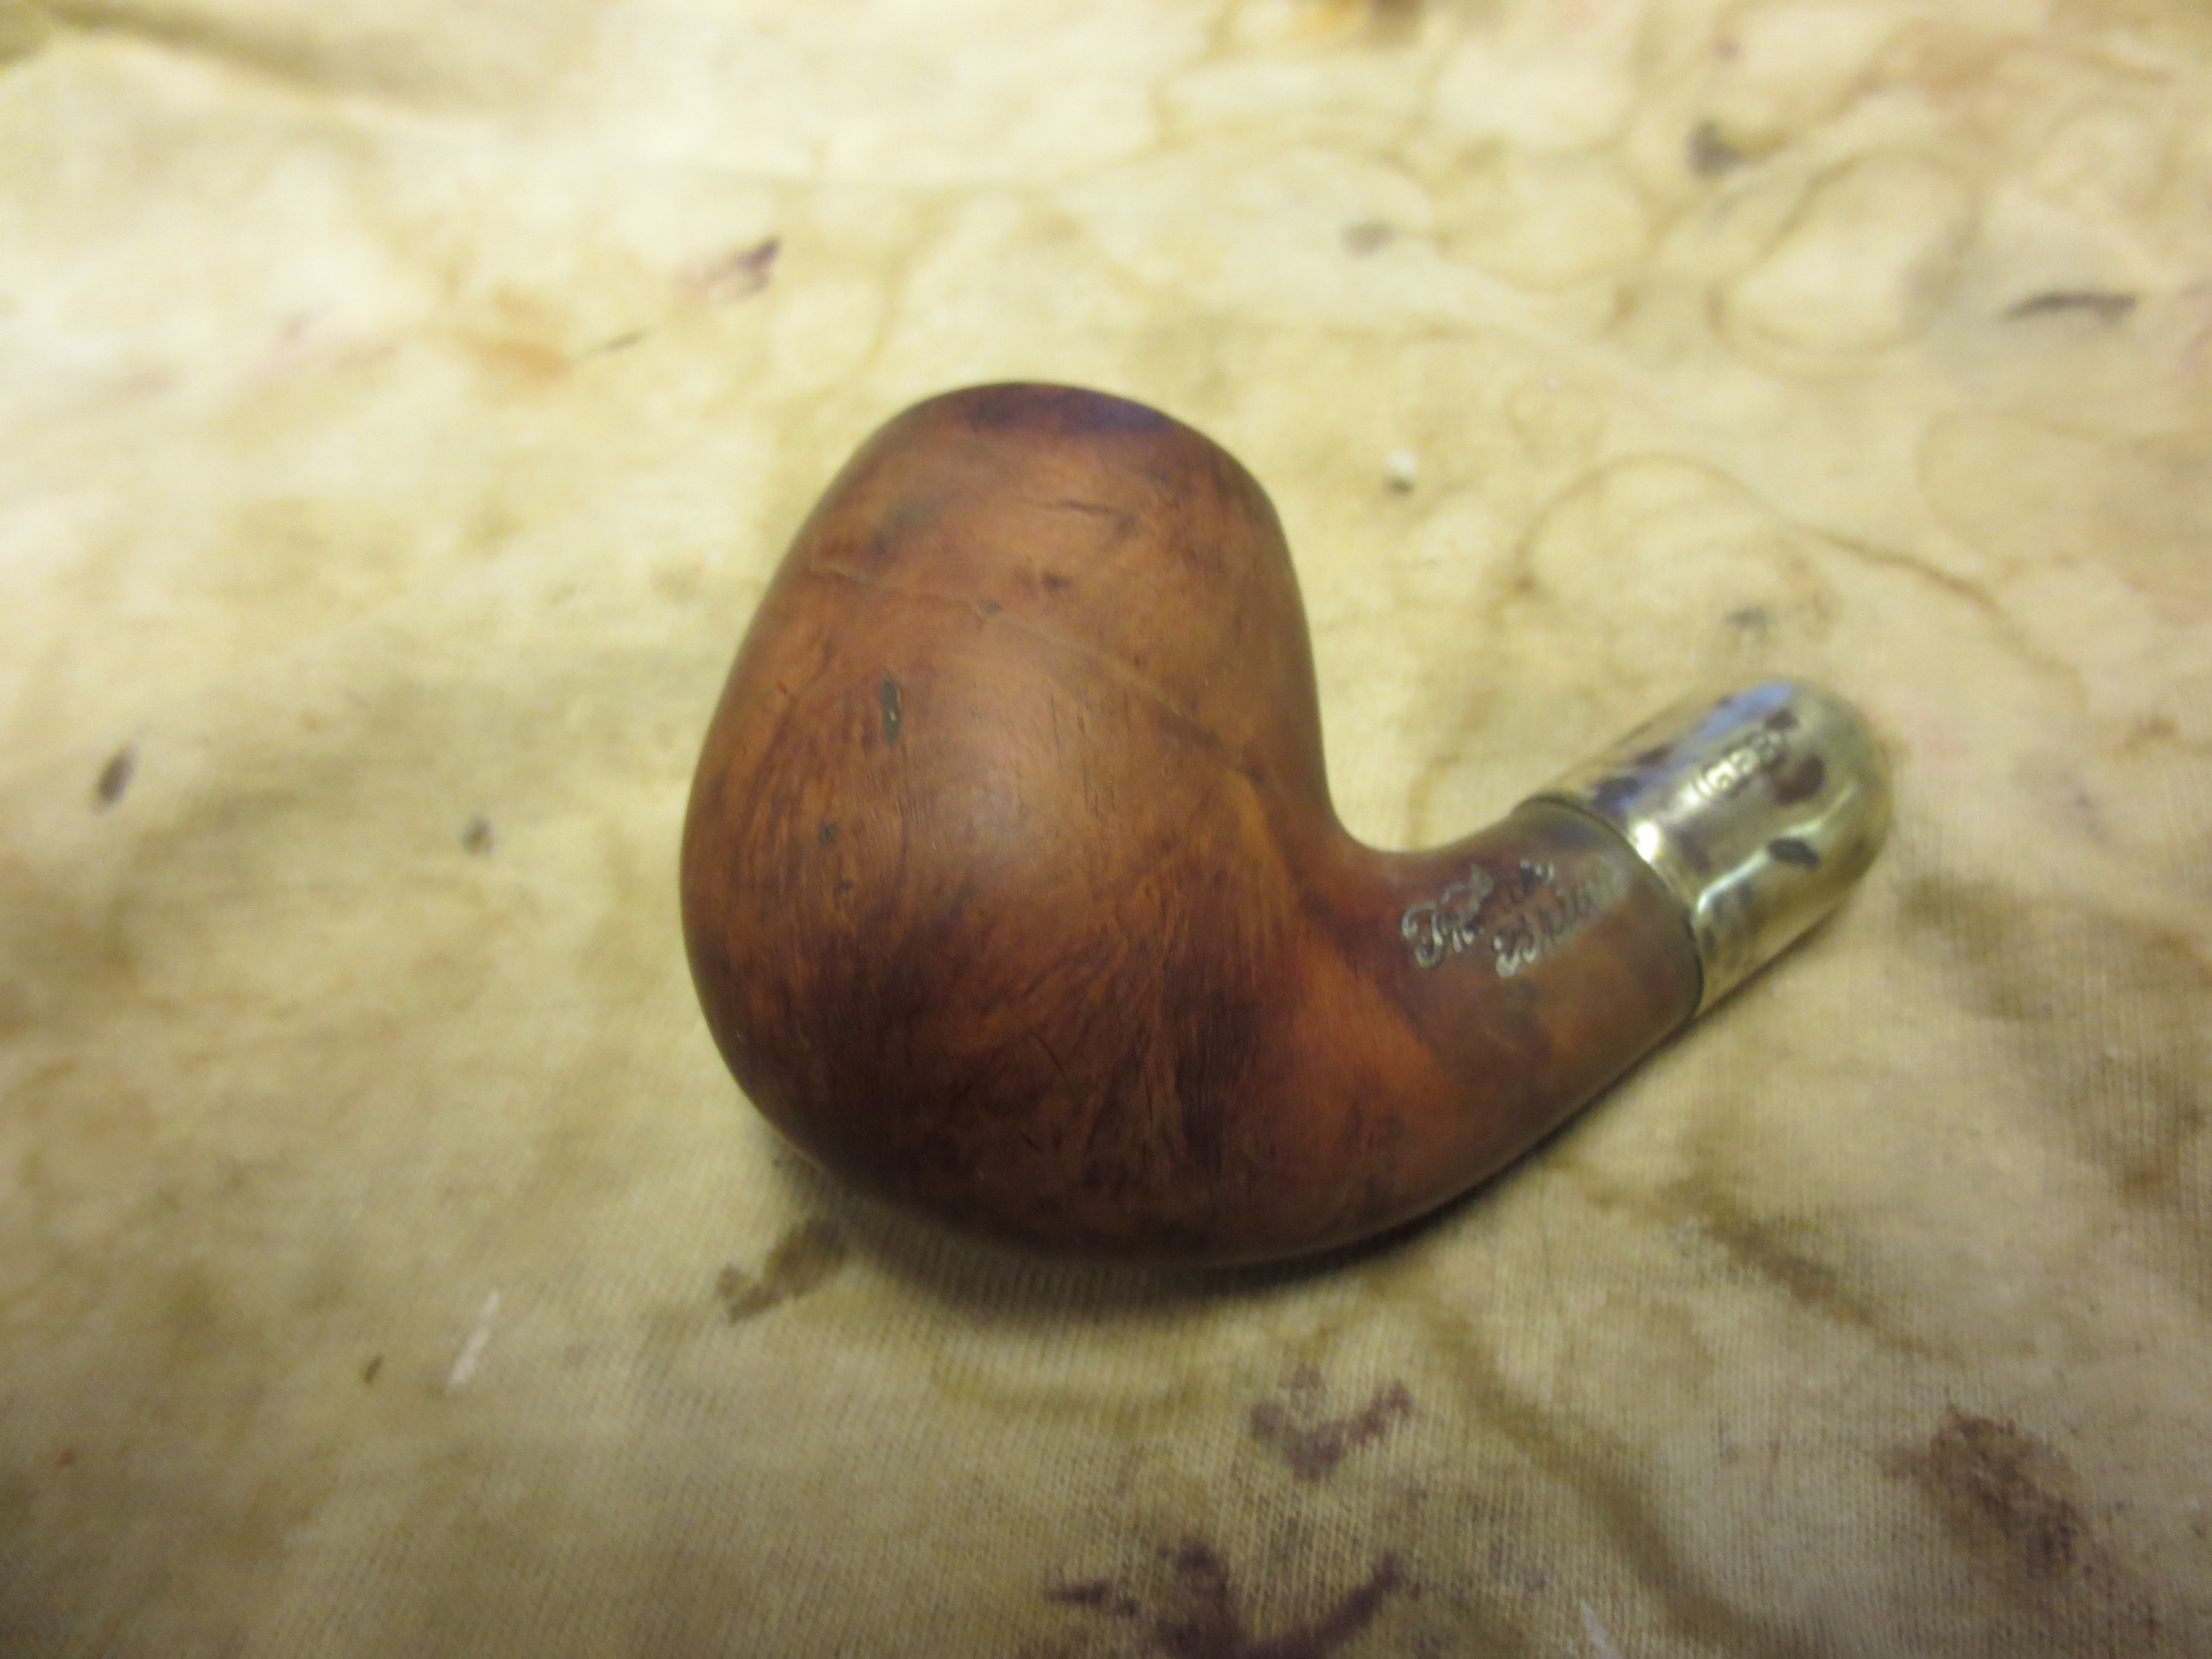
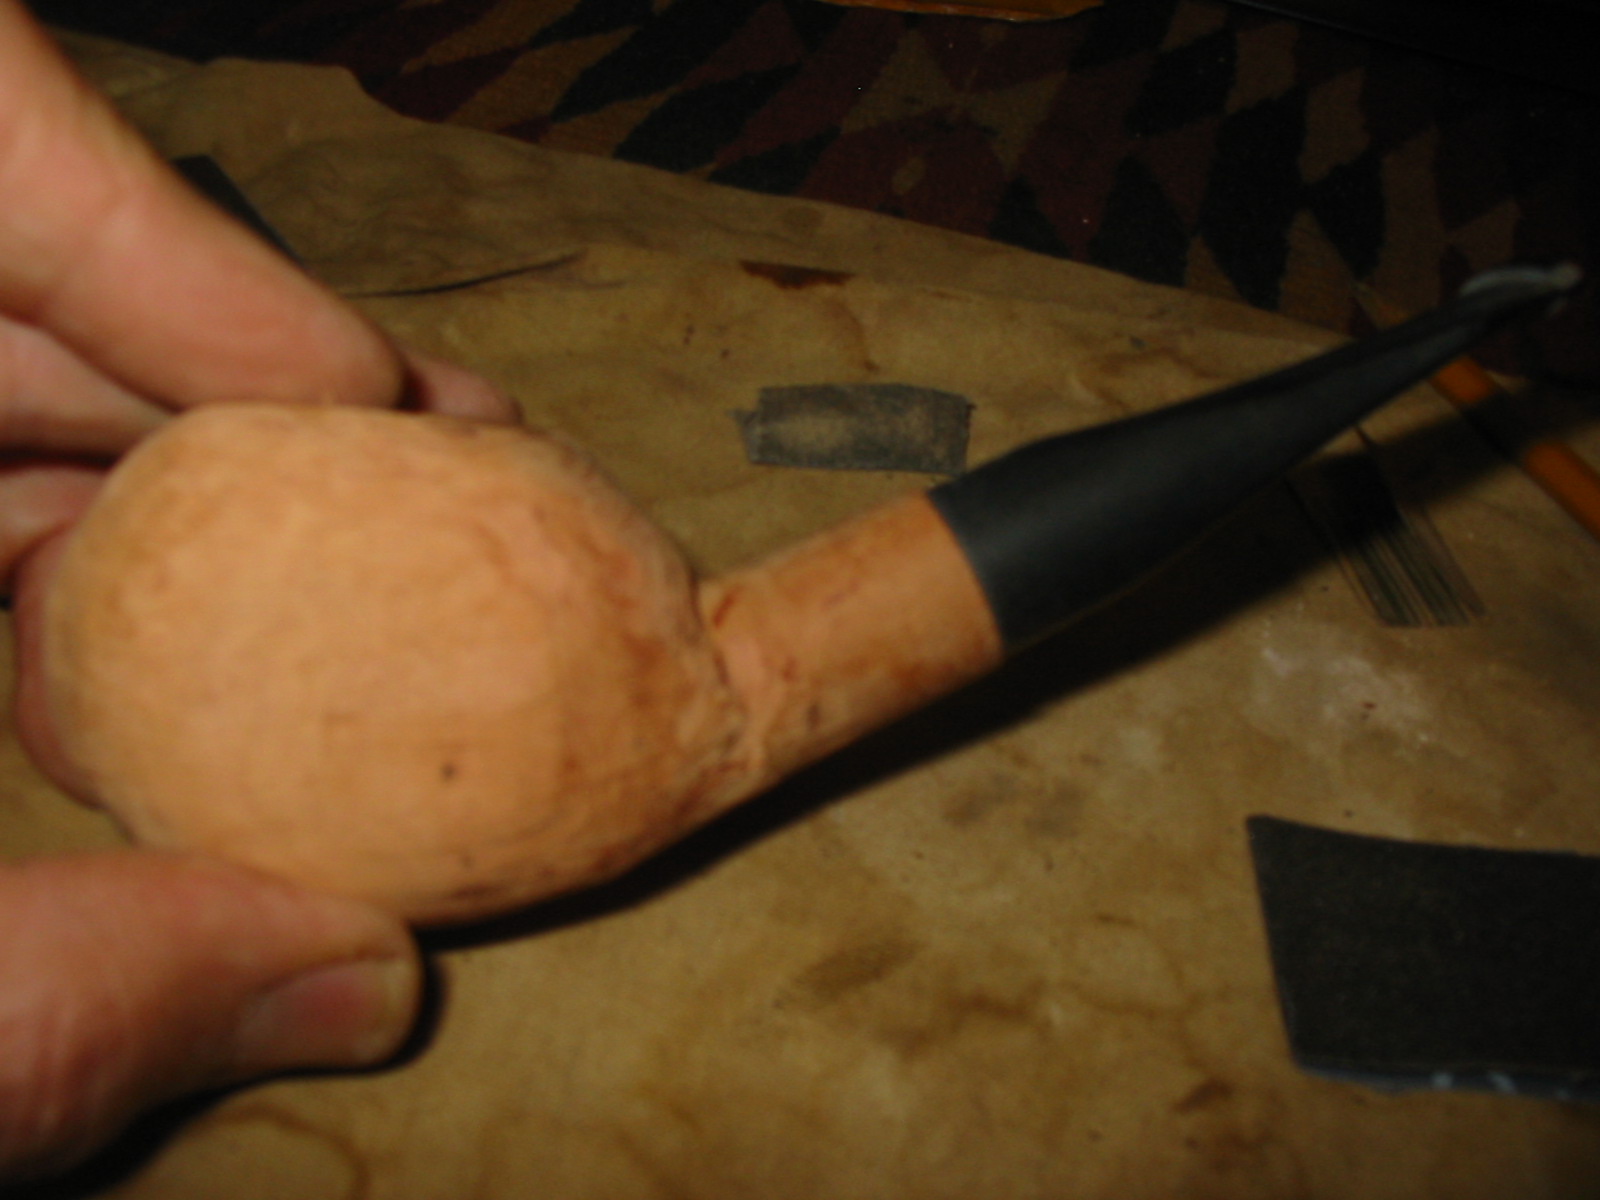
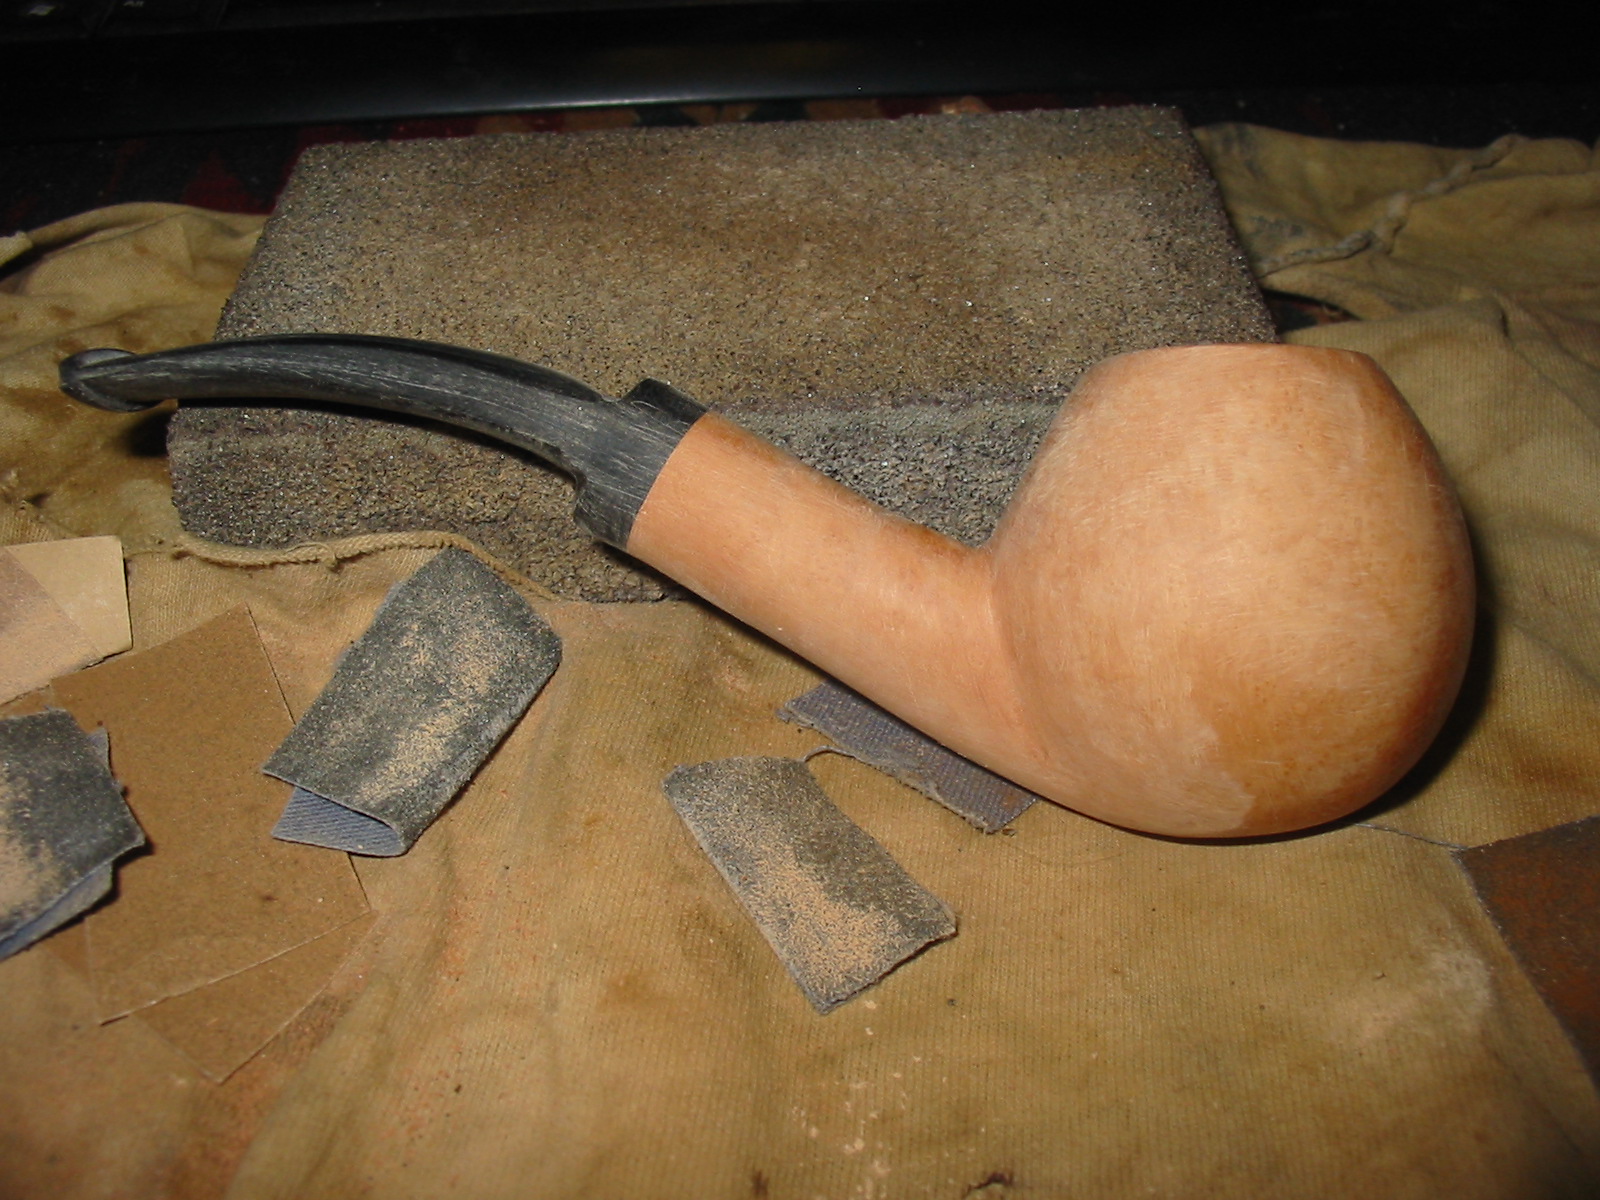
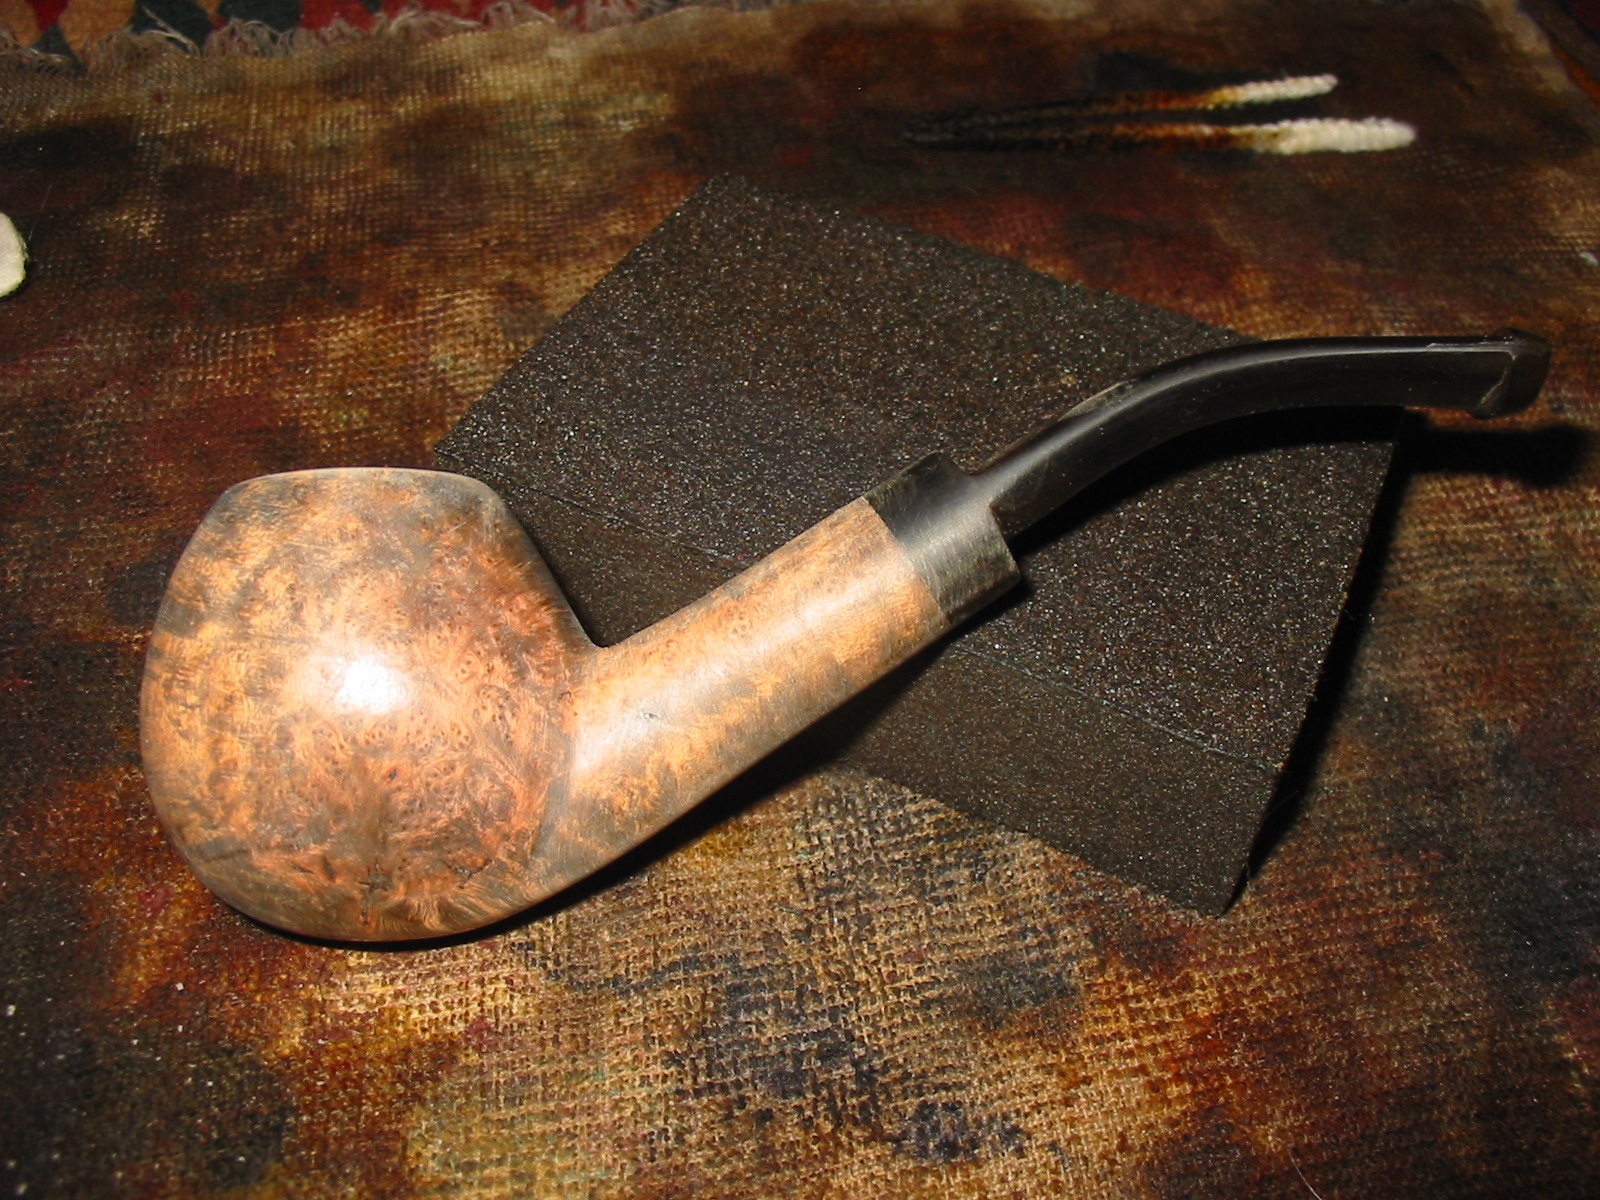
After using the files I sanded the bowl with coarse grit emery paper to further shape the bowl, shank and stem. I worked on the shank to round it out and match the diameter of the stem. The next four photos show how far the shape has come to this point. The flaw is also very visible in the first and the fourth photos below. It is very deep at some points and on the surface in others. It does not go into the interior of the bowl or shank so there will be a lot more sanding to see if I can rid the block of the flaws. To me this is always one of the surprises that lie within a block of briar. They never become visible until a lot of work has been done in shaping. At this point I was wondering if I would need to rusticate the bowl or possibly figure out another option or shape to deal with the flaw.

IMG_0886

IMG_0887

IMG_0888

IMG_0889

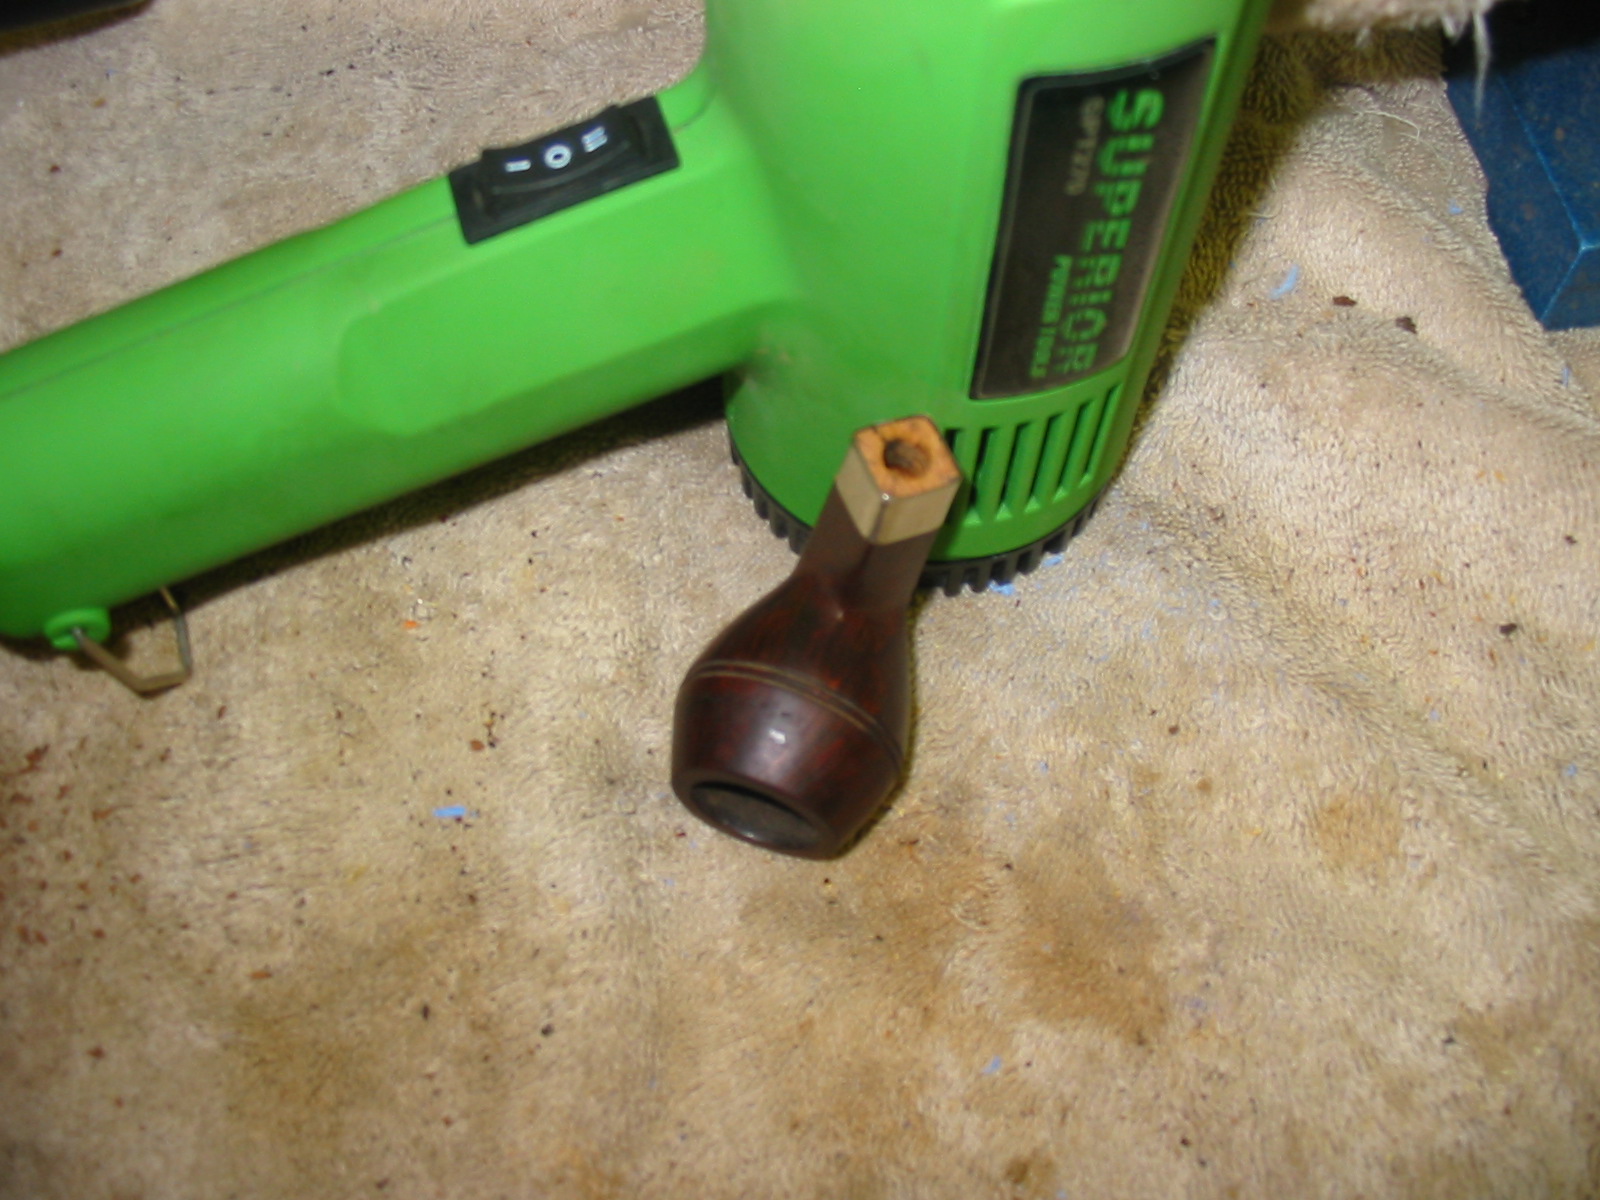
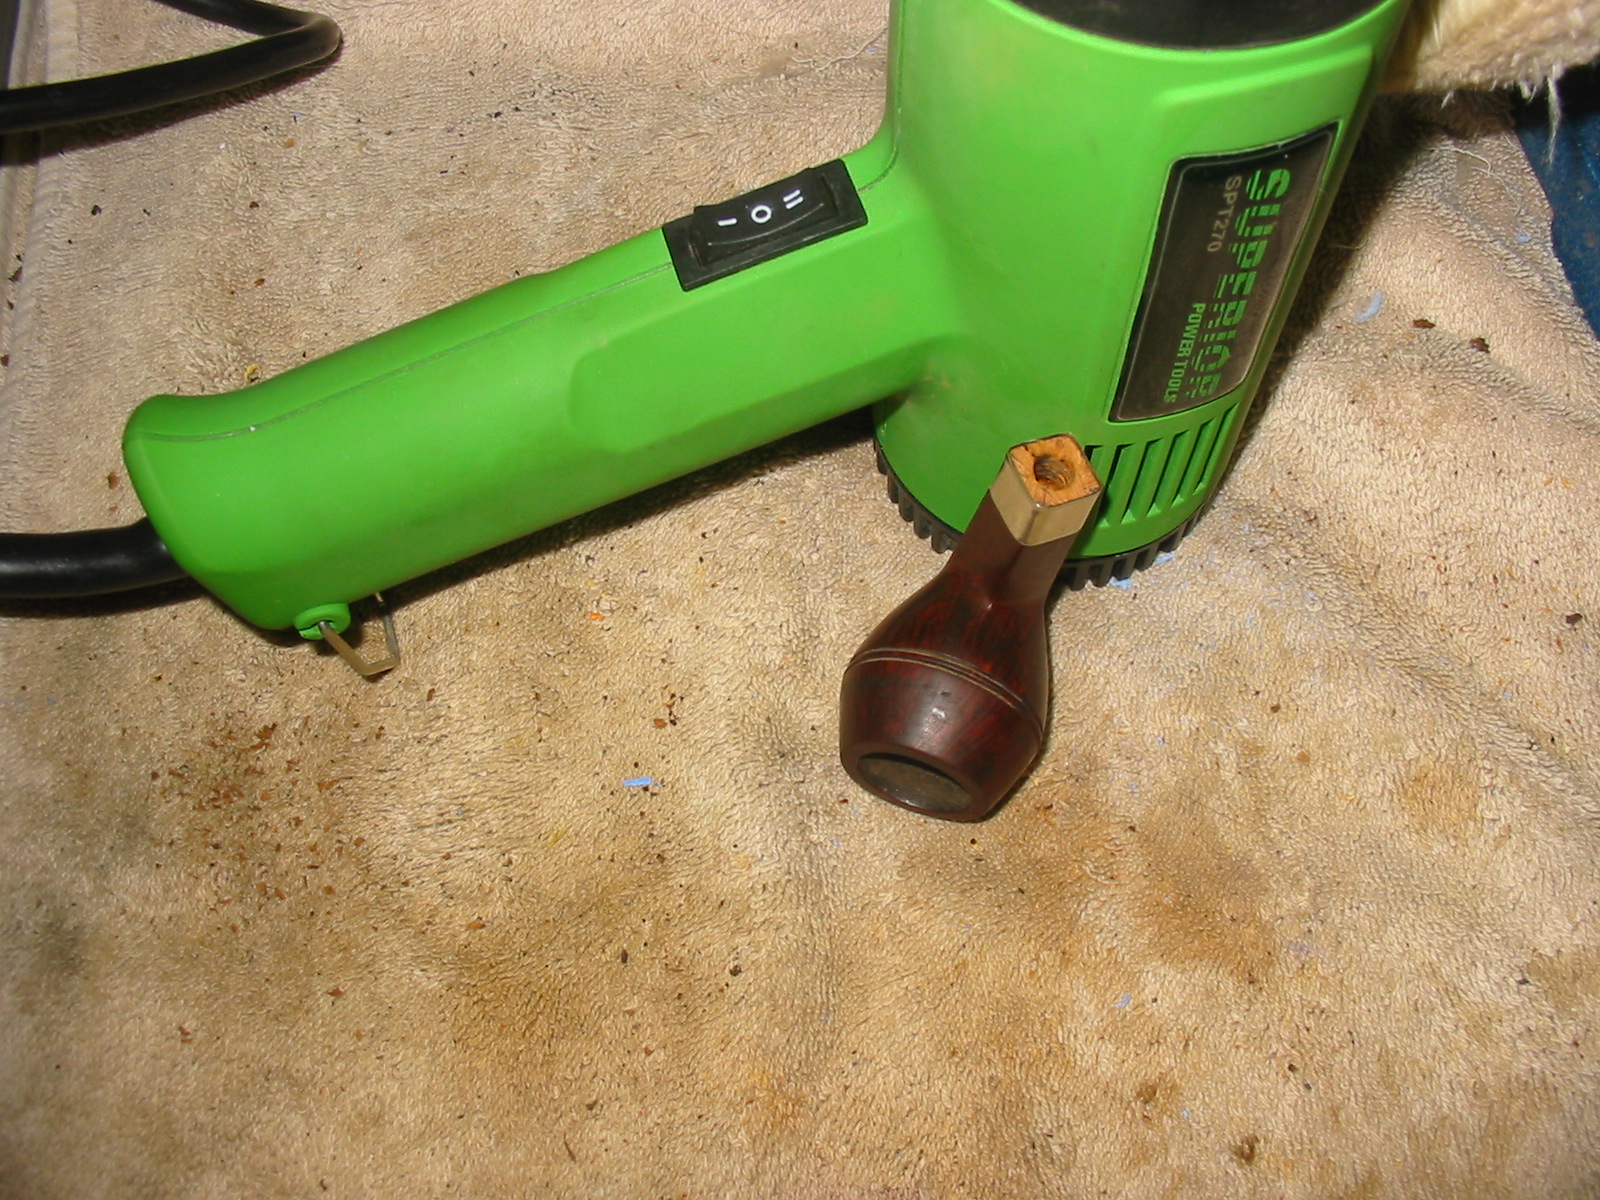
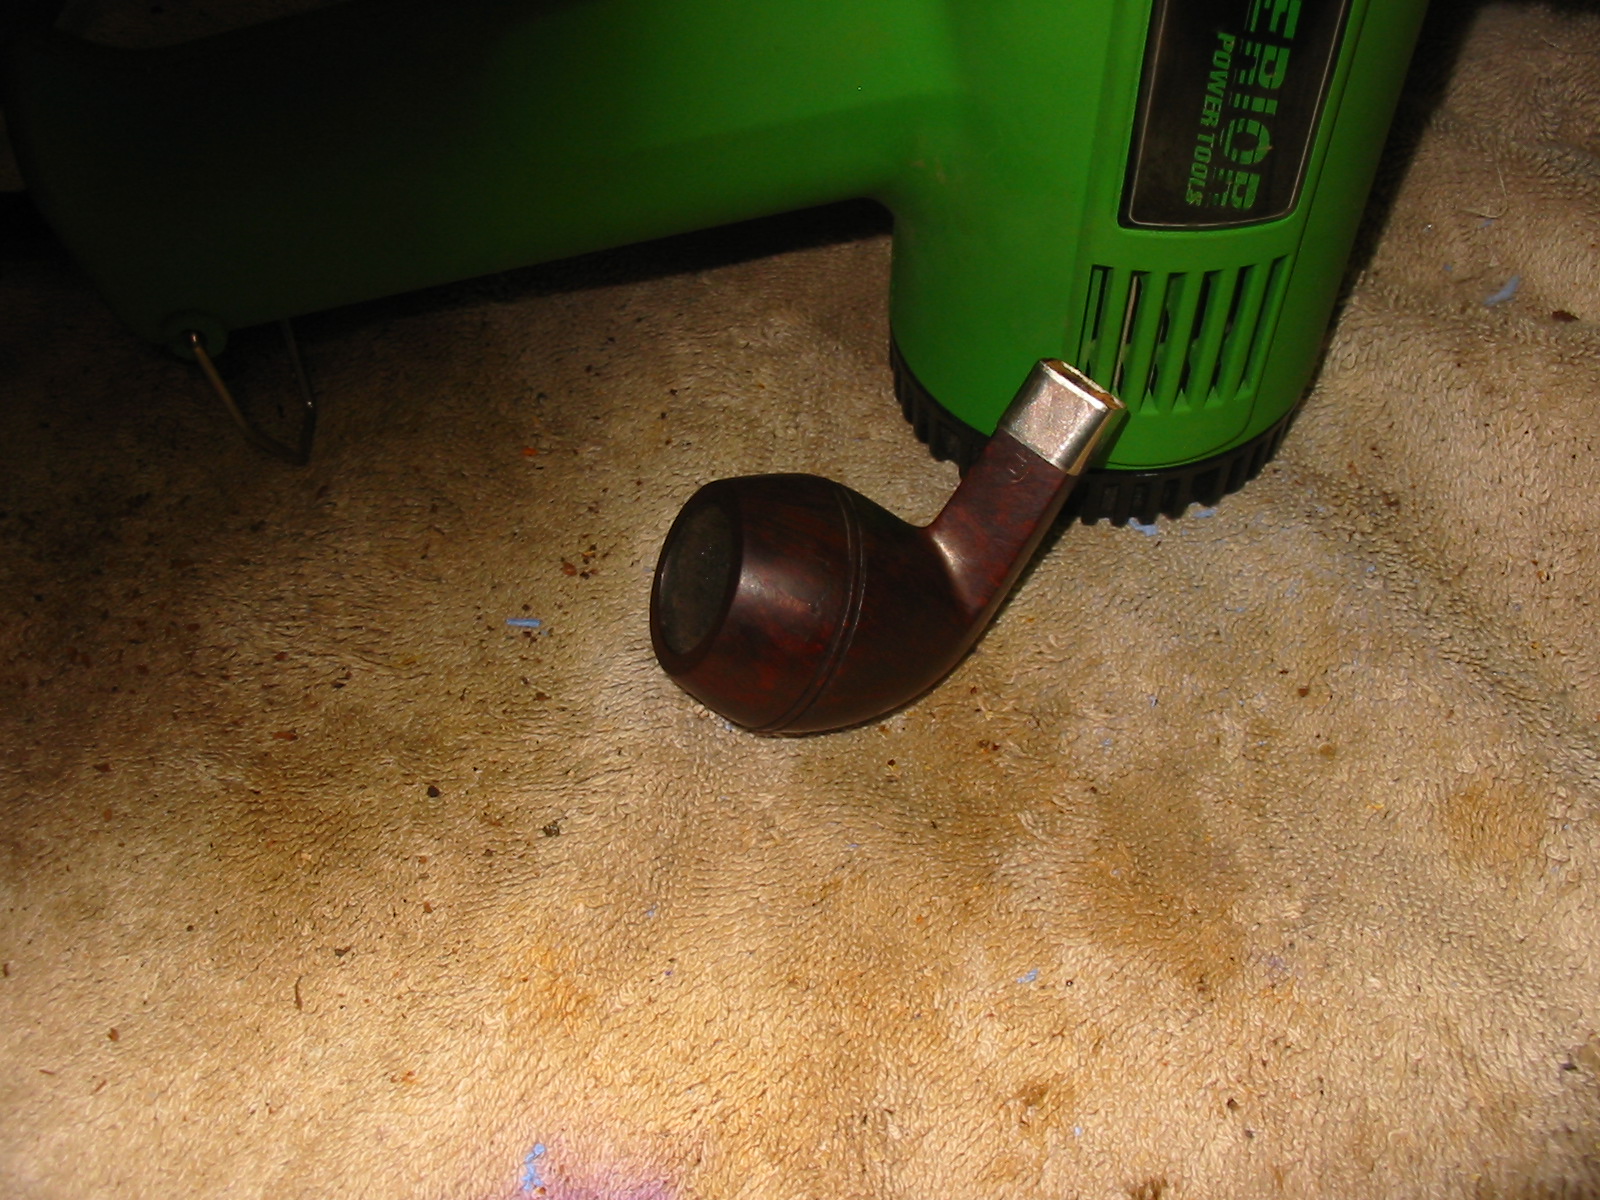
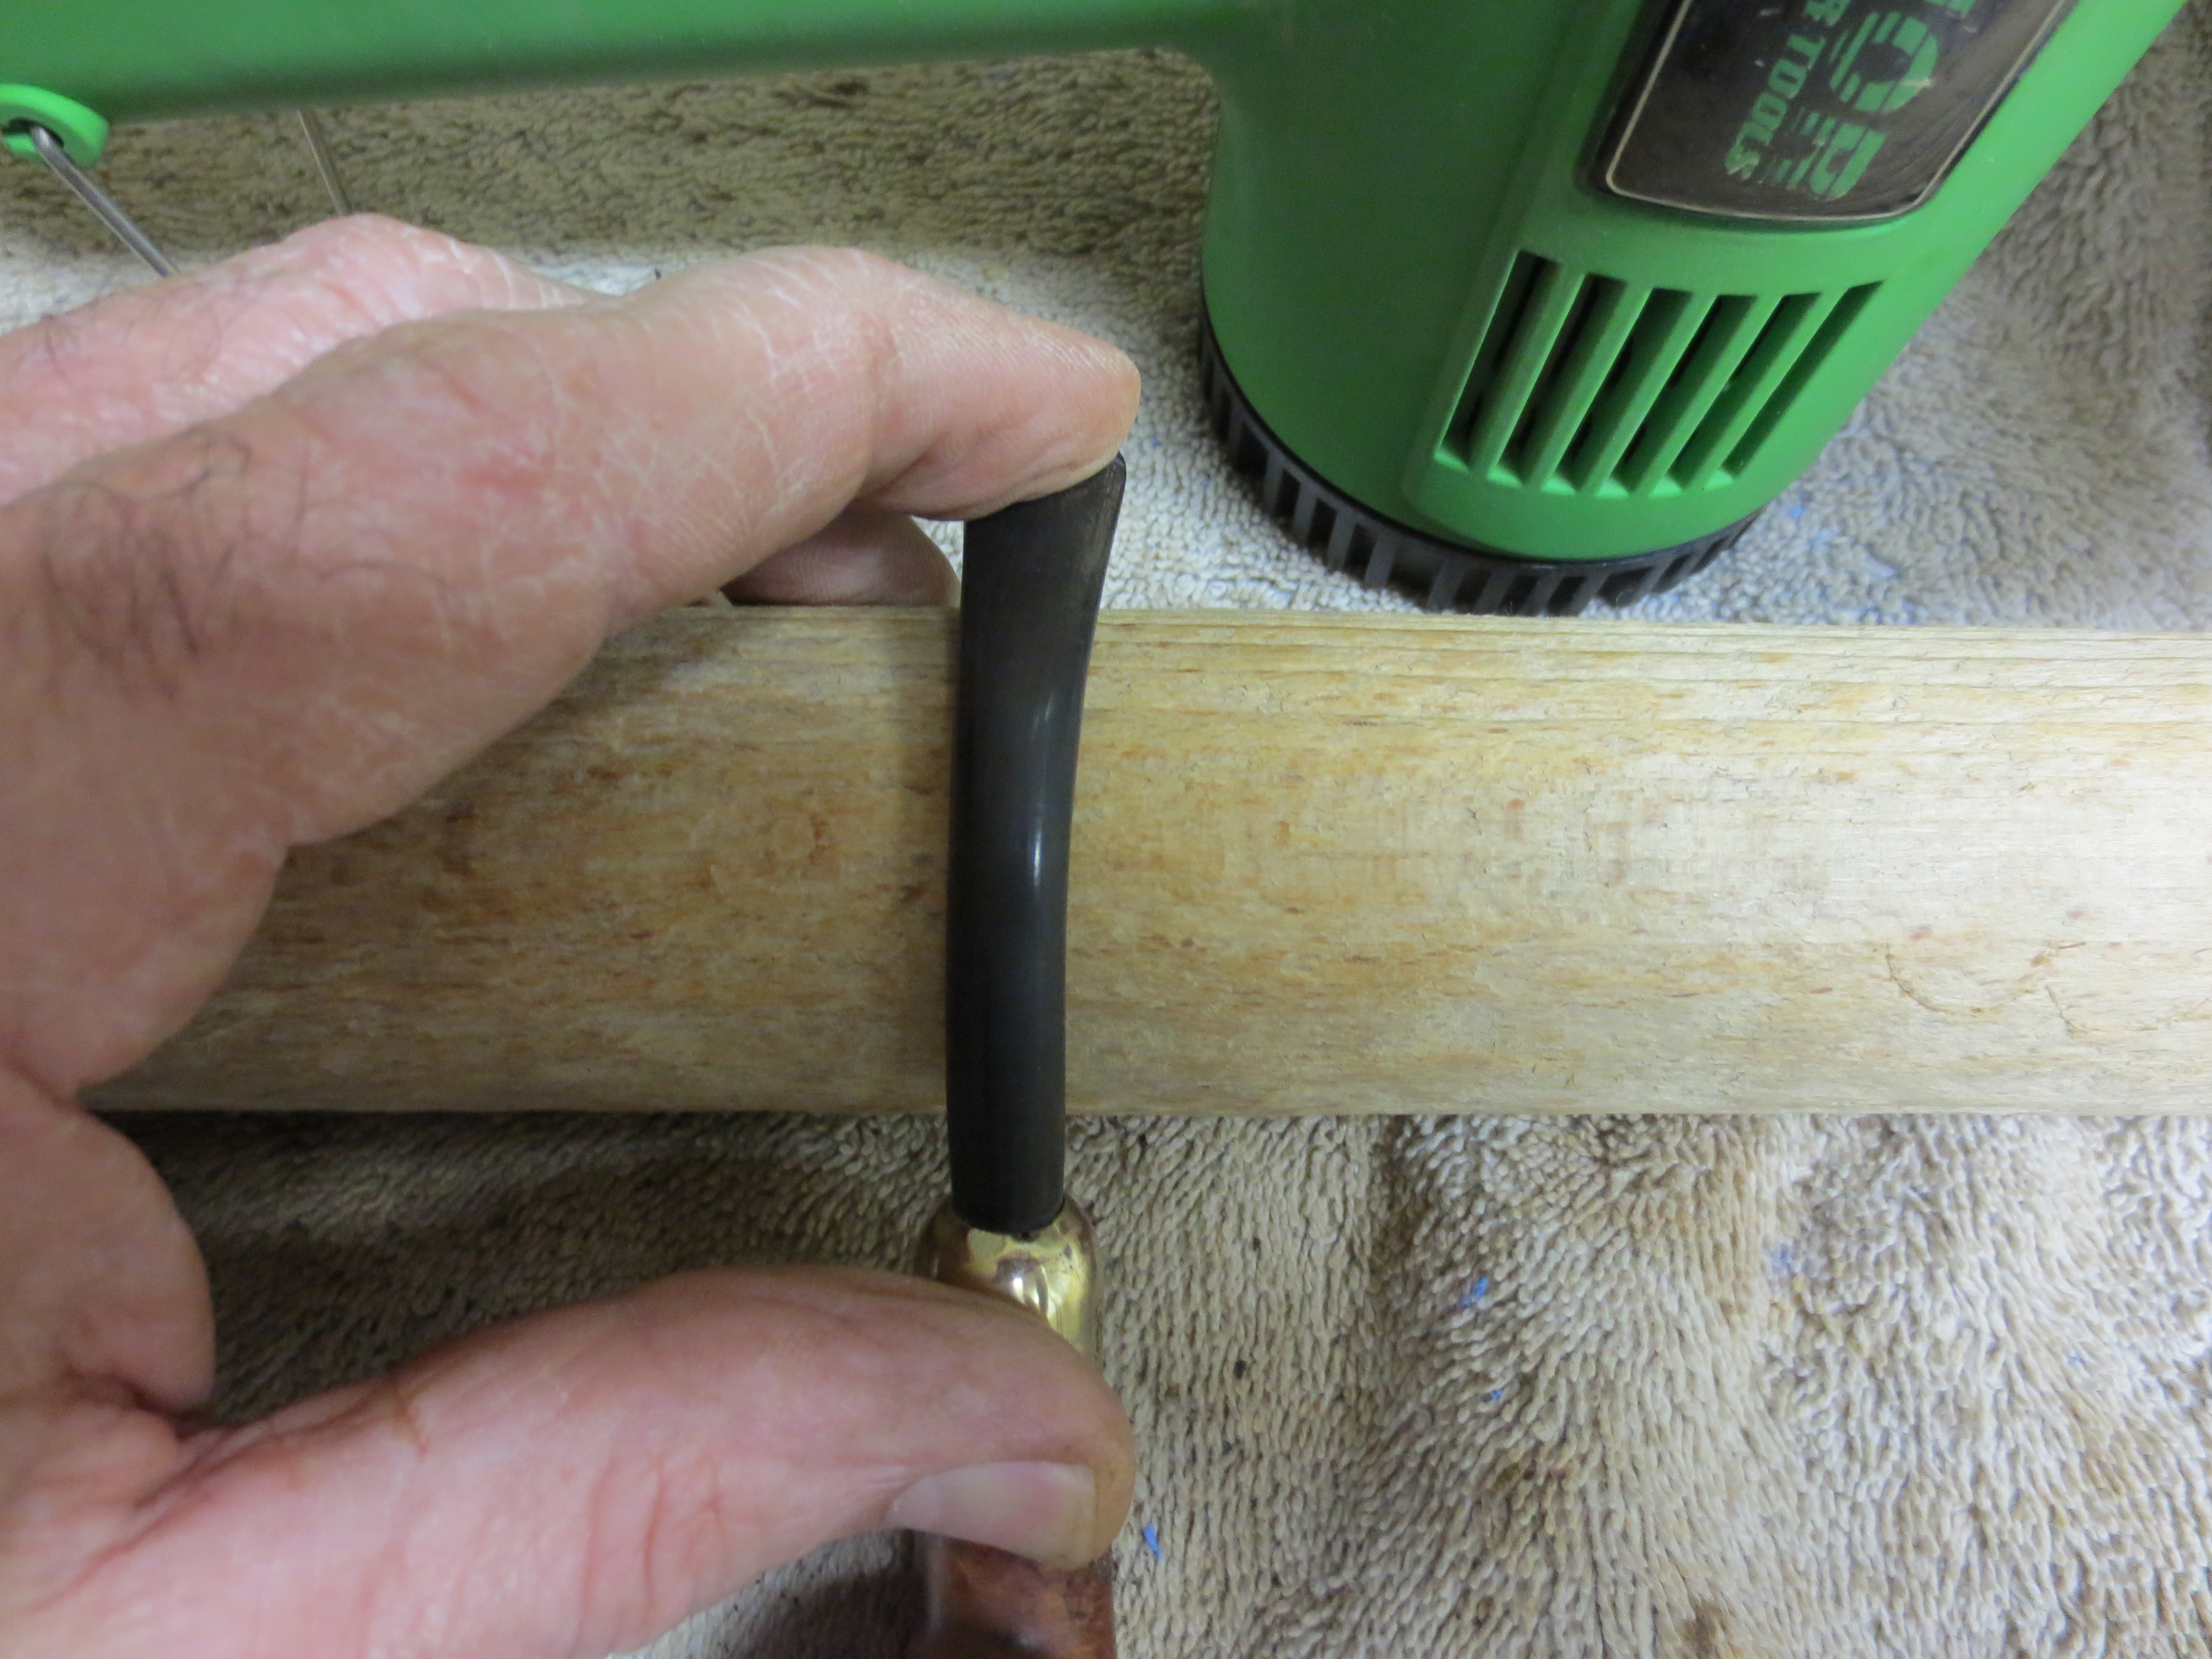
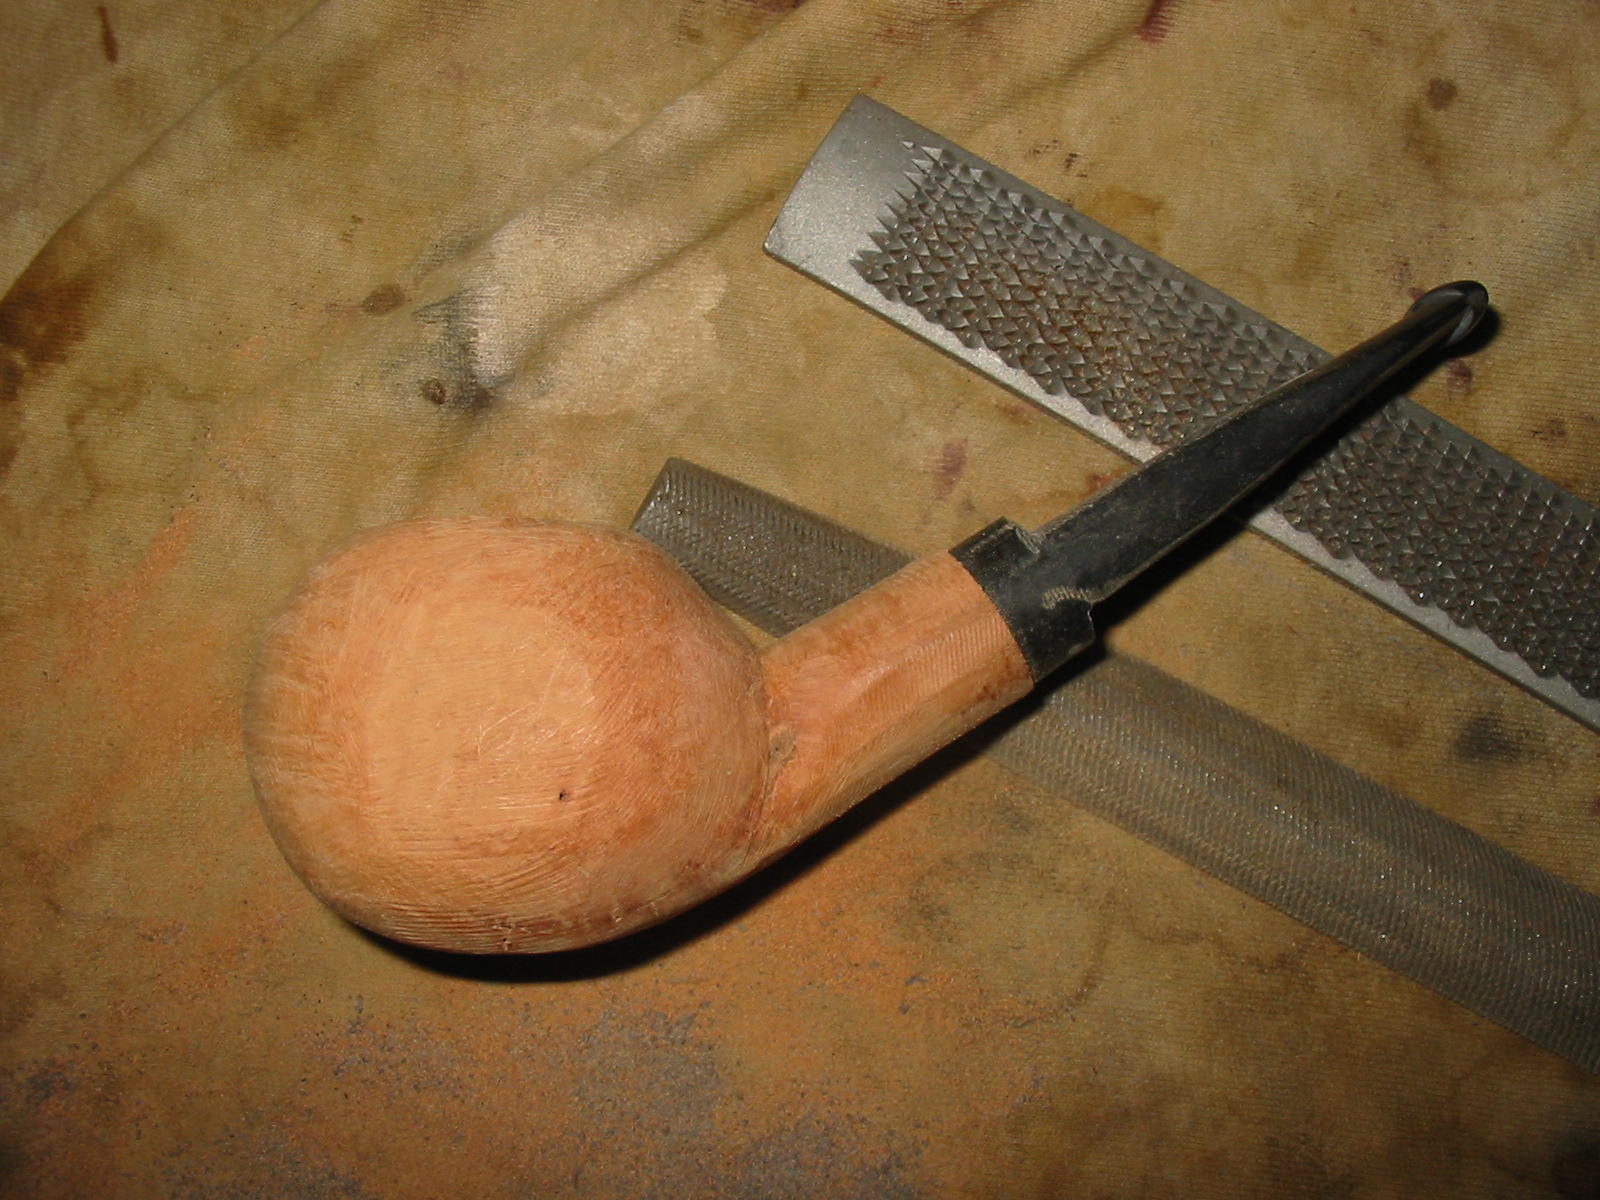
I continued sanding the bowl with the emery paper and then switched to a coarse grit sanding sponge. At this point I was not worried about scratches that would come later. I only wanted to remove more of the briar. I also heated the stem with my heat gun and bent it to shape. I still needed to clean up the junction of the shank and bowl. It needed a little less slope in my opinion. The next three photos show where things were at this point in the process. The pipe is beginning to take shape. I have also removed quite a bit of the briar around the flaws on the bottom edge. The change can be seen in the first photo below.

IMG_0895

IMG_0894

IMG_0893

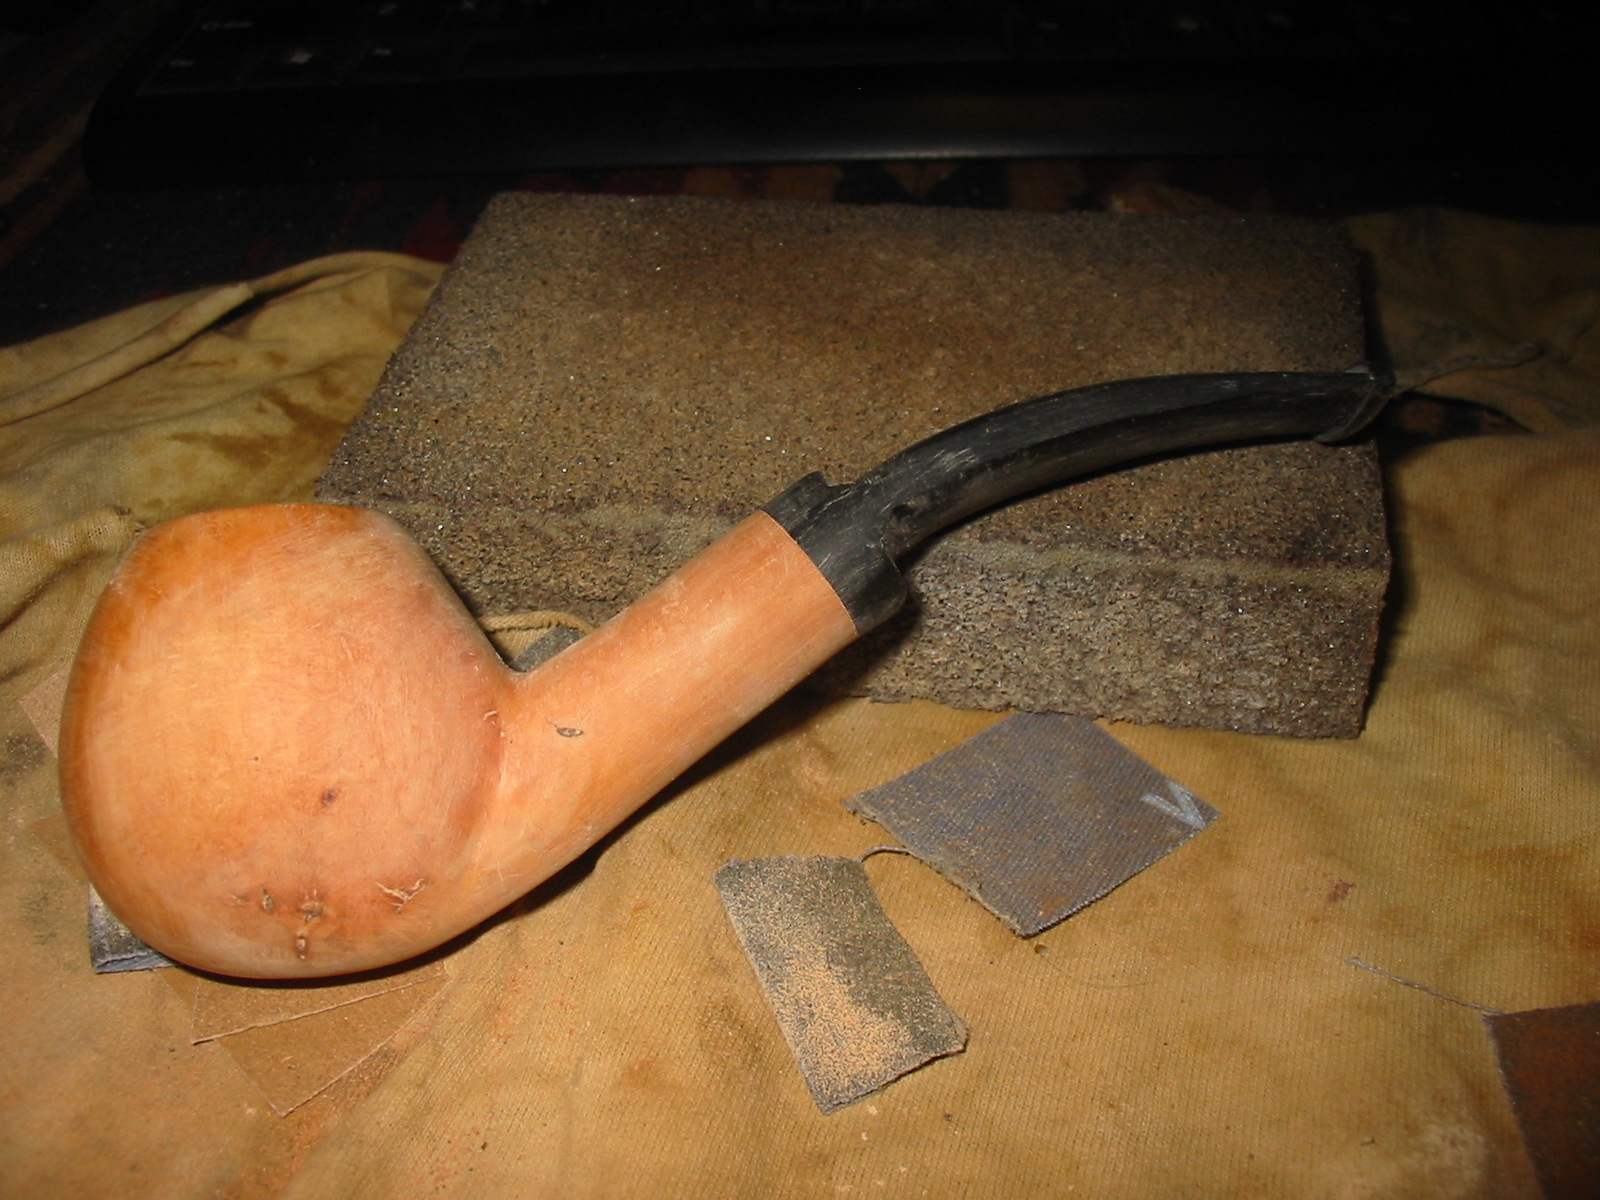
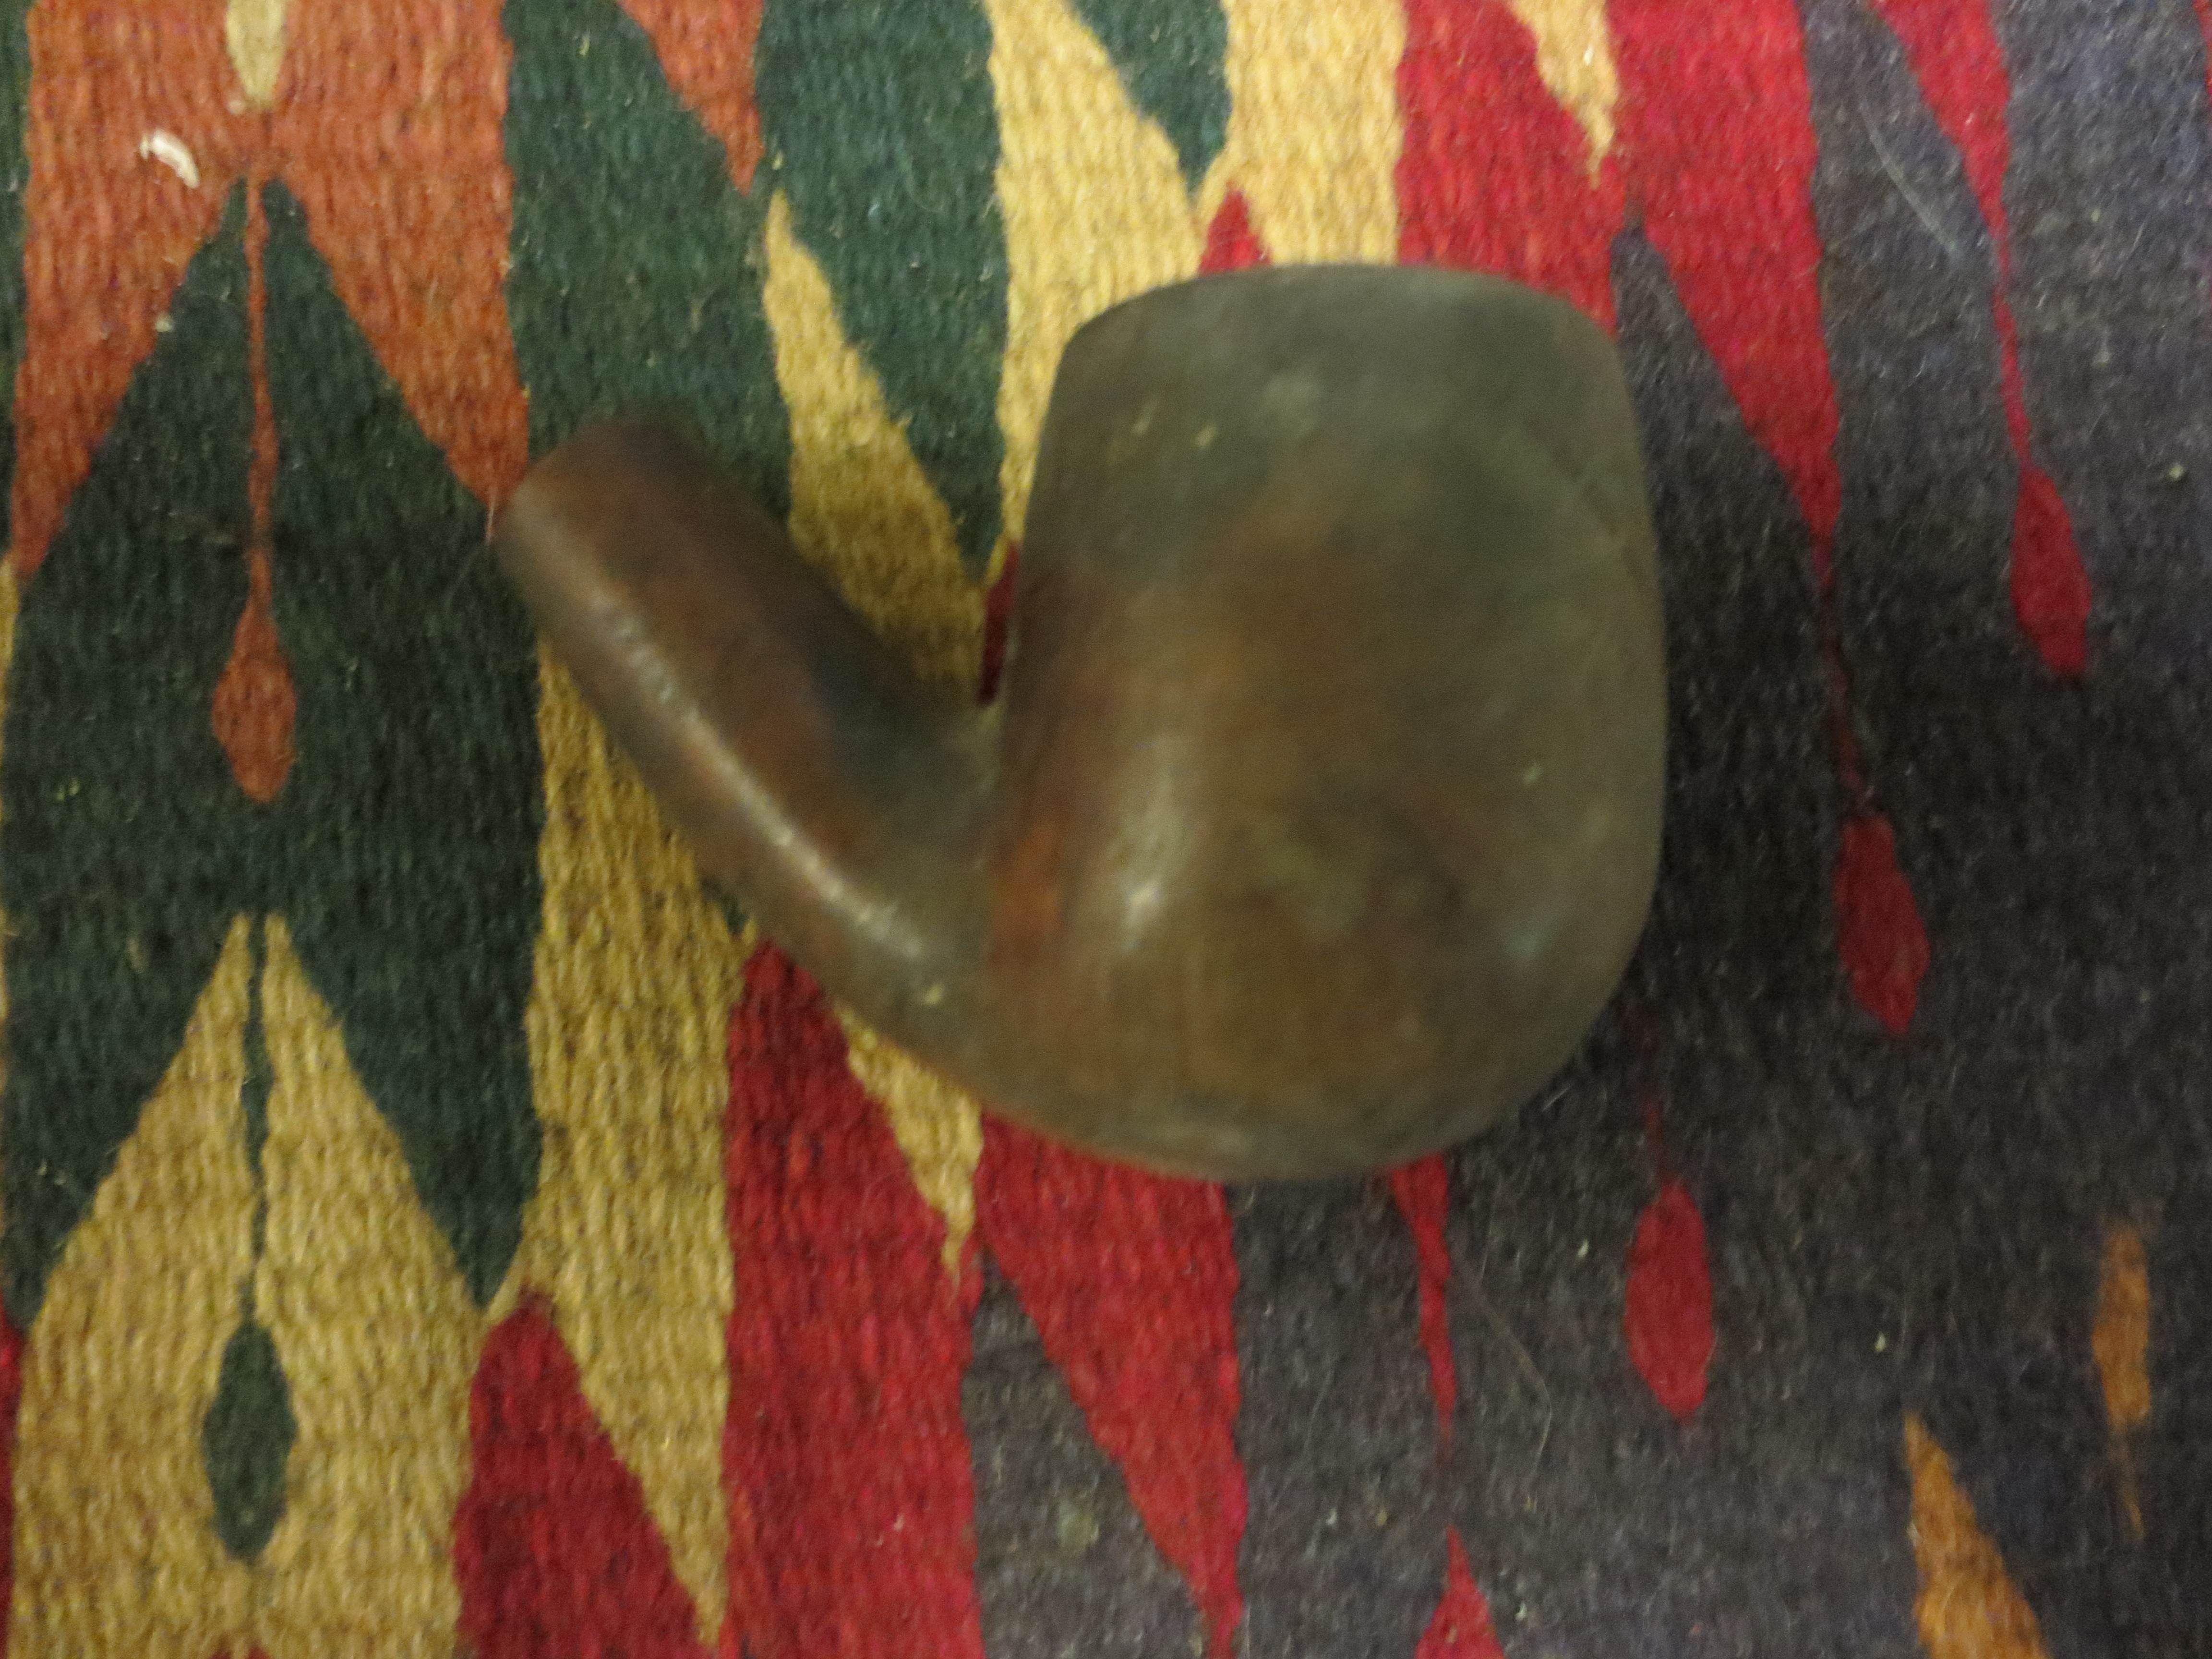
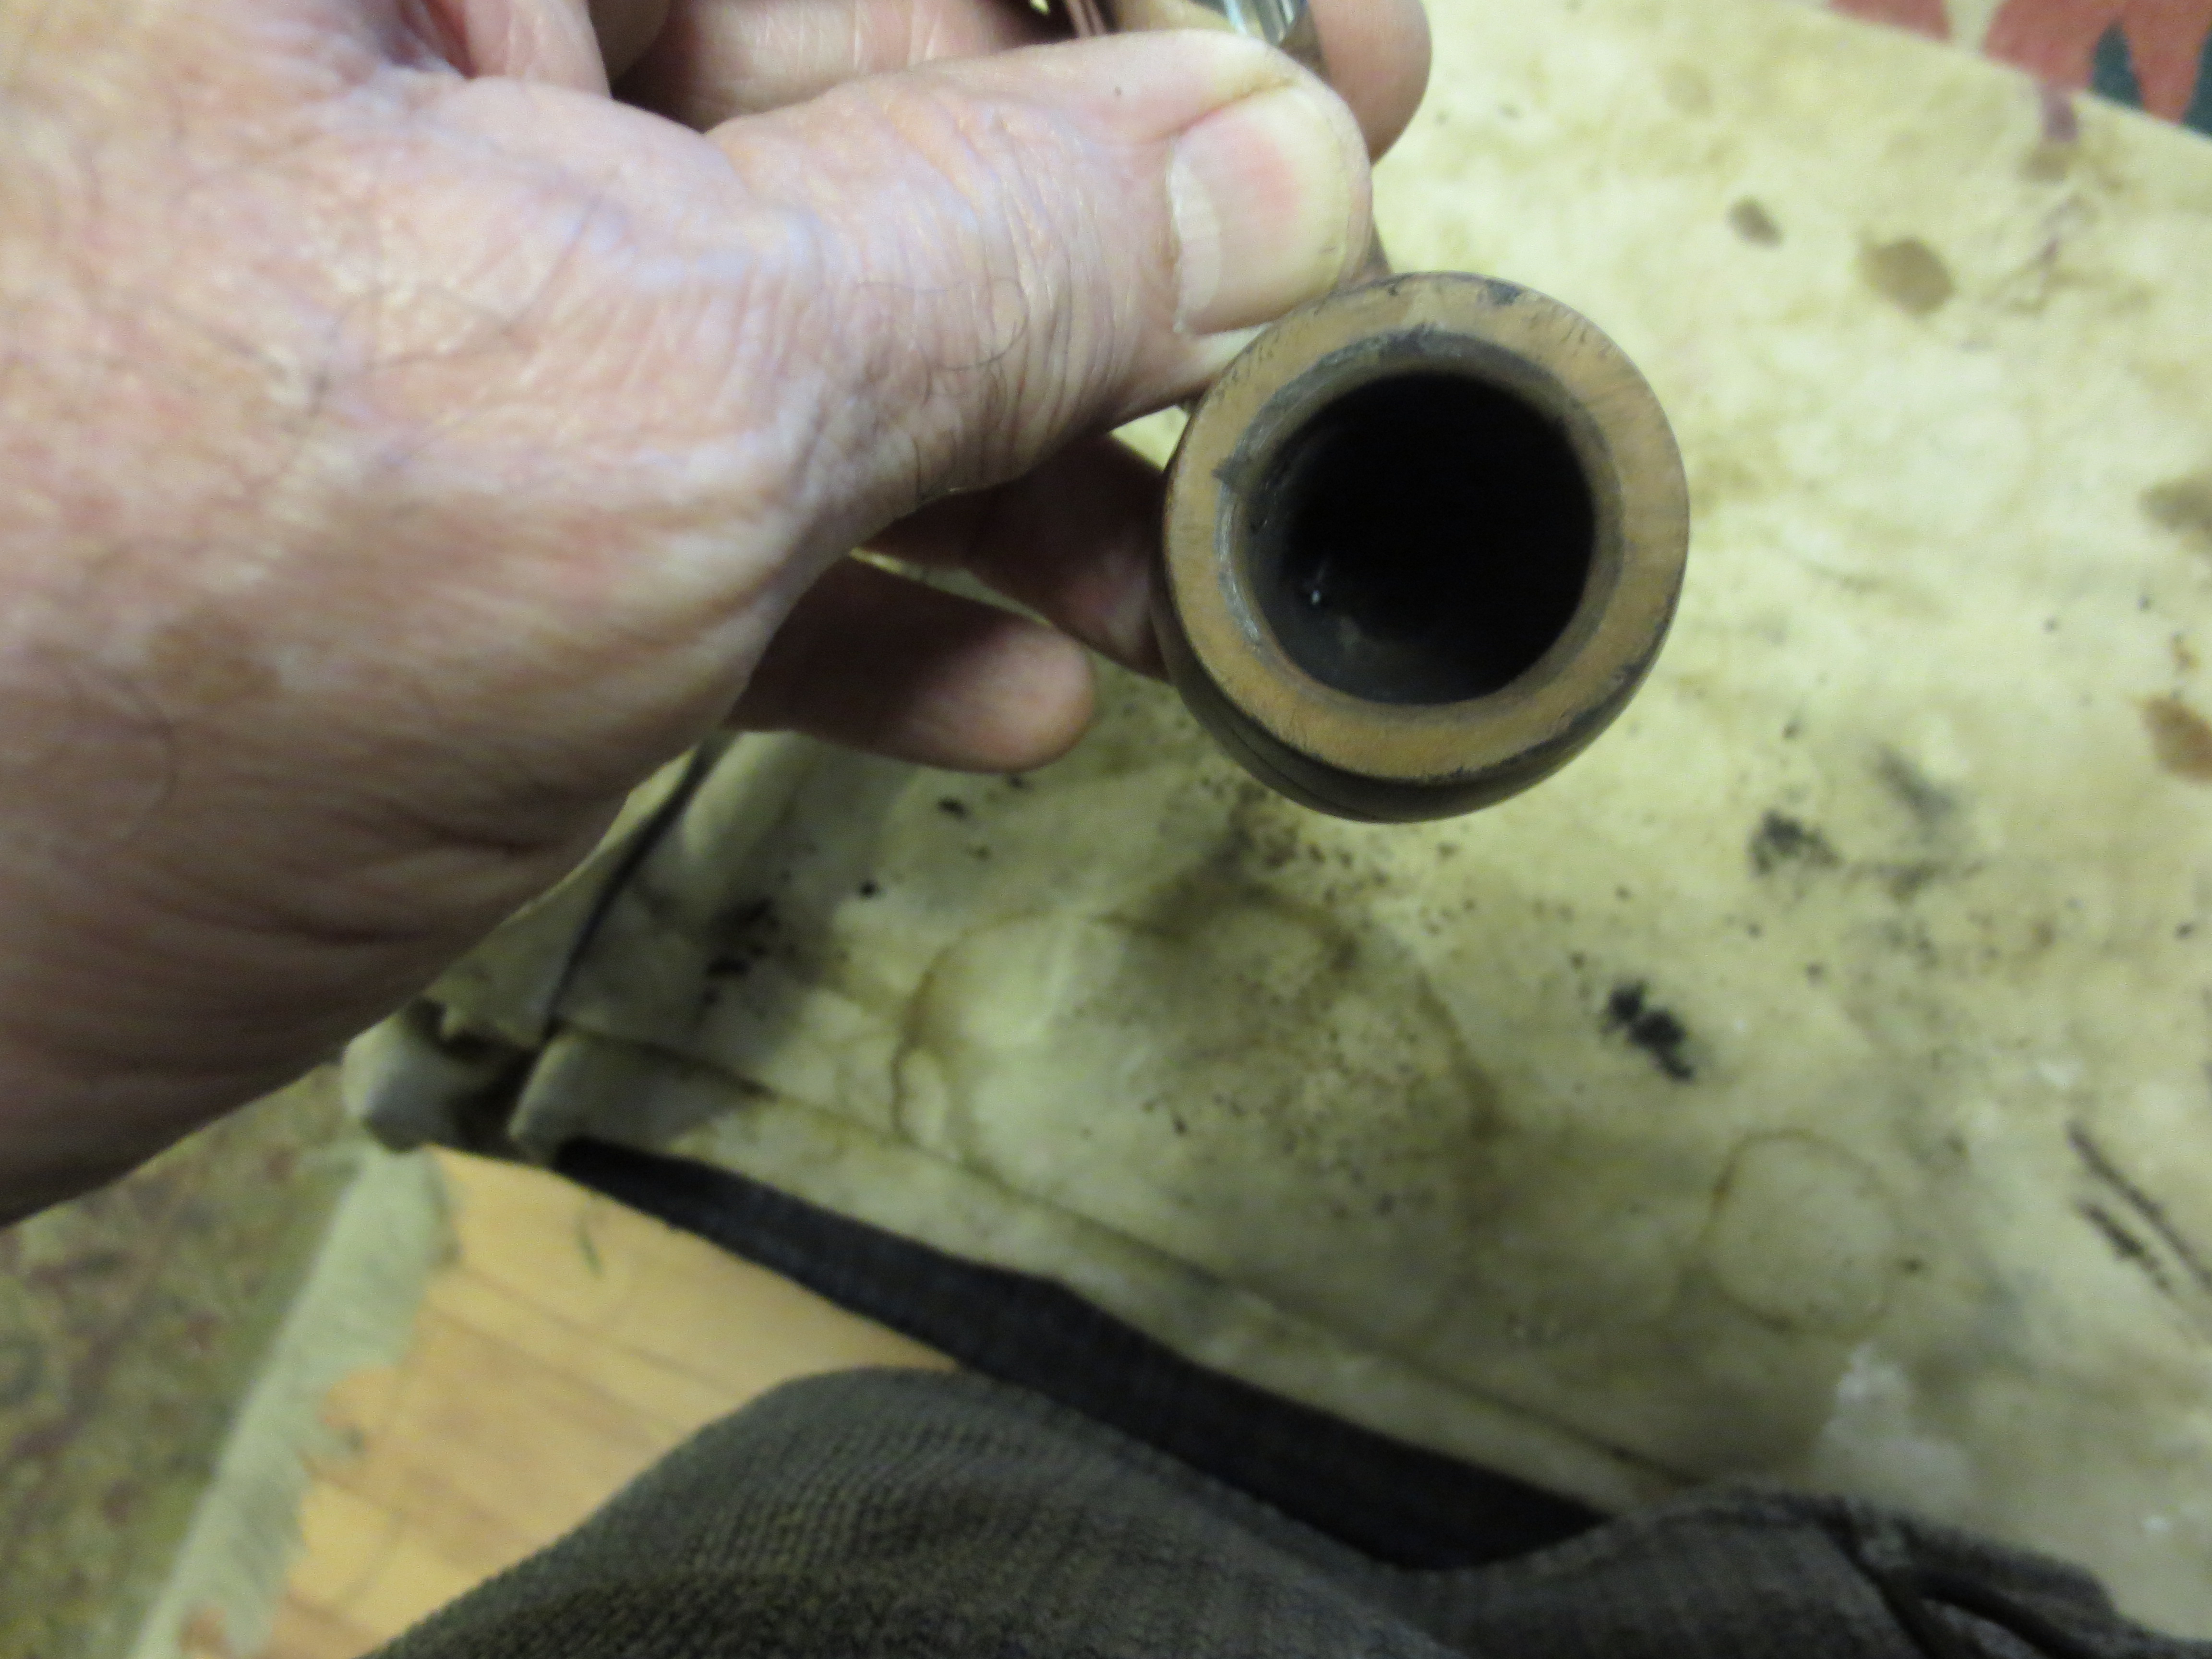
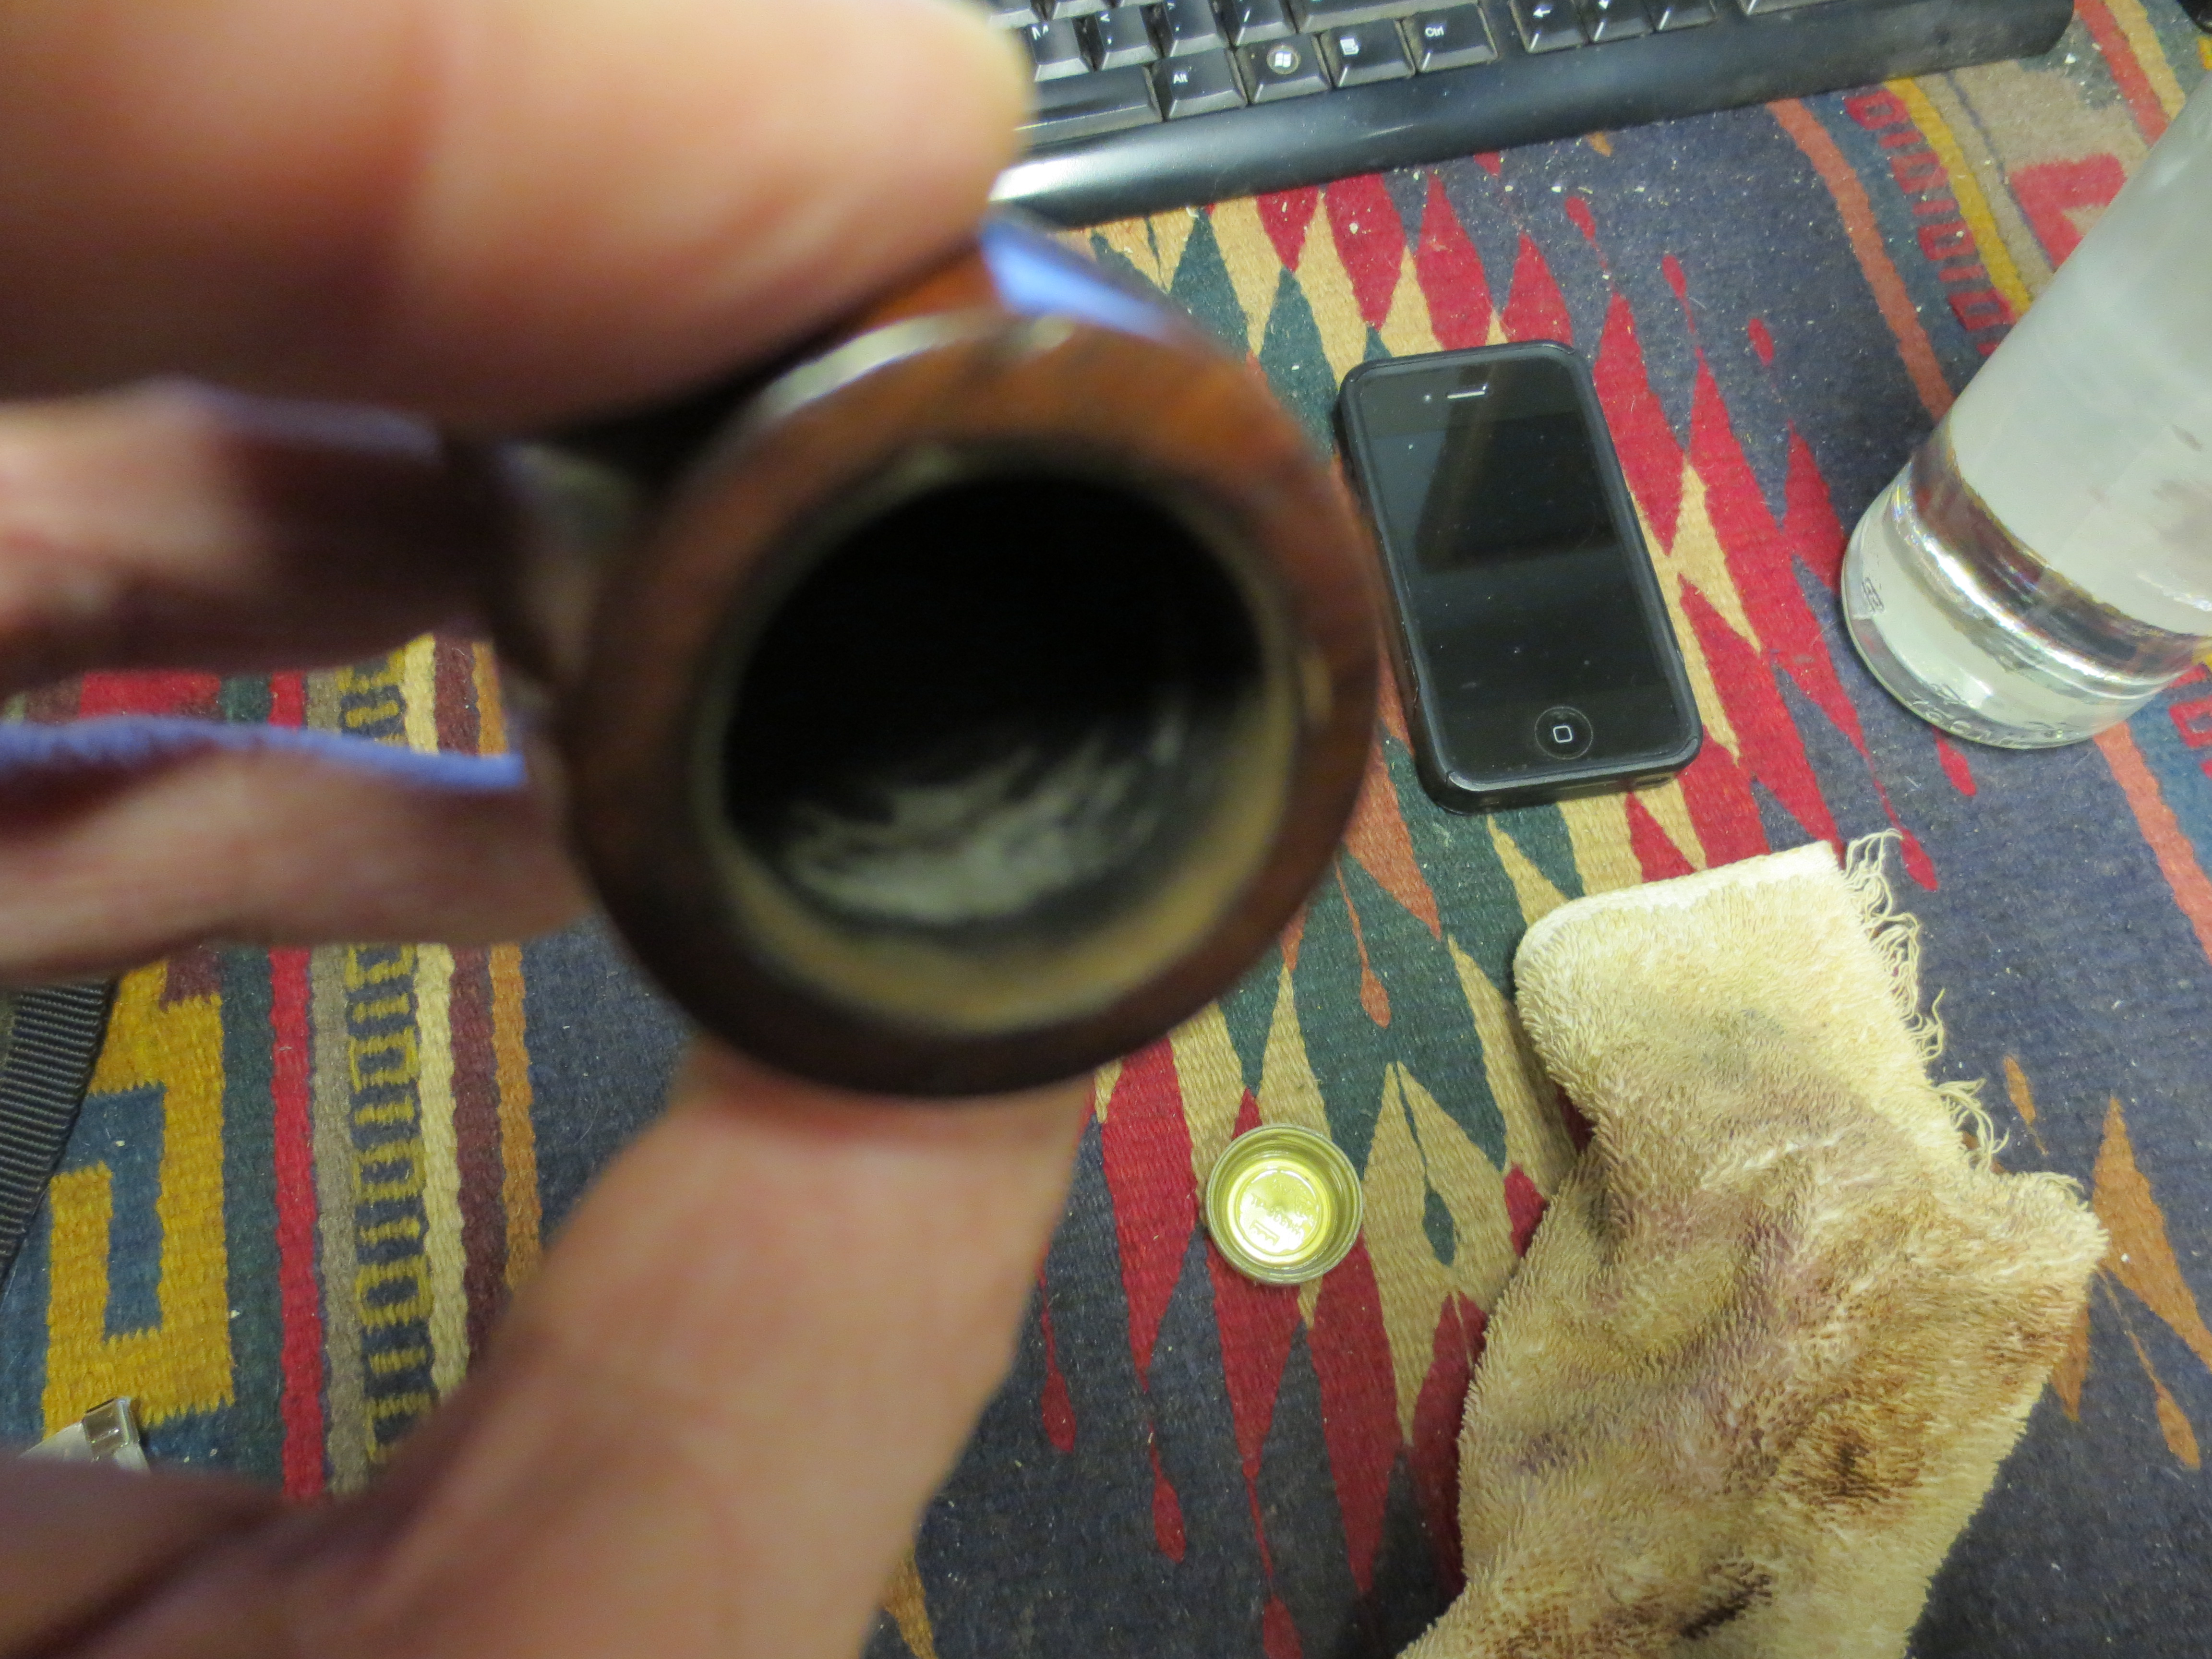
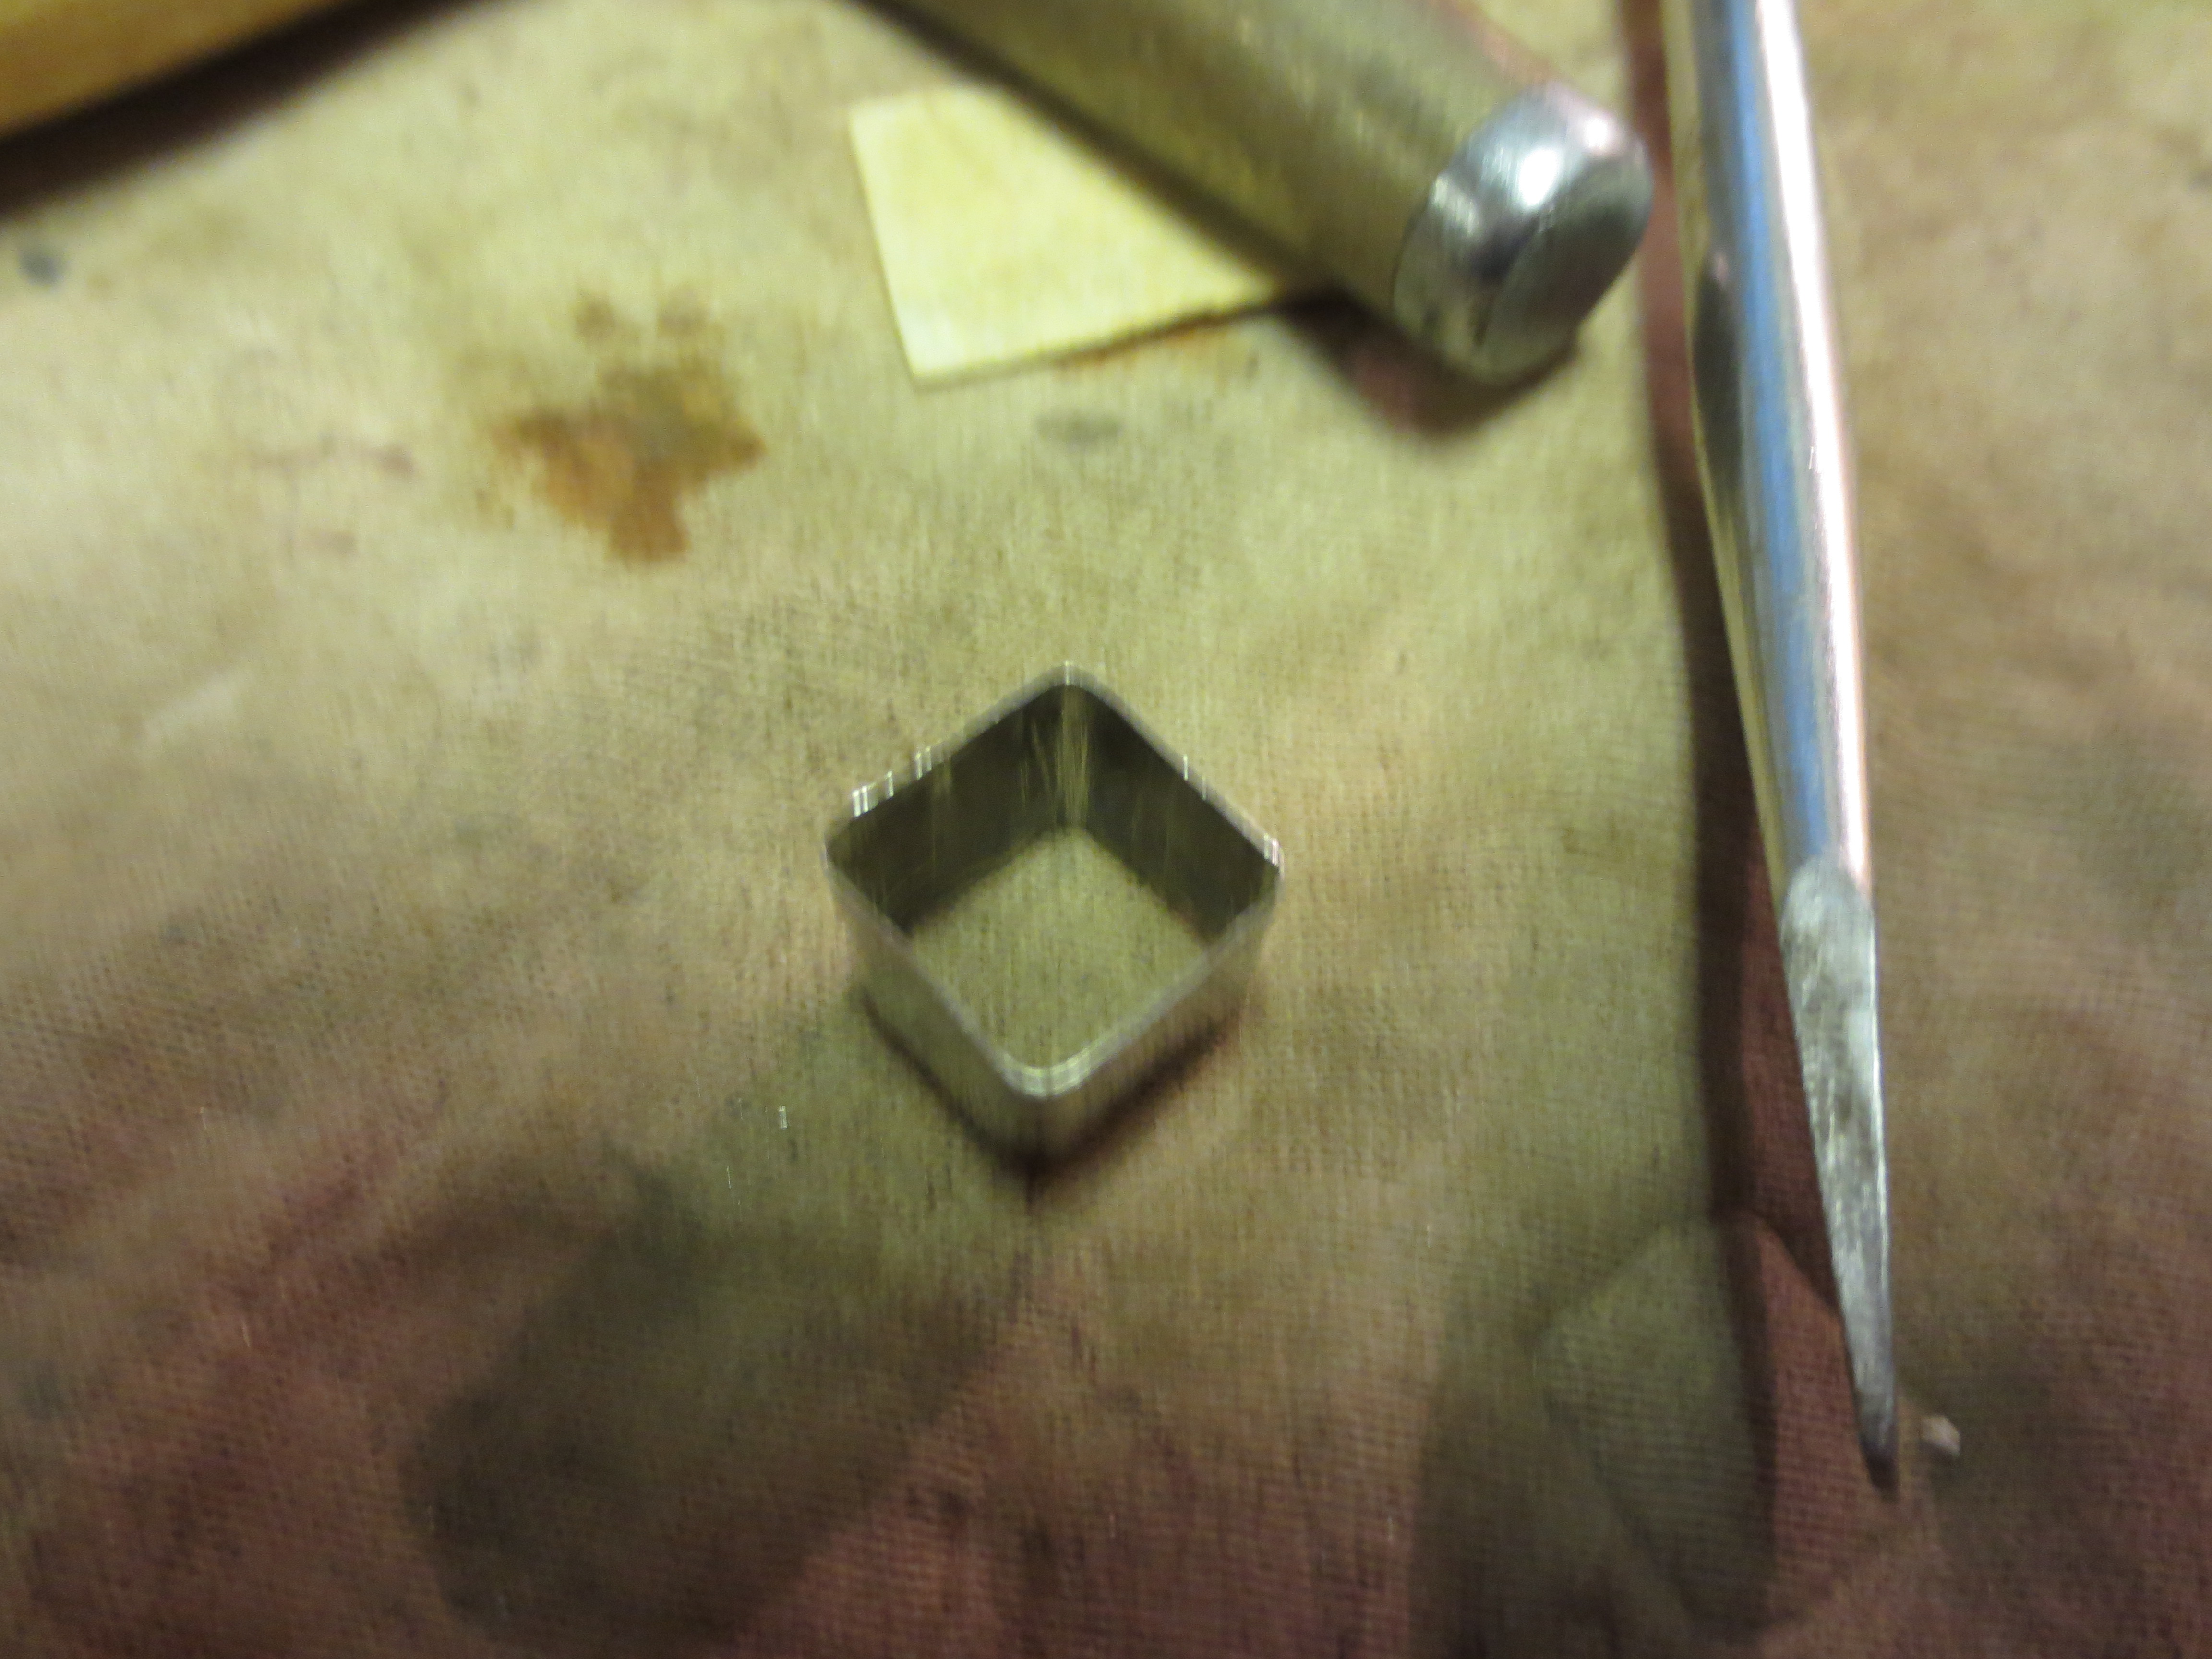
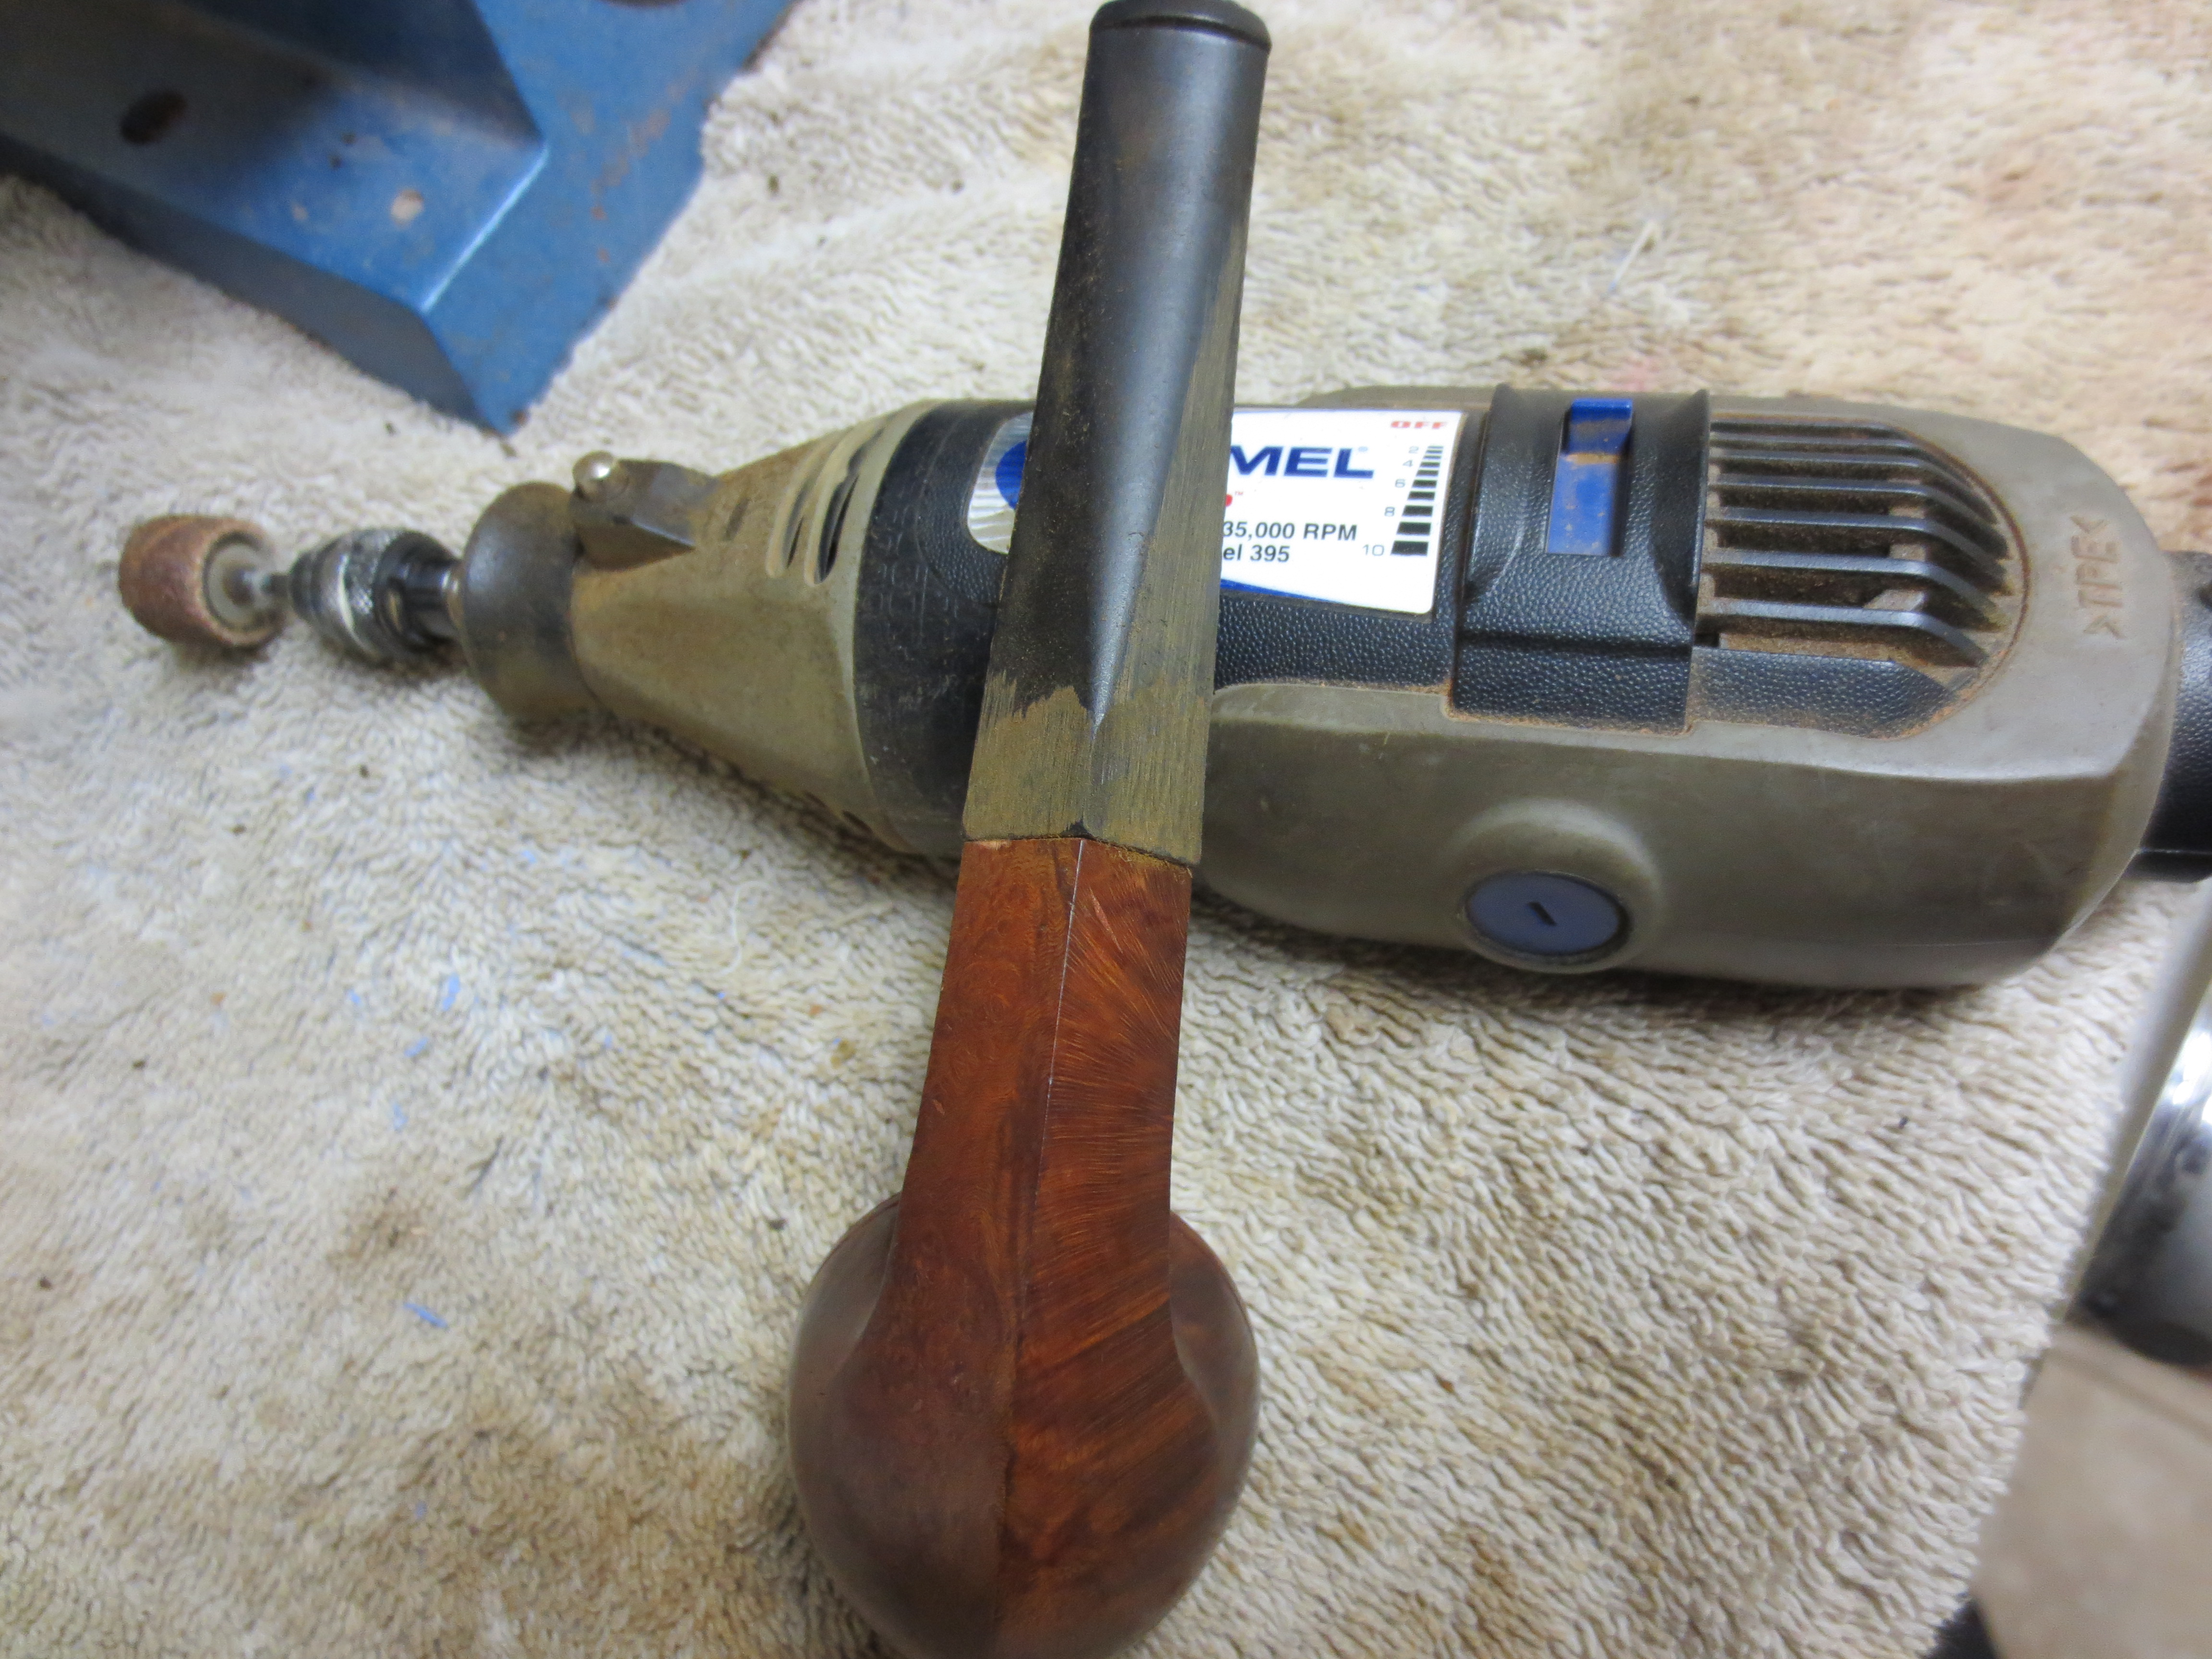
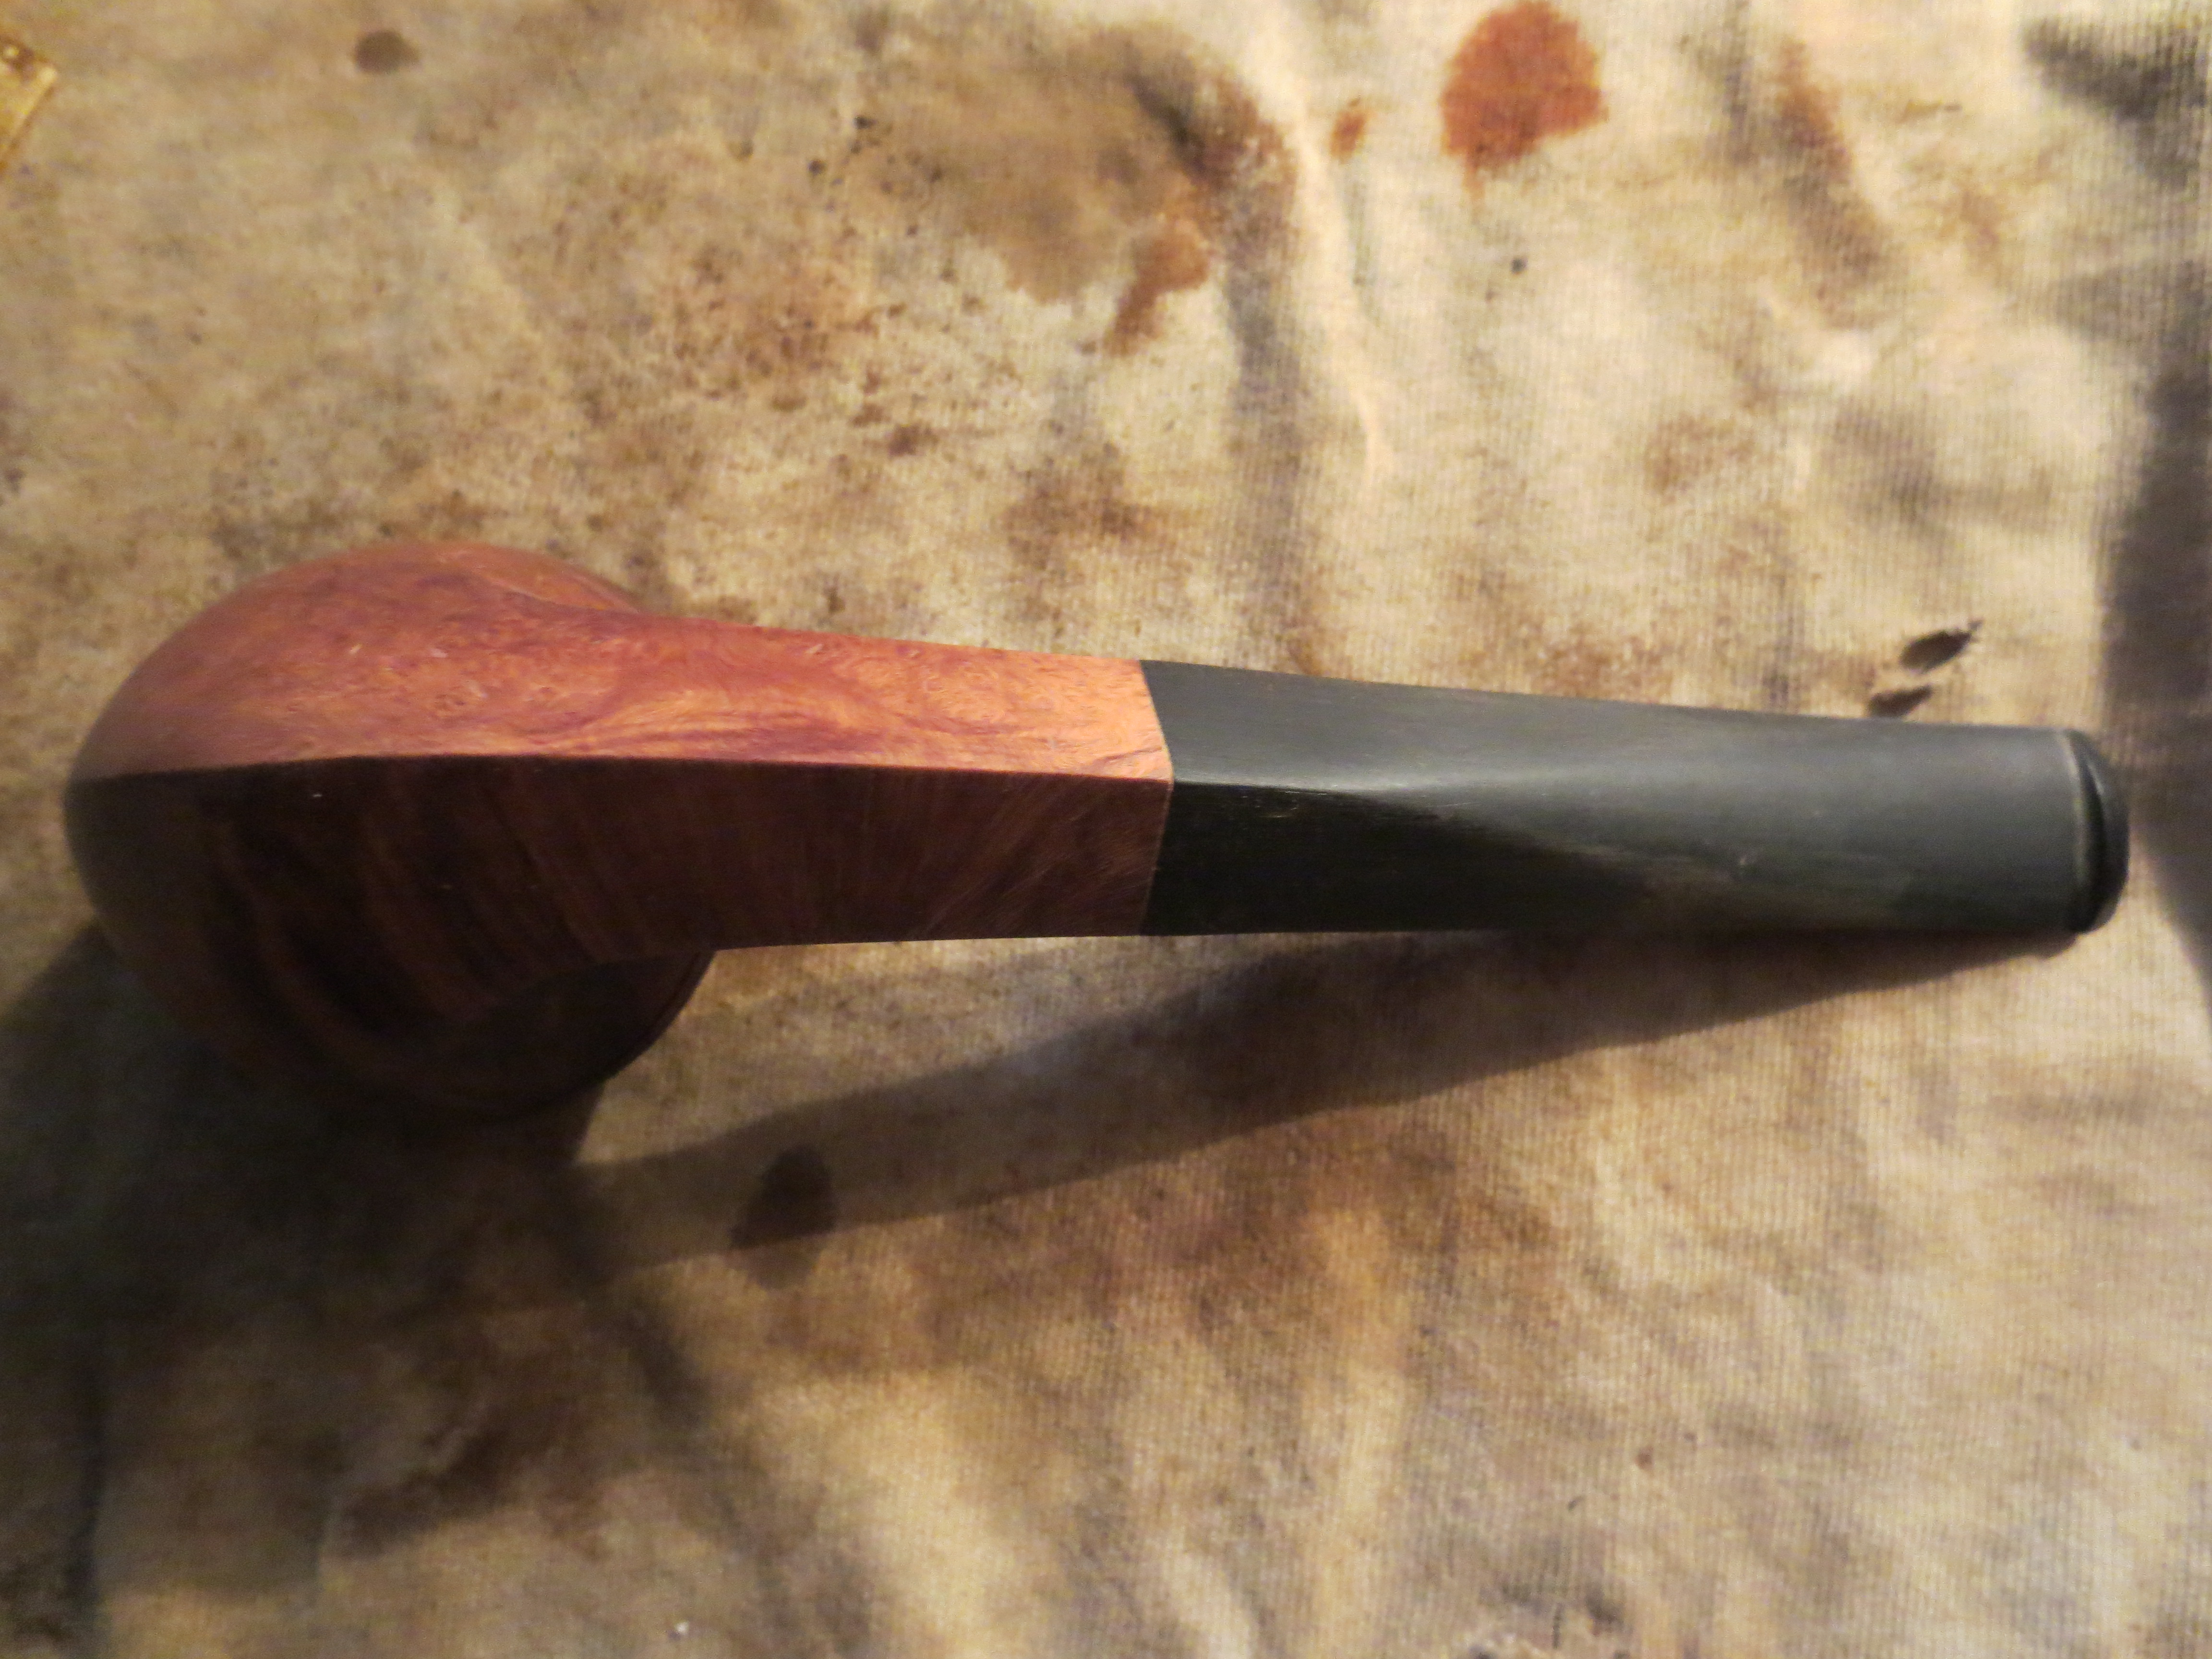
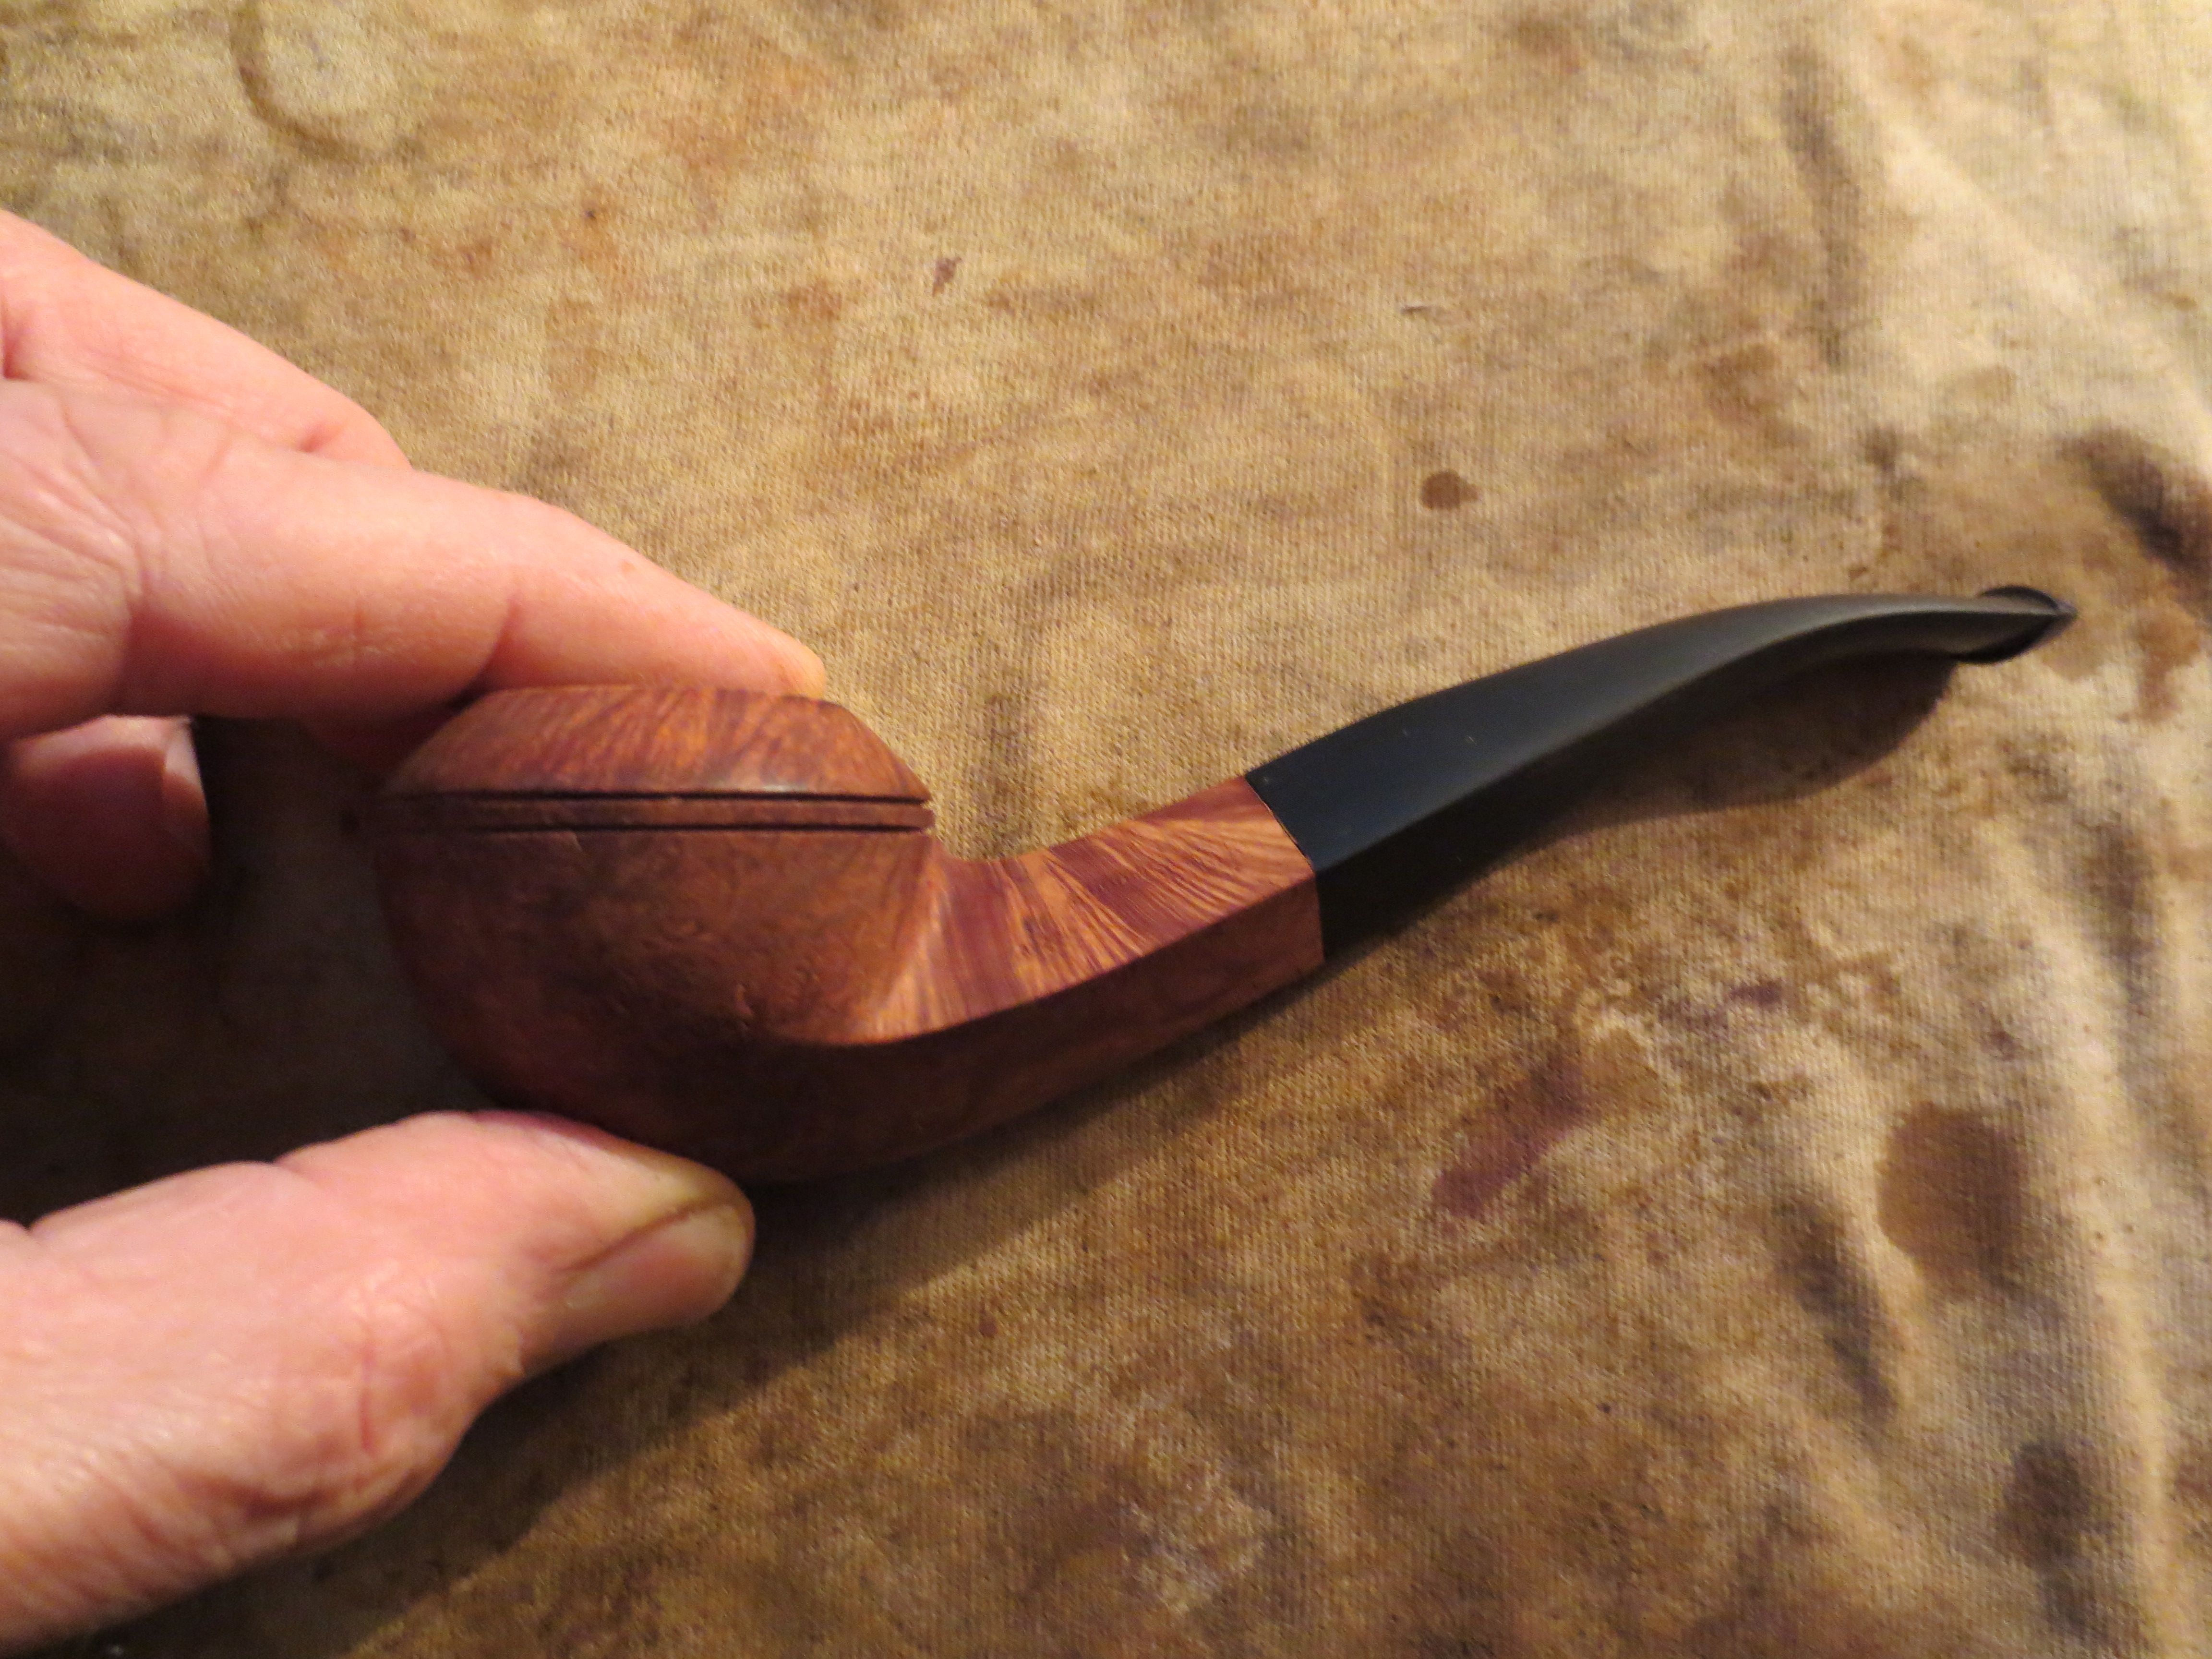
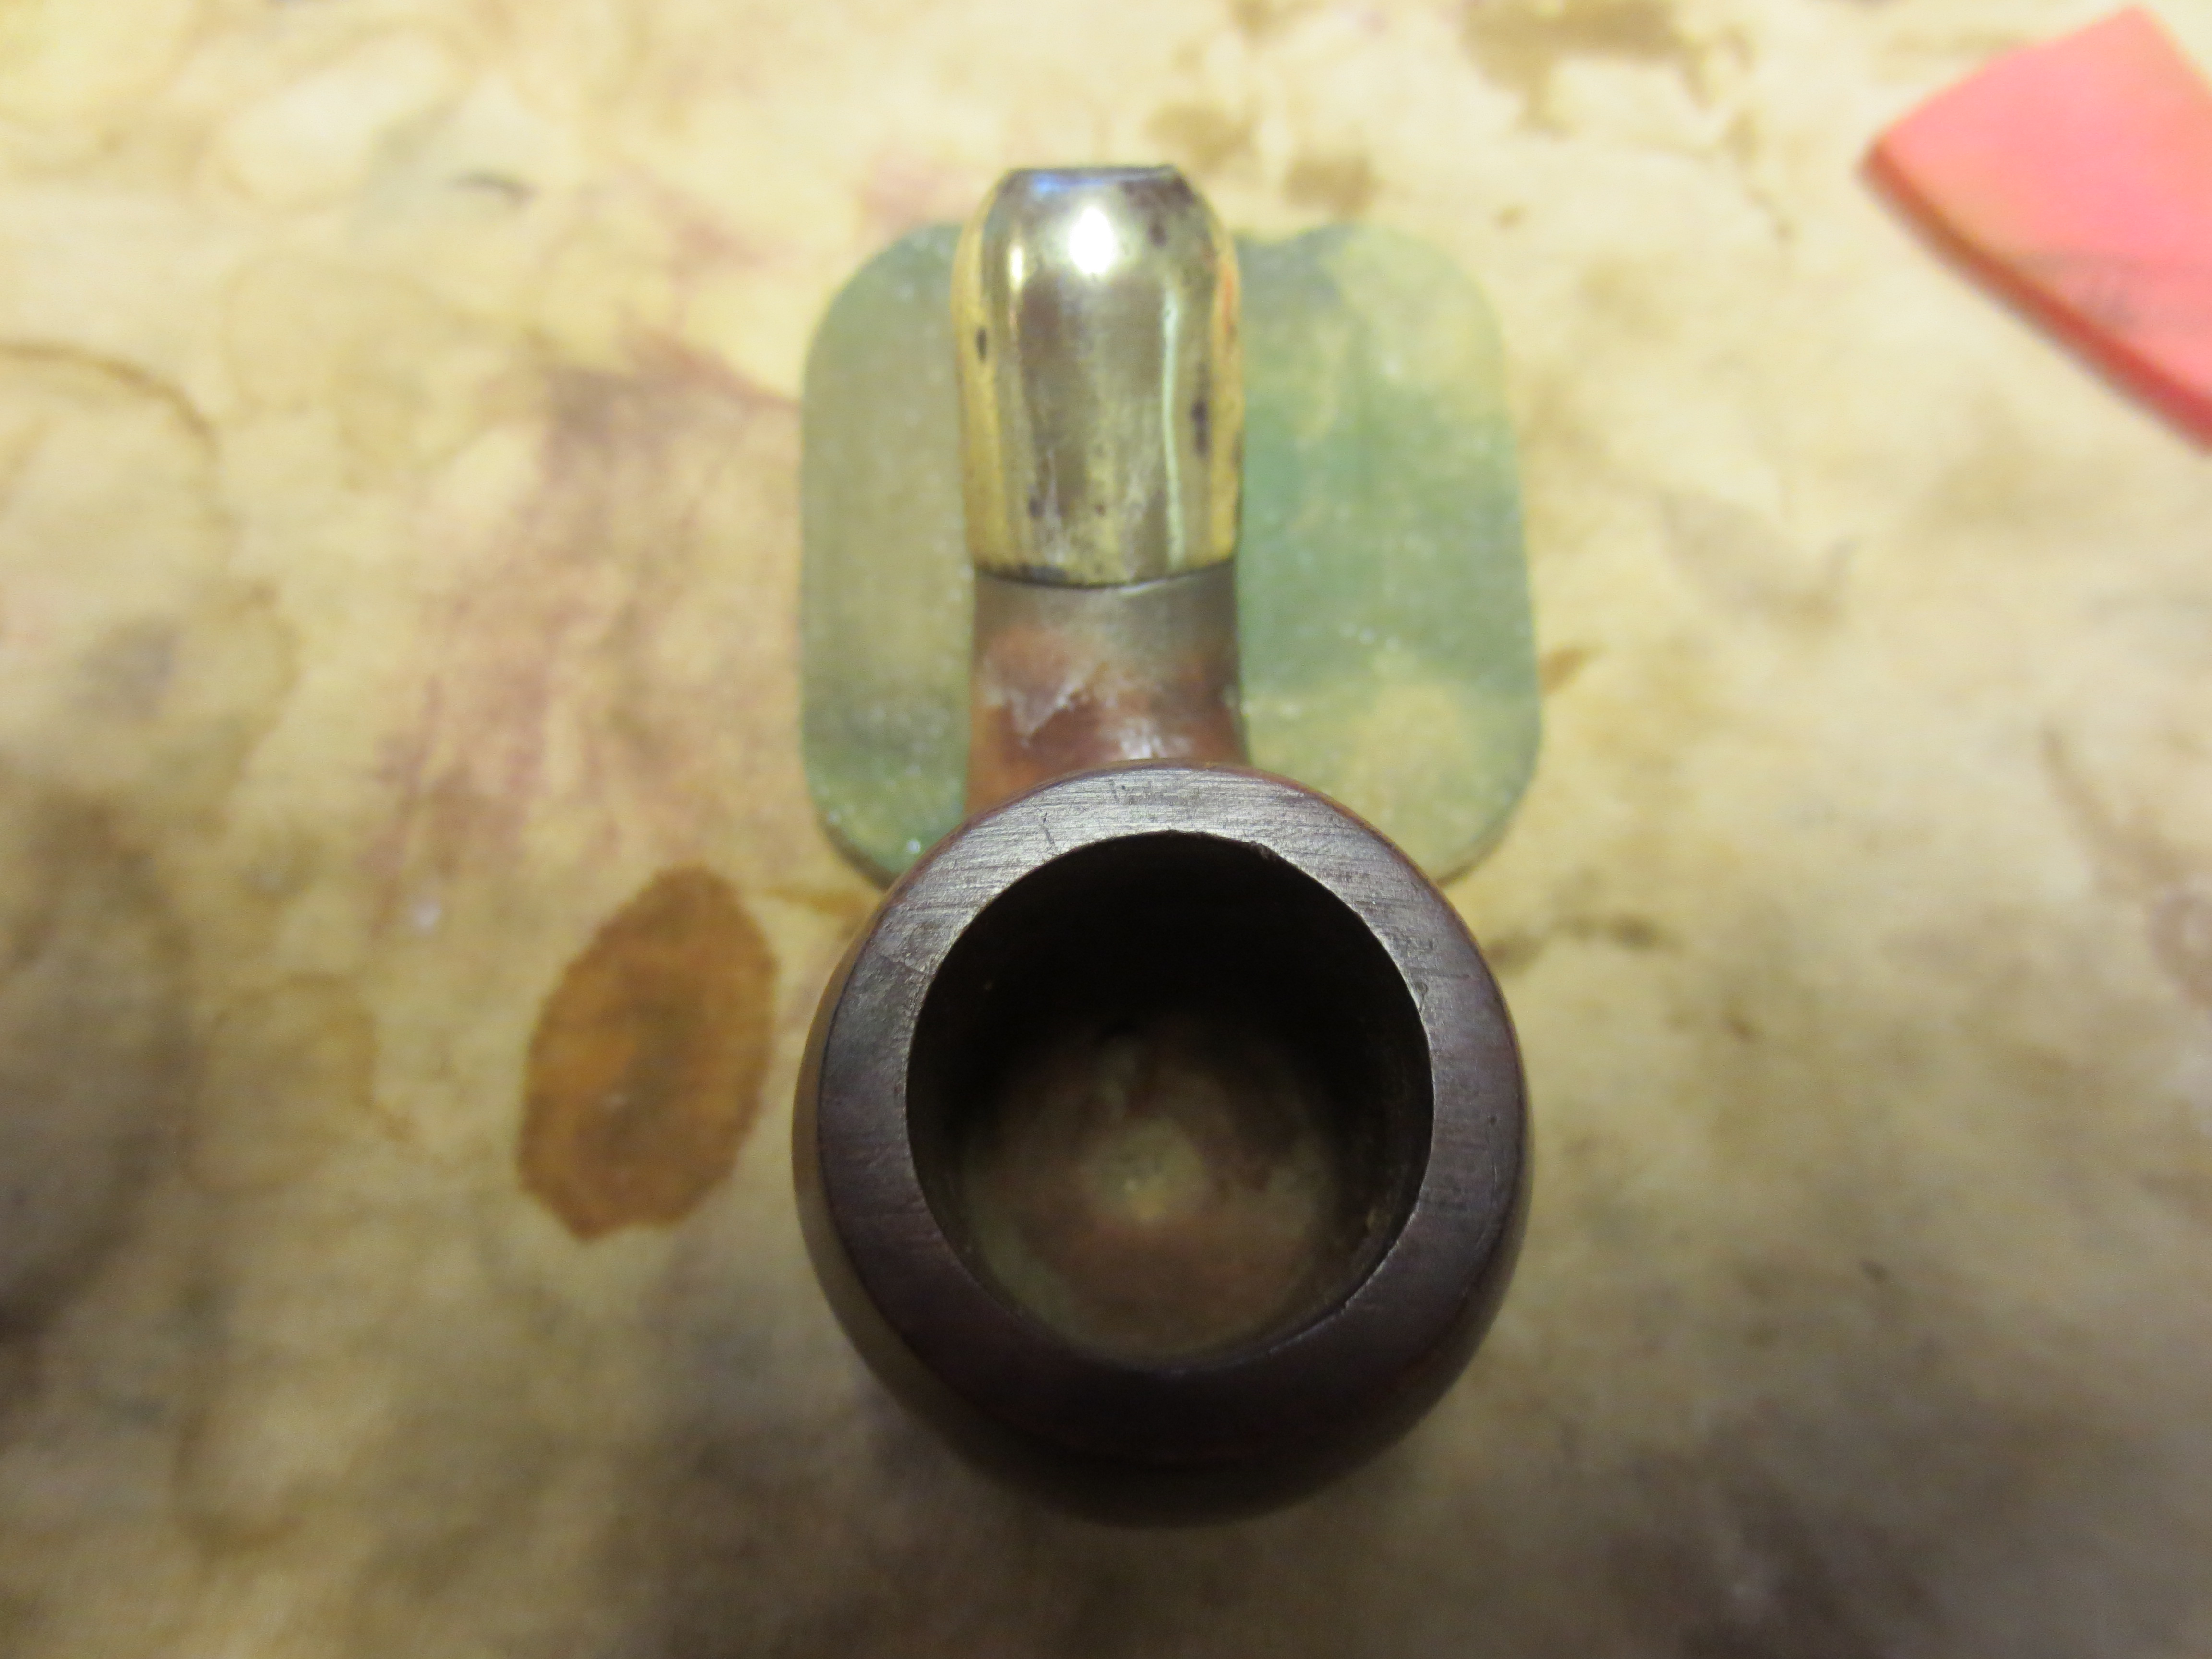
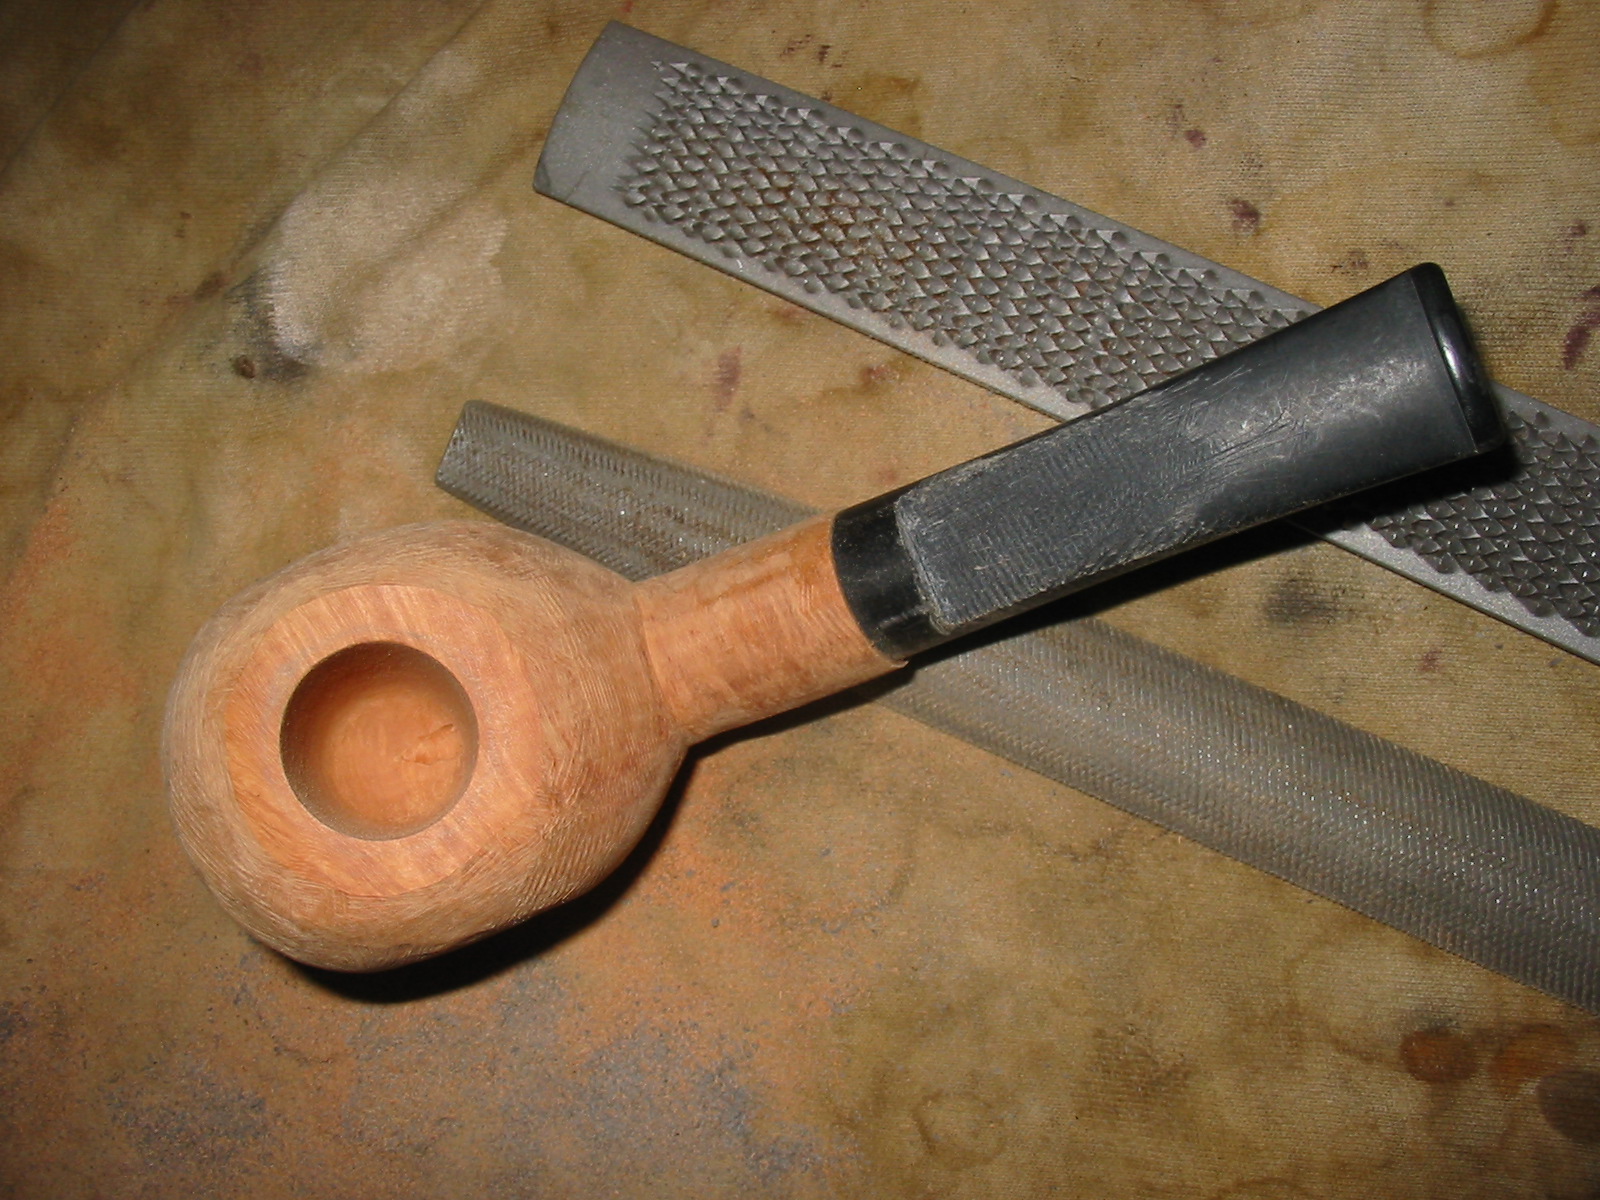
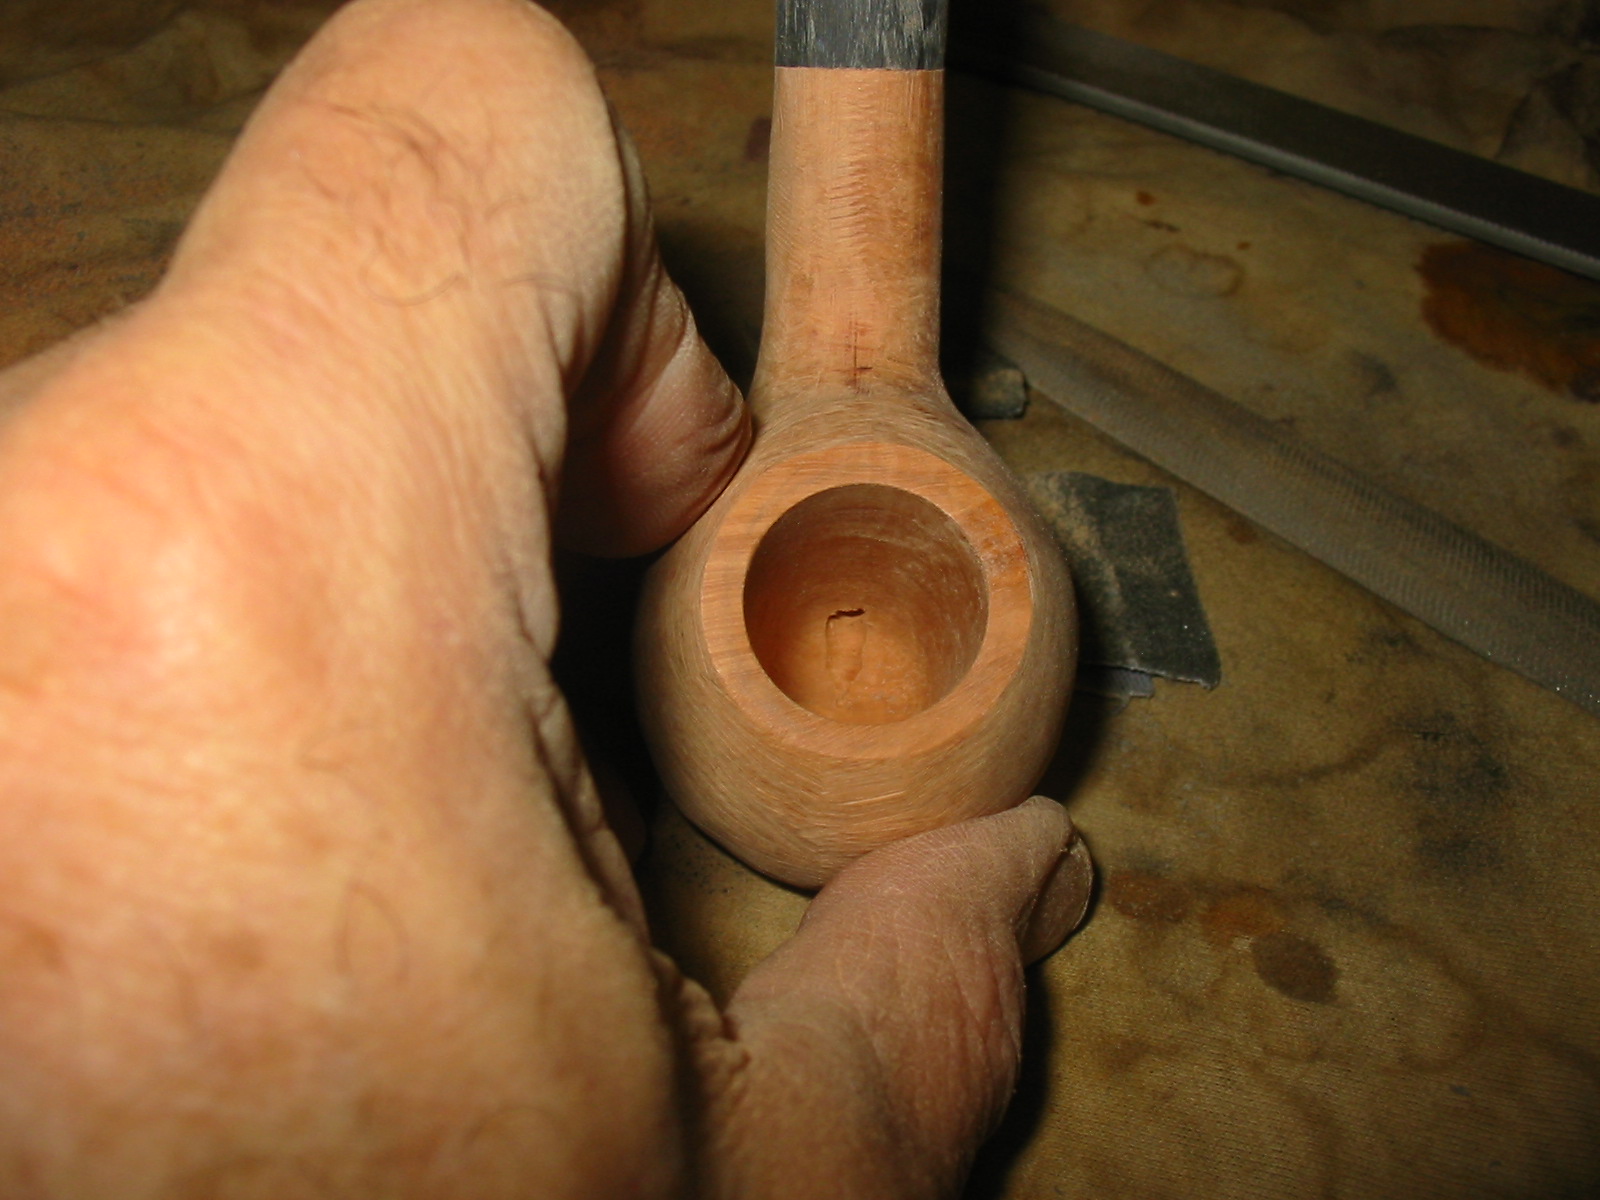
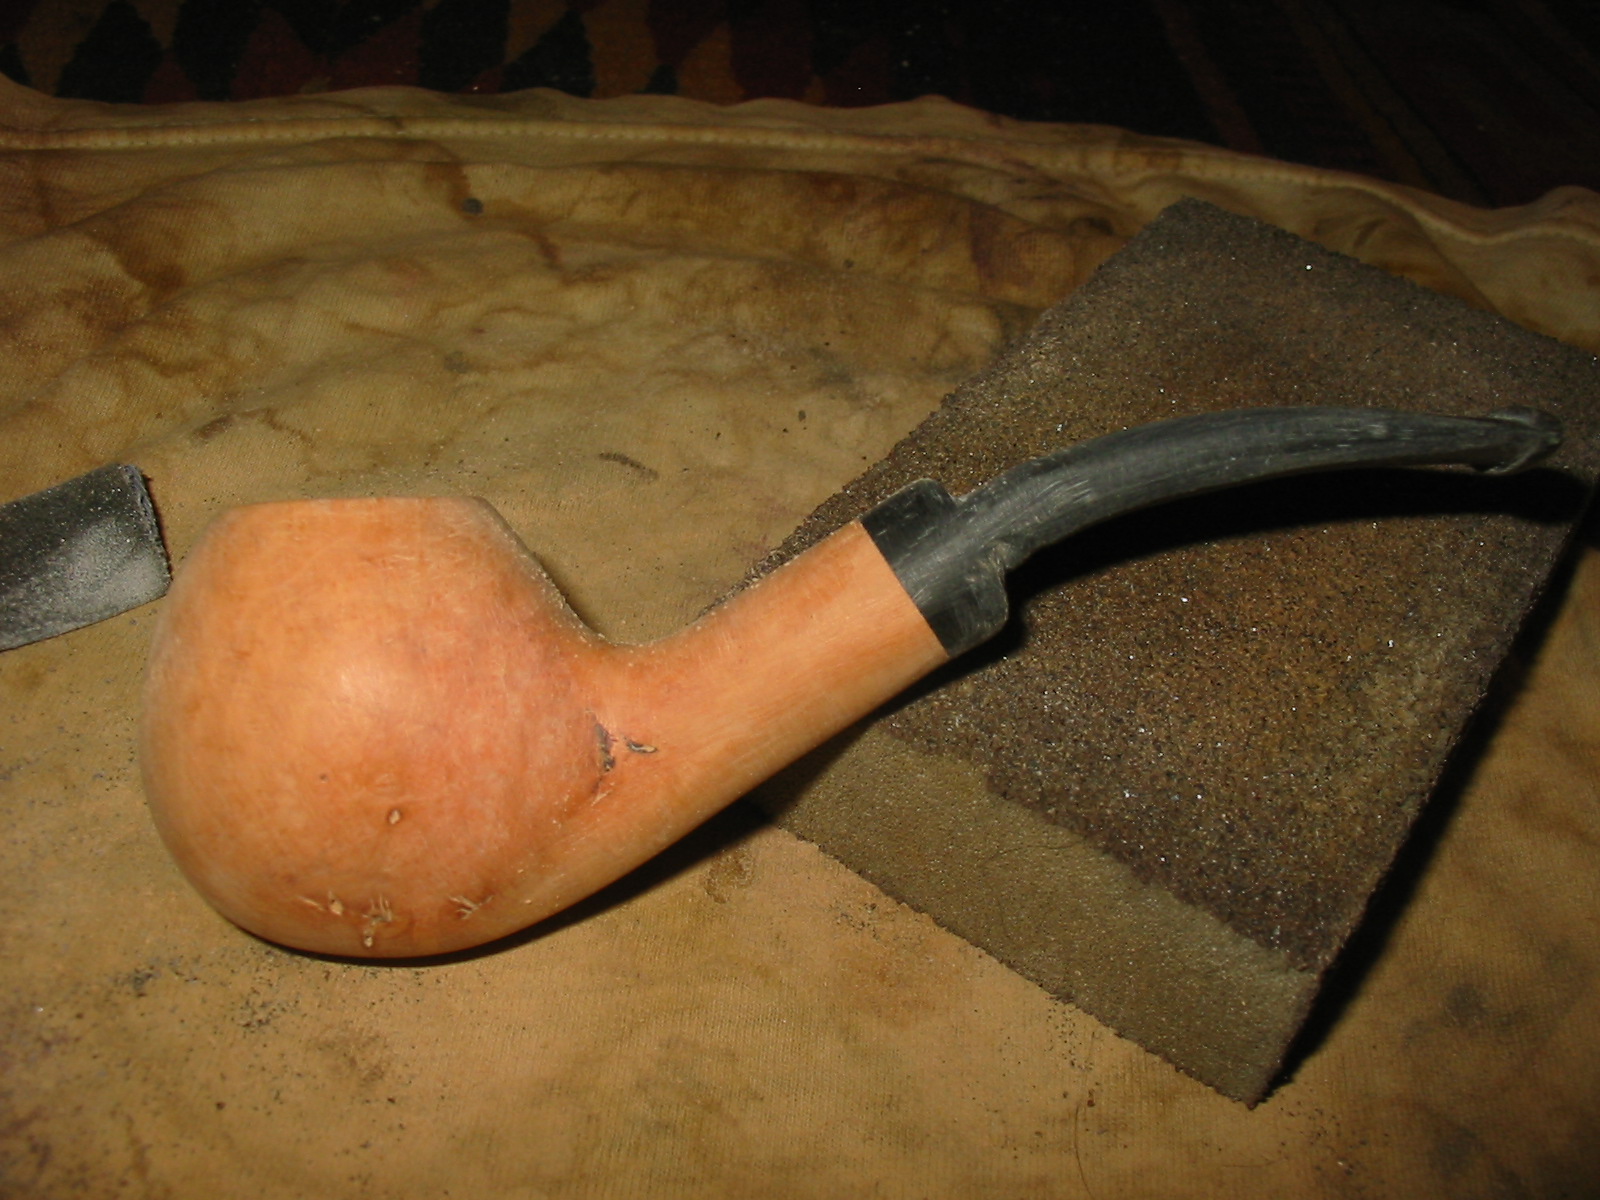
I used the files and rasp to remove more of the slope on the back side of the bowl and make the angle more in tune with the front slope of the bowl. Once I had removed what I wanted I used my sanding sponge and the emery paper to remove the marks of the files. With removing more of the slope I also decided to define the curve of the back side of the bowl along the shank and make the angle there more obvious and distinct. I used the Dremel with the sanding drum to shape this portion of the bowl on both sides. The beauty of this decision is that it removed a fair piece of the flaw in the shank and bowl. The next three photos show the shape after I worked on defining the angles more clearly. The question in my mind at this point was whether I would be able to make the stem as thin as I would like due to the deeply set tenon in the stem. Nonetheless the finished shape of the pipe emerging from the briar.

IMG_0890

IMG_0891

IMG_0892

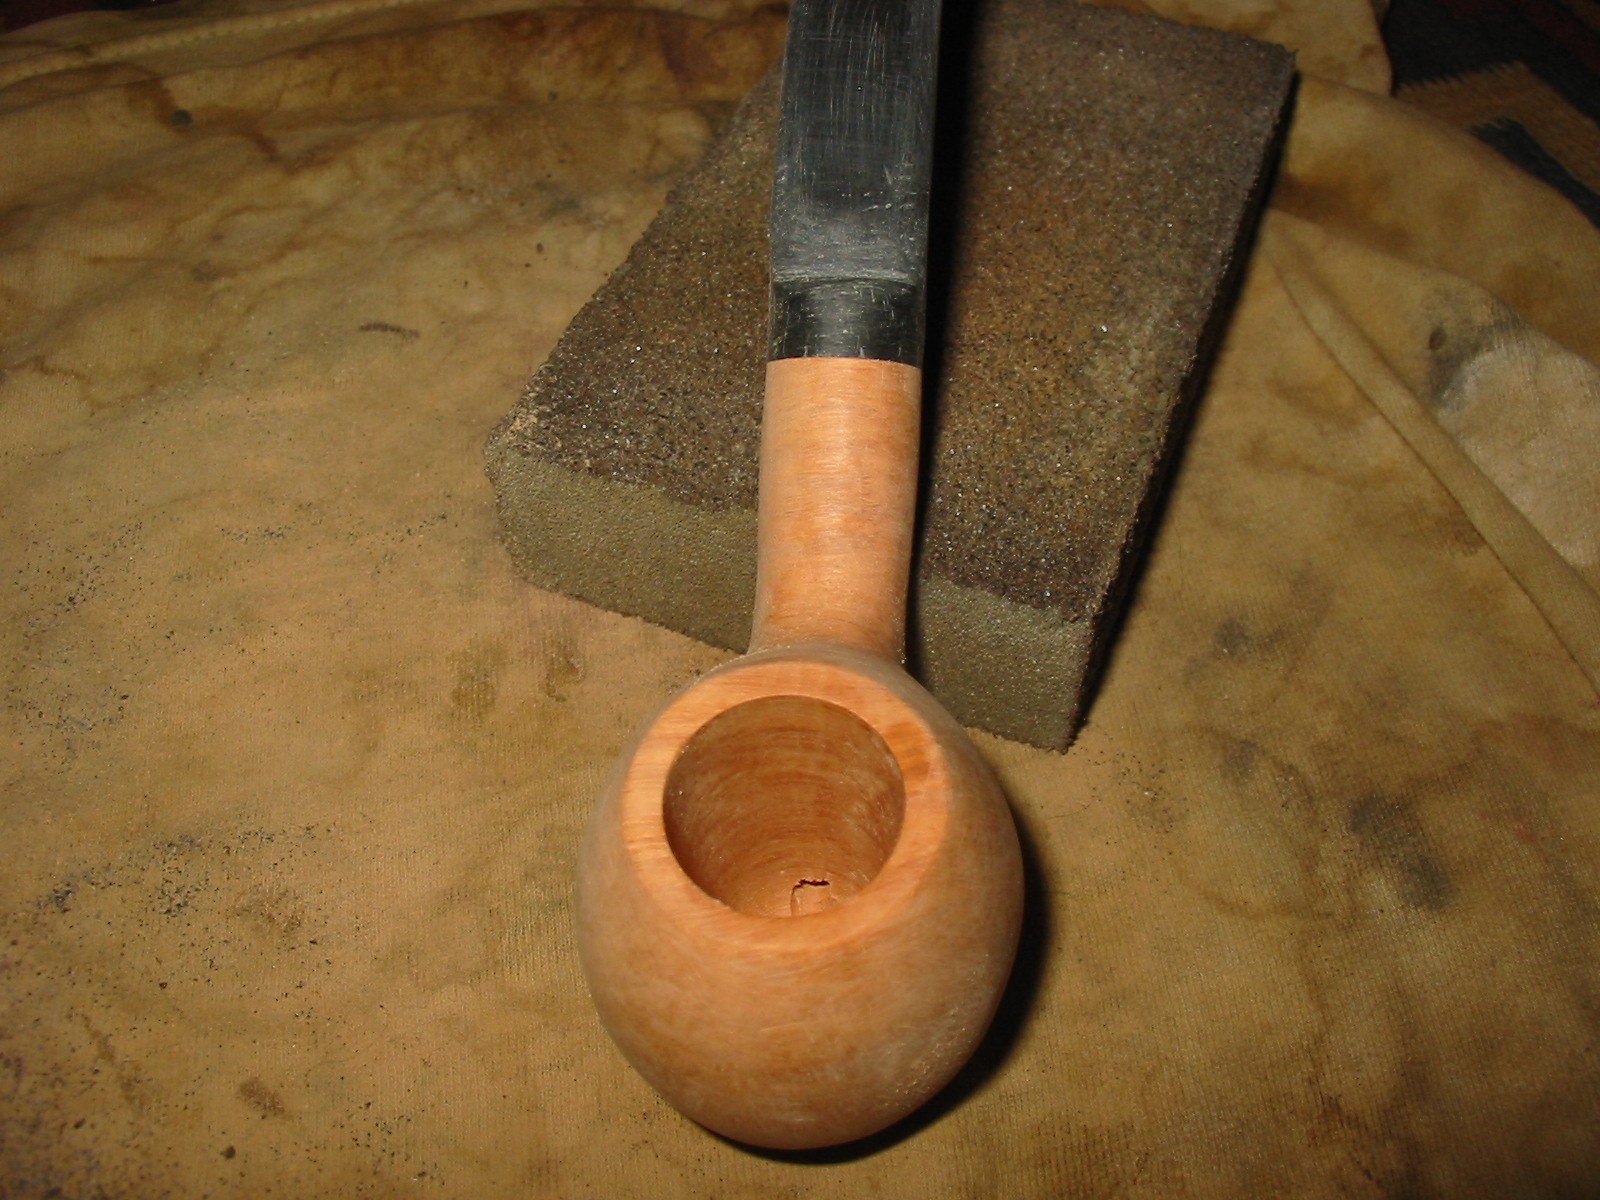
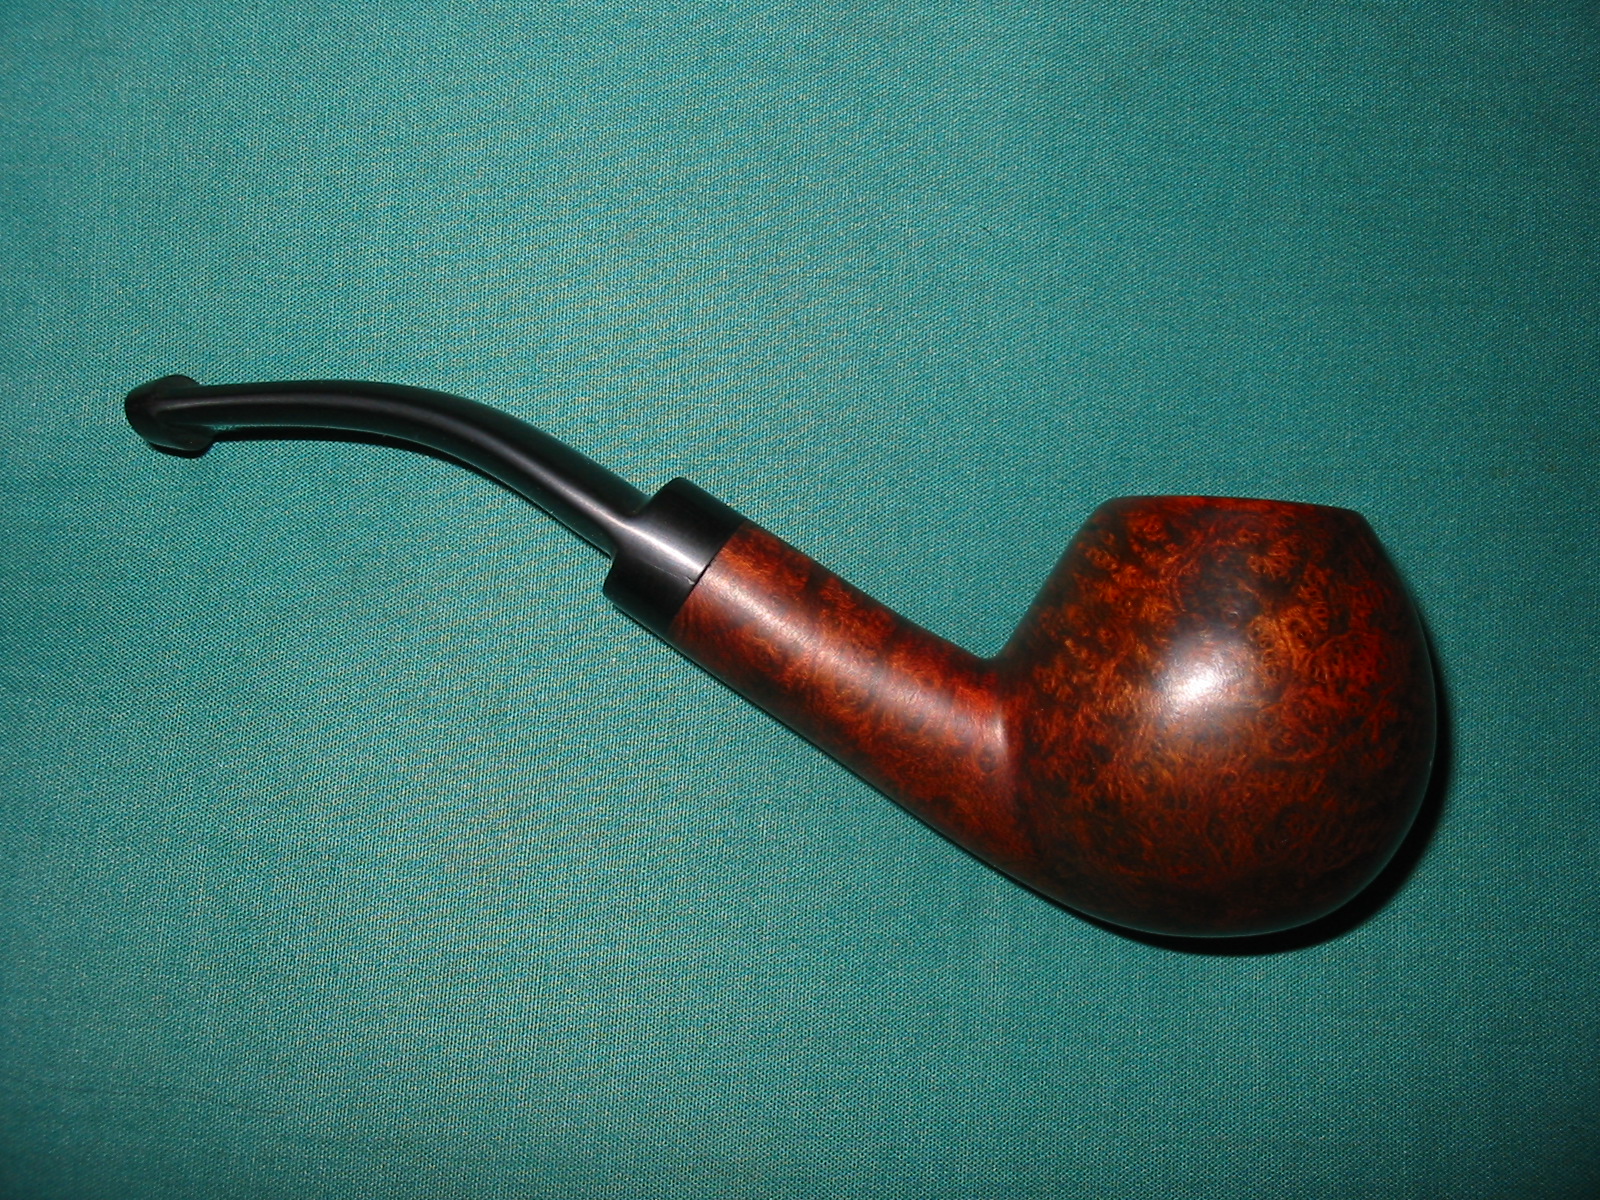
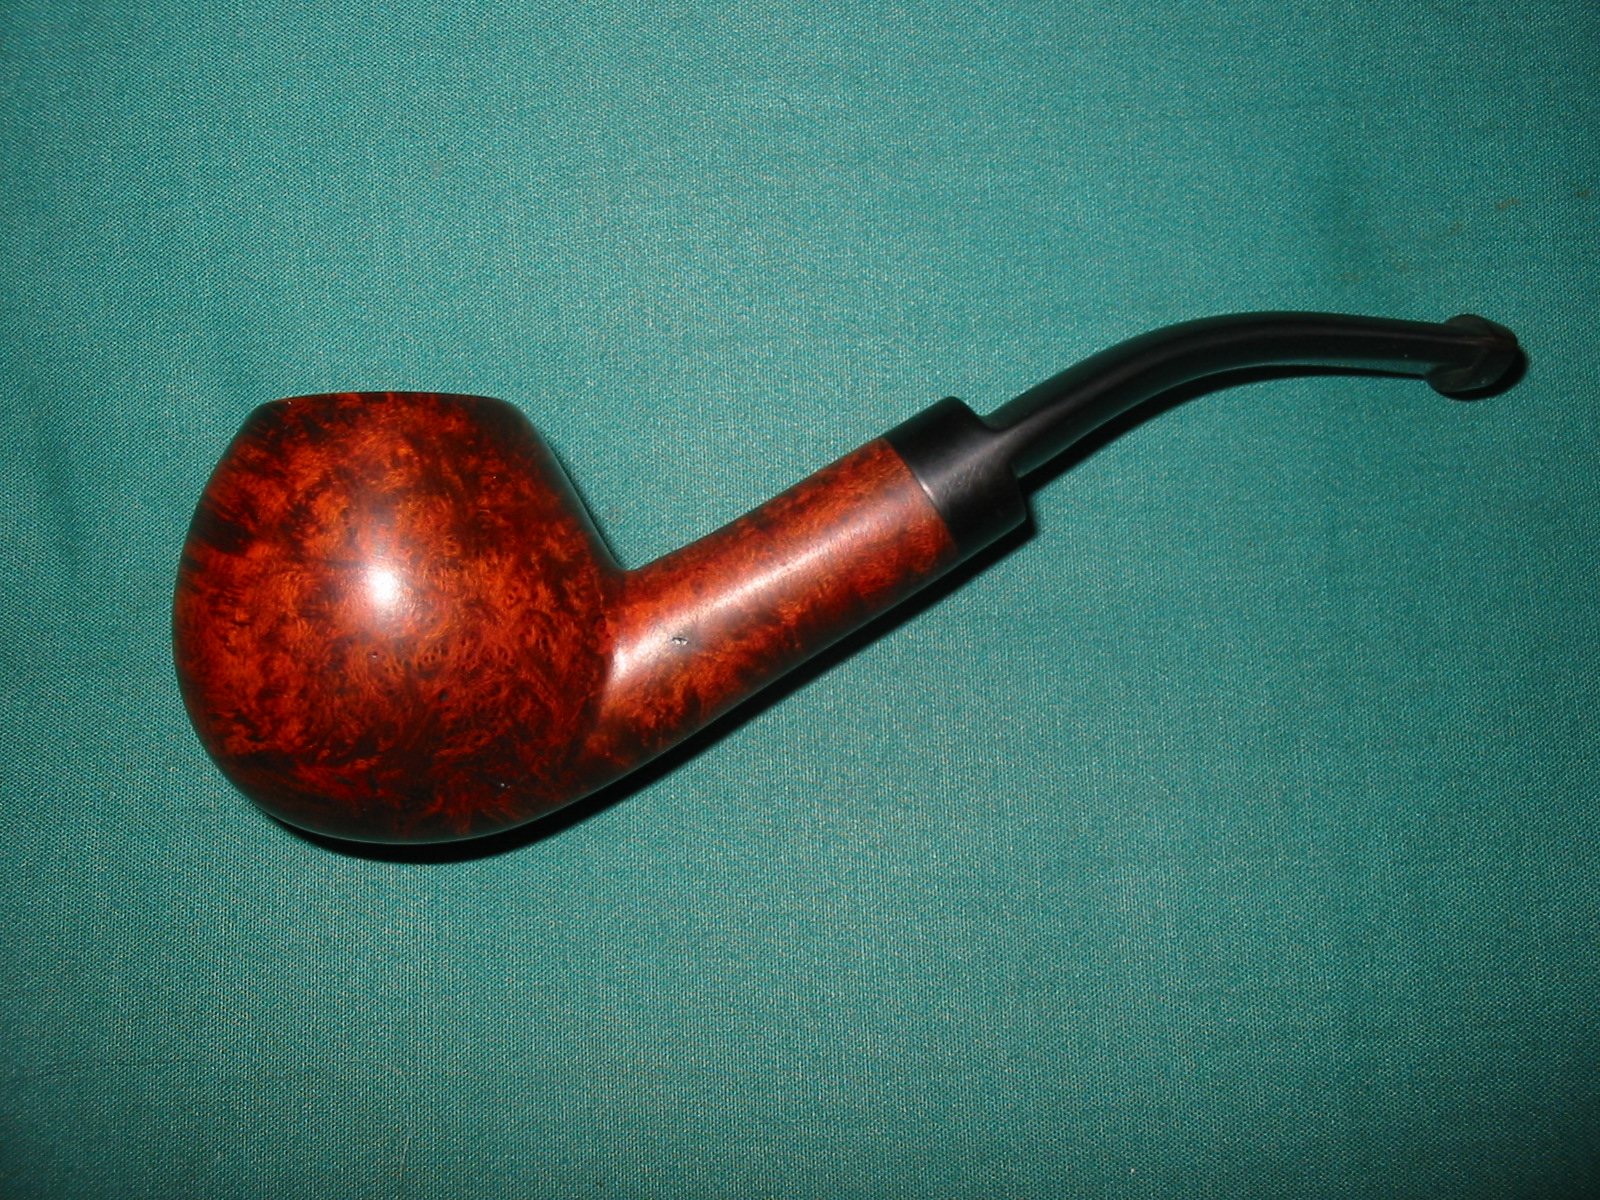
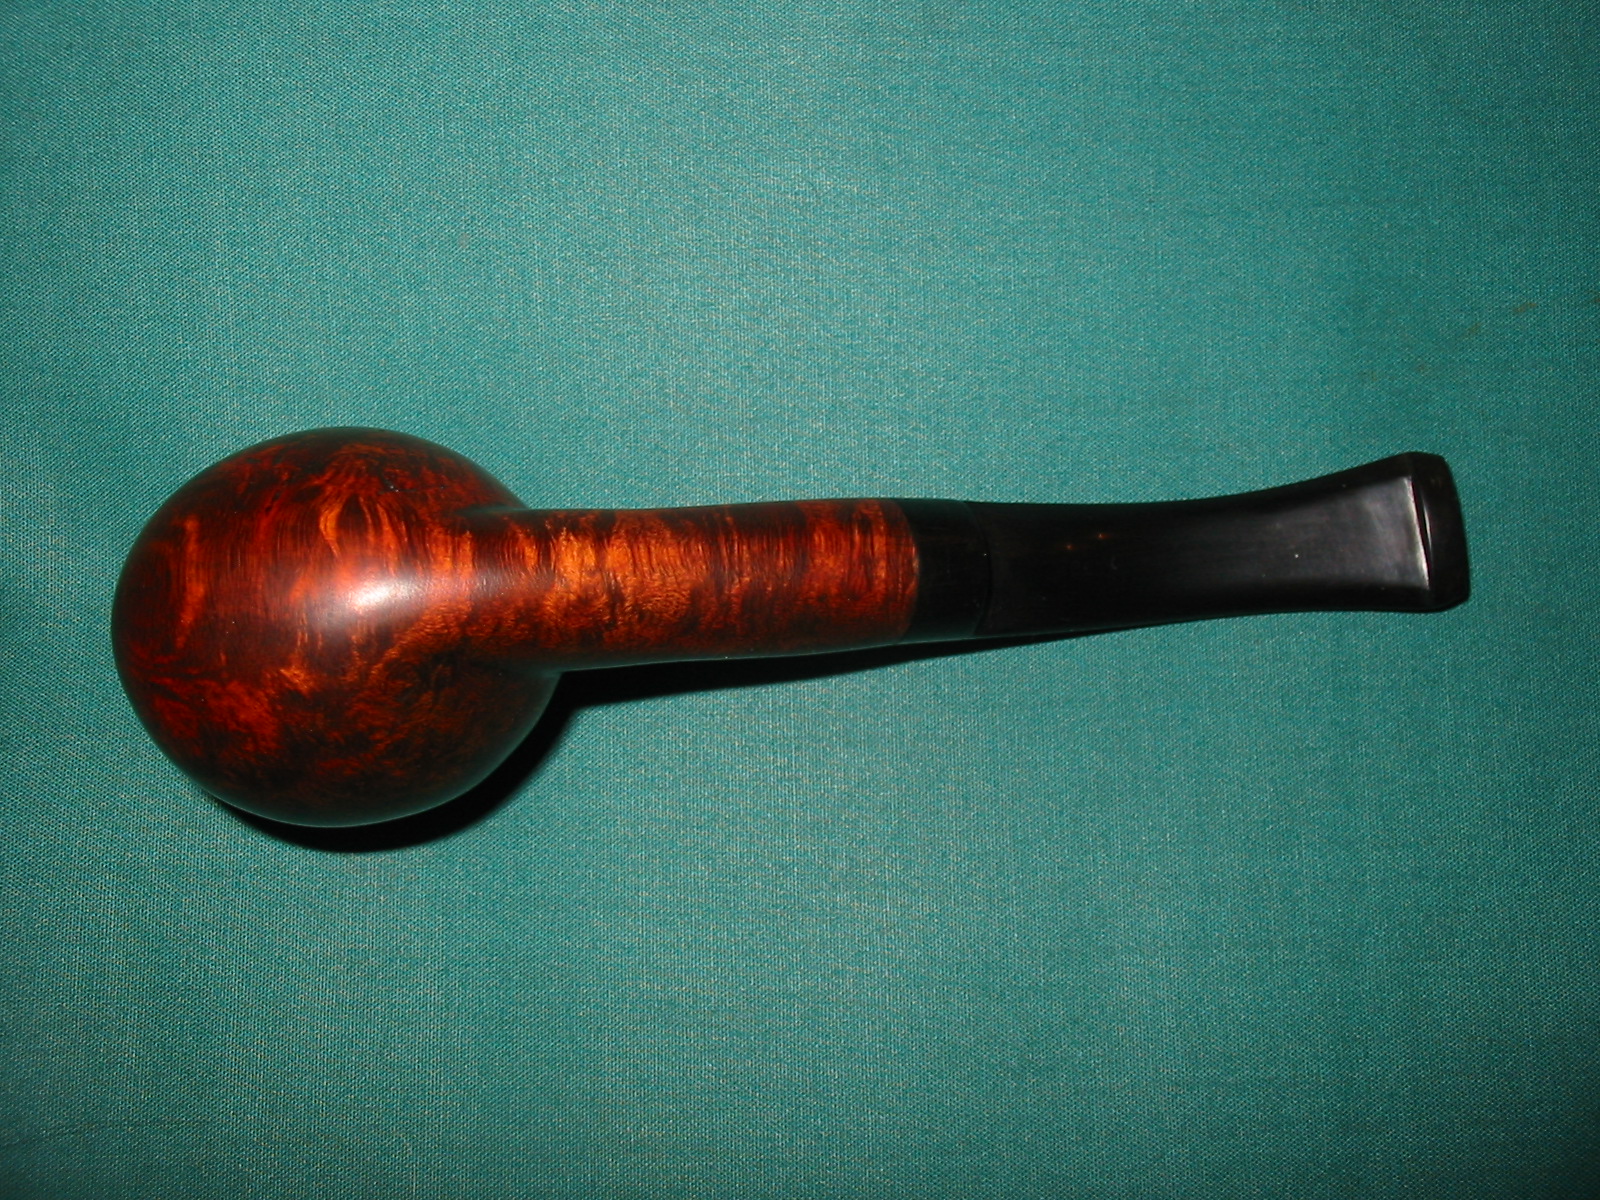
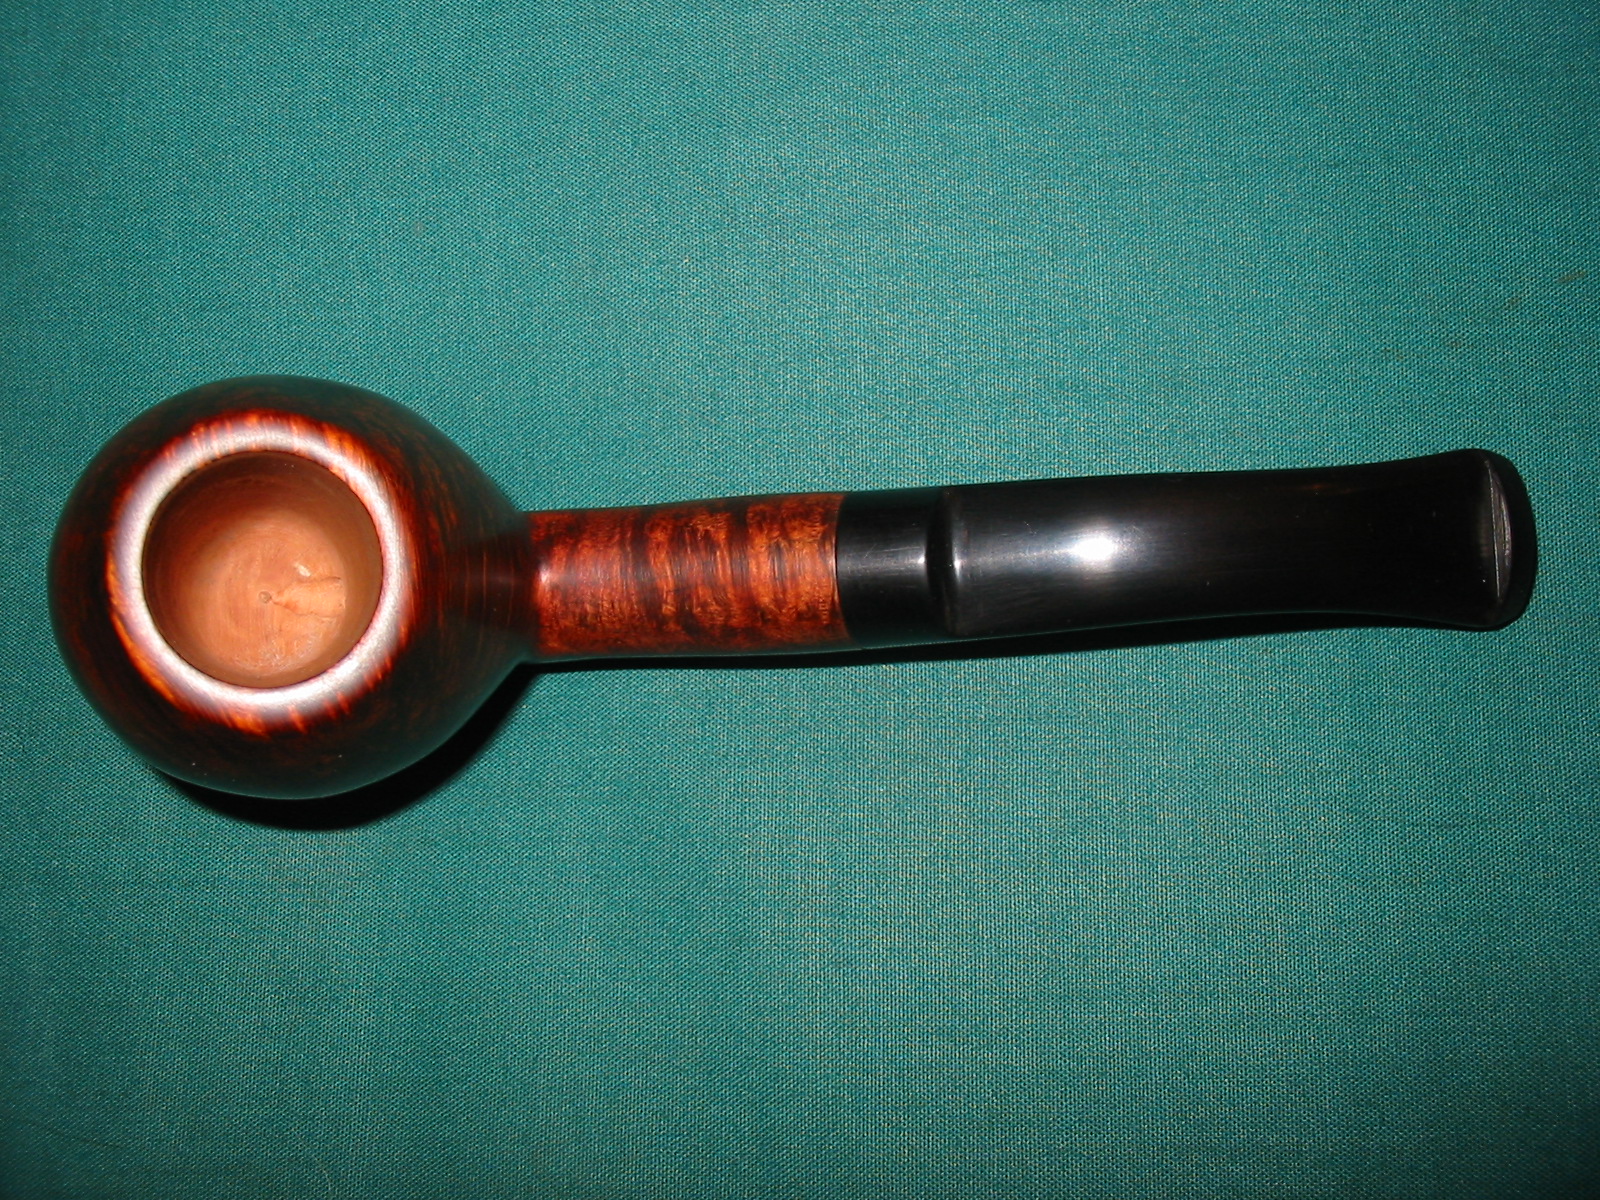
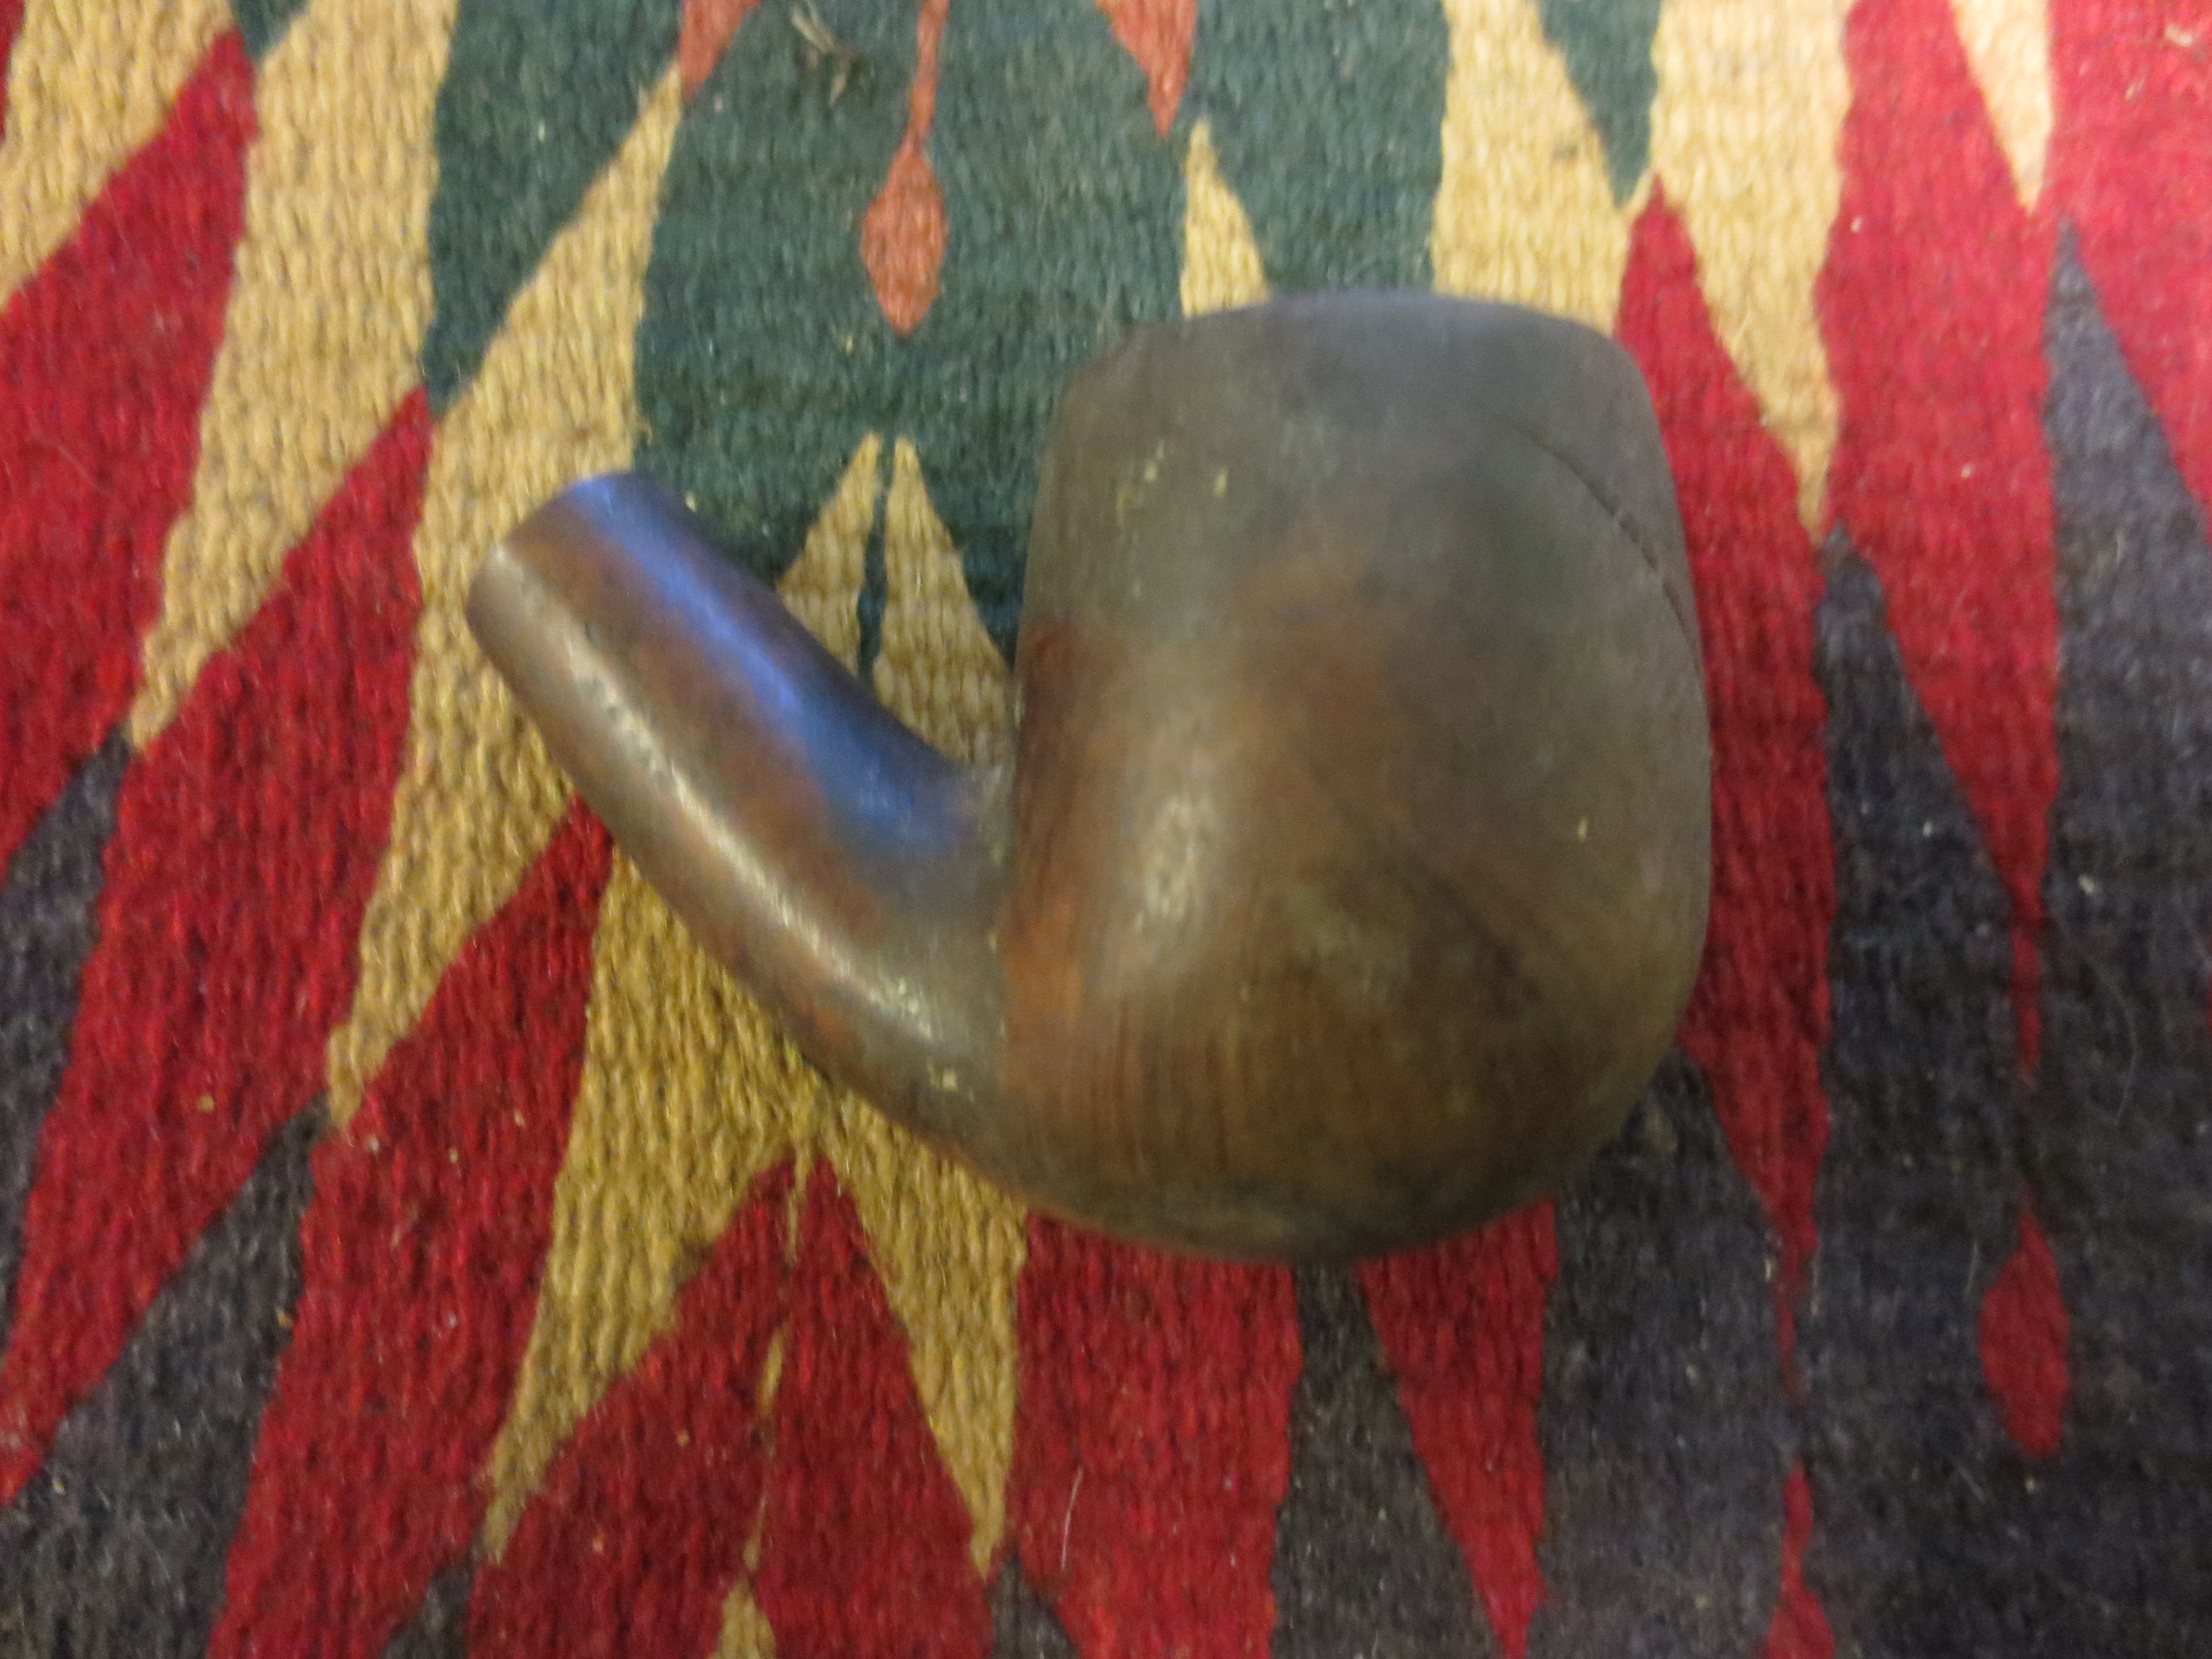
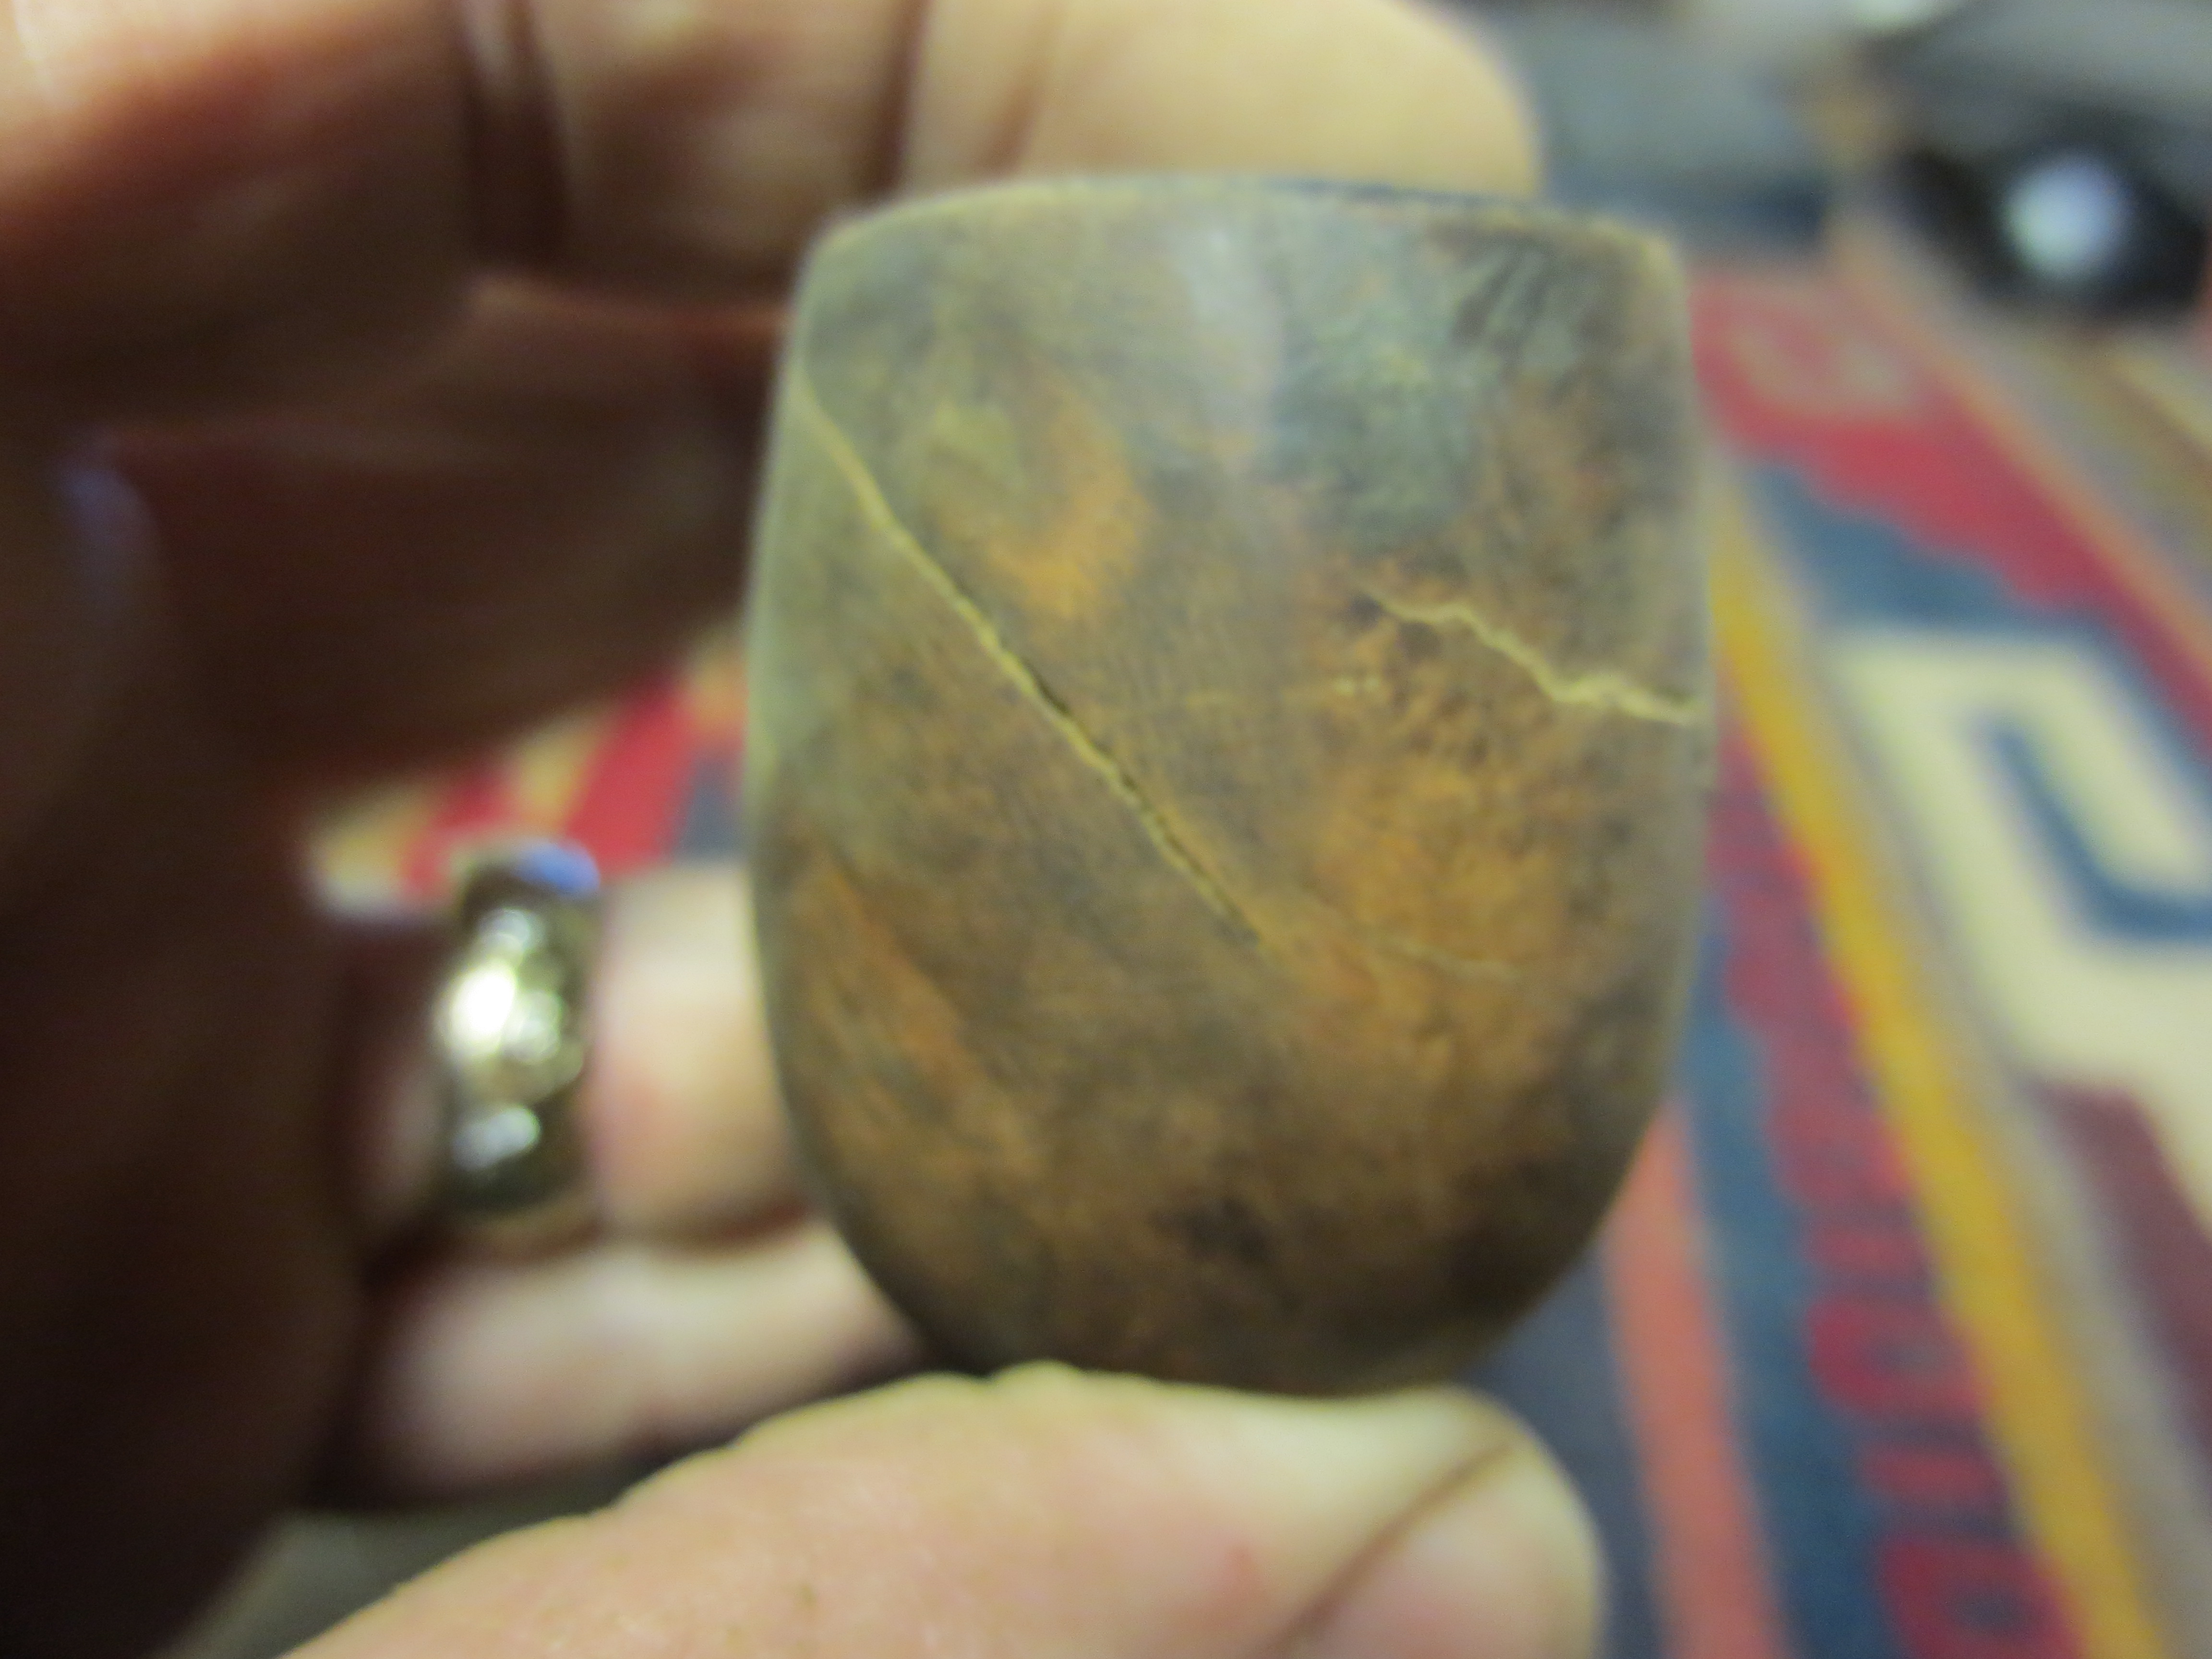
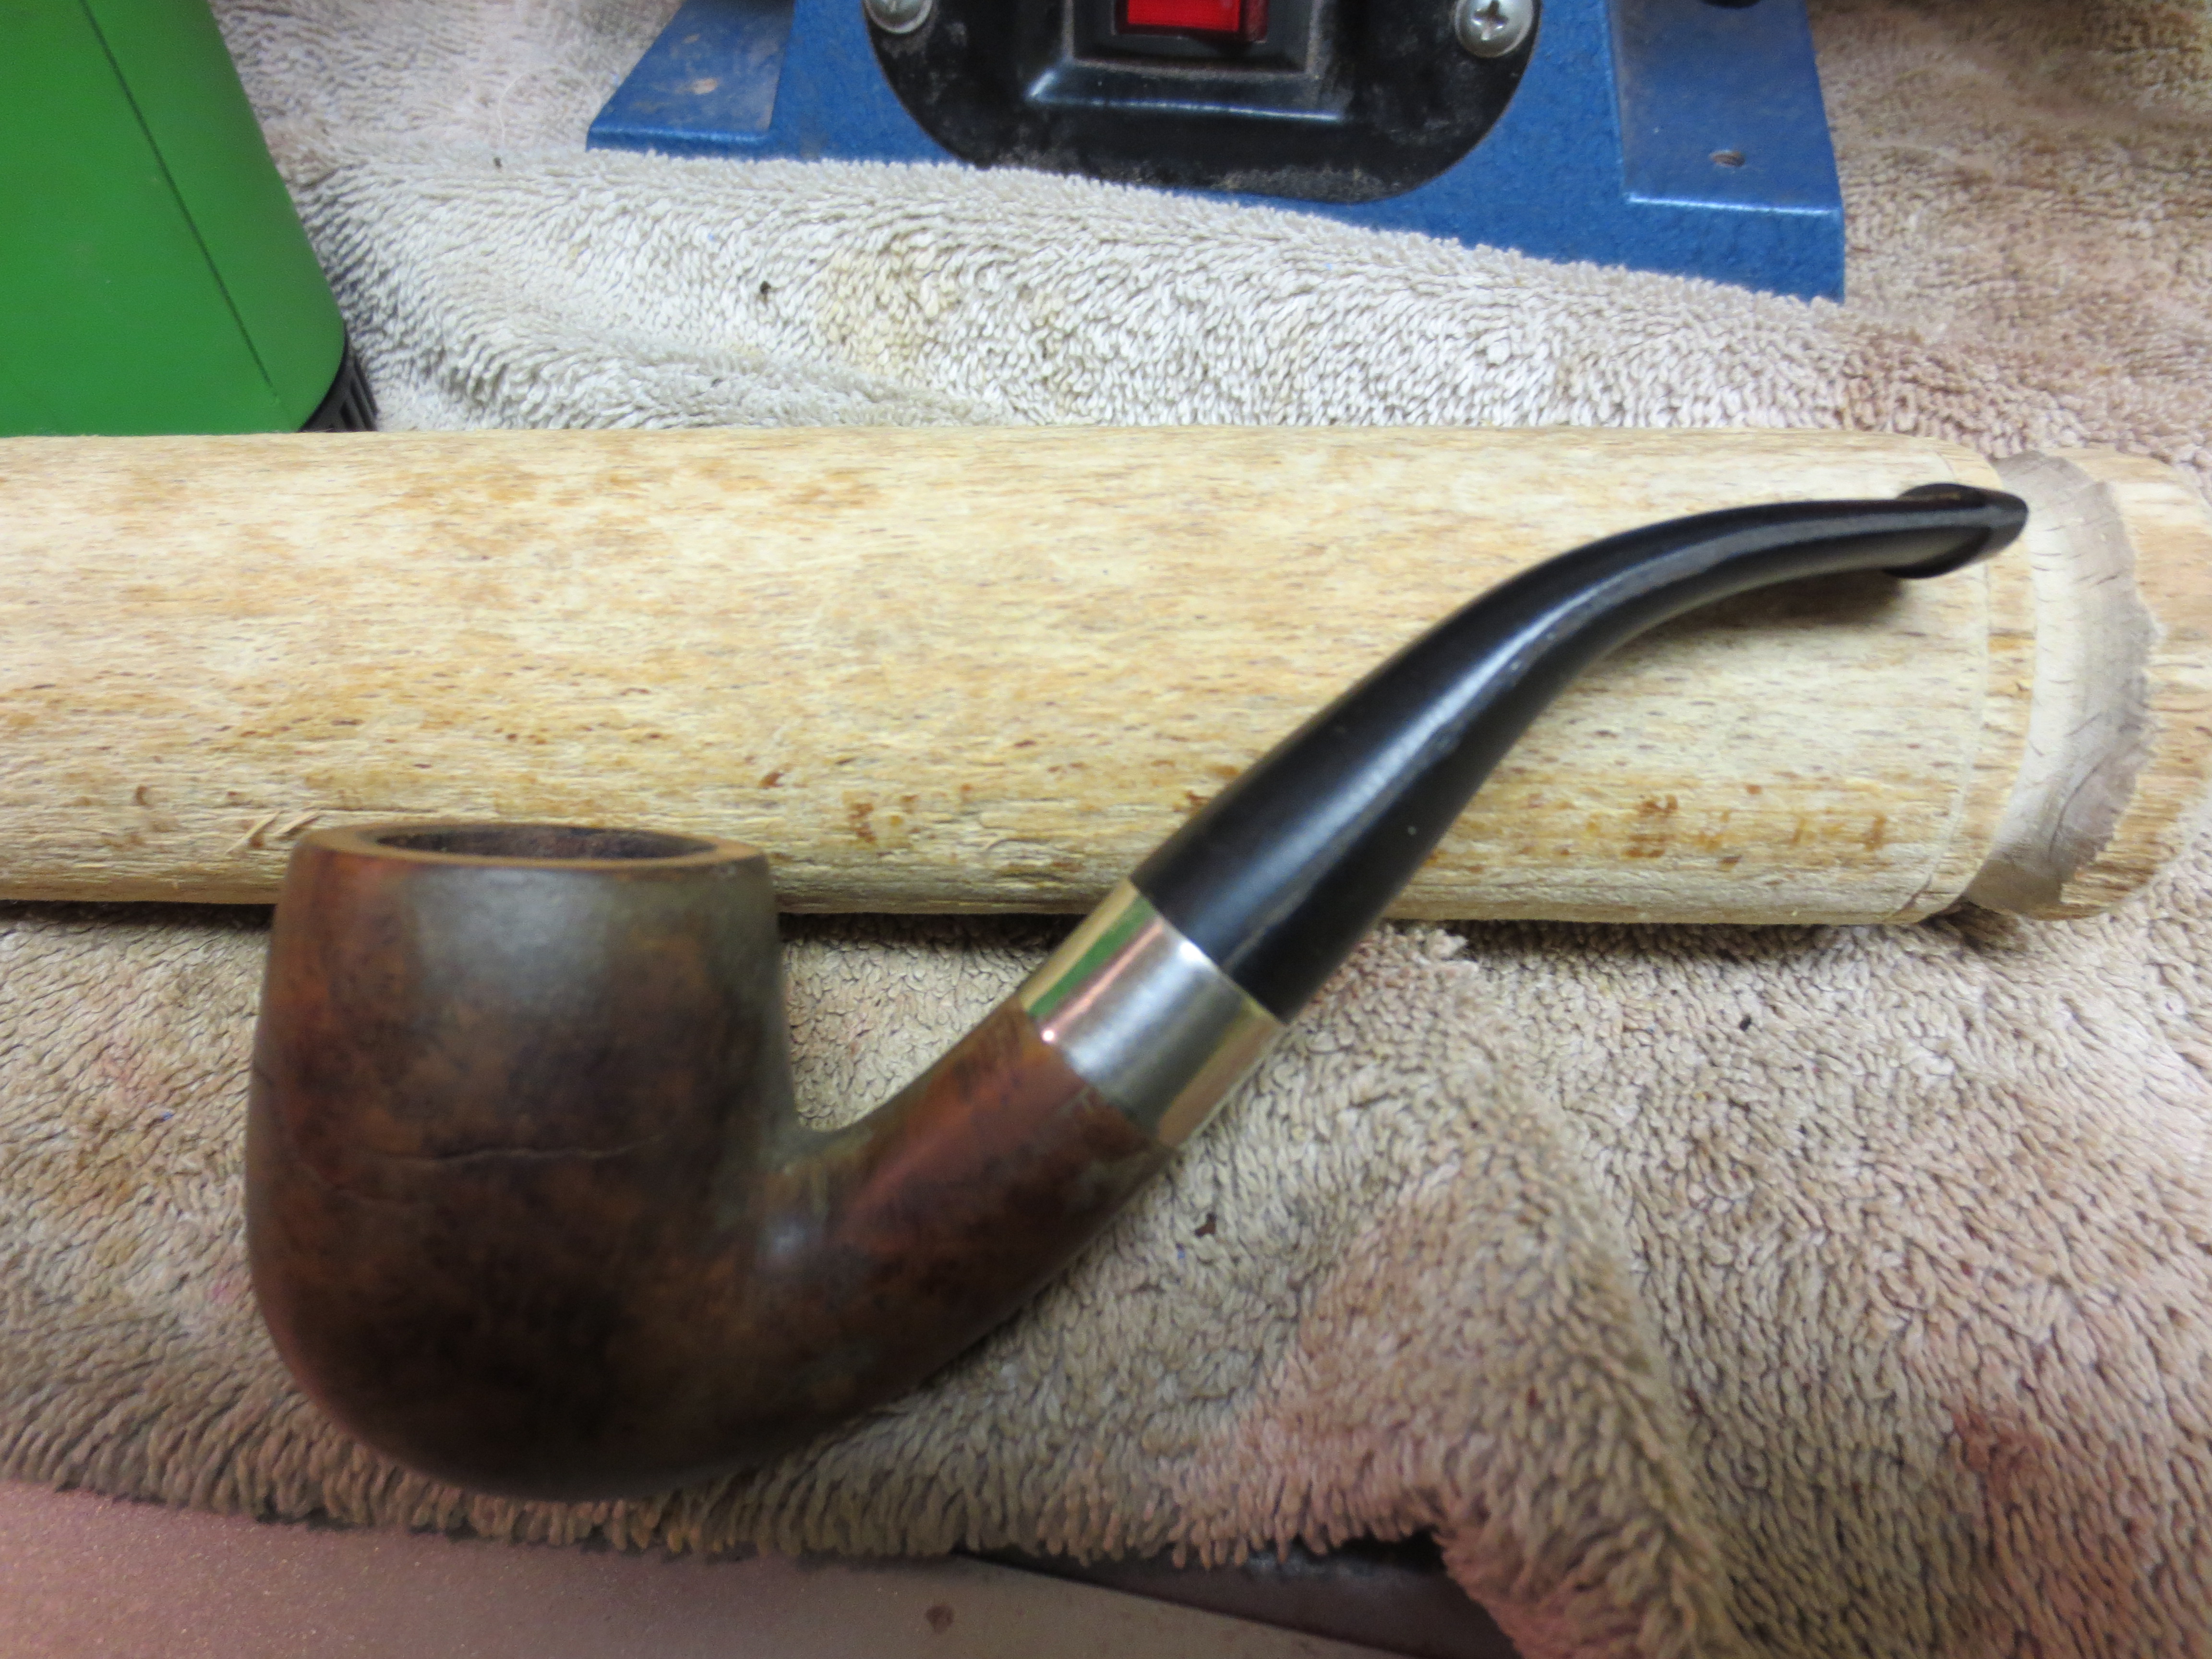
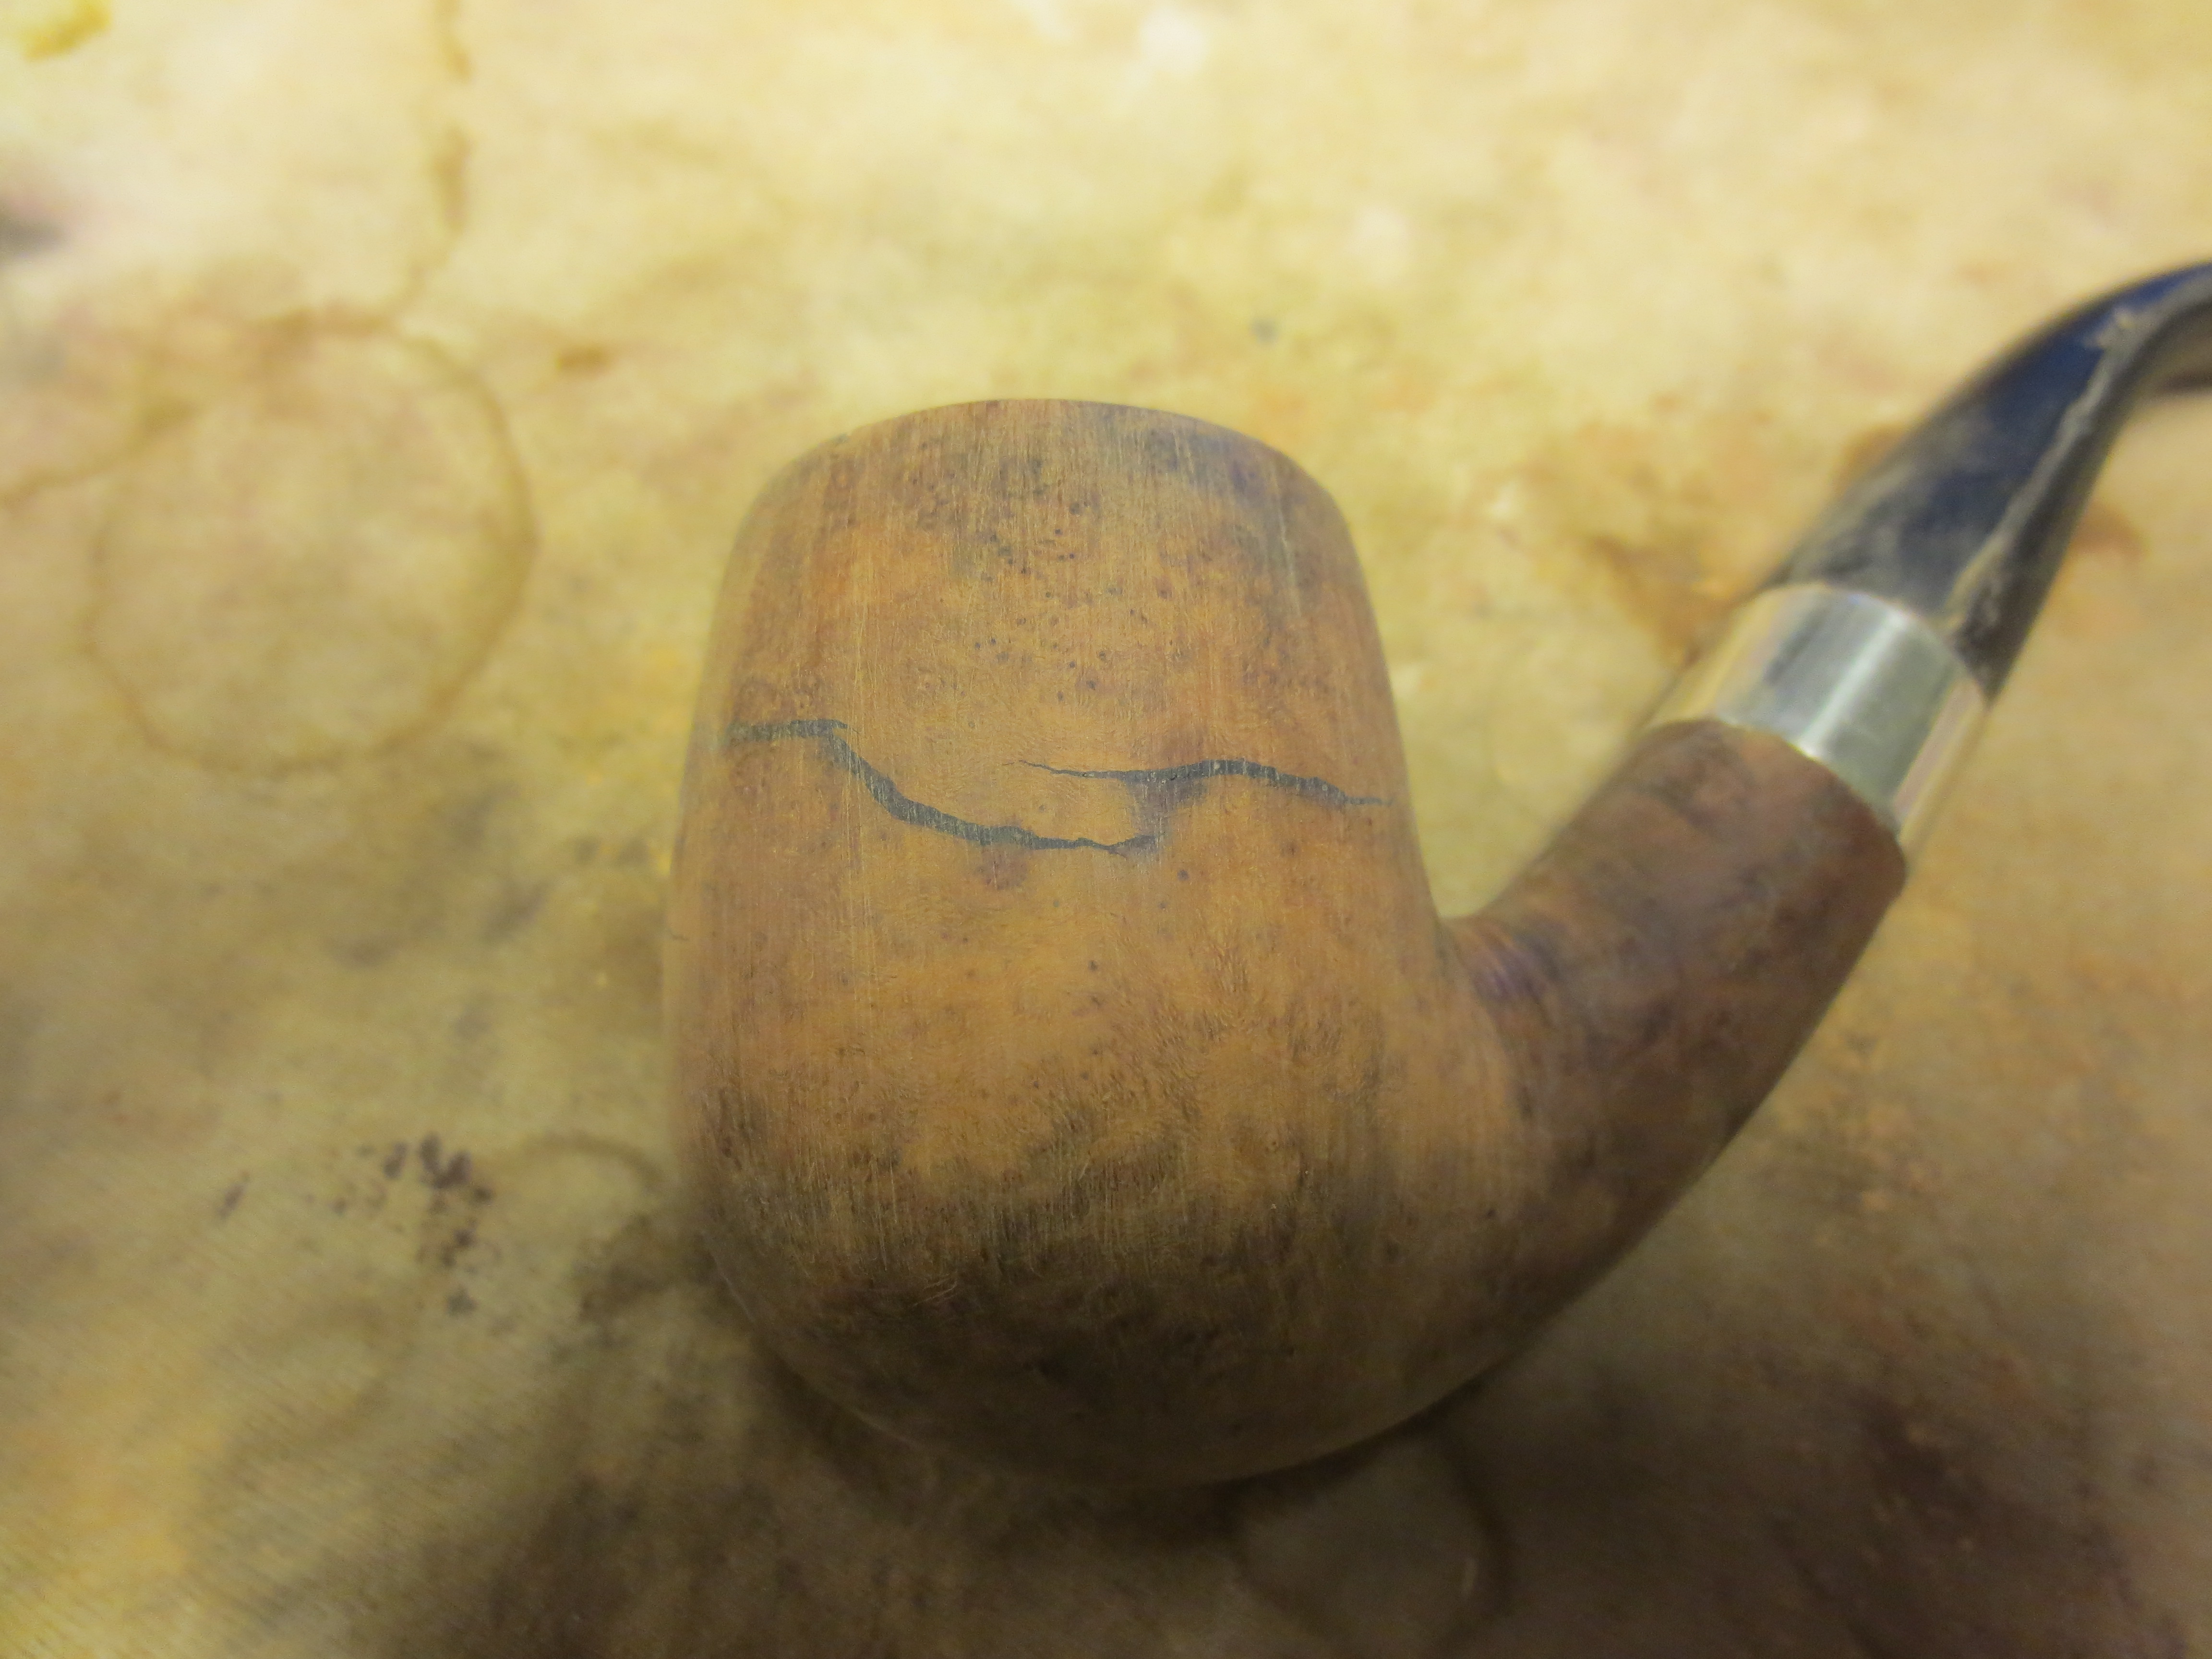
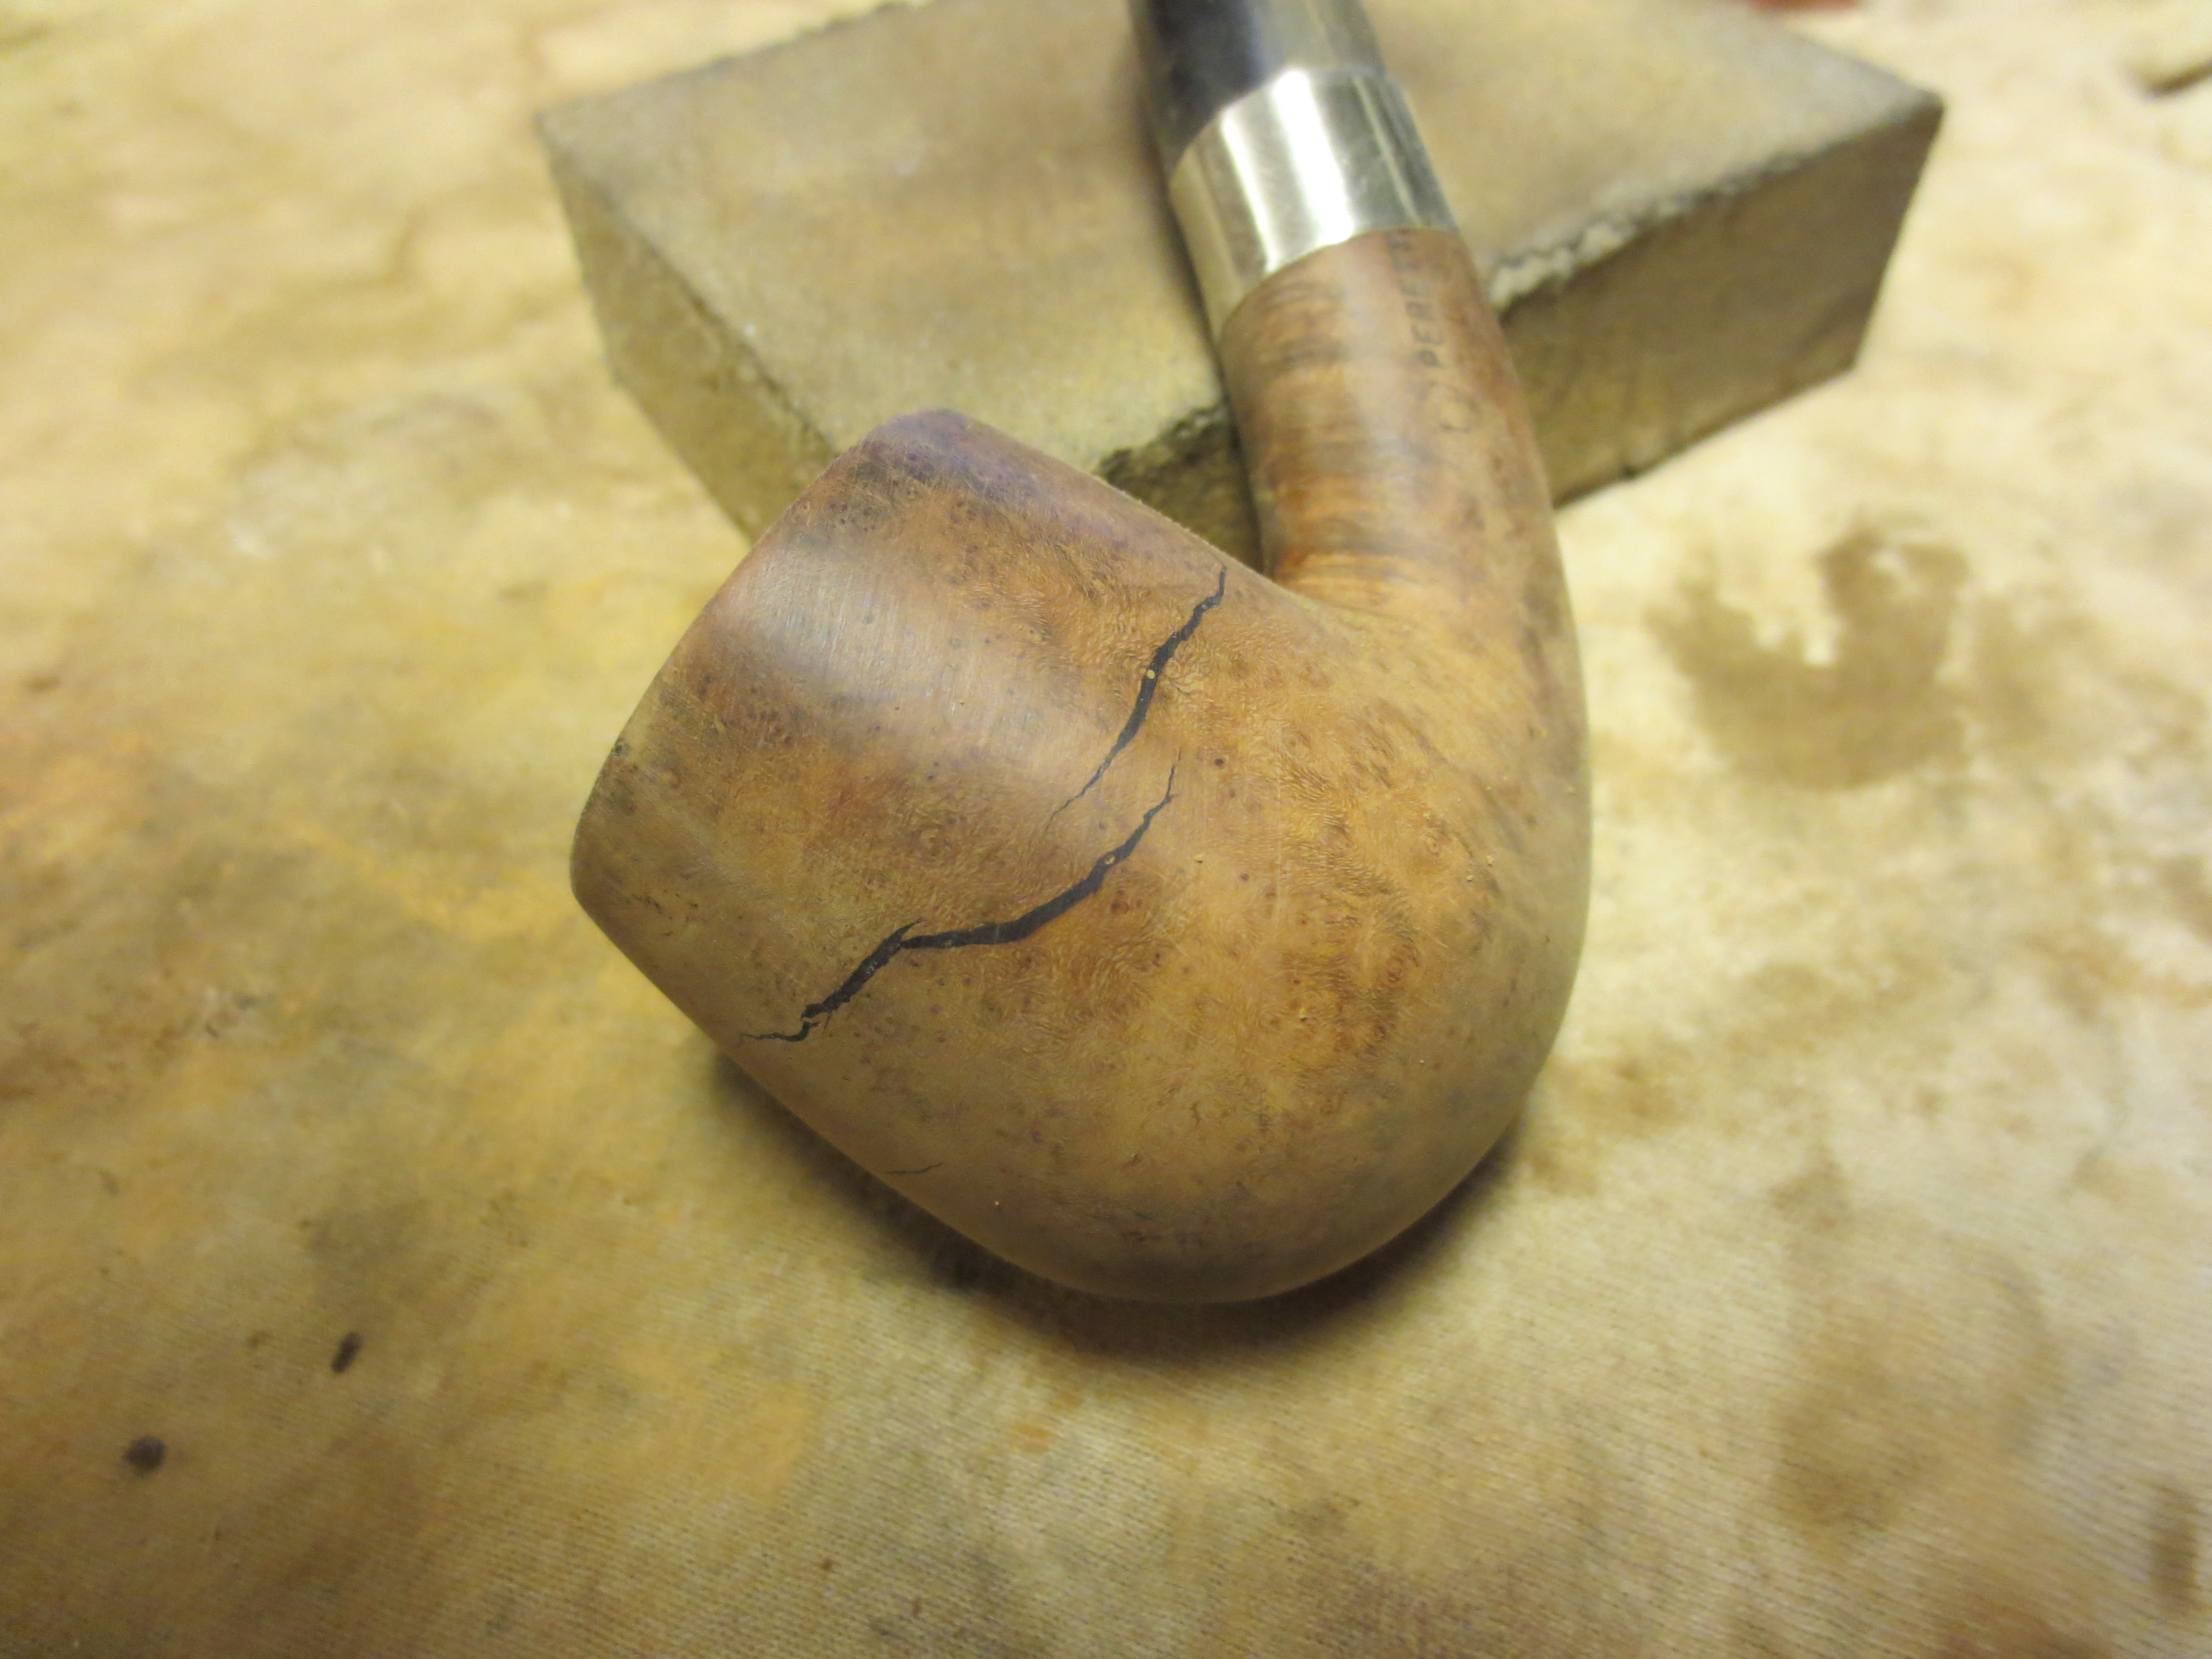
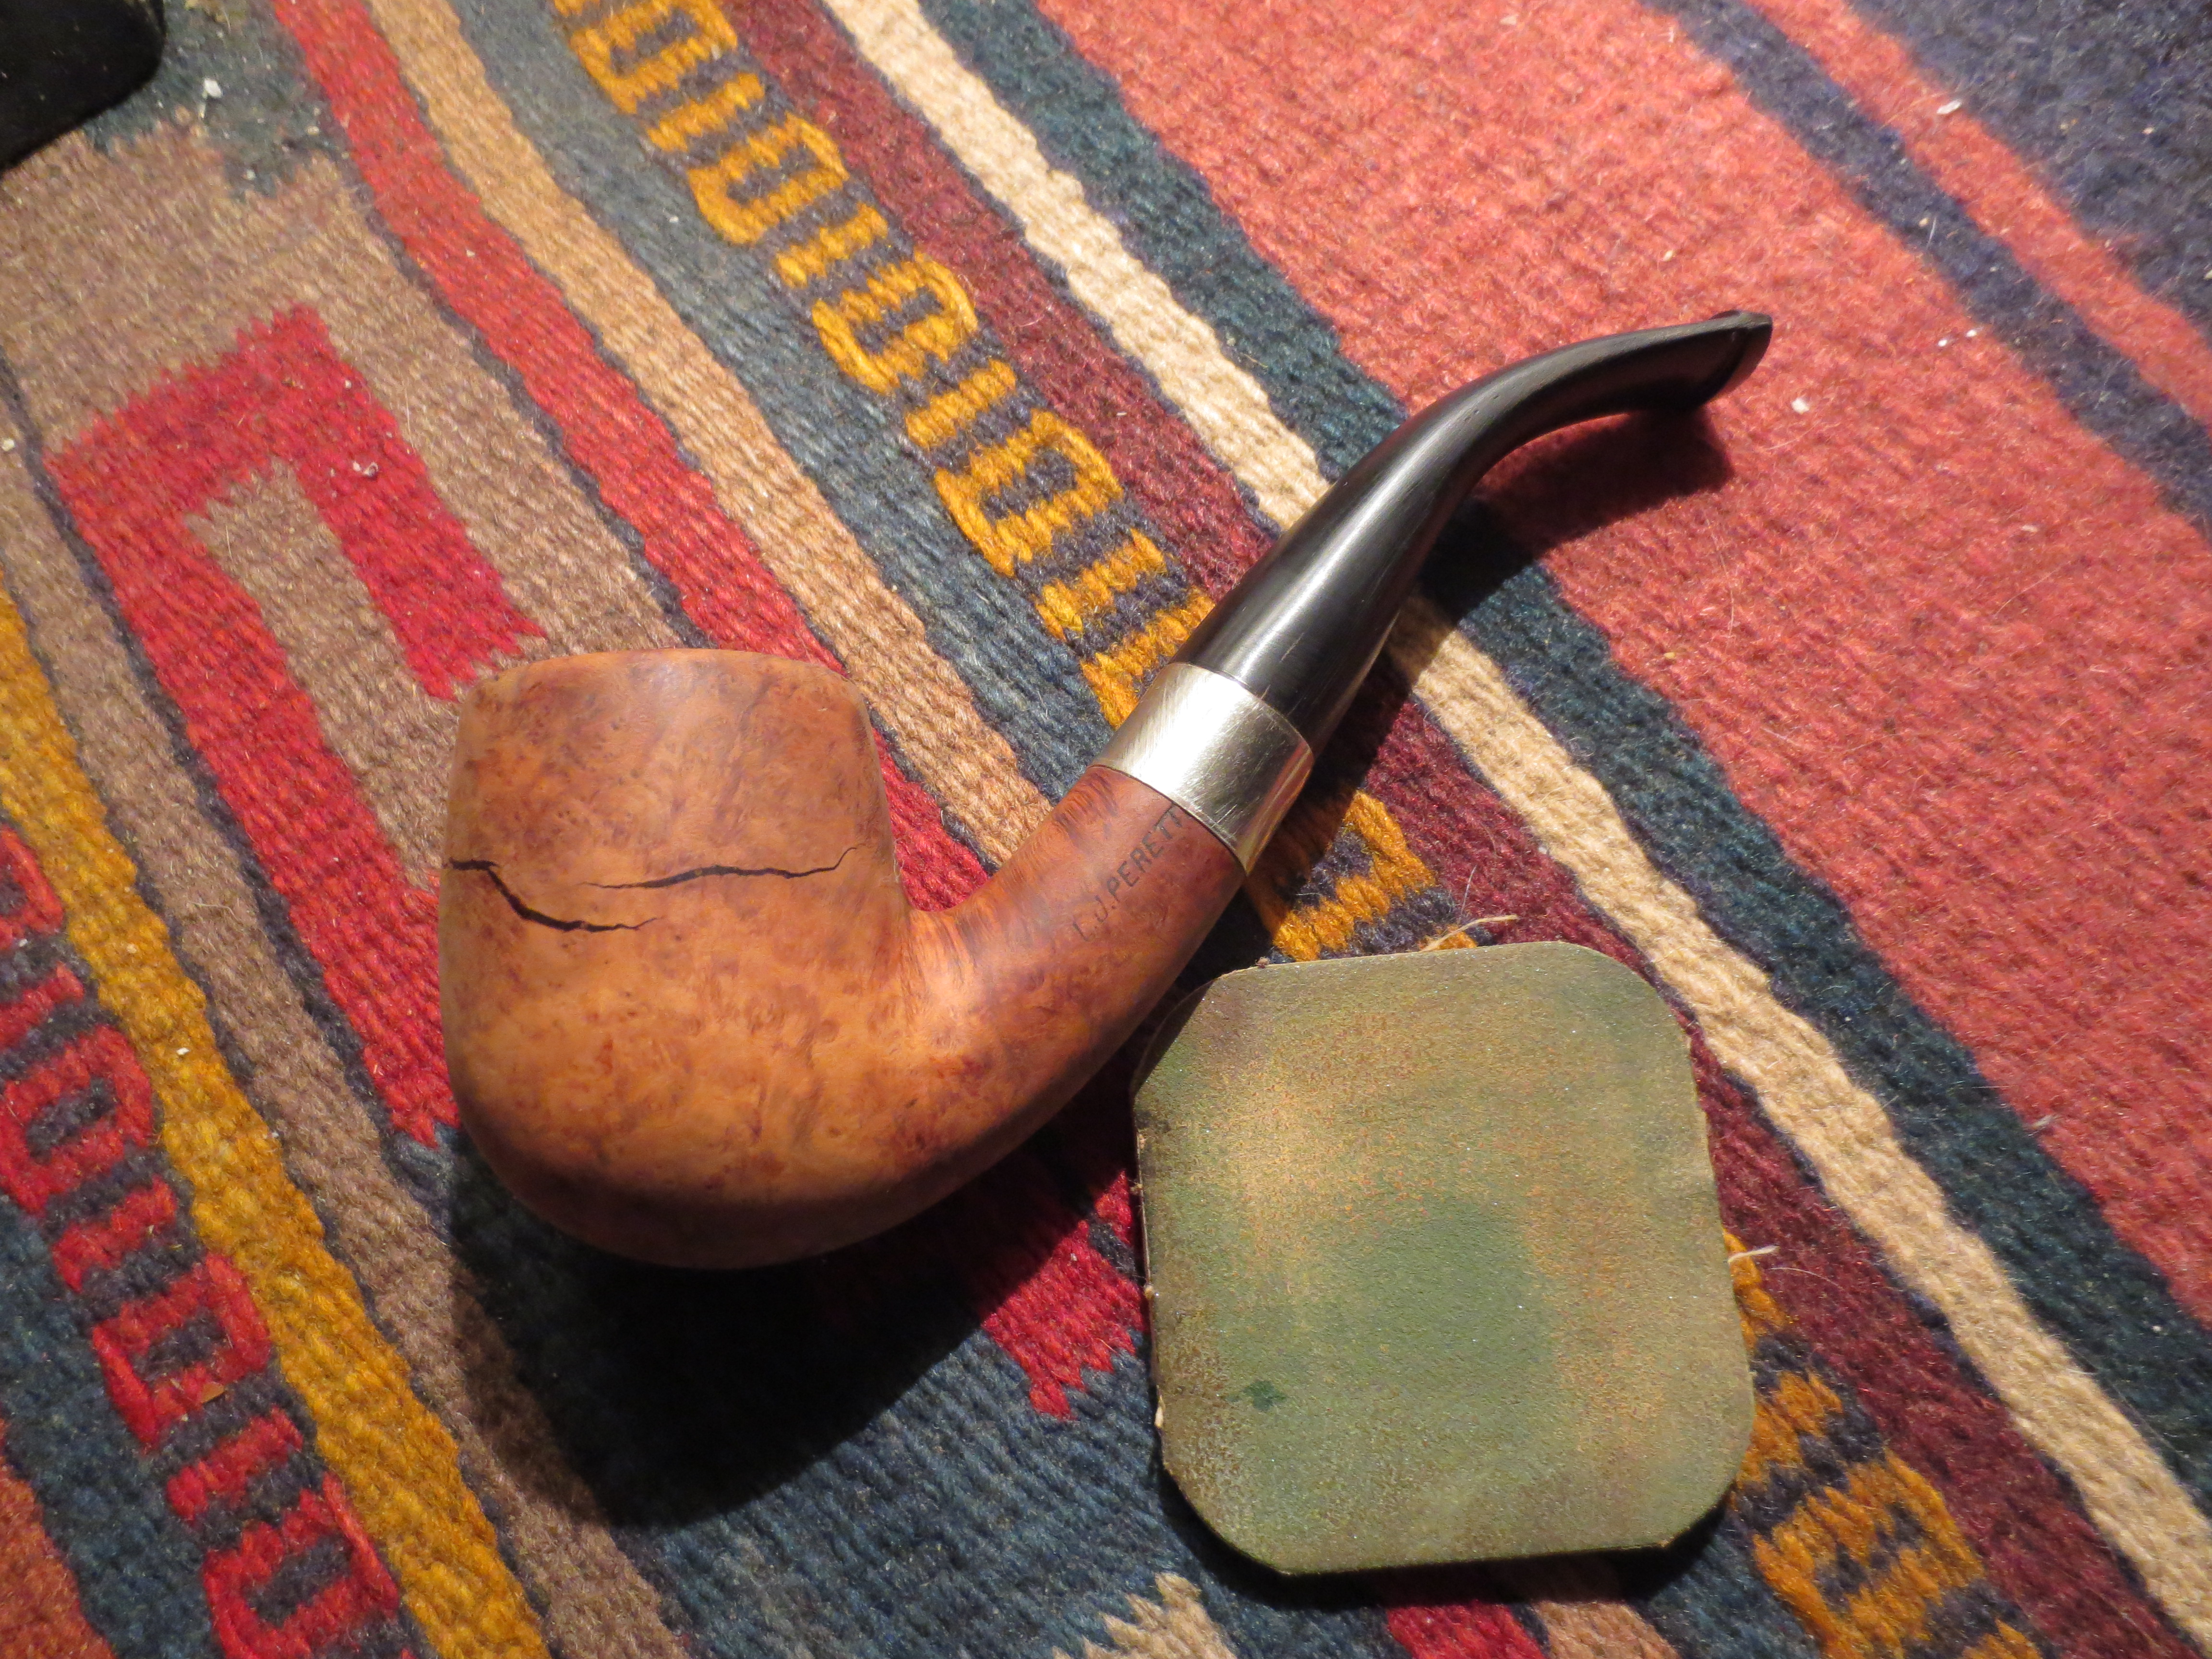
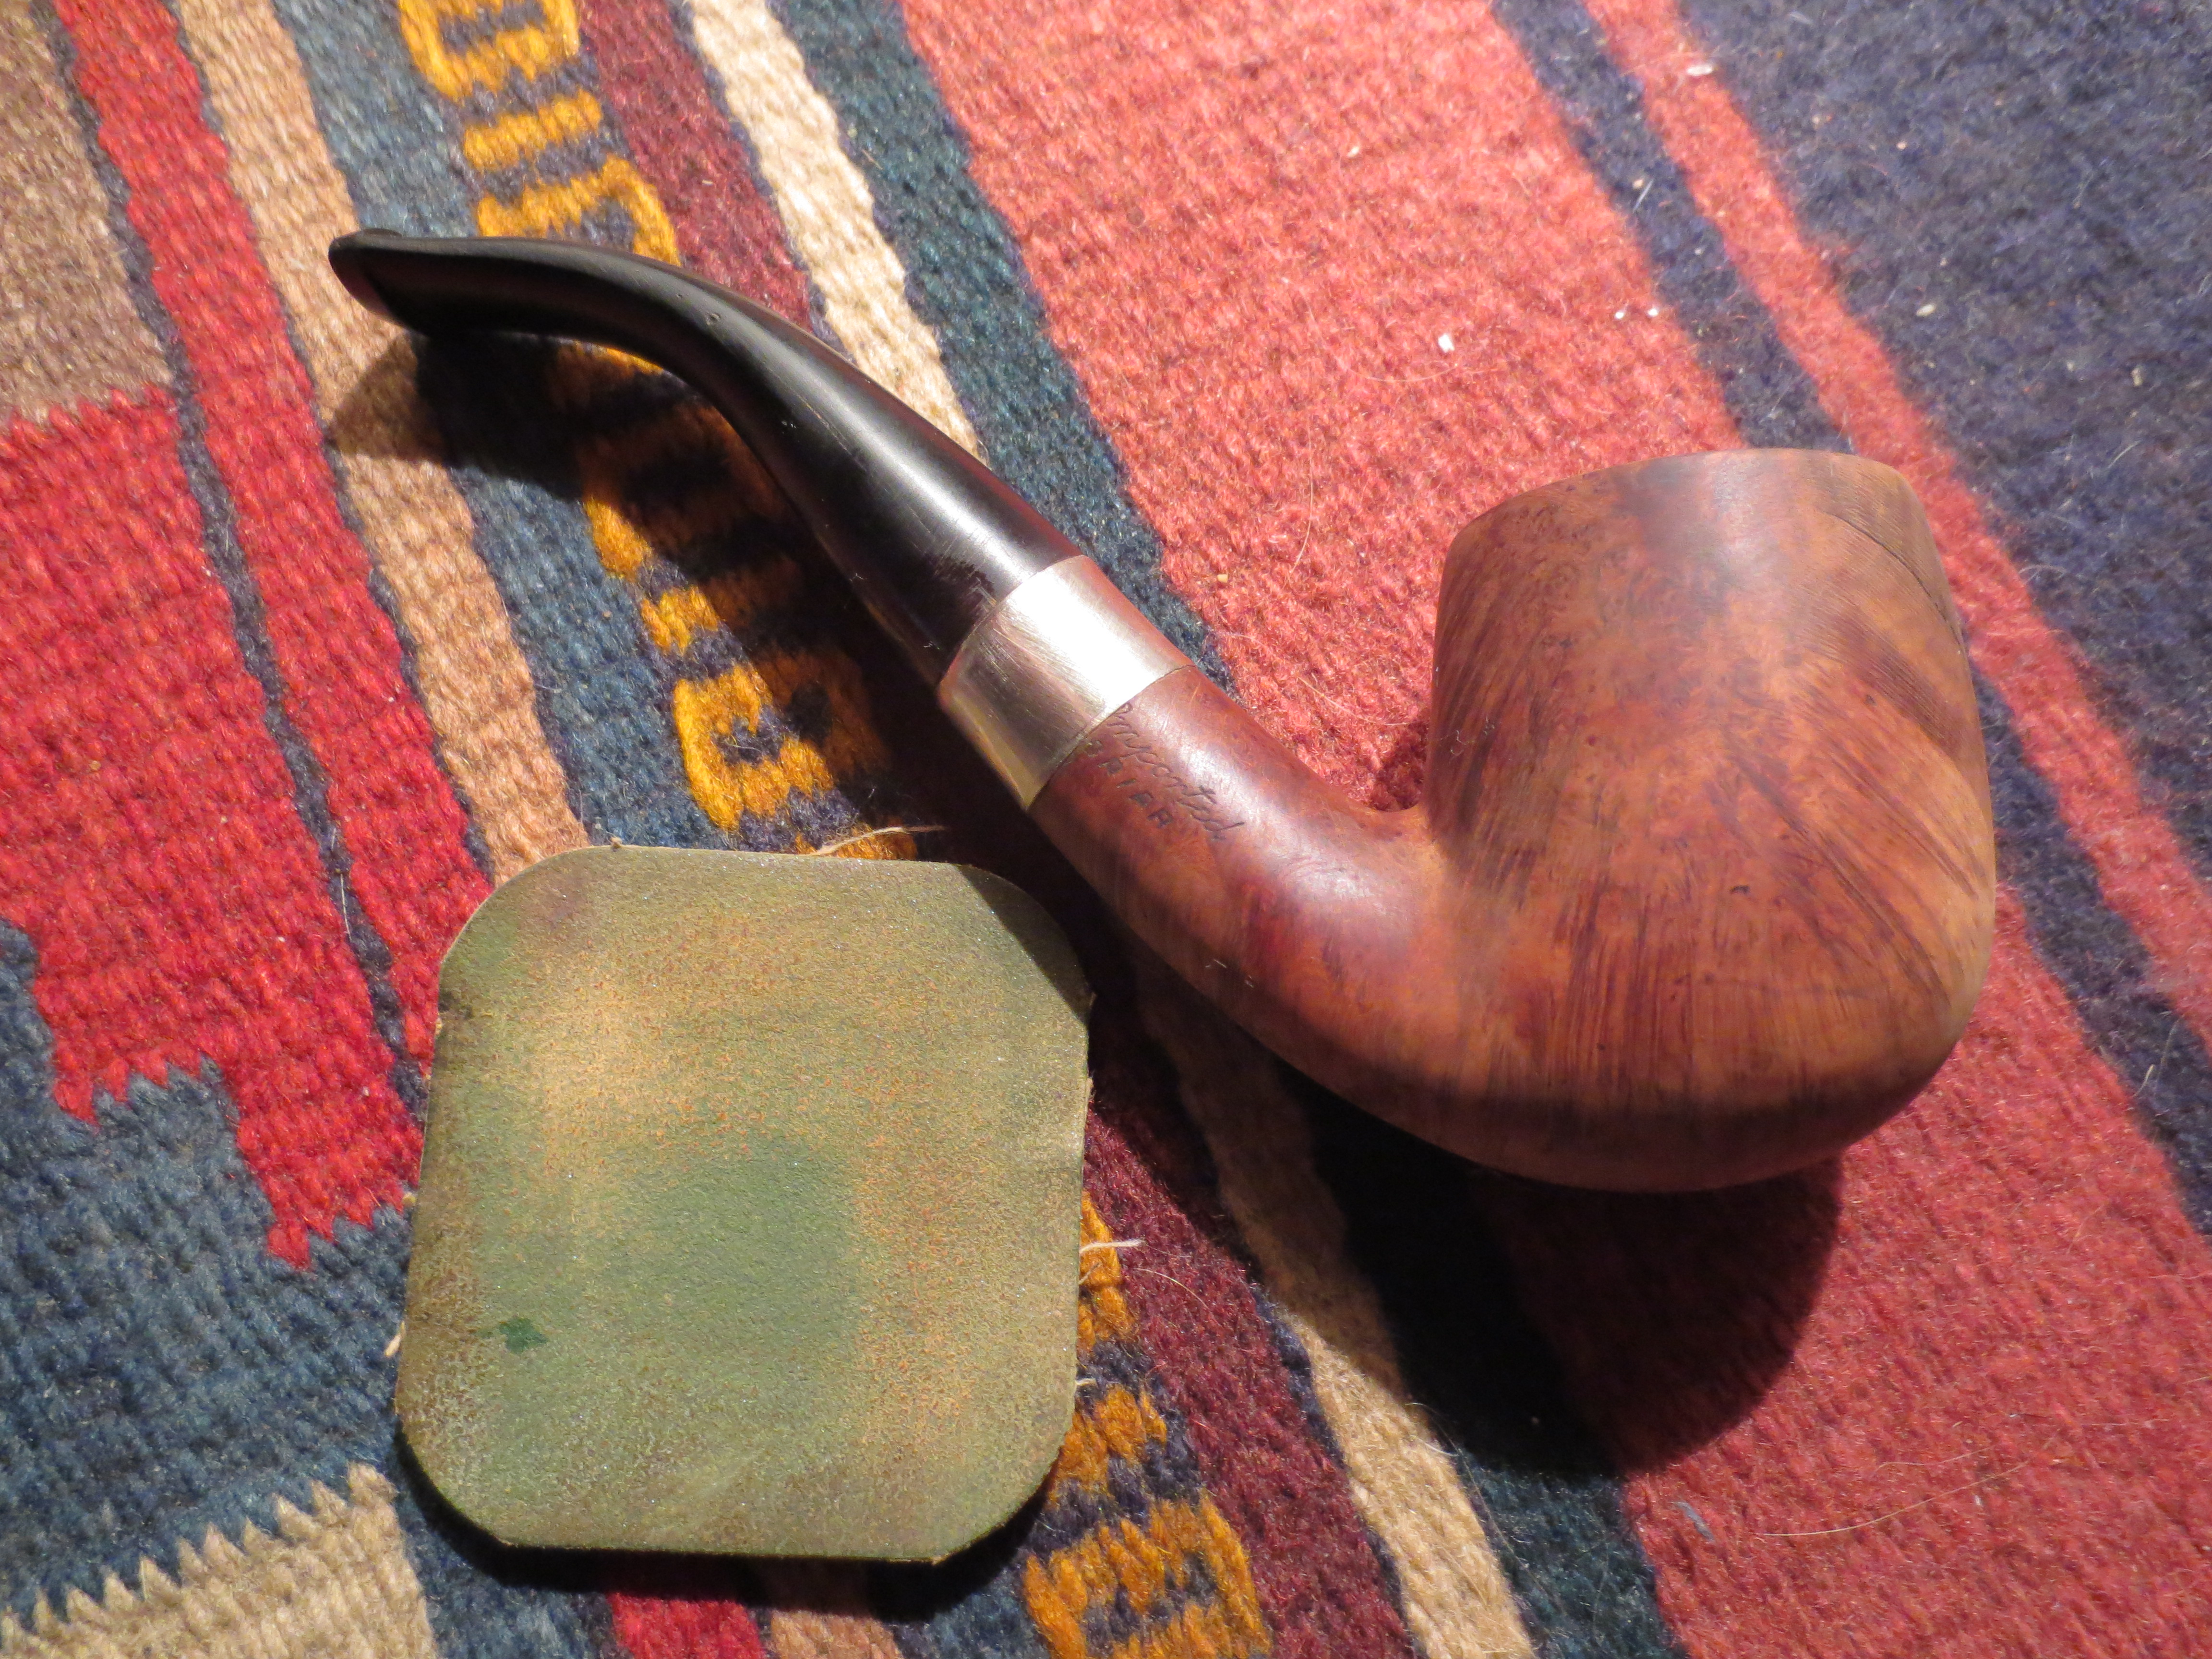
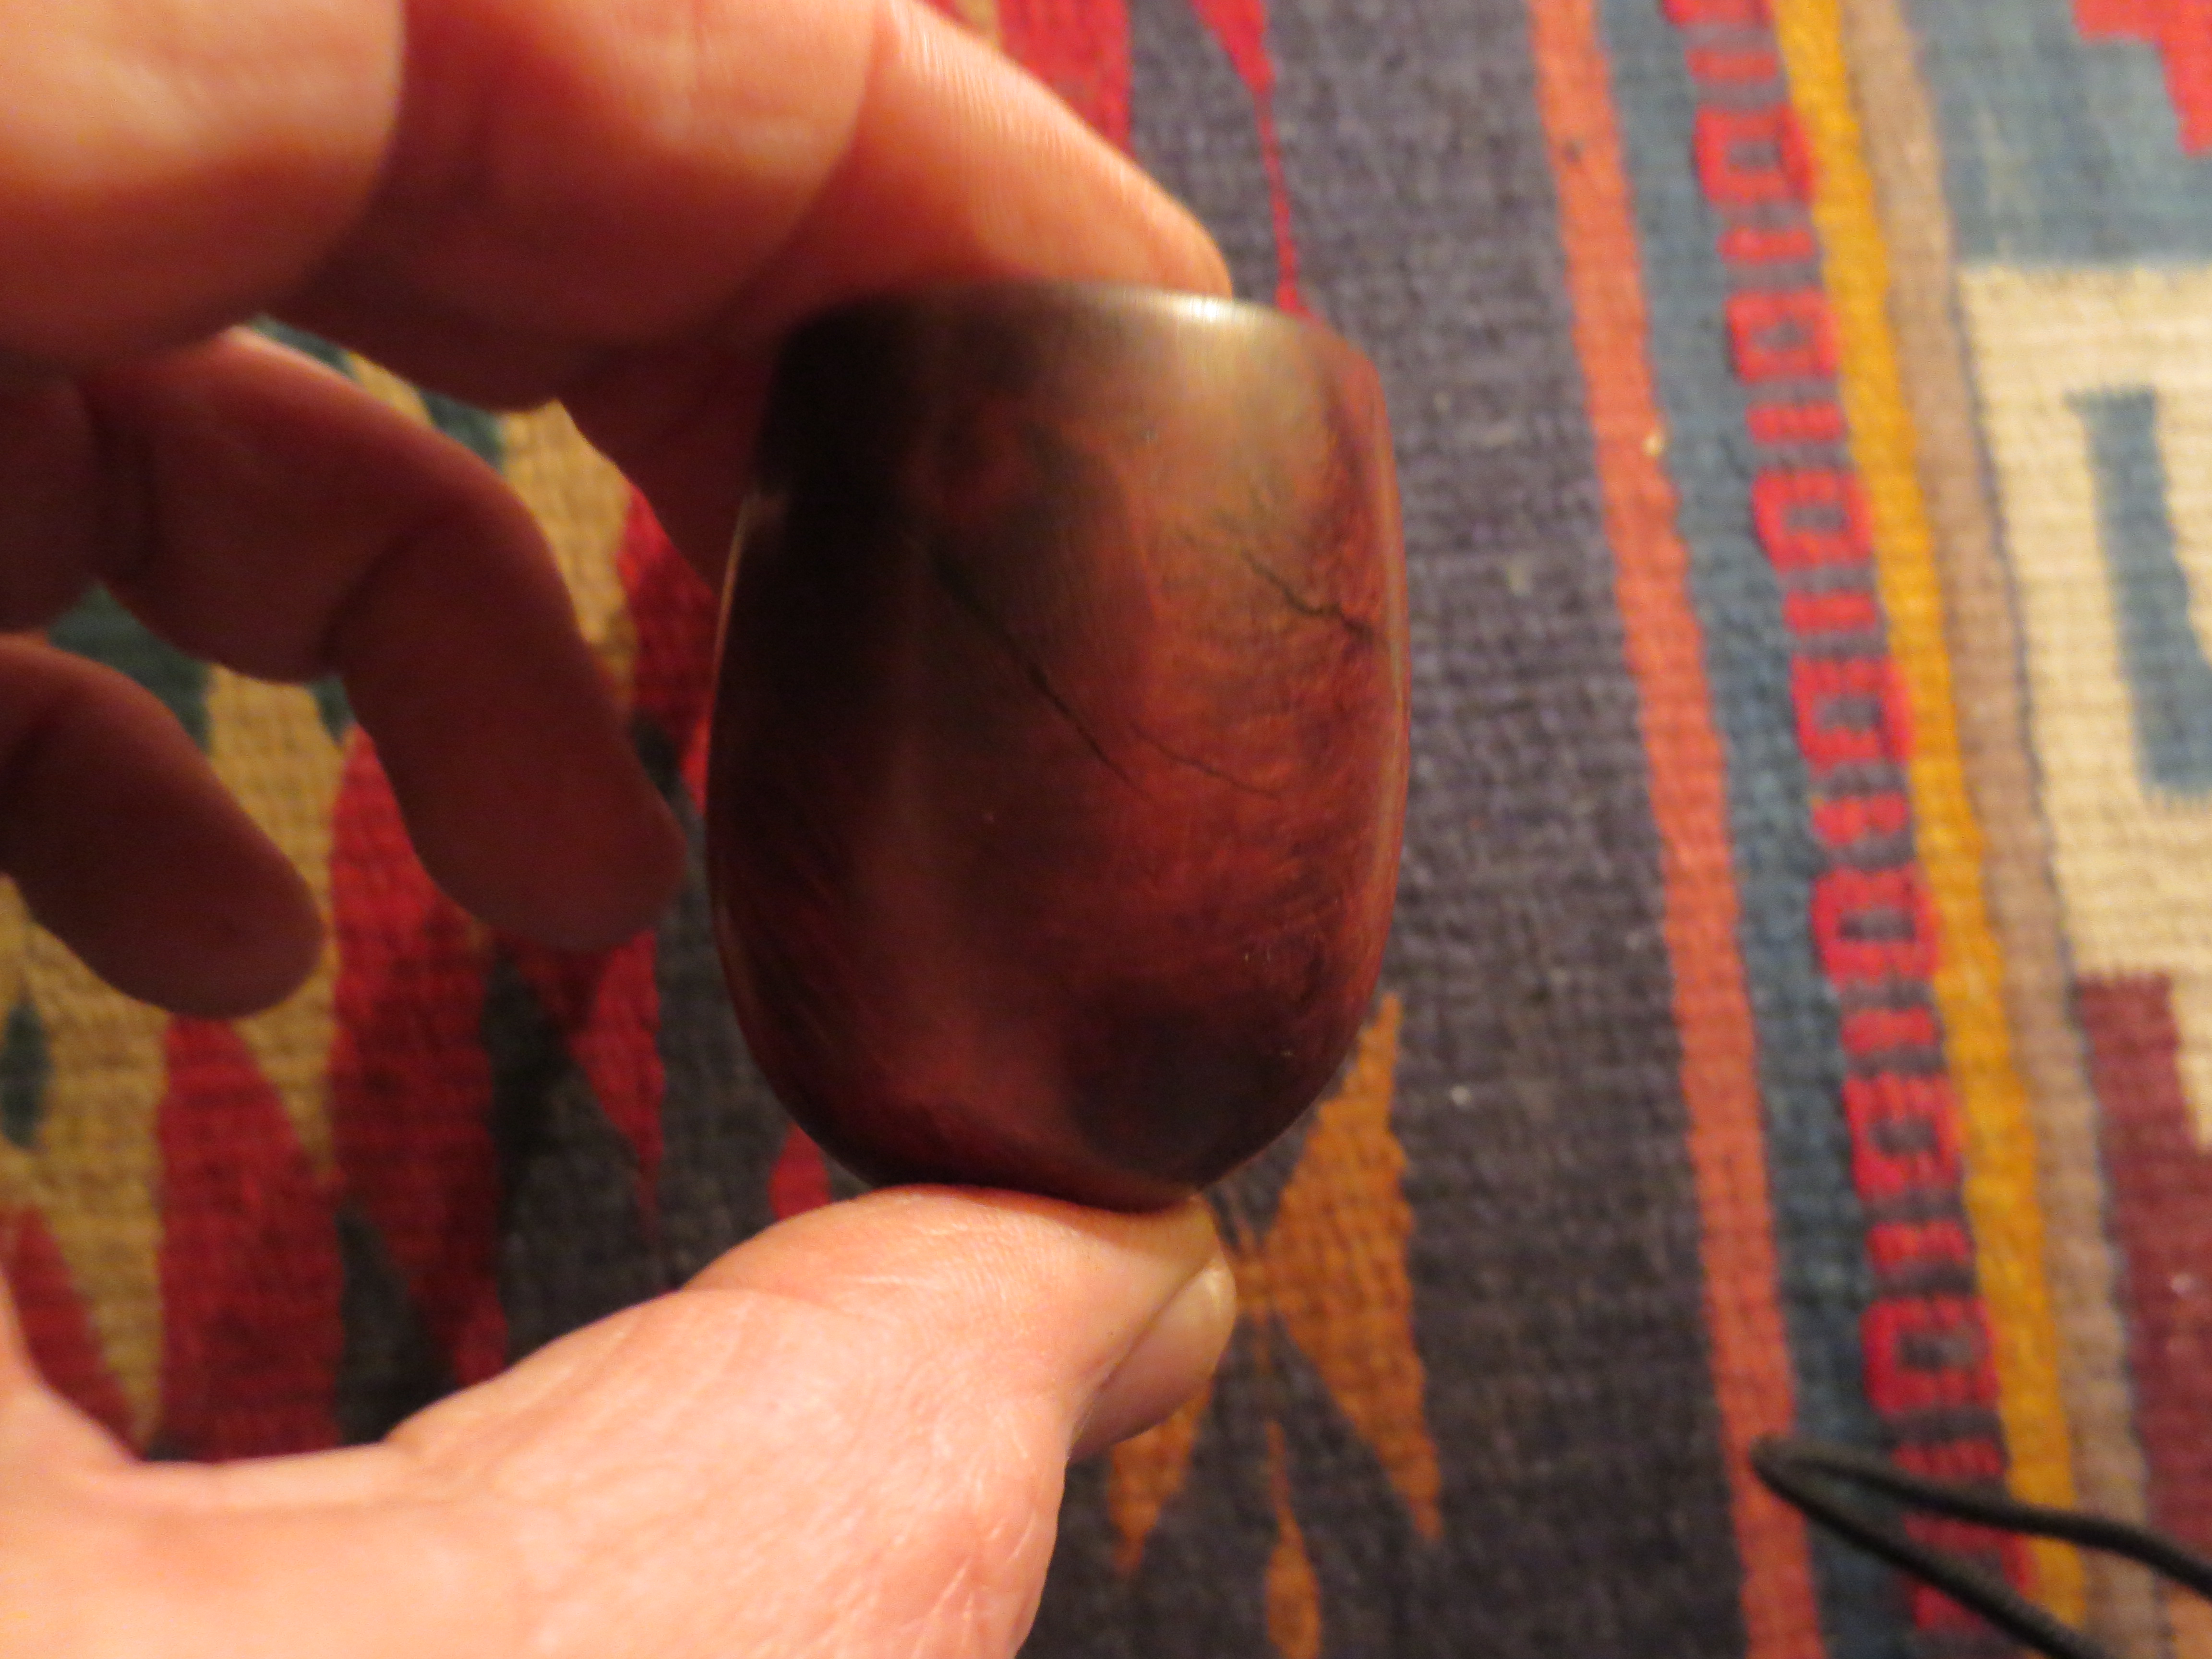
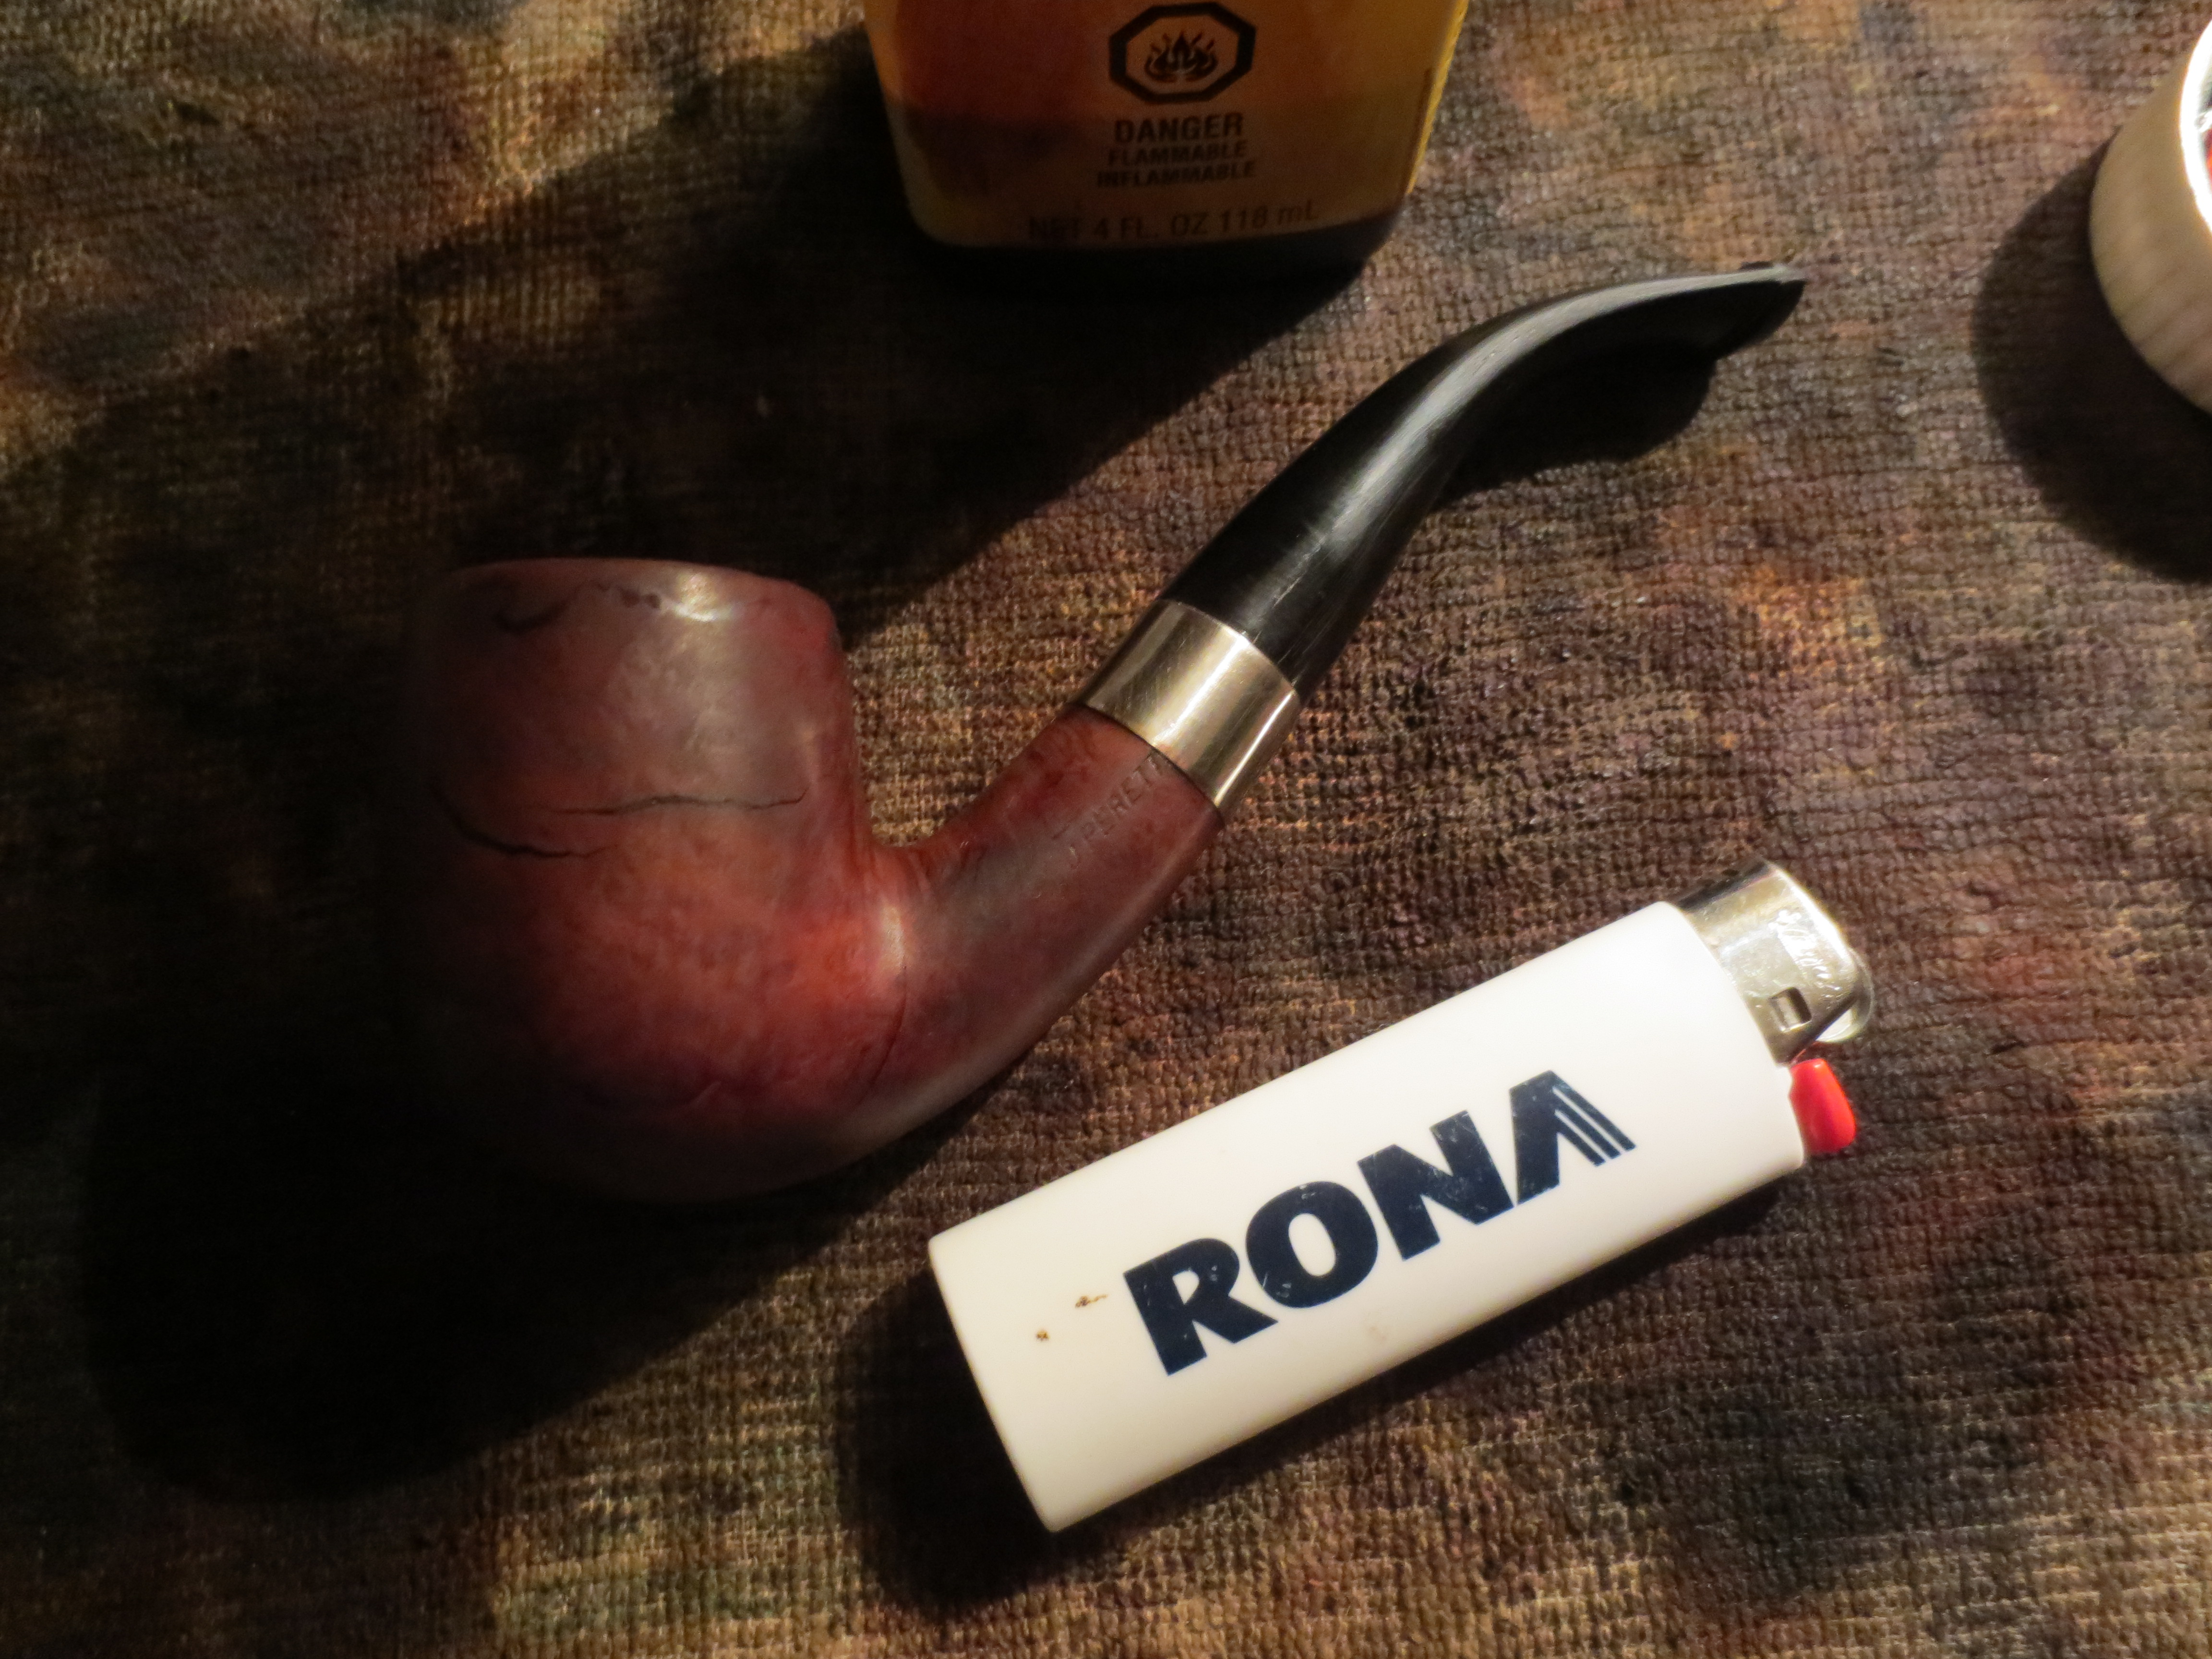
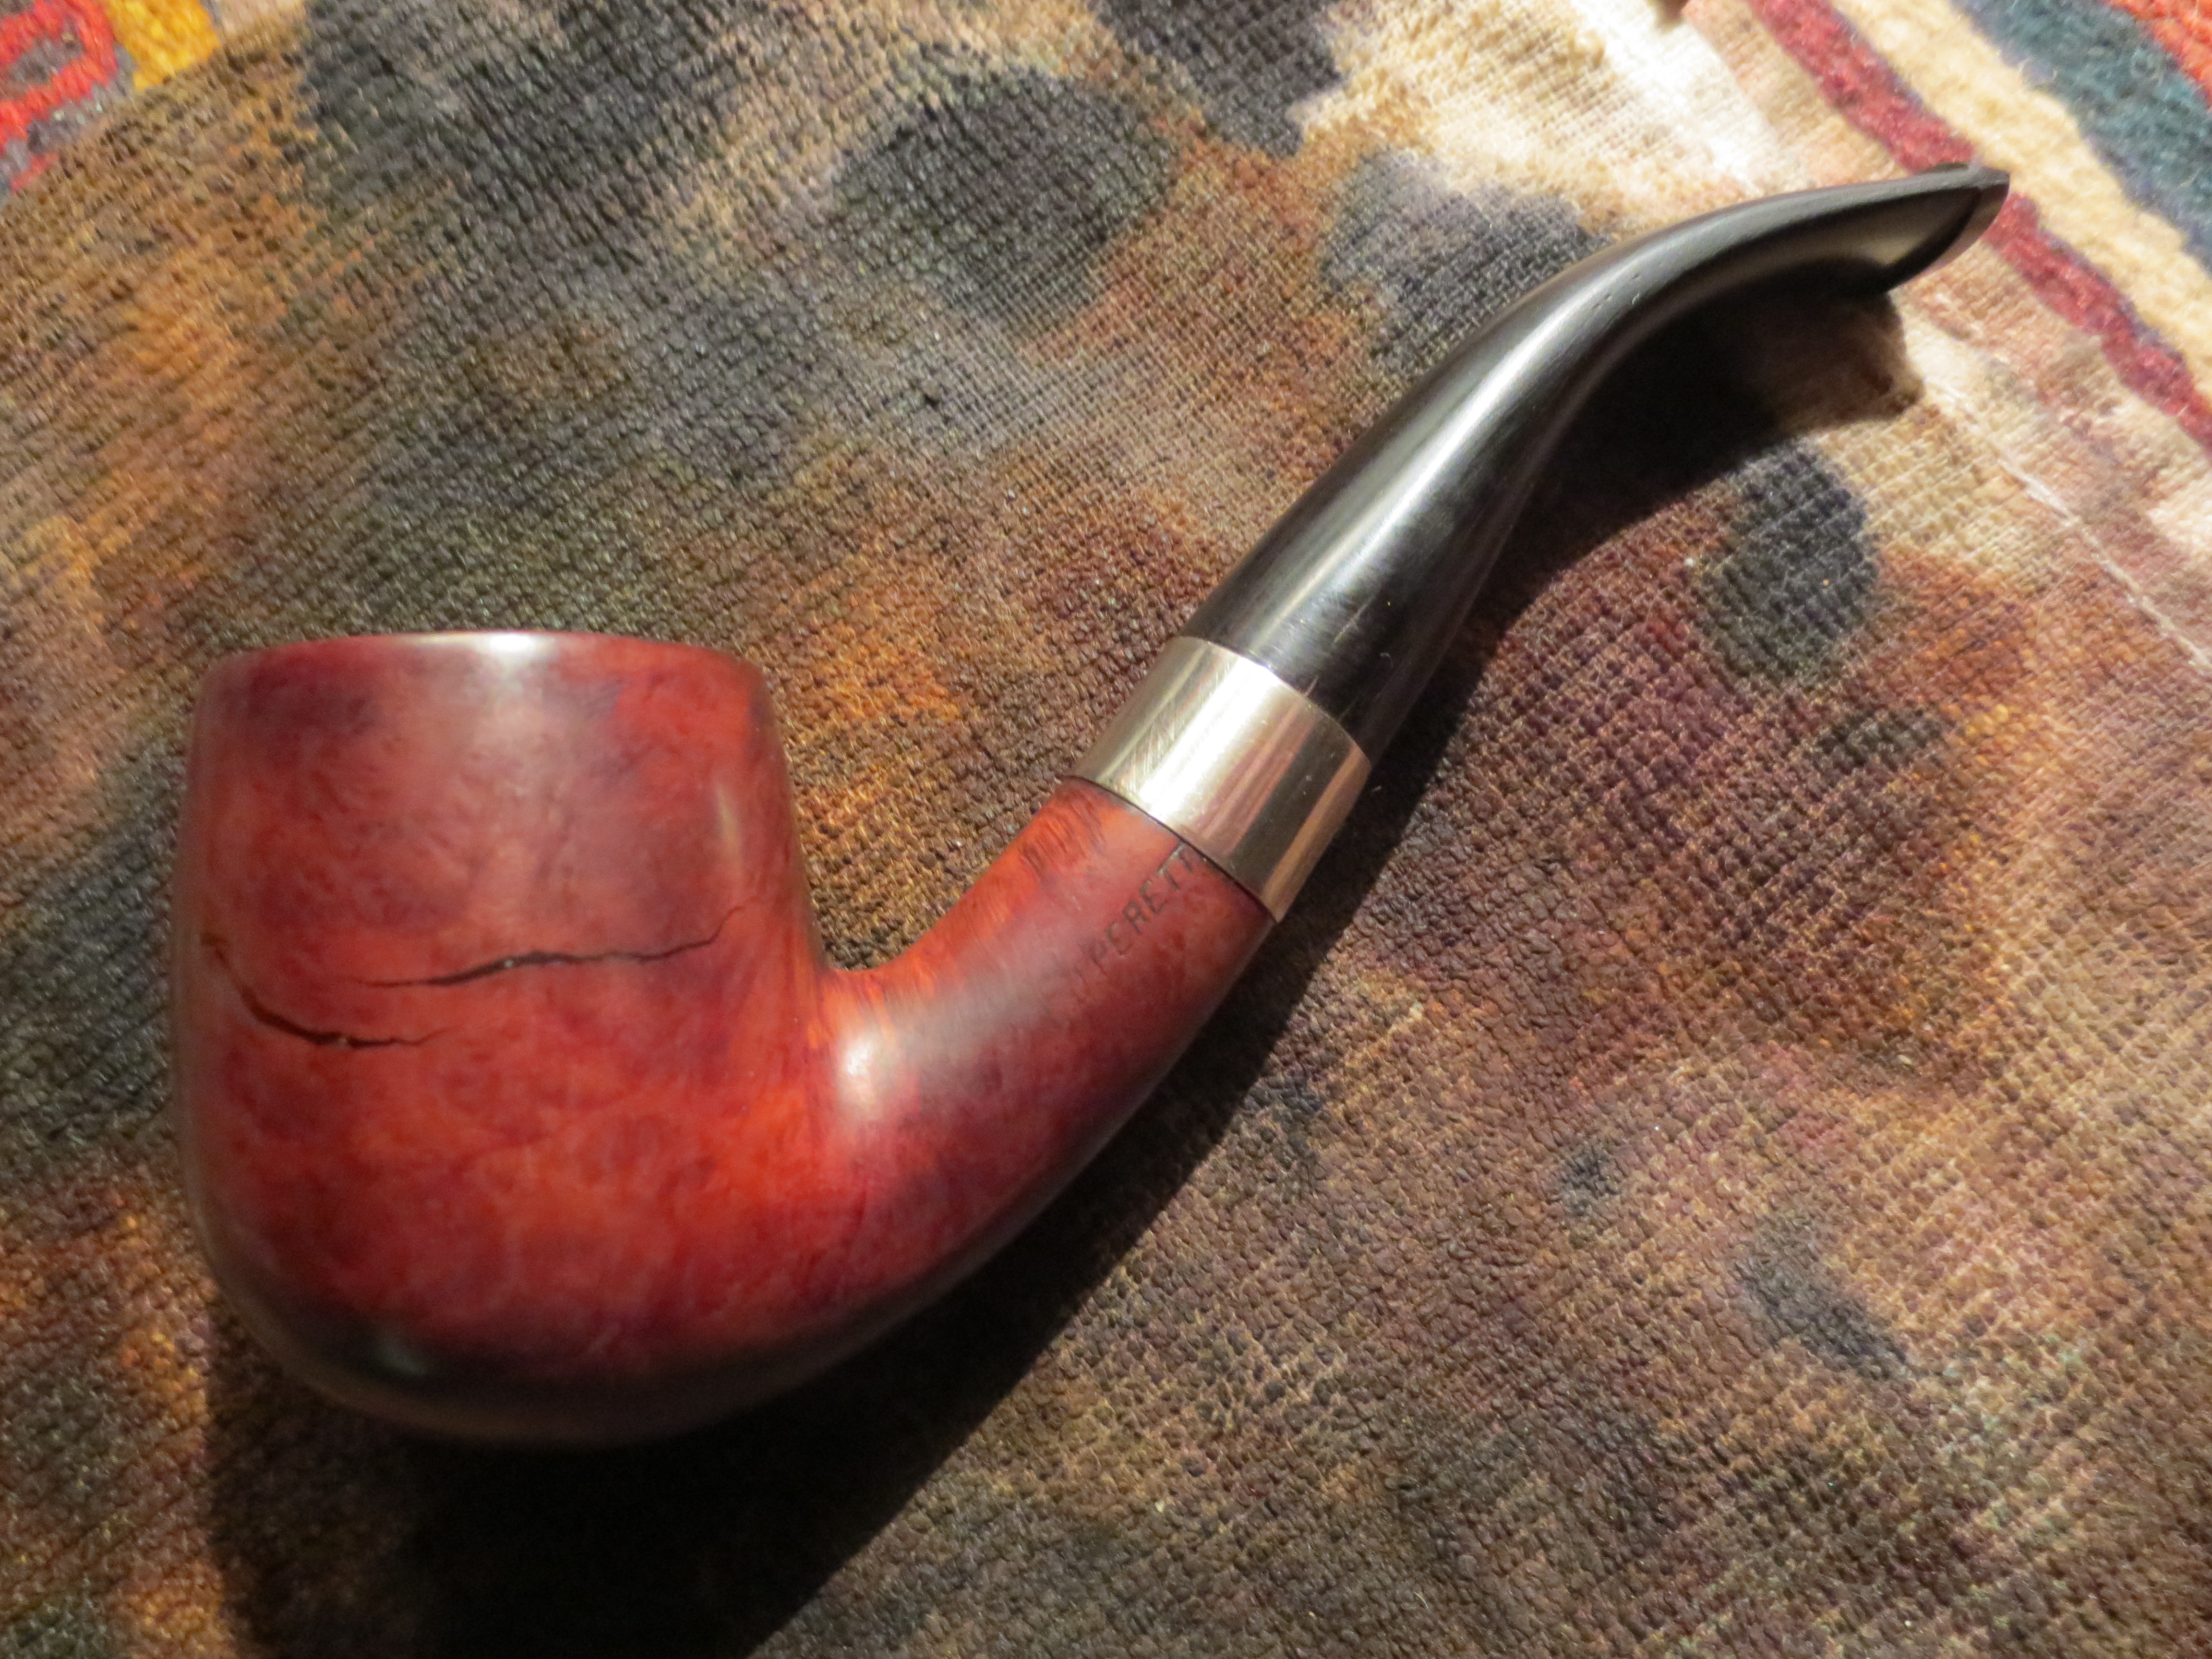
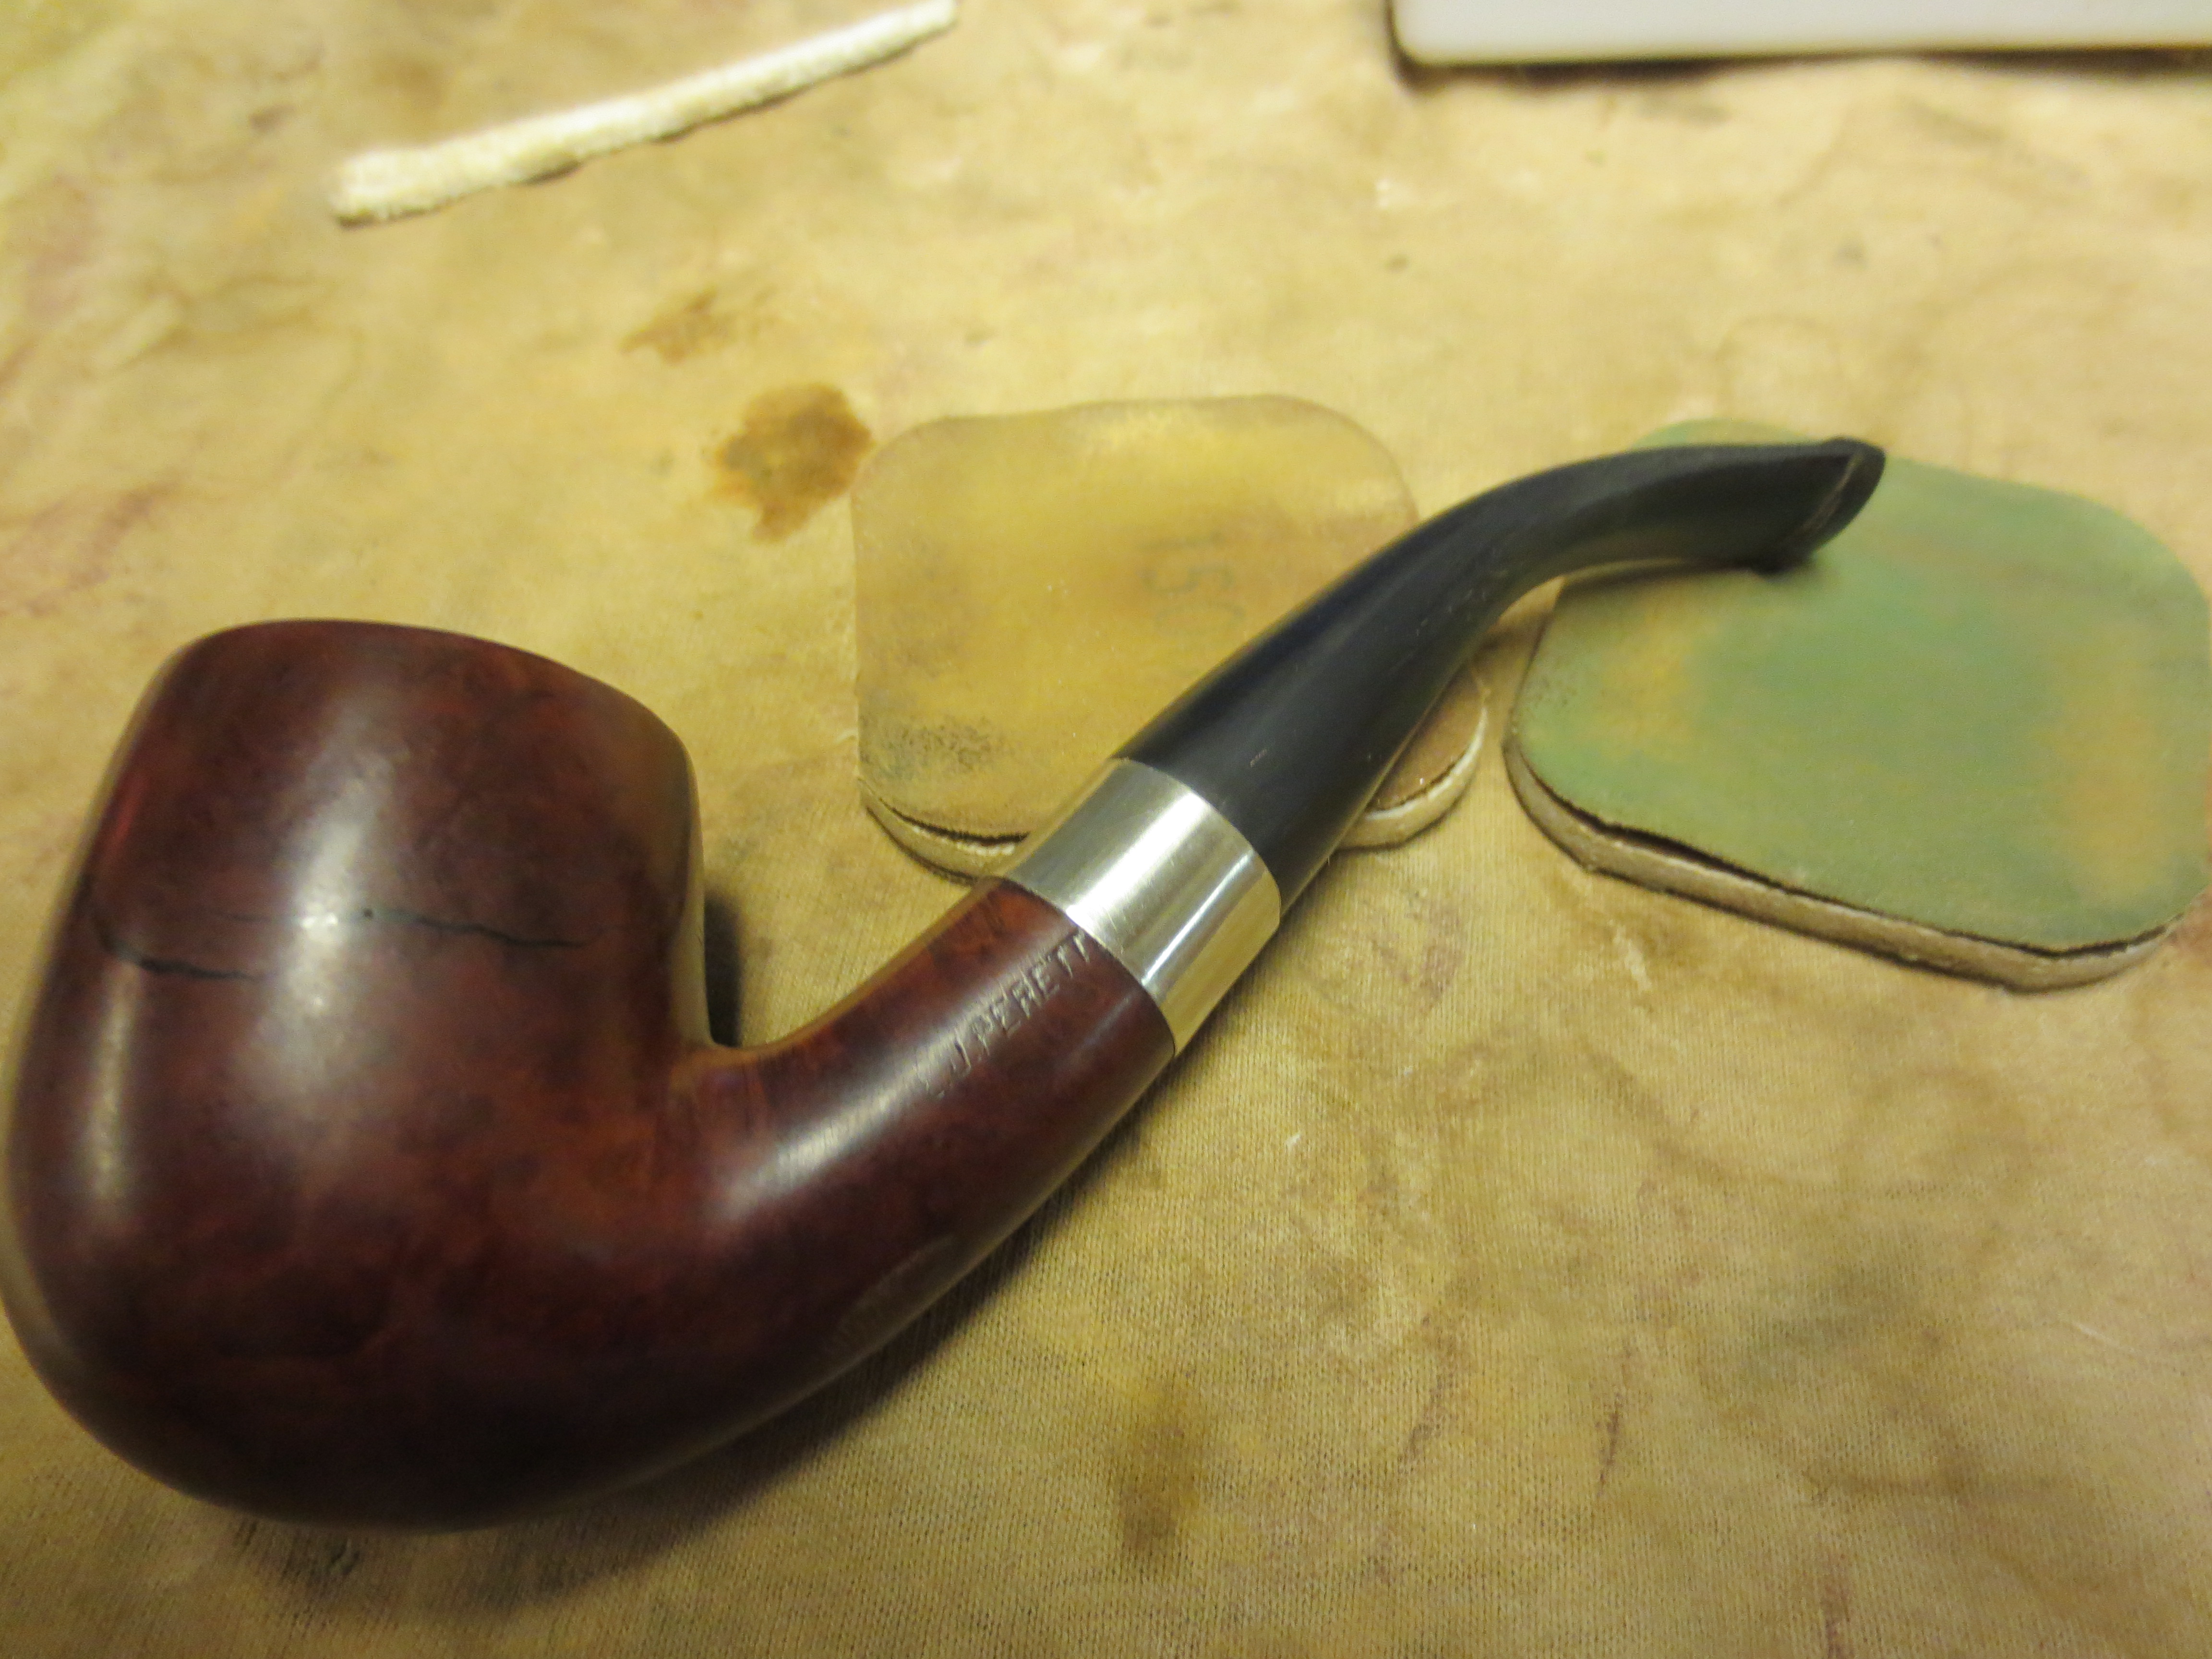
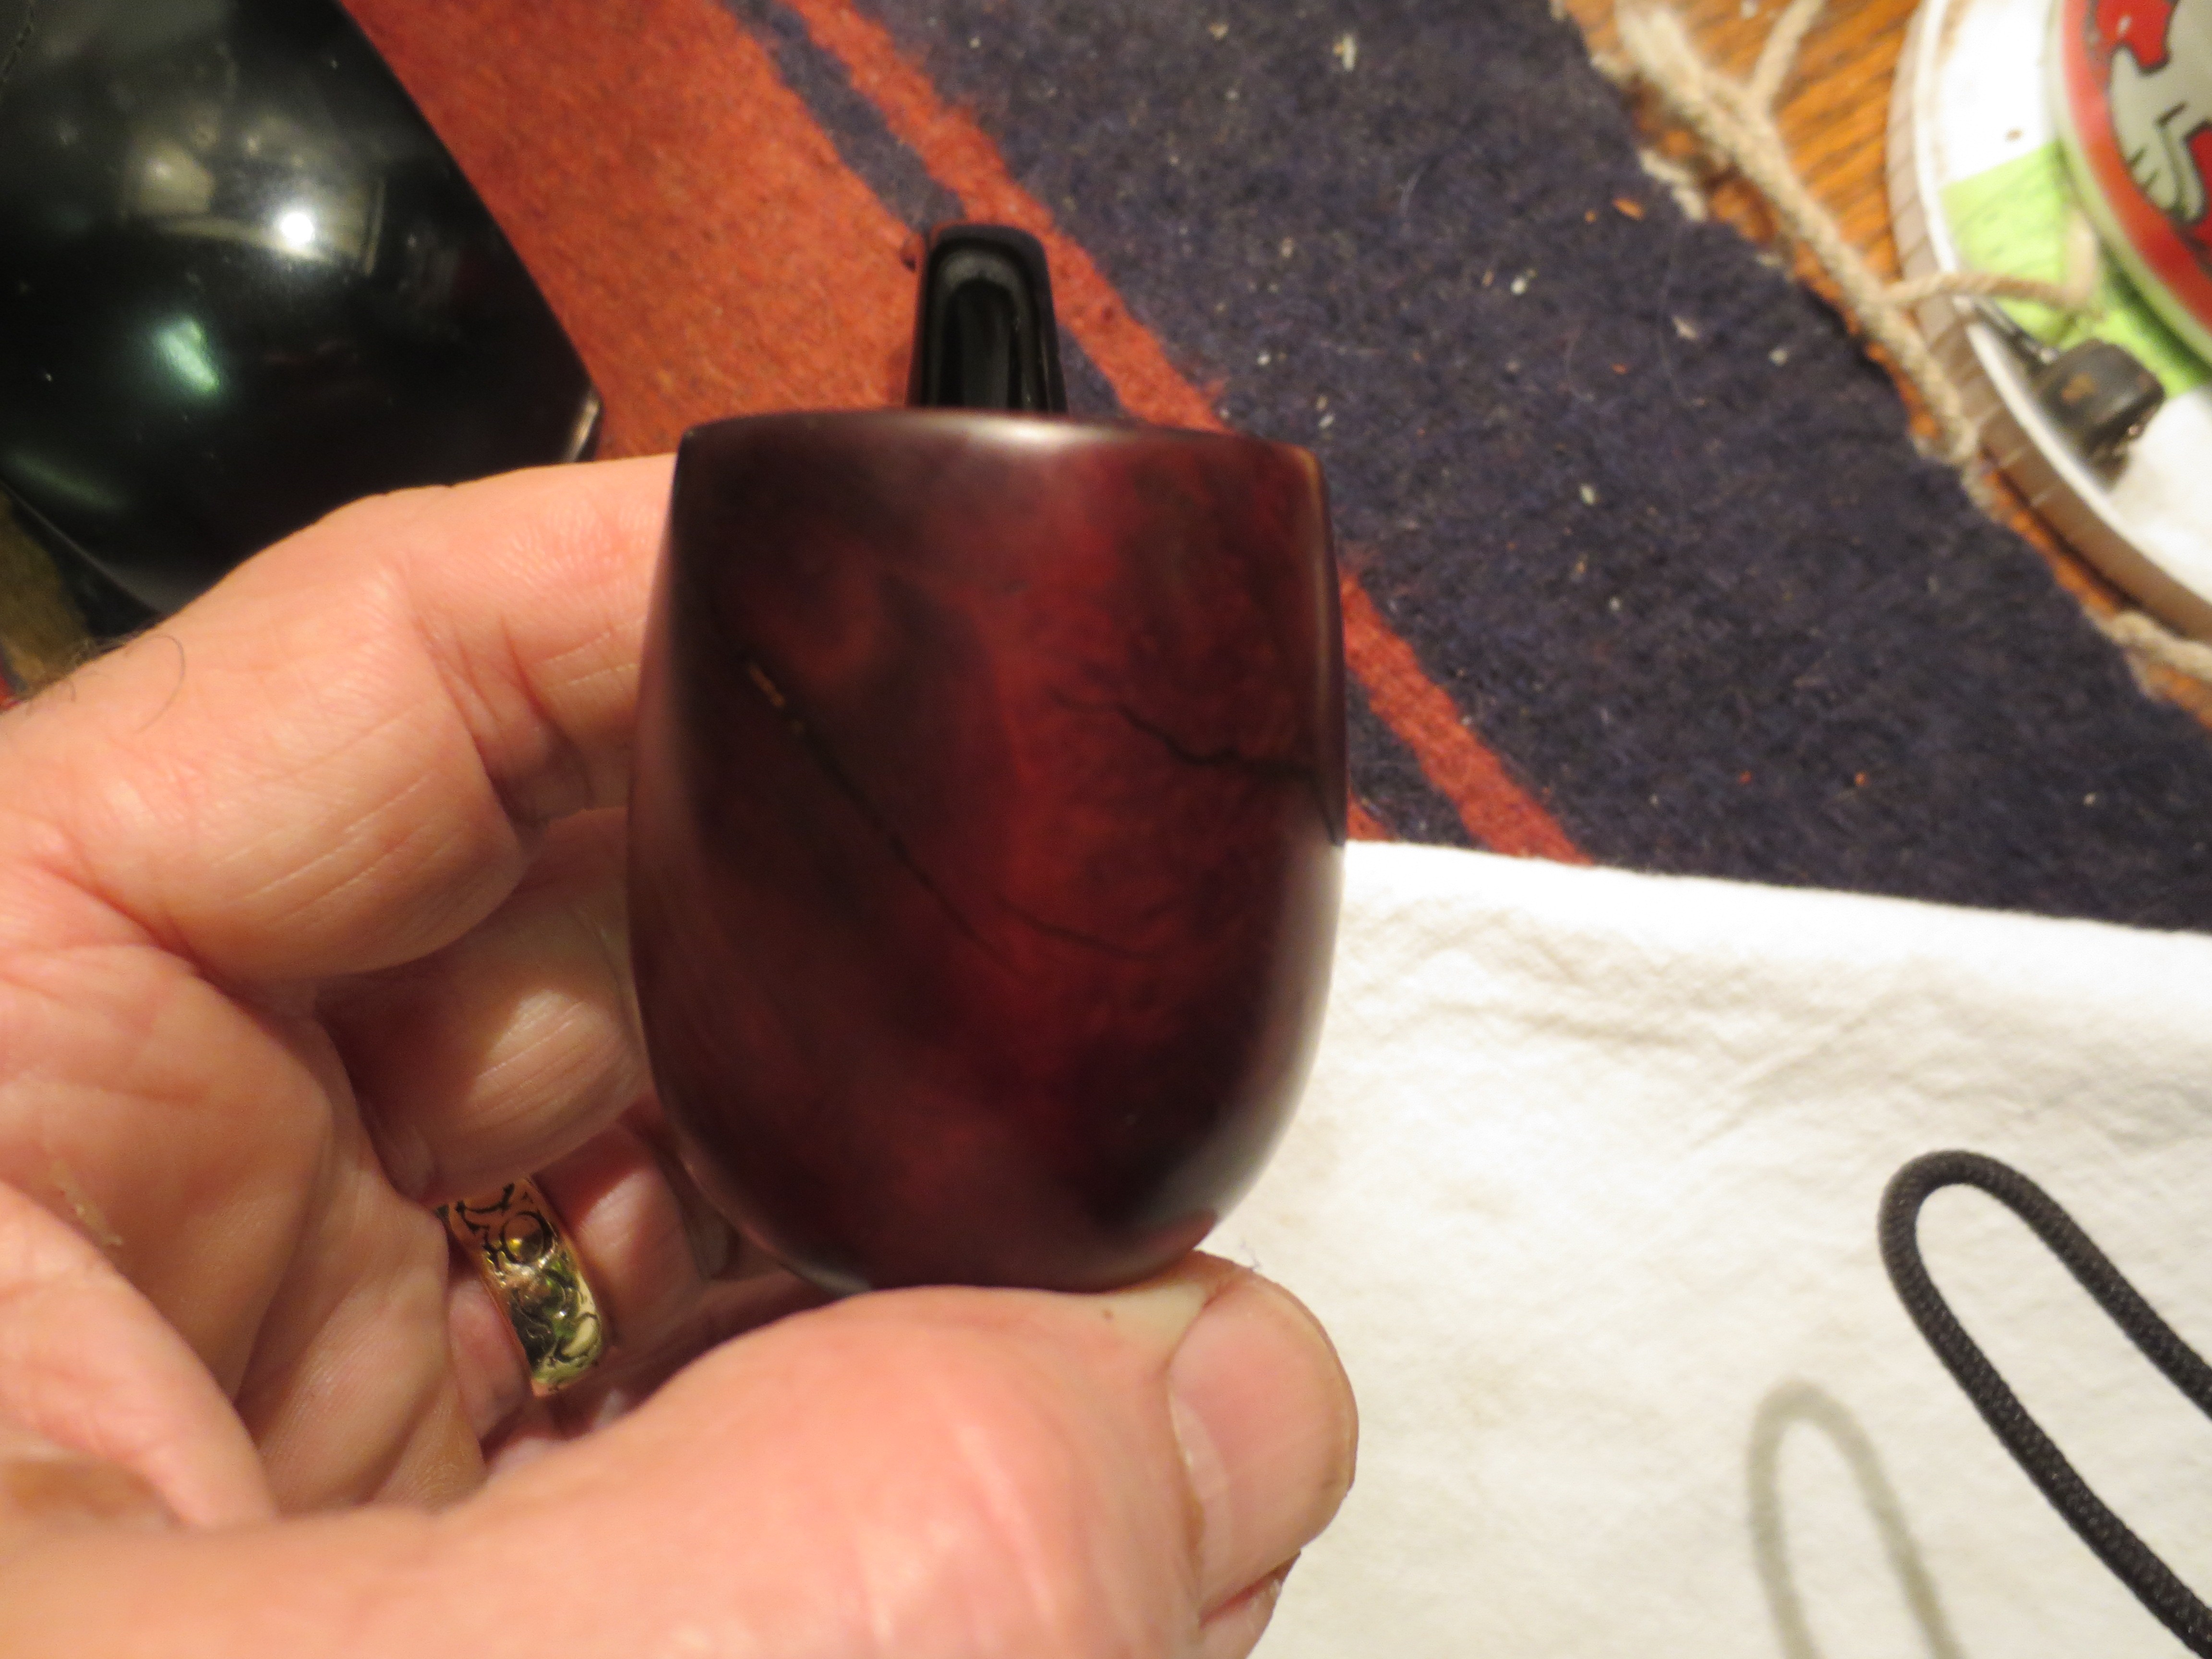
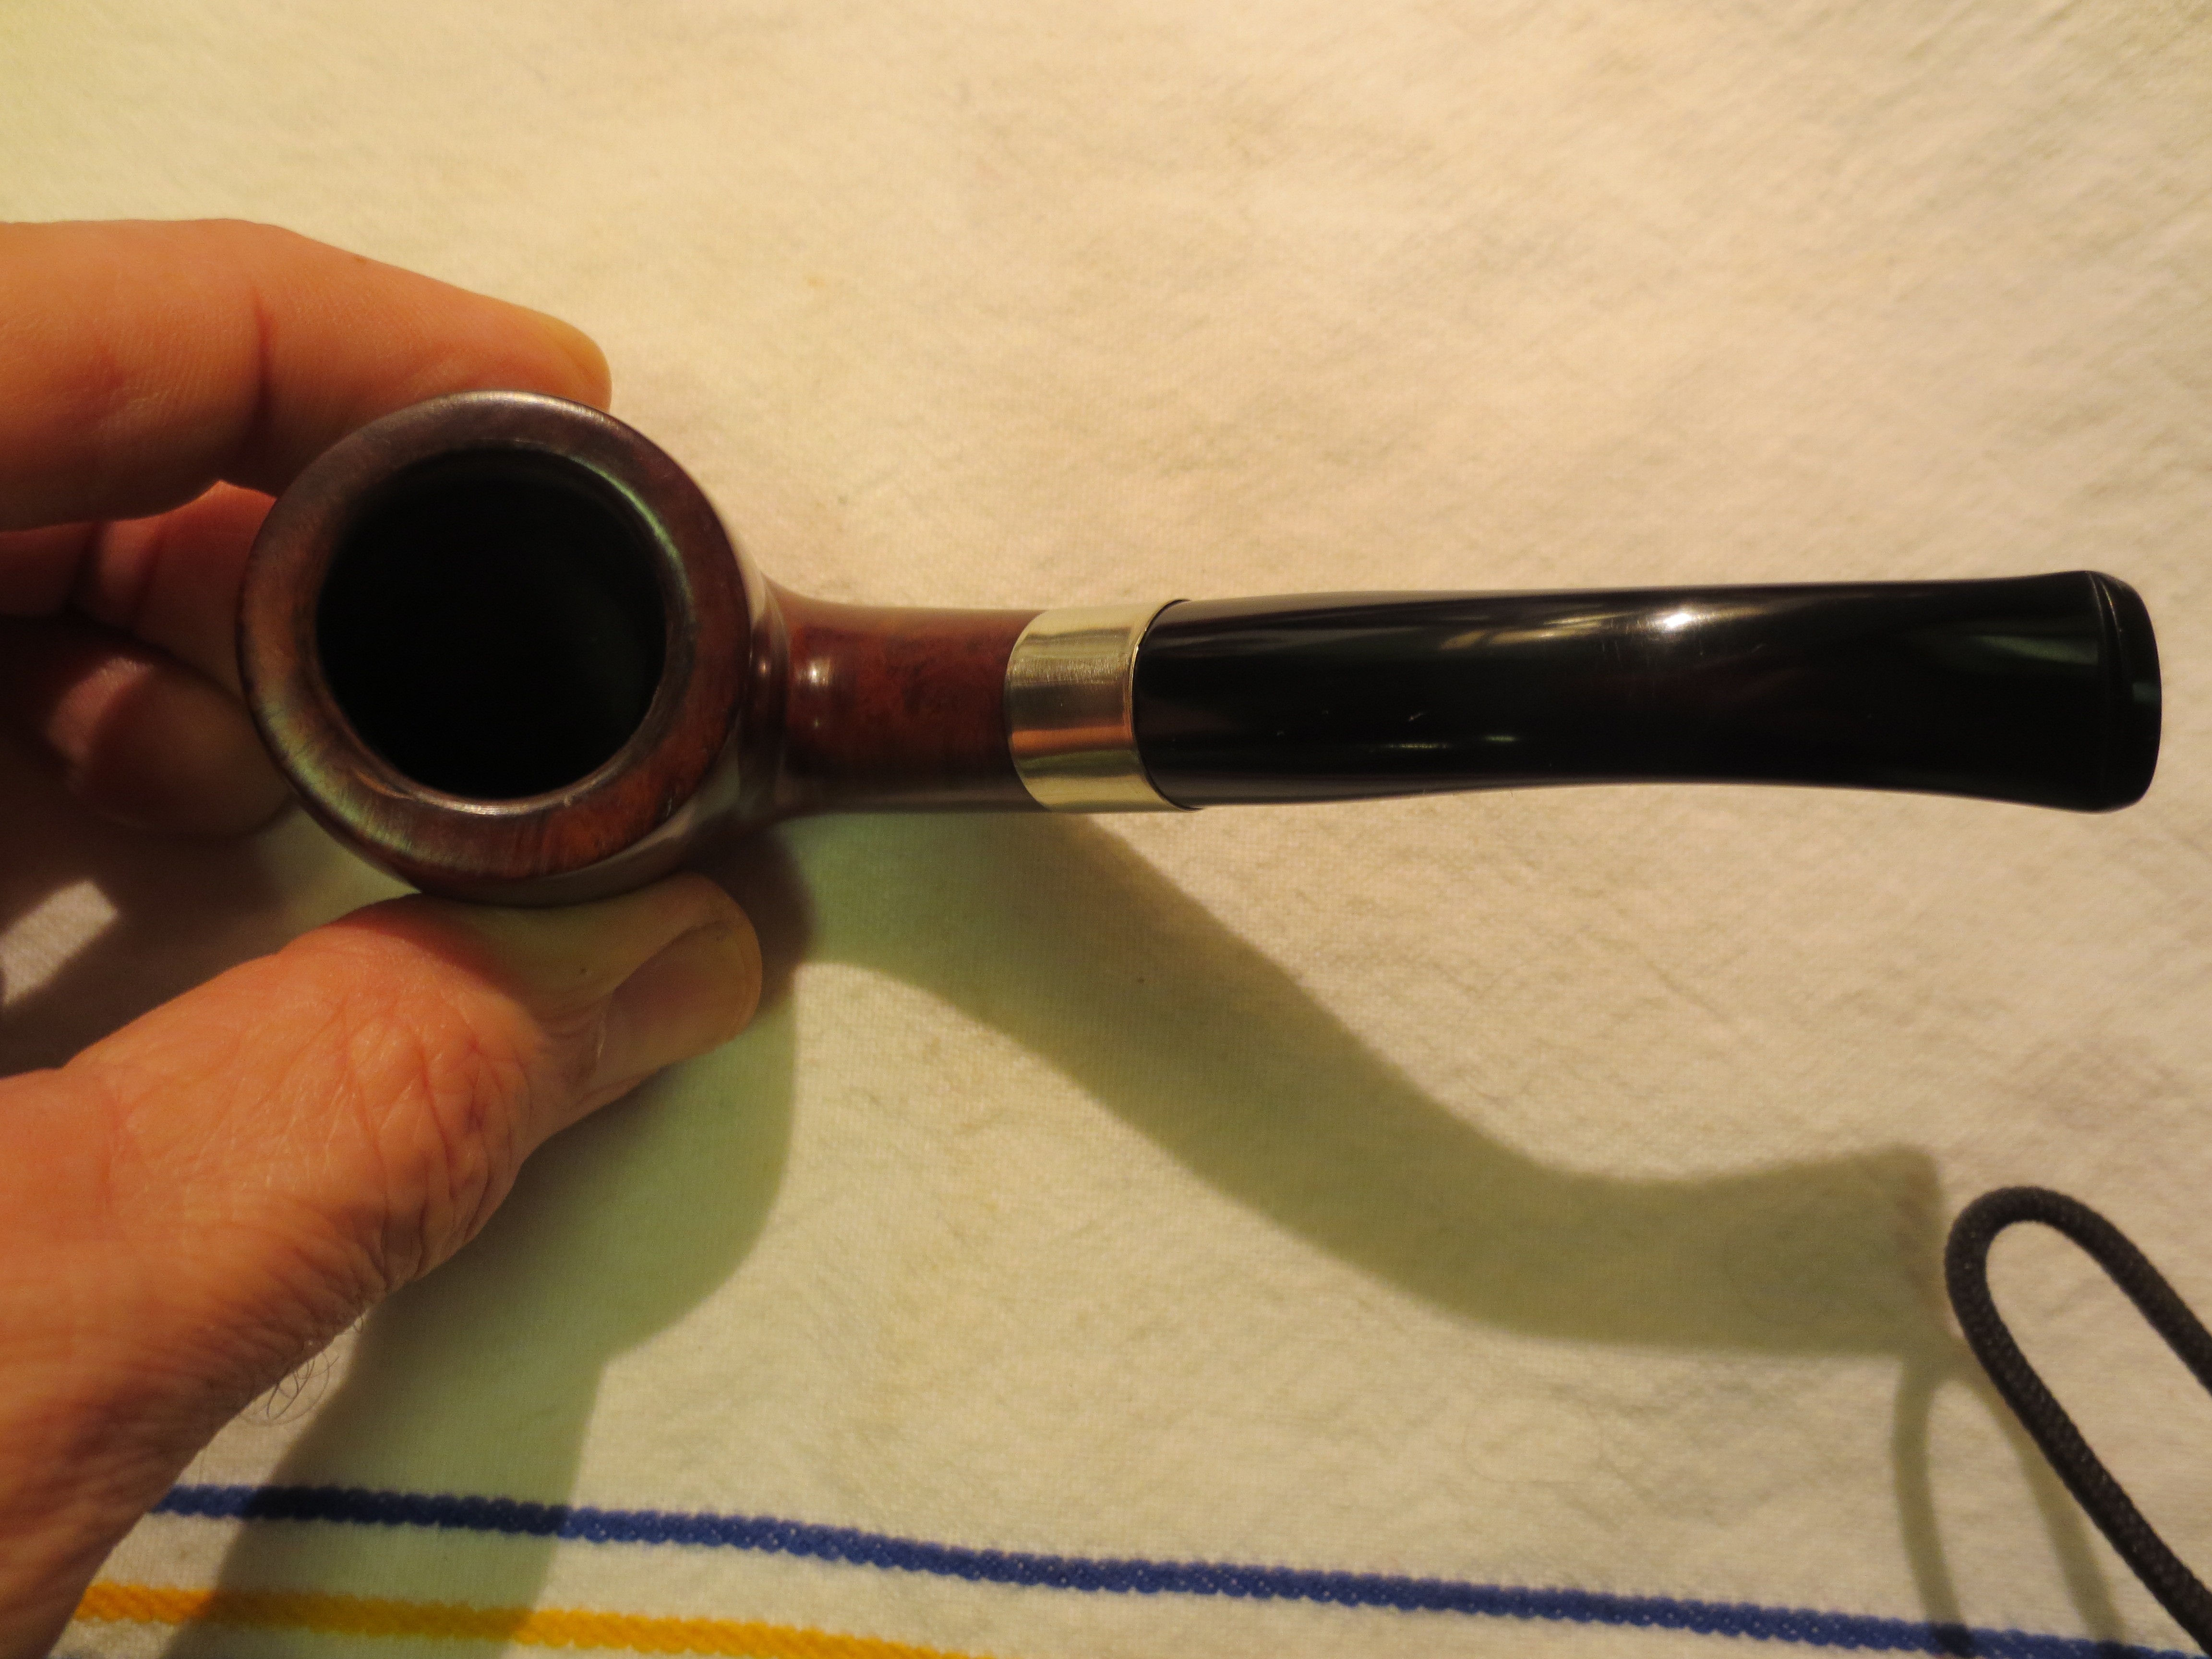
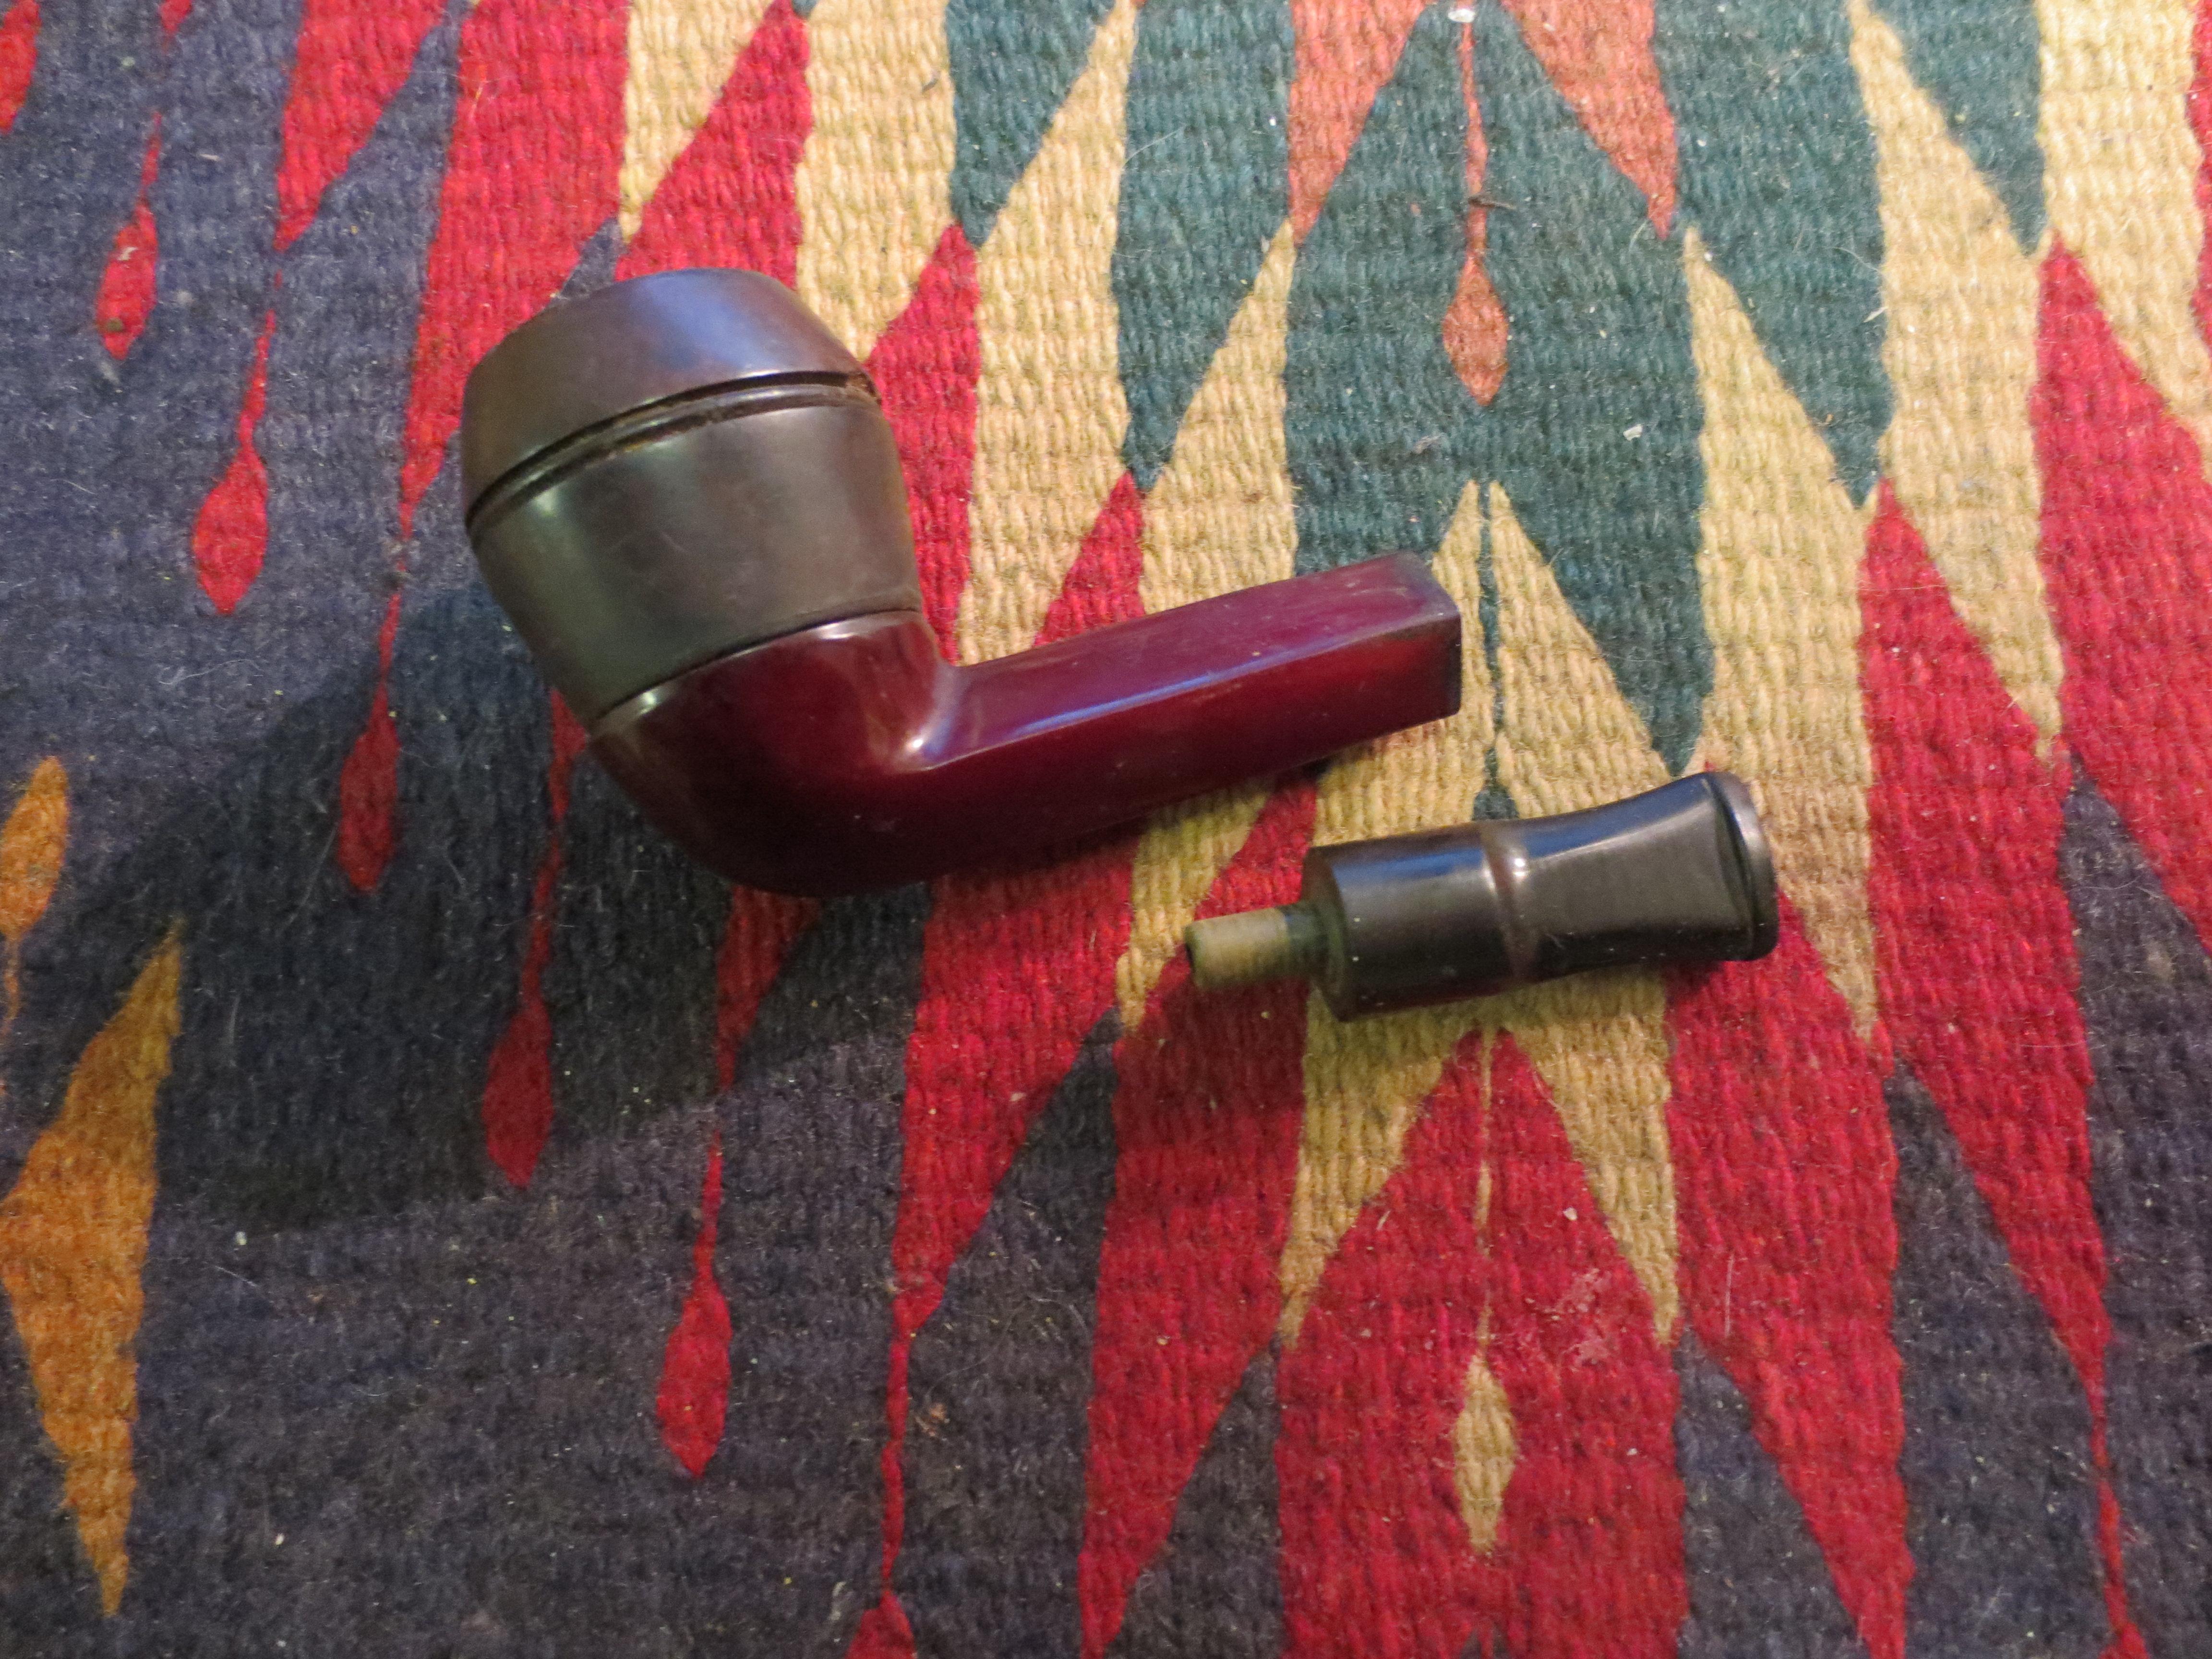
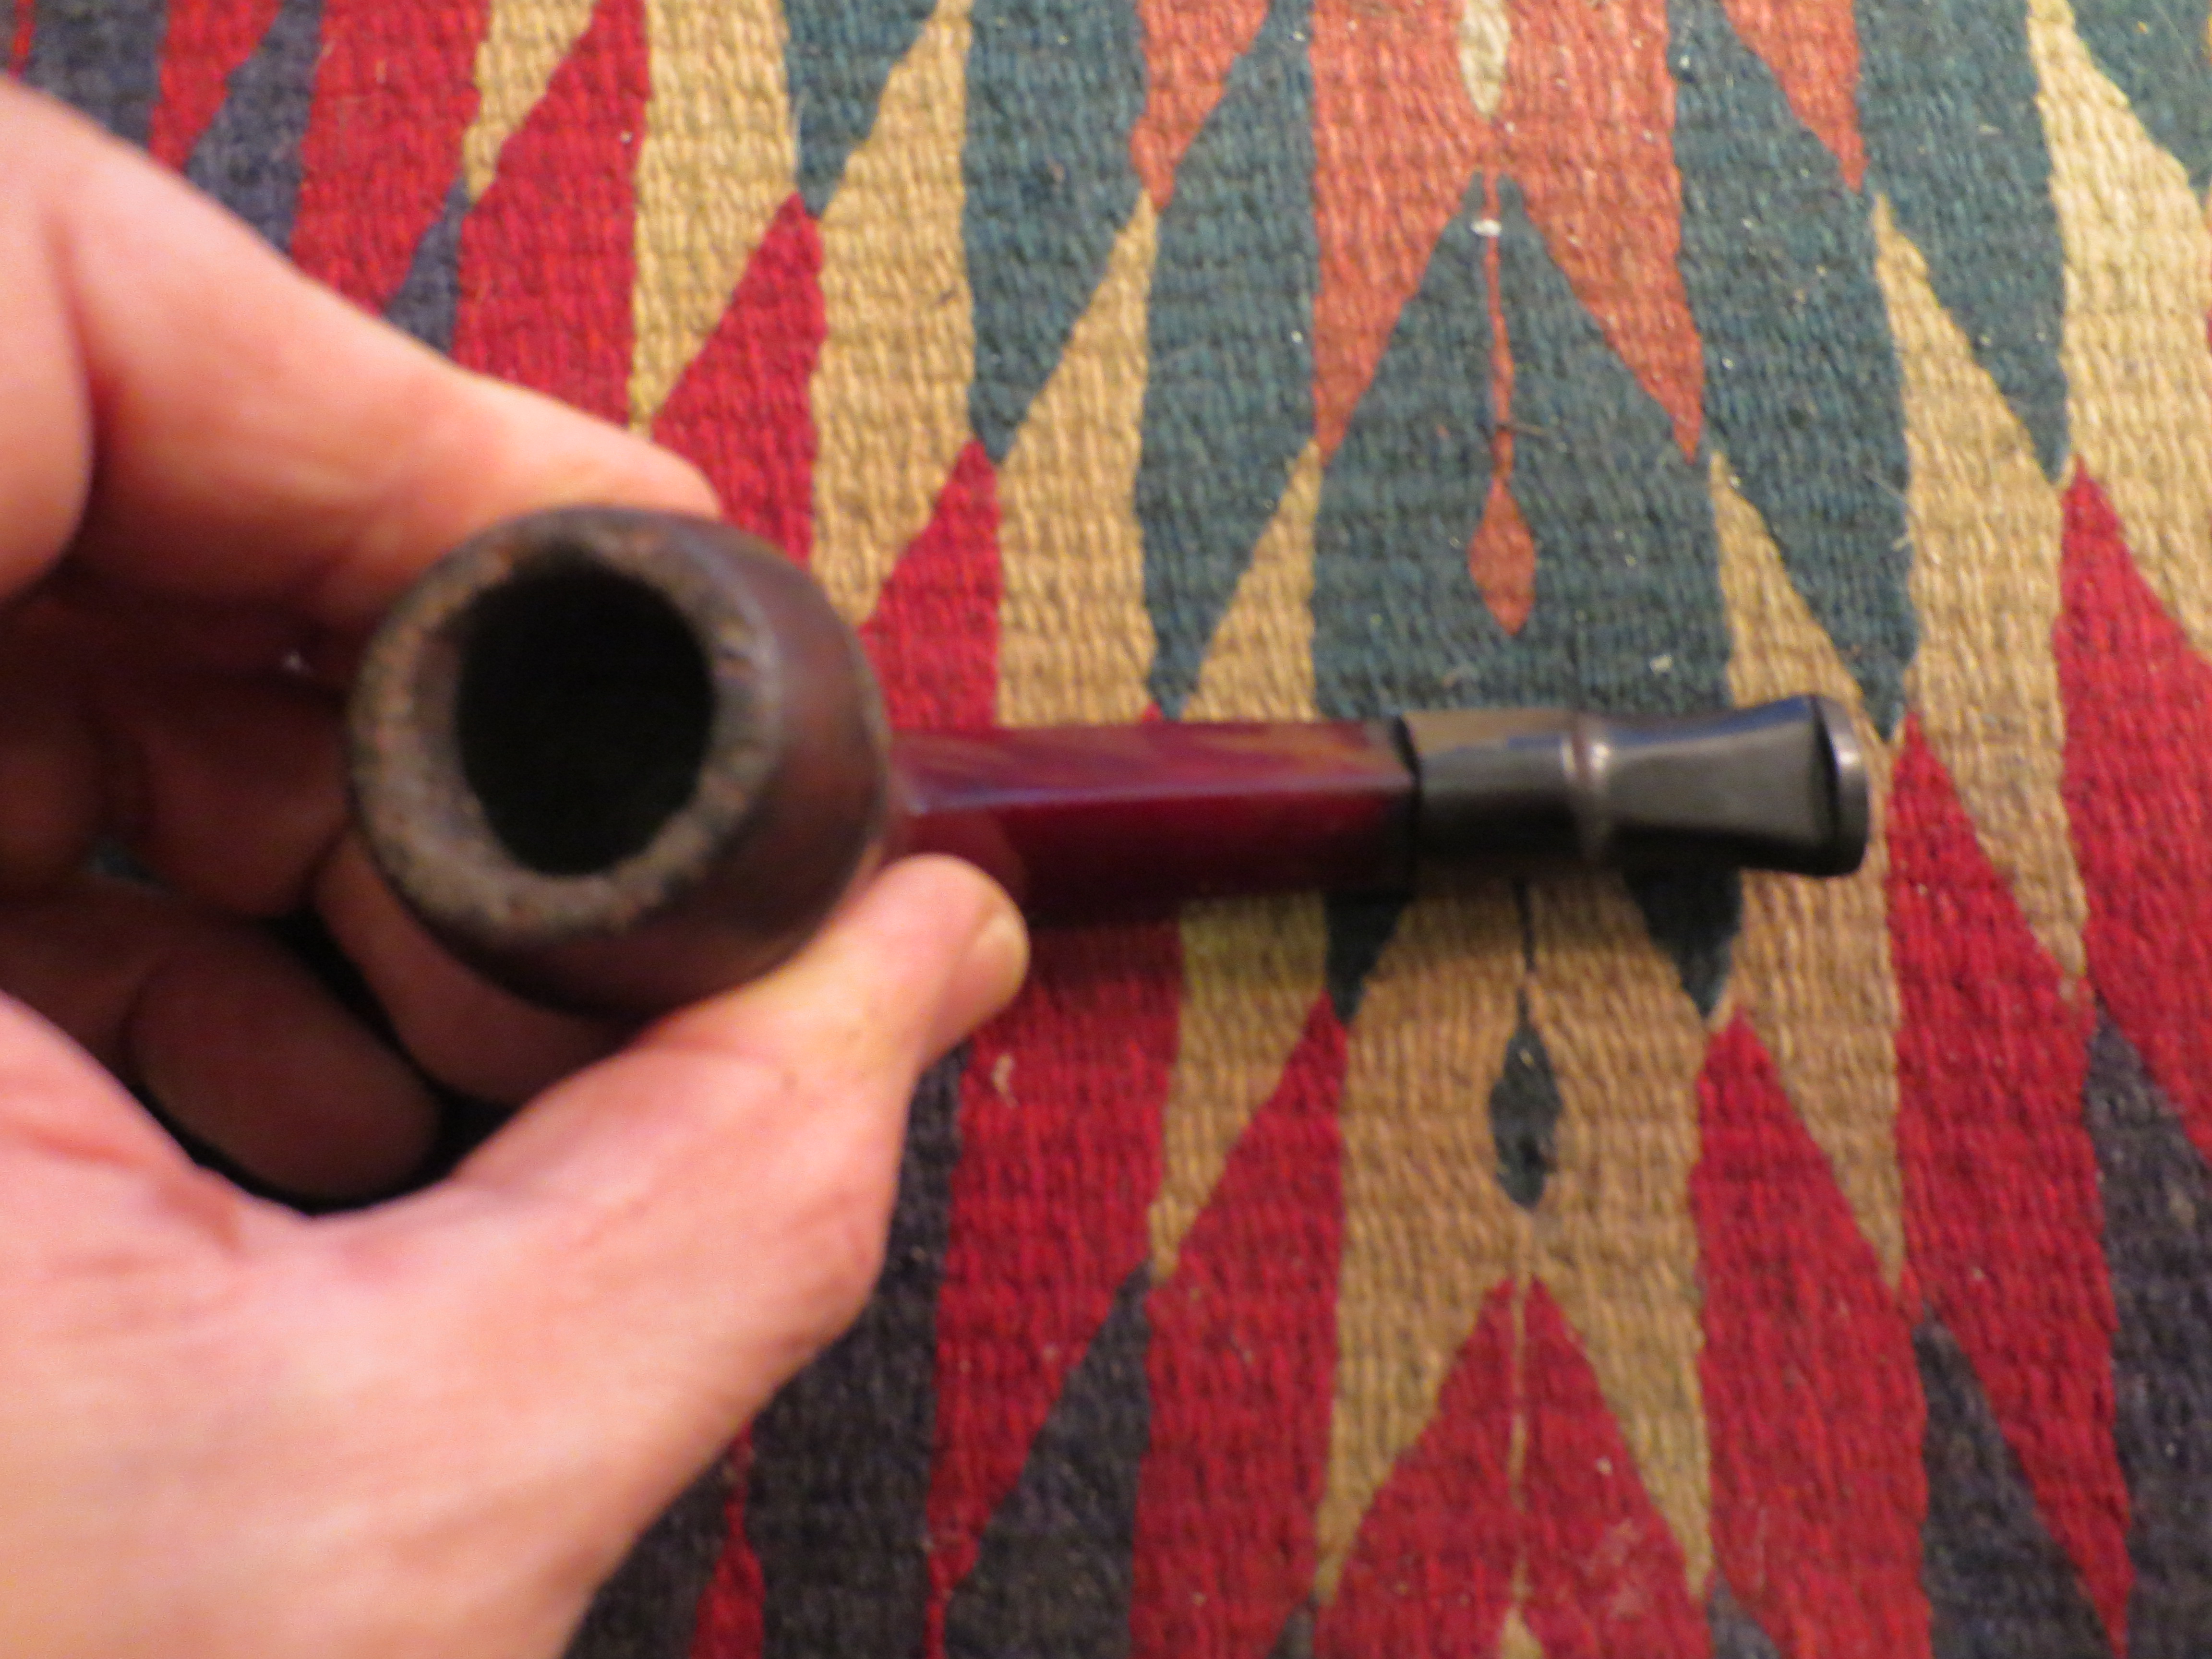
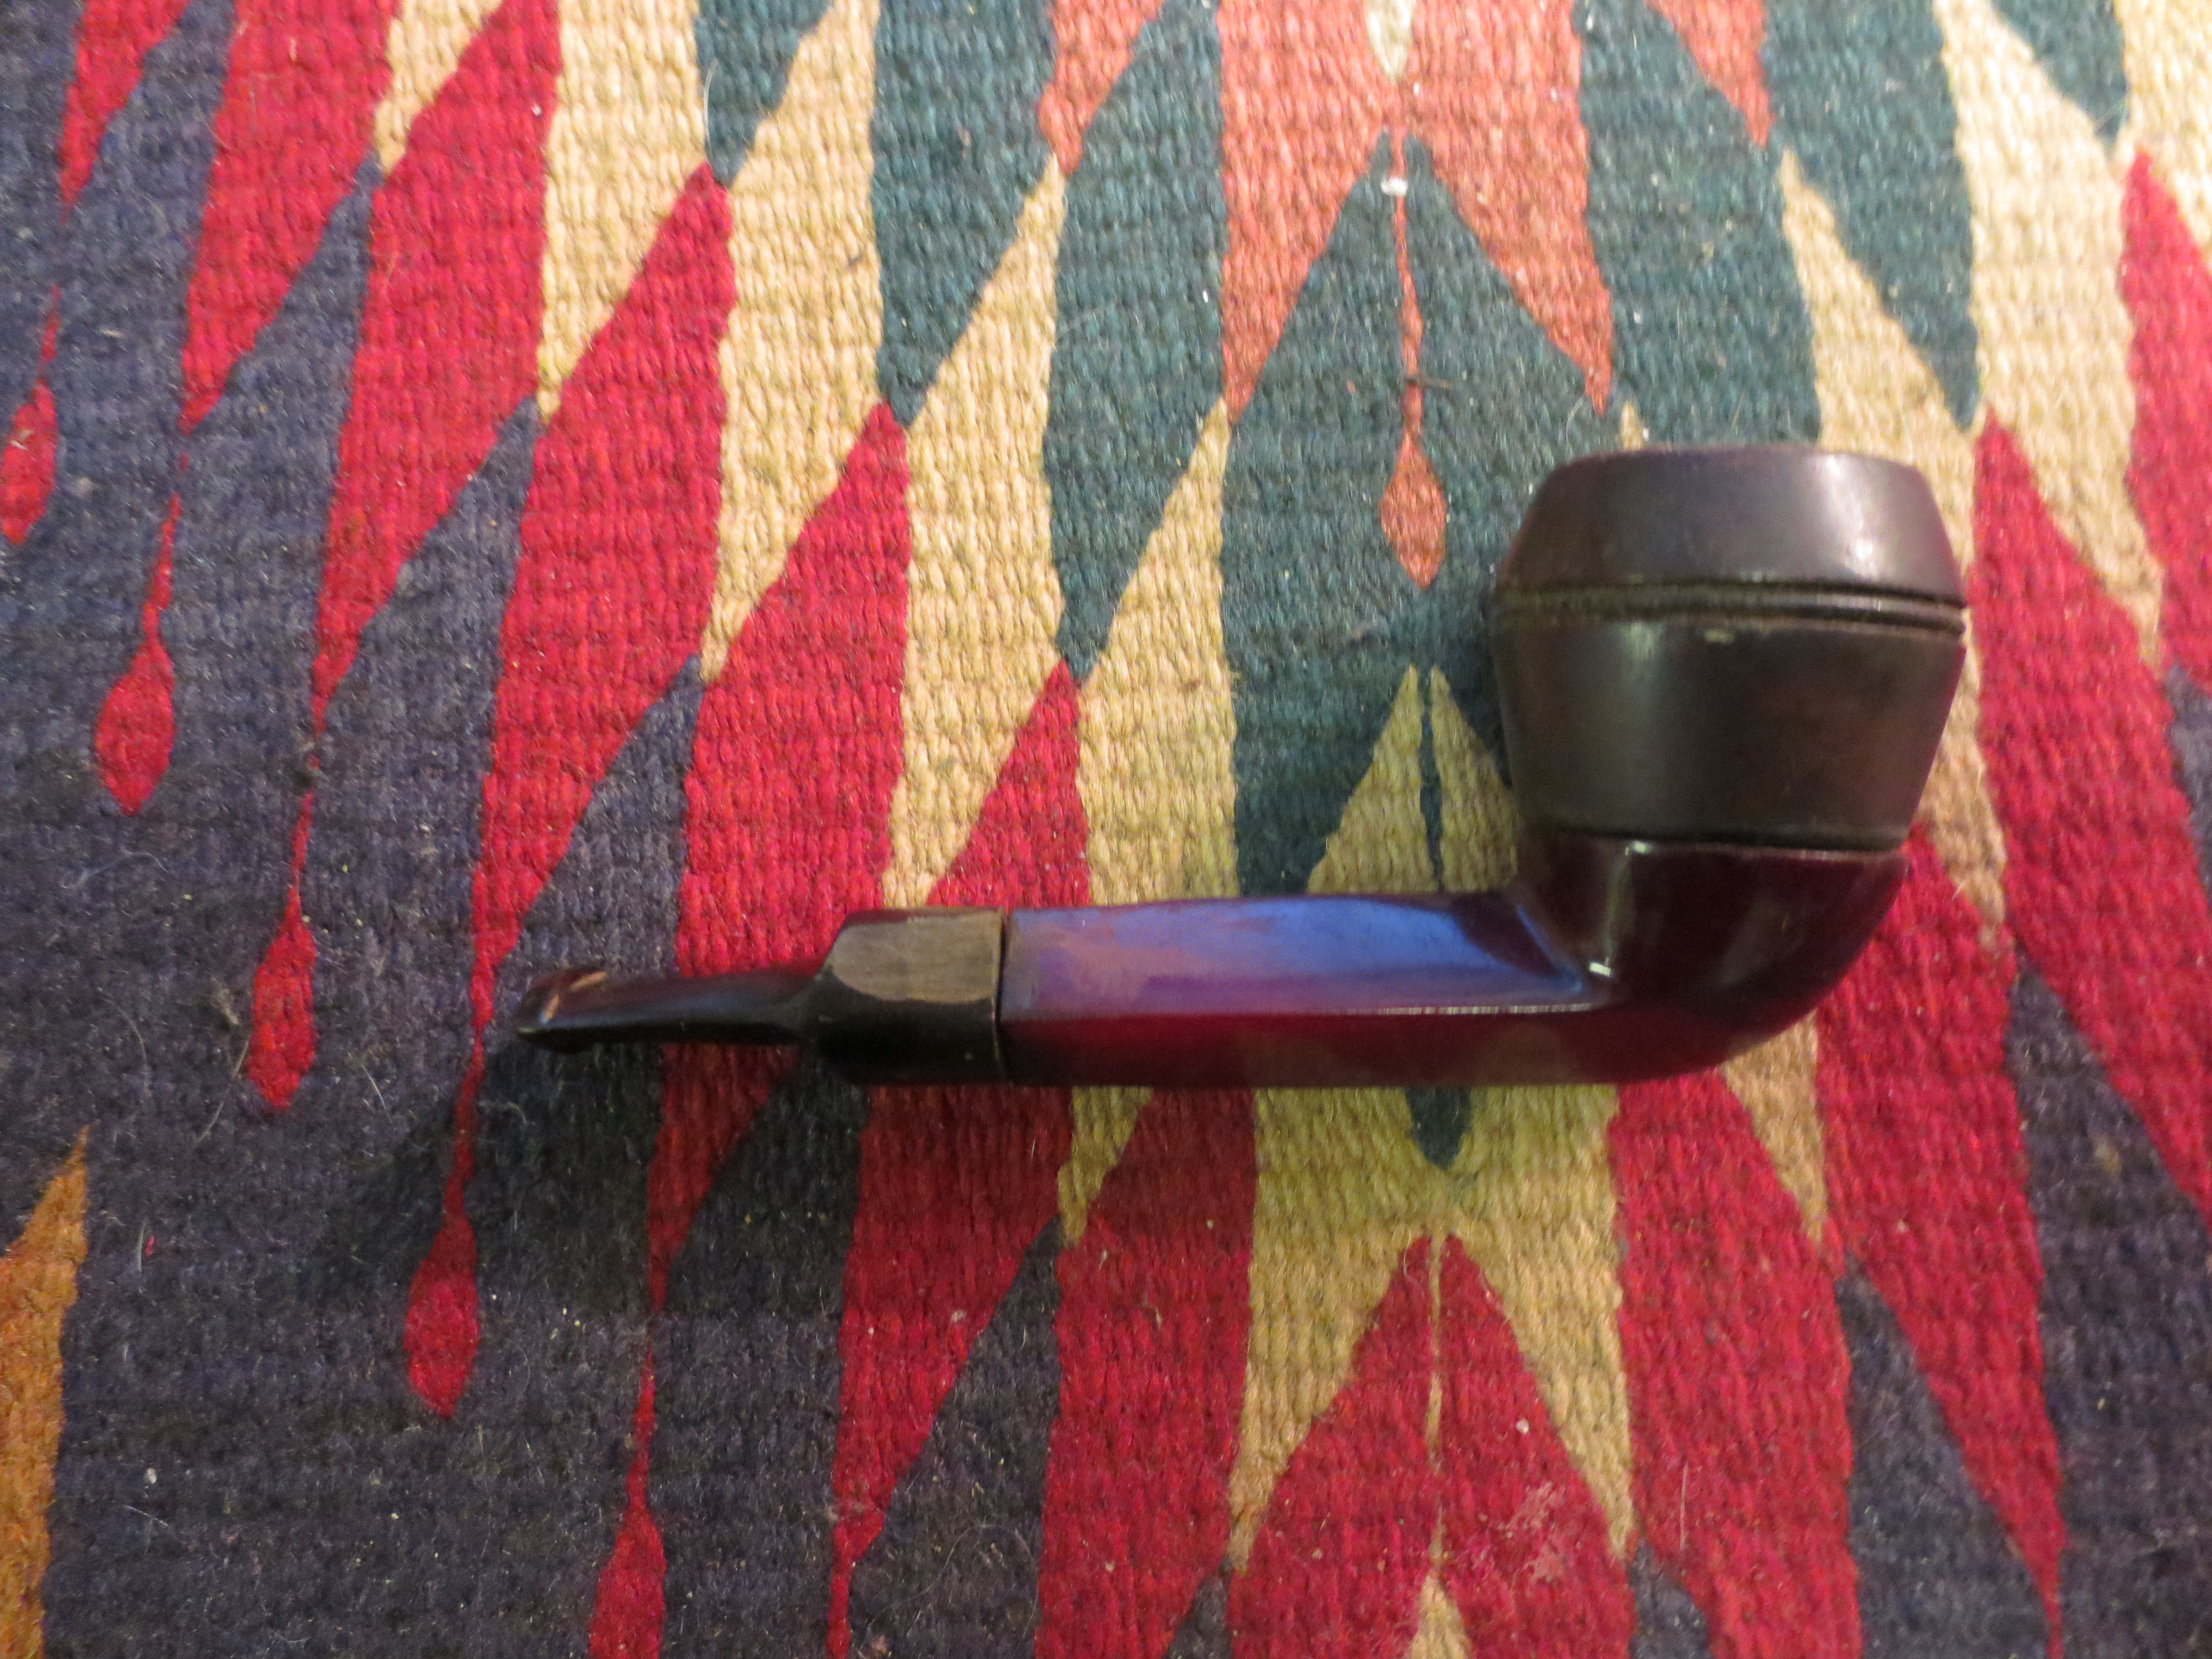
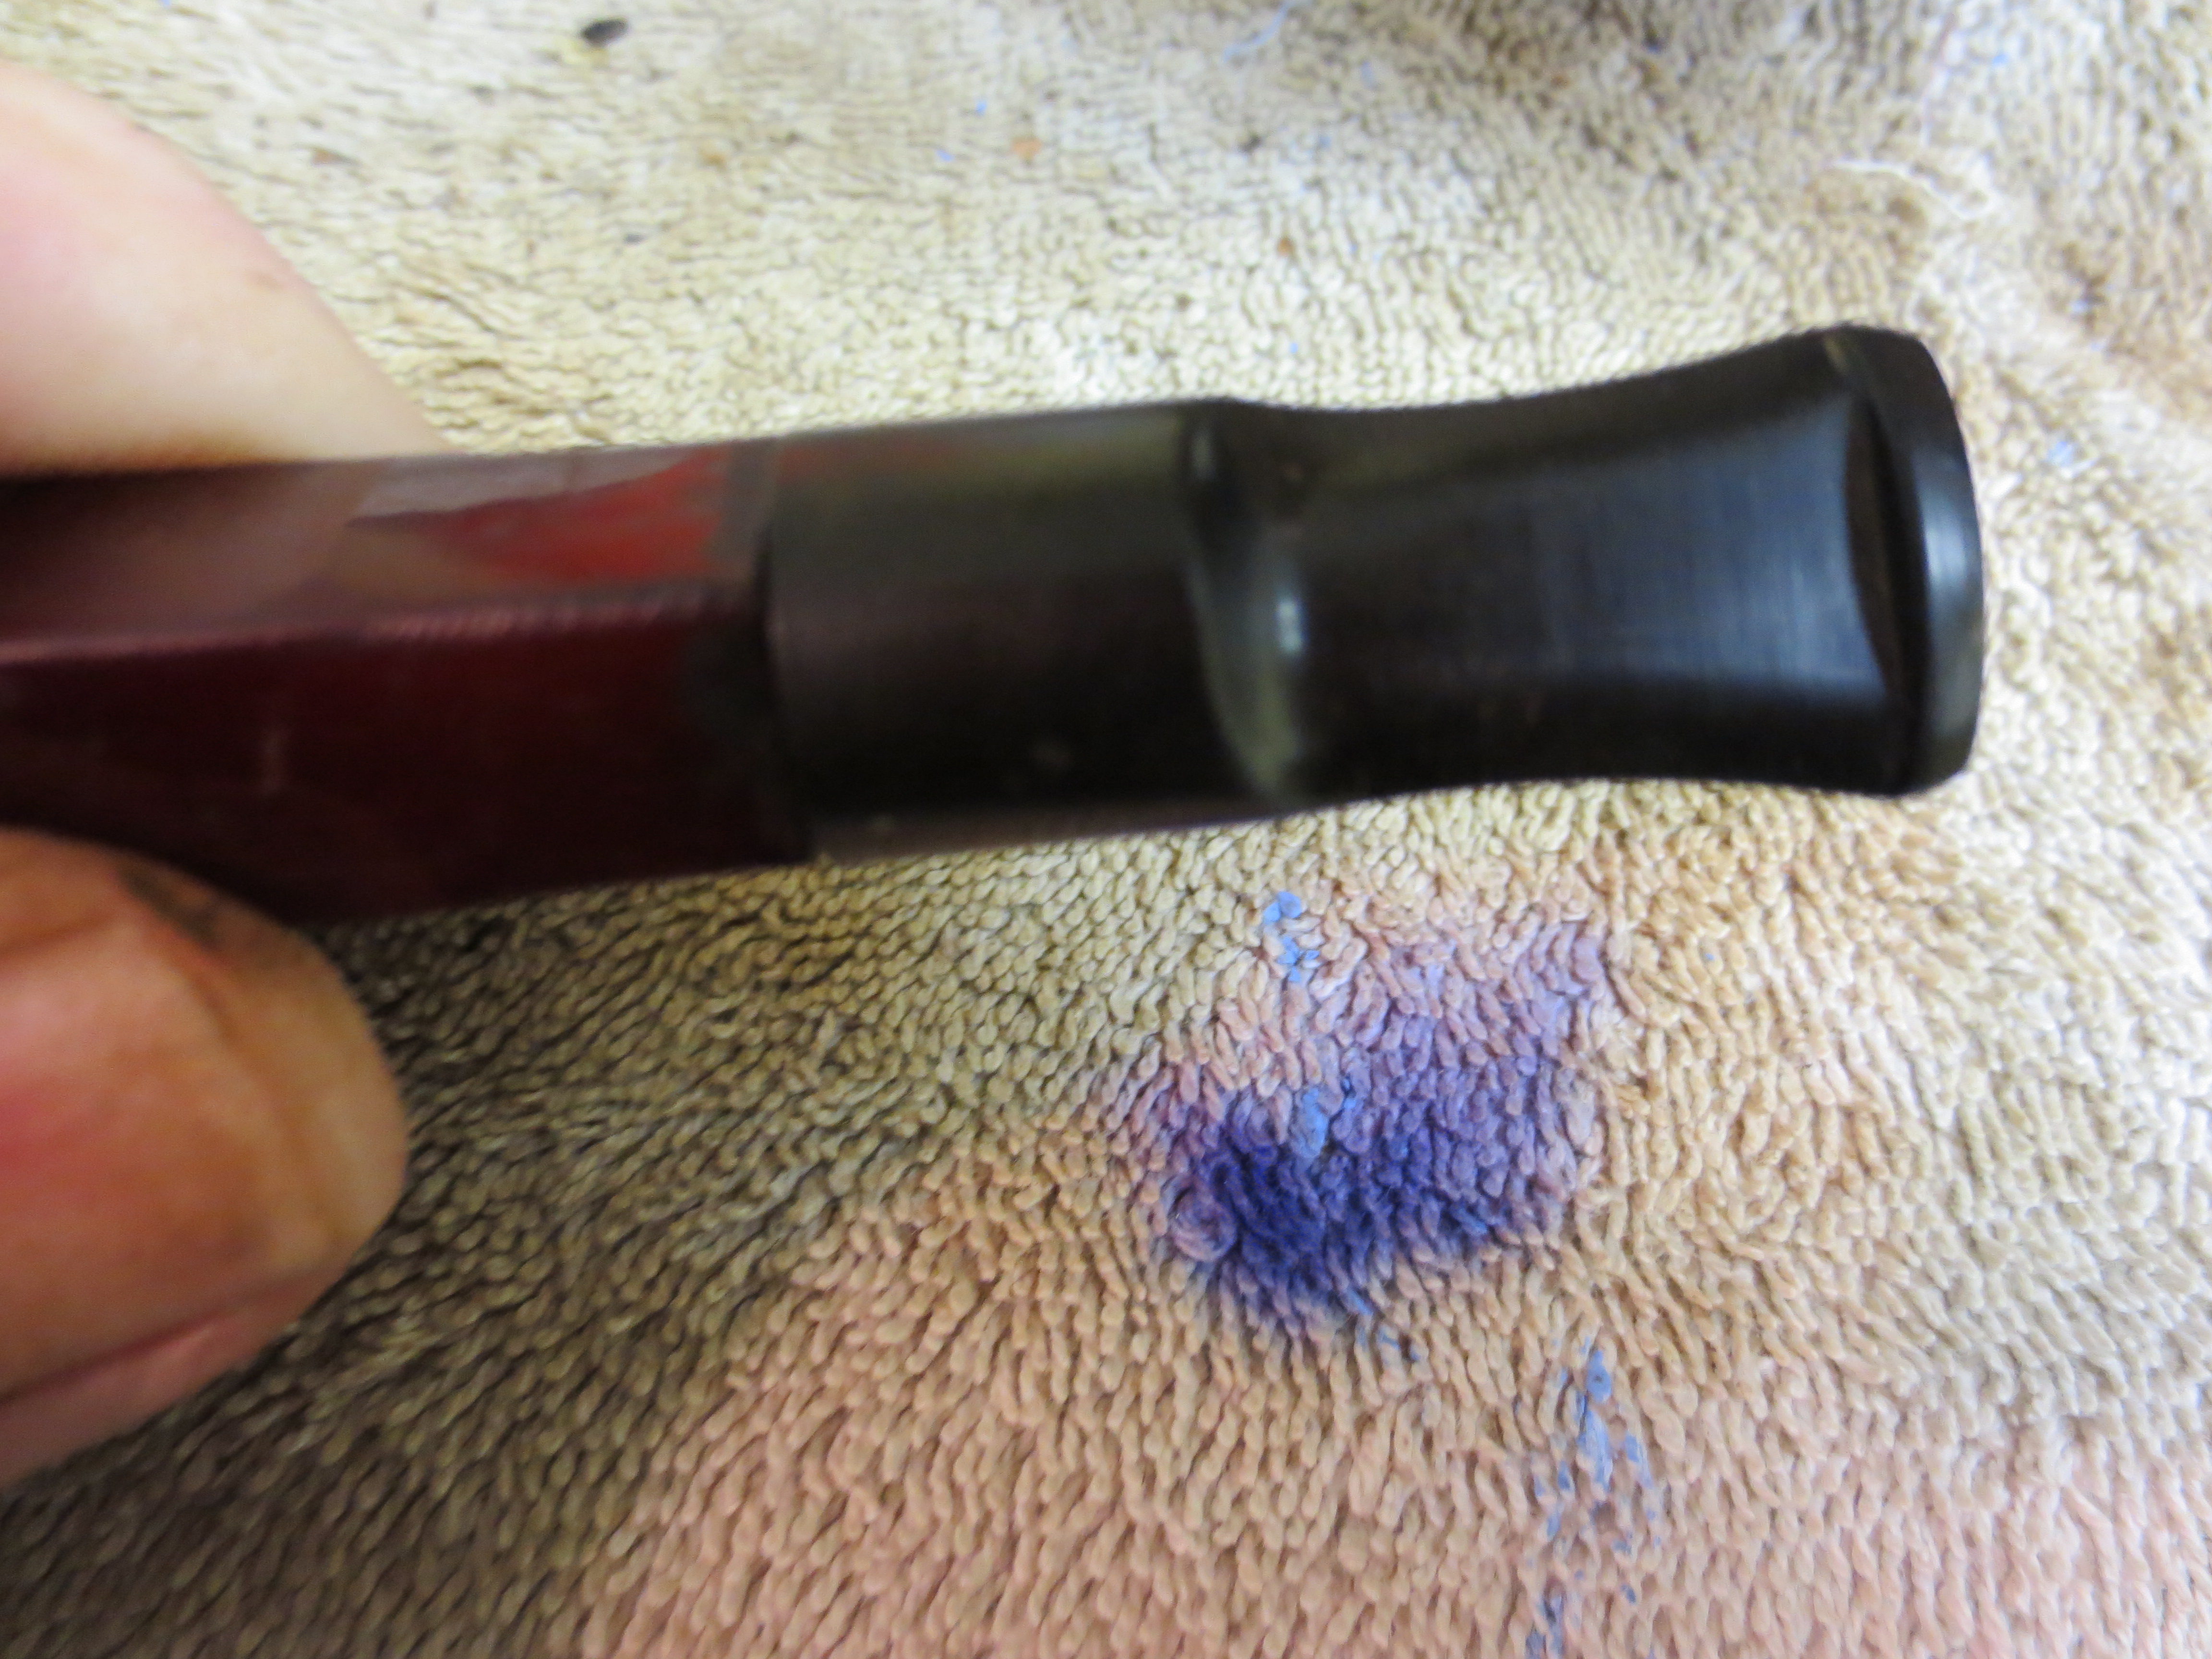
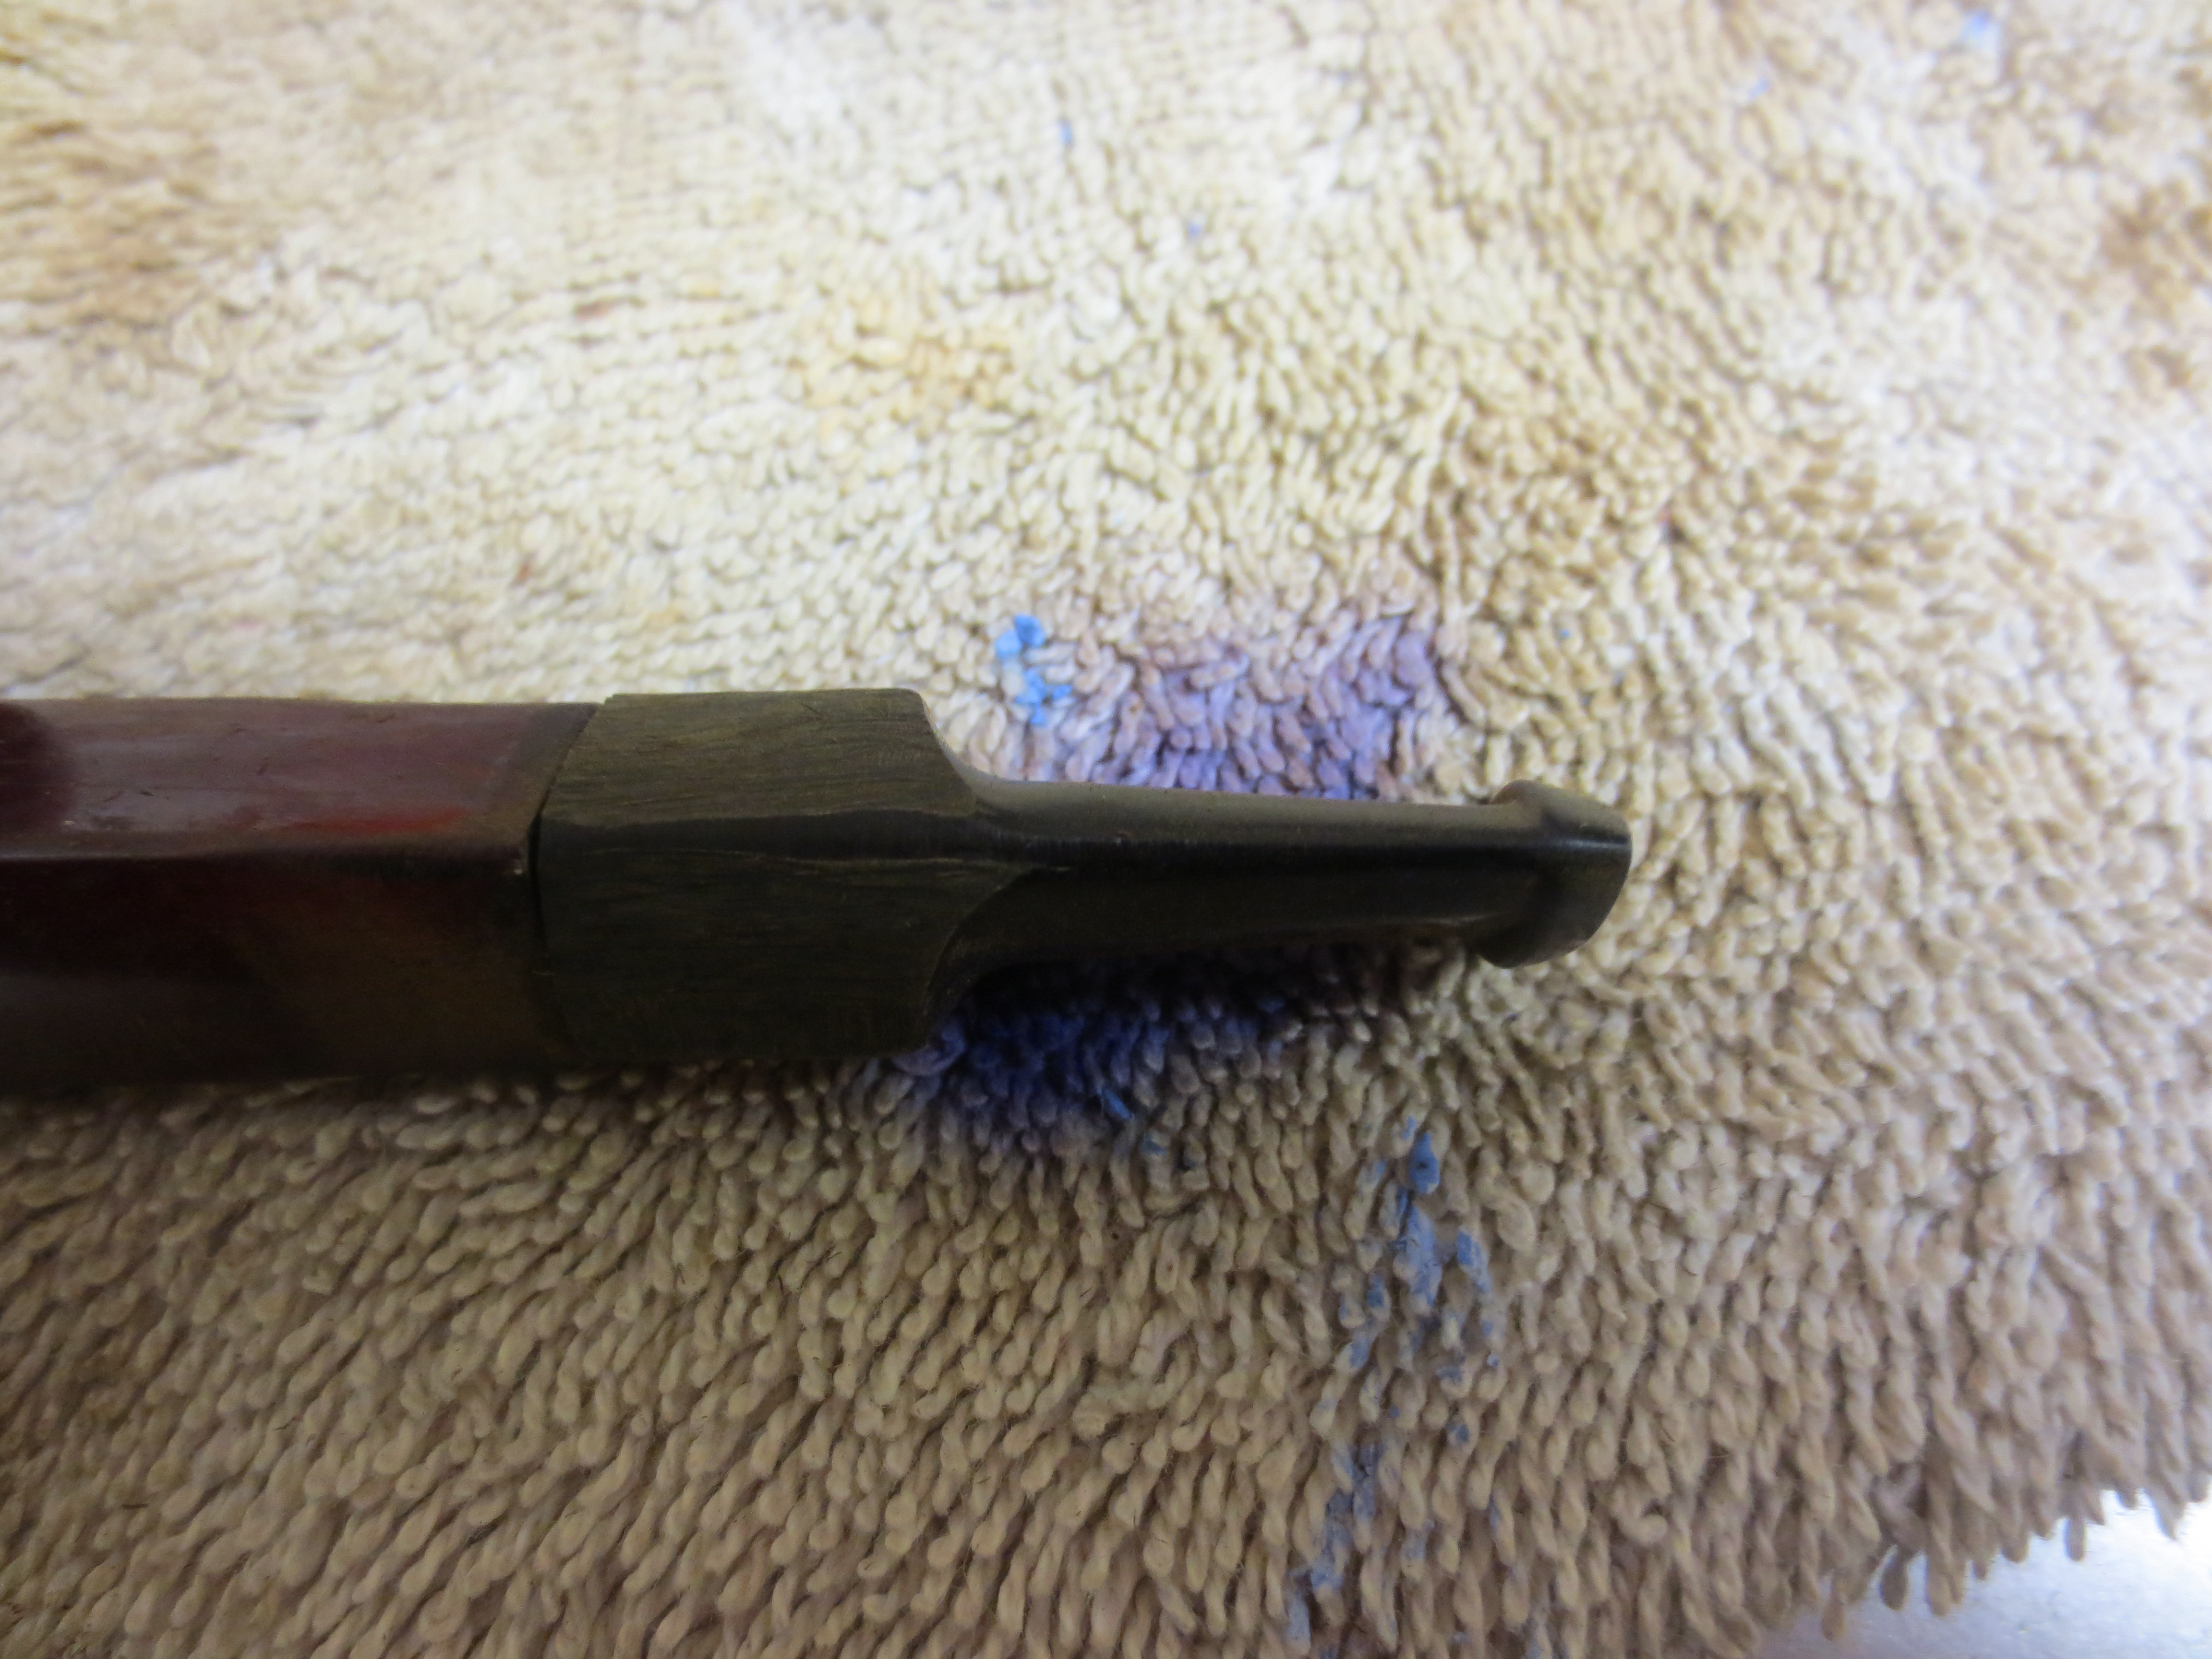
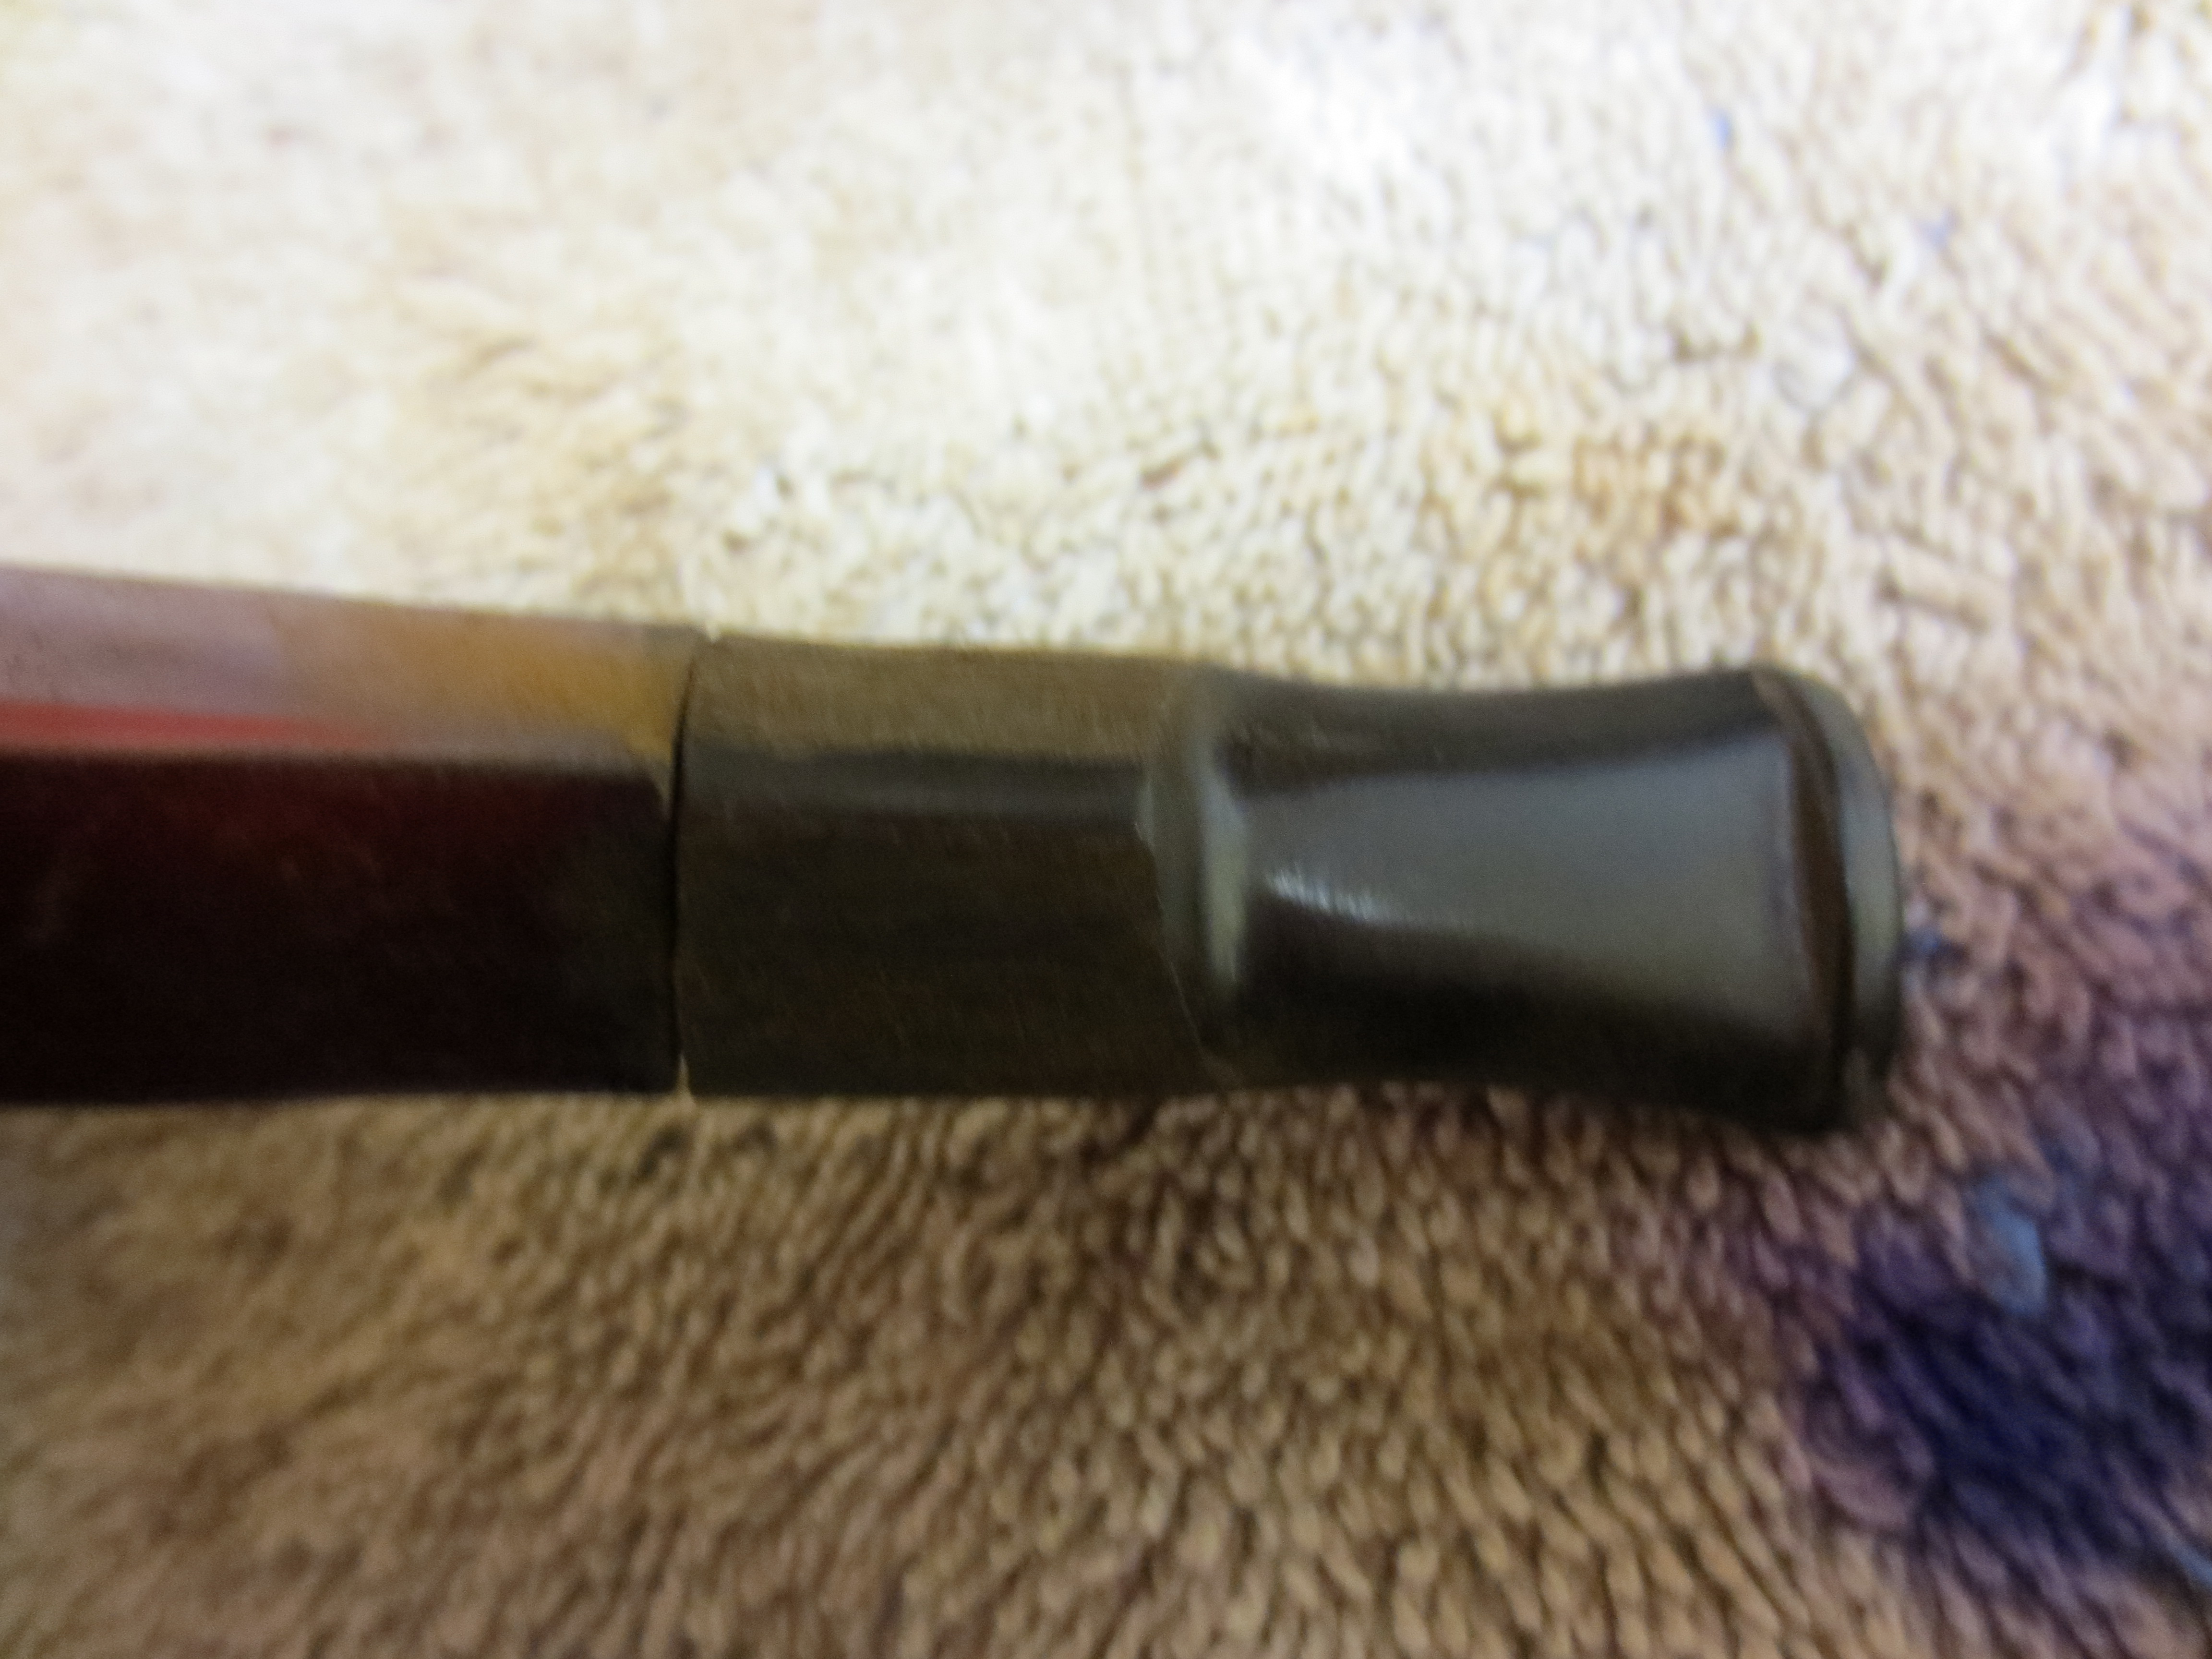
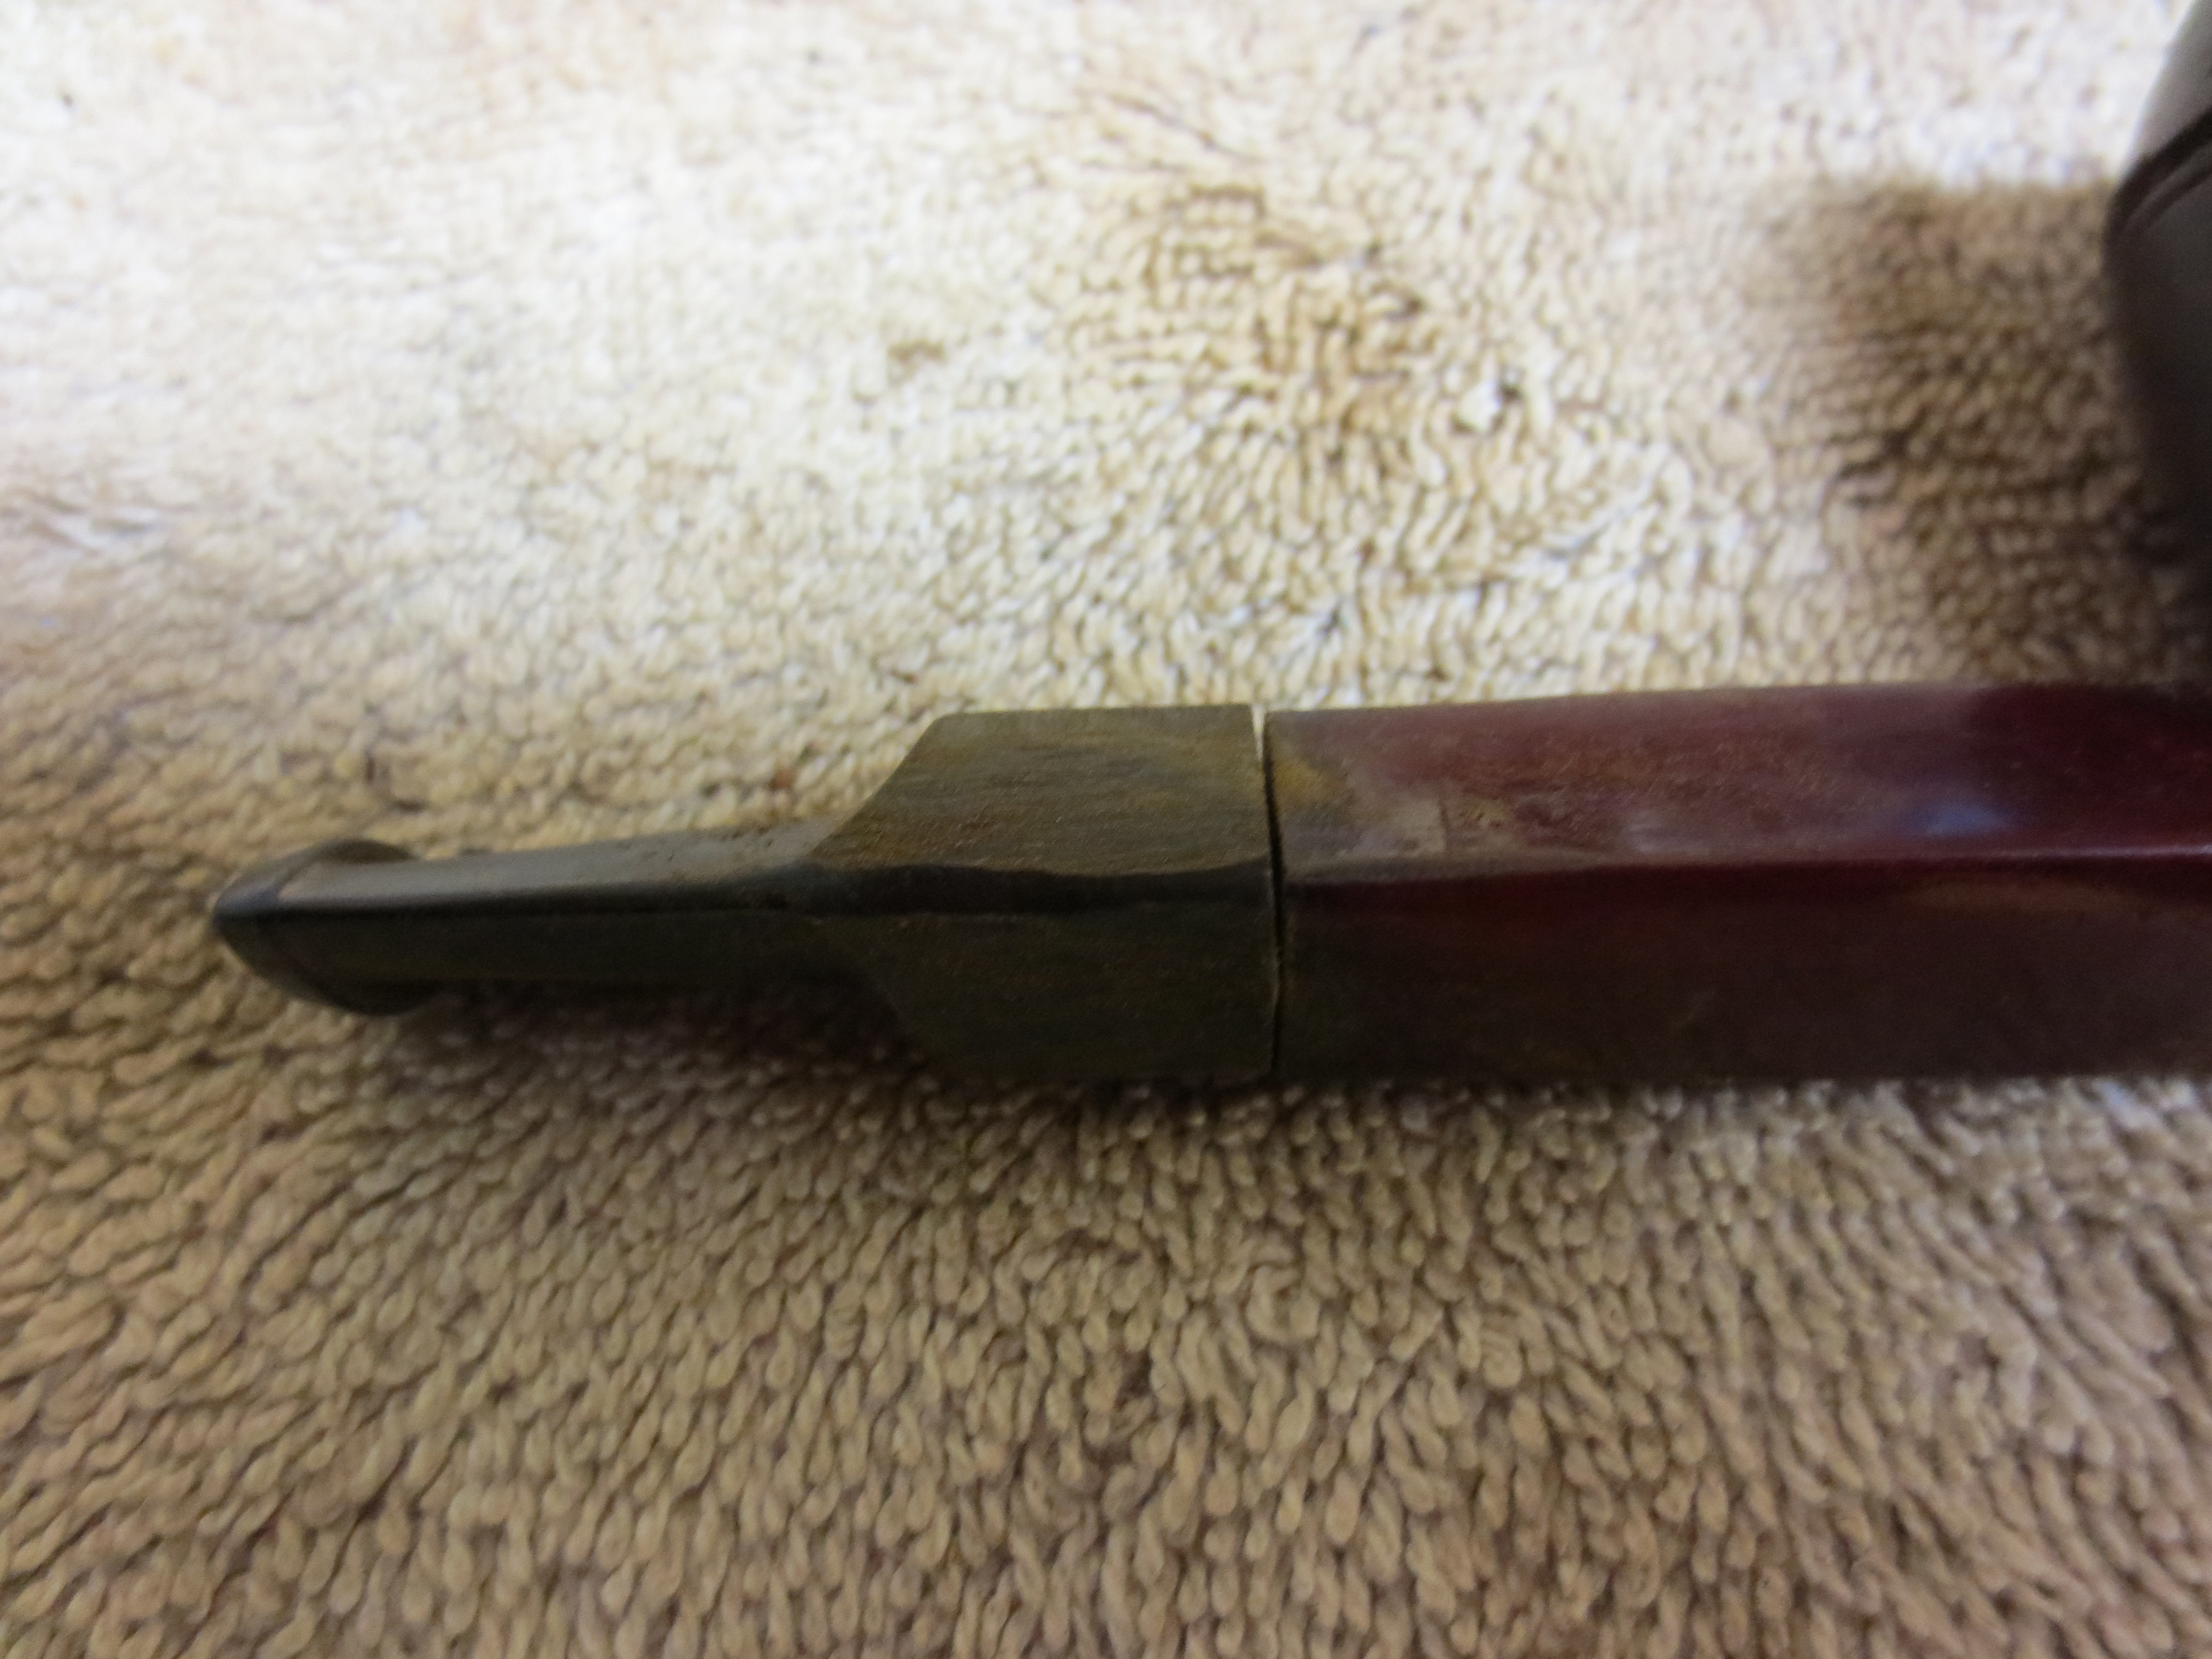
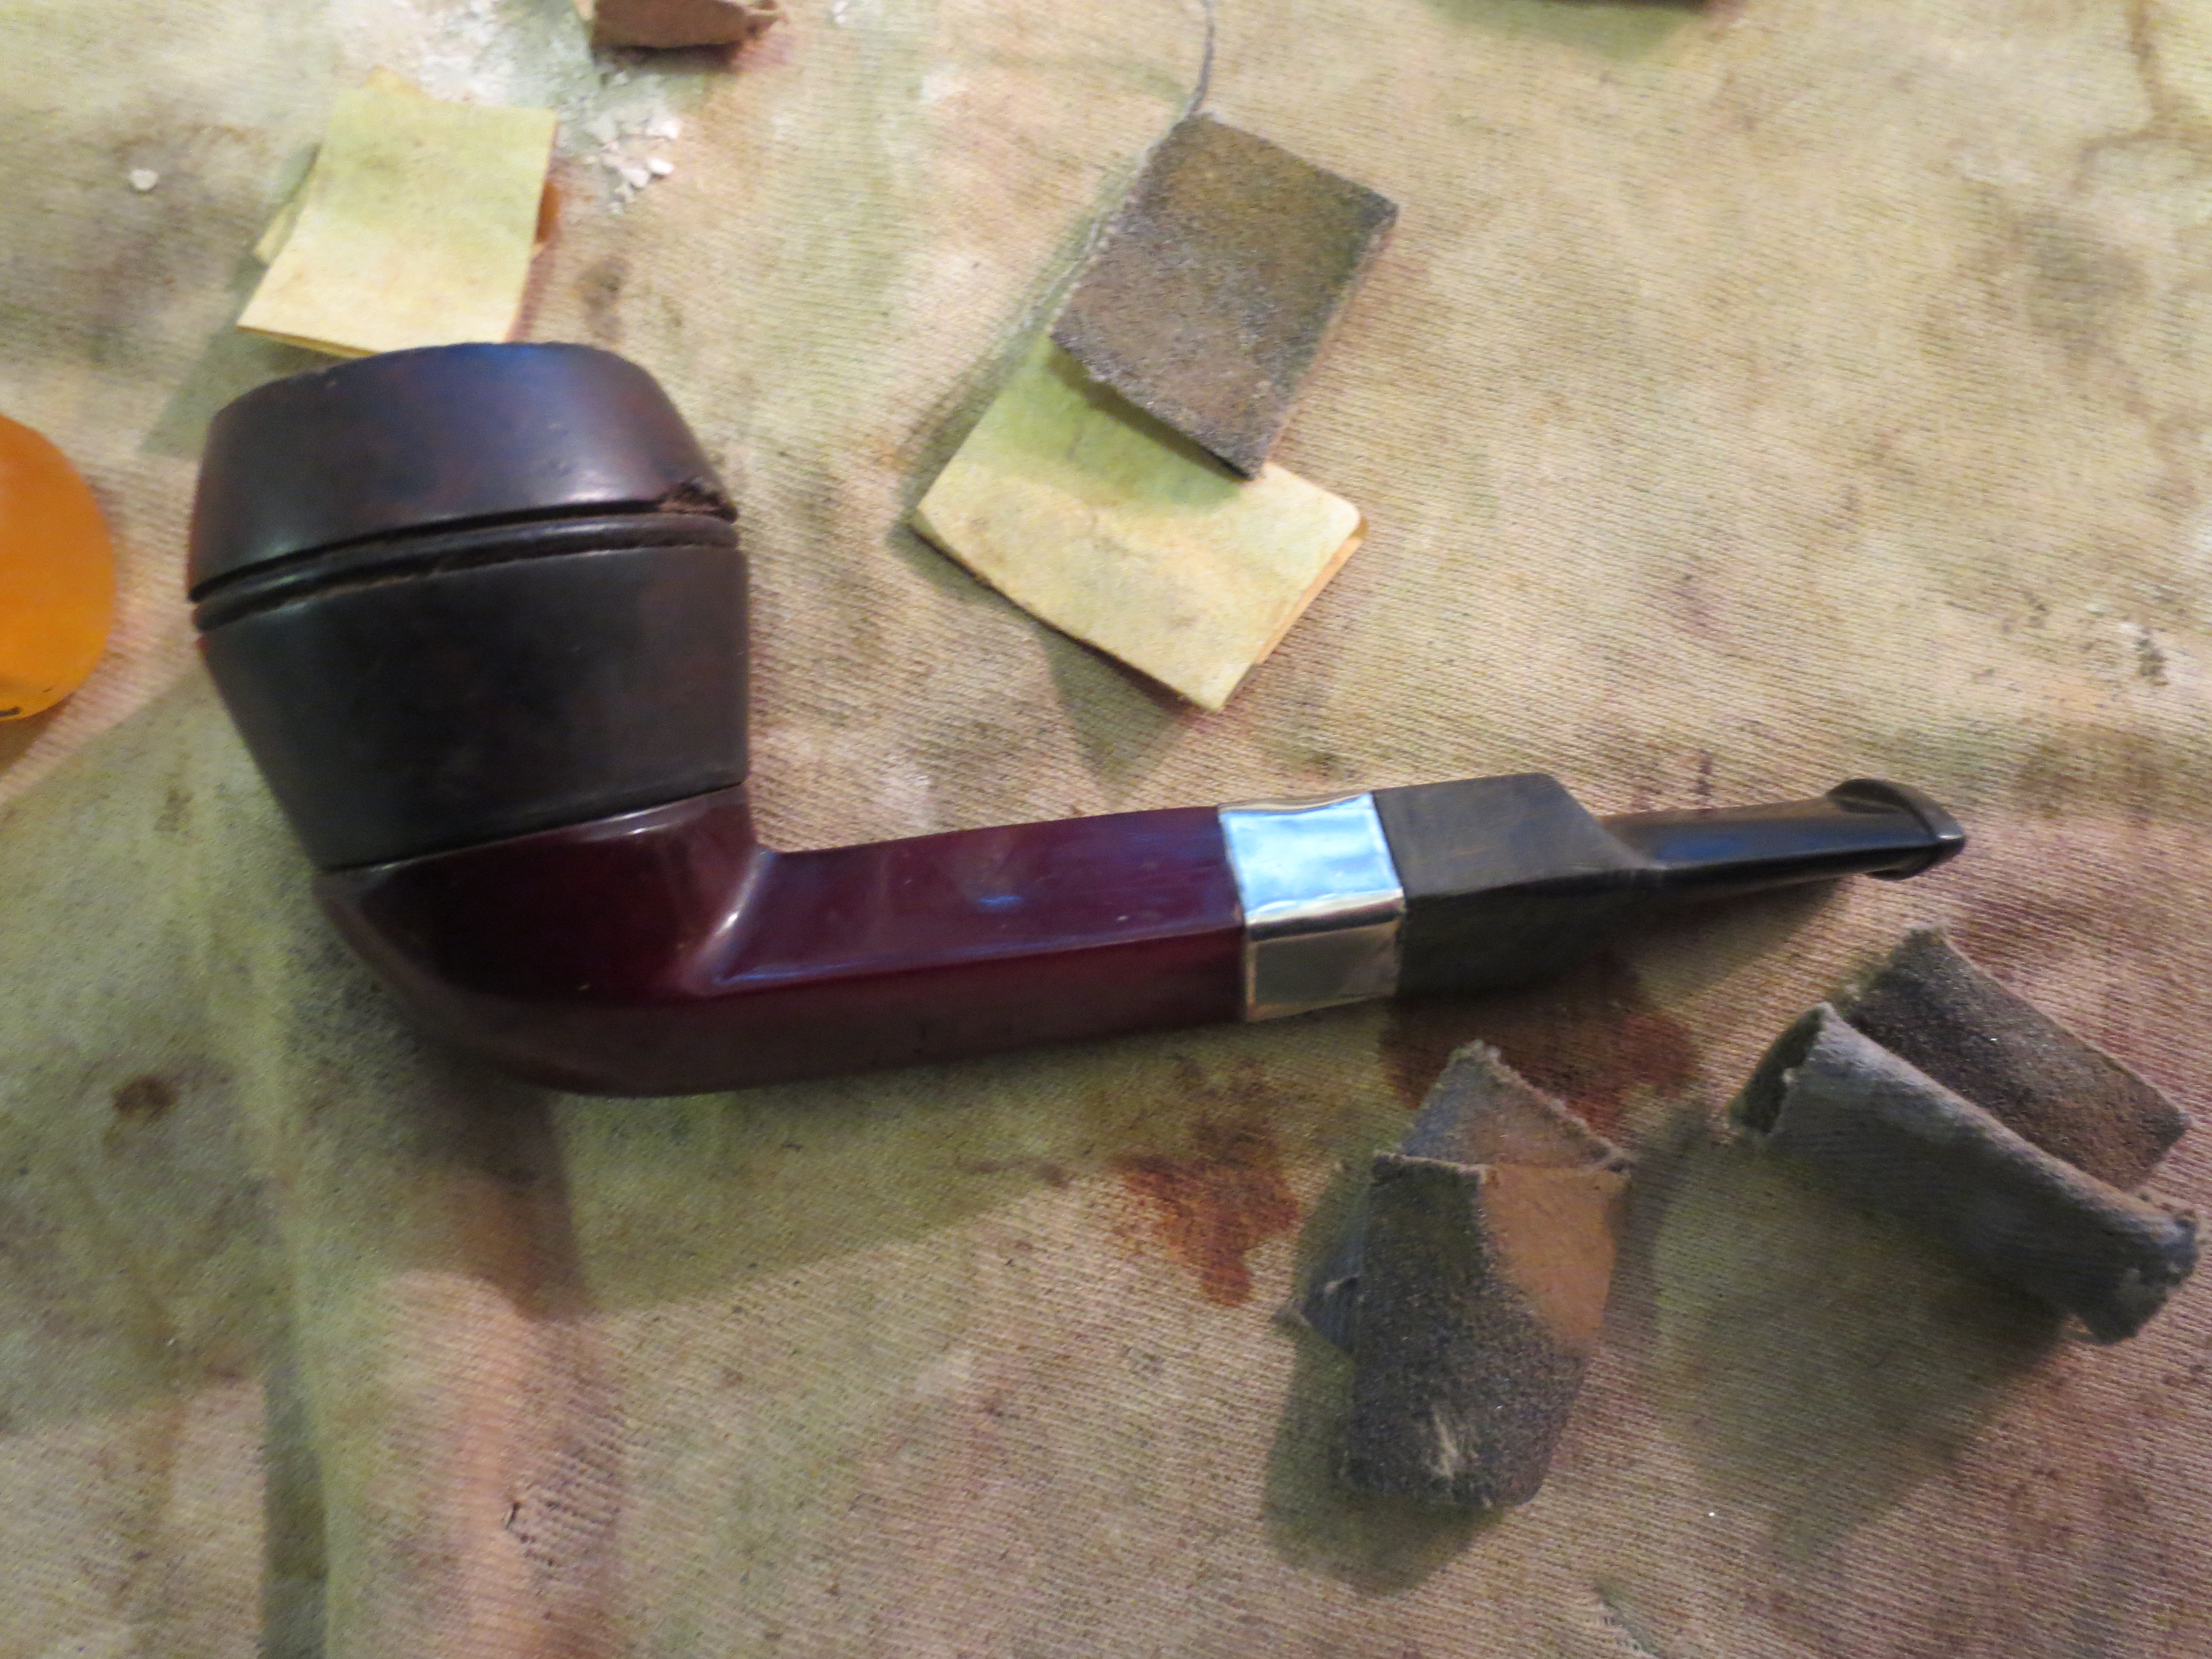
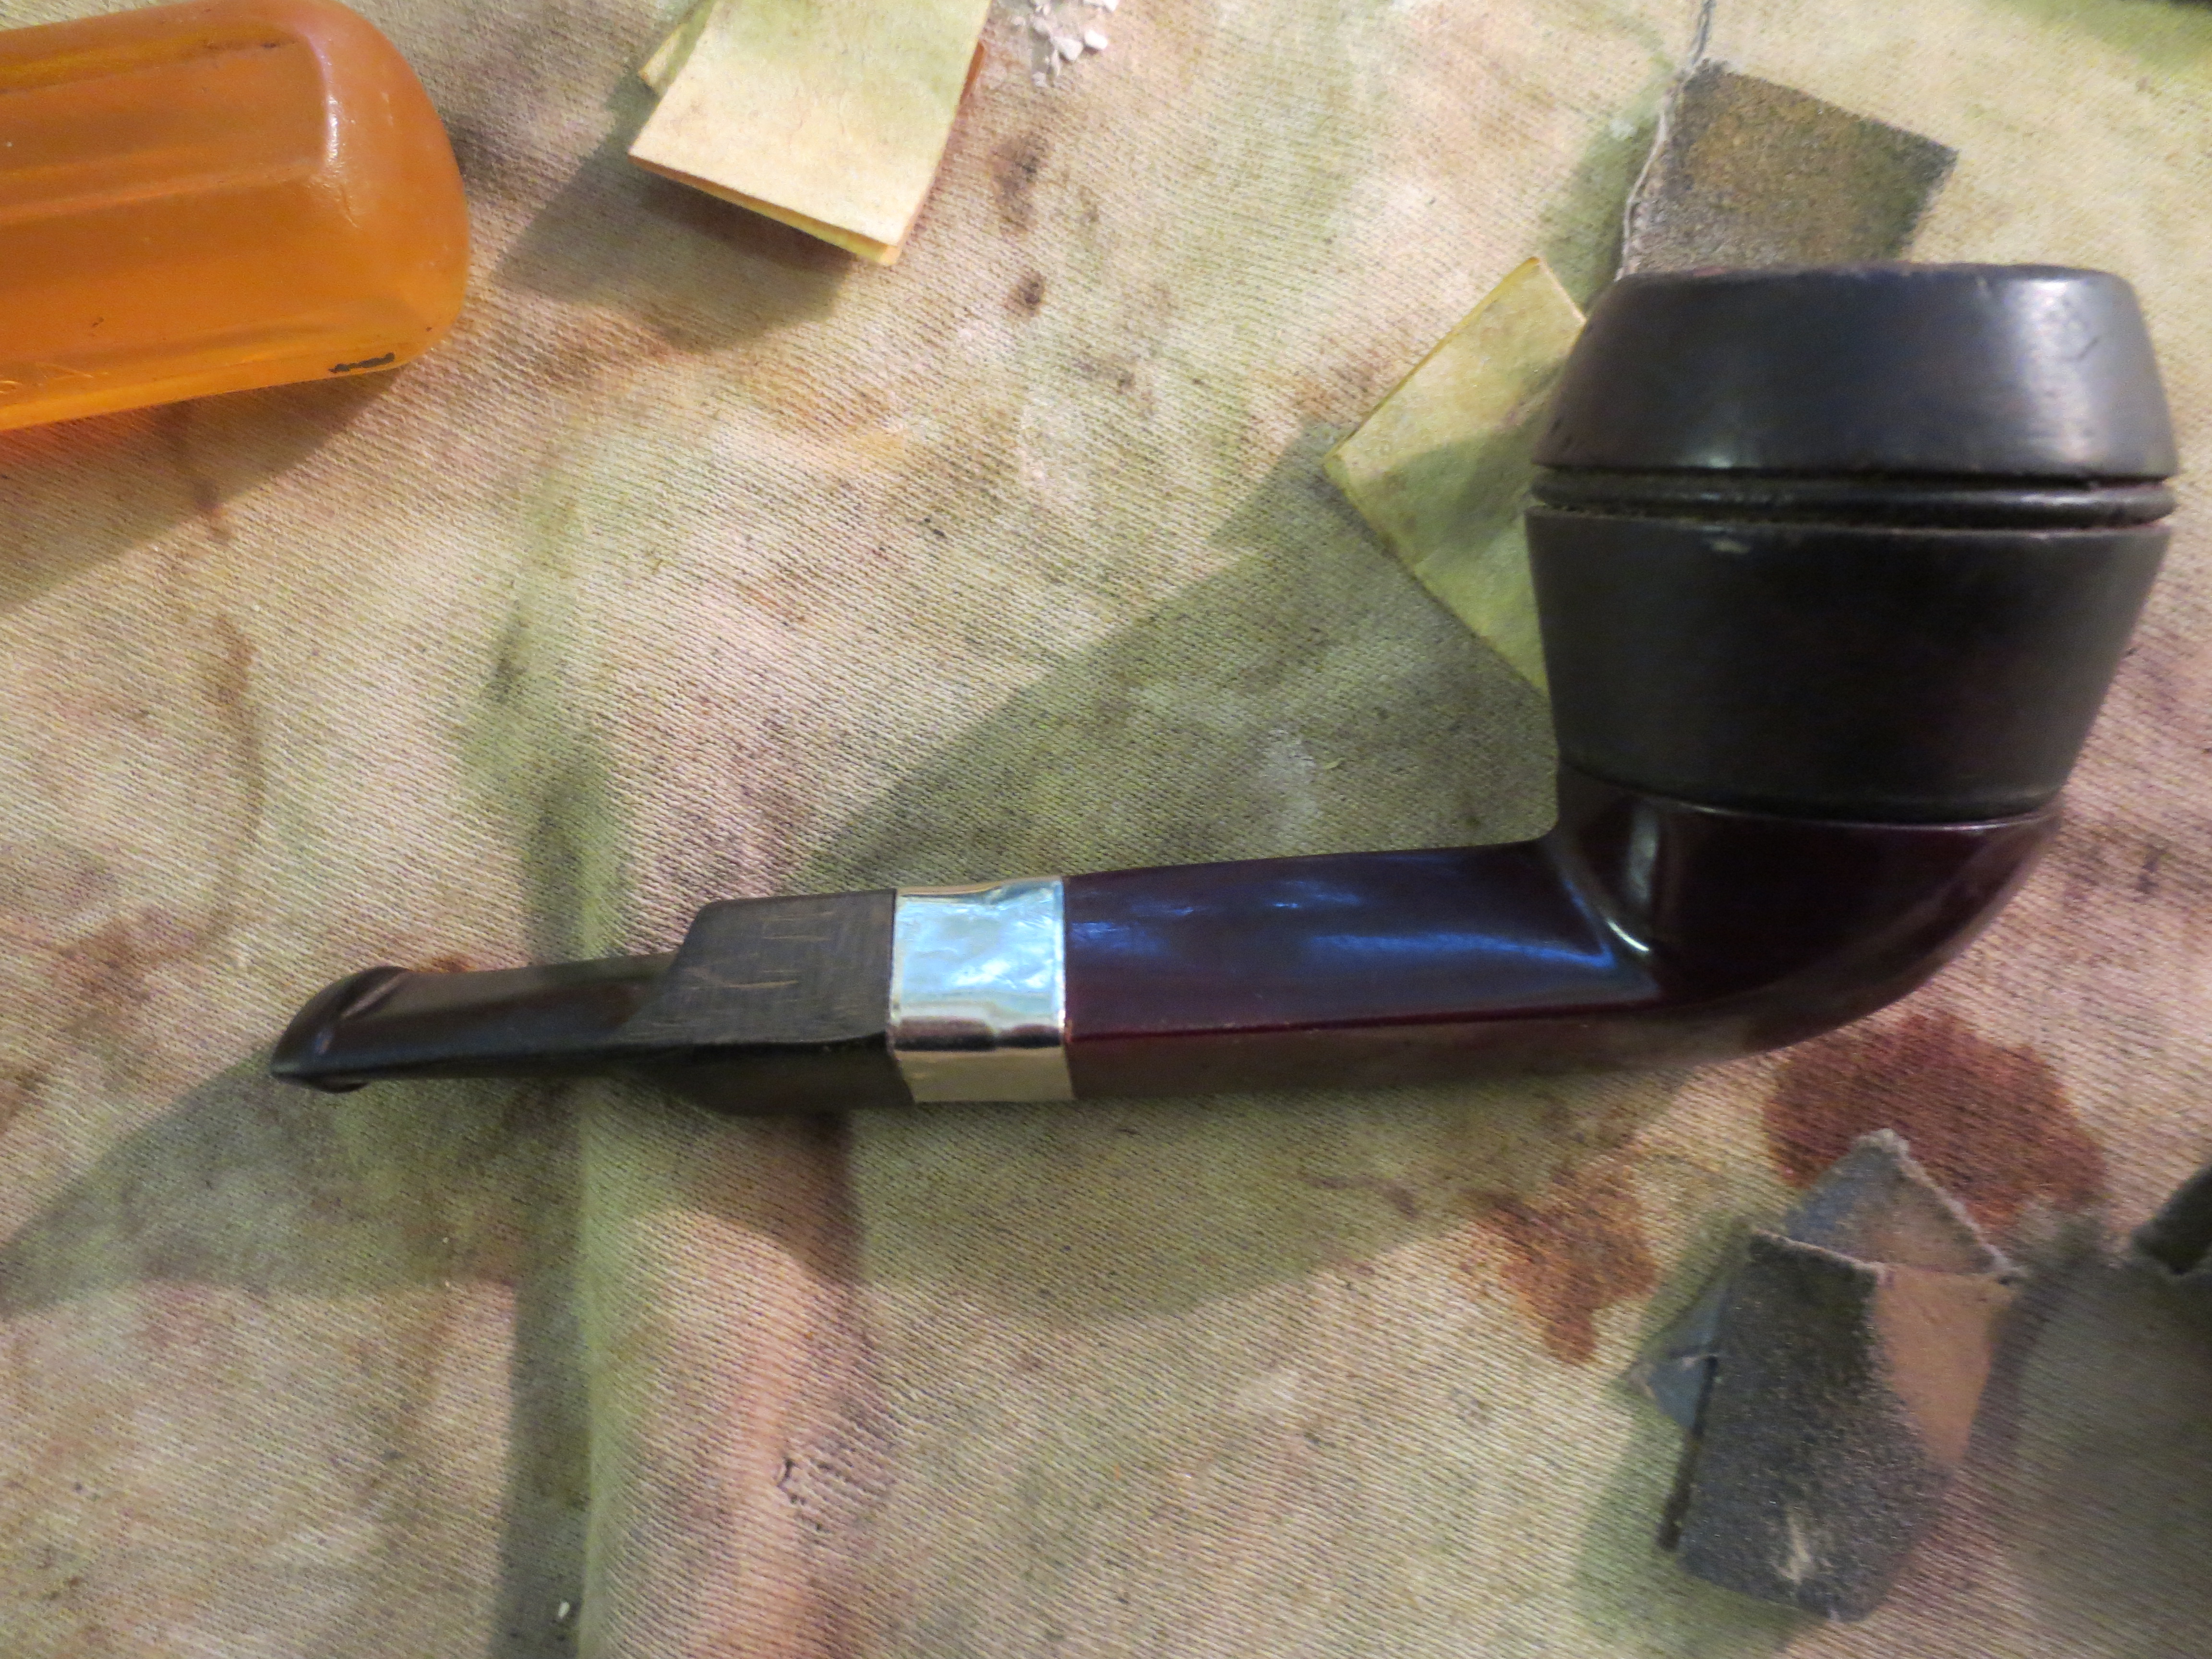
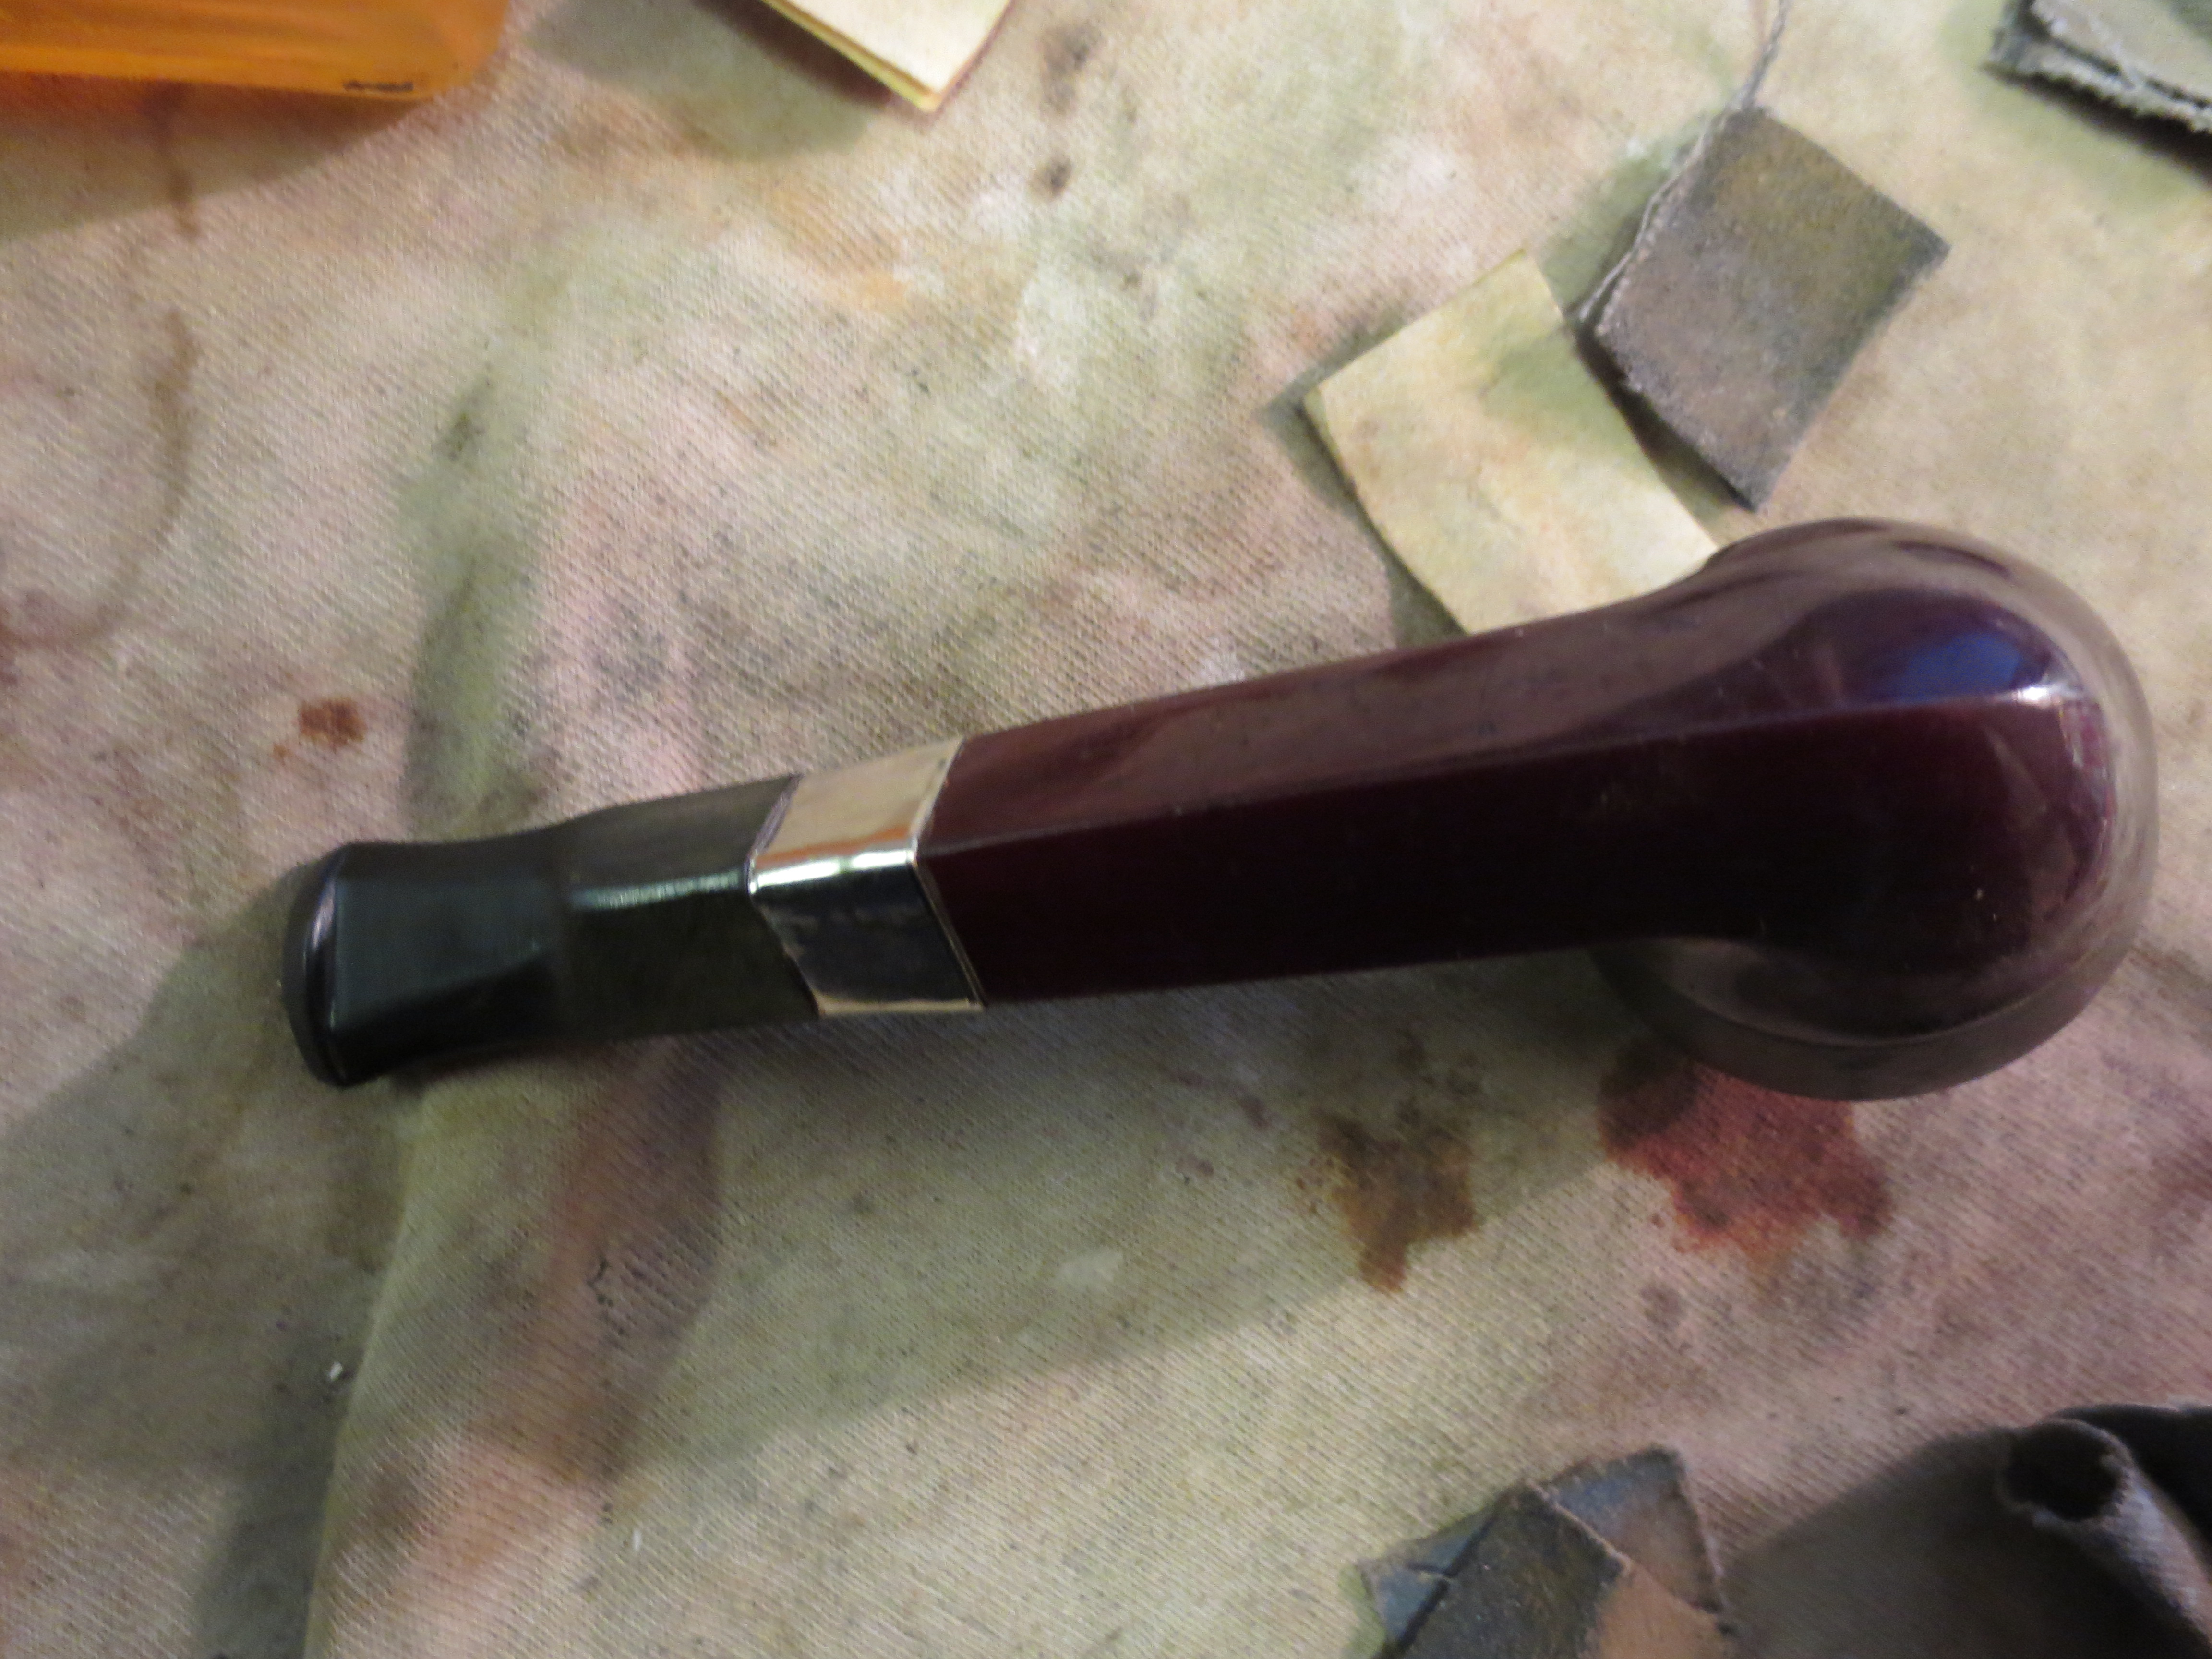
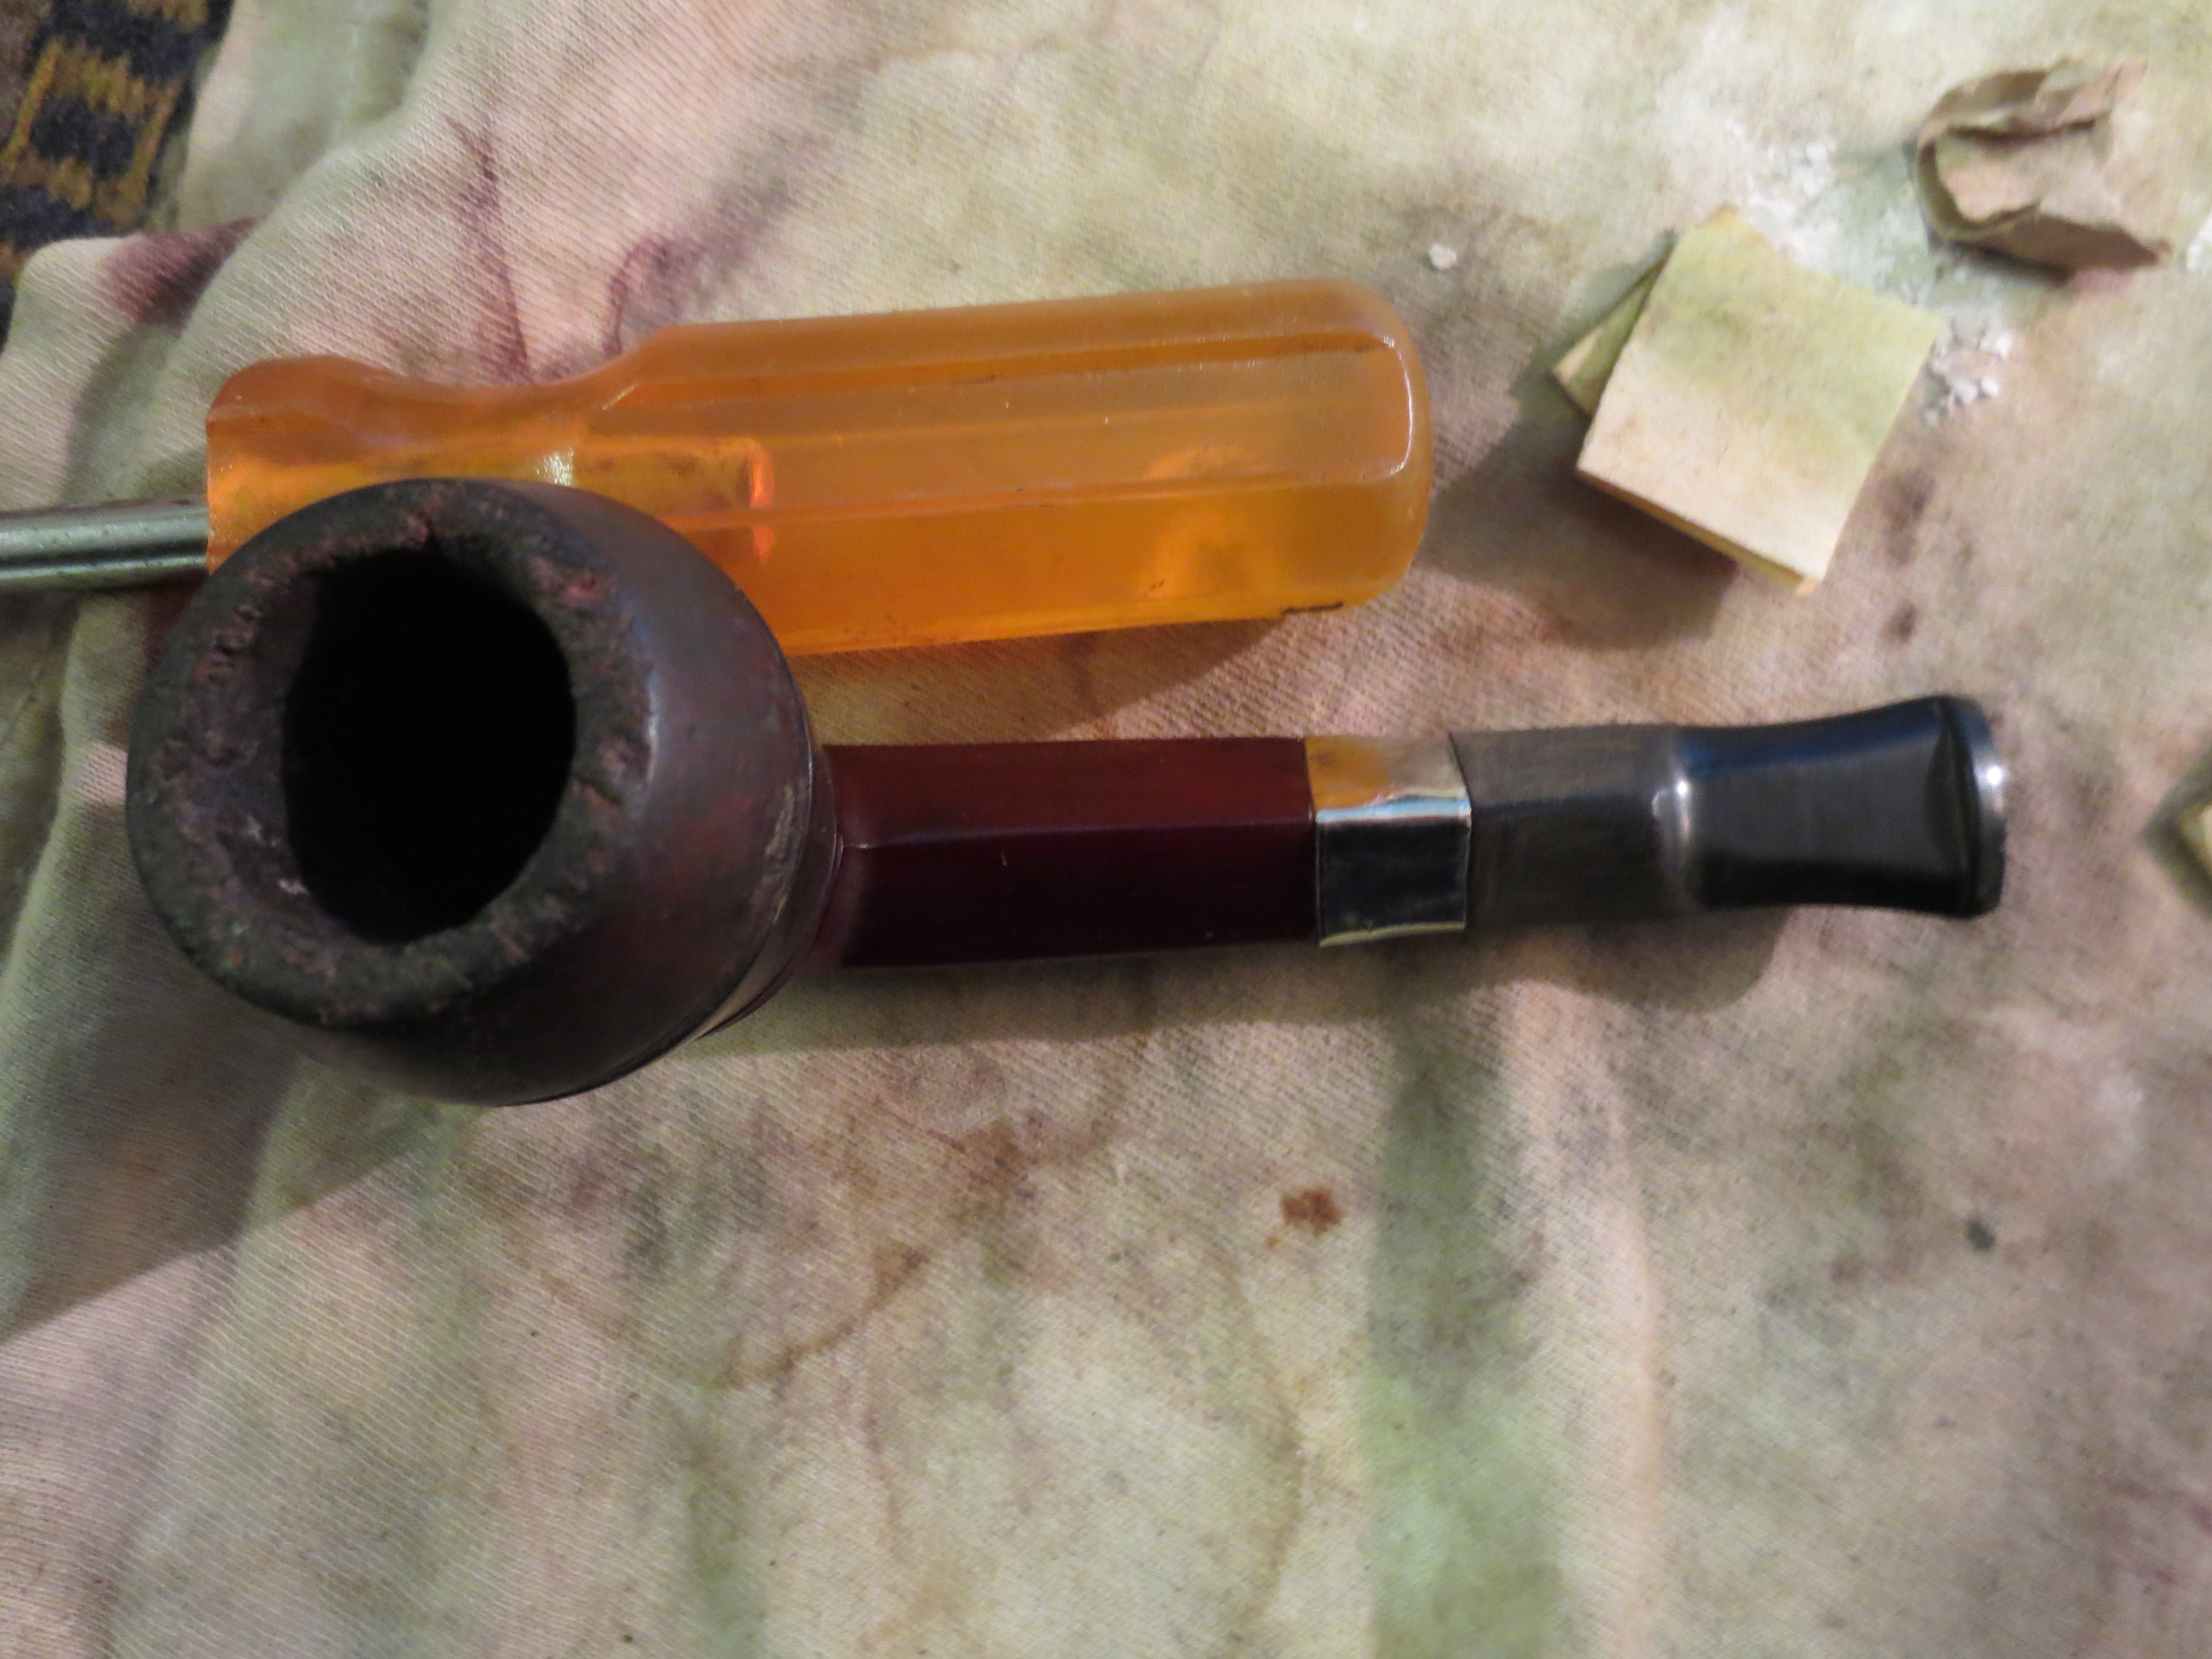
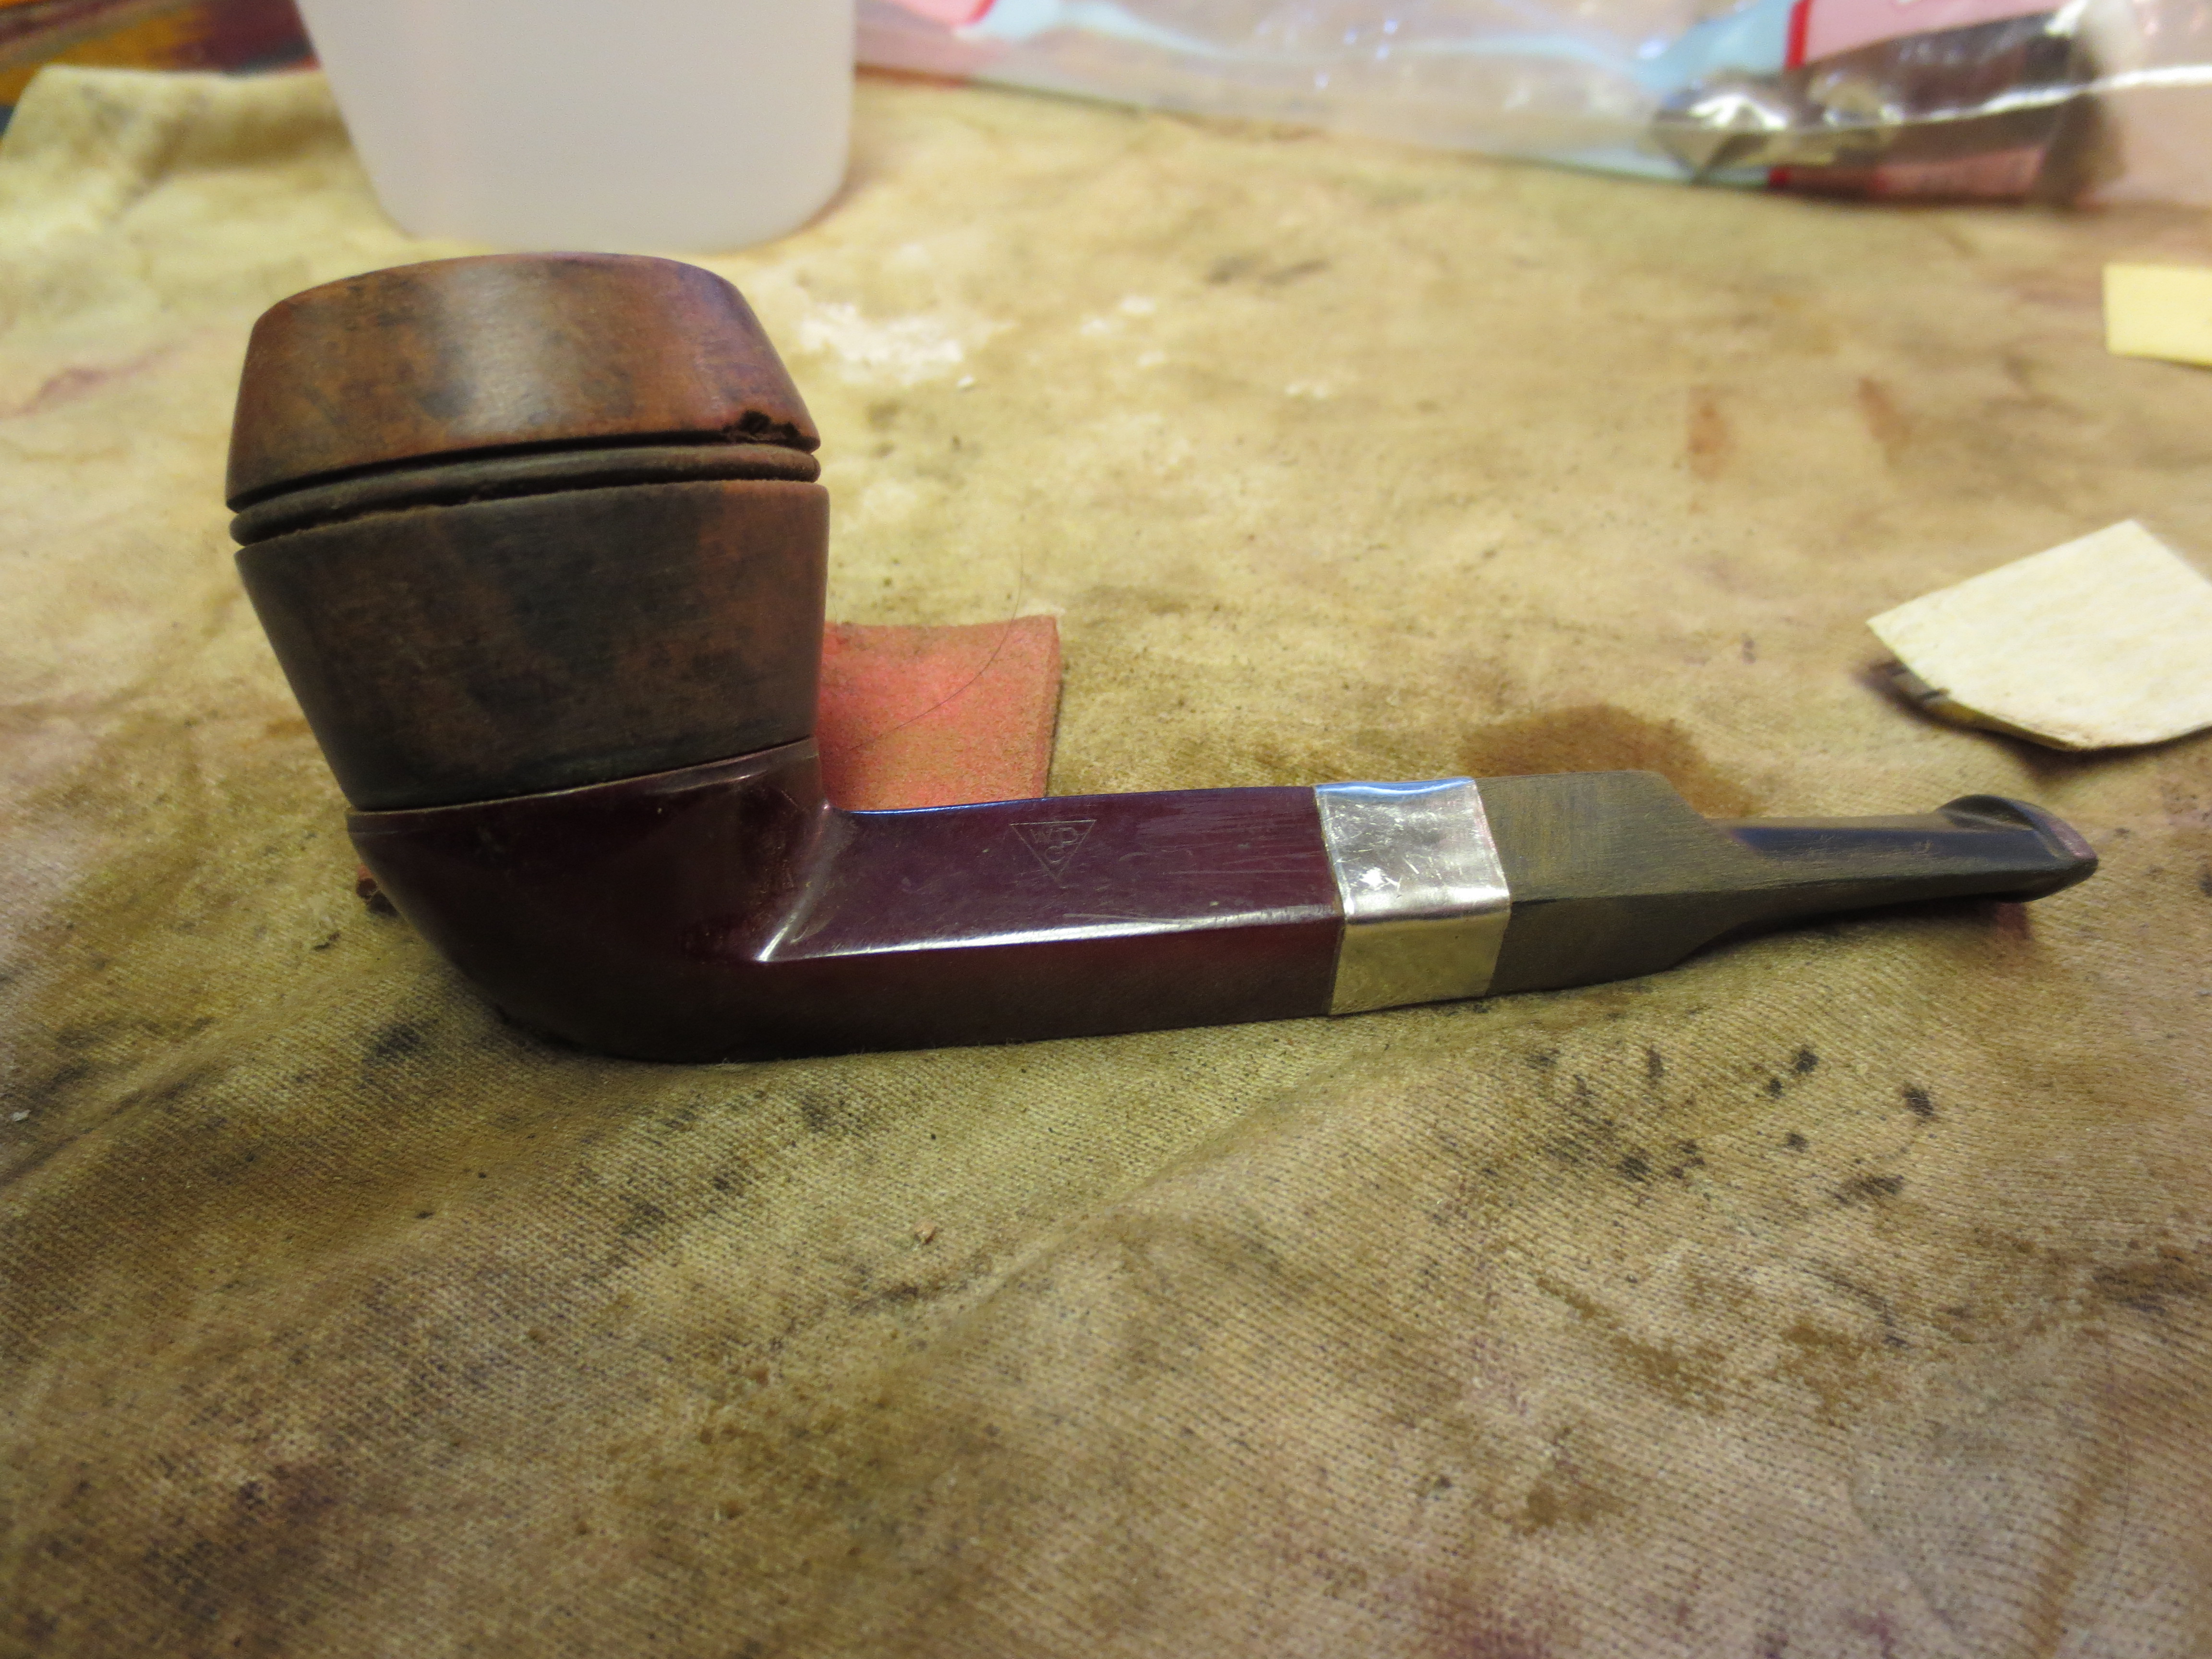
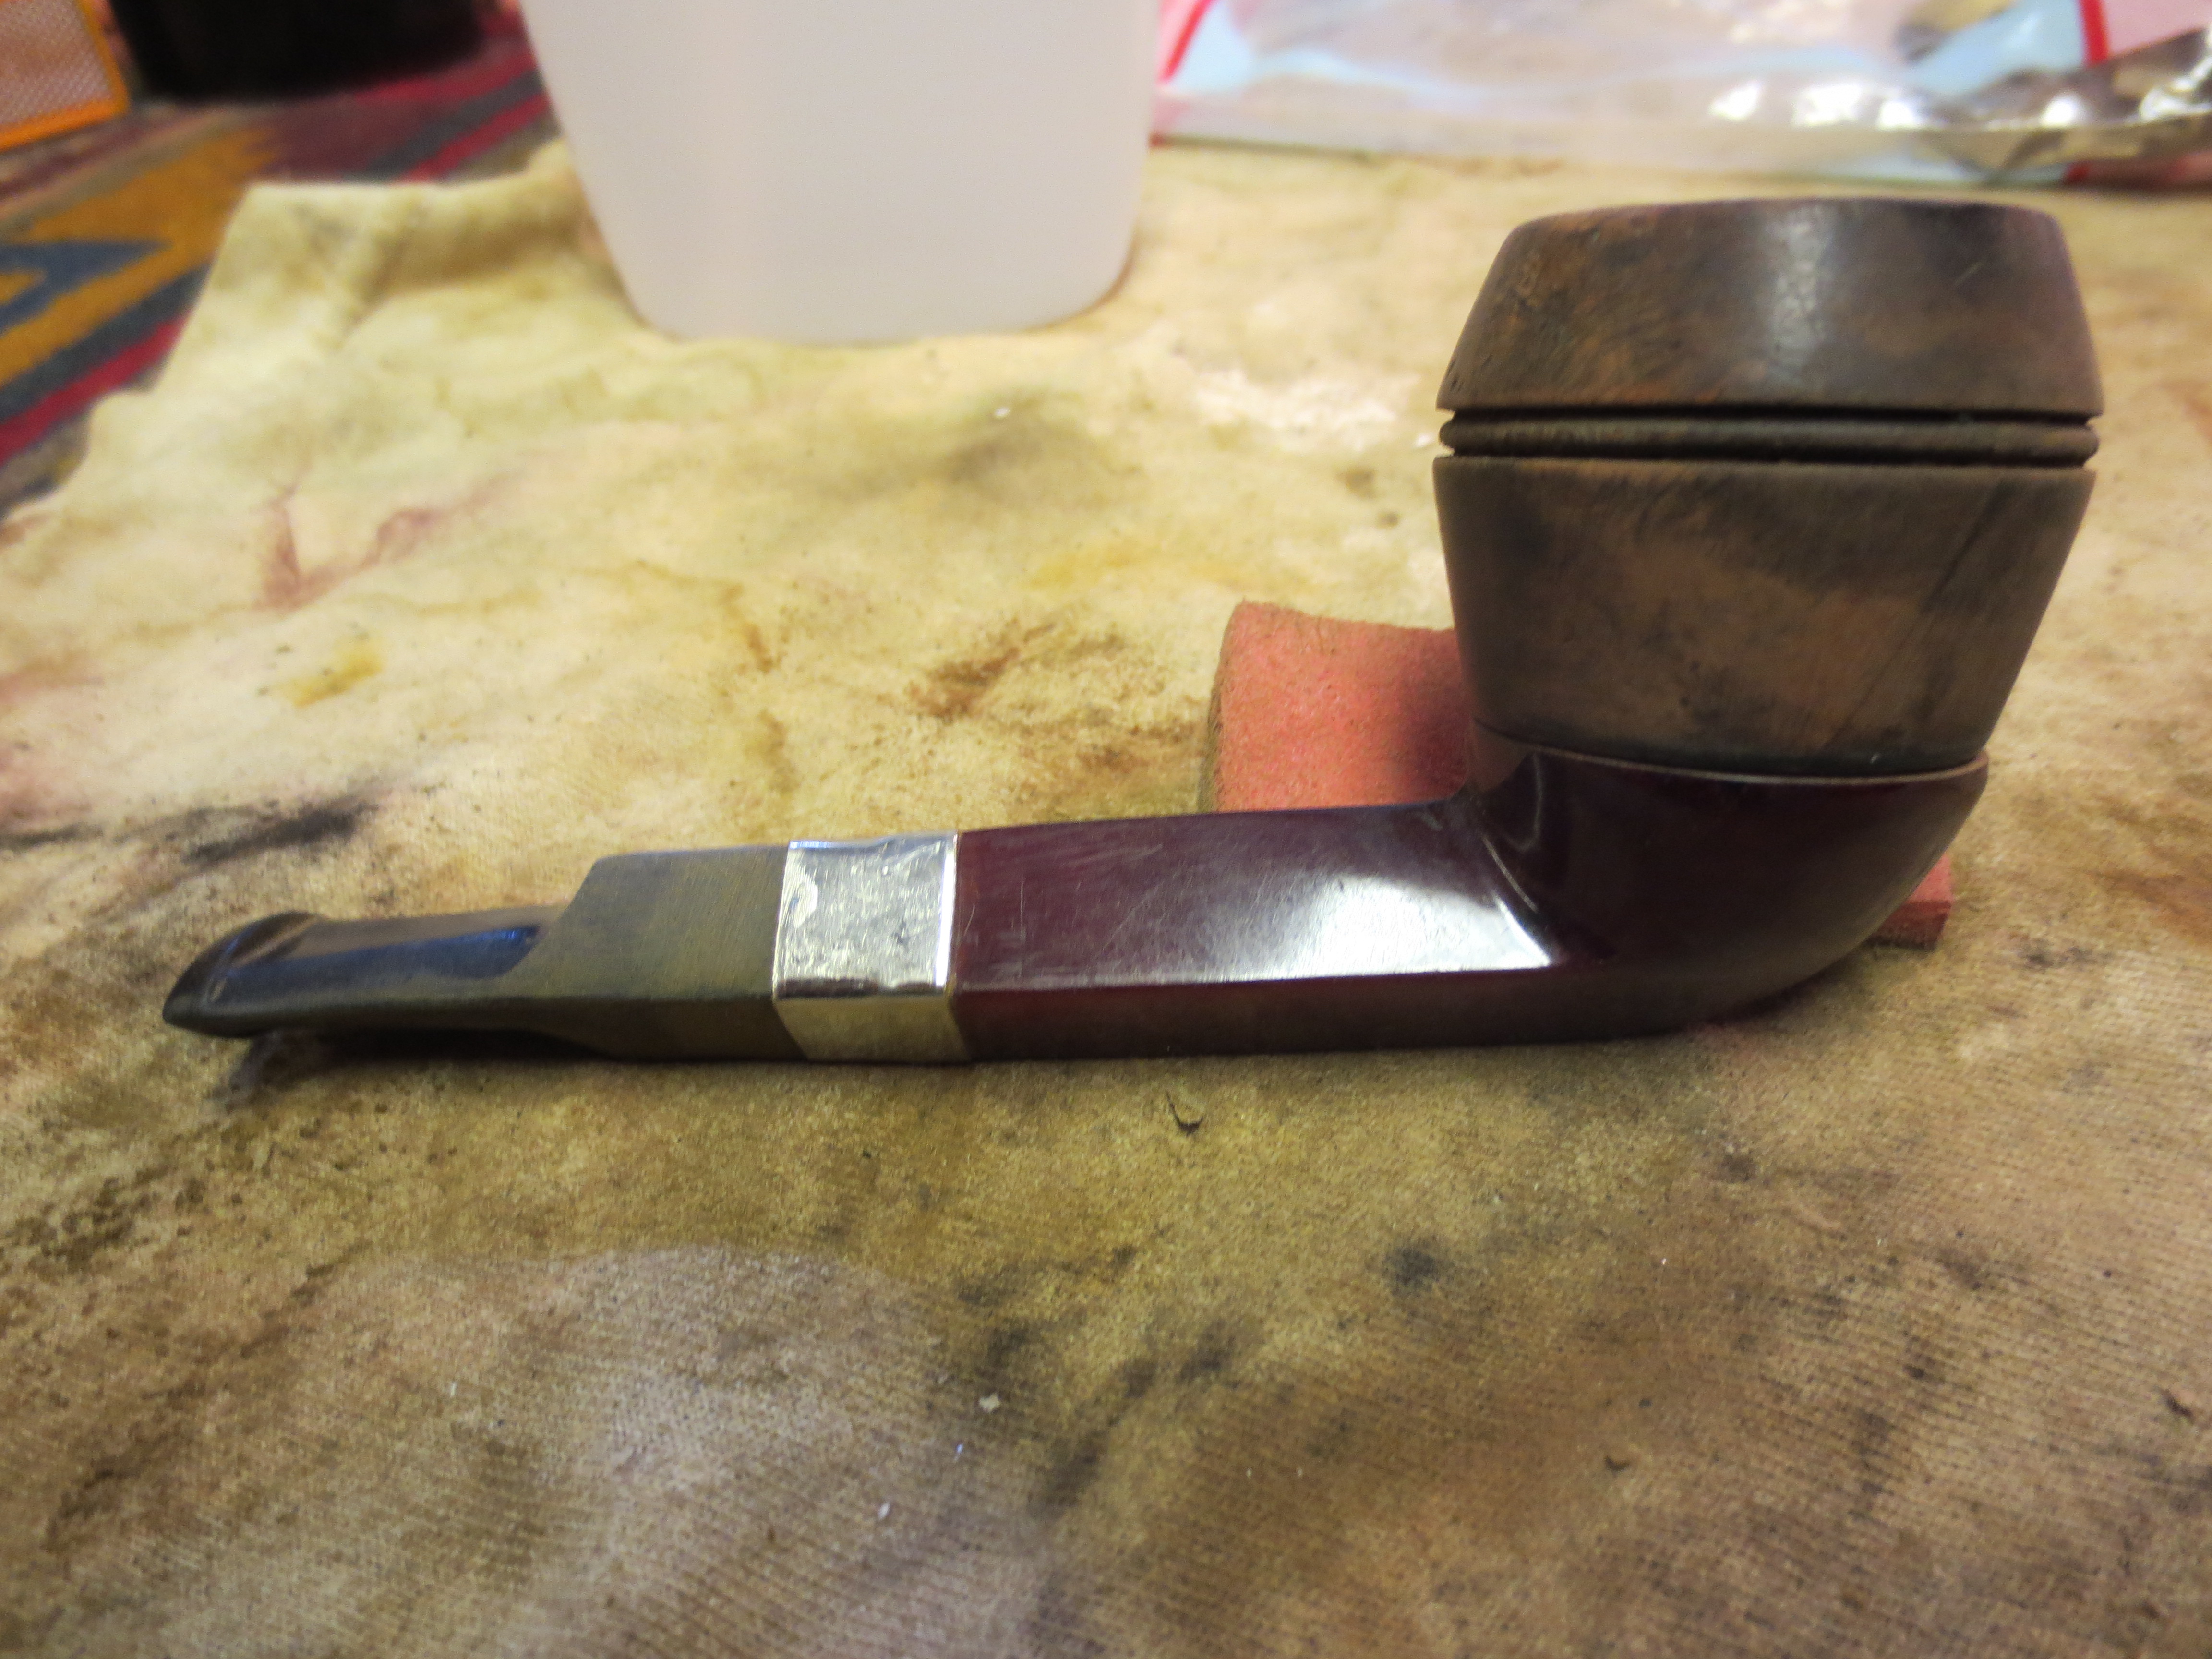
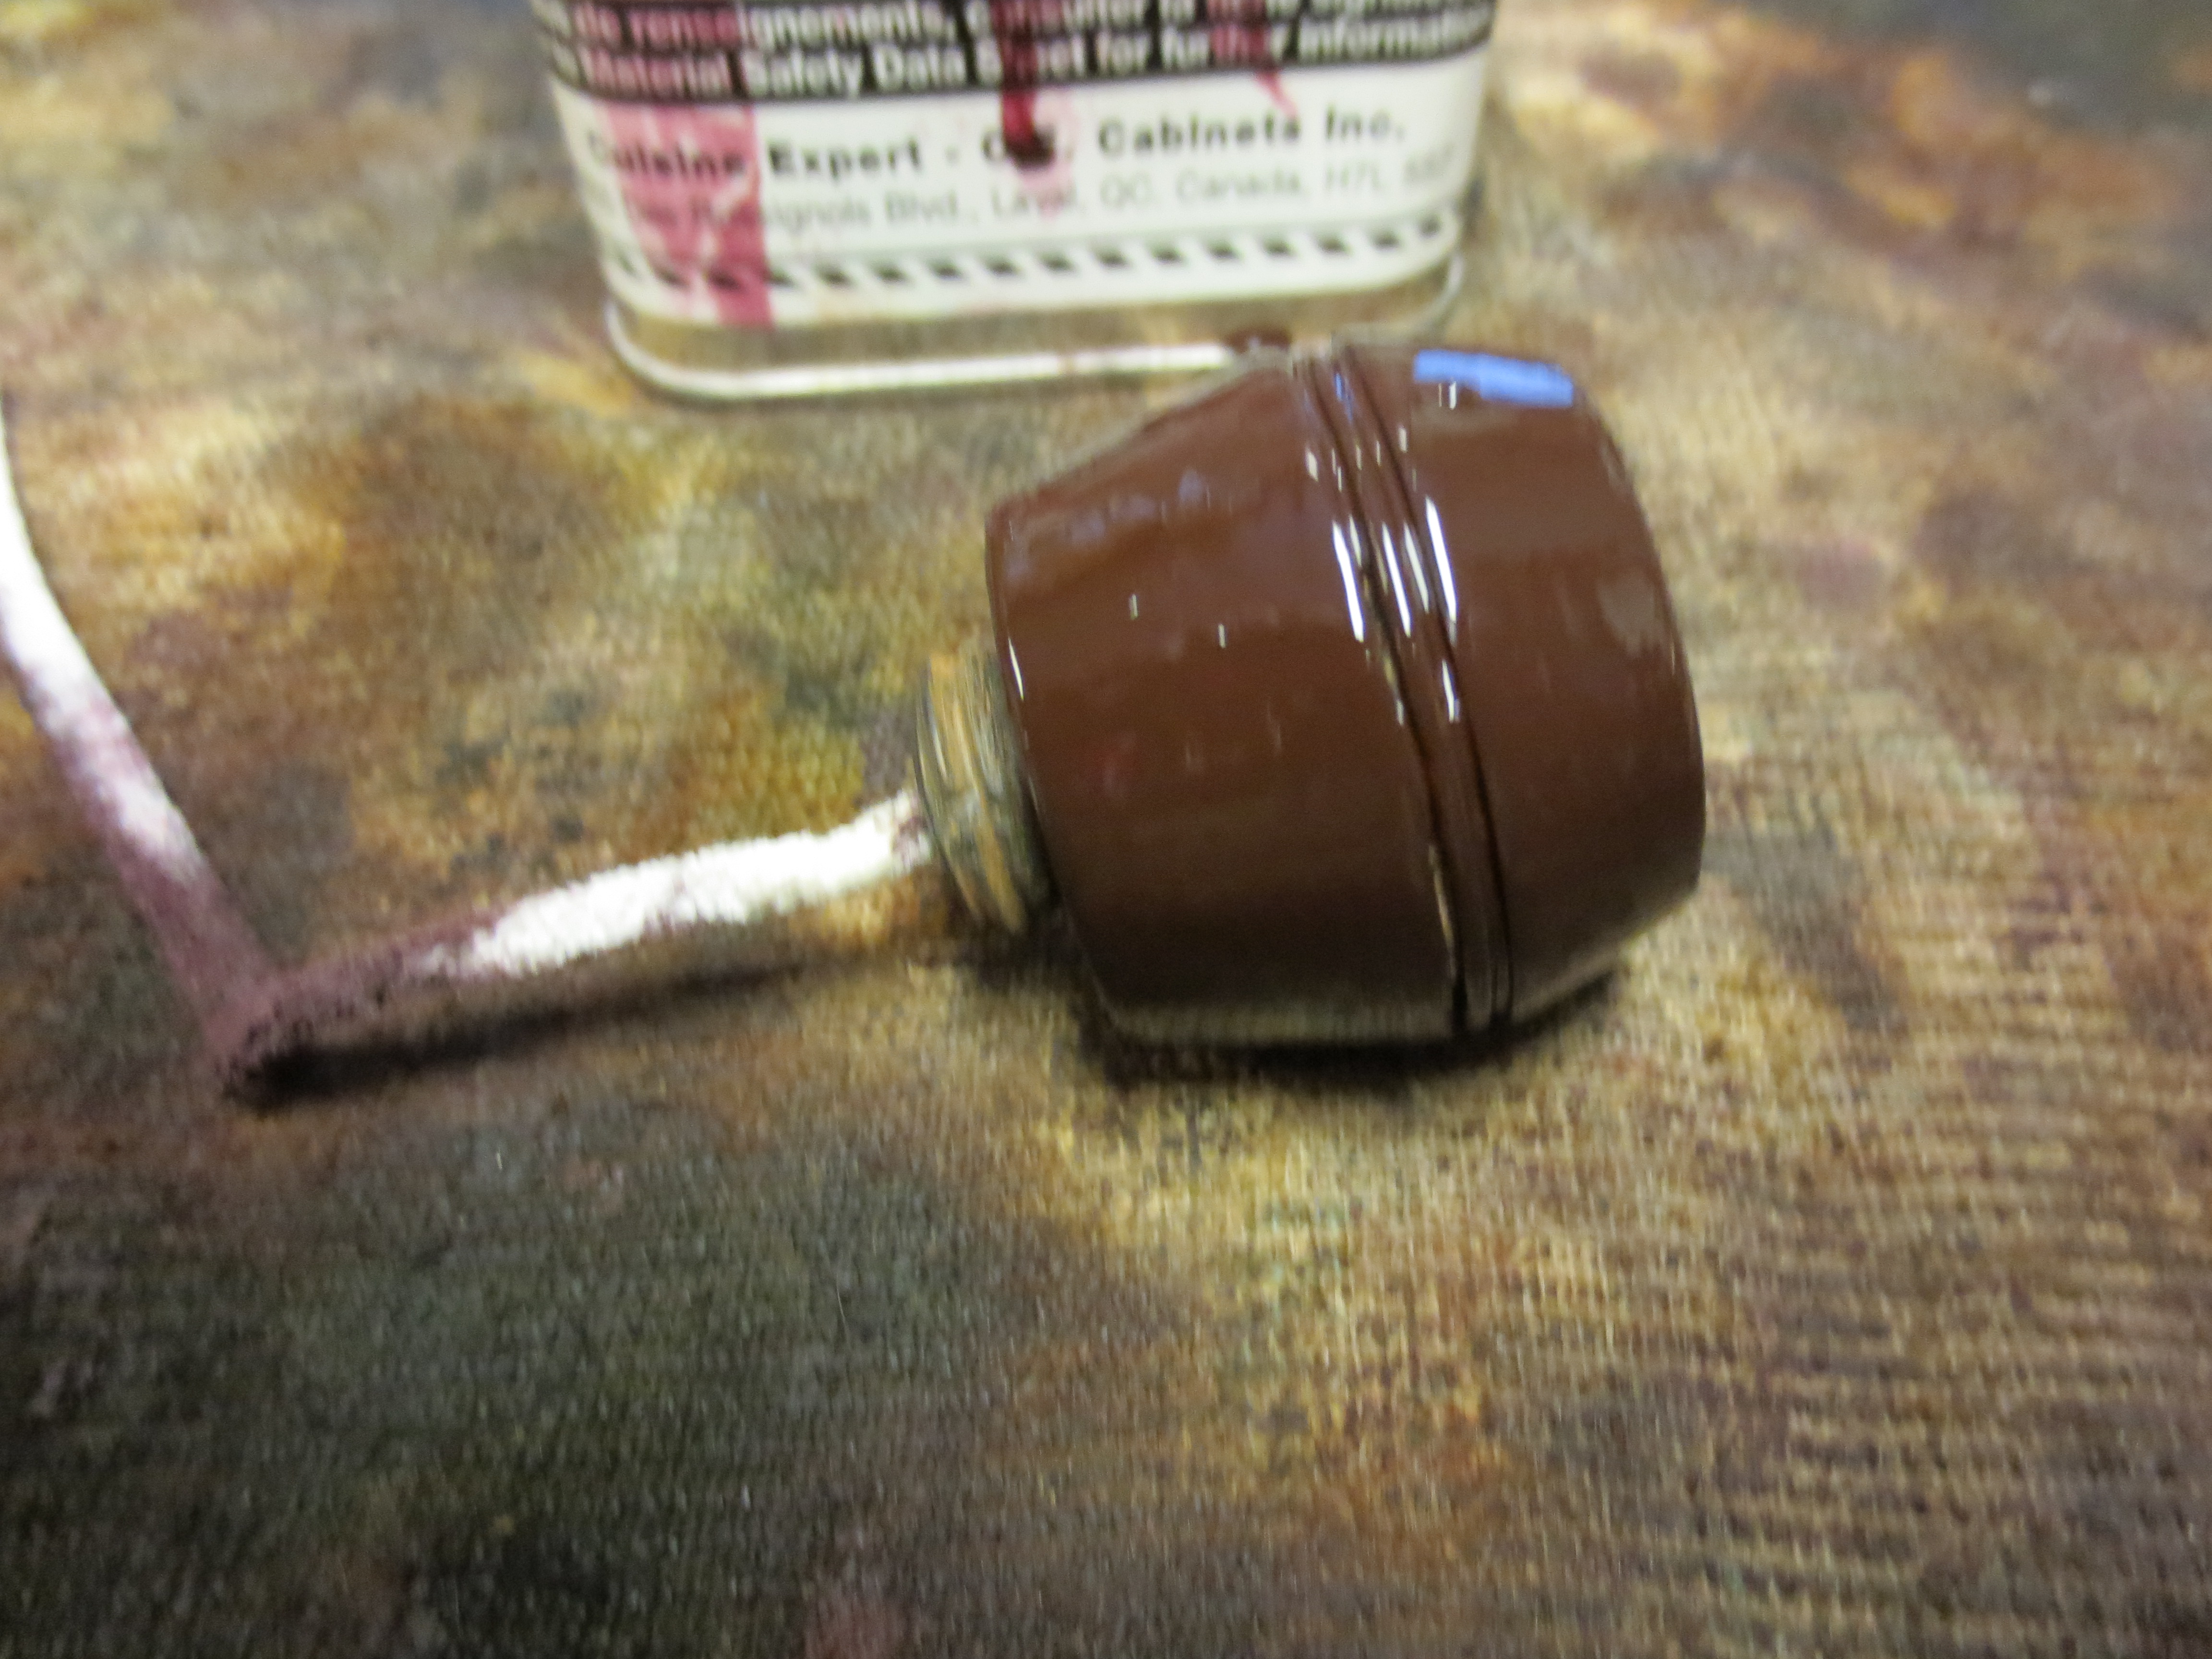
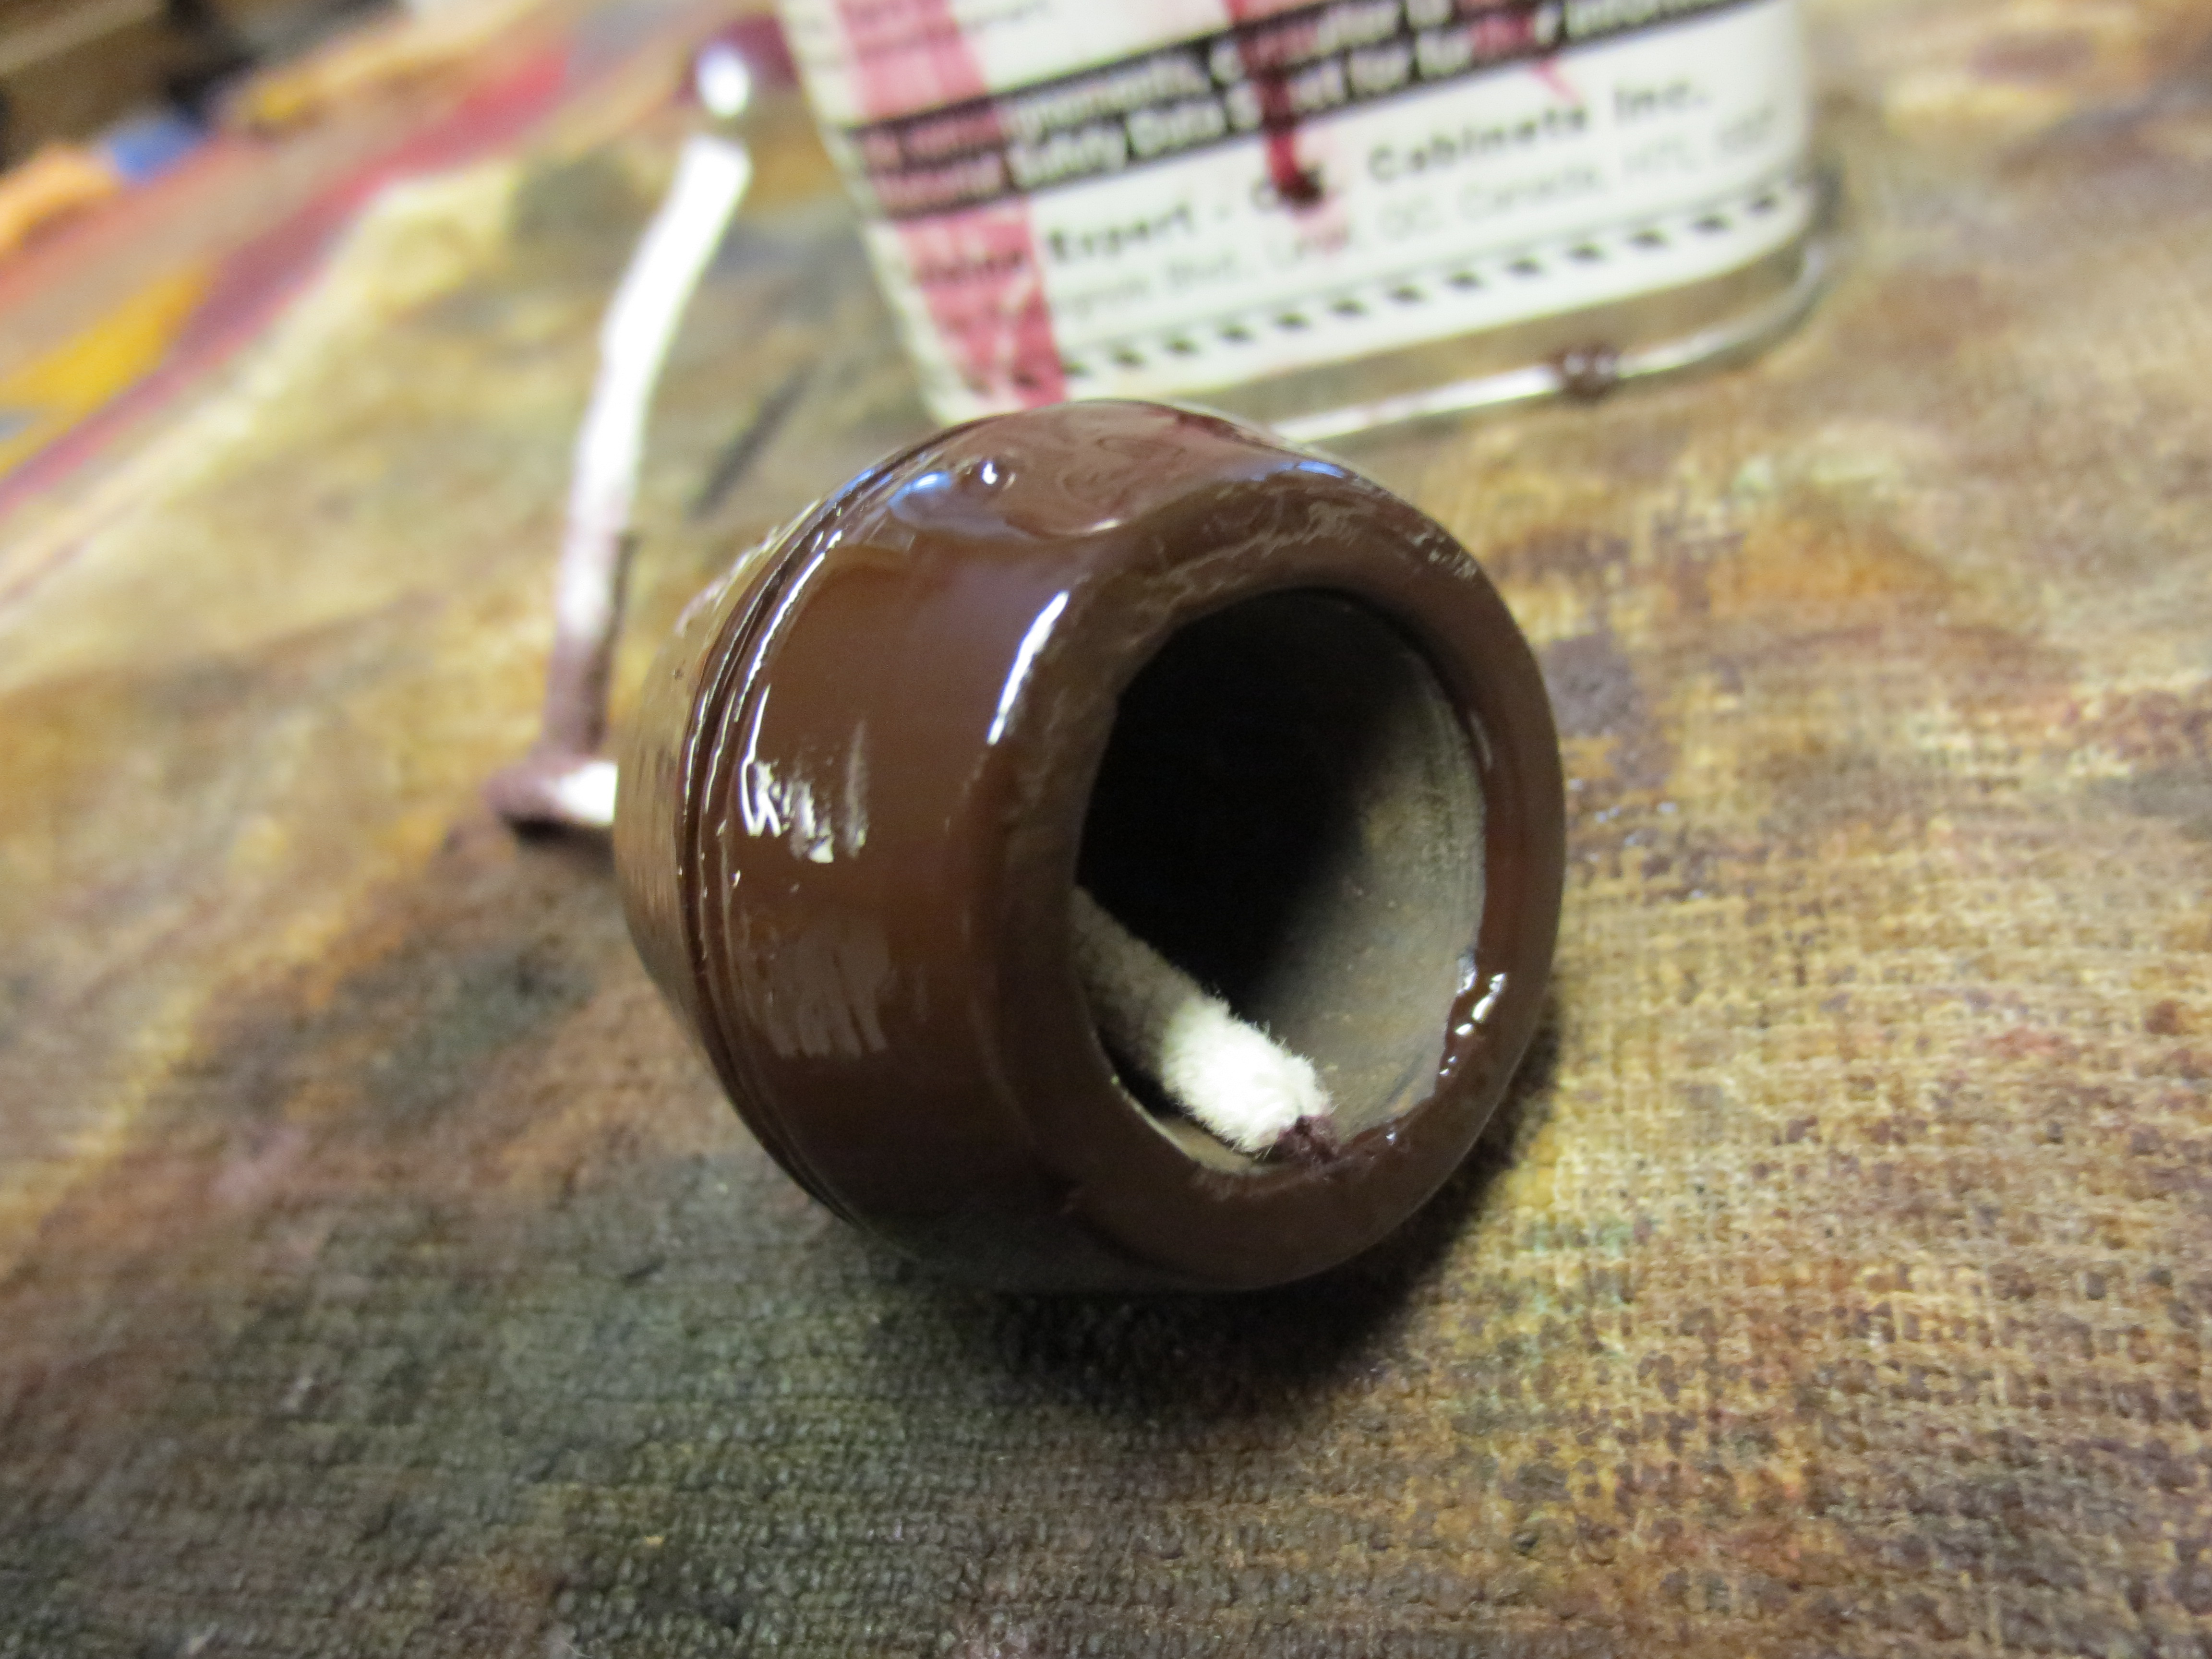
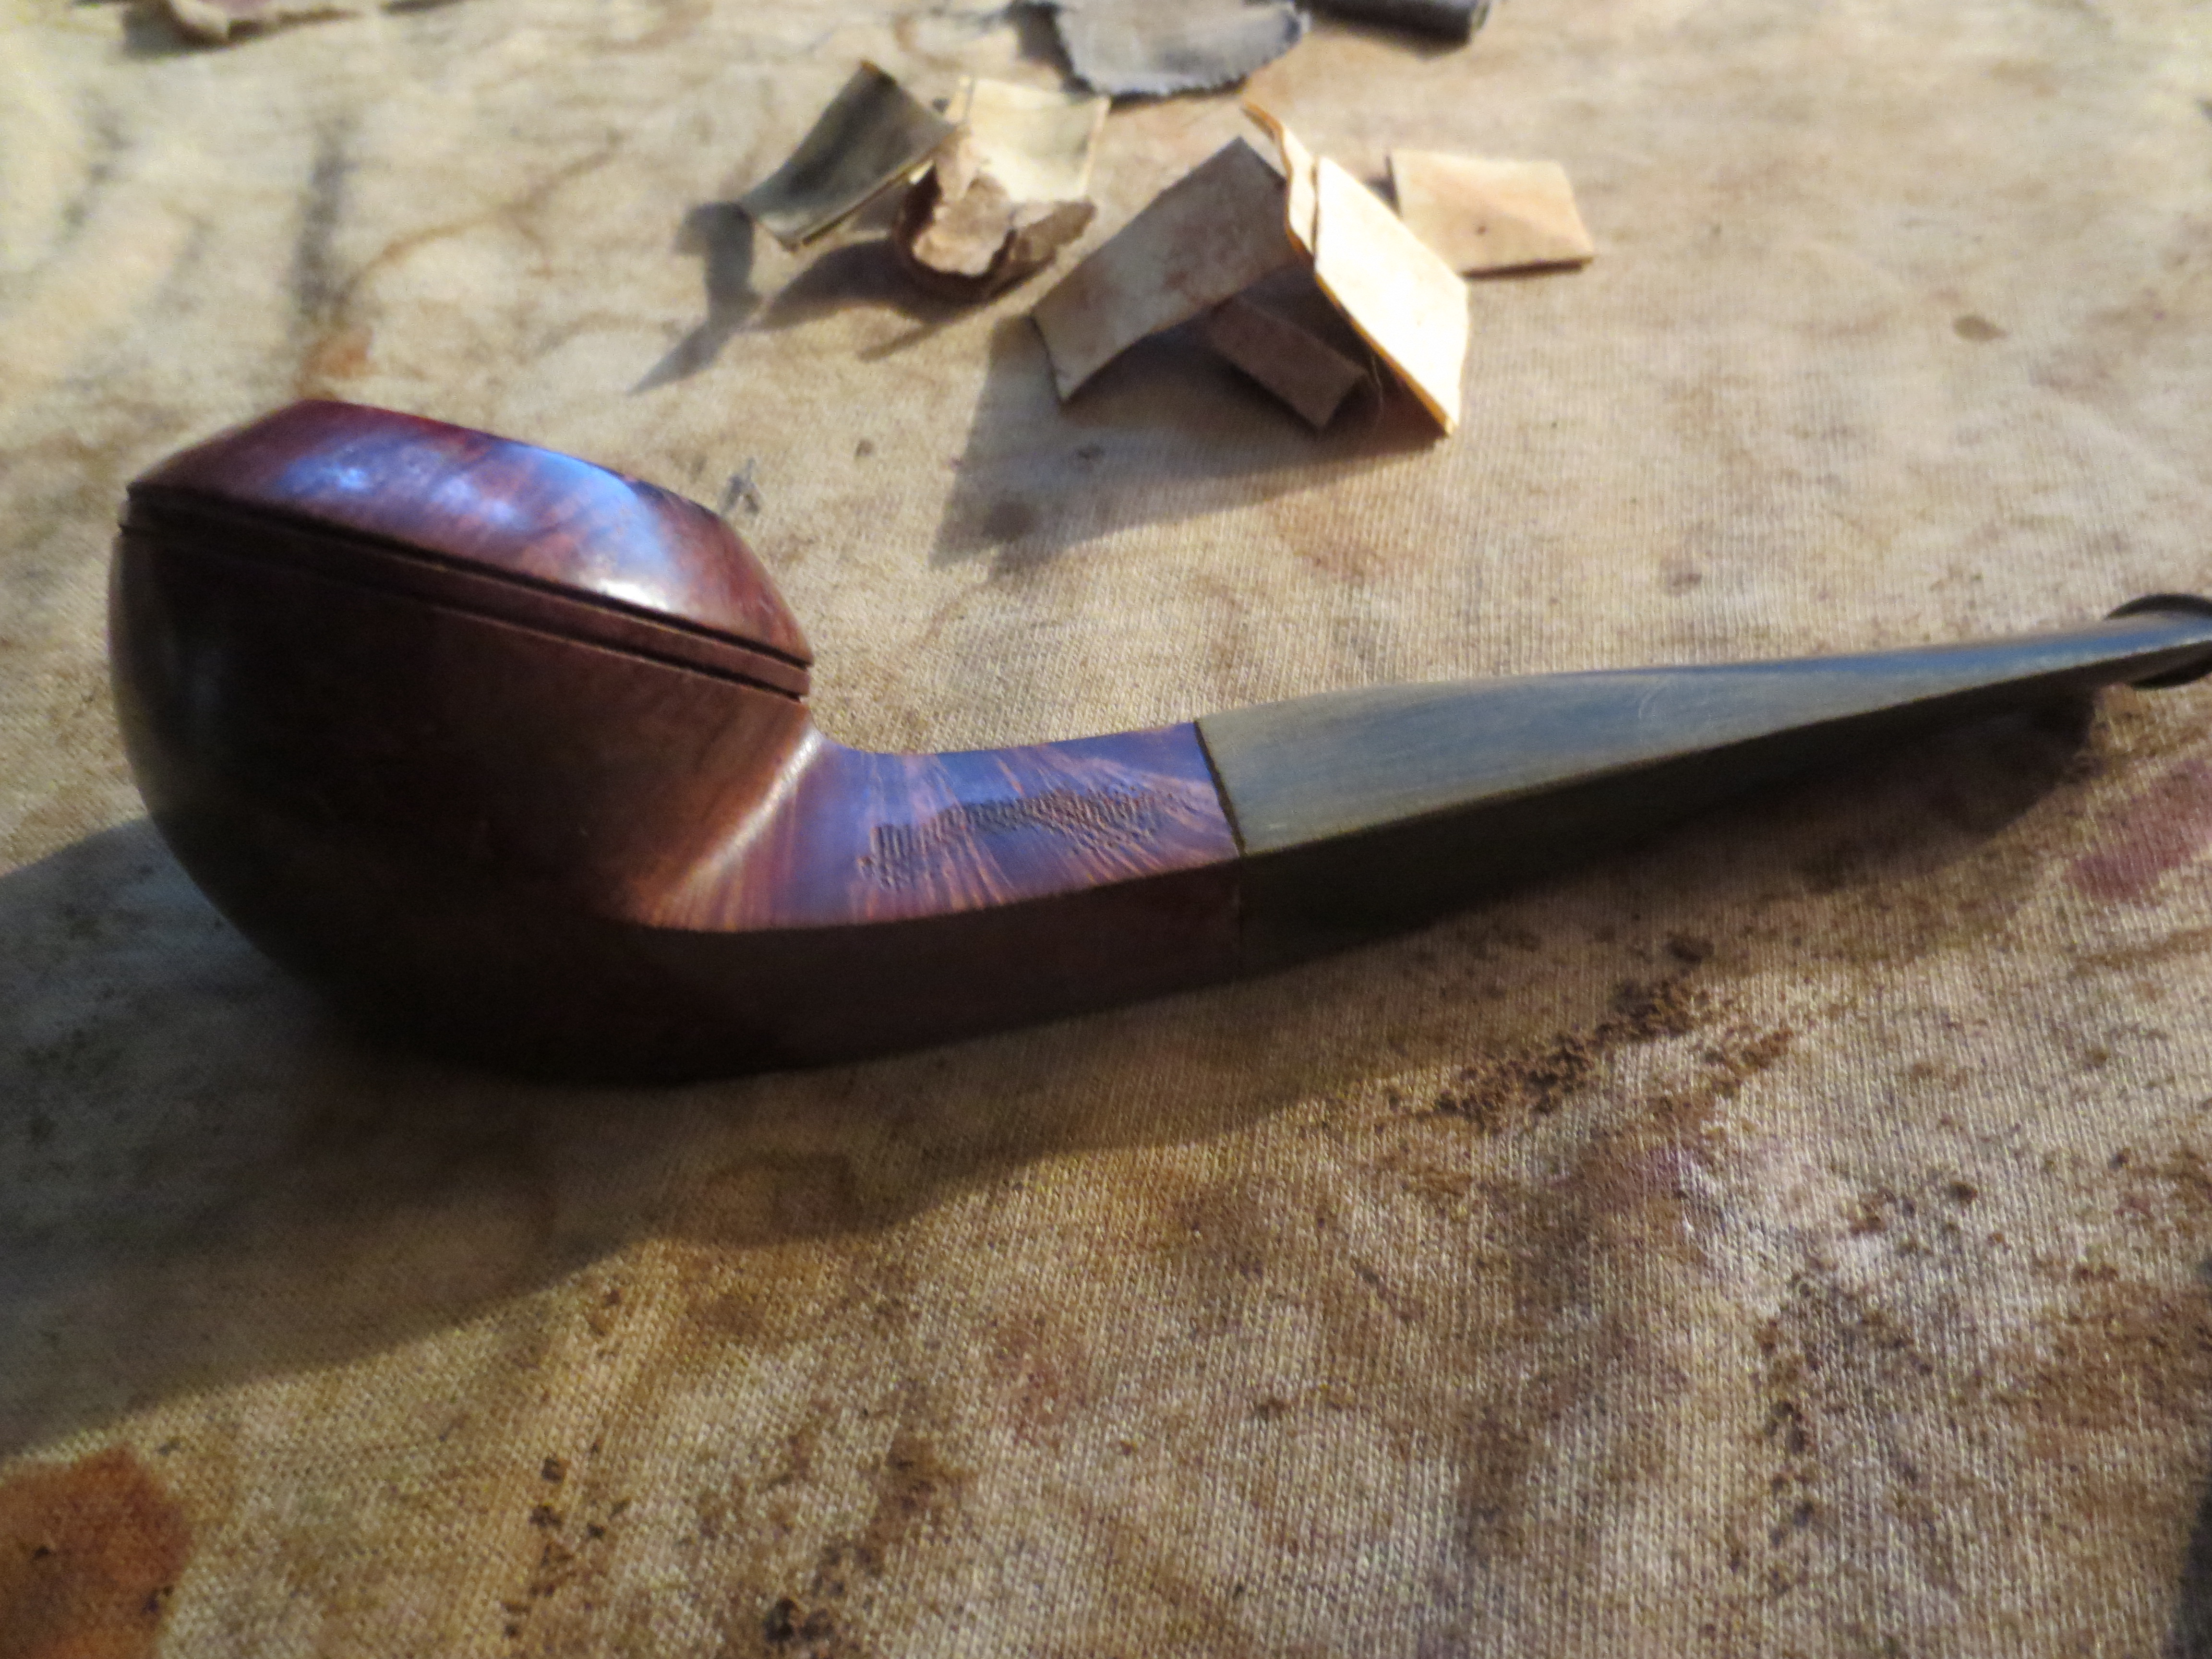
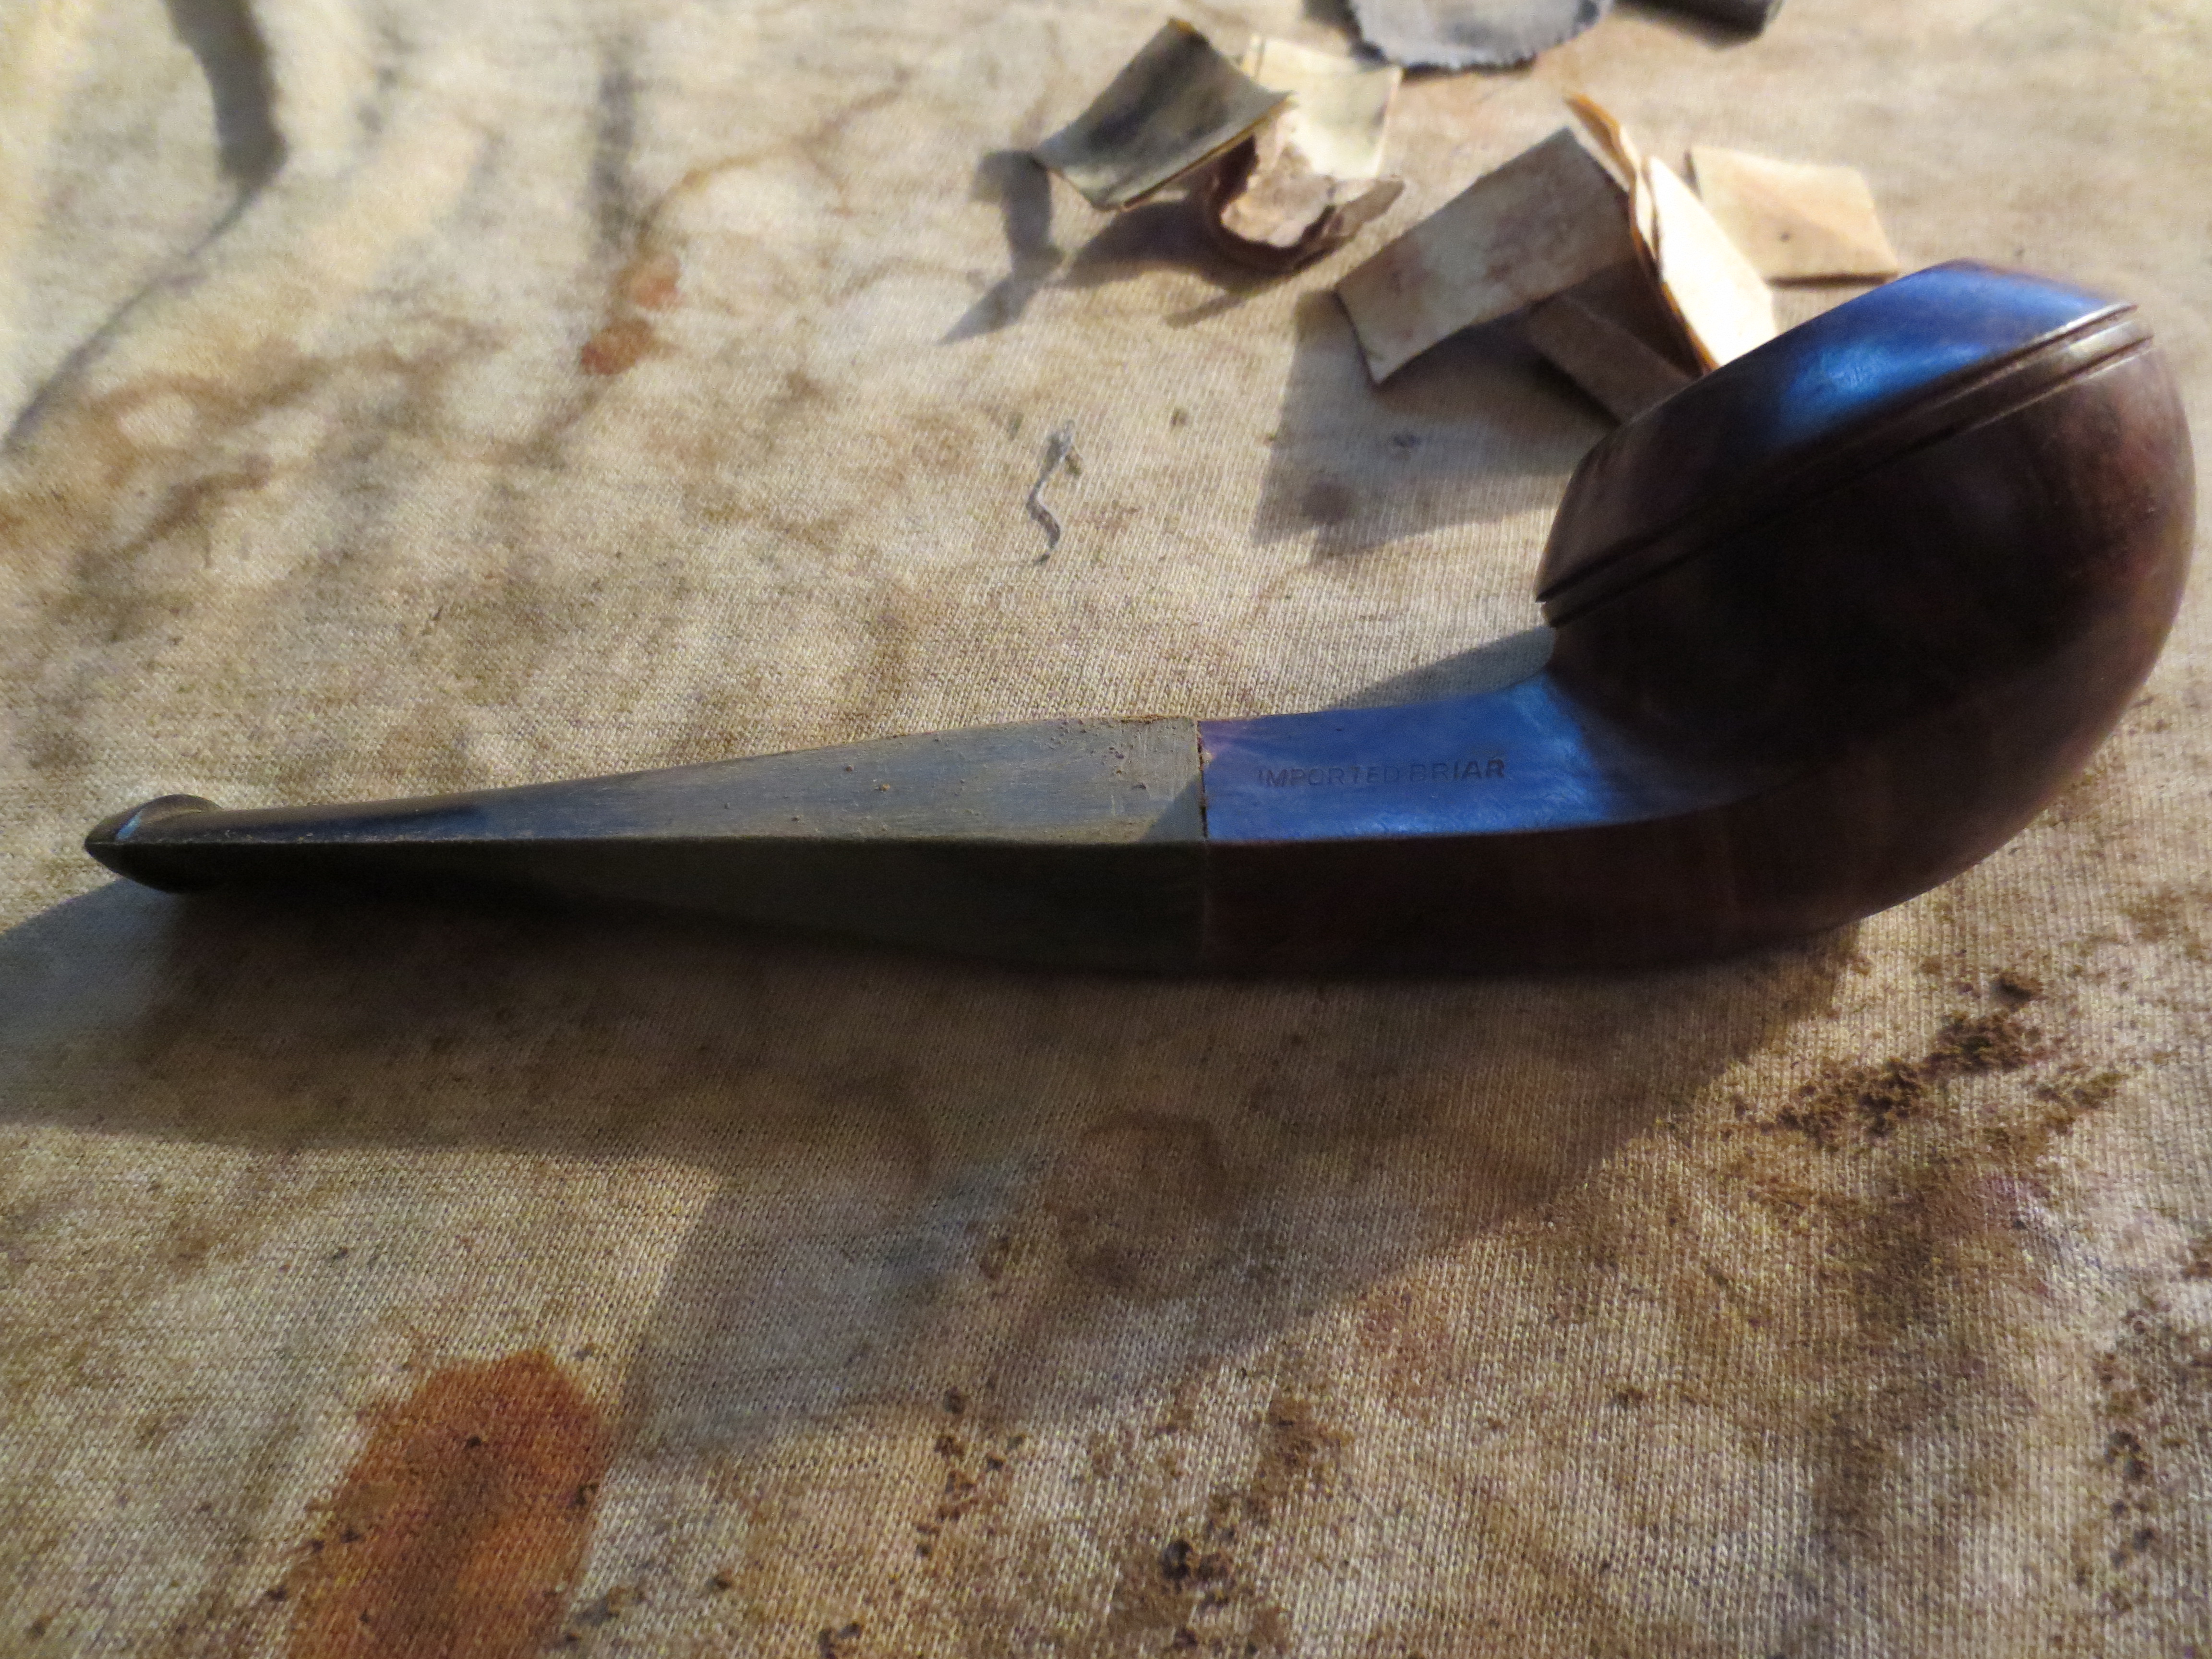
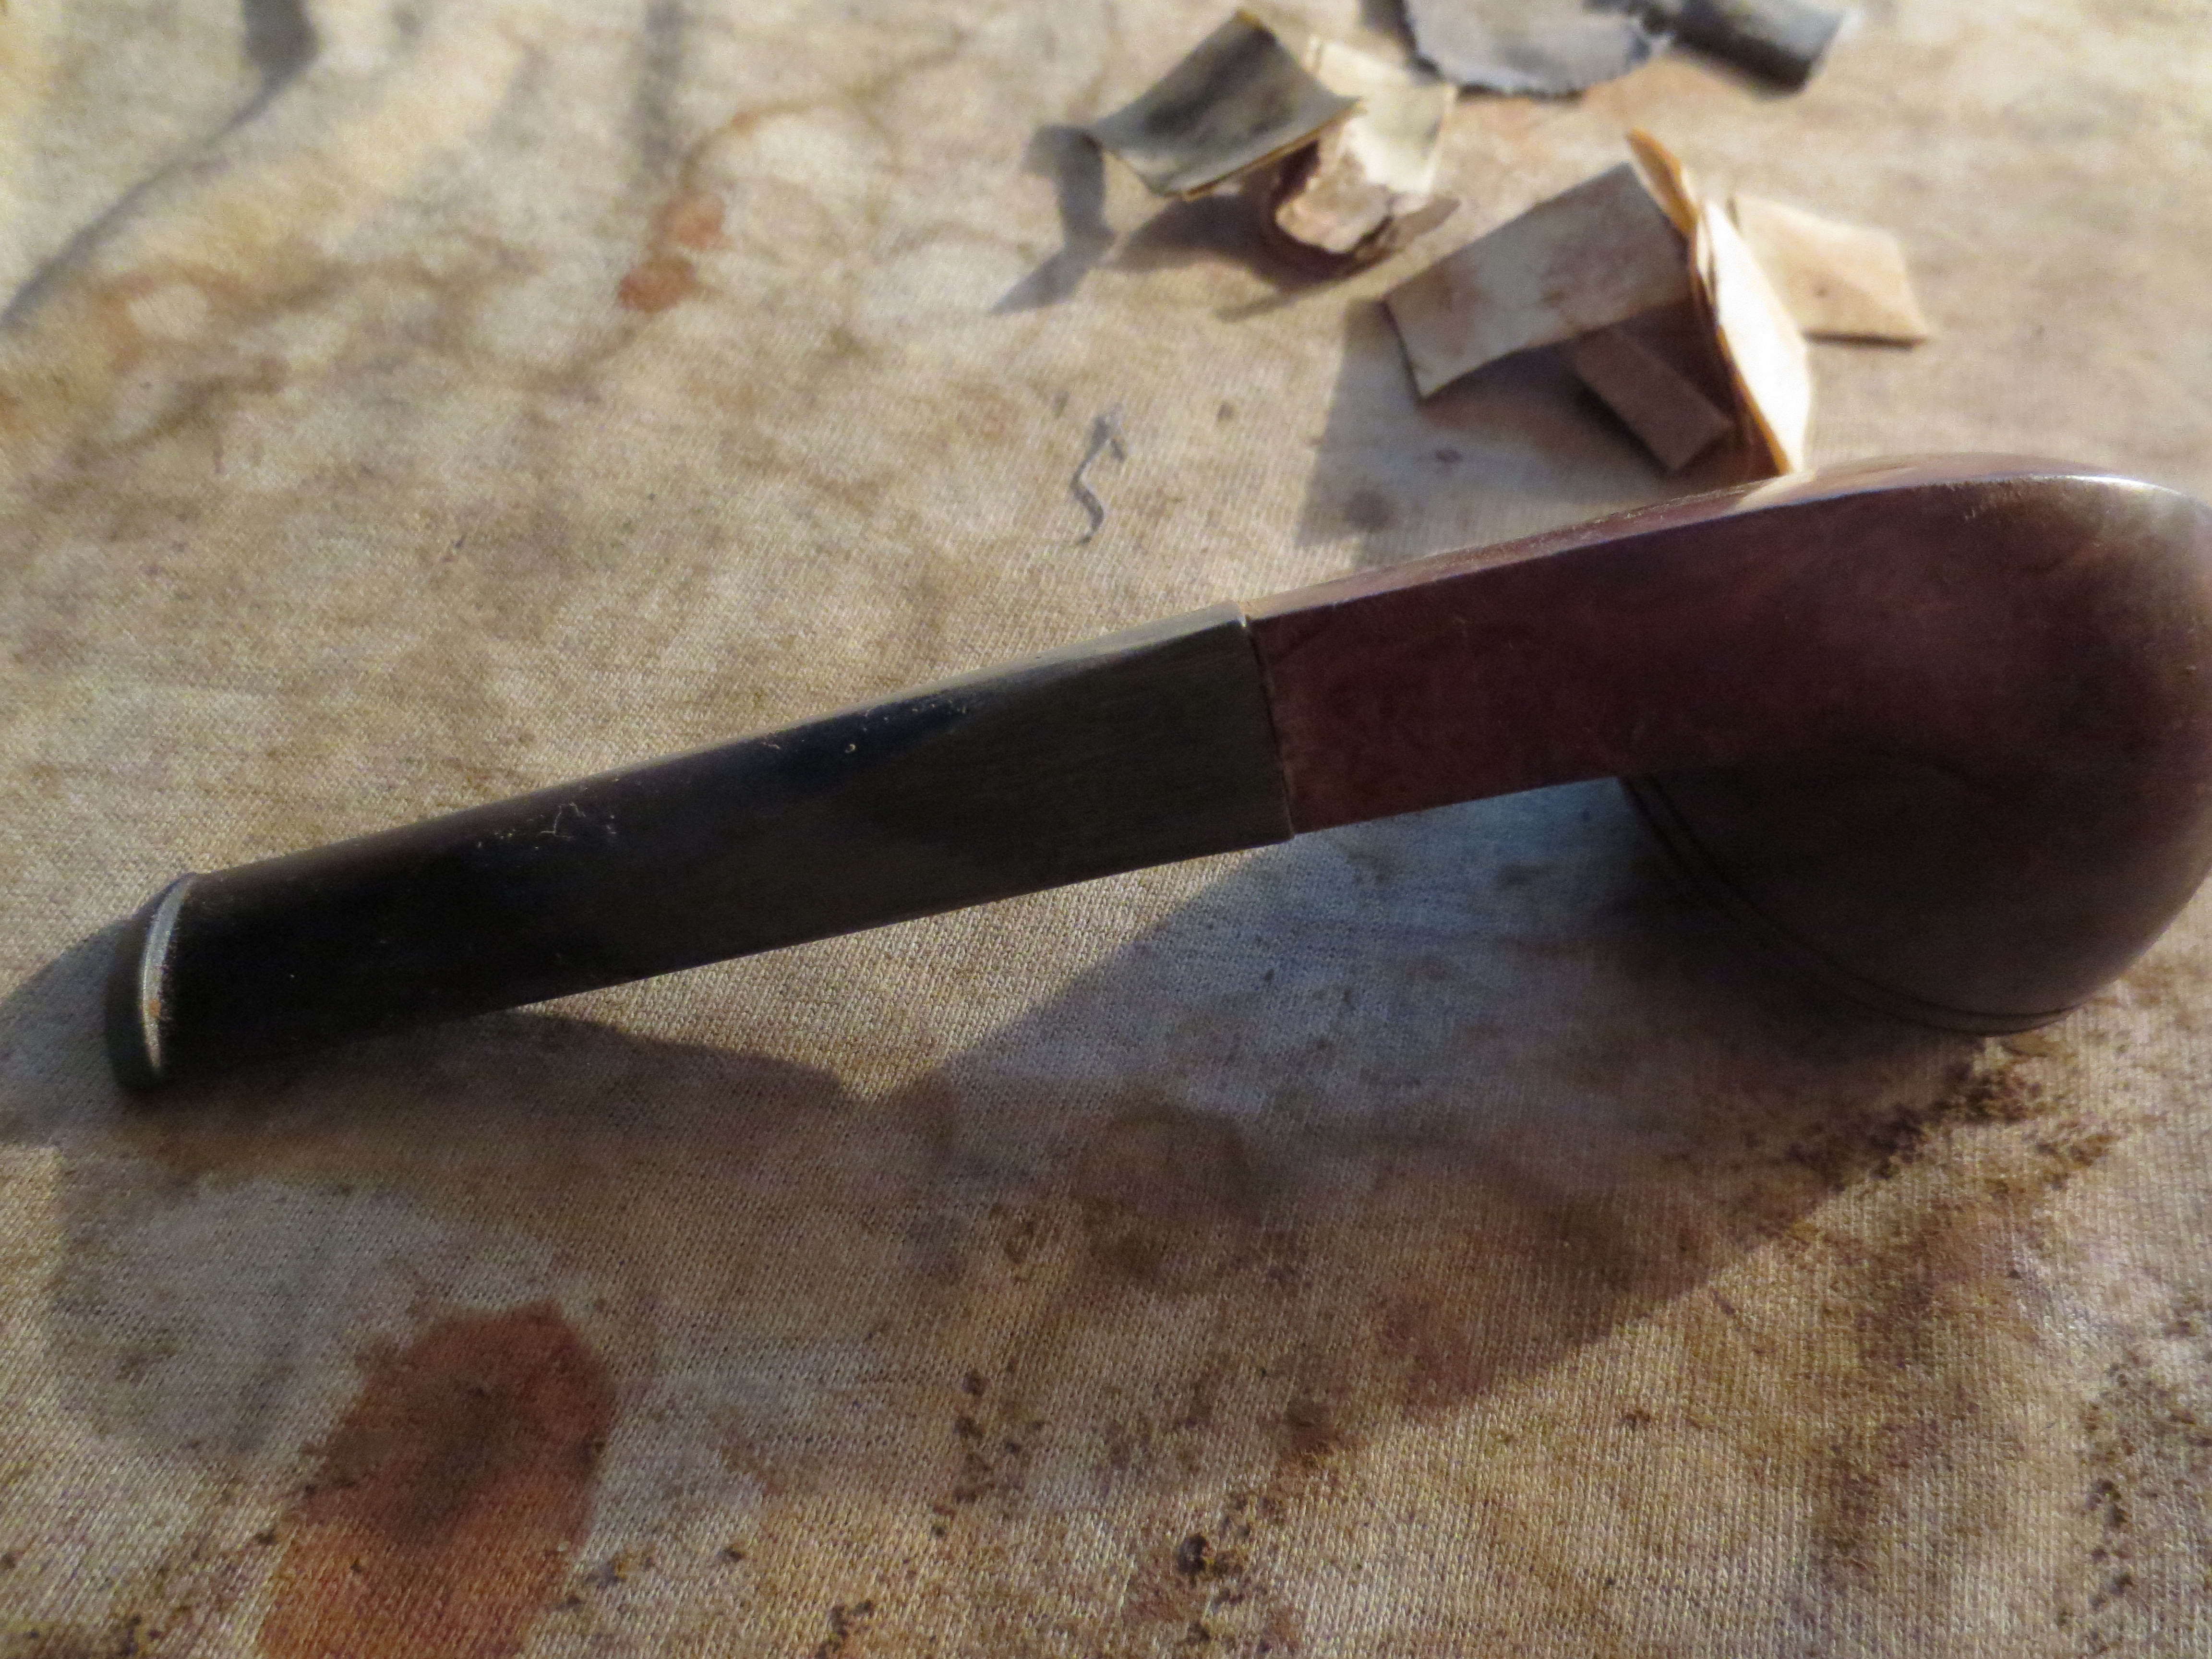
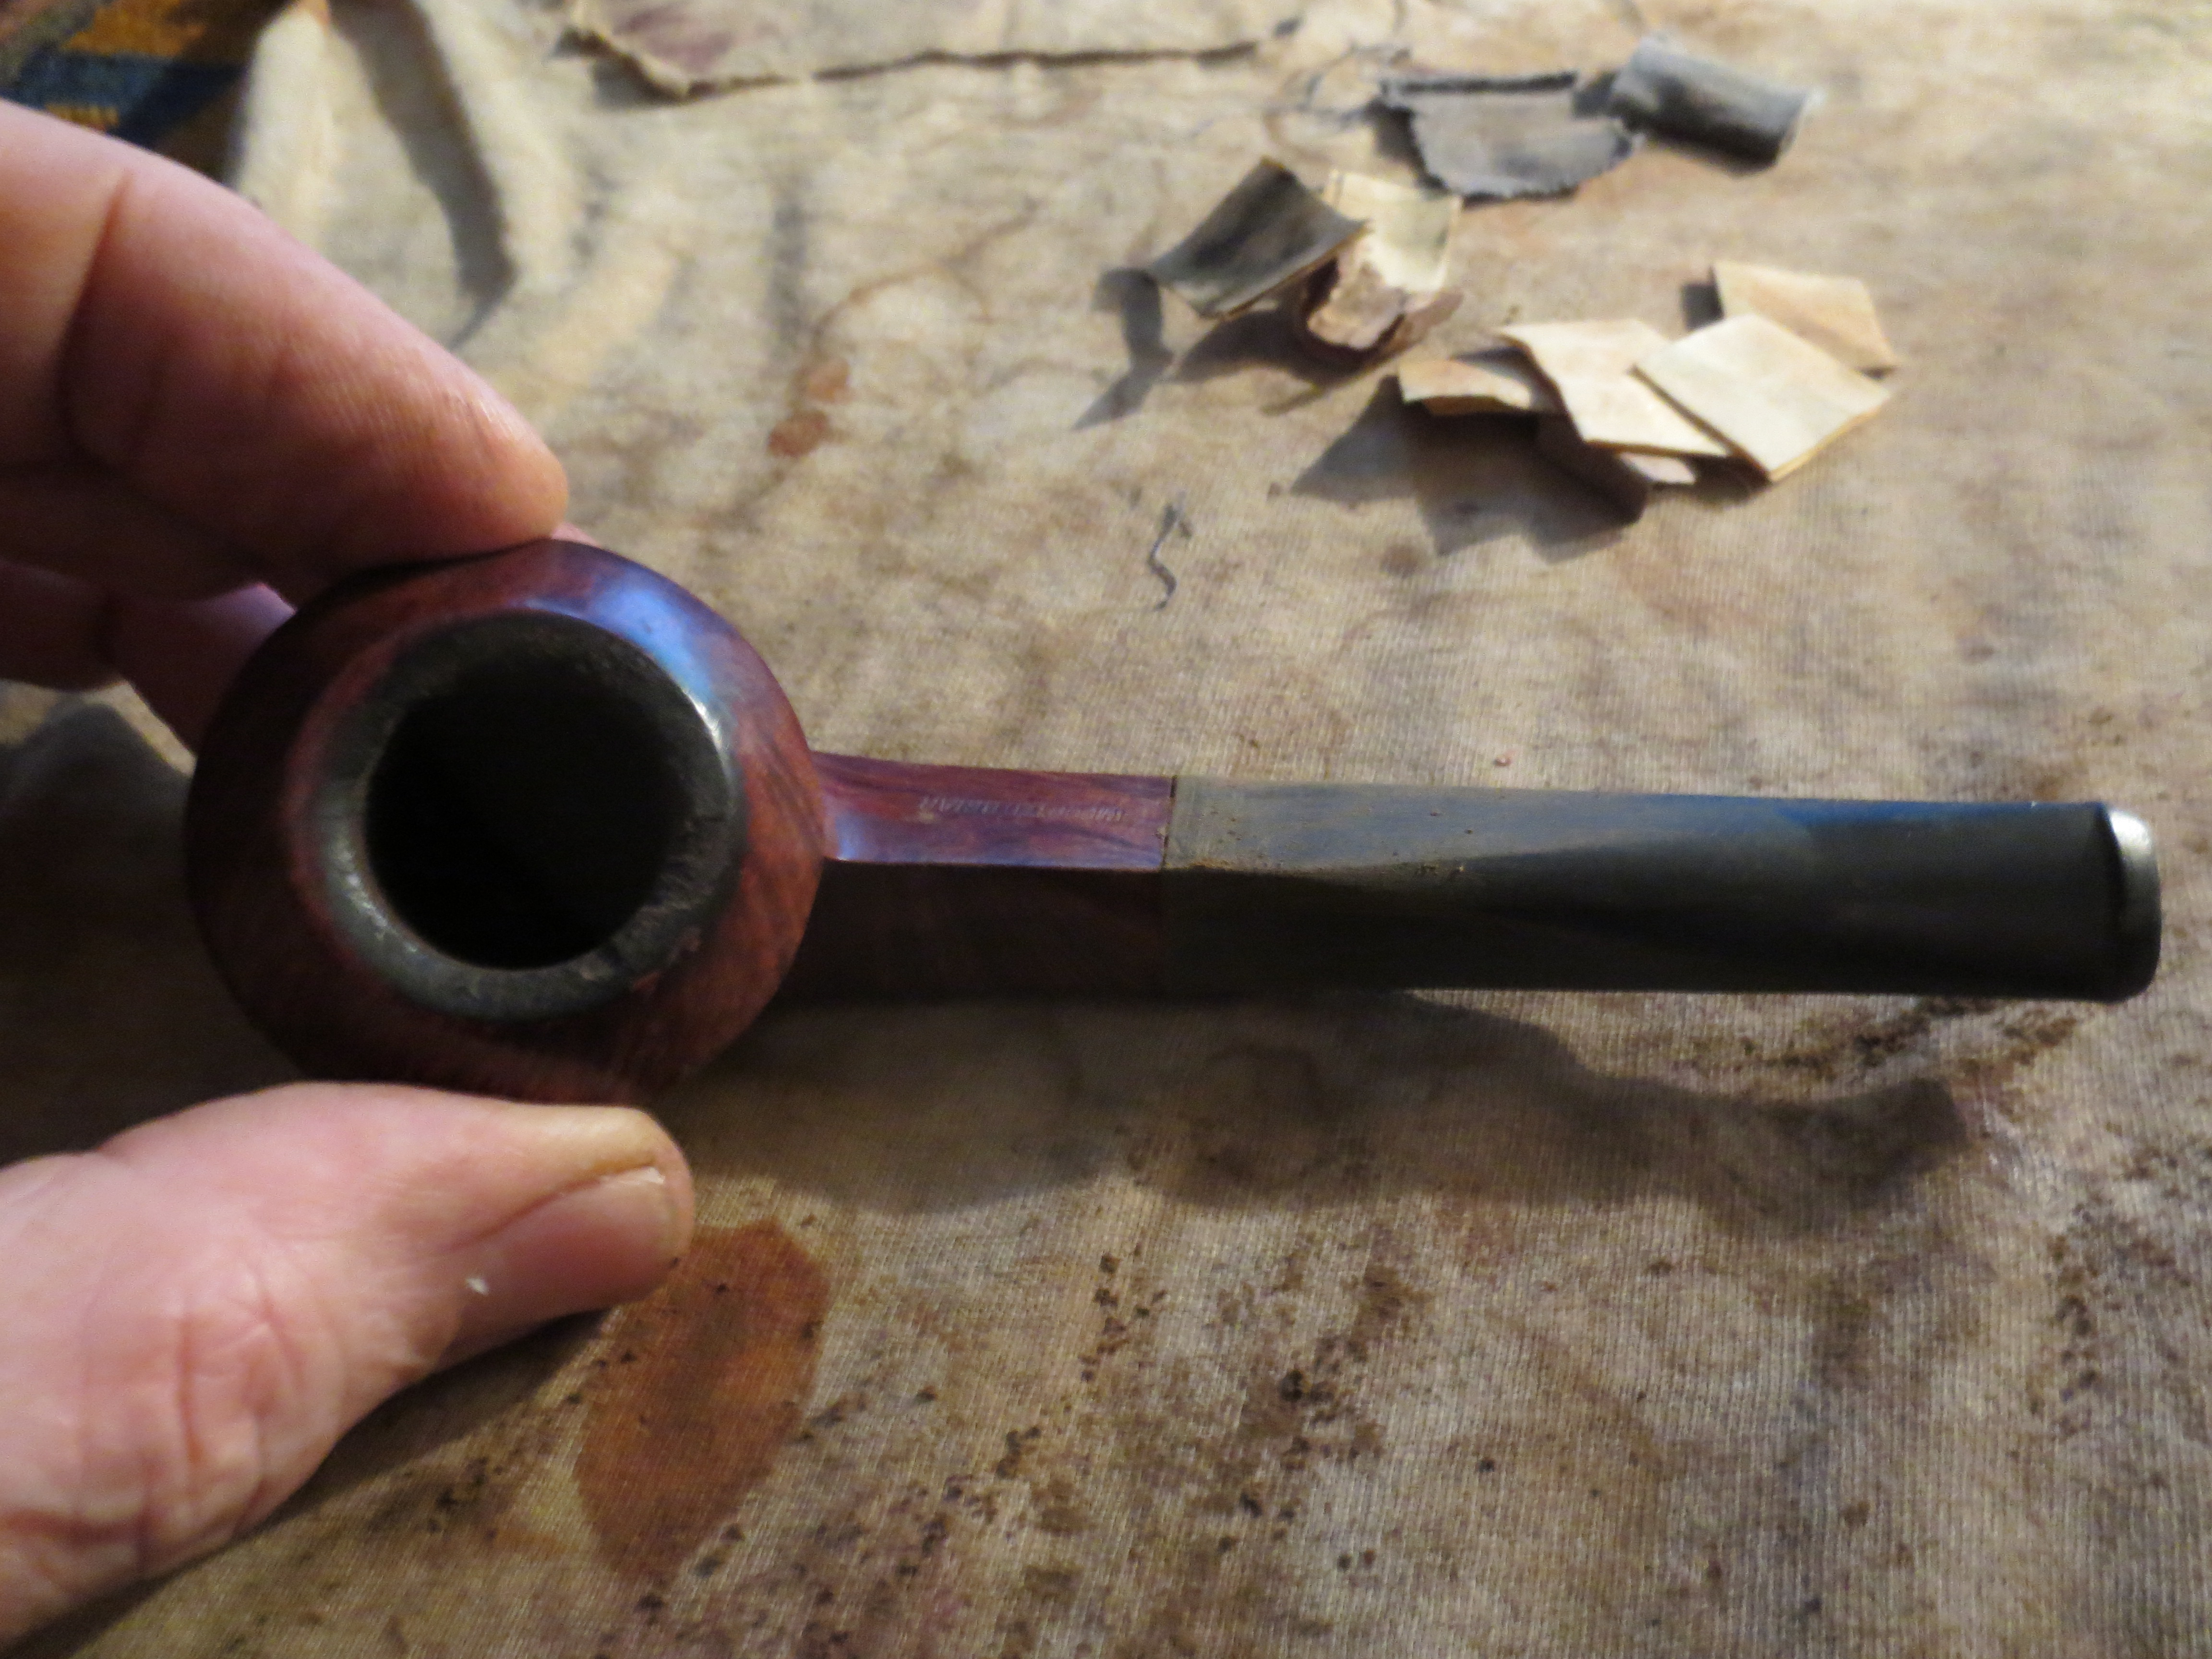
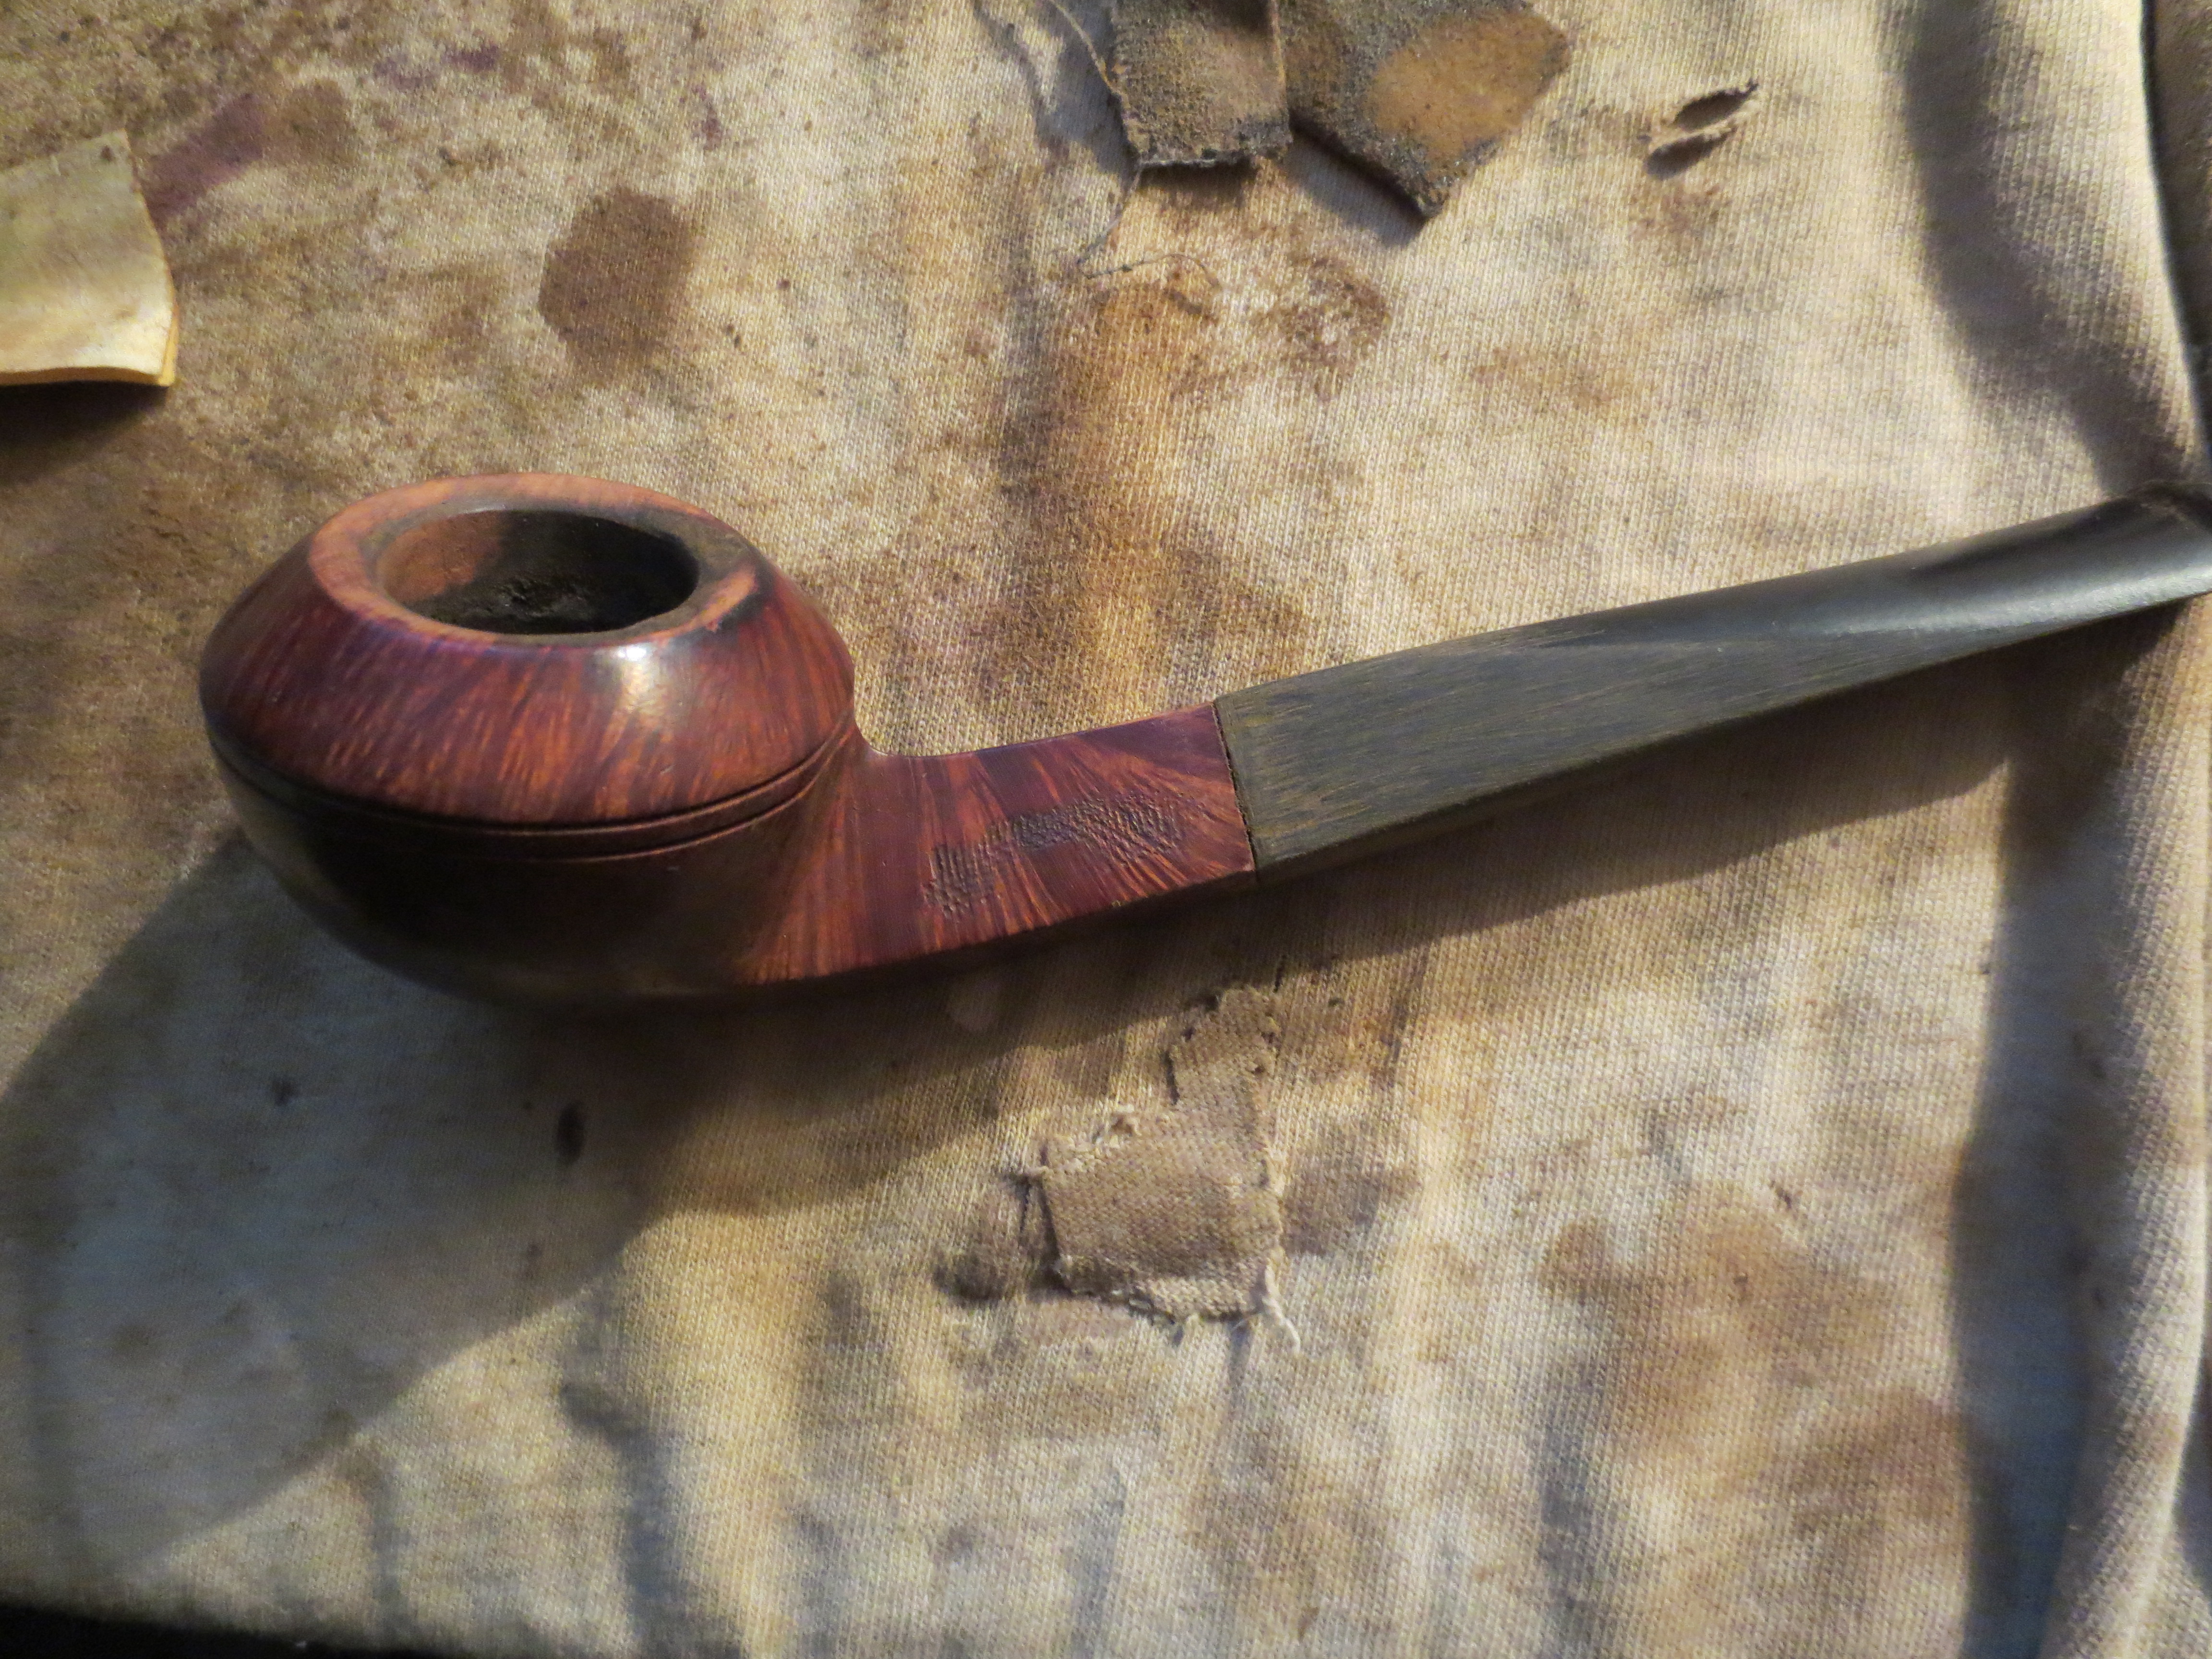
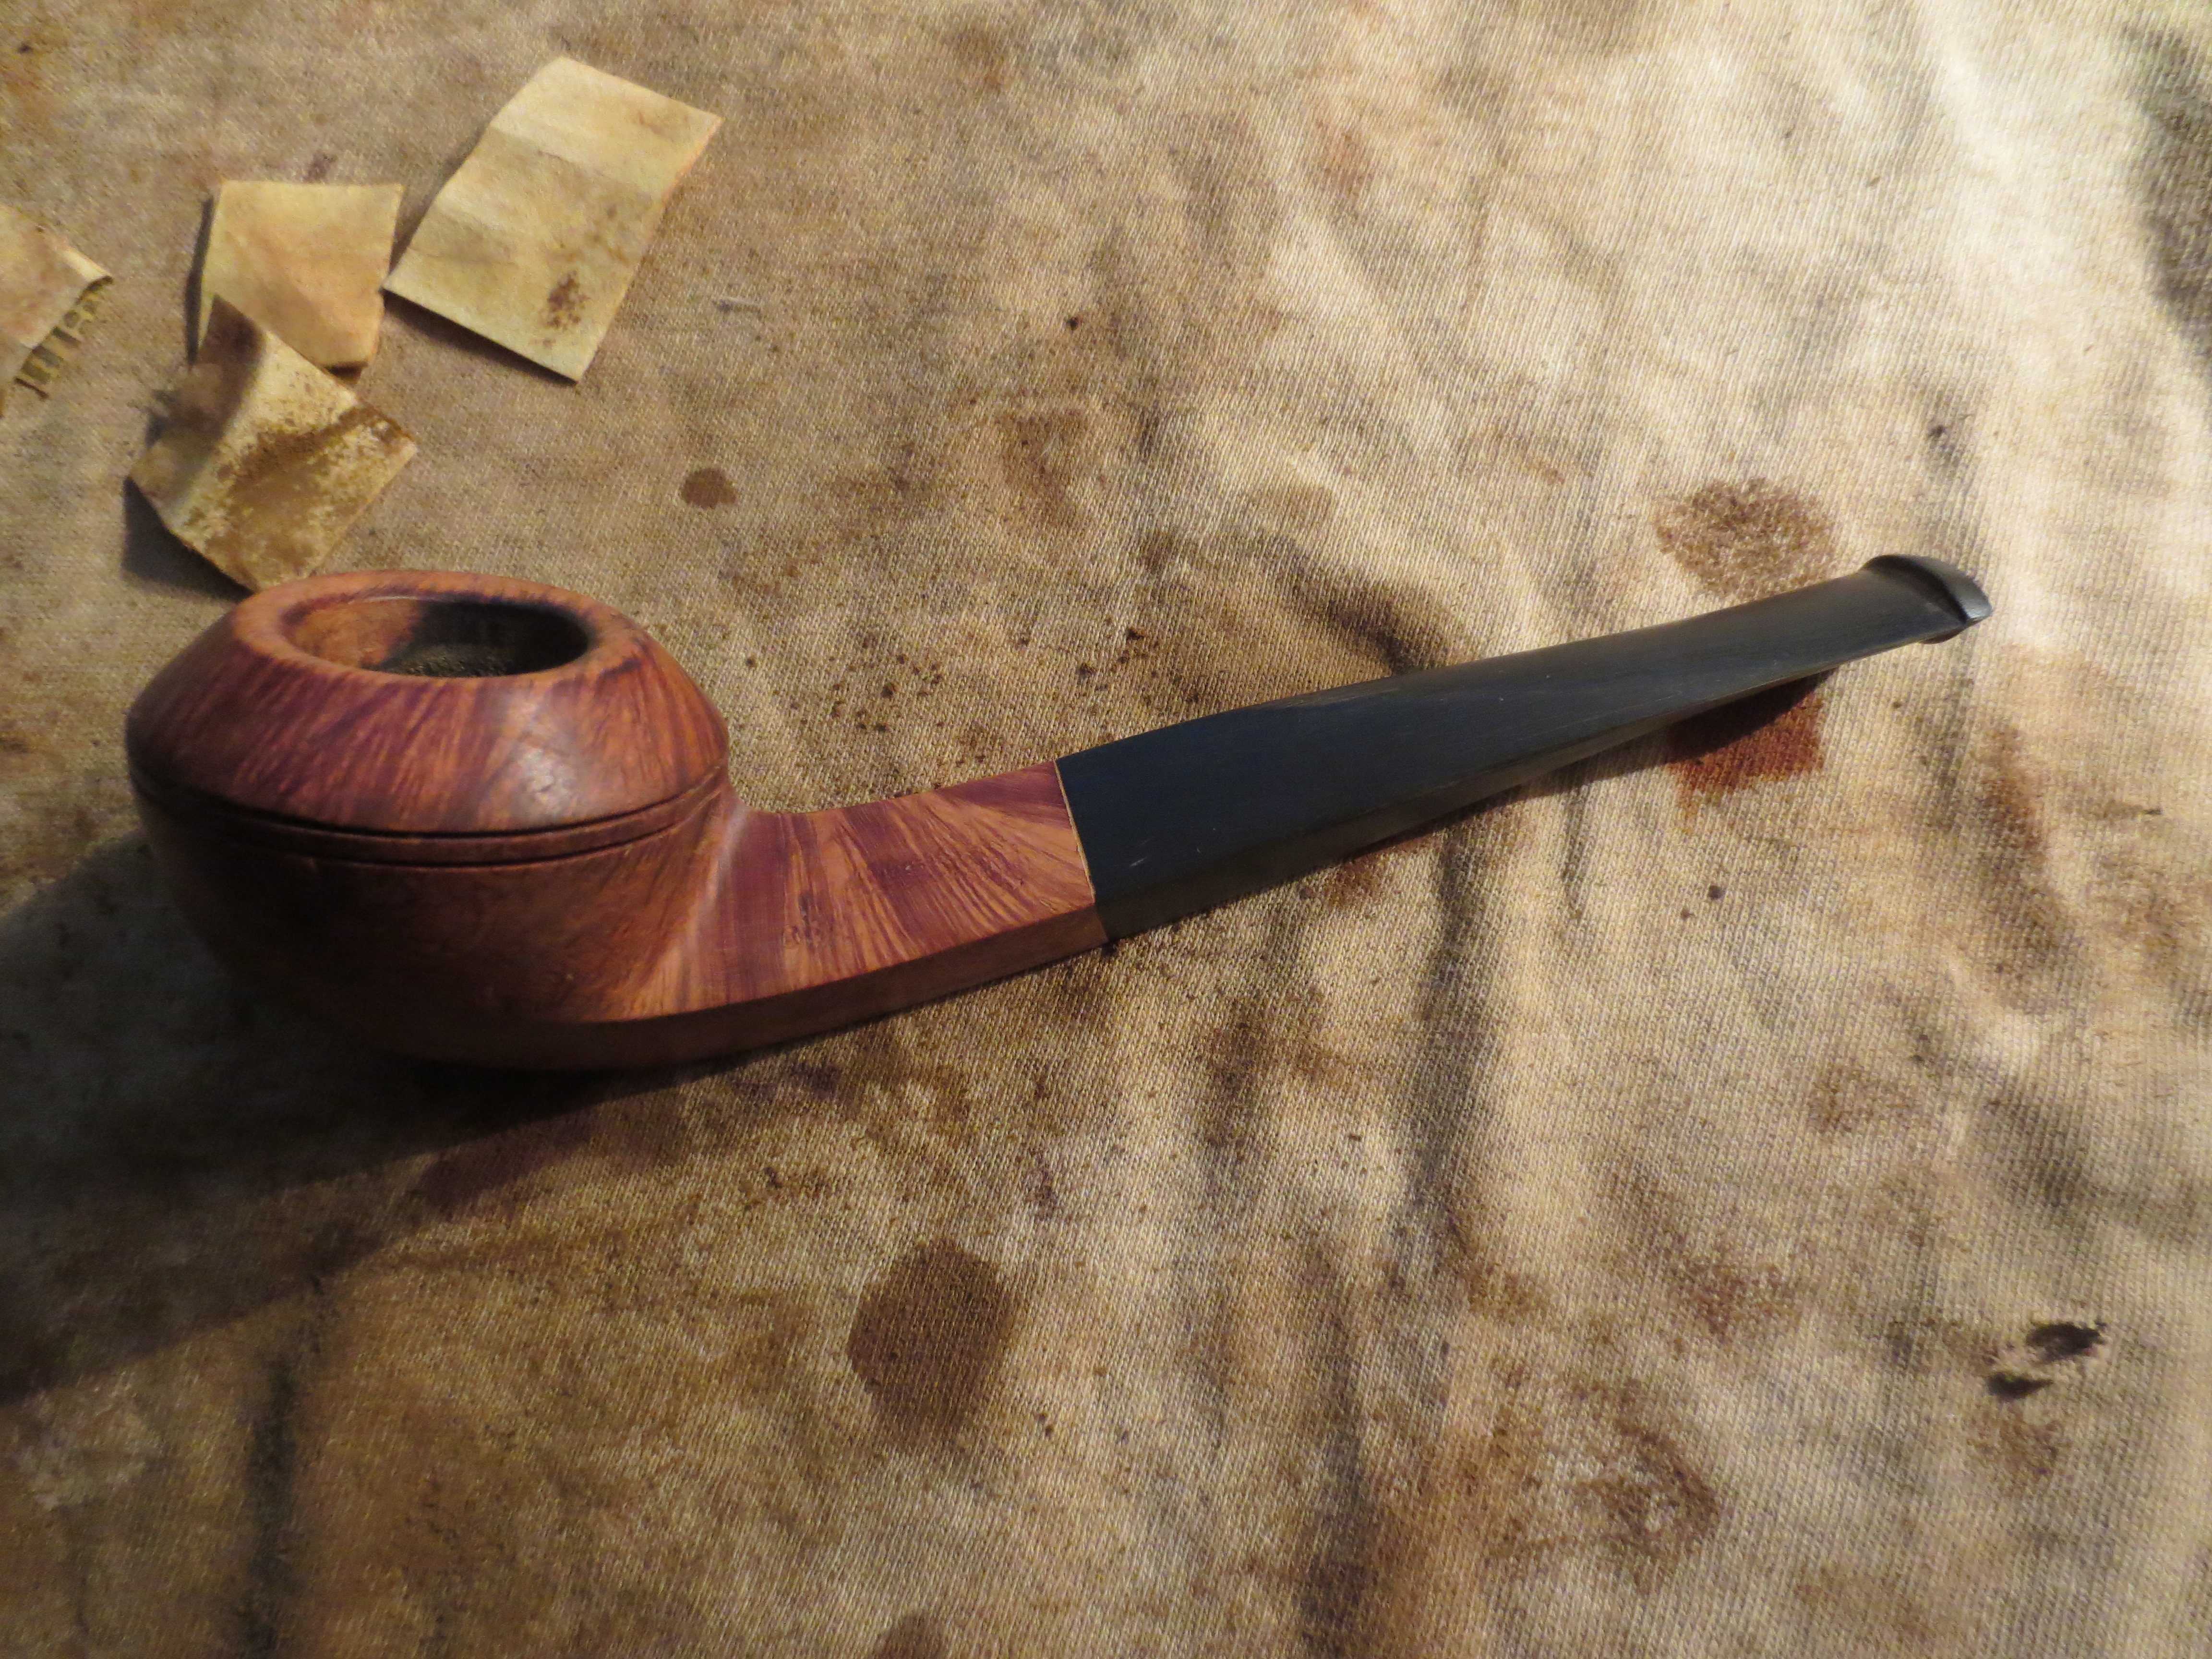
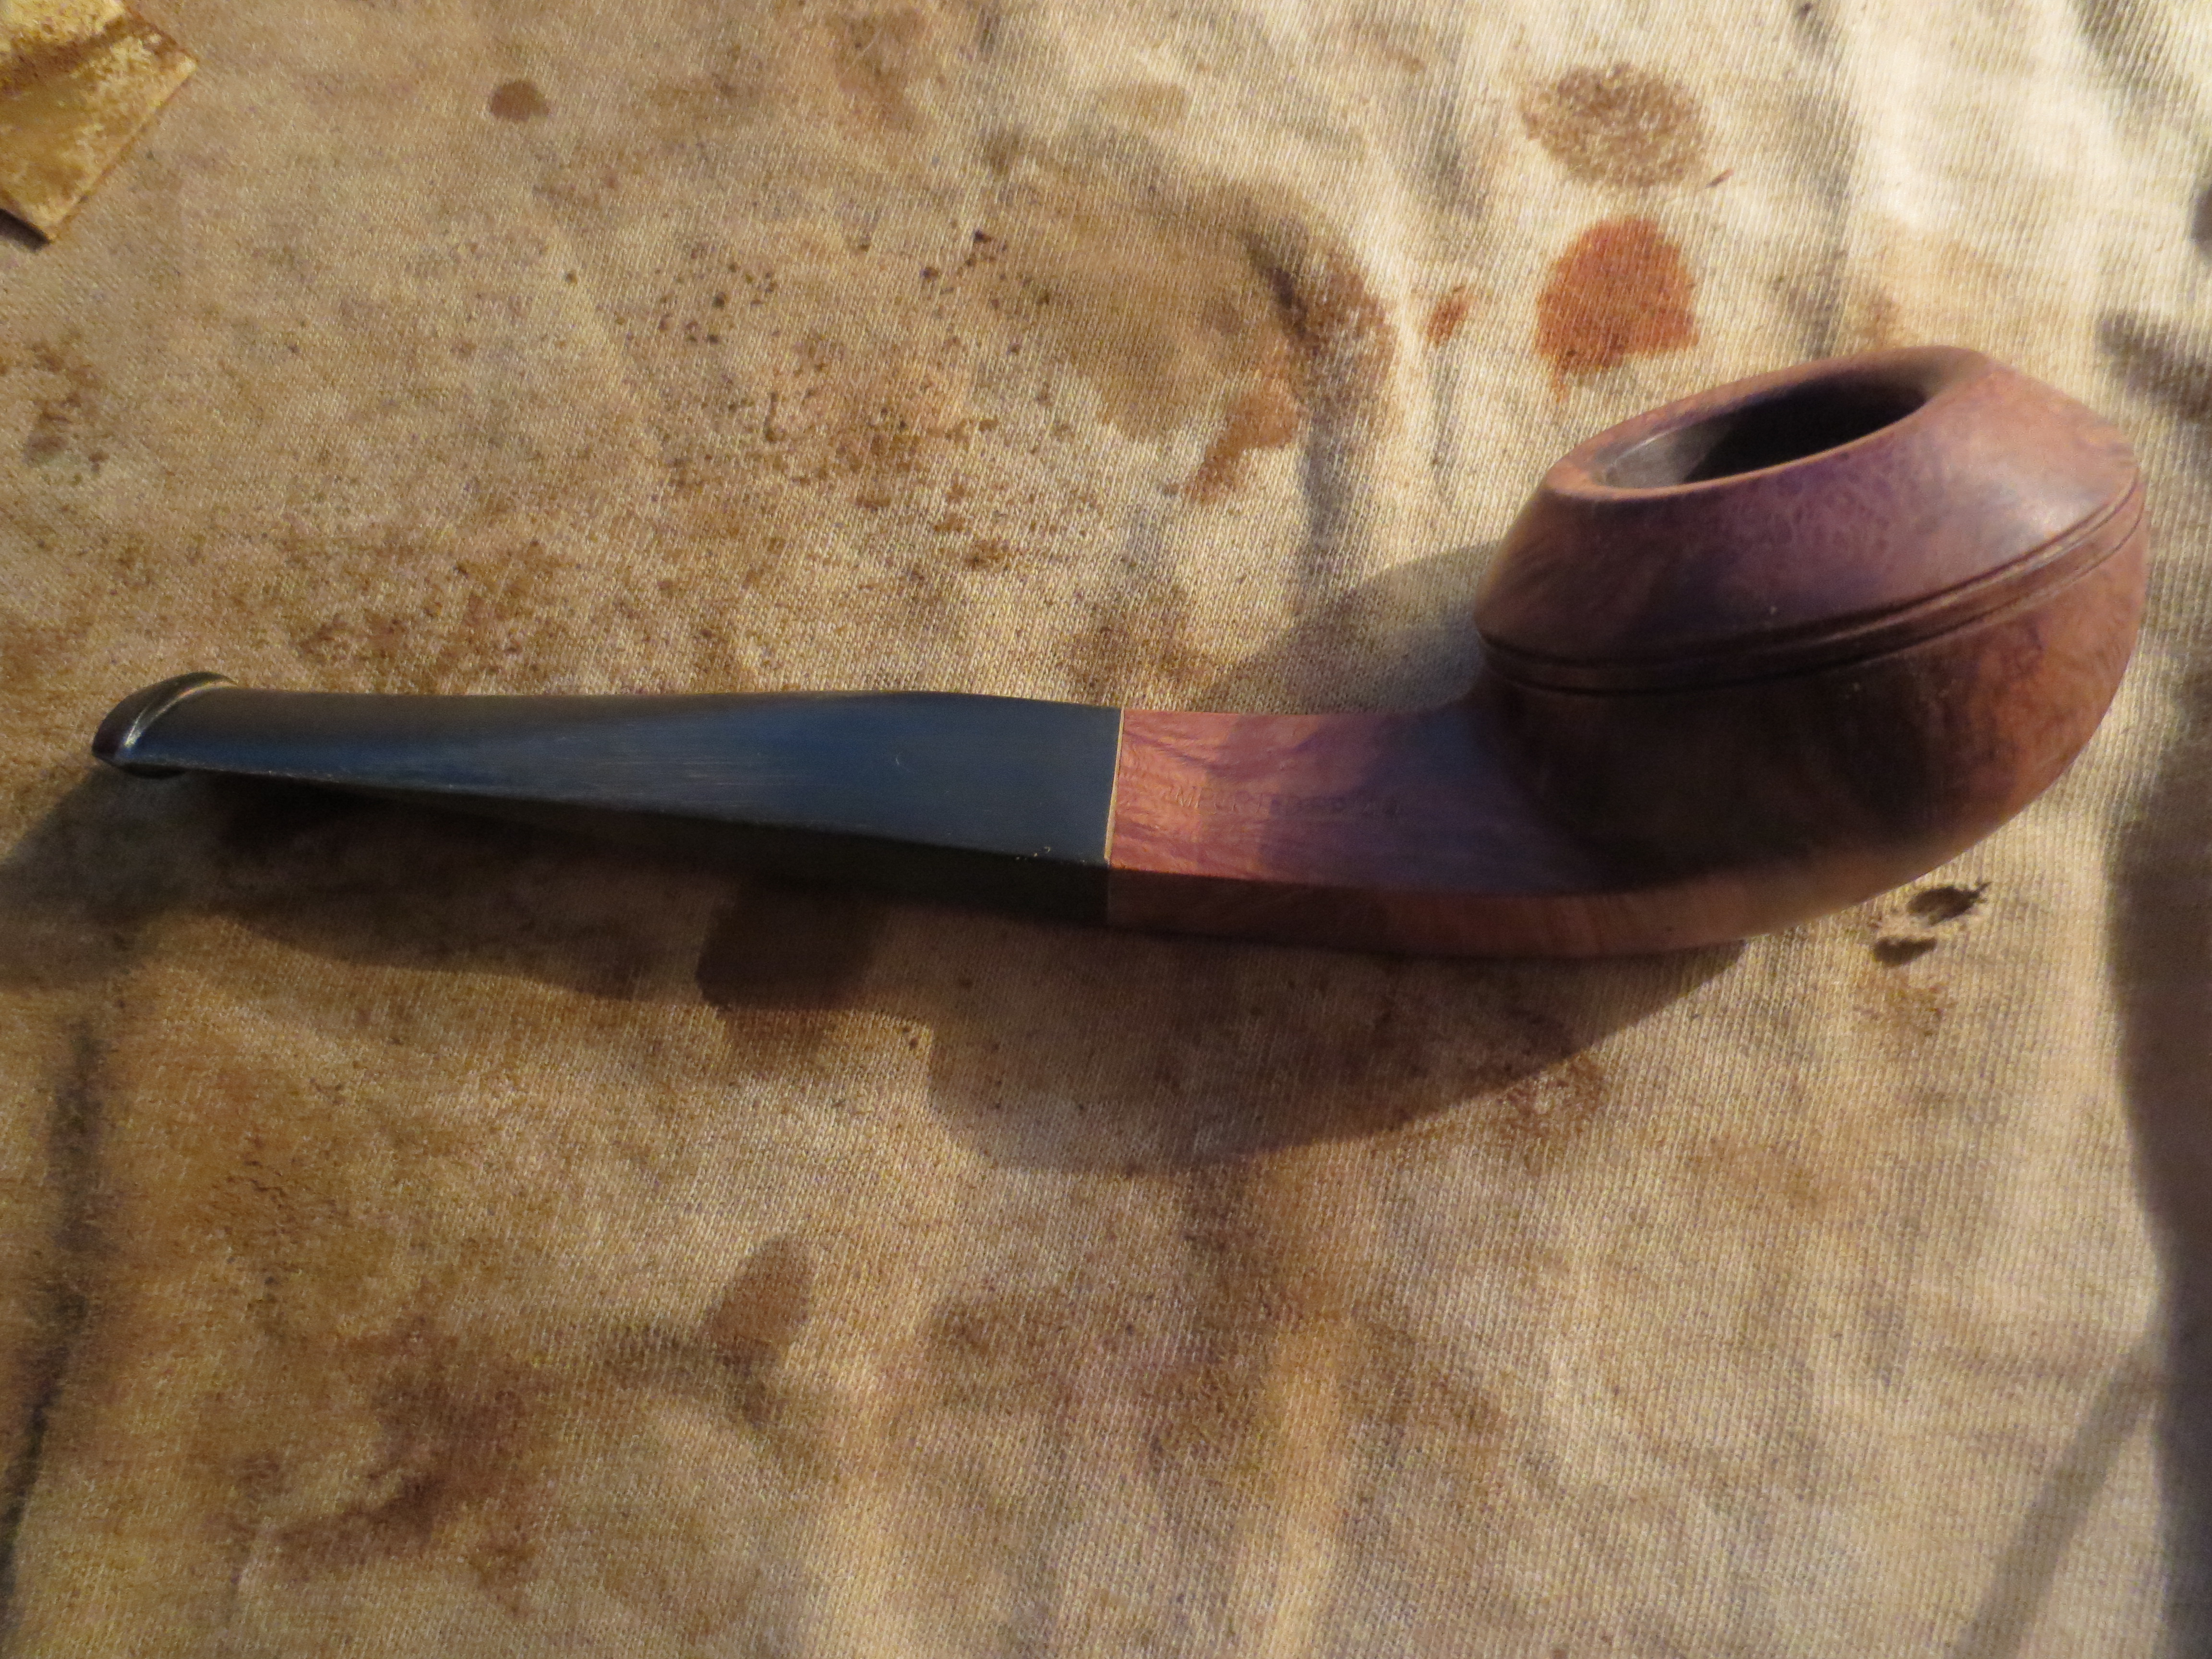
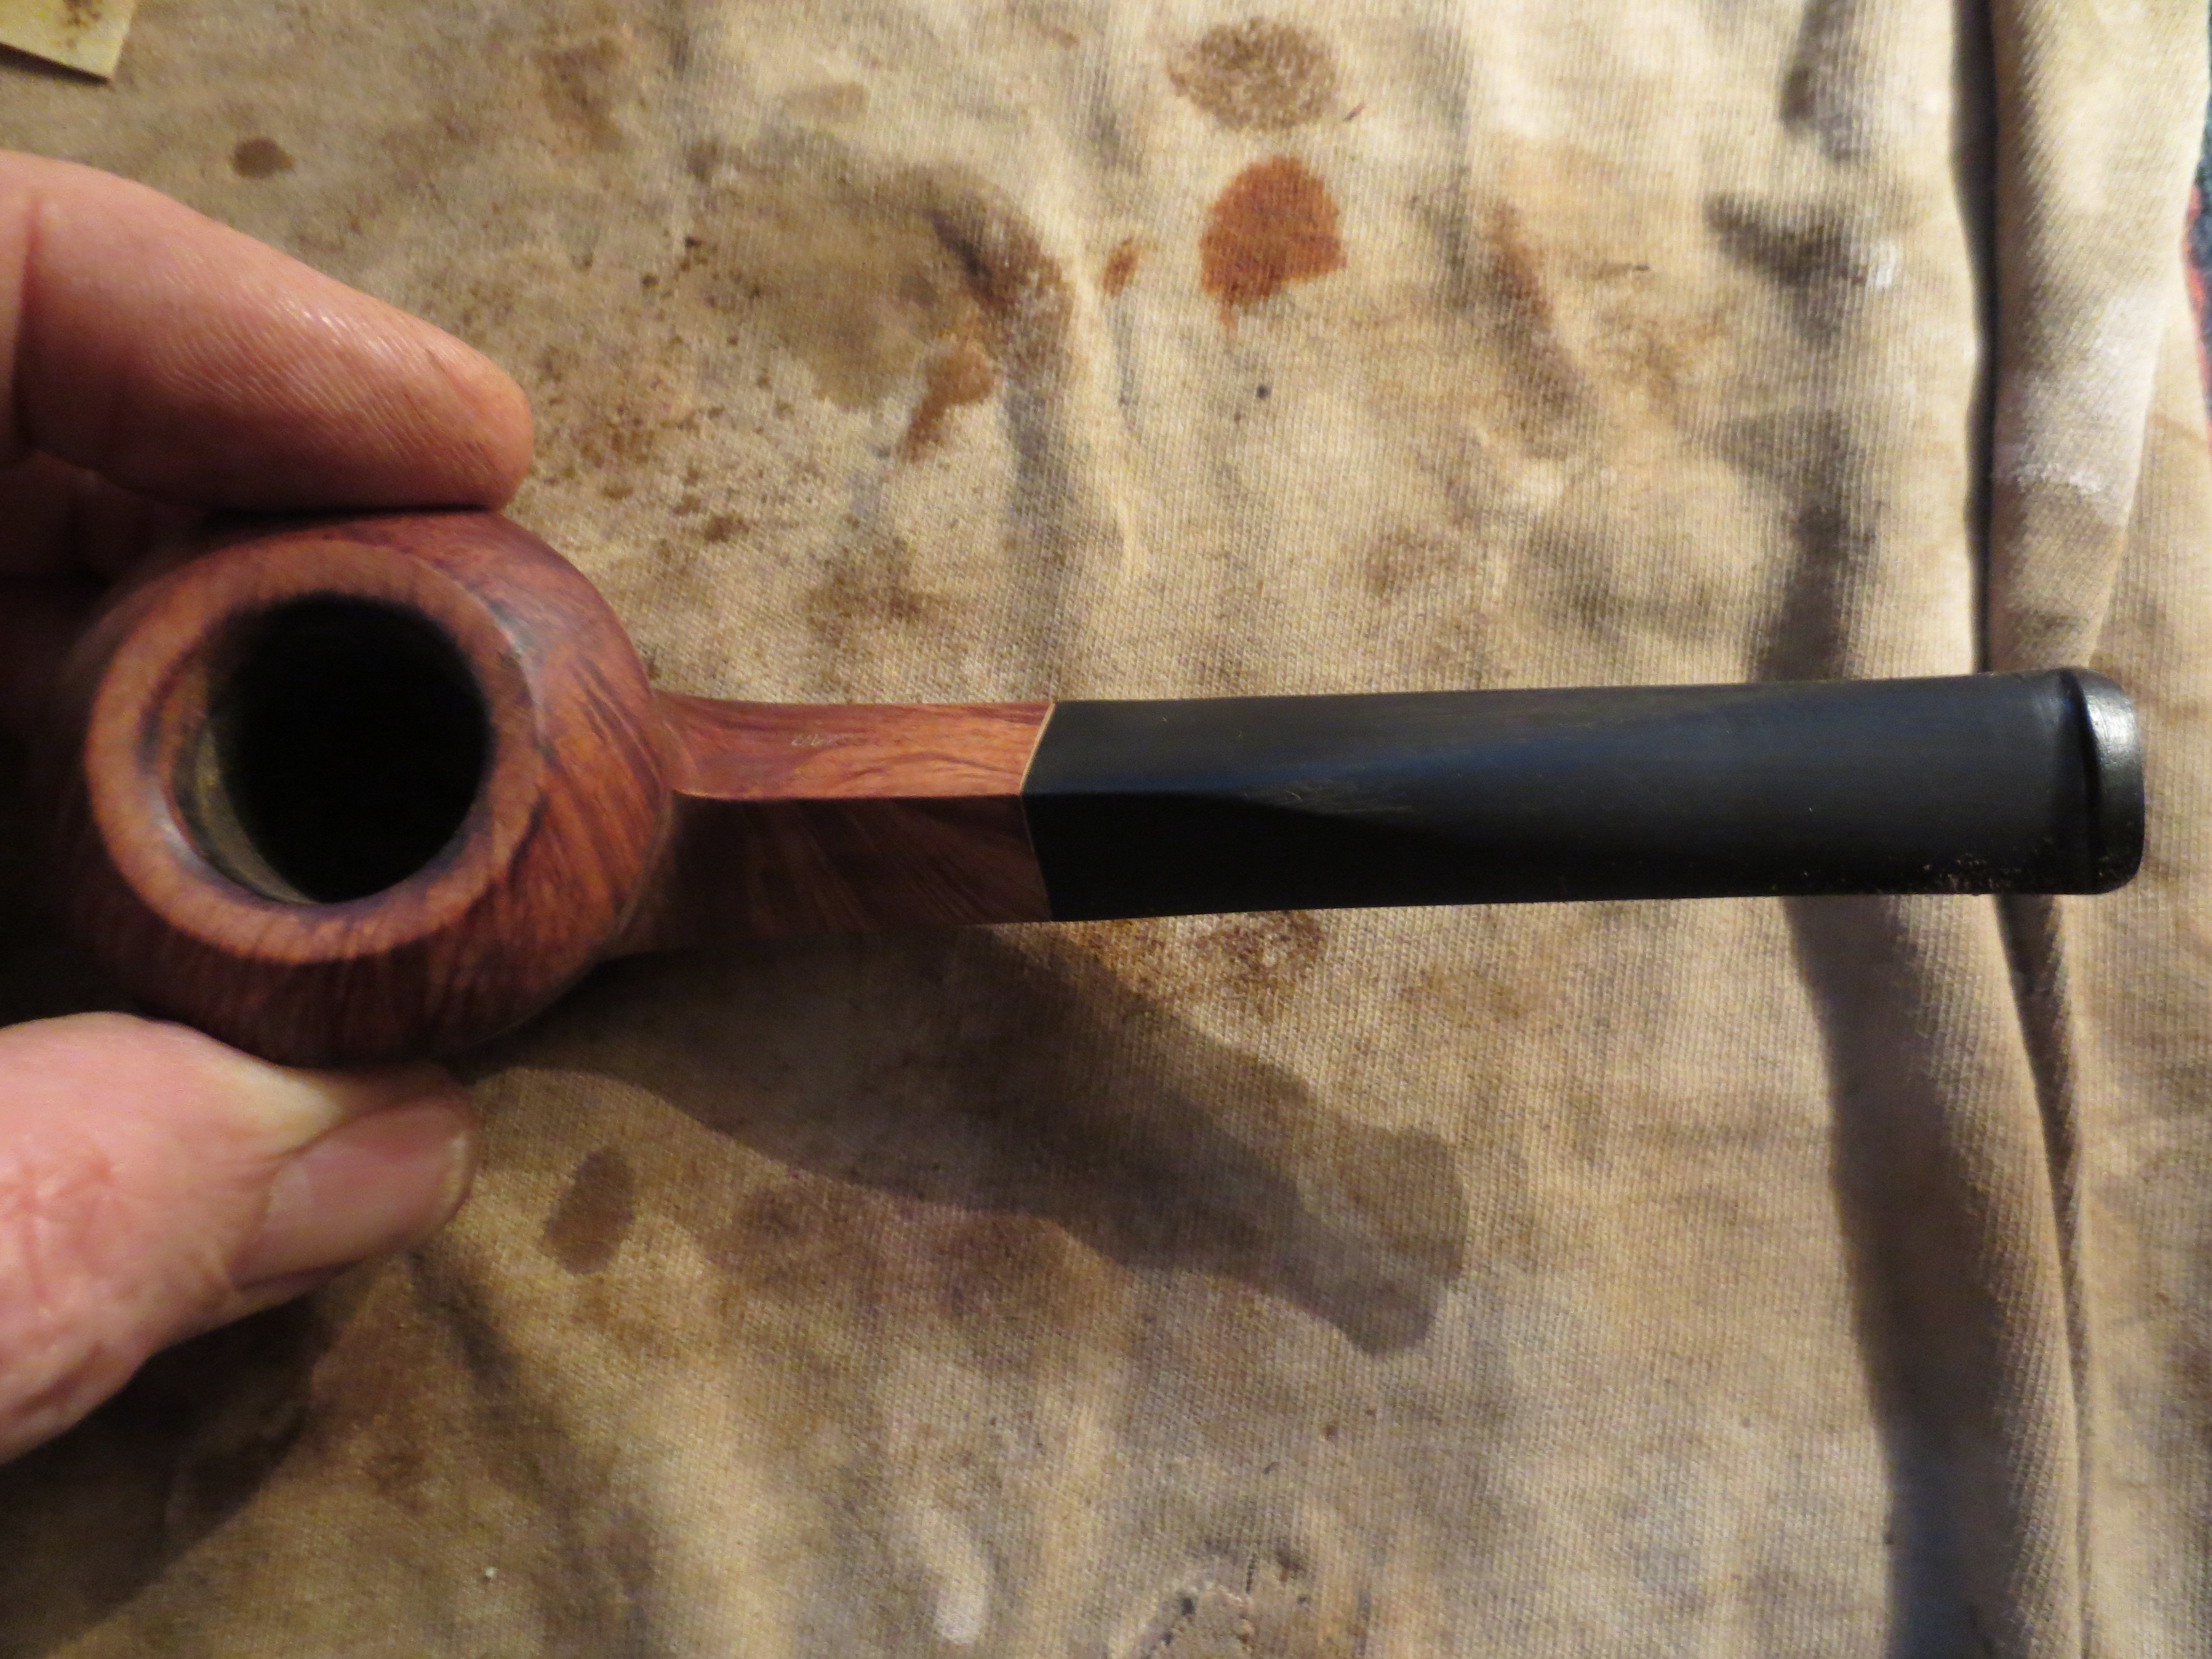
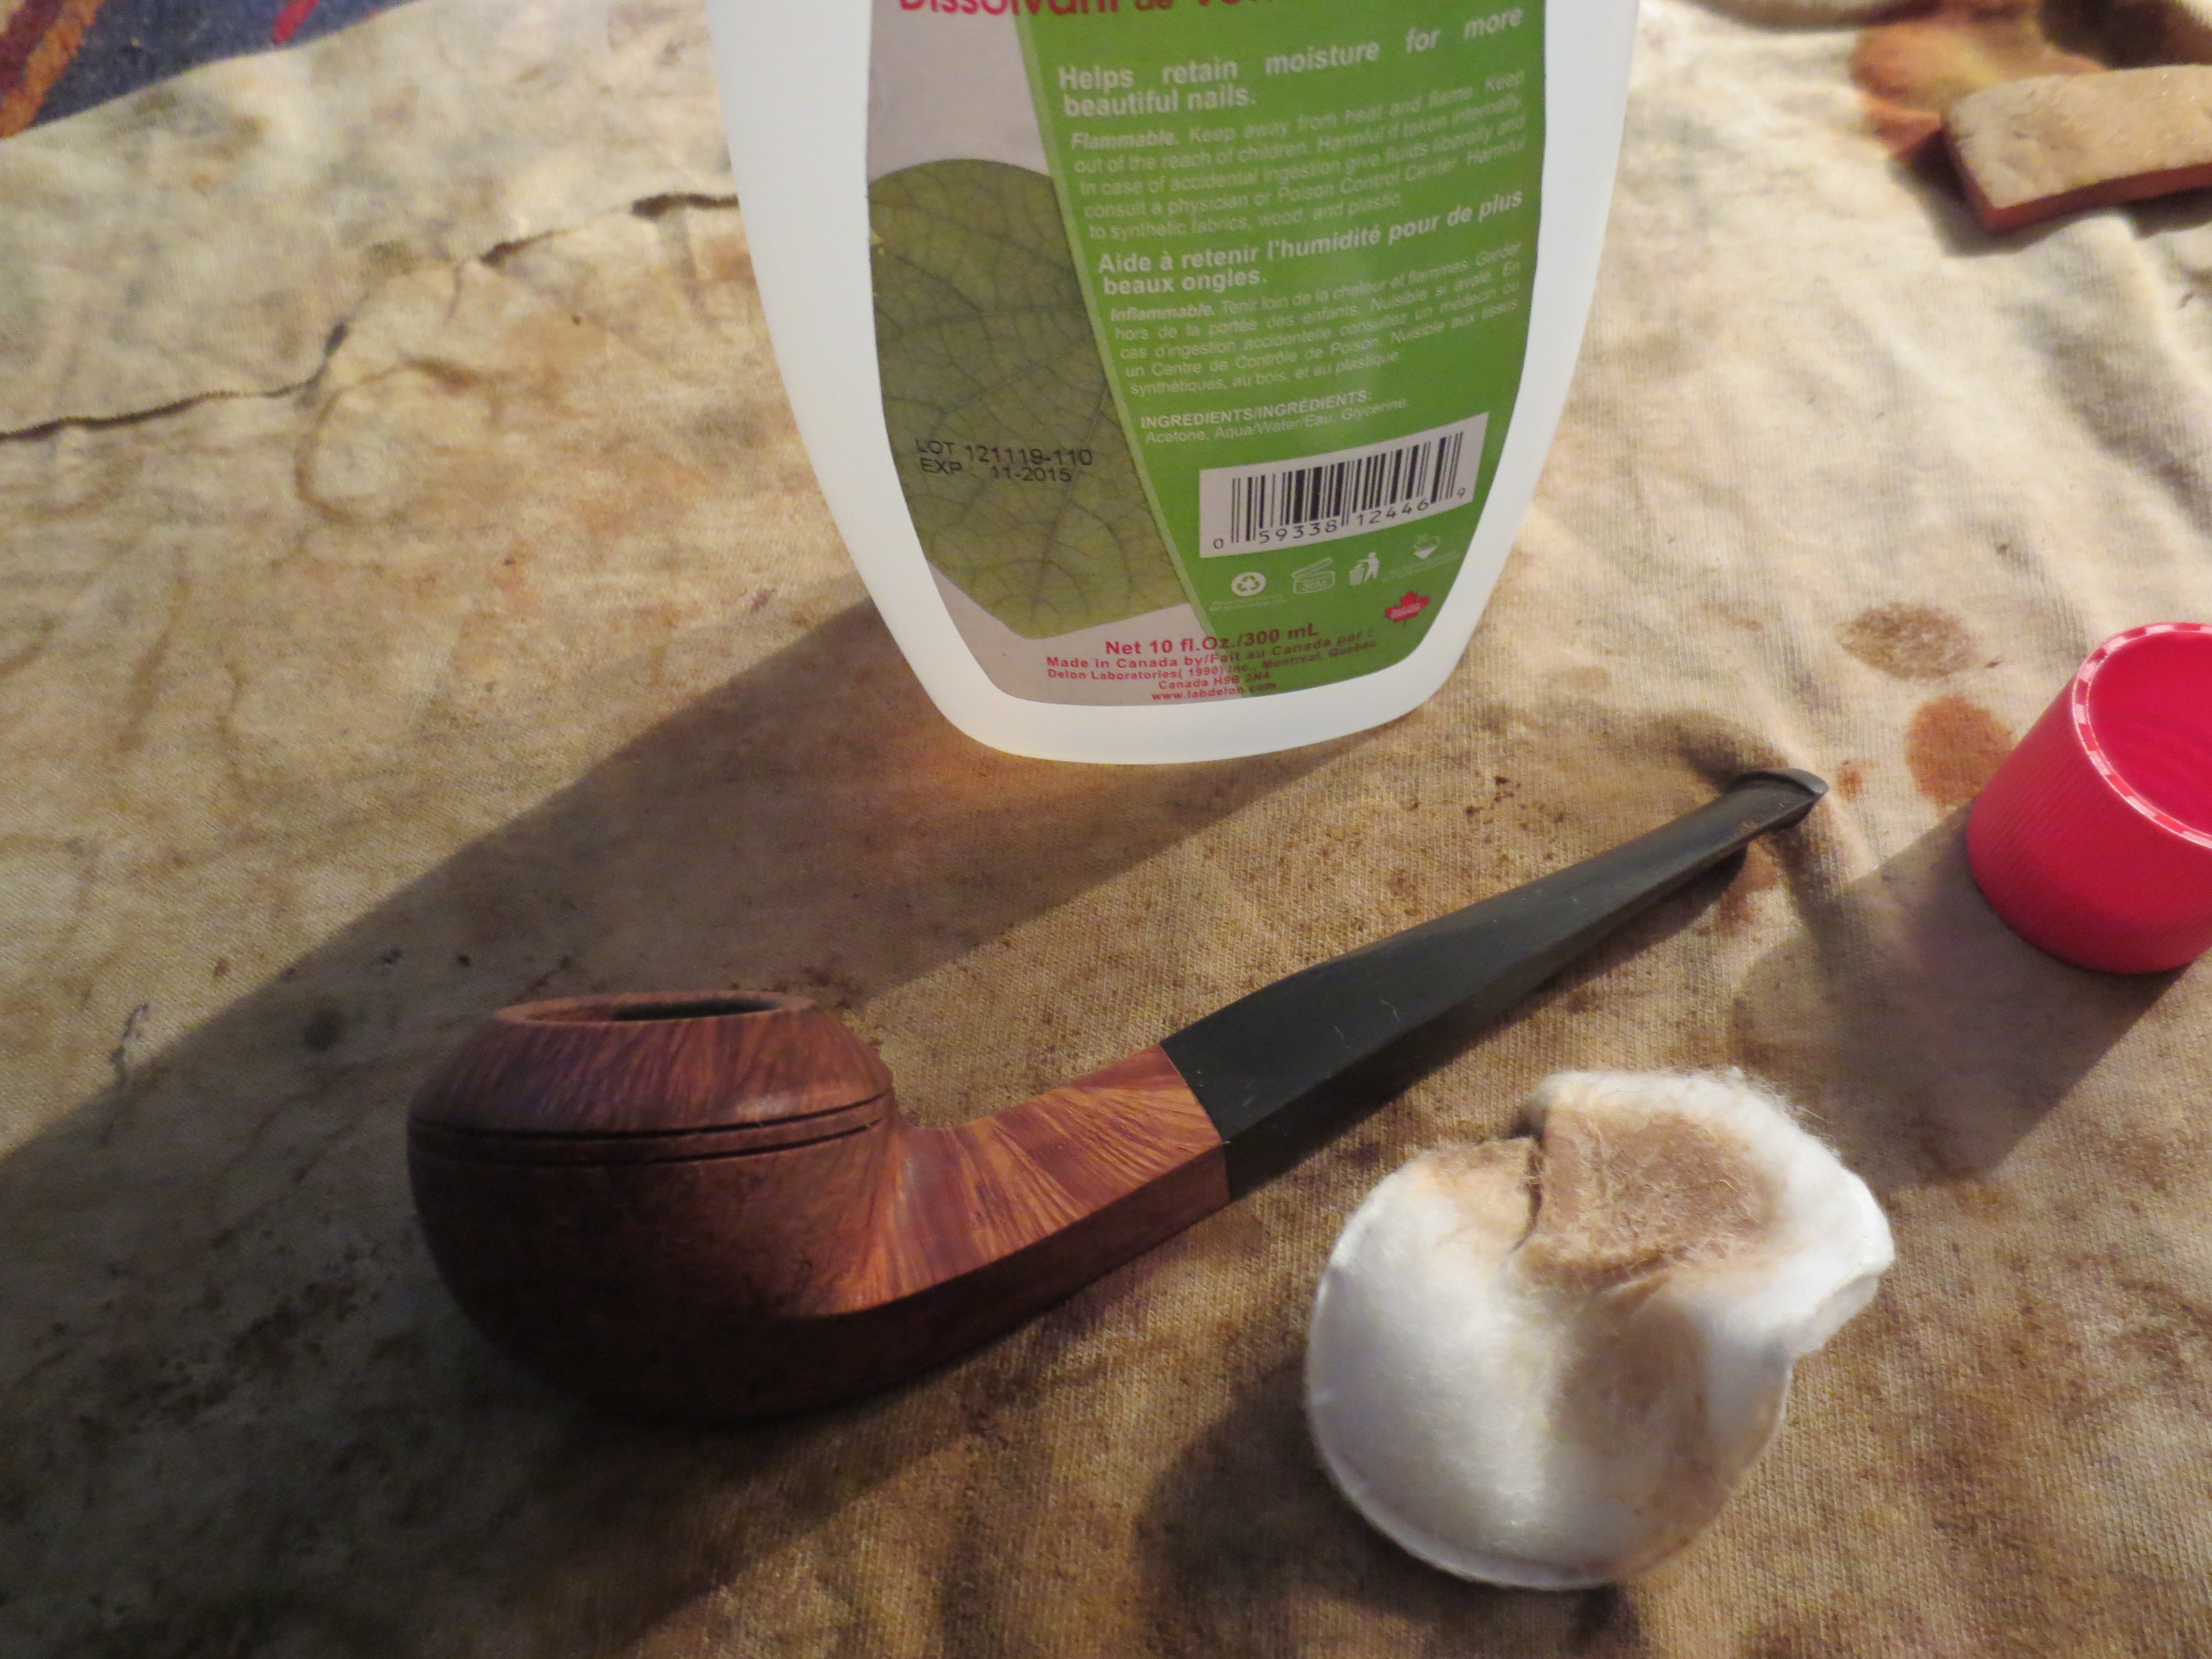
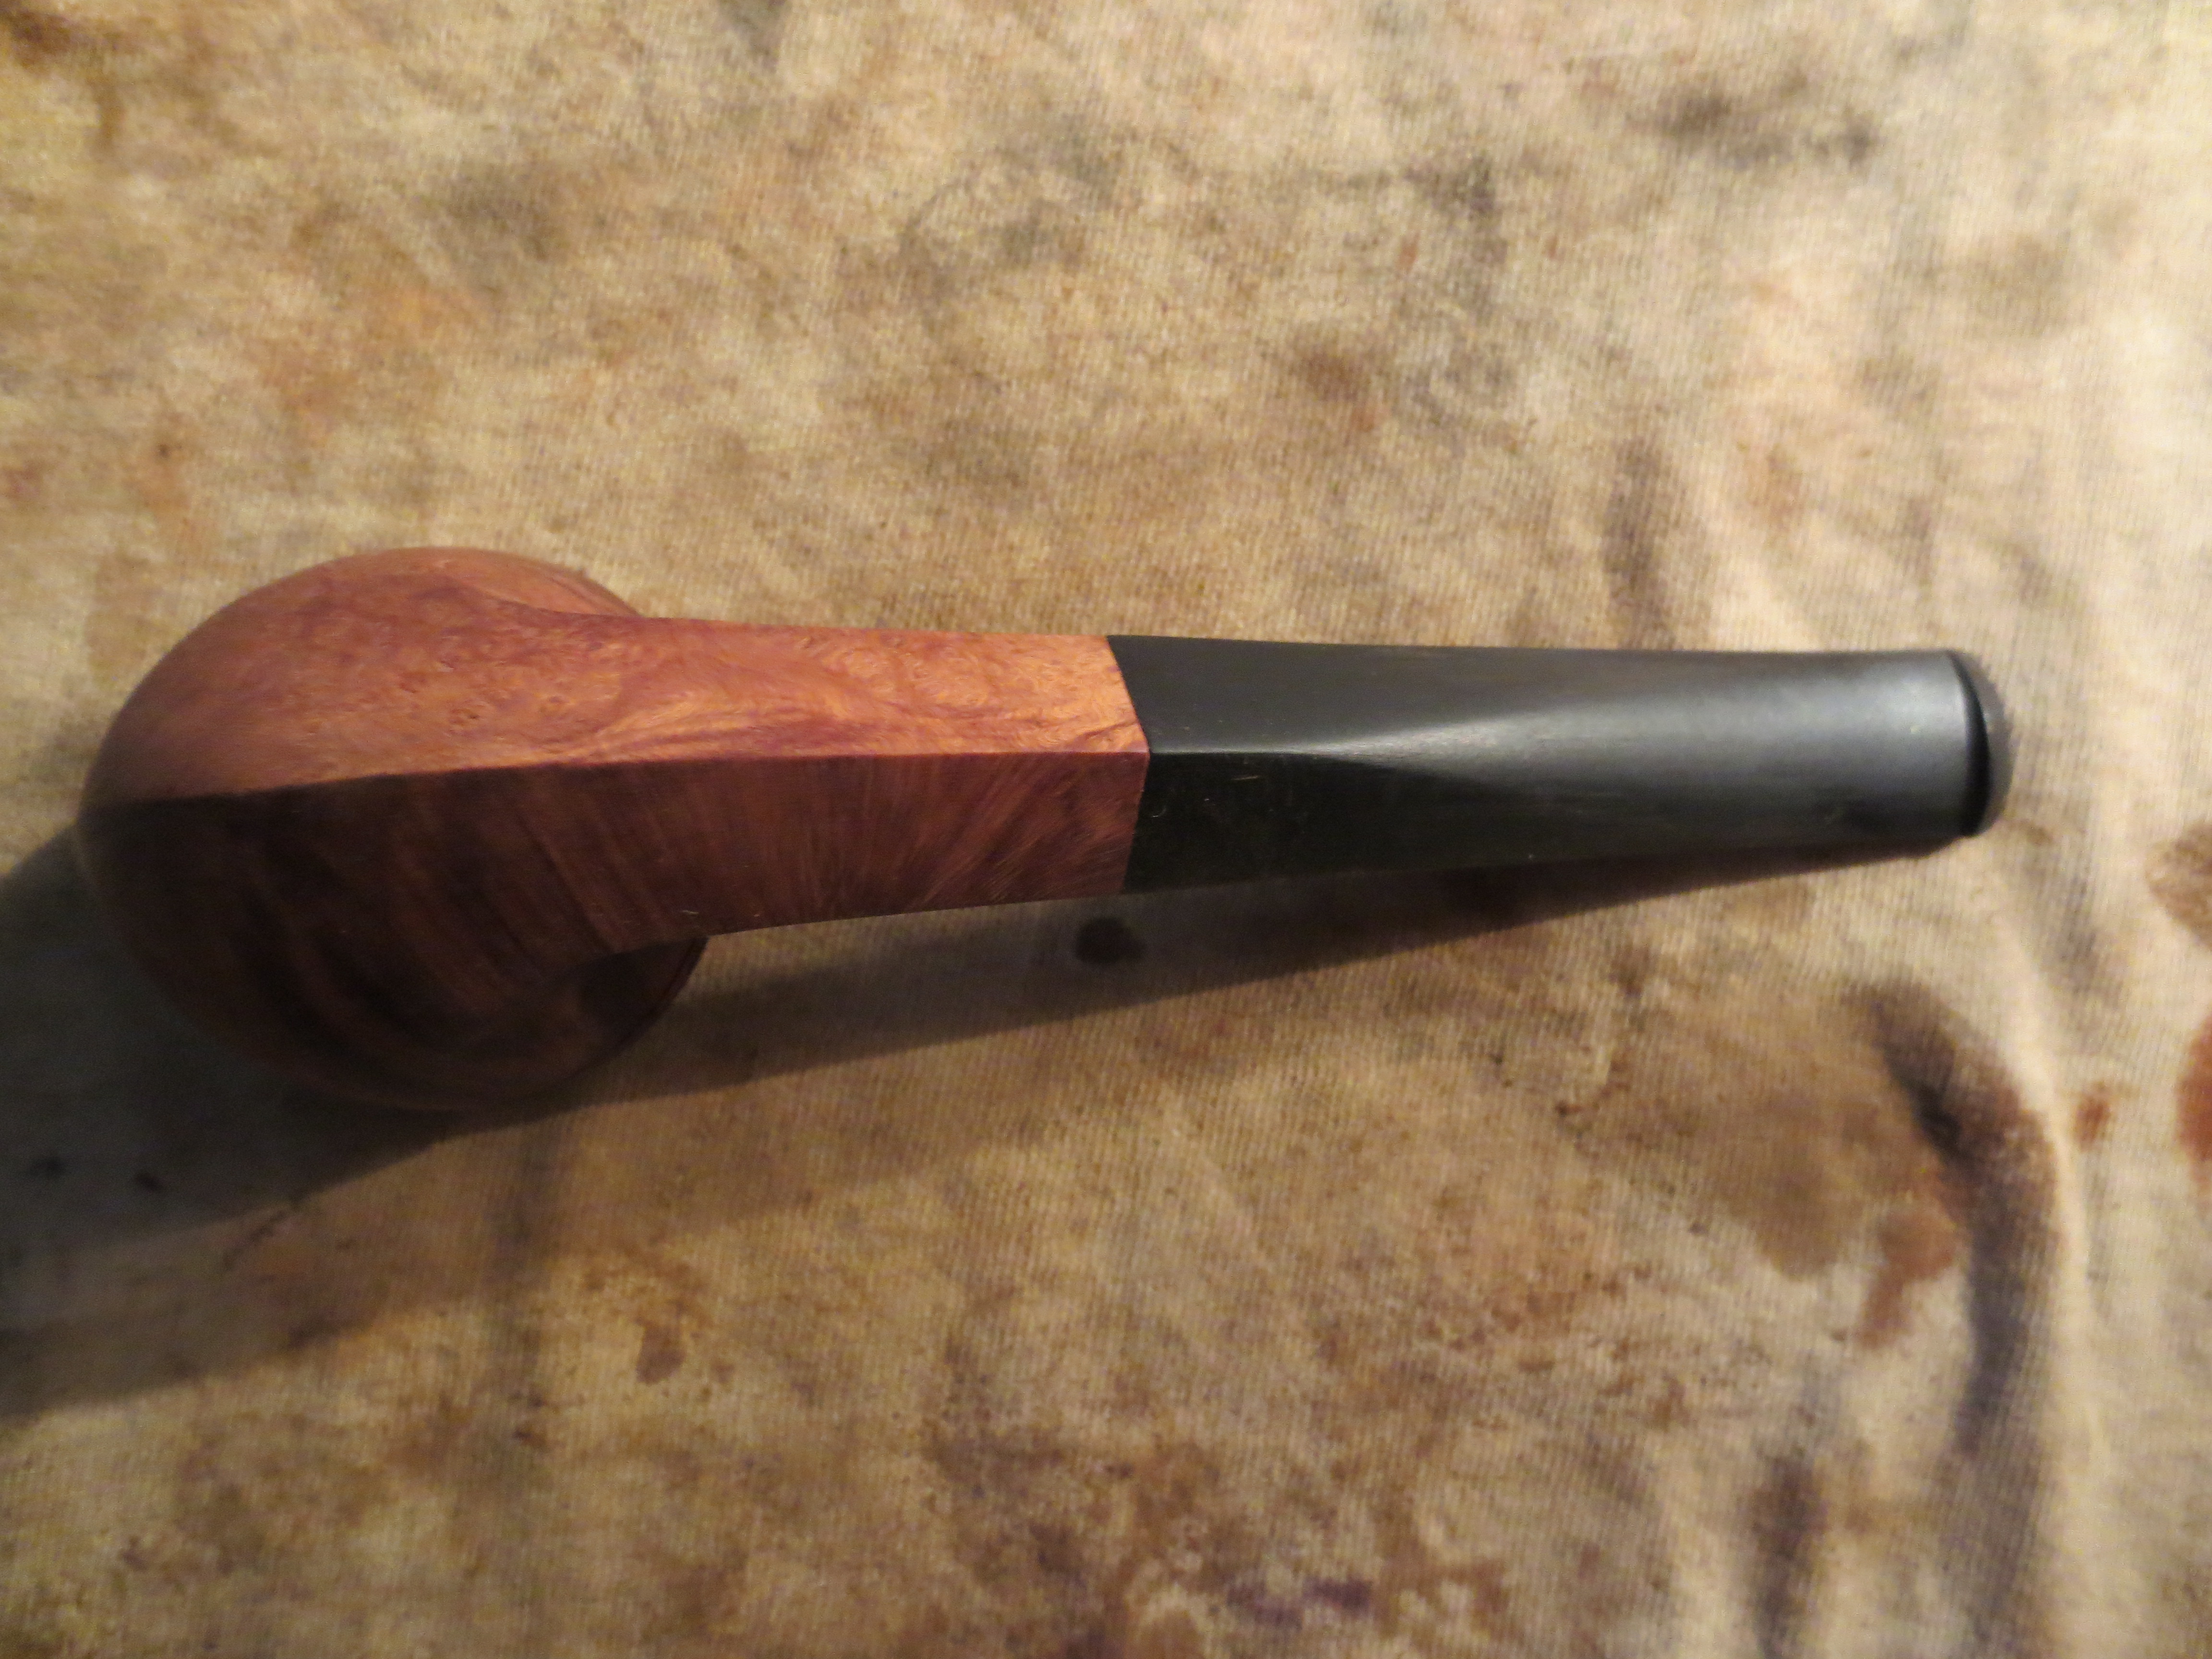
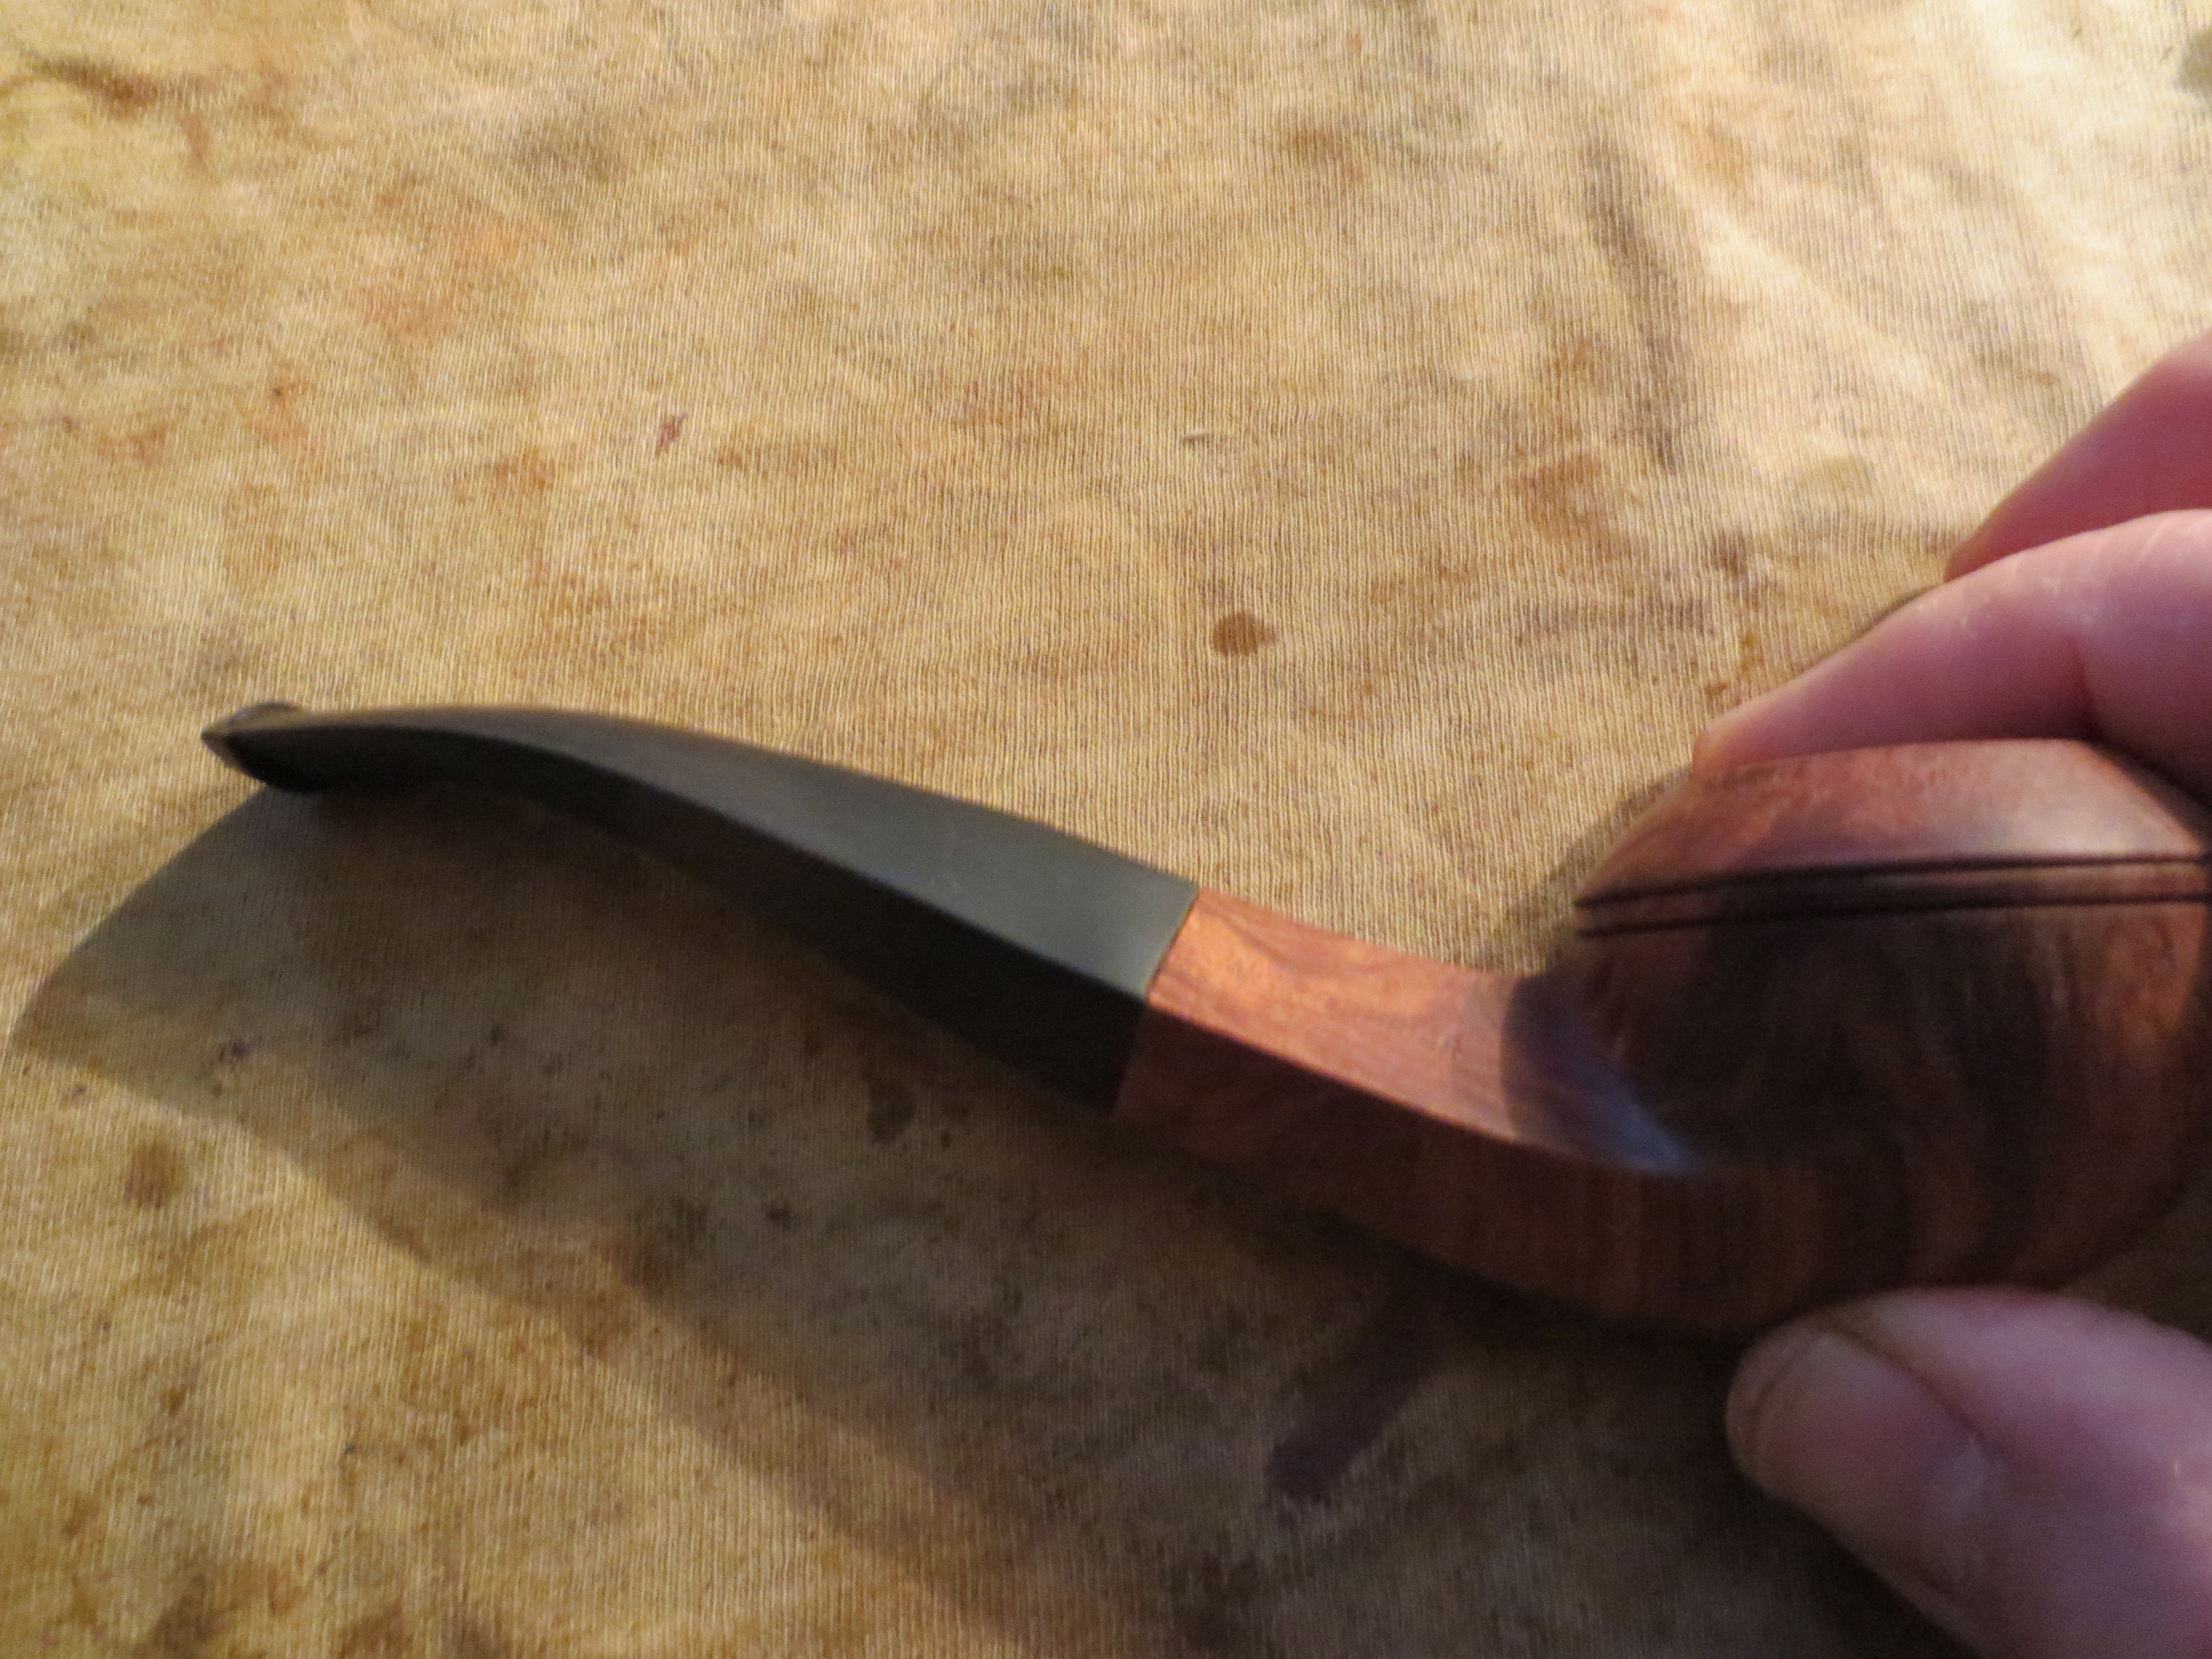
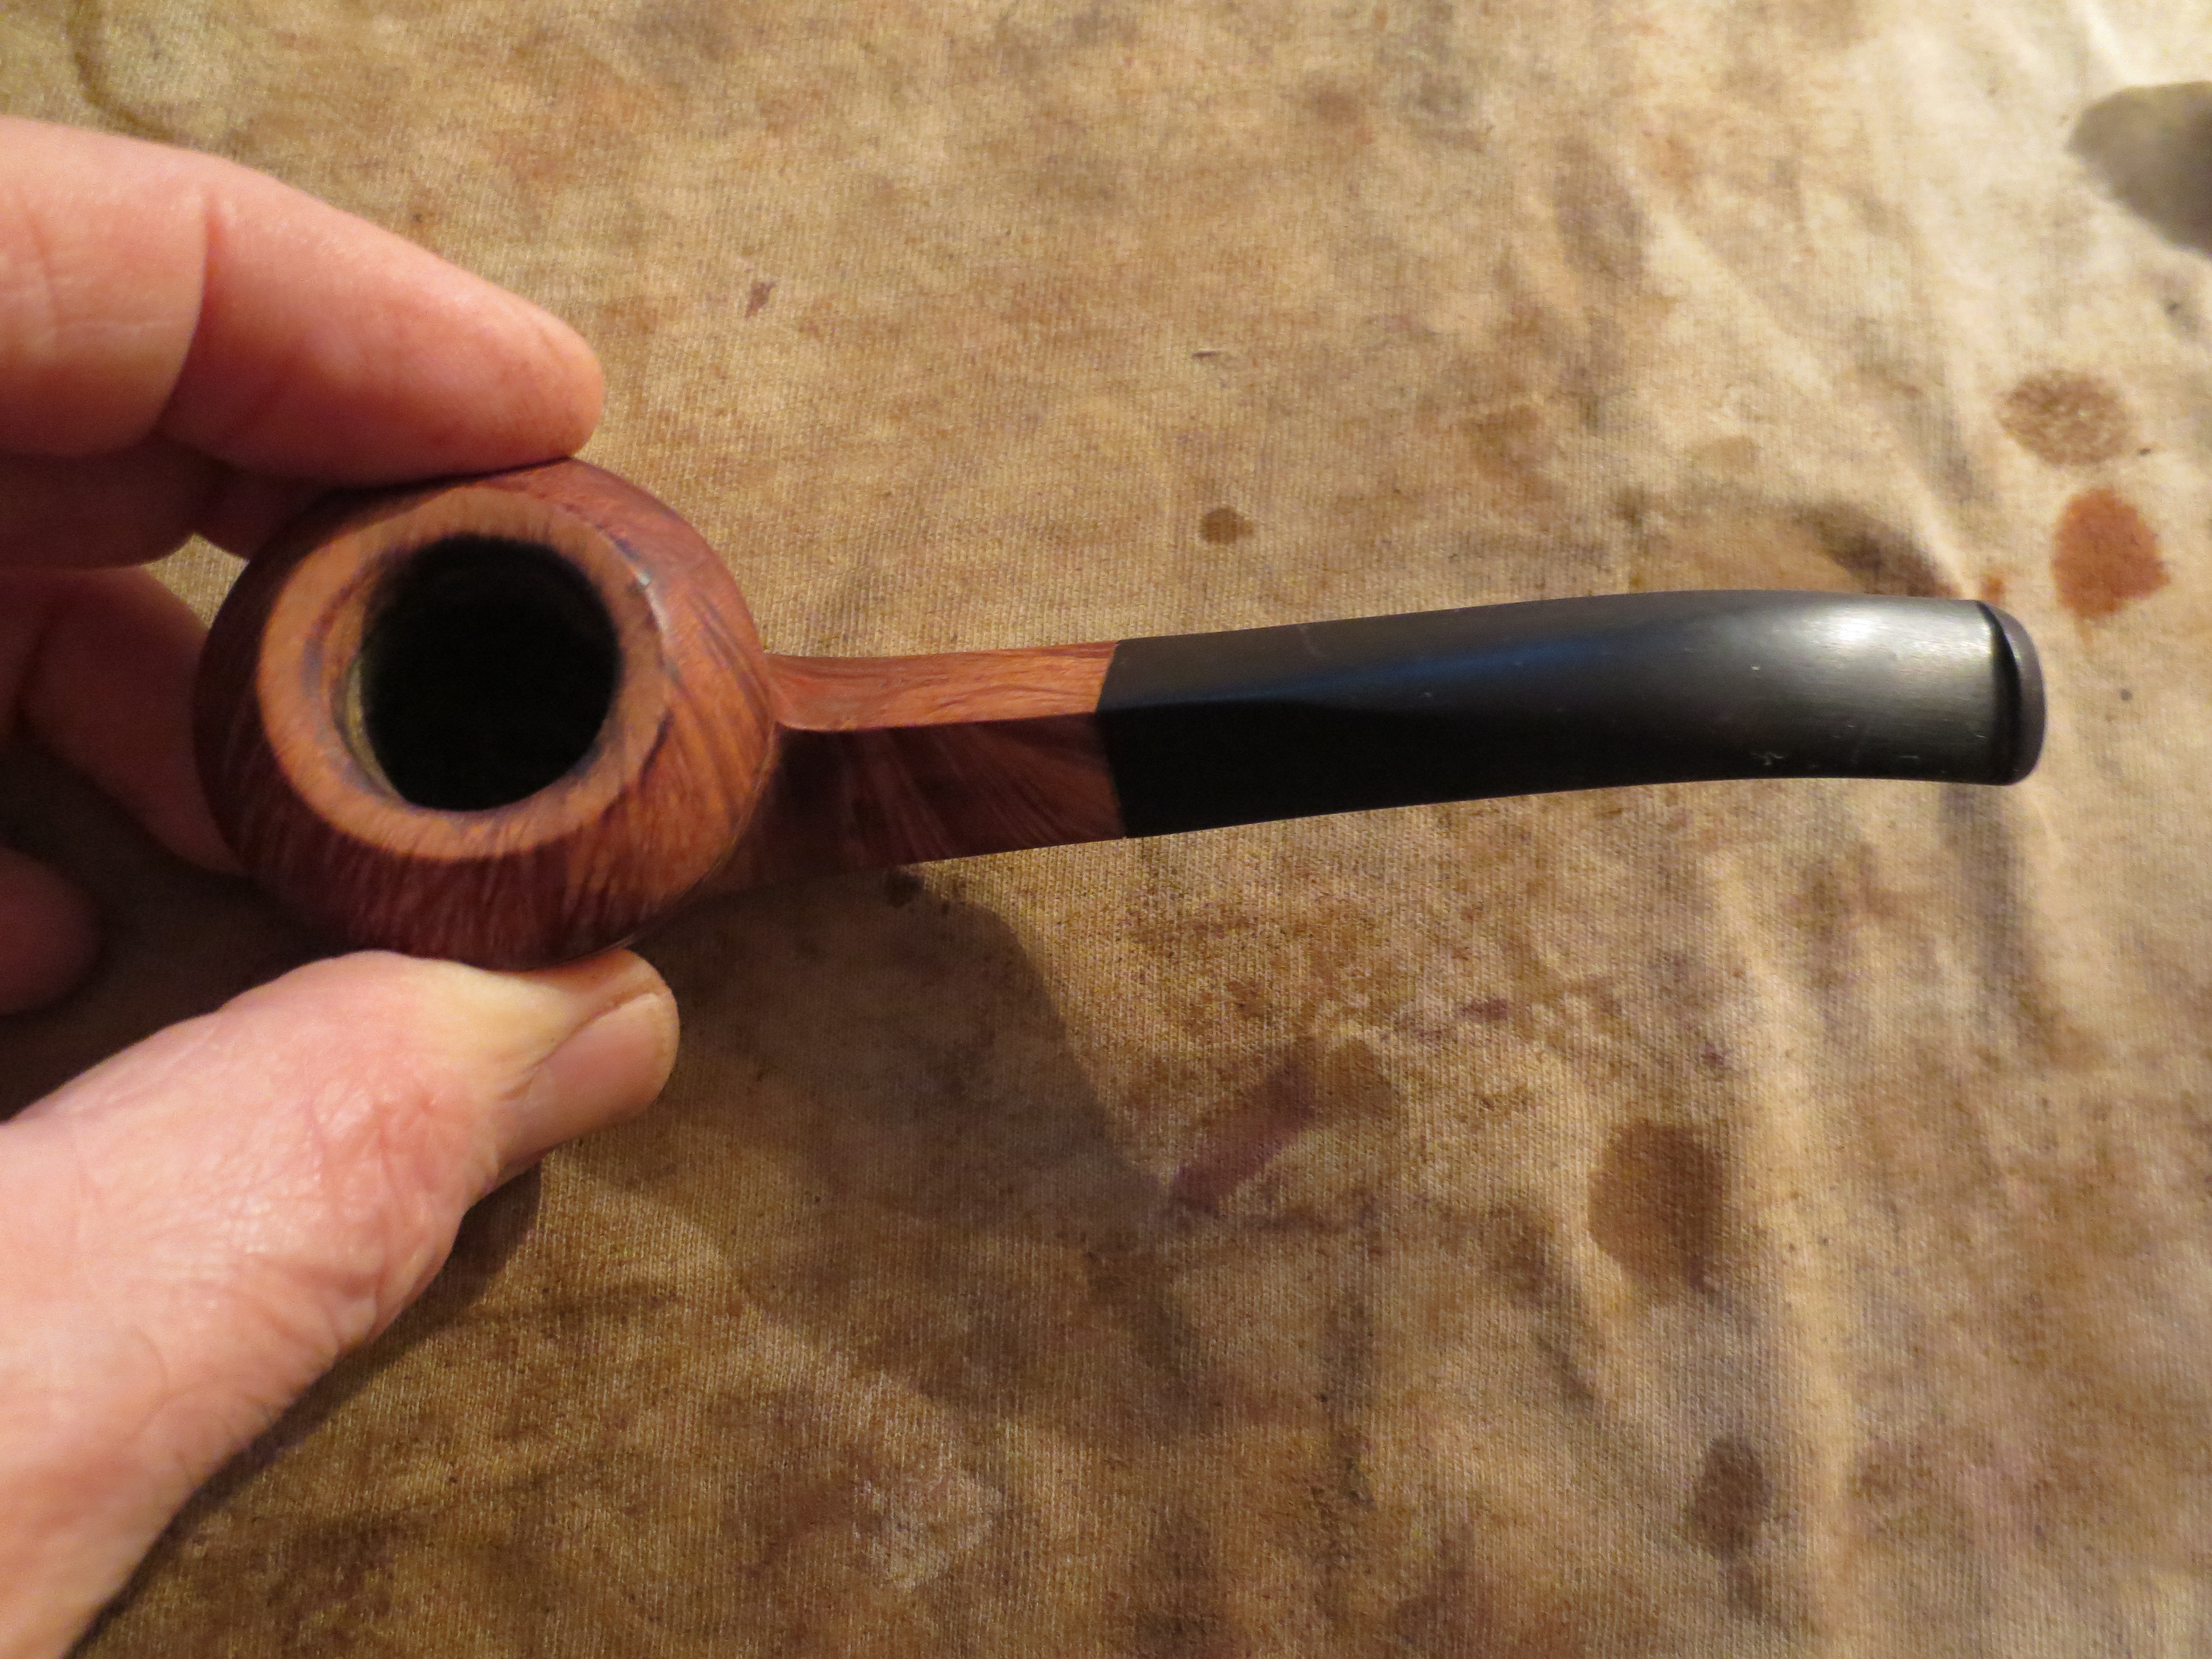
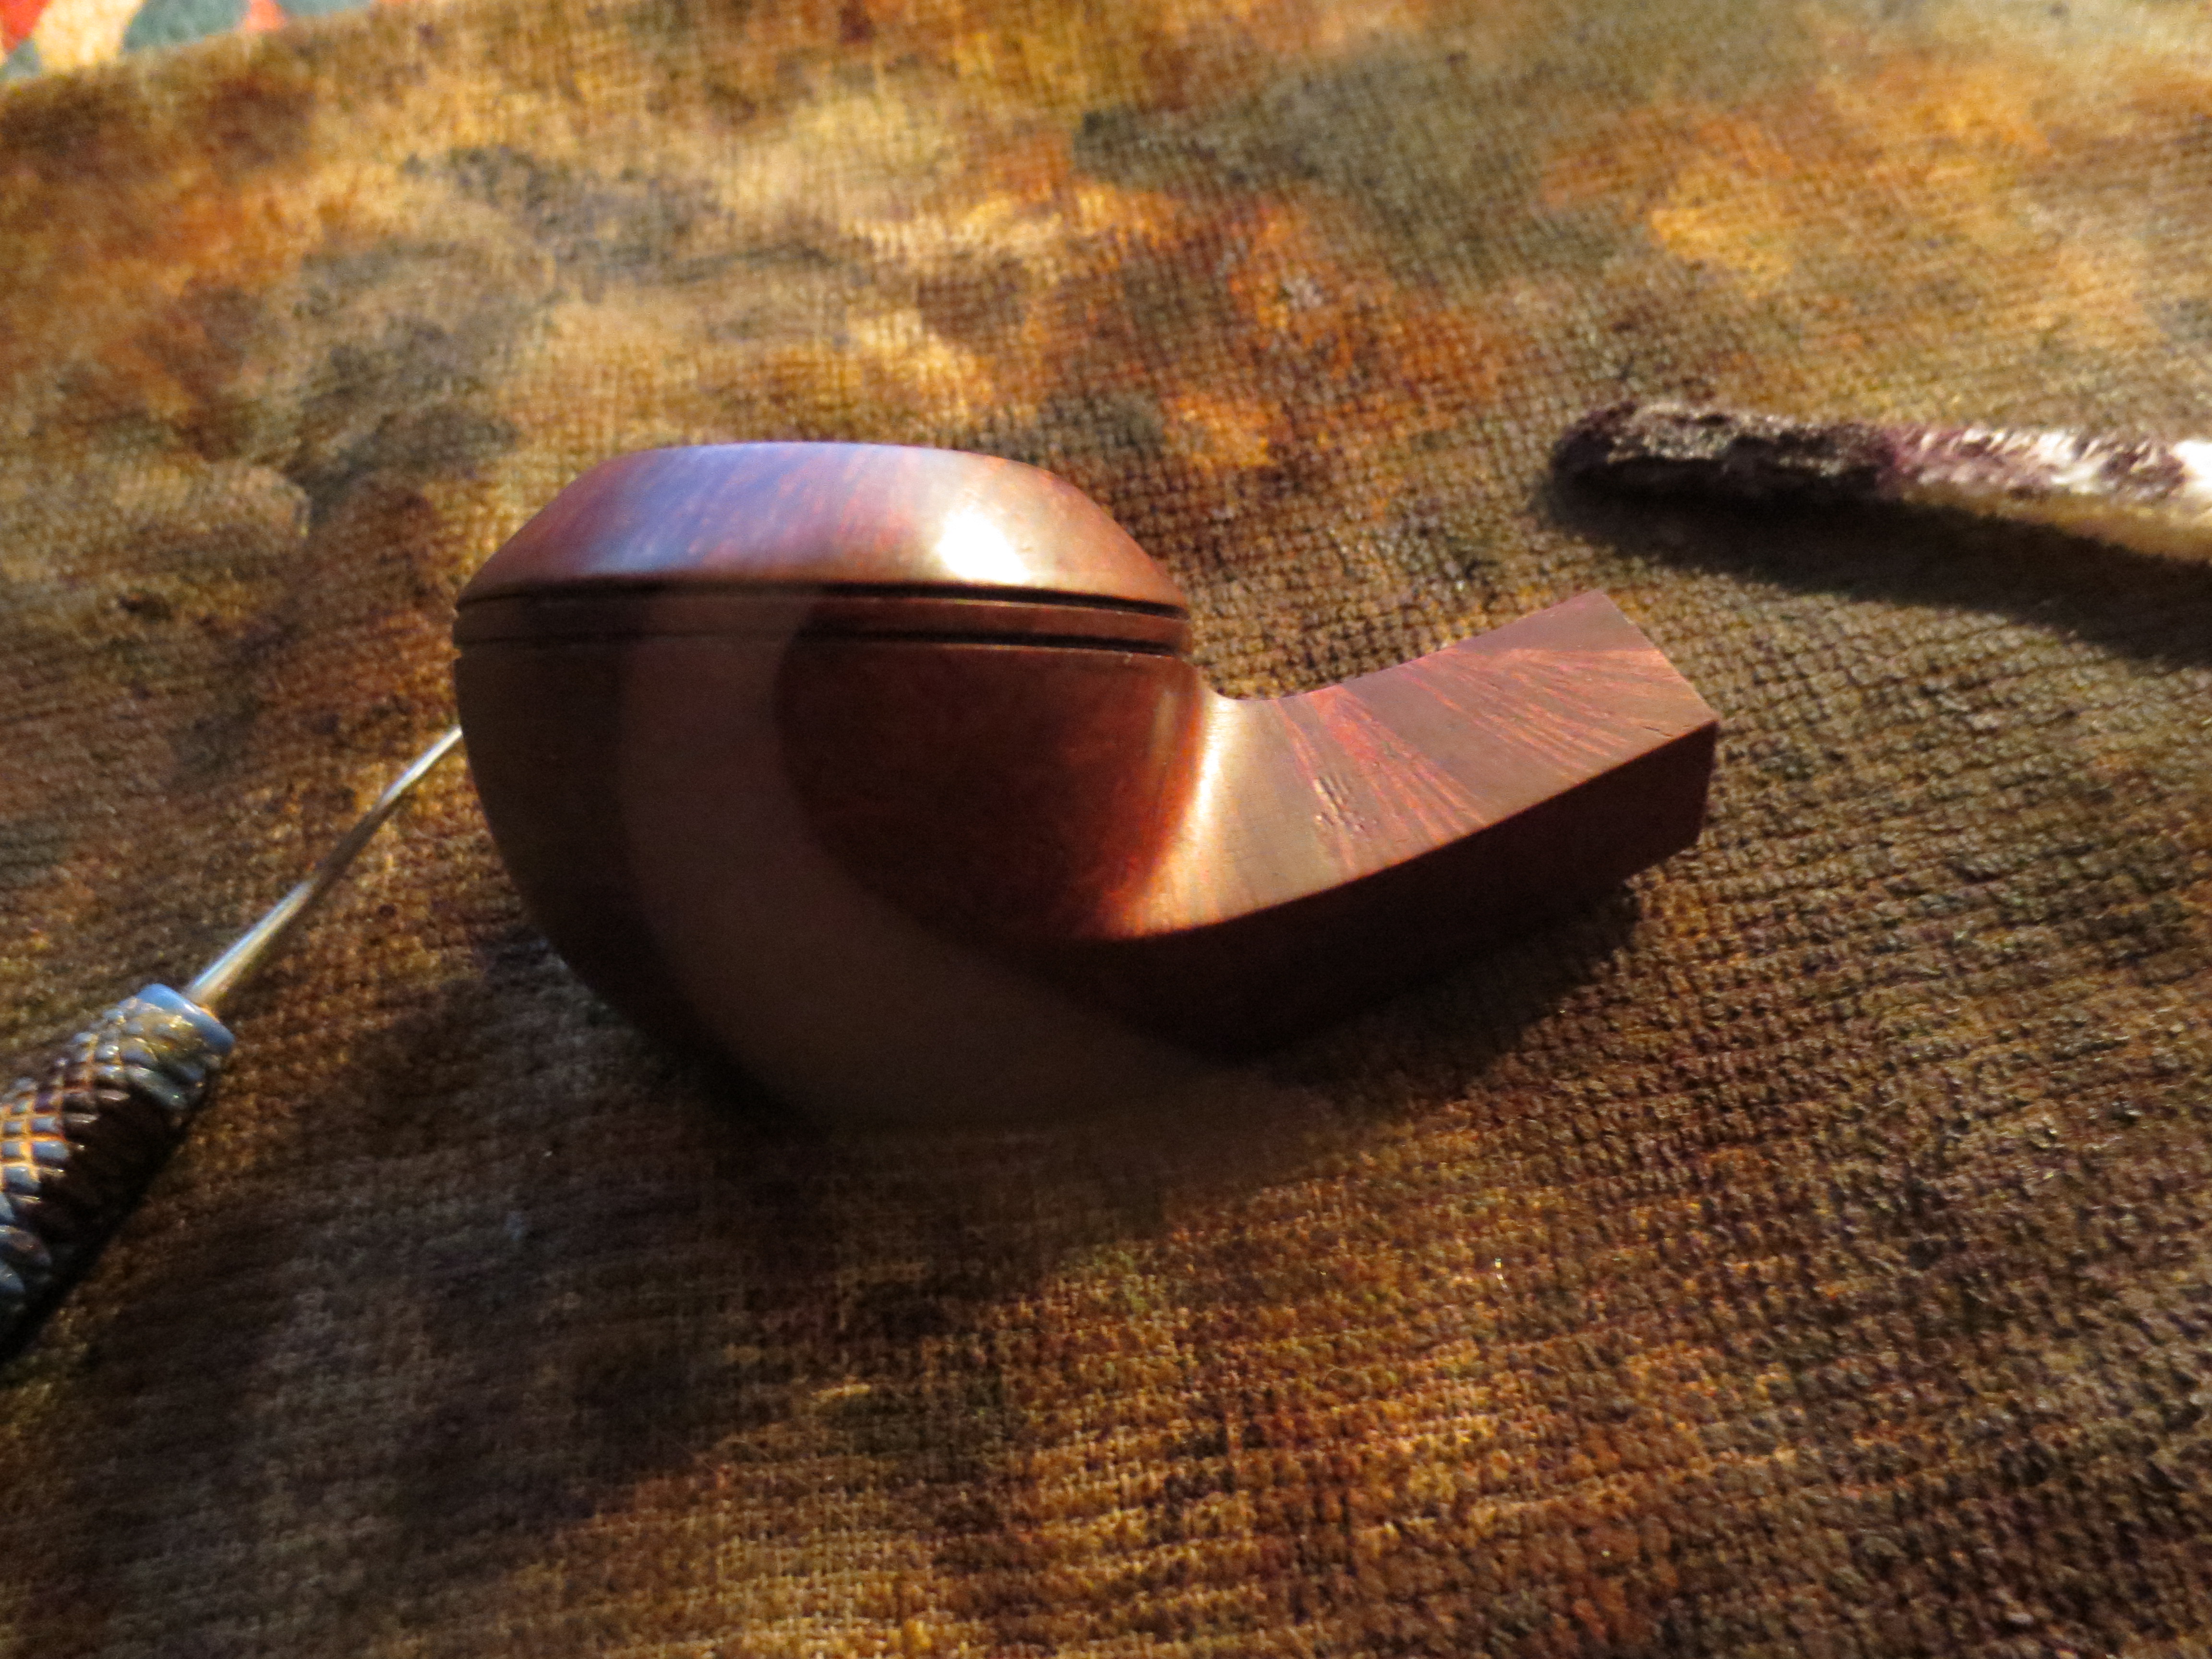
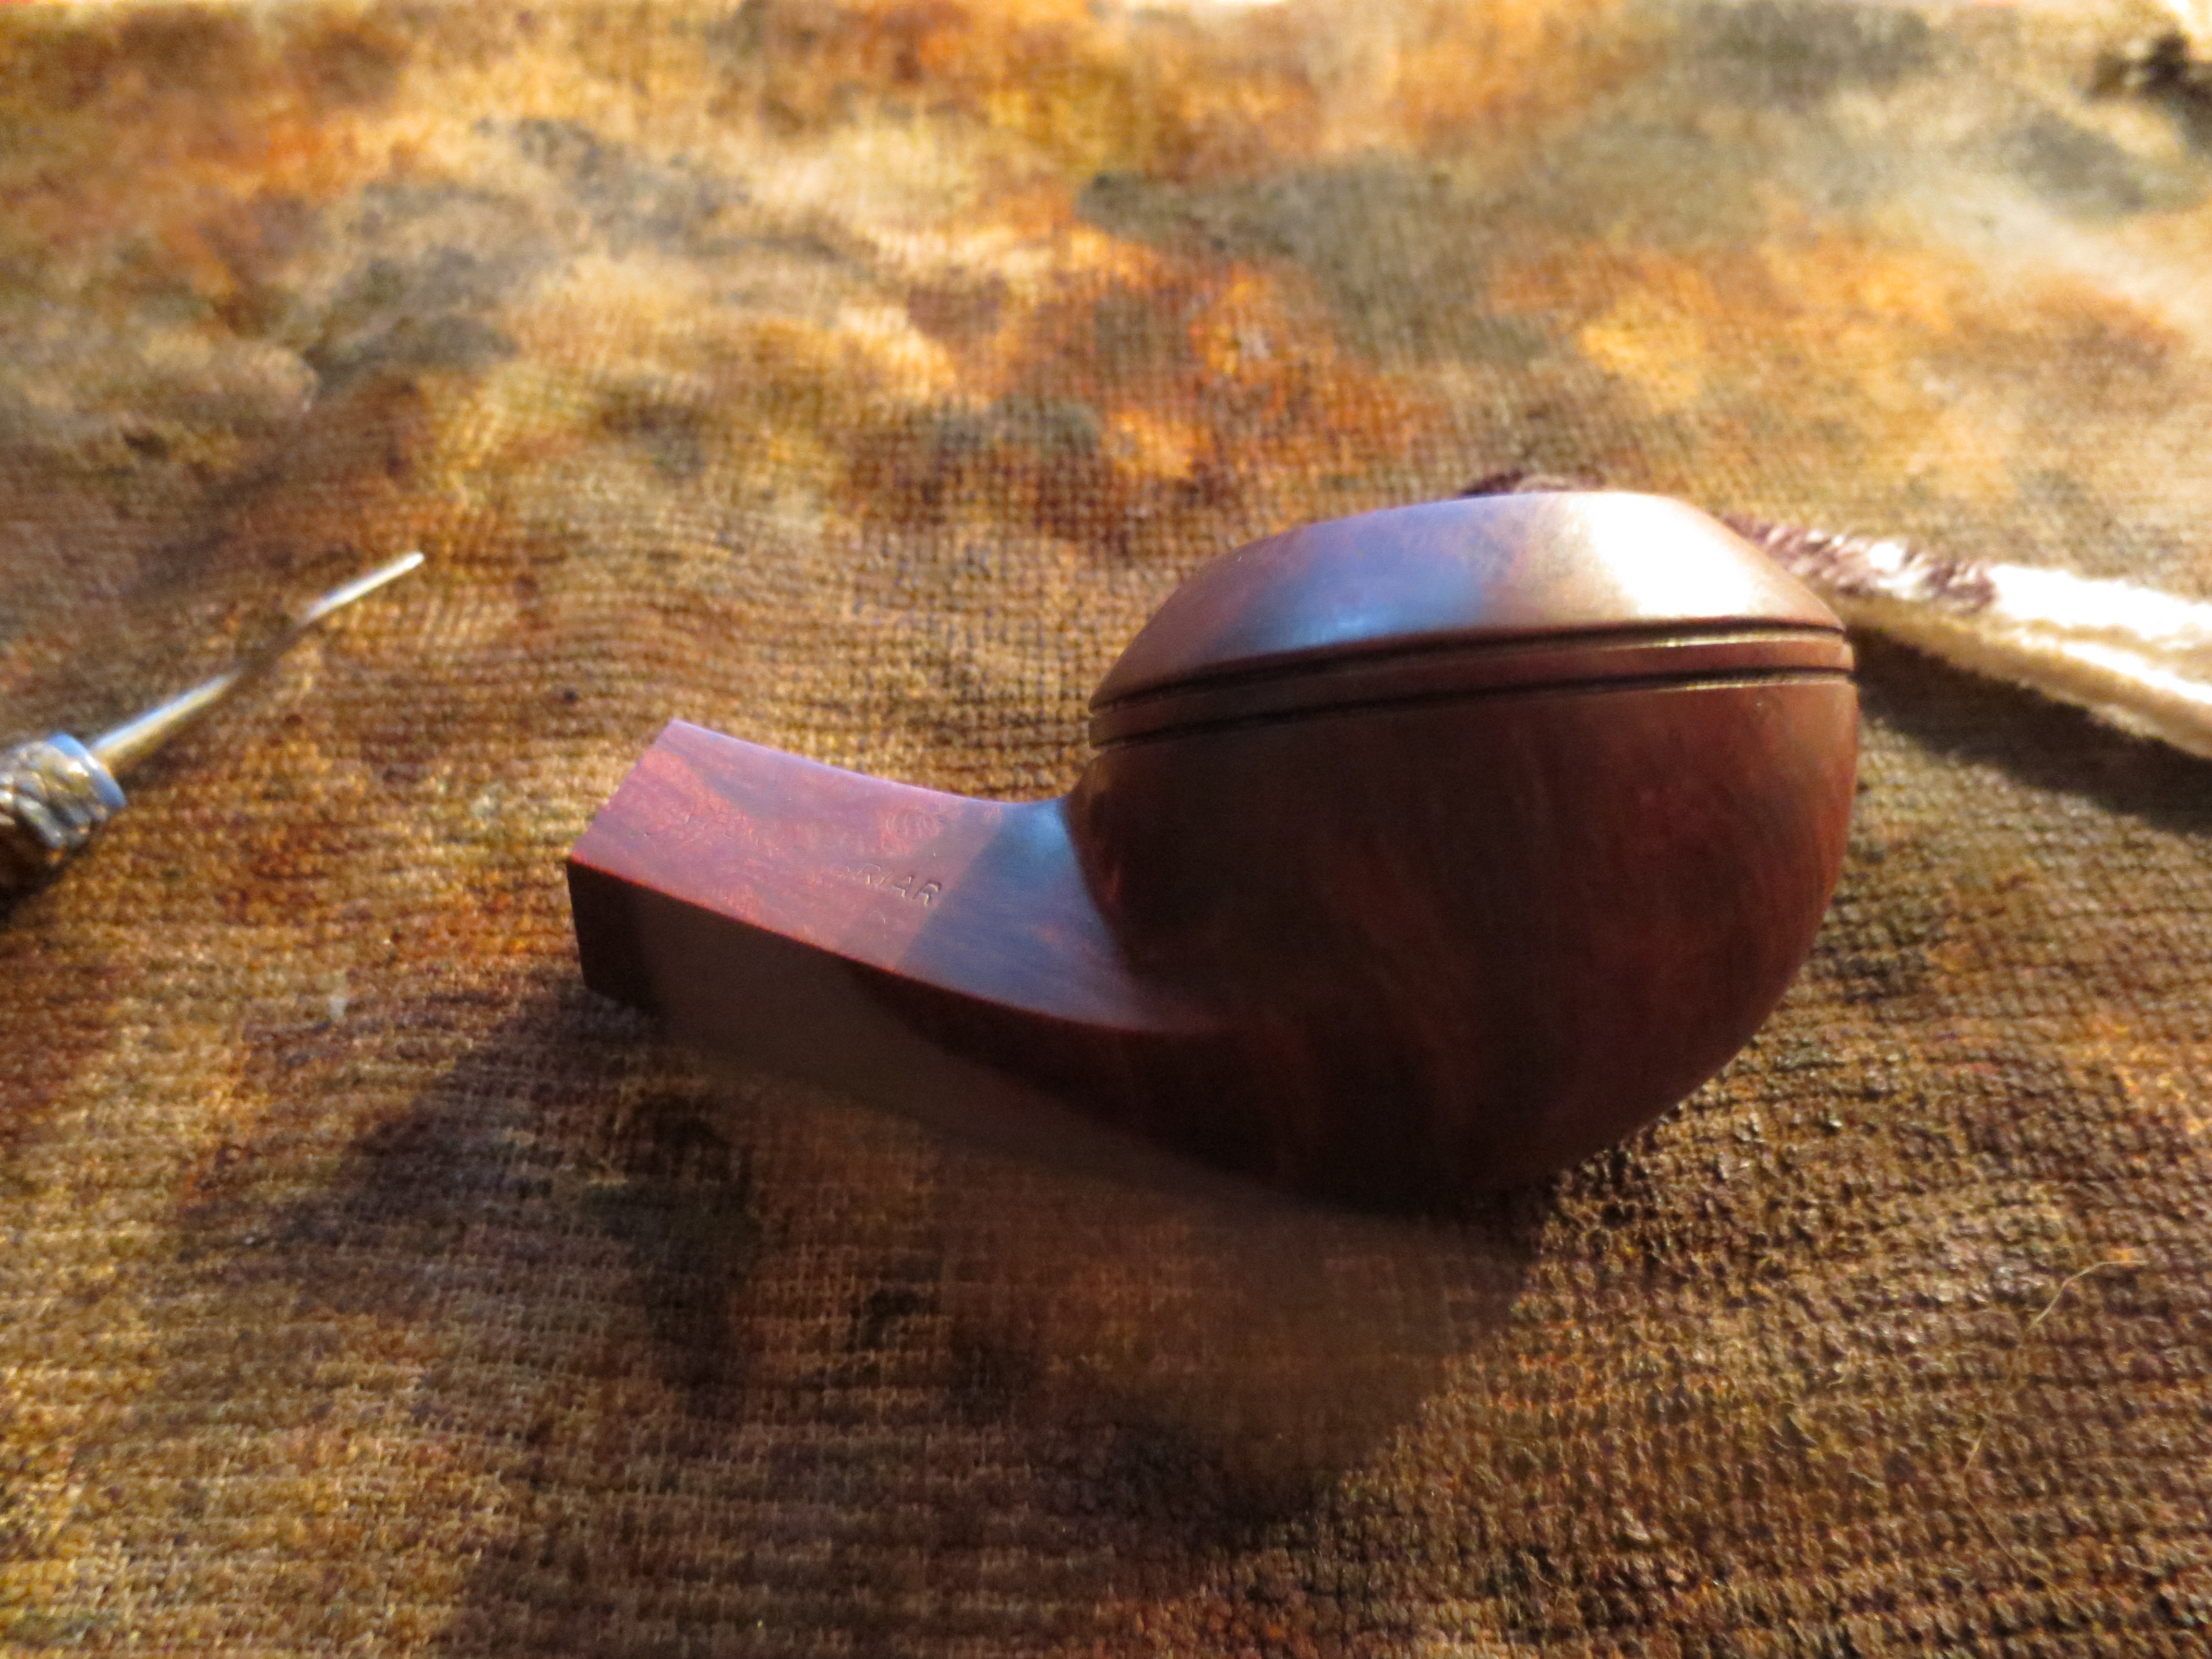
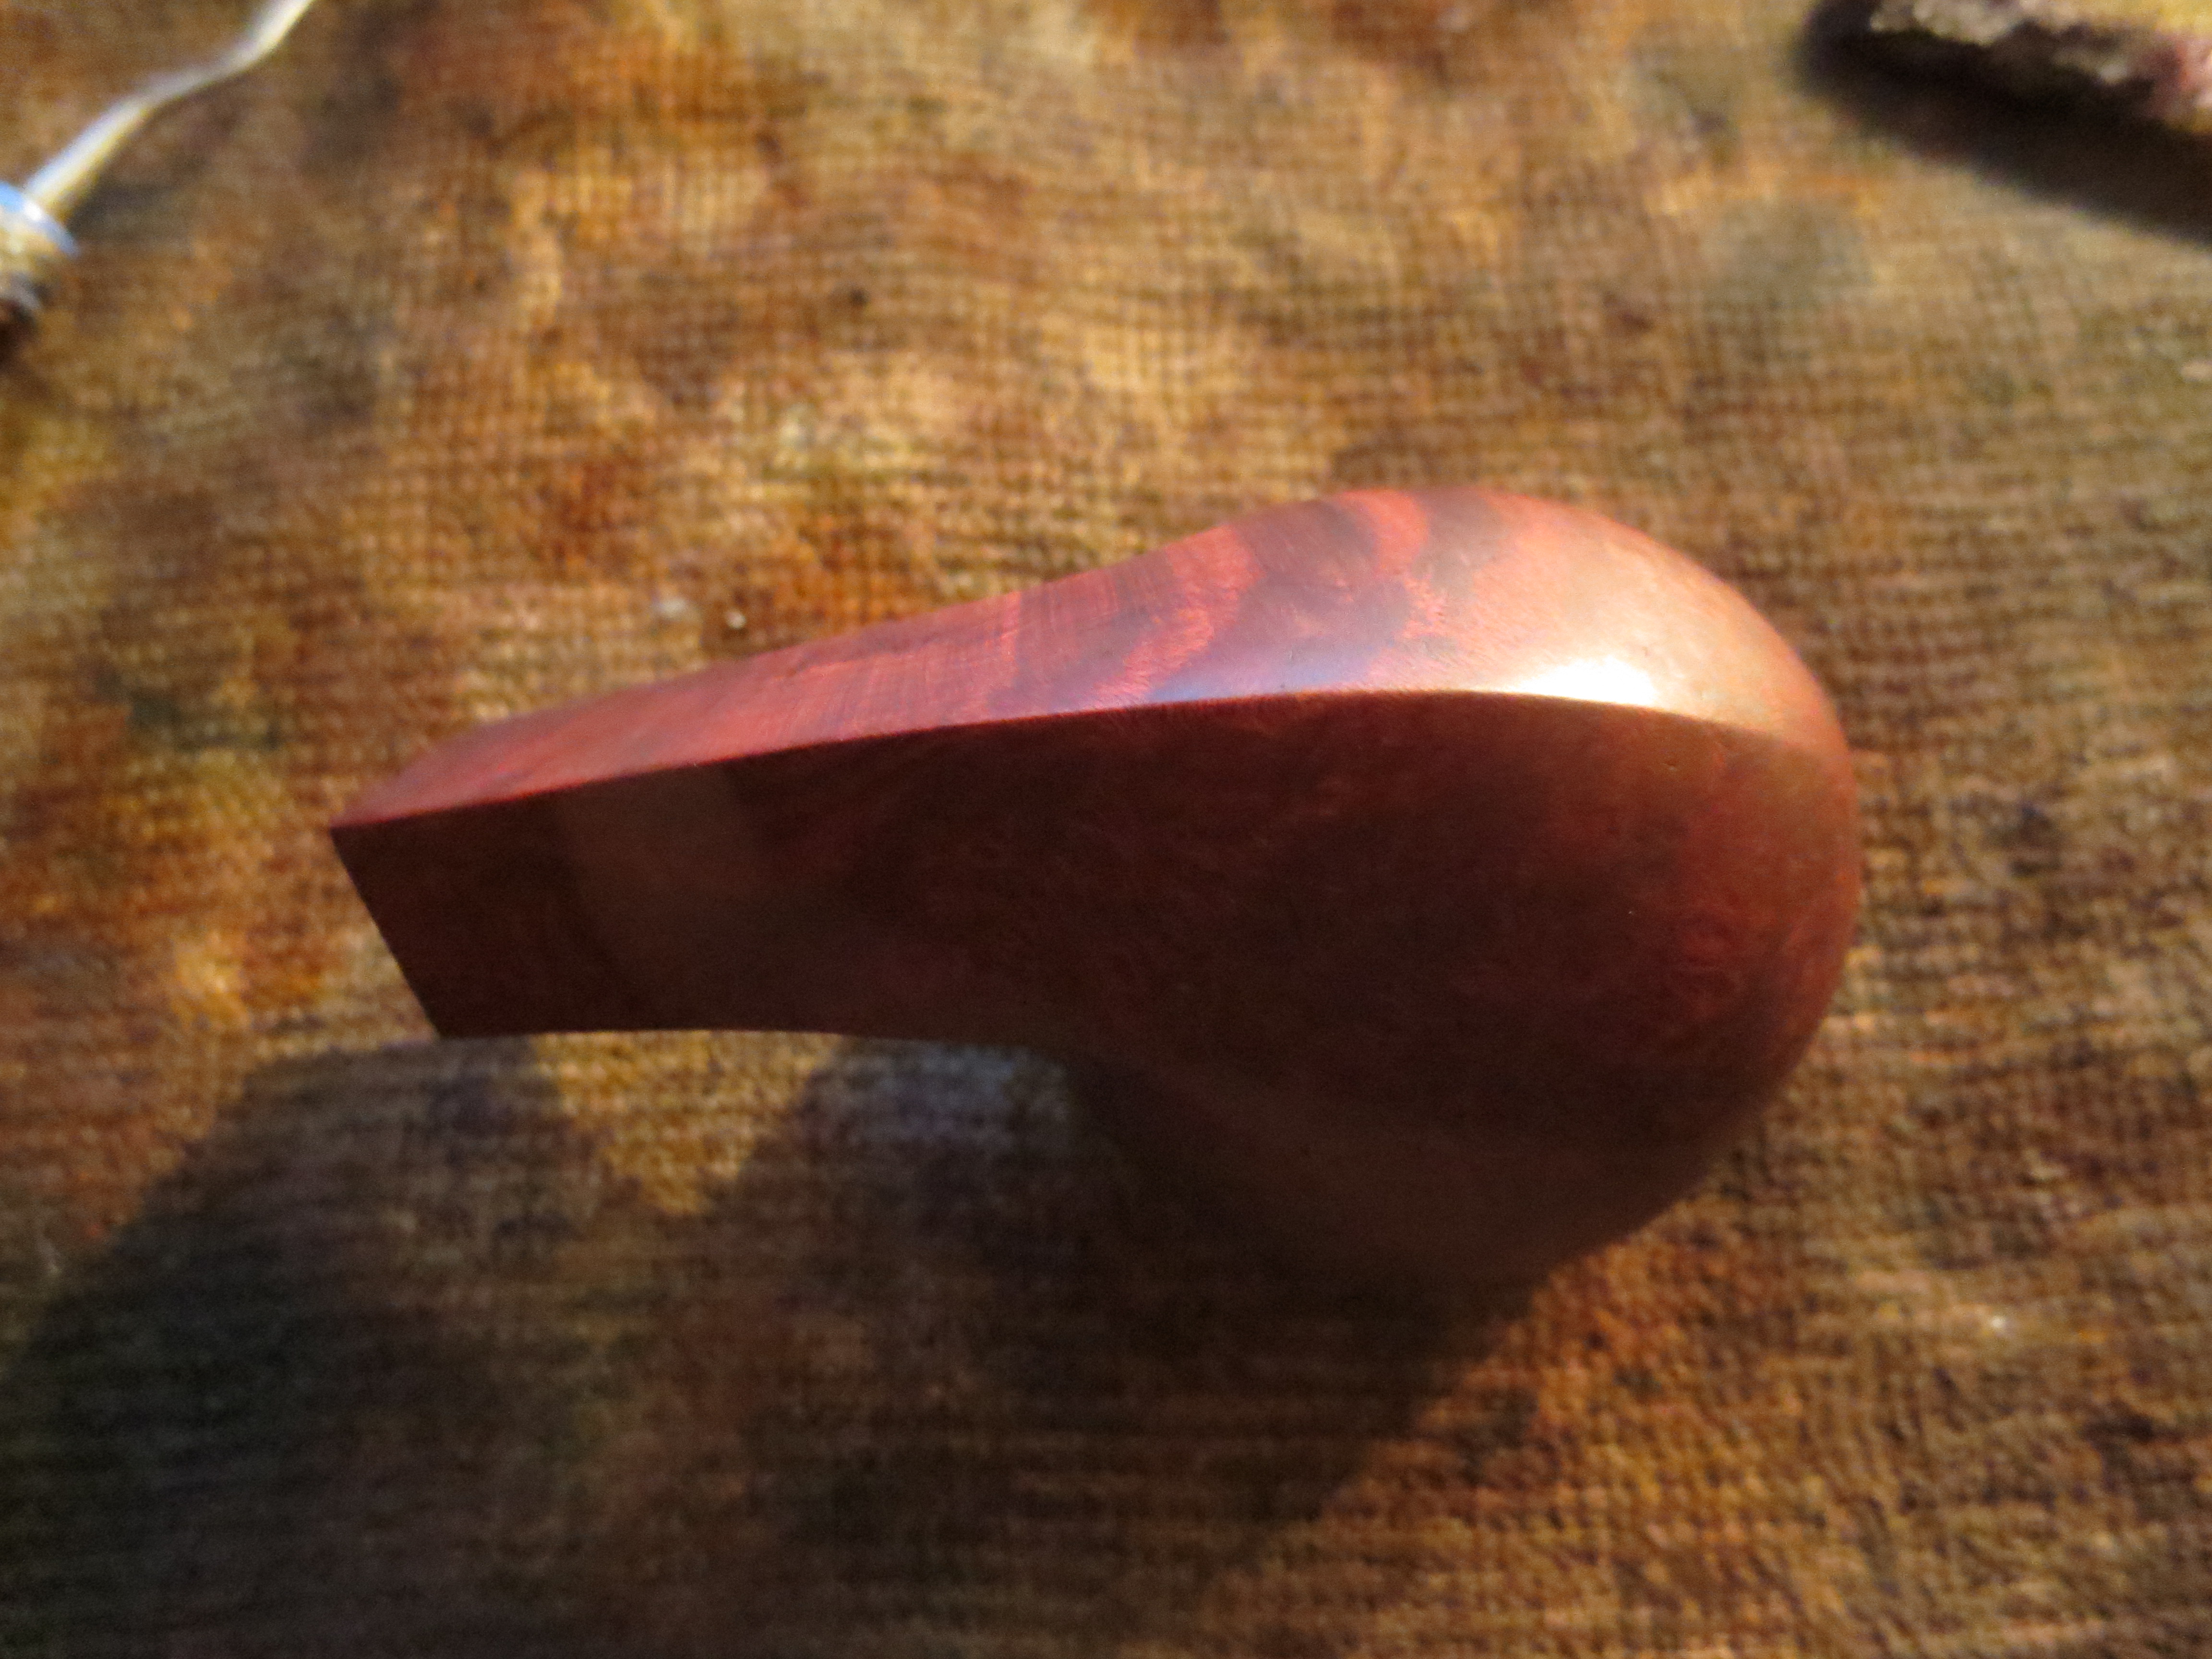
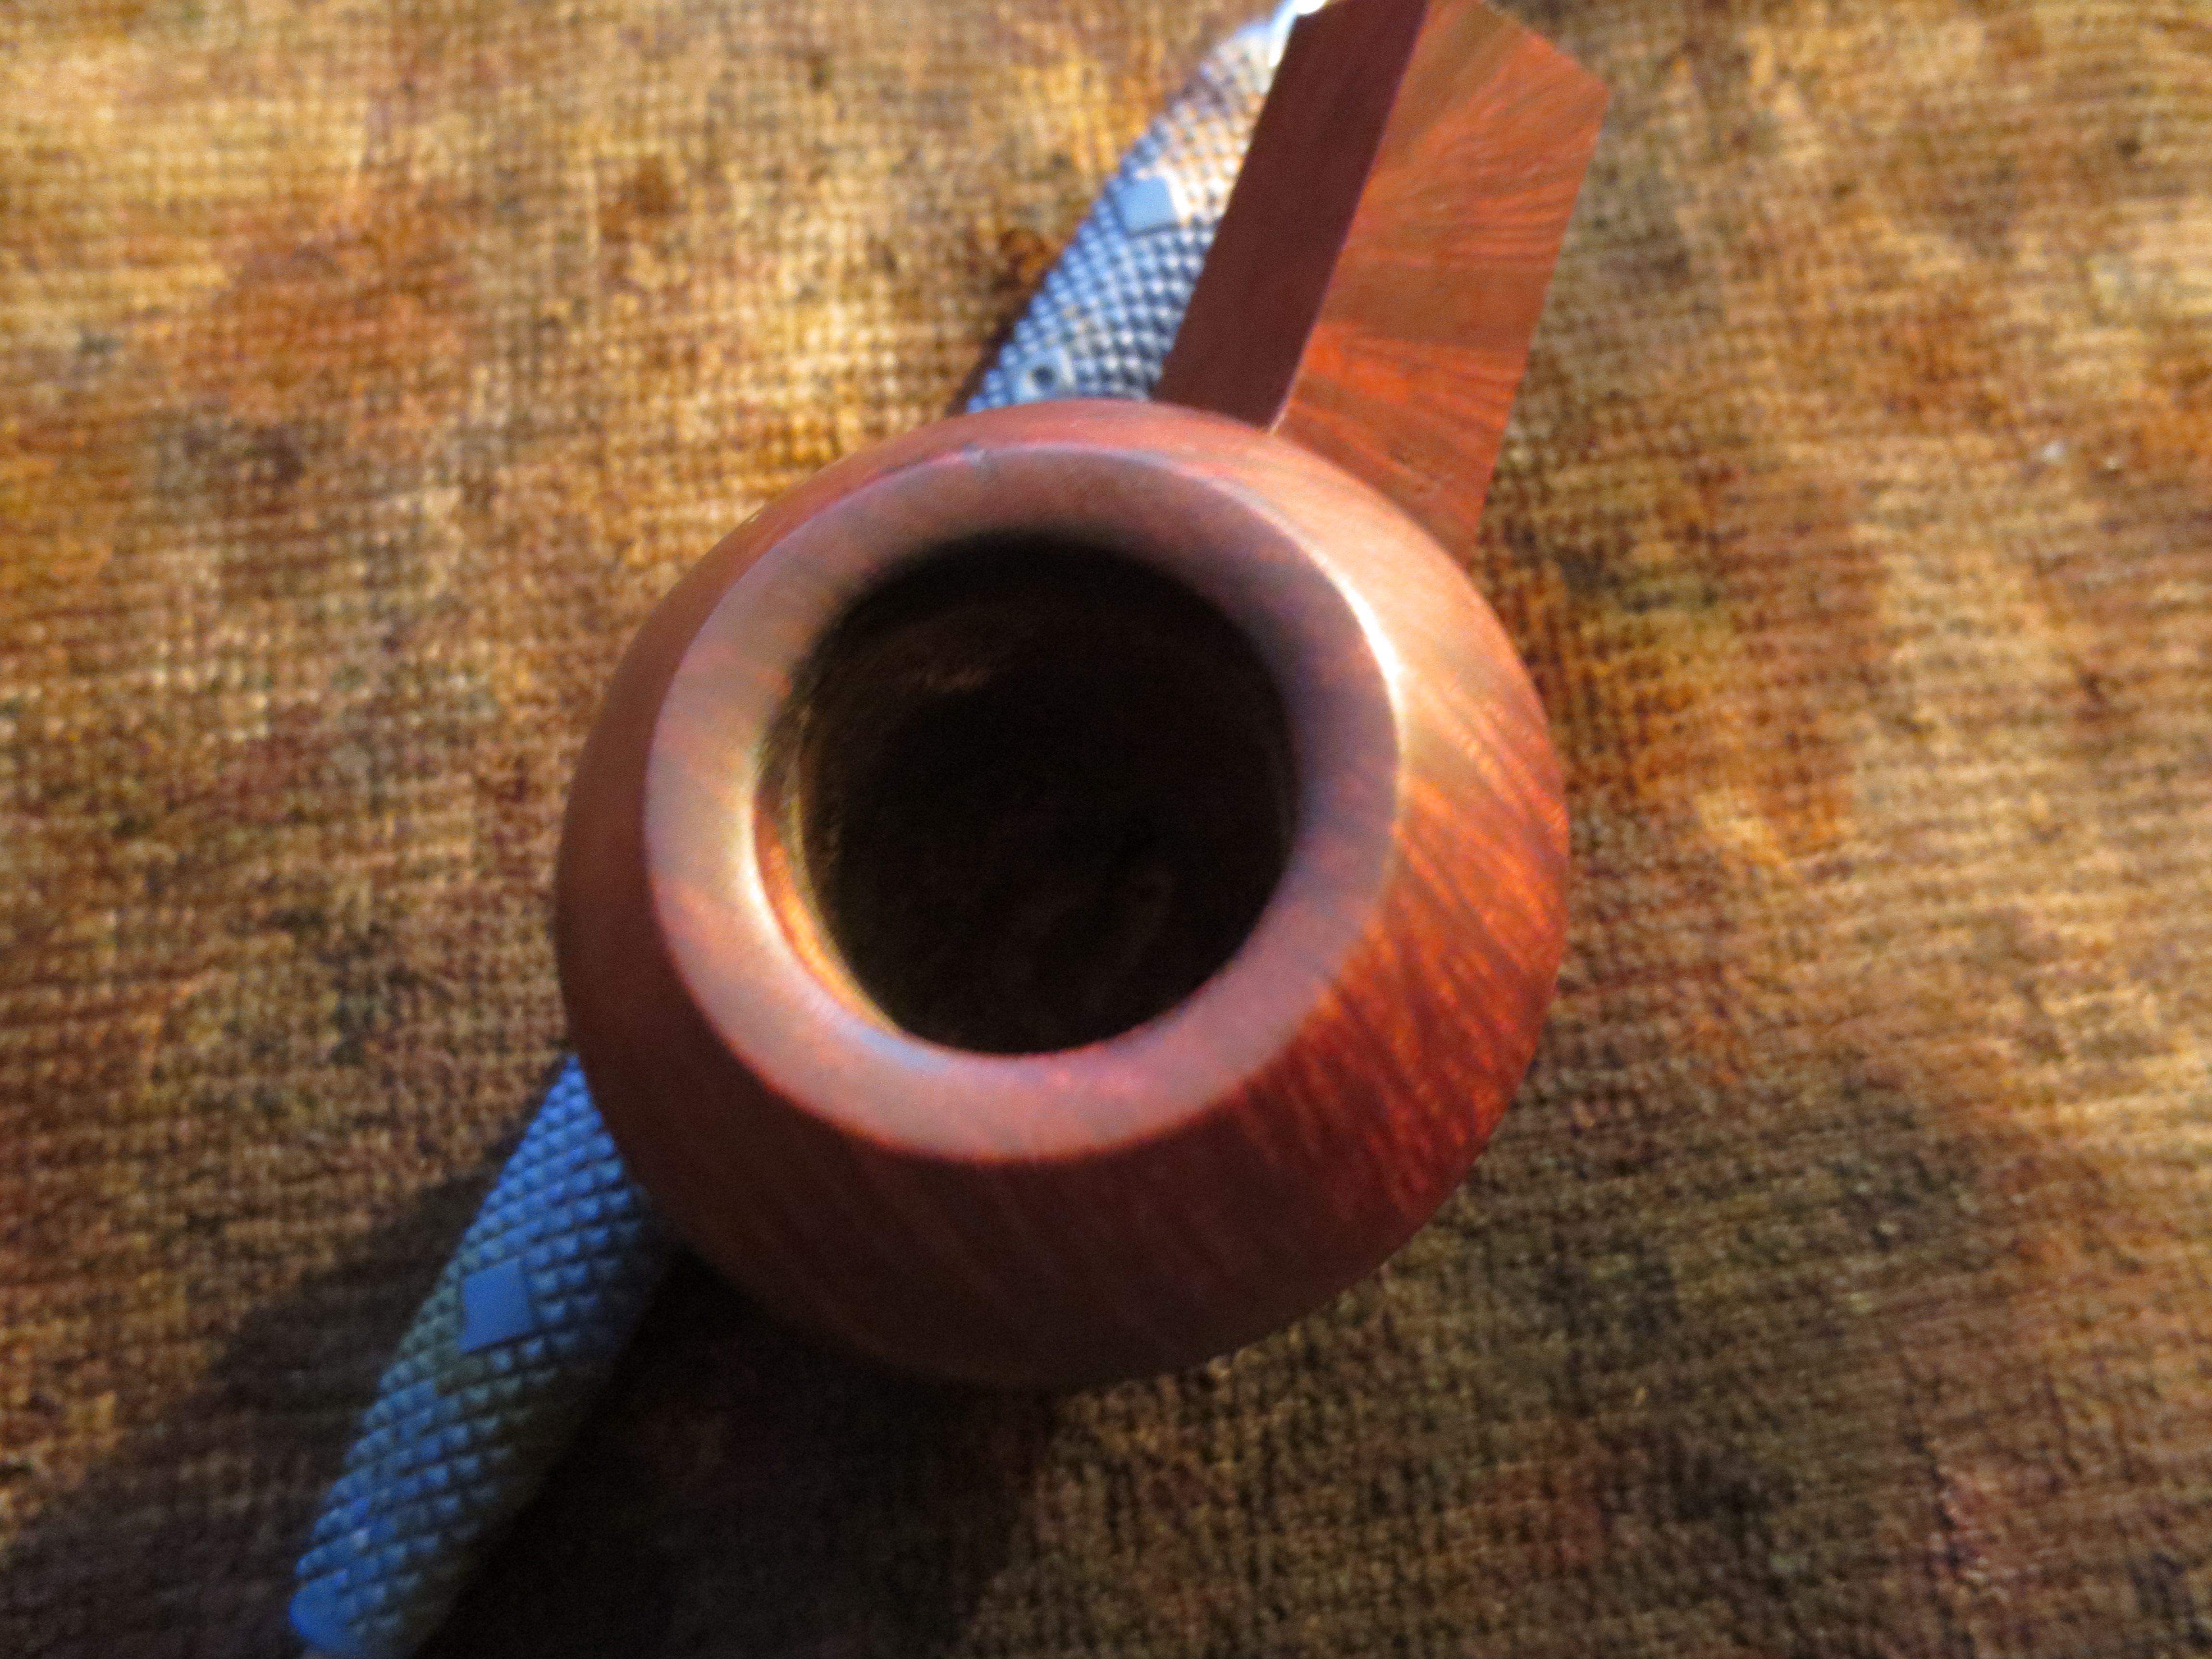
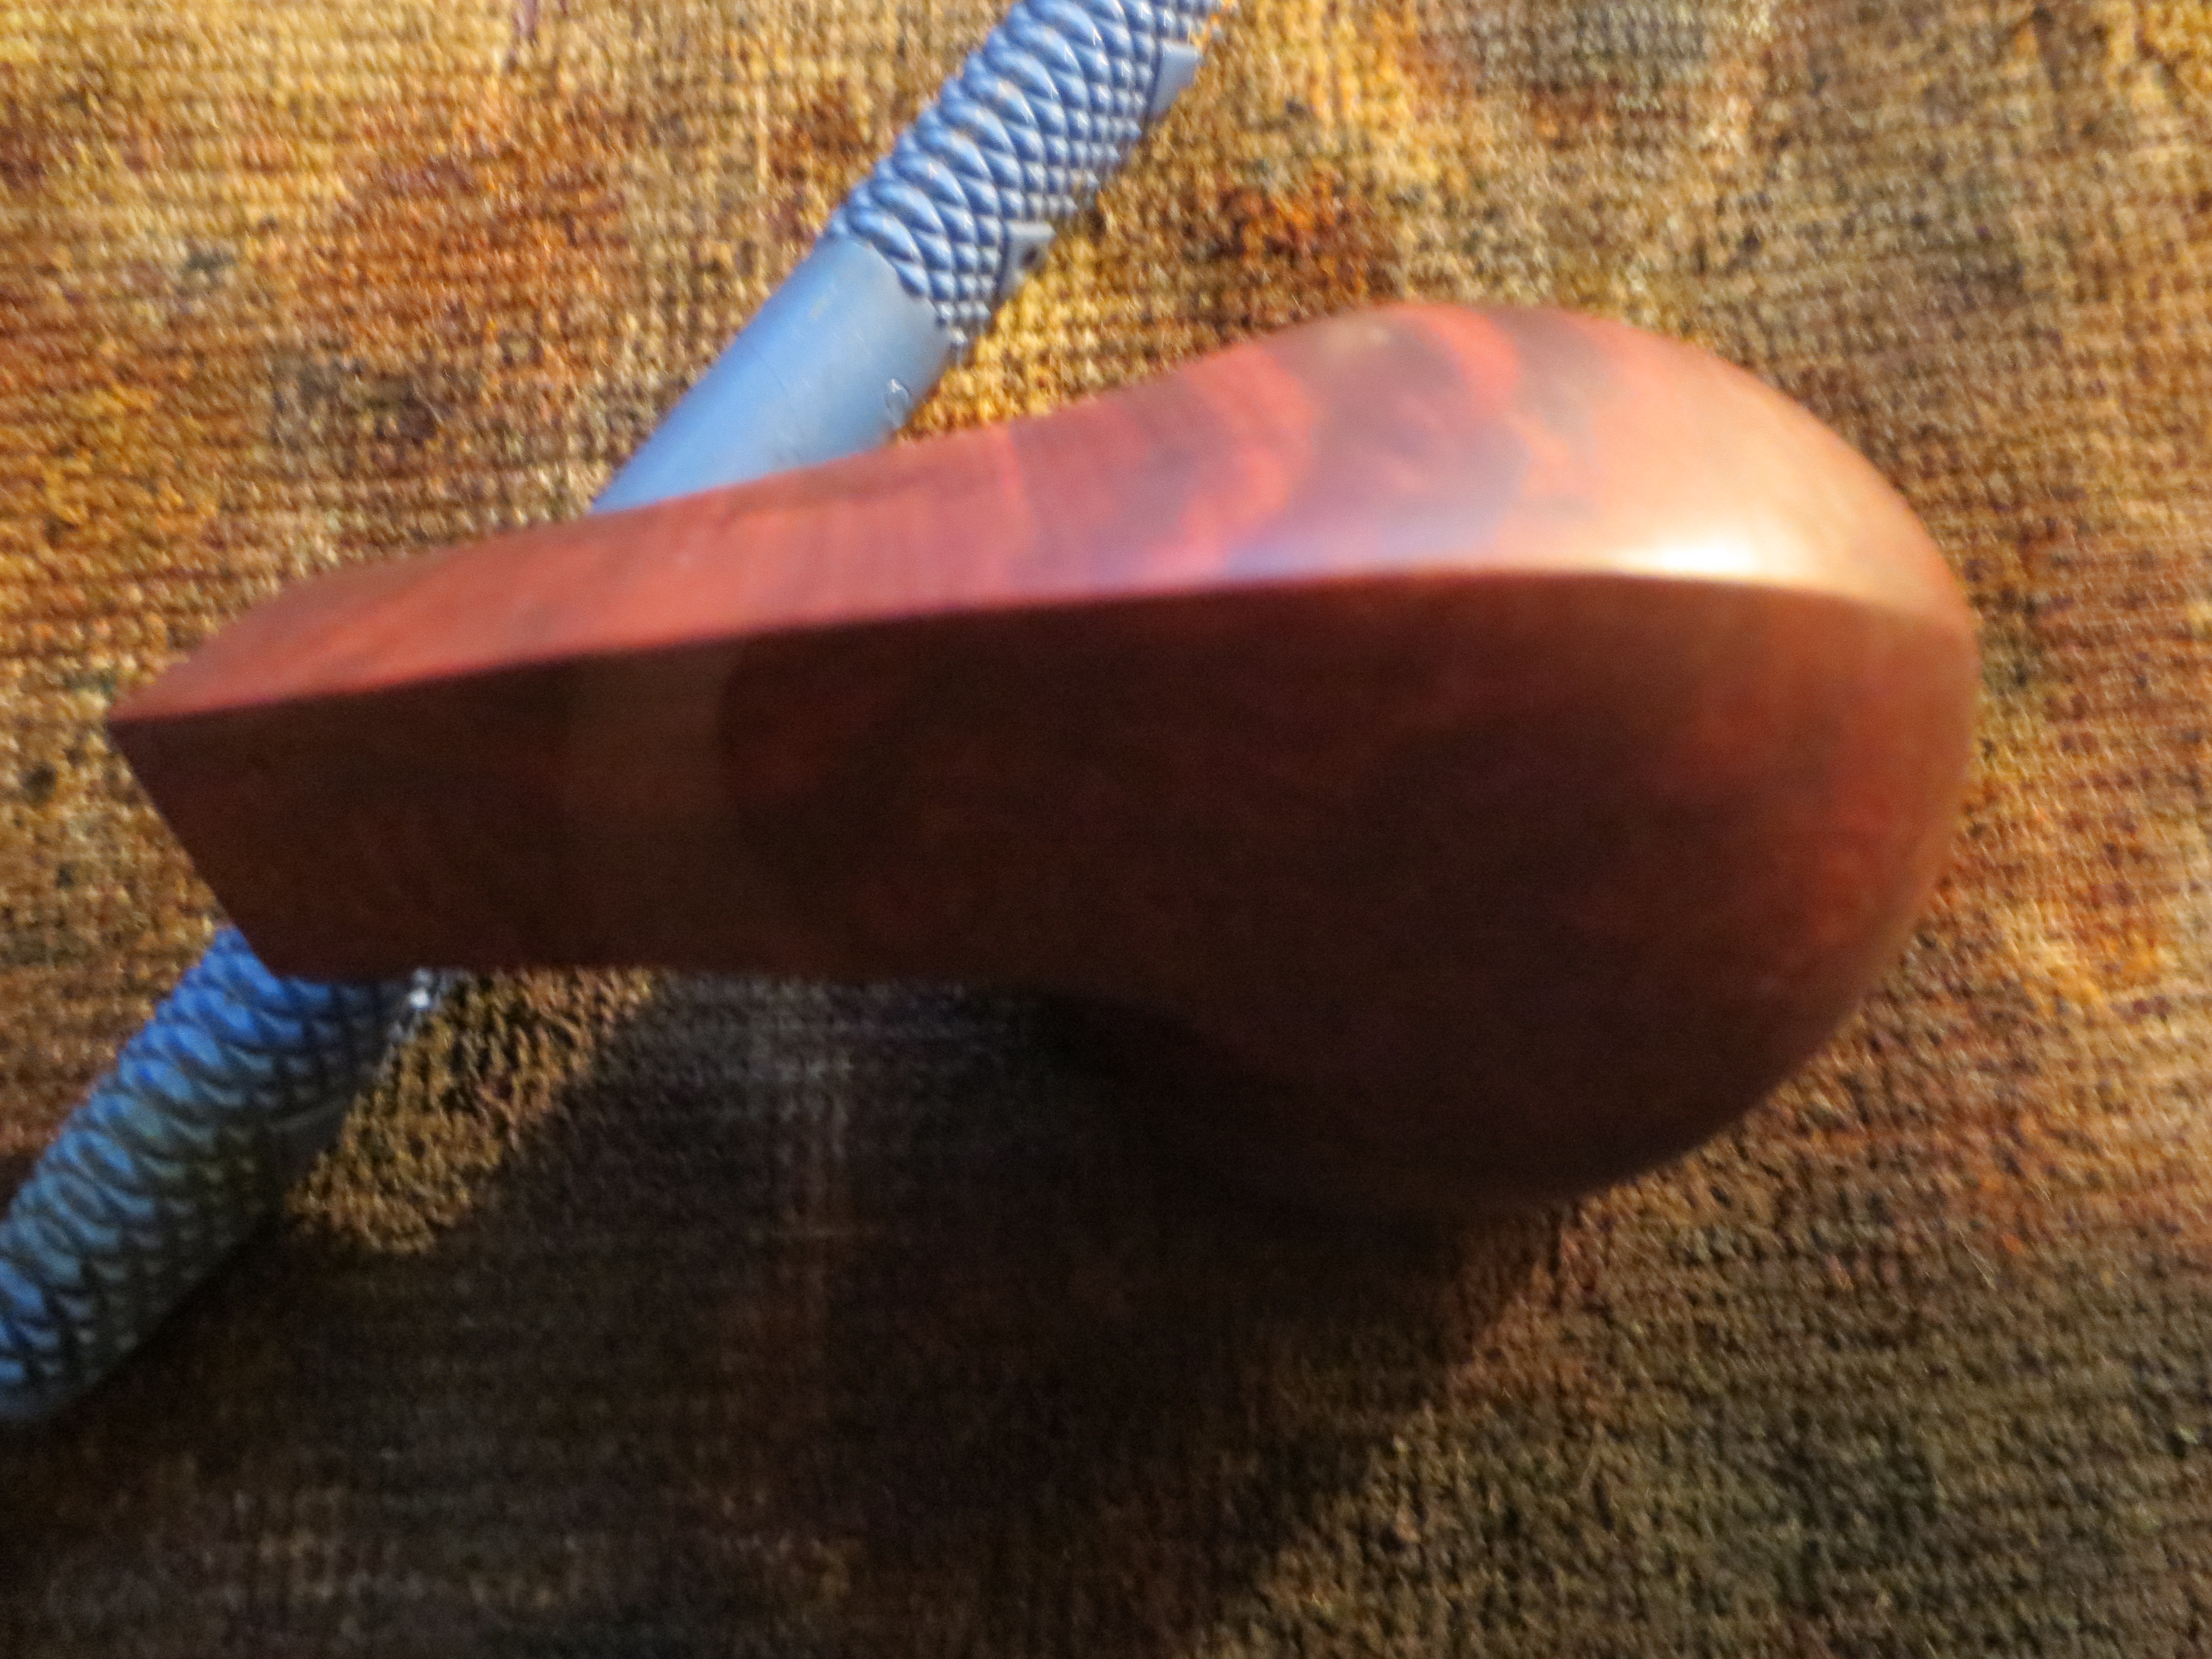
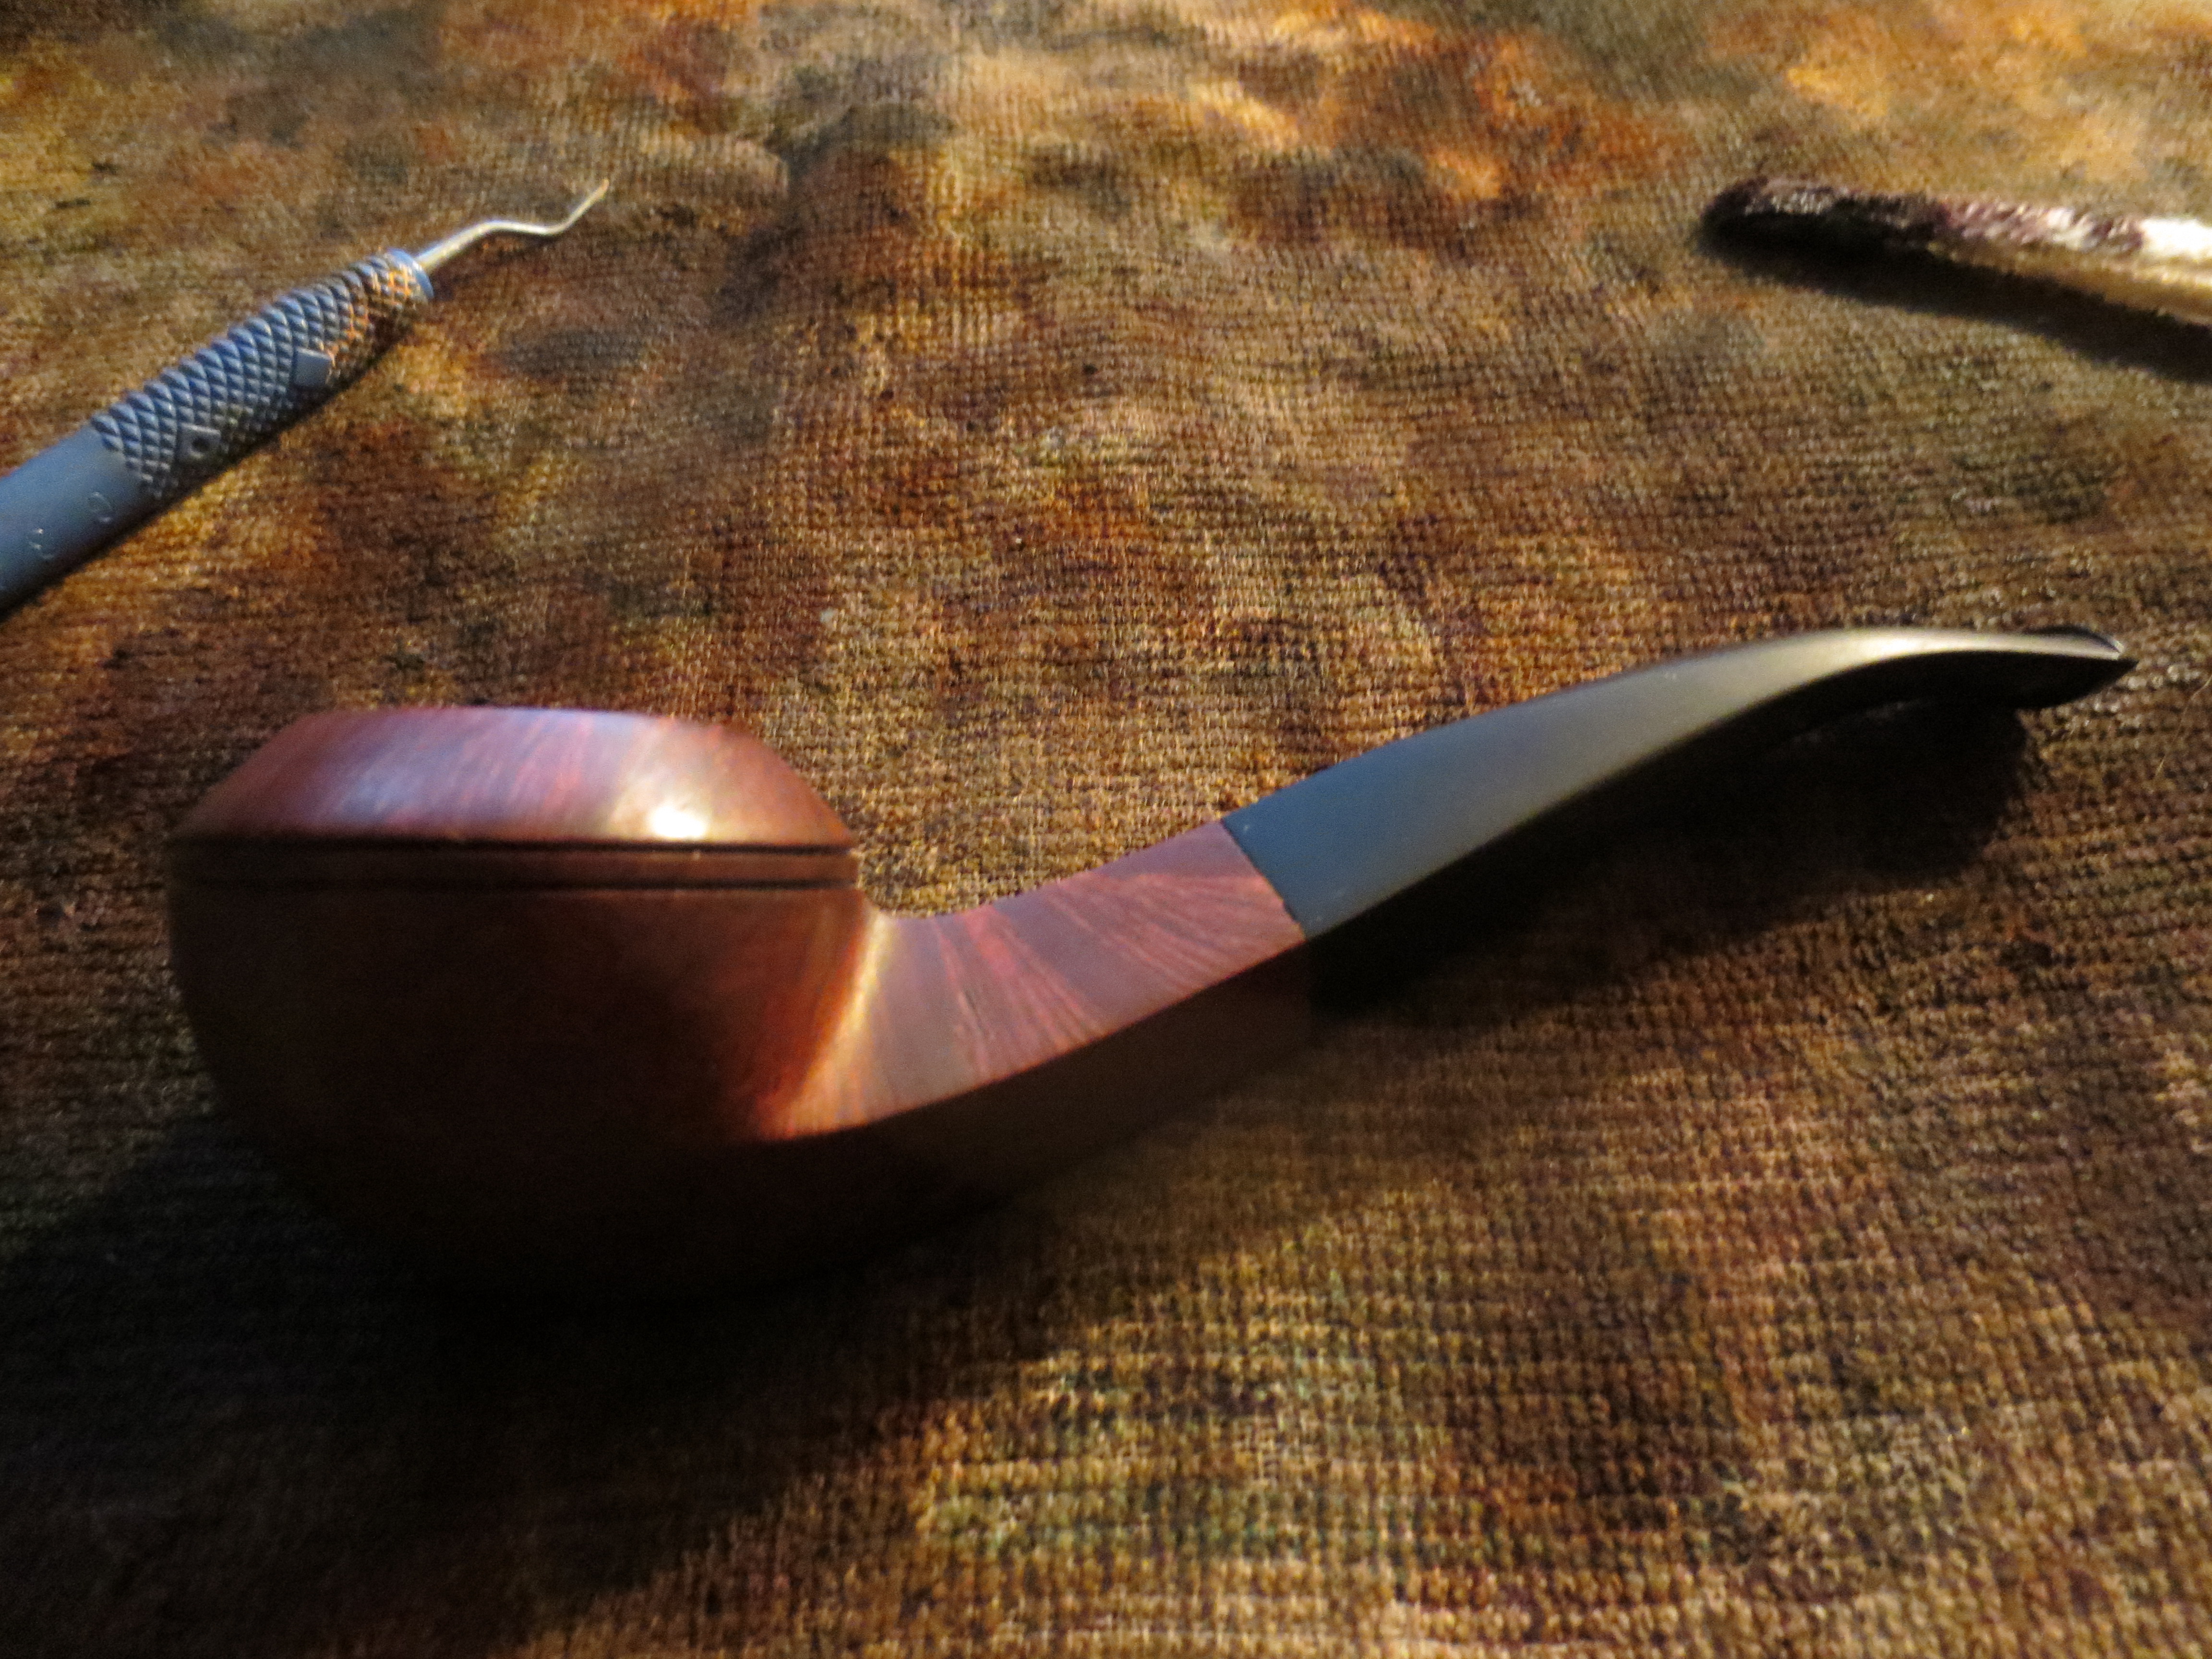
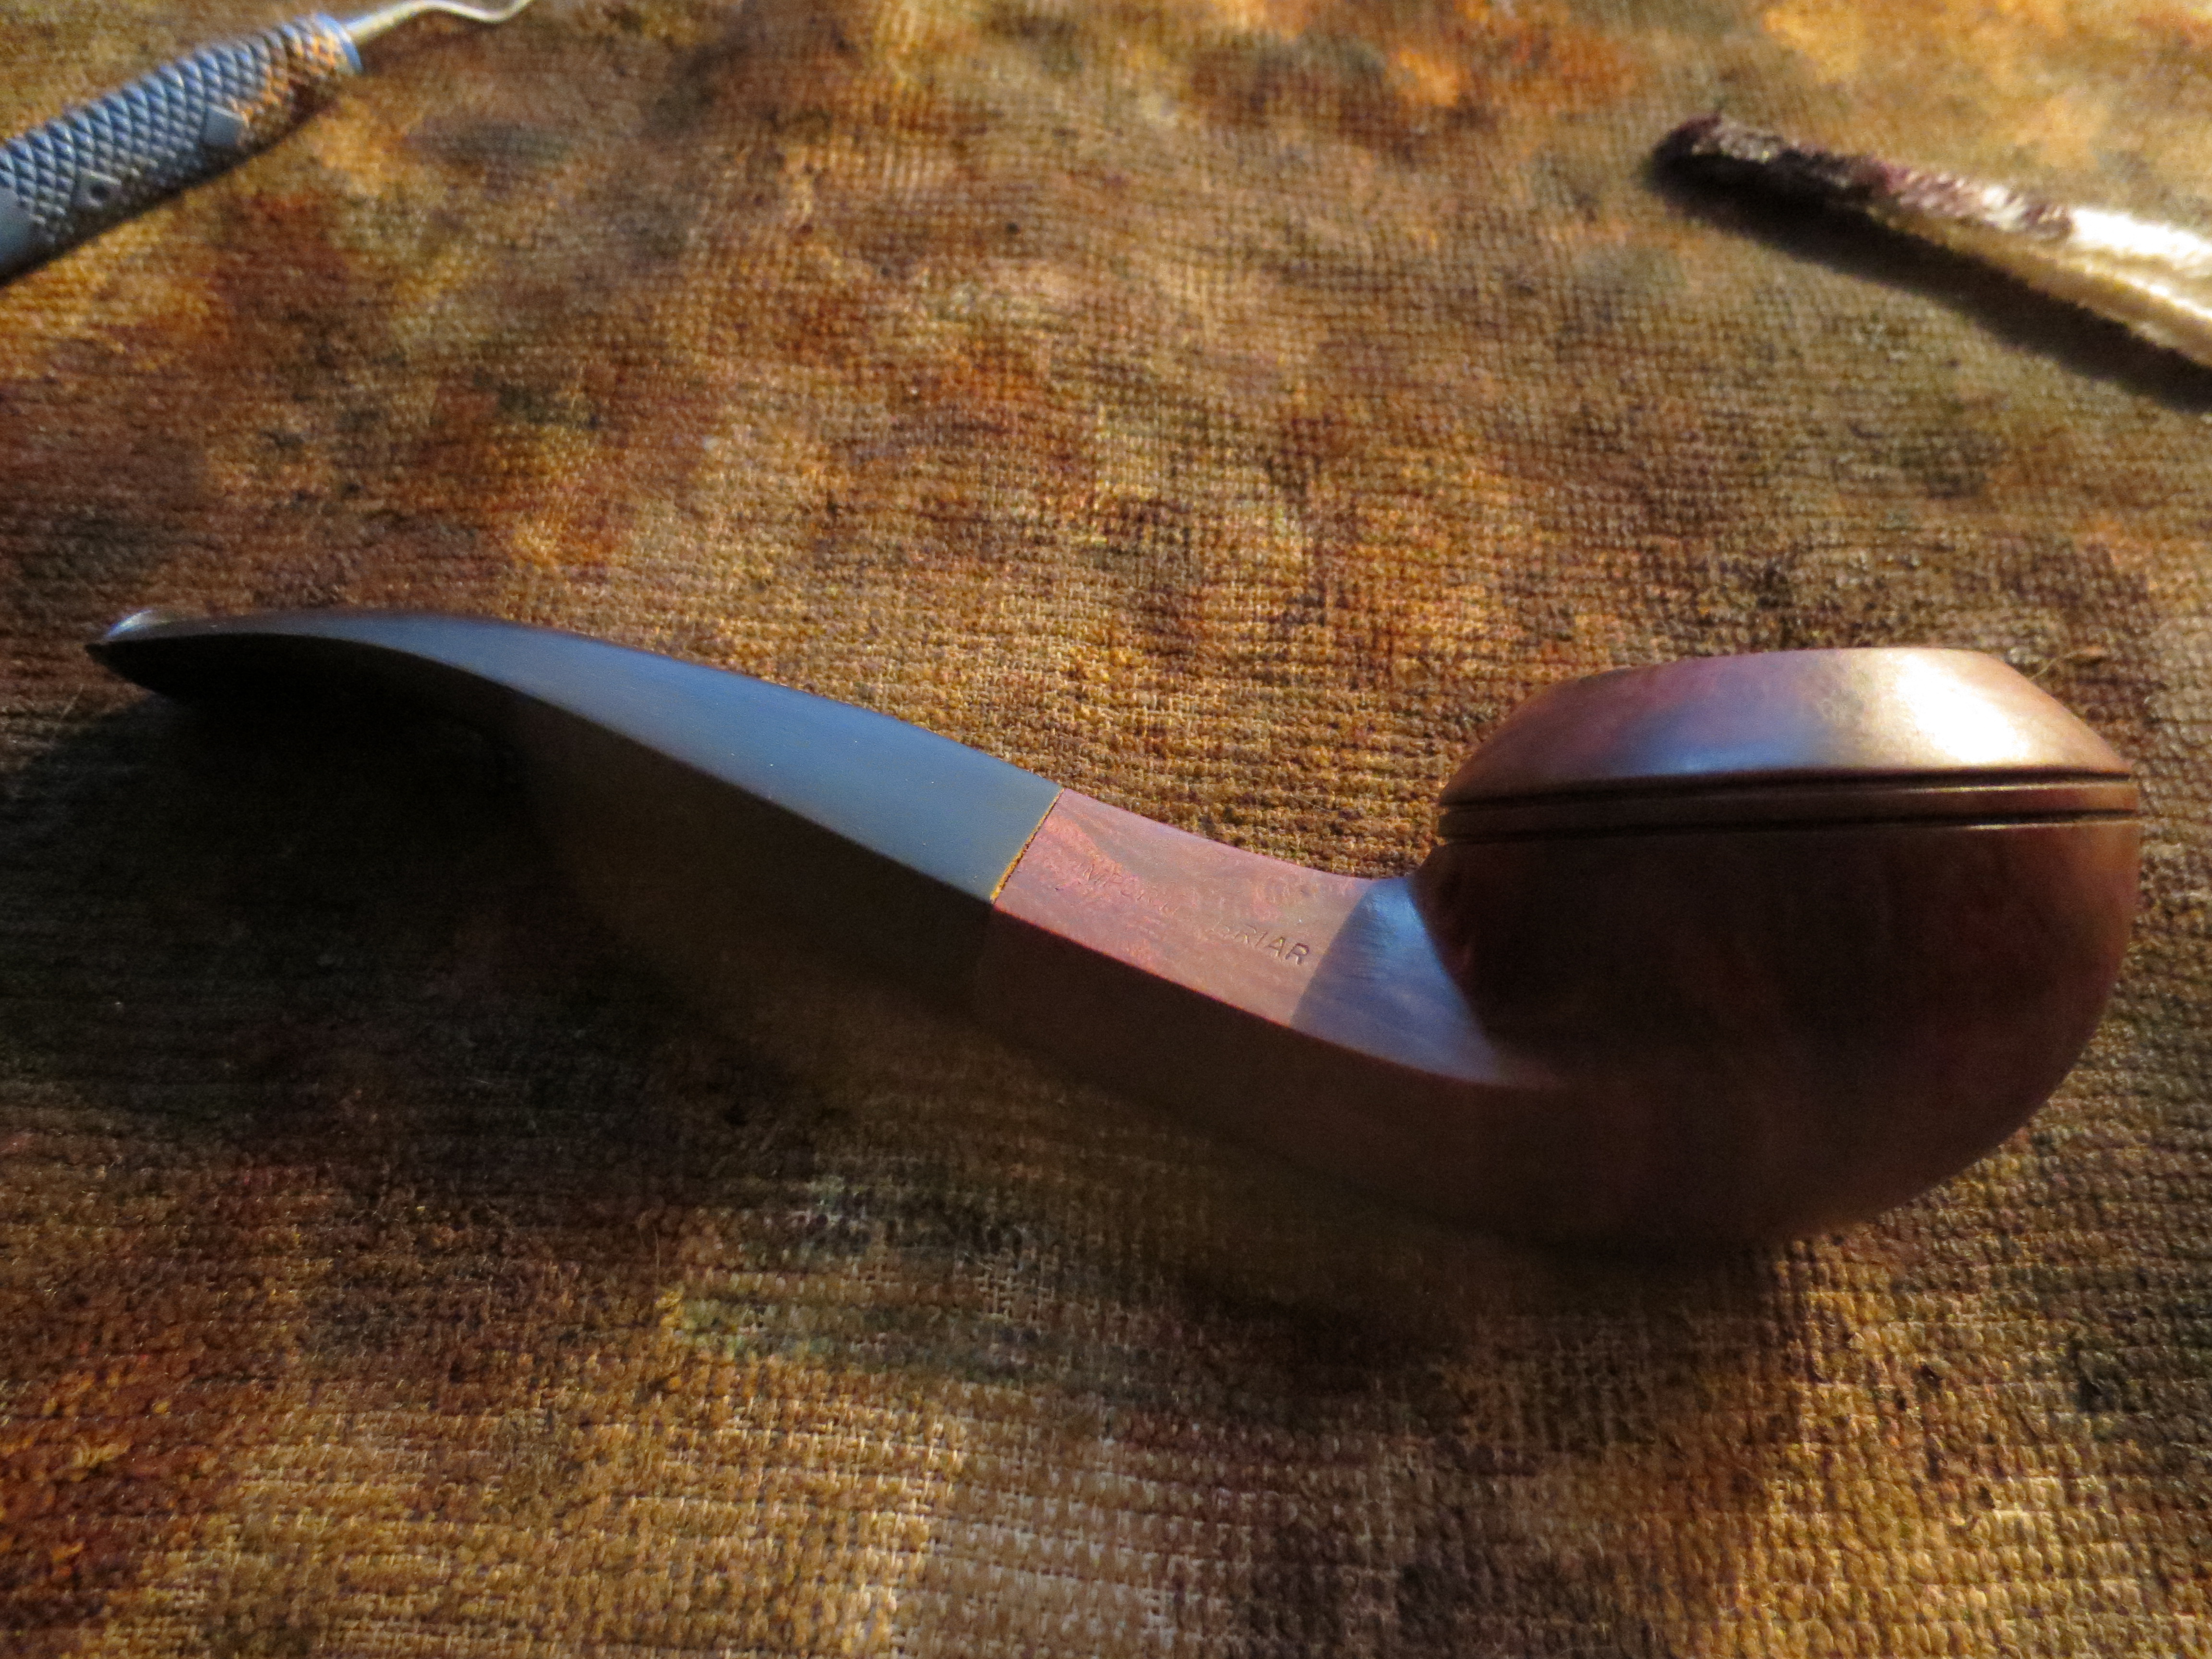
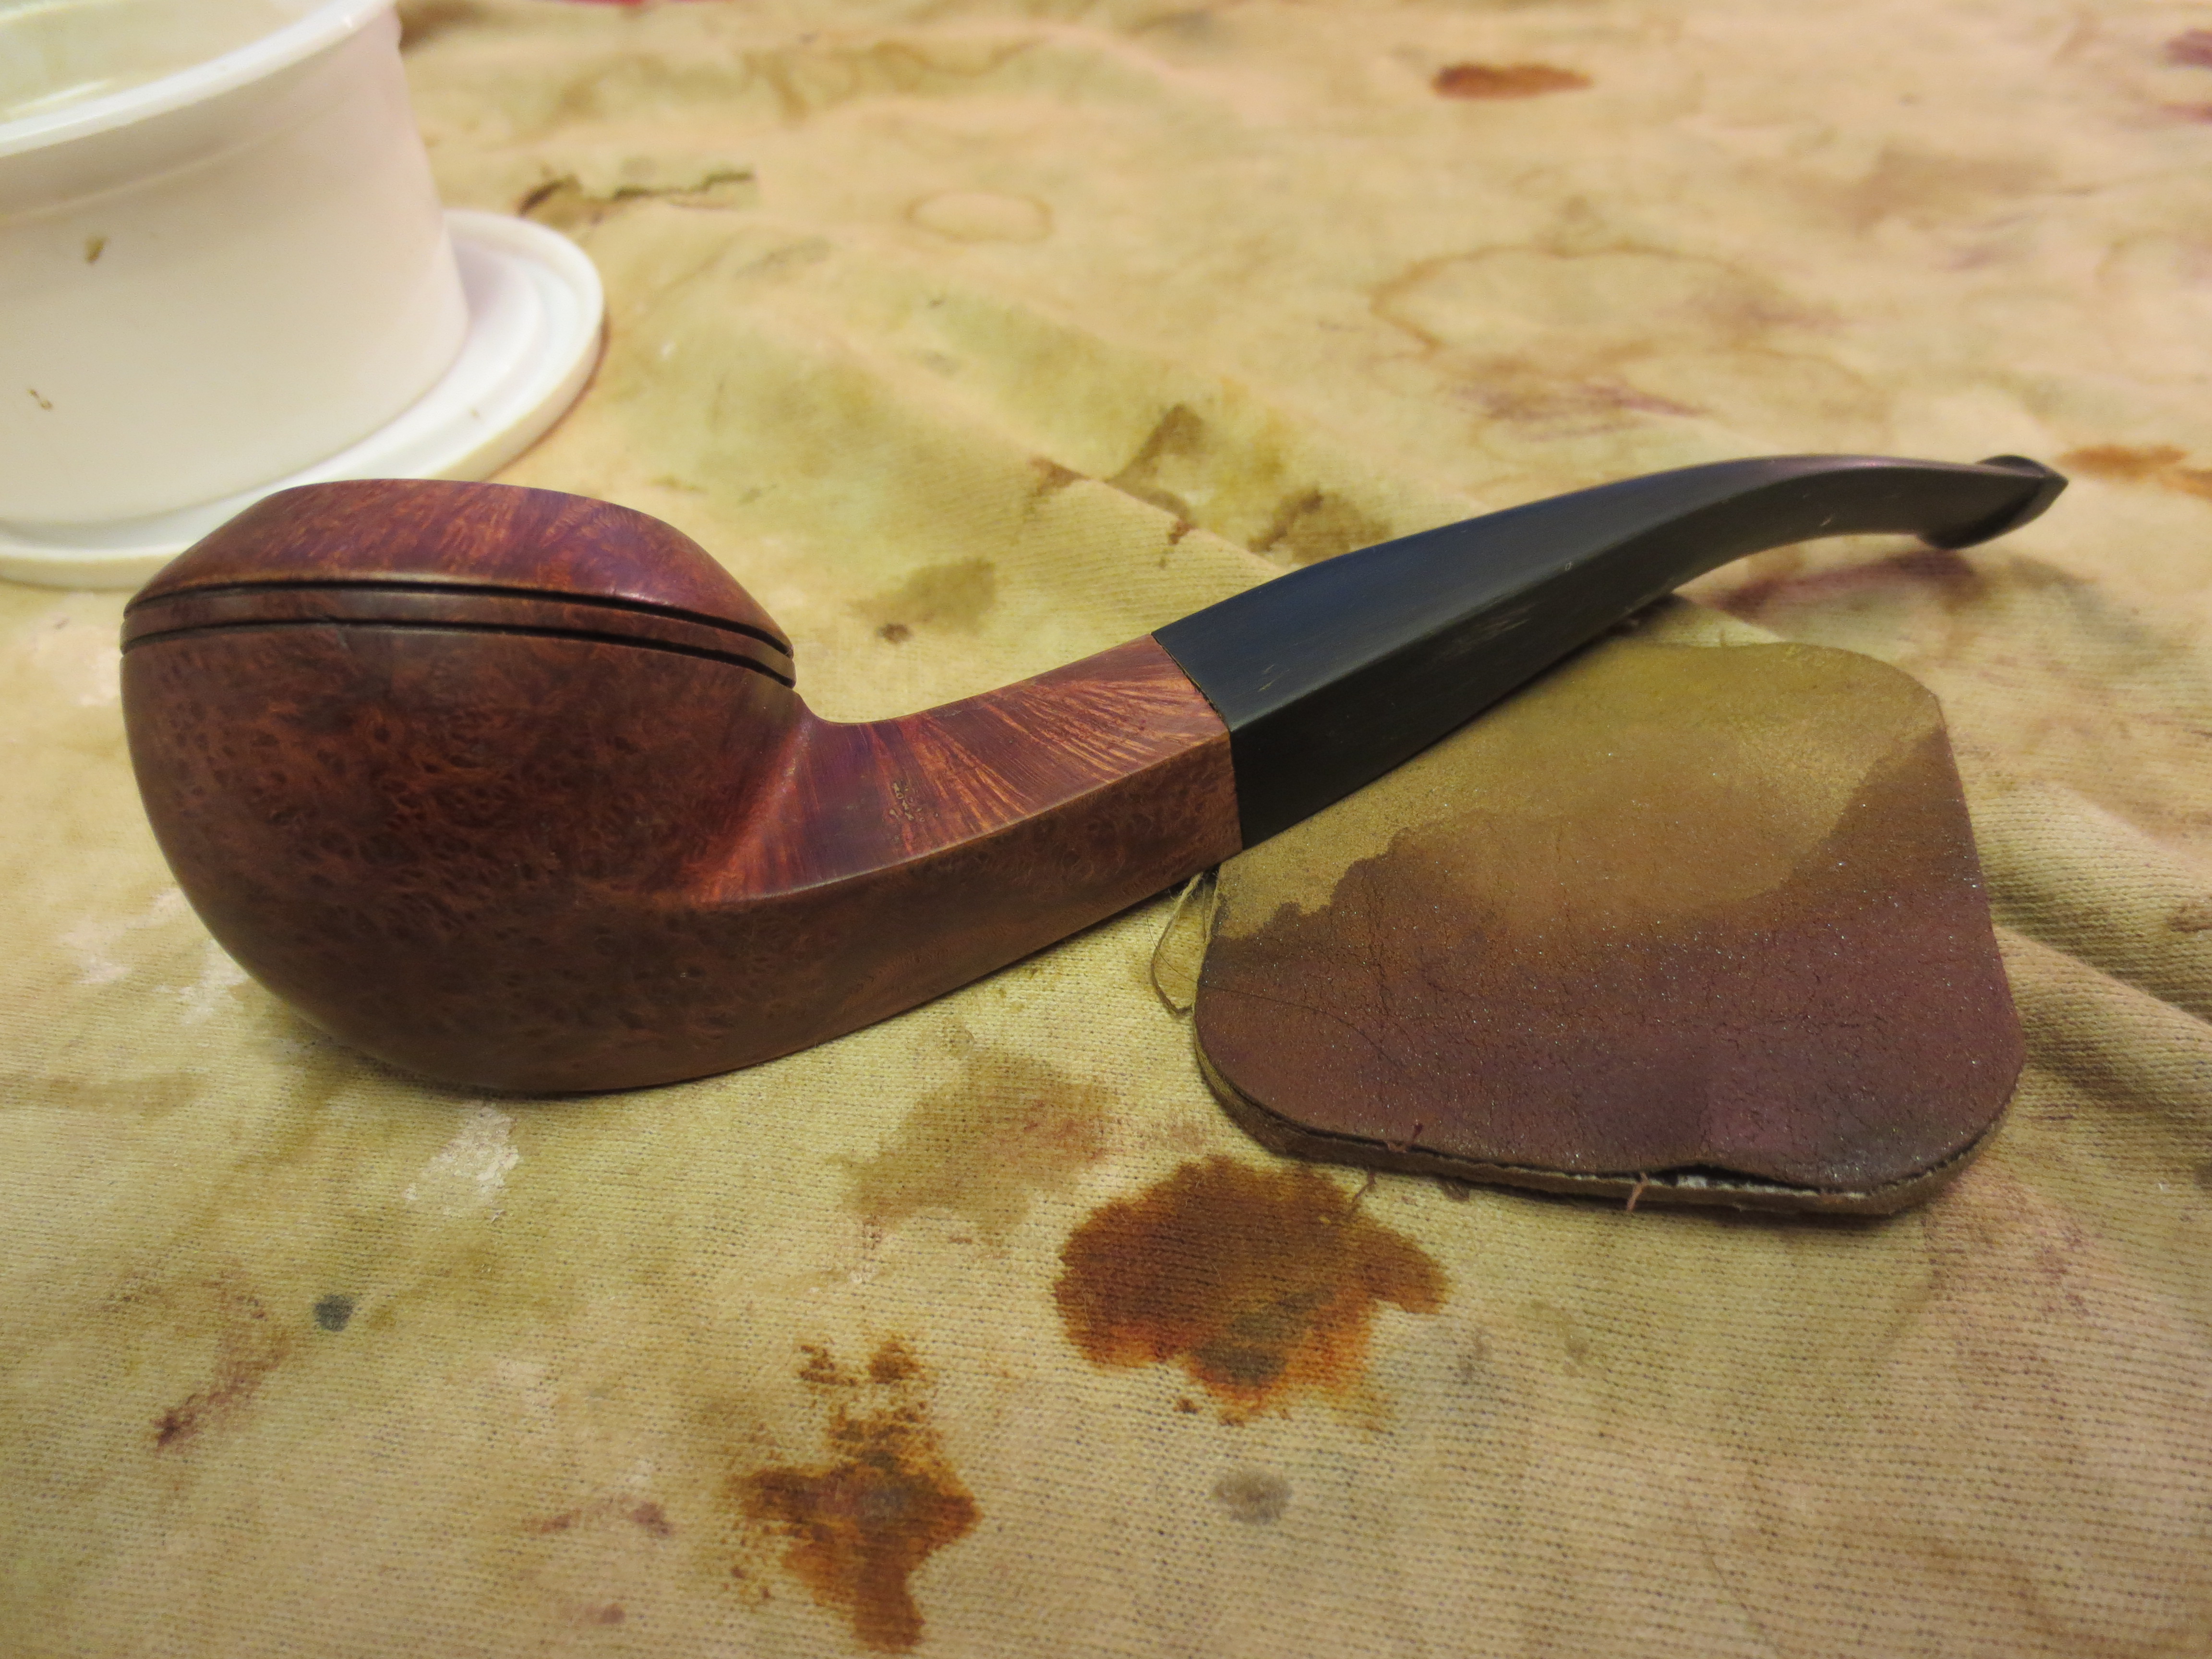
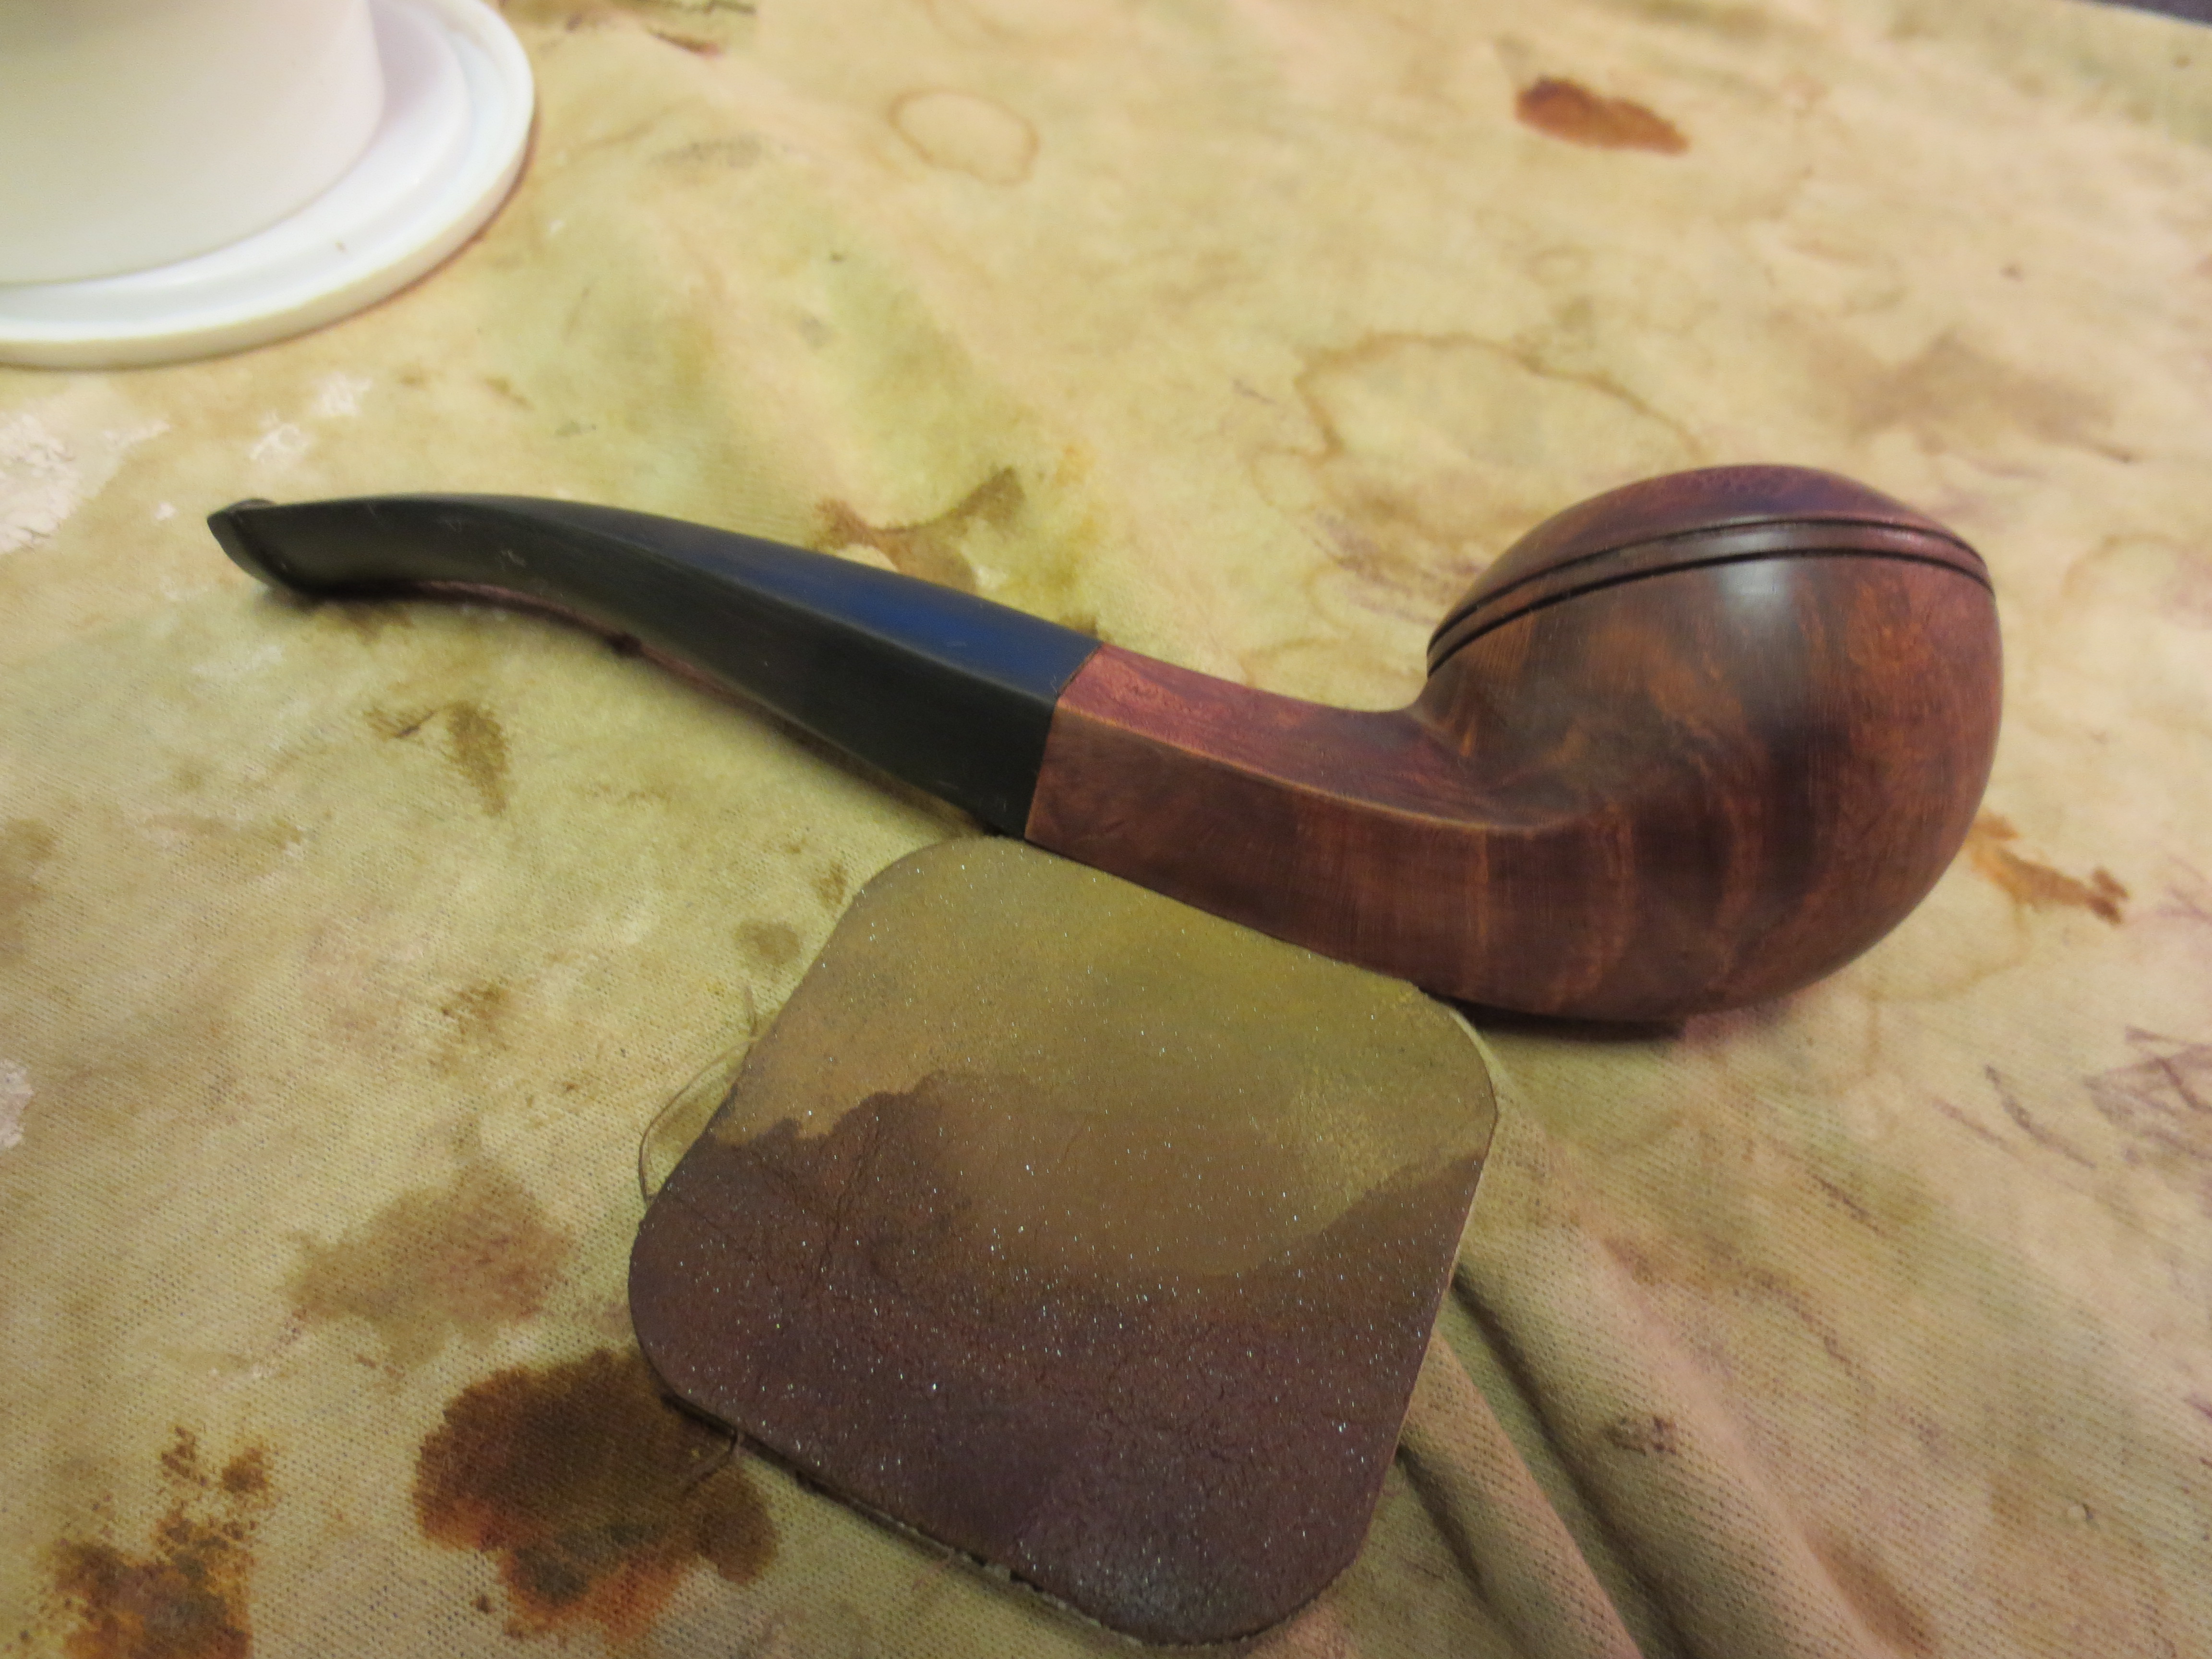
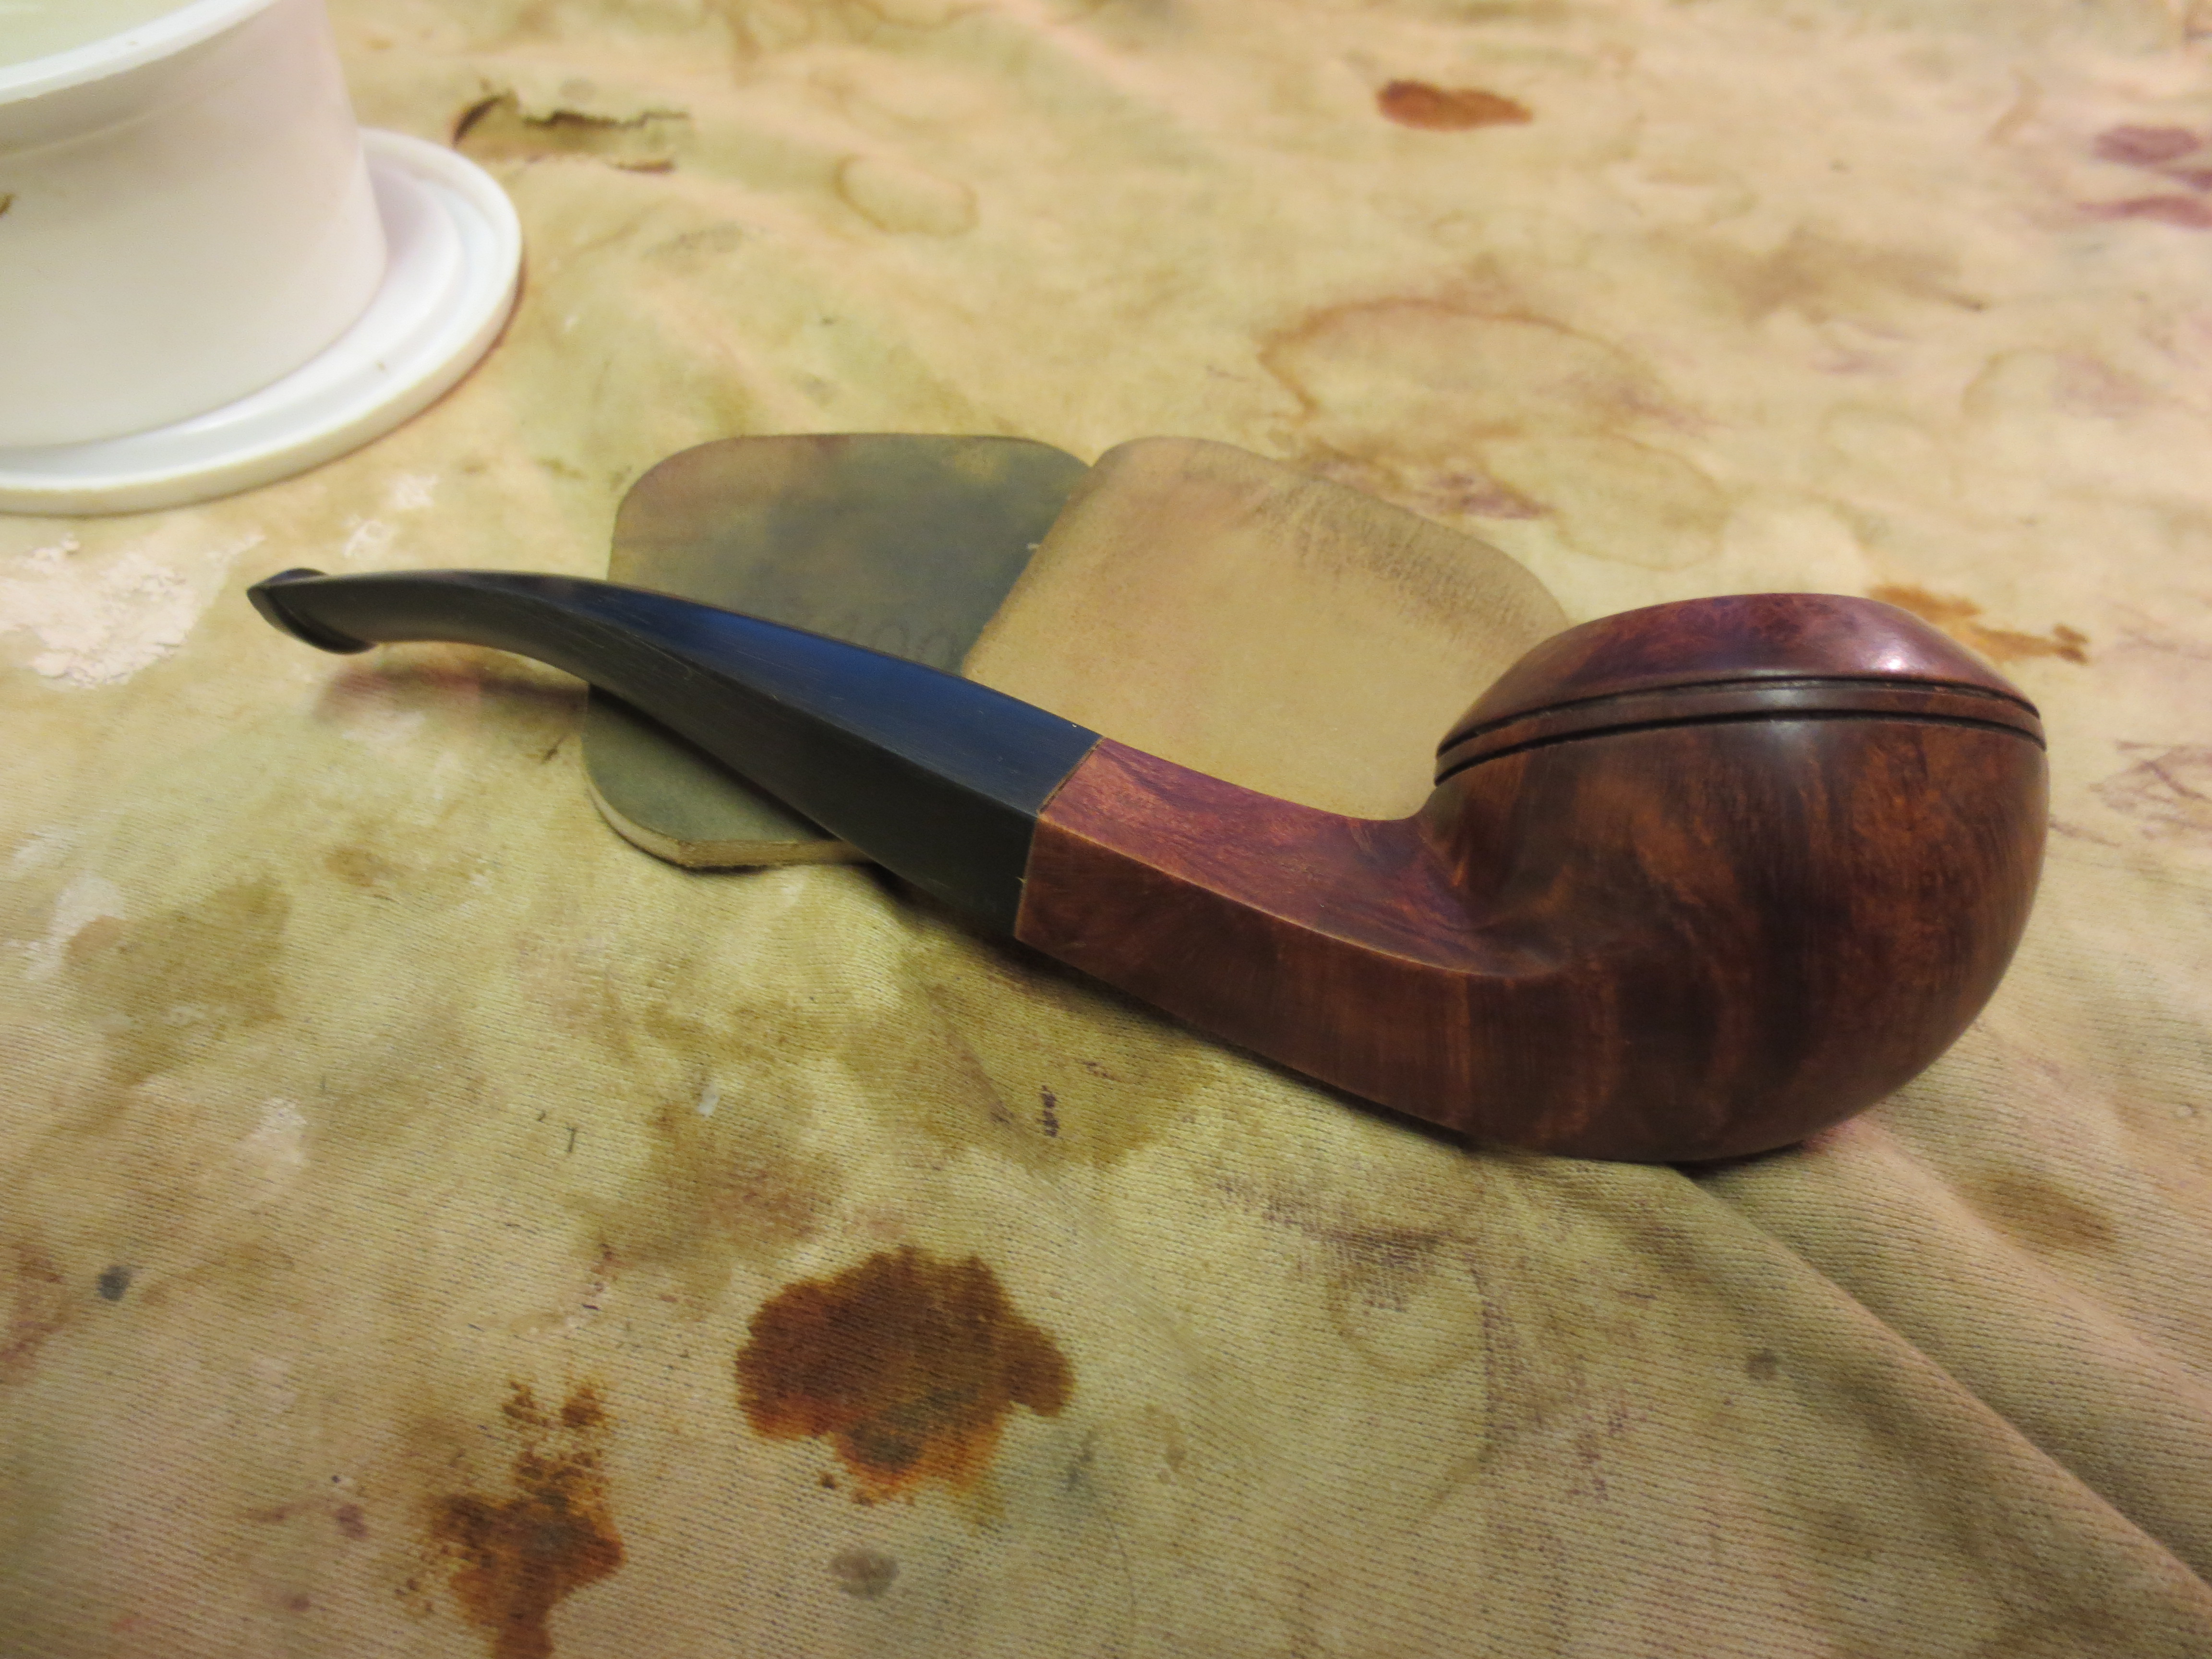
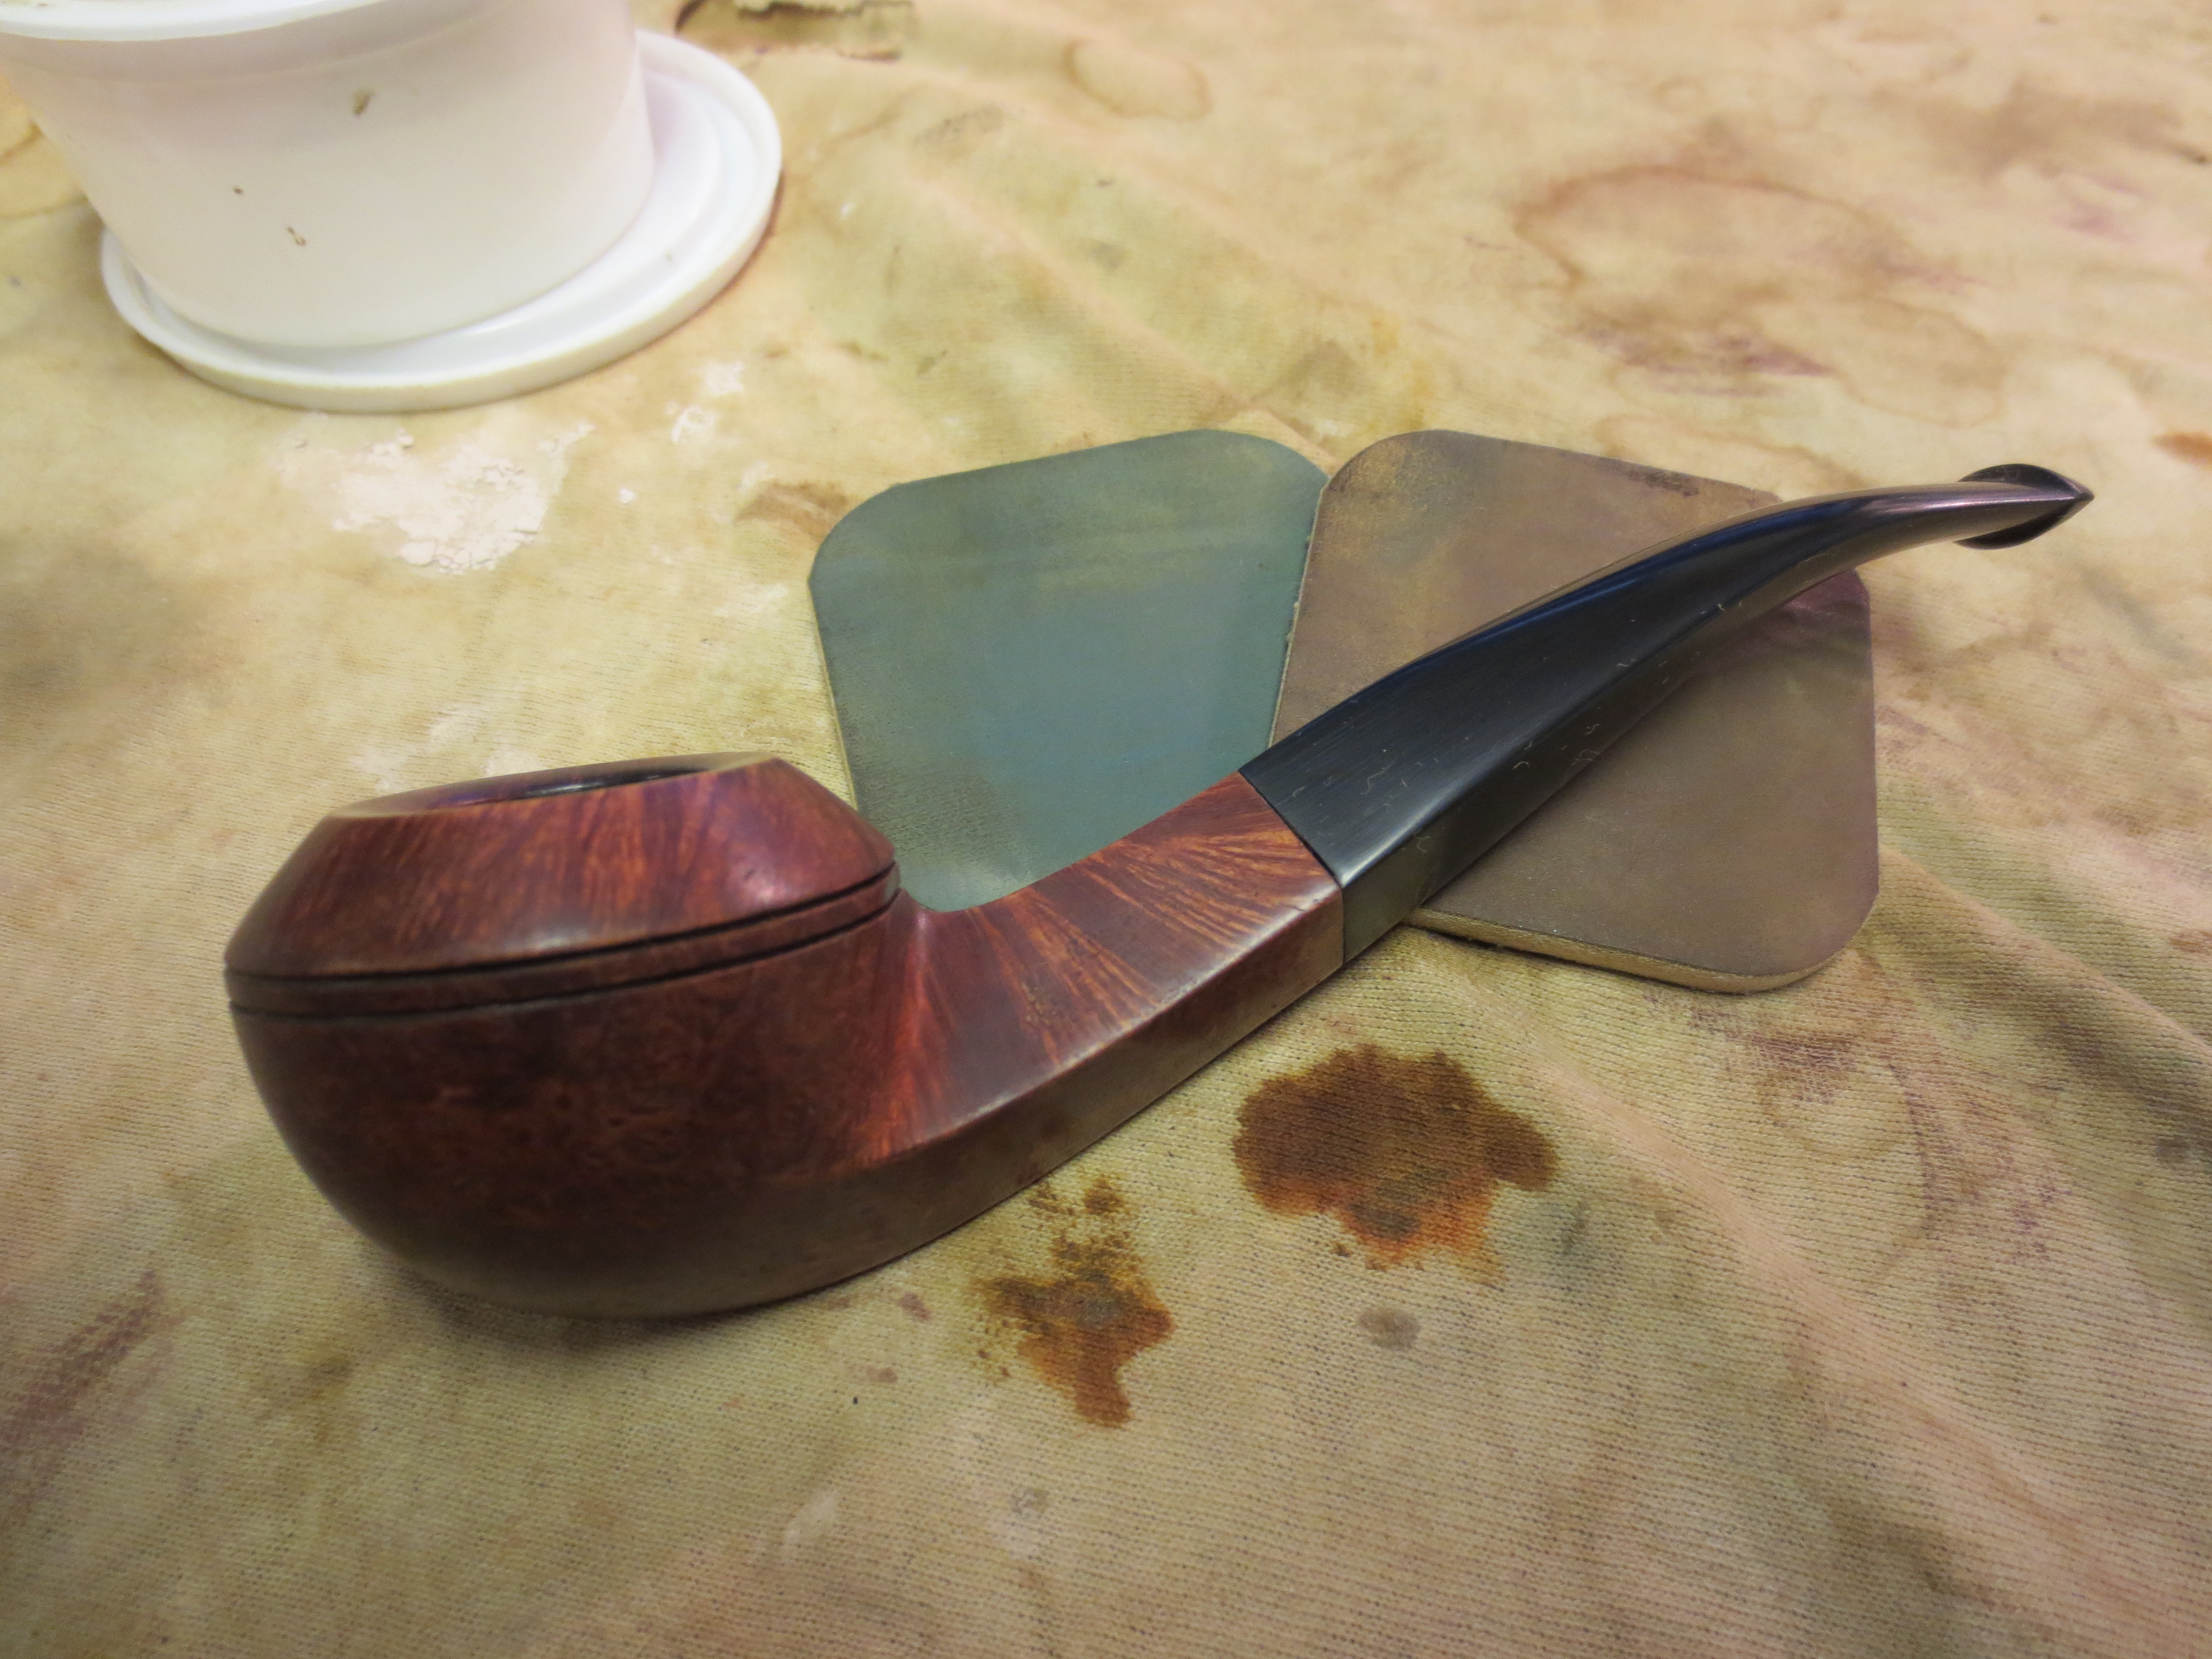
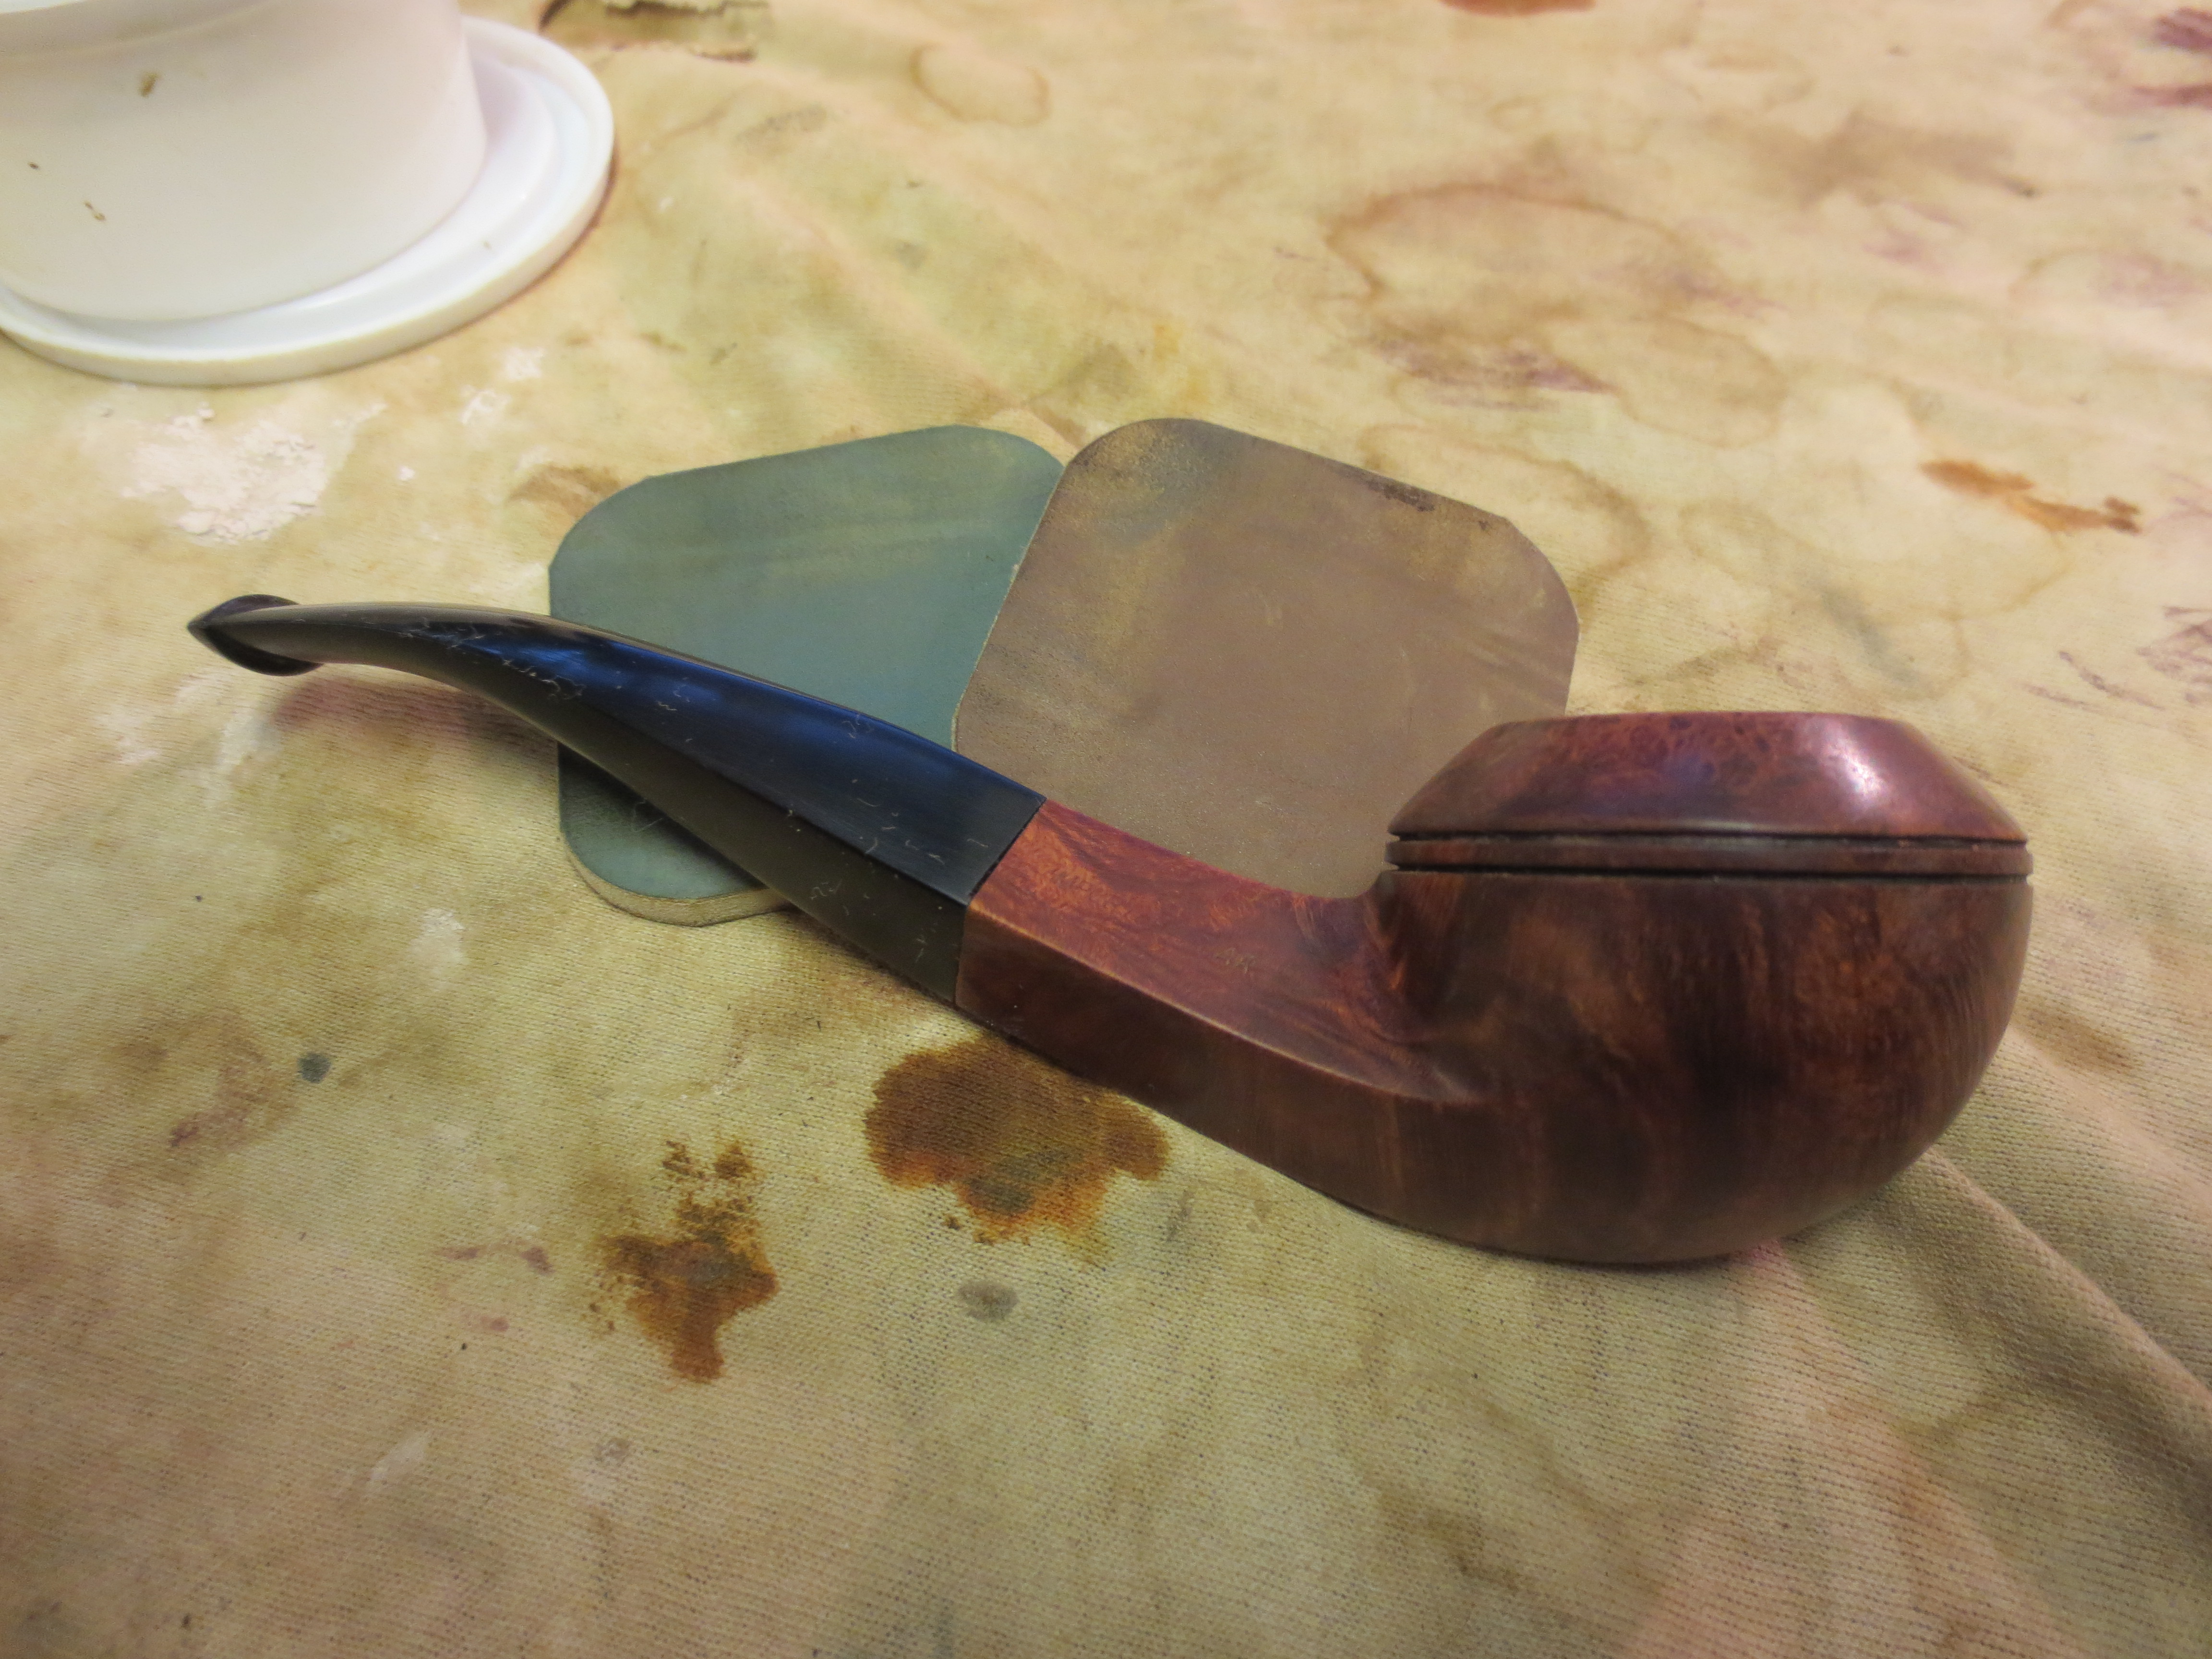
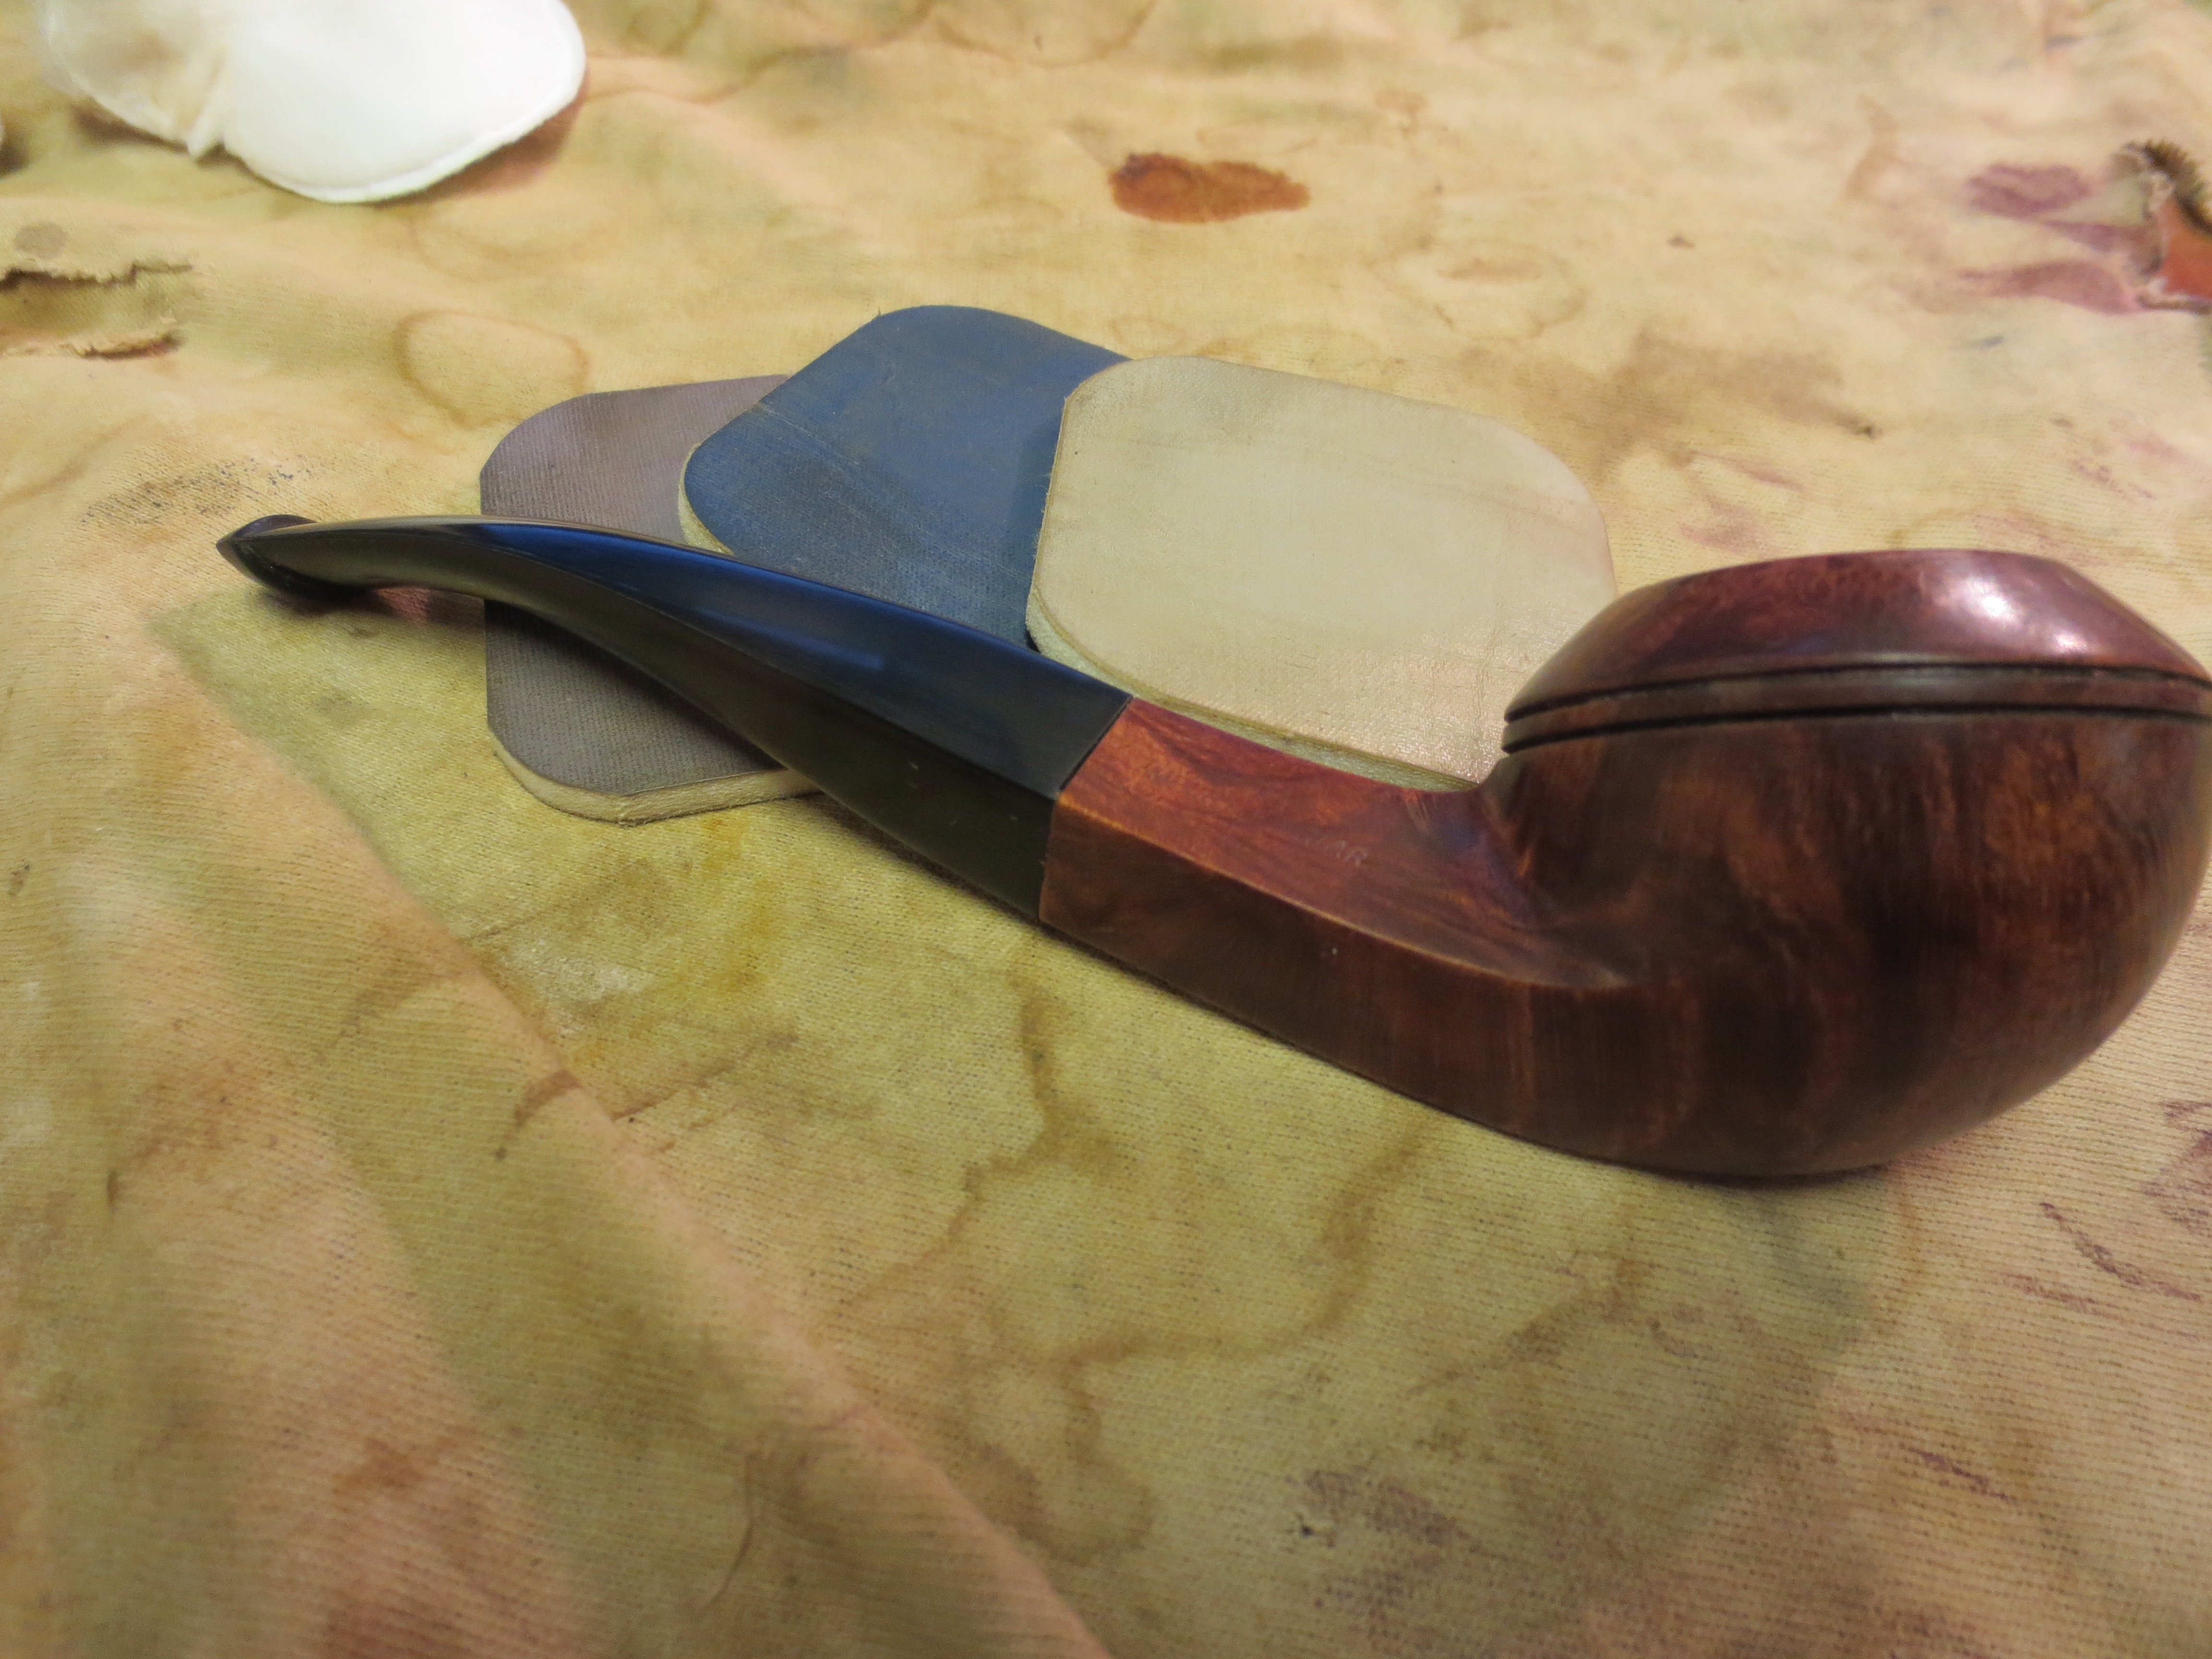
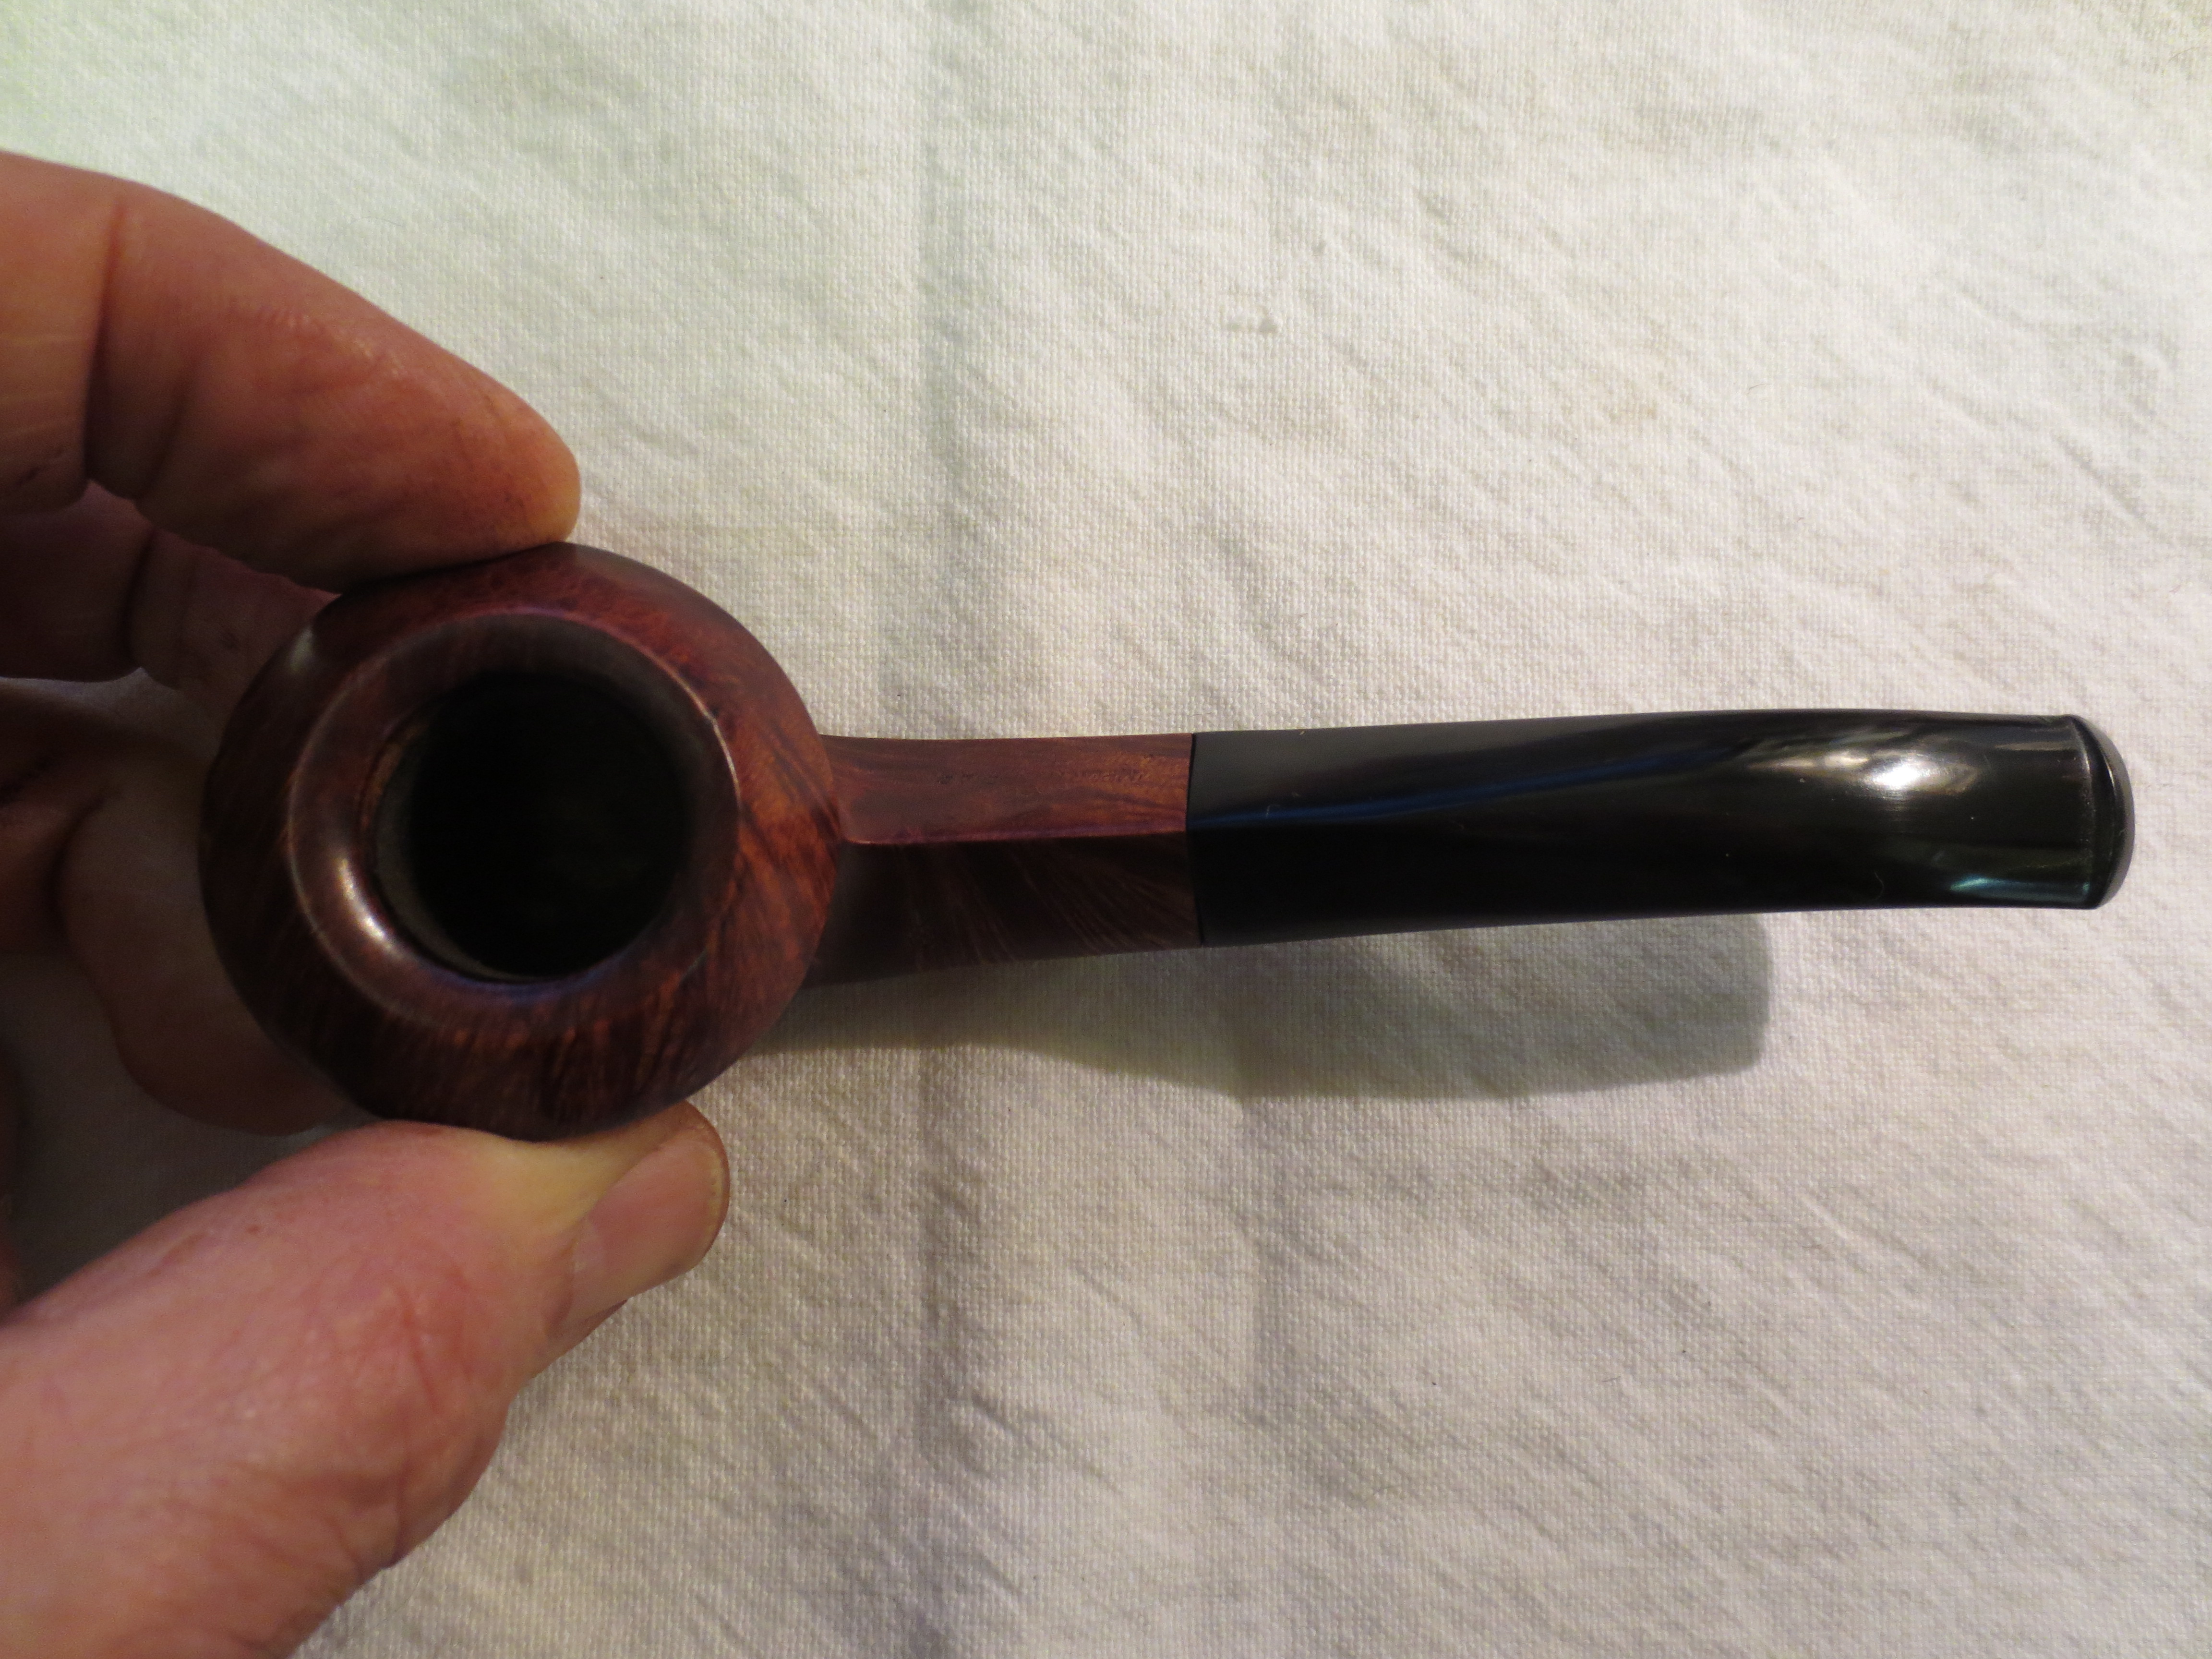
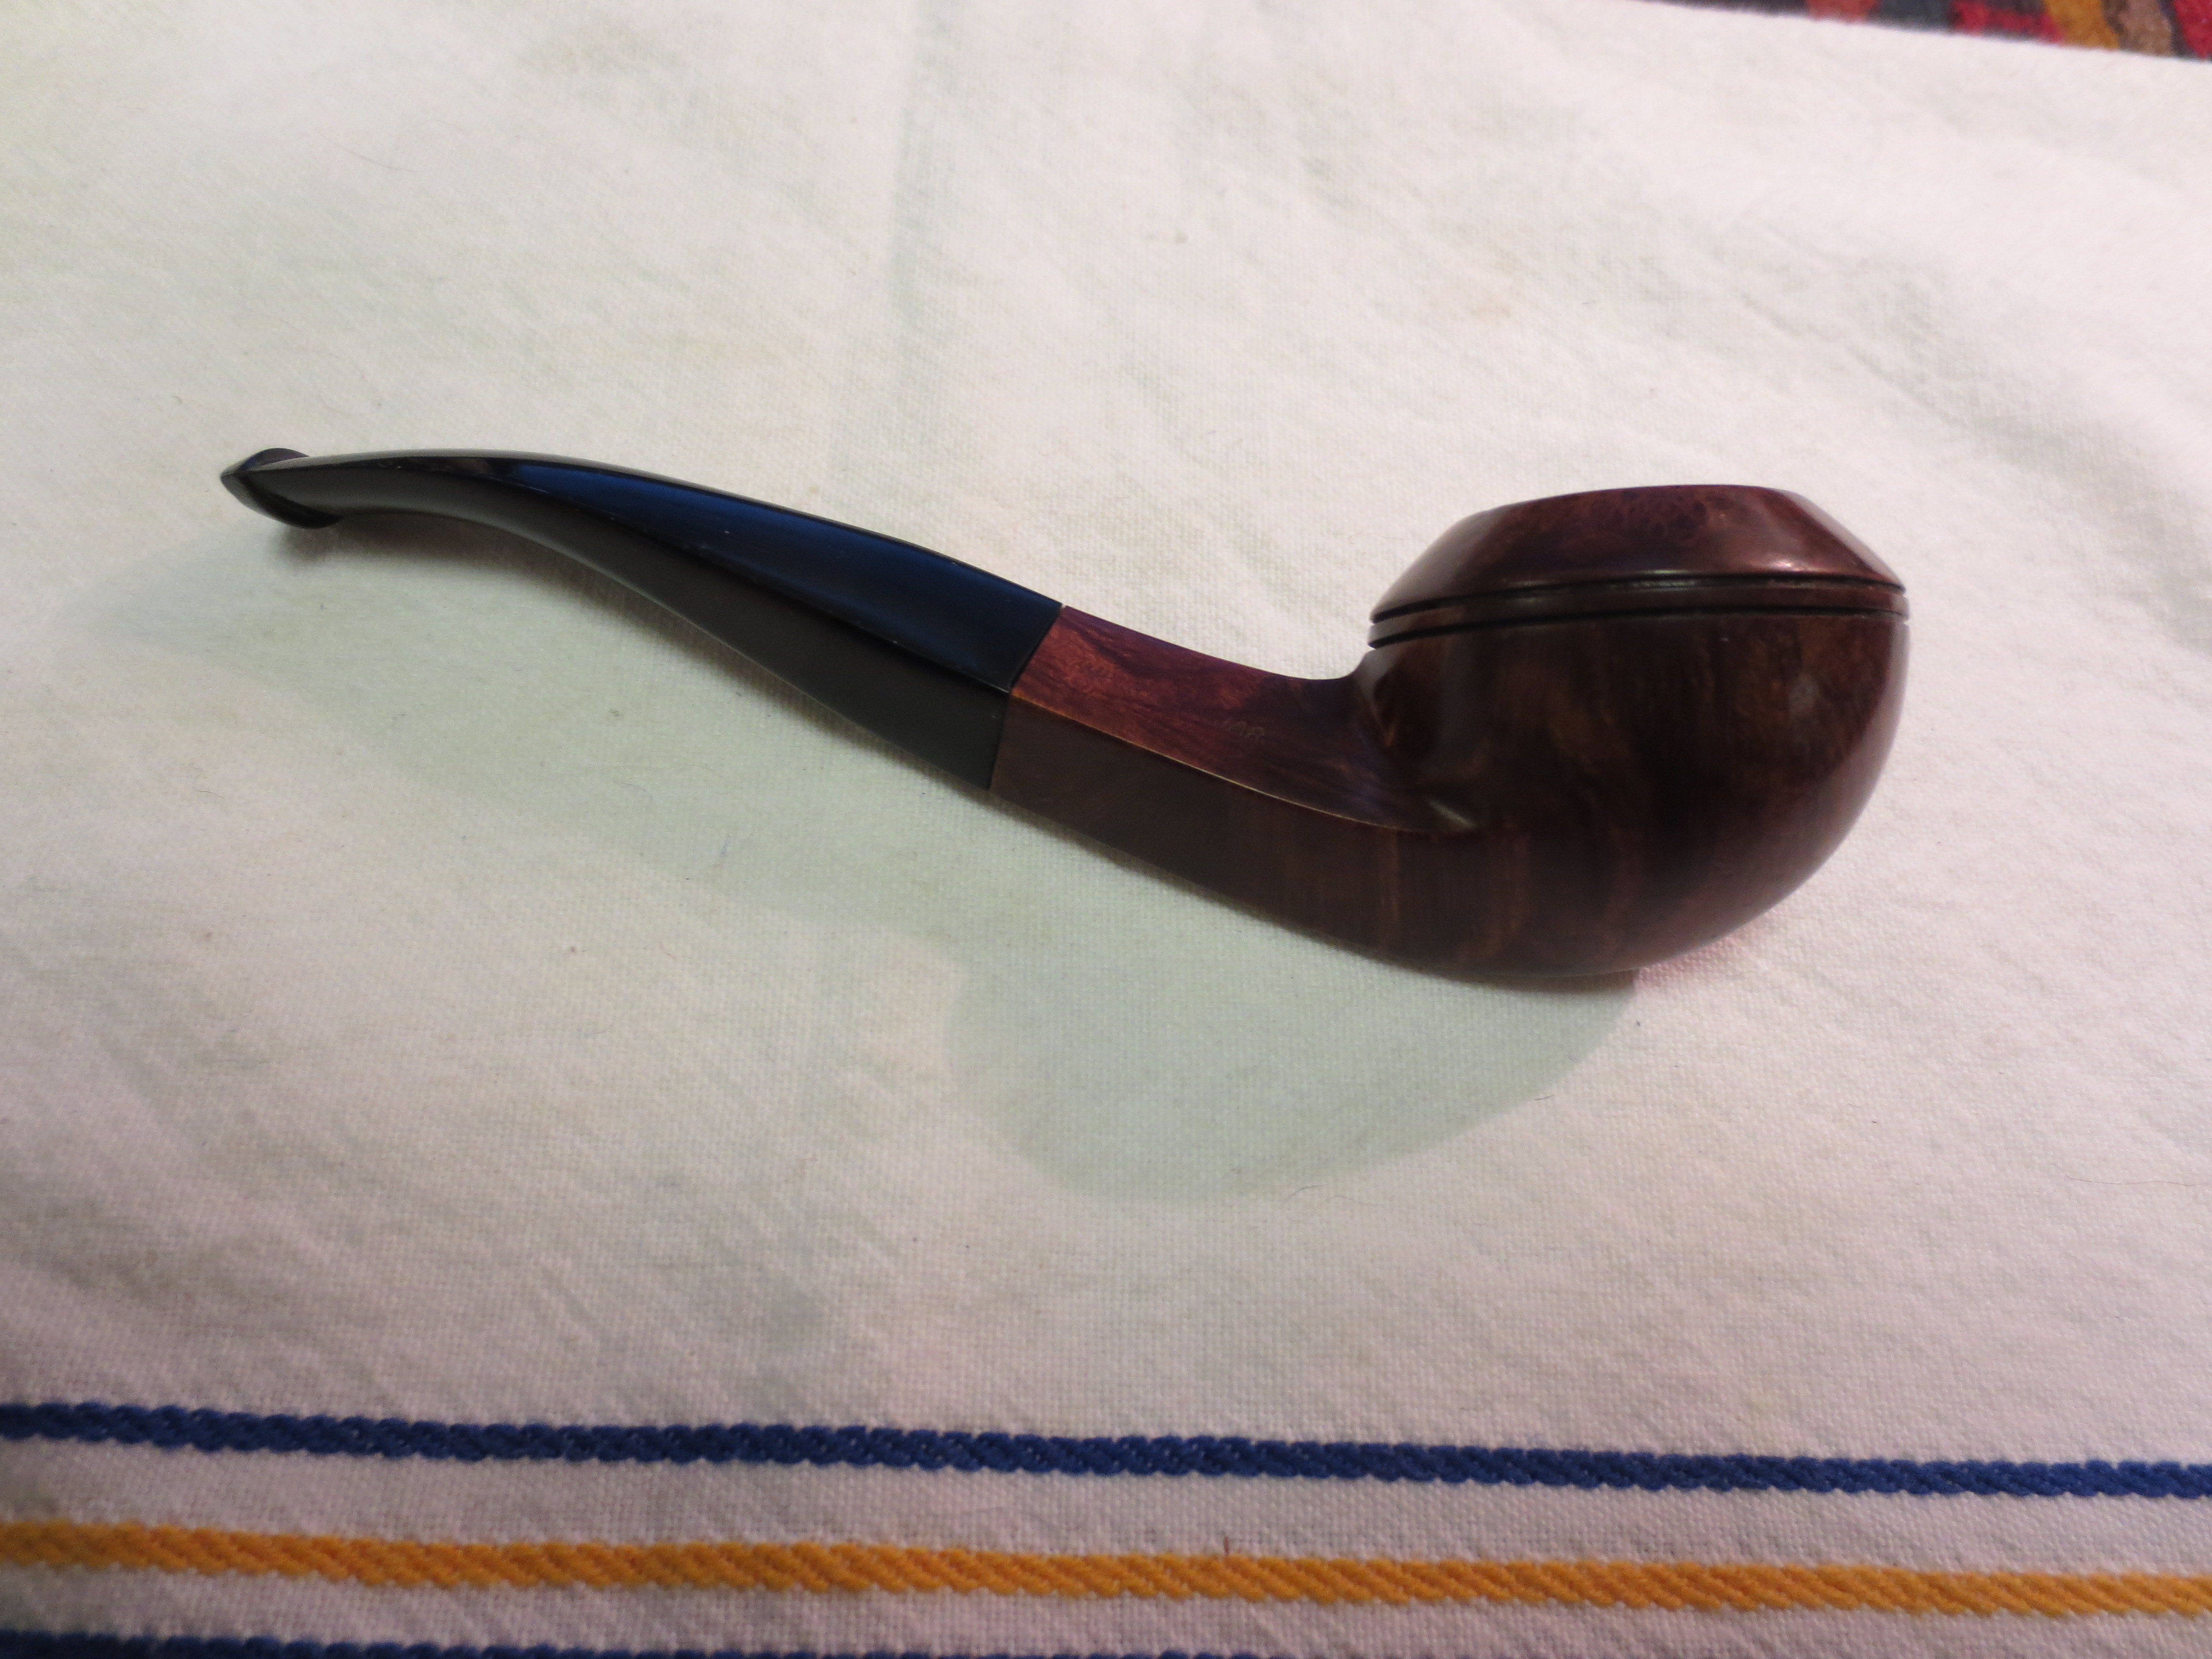
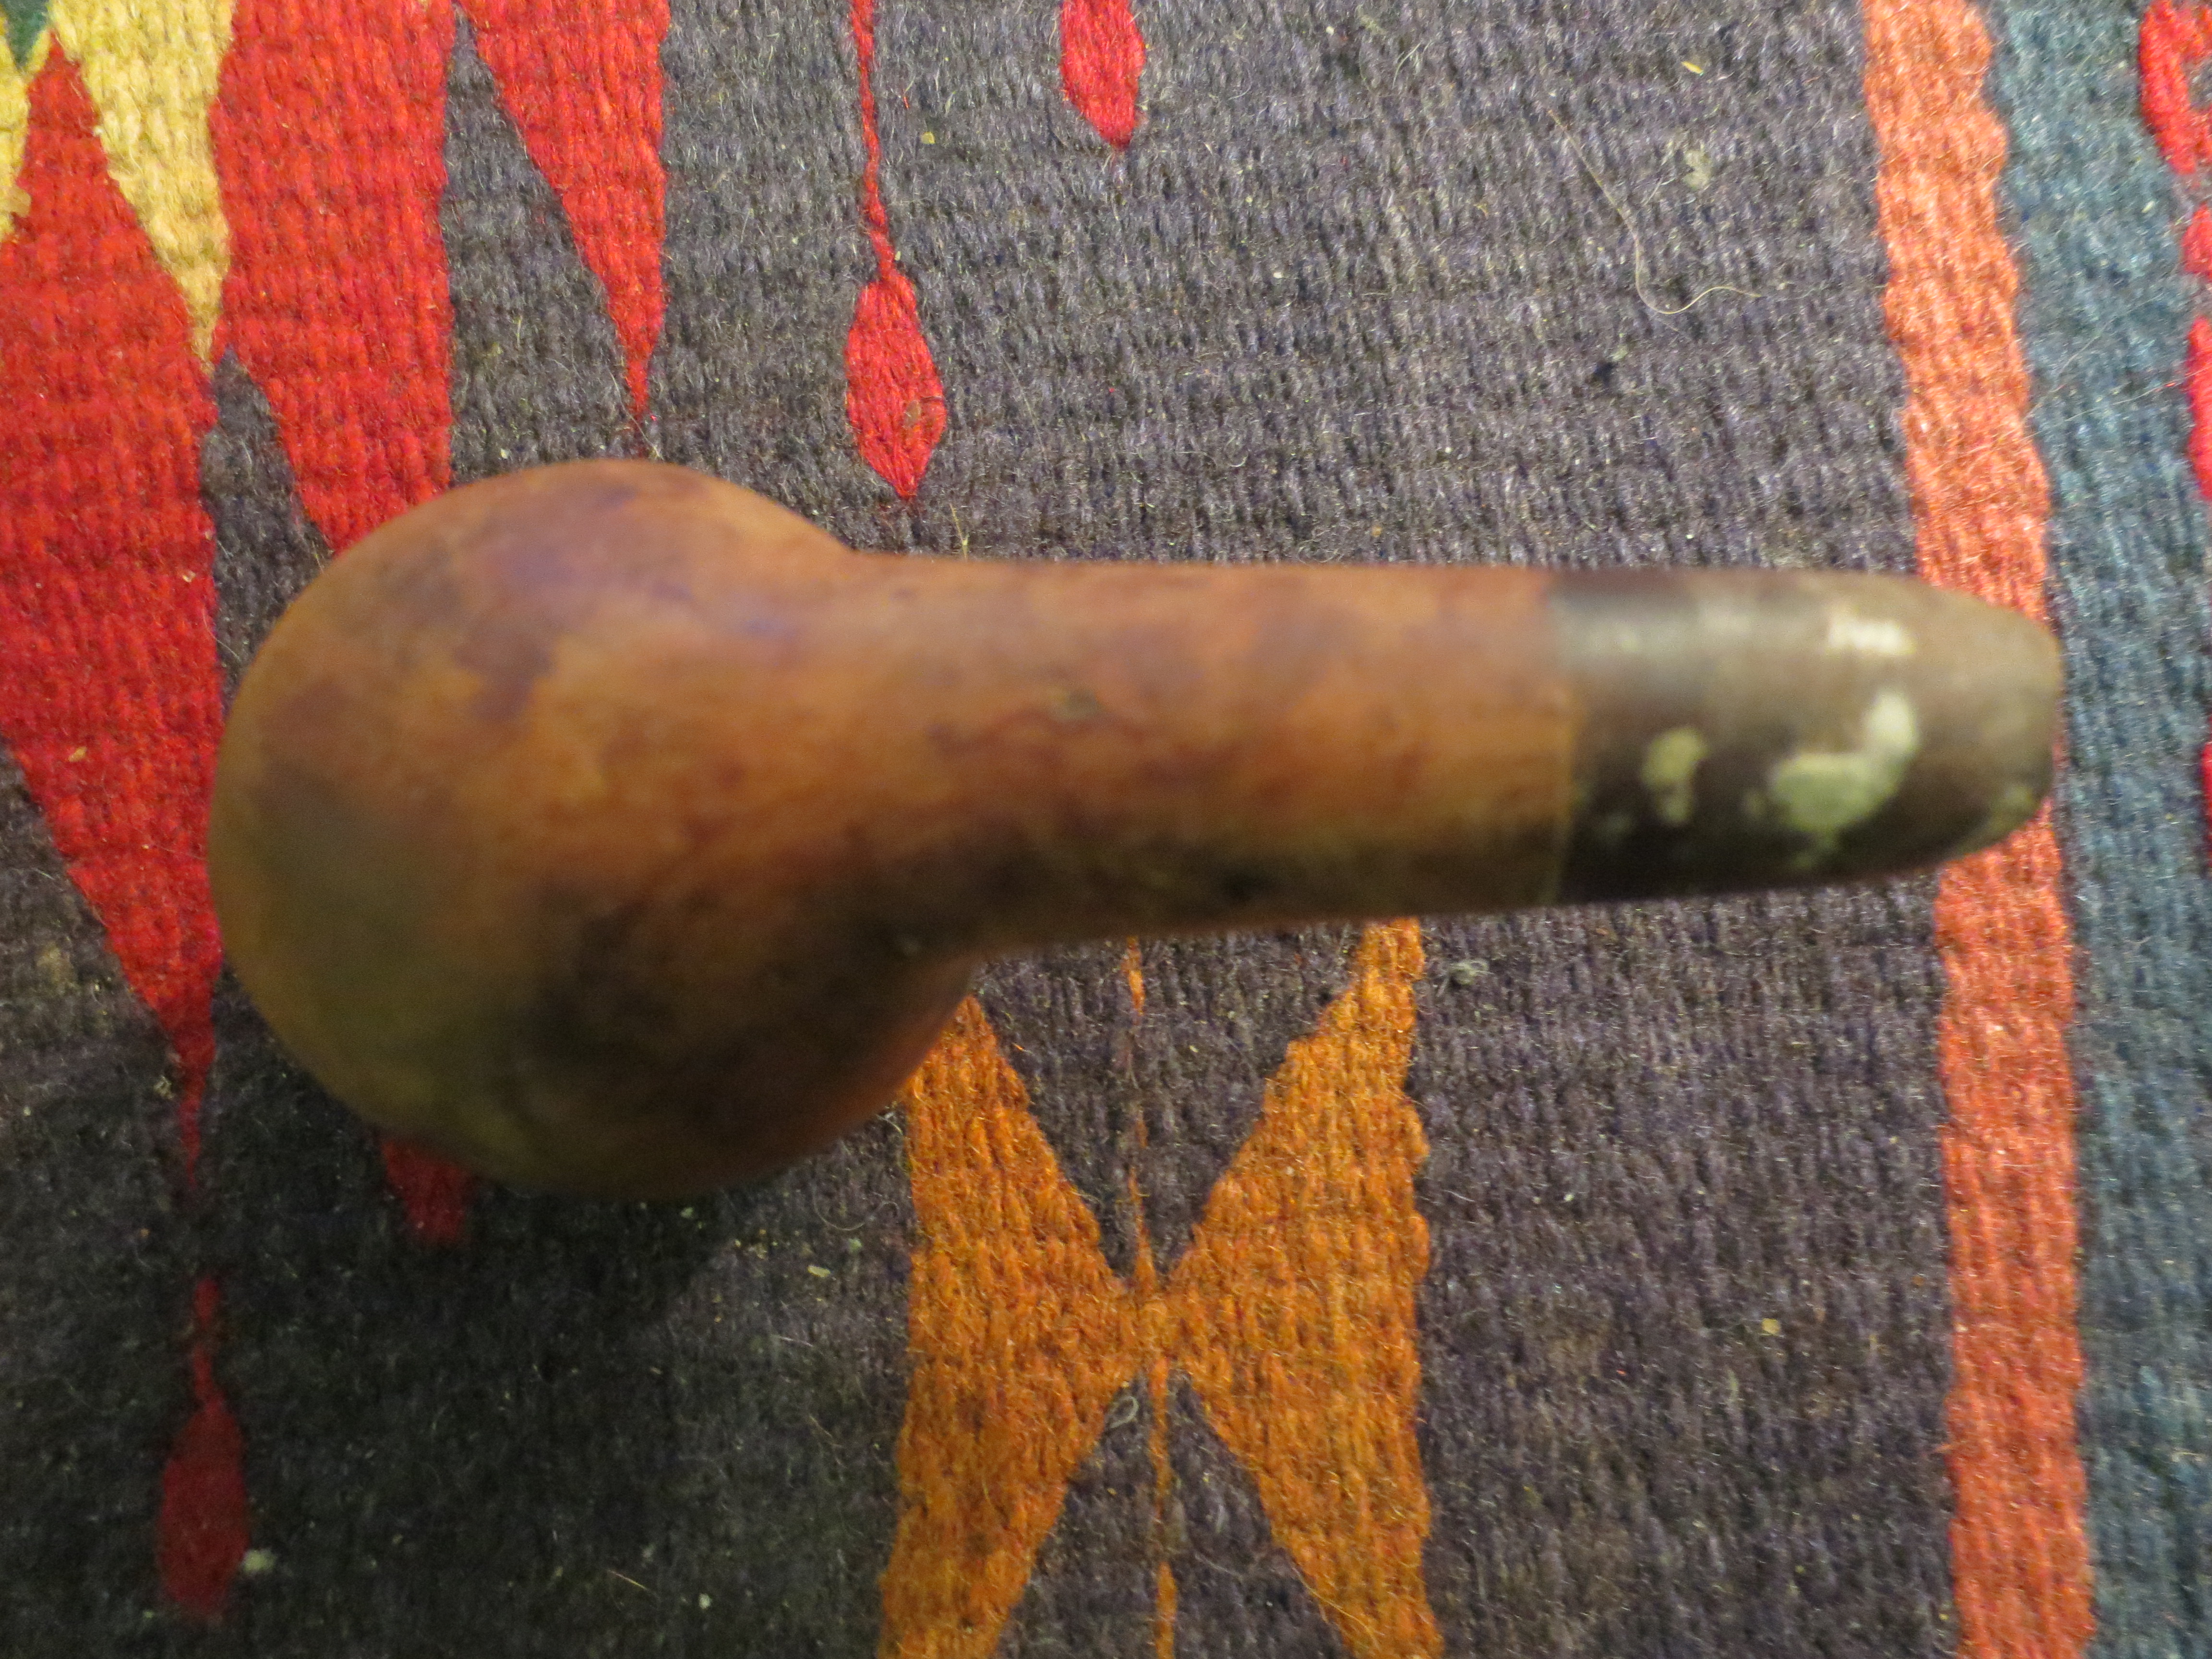
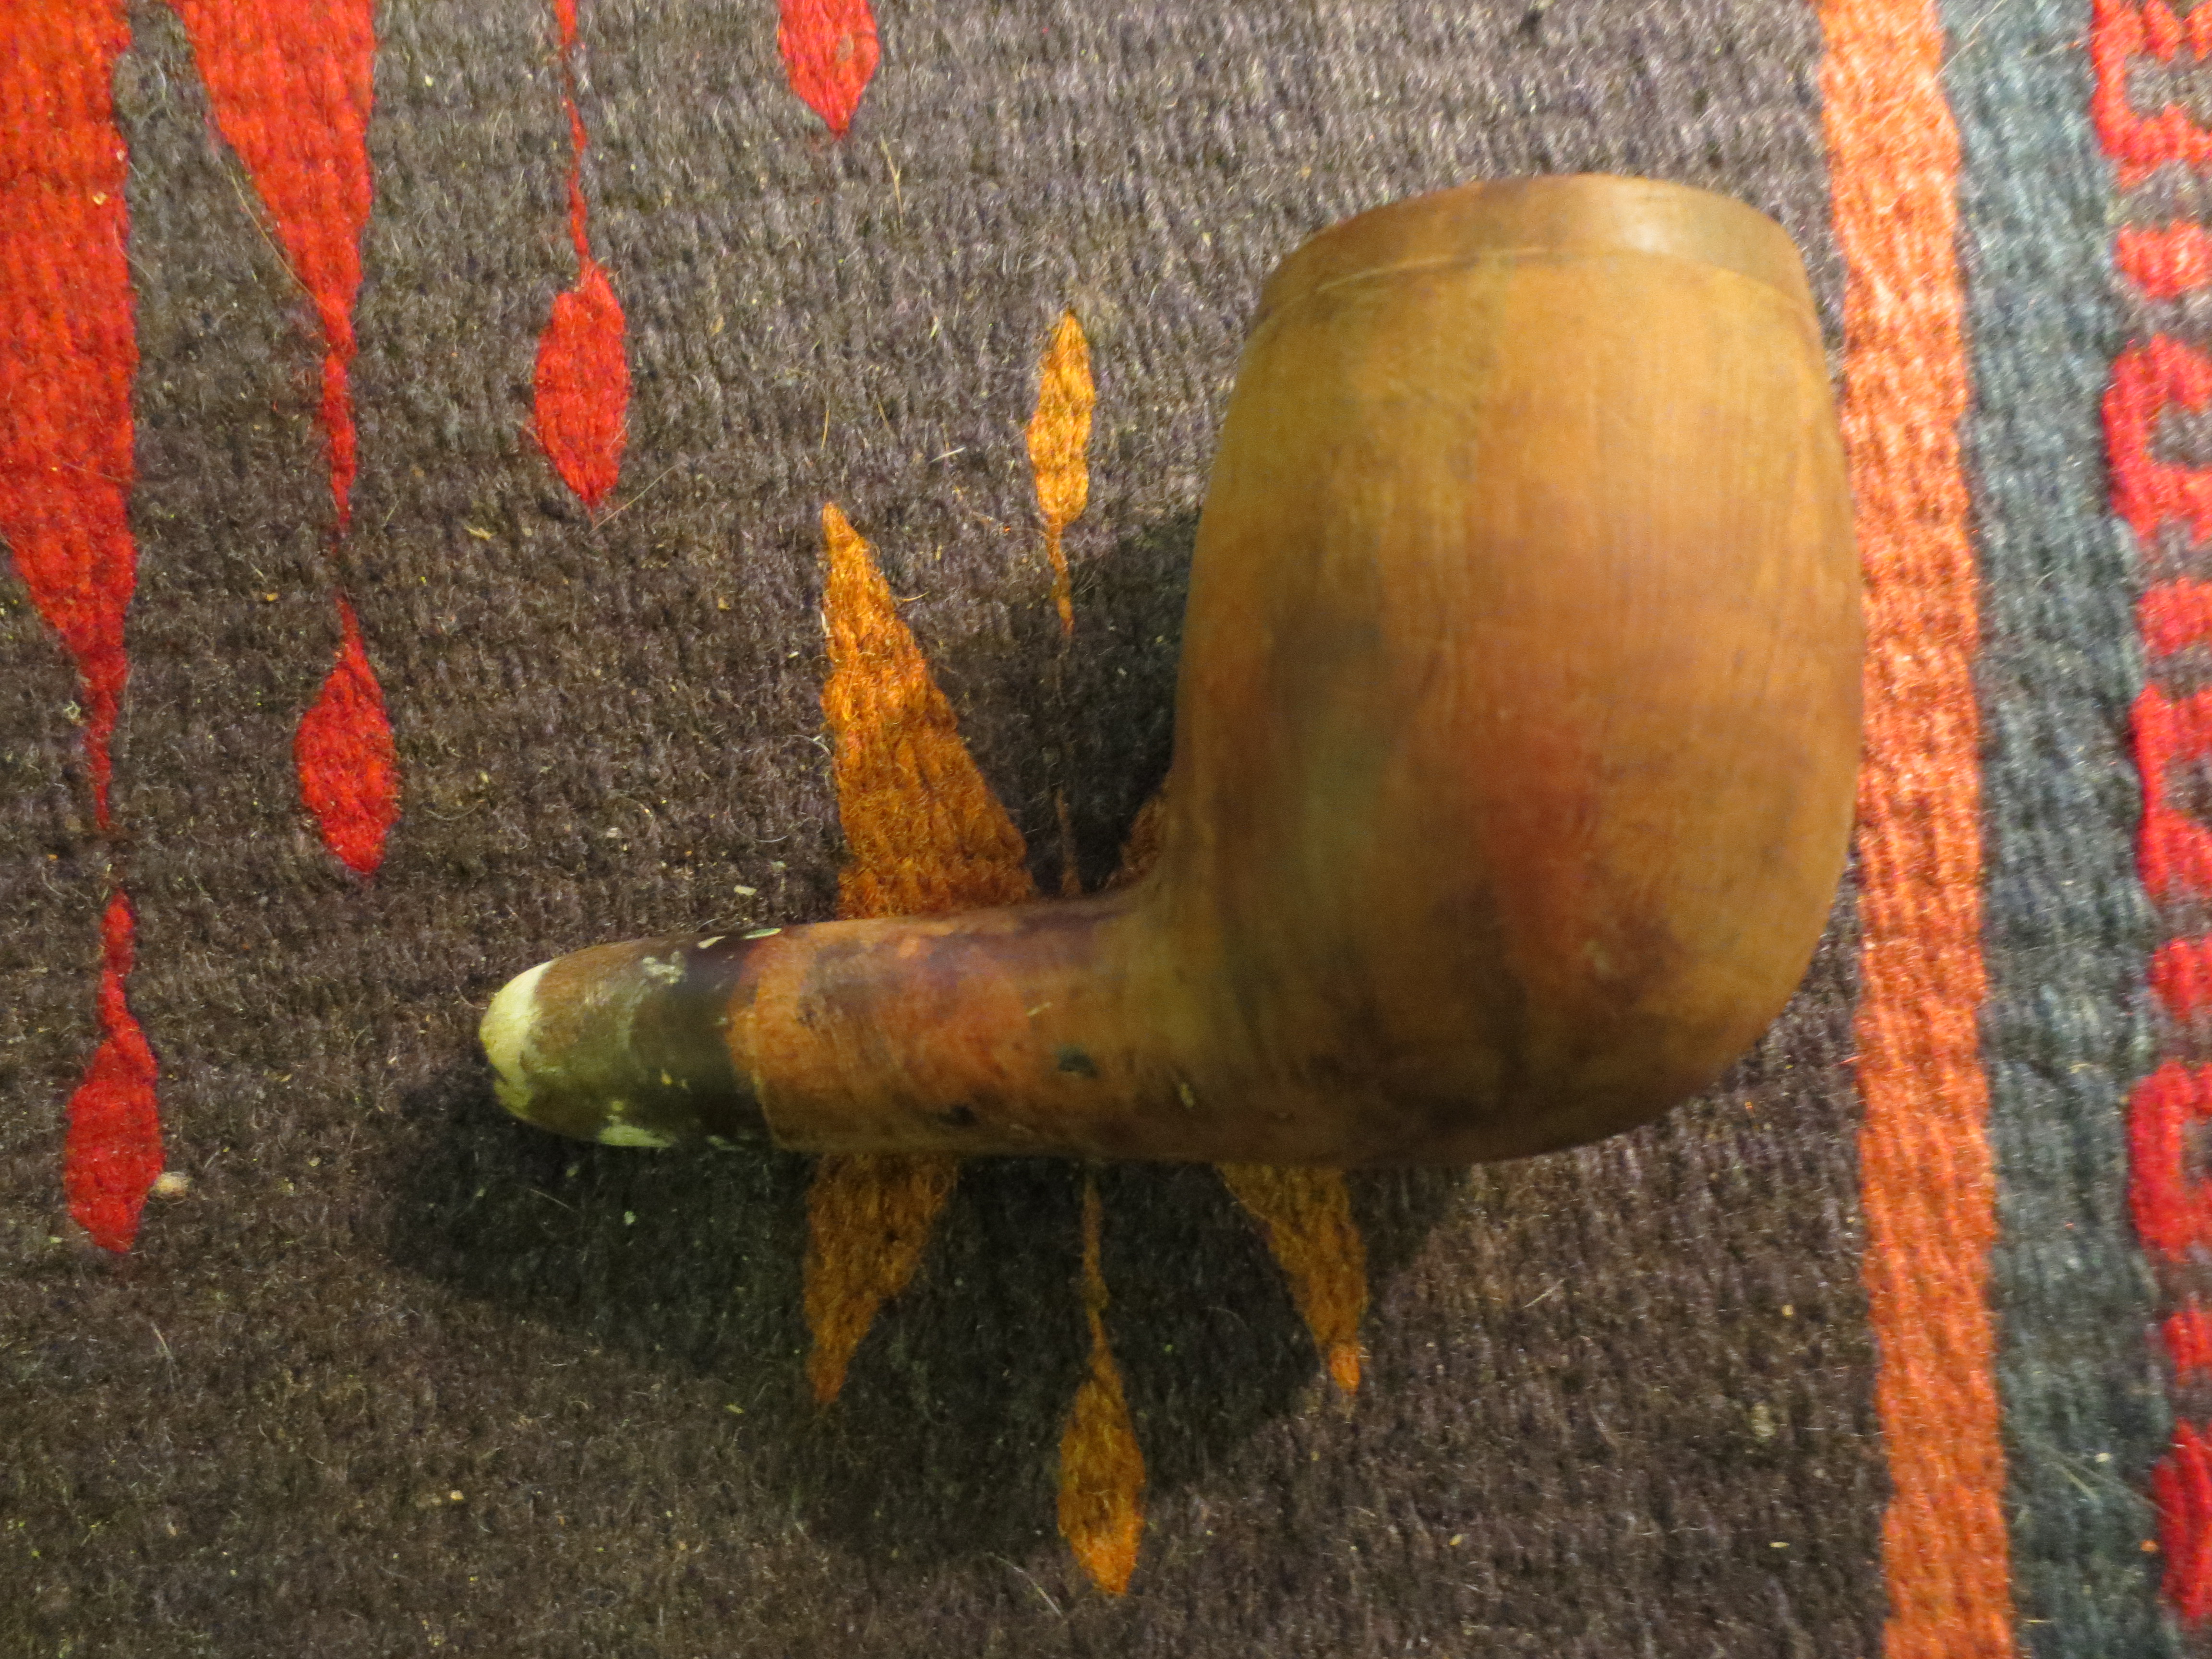
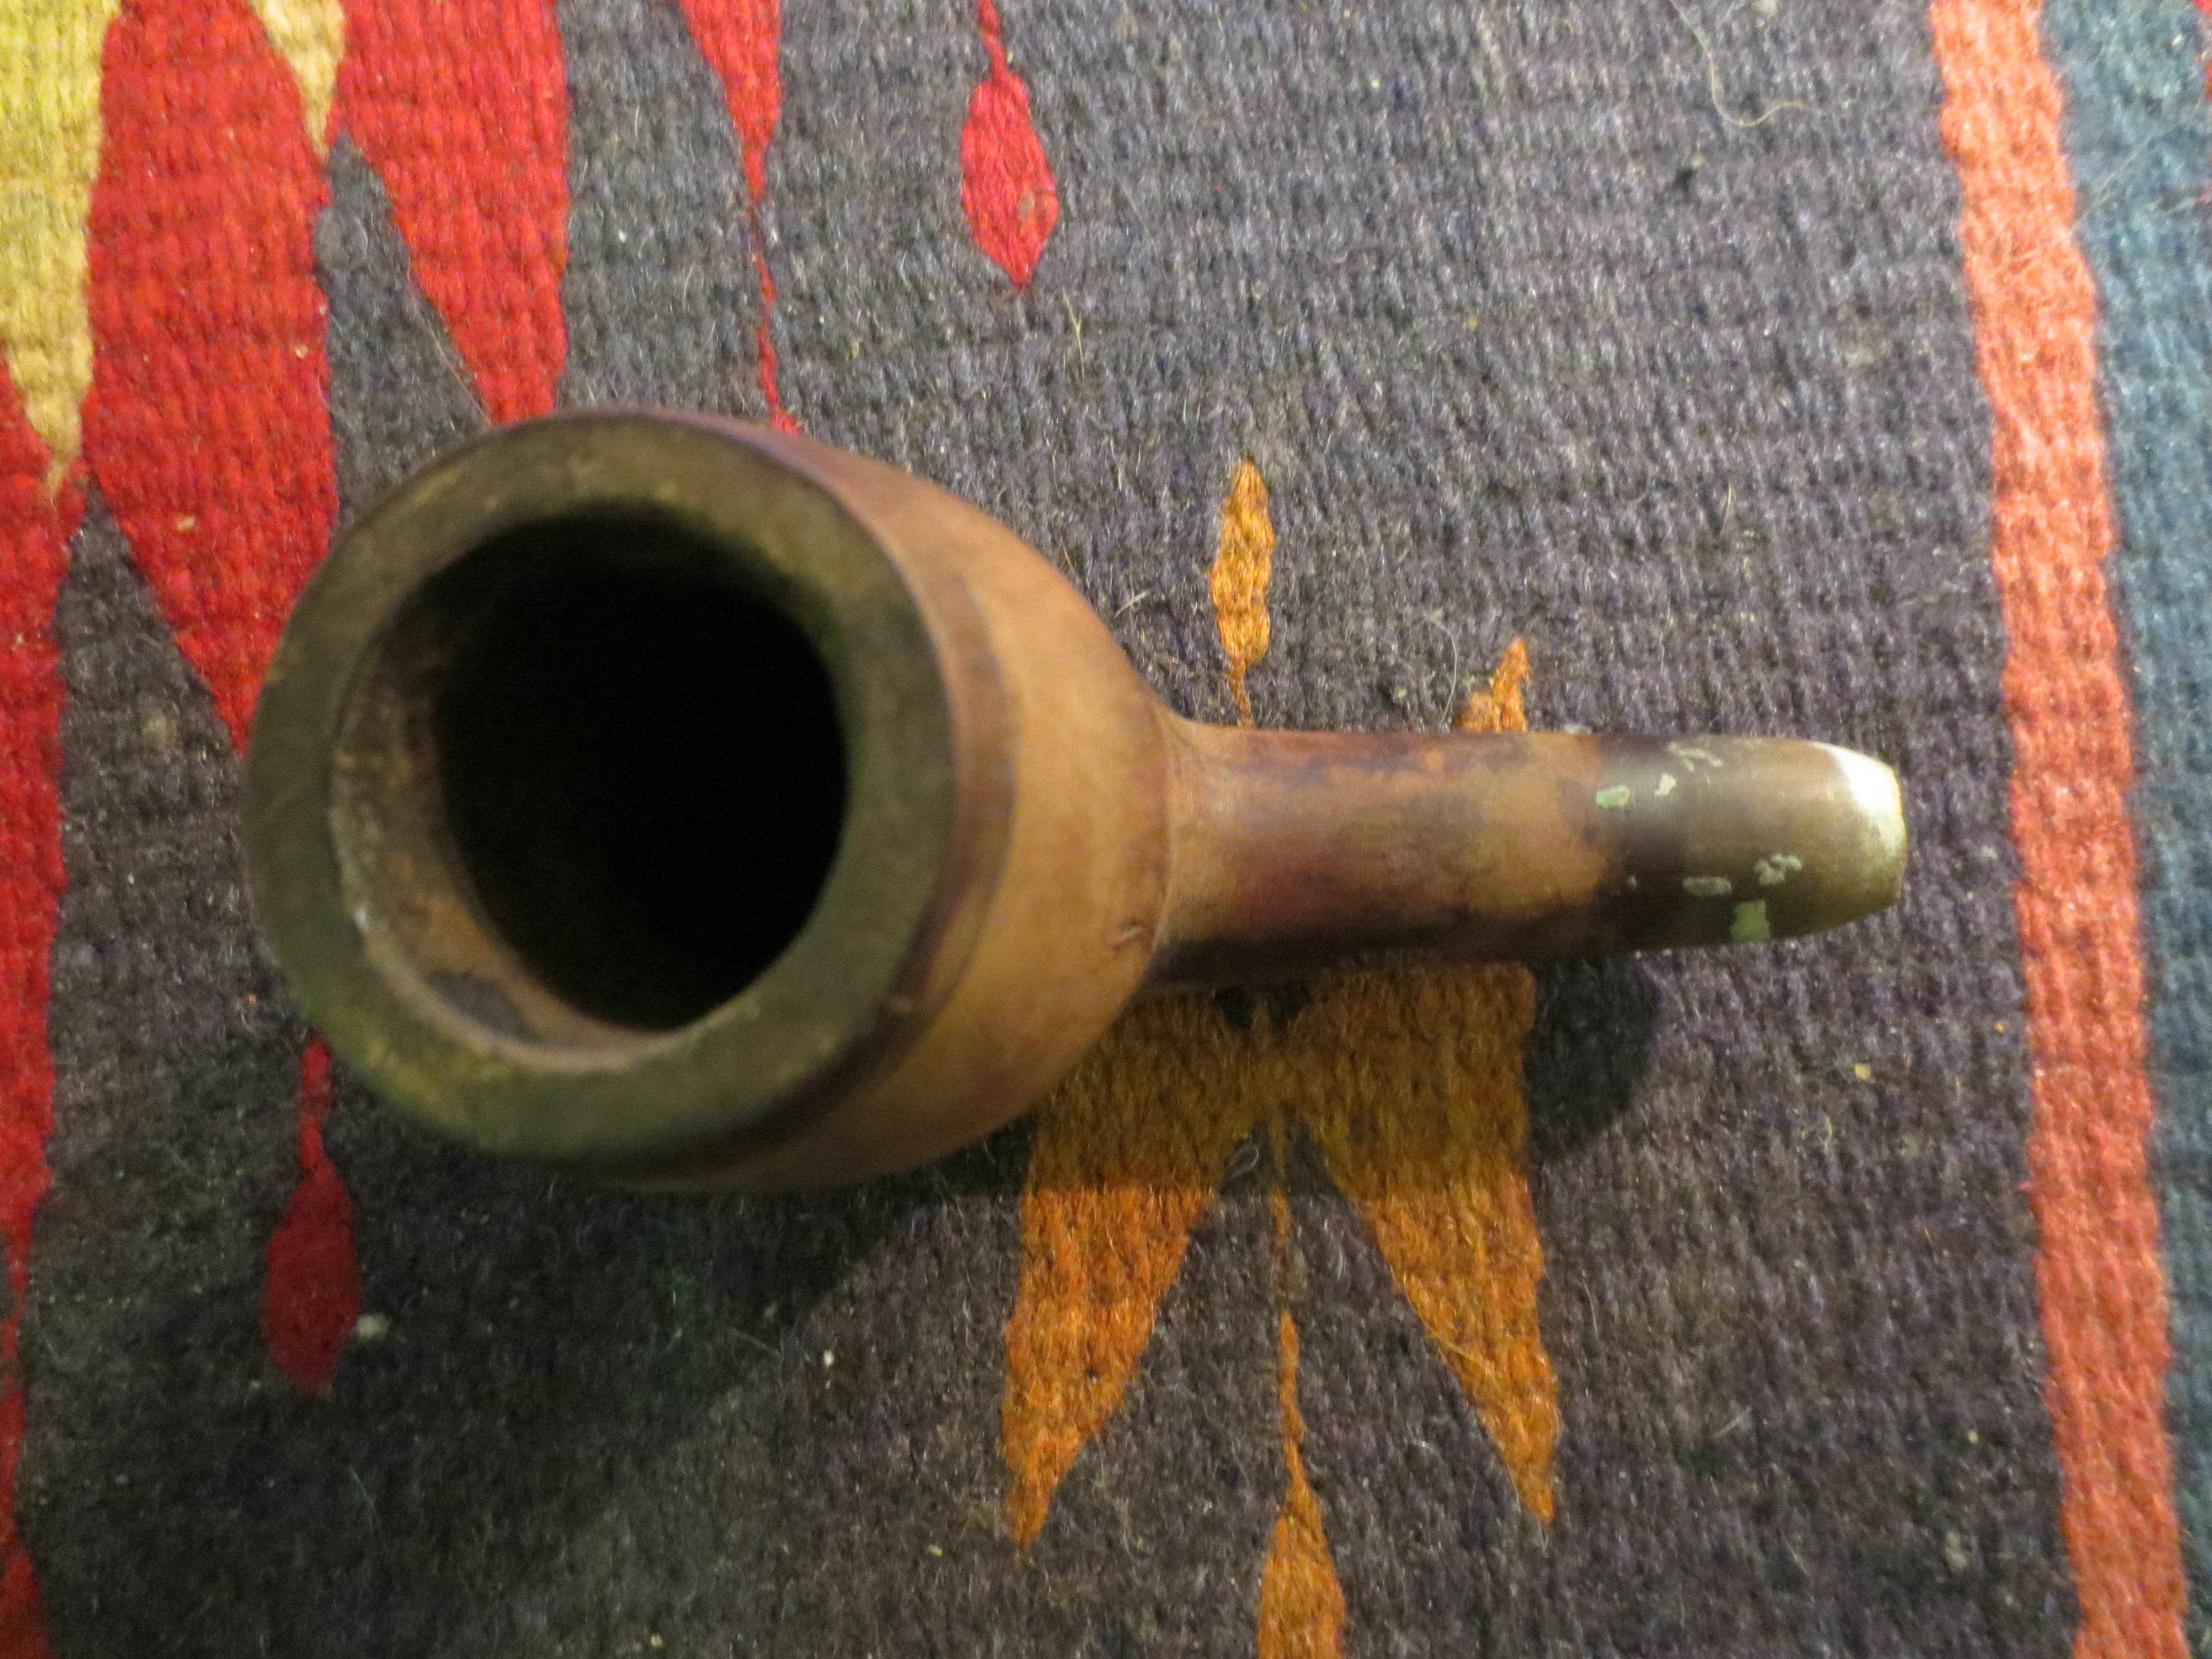
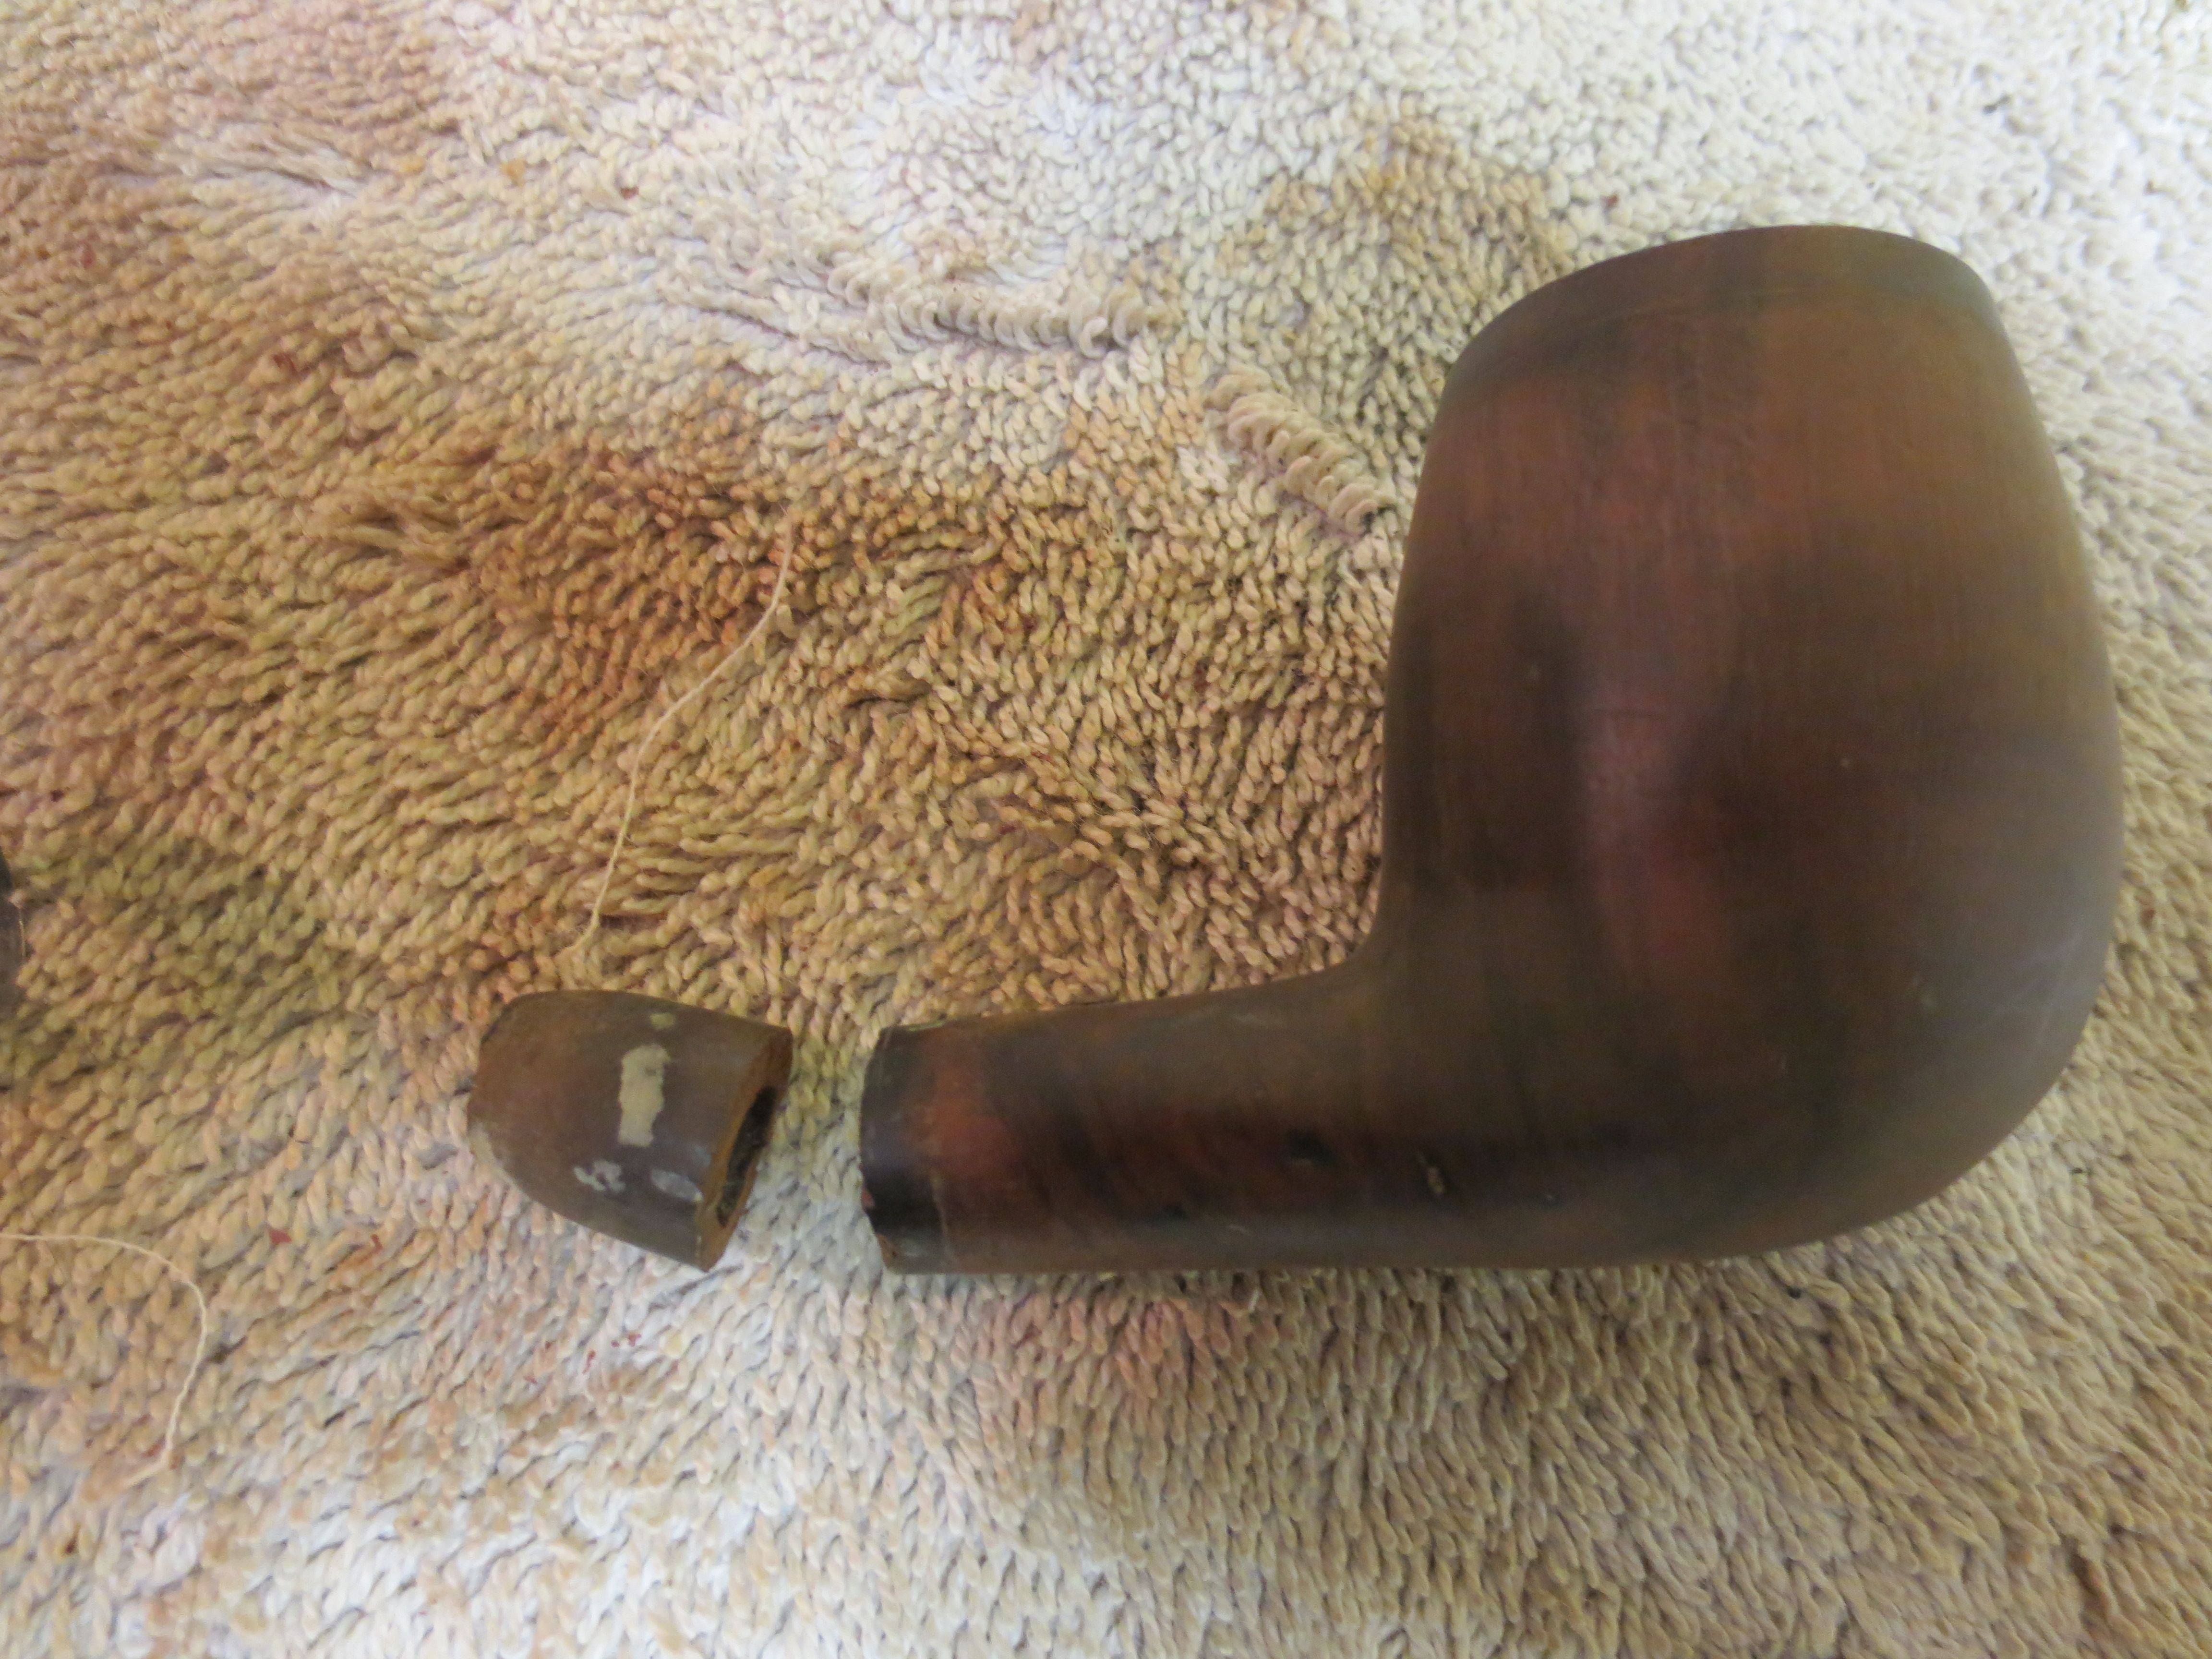
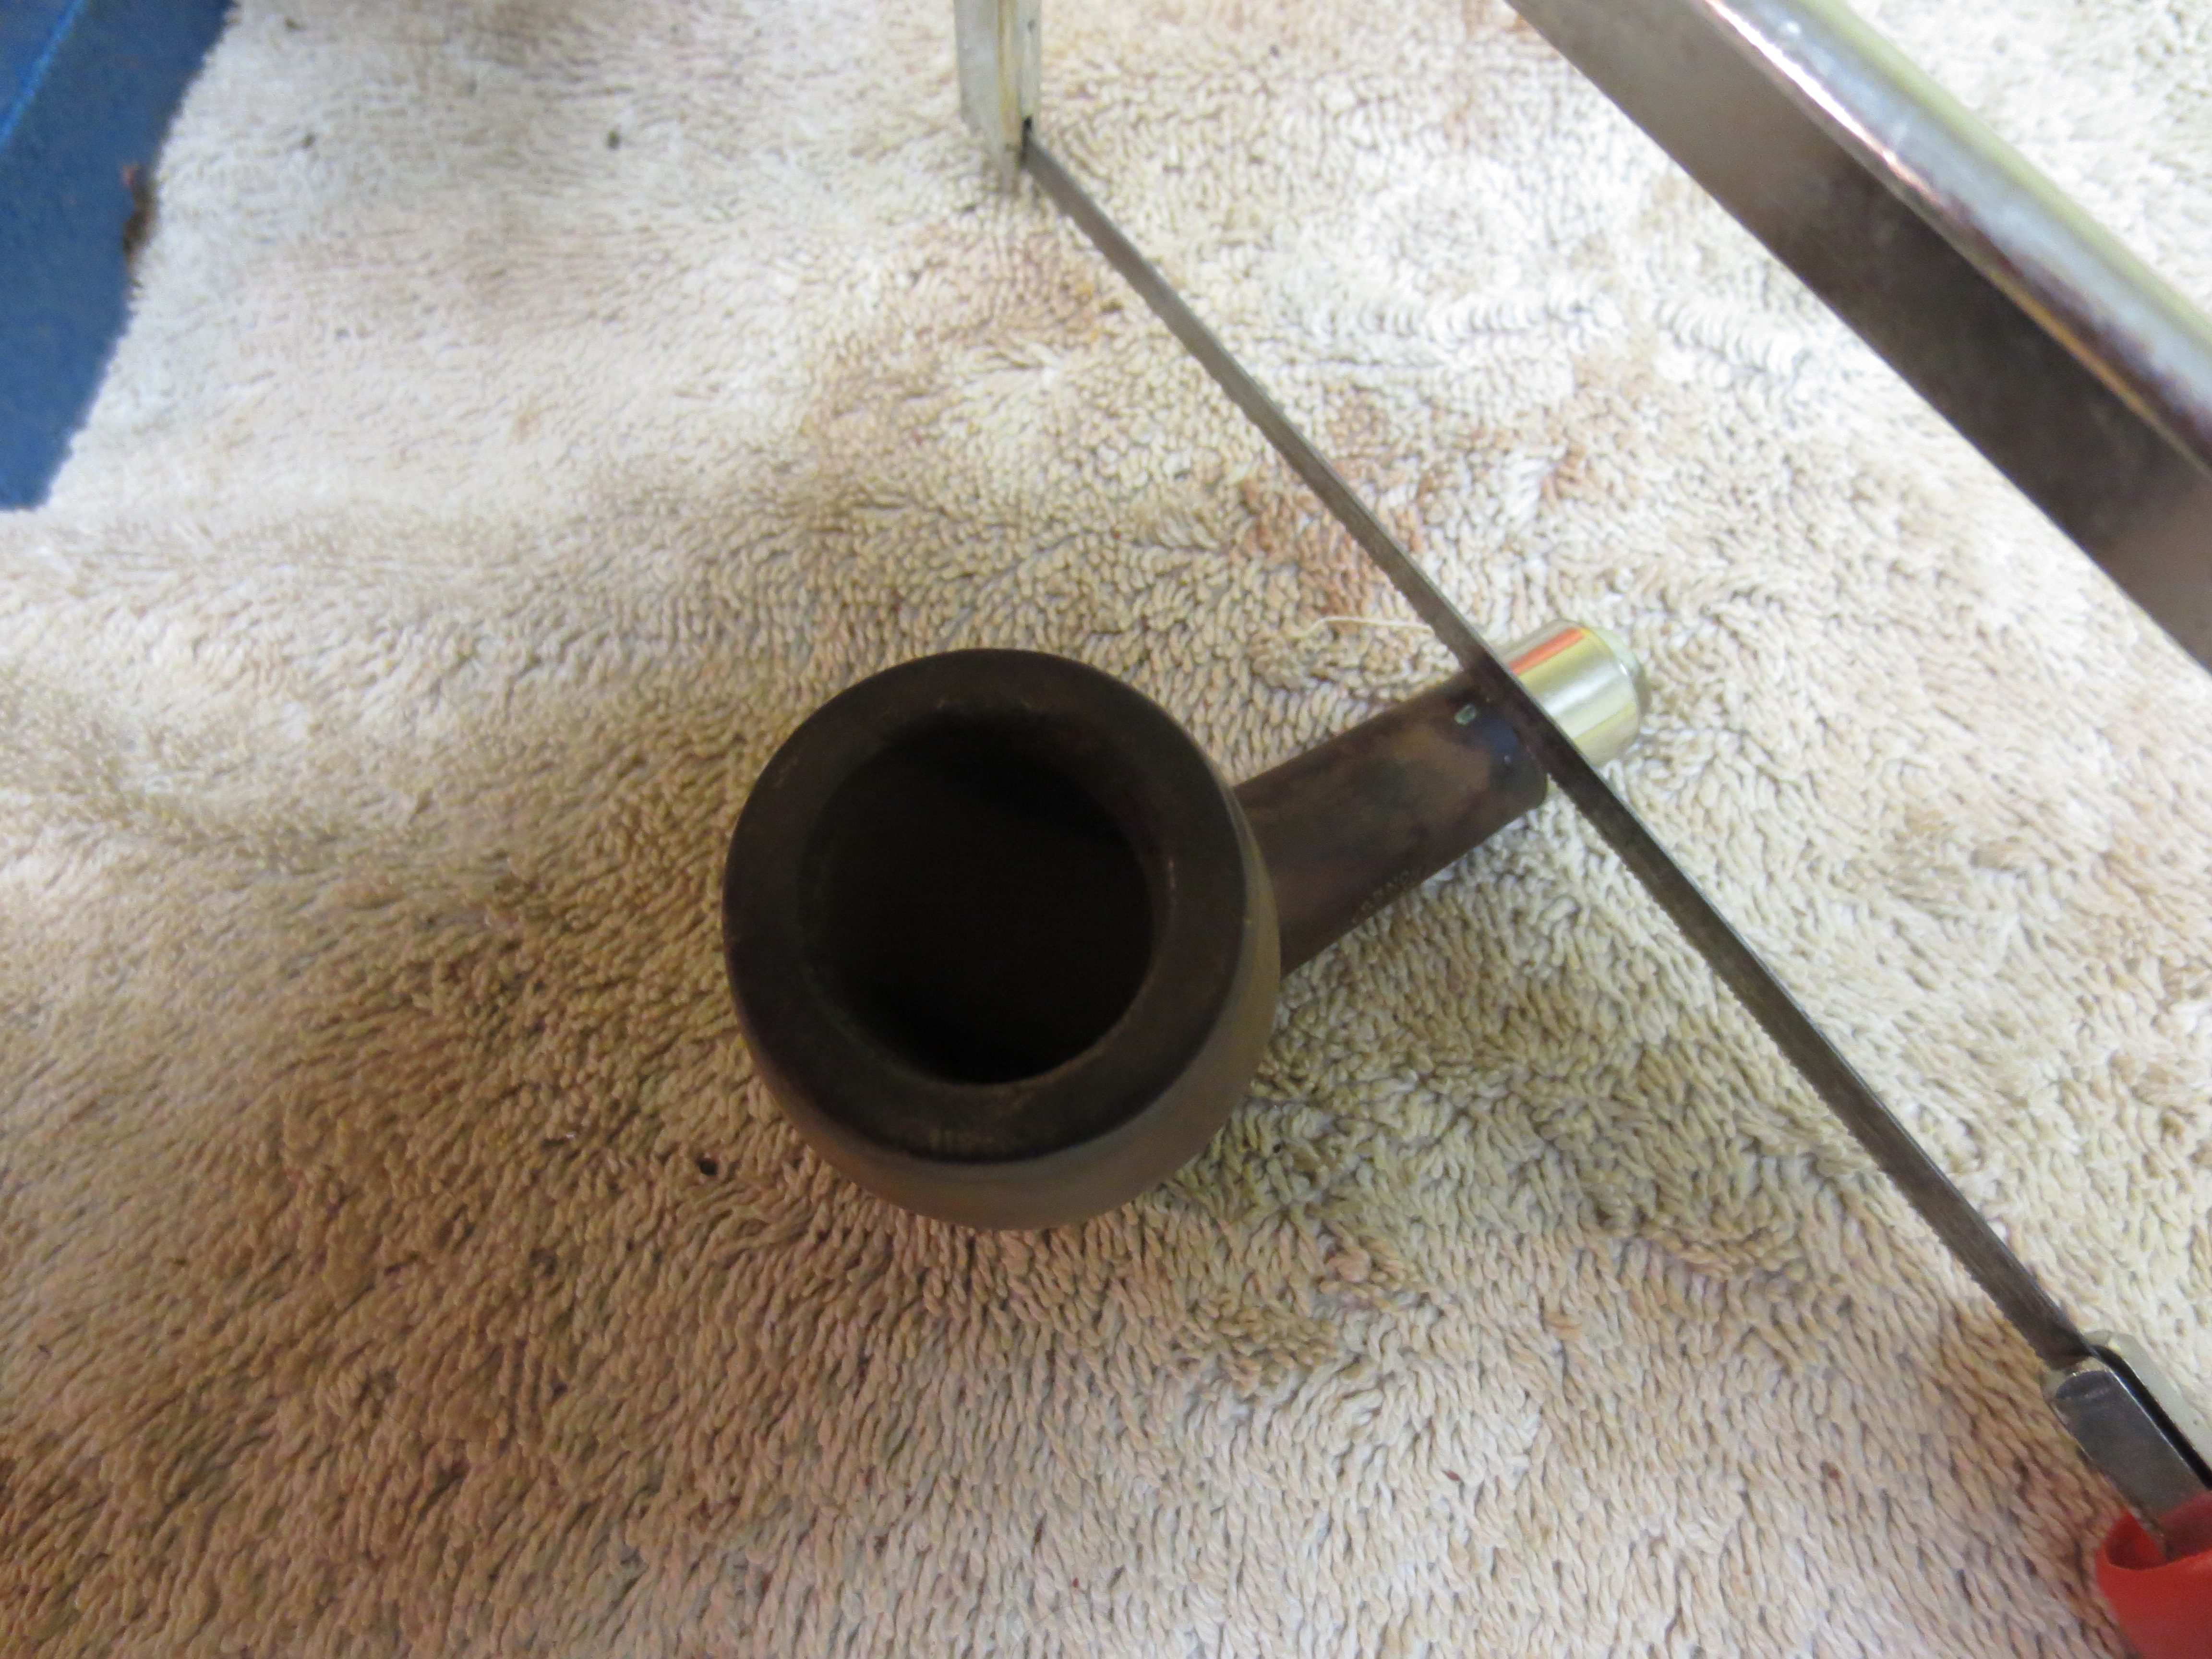
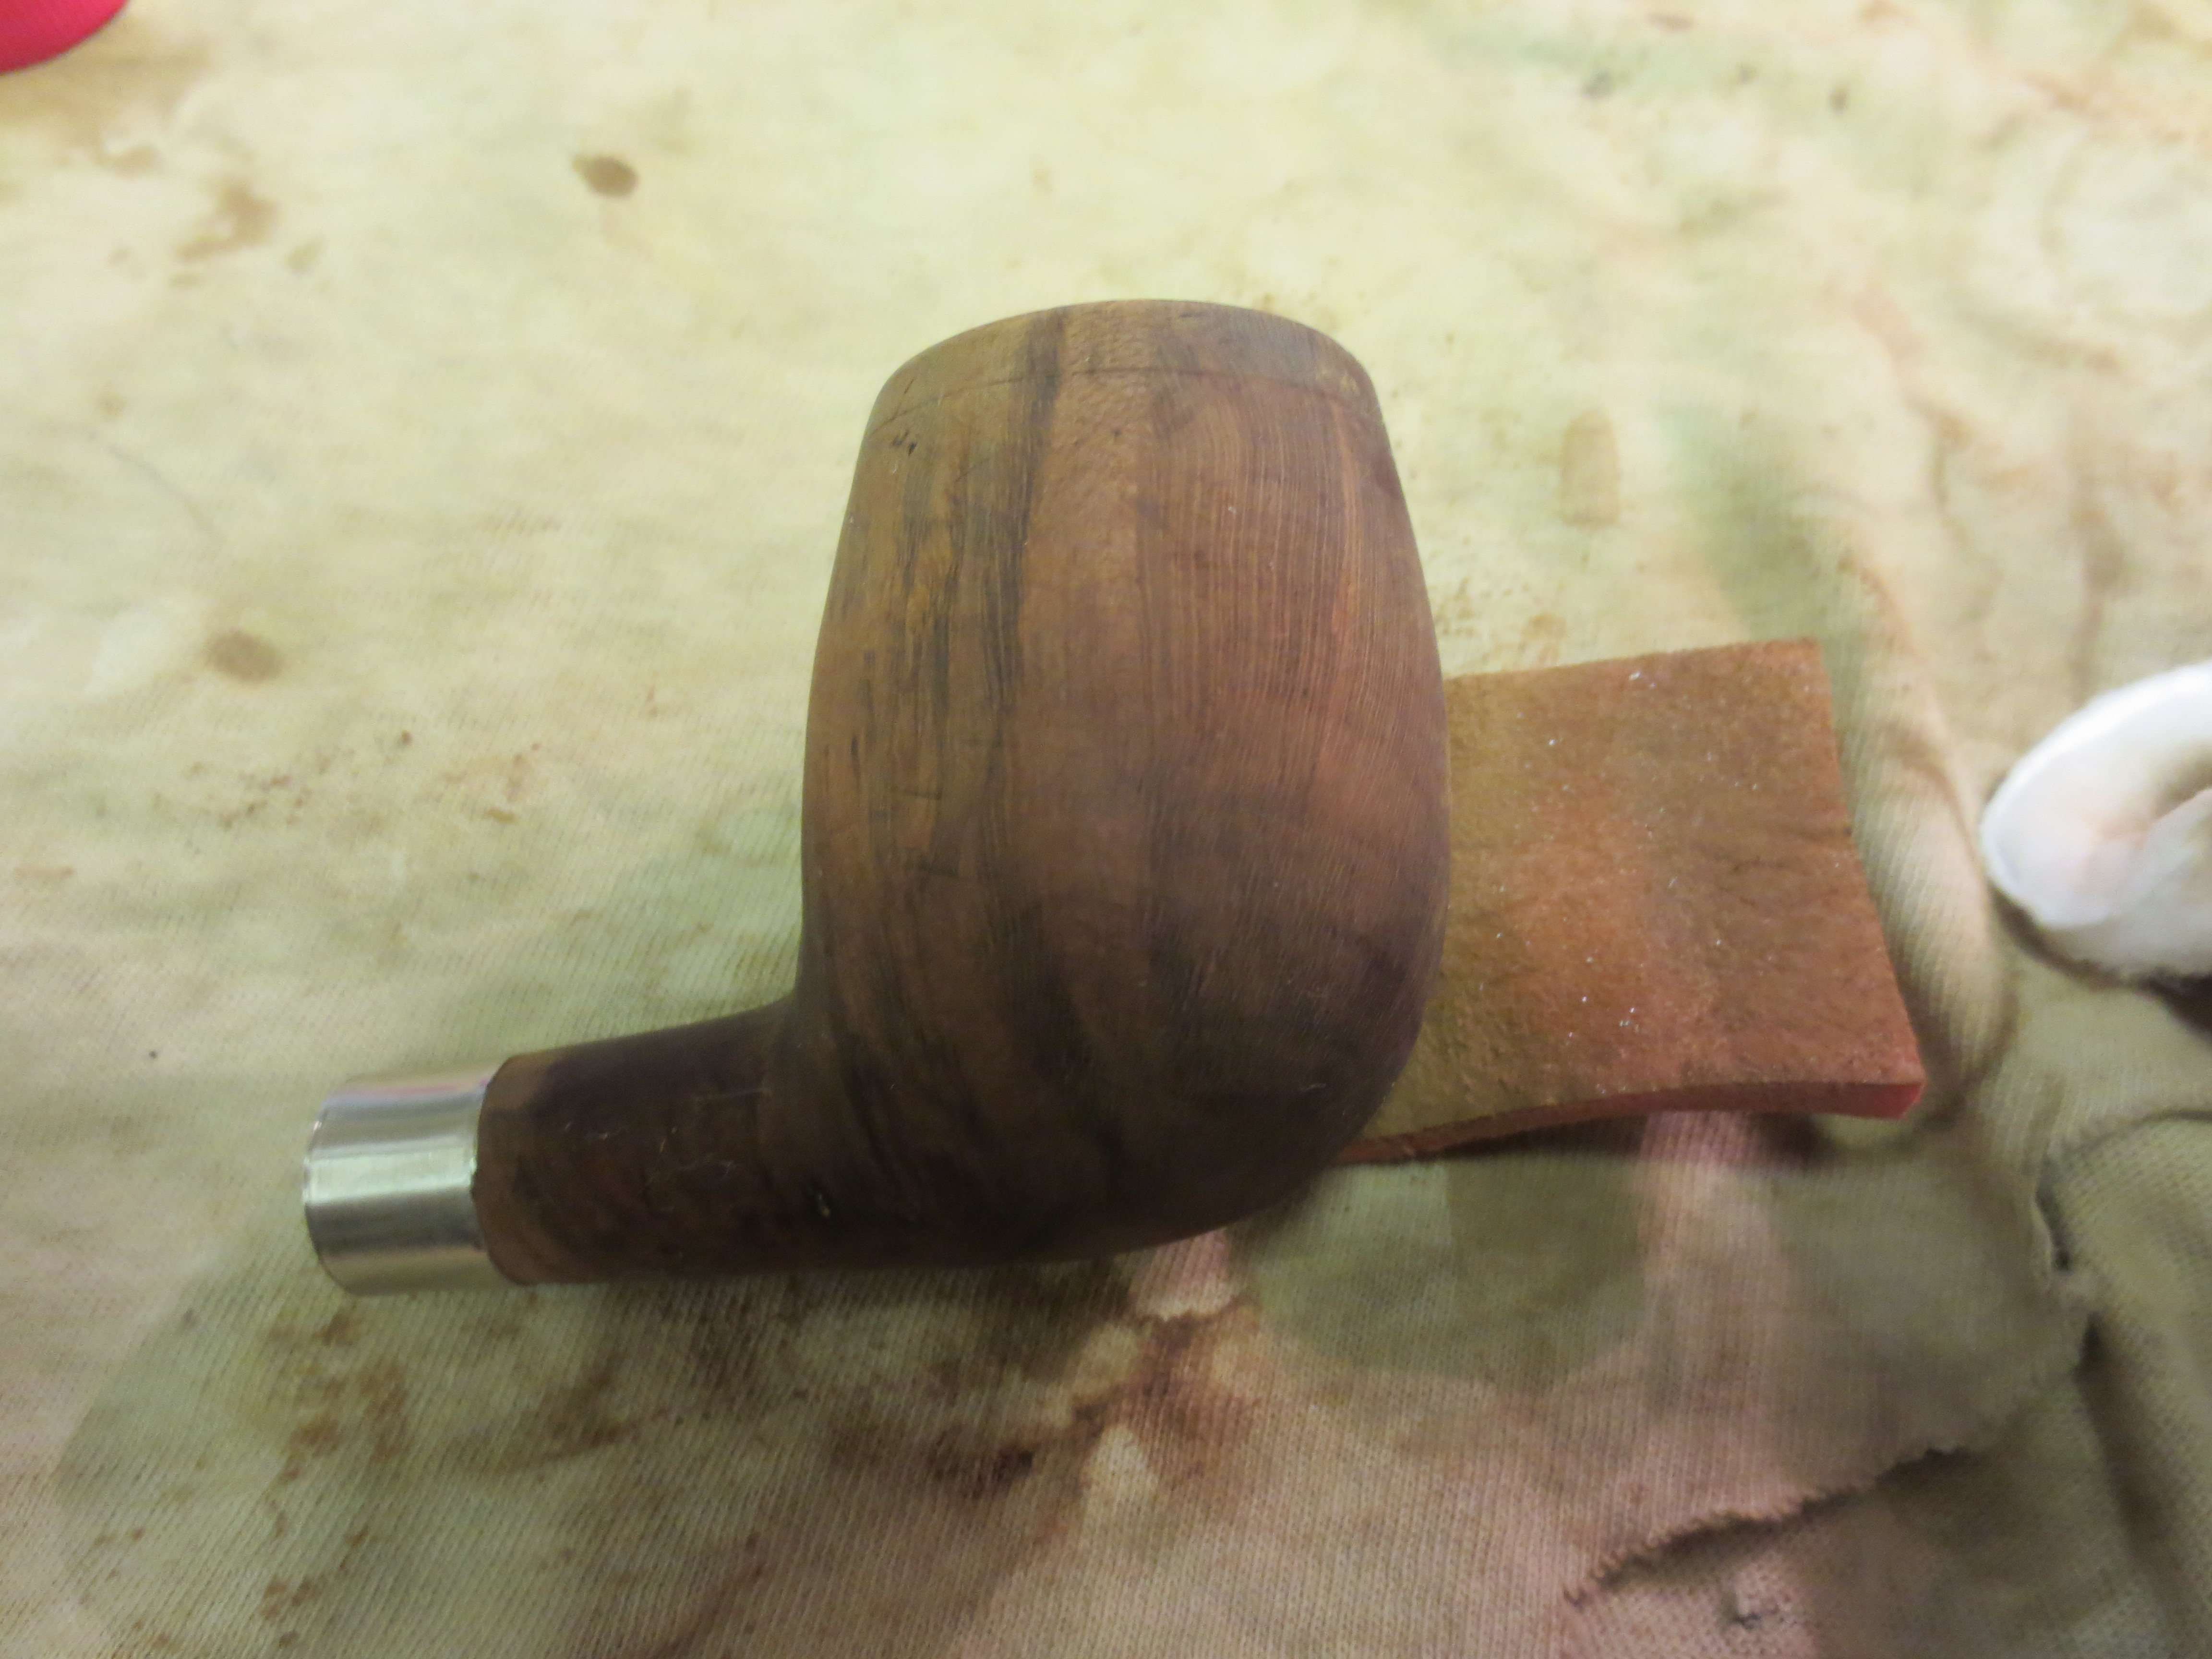
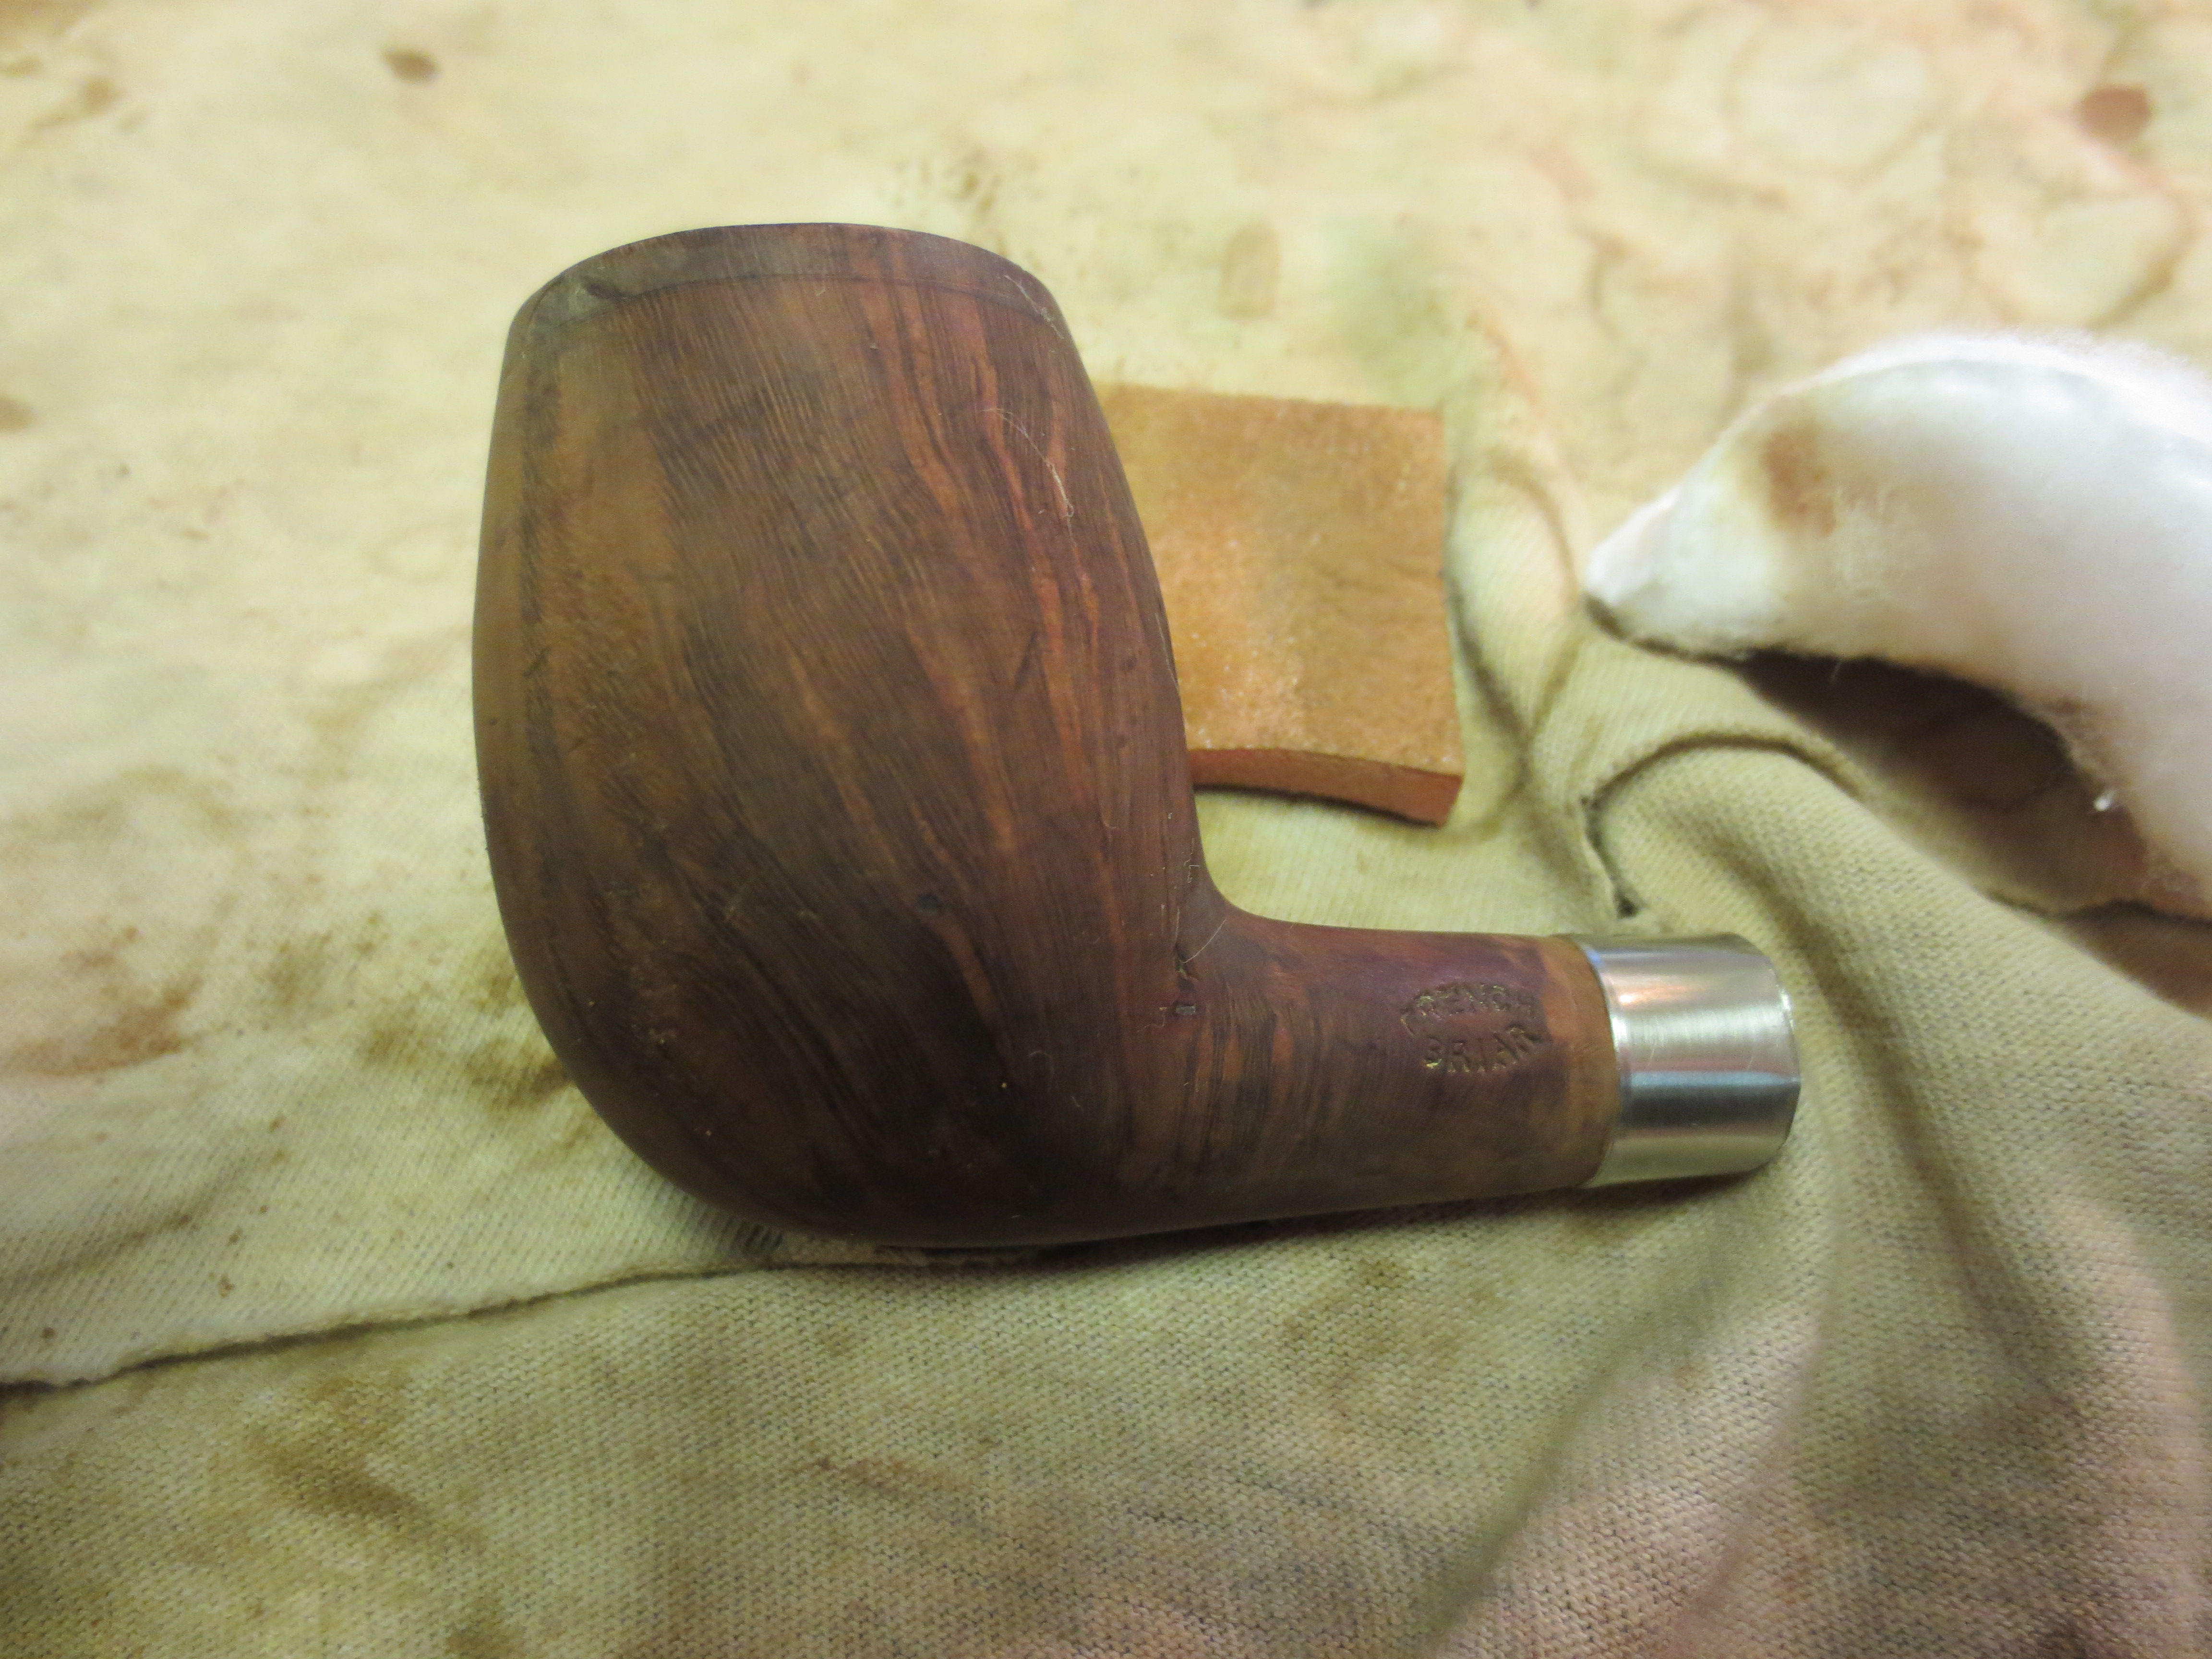
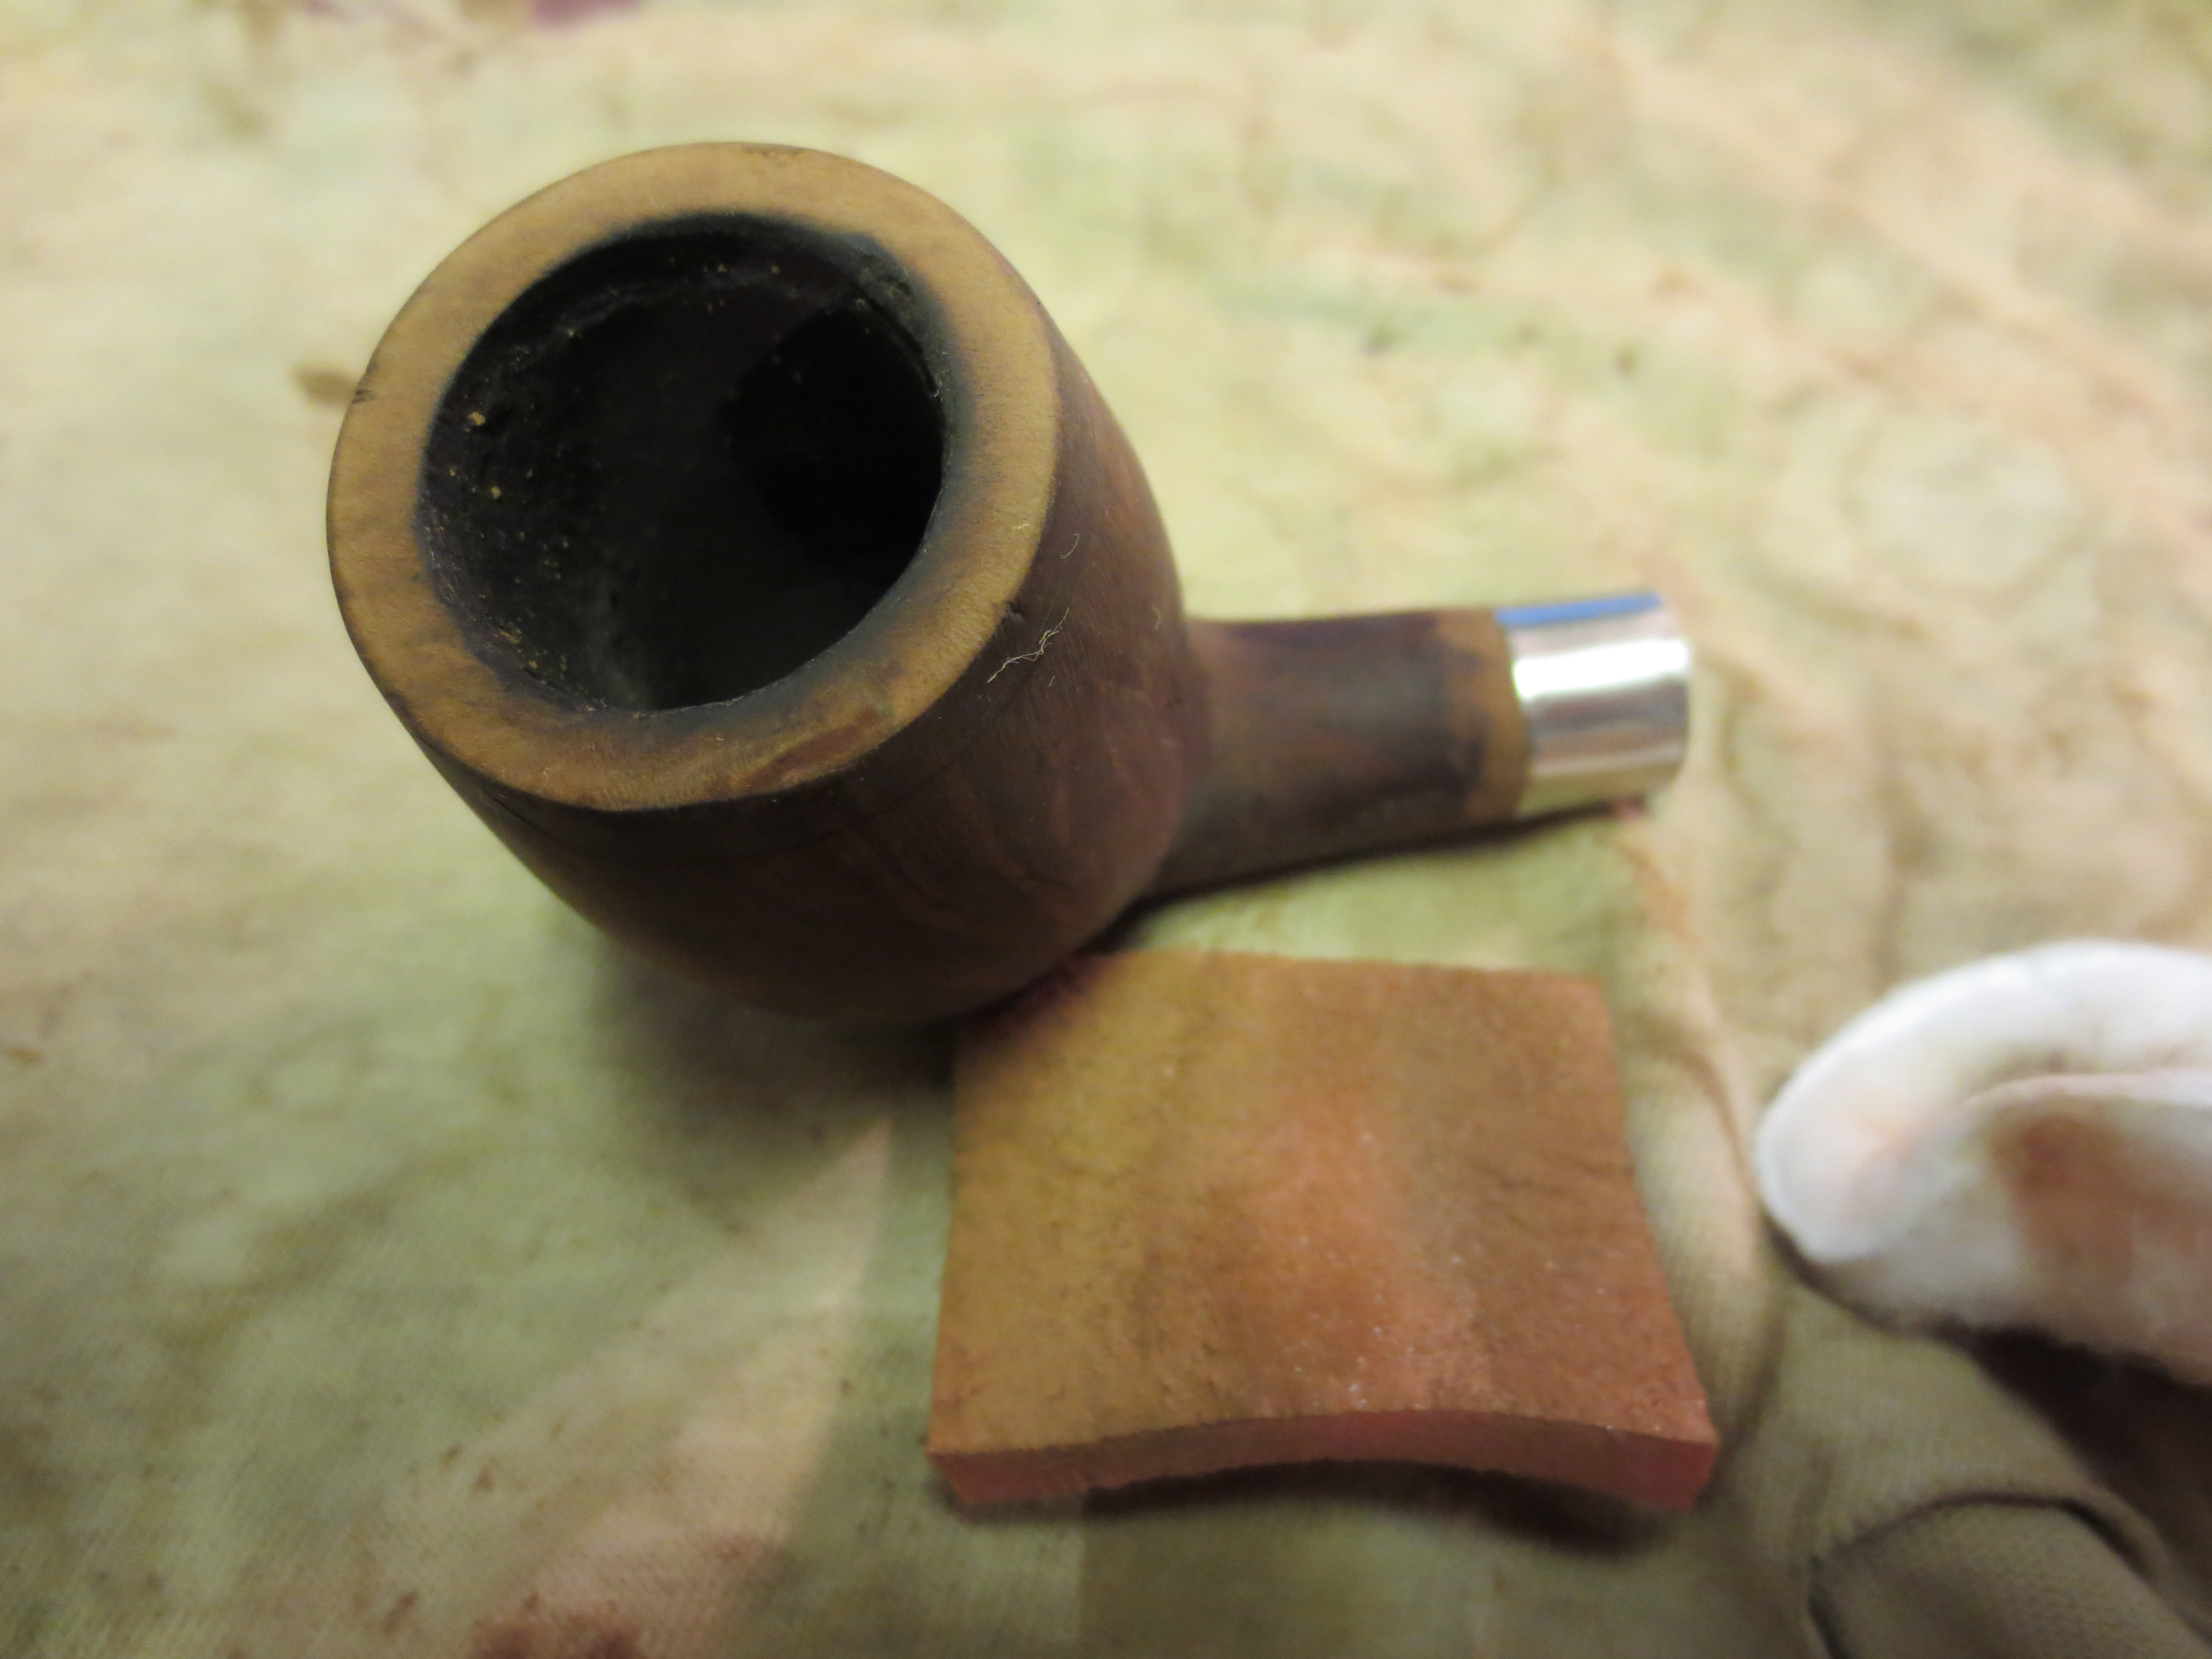
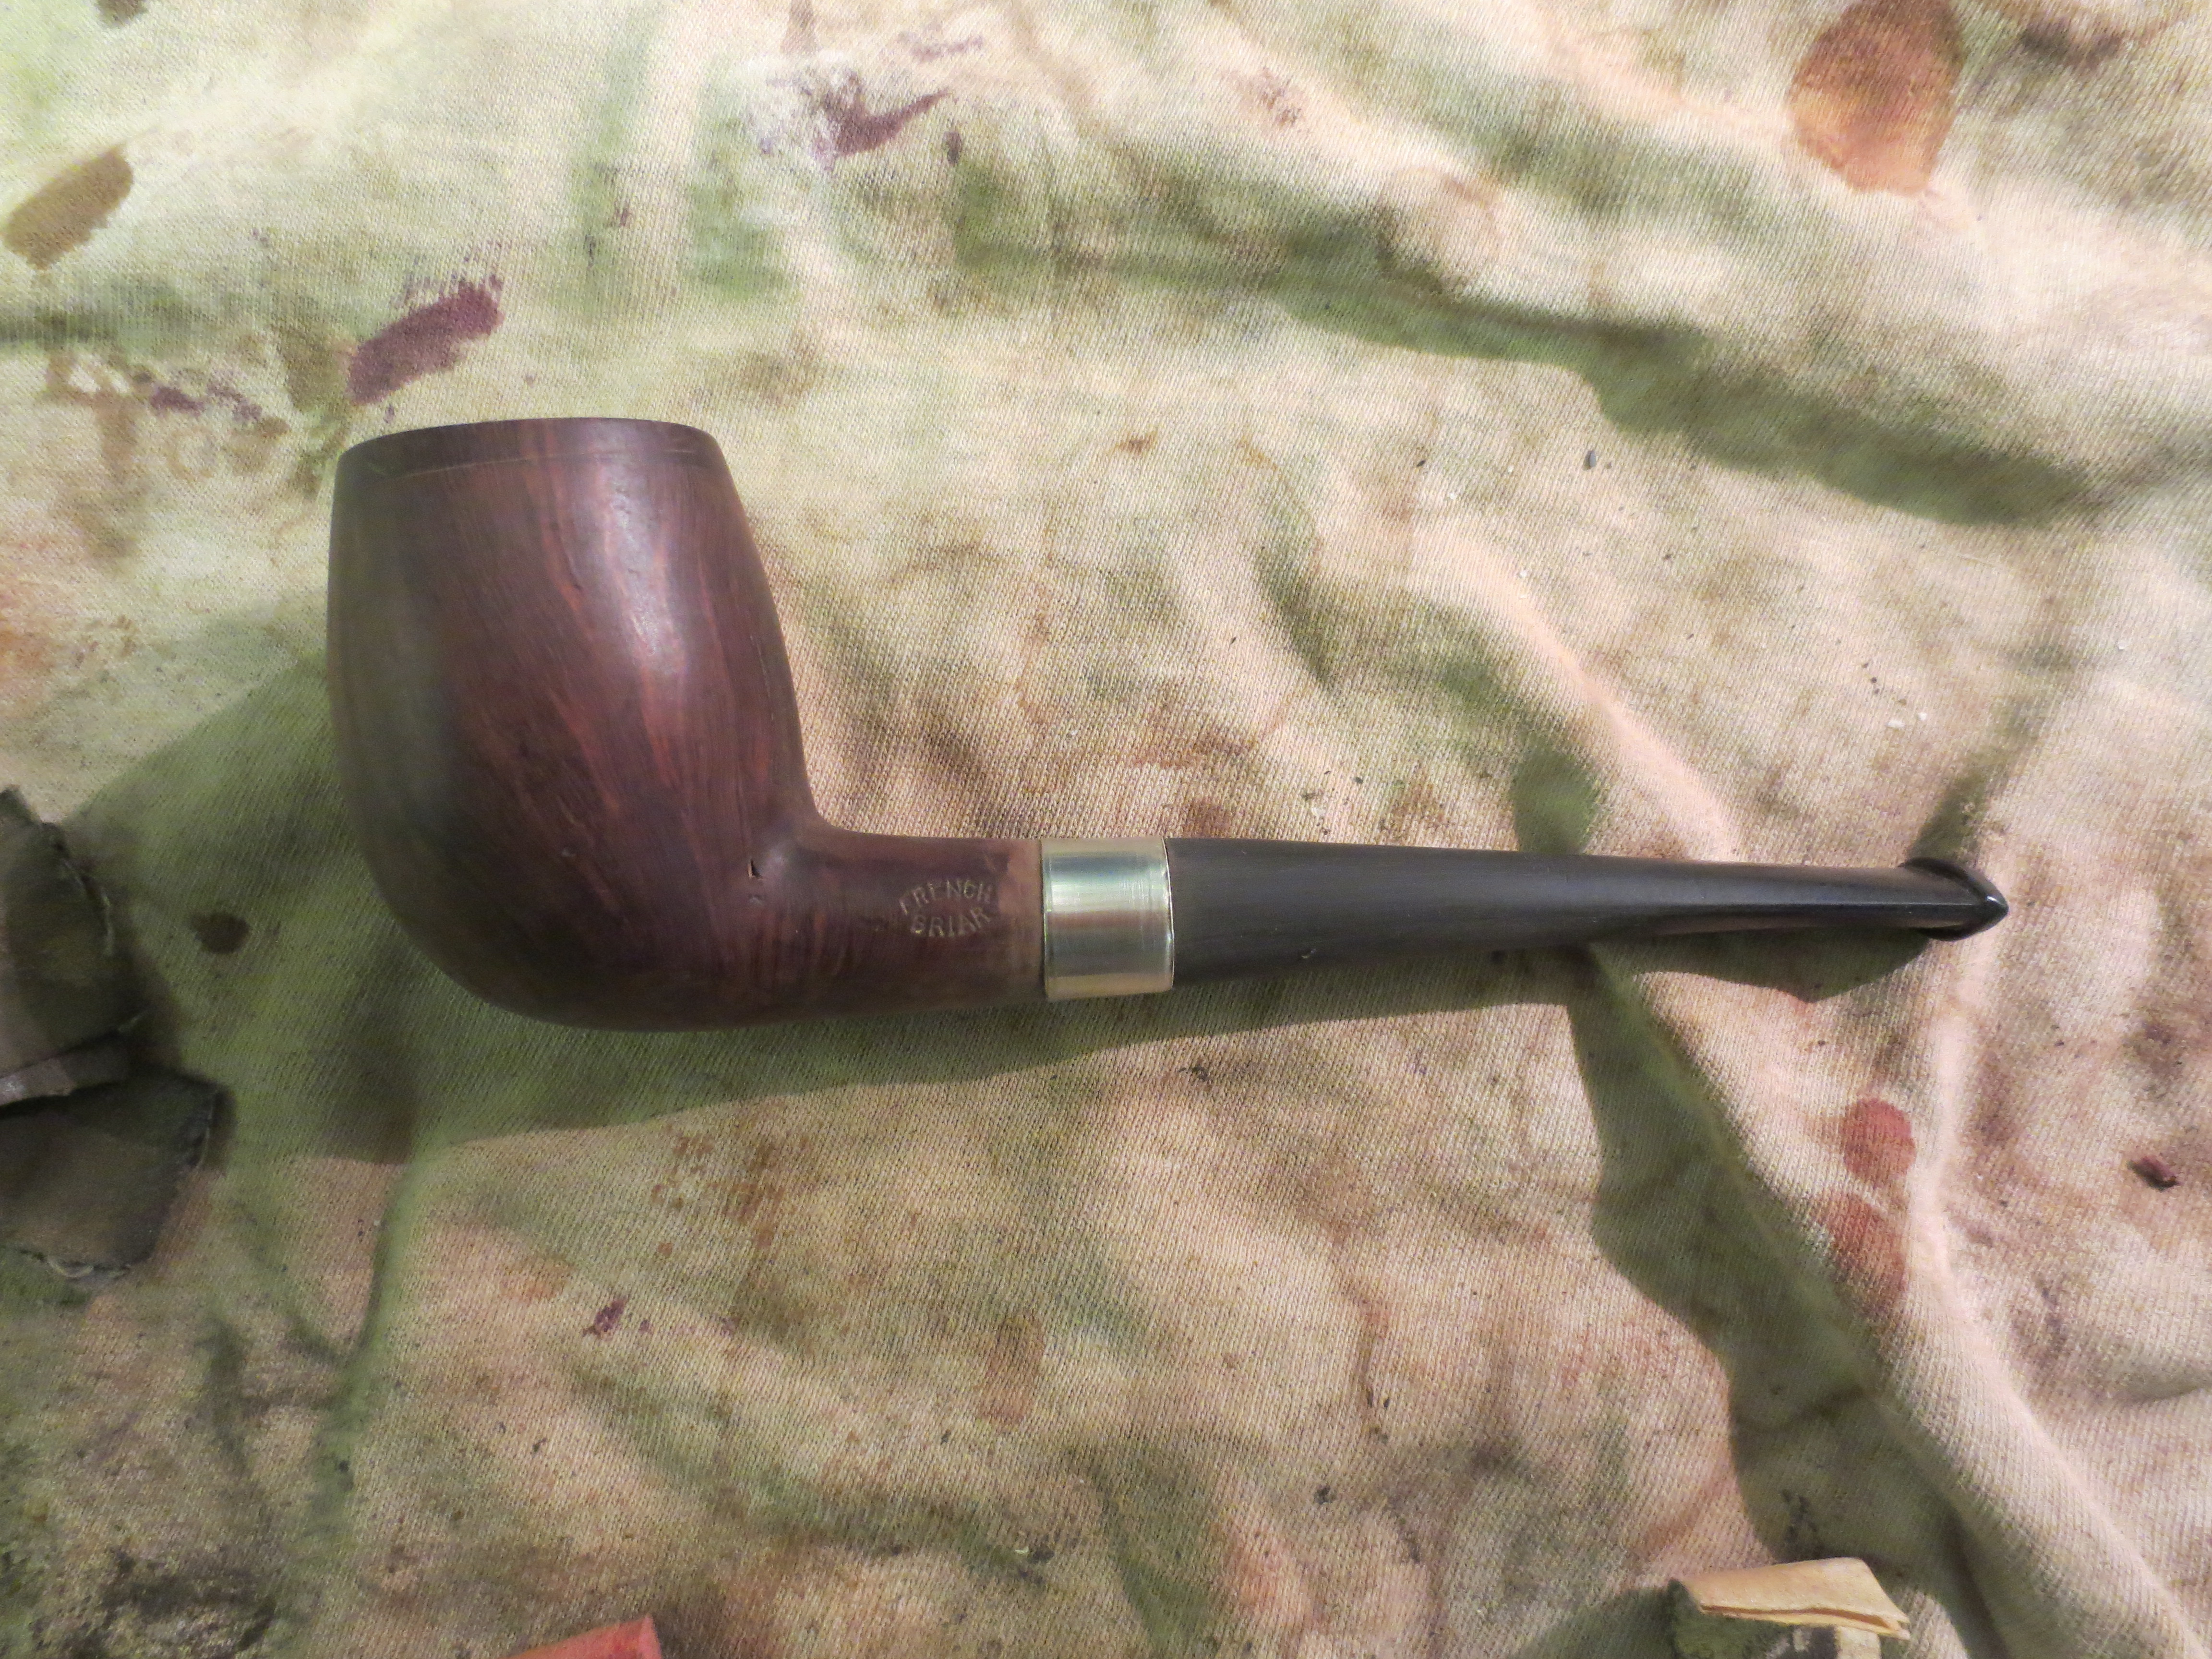
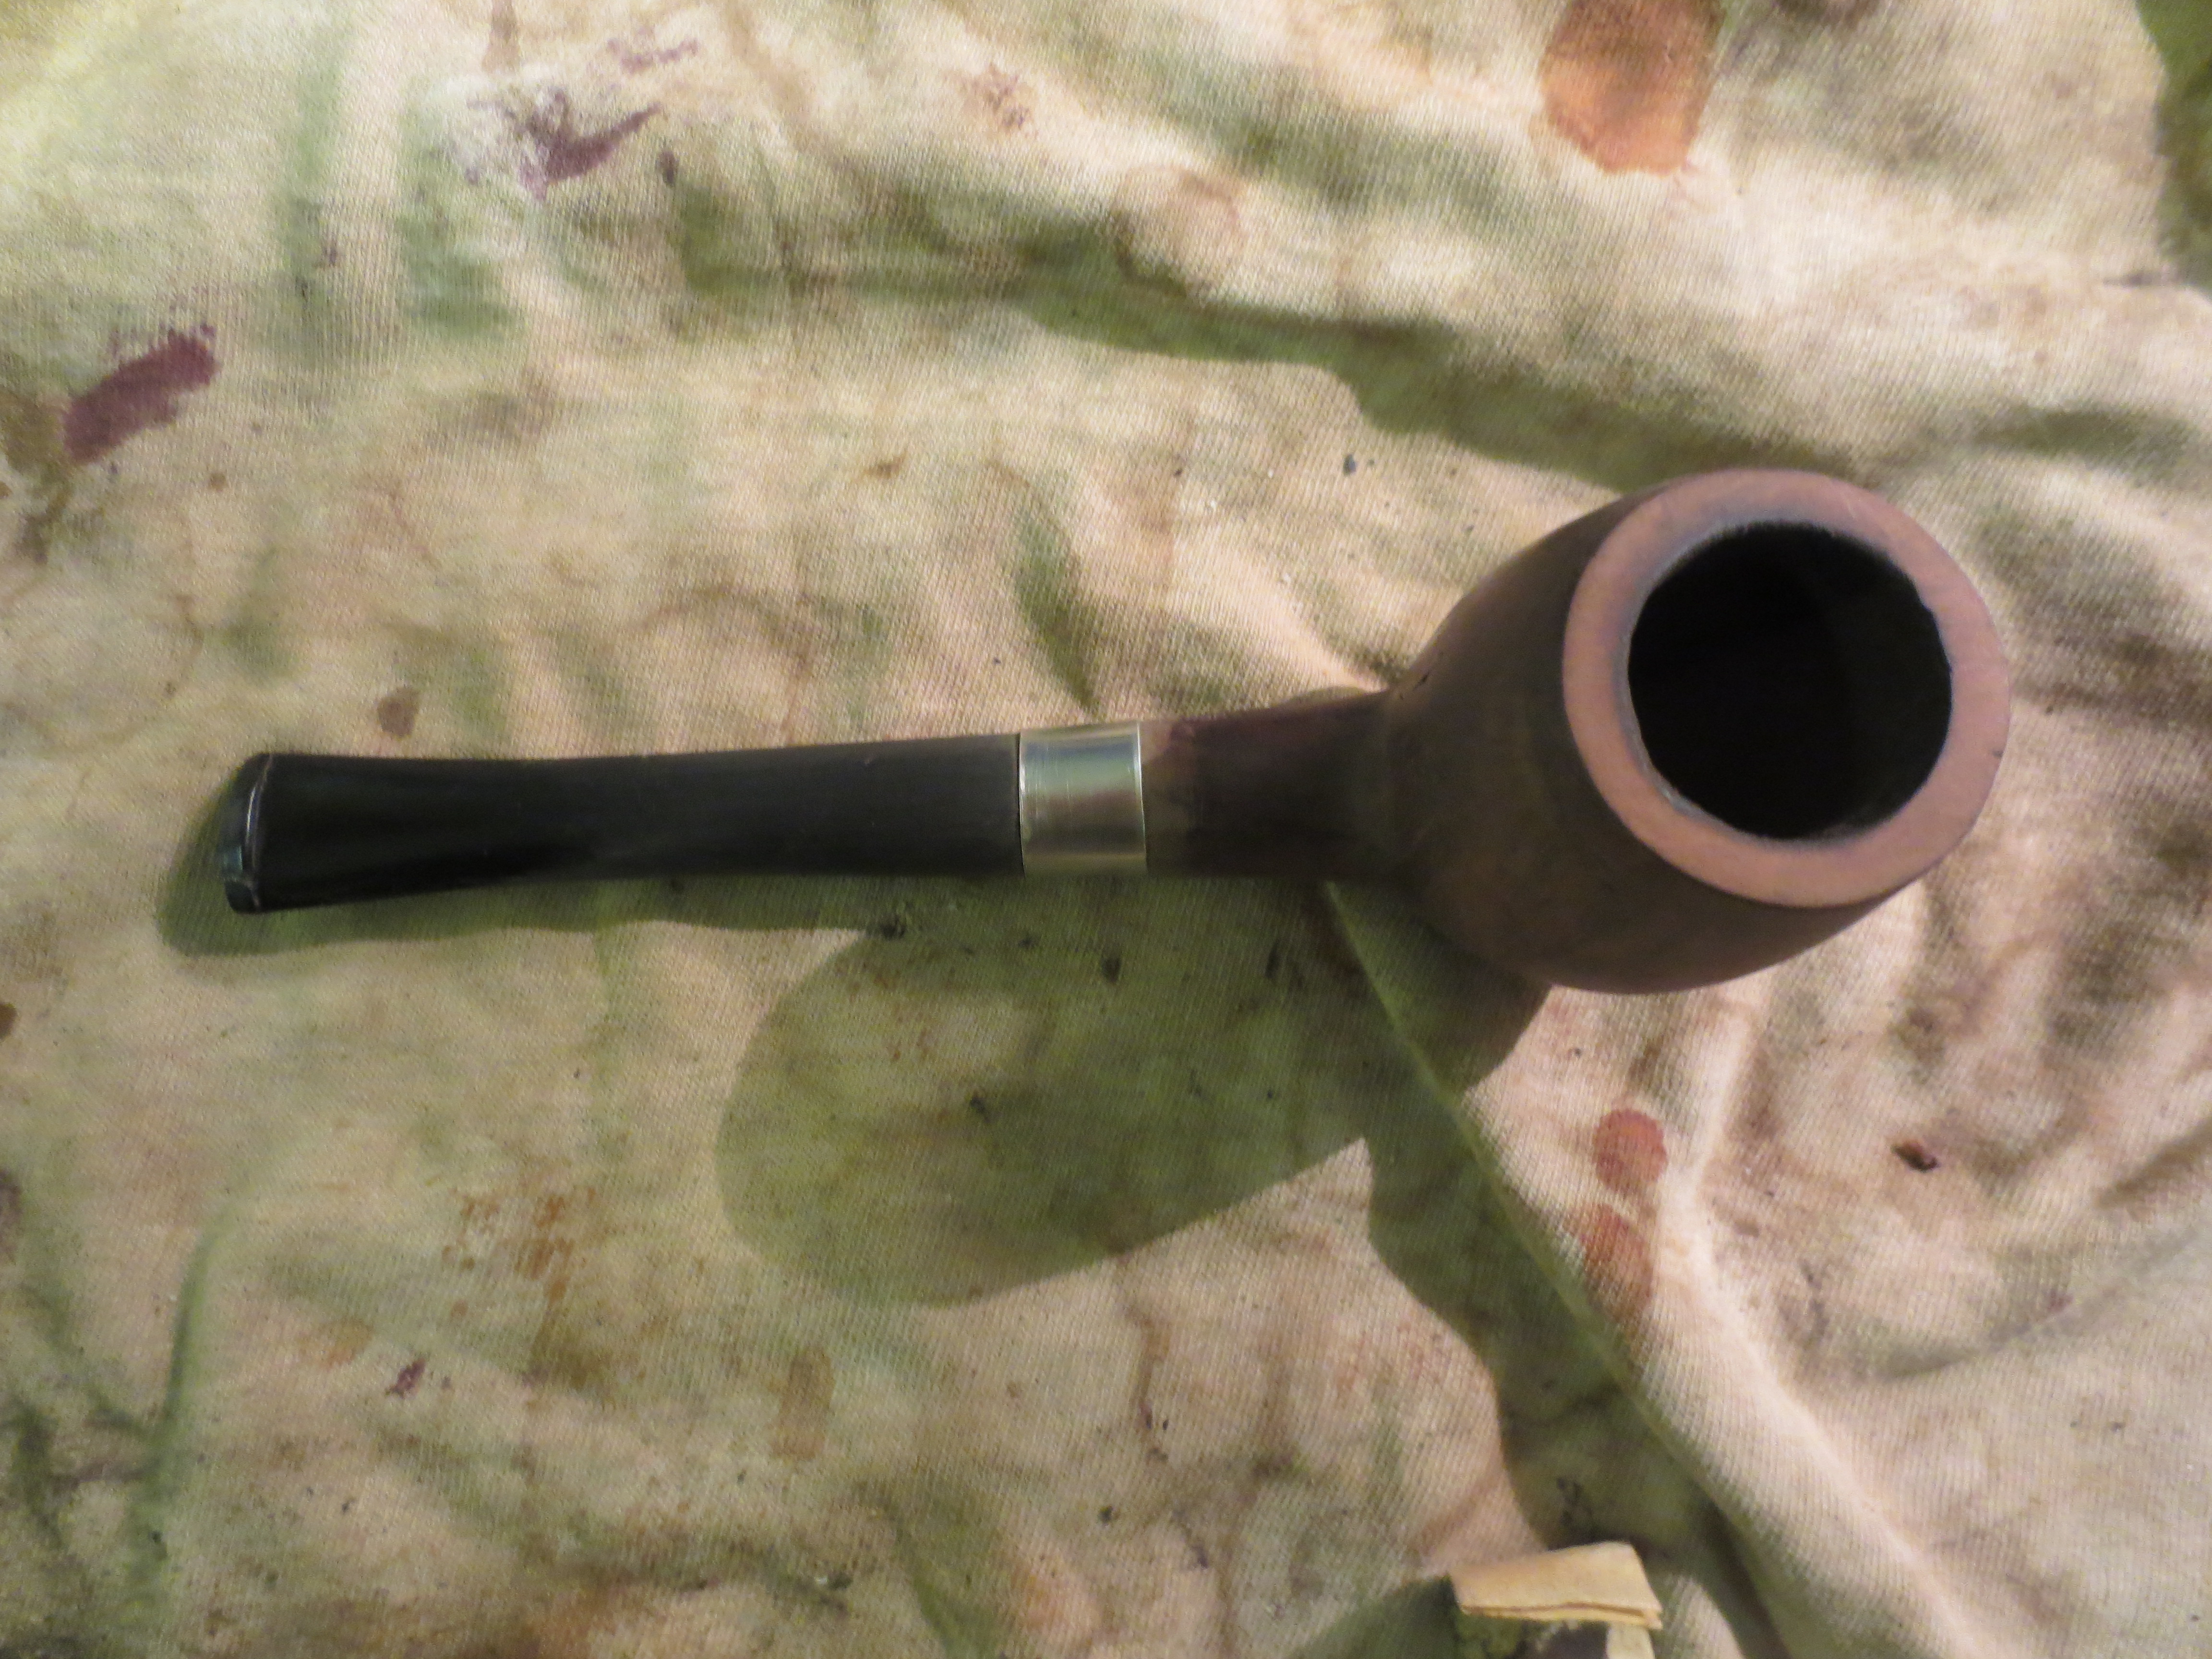
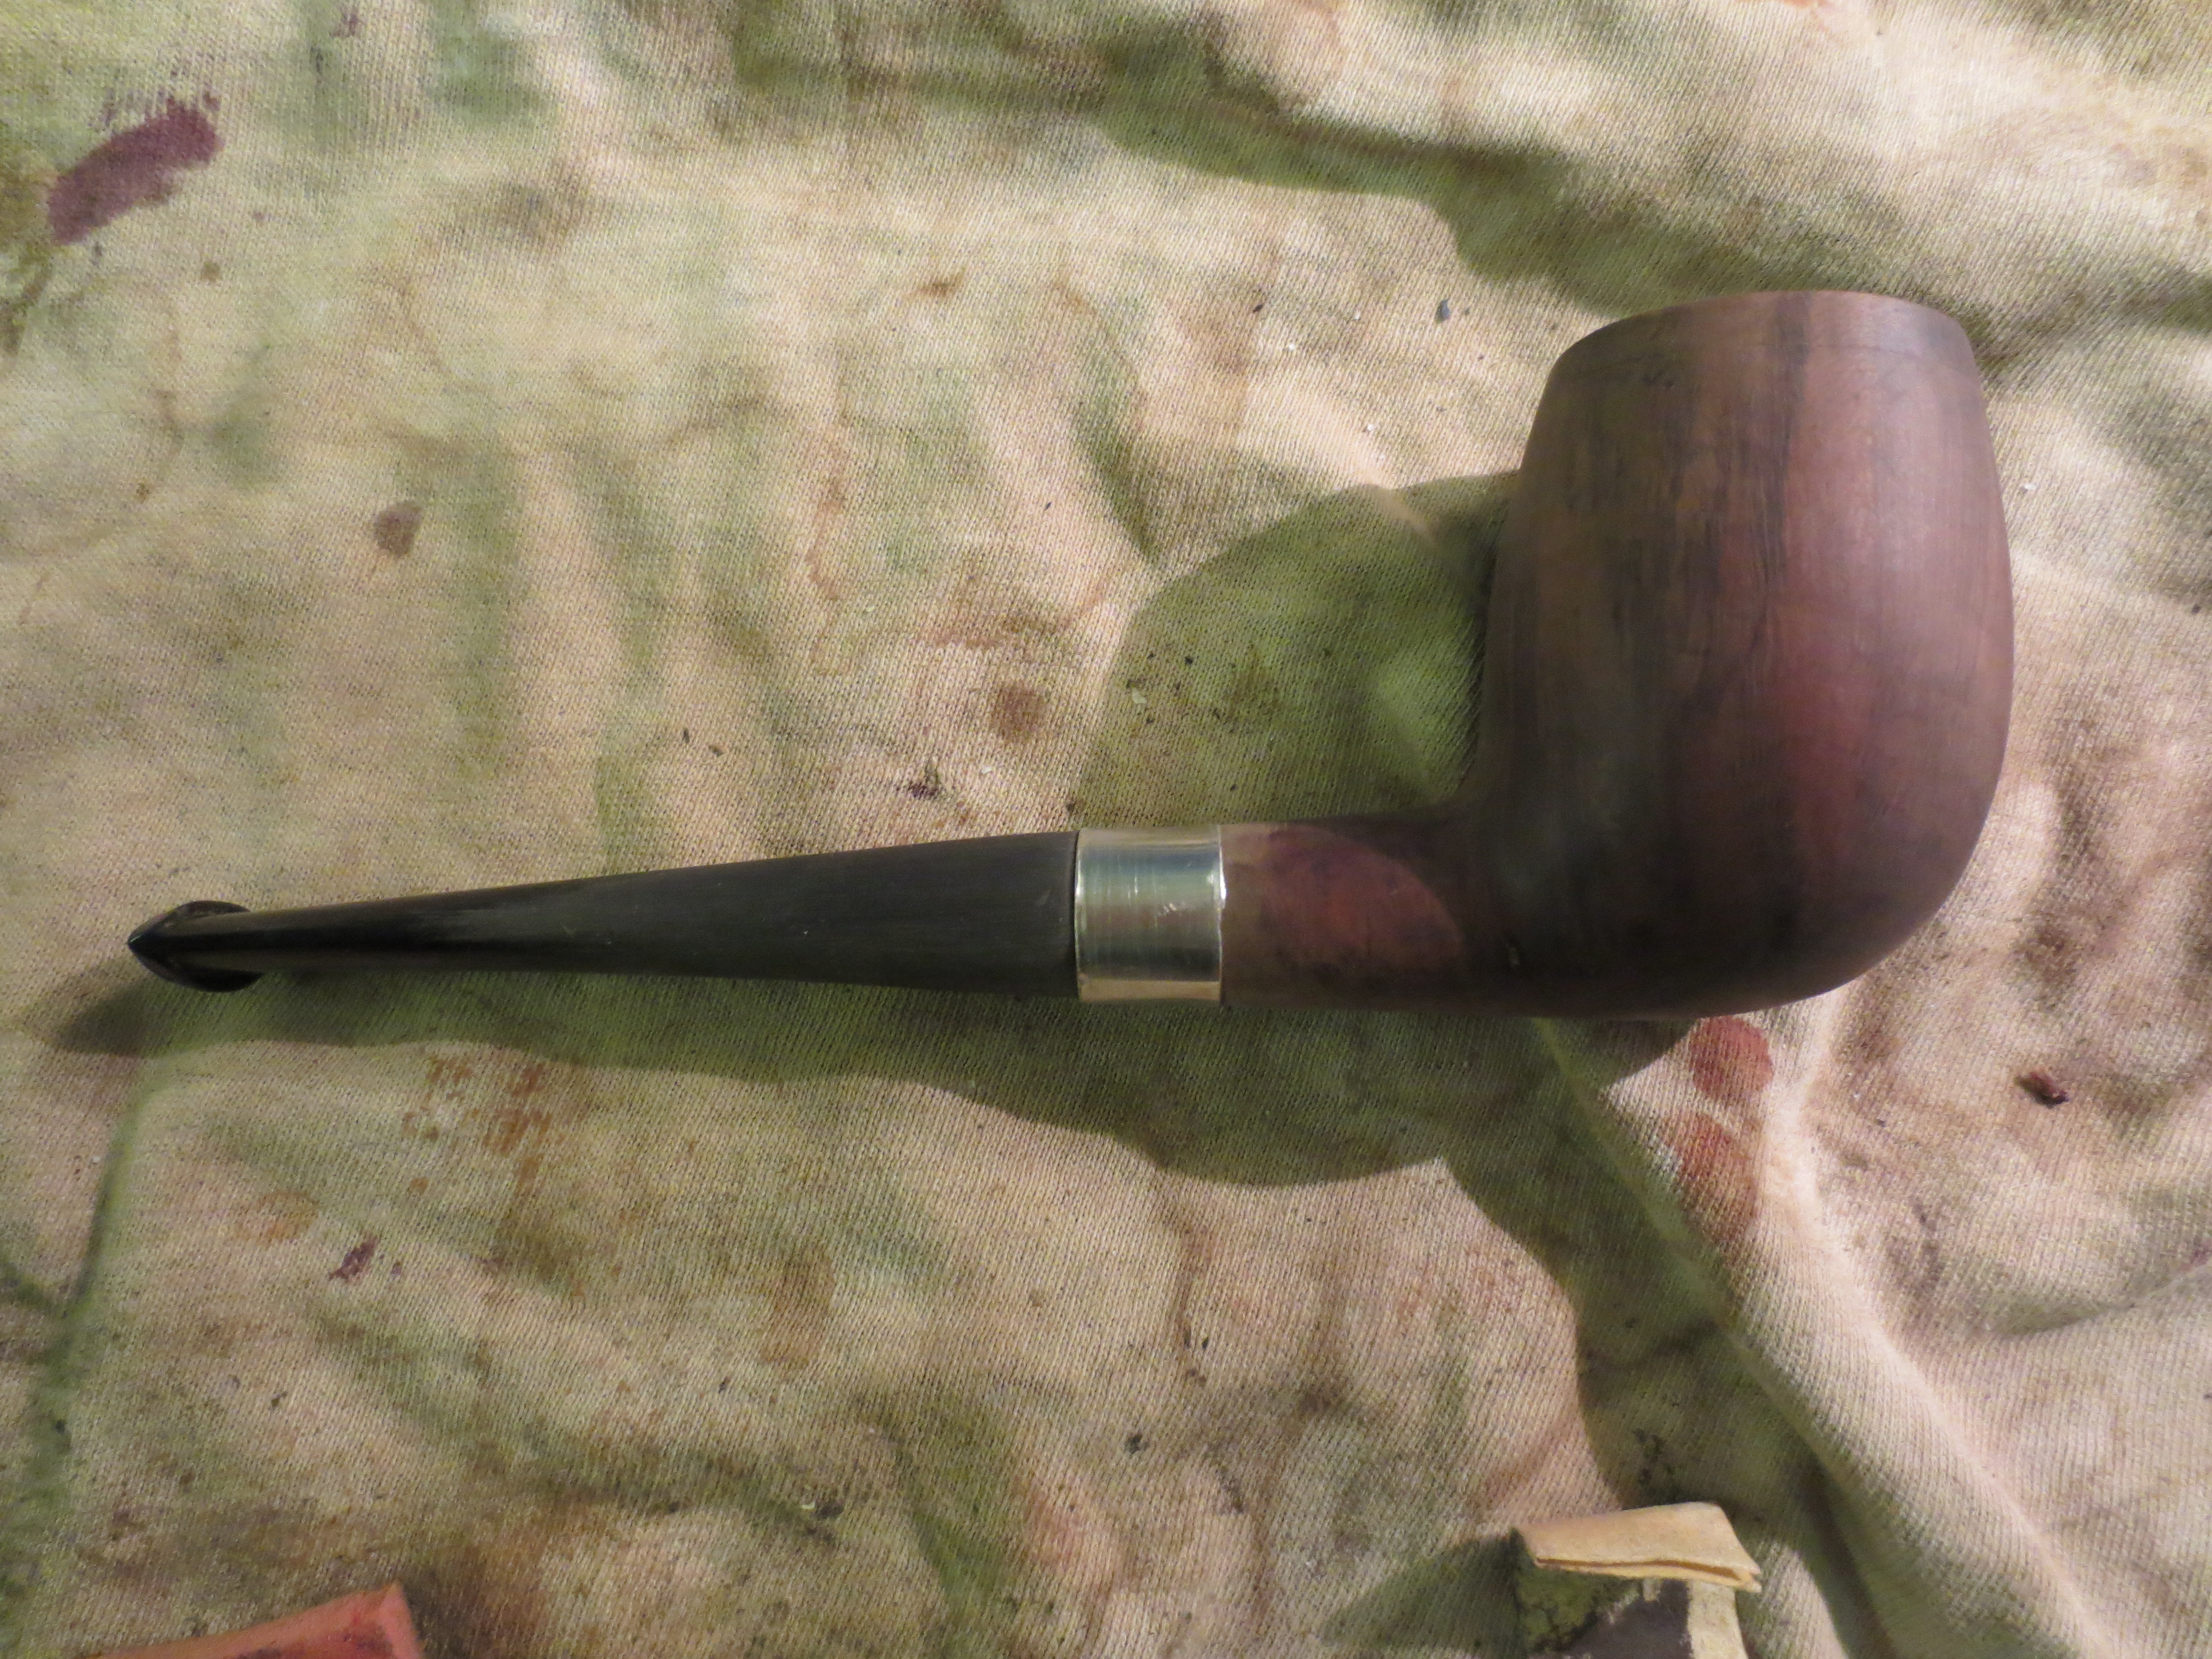
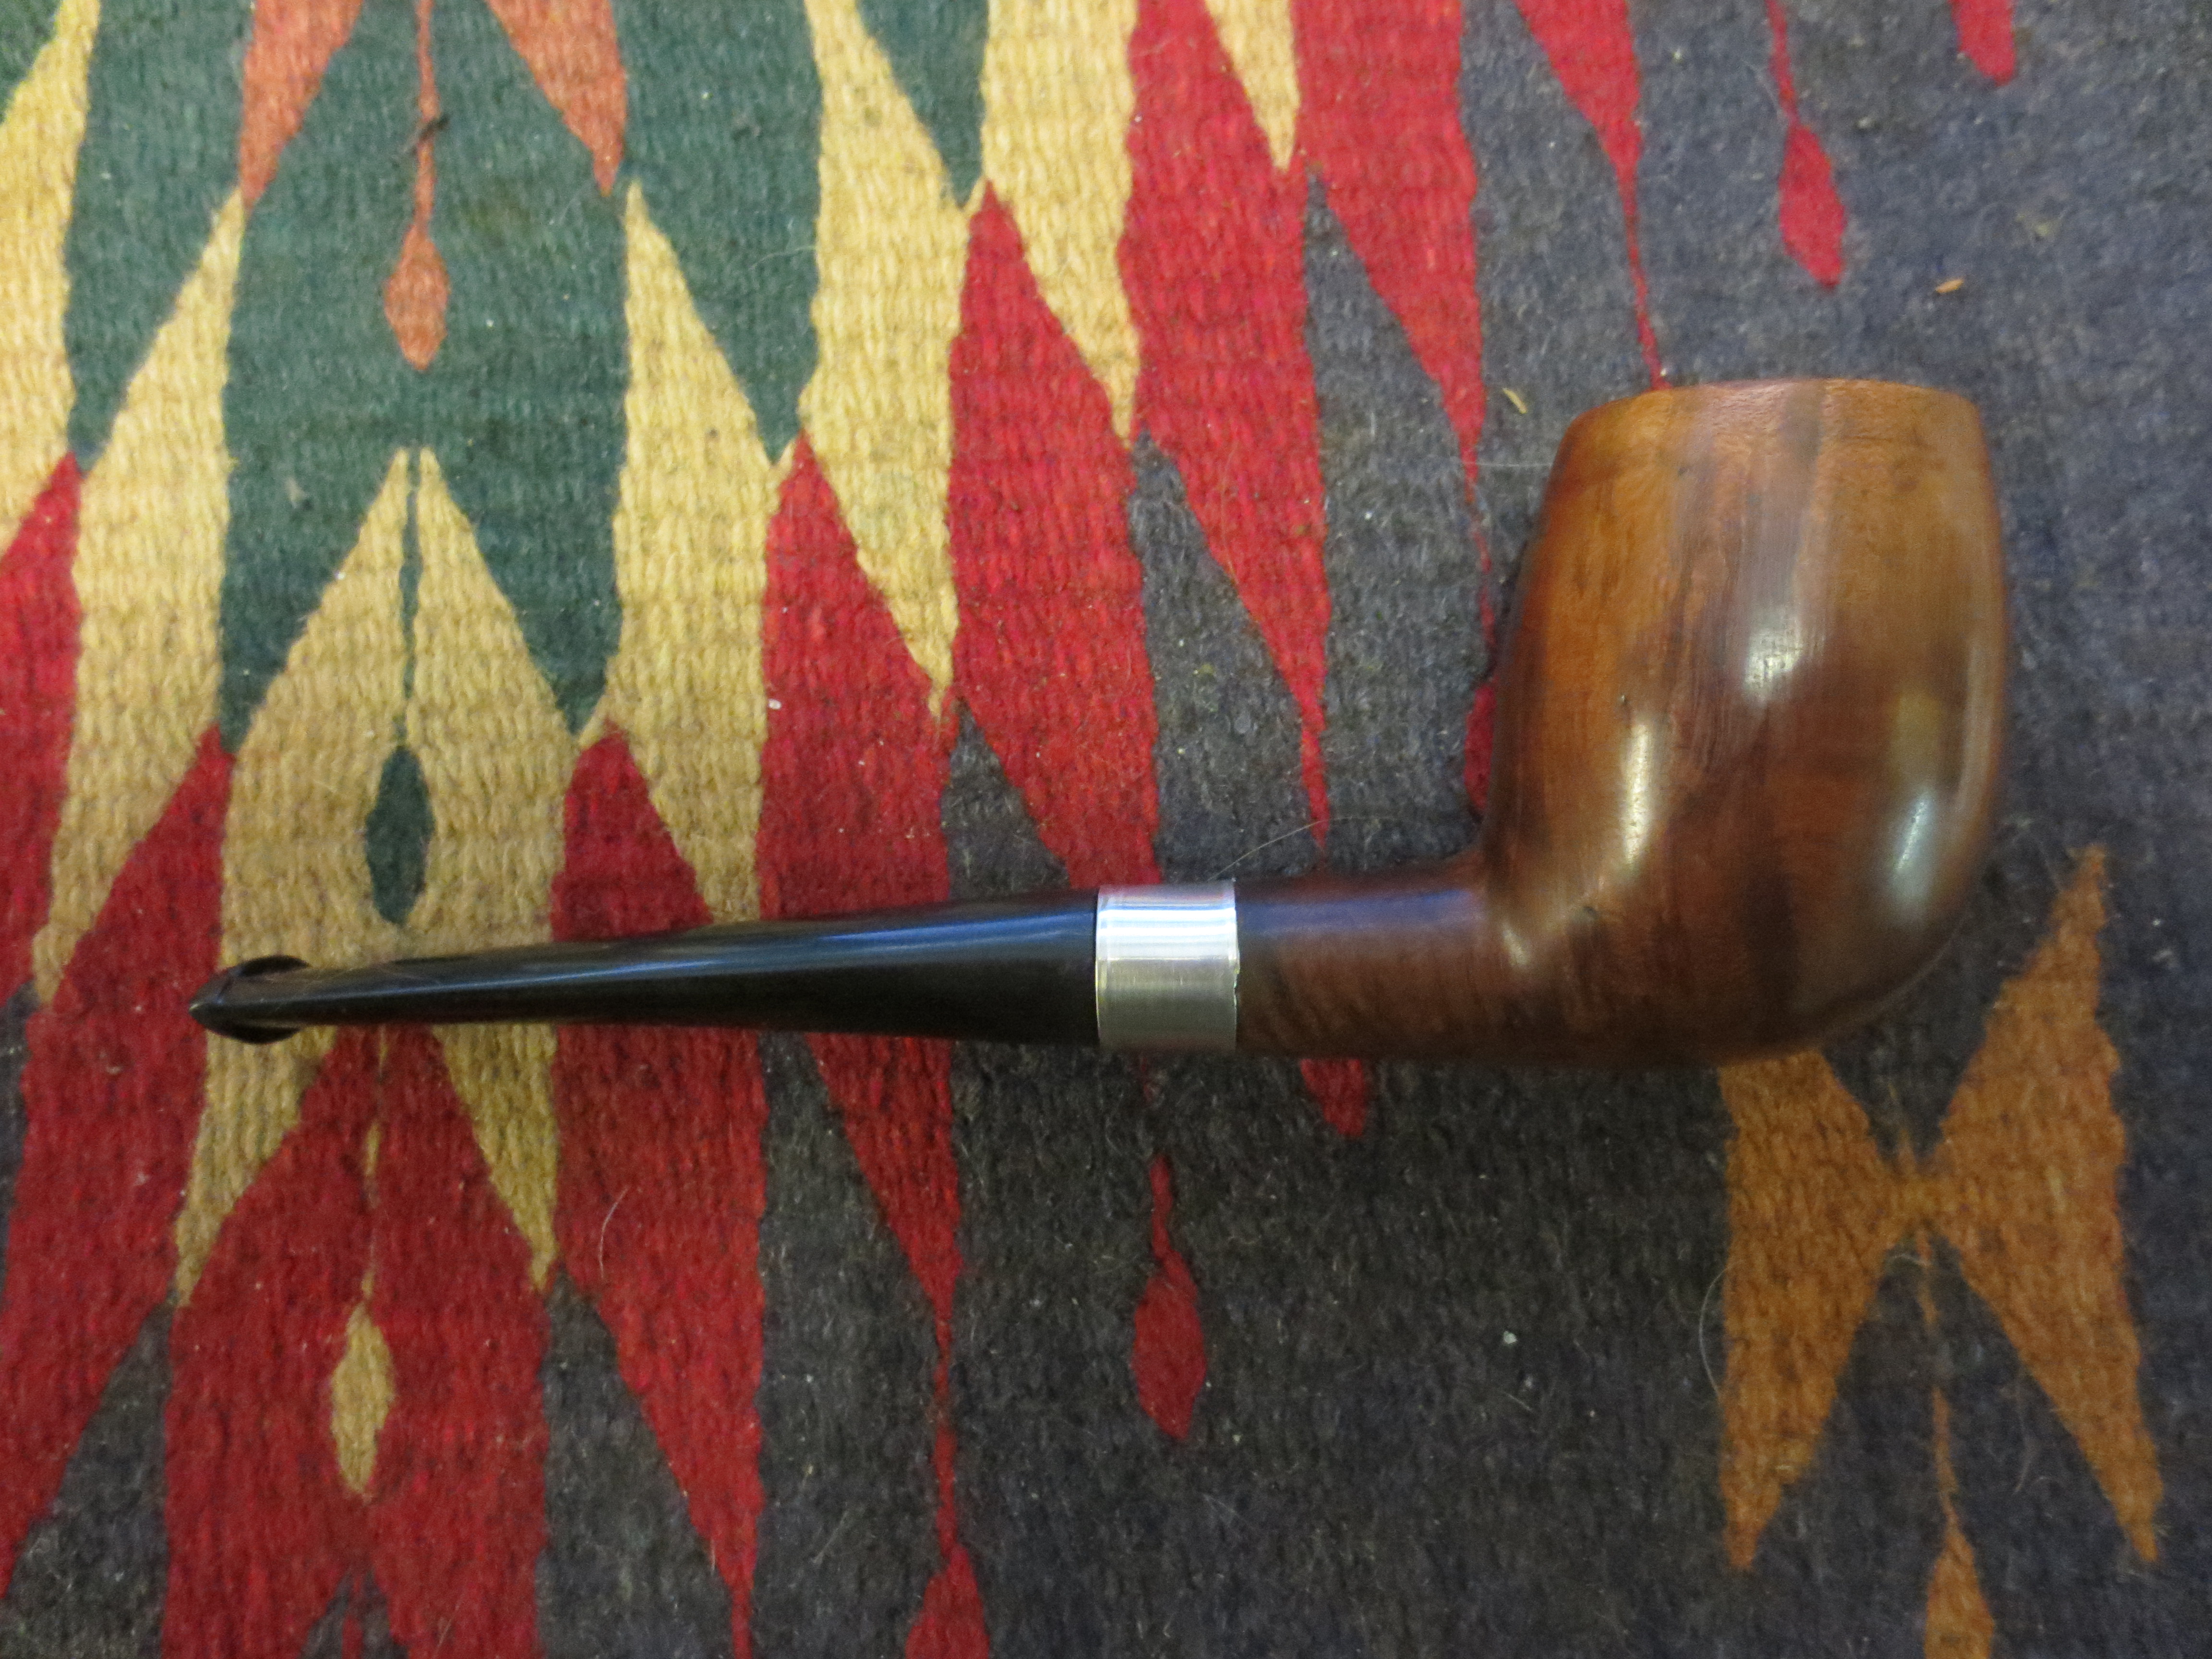
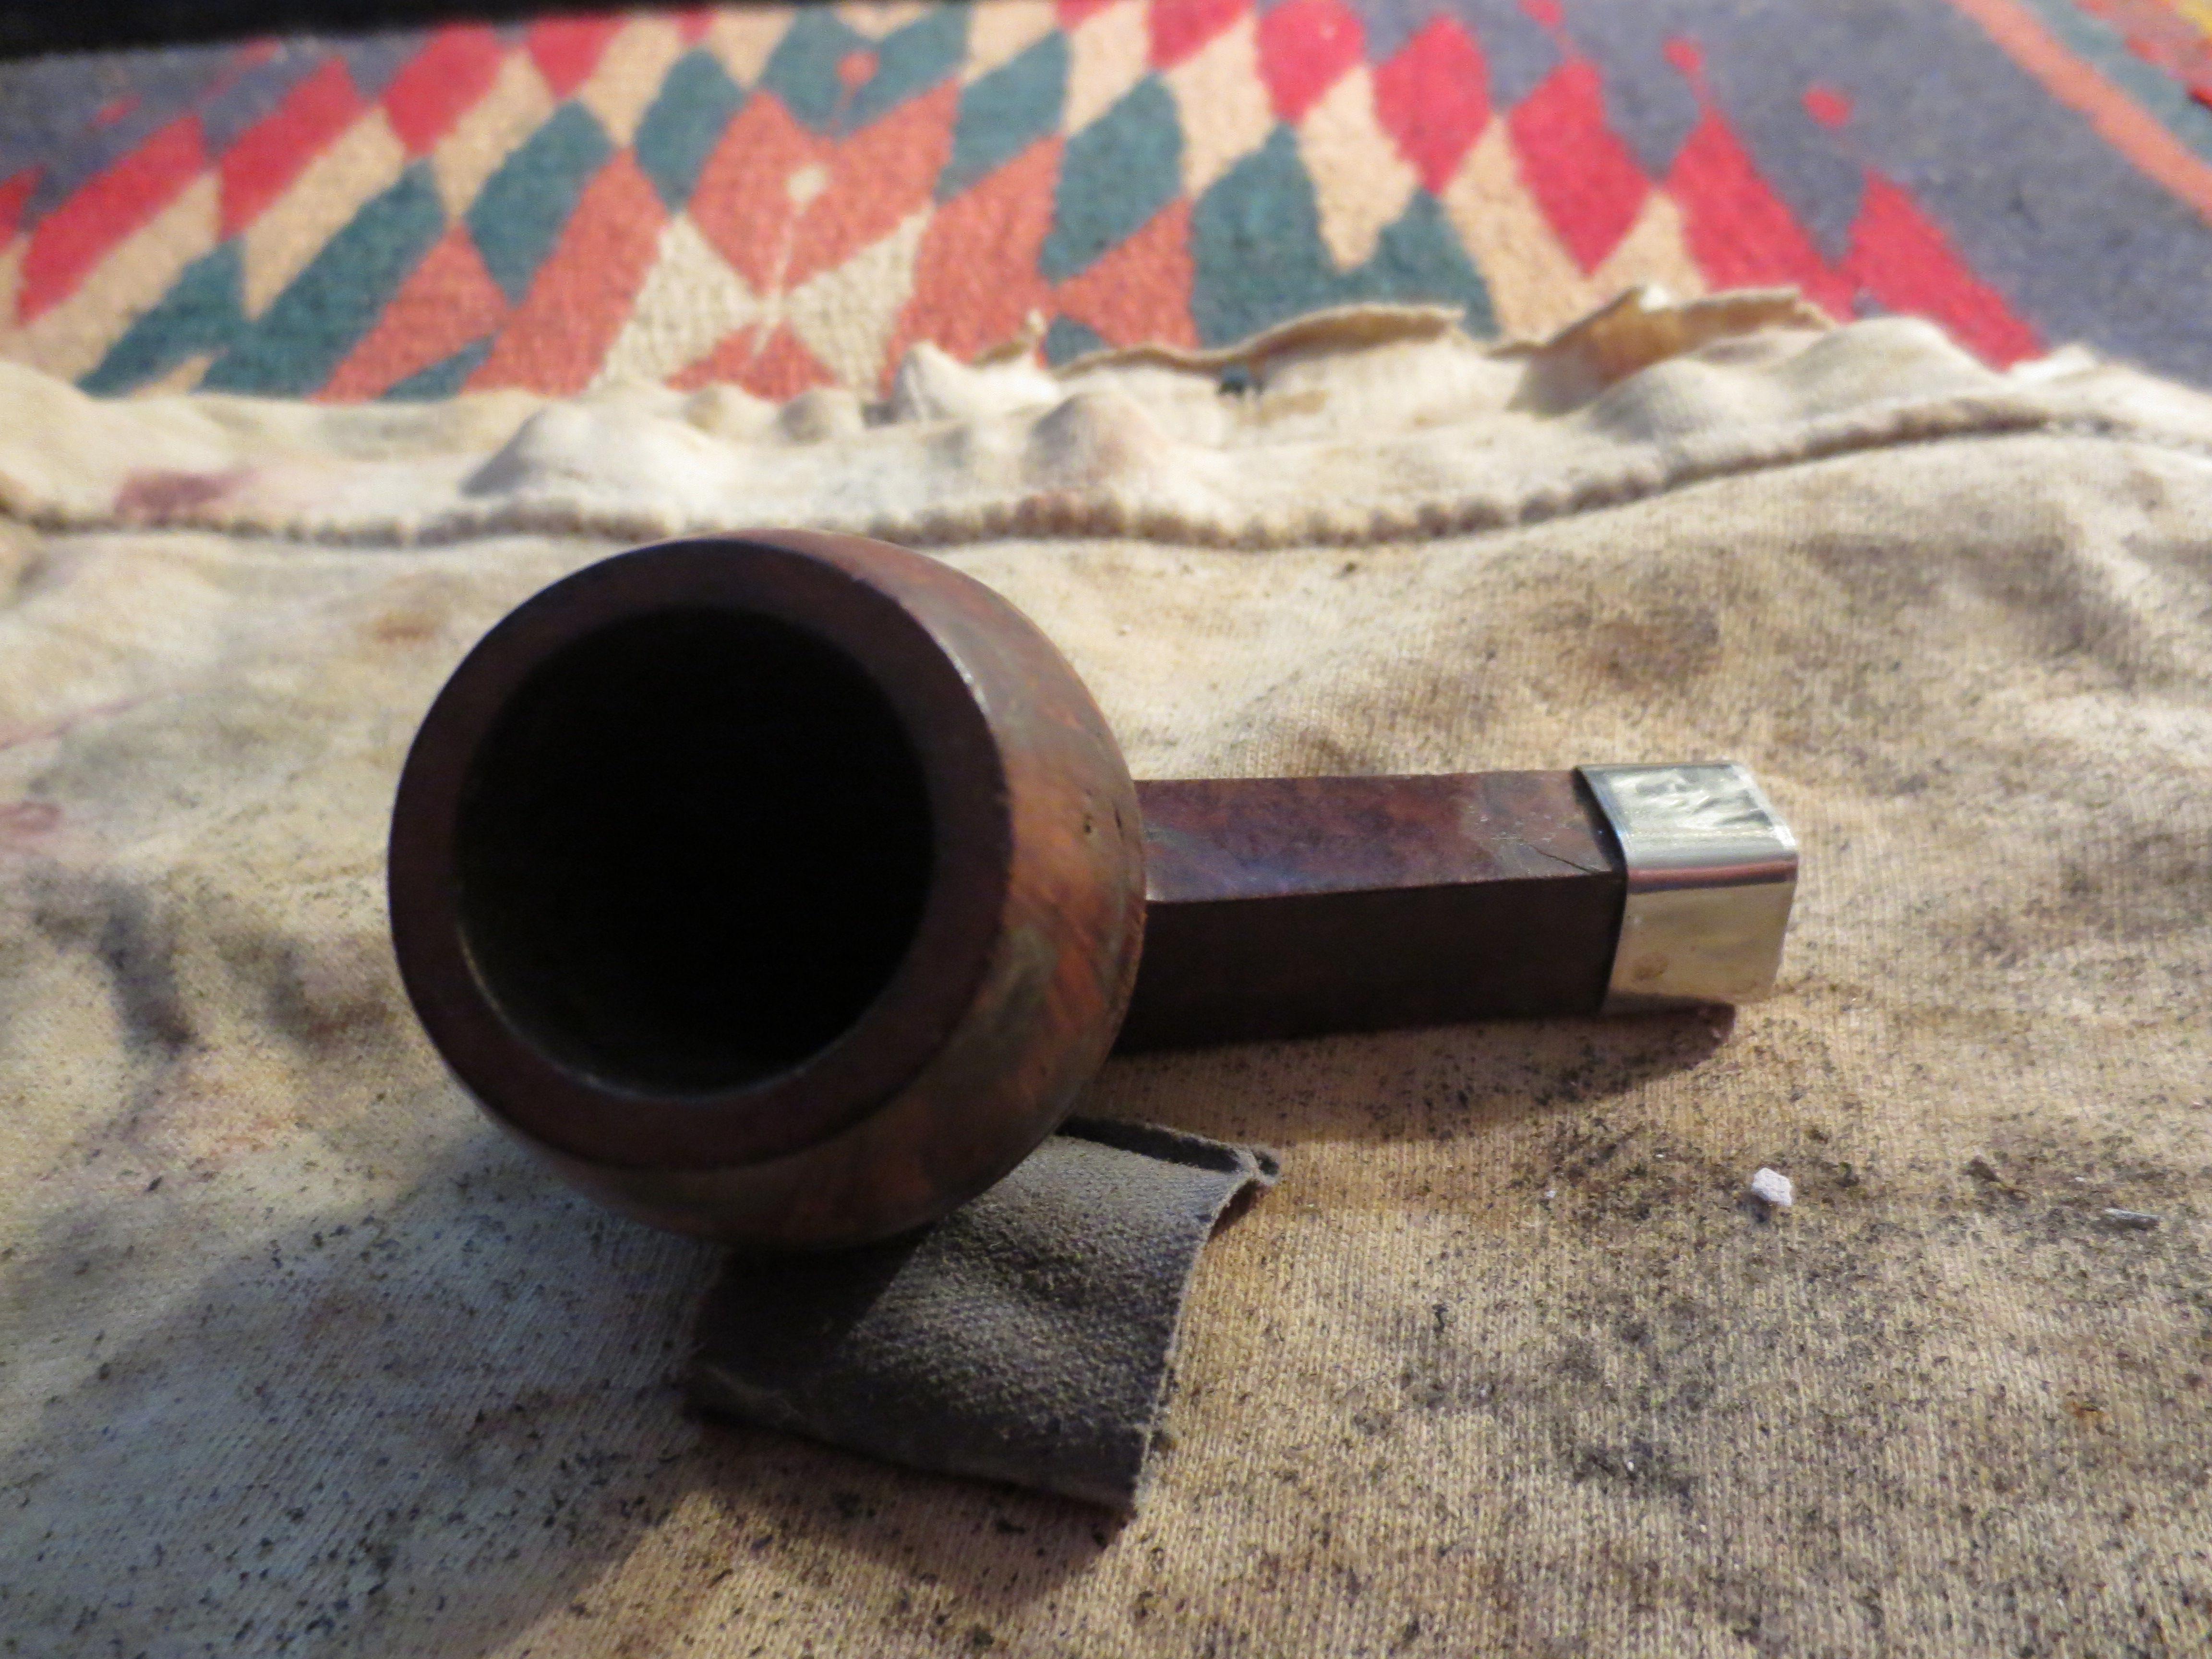
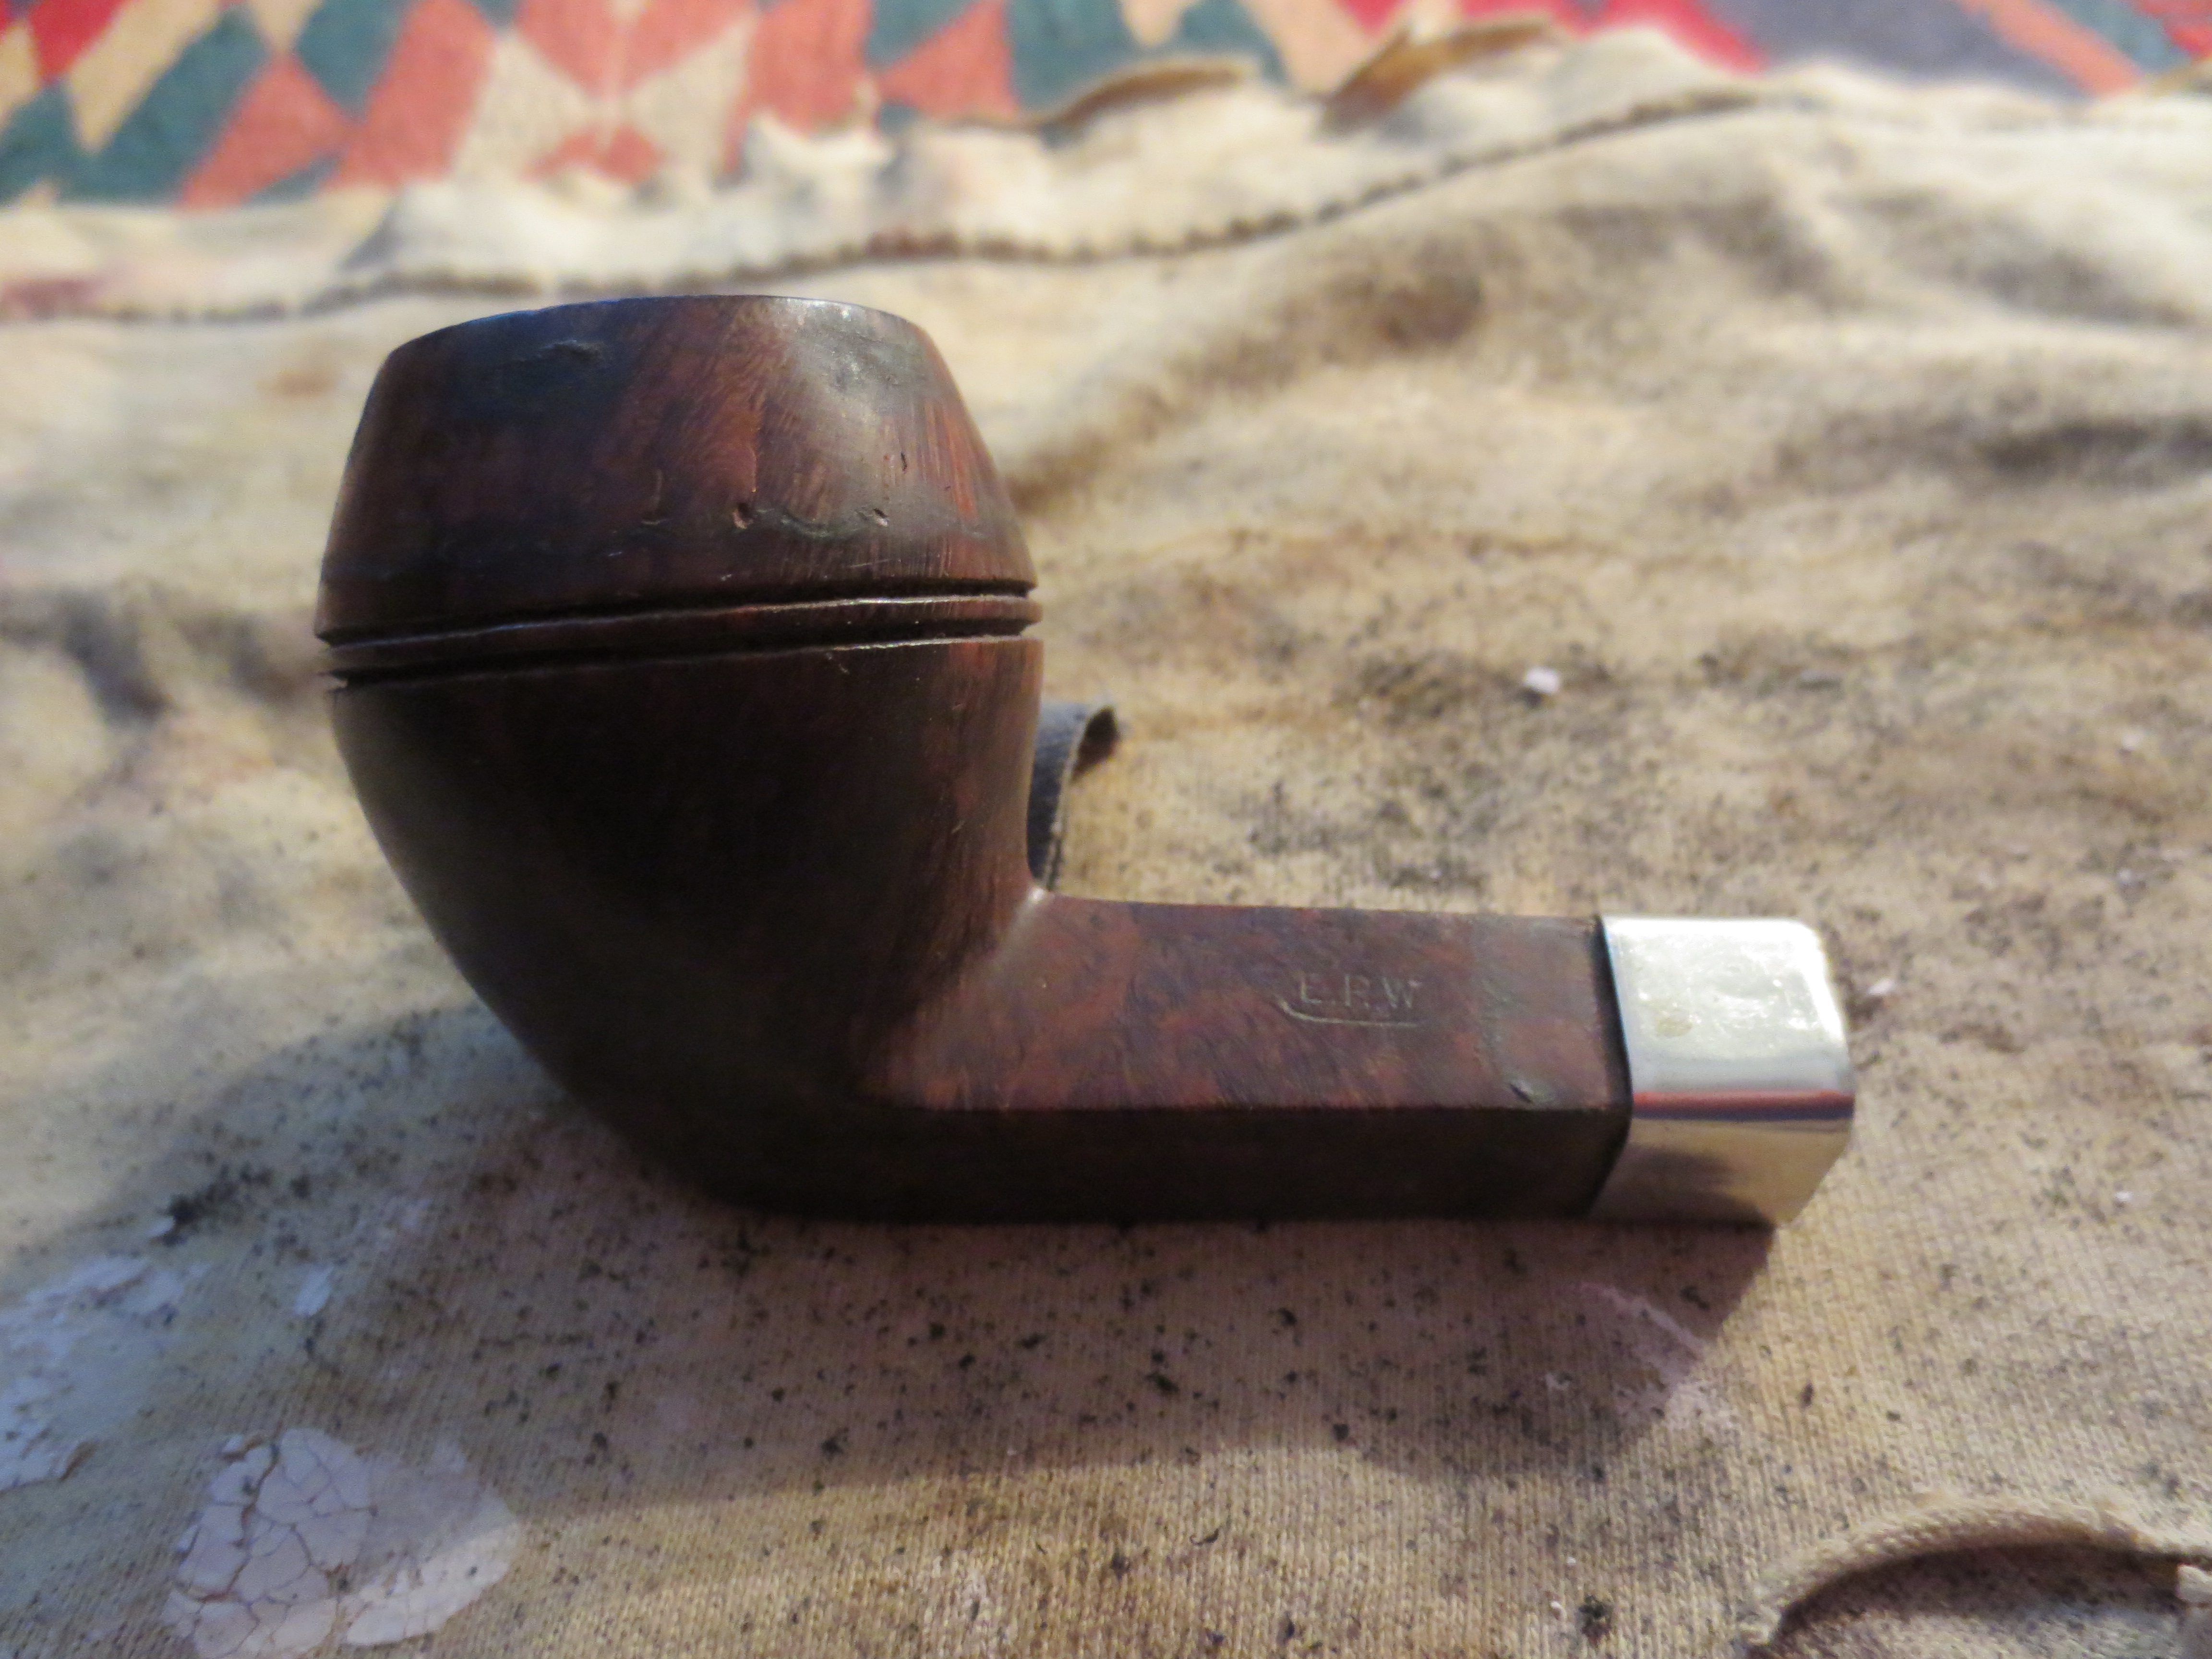
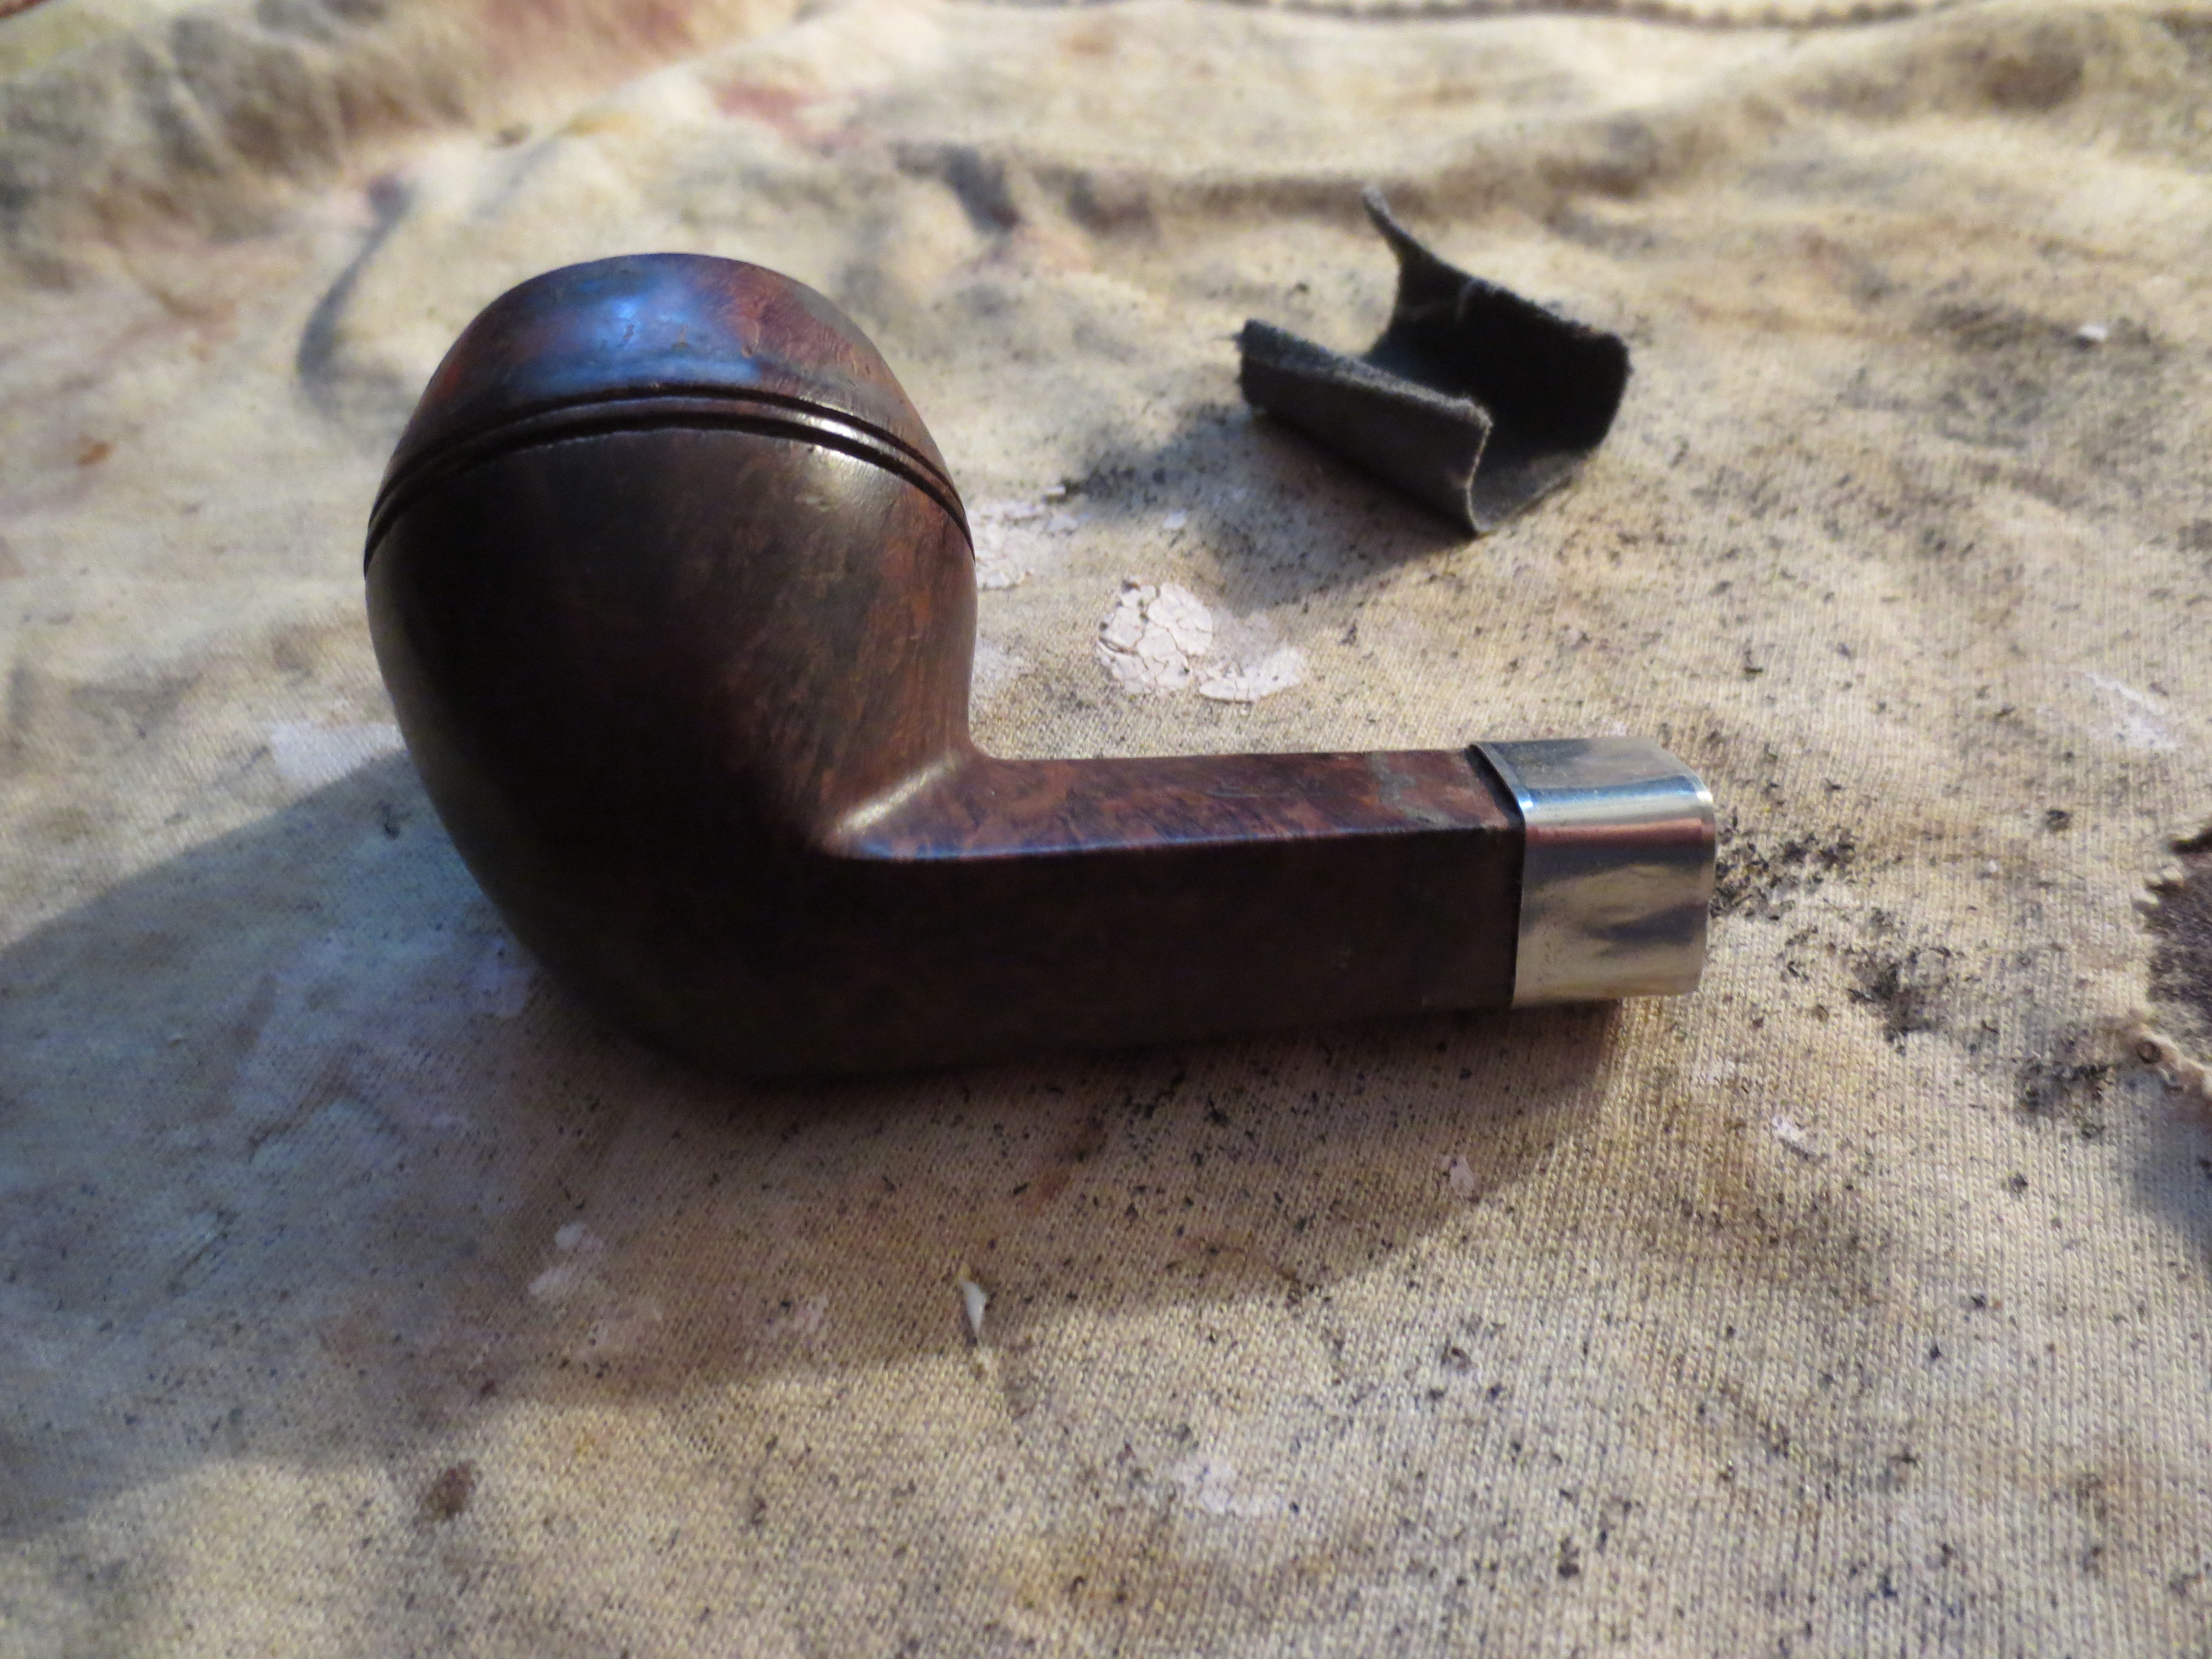
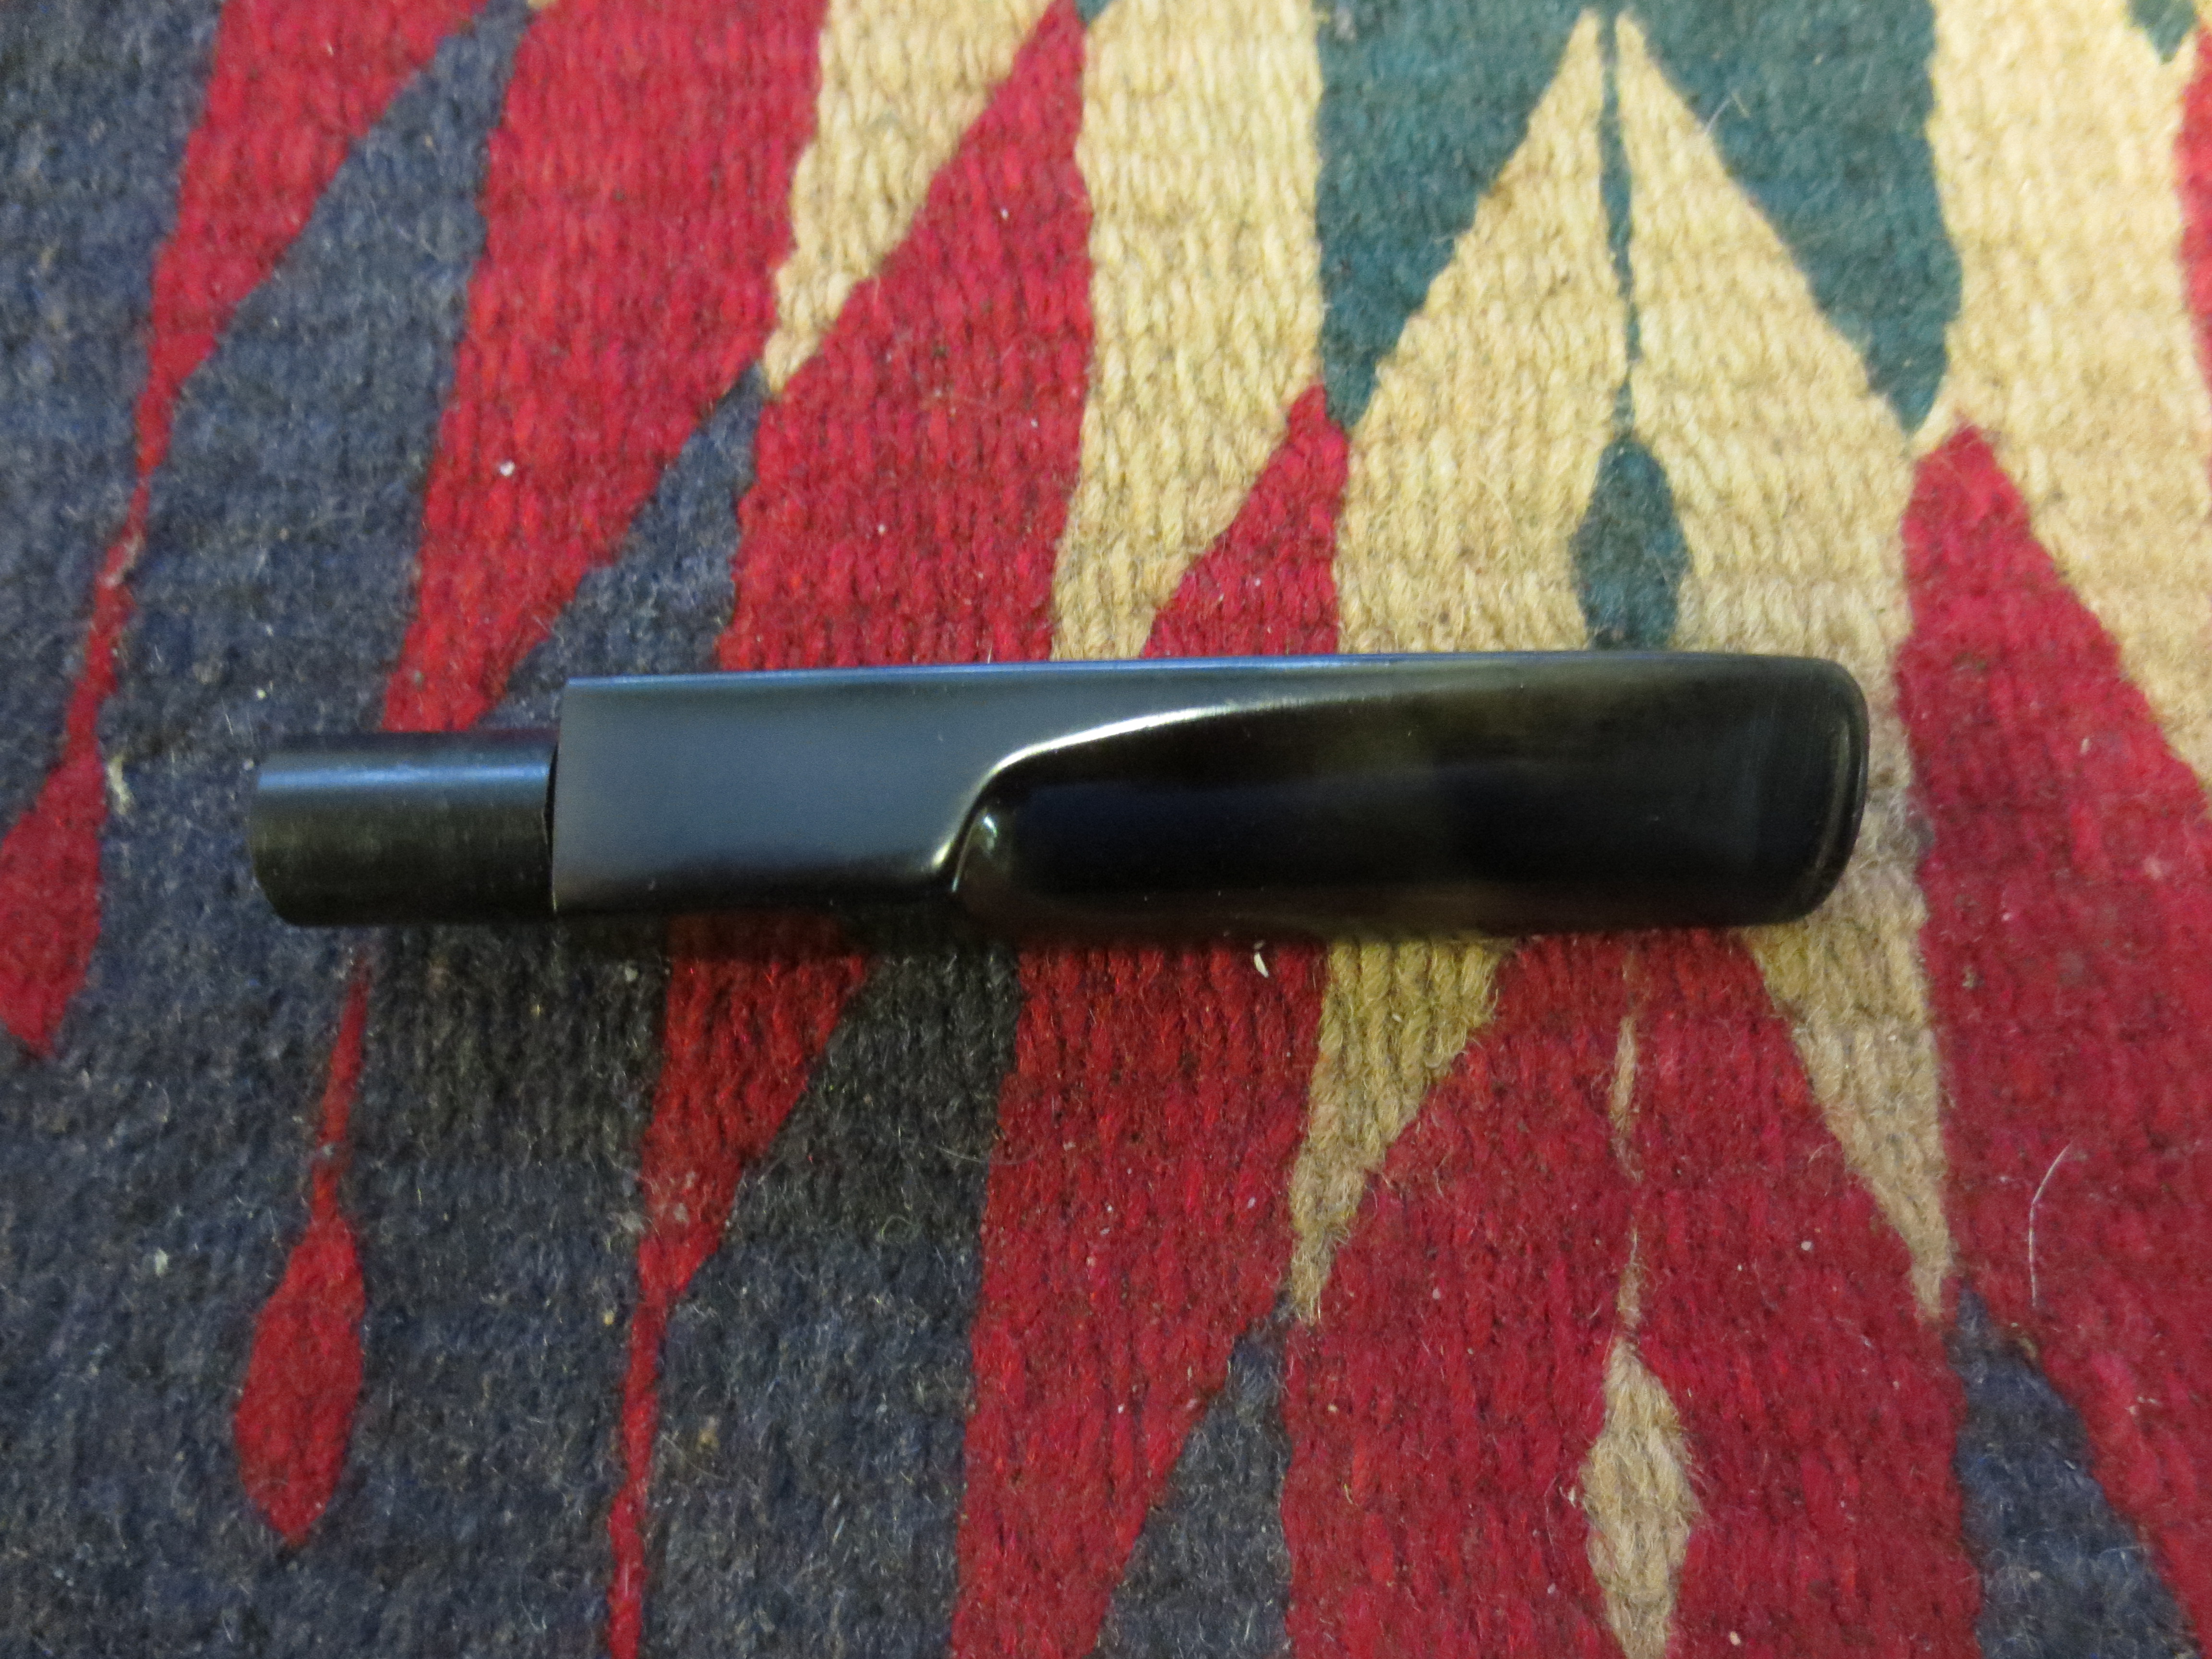
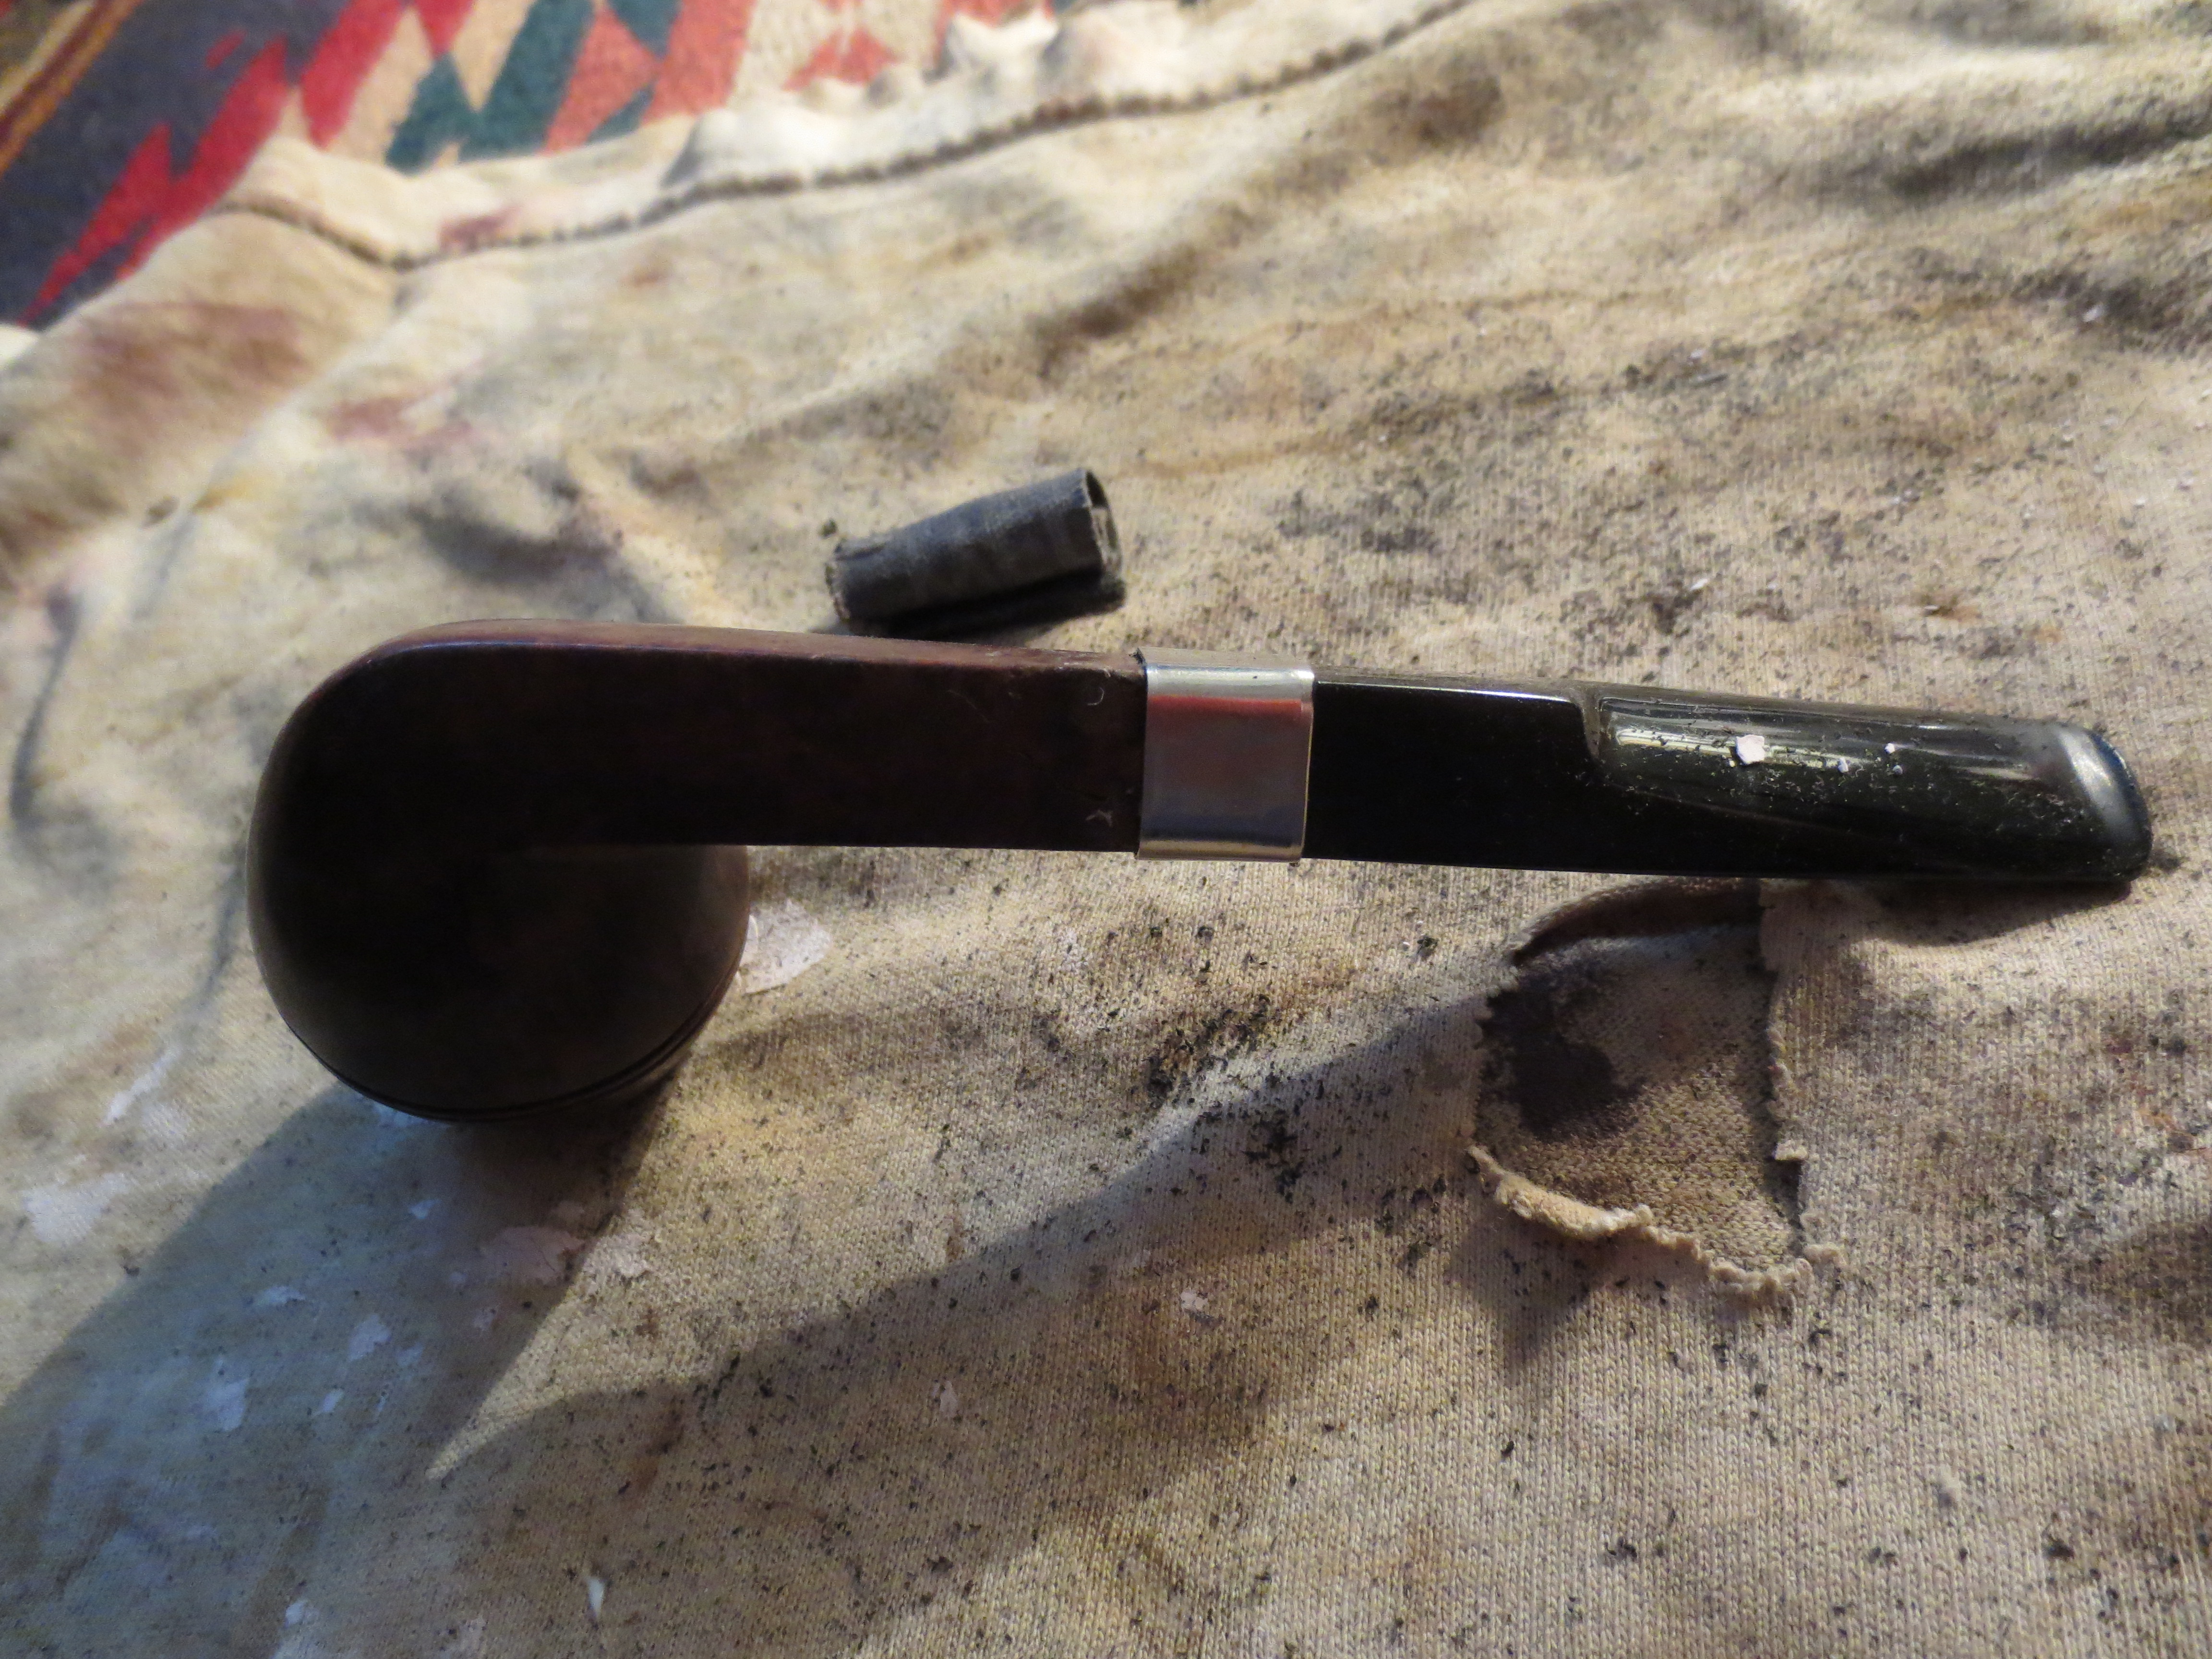
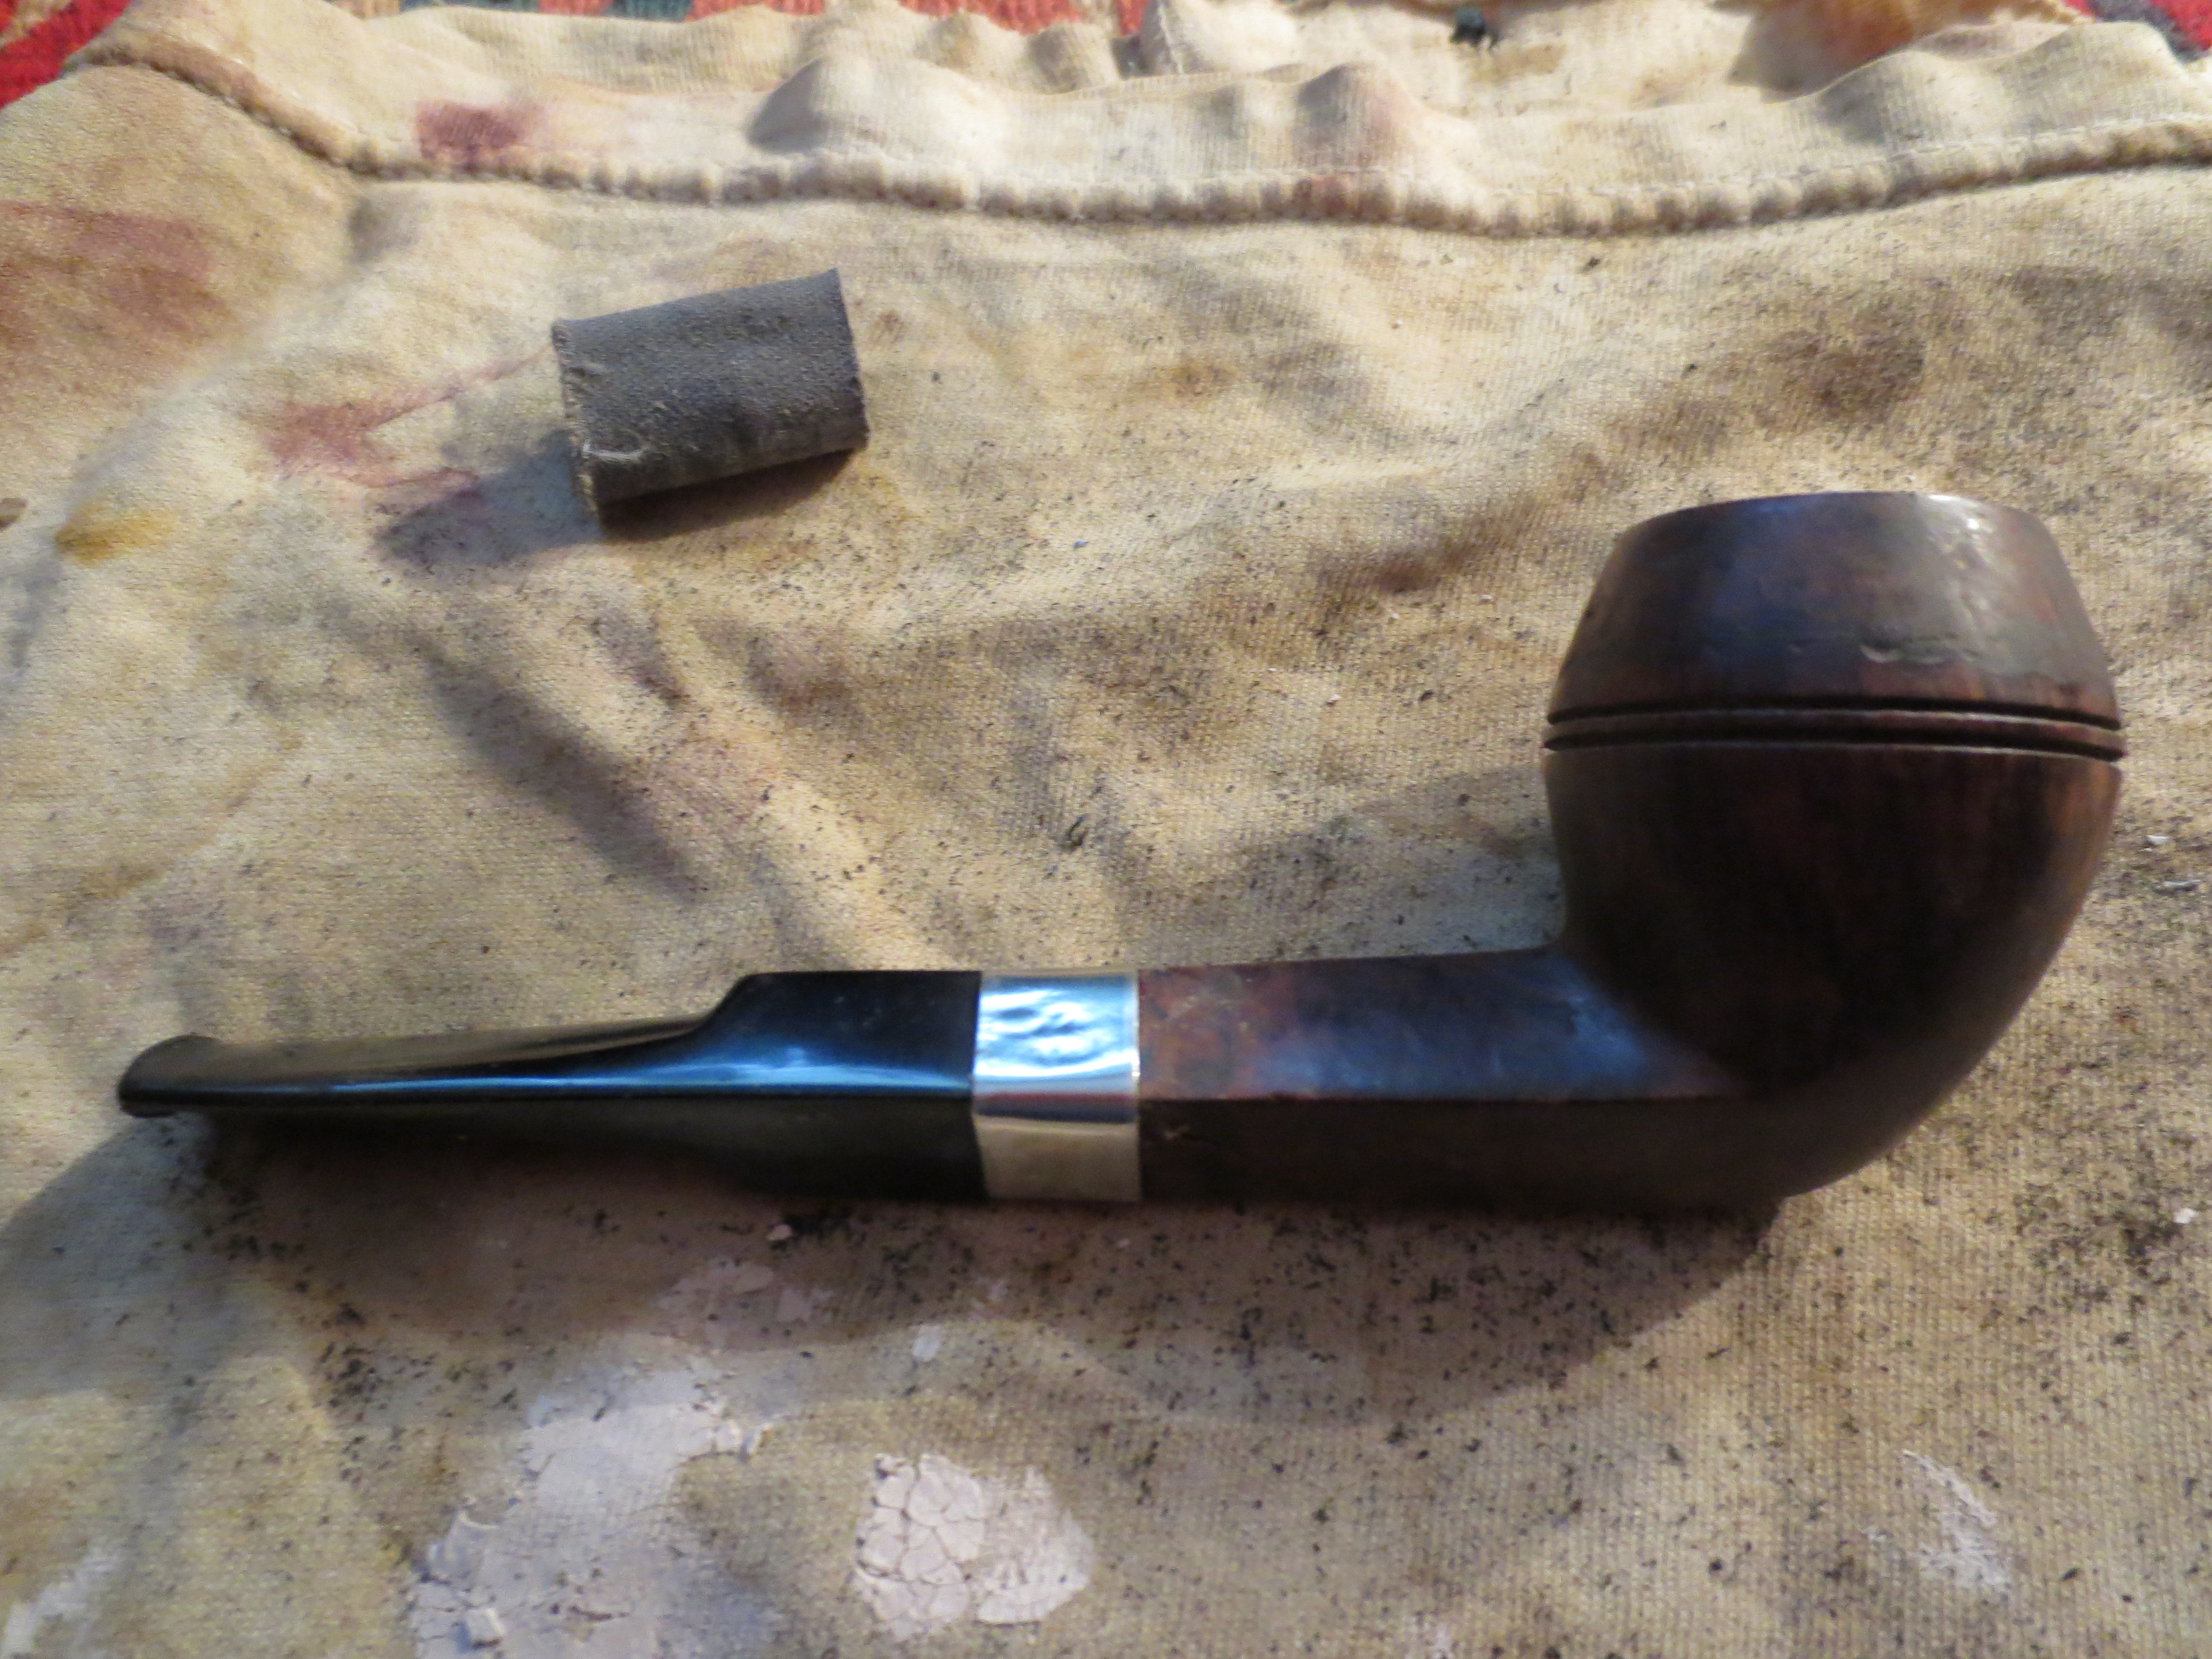
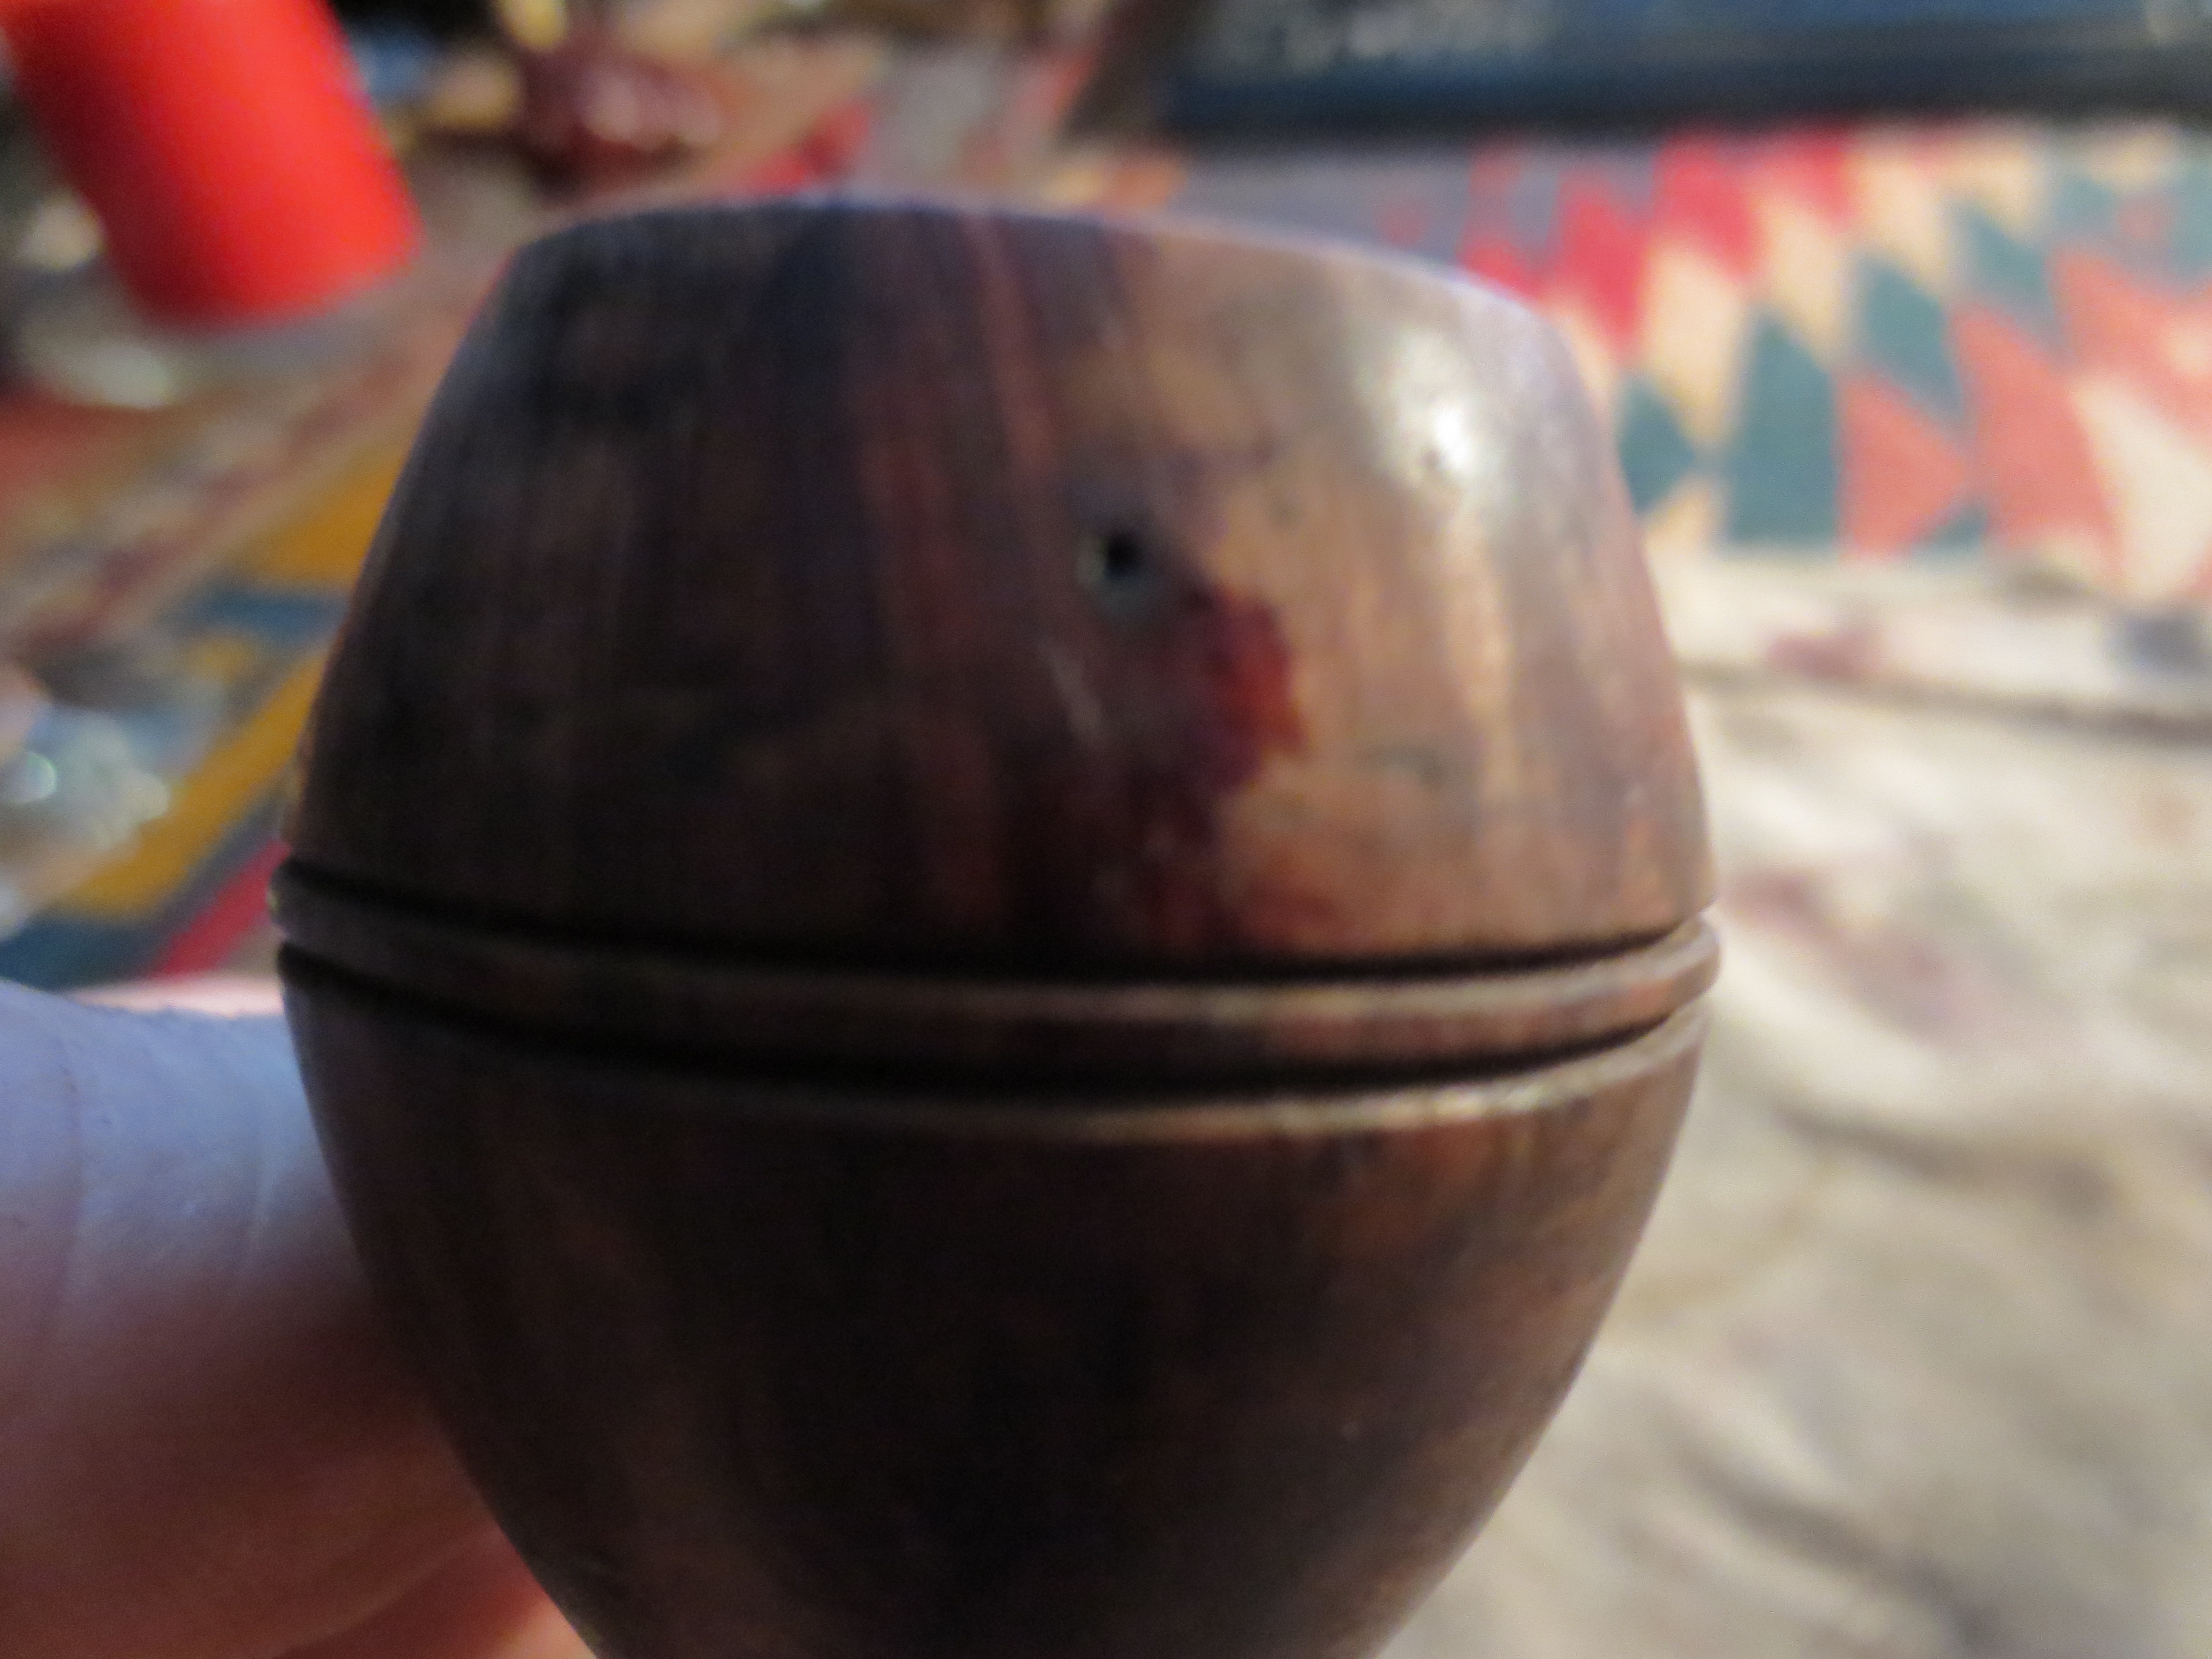
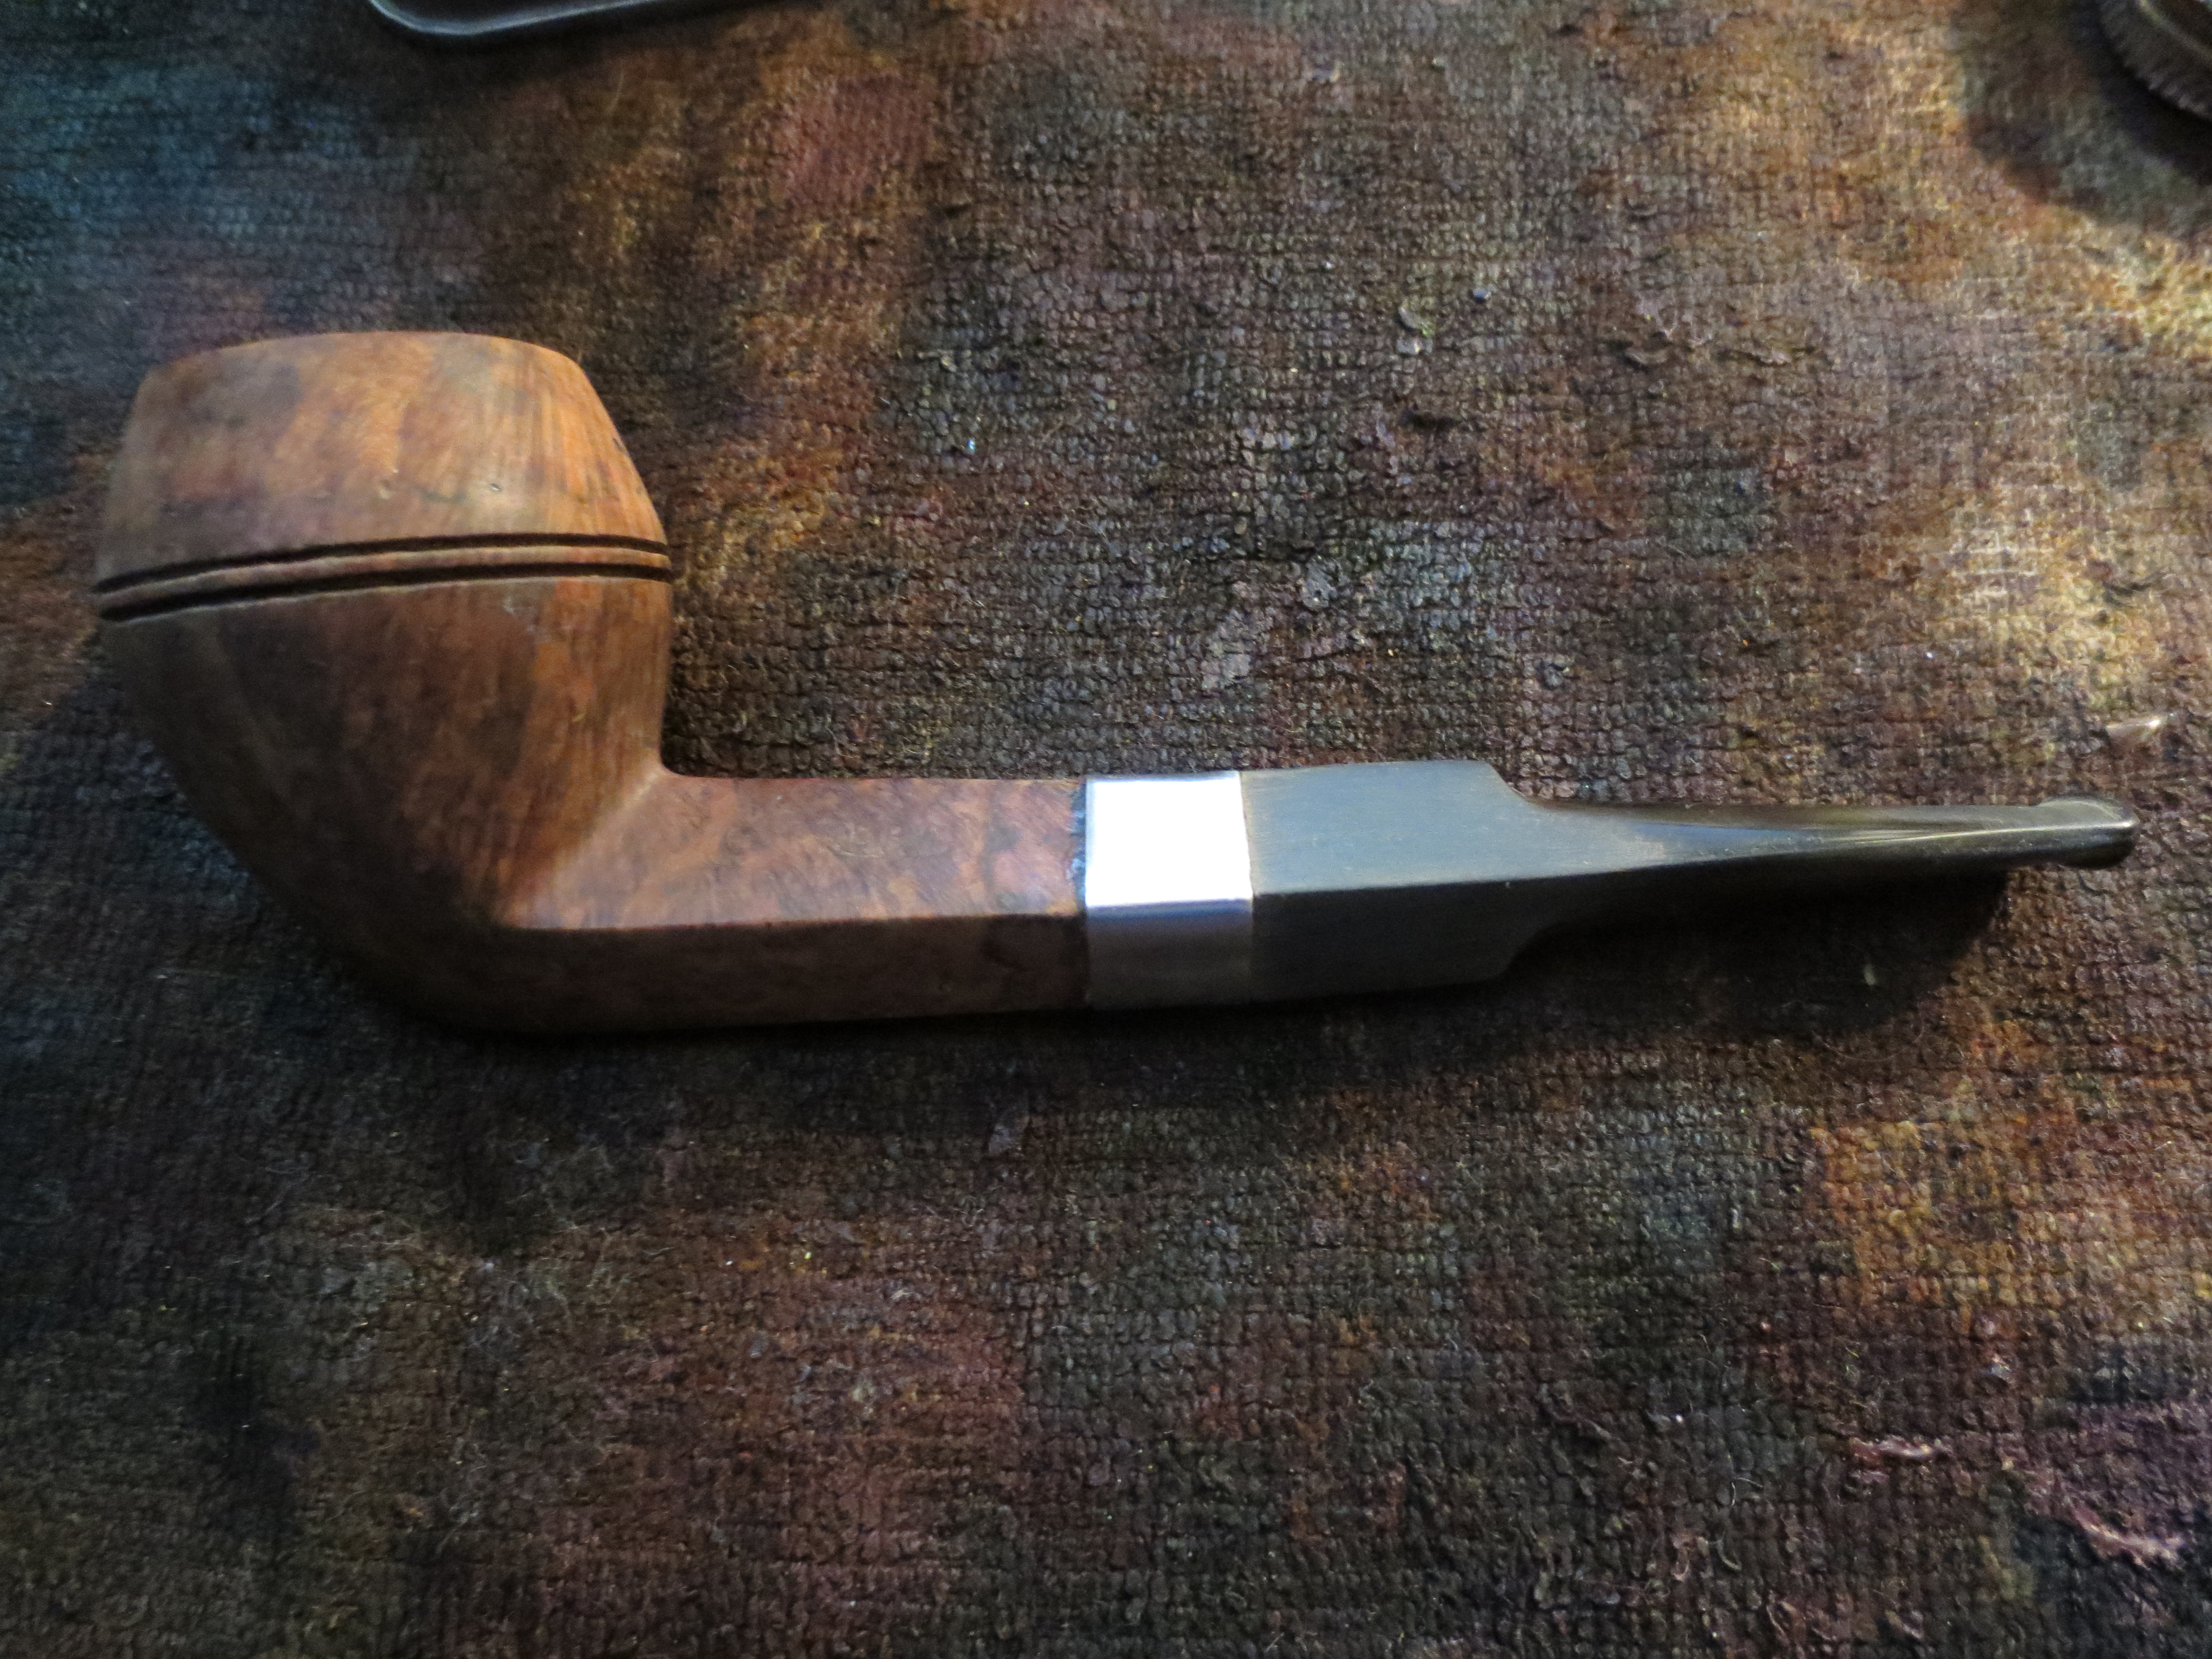
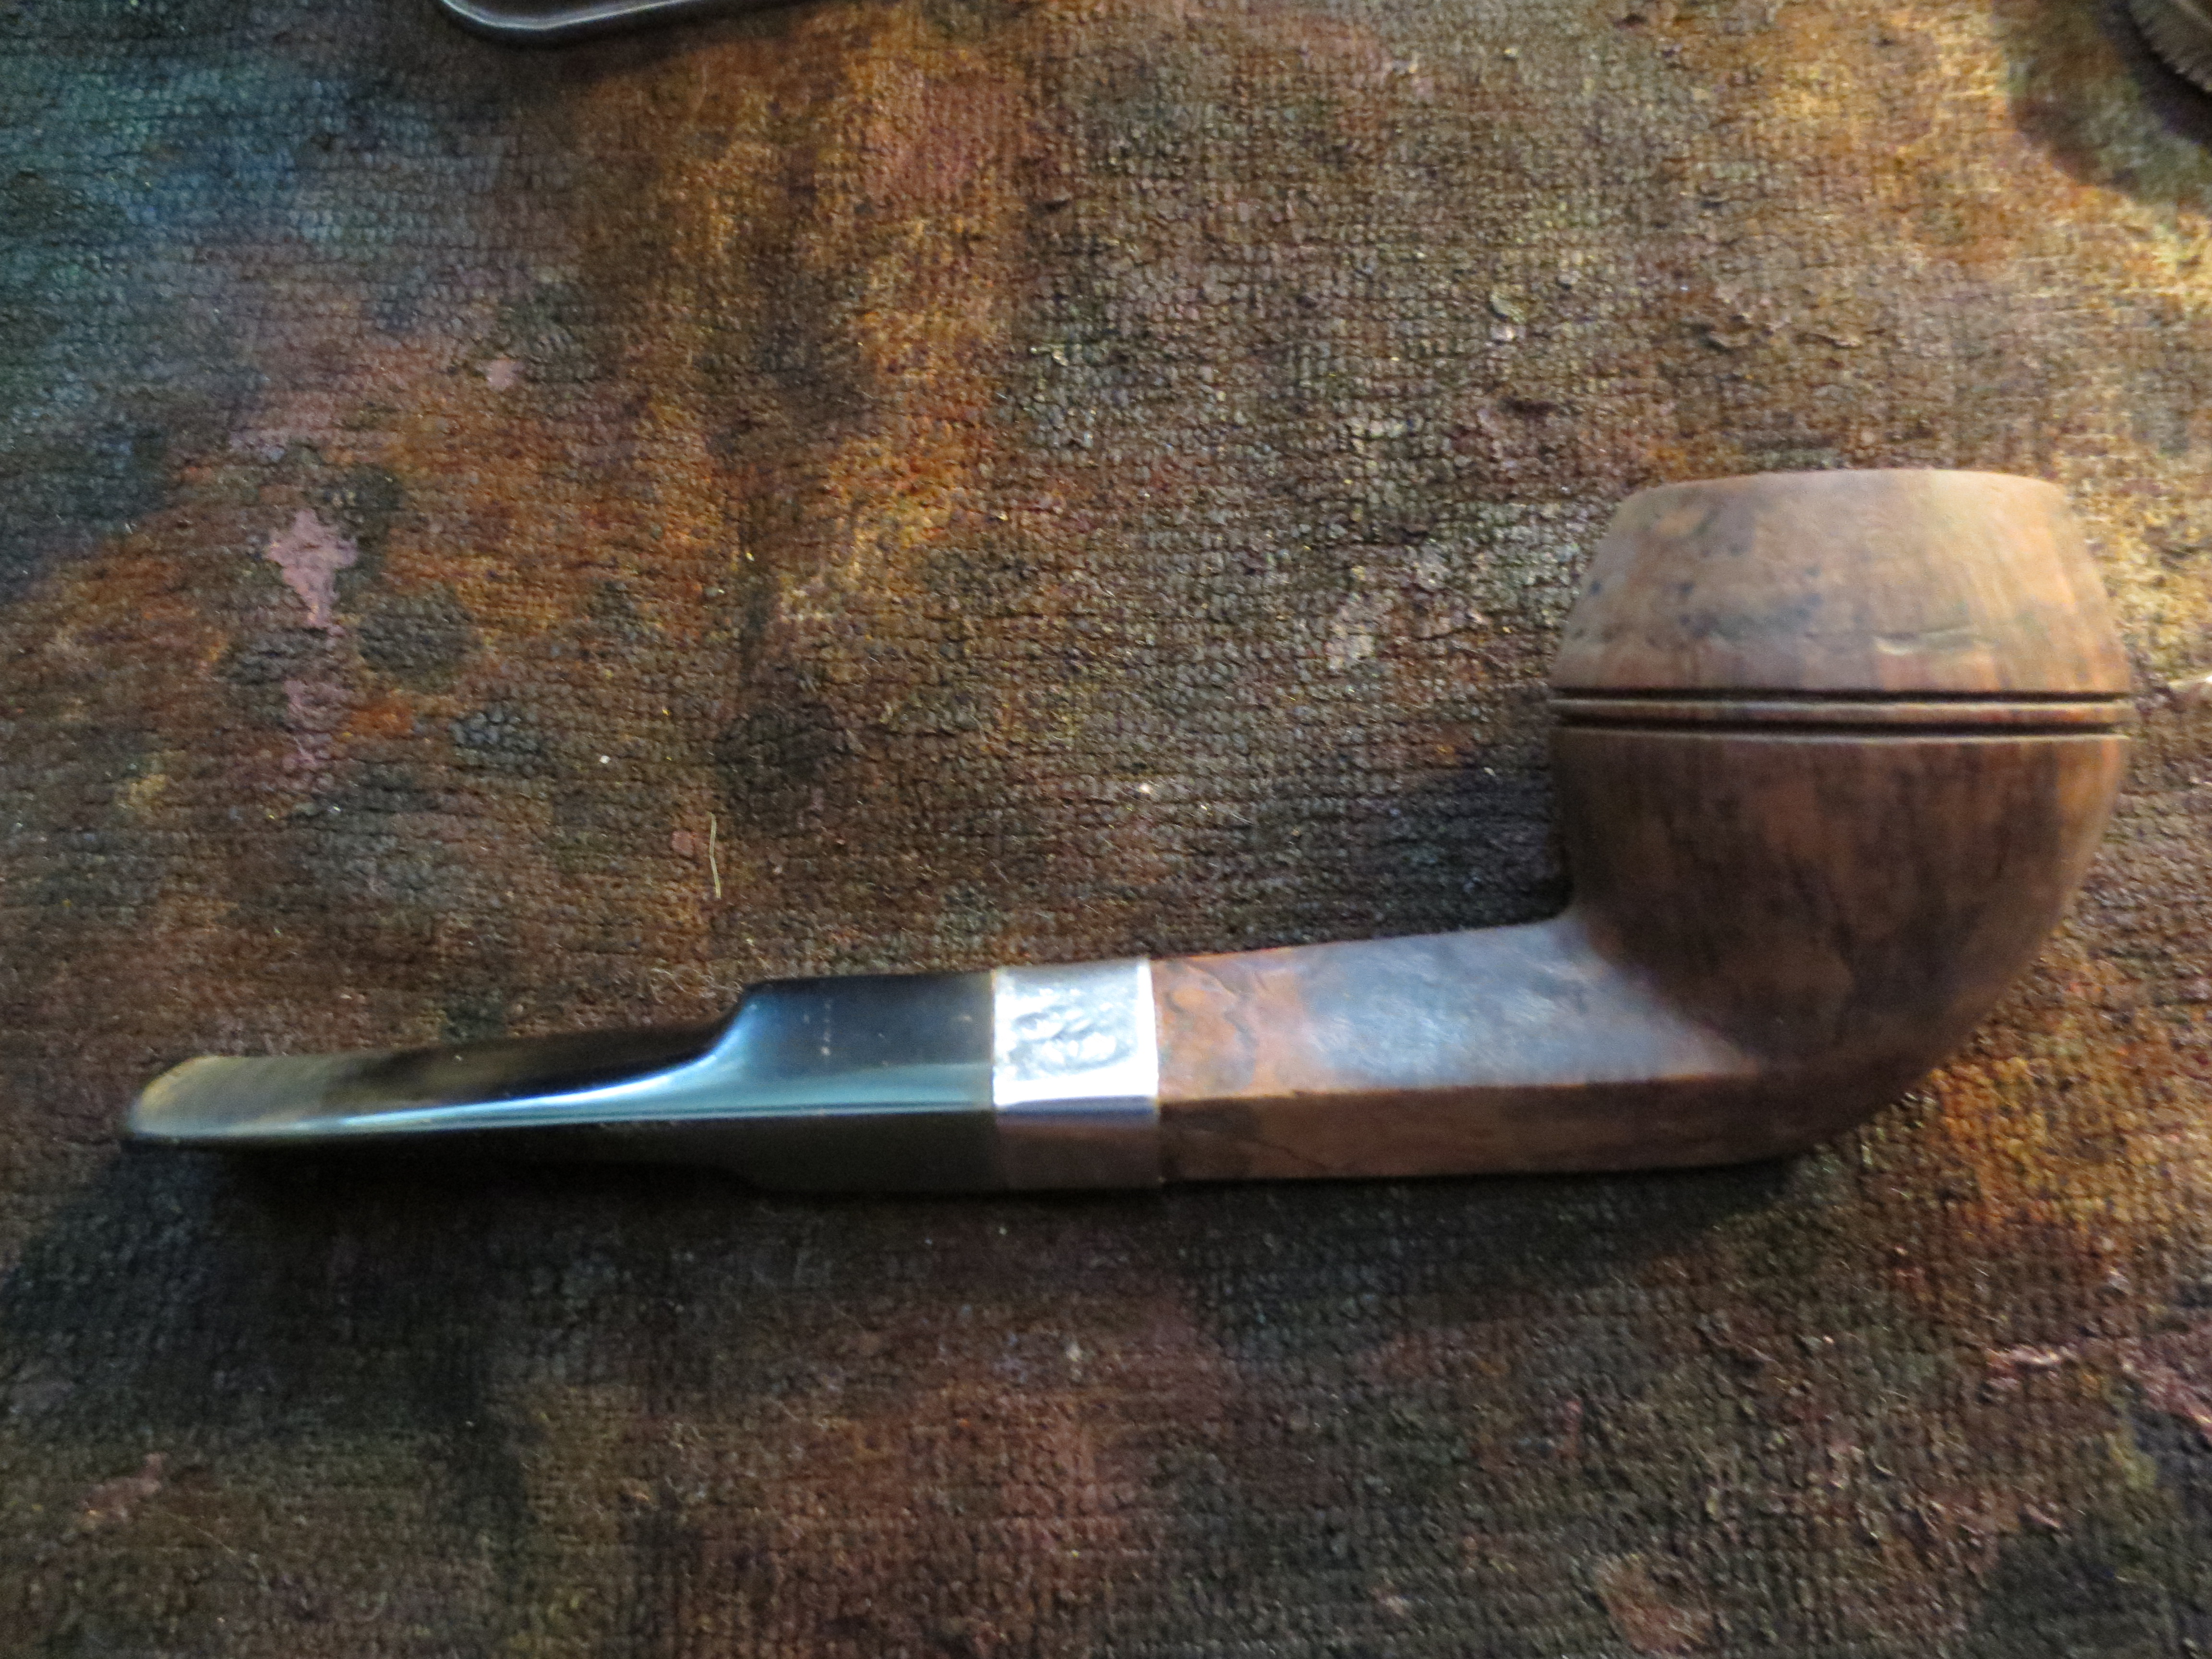
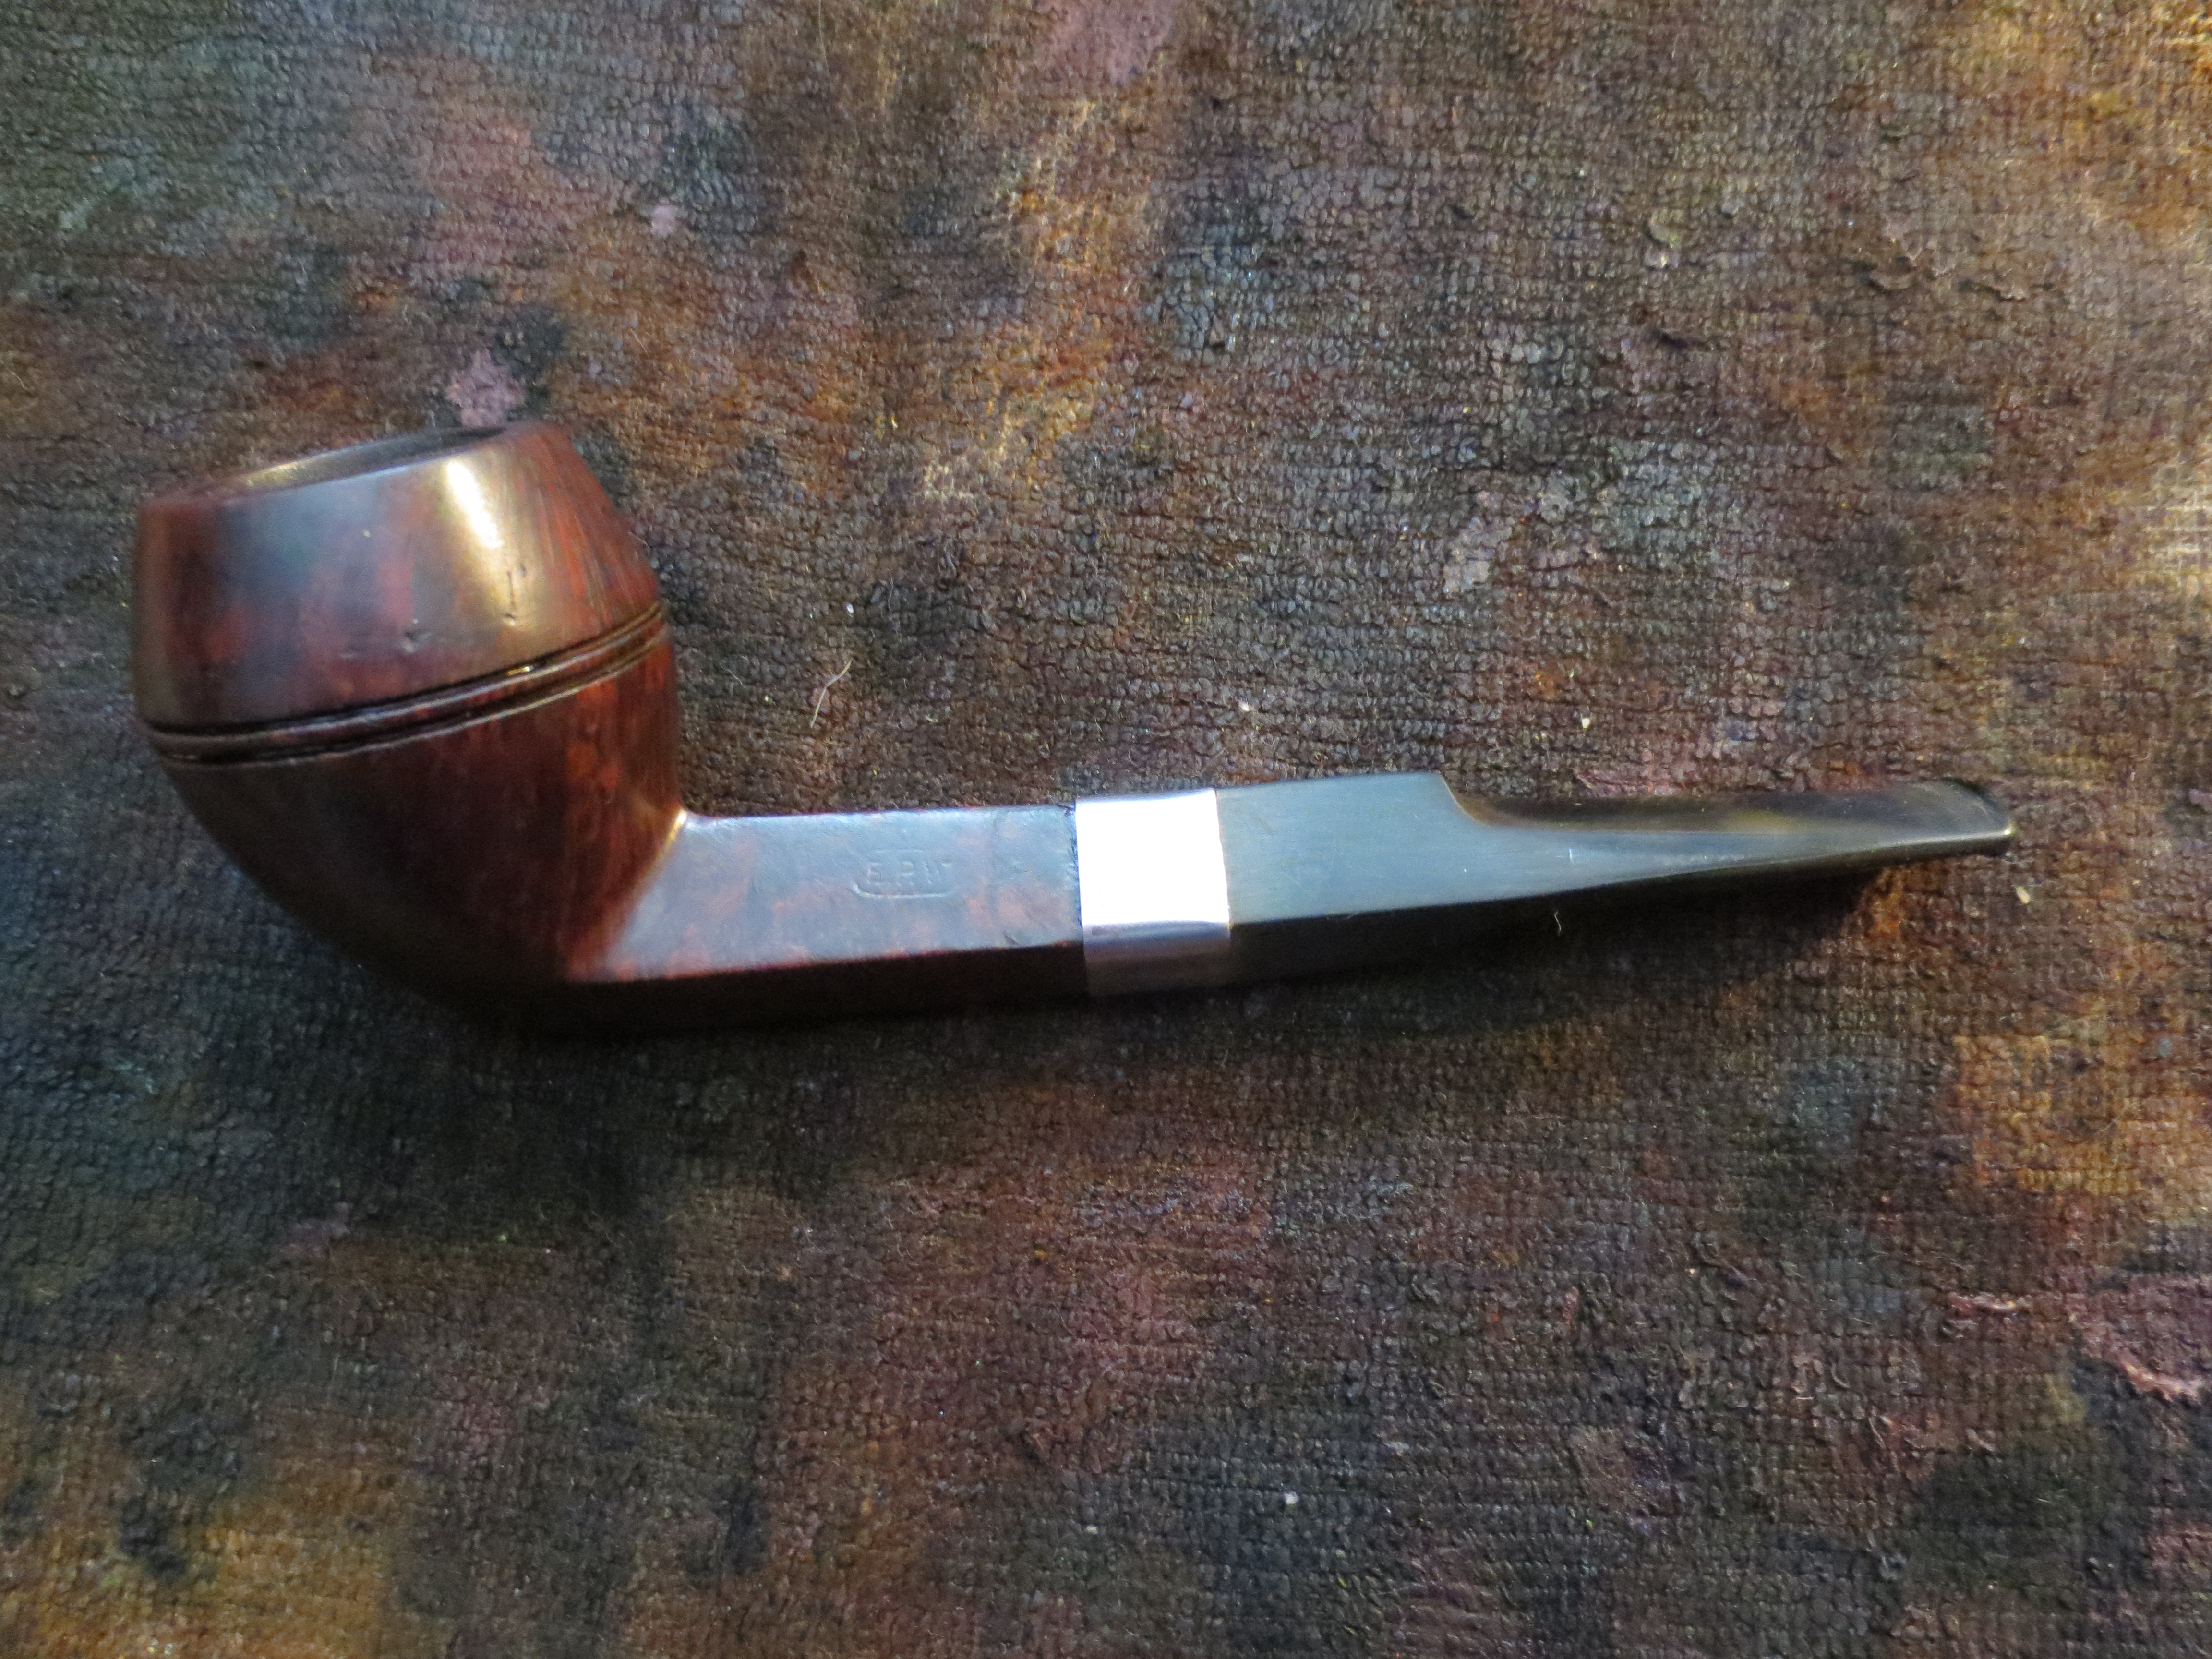
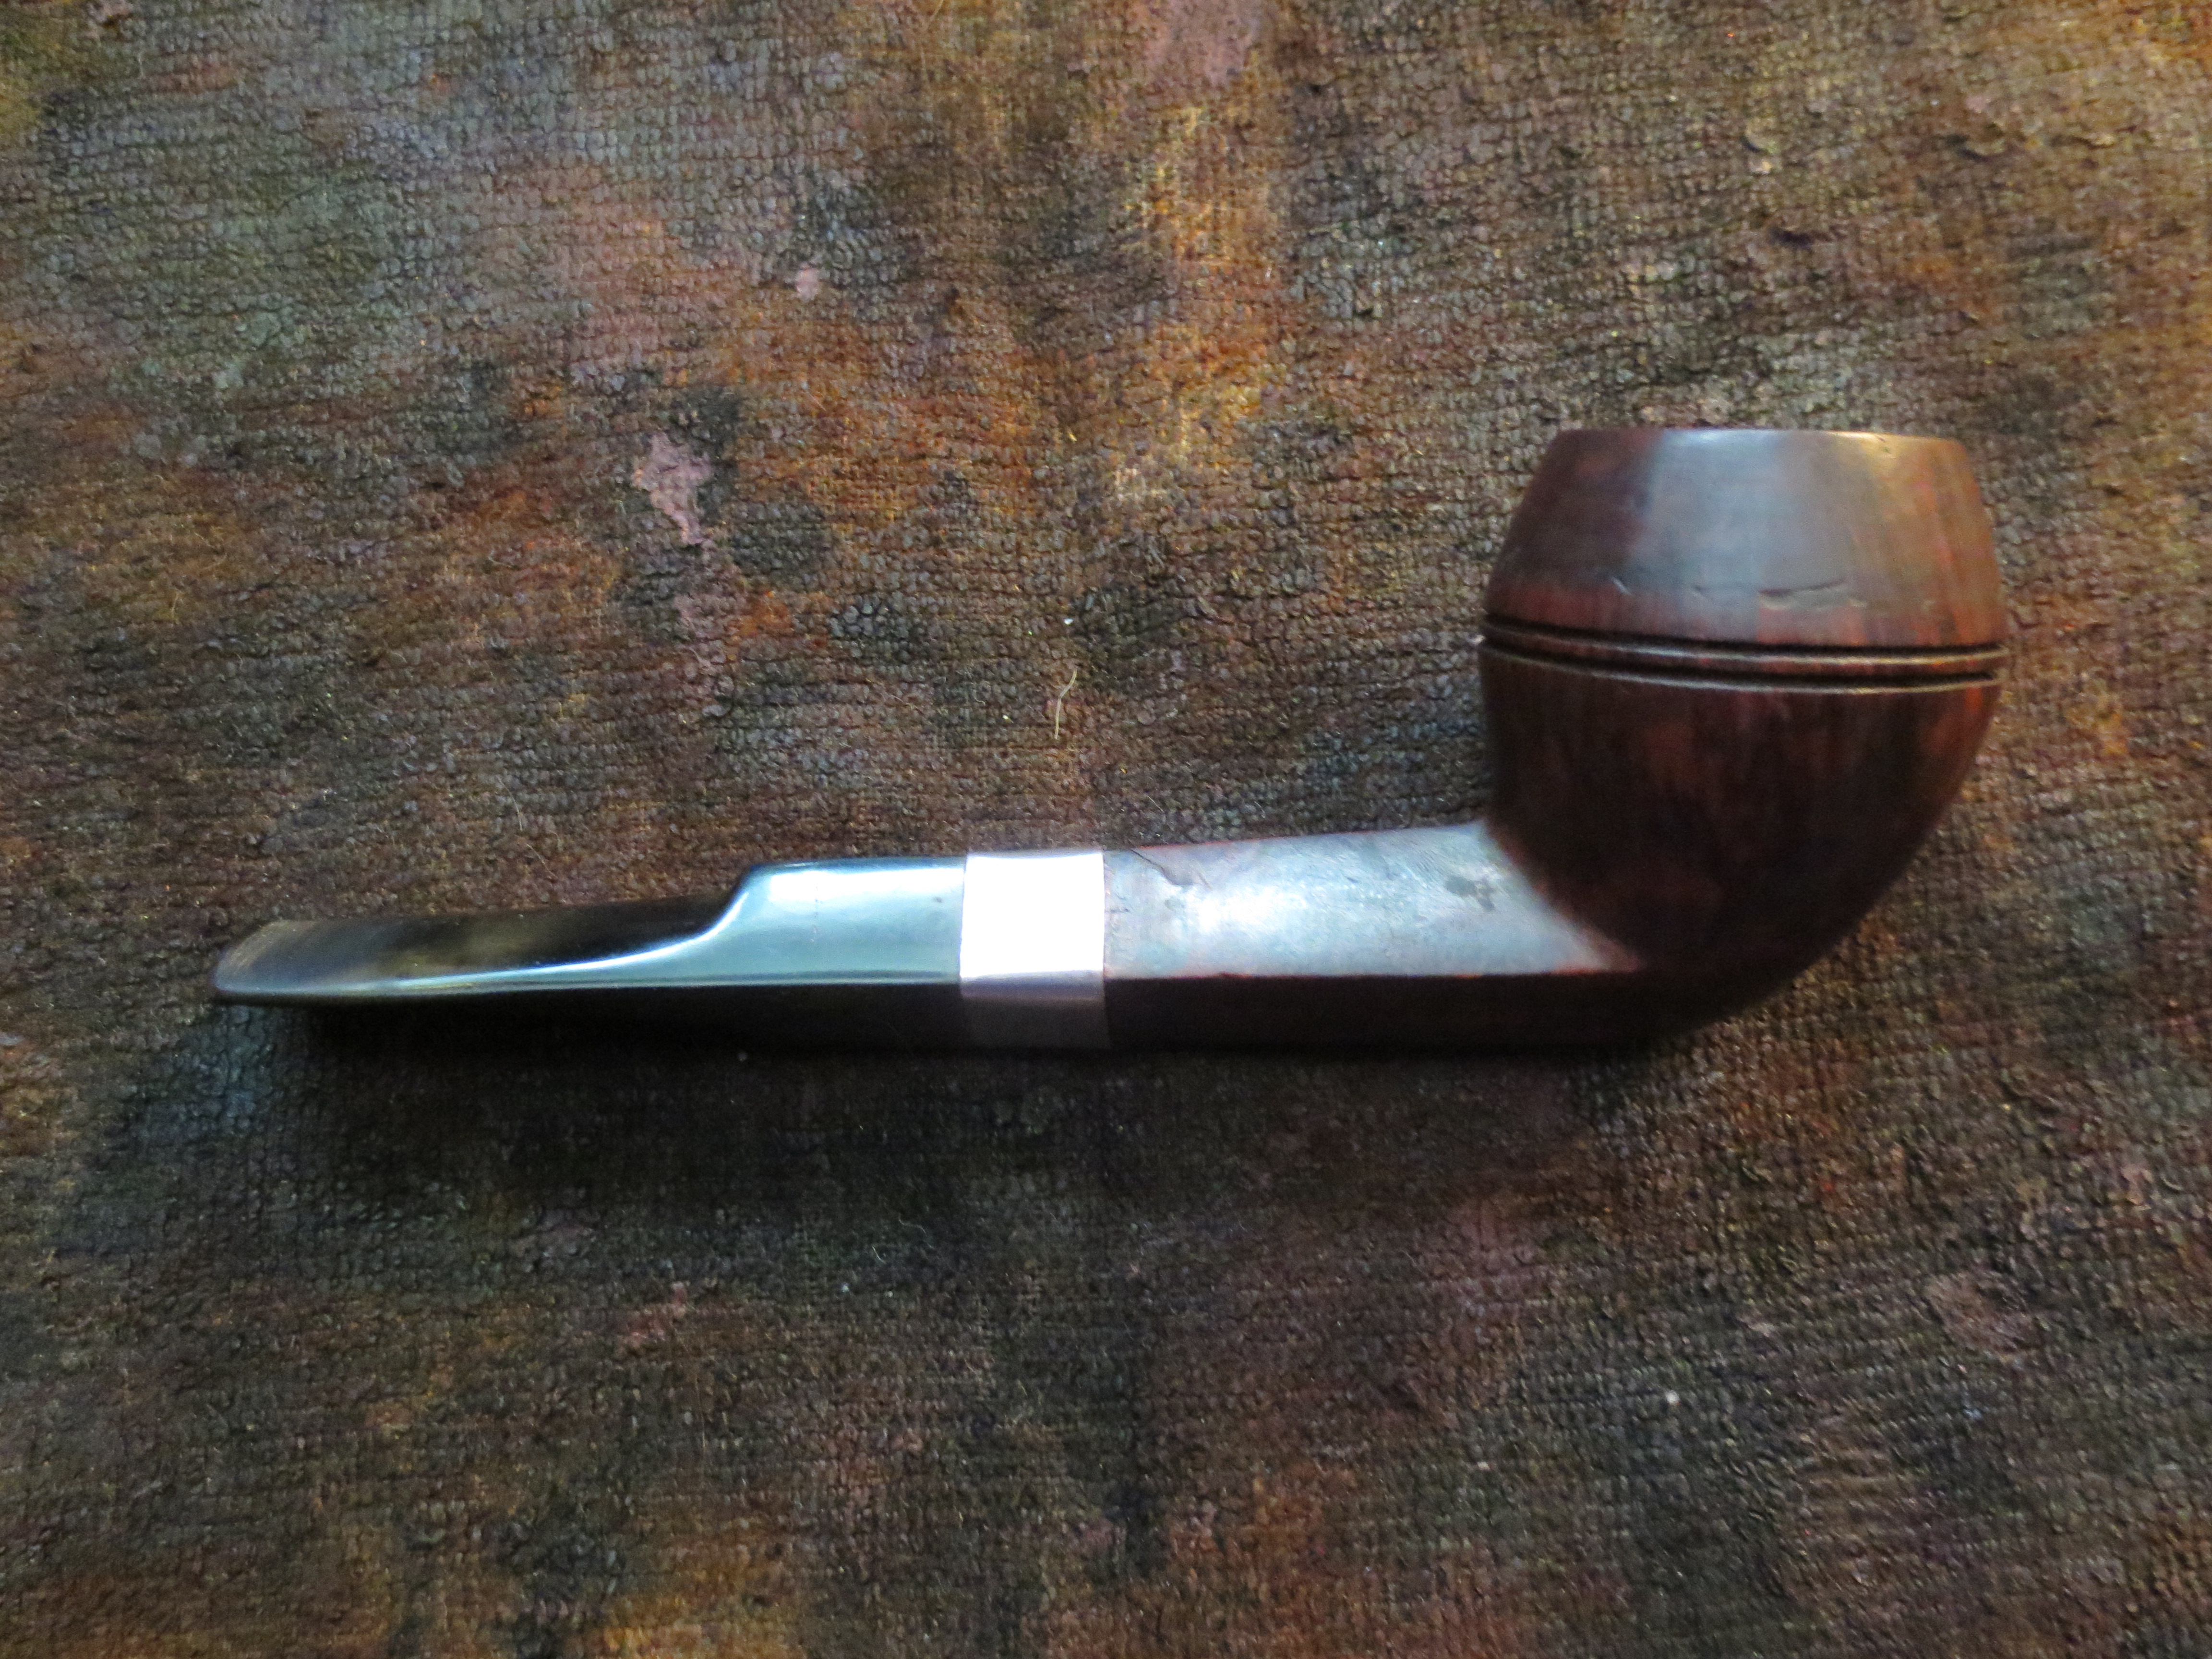
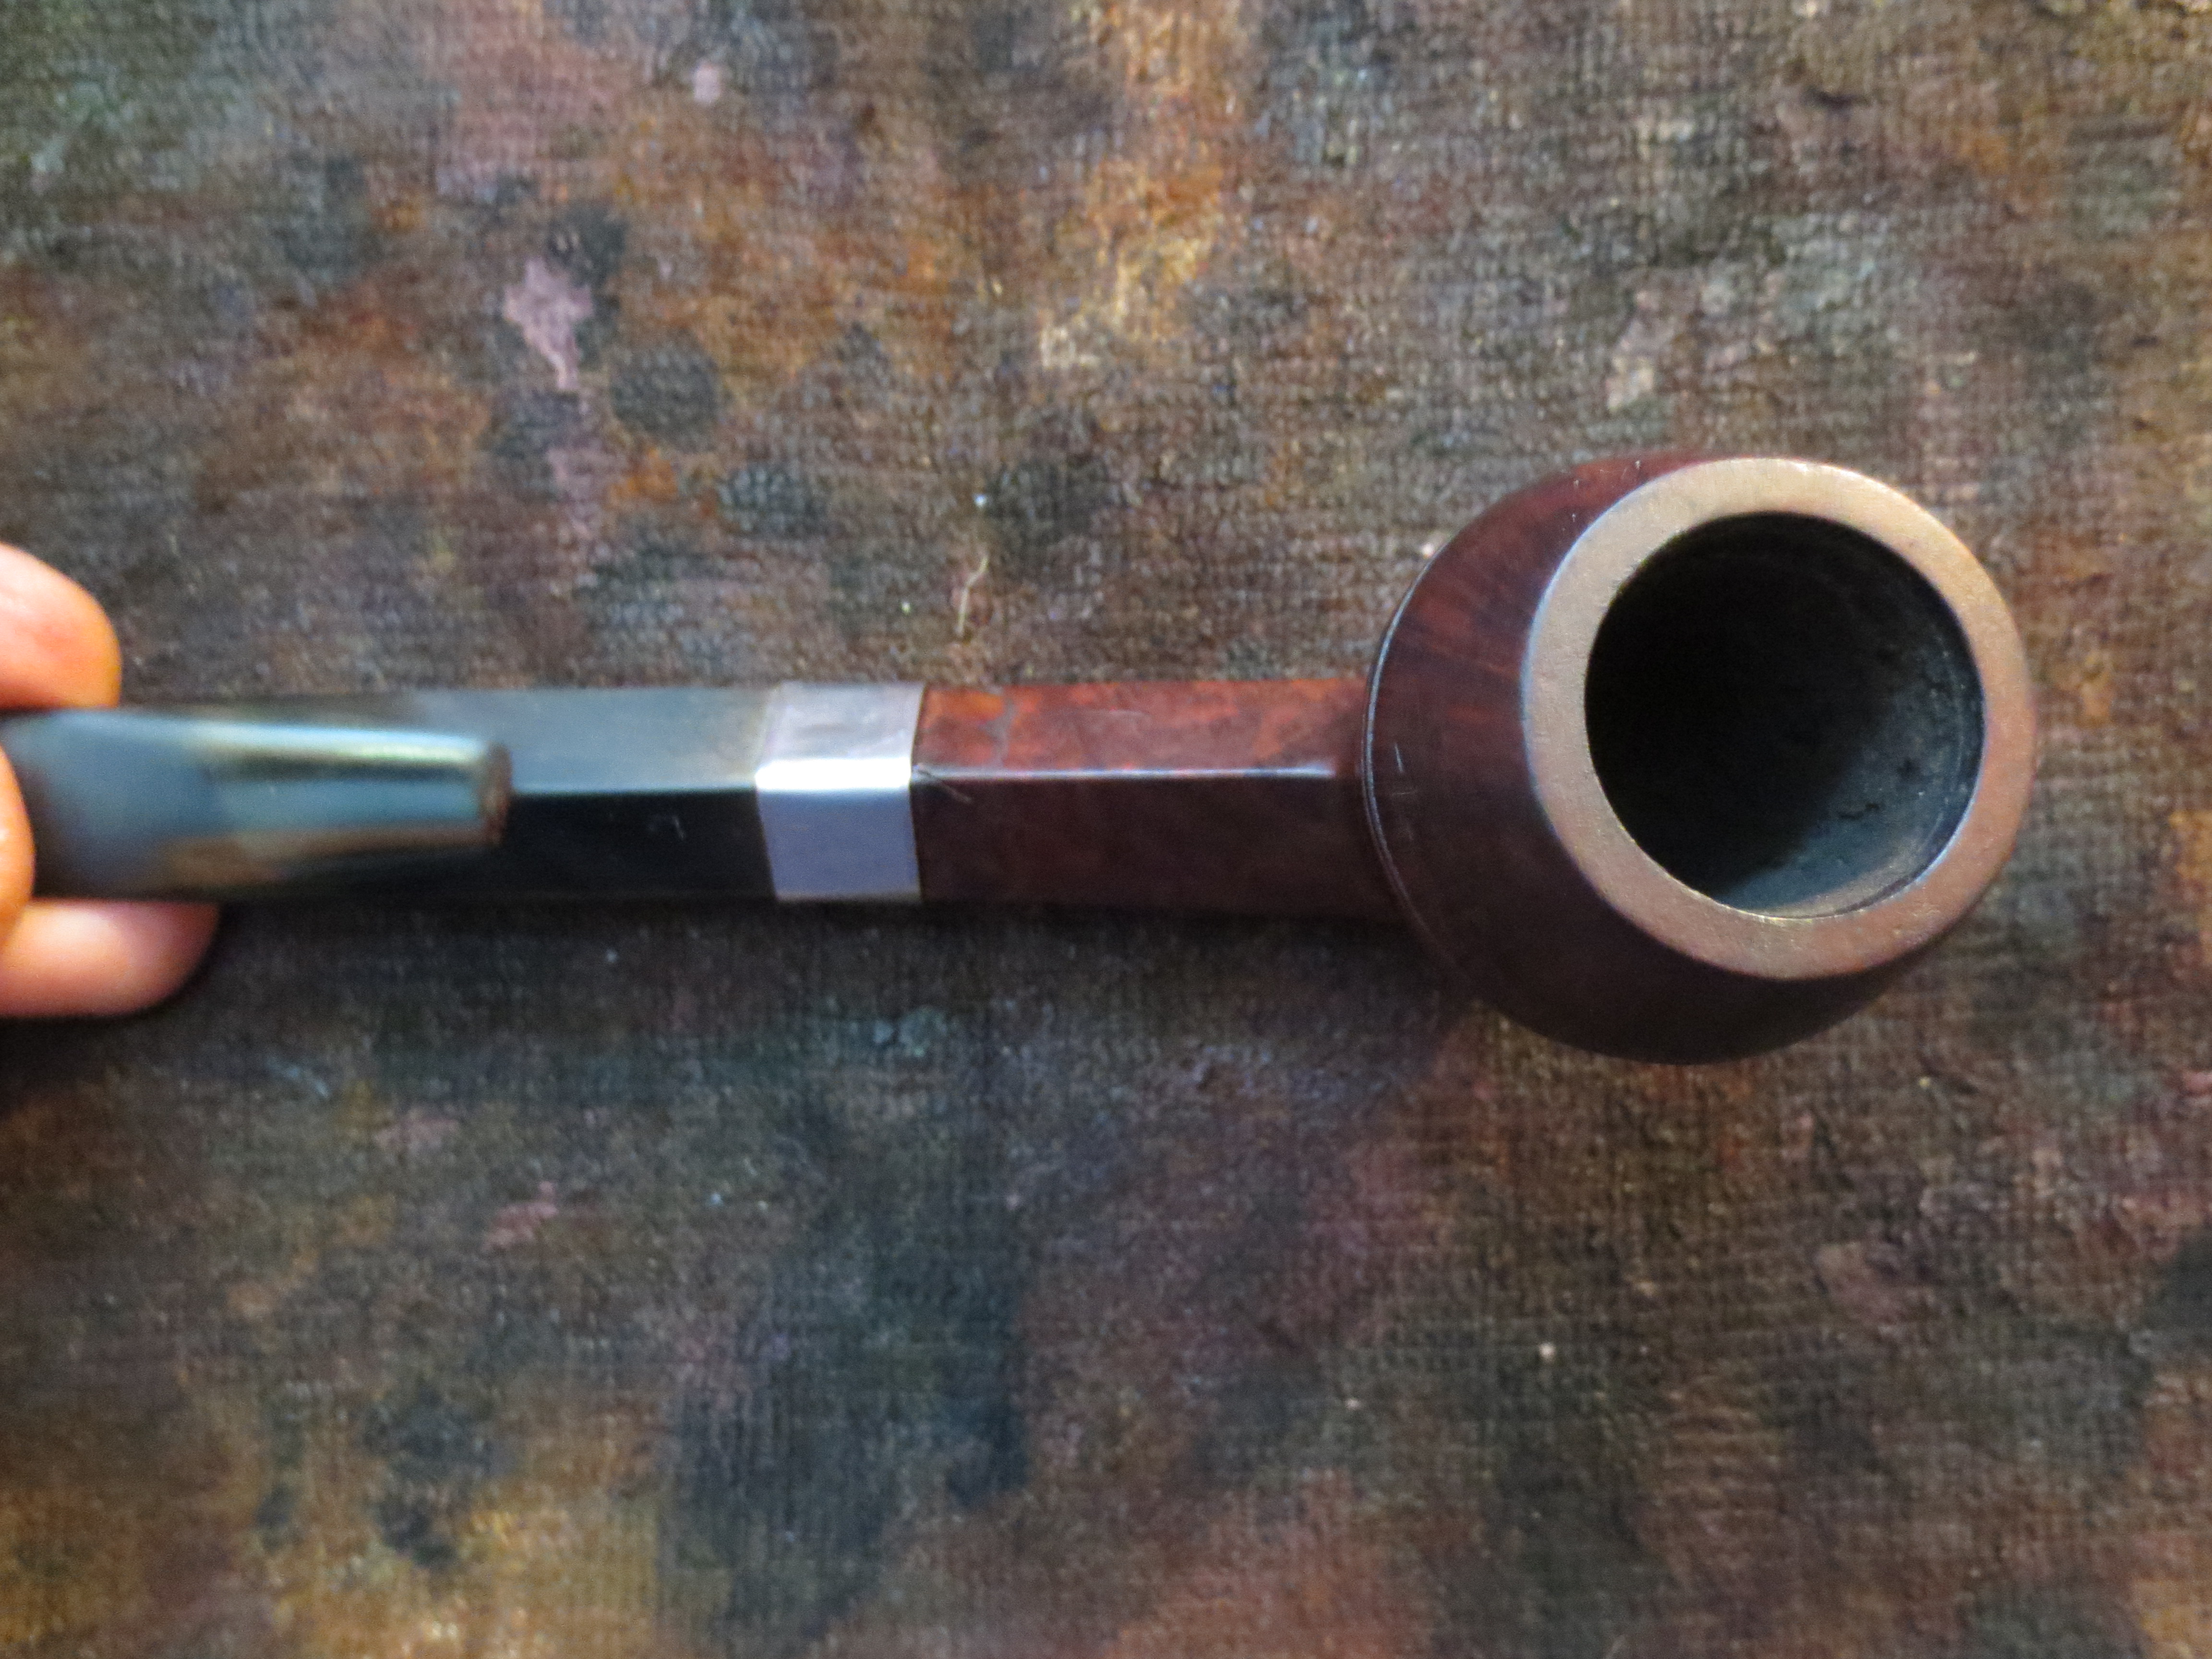
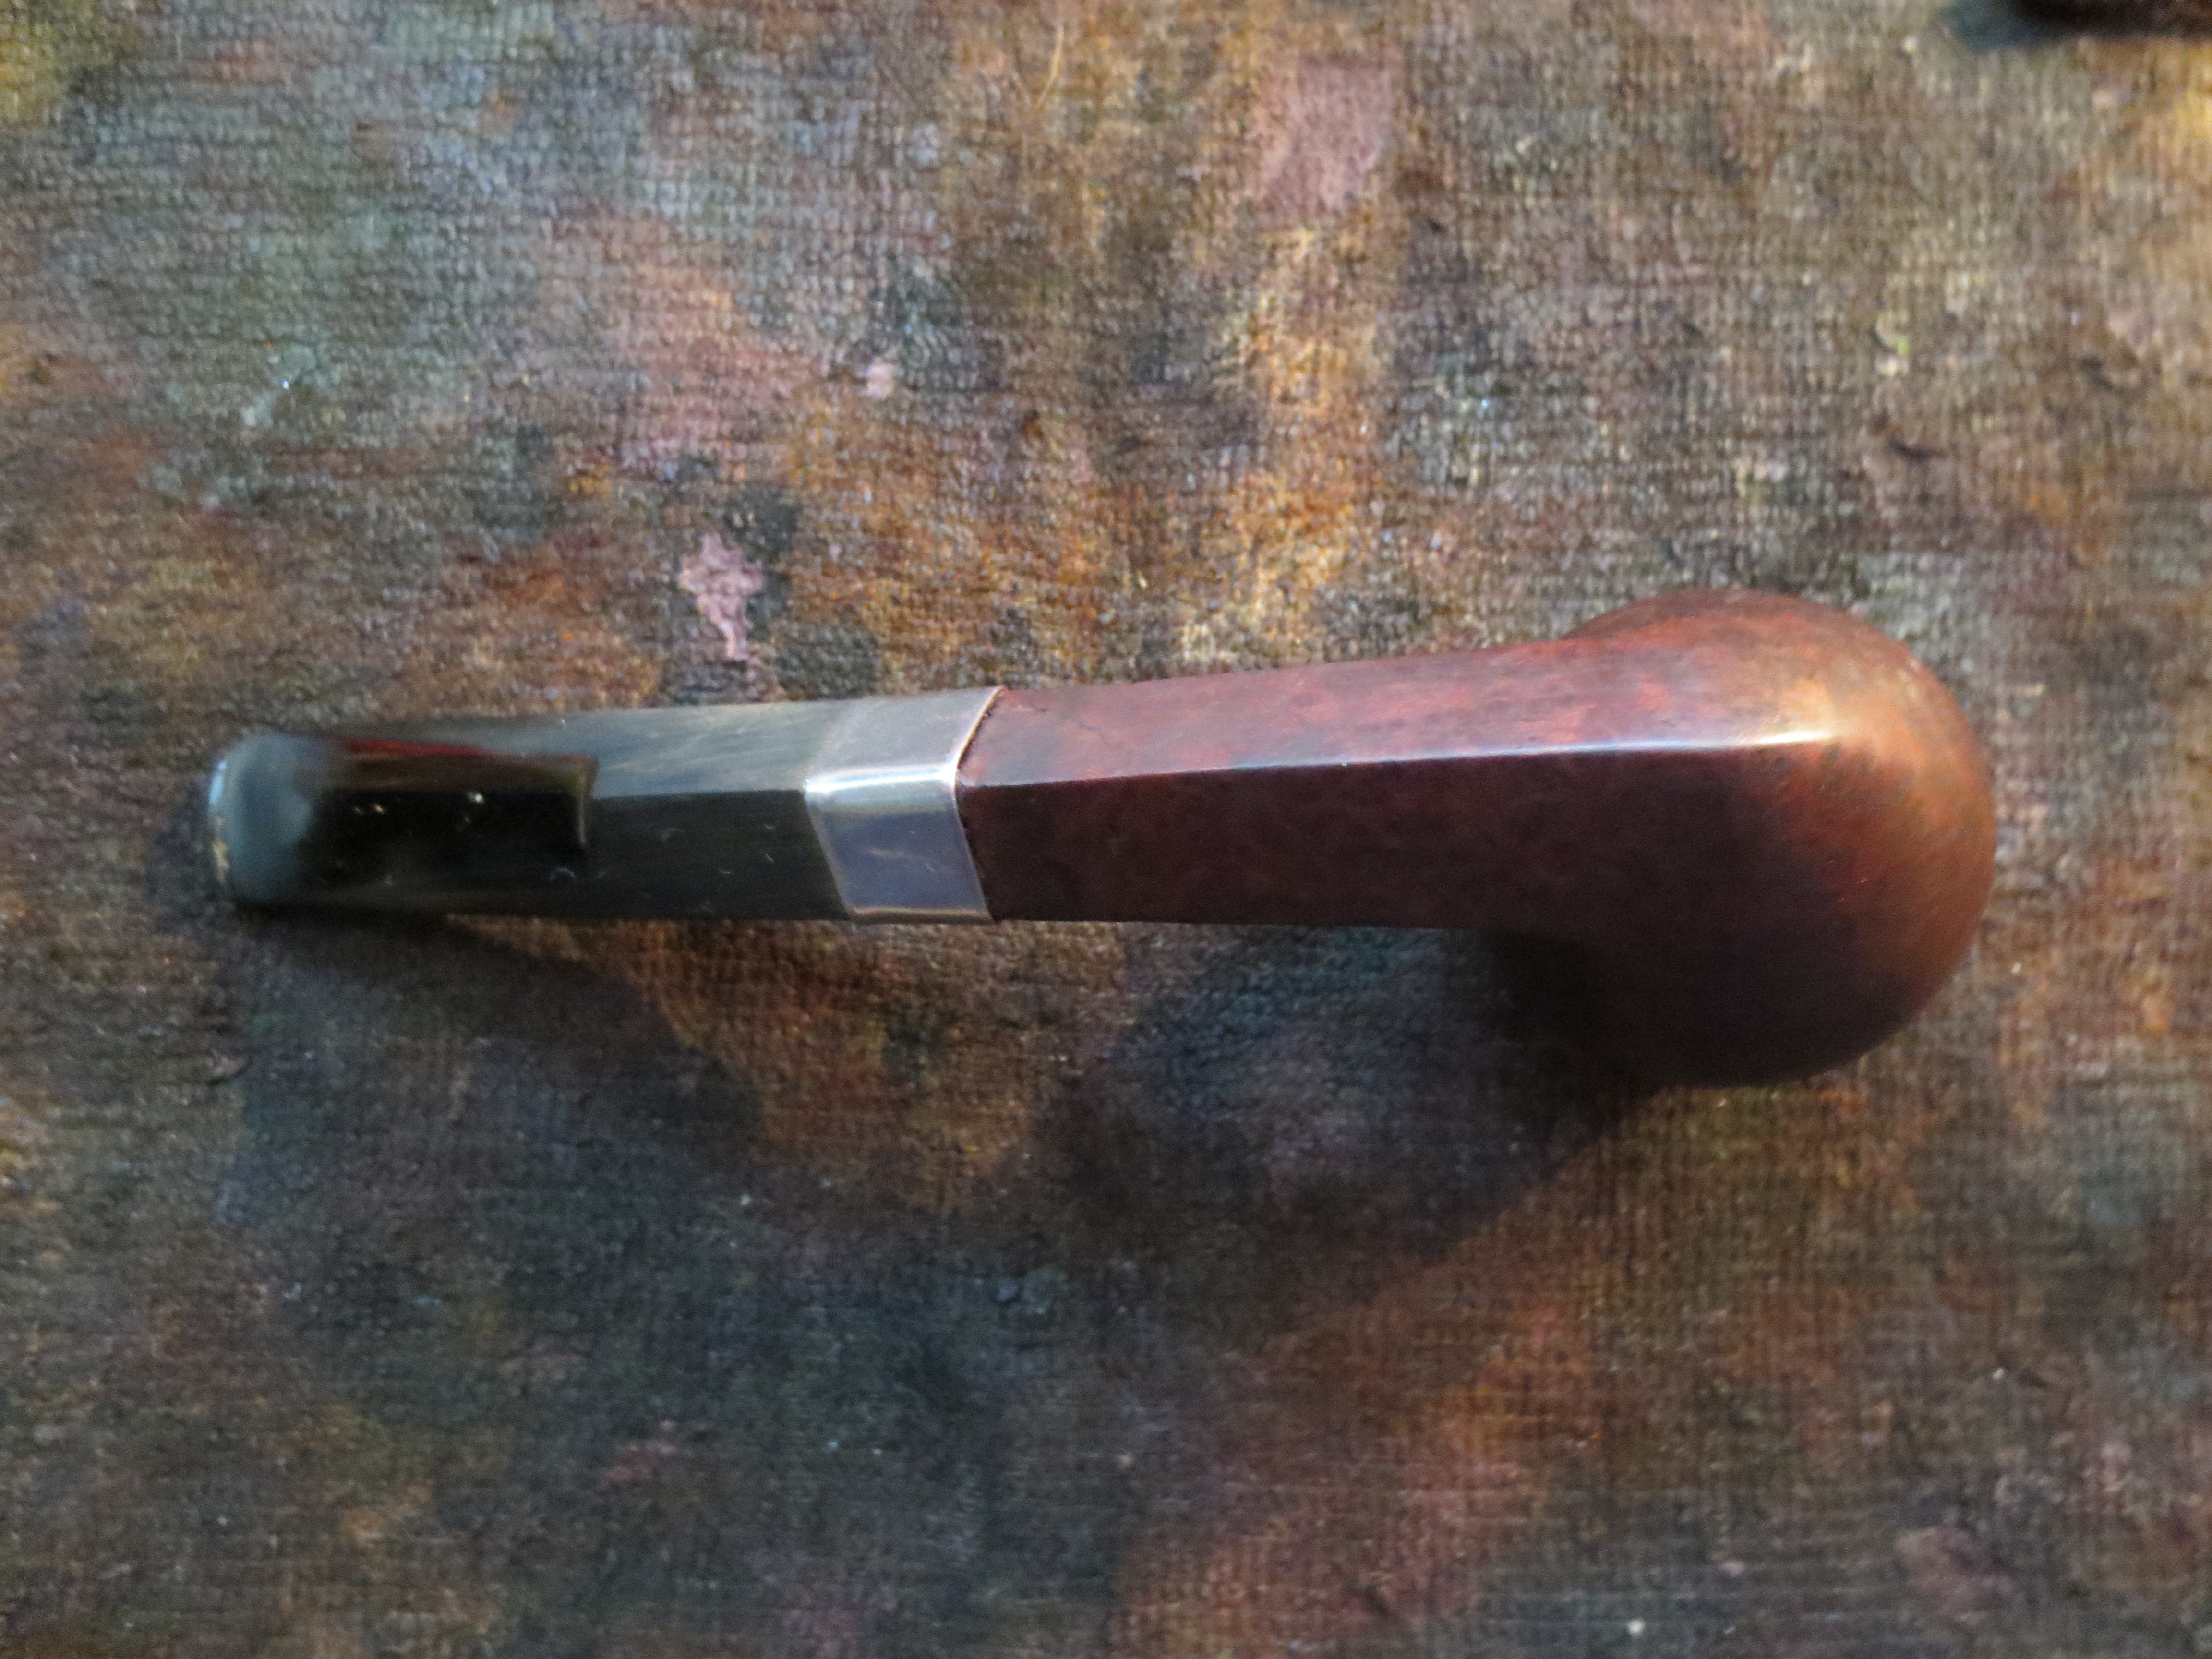
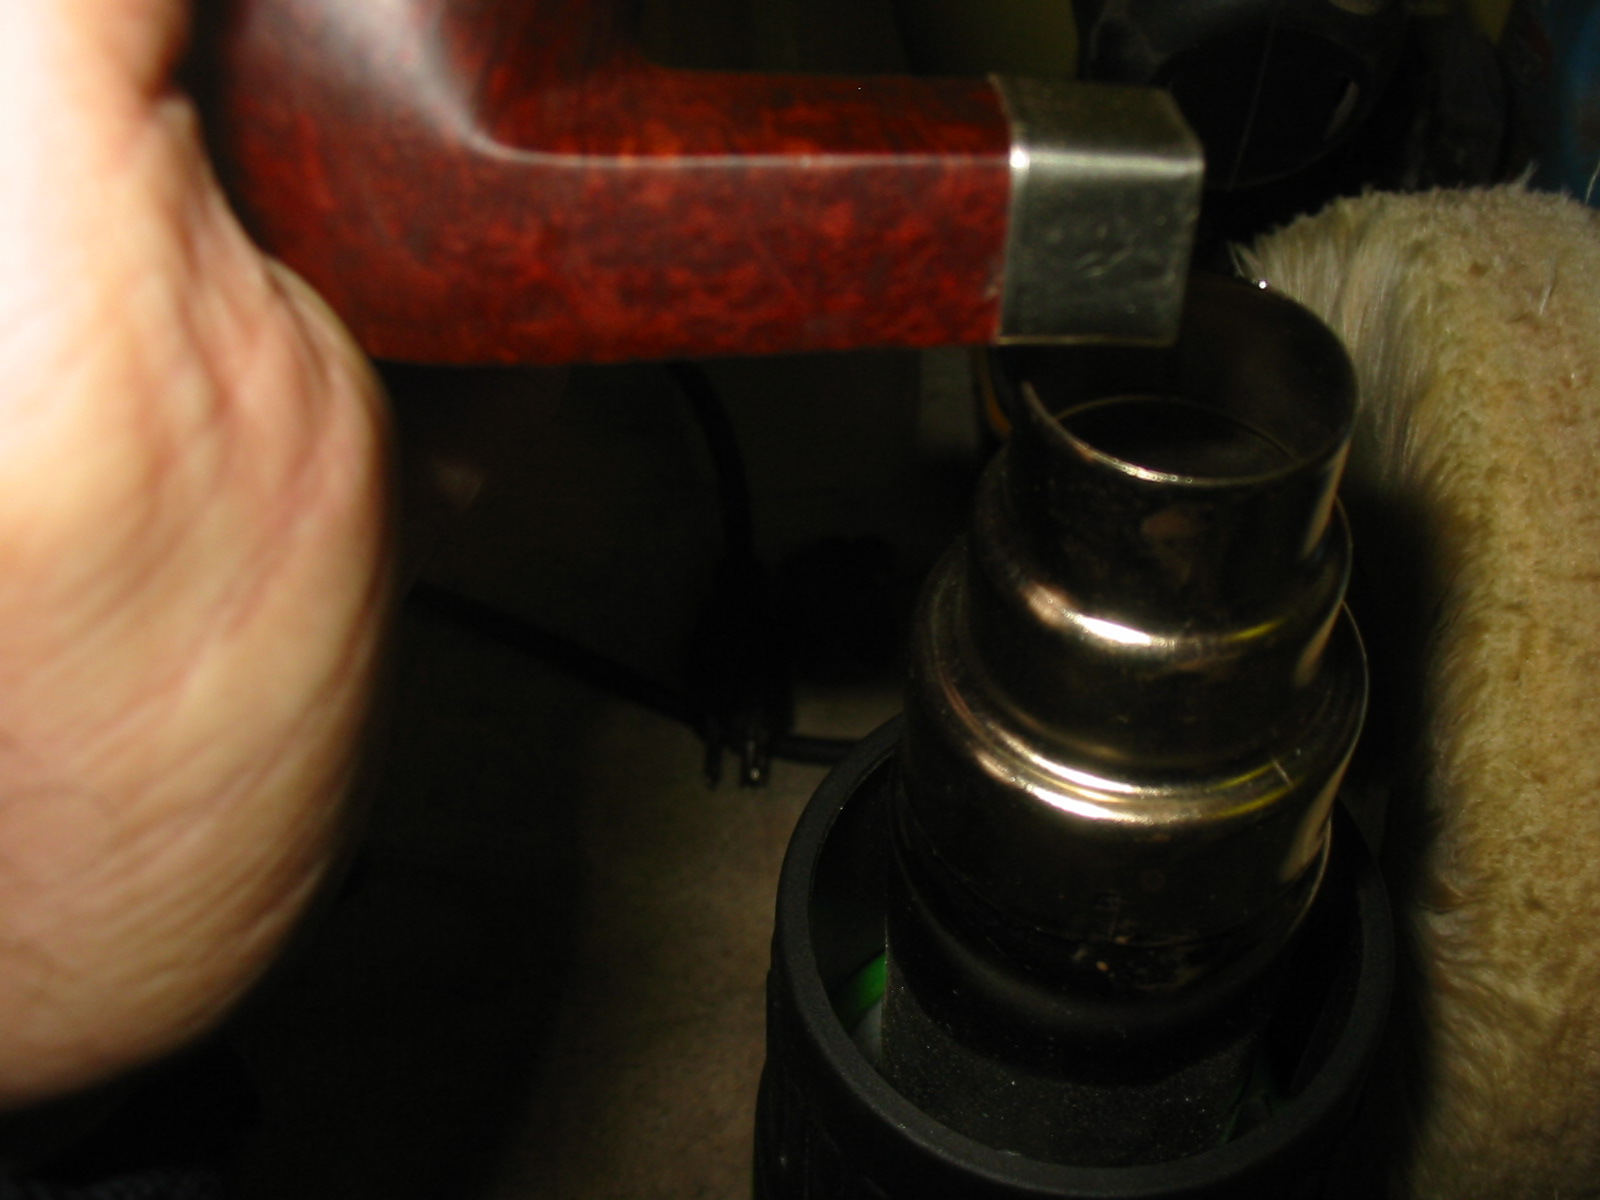
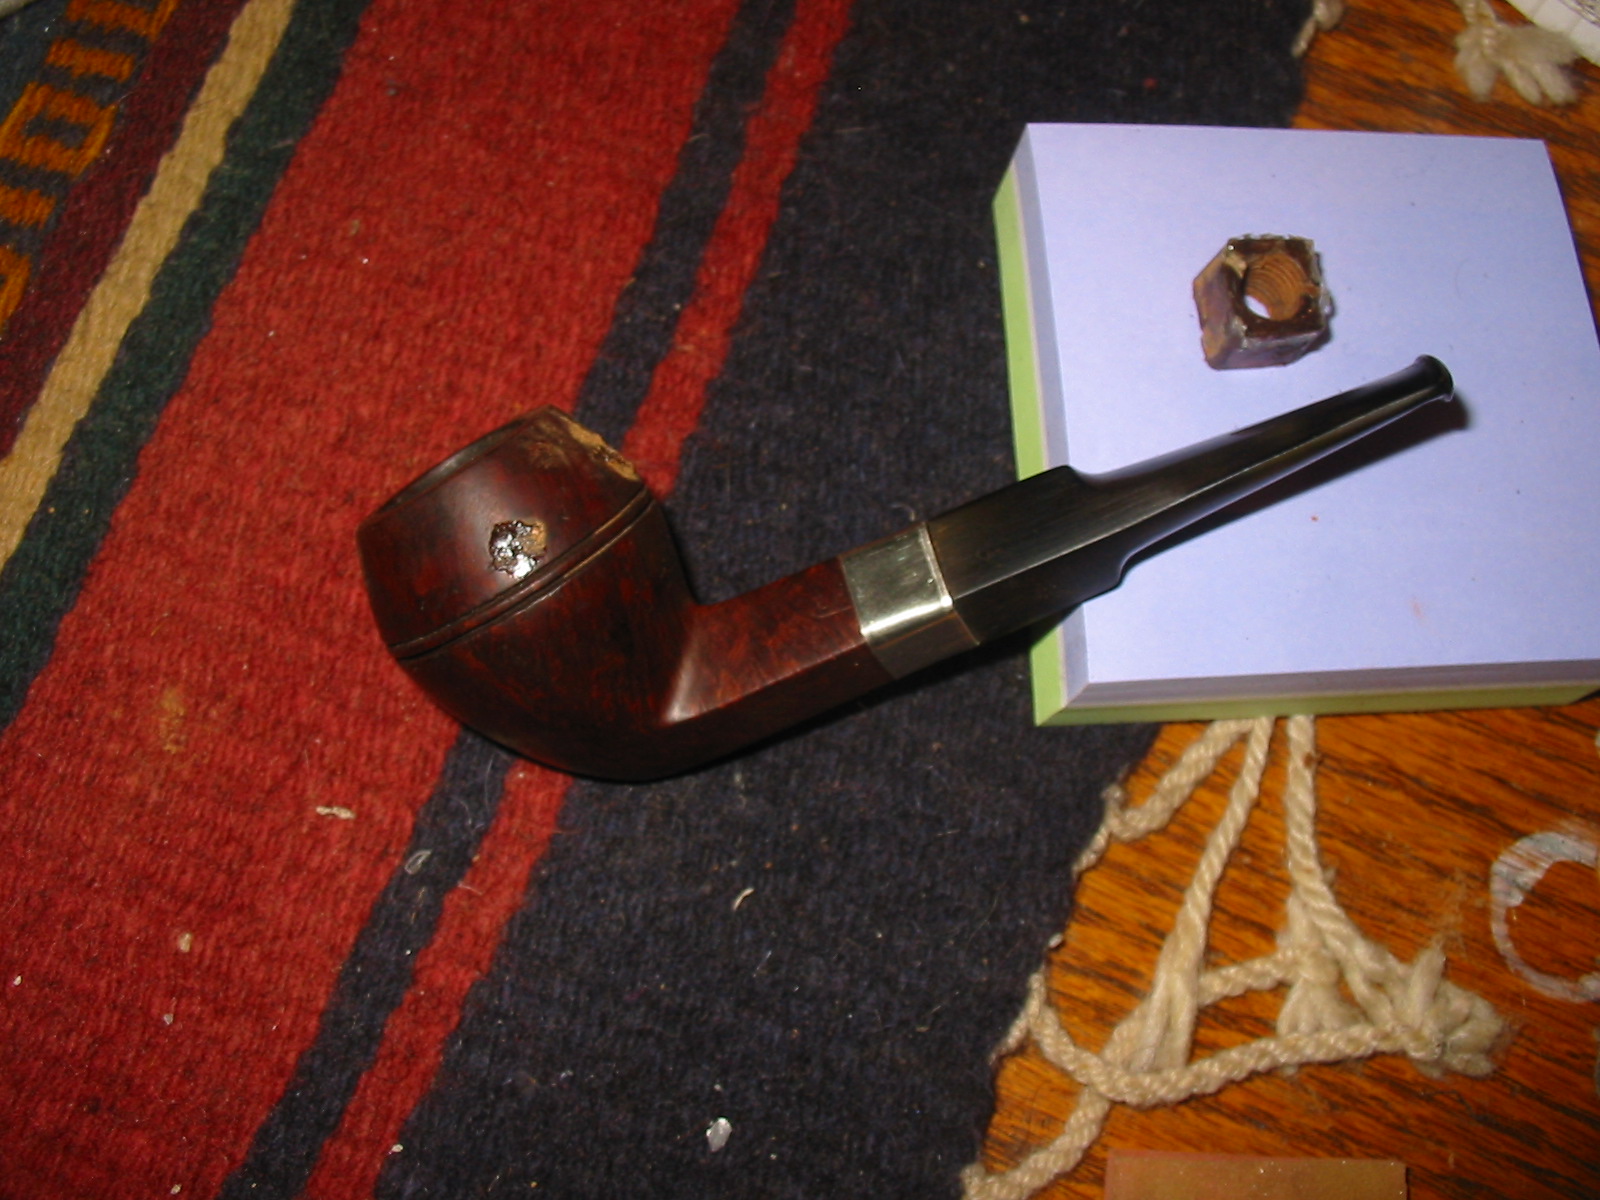
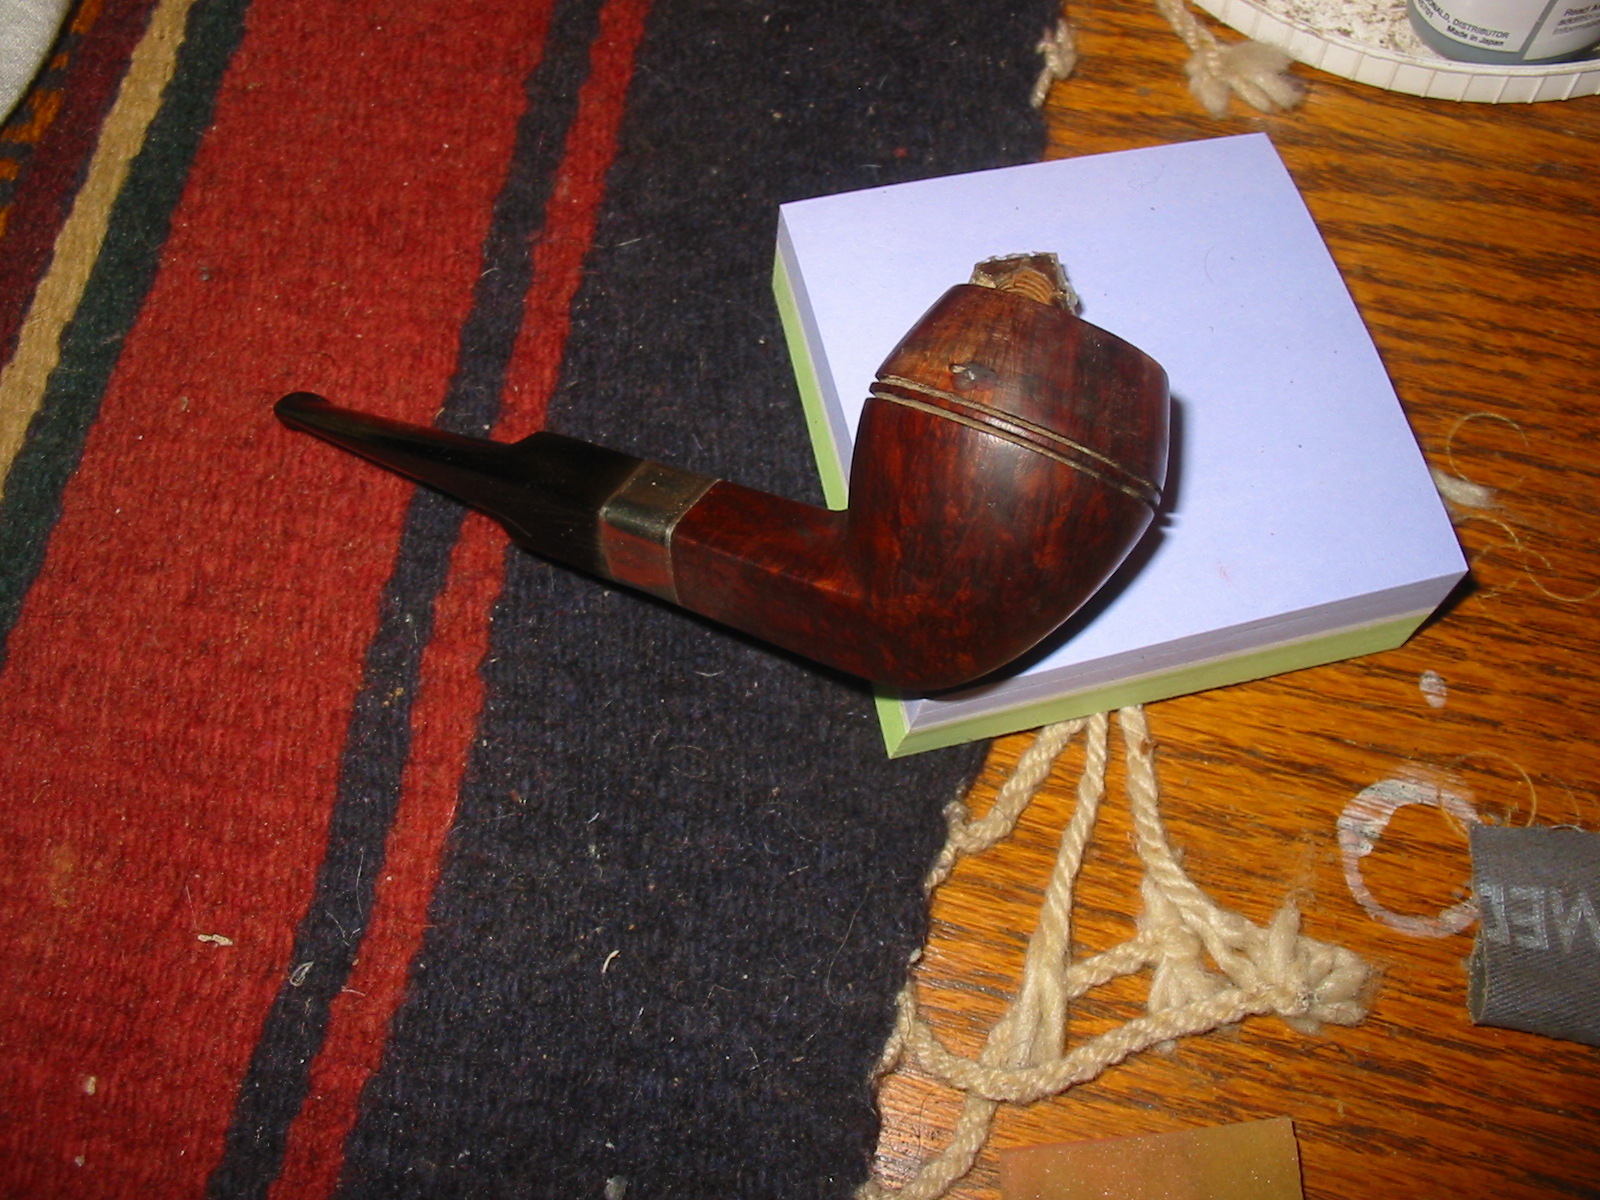
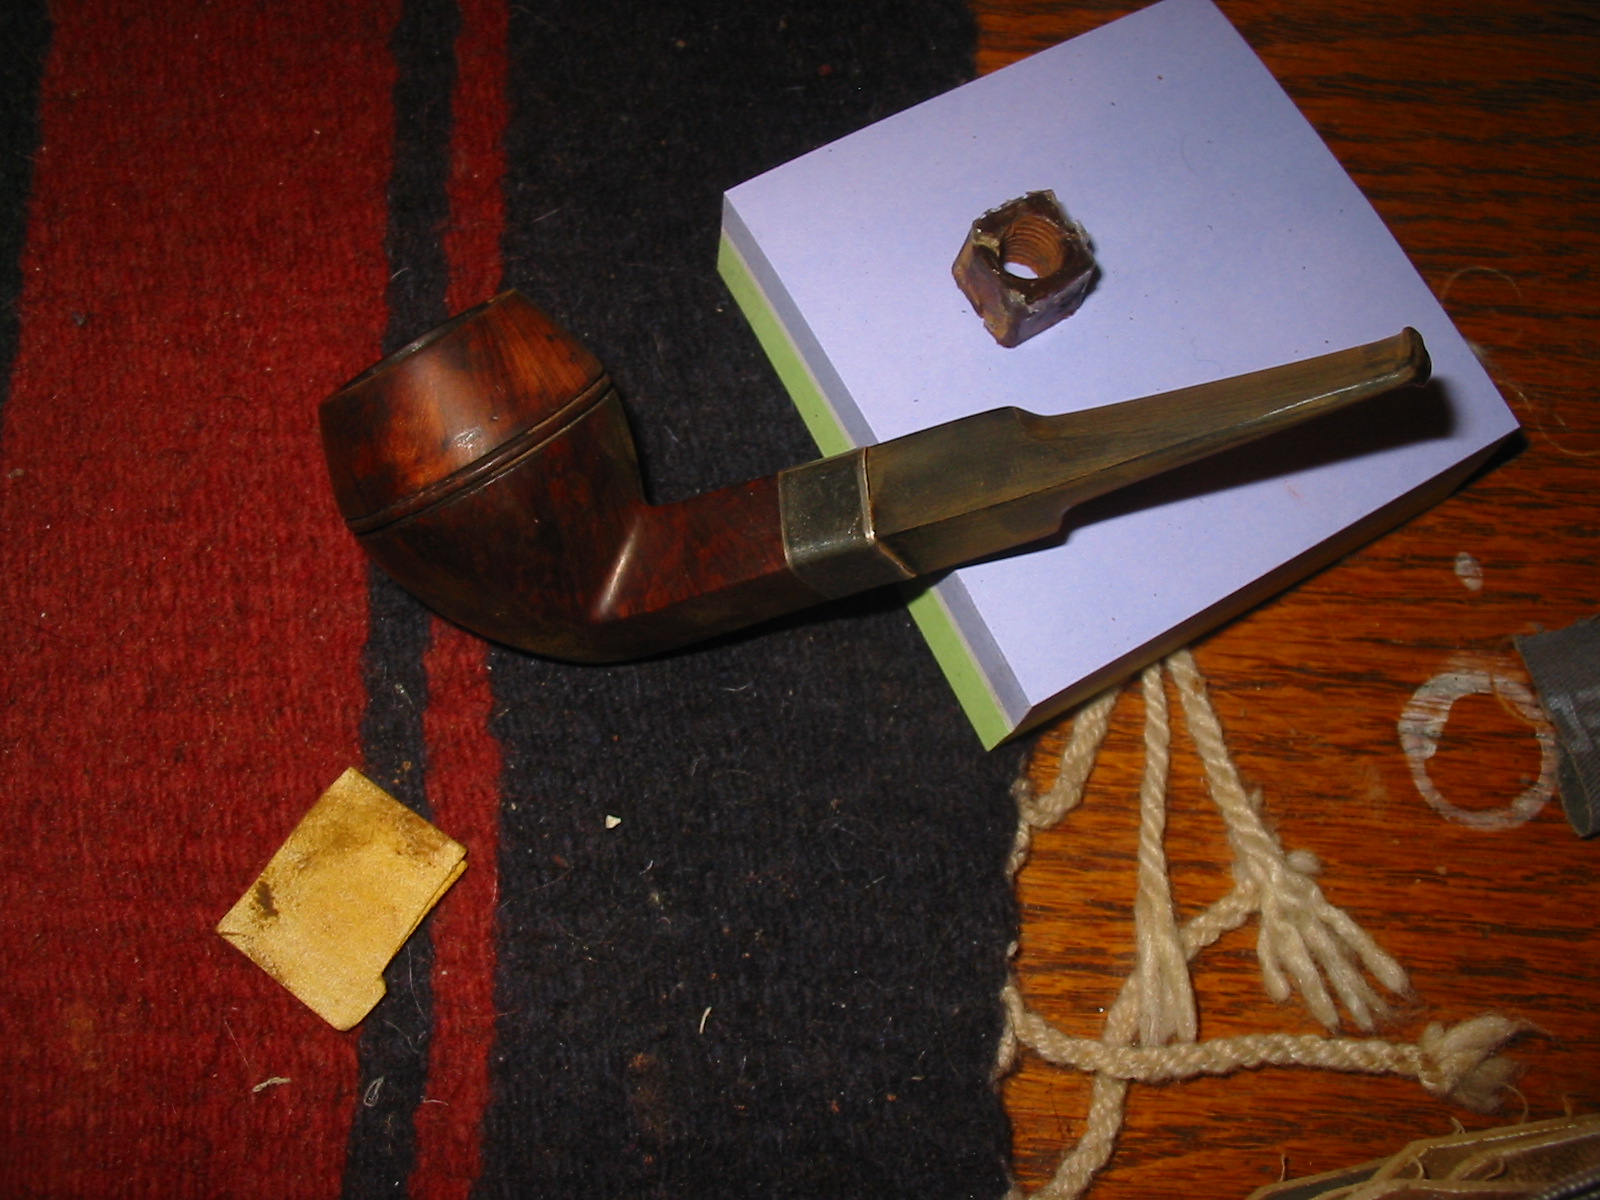
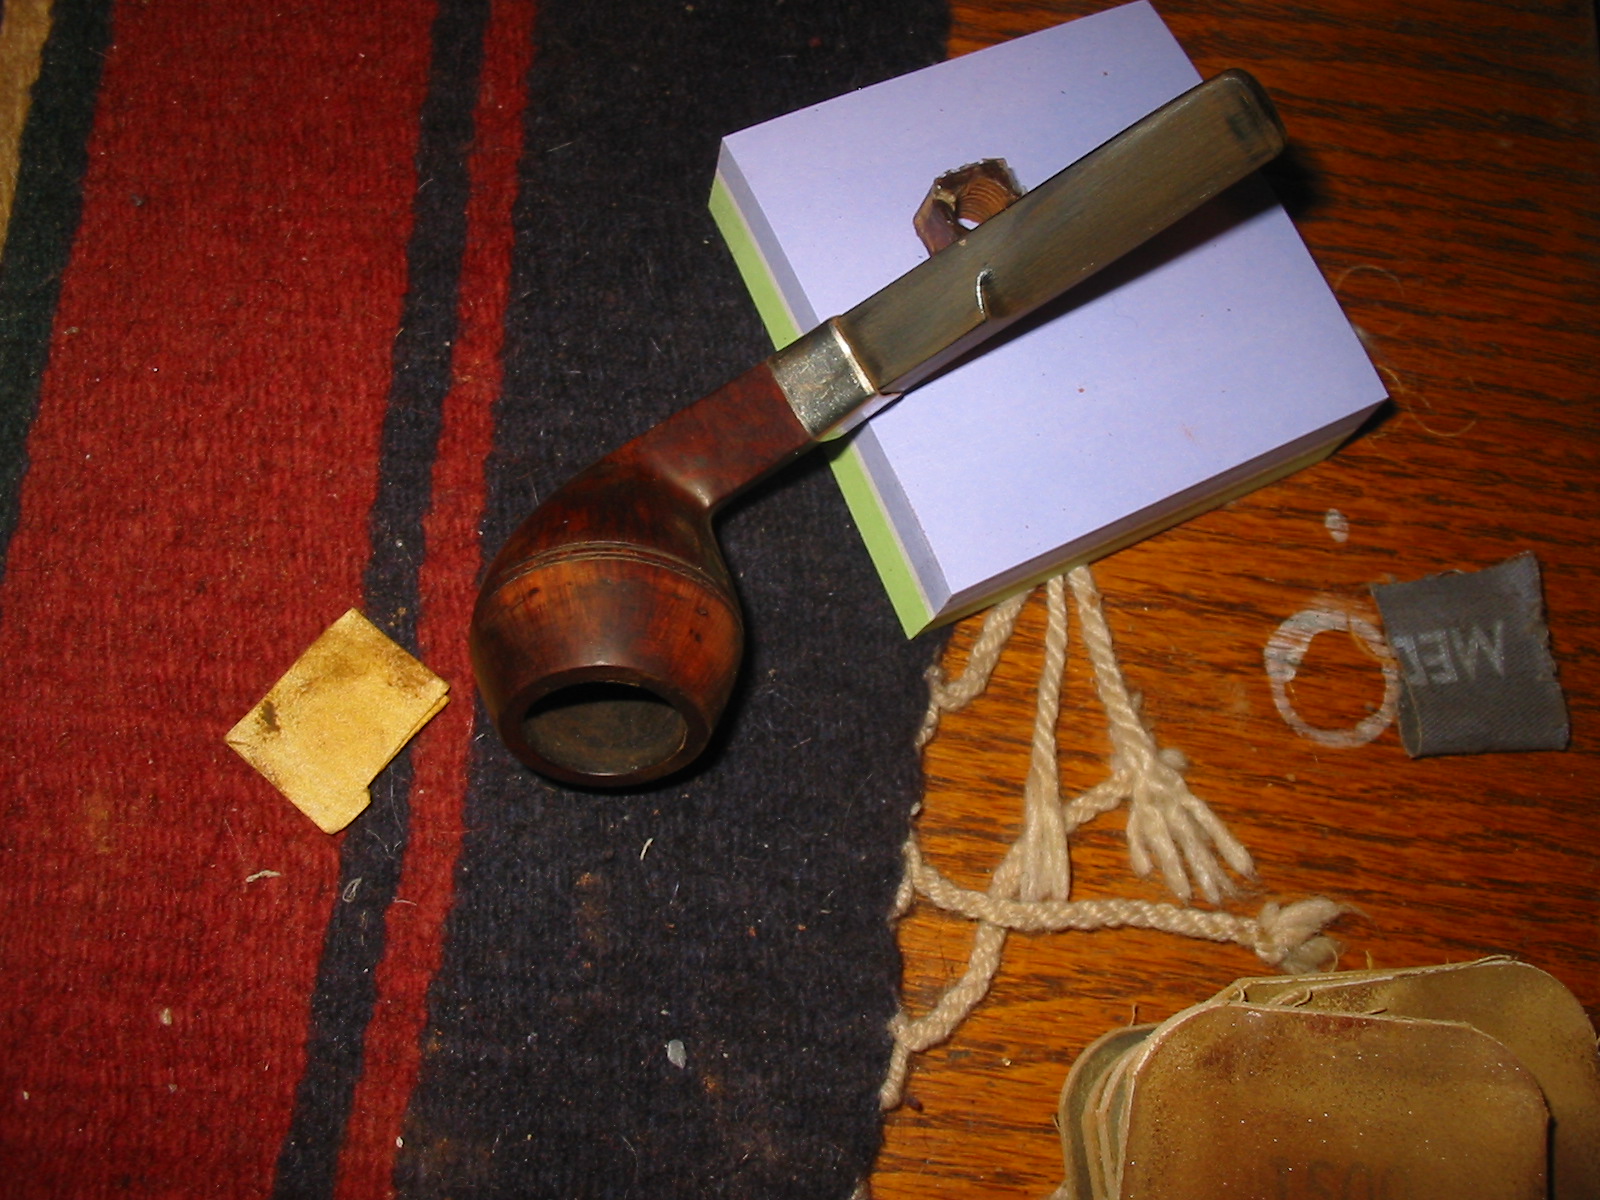
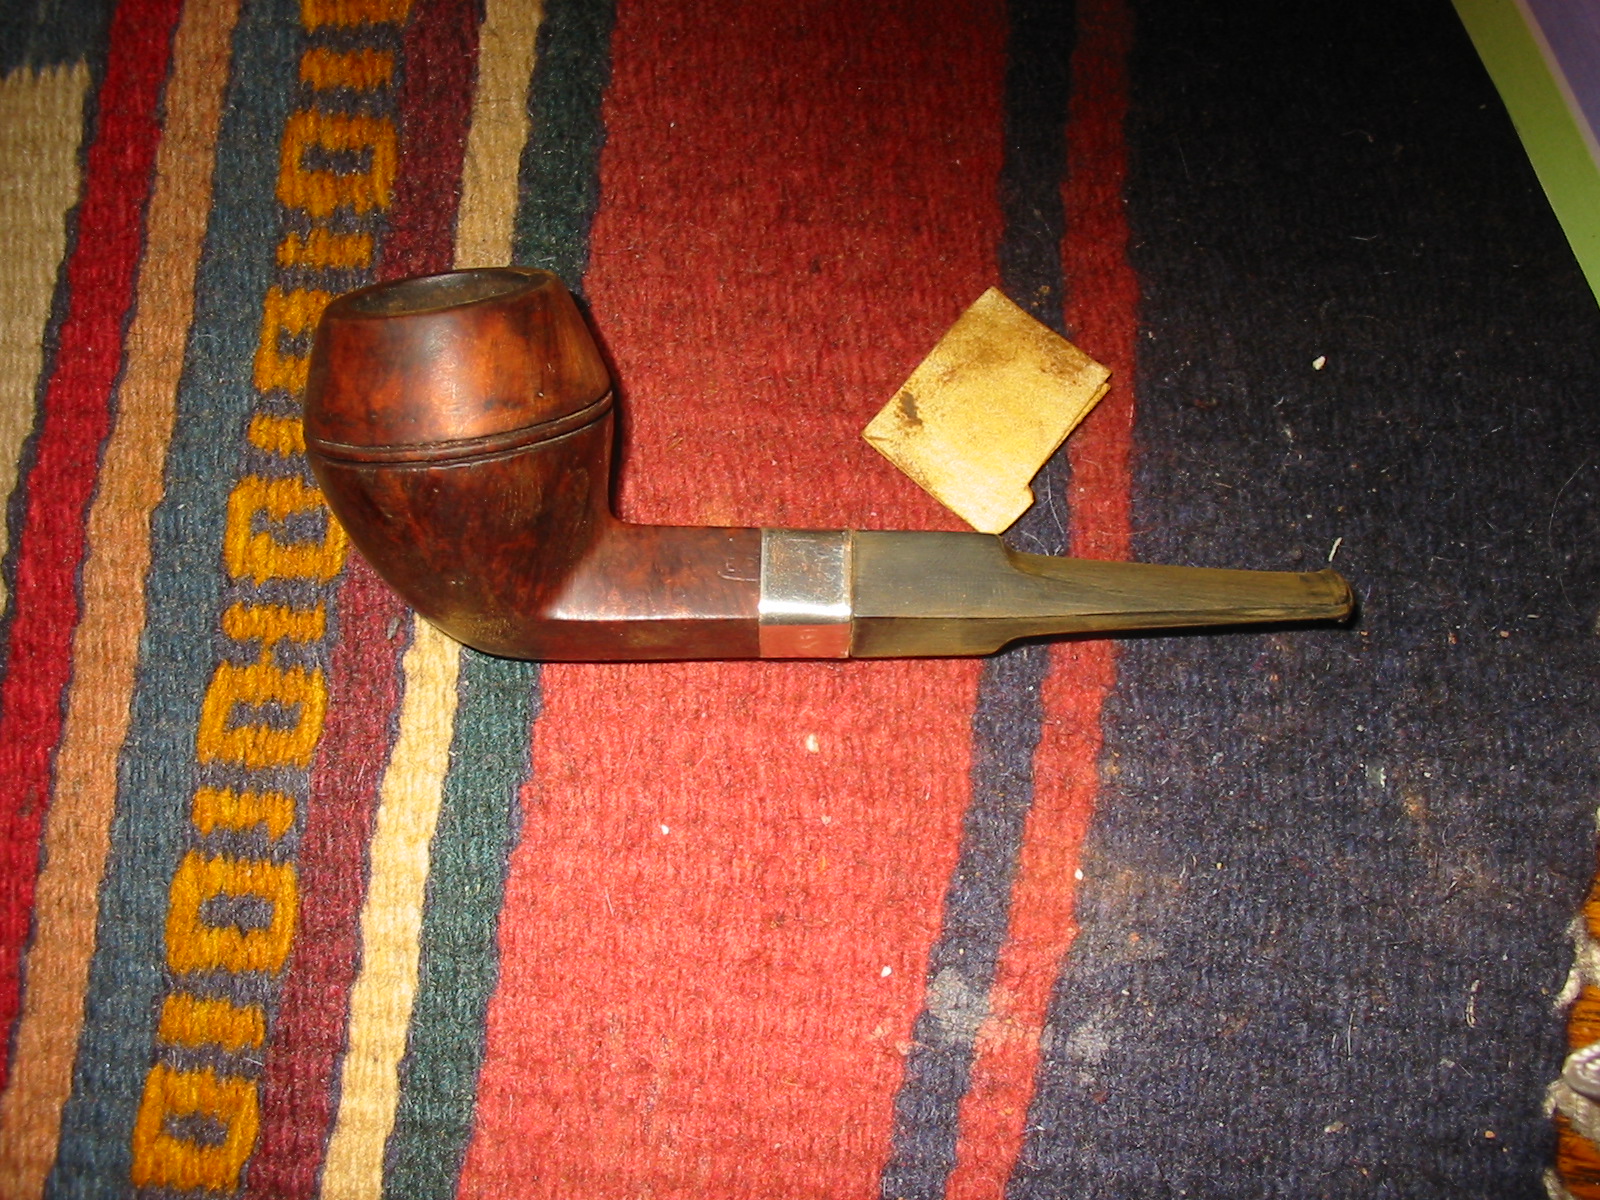
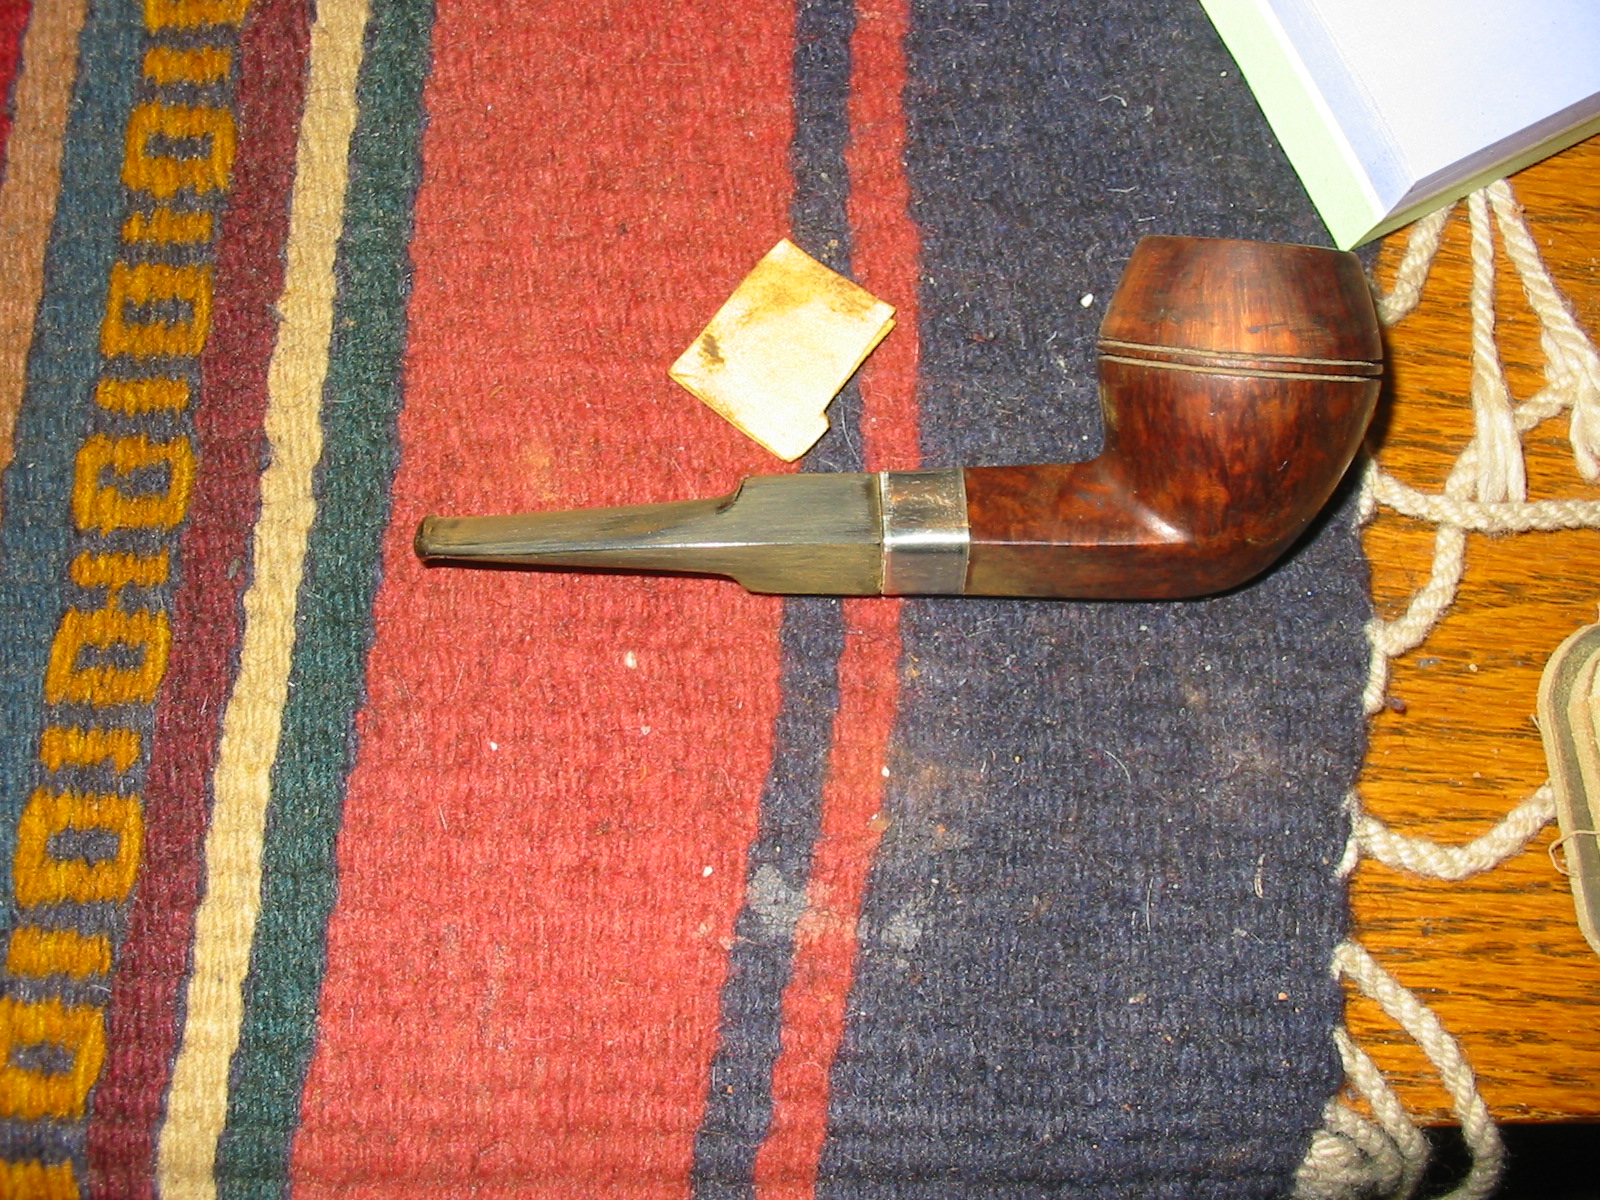
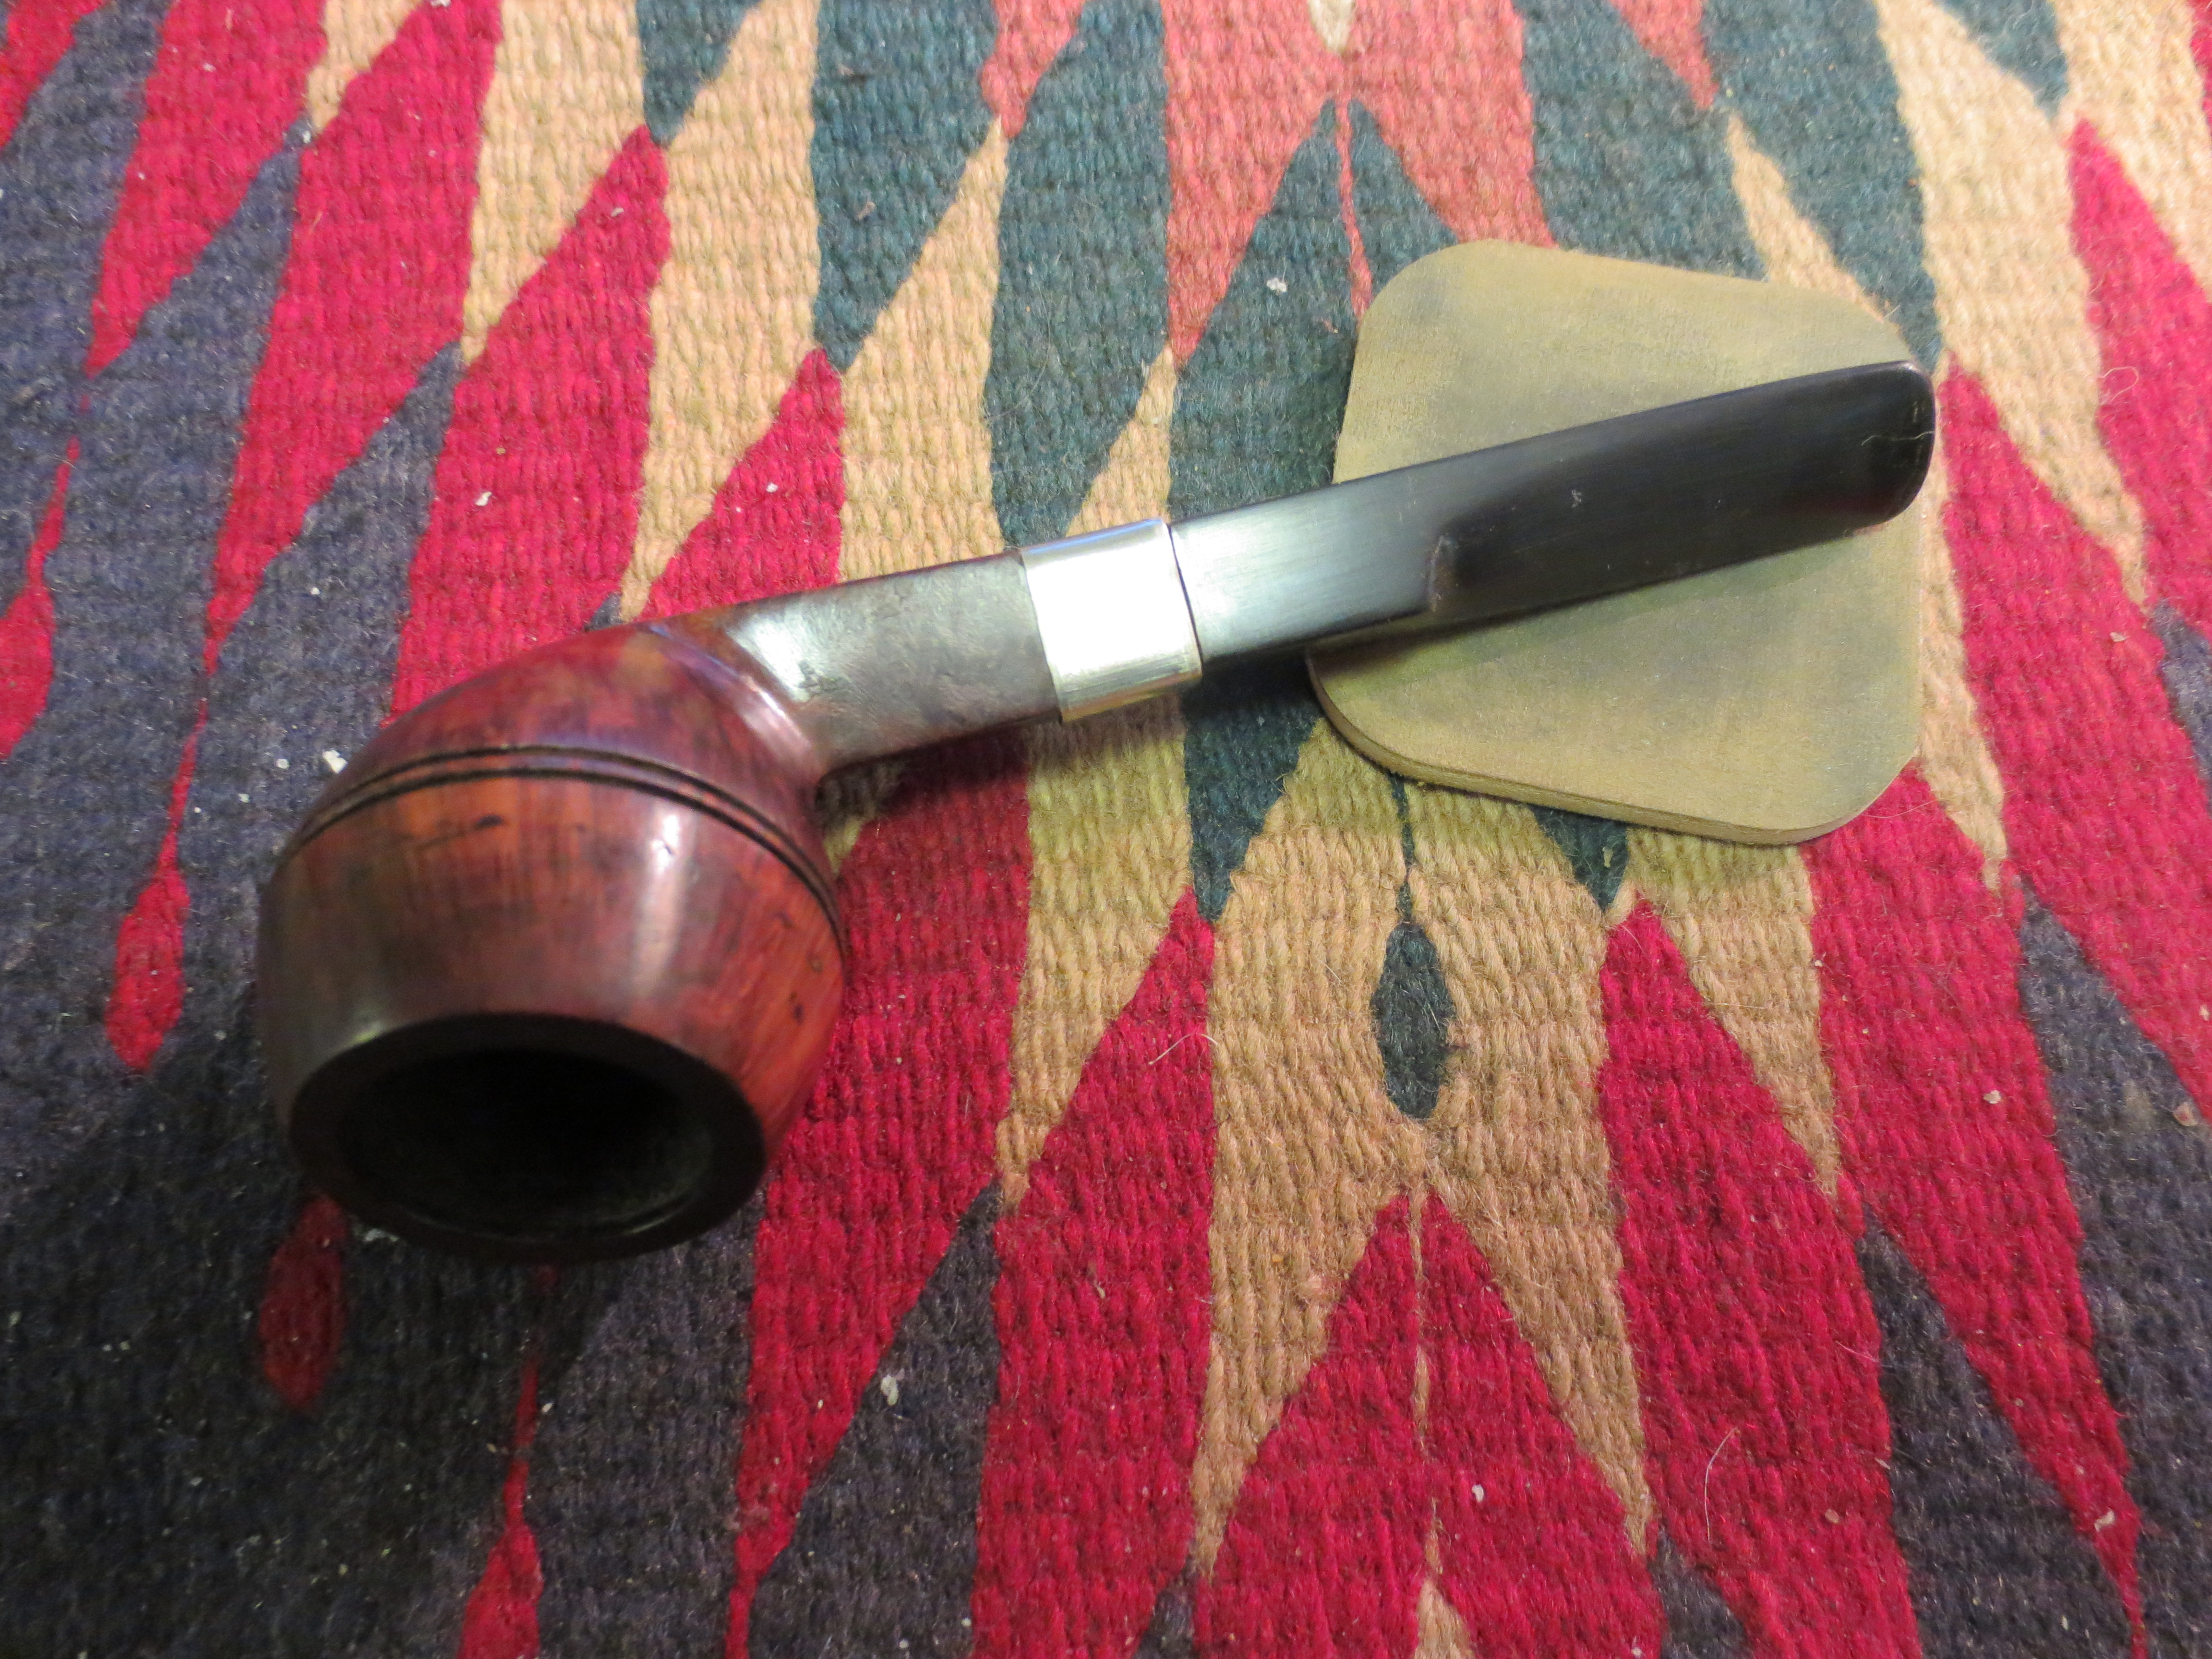
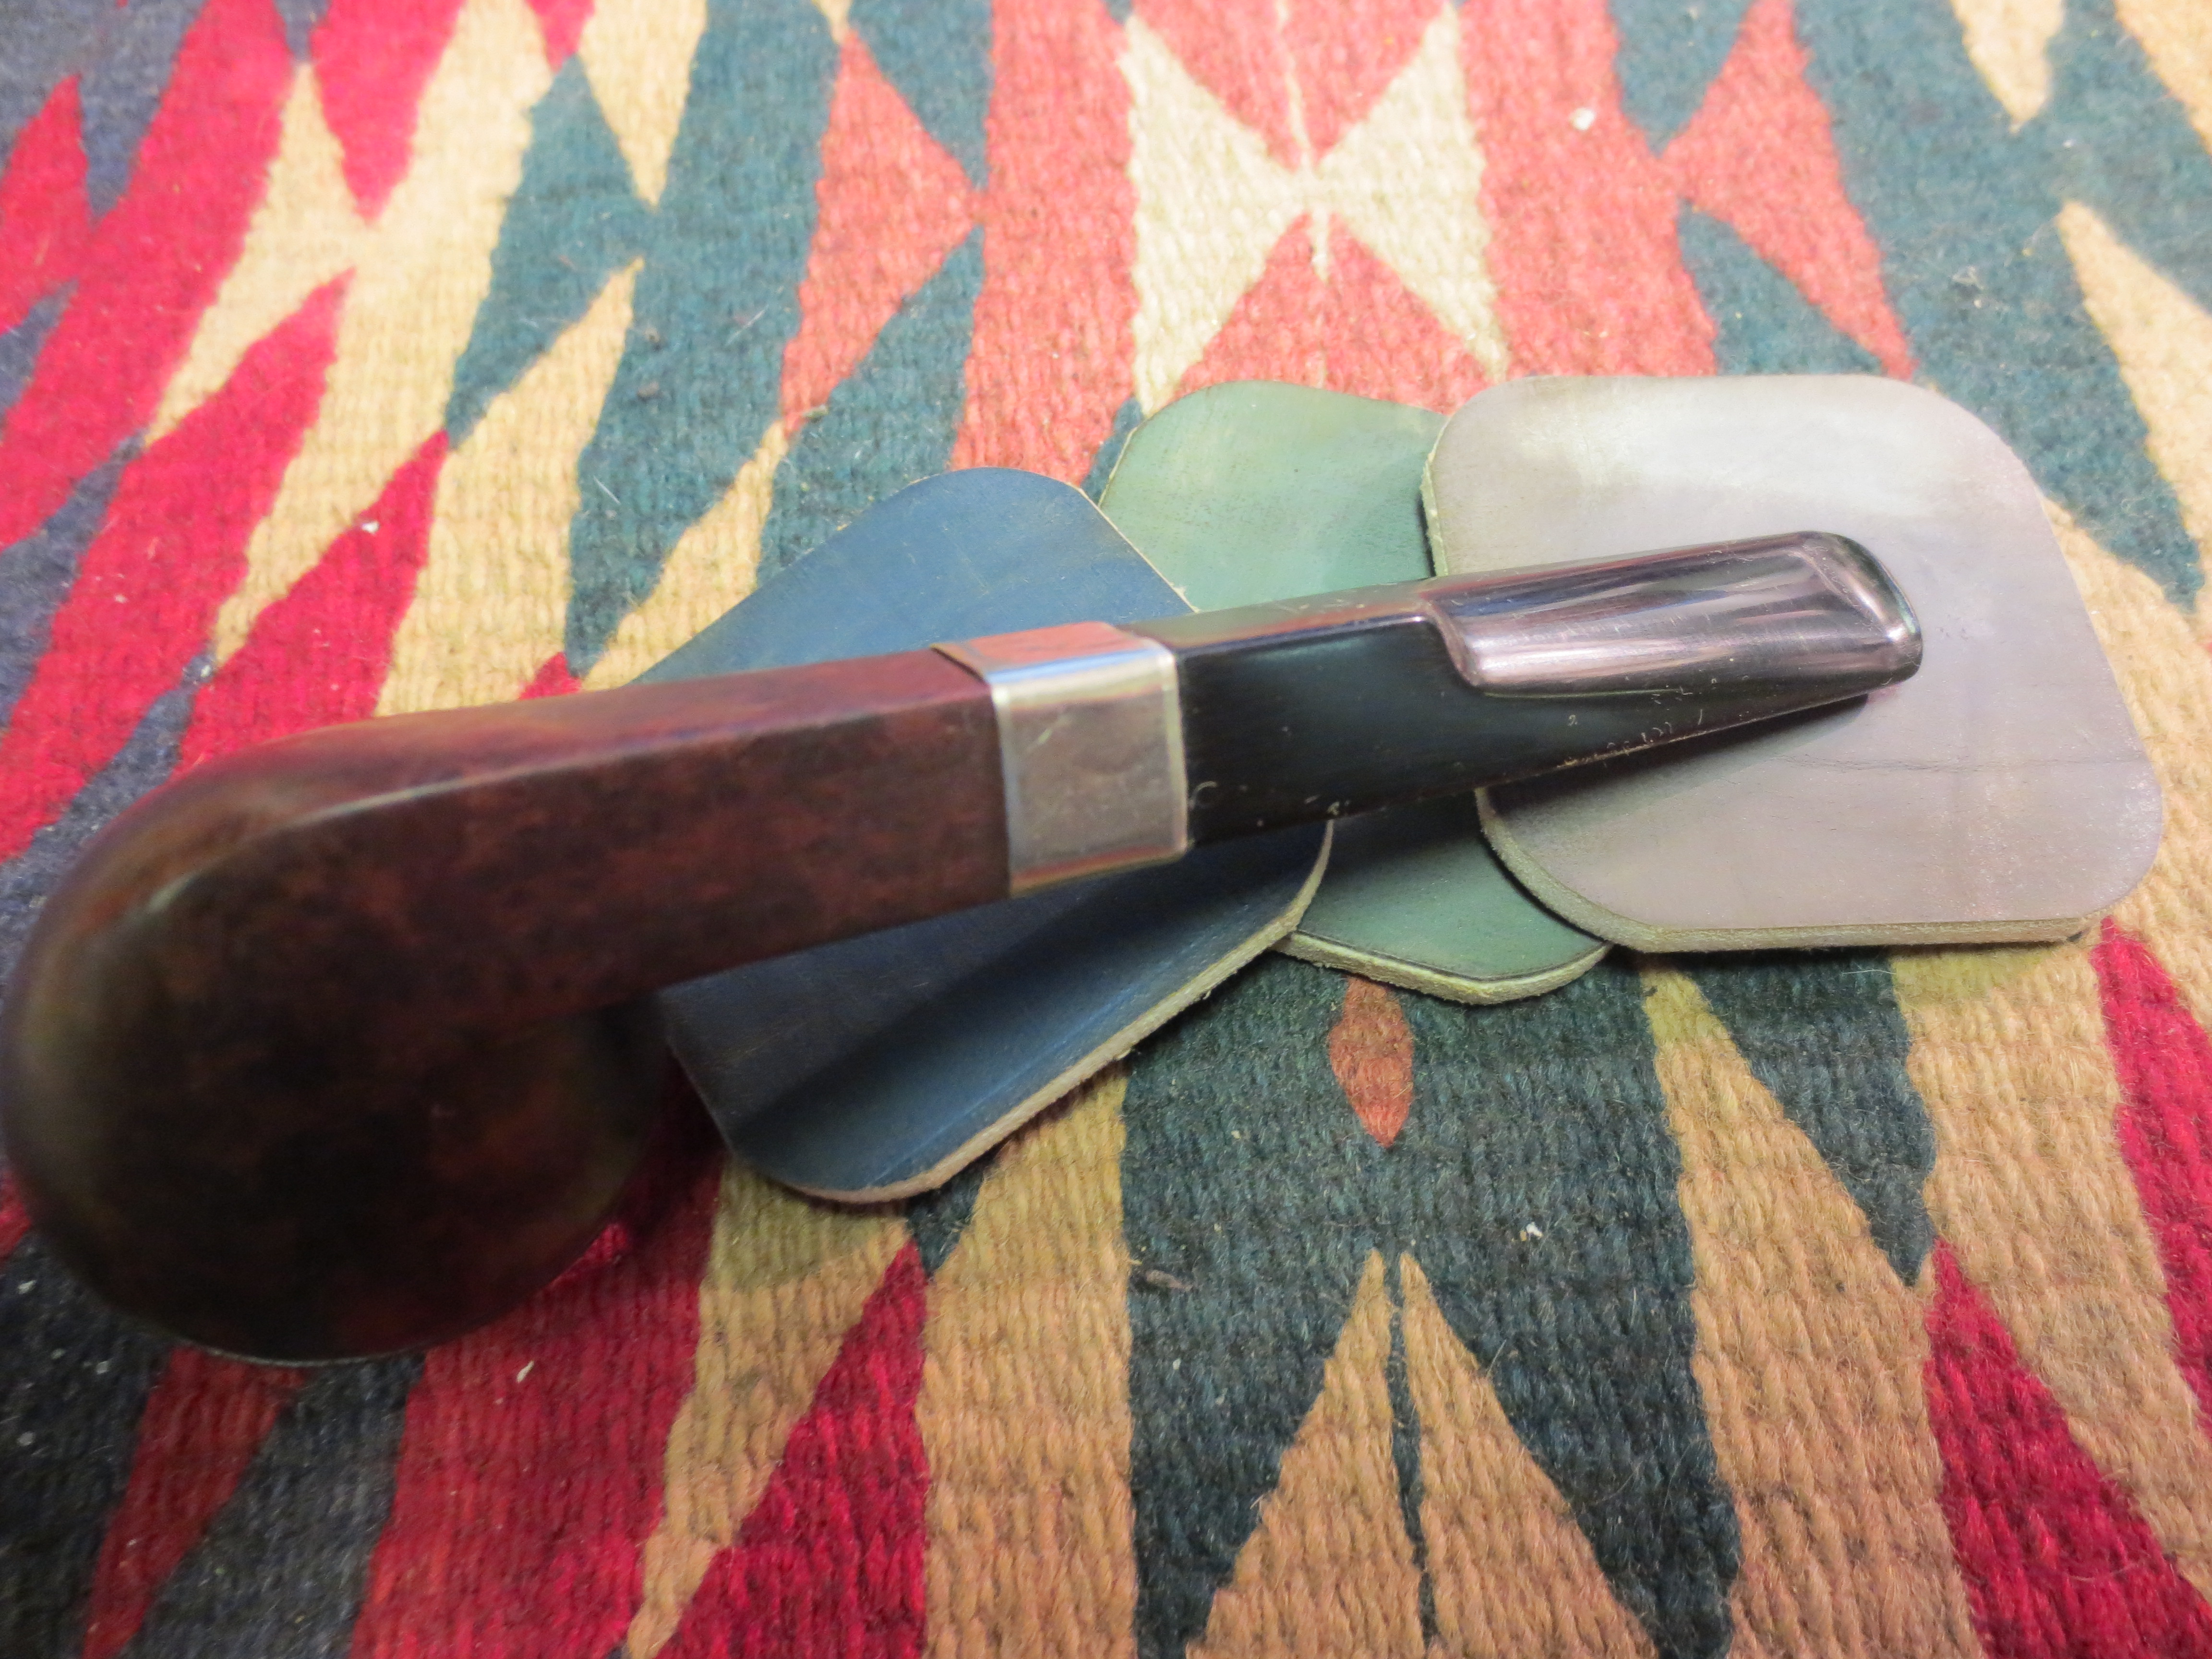
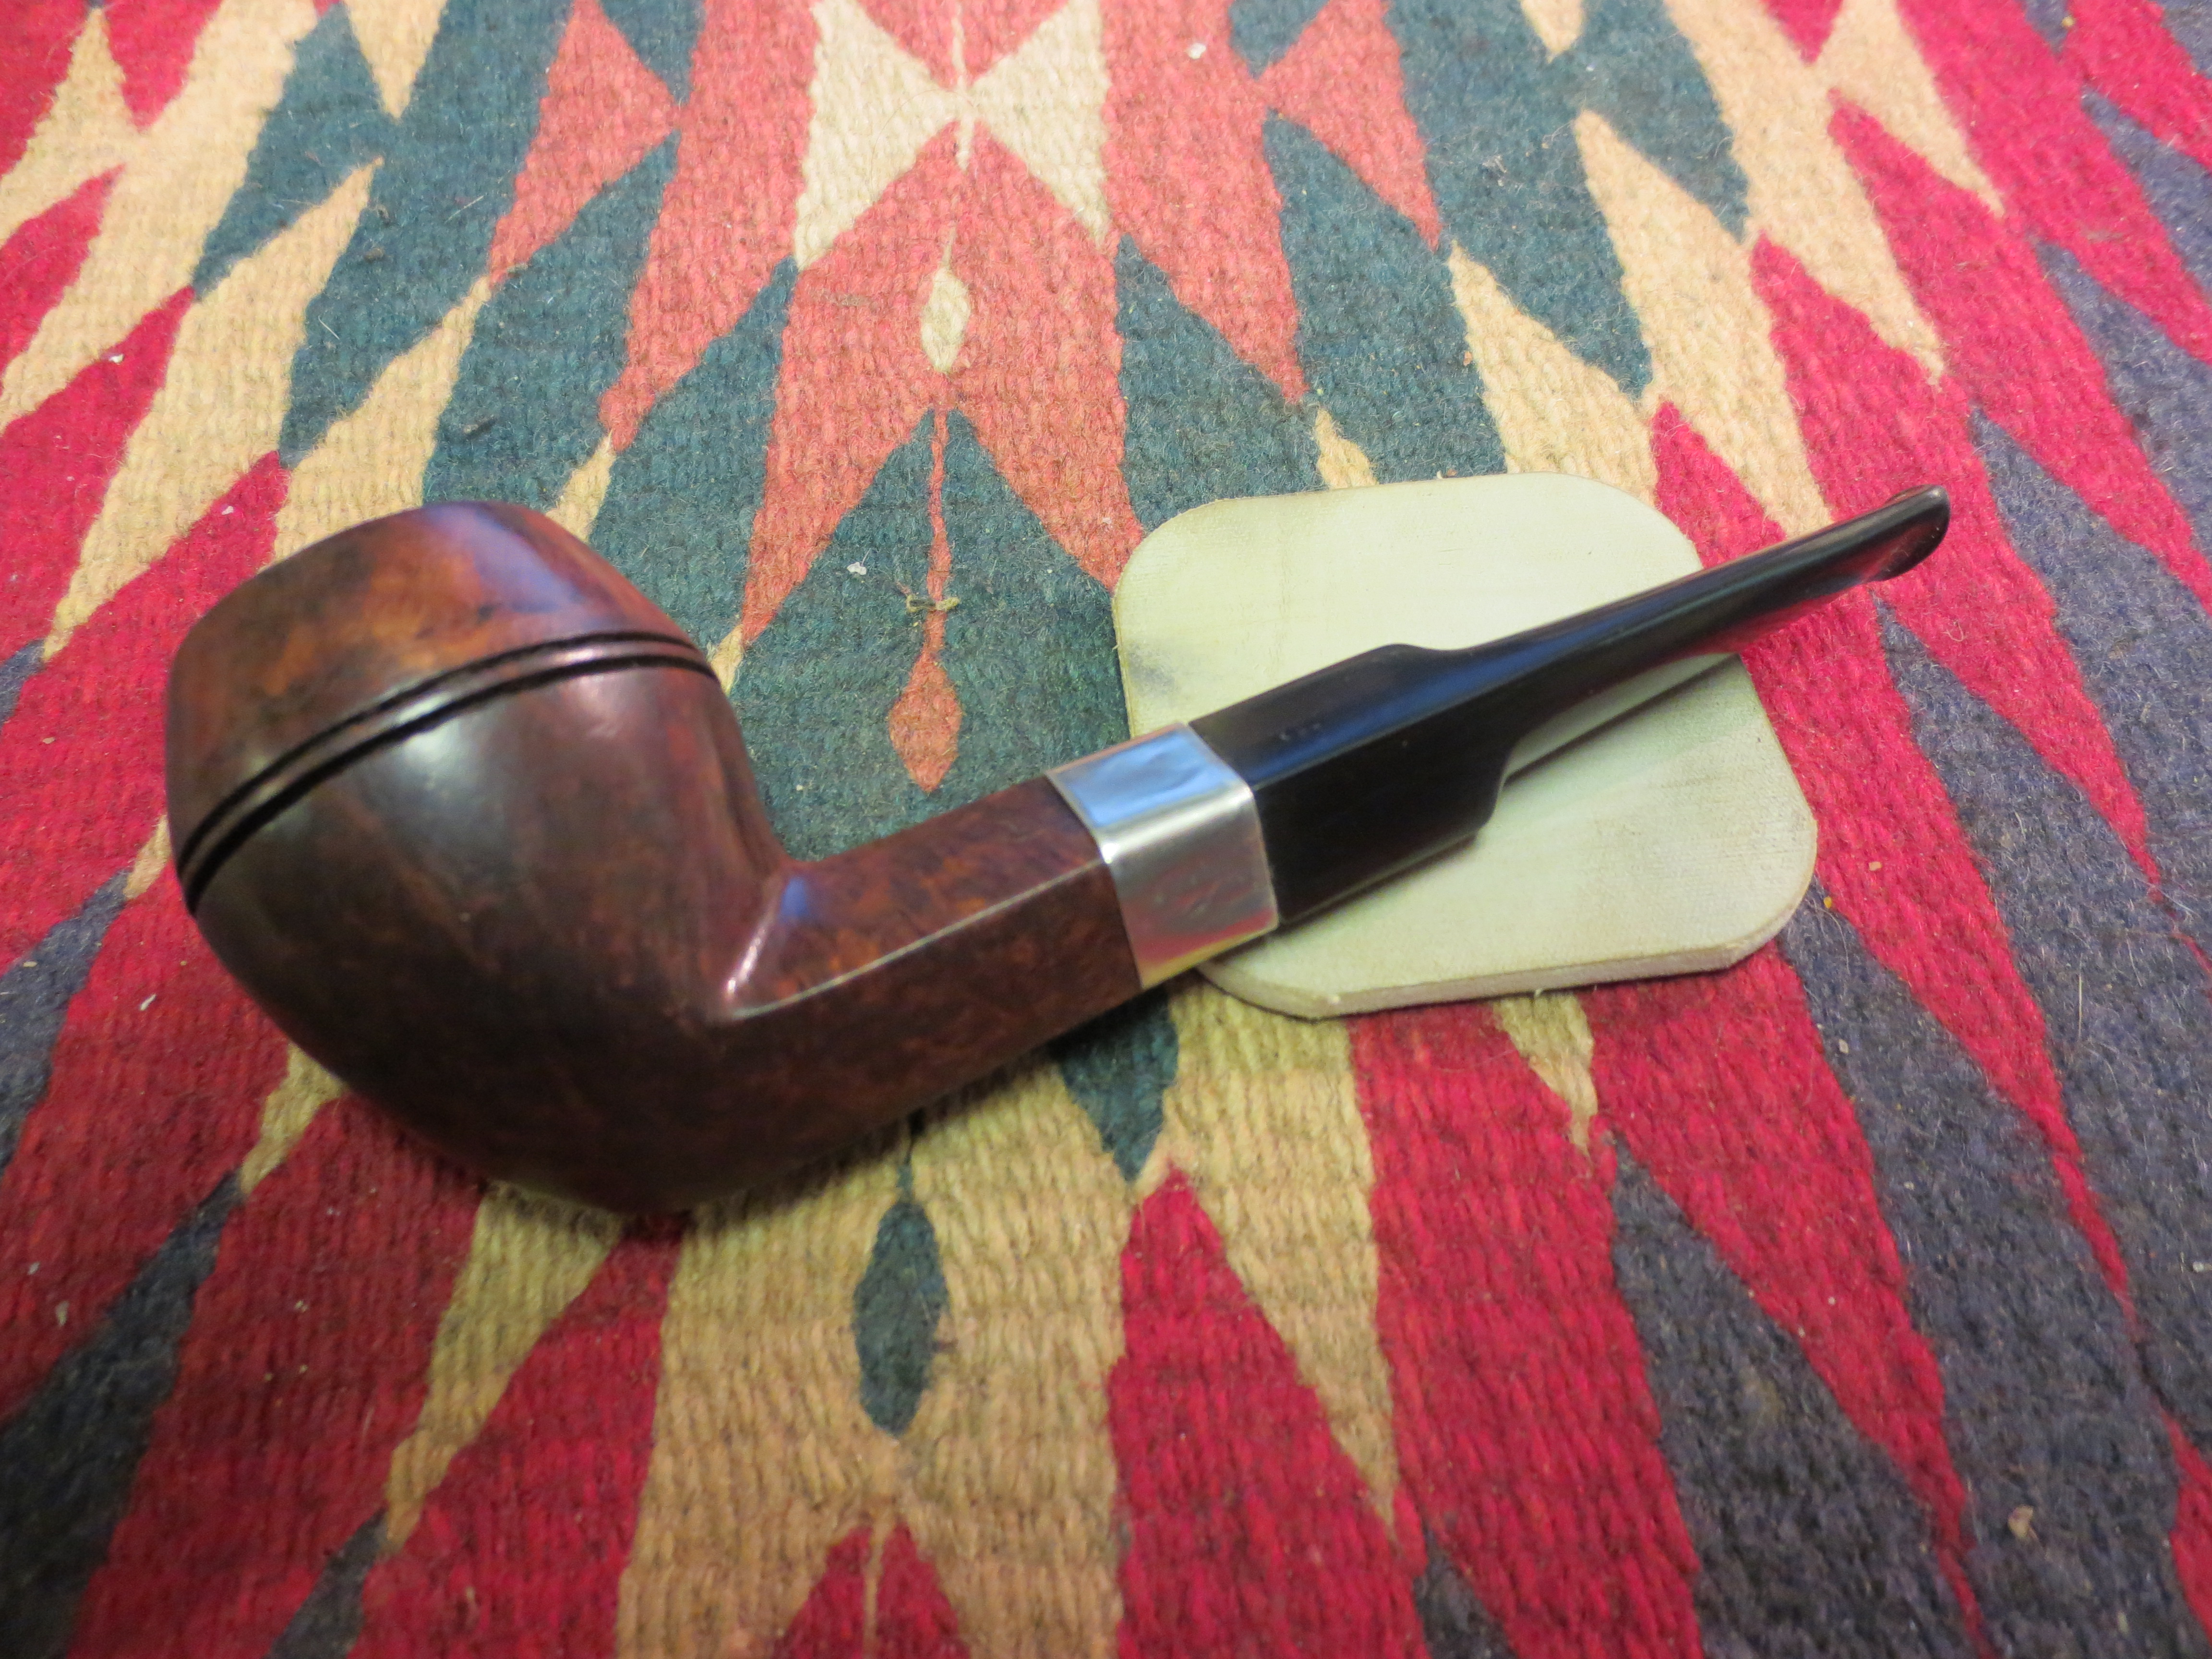
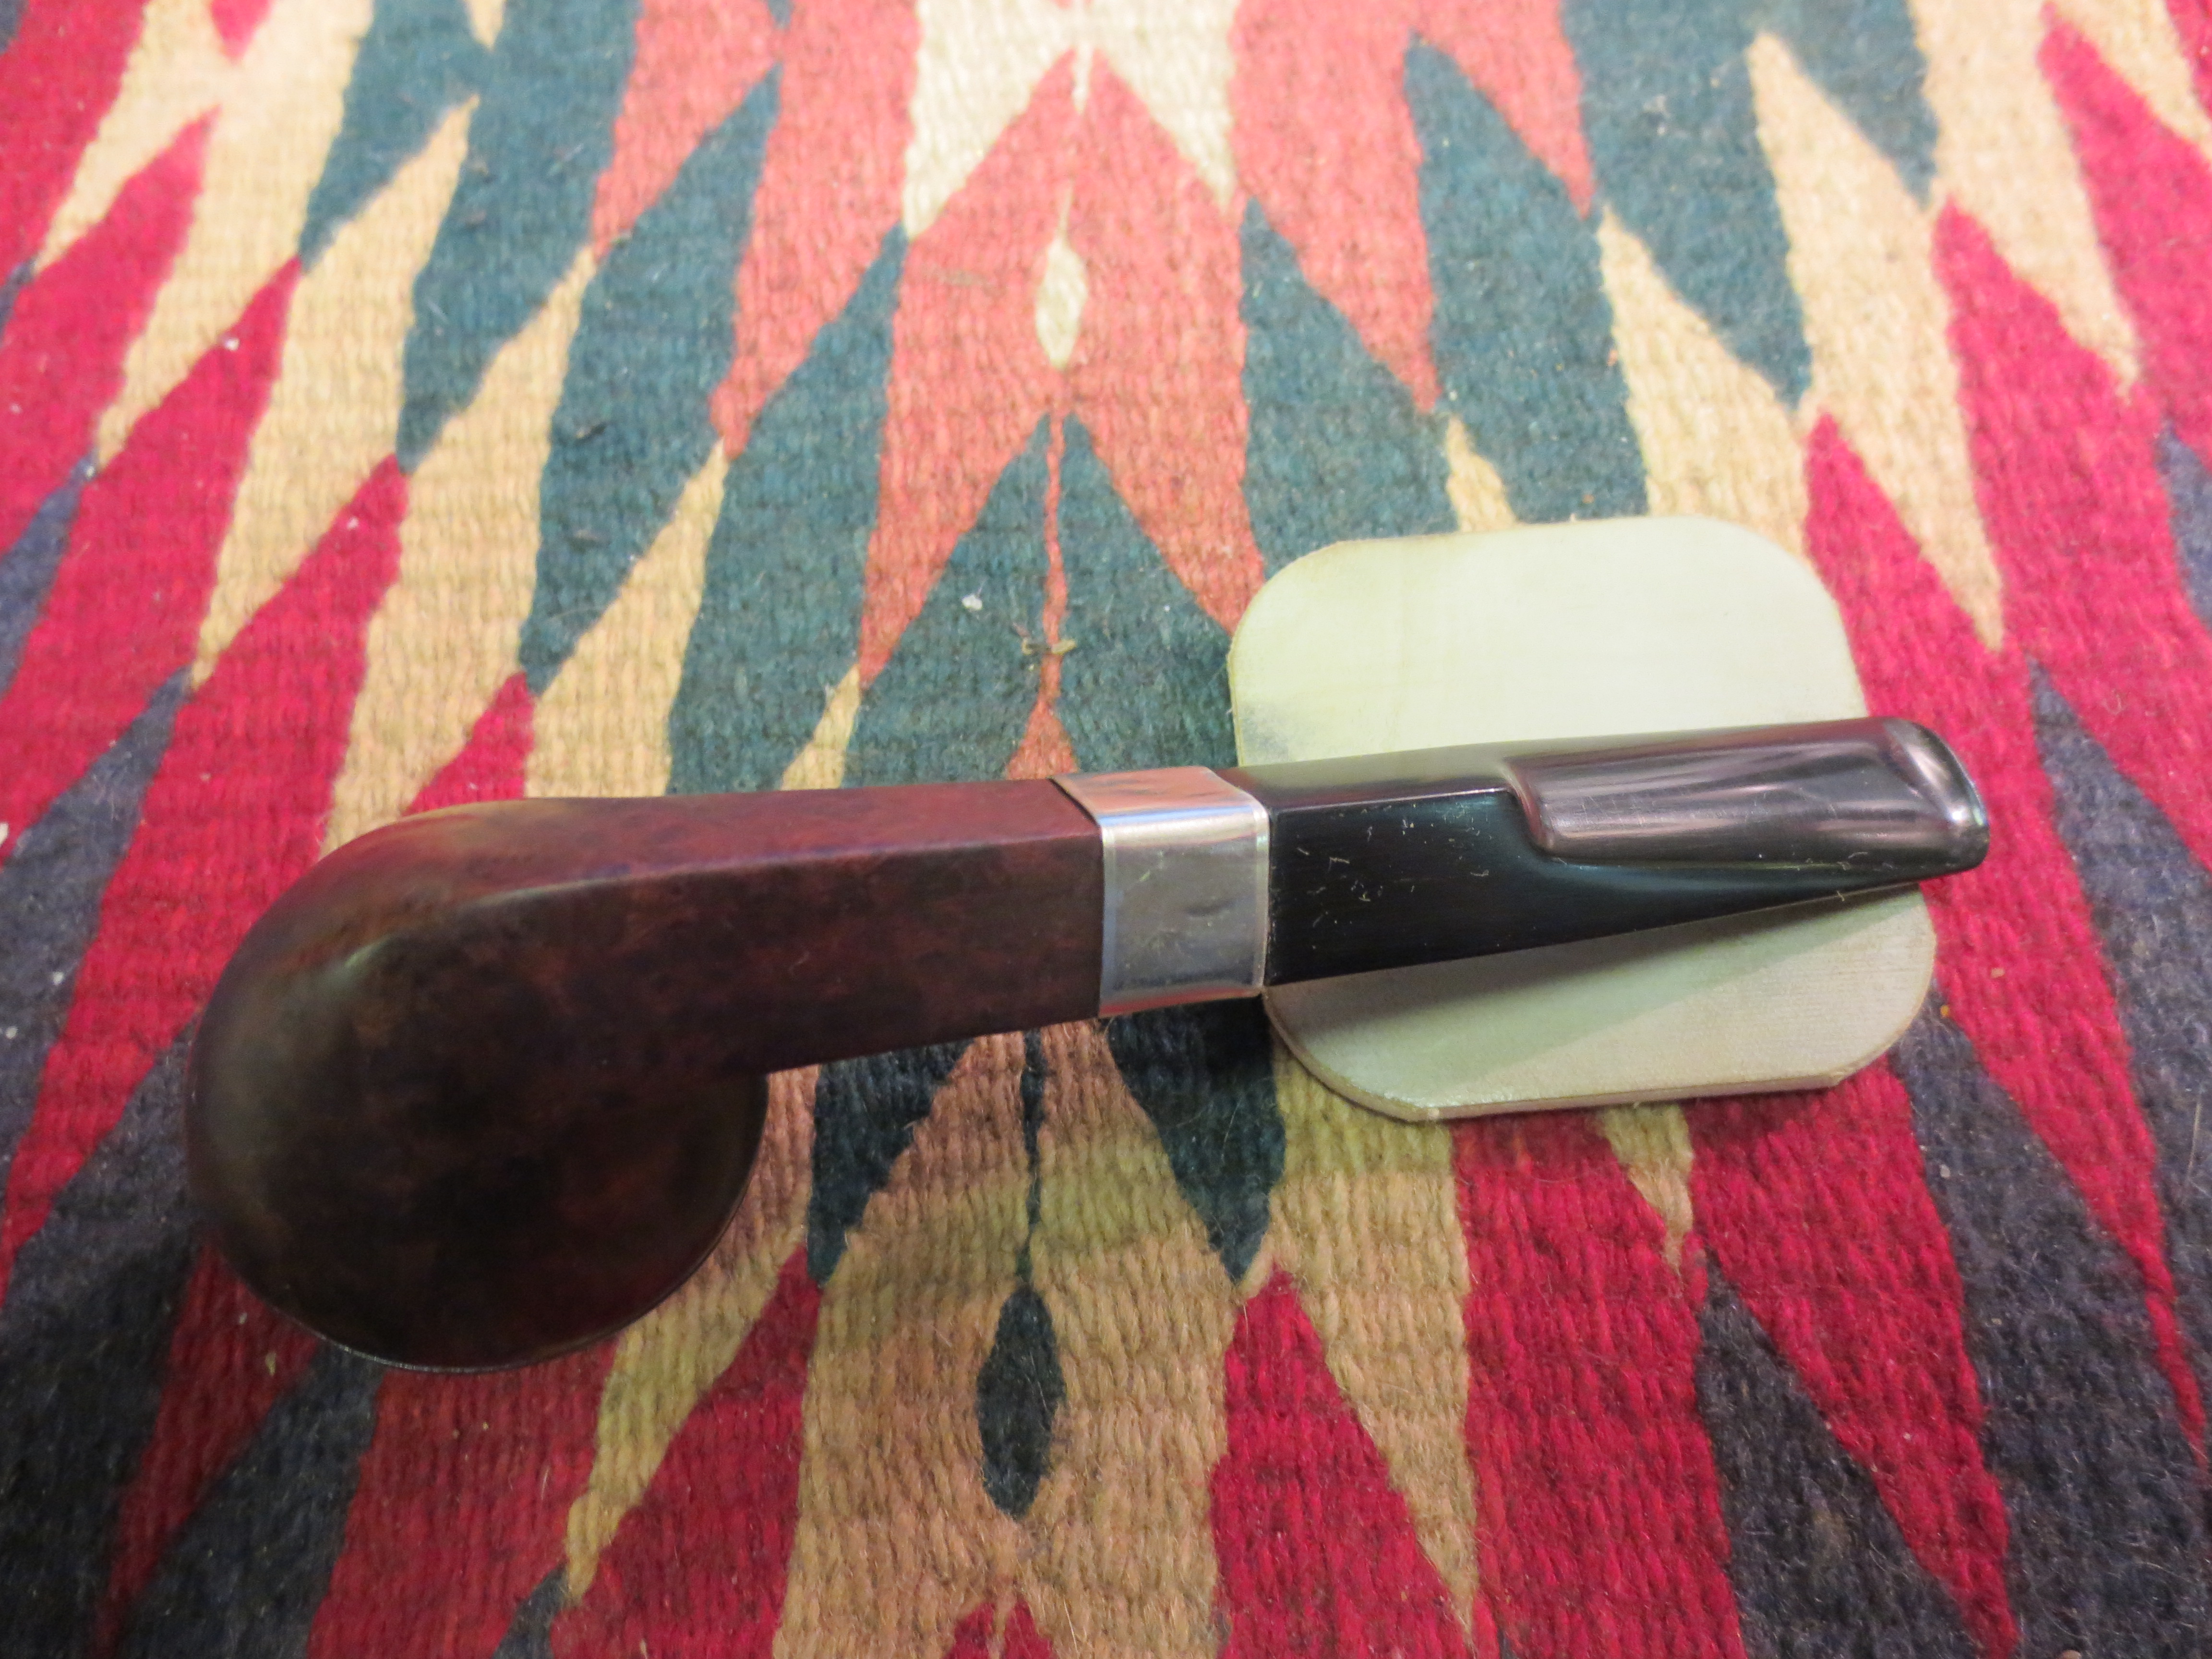
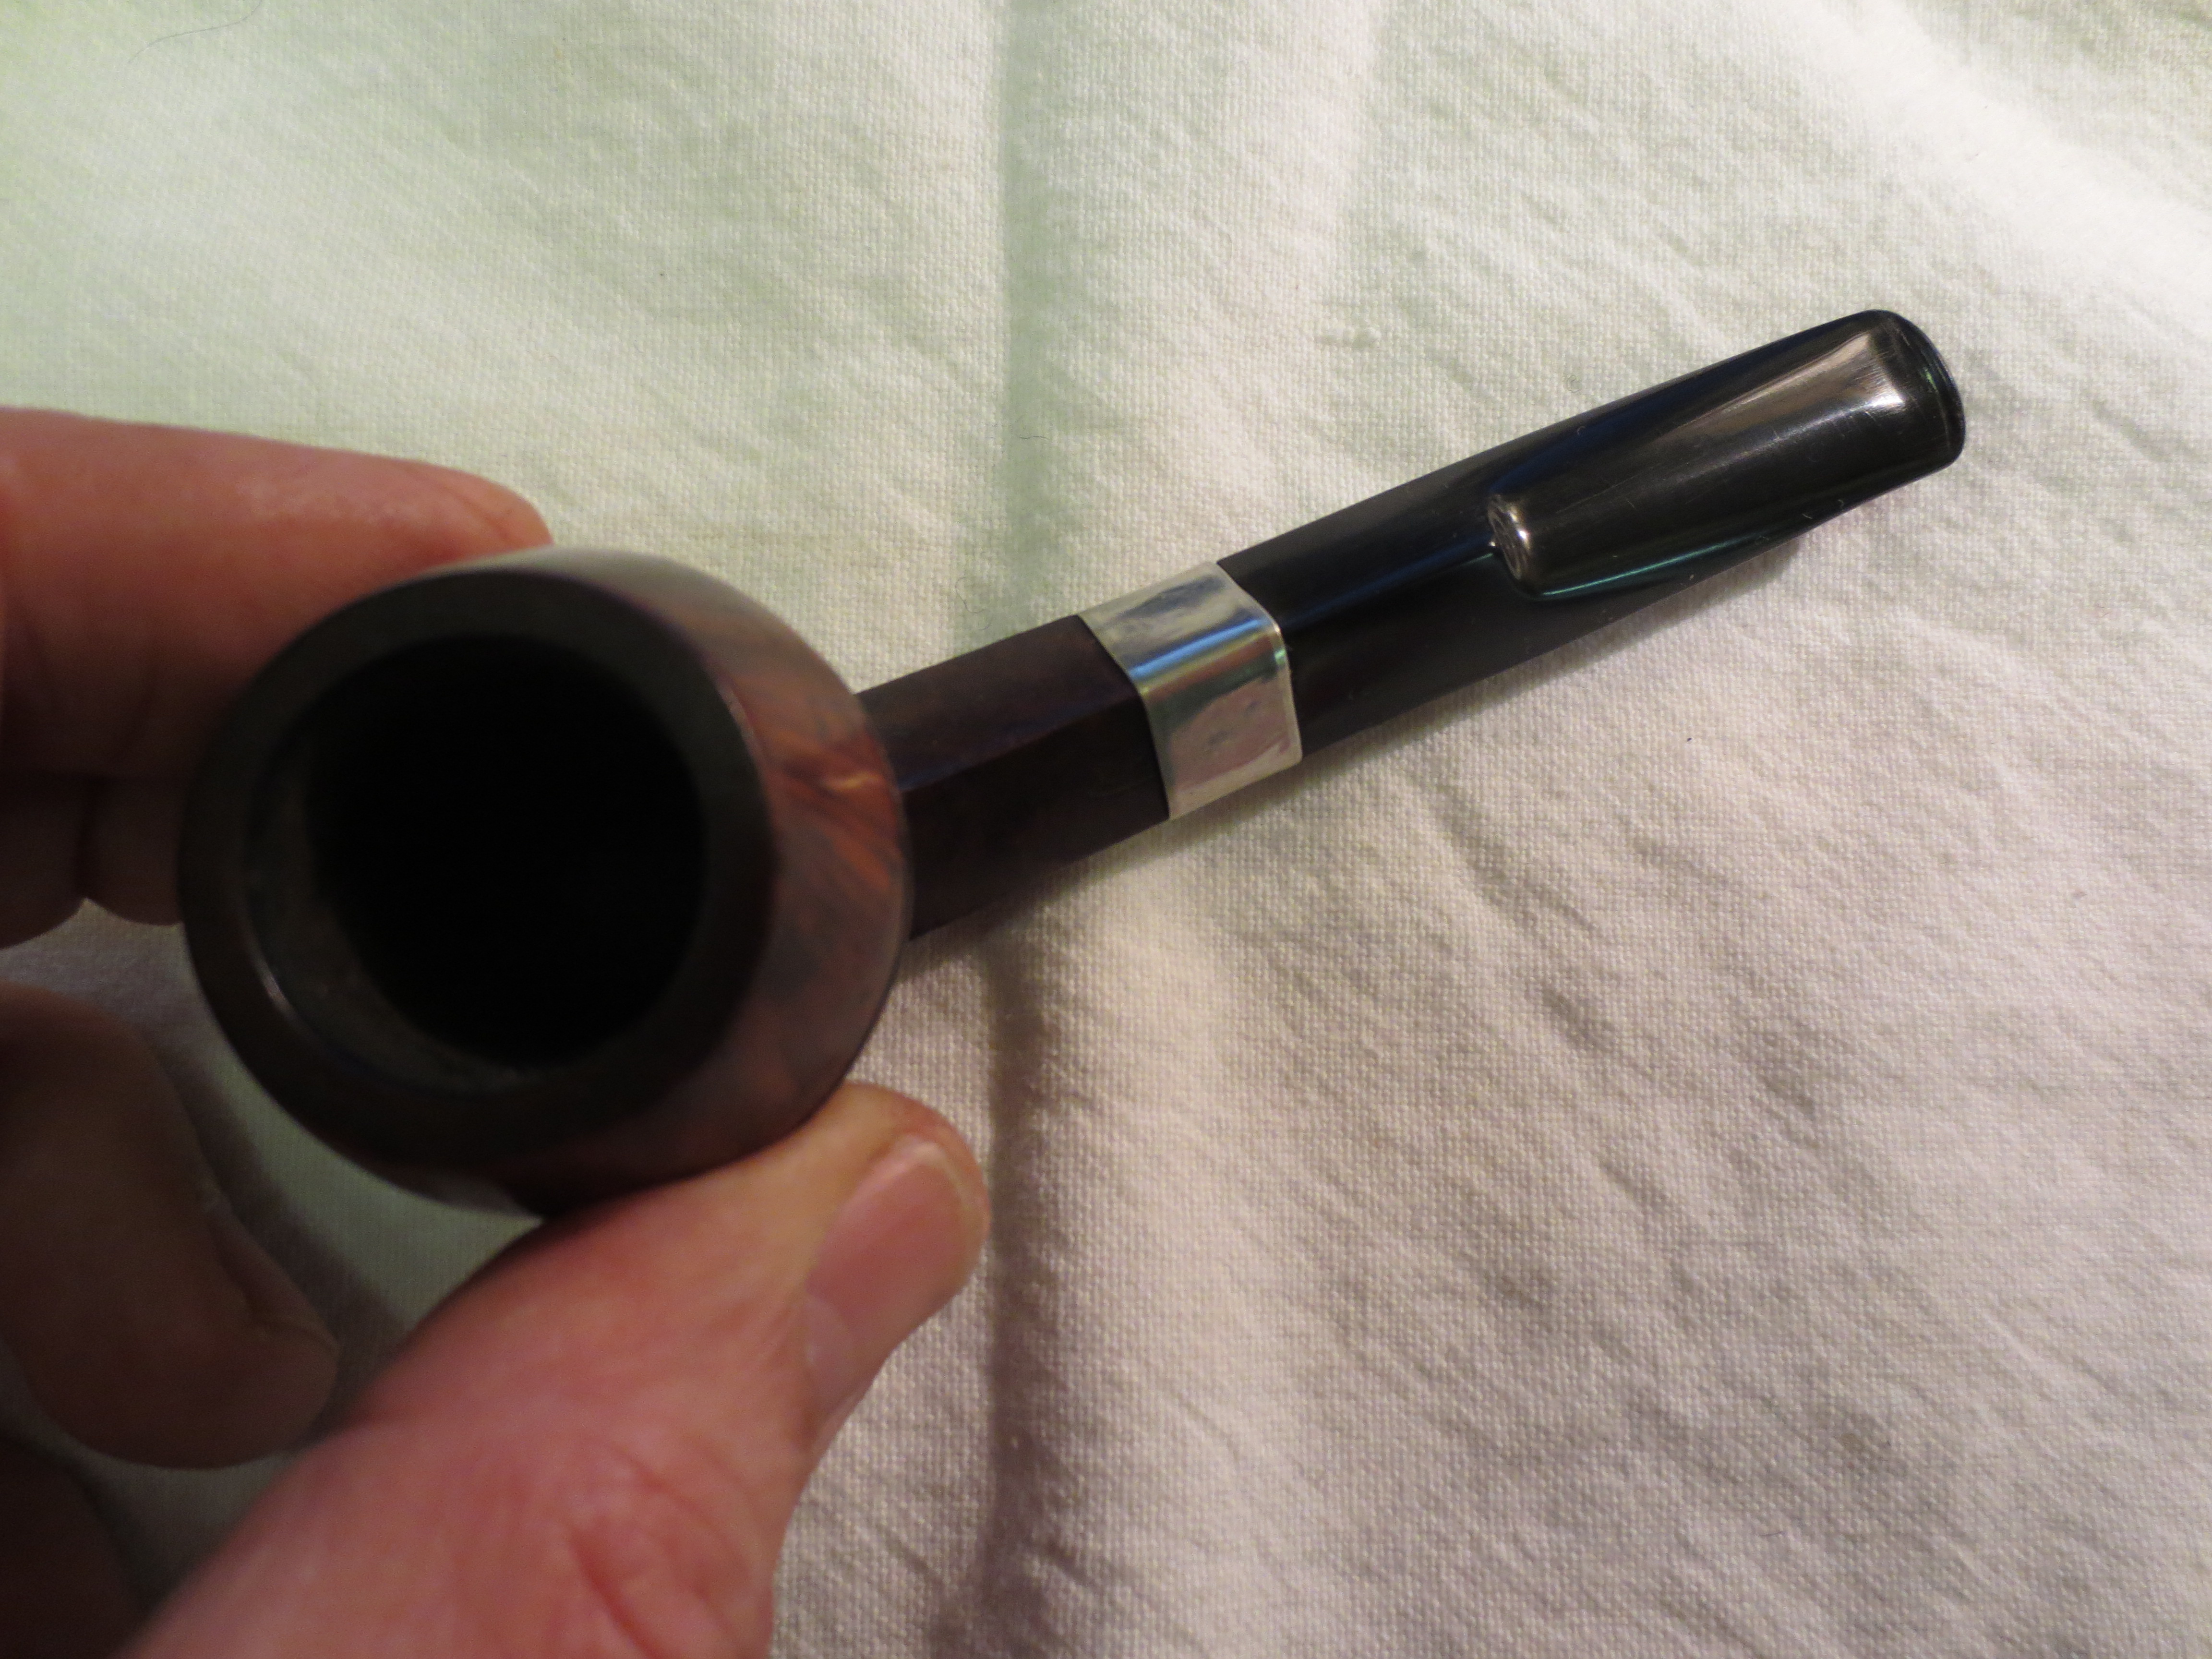
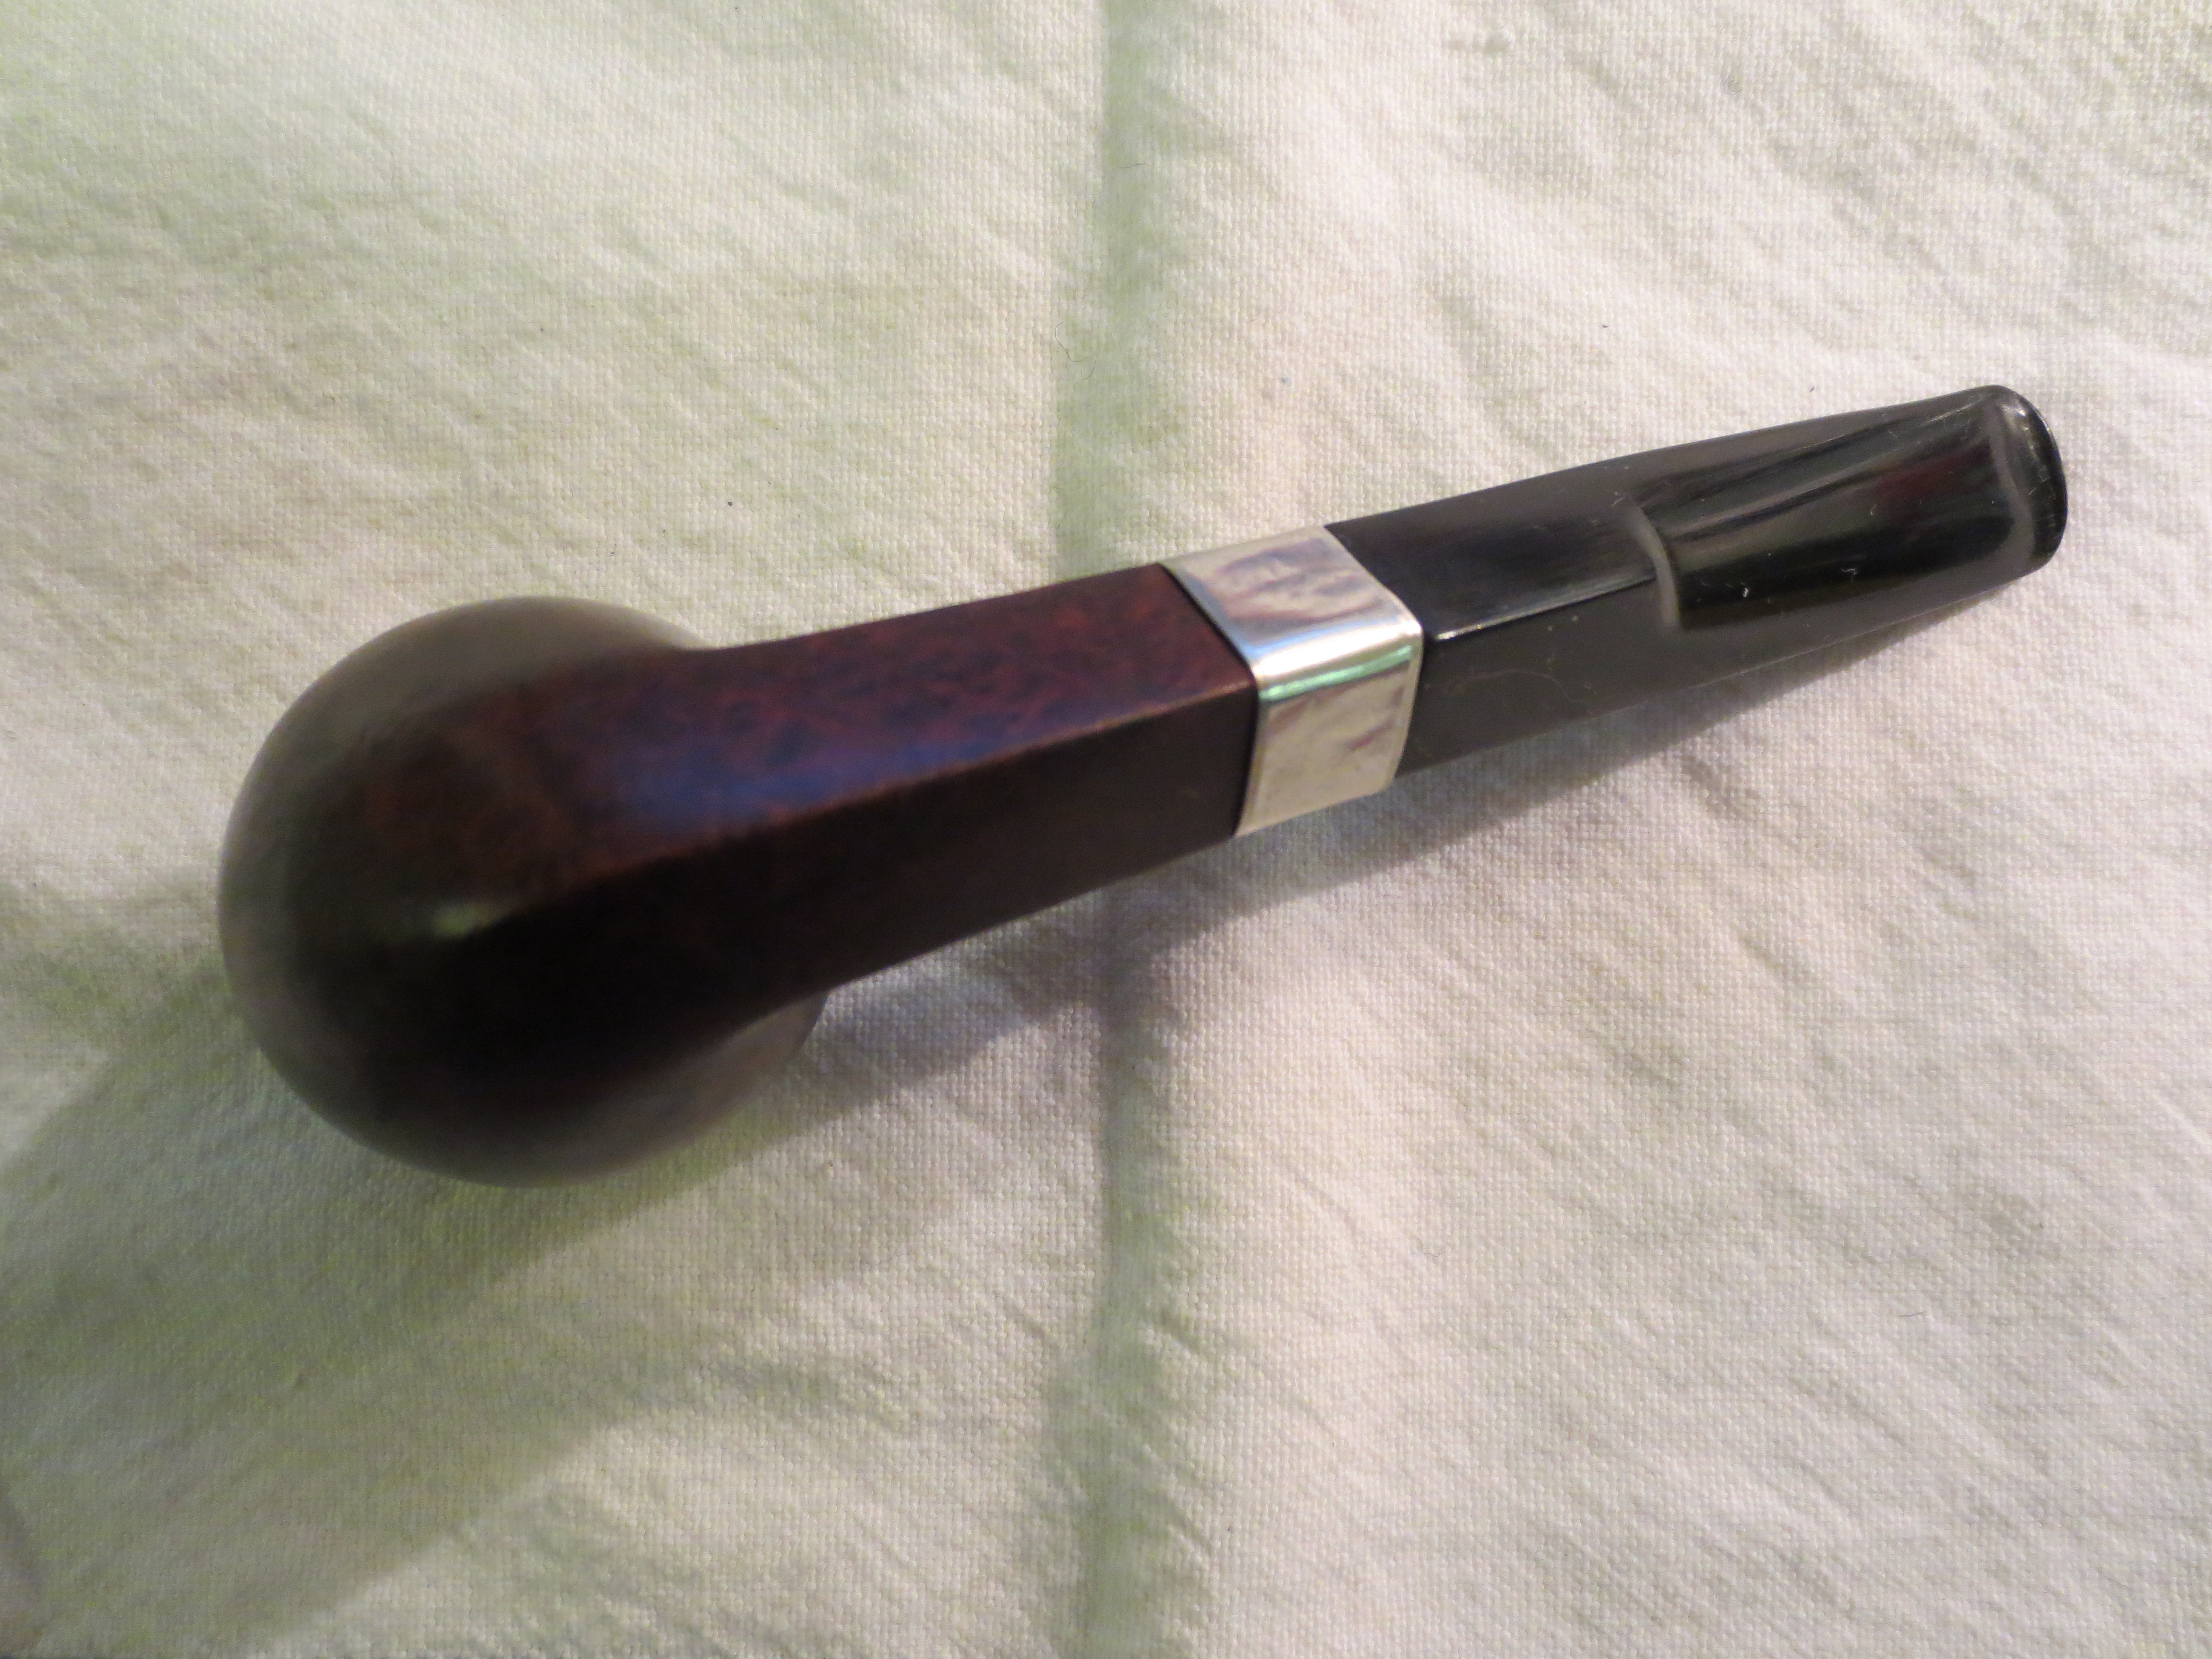
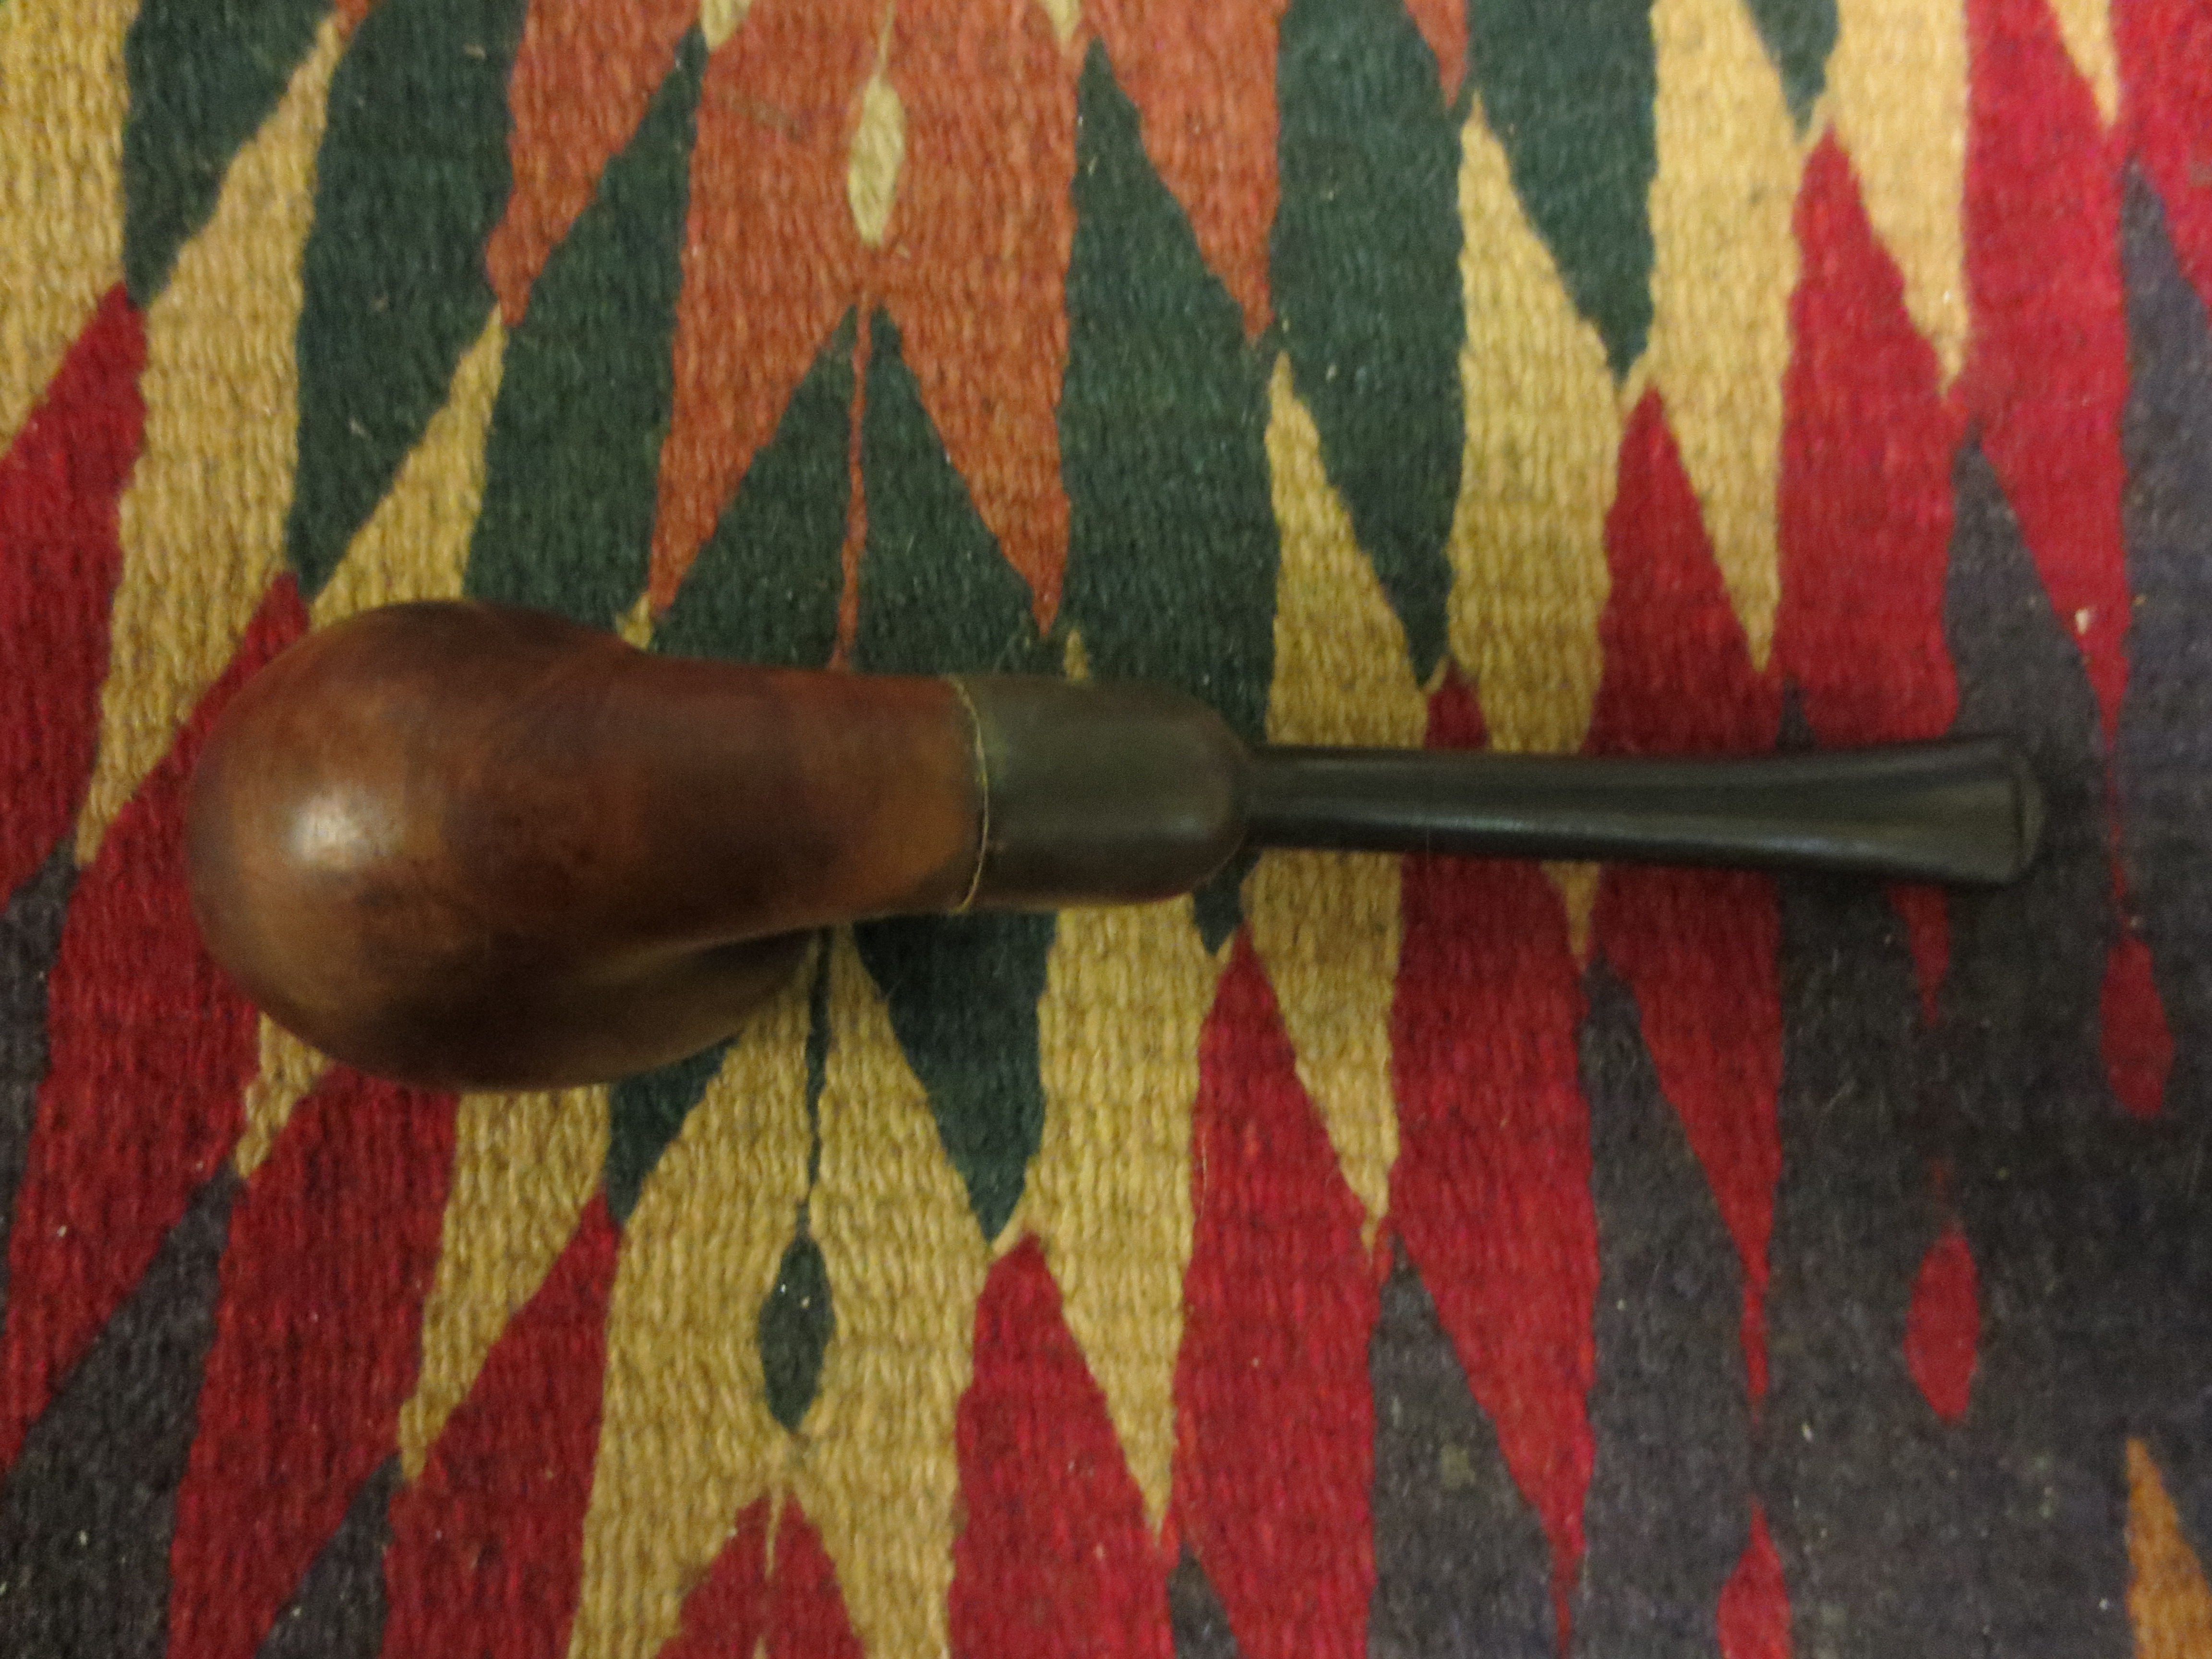
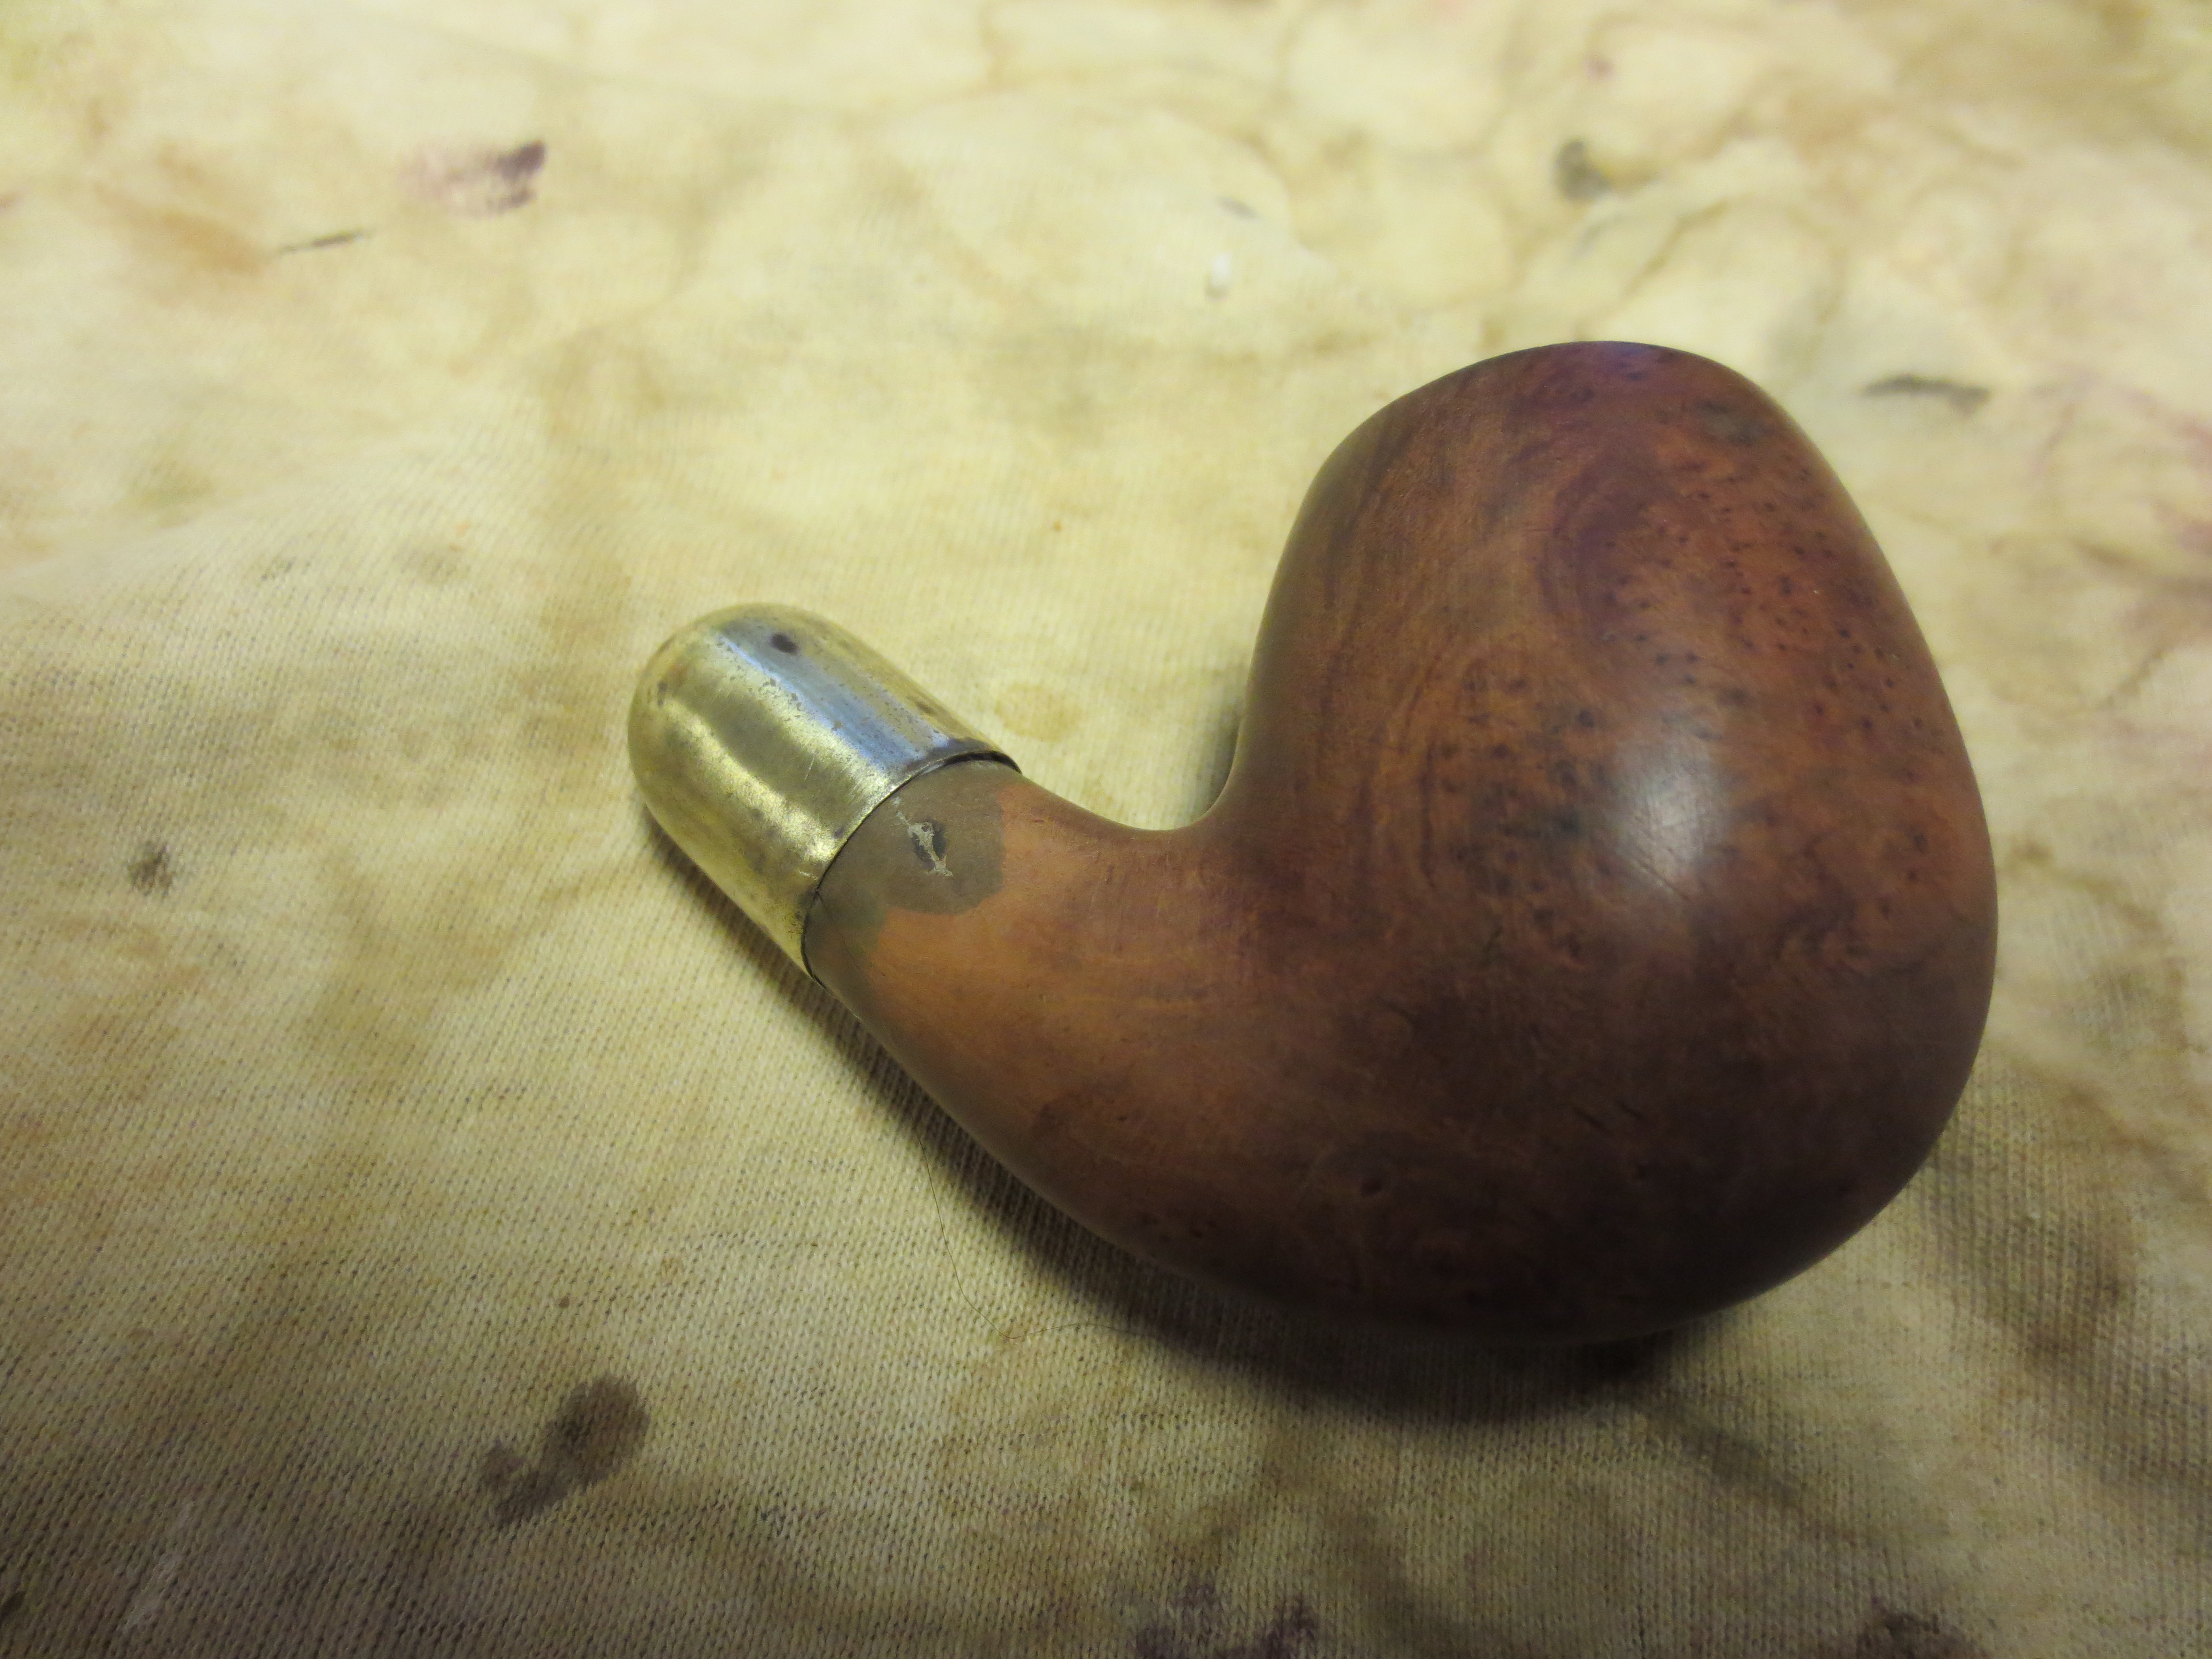
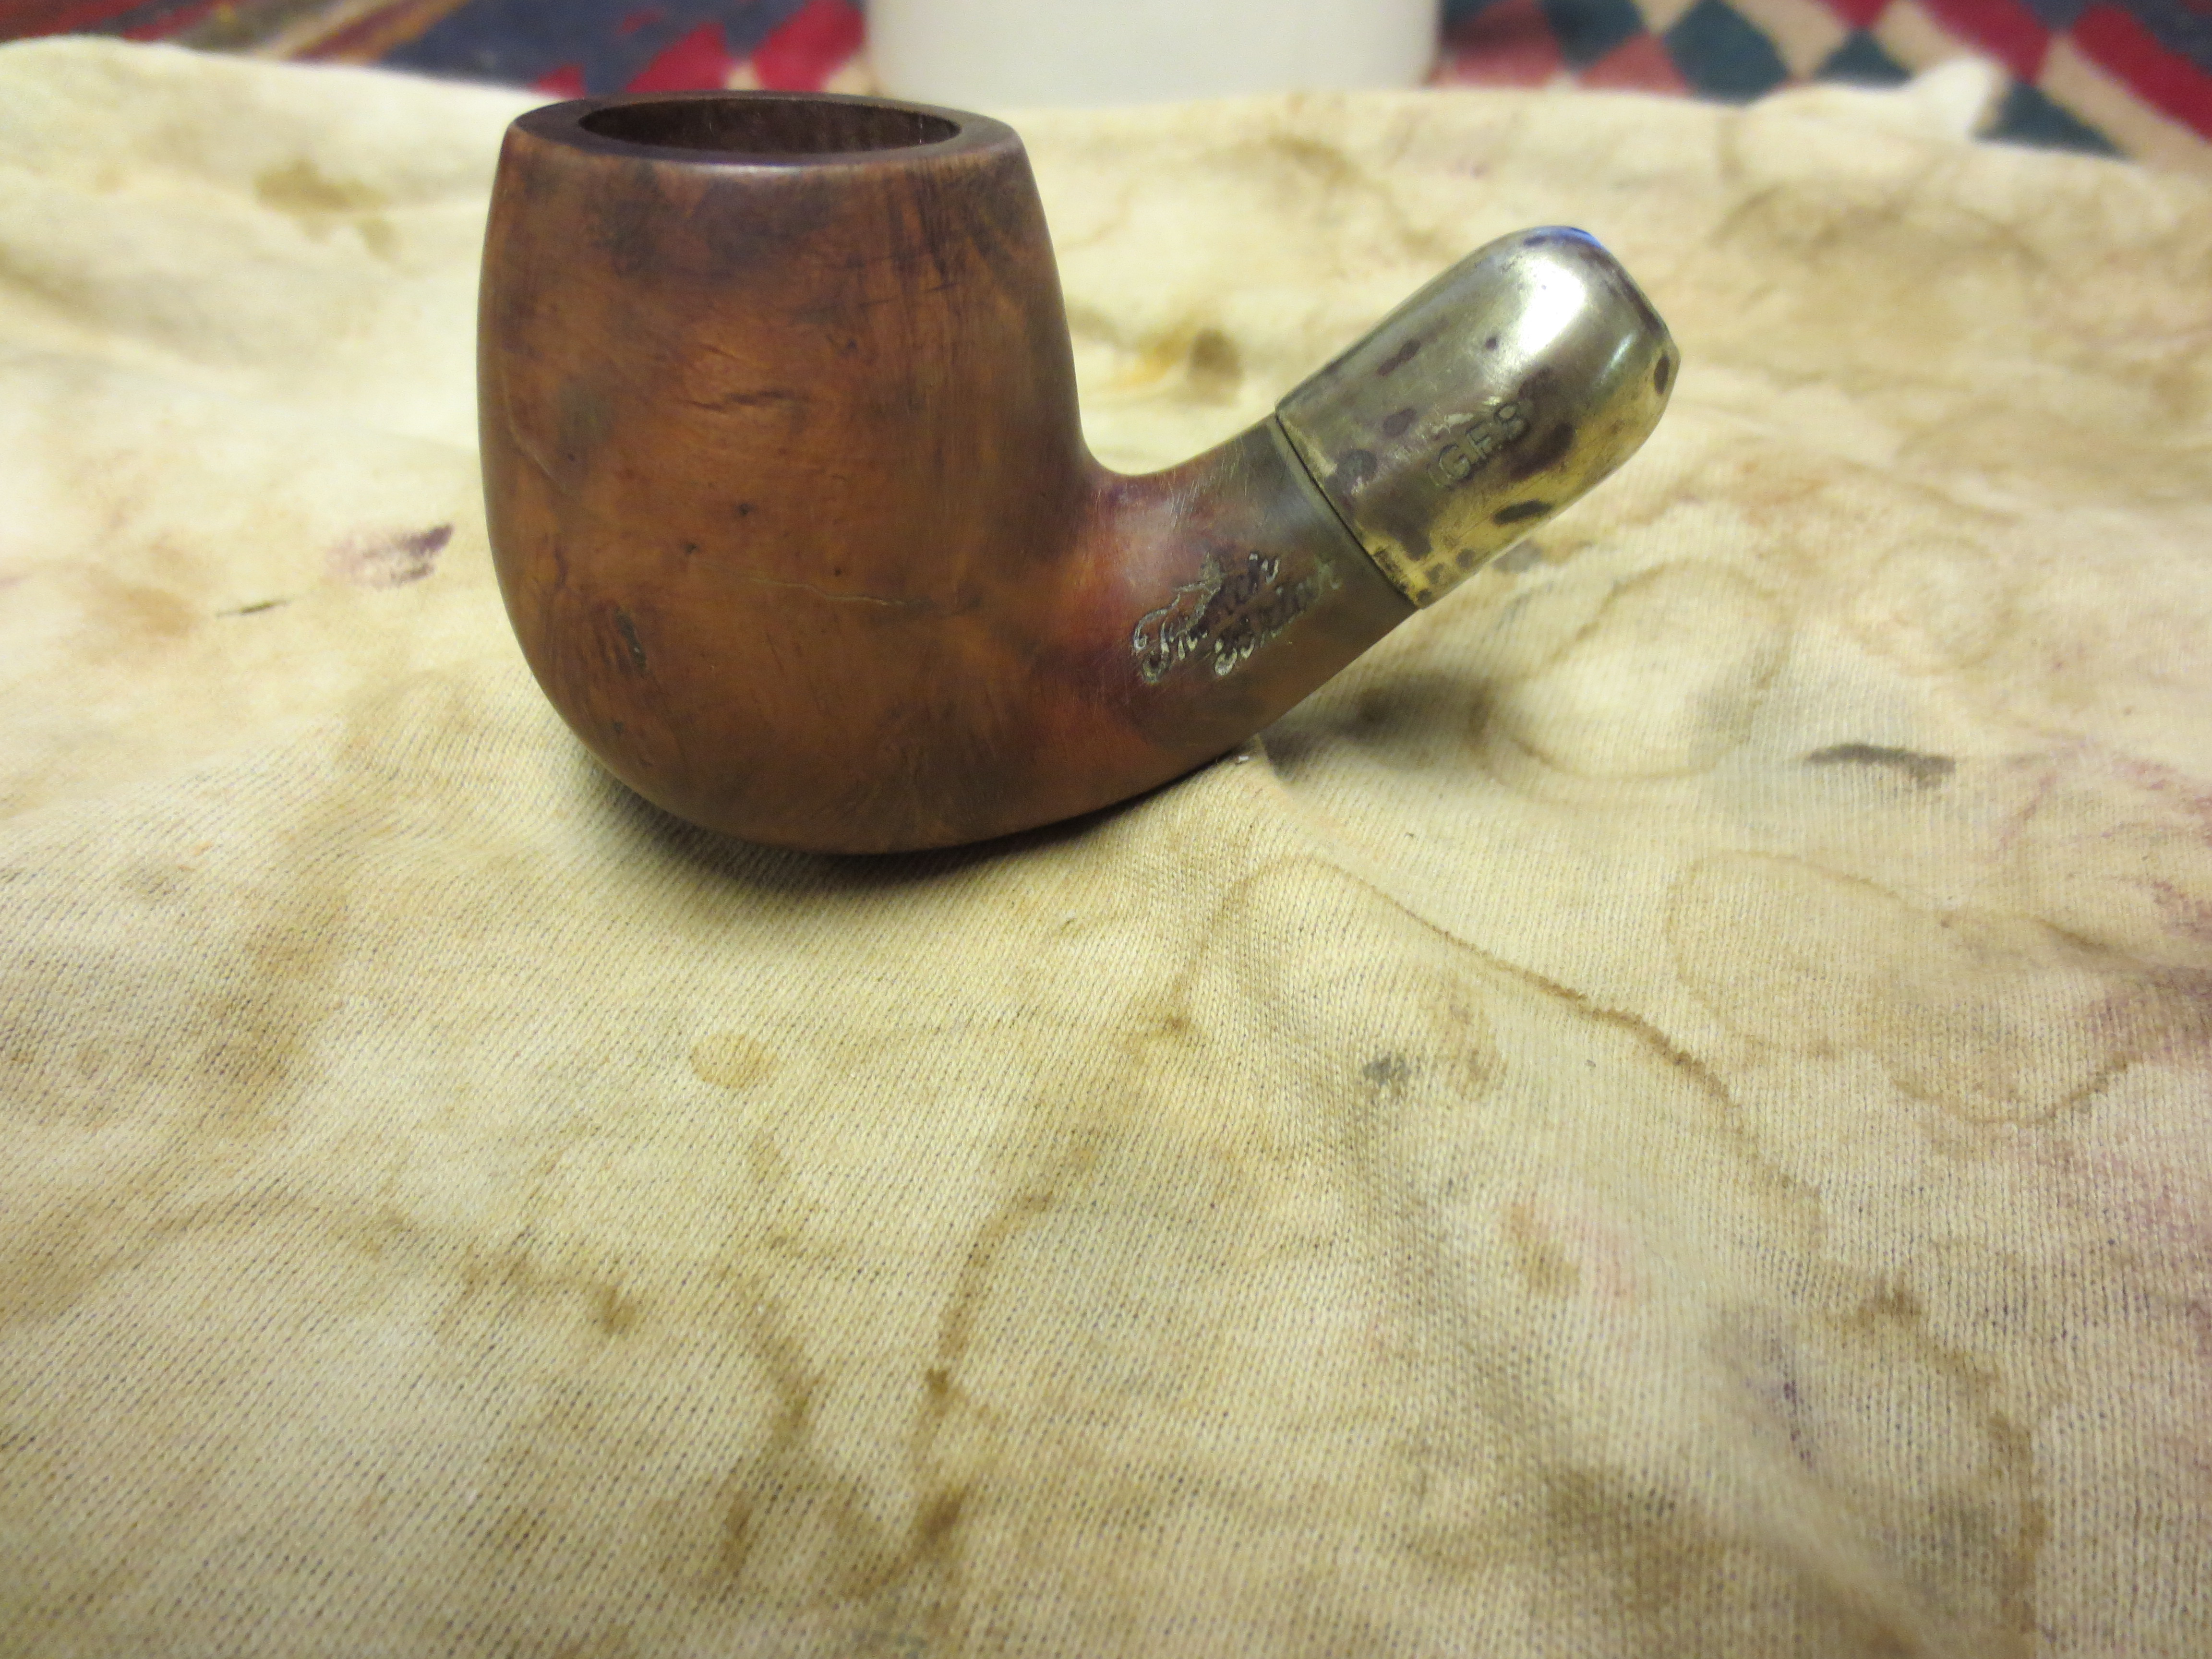
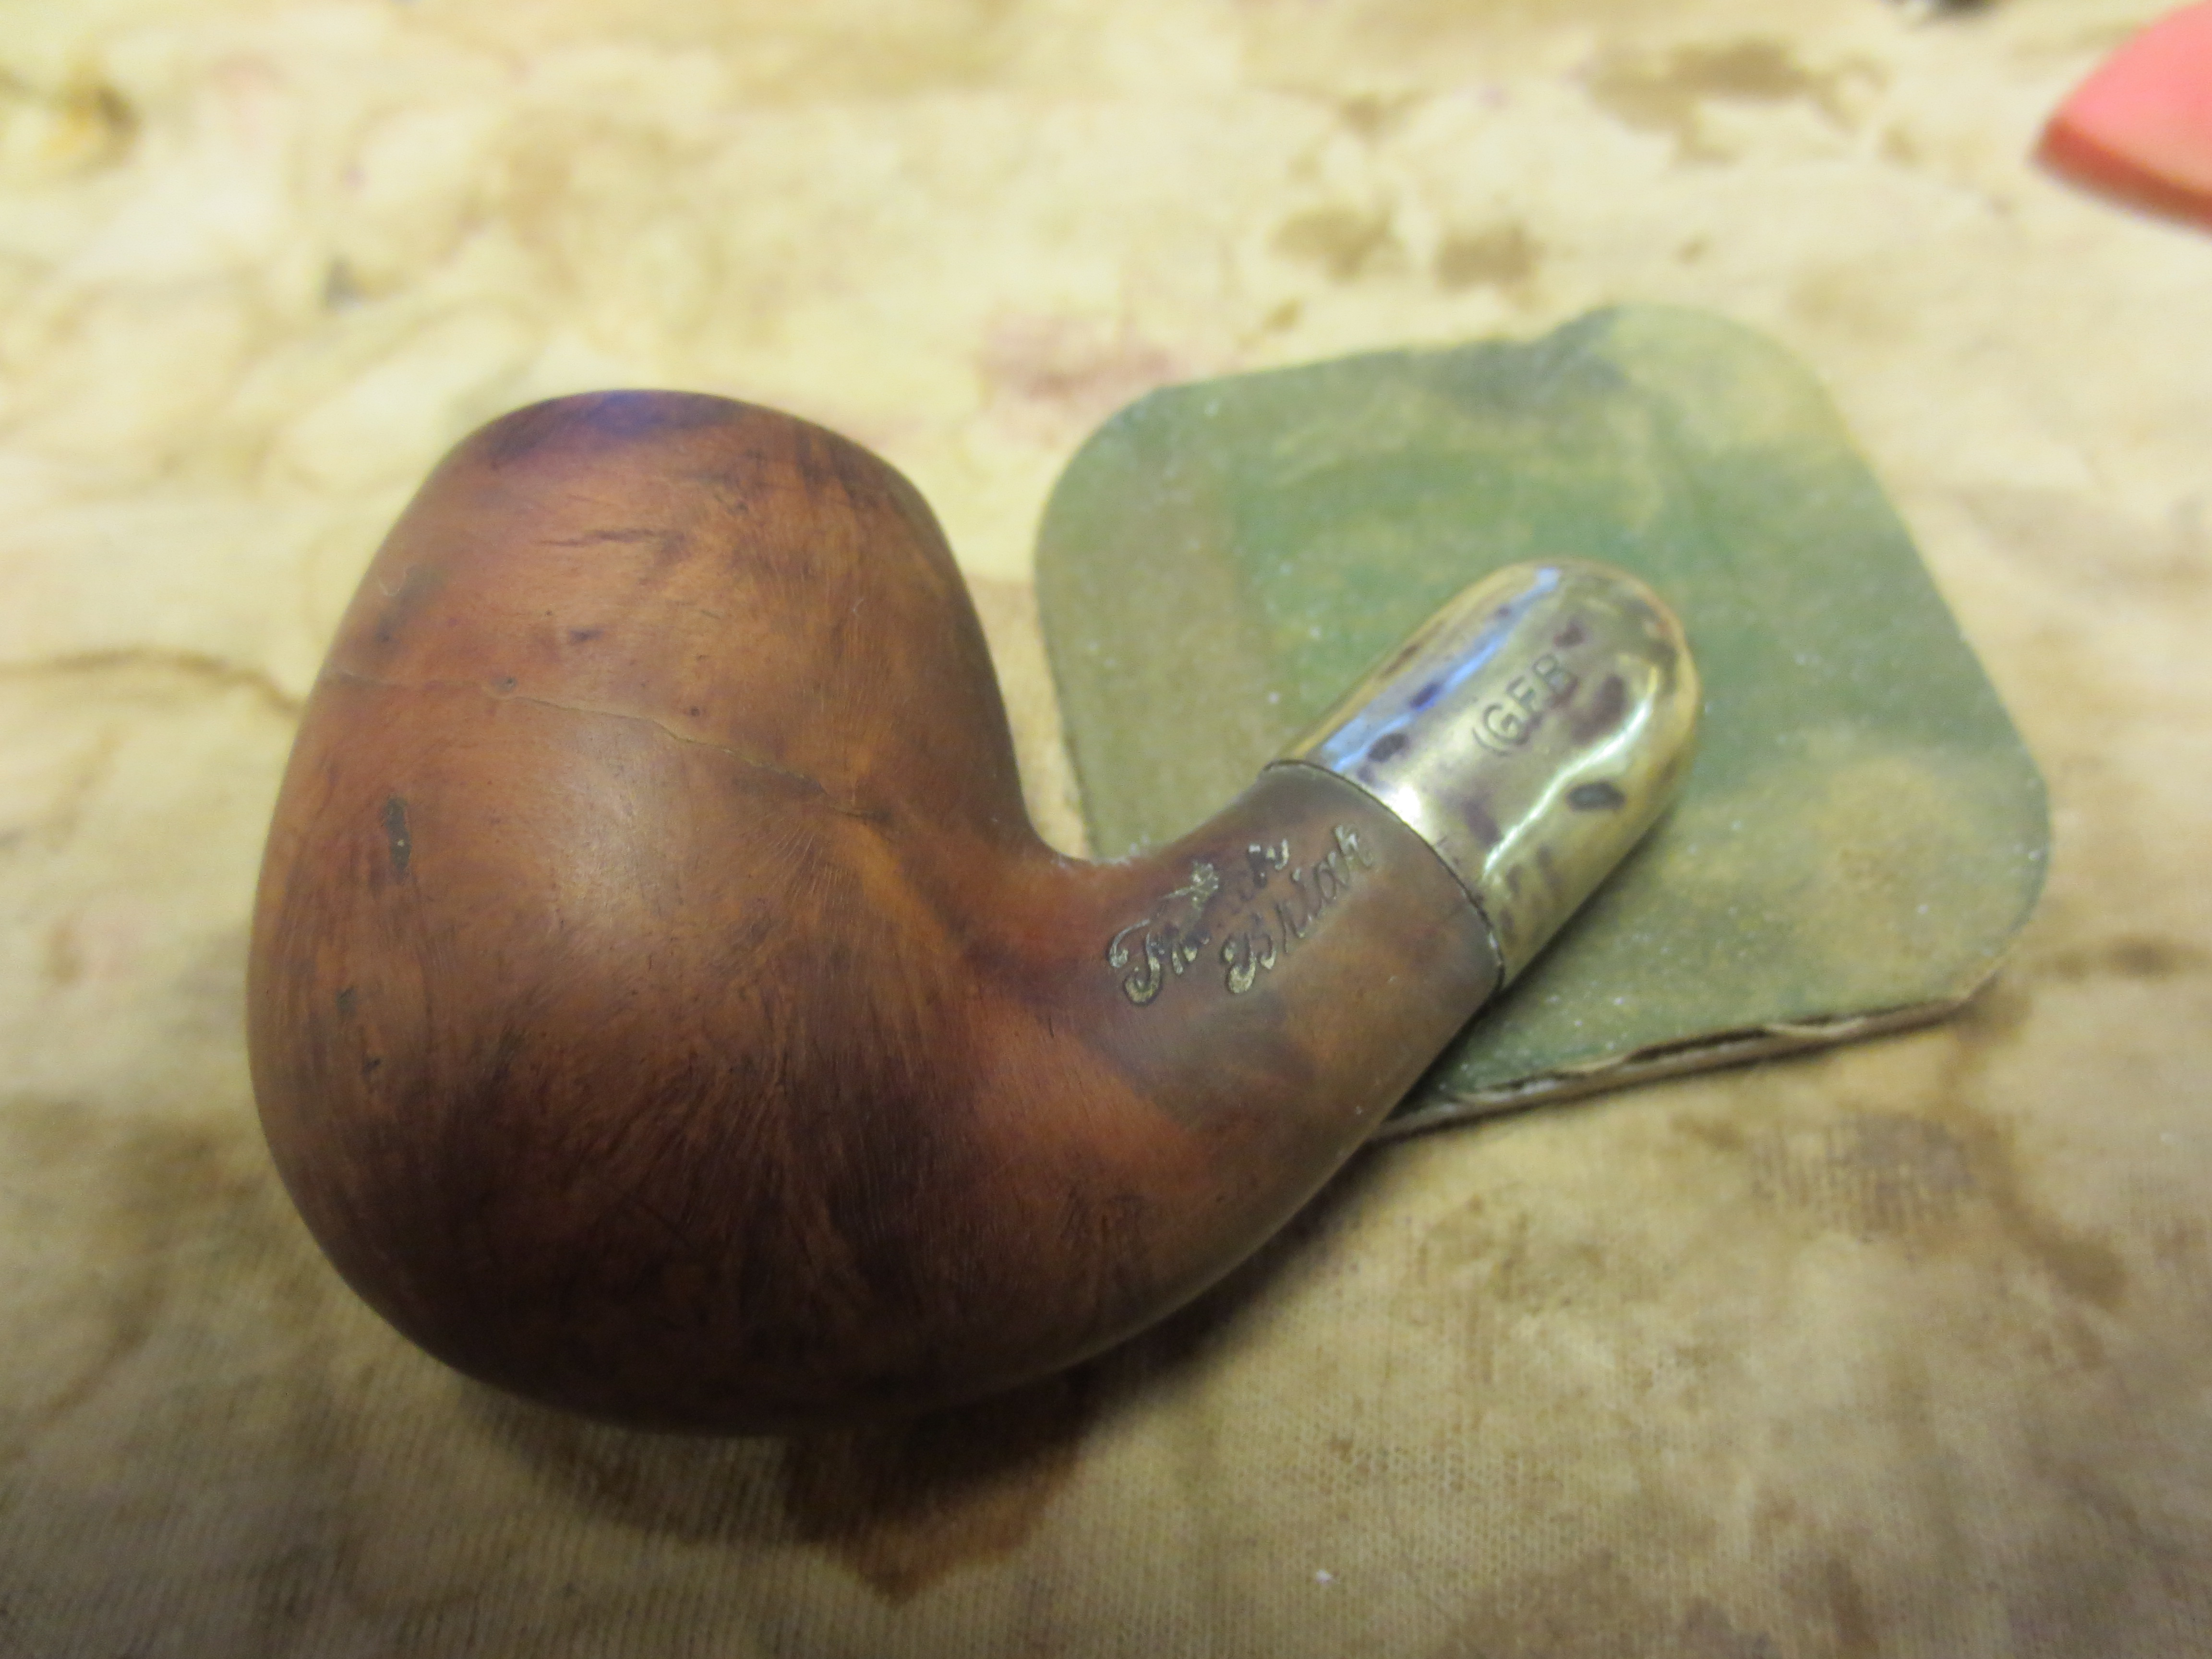
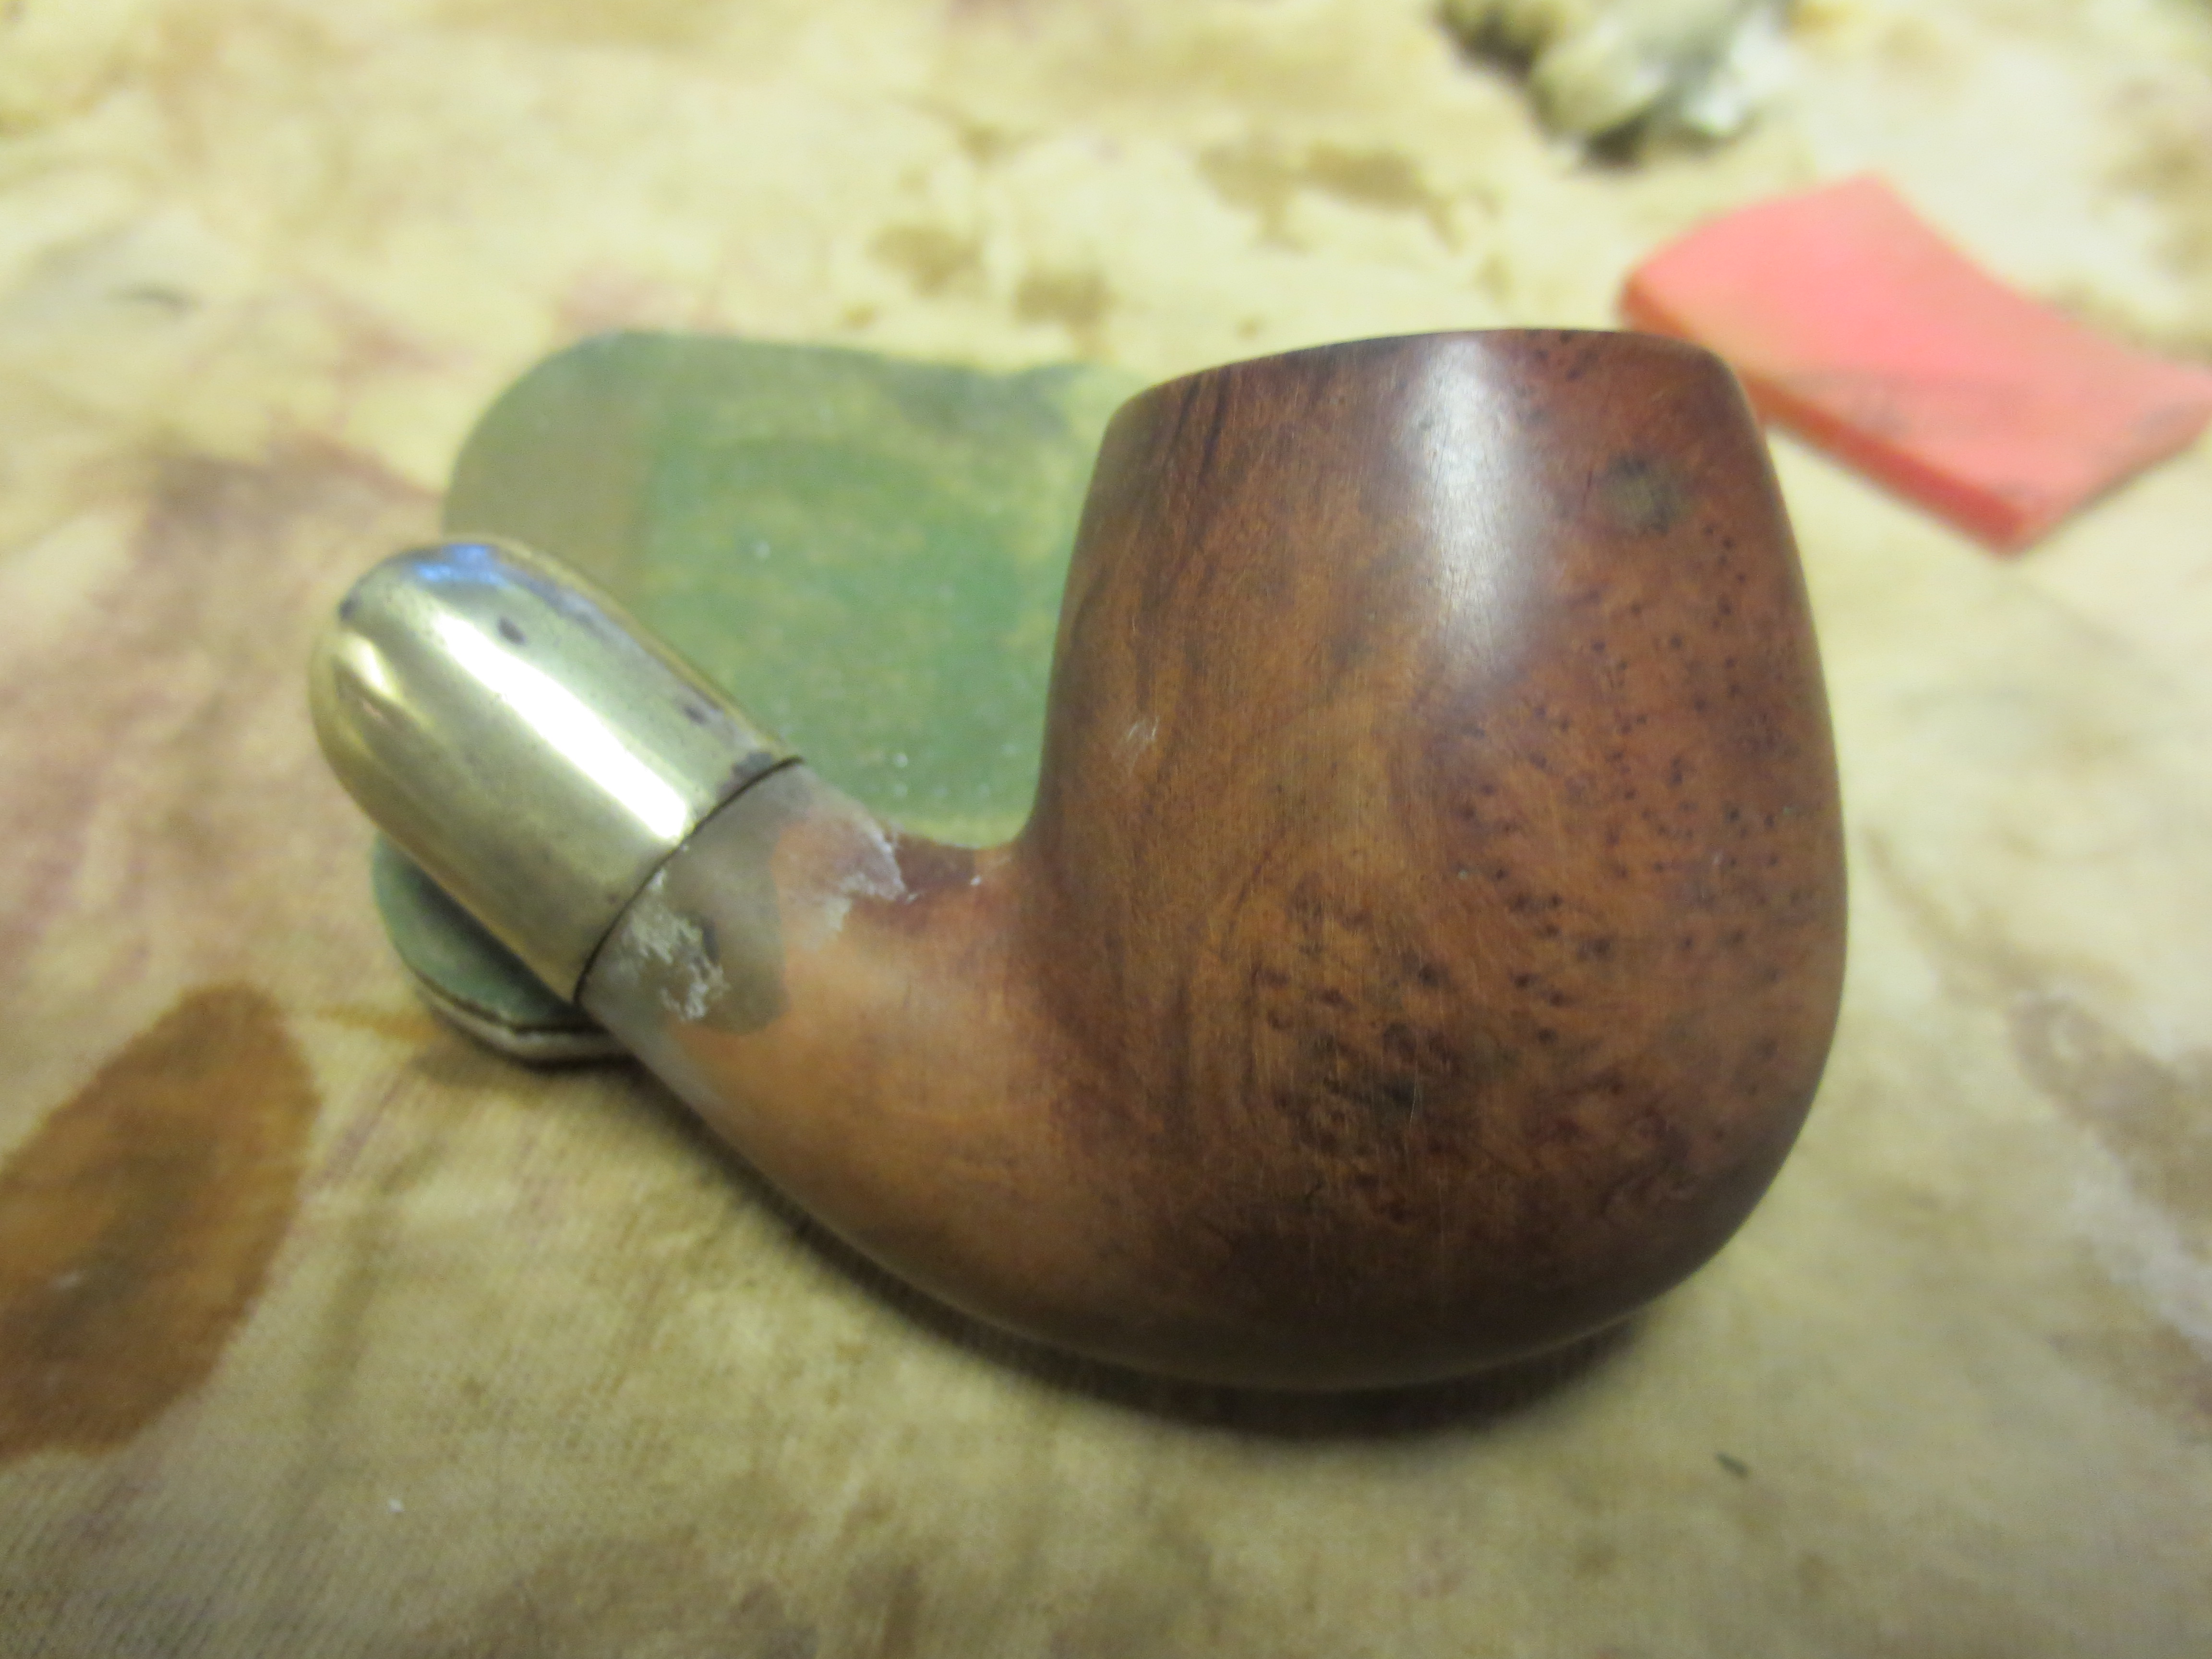
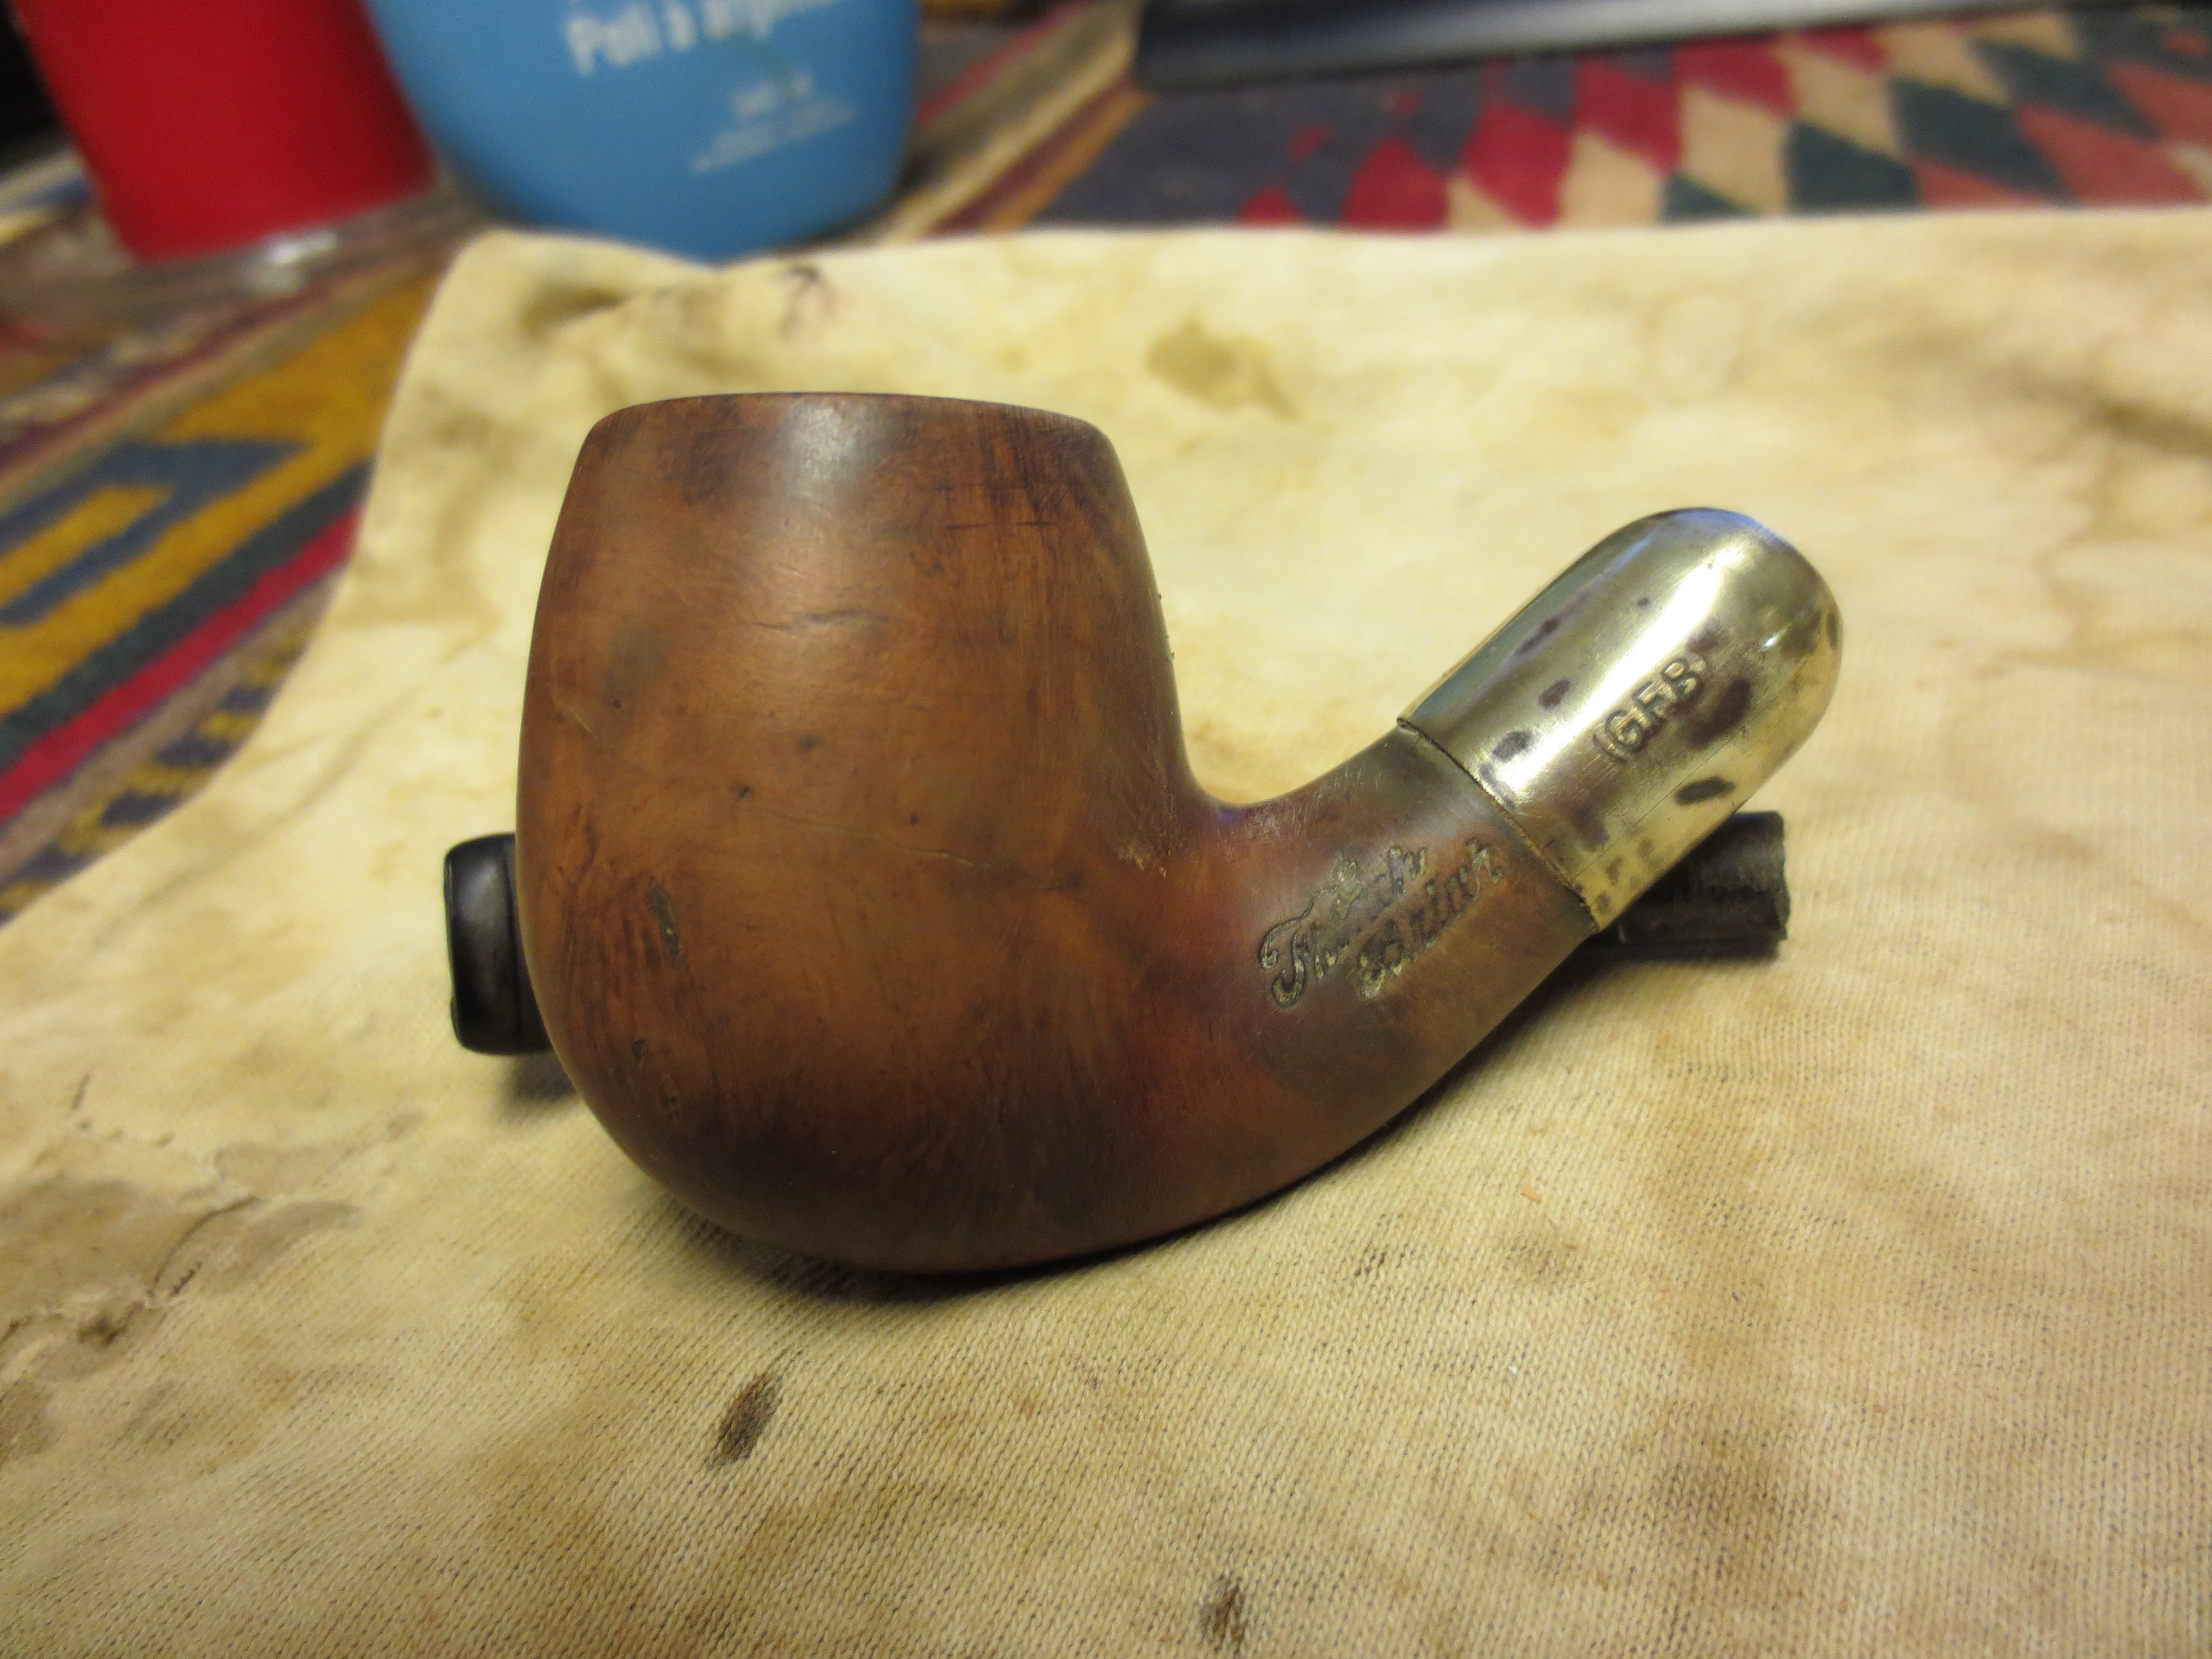
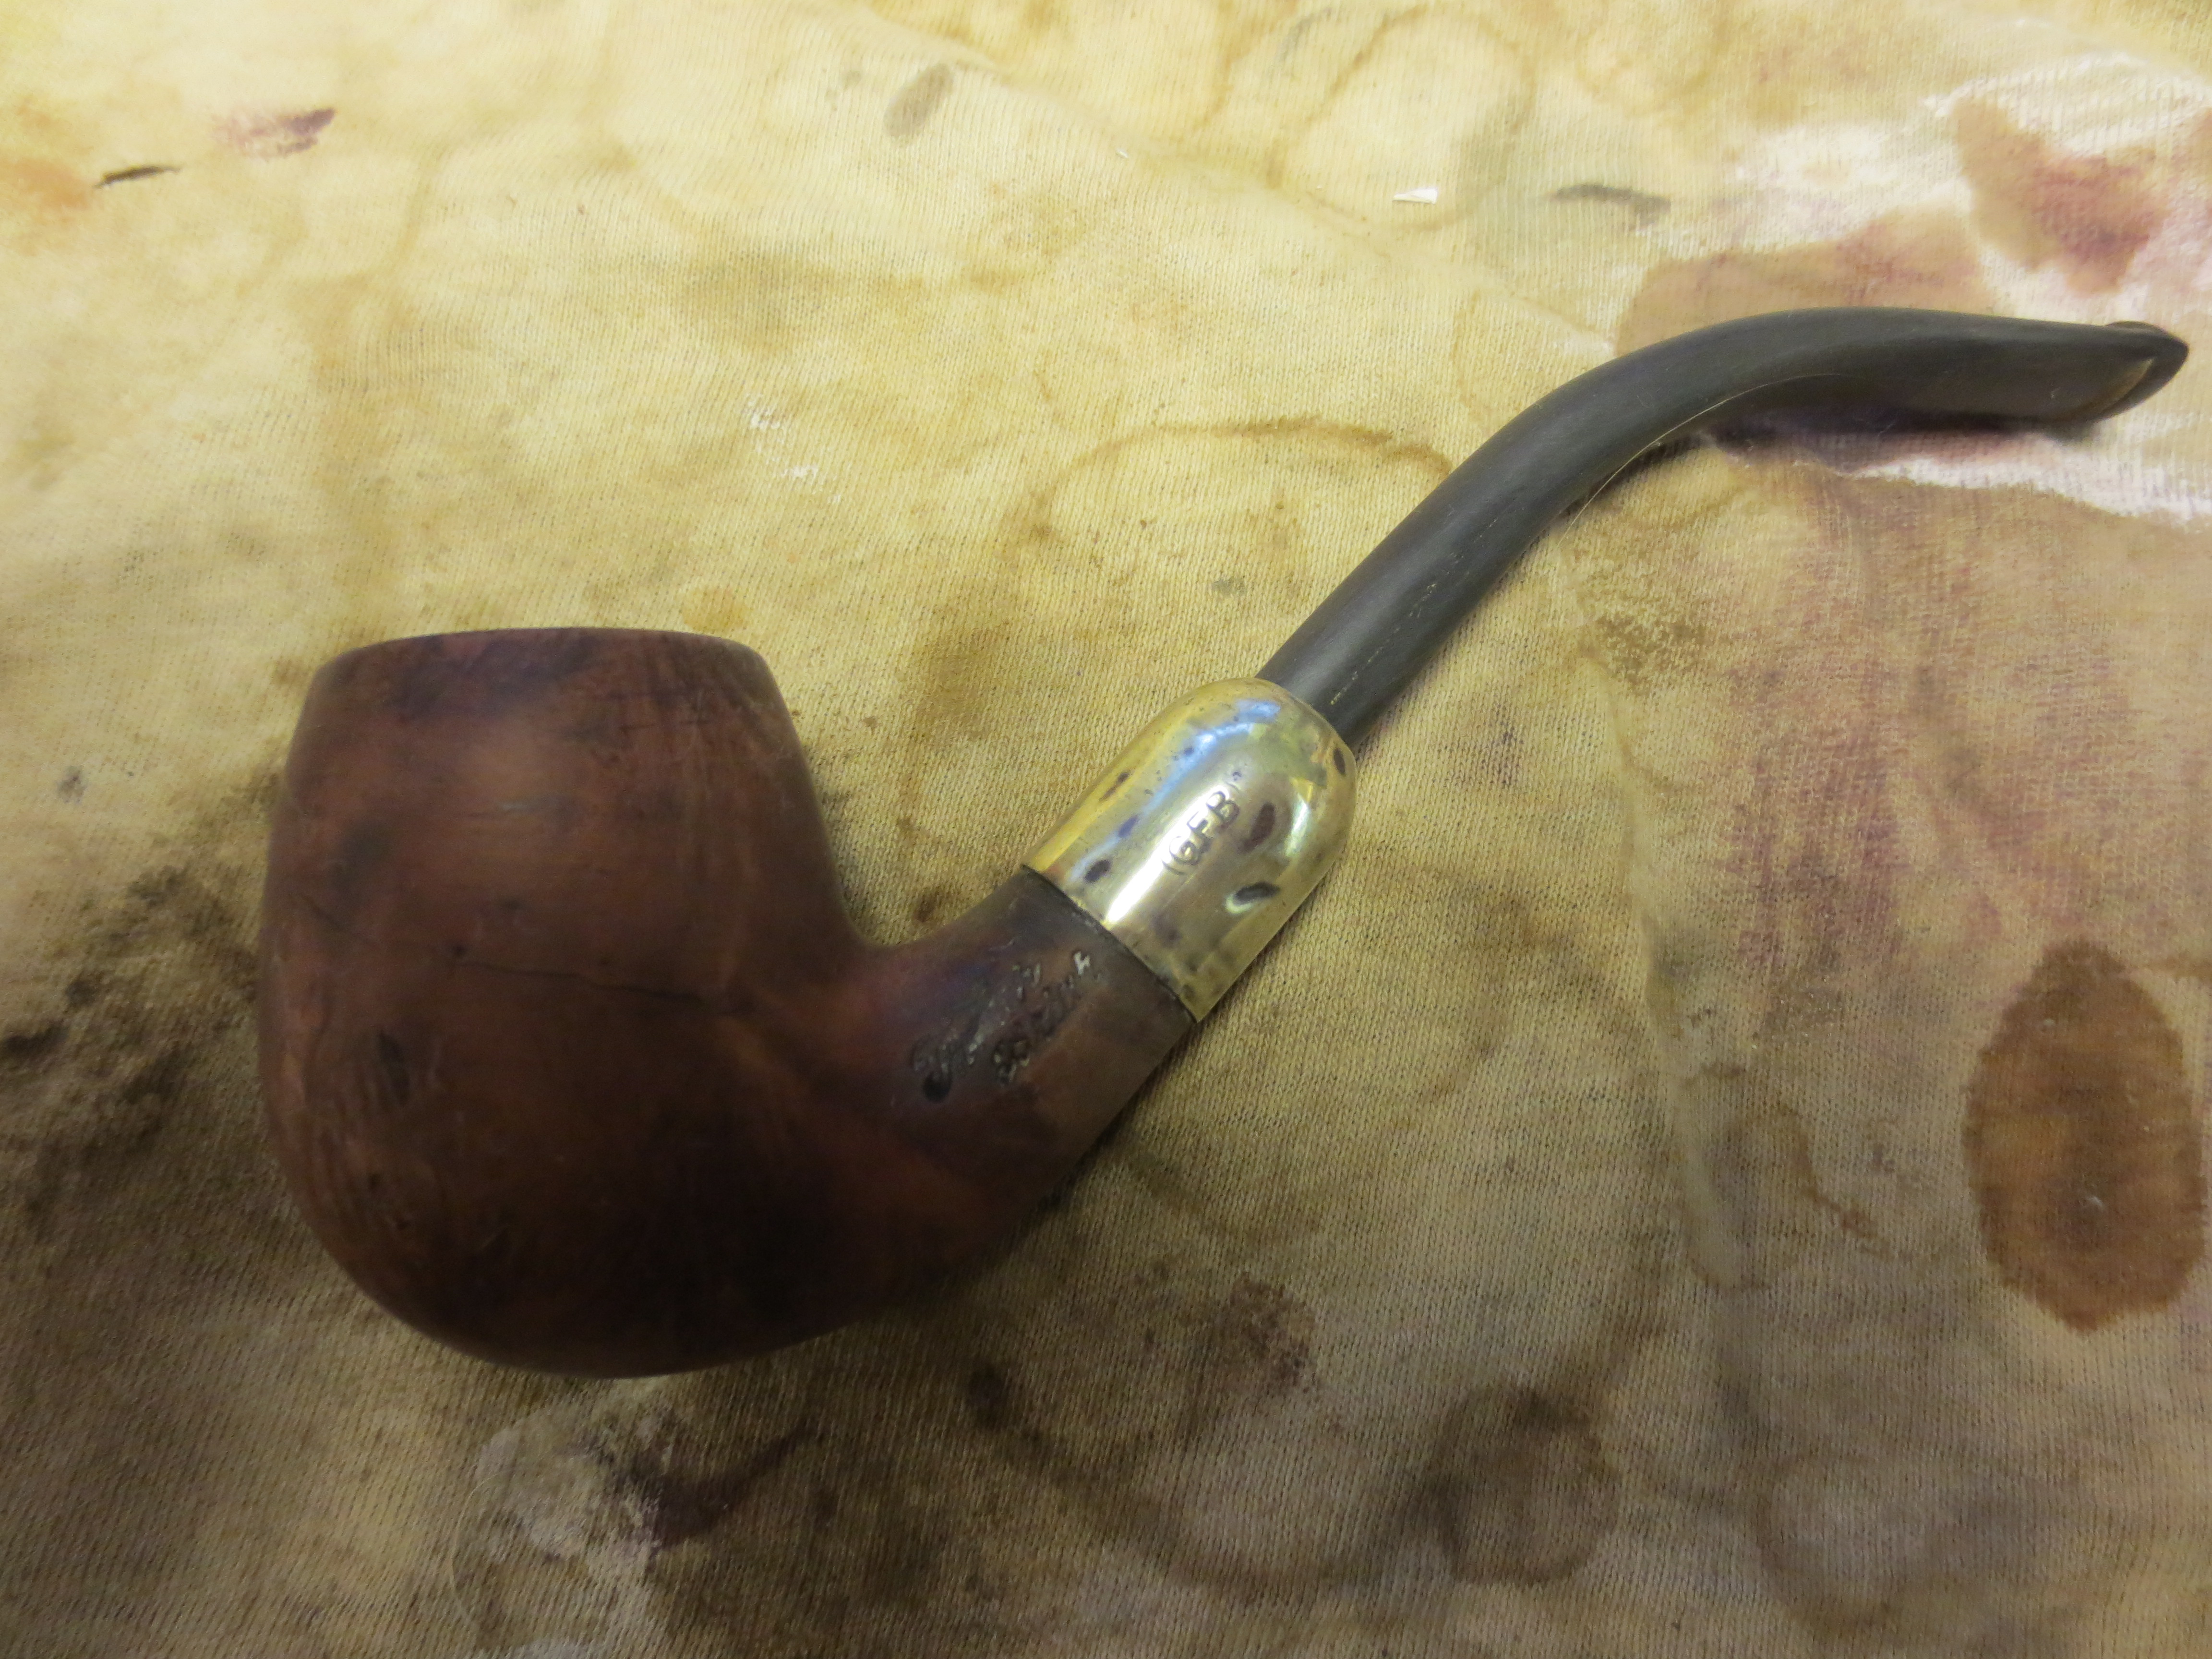
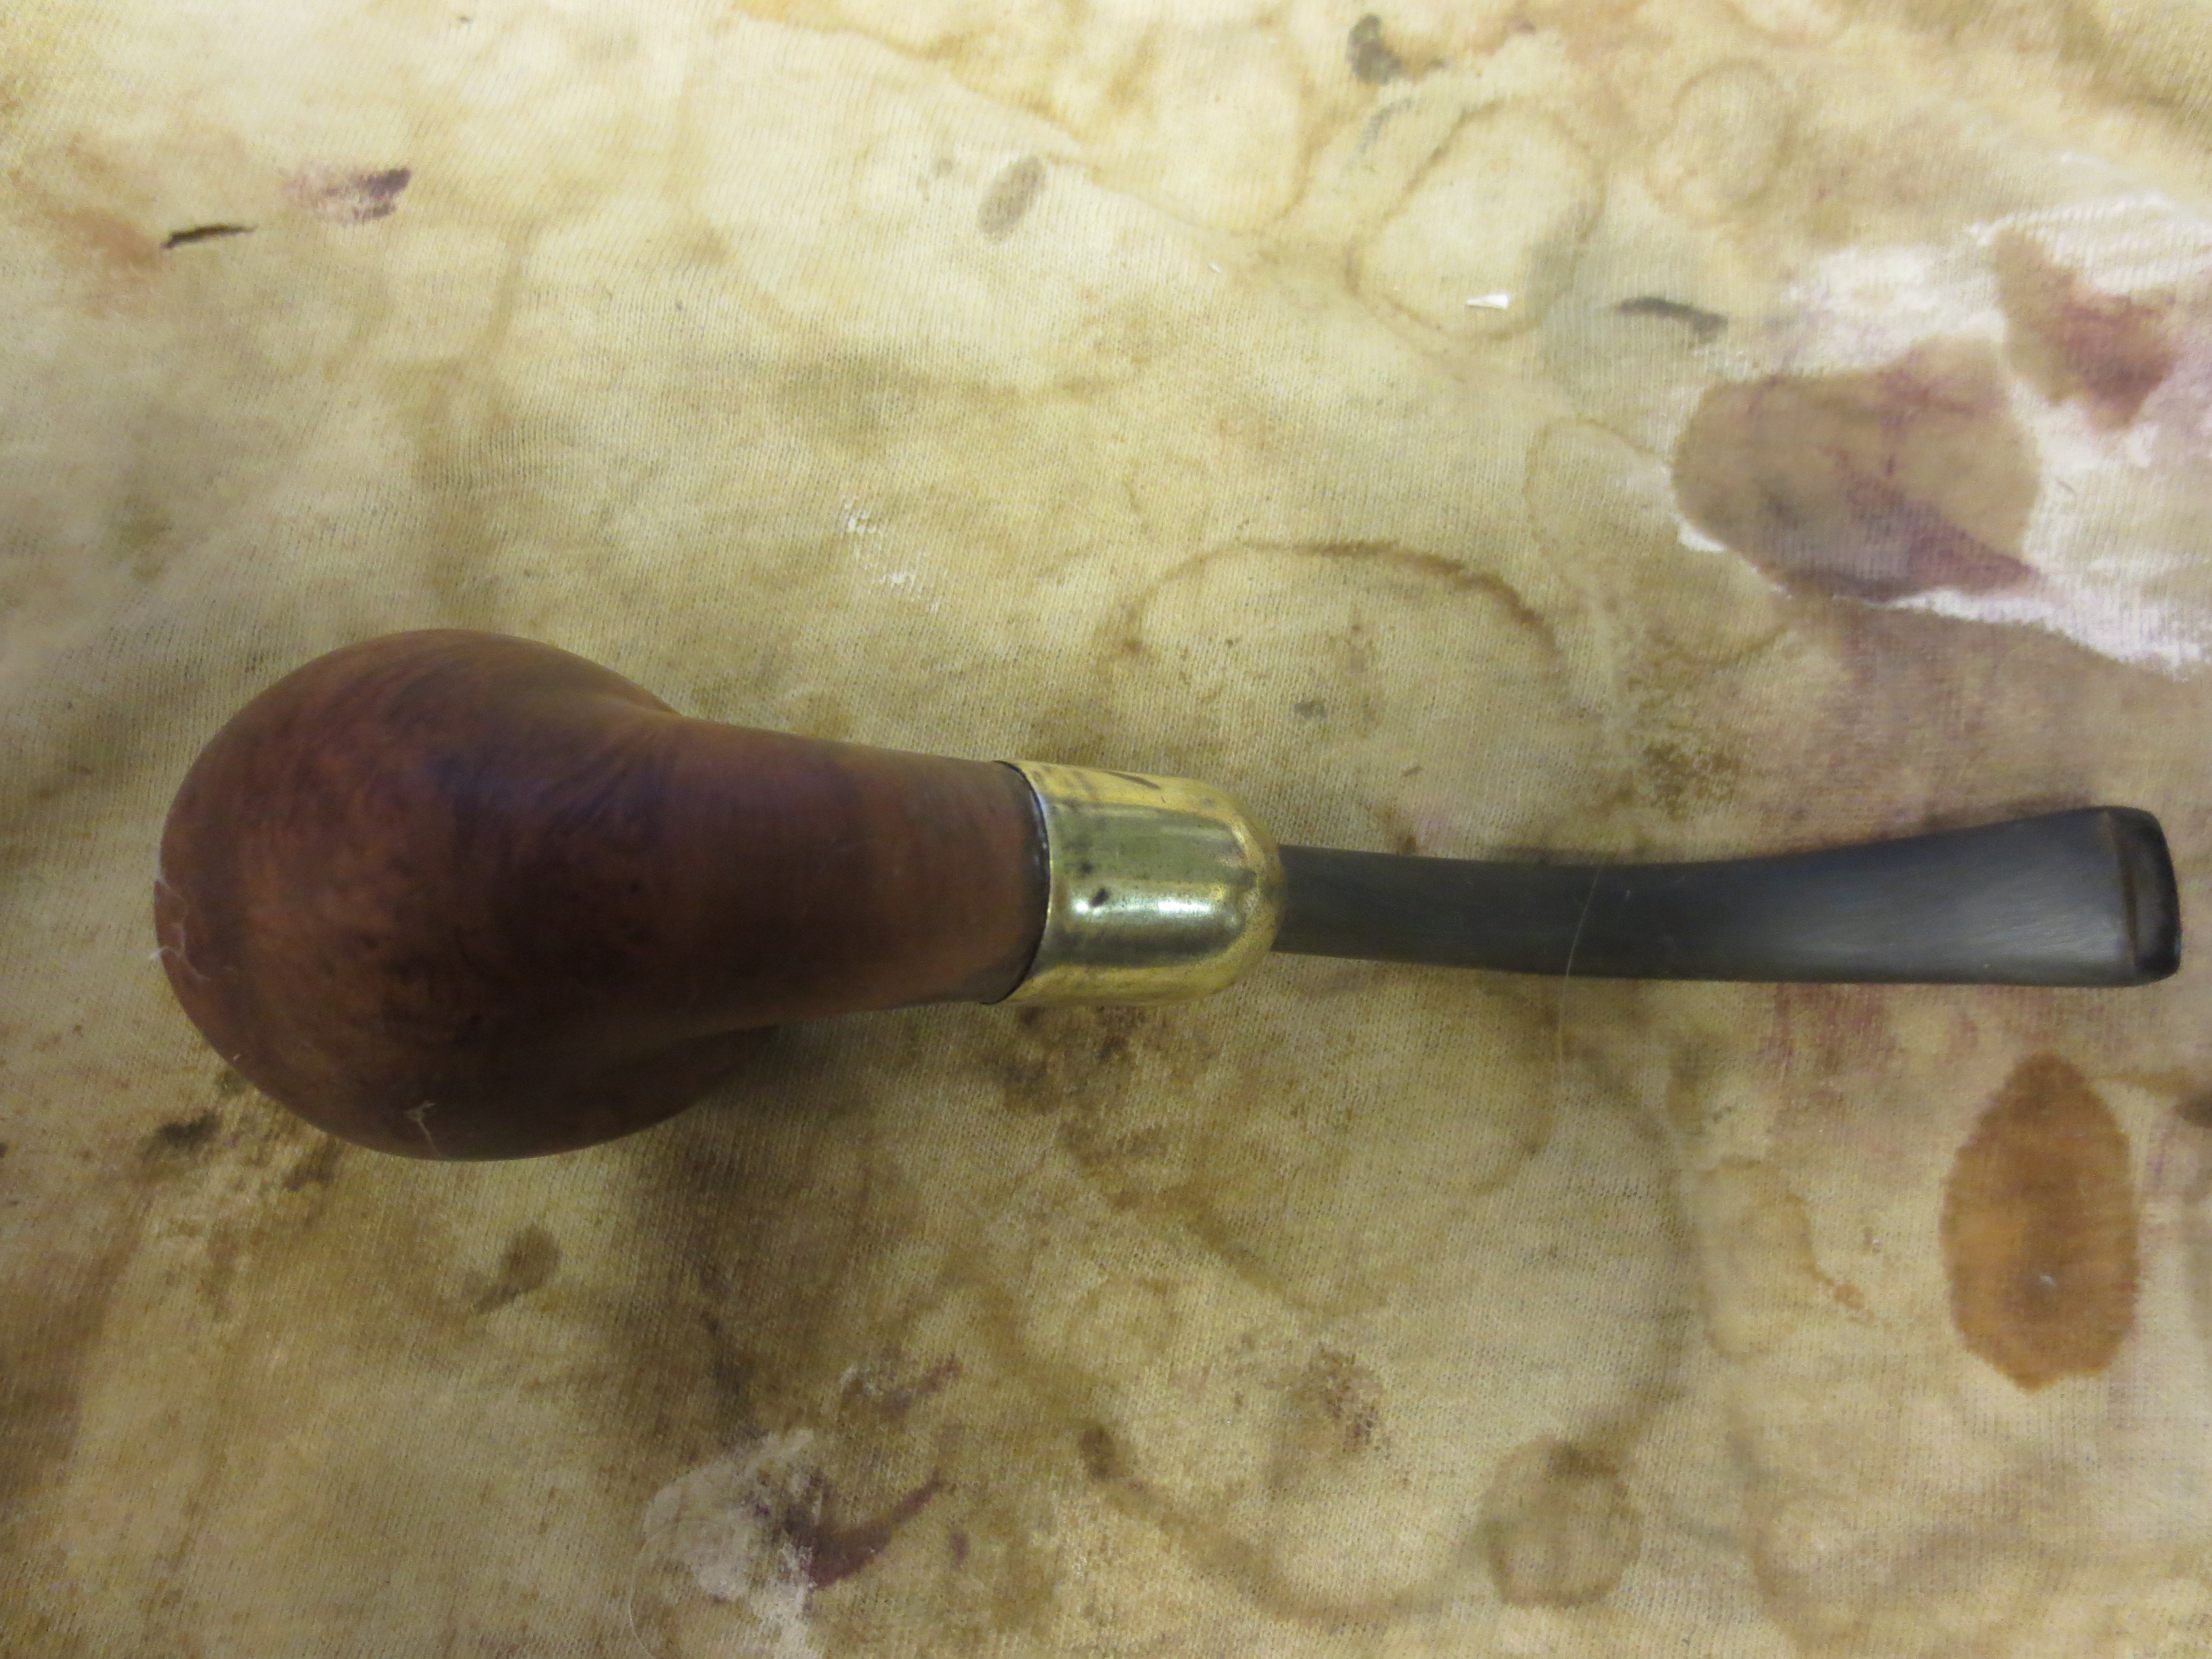
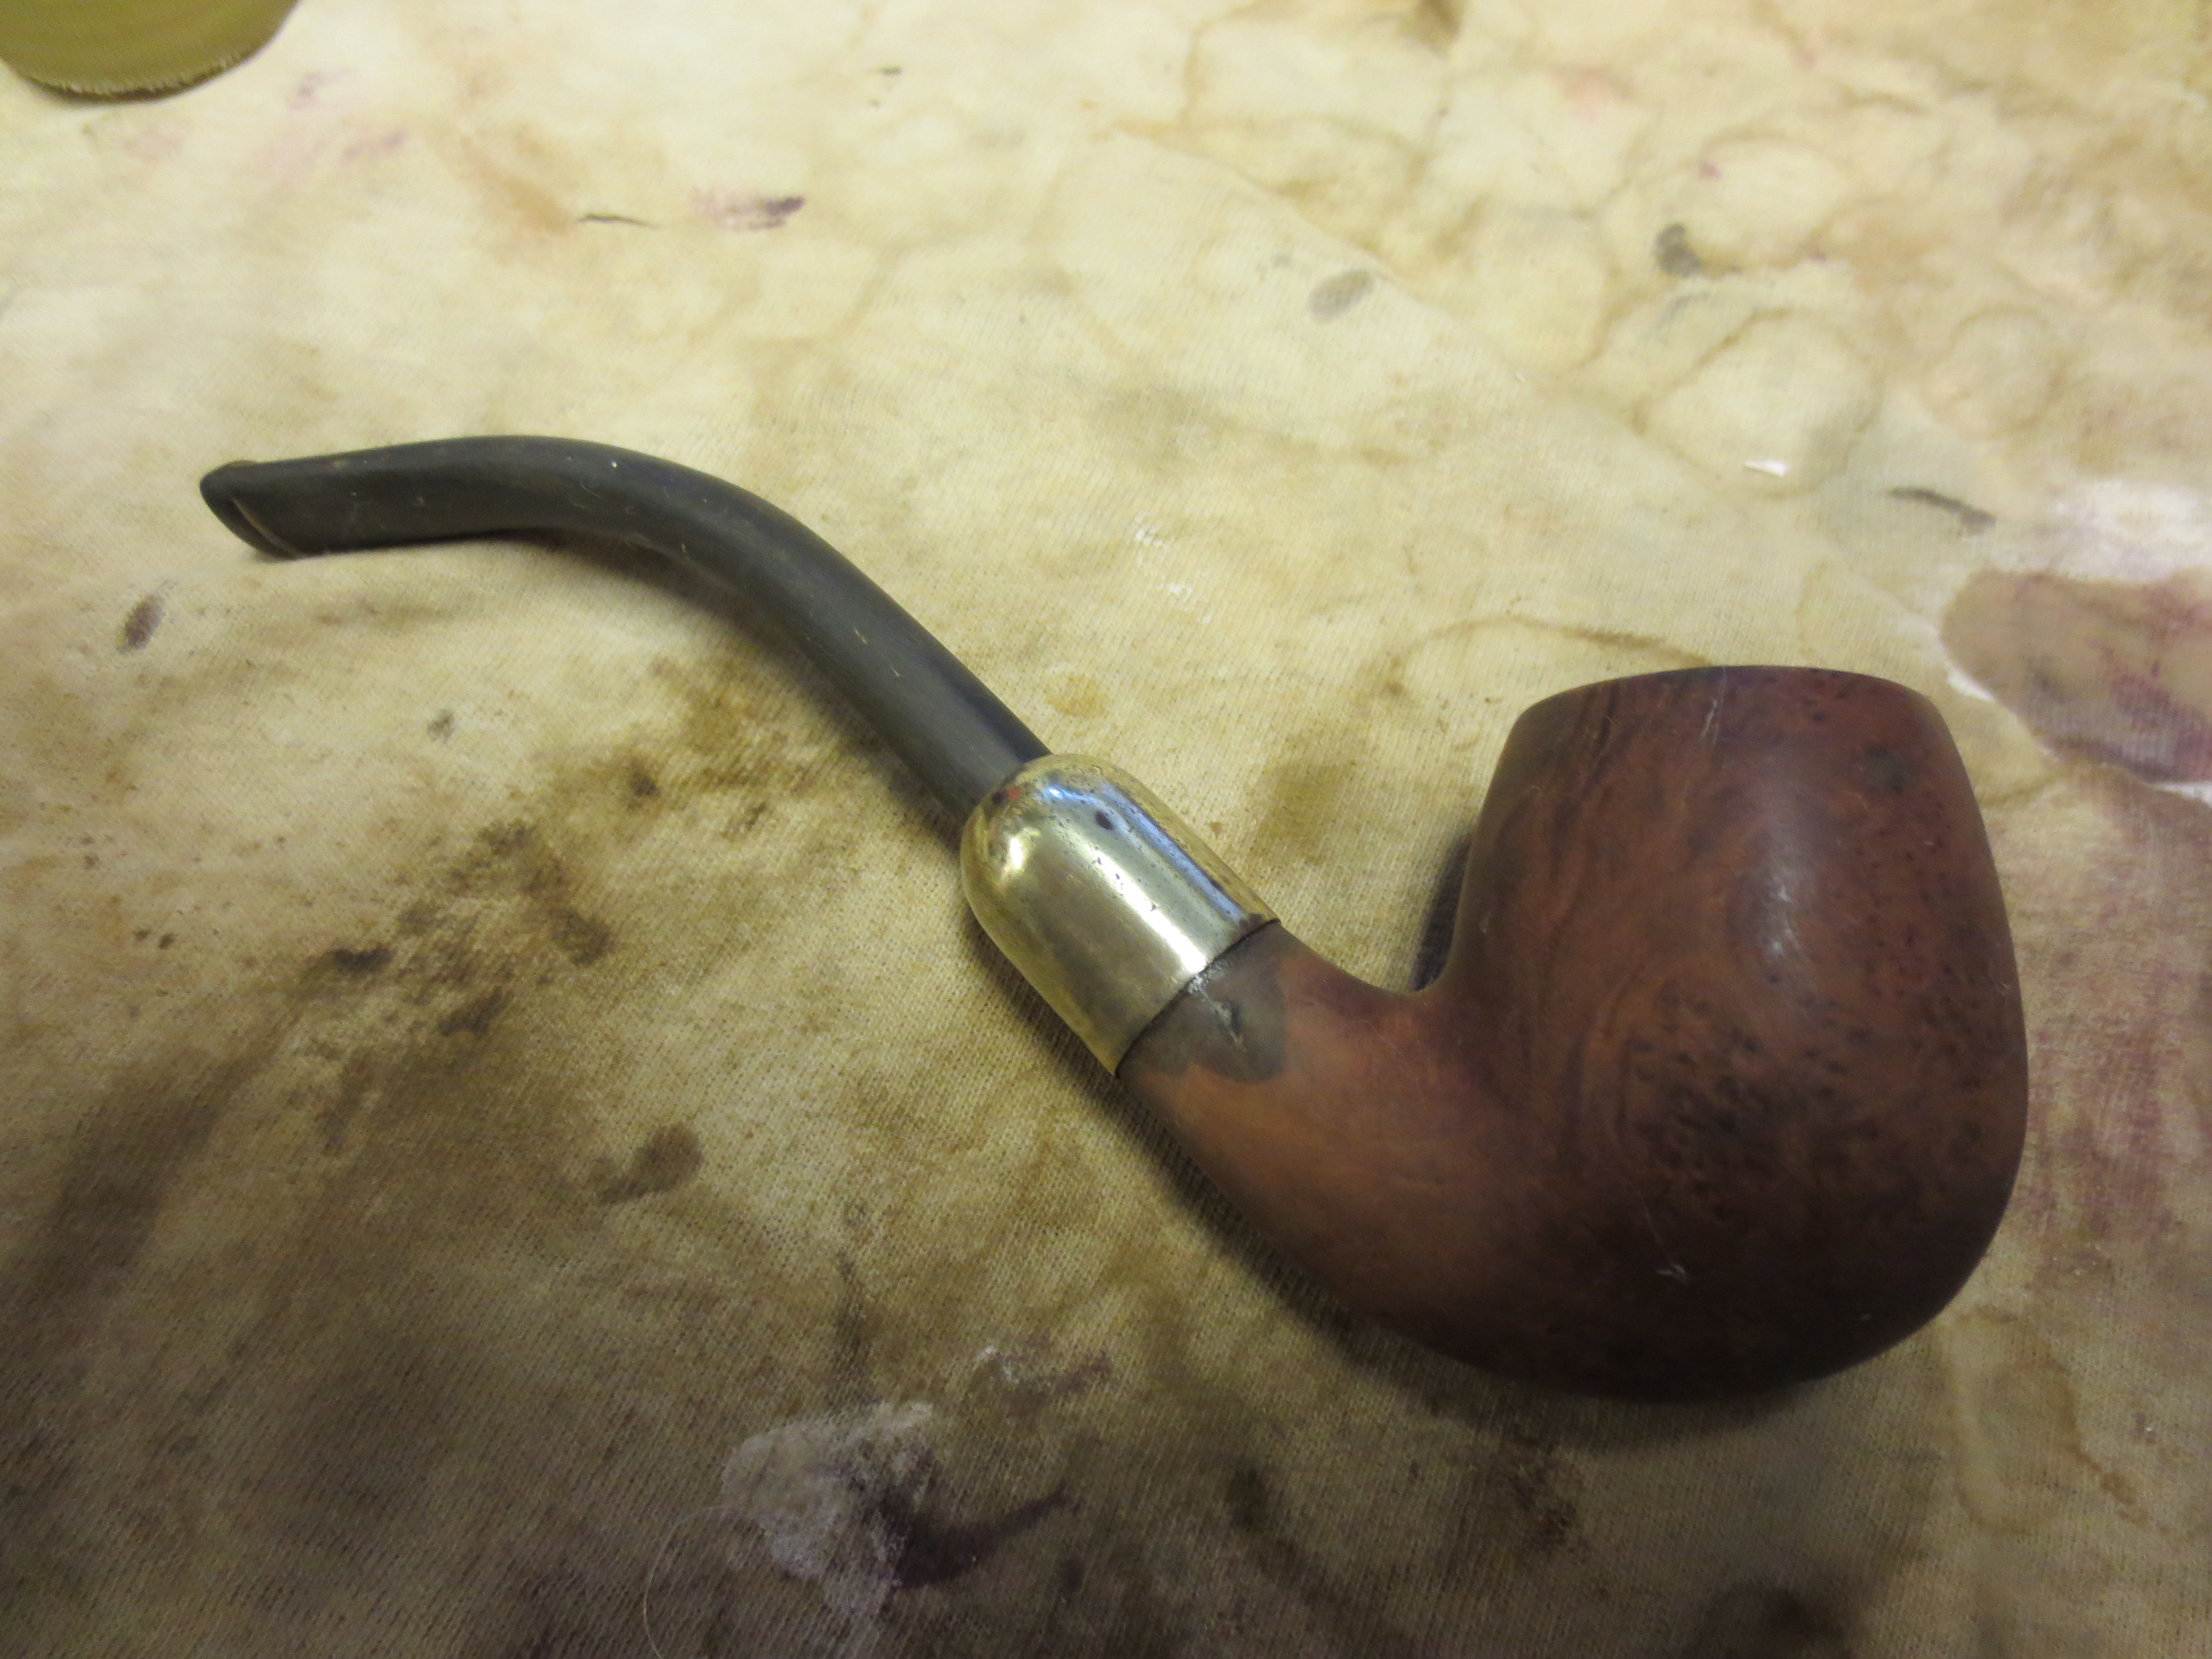
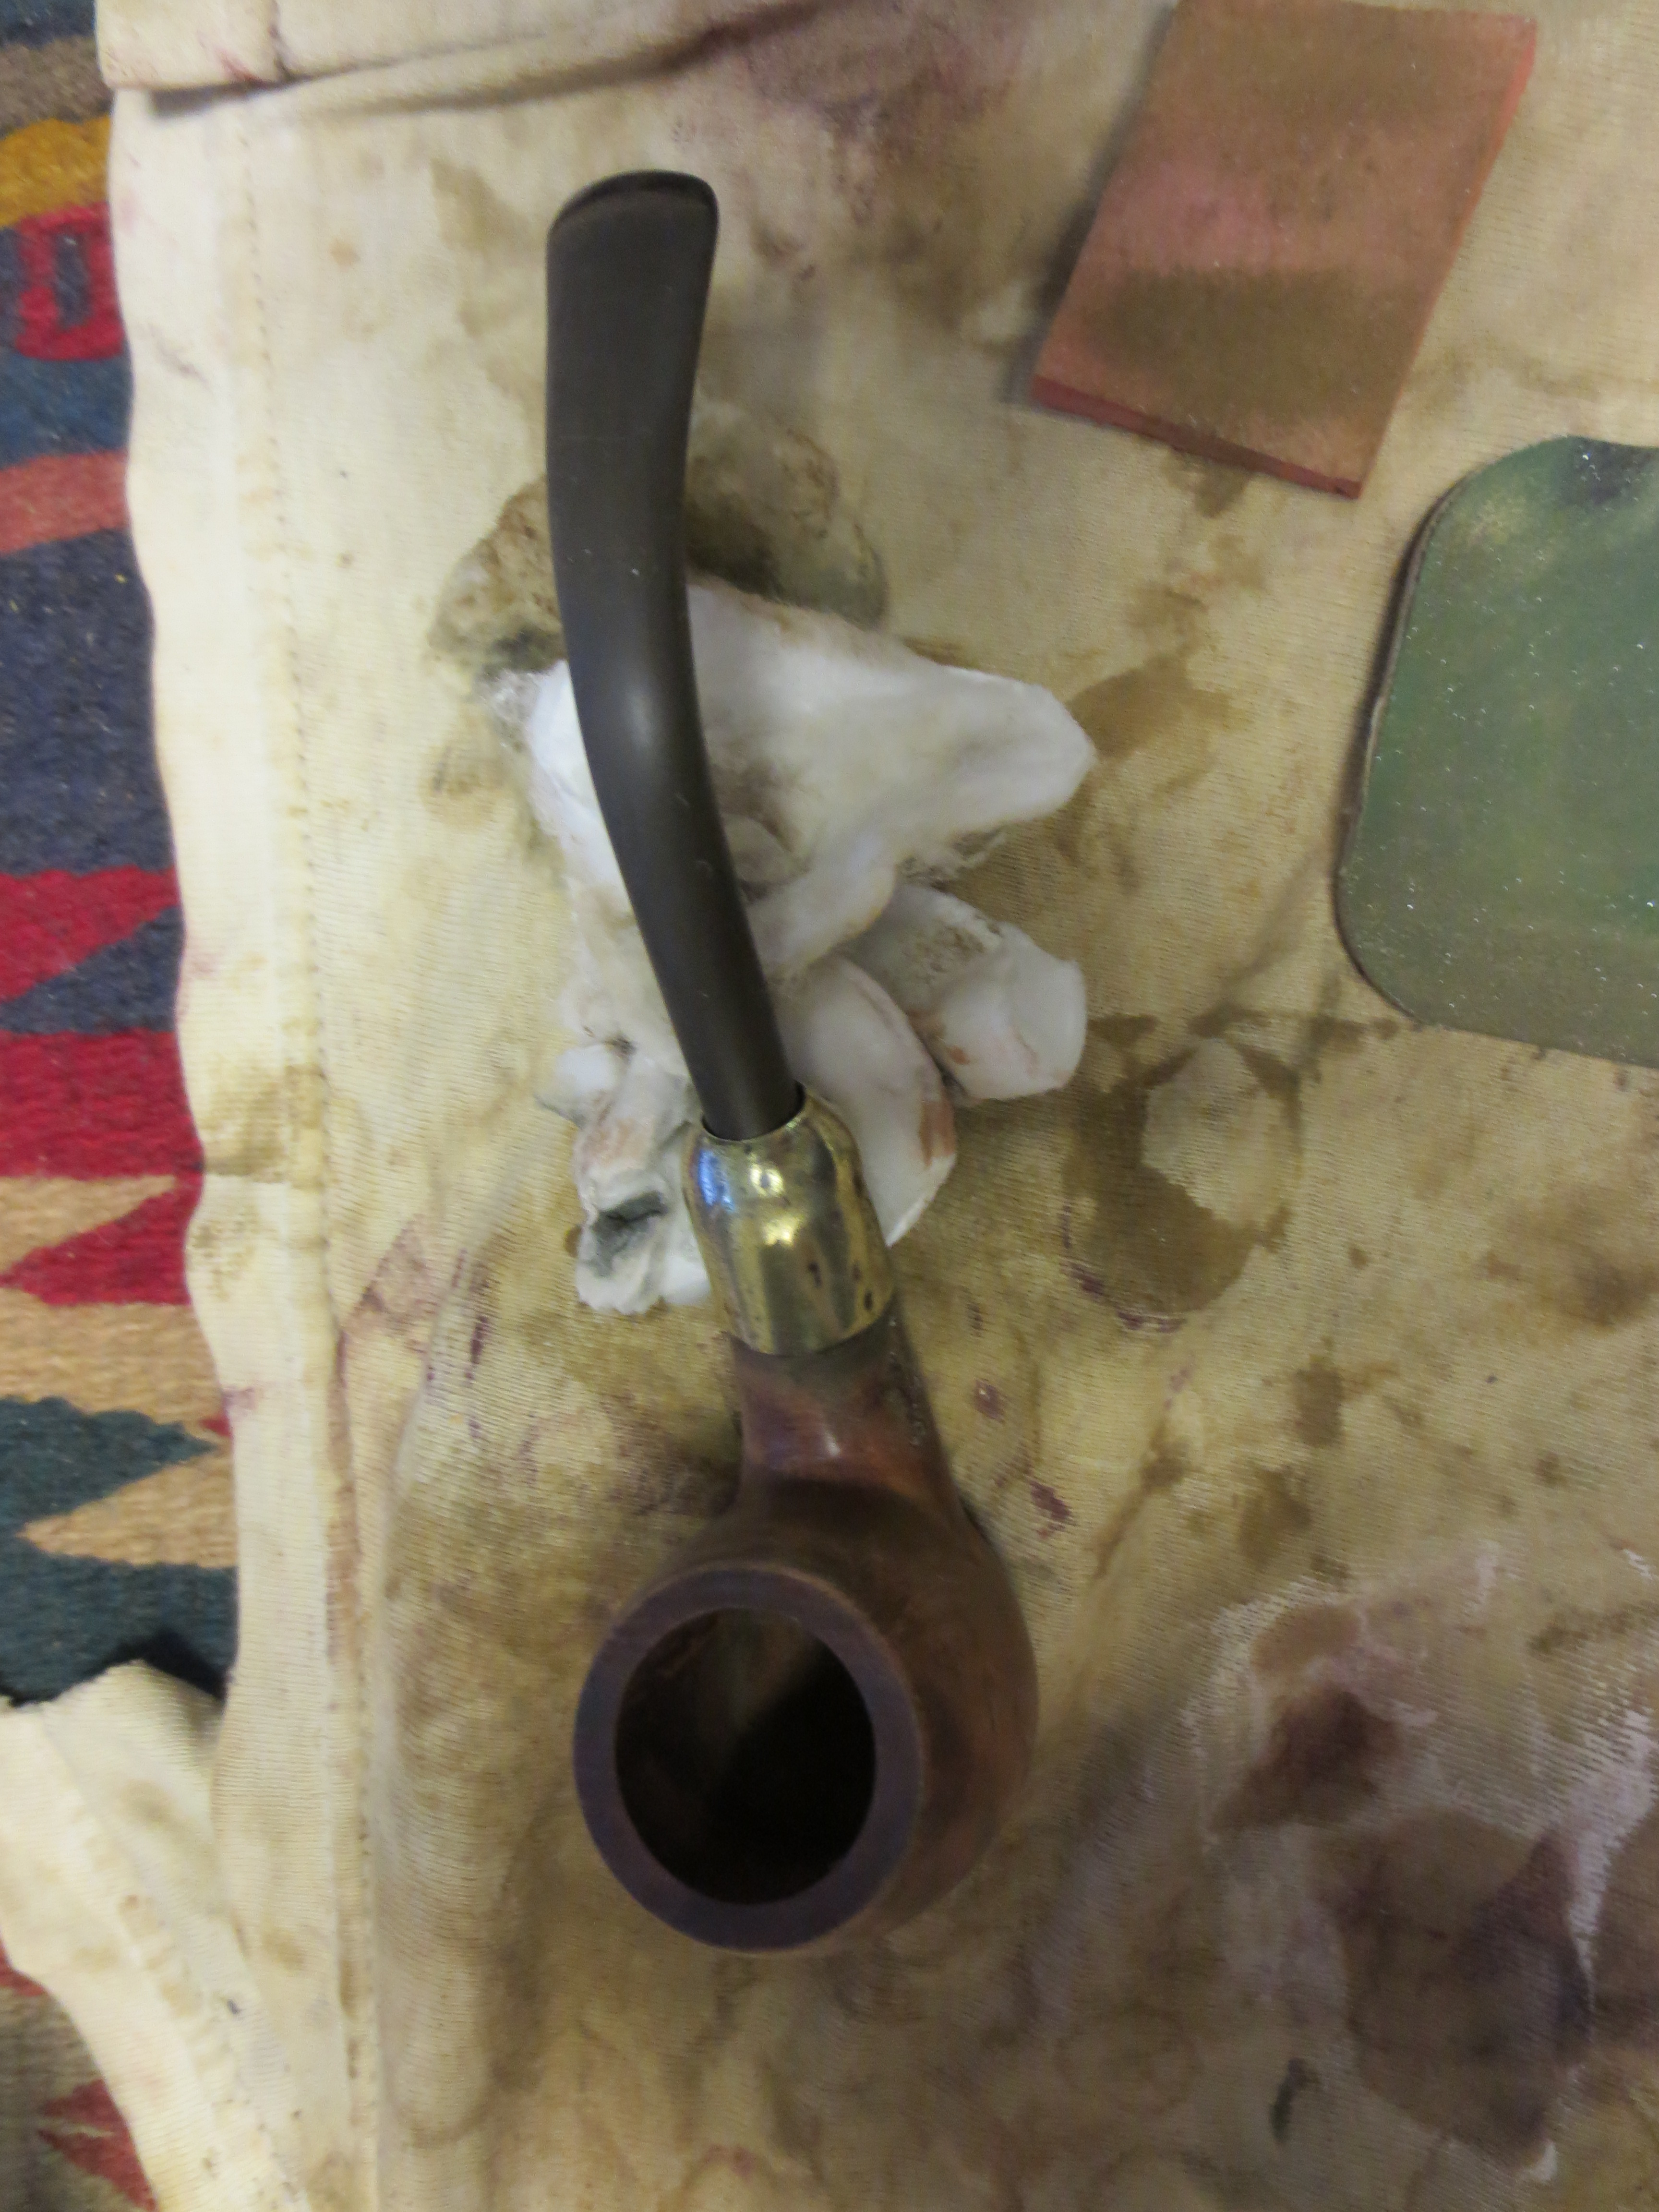
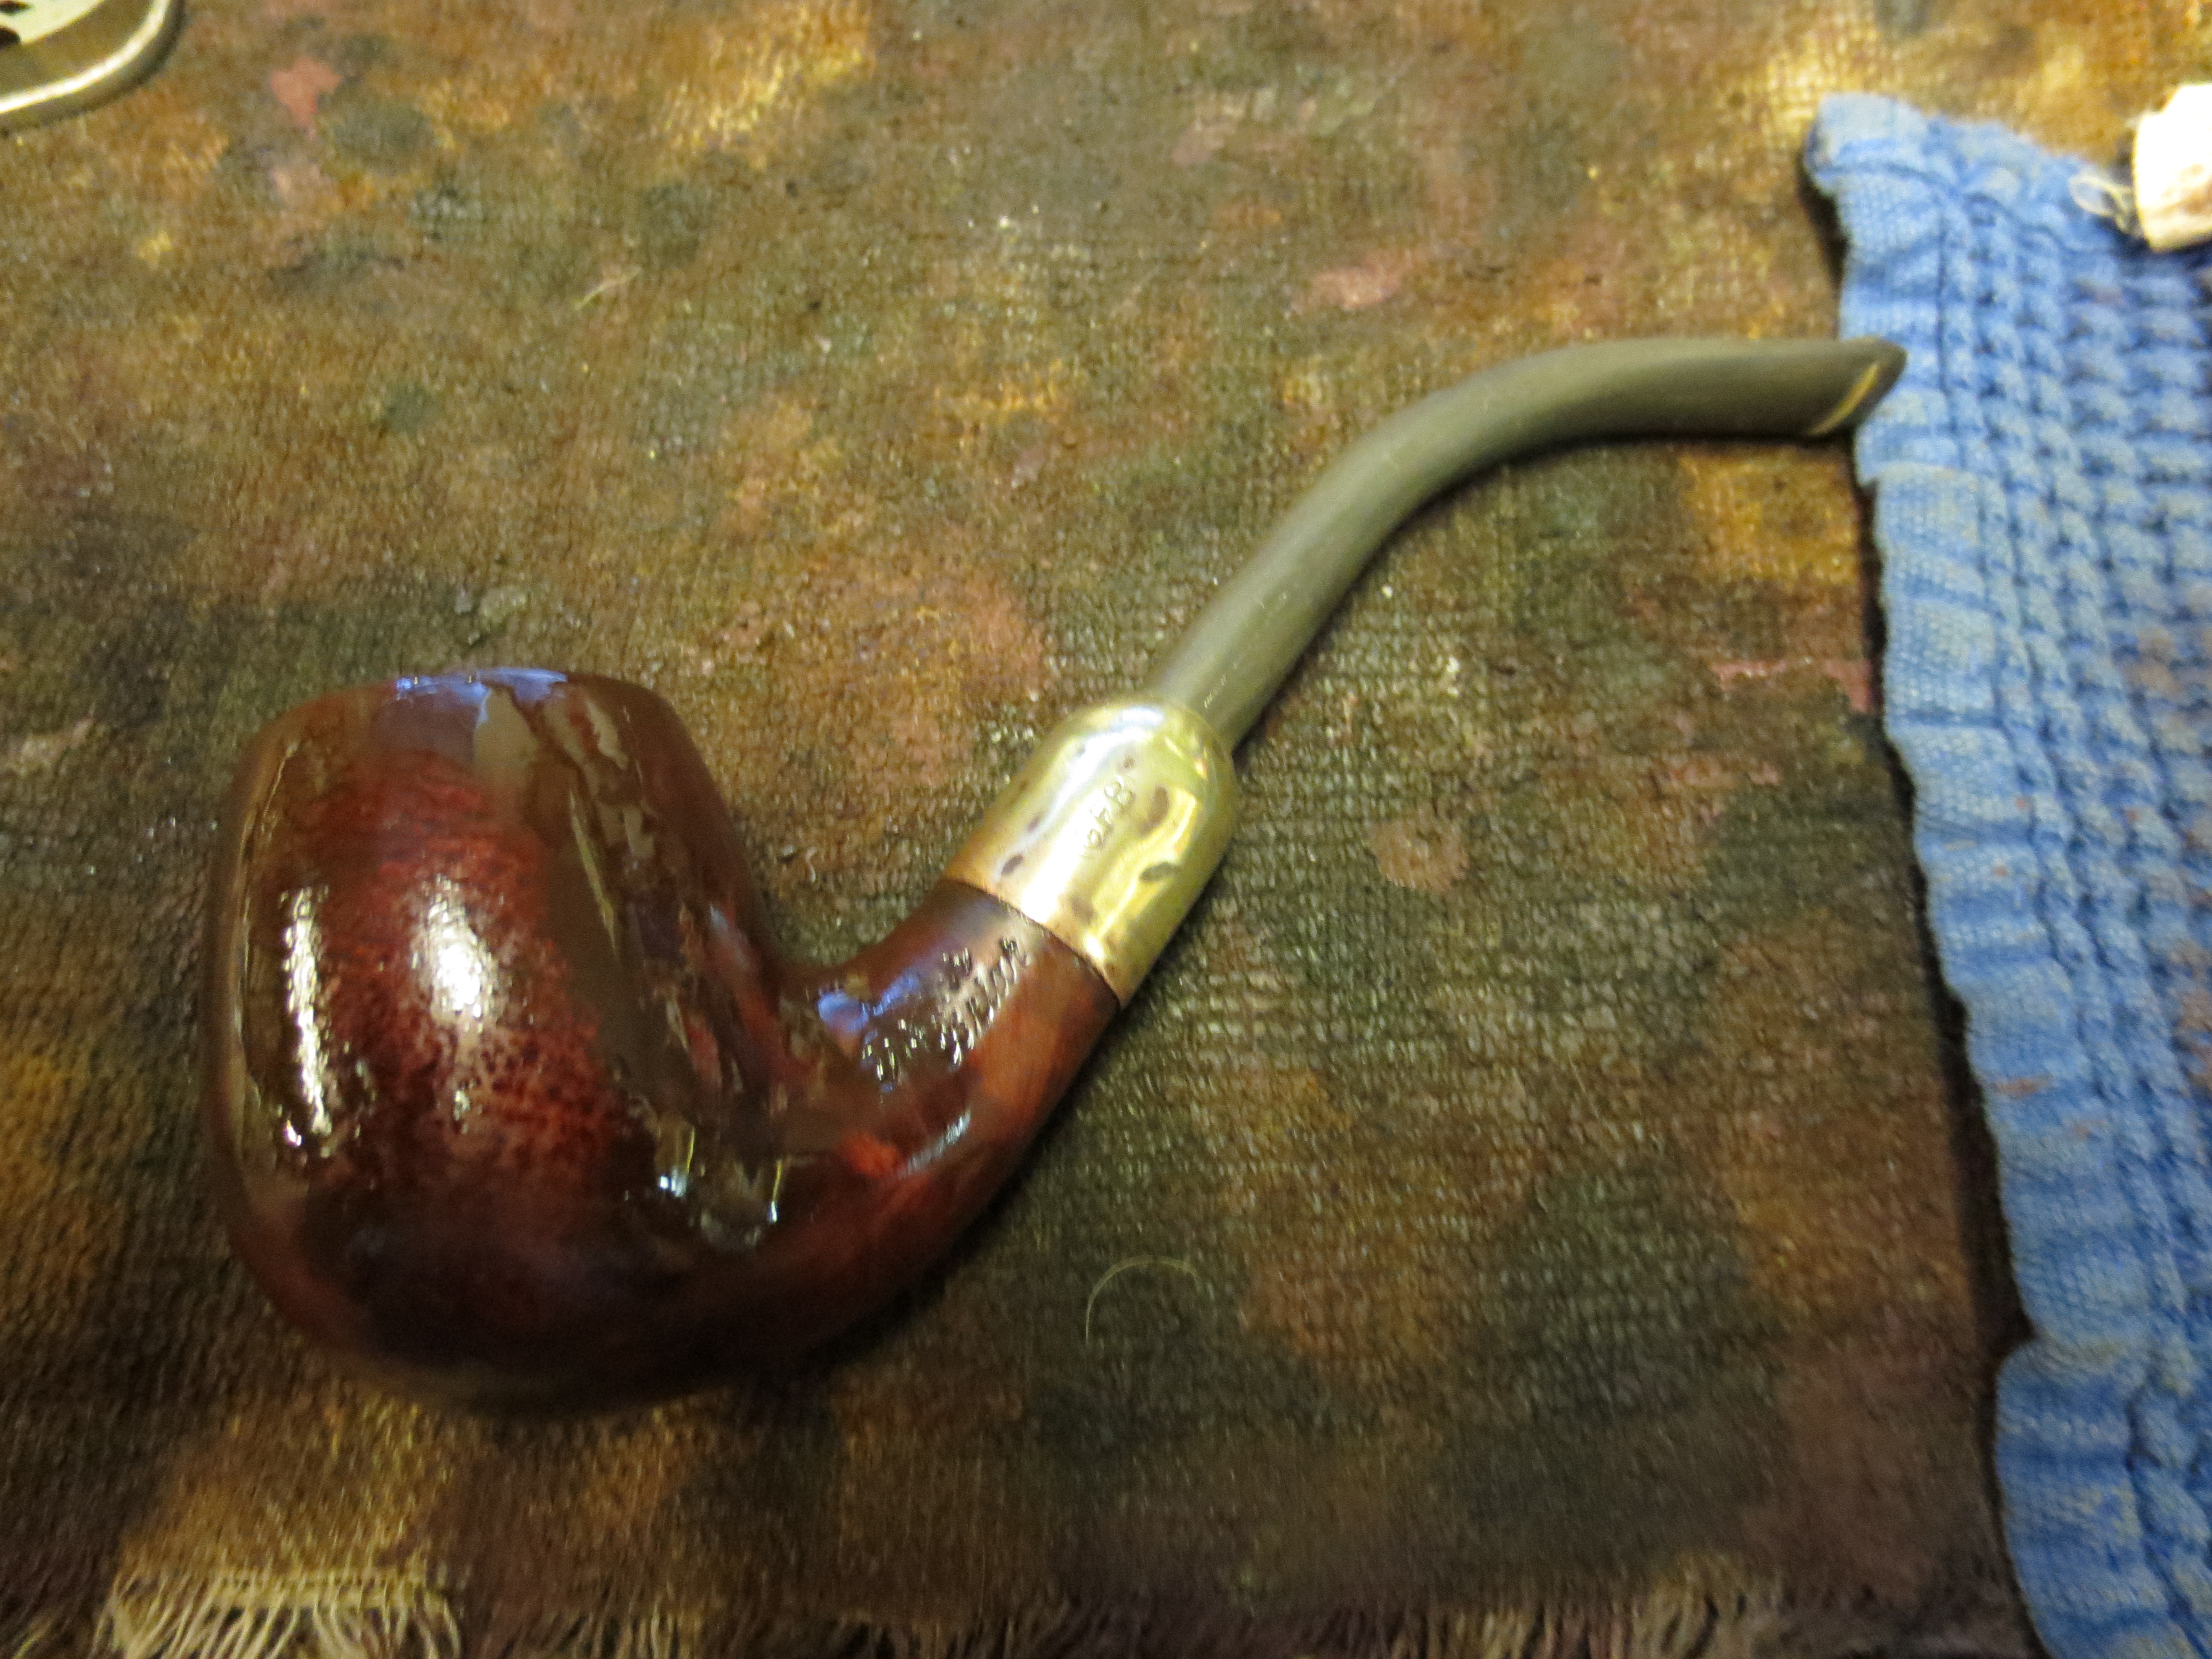
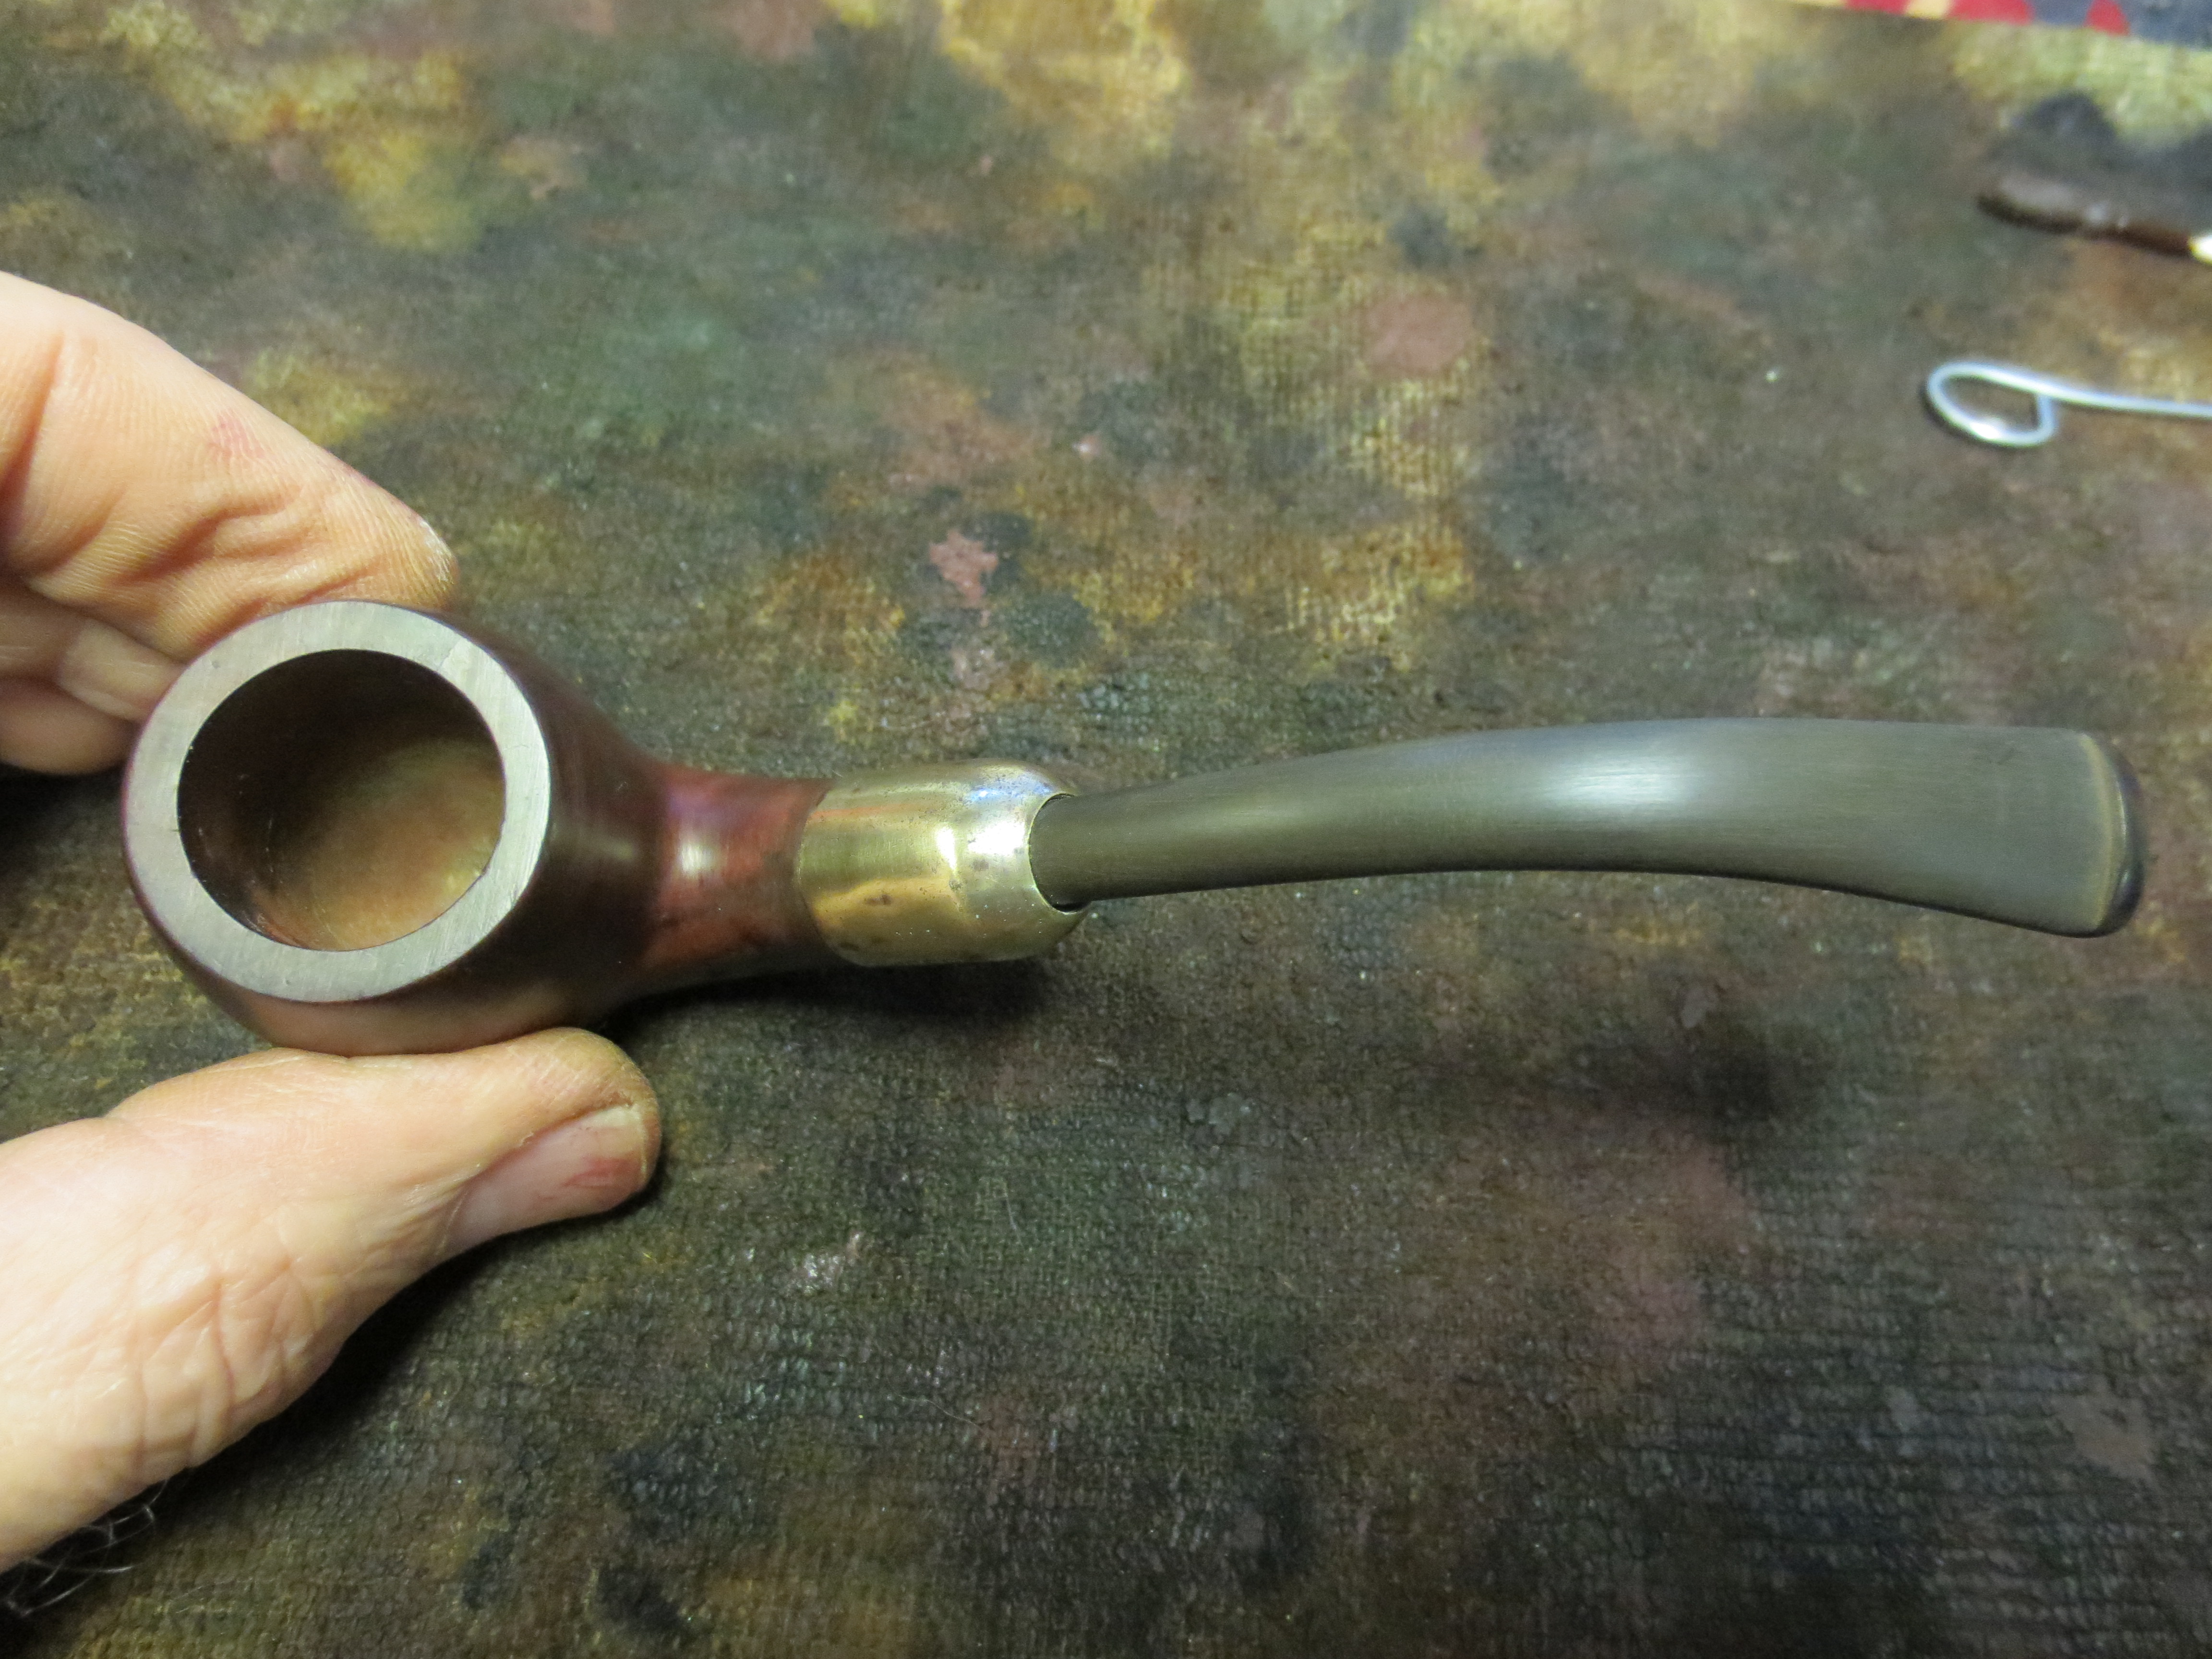
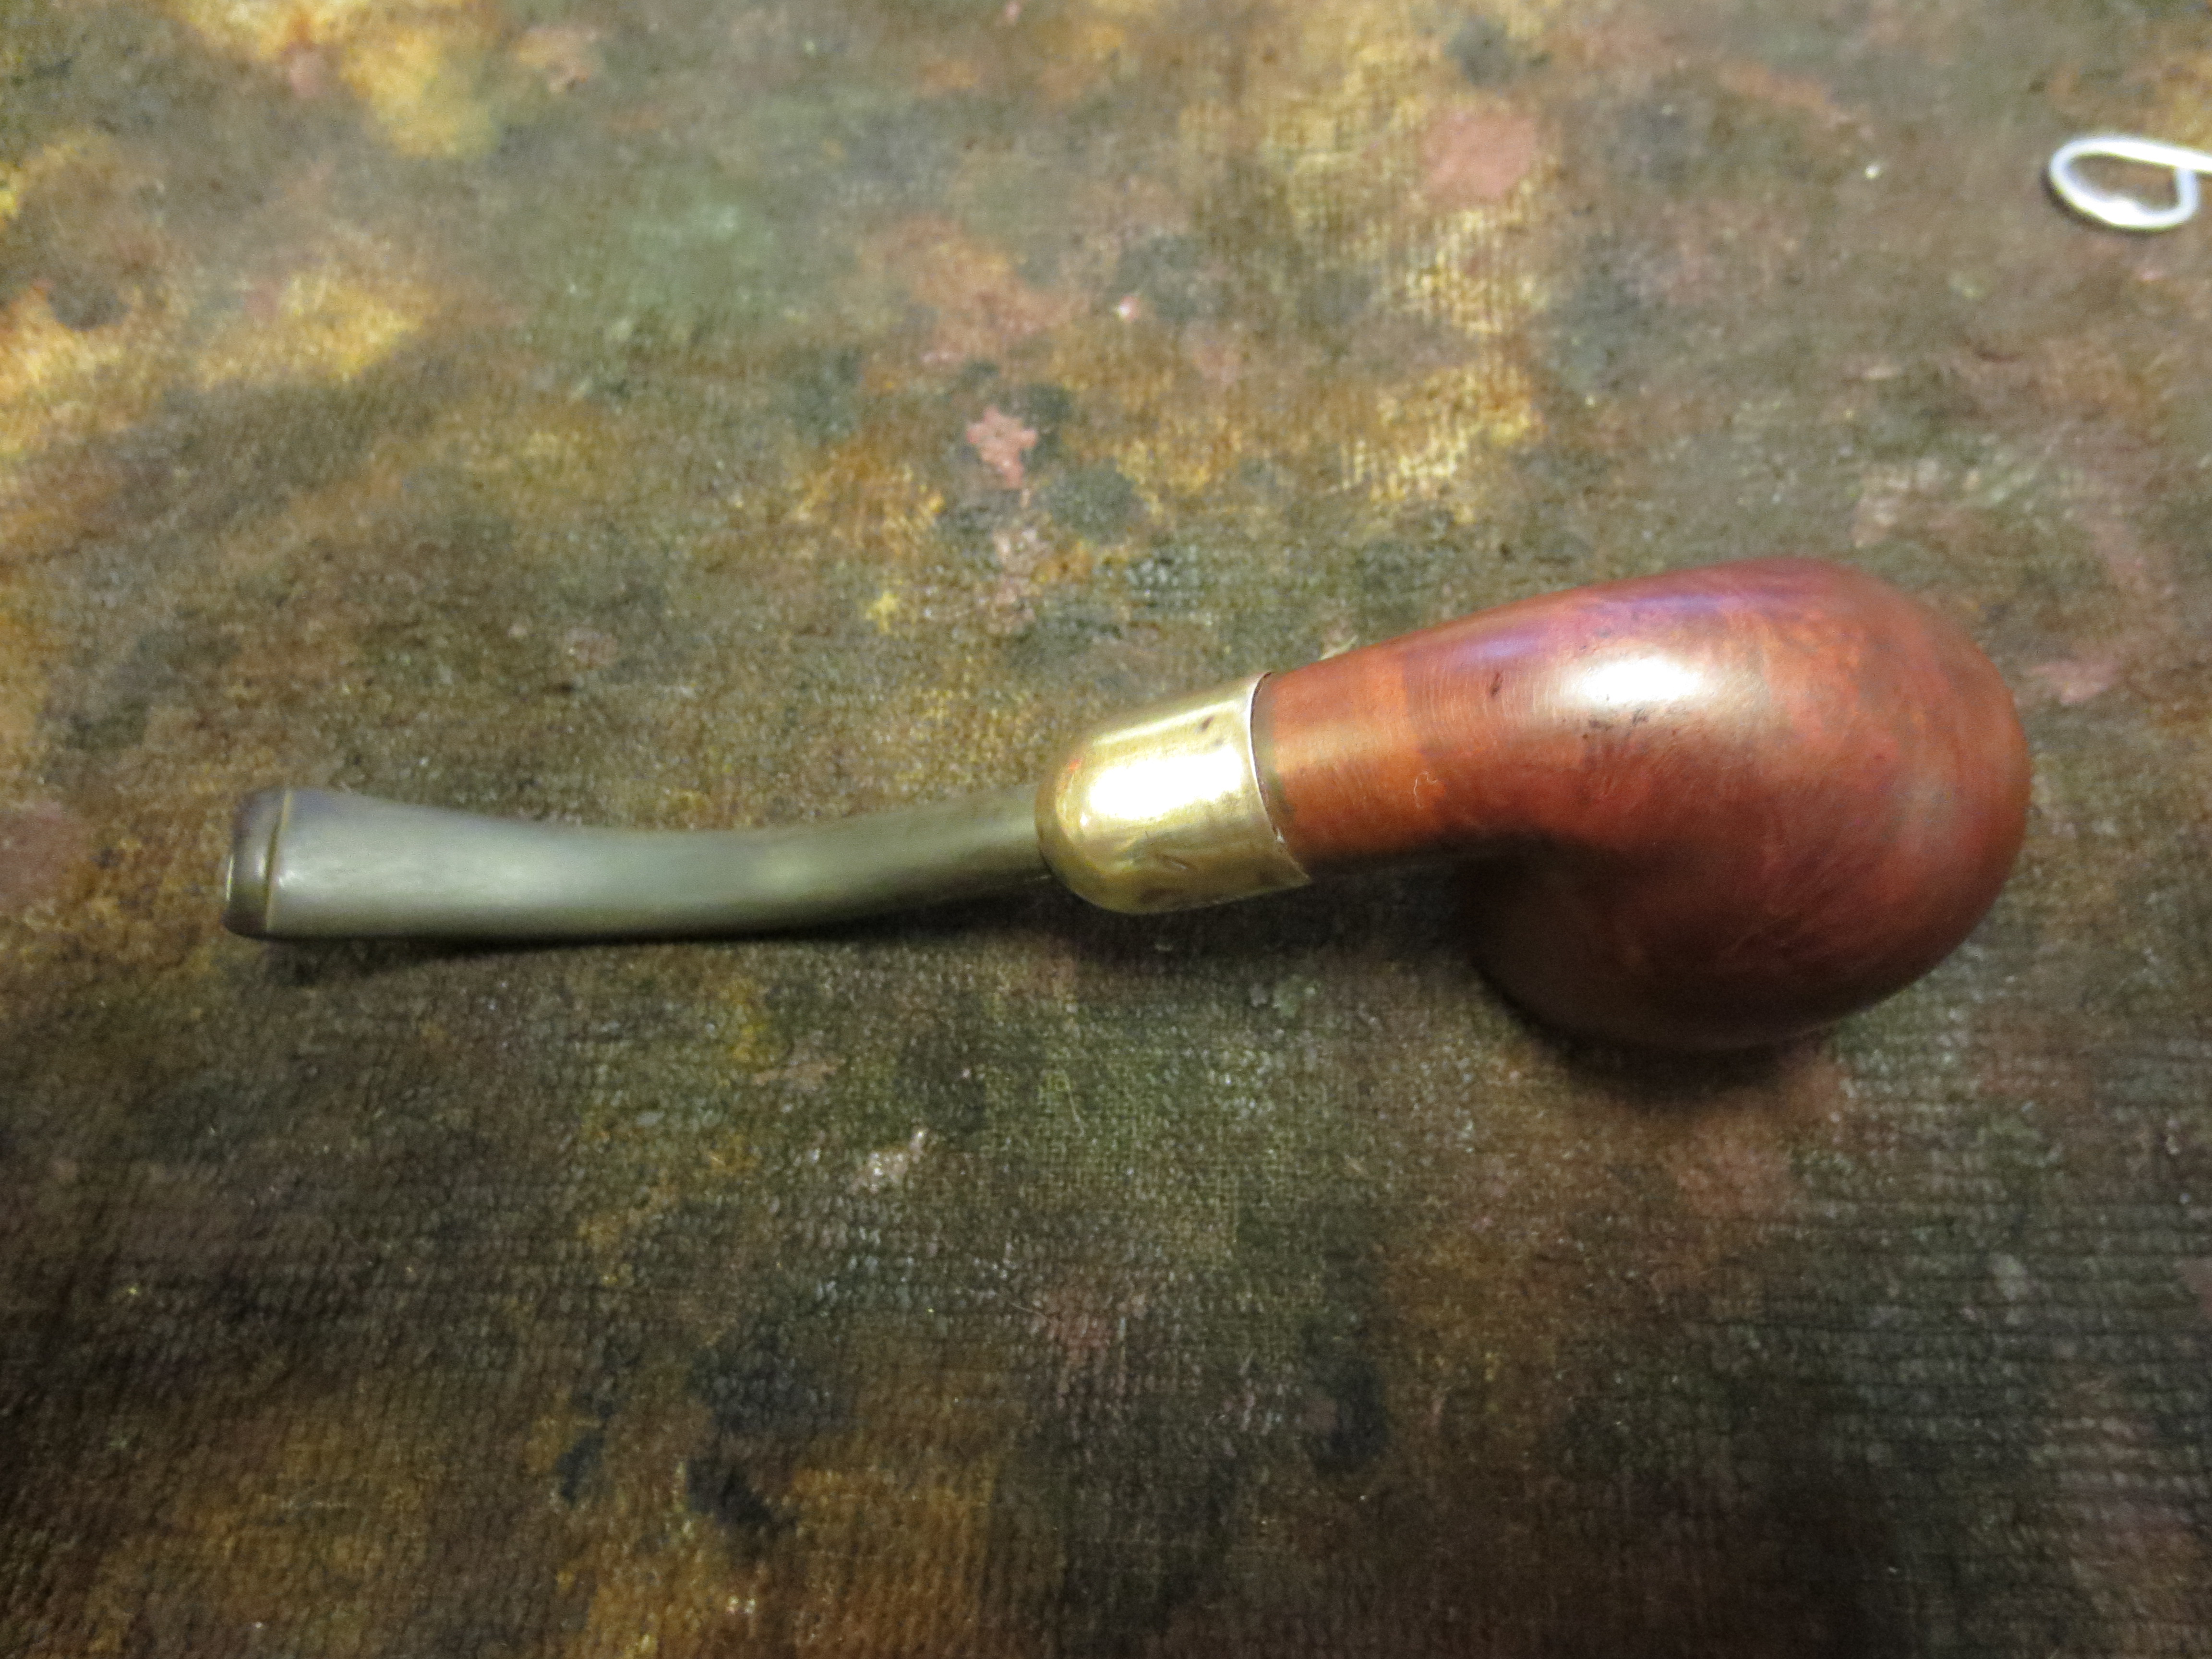
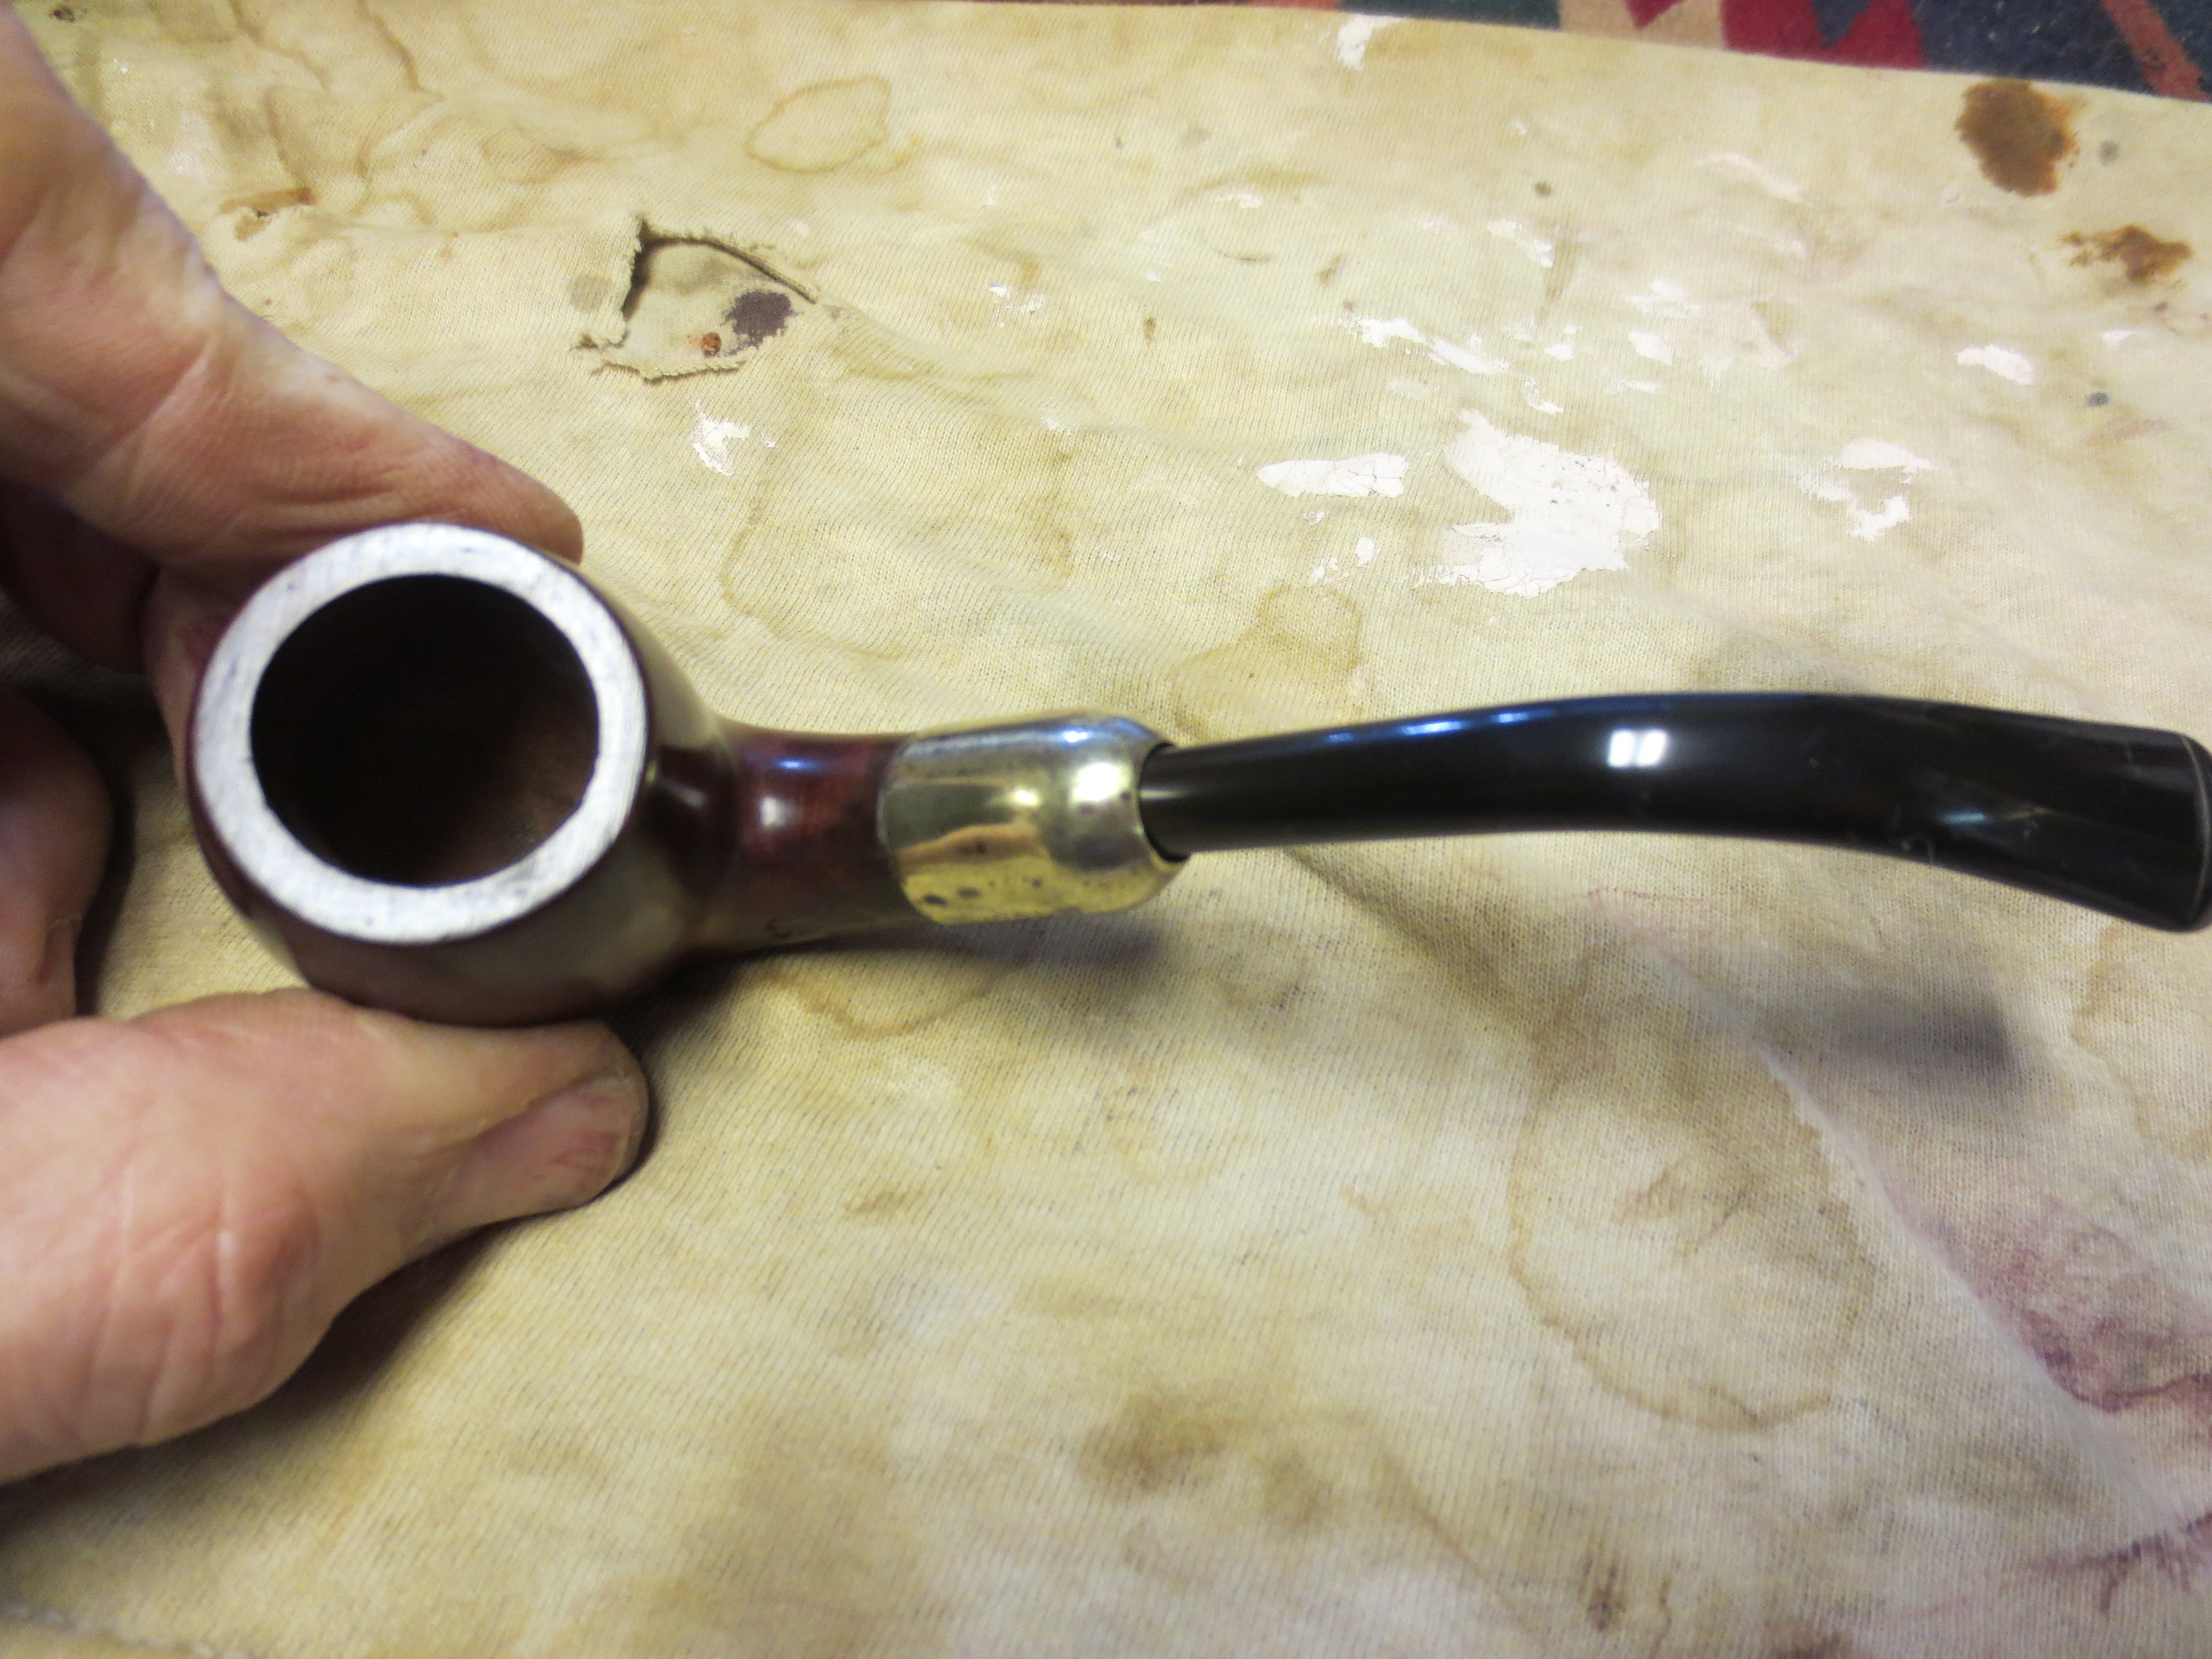
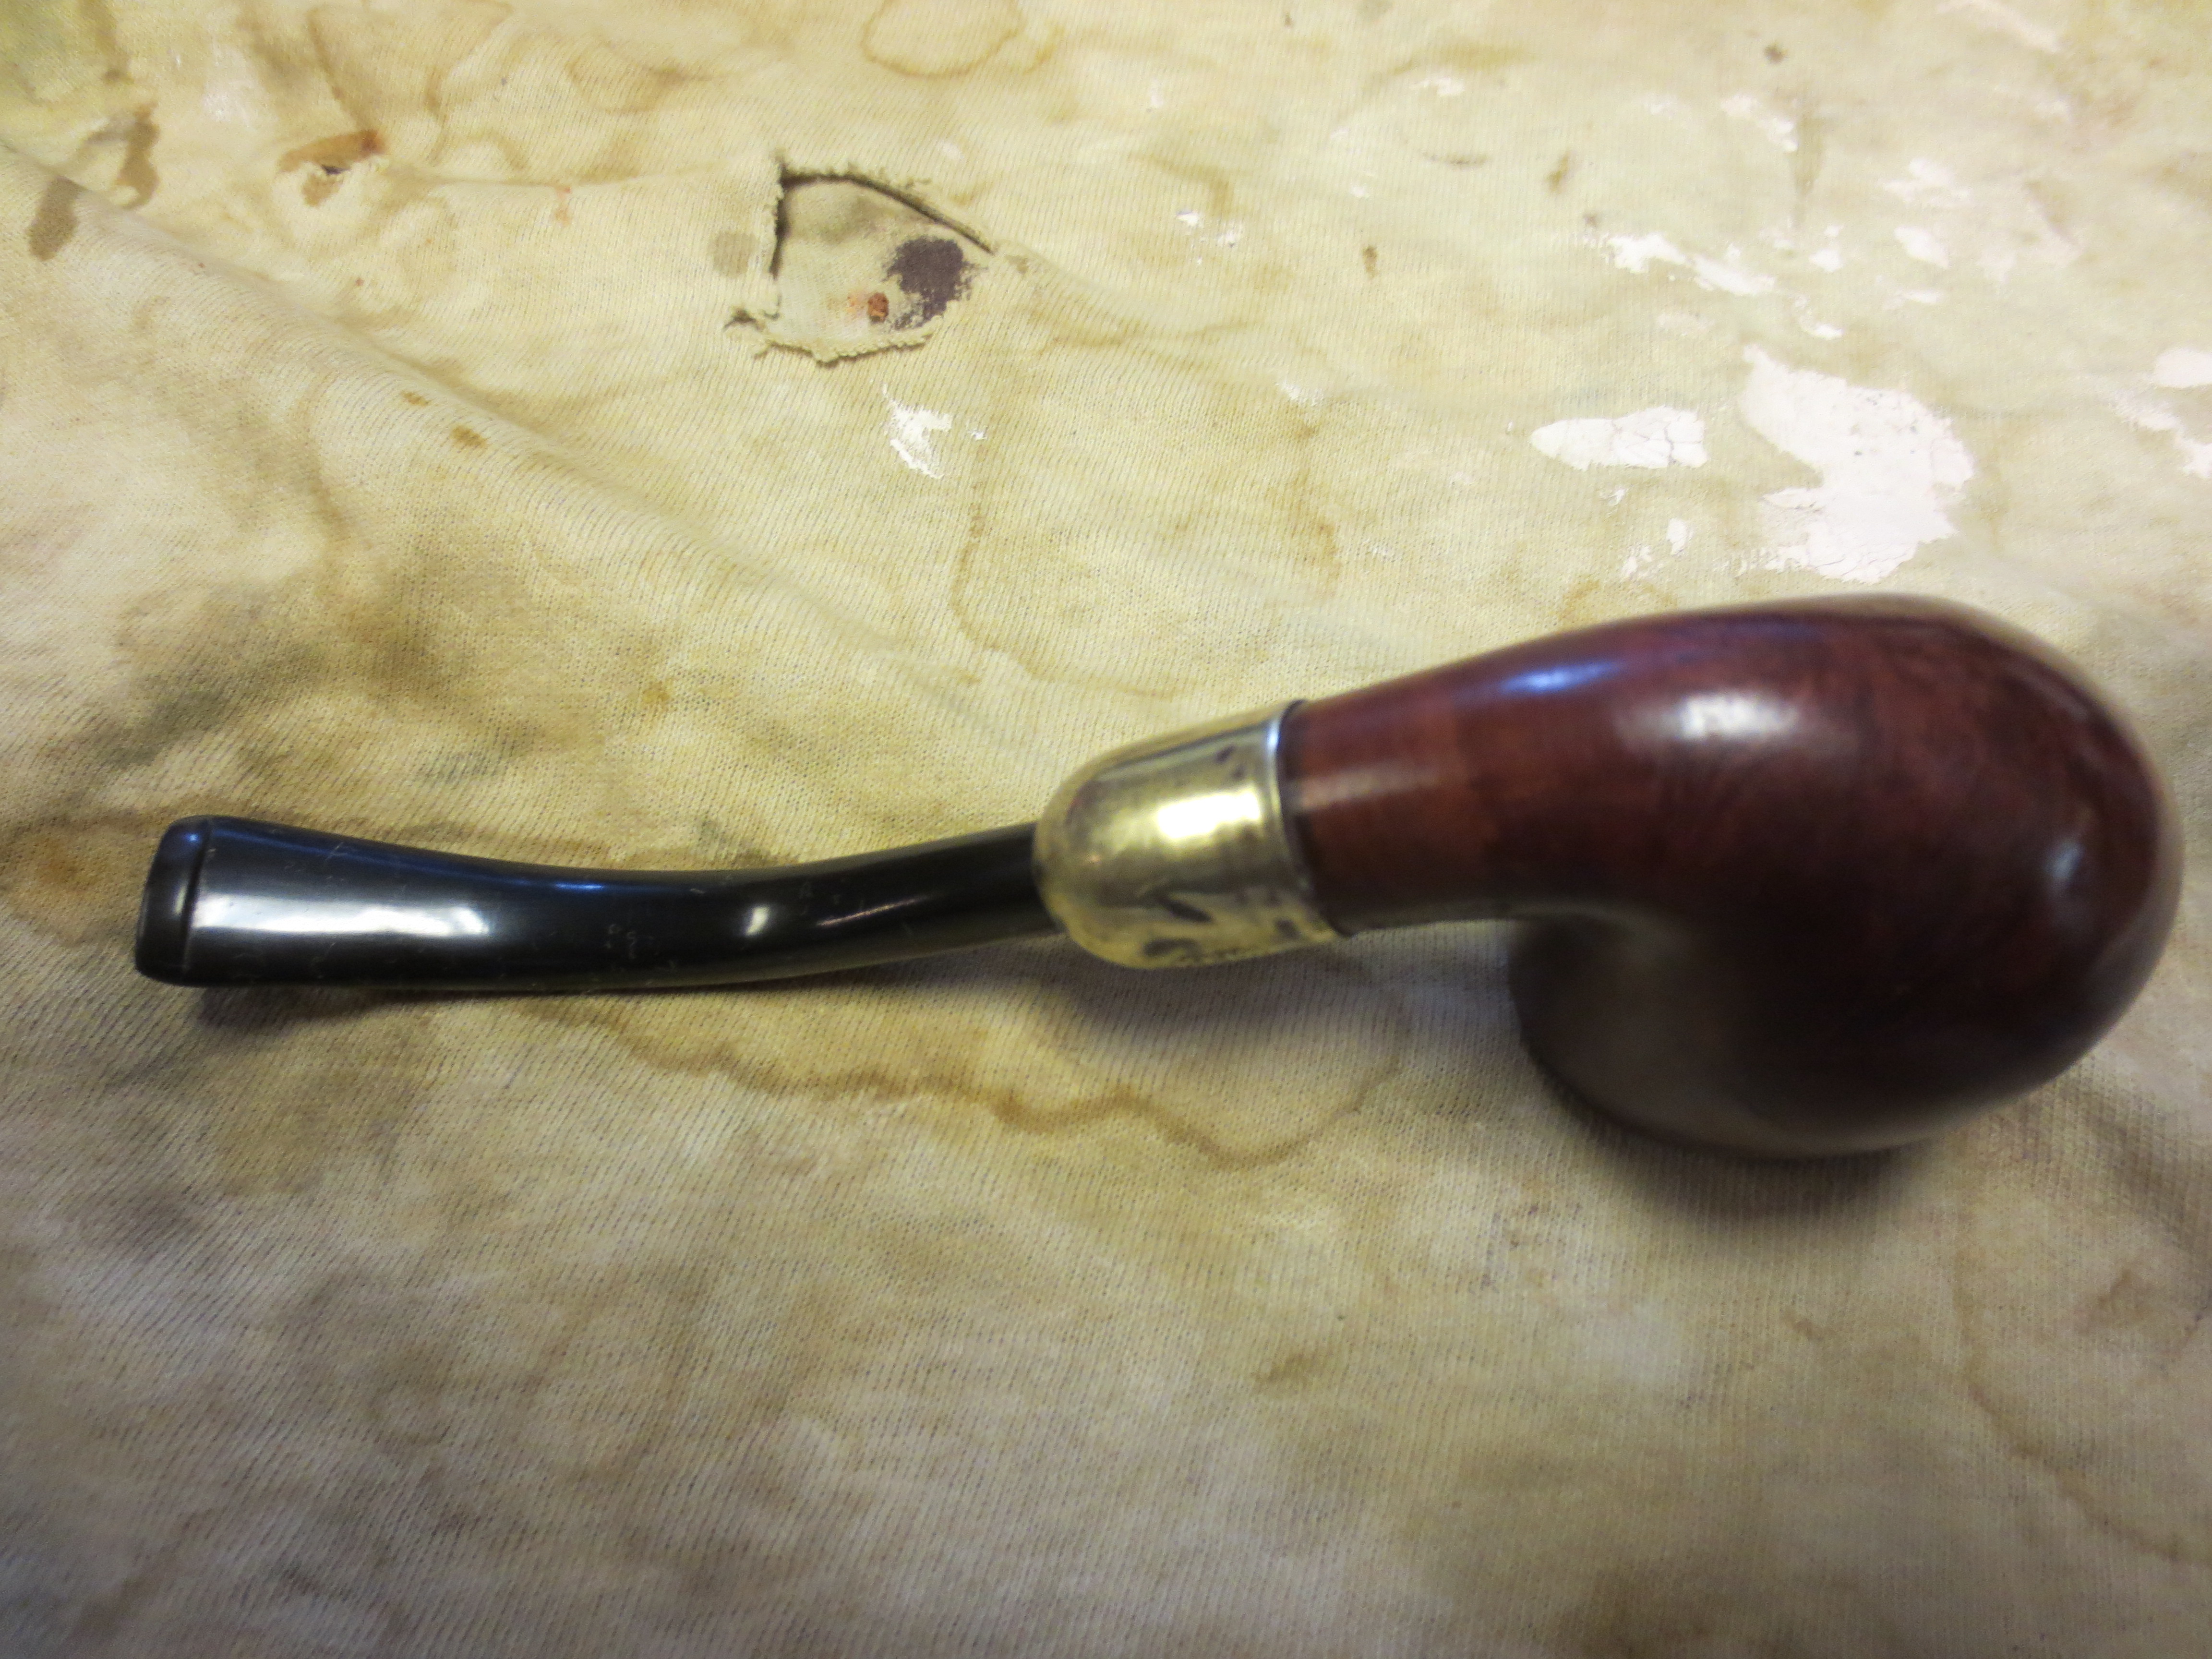
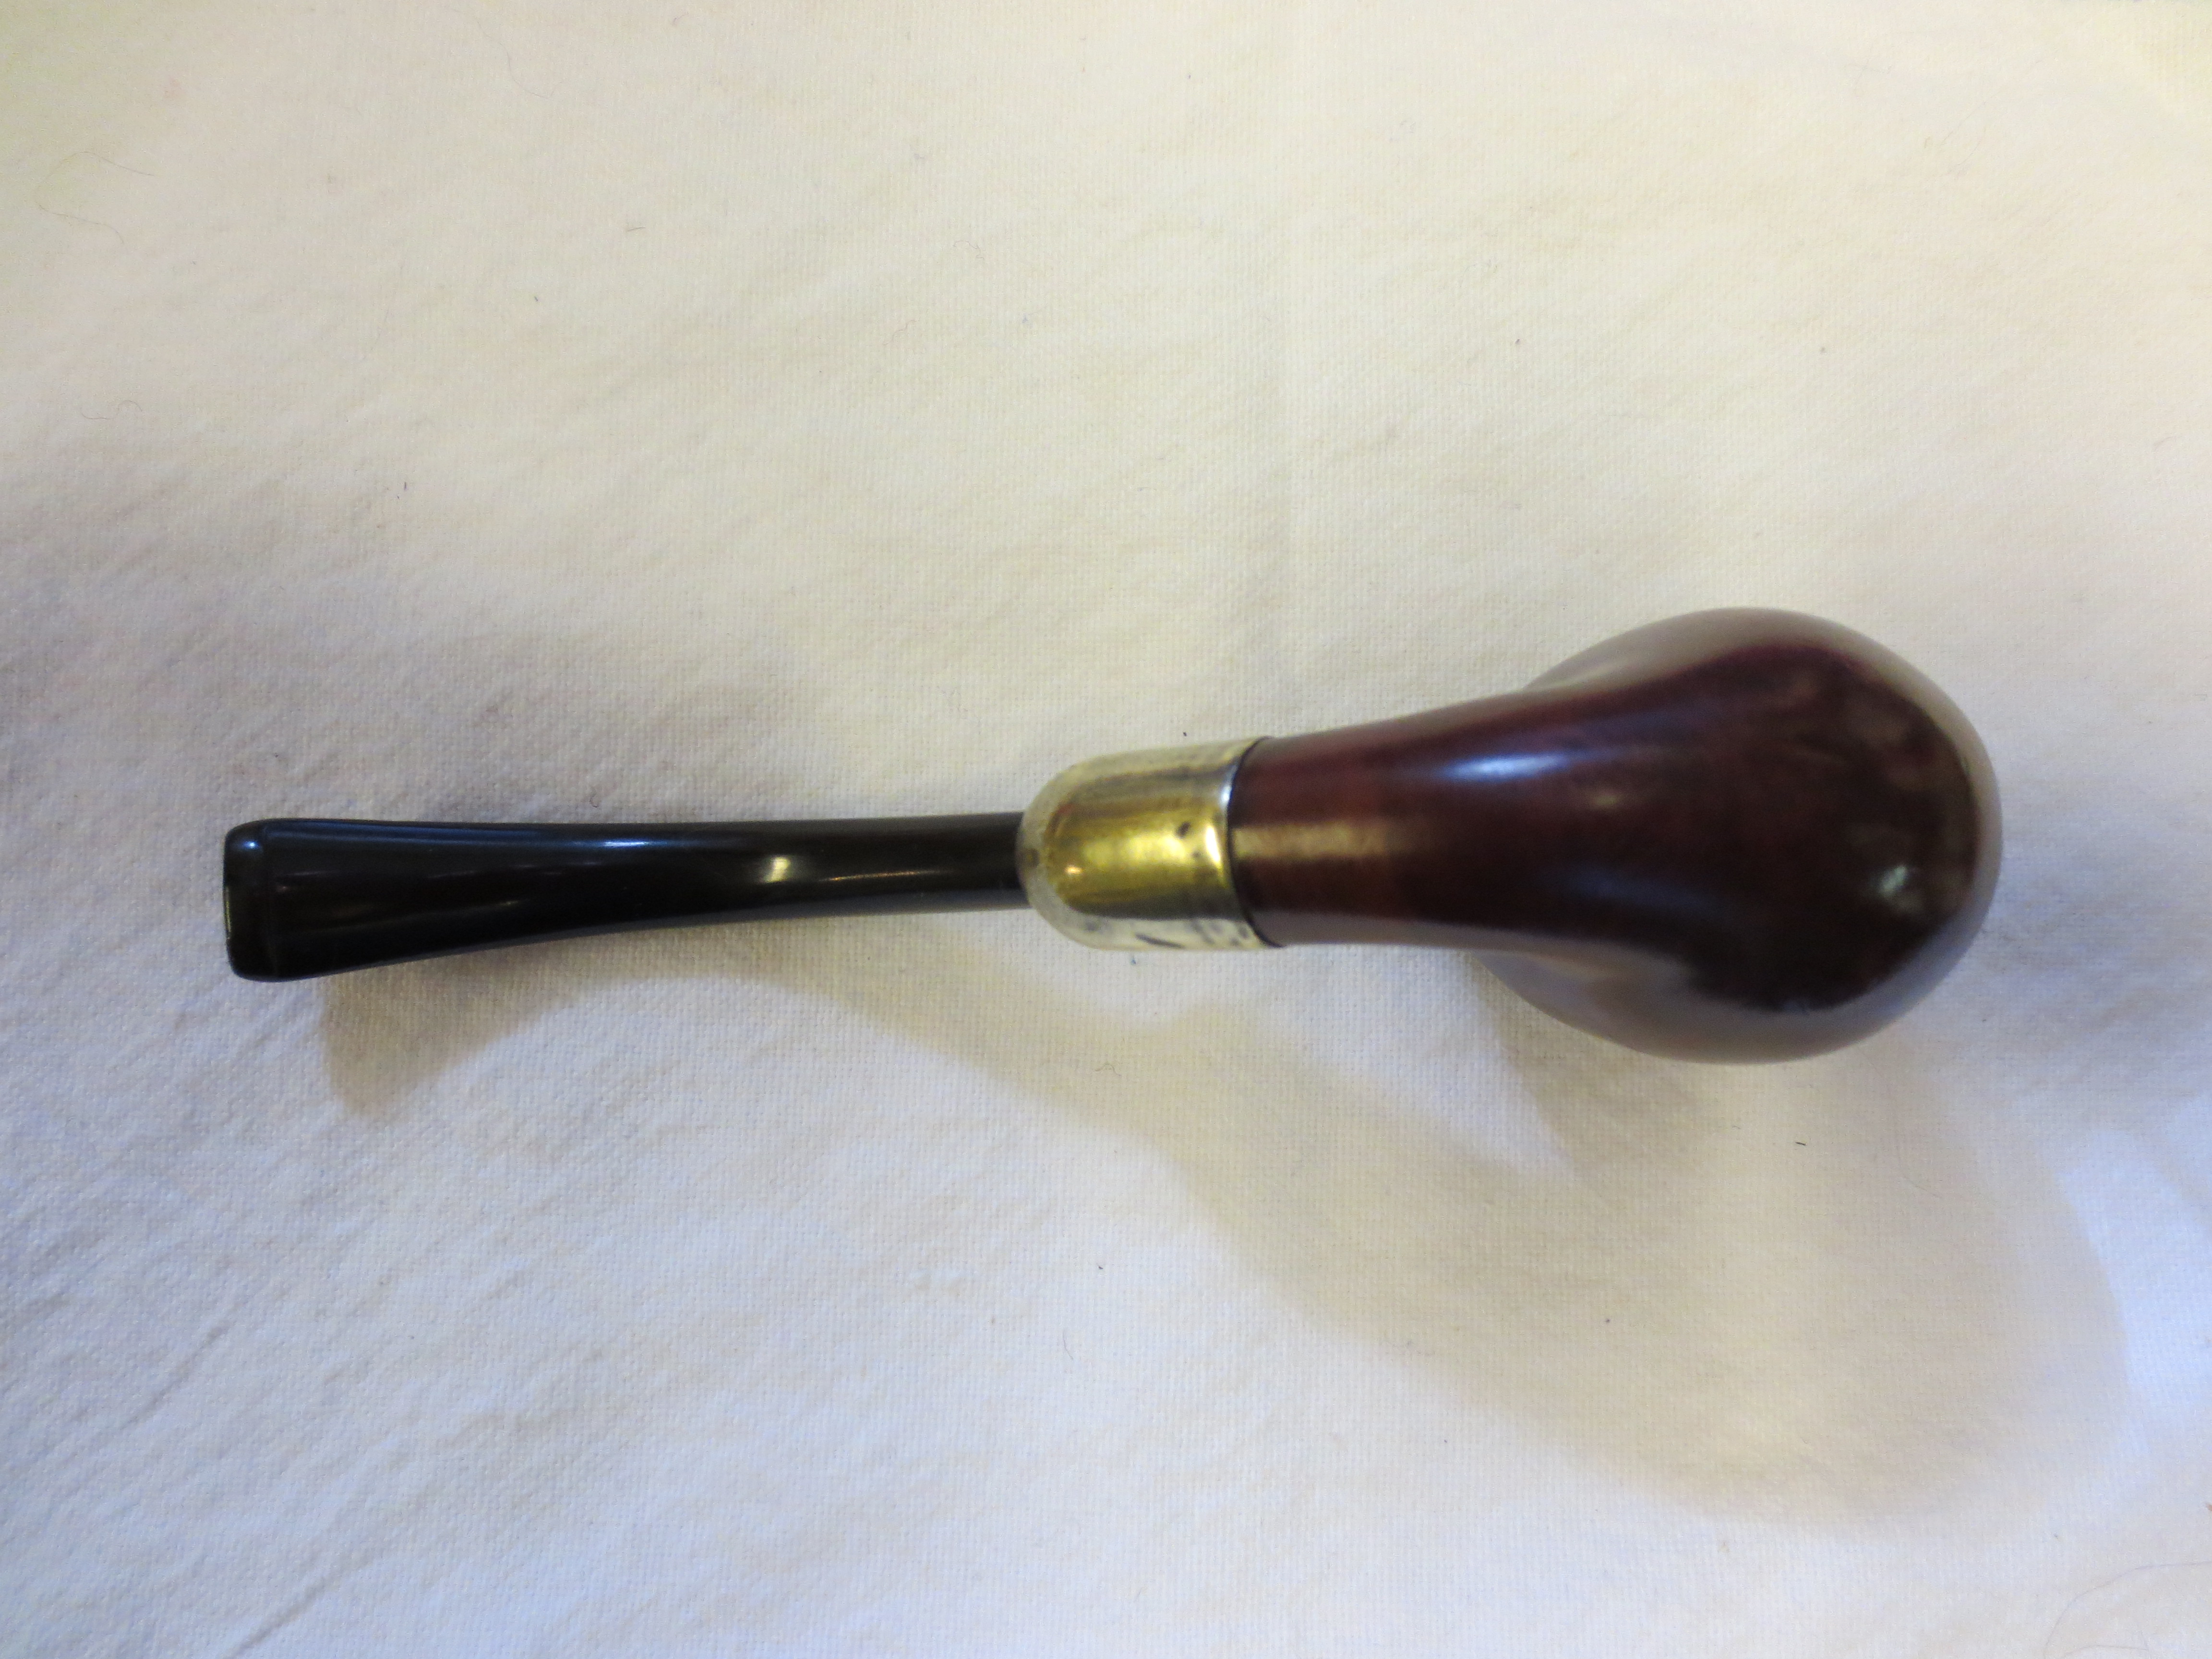
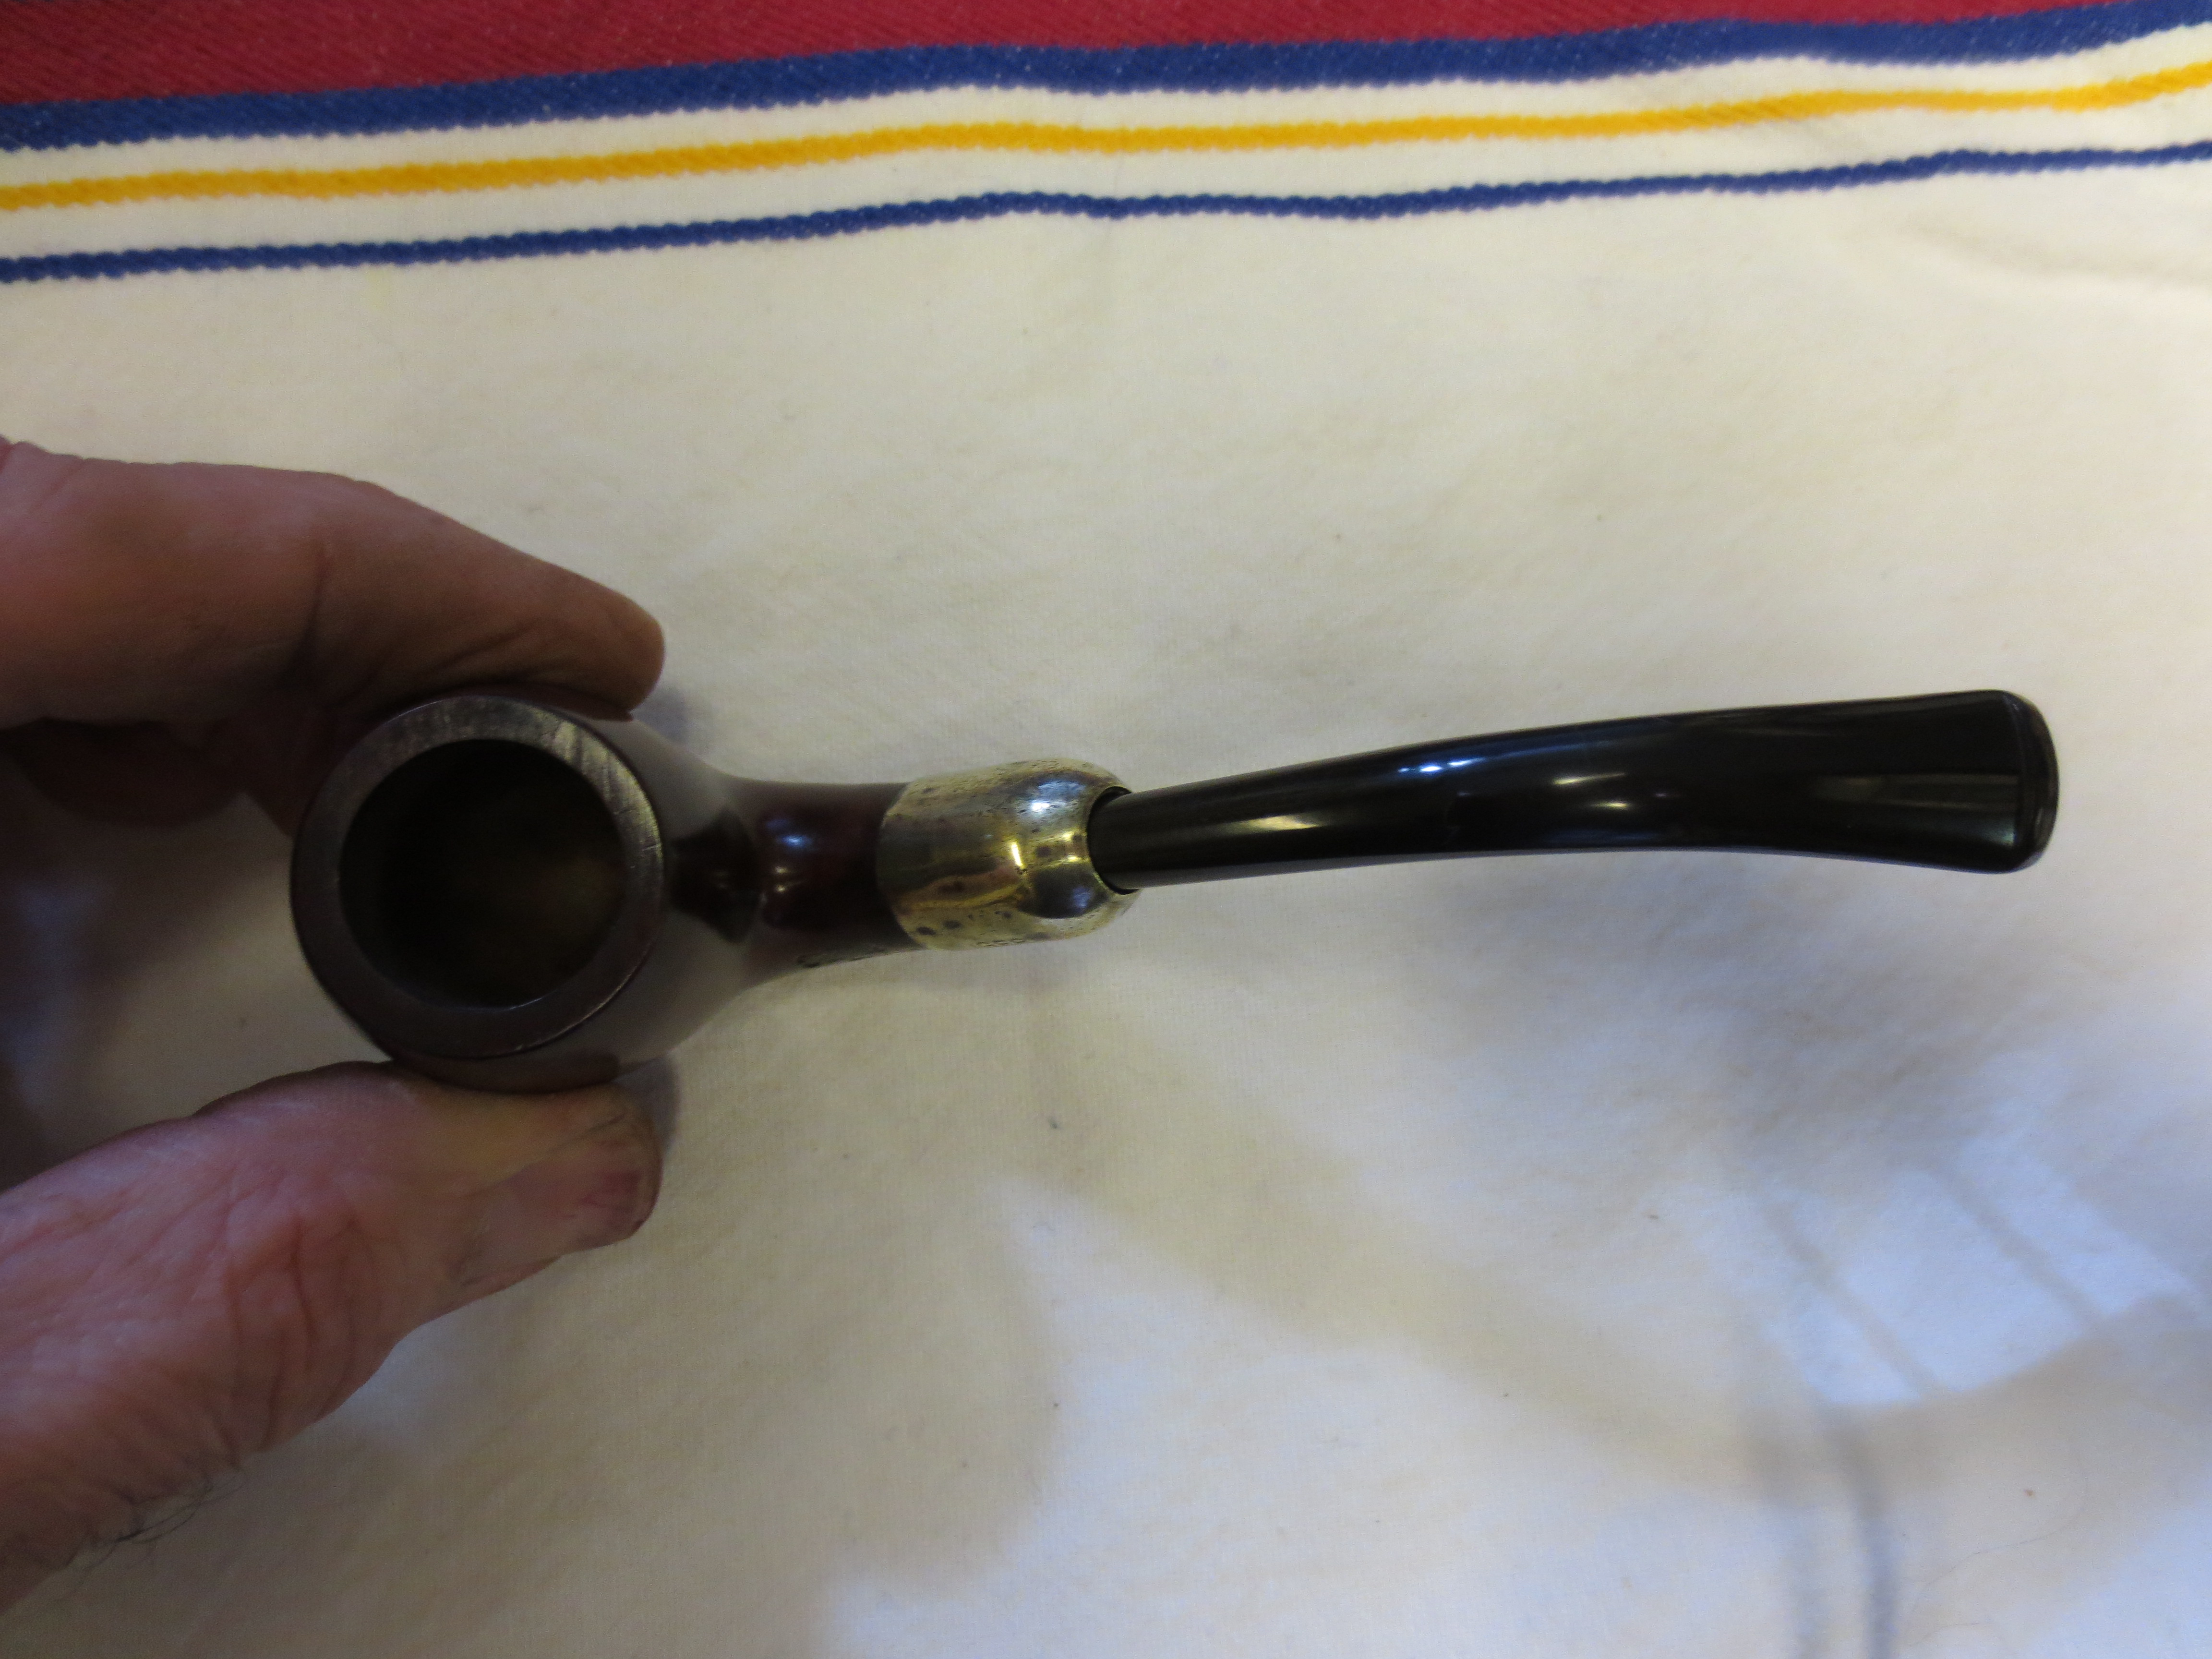
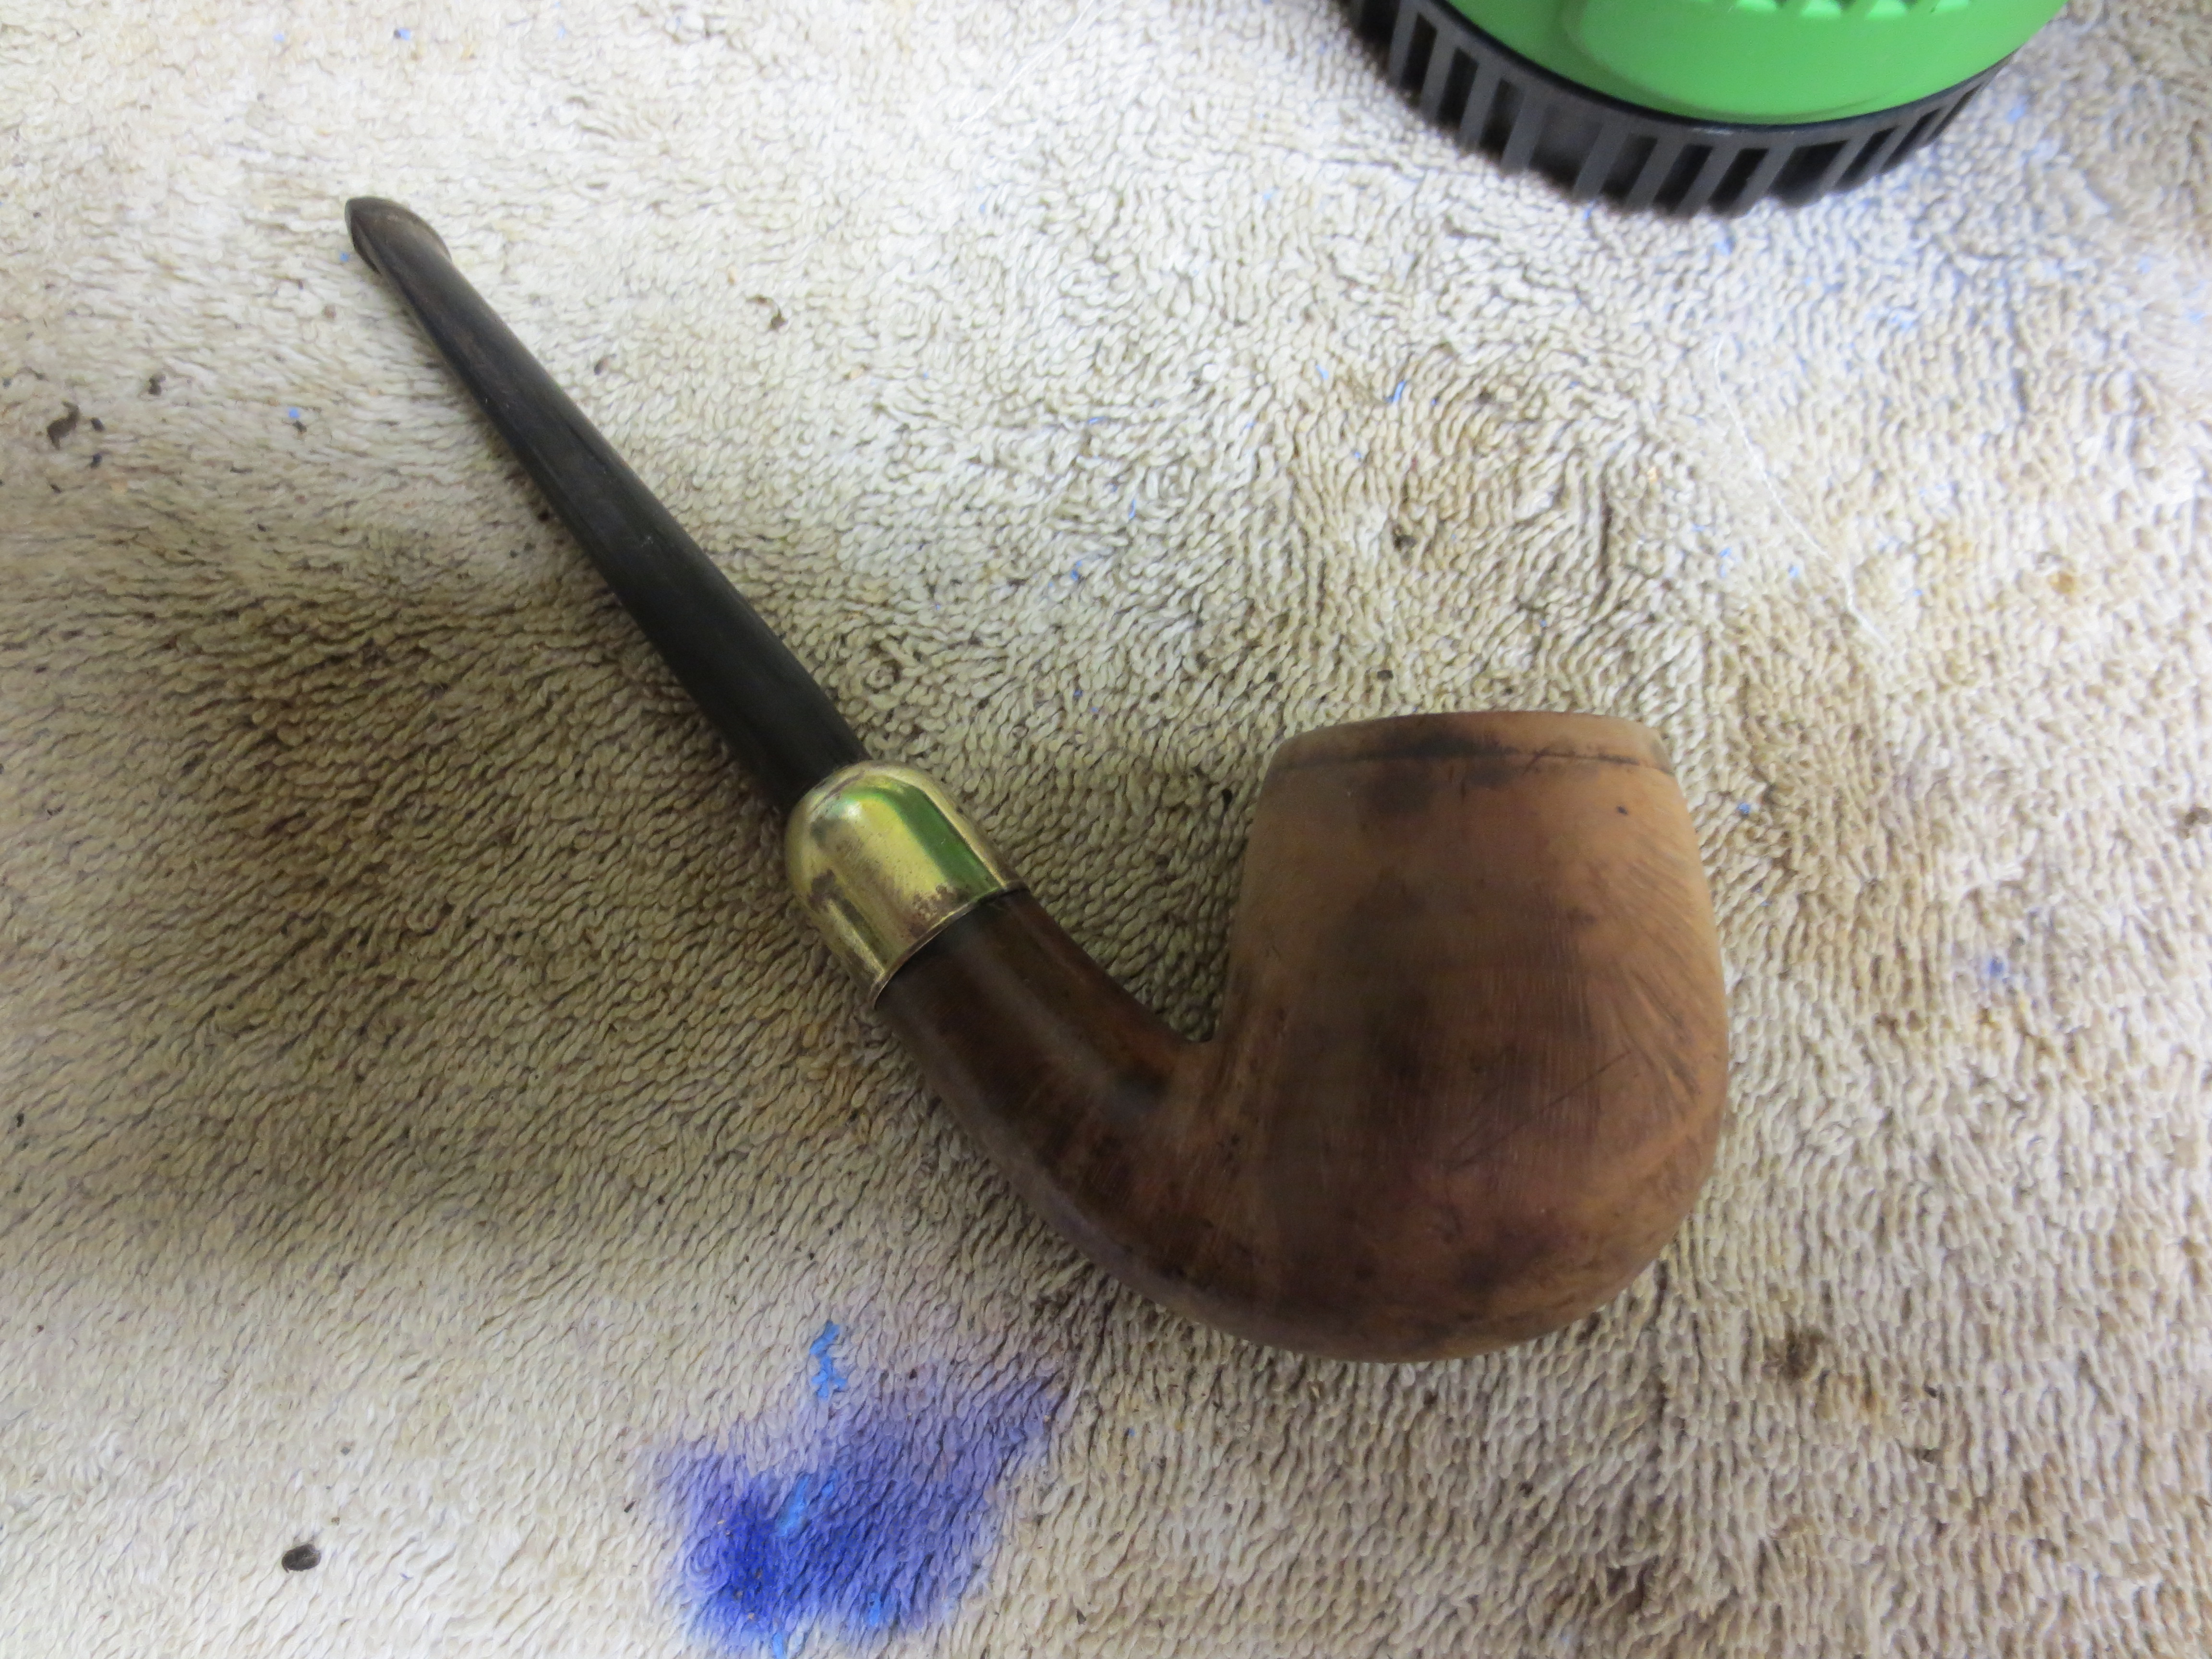
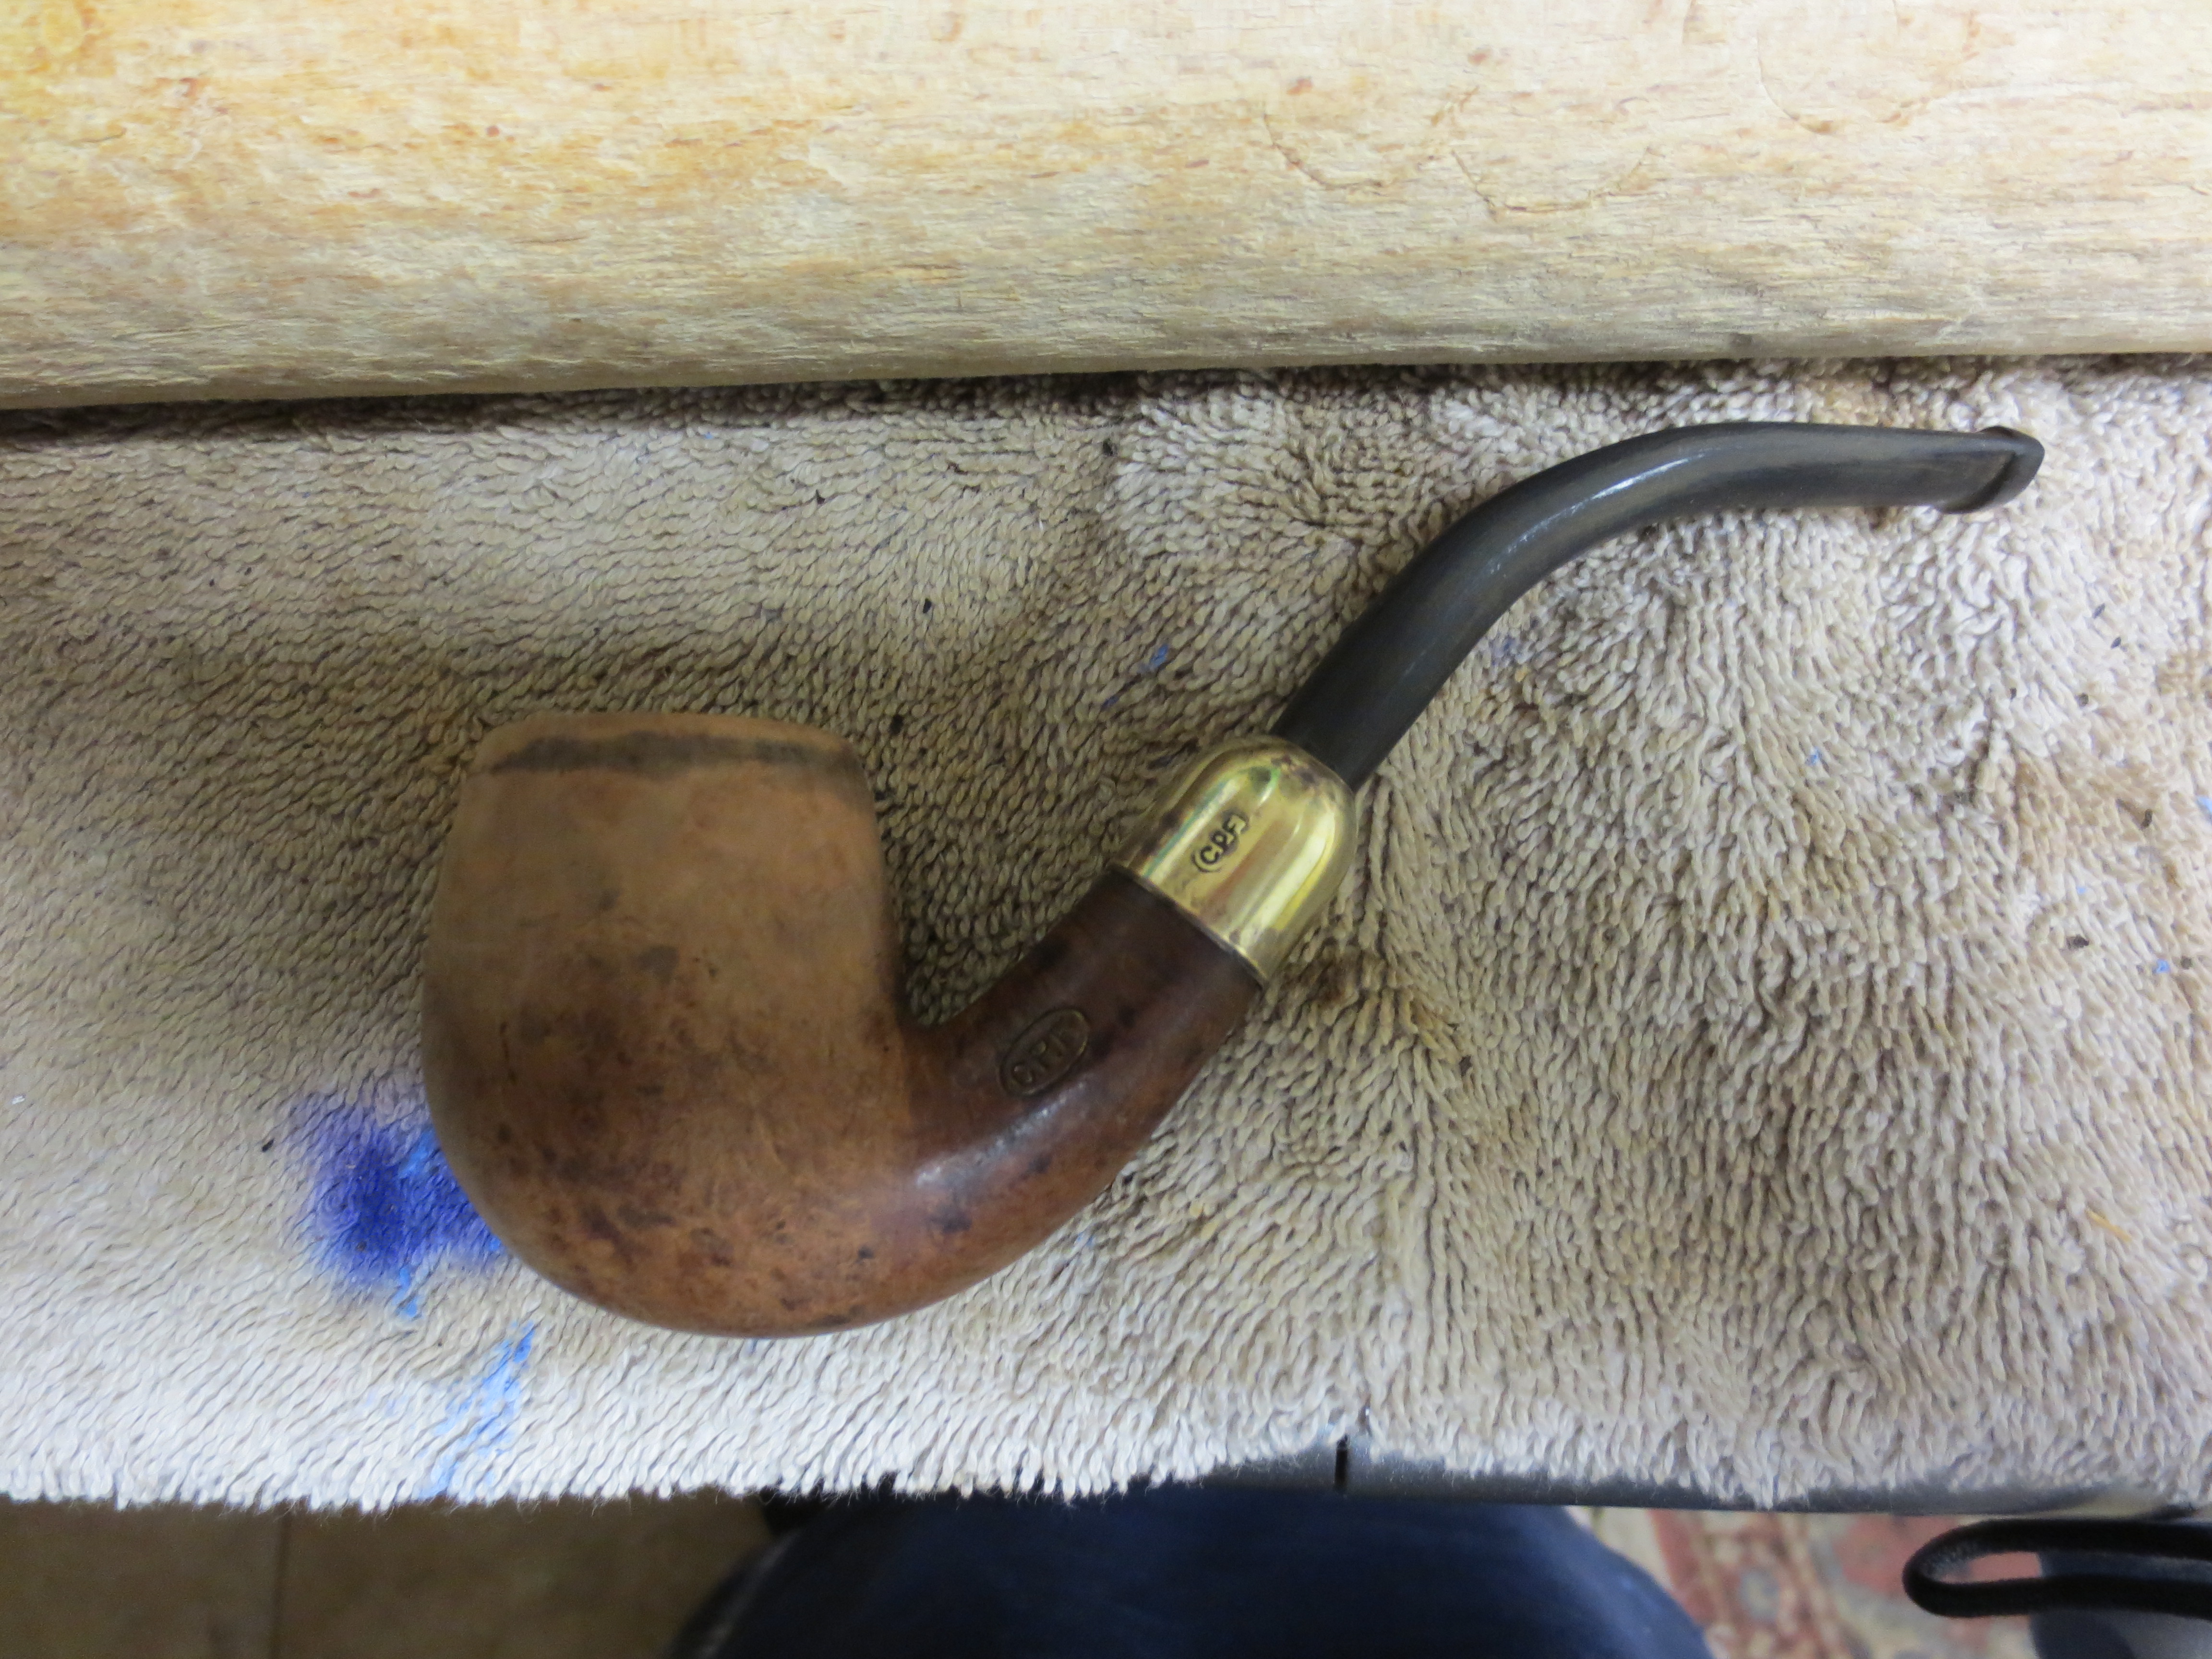
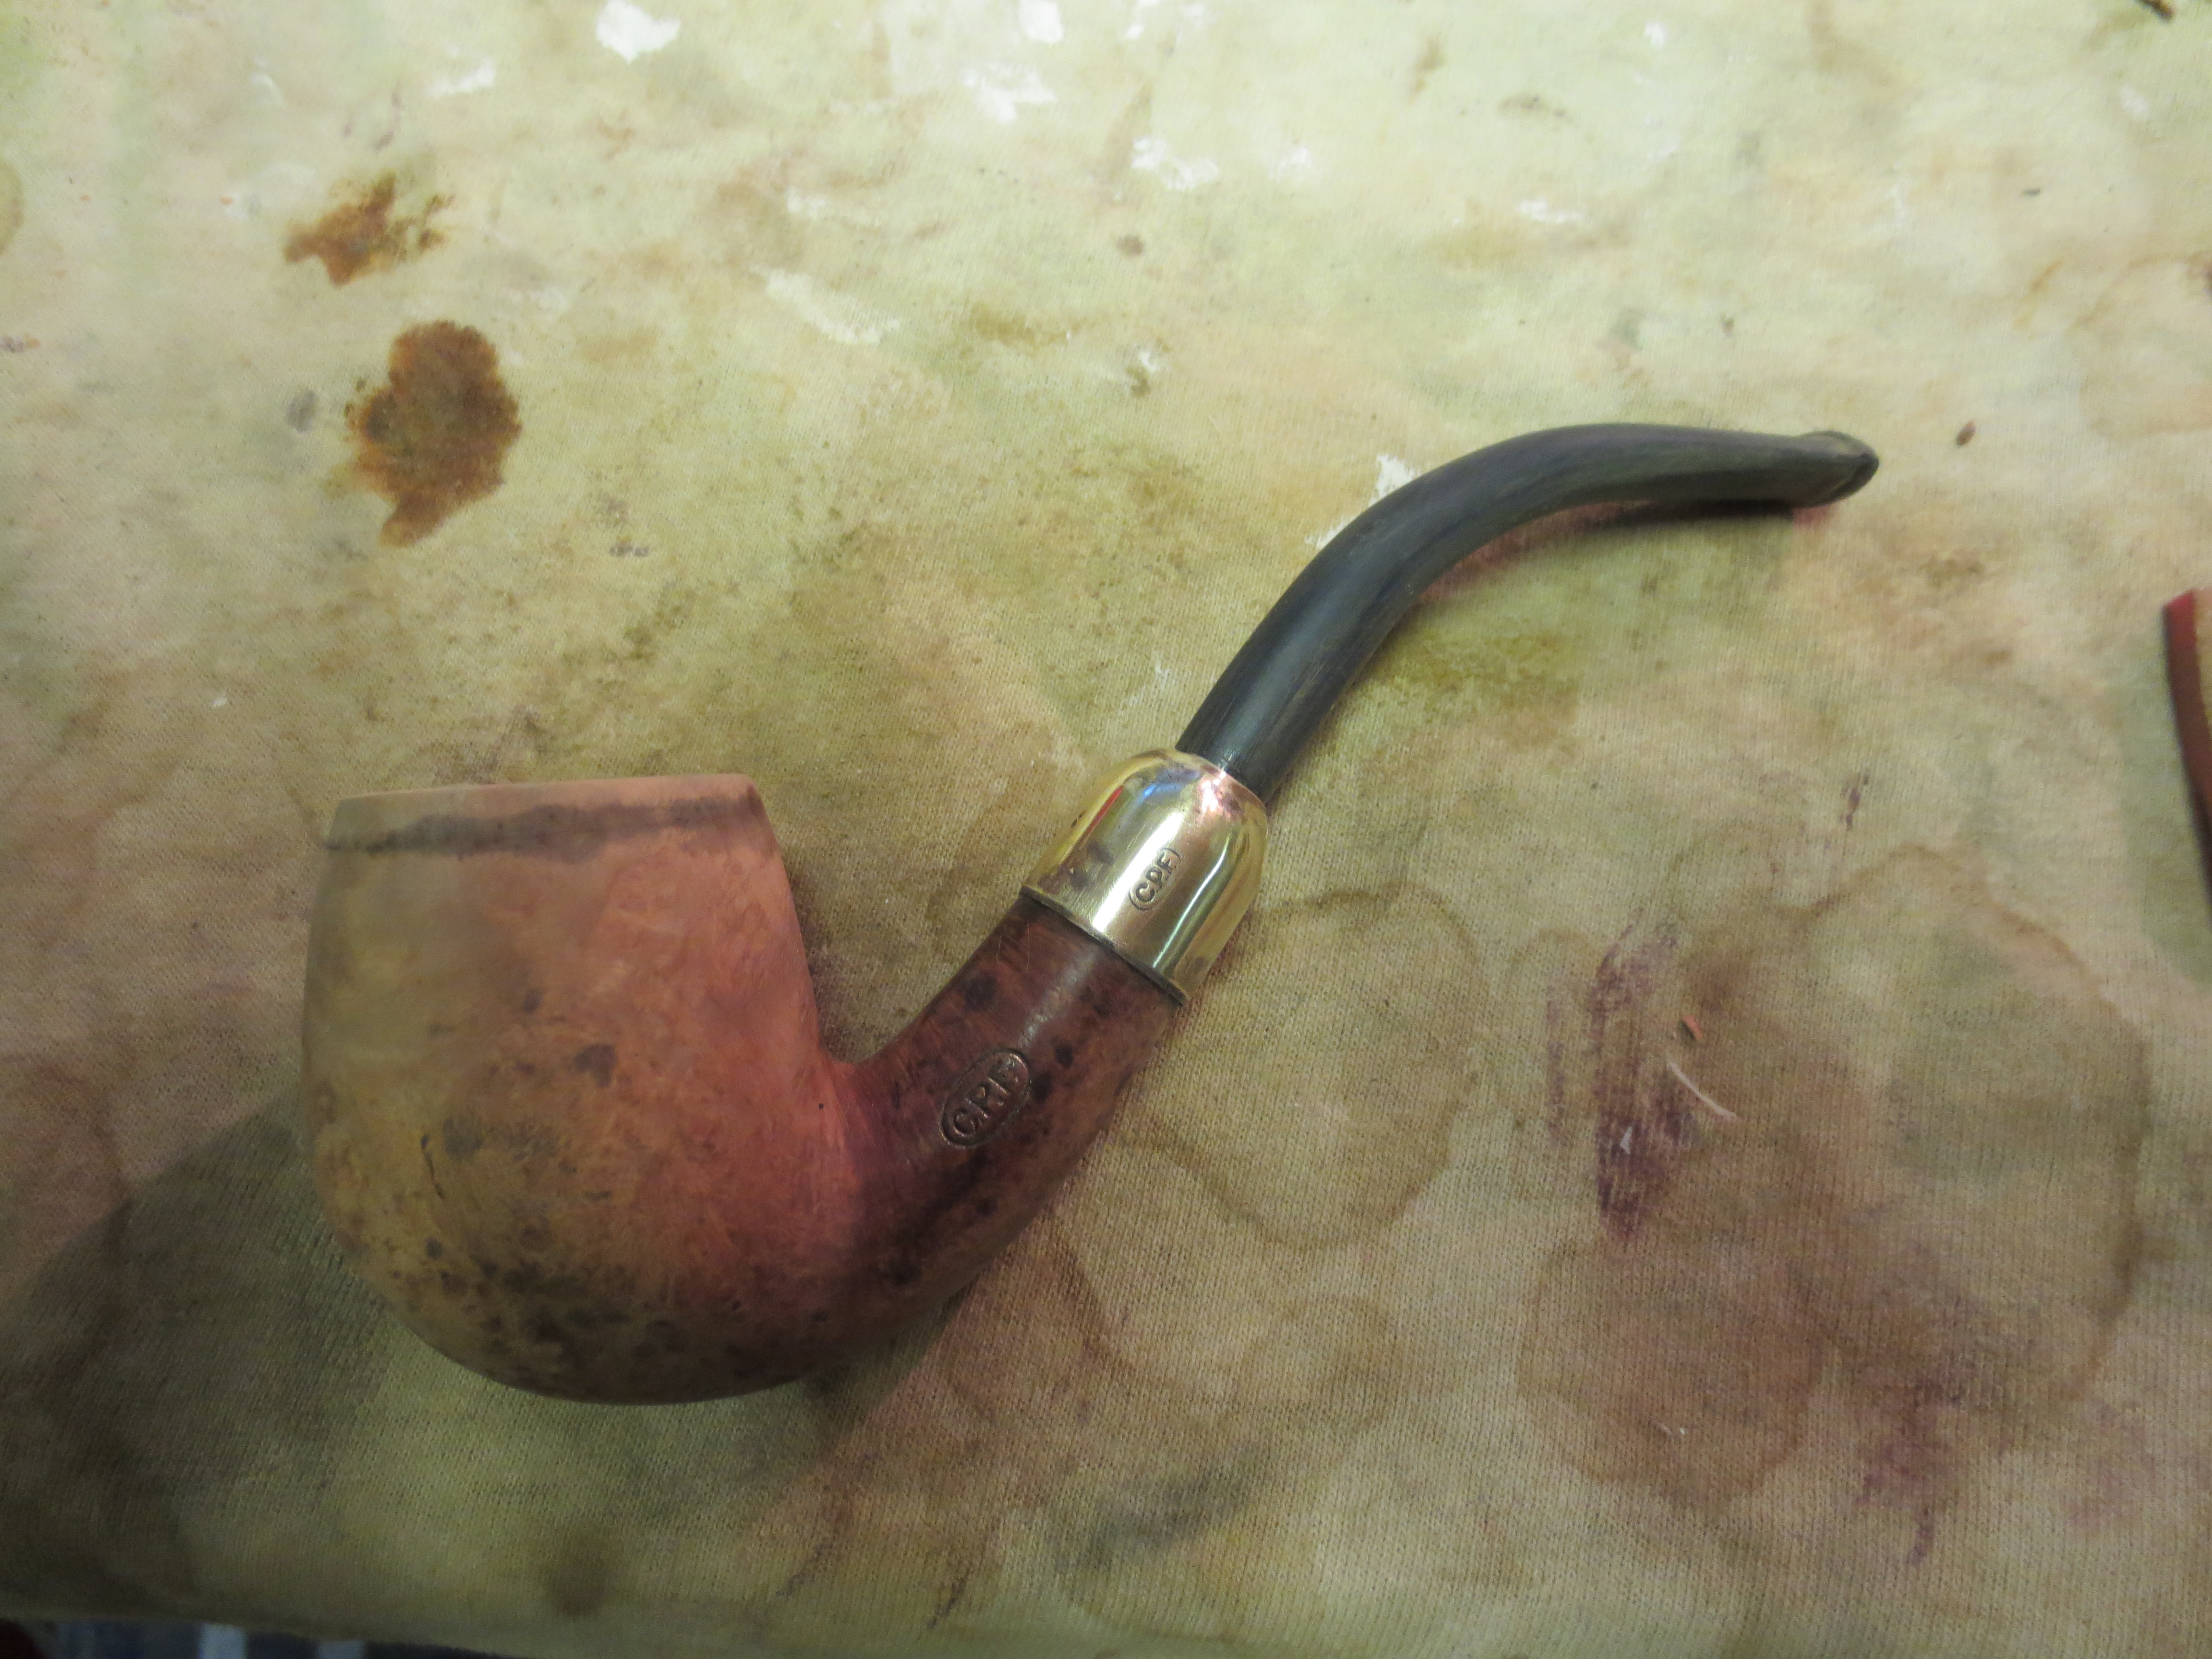
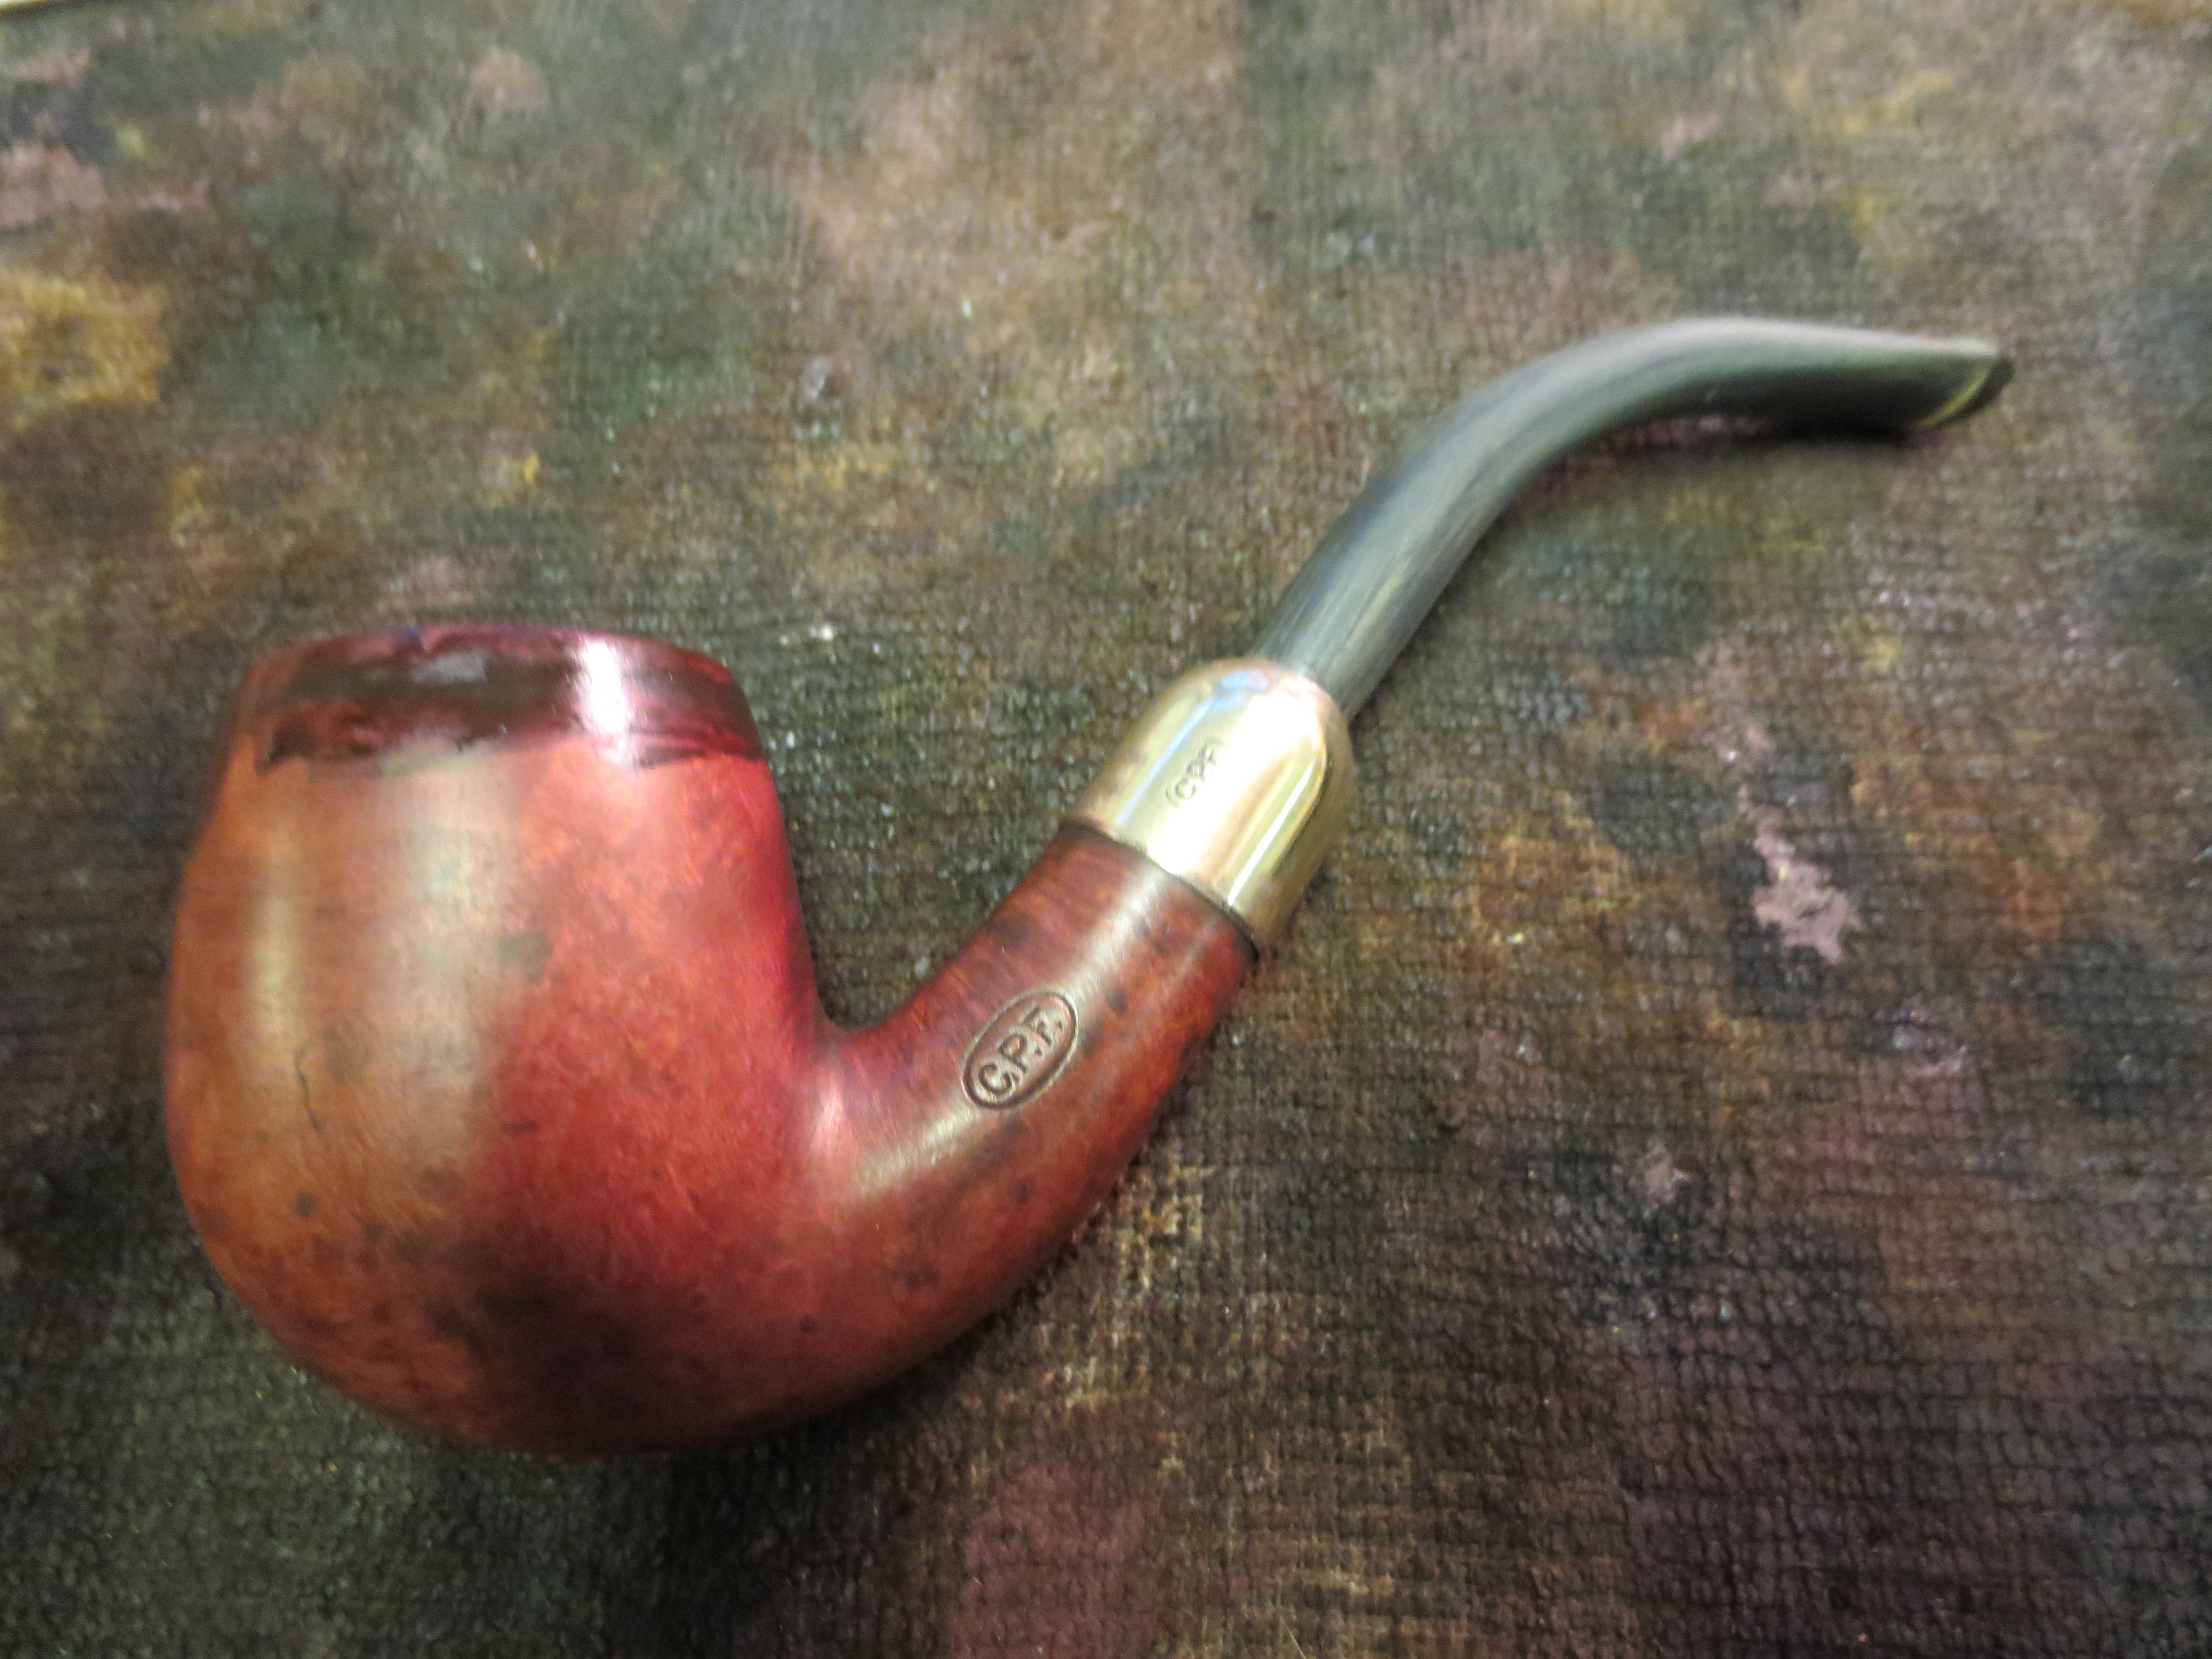
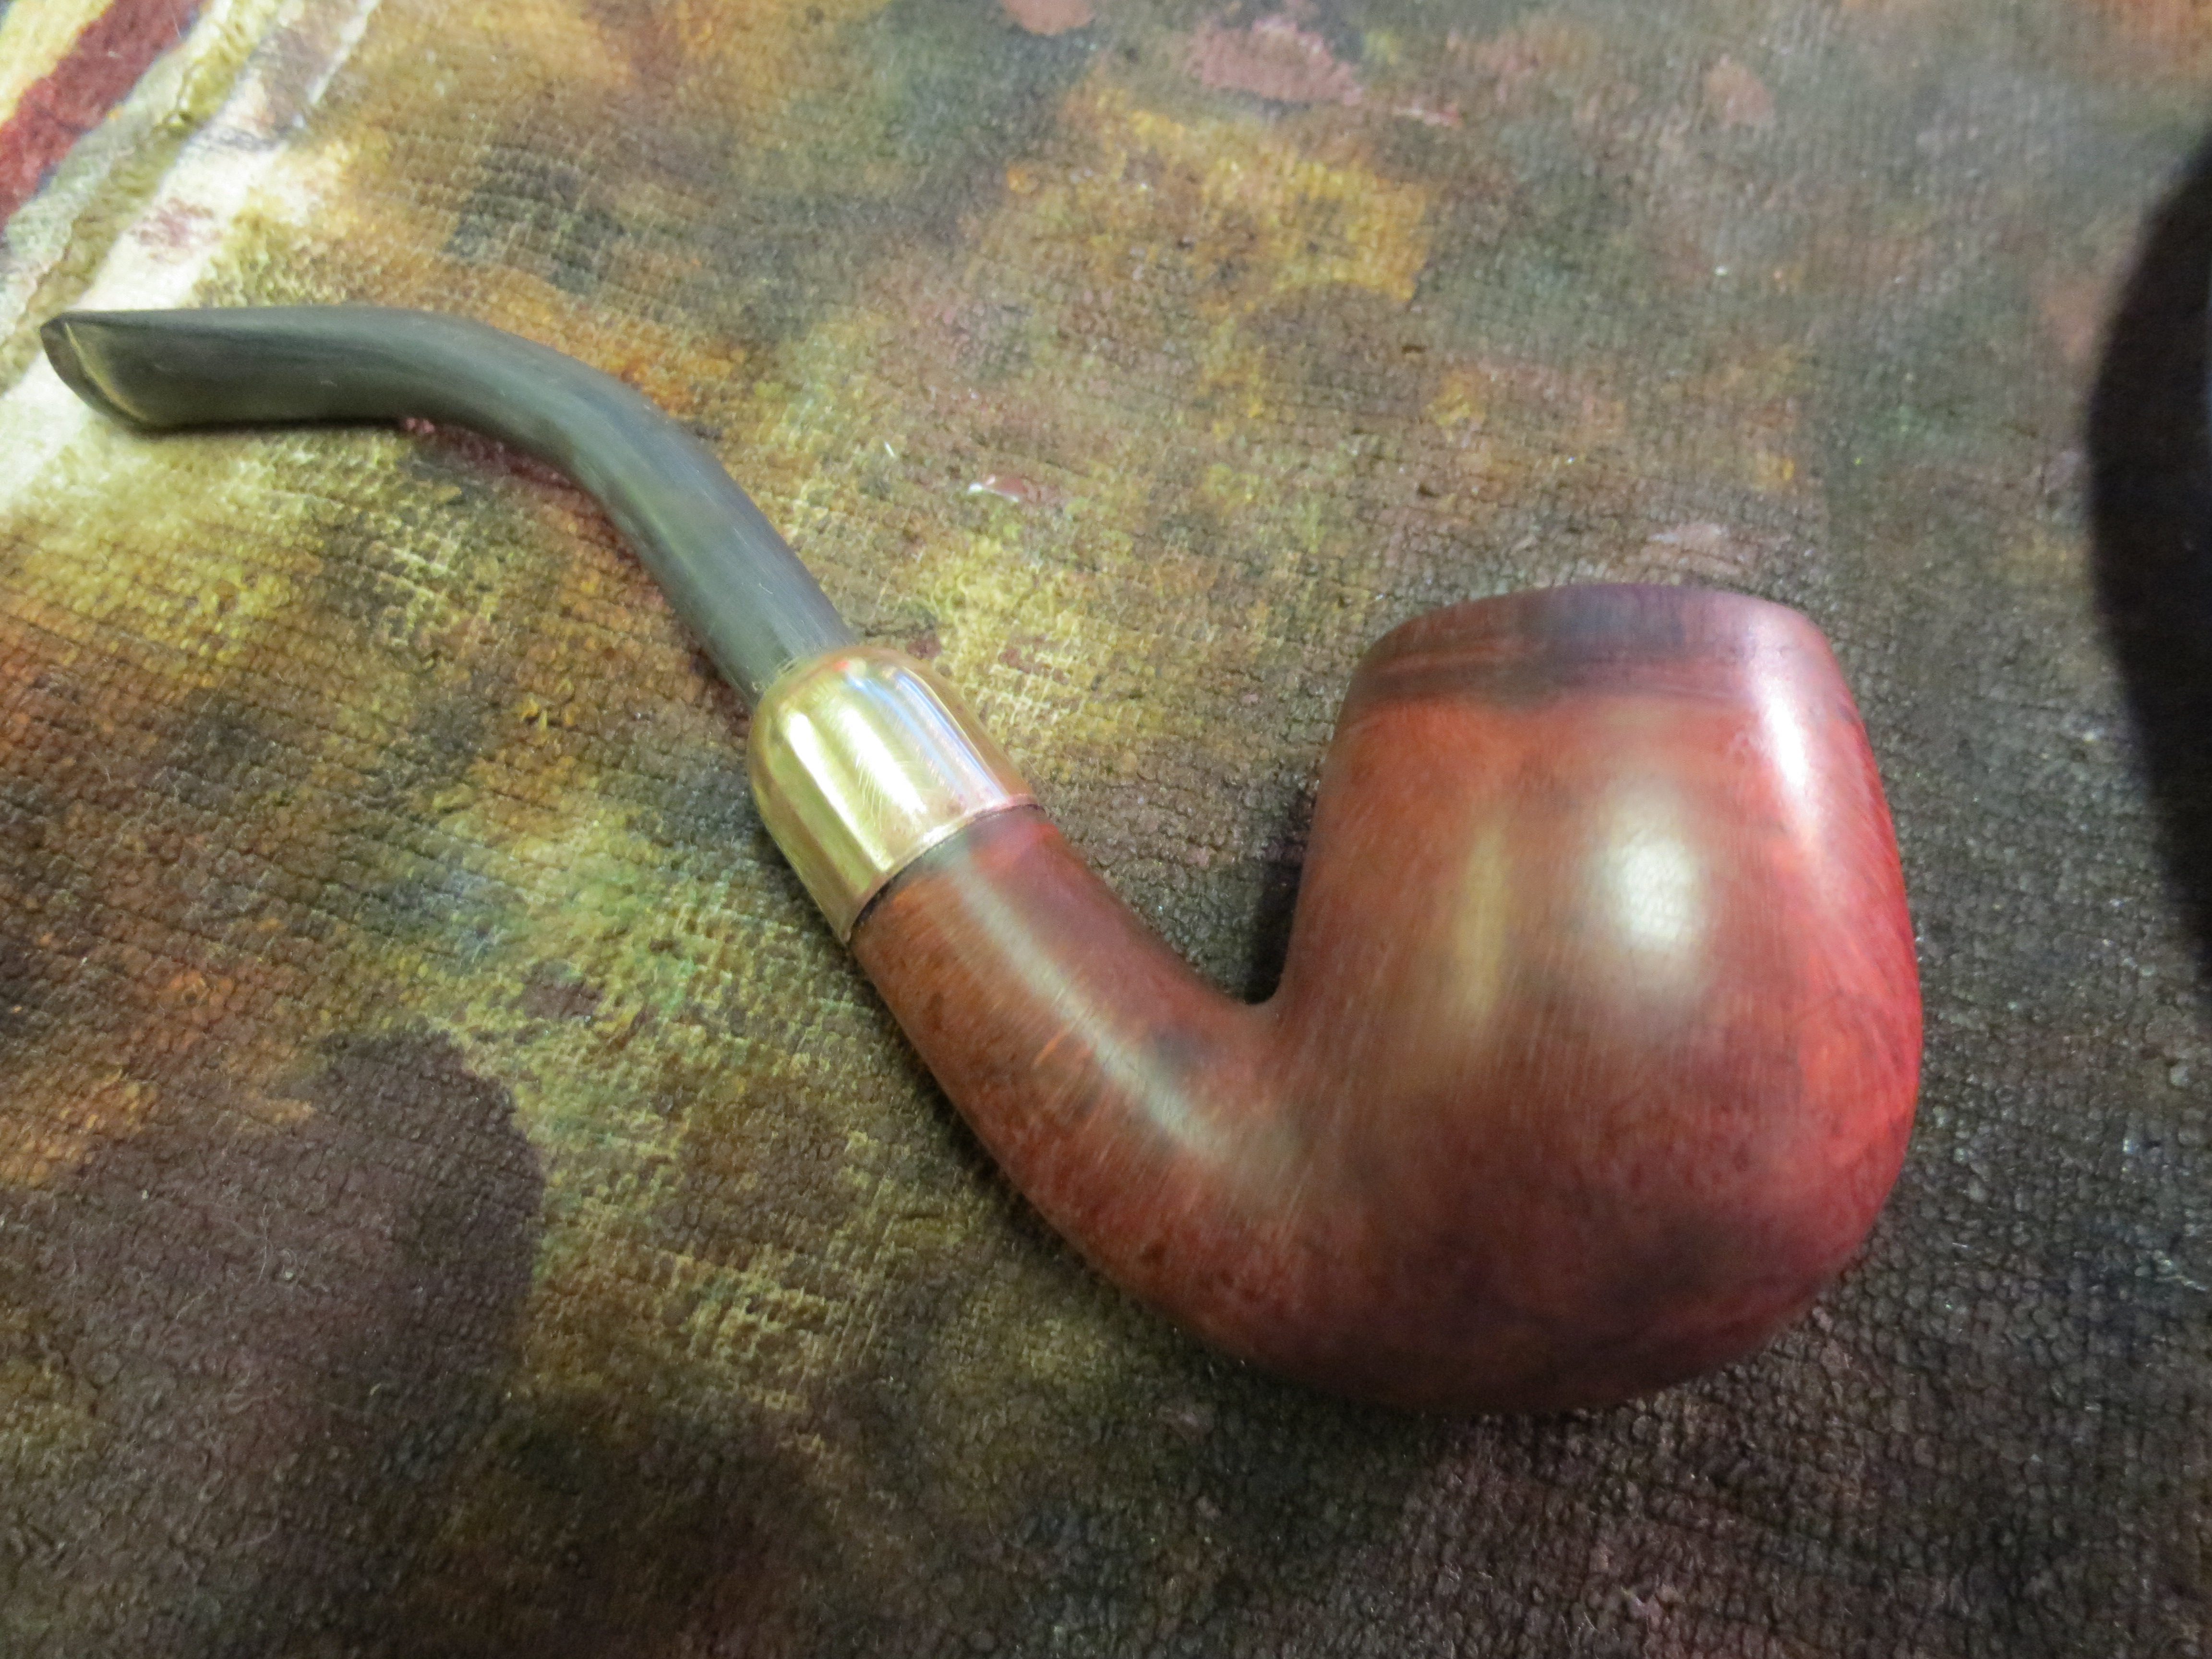
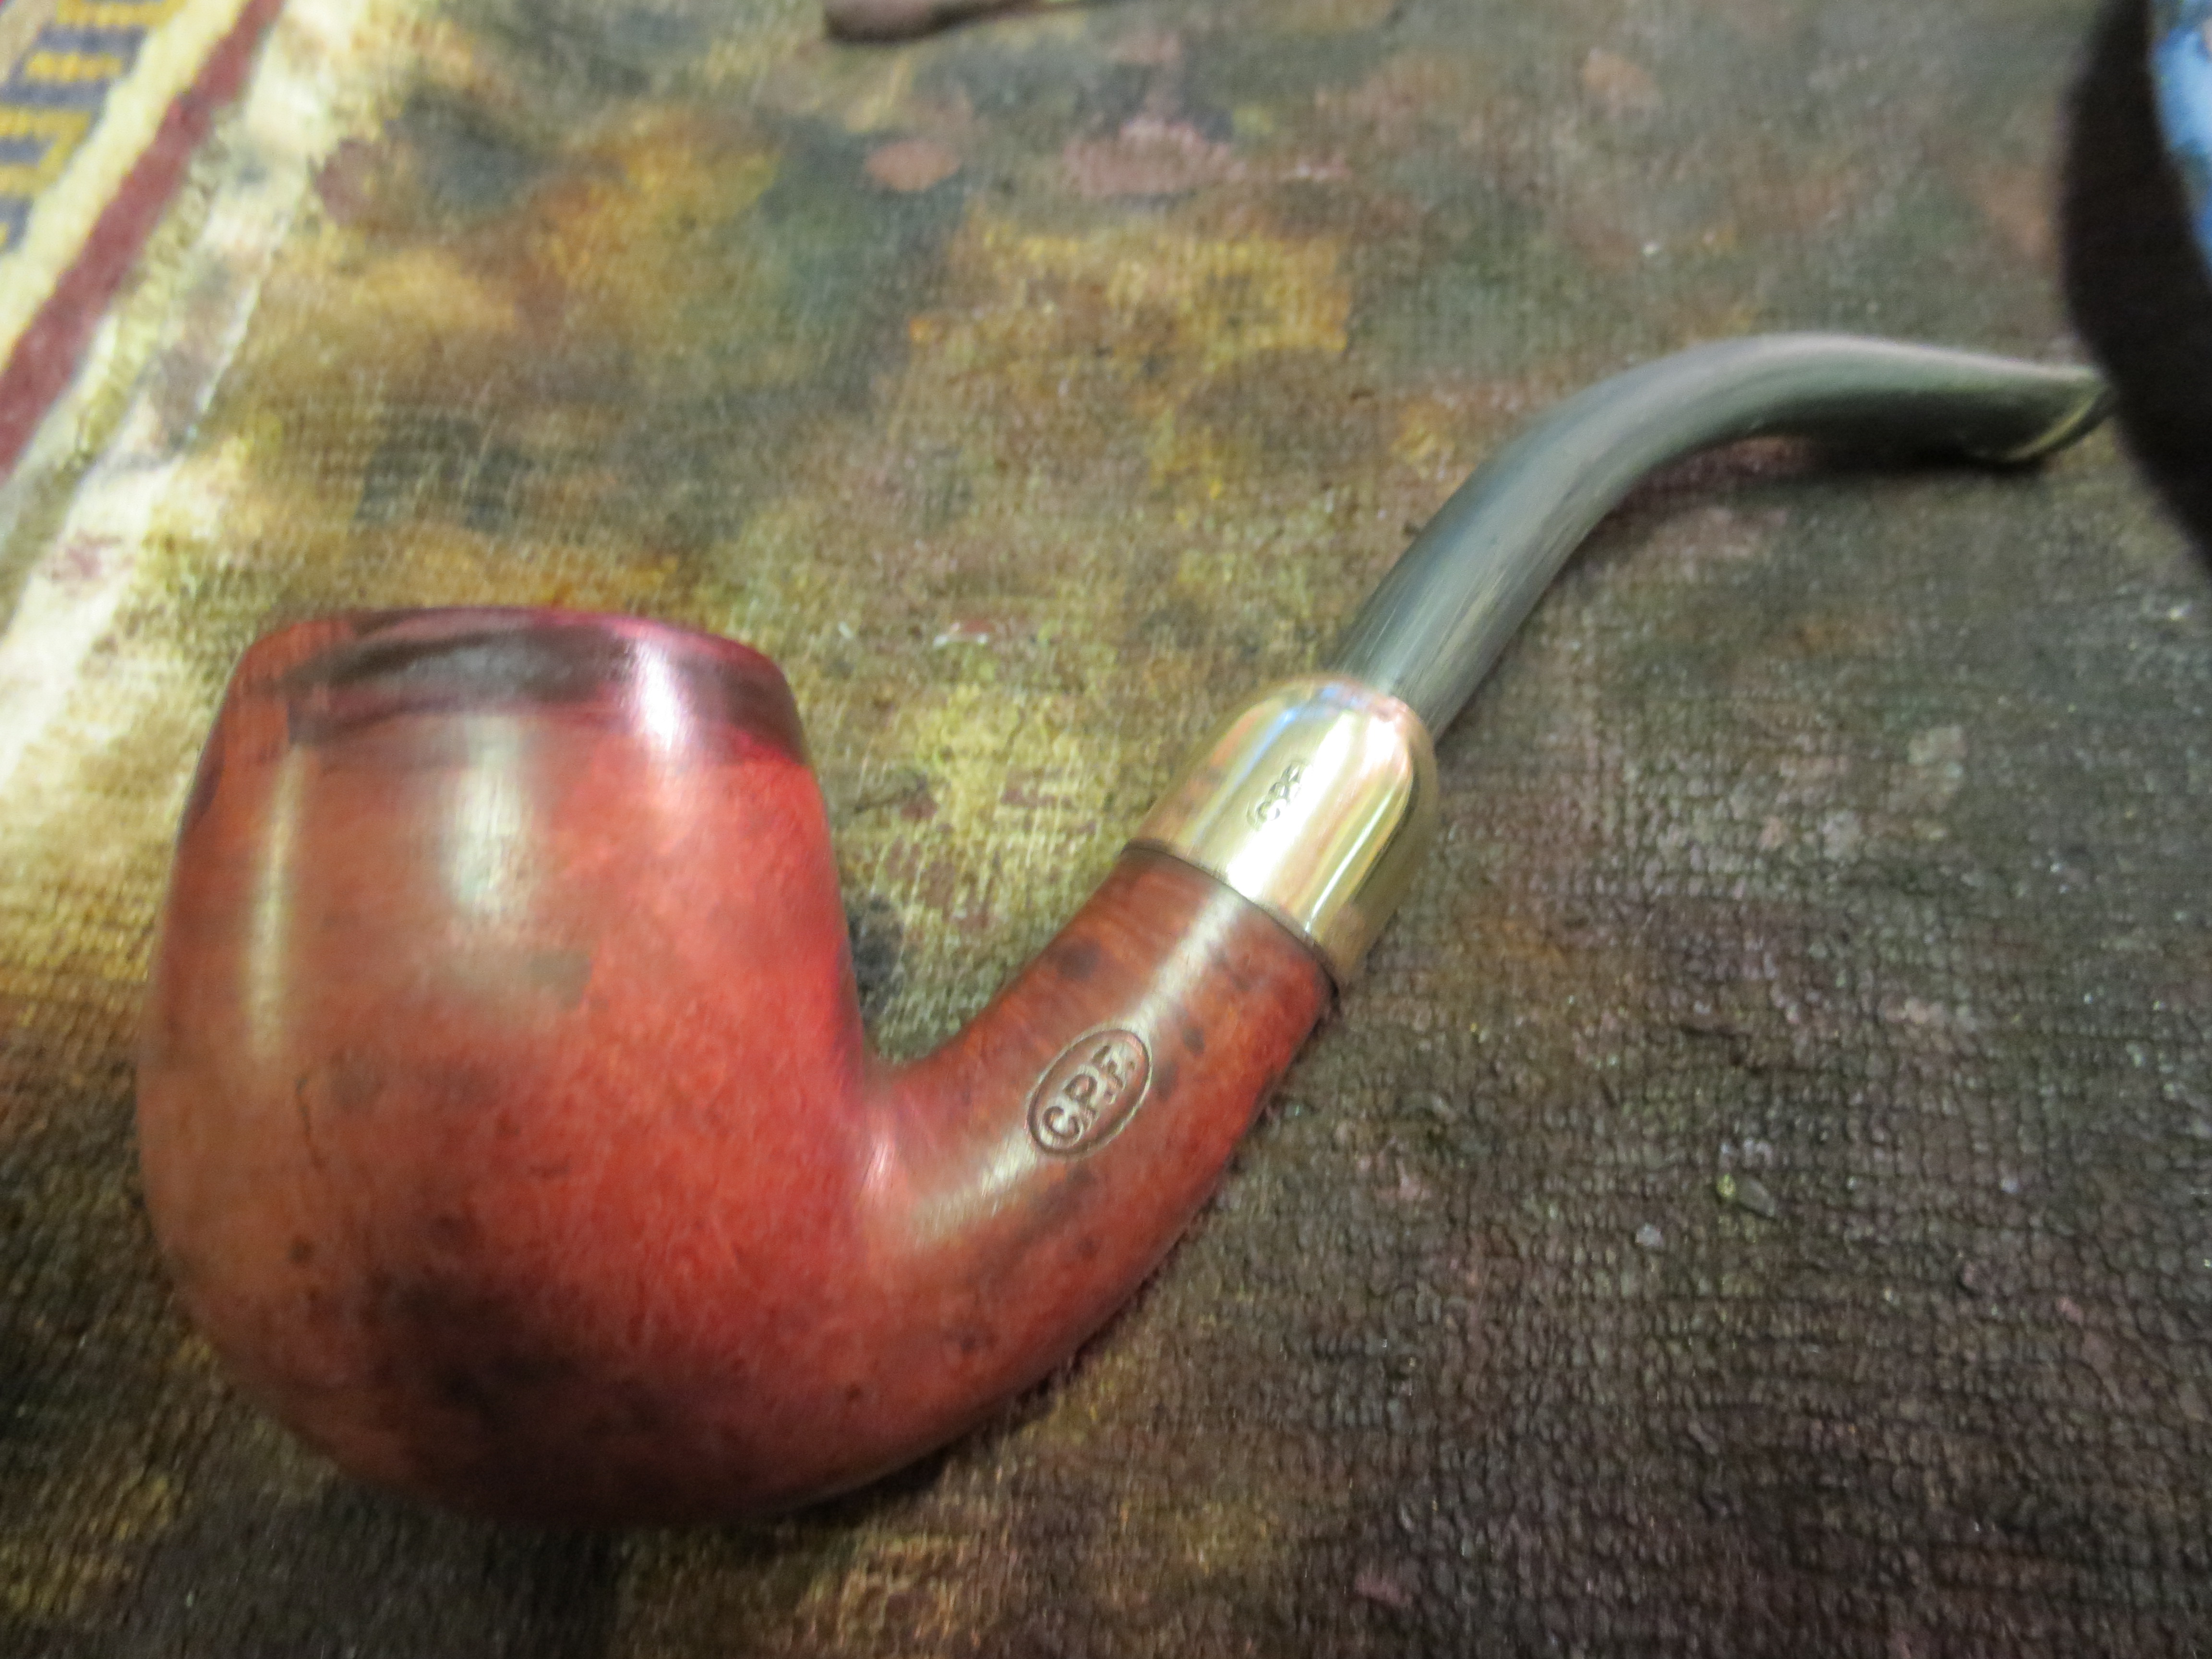
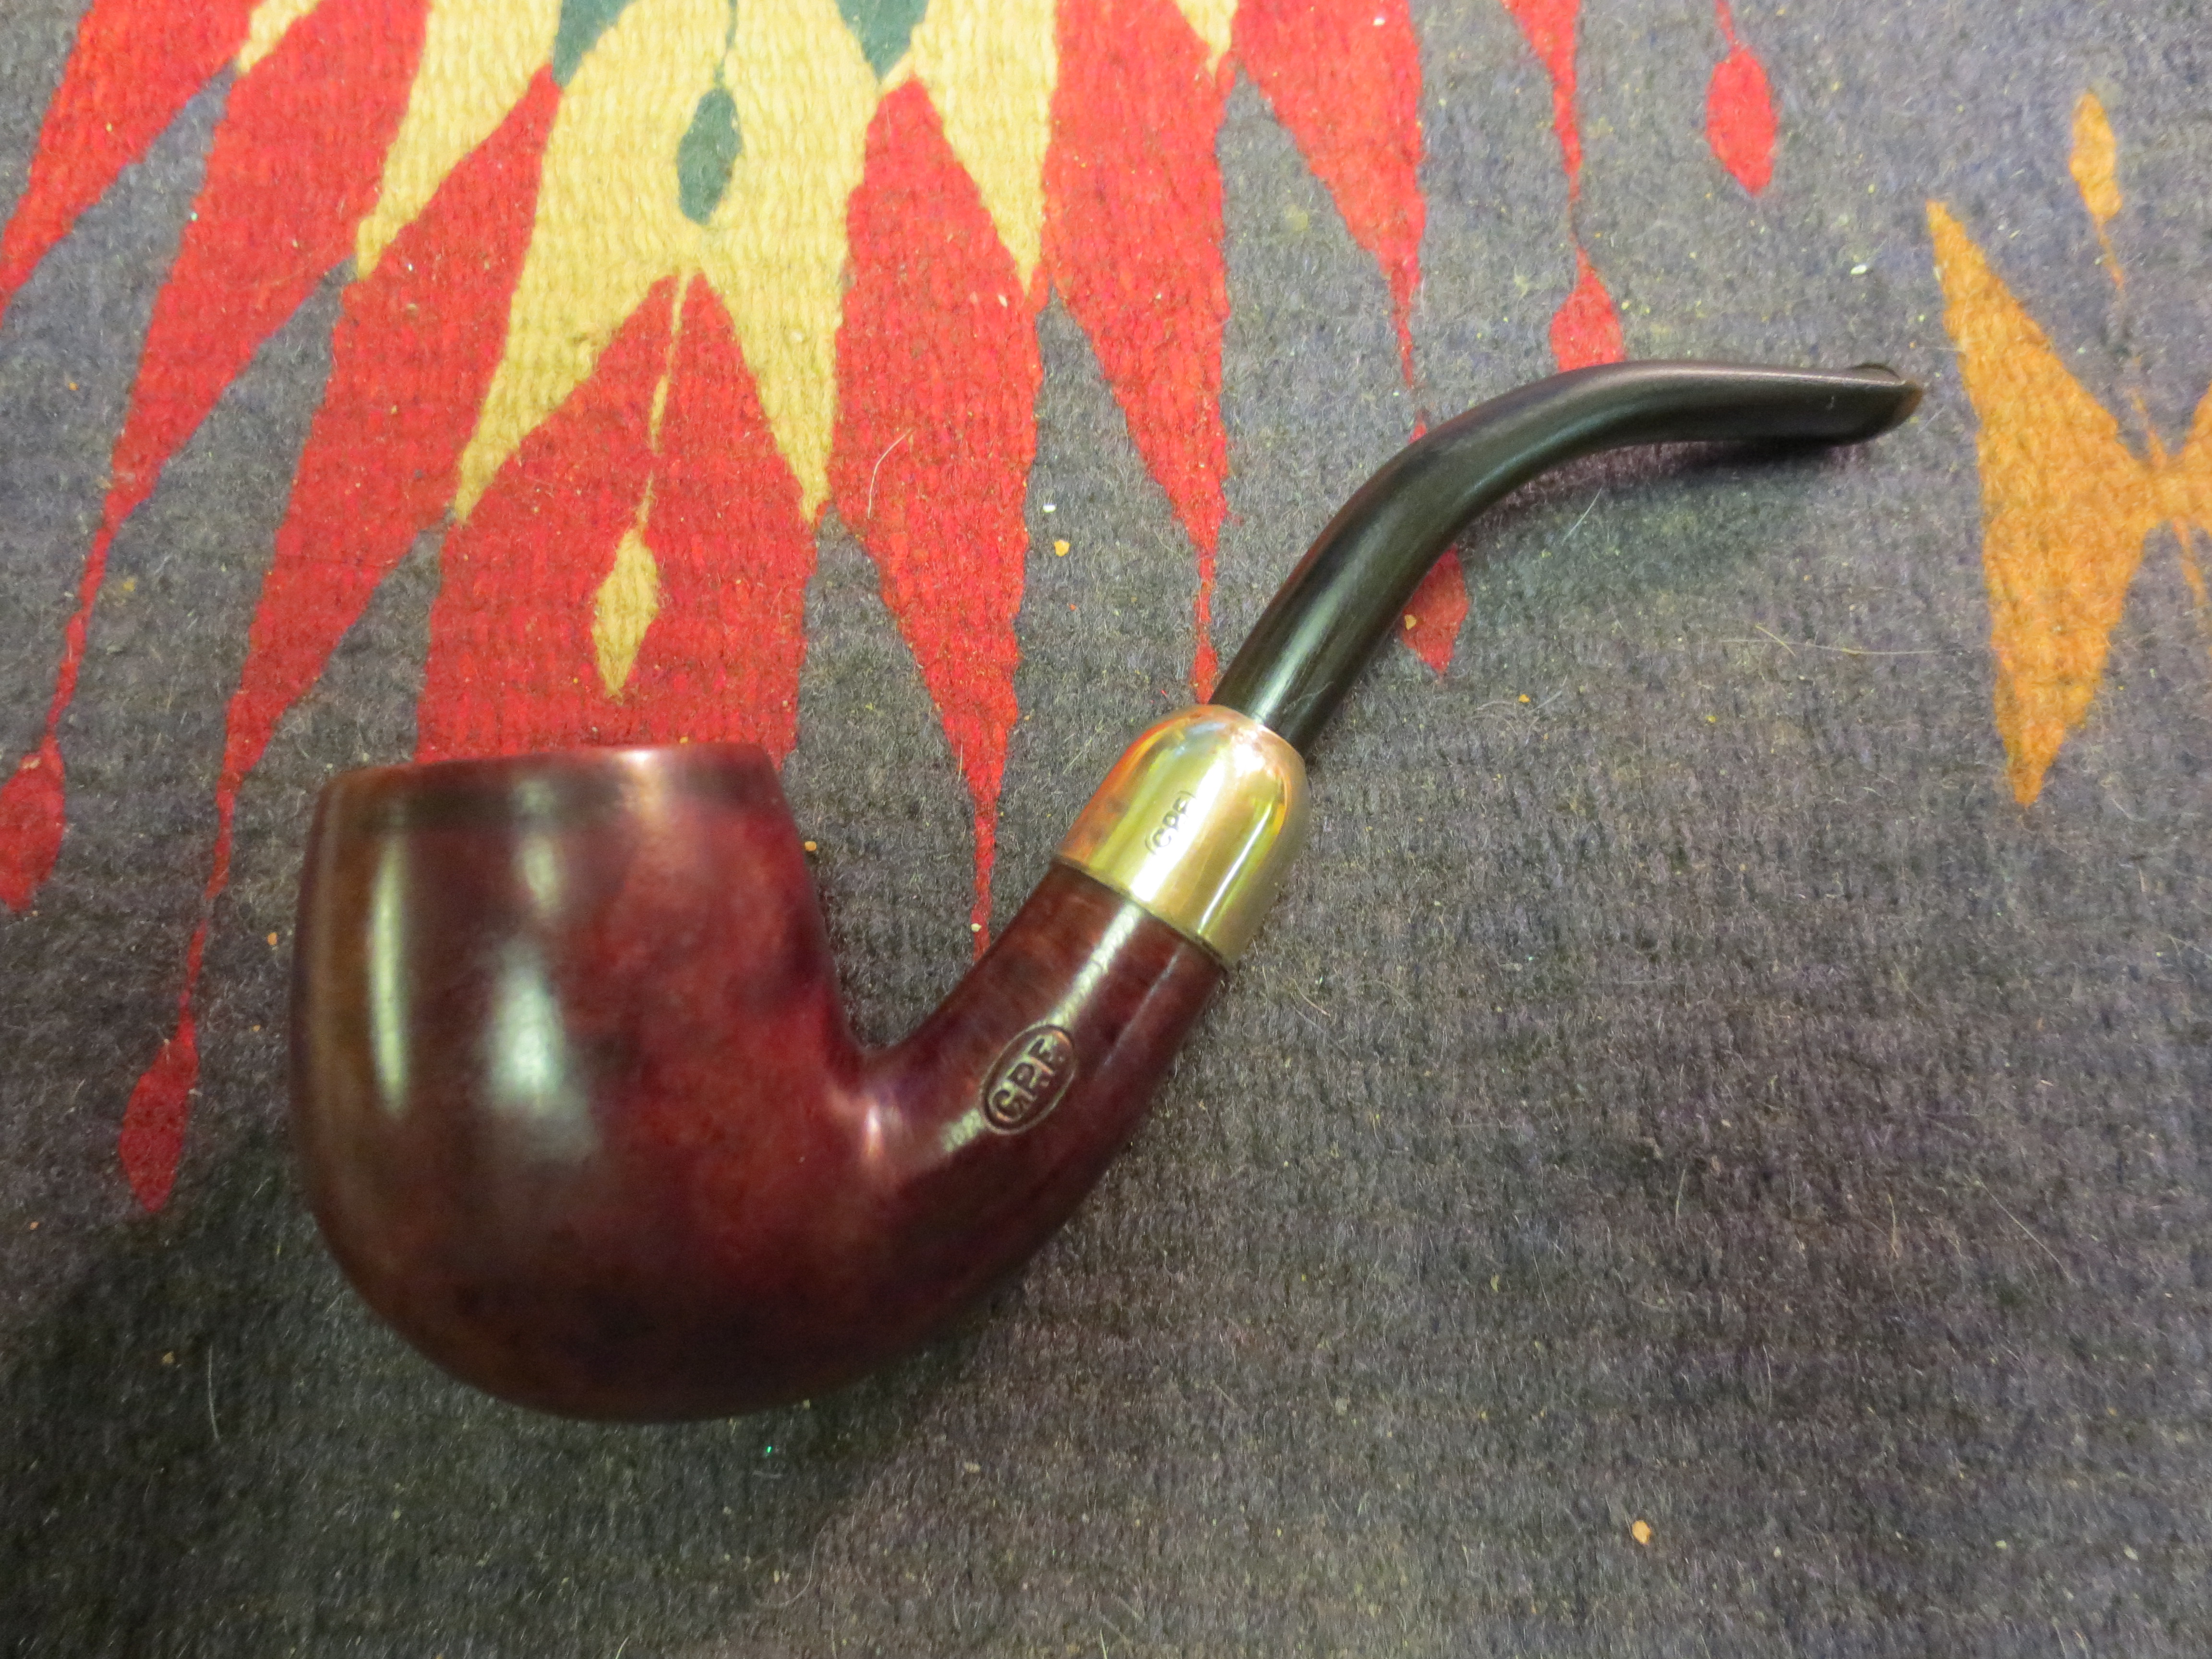
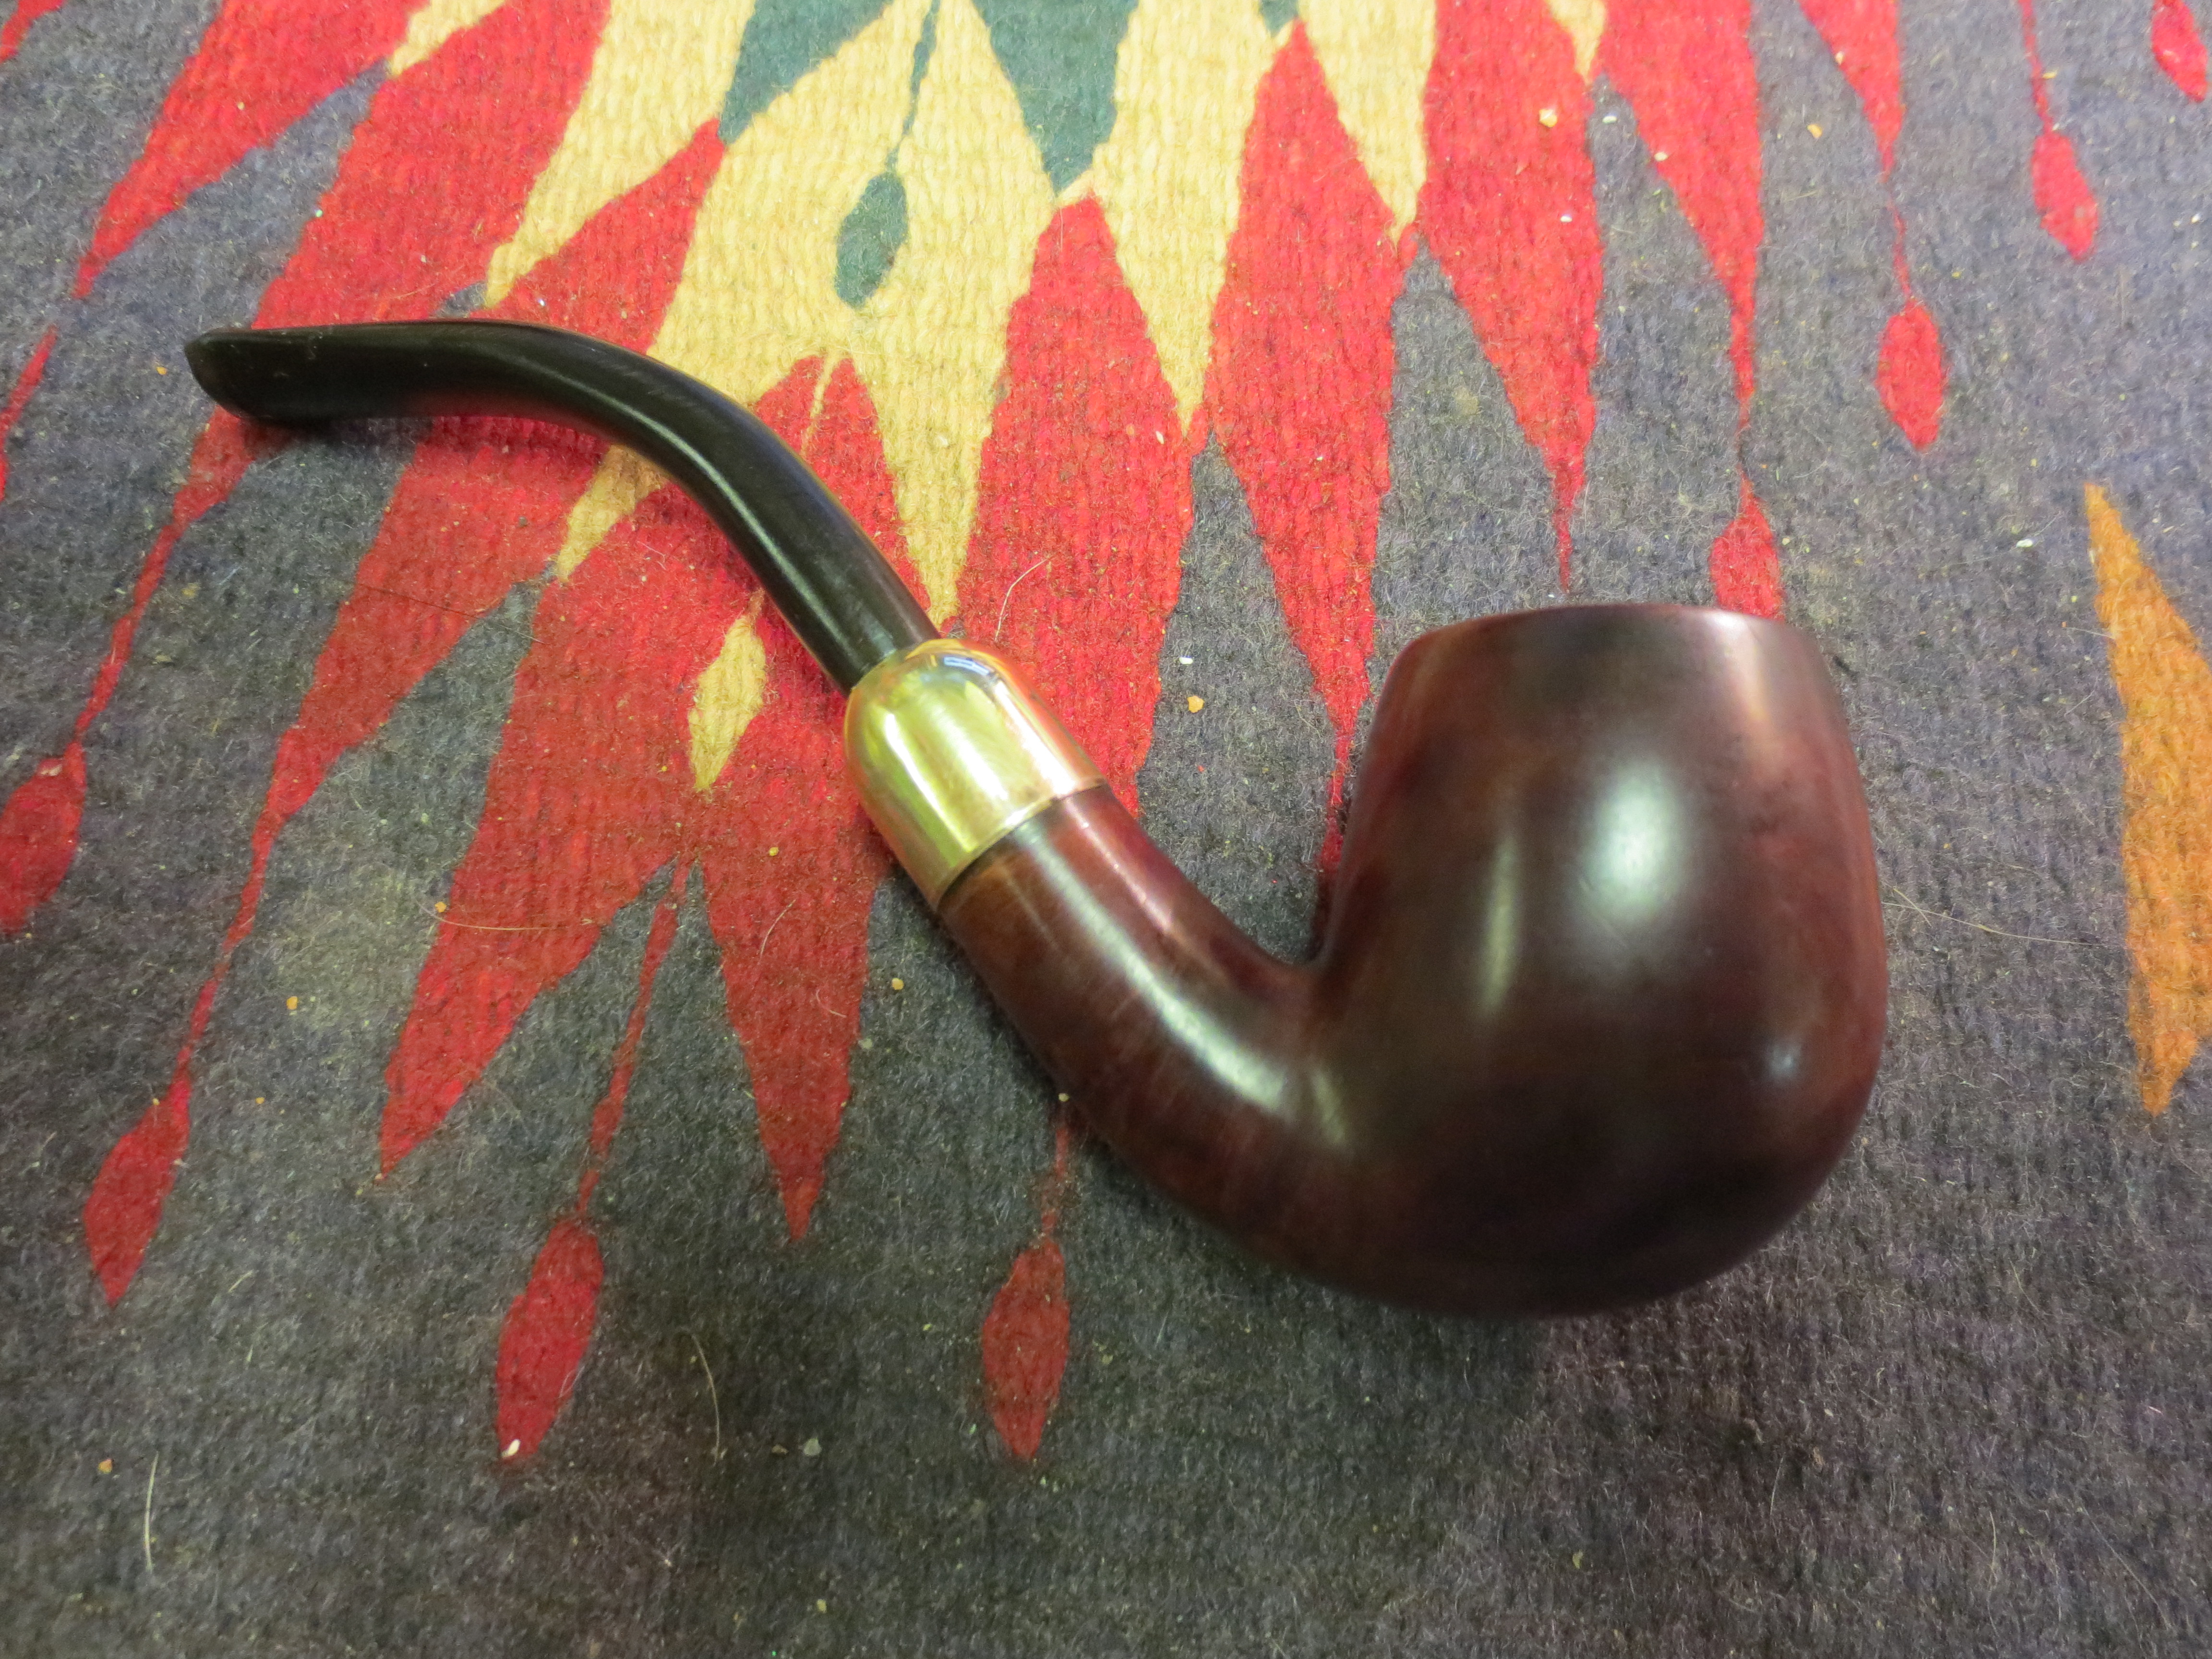
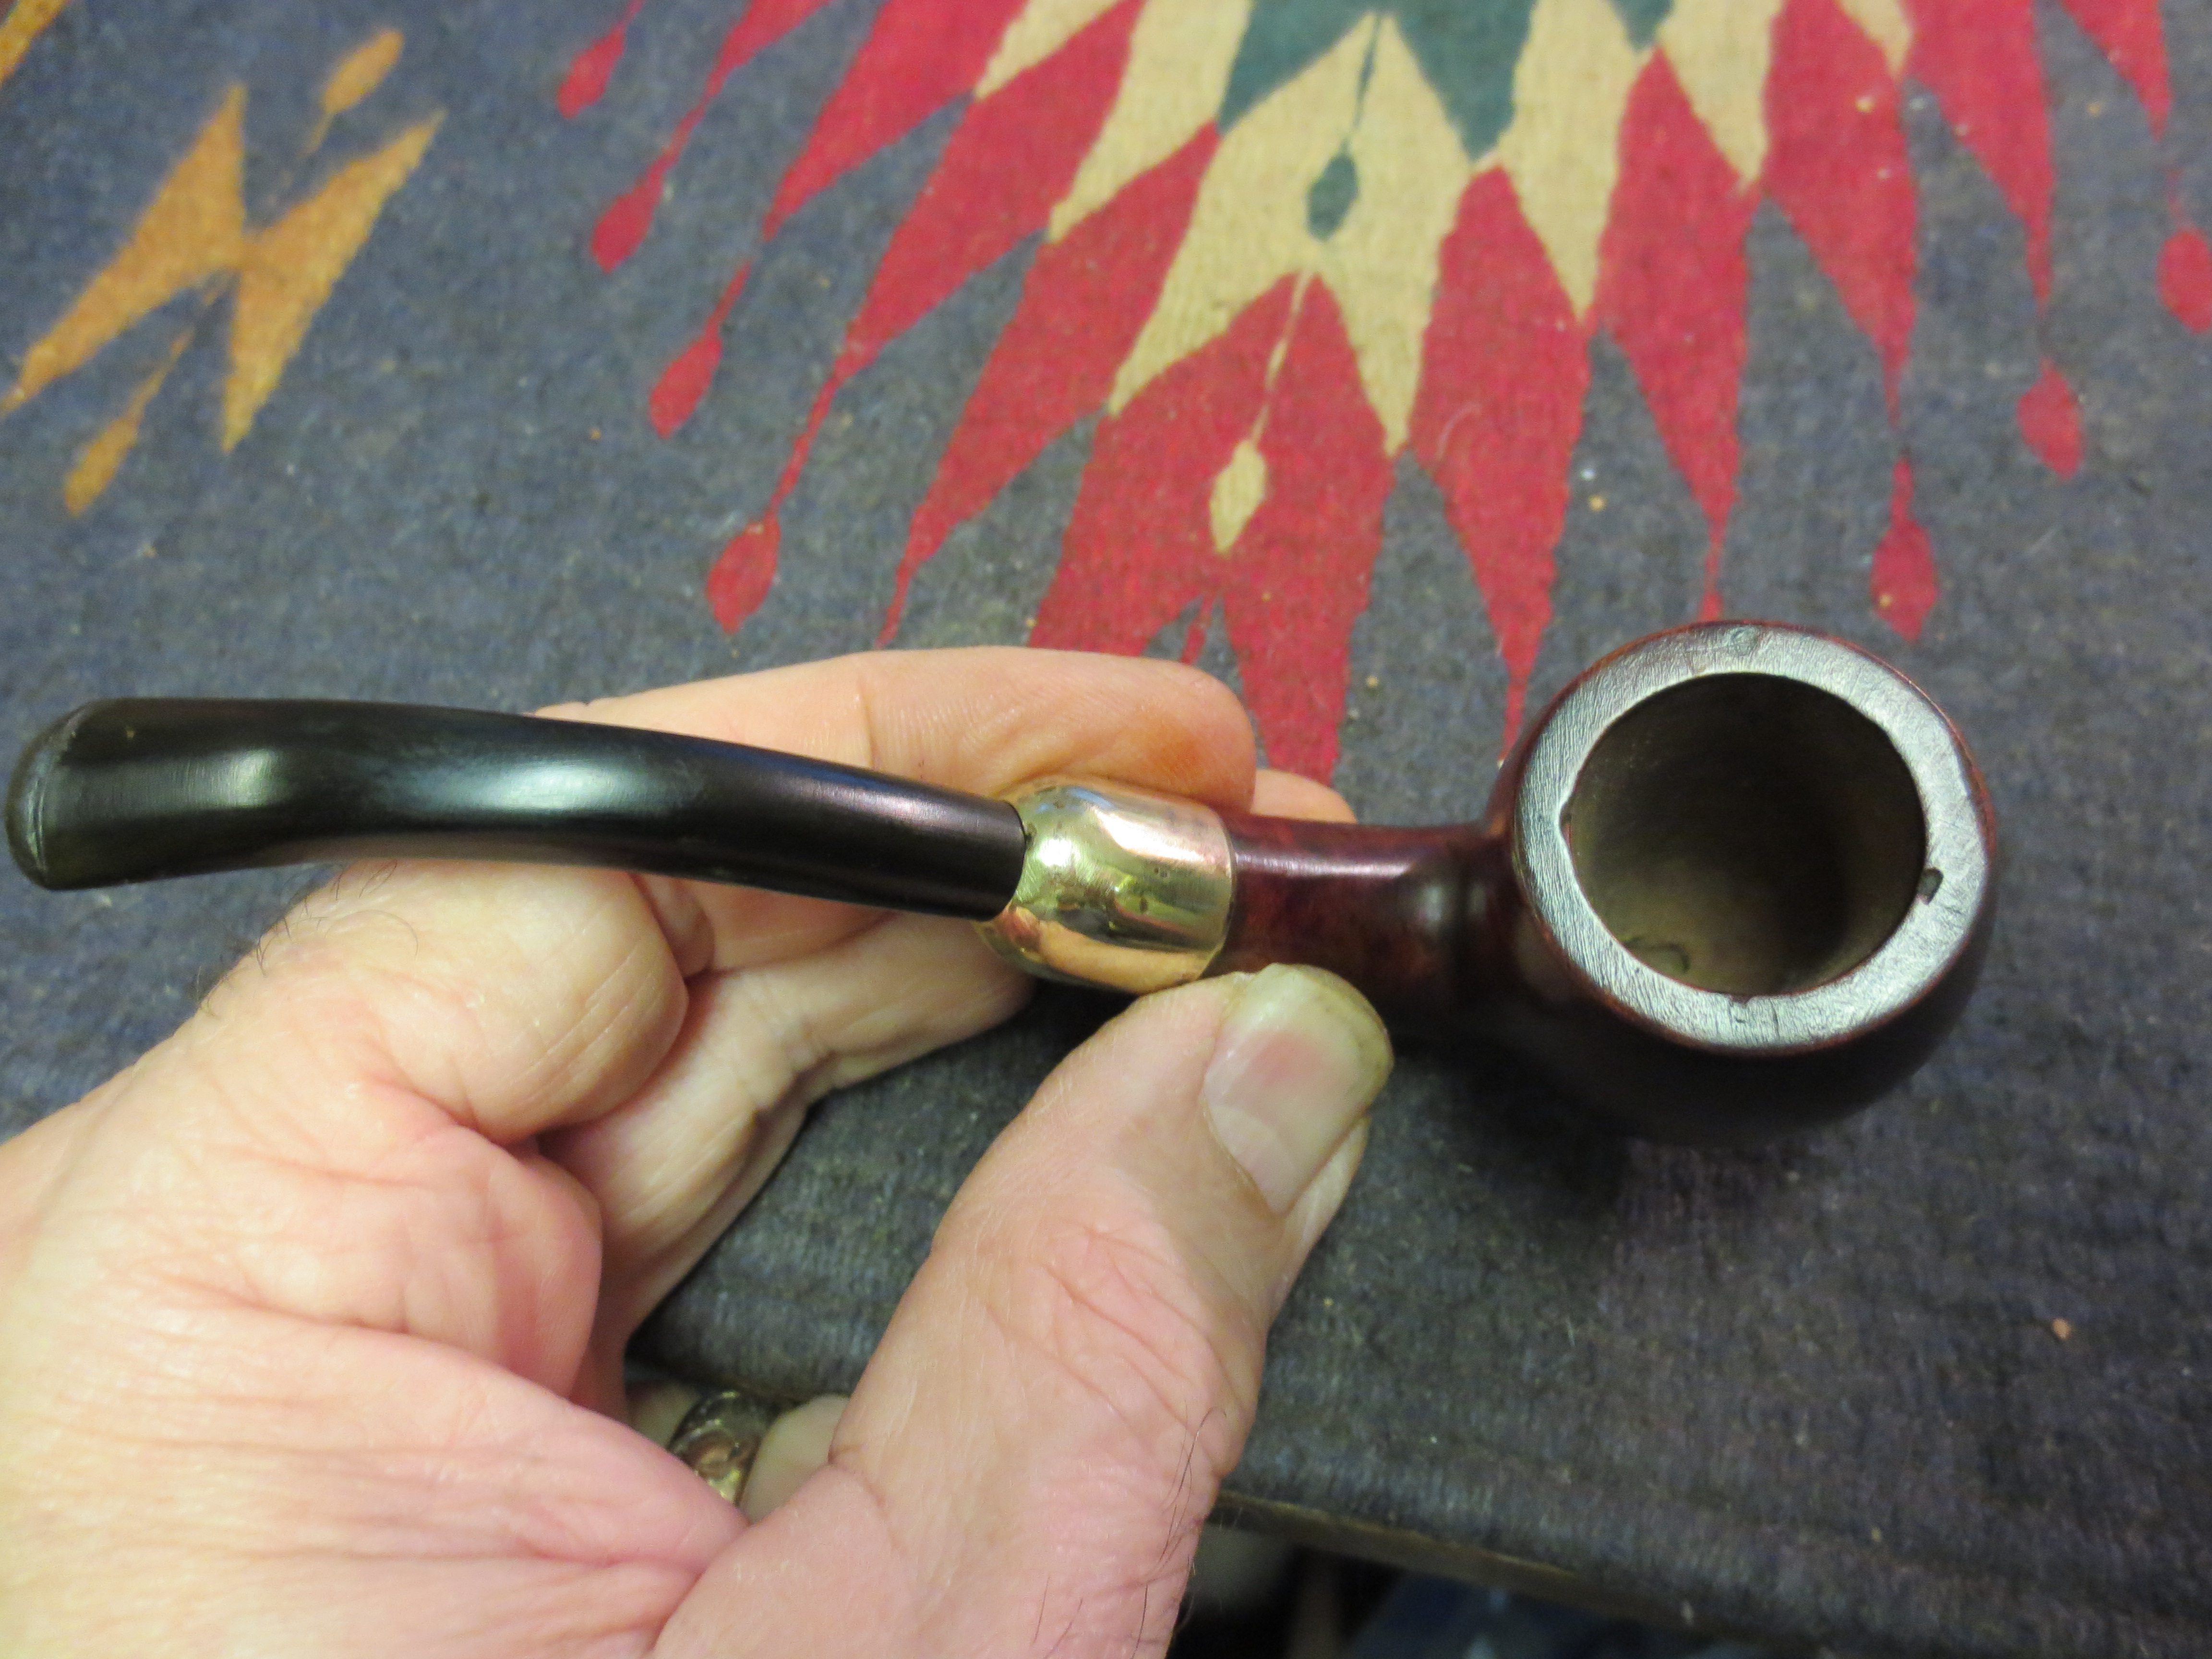
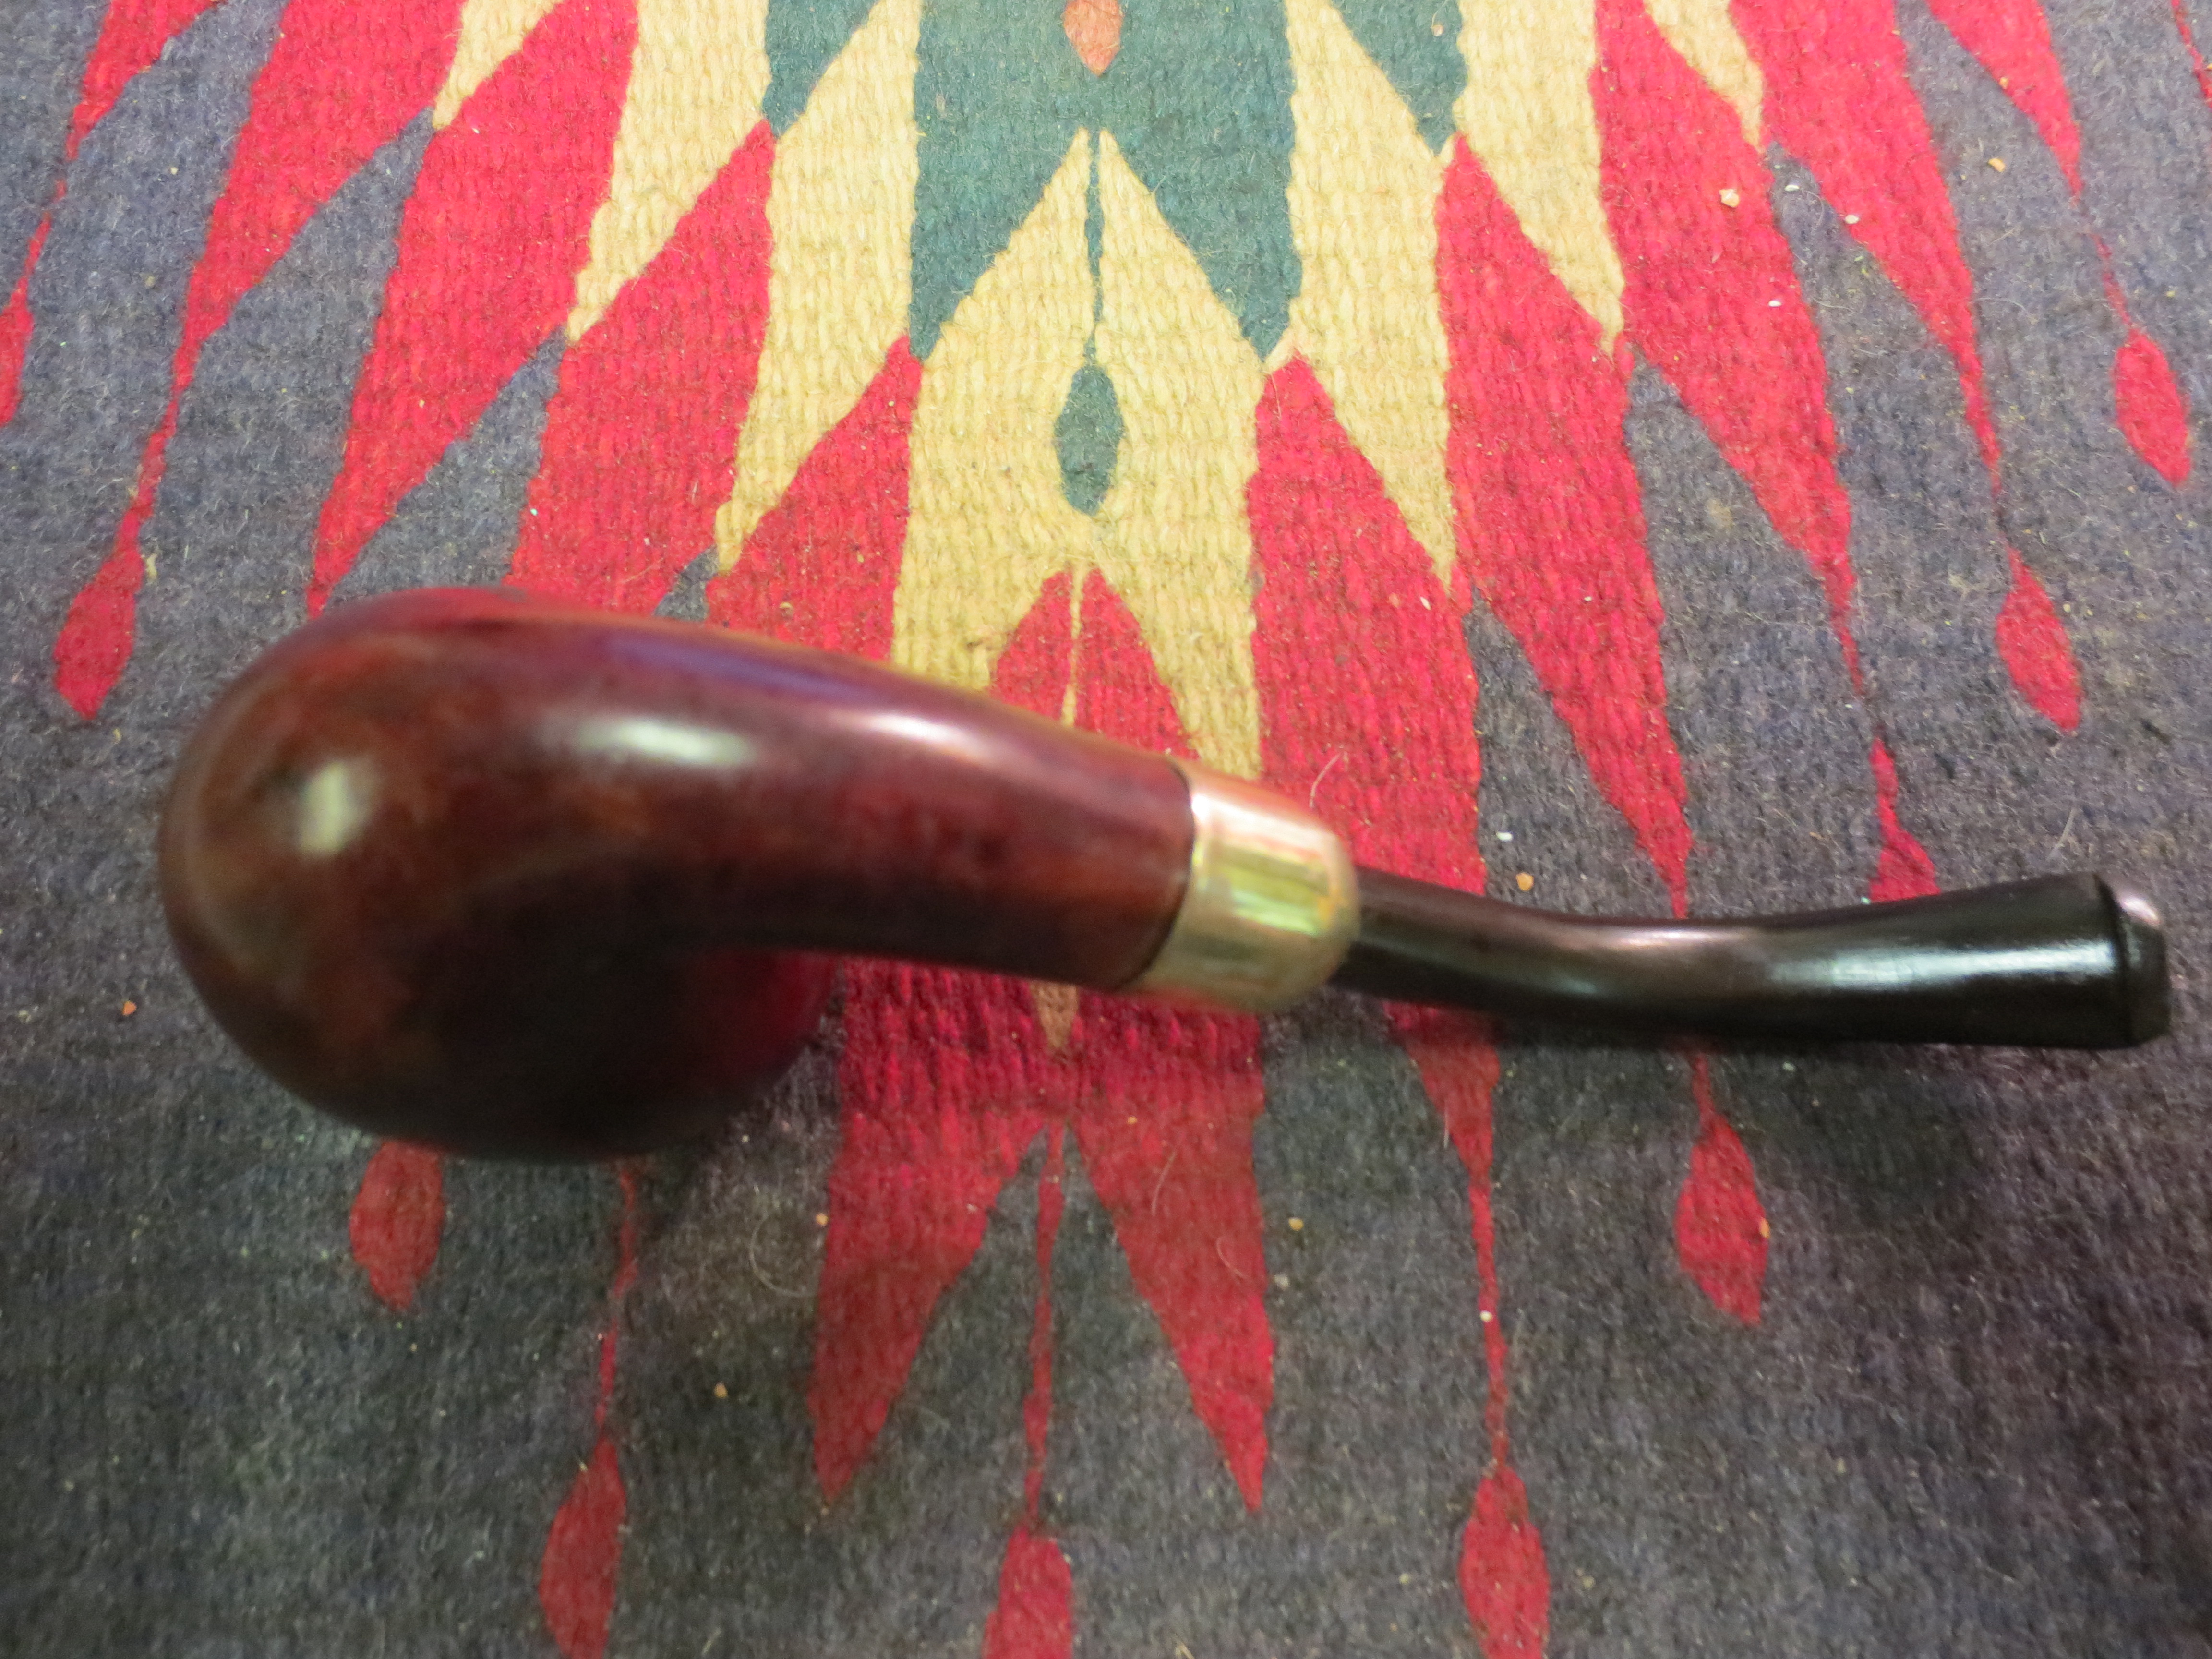
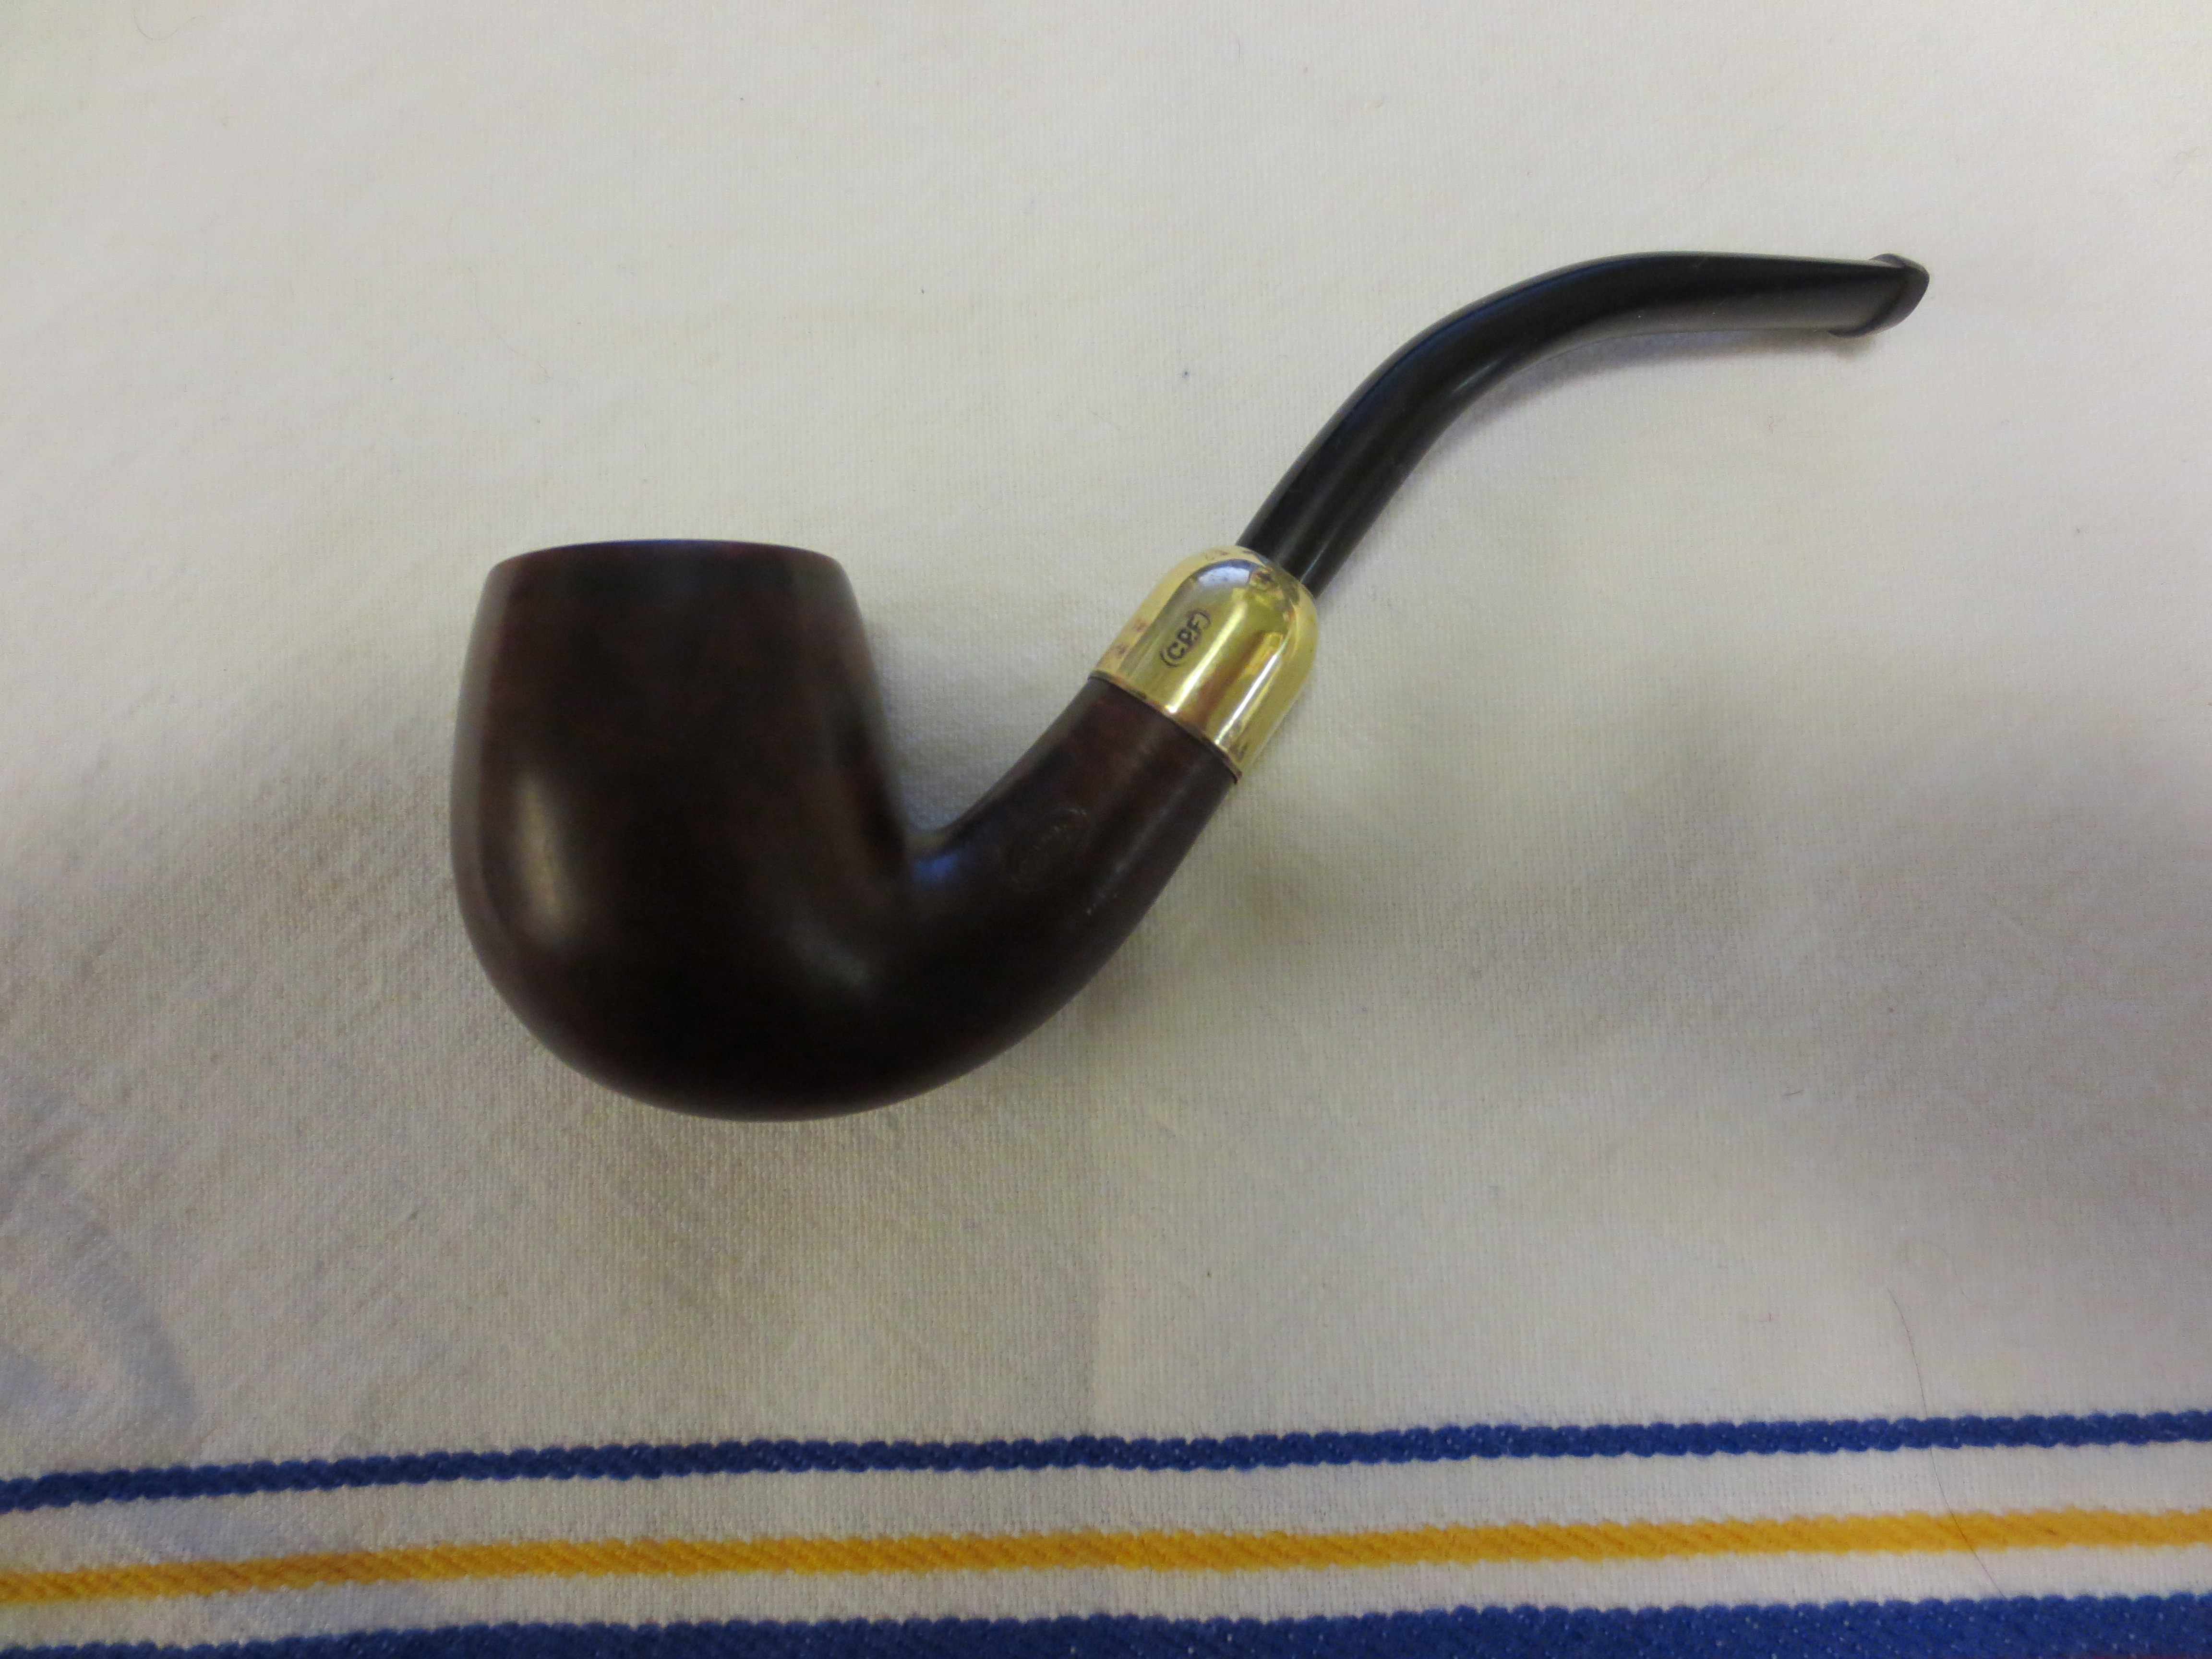
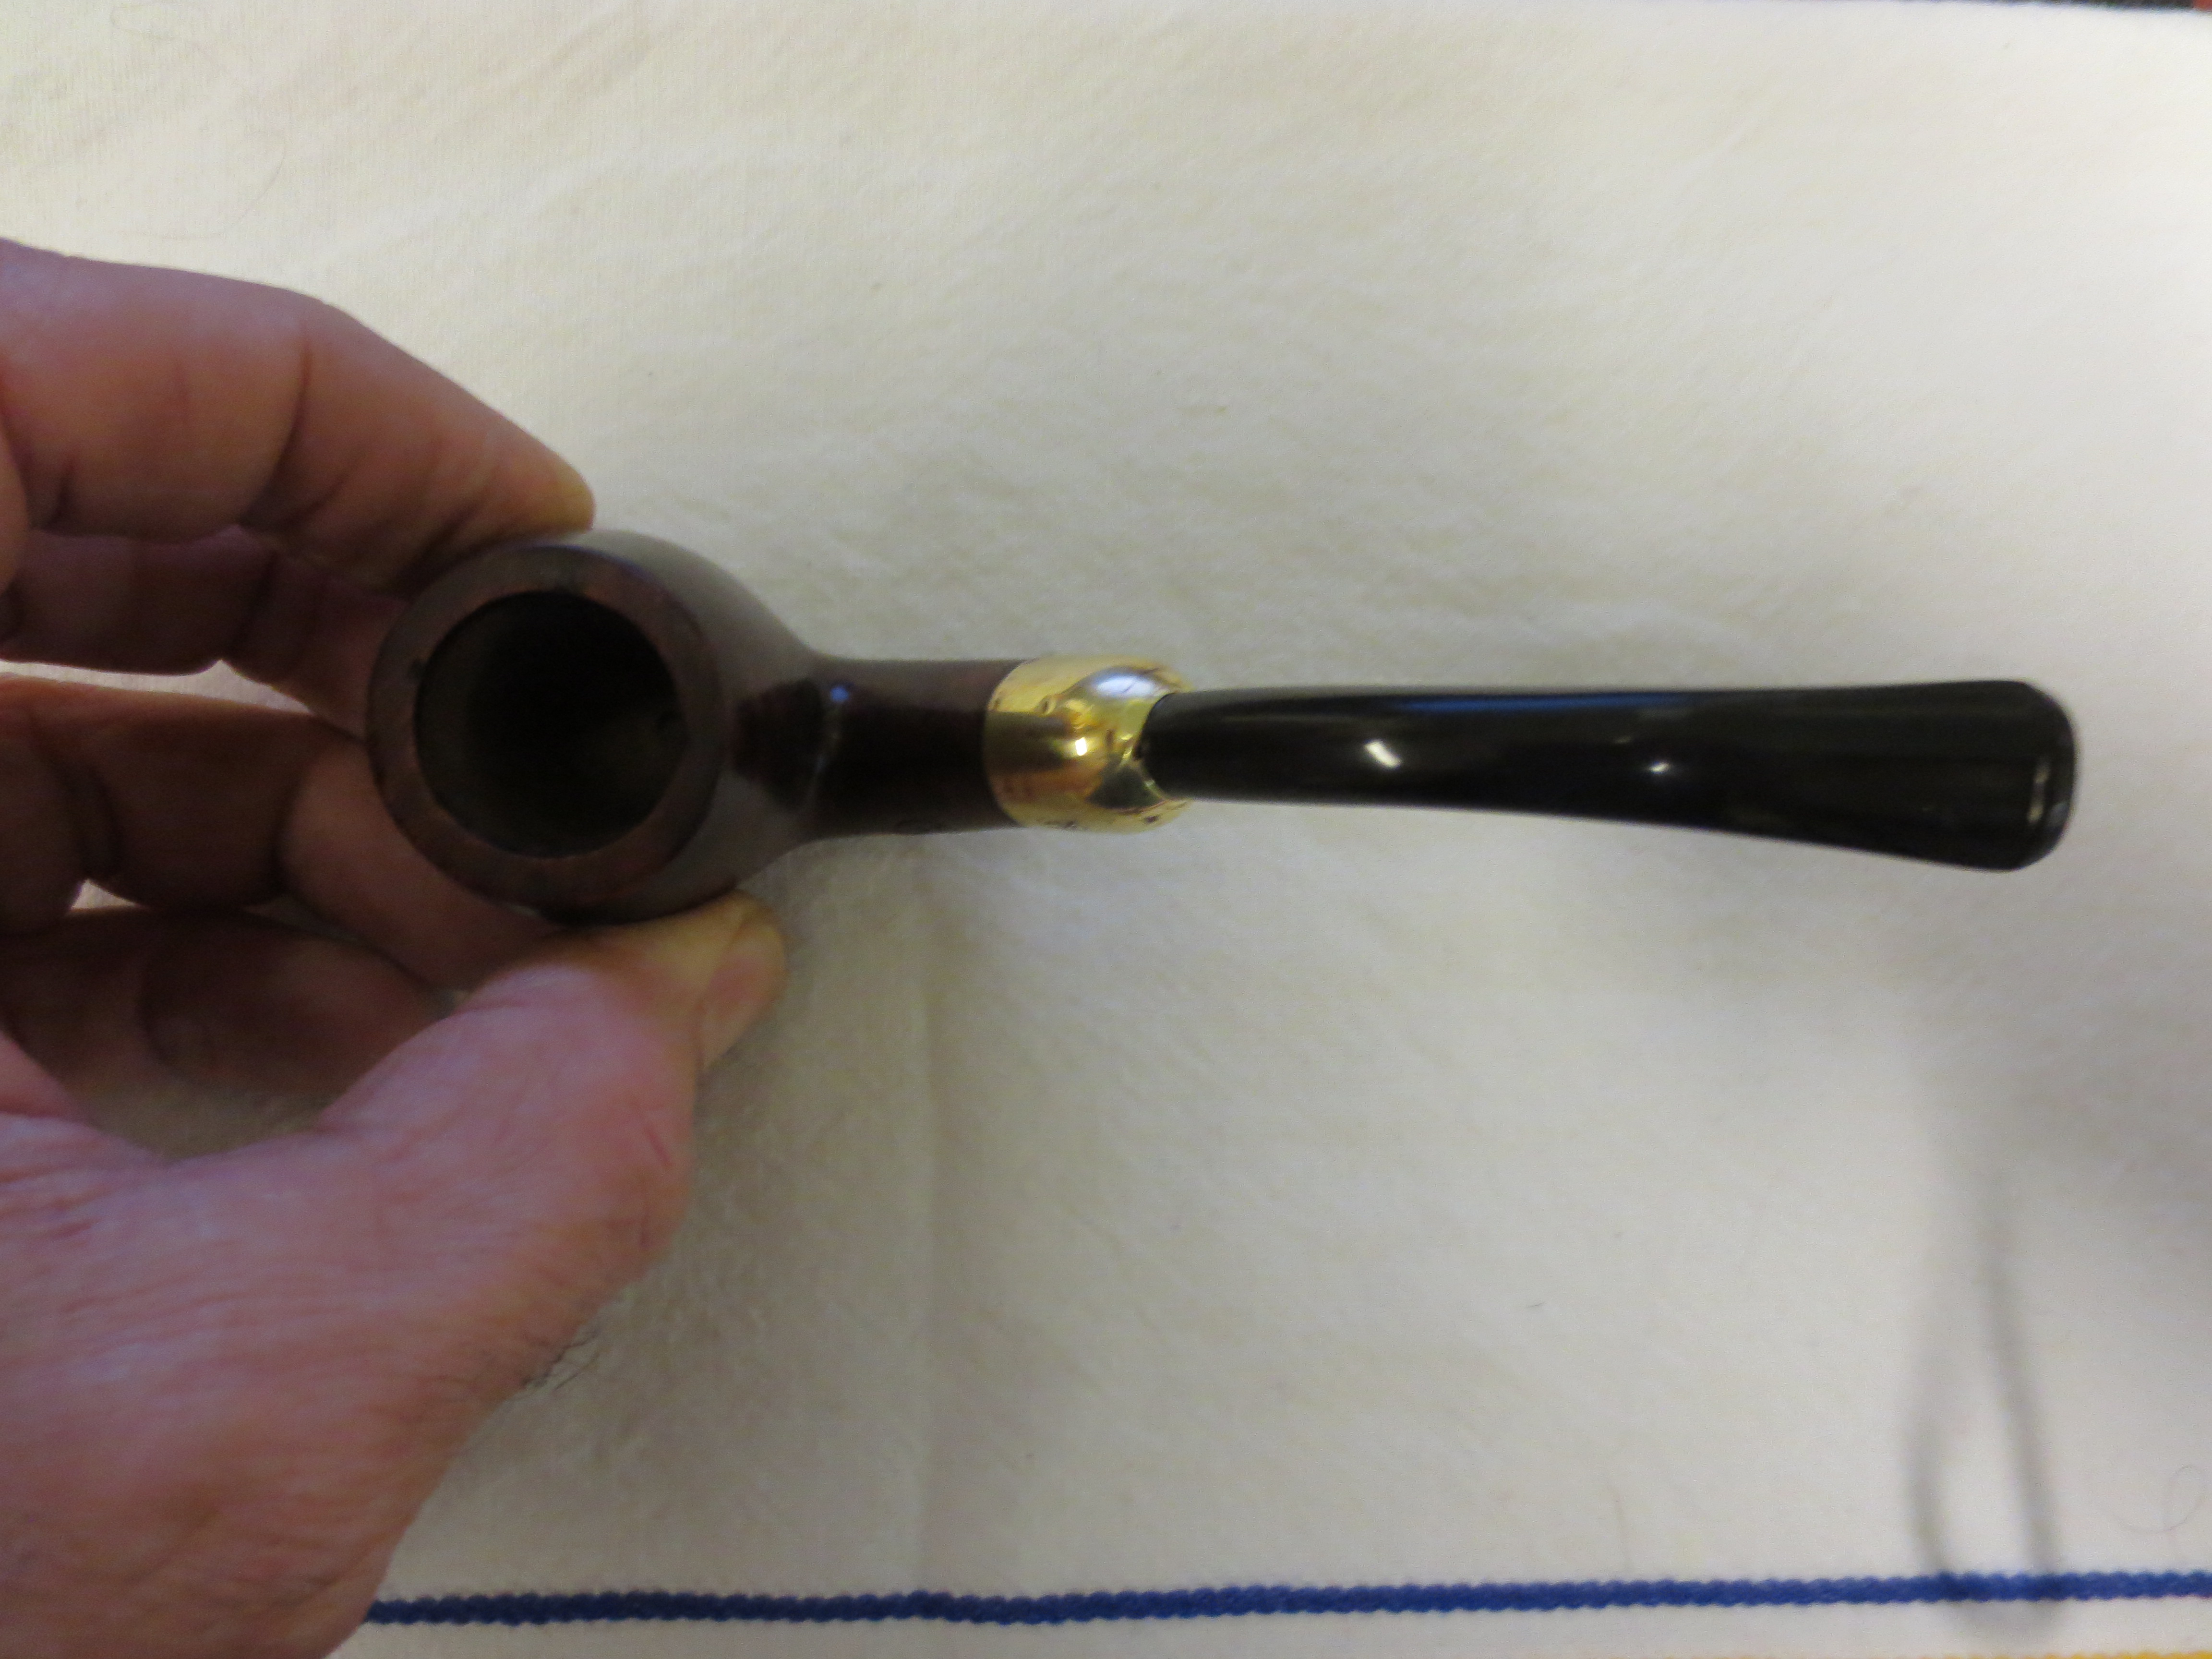
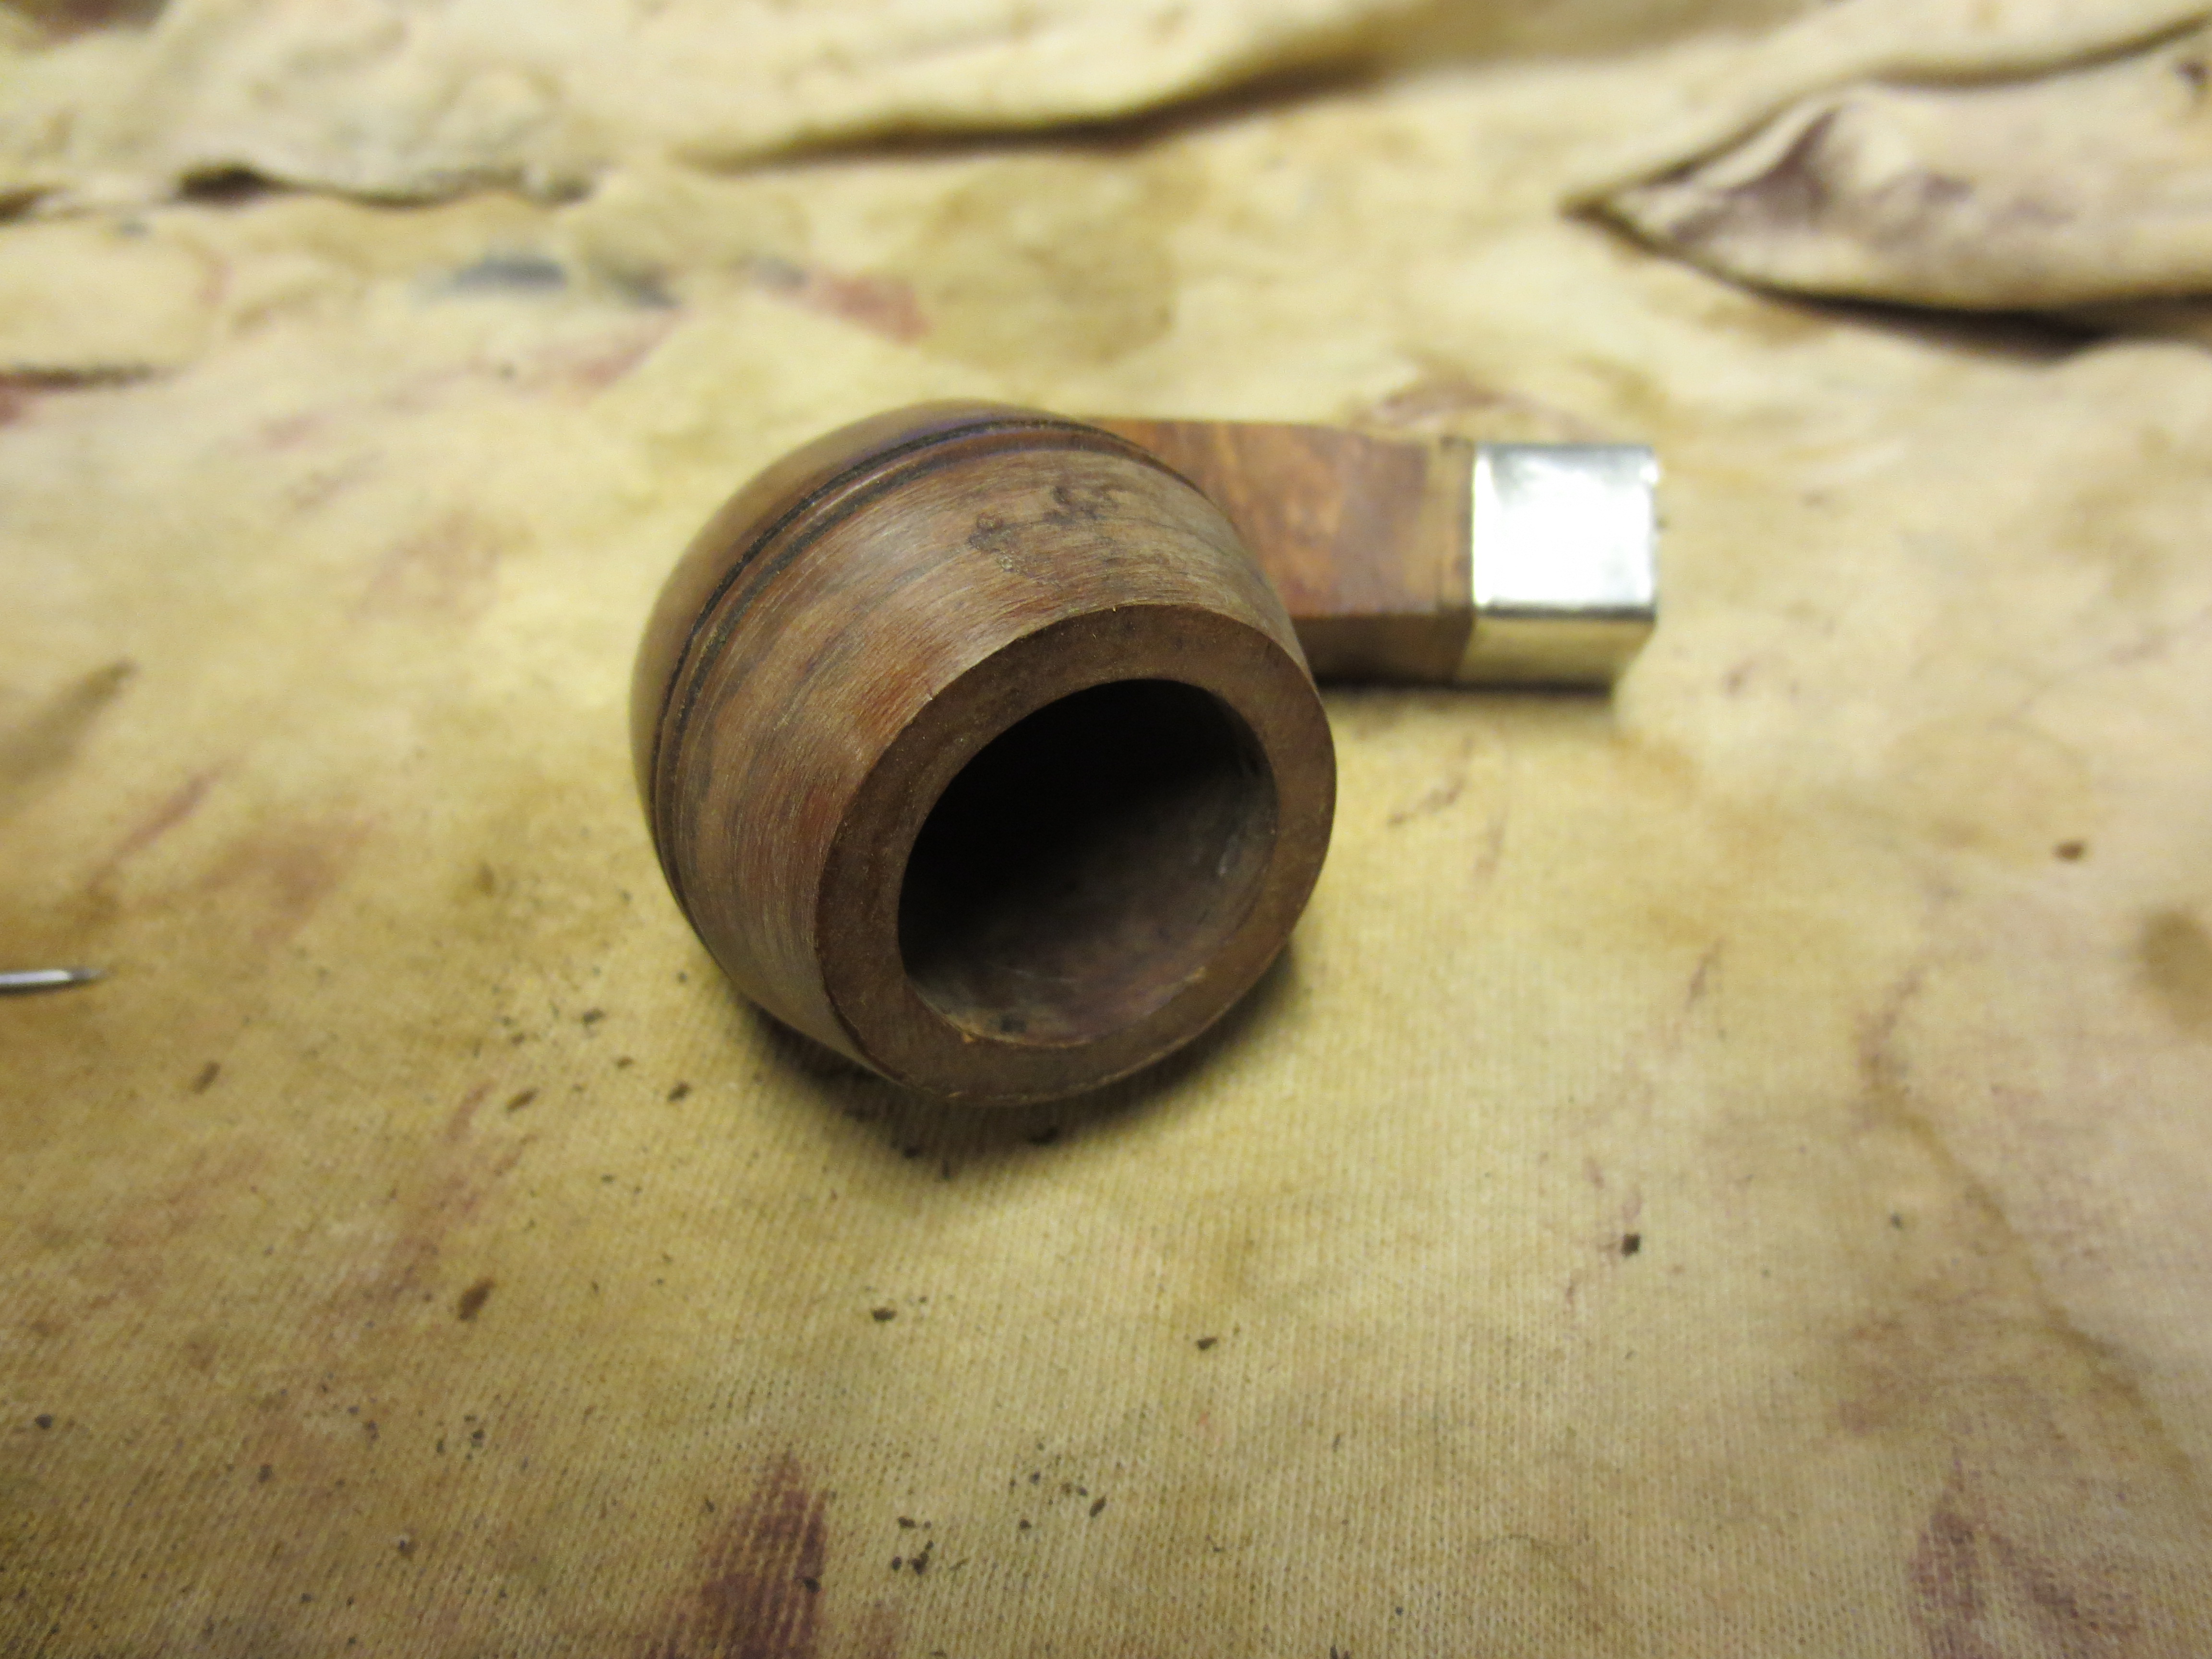
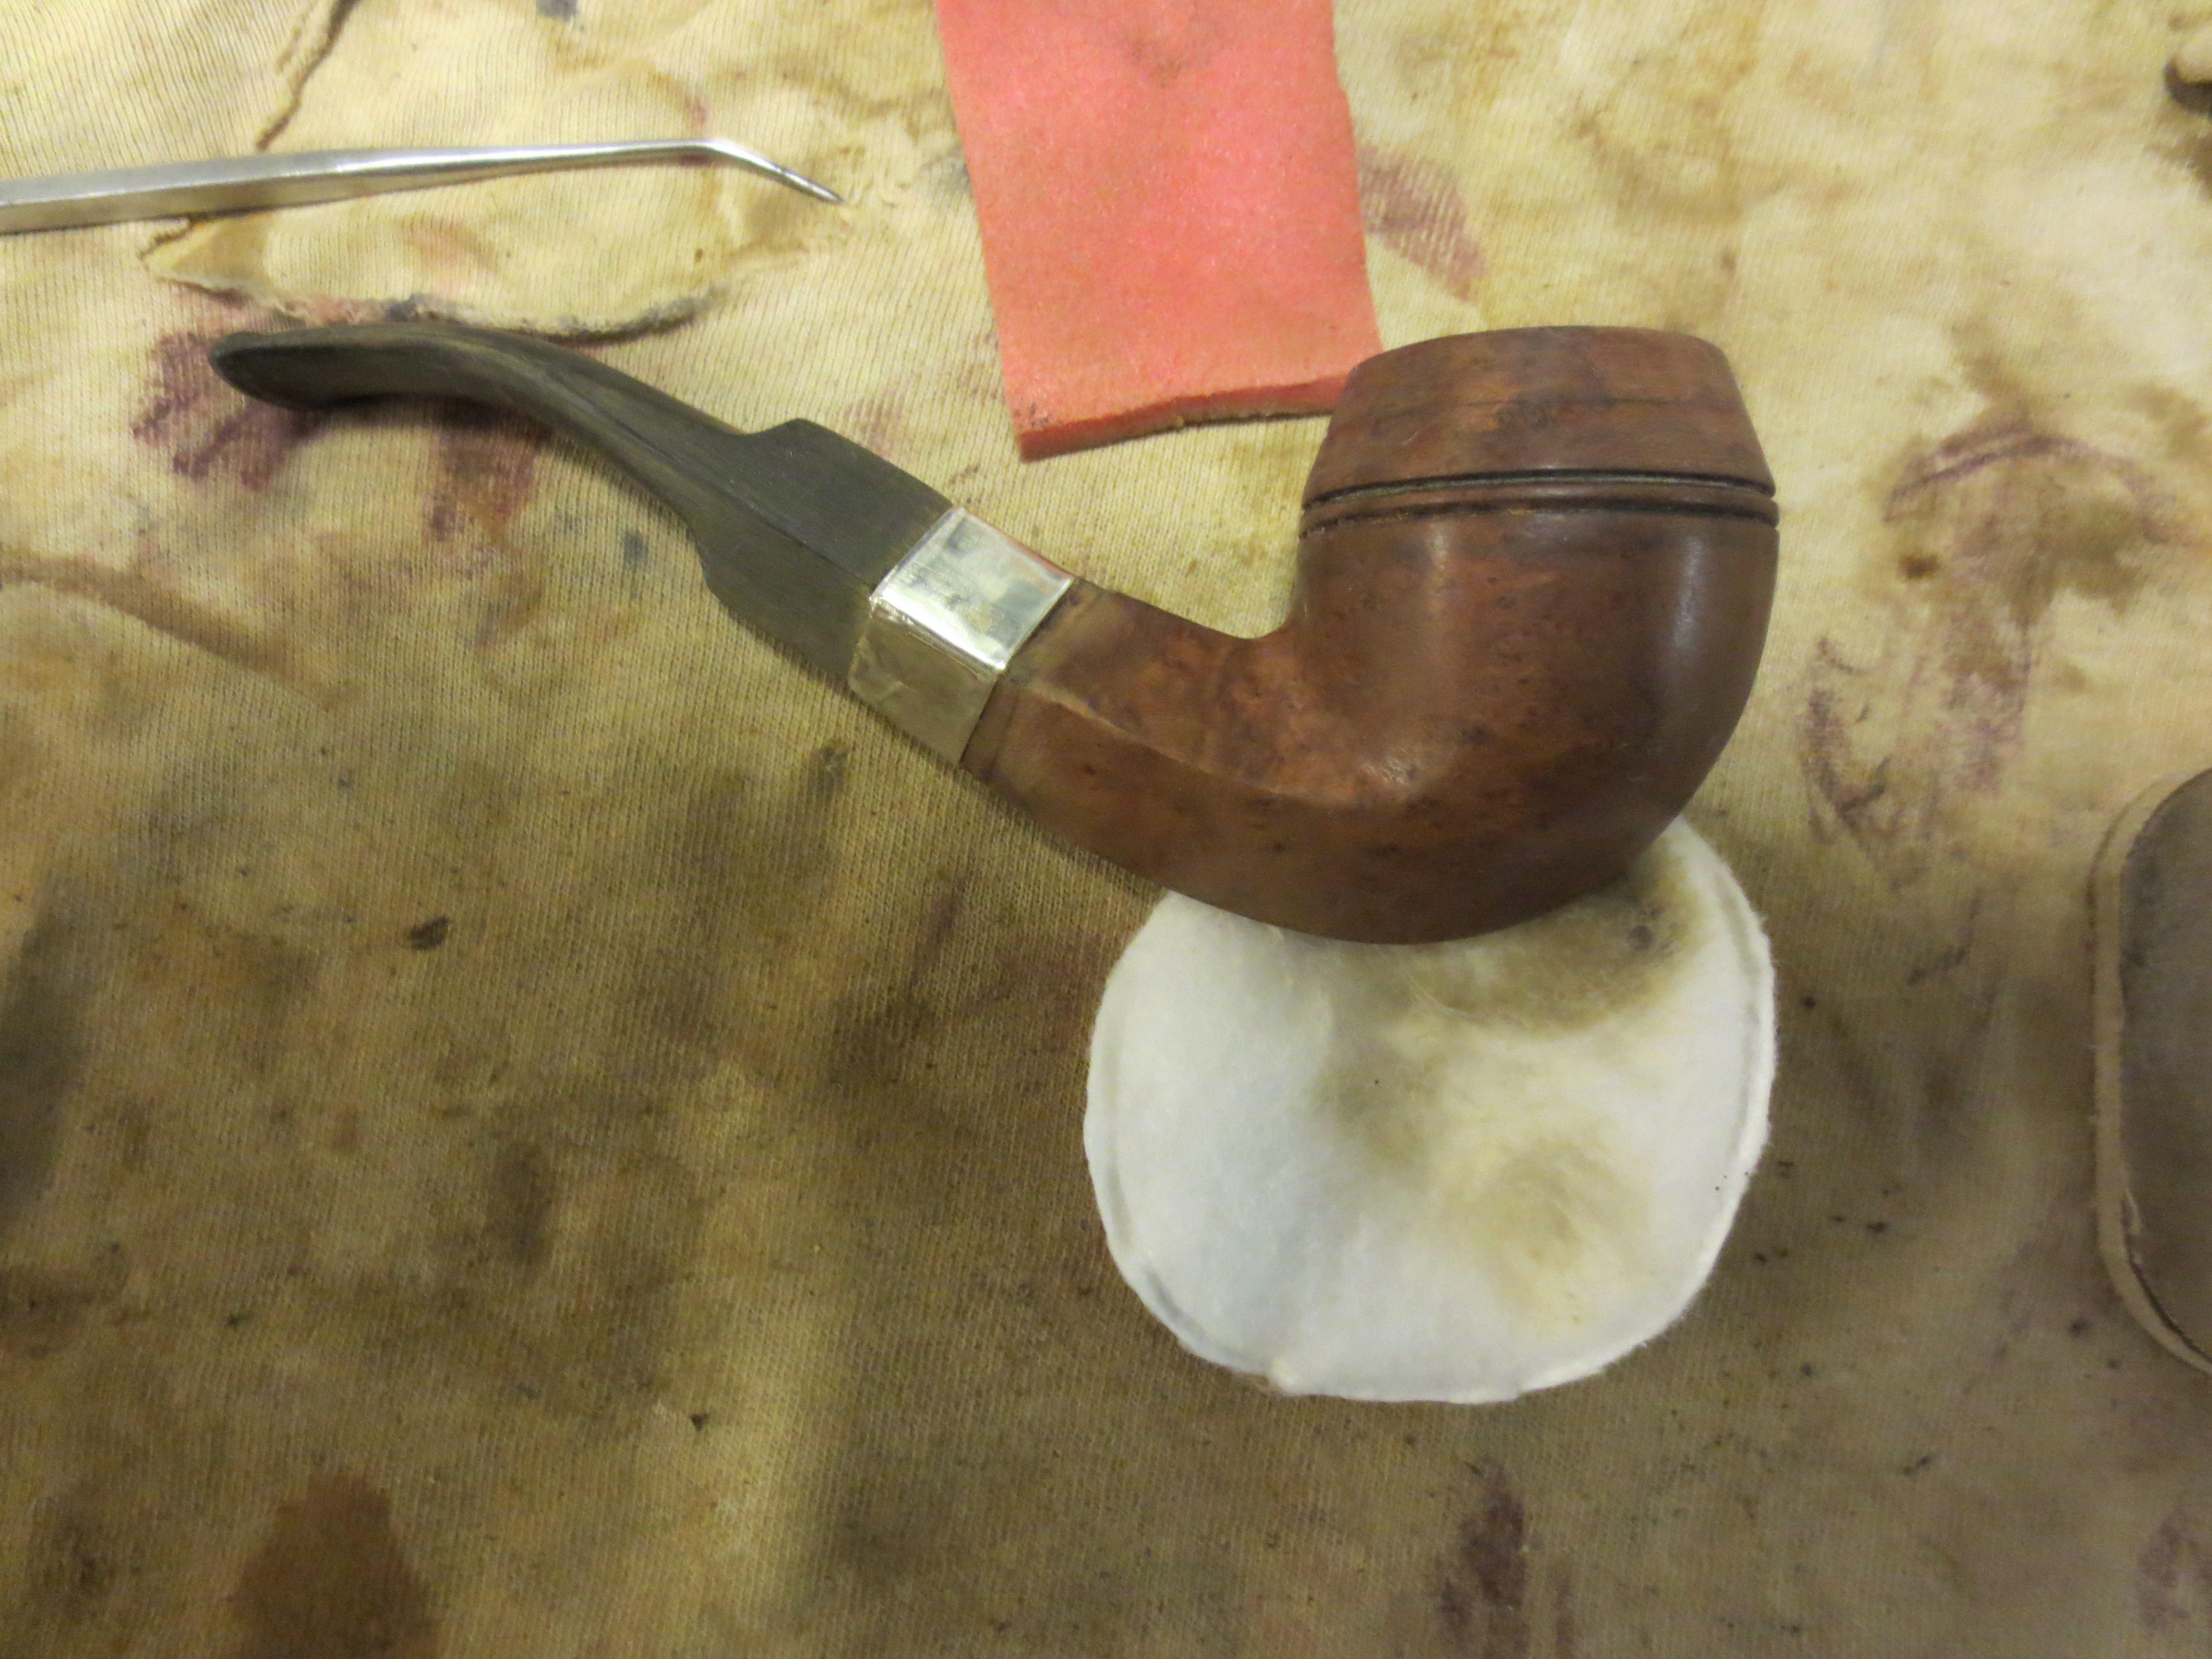
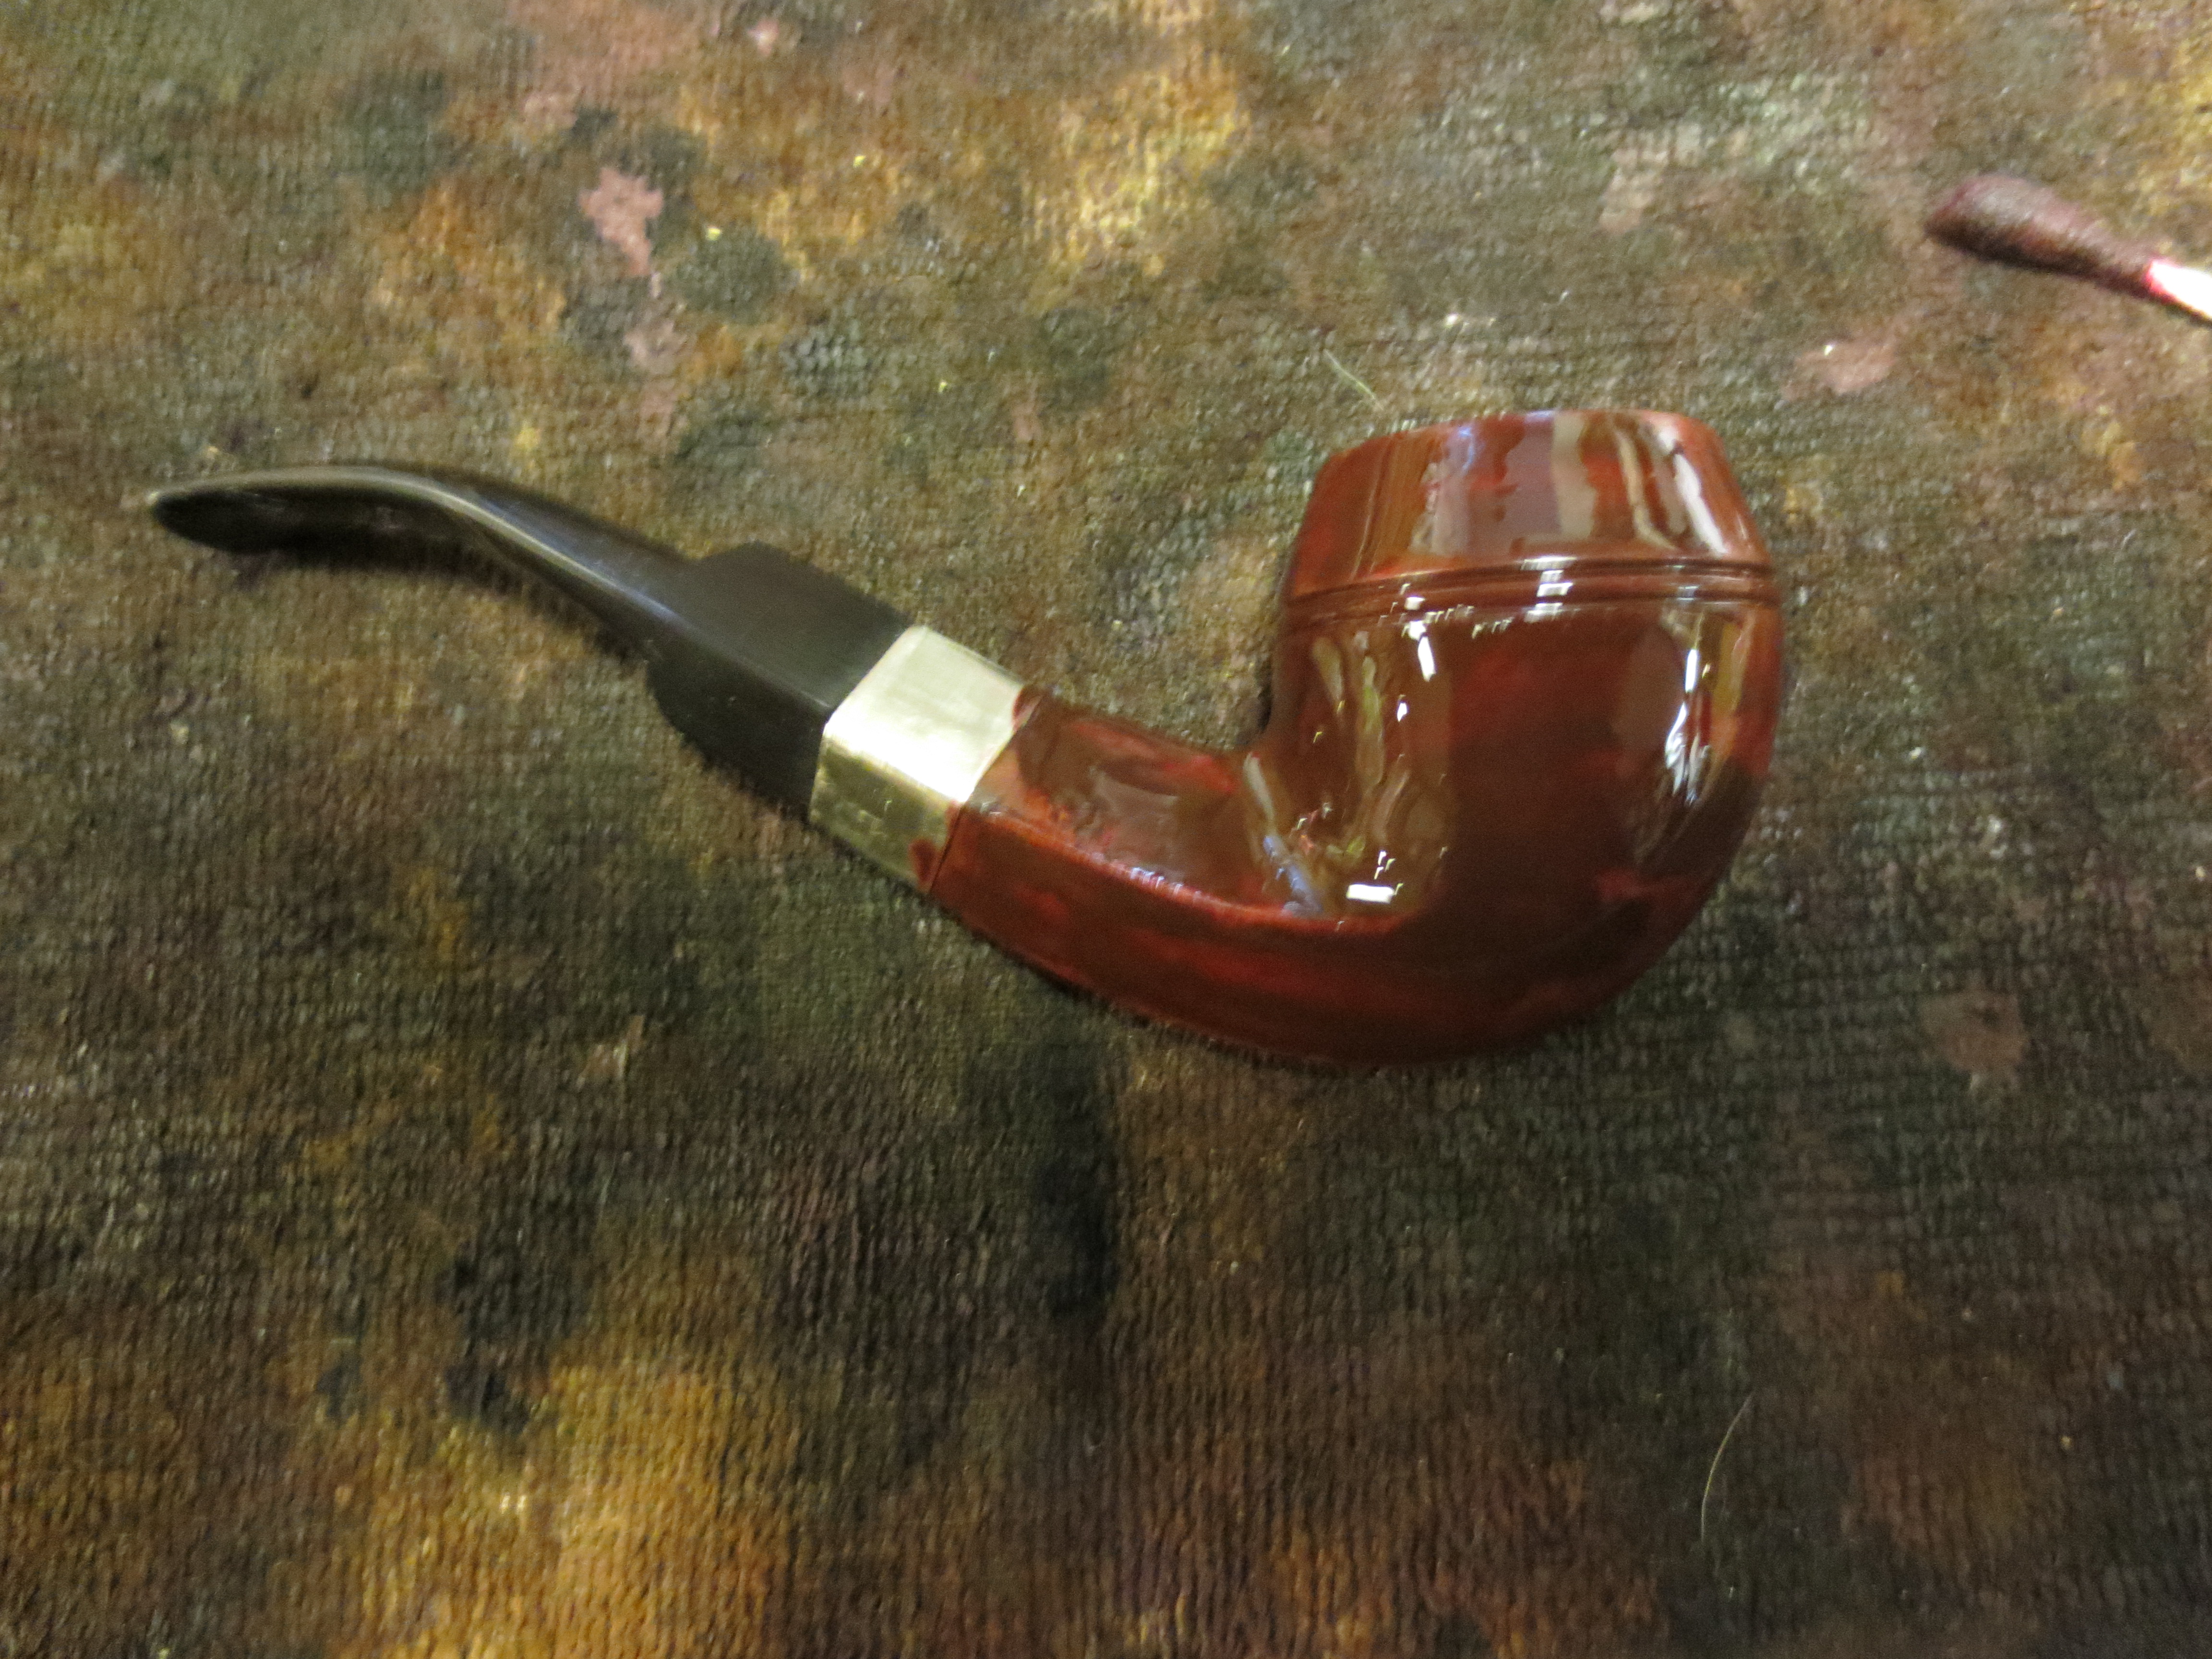
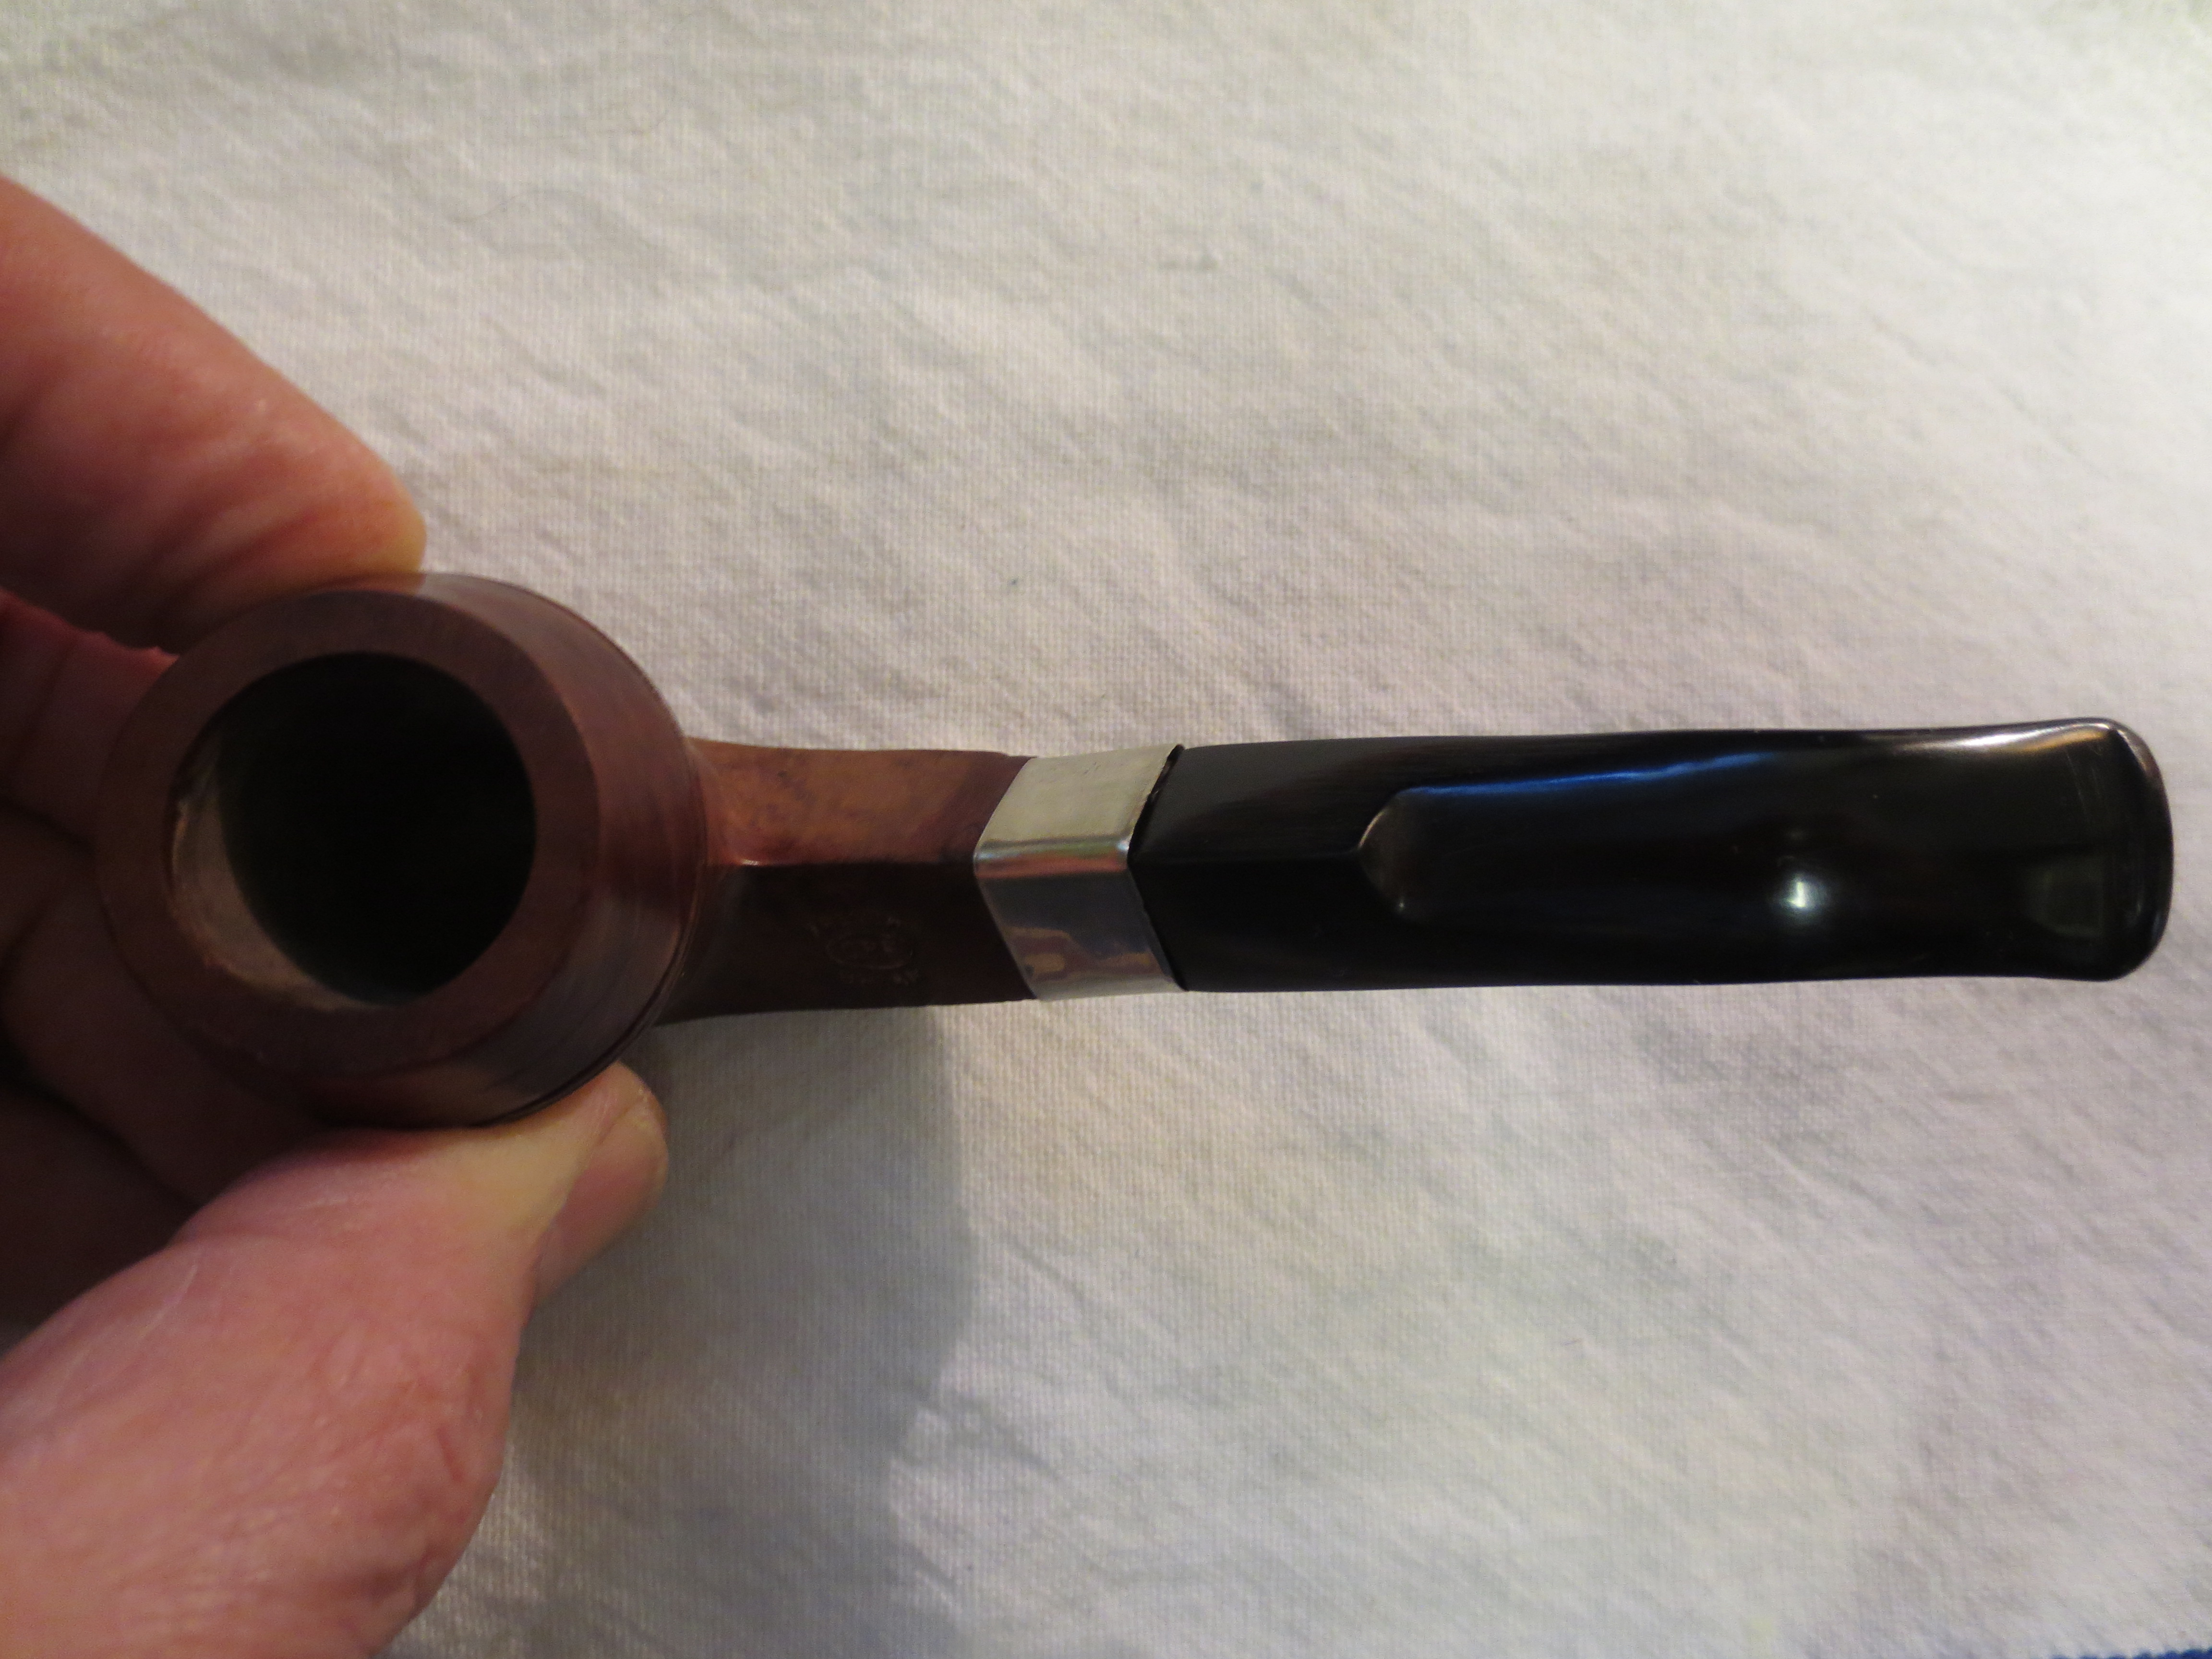
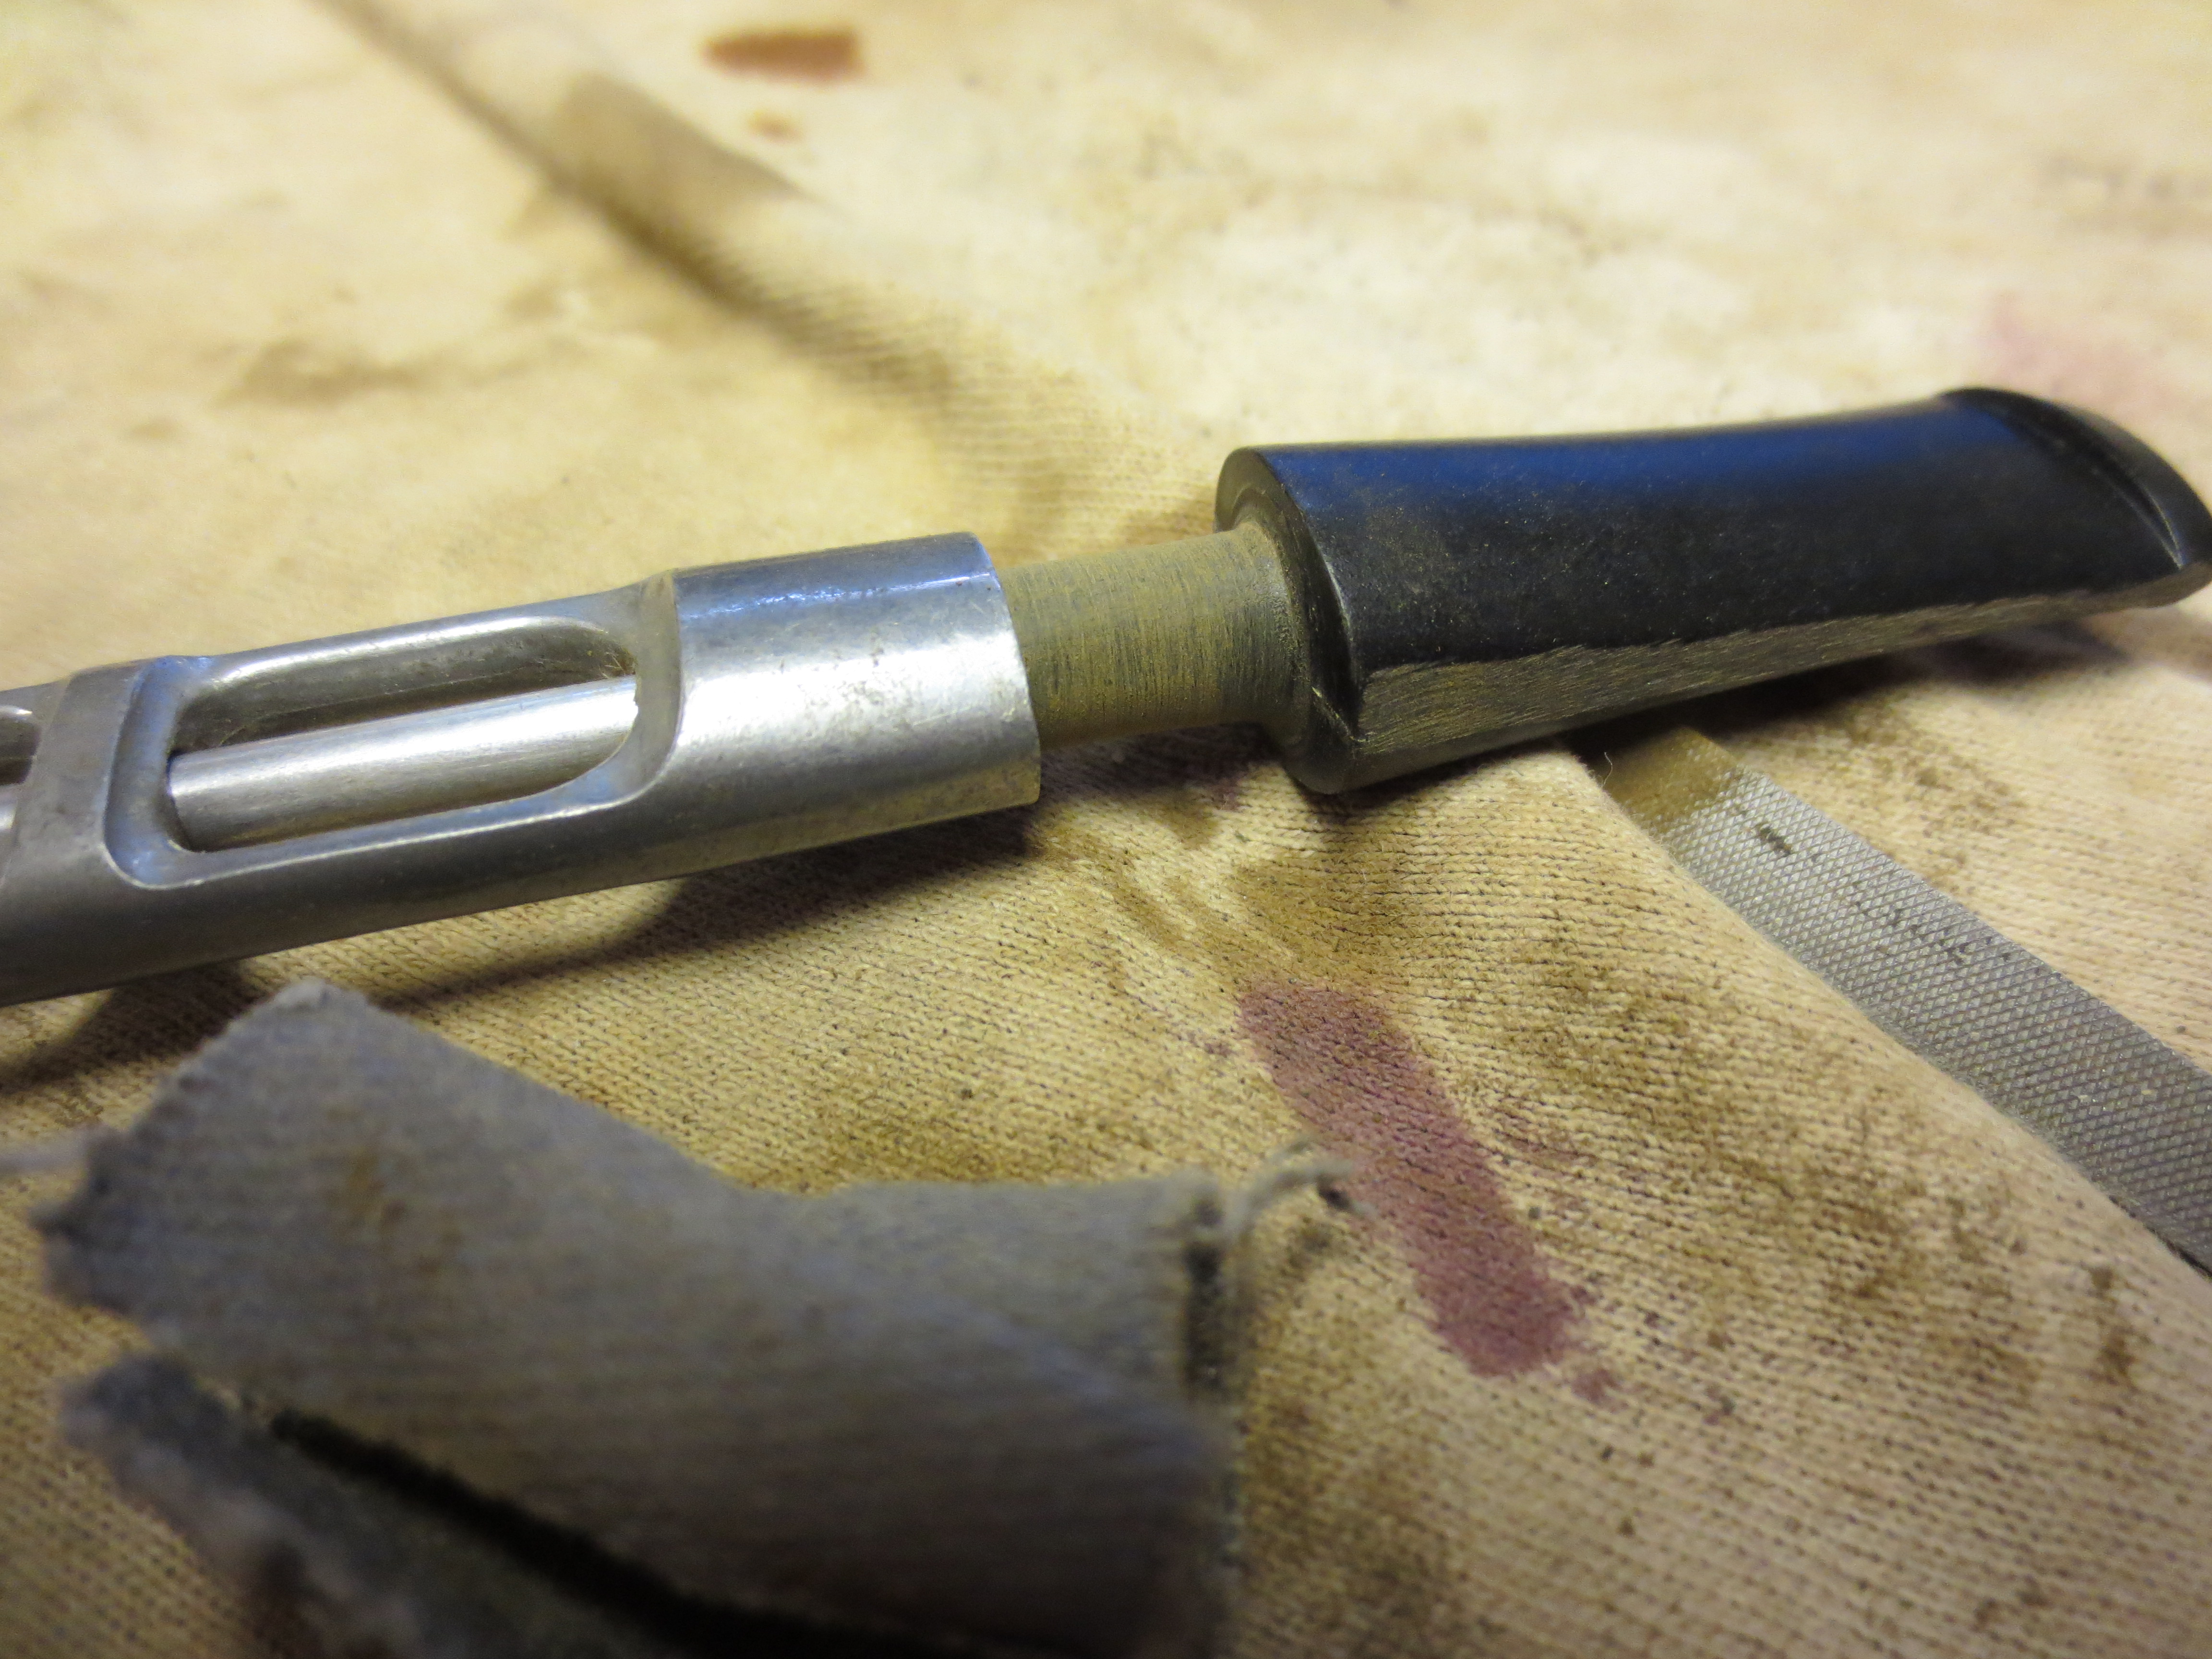
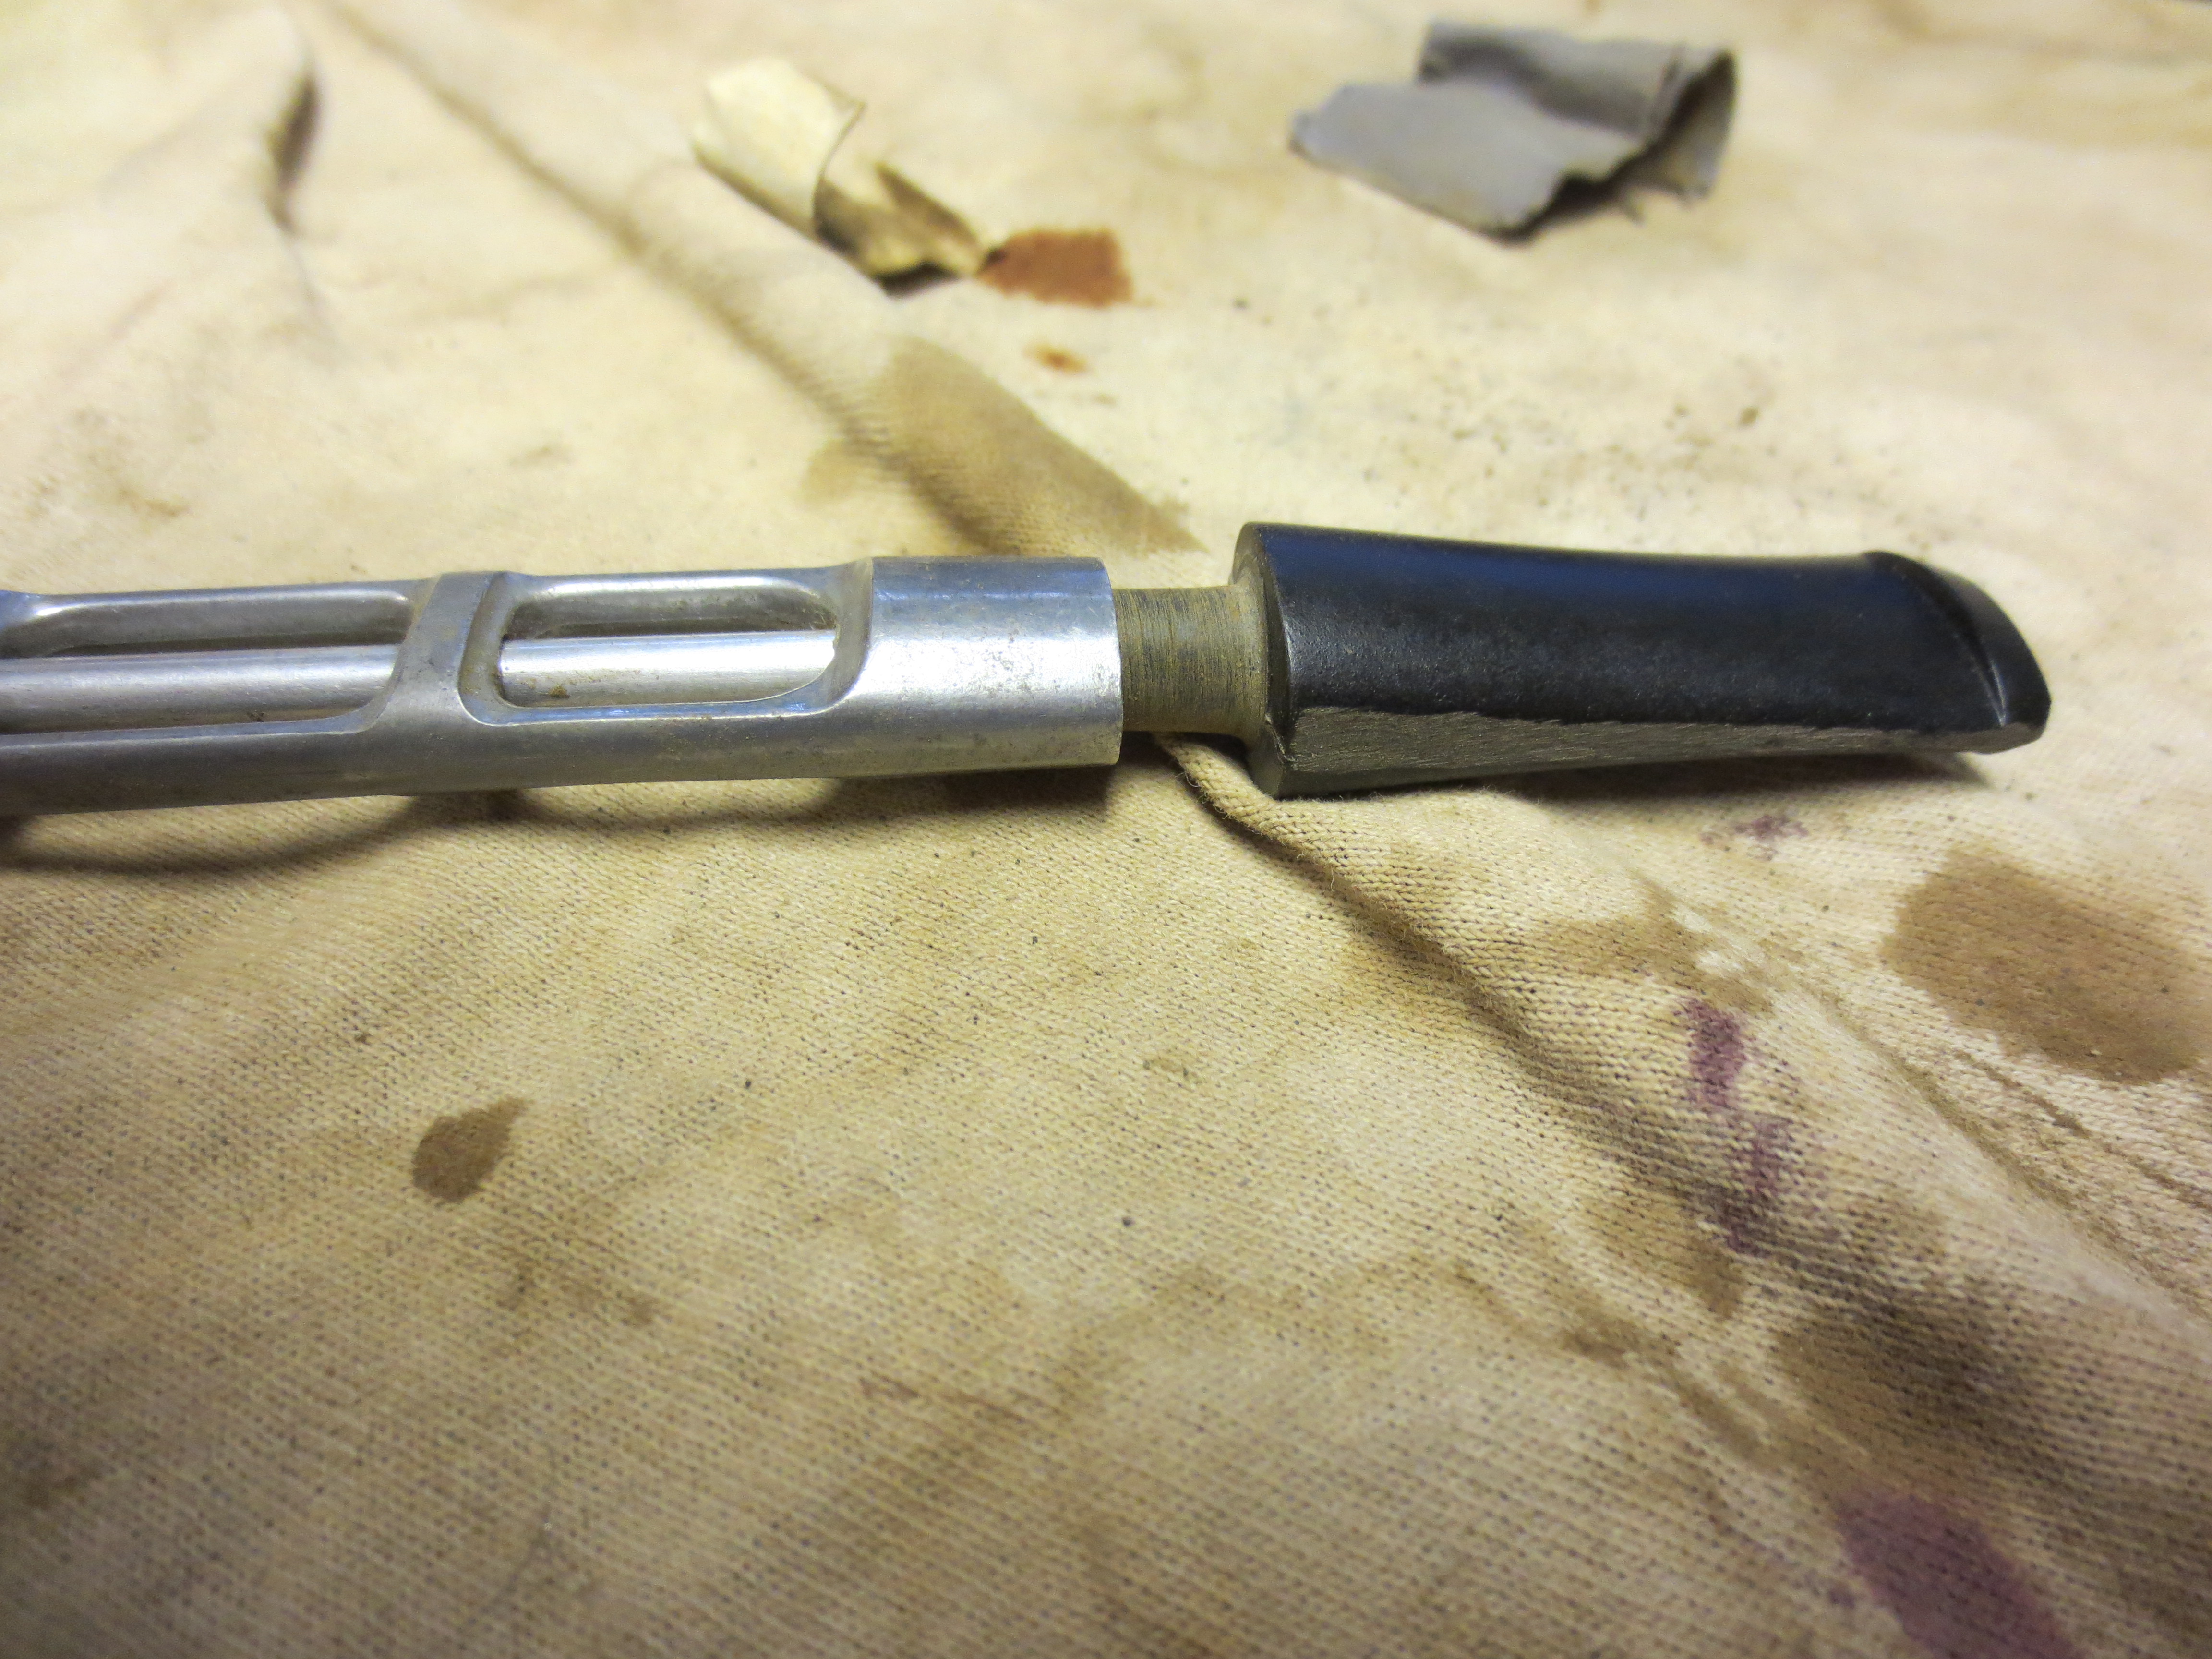
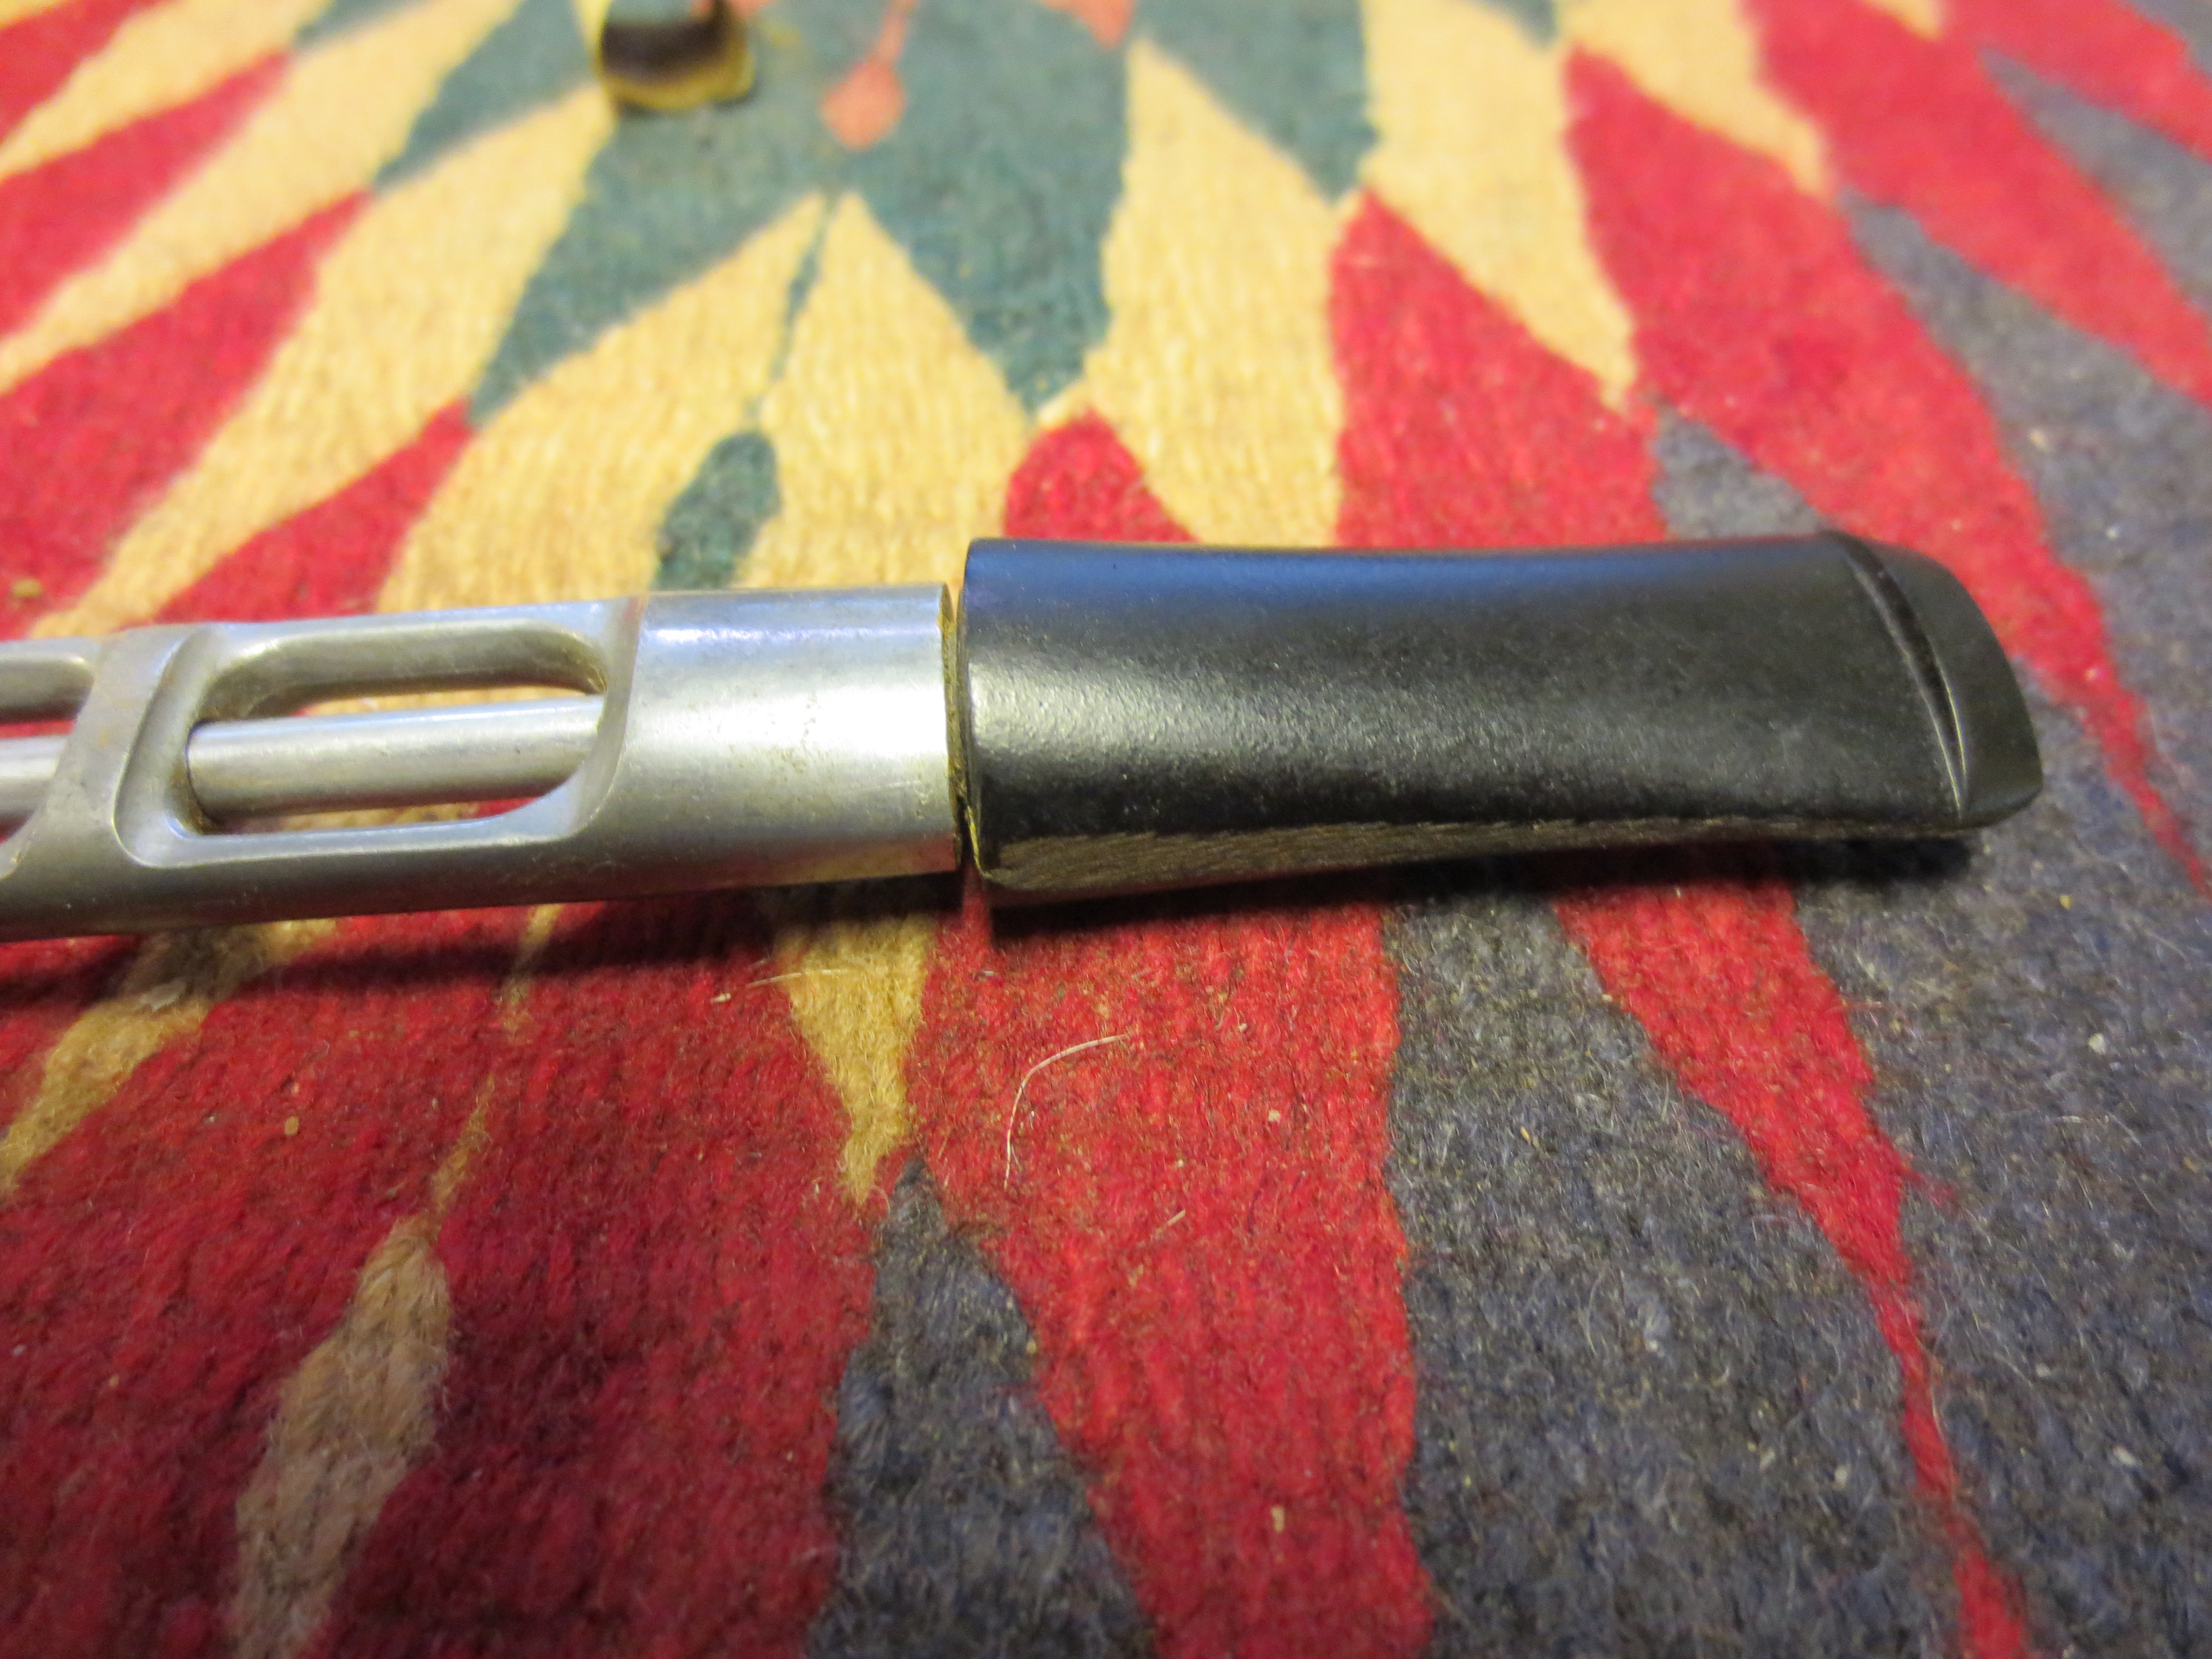
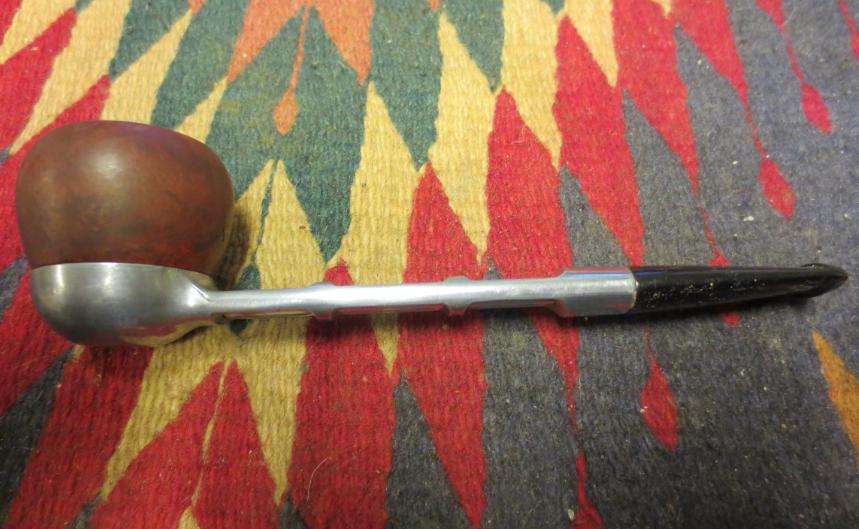
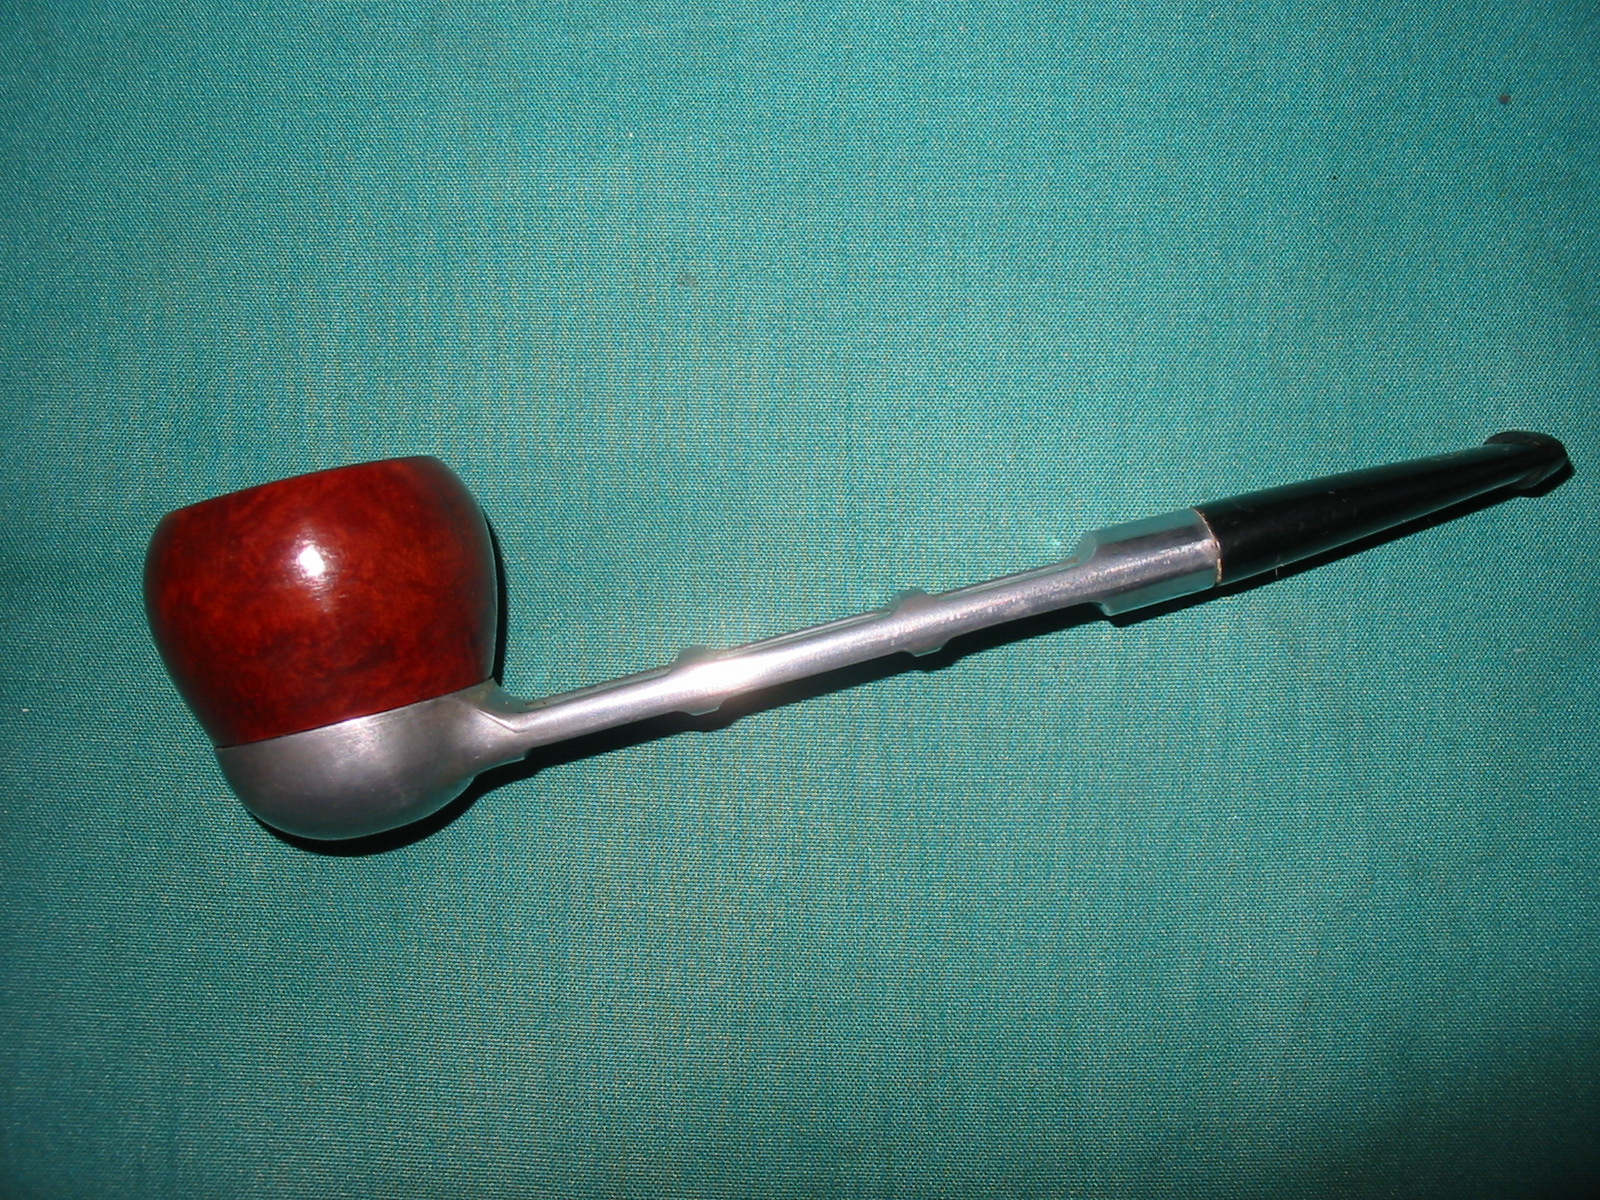
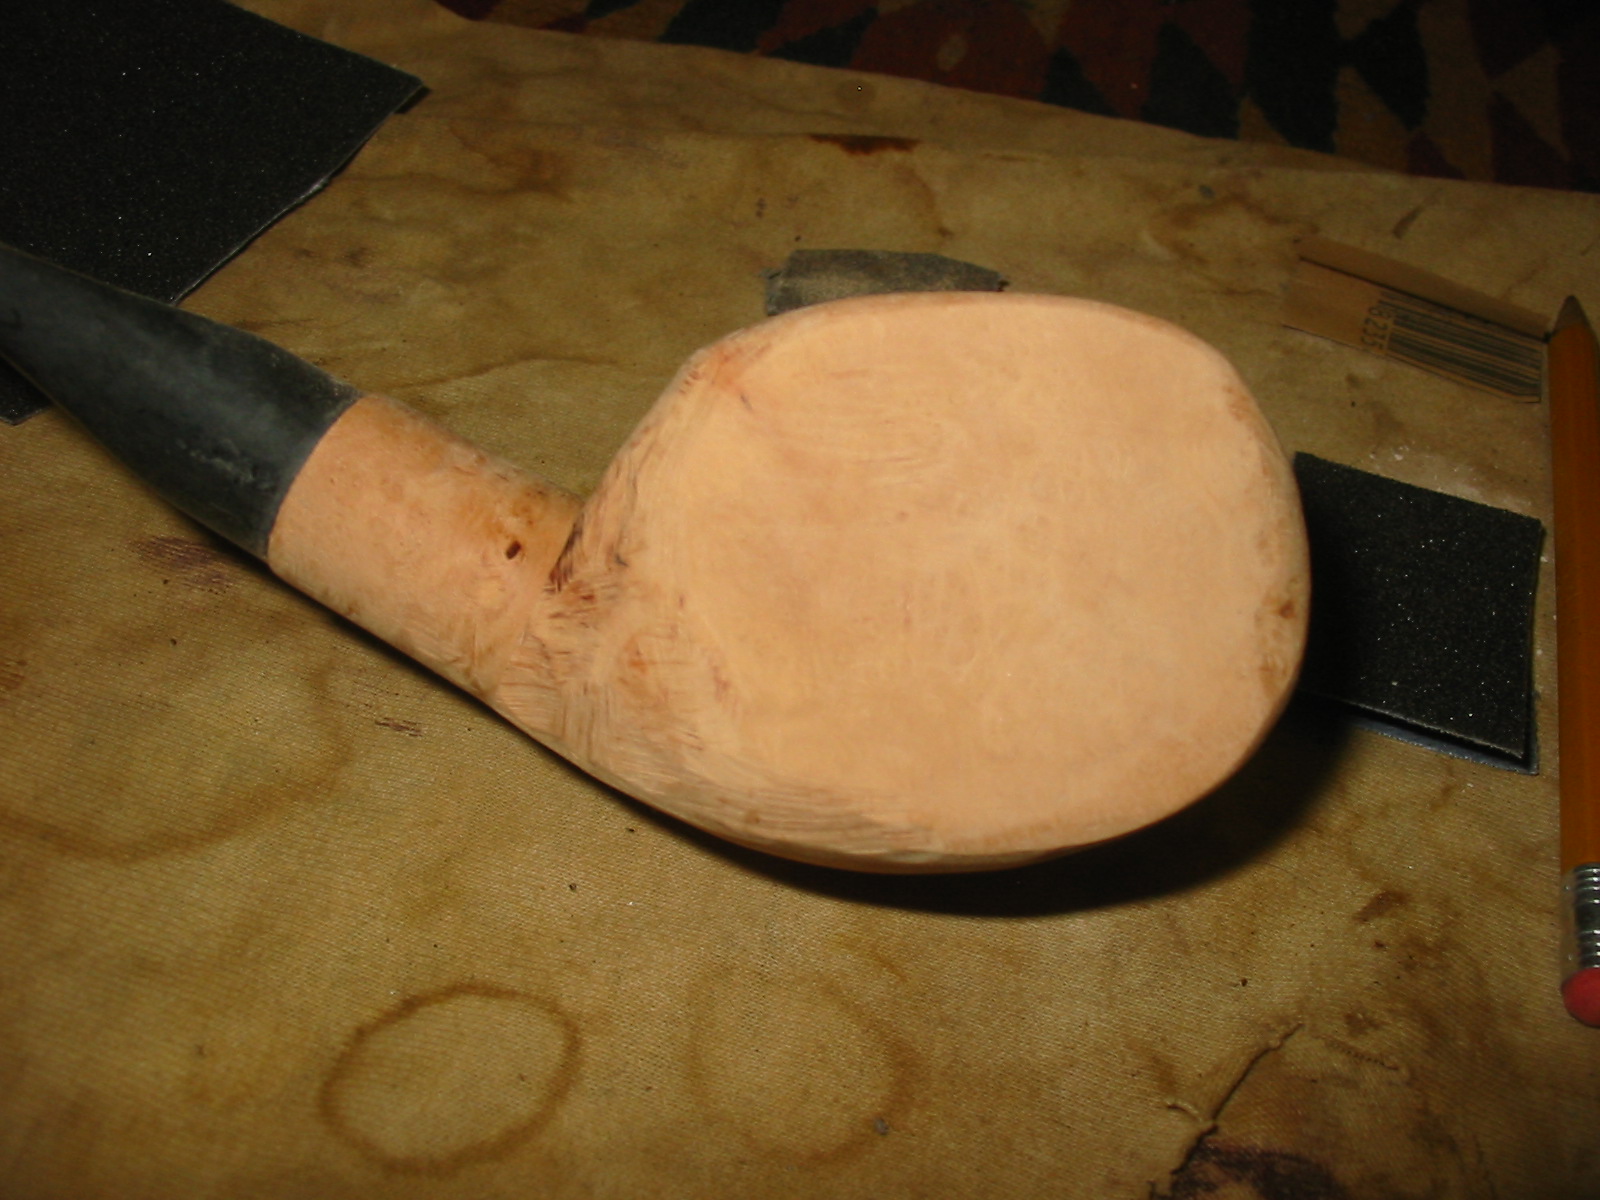
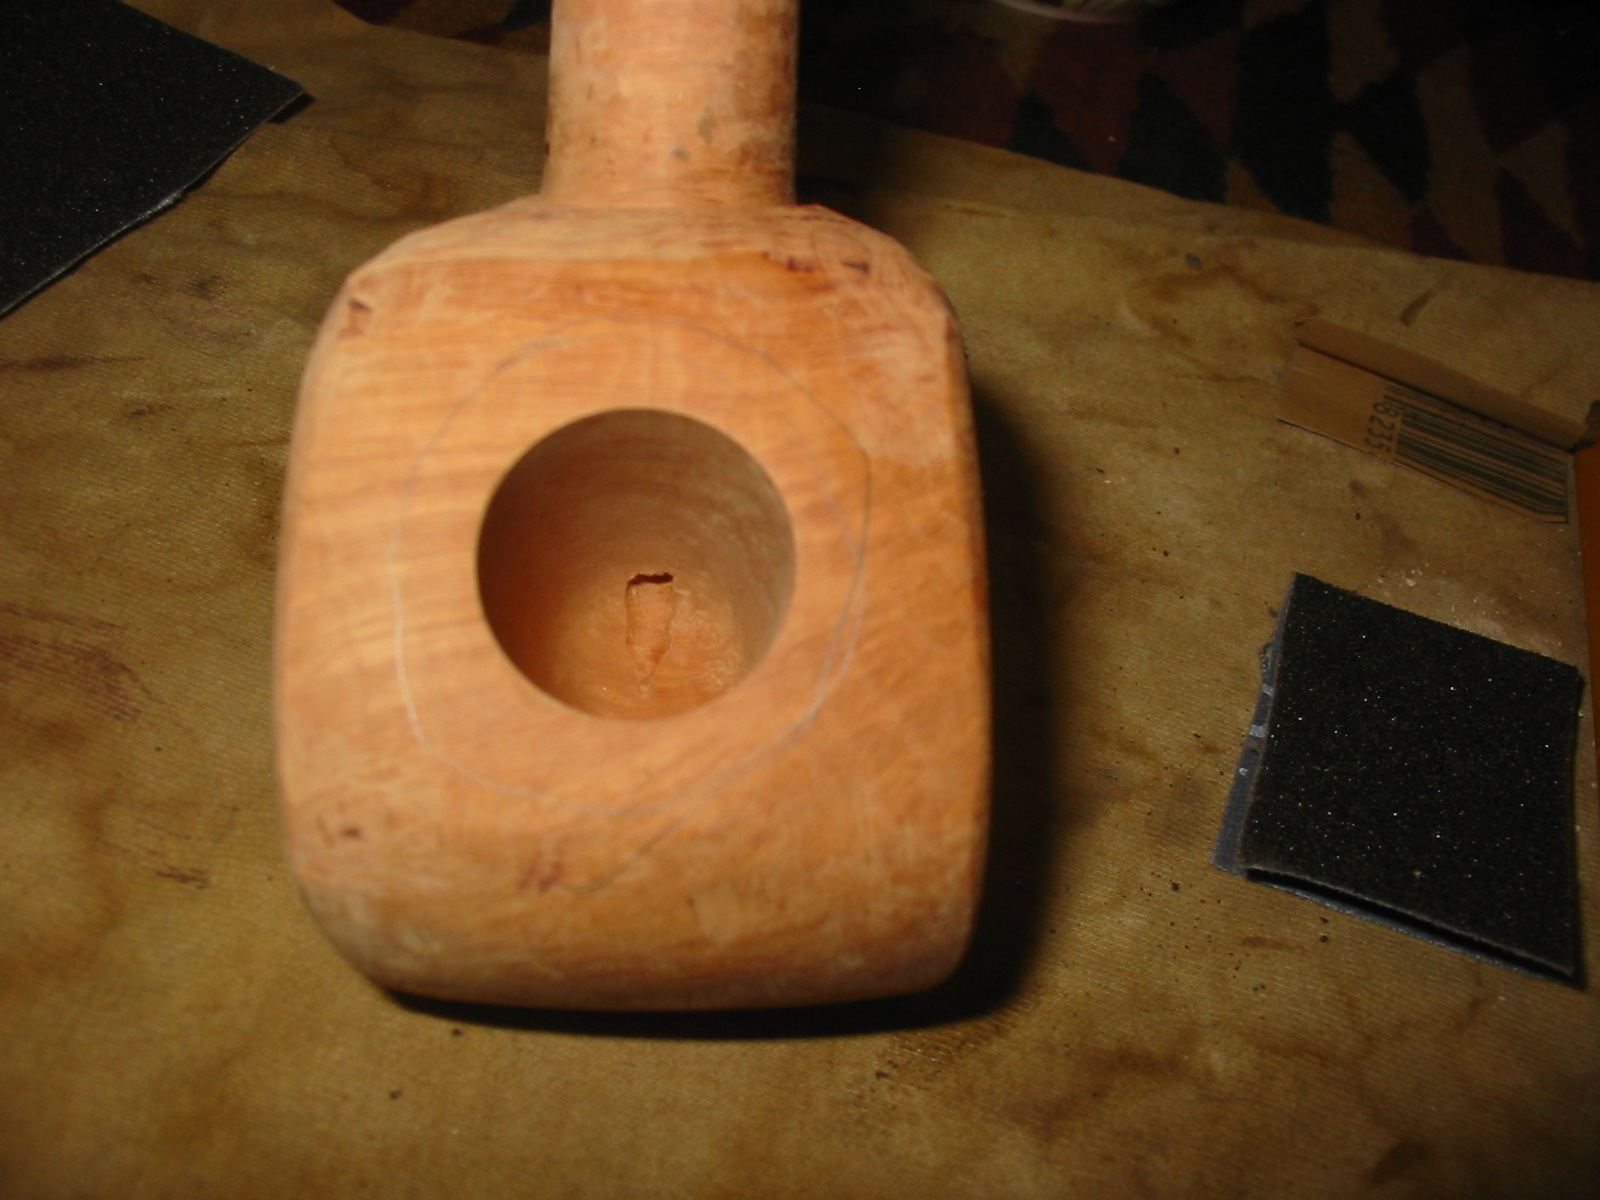
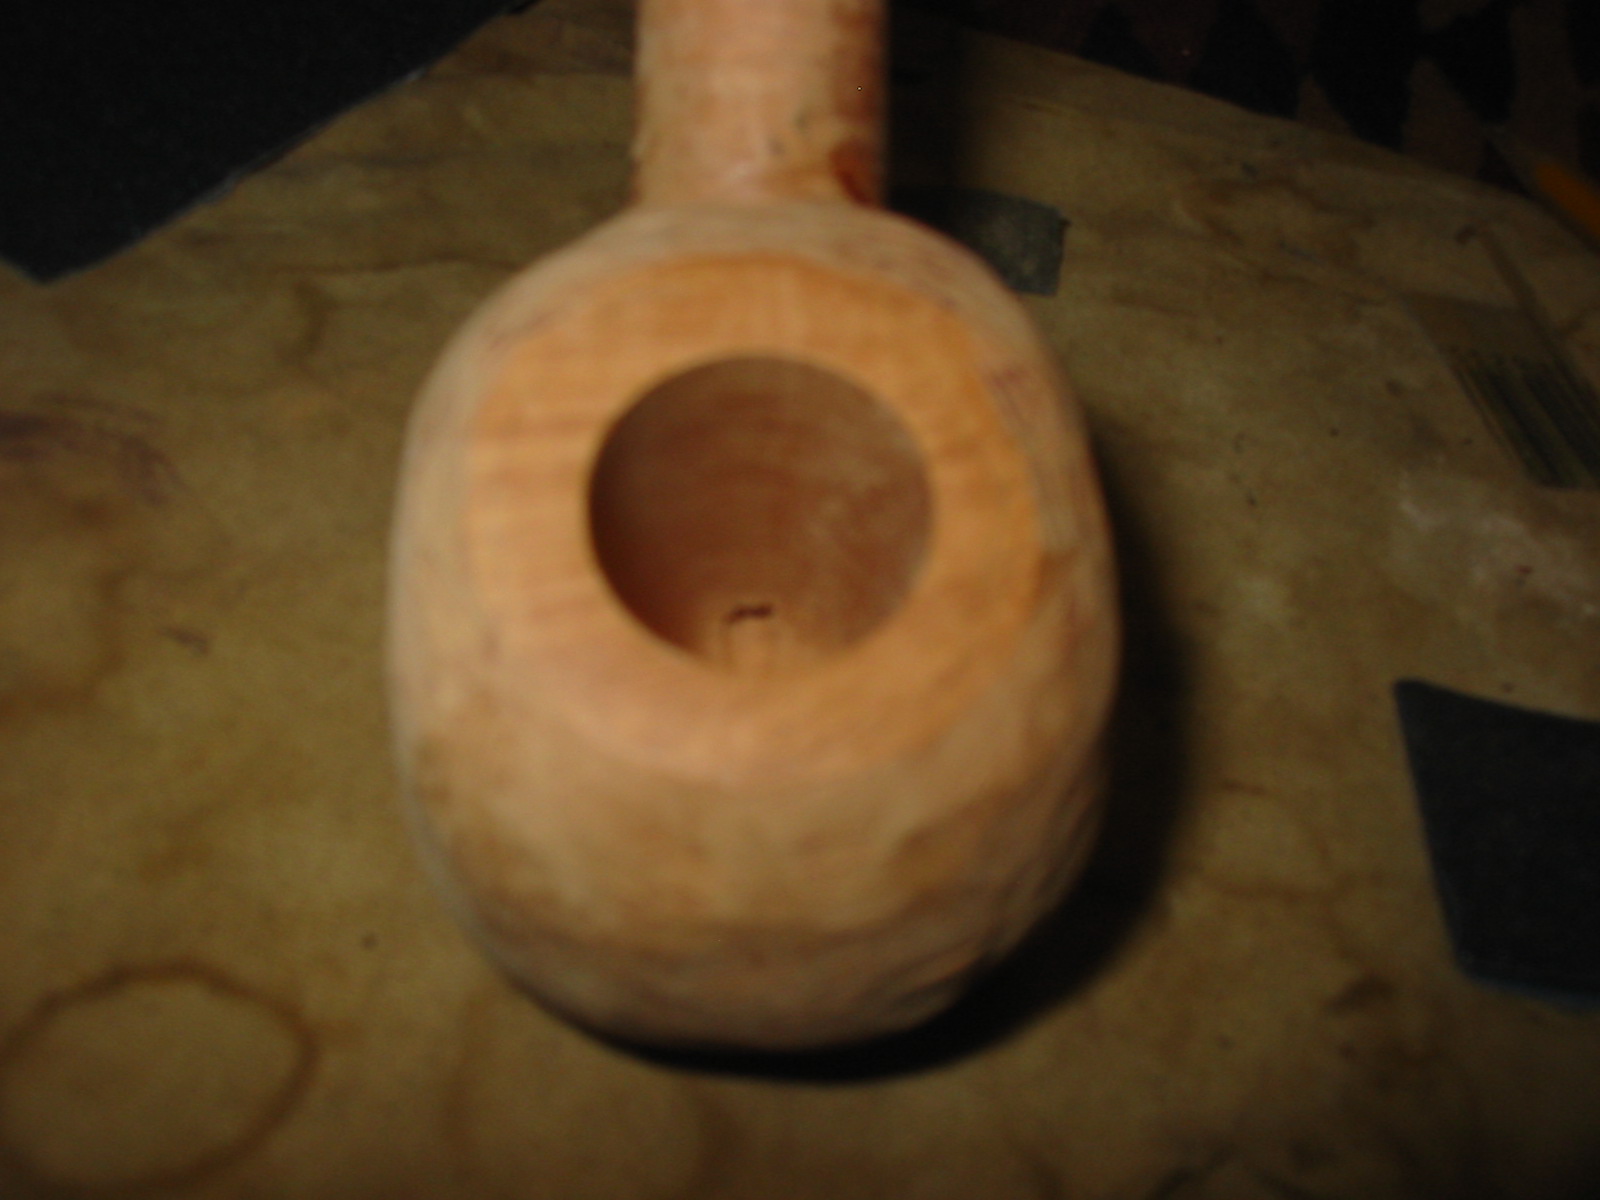
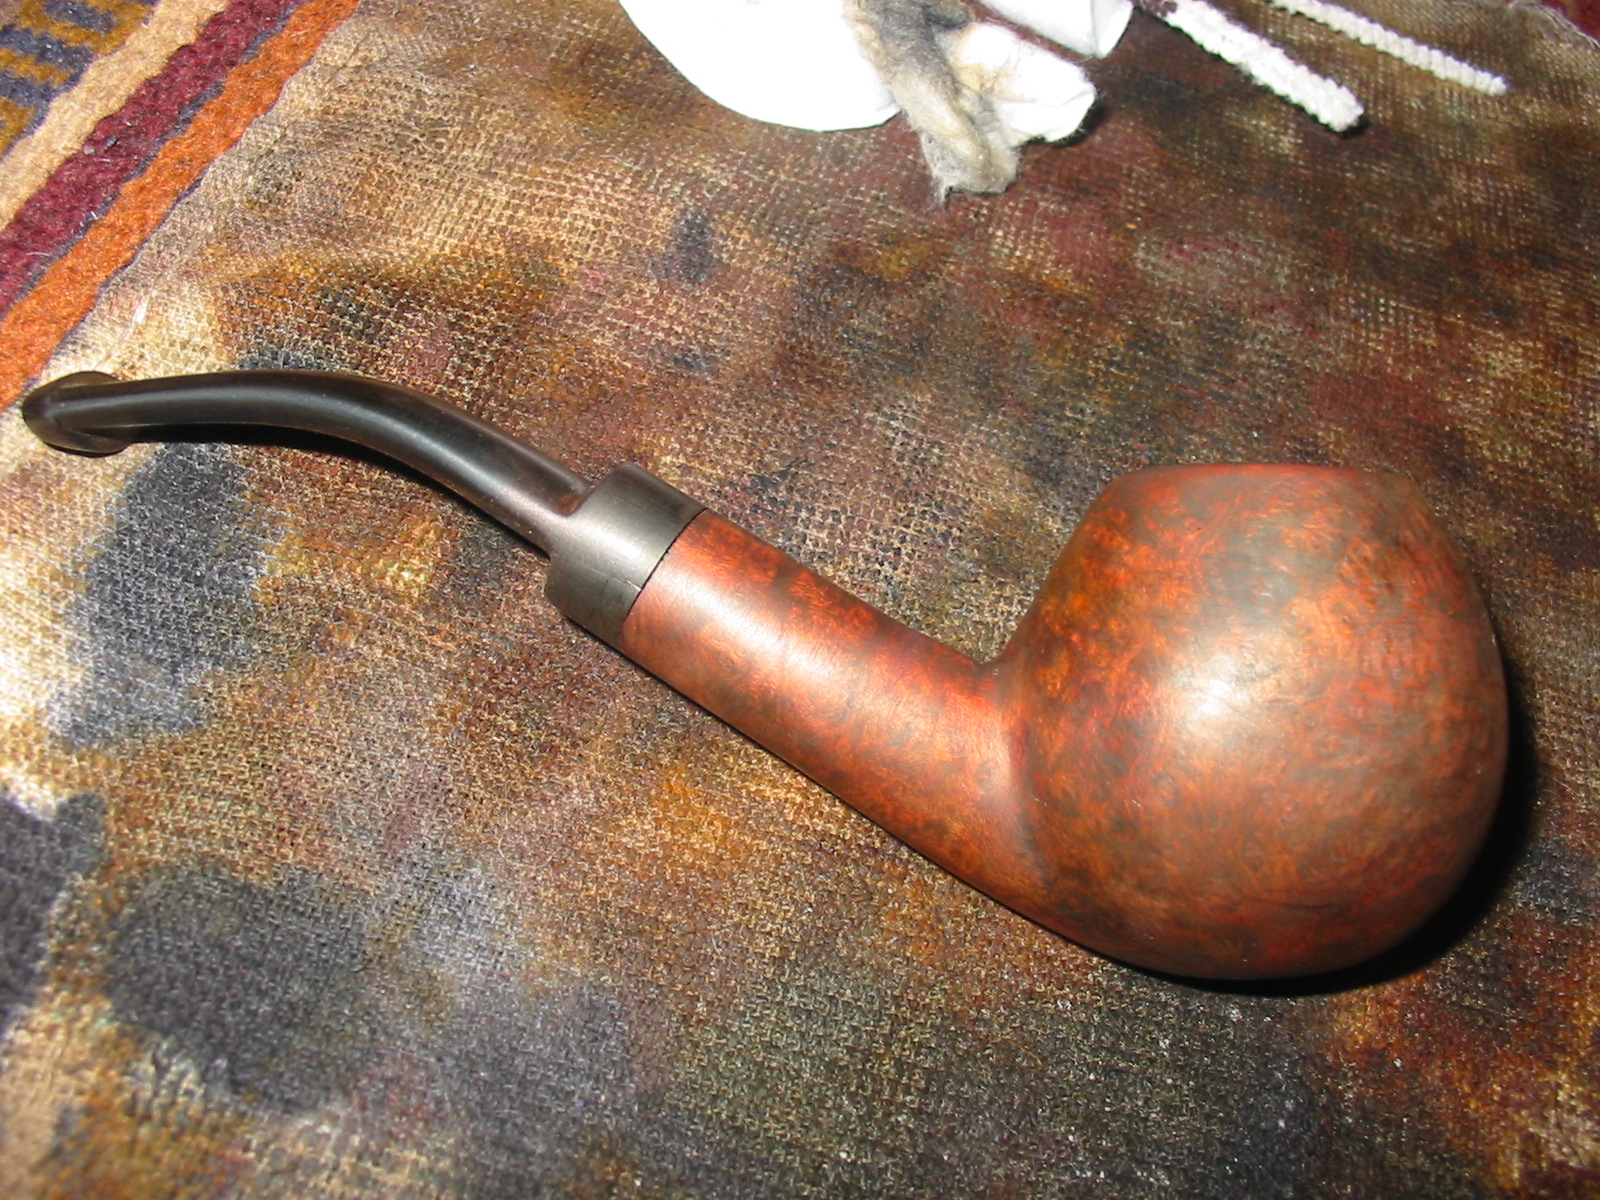
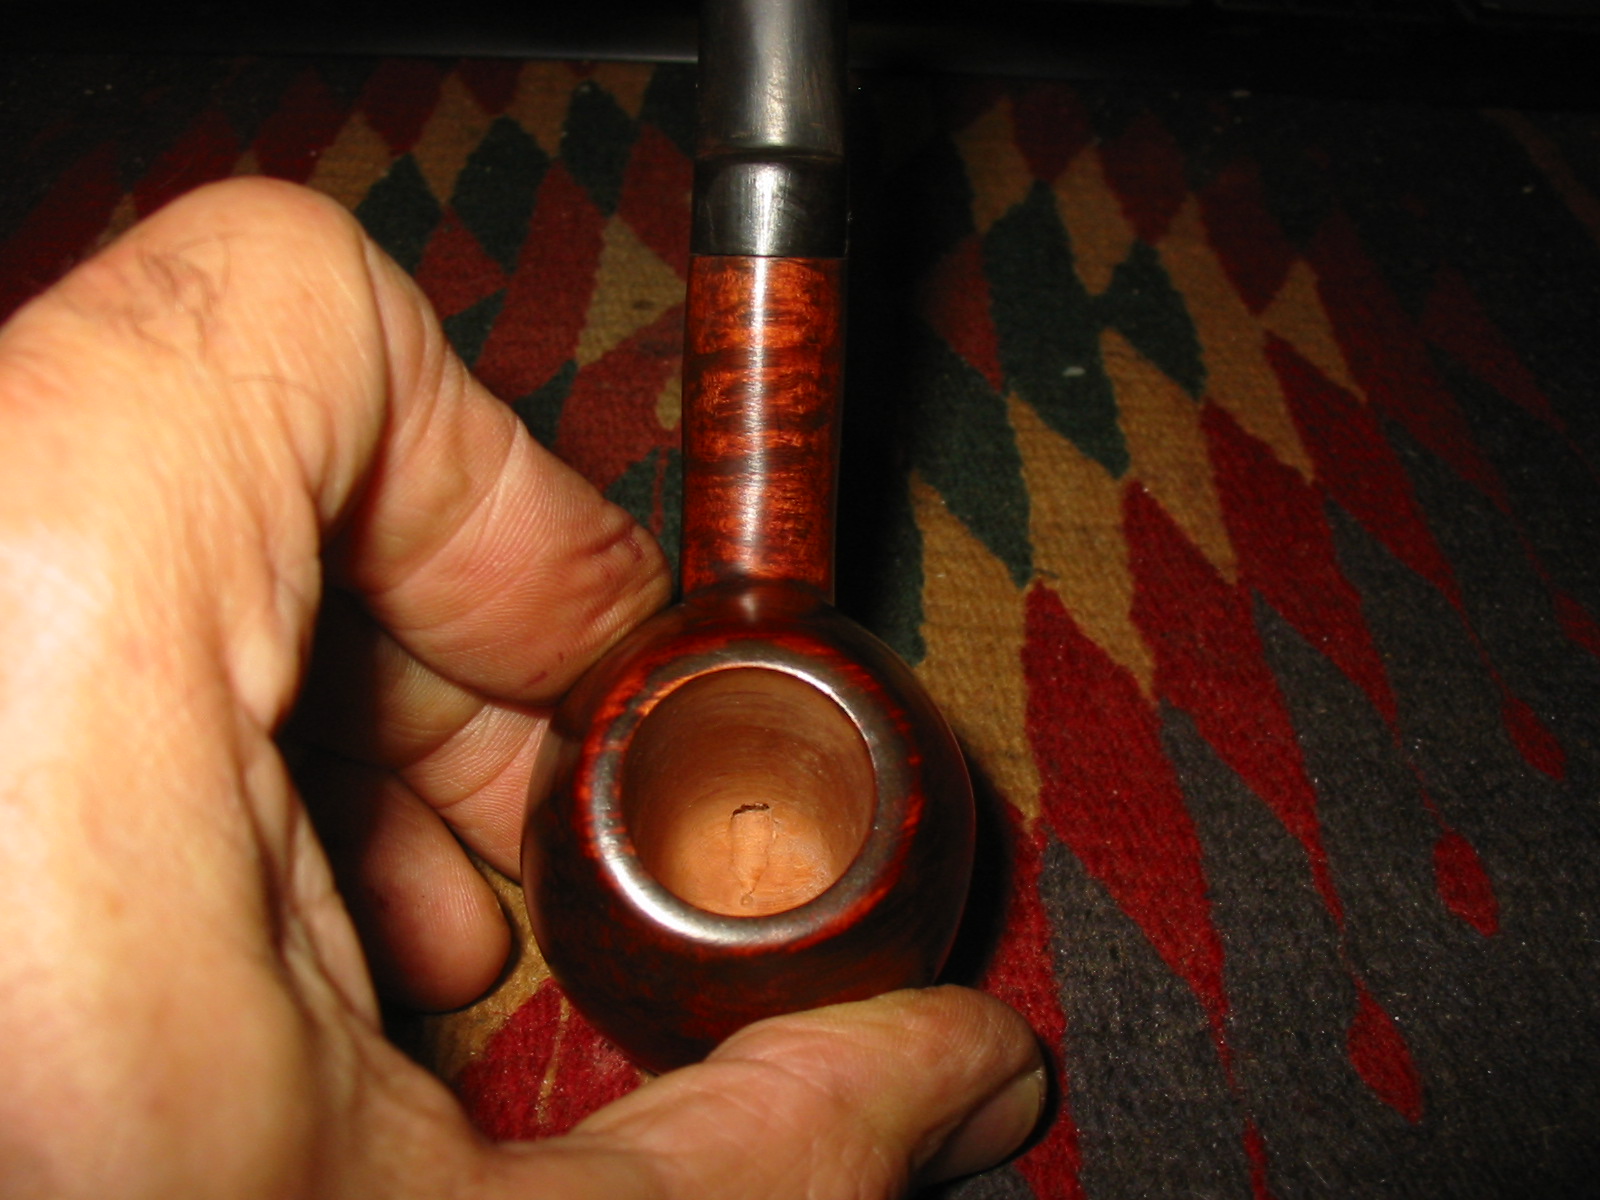
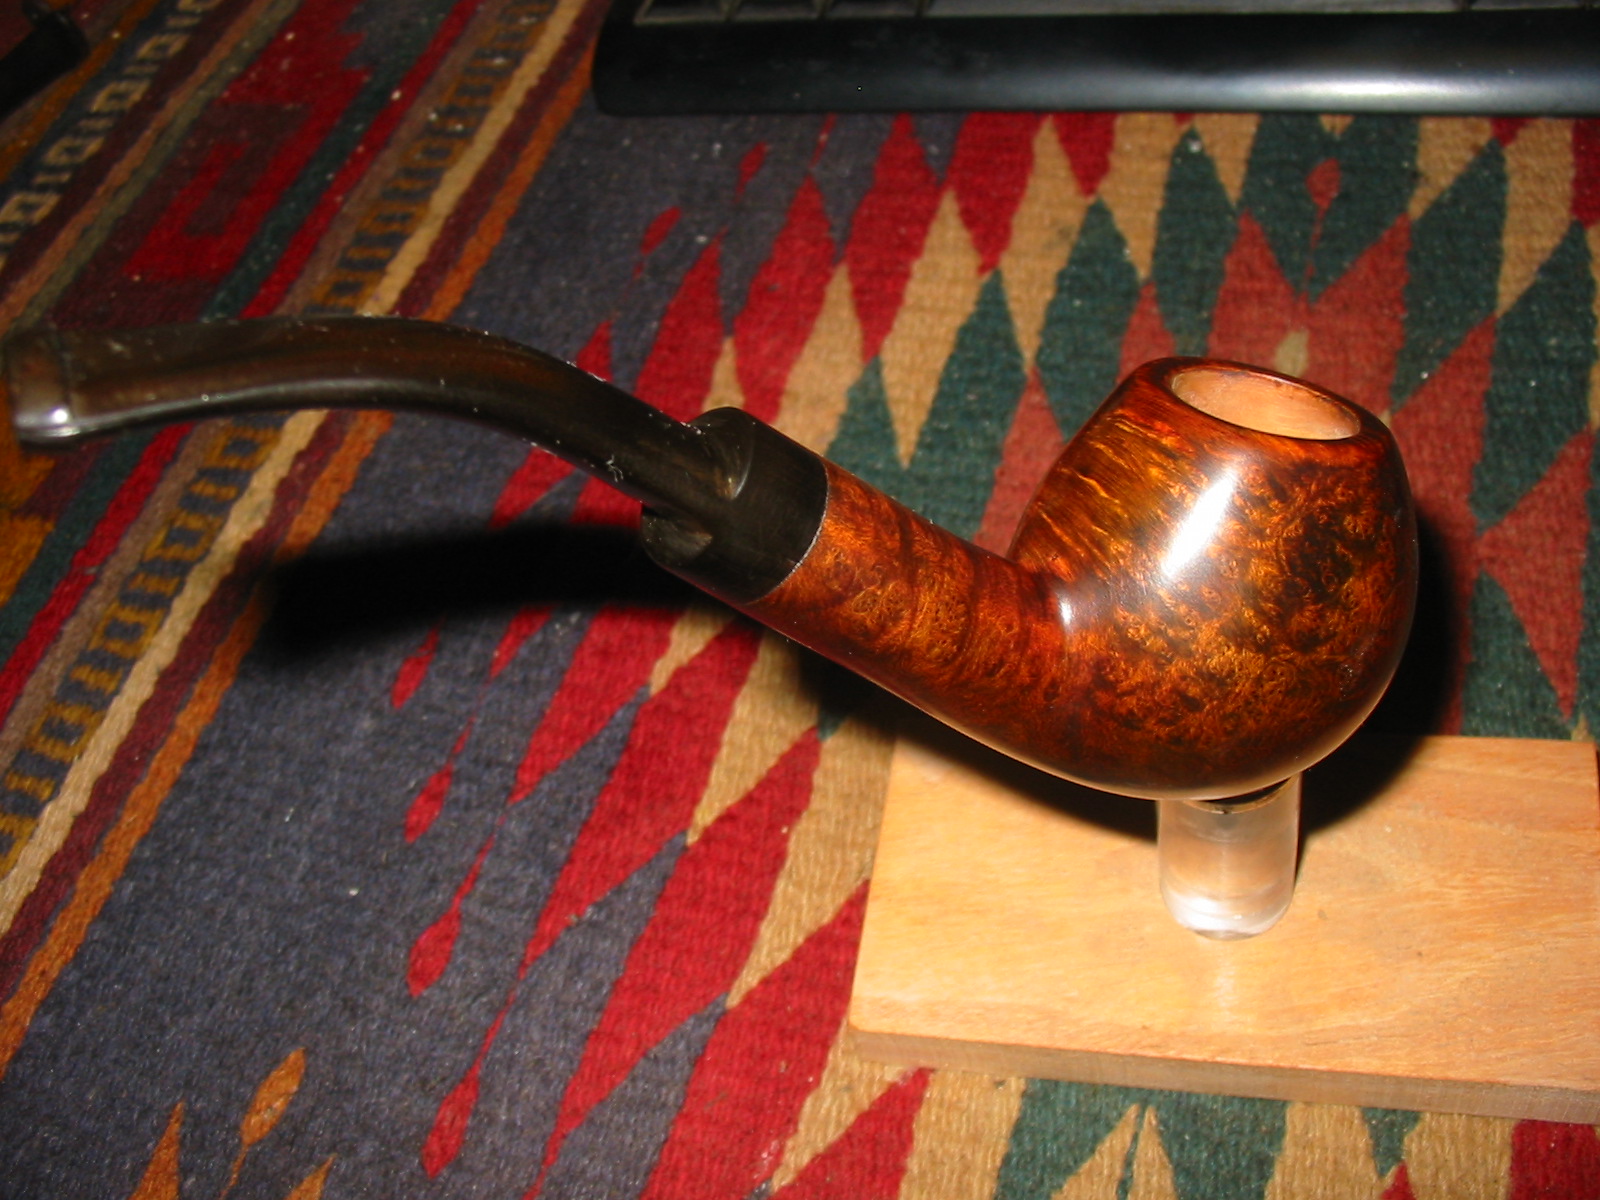
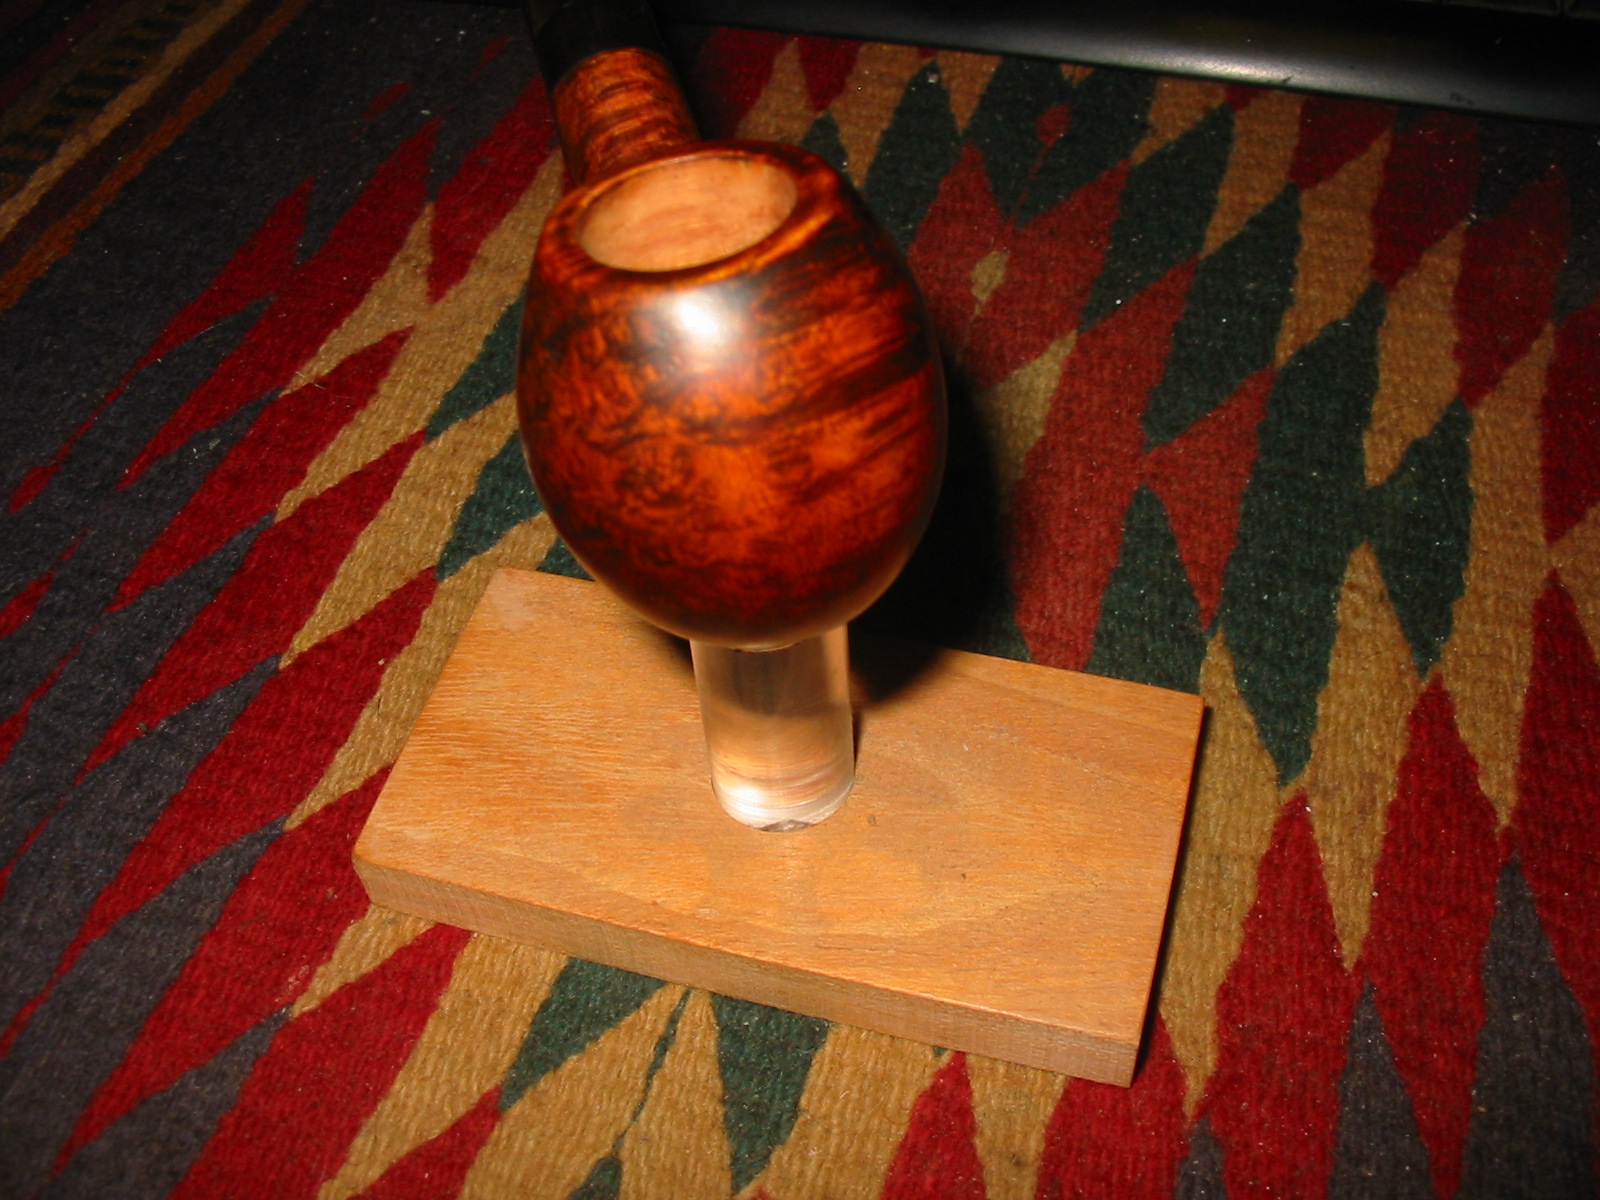
The next series of three photos show the bowl after I had sanded it with 220 grit sandpaper. I gave it a quick coat of medium brown aniline stain and flamed it. I buffed it with White Diamond to see where things stood at this point. The grain was very clear on the sides – some nice birdseye on the right side of the bowl, cross grain on the front and back of the bowl and on the top and bottom of the shank. The left side of the bowl was mixed grain toward the bottom and the flaws were glaring. The top half of the left side was covered in birdseye. The top of the rim was cross grain that matched the top of the shank. The stem was bothering me at this point so after taking the photos below I fit a vulcanite stem to the shank. I like the flow and the thinness of the stem. I made the decision to keep the vulcanite stem and put aside the Lucite one.

IMG_0896

IMG_0897

IMG_0898

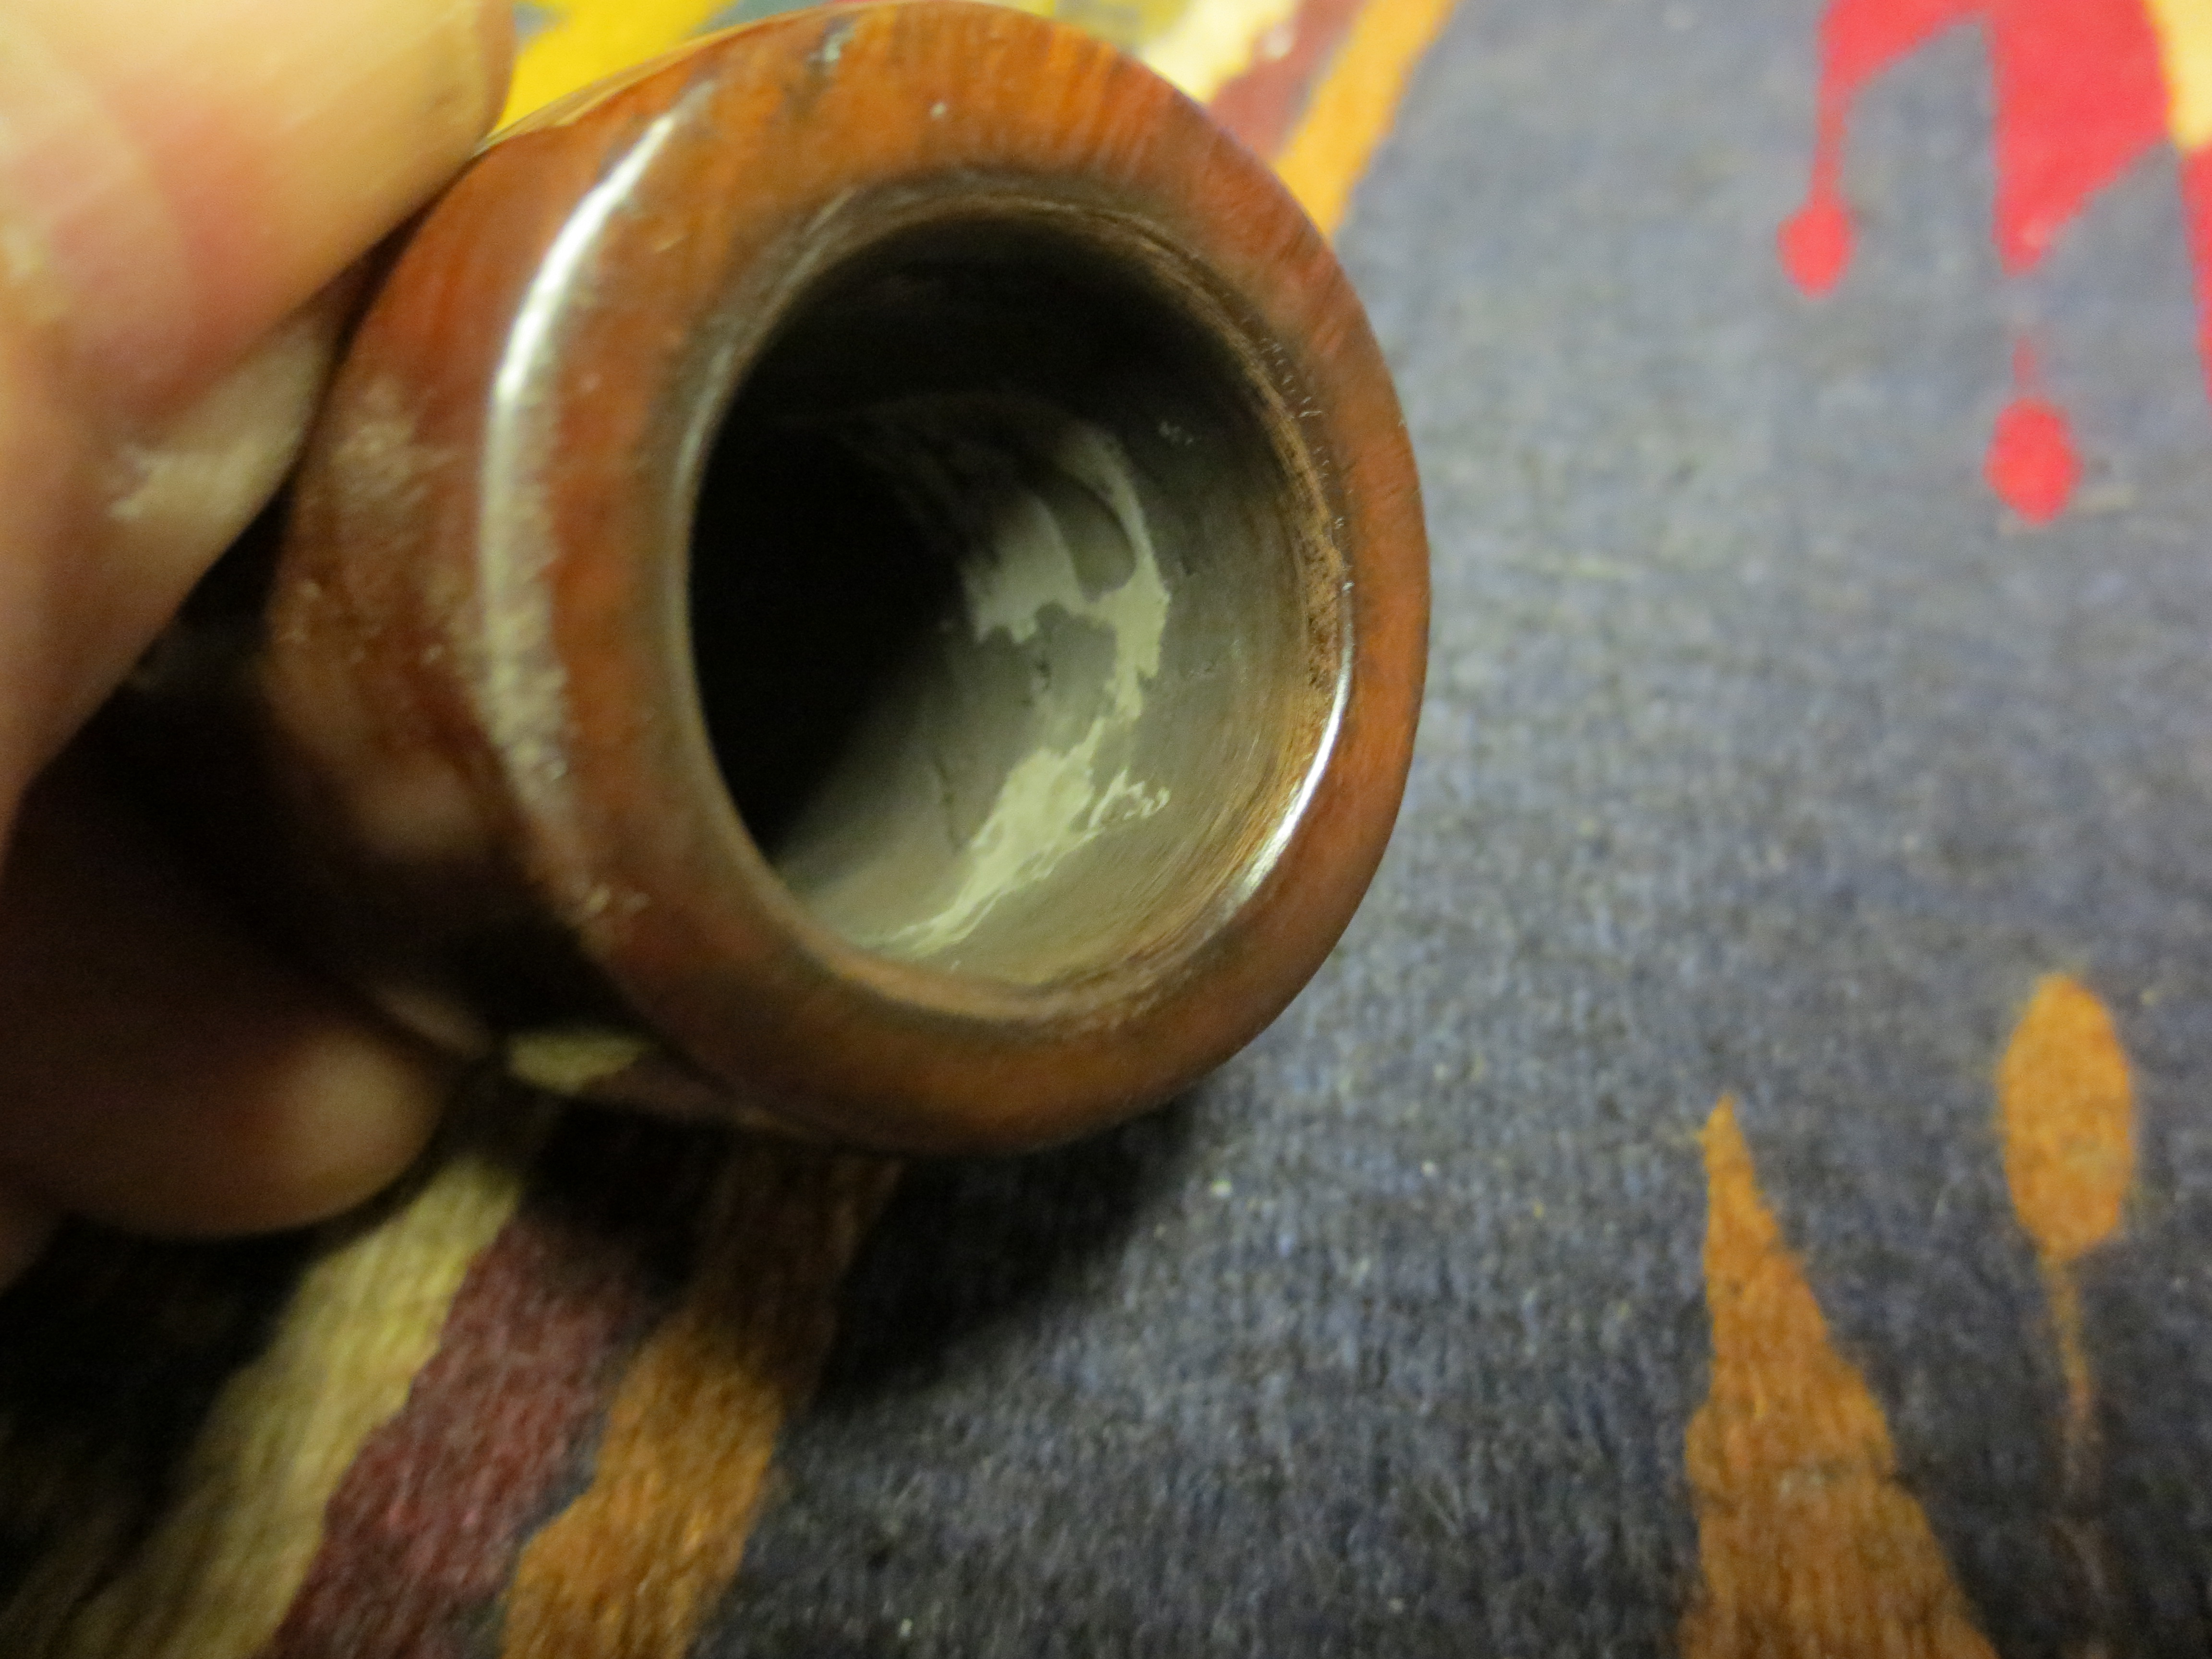
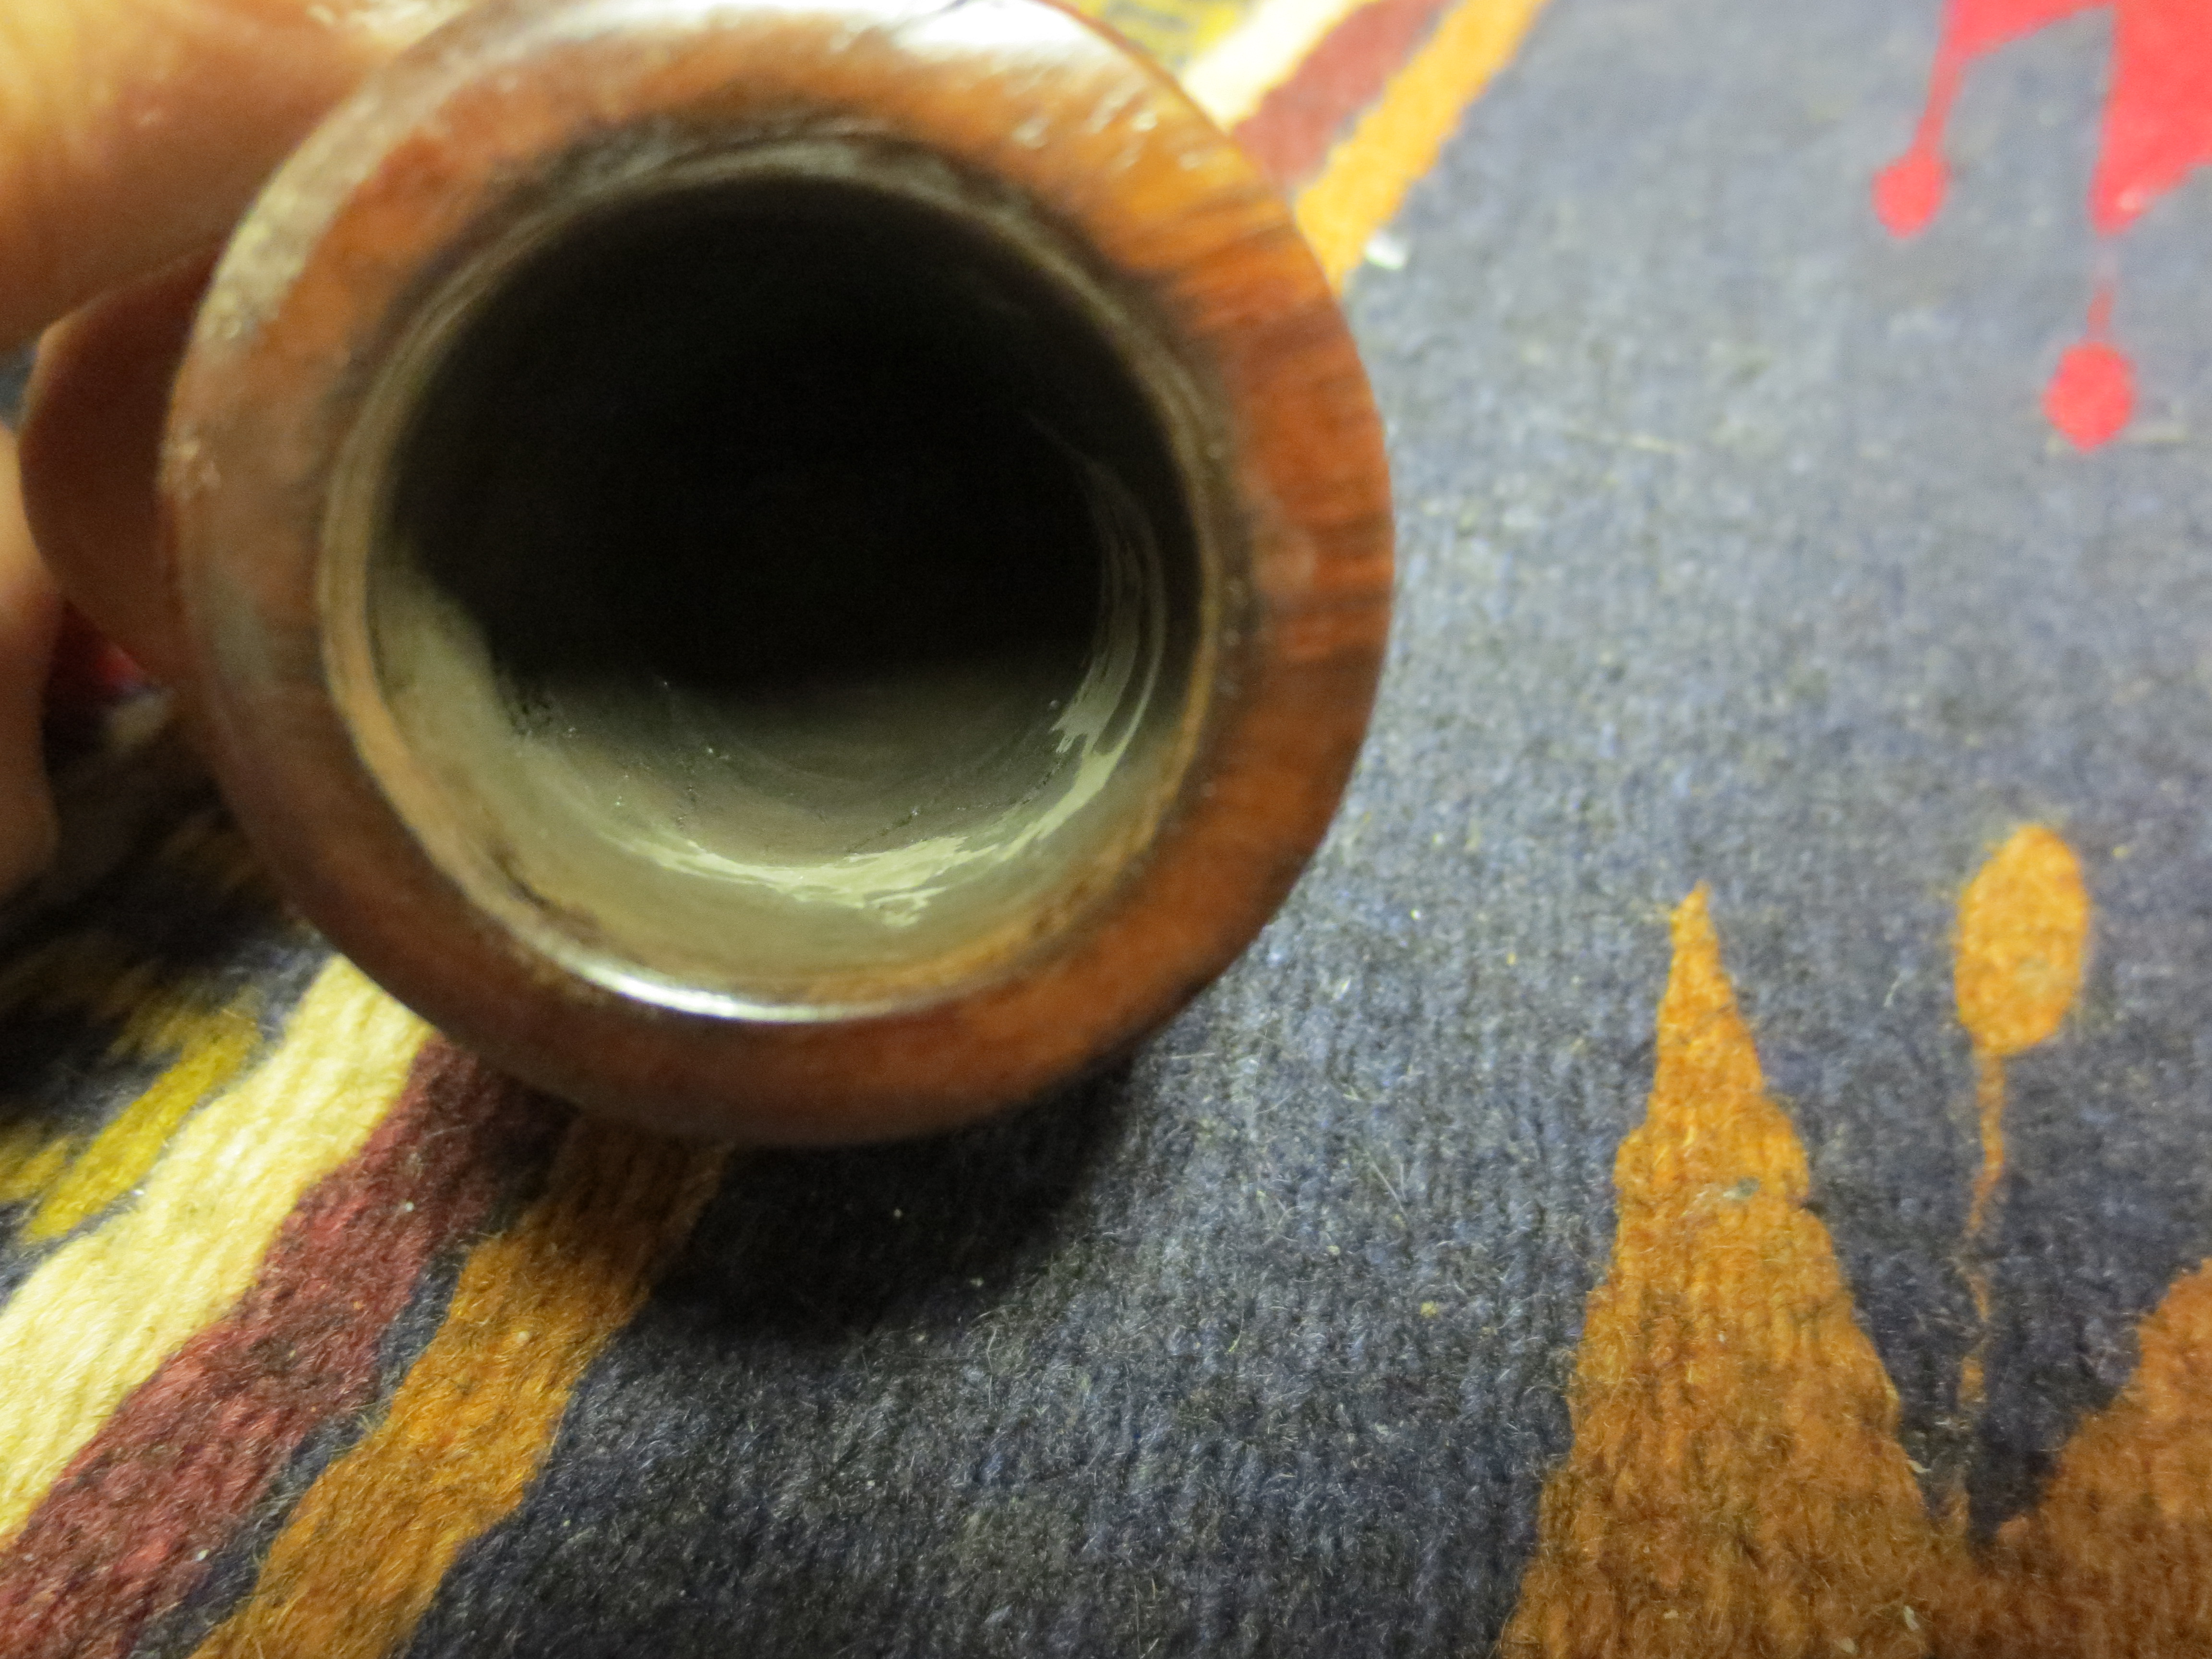
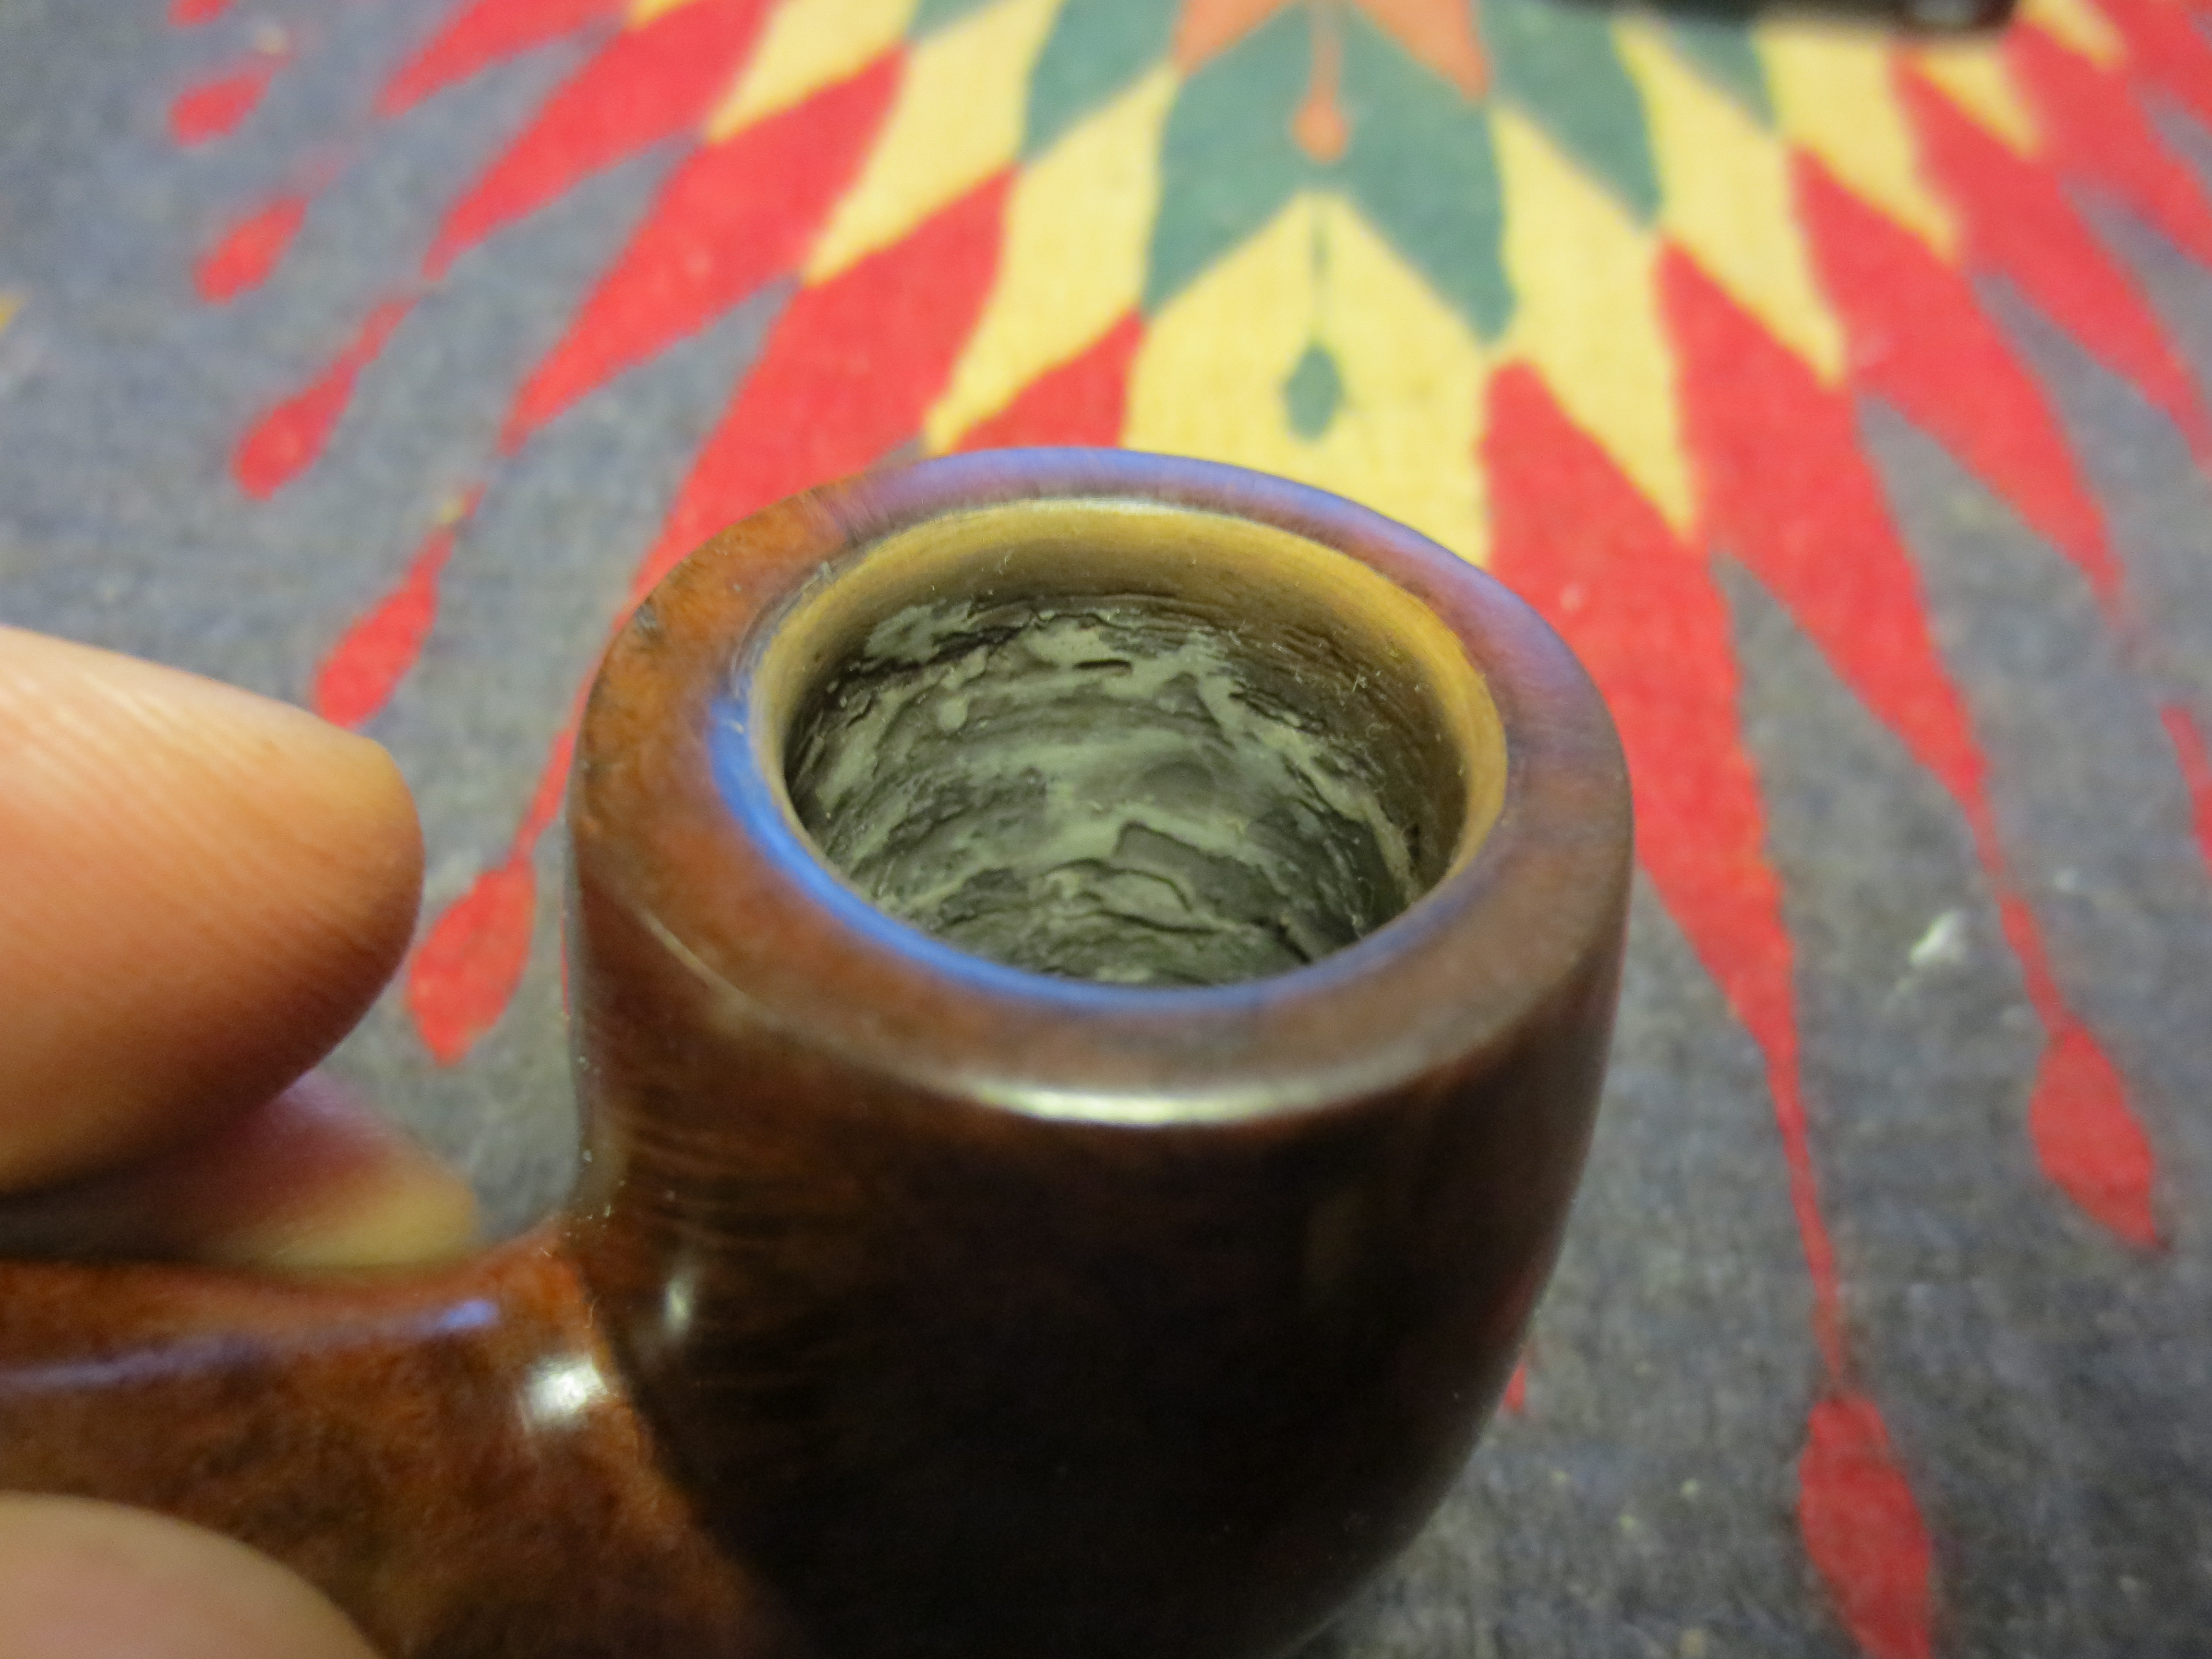
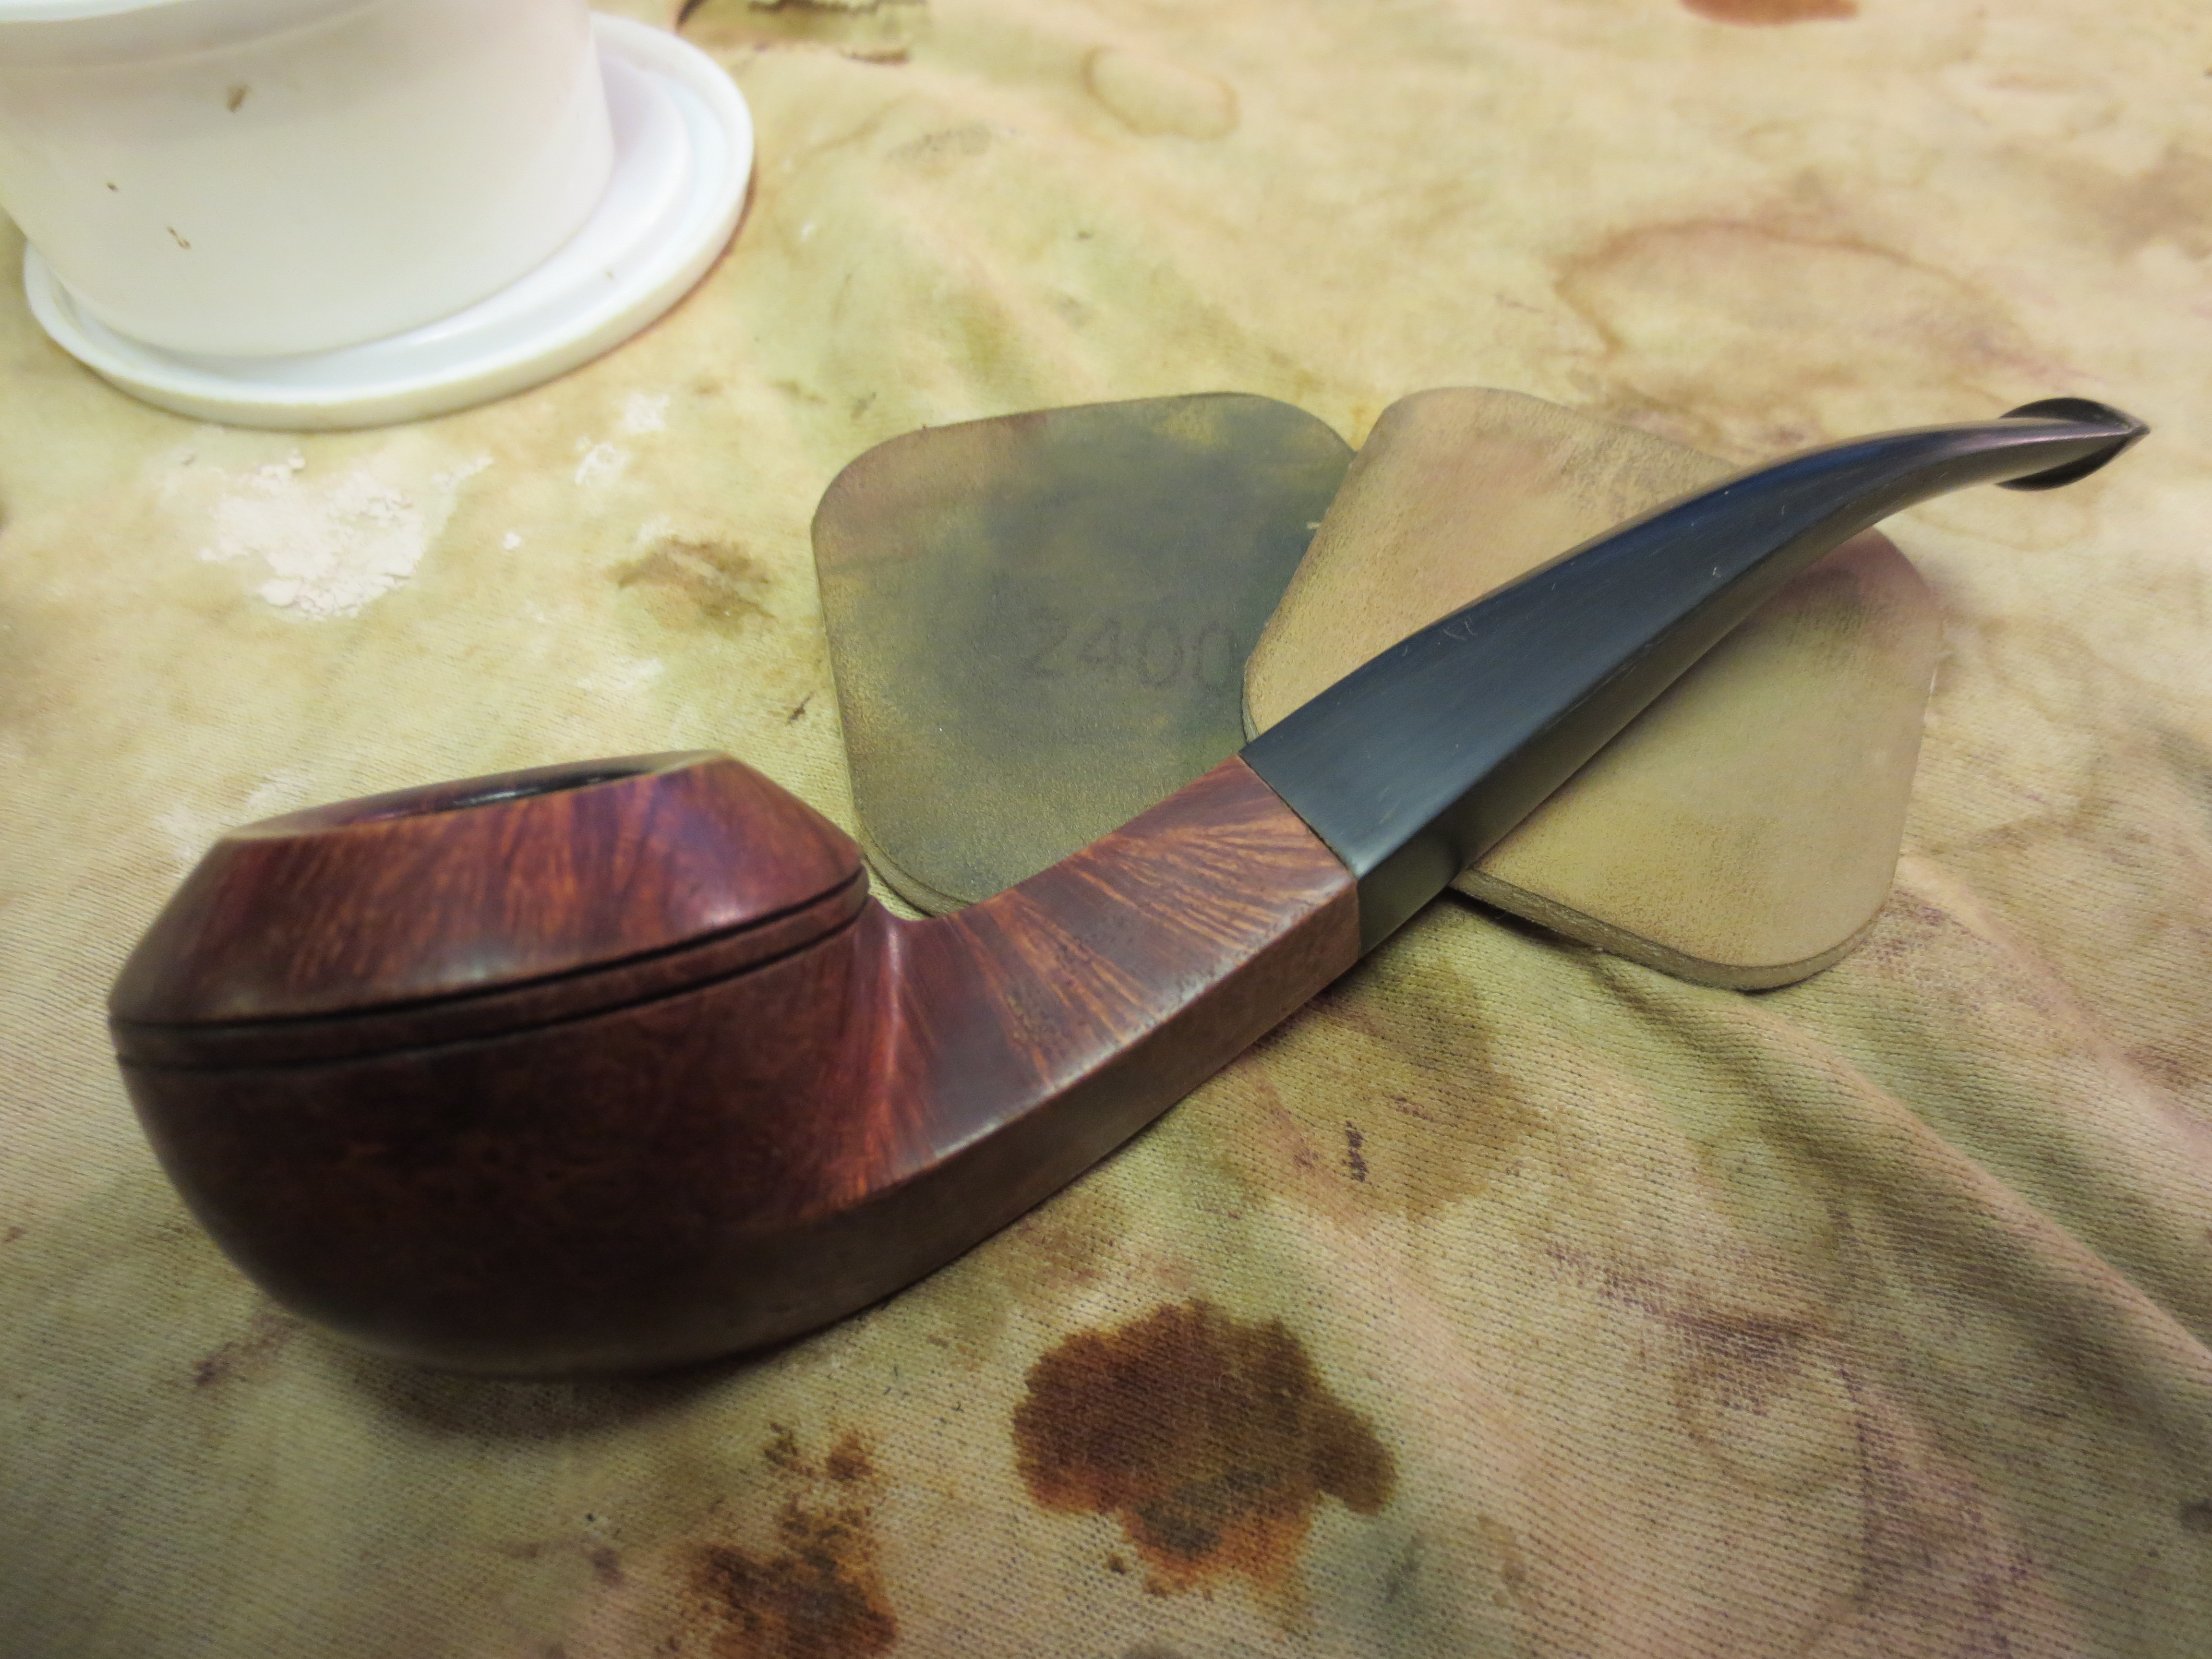
With the new stem in place I sanded the shank and stem to match cleanly. I also continued to sand the bowl and shank with 220 grit and 340 grit sandpaper. I also used a fine grit sanding sponge on the bowl. Once the visible scratches were gone I took it outside into natural light to inspect for further scratches. I took it back to the work table and wet sanded it with 1500 and 1800 grit micromesh sanding pads. I continued sanding the bowl and shank with 2400-12,000 grit micromesh until the bowl was smooth. I examined it under a bright light and reworked the places where there were still minute scratches. Once that was done I decided to stain the bowl.

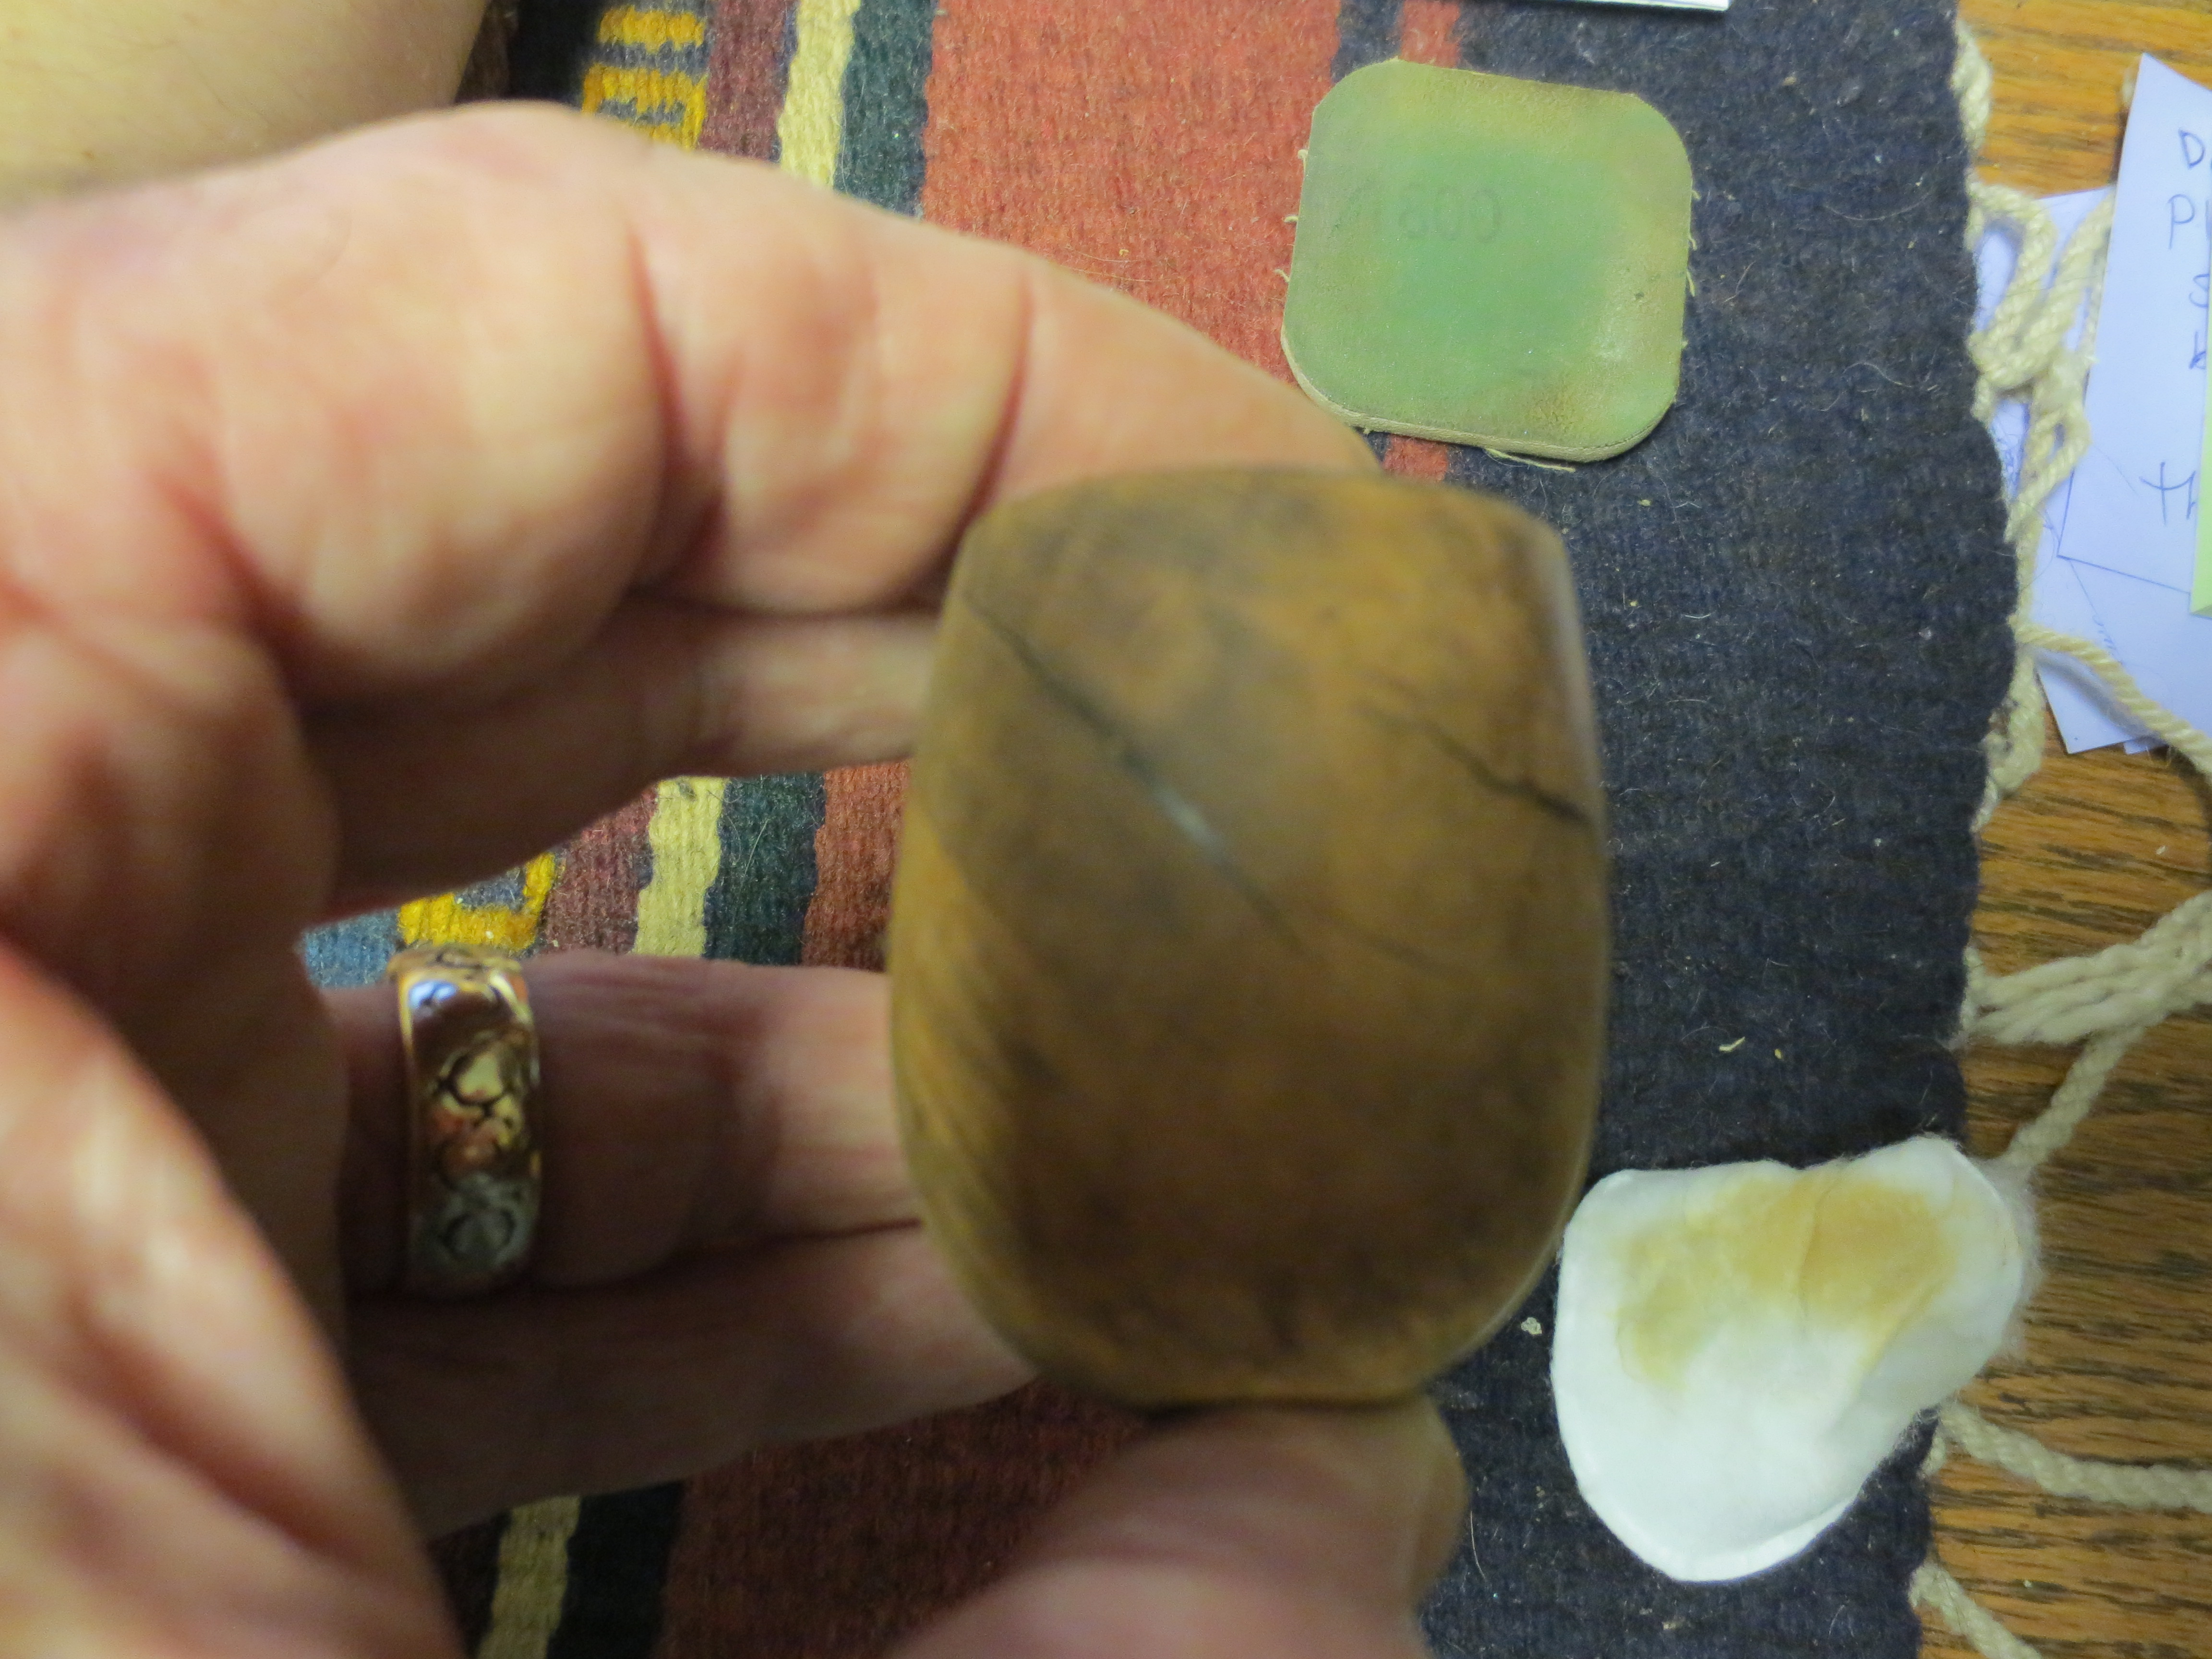
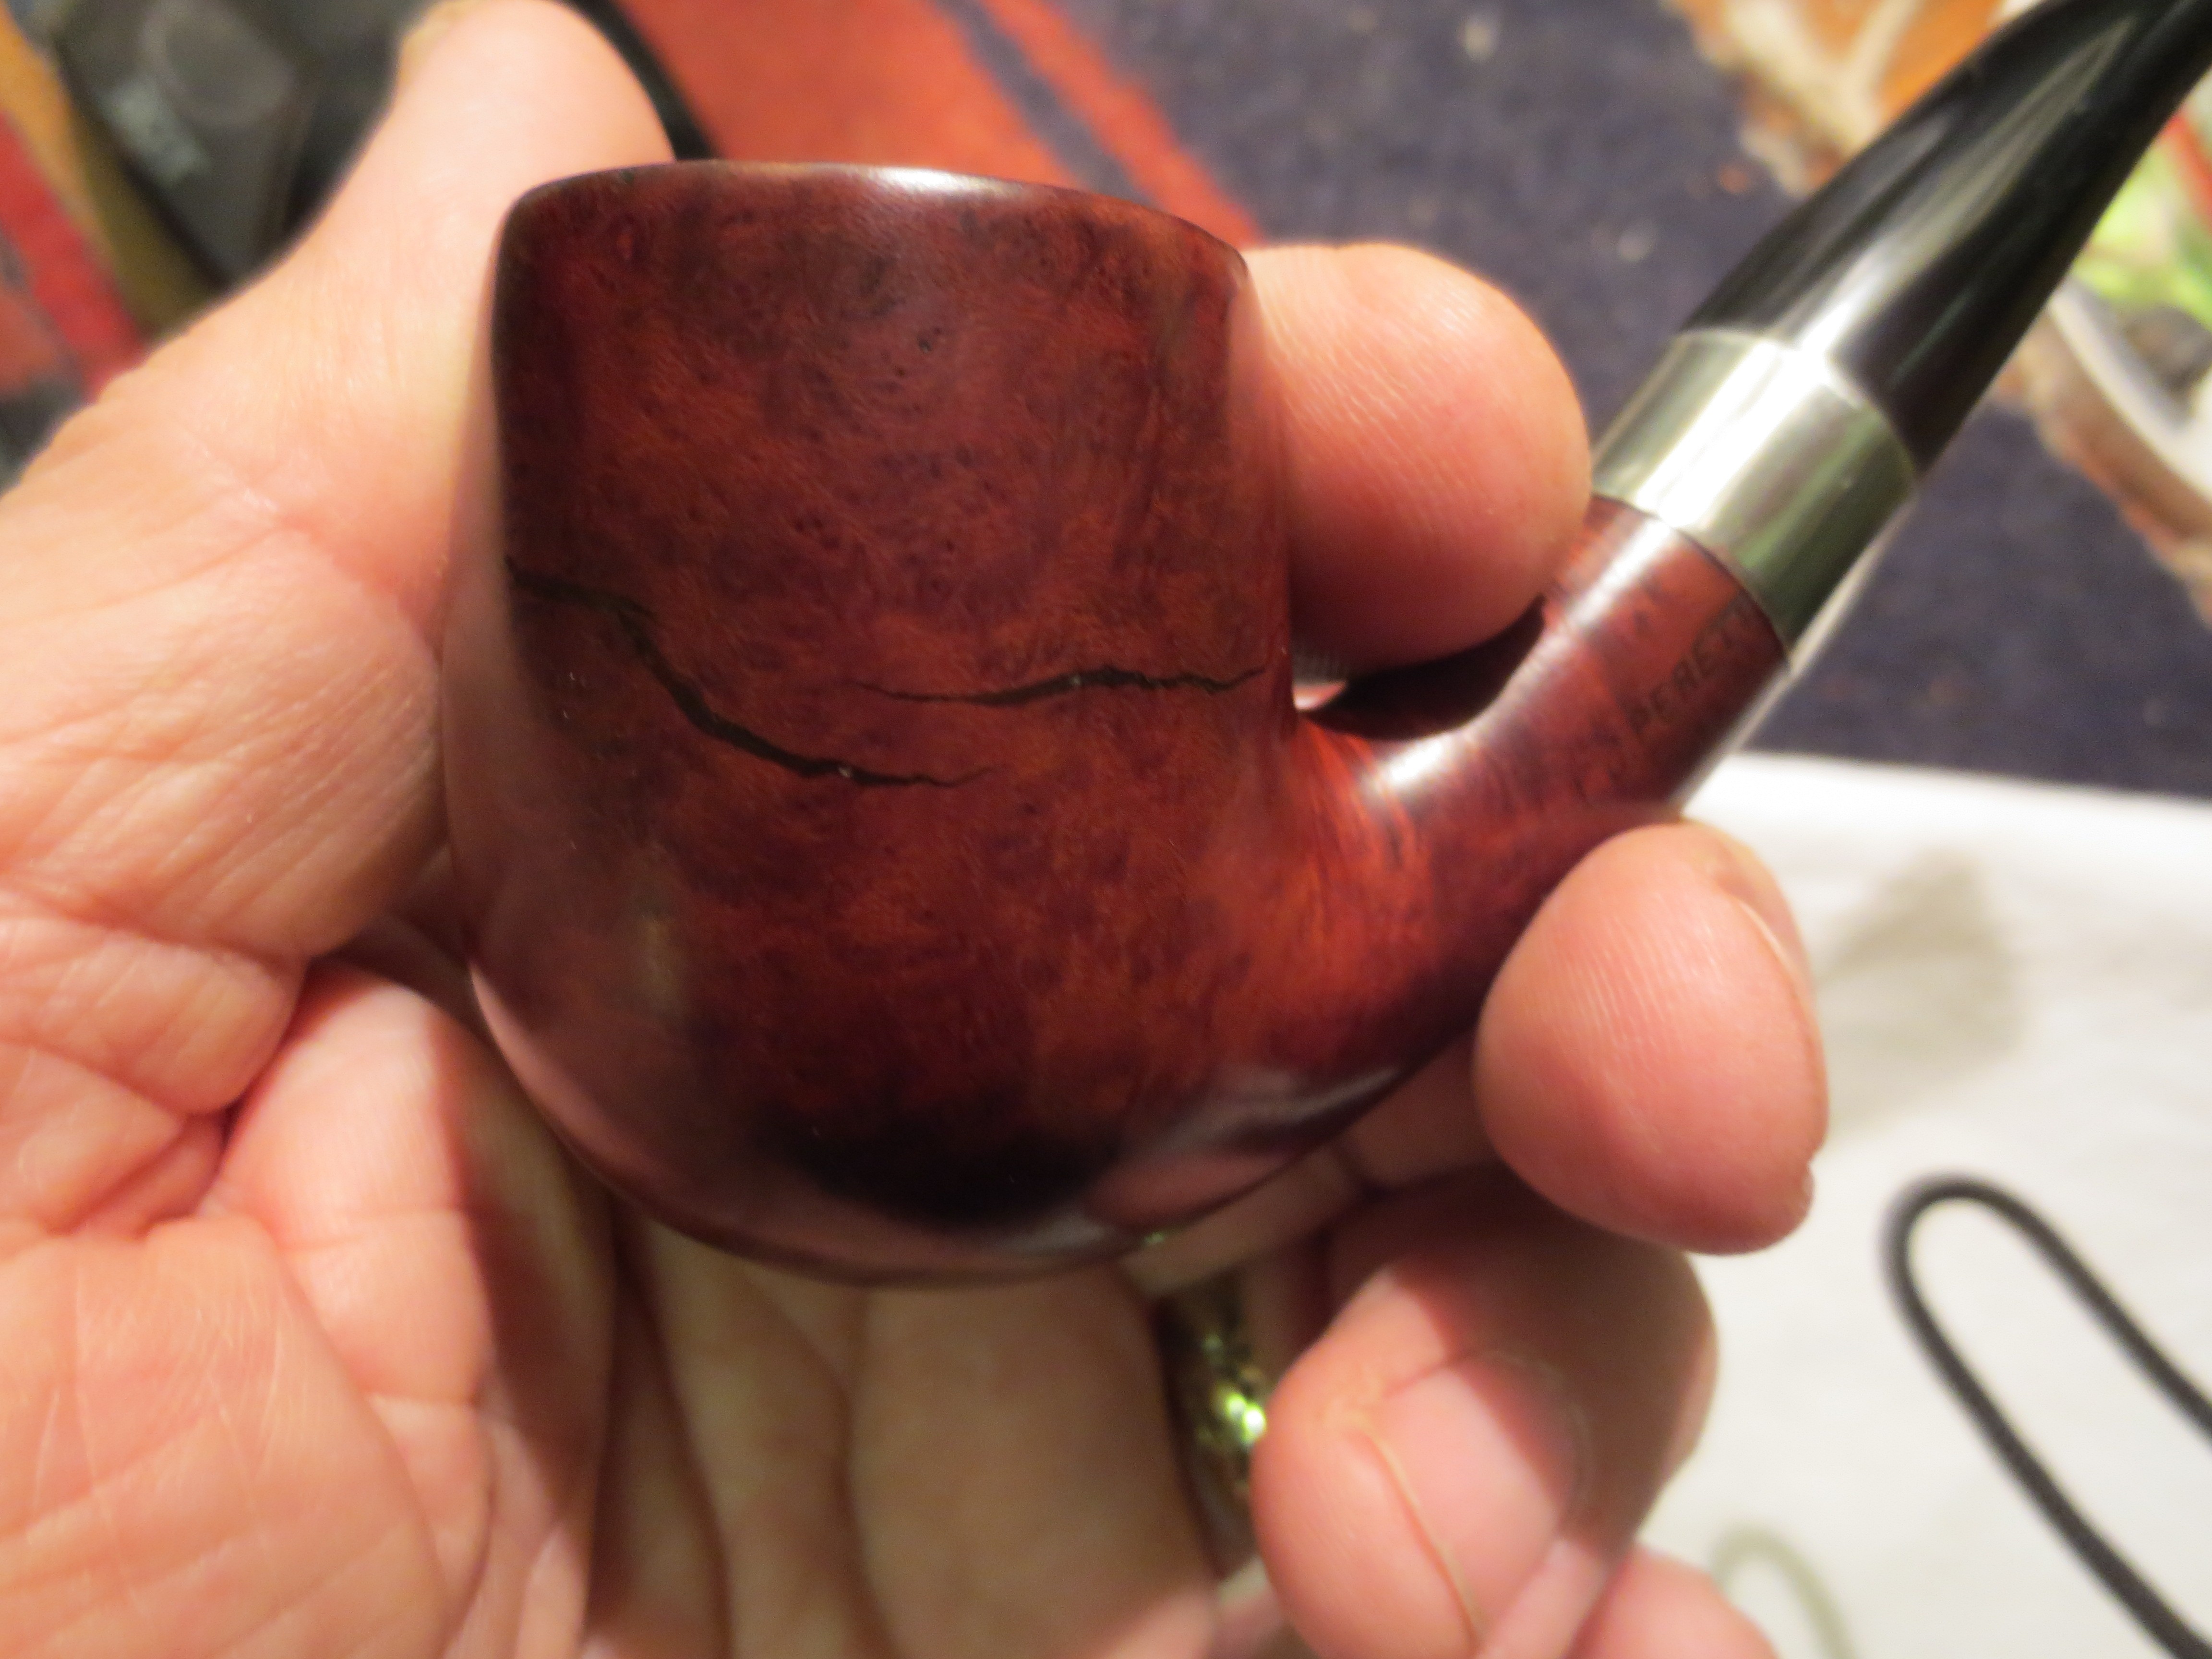
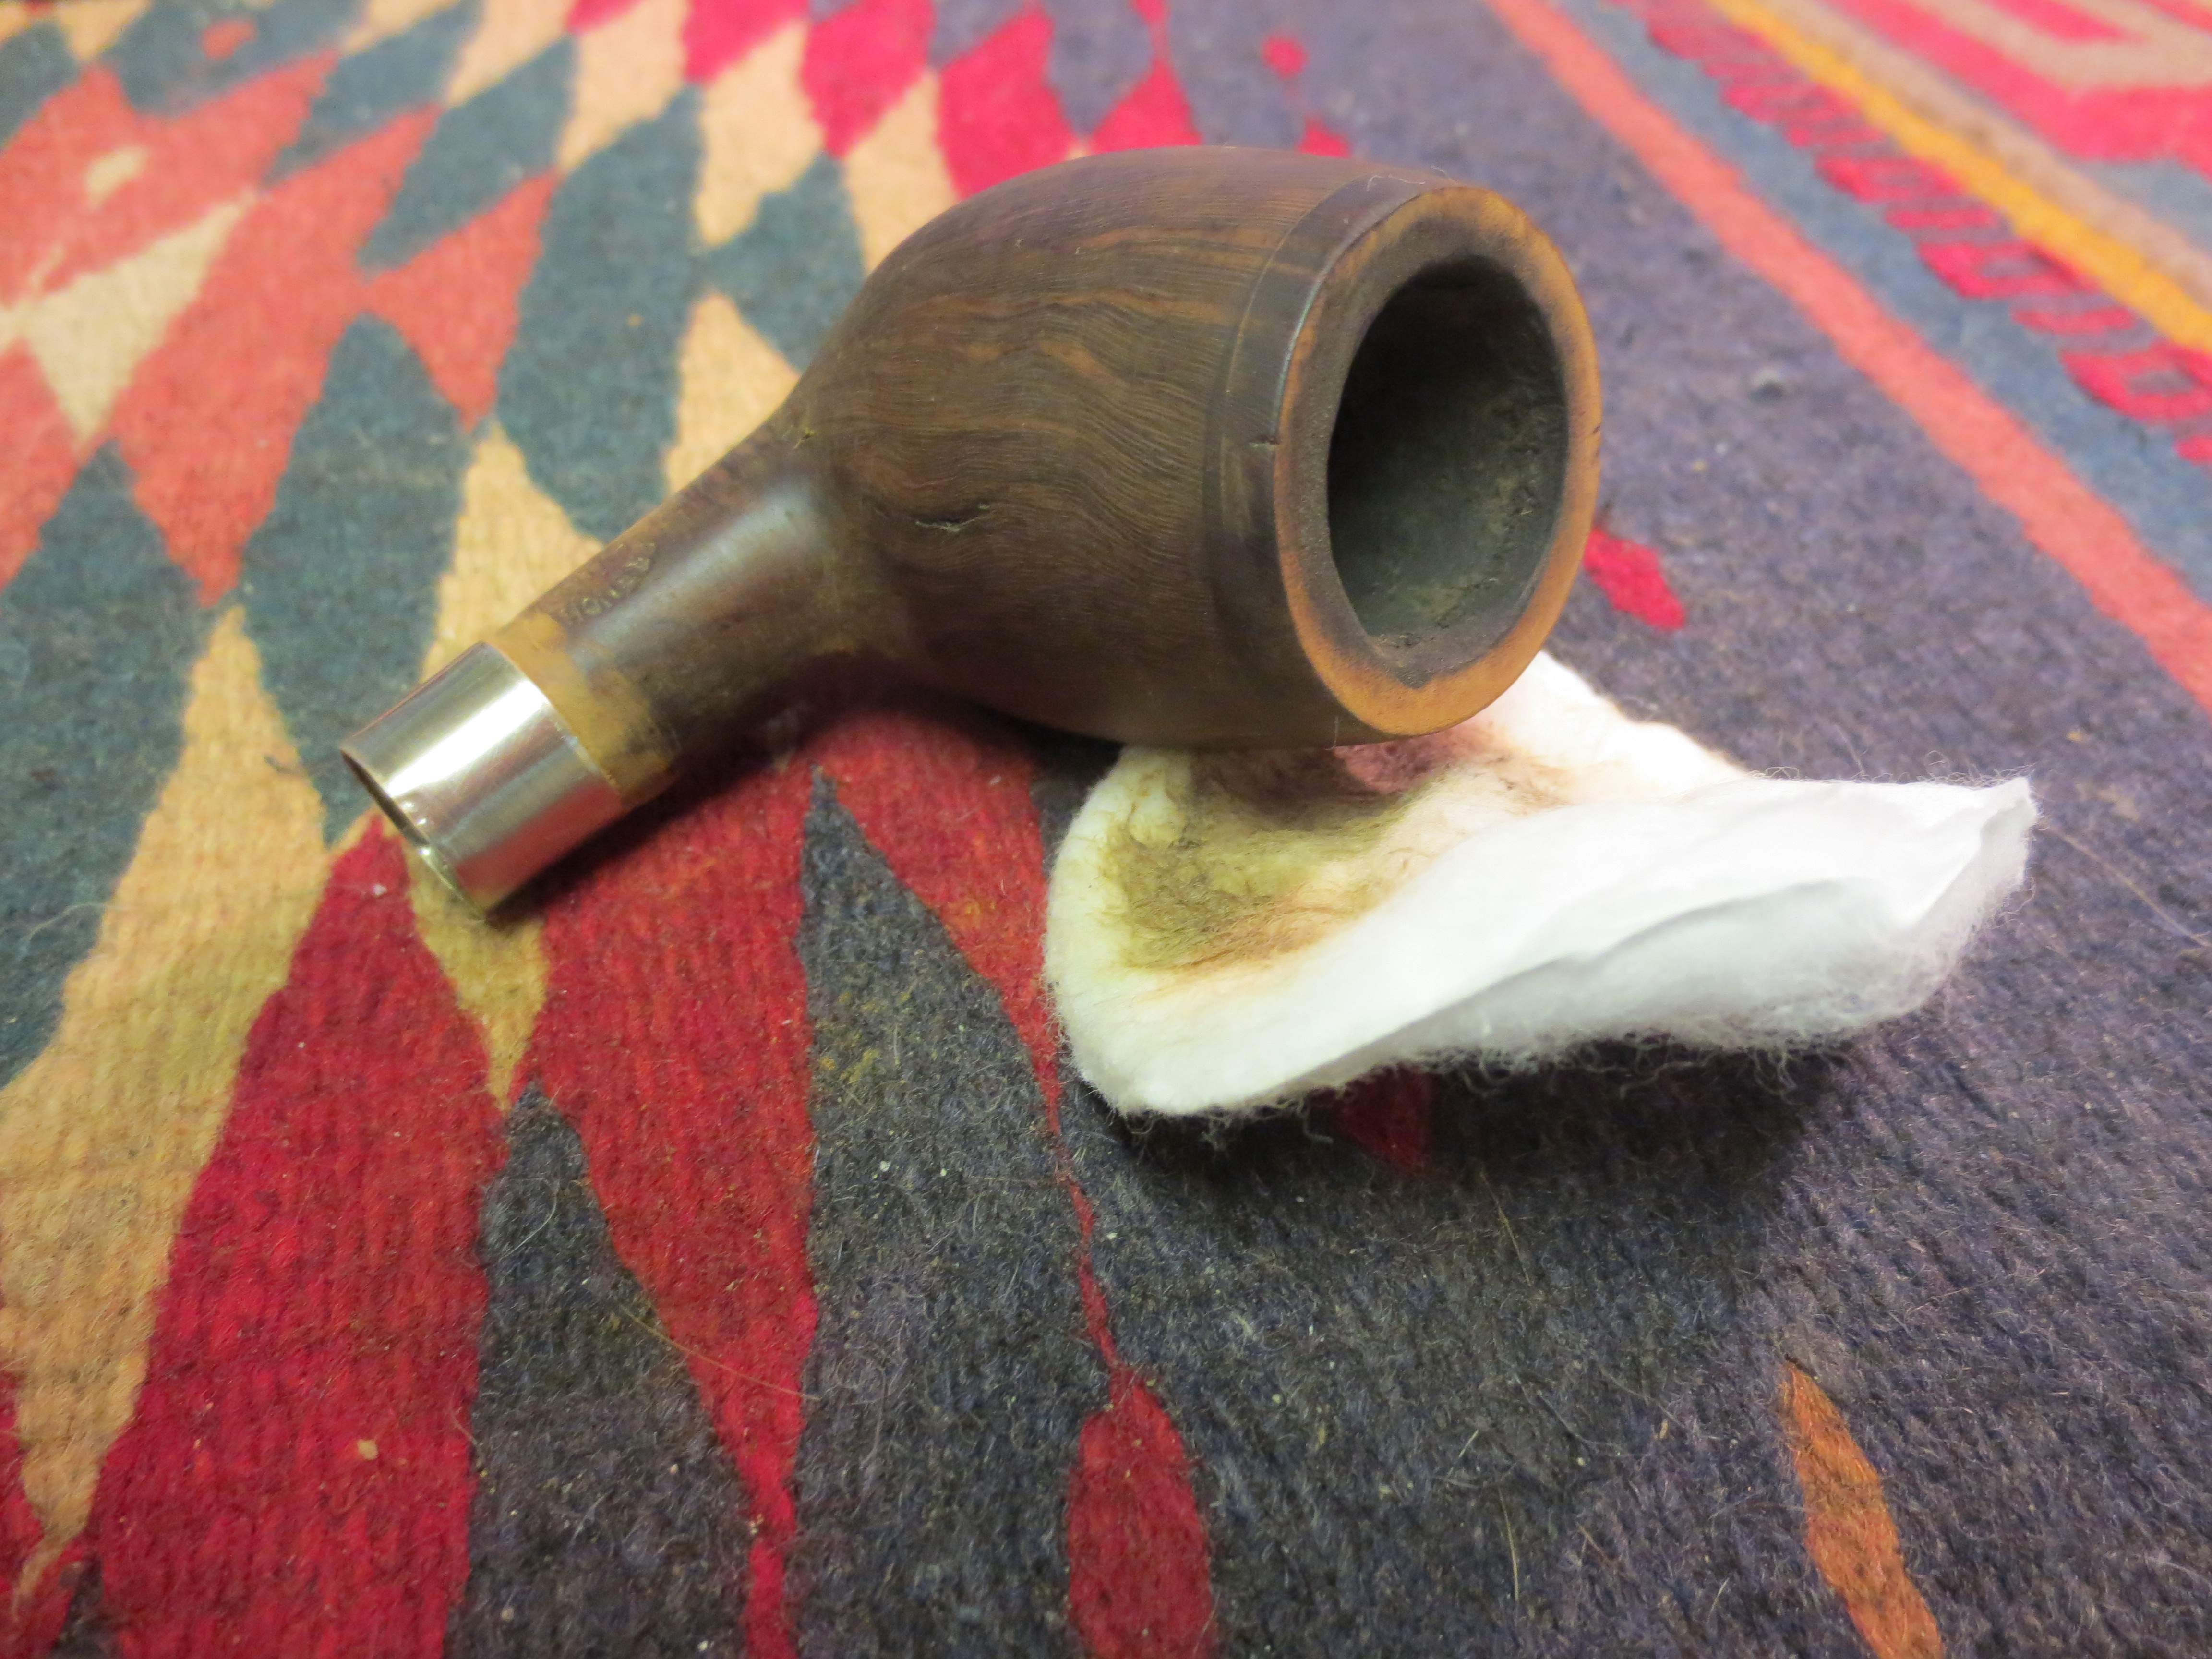
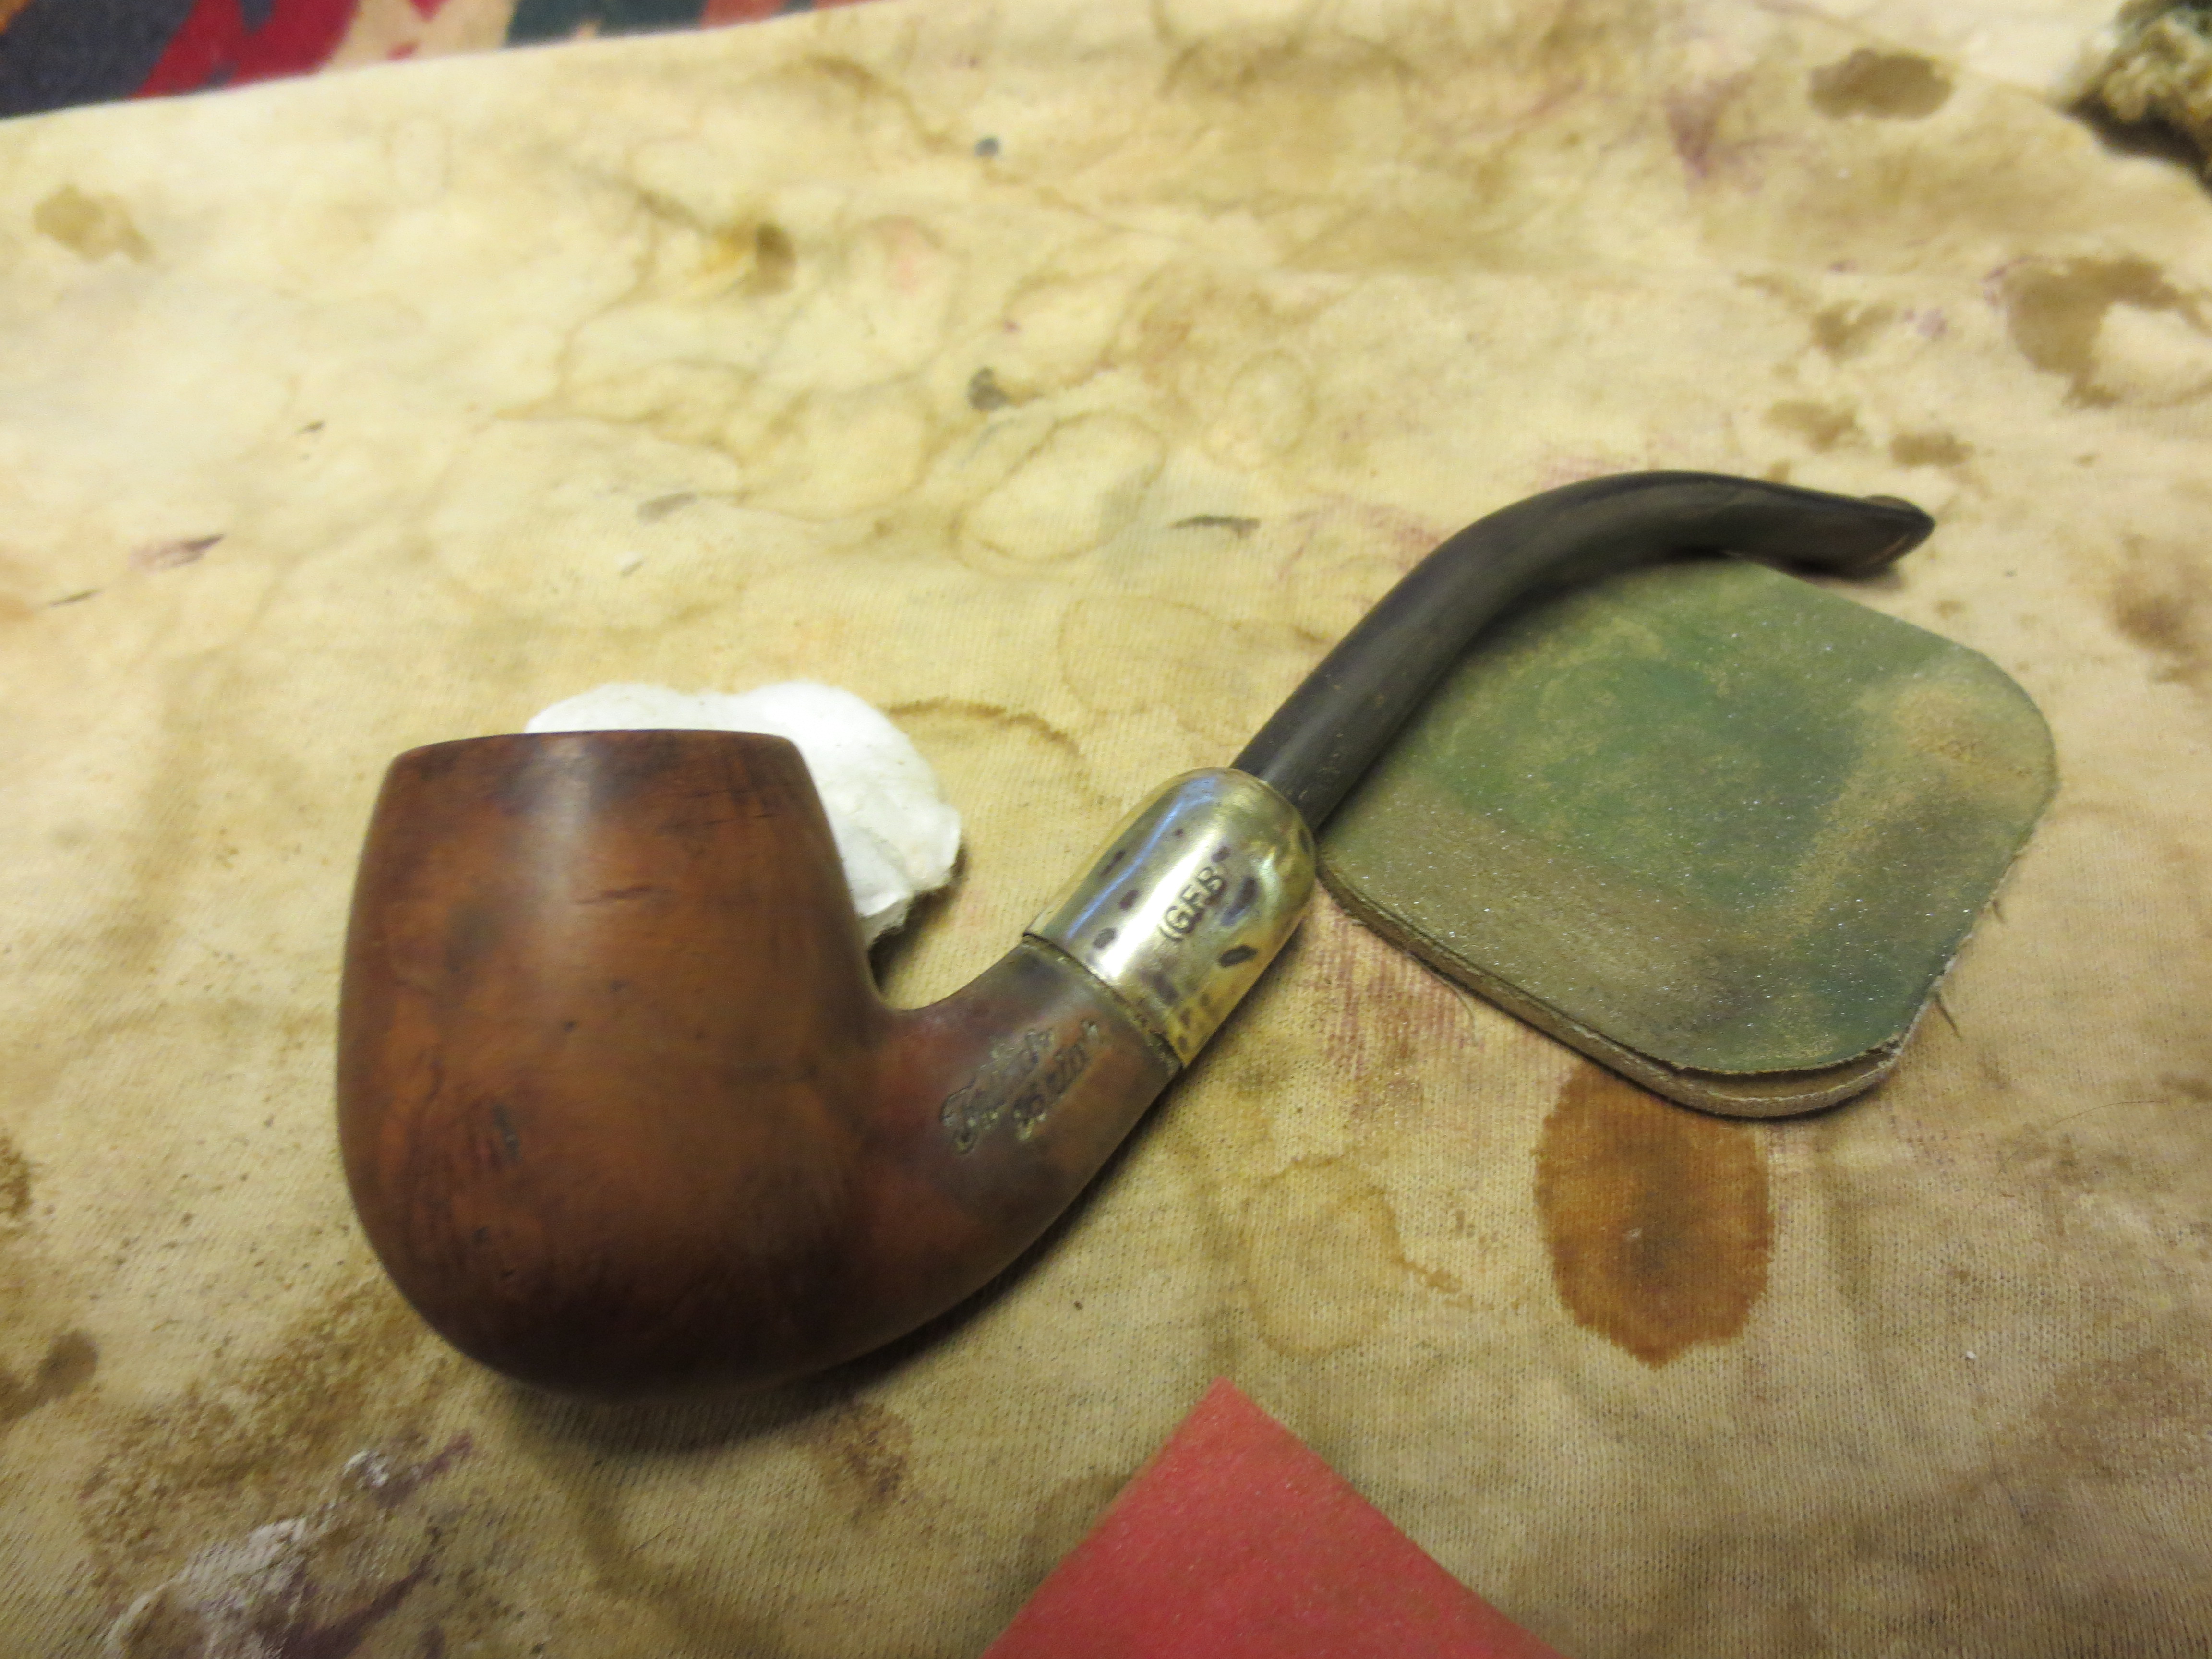
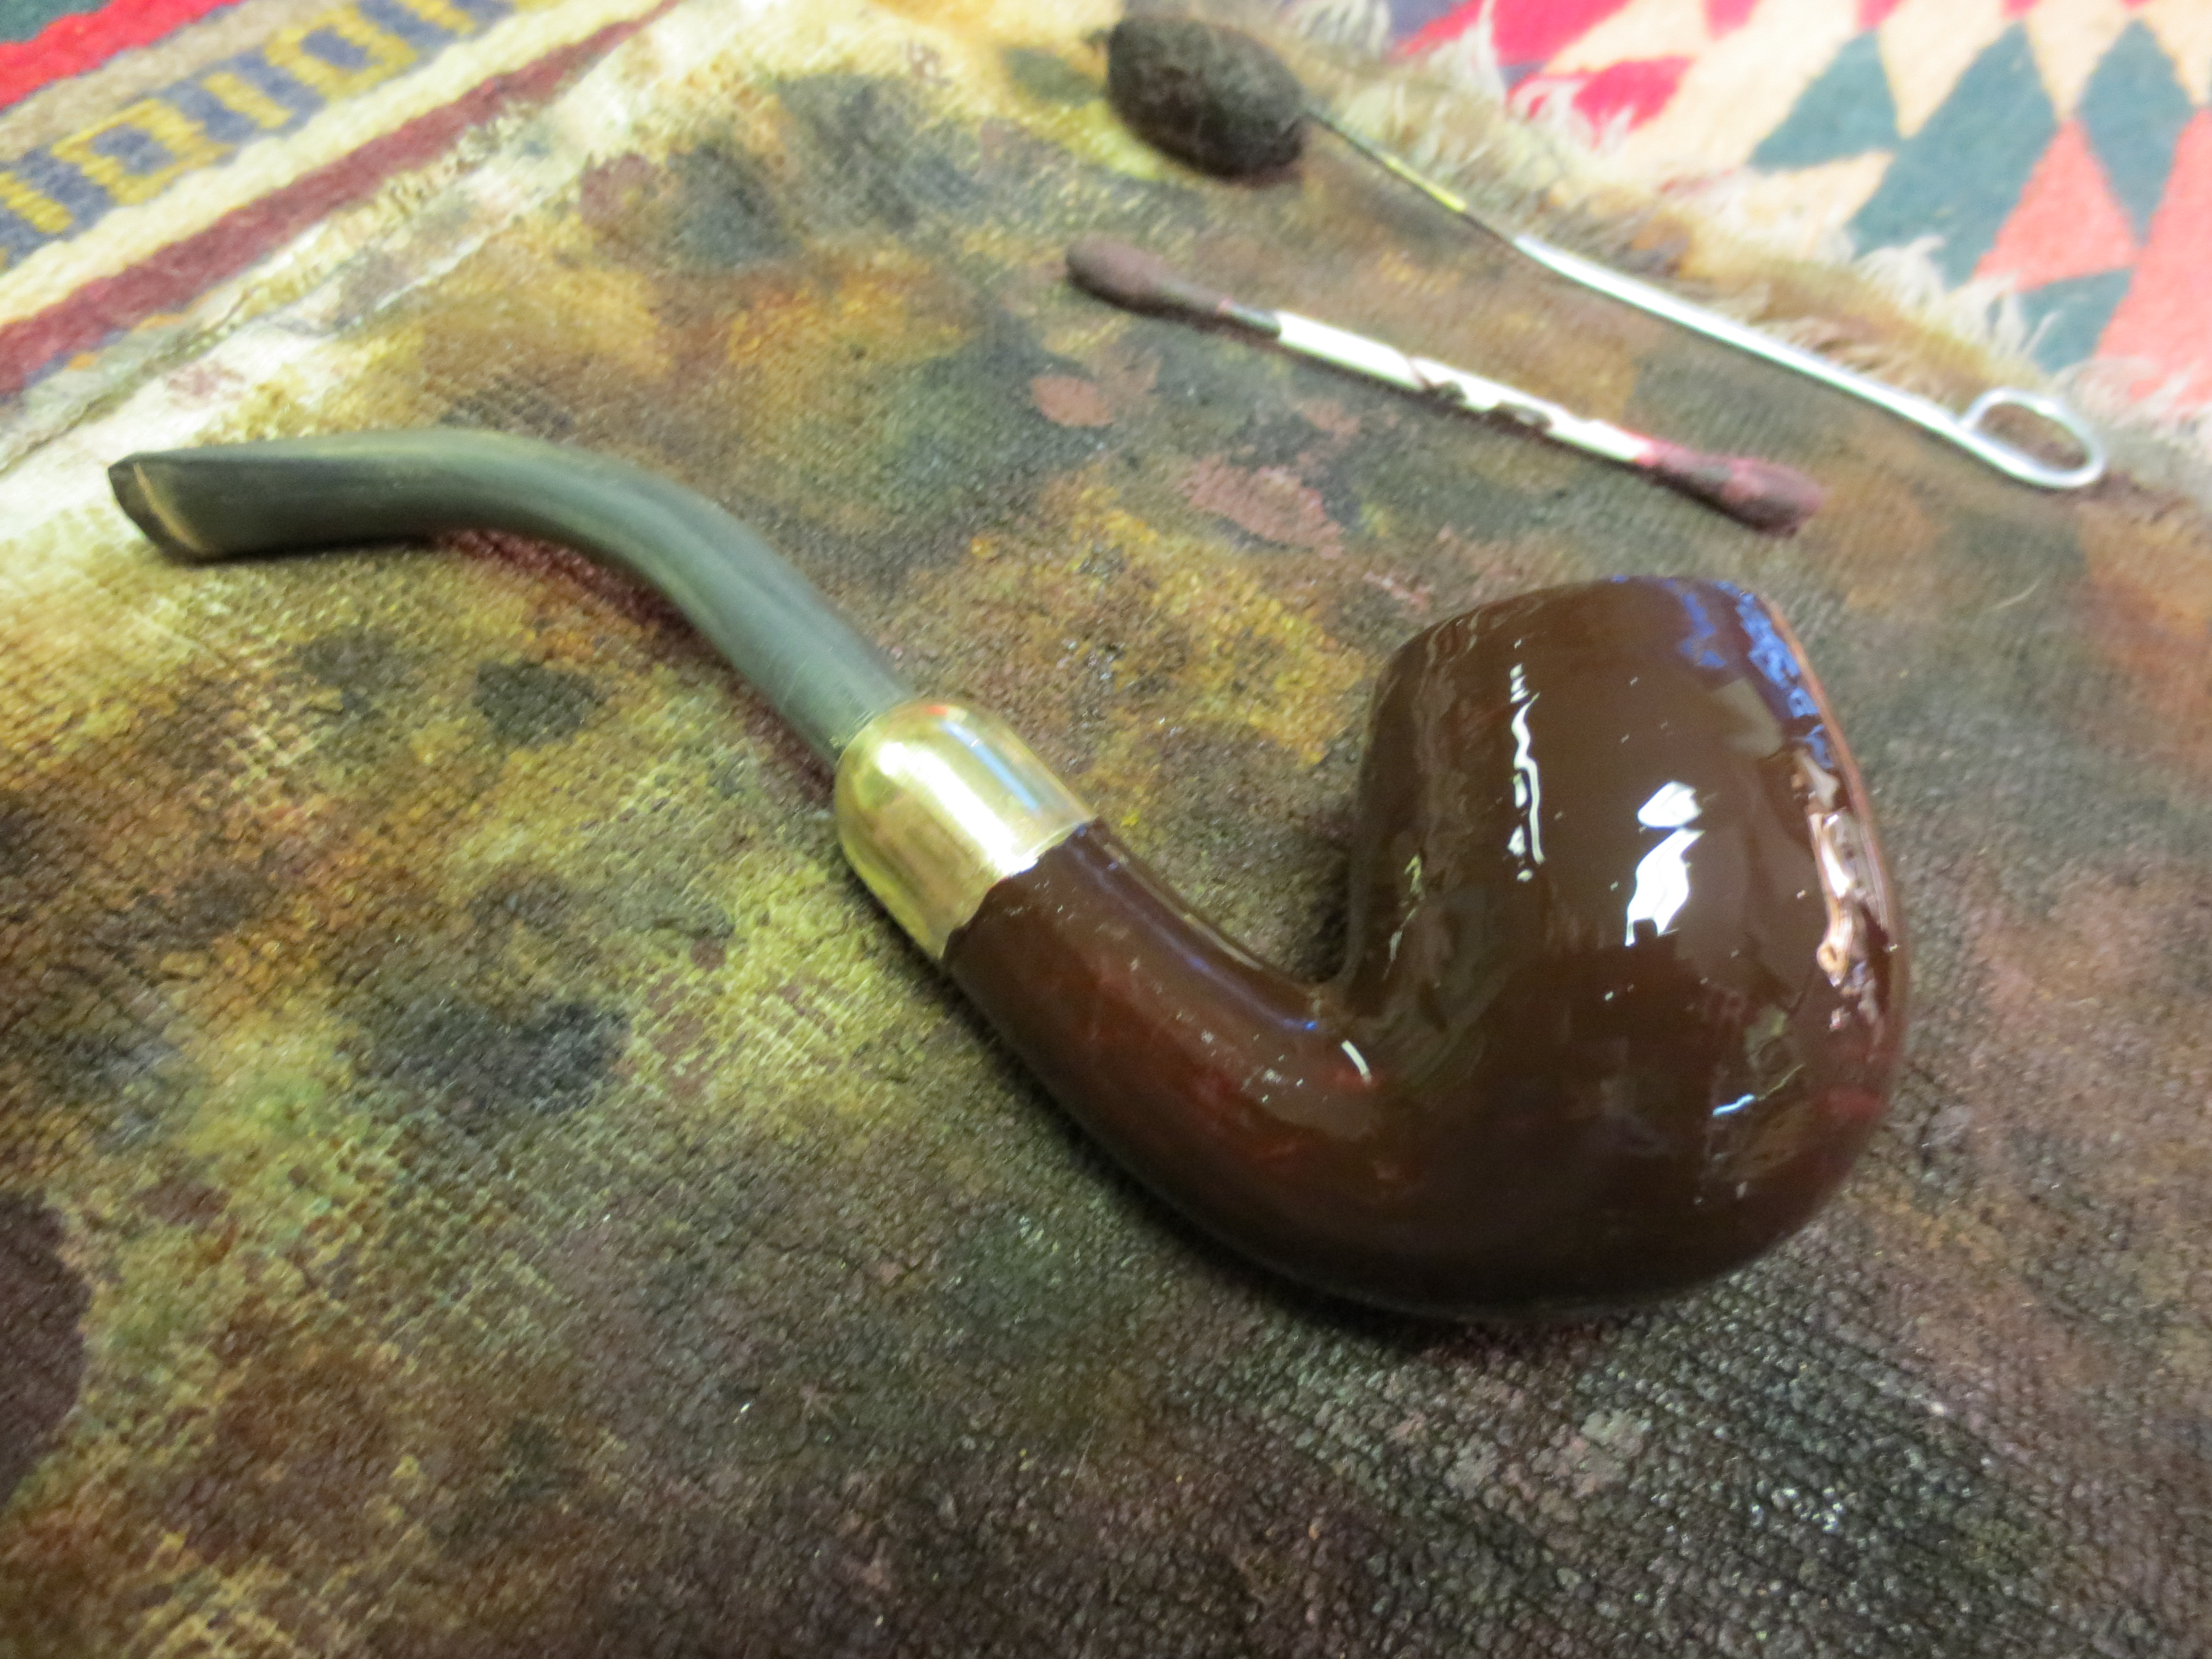
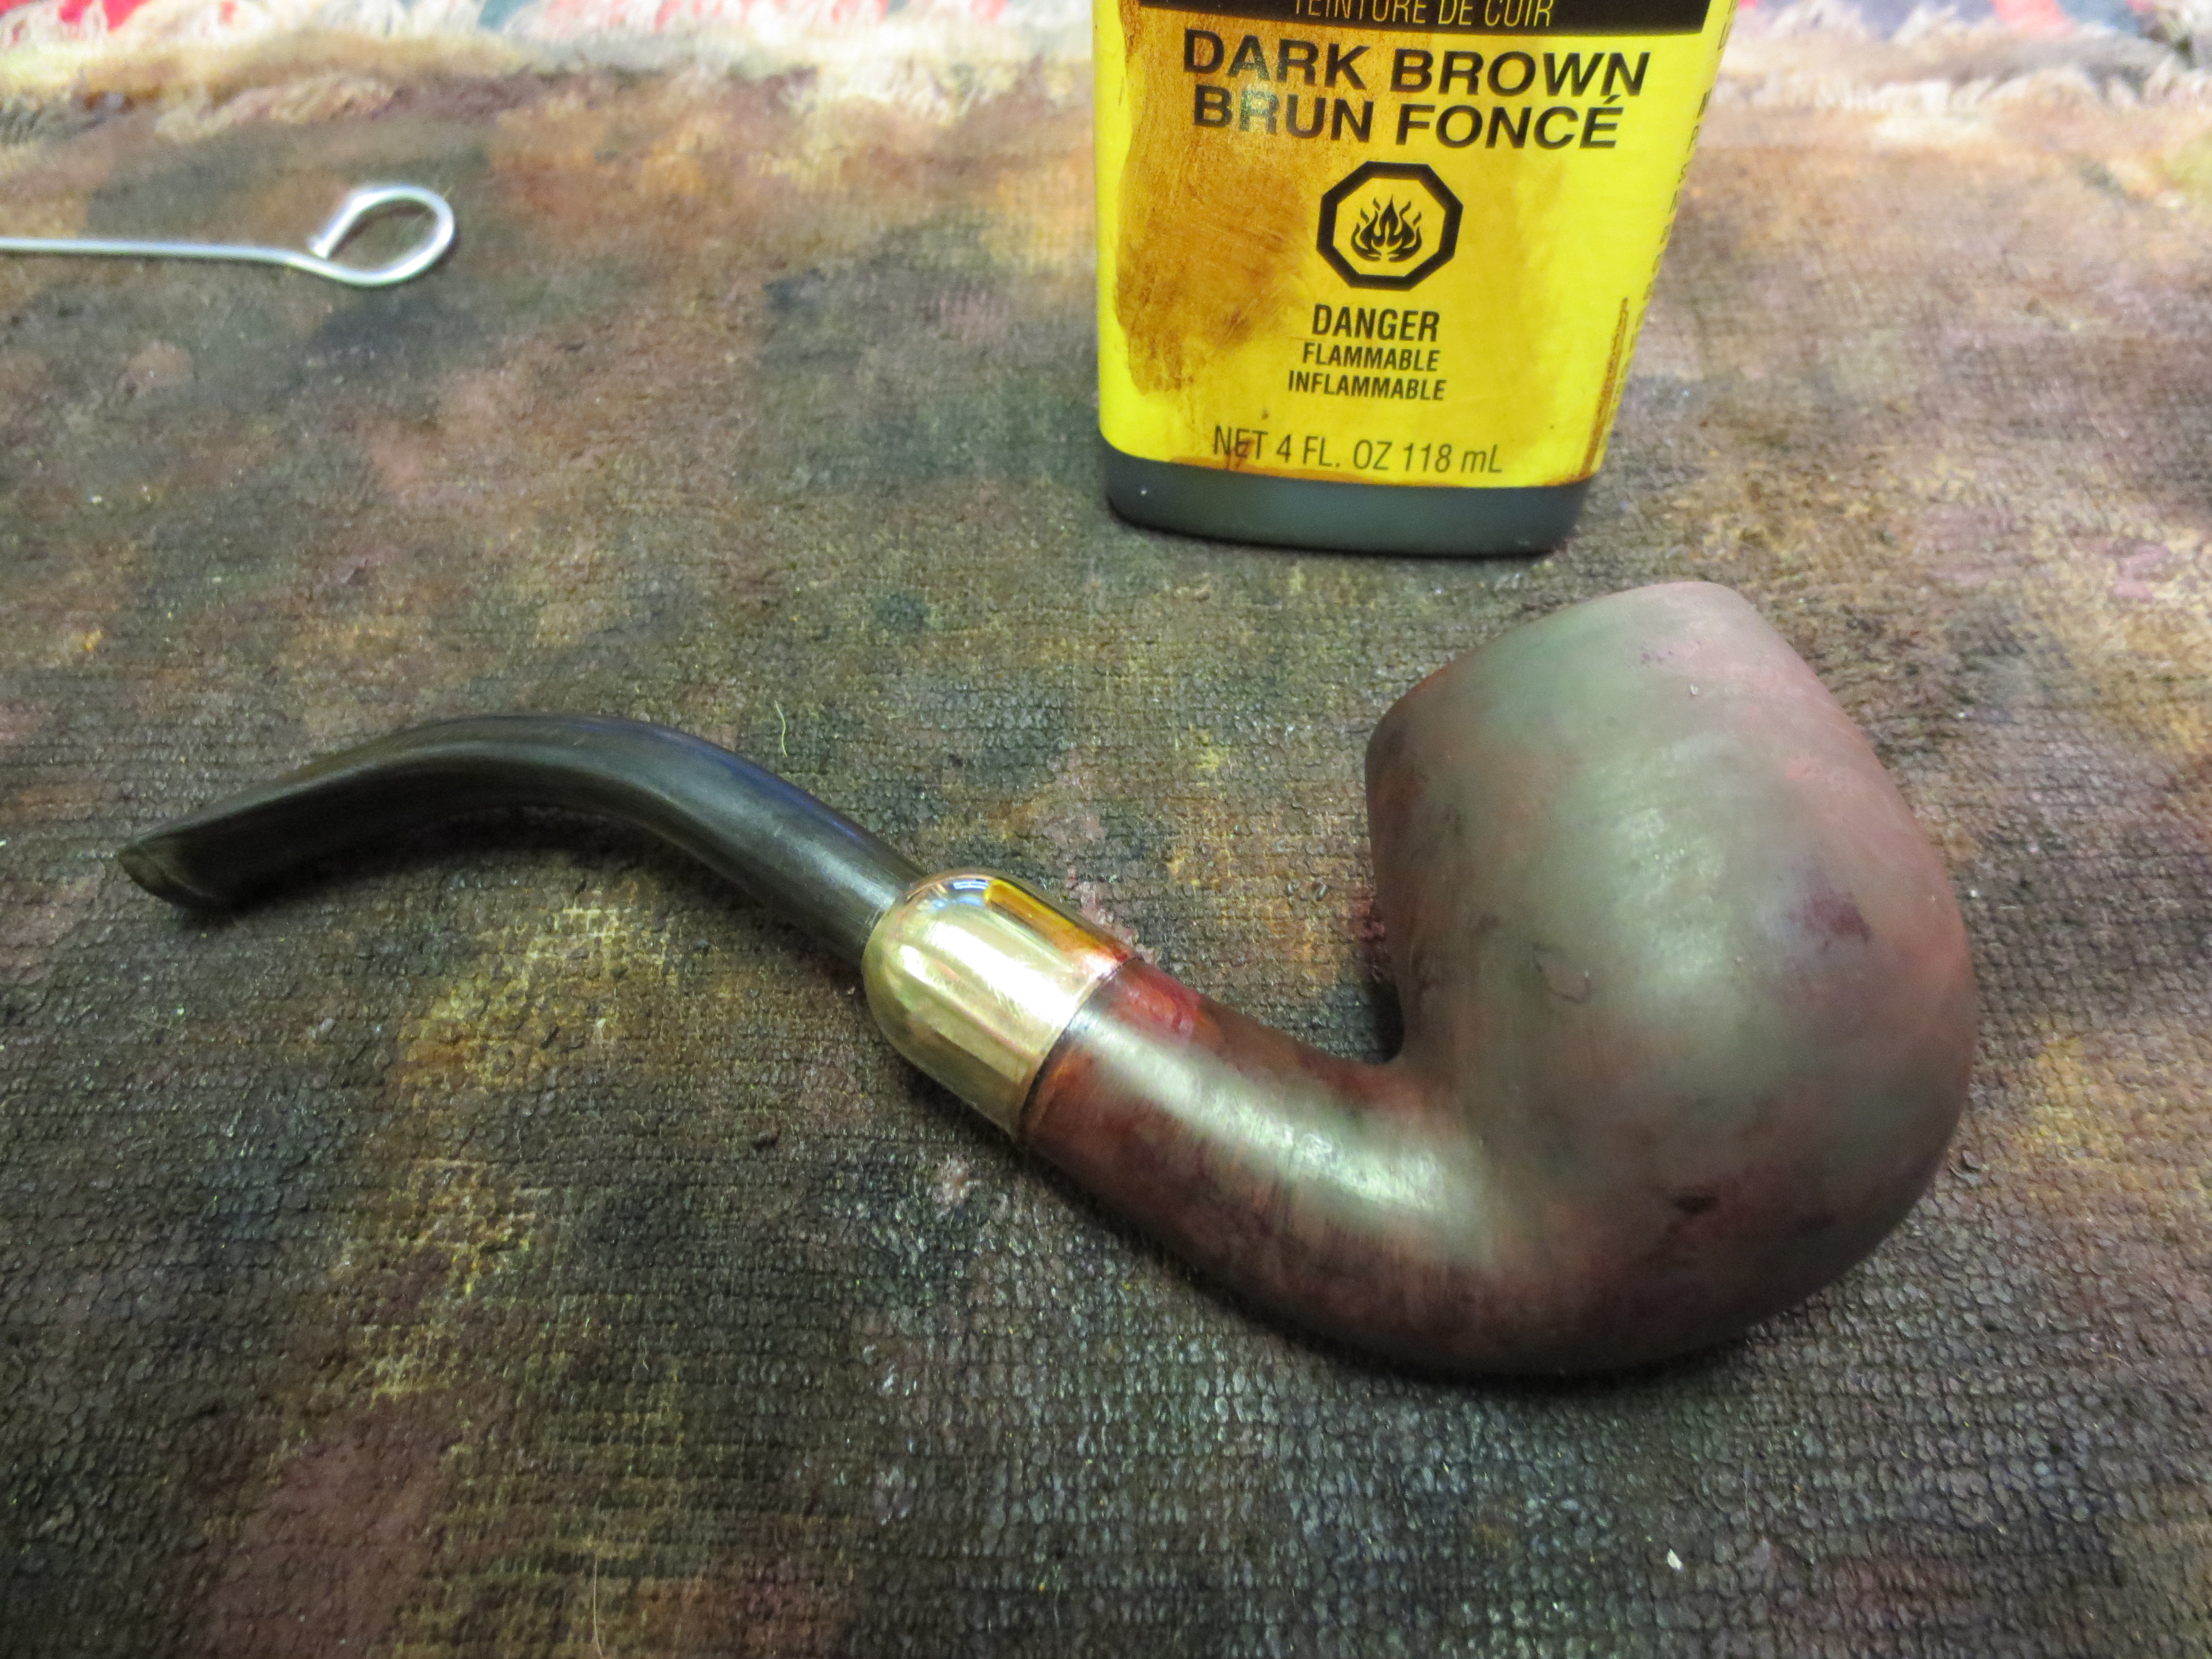
I wanted to try something different with the staining process this time around so I first gave it a coat of black aniline stain and flamed it. Once it was dry I sanded and buffed the bowl with Tripoli to remove the stain from the surface. My purpose was to highlight the grain in the briar and make it more visible. The black was to be the first undercoat of stain that I would use on this pipe. The next three photos show the black stain after much of it has been removed. The grain is very visible in the photos. The birdseye and cross grain really stand out. After these photos I wiped the bowl down with a cotton pad wet in Everclear to remove more of the surface stain and prepare the surface for the next coat of stain.

IMG_0899

IMG_0900

IMG_0901

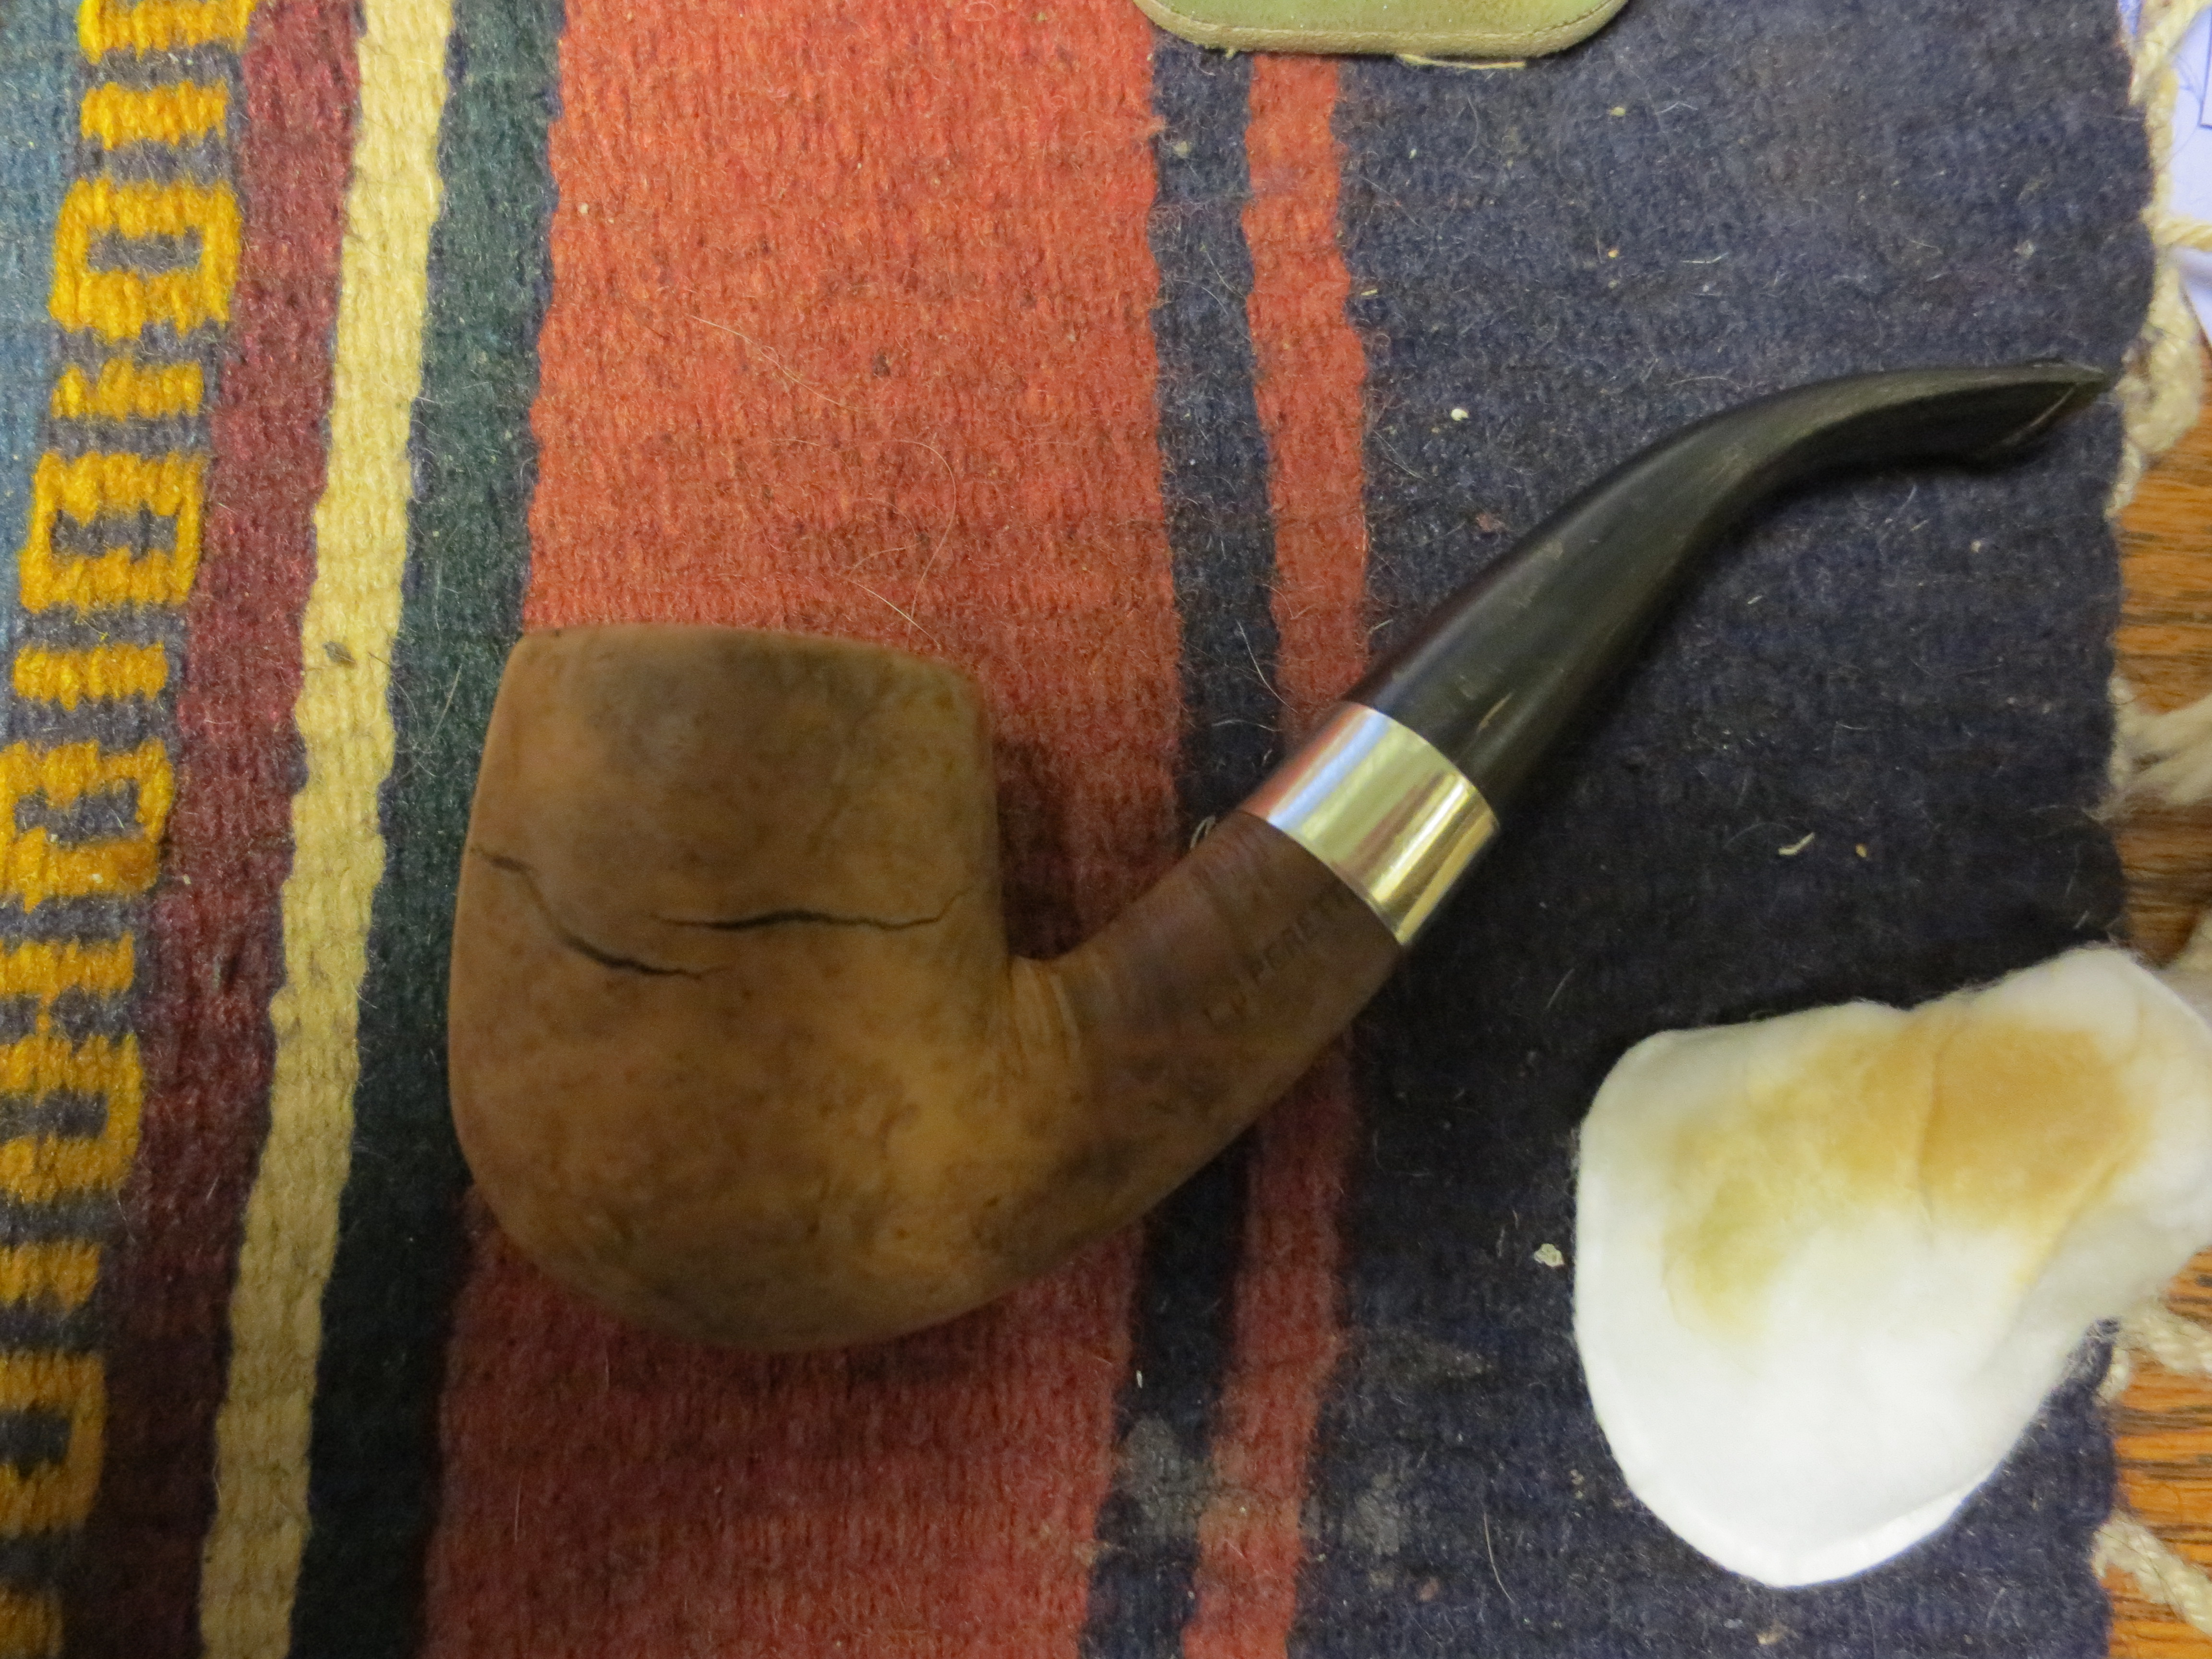
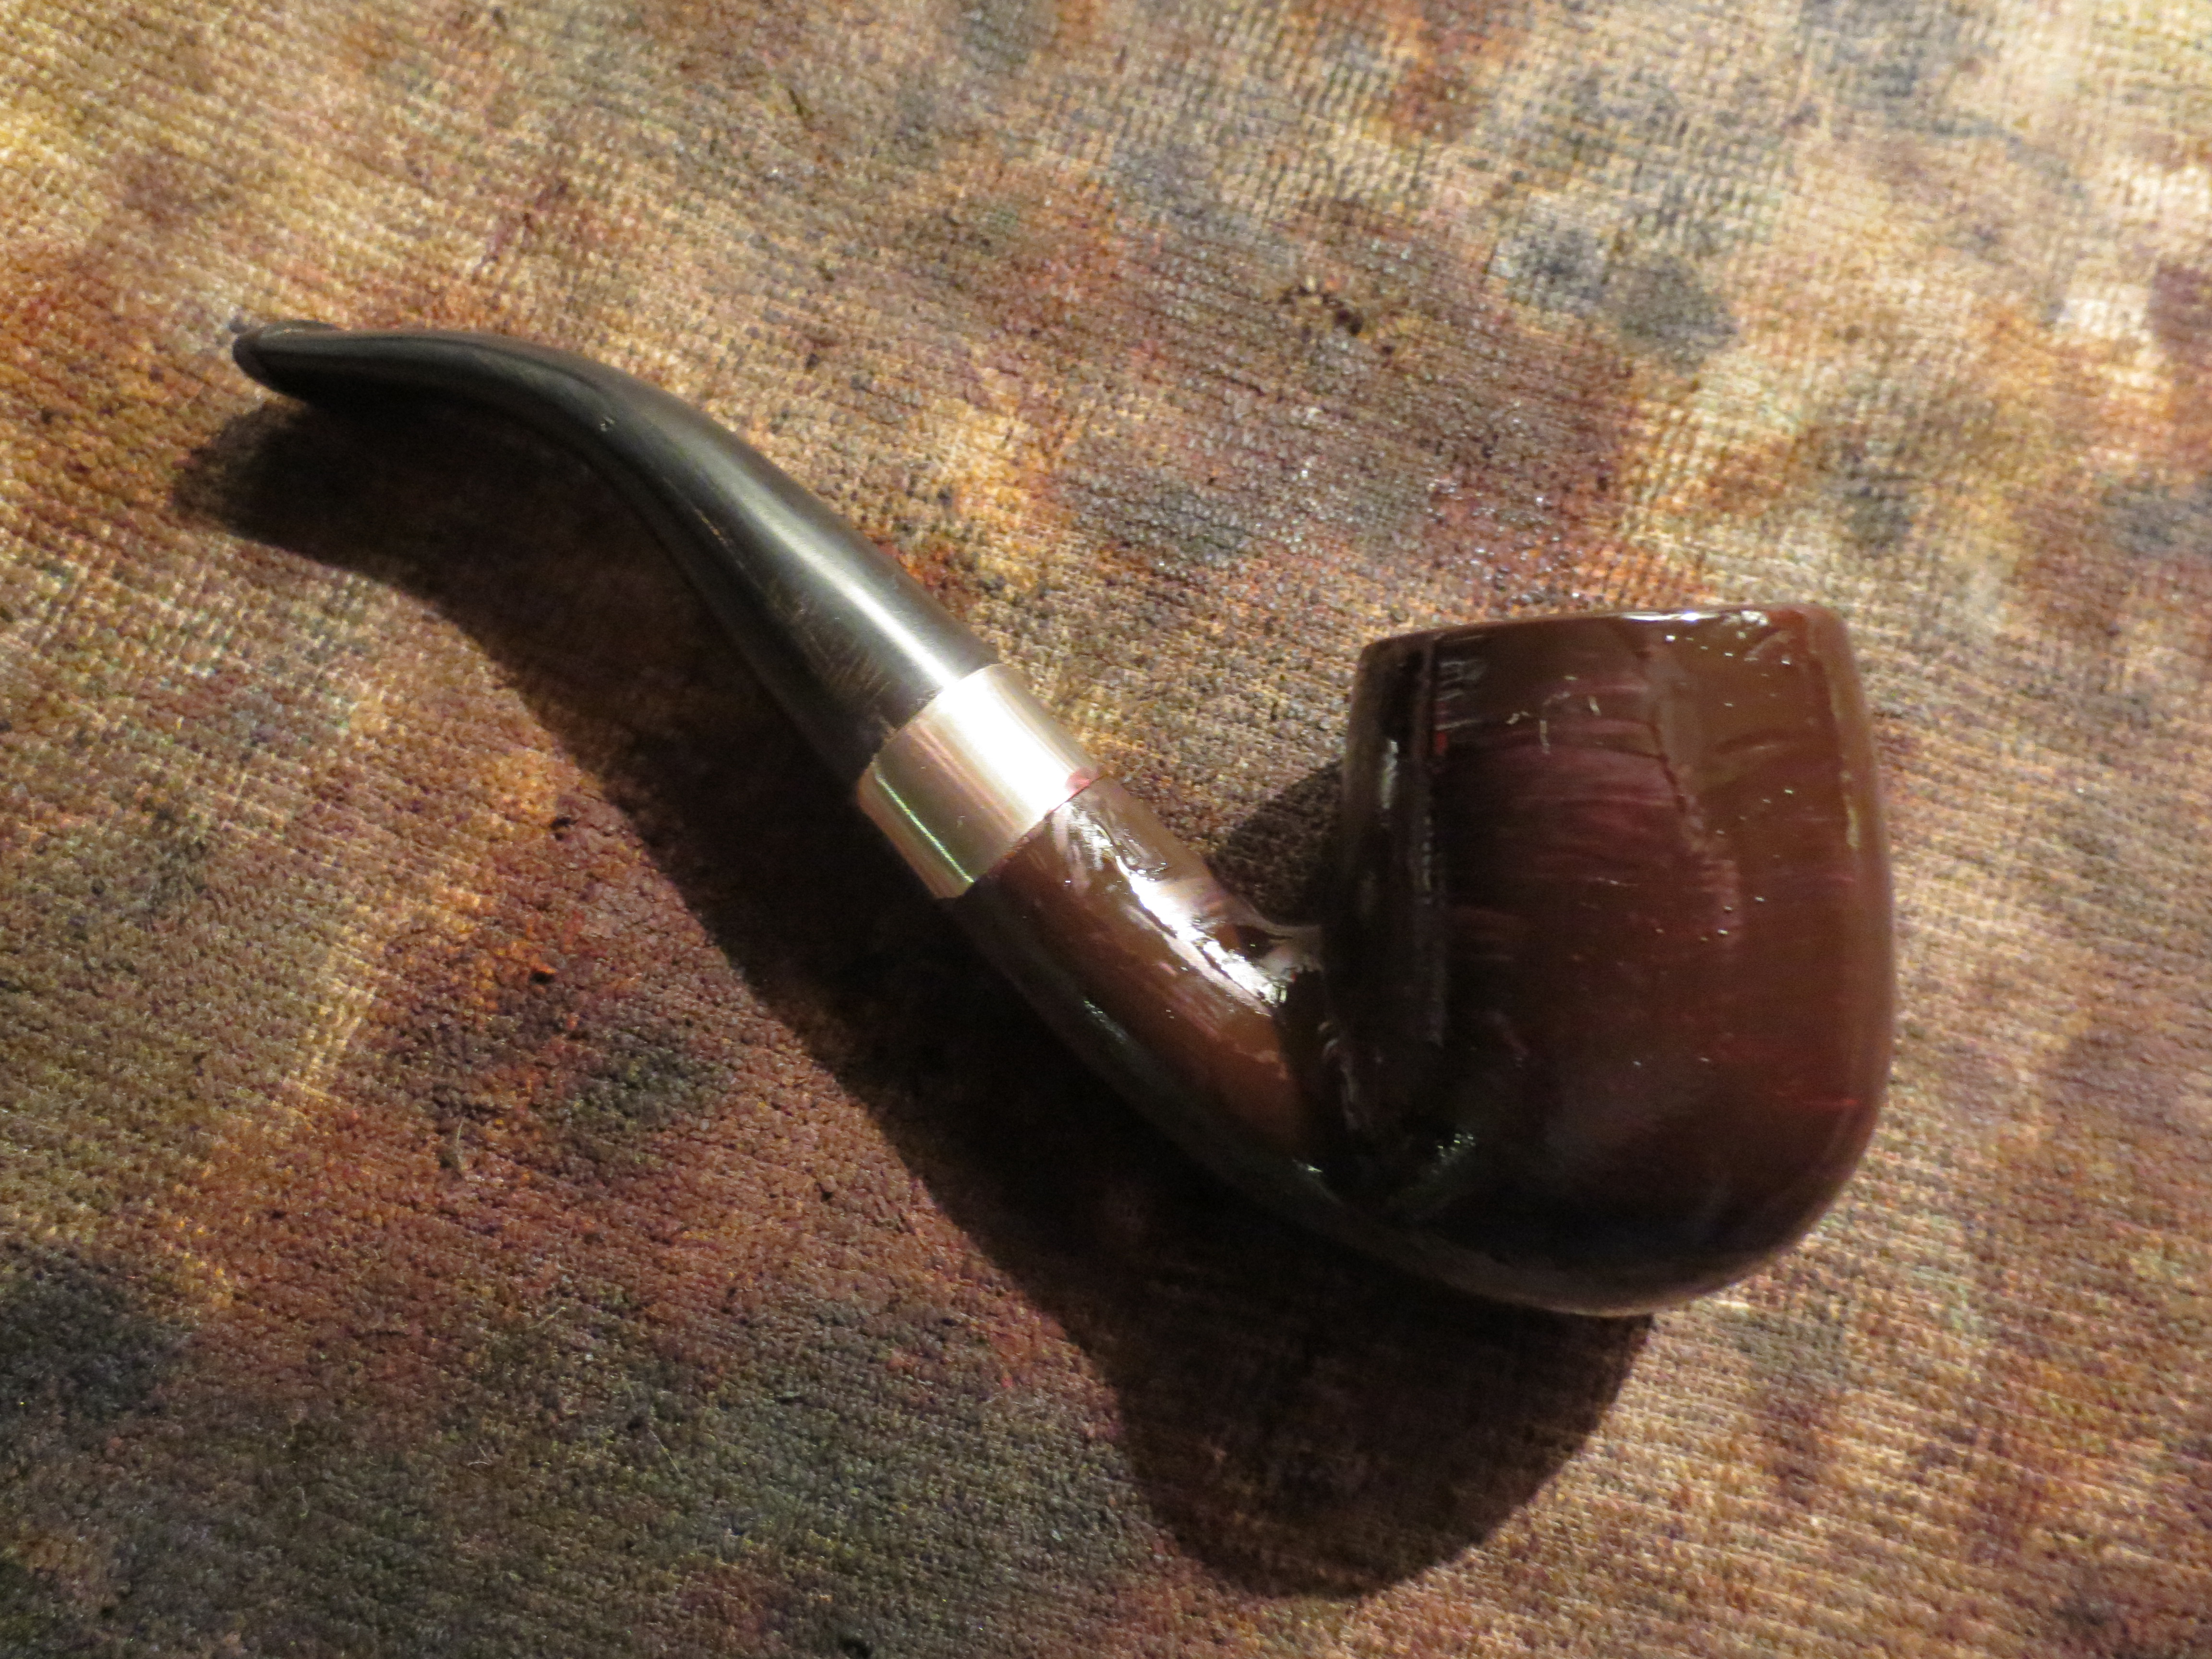
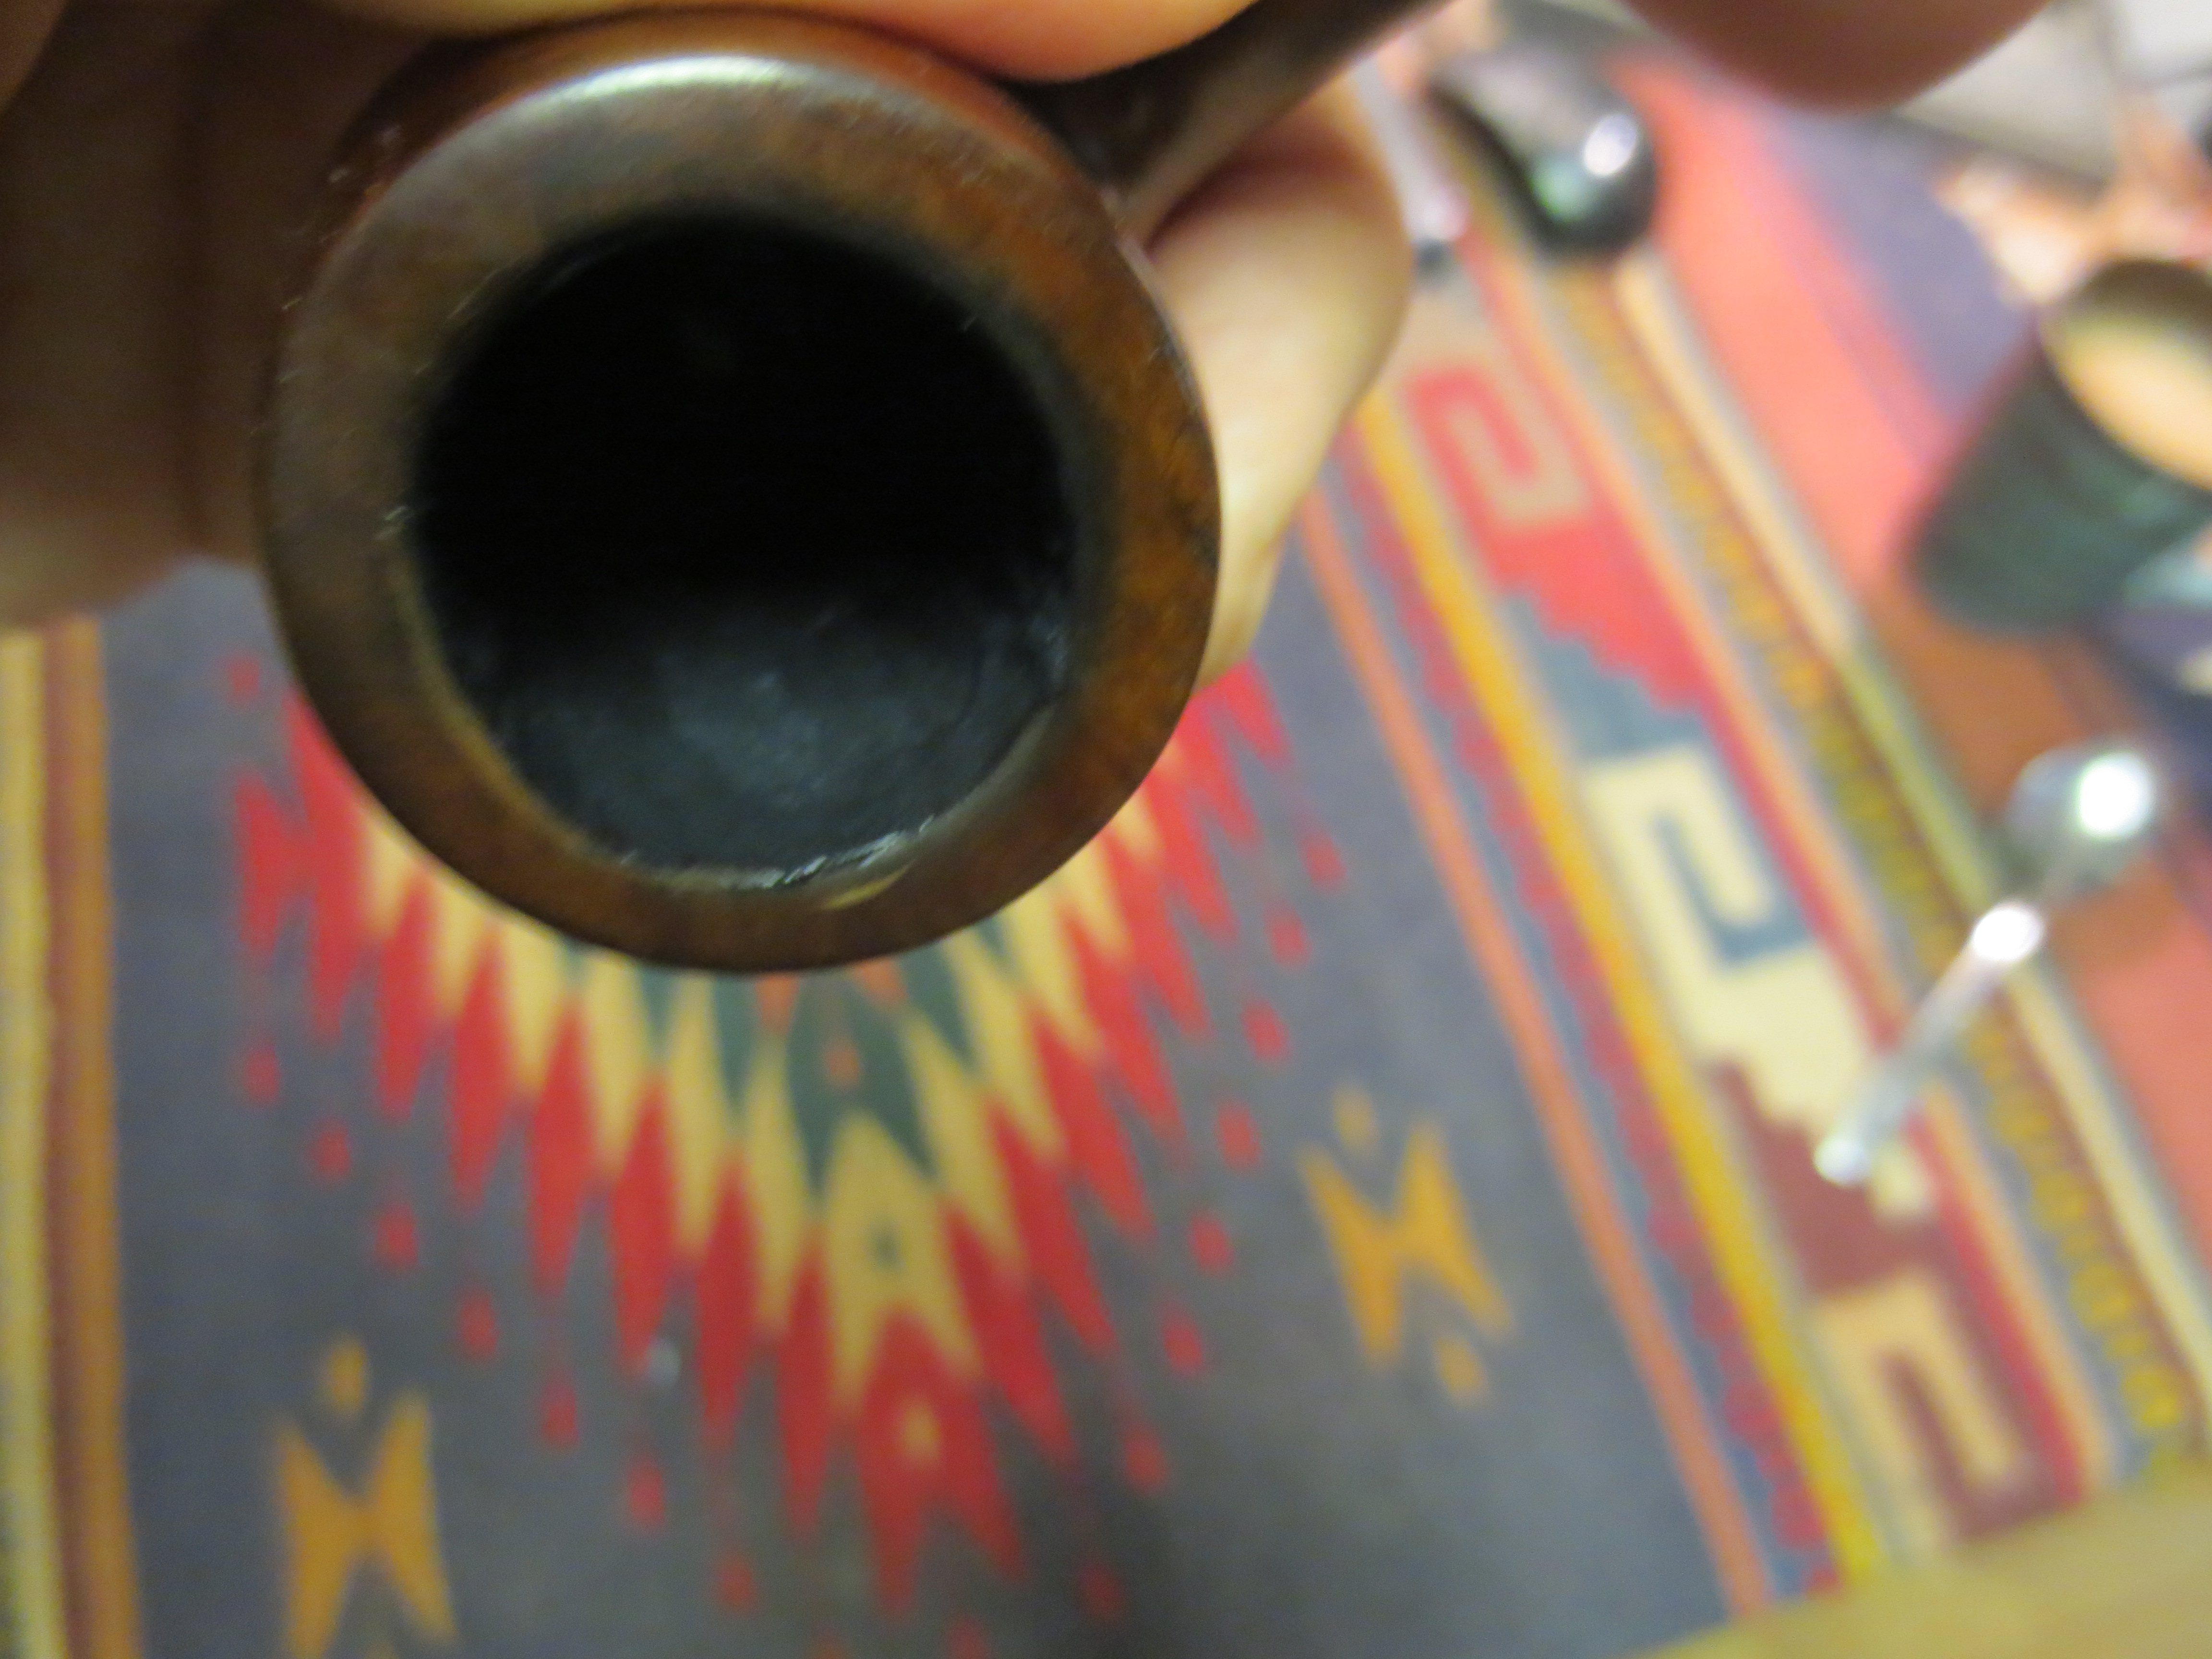
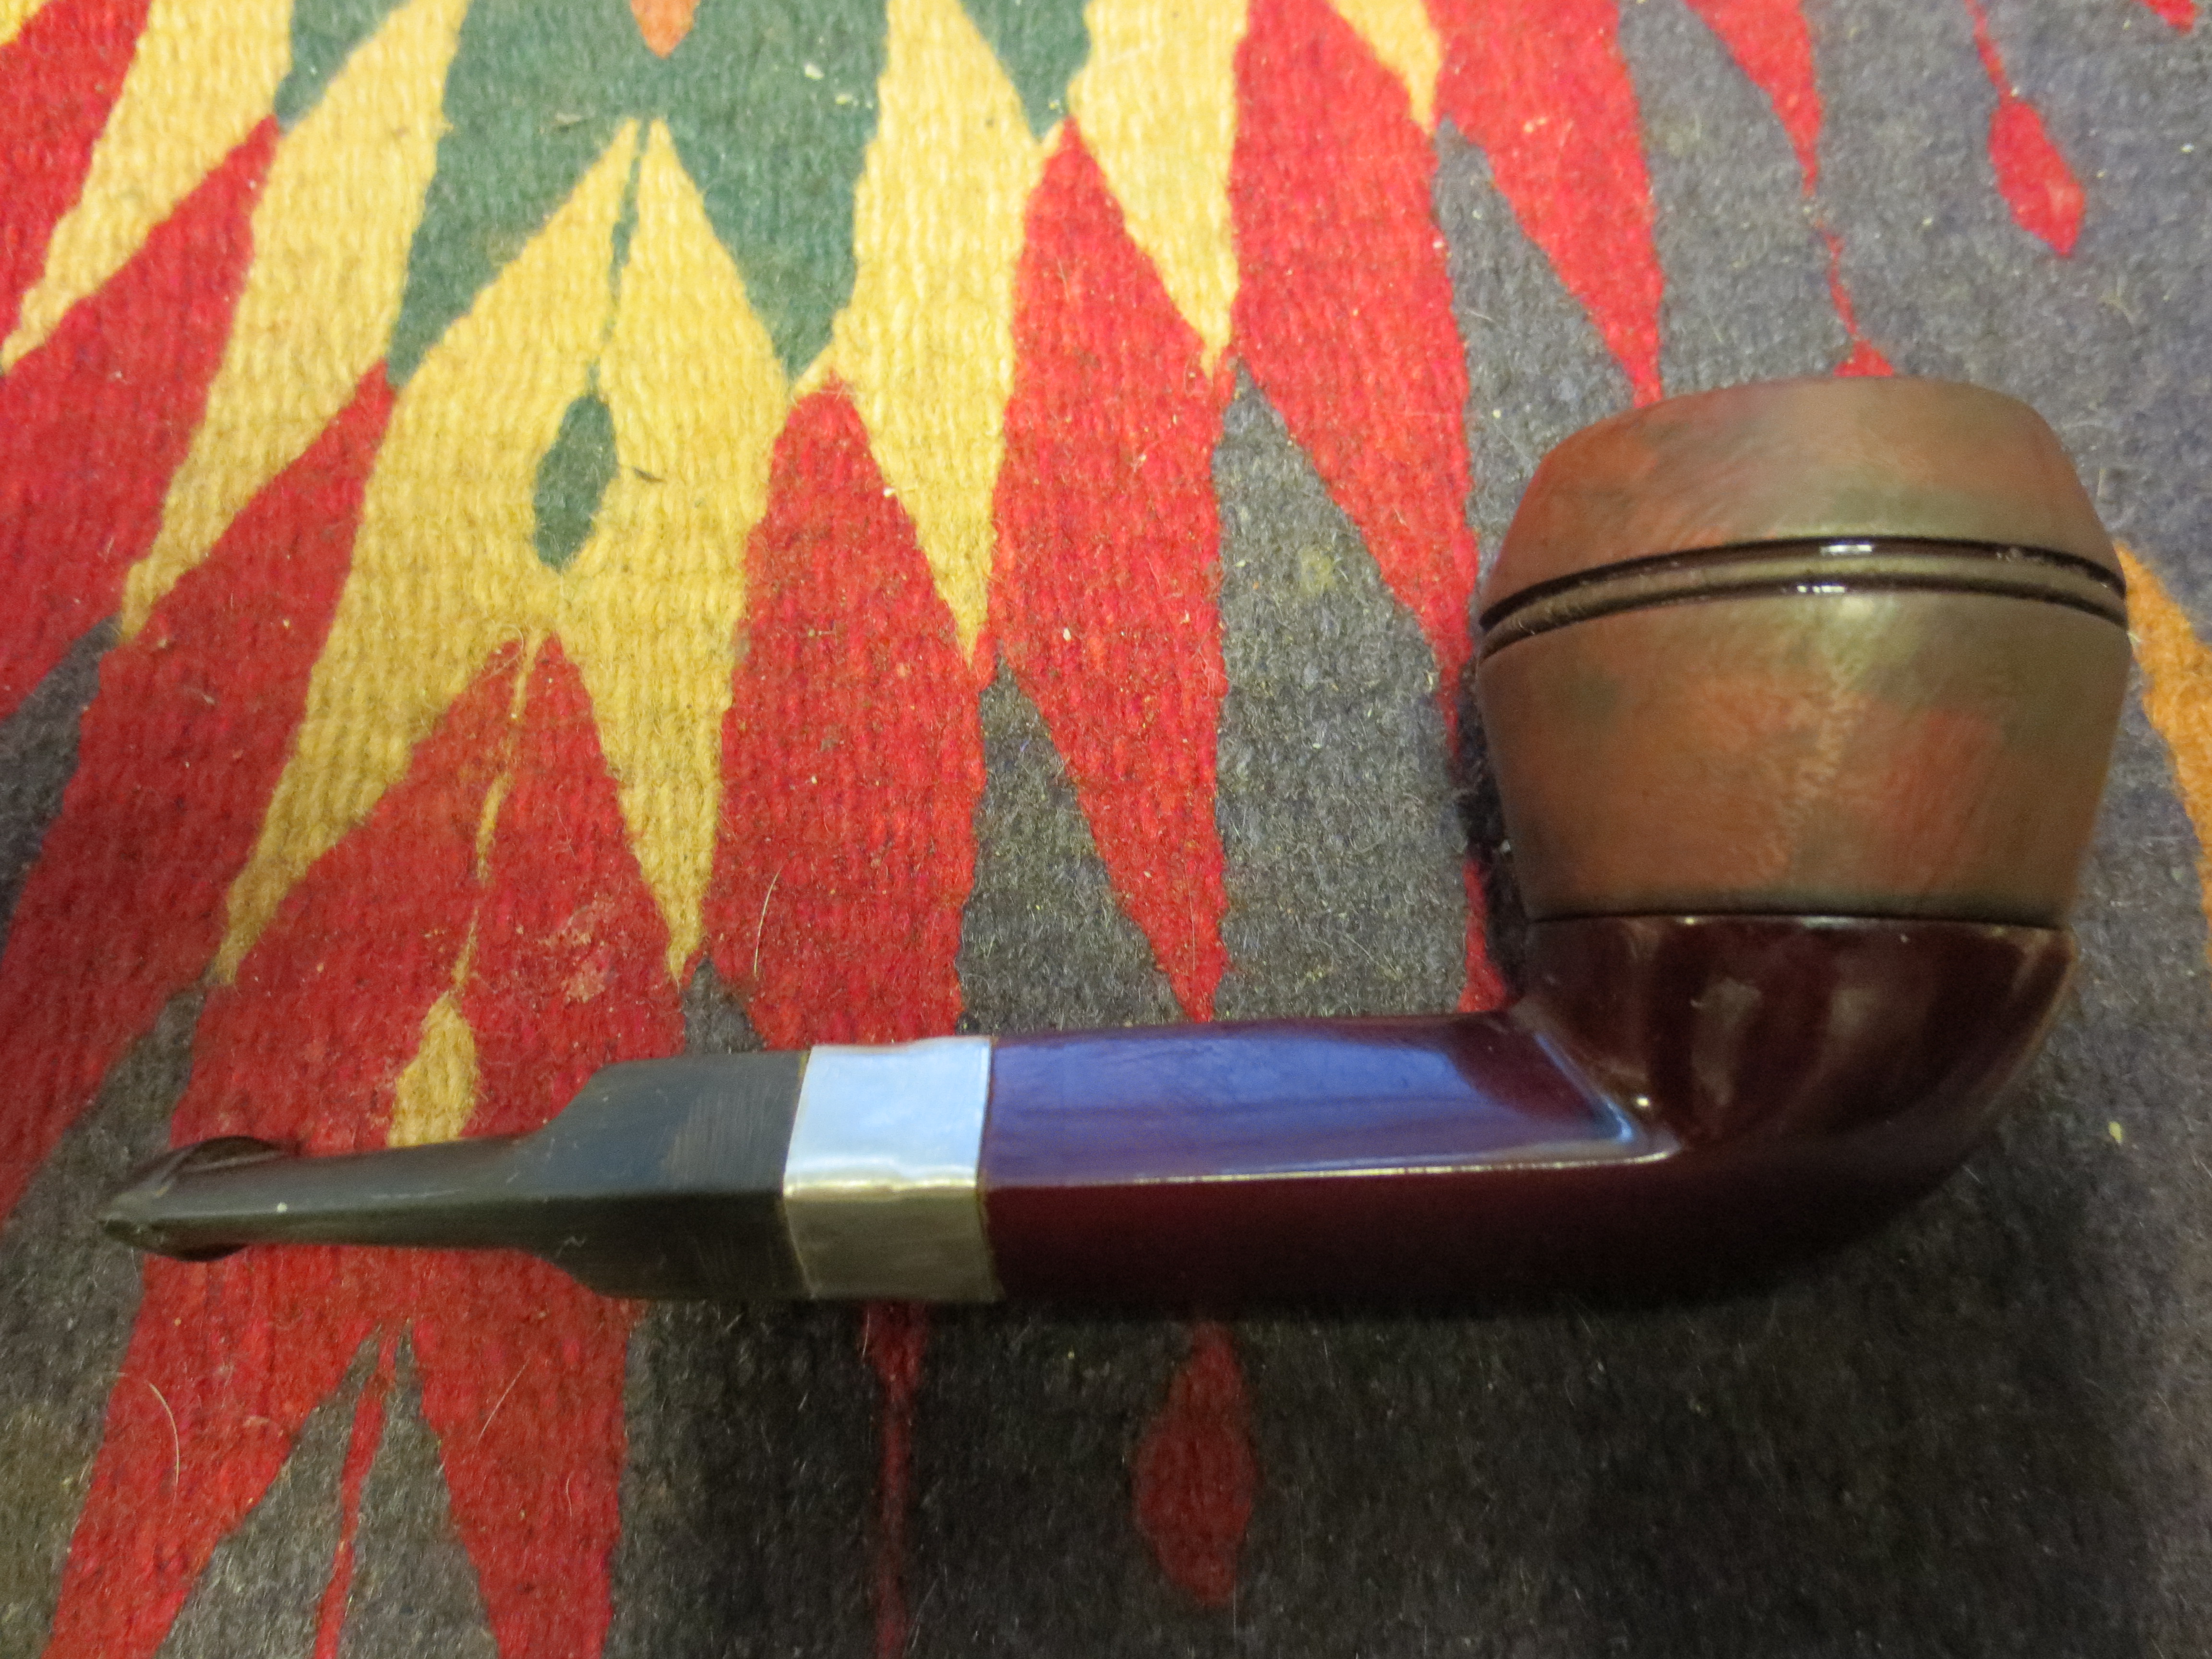
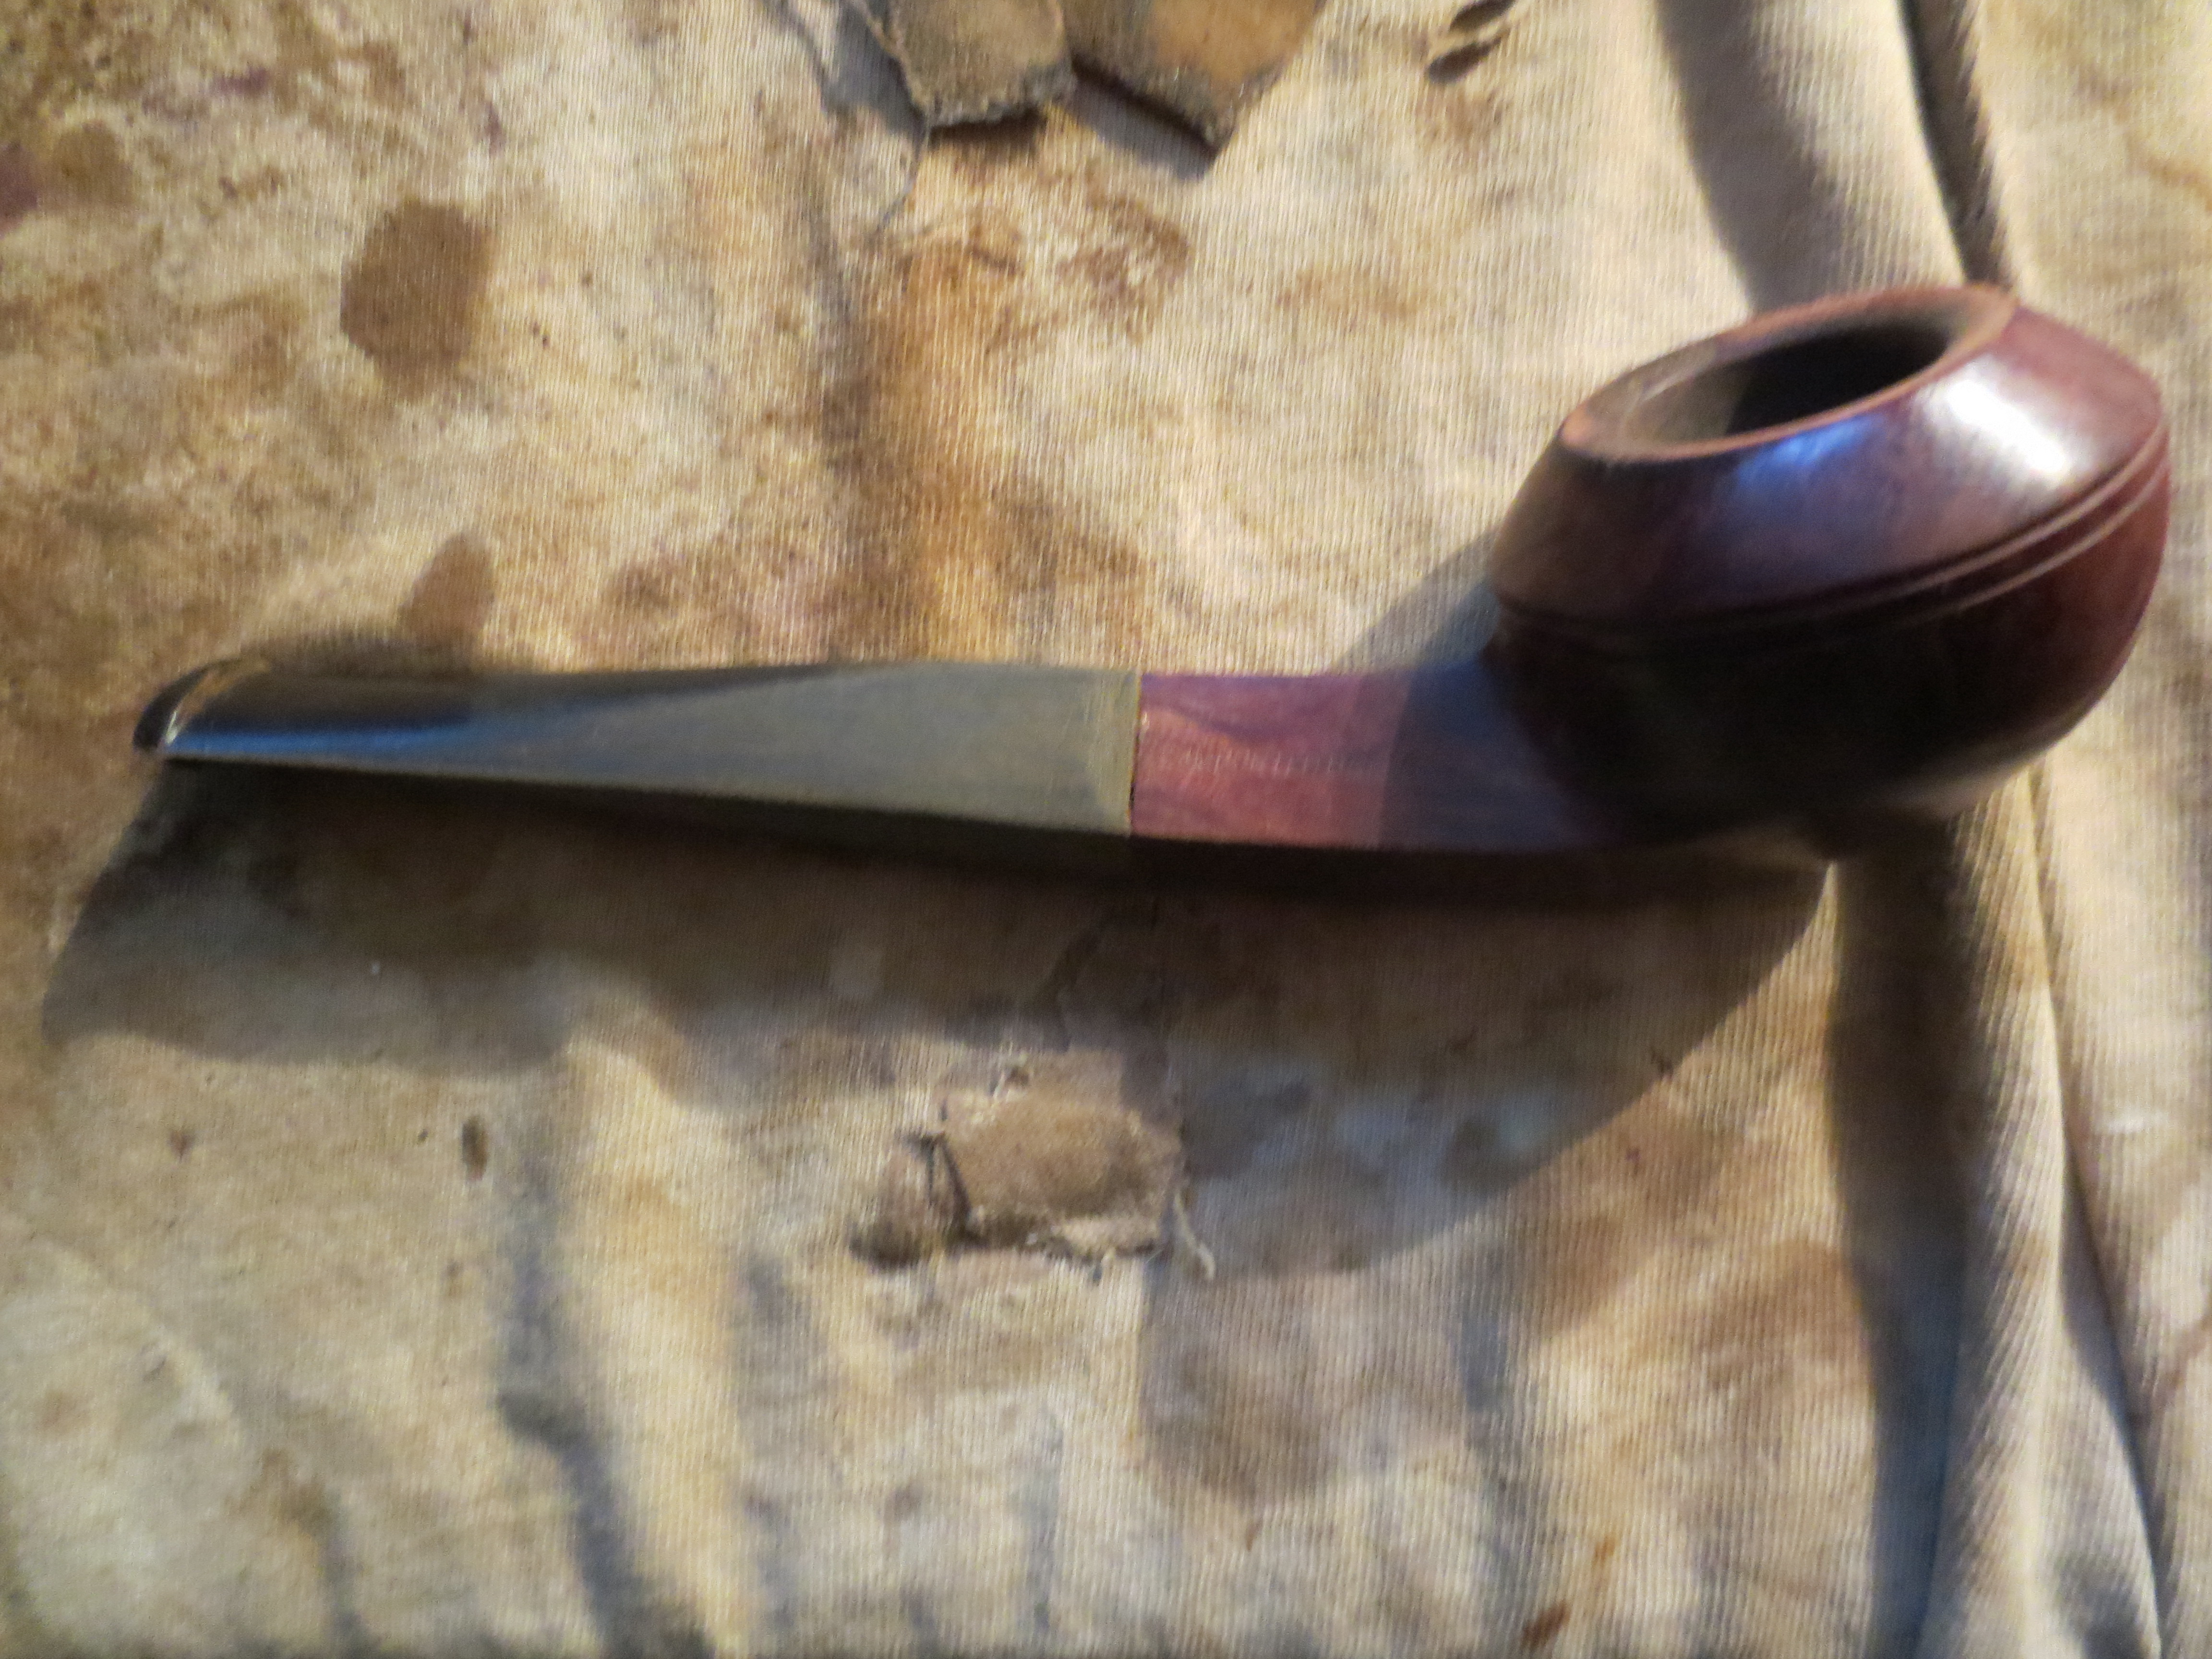
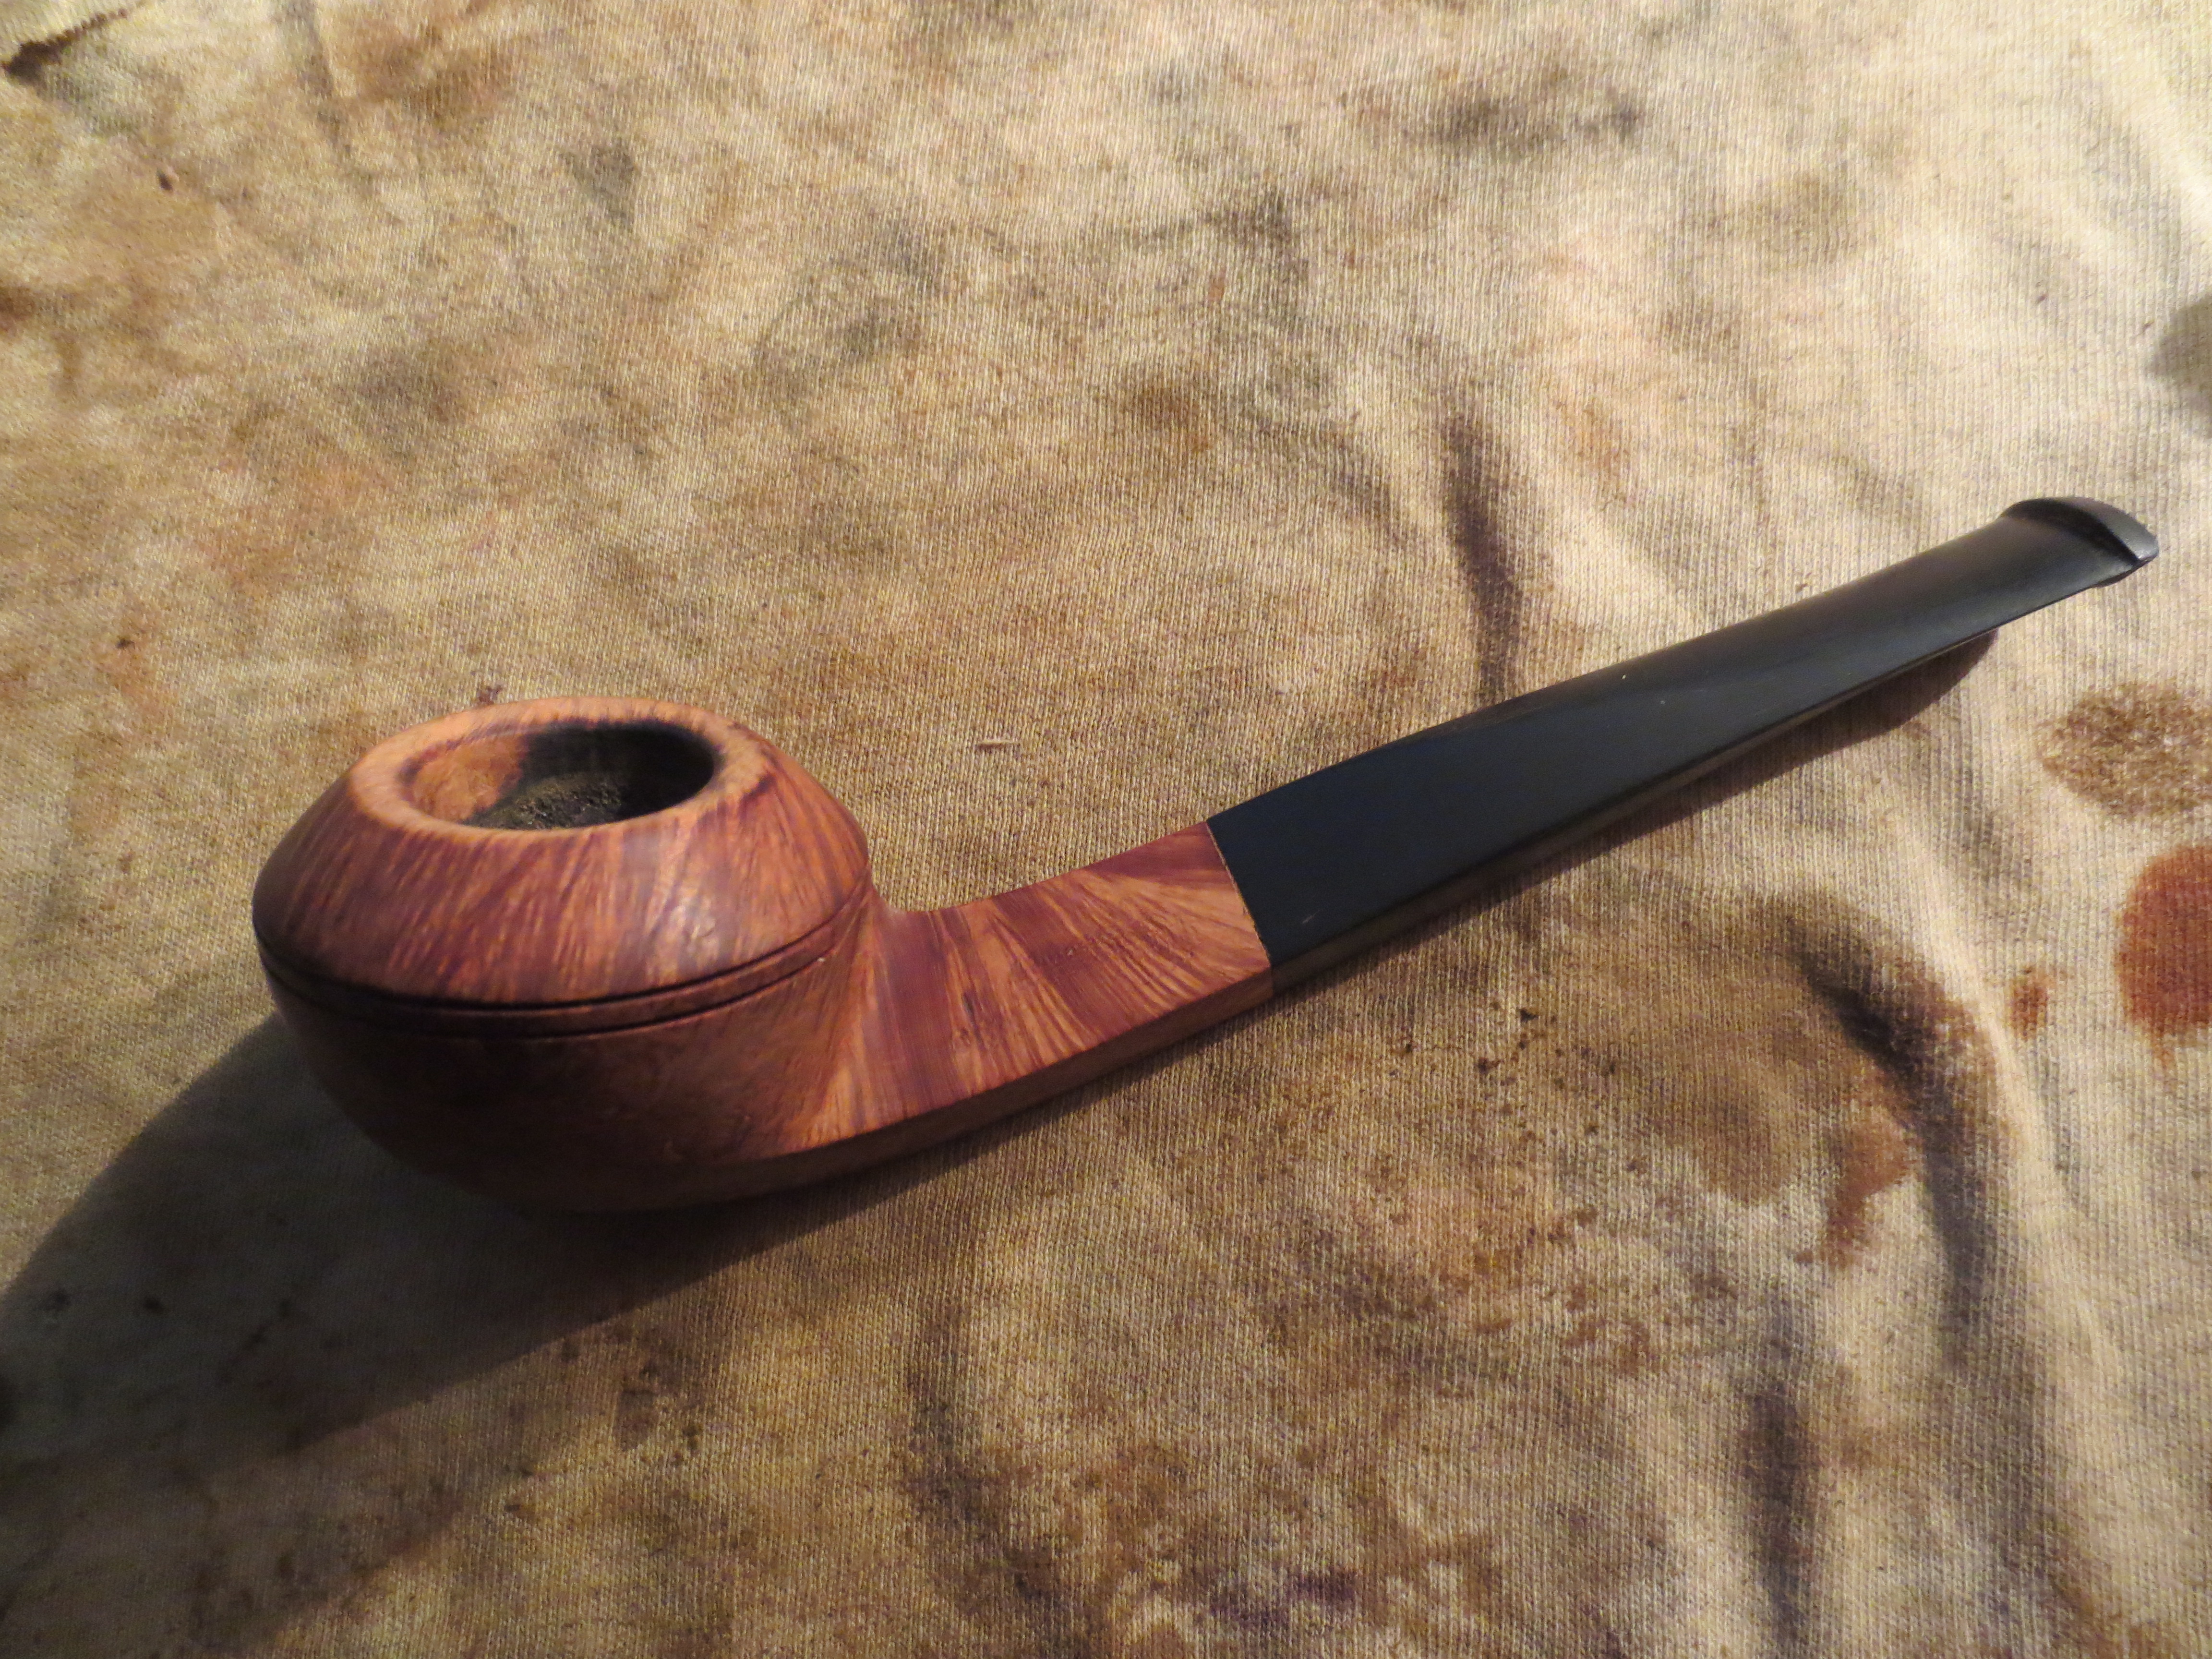
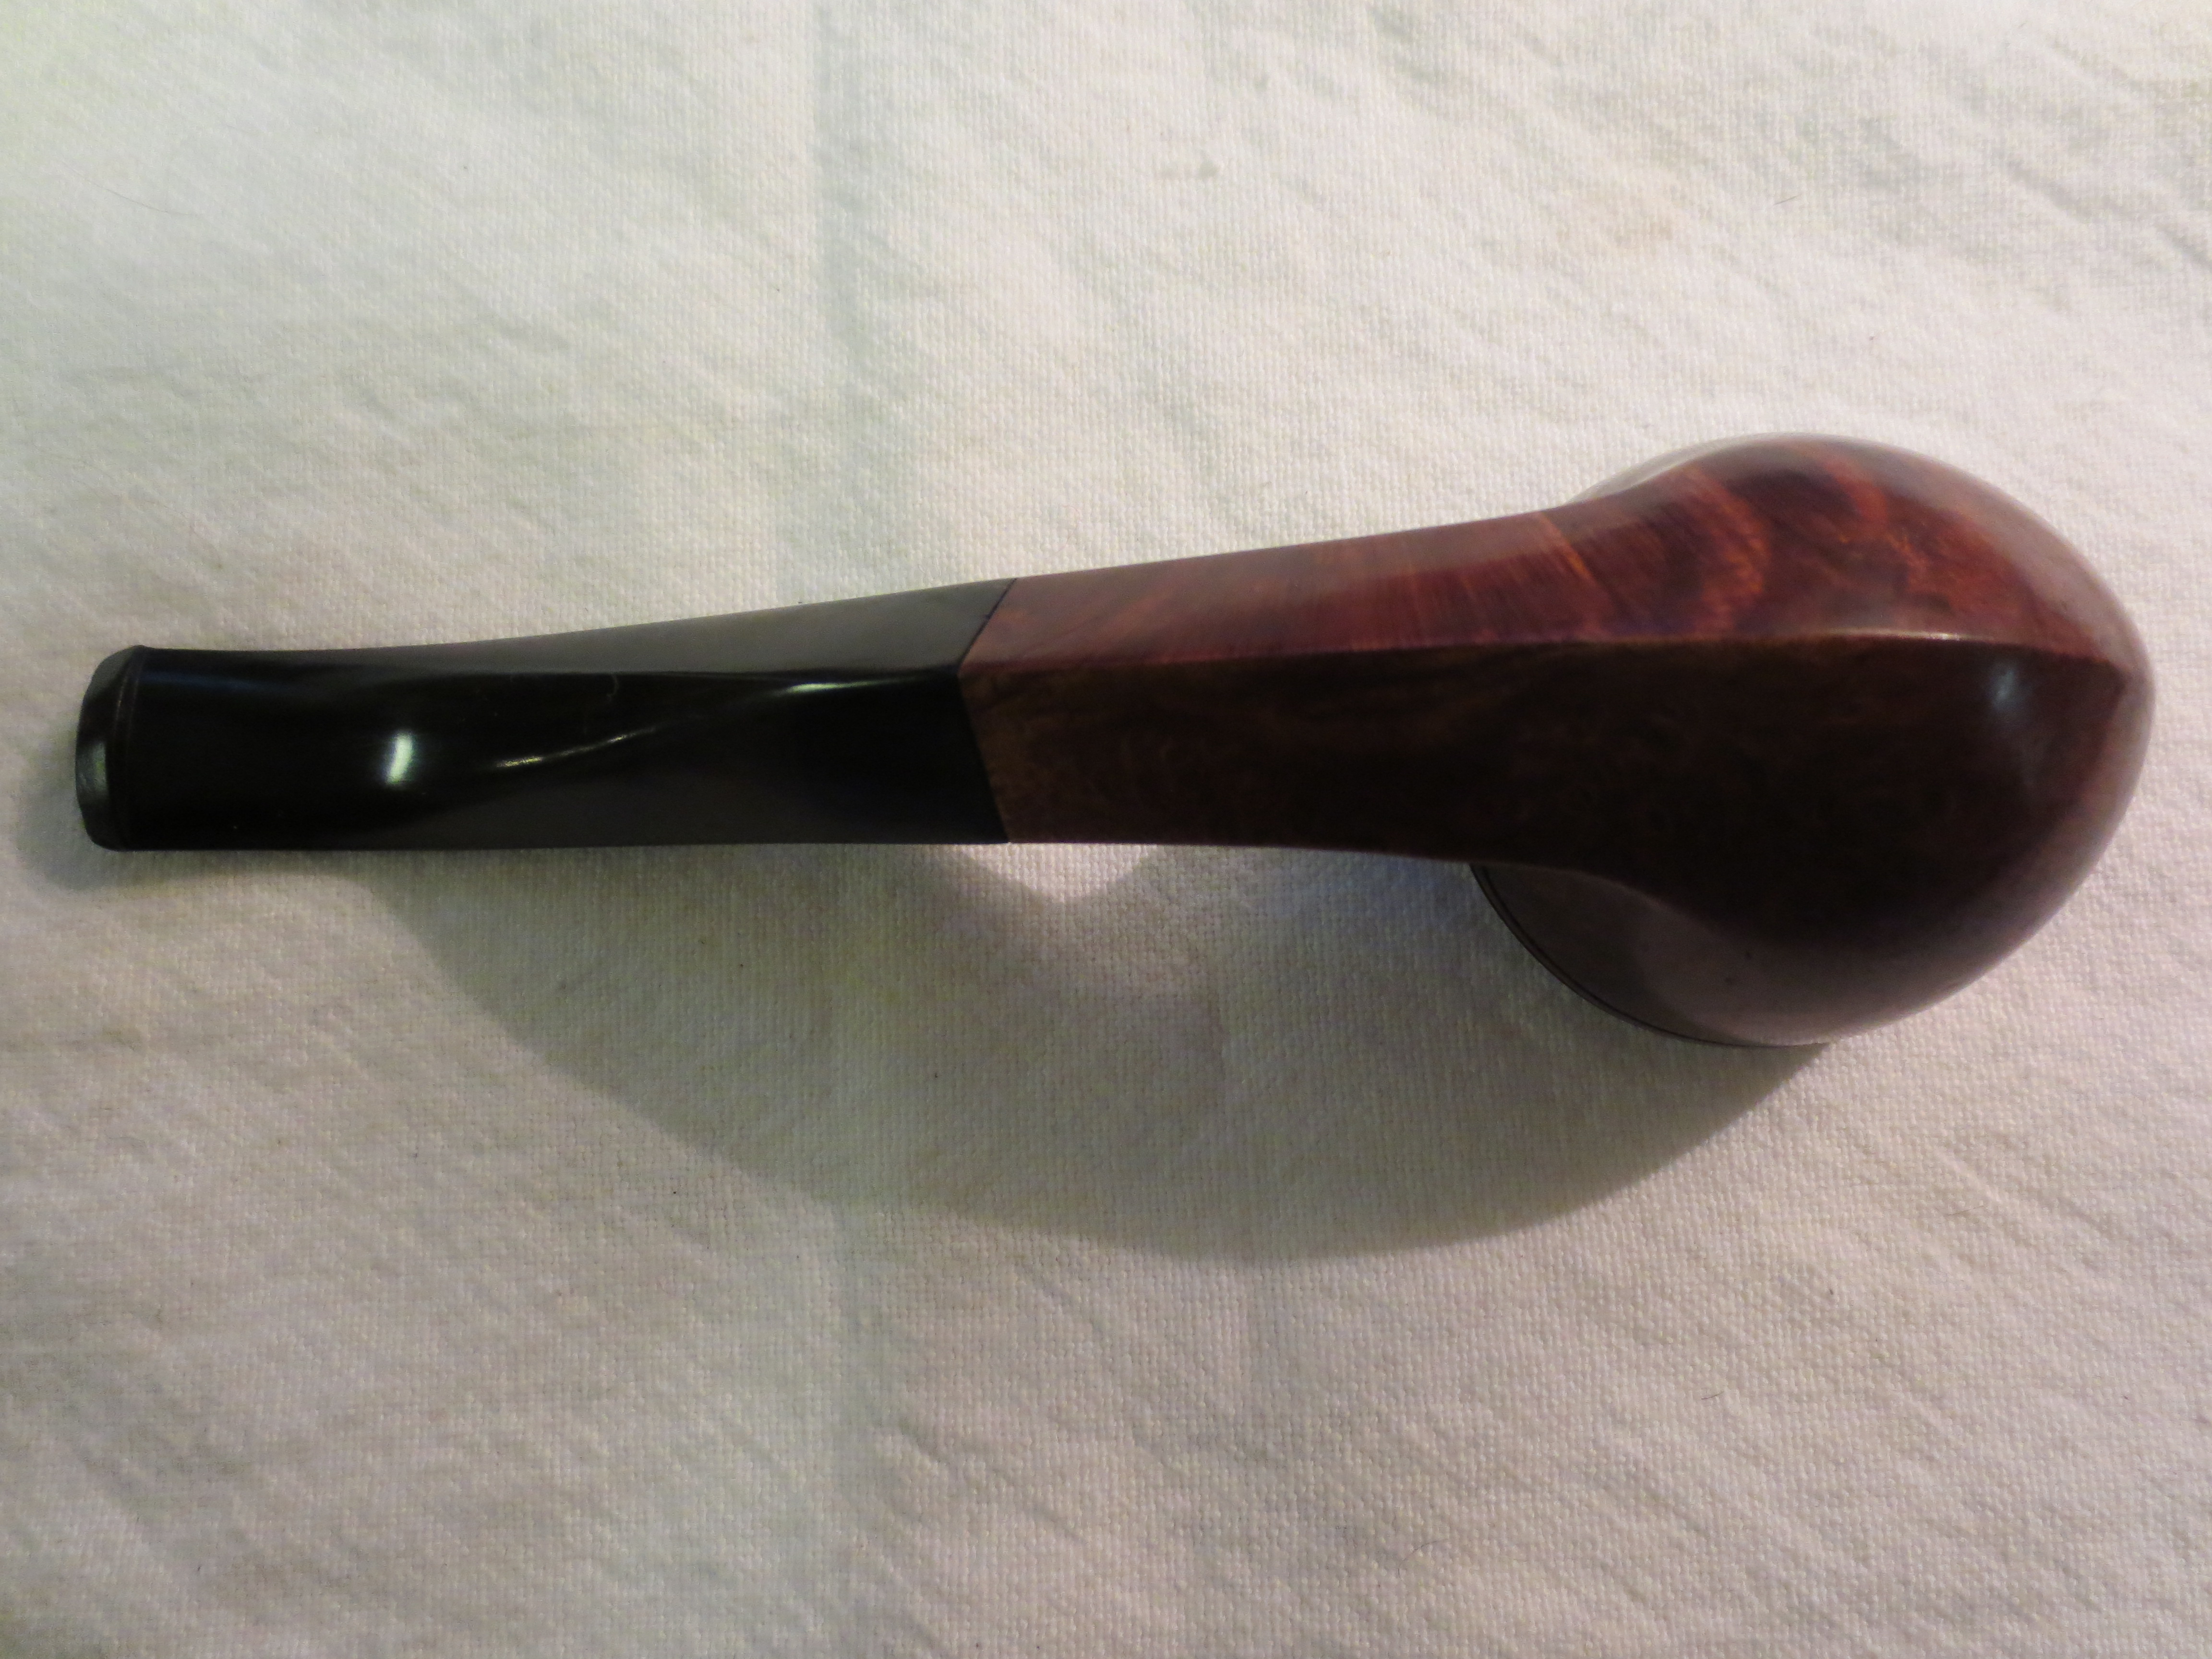
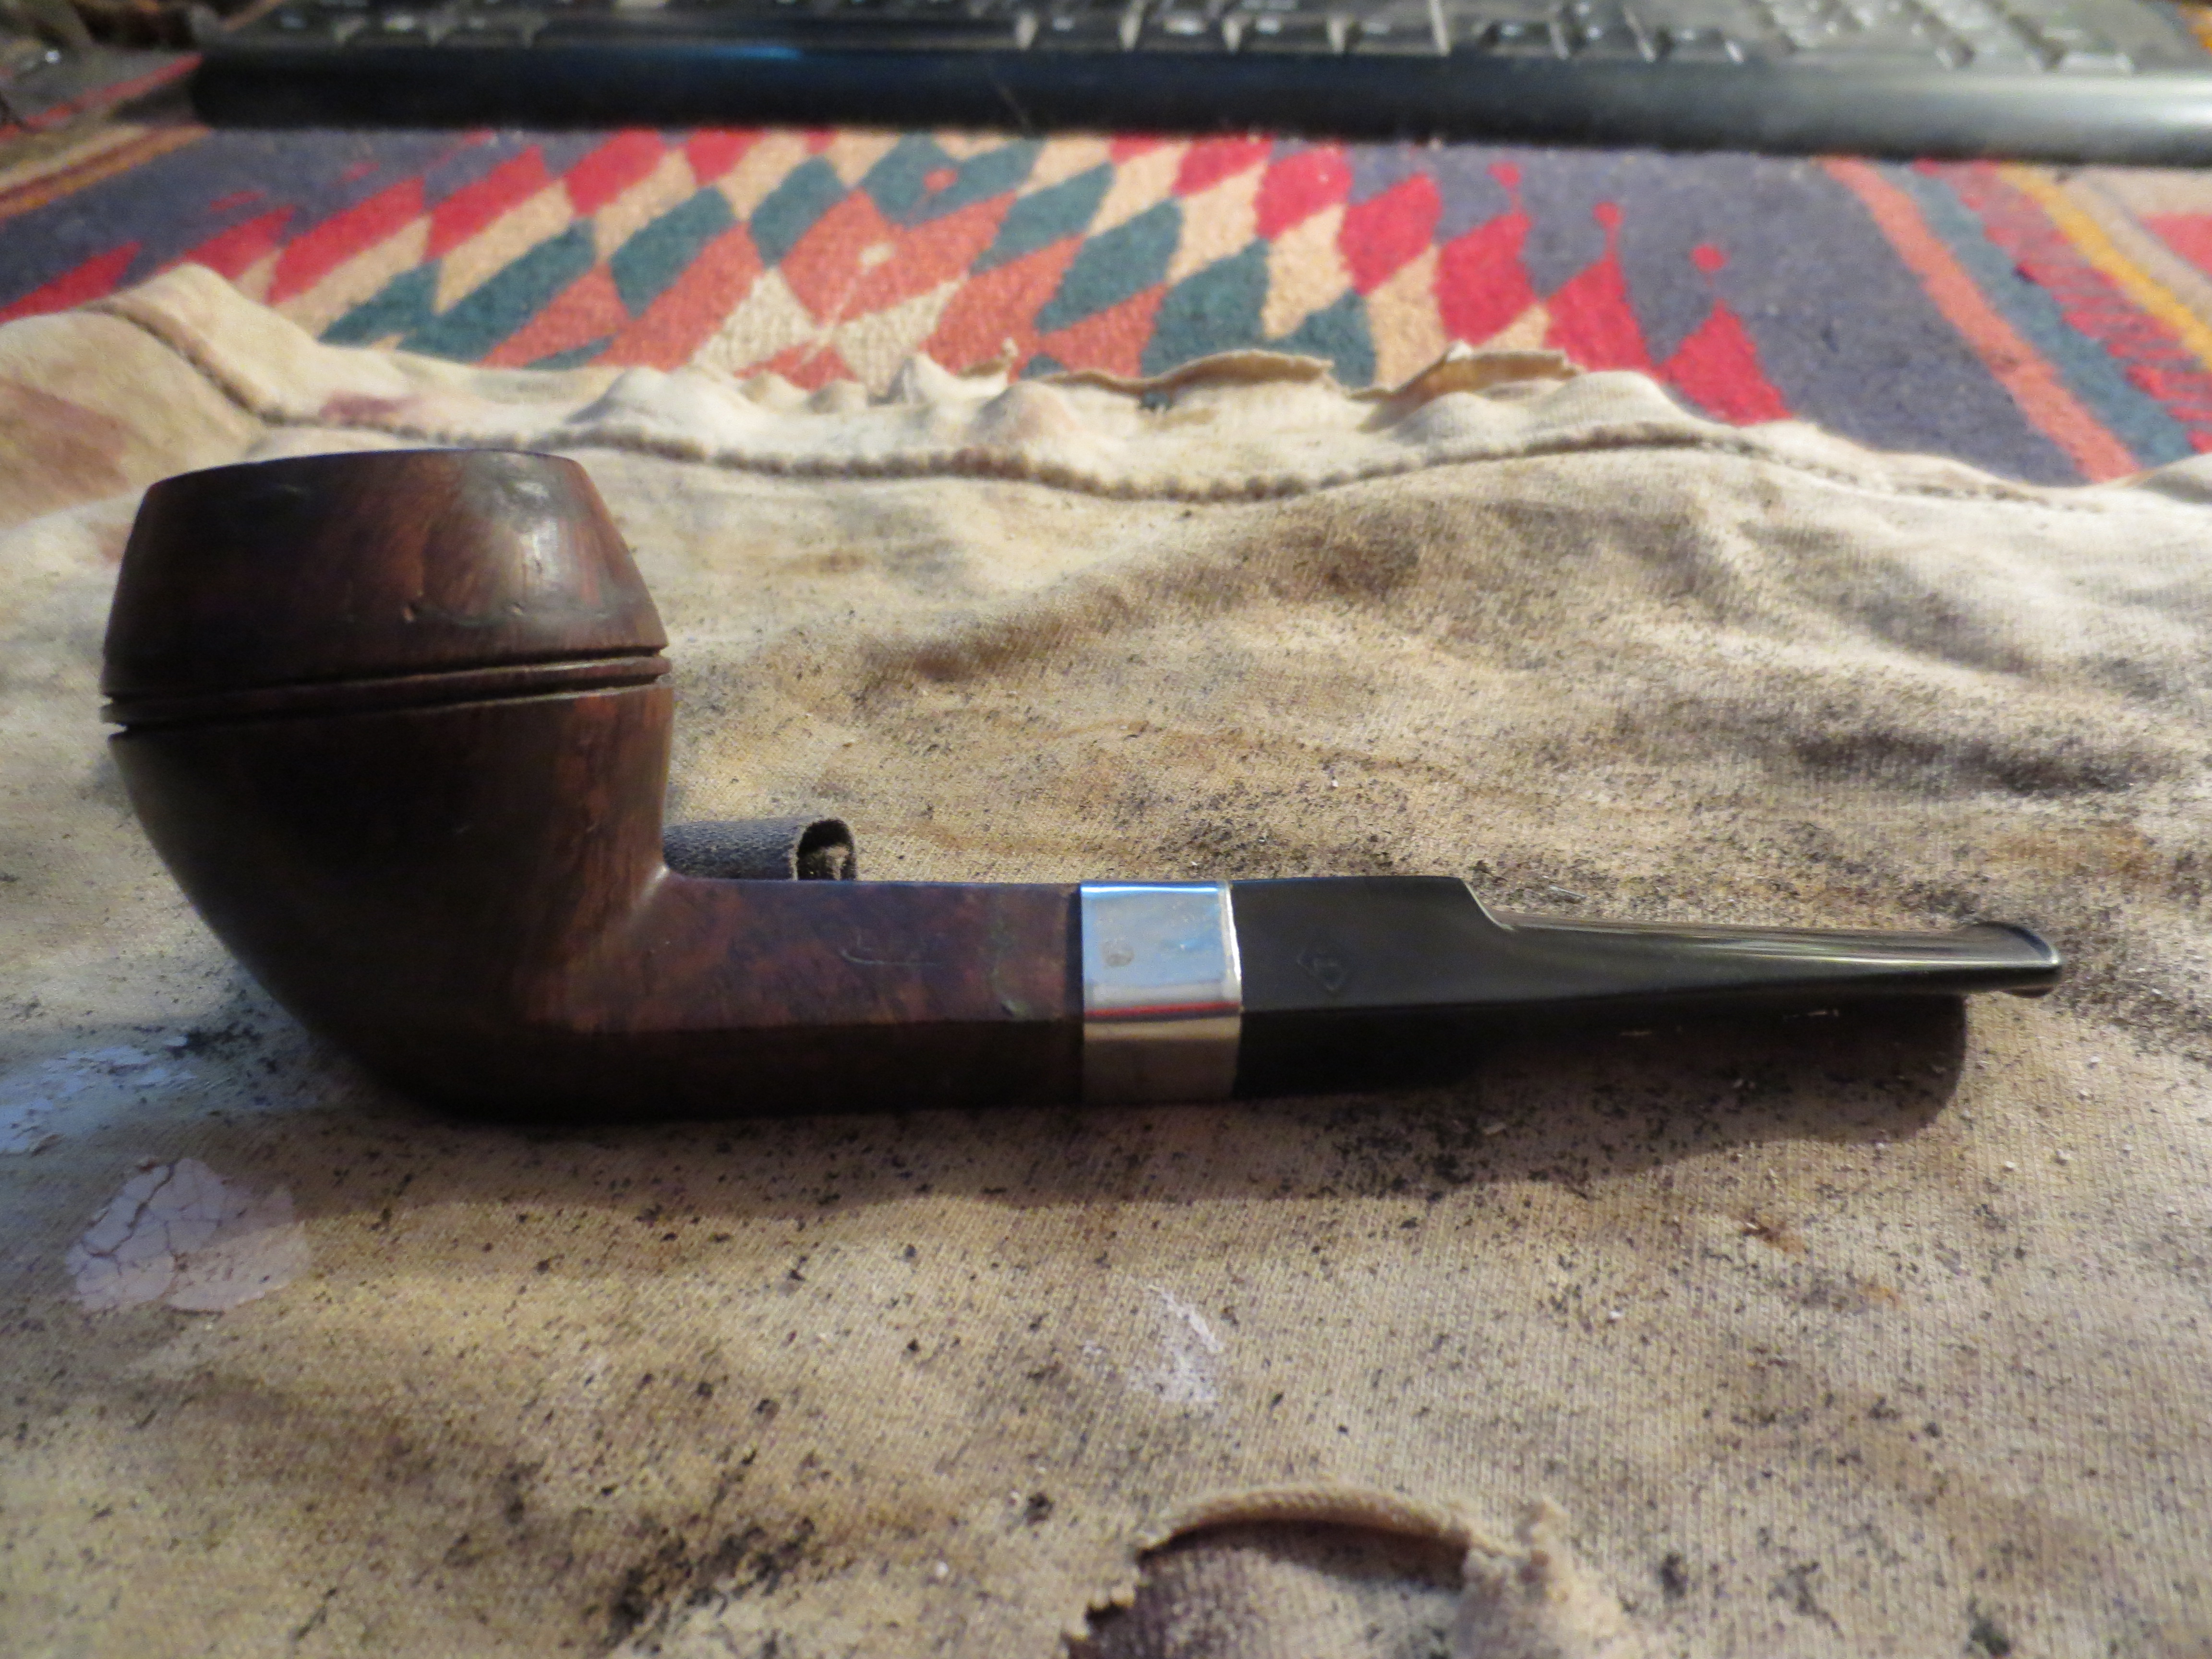
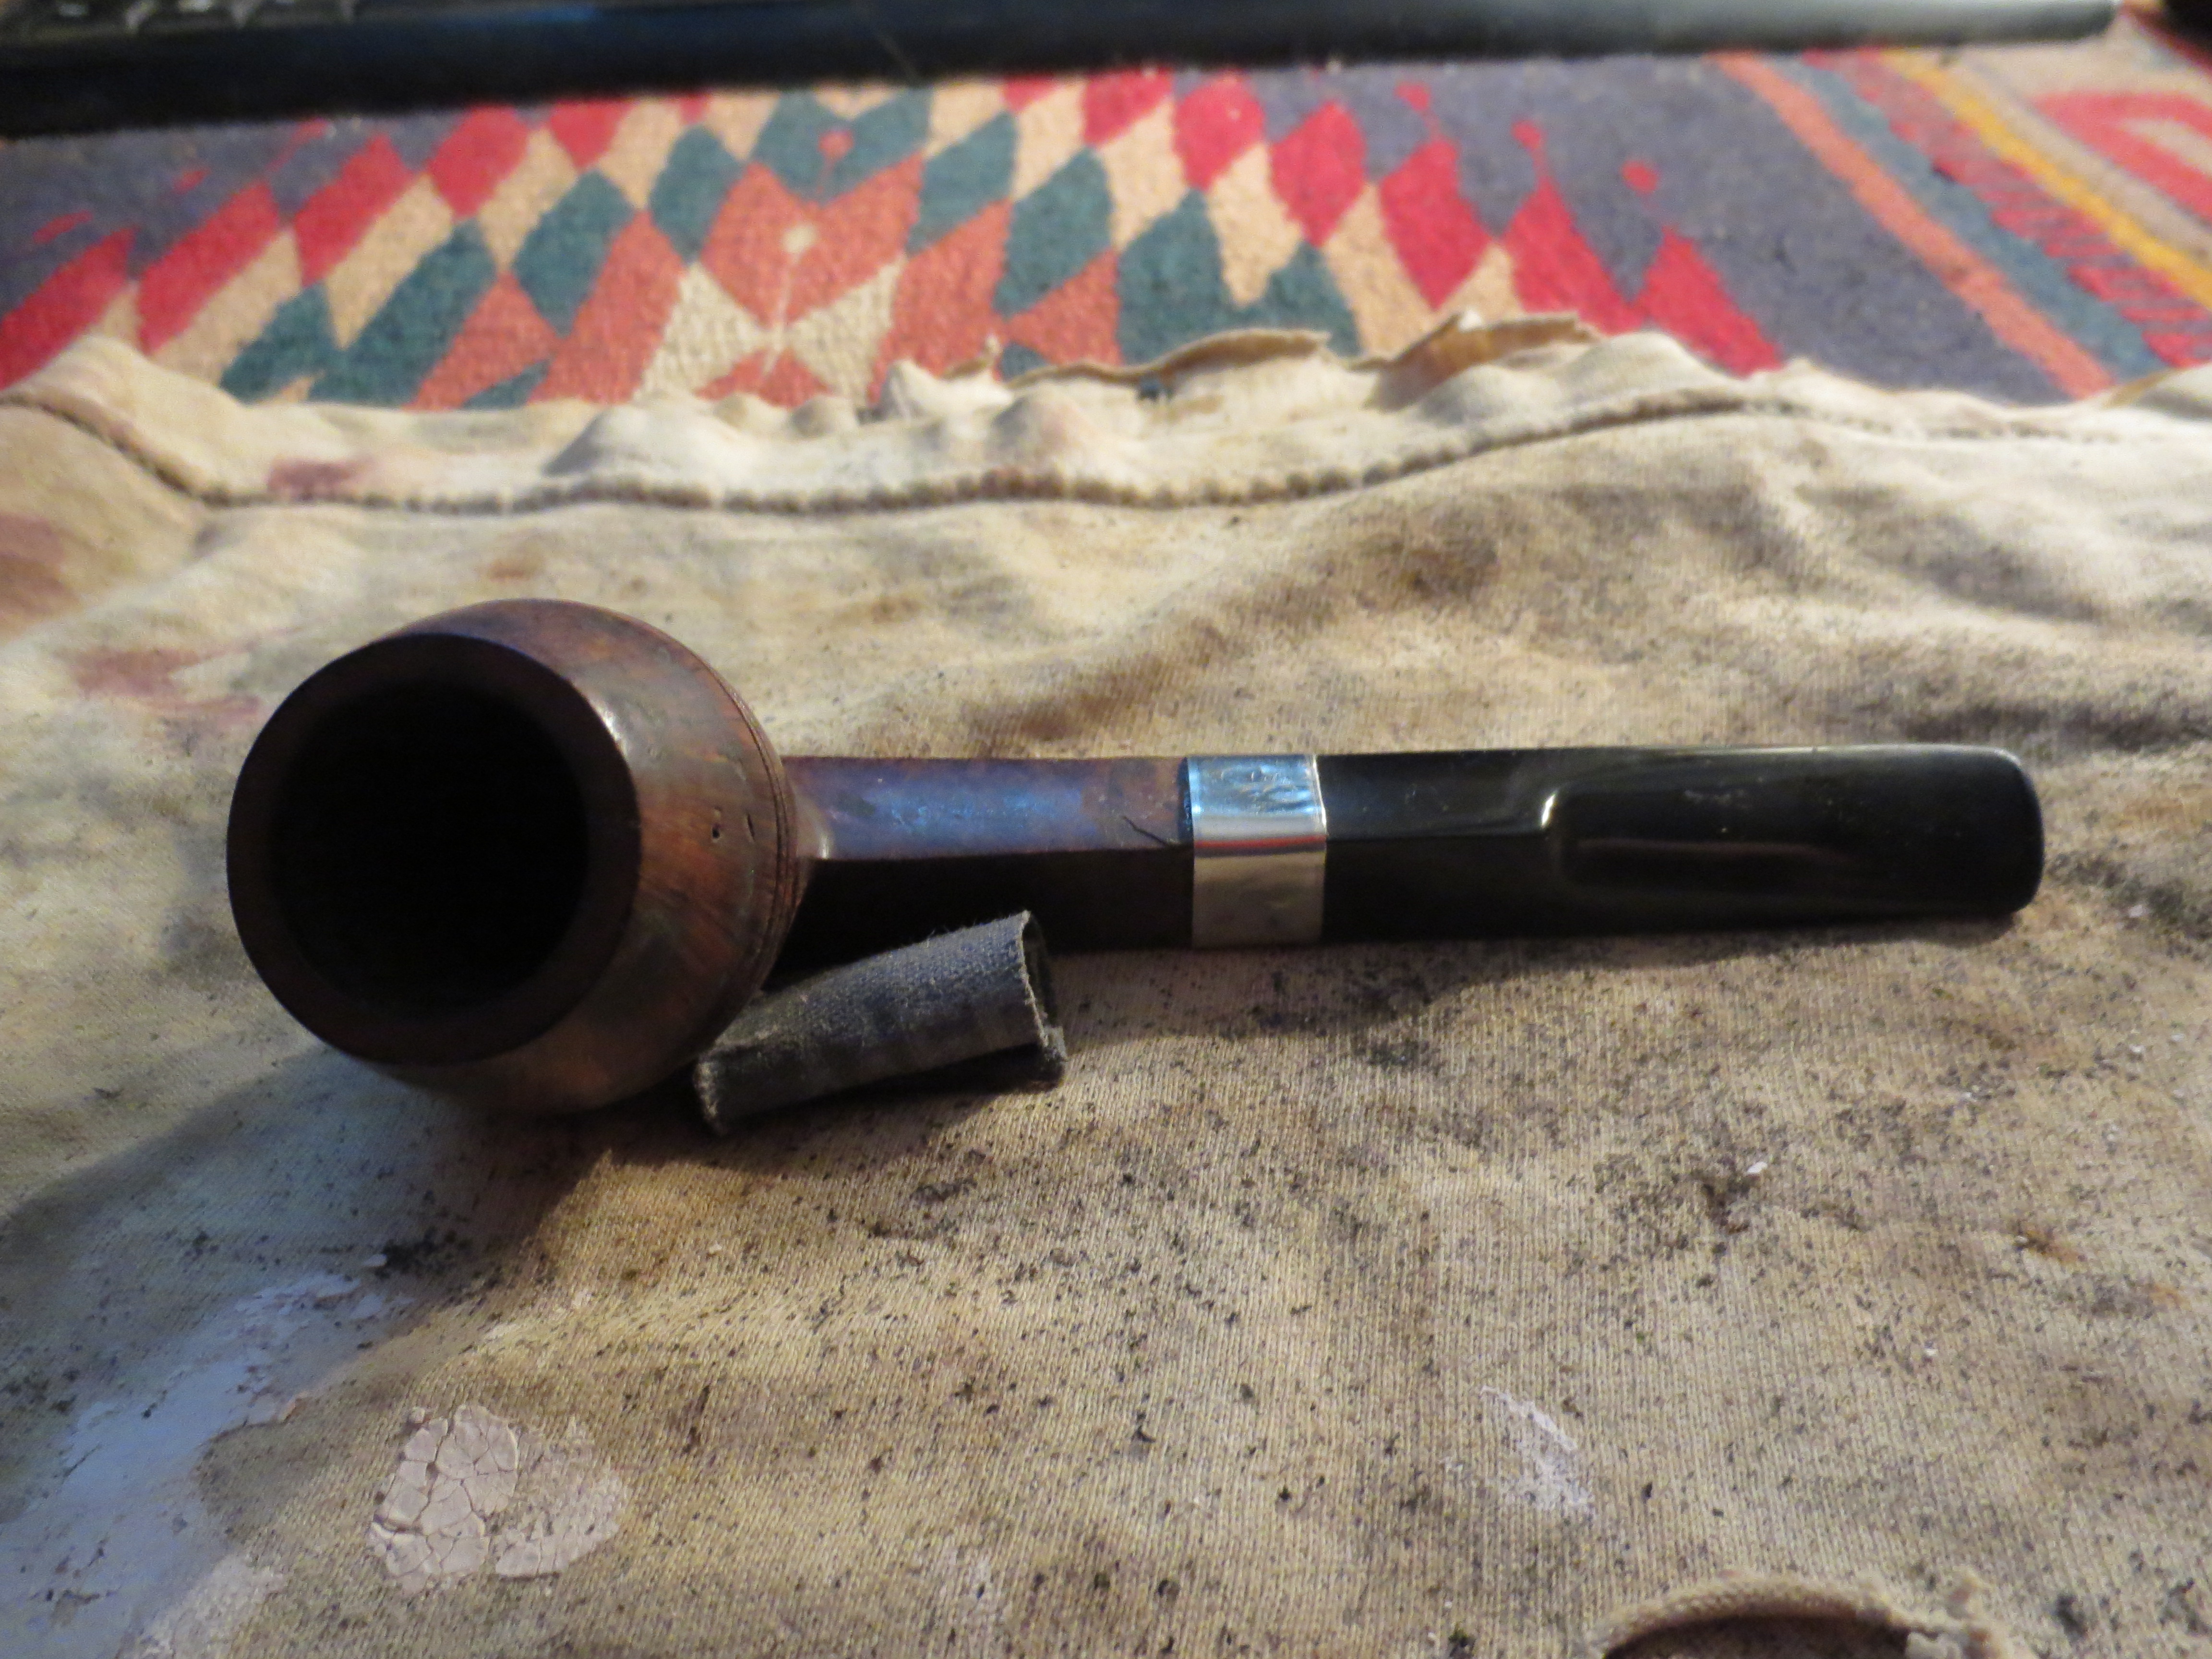
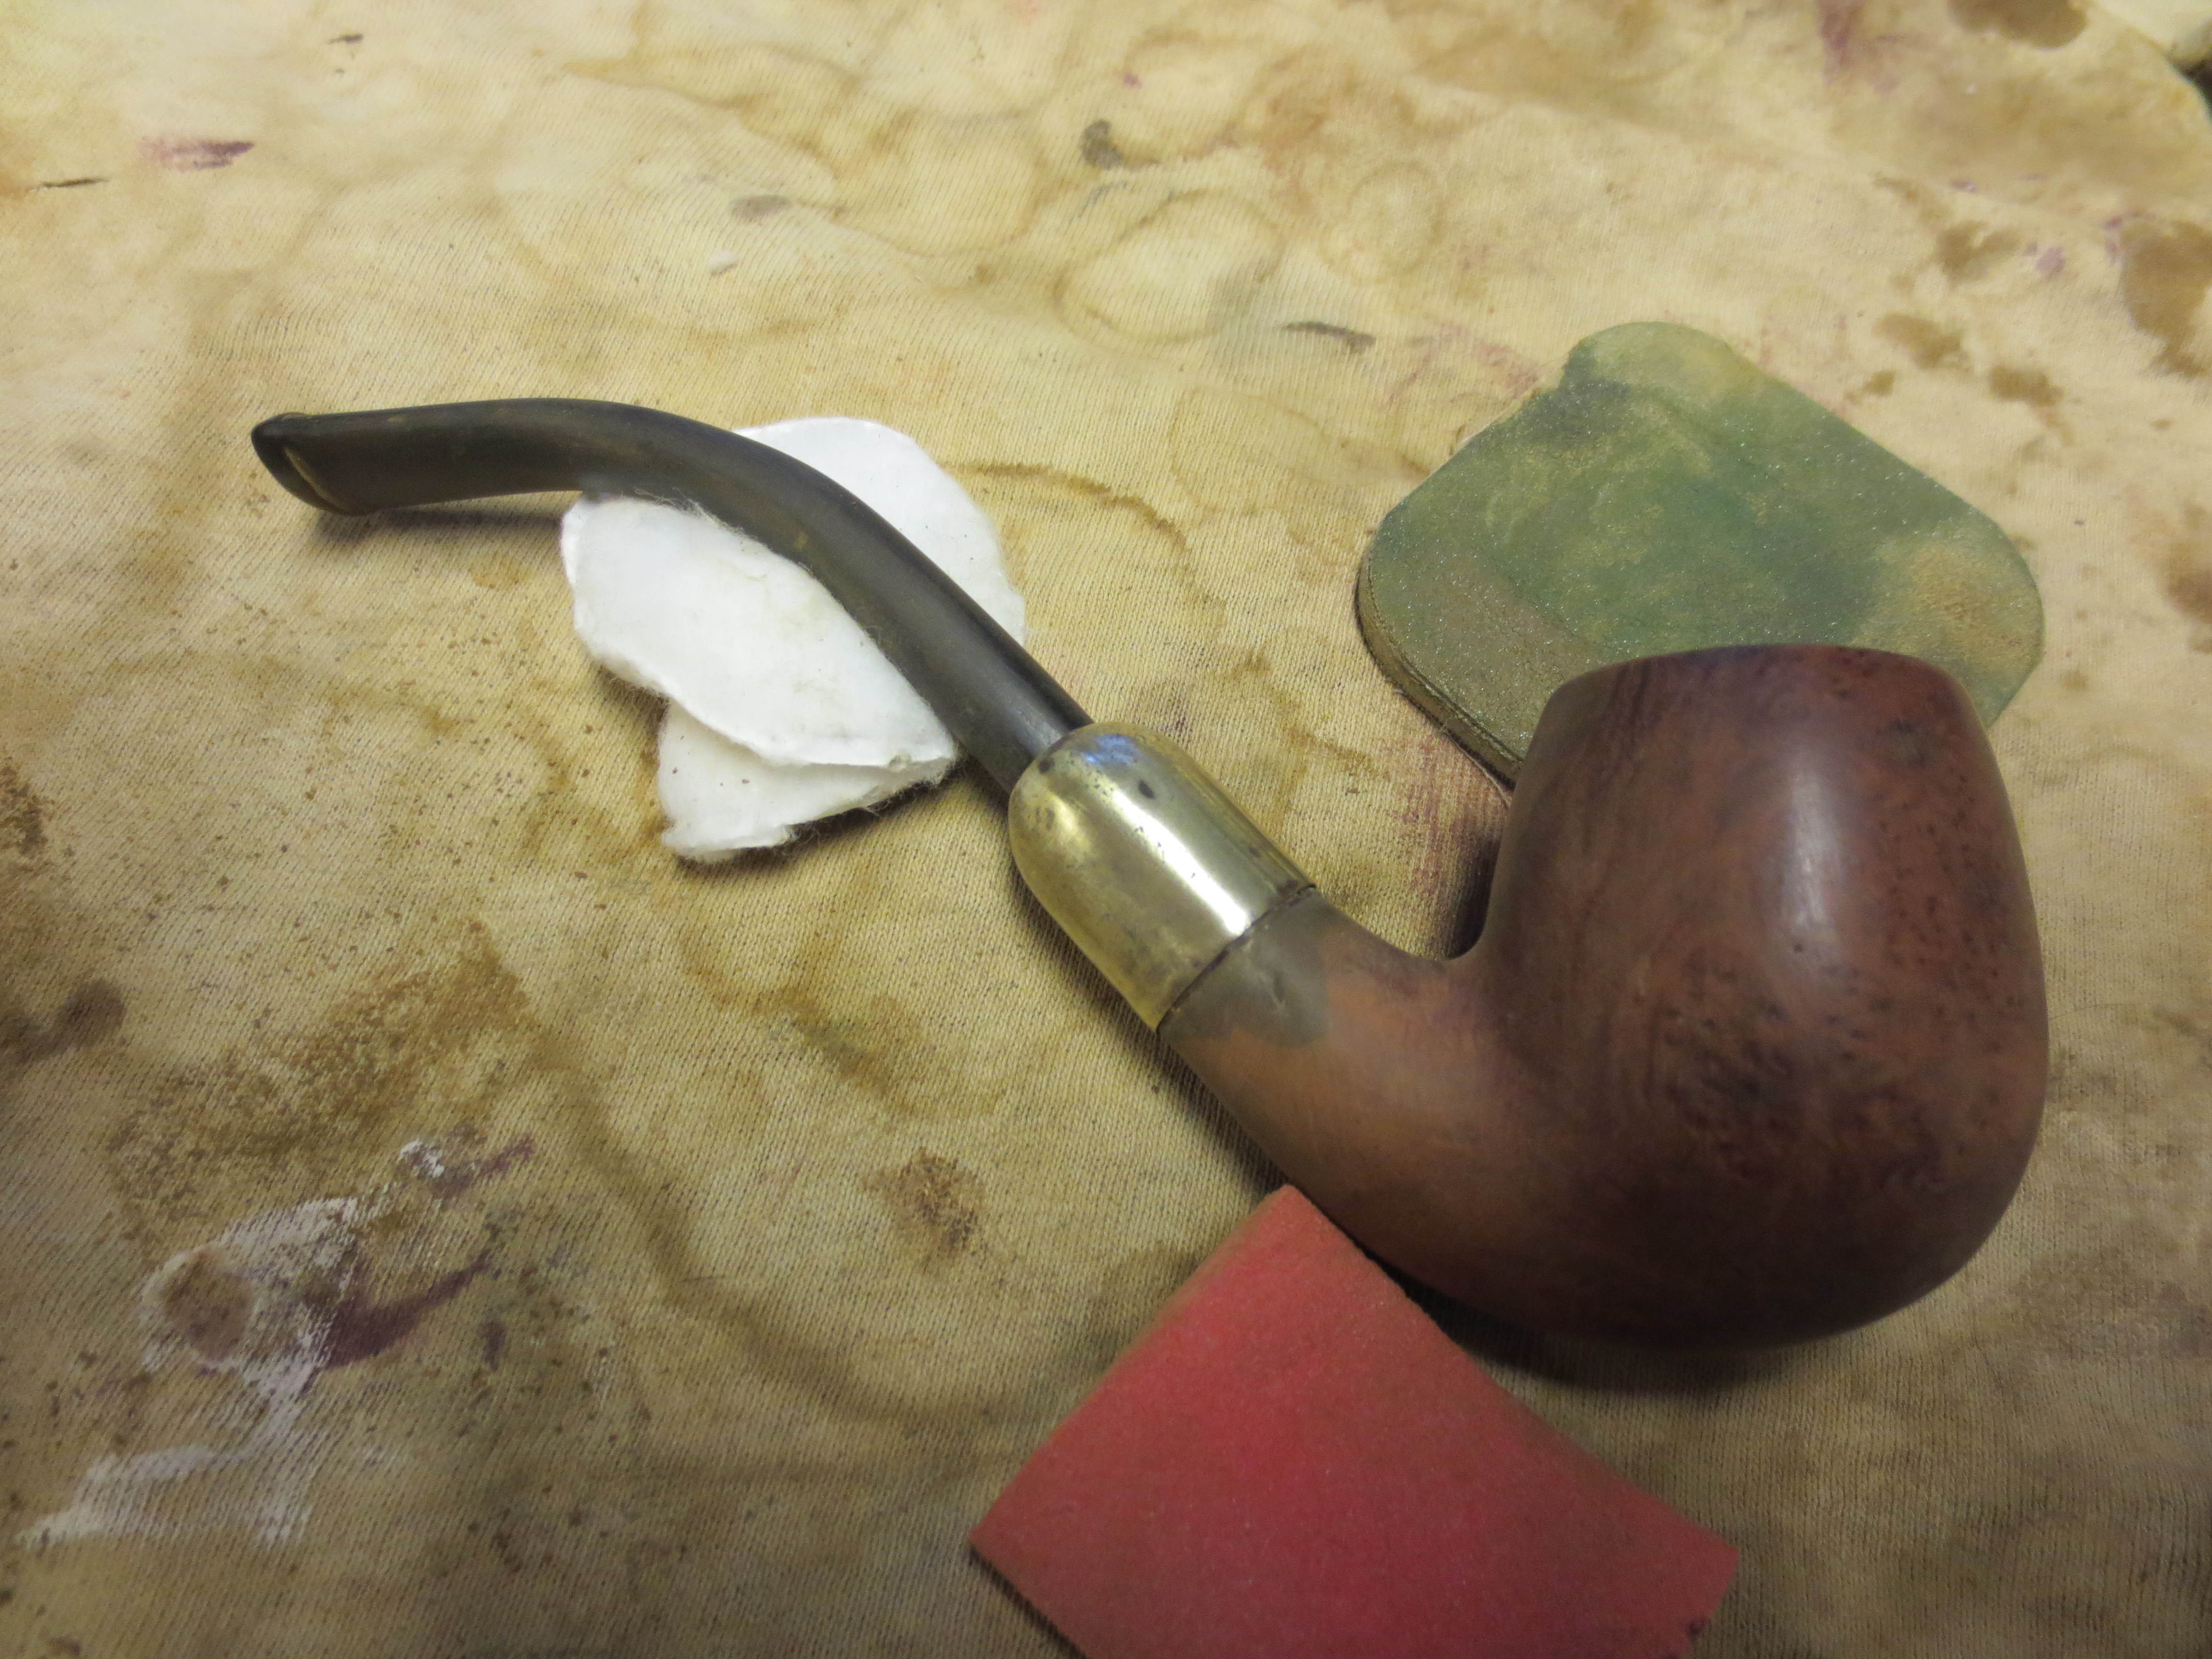
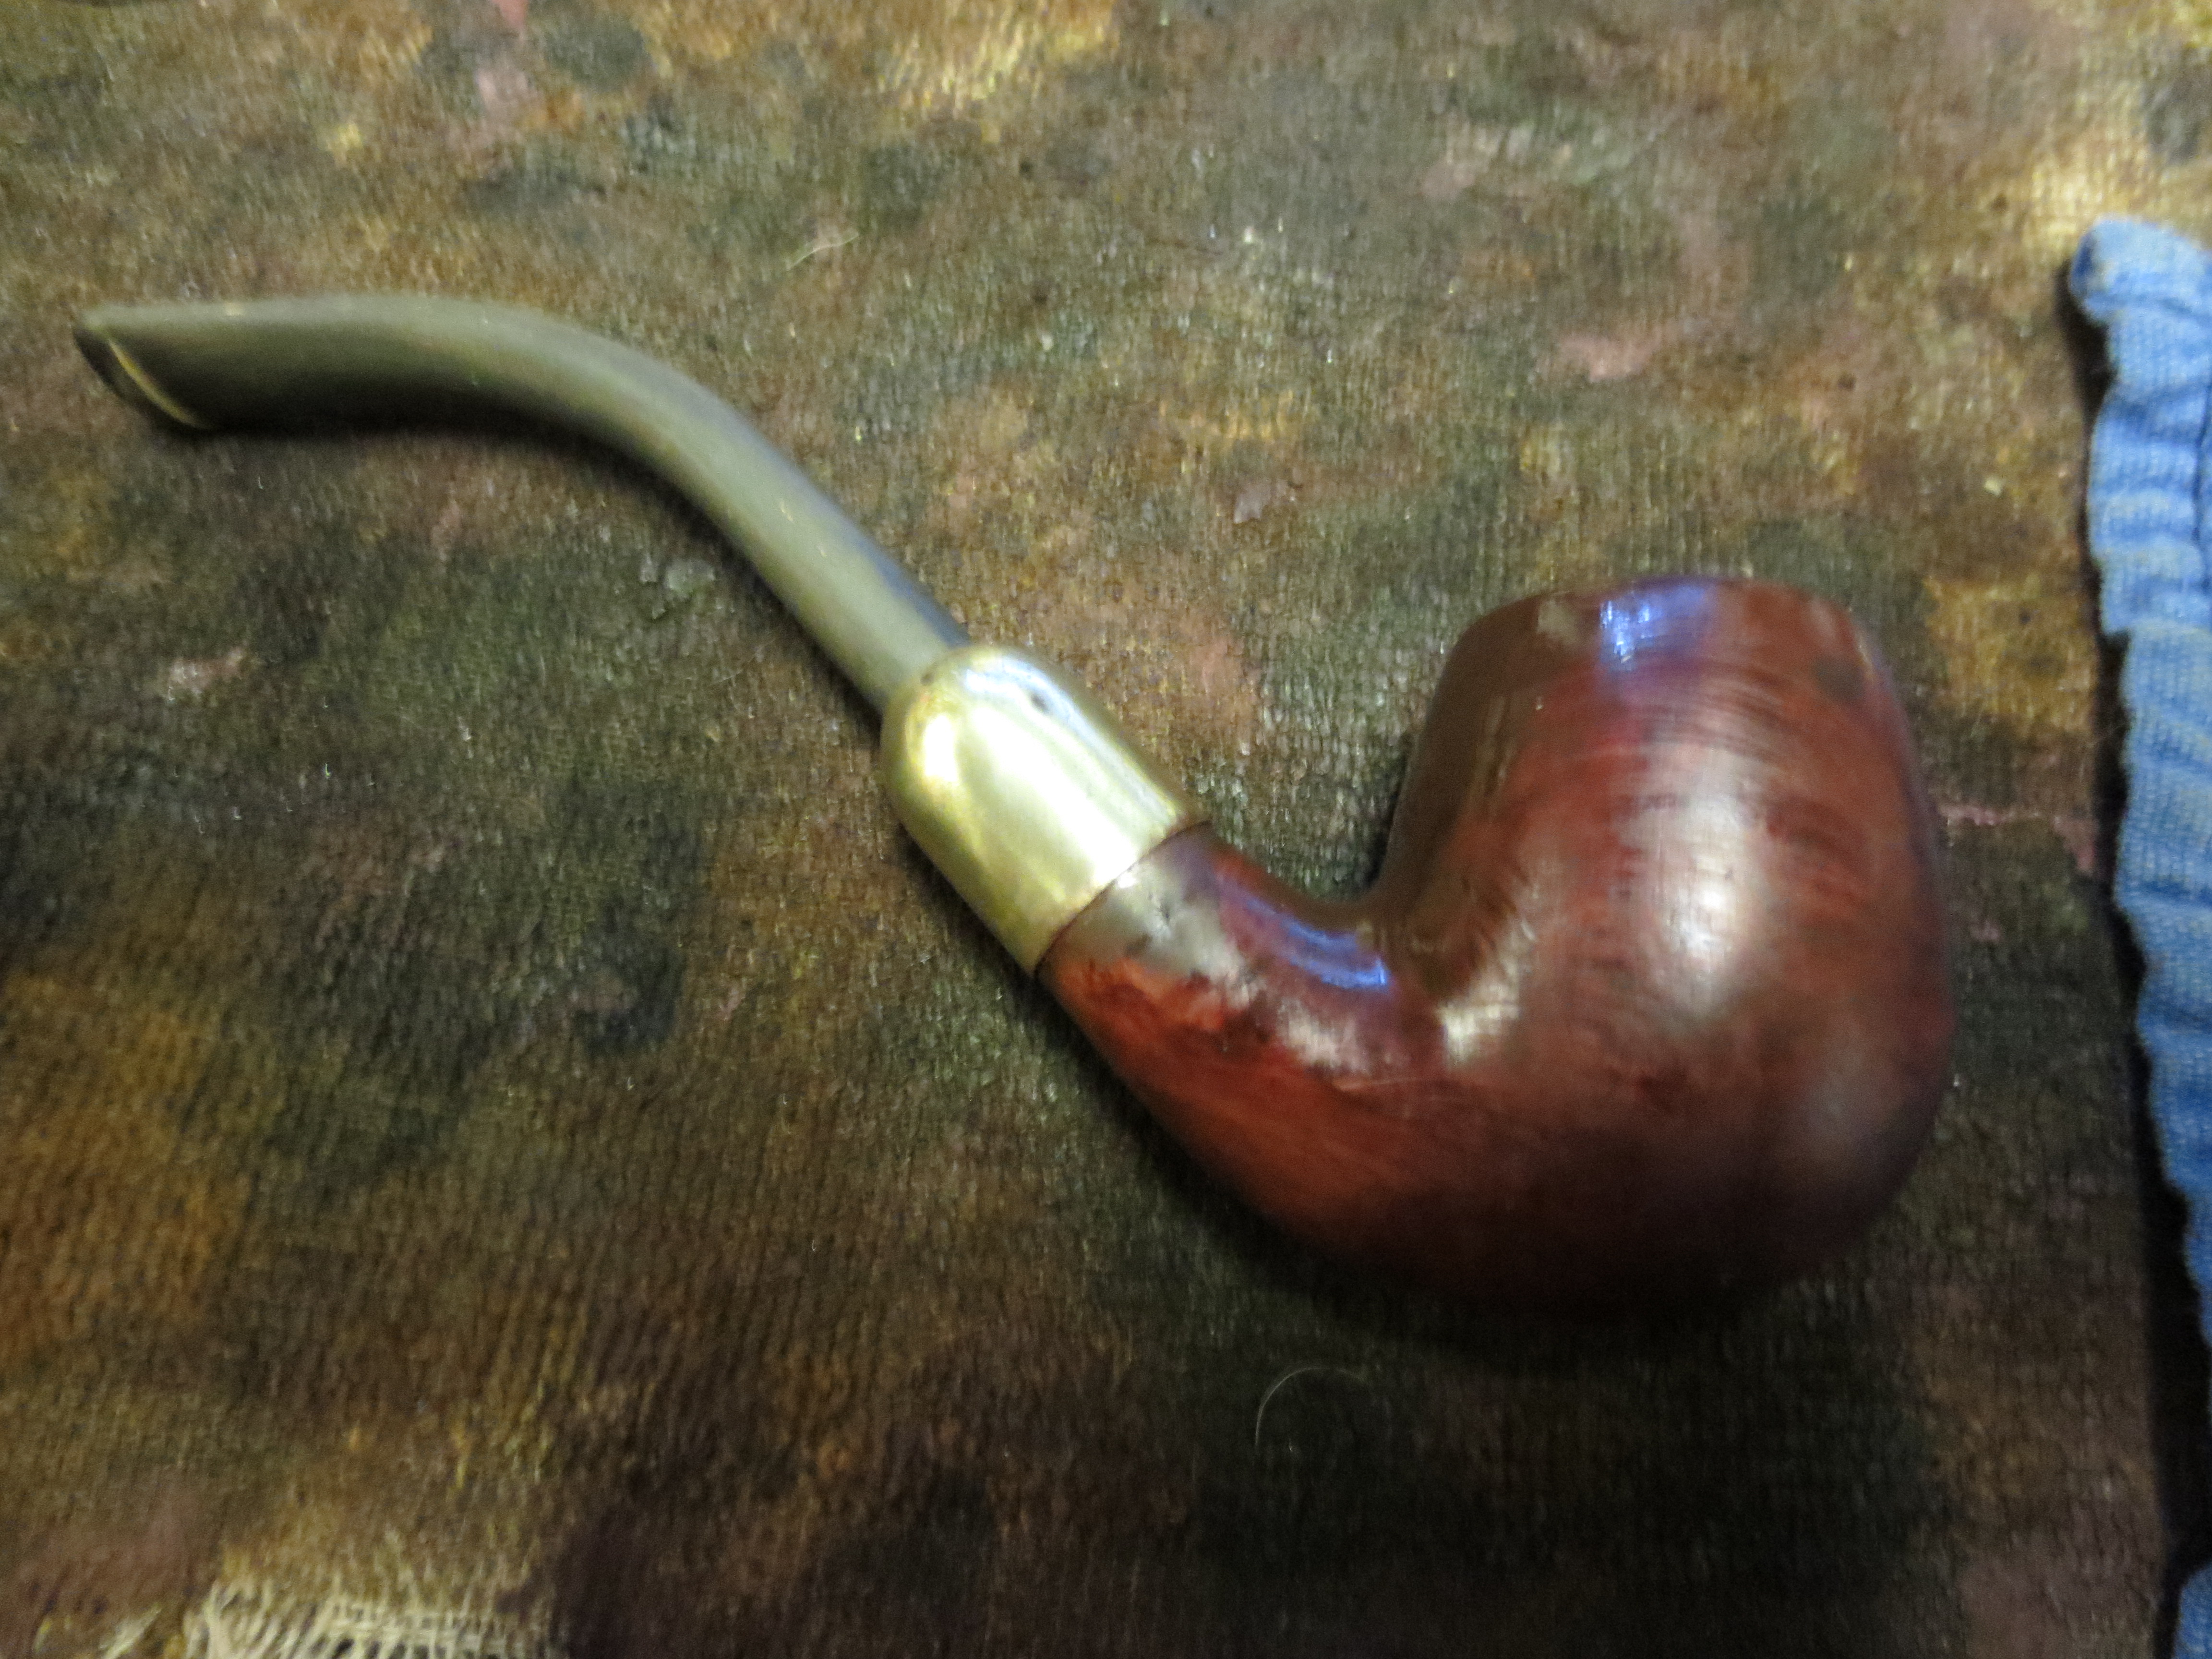
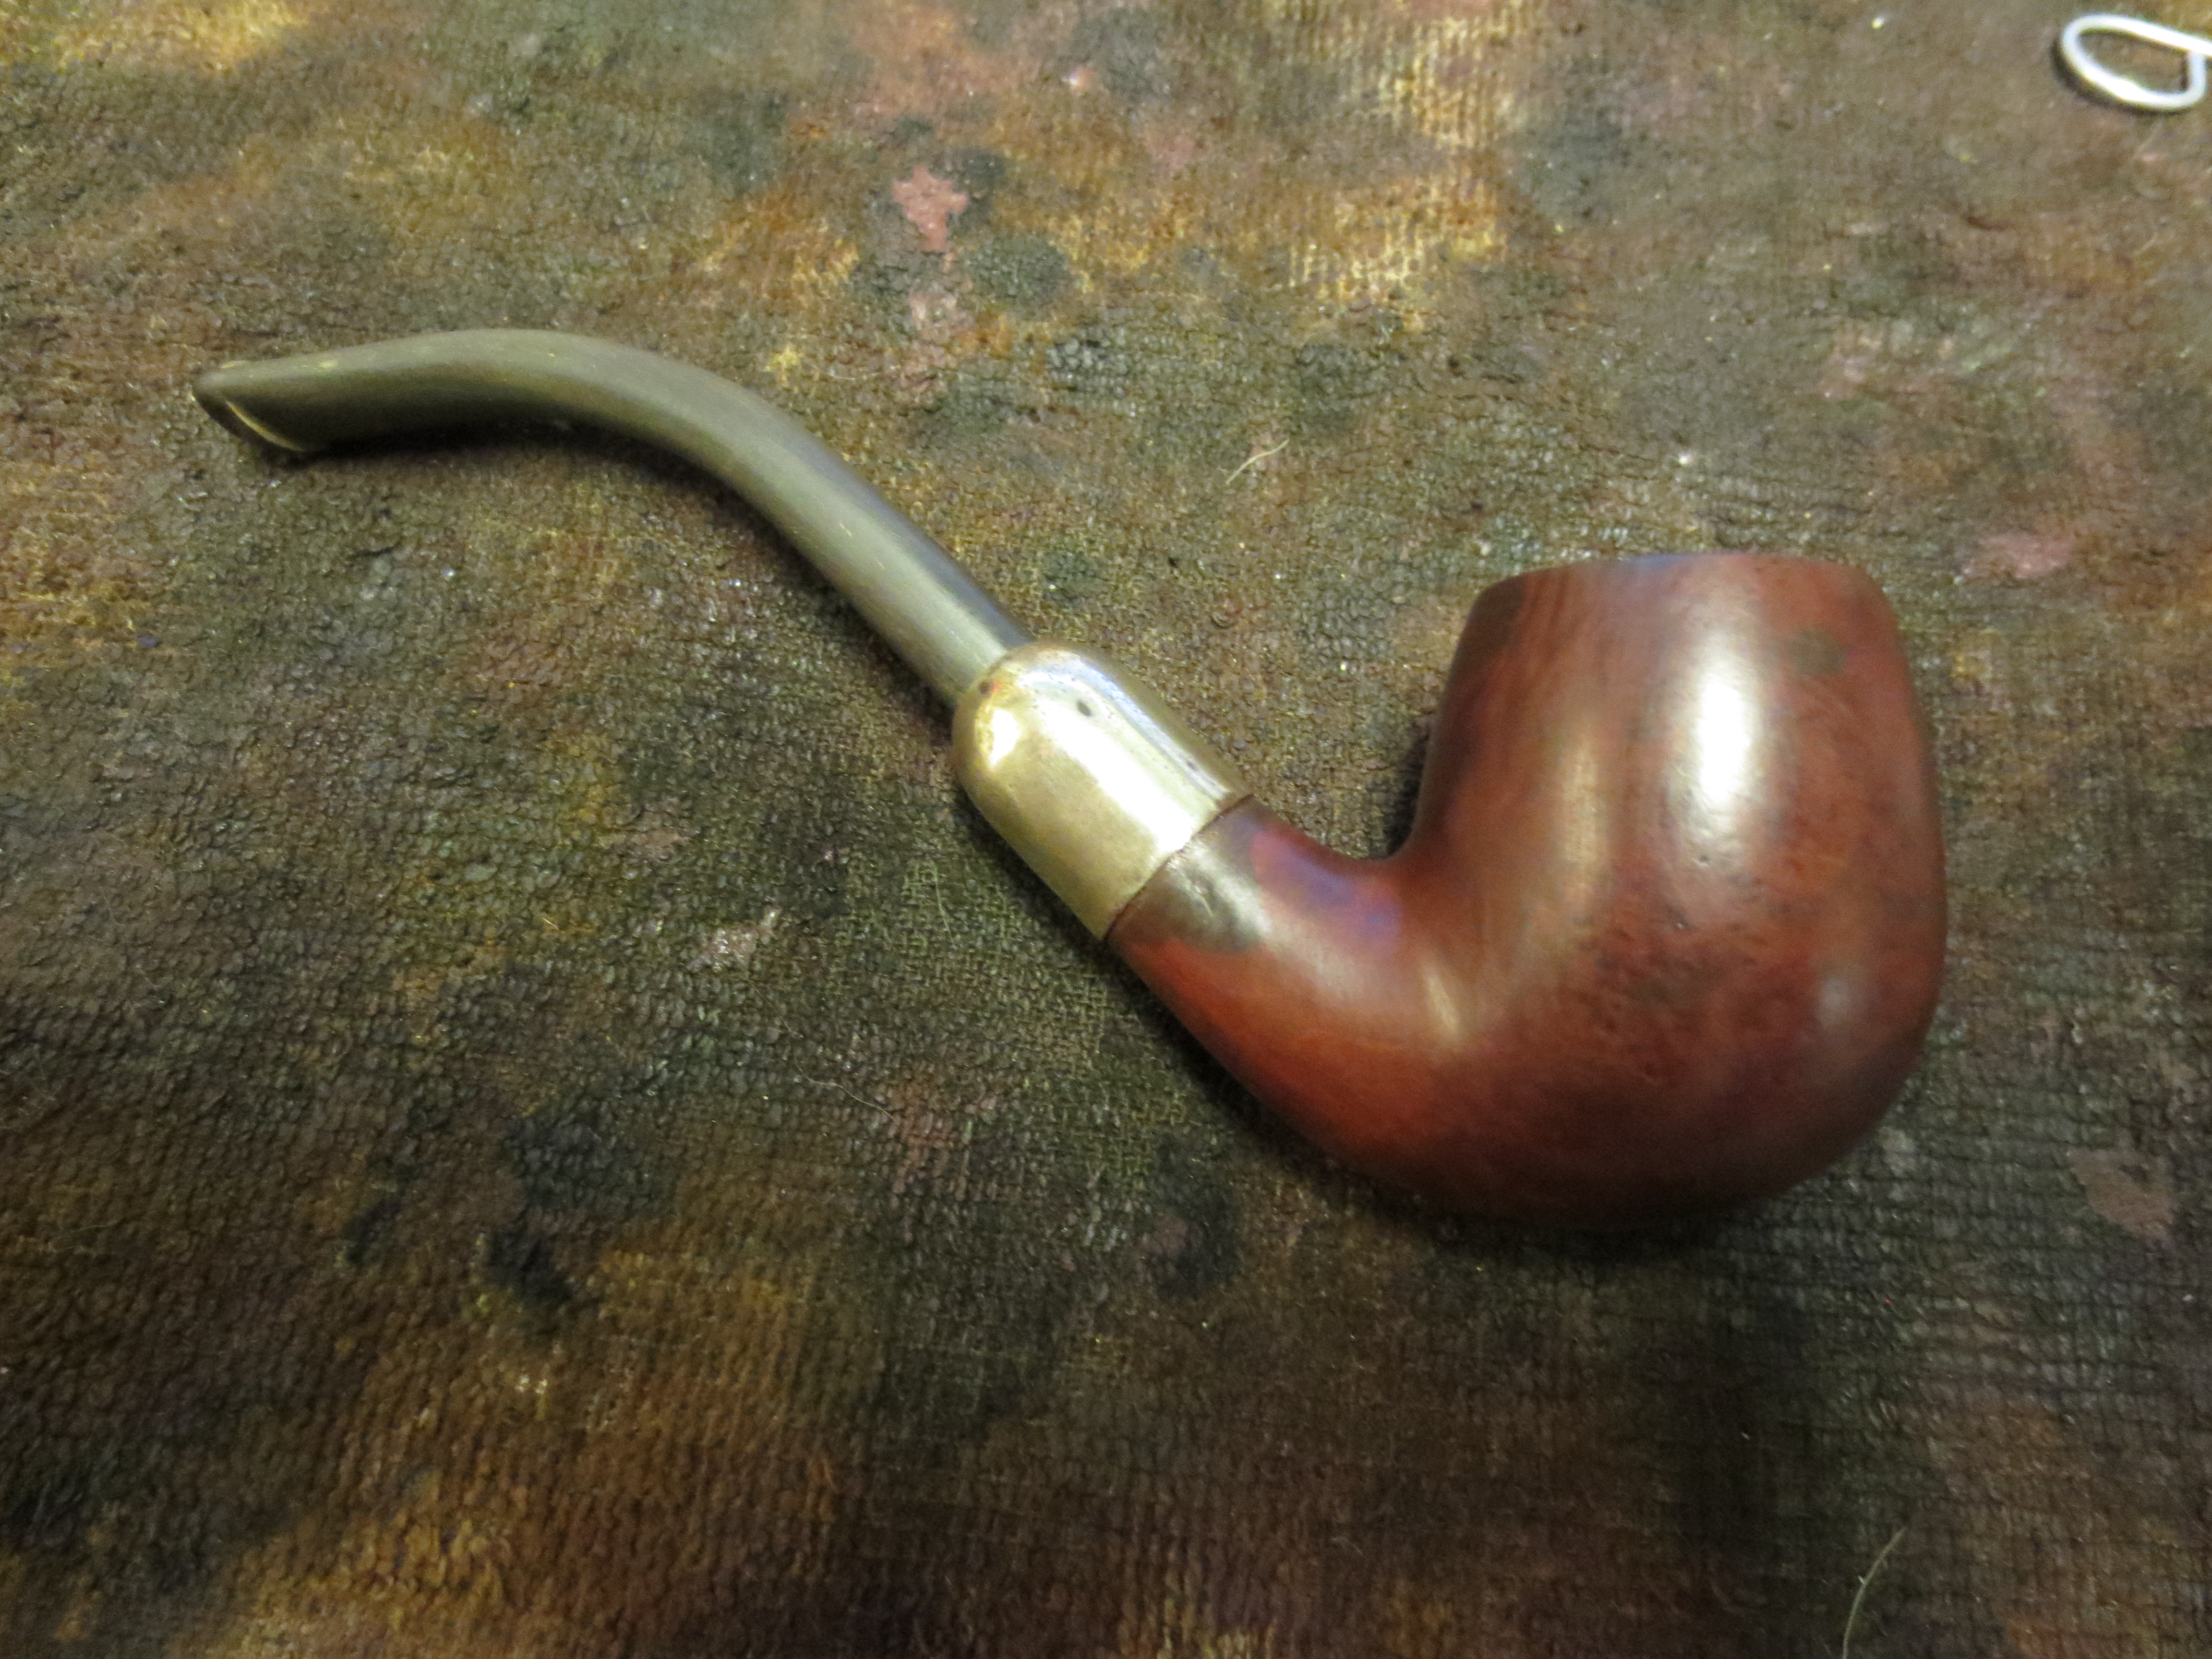
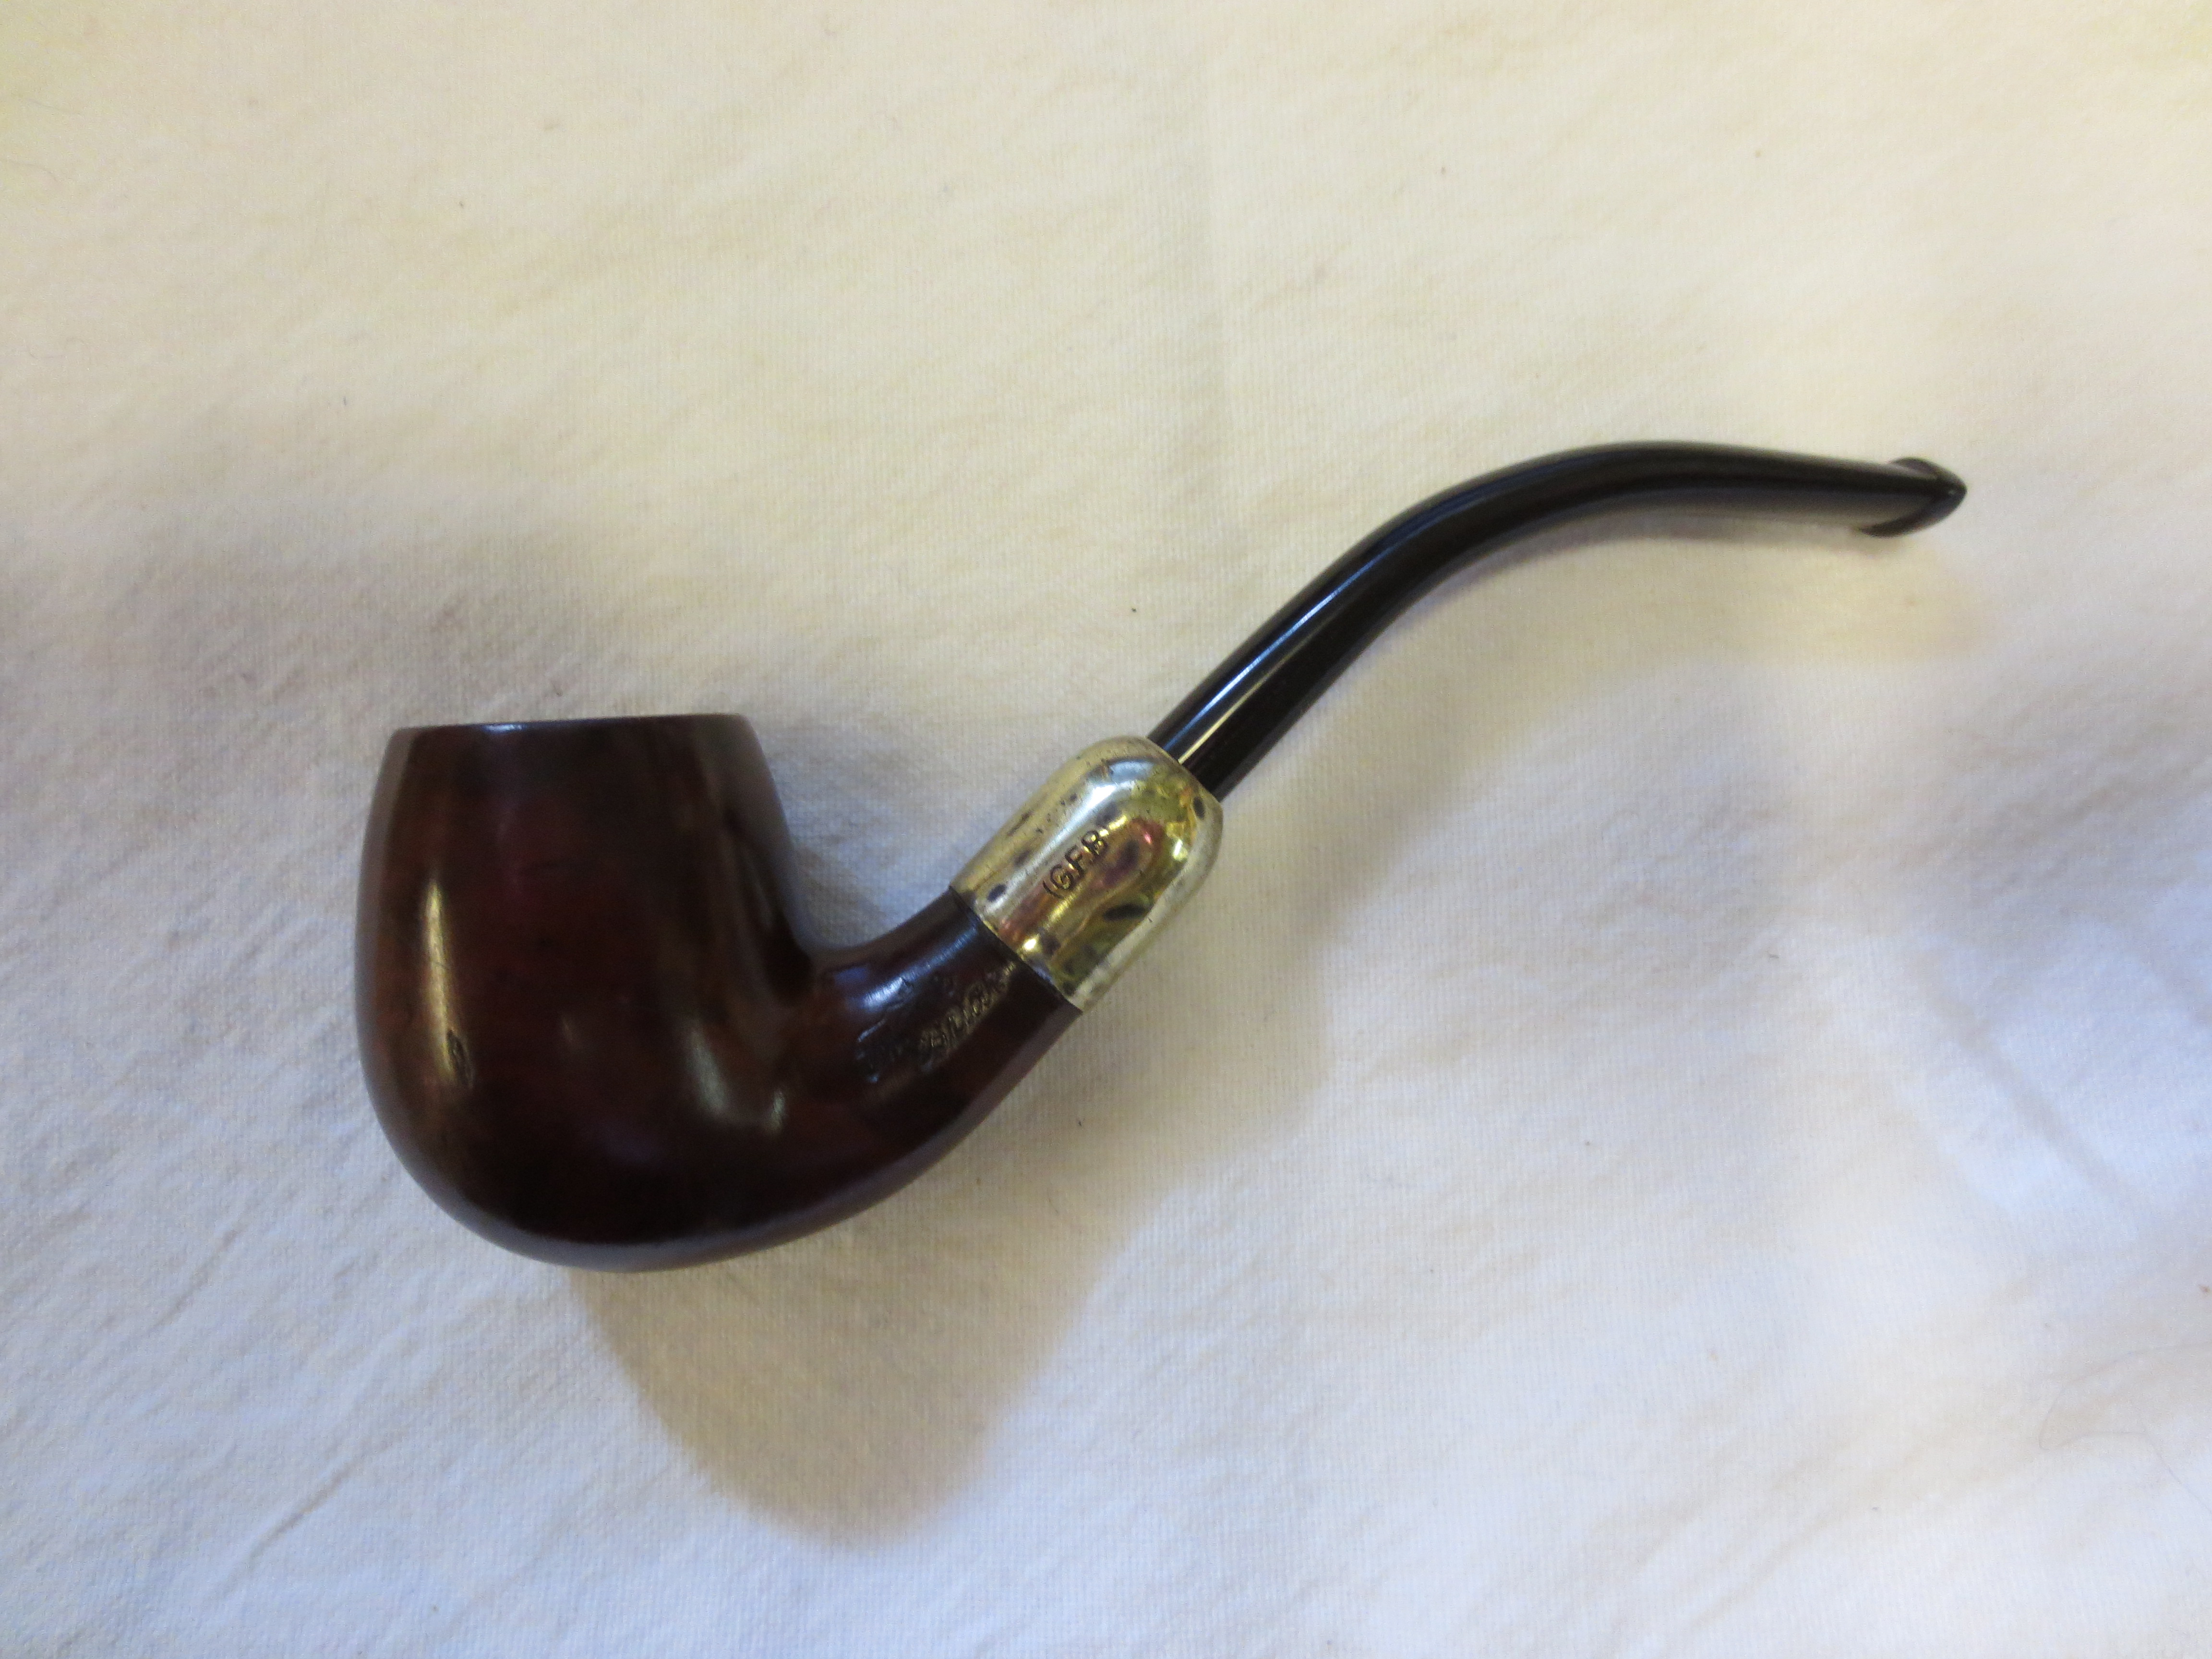
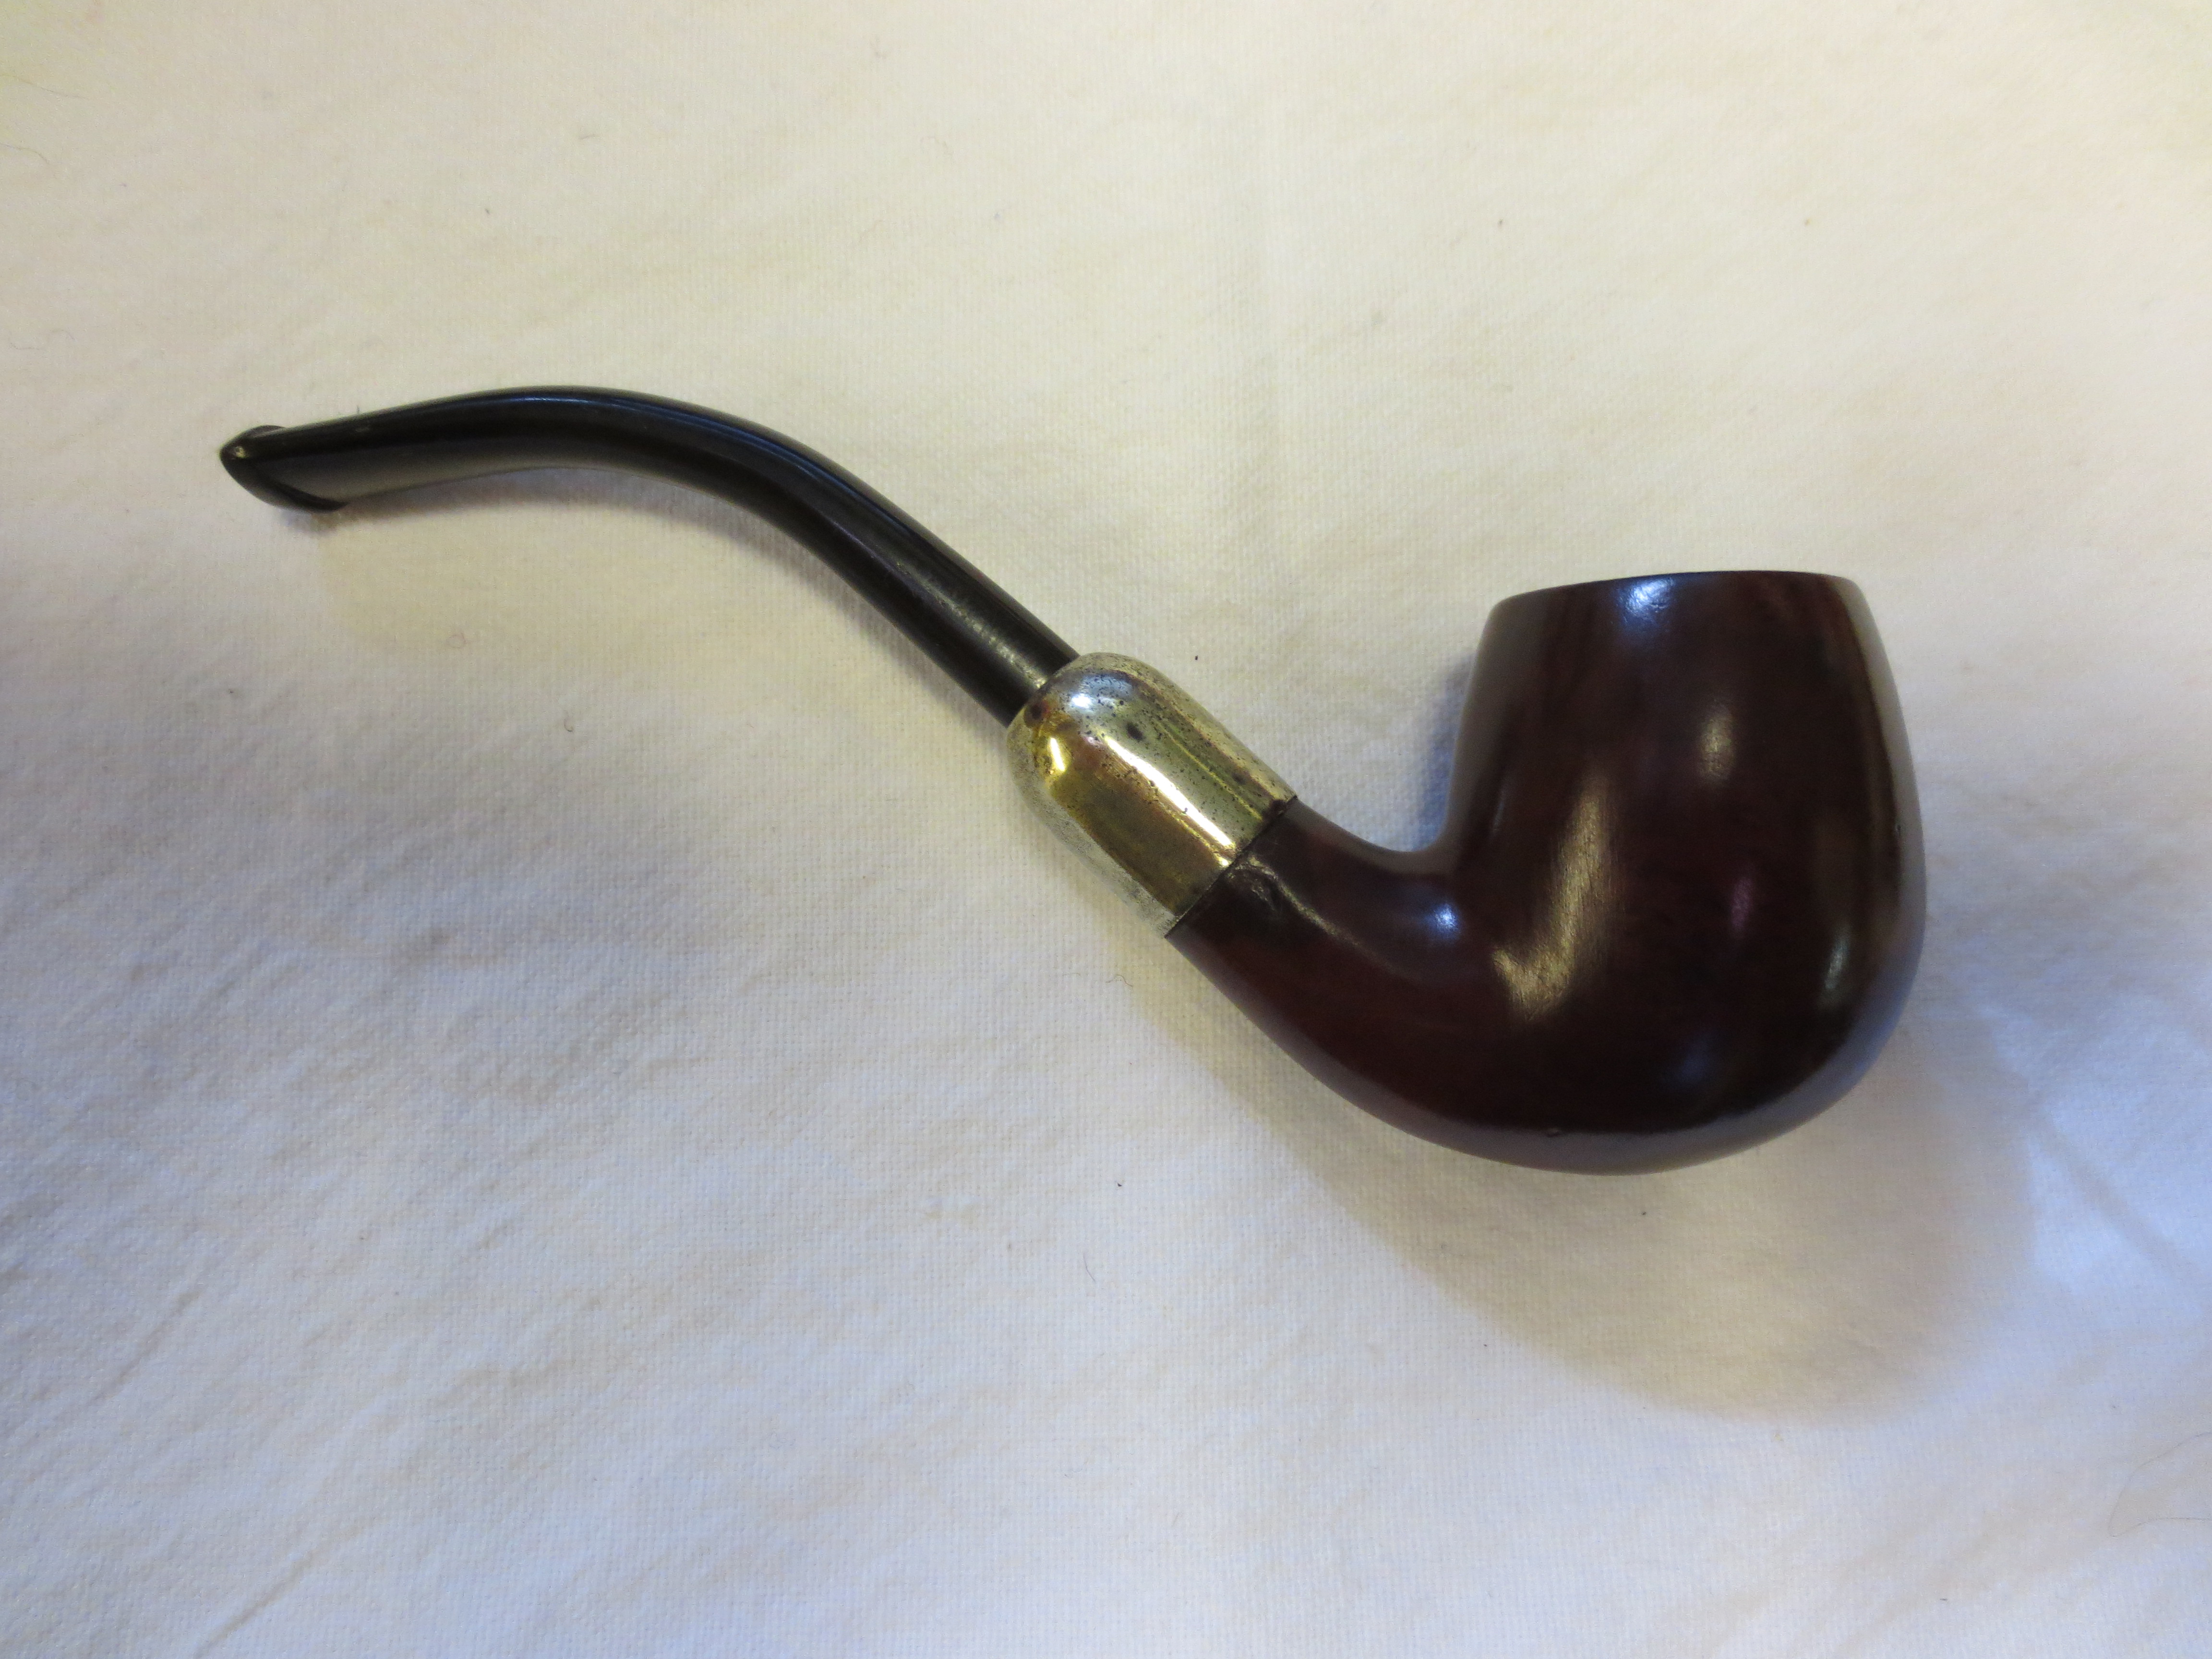
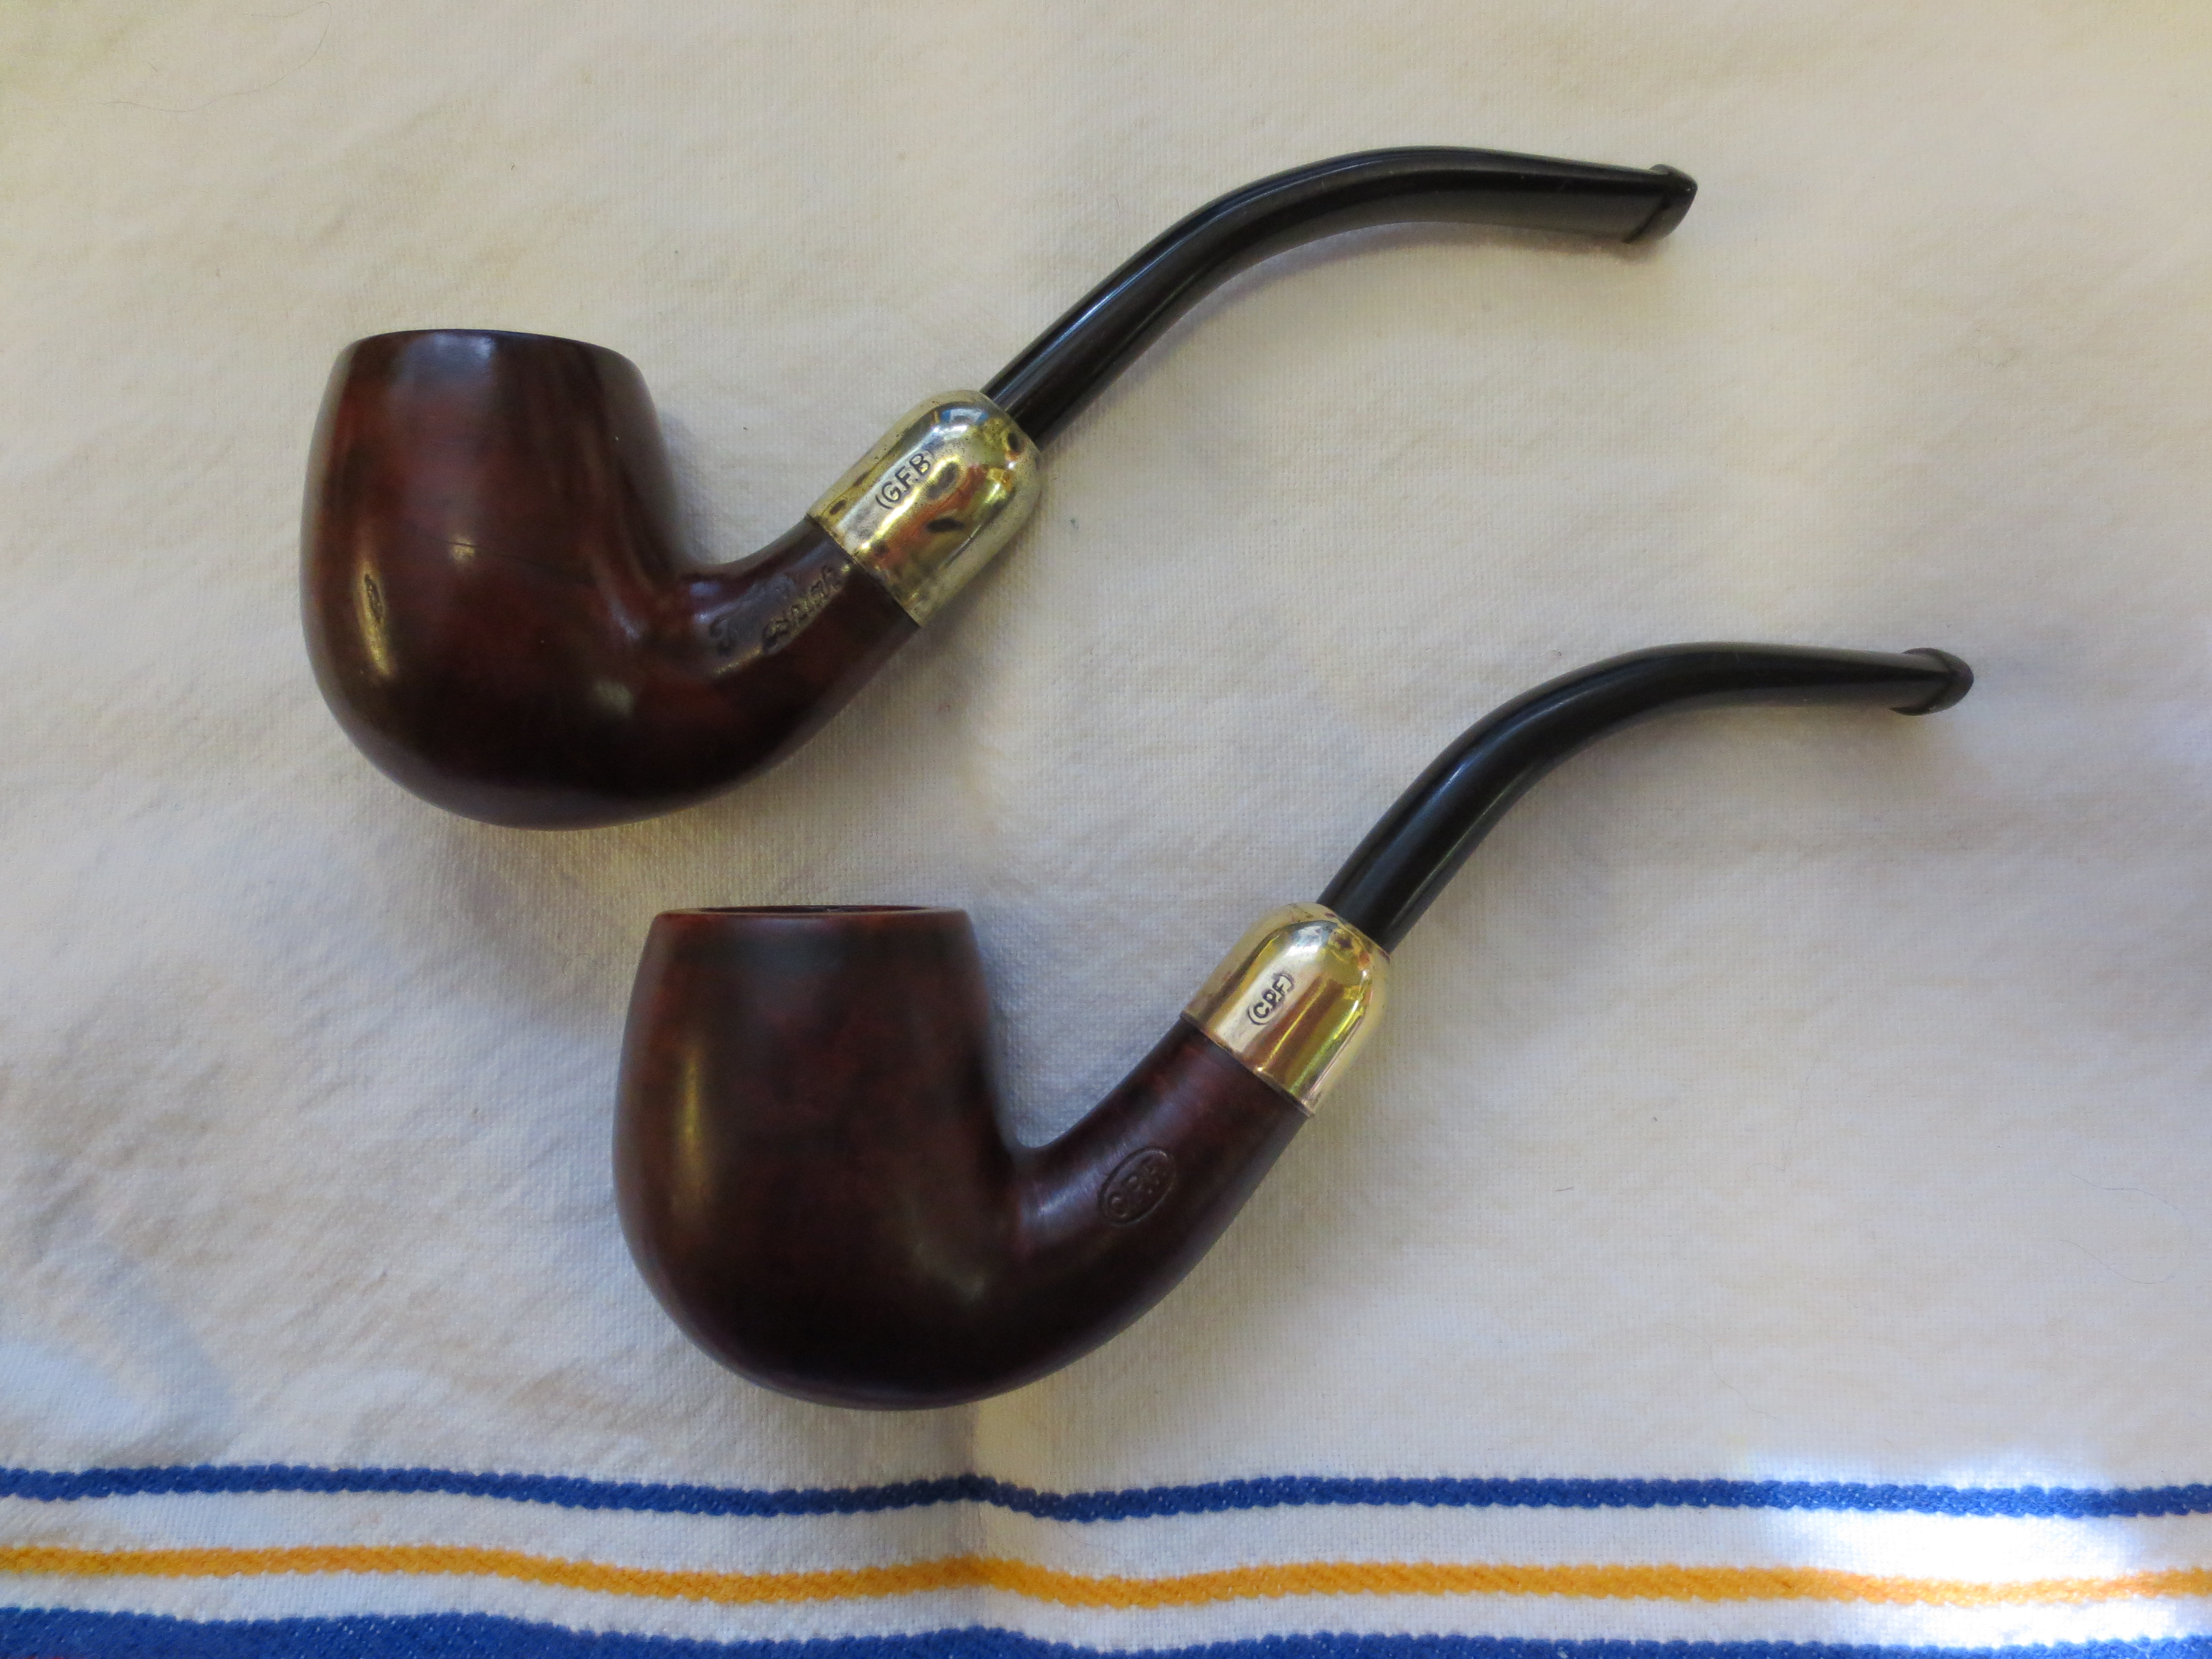
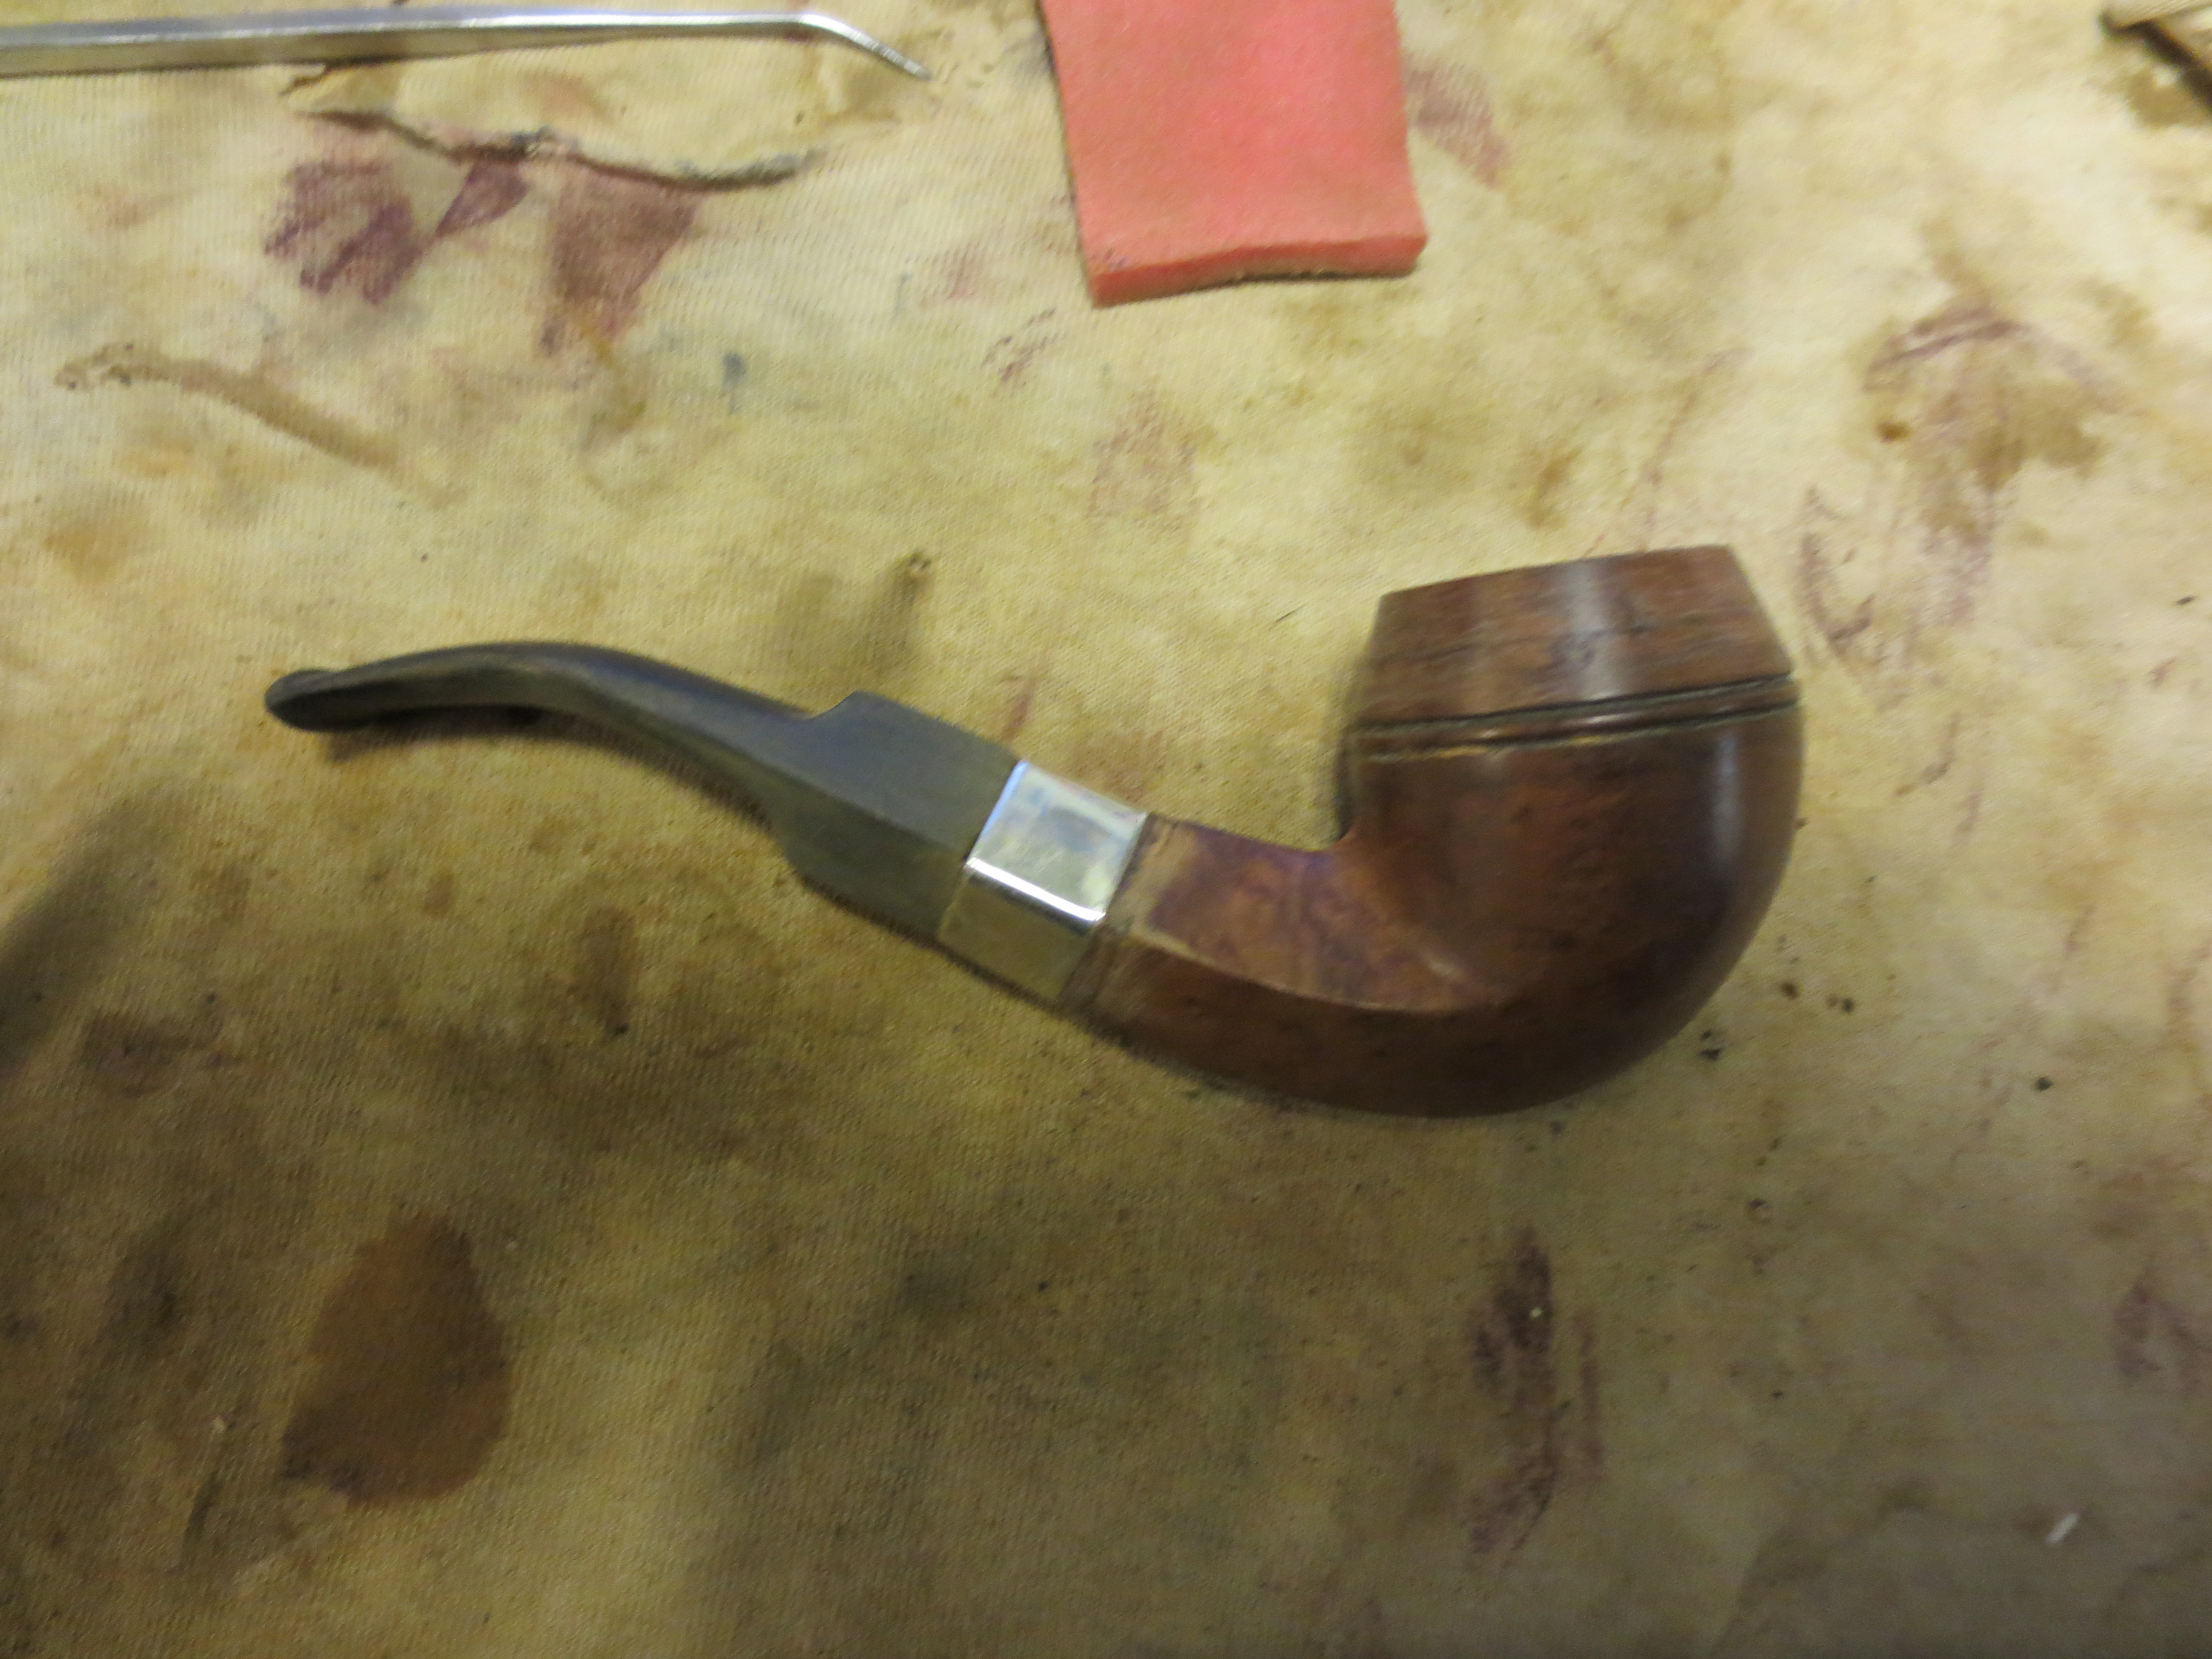
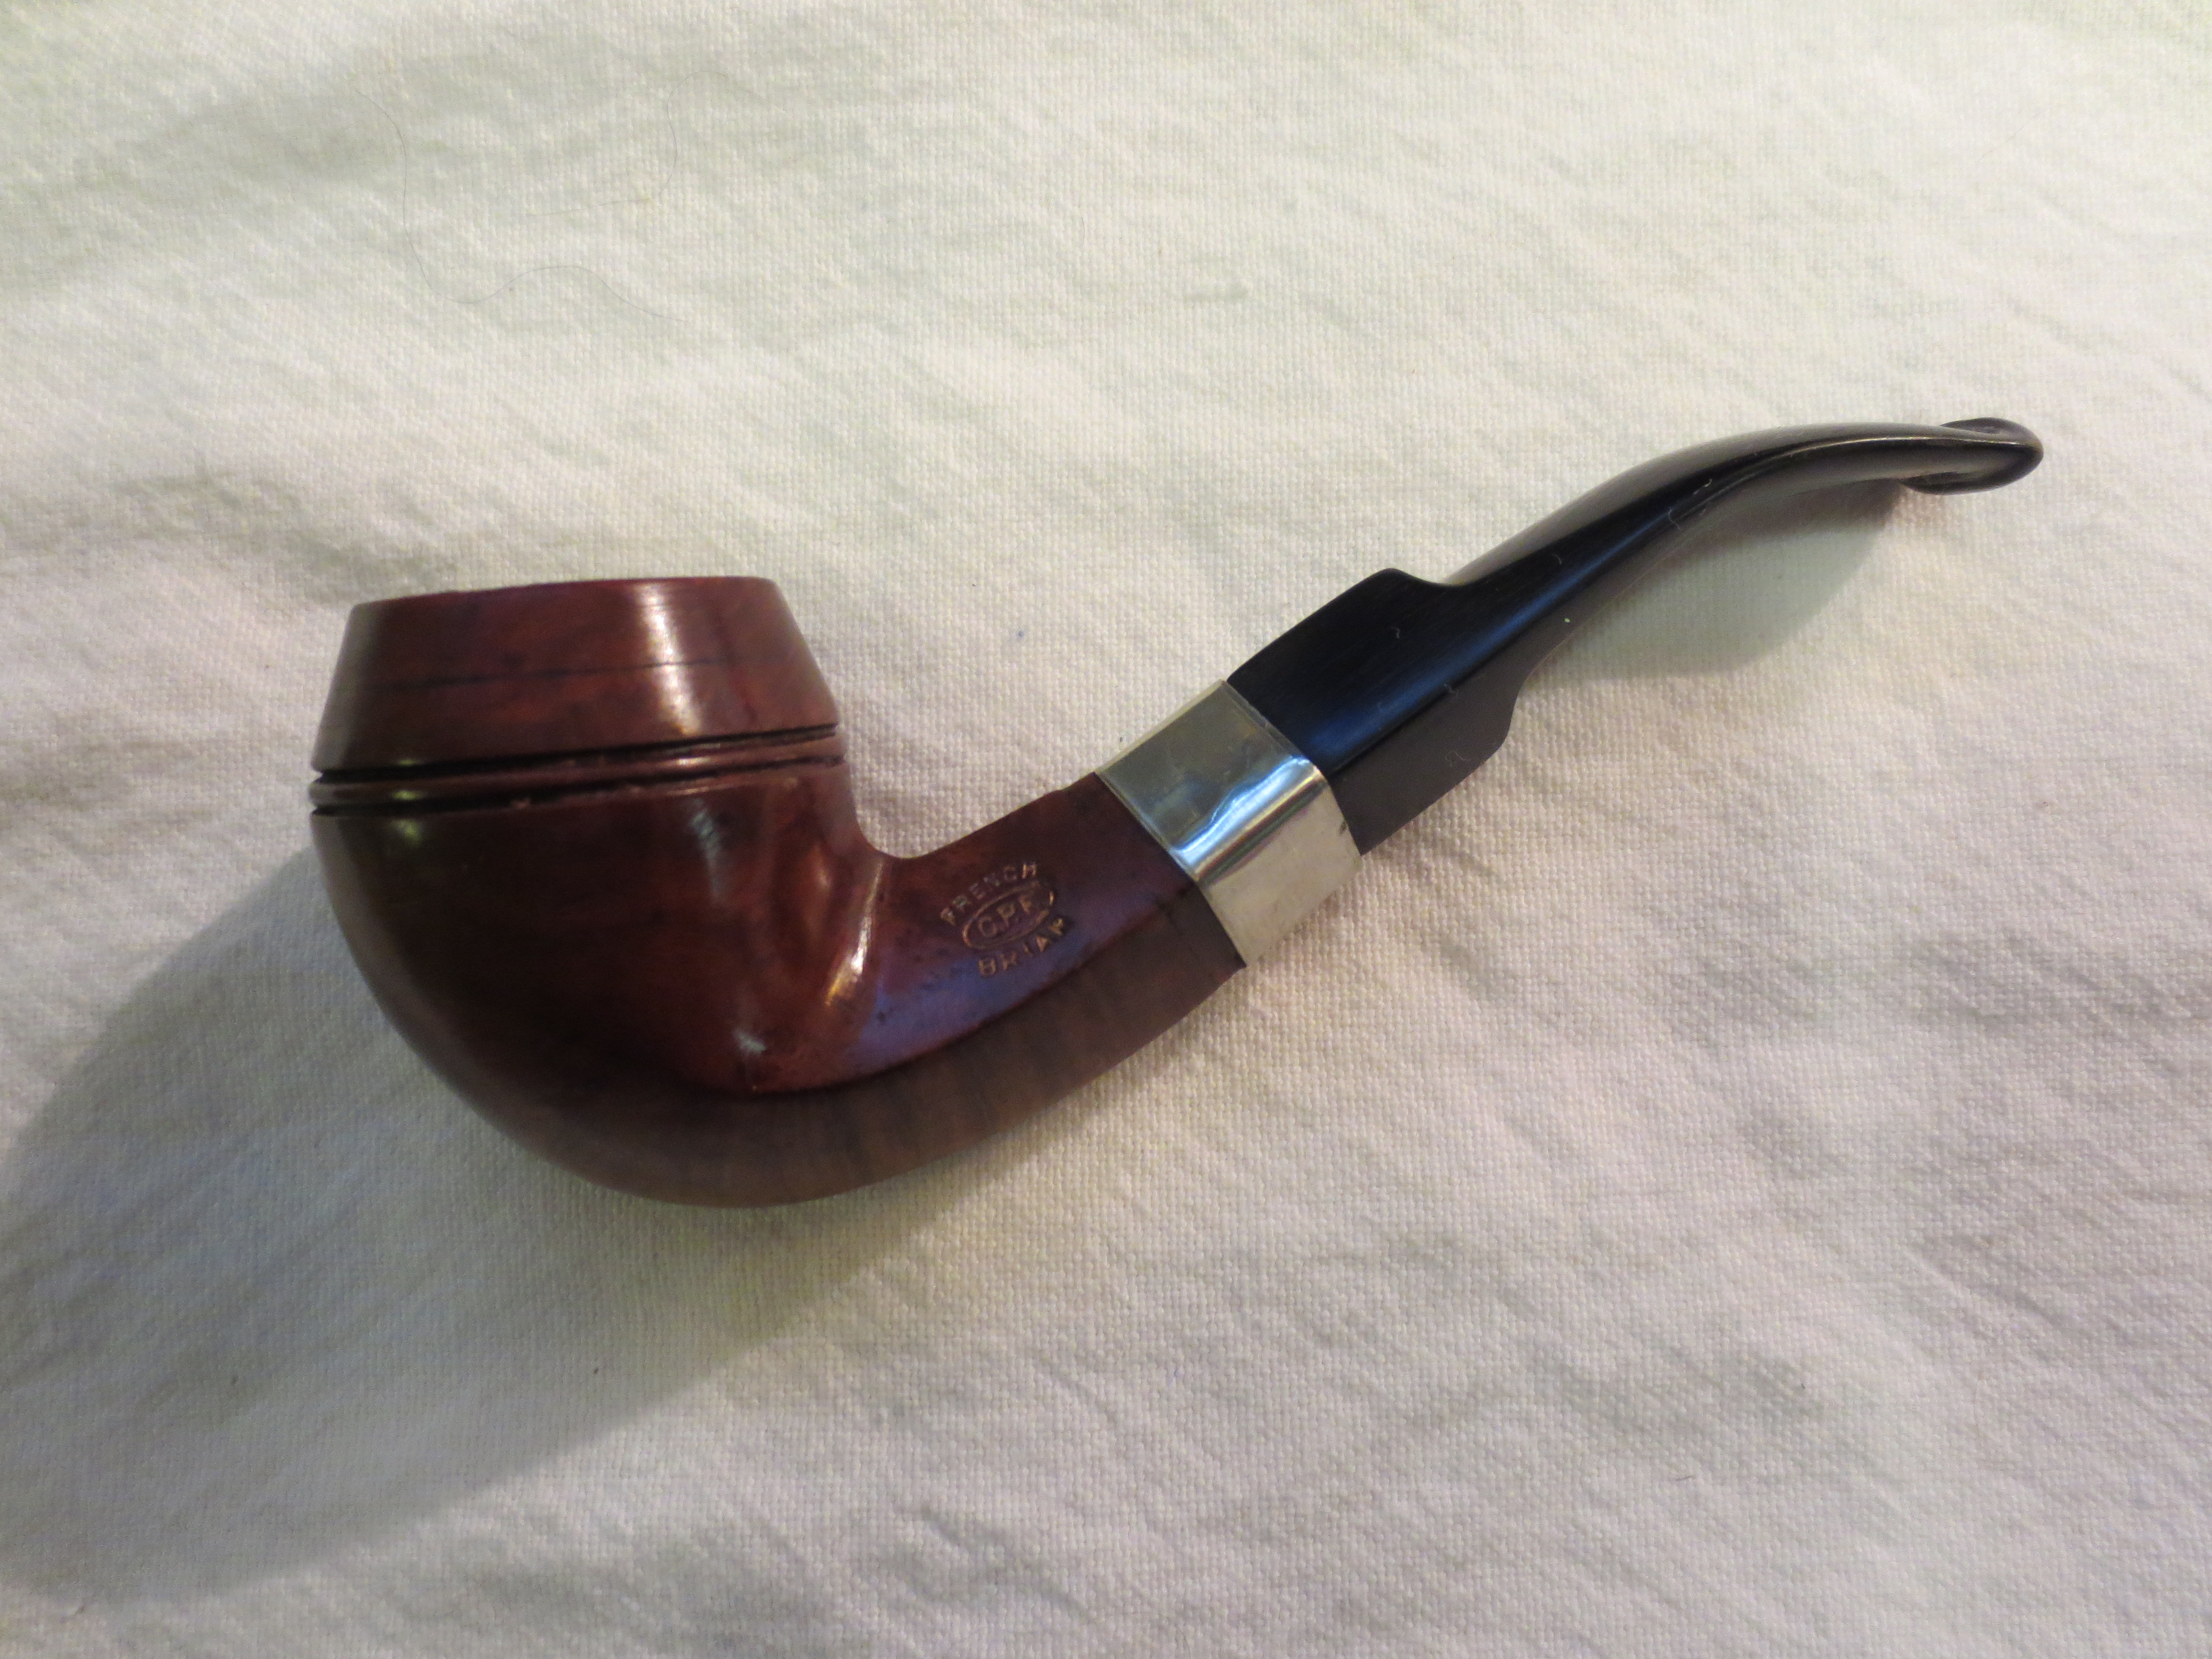
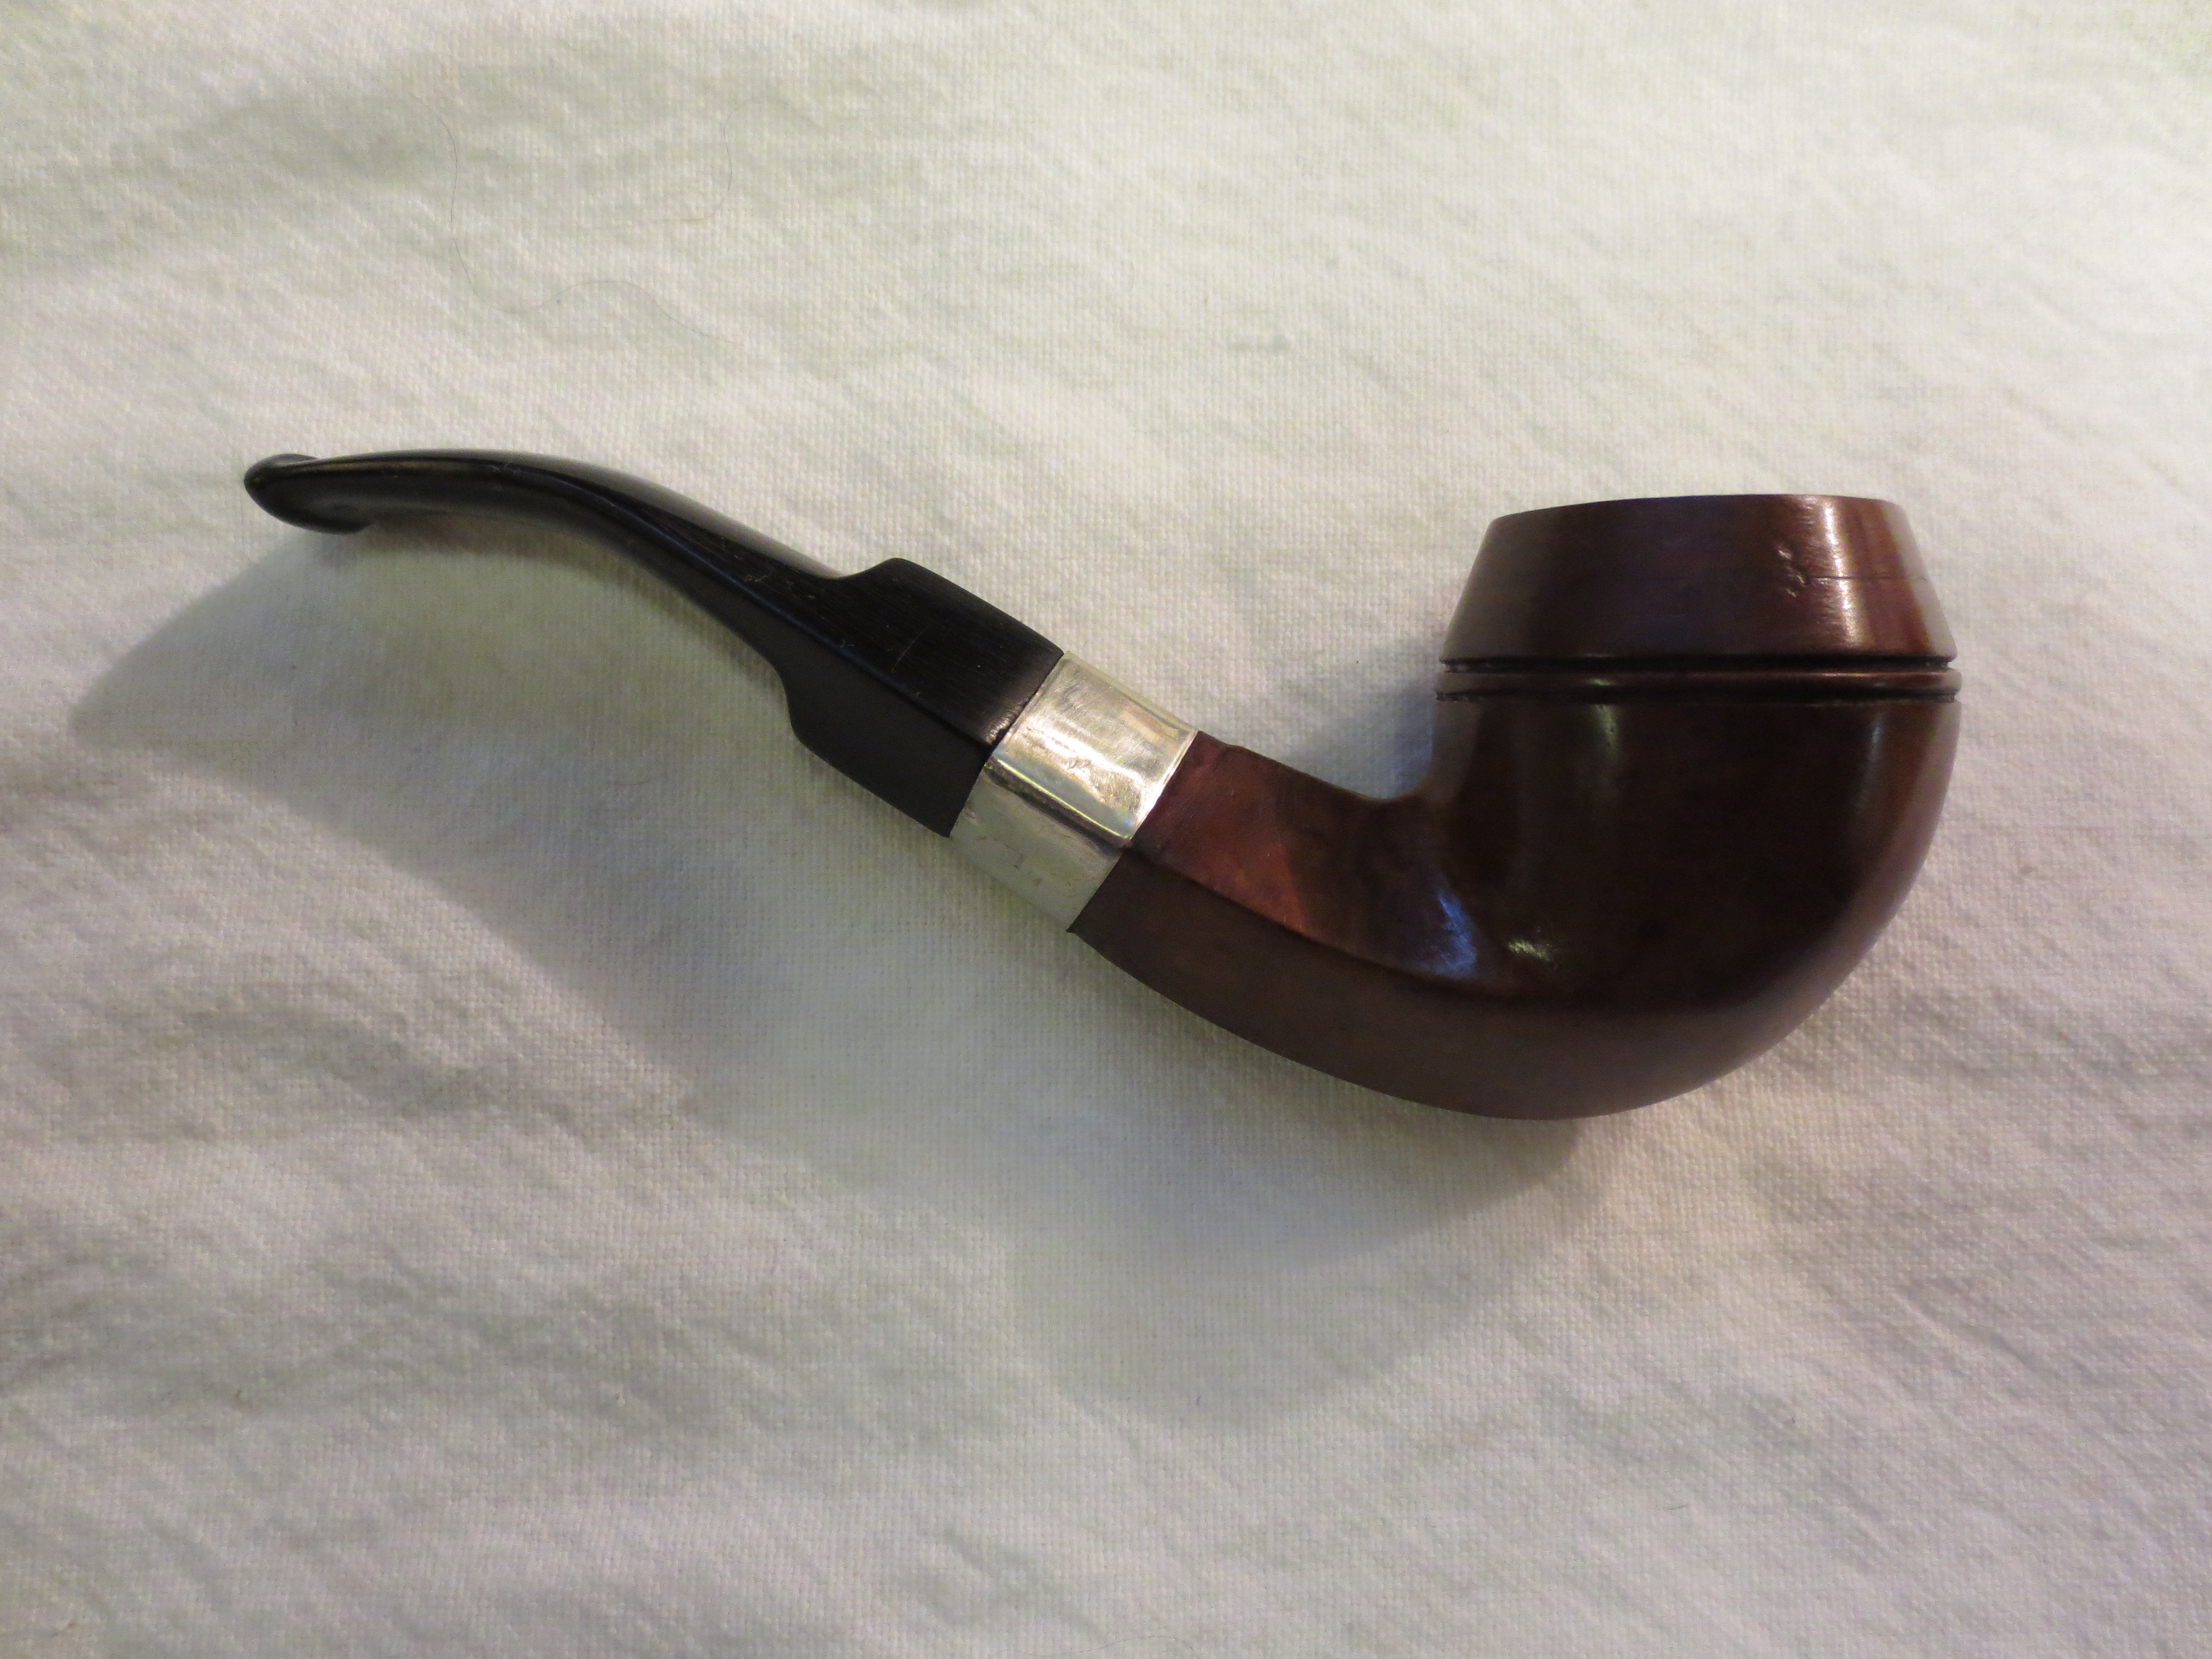
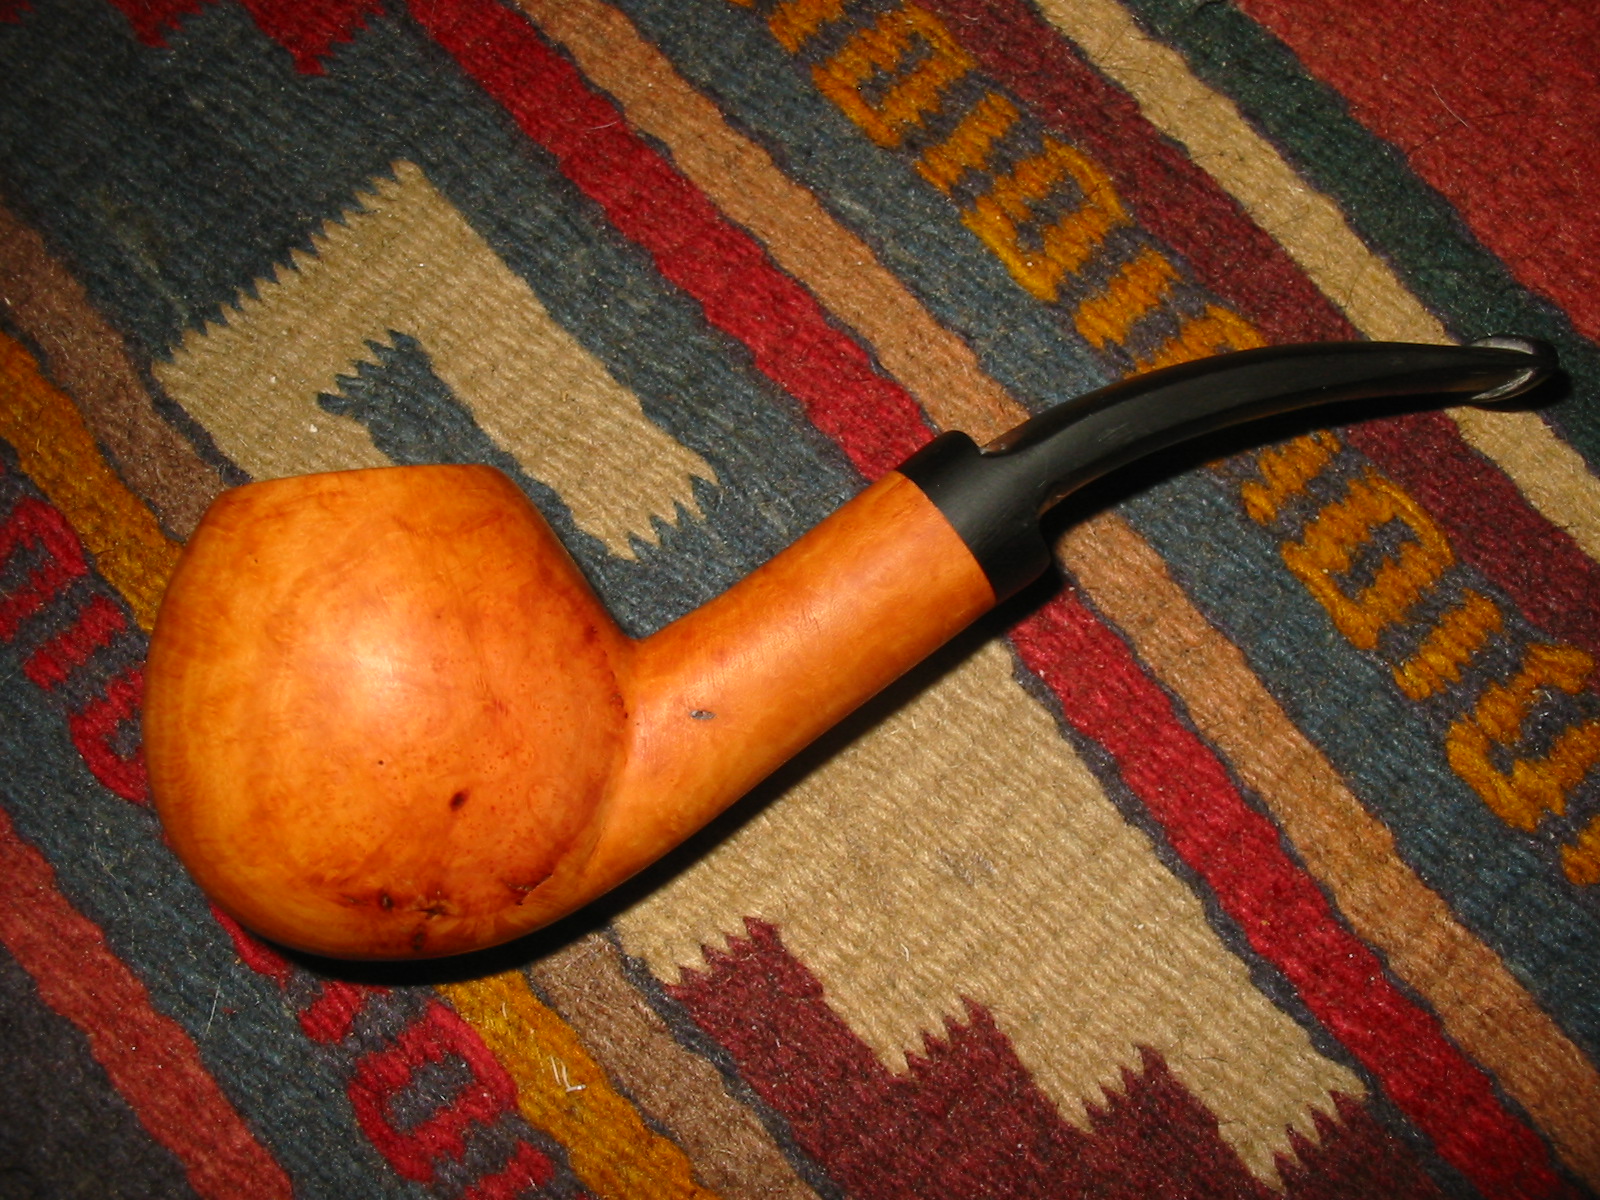
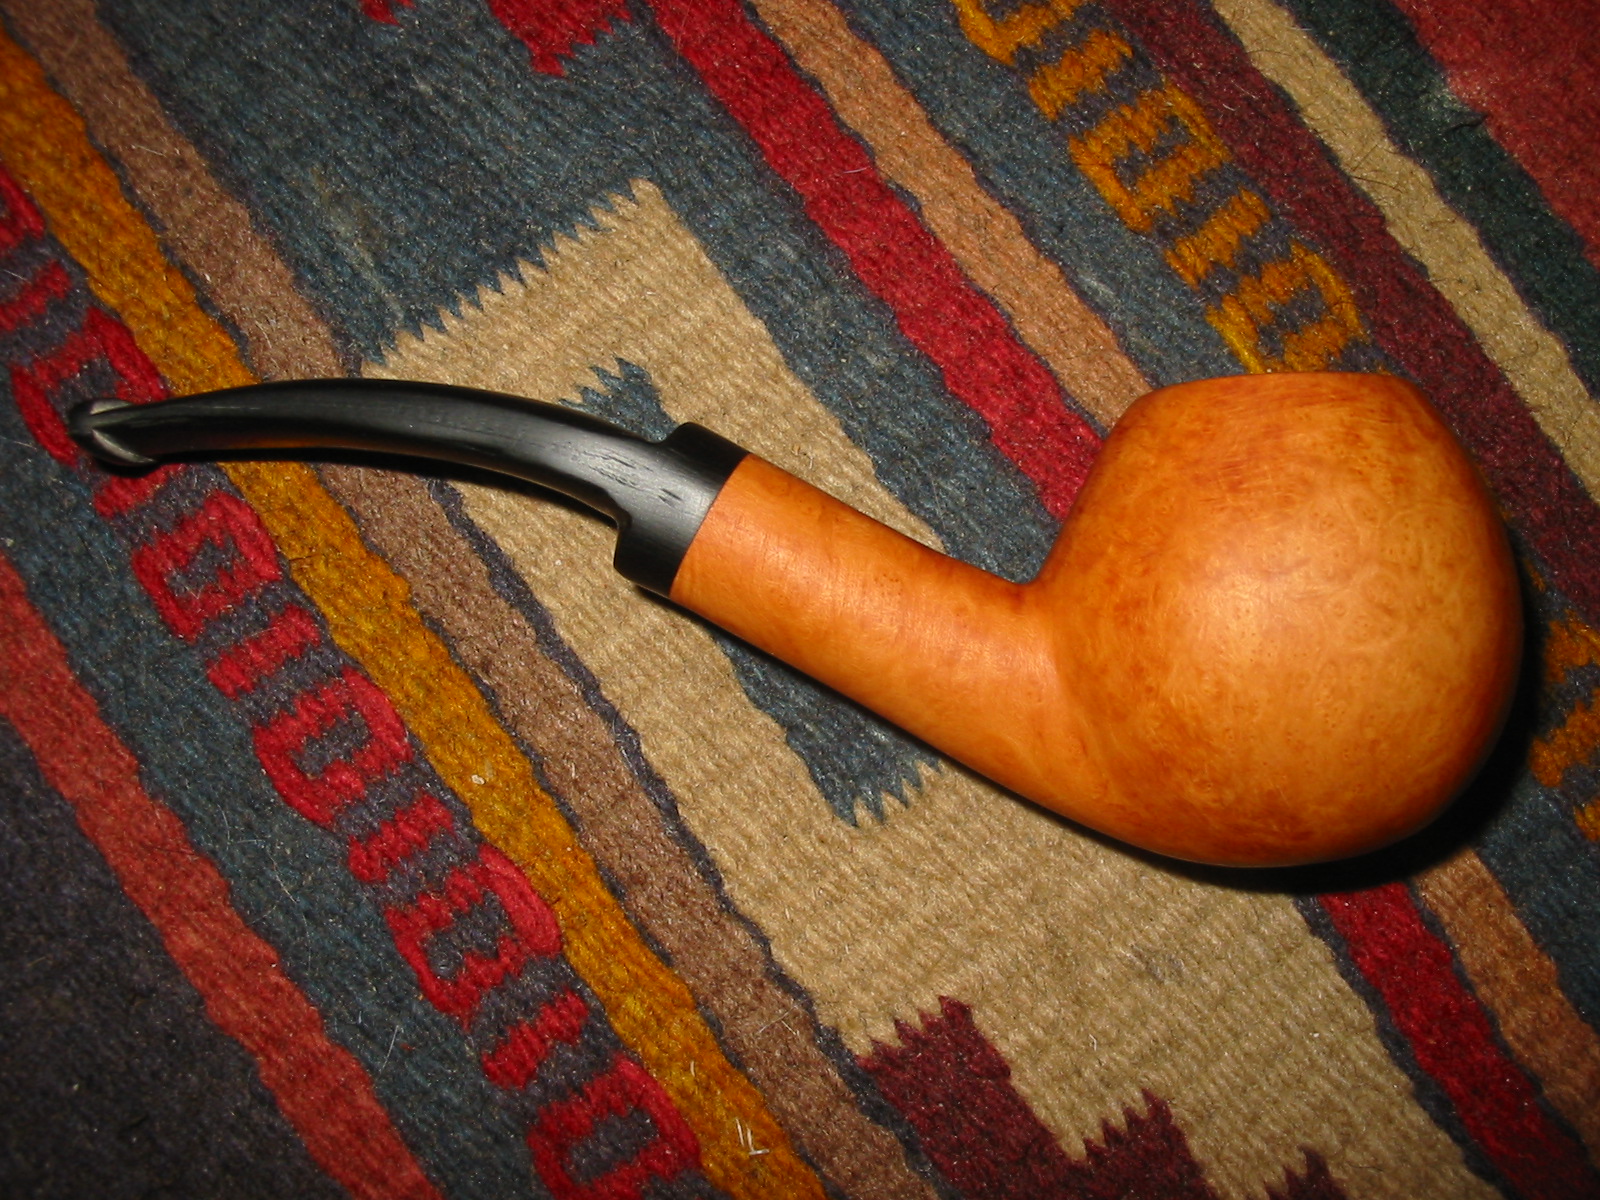
The second coat of stain that I used was an oxblood stain. I applied it with a bent pipe cleaner, flamed it. Once it was dry I polished it by hand with a terry cloth to even out the finish and make sure it would be ready for the next coat of stain (photos 1 and 2 below). I took it to the buffer and buffed it with White Diamond and then gave it a coat of Dark Brown aniline stain thinned 2:1 with Isopropyl alcohol. I flamed the stain and then buffed it again with White Diamond. Photos 3 and 4 show the pipe after that work. The grain is really standing out now and I am pleased with the finished colour of the pipe. It is a rich reddish brown in colour and will deepen once I have waxed it and polished it. The beauty of this combination of stains is that it really served well to blend in the flaws in the briar on the bottom left side. They are still there but are less glaring.

IMG_0902

IMG_0903

IMG_0904

IMG_0905

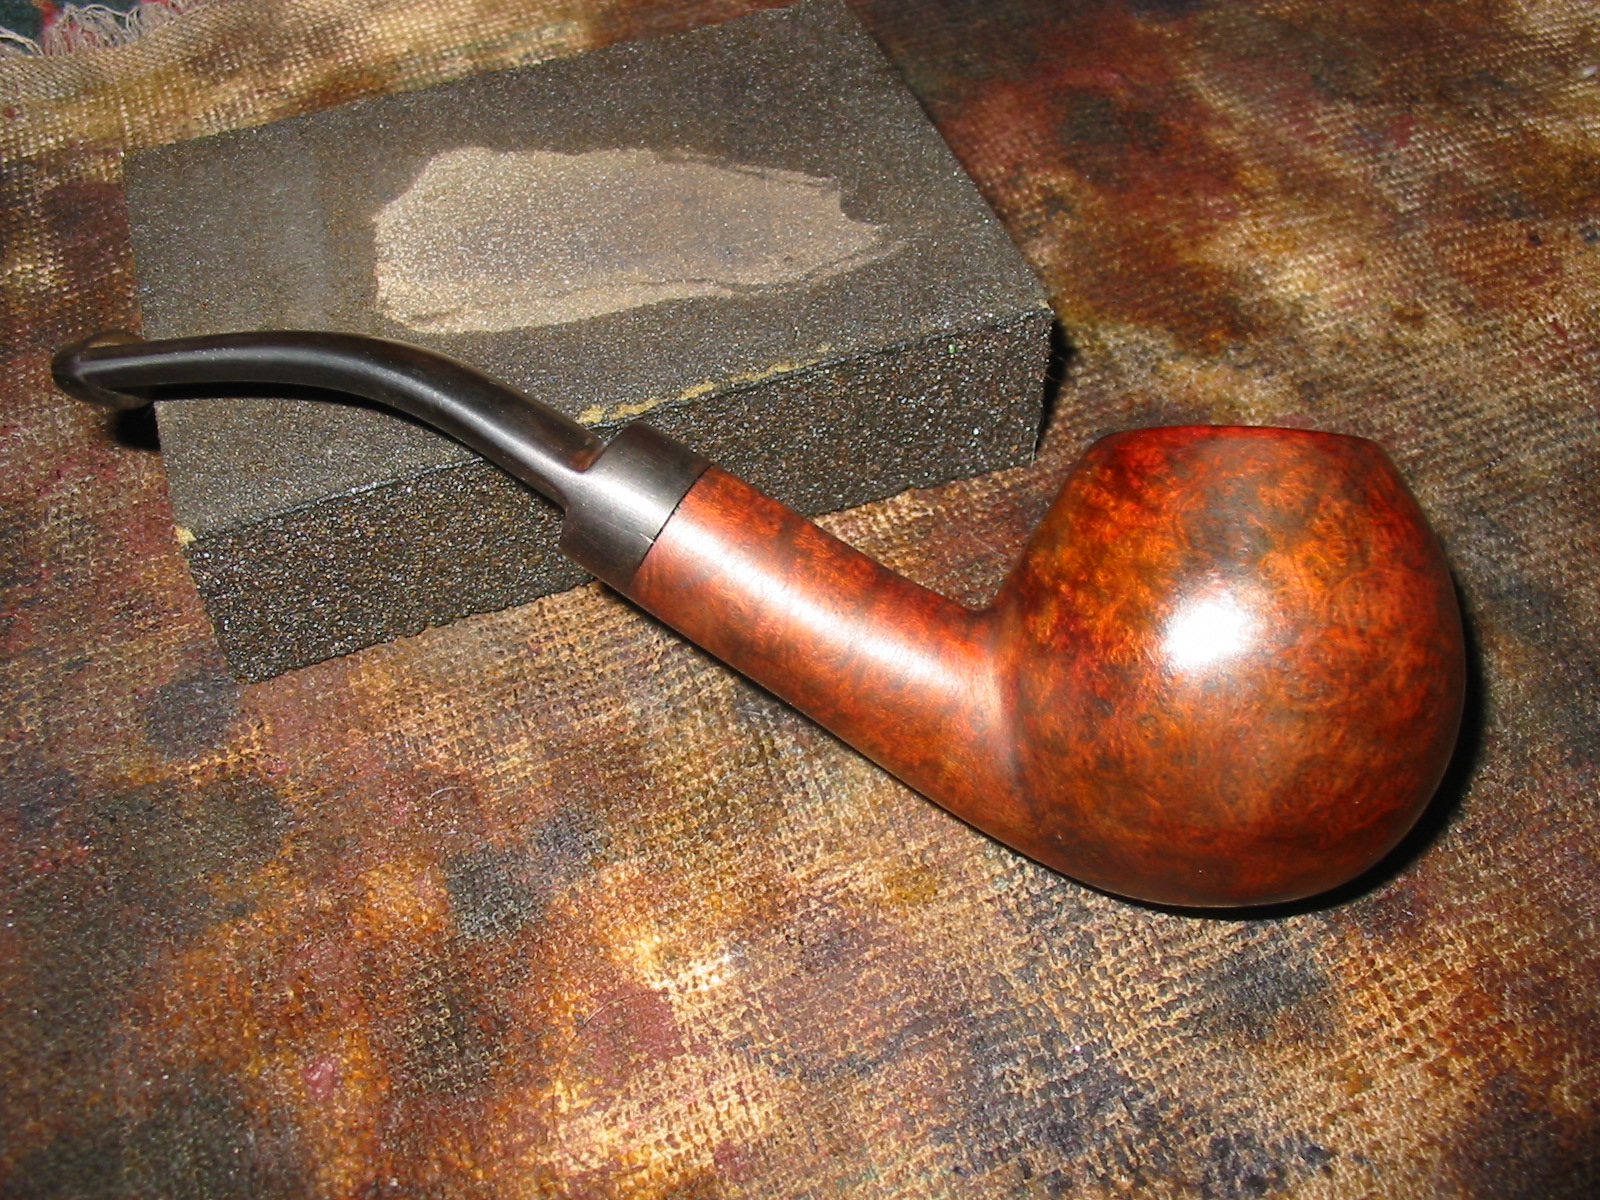
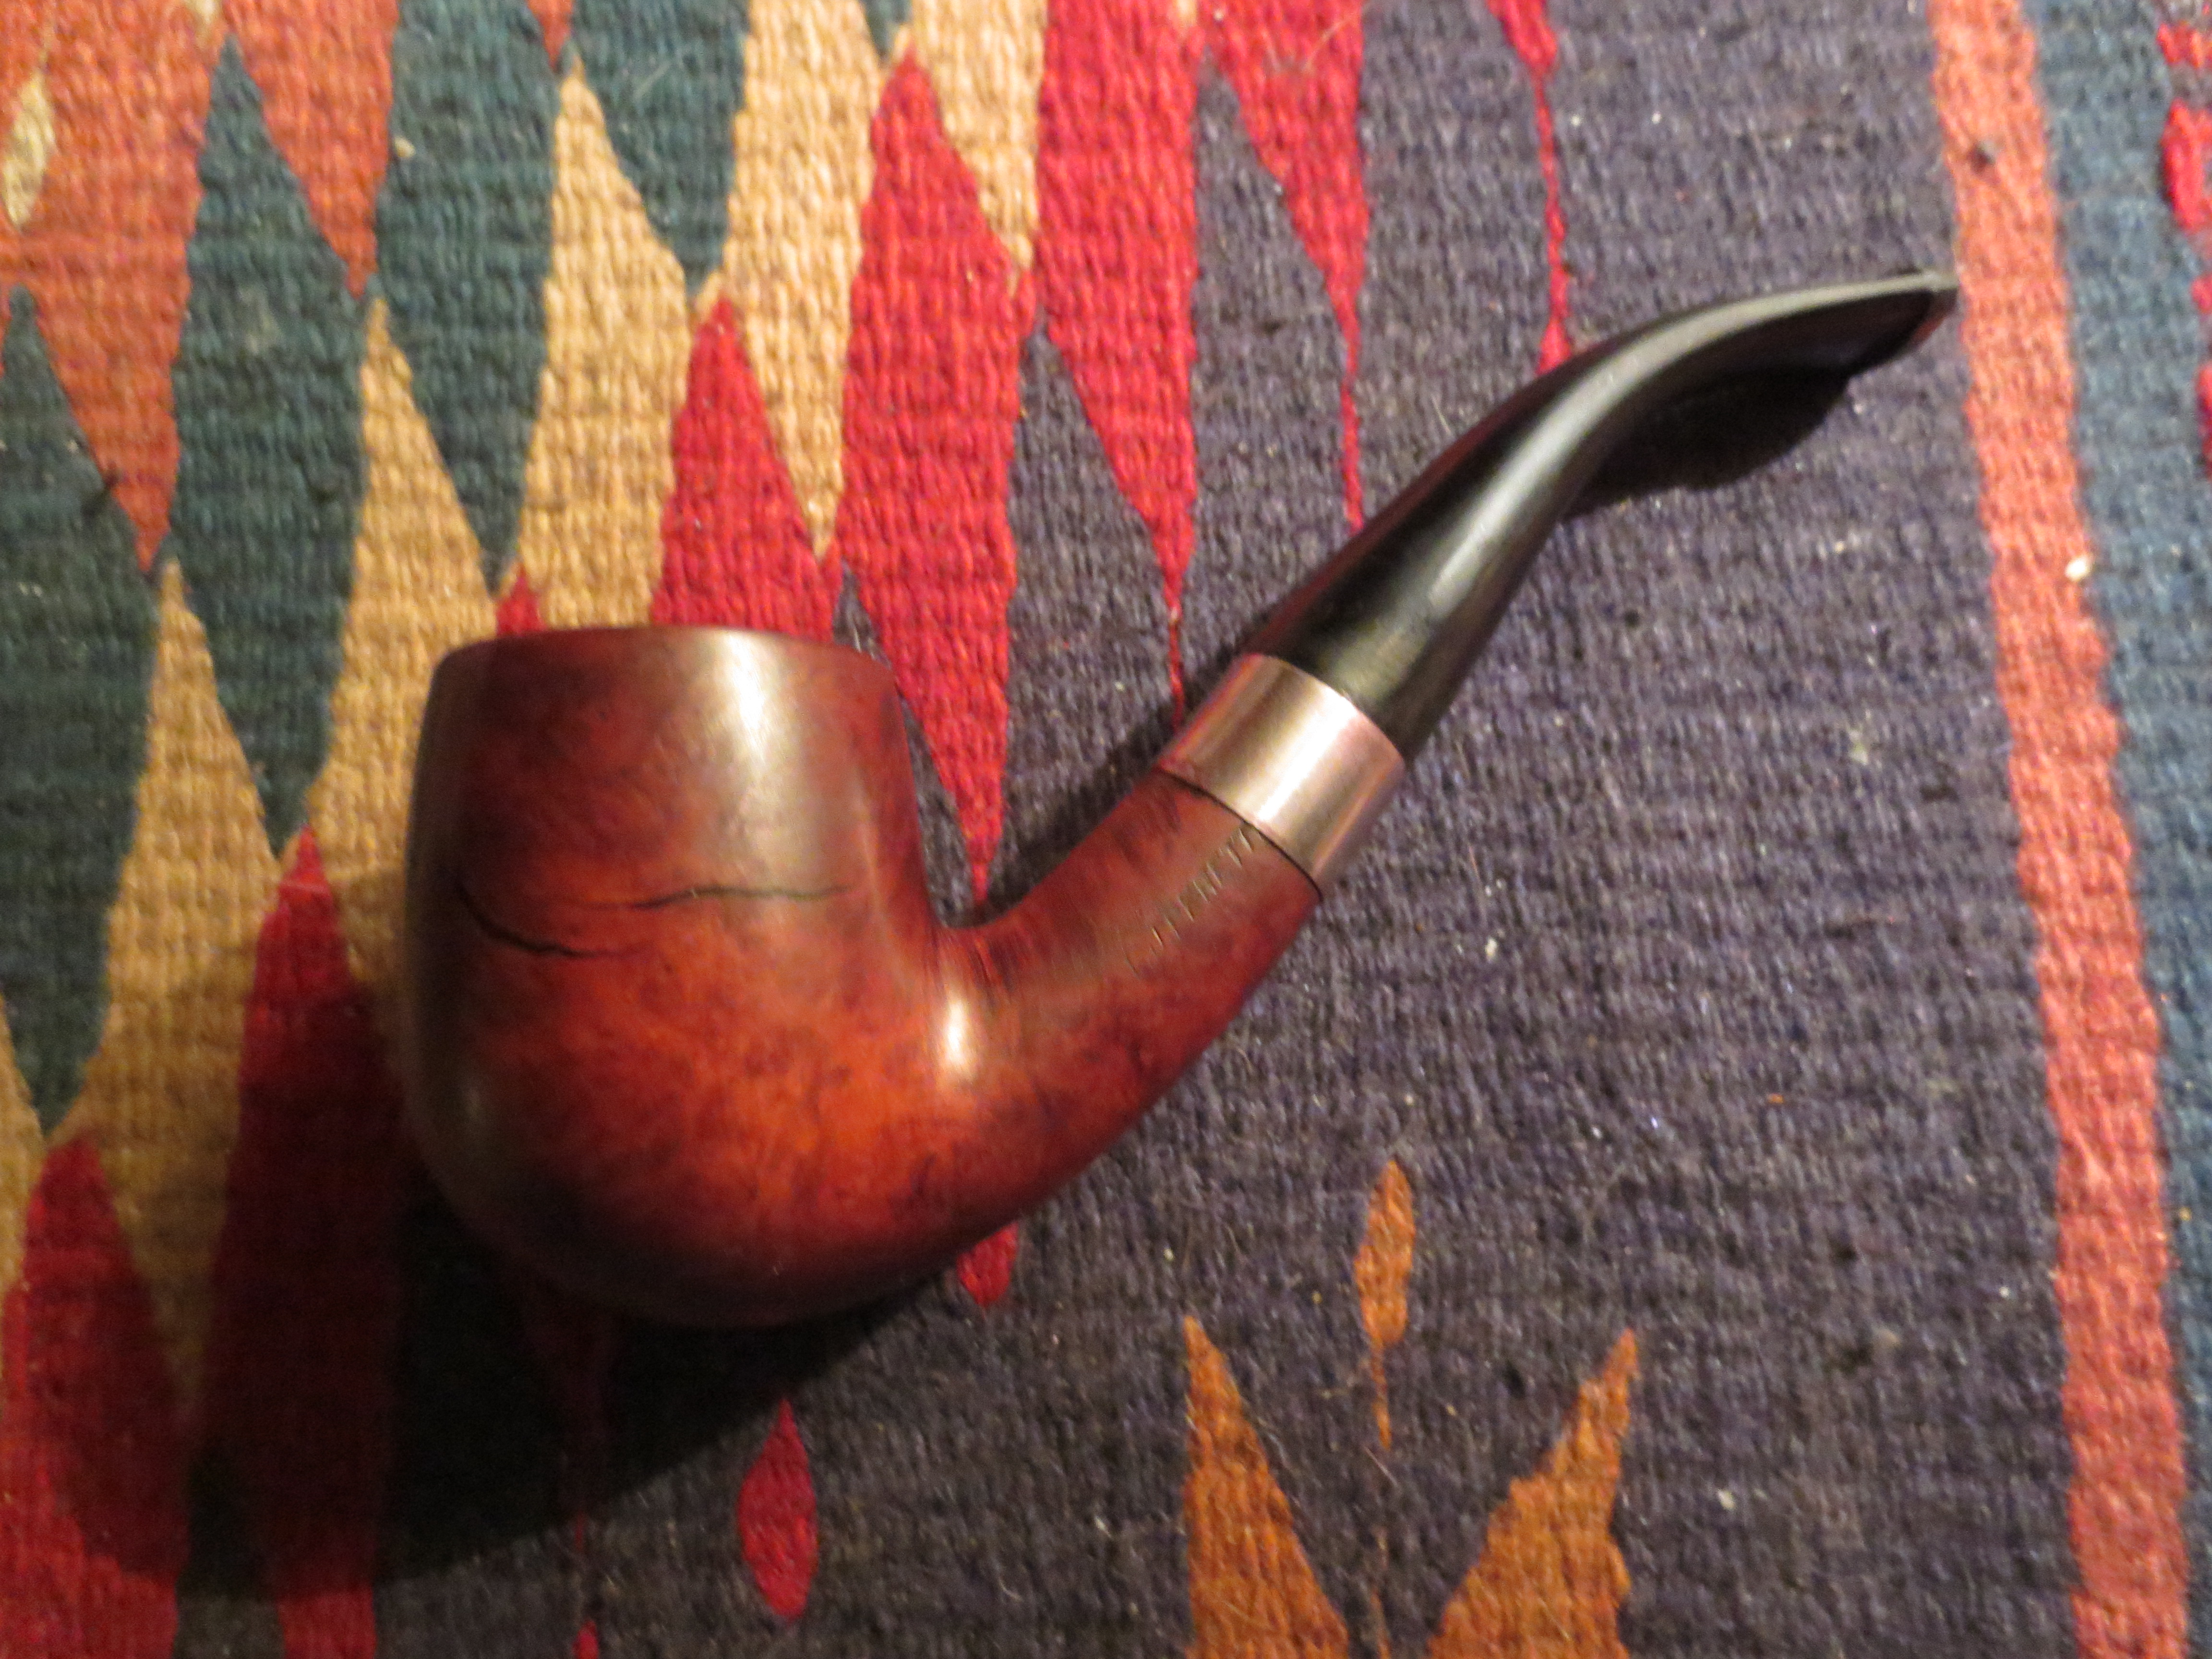
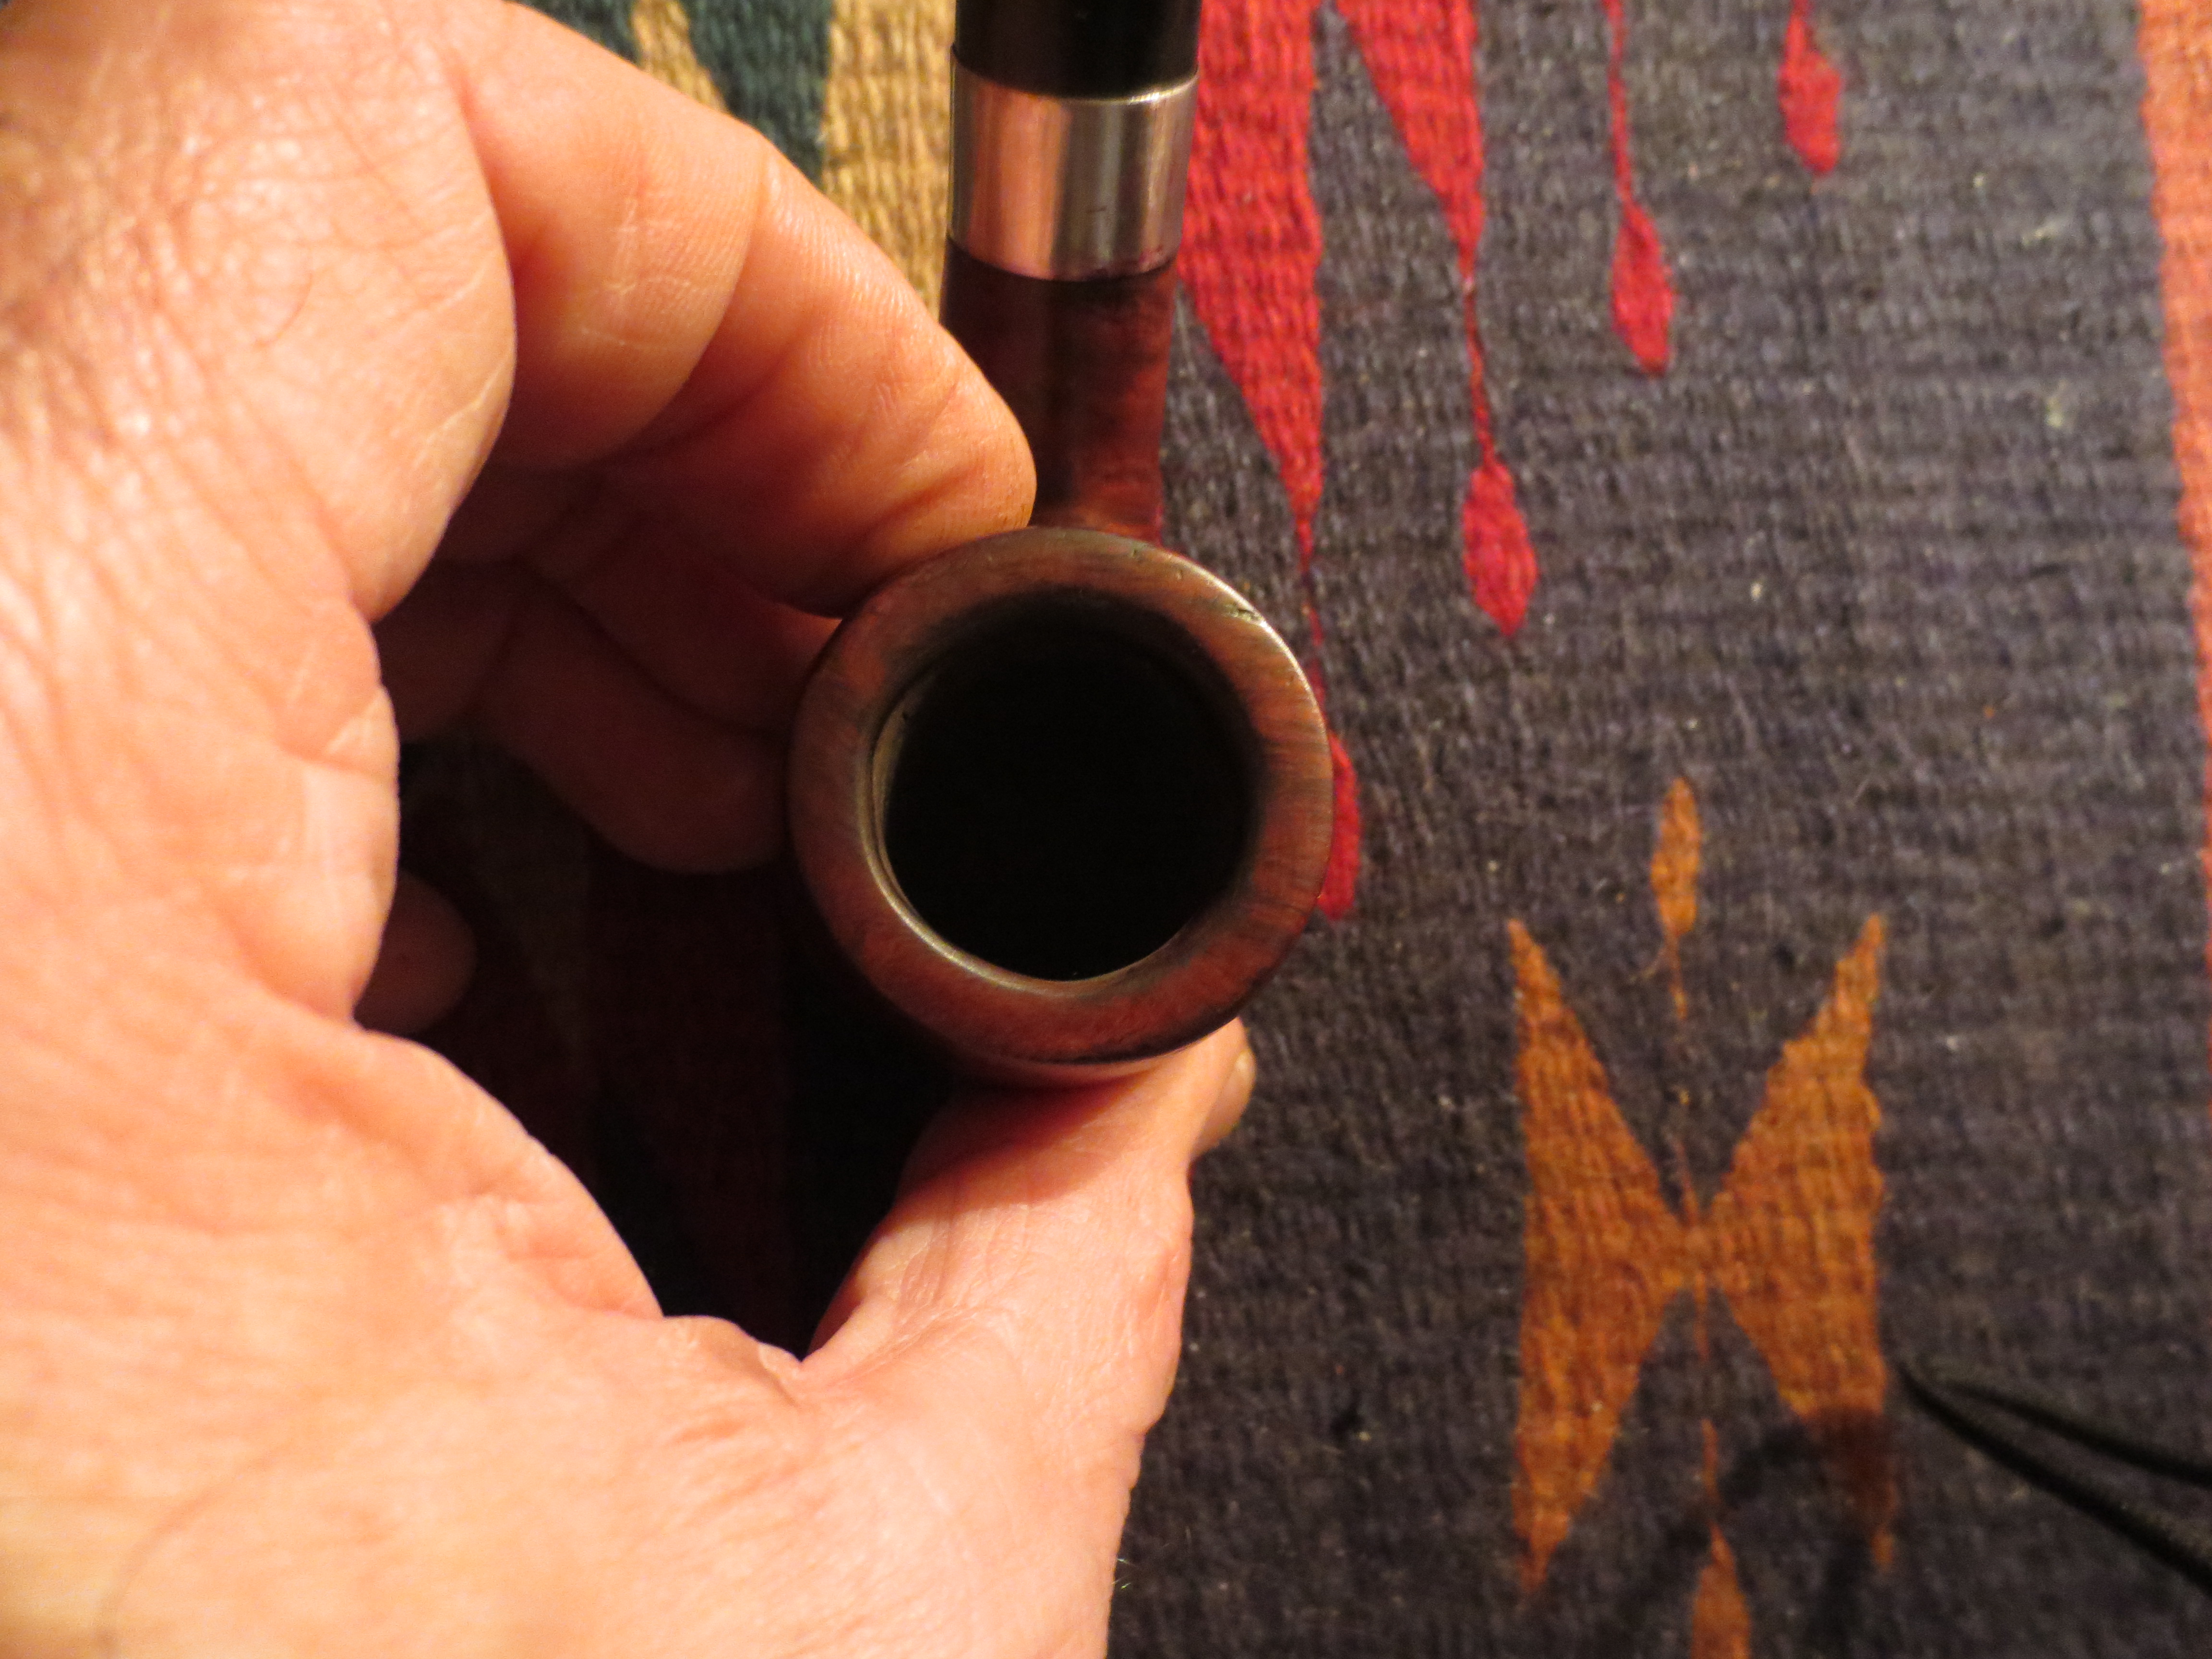
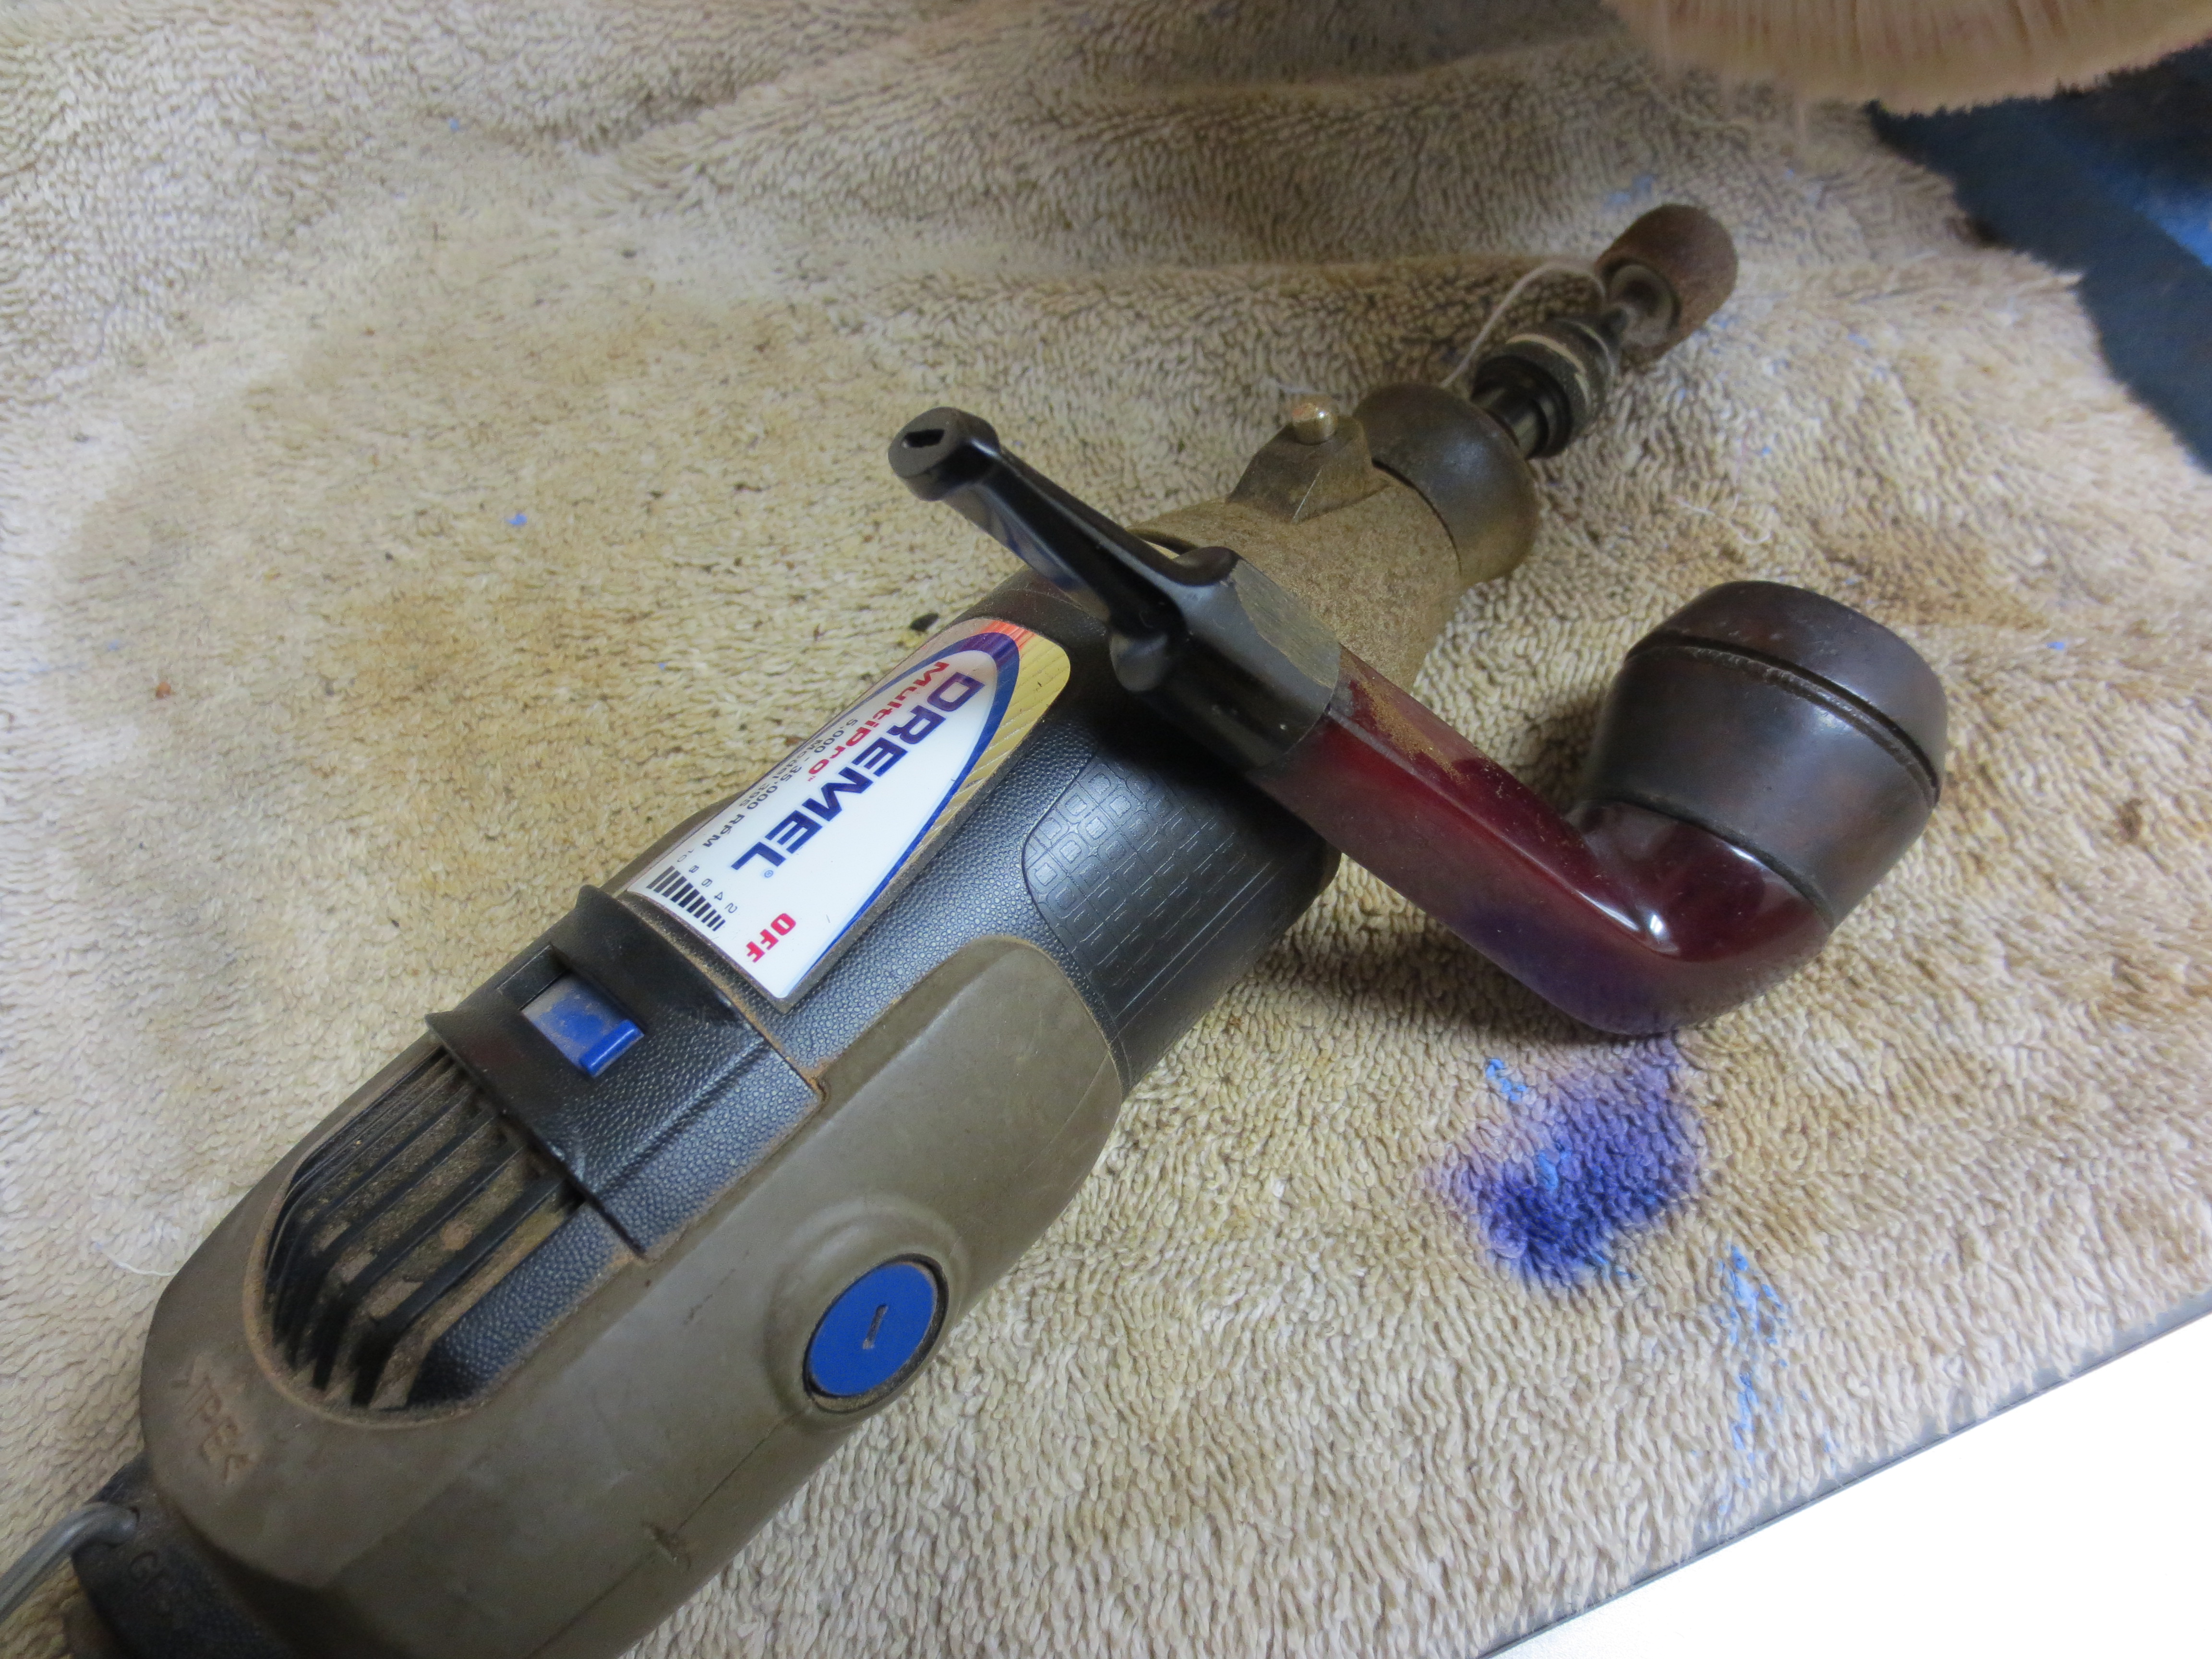
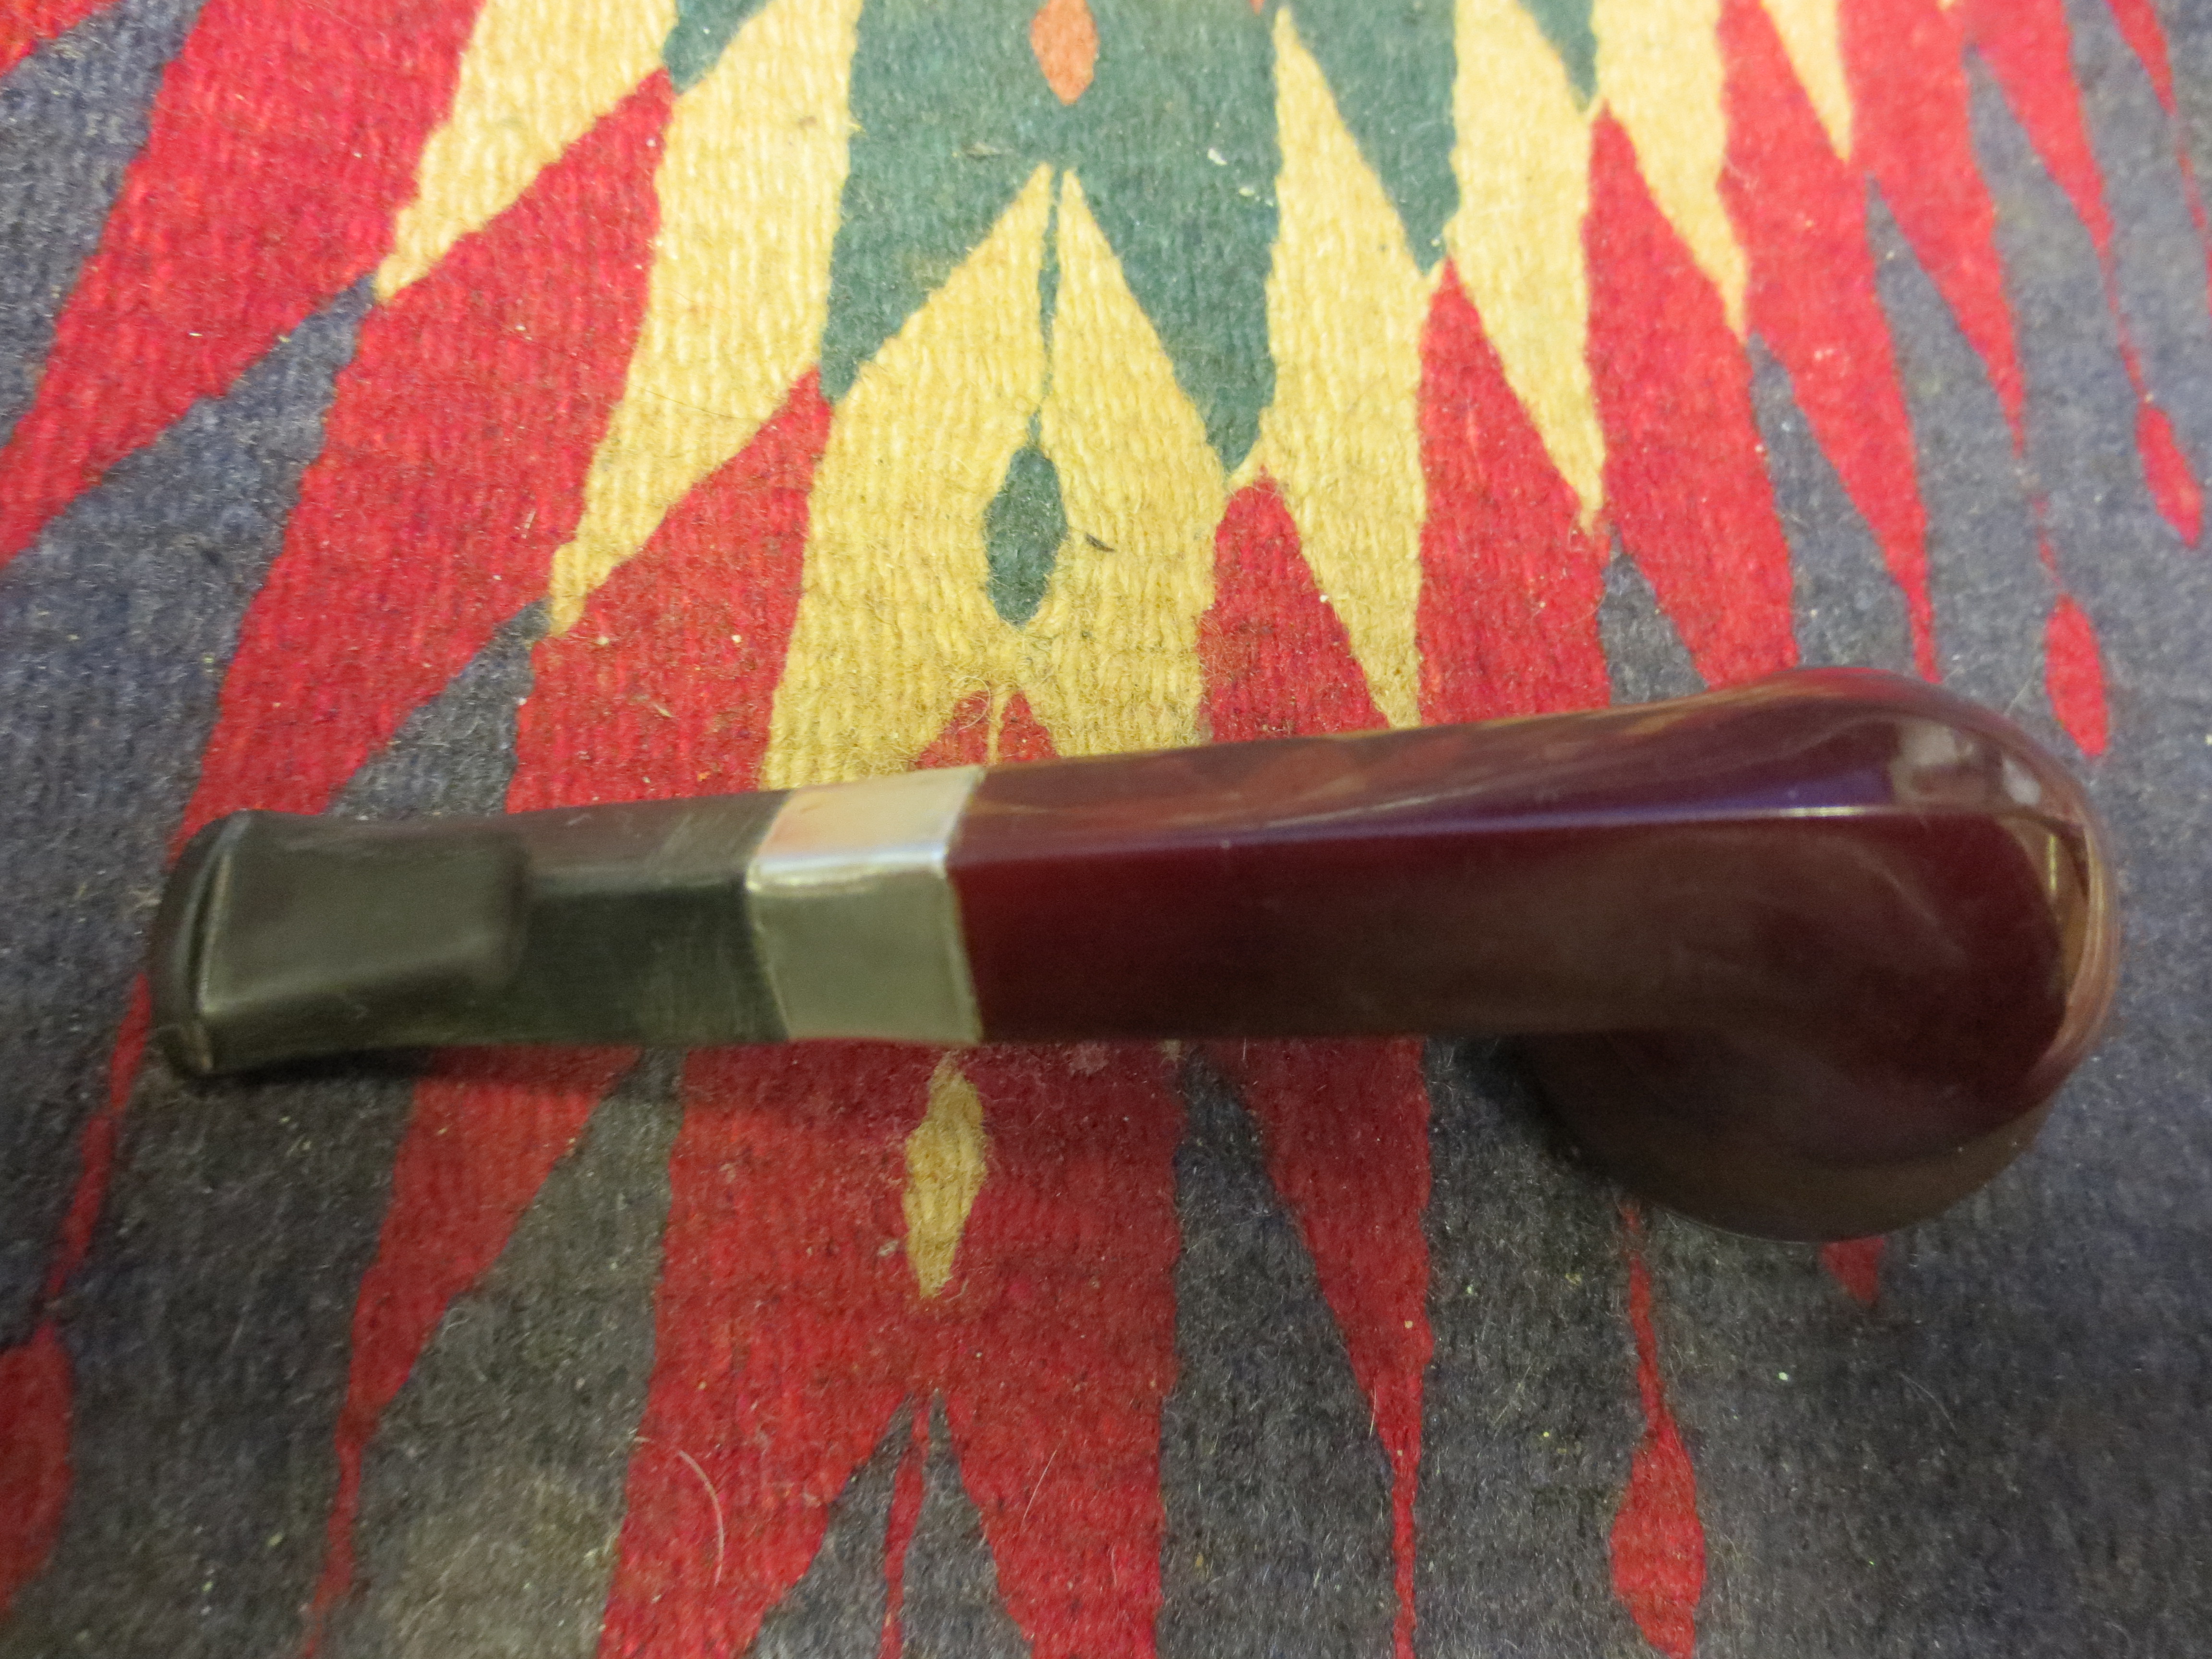
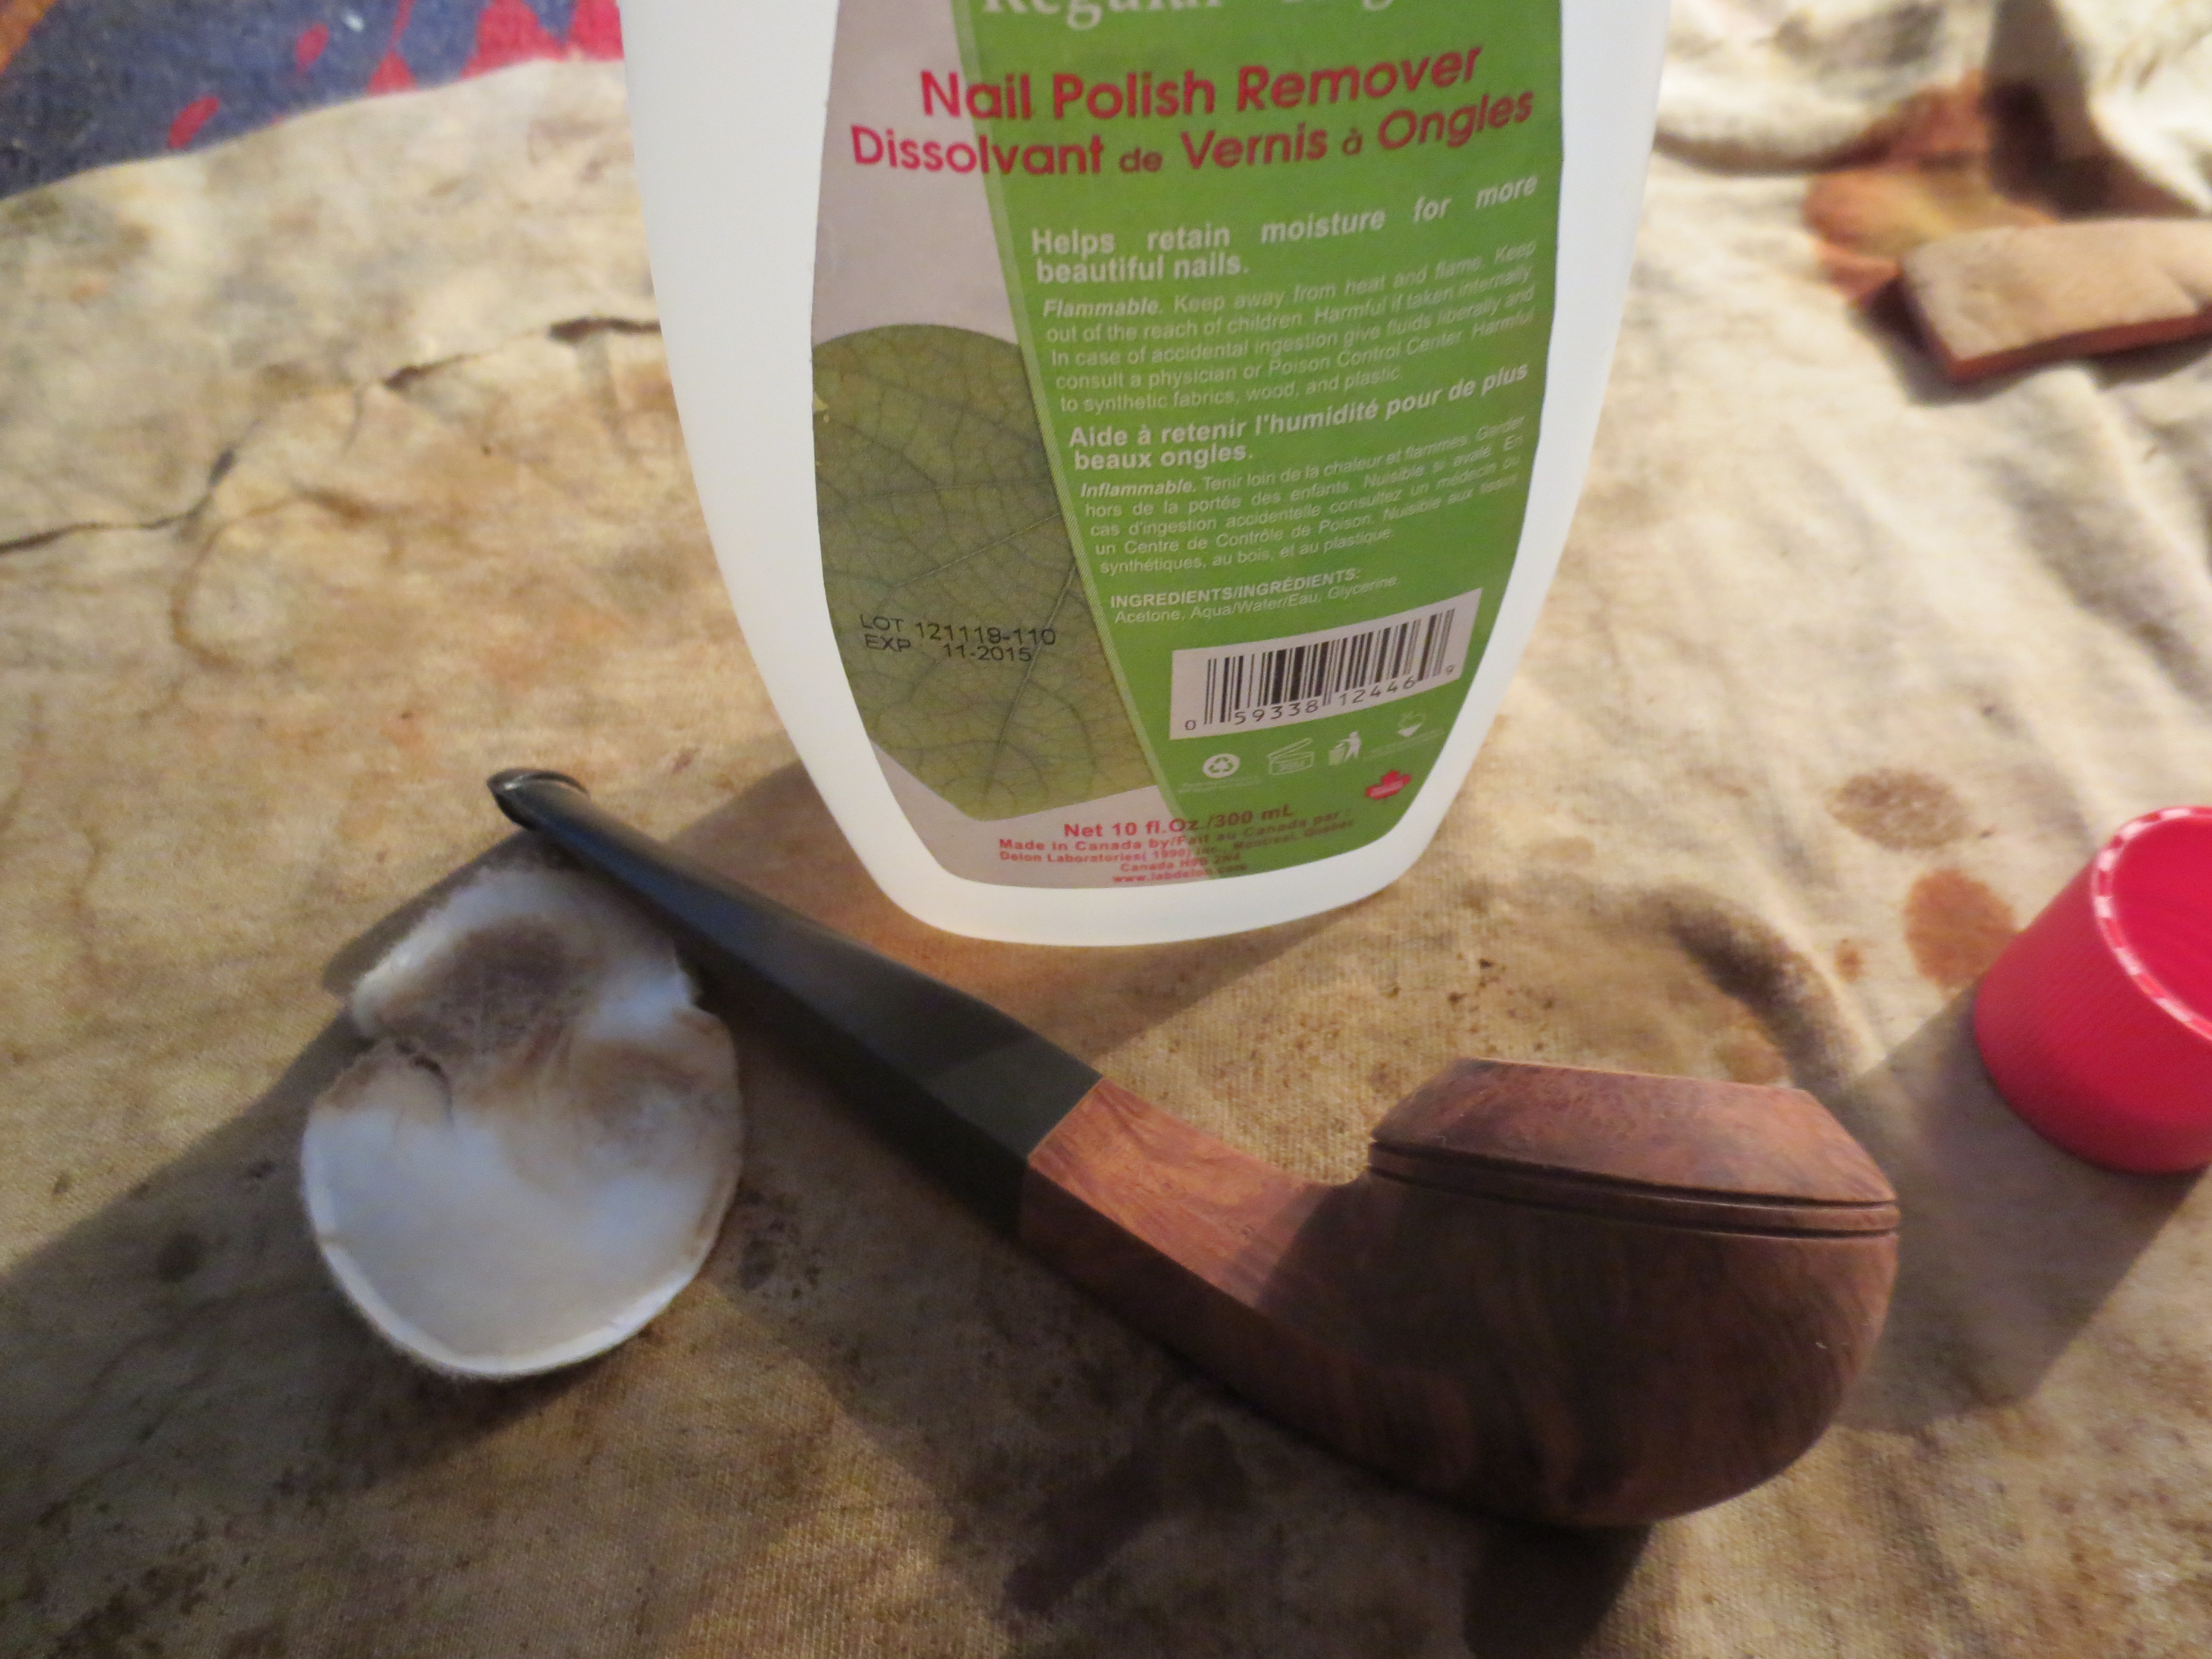
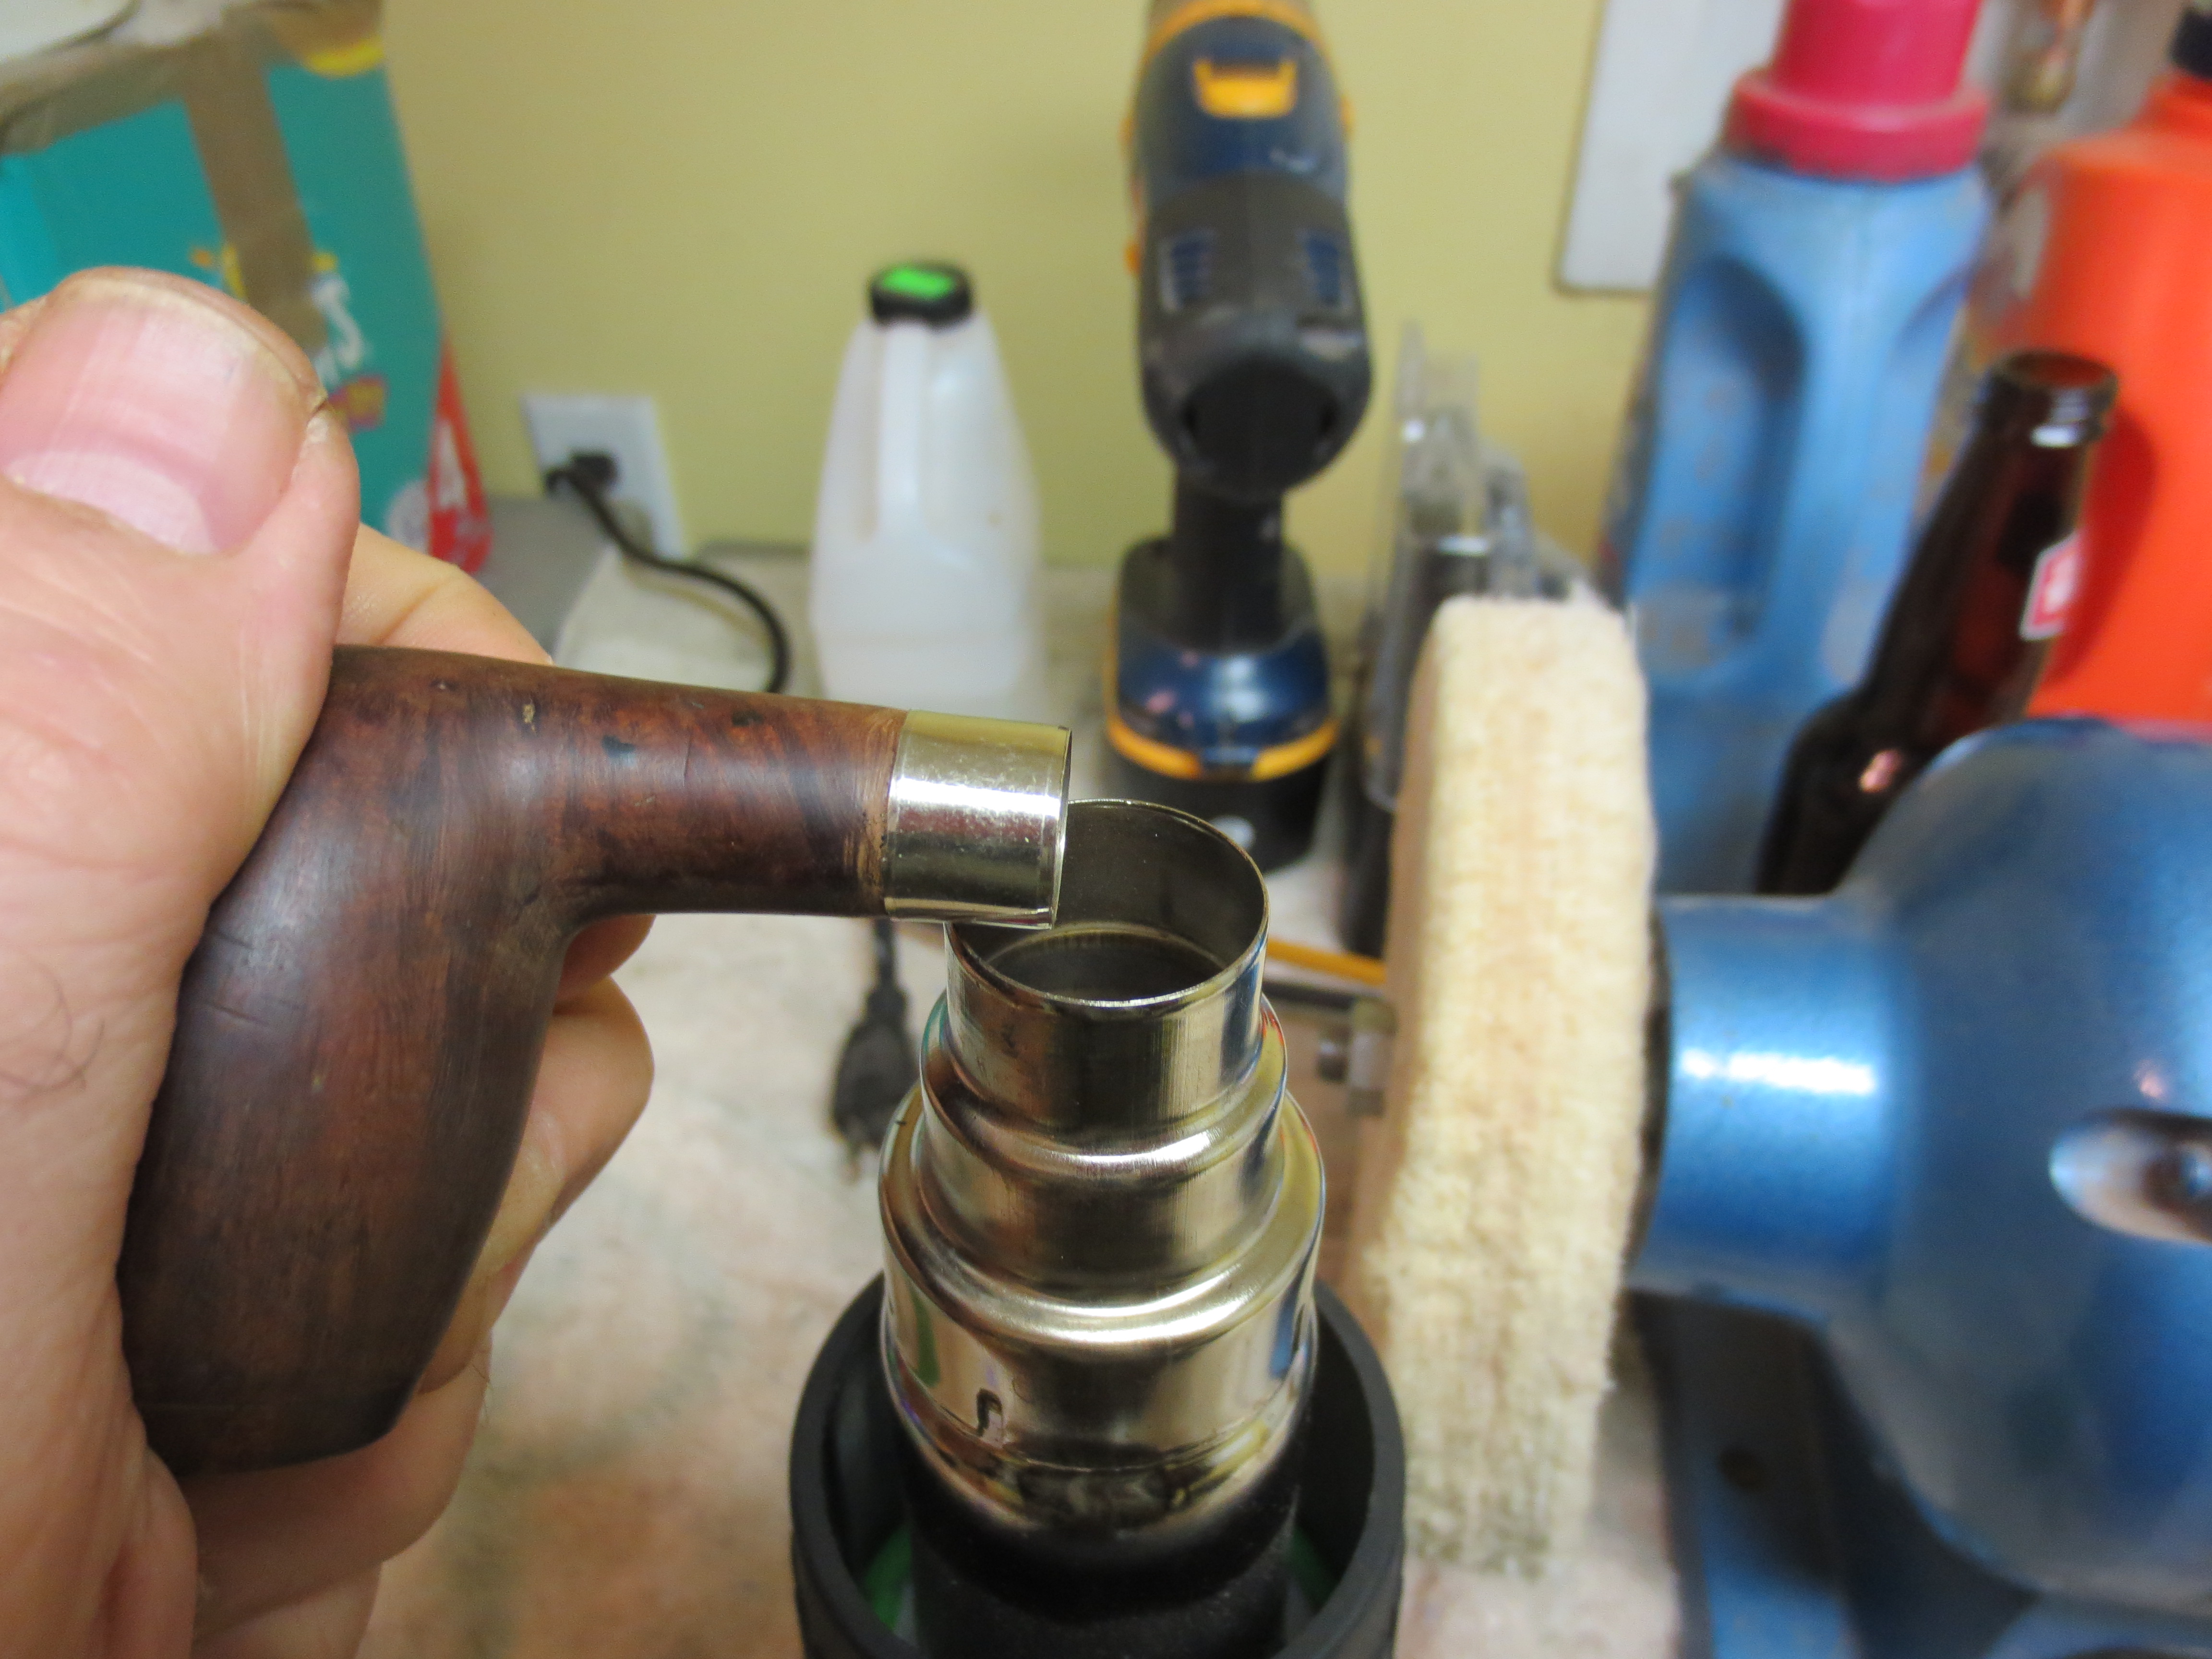
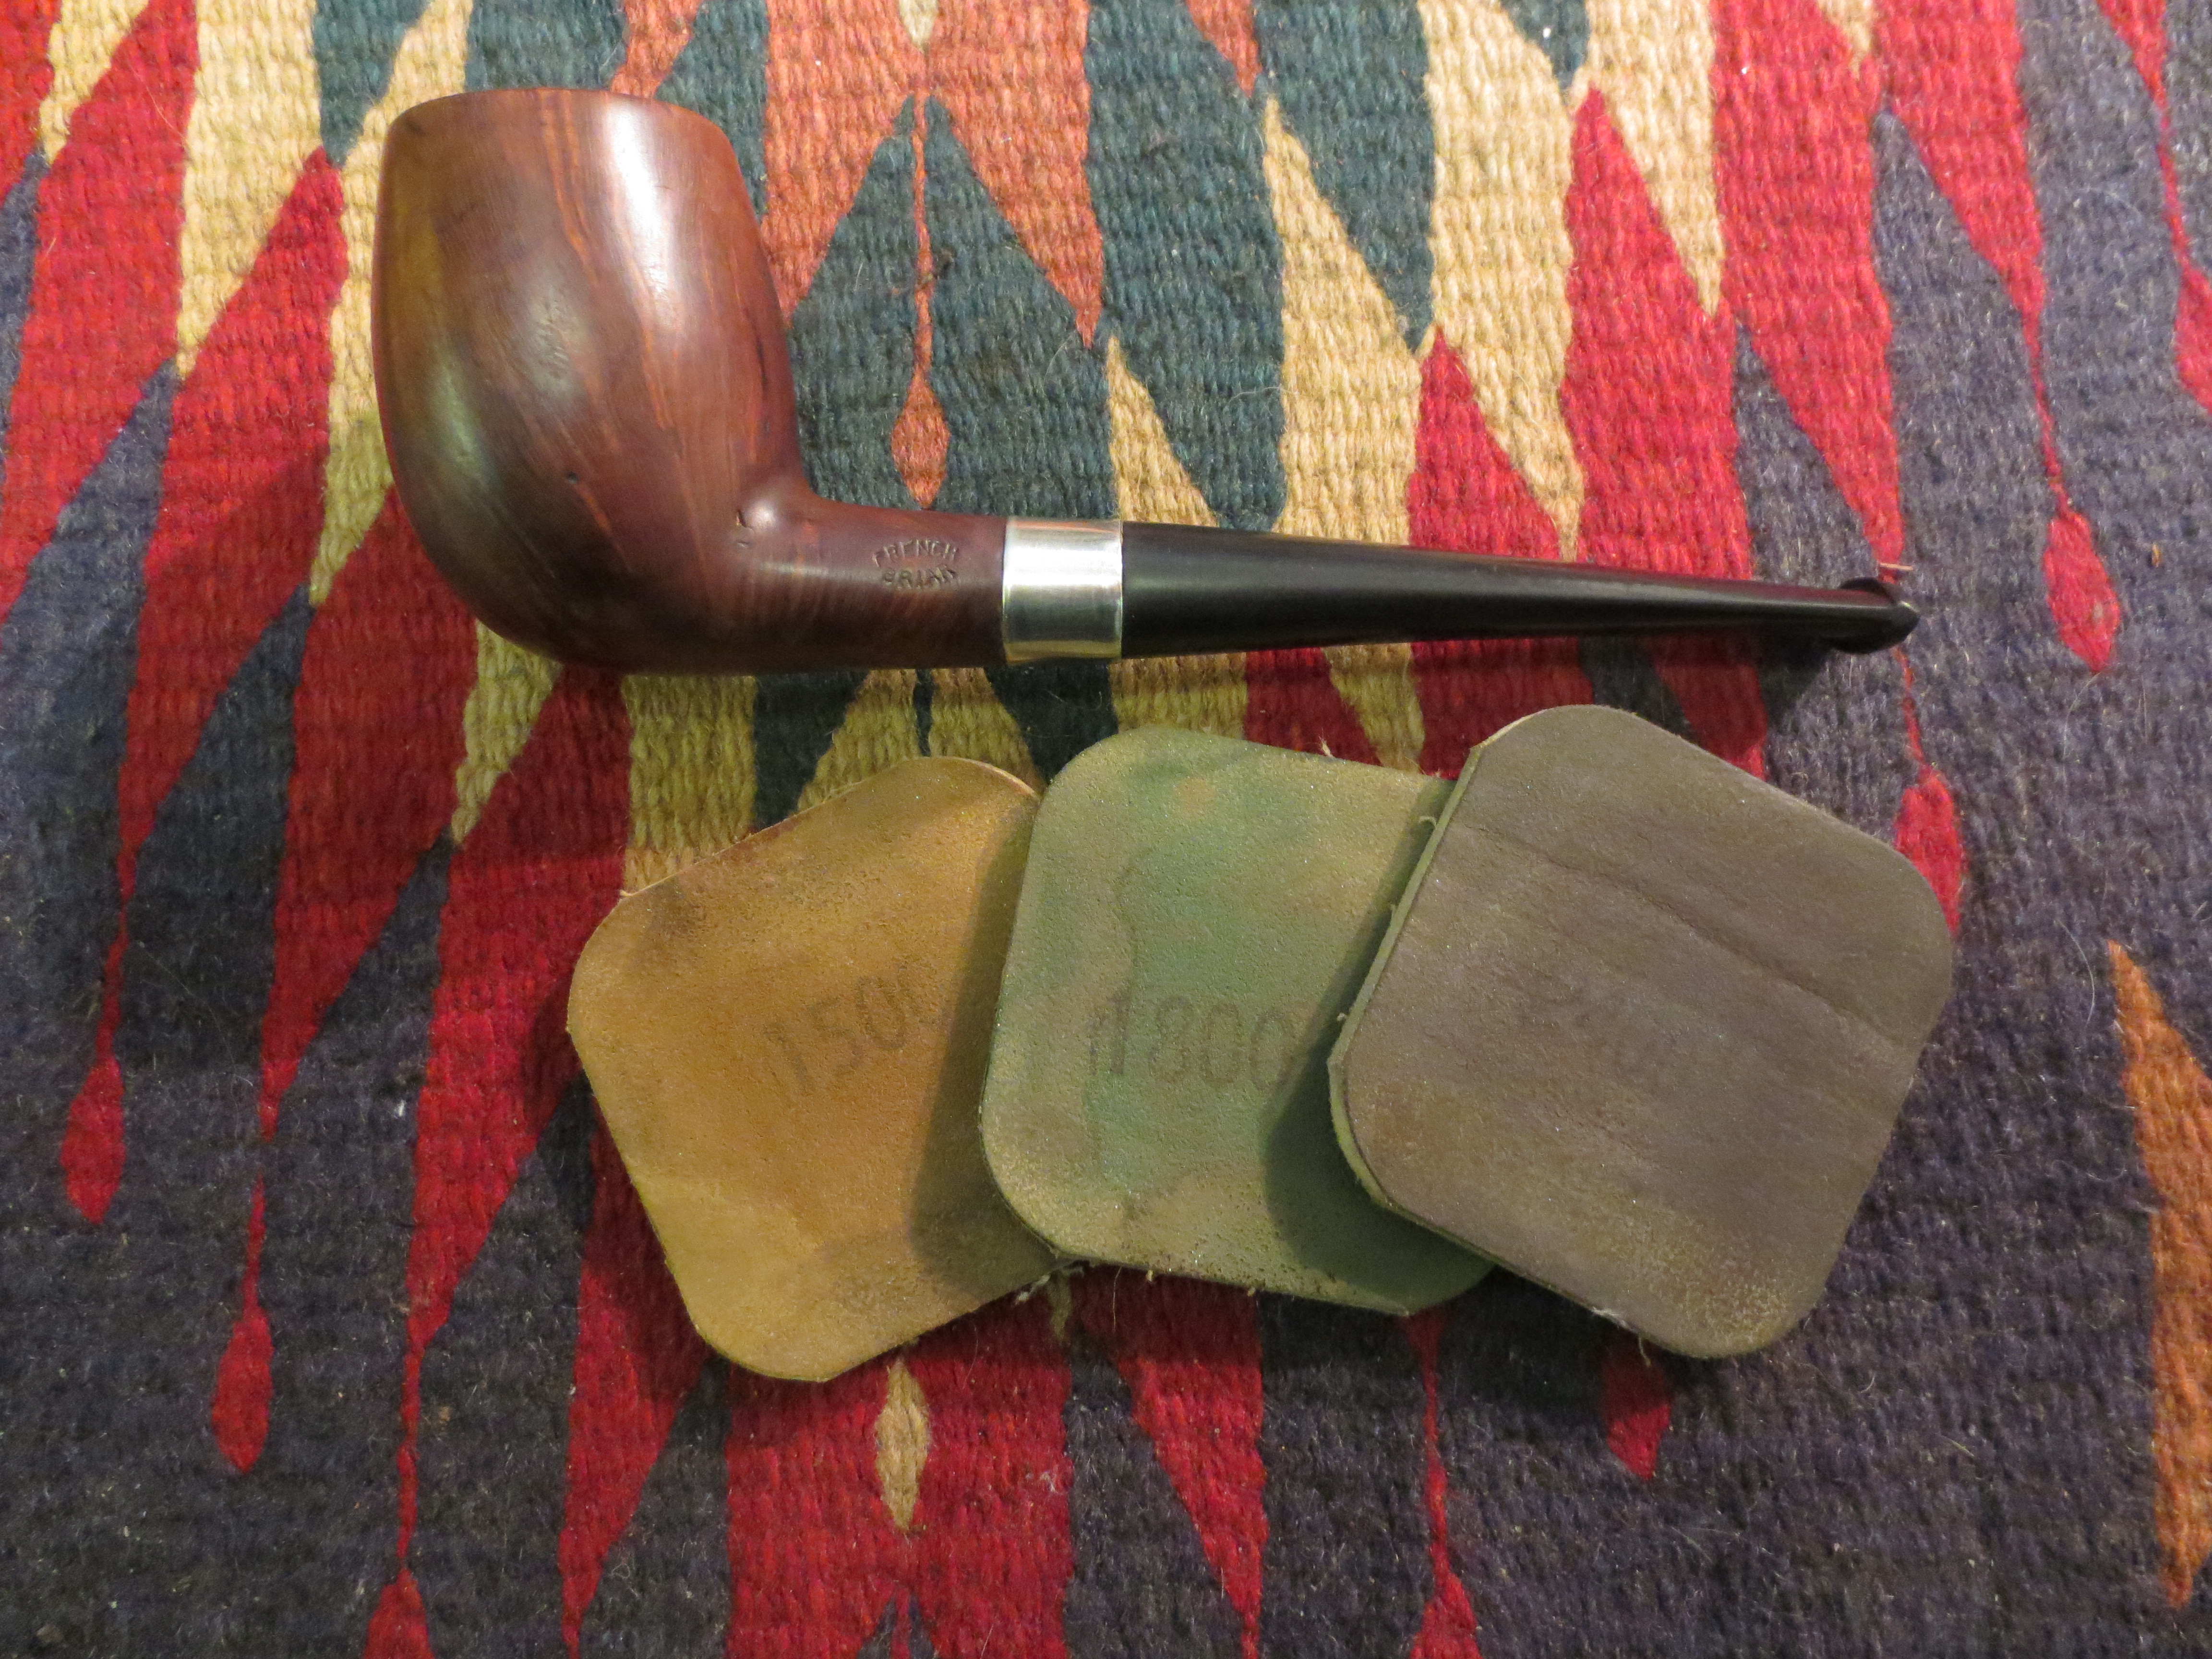
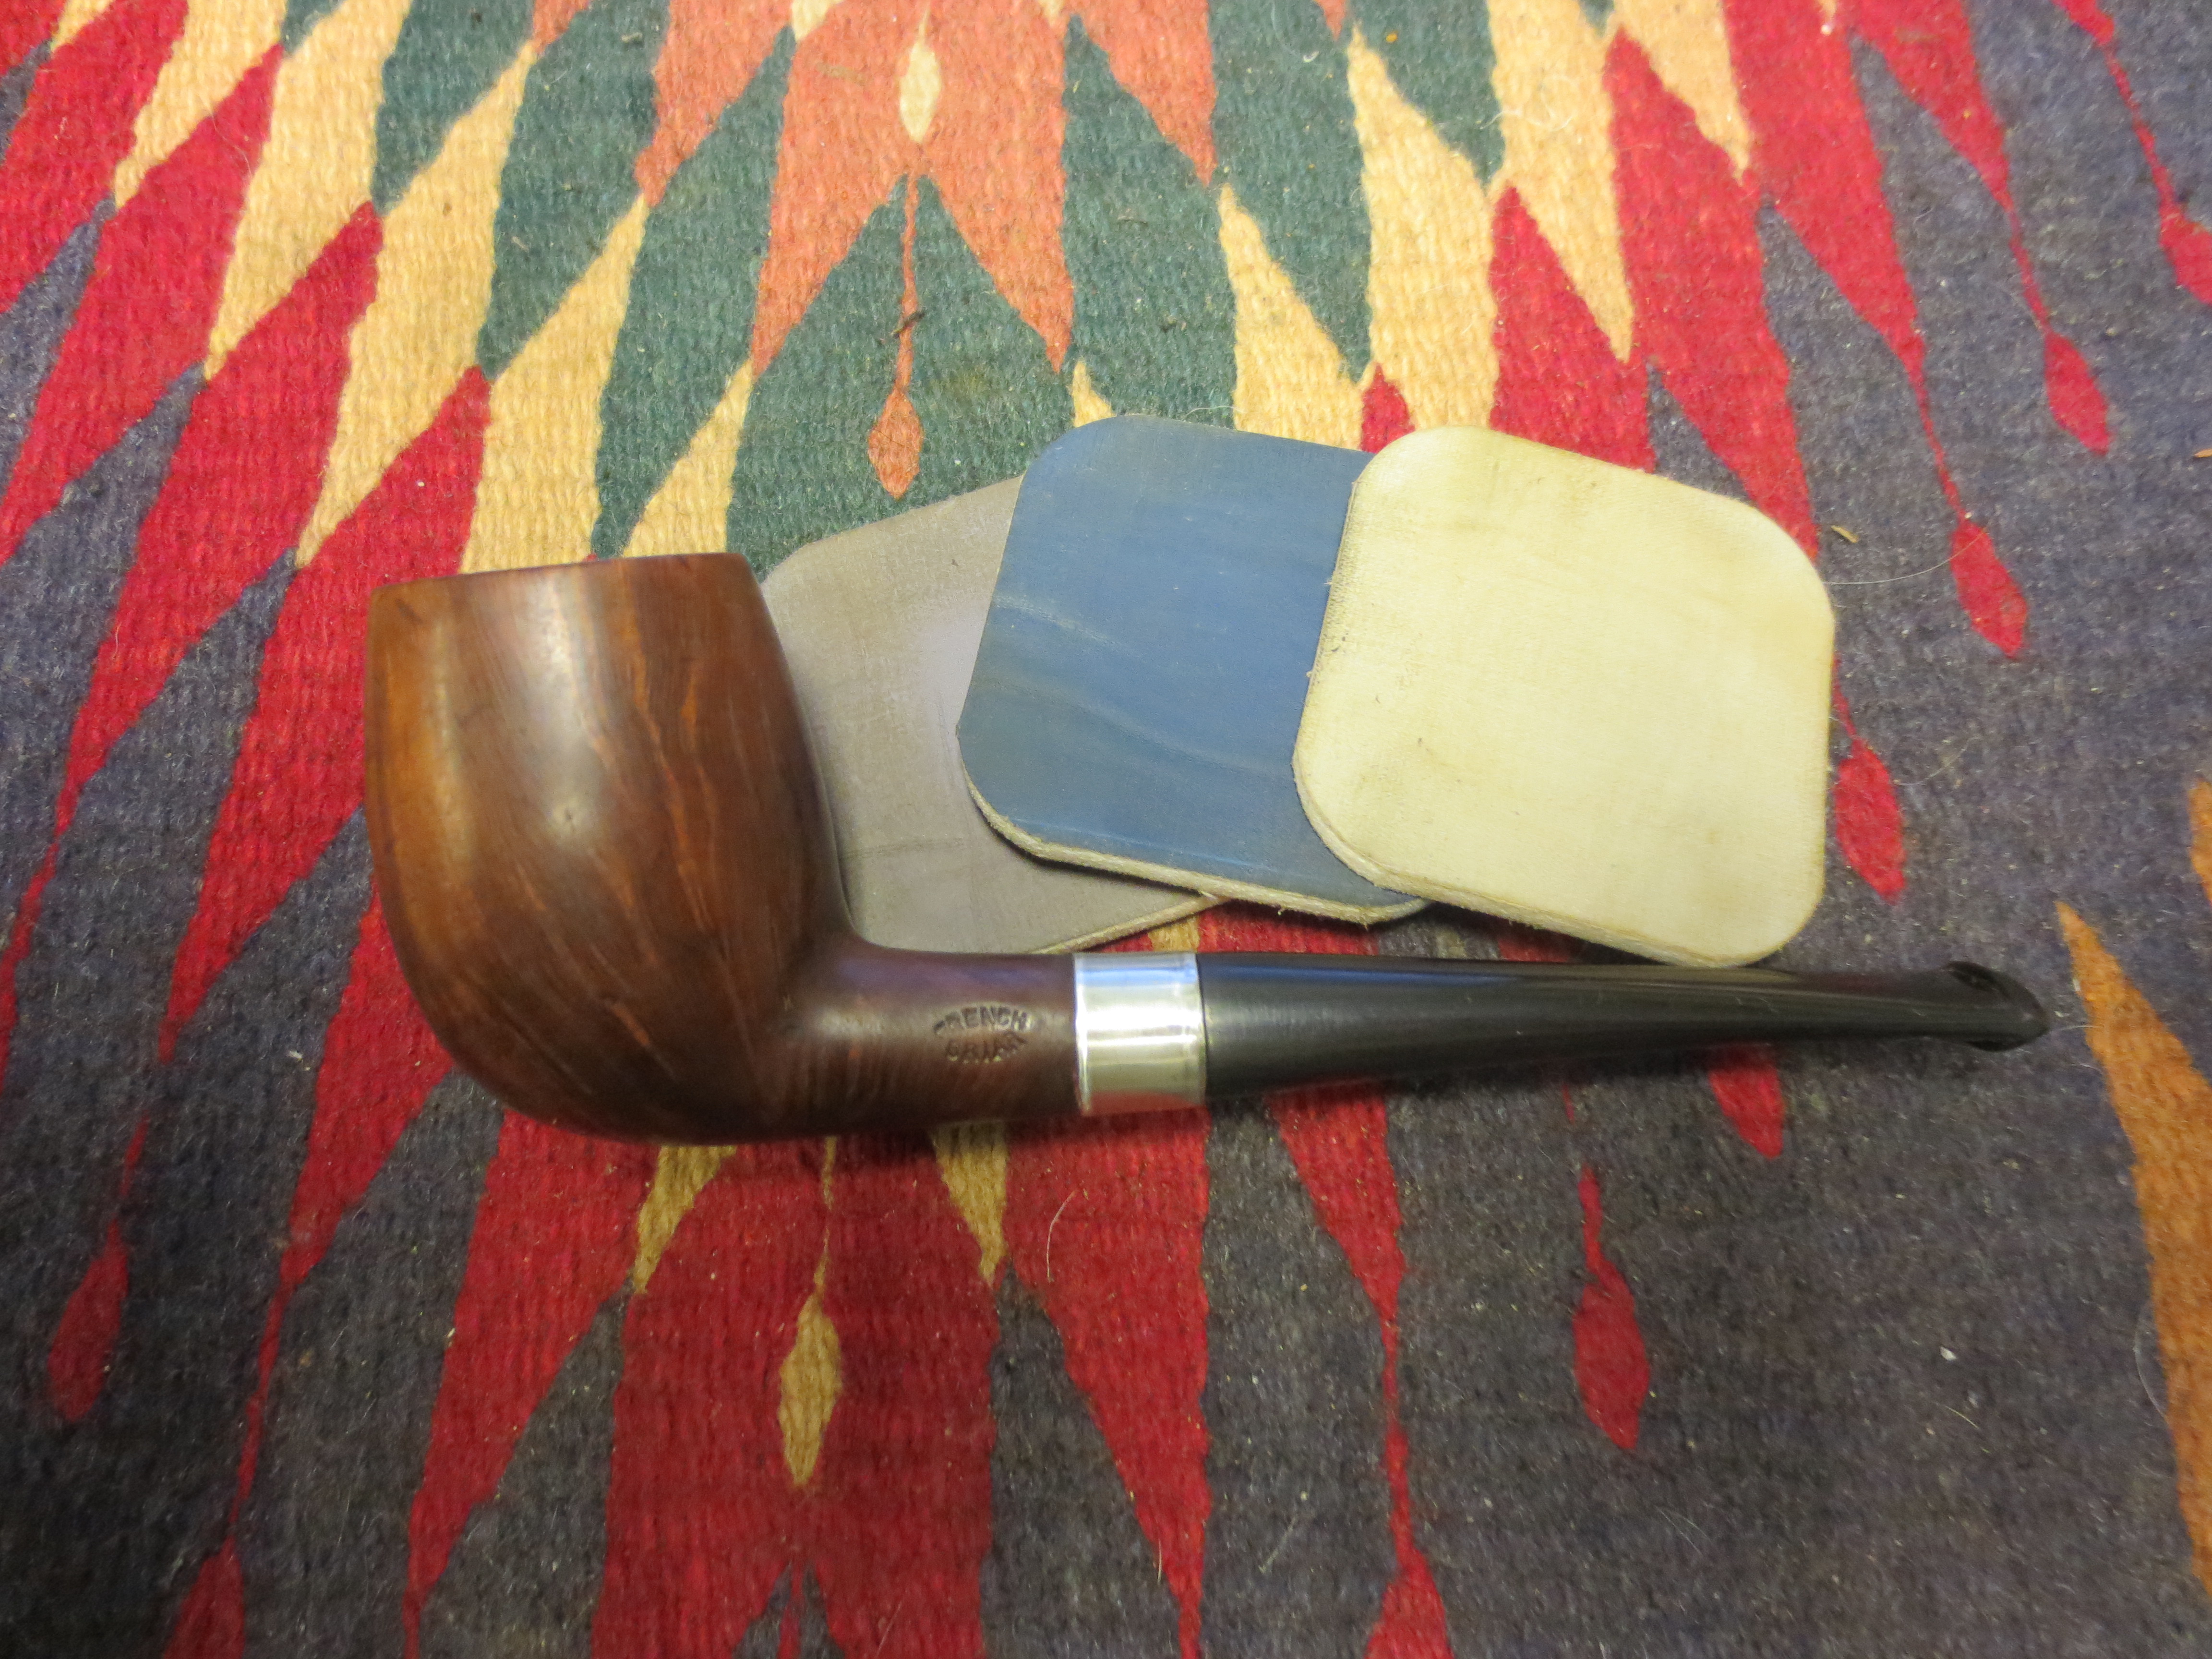
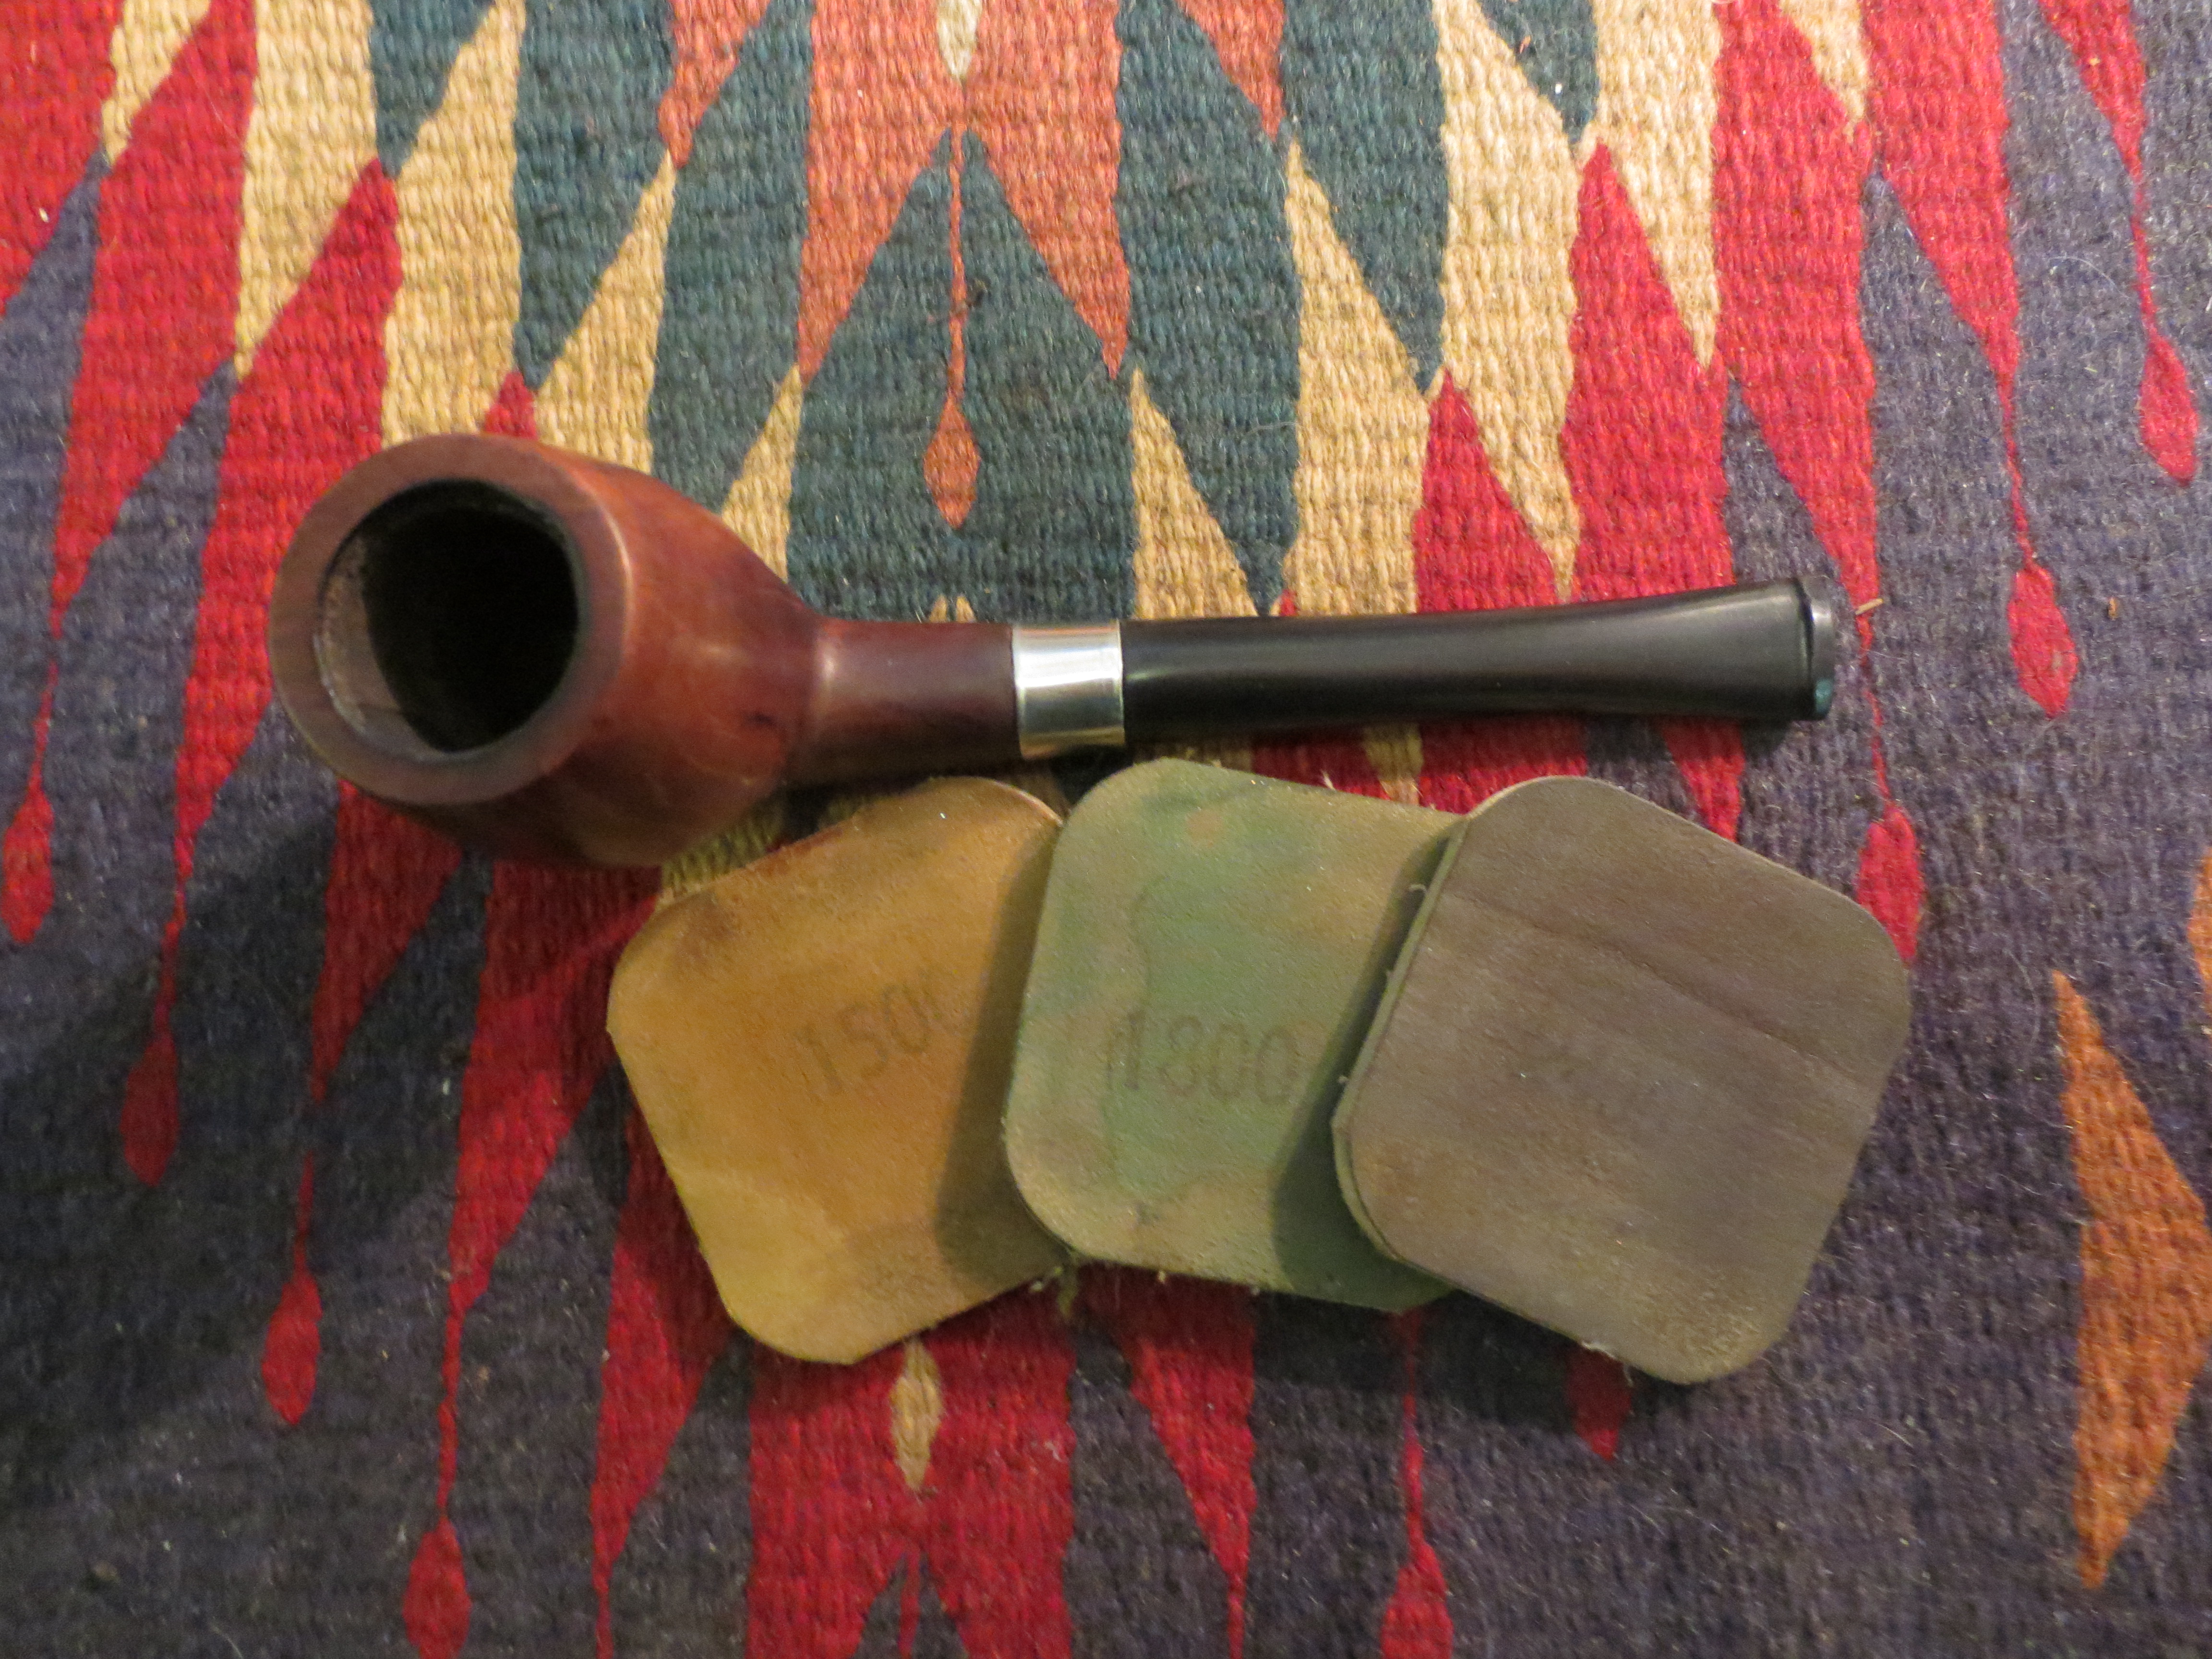
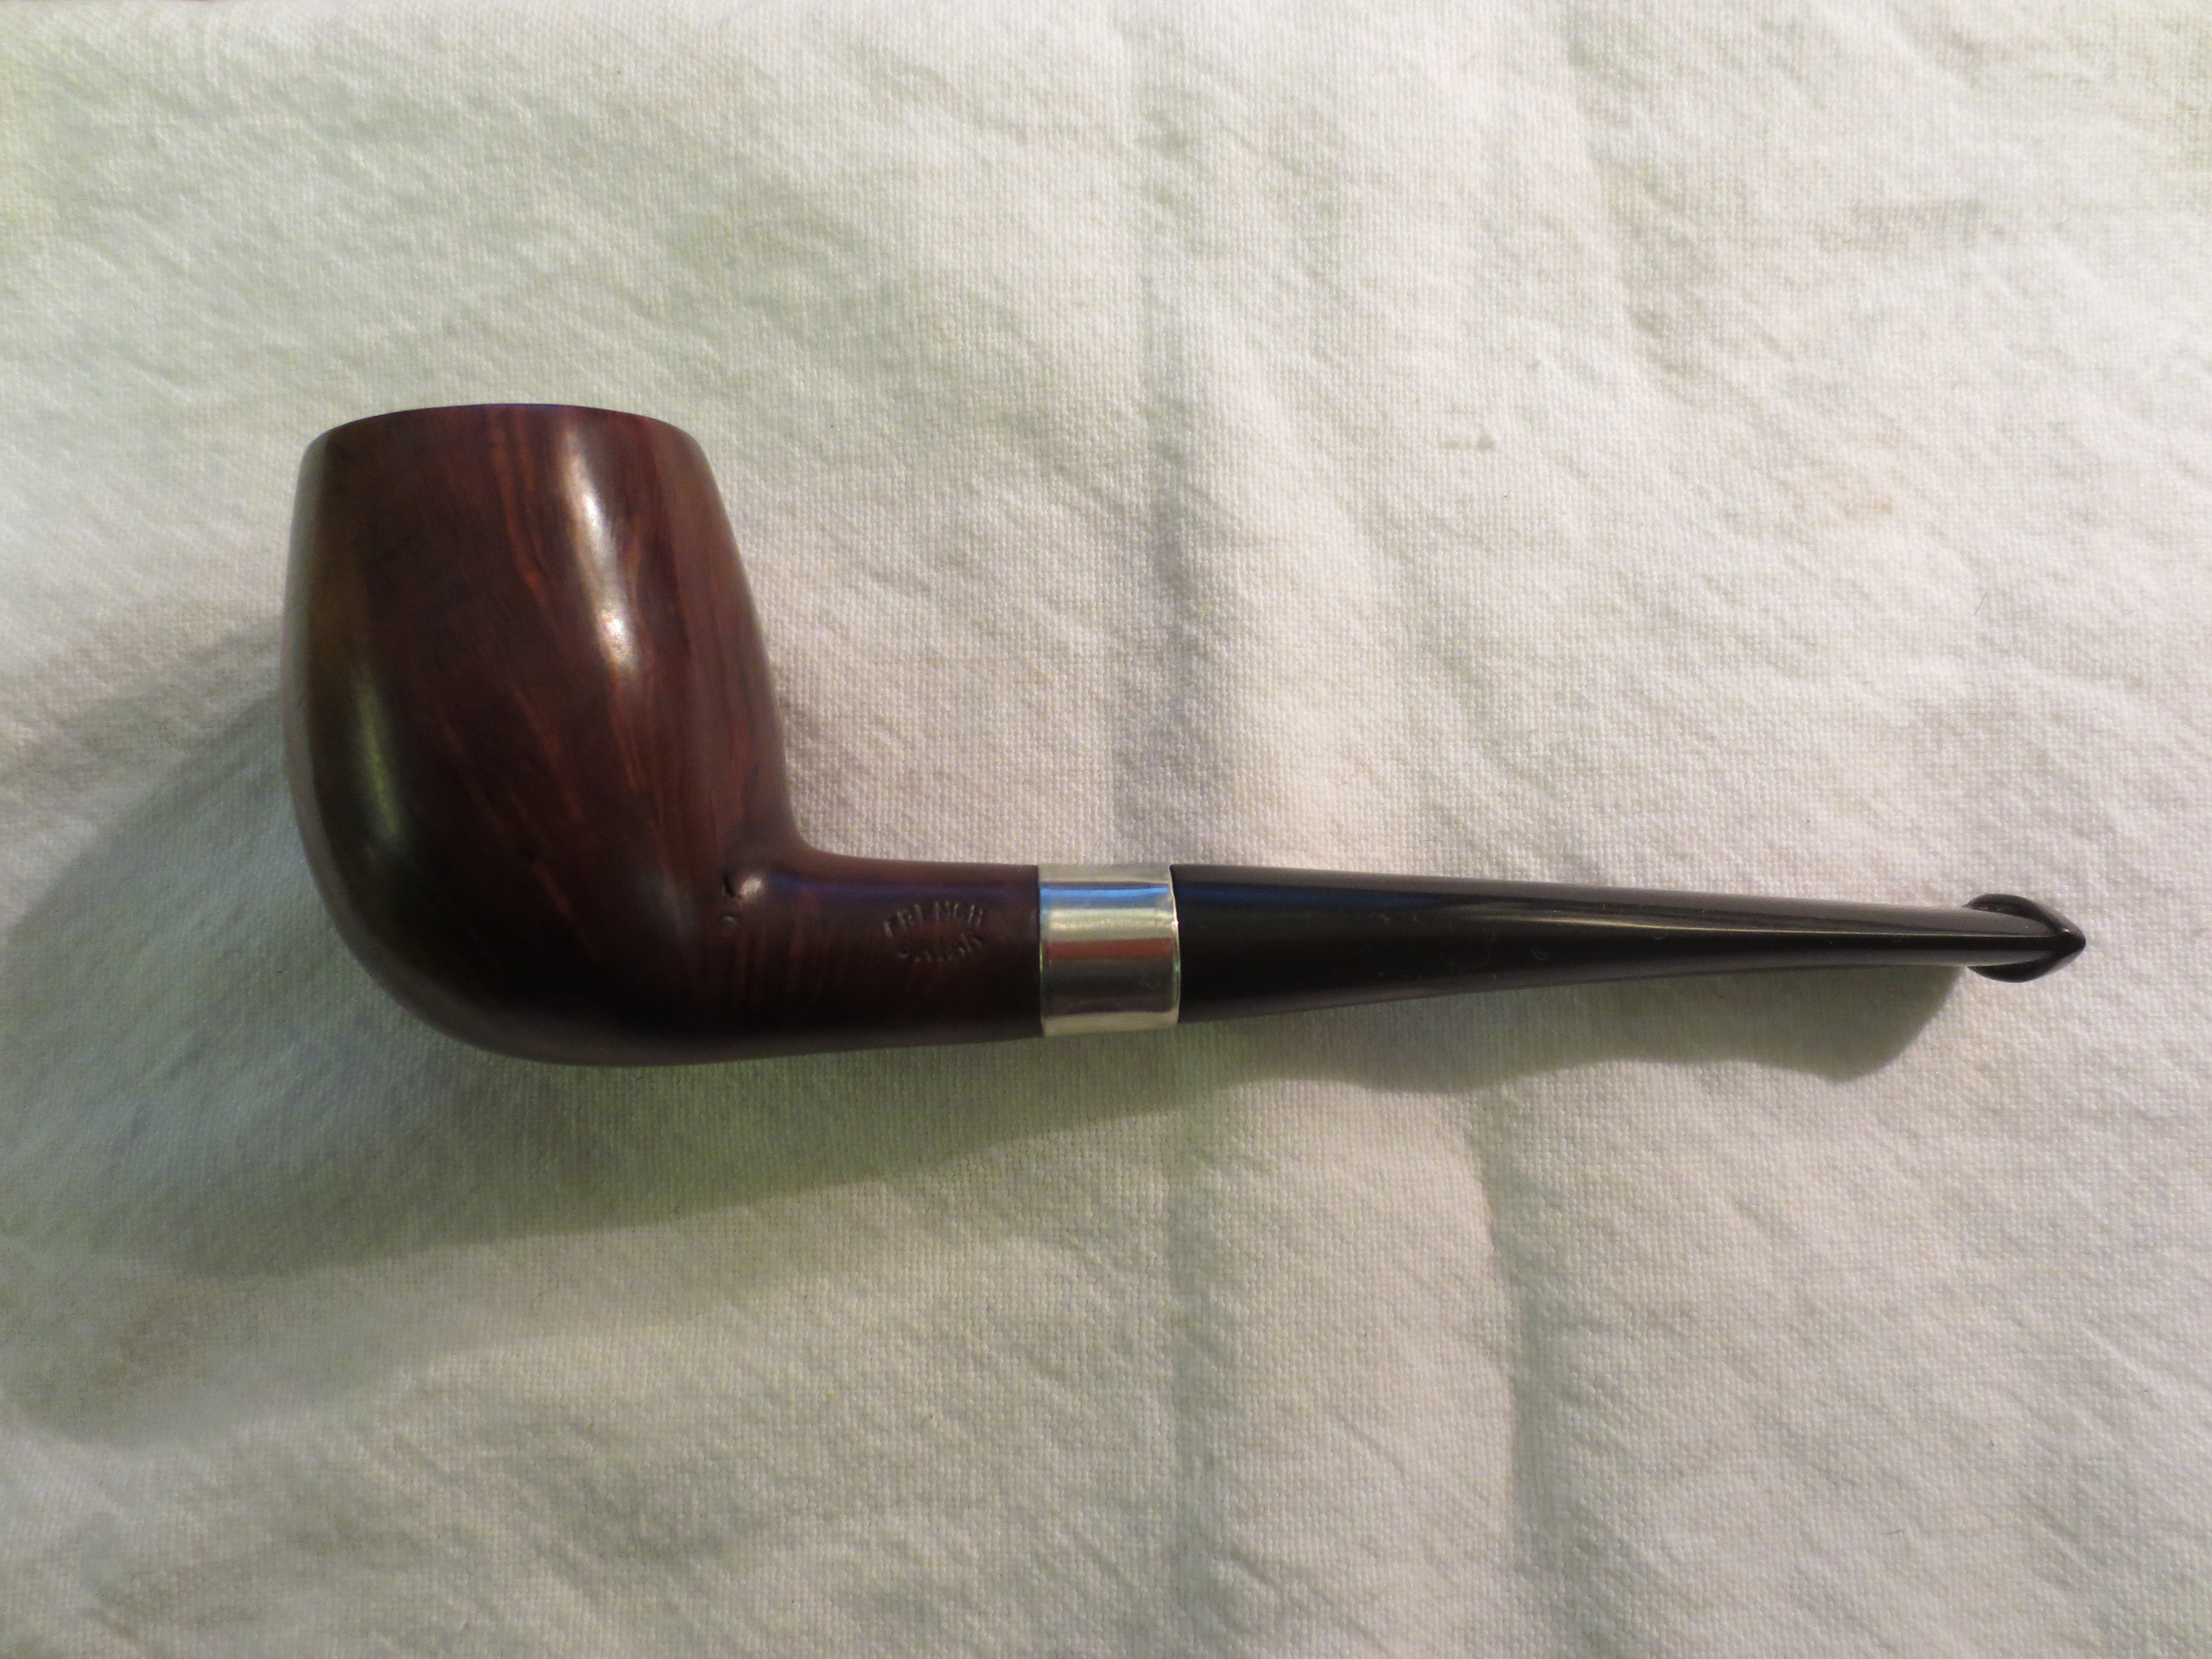
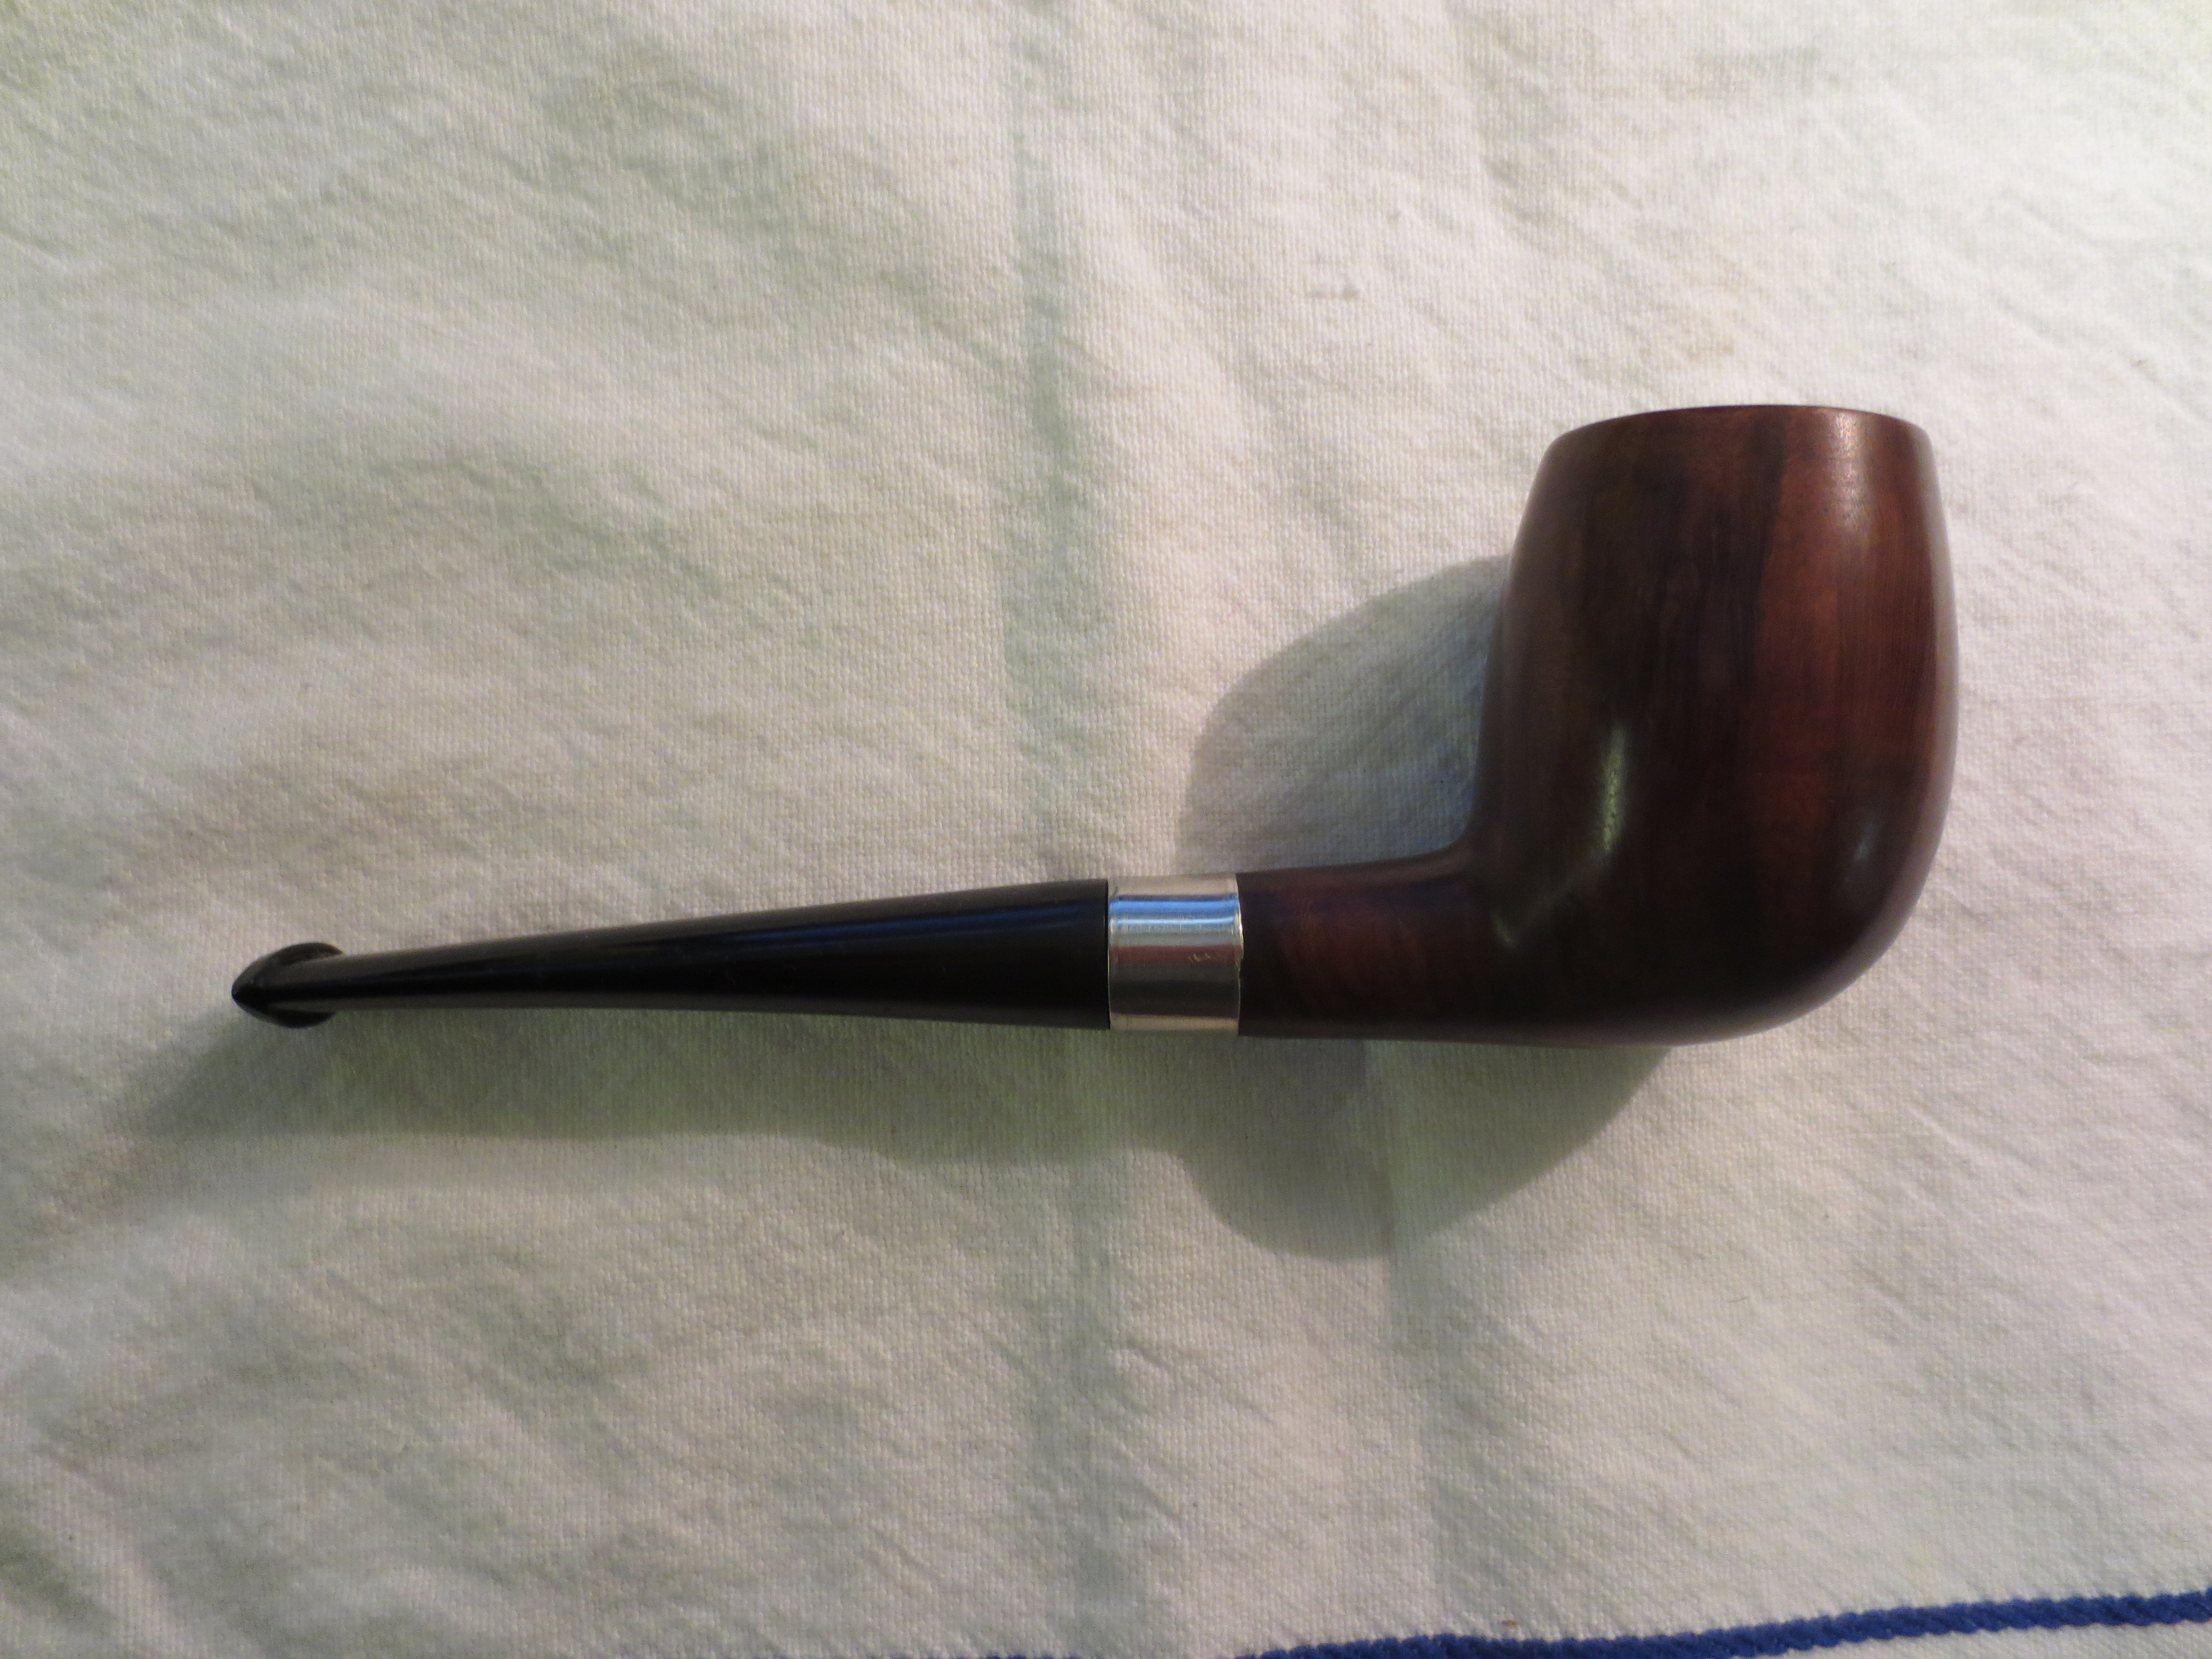
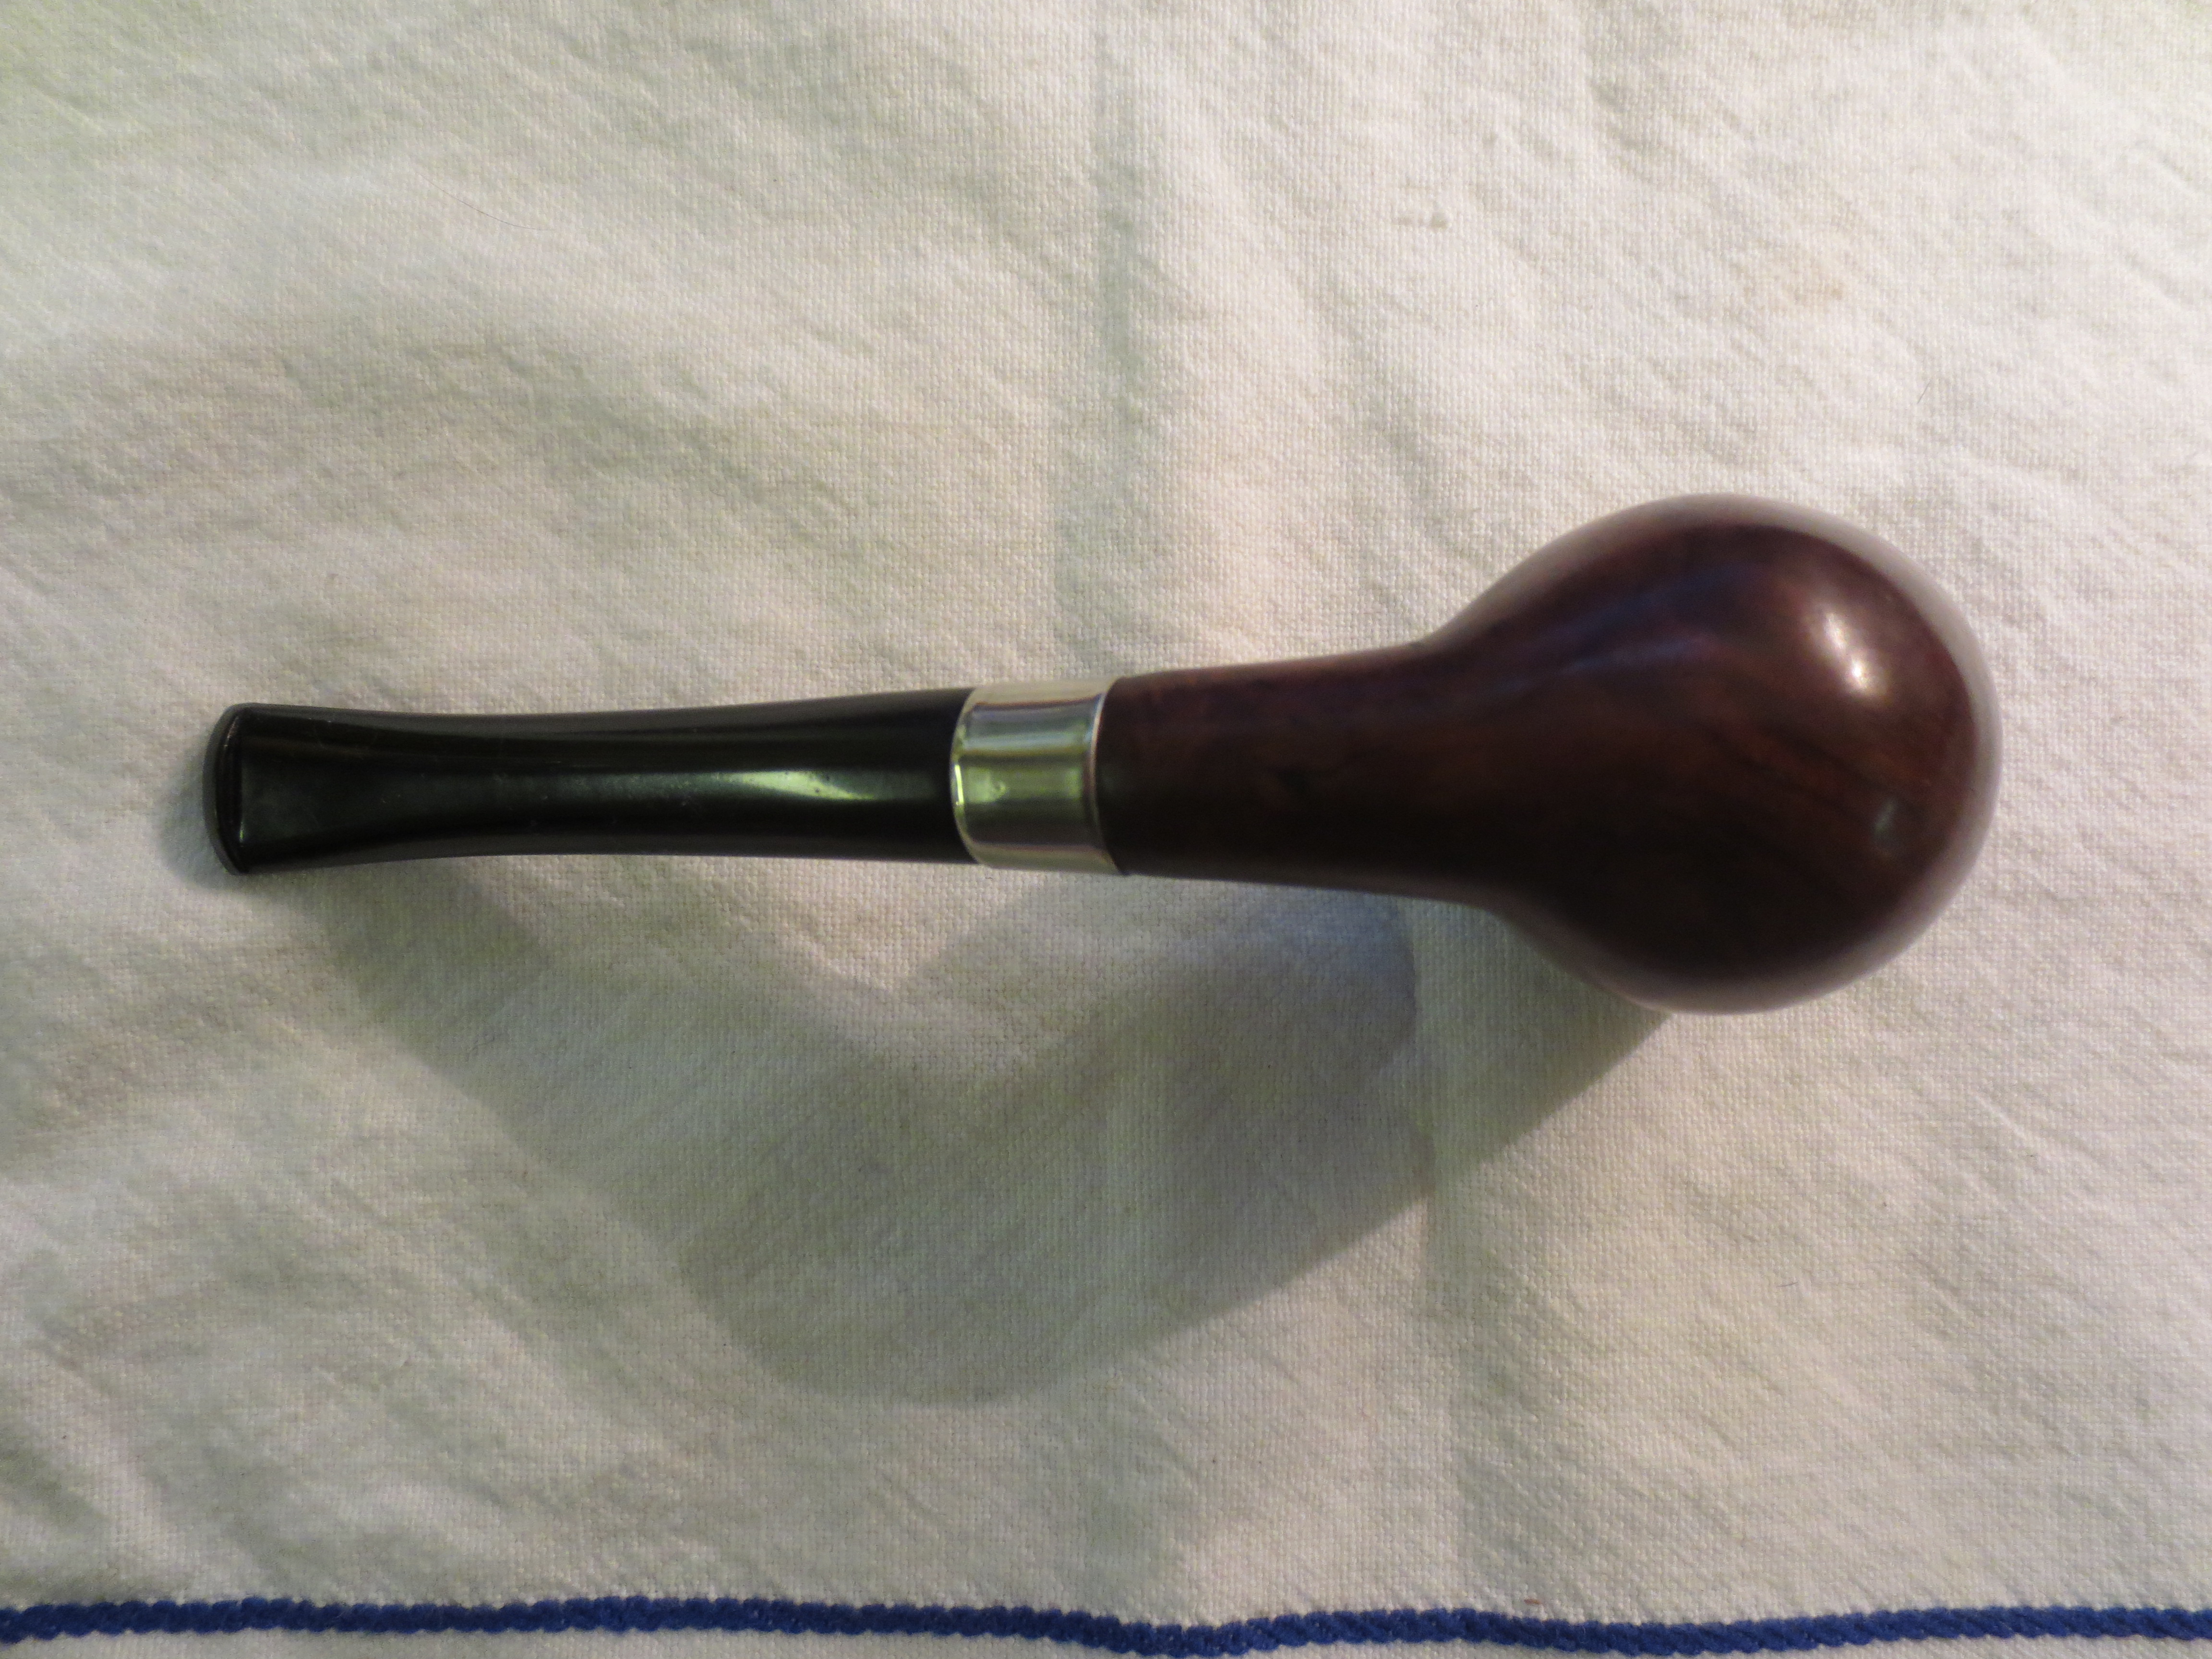
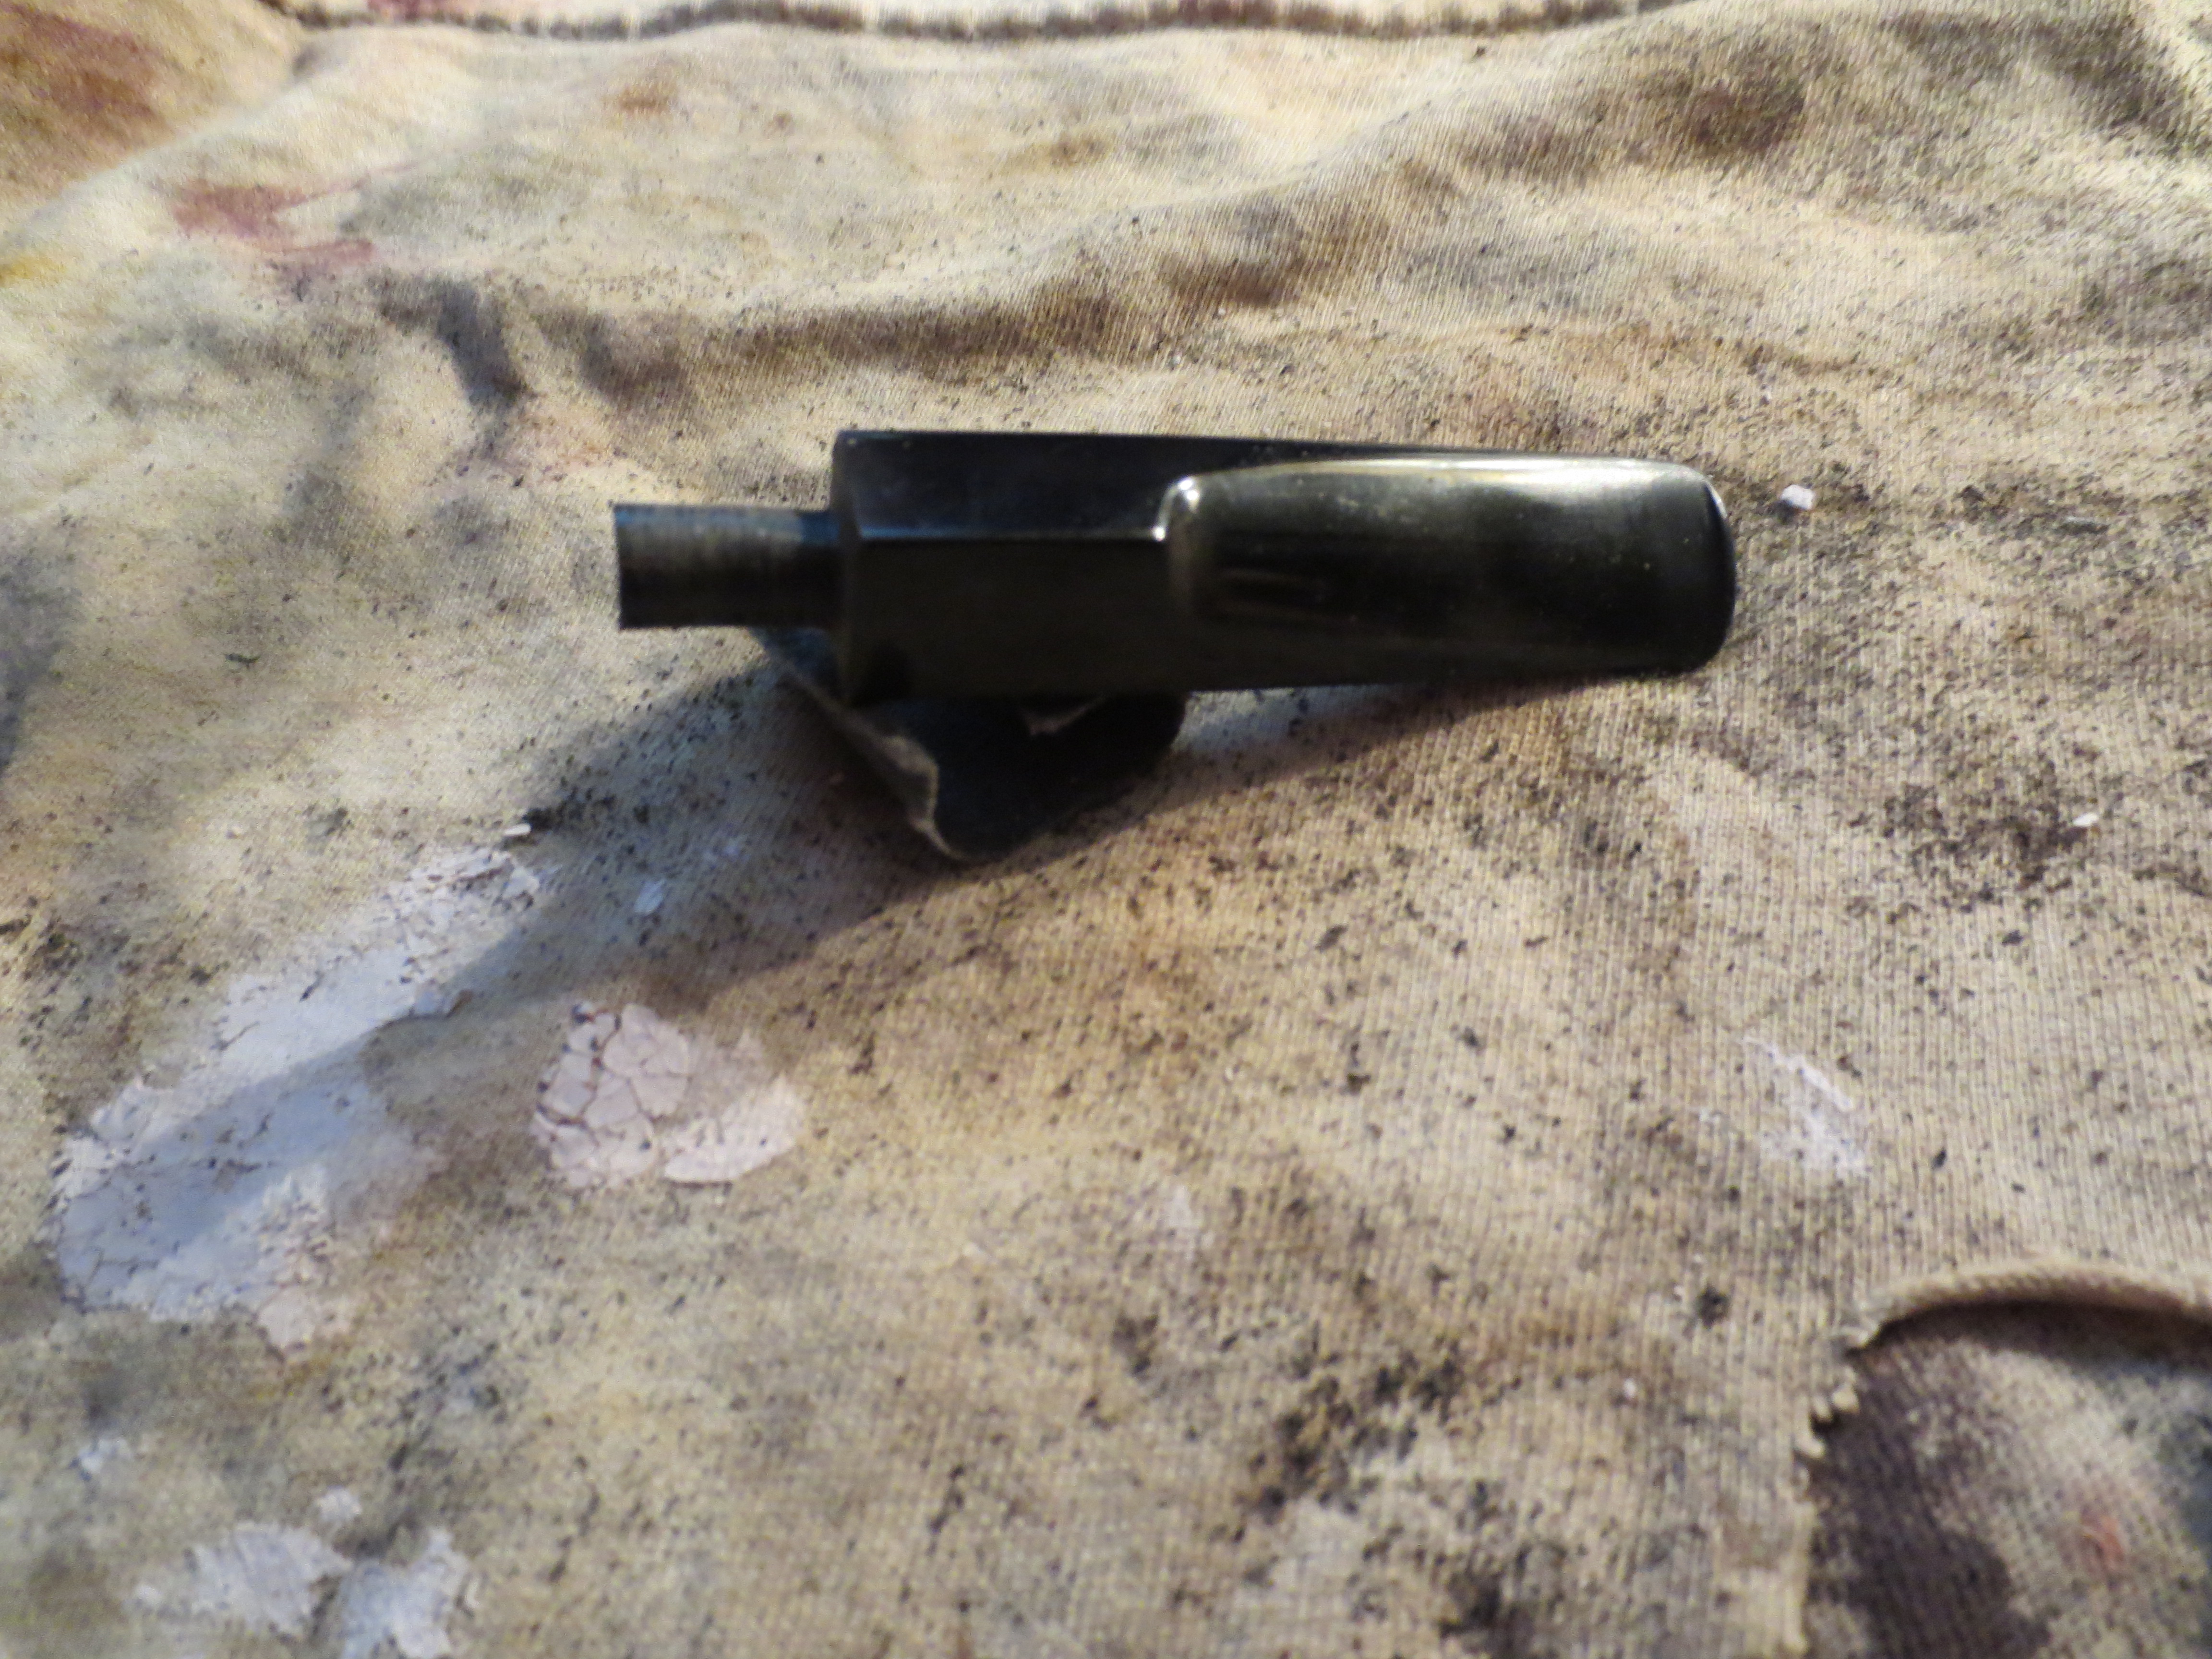
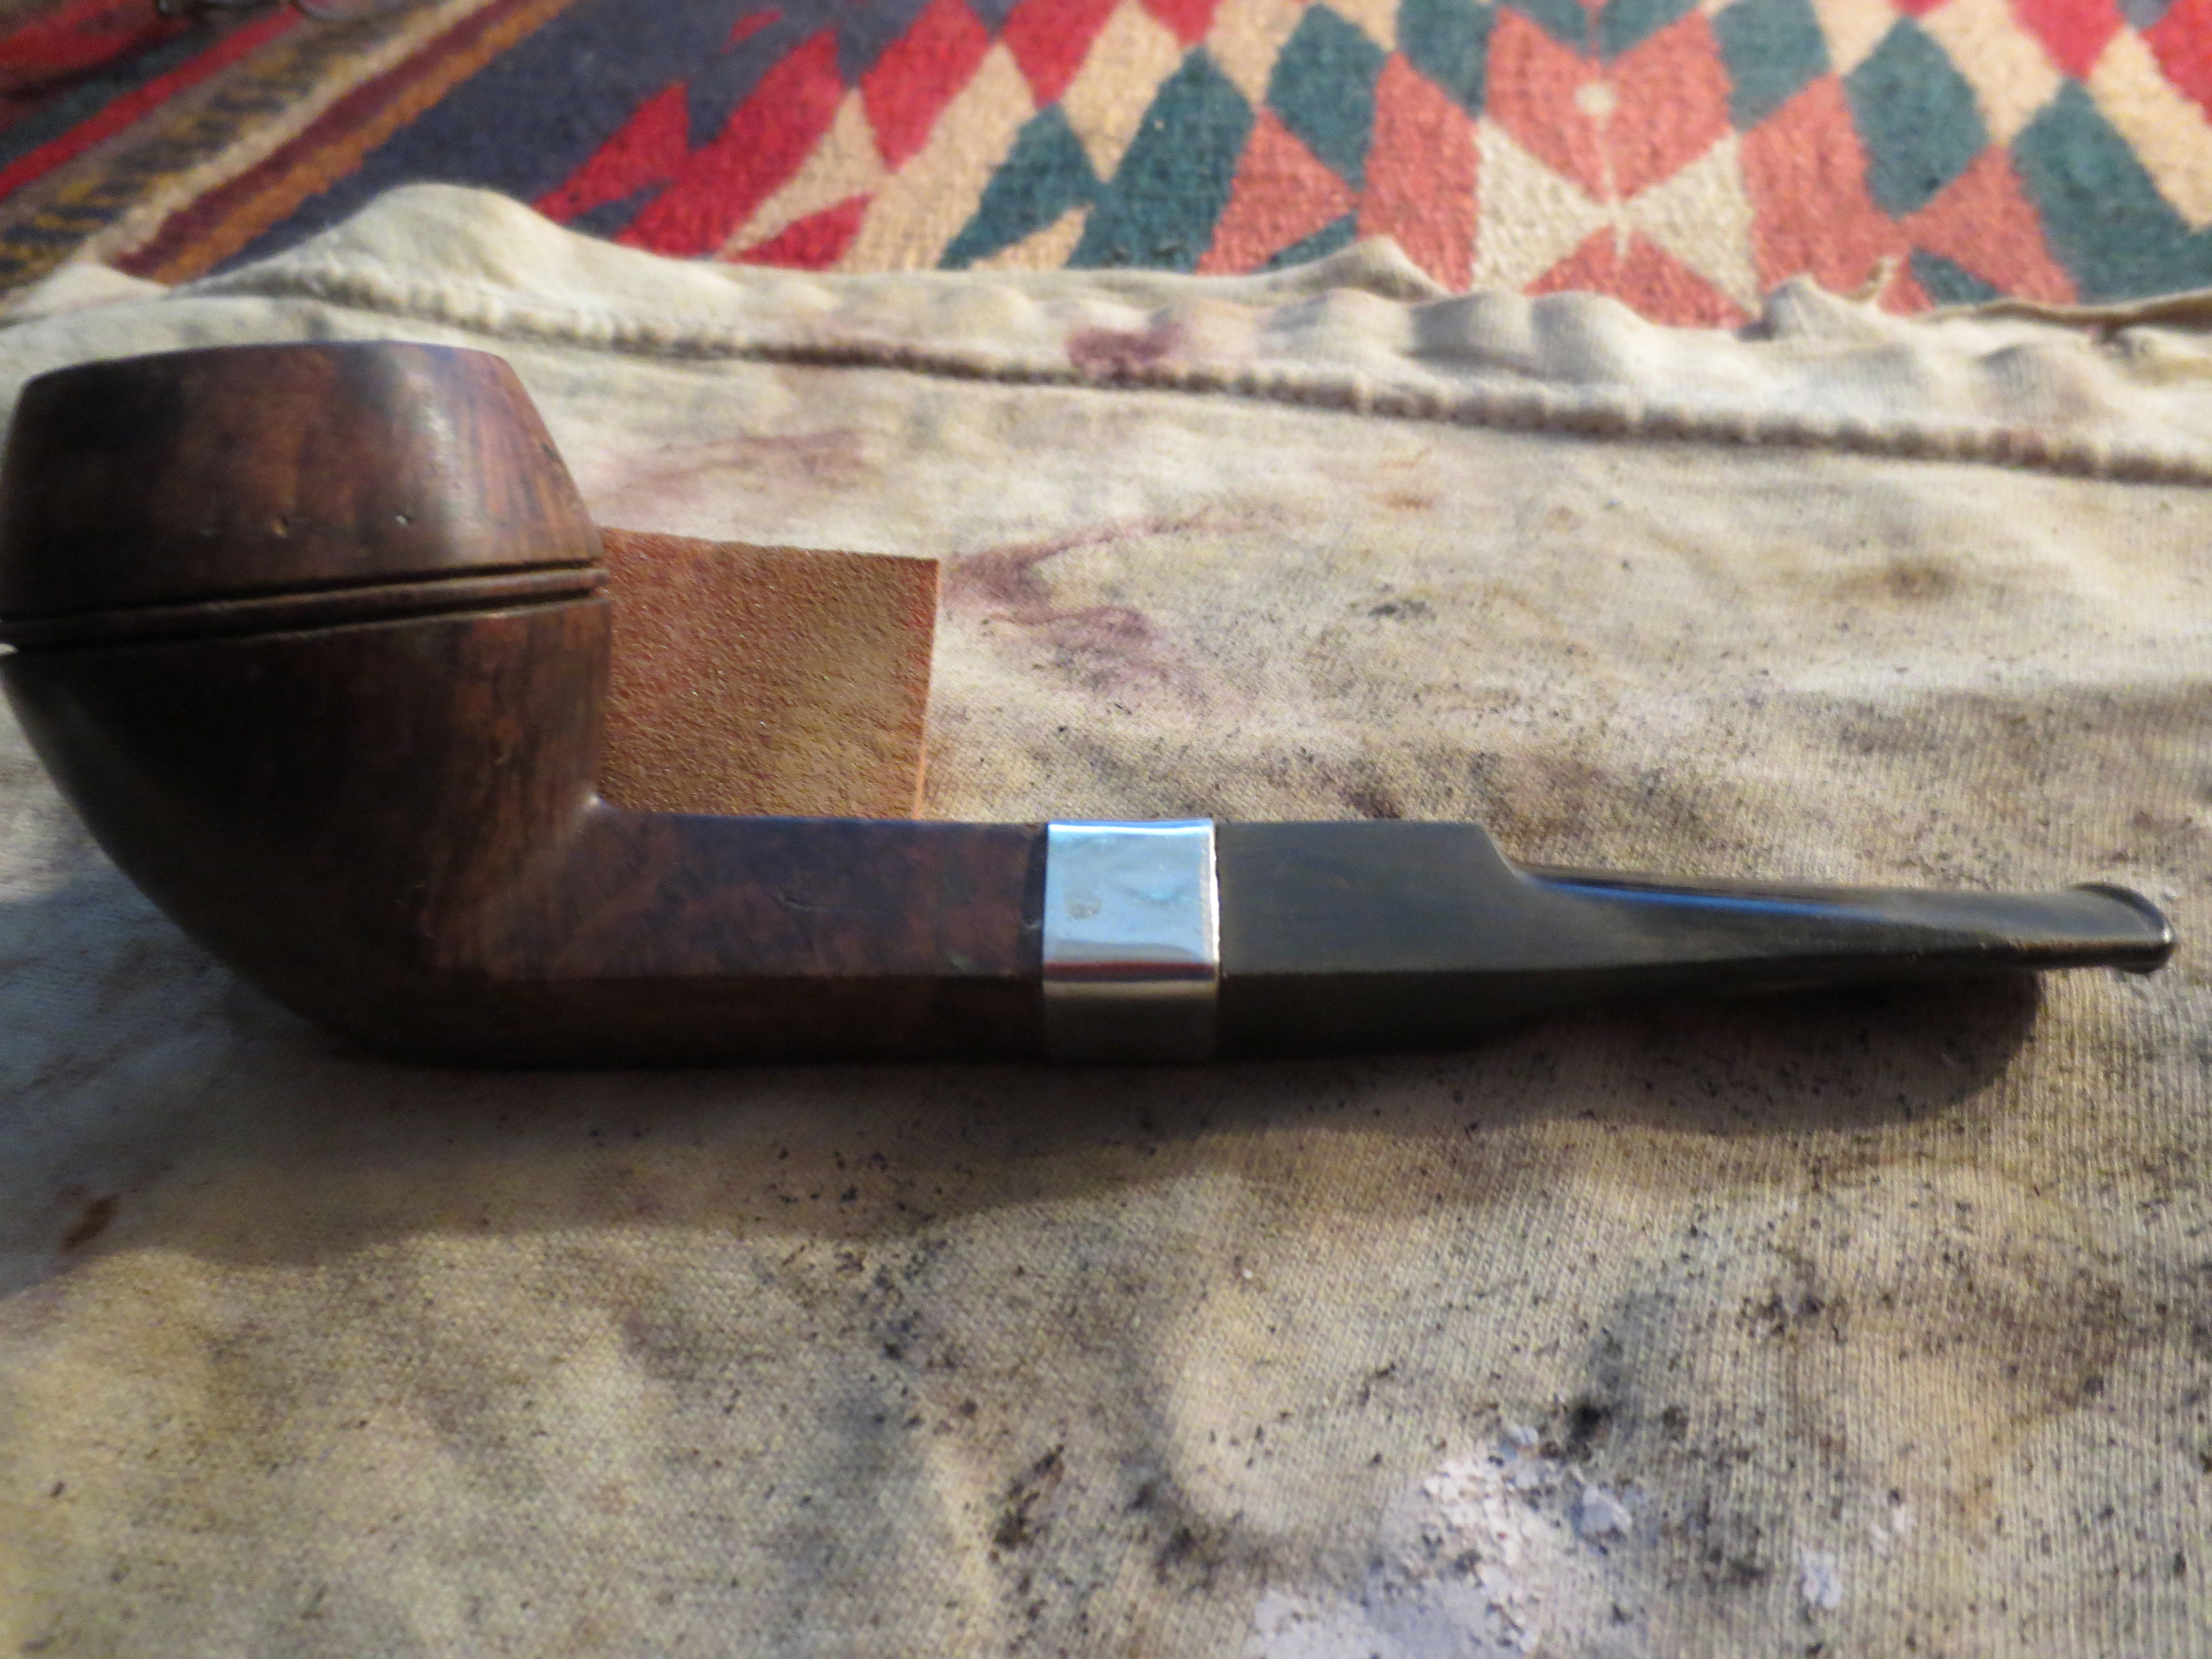
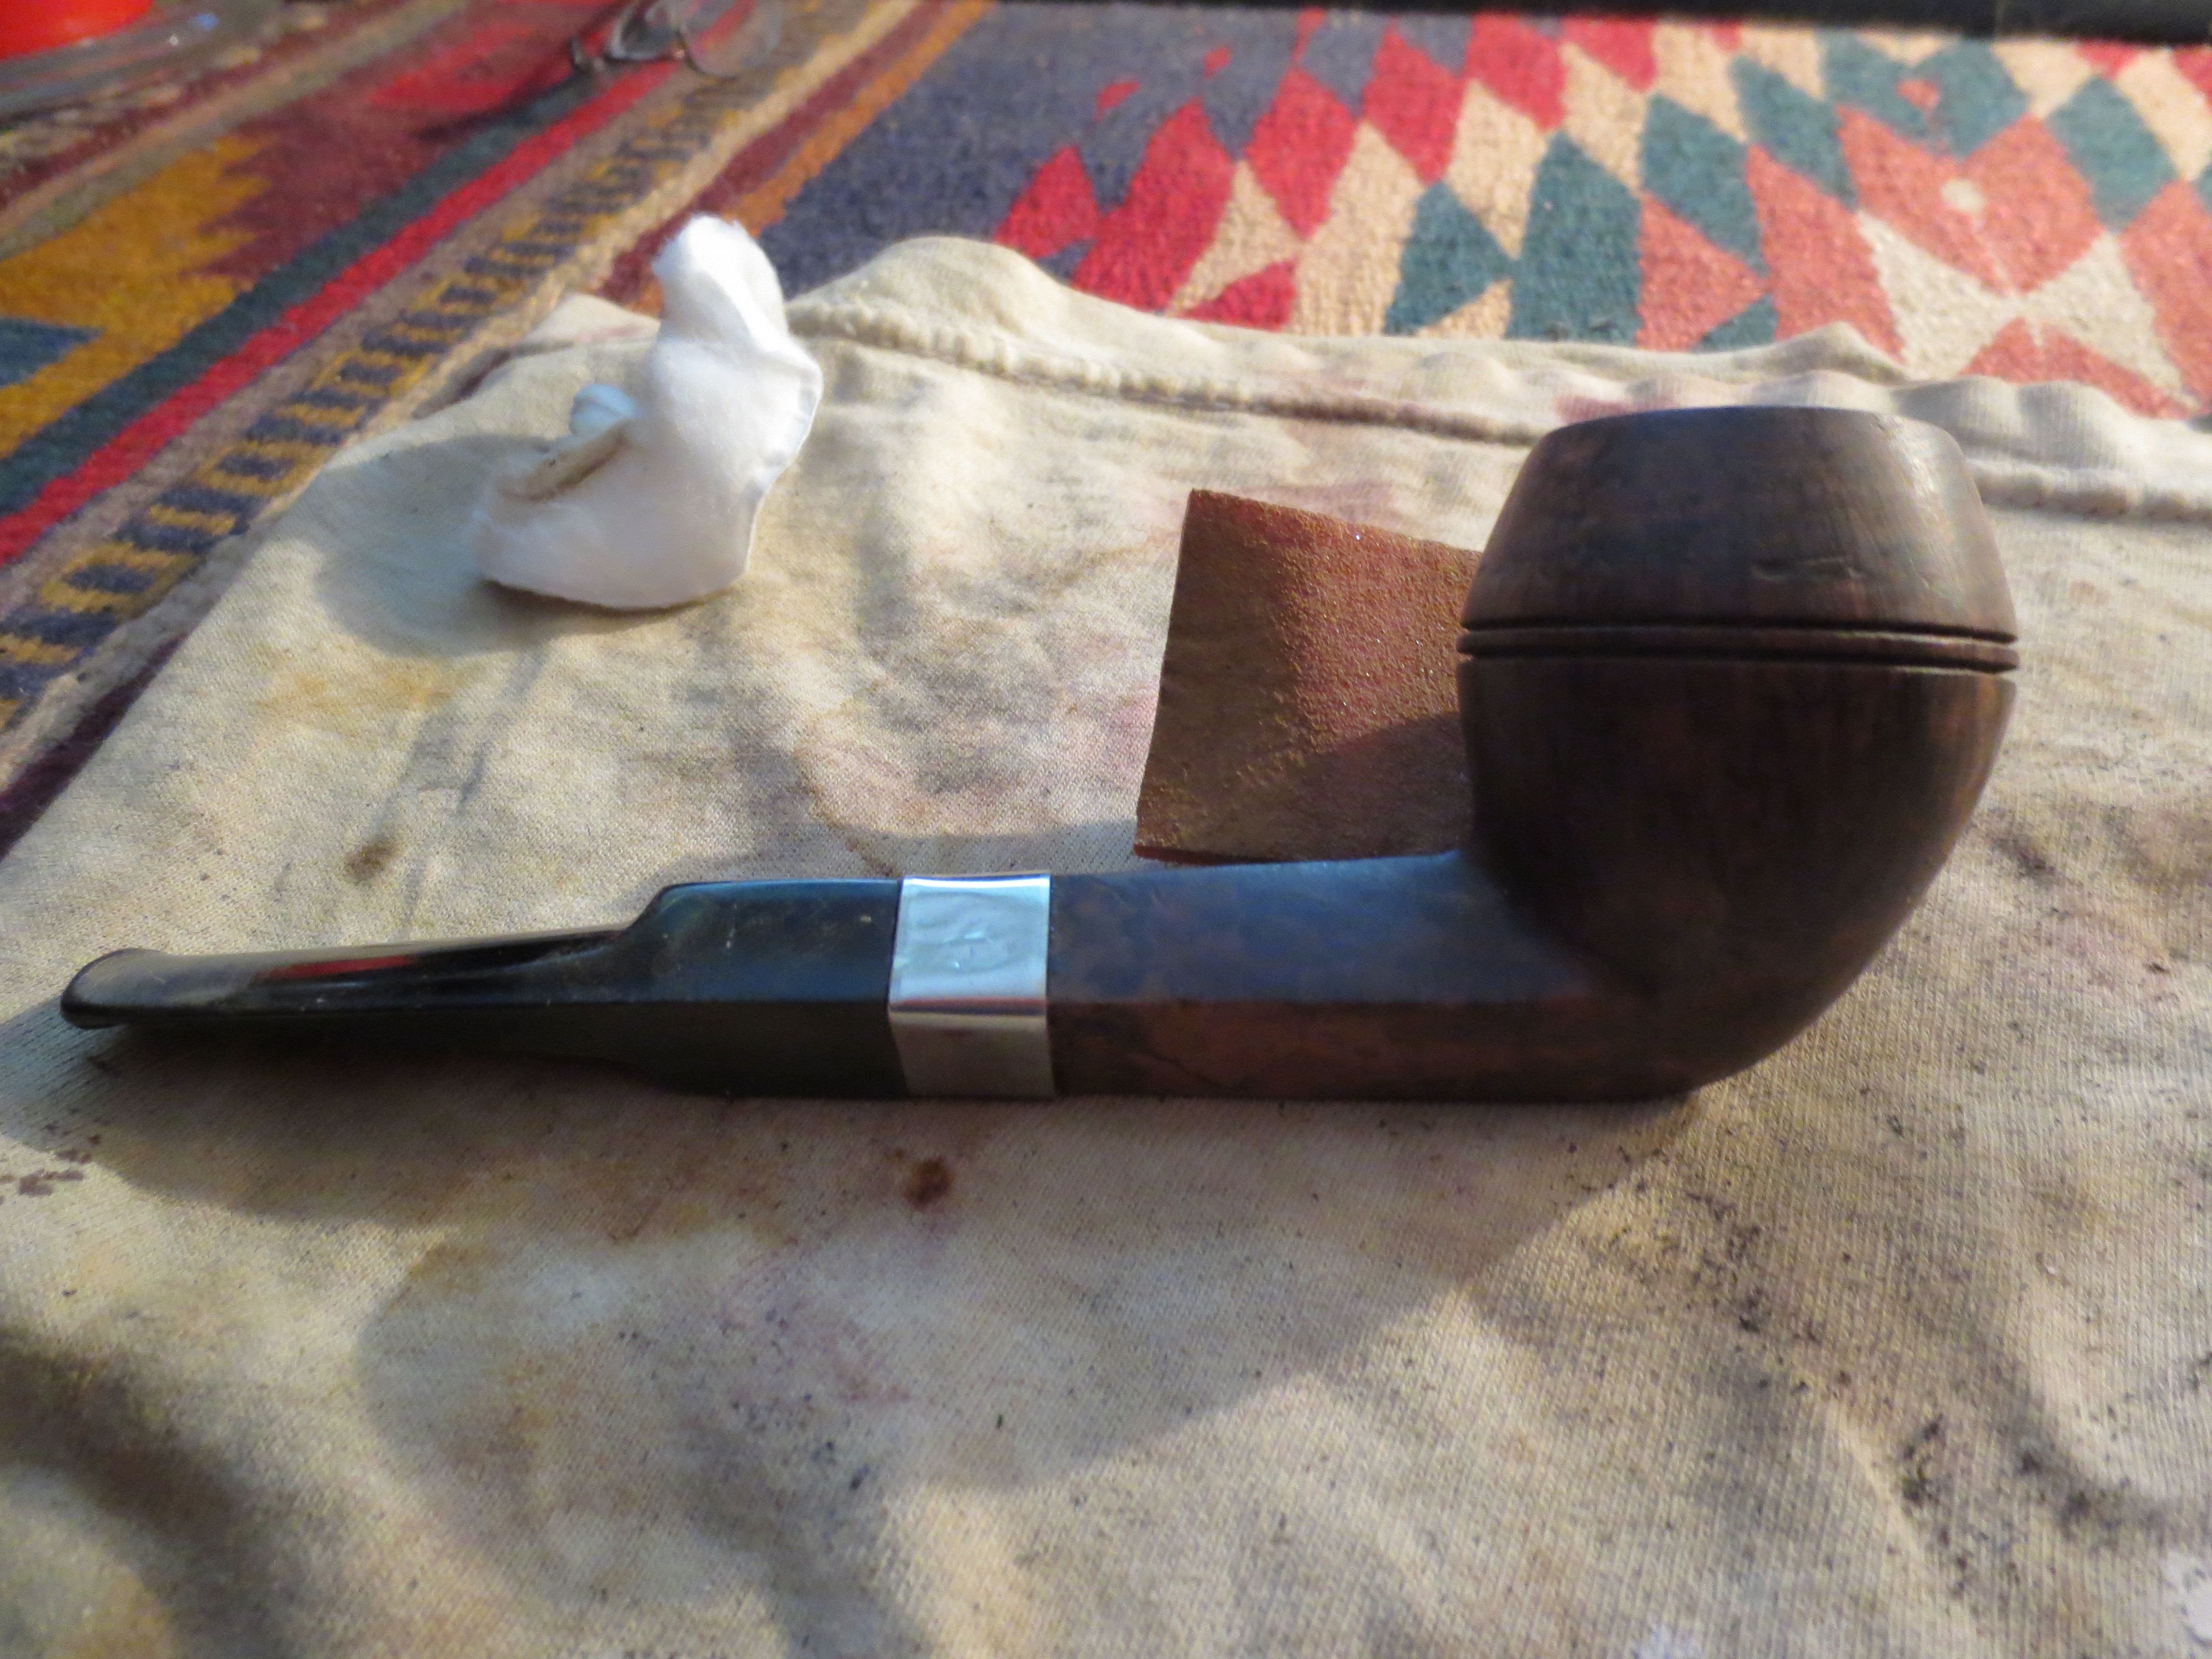
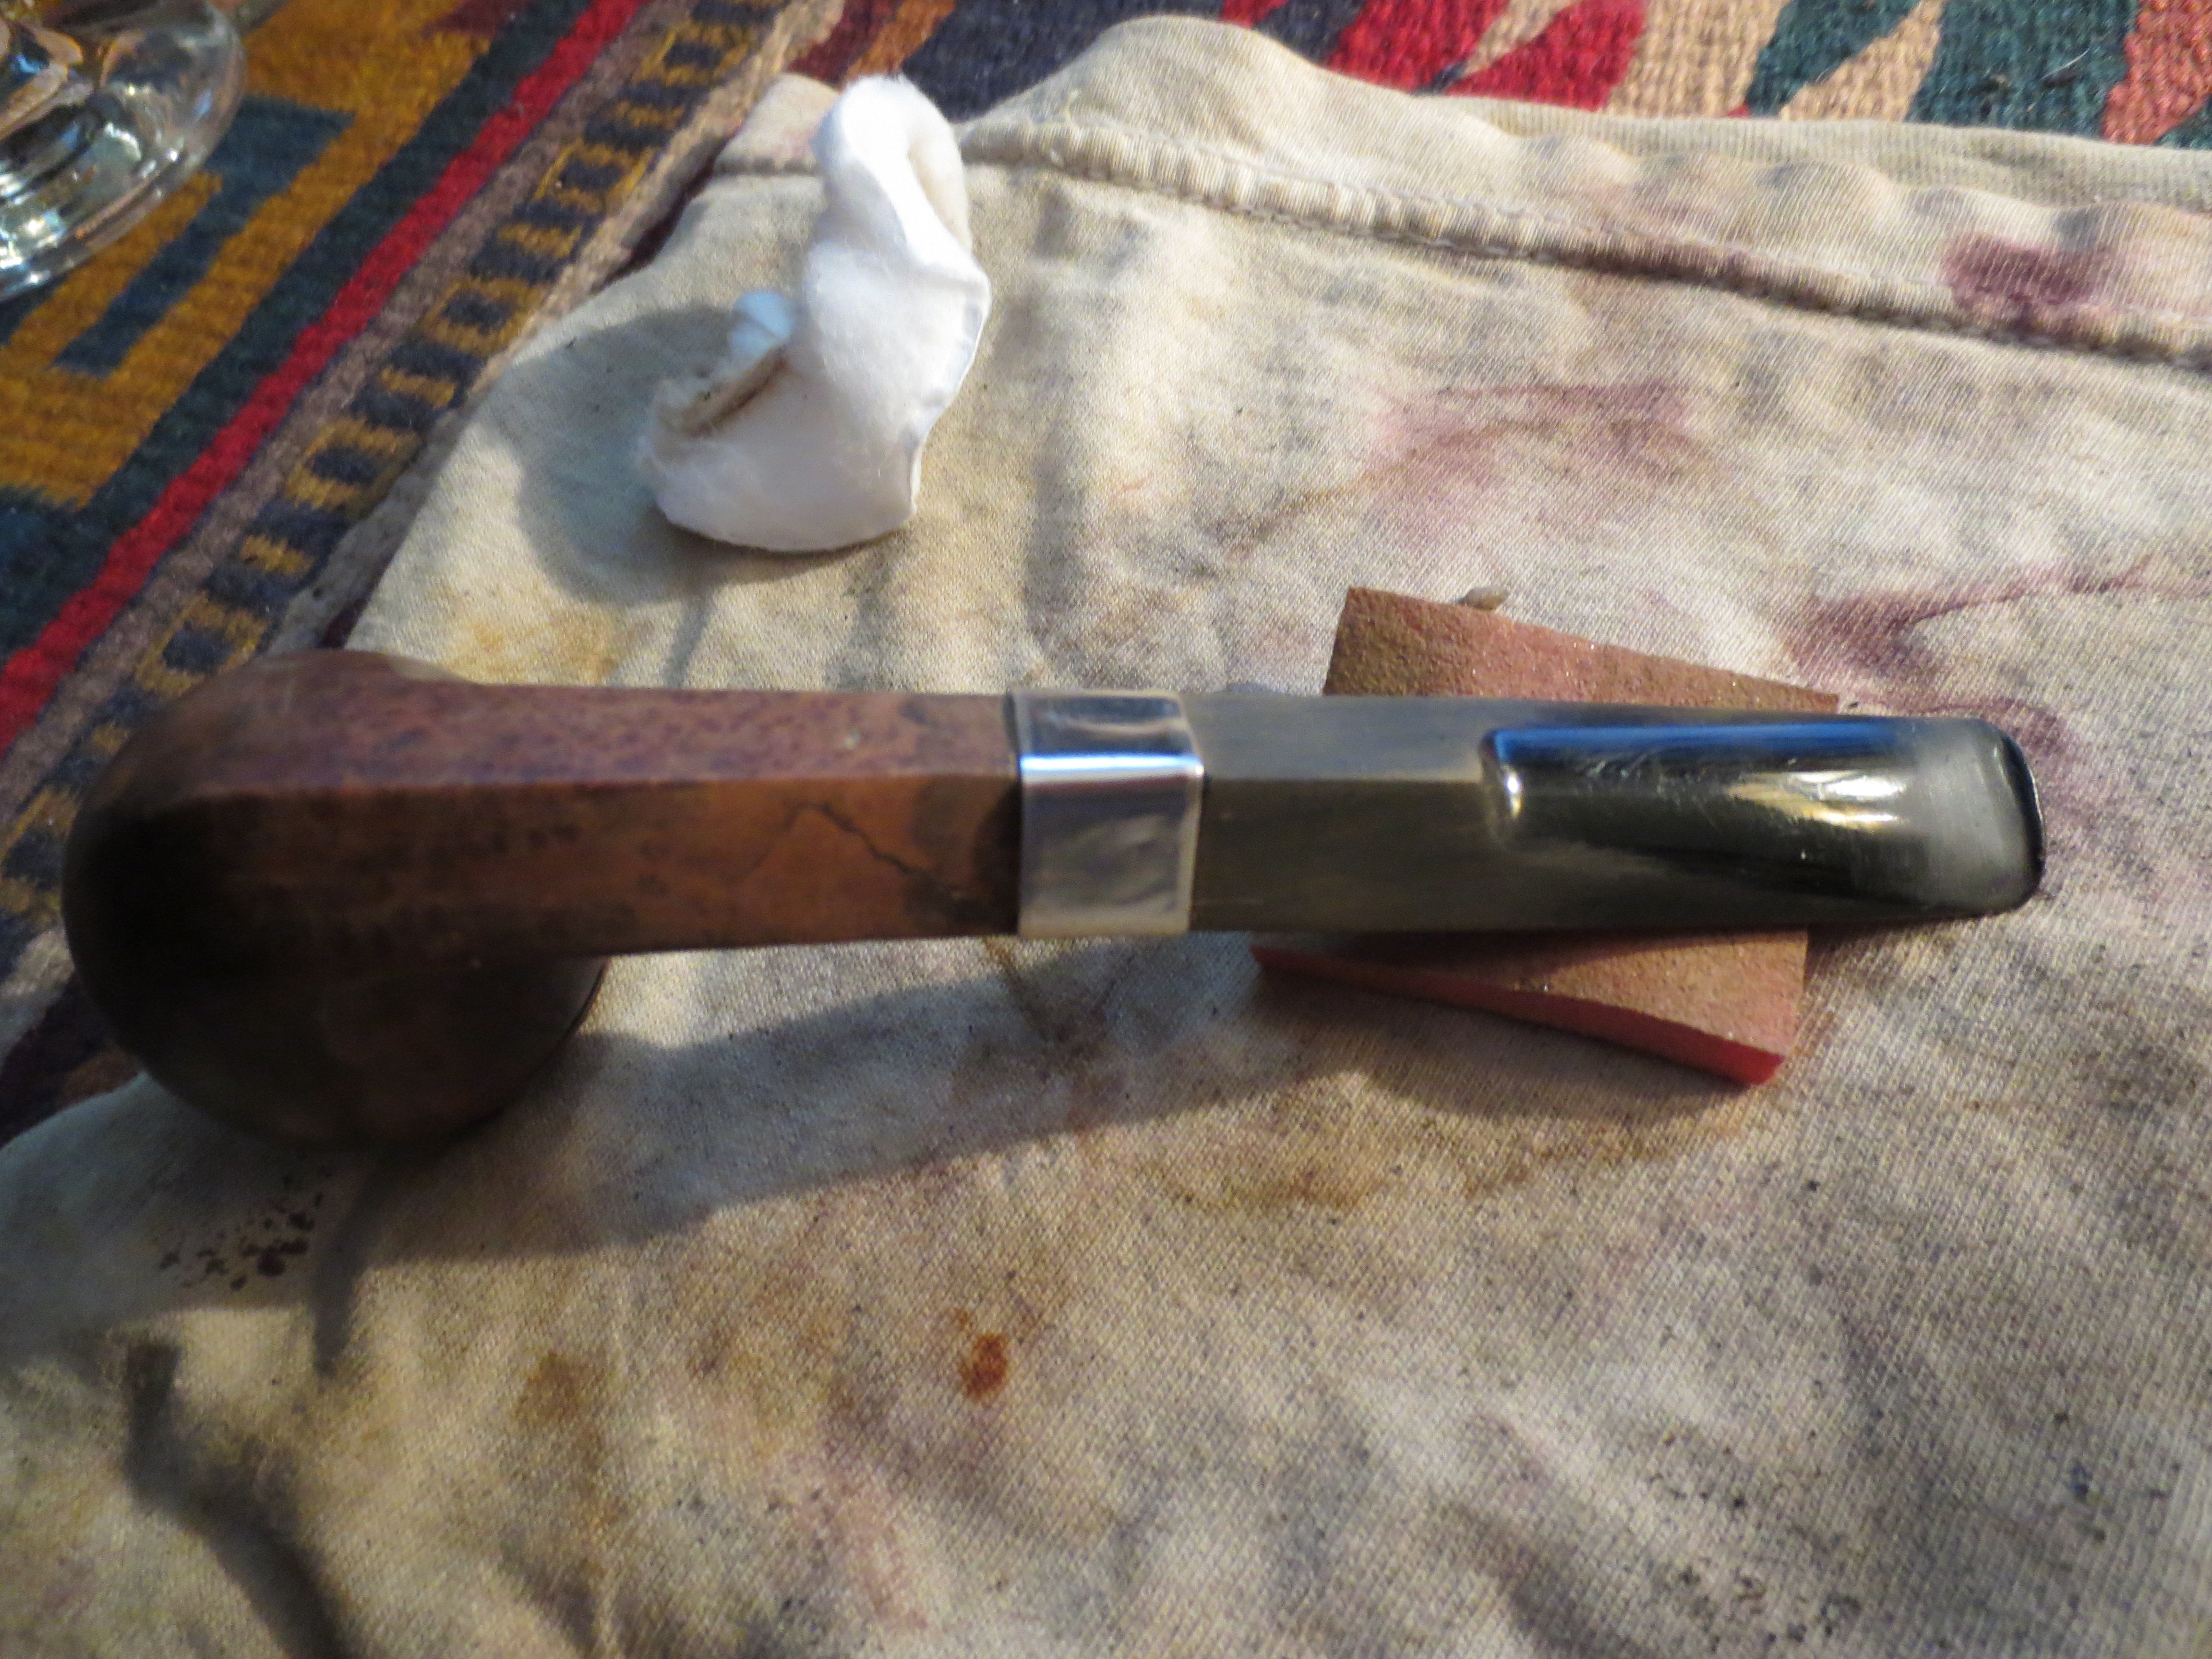
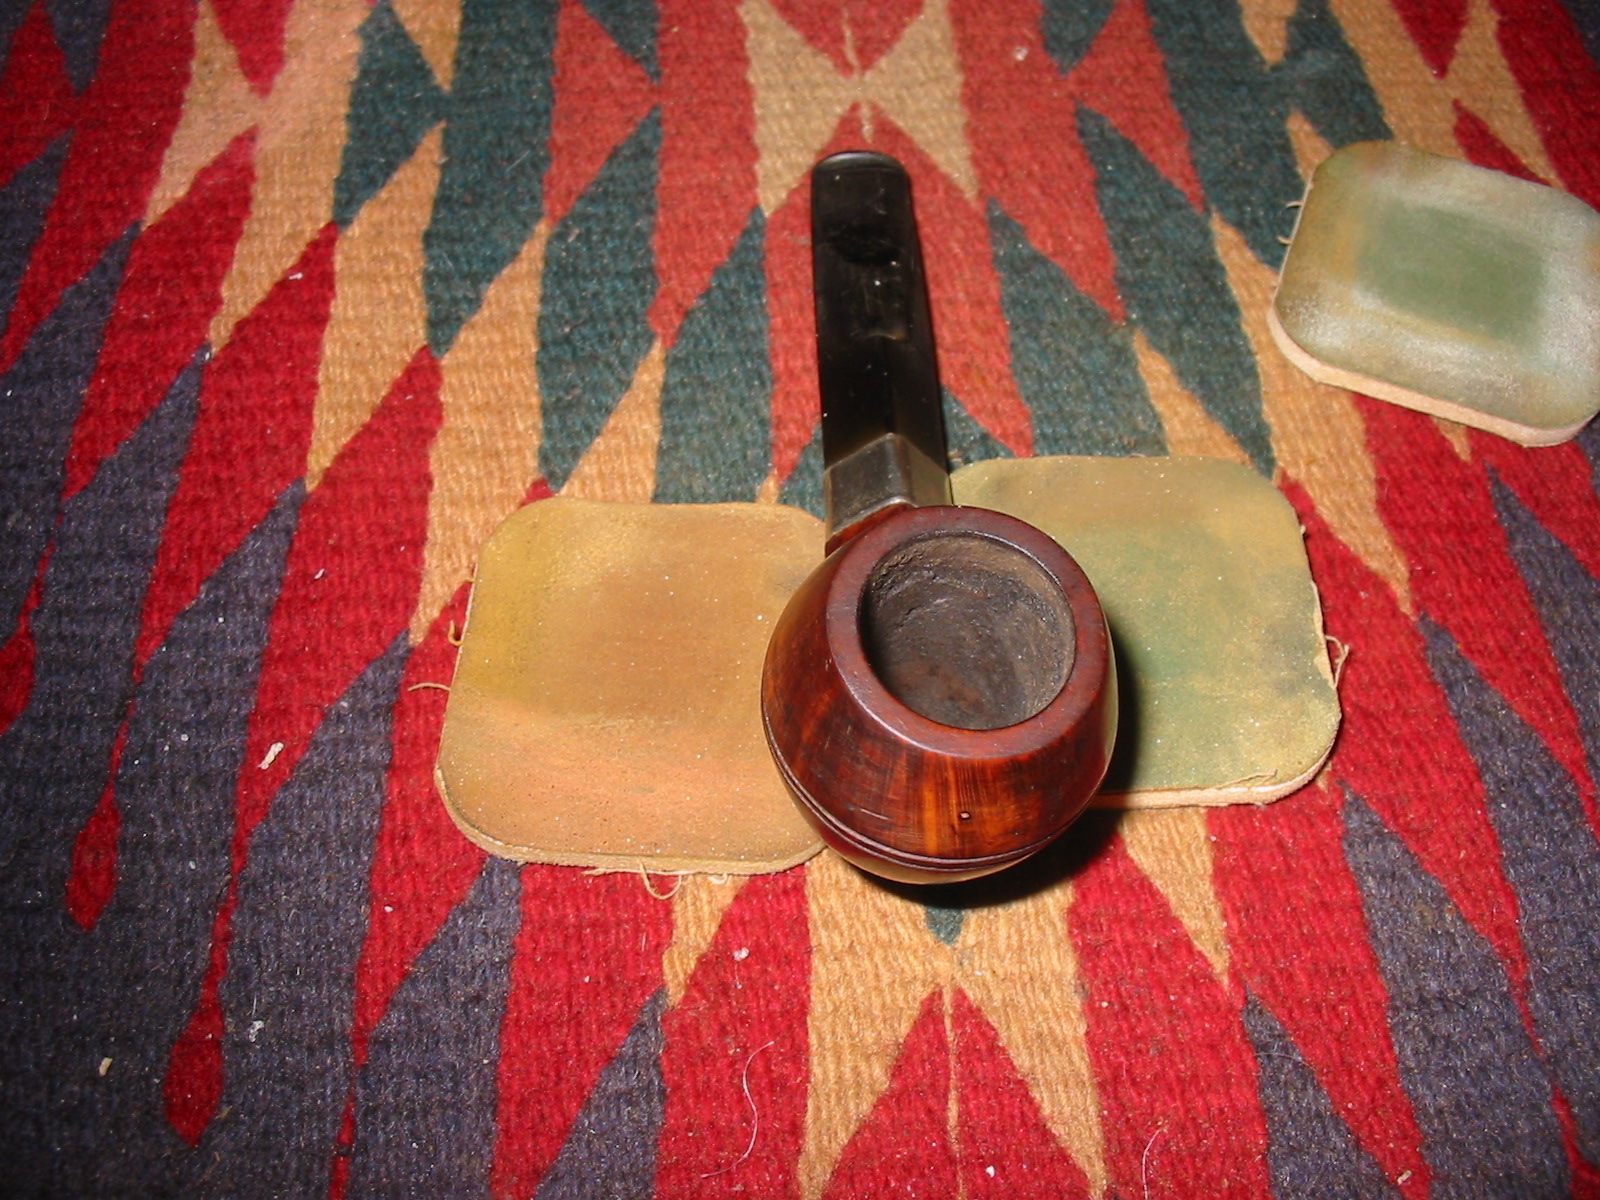
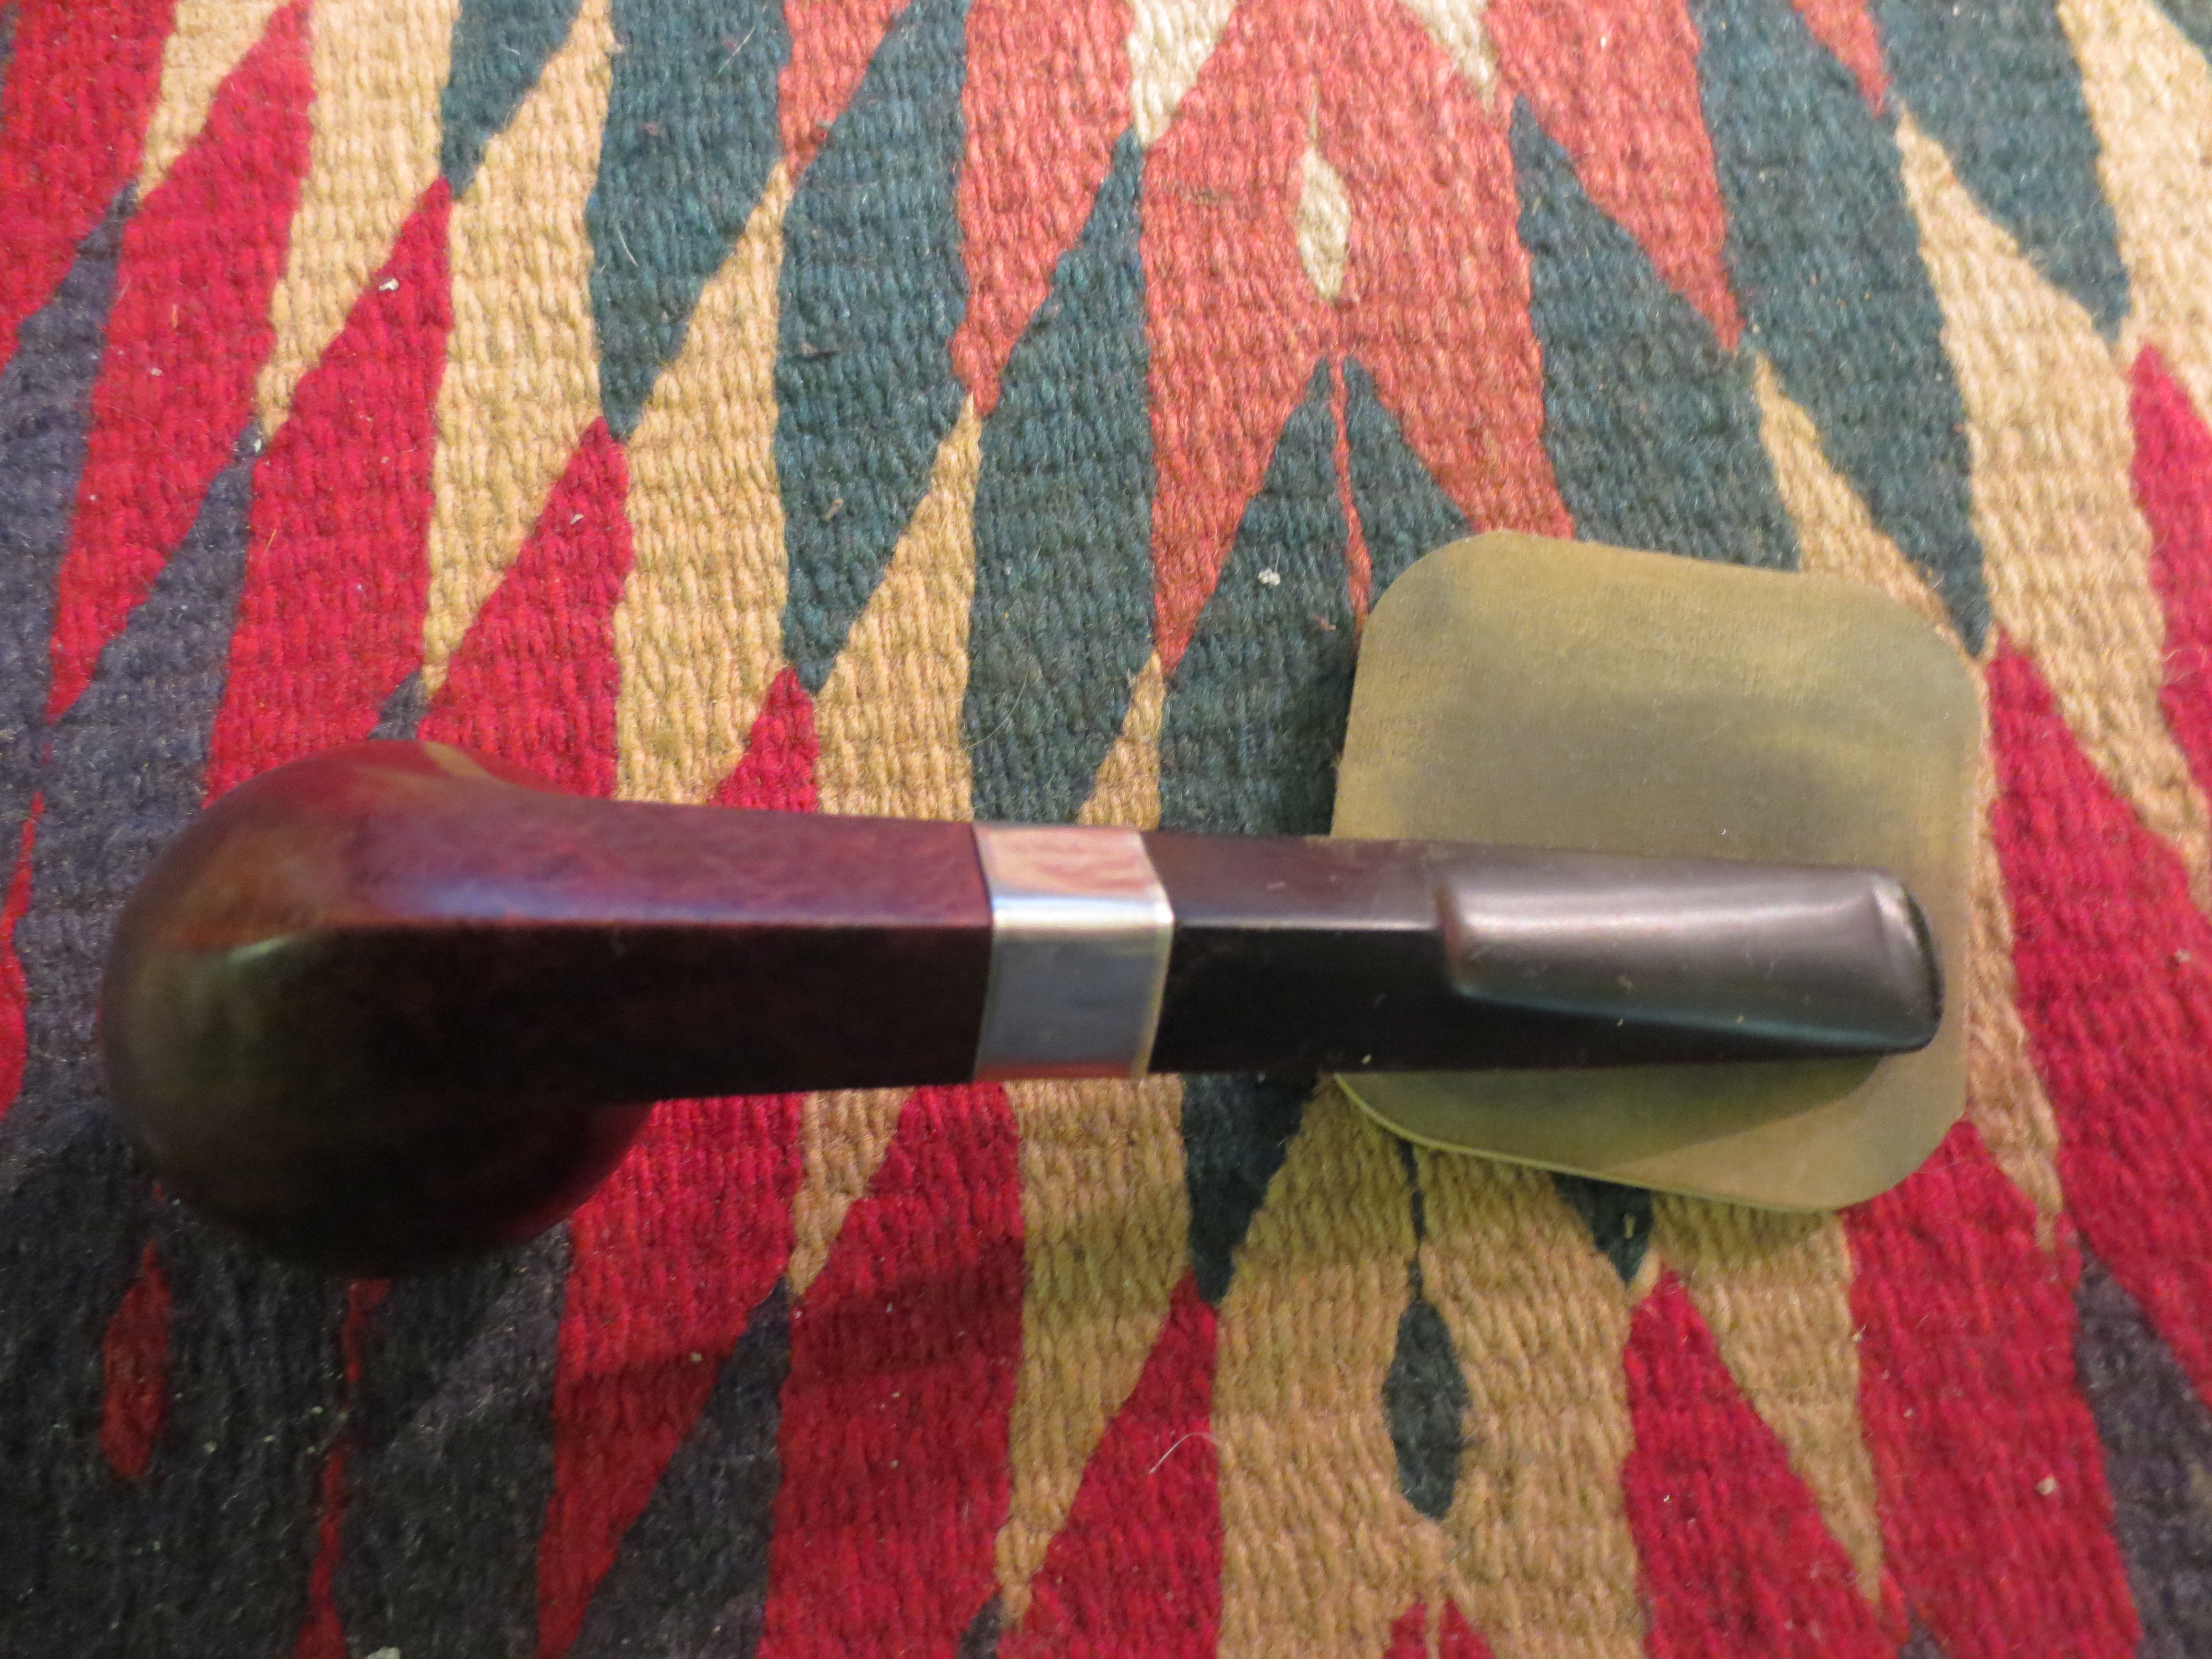
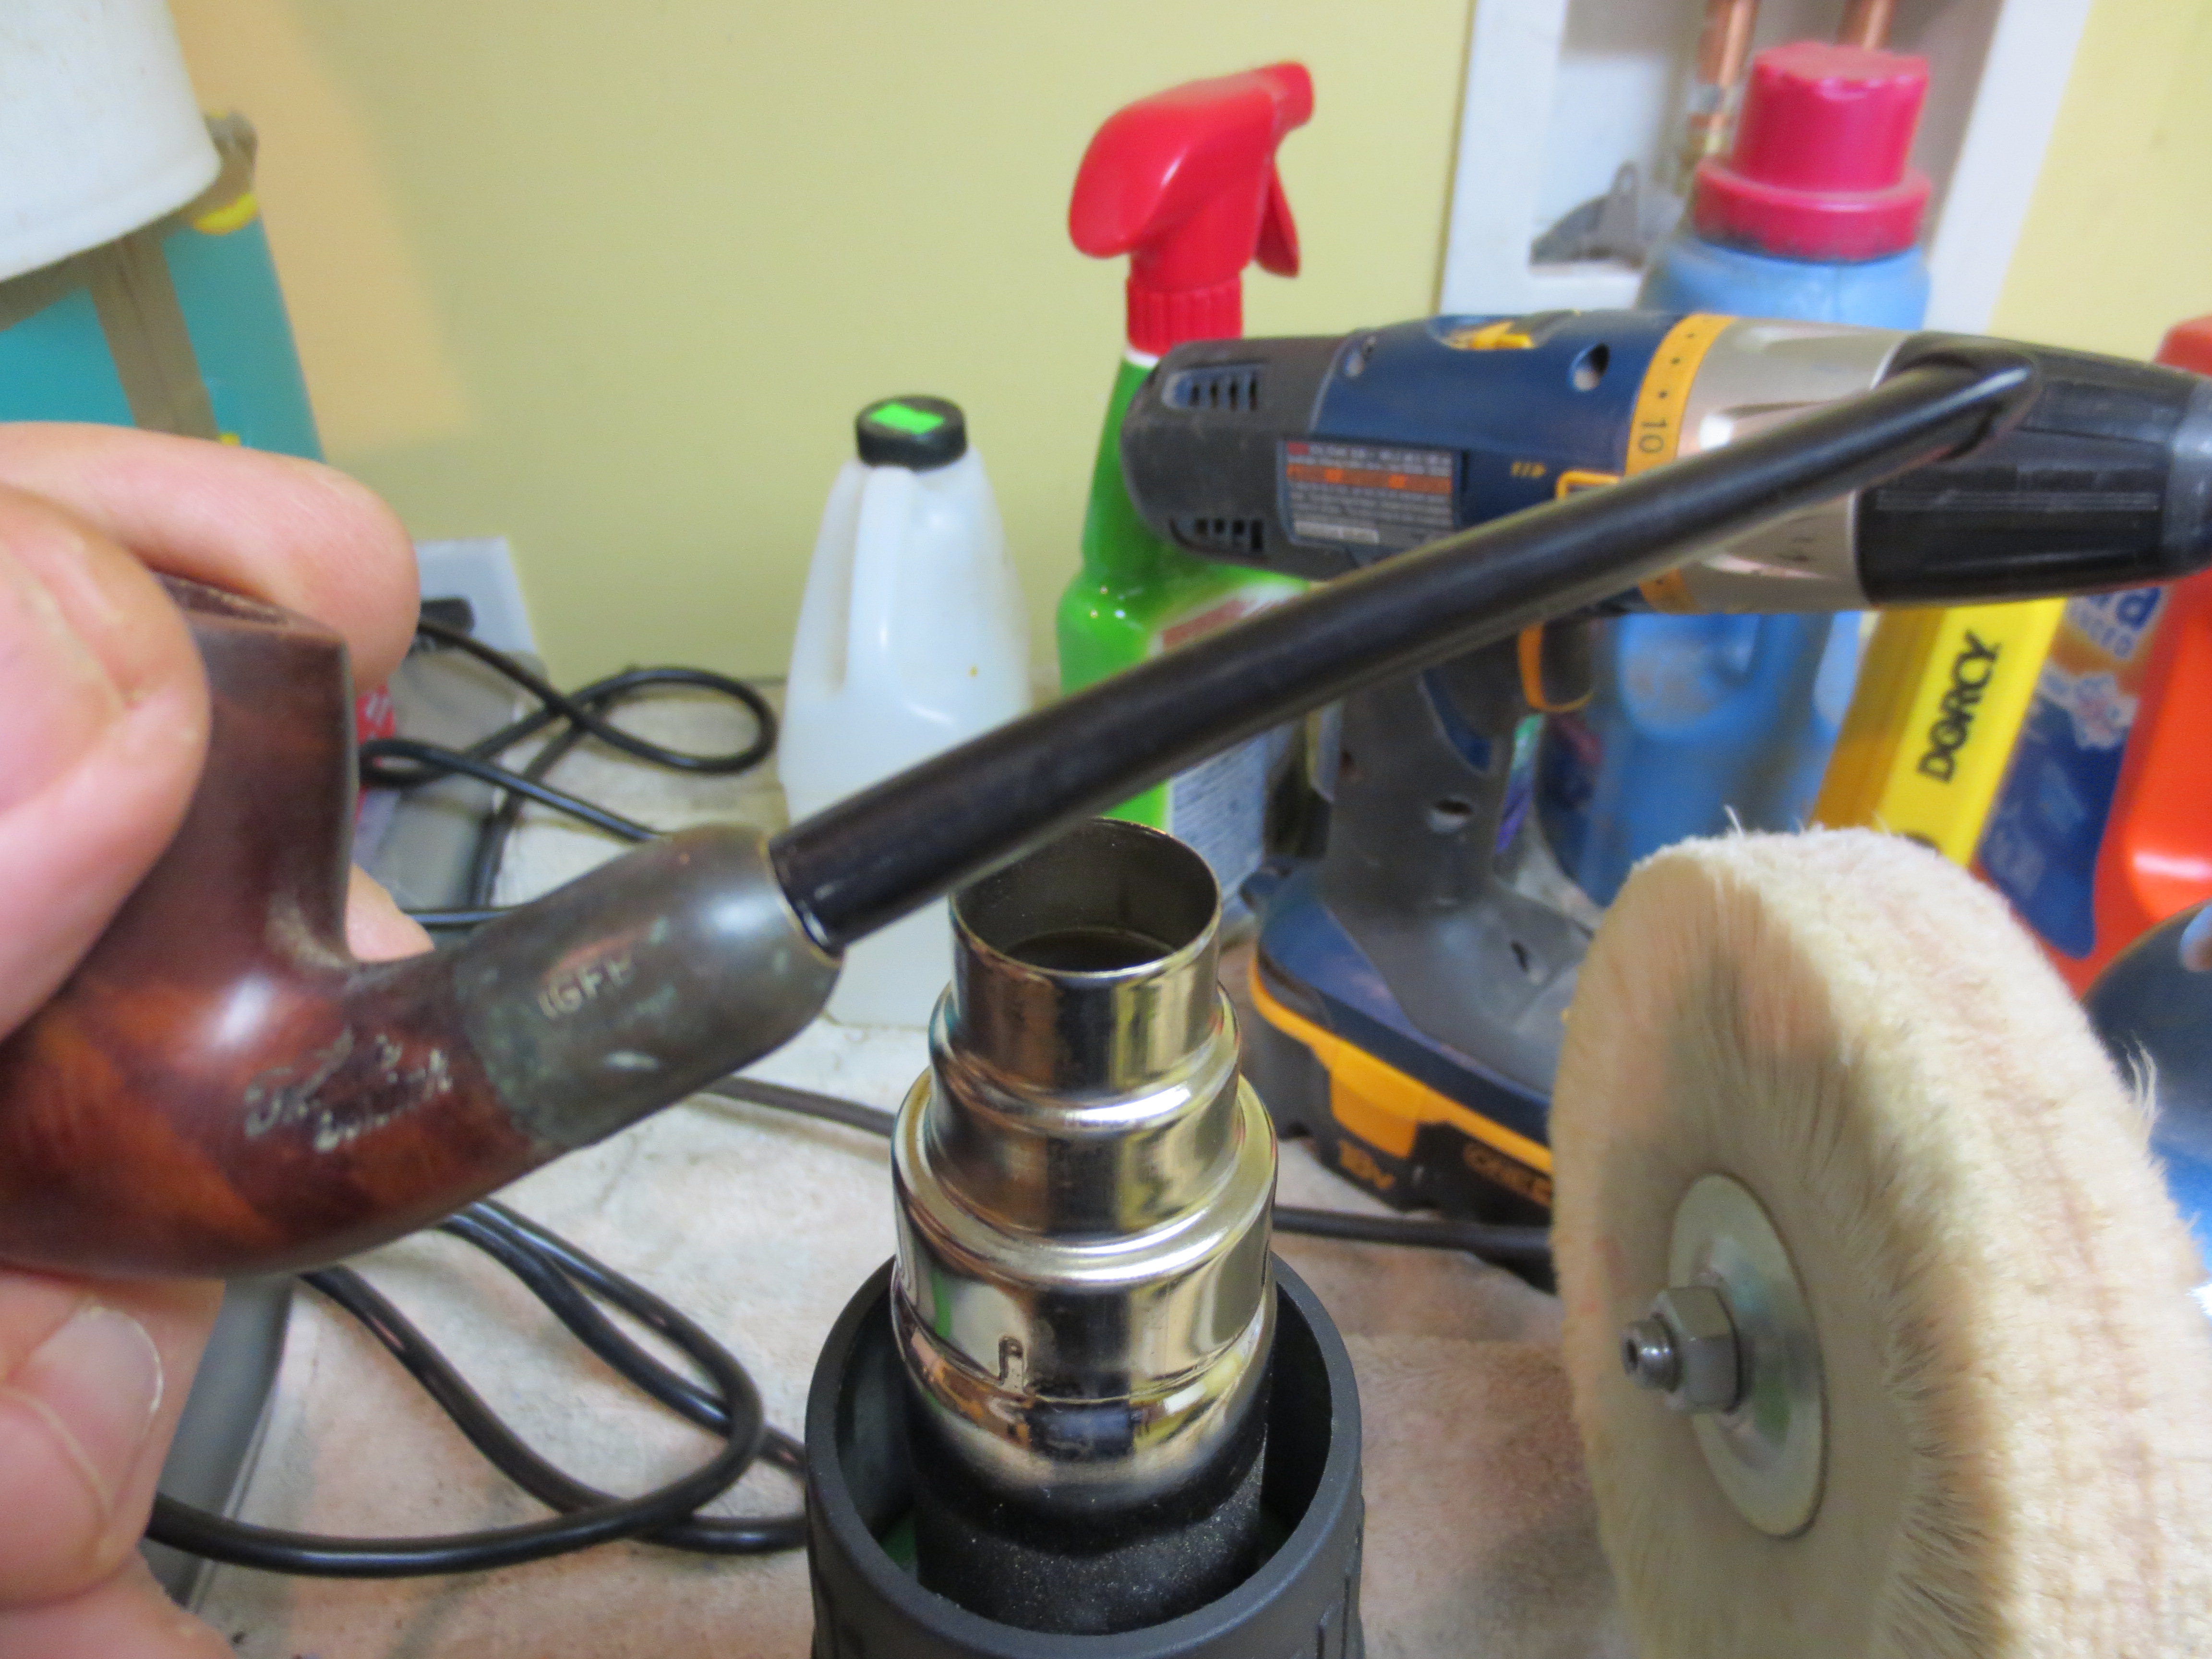
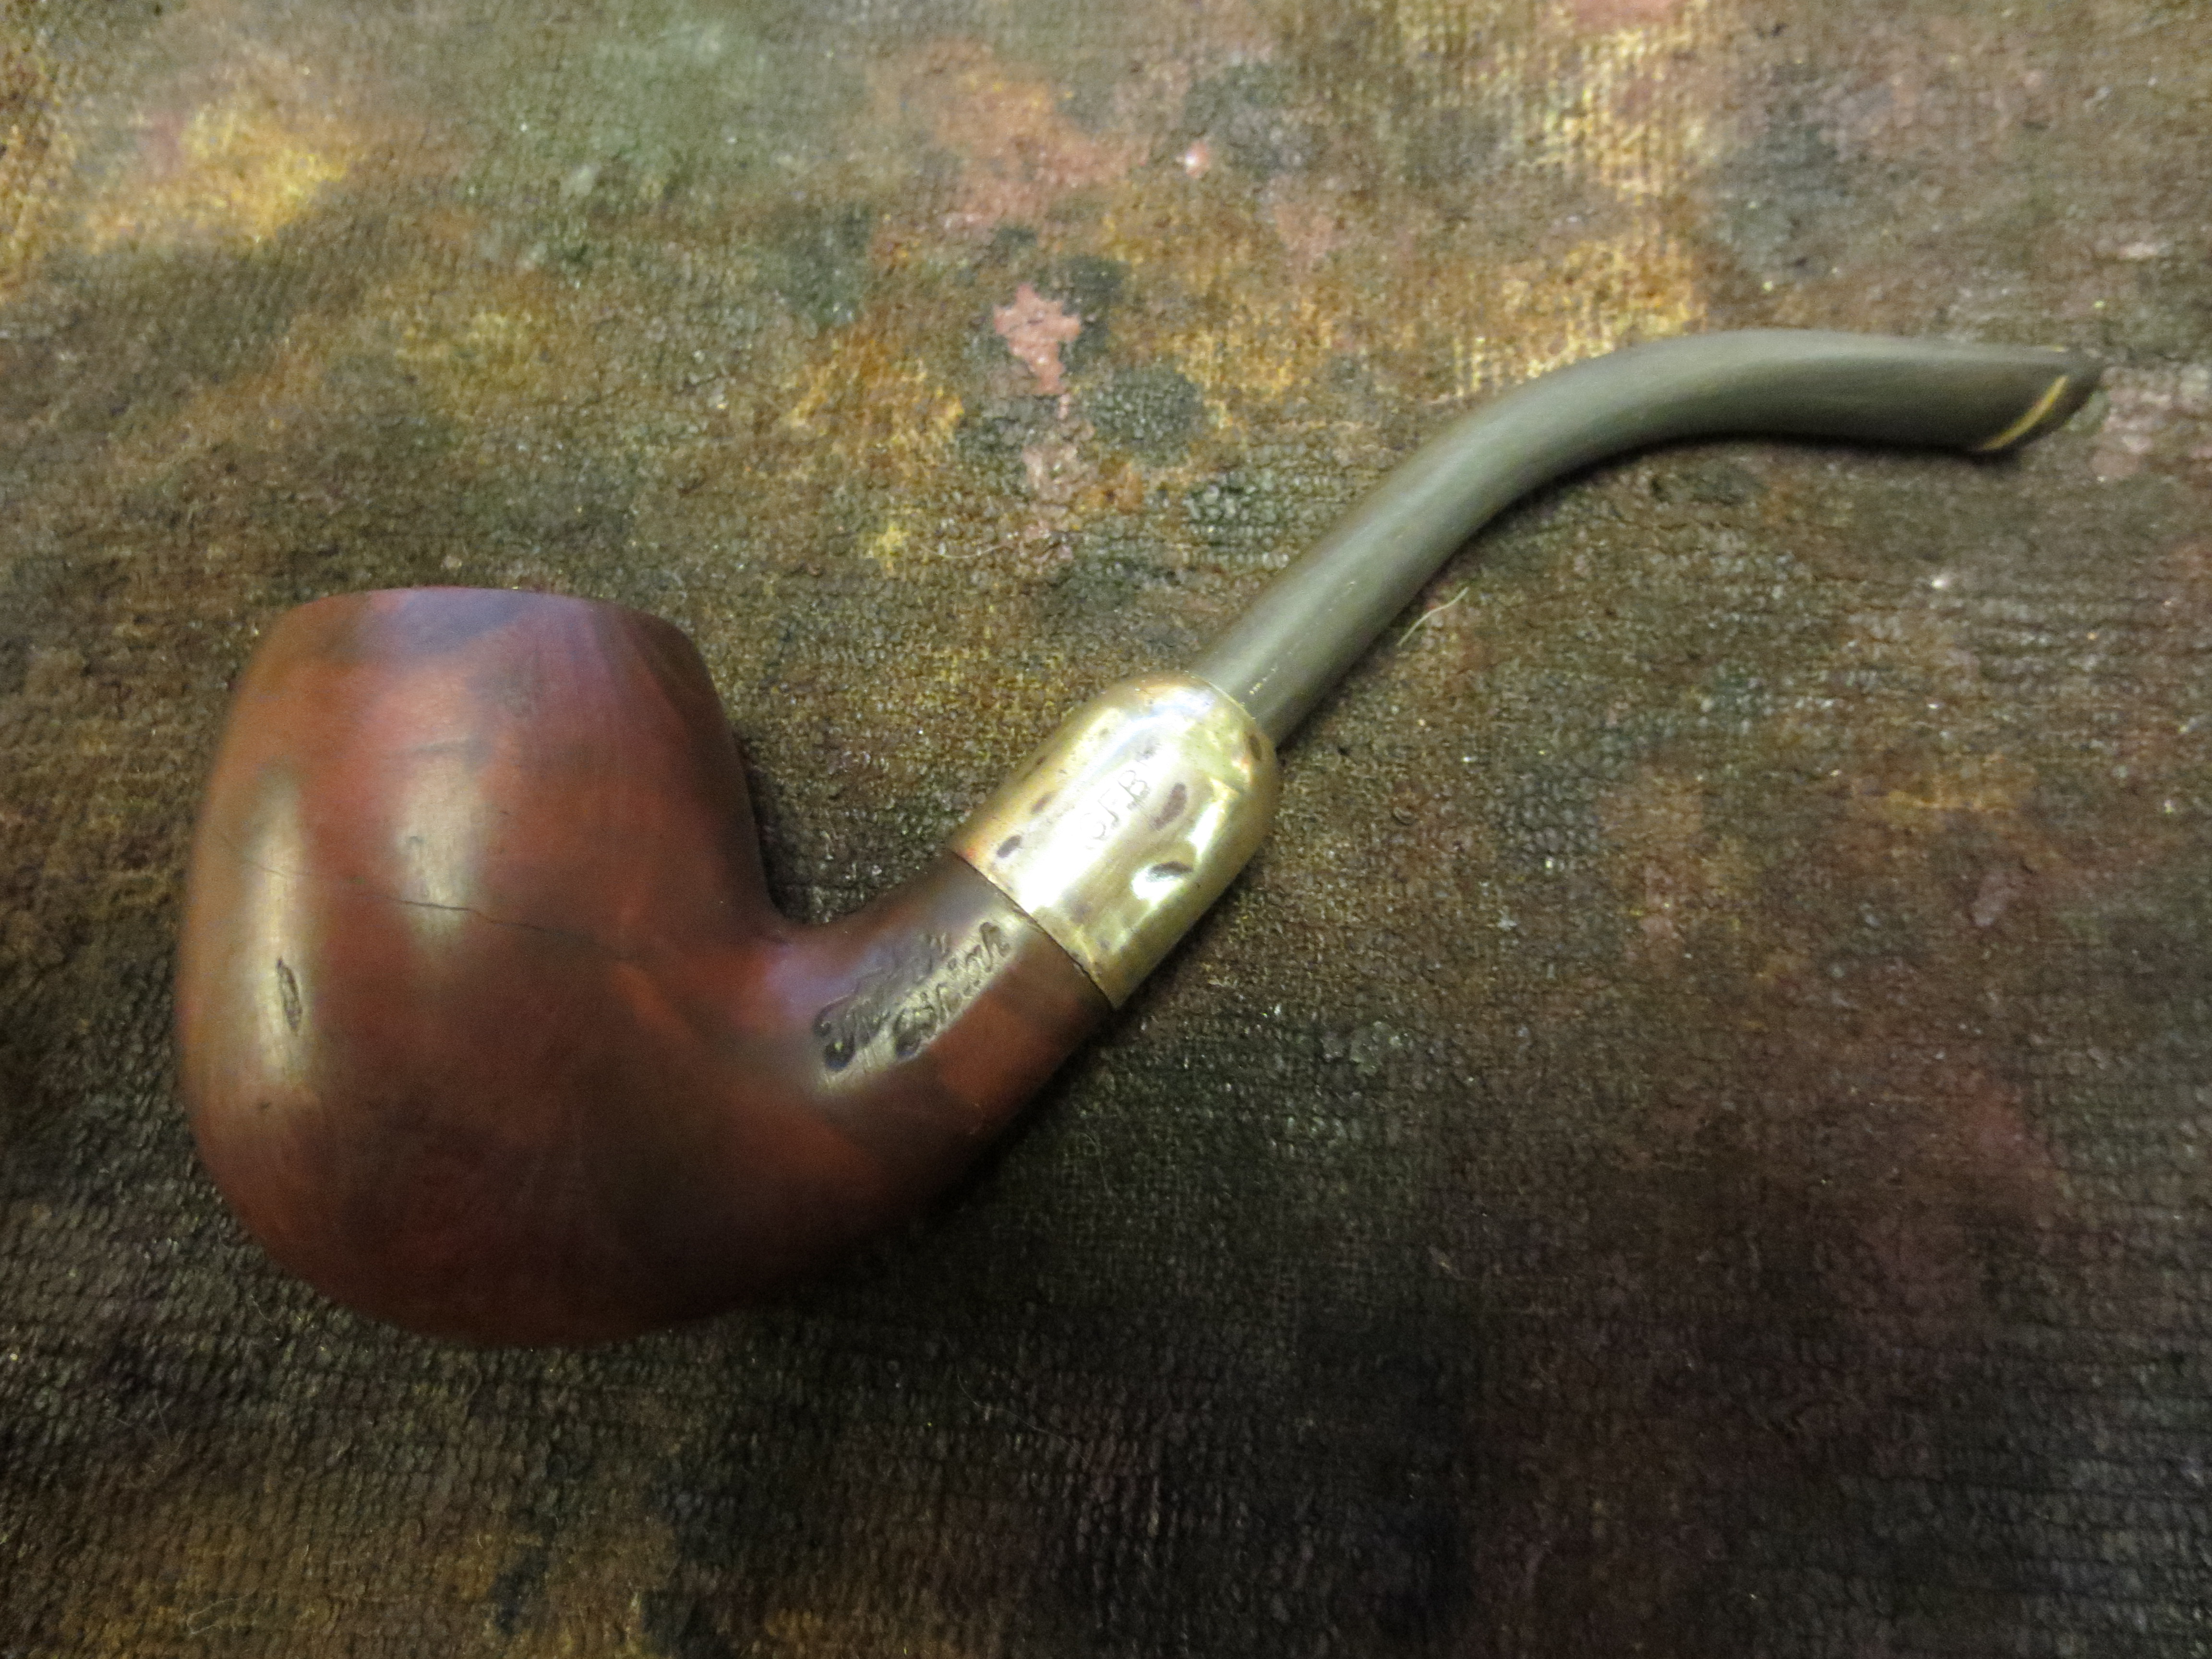
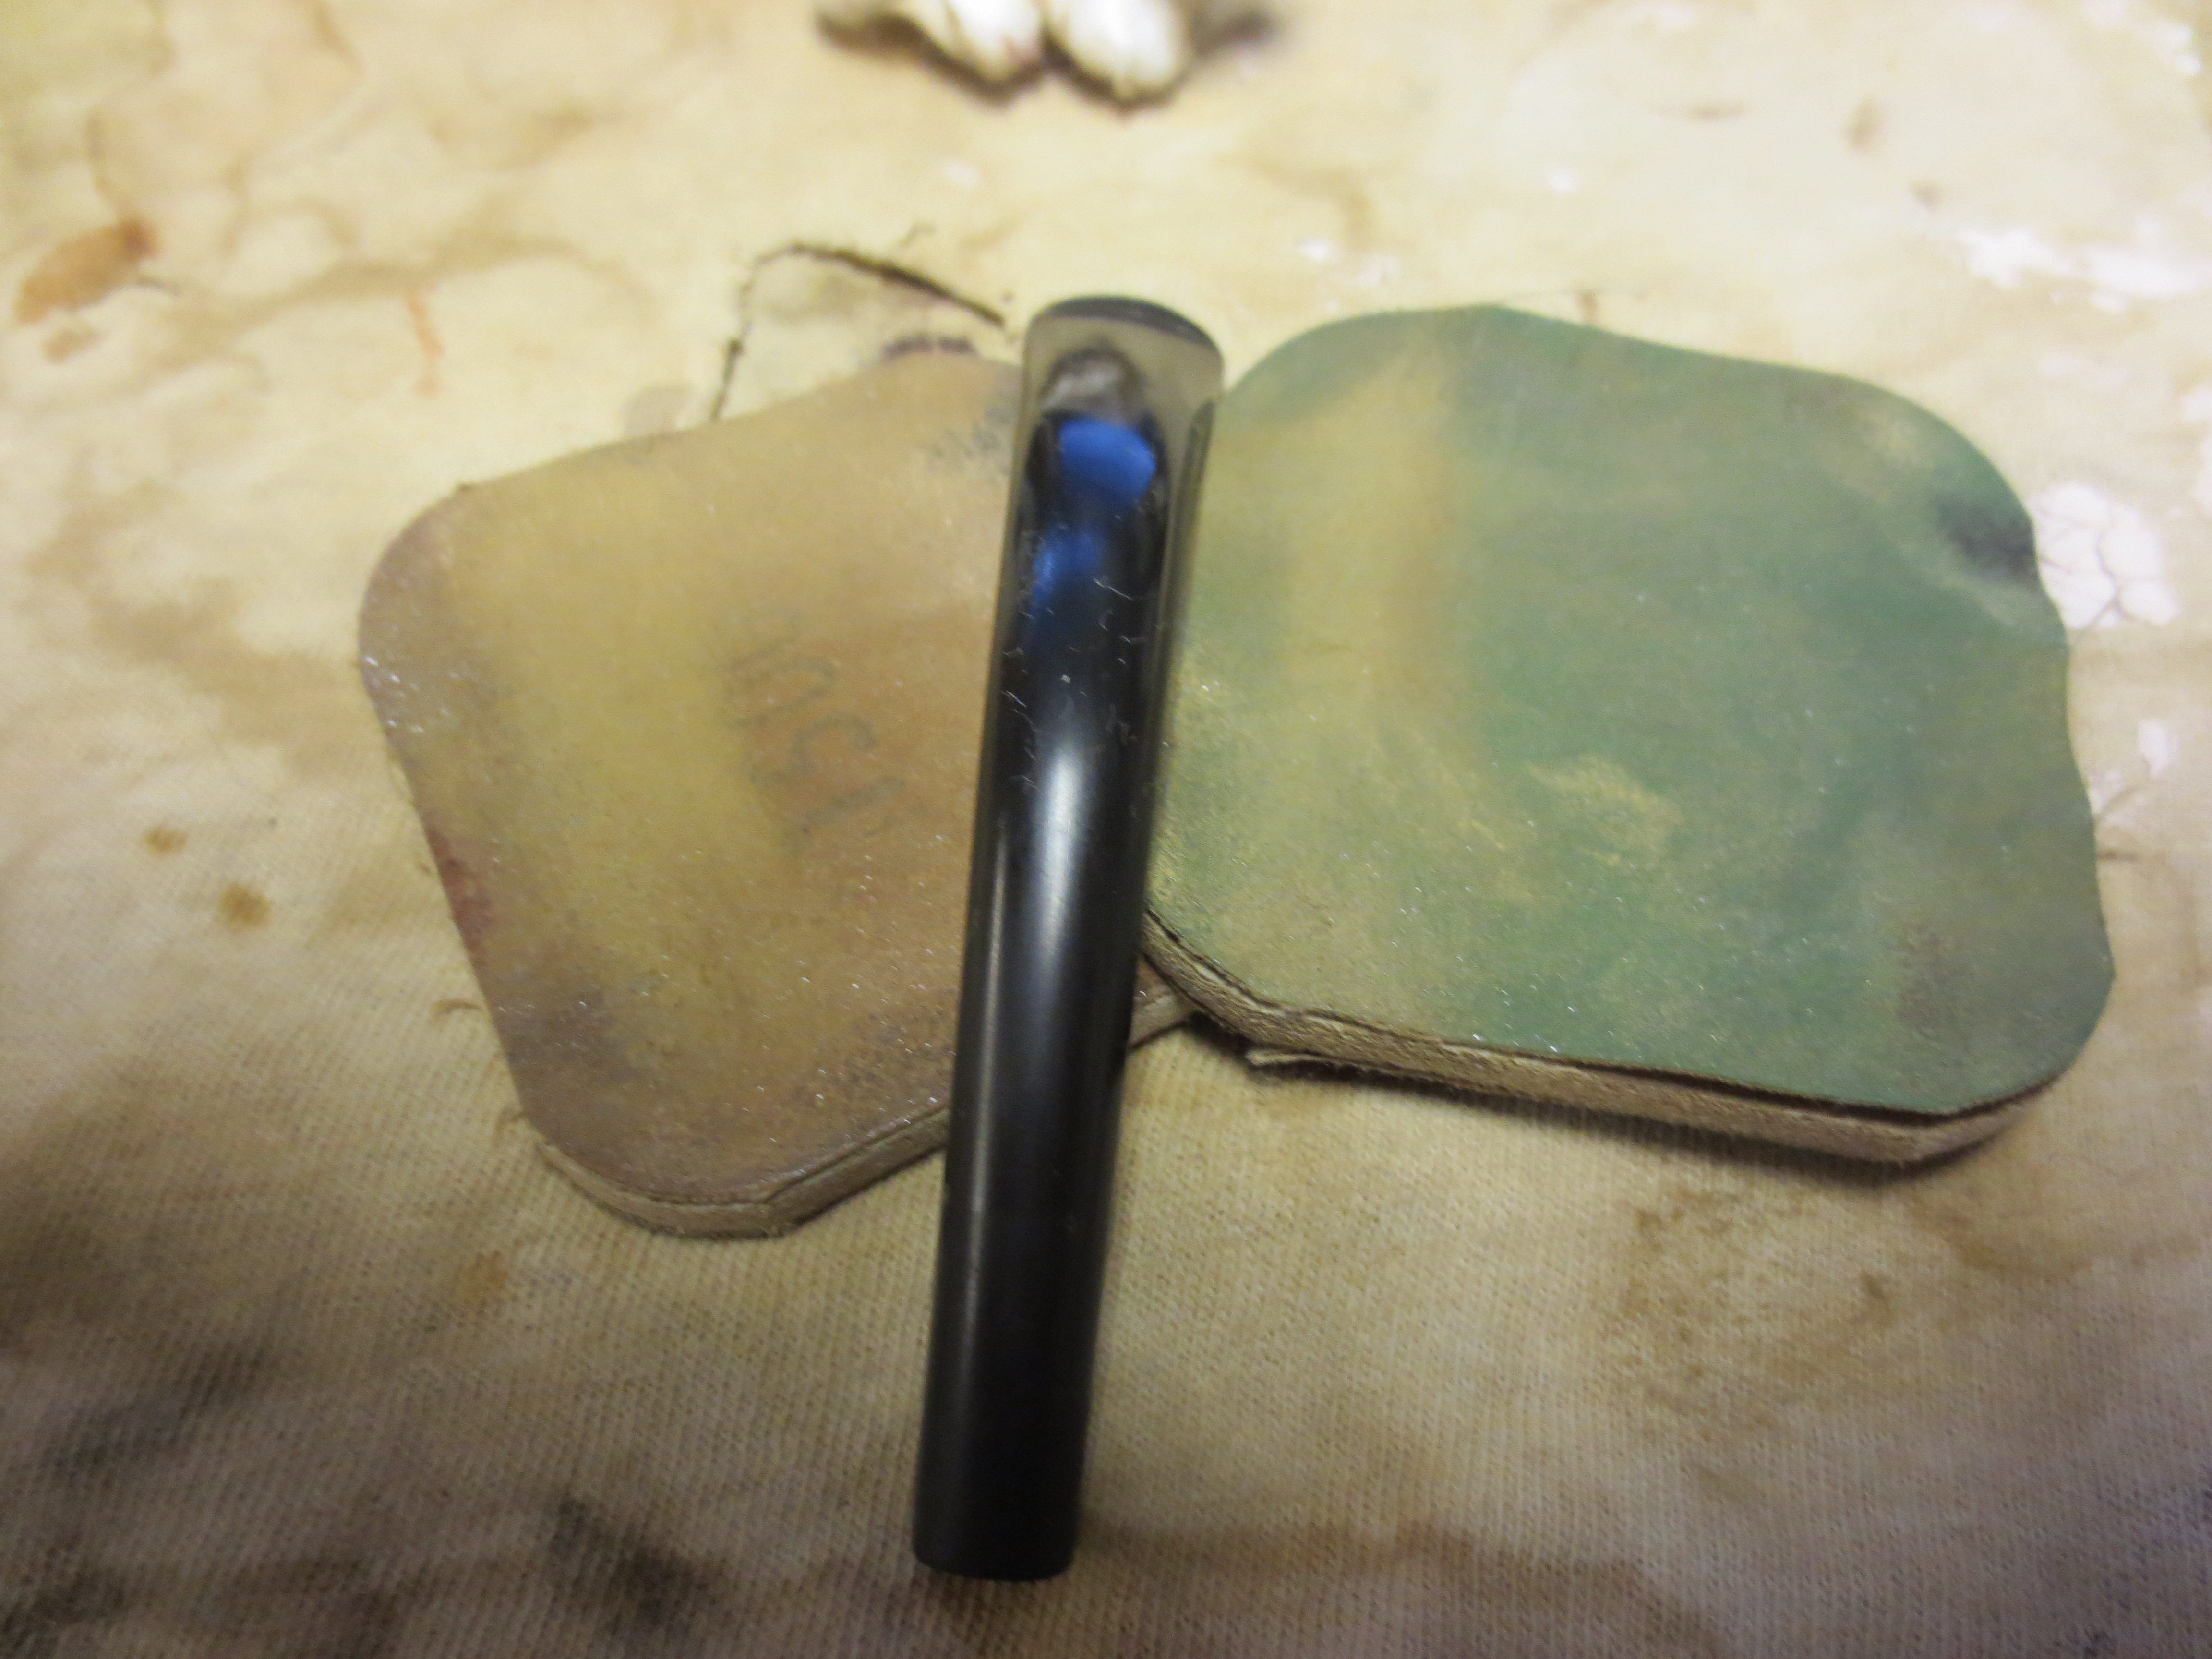
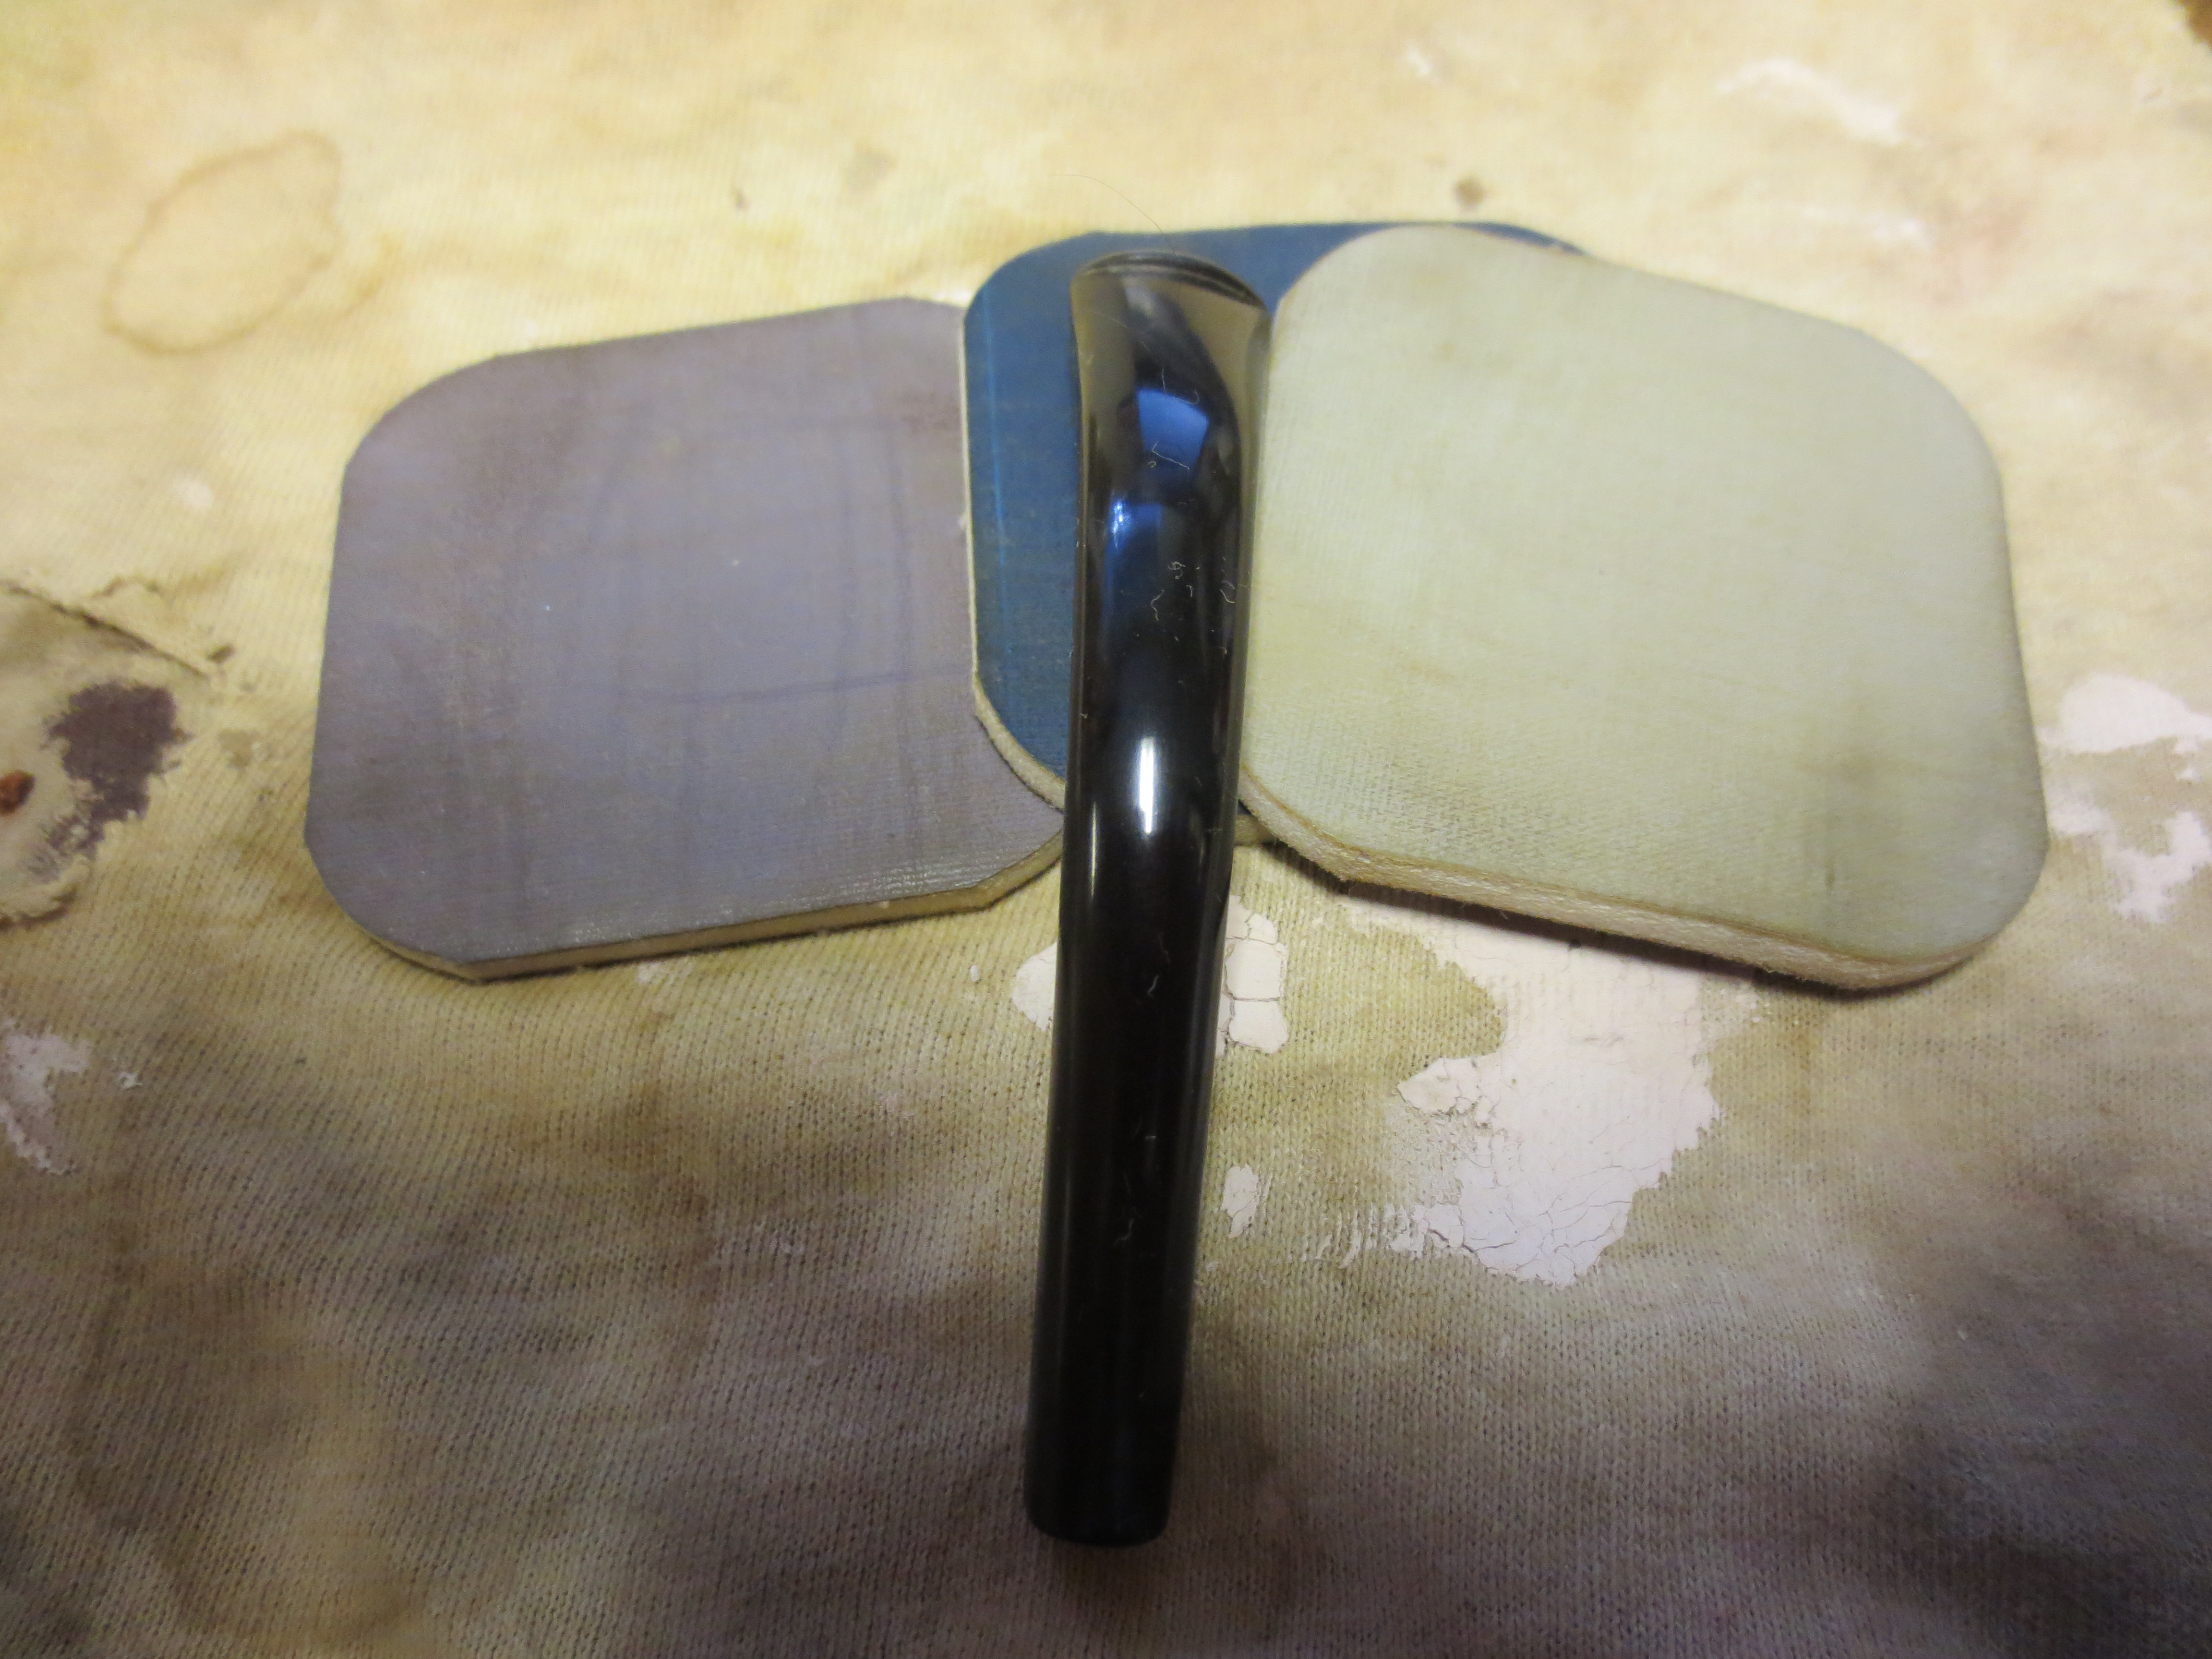
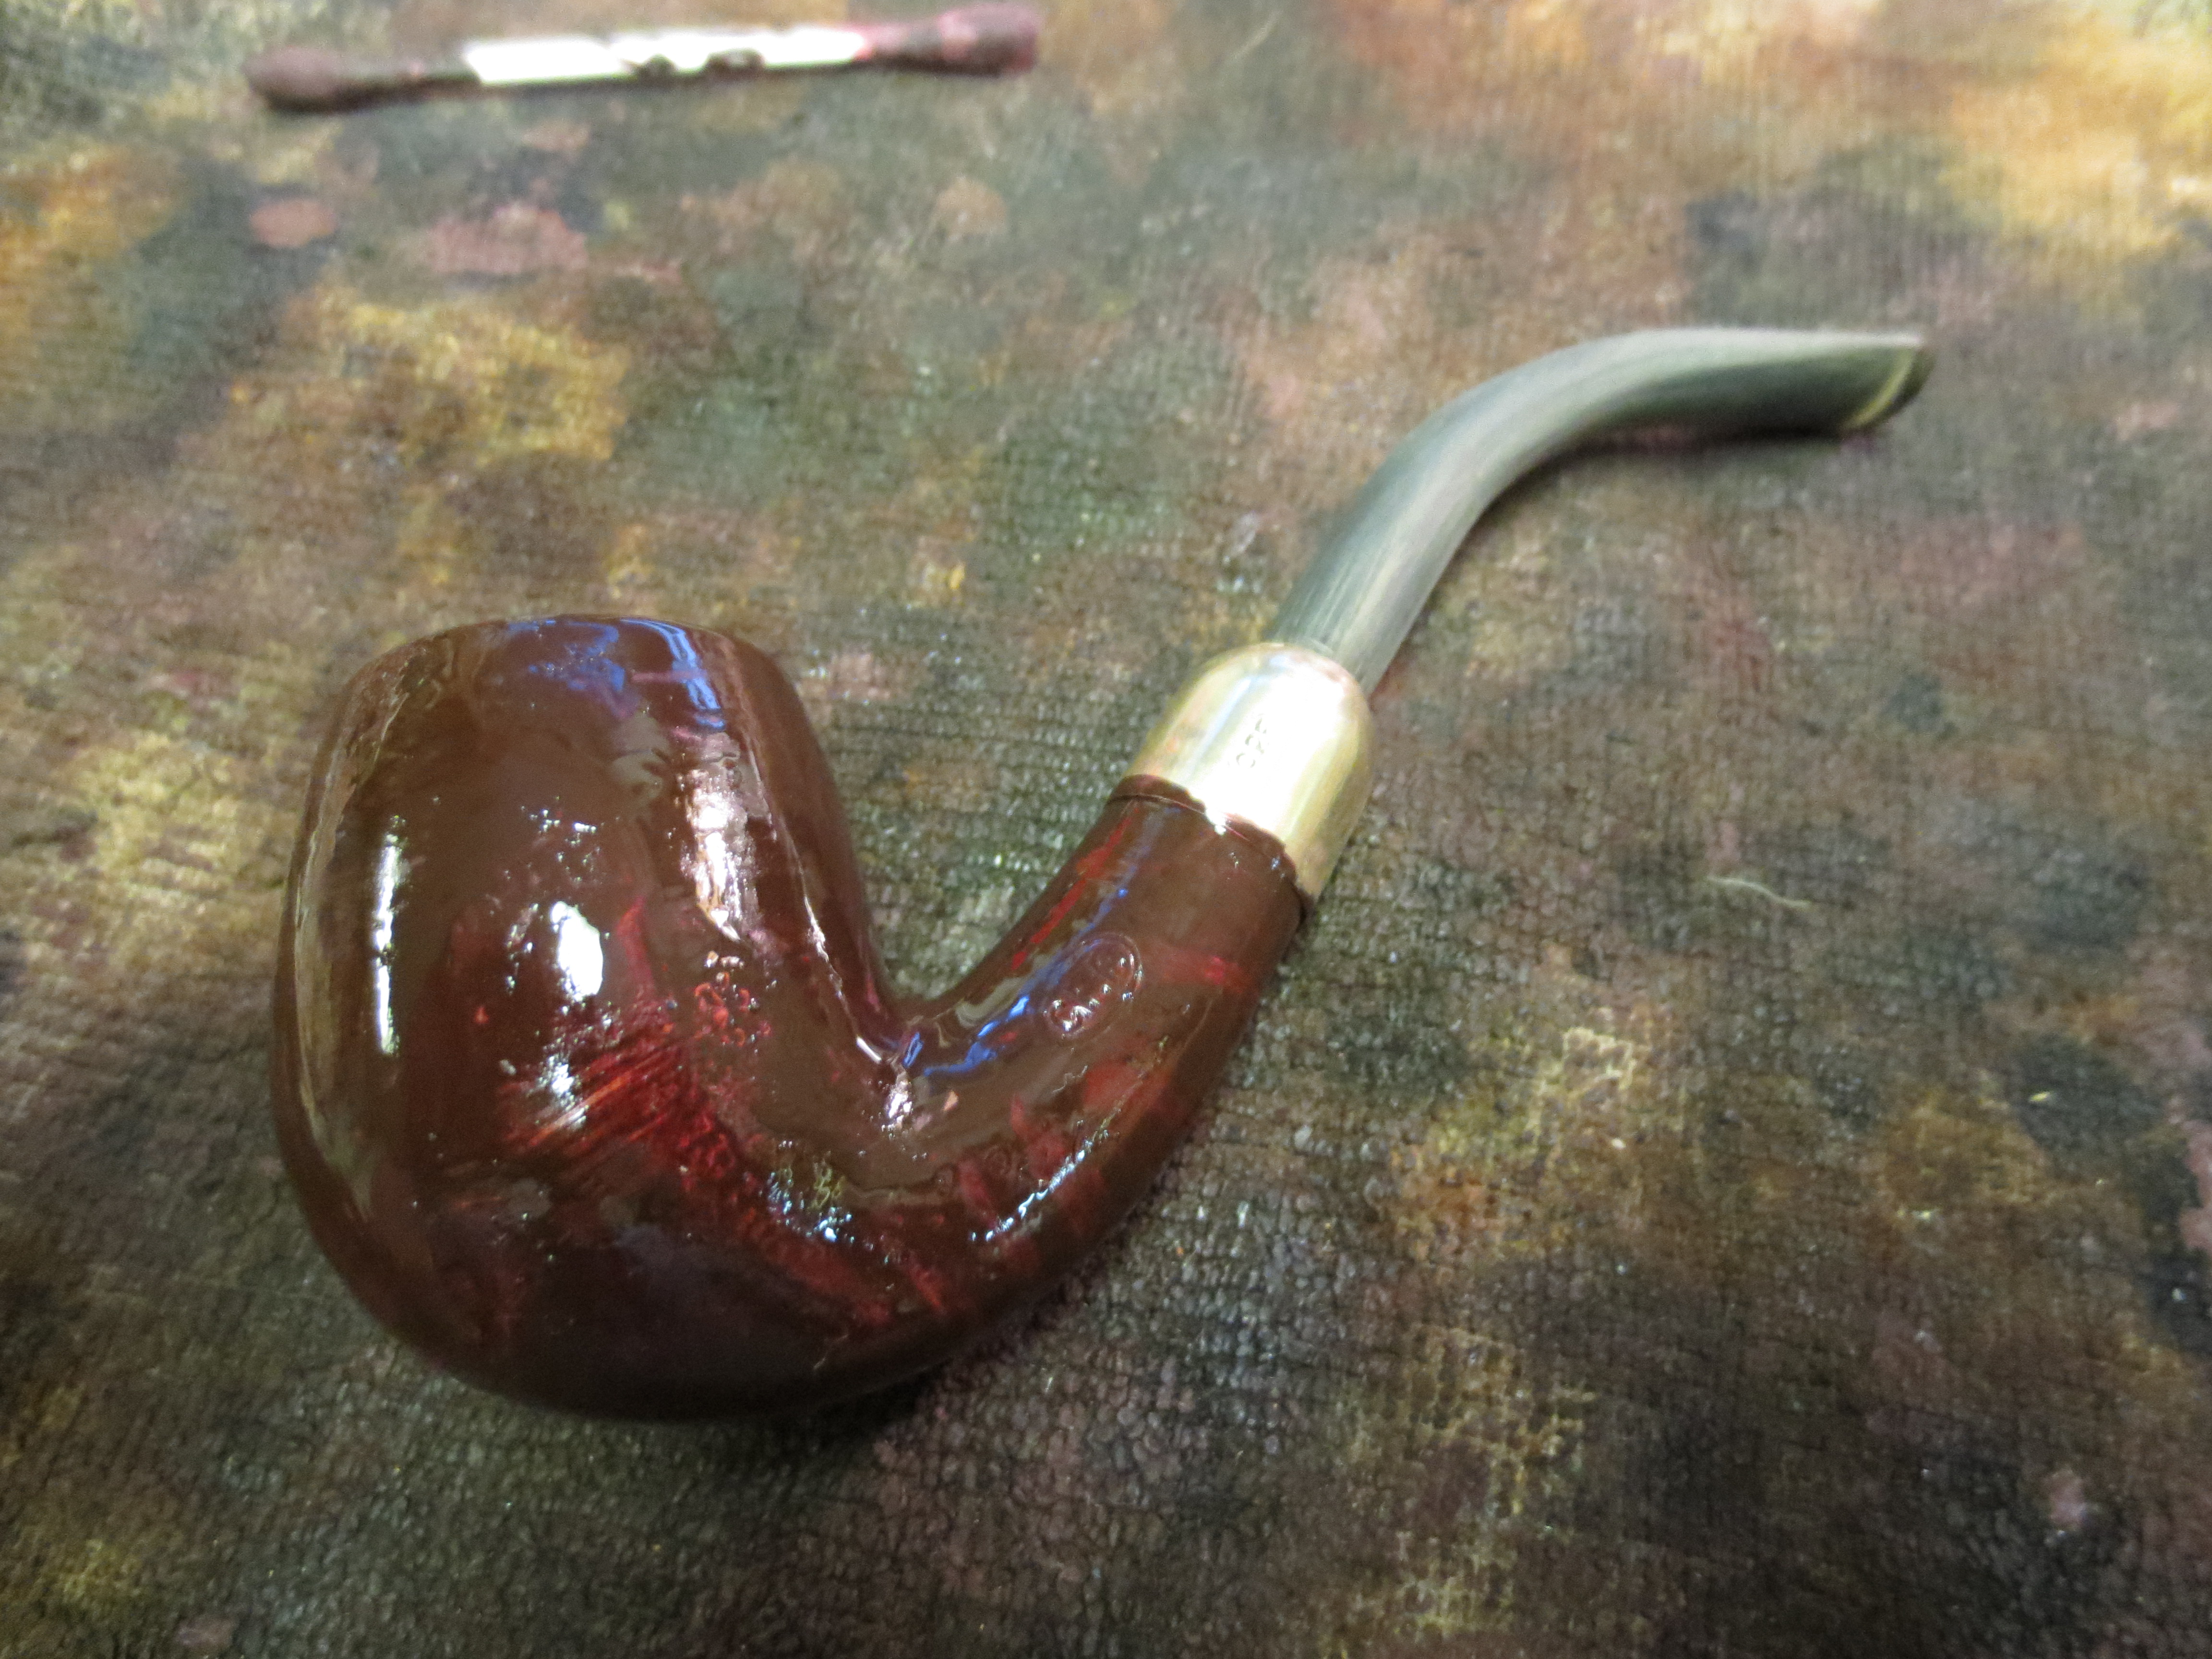
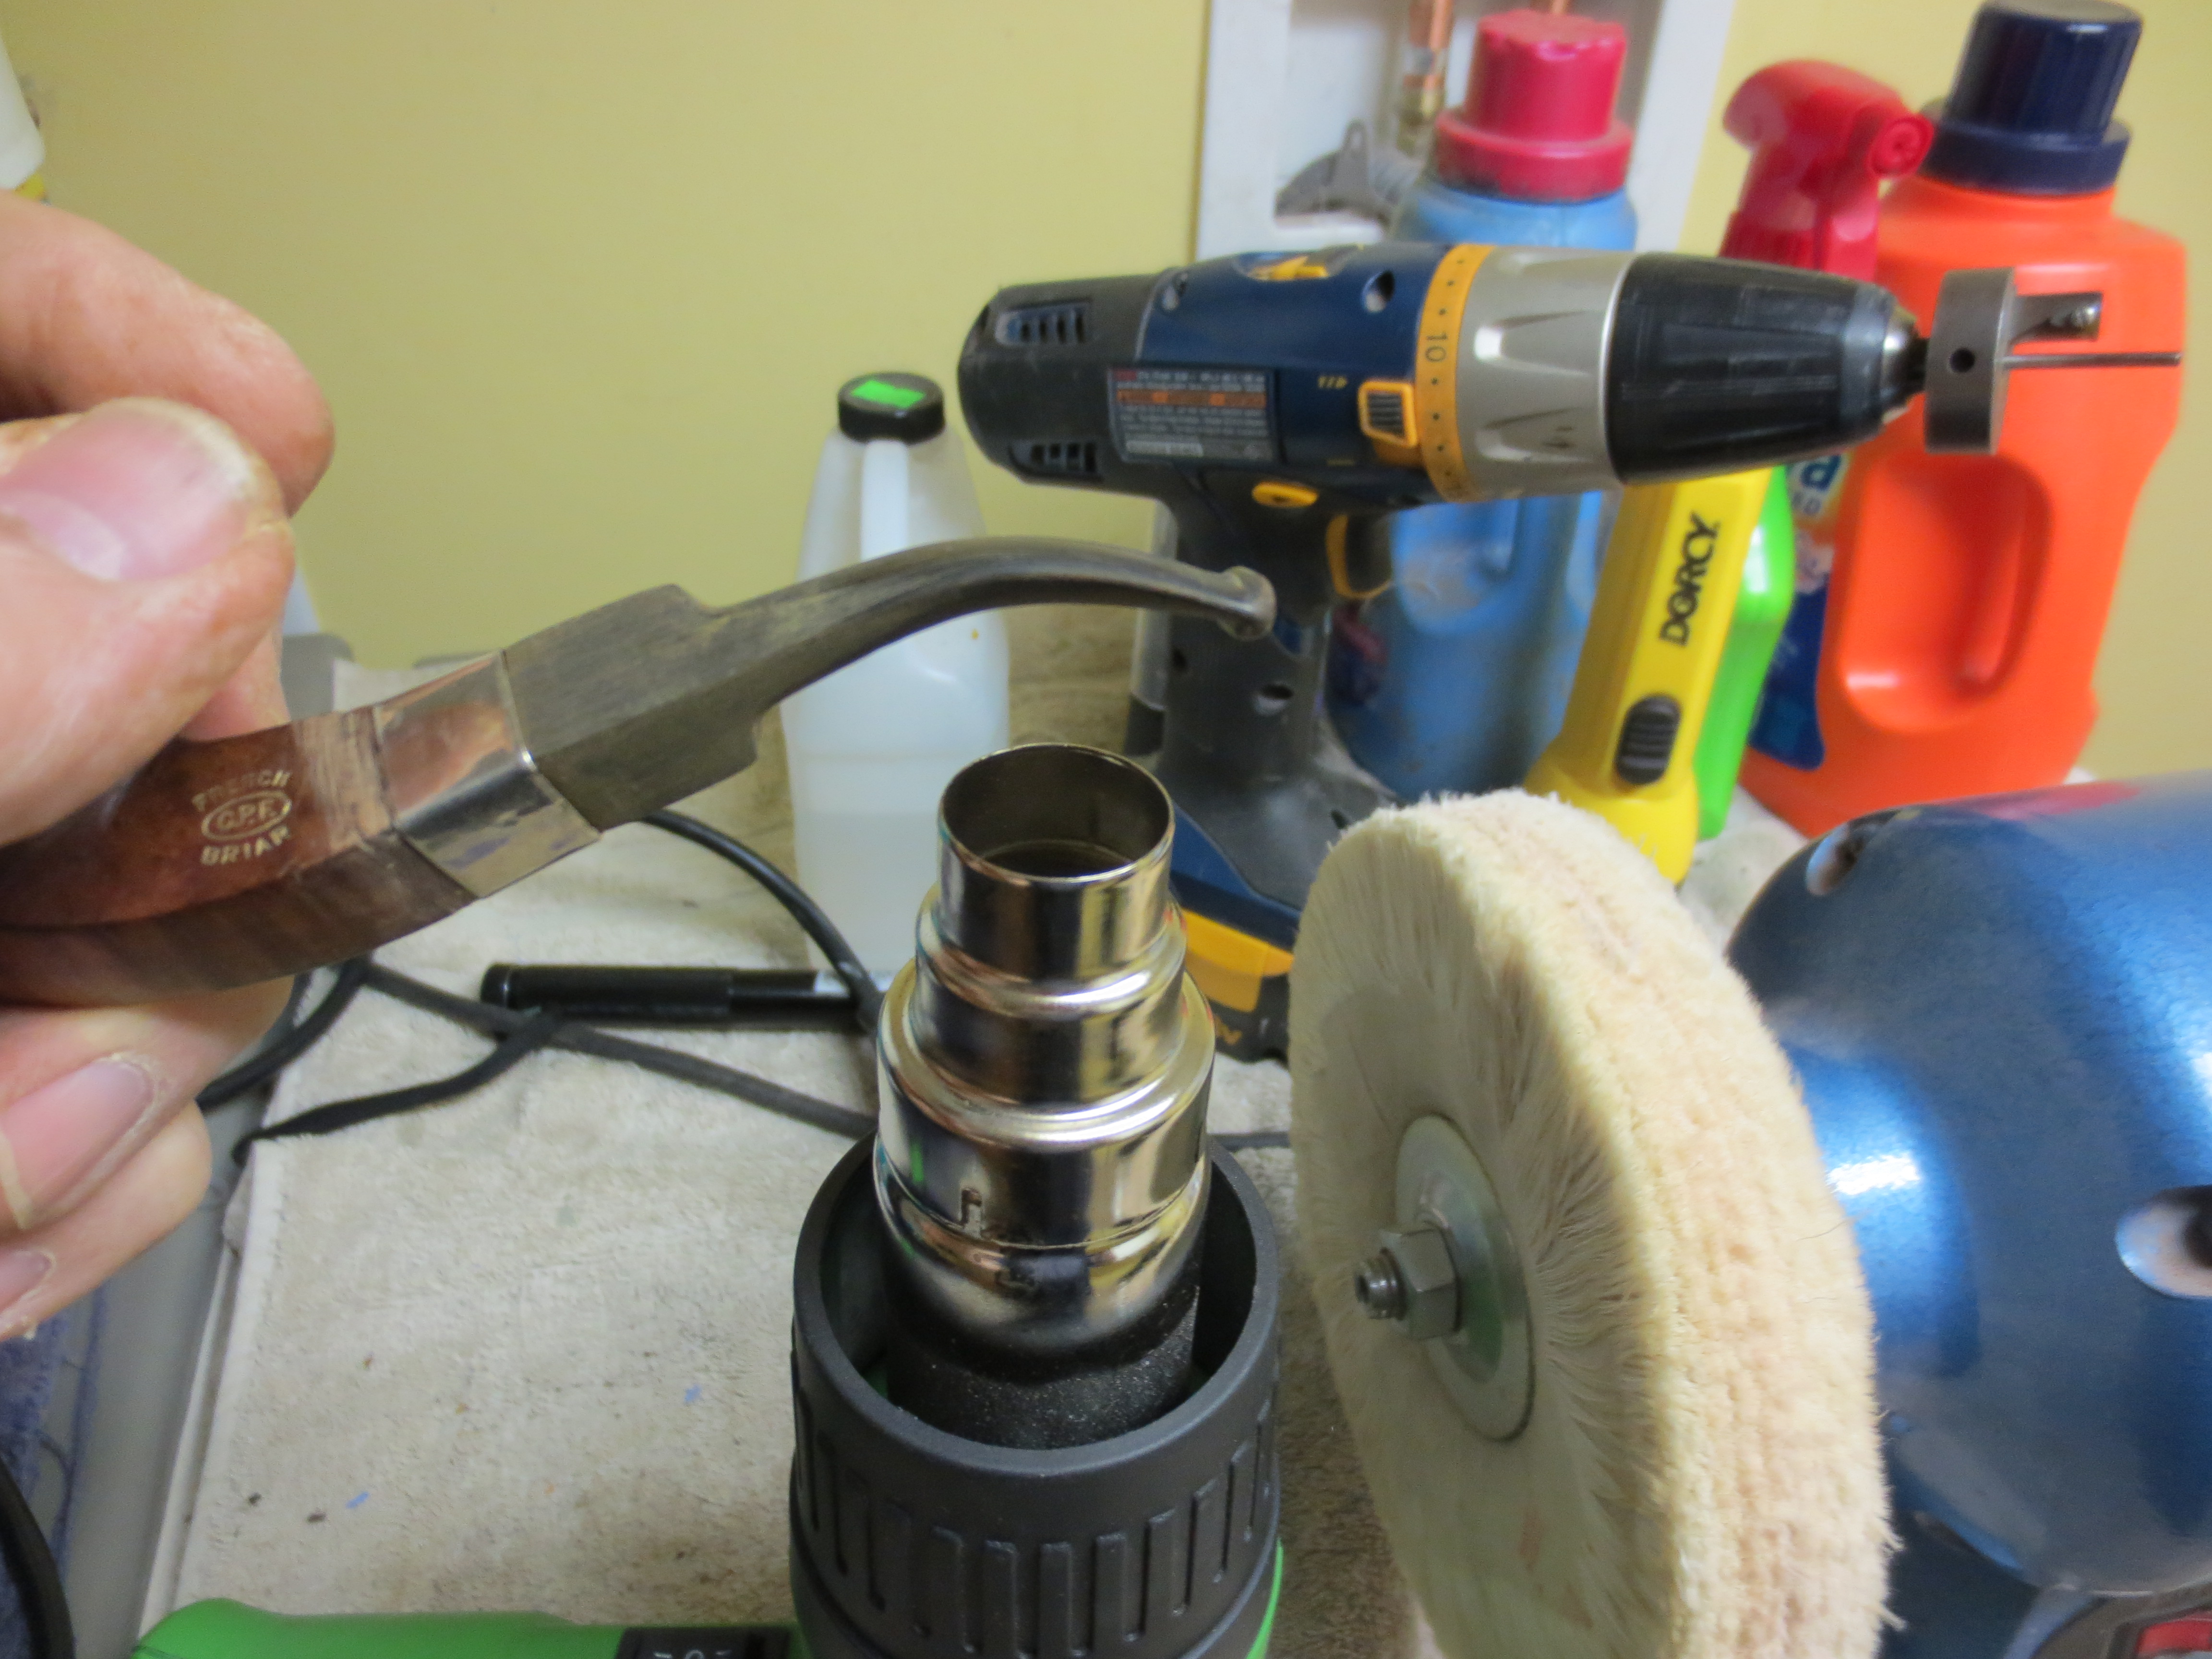
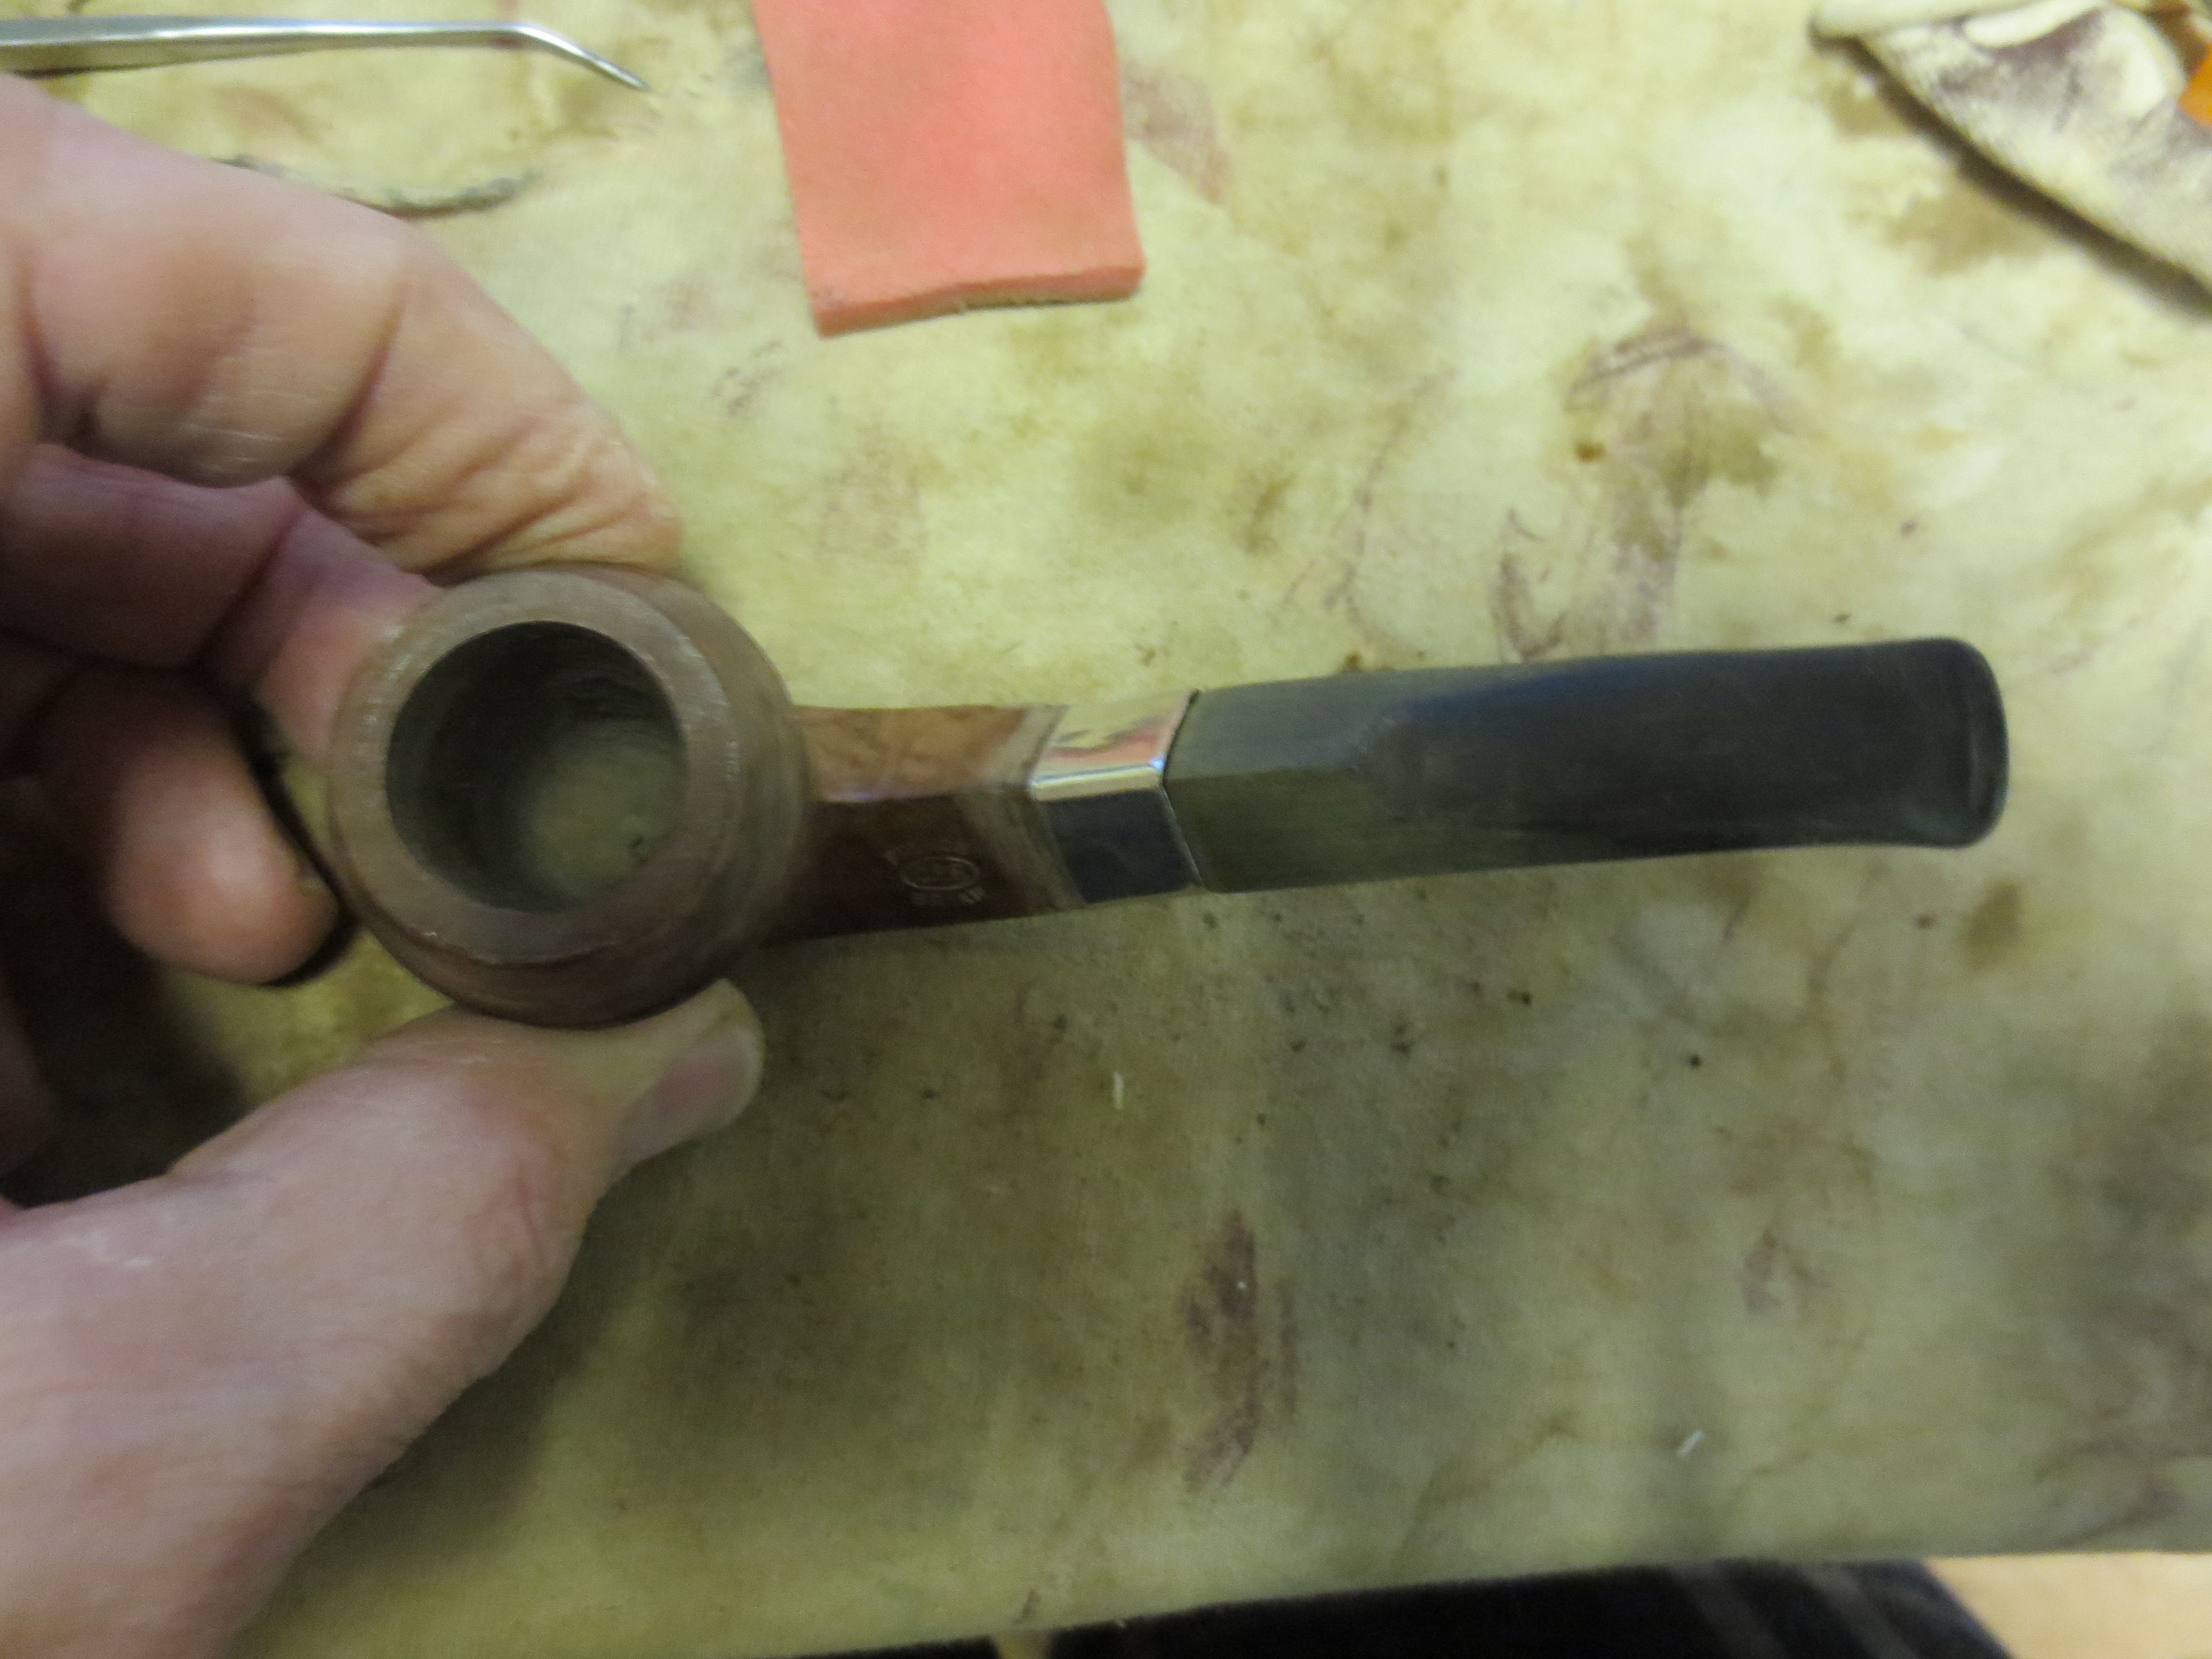
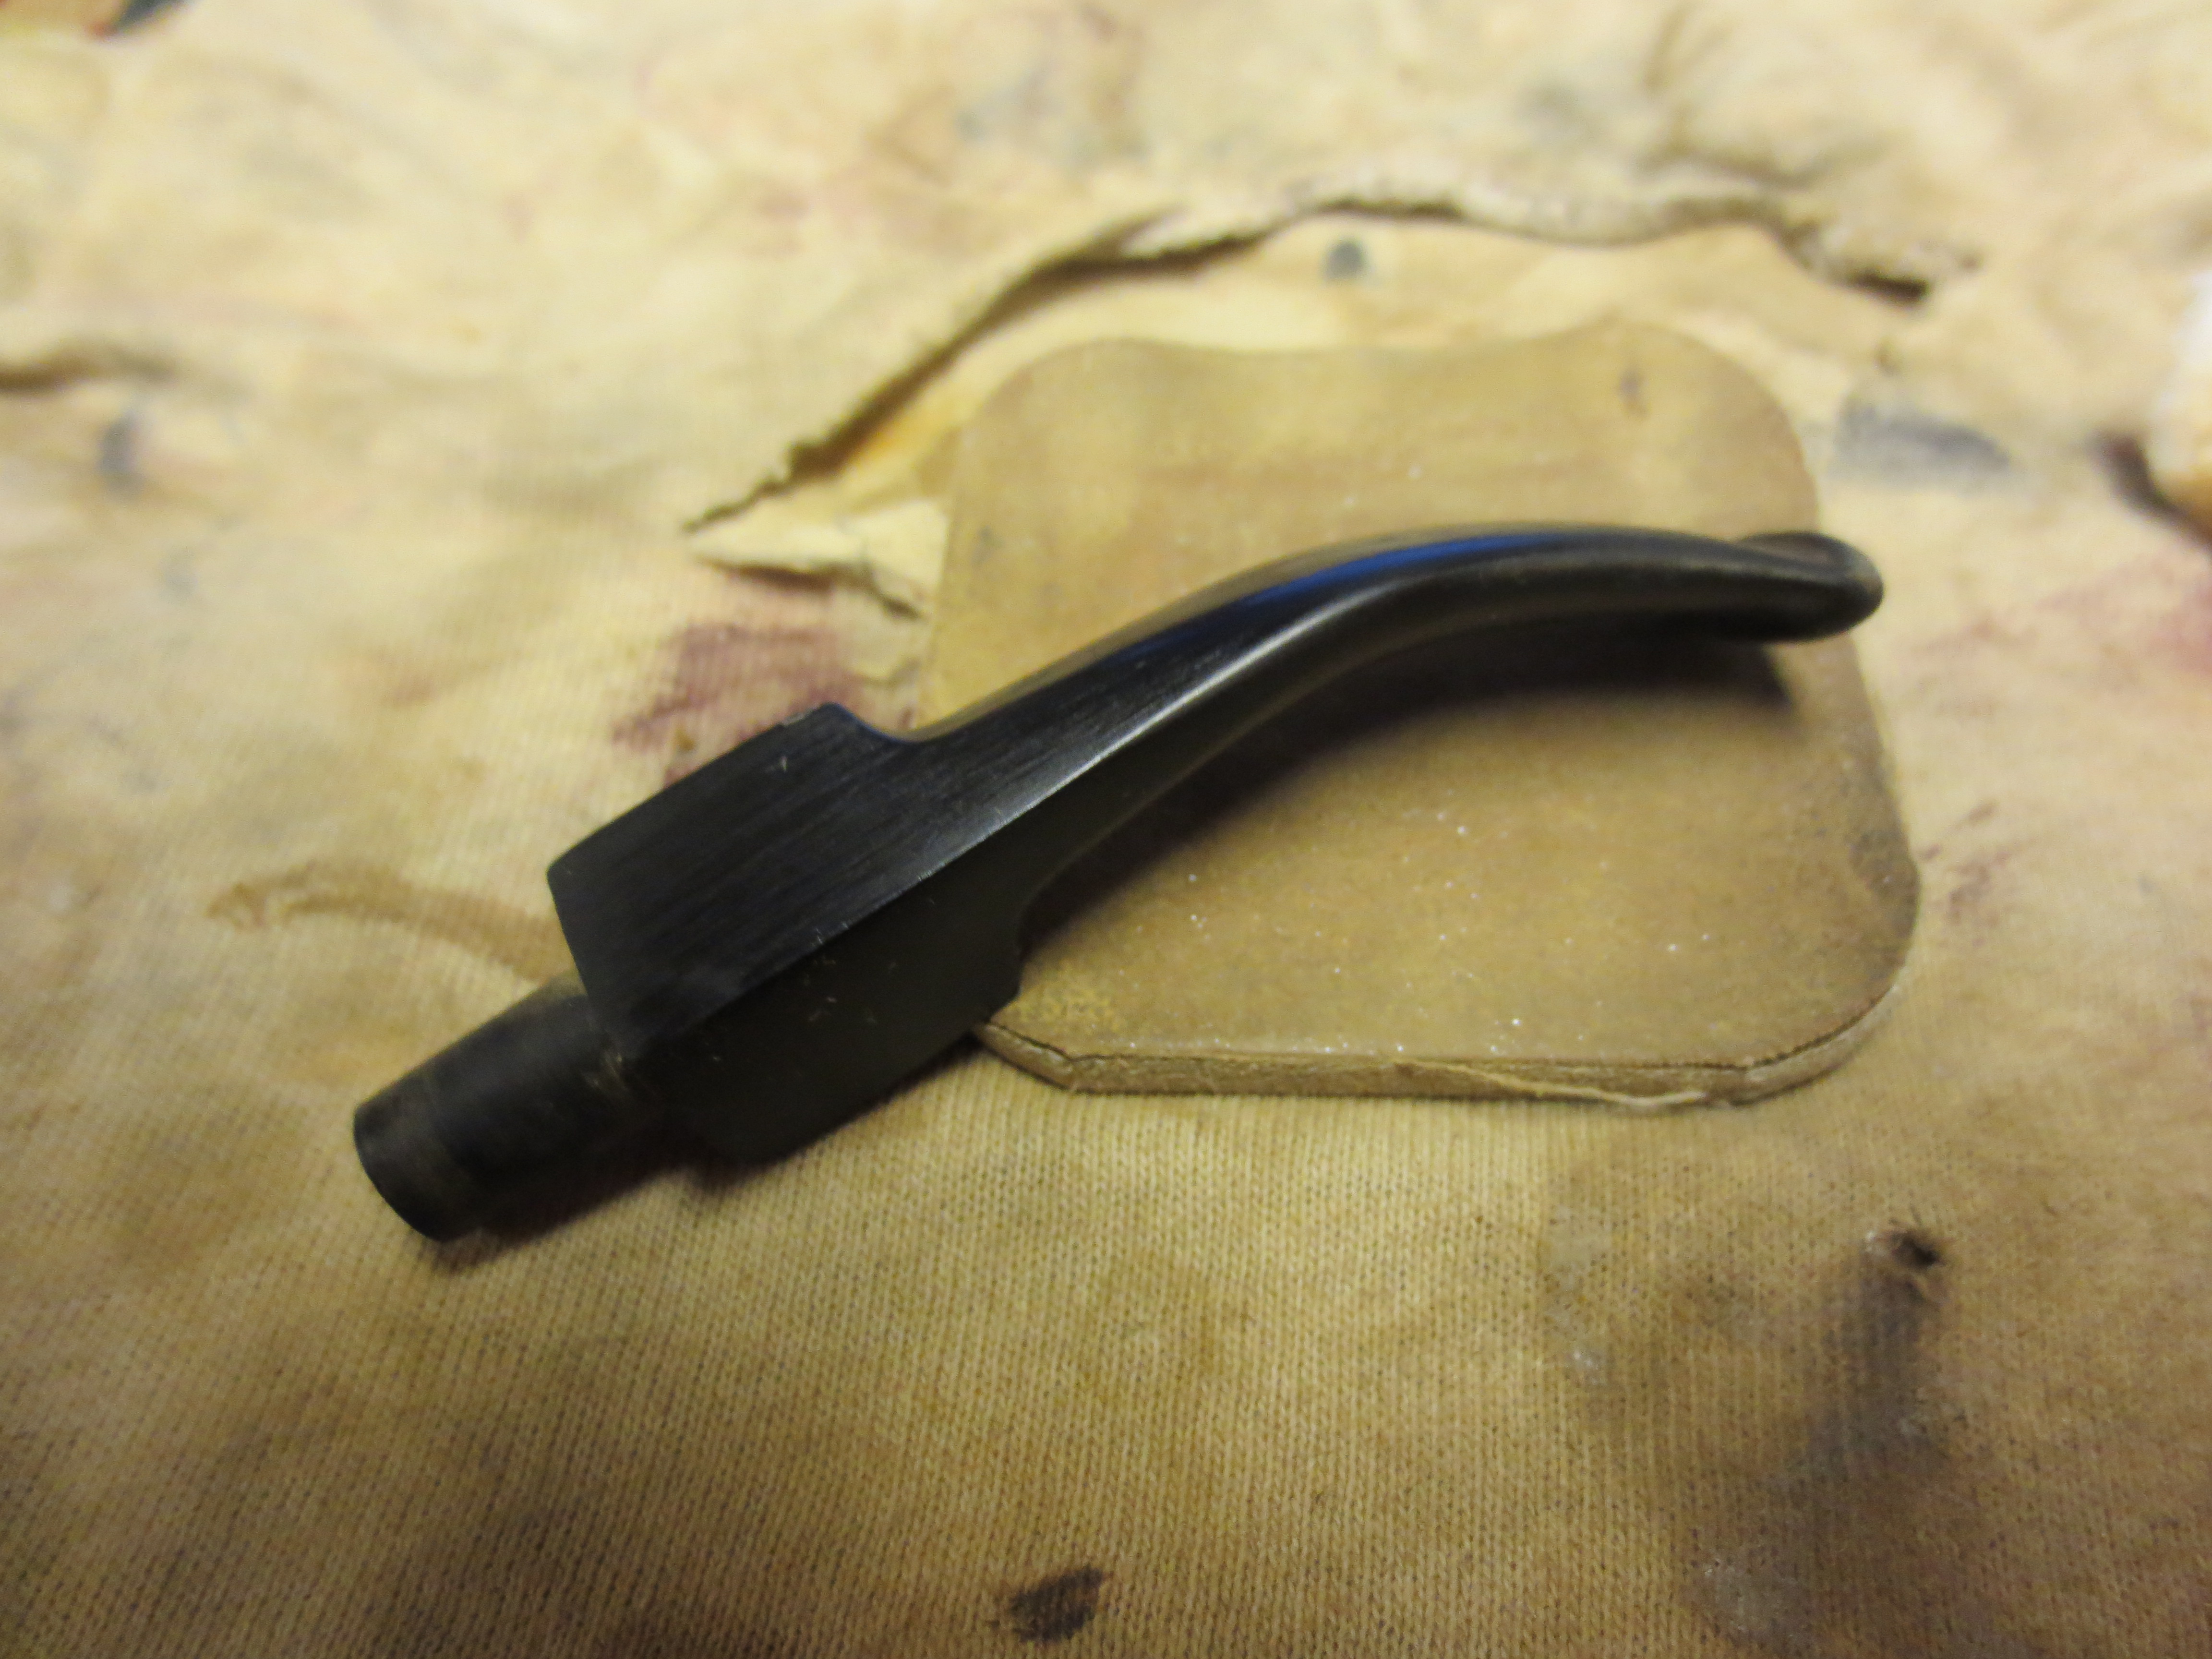
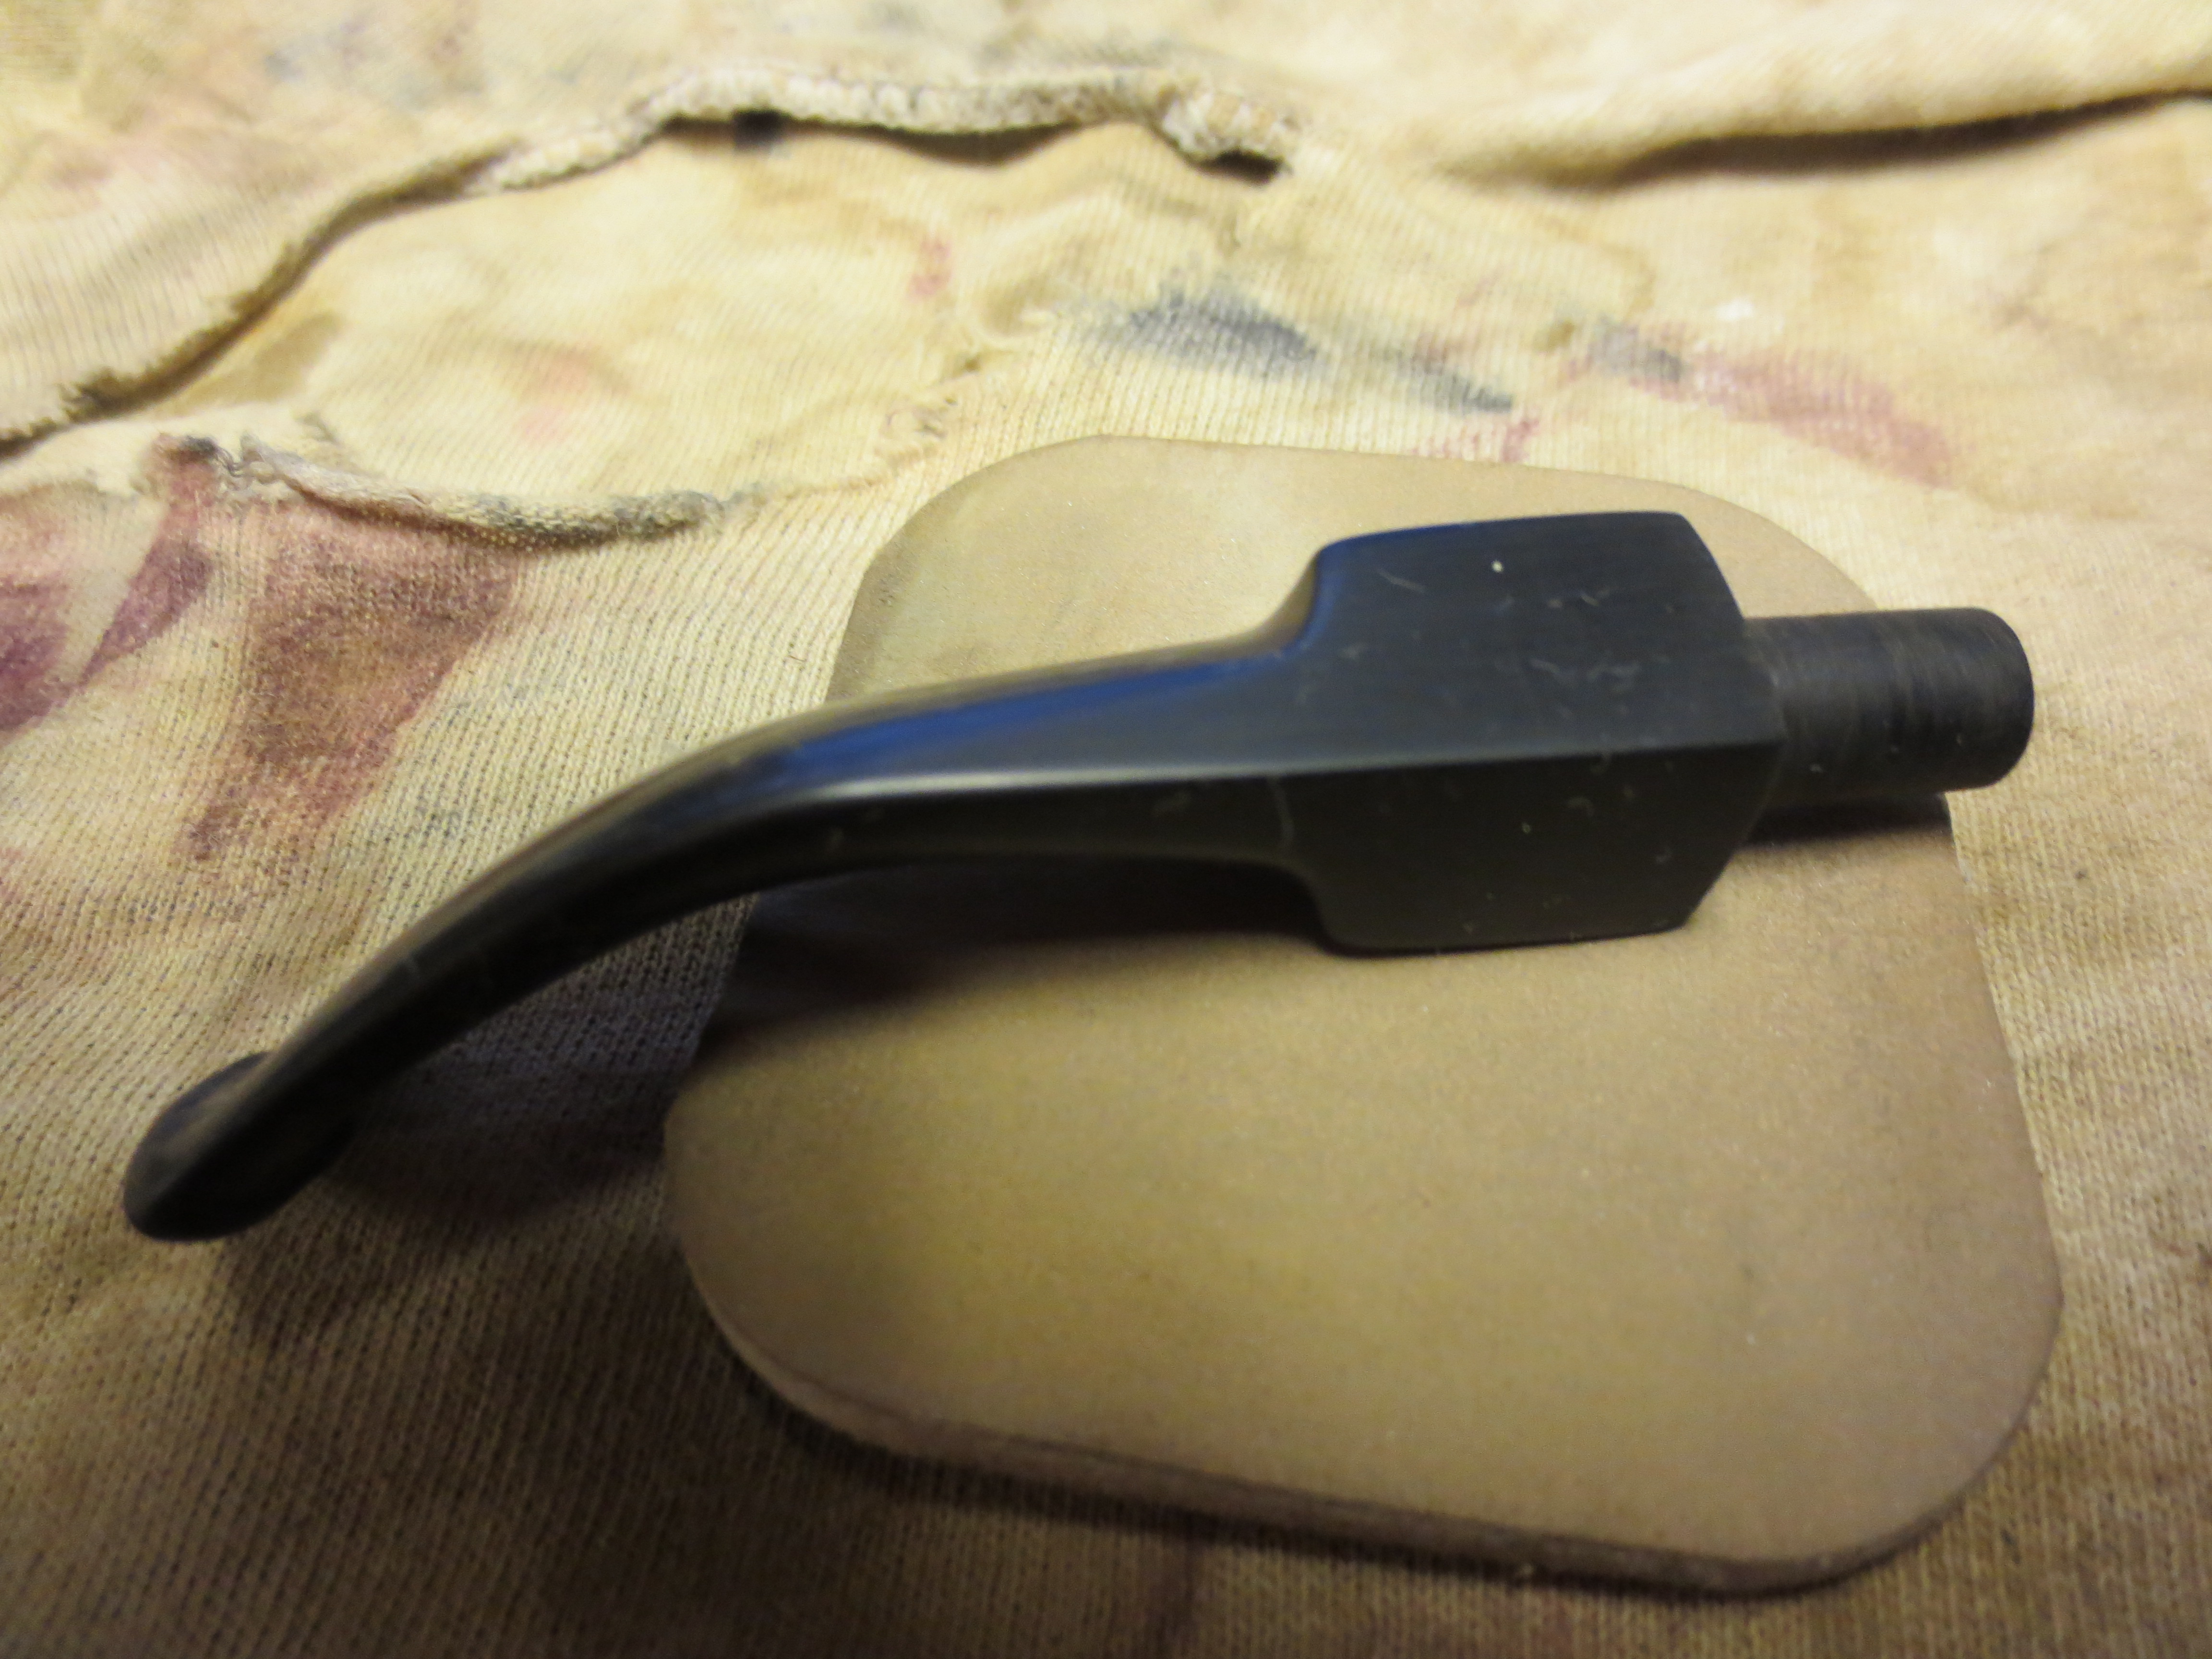
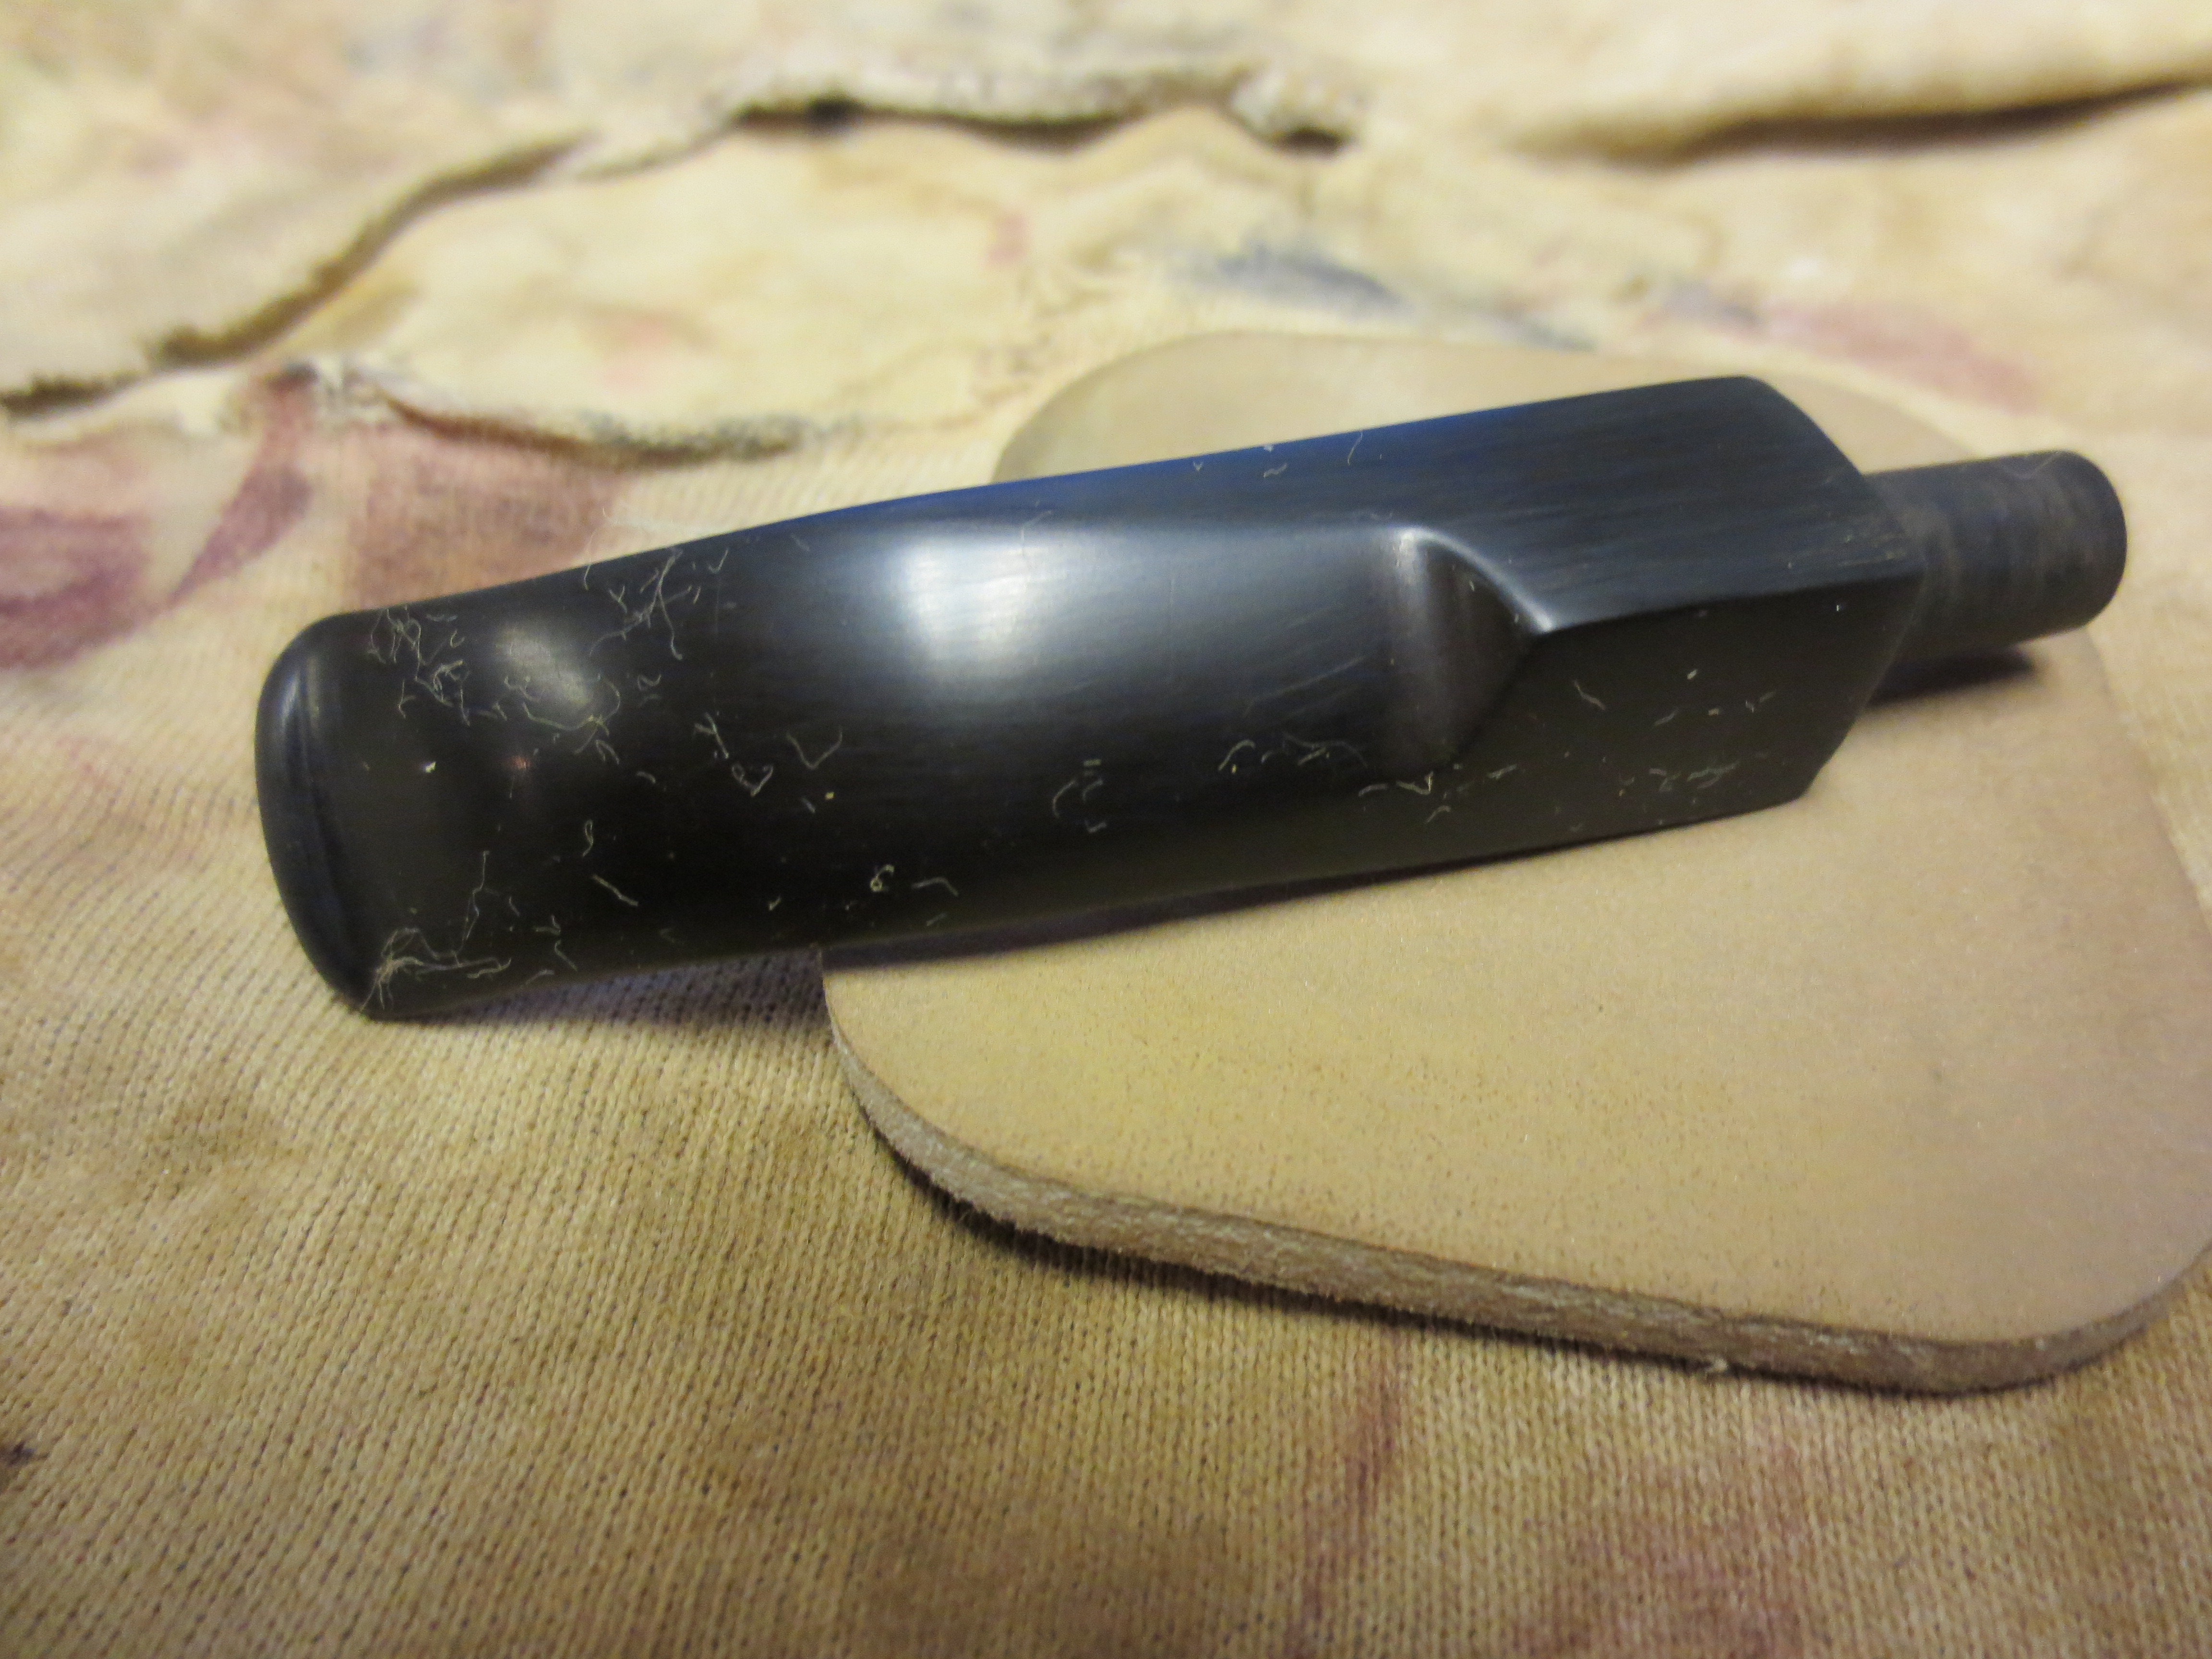
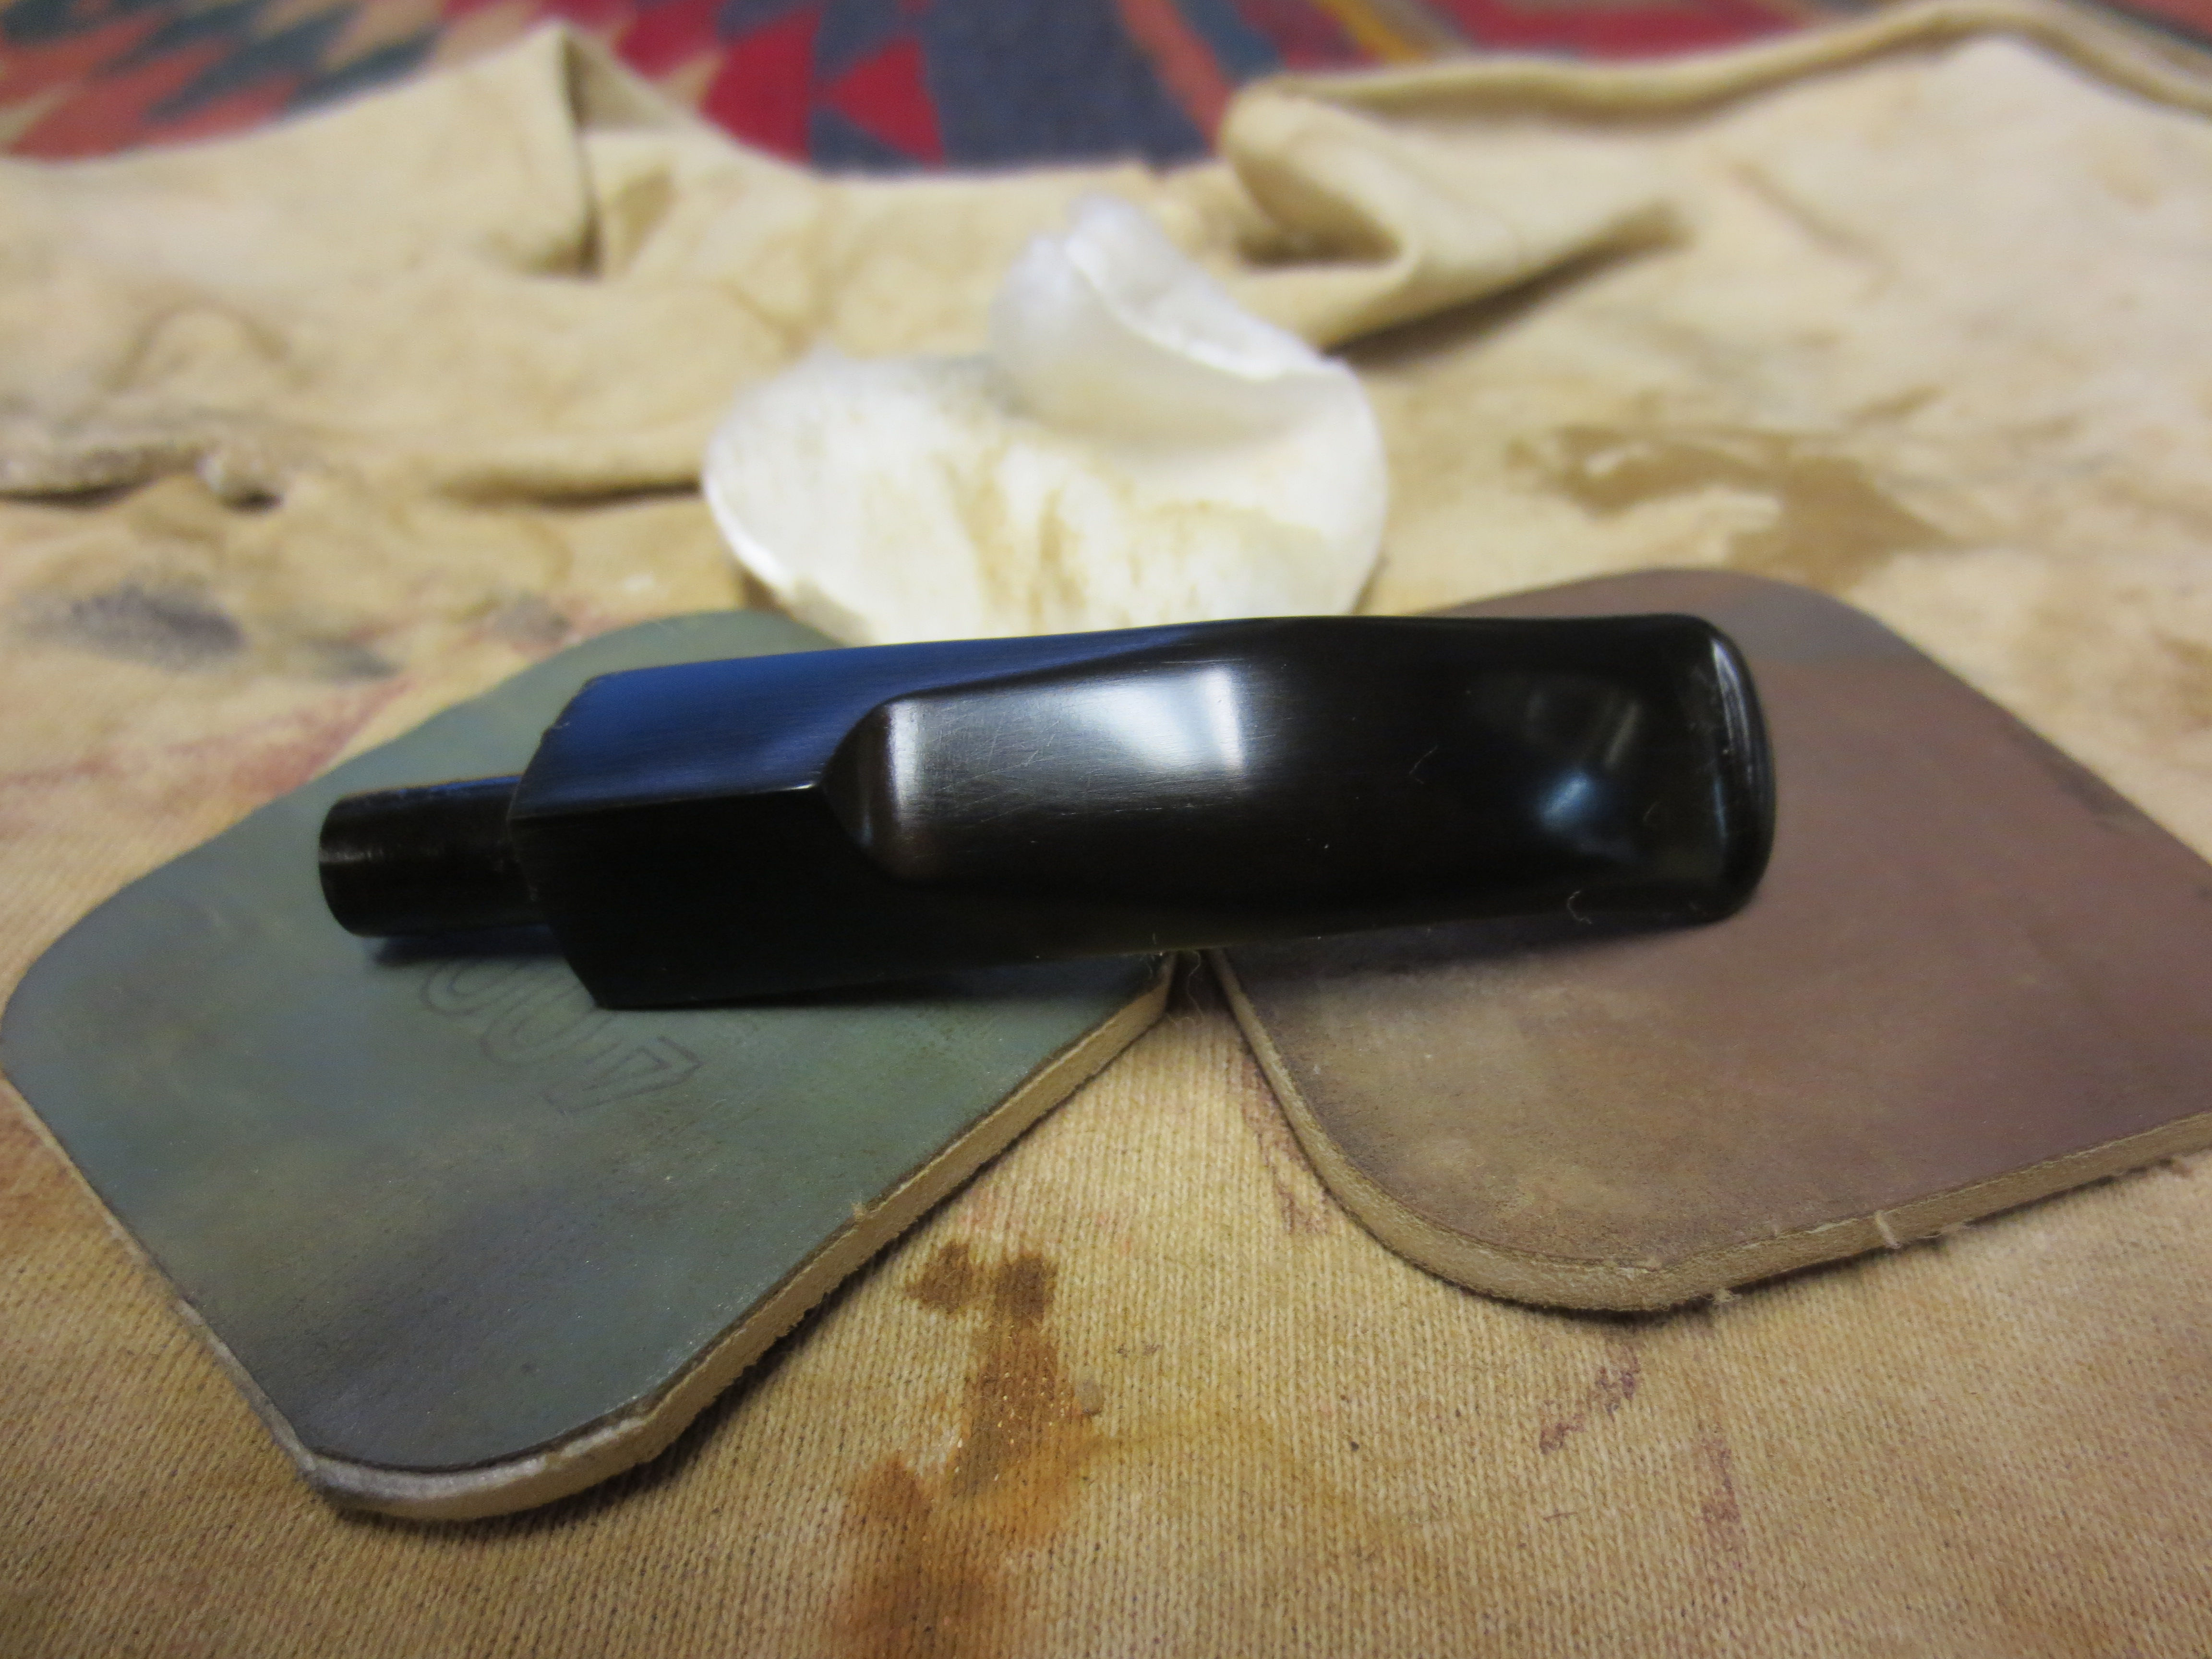
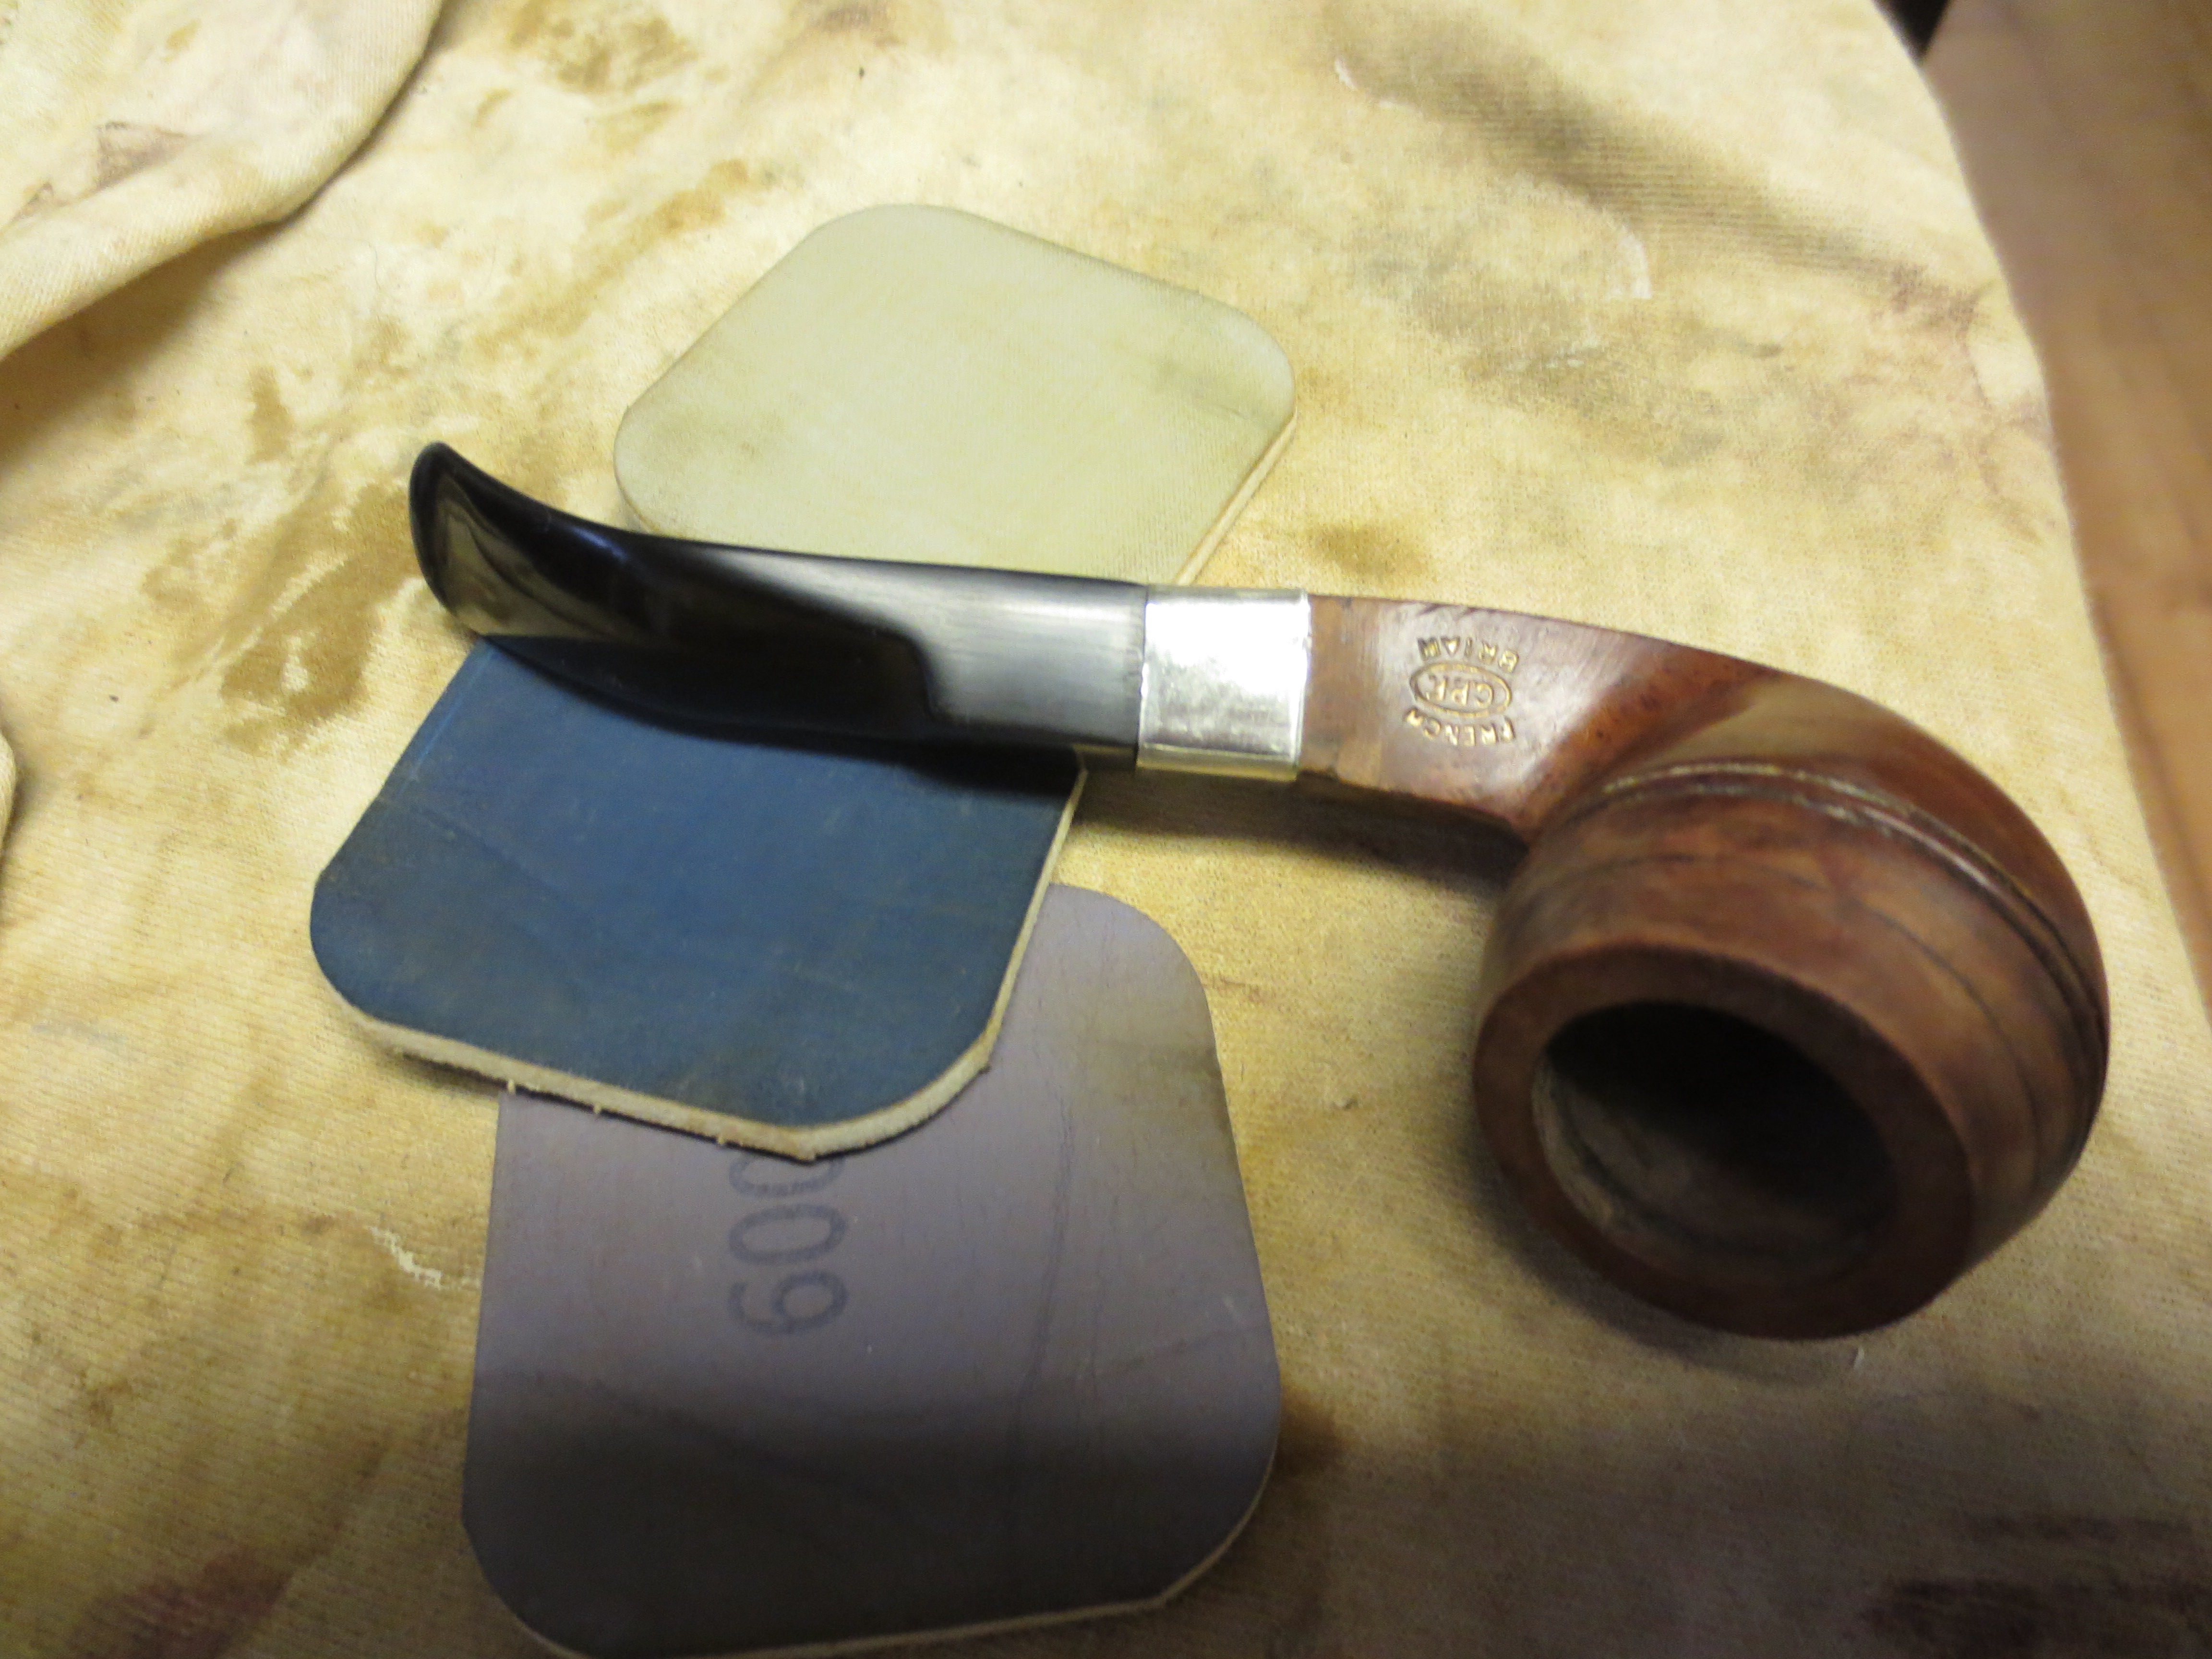
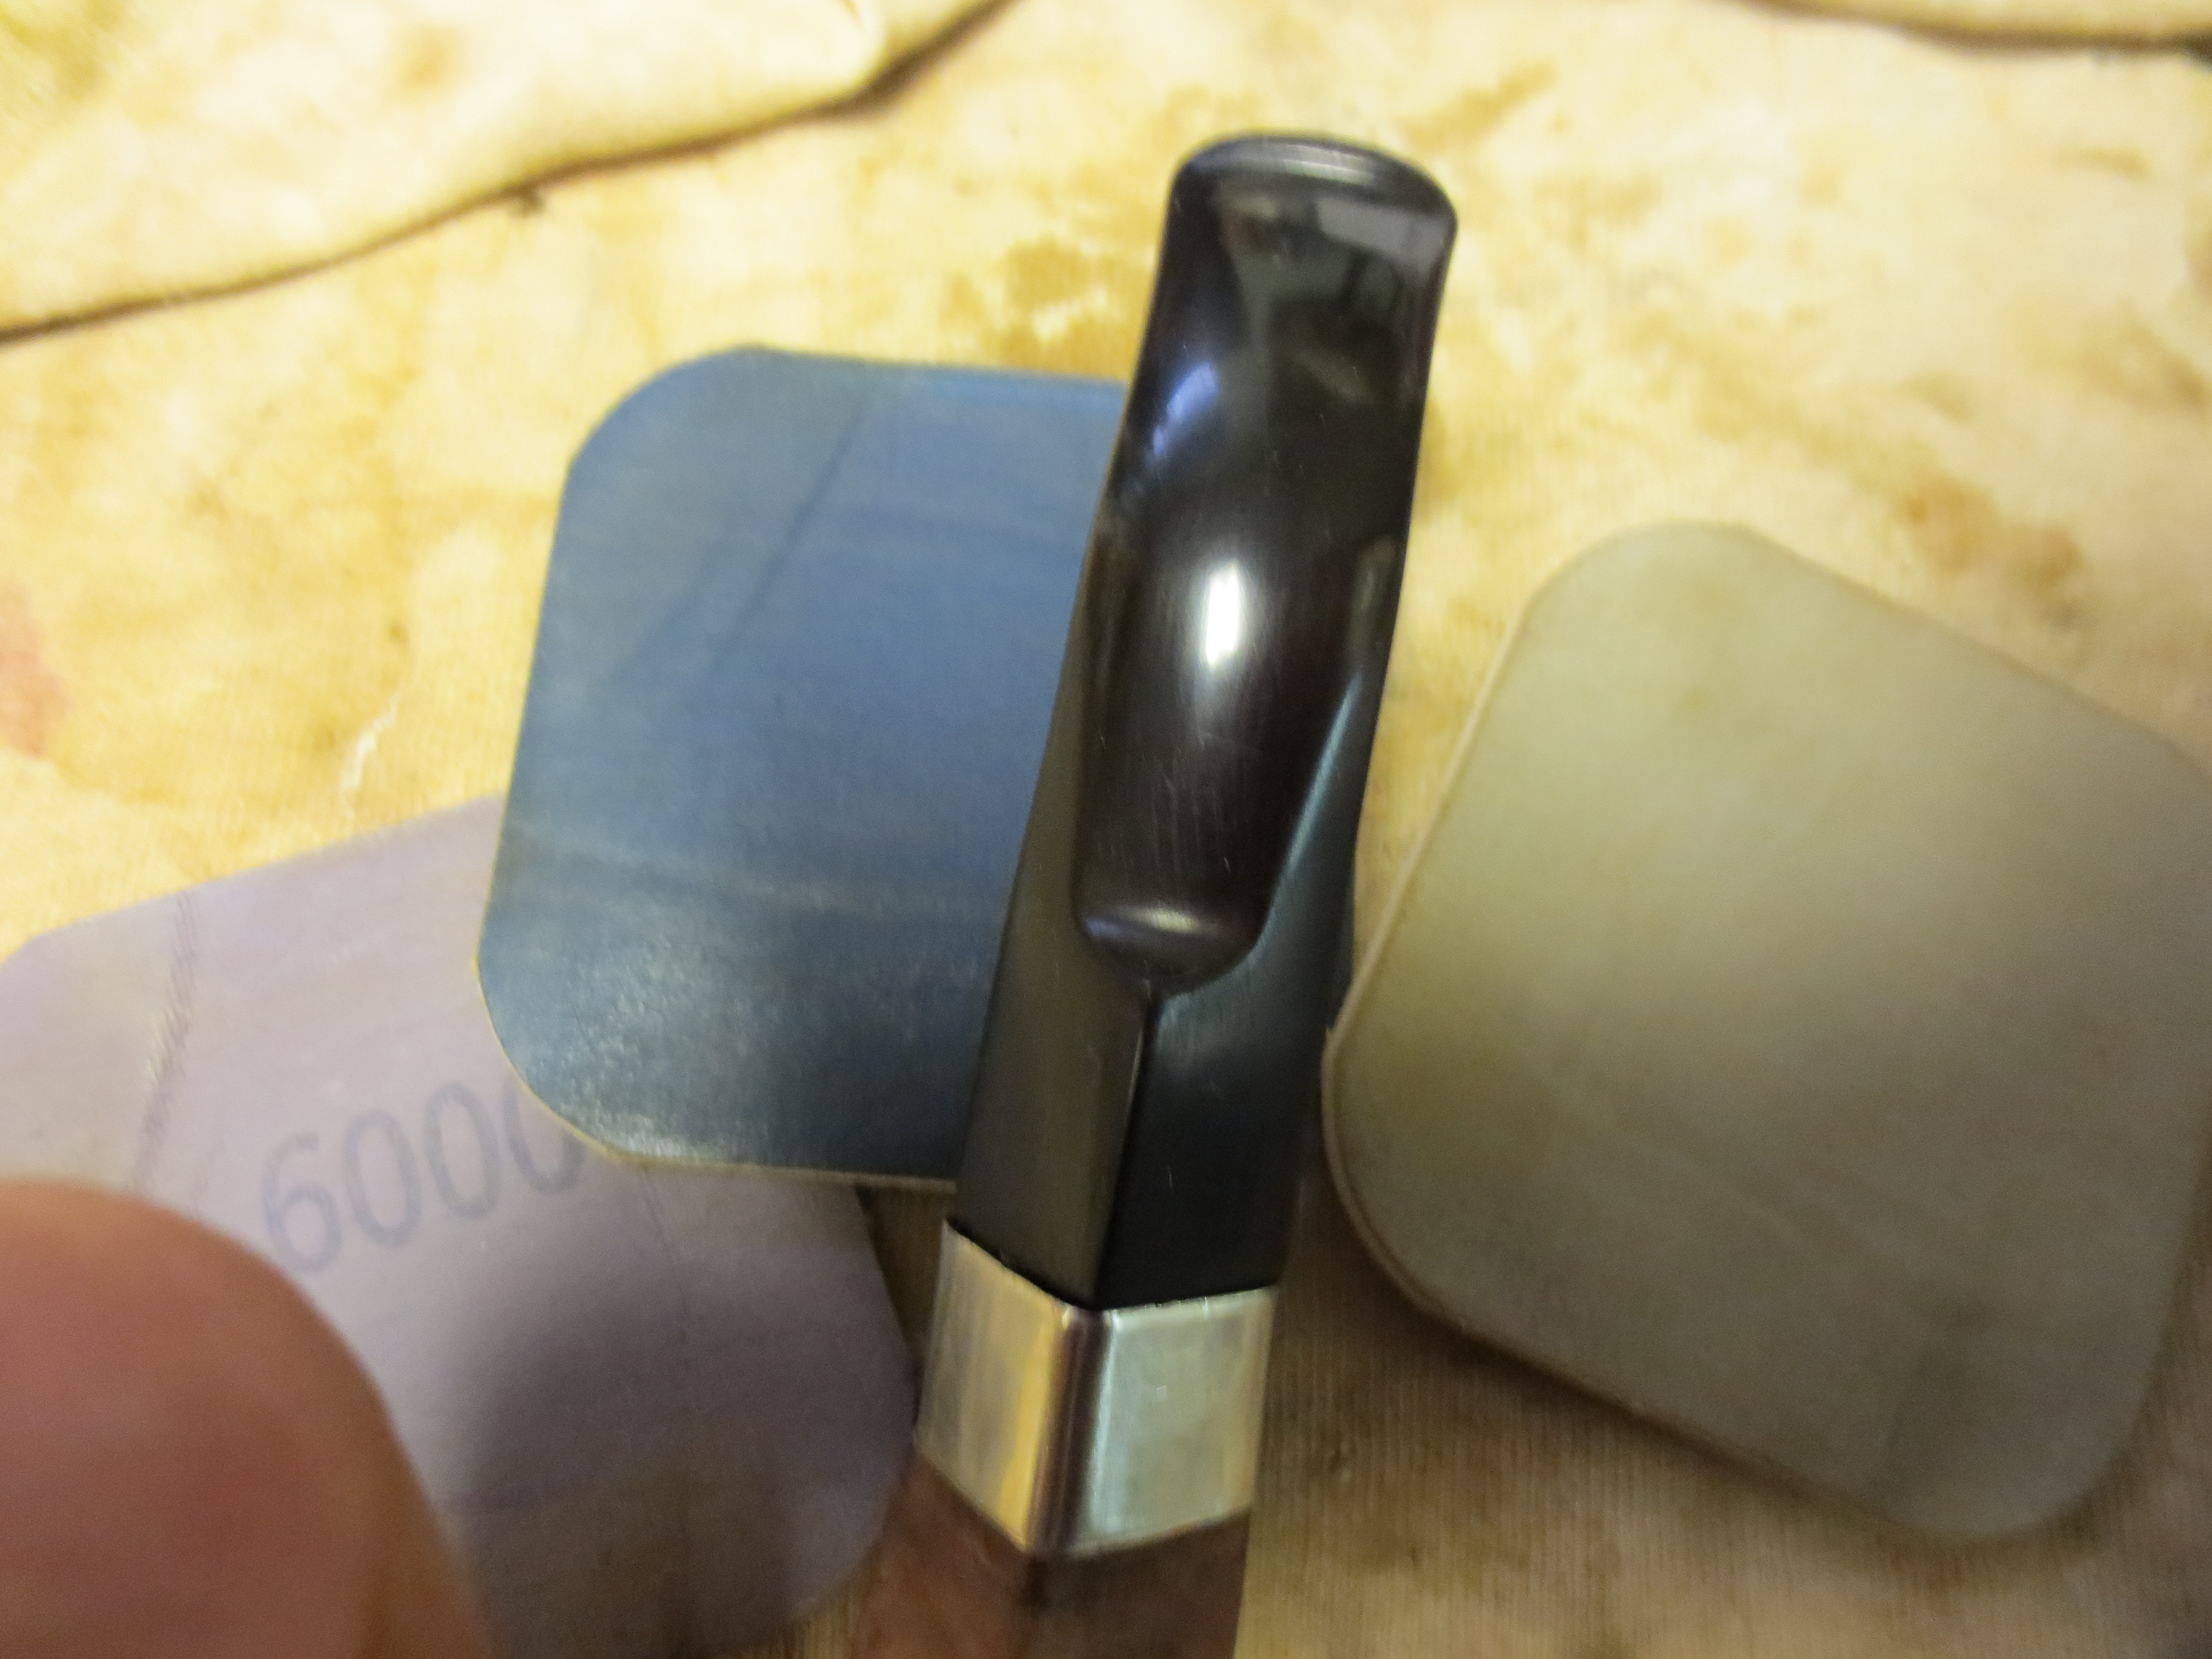
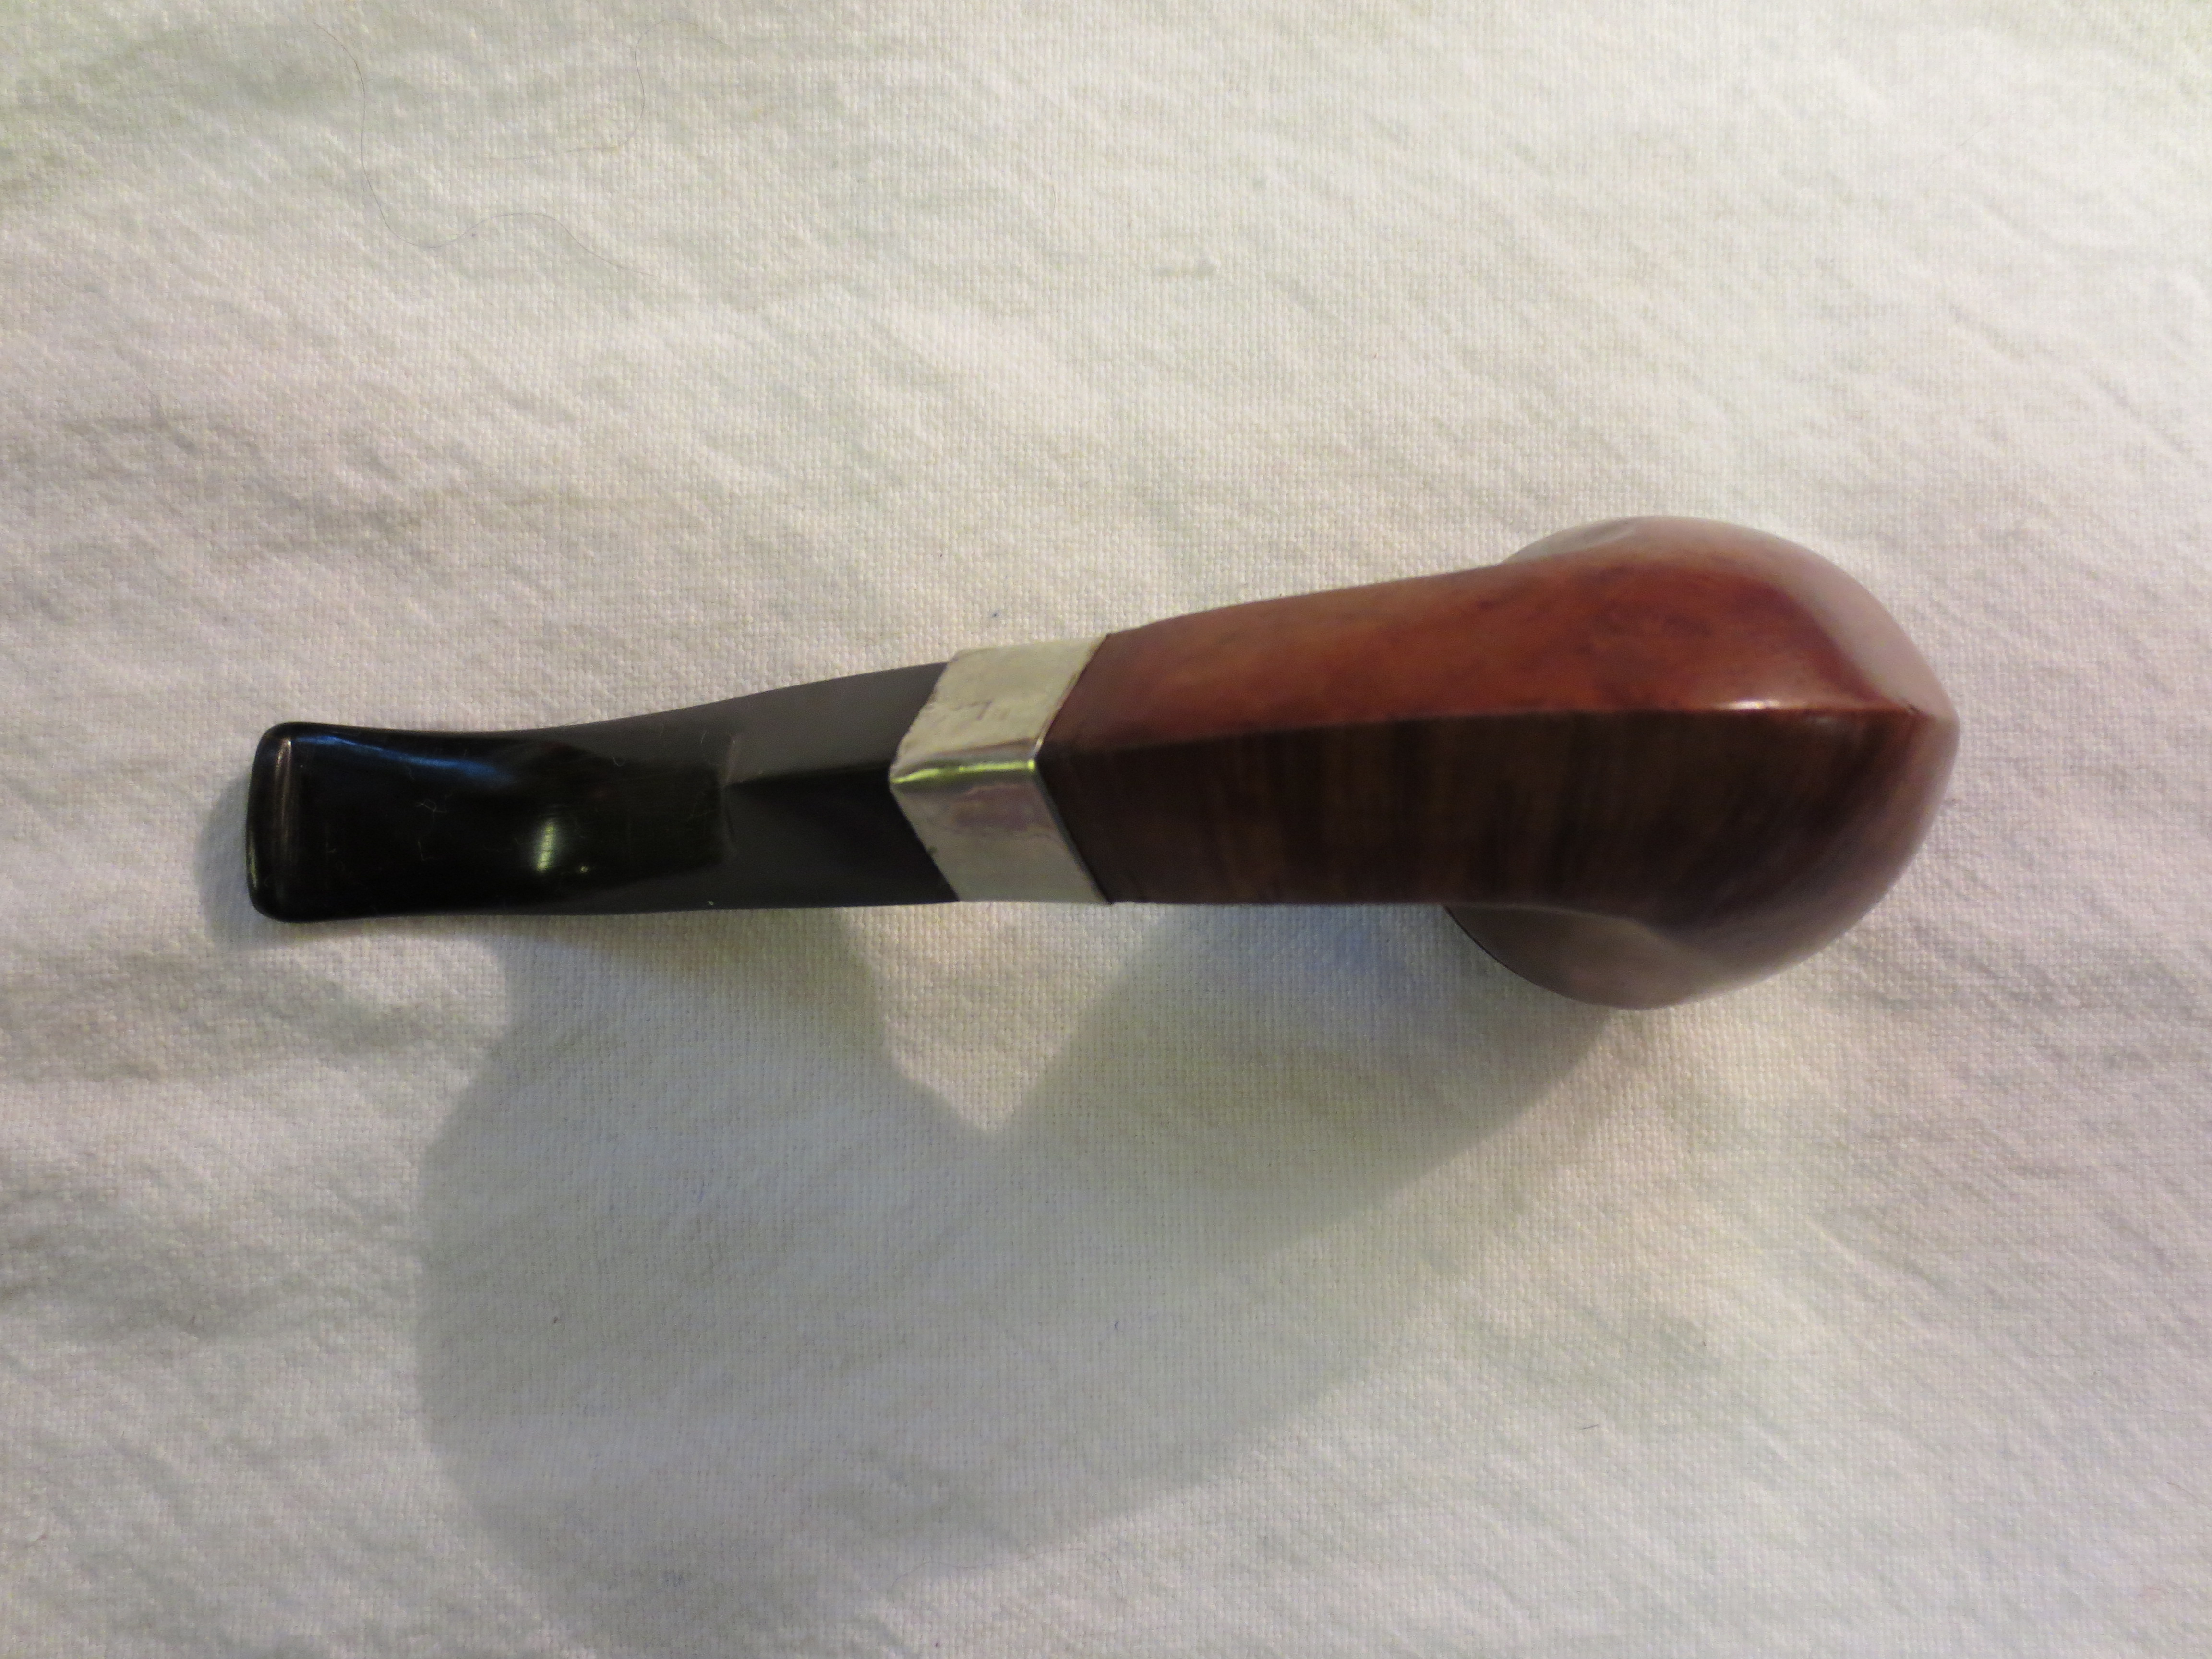
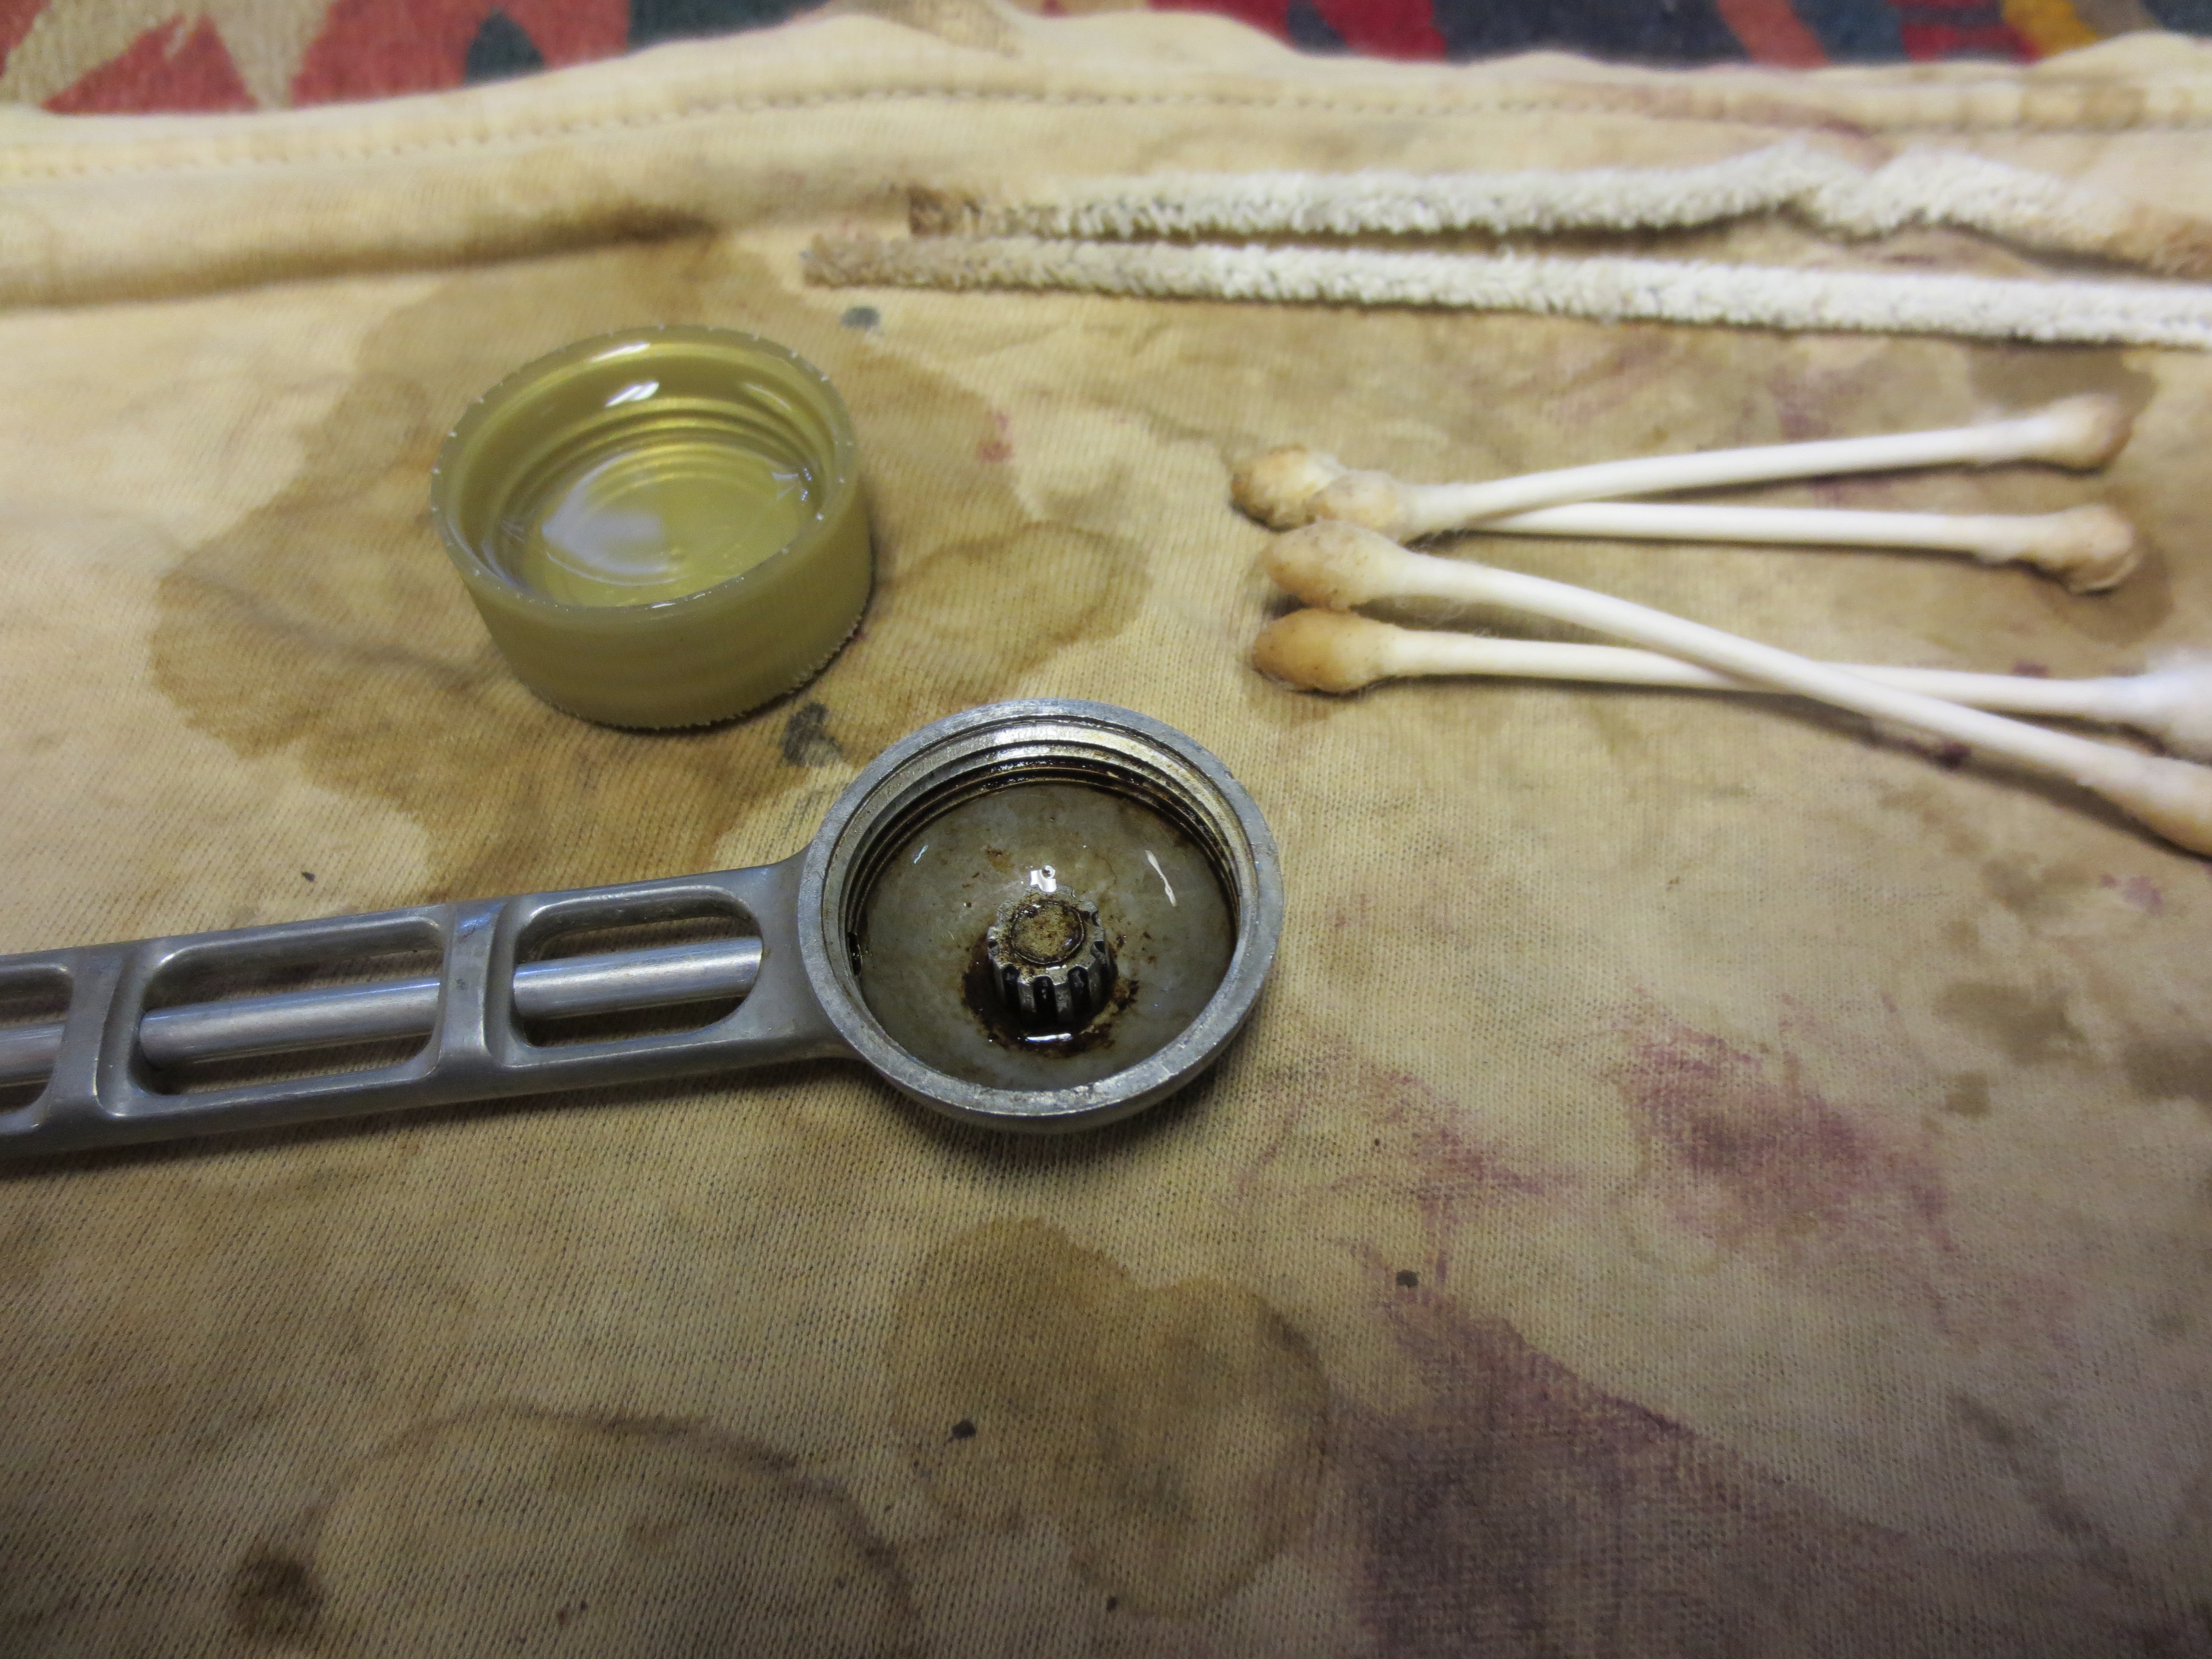
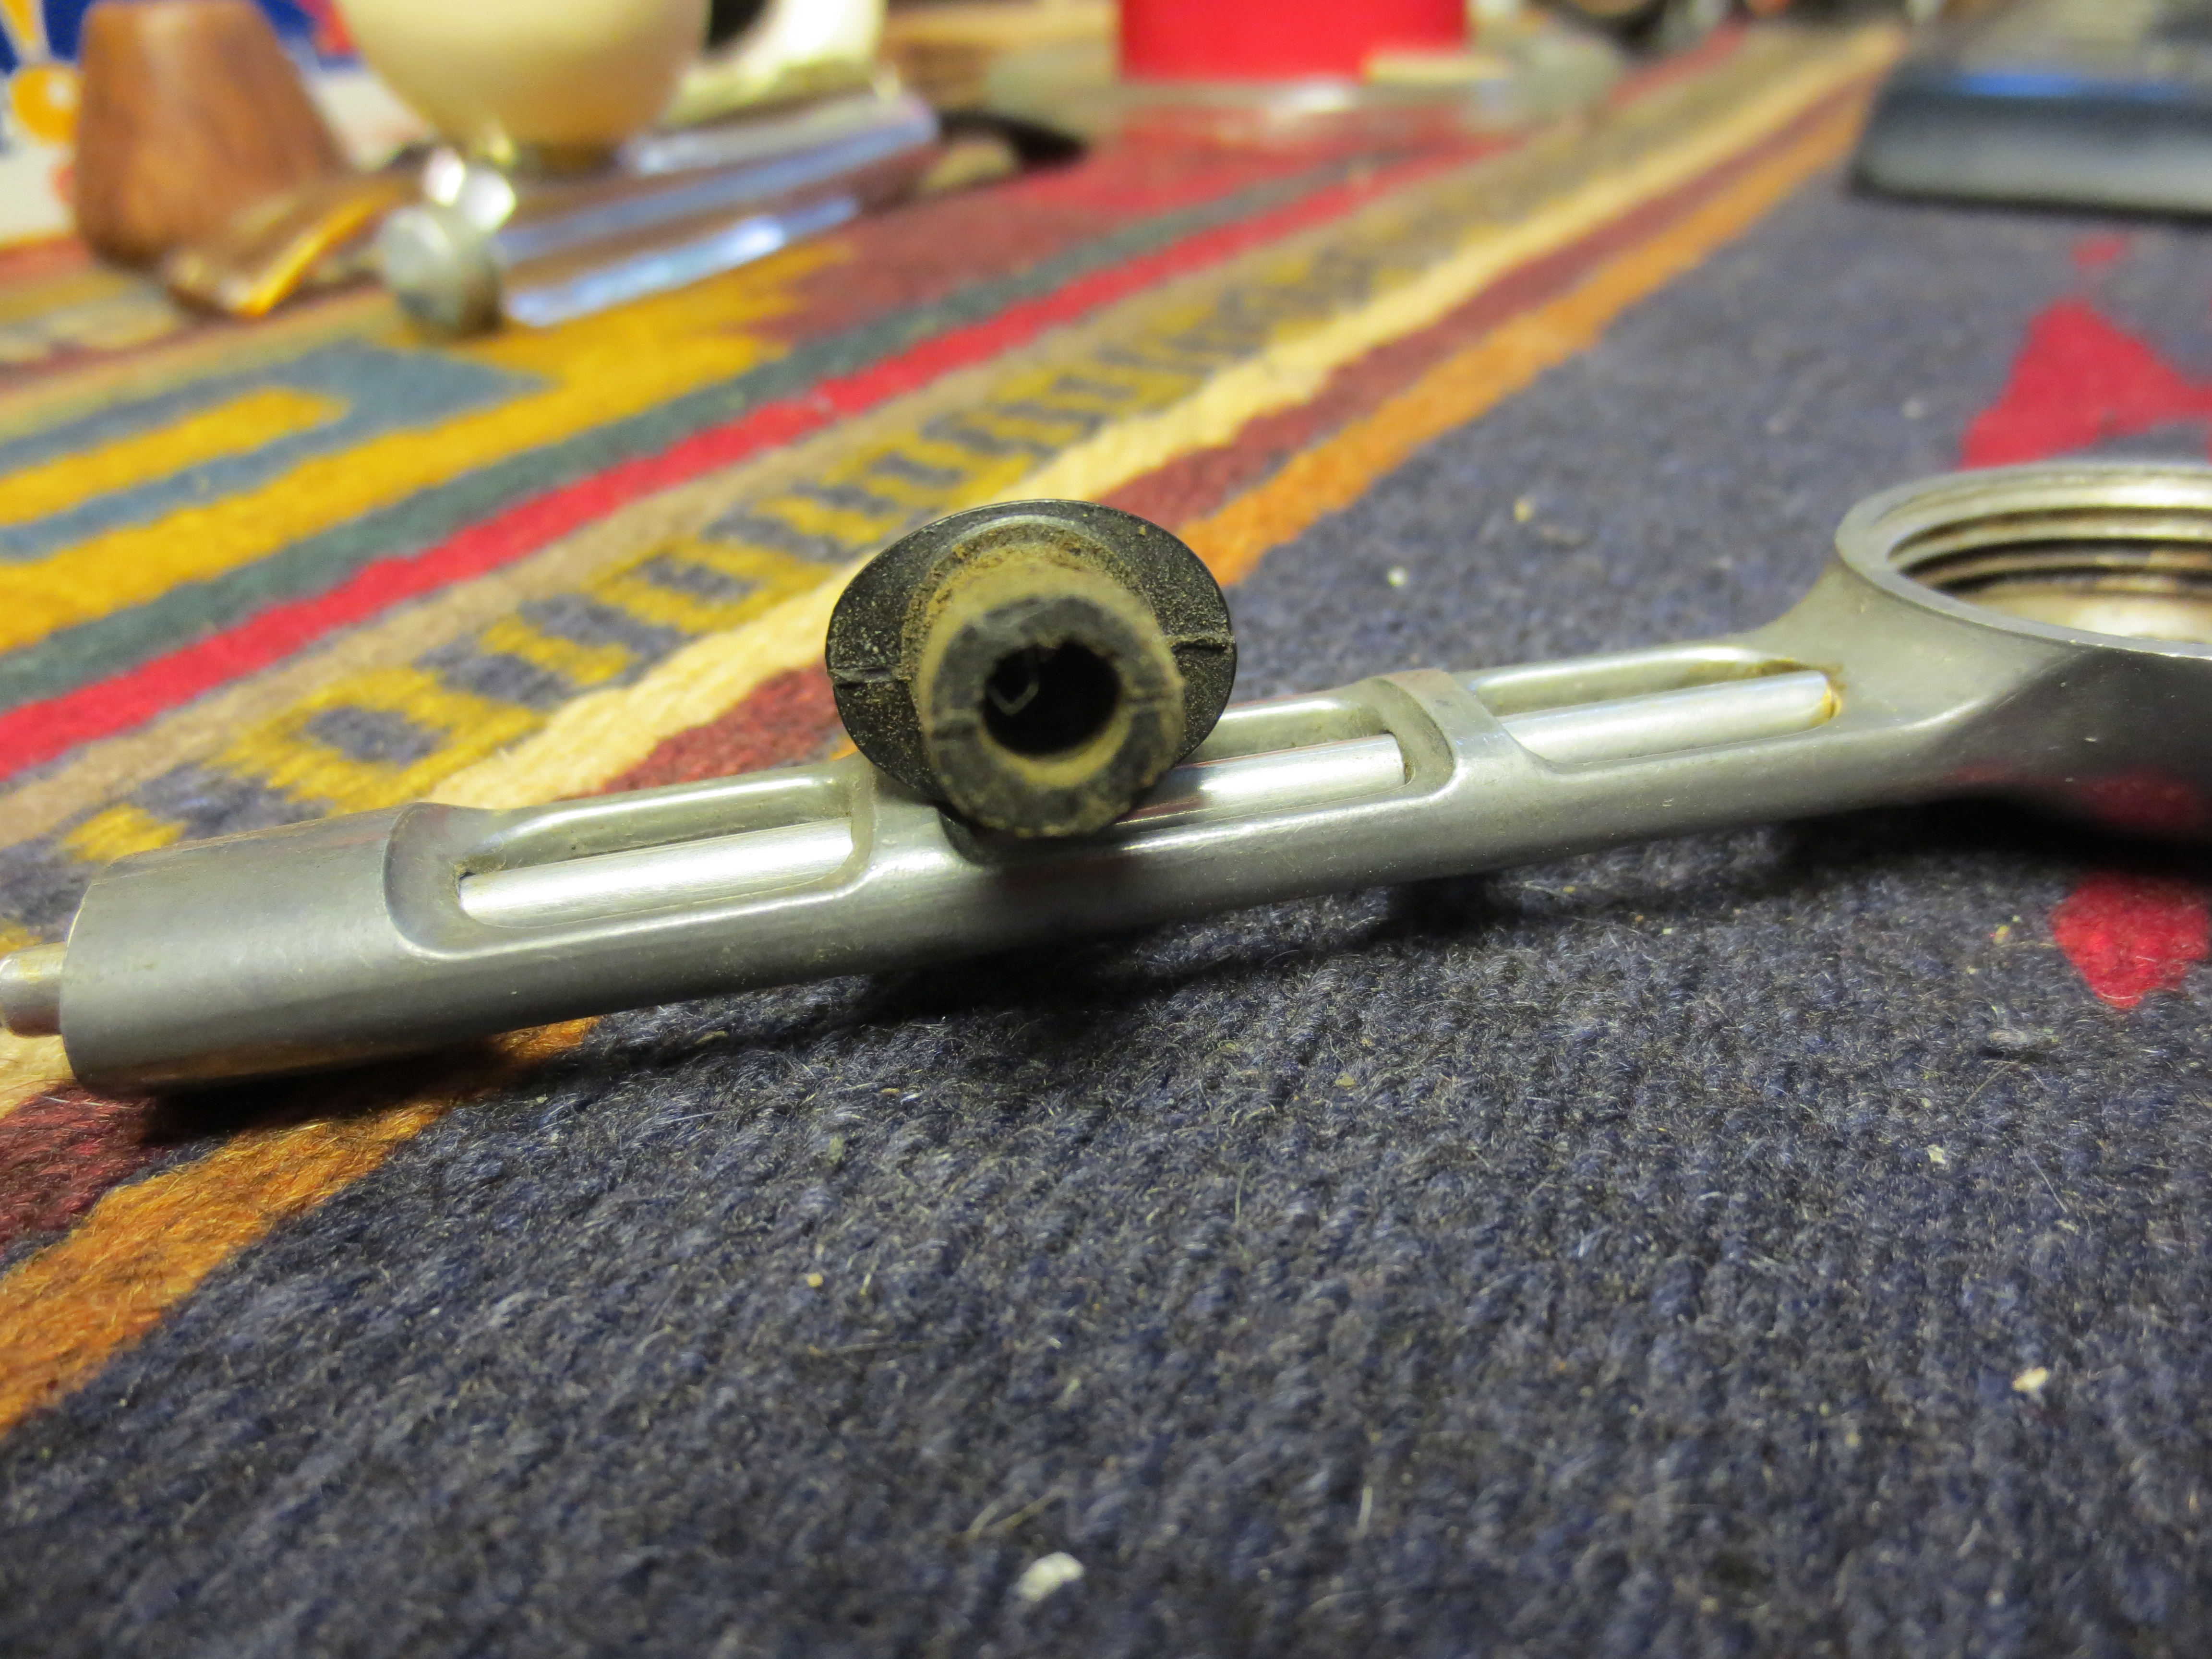
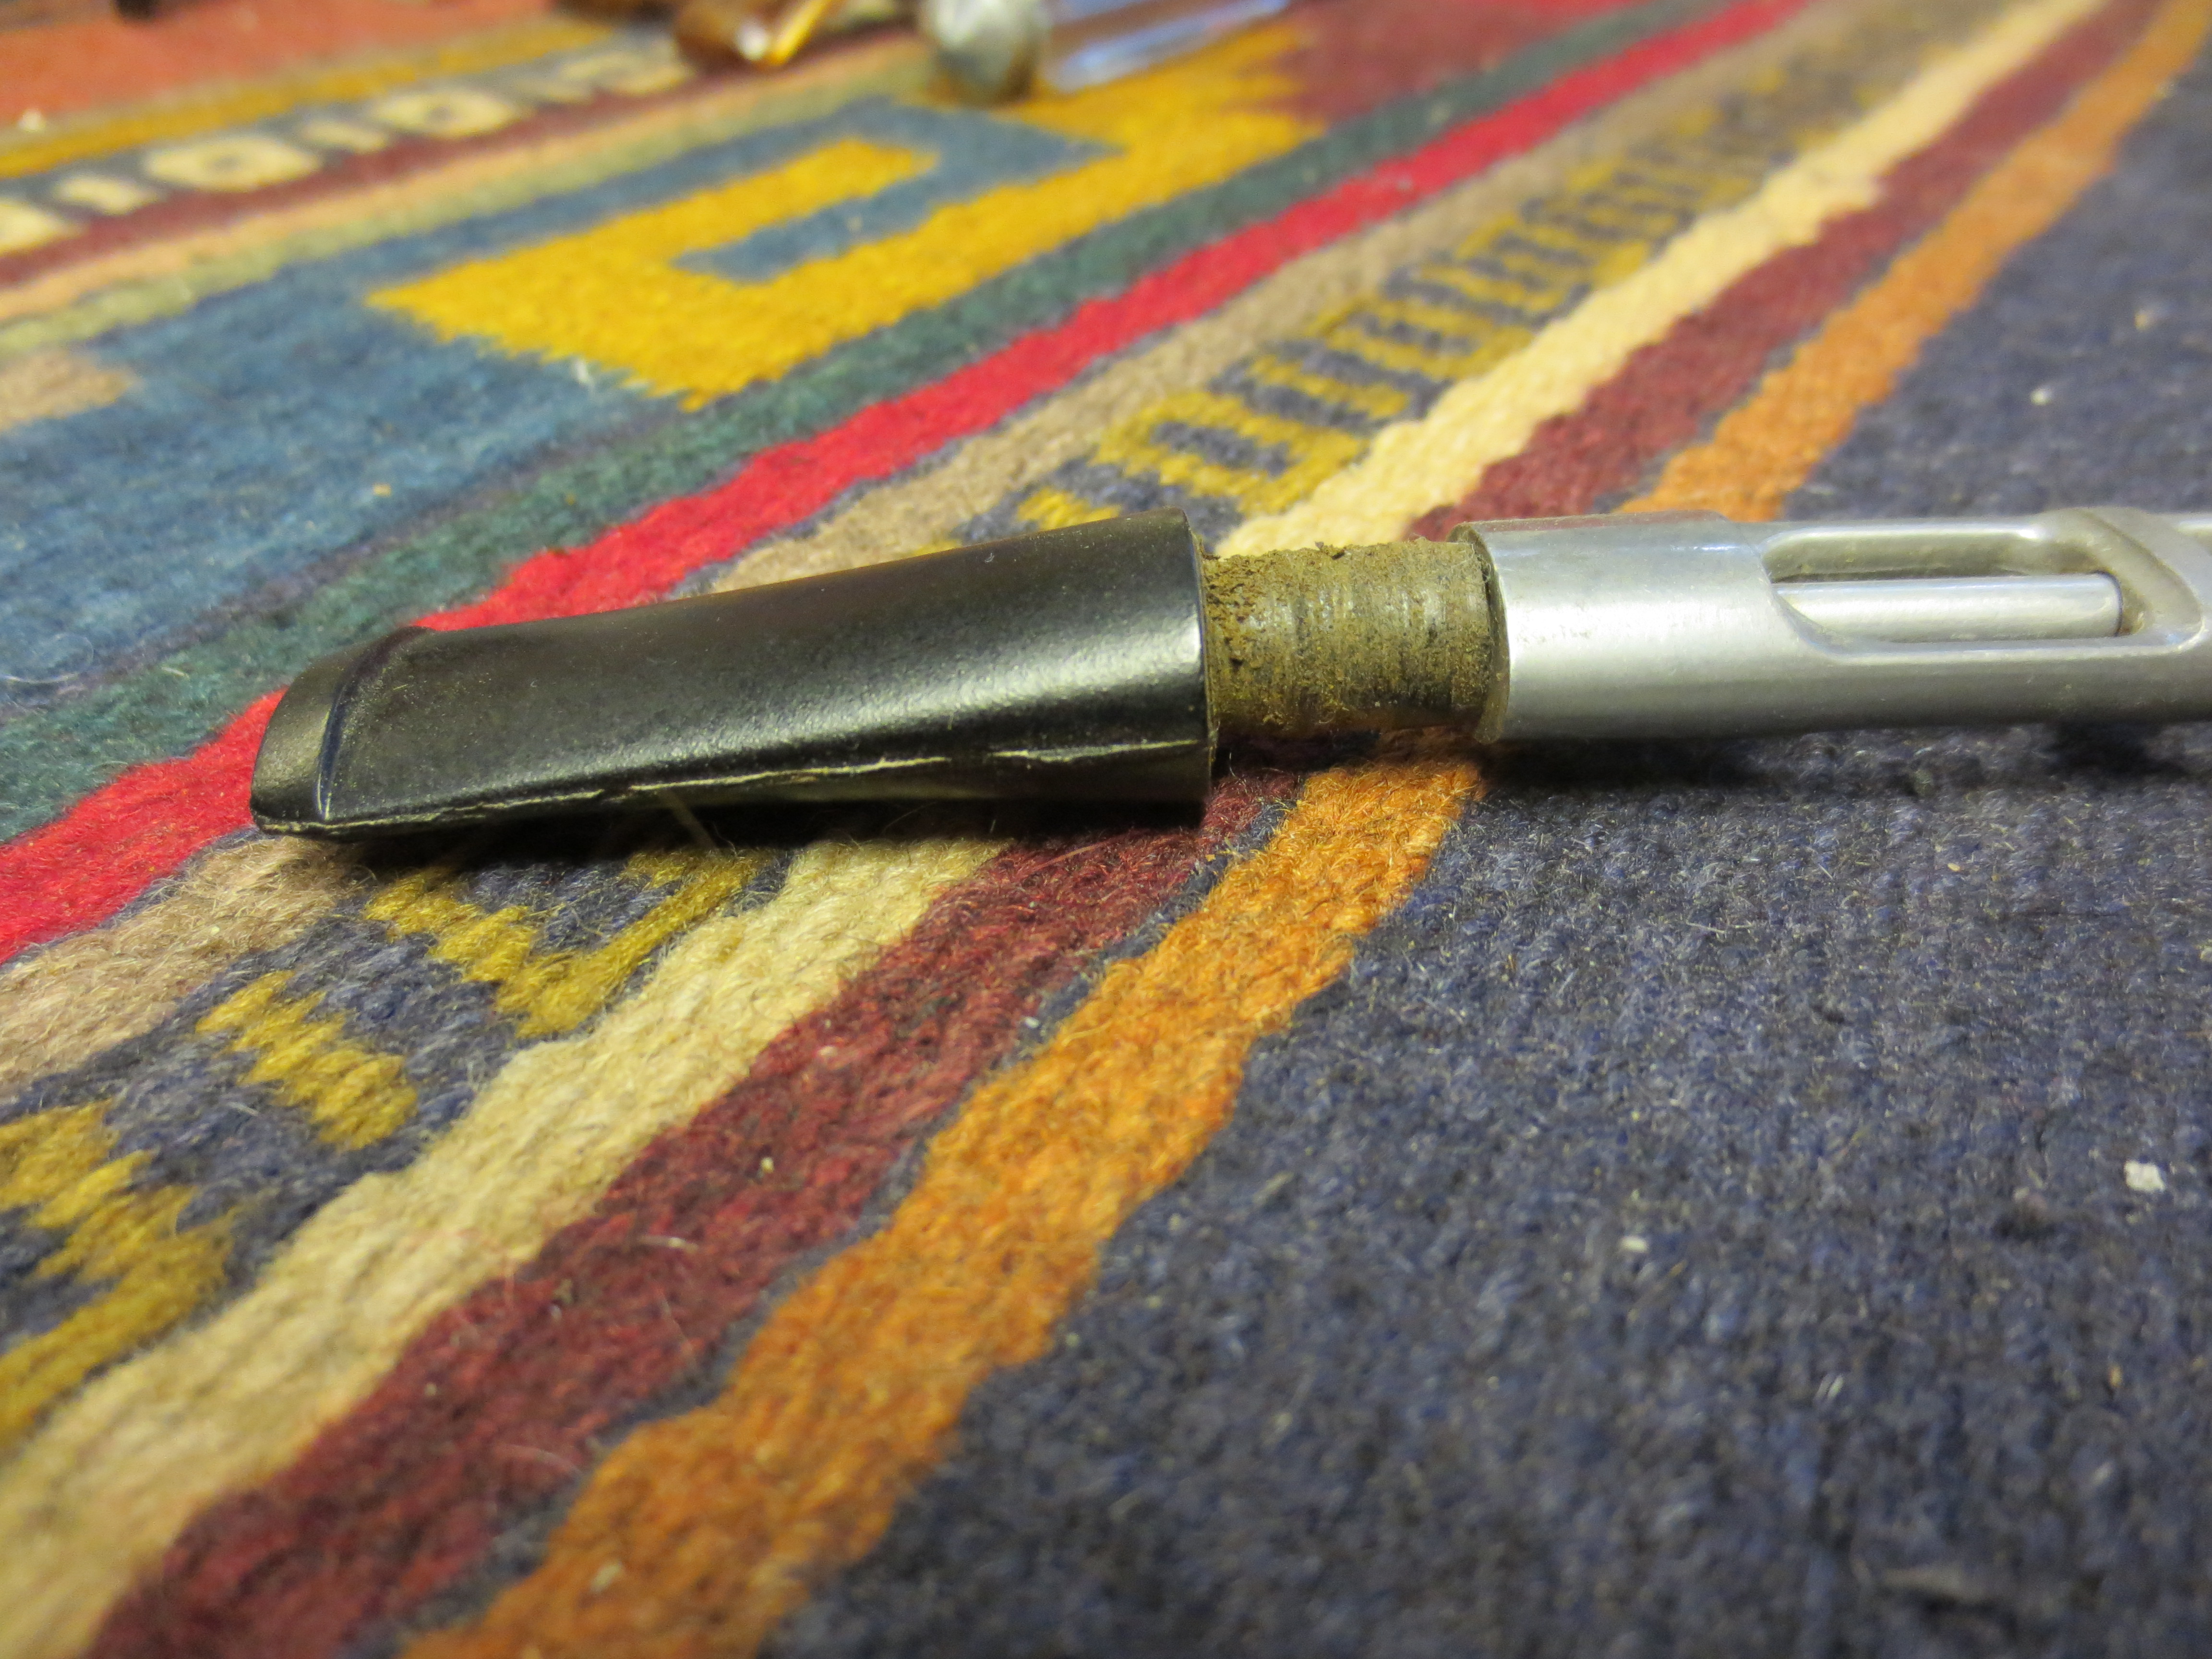
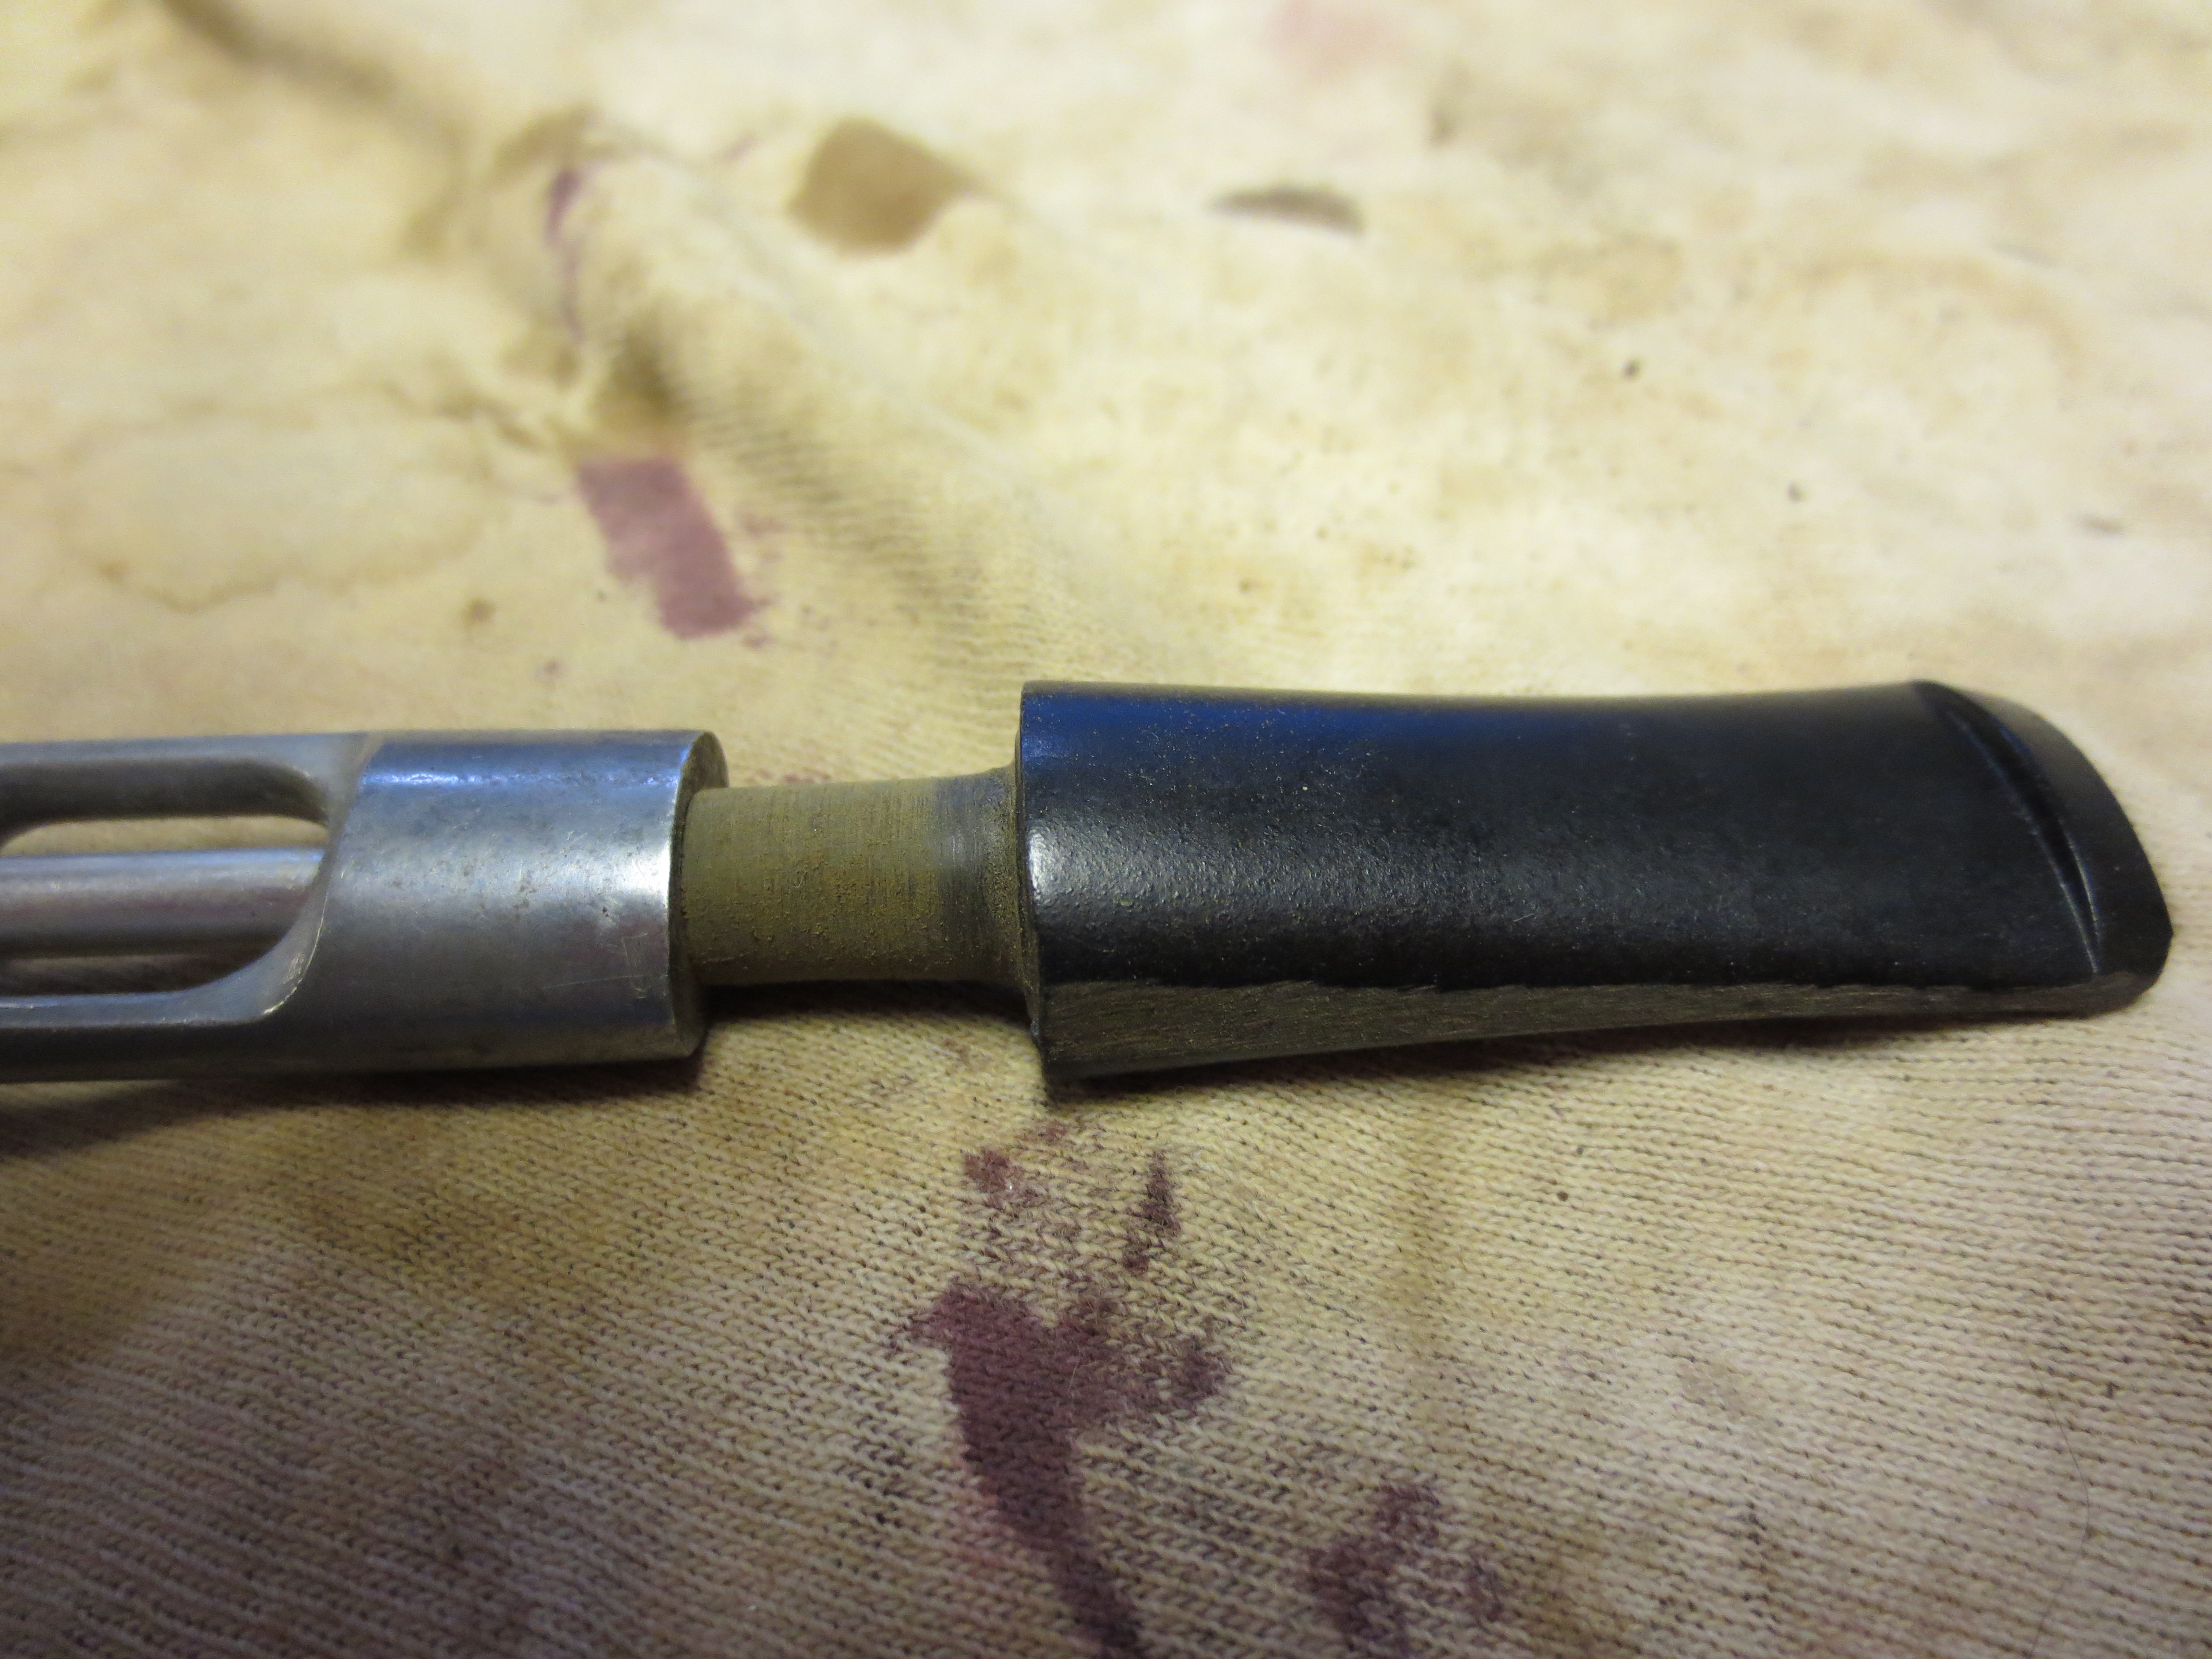
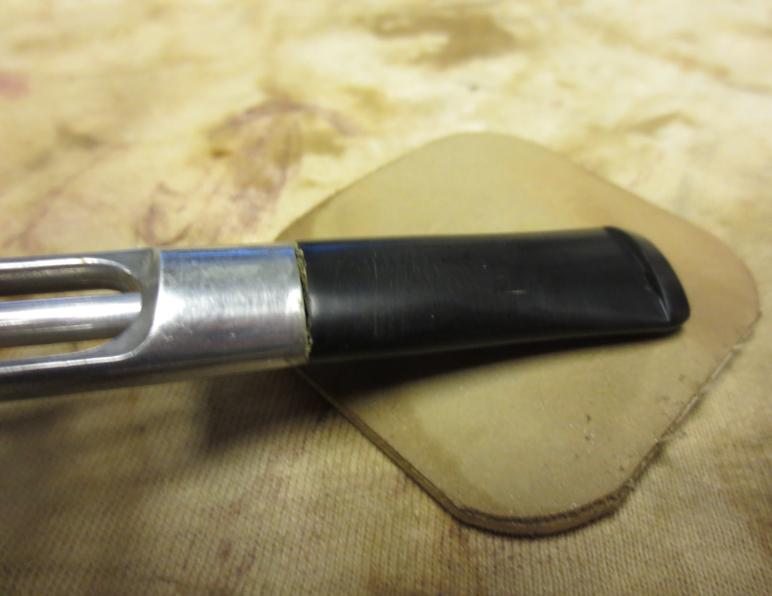
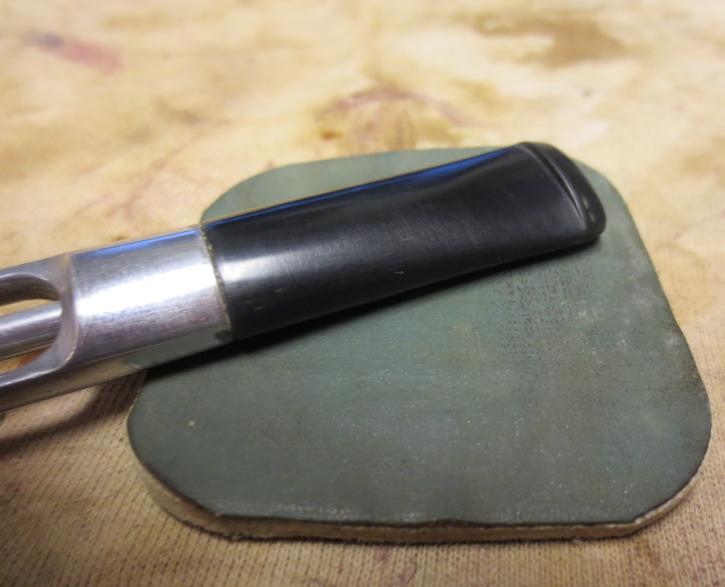
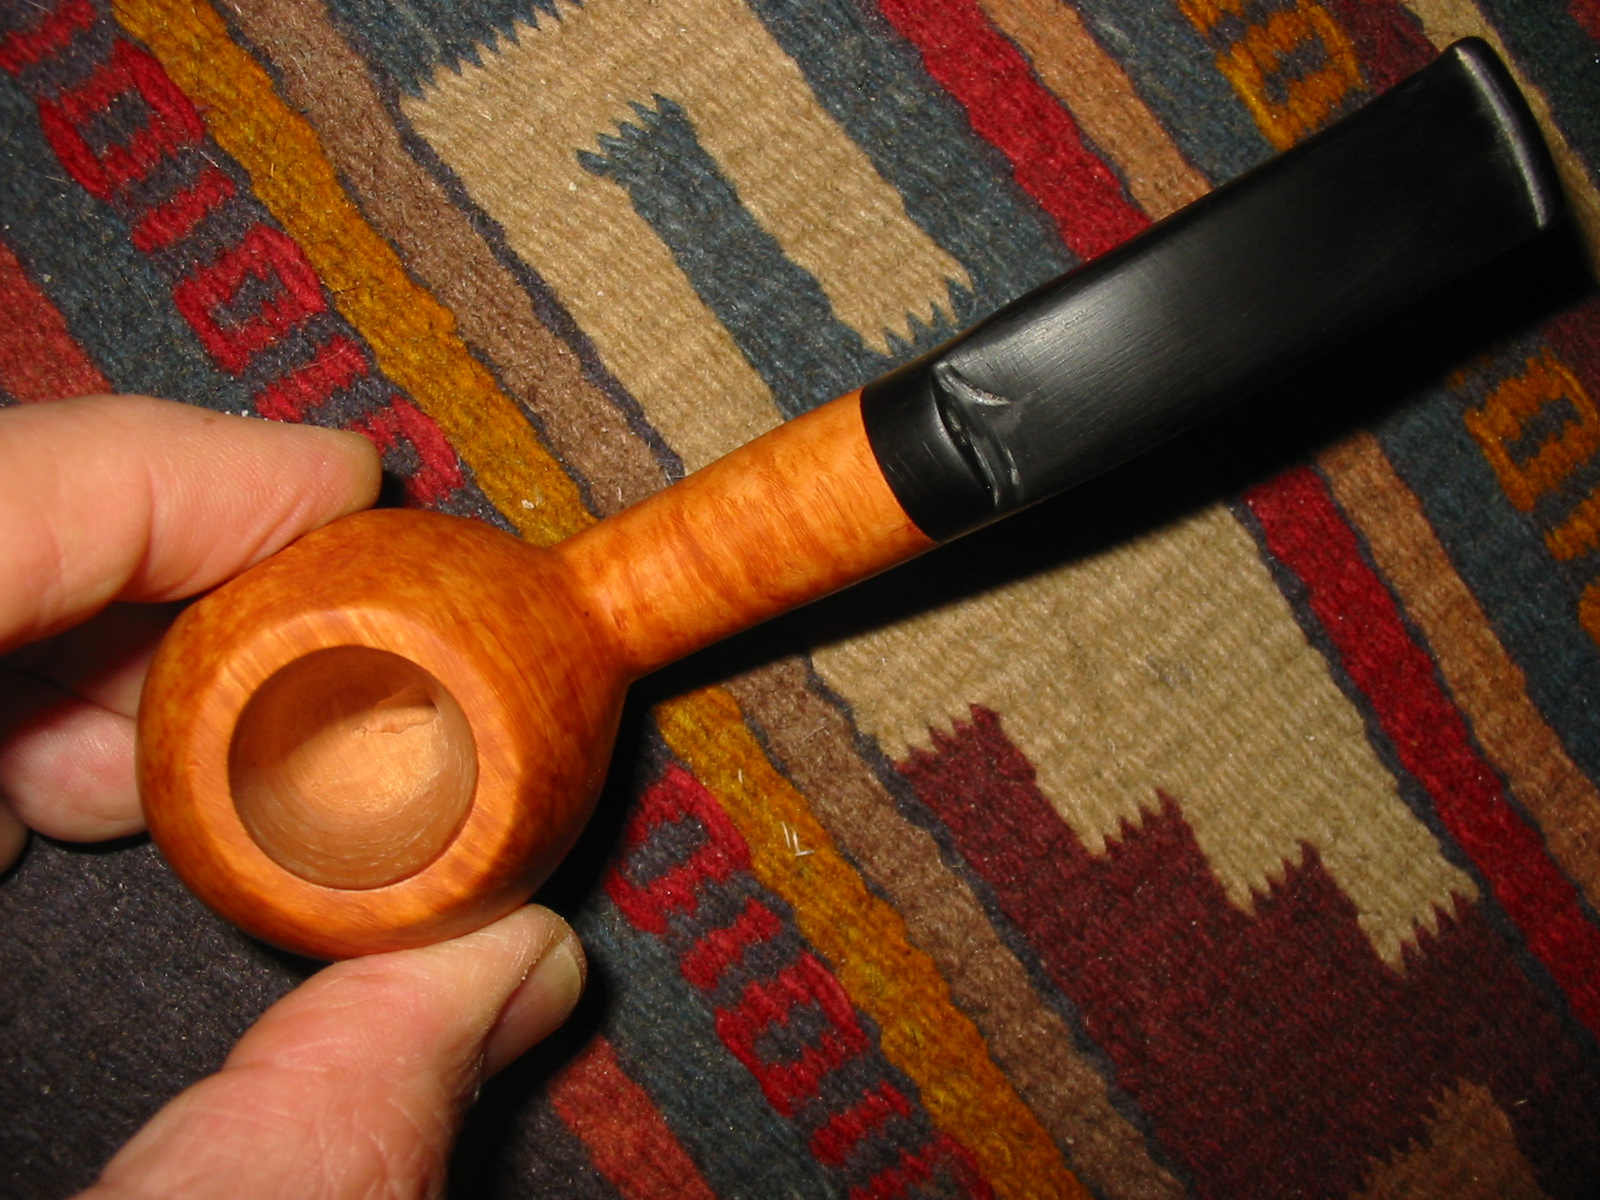
With the staining finished it was time to do more work on the stem. I sanded out the scratches that remain with 340 grit sandpaper and then a fine grit sanding sponge. I worked on the angles of the saddle with the sandpaper and sponge to clean up the cut marks in the vulcanite. I continued wet sanding the stem with 1500-2400 grit micromesh sanding pads and then polished it with Scratch X plastic polish to remove the remaining scratches. The next series of nine photos shows the bowl finish after 4 coats of carnauba wax and a buff with a soft flannel buffing pad. The finish is actually quite amazing and the grain made this work keeping smooth even with the visible flaws in the briar. The stain masks the flaws and blends them into the black of the grain well and though they are present they are not glaring. The stem still needs more work at the point of these photos but it is beginning to take on a shine.

IMG_0906

IMG_0907

IMG_0908

IMG_0909

IMG_0910

IMG_0911

IMG_0912

IMG_0913

IMG_0914

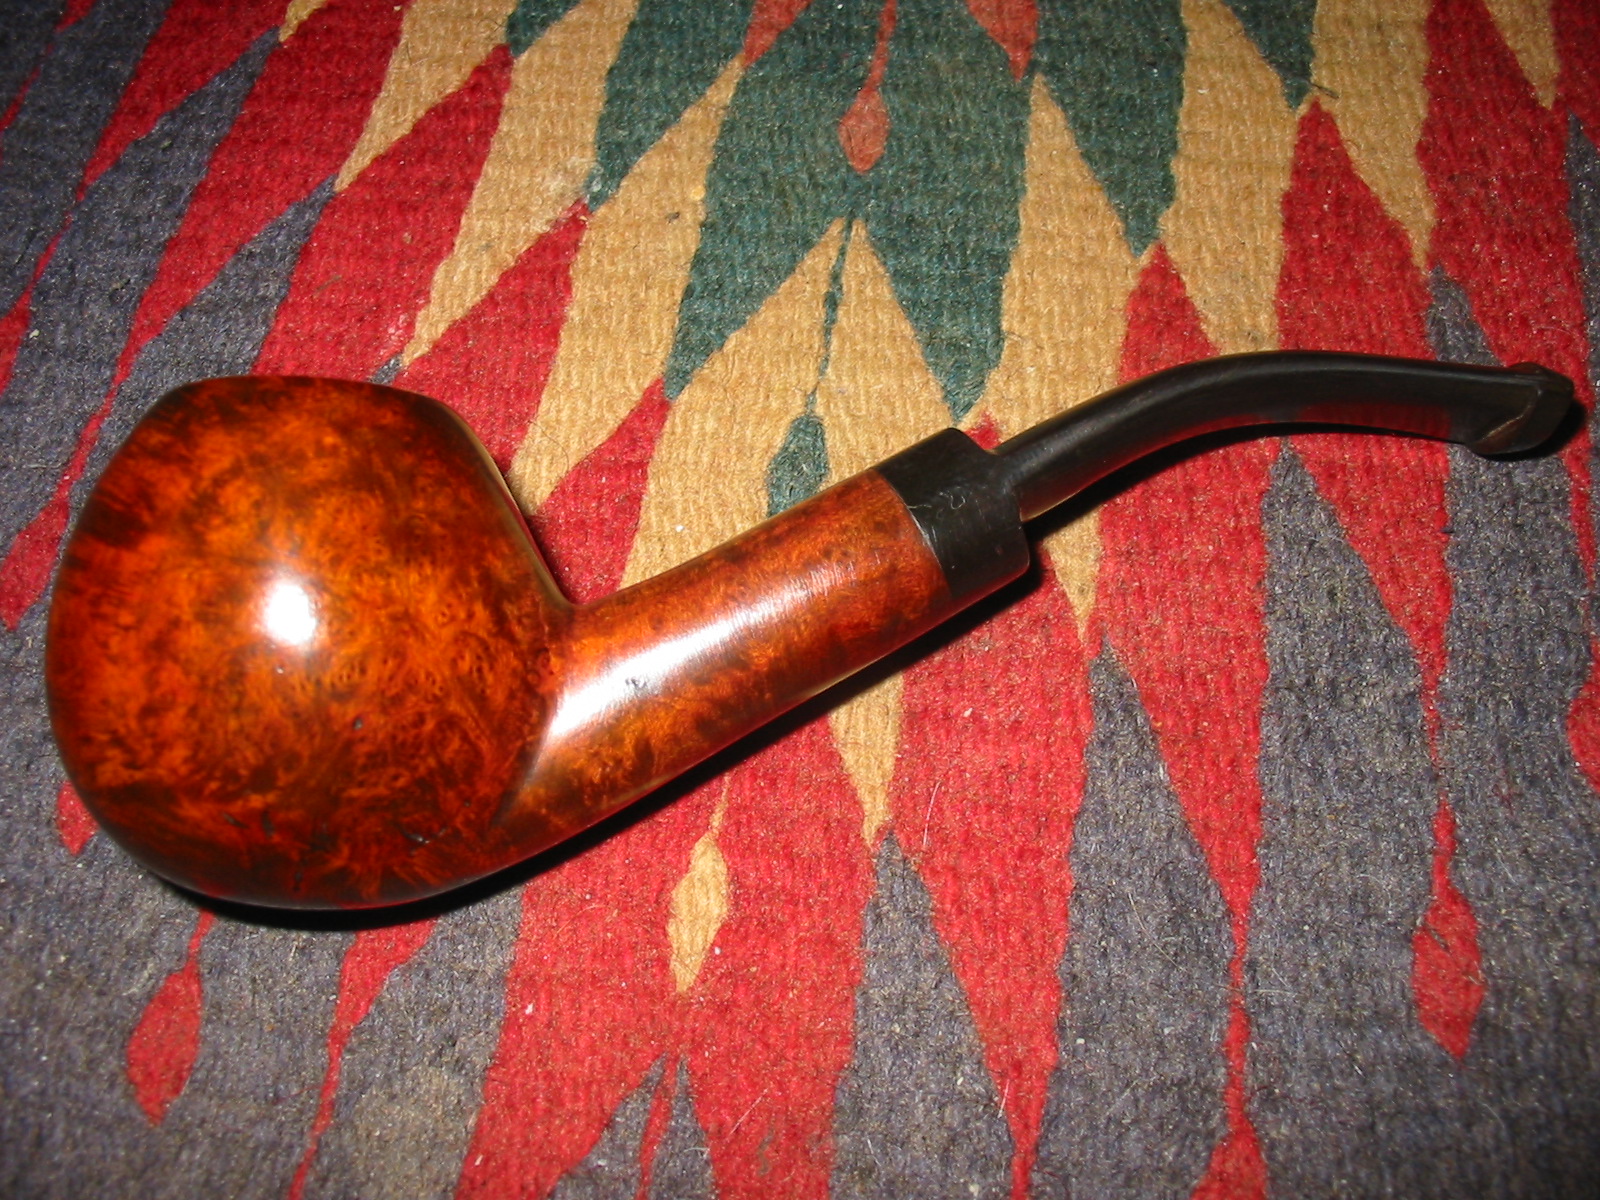
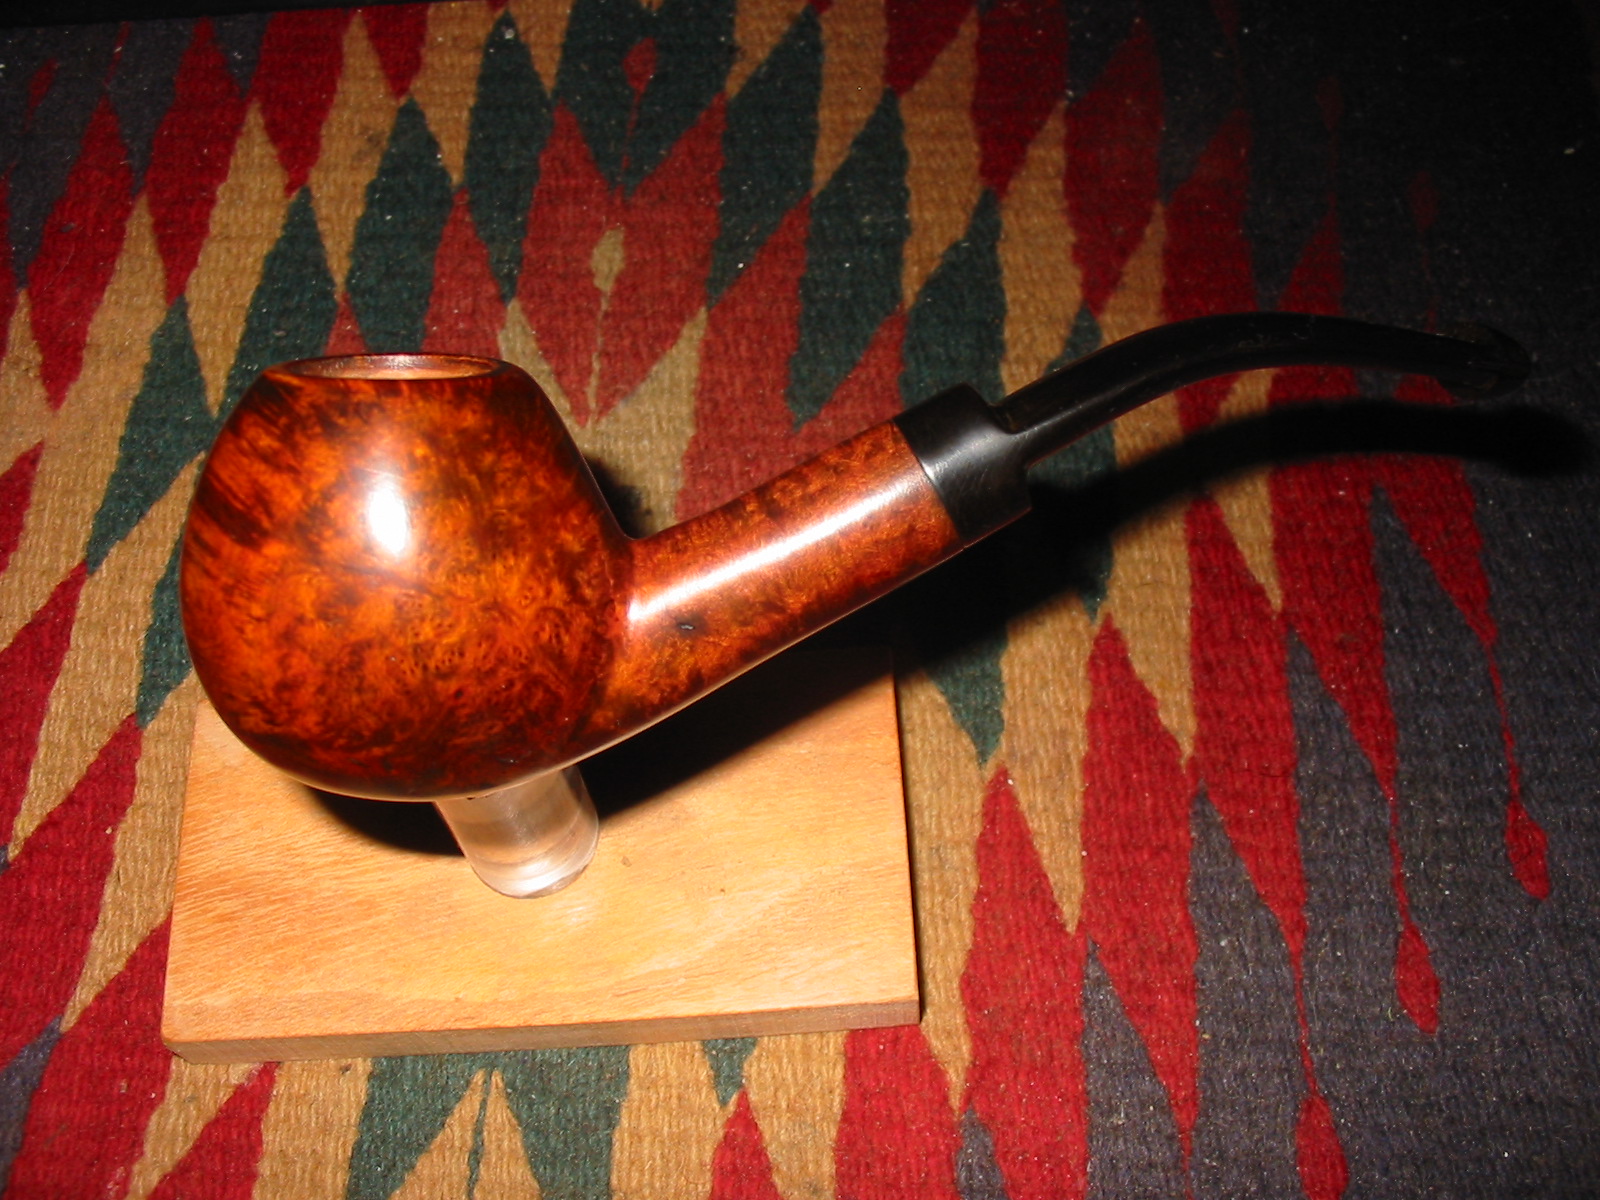
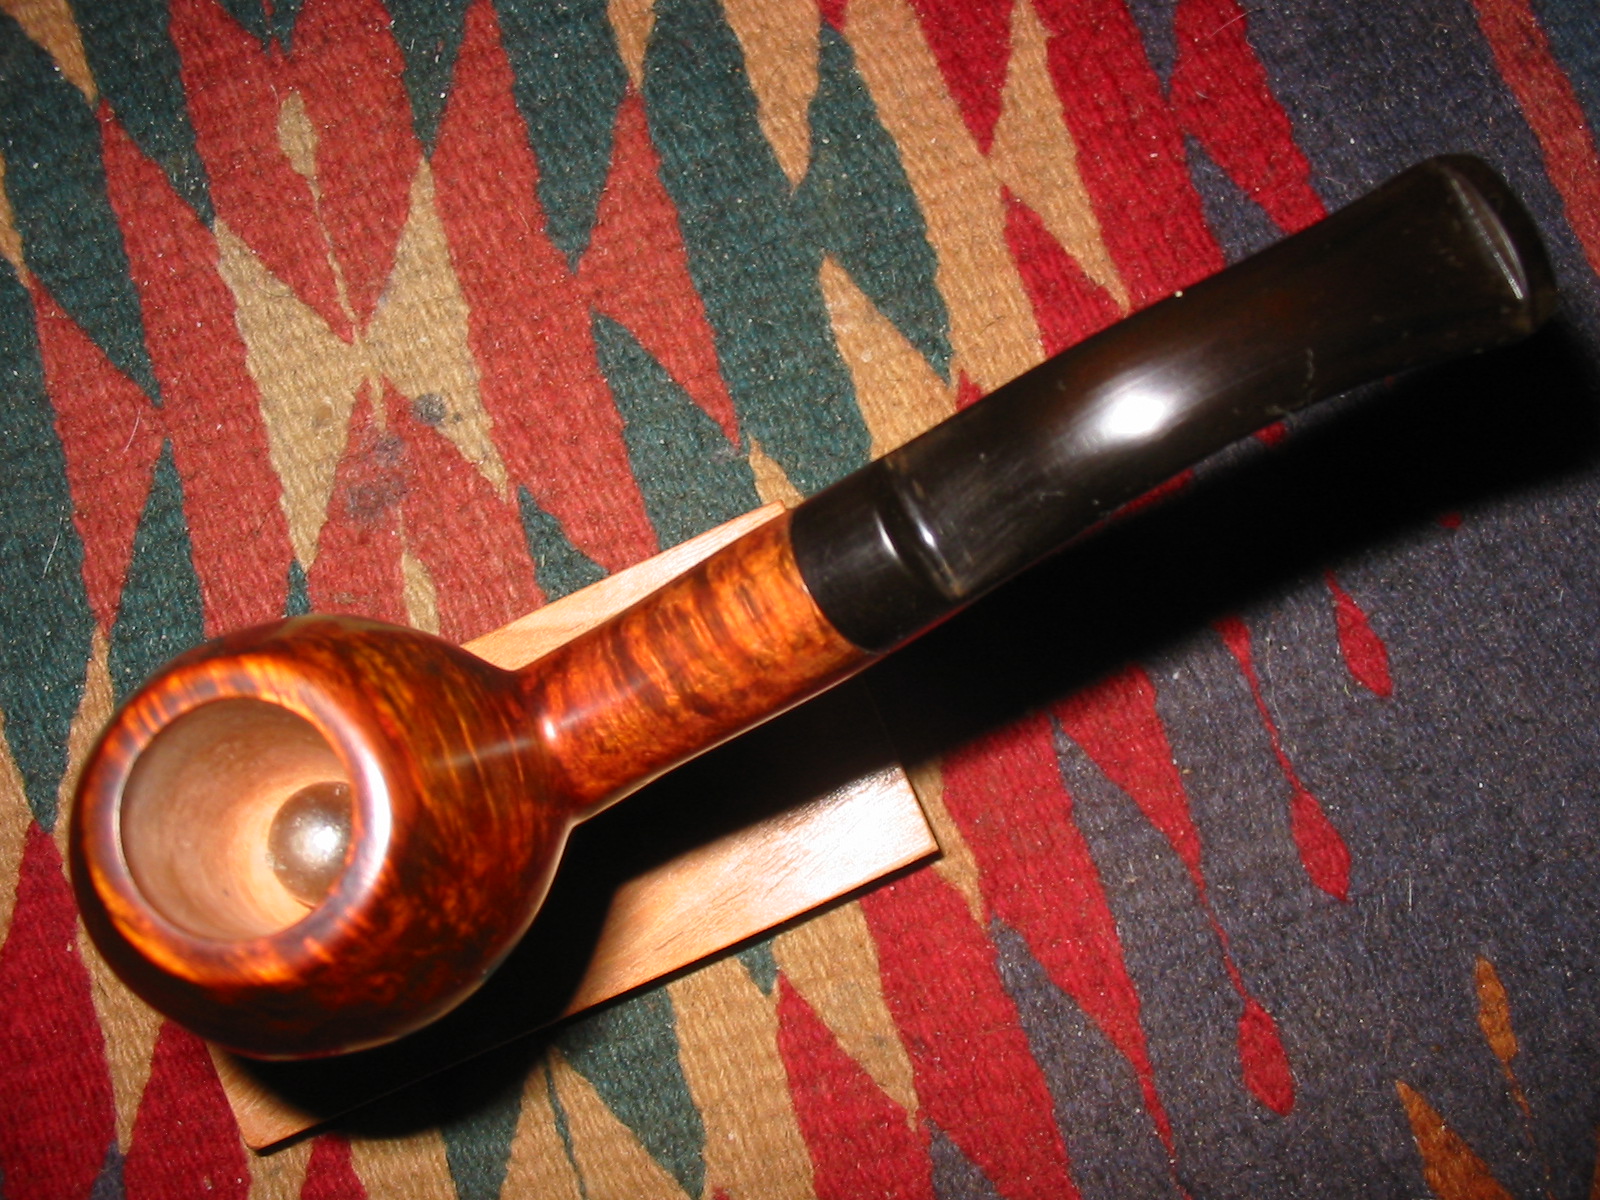
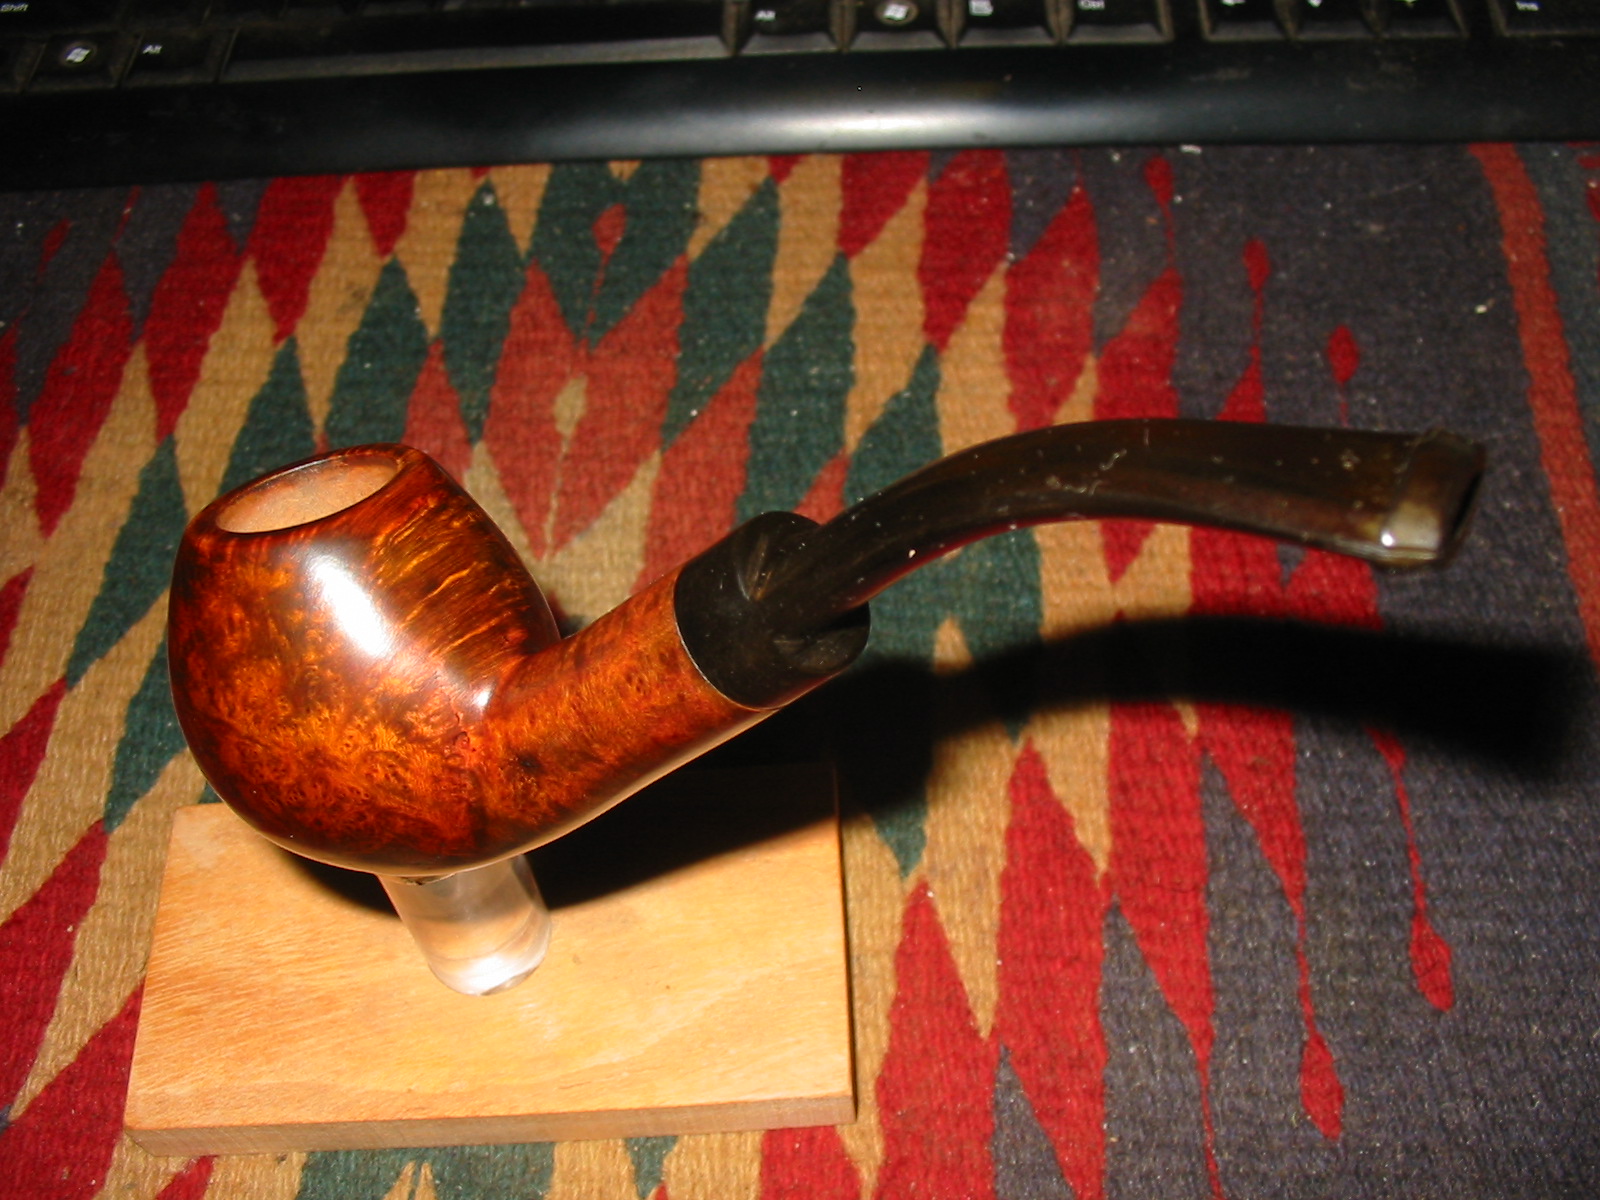
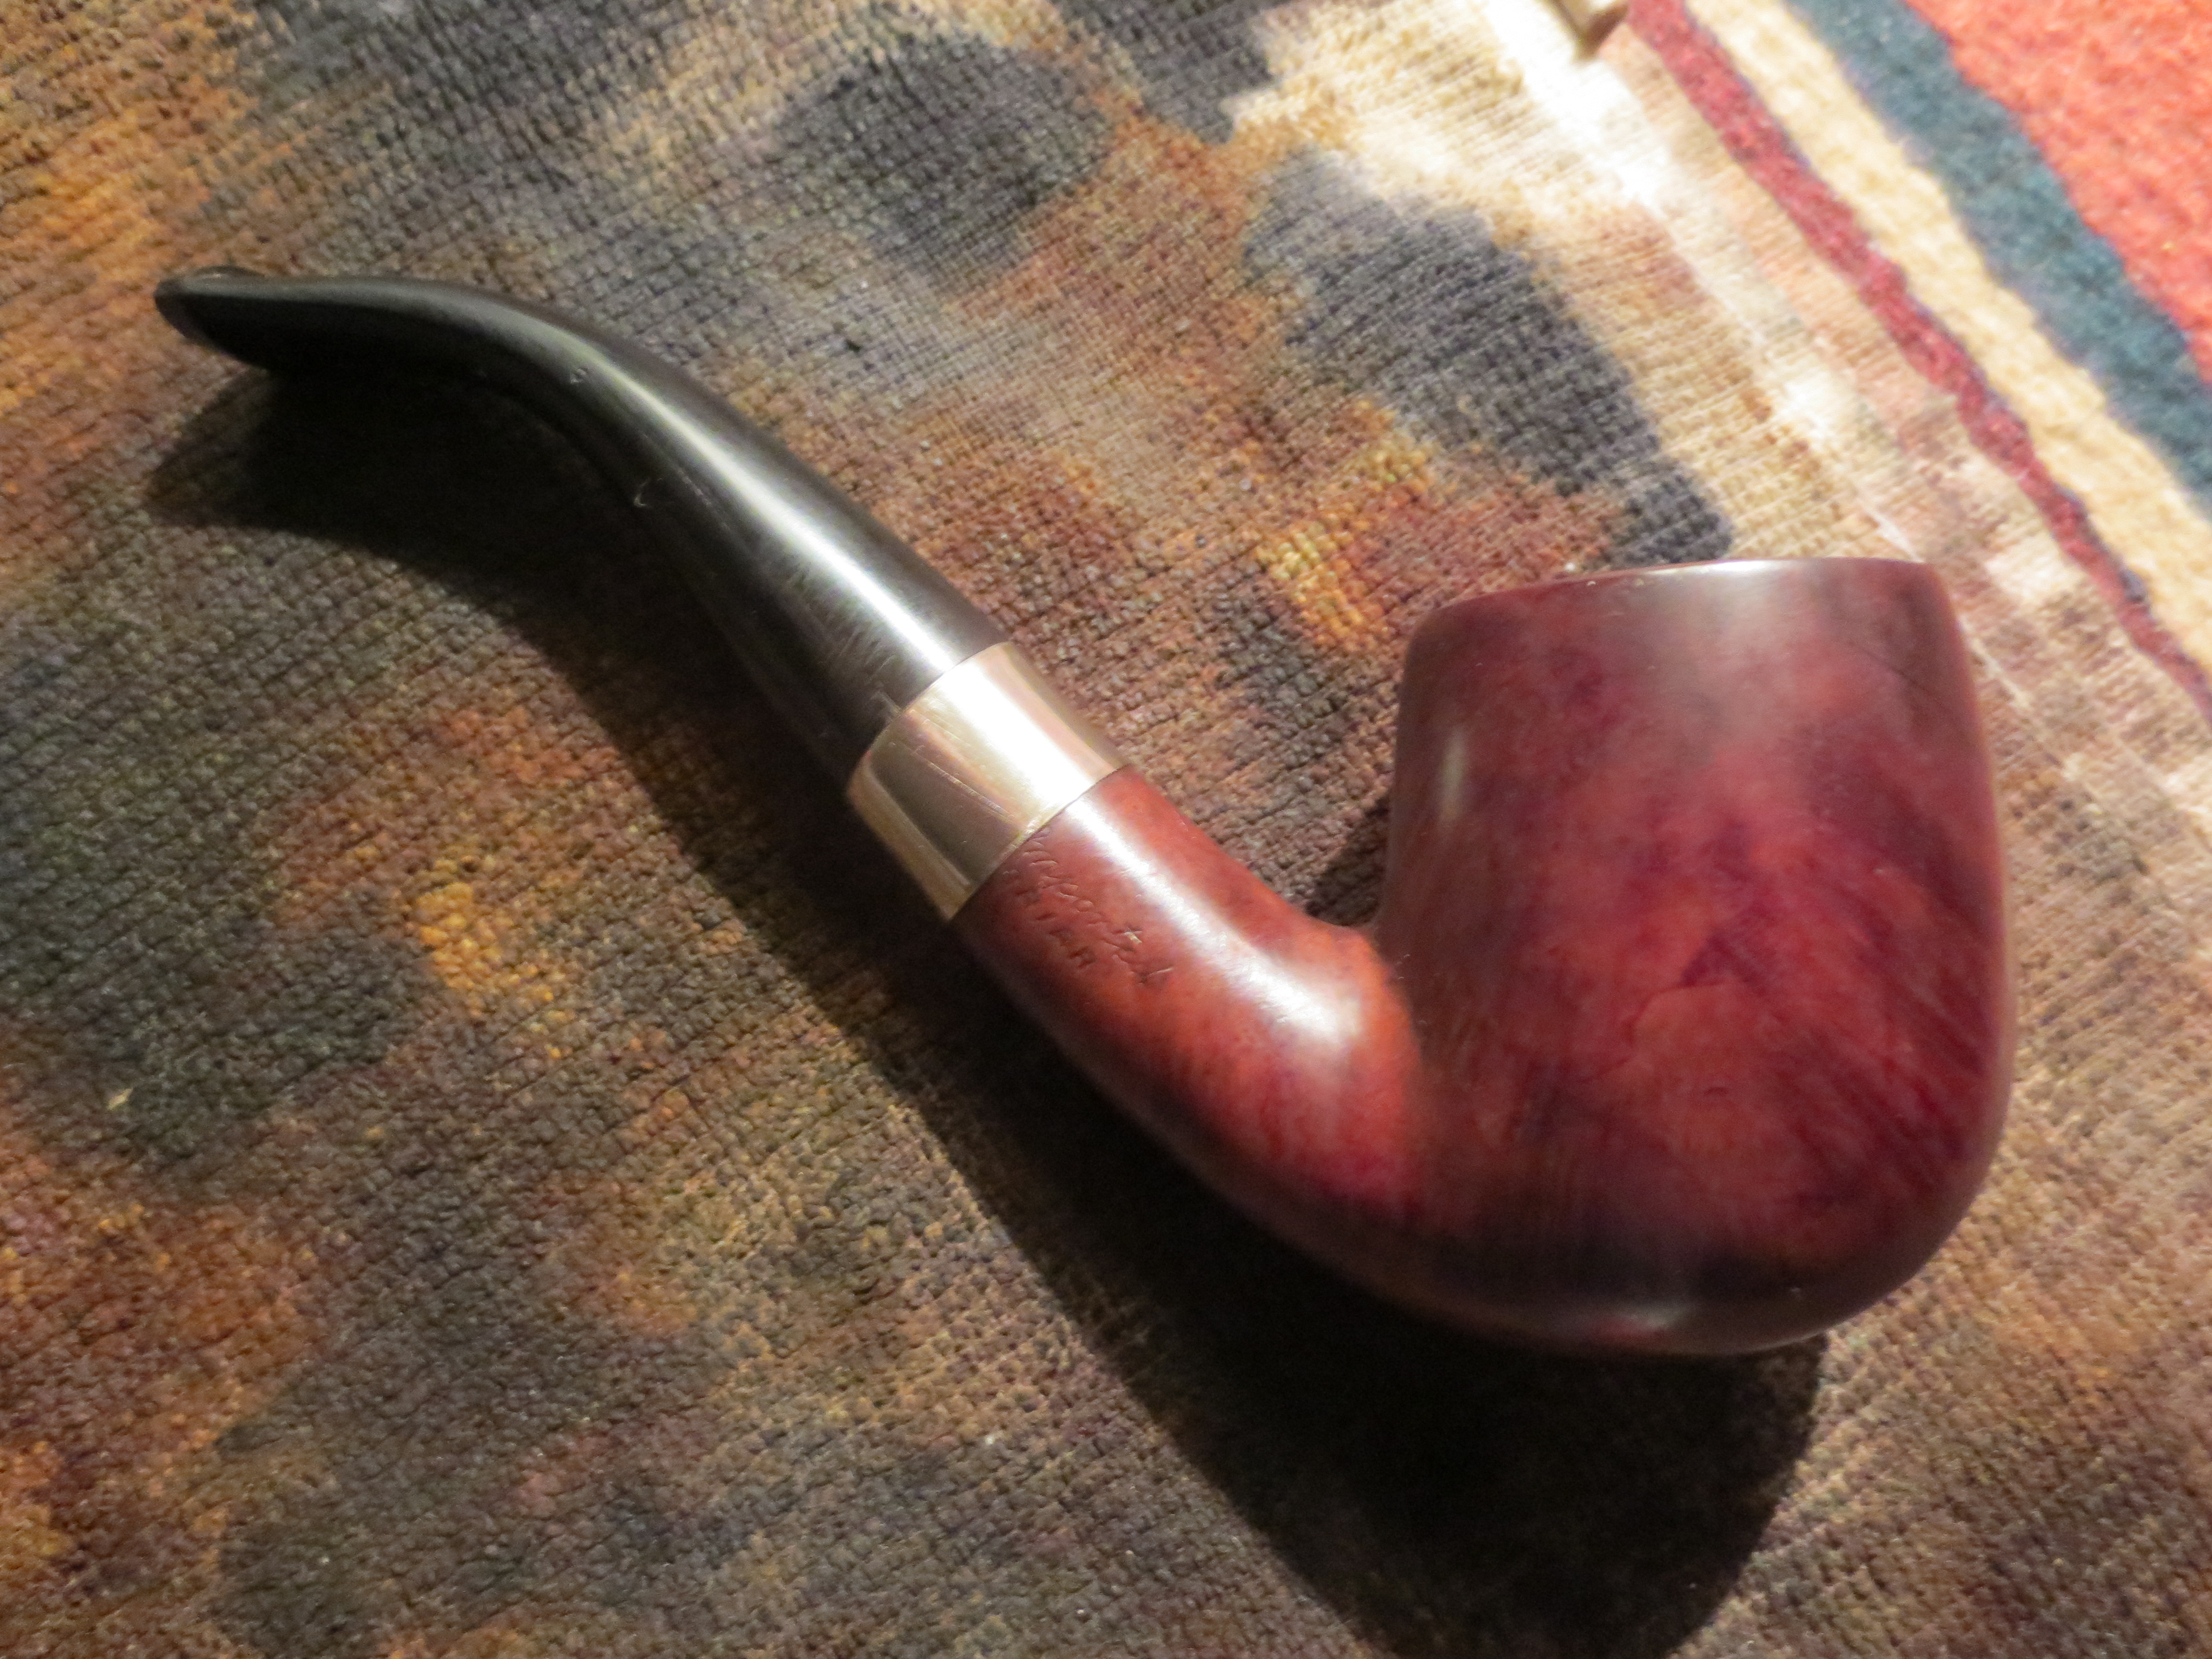
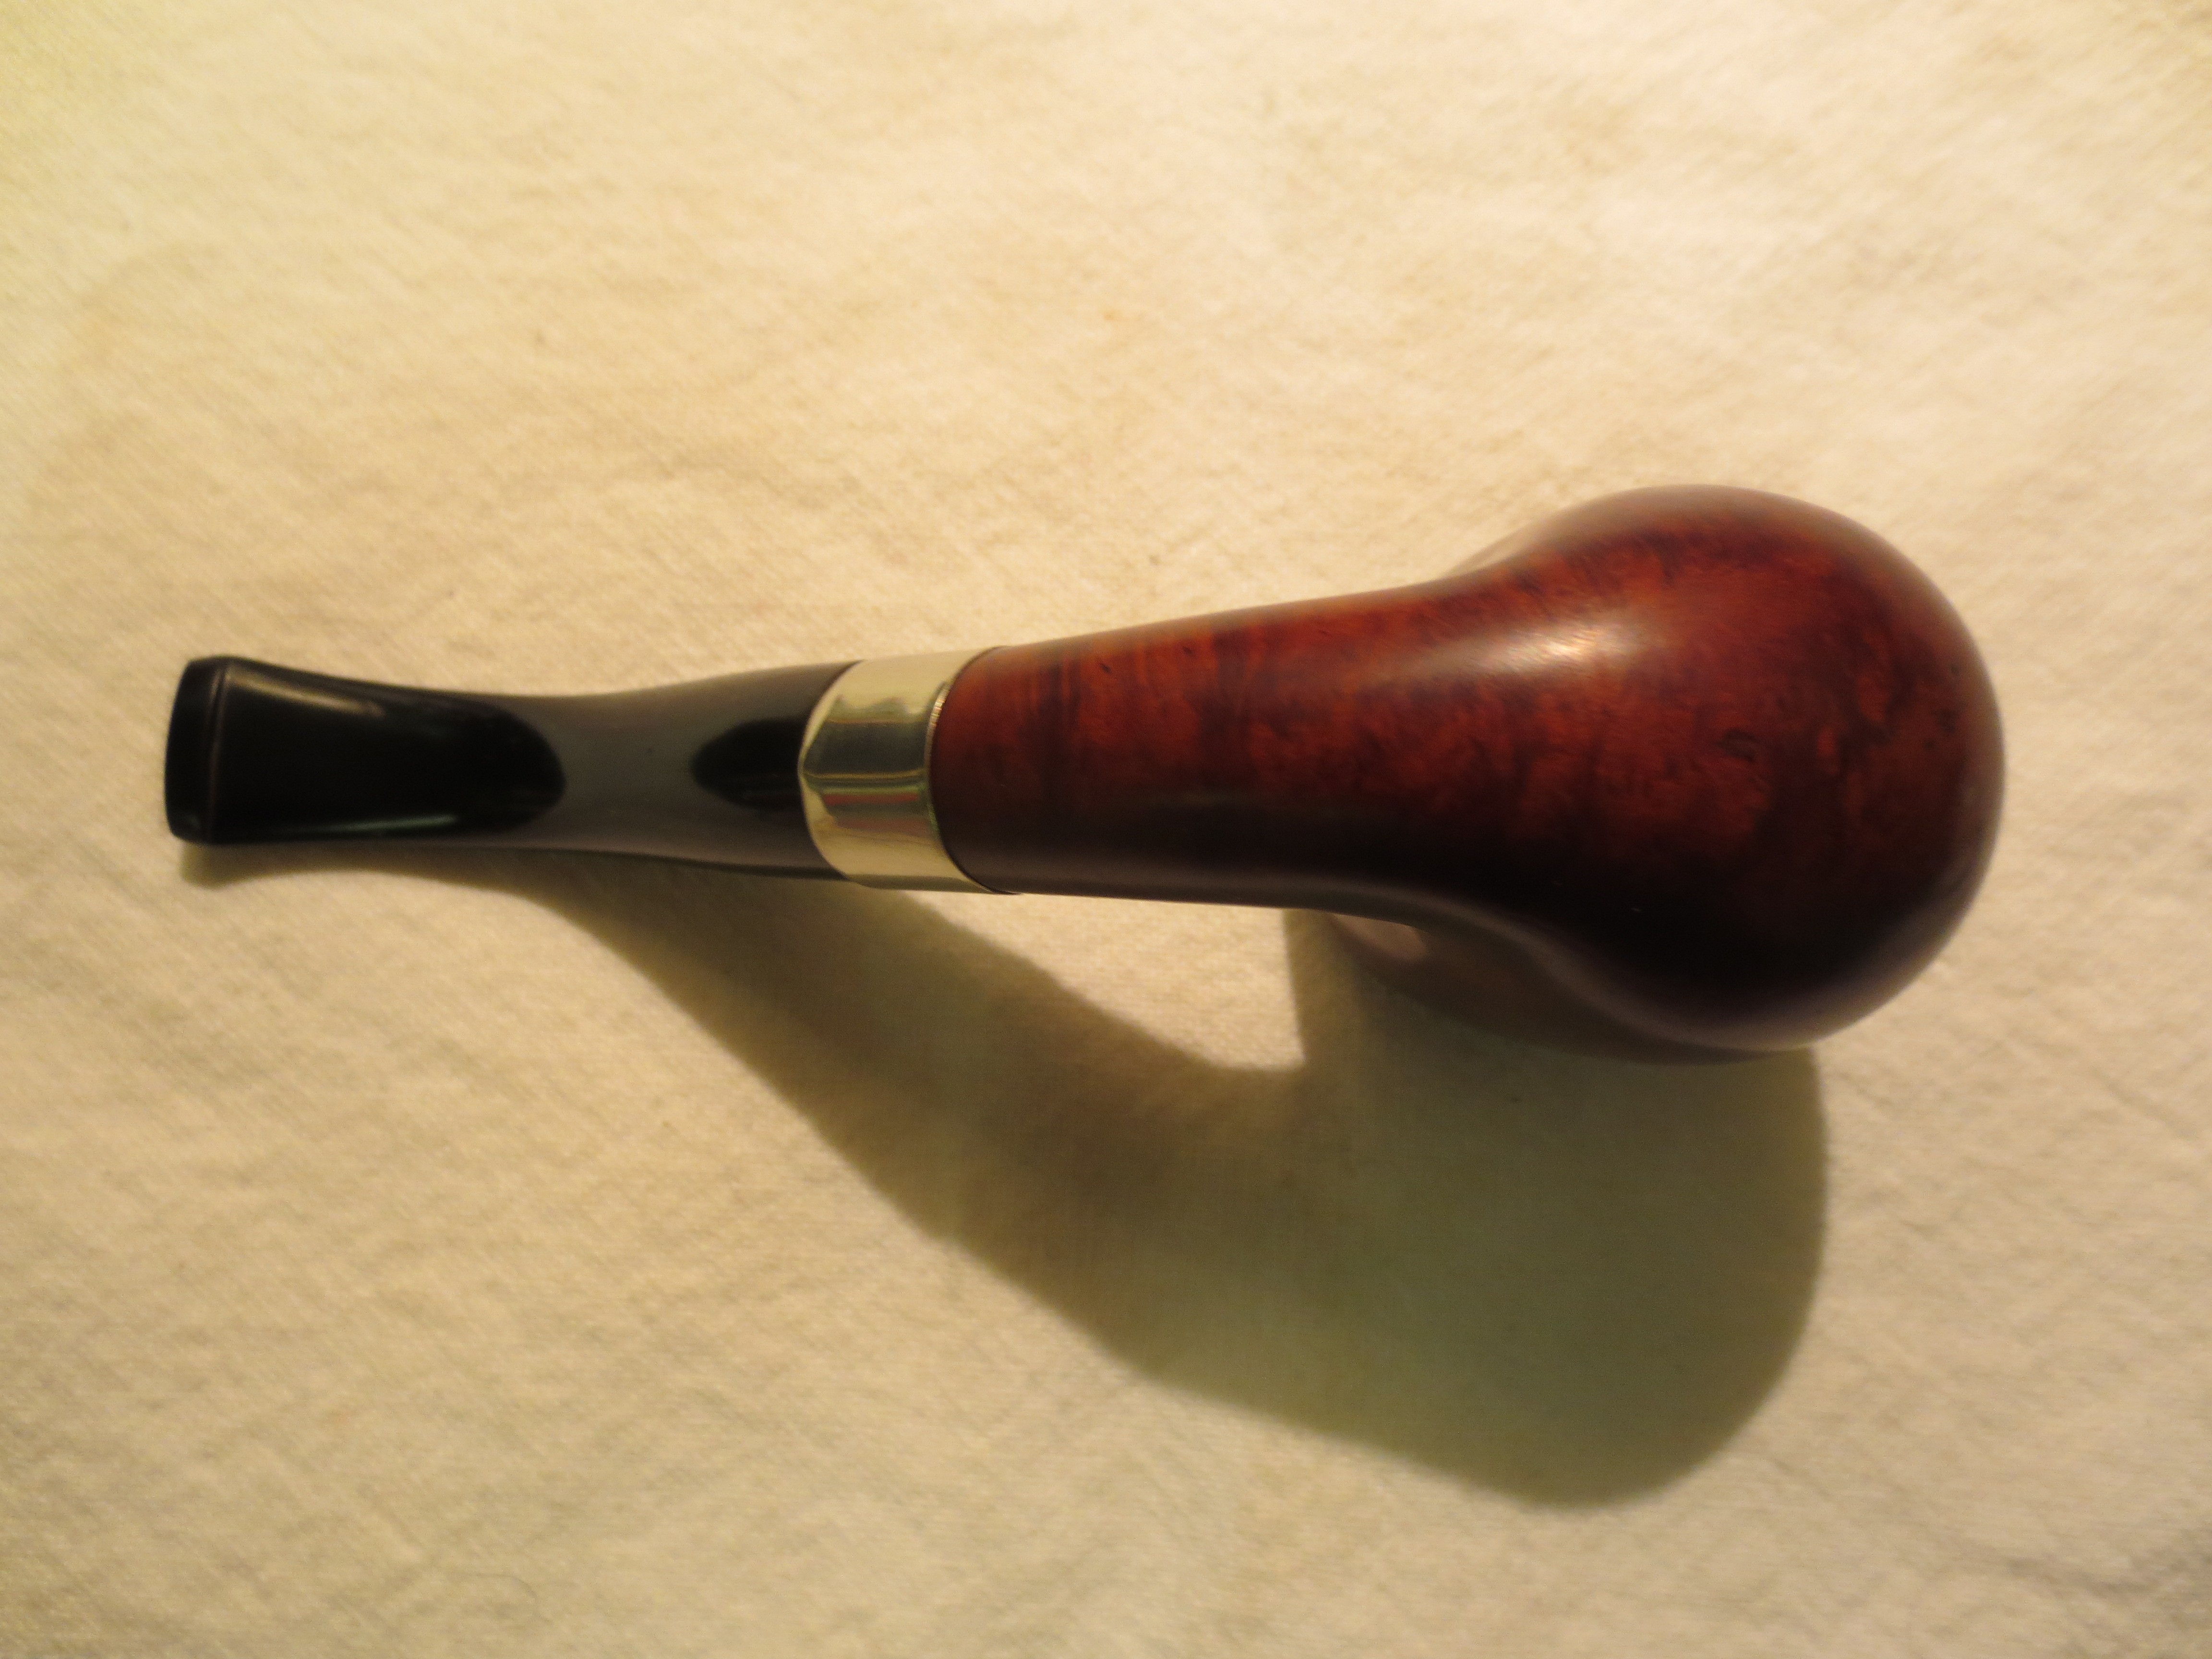
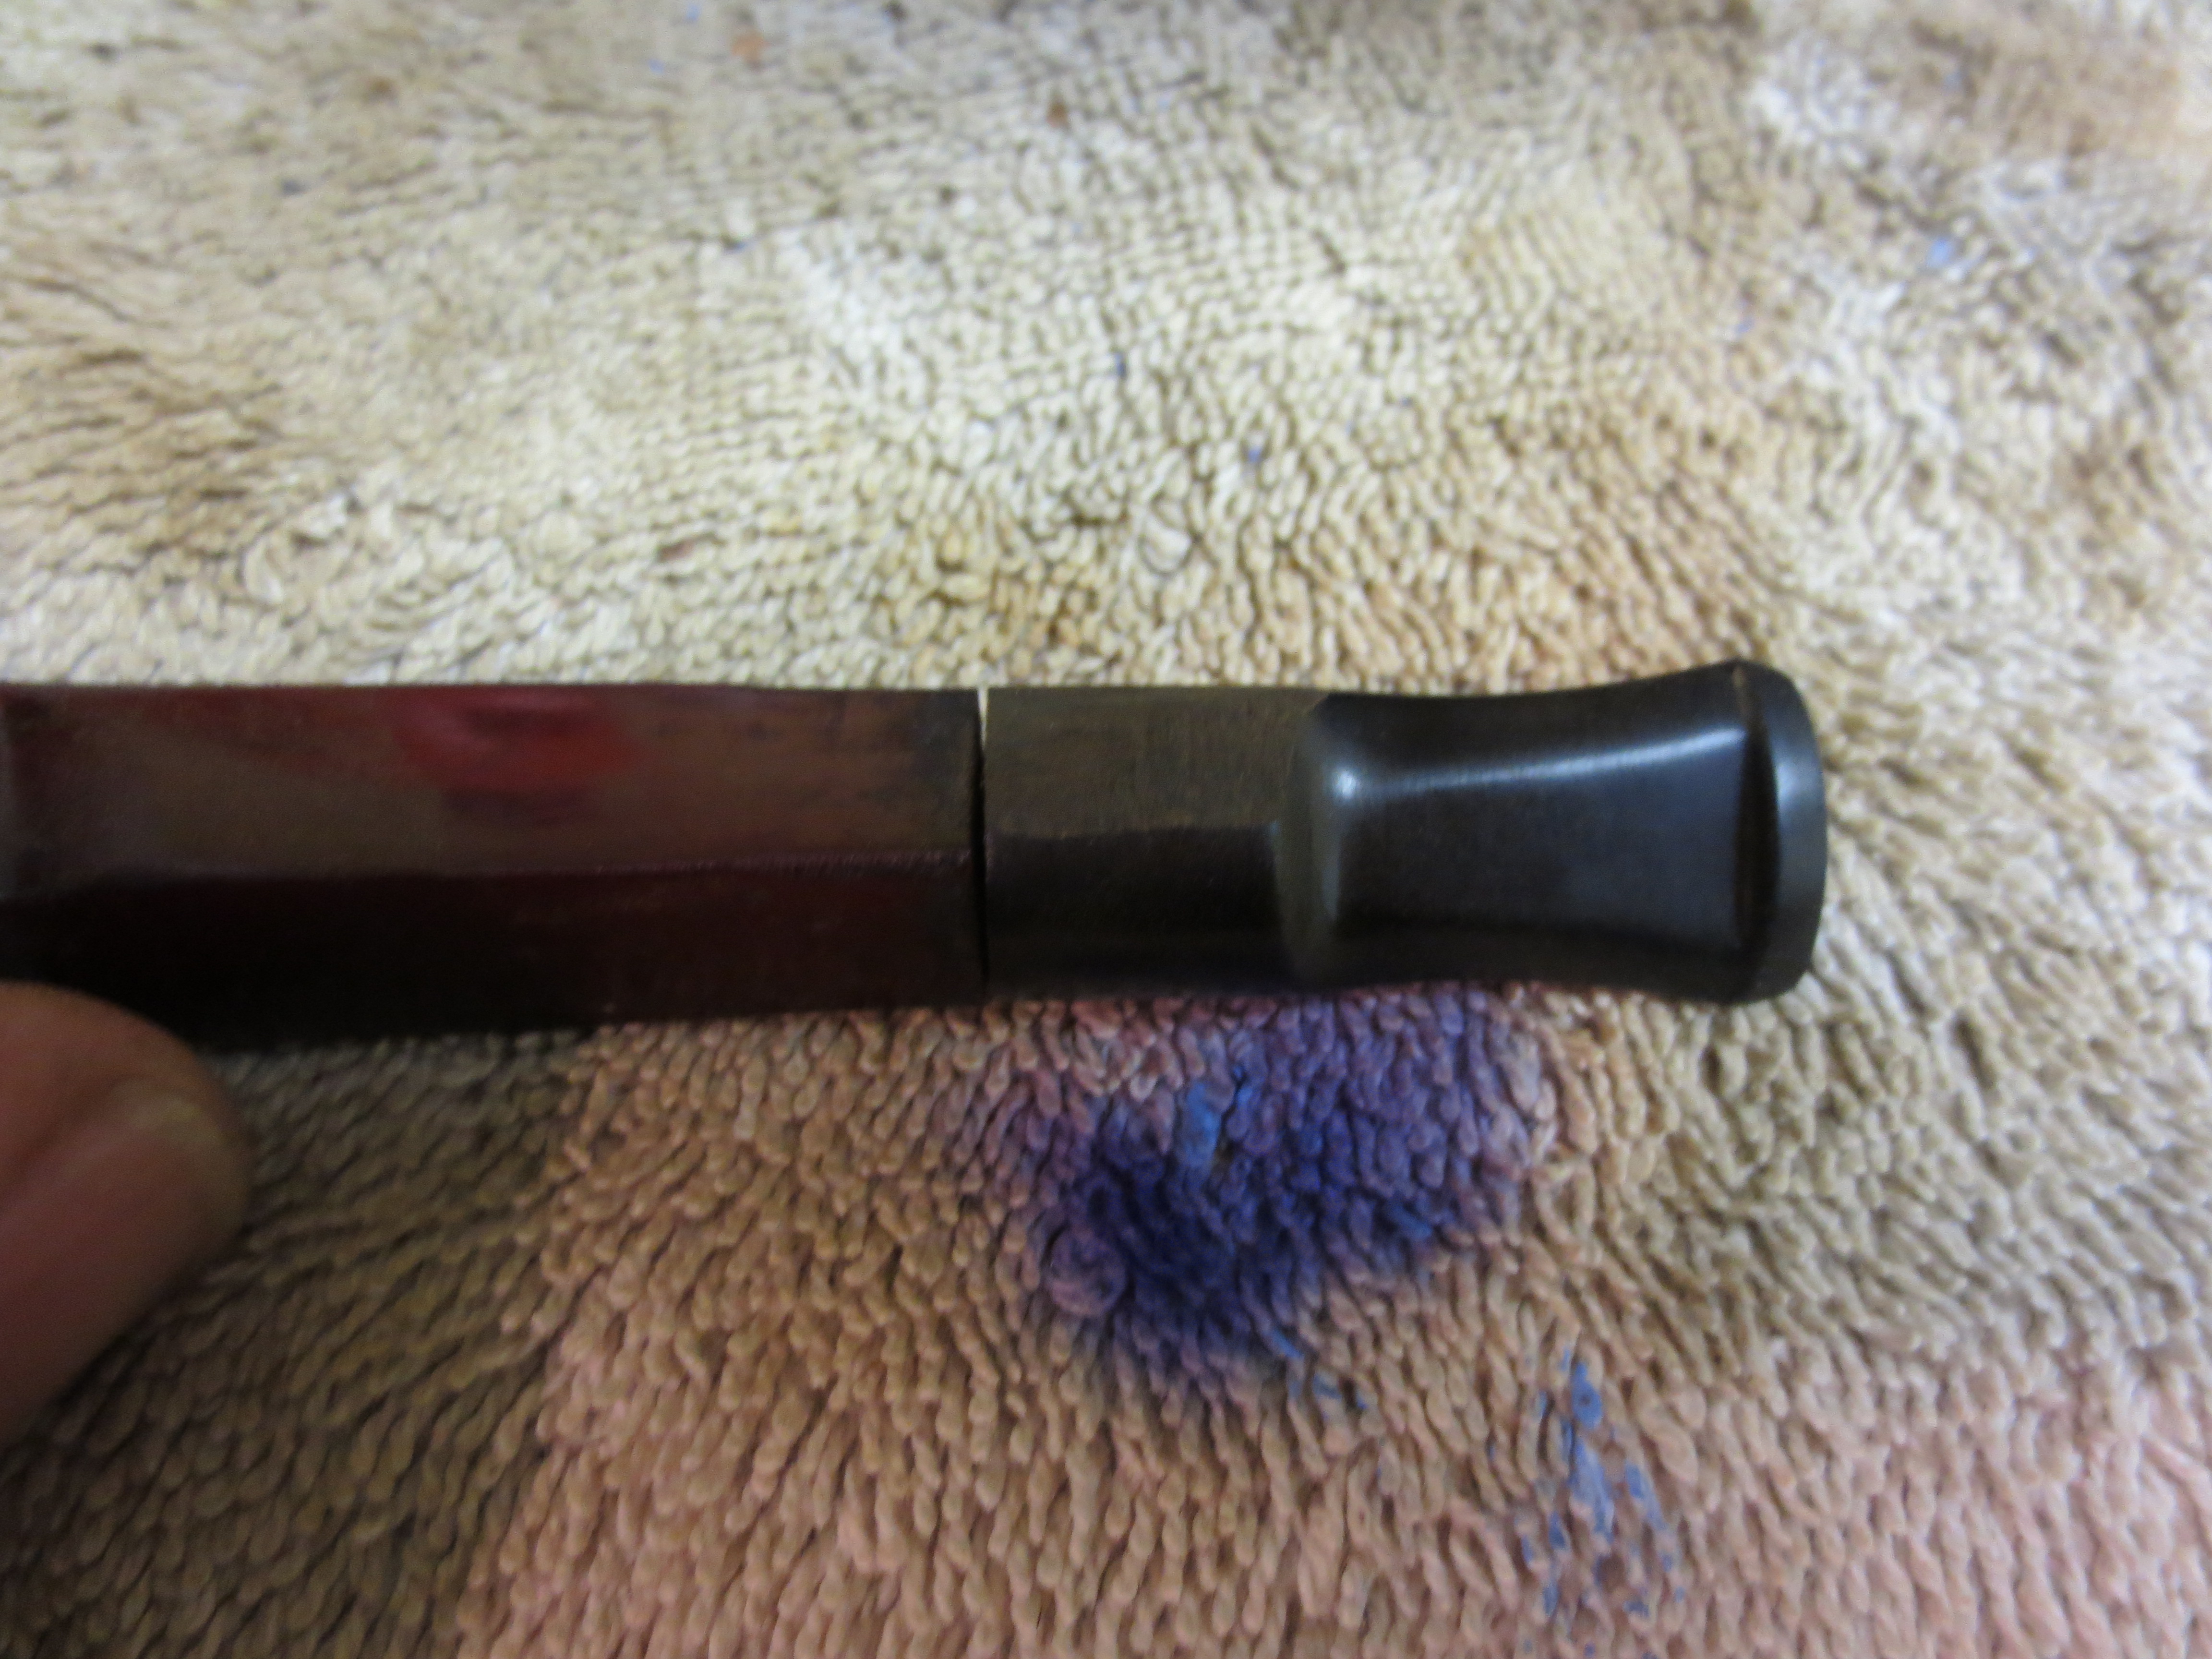
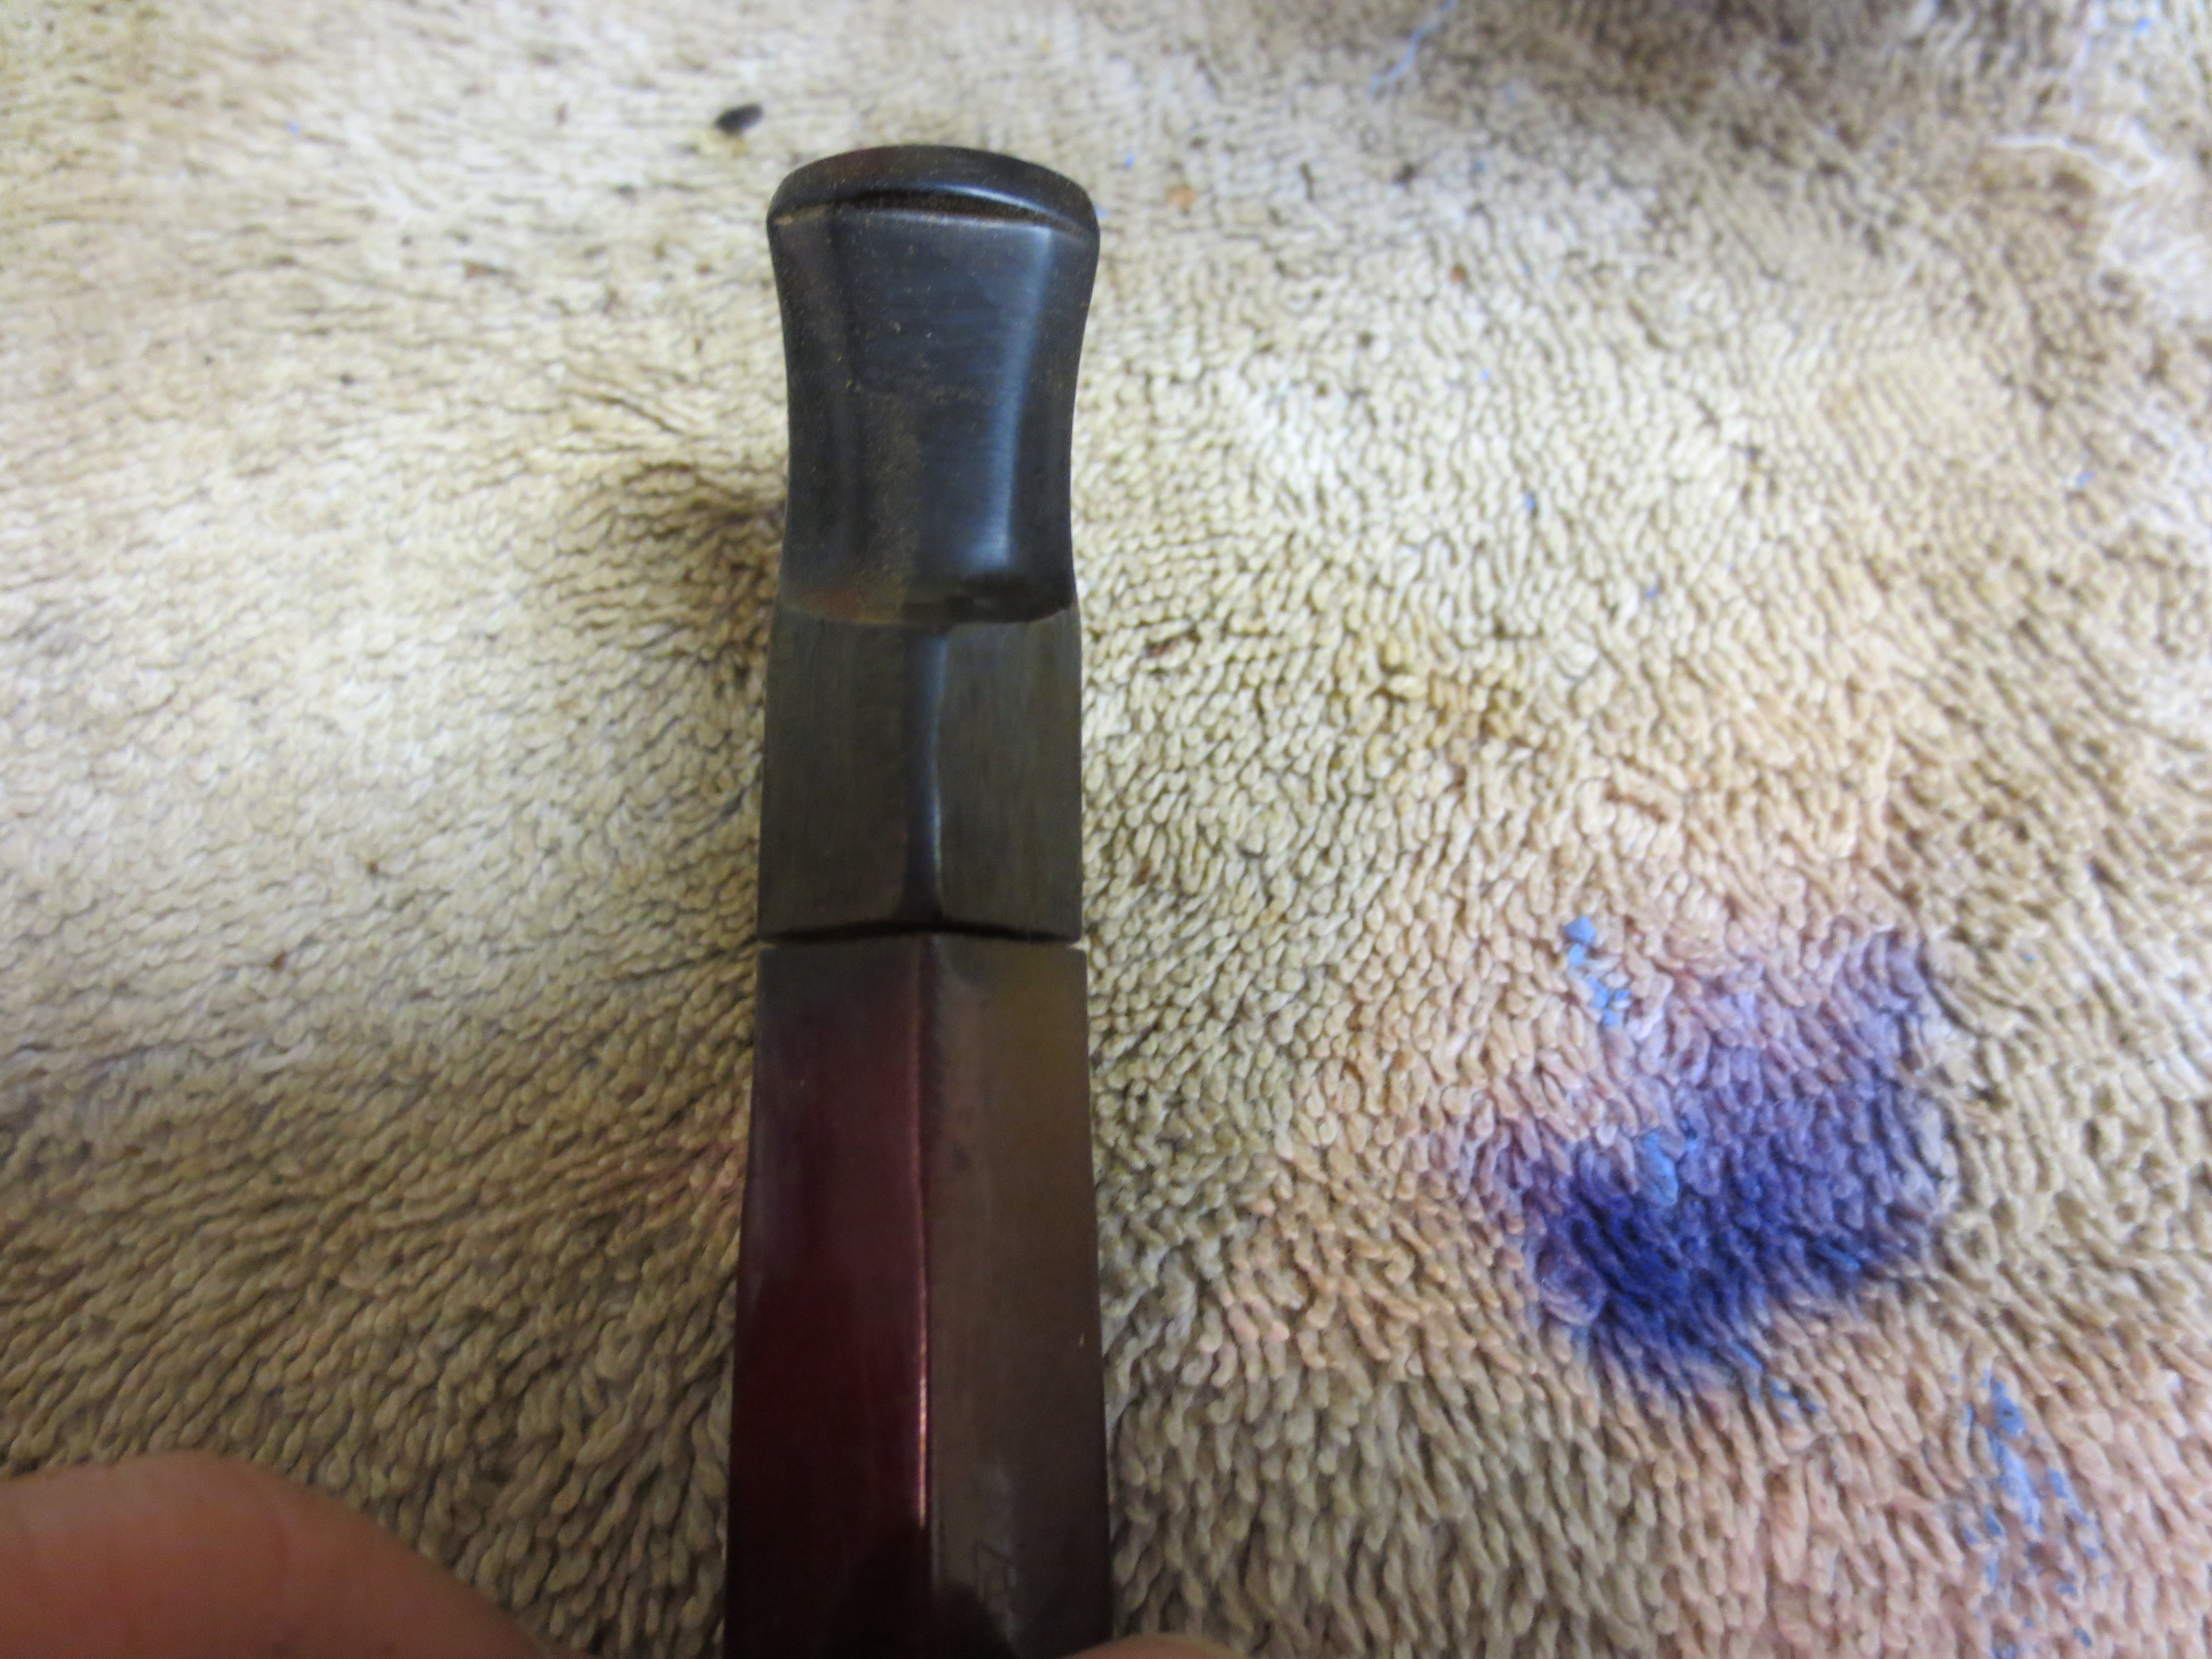
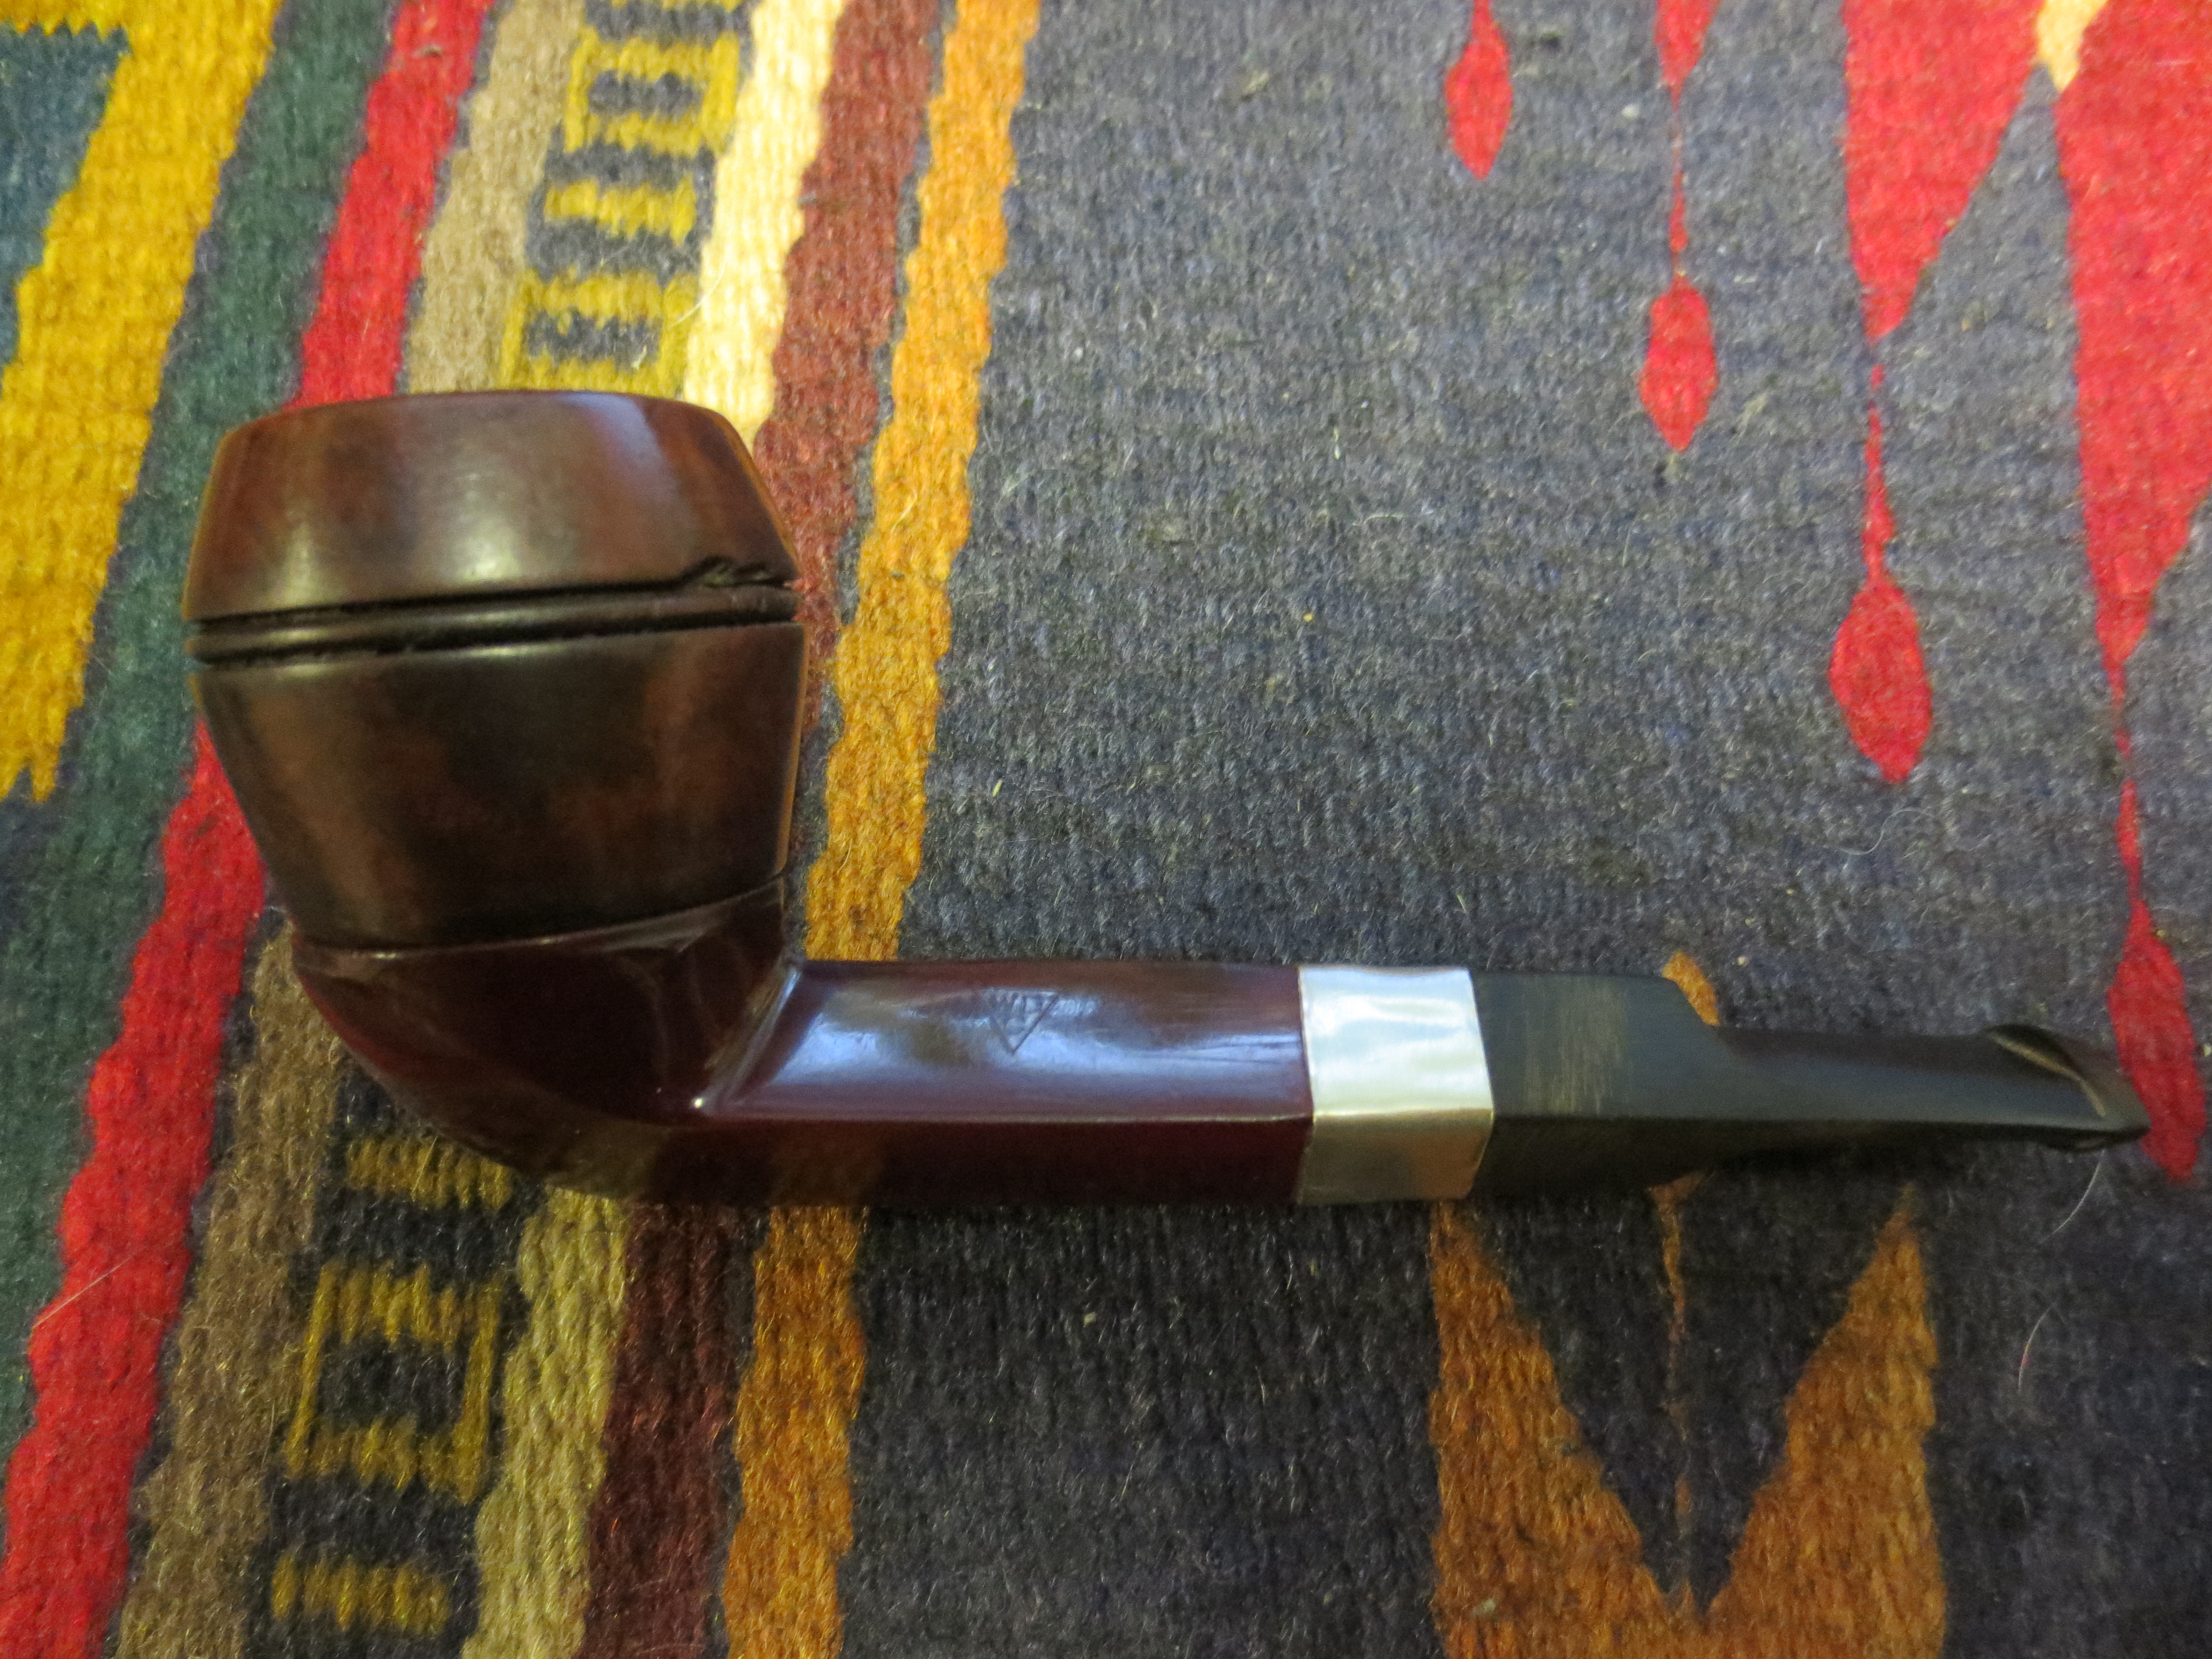
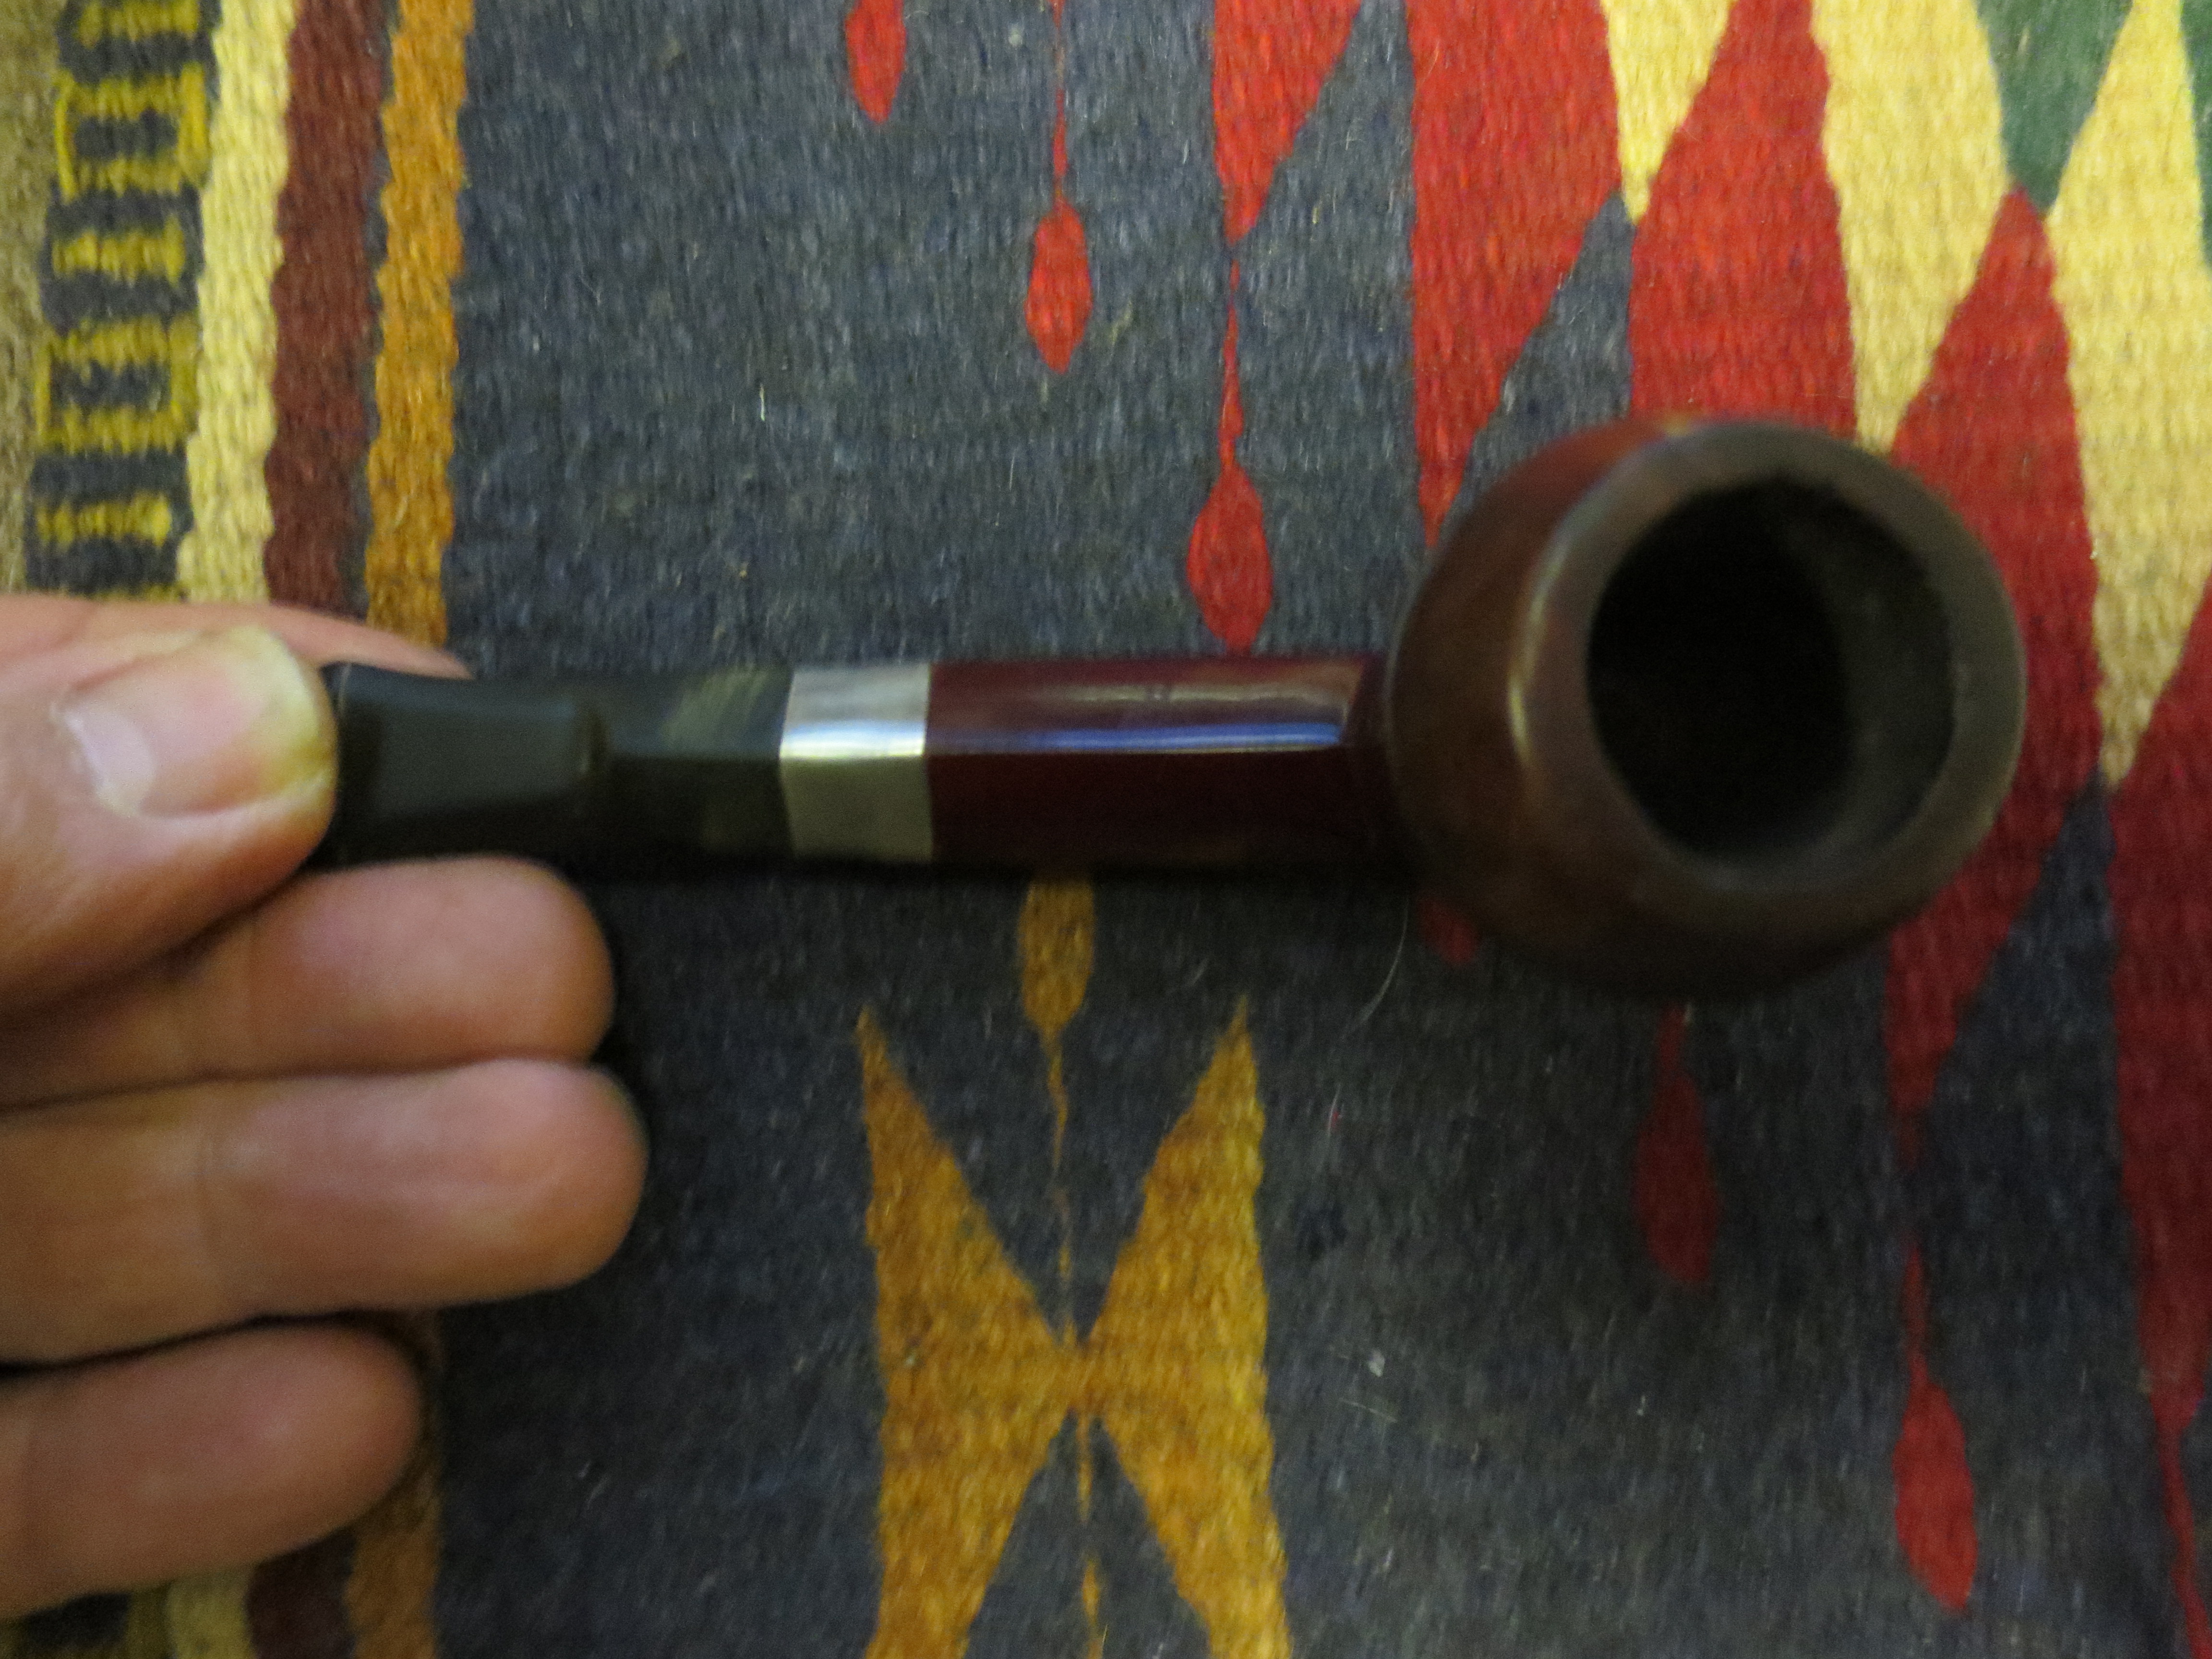
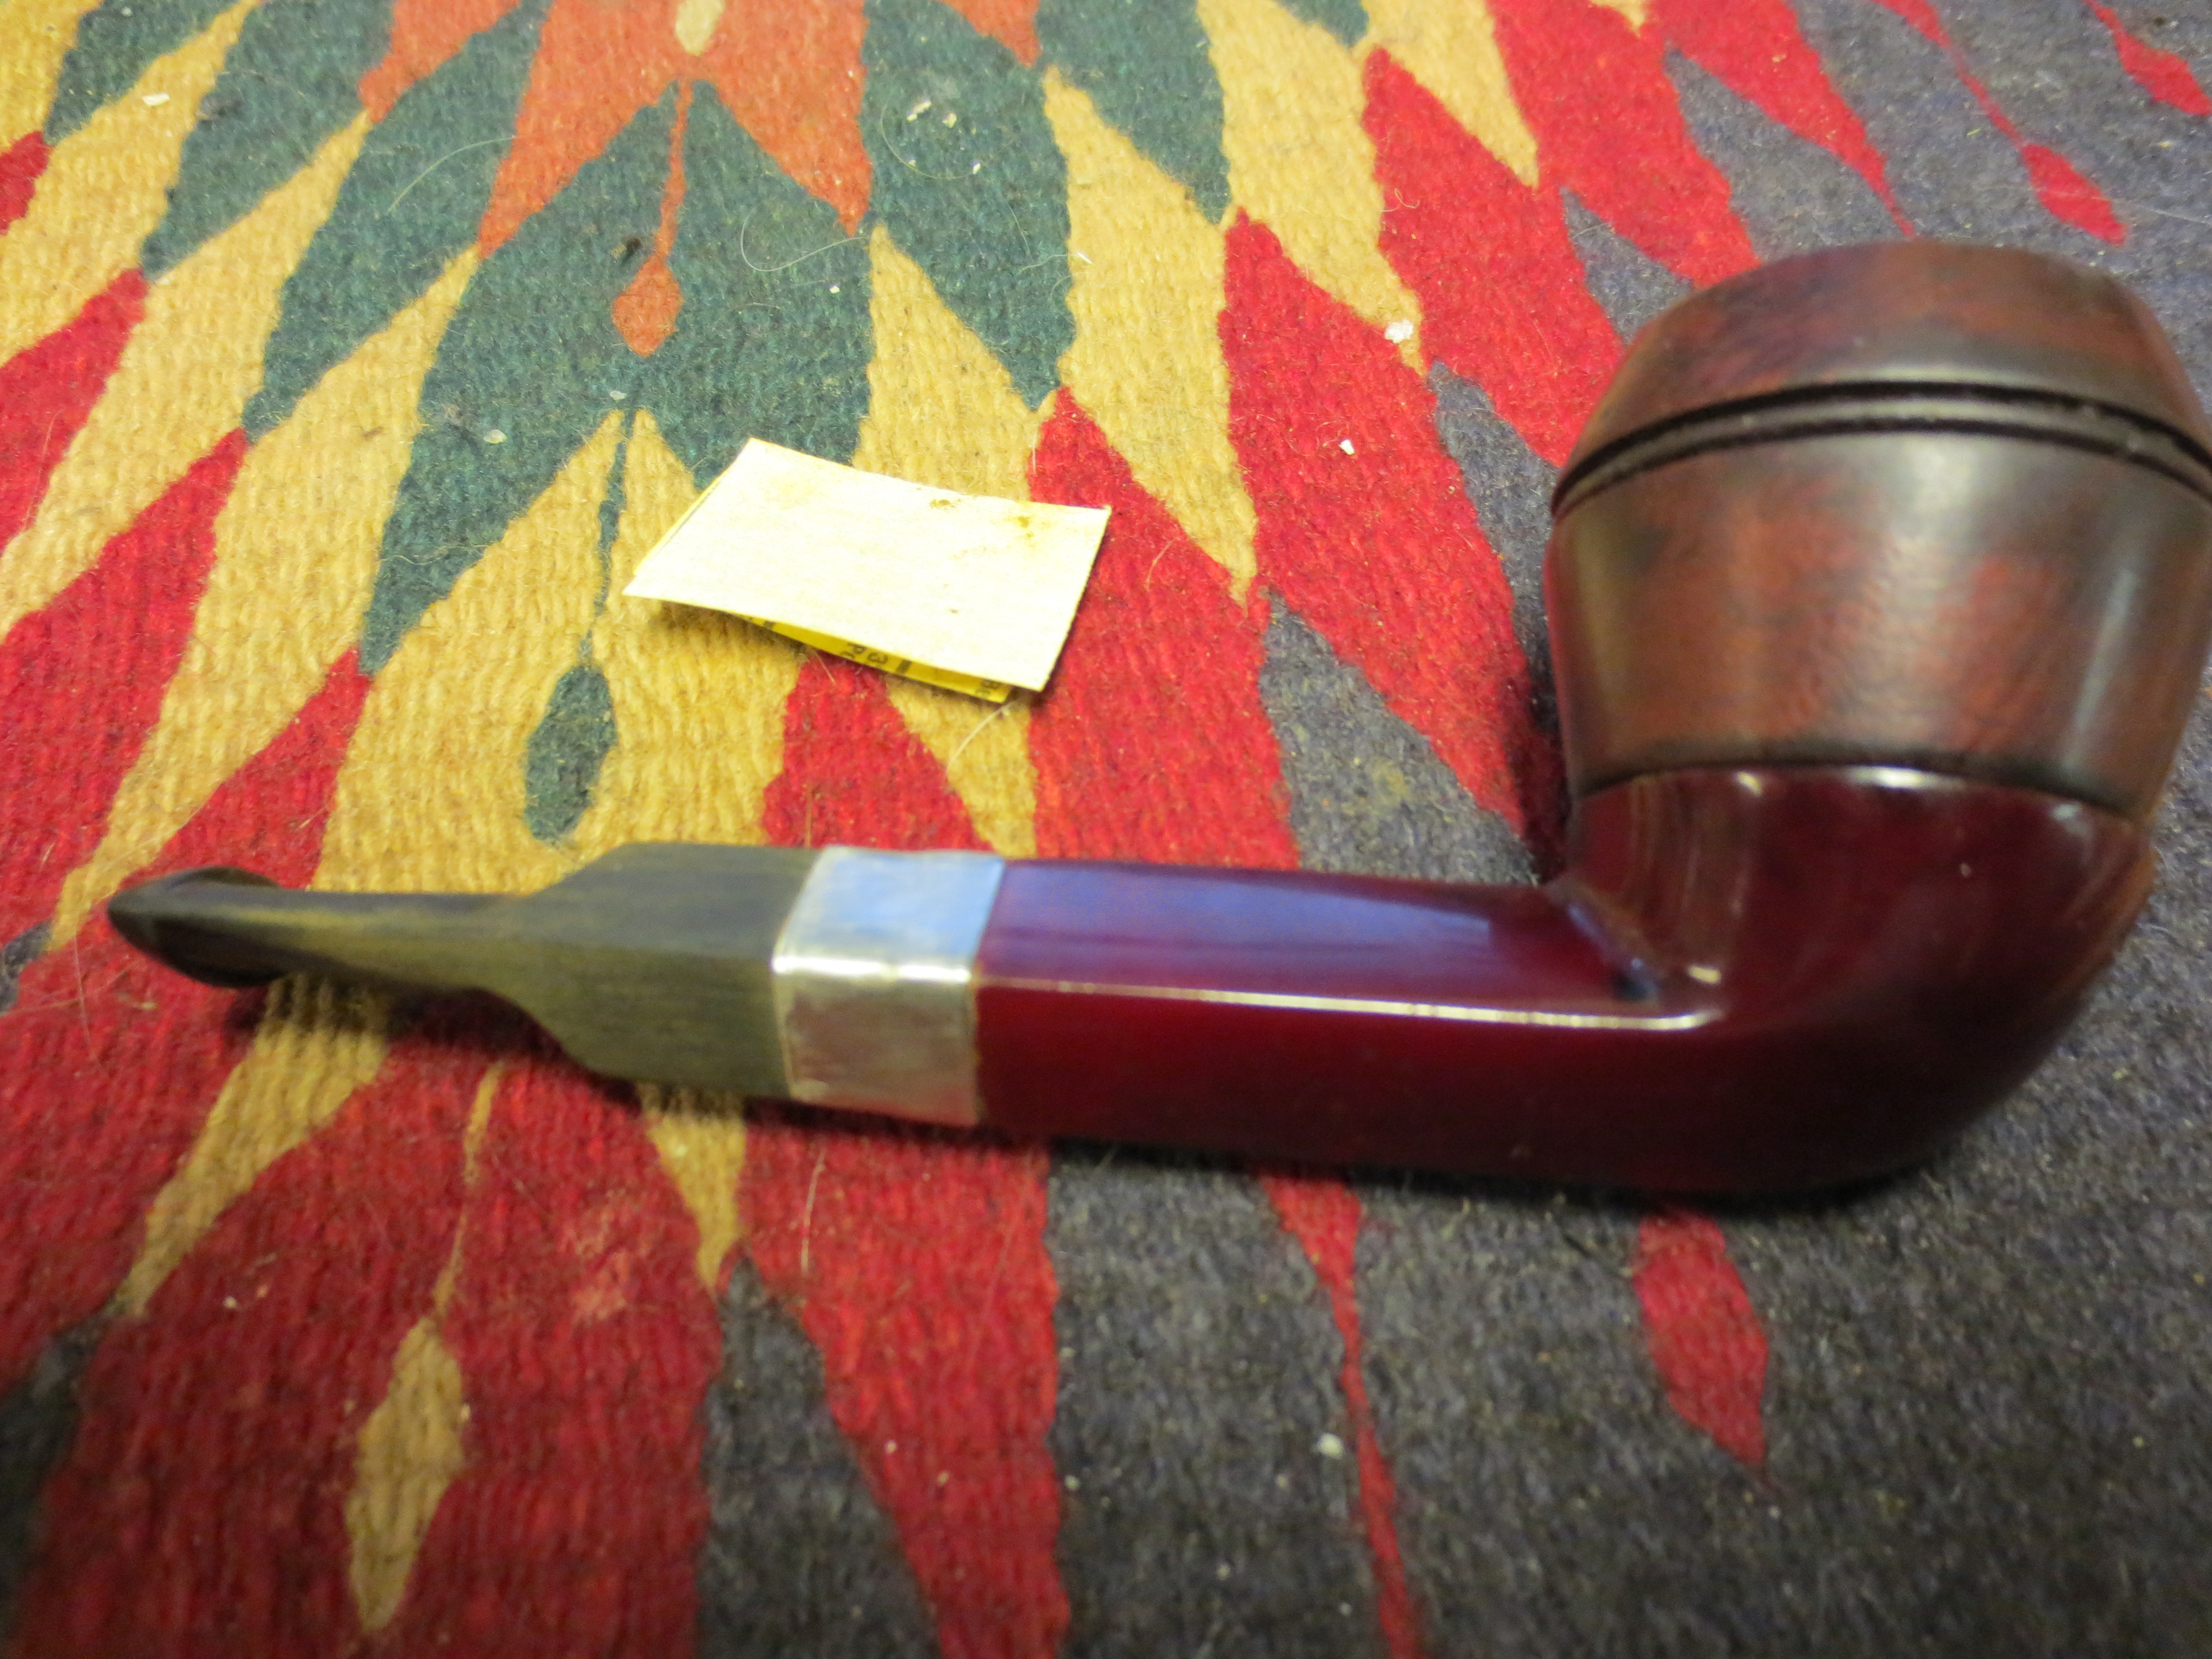
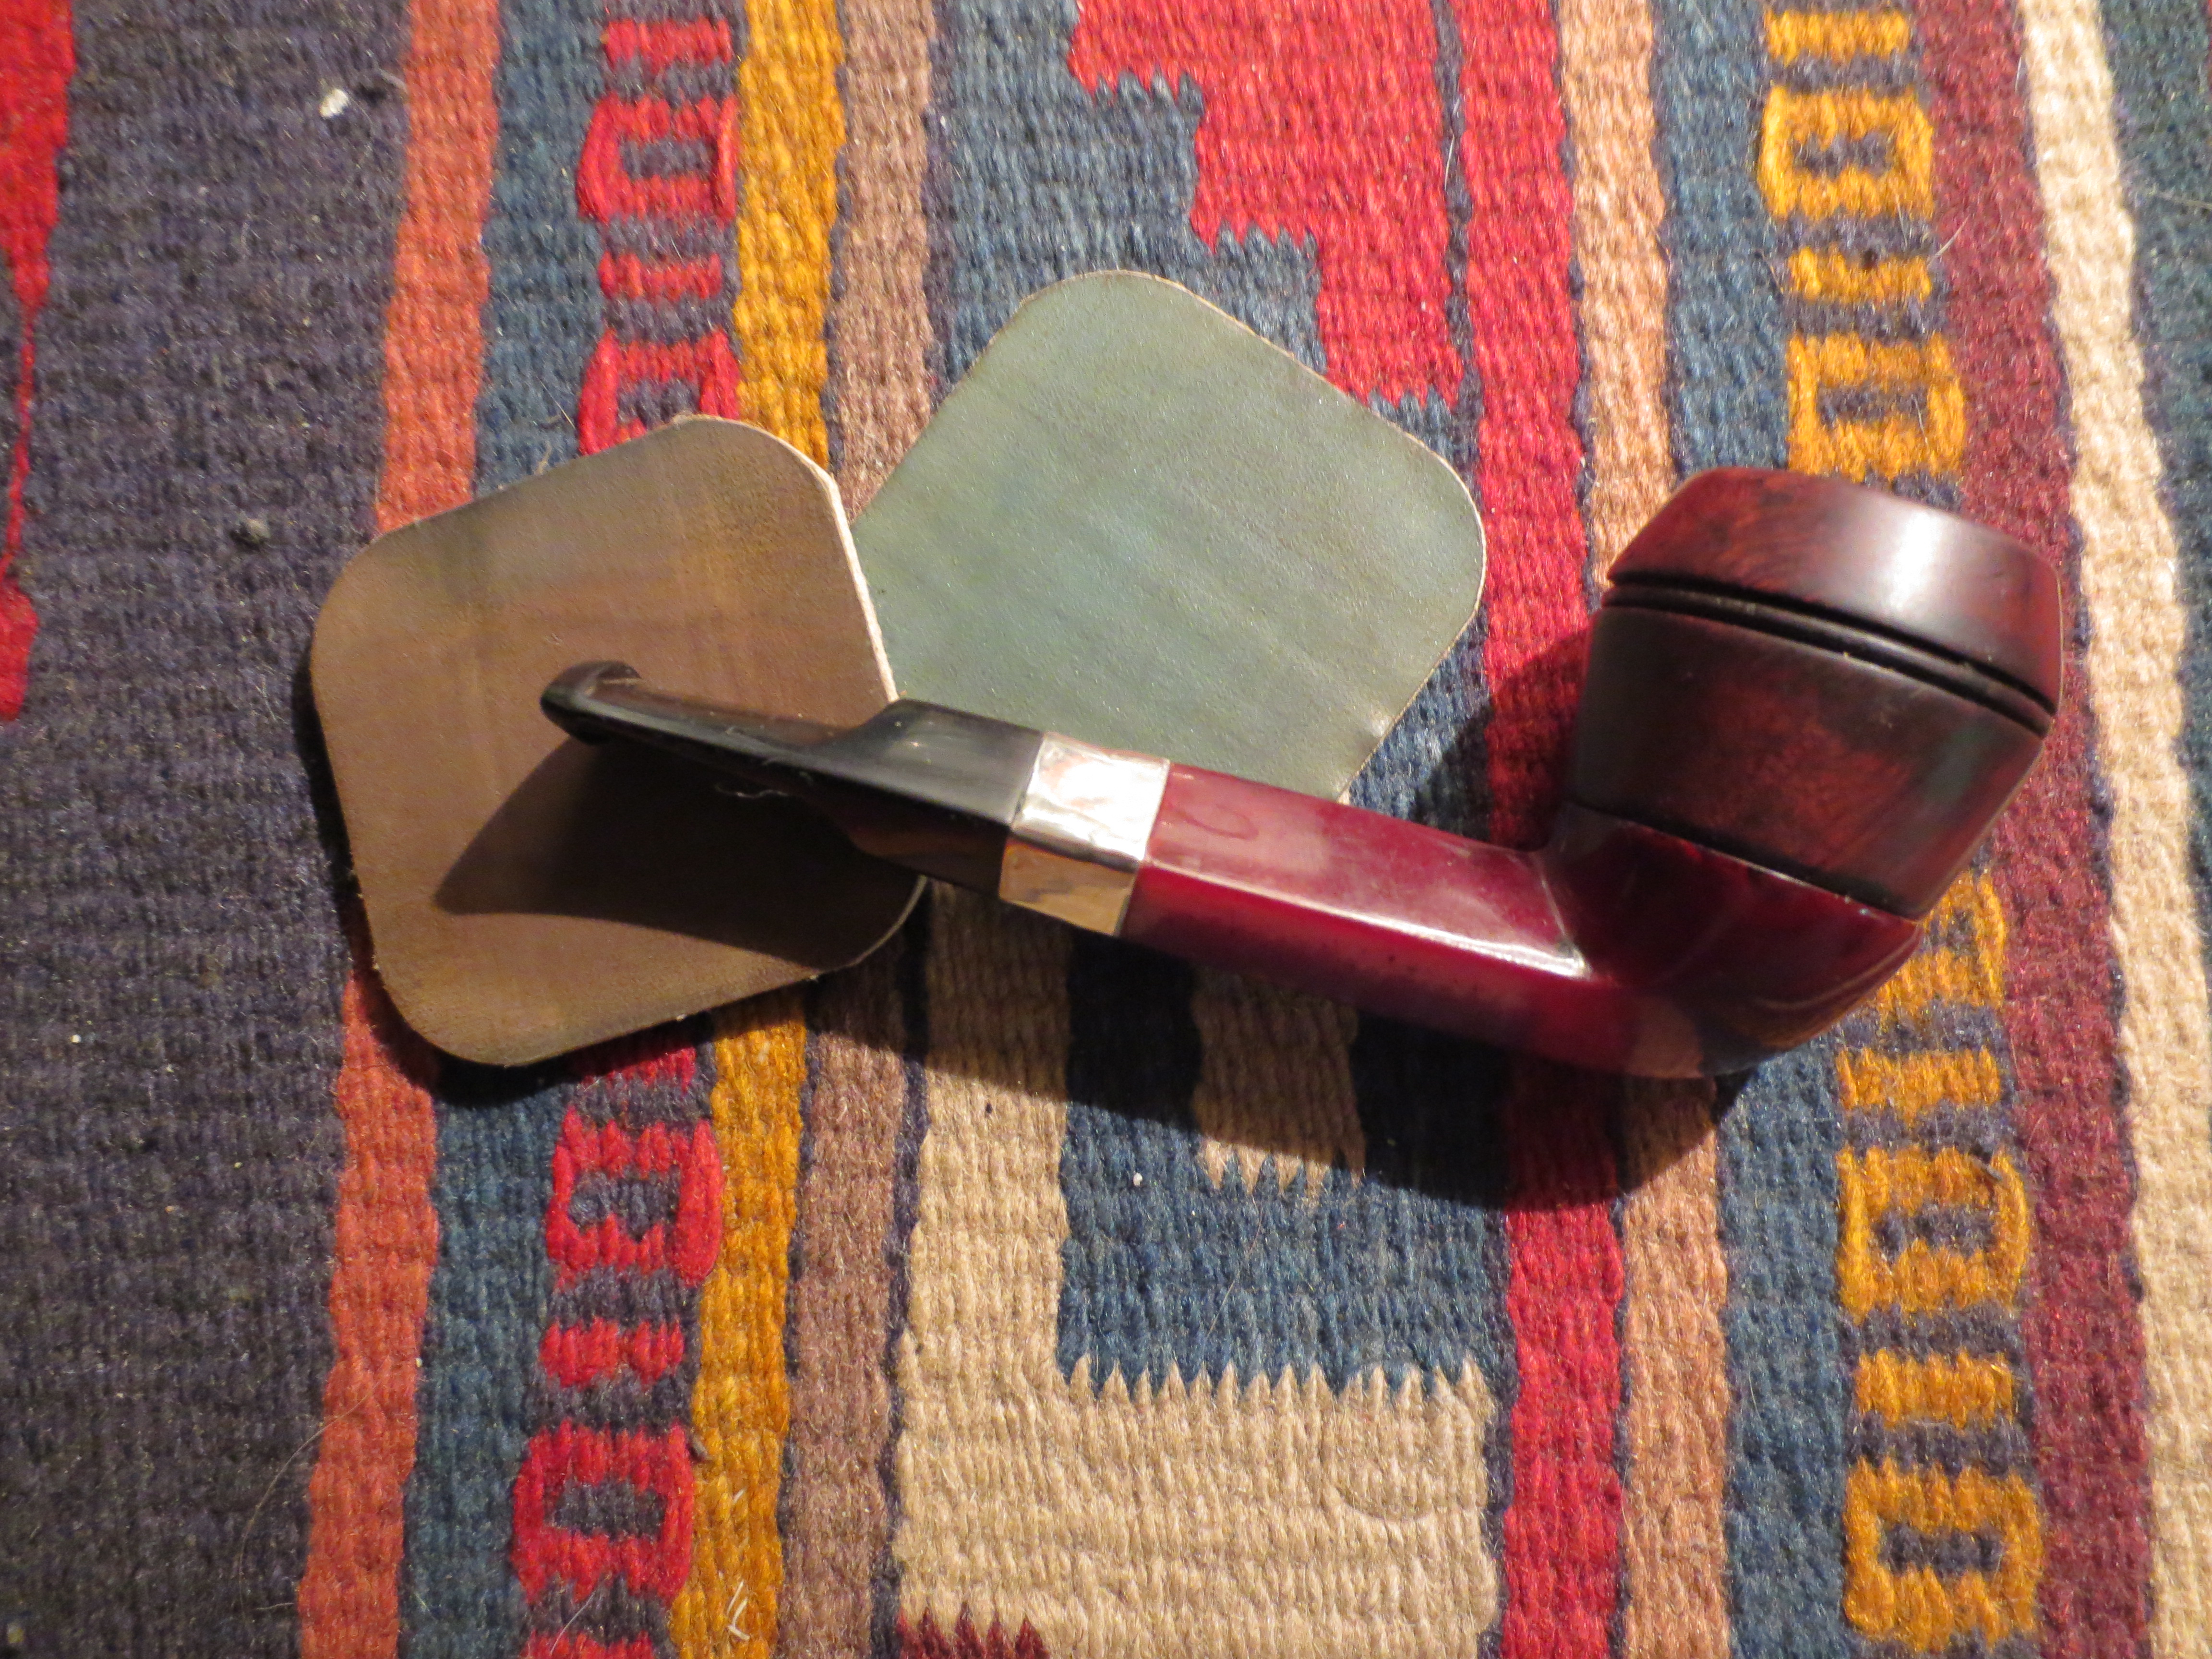
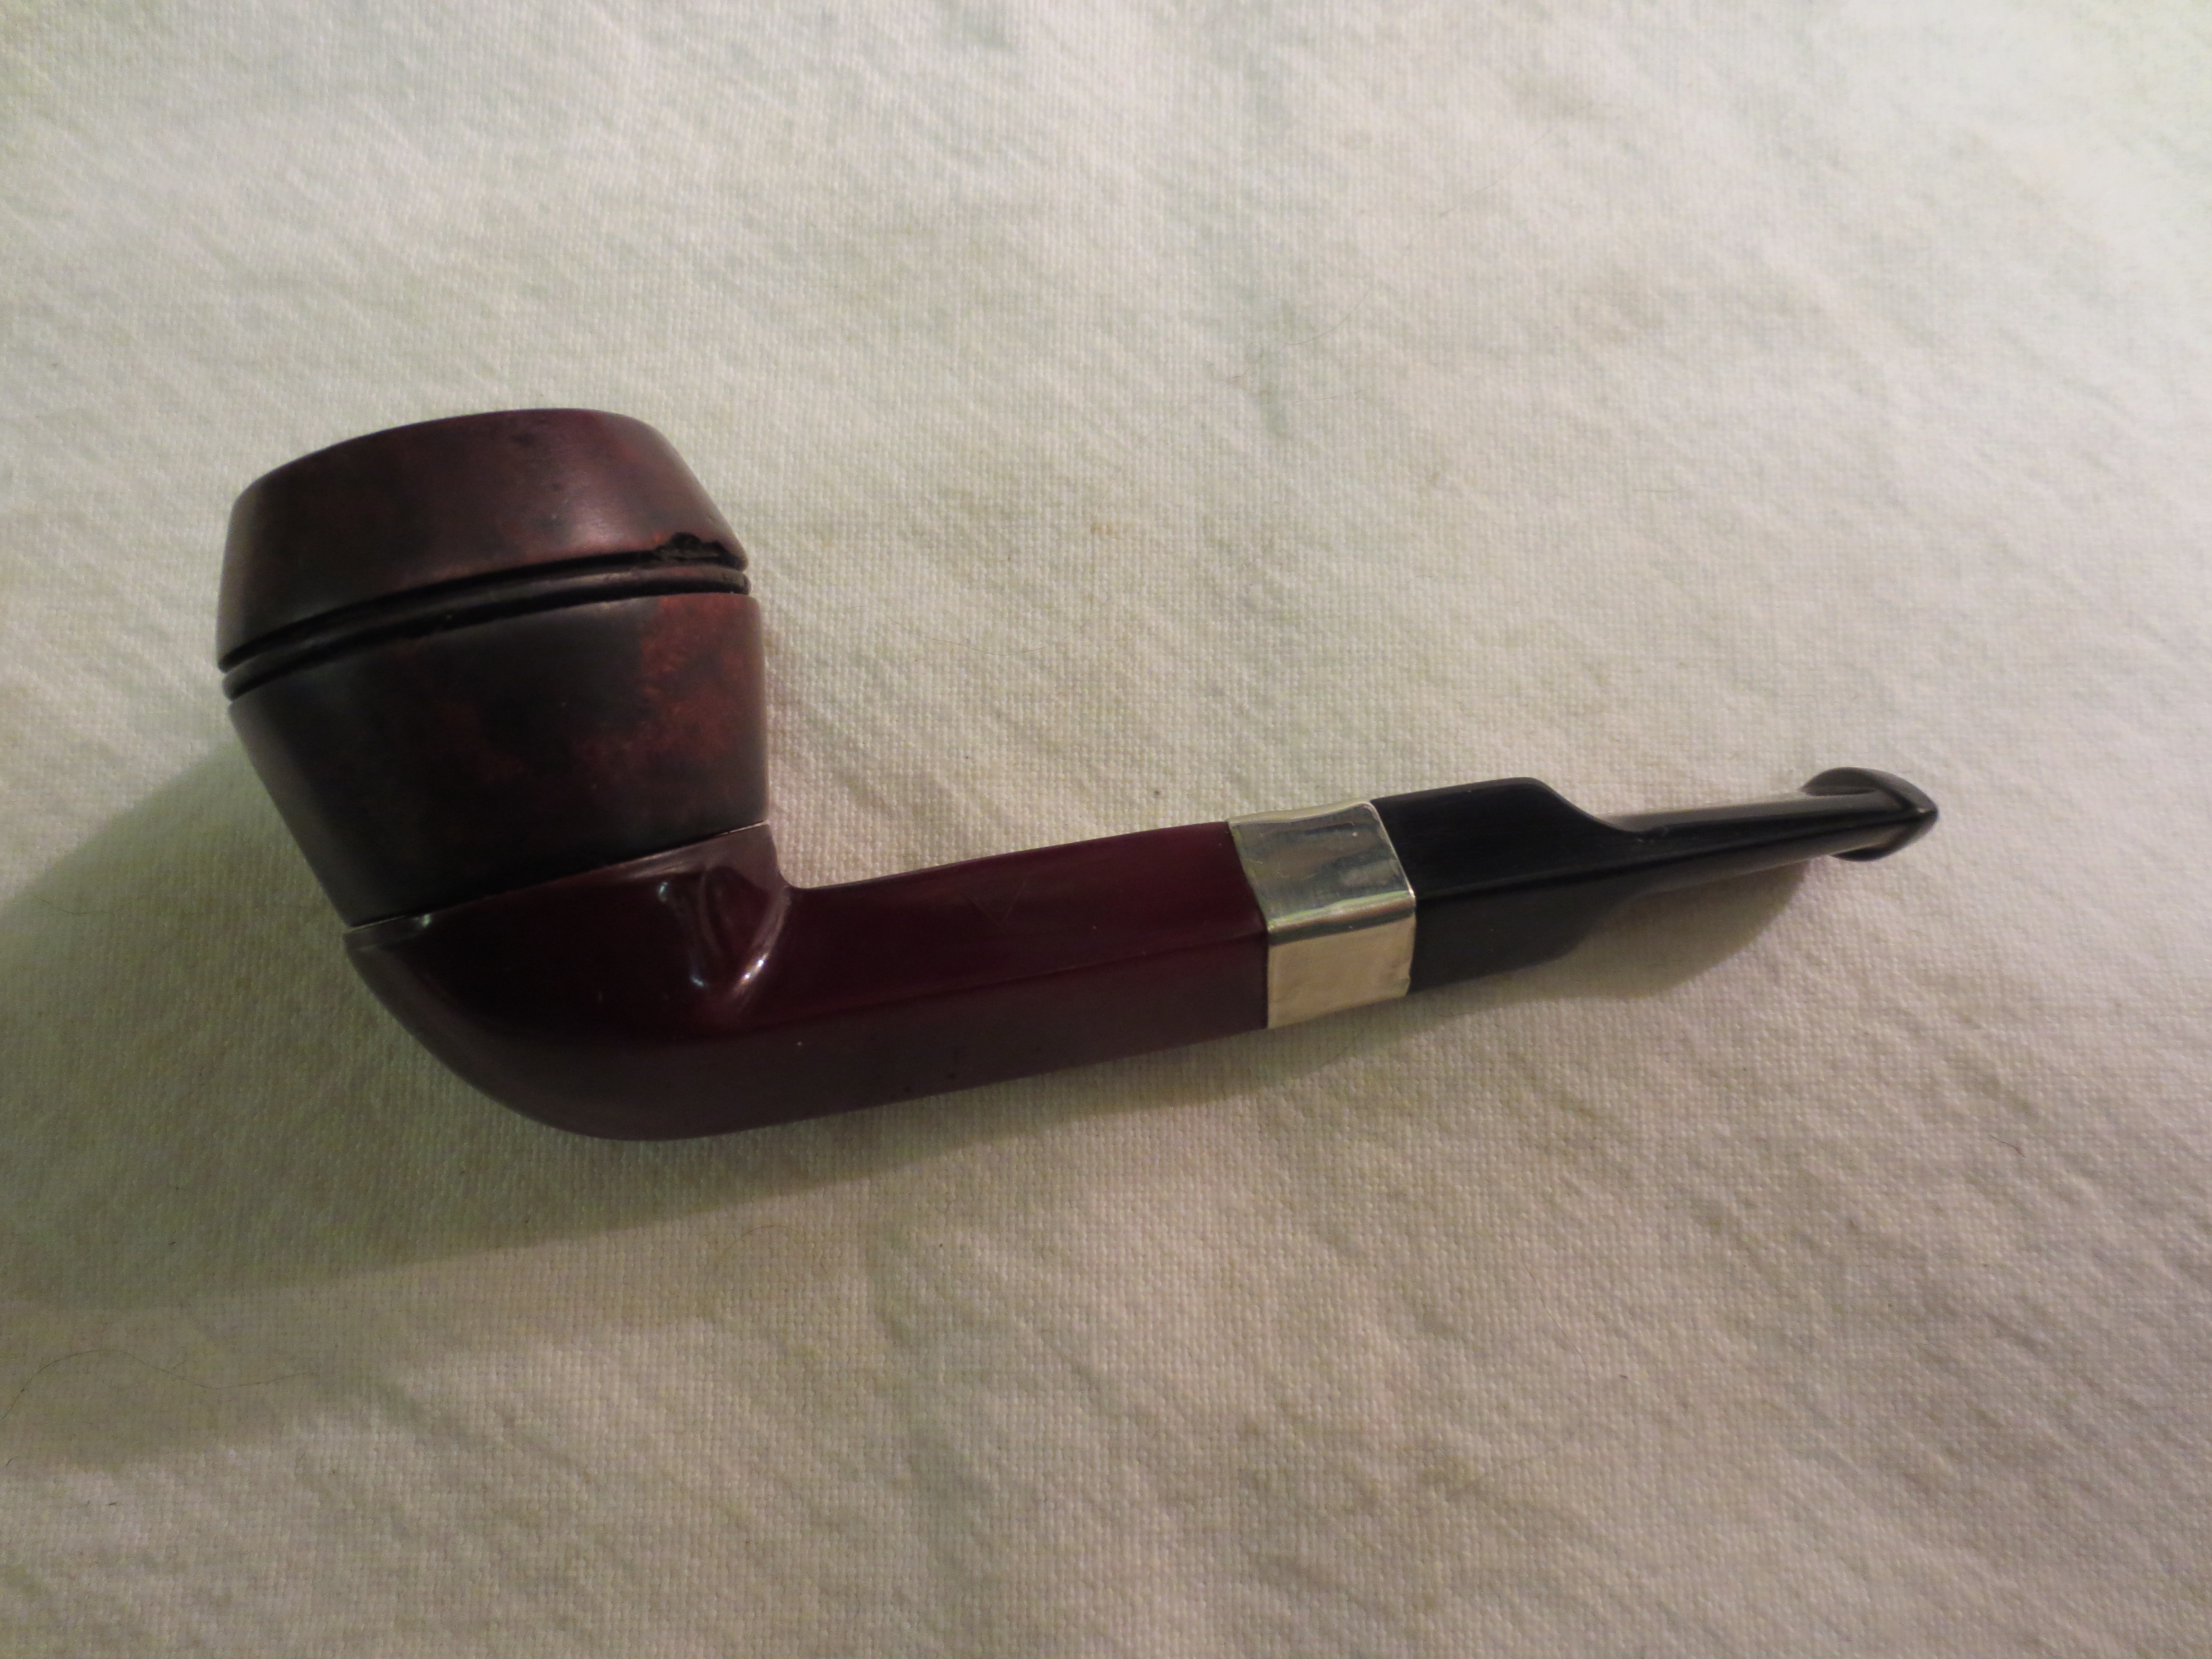
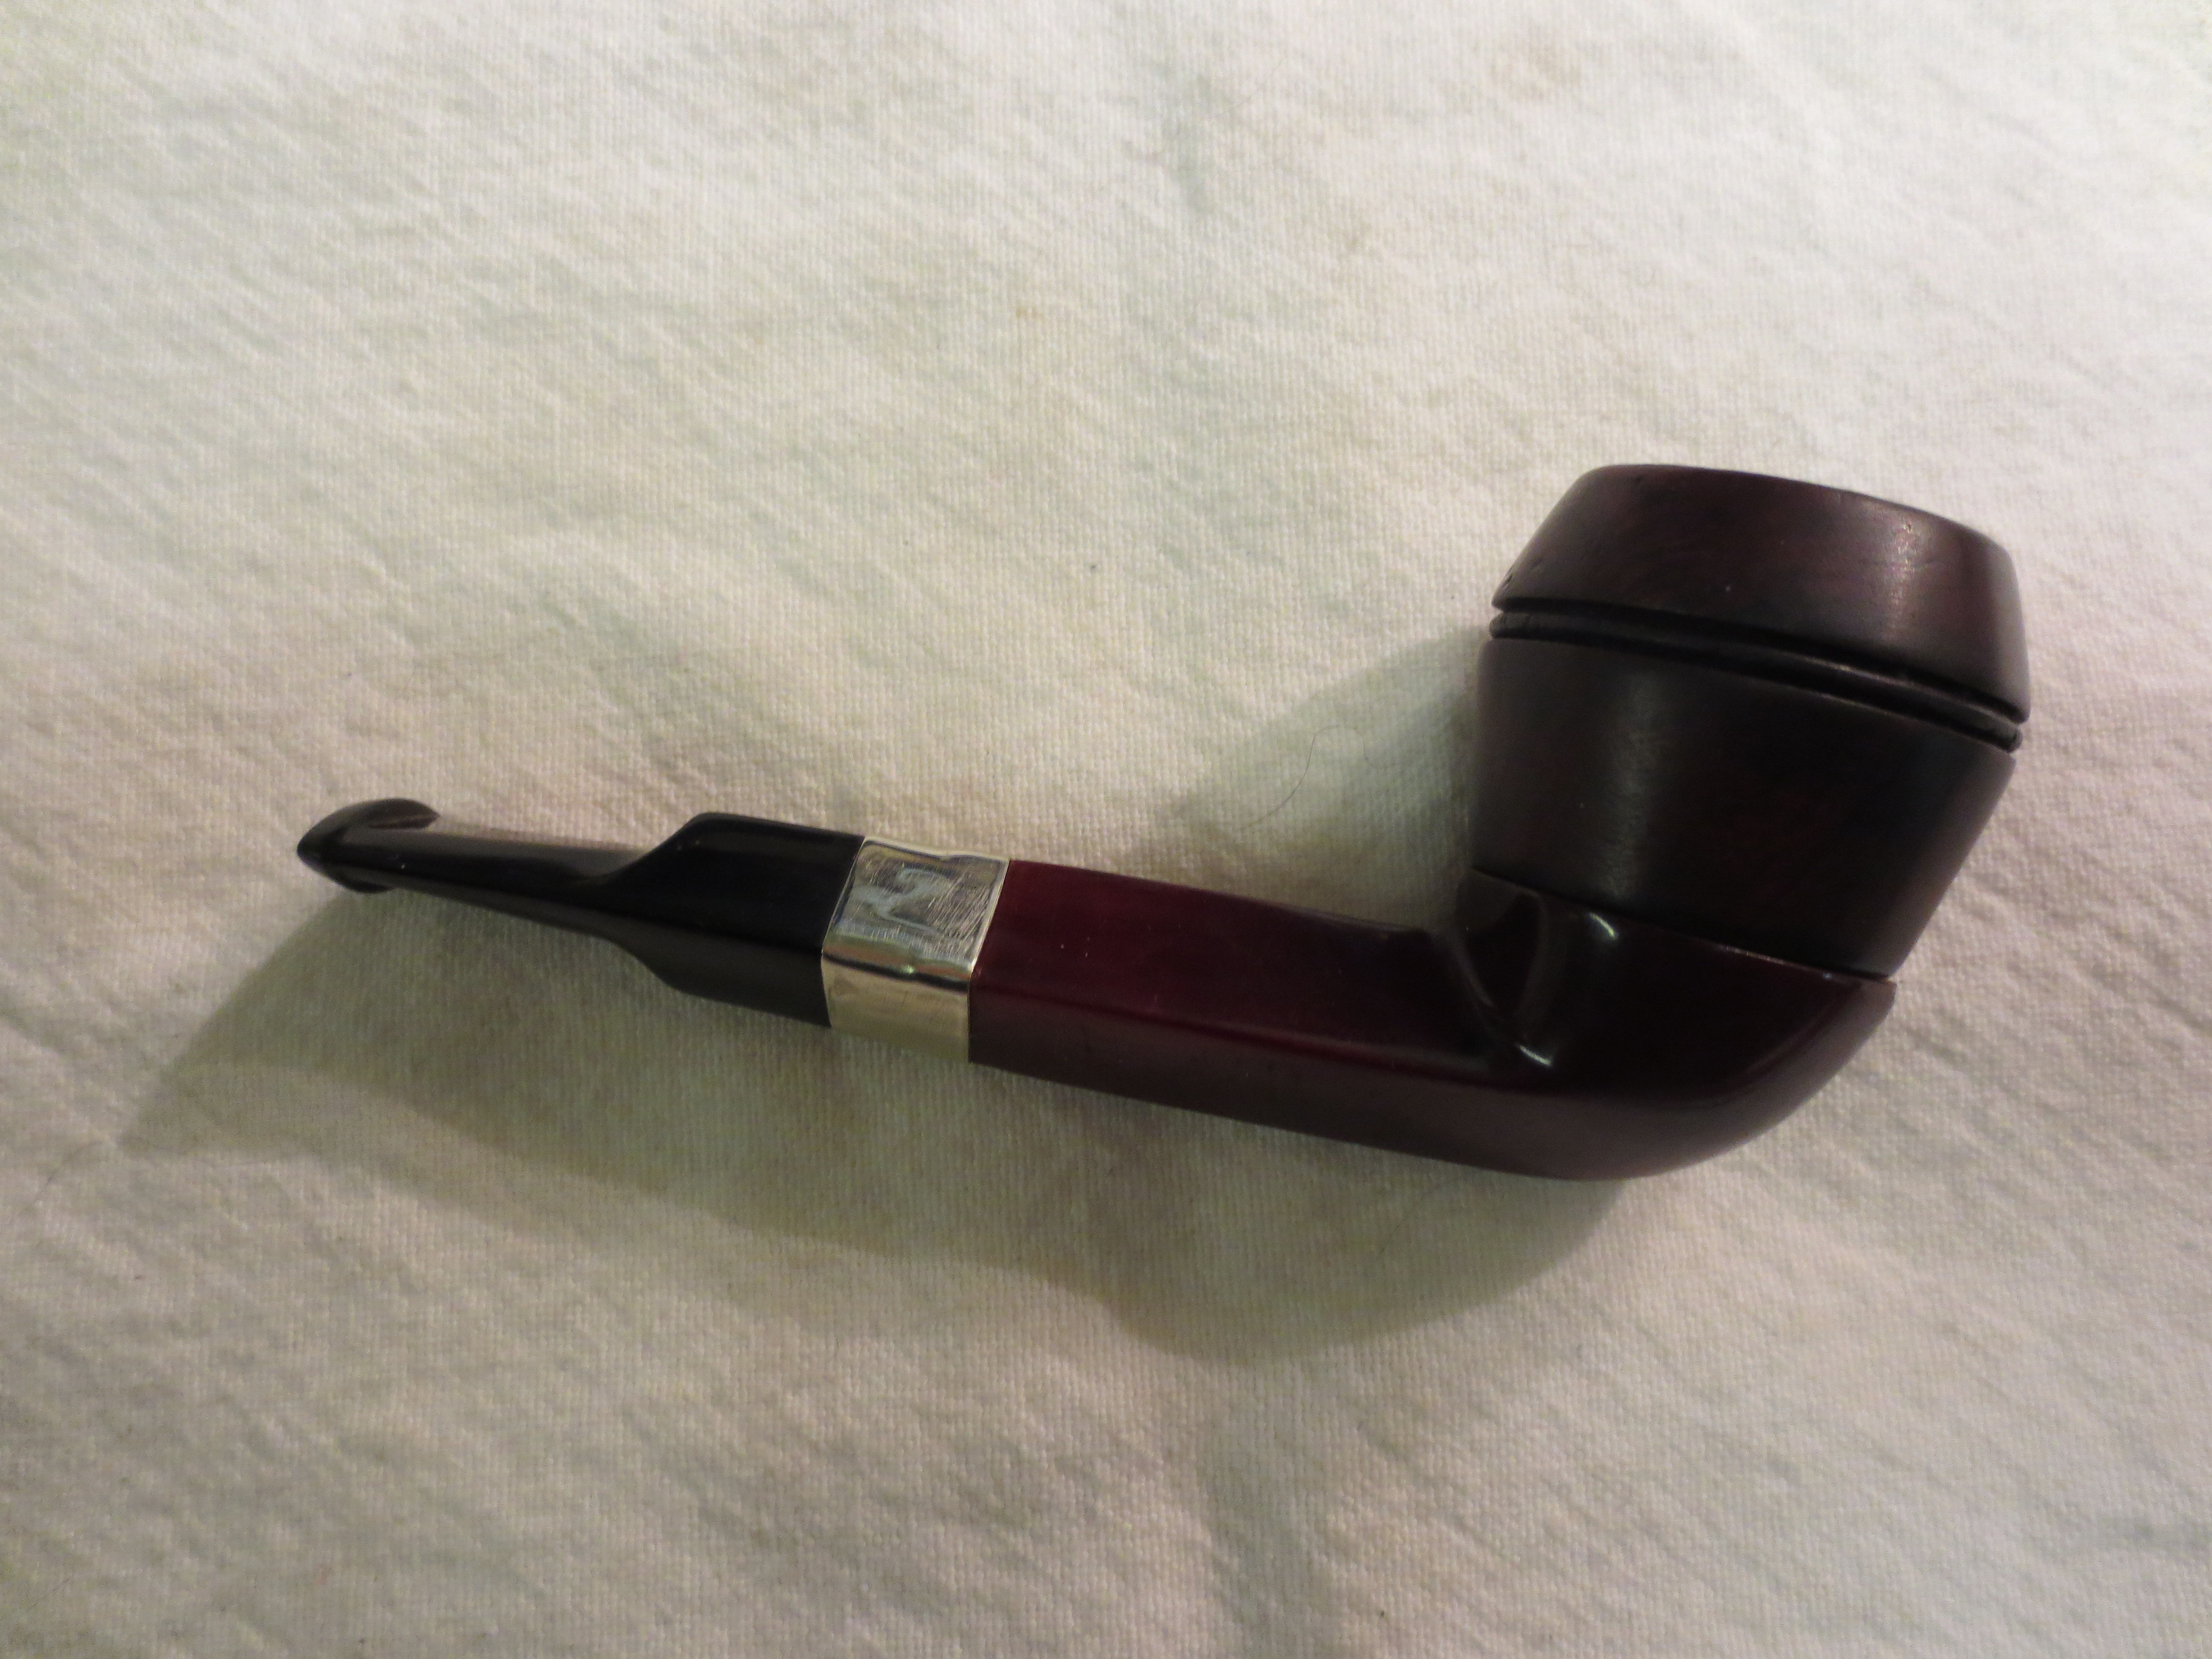
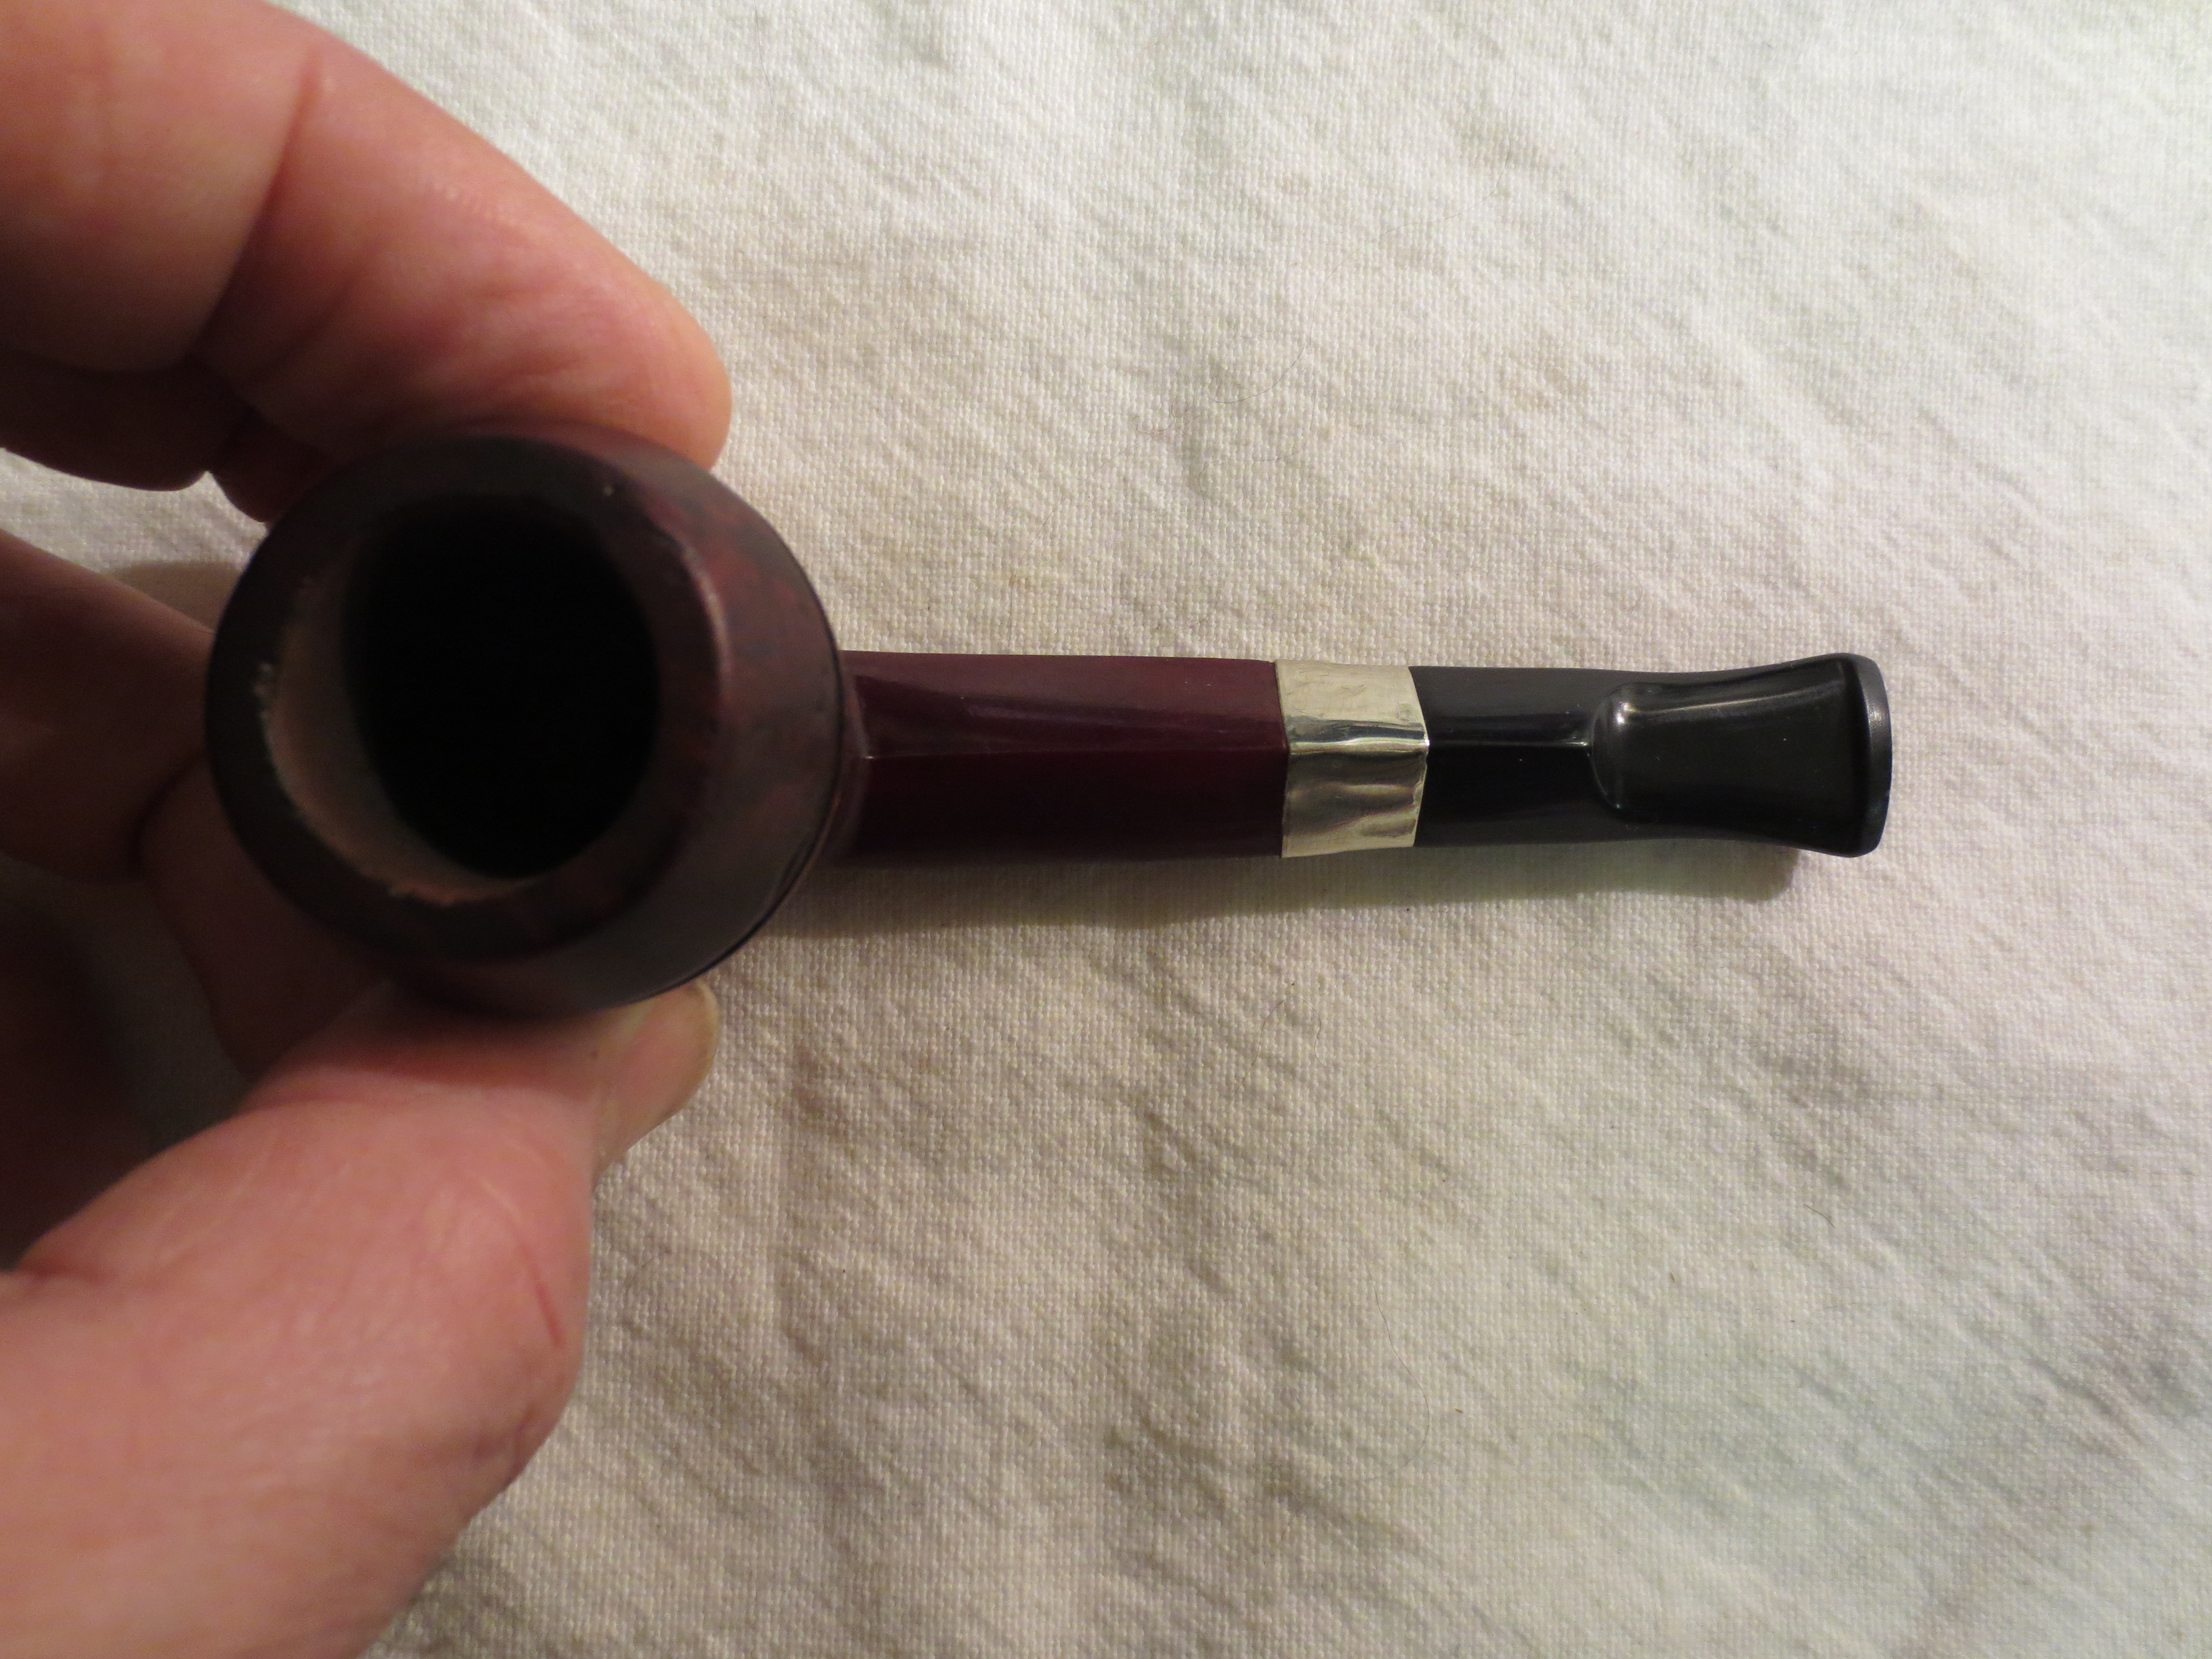
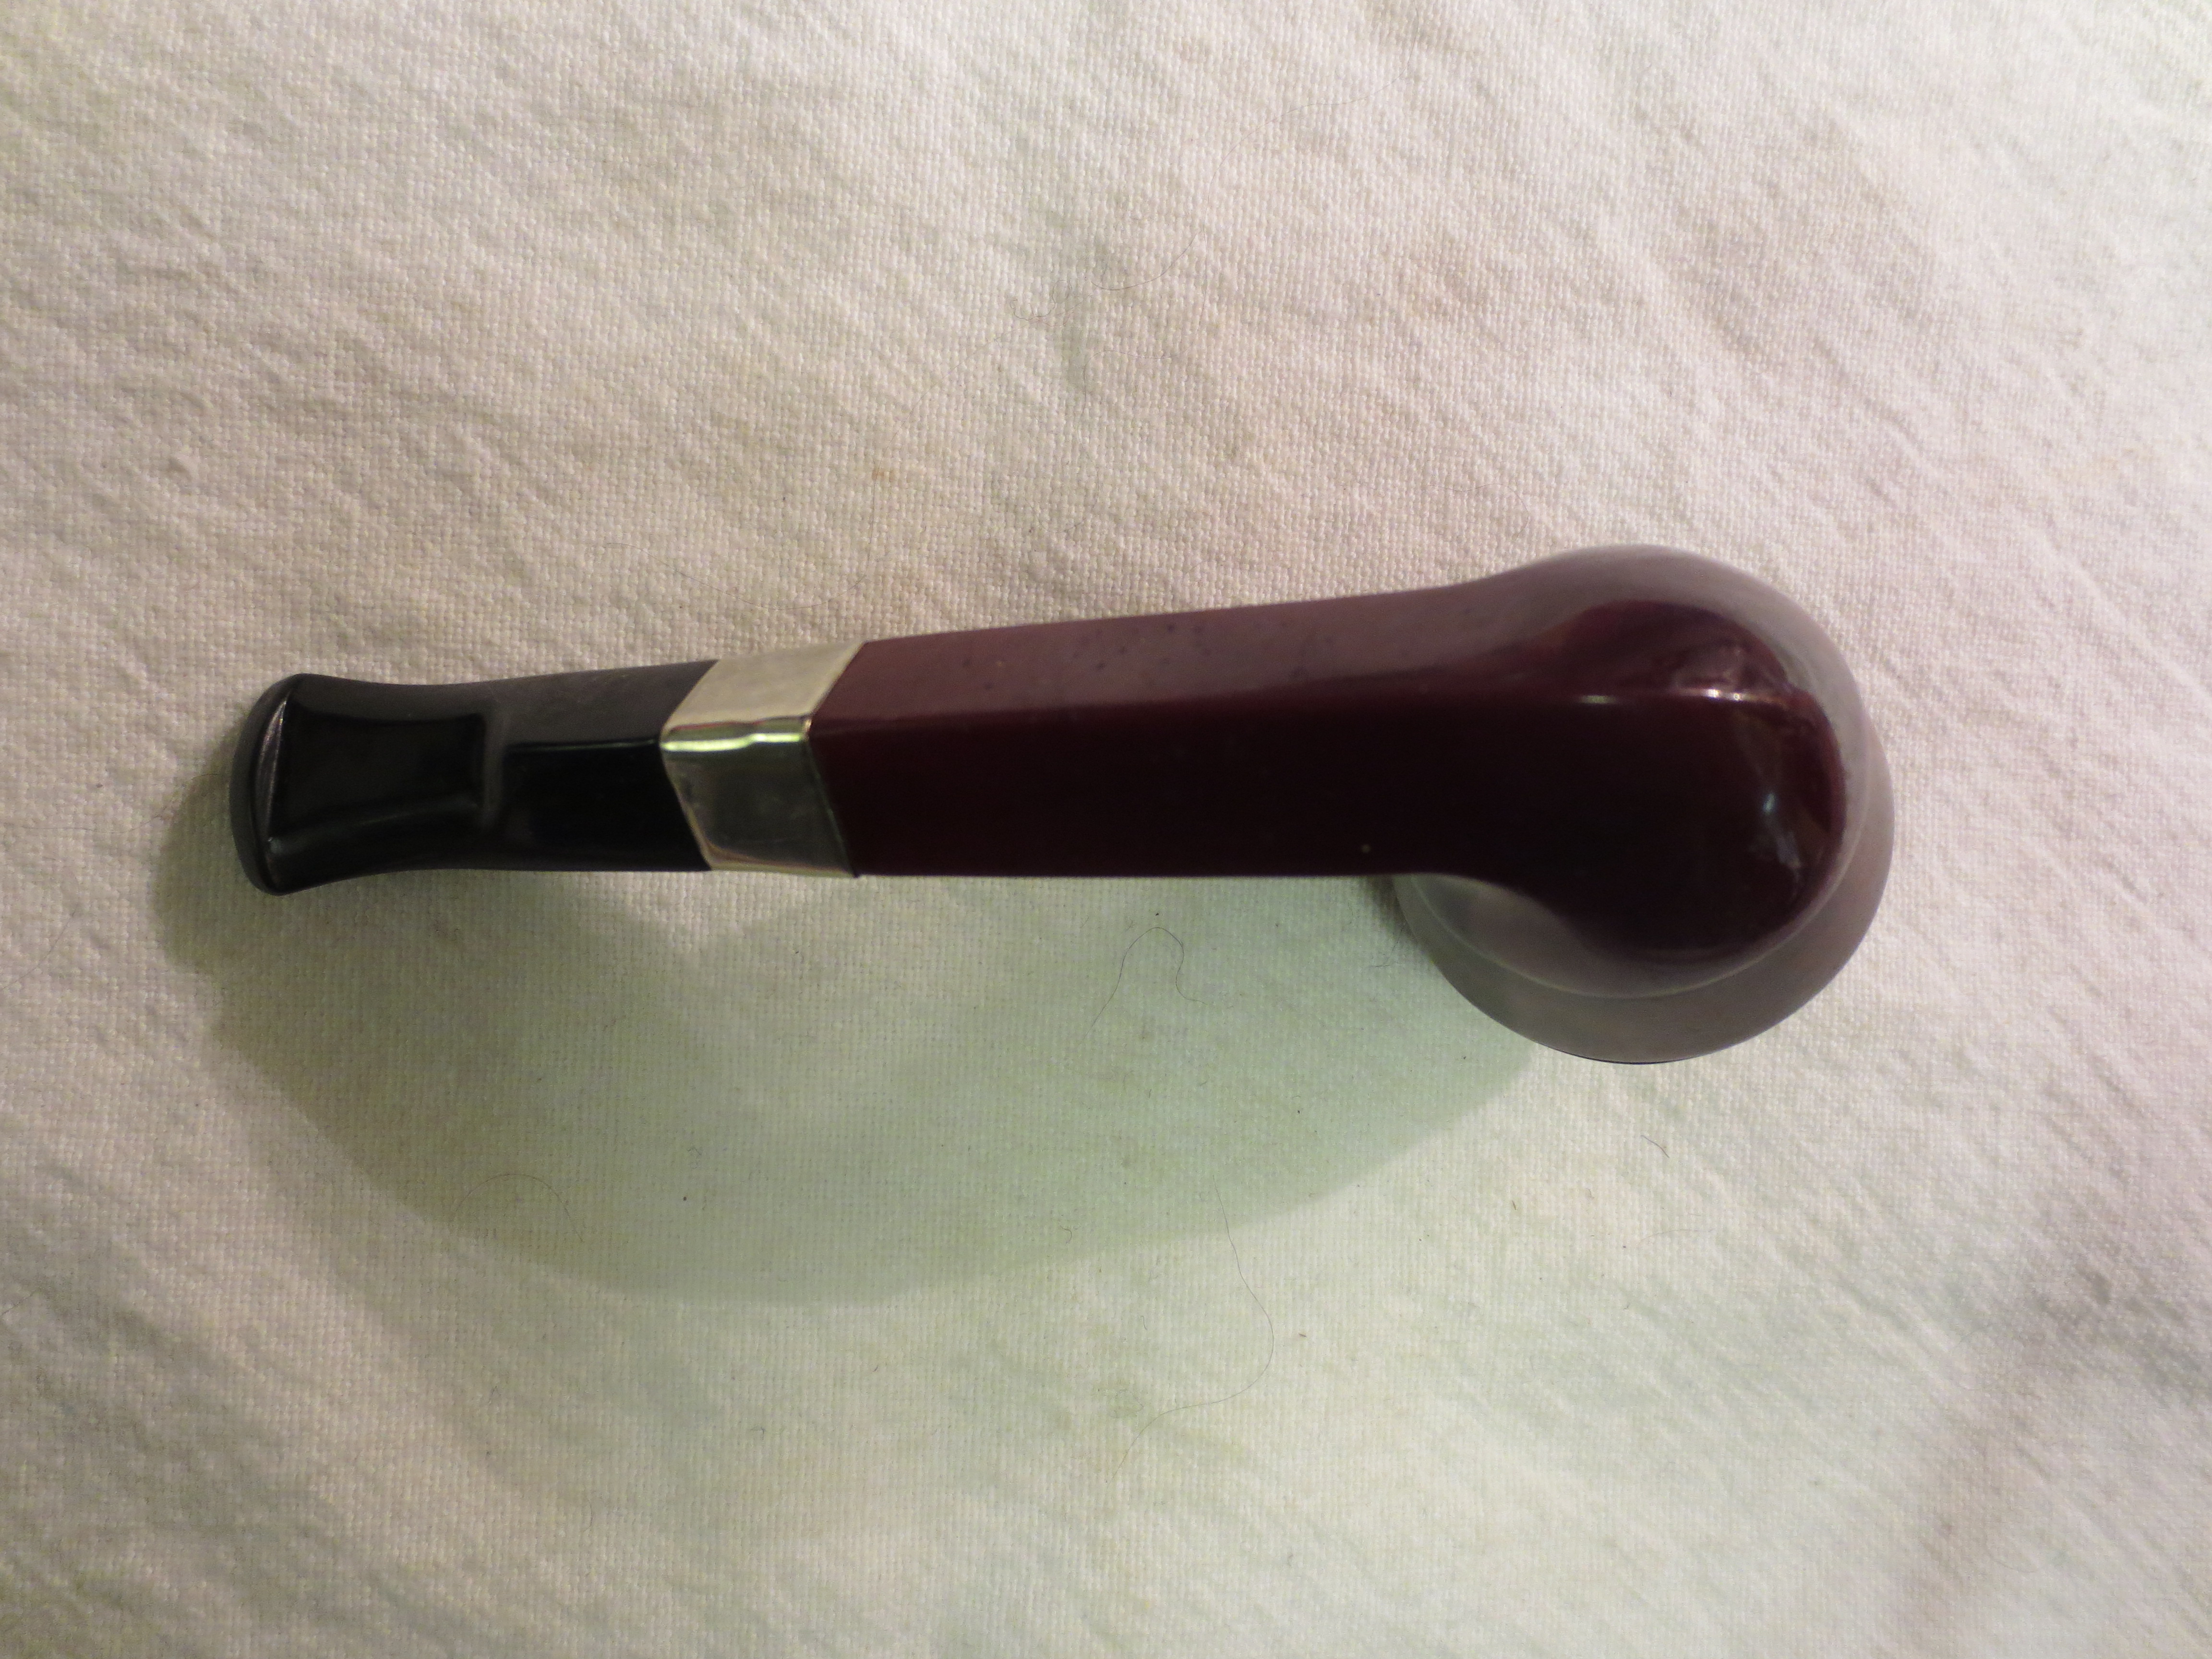
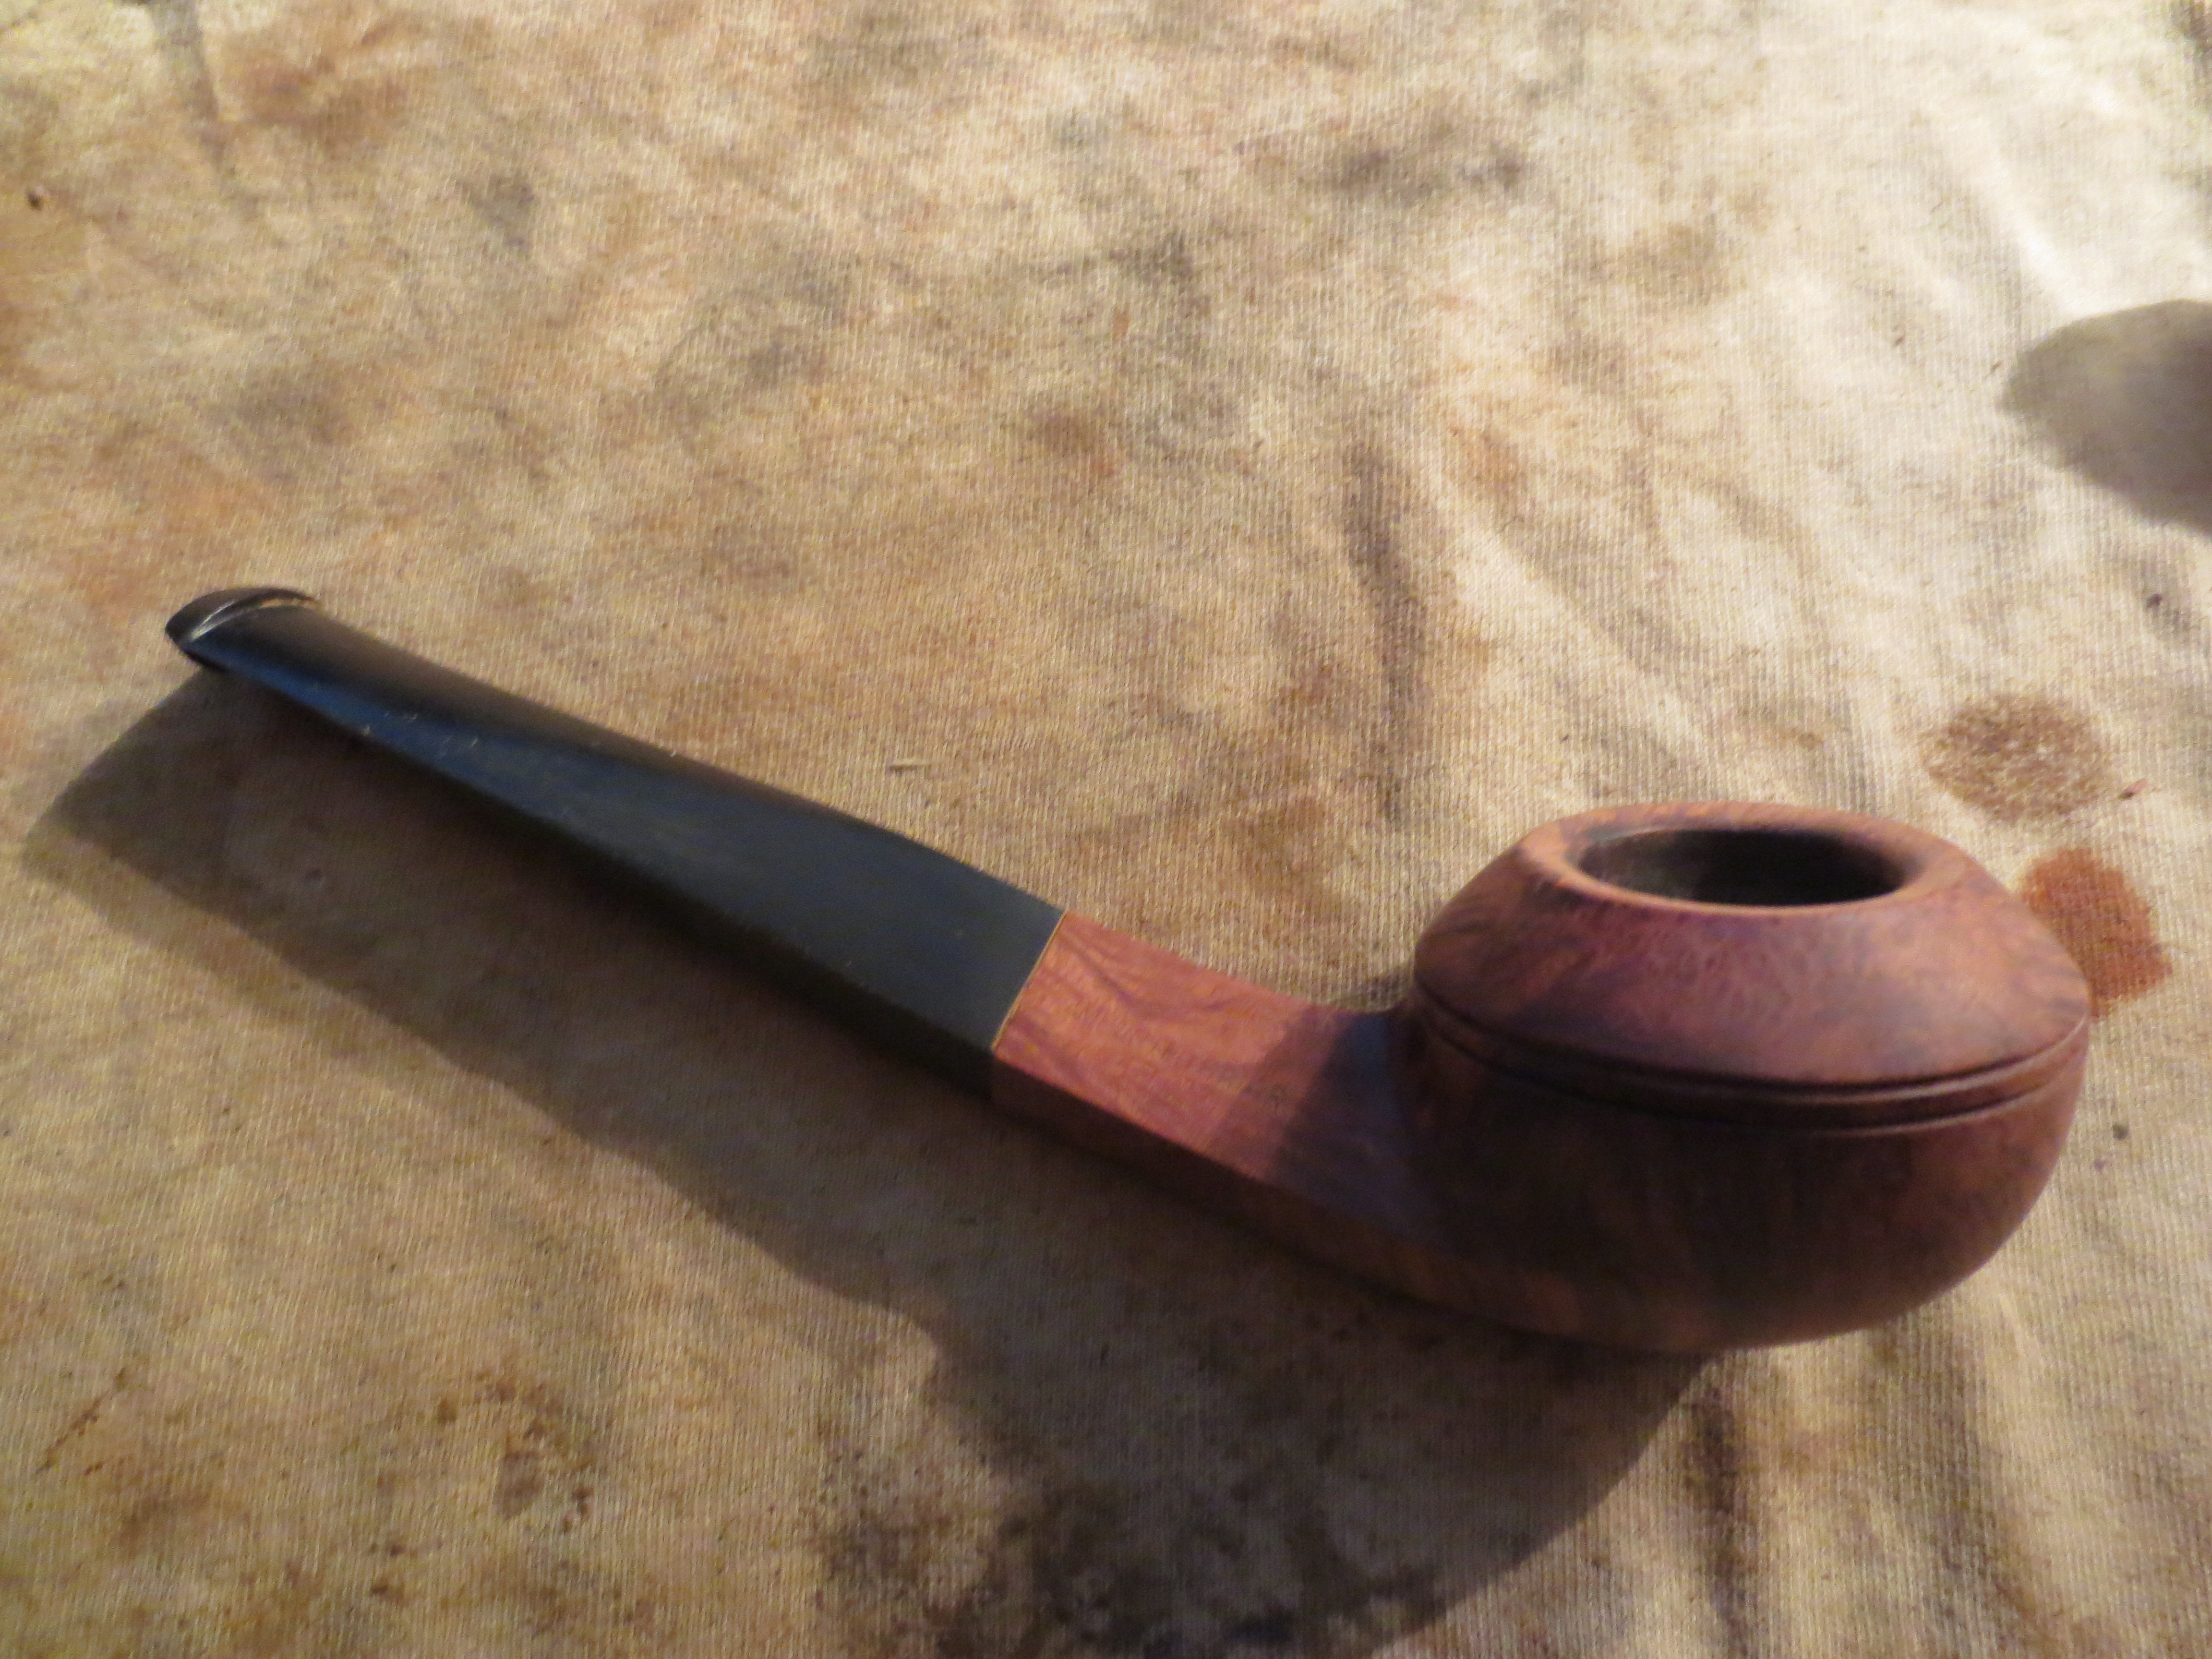
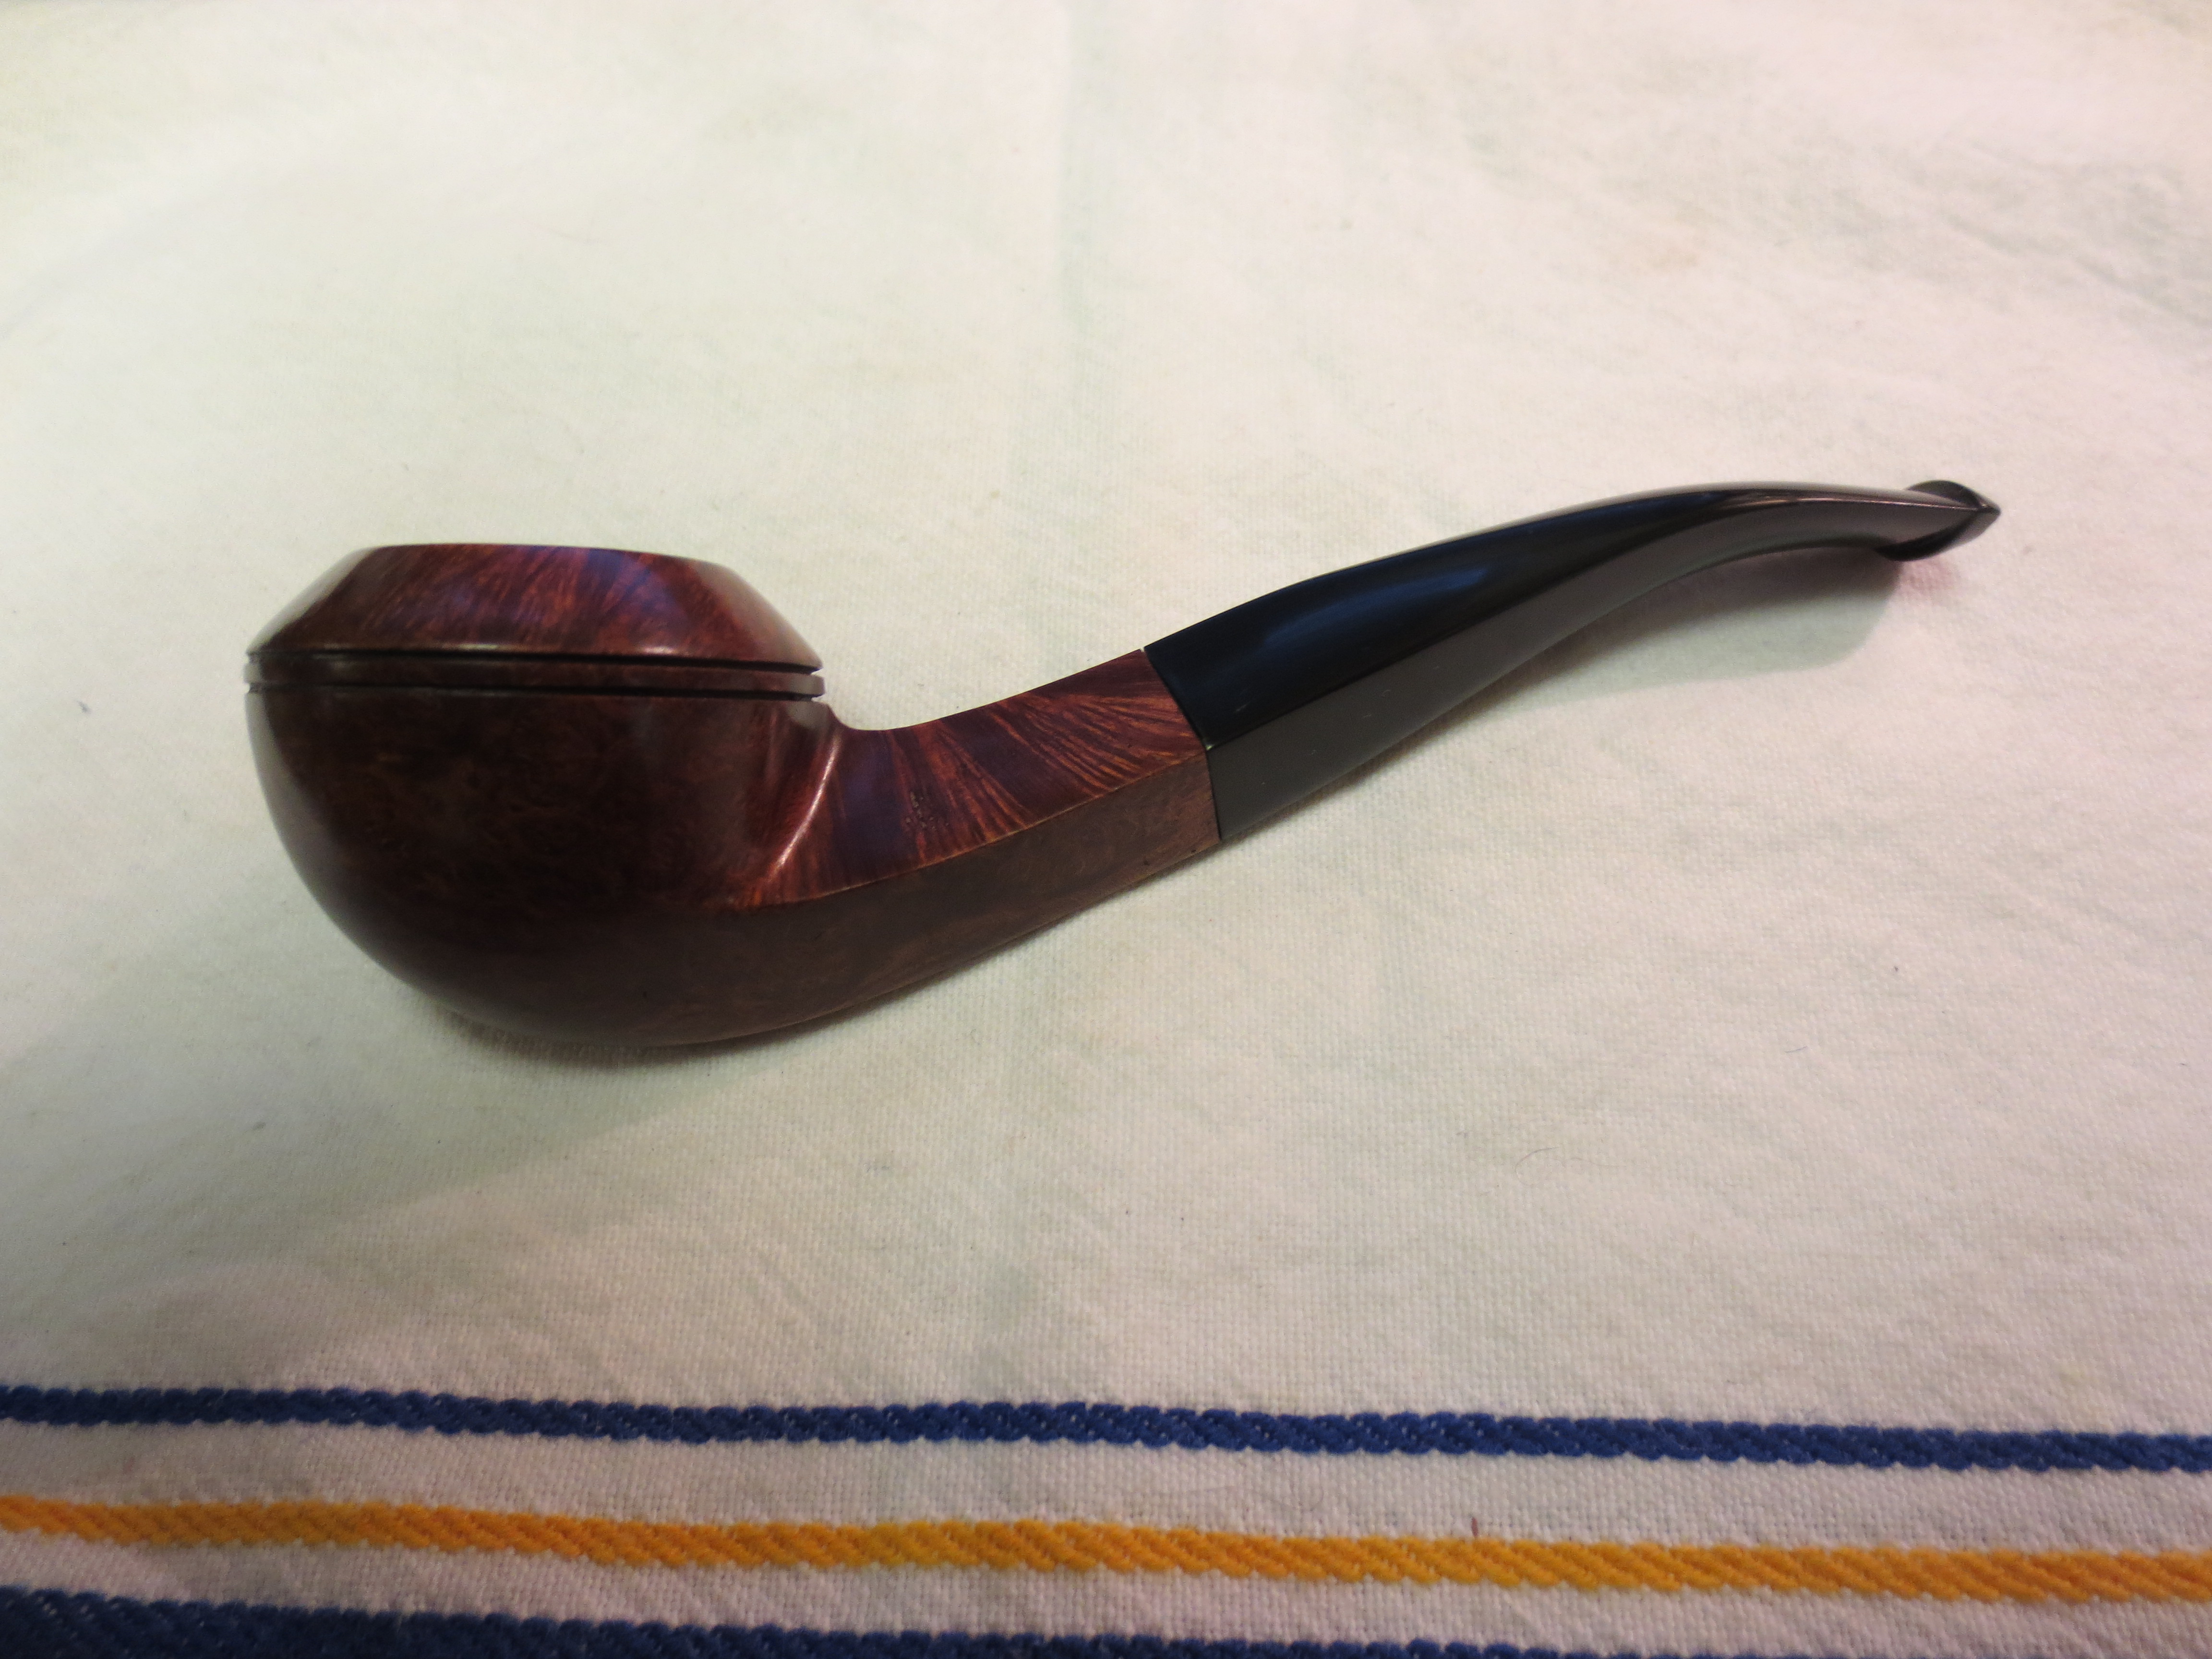
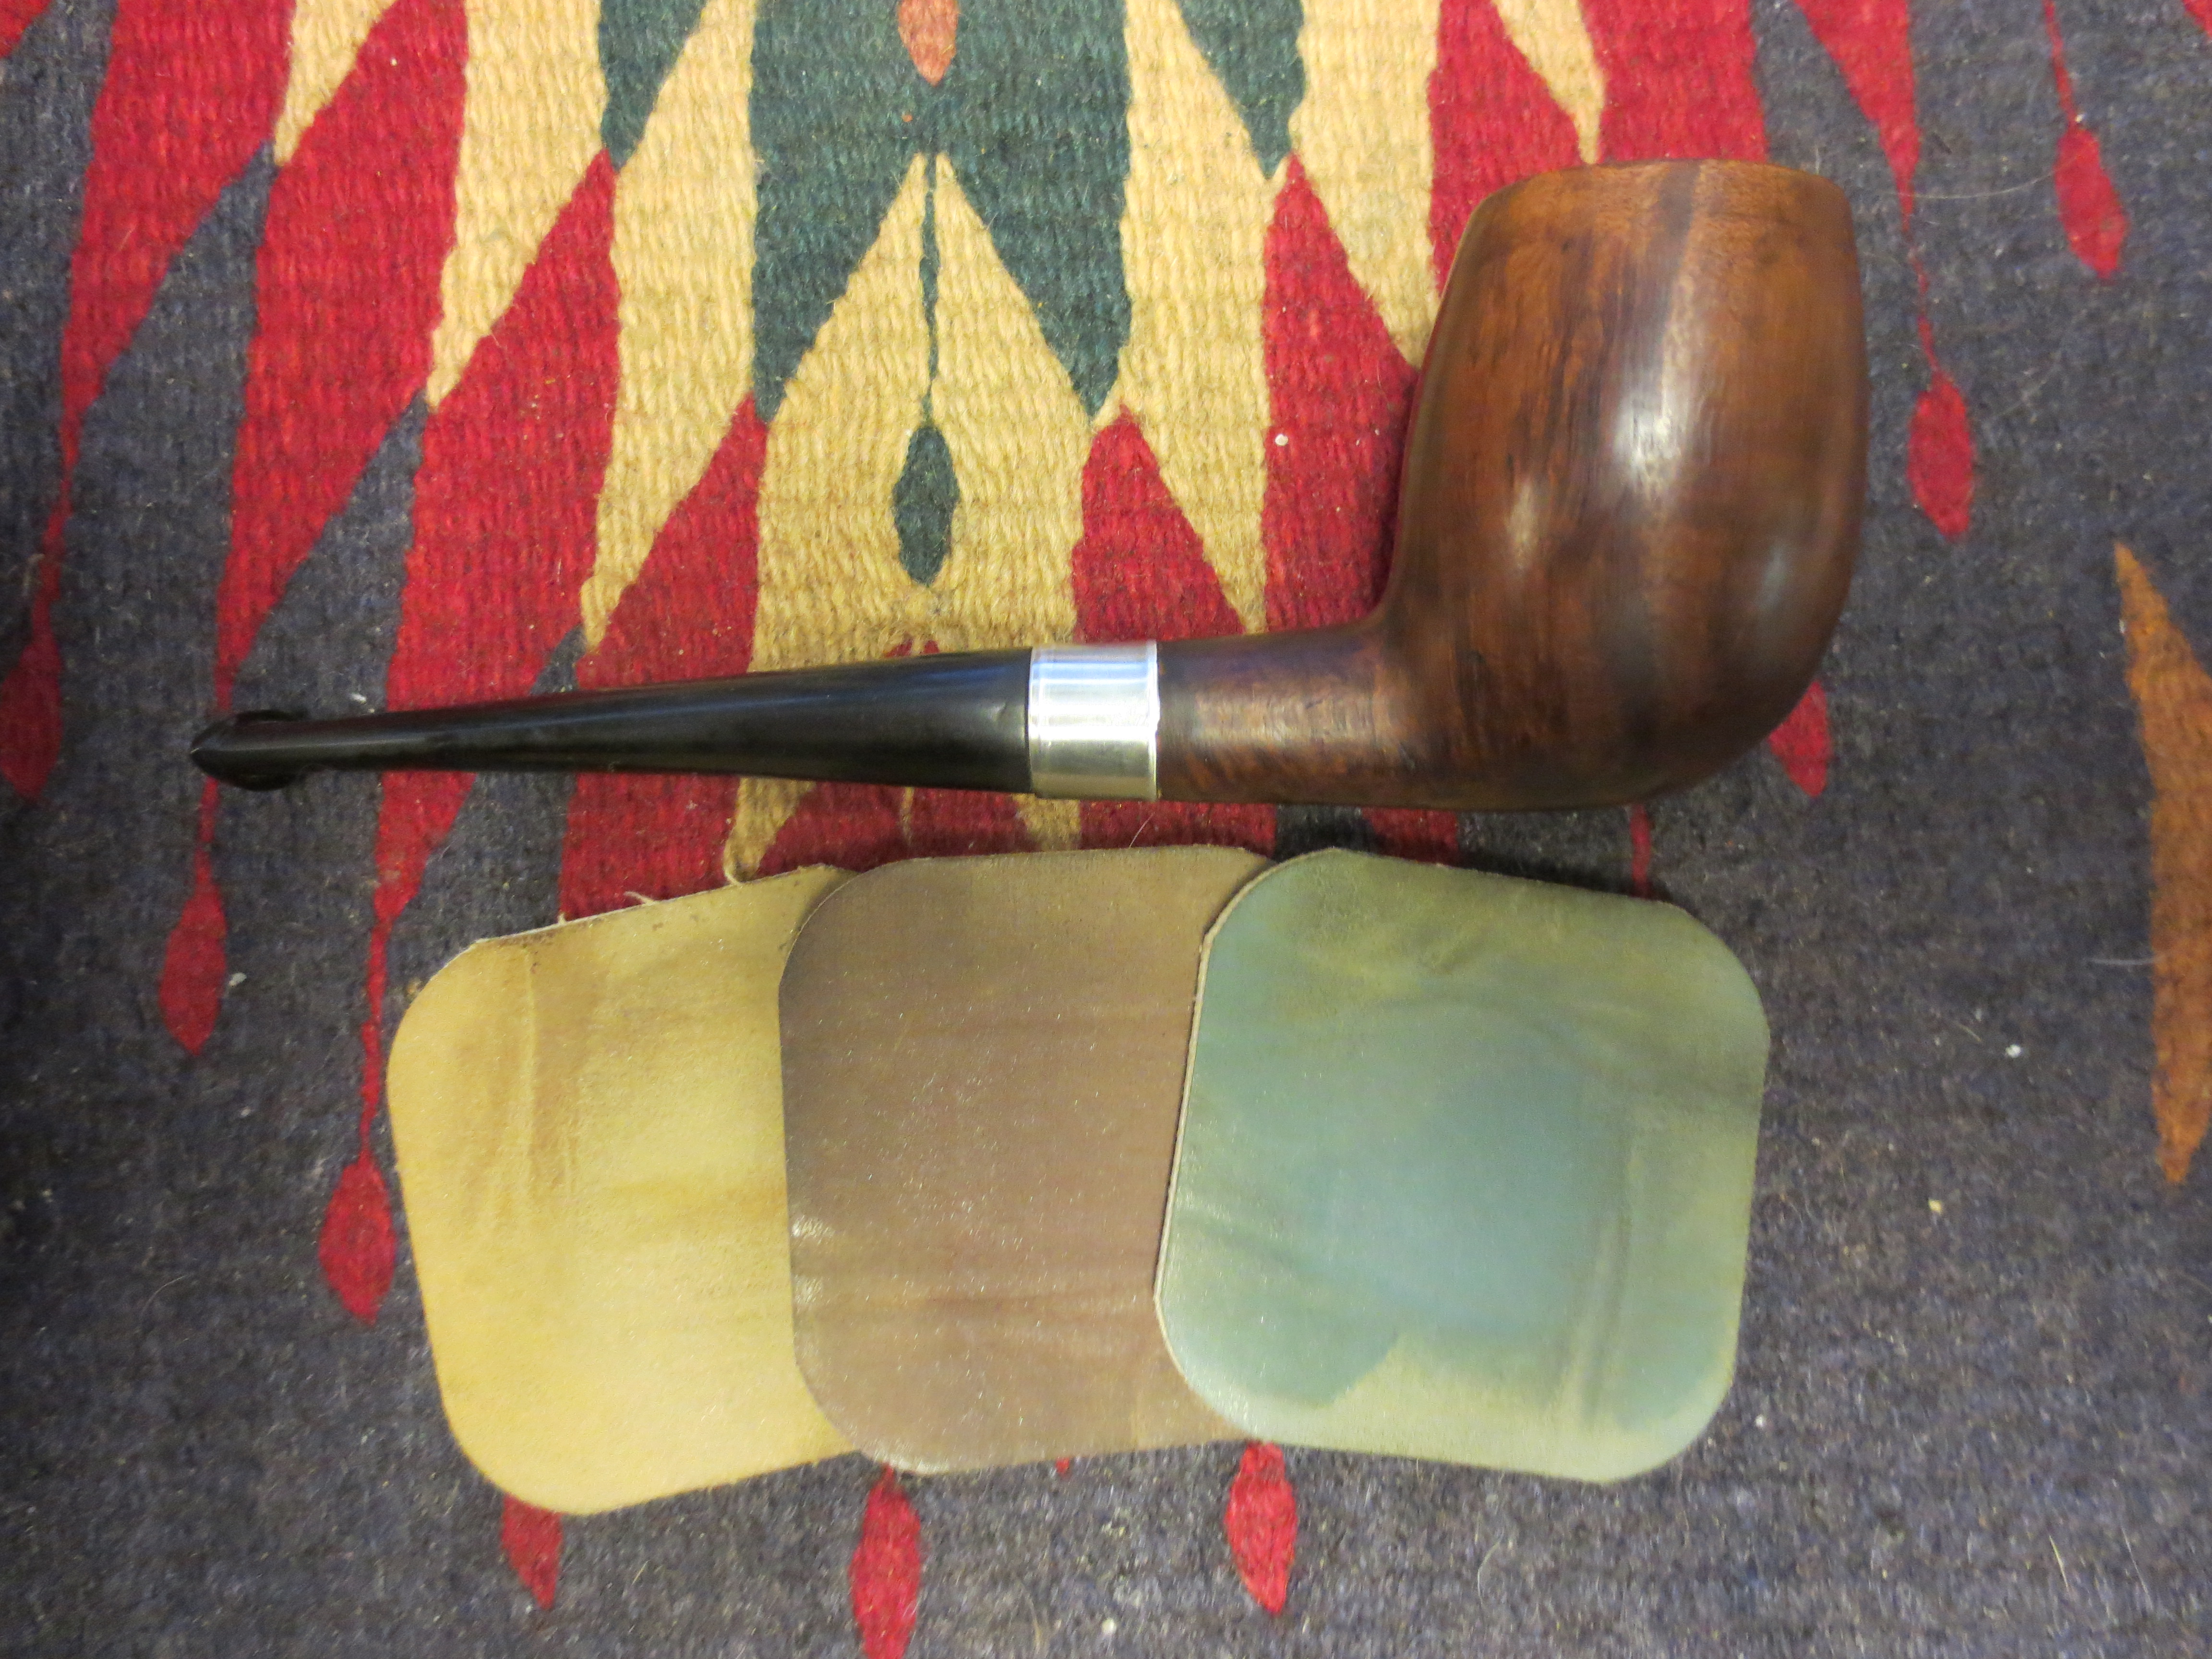
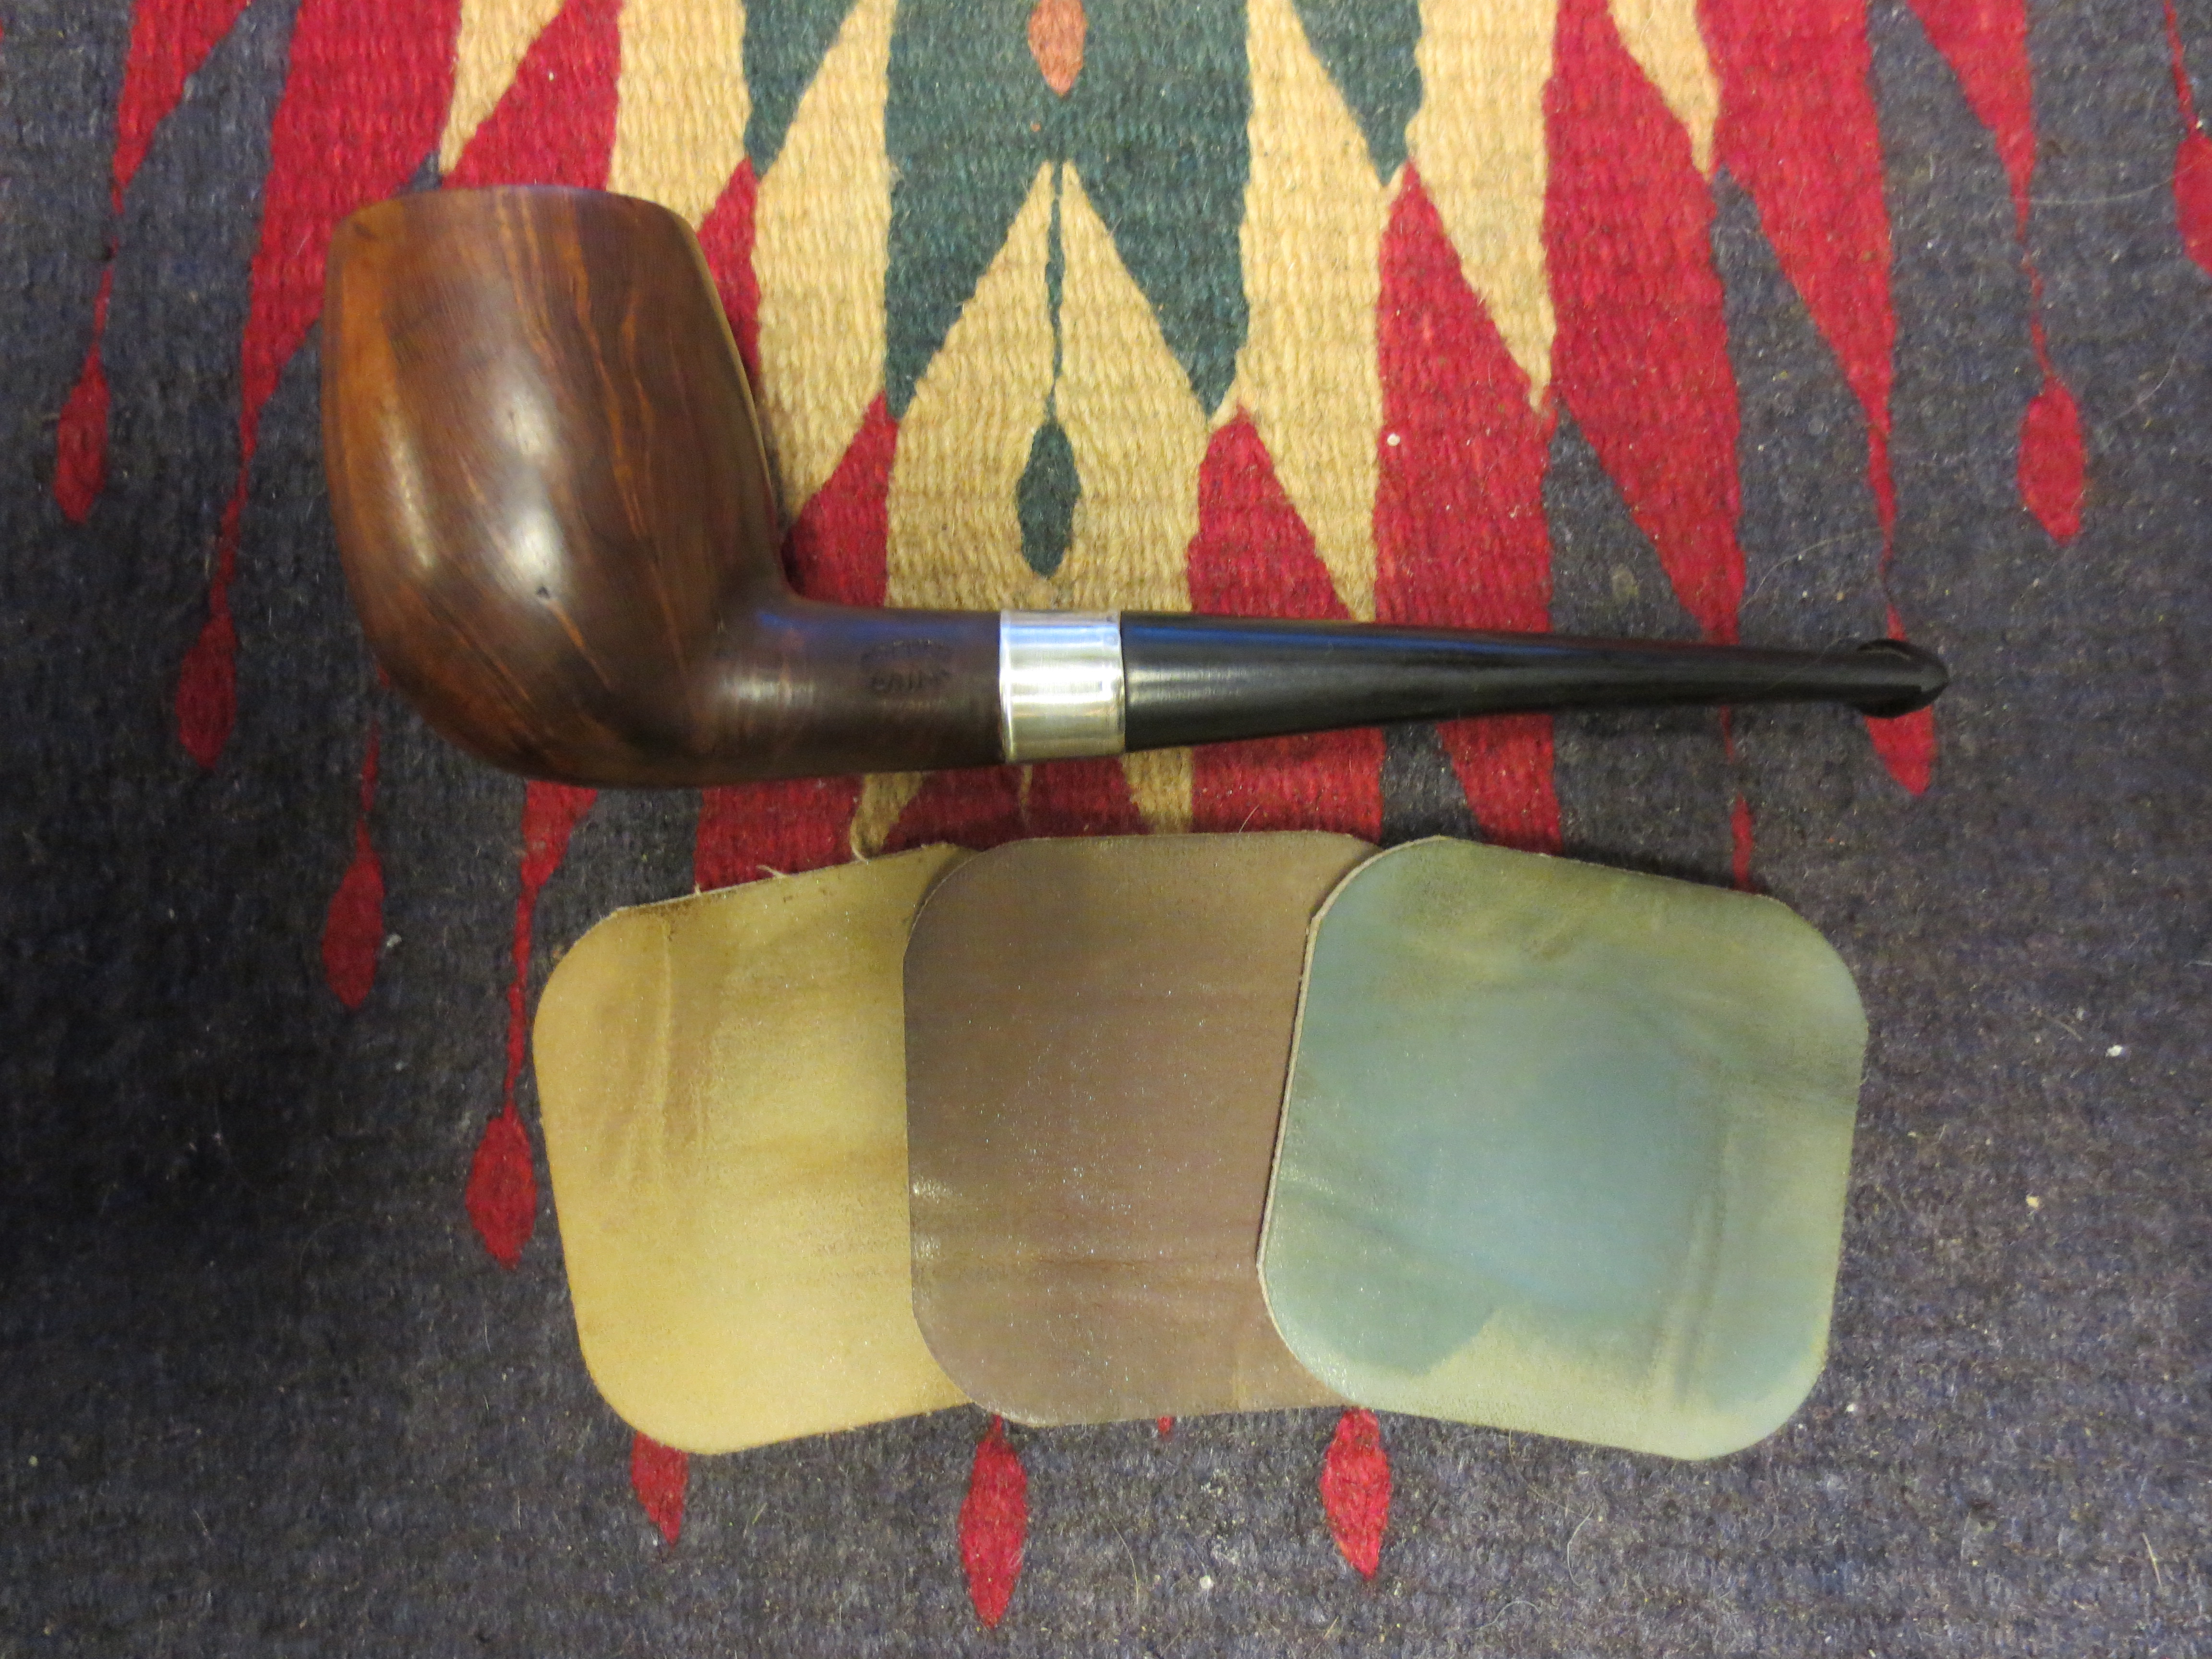
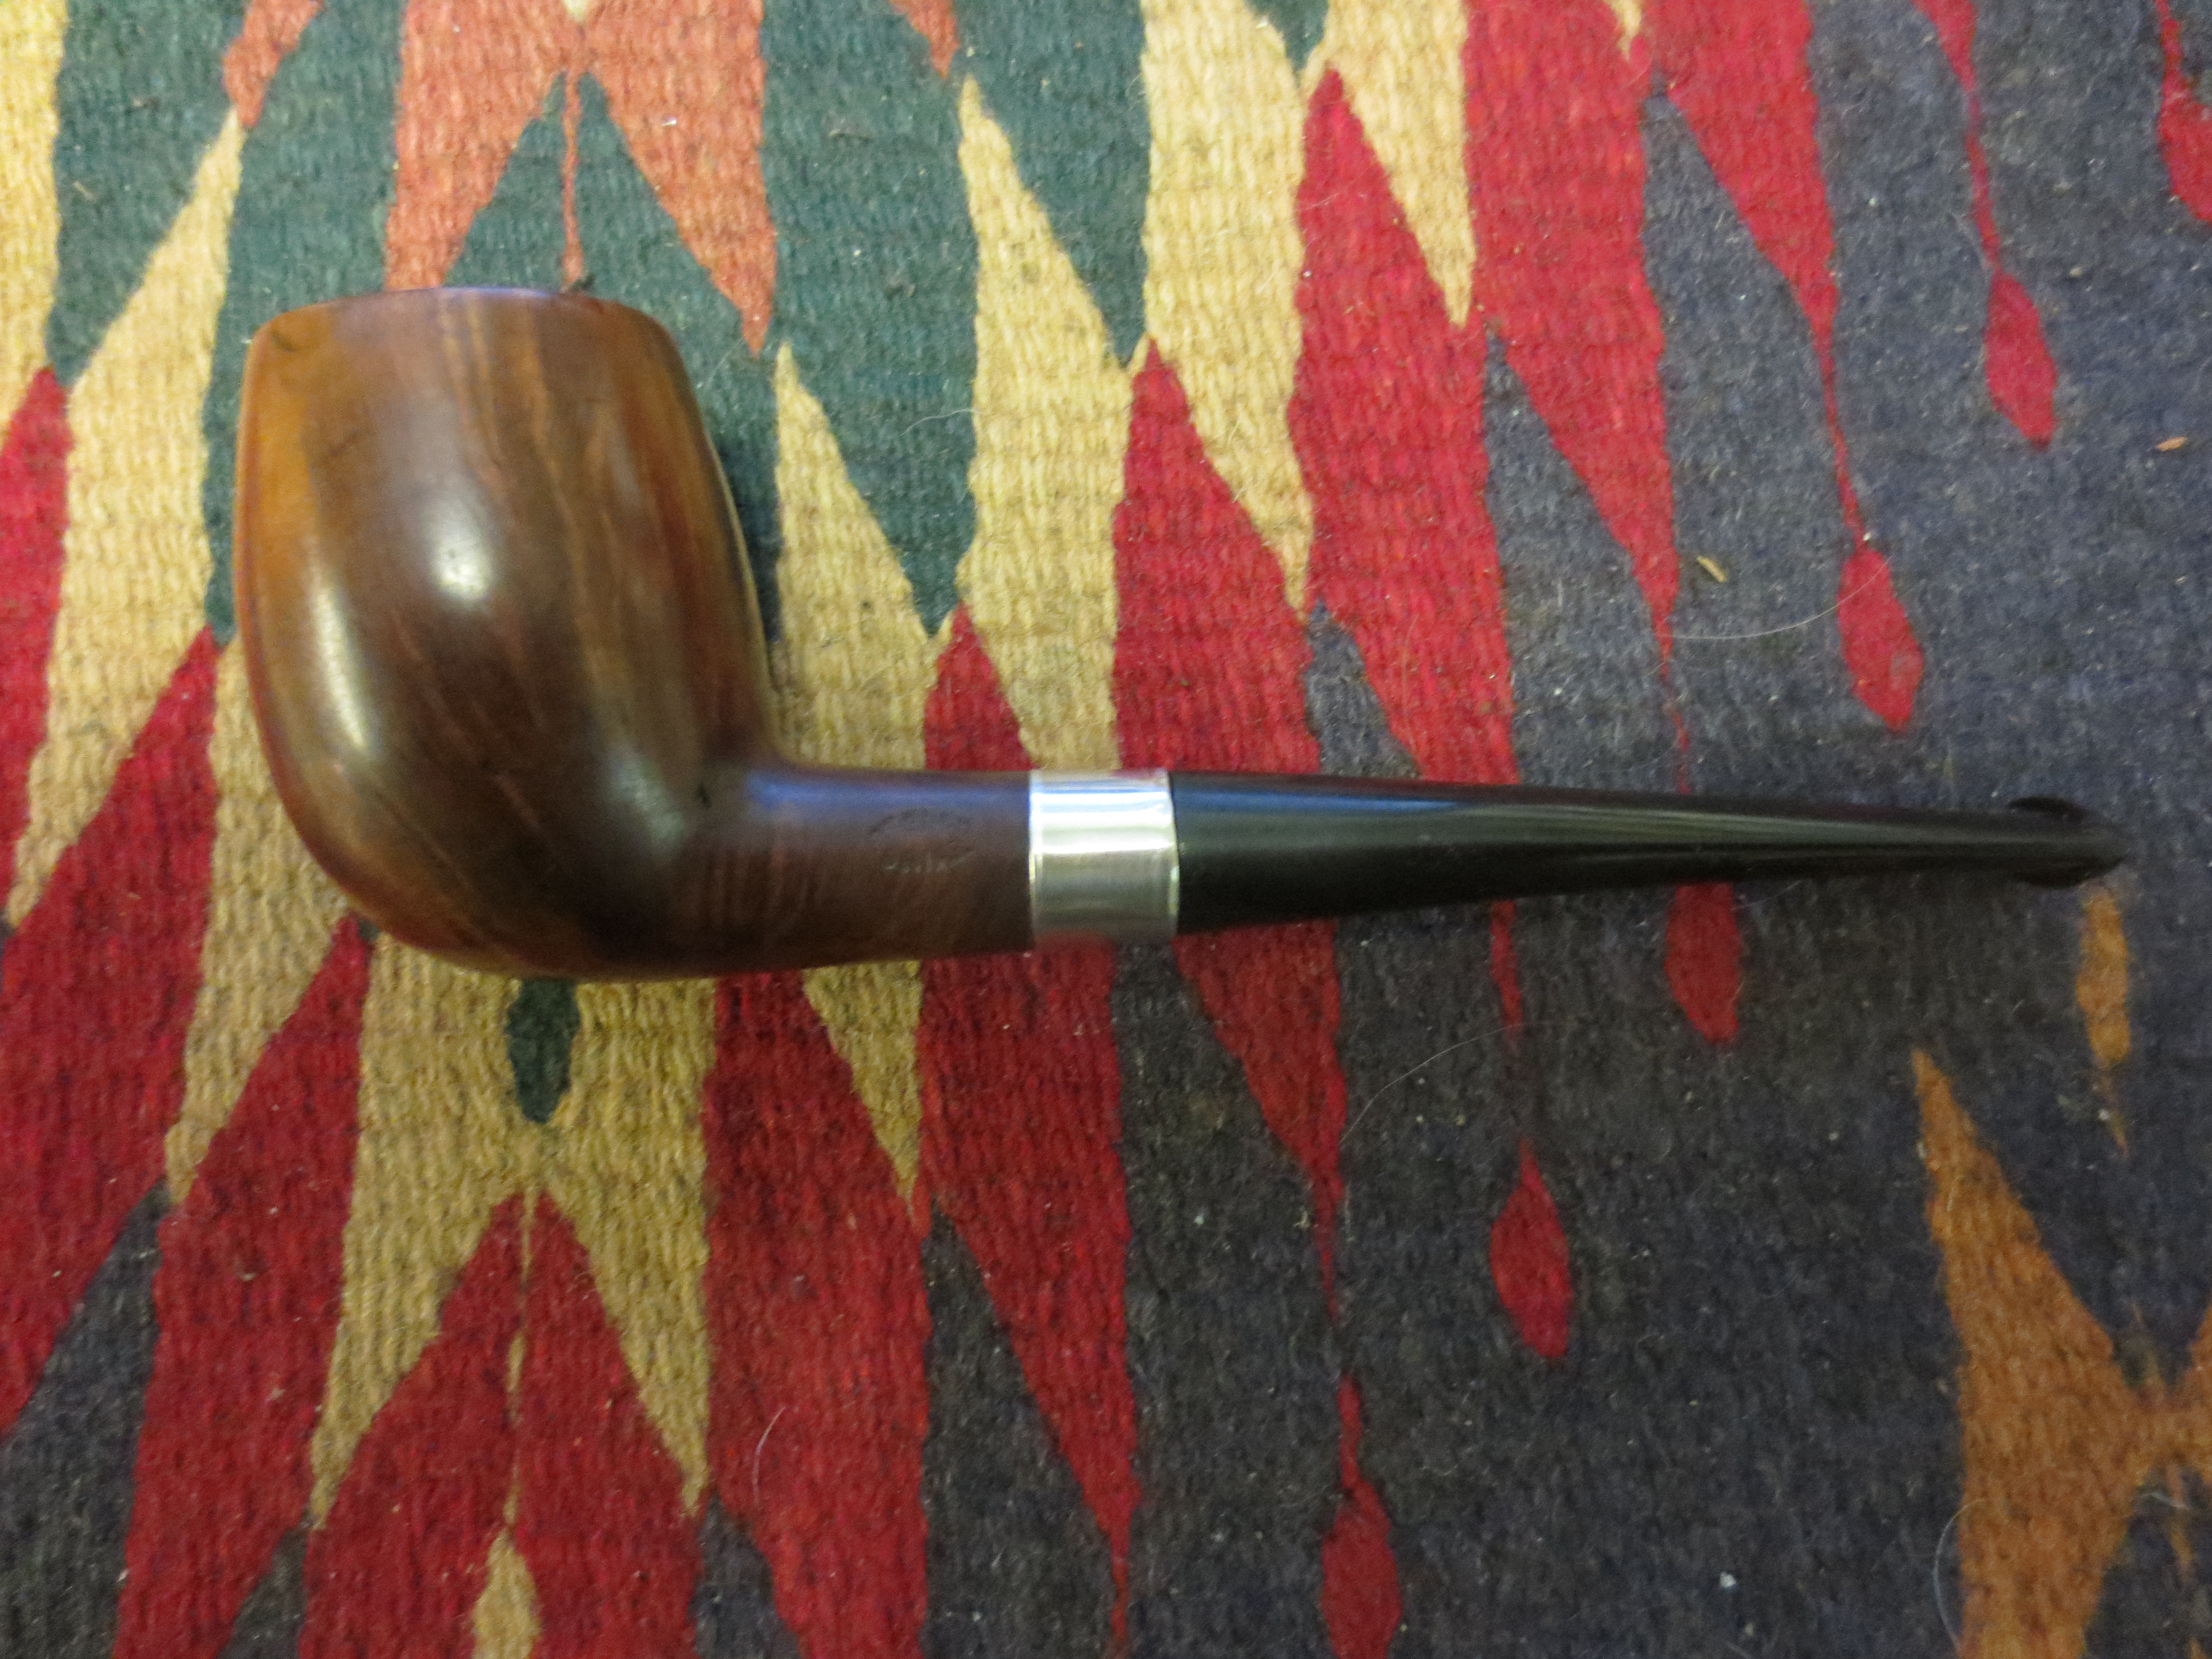
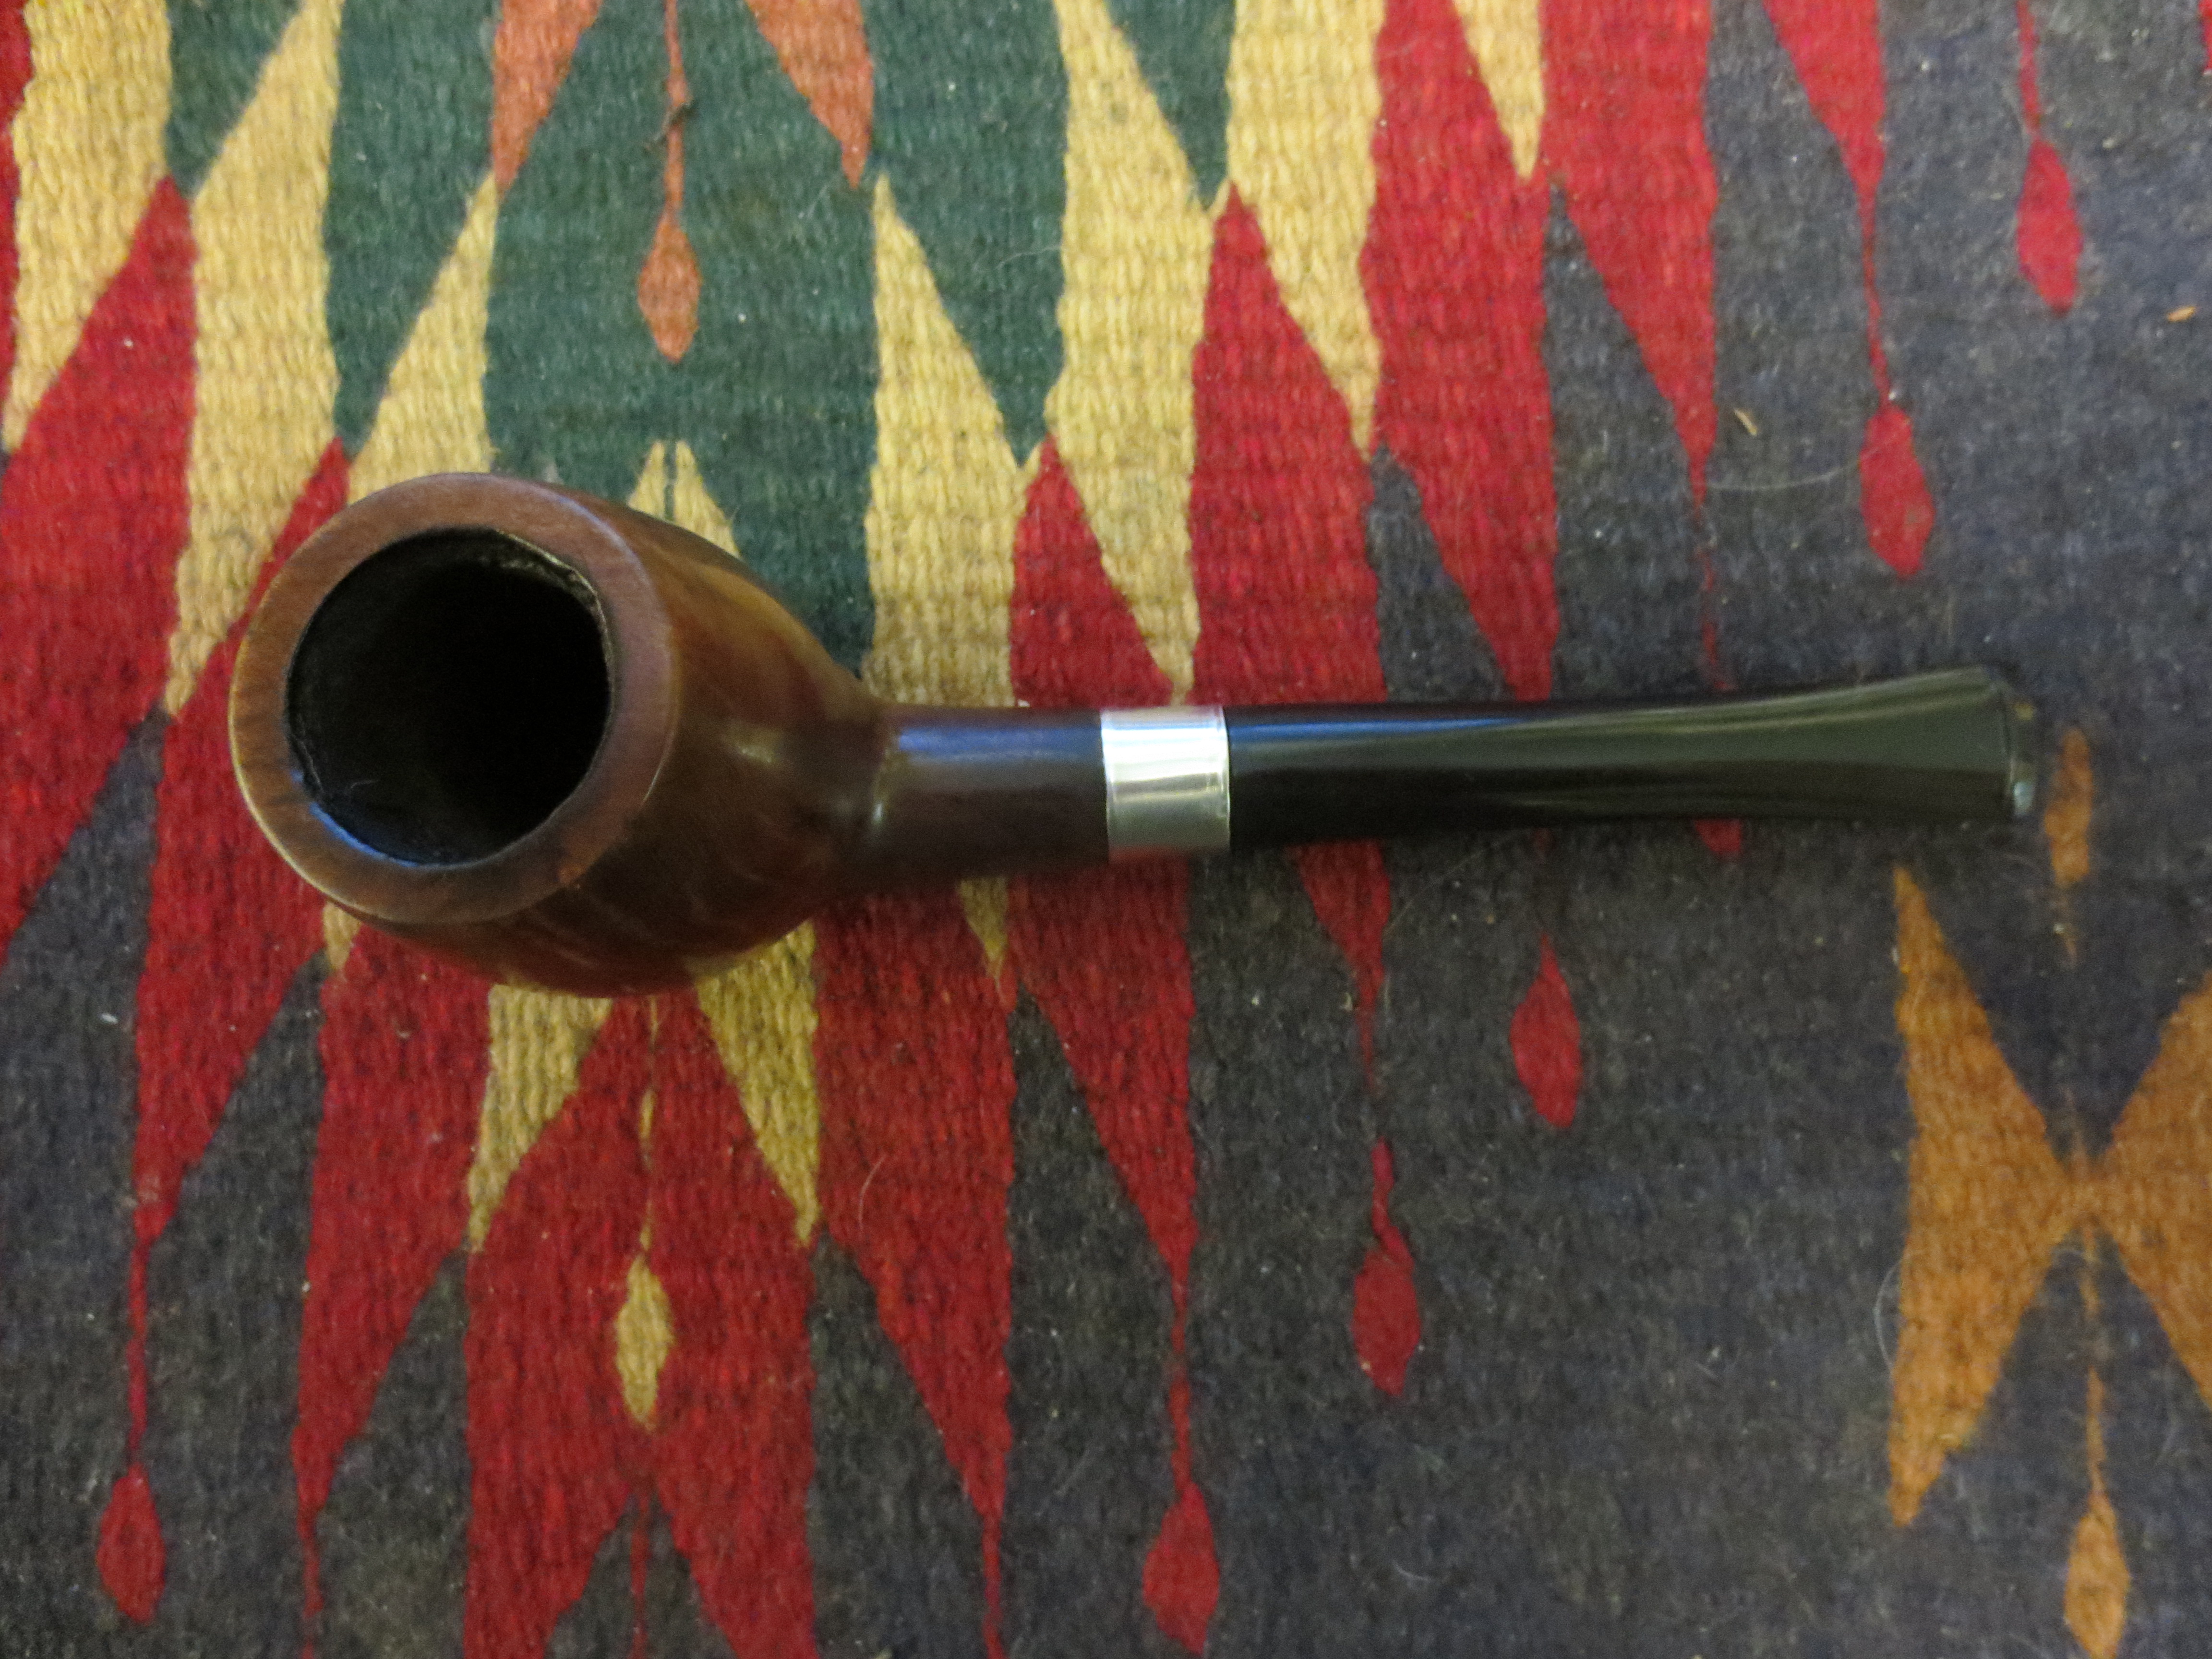
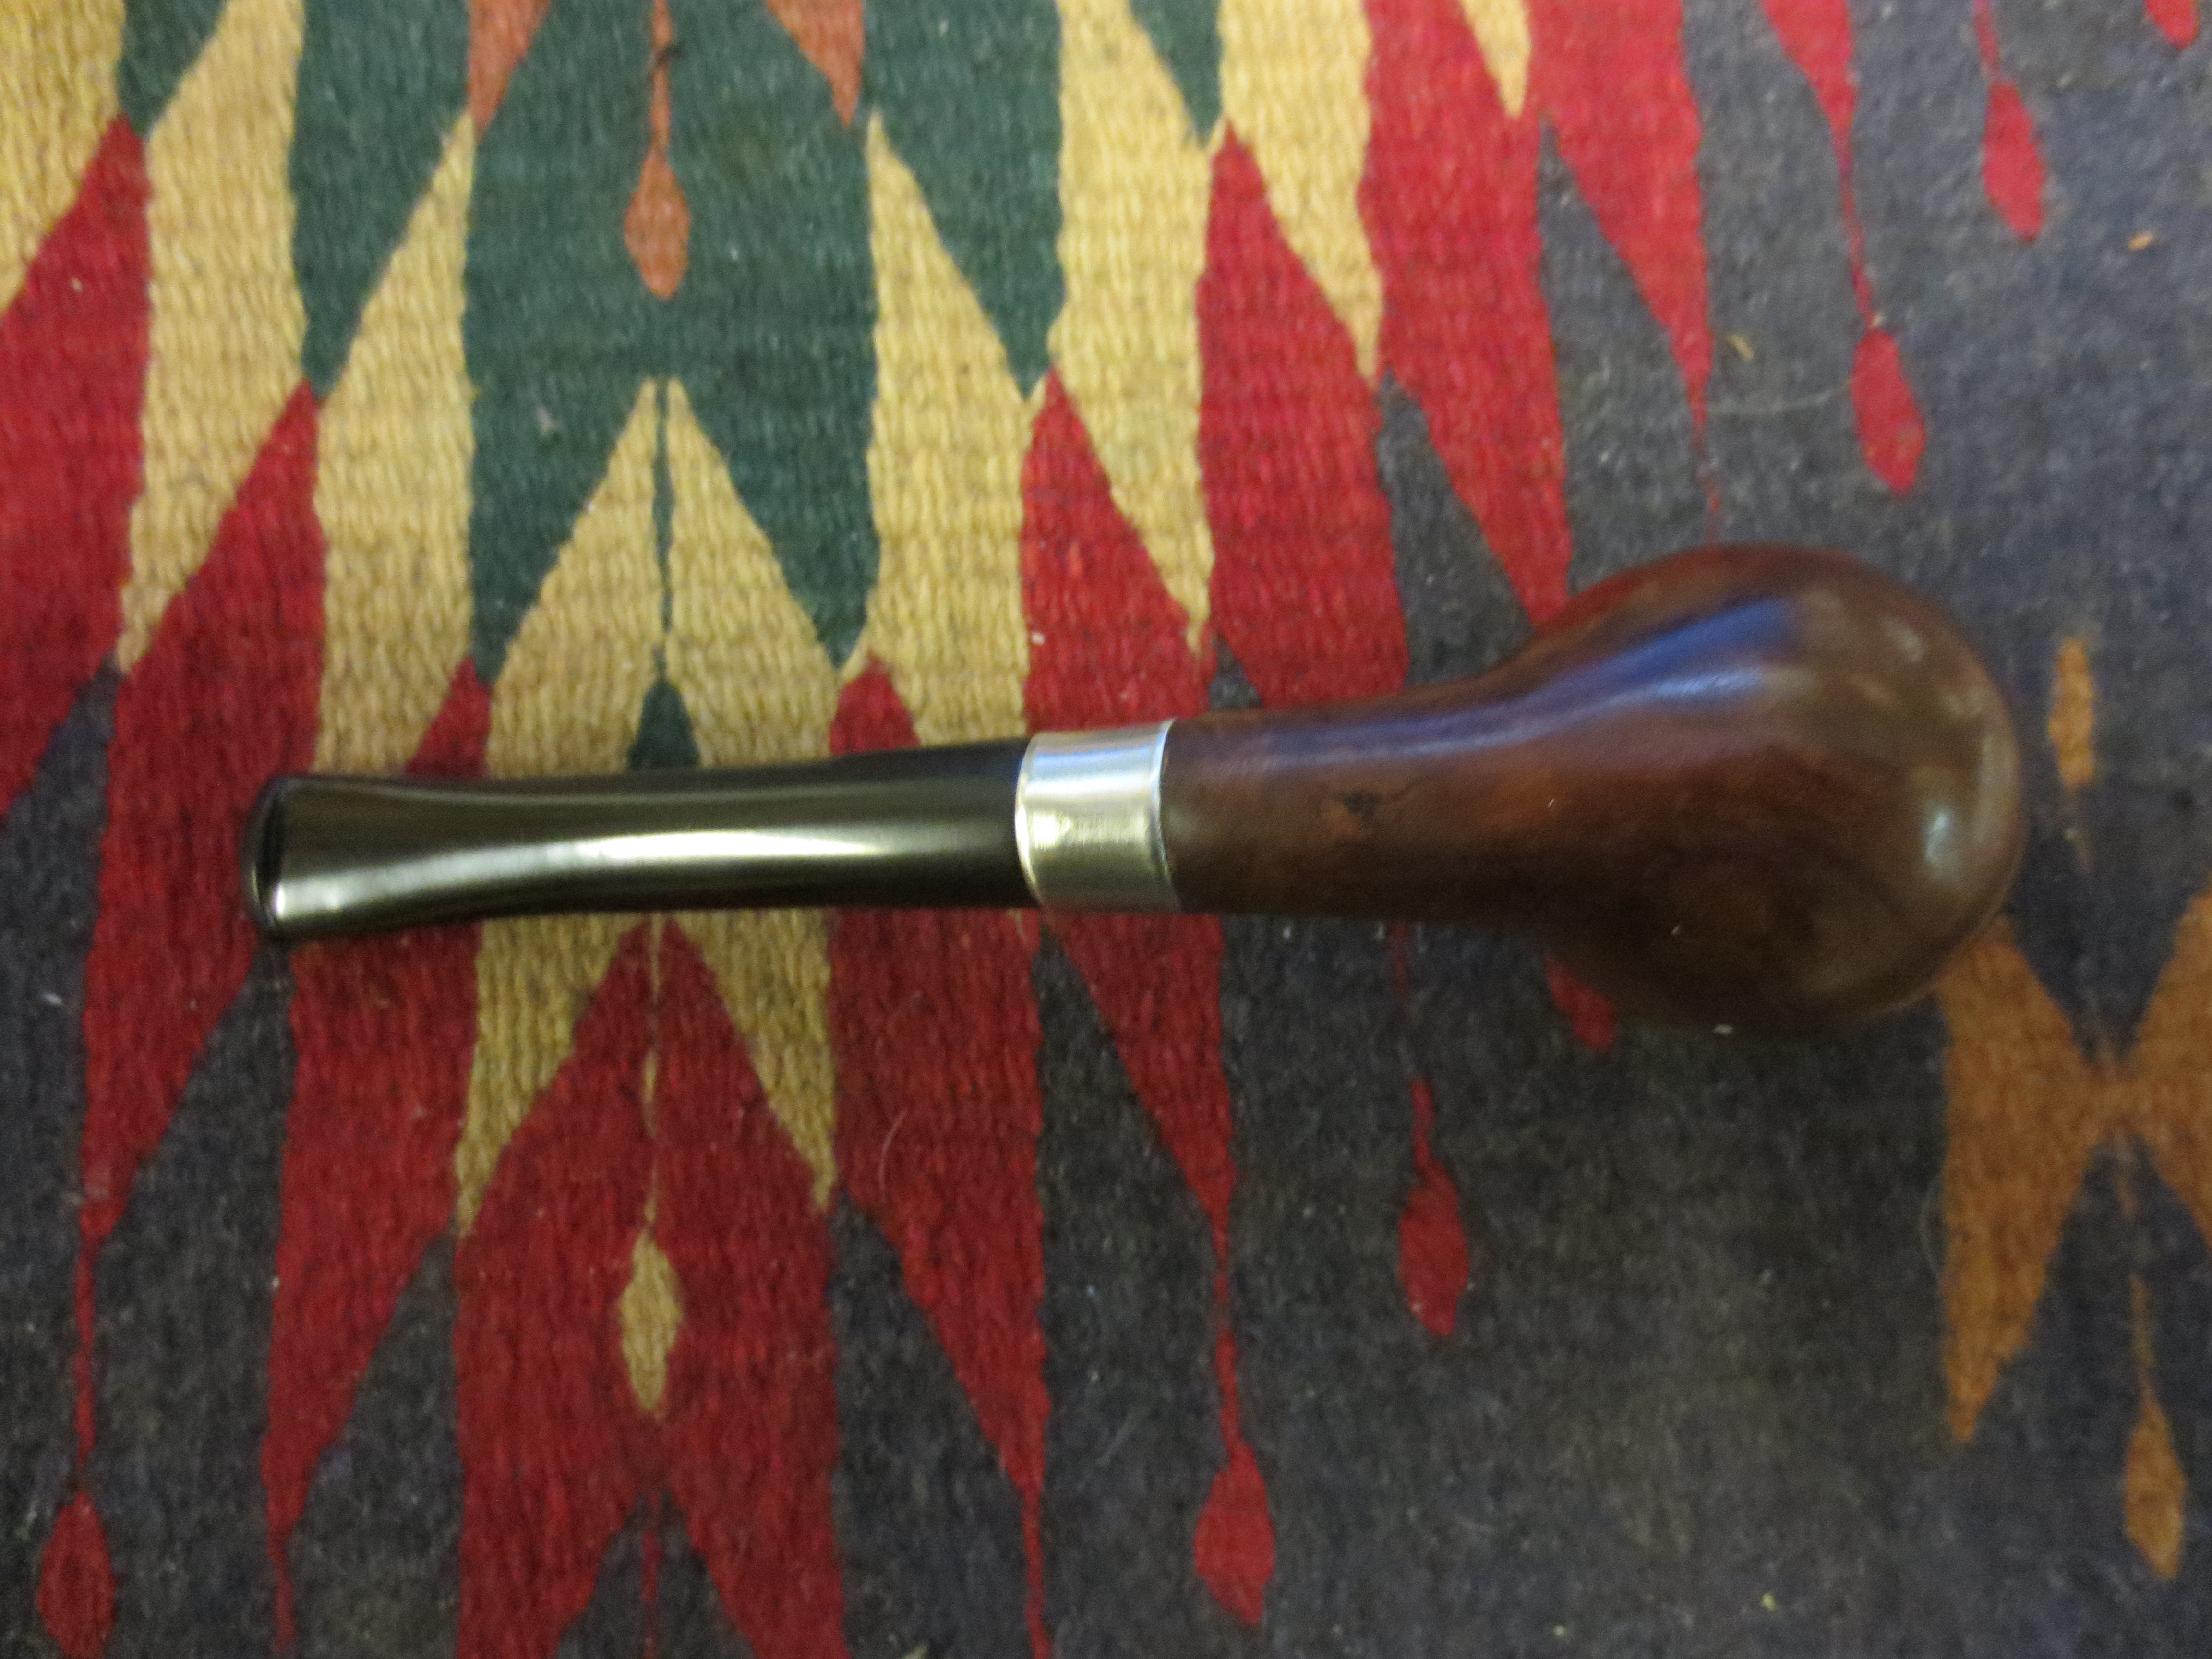
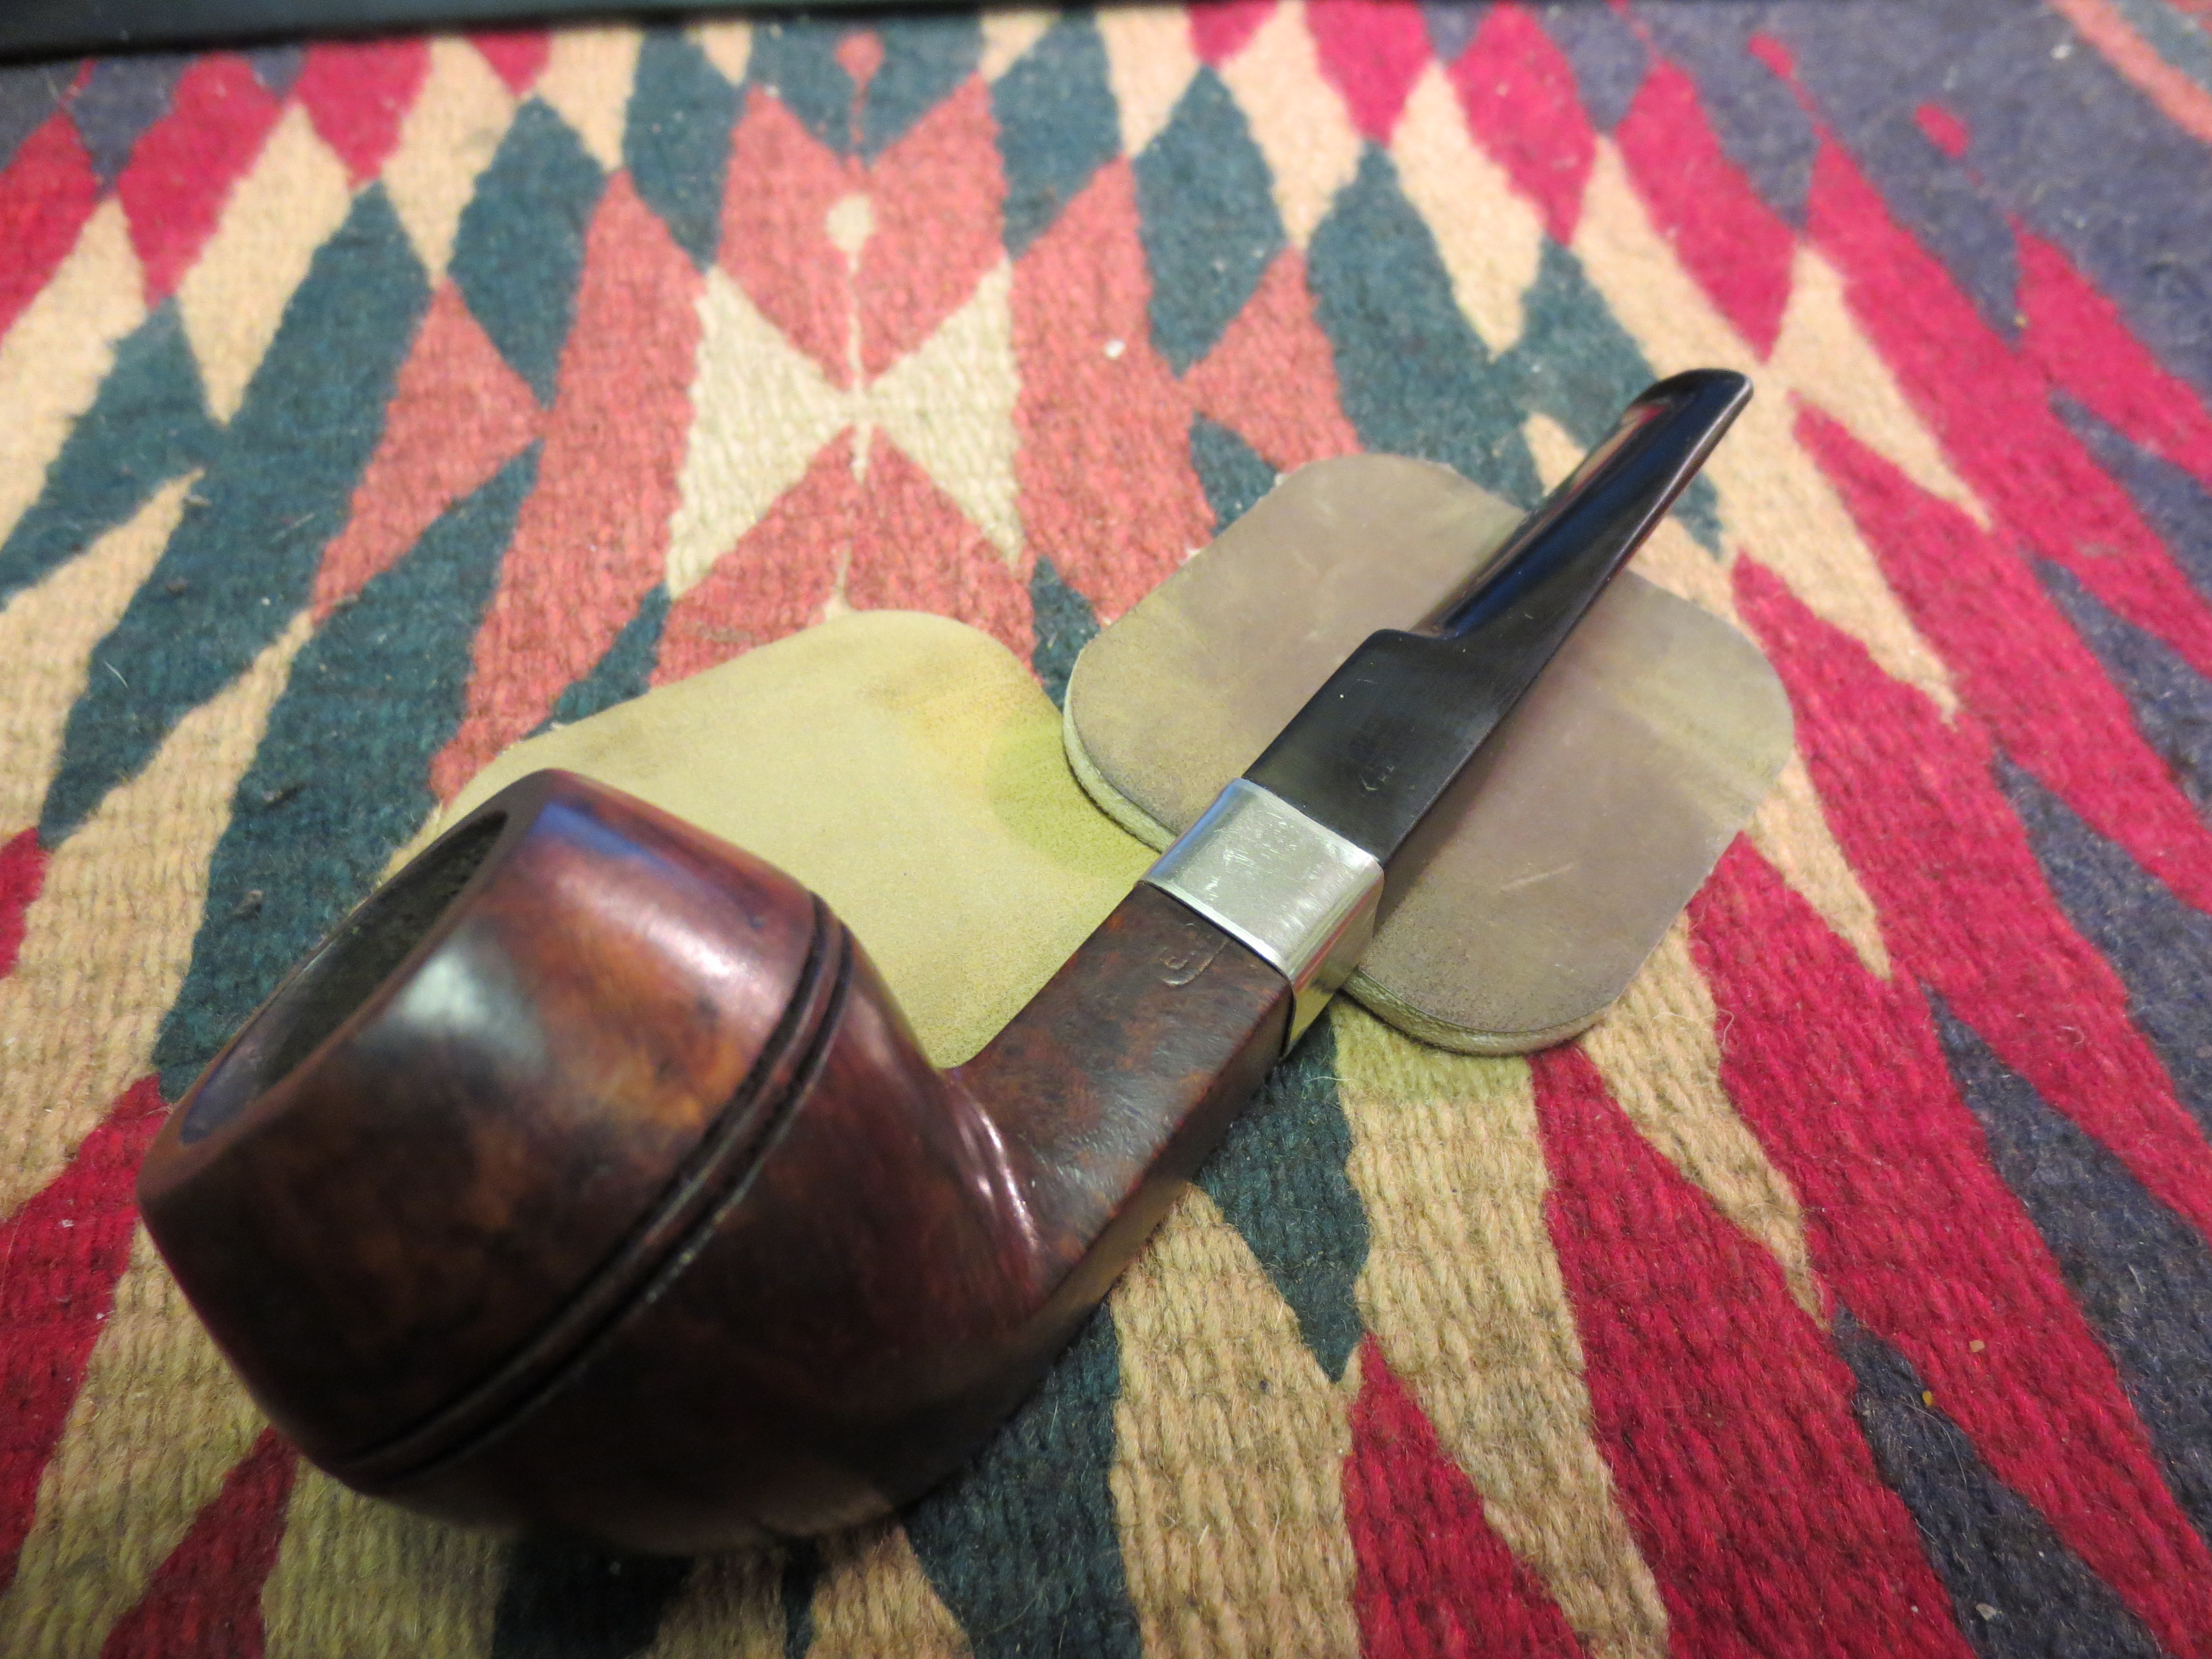
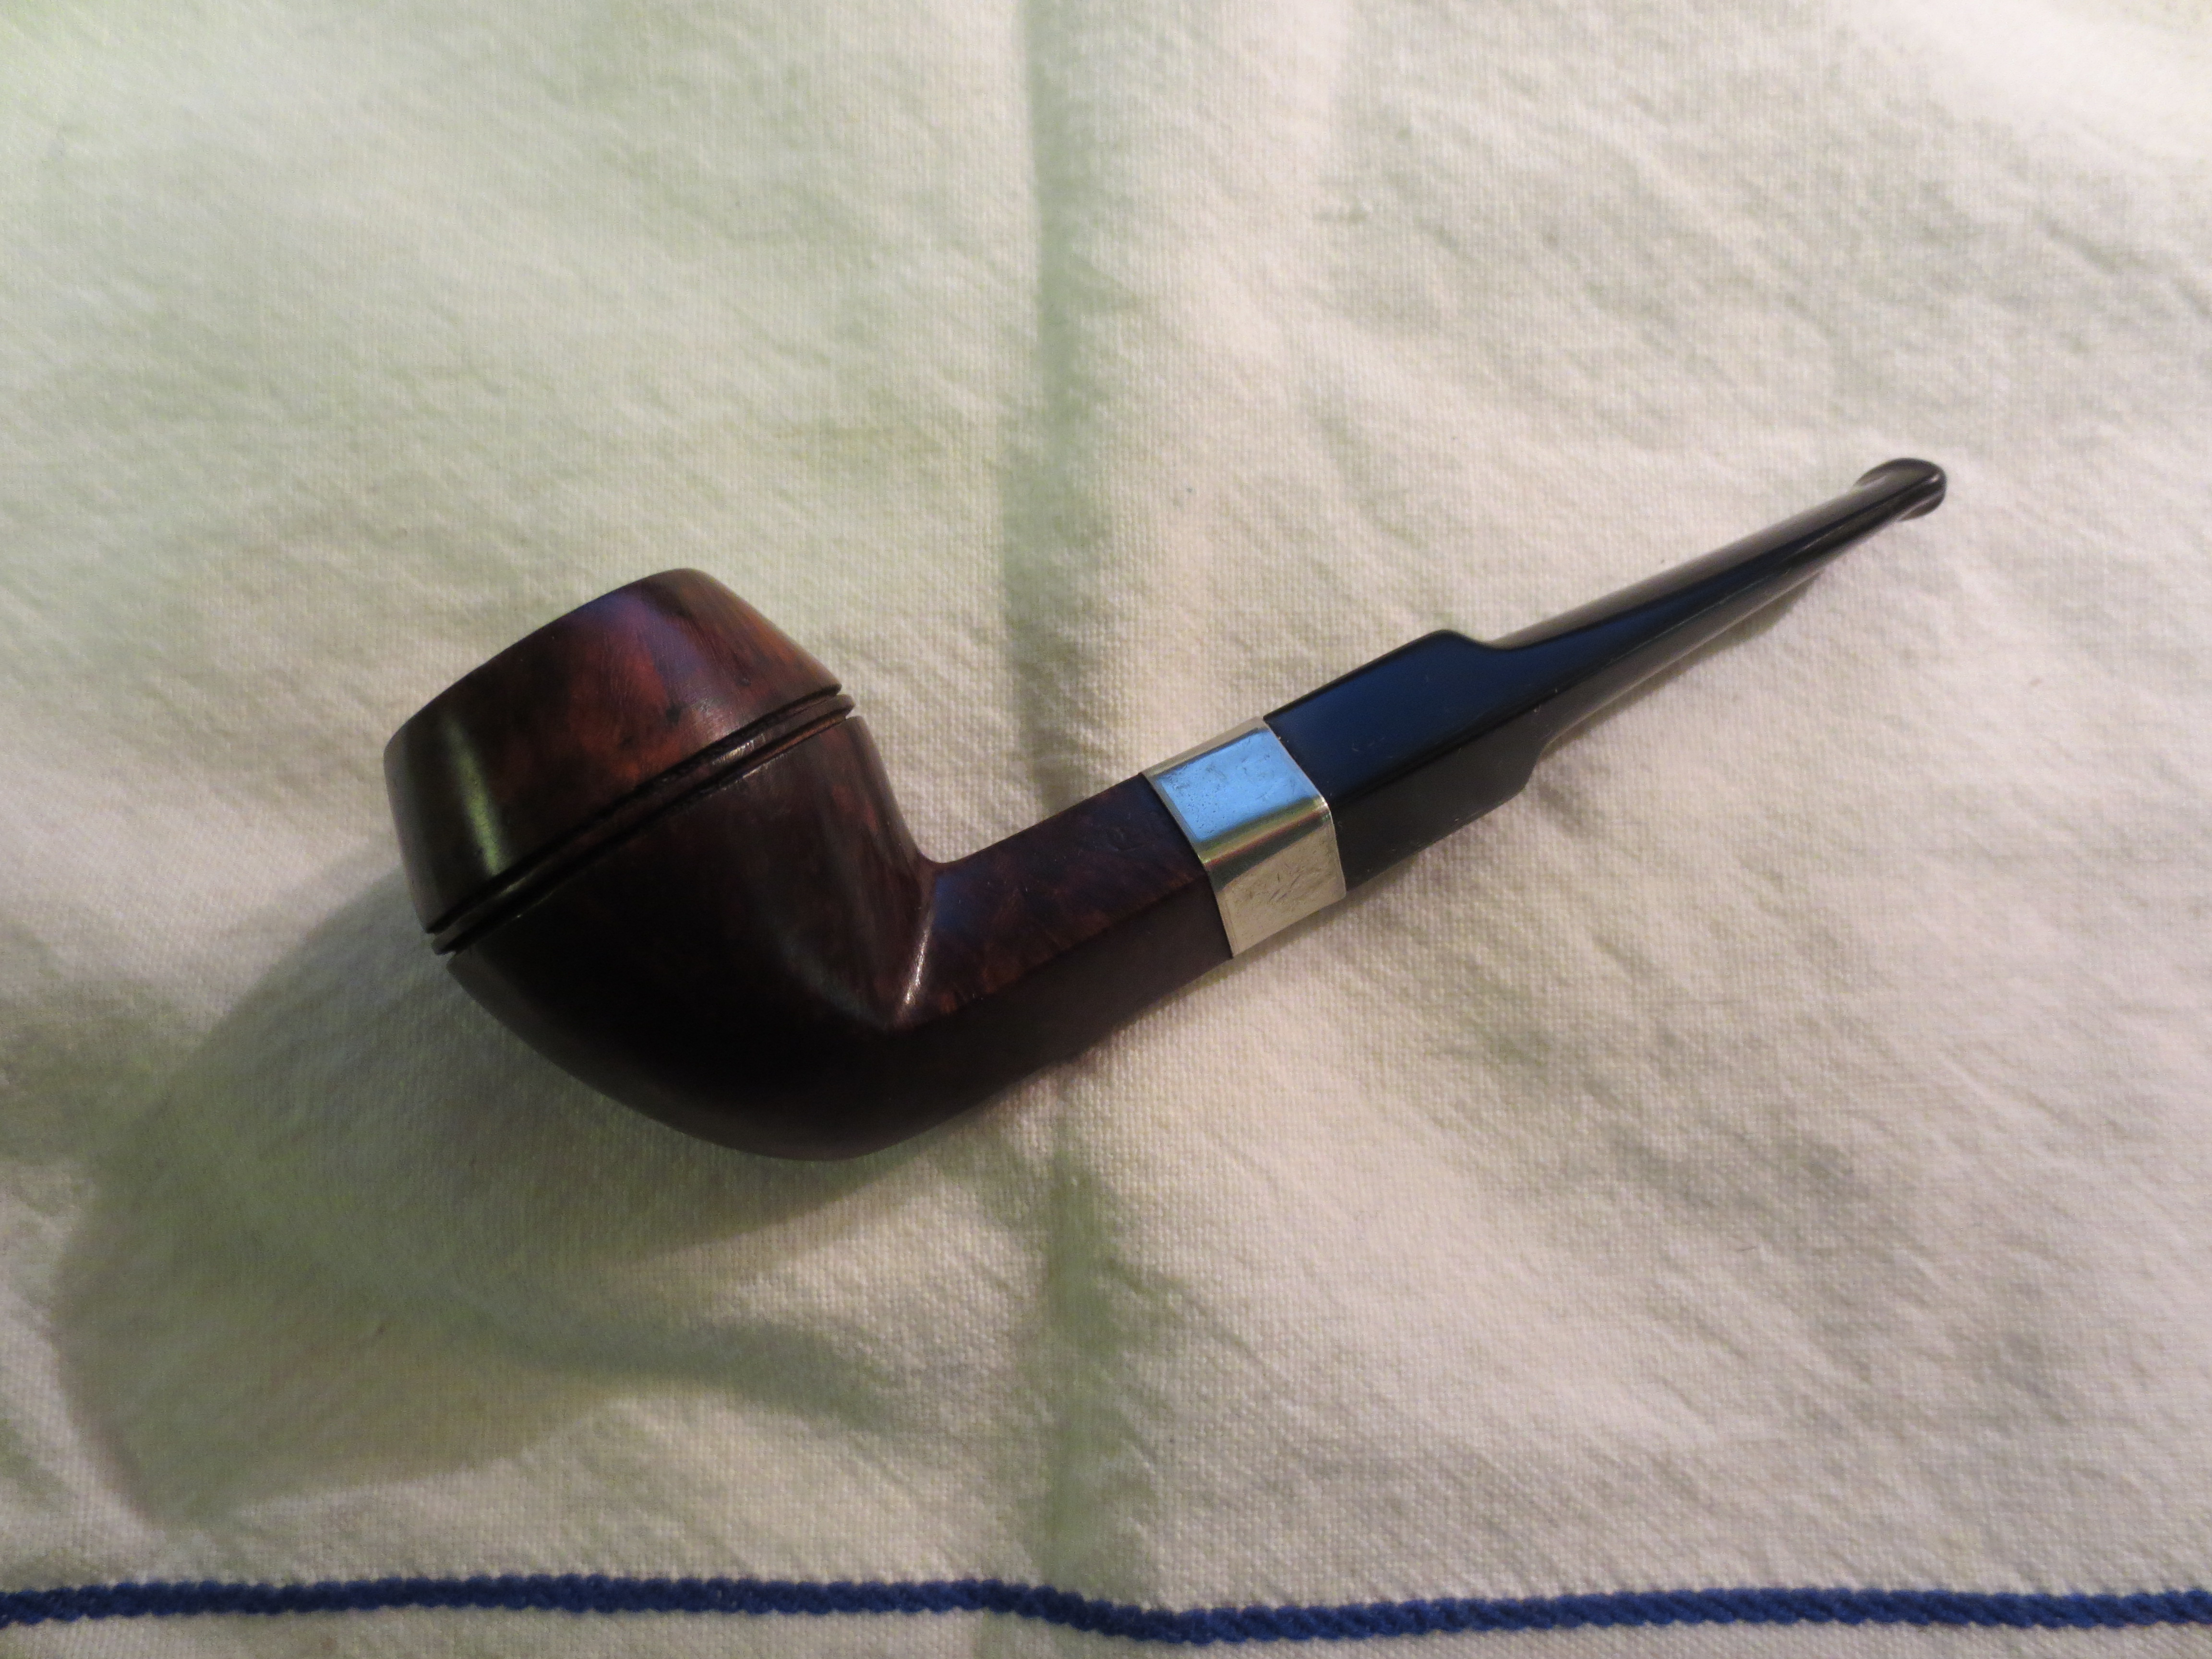
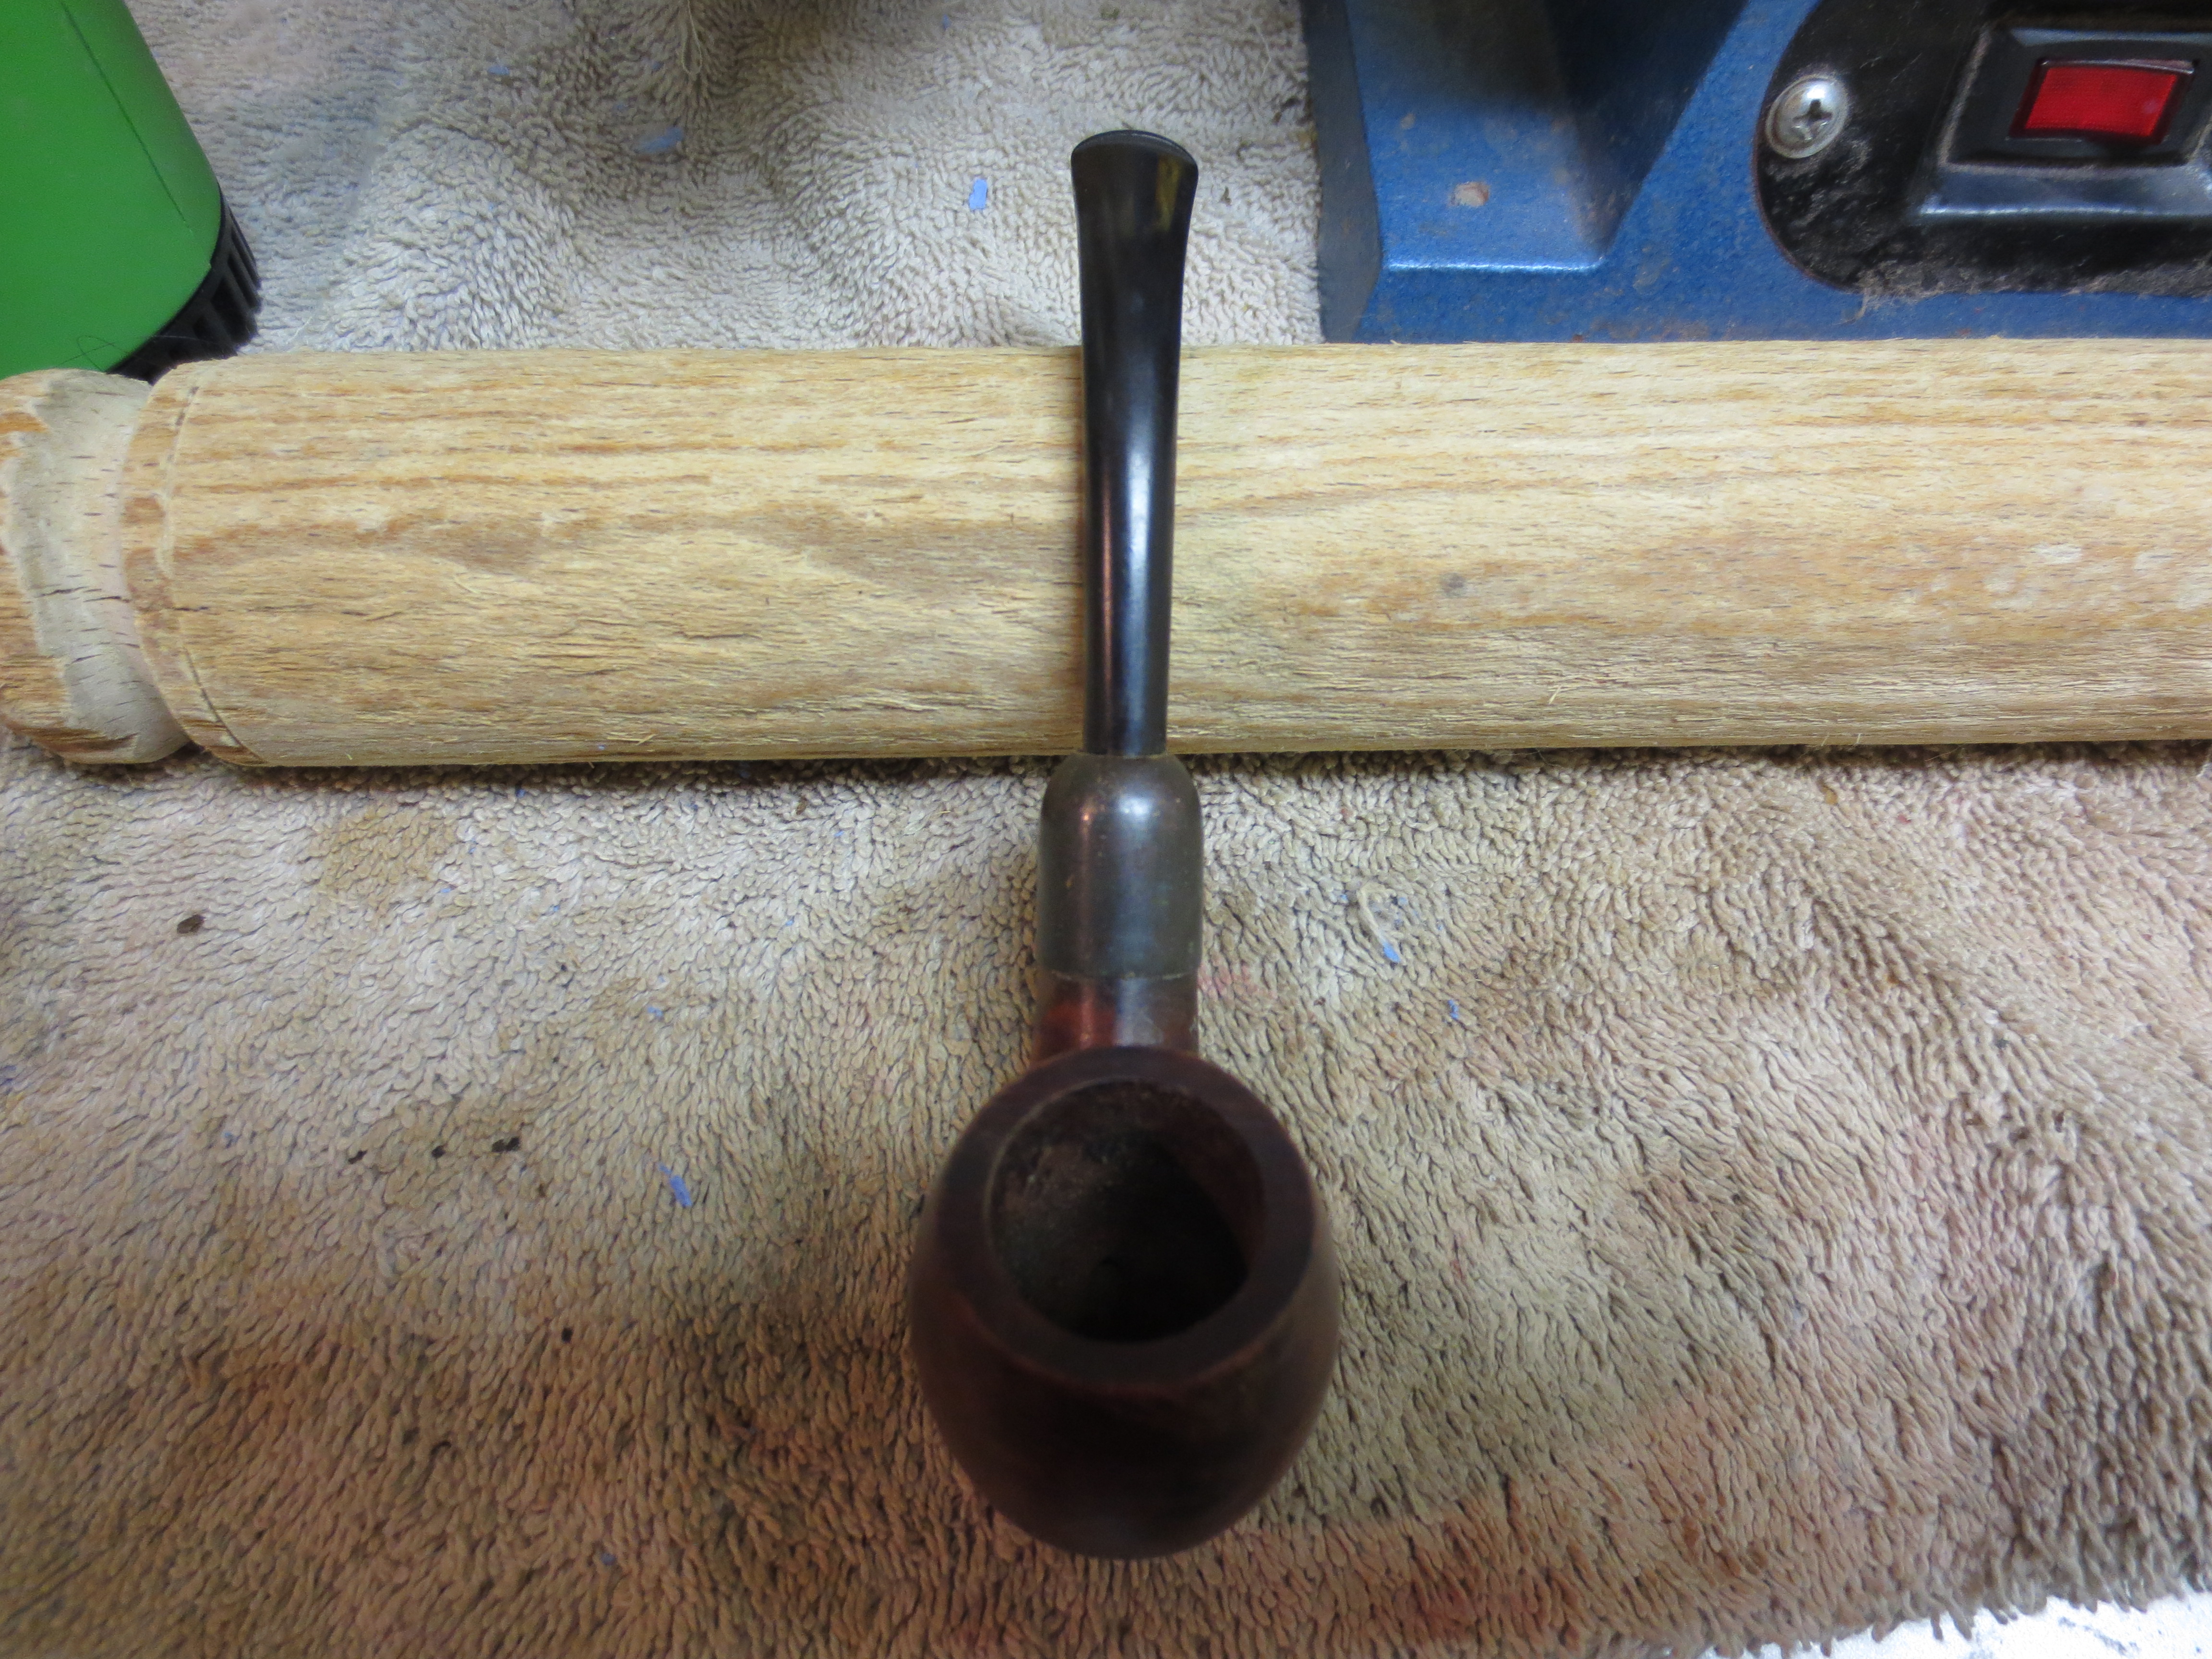
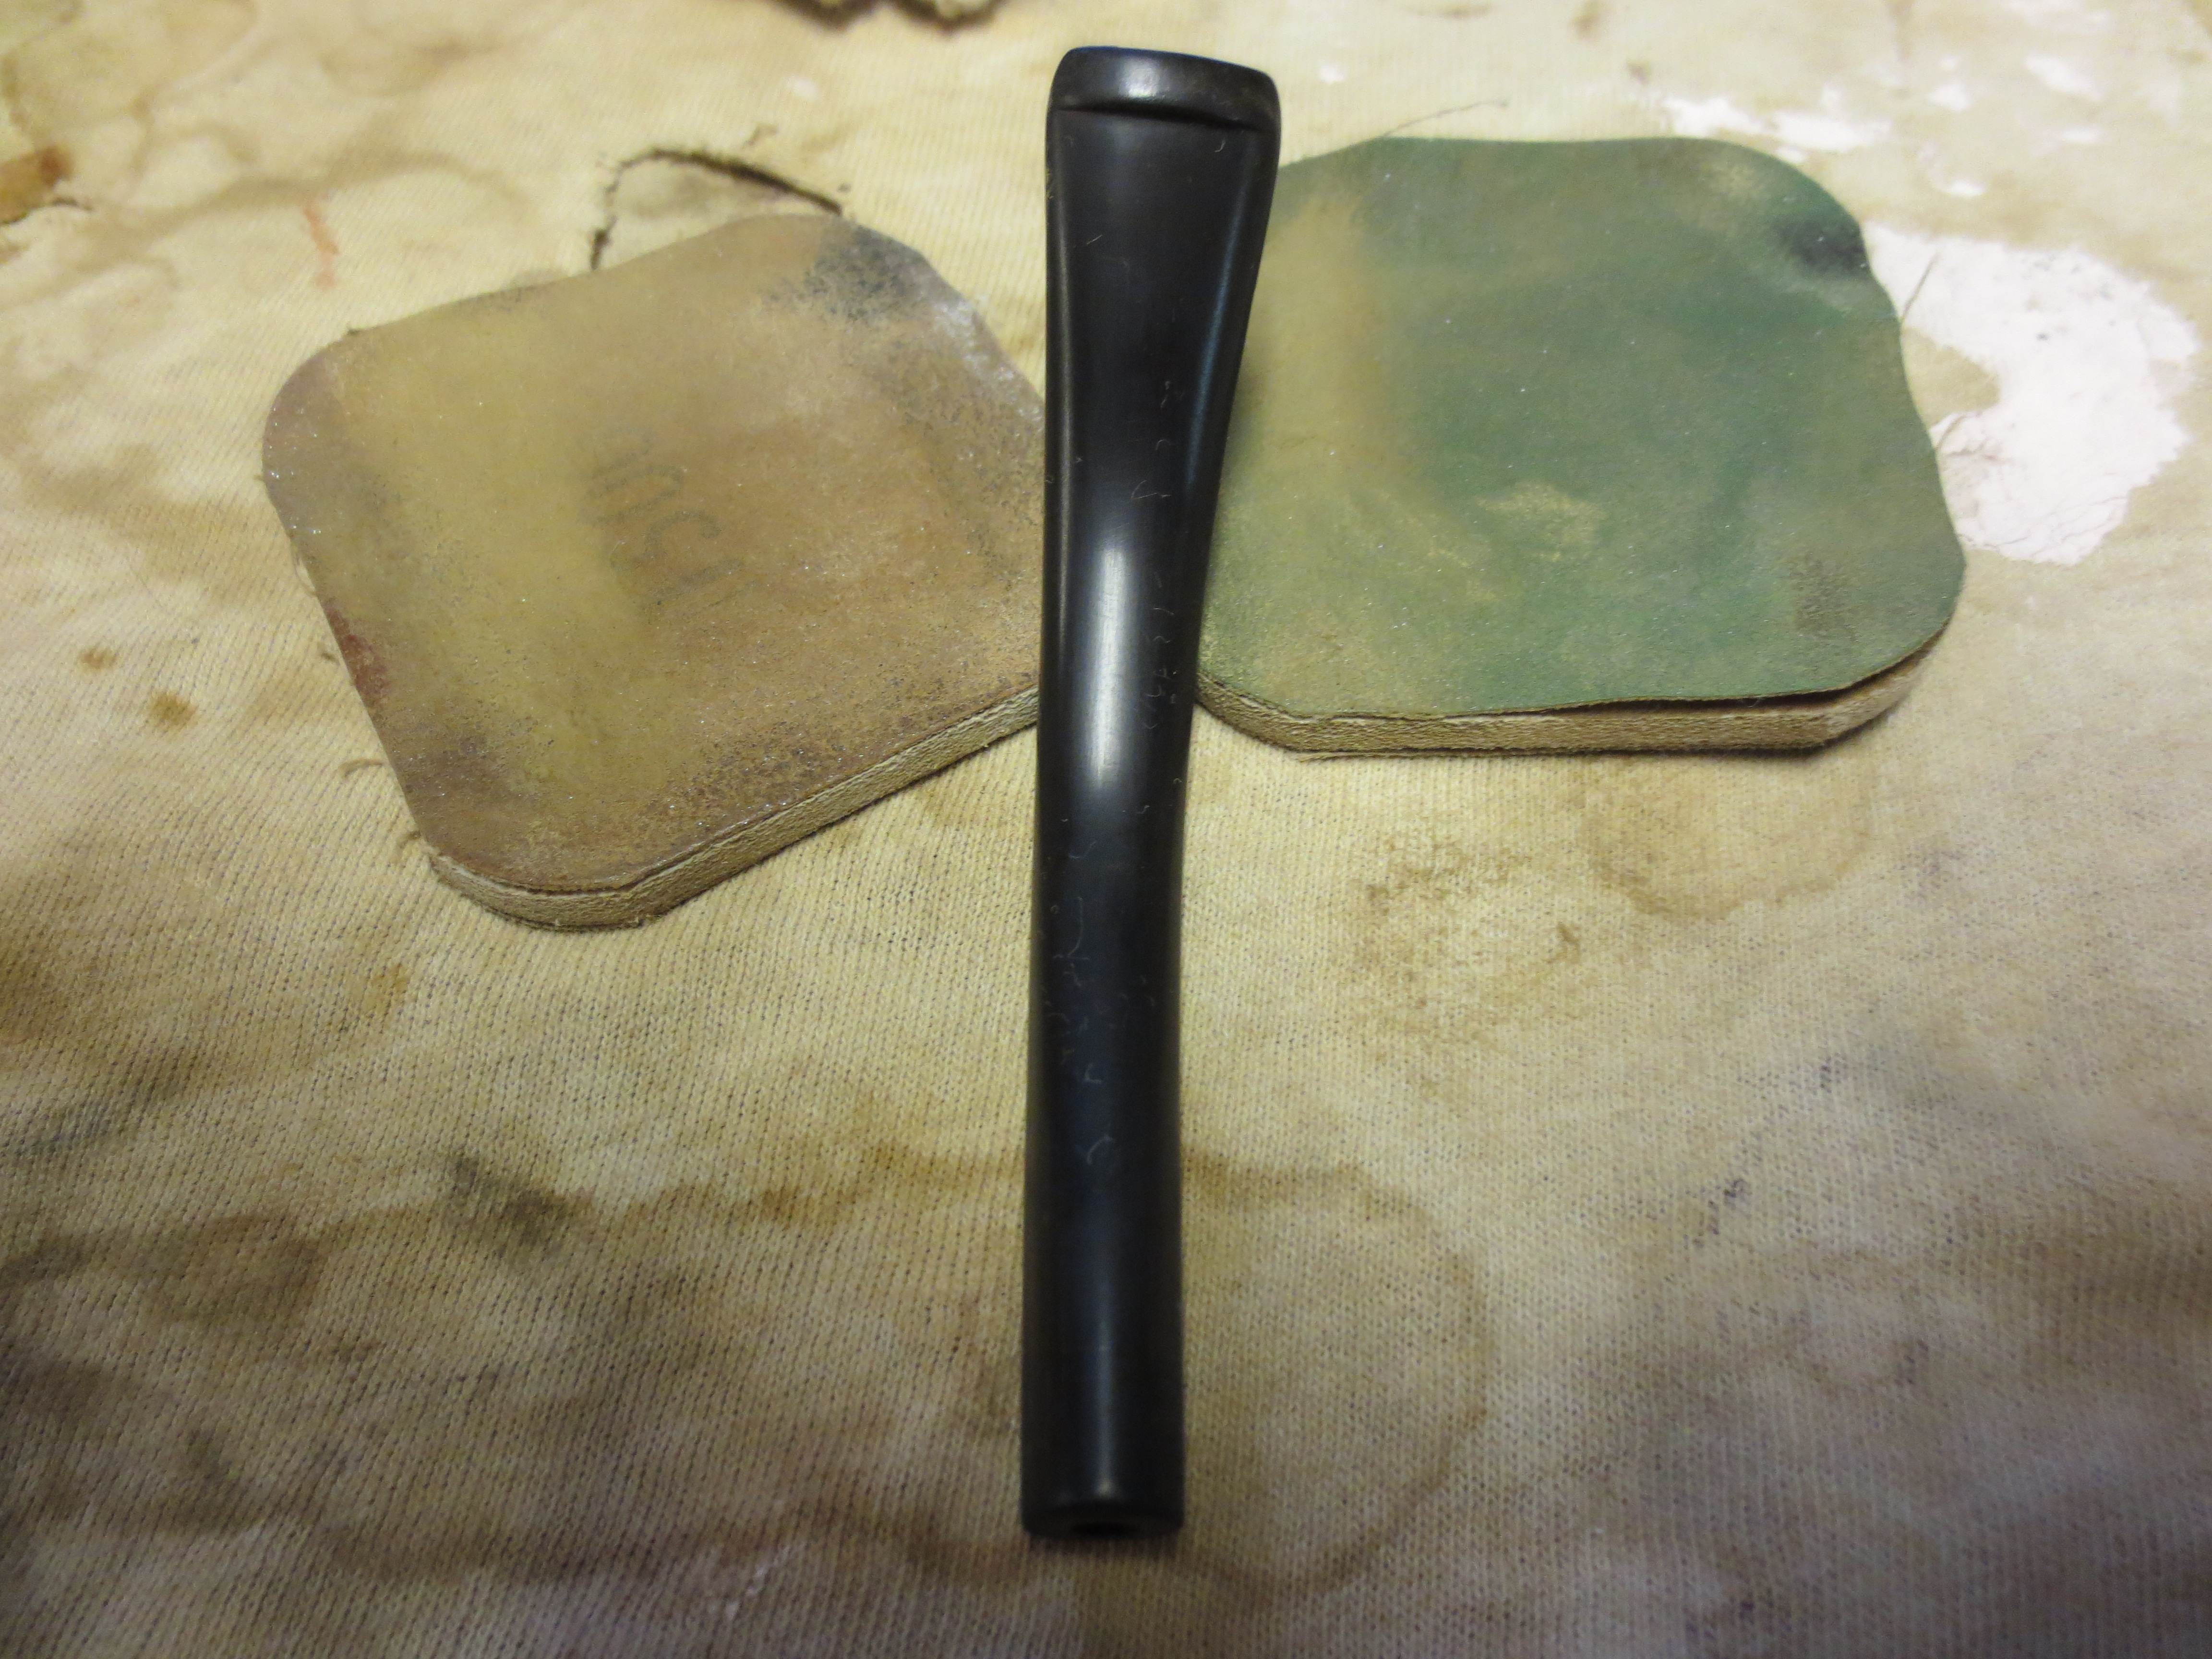
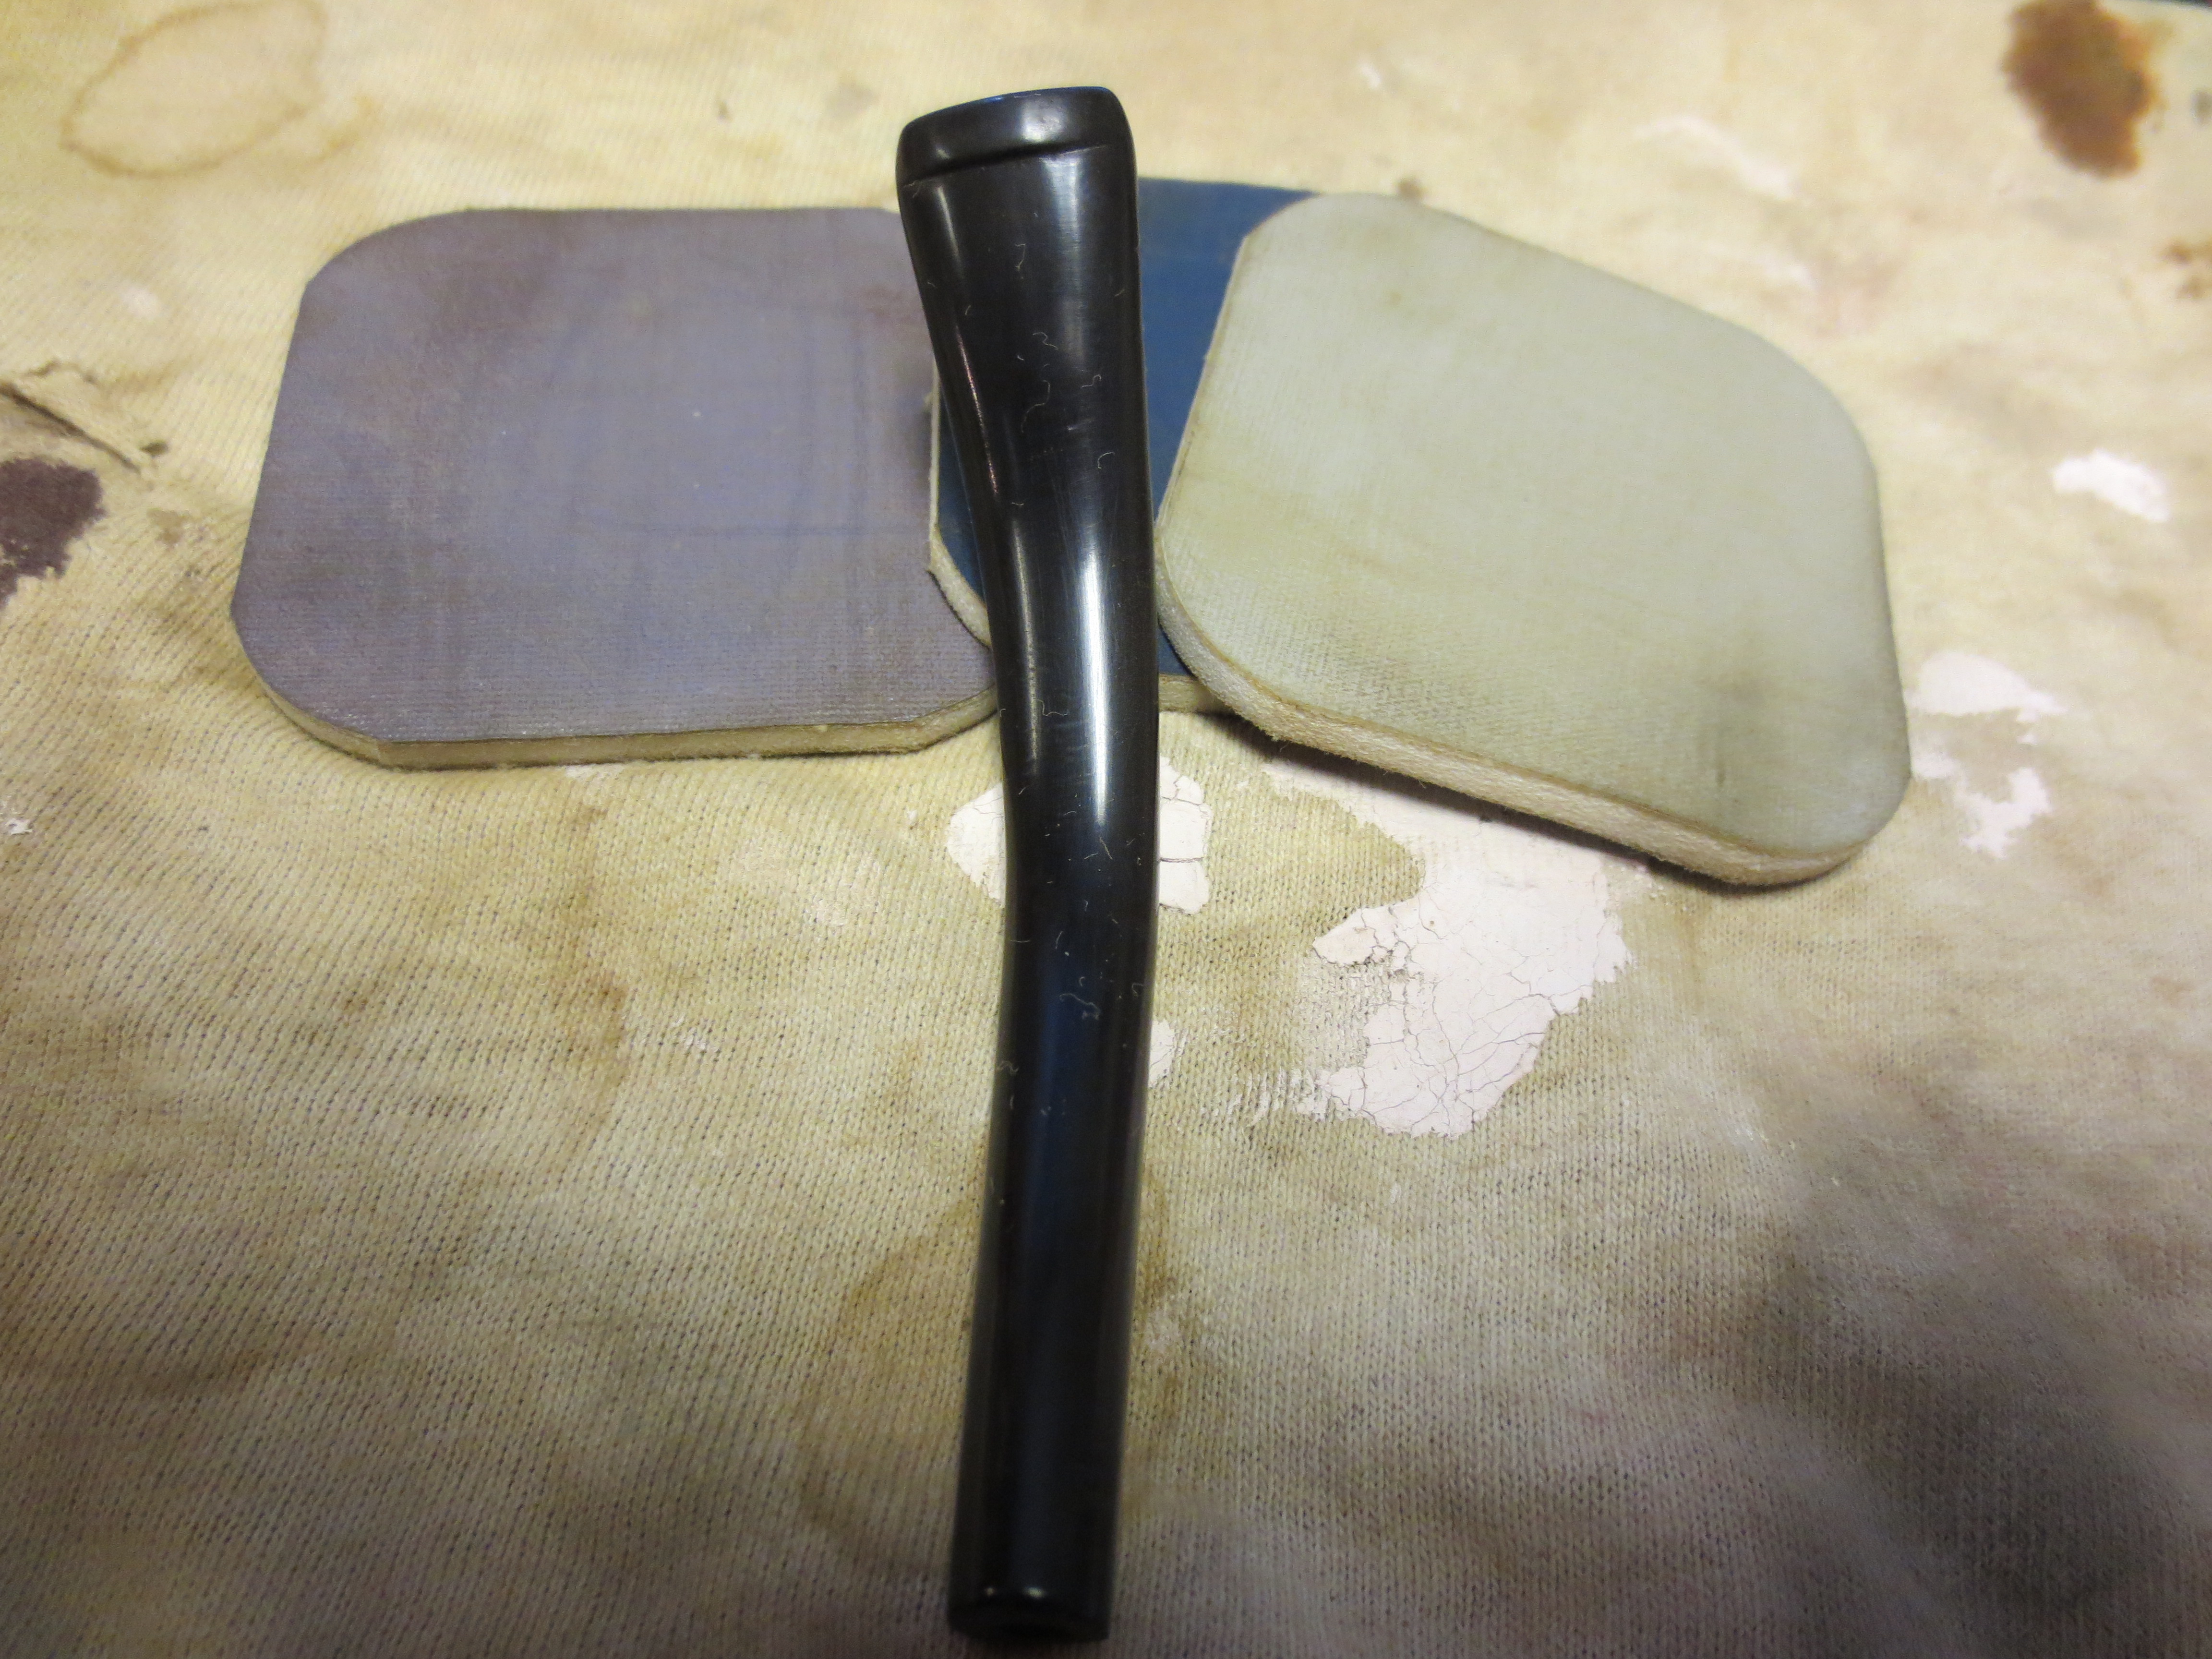
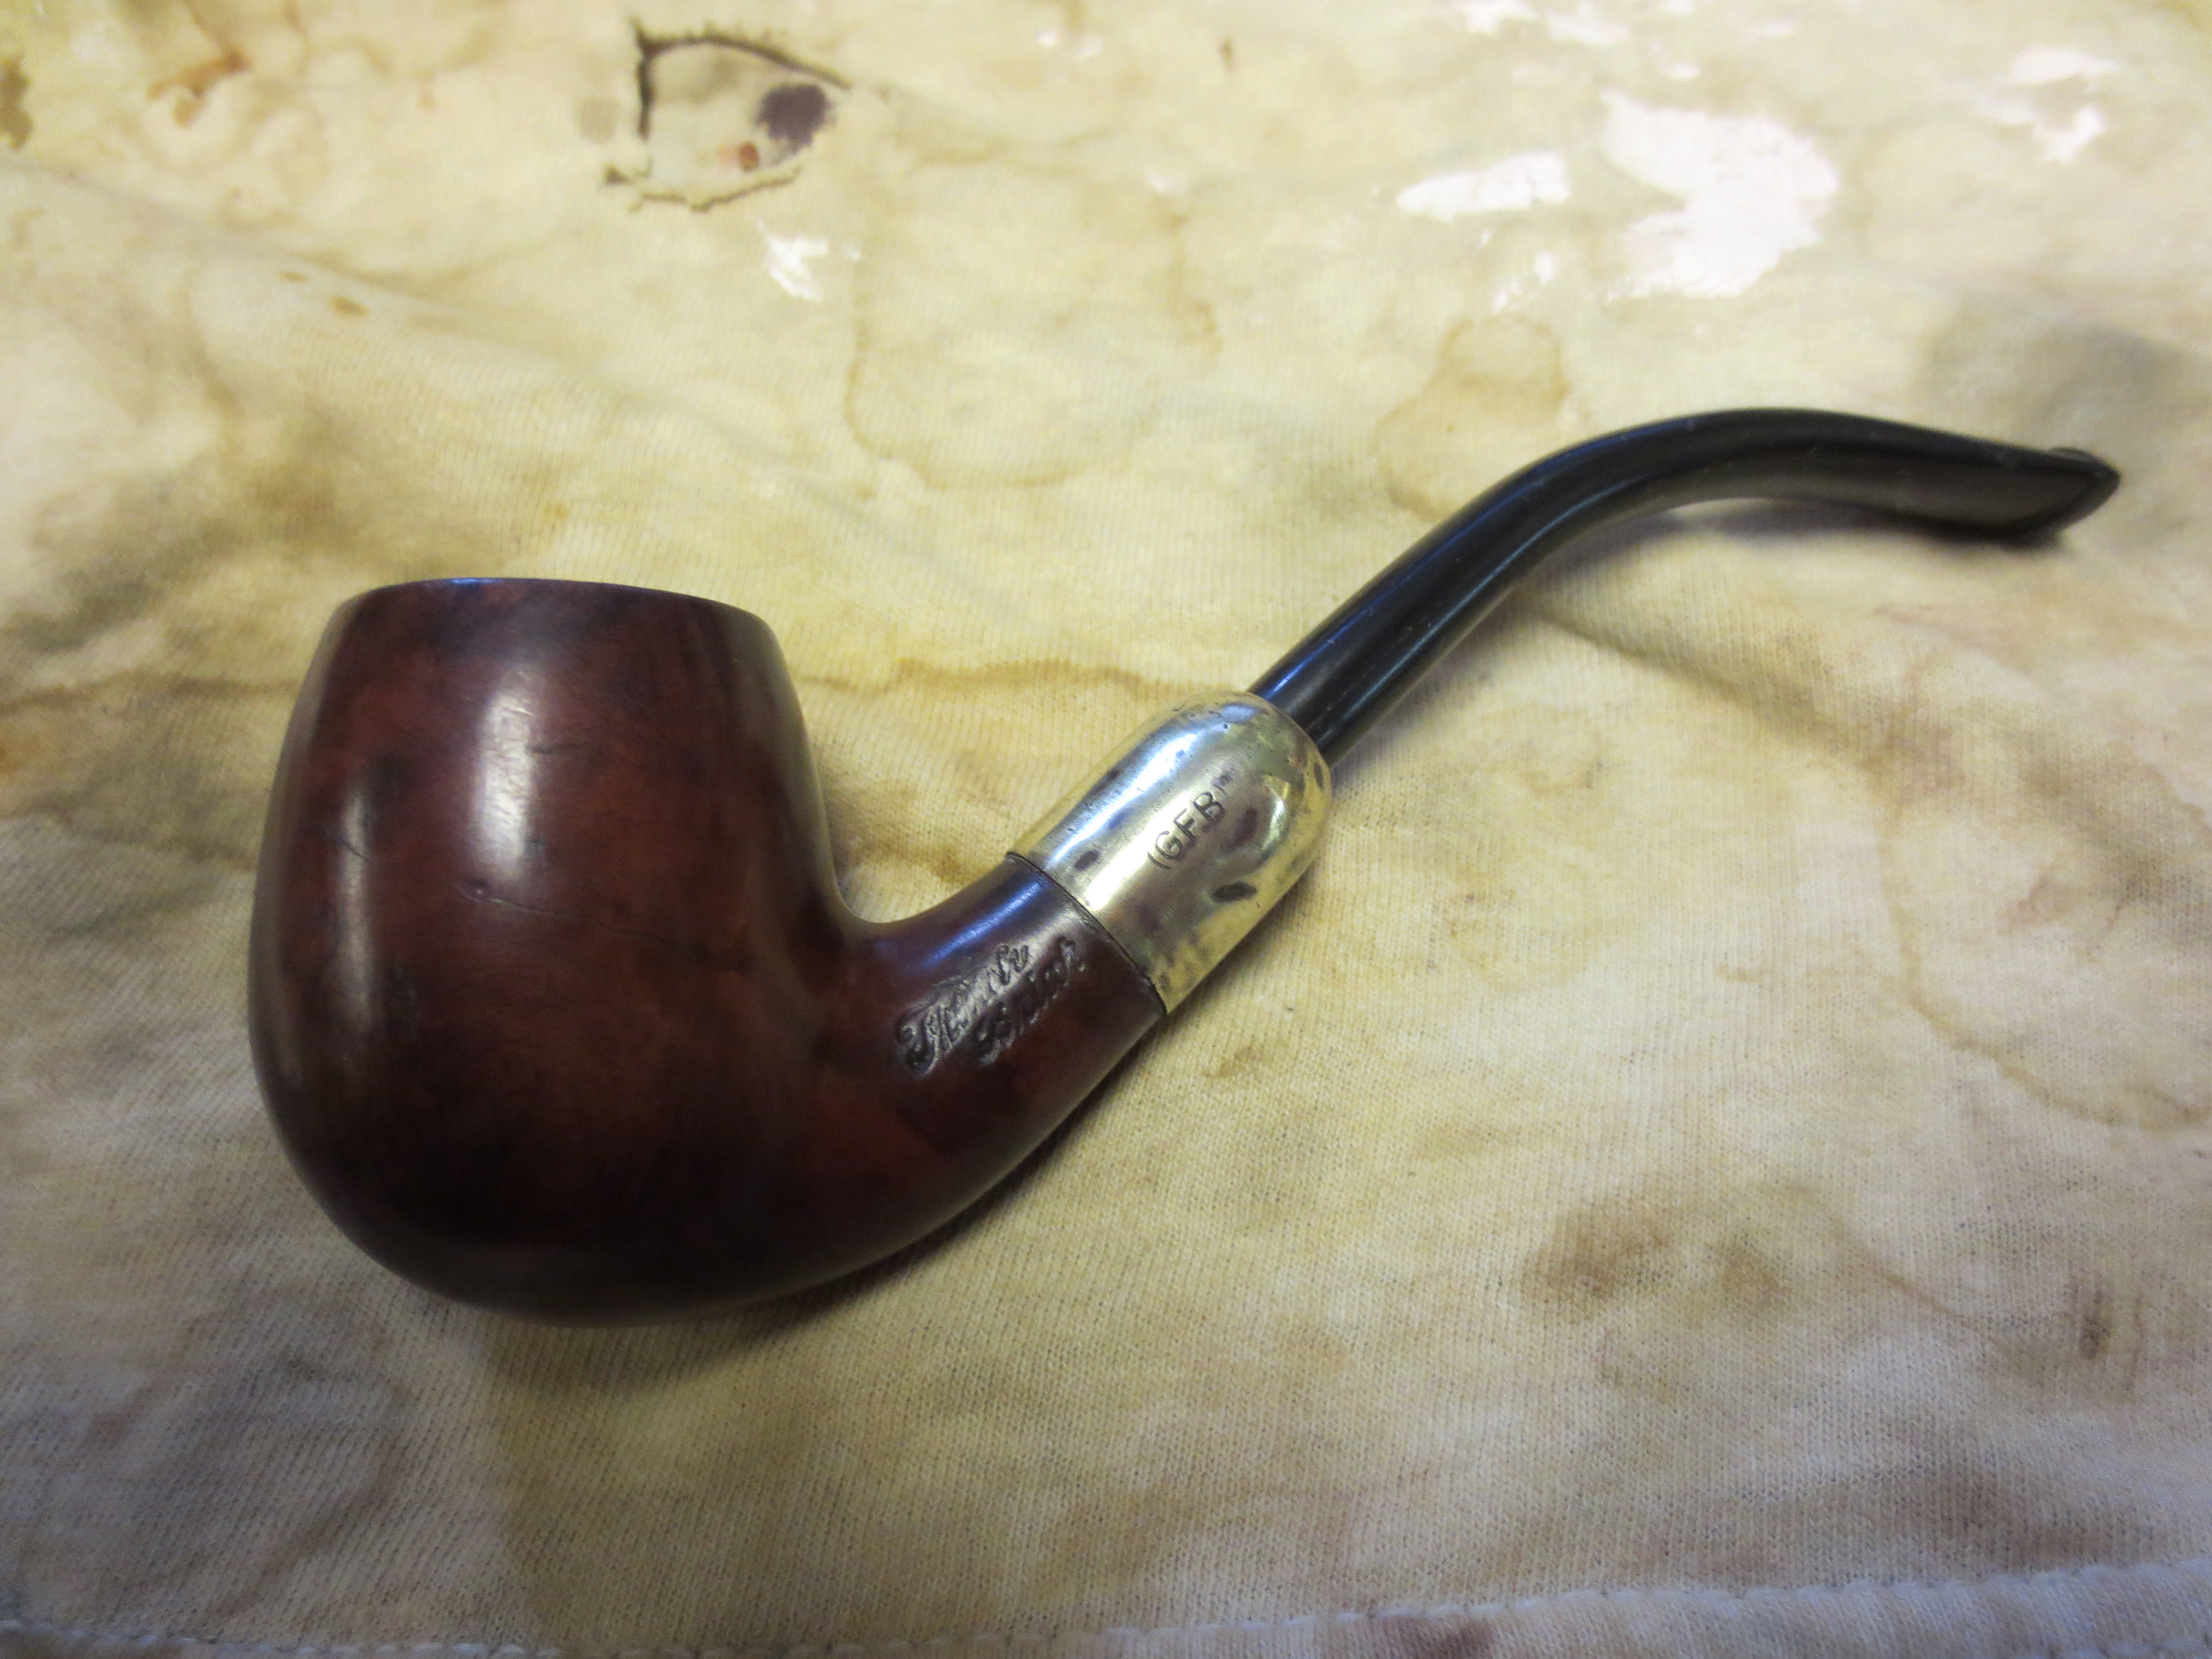
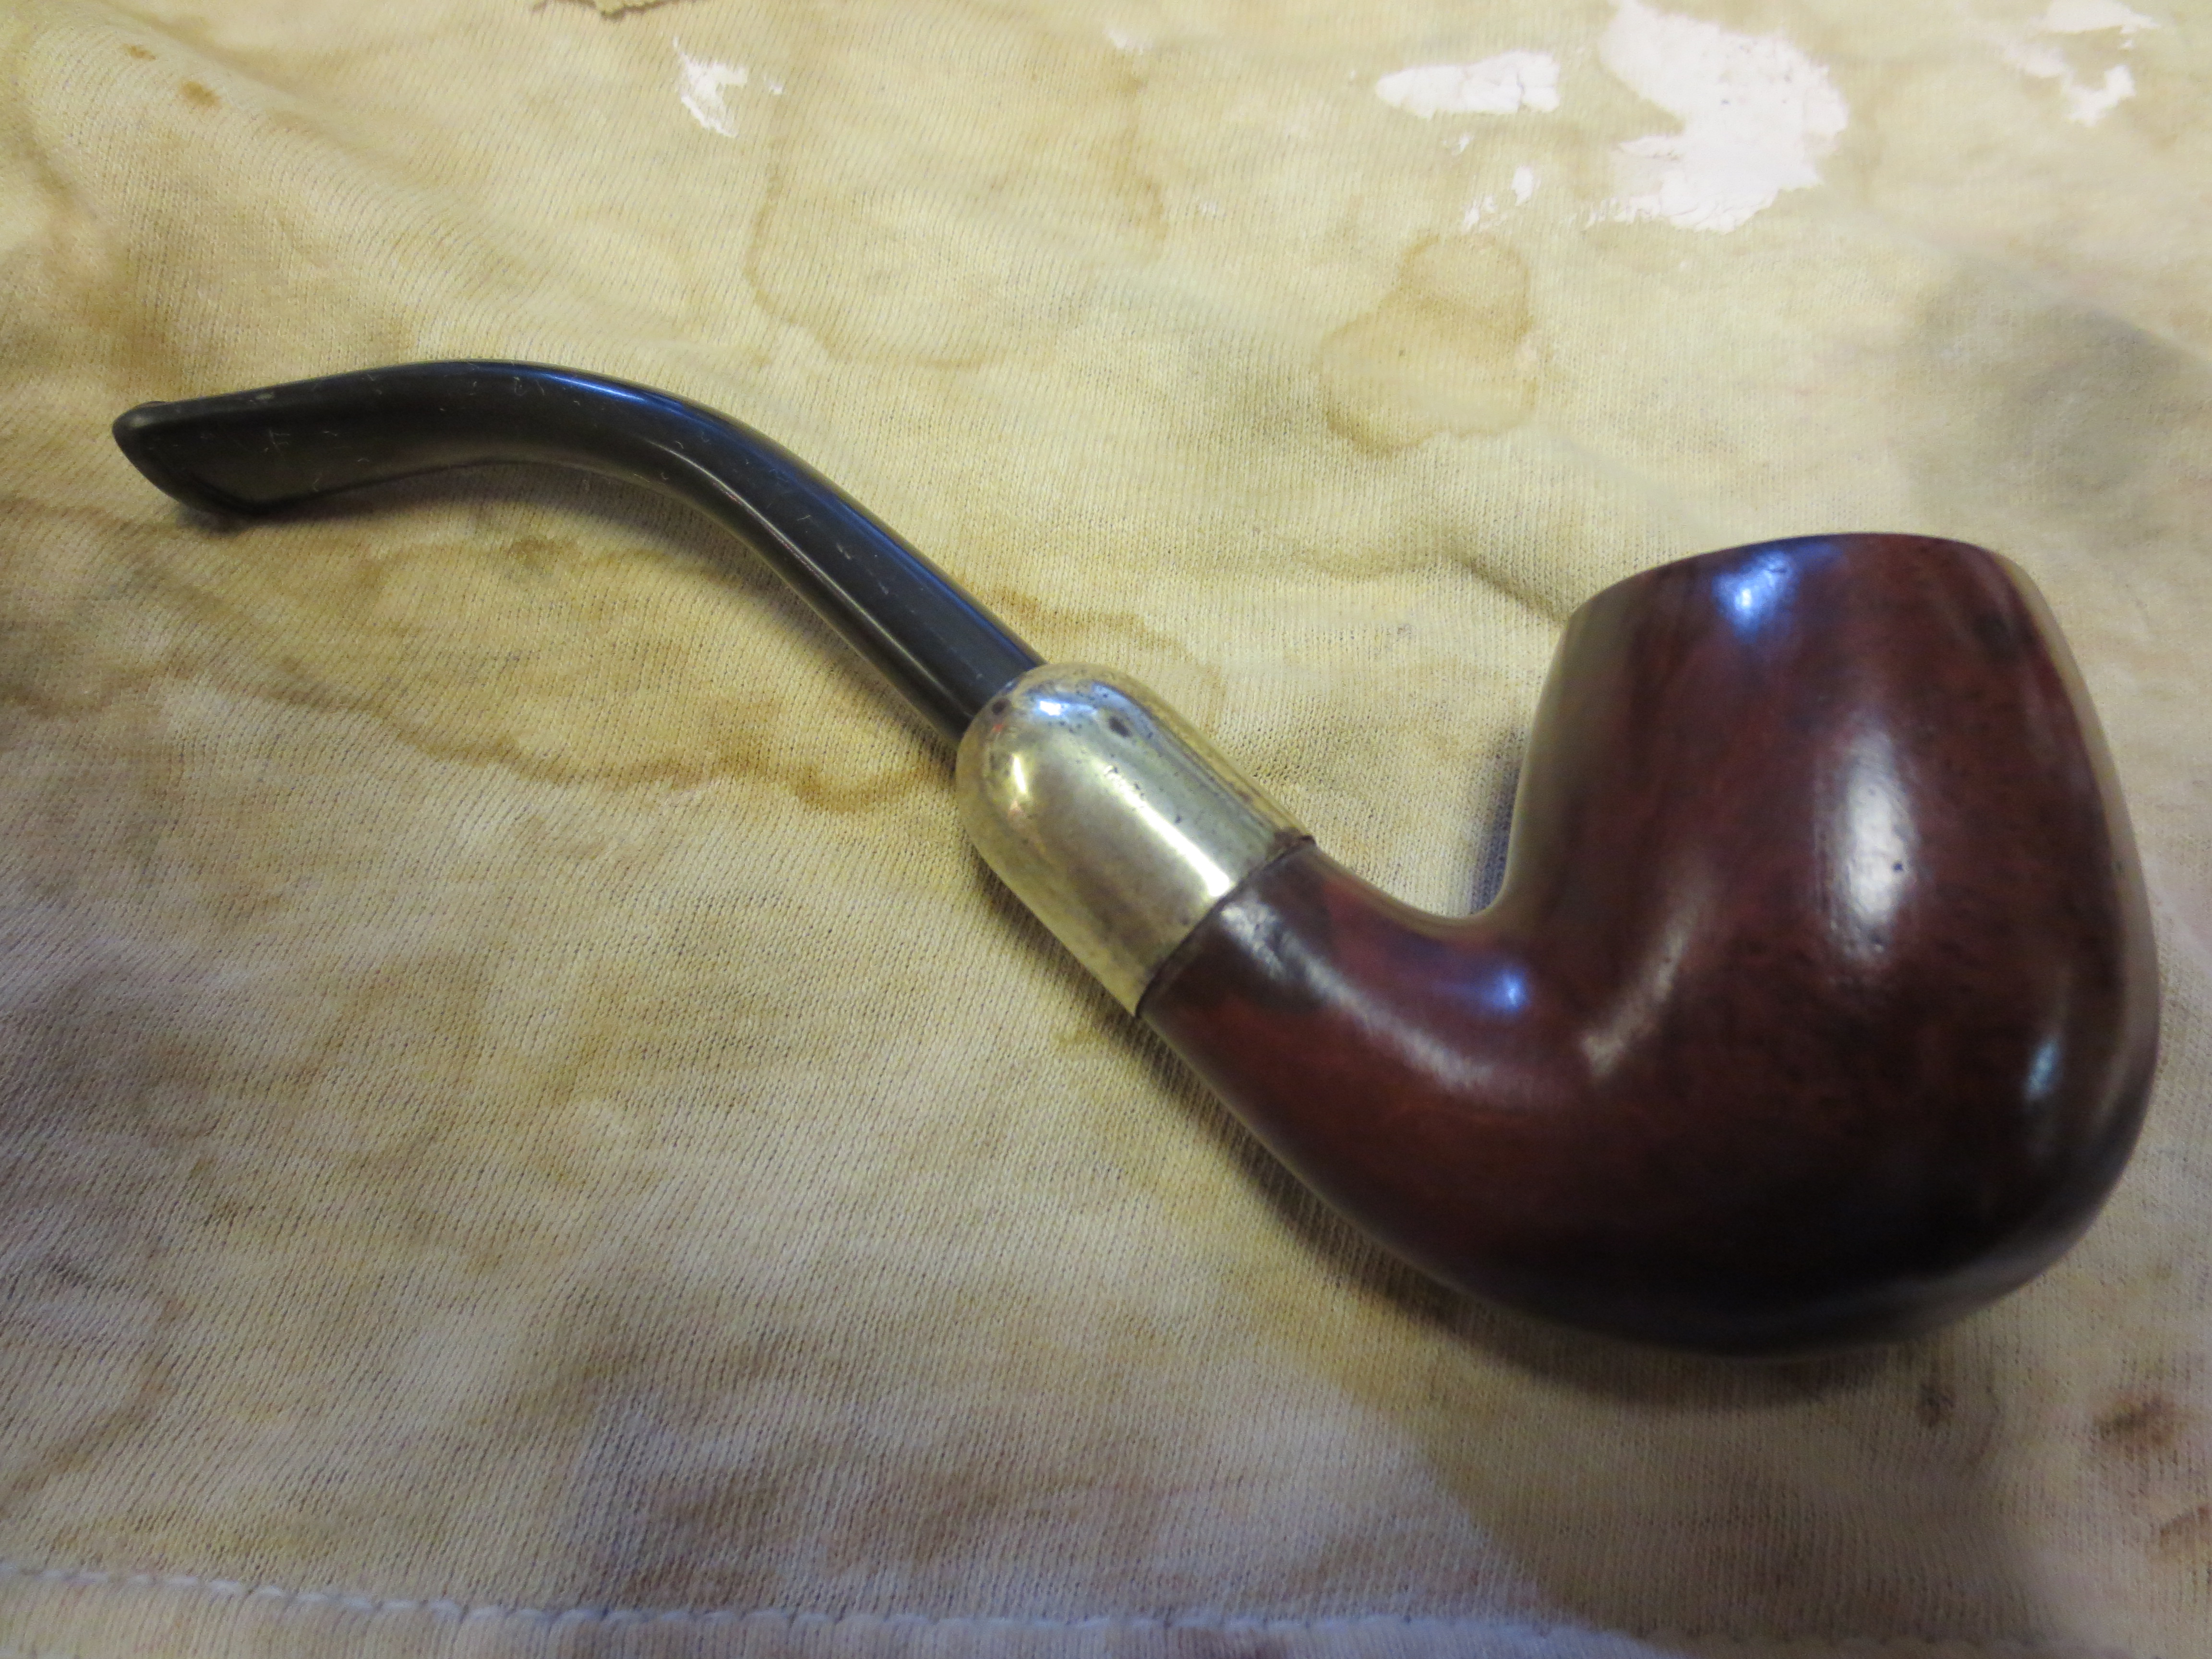
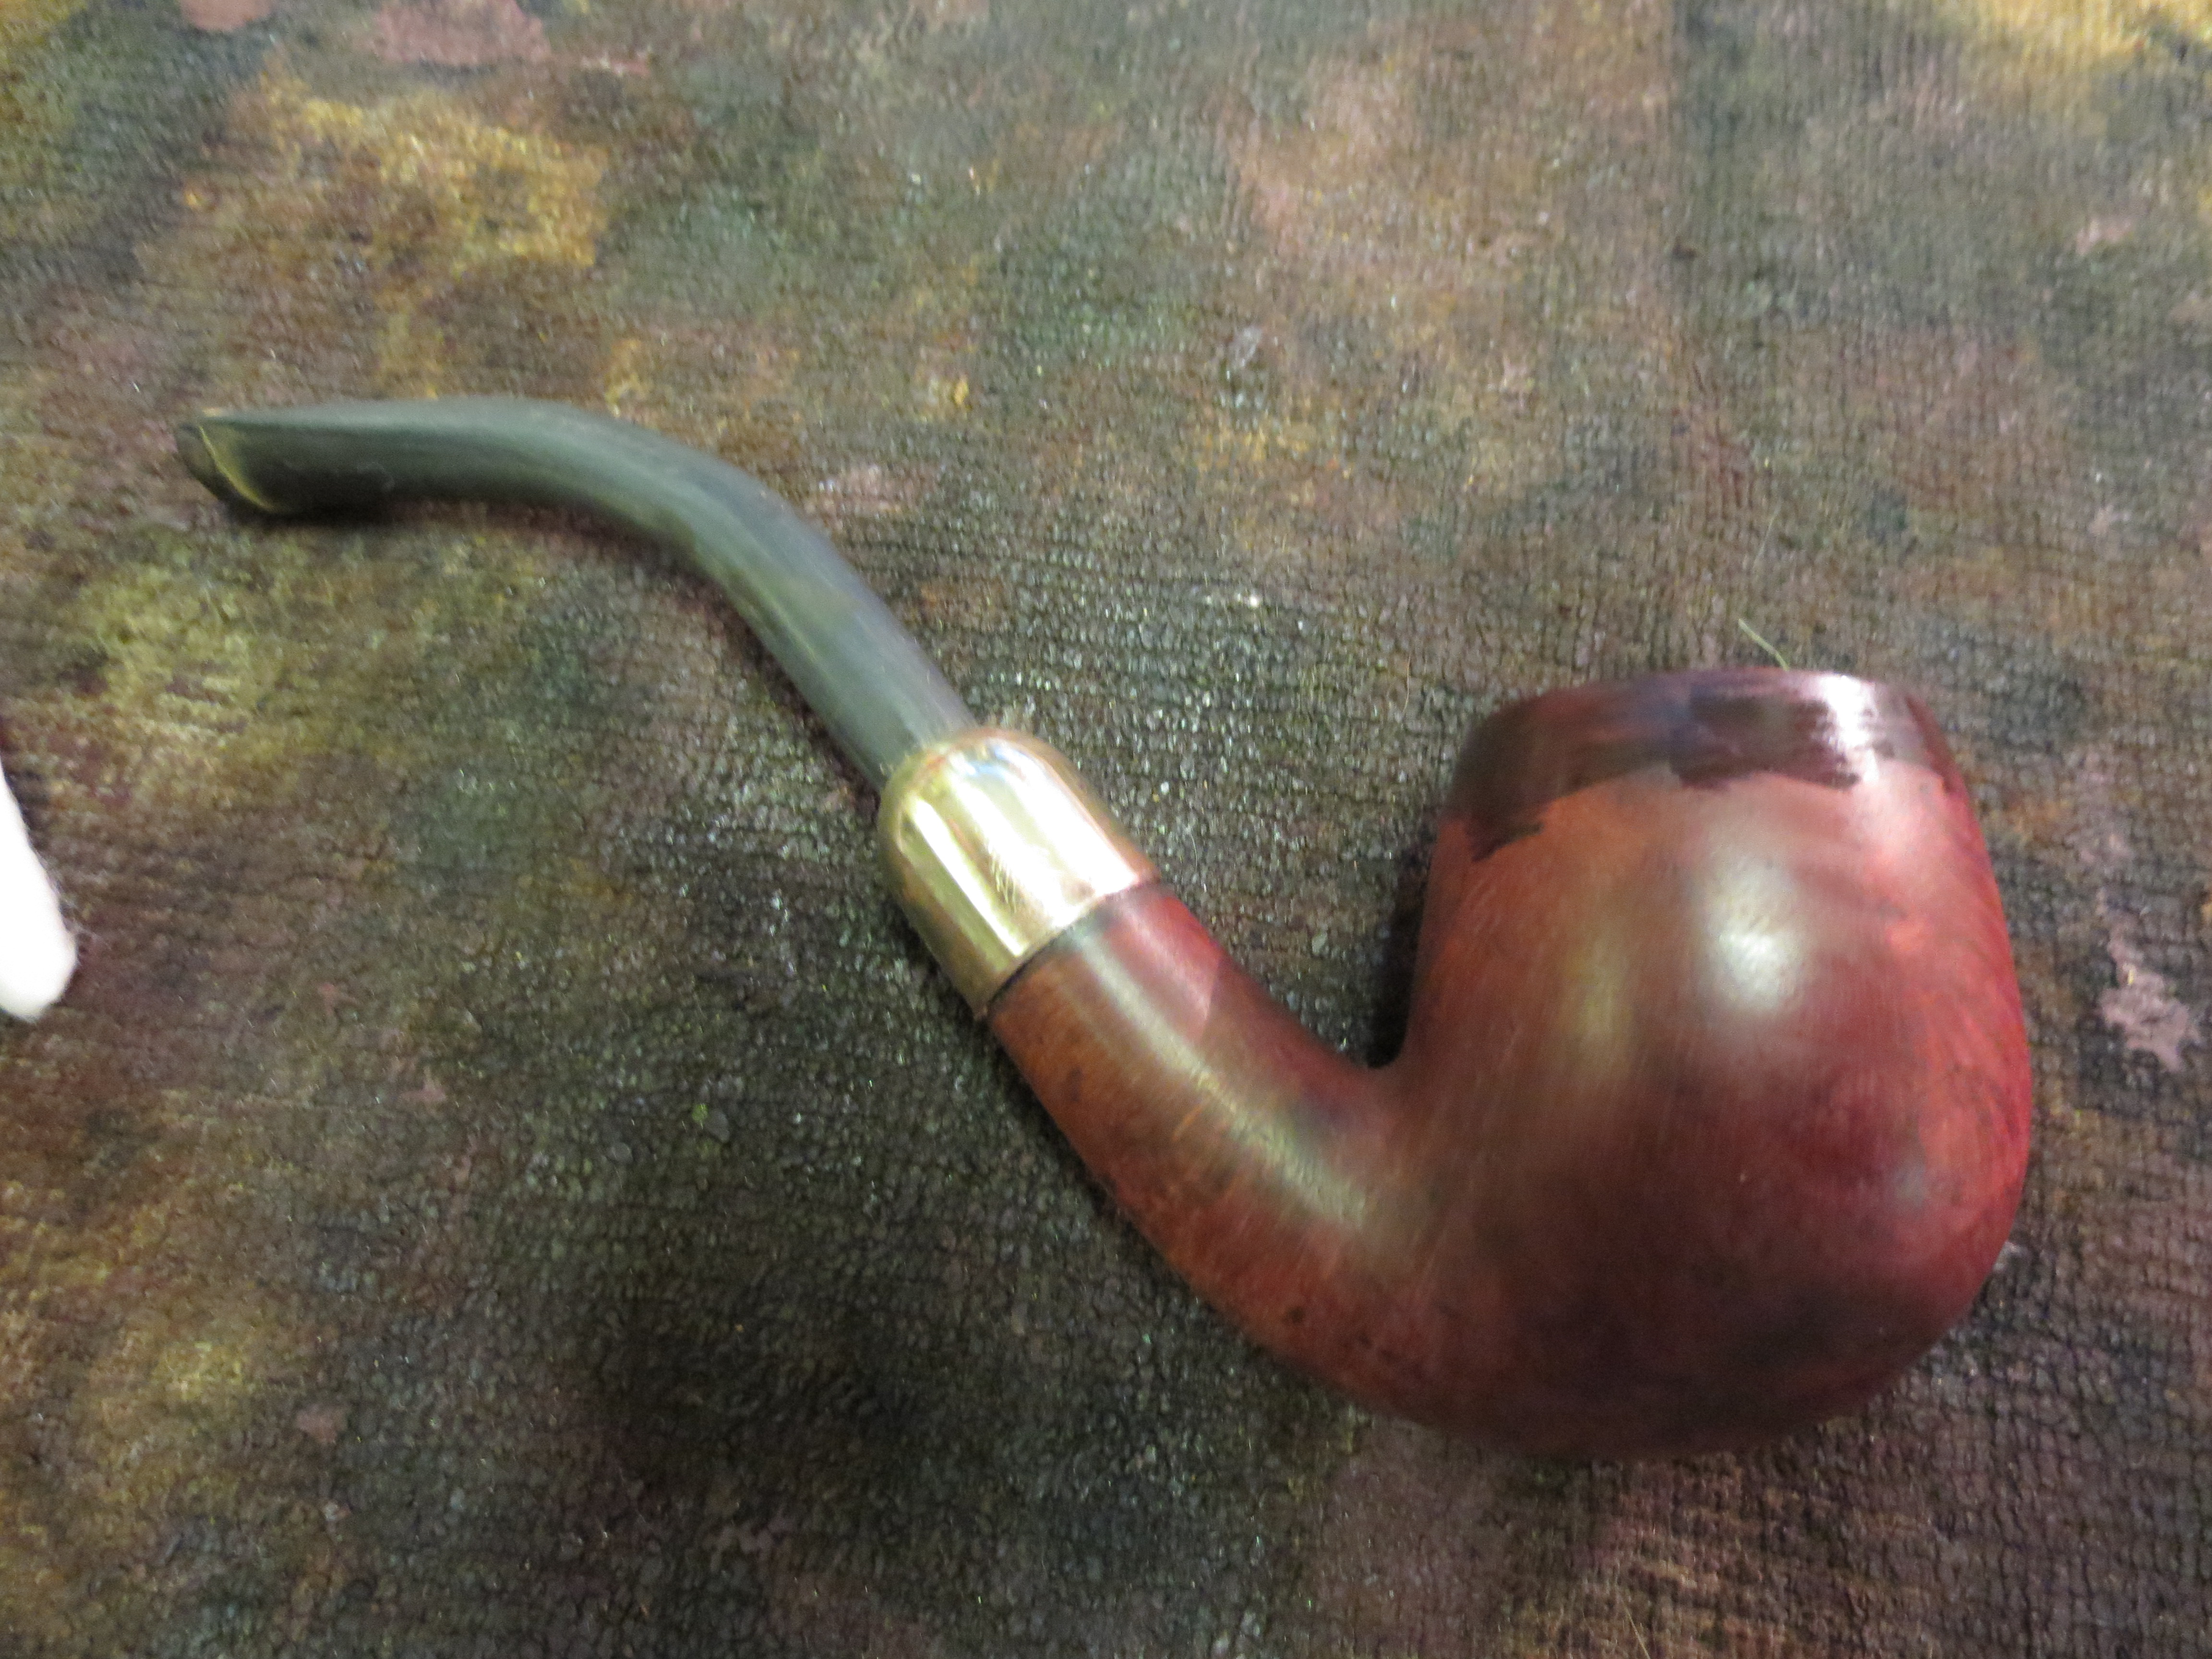
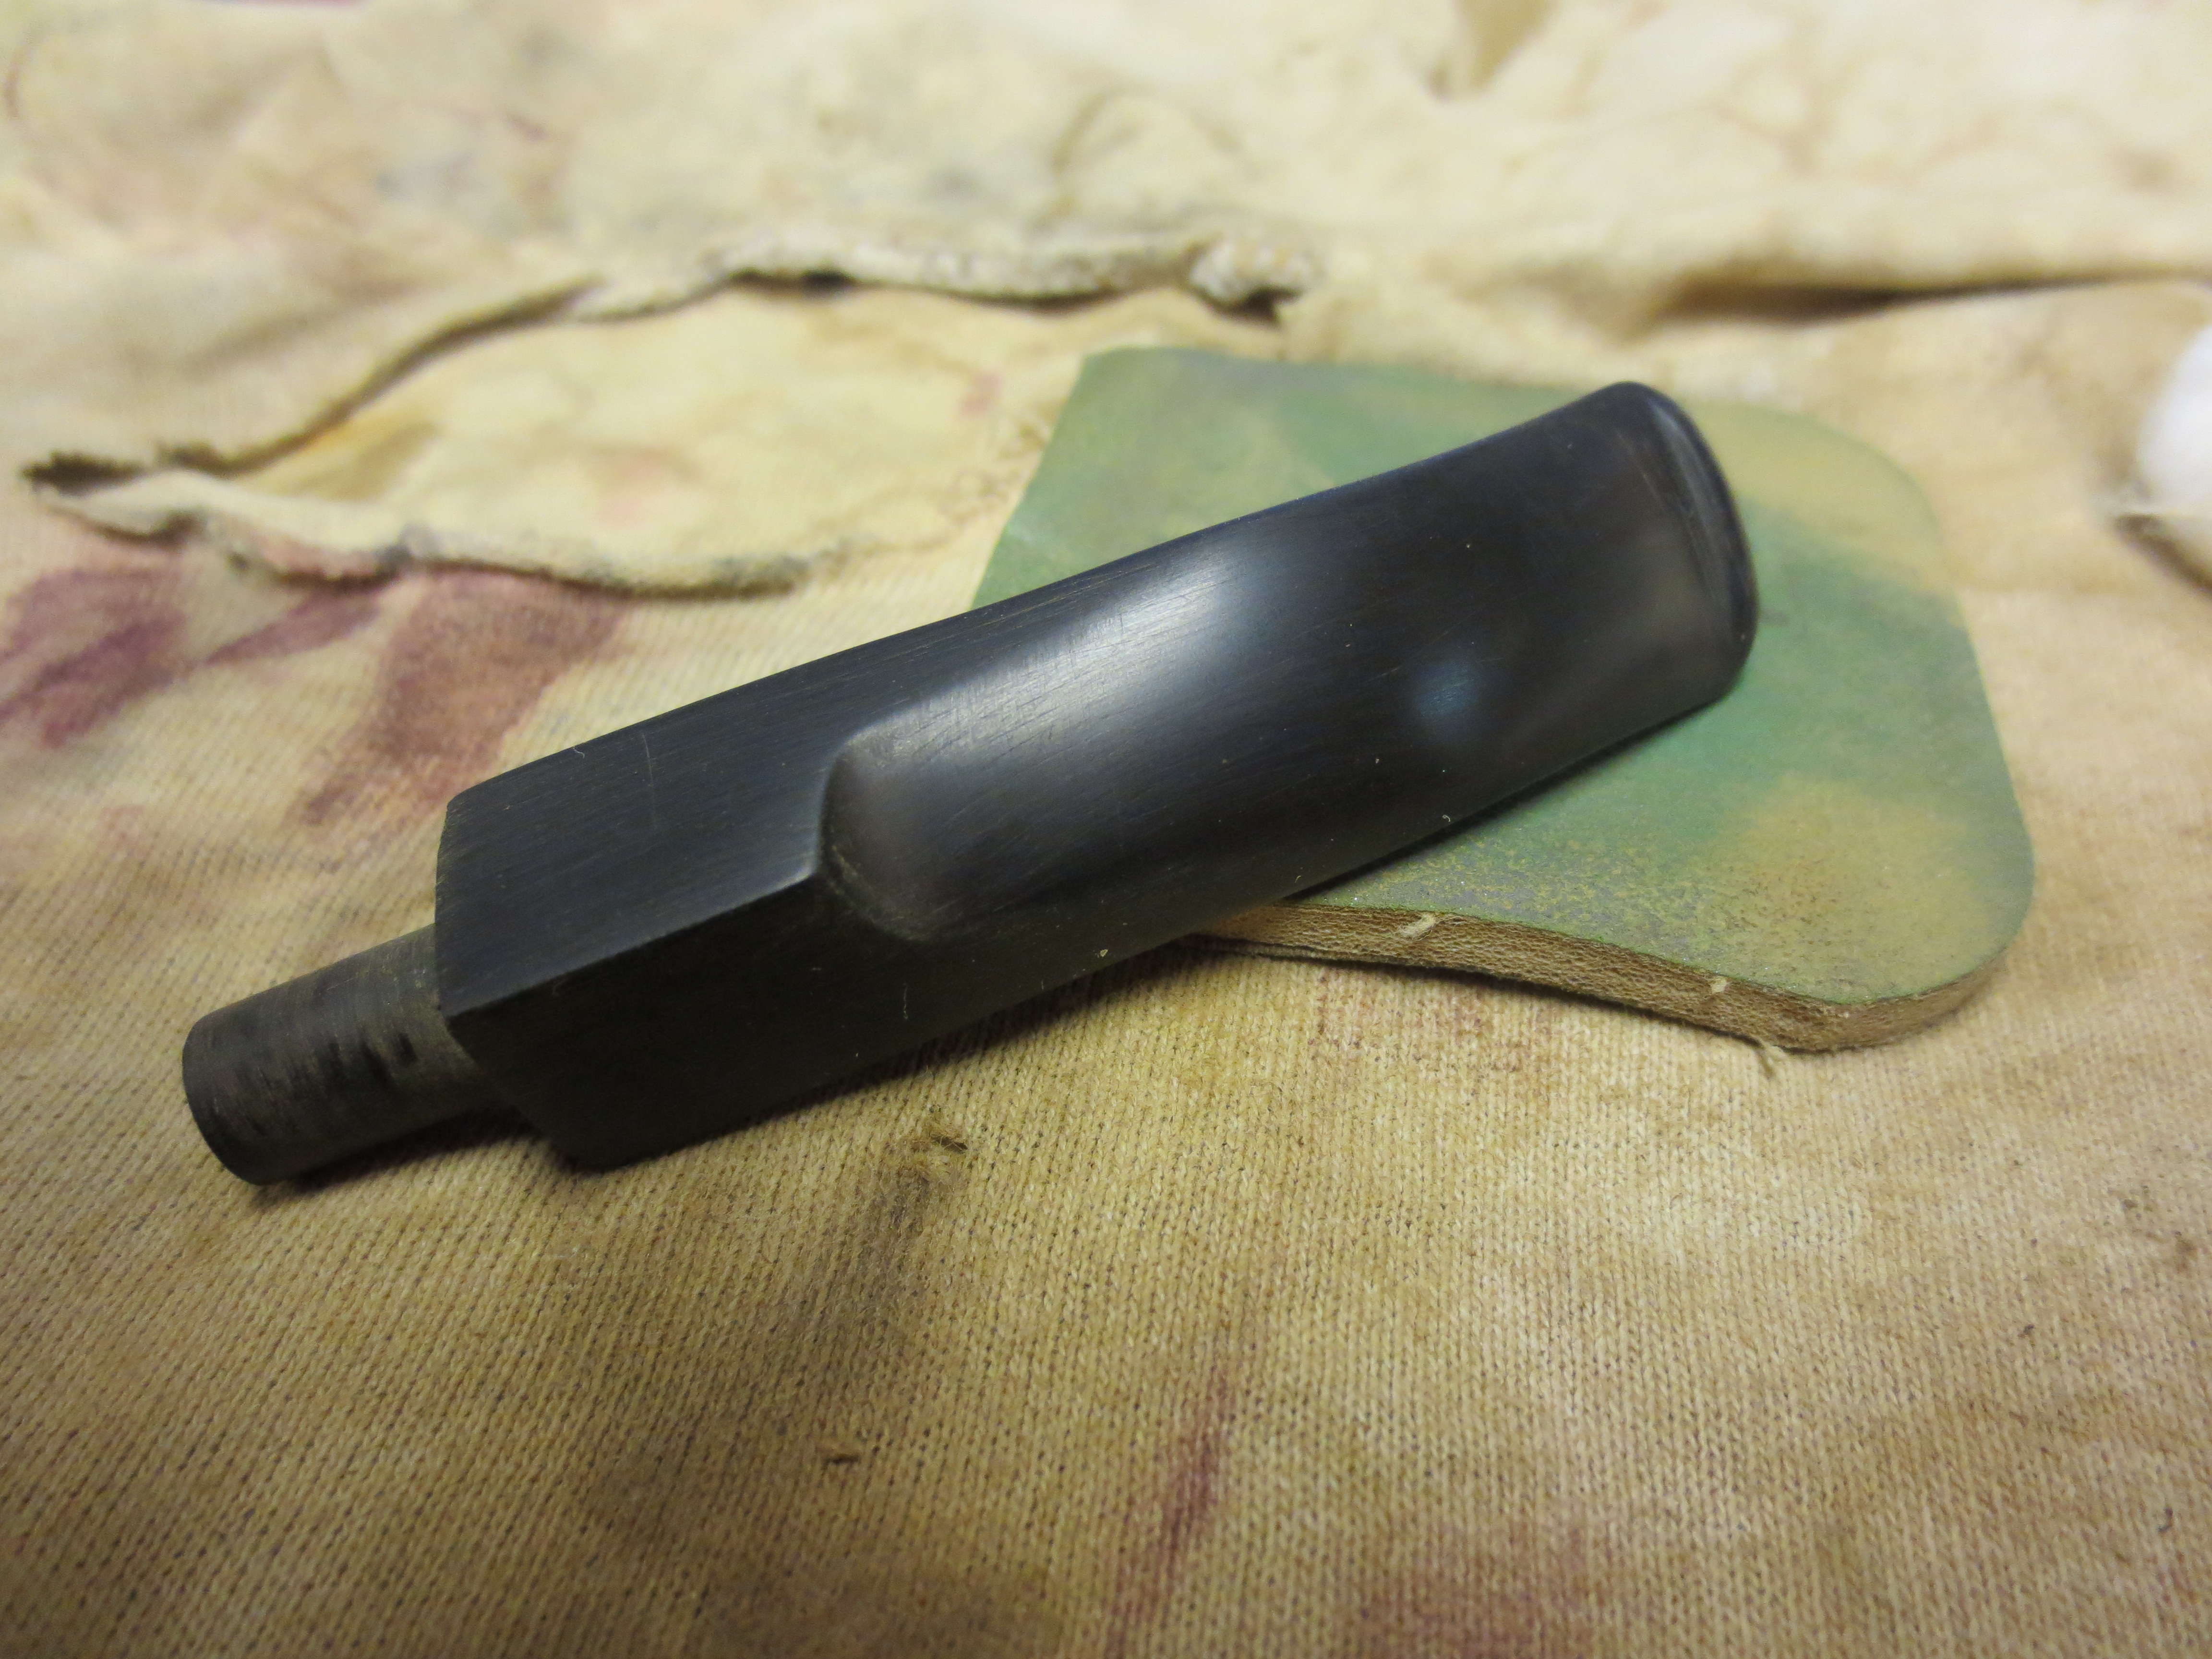
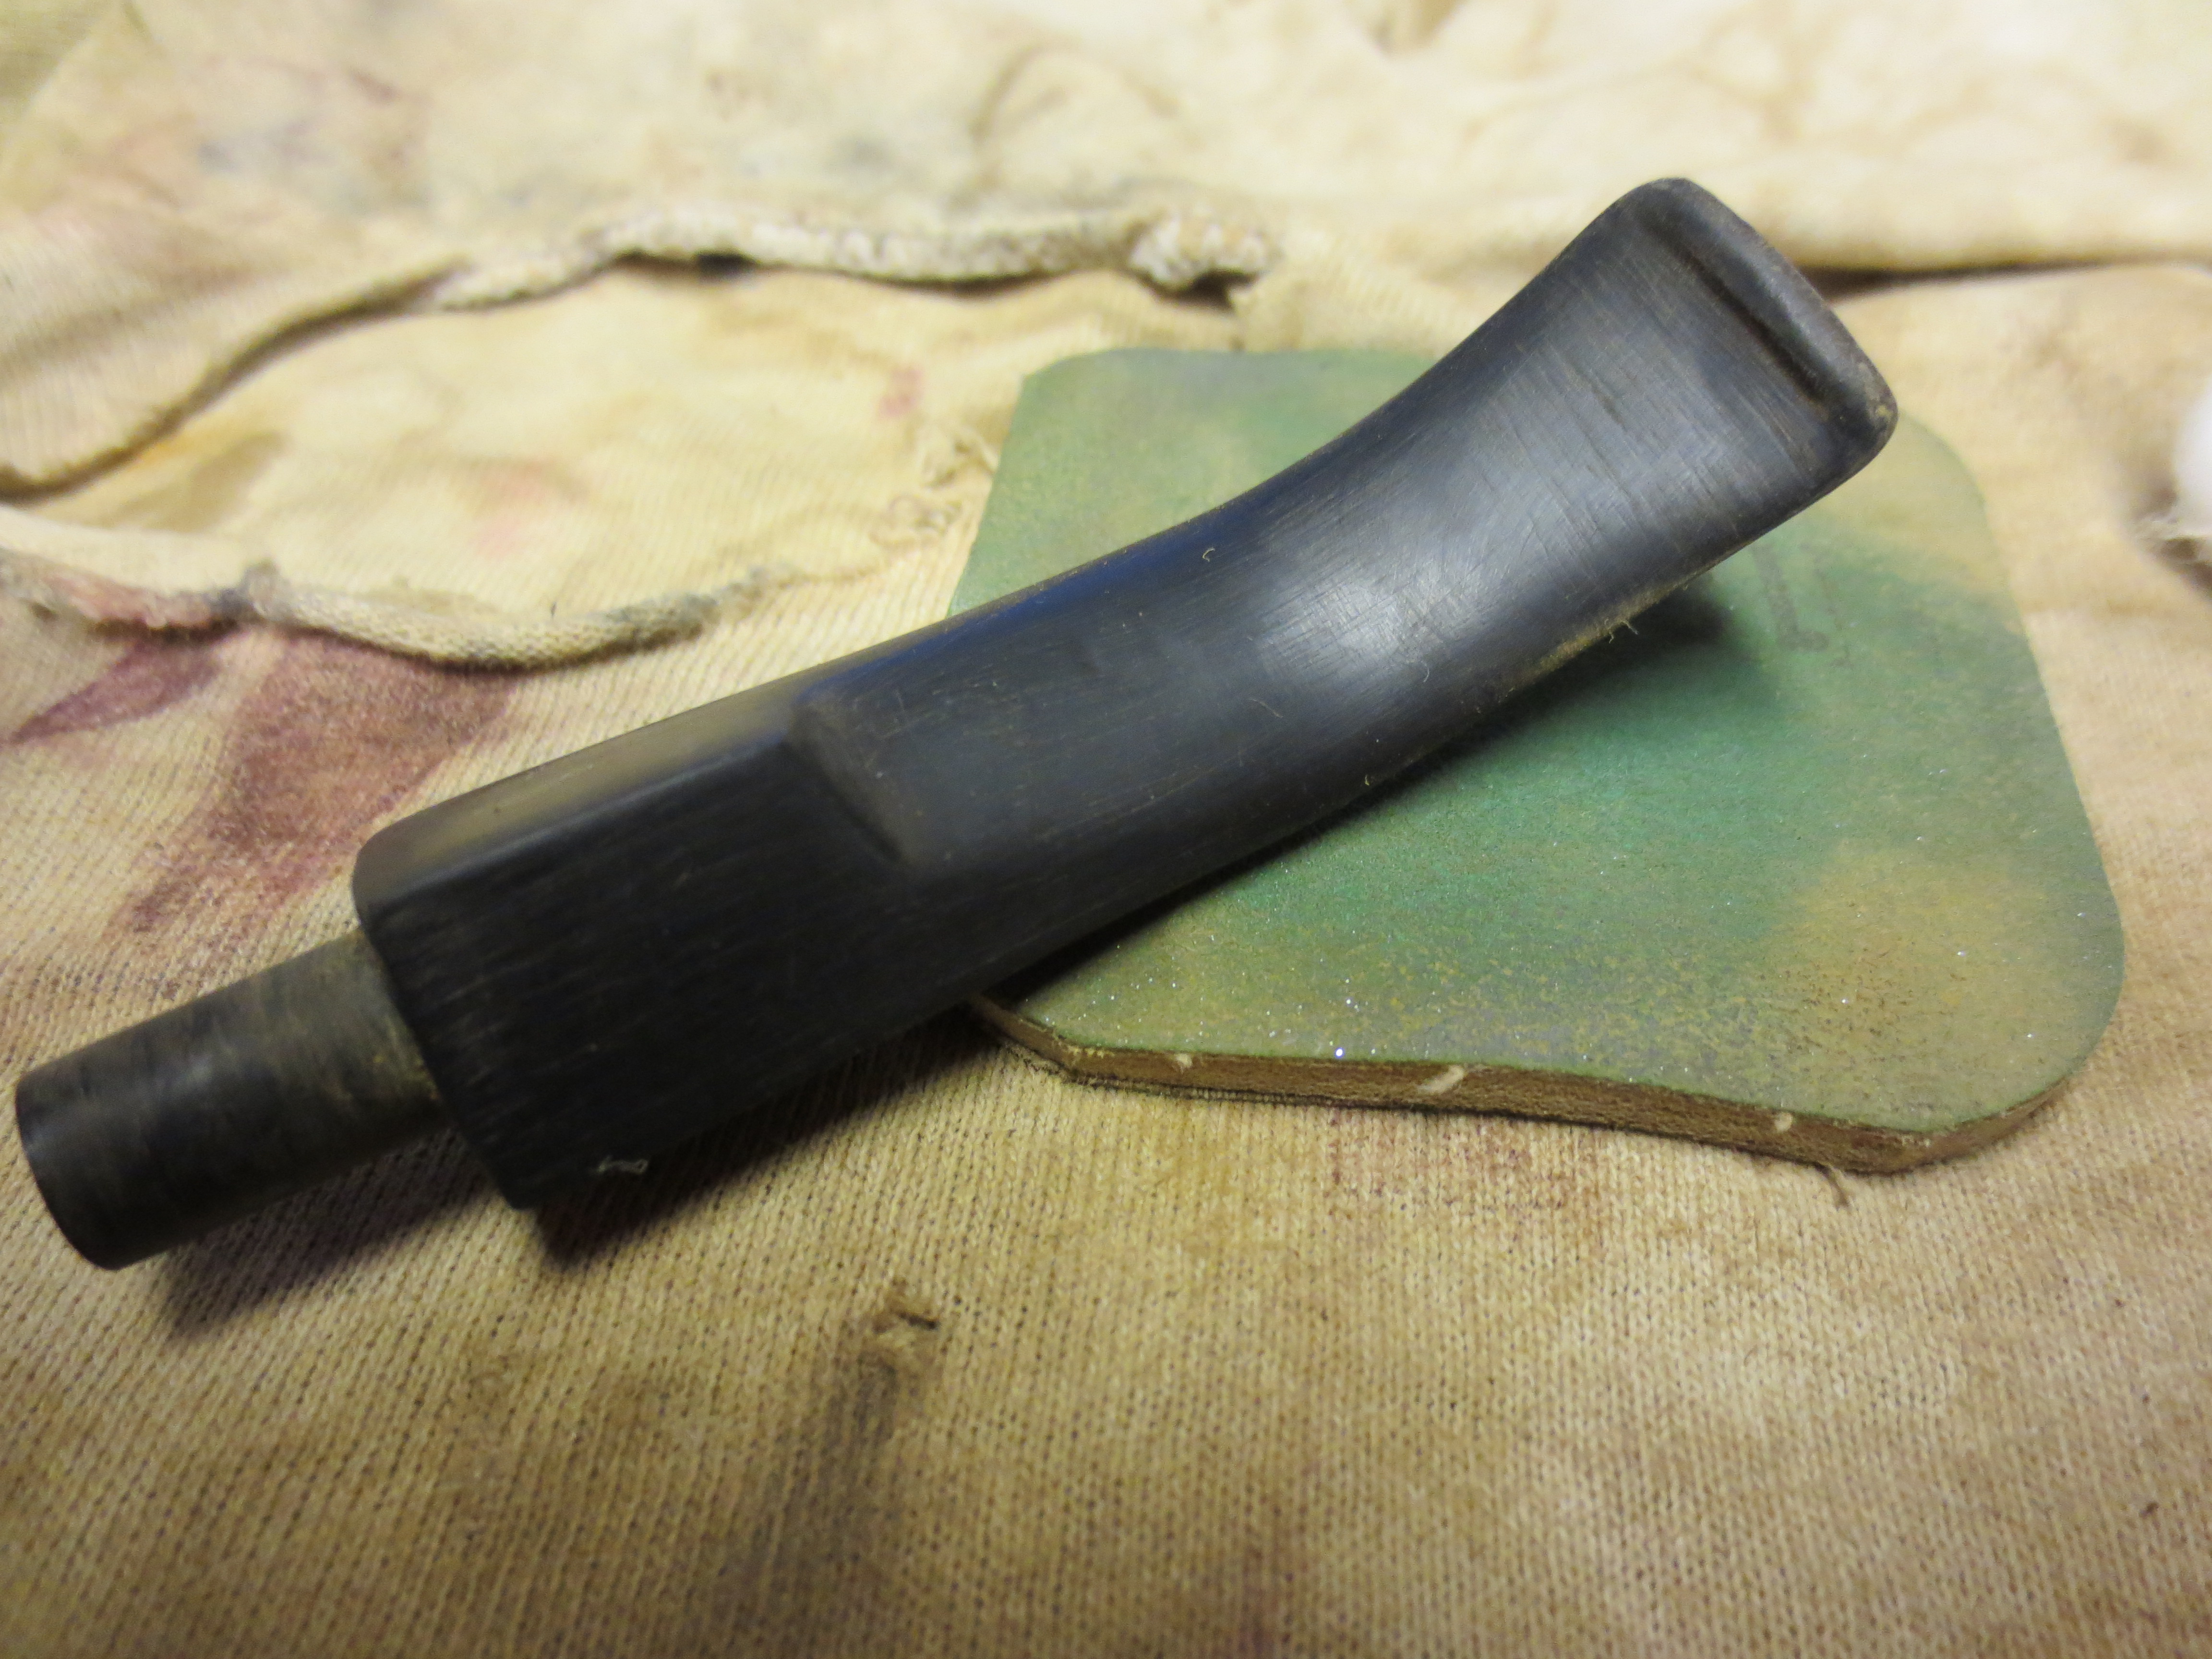
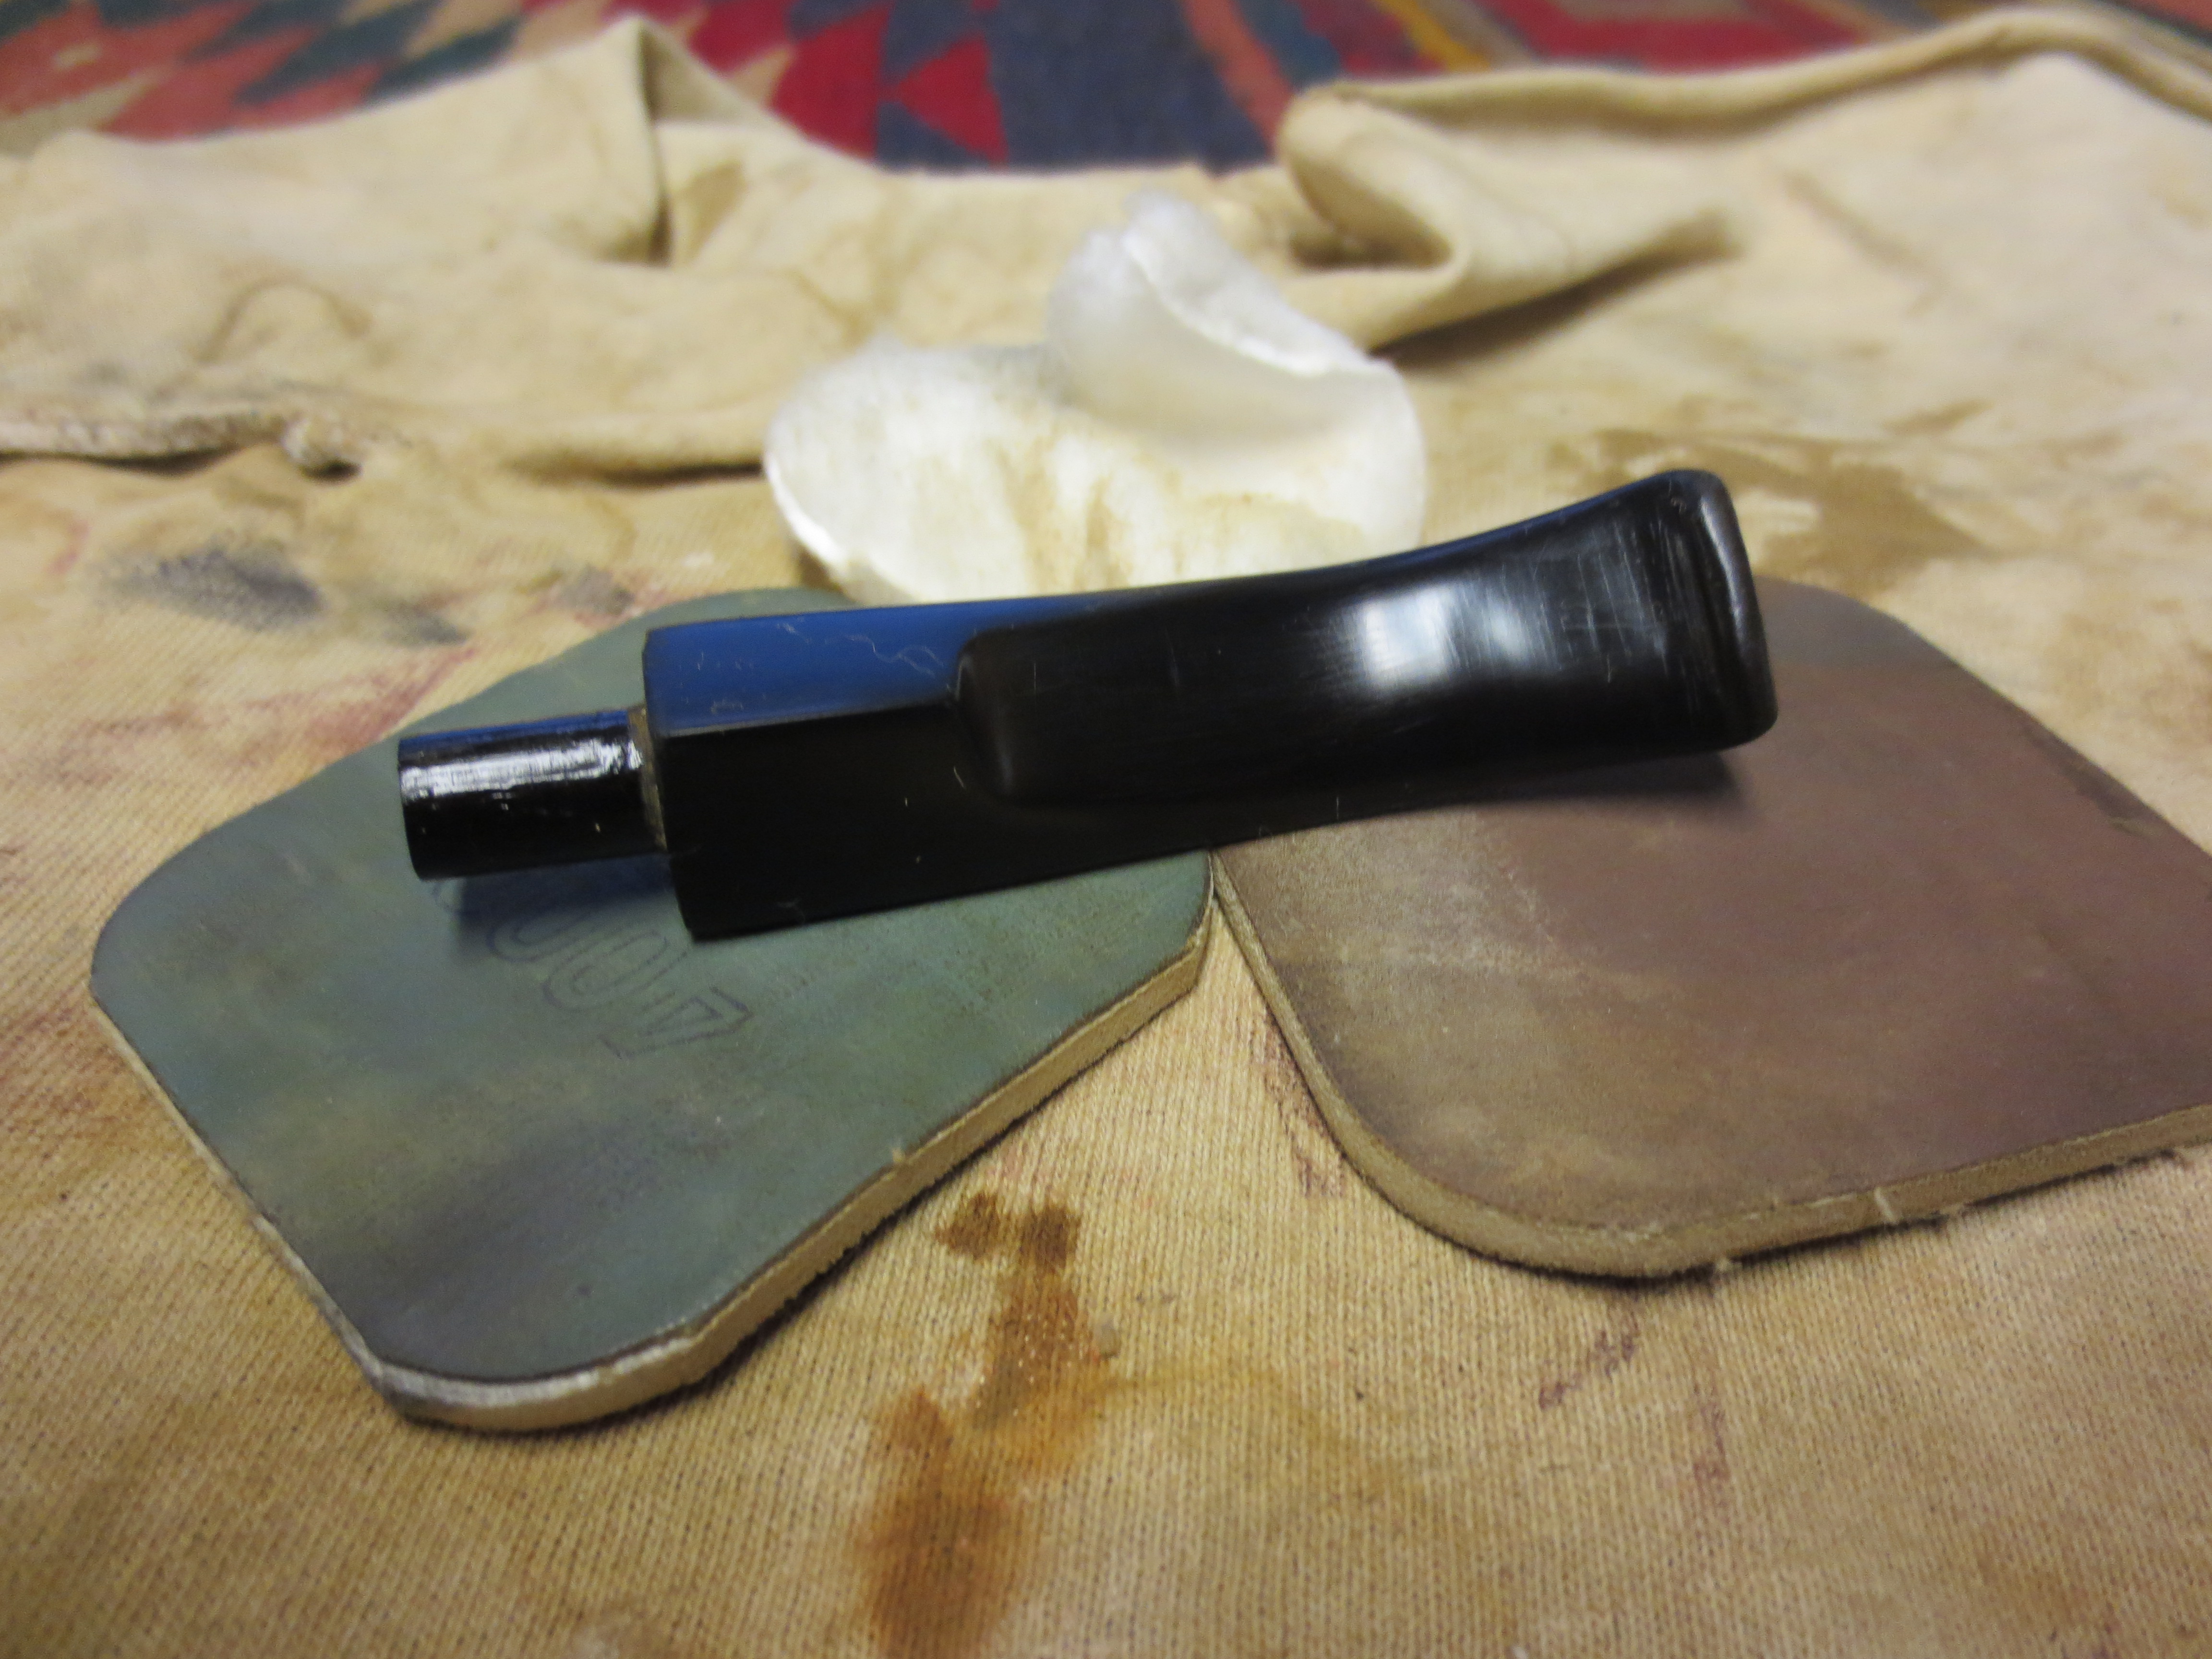
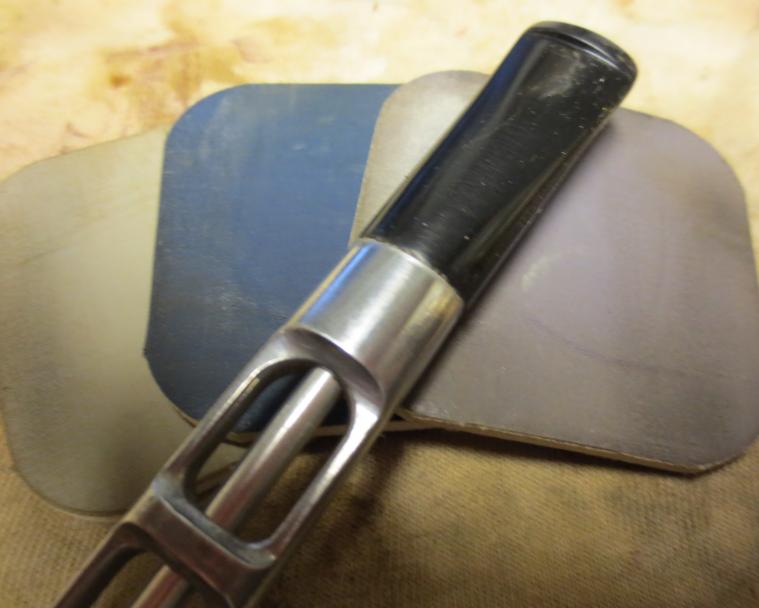
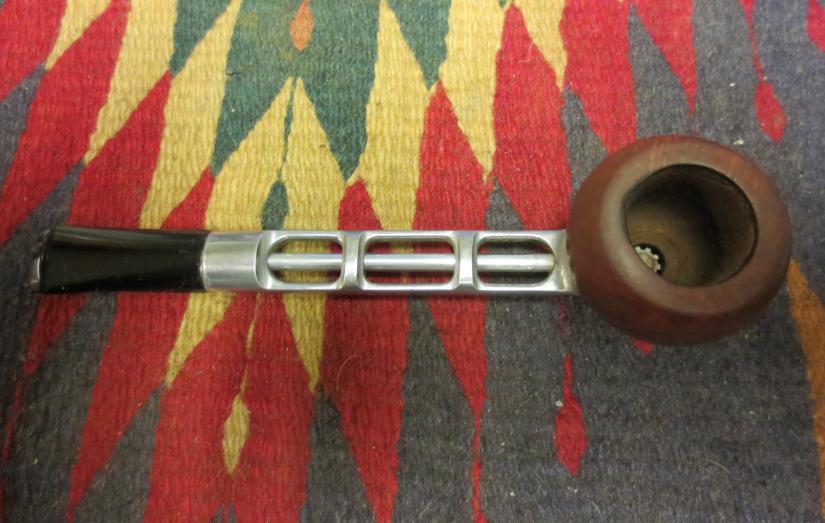
The final four photos show the finished pipe. I continued to wet sand the stem with the 1500-1800 grit micromesh sanding pads until the scratches and rough areas were clean and black. I then dry sanded with the remaining grits of micromesh from 2400-12,000 to polish the stem and give it a mirror like finish. Once that was finished I waxed the pipe and stem several more times with carnauba wax. All that remains is for the pipe to be christened with its first bowl!

IMG_0915

IMG_0916

IMG_0917

IMG_0918

Can a Cracked Bowl be Repaired? – Taking a Lesson from Gan Barber’s Work


Blog by Steve Laug

Many of you have read the piece that Gan wrote on “All the King’s Horses and All the King’s Men – A Peterson Adventure” https://rebornpipes.wordpress.com/2012/10/03/all-the-kings-horses-and-all-the-kings-men-a-petersen-adventure-gan-barber/ In it he described the process of reconstructing a Peterson that was in pieces. It arrived with cracks and he put the pieces back together. Since interacting with Gan on that pipe and rereading his article I have wanted to try my hand at repairing a cracked bowl. Finally I picked one up in an EBay lot that I purchased. It was an L. J. Perretti Smooth Bent Billiard. It was in rough shape and needed a stem. I figured I would practice some of the magic Gan used on the Peterson pipe he wrote about on this one.

This Perretti had some deep cracks that ran through the bowl from outside to the inside. Once I had reamed the extremely thick cake out of the bowl I could see that the cracks went all the way through the briar. There were deep gouged areas on the inner walls of the bowl directly behind the cracks. The wood was not charred so it was not a true burnout. I think that a combination of too thick a cake and possible flaws in the briar made these cracks appear. Interestingly the cracks follow the grain all the way through the pipe. I shined a light through the cracks and I could see light on the opposite wall of the pipe bowl. There were two large cracks on the left side and one running with the grain on the front of the bowl. The one on the front was not as open and it did not go all the way through the briar. The ones on the left side were quite open and cavernous.

The first series of seven photos shows the state of the bowl when I began the experiment. I figured I had nothing to lose on this one. If it fell apart or did not work out it was not a great loss at all, but it would fun giving it a try. I wanted to try out some of the methods that Gan used in his reconstruction of the Pete on this one and see what I could do with it.

IMG_0880

IMG_0881

IMG_0957

IMG_0961

IMG_0958

IMG_0959

IMG_0960

After reaming thick cake back to the bare wood I sanded the exterior with 240 grit sandpaper to clean off the finish and get a better look at the nature and depth of the cracks. I wanted to be able to more clearly see how far across the bowl they stretched and if the cracks followed the grain. I had already seen the state of the inside bowl walls. The left side interior showed damage from the crack extending into the bowl. The front side was less damaged. It had some very minor cracks on the inside walls. I blew air through the shank into the bowl and plugged the top of the bowl to see where the air came through the walls. The only one that really allowed airflow was the larger crack on the left side toward the front of the bowl. The next three photos show the sanded bowl. I left sanding dust in the cracks to highlight their depth and the extent of damage.
IMG_0961

IMG_0962

IMG_0963
I decided to put the bowl in the alcohol bath. I wanted to soften the remaining cake in the cracks and crevices inside the bowl and also soften the grime within the cracks. I had no idea what would happen to the bowl as it soaked. I almost expected it to come out of the bath in several pieces. I got busy with work and other demands and ended up leaving it in the bath for over 24 hours. When I finally removed it and let it dry for several days I figured that the drying would probably make the cracks worse.
IMG_0964

IMG_0965
When I removed the bowl from the bath it was not in pieces but the cracks did open a bit wider on the side of the bowl. The finish and grime was gone and I could clearly see what I had to do if I was going to repair this bowl. The end of the shank had also been damage and chipped so I decided to band it to give me a smooth edge for the new stem I was going to turn for it. I used a nickel band, heated it with the heat gun and pressure fit it on the shank of the pipe. The one bonus in the process was that the grain on this pipe was actually quite nice. The next three photos show the dried and banded bowl and shank. There was still a lot of sanding that would need to be done to prepare the bowl for the repairs and even more sanding once those were done.
IMG_1037

IMG_1036

IMG_1038
I selected a stem that had the same diameter as the shank and turned the tenon on the Pimo Tenon Tool. I finished the fit by hand with a little help from the sanding drum on the Dremel. Once I had a good fit I set up the heat gun and heated the stem to bend it to match the bend of the bowl and bring the tip even with the top of the bowl. The next three photos show the heating and bending process as well as the finished look of the pipe with its new stem.
IMG_1039

IMG_1040

IMG_1041
After I restemmed the pipe I did some more sanding on the bowl. I wanted a clean surface to work with when I did the patches on the cracks. I also cleaned out the inside of the bowl with sandpaper and a dental pick. I wanted to clean out the interior cracks in the bowl as well as the exterior ones. Each would use a different kind of patch but each needed a clean surface to work with. The next five photos show the cleaned exterior of the pipe and two photos of the interior. Still more work needed to be done to clean them up before I patched them.
IMG_1042

IMG_1043

IMG_1044

IMG_1045

IMG_1046
For the exterior cracks I decided to use a patch mix of briar dust and superglue. I cleaned the cracks out with my dental pick and some Everclear. Once they were clean I packed them with briar dust, tamping it into the cracks with both the flat head of a tamper and also the tip of the dental pick. Once they were filled the first time I dripped the superglue into the cracks. The glue binds the dust and the surrounding briar and also compacts the briar dust. I then retamped in some more briar dust and repeated the process until it was filled. The next six photos show the process of filling the cracks around the bowl.
IMG_1047

IMG_1048

IMG_1049

IMG_1050

IMG_1051

IMG_1052
Once all the cracks were filled I sanded the bowl with 240 grit sandpaper to remove the excess material on the surface of the bowl. You will note the scratches in the surface of the briar. These would be removed in the successive sanding that still would be done to the bowl. The cracks are filled and the surface hard. The briar dust and superglue form a good bond with the crack and when dry are dark black in colour. They are hard to the touch even with the dental pick. The next four photos show the bowl after sanding. The surface is smooth to the touch.
IMG_1053

IMG_1054

IMG_1055

IMG_1056
The scratches on the bowl have been minimized with the fine grit sanding sponge pictured above. I continued to sand until the marks were gone using 320 grit sandpaper. Once I had the bowl to that point I wiped it down with Everclear on a cotton pad. The three photos below show the bowl after the wash.
IMG_1057

IMG_1058

IMG_1059
I continued to sand the bowl with micromesh sanding pads from 1500-12,000 grit to smooth out the surface of the bowl. The micromesh left the surface ready to be stained. The cracks are still visible in terms of the black lines but the cavernous gaps are filled and repaired.
IMG_1058

IMG_1060

IMG_1061
I decided to stain the bowl with a rich oxblood aniline paste stain. I applied it to the bowl, flamed it and applied it a second time and flamed it. Once it was dry I wiped it off and hand buffed the surface. My purpose was not to hide the flaws but to minimize the glaring nature of the repairs. The next six photos show the staining and rubbed down bowl. I was not happy with the coverage but I buffed it quickly with White Diamond to see what I had to work with. The final photos in the series of six show the buffed and polished look of the bowl.
IMG_1063

IMG_1064

IMG_1065

IMG_1066

IMG_1067

IMG_1068
I decided to give the bowl a second staining of a dark brown aniline colour. This was a mix of dark brown and alcohol 1:1. I applied it and flamed it. I repeated the process to darken the colour of the bowl. The four photos below show the result of the application of the brown stain.
IMG_1069

IMG_1070

IMG_1071

IMG_1072
After the stain had dried it was time to address the inside of the bowl. I sanded it out quickly with a Dremel with a sanding drum attachment. I was careful not to change the shape of the bowl but to merely remove any carbon cake that still remained. I wiped the inside down with Everclear and then flamed it to dry out the surface of any moisture. I then mixed a batch of JB Weld. This would be the first step in doing the interior repairs. I packed it into the cracks on the inside of the bowl using the spoon end of the pipe nail. I continue to pack it into the bowl cracks until they were smooth. The four photos below show the mix and the patch in the bowl. It has a drying time of 6 hours to dry to touch and 24 hours to cure.
IMG_1073

IMG_1074

IMG_1075

IMG_1076
While the bowl was drying I worked on the new stem. I sanded down the castings on the side of the stem and polished it with micromesh sanding pads. I used 1500-12,000 grit micromesh pads on the stem. I pictured three photos below to show the process.
IMG_1077

IMG_1078

IMG_1079
The next series of eight photos show the patch after it had dried. I also reapplied the JB Weld after the initial 12 hours so that it filled in the places where it had shrunk as it dried. The patch dried a fine grey coloured. I sanded it down until it was only in the cracks themselves and not in the clean briar. I wanted to give the briar as much absorption area as possible as the JB Weld does not absorb moisture at all. It dries to a neutral, hard metallic material that has no taste.
IMG_1080

IMG_1081

IMG_1082

IMG_1083

IMG_1084

IMG_1085

IMG_1086

IMG_1087
Once the JB Weld was cleaned up and reduced to only filling the cracks it was time for the second step of the bowl interior renewal. I mixed a batch of bowl coating composed of activated charcoal powder and sour cream. I stirred the batch until it was a consistent blue/black grey colour. I applied it to the entire bowl from top to bottom with a folded pipe cleaner. Once it dries it is a solid black colour and neutral in taste. It gives the bowl an additional layer of protection until the cake builds up. The next three photos show the mix and the application in the bowl.
IMG_1105

IMG_1107

IMG_1108
With that done, both the inside and the outside cracks are repaired and the pipe is back in service. I gave the entire pipe a final buff with White Diamond and then applied multiple coats of carnauba wax for protection. The final photos below give you an idea of how the pipe looks today. It is still curing from the bowl coating but I will load it and smoke it once that has cured. The finish of the two stains worked well to blend in the repairs but not hide them. The surface is smooth and the open cracks have been repaired. Now the ongoing test begins. Will the patches hold up or will the new heat from the fired tobacco open them a second time? Time will tell but it is worth the experiment in my opinion.
IMG_1089

IMG_1090

IMG_1091

IMG_1092

IMG_1093

IMG_1094

A Renewed WDC Bakelite and Briar Pipe Restemmed


I received the Bakelite bowl base in a lot that I picked up on EBay. At first glance I figured I would trash it and not worry about working on it at all. However, I tend to be drawn to working on things that others would throw away so I decided to see what I could do with it. The two bowls pictured below are threaded and both fit the base. The Dublin like bowl, once on the base, was too narrow for the base but the bulldog bowl fit well. It was packed with a cake and there were chips out of the double line band around the bowl. The bowl rim was damaged and the finish was absolutely shot with dark black stains in the briar all around the bowl where the thumb and fingers held the bowl. The Bakelite shank had the WDC in a diamond stamped on it. The ornate band that usually adorned the shank as well as the metal washer like band on the top of the bowl base was missing. The shank had a broken metal tenon stuck deep within it. The surface had scratches in it but none of them were too deep.

Bakelite bowl base and two potential bowls before beginning the process of refurbishing.

Bakelite bowl base and two potential bowls before beginning the process of refurbishing.


The bowl is pictured below. You can see the thickness of the cake and the rough surface of the rim where a previous owner had damaged it when emptying the bowl. The second photo shows the exterior damage and the finish on the pipe. I reamed the bowl to clean out the cake. I decided to take it back to bare wood and start over with the cake. I checked the bowl for cracks and damage but surprisingly there were none to be found. Eventually I would top the bowl.
SIde view of the bowl before refurbishing.

SIde view of the bowl before refurbishing.

Top view of the unreamed pipe bowl showing its condition before cleaning

Top view of the unreamed pipe bowl showing its condition before cleaning


I wiped the bowl down with acetone on a cotton pad, used a dental pick to clean out the grooves and screwed bowl on the base to get an idea how the pipe would look. I also wiped down the bowl base with Everclear to clean off the grime and buildup on that surface. I went through my can of stems in search of a diamond shaped stem that would finish out the look of the pipe. I came up empty-handed so I chose a round stem of the right diameter and length that I could shape to fit the shank. I drilled out the shank to remove the metal tenon and also to open the diameter of the mortise. The original stem had been a screw on one and the metal mortise and the metal tenon were firmly welded together so the drill was the only way to remove it. I opened it as wide as possible while still leaving enough material on the shank to maintain strength. I turned the tenon with the PIMO tenon turning tool and then a Dremel to bring it to the correct size for the new shank. The next two photos show the stem and the fit of the stem to the shank.
WDC base in need of a diamond shaped stem. Necessity is the mother of invention. I used a round Lovat stem.

WDC base in need of a diamond shaped stem. Necessity is the mother of invention. I used a round Lovat stem.


I turned the tenon to fit the mortise and then inserted the stem against the shank.

I turned the tenon to fit the mortise and then inserted the stem against the shank.


Now I needed to shape the stem and remove material to transform the round saddle bit to a diamond saddle bit. I used a Dremel to cut the basic shape in the stem. I proceeded from side to side with the stem on the shank to make sure to match the angles of the shank. I wrote a post on the process for the blog and posted that earlier. You can read about the details of that process on this link https://rebornpipes.wordpress.com/2013/04/15/shaping-a-diamond-shaped-stem-from-a-round-one/ The next eleven photos give a quick look at the shaping work on the stem. It took time and I had to be careful to not damage the shank when I was using the Dremel and sanding drum on the stem.
Figure 3 I used a Dremel to shape the stem to match the diamond angles of the shank. I worked on one side at a time.

Figure 3 I used a Dremel to shape the stem to match the diamond angles of the shank. I worked on one side at a time.

Figure 4 Pipe resting against the Dremel with a sanding drum. Shaping progressed quite quickly. This picture shows one side beginning to take shape.

Figure 4 Pipe resting against the Dremel with a sanding drum. Shaping progressed quite quickly. This picture shows one side beginning to take shape.

5 Top view of the shank. Both sides of the round stem are beginning to take on the shape of the shank.

5 Top view of the shank. Both sides of the round stem are beginning to take on the shape of the shank.

Figure 6 Top view after more shaping with the Dremel.

Figure 6 Top view after more shaping with the Dremel.

Figure 7 Bottom view before the Dremel did its work.

Figure 7 Bottom view before the Dremel did its work.

Figure 8 Left side view after the first side has begun to take shape.

Figure 8 Left side view after the first side has begun to take shape.

Figure 9 Bottom view after both sides have begun to take shape.

Figure 9 Bottom view after both sides have begun to take shape.

Figure 10 Right side view of the stem after it began to take shape.

Figure 10 Right side view of the stem after it began to take shape.

Figure 11 Back to the worktable and the hand sanding.

Figure 11 Back to the worktable and the hand sanding.

Figure 12 Hand sanding continues.

Figure 12 Hand sanding continues.

Figure 13 Hand sanding continues.

Figure 13 Hand sanding continues.


The original shank had sported an ornate band and the stain in the Bakelite showed the marks of the band. I did not have any ornate bands in my collection of bands so I chose instead to band it with a nickel band. I shaped the band to fit, beginning with a round band. This took a bit of fussing to get the shape and fit correct. I have written that process up in detail in a previous blog post as well. You can read about the process at this link https://rebornpipes.wordpress.com/2013/04/15/shaping-a-round-metal-band-to-fit-a-square-or-diamond-shank/ Once the band was shaped correctly I heated it with a heat gun until it was pliable and then pressure fit it on the shank of the pipe. The next series of five photos show the process I used to pressure fit the band on the shank. Once it was in place I carefully used my furniture hammer to flatten the band against the shank.
The square is done

The square is done

Fitting a nickel band on the shank

Fitting a nickel band on the shank

Fitting a nickel band on the shank

Fitting a nickel band on the shank

Nickel band fitted on the shank

Nickel band fitted on the shank

Nickel band fitted on the shank

Nickel band fitted on the shank


The next series of four photos show the newly shaped stem in place on the banded pipe. There was still a lot of work to do on the pipe including cleaning the internals and reworking the bowl and rim but the overall look of the “new” pipe is intriguing.
New band and stem in place.

New band and stem in place.

New band and stem in place

New band and stem in place

Bottom view of the newly banded and stemmed pipe

Bottom view of the newly banded and stemmed pipe

Top view of the new band and stem

Top view of the new band and stem


I have included one photo below to give you an idea of the shape of the new stem. I remove a lot of vulcanite to get it from its original round shape to the diamond shape pictured below. The fit and the angles match the shank perfectly. These older pipes are tricky to fit a diamond stem on because none of the sides of the diamond are the same dimensions. Each one is just slightly different so you have to do the fitting work with the stem in place on the shank.
View from the tenon end of the diamond stem at this point in the process.

View from the tenon end of the diamond stem at this point in the process.


With the stem fitting correctly it was time to tackle the bowl. I set up my board and emery paper so that I could top the bowl. The first photo shows the set up. The second photo shows the state of the bowl rim when I started the process.
Set up for topping the bowl

Set up for topping the bowl

Reamed and ready to top

Reamed and ready to top


Once I had it topped I decided to wipe it down with acetone on a cotton pad to remove the finish and the grime from the topping. The next three photos show the clean bowl and the topped bowl. The finish work would take some time but the bowl was ready to move on to the next stage of rejuvenation.
Wiping down the bowl with acetone

Wiping down the bowl with acetone

Wiping down the newly topped rim with acetone

Wiping down the newly topped rim with acetone

Wiping down the bowl with acetone

Wiping down the bowl with acetone


I sanded the bowl with 240 and 320 grit sandpaper and finished sanding with a fine grit sanding sponge. The next two photos show the cleaned and prepped bowl ready for staining. The dark oil stains on the sides of the bowl would not come out. I wiped the bowl down with repeated washings of acetone and the surface was clean. I also sanded the stem with the sanding sponge while I worked on the bowl.
Bowl sanded, in place and ready to stain.

Bowl sanded, in place and ready to stain.

Bowl in place, sanded and ready to stain.

Bowl in place, sanded and ready to stain.


I decided to restain this old timer with an opaque oxblood aniline based stain. I wanted the opacity so that the dark stains would be minimized beneath the new stain and would eventually be blended in through smoking the pipe. I applied the stain and then flamed it. After flaming I hand buffed it to remove the excess stain. I also used a cotton pad and a dental pick to clean out the grooves on the bowl.
Stained with oxblood stain.

Stained with oxblood stain.

Stained with oxblood stain.

Stained with oxblood stain.


The next series of four photos shows the hand buffed bowl in place on the pipe base. The finish was matte at this point and still needed to be taken to the buffer to raise the shine. The third photo shows the rim. The surface is smooth but there is still damage to the inner edge of the rim. I chose to leave that without reworking it too much. I did not want to change the roundness of the inner bowl and decided that I could live with the nicks in the inner edge.
Left side of the pipe with a hand buff on the newly stained bowl.

Left side of the pipe with a hand buff on the newly stained bowl.

Right side of the newly stained bowl with a hand buffed surface.

Right side of the newly stained bowl with a hand buffed surface.

Top view of the hand buffed newly stained bowl.

Top view of the hand buffed newly stained bowl.

View of the underside of the bowl and Bakelite bowl base.

View of the underside of the bowl and Bakelite bowl base.


The next three photos show the pipe after I had buffed it with White Diamond. The bowl shines and the dark marks around the bowl show faintly beneath the finish but add a flair of character to the old pipe.
Buffed with White Diamond

Buffed with White Diamond

Buffed with White Diamond

Buffed with White Diamond

Buffed with White Diamond

Buffed with White Diamond


The next series of three photos are included to give an idea of the polishing process that went into bringing the stem work to completion. Again I invite you to read the post mentioned above on the transformation of a round saddle stem to a diamond shaped one to understand the full work that the shaping took to bring it to this place.
Stem sanded with 320 grit sandpaper

Stem sanded with 320 grit sandpaper

IMG_1021

Stem sanded with 320 grit sandpaper

IMG_1022

Stem sanded with micromesh sanding pads


Once I had finished polishing the stem with the various grades of micromesh from 1500-12,000 grit I took the pipe to the buffer once again and buffer the entirety with White Diamond and then gave it multiple coats of carnauba wax to protect it and to give it a deep shine. The next series of four photos show the finished pipe. It is ready to load up with a favourite tobacco and be gently sipped in the solitude of an afternoon on the porch.

IMG_1032

IMG_1033

IMG_1034

IMG_1035

A No Name Bulldog Born Anew – New Look and New Stem


This little bent bulldog is the last of the briar stummels in the EBay lot I picked up. It is a nice little dog and I saved it for last as I find that the diamond shank stems are a bear to fit correctly. Bent diamond shanks are even harder in my opinion. I had quite a few stems to choose from in my can of stems so a new stem was not a problem. The issue really was getting all the sides and angles to line up and look right. Restemming these is a tricky proposition. This one had crosshatched stamping on the left side of the shank that obliterated the stamping of the name on it. On the right side it is stamped Imported Briar which I am assuming makes it an American made pipe. It had some nice grain under the dark stain and varnish coat. The bowl had a very poorly formed cake with many chunks missing. The rim was thick with a tar and oil build up but surprisingly was not dented or damaged by burns or over reaming. The end of the shank which would butt up against the stem was pristine with no damage or cracks. I love it when I can work on a pipe that does not need banding. It is a challenge to get a good clean fit on the stem. This would thus be a double challenge.

I chose a diamond shank tapered stem for the pipe. I had saddle stem galore and only two of these tapered stems. I love the look of a tapered stem on a bulldog so I decided to go with that one. It would not require too much of a bend in it so it would work well and look classy. I drilled out the airway to fit the pin on the Pimo Tenon Turning Tool and then turned the tenon to a close fit on the stem. I had to reduce the length of the new tenon as it was longer than the mortise on the pipe. I hand sanded the tenon to get a good clean fit on the shank and inserted it in place. Externally, it would need to be reduced on all sides to match the flow of the shank so there was work to do in fitting the stem.
IMG_0830

IMG_0831
I used my Dremel with a sanding drum to bring the sides of the stem down to almost match the shank. This was a bit tricky in that I did not want to cause dips in the surface of the stem but reduce each side until it was a close fit to the shank. It takes a light touch on the sanding drum to keep it horizontal to the stem and also keep it from hitting the shank and doing damage to the briar. I held the bowl in hand and worked the sanding drum both vertically and horizontally to the stem to remove the excess vulcanite. I worked on one side at a time until the fit was close then turned the stem and did the next side. I began on the top side of the stem and worked both top sides before turning the stem over and doing the underside. The next three photos show the shaping done by the Dremel. After doing this initial work on the stem it was time to take to the table and do the rest by hand.
IMG_0832

IMG_0834

IMG_0833
I began sanding with medium grit emery paper to remove the deep scratches left by the Dremel and to even out the surfaces of the stem. I sanded each side until they were smooth. I also sanded the peak of the stem on each side to make sure the peak matched the one on the shank of the pipe. The next seven photos show the progress of evening out the stem sides. When I finished with the emery paper I would go on to use various other grades of sandpaper and continue the process.
IMG_0835

IMG_0836

IMG_0837

IMG_0838

IMG_0839

IMG_0840

IMG_0841
As the rim of the bowl was chamfered into the bowl I worked on it with a folded piece of medium grit emery paper first followed by 320 grit sandpaper. I wanted to keep the chamfer clean and even so I held the paper to the angle of the chamfer on the cleanest part of the rim toward to the front of the bowl. The next two photos show the cleaned rim.
IMG_0842

IMG_0843
I went on to sand the stem with a fine grit emery paper to continue to bring the size down to meet the shank on the pipe (Photos 1 & 2). After I had the stem fairly close I switched to 320 grit sandpaper and sanded down the stem, the shank and the bowl. I decided to remove the cross hatching on the shank and clean up the finish. I wiped it down with acetone on a cotton pad to remove the finish and sanded until the finish was stripped and the shank and stem was smooth. The flow between the stem and the shank was a good match when I finished with this part of the work (Photos 3, 4, 5, & 6). An amazing grain was beginning to break out on the bowl and shank.
IMG_0844

IMG_0845

IMG_0846

IMG_0847

IMG_0848

IMG_0849
Once I had finished the fit of the stem to the shank and cleaned off the bowl with the sandpaper I wiped it down a second time with acetone to remove the remaining remnants of stain and to clean off the dust of the sanding (Photos 1 & 2). The remaining photos show the pipe after it was cleaned and ready to stain (Photos 3, 4, 5 & 6).
IMG_0850

IMG_0851

IMG_0852

IMG_0853

IMG_0854

IMG_0855
At this point I decided to bend the stem to the angle I wanted on the finished pipe. I set up my heat gun and turned it on to the lowest setting and held the stem above the heat until it was pliable. I have a wooden rolling pin that I use as a guide to bend the stem evenly so once it was soft I bent it over the rolling pin until the angle of the stem bend aligned with the curve of the bowl. I wanted the bowl to be level when held in the hand. Once the angle was right I cooled the pipe stem in cool water to set the bend. The next four photos show the stem after it was bent according to the angles I was aiming for. The grain on this pipe was calling out to me to come up with a stain colour and process that highlighted the grain.
IMG_0856

IMG_0857

IMG_0858

IMG_0859
I decided to stain the pipe with an oxblood aniline stain. I like it because it sets deeply in the grain of the pipe and when it is buffed off it still allows the grain to be seen. I also planned on sanding the finish with micromesh sanding pads to further highlight the grain patterns on the bowl. The next five photos show the stained bowl. I still needed to buff the pipe and lift the stain a bit from the briar.
IMG_0860

IMG_0861

IMG_0862

IMG_0863

IMG_0864
I reinserted the stem at this point in the process and hand buffed the bowl to get a good feel for the opacity of the stain (Photos 1 & 2). I then began to sand the stem and the bowl with the micromesh sanding pads. I began with 1500 and 1800 grit micromesh first. I wet sanded with these grits of micromesh (Photos 3, 4, & 5). The finish on the stem is smoothing out and the bowl finish is really beginning to show the grain and highlight the beauty of the piece of briar.
IMG_0865

IMG_0866

IMG_0867

IMG_0868

IMG_0869
I continued wet sanding with 2400 and 3200 grit micromesh sanding pads (Photos 1 & 2) and the grain began to pop and the stem began to shine nicely. I dry sanded with 3600 and 4000 grit micromesh sanding pads as I sought to polish the finish and the stem more fully. Photos 3 & 4 give an idea of the polish work that had been done by this point in the process. I finished sanding the bowl and stem with the remaining micromesh dry sanding pads 6000, 8000 and 12,000 grits. The resultant effect on the stain of the bowl was exactly what I had hoped for. The grain stood out clearly on the sides and shanks. On the left side of the bowl there is a nice birdseye pattern that is not as visible in the photos as it is in person. The pipe came out very nicely. Photos 5 & 6 show where things stood after the final polishing with the micromesh pads.
IMG_0870

IMG_0871

IMG_0872

IMG_0873

IMG_0874

IMG_0875
I buffed the pipe with White Diamond and then gave it multiple coats of carnauba wax to finish it. The finish came out nicely in my opinion and the feel of the pipe in the hand was perfect. I had to load a bowl of tobacco and give it a new inaugural smoke. I chose to load it with some 2009 Barclay-Rex Barclay Slice. I packed the bowl, picked up a tamper and lighter and headed outside into the yard with my spaniel. While he ran around and chased sticks and chewed them I relaxed and had a bowl. It is a great smoking little pipe. It is comfortable in the mouth and has an open draught. I like it. Now I need to decide whether to keep it or pass it on.
IMG_0876

IMG_0879

IMG_0878

IMG_0877

Reworking and Reshaping an Old French Briar (CPF?) Billiard


Blog by Steve Laug

This old timer was one of the pipe bowls that I picked up in that EBay lot that had others with the French Briar stamping. The others had the same stamping but also had been stamped CPF on the shank or on the end cap. This one was missing the end cap so it remains a bit of a mystery as to its maker. It was also stemless. From the photos below you can see that at one point in its life it also had a rim cap that was also missing. What was left was the line around the top of the bowl and a darkened rim where the silver cap had covered it. The end of the shank was in pretty good shape but the likelihood of finding another end cap that fit or in making one was pretty low for me. The four photos below show the general state of the pipe when it came to my desk top. The finish was gone. There were several visible fills that stood out. It was one that I had to give a little thought about how I was going to tackle it. I knew that I would have to modify the shank and rework the bowl. I would also have to redrill the mortise way and fit a stem for the newly formed pipe. Ah well… let’s begin the work.
IMG_0789

IMG_0792

IMG_0791

IMG_0790
After many failed attempts over the years to get a good straight cut on the shank and end up with a smooth and even mortise I finally figured out a way with my limited tools to accomplish that. I slip a nickel band on the shank to the place that I want to cut it off. I use the band as a guide for my hacksaw to follow. So far this method has worked for me and left me with some nice evenly cut shanks. The next three photos show the process from start to finish.
IMG_0793

IMG_0795

IMG_0794
After cutting off the shank I sanded the area where the new band would be fitted. I used my Dremel with a sanding drum to begin the process of cutting back the shank to receive the band and finished by hand sanding it with medium grit emery cloth. I set up my heat gun on it end stand, slipped the band in place and set the heat on low to warm the band so that I could press it into place. The next two photos show that process.
IMG_0796

IMG_0797
With the band in place I wiped down the bowl with acetone on a cotton pad to clean off the grit and the remnants of the finish on the pipe. After I had cleaned the bowl I topped the rim with a medium and fine grit sanding pad to remove the damage to the rim edges. The next four photos show that process. During that time I also used superglue and briar dust to fill the obvious sand pits on the bowl (at the back of the bowl near the shank and on the underside). I sanded them once they were dry and was able to blend them into the bowl quite well. In the first photo below you can see the first large sand pit clearly. It was quite long and fortunately flowed with the grain so that it was easy to blend in with the briar dust and superglue. The one on the bowl bottom was a bit more difficult to blend in. In either case both are now smooth surfaces that the finish sanding would blend in as much as possible.
IMG_0798

IMG_0799

IMG_0800

IMG_0801
I sanded the bowl with a medium grit sanding sponge to remove the damage caused by the rim cap and to remove the darkened line around the top of the bowl. The next series of three photos show how the bowl is shaping up after initial sanding. The wood is stamped French Briar but as I work it I am wondering. It is very hard, dense wood with interesting grain. It is very light weight and the feel of the sanding dust and the wood itself calls this into question for me. Maybe it is only a question of age on the pipe as it is probably from the late 1800’s or early 1900’s.
IMG_0802

IMG_0803

IMG_0804
I inserted the stem and took it to the buffer to see what it looked like at this point after buffing. I buffed it with Tripoli. The next four photos show the pipe after buffing. There was a natural reddish colour to the wood that came out more and more as I sanded it.
IMG_0805

IMG_0808

IMG_0807

IMG_0806
After buffing the pipe I reamed it with my PipNet reamer to clean out the crumbling and broken cake that was on the surface of the bowl (Photo 1). I sanded it some more and then wiped it down with an alcohol dampened cotton pad and prepared tit for restaining (Photos 2 & 3).
IMG_0809

IMG_0811

IMG_0810
I receive regular tweets from Grant Batson, pipemaker. In one of the latest he wrote of experimenting with Danish Oil in finish the bowl of a pipe. I have several cans of that around from my refinishing furniture days so I decided to use some medium walnut coloured Danish Oil on this bowl. The next four photos show the stained pipe. I had yet to buff it or polish it at this point in the process. I just rubbed on the Danish Oil and then rubbed it off.
IMG_0812

IMG_0815

IMG_0814

IMG_0813
I set the pipe aside for the evening so that the finish had a chance to dry well. This morning I worked on the stem and the bowl with the micromesh sanding pads. I used all grits that I have available from 1500 – 12,000 grit to sand both the bowl and the stem. The next series of six photos shows the progressively developing shine on both the stem and the bowl.
IMG_0816

IMG_0821

IMG_0820

IMG_0819

IMG_0818

IMG_0817
After finishing with the micromesh sanding pads I took it to my buffer and buffed it with White Diamond. I find that this buffing with a light touch really sets the shine to a glossy finish. The next four photos show the pipe after buffing. I still had to put on the wax but the shine is very evident.
IMG_0822

IMG_0825

IMG_0824

IMG_0823
The final series of four photos show the finished pipe. I gave it multiple coats of carnauba wax and buffed it with a soft flannel buffing pad. I am pleased with the way it turned out. The pipe is ready for smoking and should provide service for many years to come.
IMG_0826

IMG_0827

IMG_0828

IMG_0829

Reclaiming an EPW Bulldog – Restoring it Twice


Blog by Steve Laug

This old time long shanked bulldog was a mess when I got it. At first glance it looks pretty good. But it was not. The shank had previously been banded and that band was lost. It was a deep band and filigreed so it left marks. There were also two large cracks in the shank that extended about an inch into the length. The rim was clean but the top portion of the bulldog shape – above the double rings was also stained and filled with holes from the nails that had held the decorated rim cap in place. There were four holes – back, front and both sides. There were also deep gouges where the decorative border had cut into the briar. The stamping was faint and read EPW in an oval. There was no stem with this one either so it would need to have one made. The overall finish on the bowl was not too bad in that it was not dented or burned or damaged on the sides and undersides of the bowl.  I decided to try banding the shank and see what I could do about the cracks on the top right side of the shank and the lower left side of the shank. They would in all likelihood be an issue. I did not have a deep band so I tried with a narrower band (about ½ inch deep). I shaped a round band with a flat blade screwdriver and a hammer until it was the right shape to fit the shank. I heated the band and pressed it into place.

IMG_0683

The next three photos show the band in place. If you look close in the photos below you can see the crack on the top of the right side shank. The one on the left underside of the shank did not come out in the photos. You can also see the nail holes in the bowl above the double rings.

IMG_0688 IMG_0687 IMG_0686

The next series of three photos shows the fitting of a new tenon. I drilled the stem and then used a tap to thread the stem so that I could screw in the new tenon. In the photos below you can see the tap in the stem and the new threaded tenon just above the bowl at the centre of the picture. The third photo shows the hole in the stem threaded and ready for the new tenon.

IMG_0678 IMG_0679IMG_0680

Once the stem was ready I dripped a little superglue on the tenon and screwed it into the stem. The next two photos show the tenon in place. I still needed to turn it with the Pimo tenon turner to reduce the size to fit the shank of the pipe.

ImageImage

I used the tenon turner and reduce the diameter of the tenon until it was close to fitting and then hand sanded it until it fit correctly. With the cracked shank the fit was critical. I did not want the tenon too big as it would open the cracks. The two photos below show the tenon after turning. It still needed a bit more hand sanding to make a perfect fit.

ImageImage

The next four photos below show the restemmed pipe. The stem fit perfectly against the band and the look was exactly what I was aiming for. The issue that remained was the two cracks that extended further than the band.

ImageImageImageImage

The next three photos show the work of patching the nail holes and the cracks with briar dust and superglue. I packed in the briar dust with my dental pick until they were filled and then I dripped the superglue into the spots. Once they were dry I sanded them down to remove the excess and blend them into the surrounding bowl. I wanted them to be less visible and be able to be blended in with the stain when I got around to staining it.

ImageImageImage

With the nail holes filled on the front and back of the bowl I was finished with the patching for now. I still was bothered by the ones on the sides of the bowl but would deal with them later. I sanded down the patches one more time with a fine grit sanding sponge and then wiped the bowl and shank down with an alcohol dampened cotton pad to remove the dust and remaining finish. The next series of eight photos shows that process as I prepared the bowl to be restained.

ImageImageImageImageImageImageImageImage

I restained the pipe with an oxblood aniline stain. The next series of four photos shows the pipe after staining. The nail holes and small holes on both sides of the bowl really bothered me. The cracks, while well bonded stood out clearly and made me wonder about how well they would hold up. I laid the pipe aside for a couple days to think about some solutions to the problem. I mulled over whether I should order a deeper band for the shank or whether I should cut down the shank and make it a normal sized bulldog. I did nothing to the pipe for two days and then on the third evening I came home and went to my work table to see what I could do to deal with the damage on the old pipe.

ImageImageImageImage

I decided to cut off the shank at the inside edge of the nickel band. I wanted to use the nickel band as the straight edge for the saw. I have seen too many pipes where the cut off shank was poorly cut and at an angle. So I used a hacksaw that has a perfect blade for working with briar. The teeth are fine so they do not chip the wood as they cut it. The cut when completed is clean and smooth with no chips. The next three photos show the set up for cutting and the cutting process itself. (I apologize for the second photo – it is hard to saw and take a photo!) But you can get the idea. The third photo below shows the finished cut.

ImageImageImage

I took the two pieces back to my work table and removed the cut off piece of briar shank from the band. When they fell out they were in two pieces. I cleaned up the band and straightened out the angles to make sure it would fit the shortened shank. It was just a bit too deep and when in place would cover the W of the stamping but it would do a good job on the cracks. With the piece cut off the cracked shank had two very small cracks left that would easily be repaired by the band. I smoothed out the cut end with a piece of emery paper. In the second photo below you can see the cut off shank piece. It is cracked all the way through and in two pieces. Note also that the mortise was threaded for the older original screw tenon.

ImageImage

I put the band in place on the end of the shank. It was a good tight fit but would not slide all the way in place. So I set up my heat gun and heated the band (Photo 1 below). I then pressed it into place on the shank by squarely pushing the shank and band on a metal plate (Photo 2 below). The final three photos below show the shank with the newly fitted band in place. The shank is ready to be drilled deeper to fit the tenon.

ImageImageImageImageImage

I matched the drill bit to the mortise in the cut off piece of shank. I used a drill bit one size lower and drilled the mortise to the depth of the tenon. I then used the proper sized drill bit and drilled it a bit larger. Once I had the drilling down I sanded down the tenon with some emery cloth to make a clean tight fit and inserted the stem. Once the stem fit well I decided to rework the nail holes and holes in the sides of the top half of the bowl above the double rings. I packed in briar dust and dripped super glue in to them. The next two photos show the repaired/filled holes.

ImageImage

The glue and briar dust dried quickly so I sanded them with 320 grit sandpaper to smooth them out to the surface of the briar. The next four photos show the sanded patches and also the sanded stem. I used the same sandpaper to sand off the oxidation on the stem and clean up the surface of the stem so that I could work on it with the micromesh to bring out a deep black shine. (In the background of the photos I left the piece of cut off shank for a sense of the size of the piece I removed from the length of the pipe.)

ImageImageImageImage

At this point in the process I was ready to work the stem with micromesh sanding pads to remove all of the scratches and bring back the deep black. The shorter stem gave the pipe a great look in my opinion. The finished length is 5 inches as opposed to 5 ½ inches but it looks more balanced to me. The loss is the long shanked look of the original bulldog. The gain is a more solid pipe with less chance for the breakage to continue and render the pipe irreparable.

The next series of photos show the progress of sanding with the micromesh pads from 1500 – 12,000 grit. The first four photos show the stem after I wet sanded with the 1500, 1800 and 2400 grit micromesh. After wet sanding I polished the stem with some Maguiar’s Scratch X2.0 and then took it to the buffer and buffed the stem with Tripoli and White Diamond.

ImageImageImageImage

I then dry sanded with 3200 -12,000 grit micromesh sanding pads. The next series of seven photos show the progress of the developing shine on the stem. Once I finished with the 12,000 grit pad I wiped down the stem with Obsidian Oil and when dry buffed it with White Diamond for a final time. The only thing remaining was a final buff with carnauba wax.

ImageImageImageImageImageImageImage

The final four photos below show the finished pipe. I applied several coats of carnauba wax and buffed the pipe and stem with a soft flannel buff to give it the final shine. When I started on this pipe I would have never guessed that I would refurbish it twice, band it twice, stain it twice, work the stem twice, and on goes the list of second times on this one. But the end product speaks for itself. I like the look of the shortened shank and tight band. This one will outlast me in its service to pipemen in the days ahead.

ImageImageImageImage

Restoring a GFB Bent Billiard – Another Reclamation Project


Blog by Steve Laug

This project was another pipe bowl that was in the lot from EBay. It is a billiard stamped French Briar in script on the left side of the shank and it too was in very rough shape at first glance. It is an old timer. The band on this one was also as badly oxidized as the CPF billiard I wrote of before. It was to the point of being crusty with oxidation and a greenish hue. They were also rough to the touch which led me to believe that they were pitted underneath all of the oxidation. It came stemless but I found a stem of the proper age in my can of stems. The finish was rough, a reddish hue in terms of stain, but there were no deep dings or dents. There was one spot on the right side of the shank near the shank cap where there was a sandpit that had darkened from some bleed off the oxidized shank cap. This one did not have any darkening around the bowl or shank other than the one spot near the sandpit. The shank cap on this one was also loose and when I touched it, it came off (I am glad they stayed on the pipe long enough to arrive here. One of the lot is missing the end cap so that will prove a later challenge. Again after the initial examination I came to see that underneath the grime there was a pretty nice piece of briar. The first series of two photos shows the state of the pipe when I took it to my work bench to begin working on it early this morning.

ImageImage

I cleaned the shank cap the same time I worked on the CPF billiard. I applied the Hagerty Tarnish Remover and scrubbed the cap with a cotton pad. I was able to remove some of the heavy oxidation and darkening but not a significant amount. The next two photos show the process of cleaning the shank cap with the Hagertys.

ImageImage

I dropped the bowl in the alcohol bath with the CPF billiard and let it soak while I work on the CPF pipe. Once it had been sitting in the bath for about an hour I removed it and dried it off.

Image

The next series of four pictures show the pipe after it had been sitting overnight and dried from the alcohol bath. Most of the grime is gone from the outside of the bowl of the pipe and the oxidation on the stem was not fairly smooth – just black and needed to be cleaned. The shank cap also had quite a few dents that would make it a challenge to remove the oxidation.

ImageImageImageImage

At this point in the process I decided to bend the stem. It was pretty clean and did not have any oxidation on it. It merely needed to be polished and shined. So I set up my heat gun and the old rolling pin to bend the stem over and went to work on it. The next three photos show the bending process and the finished bend in the stem.

ImageImageImage

At this point in the process I took the pipe back to the work table and took two more pictures before taking the end cap off the shank and working on the pipe bowl and end cap.

ImageImage

I scrubbed down the shank cap with the Hagertys Tarnish Remover while I had it off of the shank. I also sanded it with my fine grit sanding sponge to remove the heavy buildup of oxidation. It took a lot of elbow grease to clean it off and to avoid damage to the stamping that became apparent in the cleaning of the cap. Once I had it relatively clean I sanded the bowl with the sanding sponge, wiped it down with an acetone wet cotton pad and prepared to reglue the shank cap. I used white glue to reglue the cap. I applied the glue to the shank of the pipe quite heavily as I wanted to close the gap between the cap and the shank. I pushed the cap into place and wipe away the excess glue. The next three photos show that process.

ImageImageImage

While the glue was drying I picked out the grit from the sandpit on the right side of the shank and repaired it with briar dust and superglue. The photo below shows the filled and repaired sandpit just next to the shank cap. The second photo below shows the newly place end cap and the work that still remained on the nickel/silver (?) shank cap.

ImageImage

I worked on the shank cap once it was dry with micromesh sanding pads. I used 1500 – 2400 to wet sand the cap. It took much elbow grease to get it to the point is at in the four photos shown below.

ImageImageImageImage

The GFB stamp on the cap shows up clearly in the photo above and the ones below. There were many small dents in the cap that I was not able to remove. However, I continued to polish the cap with some Neverdull Wool – a cotton product that is impregnated with a tarnish remover. It is soft enough to get into the dents on the cap. I then went on to sand the bowl with the fine grit sanding sponge to clean up the finish. The next six photos show the sanding progress. Once it was finished I wiped the bowl down with some Everclear on a cotton pad to remove the sanding dust and prepare the surface of the wood for restaining.

ImageImageImageImageImageImage

I decided to restain the pipe bowl with an oxblood stain to maximize the stain that remained in the briar. I believe the original stain was oxblood coloured so the look would approximate the original finish of the pipe. I applied the stain, flamed it, reapplied it and flamed it a second time. The first two photos below show the pipe after the application of the stain. The next four photos show the pipe after it has been hand buffed with a soft cotton cloth to remove excess stain on the briar. The filled area near the shank cap on the right side is visible and the darkening of the area is also clear.

ImageImageImageImageImageImage

At this point in the process I set the bowl aside and worked on polishing the stem. I quickly gave it a once over with the fine grit sanding sponge and then worked my way through the micromesh sanding pads from 1500 – 12,000 grit. The next series of eight photos shows the shine that comes to the surface of the vulcanite with each successive grit of micromesh.

ImageImageImageImageImageImageImageImage

I wiped the stem down with Obsidian Oil and then hand waxed it with some carnauba paste wax that I have in the shop. It is the wax available from Walker Briar Works and I will often hand apply it to the stems at this point in the process and hand buff a shine. I then reassembled the pipe, polished the bowl with a little of the carnauba as well. I hand buffed the pipe with a soft cotton cloth I use for that purpose. The next four photos show the pipe after this process. I purposely did this on this pipe to see if the wax would cause the area on the right side of the shank that is darker to blend in a bit and be less visible. It seemed to work very well.

ImageImageImageImage

Once I was finished with the hand buff and had checked out the dark spot I took the pipe to my buffer. I lightly buffed the pipe and stem with White Diamond and then gave it multiple coats of carnauba wax and a final buff with a soft, clean flannel buffing pad. The next four photos show the finished pipe. It has been brought back to life and should well serve a new generation of pipe smokers. I do believe it will live longer than I do!

ImageImageImageImage

As I finished this piece on the GFB pipe I thought I would take some photos of the CPF and the GFB old timers posed together. The next two photos show the pair in their newly found glory. I can’t help but think that this is how they looked when they were purchased by the original owner. I believe that both came from the same pipe smoker so now they are returned to the look that must have caught his eye when he purchased them. The pair look enough alike I wanted you to see them in this pose! A noble pair of old pipes, don’t you agree?

ImageImage

Restored CPF Bent Billiard – A Reclamation Project


This is the second CPF pipe bowl that was in the lot from EBay. It is a billiard and it was in very rough shape at first glance. It is an old timer. The rim cover and the band were badly oxidized to the point of being crusty with oxidation and a greenish hue. They were also rough to the touch which led me to believe that they were pitted underneath all of the oxidation. It came stemless but I found a stem of the proper age in my can of stems. The finish was rough but there were no deep dings or dents. There was a deep, almost black darkening around the bowl just under the rim cap. The darkening was such that made me think that the oxidation had oozed into the briar and would be interesting to remove from the finish. The same was true of the area around the shank cap. The rim cap originally had a hinged lid on it but that was gone. The shank cap was also loose and when I touched it, it came off. The briar underneath was thick with a reddish coloured glue but was also free of cracks or fissures. It was intact. After the initial examination I came to see that underneath the grime there was a pretty nice piece of briar. The first series of three photos shows the state of the pipe when I took it to my work bench to begin working late yesterday afternoon.

ImageImageImage

I decided to work on the oxidation on the shank cap and the rim cap. I wanted to see if either one was redeemable. I used a jeweler’s tarnish remover called Hagerty to work on the finish of both. I applied it with a cotton swab and scrubbed it with that until it was dry. Then I wiped it off with a cotton pad. In doing this I saw that the rim cap and the shank cap were both brass. The rim cap had two tears or cracks in it around the hinge that showed up once it was clean. The next two photos show the tarnish remover on the rim and shank caps.

ImageImage

After the initial cleaning of the two I decided to remove the cracked rim cap. This was not as easy as it appears in the photos as it was nailed to the rim and also was pretty tightly bonded with the tars and oils of the tobacco. I used a pair of needle nose pliers and a flat blade screw driver to lift the edge of the cap. I began at the hinge and lifted it from there. It came off with a bit of work and broke at the two nails that held it to the rim mid bowl on each side. The back half of the cap came off in one piece. I was able to lift the front edge carefully using the flat blade of the screw driver to pry the edge and work my way to the front. The nail on the right side came out with the cap while the one on the left side was stuck. I used the flat blade of the screwdriver to lift it from the surface of the rim without scarring the rim and pulled it out with the pliers. Underneath the rim surface was actually smooth and had a slight caking of oils that would come off easily. The two nail holes would need to be filled. The one on the right side of the bowl had been put in at an angle and would take a little more work to repair. The first picture below shows the torn rim cap on the work table next to the pipe bowl. The holes and the state of the rim are also clearly visible. The second picture shows the darkening that seeped down the edges of the bowl from underneath the rim cap.

ImageImage

I used briar dust and superglue to fill the two nail holes. It took several applications to get a smooth and even surface. I packed some briar dust into the nail hole with my dental pick and my finger. I wanted the briar dust to fill the holes so I tamped them down with the dental pick. Then I dripped in the superglue to bind the briar dust to the surrounding area. The first photo below shows the top of the rim after briar dust superglue patch has been done.

Image

After patching the nail holes I worked on the stain line around the bowl. I removed the finish from the bowl with a cotton pad soaked with acetone. I continued to wipe it down until the finish was gone. After that I sanded it with a medium grit sanding sponge. The next six photos show the sanding process with the sponge. I also sanded the end cap with the sponge being careful around the CPF stamping that I had found under the oxidation.

ImageImageImageImageImageImage

The dark lines were better after the sanding but still very present. I was able to remove the indentation in the briar from the metal cap to a large degree but the black was stubborn. I decided to soak the bowl in an alcohol bath to see what would come out. I took the shank cap off to work on it while I left the bowl in the bath for about an hour. I was able to remove much of the oxidation on the shank cap. I scrubbed it with the tarnish remover and then sanded it with the micromesh sanding pads using 1500-2400 grit pads.

Image

Once I remove it from the bath I dried it off and the lines were lighter than before. I sanded the bowl some more with the sanding sponge and glued the shank cap on with white glue. I wait to glue it on until I am done with the alcohol and acetone as I found out the hard way the glue is dissolved and has to be redone. After that I reinserted the stem and set up my heat gun to bend the stem to the correct angles. The next four photos show the bending of the stem from its beginning to the final look after bending.

ImageImageImageImage

I took it back to the work table and did some more sanding on the bowl especially working on the surface around the top sides near the rim. The black line was stubborn. I wiped it down with white vinegar to see if it would lift any of the stain as I remembered reading about that in an old book on furniture repair on how to remove dark rings from the wood. I also wet a cotton pad with bleach and wiped down the area as well. The result of all that work is evident in the two photos below. It was not going to come out so I sanded it with 1800-3600 grit micromesh sanding pads and then wiped it down with an alcohol dampened cotton pad to remove the surface dust and prepared to stain it. The two photos below show the bowl ready to stain. (Incidentally note the shine on the shank cap. It cleaned up amazingly well.)

ImageImage

I applied an oxblood thick aniline stain for the first coat. I flamed it and reapplied it and flamed it a second time (the first two photos below show the staining of the bowl with the oxblood stain). I then buffed it off to see what I had to work with. The black lines still showed so I restained the bowl around the top edge to see if I could darken that area and mask the black (photos three and four show this process).

ImageImageImageImage

I buffed it a second time to see where I was at with the staining. You can see from the next two photos the effect of that restaining around the top of the bowl. It did indeed darken the edge but the line was still visible and I did not like the look of the dark edge. So I buffed it yet again to see if I could smooth out that look a bit more.

ImageImage

I was not happy with the finished look after buffing. The darkening around the edge still showed both in the top edge of the bowl and around the end cap. I decided to restain the bowl with a dark brown aniline stain. So I applied the stain, flamed it and restained and flamed it a second time. The next two photos show the pipe after the stain had been flamed and had dried.

ImageImage

I buffed it to see how the second stain had covered the darkening around the top edge and near the shank cap. I was pleased by the overall look now. It was still there for sure but it certainly was less visible and blended in well with the finish. The next four photos show the pipe after restaining and buffing.

ImageImageImageImage

I set the bowl aside and worked on the stem. I sanded it with micromesh sanding pads 1500 – 12,000 grit to polish the stem. I put the stem back in the bowl and then took the pipe to the buffer and gave the entire pipe a buff with White Diamond and then gave both the stem and bowl multiple coats of carnauba. The finished pipe is picture below. It came out very well and the black line around the top edge seems to be less visible. The pipe is restored to a bit of its former glory!

ImageImageImageImage

CPF French Briar Bulldog Restemmed and Refurbished


This morning I decided to start working on one of the pipes that came in the lot of bowls I picked up off of EBay. I chose one of the CPF Bulldogs. It looks to be an old timer. It also looked like it had quite a different look in times past as there were signs of a band on the shank and something around the rim as well. It could well have been the gold/brass filigree that is often seen on these old timers but there is no way of telling for sure. The bowl rim was clean as if once the decoration was removed the briar underneath was raw stain. The bowl itself was also absolutely clean on the inside – taken back to bare briar. Around the inside of the rim there were several small nail holes that looked like they held the rim cap in place. These holes were also on the outside as well though they had all been patched. The shank was cracked and repaired. The repair looks to be old and may well have been under the band that had disappeared. The mortise was originally threaded but that had been drilled almost smooth. I had a stem in my box of stem that would fit with a little work. It was the right size and the angles on the diamond matched those on the stem – a rare feat to be sure. I would not have to do much sanding to bring it fit well. The finish was clean but there were lines on the bowl and the shank from the cap and band. The stamping was clear – CPF in an oval with French above and Briar below. It had a gold paint that had been applied to the stamping and it was very clean. The series of three photos below show the condition of the pipe and the new stem when I began this morning.

ImageImageImage

I asked Robert Boughton about the CPF brand stamp as he is currently refurbishing an old CPF Meerschaum and had done work on the brand. He sent me the following information:
“Chuck (Richards) assigned to me the challenge of finding out what CPF stood for and anything else I could learn… I found conclusive evidence that despite several other names associated with CPF, it indeed stands for Colossus Pipe Factory…Below are the links I sent to Chuck at the time and a few more. But again, it’s nothing Chuck didn’t already know. He also knew it would be good experience for me and that I would enjoy the task! Indeed, I was proud of my findings!”

http://pipedia.org/index.php?title=C…s_Pipe_Factory Bottom of center row of newspaper clip
http://www.google.com/search?q=colos…w=1600&bih=658
http://pipephil.eu/logos/en/logo-c1.html See CPF — includes briars
http://pipesmokersforum.com/communit…ing-one.10858/
http://www.worthpoint.com/worthopedi…pipe-287735110
http://www.smokingpipes.com/pipes/es…oduct_id=74274

With that information in hand, thanks to Robert, I went to work on this older American bulldog to bring it back to life. I had an old nickel band that fit pretty well to the shank. It was shorter than the original band but it covered the repair in the shank. I heated it and pressure fit it to the shank. It was a bit dented and would need to be straightened once it was in place. I then worked on the stem to get it fit the shank and band connection. I used medium grit emery paper to remove some of the vulcanite to get the sides and angles of the stem to match the shank. This had to be done carefully so as not to change the angles. Each side had to have the same amount of material removed to keep the diamond angles even. The next series of four photos show the stem after it has been shaped and sanded to match the shank and the band.

ImageImageImageImage

I cleaned out the inside of the stem as it was very dirty. I had sanded down most of the oxidation and the calcification on the stem earlier but needed to work on that some more. I also used a dental pick to clean out the slot as it was packed tightly on both sides of a small centre hole what was left. I finished sanding with medium grit emery cloth and move on to 320 grit sandpaper to begin to work on the scratches in the stem. The next three photos show the stem after sanding with the emery paper (photo 1) and then the 320 grit sandpaper (photo 2-3).

ImageImageImage

At this point in the process I decided to bend the stem to get the flow of the pipe correct. In retrospect I could have waited until I had polished the stem to do the bend. But I was curious to see the look of the bent stem on the pipe bowl so I set up my heat gun and carried the stem to the gun. I have been using a hardwood rolling pin that my wife discarded as the curves to bend the stem over. I find that using this keeps the bend straight and also gives me the degree of curve I wanted. I adjust the curve by where I put the stem on the pin to bend it. I use low heat on my heat gun and move the stem quickly over the heat about 3 inches above the tip. It does not take long to heat it to the point it is ready to bend and then I lay it over the pin and bend it. I hold it in place until it cools enough to set the bend. The next series of three photos show my set up for bending the stem.

ImageImageImage

I then decided to work on the bowl of the pipe. I wiped it down with acetone on a cotton pad being careful to avoid the gold stamping in the shank. I also sanded the line around the rim and the shank with 320 grit sandpaper and then with 1500-2400 grit micromesh sanding pads to try to minimize the line around both points. I used a flat tip screw driver blade as a smooth surface to hammer out the dents and rough spots on the band. I also laid the shank flat on a board and used the screw driver tip to smooth the inside edge of the band and square up the corners of the diamond. The next series of six photos show that process. I finished by inserting the stem and continuing to smooth out the band.

ImageImageImageImageImageImage

I wiped the bowl down with another acetone wetted cotton pad to remove the sanding dust from the bowl and the rings around the bowl. I used a dental pick and retraced the rings to clean them out as well of previous wax and dirt that catches in those spots. The photo below shows the pipe bowl ready to restain.

Image

Before staining I worked on the stem some more to smooth out the remaining scratches and bring it to a shine. I used micromesh sanding pads from 1500-12,000 grit to bring the stem to a glossy finish. The next twelve photos show the progress shine developing after each successive grit of micromesh sanding pad was used.

ImageImageImageImageImageImageImageImageImageImageImageImage

Once the stem was done I was ready to stain the pipe. I used an oxblood aniline stain to restain the pipe. I applied it with a cotton swab, flamed it, restained and flamed it a second time. The next two photos show the bowl with the oxblood stain applied just before I flamed it. Once I had flamed it I took it to the buffer and buffed it with White Diamond.

ImageImage

After I buffed it with White Diamond I gave it repeated buffing with carnauba wax to protect the stem and the bowl. The next four photos show the finished pipe.

ImageImageImageImage

Dr. Grabow Viking Restemmed and Refurbished


Blog by Steve Laug

In my recent EBay purchase of pipe bowls there was a Dr. Grabow Viking metal base minus the stem. I have had several of the Grabow Vikings over the years and cleaned them up and sold them. I have one that is in my regular rotation and it is a great little pipe. This one came with a Dublin shaped bowl and the shank was not bent or damaged. For a long time now I have wanted to try restemming one of these metal pipes and do a write up on the process. This would be the opportunity to do both. The metal bowl base was coated inside with the tobacco lacquer that is often found in old Vikings or Falcons that have been sitting for a long time unused. The aluminum shank was oxidized and dull but would shine up well with a little elbow grease. The finish on the outside of the bowl was not damaged and would be easy to restore. There was a rough broken cake in the bowl and the rim was tarred and caked. As I inspected the bowl I noted that there was also a burned area on the inner rim at the back of the bowl. The first three photos that follow show the condition of the pipe when it arrived on my work table.

ImageImageImage

My procedure for cleaning an estate pipe is generally the same. I may vary the steps a bit but always cover the same ground in pretty much the same order. On this one I began by working on the bowl. In this case it meant removing the bowl from the pipe. The Viking has screw on bowls that are interchangeable with other Viking bowls (but not with Falcon bowls which have a different thread size and count). I reamed and cleaned the bowl of the old broken cake and picked out the buildup around the hole in the bottom of the bowl using a dental pick. I took apart the base and the inner tube. The tube slipped out easily as it is normally held in place by the stem. I cleaned the tube with pipe cleaners and Everclear and then cleaned out the entrance of the tube into the bowl base. After cleaning that I put the tube back in place. I wanted to plug the hole with it so that I could fill the base with Everclear to soften the lacquer buildup. I soaked it with Everclear and then scrubbed it with cotton swabs once it had softened. The next two photos show the process of cleaning the bowl base and tube.

ImageImage

I sorted through my stem box and found a precast stem for a Canadian. It was a small sized taper that would give me room to work with the diameter and the length that I needed for the right dimensions. I drilled the tenon on the stem blank so that the airway would be large enough to go over the tube at the end of the shank. I turned the tenon with my PIMO tenon turner set to the smallest setting so that I would have little left to remove for a good fit into the hole in the end of the metal shank. The fit involved the tube fitting inside the airway of the tenon and then the tenon itself fitting into the opening on the end of the shank. I used my needle files and emery paper to sand the tenon after I had turned it on the turner. I needed to take it down further for the fit so I used my Dremel with a sanding drum. The next series of seven photos show the process of fitting the stem to the metal shank.

ImageImageImageImageImageImageImage

After I had the basic fit as pictured above I decided to work on the out dimensions of the stem to get a smooth flow between the metal shank and the vulcanite stem. I used my Dremel to take down the majority of the excess material that needed to be removed. The next two photos show the stem after I had used the Dremel. It was ready to hand sand at this point in the process.

ImageImage

I sanded the stem with medium grit emery paper to remove the marks from the Dremel and smooth out the angle of the stem from the shank to the button. I also shortened the tenon to get a tight fit on the stem to the shank. It was just a little too long to fit the depth of the hole in the shank. The next series of five photos show the fit to the shank and the first stage of sanding to remove the scratches.

ImageImageImageImageGrabow under

I took the stem back to the Pimo tenon turner and set it a bit deeper to smooth out the portion that goes against the shank. Then I took it back for more sanding to make it fit more tightly against the shank. I moved on to sand with medium grit sanding sponges to continue to make the stem sit correctly on the shank and to remove the scratches remaining on the stem. The next seven photos show the progress on the stem. It is getting close to a good fit and the scratches are less visible. I also wiped down the bowl with acetone and sanded the top of the bowl and the inside edge of the bowl to deal with the burn mark on the back side of the rim.

Grabow1 Grabow2 Grabow3 Grabow4 Grabow5 Grabow6 Grabow7

At this point you can see some of the minor scratches on the aluminum of the shank. These will come out when I use the micromesh sanding pads after the stem is ready. The next series of two photos show the progress of smoothing out the stem with the micromesh sanding pads. I wet sanded with 1500, 1800 and 2400 grit sanding pads. Each successive grit gave a deeper shine and polish to the stem surface.

Grabow8 Grabow9I also wet sanded with 3200 grit micromesh sanding pads. The next two photos show the change in the stem as the shine deepens.

Grabow10 Grabow11

I went on to dry sand with 3600 – 12,000 grit micromesh sanding pads. The next series of photos show the progress in polishing of the stem. To me the final three grits – 6000, 8000 and 12,000 grit – show the most change. The next two photos are selected to show the progress. The first one below is of the stem after sanding with the 4000 grit micromesh. The second photo shows the stem after sanding with the final three grits of micromesh.

Grabow12 Grabow13Once the stem was polished I used some clear superglue to glue the stem to the shank. I also went on to stain the bowl with an oxblood stain. I applied it and then flamed it and restained and reflamed it. The next four photos show the pipe after staining and before taking it to the buffer. I also used the micromesh to polish the stem and shank.

Grabow14Grabow15 Grabow16 Grabow18

The final four photos show the finished pipe. I buffed it on the buffer with White Diamond and then gave the bowl and stem multiple coats of carnauba wax and buffed with a soft flannel buffing pad to give it a shine.

IMG_0476 IMG_0477 IMG_0478 IMG_0479