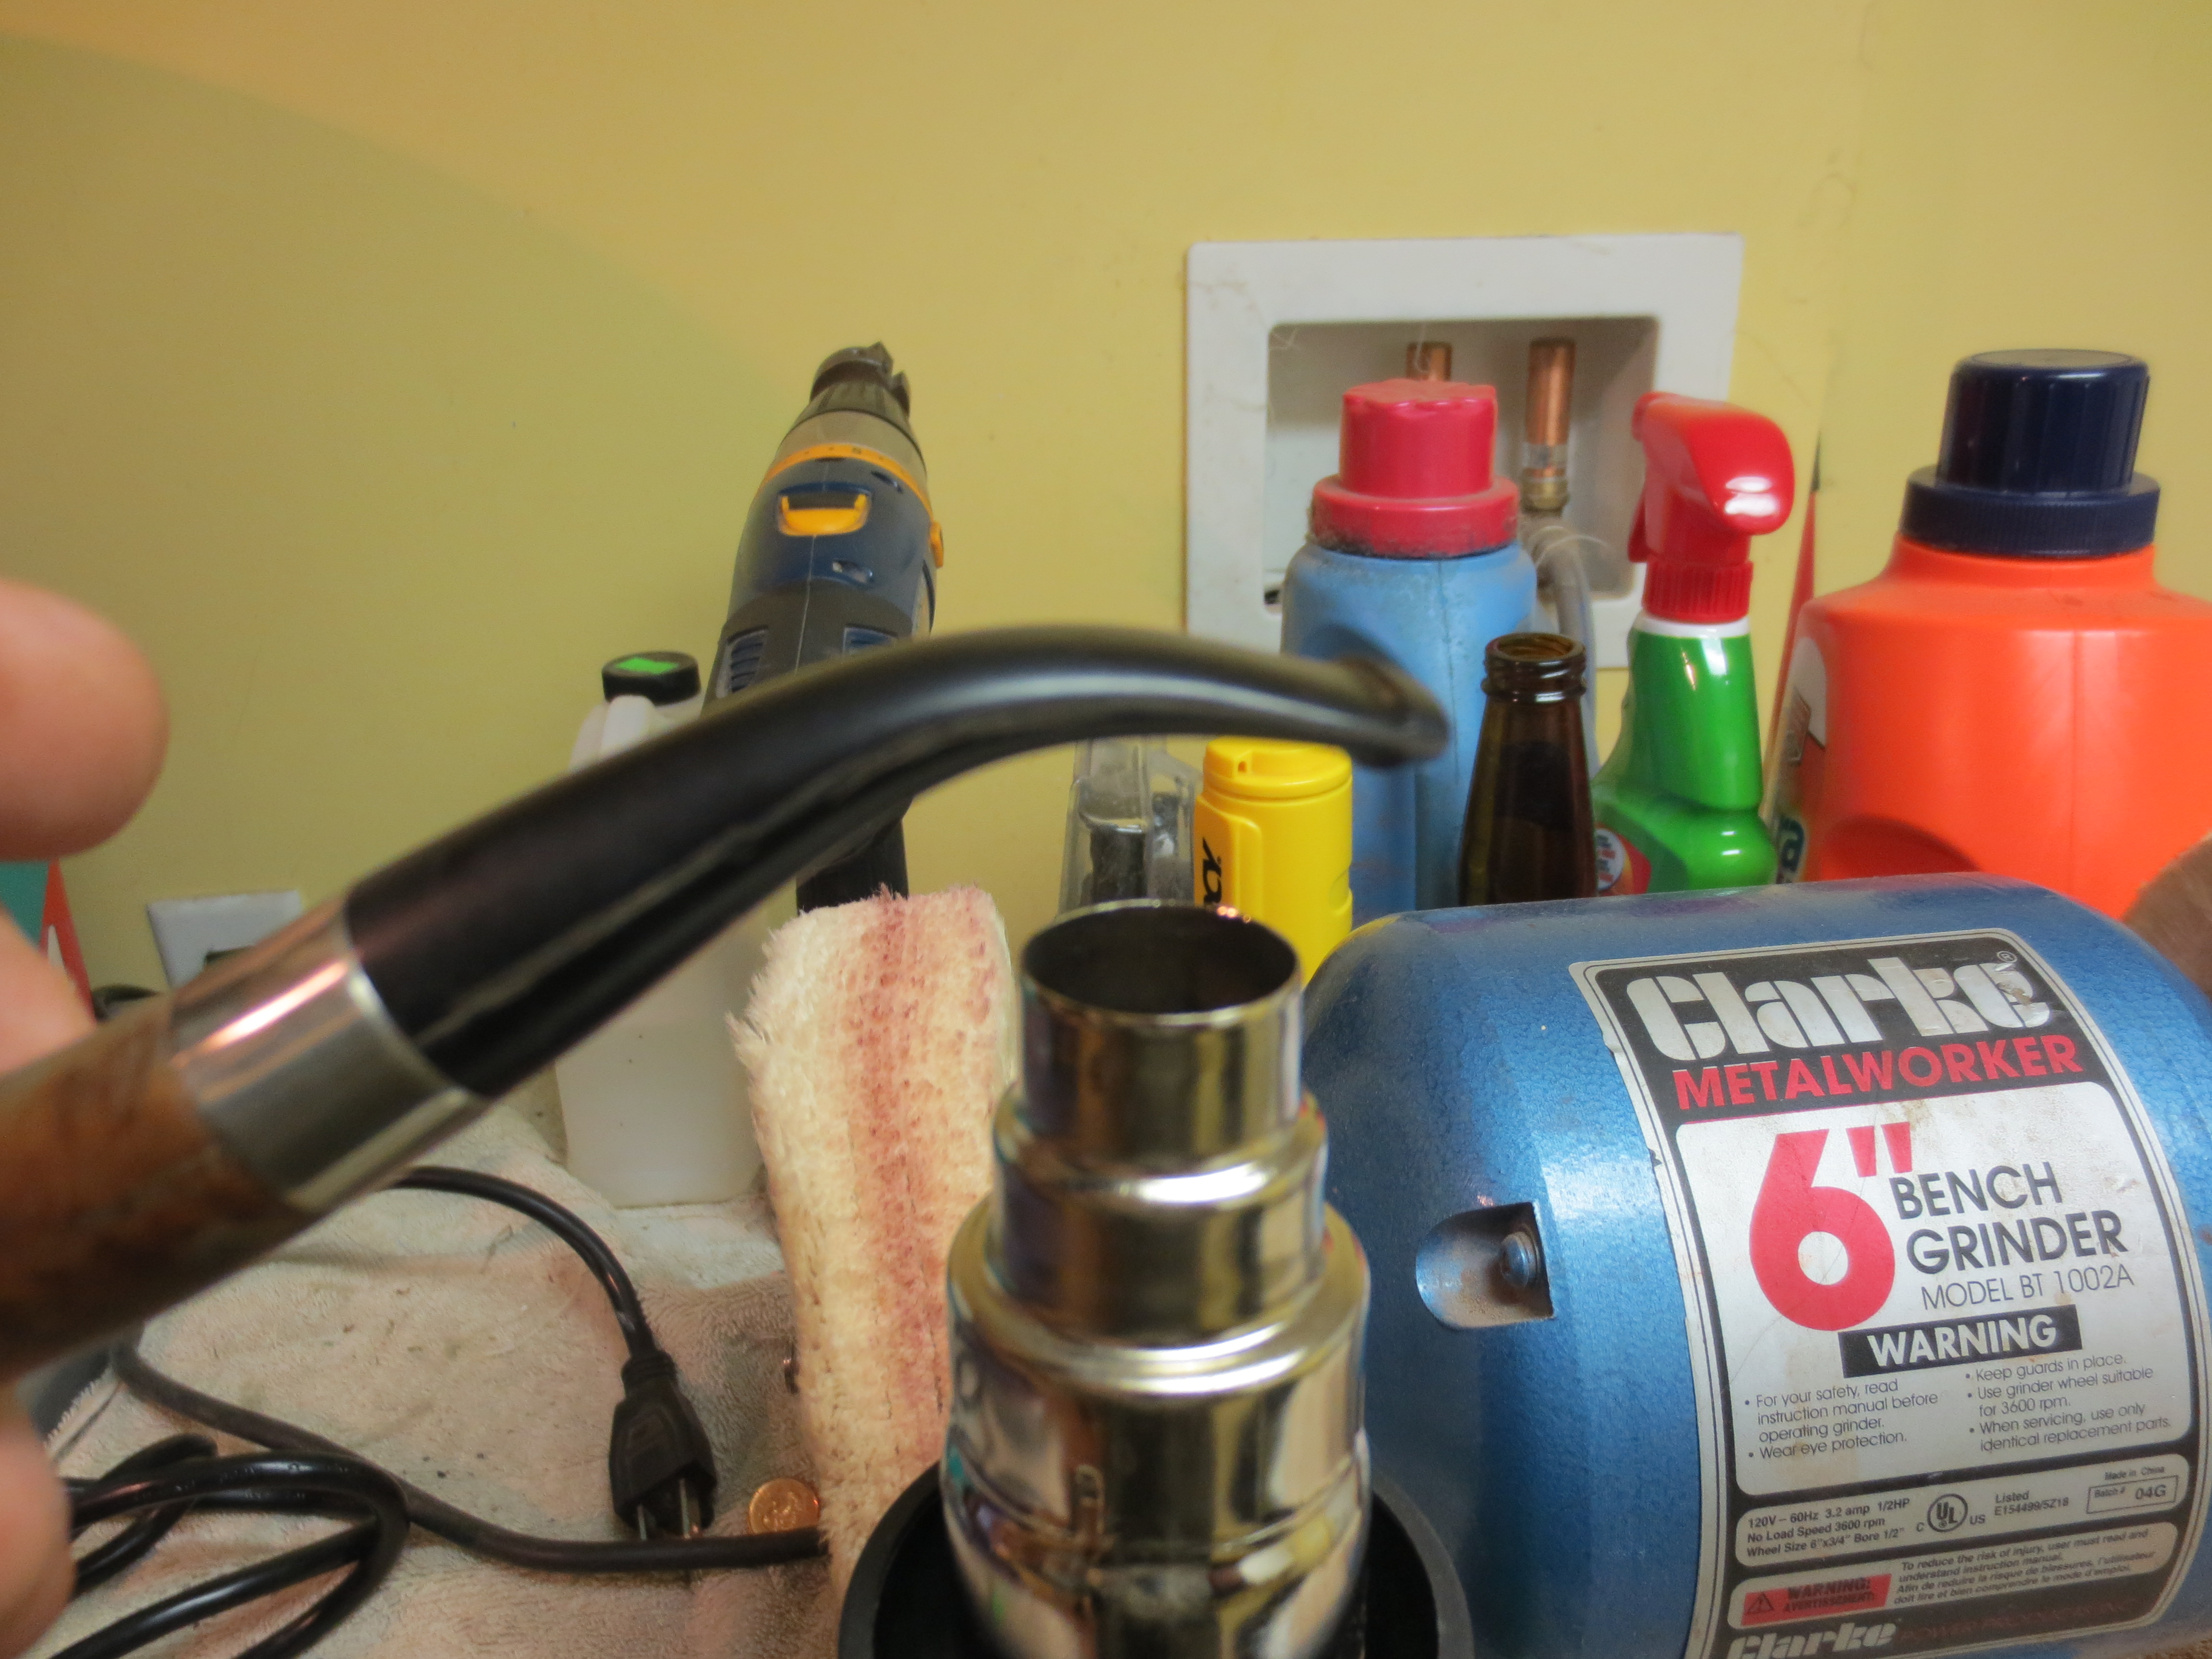
Blog by Steve Laug
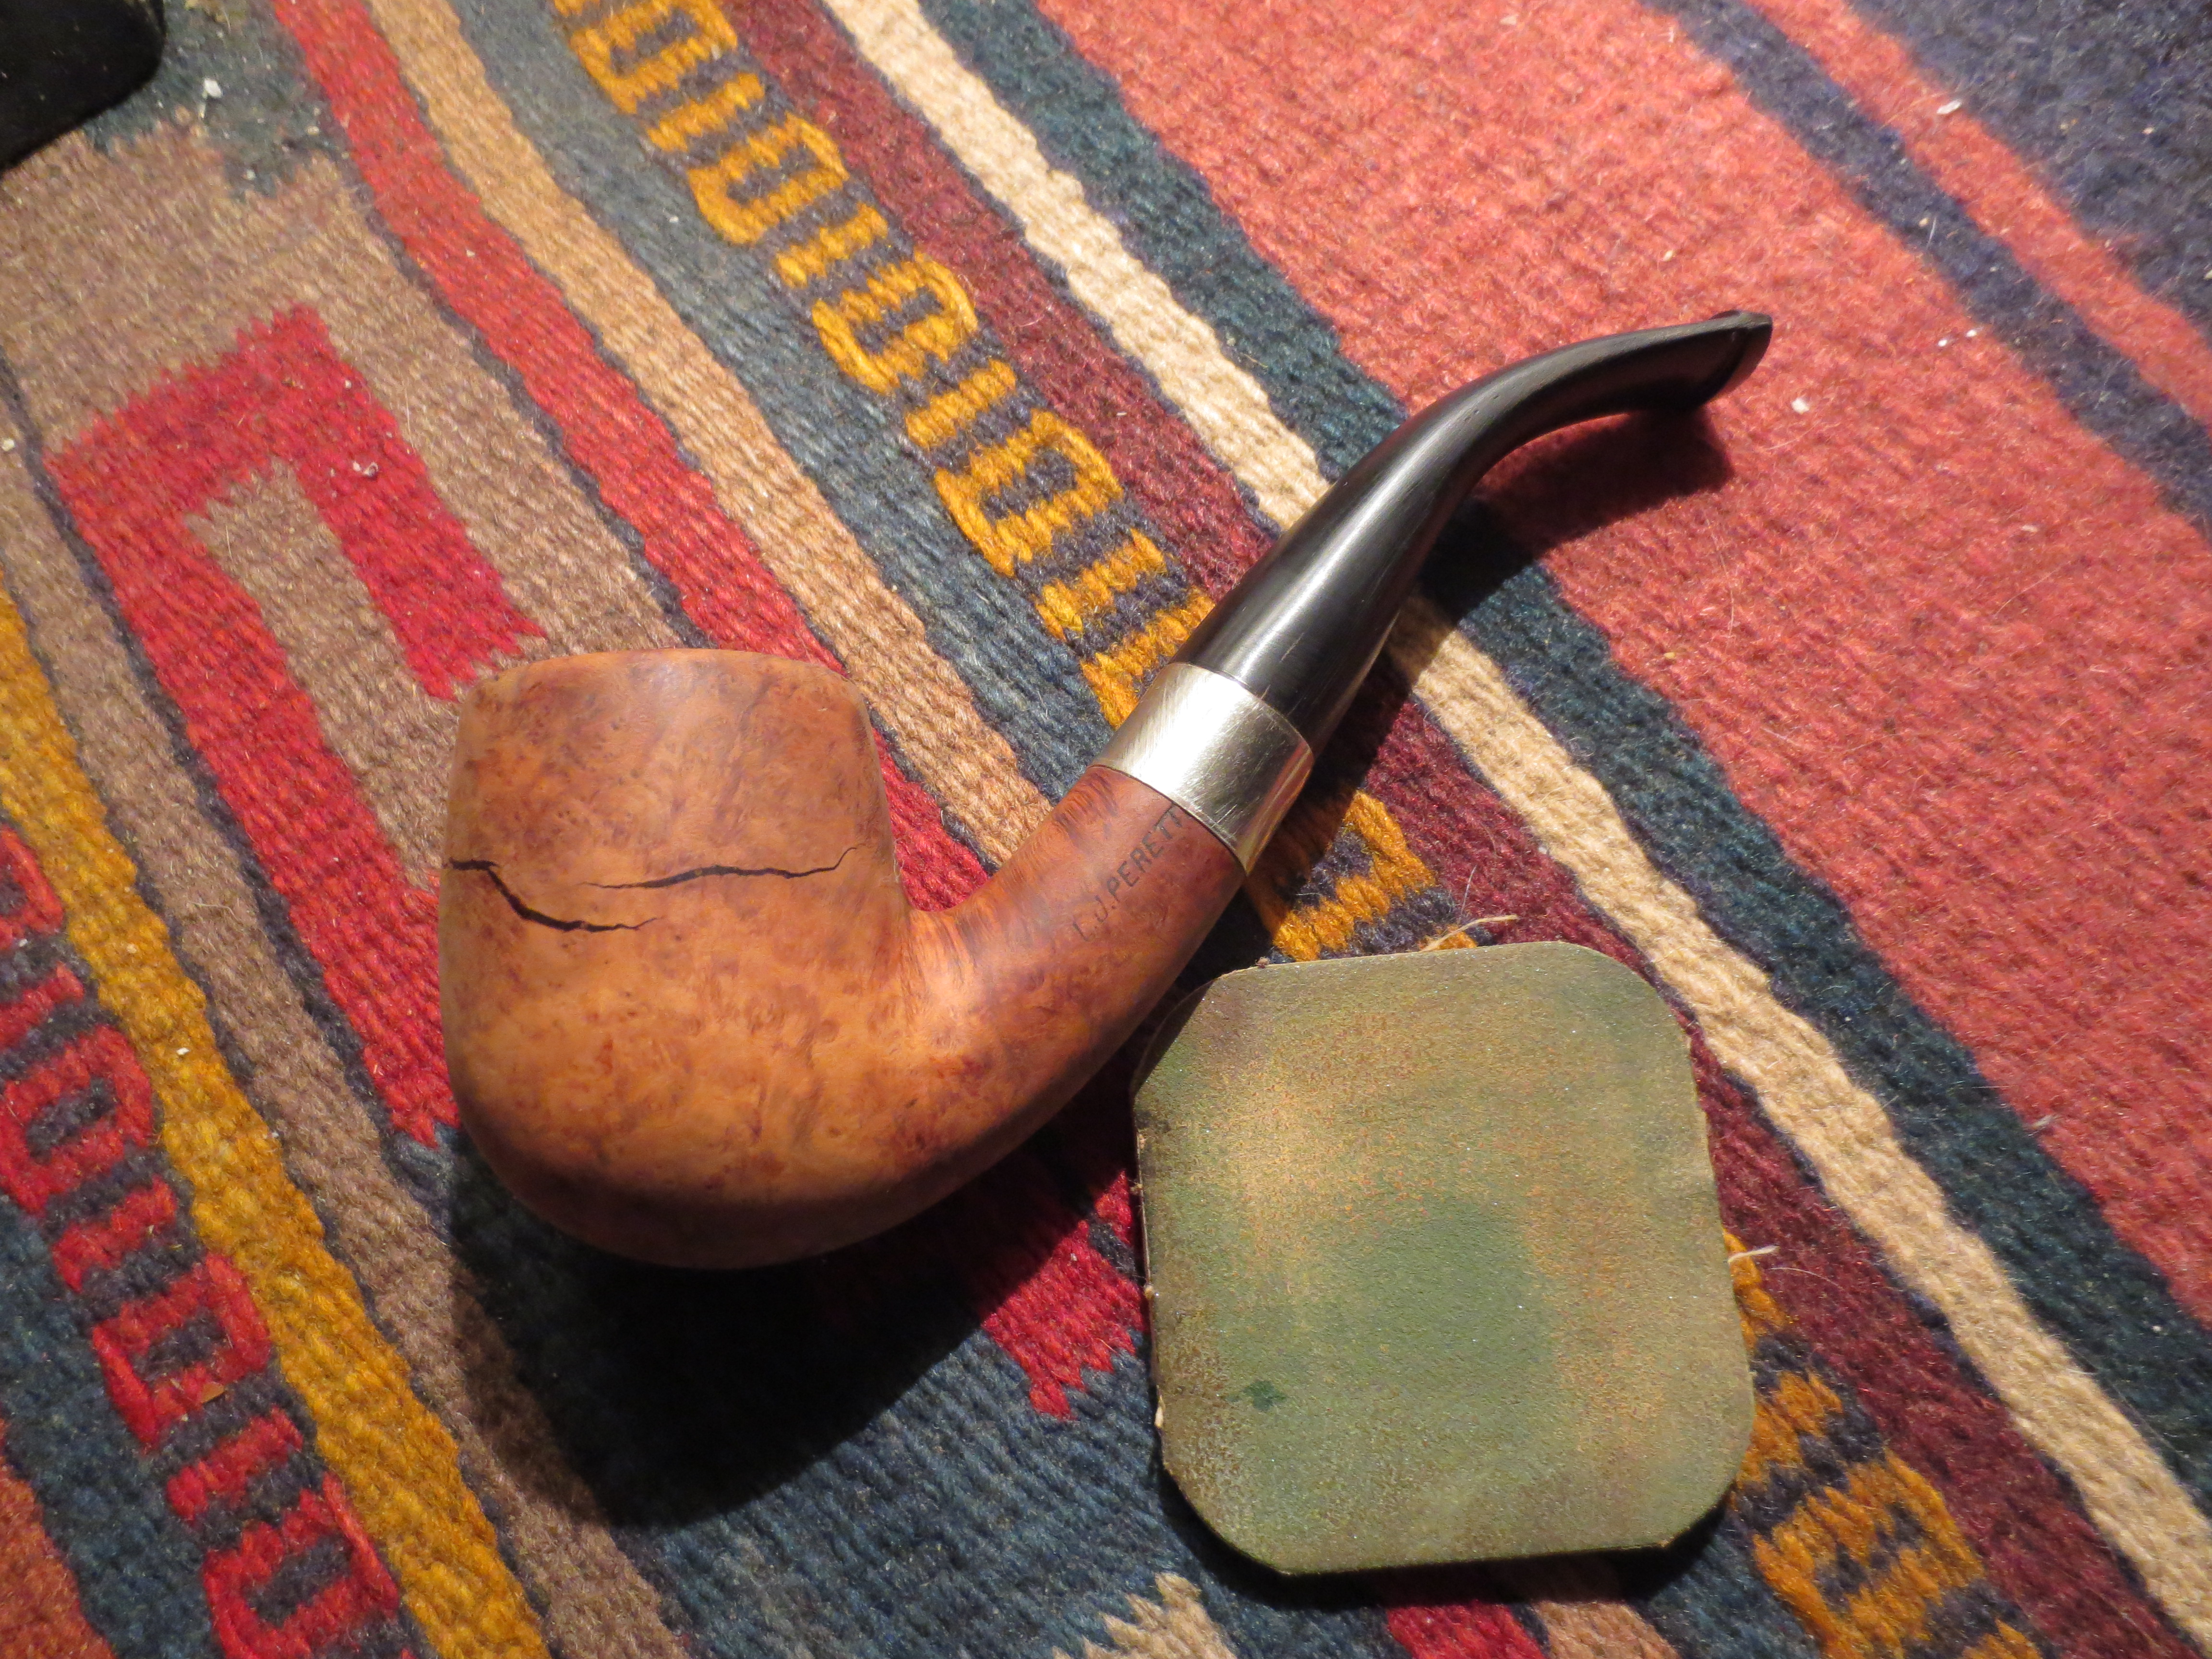
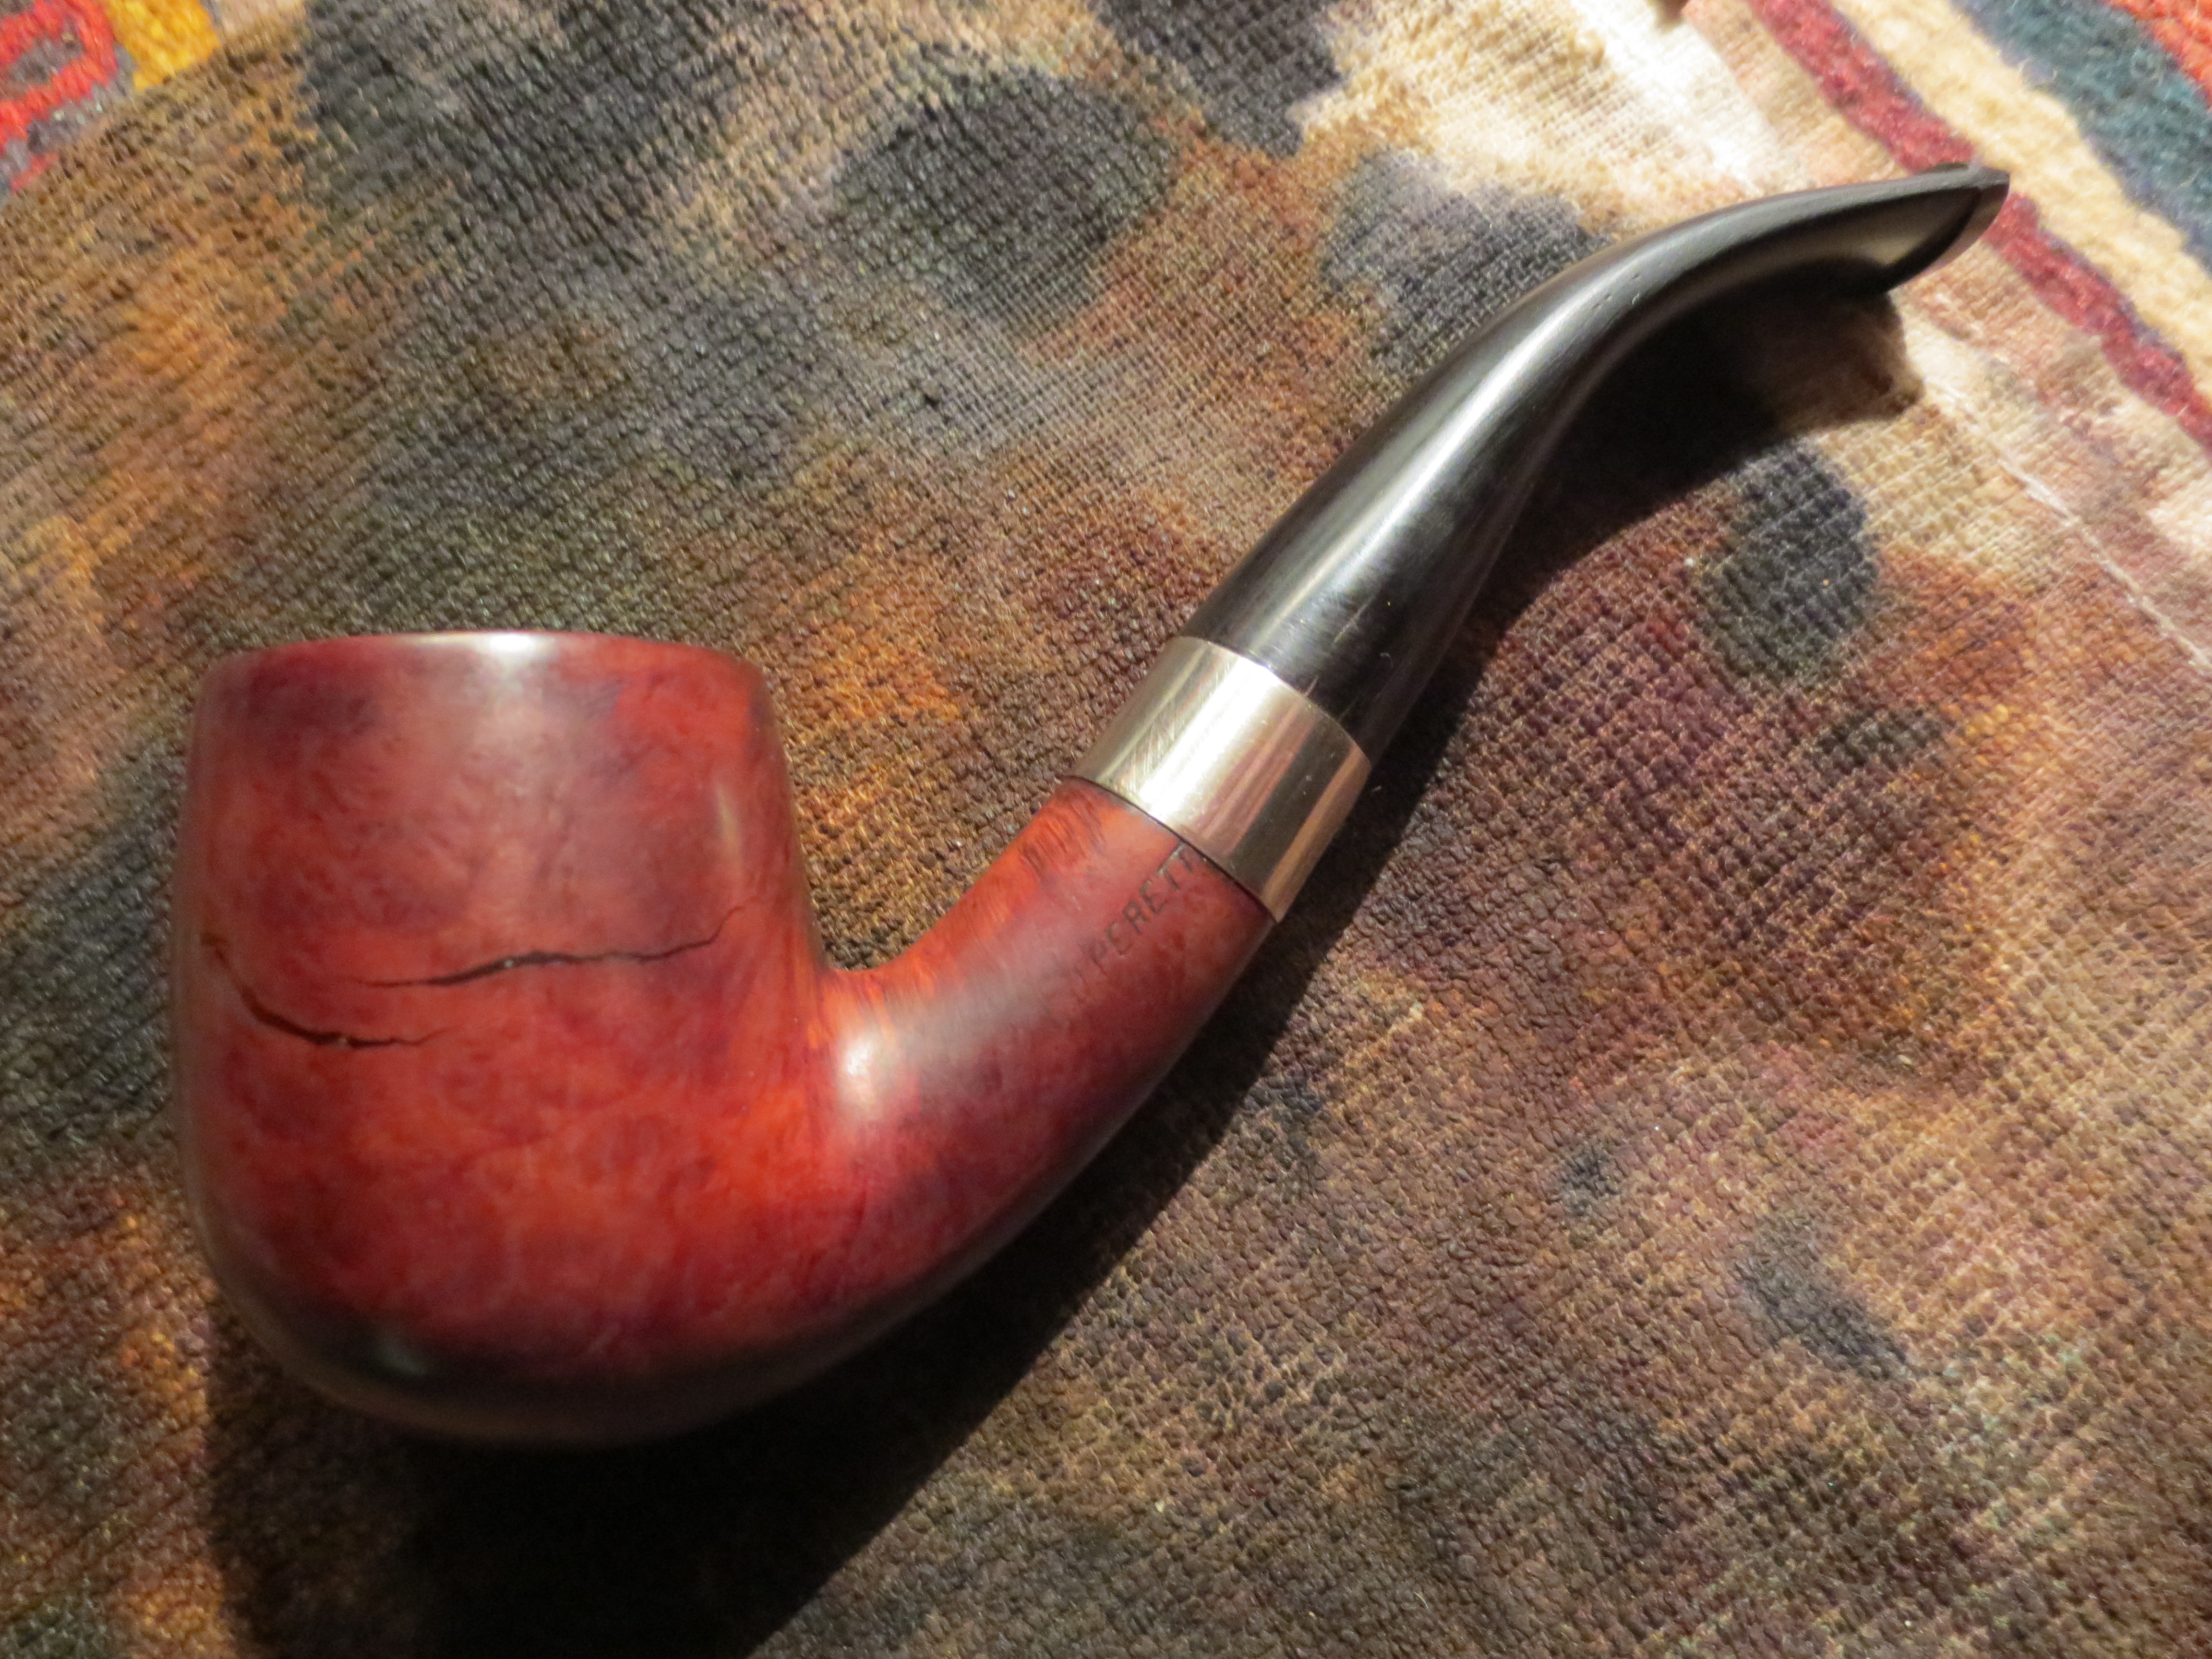
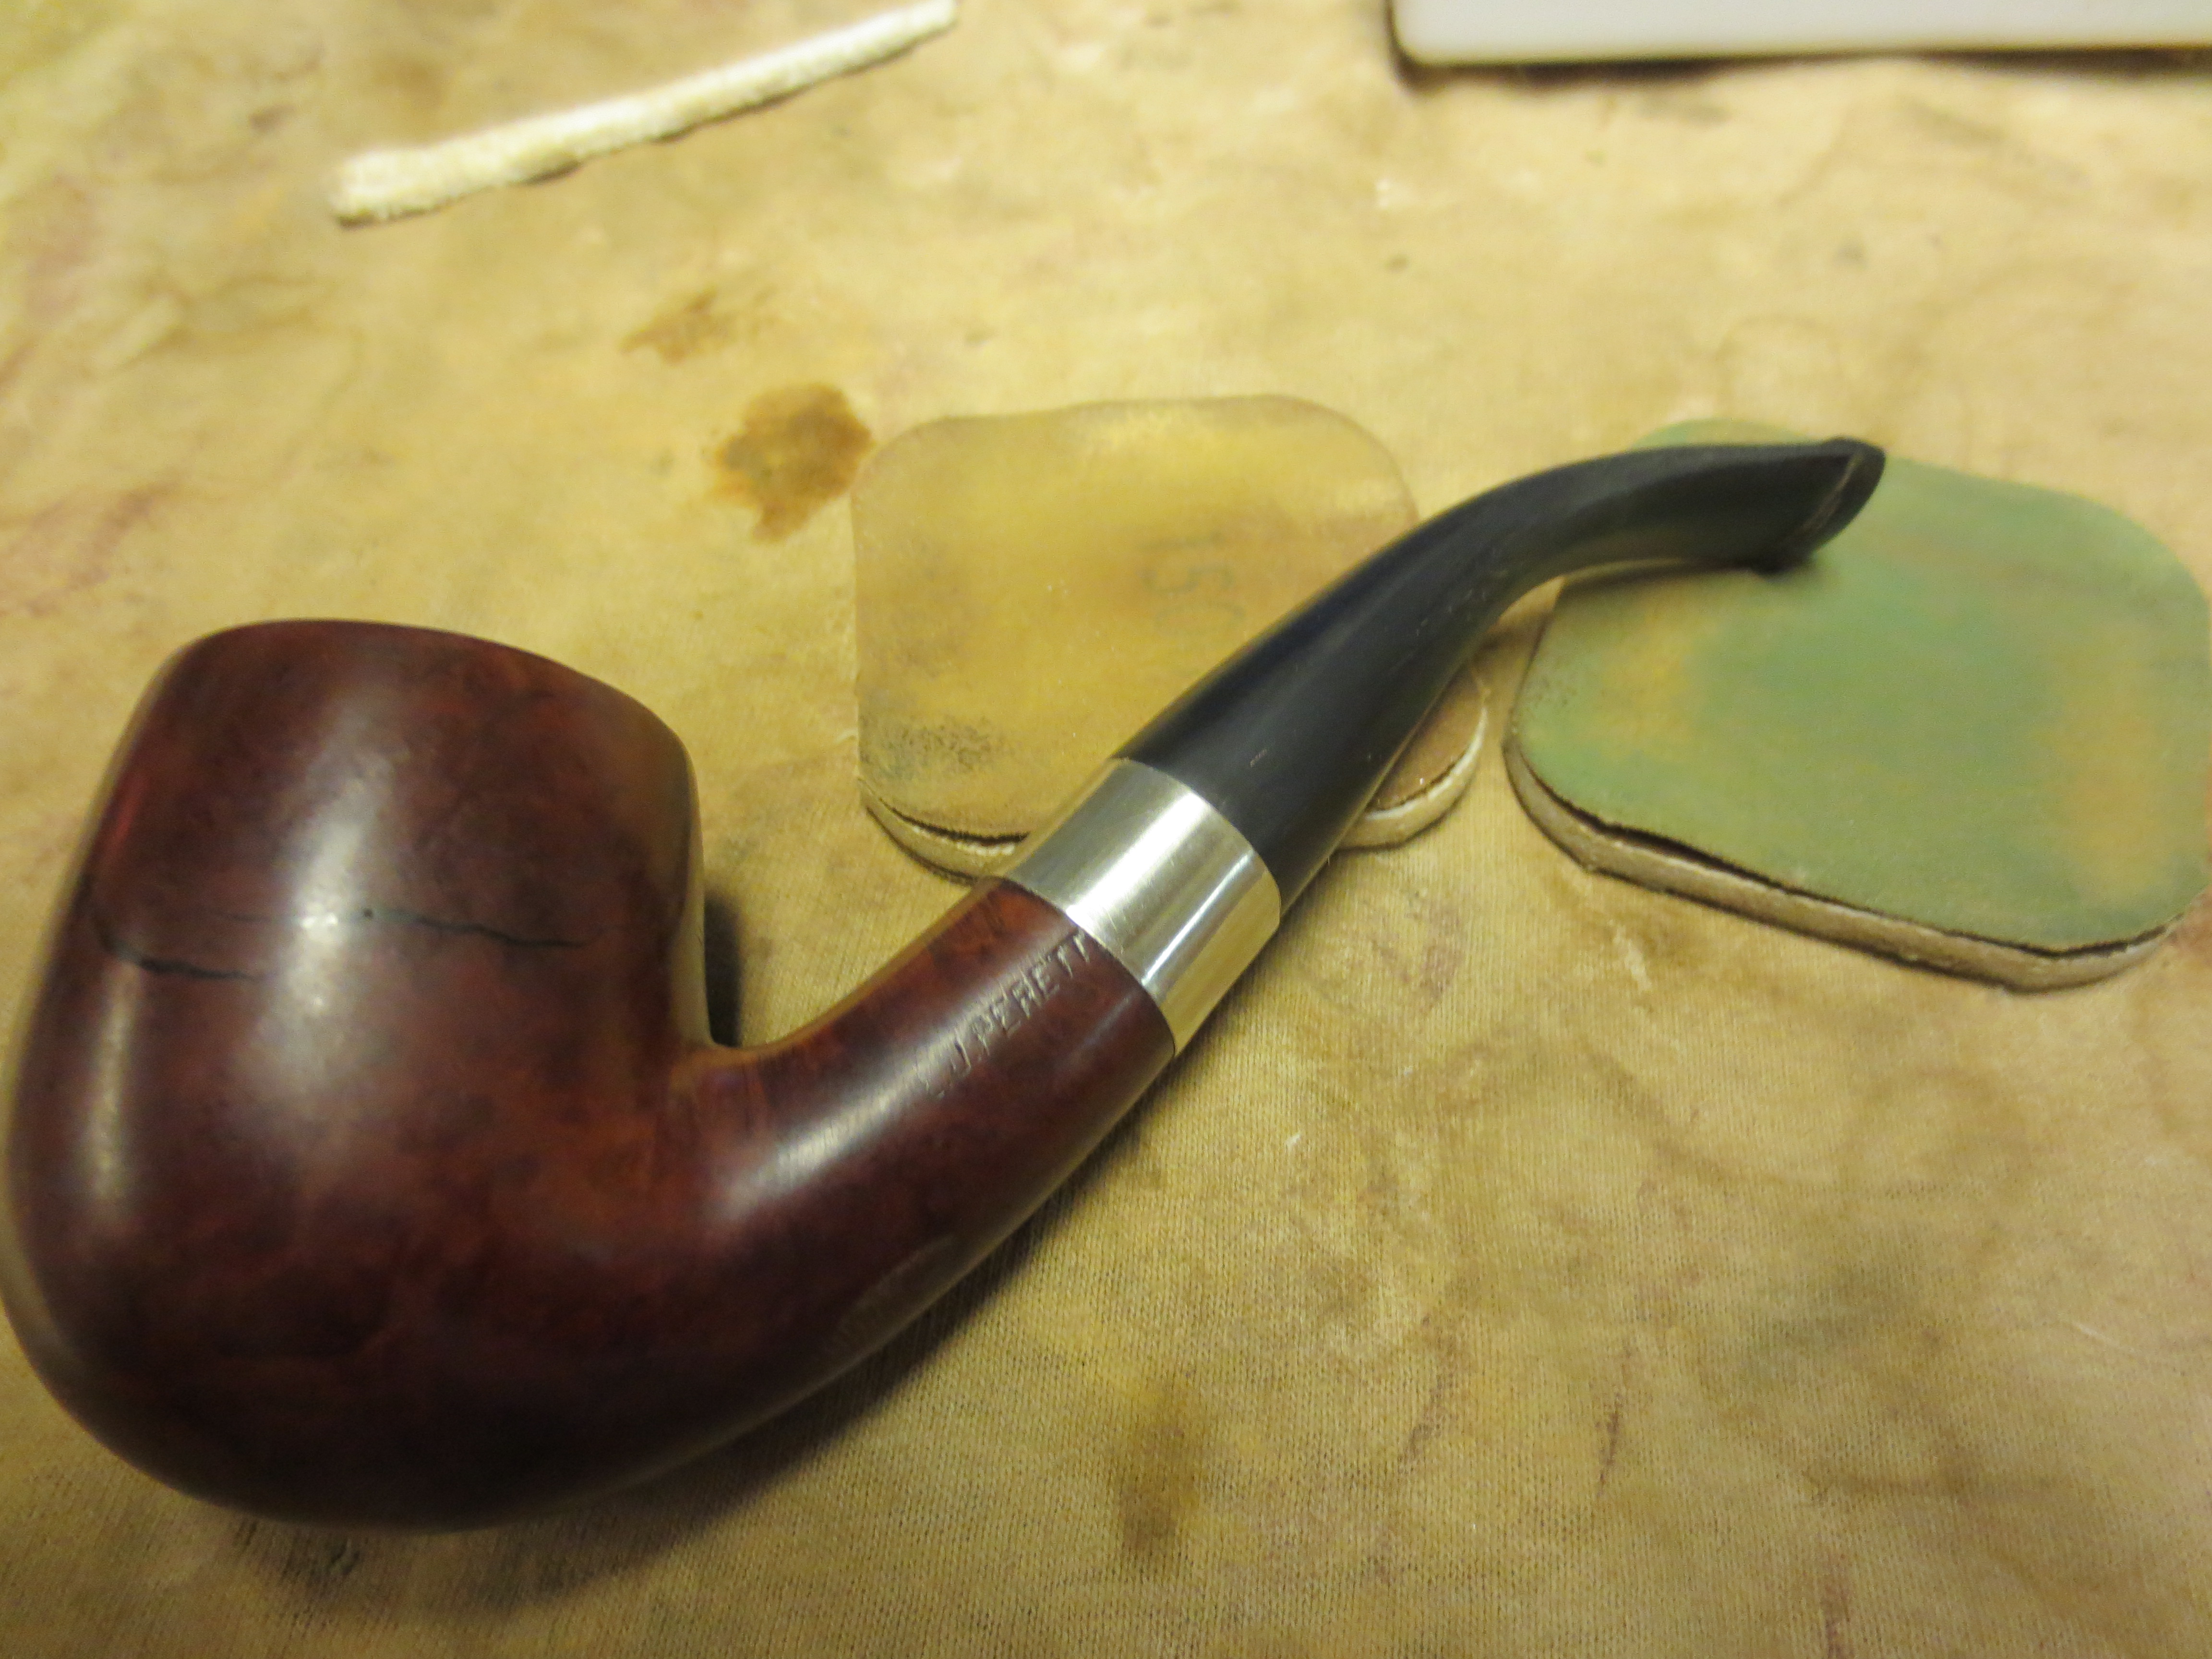
Many of you have read the piece that Gan wrote on “All the King’s Horses and All the King’s Men – A Peterson Adventure” https://rebornpipes.wordpress.com/2012/10/03/all-the-kings-horses-and-all-the-kings-men-a-petersen-adventure-gan-barber/ In it he described the process of reconstructing a Peterson that was in pieces. It arrived with cracks and he put the pieces back together. Since interacting with Gan on that pipe and rereading his article I have wanted to try my hand at repairing a cracked bowl. Finally I picked one up in an EBay lot that I purchased. It was an L. J. Perretti Smooth Bent Billiard. It was in rough shape and needed a stem. I figured I would practice some of the magic Gan used on the Peterson pipe he wrote about on this one.
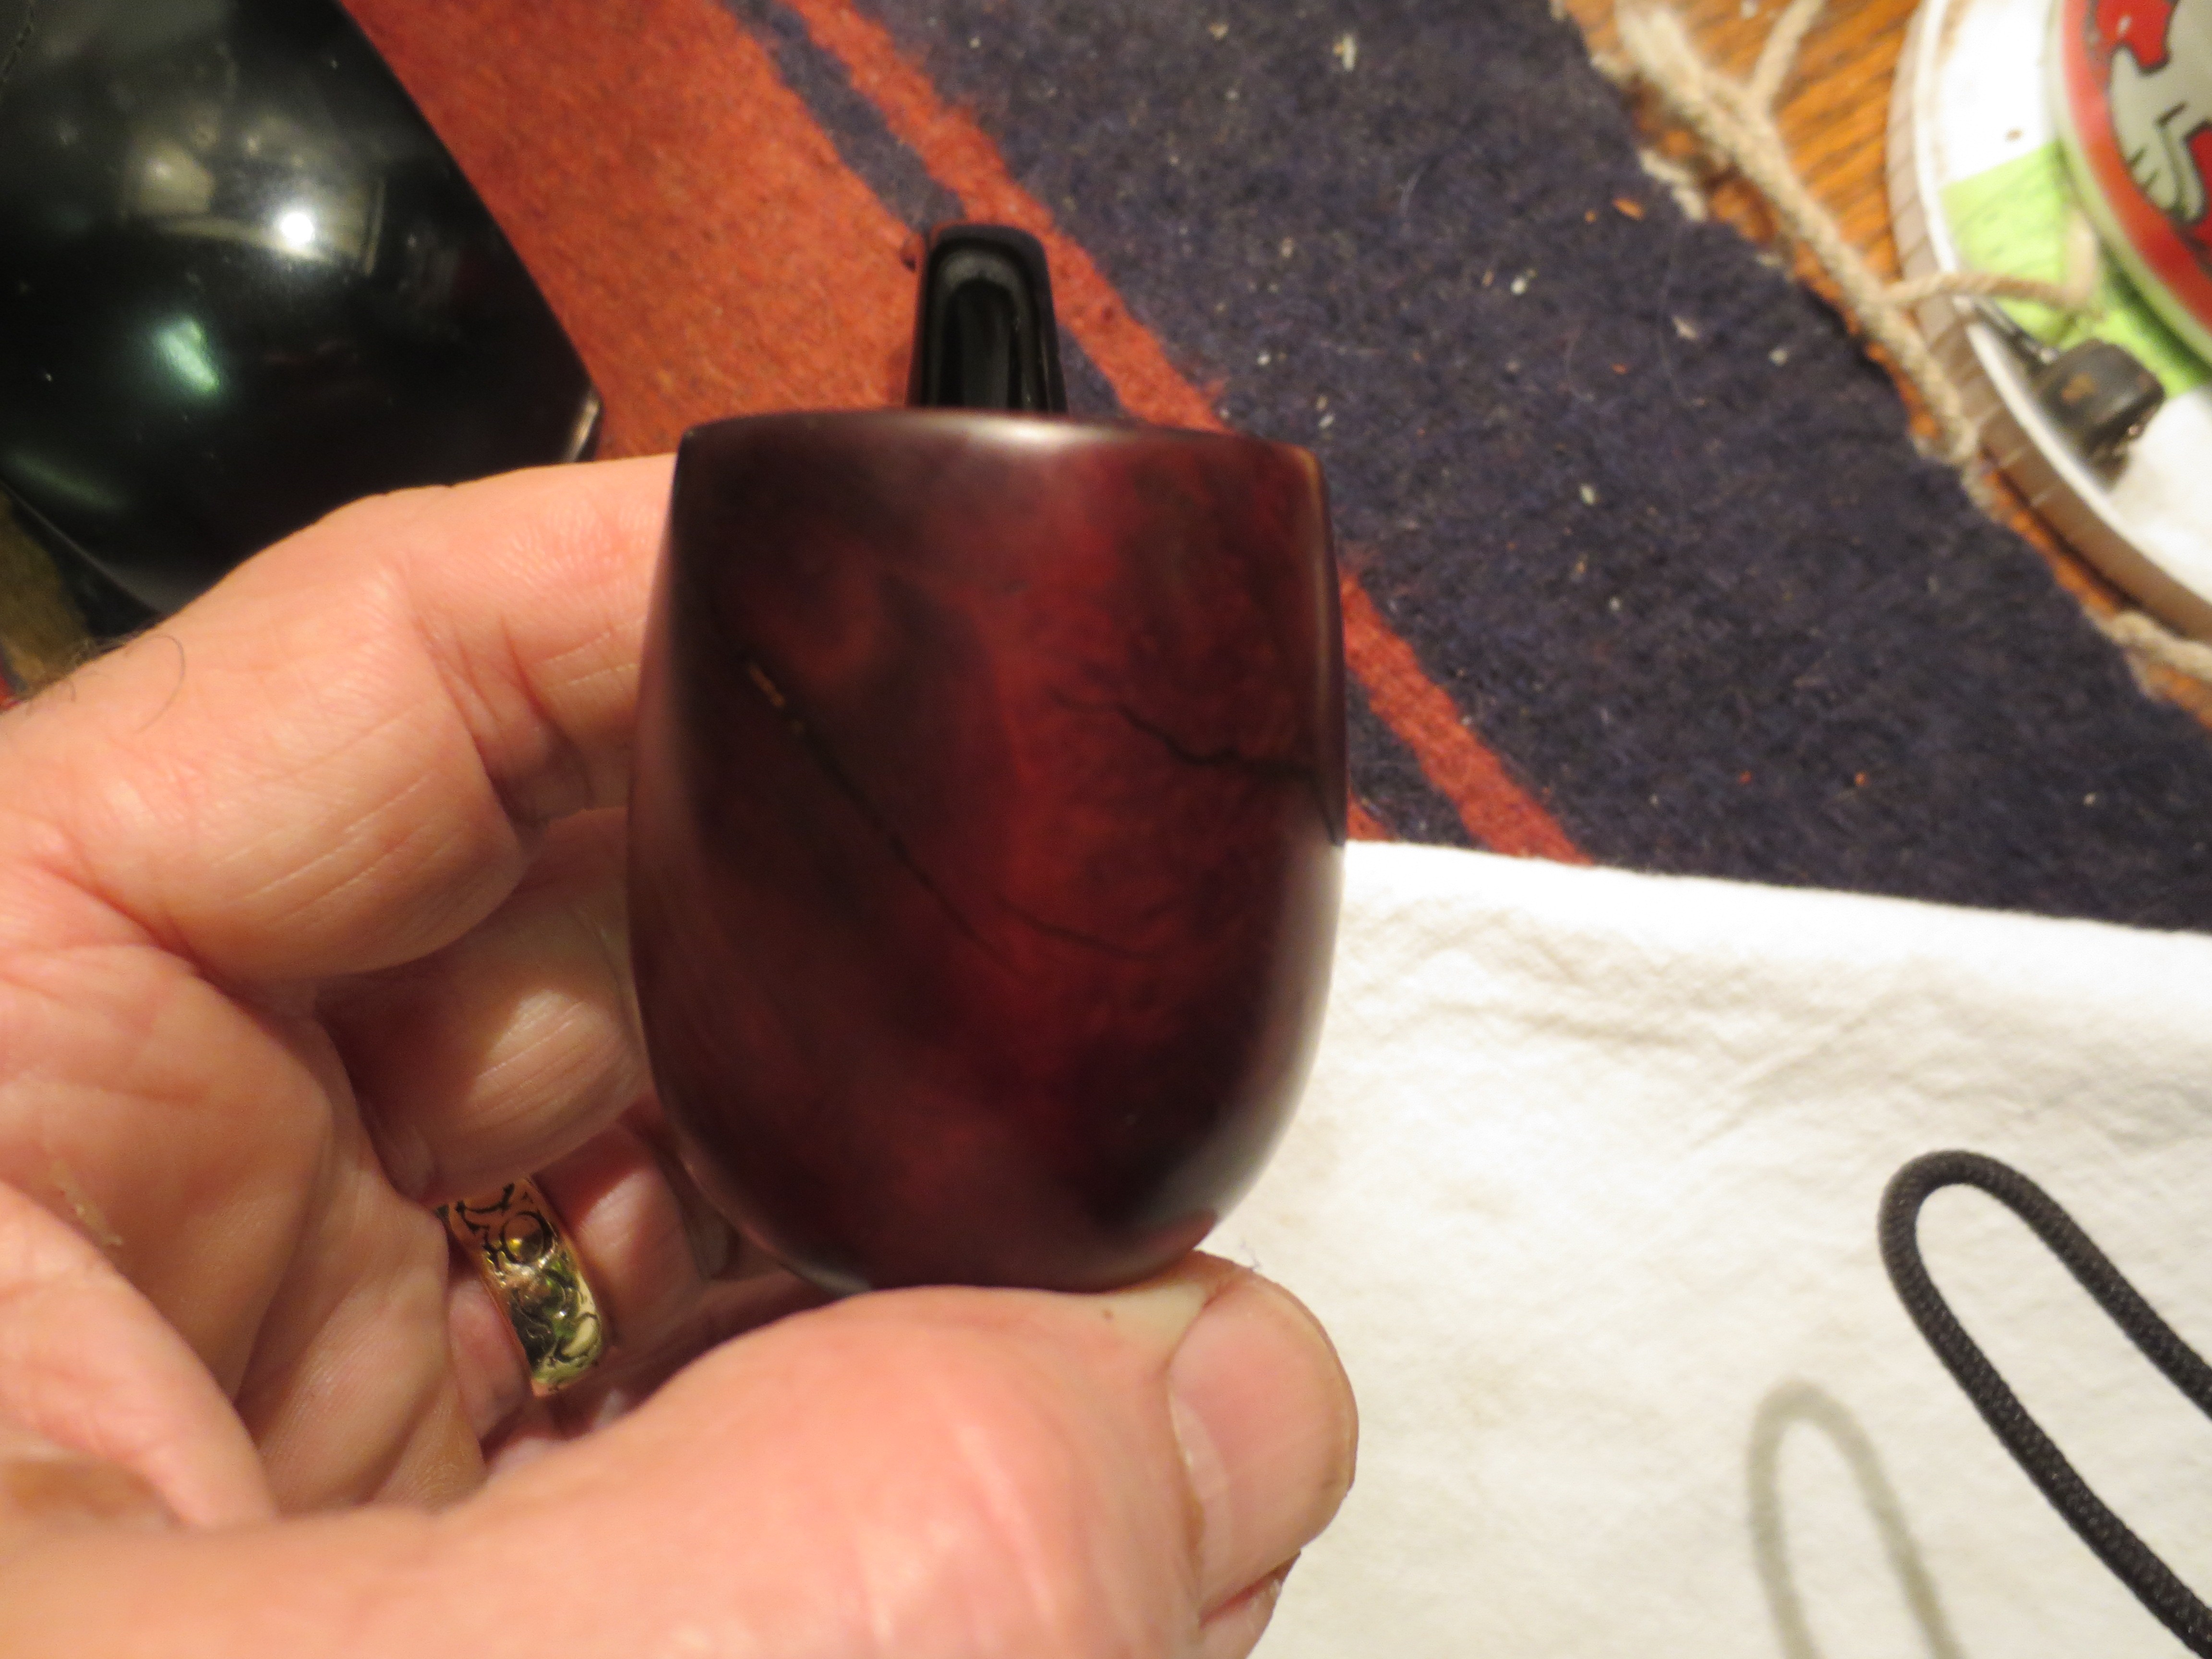
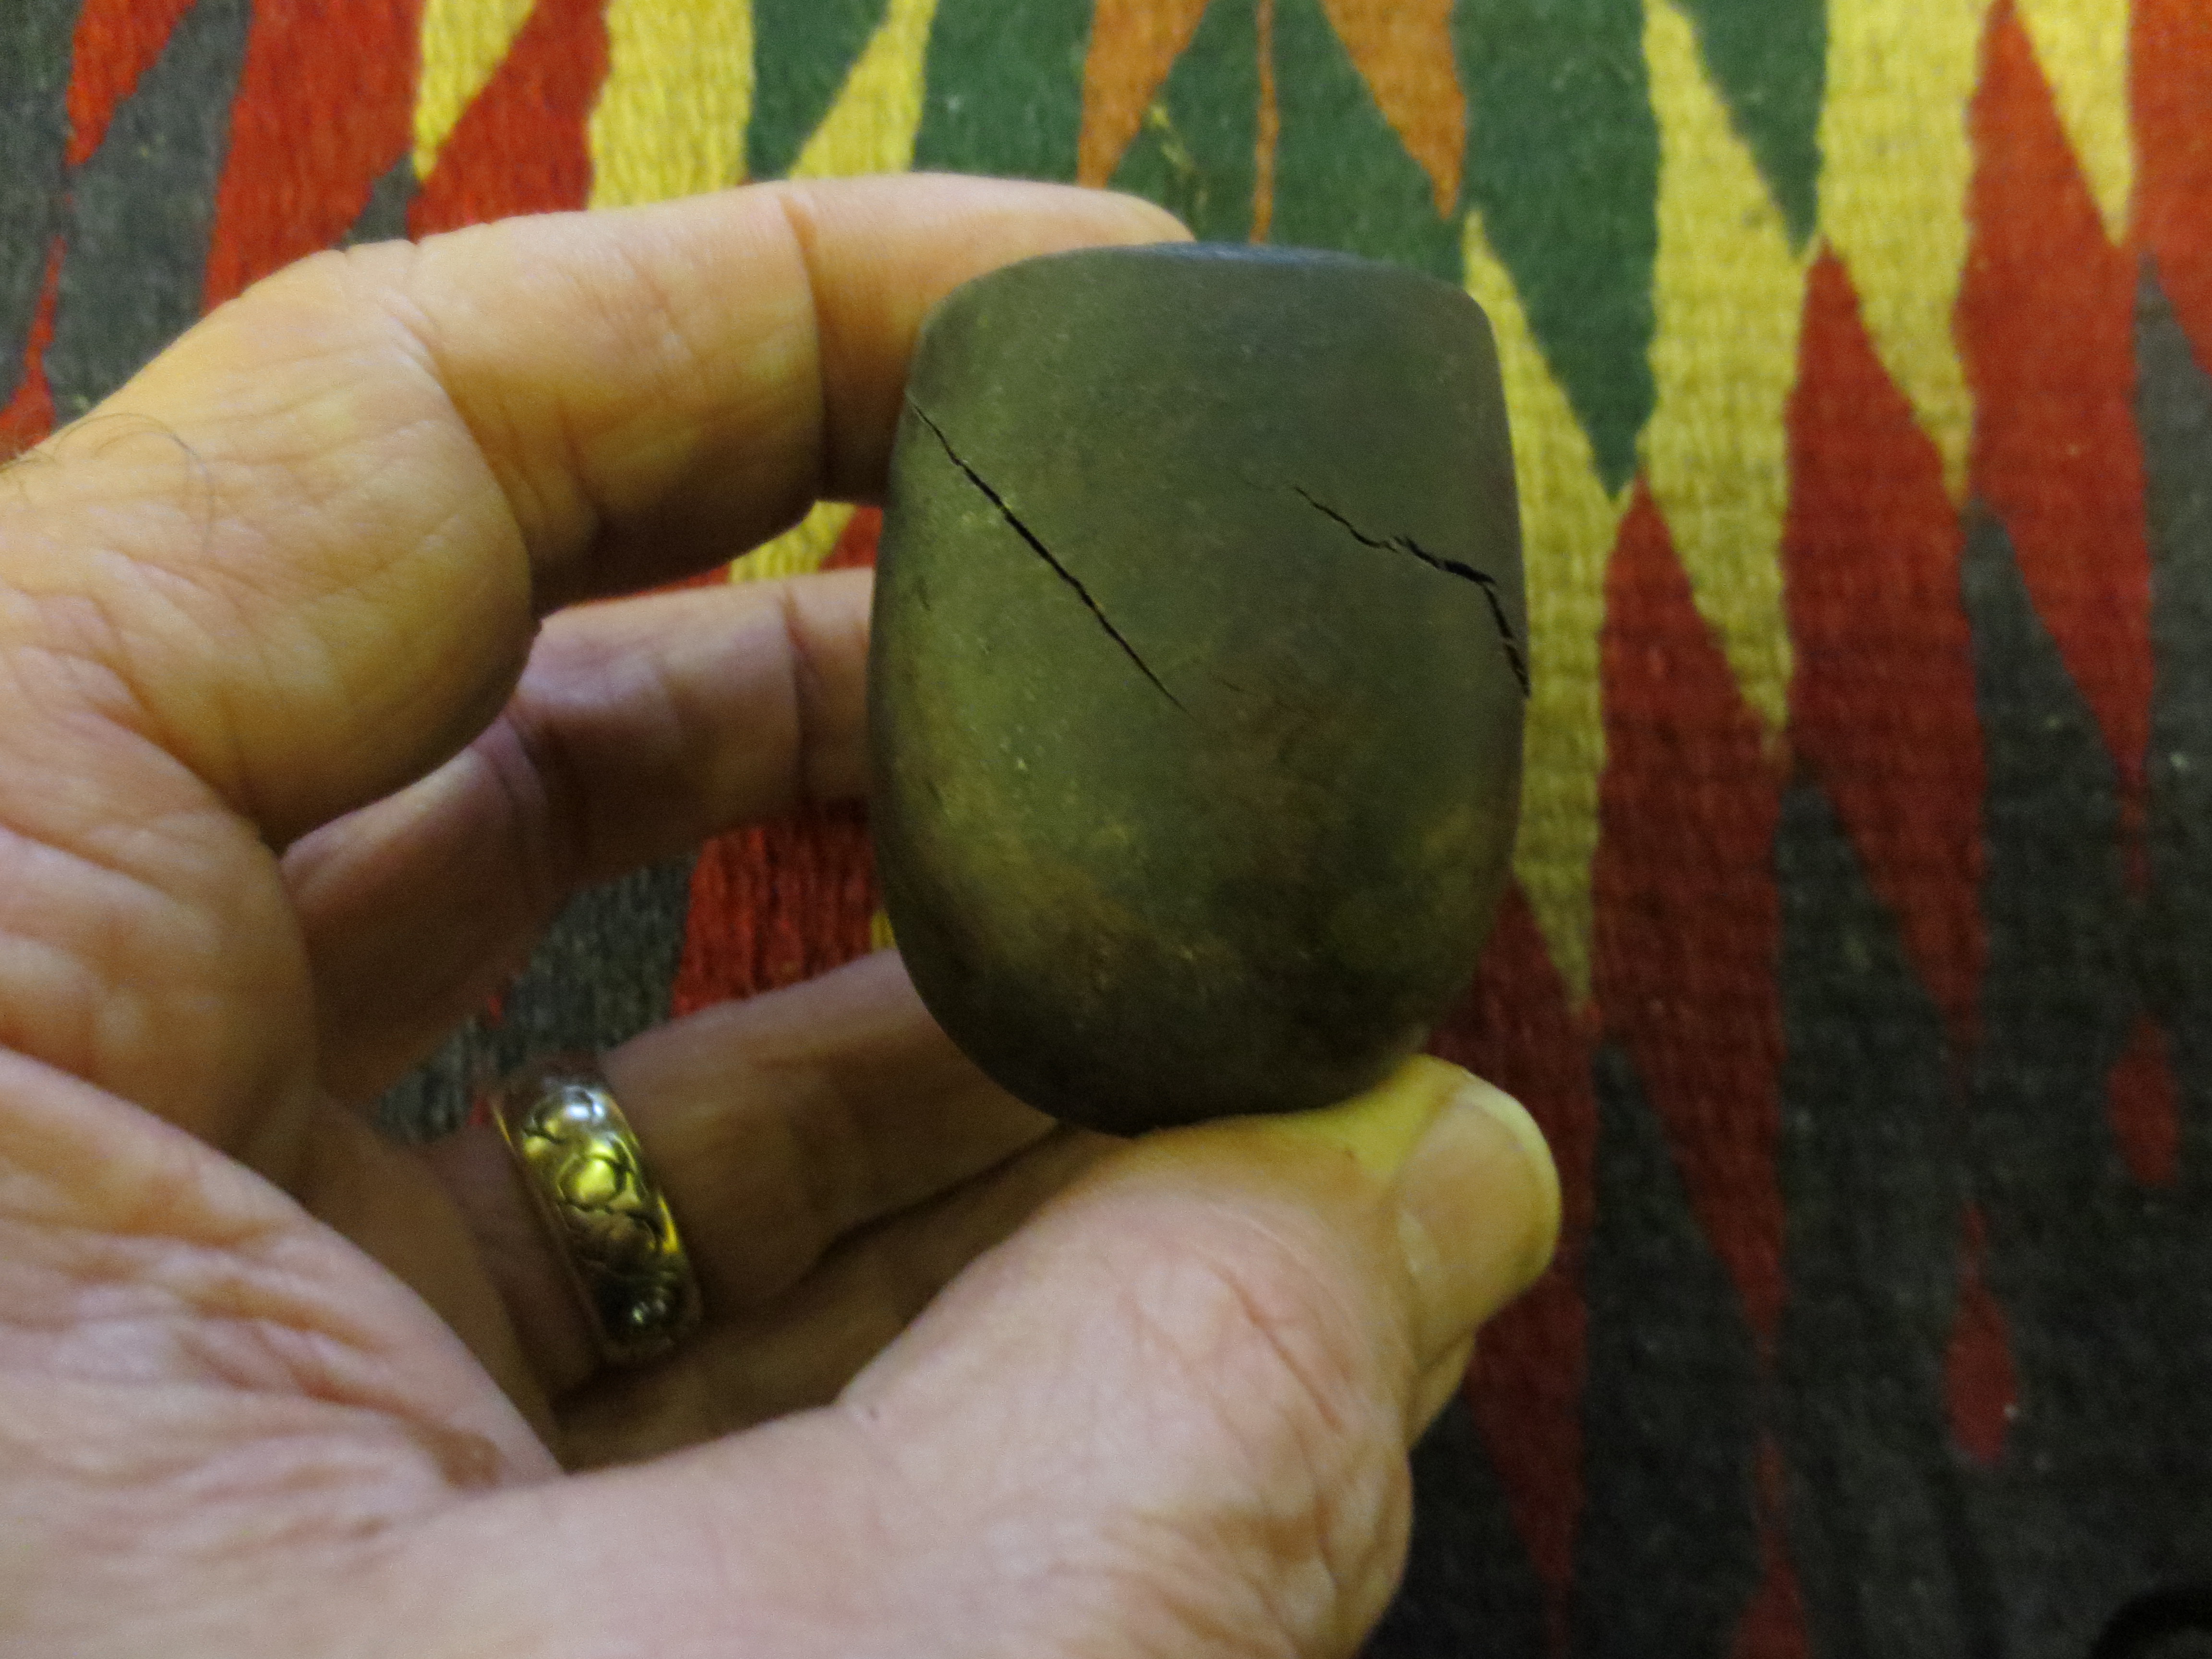
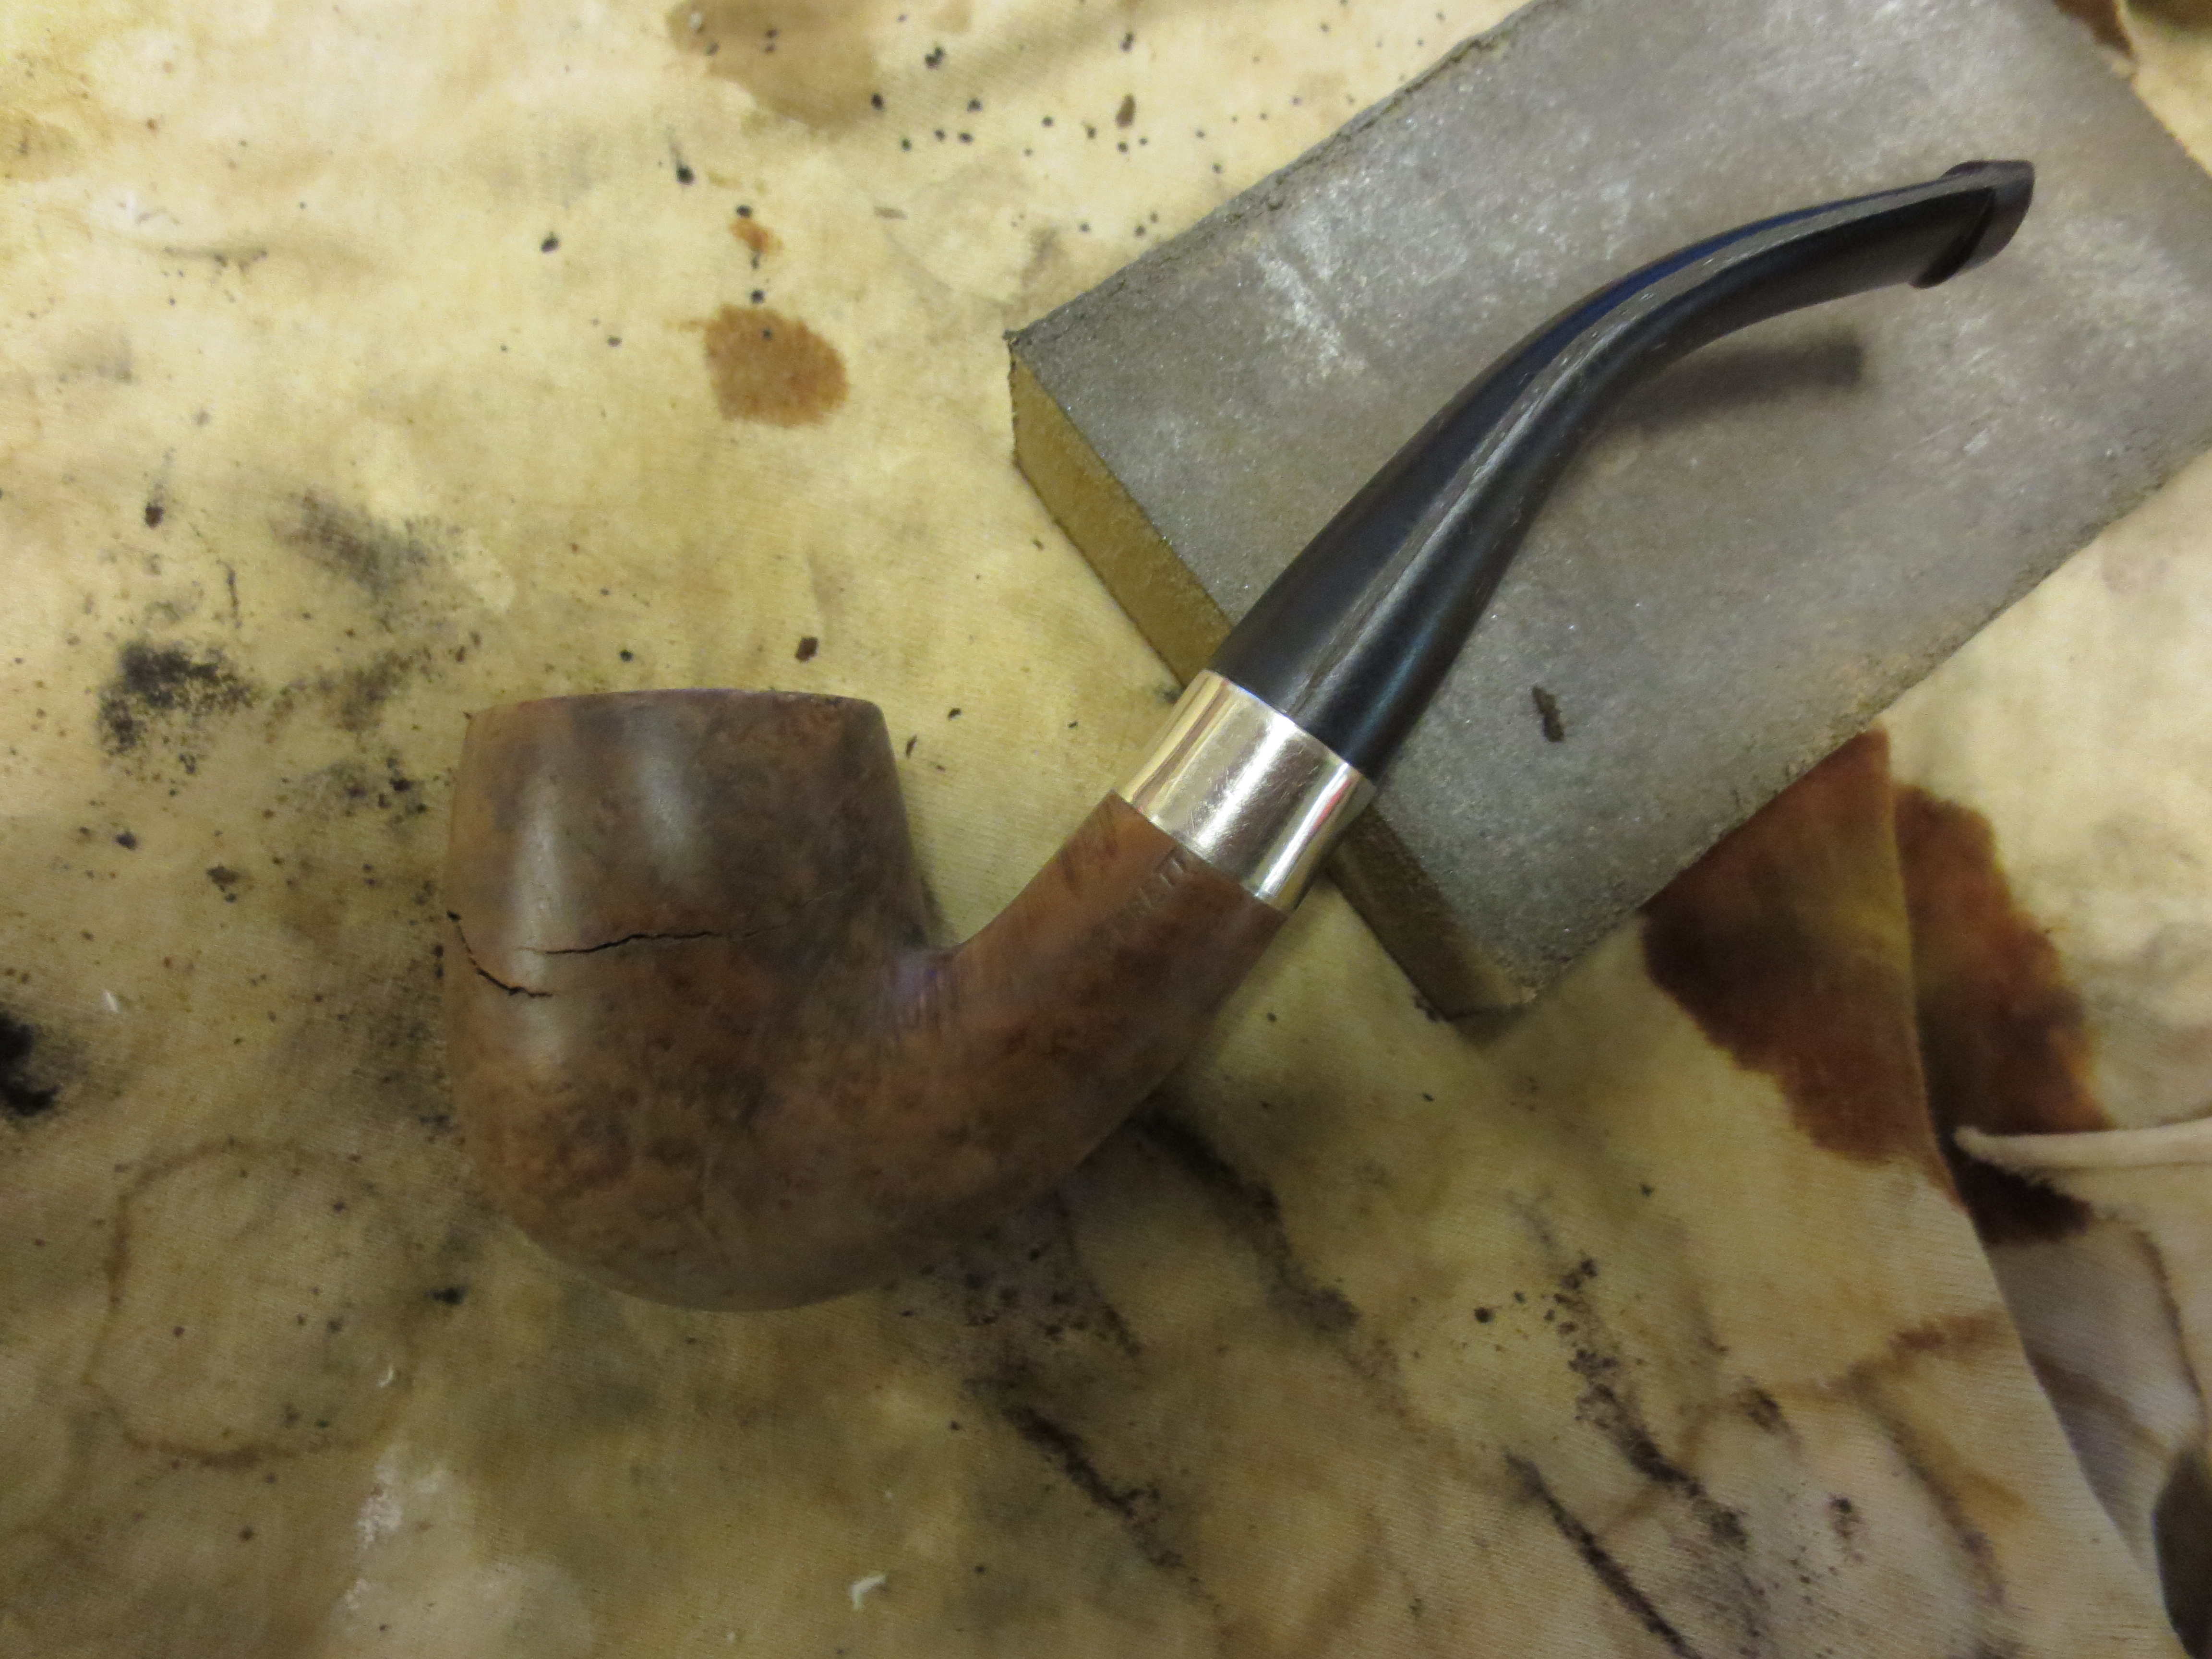
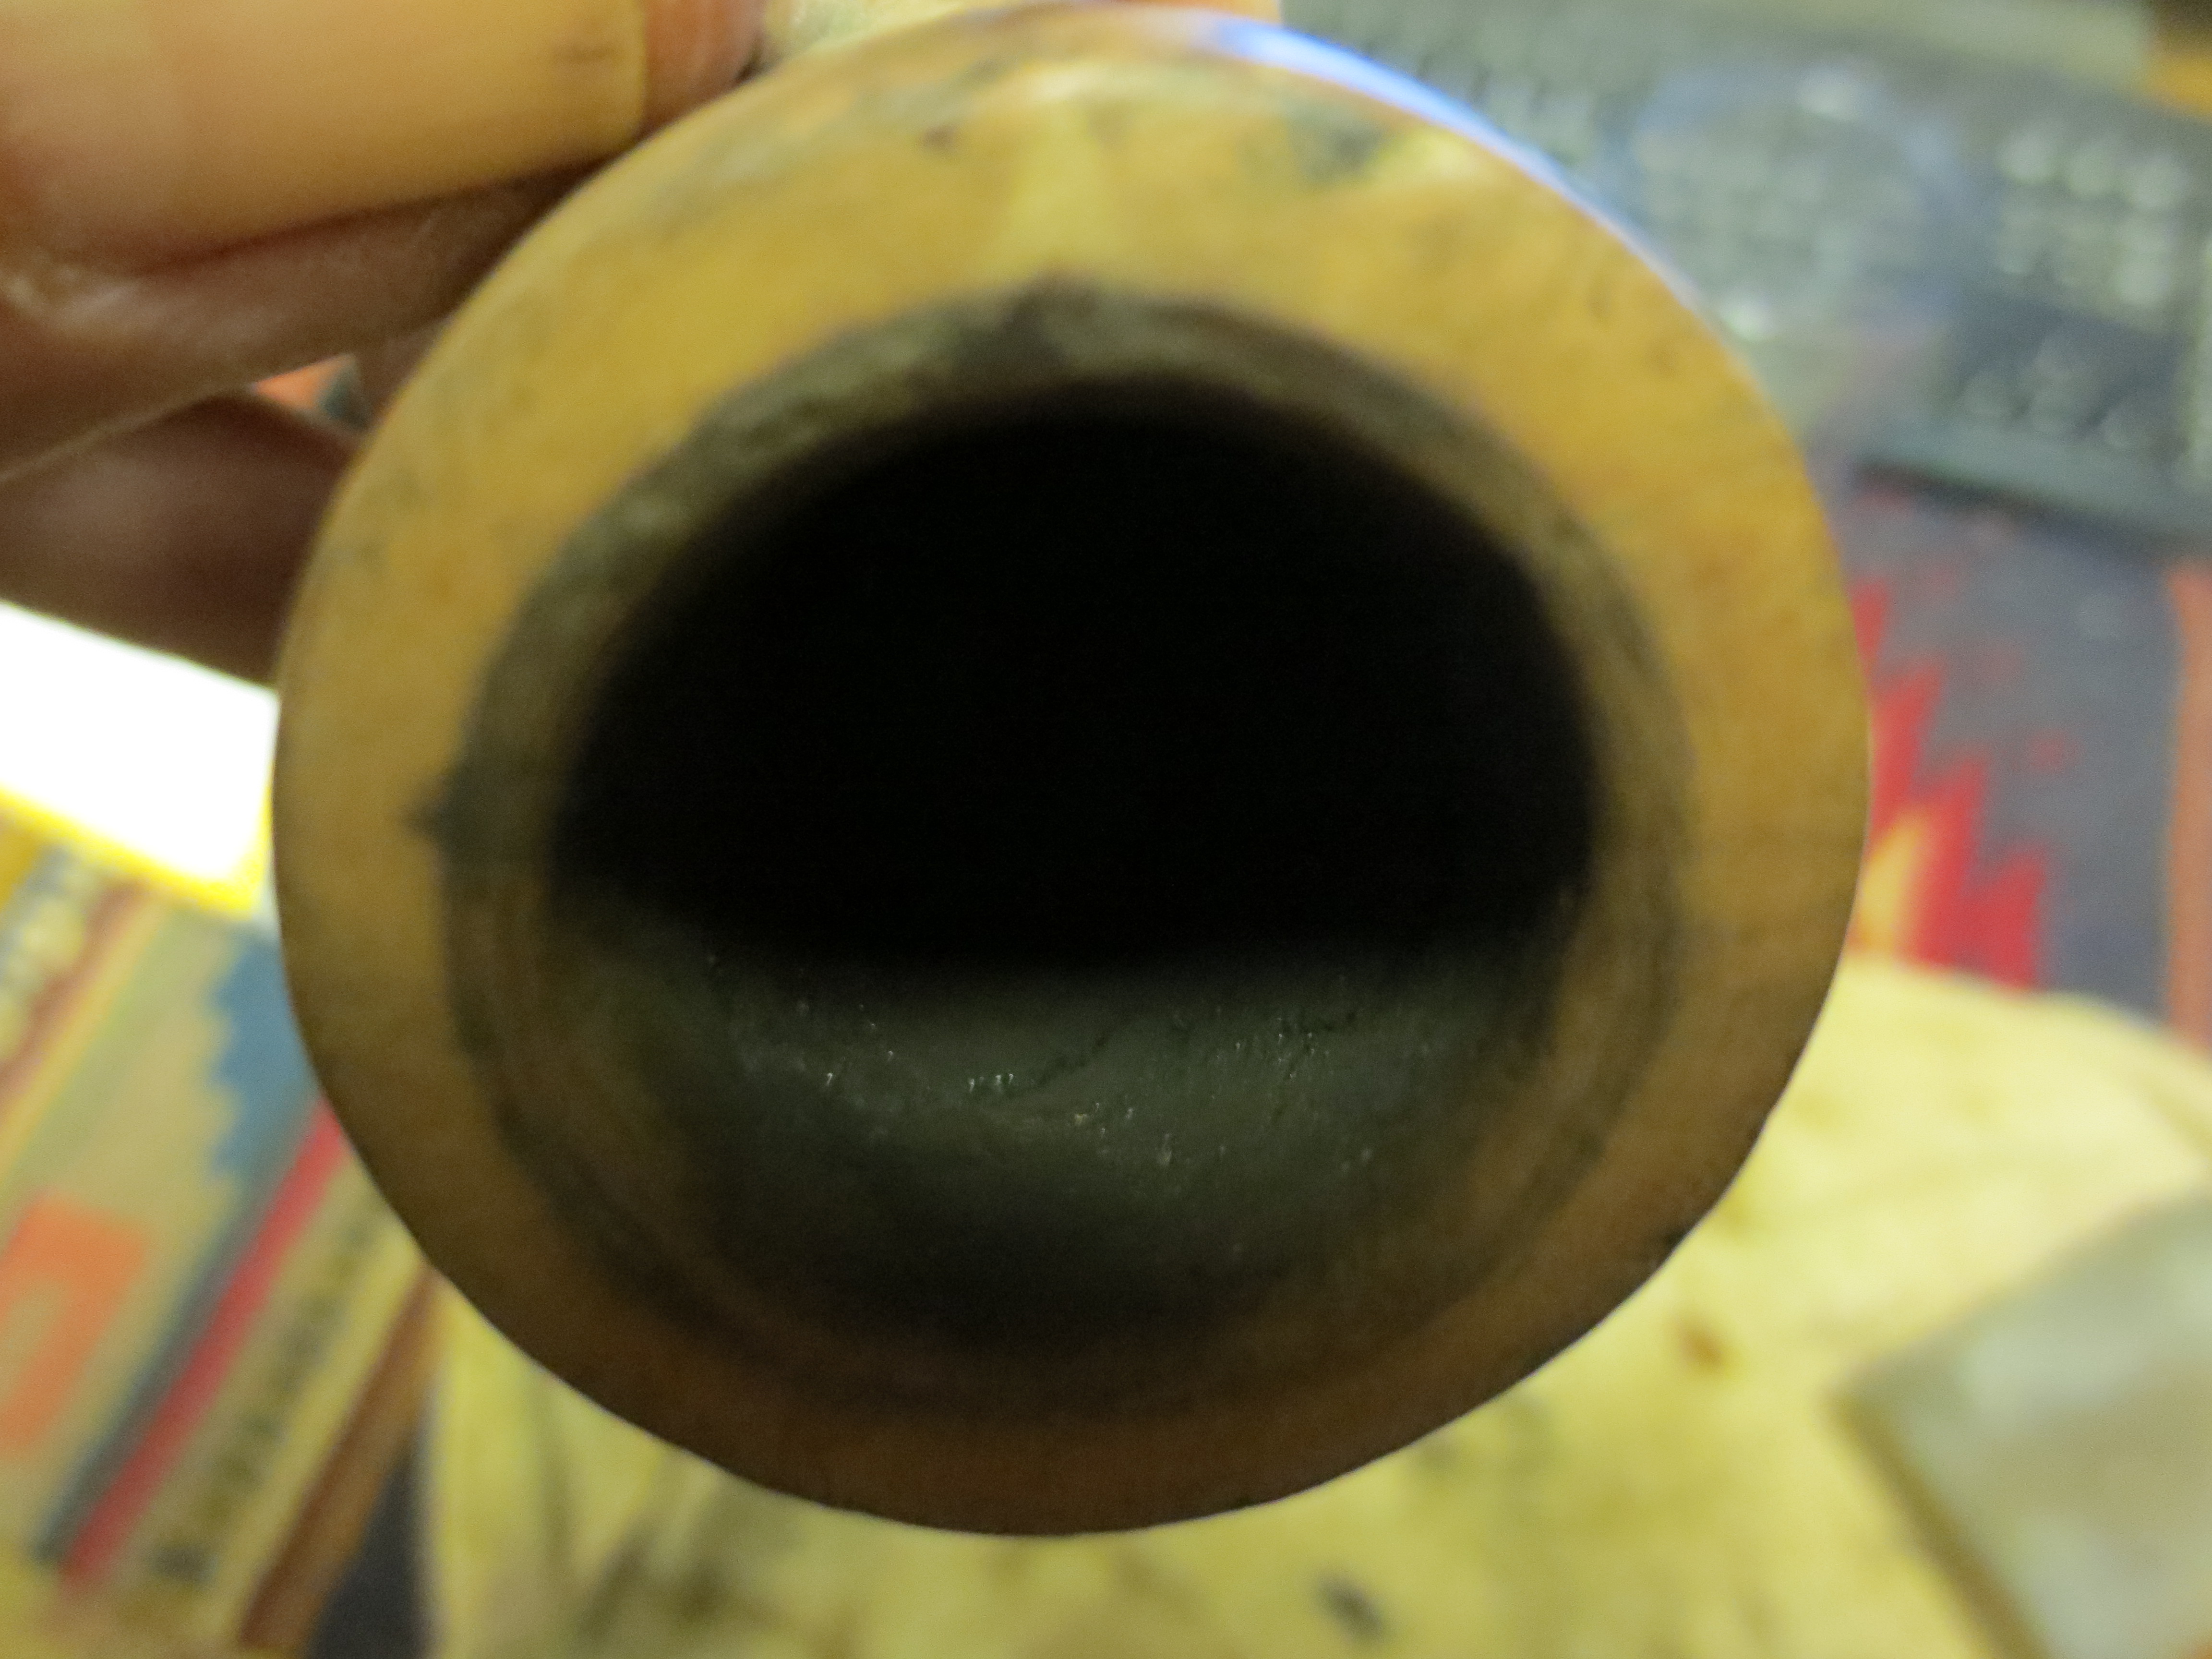
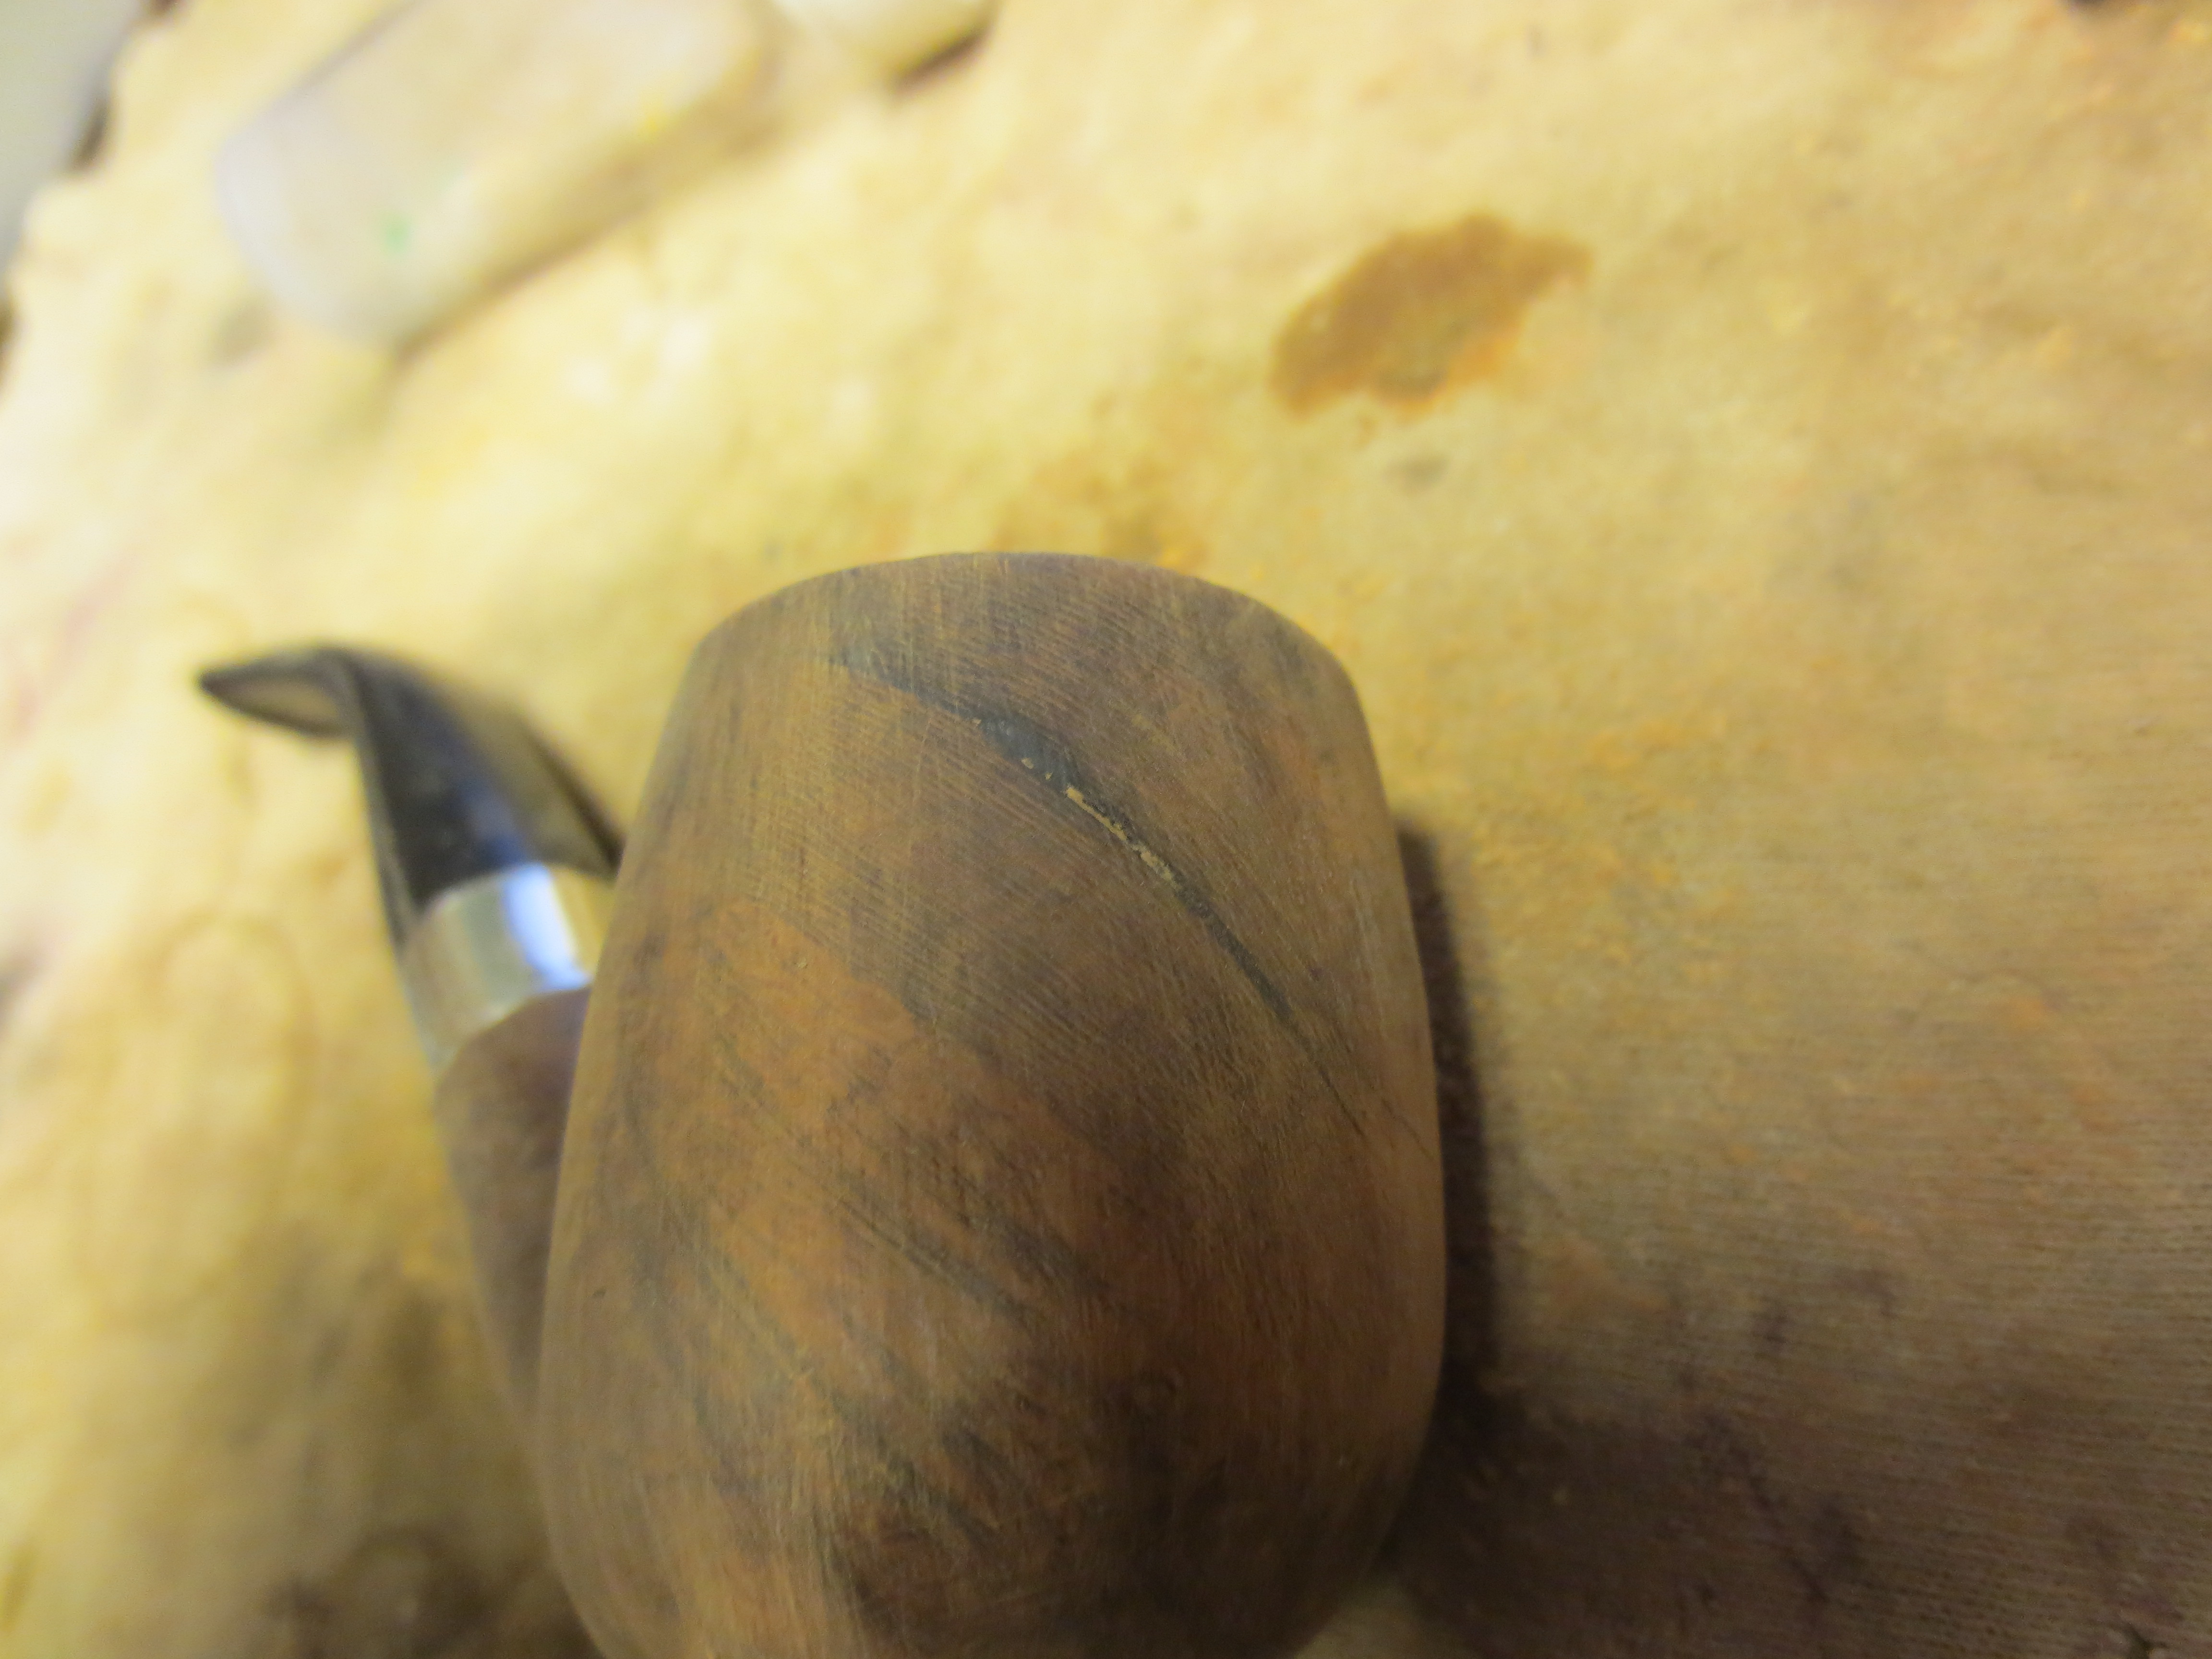
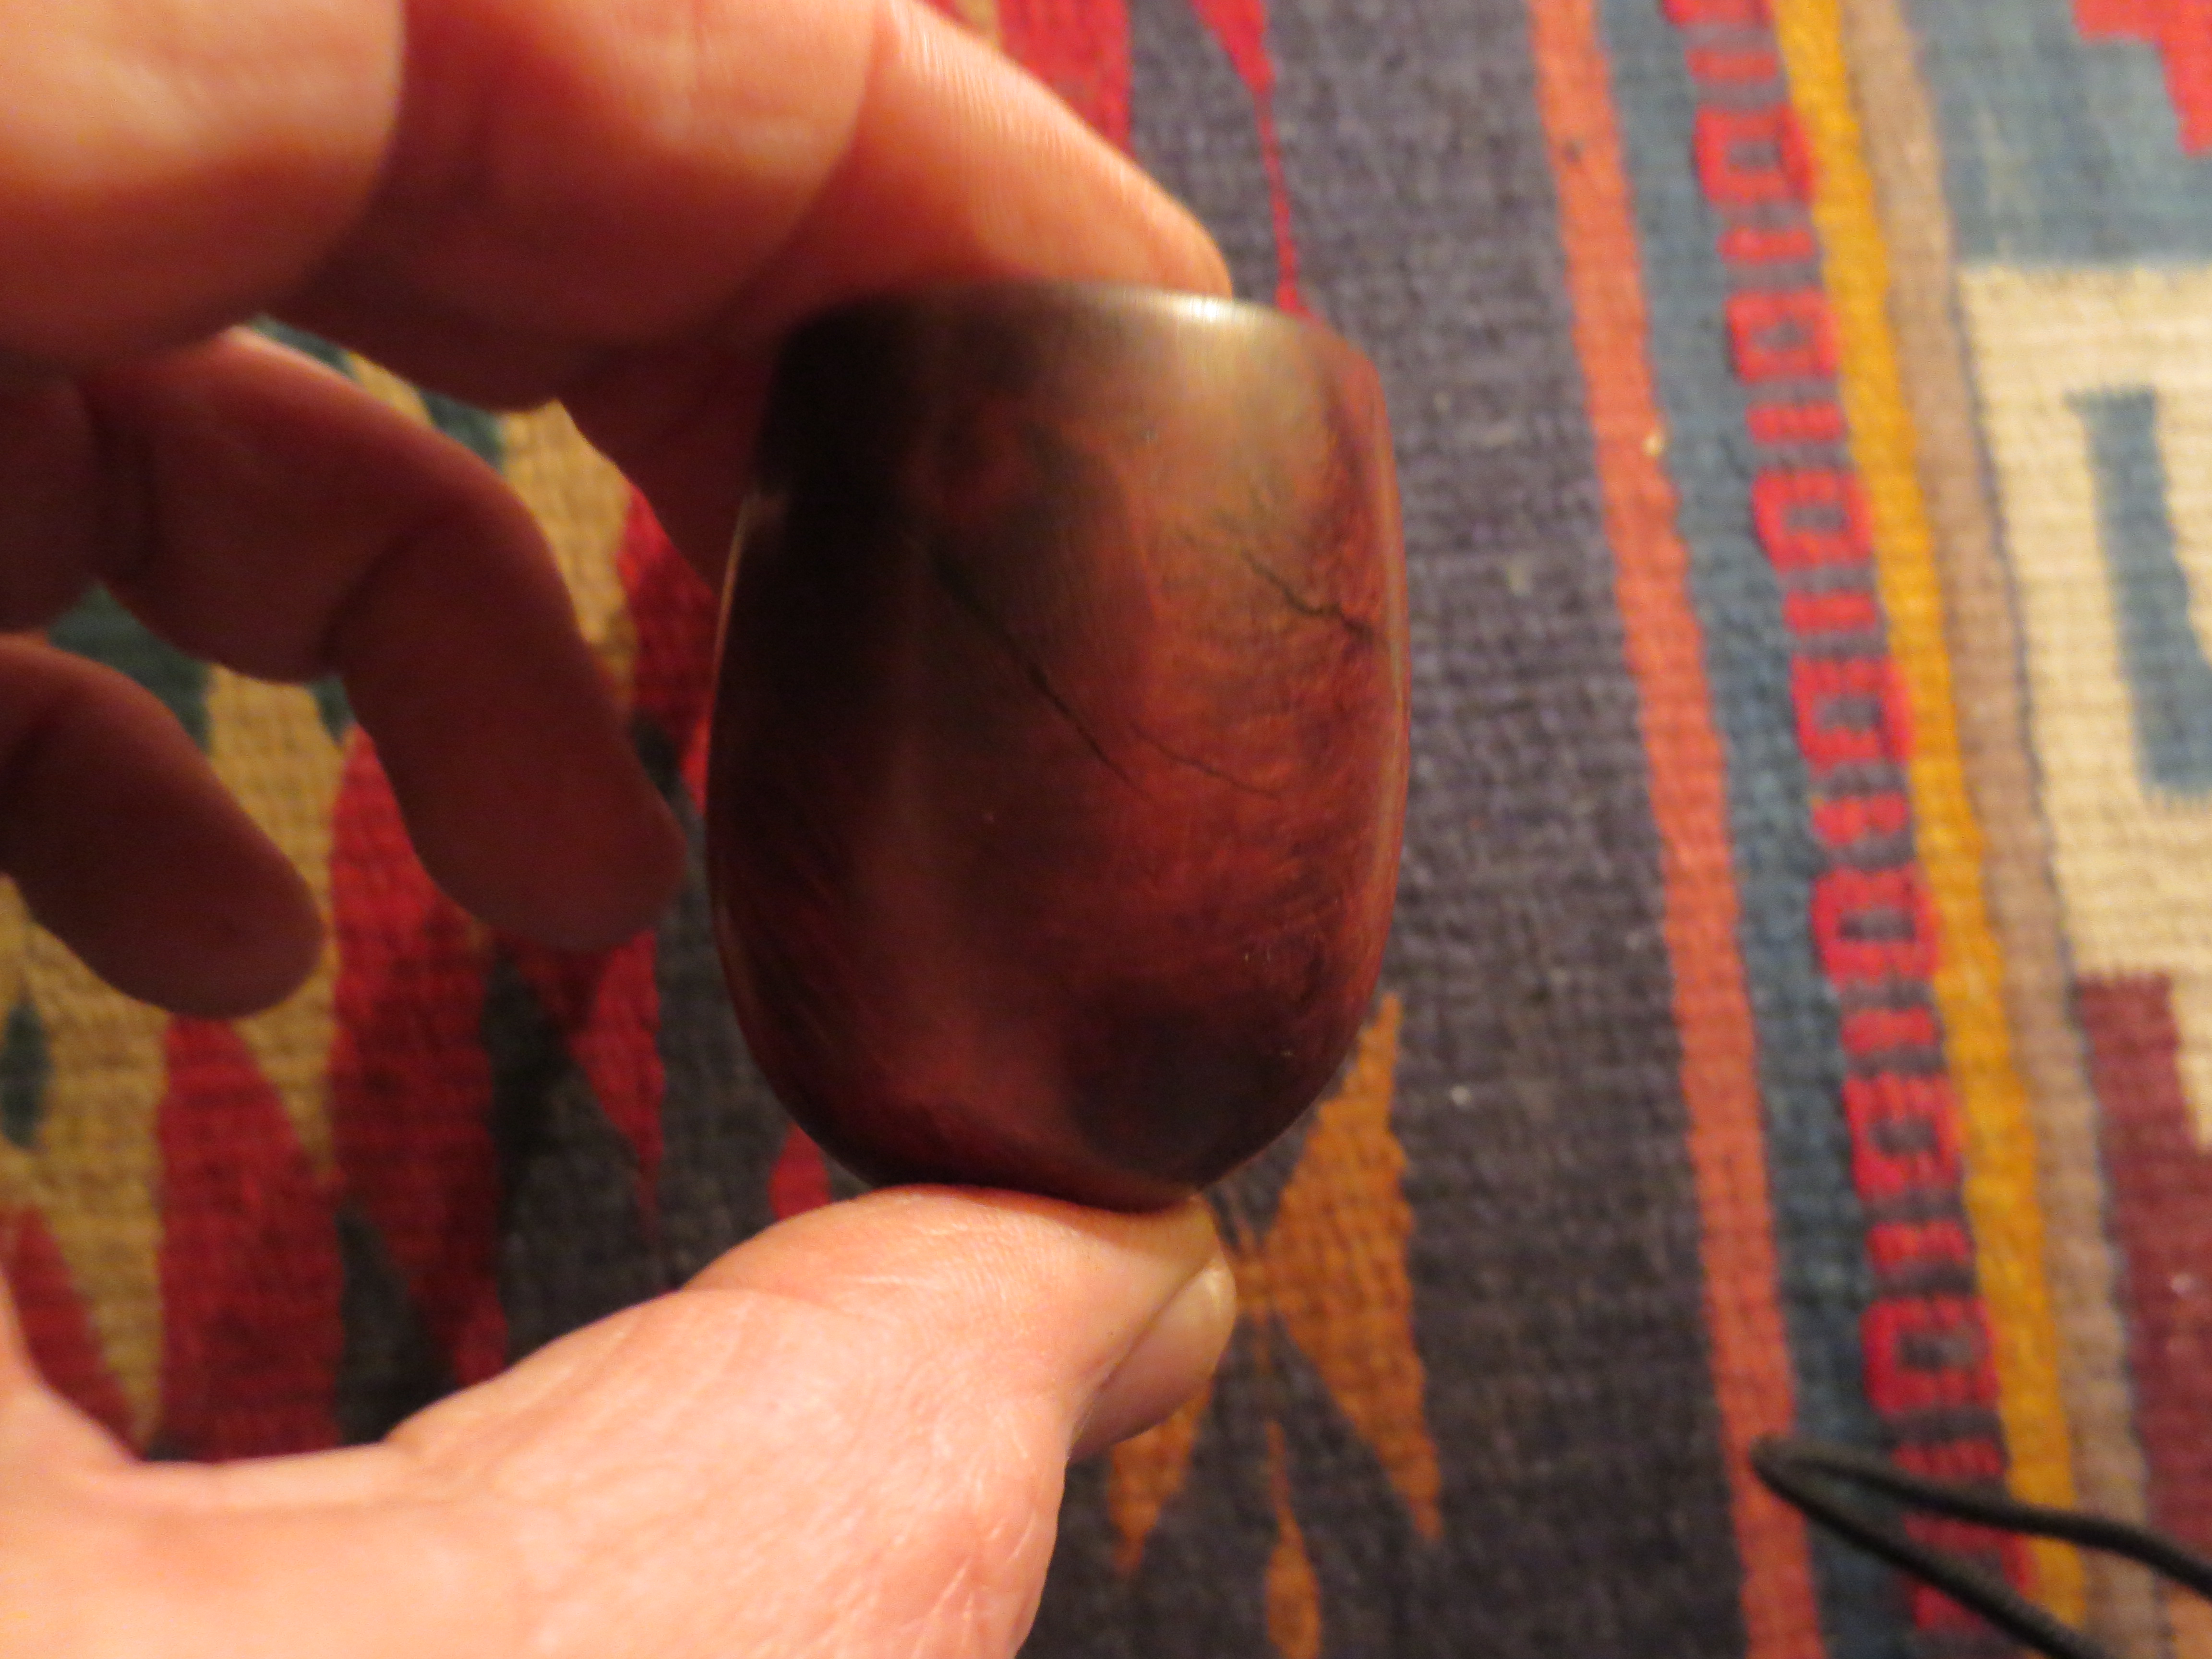
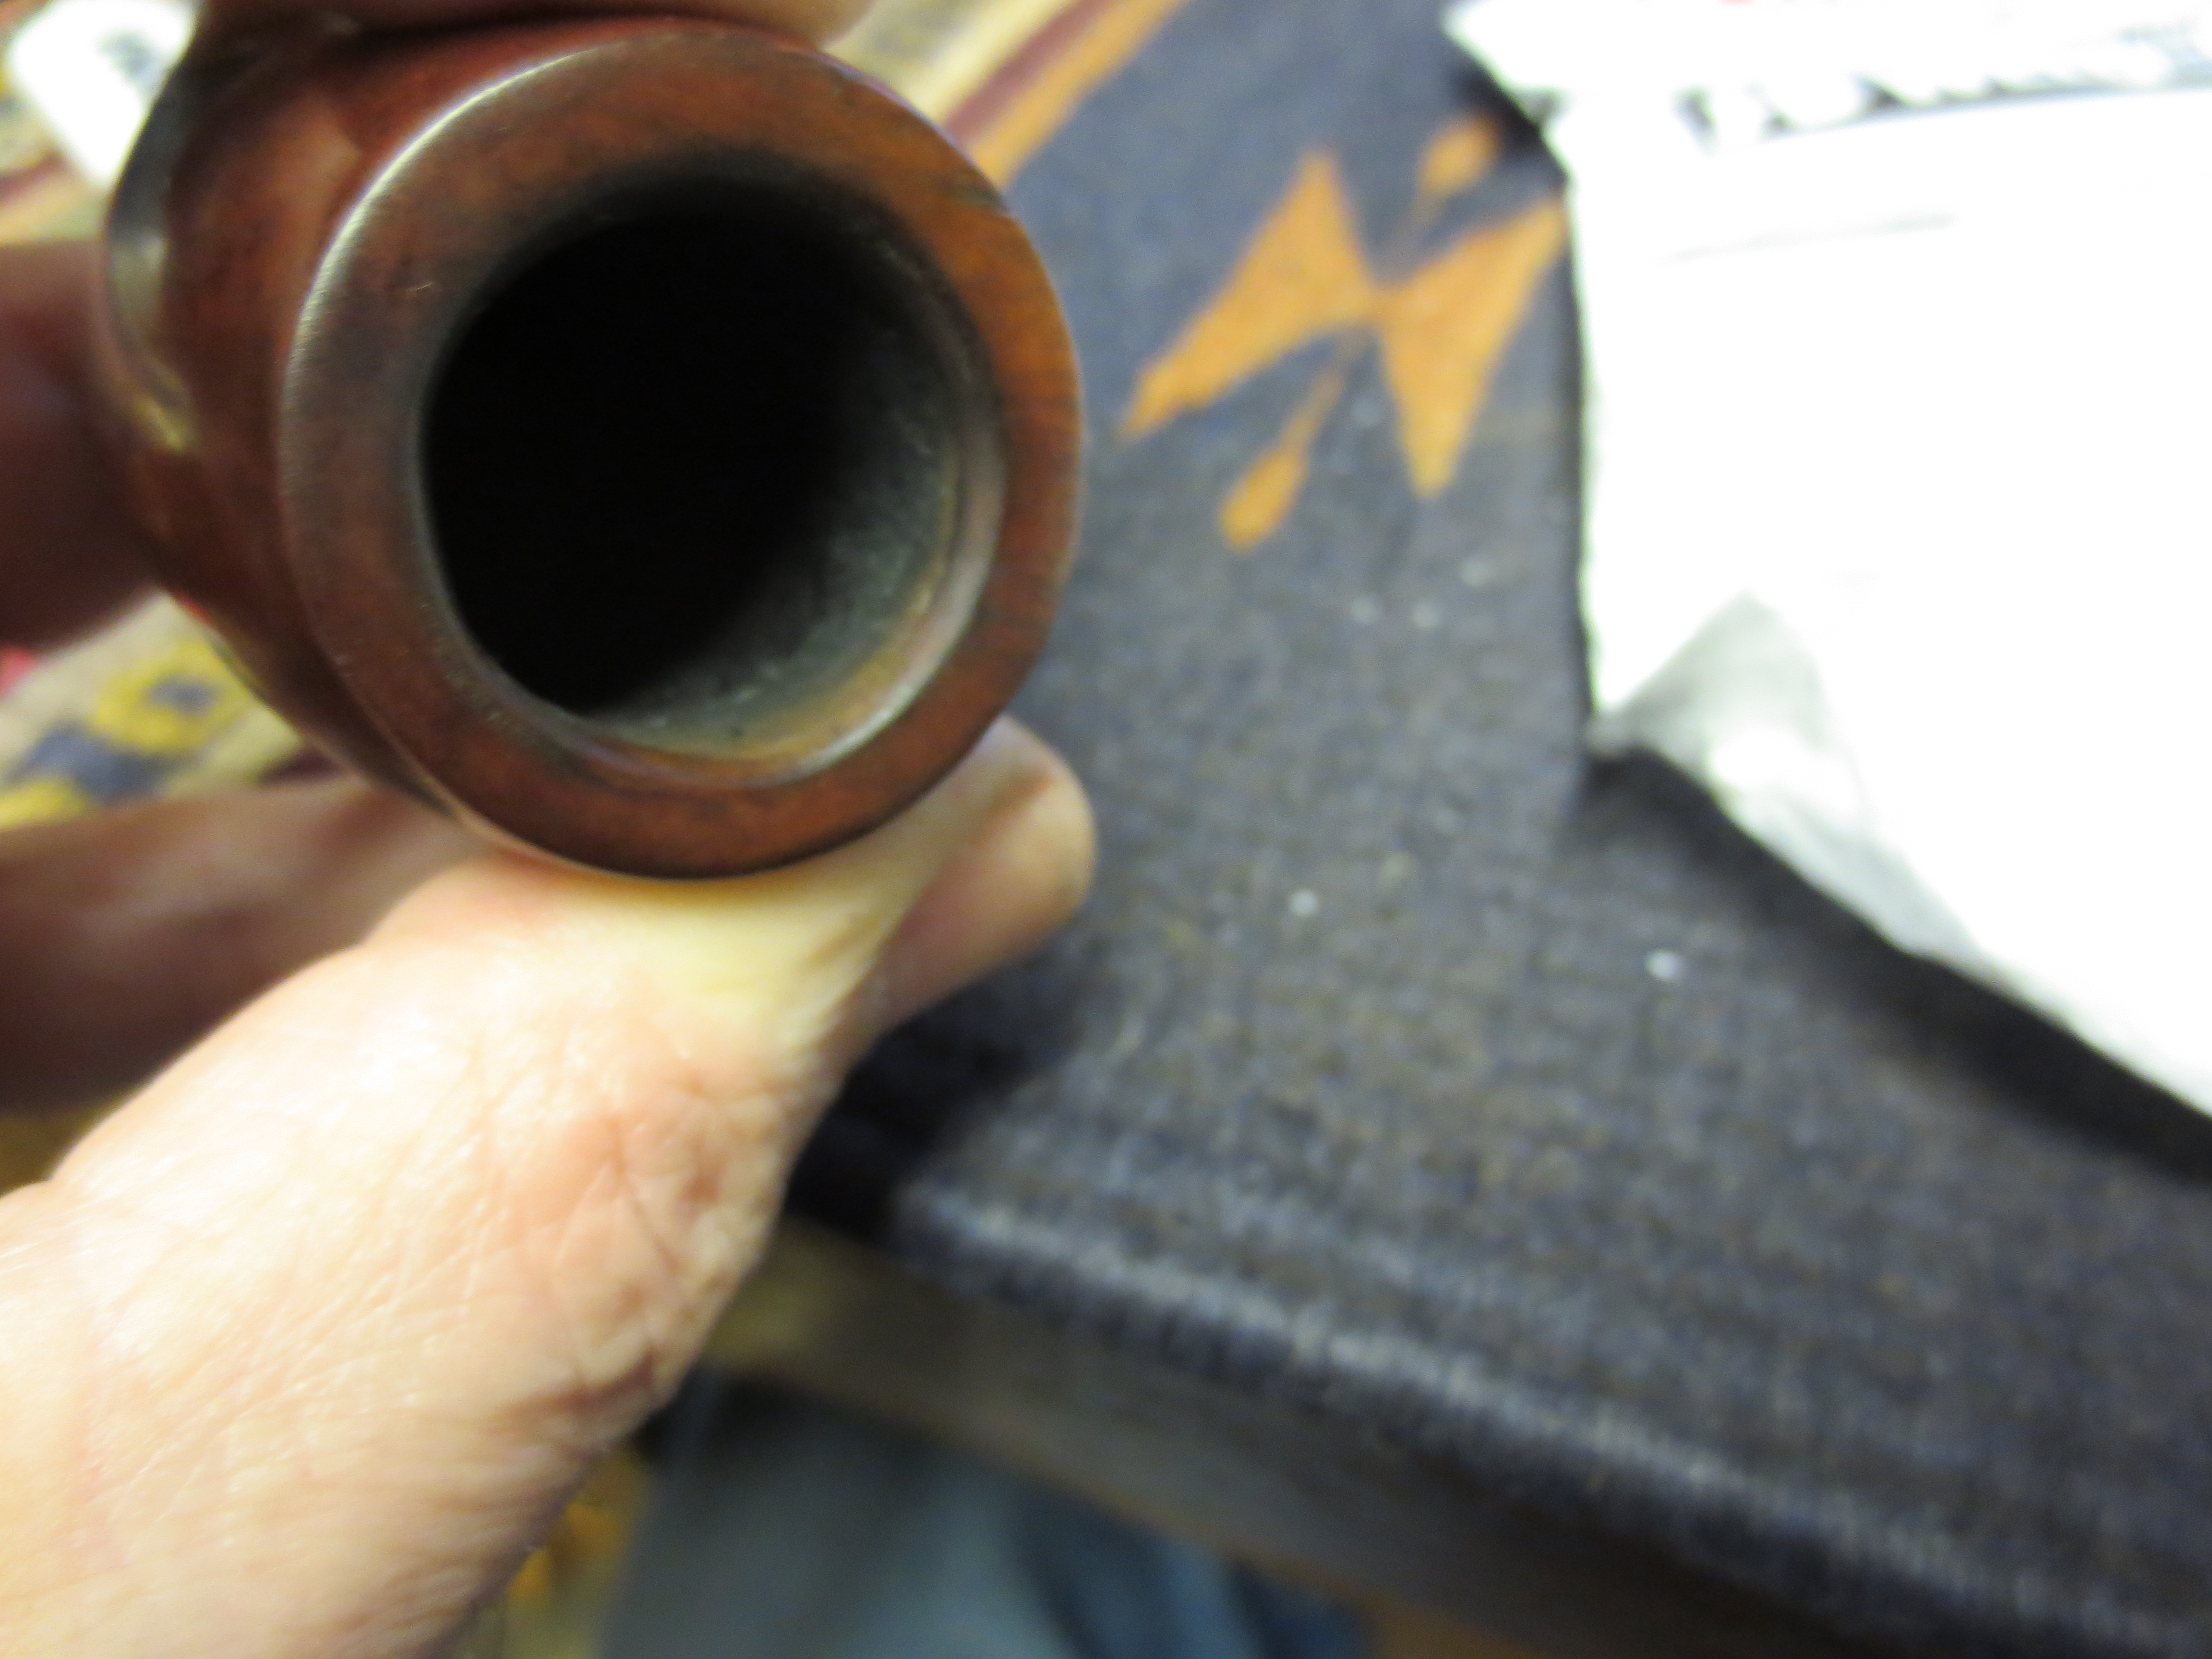
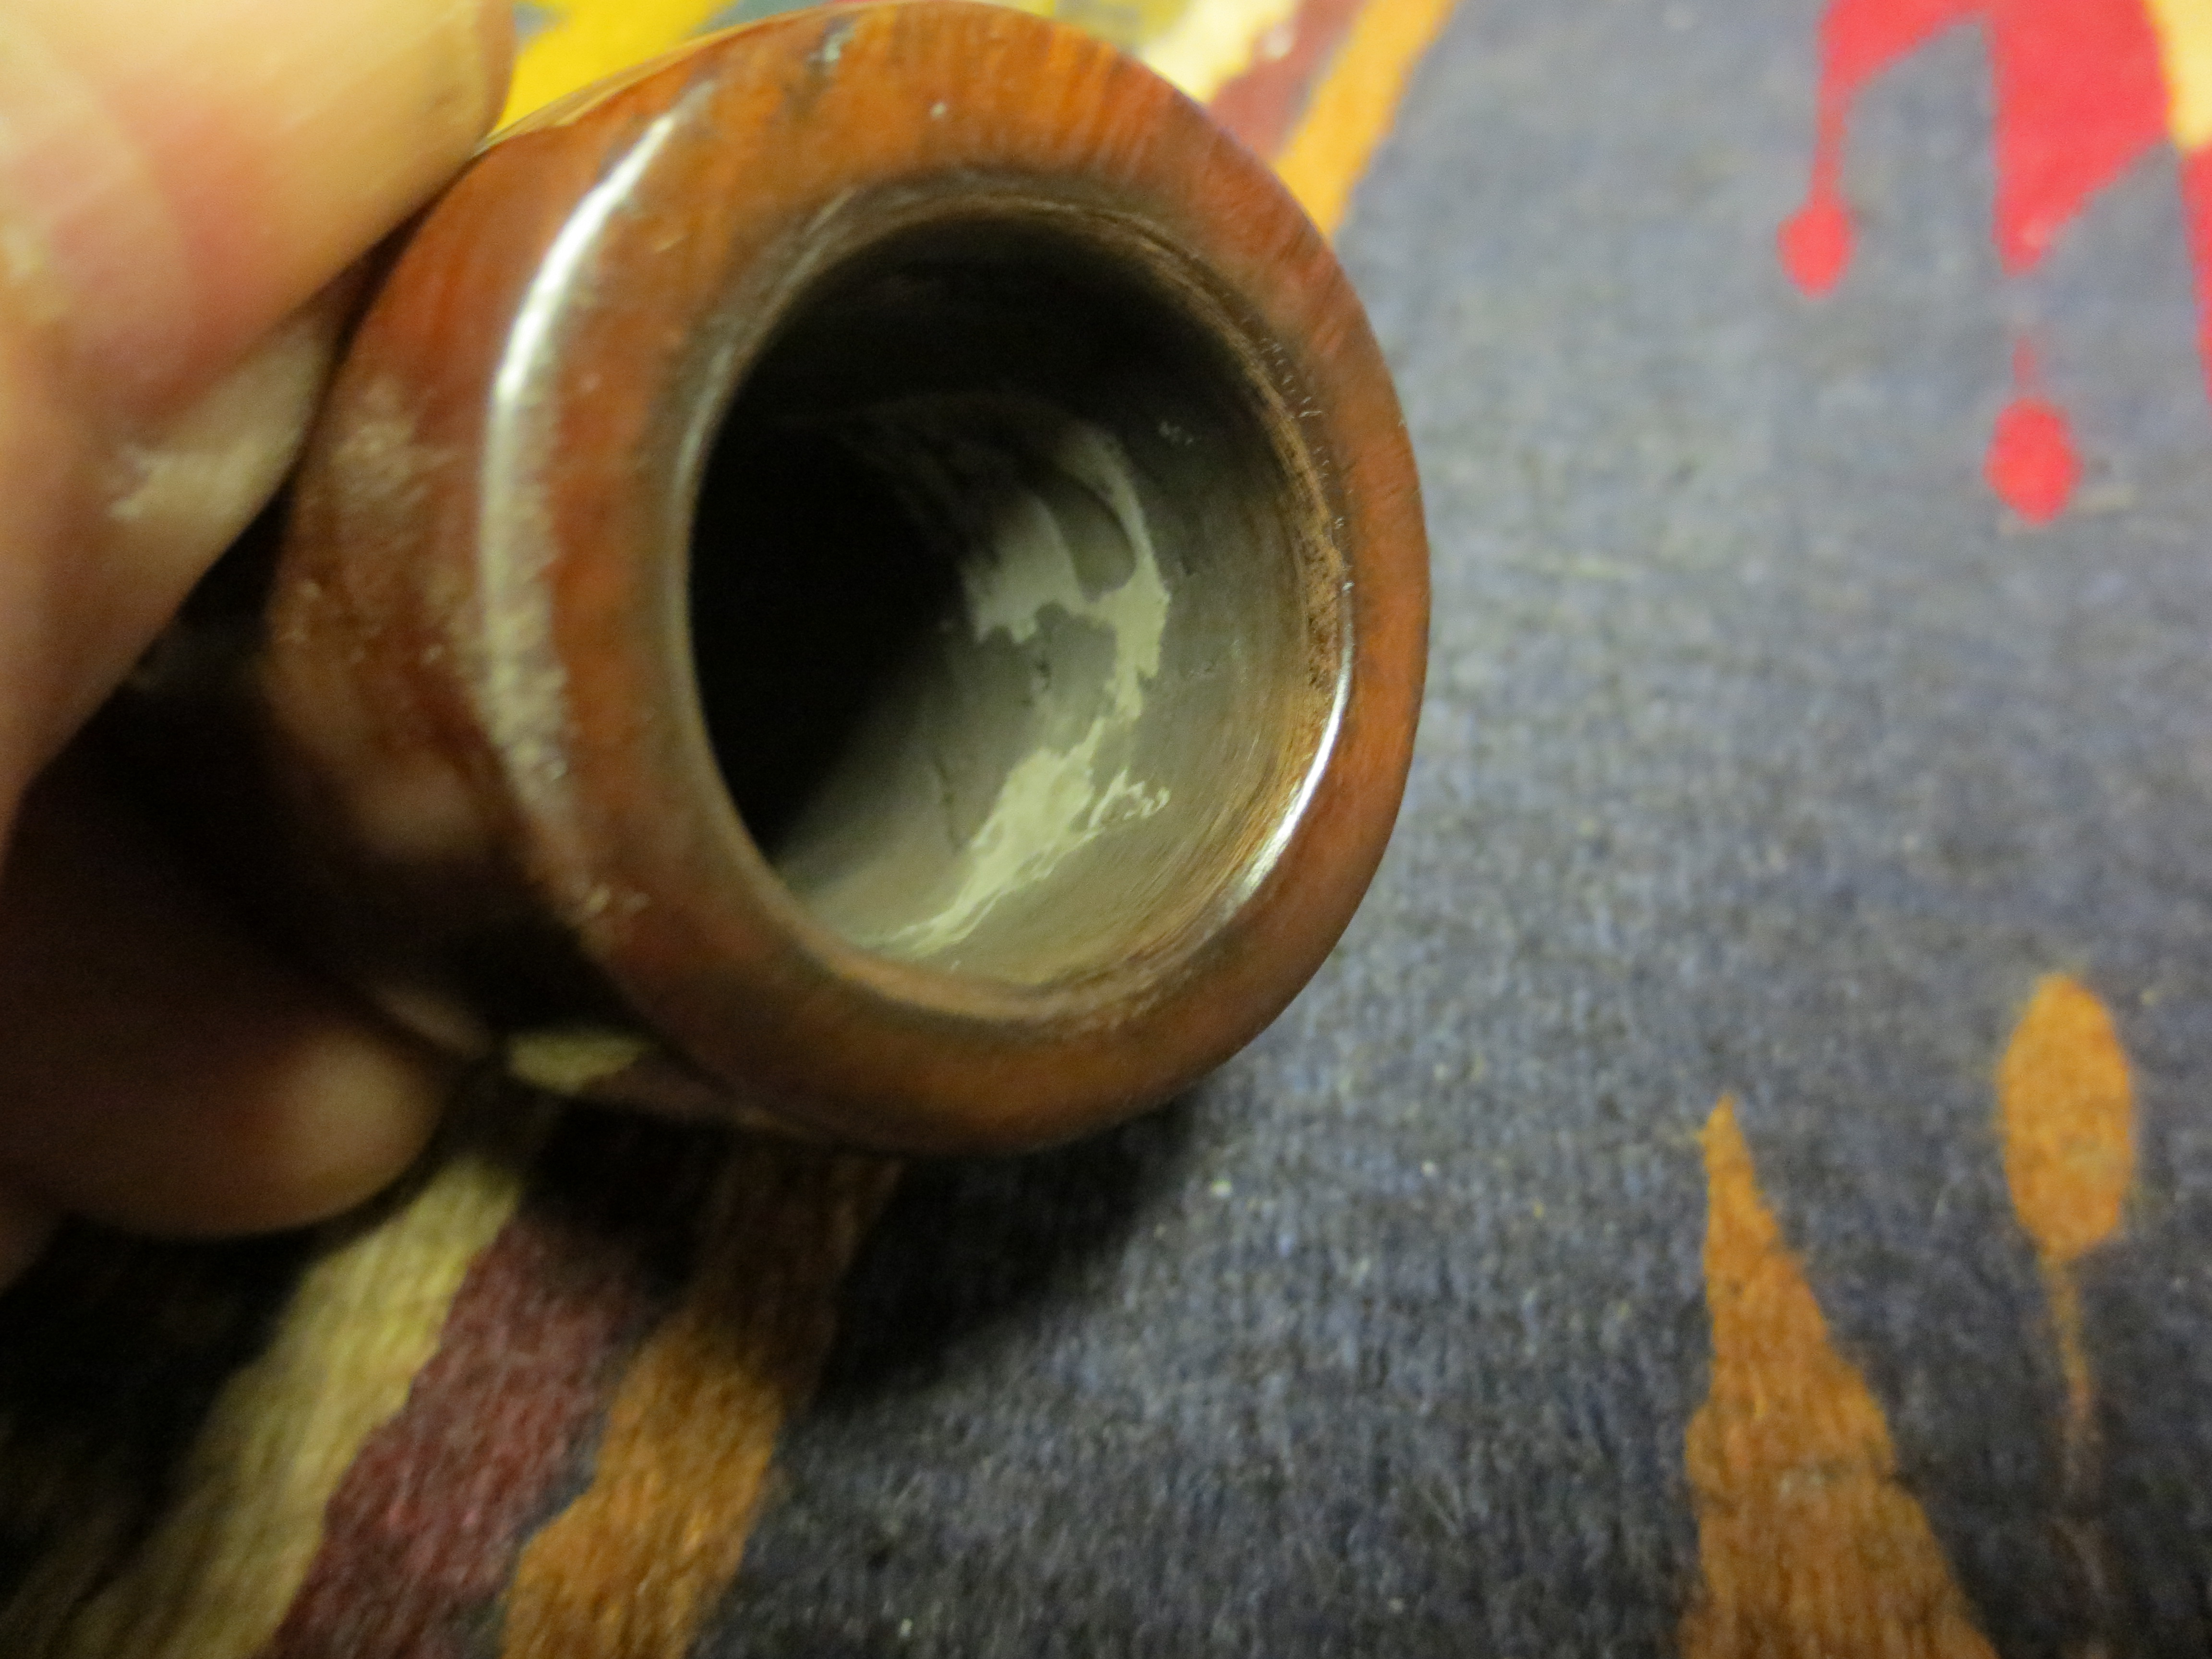
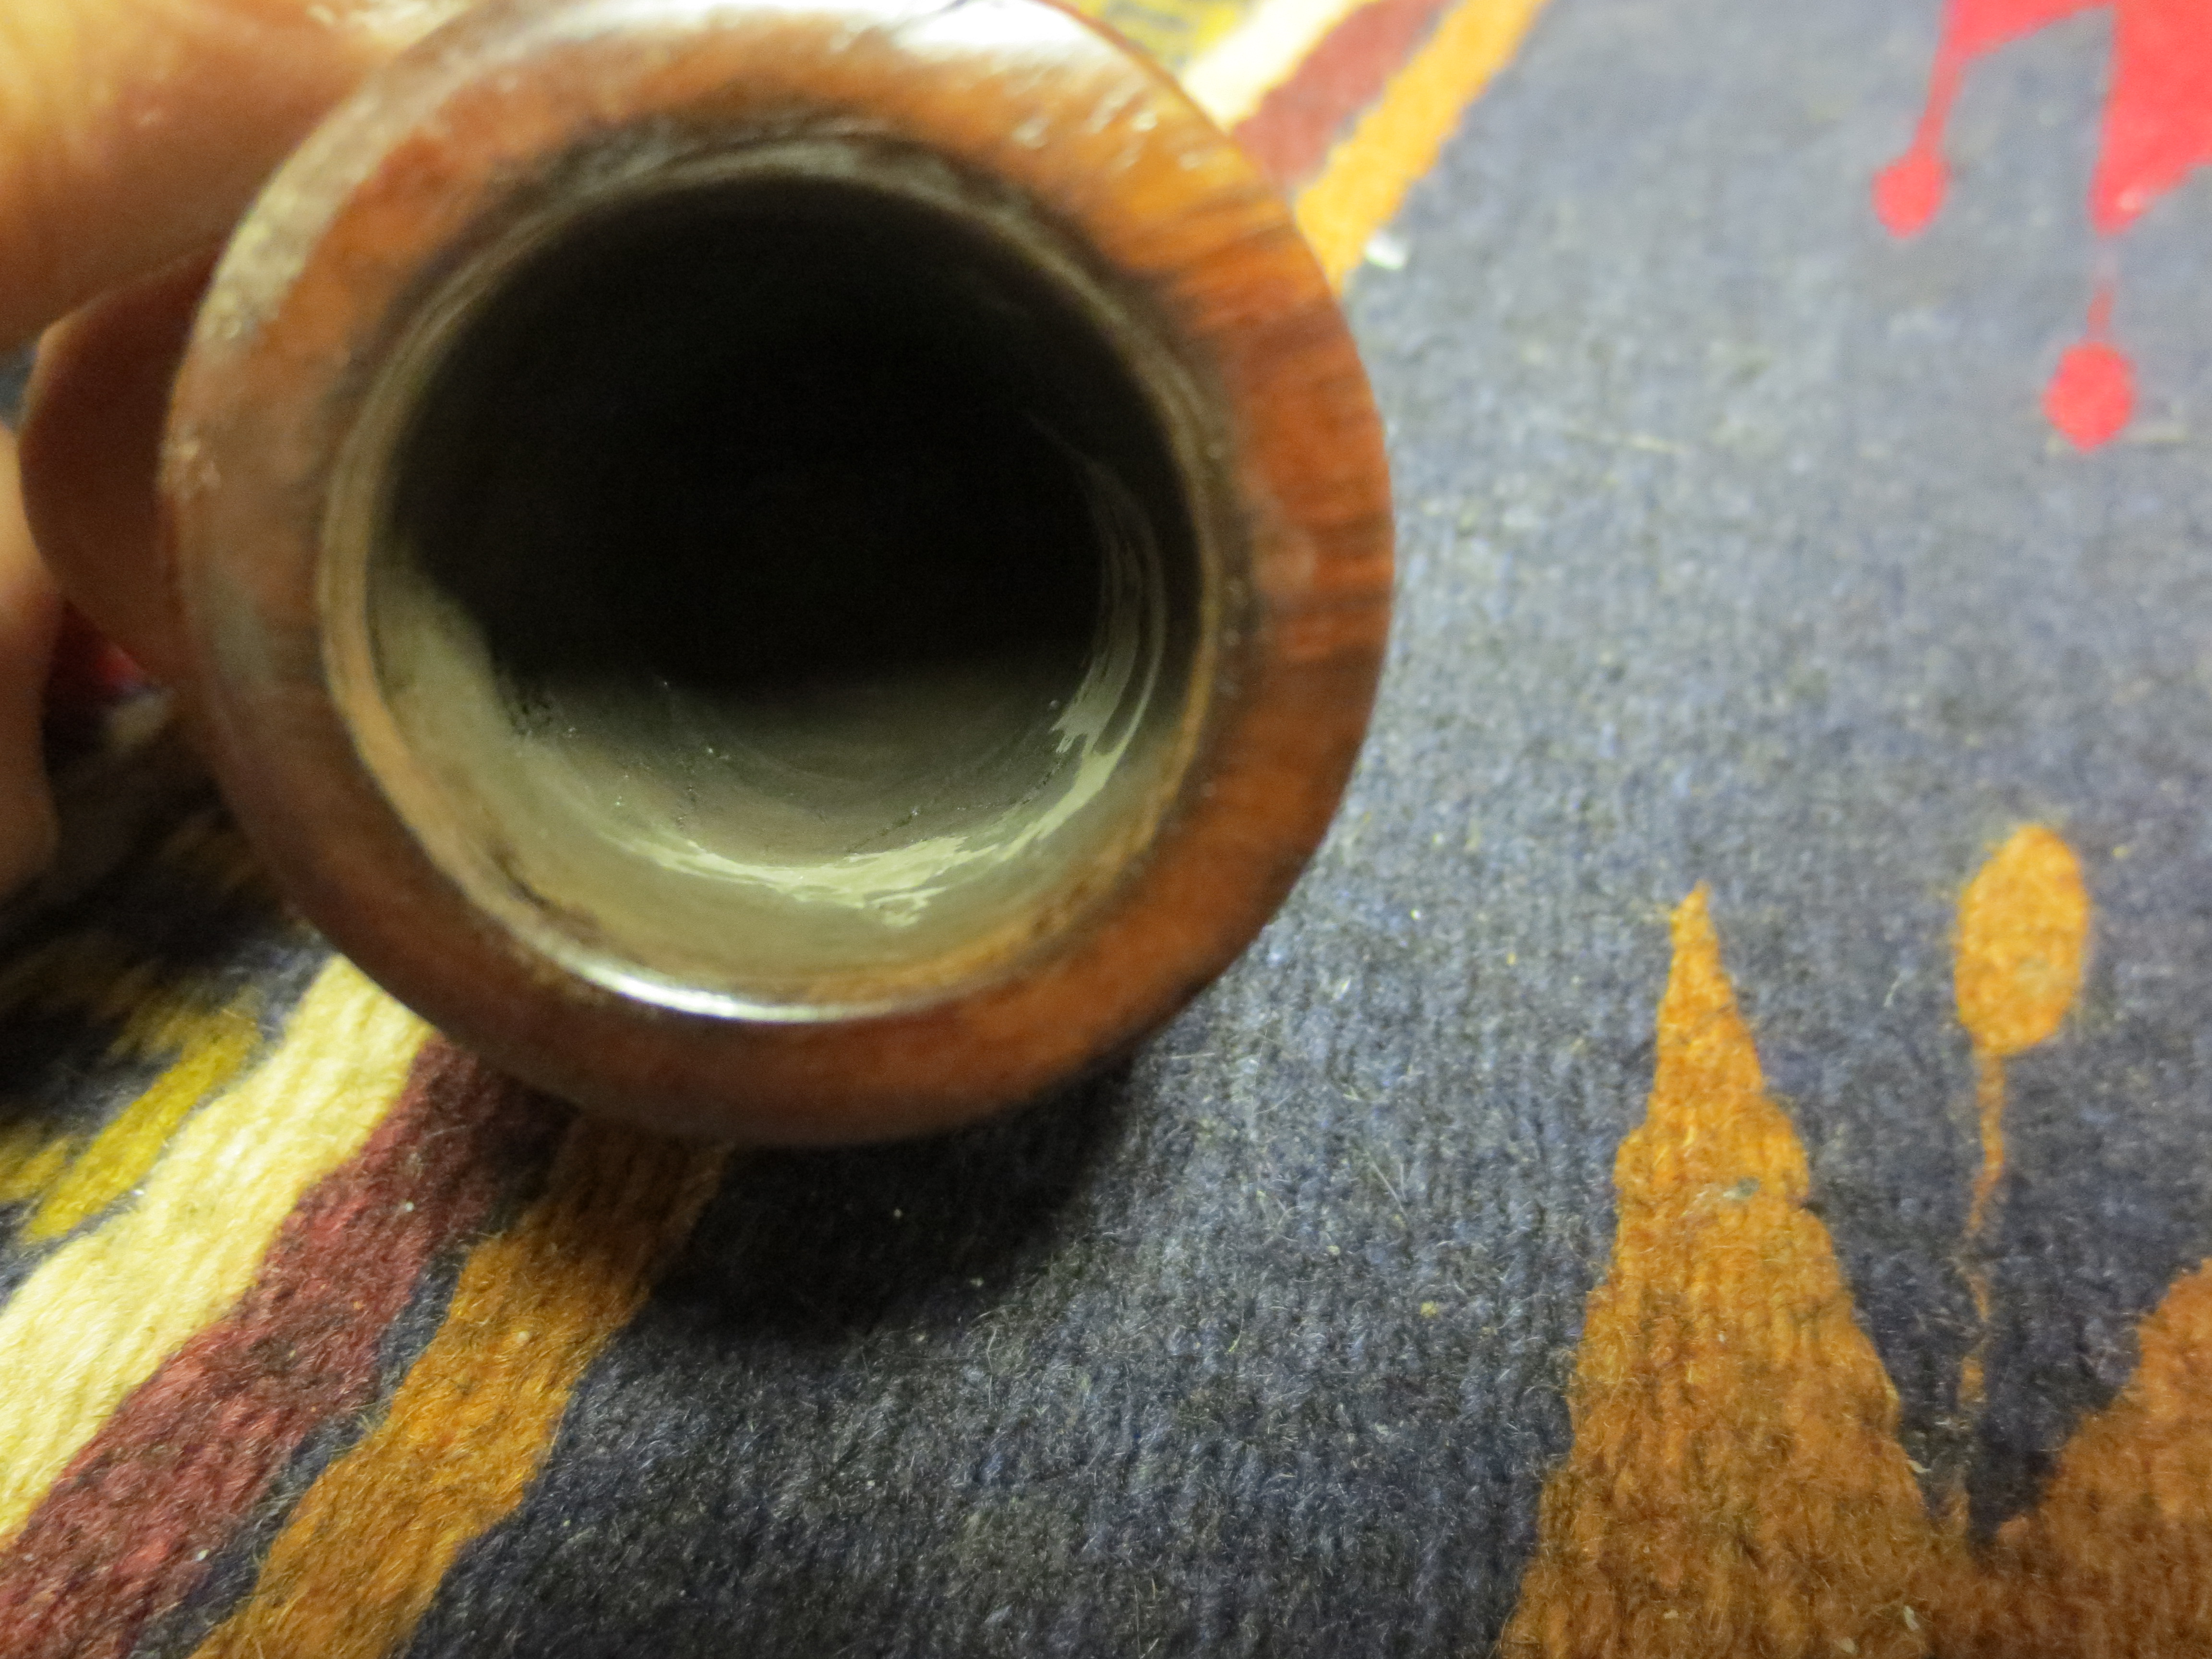
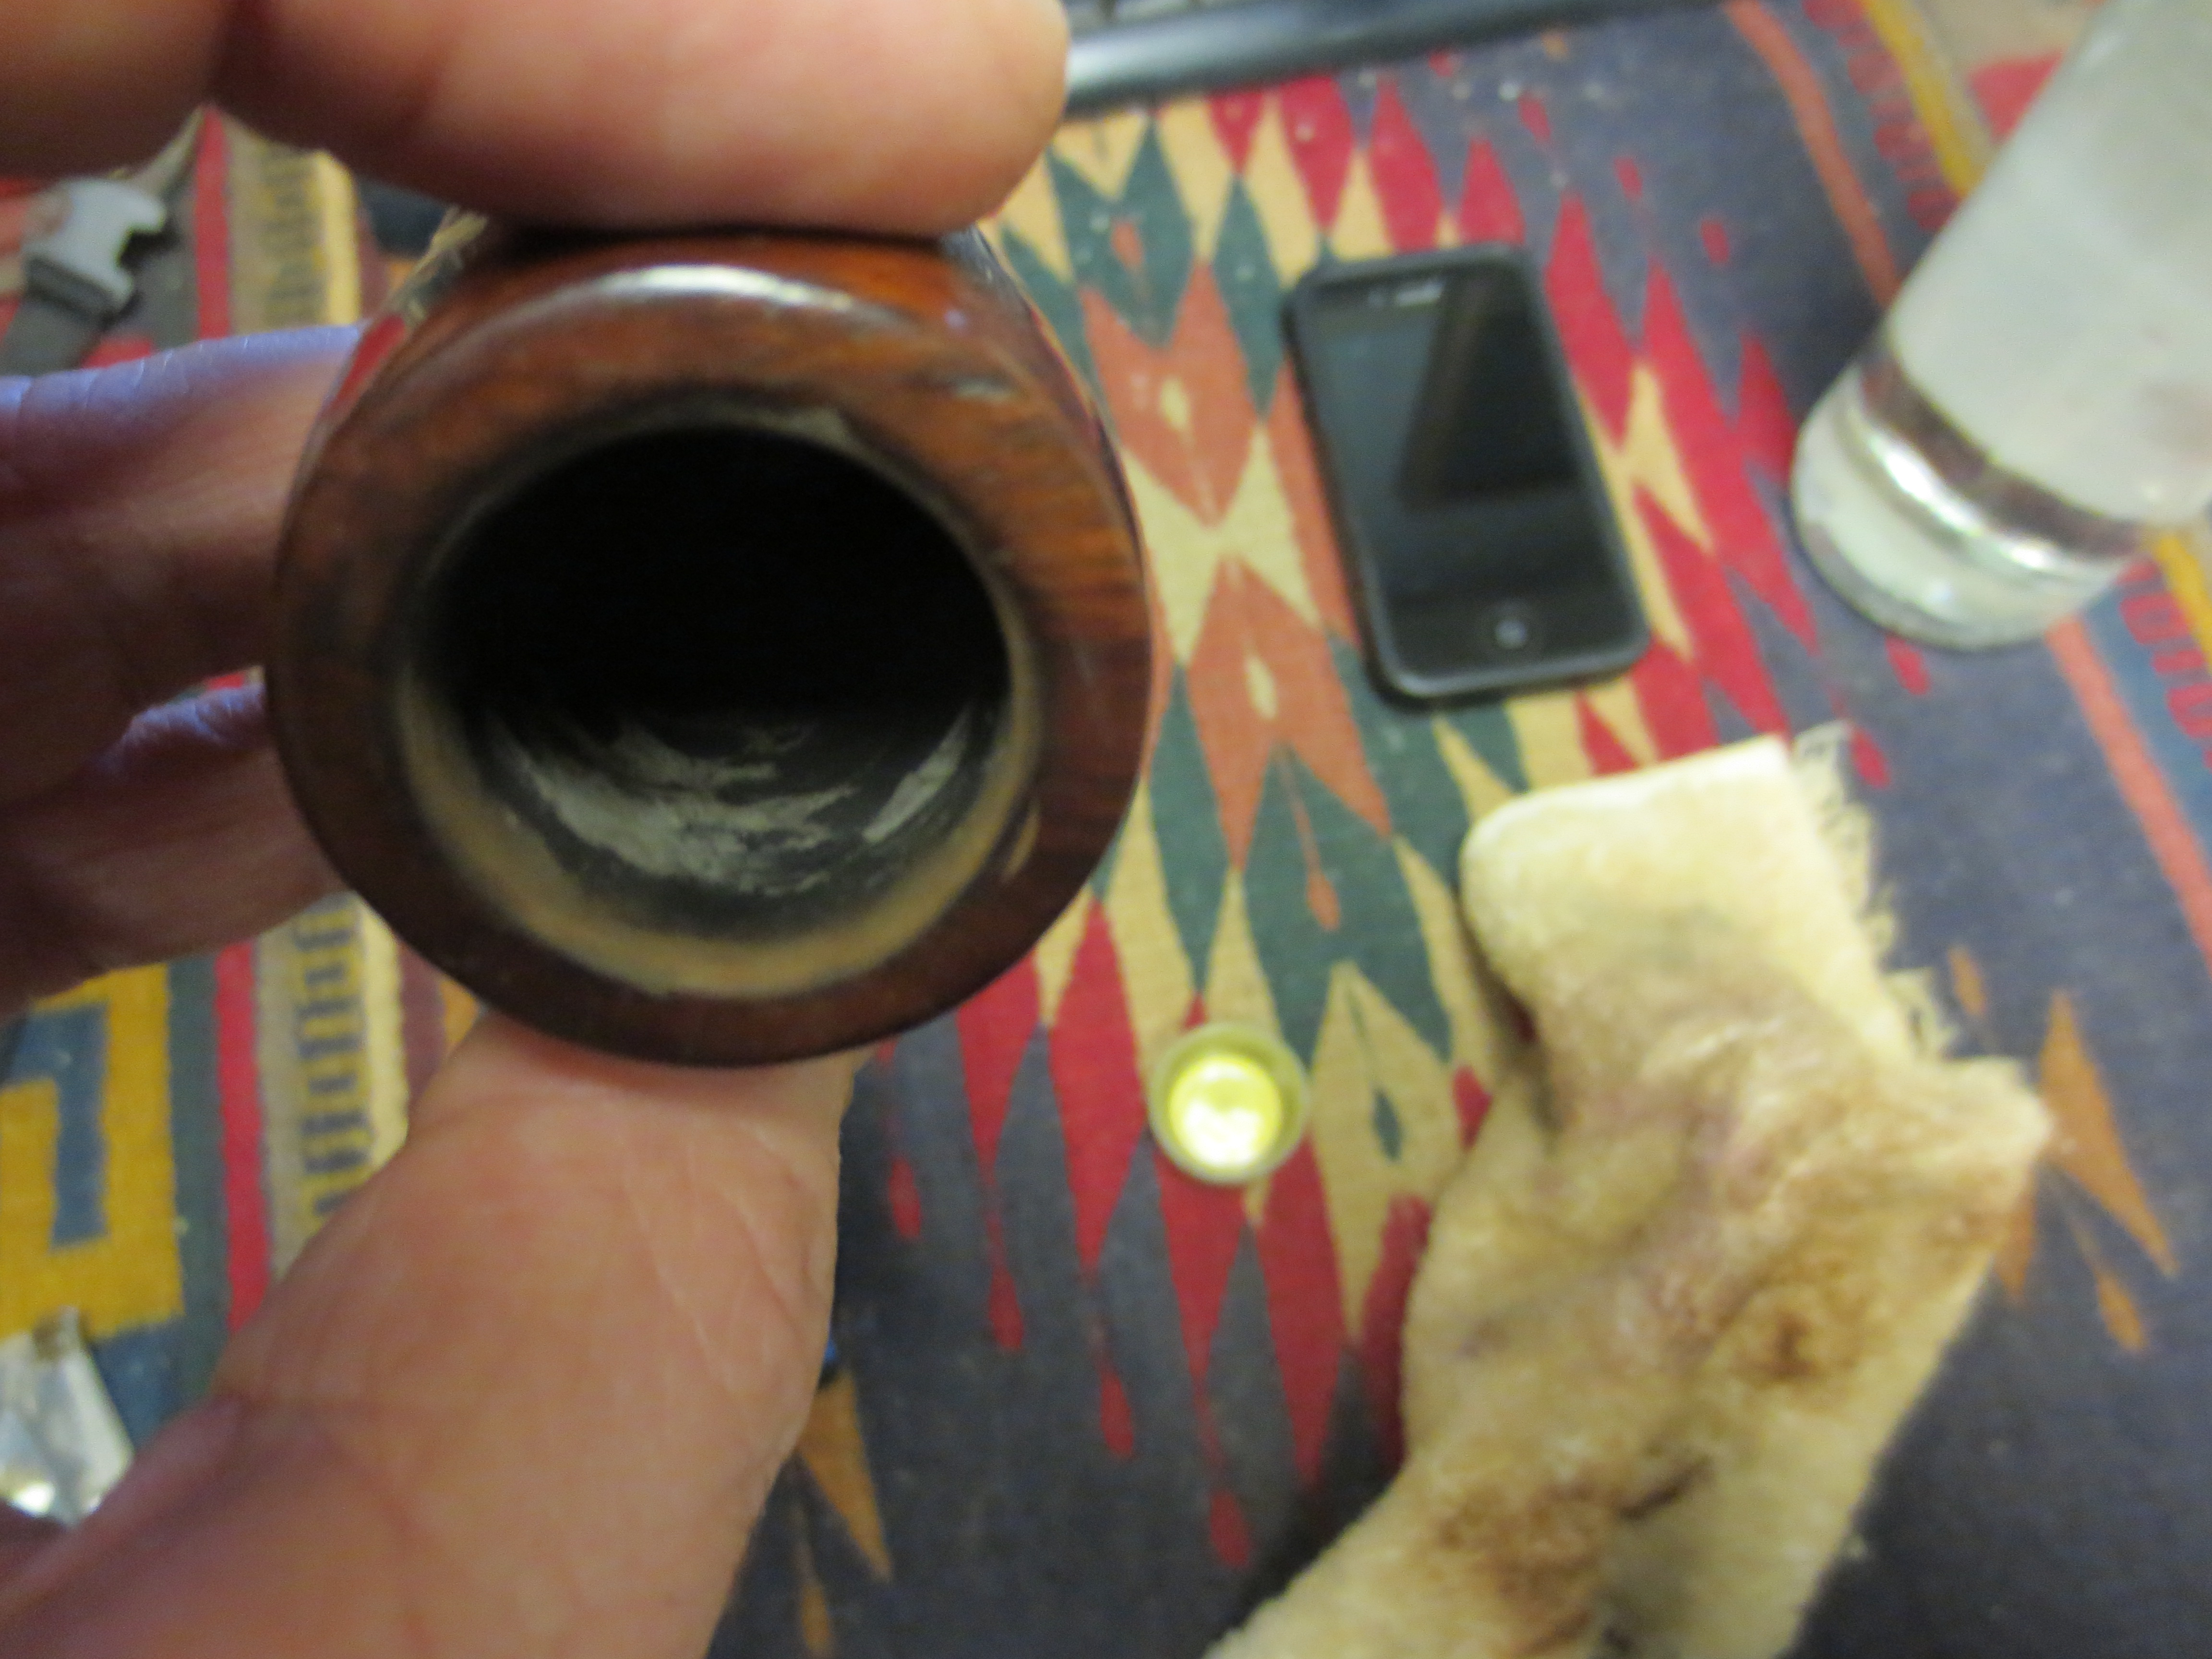
This Perretti had some deep cracks that ran through the bowl from outside to the inside. Once I had reamed the extremely thick cake out of the bowl I could see that the cracks went all the way through the briar. There were deep gouged areas on the inner walls of the bowl directly behind the cracks. The wood was not charred so it was not a true burnout. I think that a combination of too thick a cake and possible flaws in the briar made these cracks appear. Interestingly the cracks follow the grain all the way through the pipe. I shined a light through the cracks and I could see light on the opposite wall of the pipe bowl. There were two large cracks on the left side and one running with the grain on the front of the bowl. The one on the front was not as open and it did not go all the way through the briar. The ones on the left side were quite open and cavernous.
The first series of seven photos shows the state of the bowl when I began the experiment. I figured I had nothing to lose on this one. If it fell apart or did not work out it was not a great loss at all, but it would fun giving it a try. I wanted to try out some of the methods that Gan used in his reconstruction of the Pete on this one and see what I could do with it.
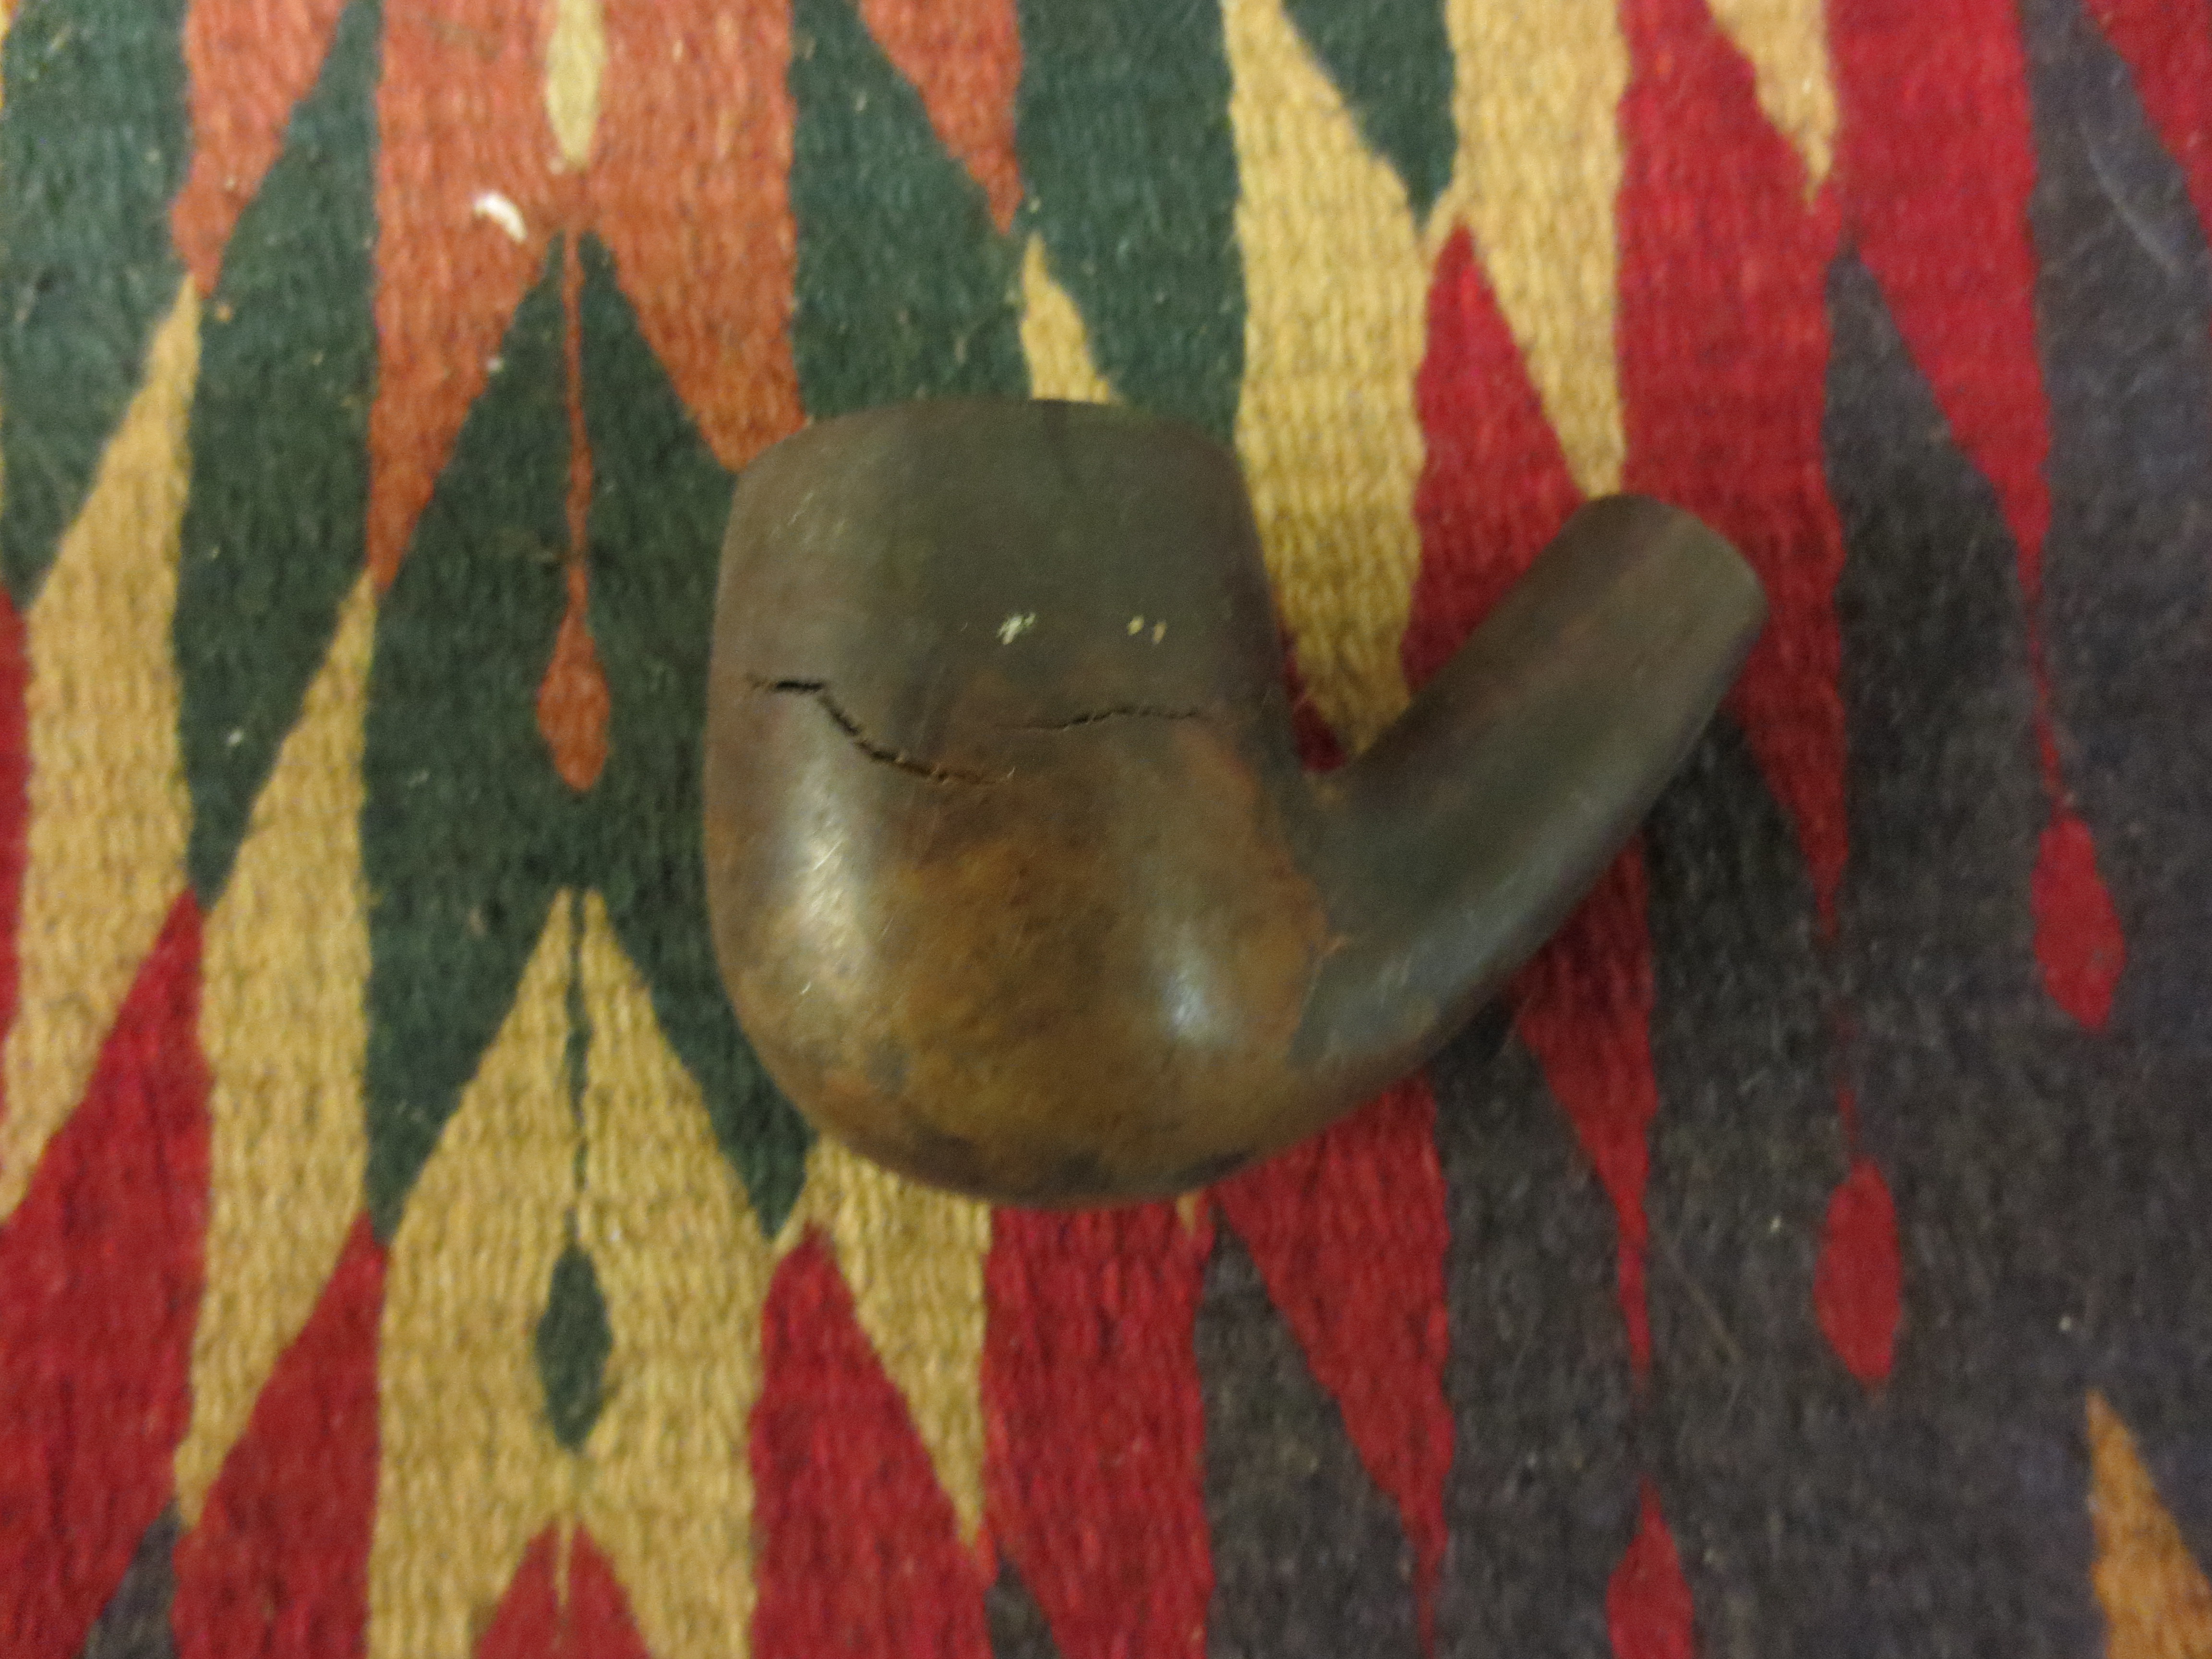
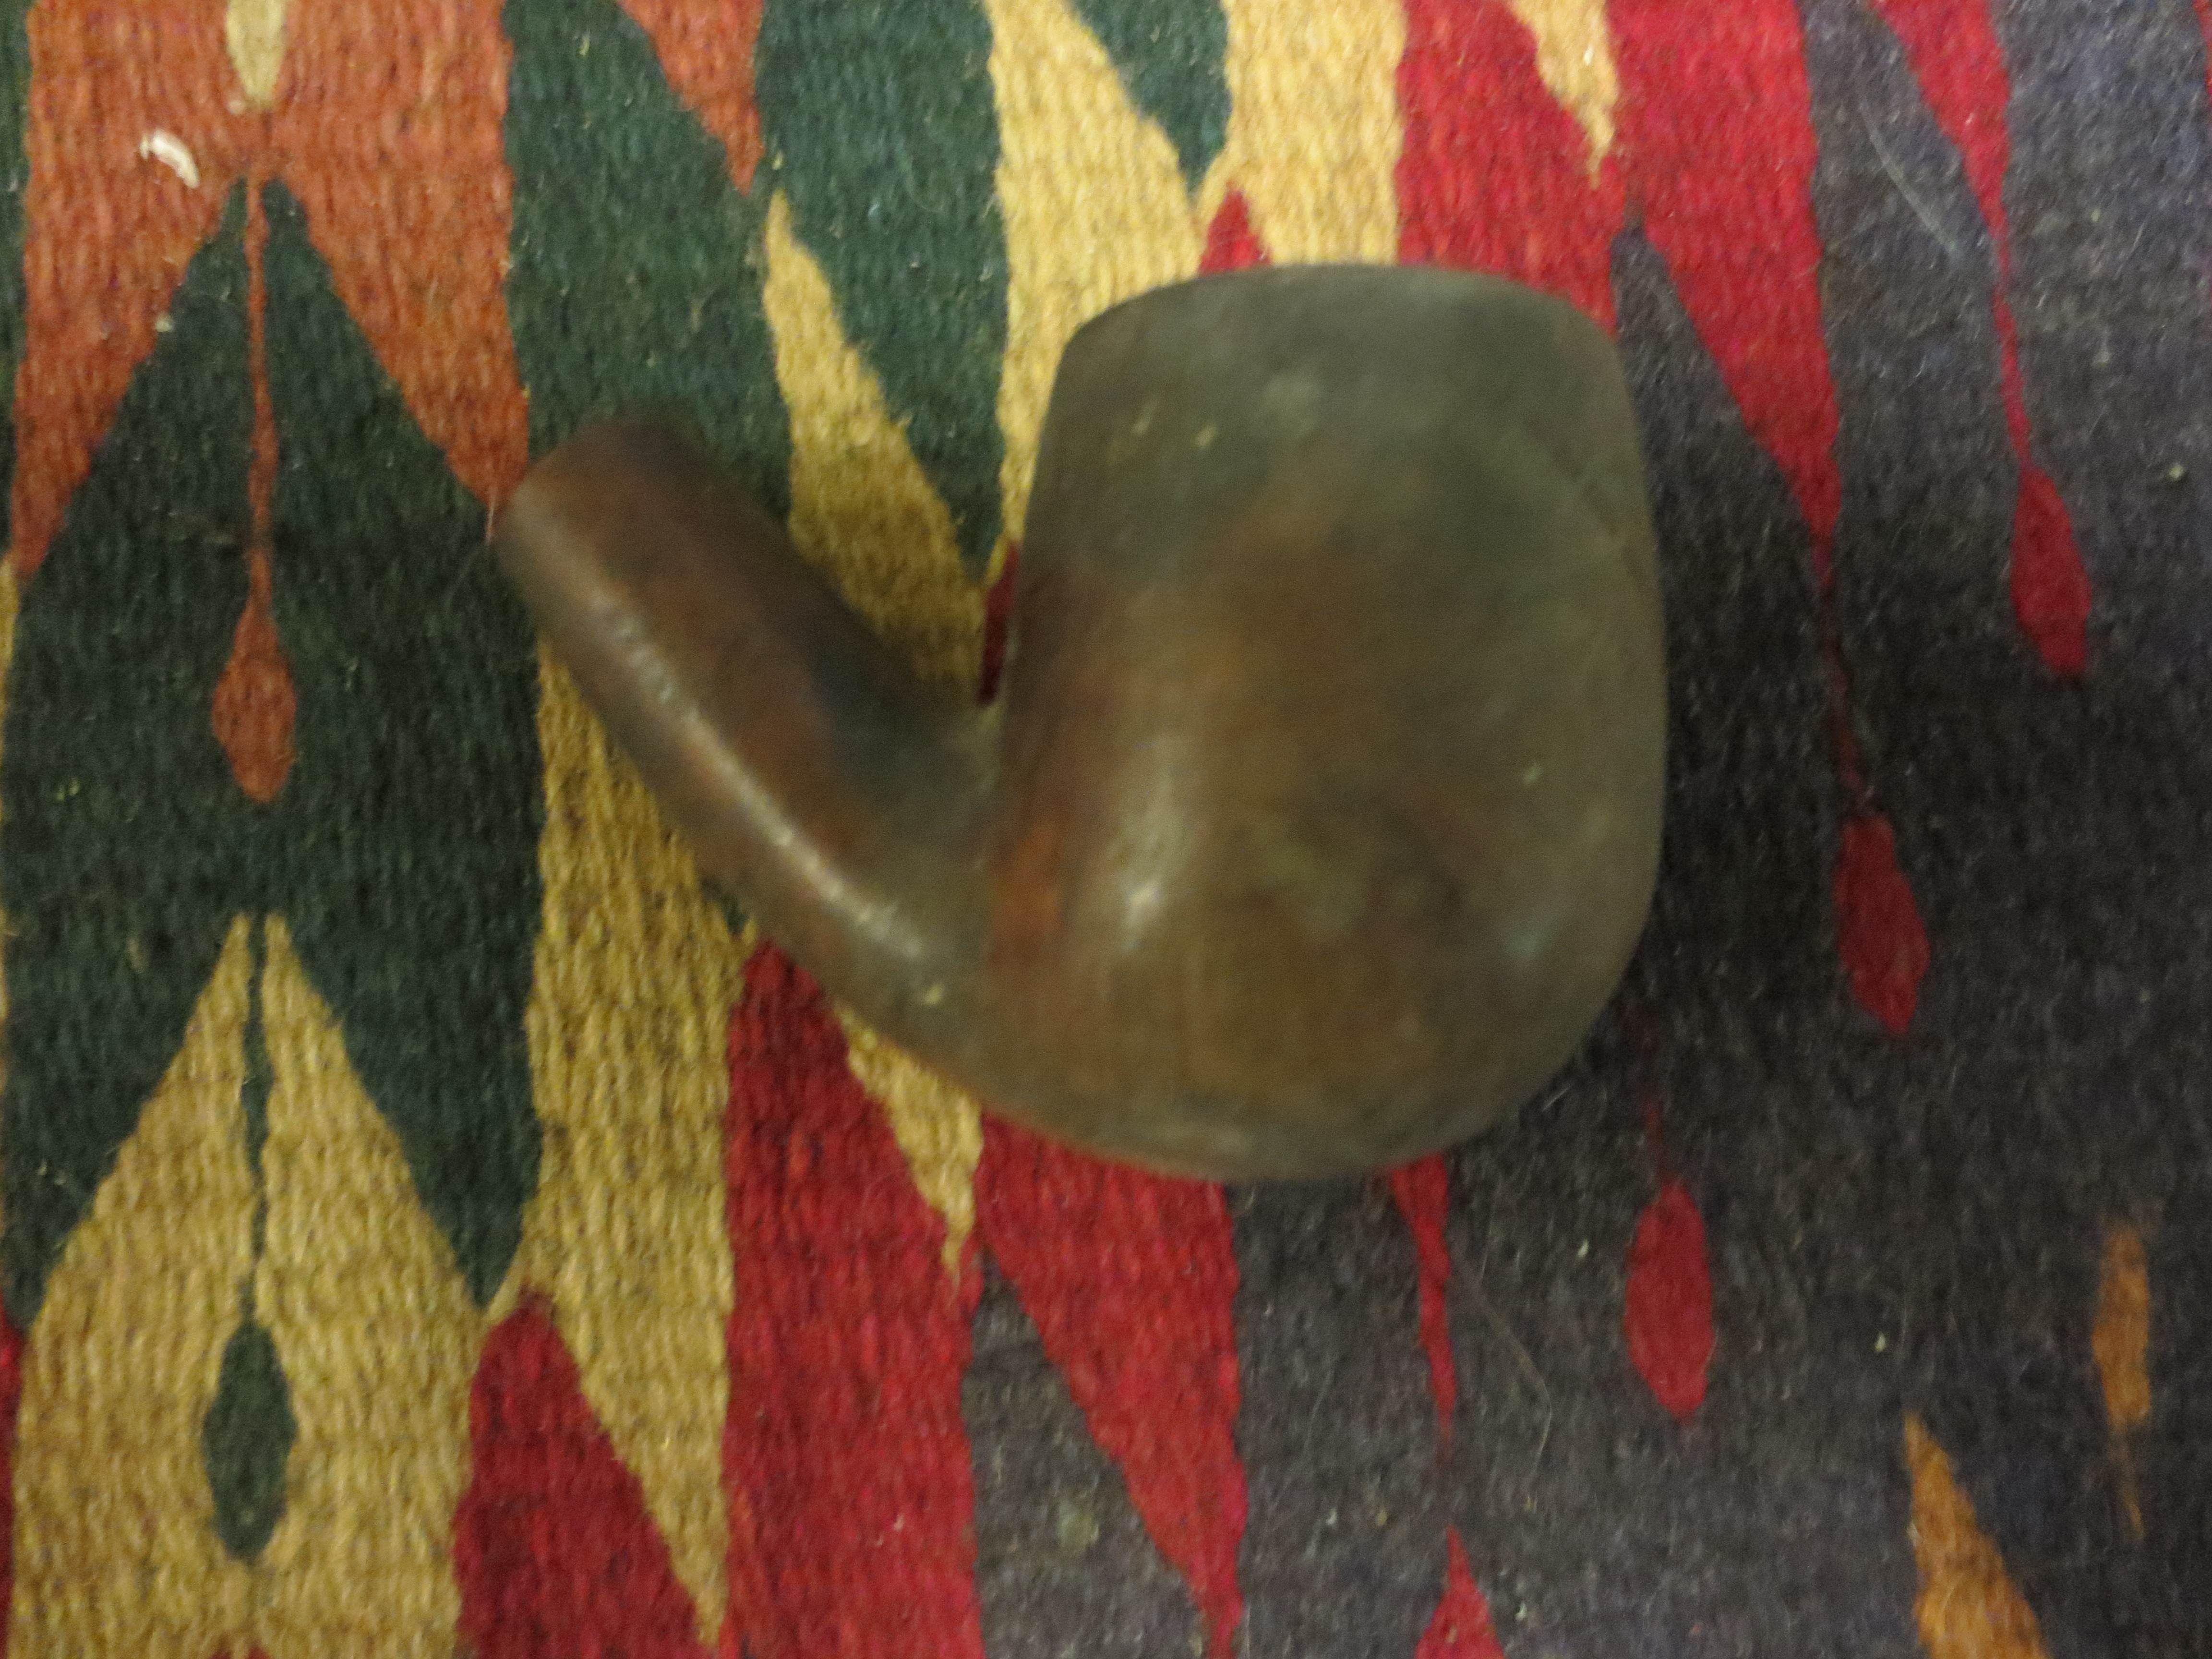
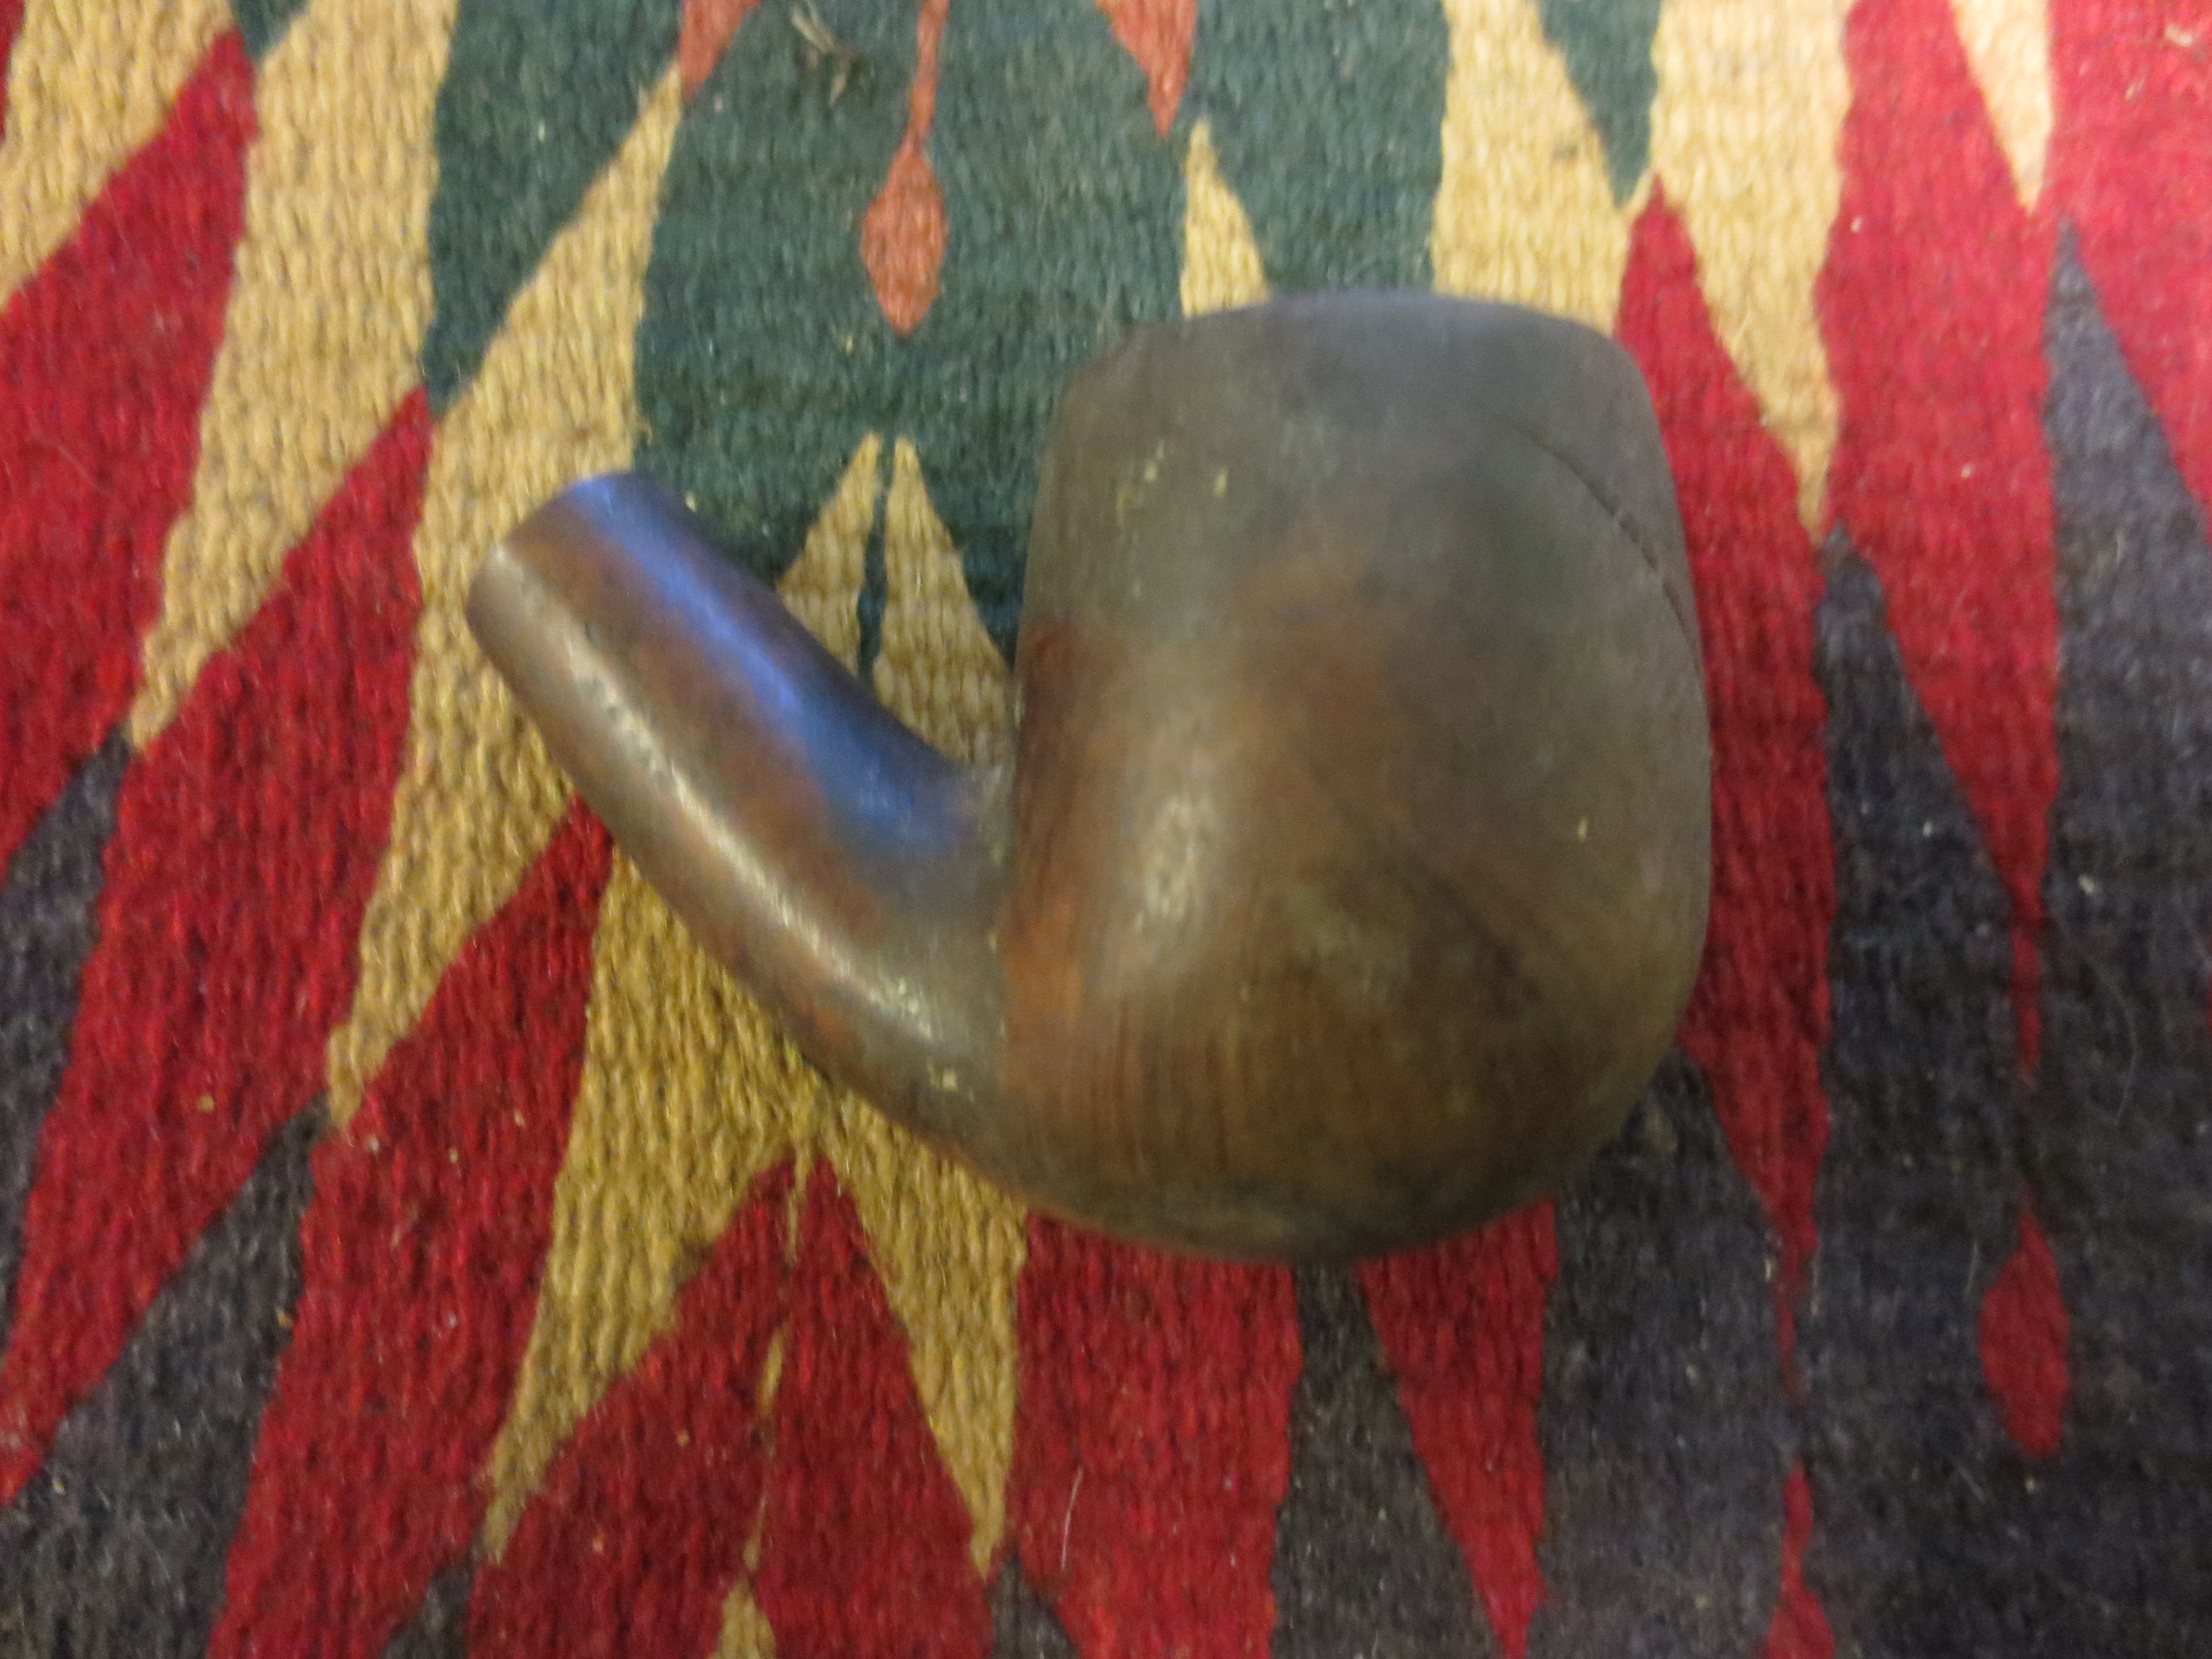

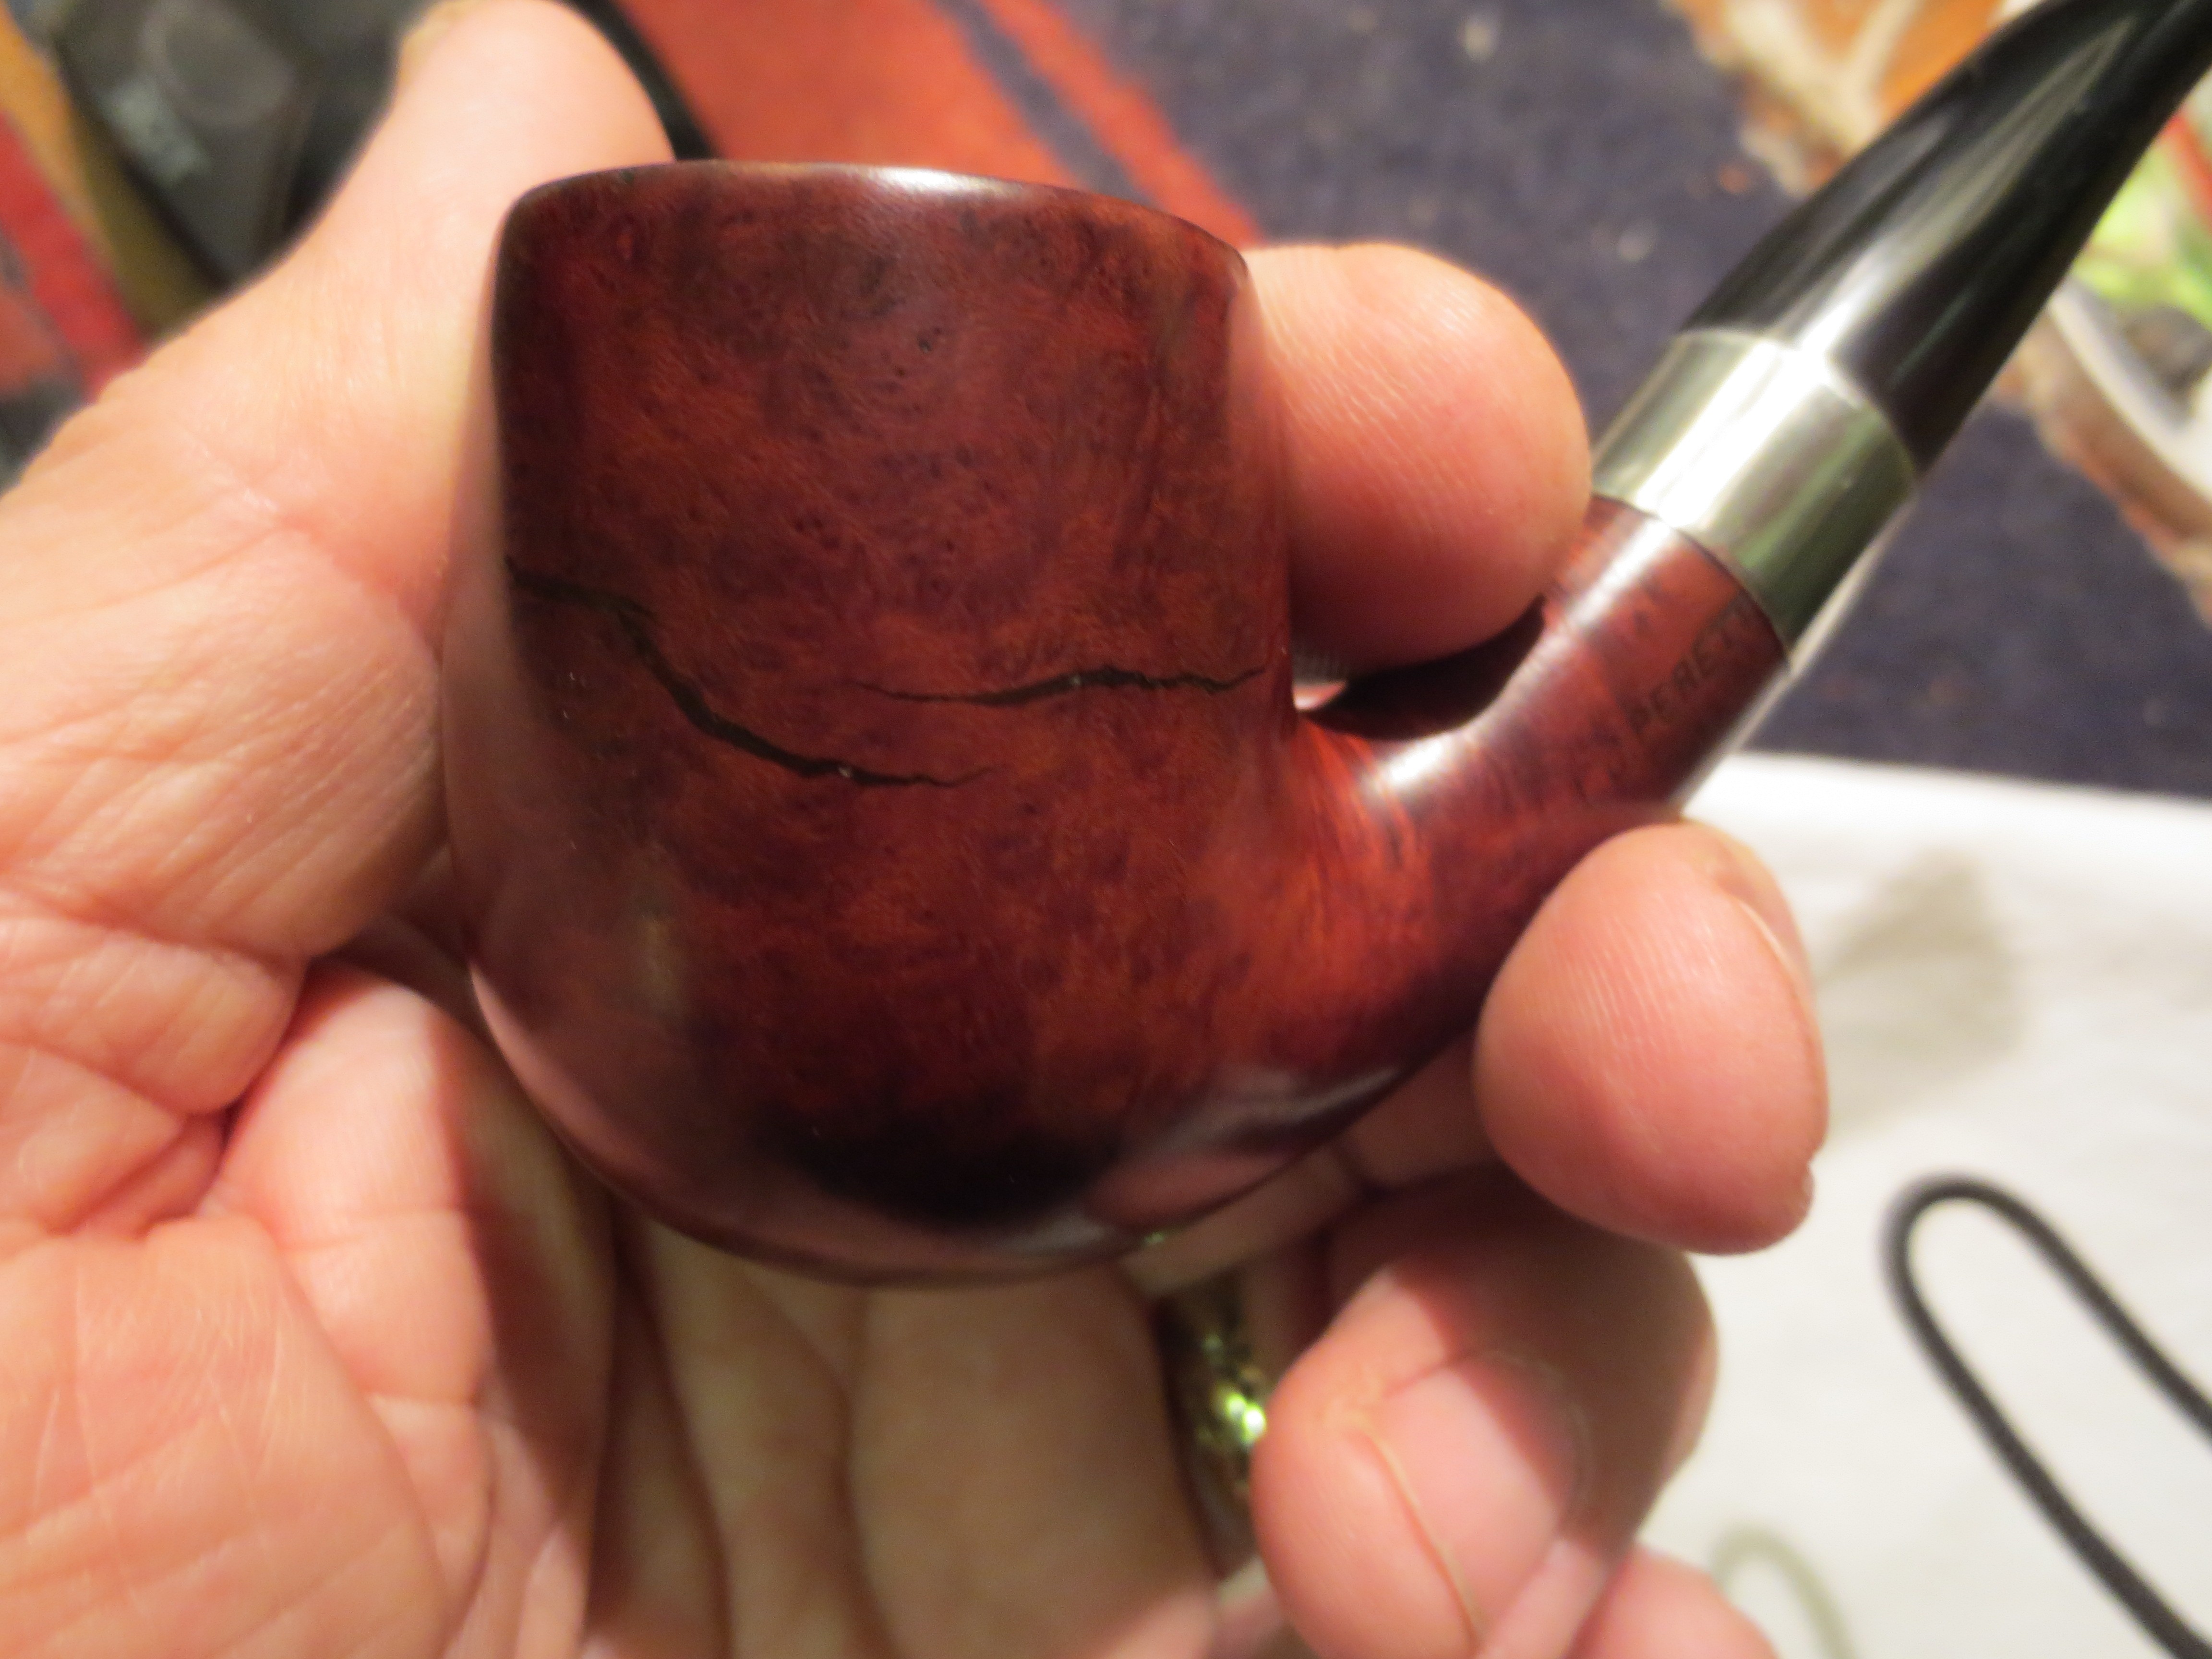
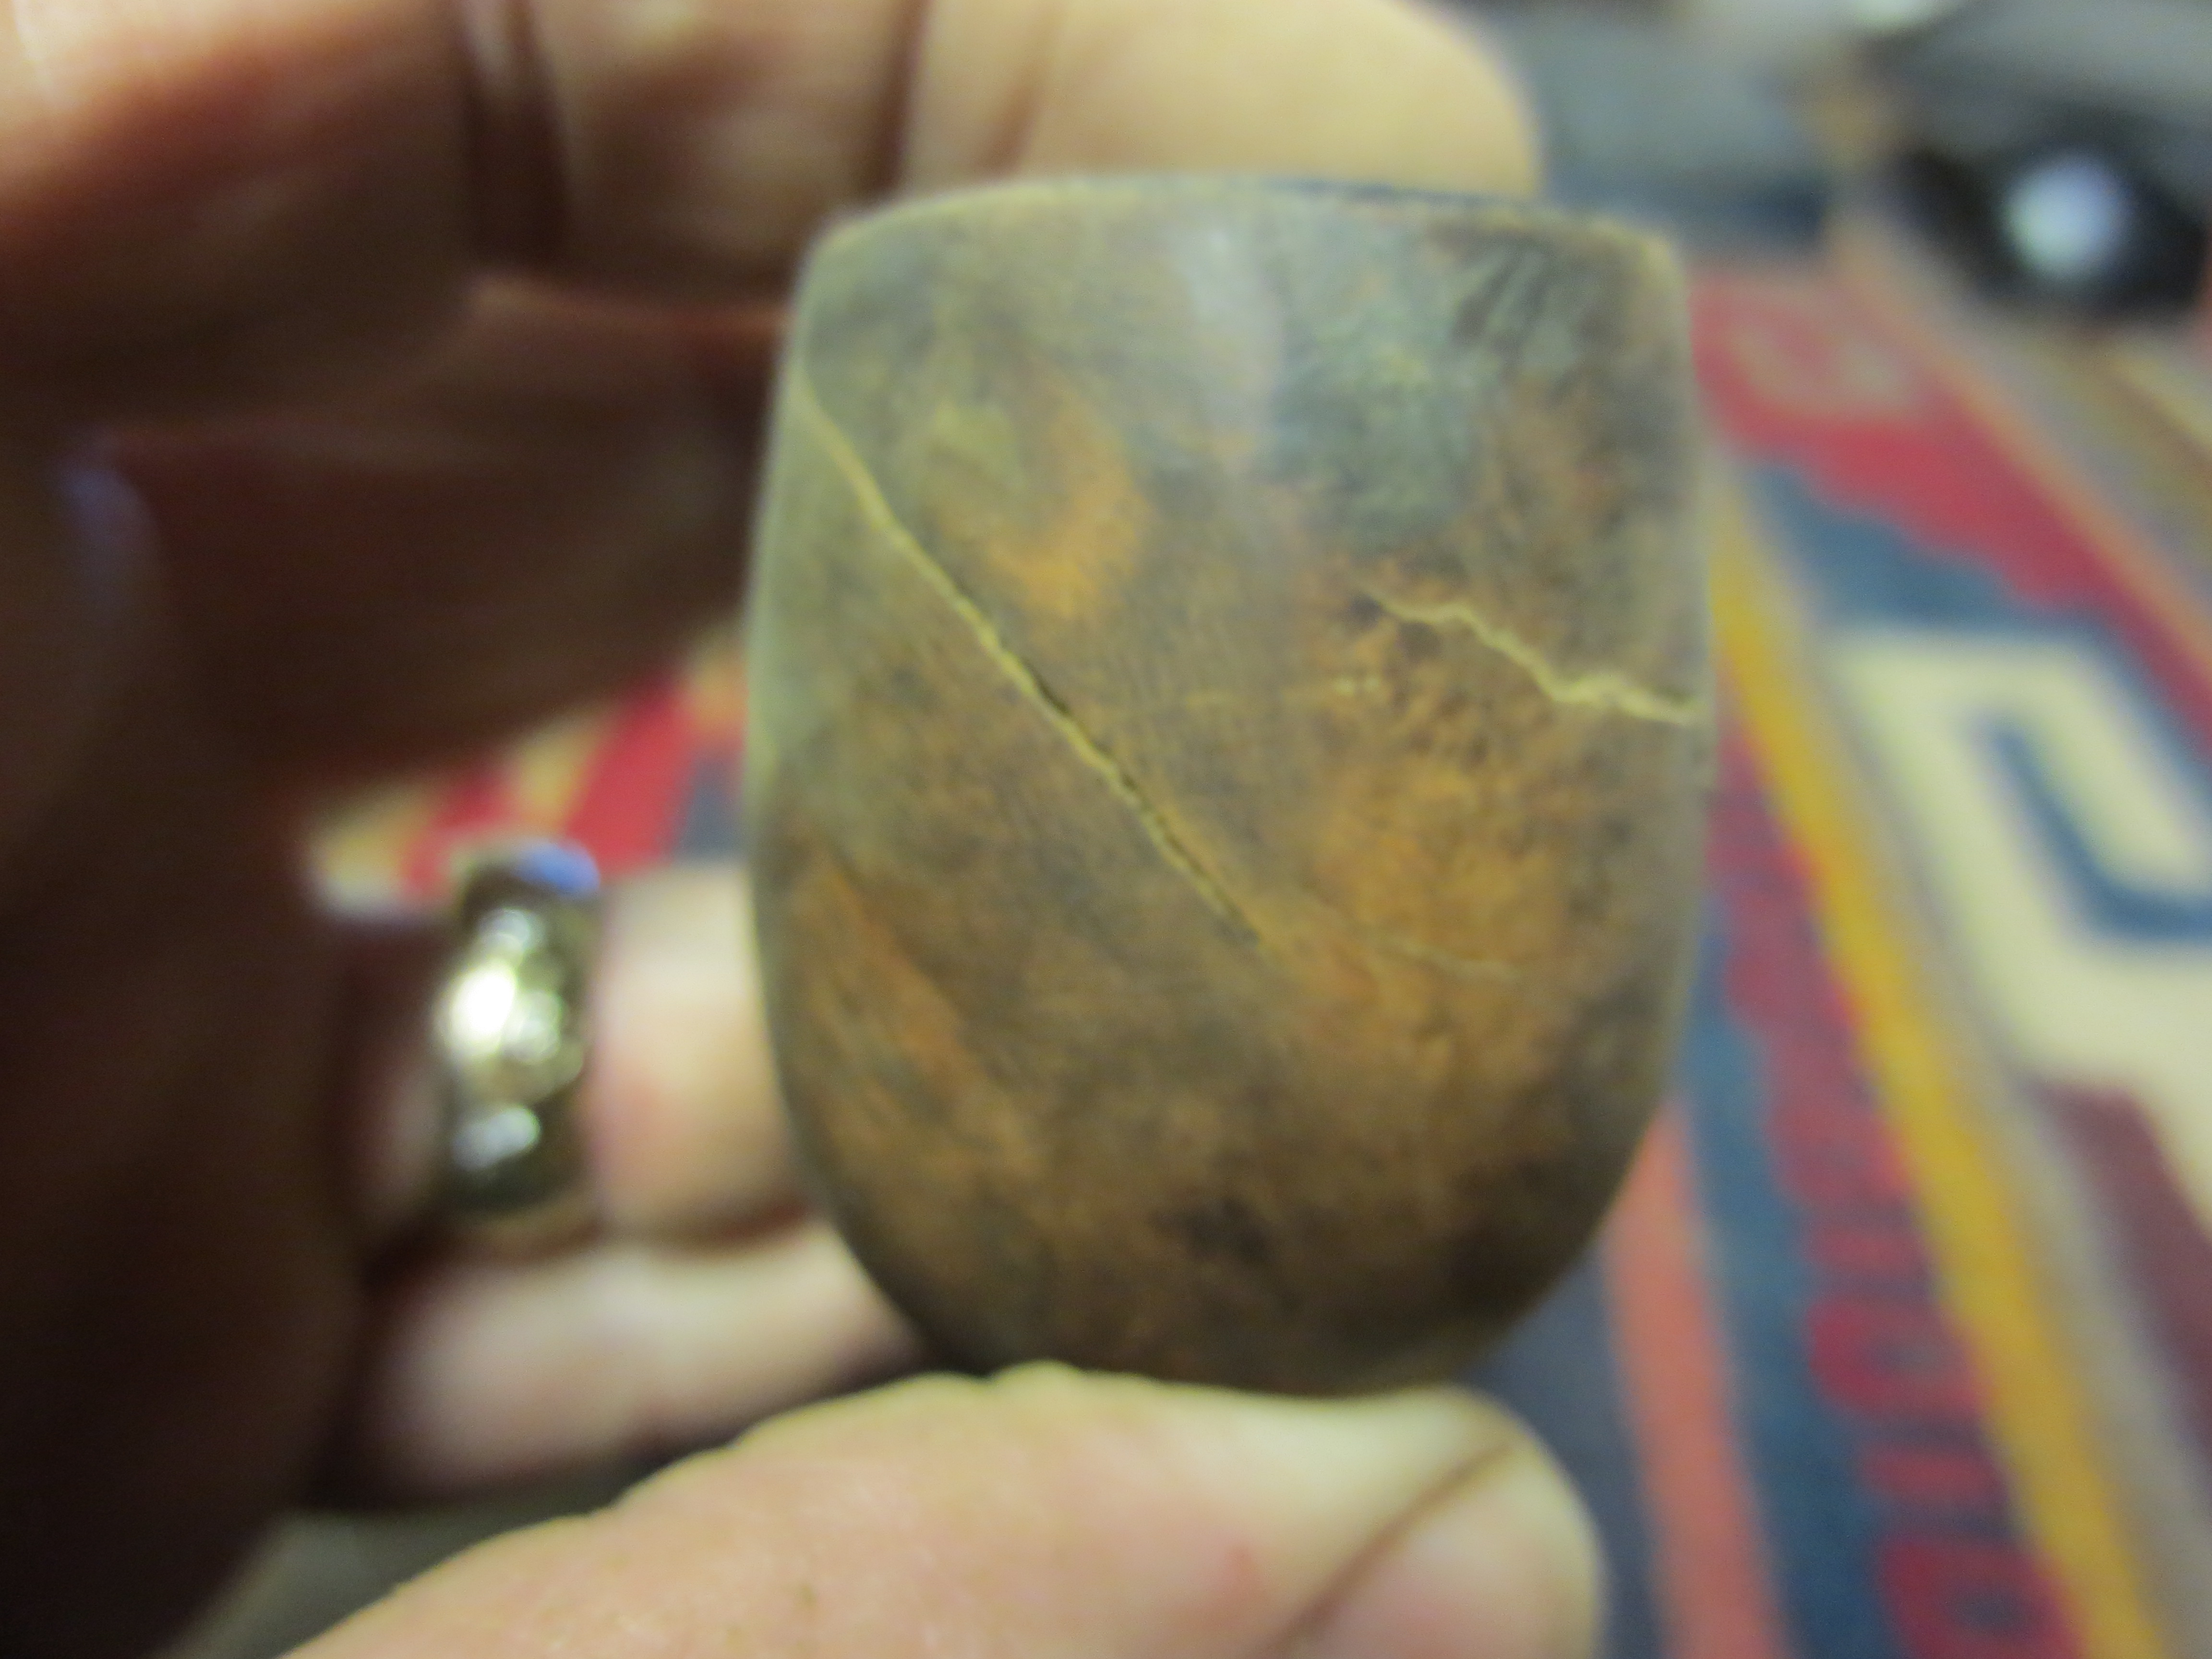
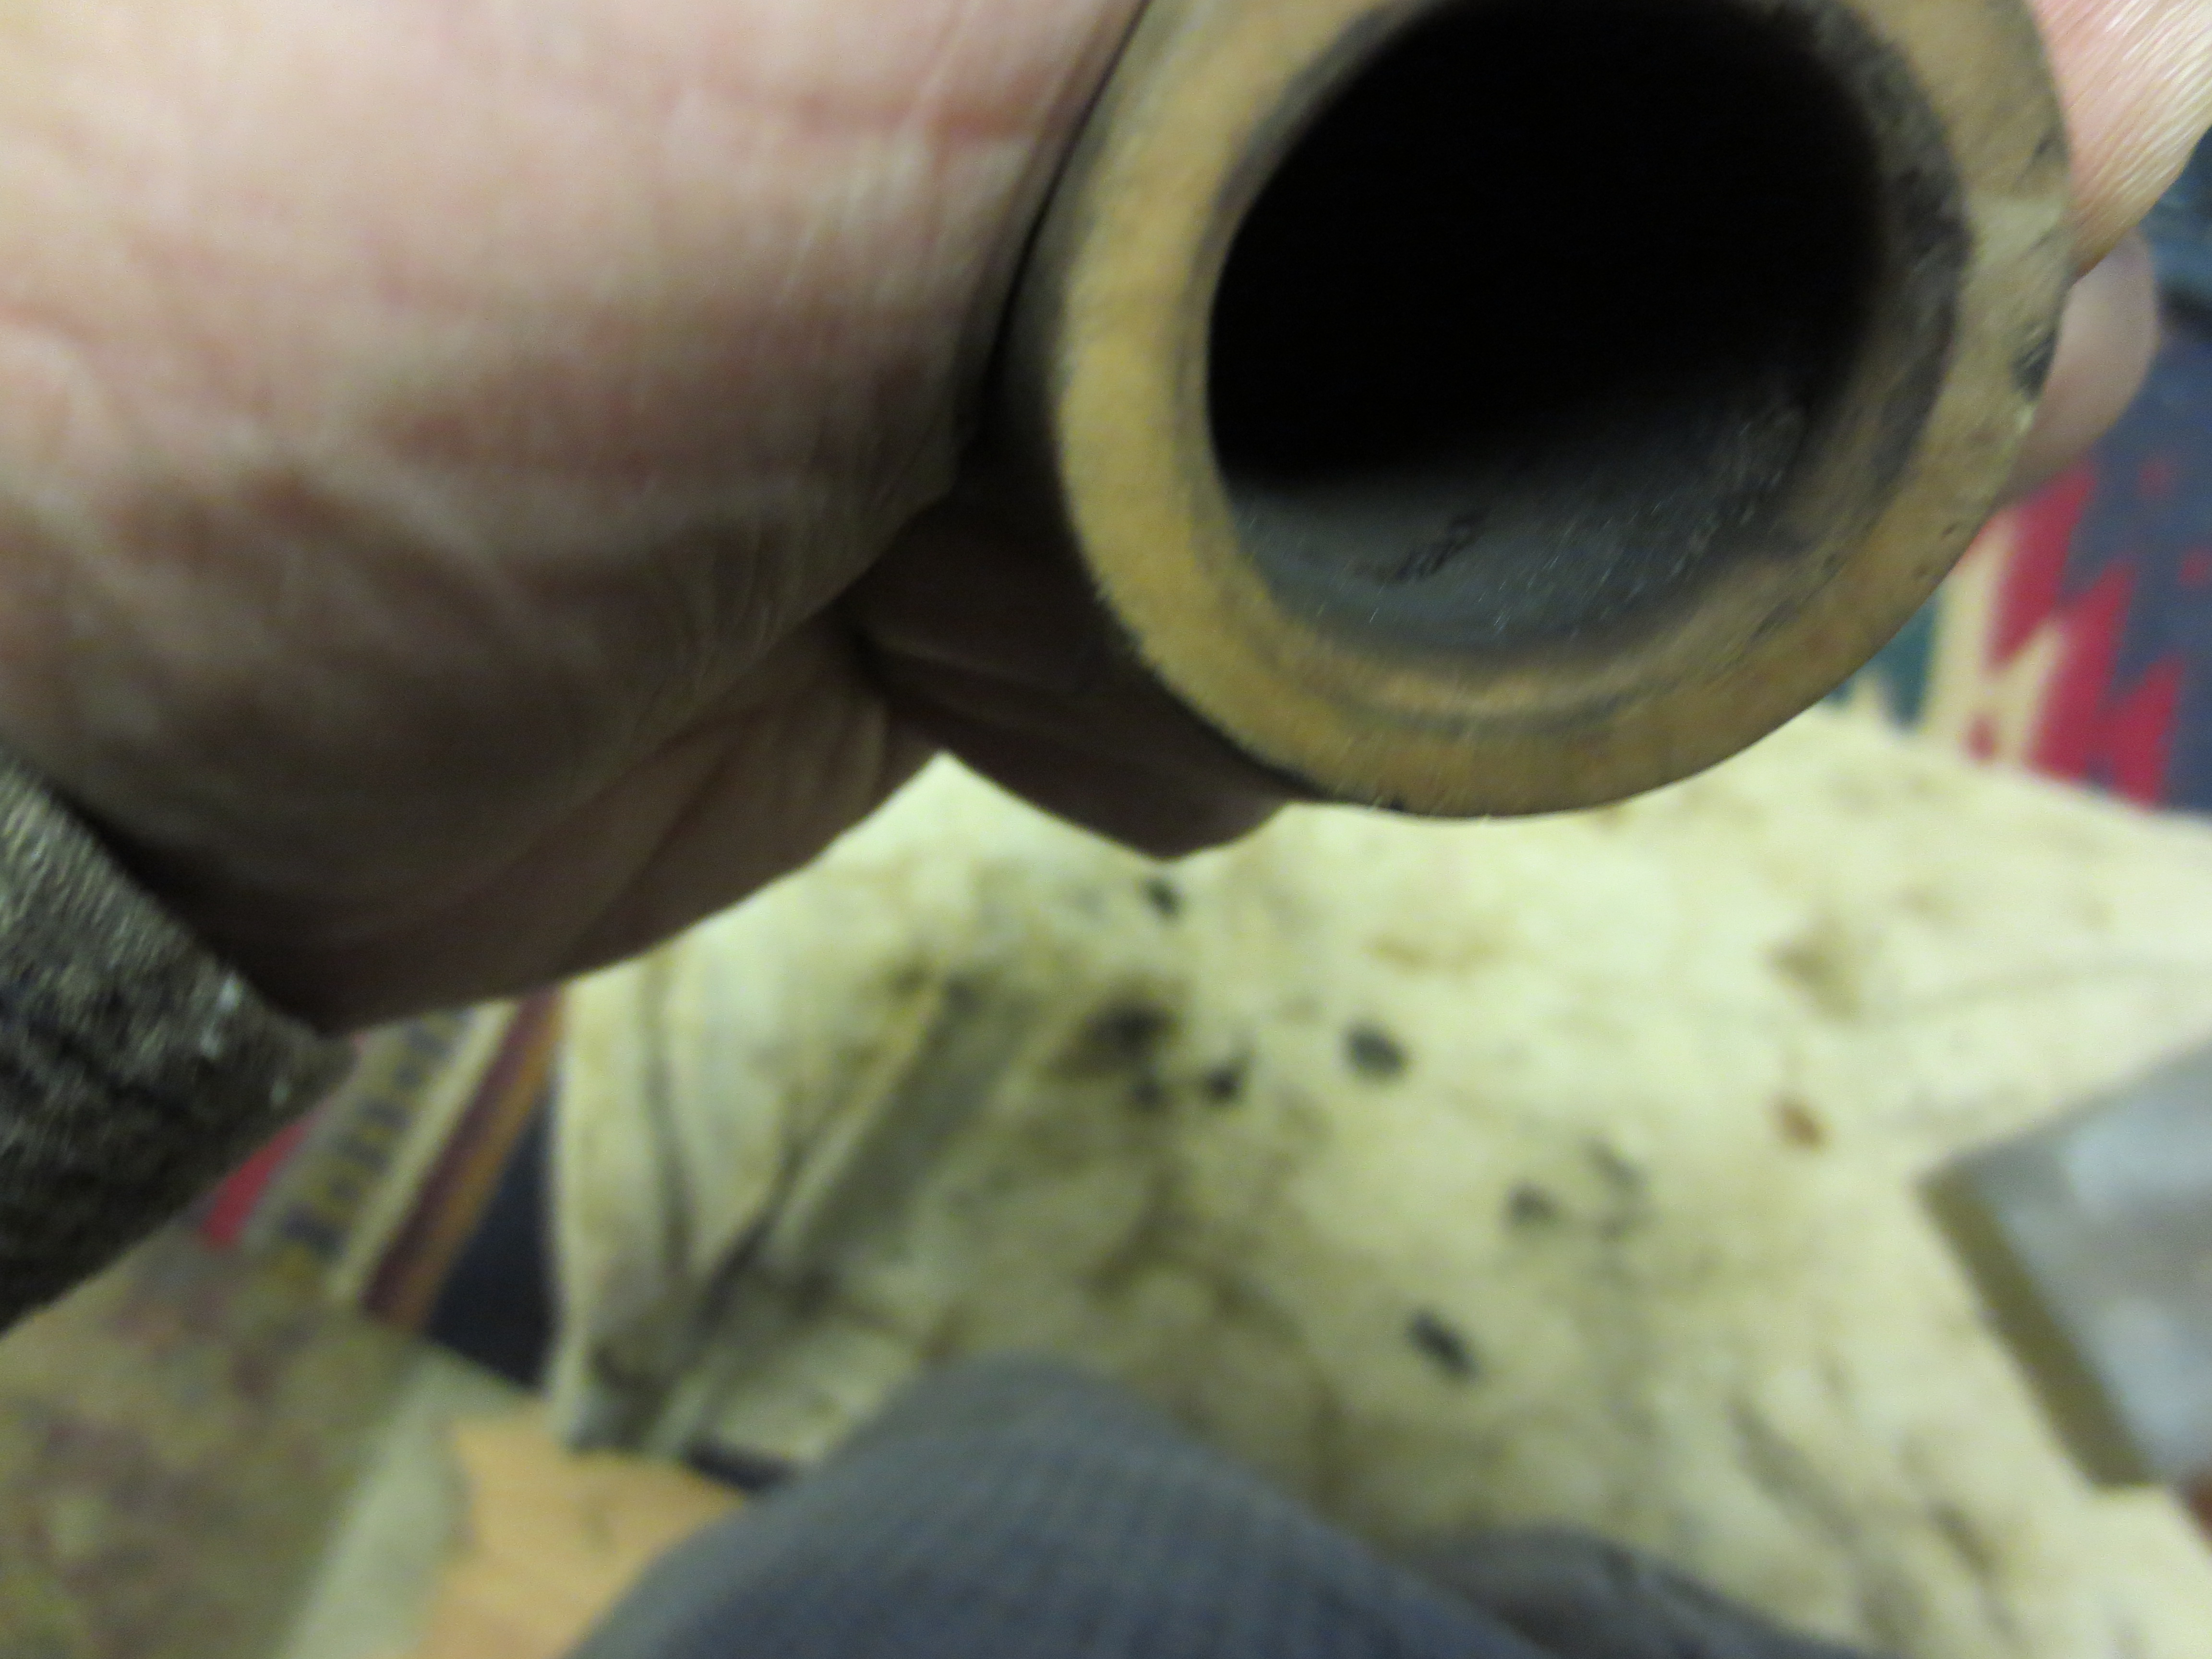
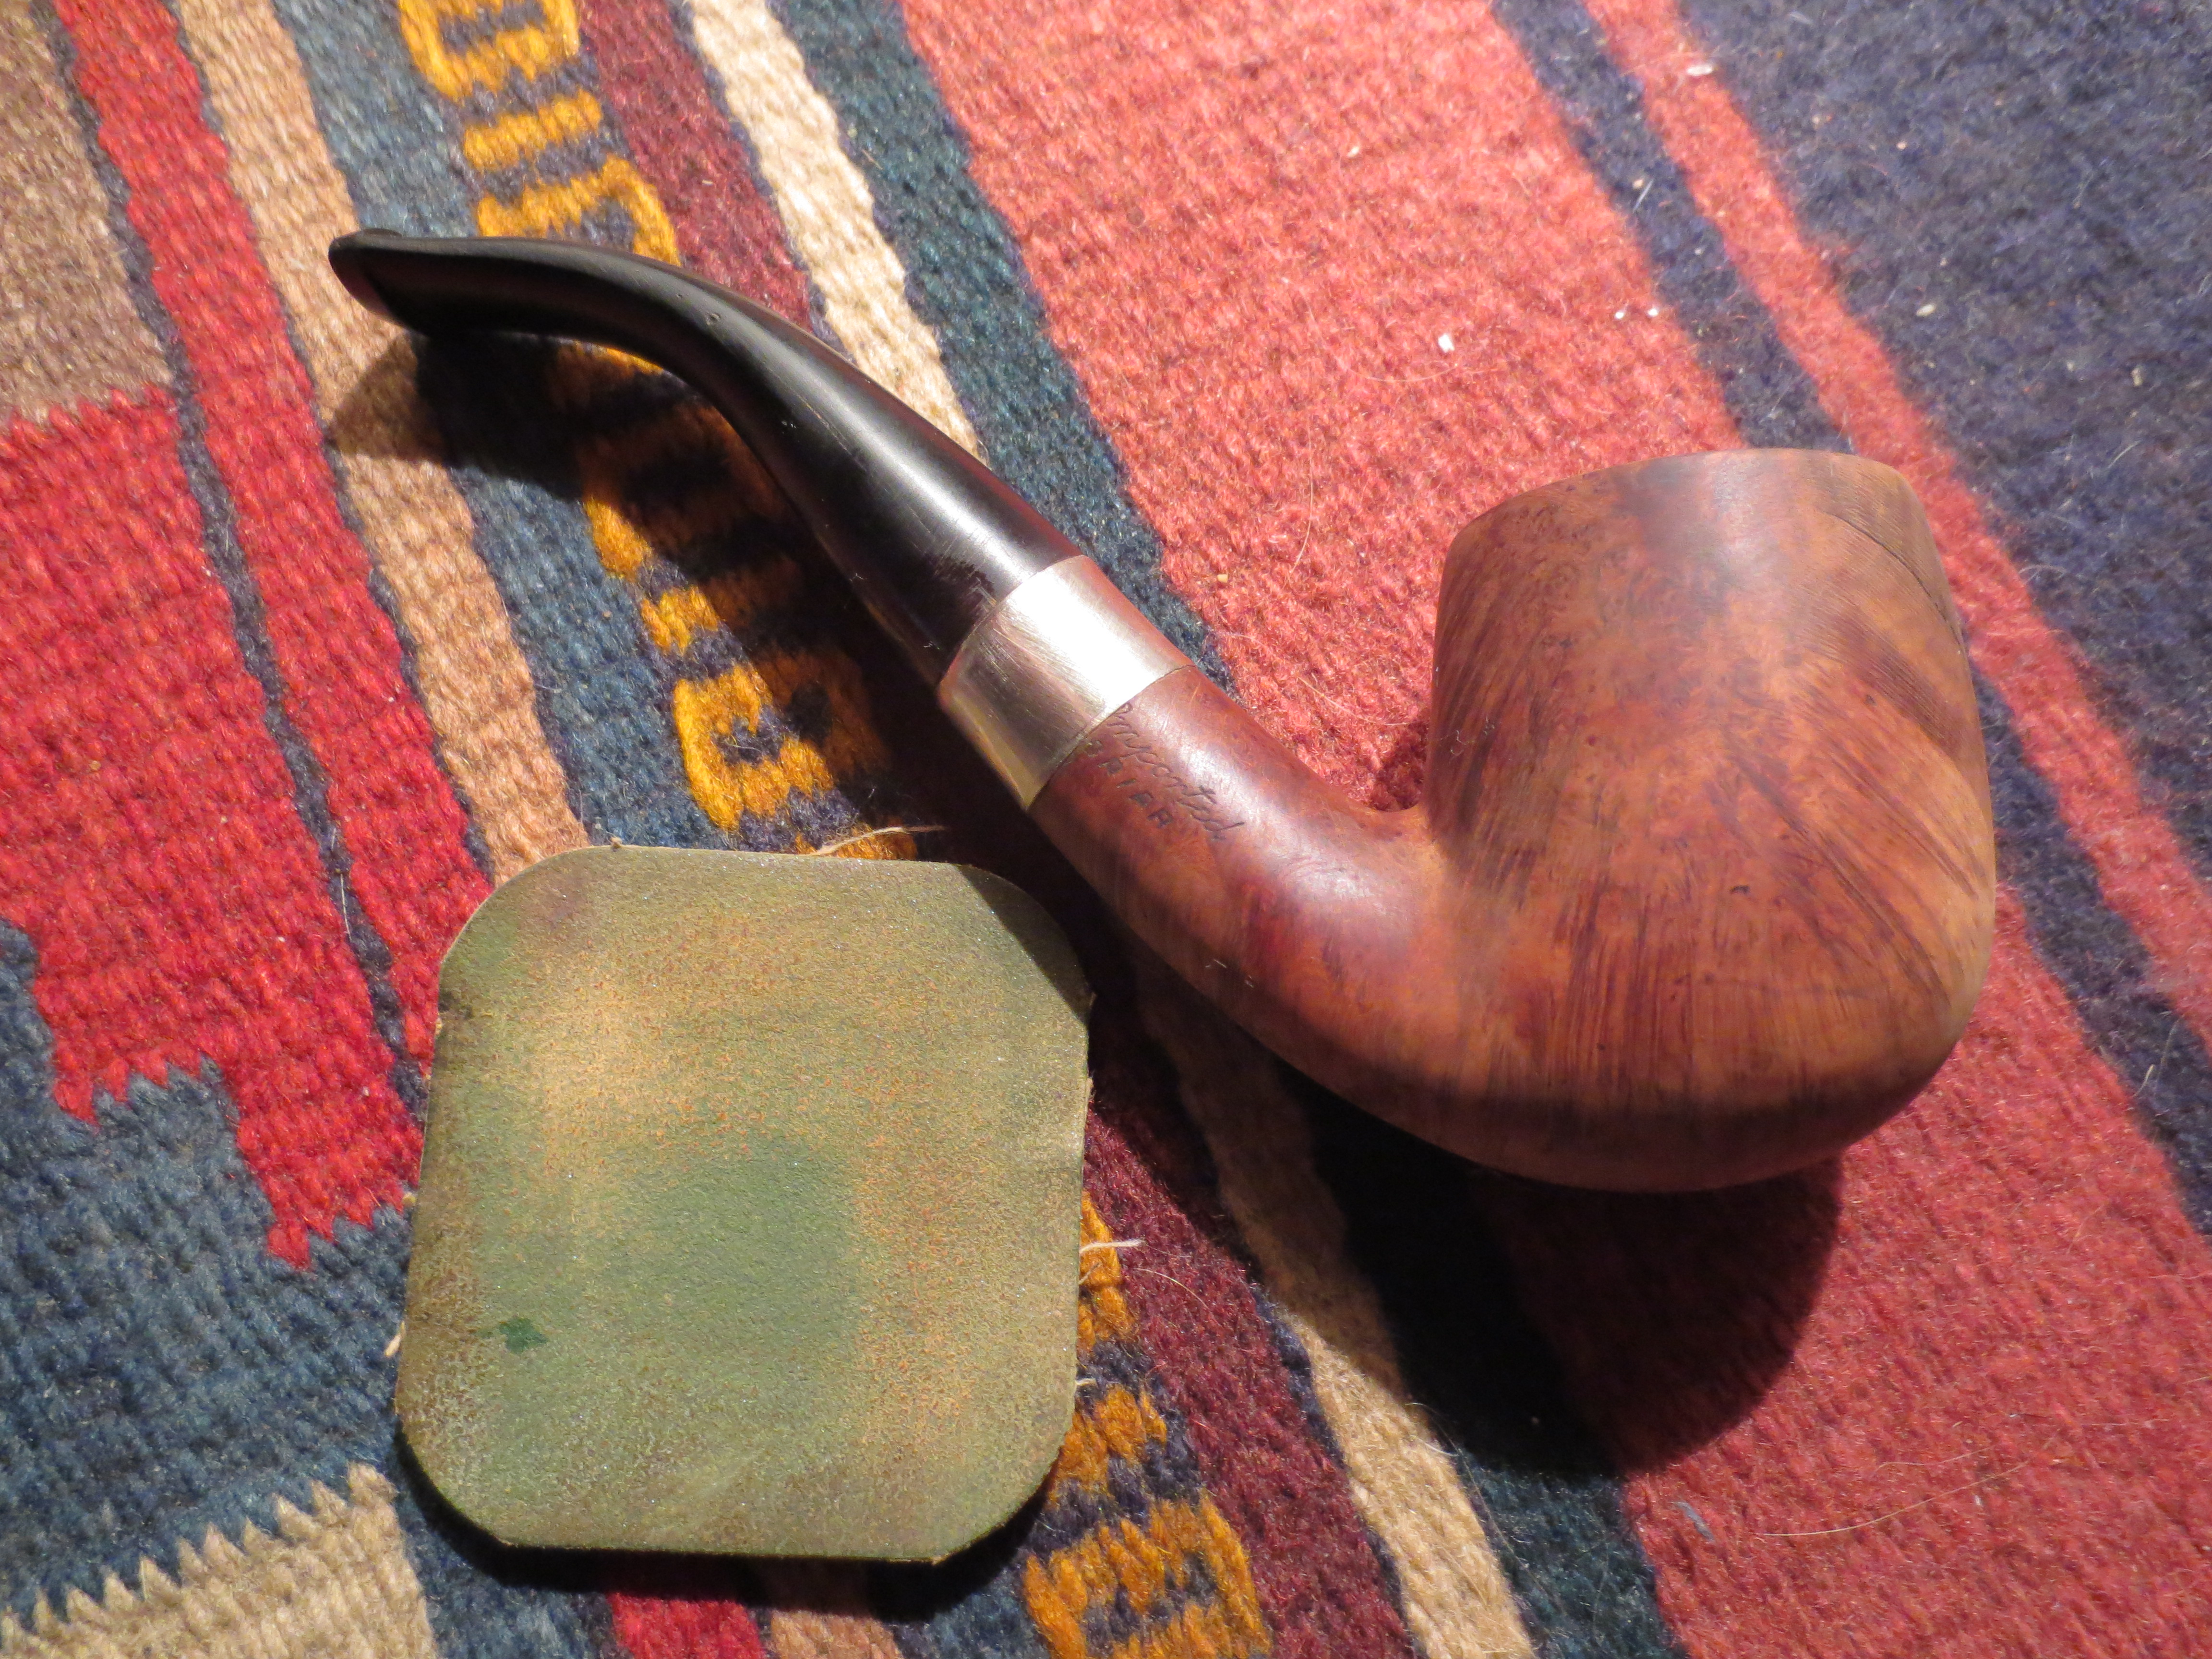
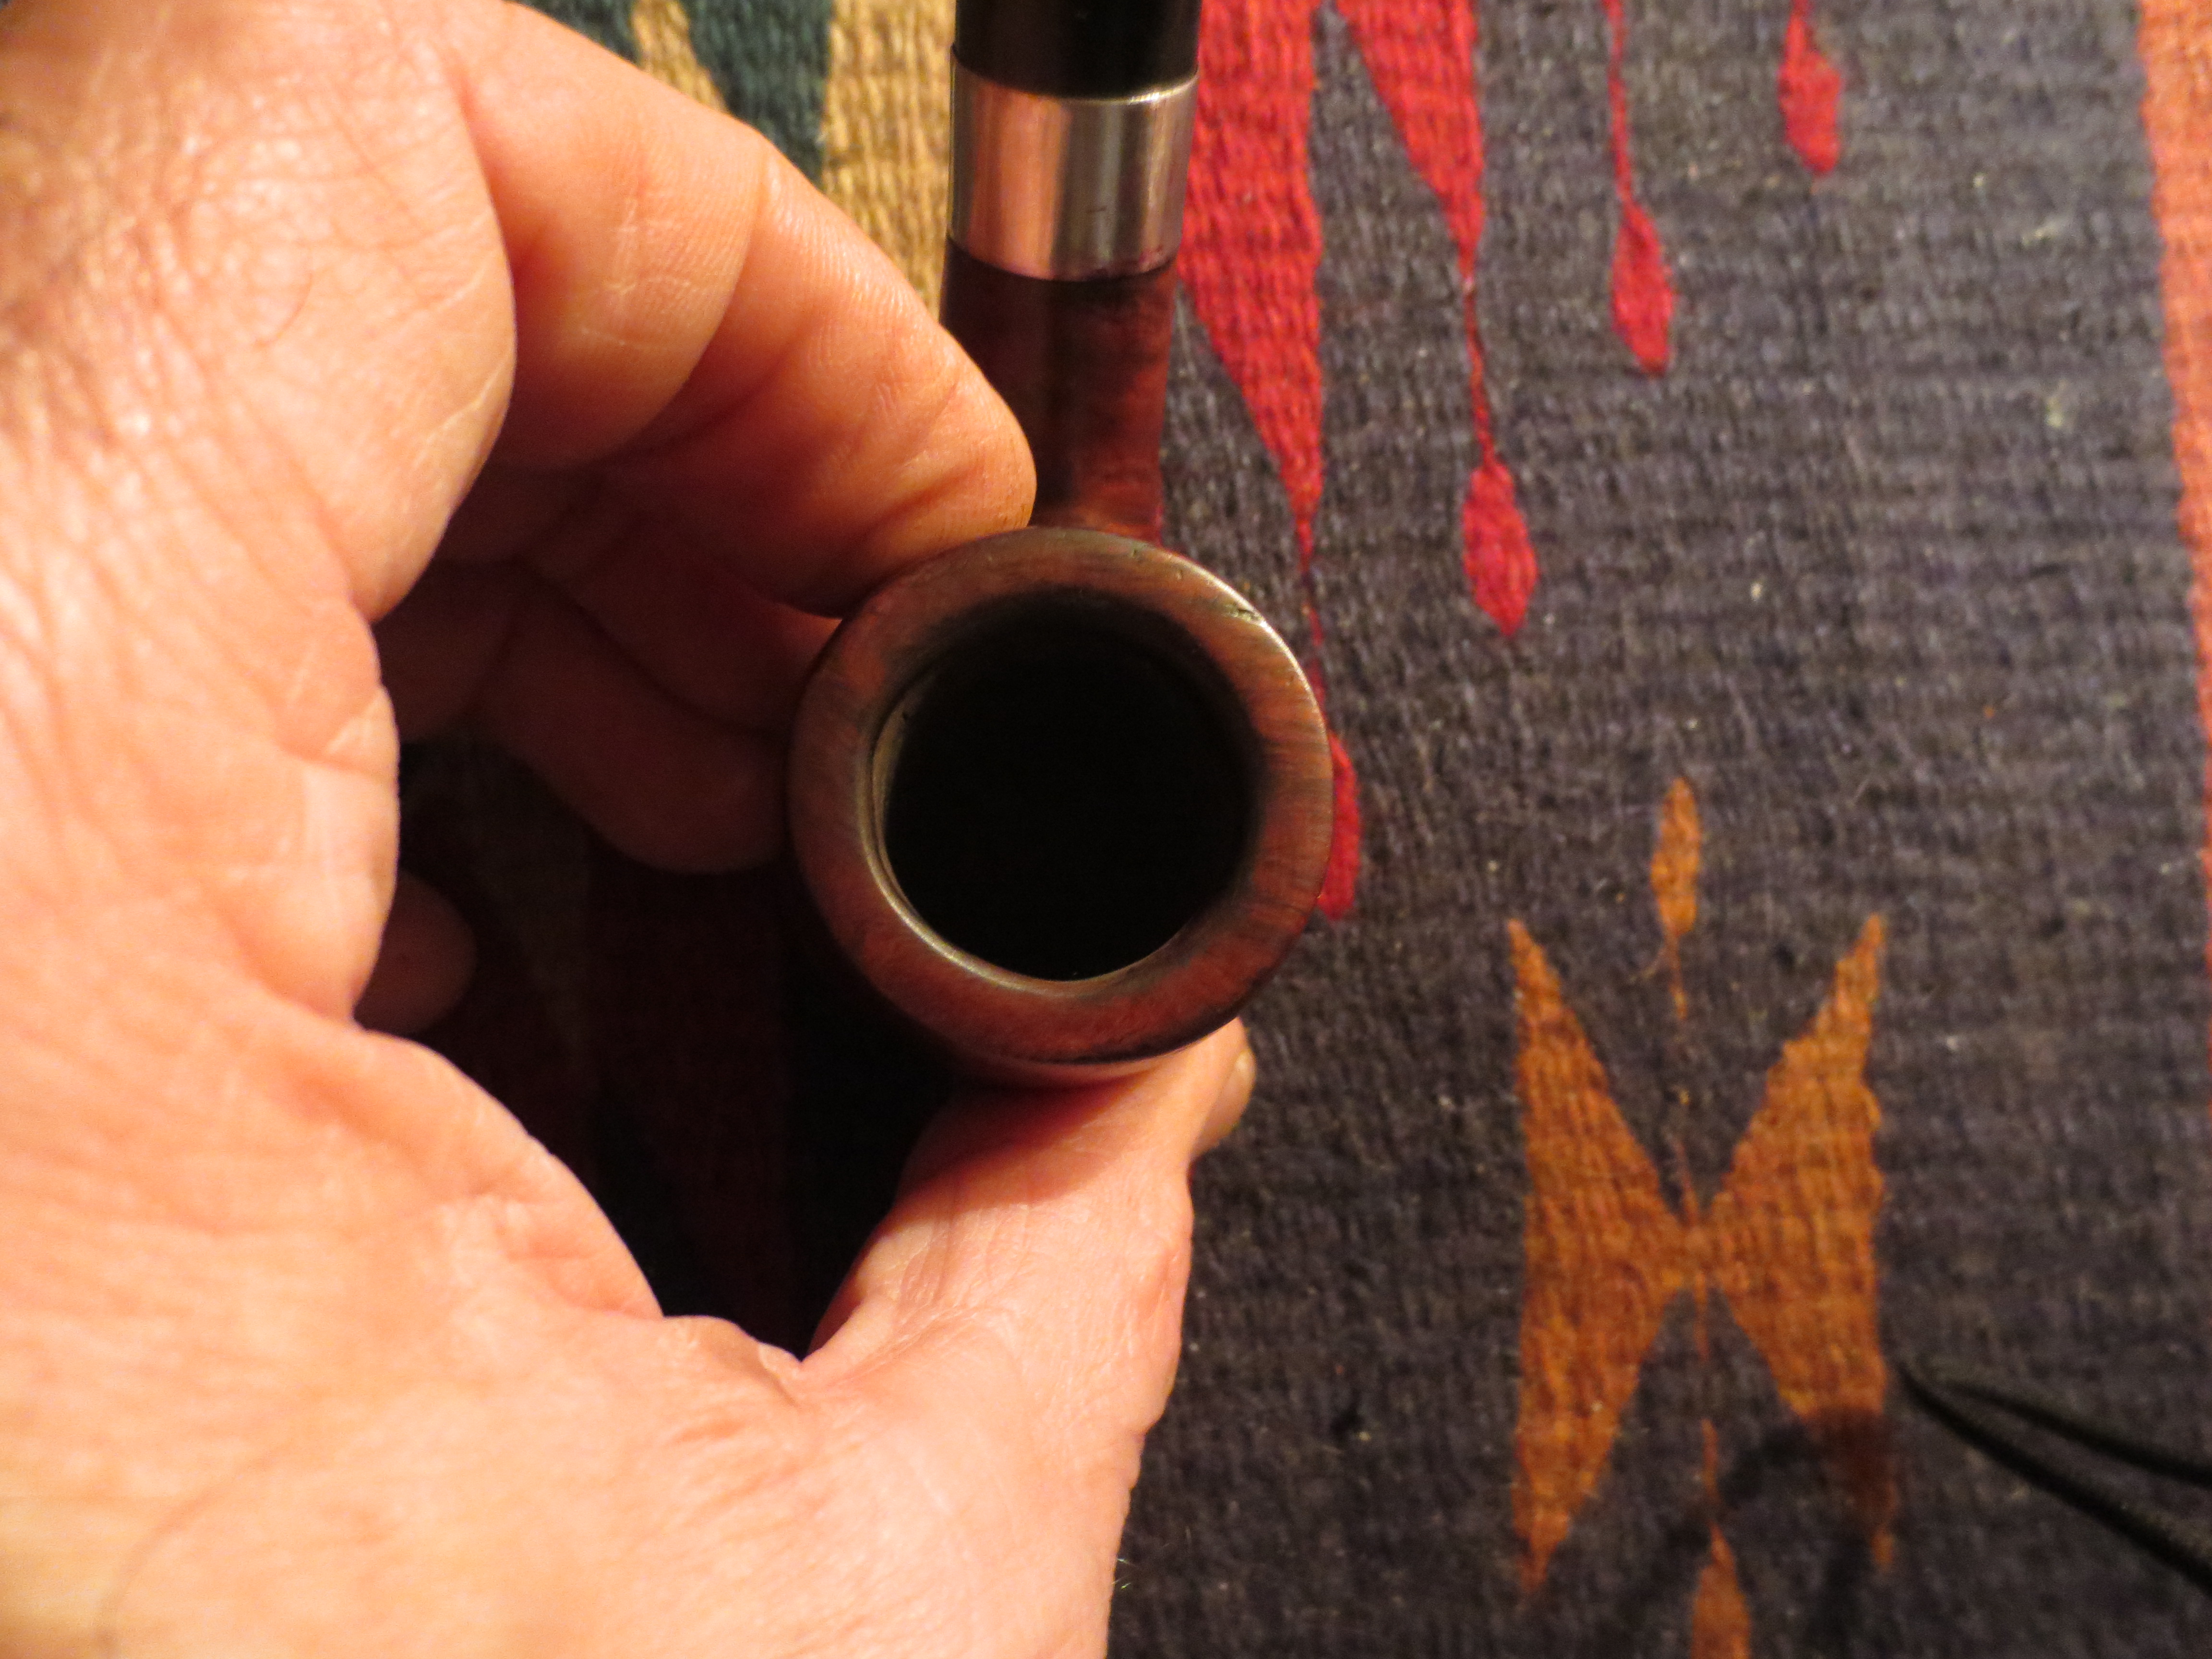
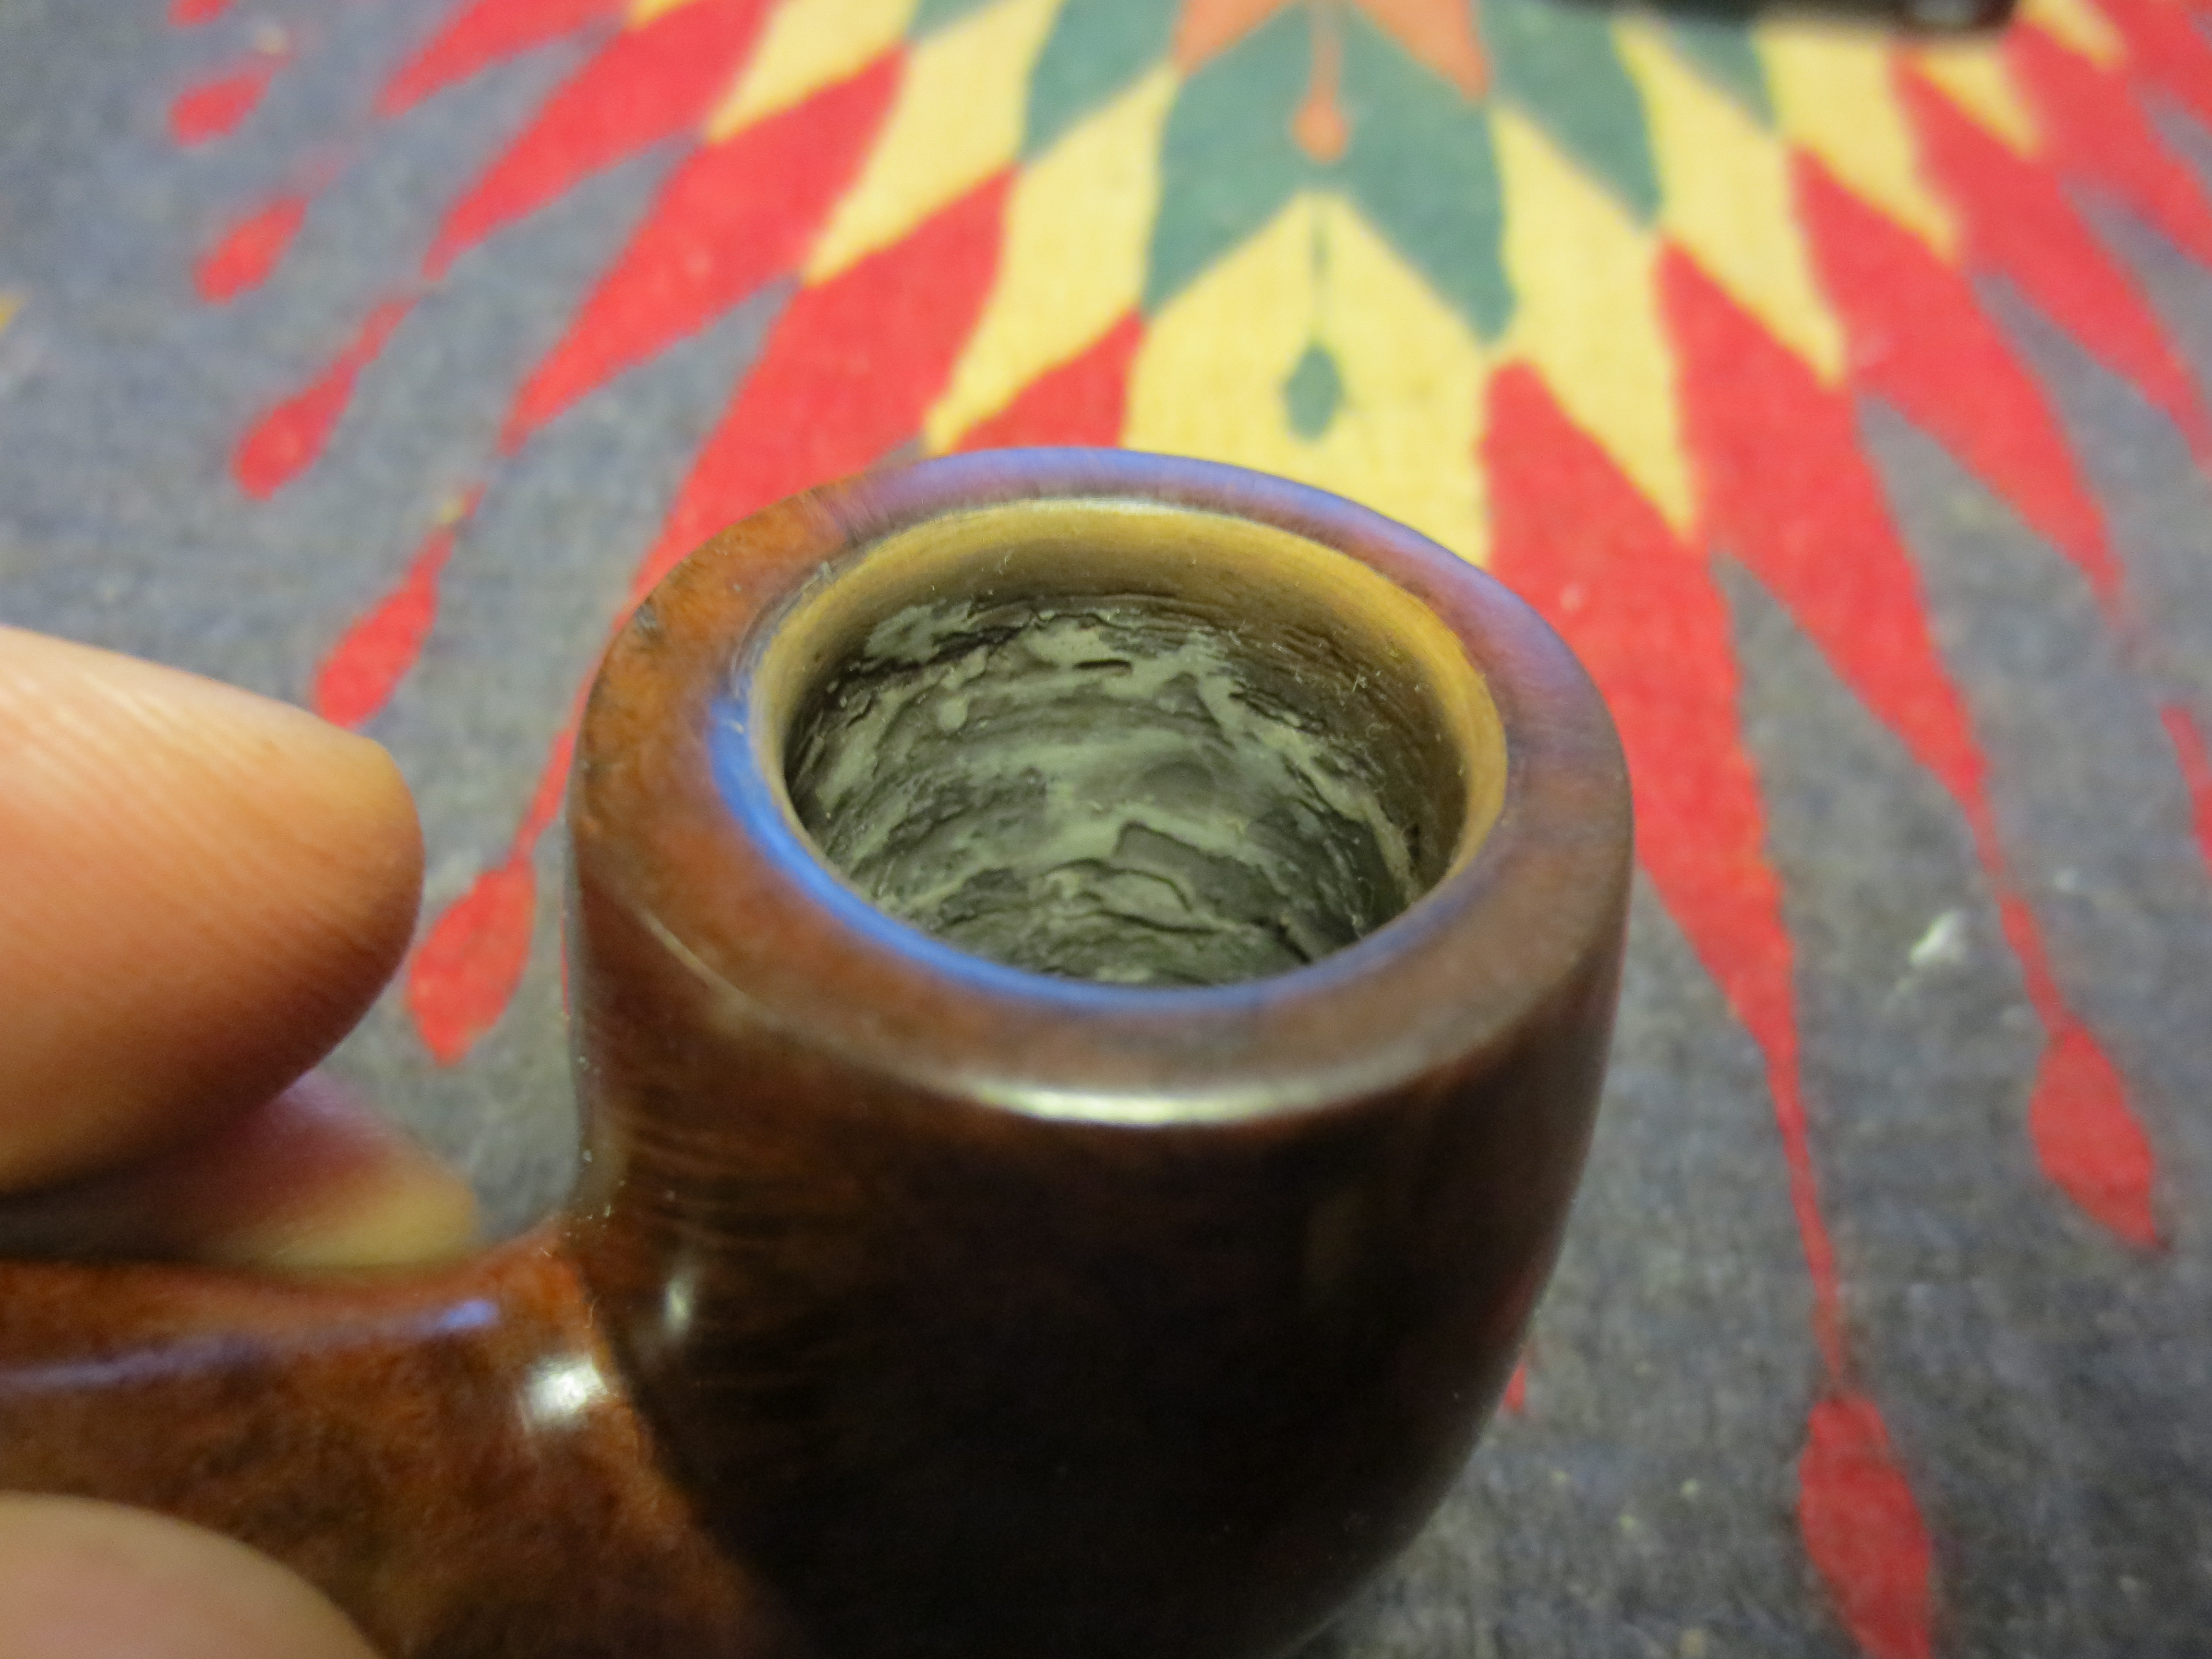
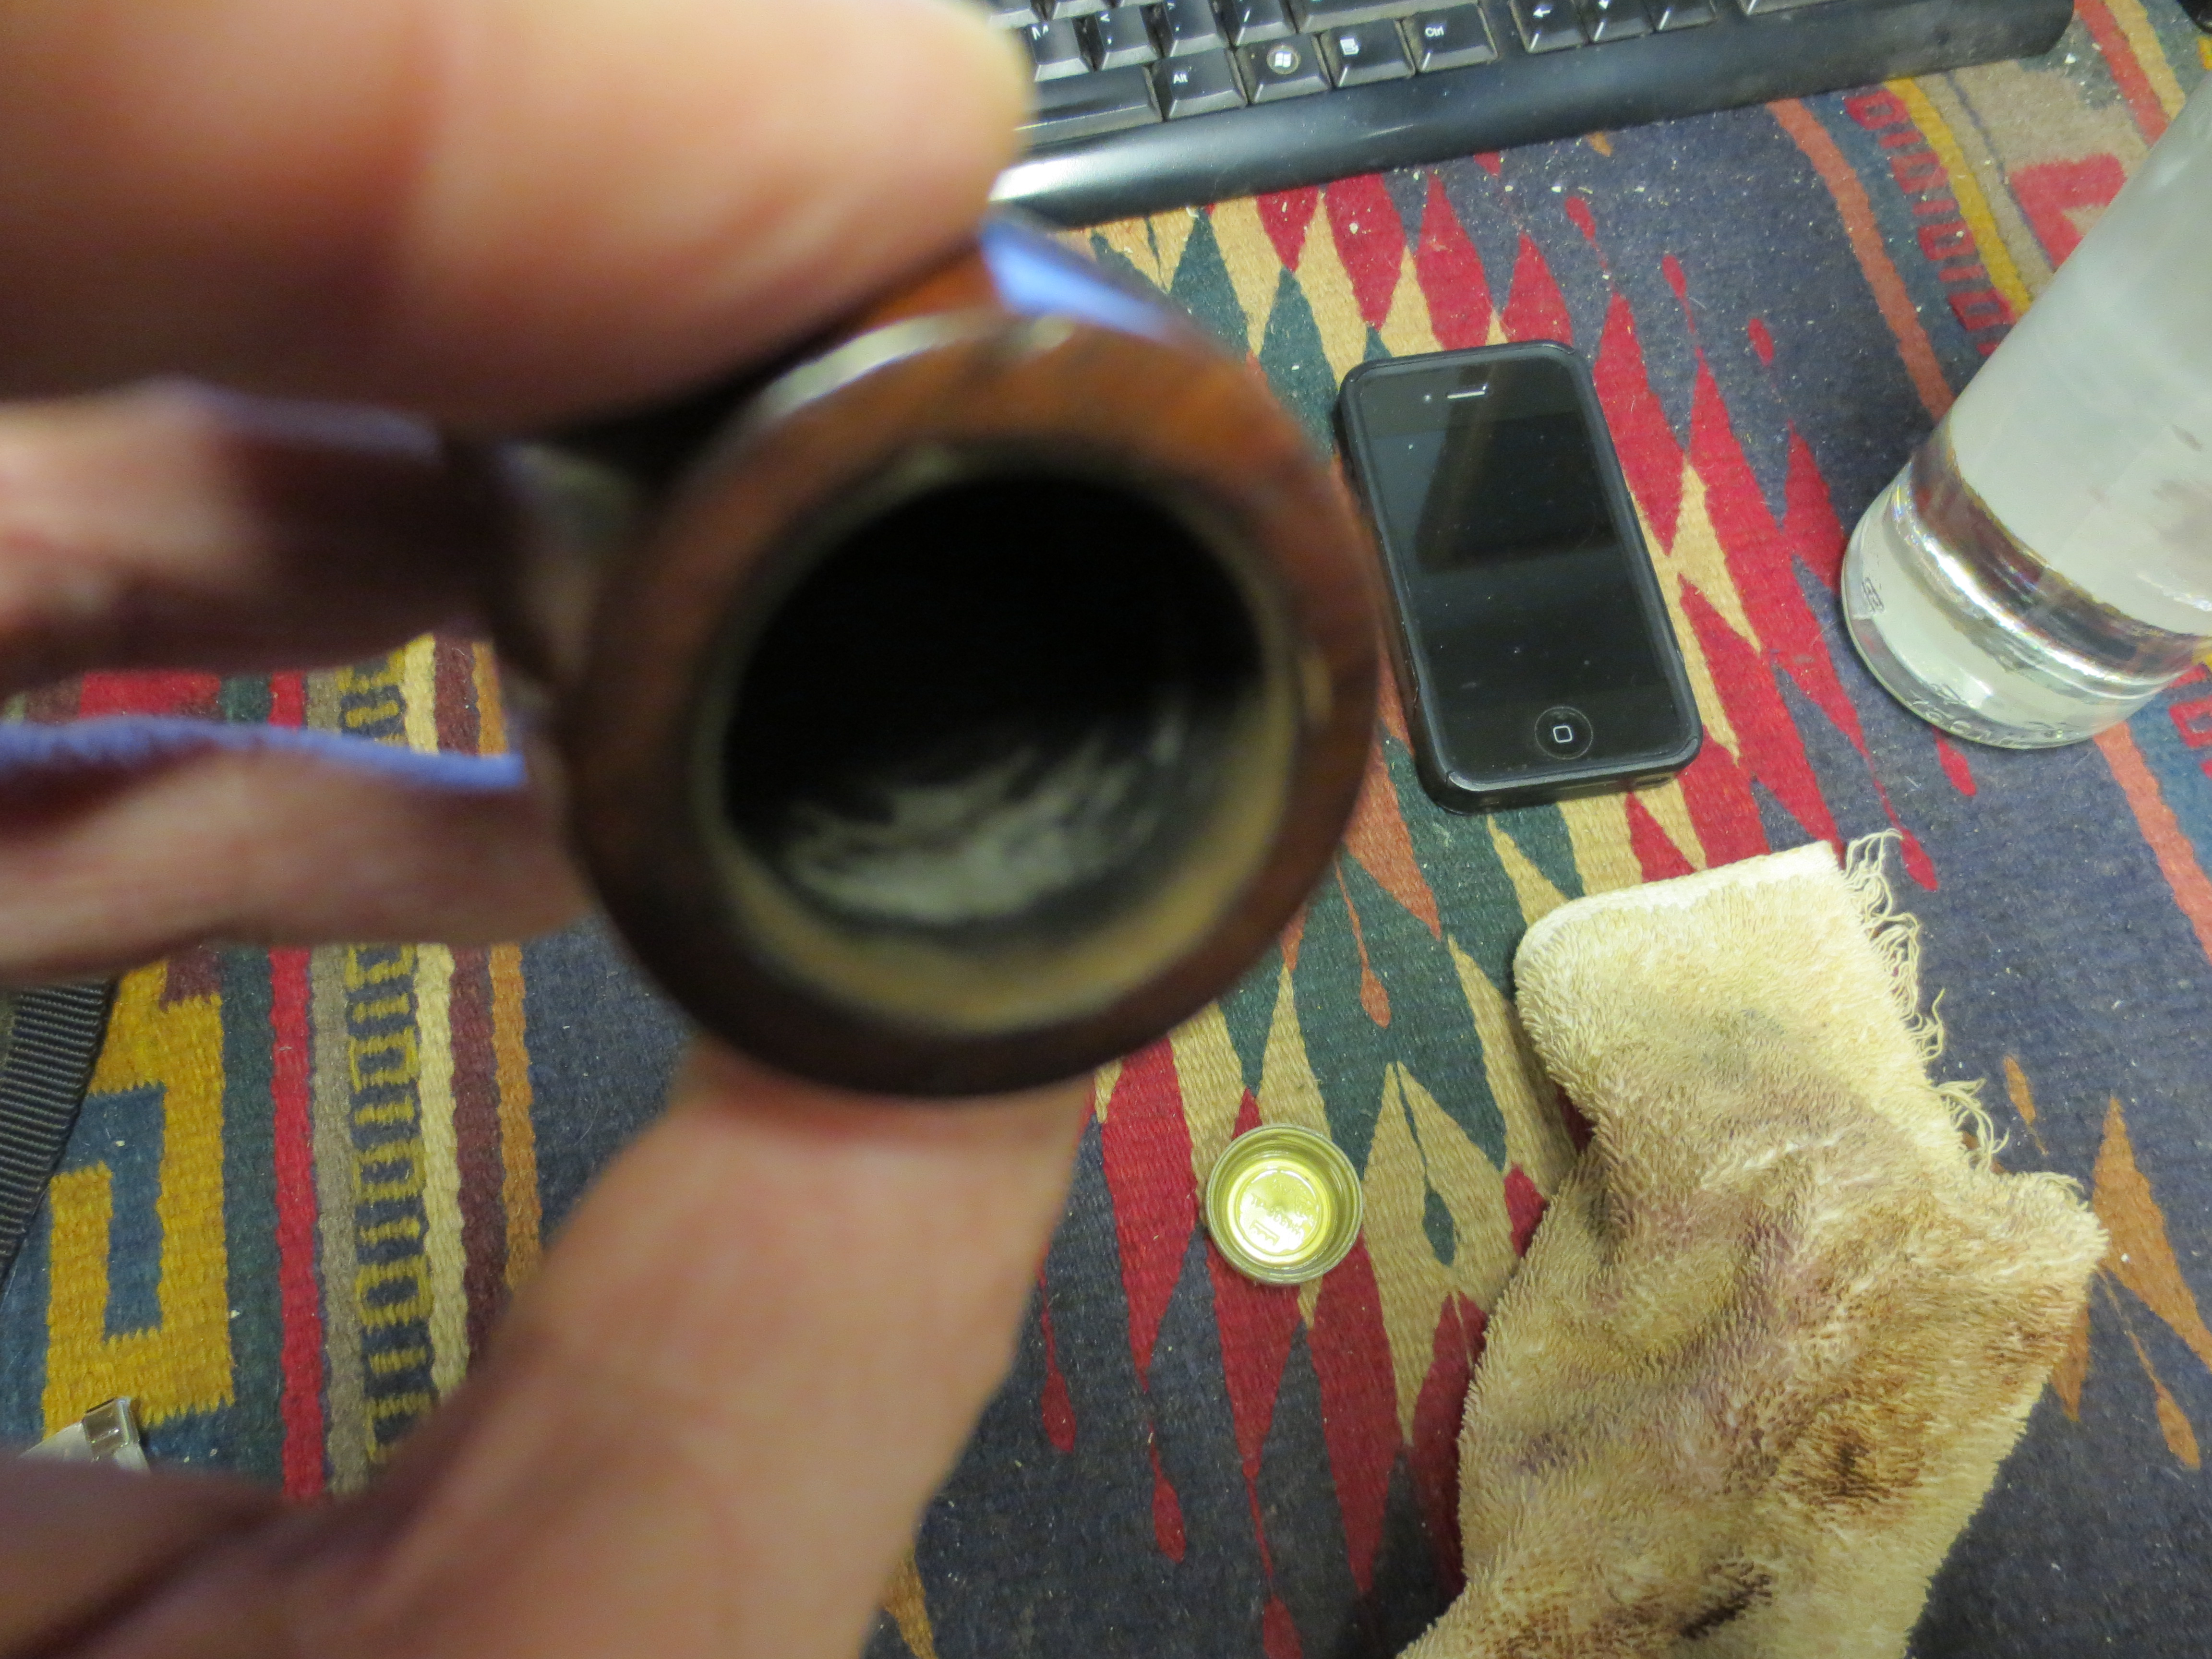
After reaming thick cake back to the bare wood I sanded the exterior with 240 grit sandpaper to clean off the finish and get a better look at the nature and depth of the cracks. I wanted to be able to more clearly see how far across the bowl they stretched and if the cracks followed the grain. I had already seen the state of the inside bowl walls. The left side interior showed damage from the crack extending into the bowl. The front side was less damaged. It had some very minor cracks on the inside walls. I blew air through the shank into the bowl and plugged the top of the bowl to see where the air came through the walls. The only one that really allowed airflow was the larger crack on the left side toward the front of the bowl. The next three photos show the sanded bowl. I left sanding dust in the cracks to highlight their depth and the extent of damage.

I decided to put the bowl in the alcohol bath. I wanted to soften the remaining cake in the cracks and crevices inside the bowl and also soften the grime within the cracks. I had no idea what would happen to the bowl as it soaked. I almost expected it to come out of the bath in several pieces. I got busy with work and other demands and ended up leaving it in the bath for over 24 hours. When I finally removed it and let it dry for several days I figured that the drying would probably make the cracks worse.


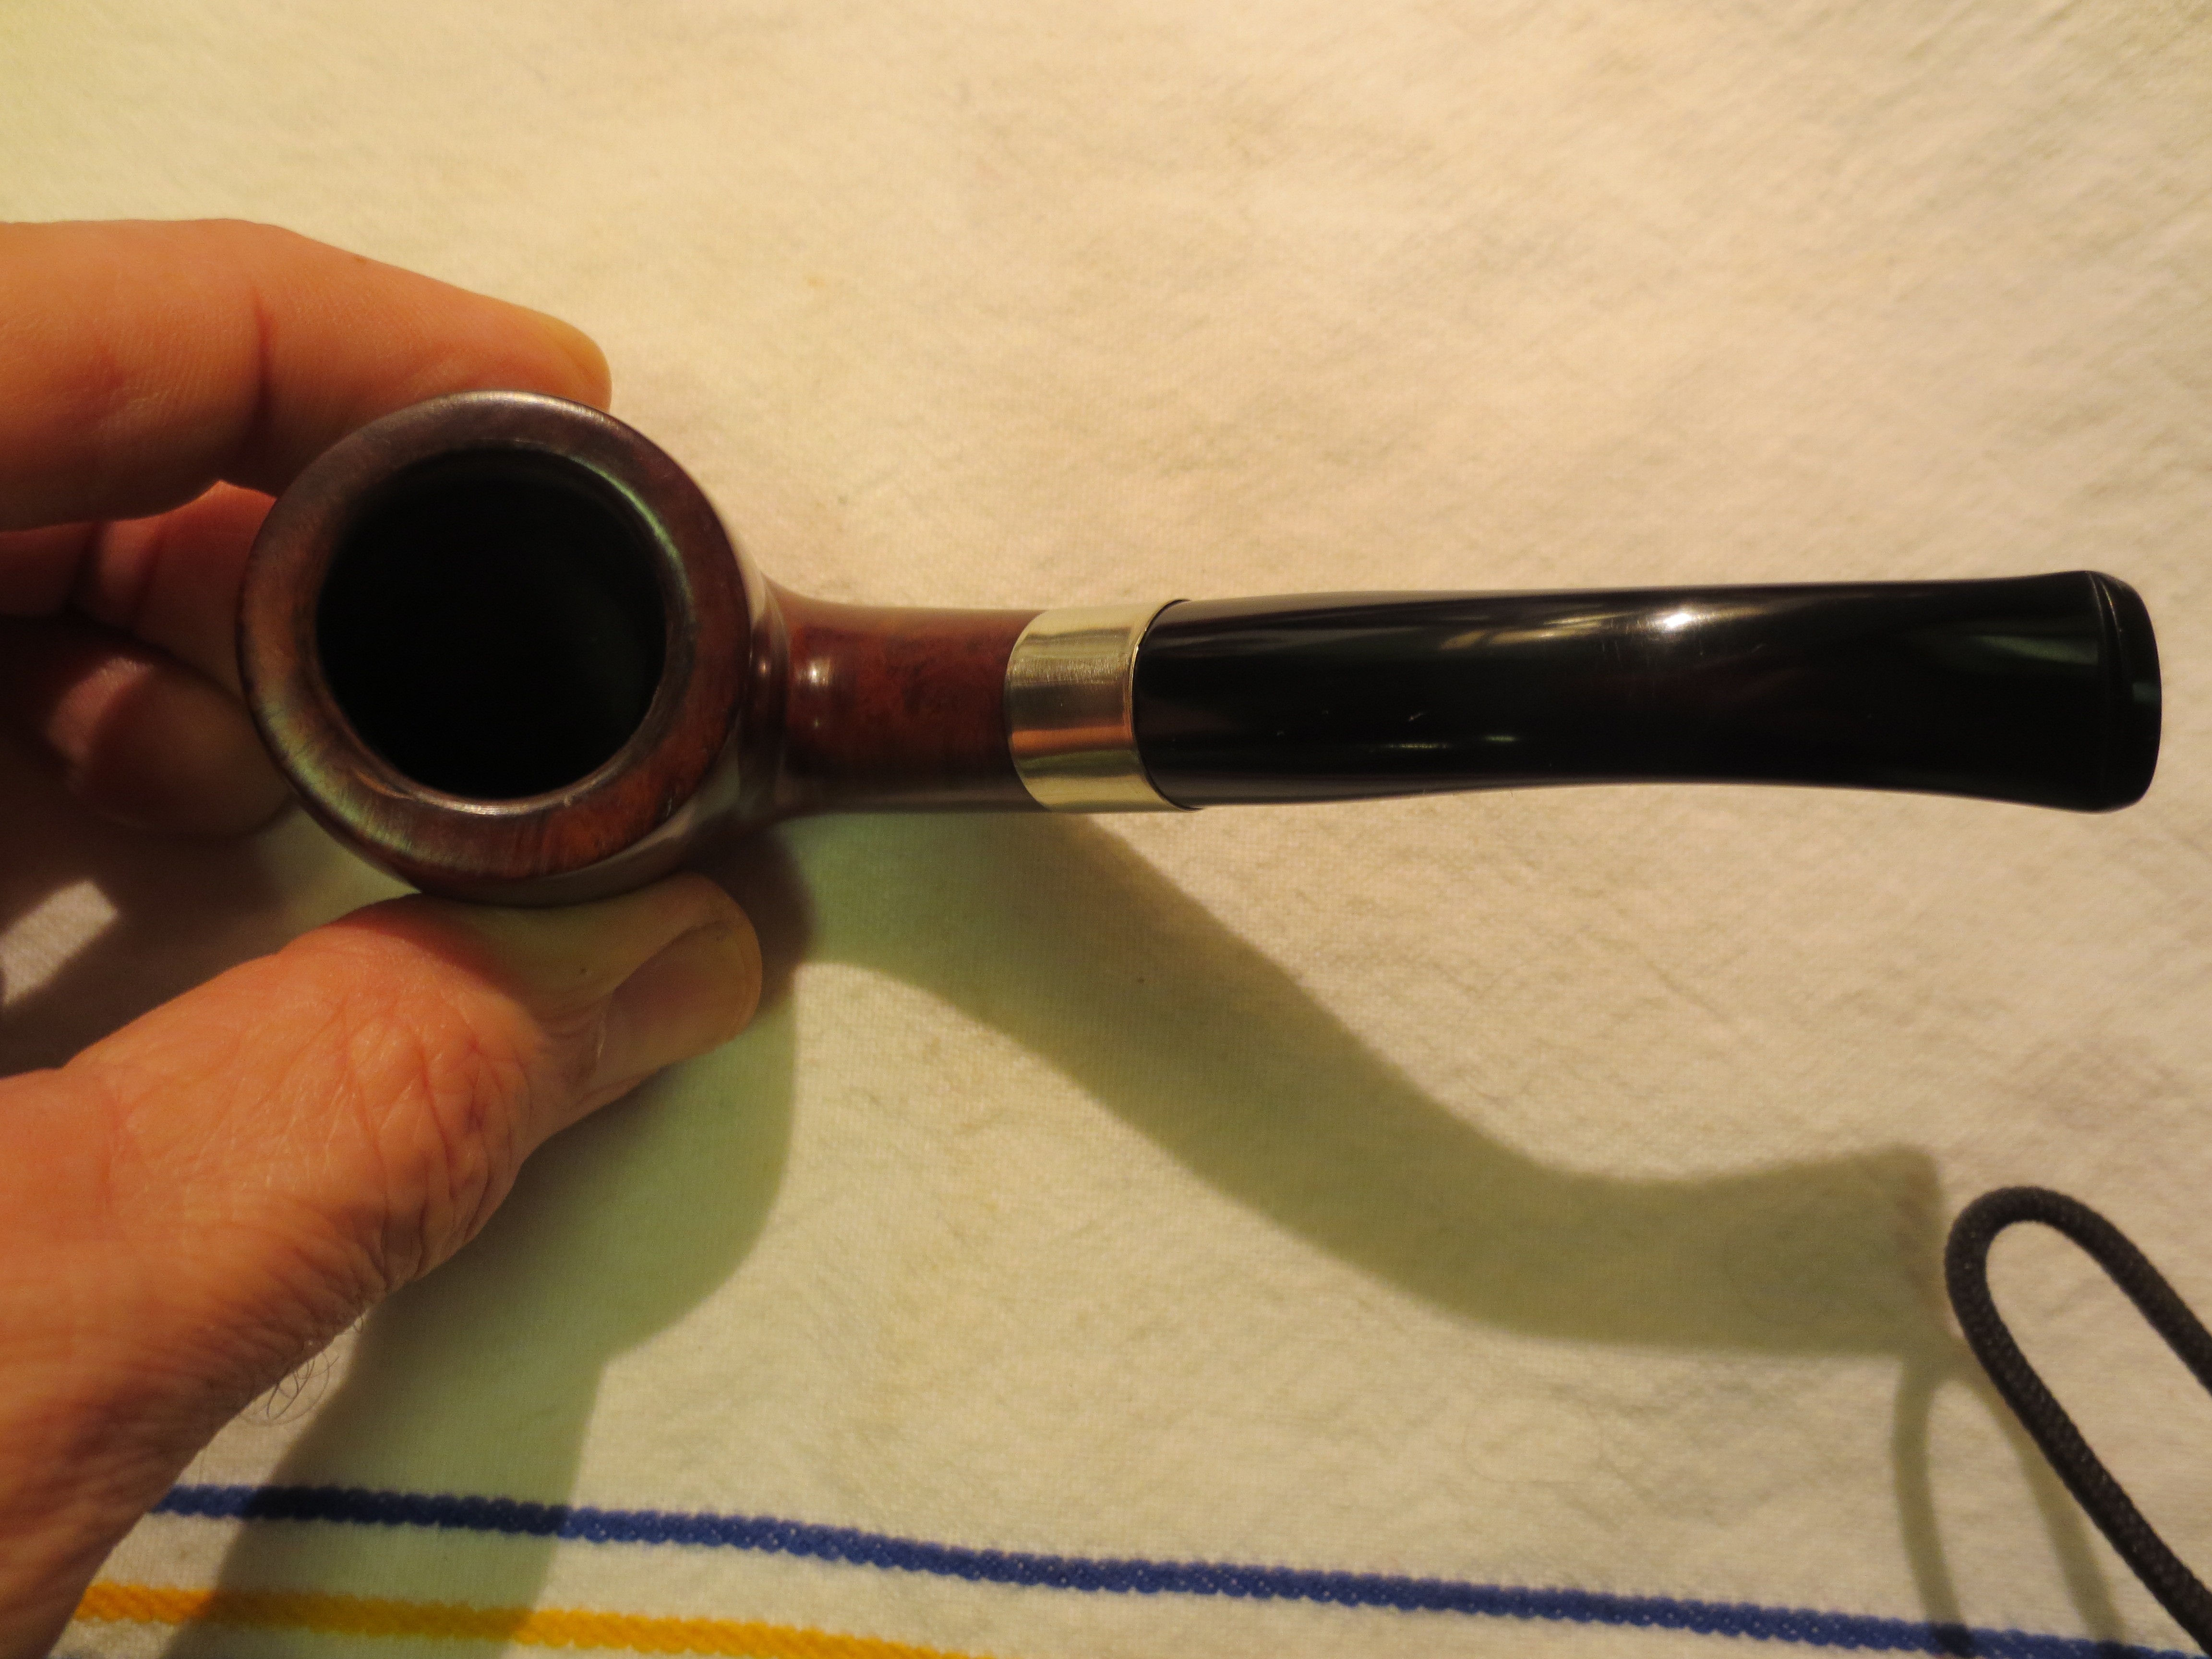
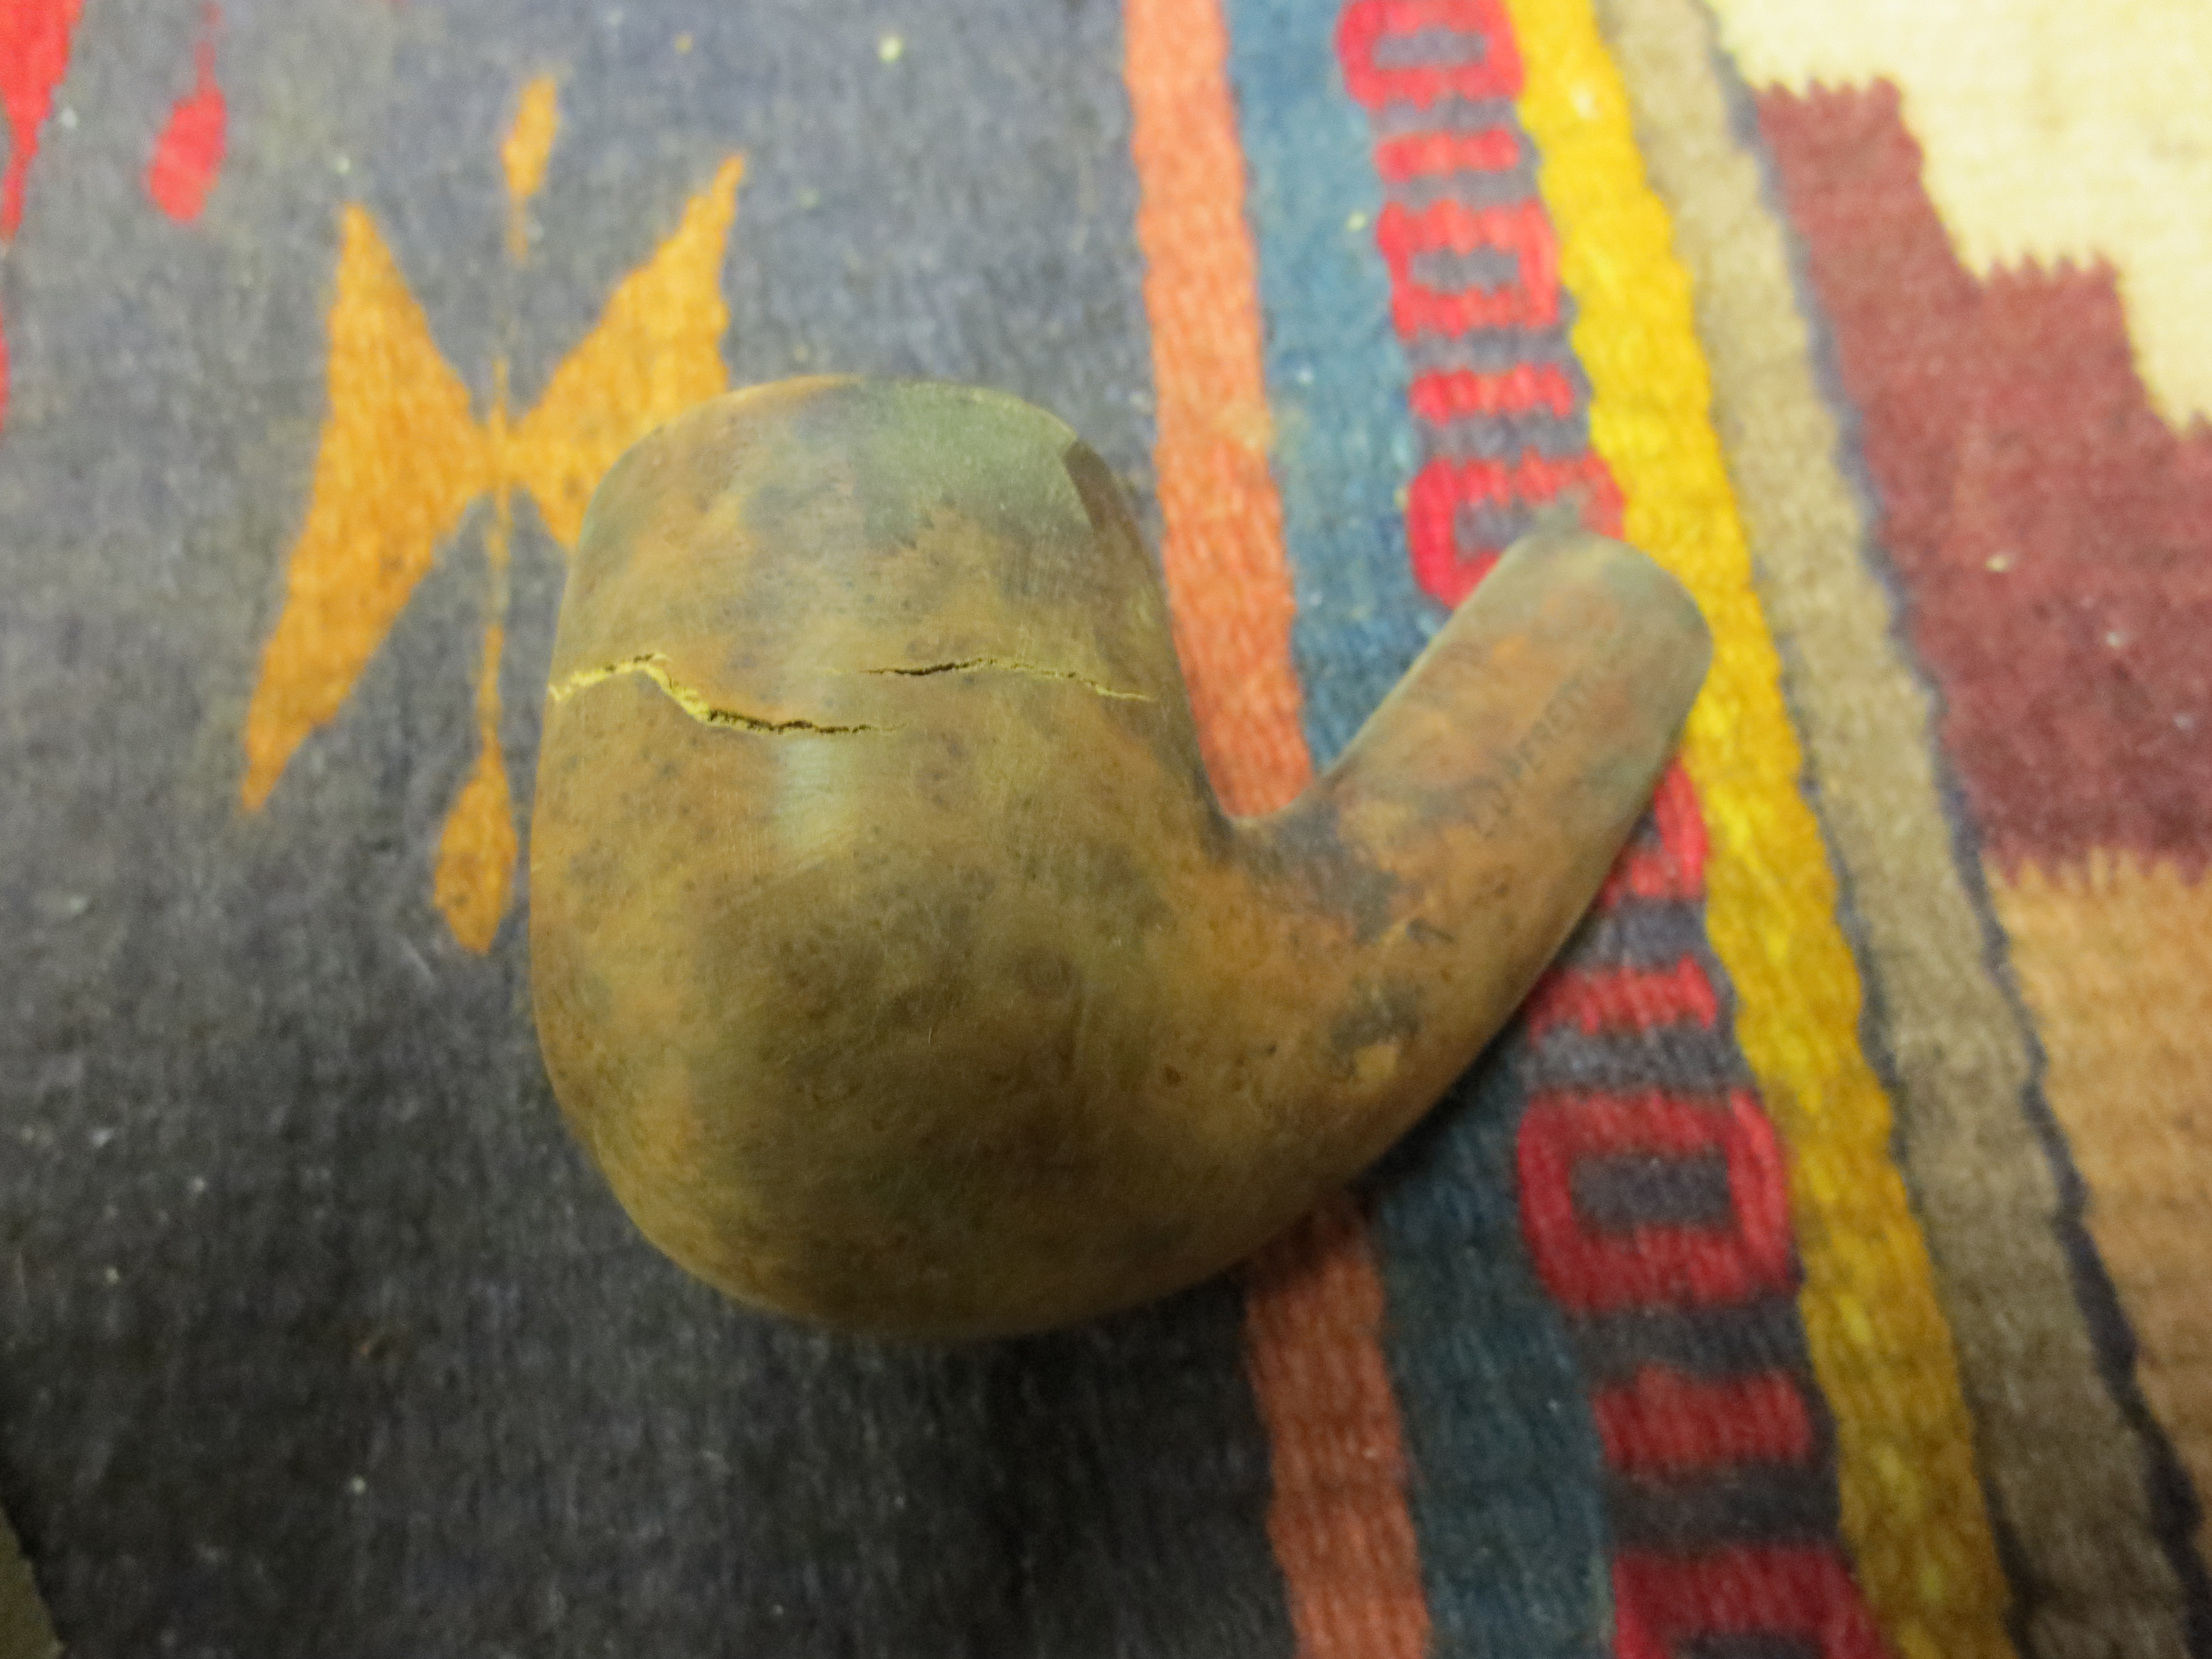
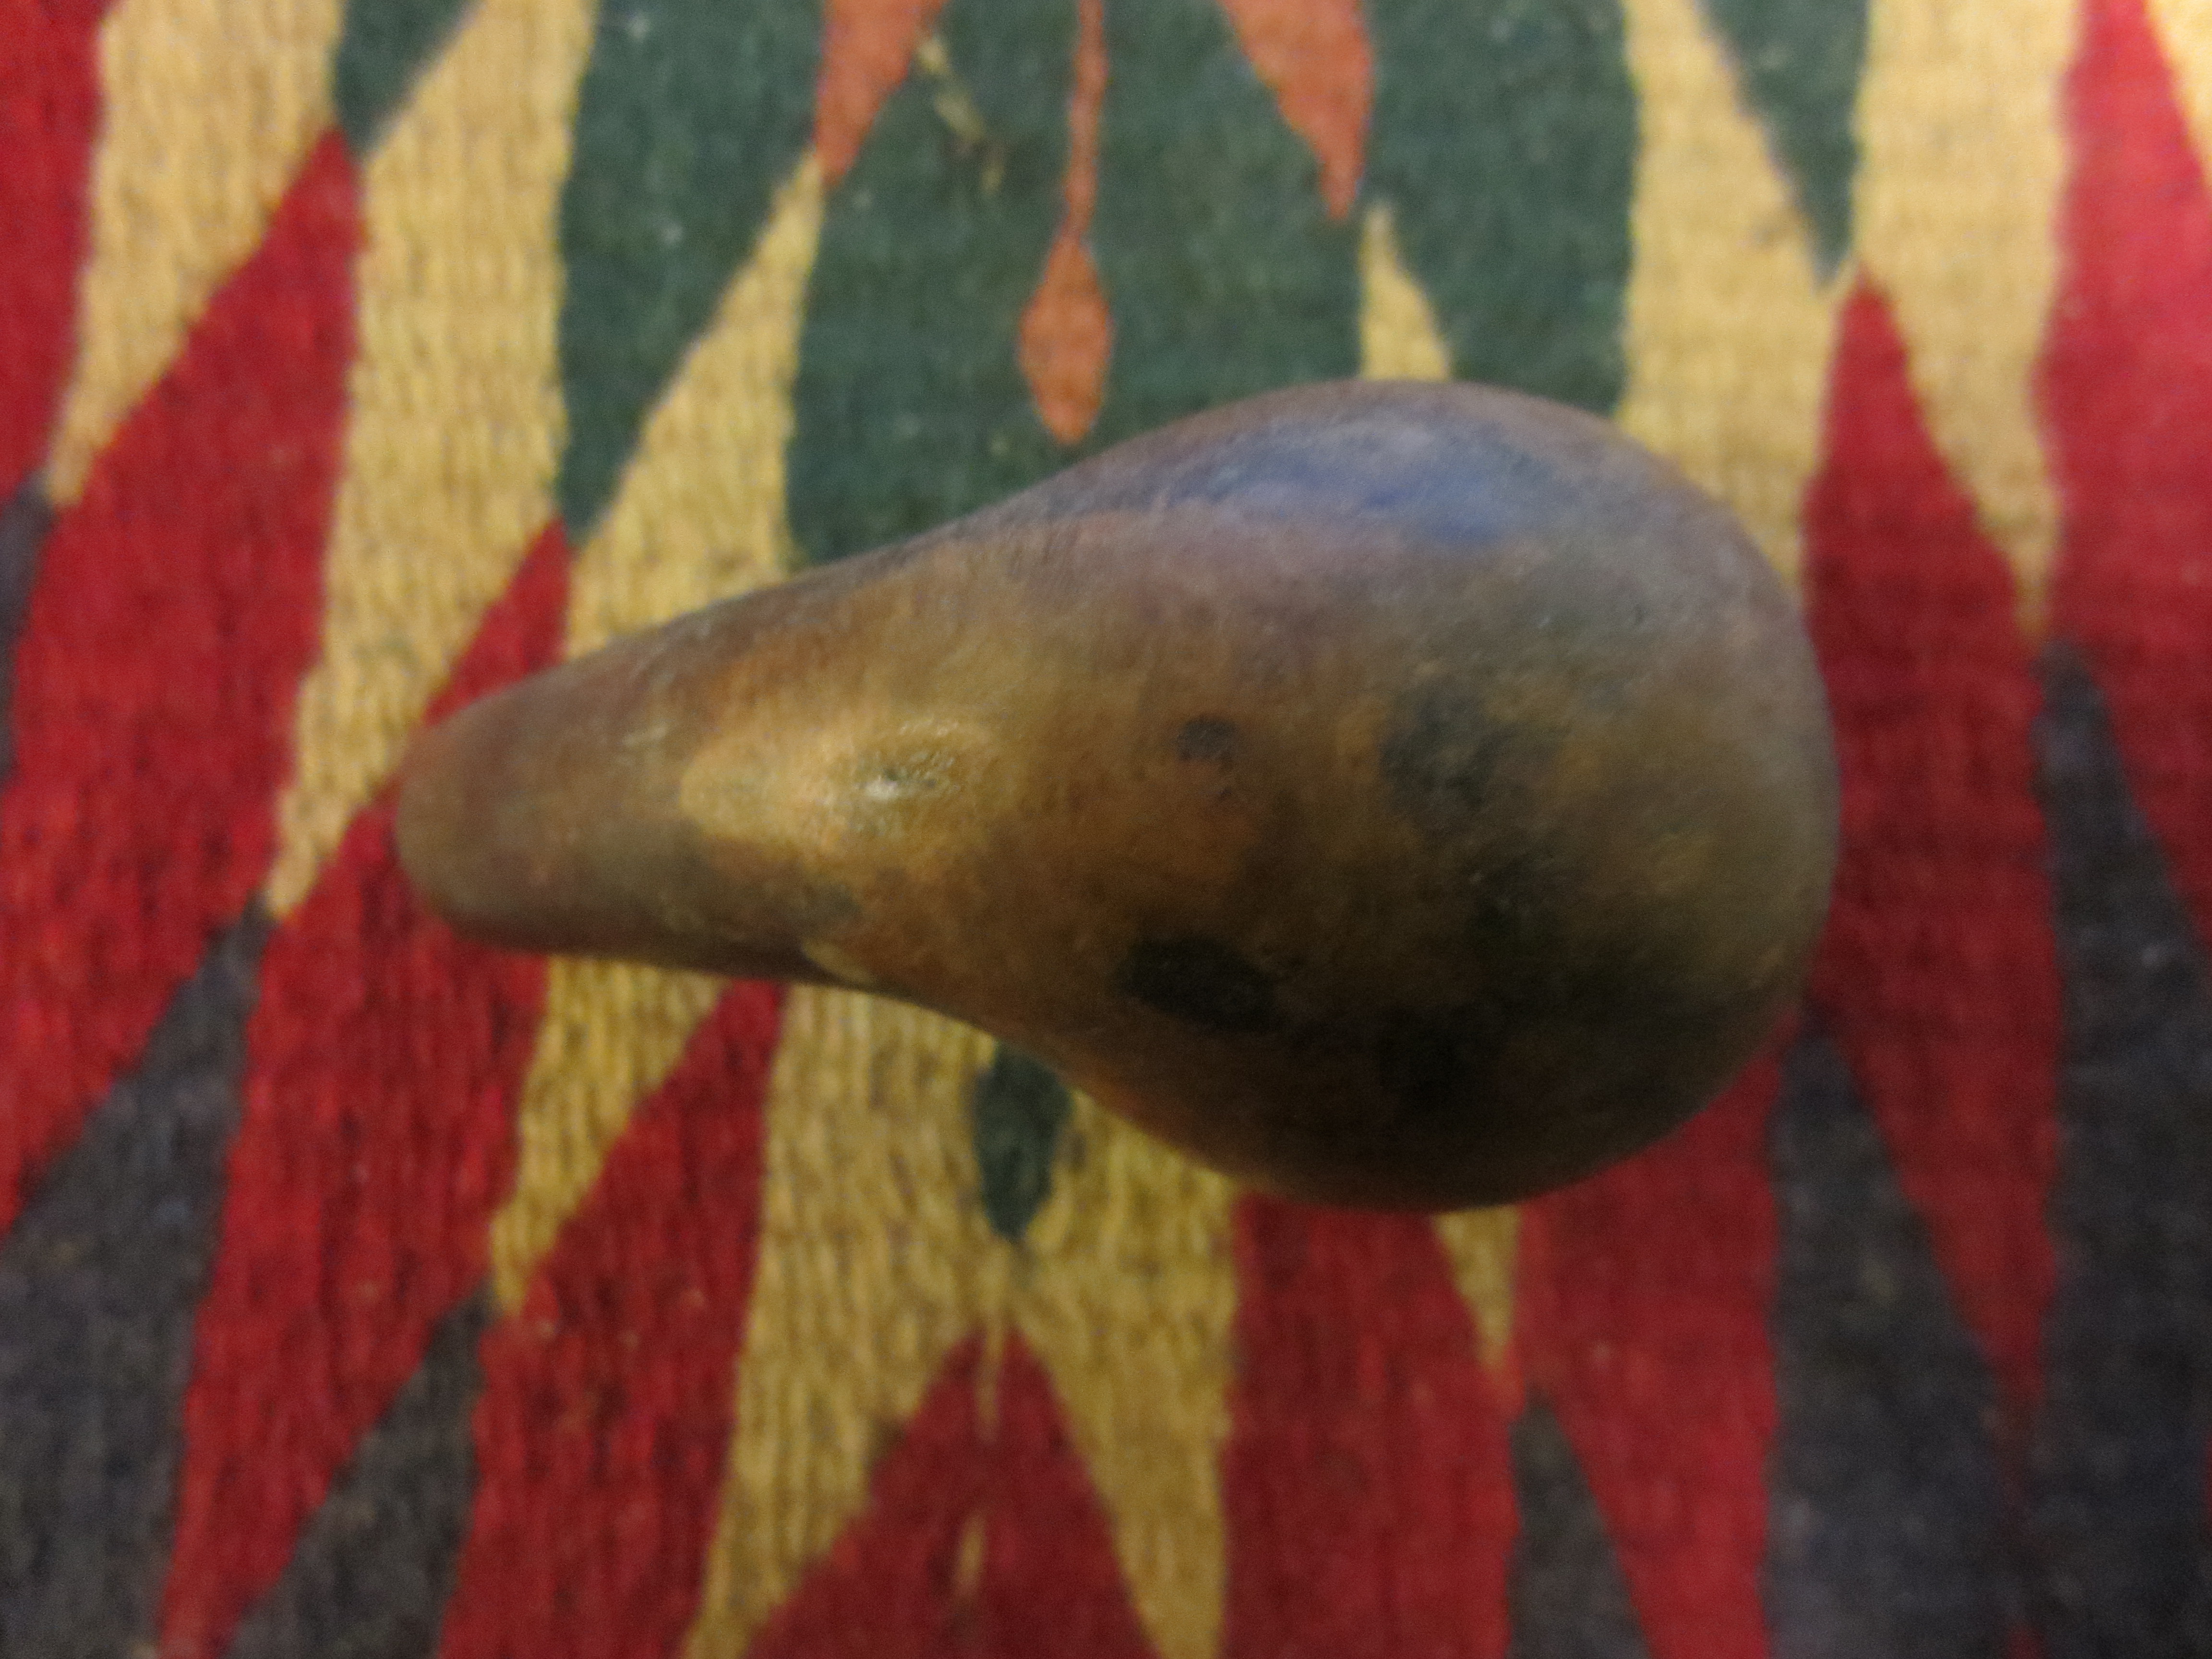
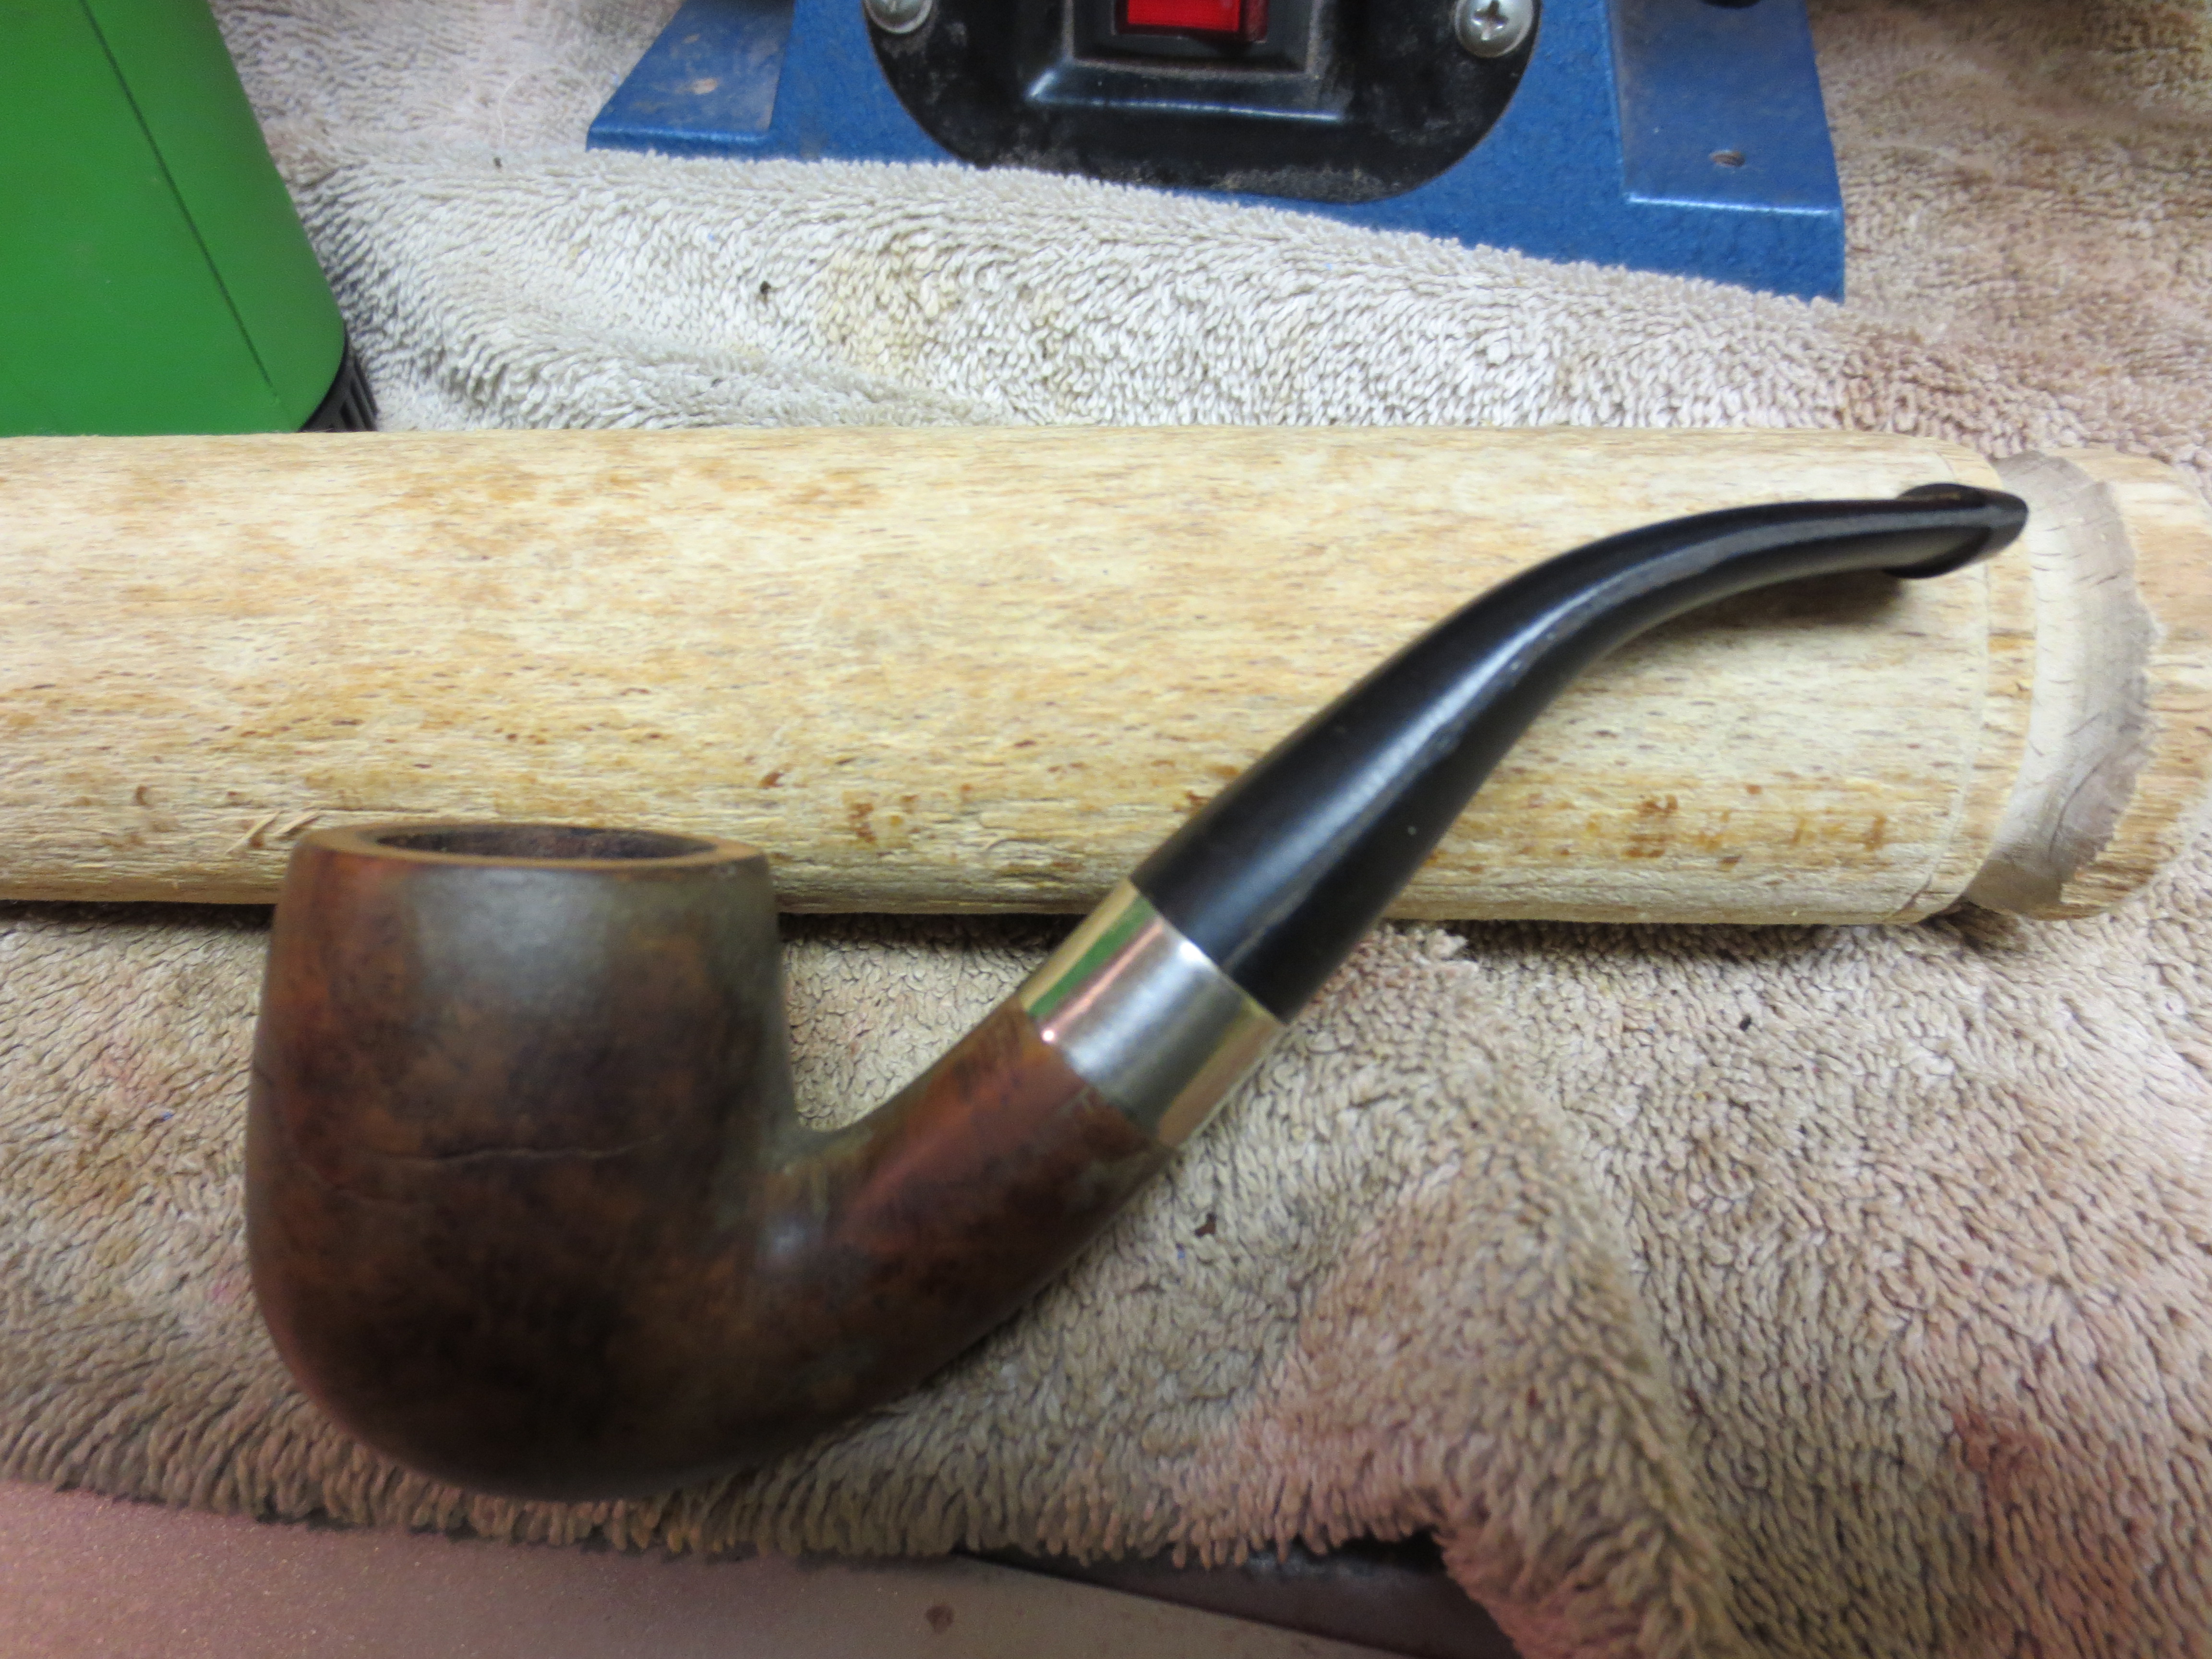
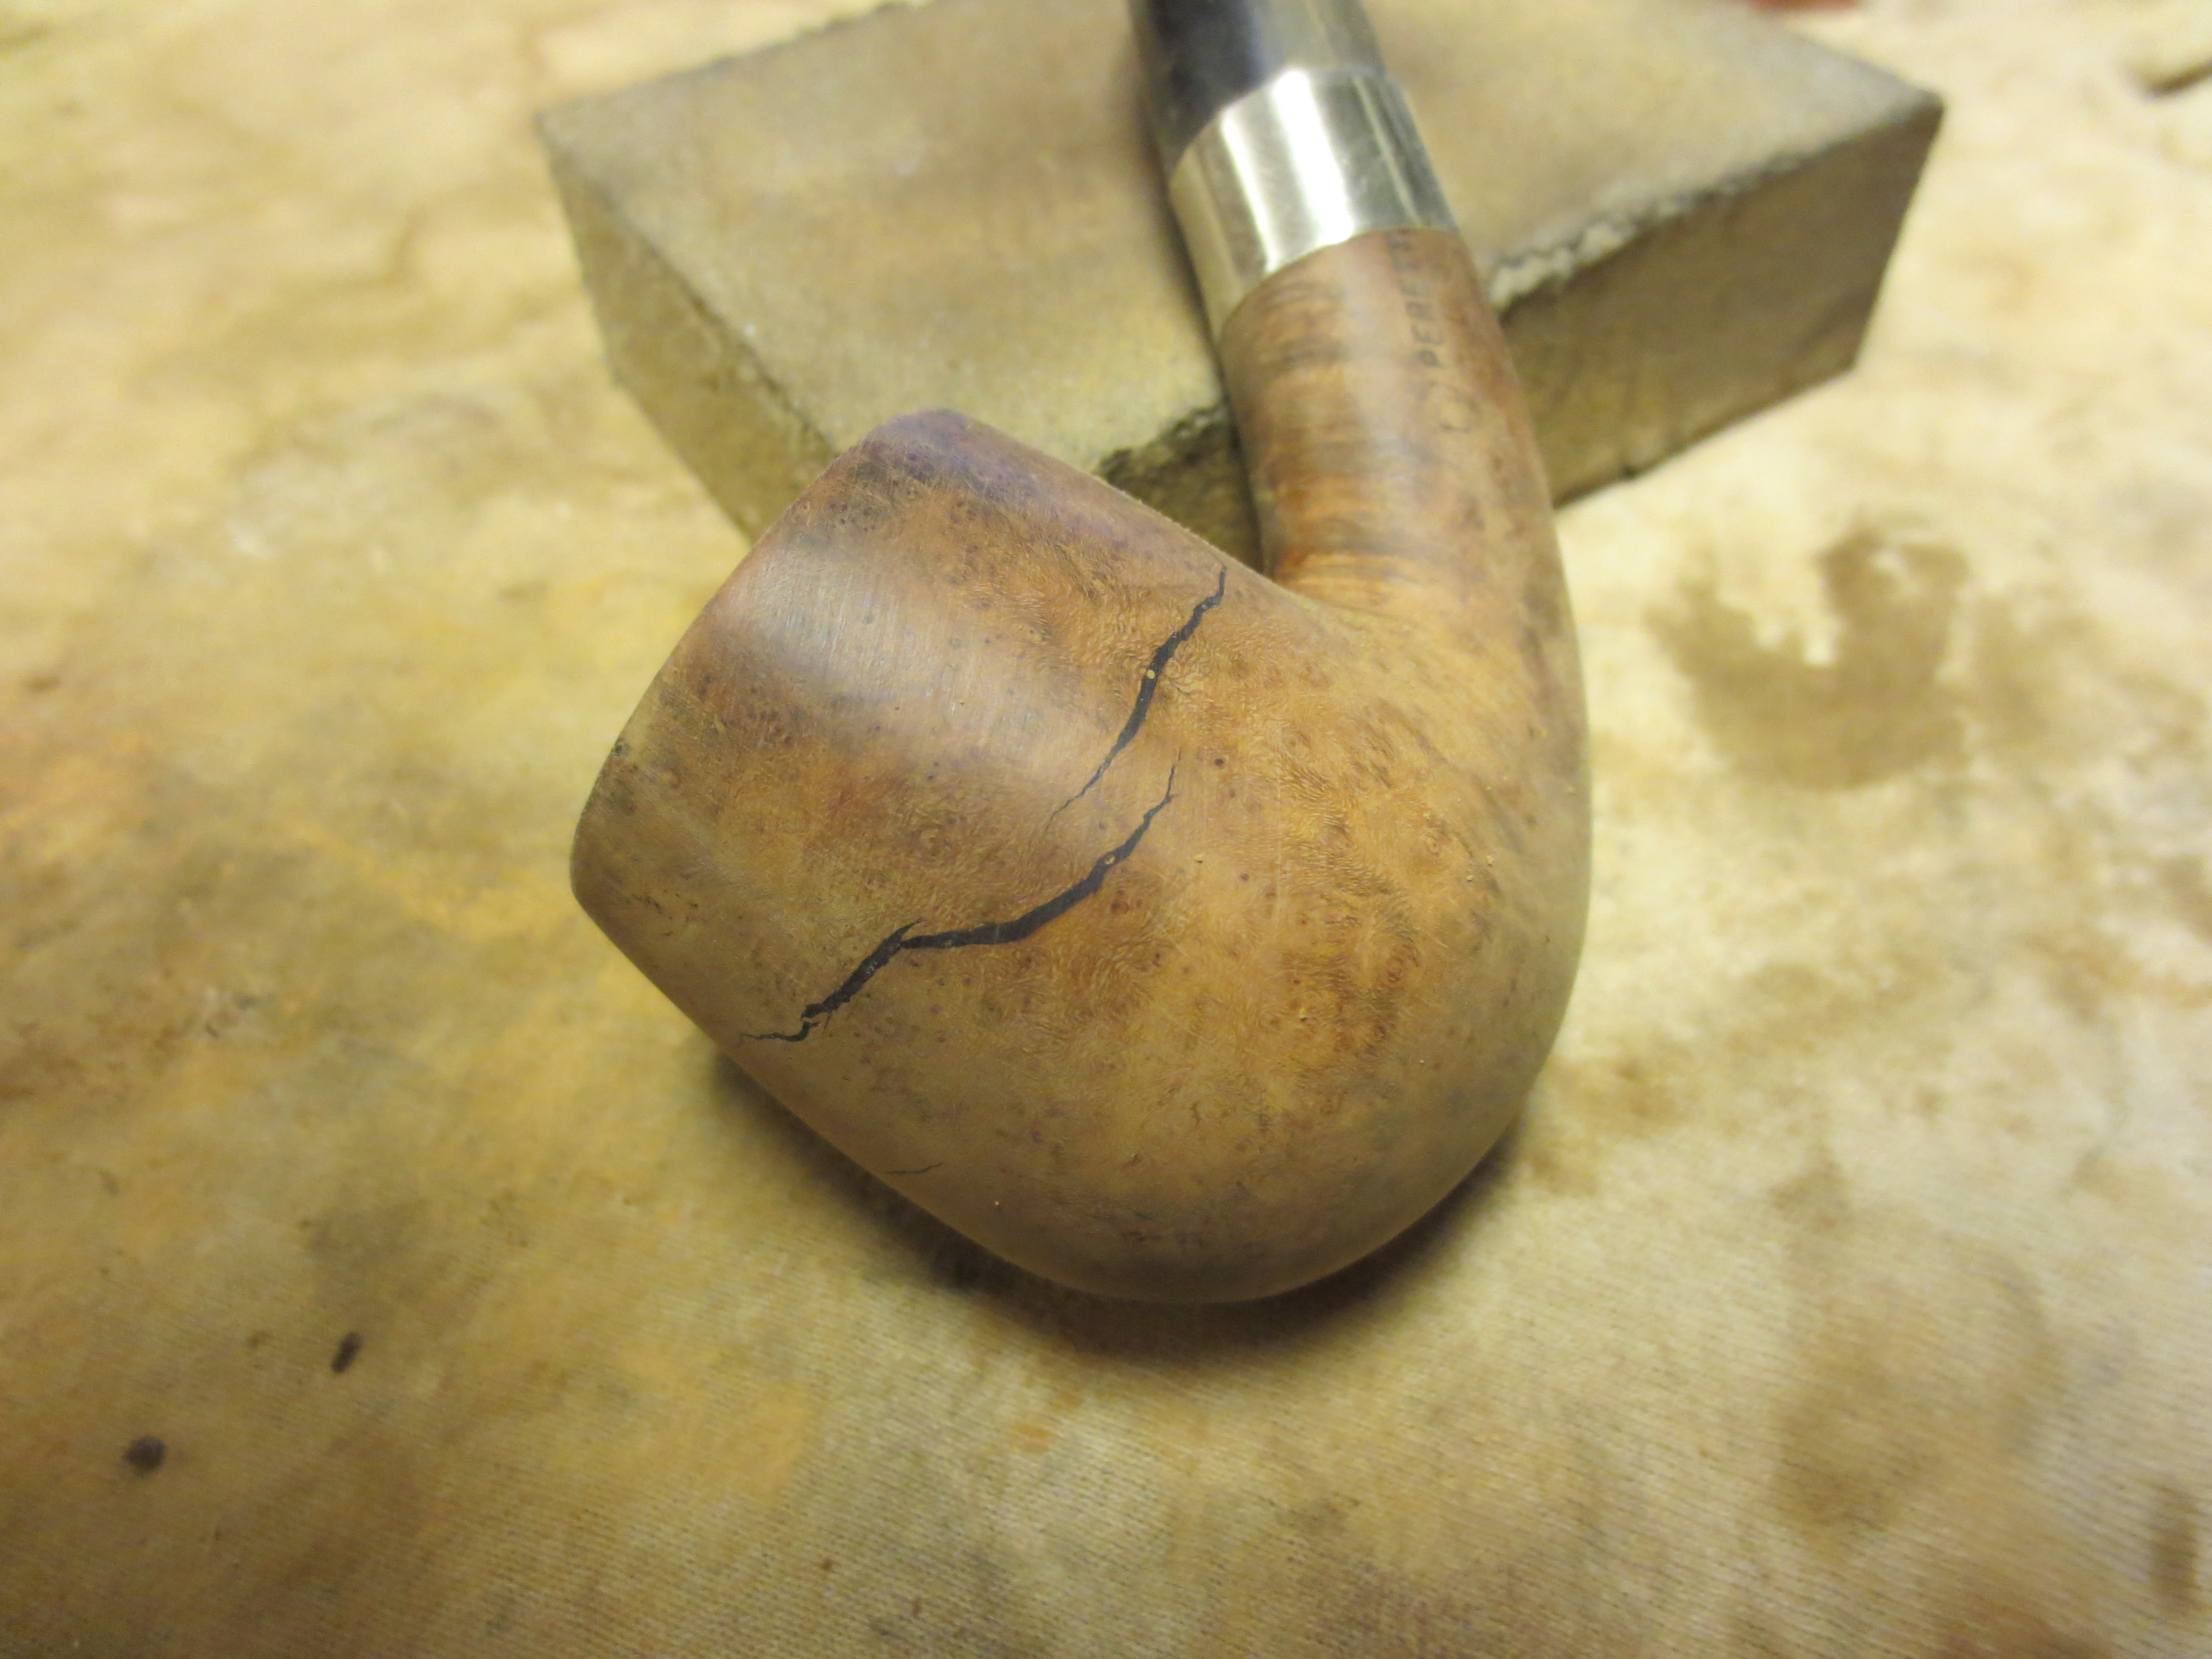
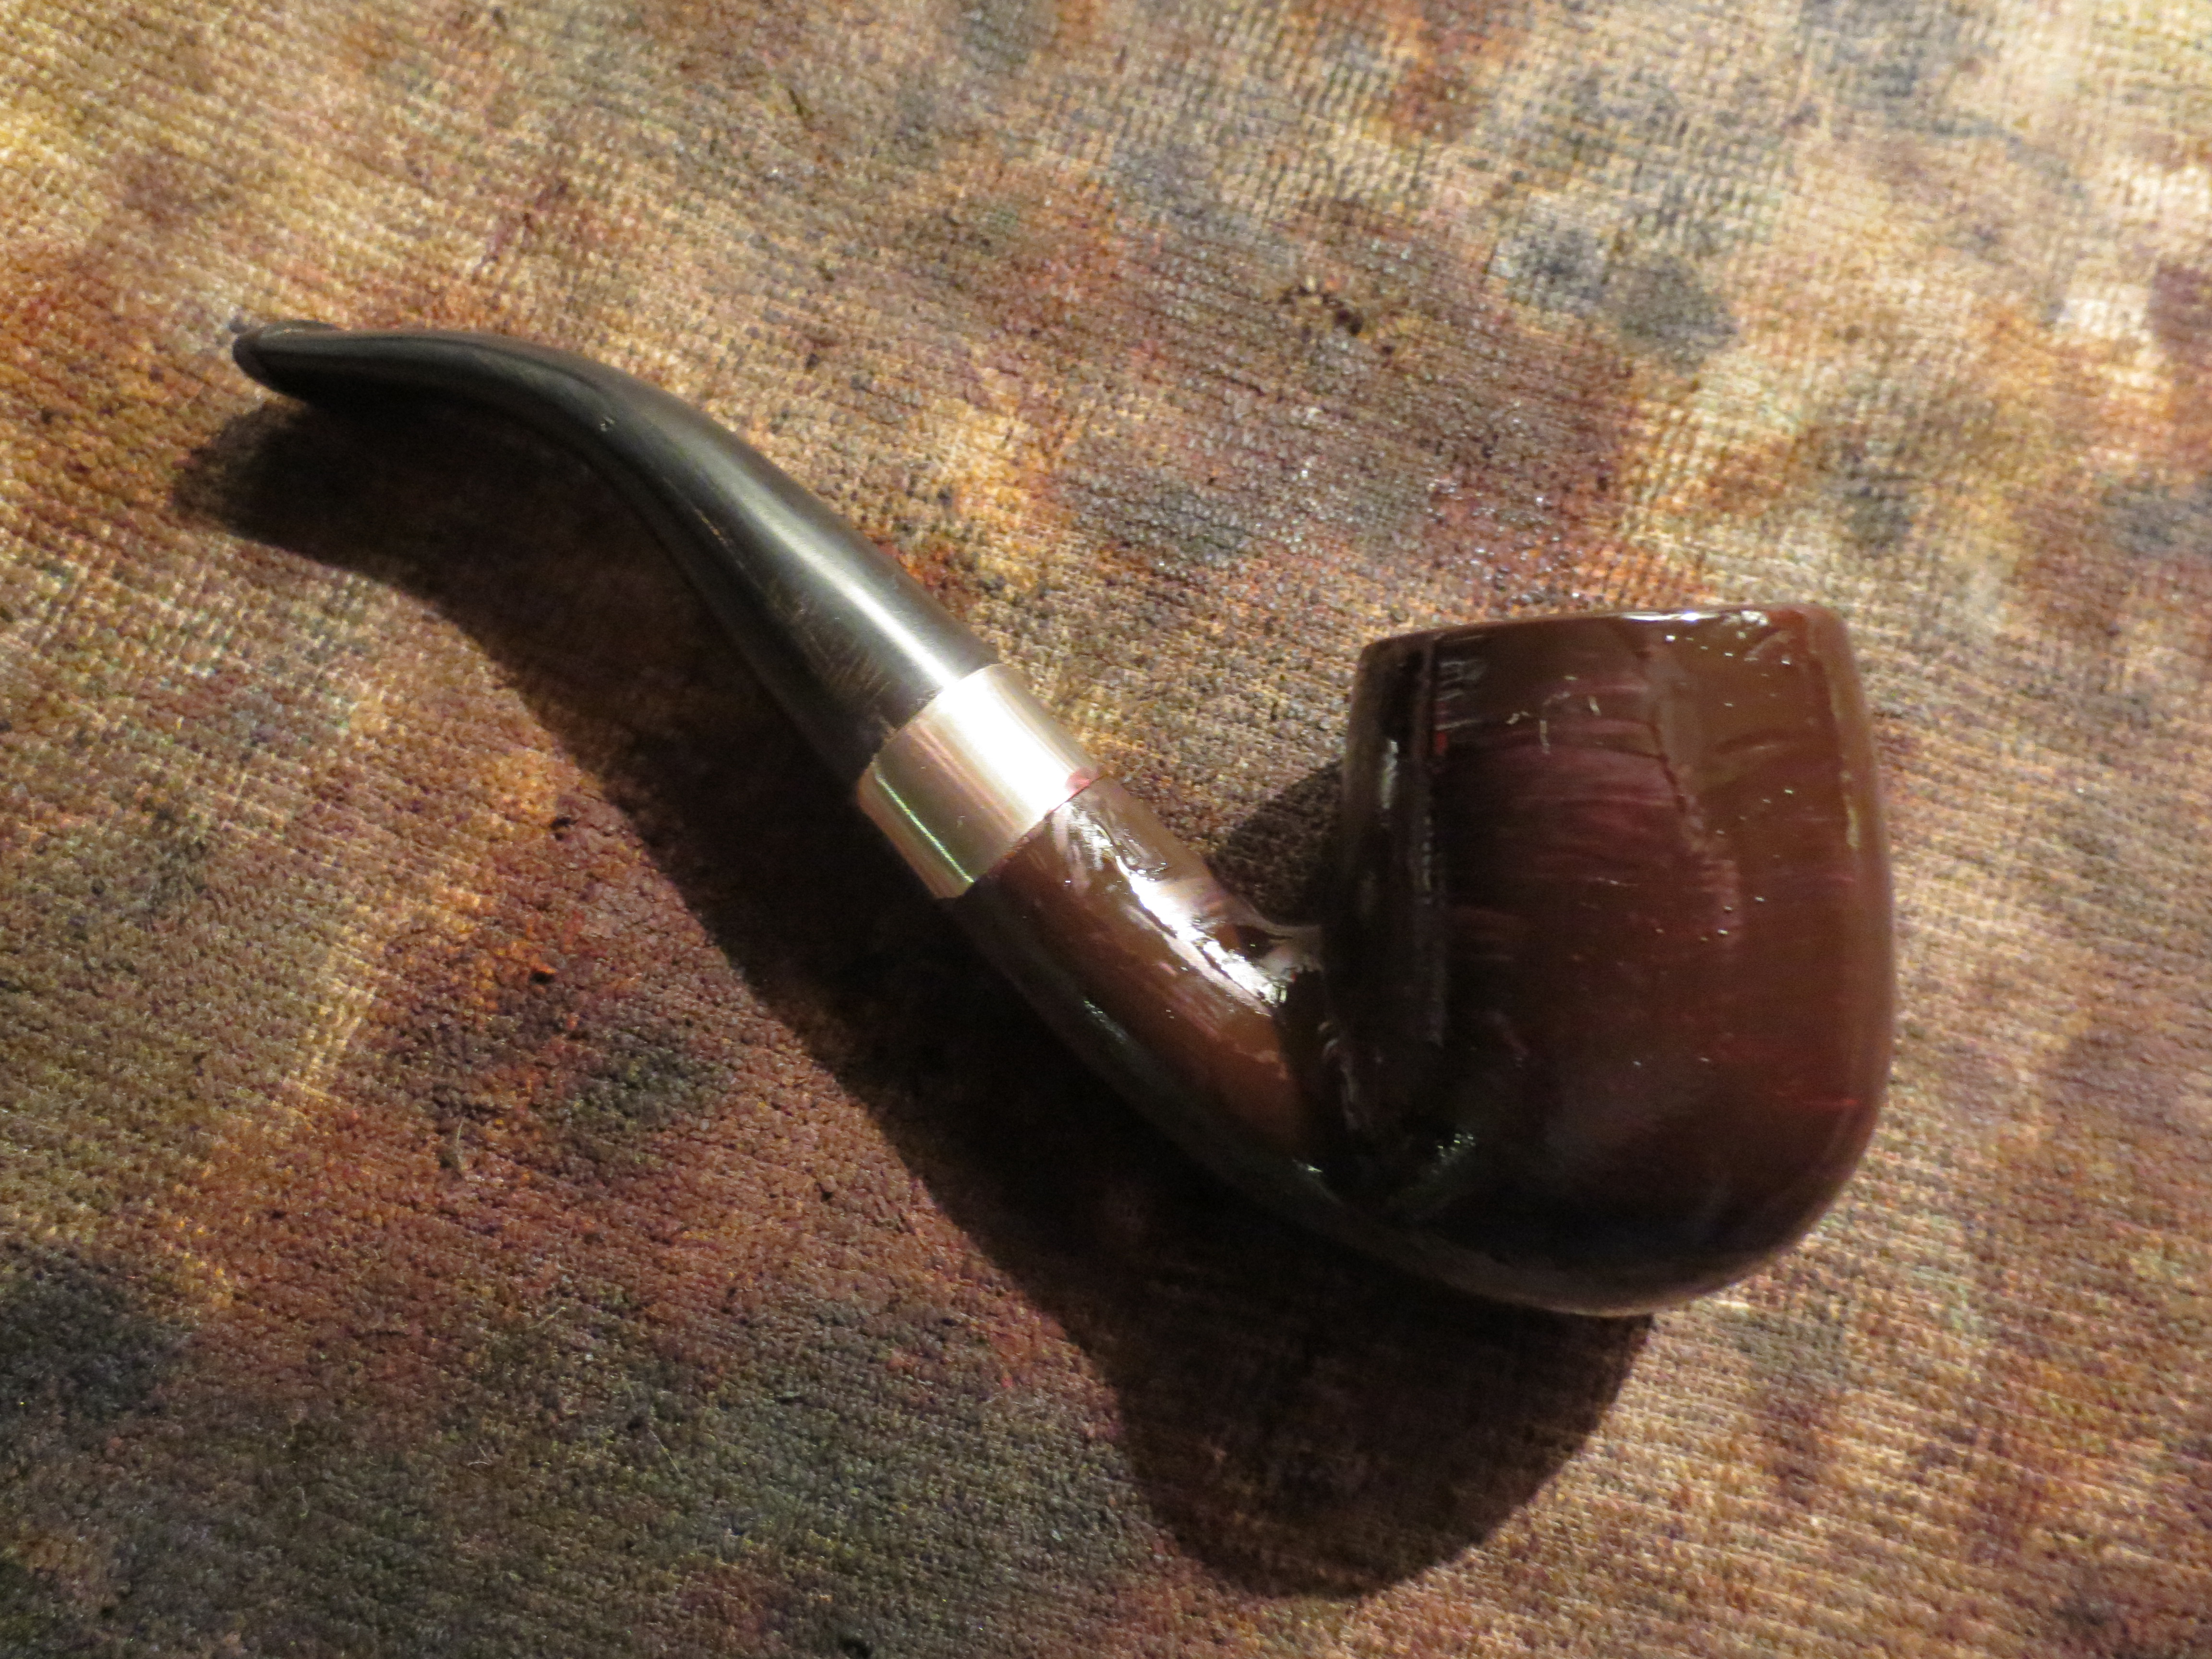
When I removed the bowl from the bath it was not in pieces but the cracks did open a bit wider on the side of the bowl. The finish and grime was gone and I could clearly see what I had to do if I was going to repair this bowl. The end of the shank had also been damage and chipped so I decided to band it to give me a smooth edge for the new stem I was going to turn for it. I used a nickel band, heated it with the heat gun and pressure fit it on the shank of the pipe. The one bonus in the process was that the grain on this pipe was actually quite nice. The next three photos show the dried and banded bowl and shank. There was still a lot of sanding that would need to be done to prepare the bowl for the repairs and even more sanding once those were done.


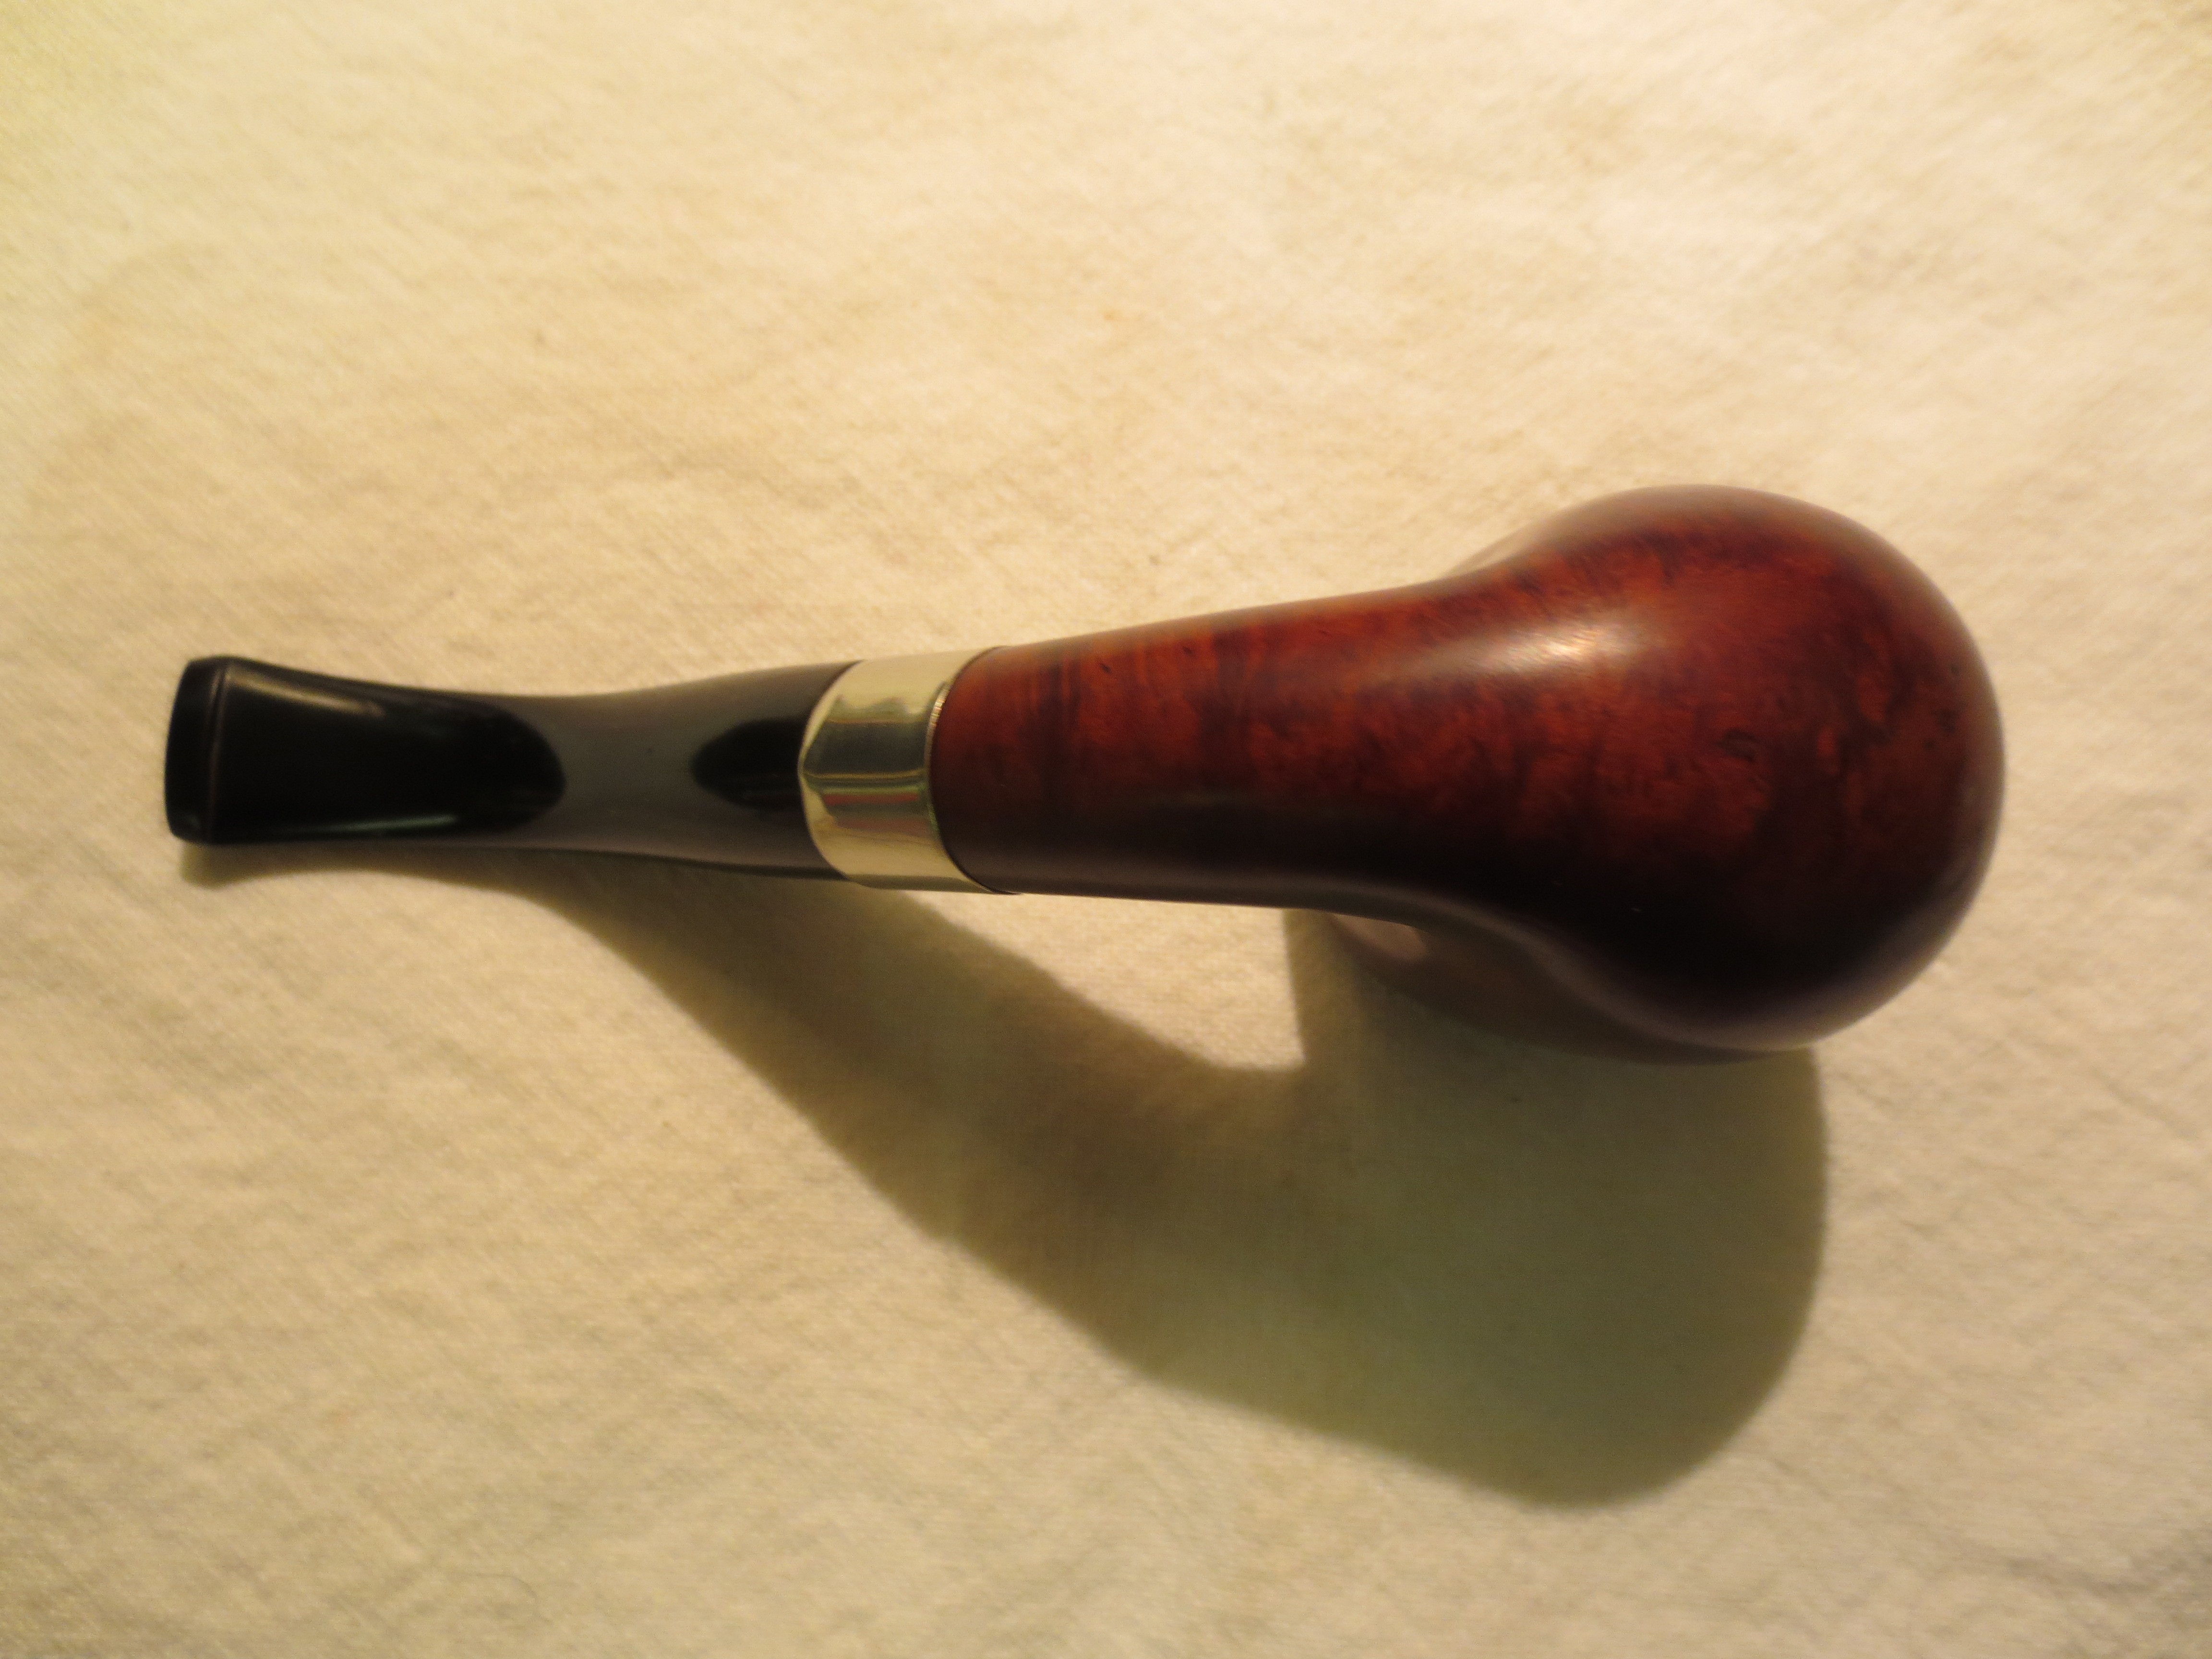
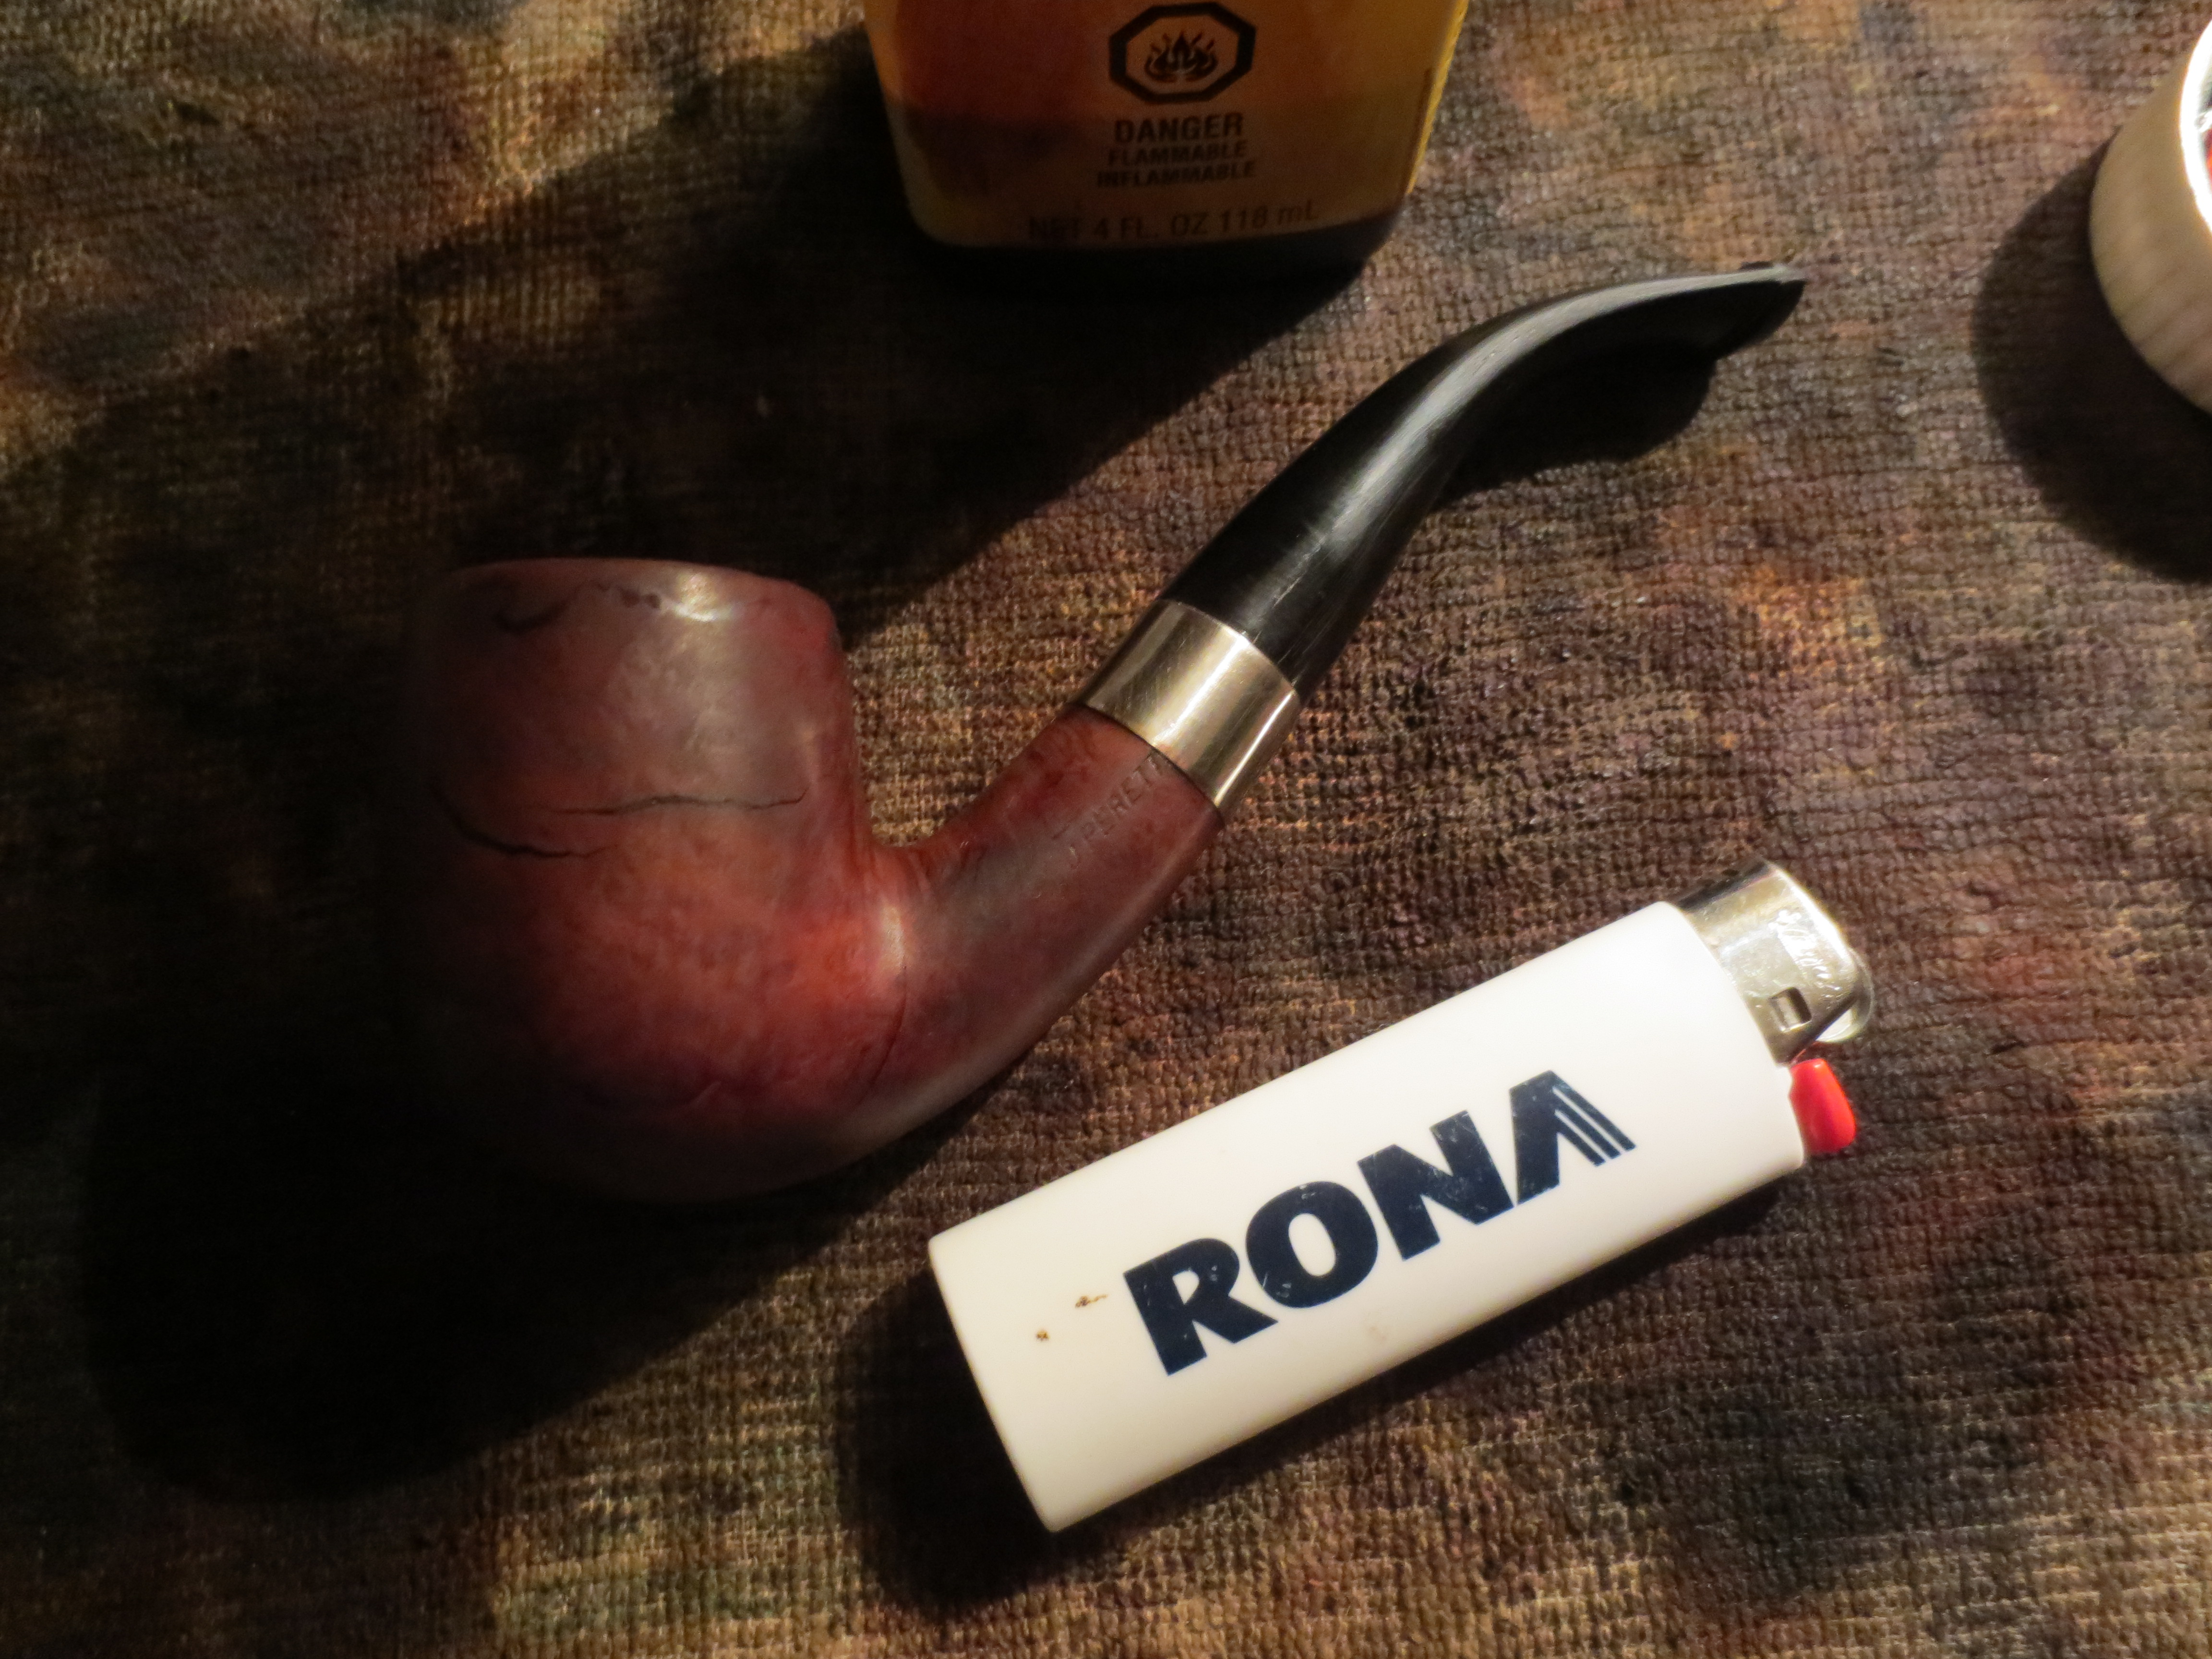
I selected a stem that had the same diameter as the shank and turned the tenon on the Pimo Tenon Tool. I finished the fit by hand with a little help from the sanding drum on the Dremel. Once I had a good fit I set up the heat gun and heated the stem to bend it to match the bend of the bowl and bring the tip even with the top of the bowl. The next three photos show the heating and bending process as well as the finished look of the pipe with its new stem.

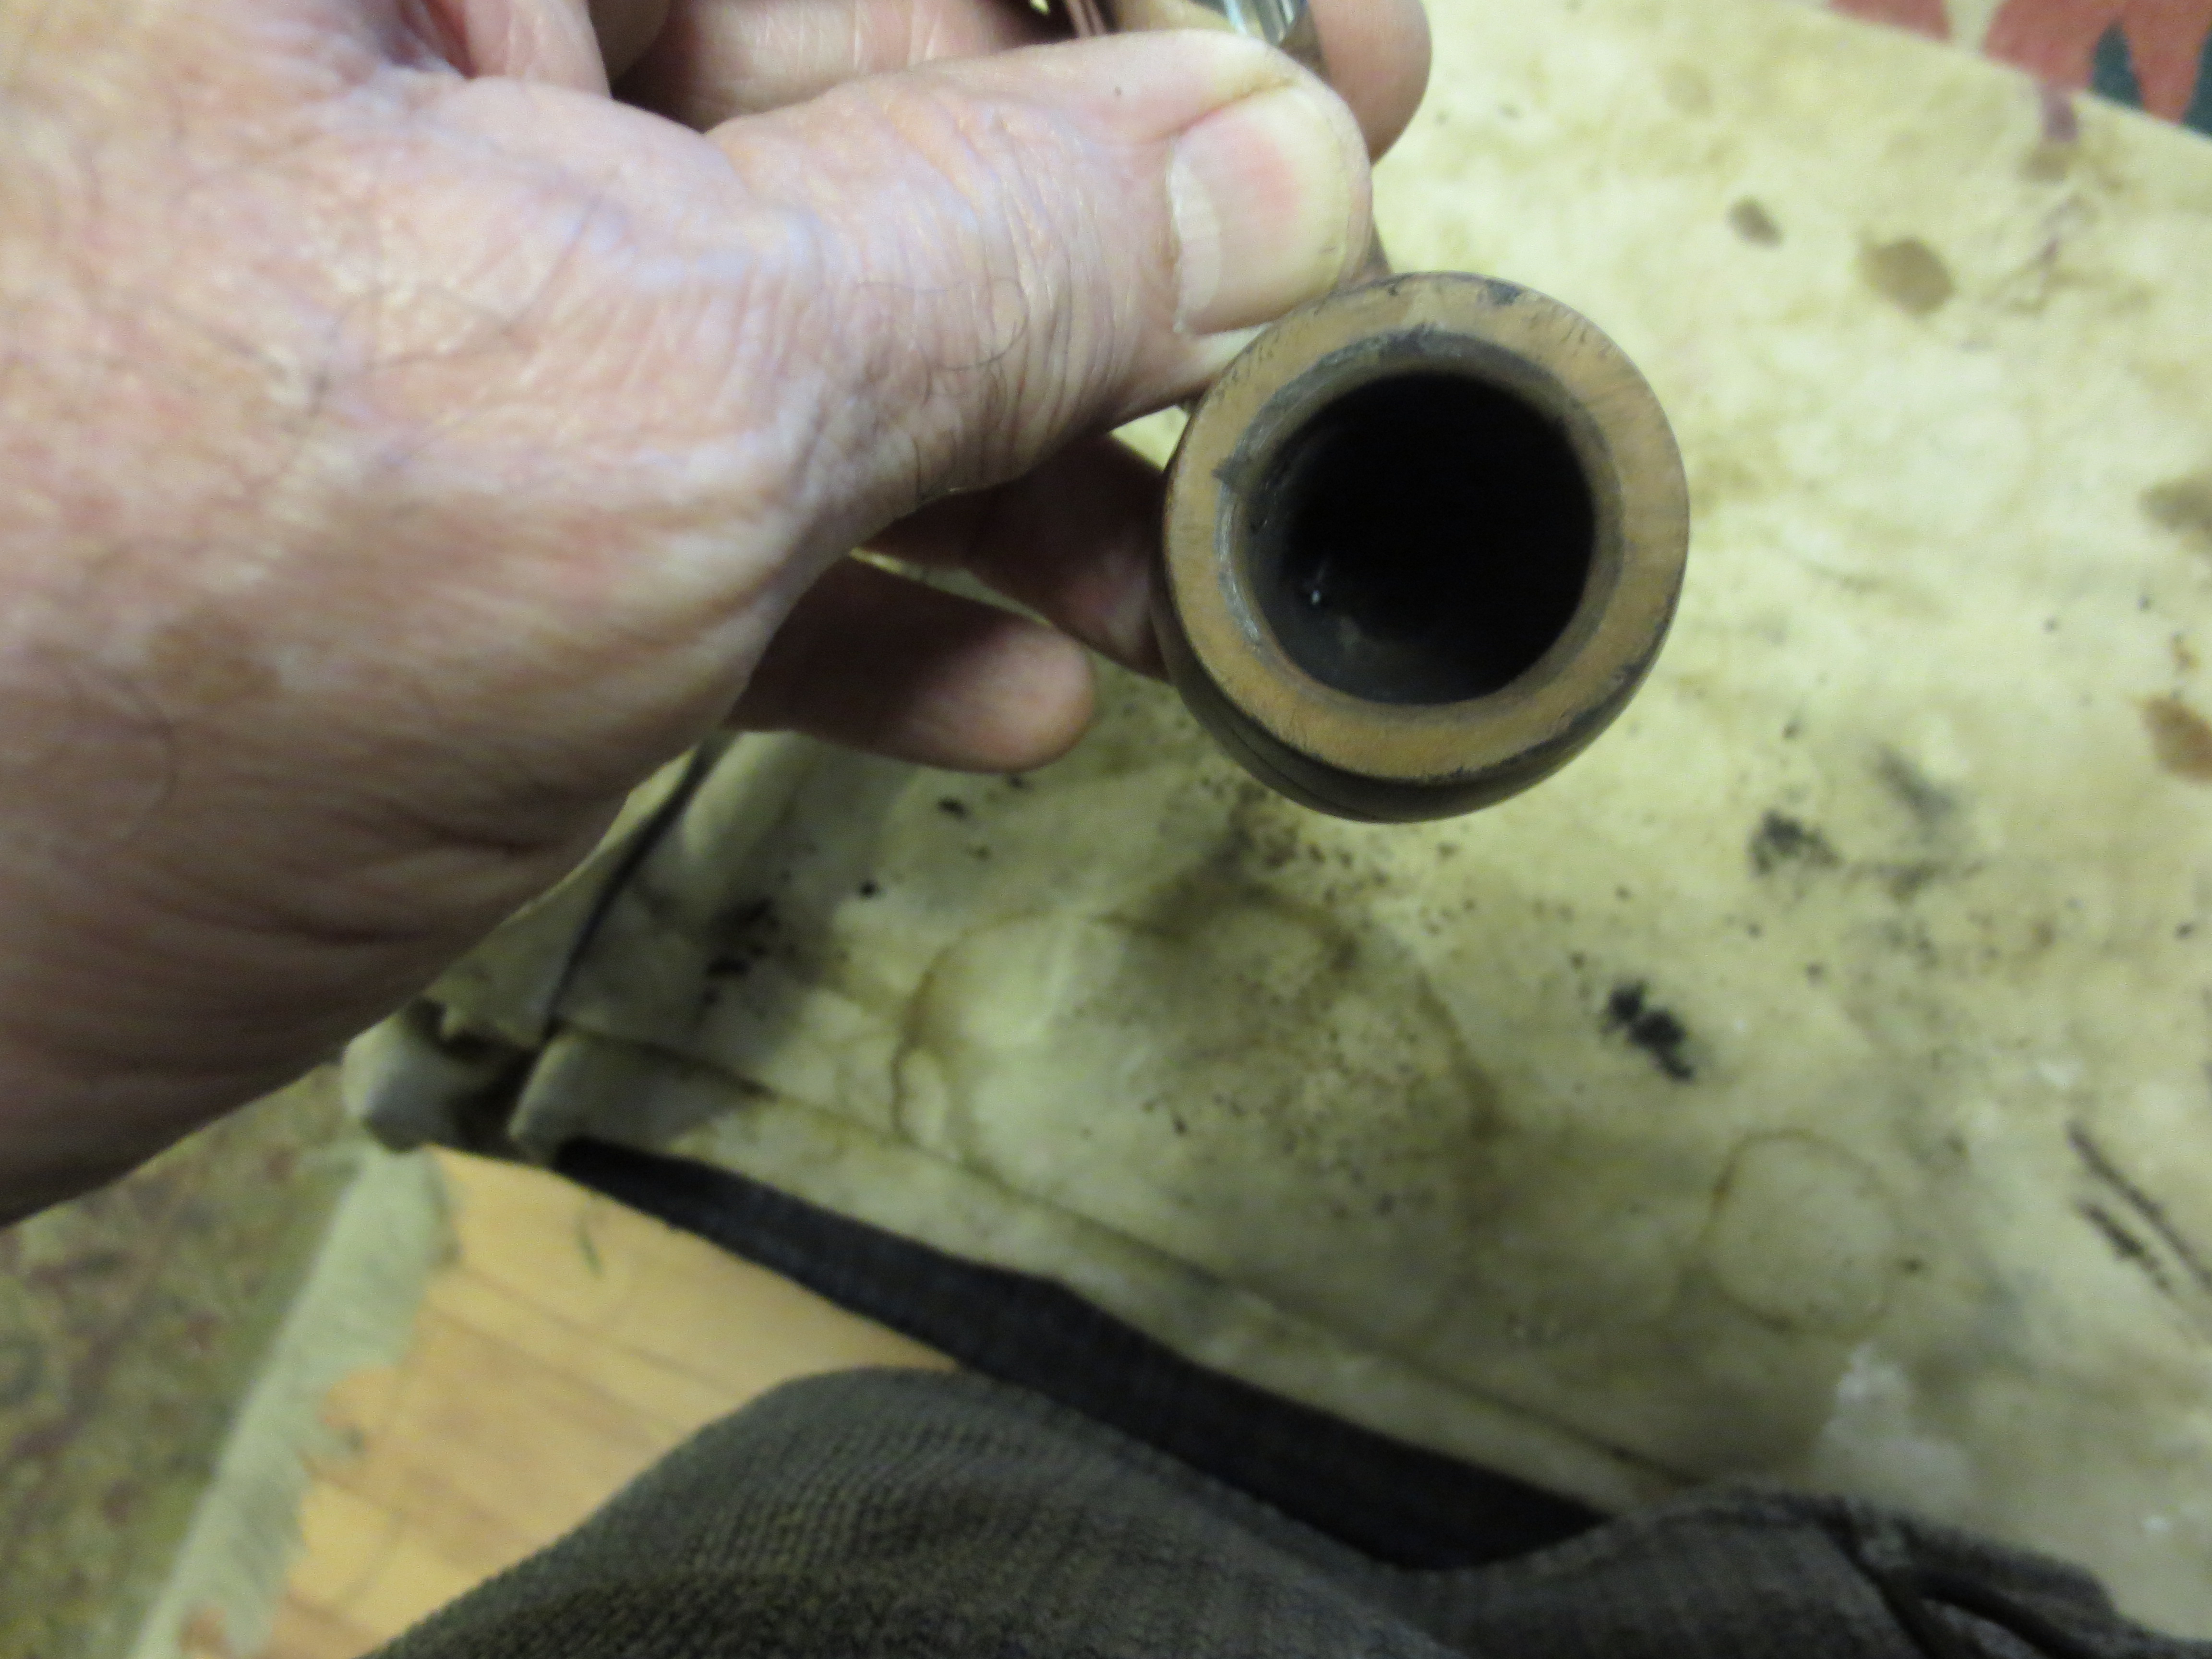
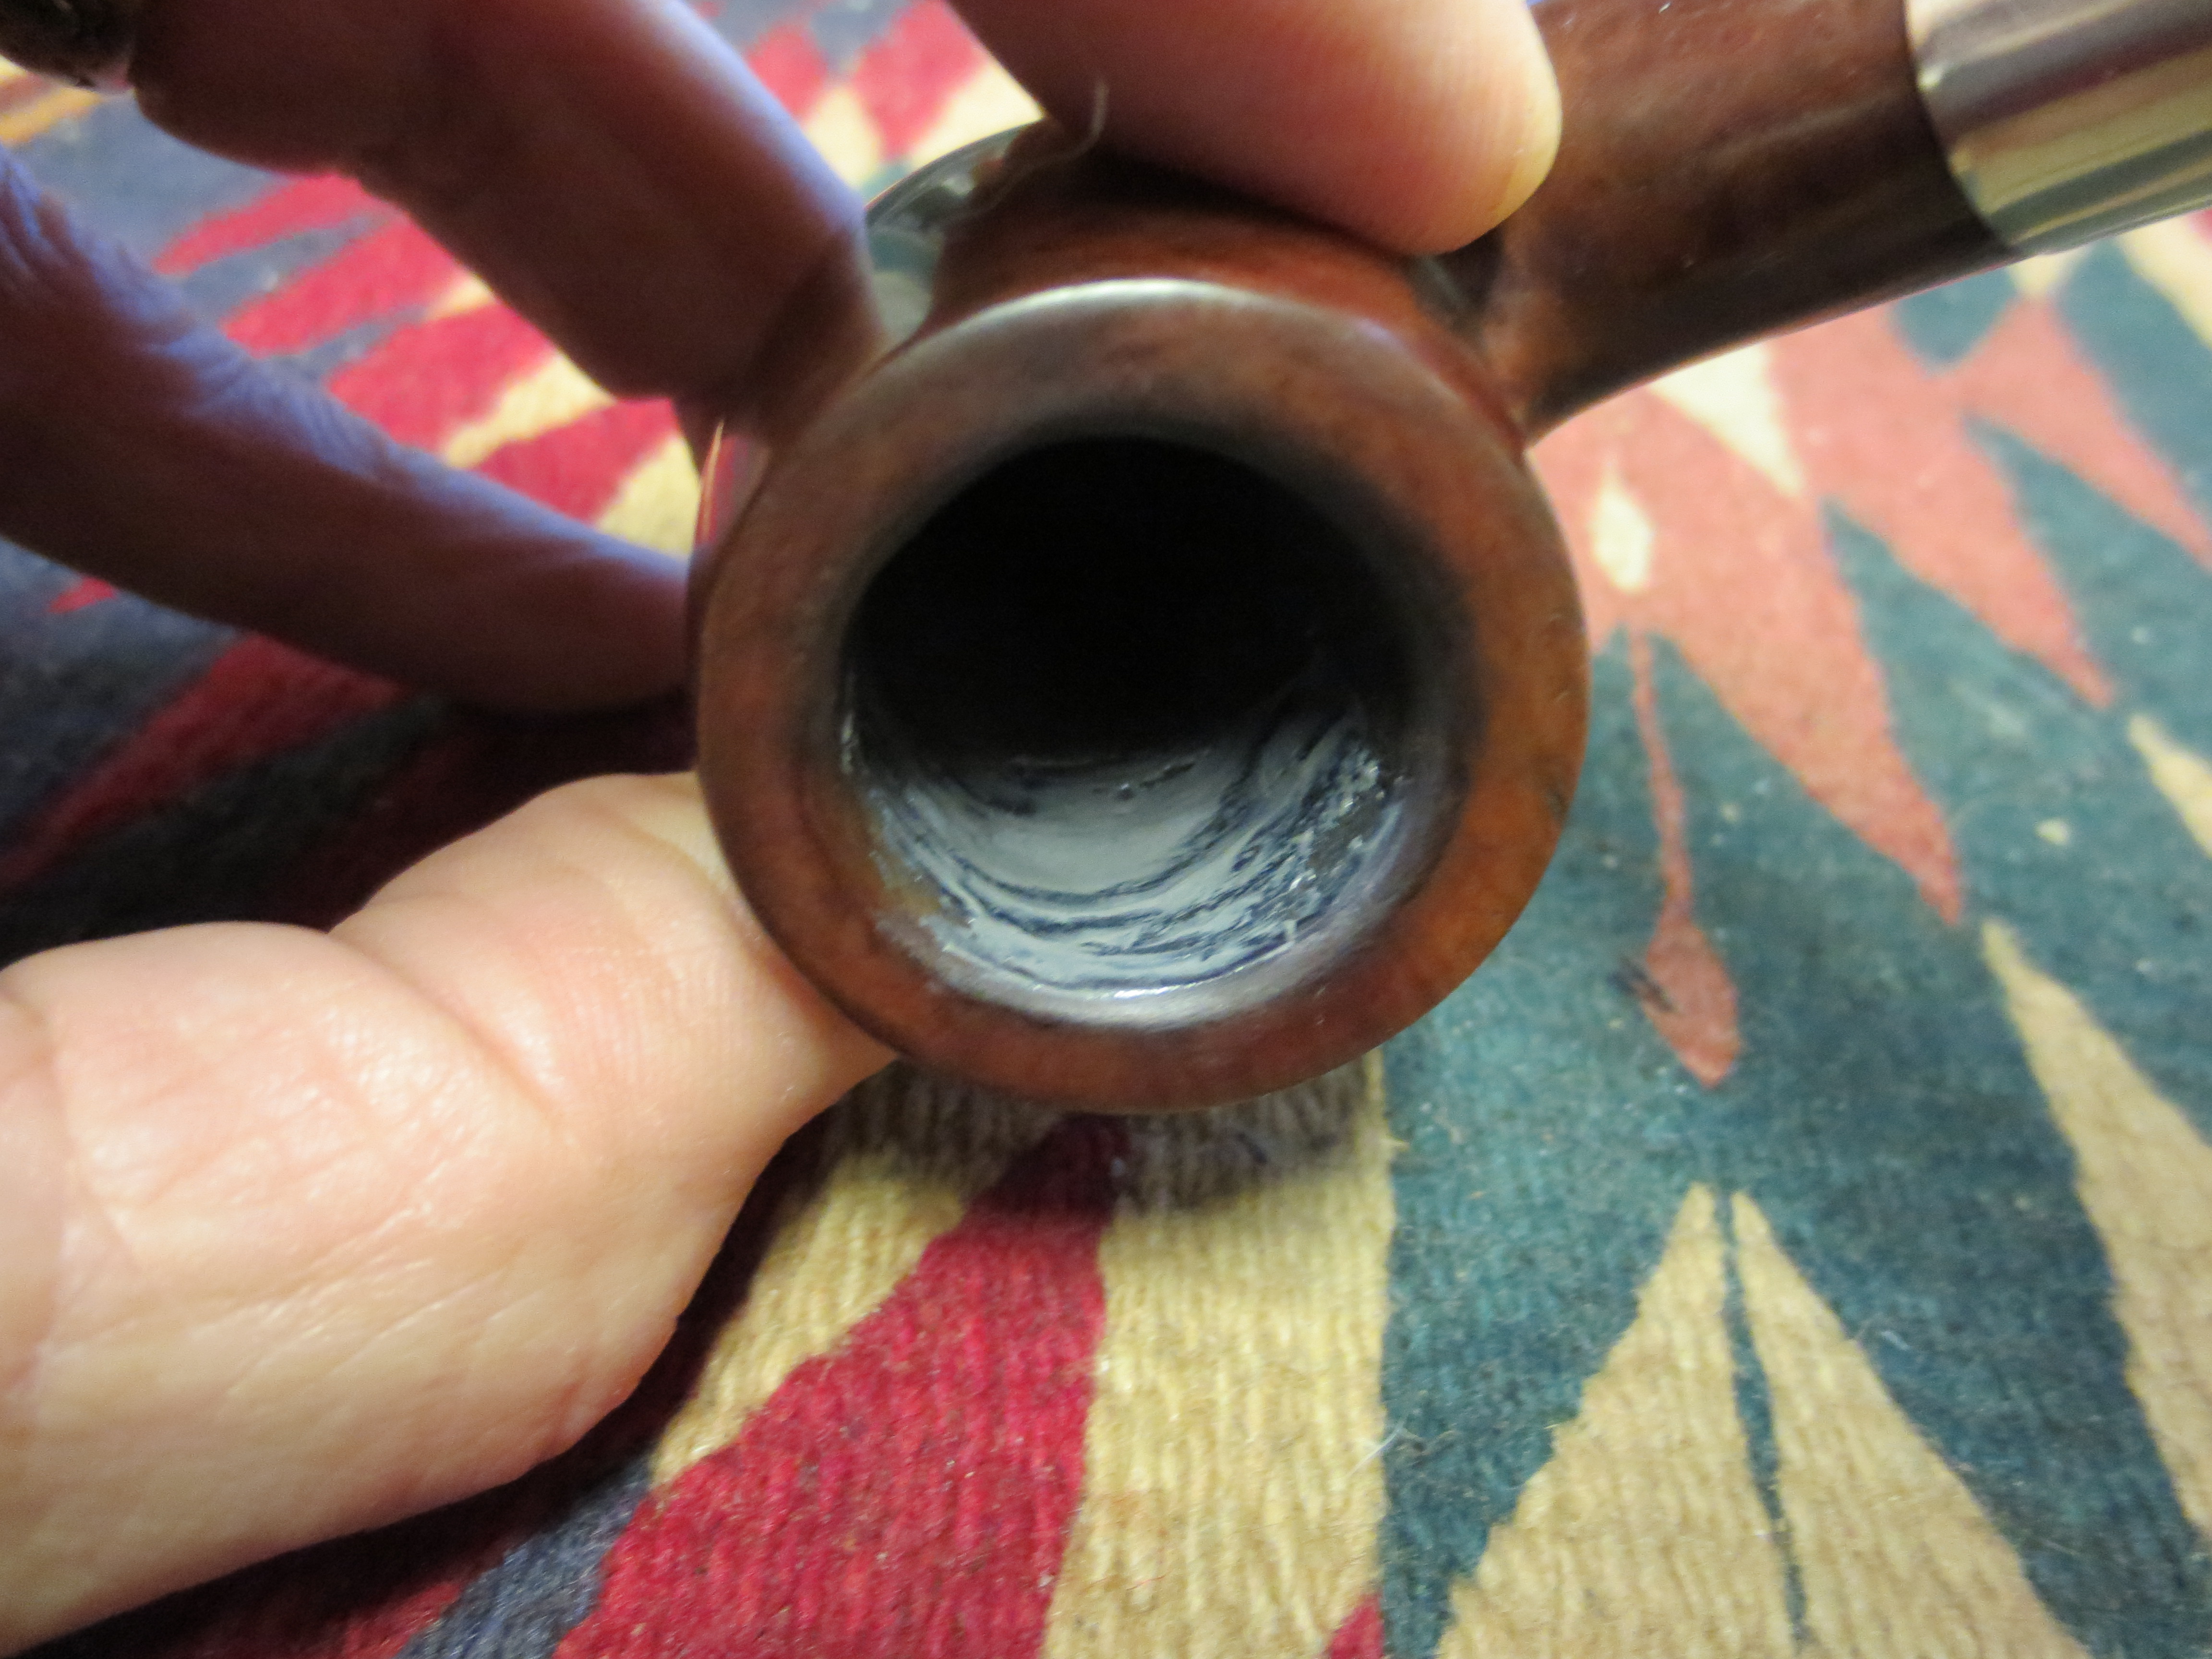
After I restemmed the pipe I did some more sanding on the bowl. I wanted a clean surface to work with when I did the patches on the cracks. I also cleaned out the inside of the bowl with sandpaper and a dental pick. I wanted to clean out the interior cracks in the bowl as well as the exterior ones. Each would use a different kind of patch but each needed a clean surface to work with. The next five photos show the cleaned exterior of the pipe and two photos of the interior. Still more work needed to be done to clean them up before I patched them.

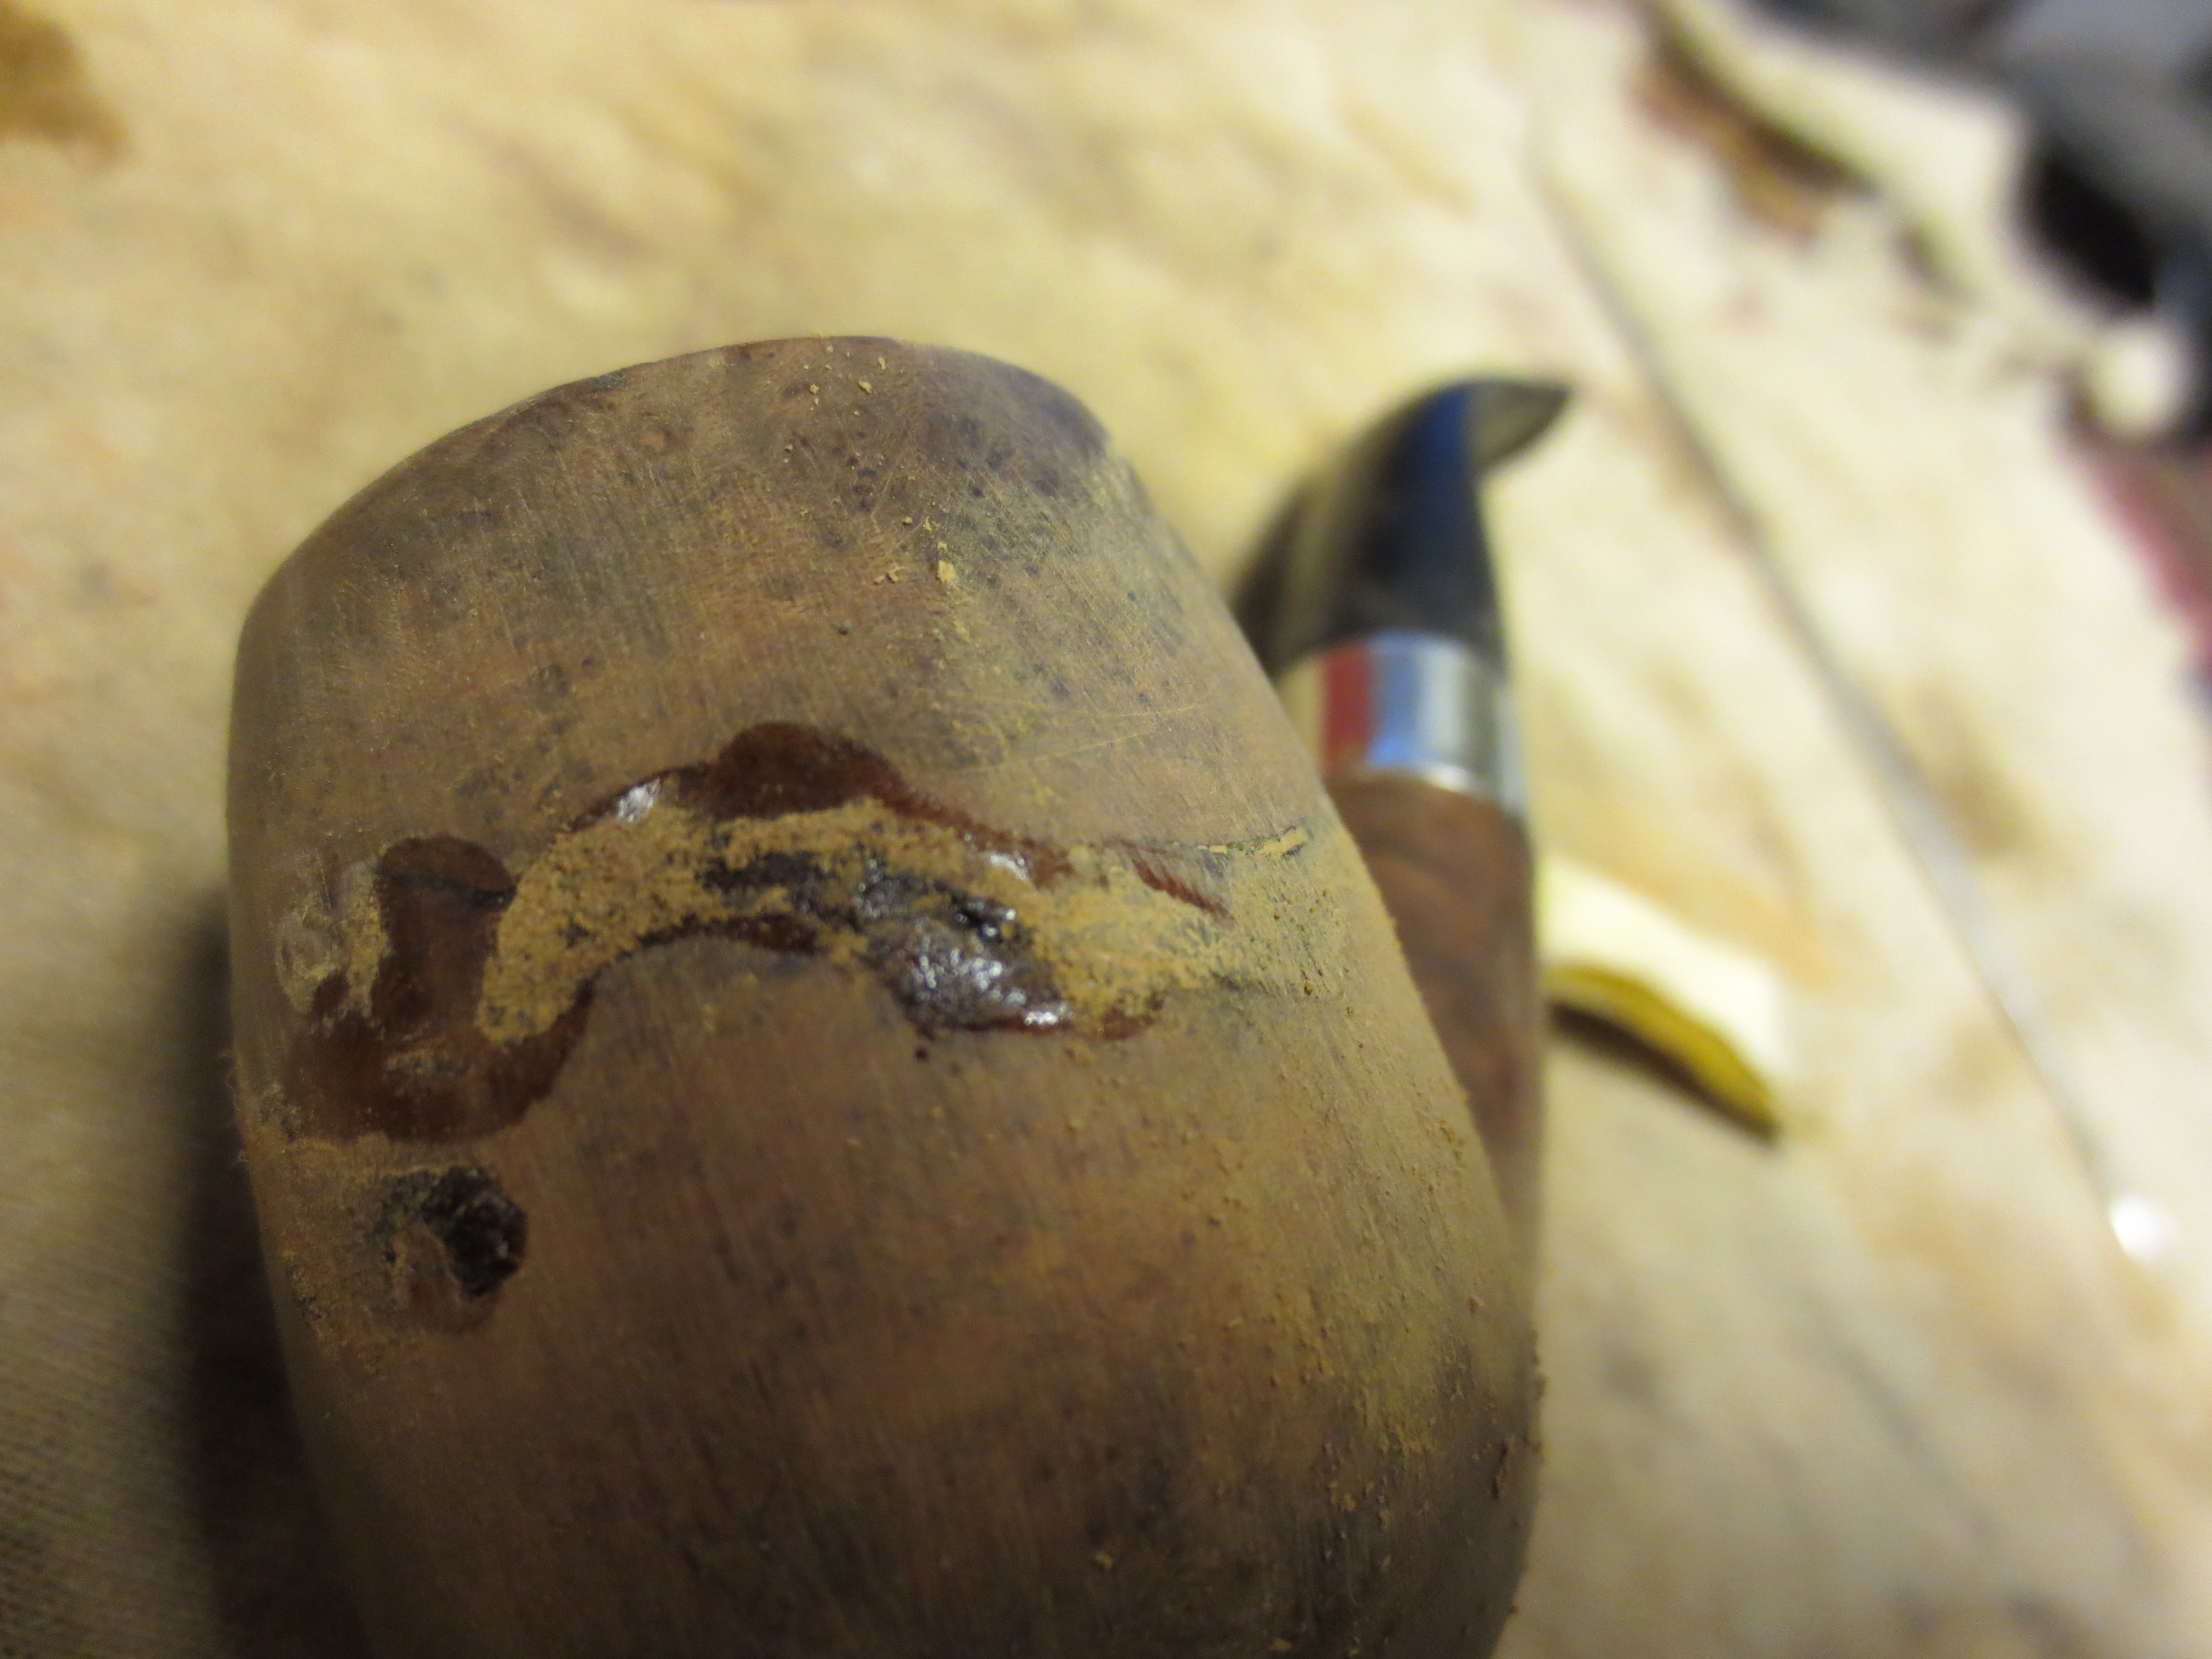
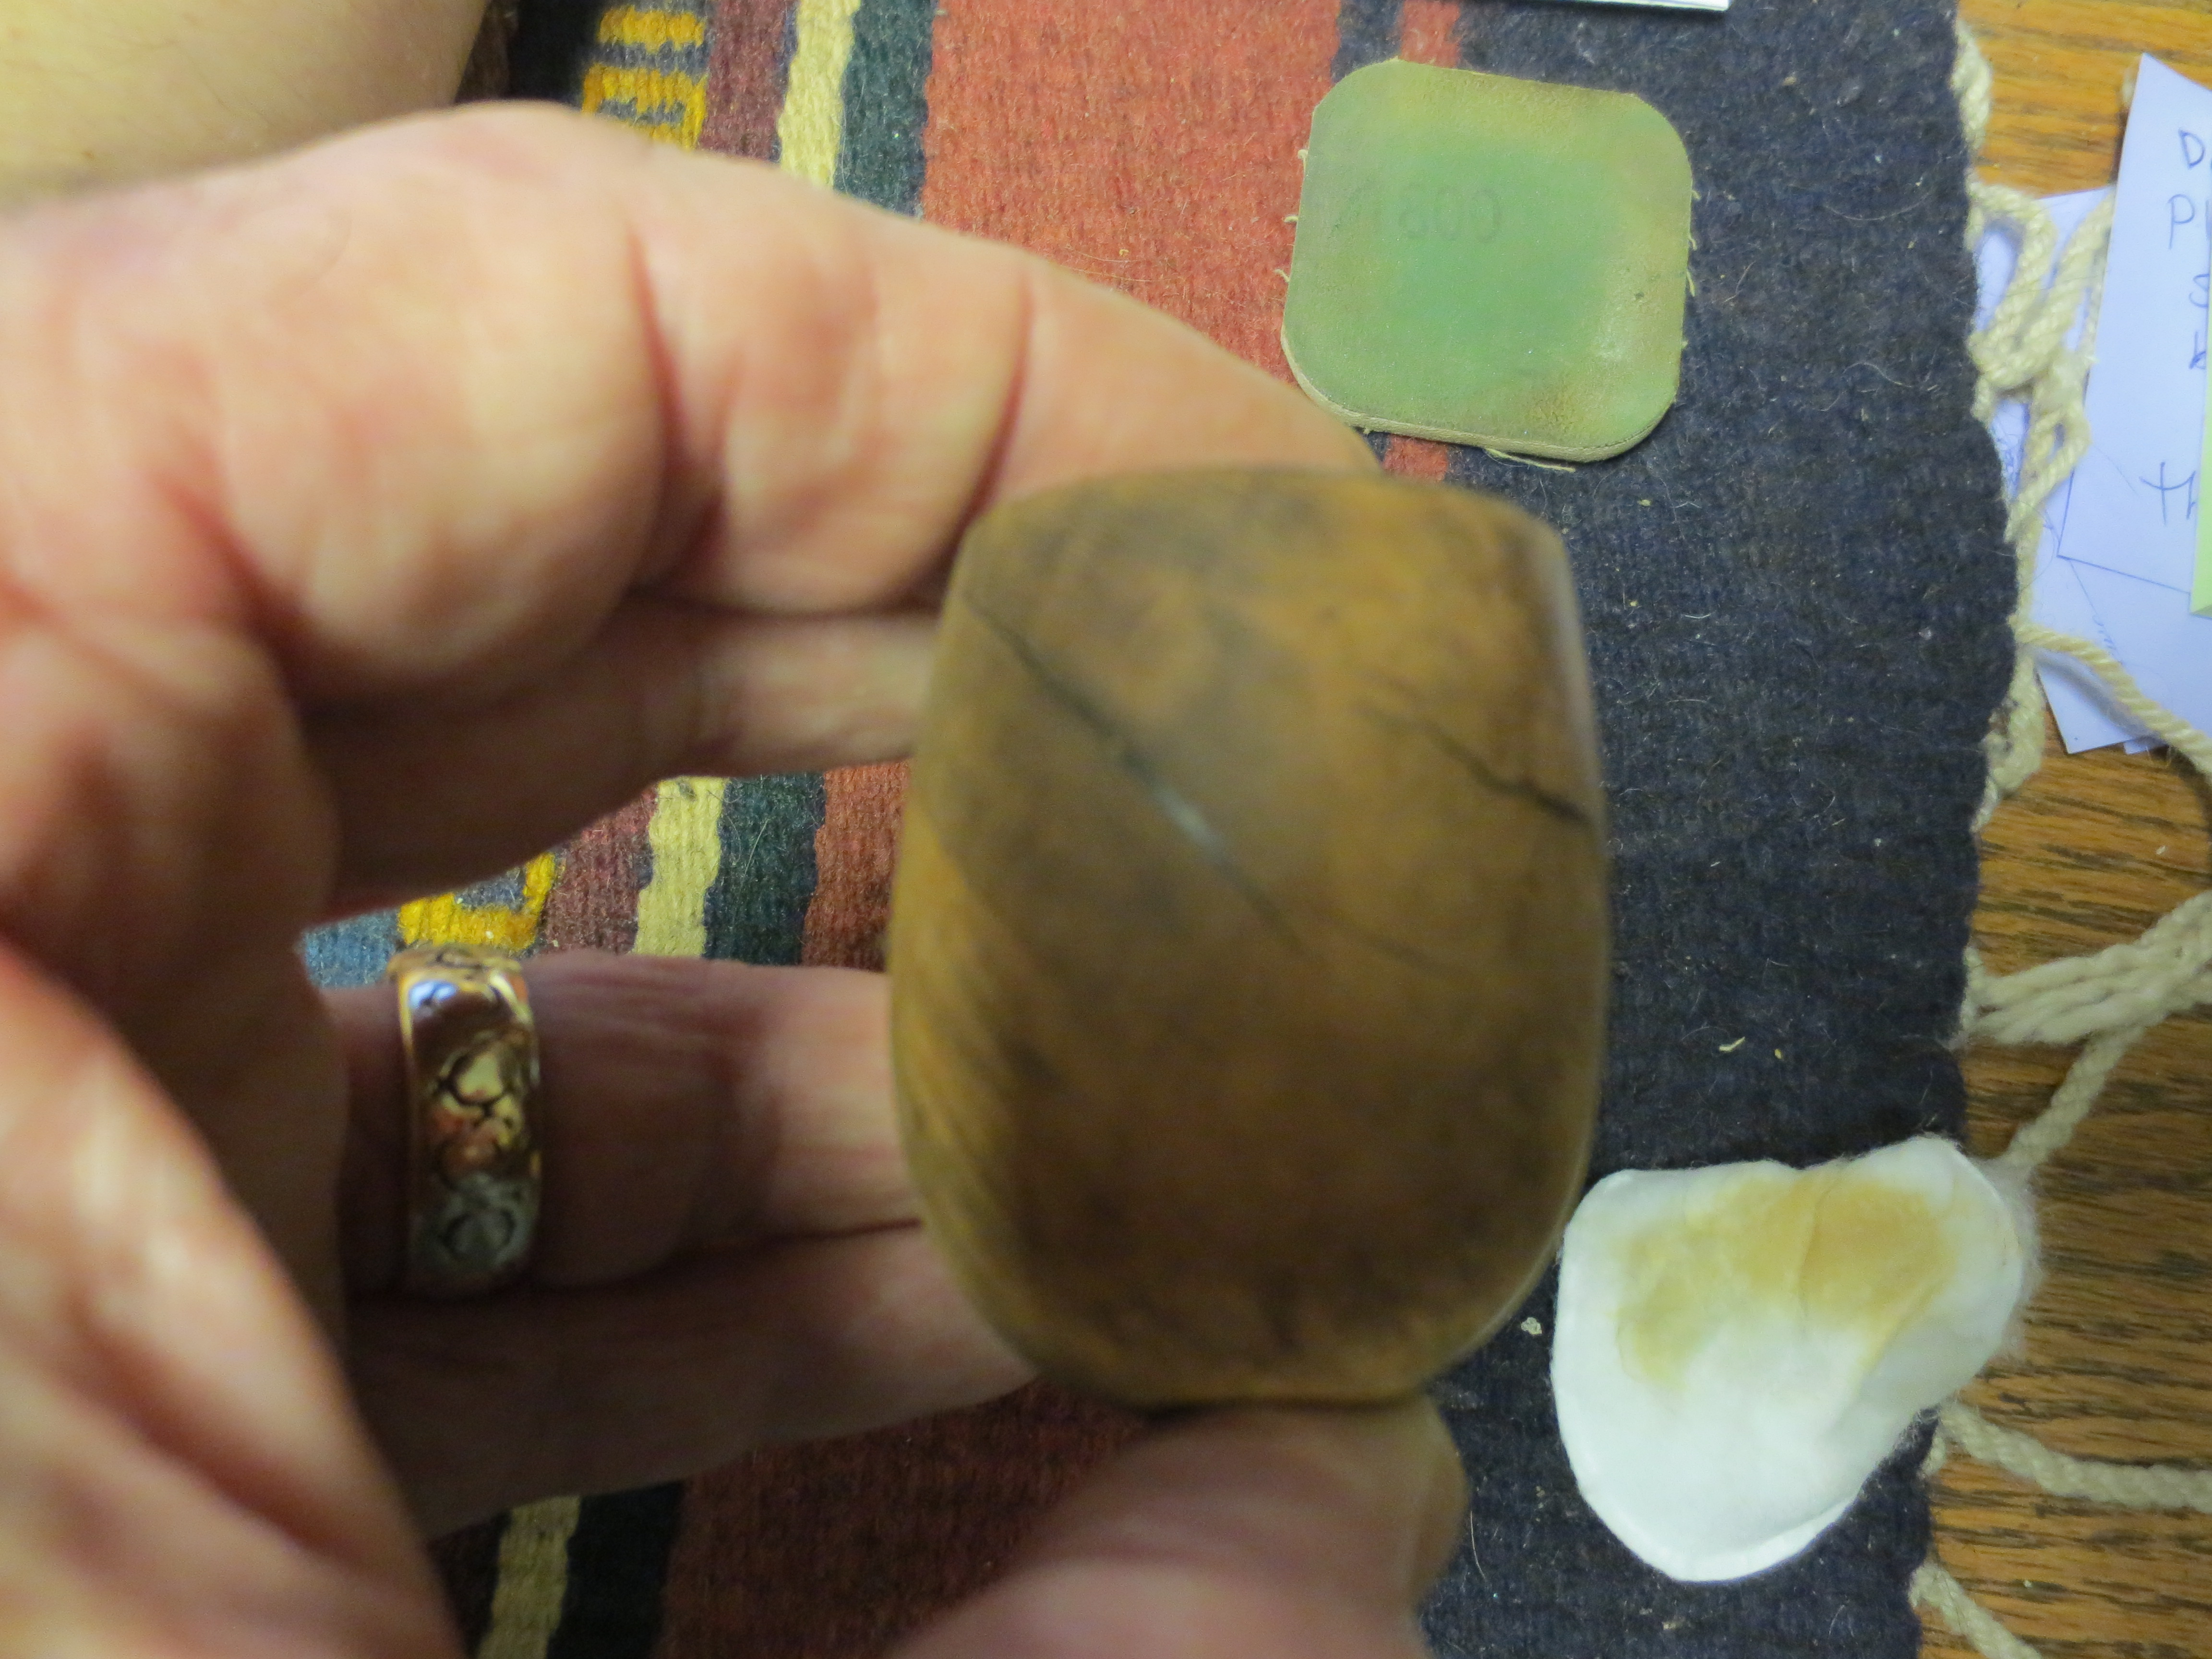
For the exterior cracks I decided to use a patch mix of briar dust and superglue. I cleaned the cracks out with my dental pick and some Everclear. Once they were clean I packed them with briar dust, tamping it into the cracks with both the flat head of a tamper and also the tip of the dental pick. Once they were filled the first time I dripped the superglue into the cracks. The glue binds the dust and the surrounding briar and also compacts the briar dust. I then retamped in some more briar dust and repeated the process until it was filled. The next six photos show the process of filling the cracks around the bowl.


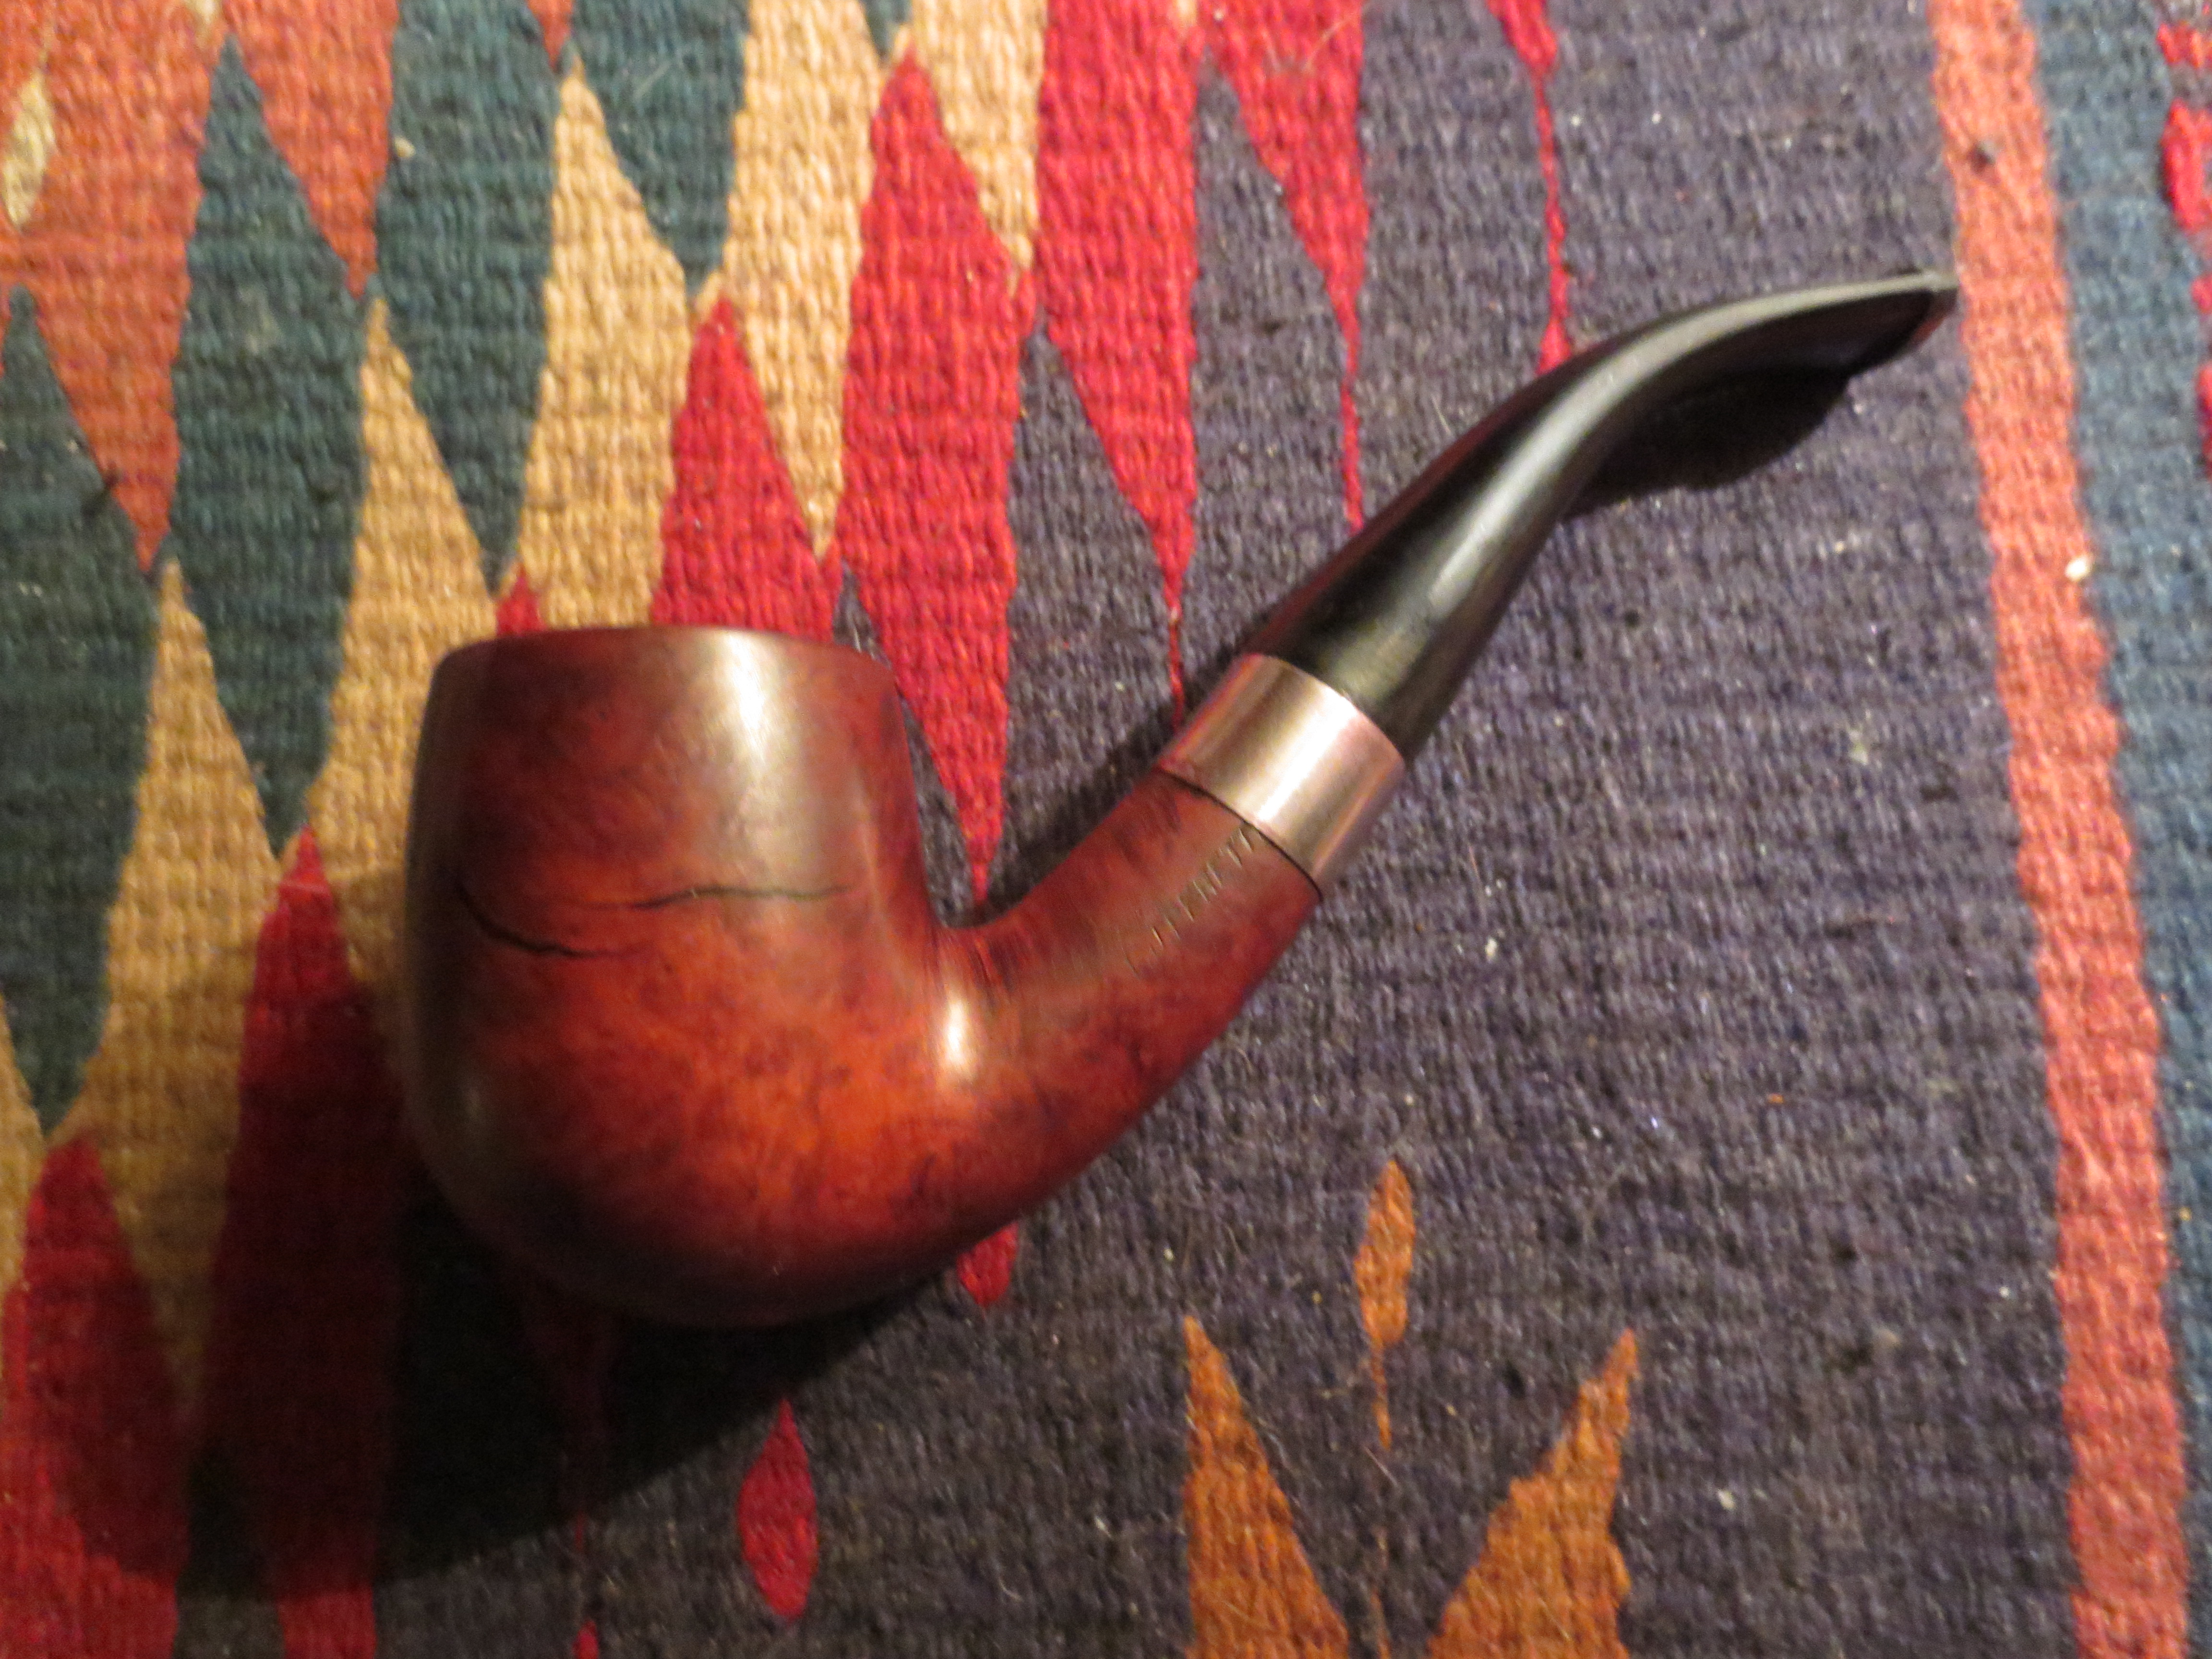
Once all the cracks were filled I sanded the bowl with 240 grit sandpaper to remove the excess material on the surface of the bowl. You will note the scratches in the surface of the briar. These would be removed in the successive sanding that still would be done to the bowl. The cracks are filled and the surface hard. The briar dust and superglue form a good bond with the crack and when dry are dark black in colour. They are hard to the touch even with the dental pick. The next four photos show the bowl after sanding. The surface is smooth to the touch.

The scratches on the bowl have been minimized with the fine grit sanding sponge pictured above. I continued to sand until the marks were gone using 320 grit sandpaper. Once I had the bowl to that point I wiped it down with Everclear on a cotton pad. The three photos below show the bowl after the wash.

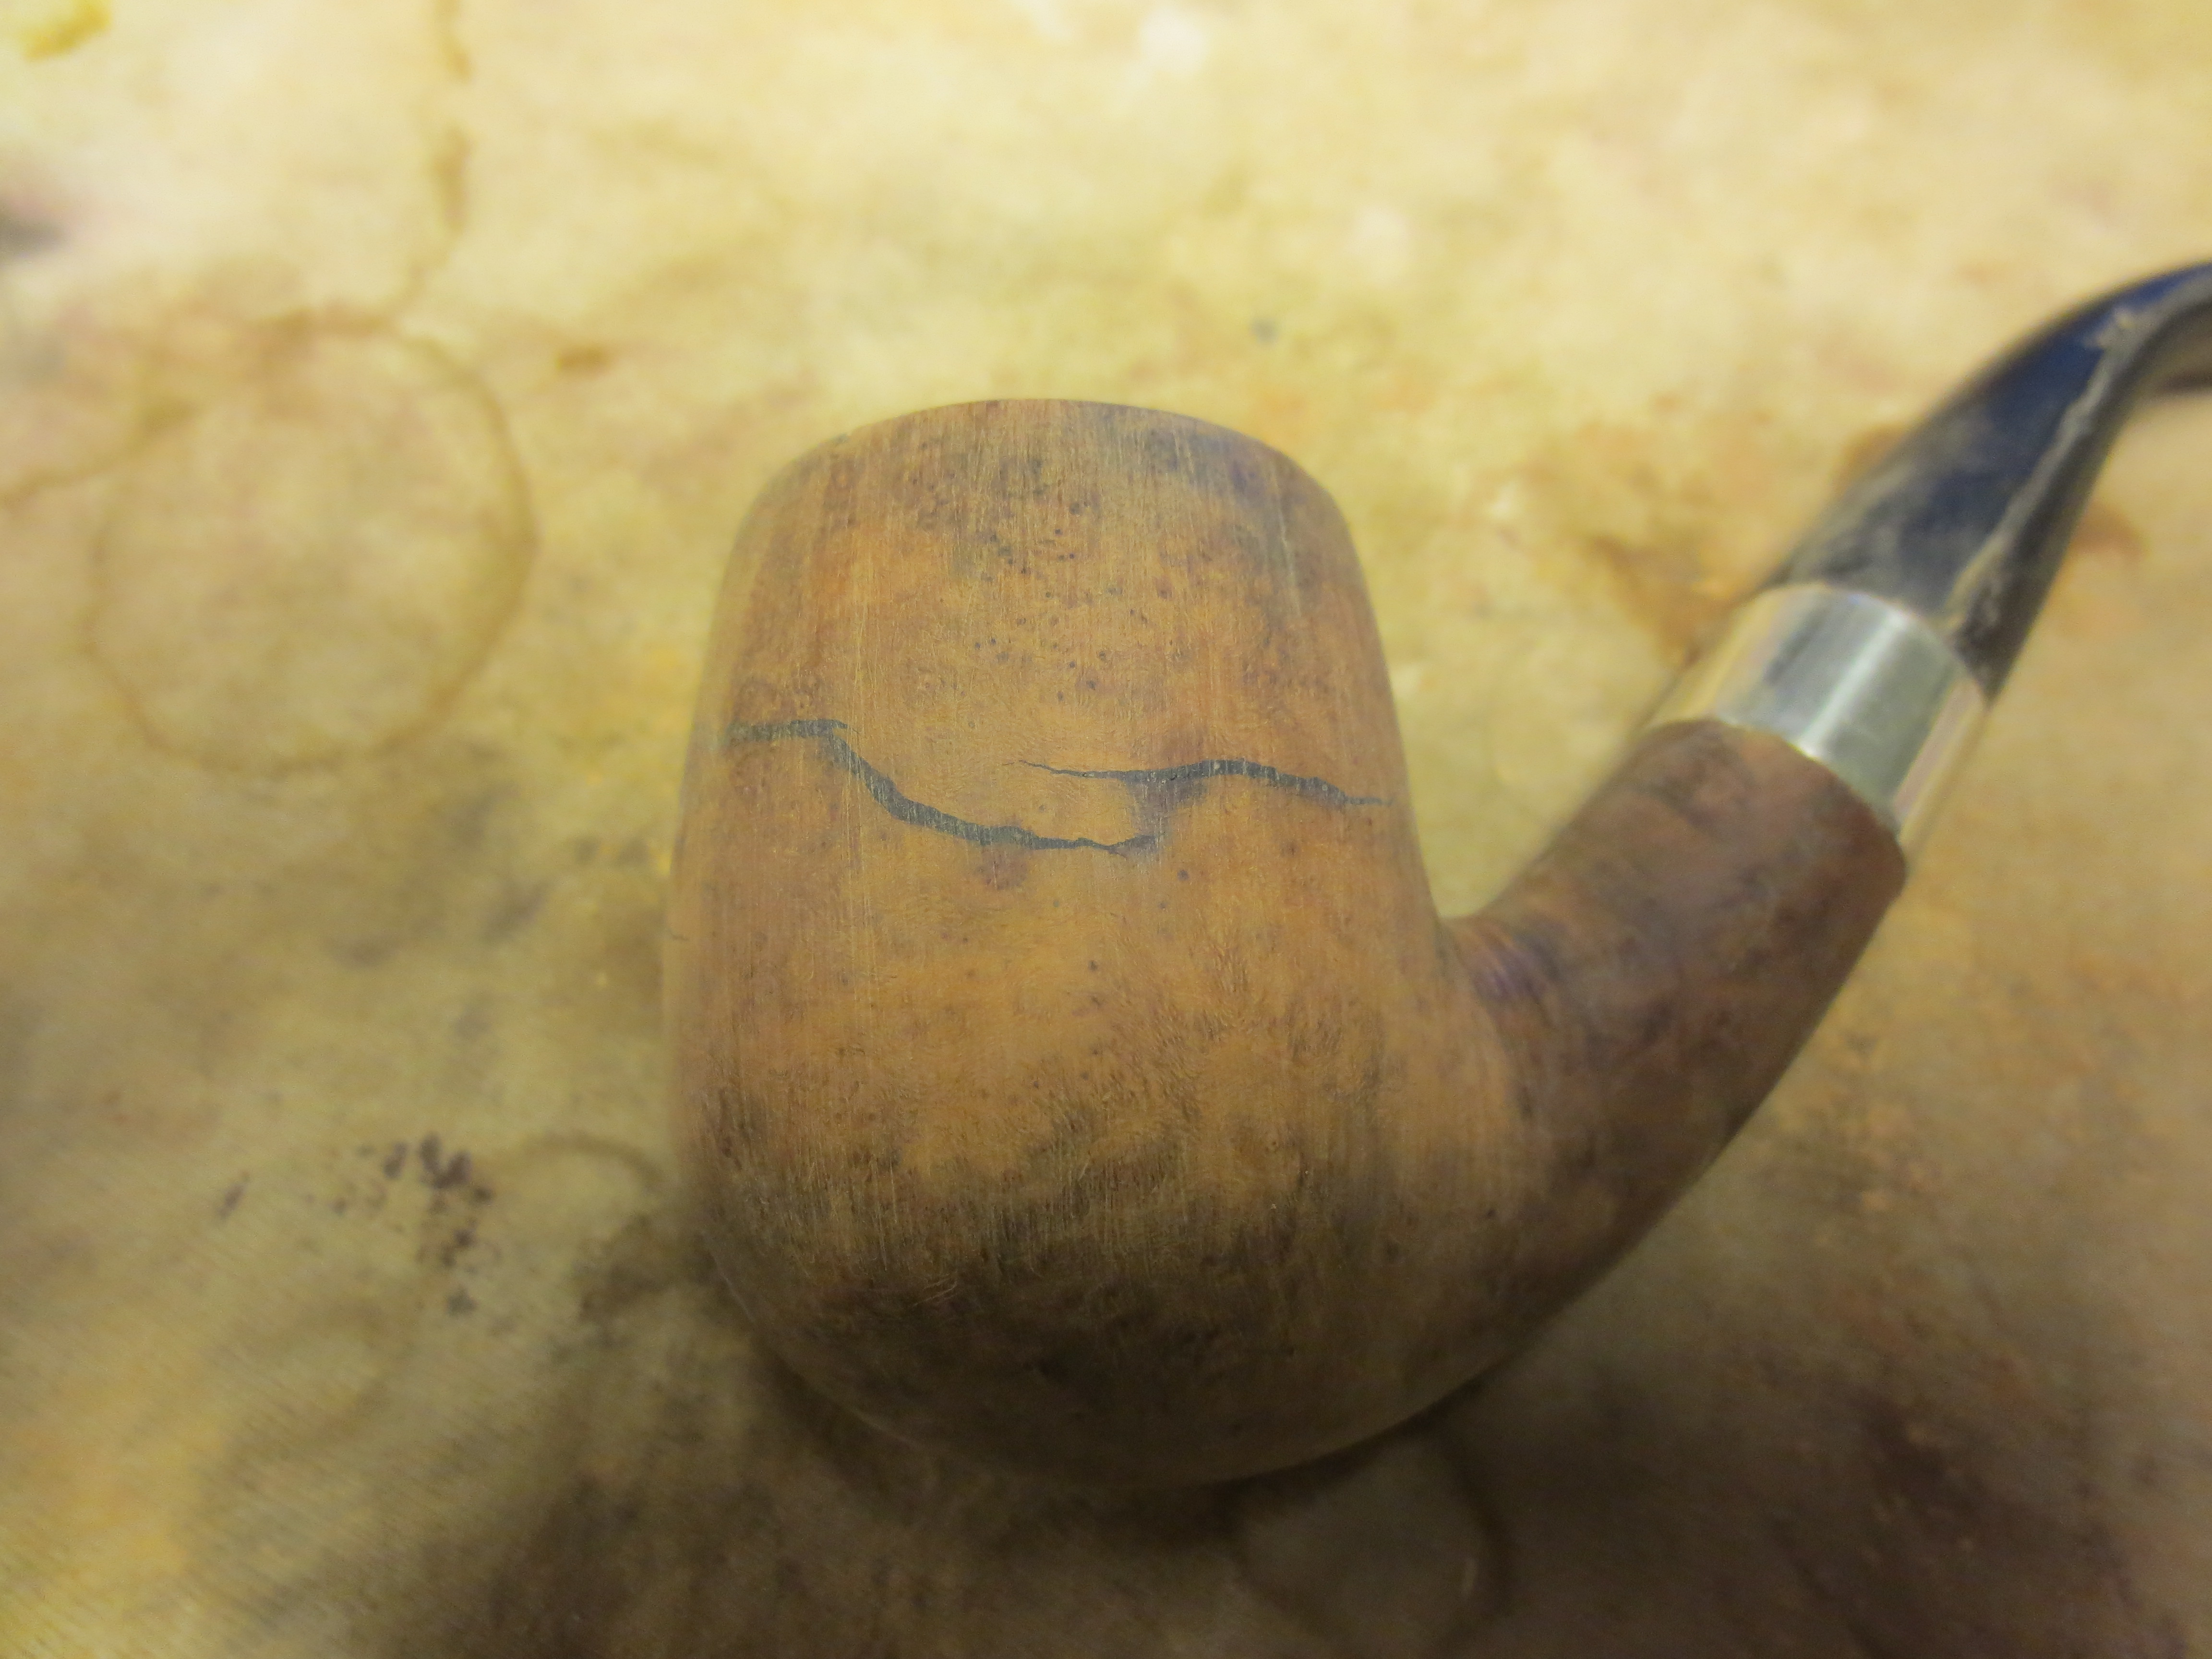
I continued to sand the bowl with micromesh sanding pads from 1500-12,000 grit to smooth out the surface of the bowl. The micromesh left the surface ready to be stained. The cracks are still visible in terms of the black lines but the cavernous gaps are filled and repaired.
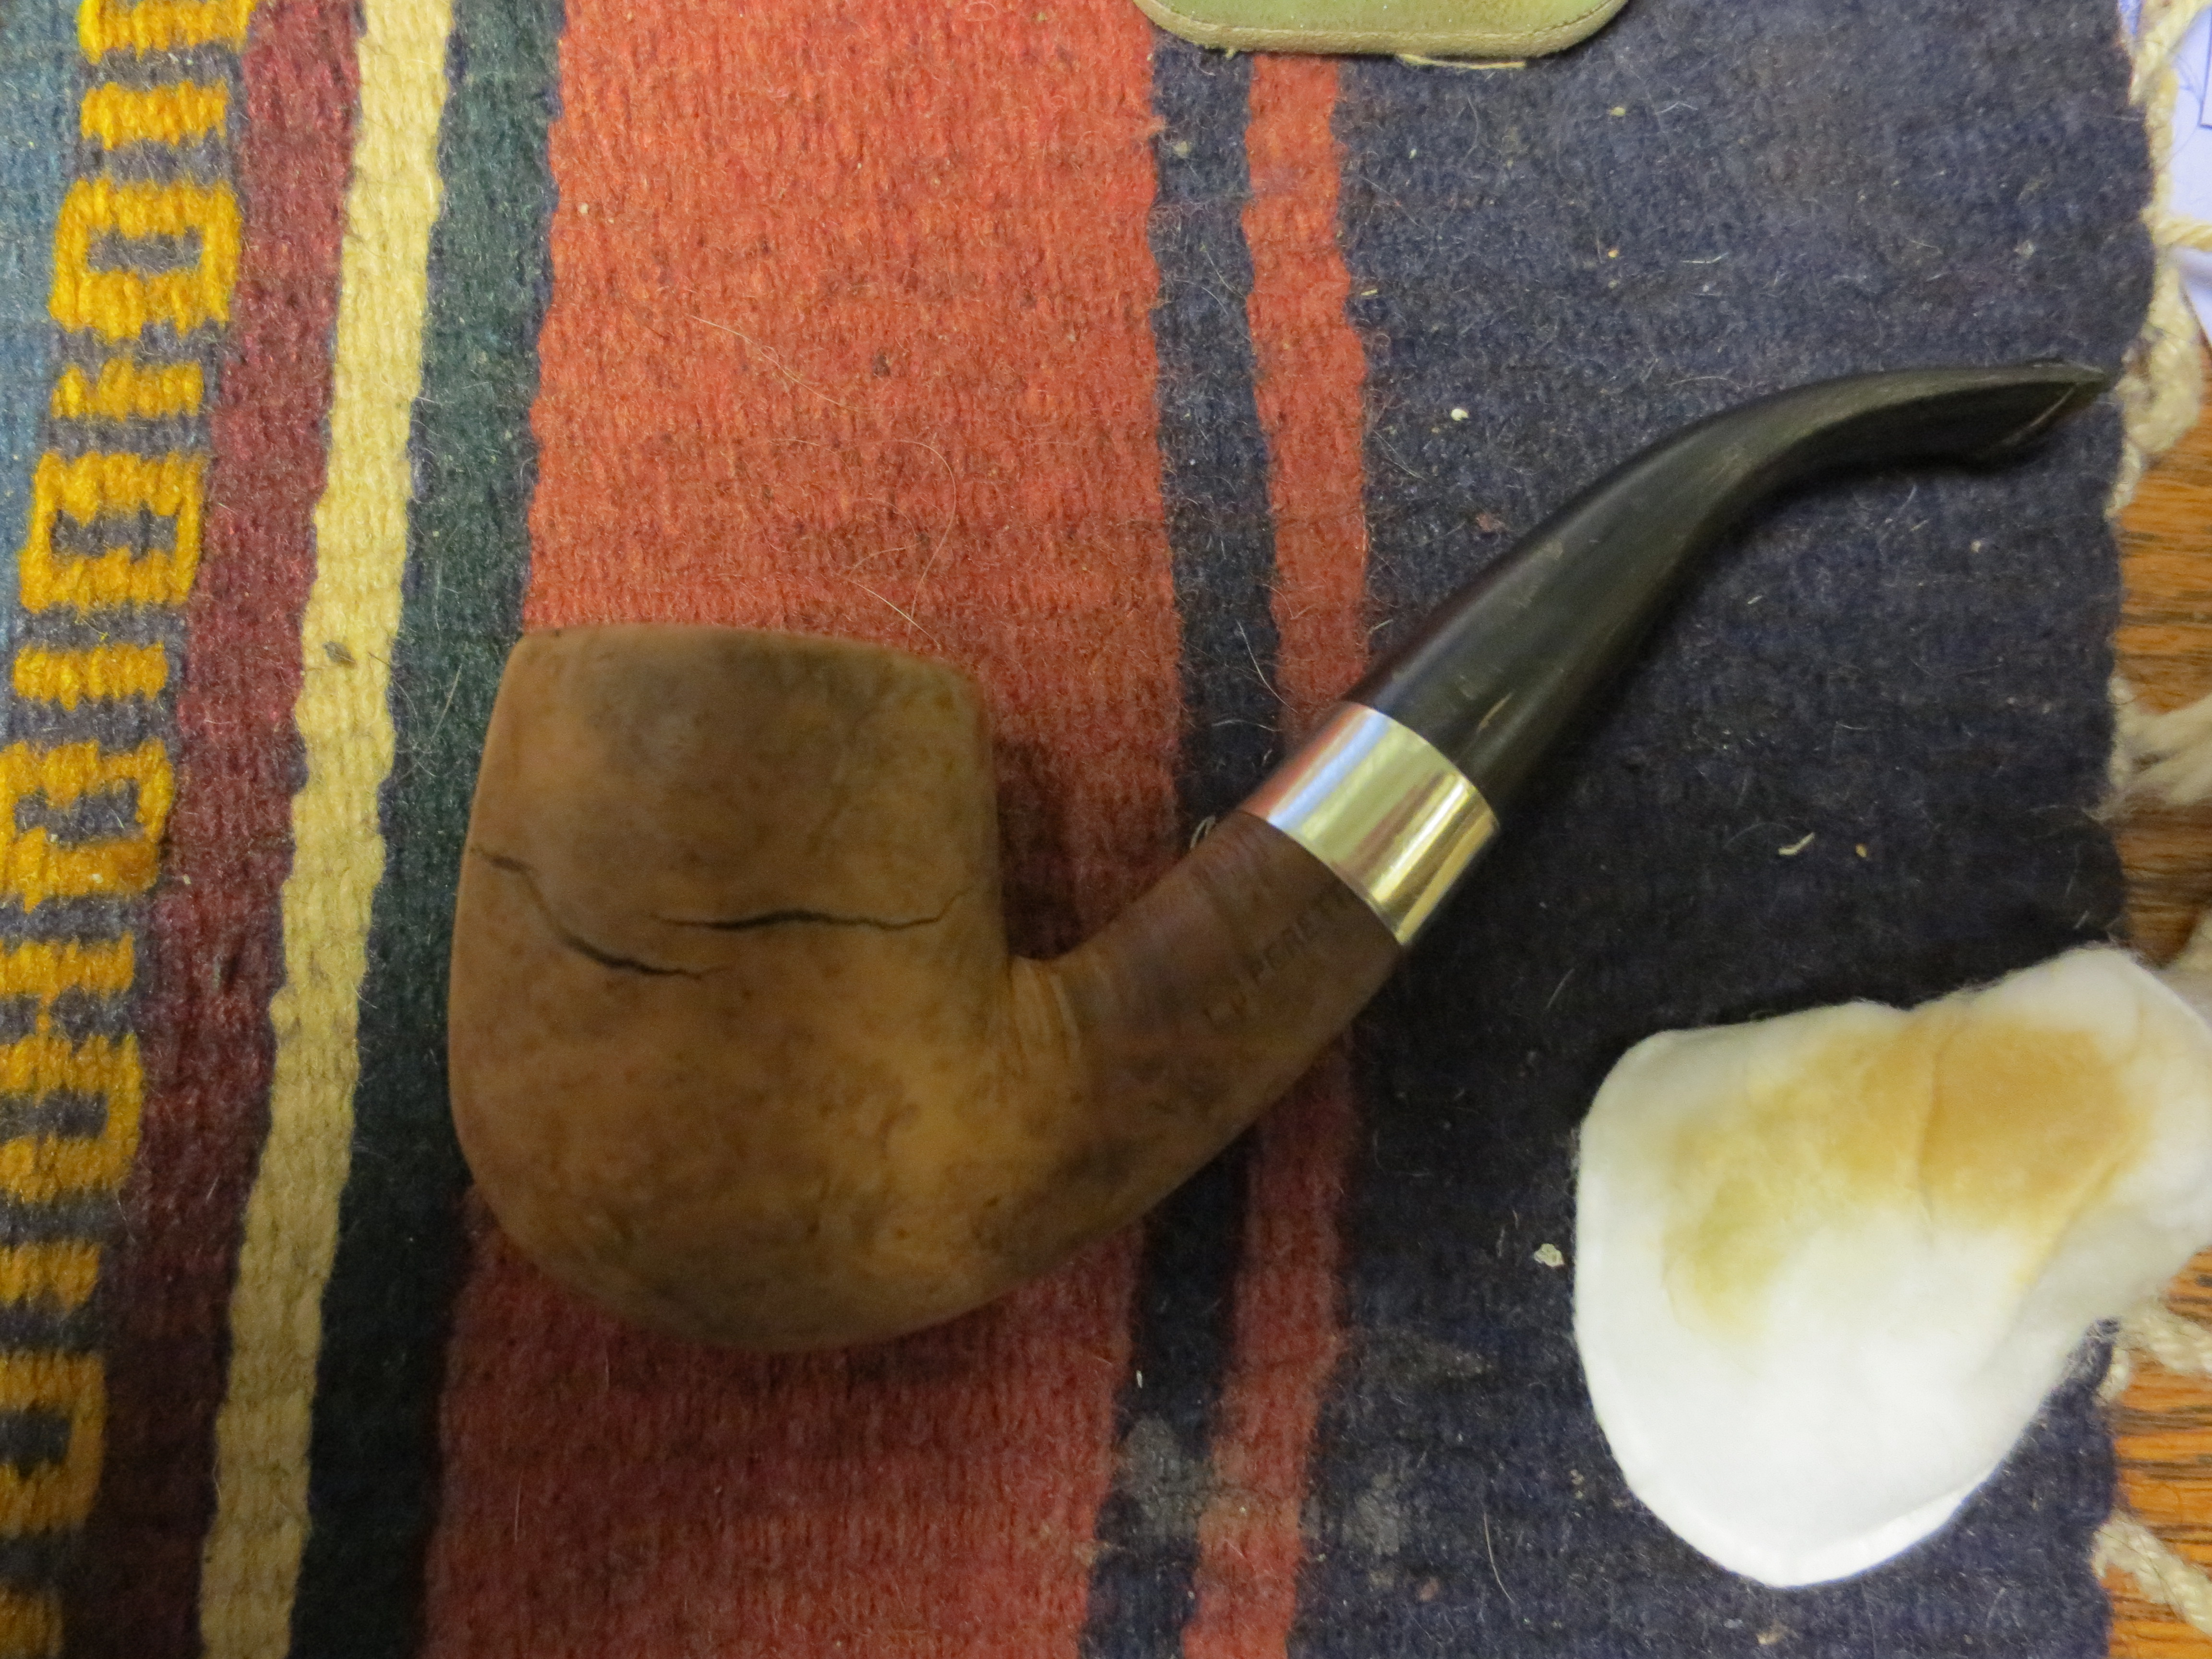
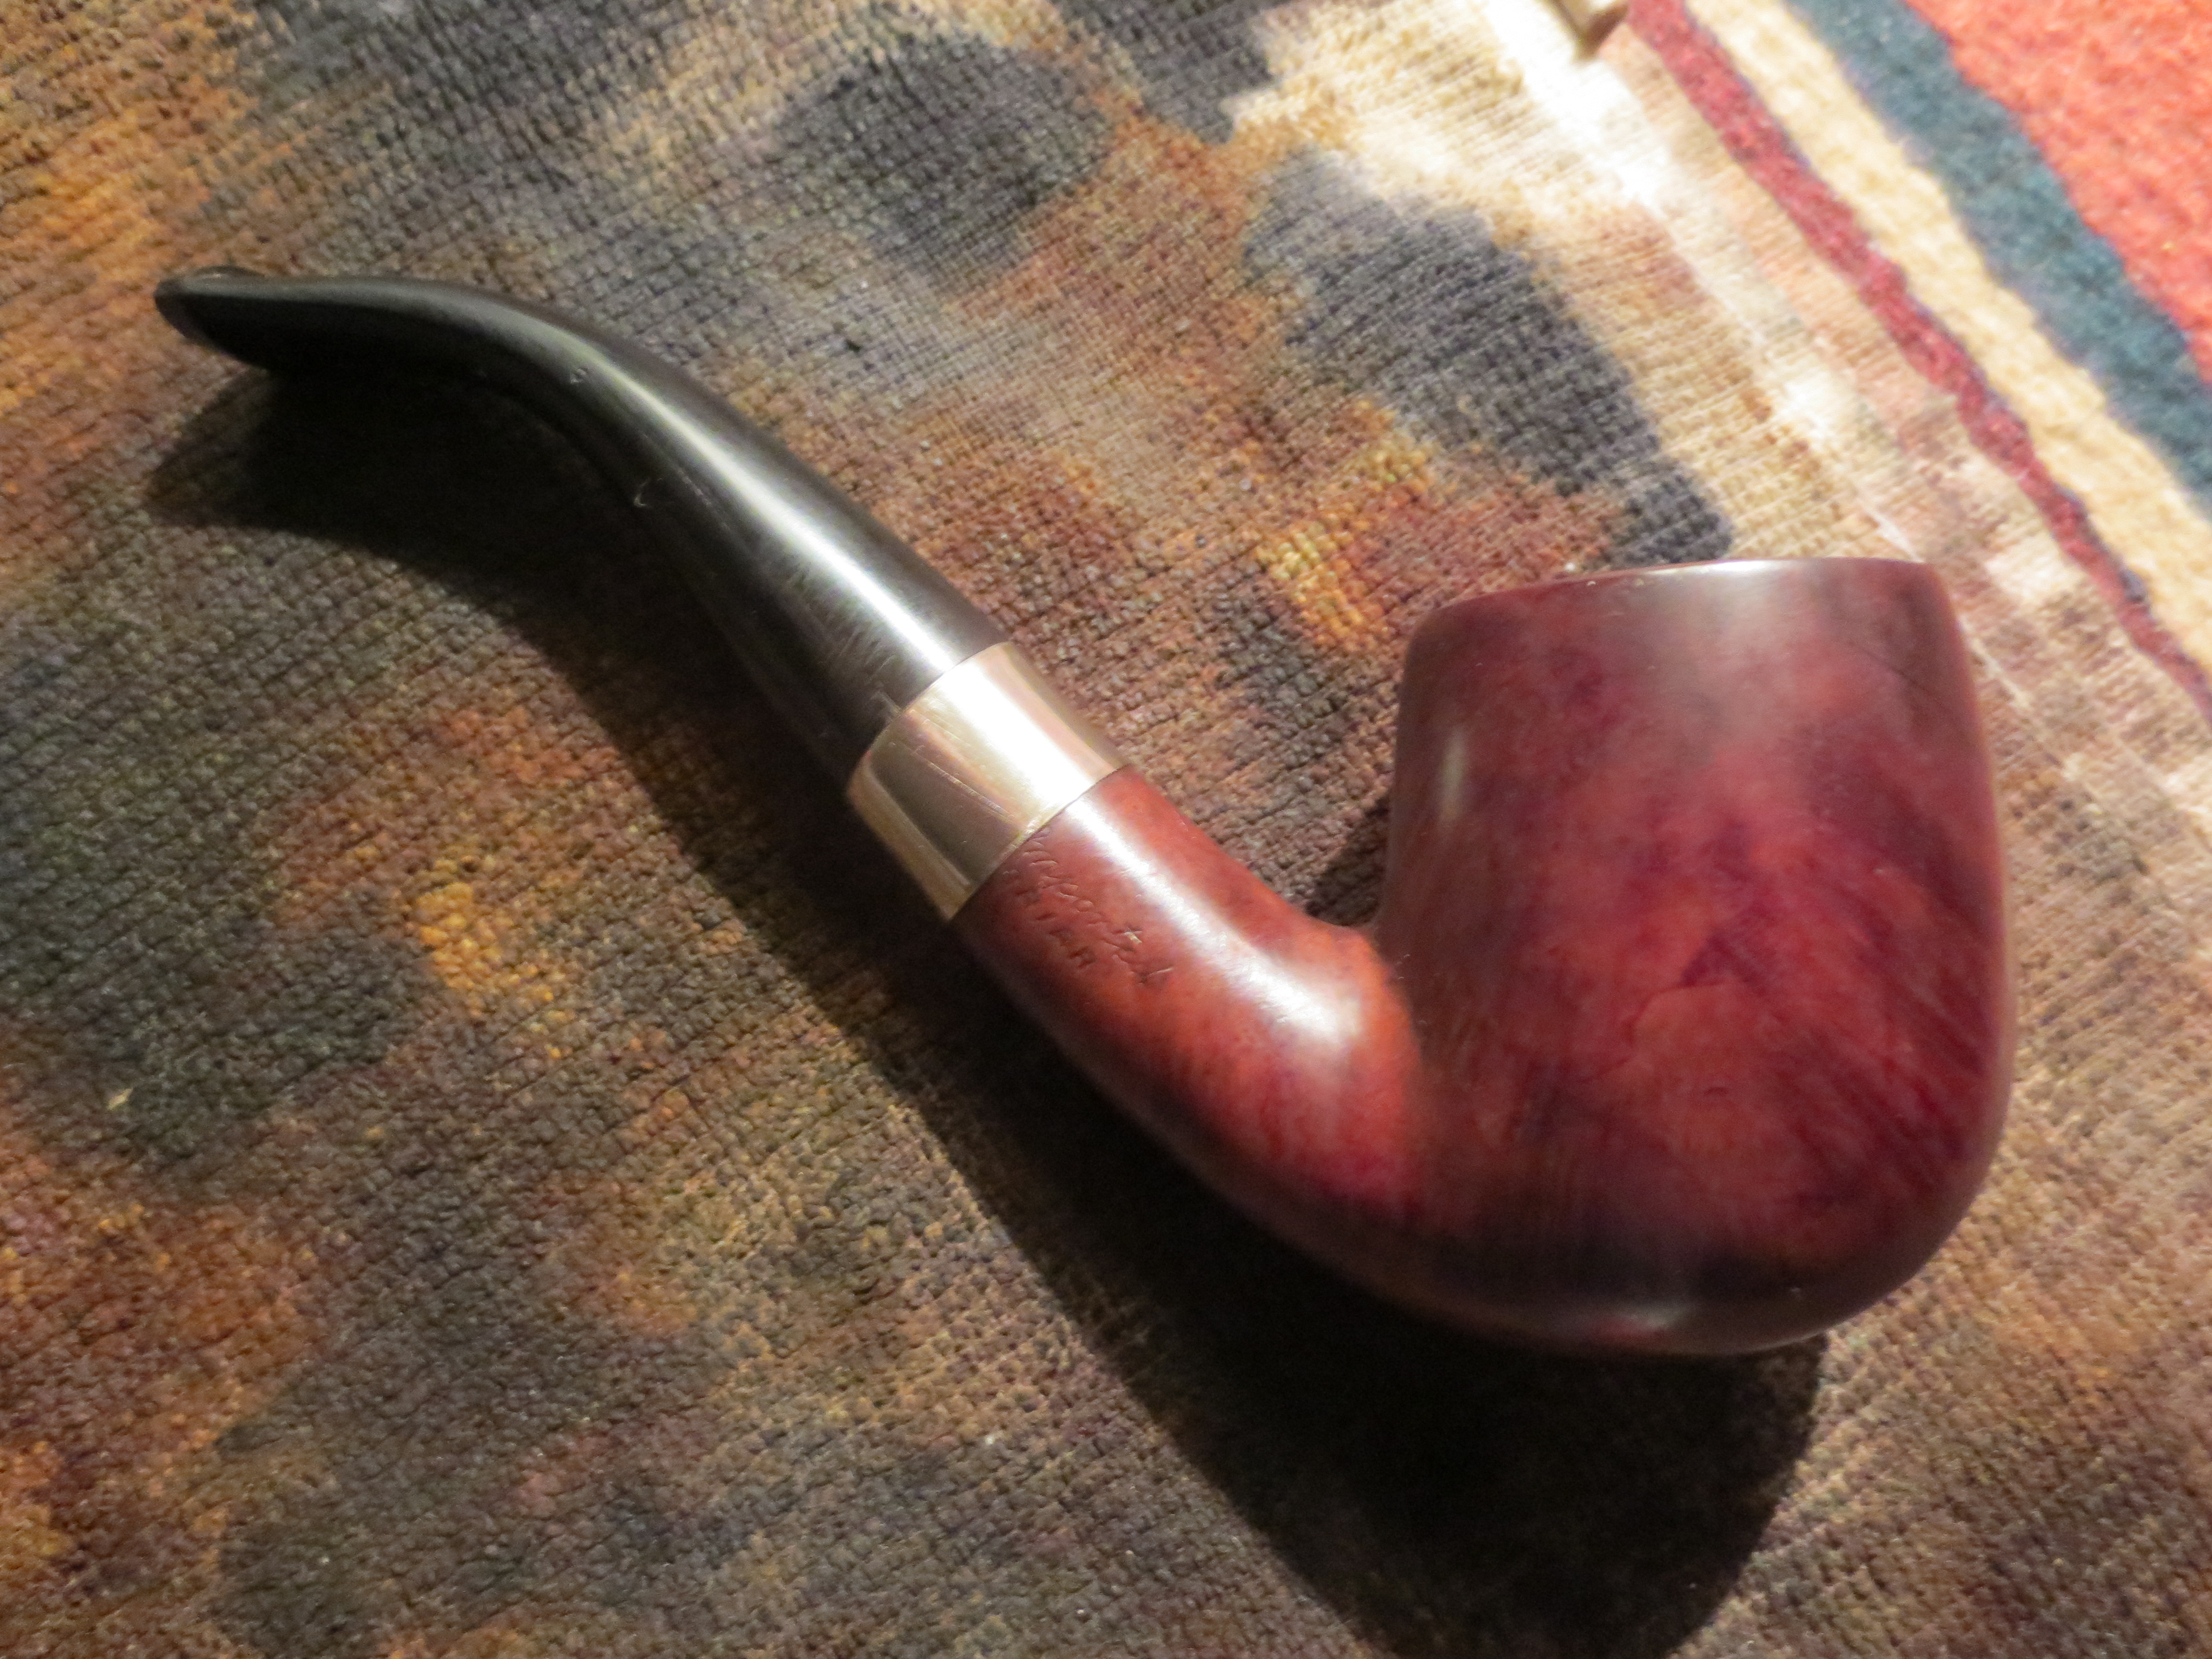
I decided to stain the bowl with a rich oxblood aniline paste stain. I applied it to the bowl, flamed it and applied it a second time and flamed it. Once it was dry I wiped it off and hand buffed the surface. My purpose was not to hide the flaws but to minimize the glaring nature of the repairs. The next six photos show the staining and rubbed down bowl. I was not happy with the coverage but I buffed it quickly with White Diamond to see what I had to work with. The final photos in the series of six show the buffed and polished look of the bowl.


I decided to give the bowl a second staining of a dark brown aniline colour. This was a mix of dark brown and alcohol 1:1. I applied it and flamed it. I repeated the process to darken the colour of the bowl. The four photos below show the result of the application of the brown stain.

After the stain had dried it was time to address the inside of the bowl. I sanded it out quickly with a Dremel with a sanding drum attachment. I was careful not to change the shape of the bowl but to merely remove any carbon cake that still remained. I wiped the inside down with Everclear and then flamed it to dry out the surface of any moisture. I then mixed a batch of JB Weld. This would be the first step in doing the interior repairs. I packed it into the cracks on the inside of the bowl using the spoon end of the pipe nail. I continue to pack it into the bowl cracks until they were smooth. The four photos below show the mix and the patch in the bowl. It has a drying time of 6 hours to dry to touch and 24 hours to cure.

While the bowl was drying I worked on the new stem. I sanded down the castings on the side of the stem and polished it with micromesh sanding pads. I used 1500-12,000 grit micromesh pads on the stem. I pictured three photos below to show the process.


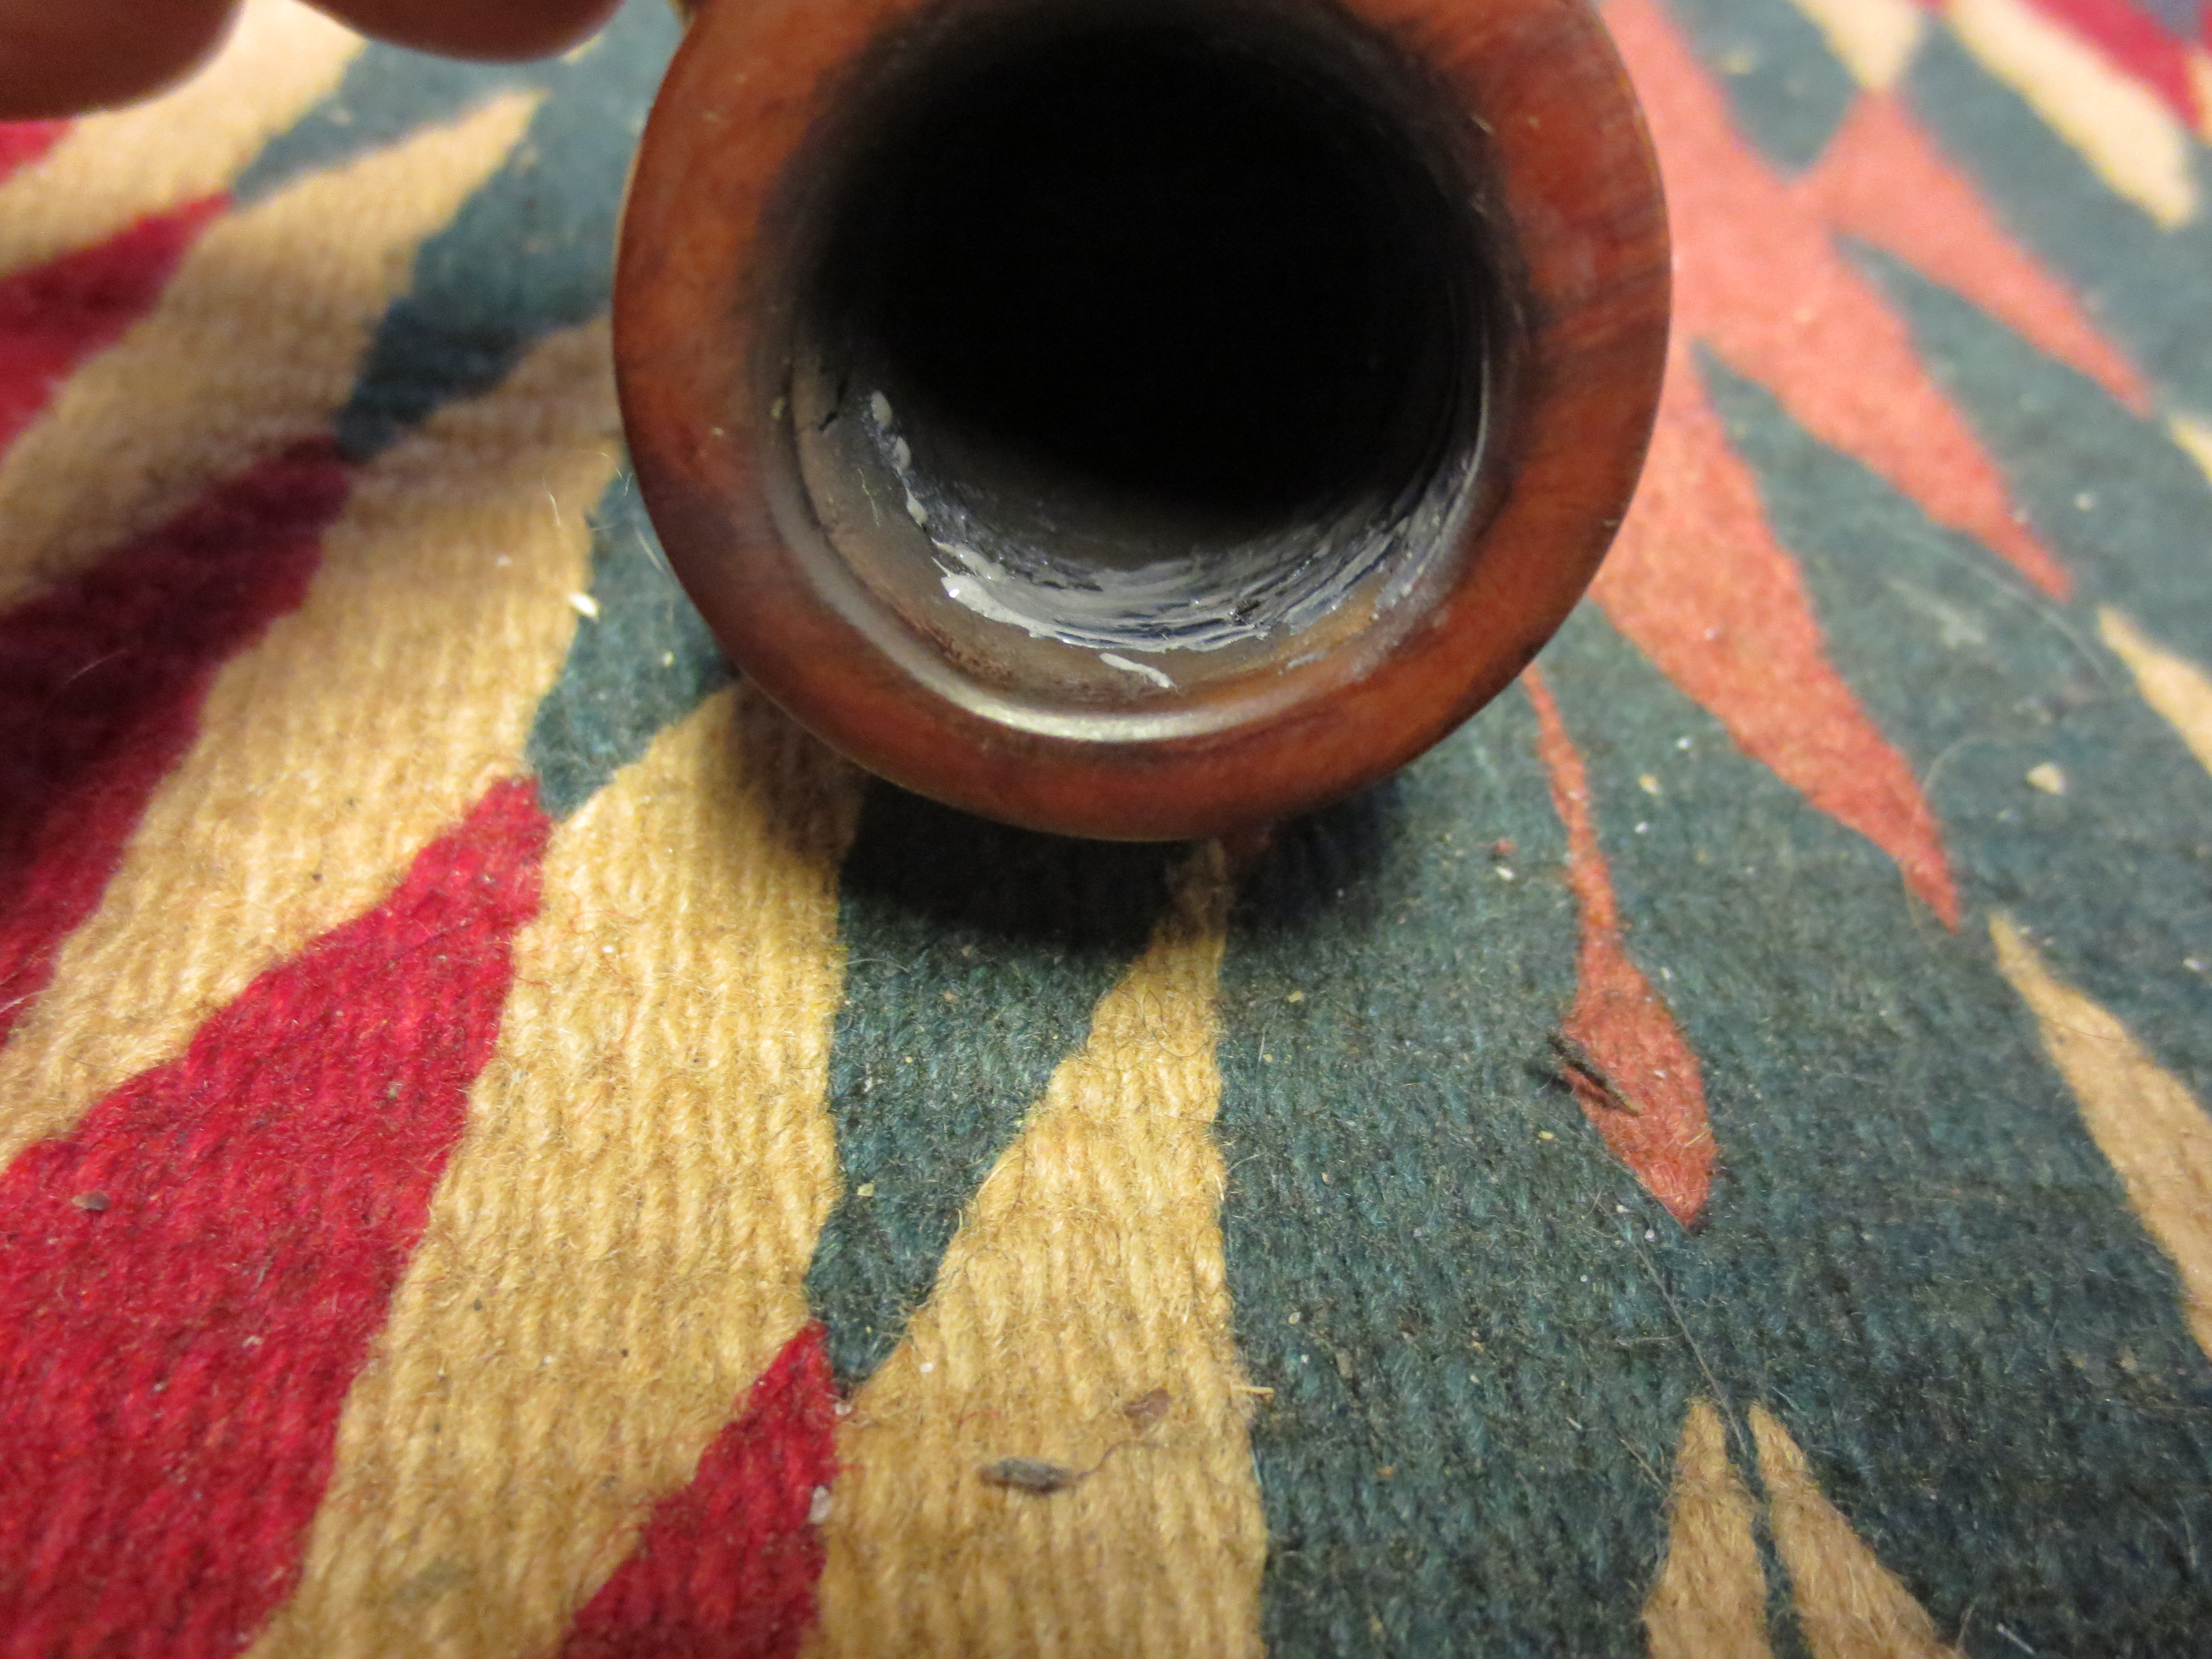
The next series of eight photos show the patch after it had dried. I also reapplied the JB Weld after the initial 12 hours so that it filled in the places where it had shrunk as it dried. The patch dried a fine grey coloured. I sanded it down until it was only in the cracks themselves and not in the clean briar. I wanted to give the briar as much absorption area as possible as the JB Weld does not absorb moisture at all. It dries to a neutral, hard metallic material that has no taste.


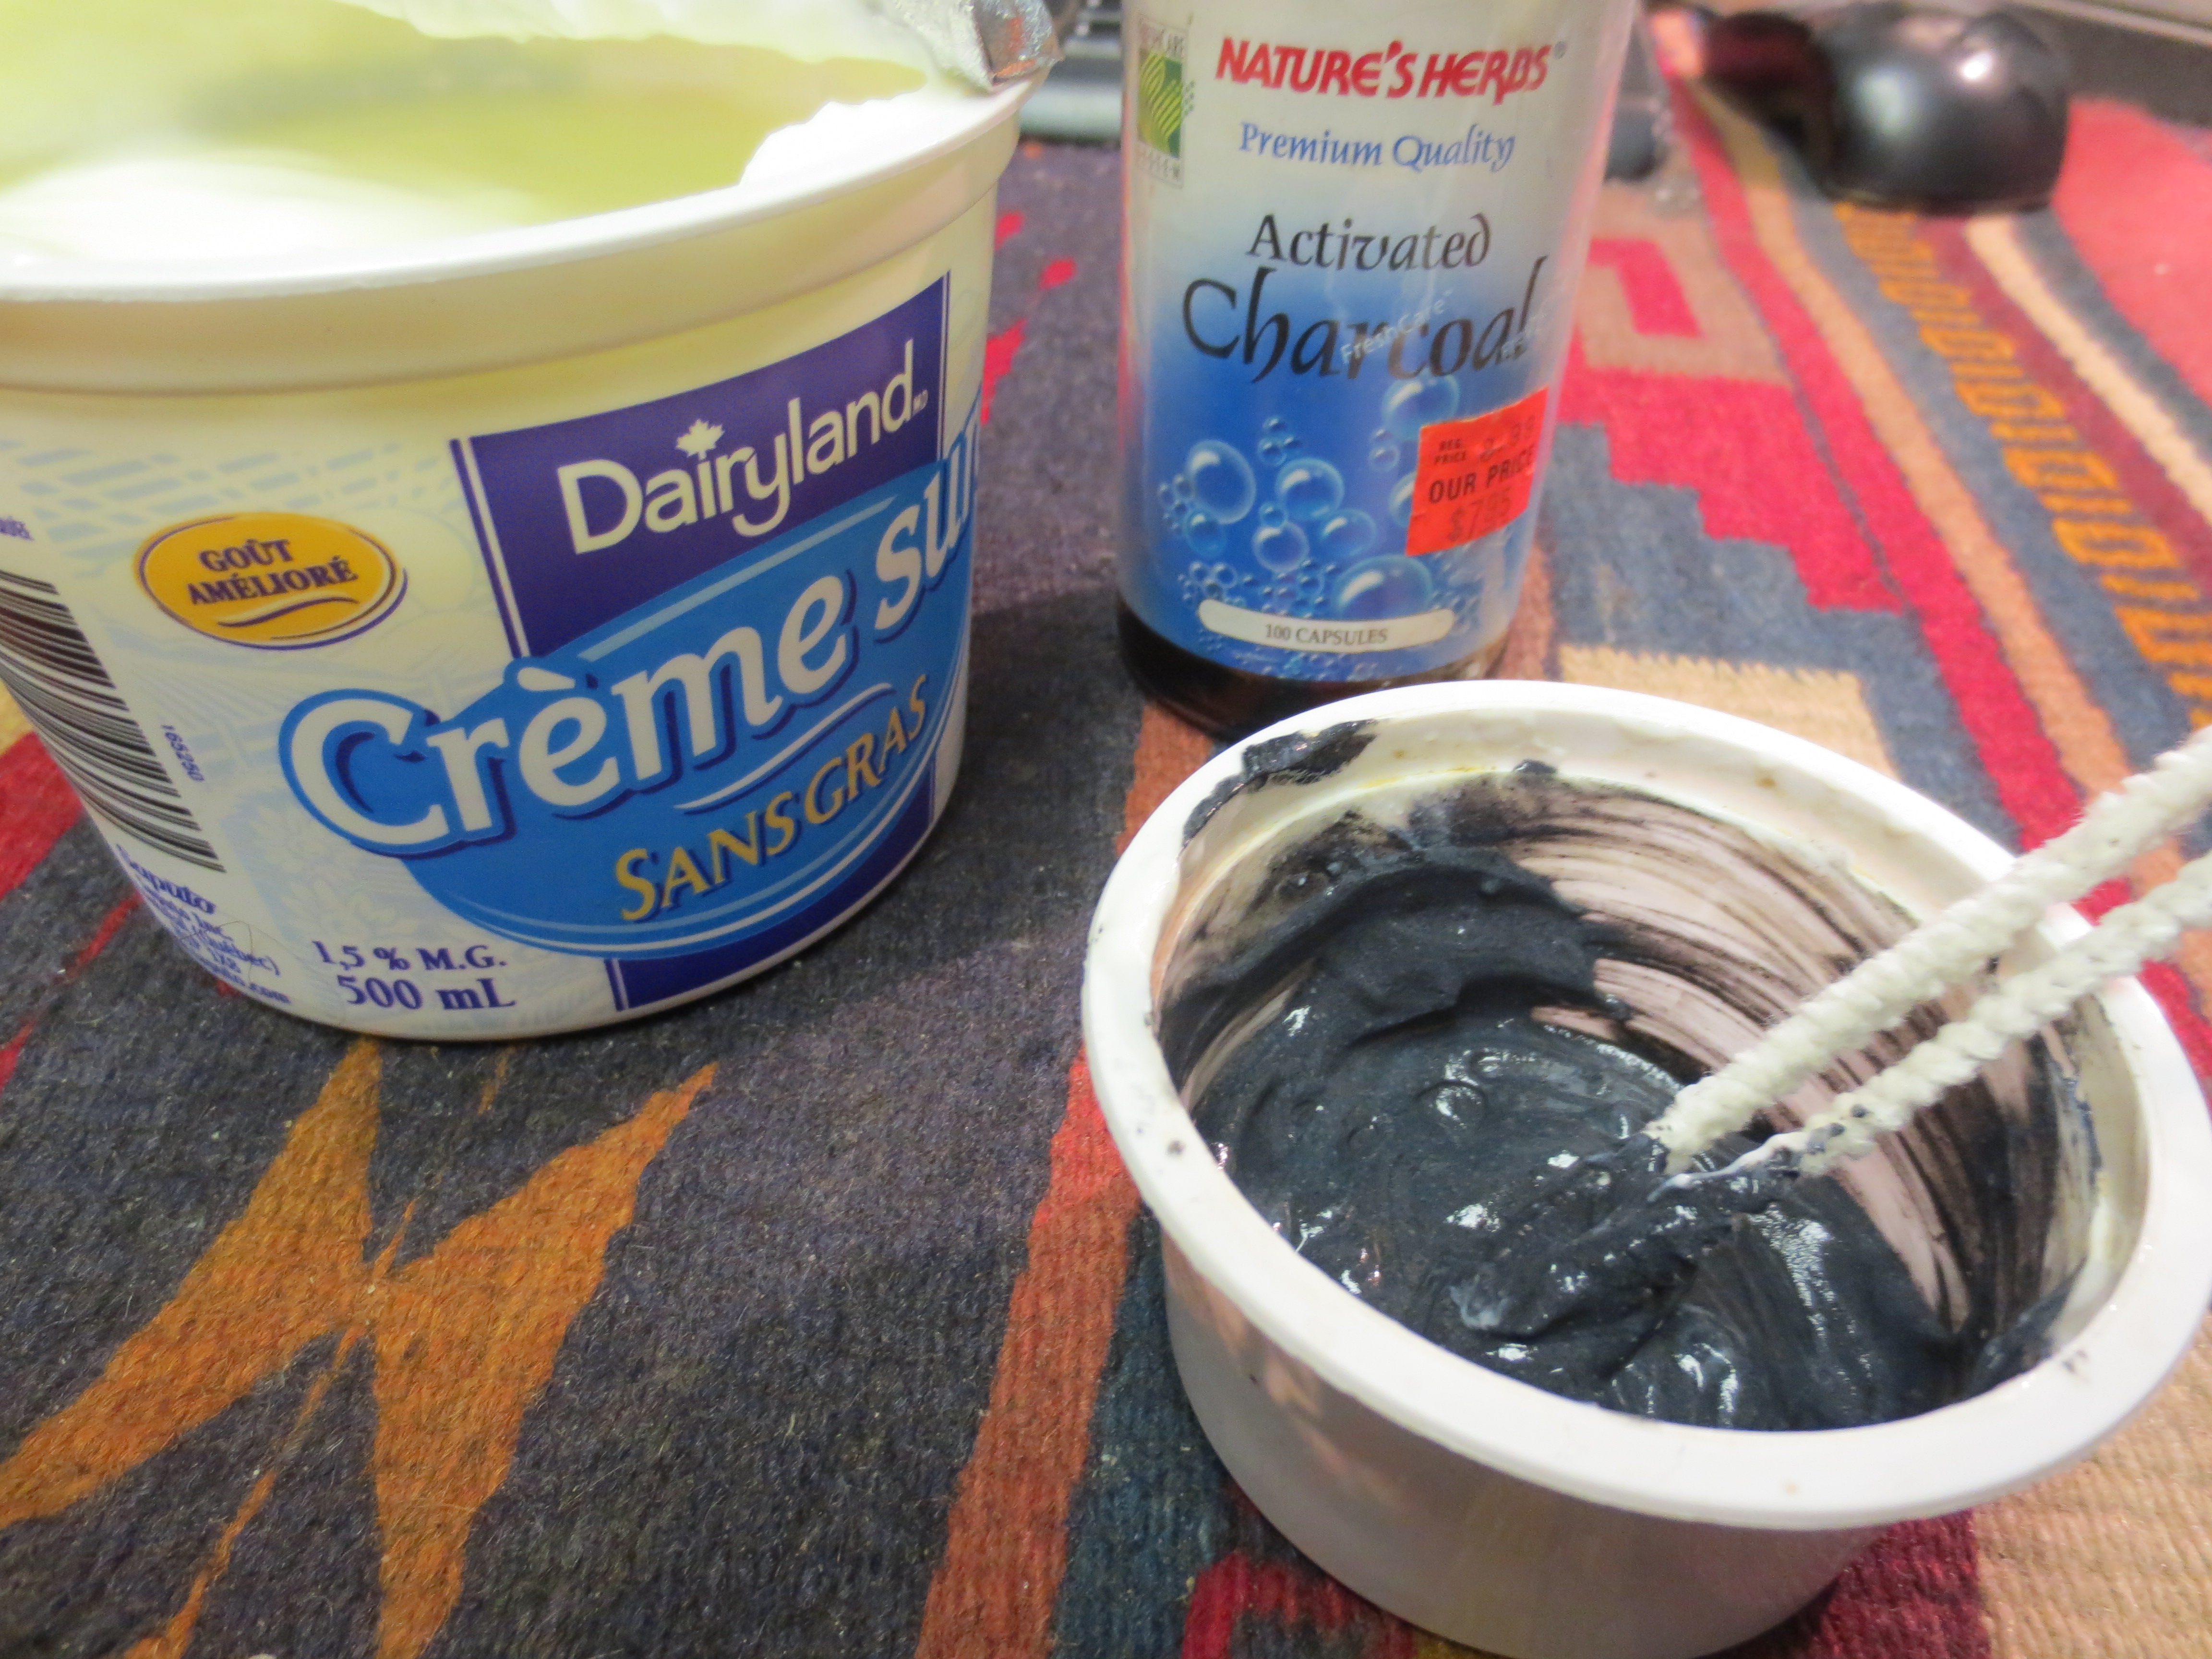
Once the JB Weld was cleaned up and reduced to only filling the cracks it was time for the second step of the bowl interior renewal. I mixed a batch of bowl coating composed of activated charcoal powder and sour cream. I stirred the batch until it was a consistent blue/black grey colour. I applied it to the entire bowl from top to bottom with a folded pipe cleaner. Once it dries it is a solid black colour and neutral in taste. It gives the bowl an additional layer of protection until the cake builds up. The next three photos show the mix and the application in the bowl.

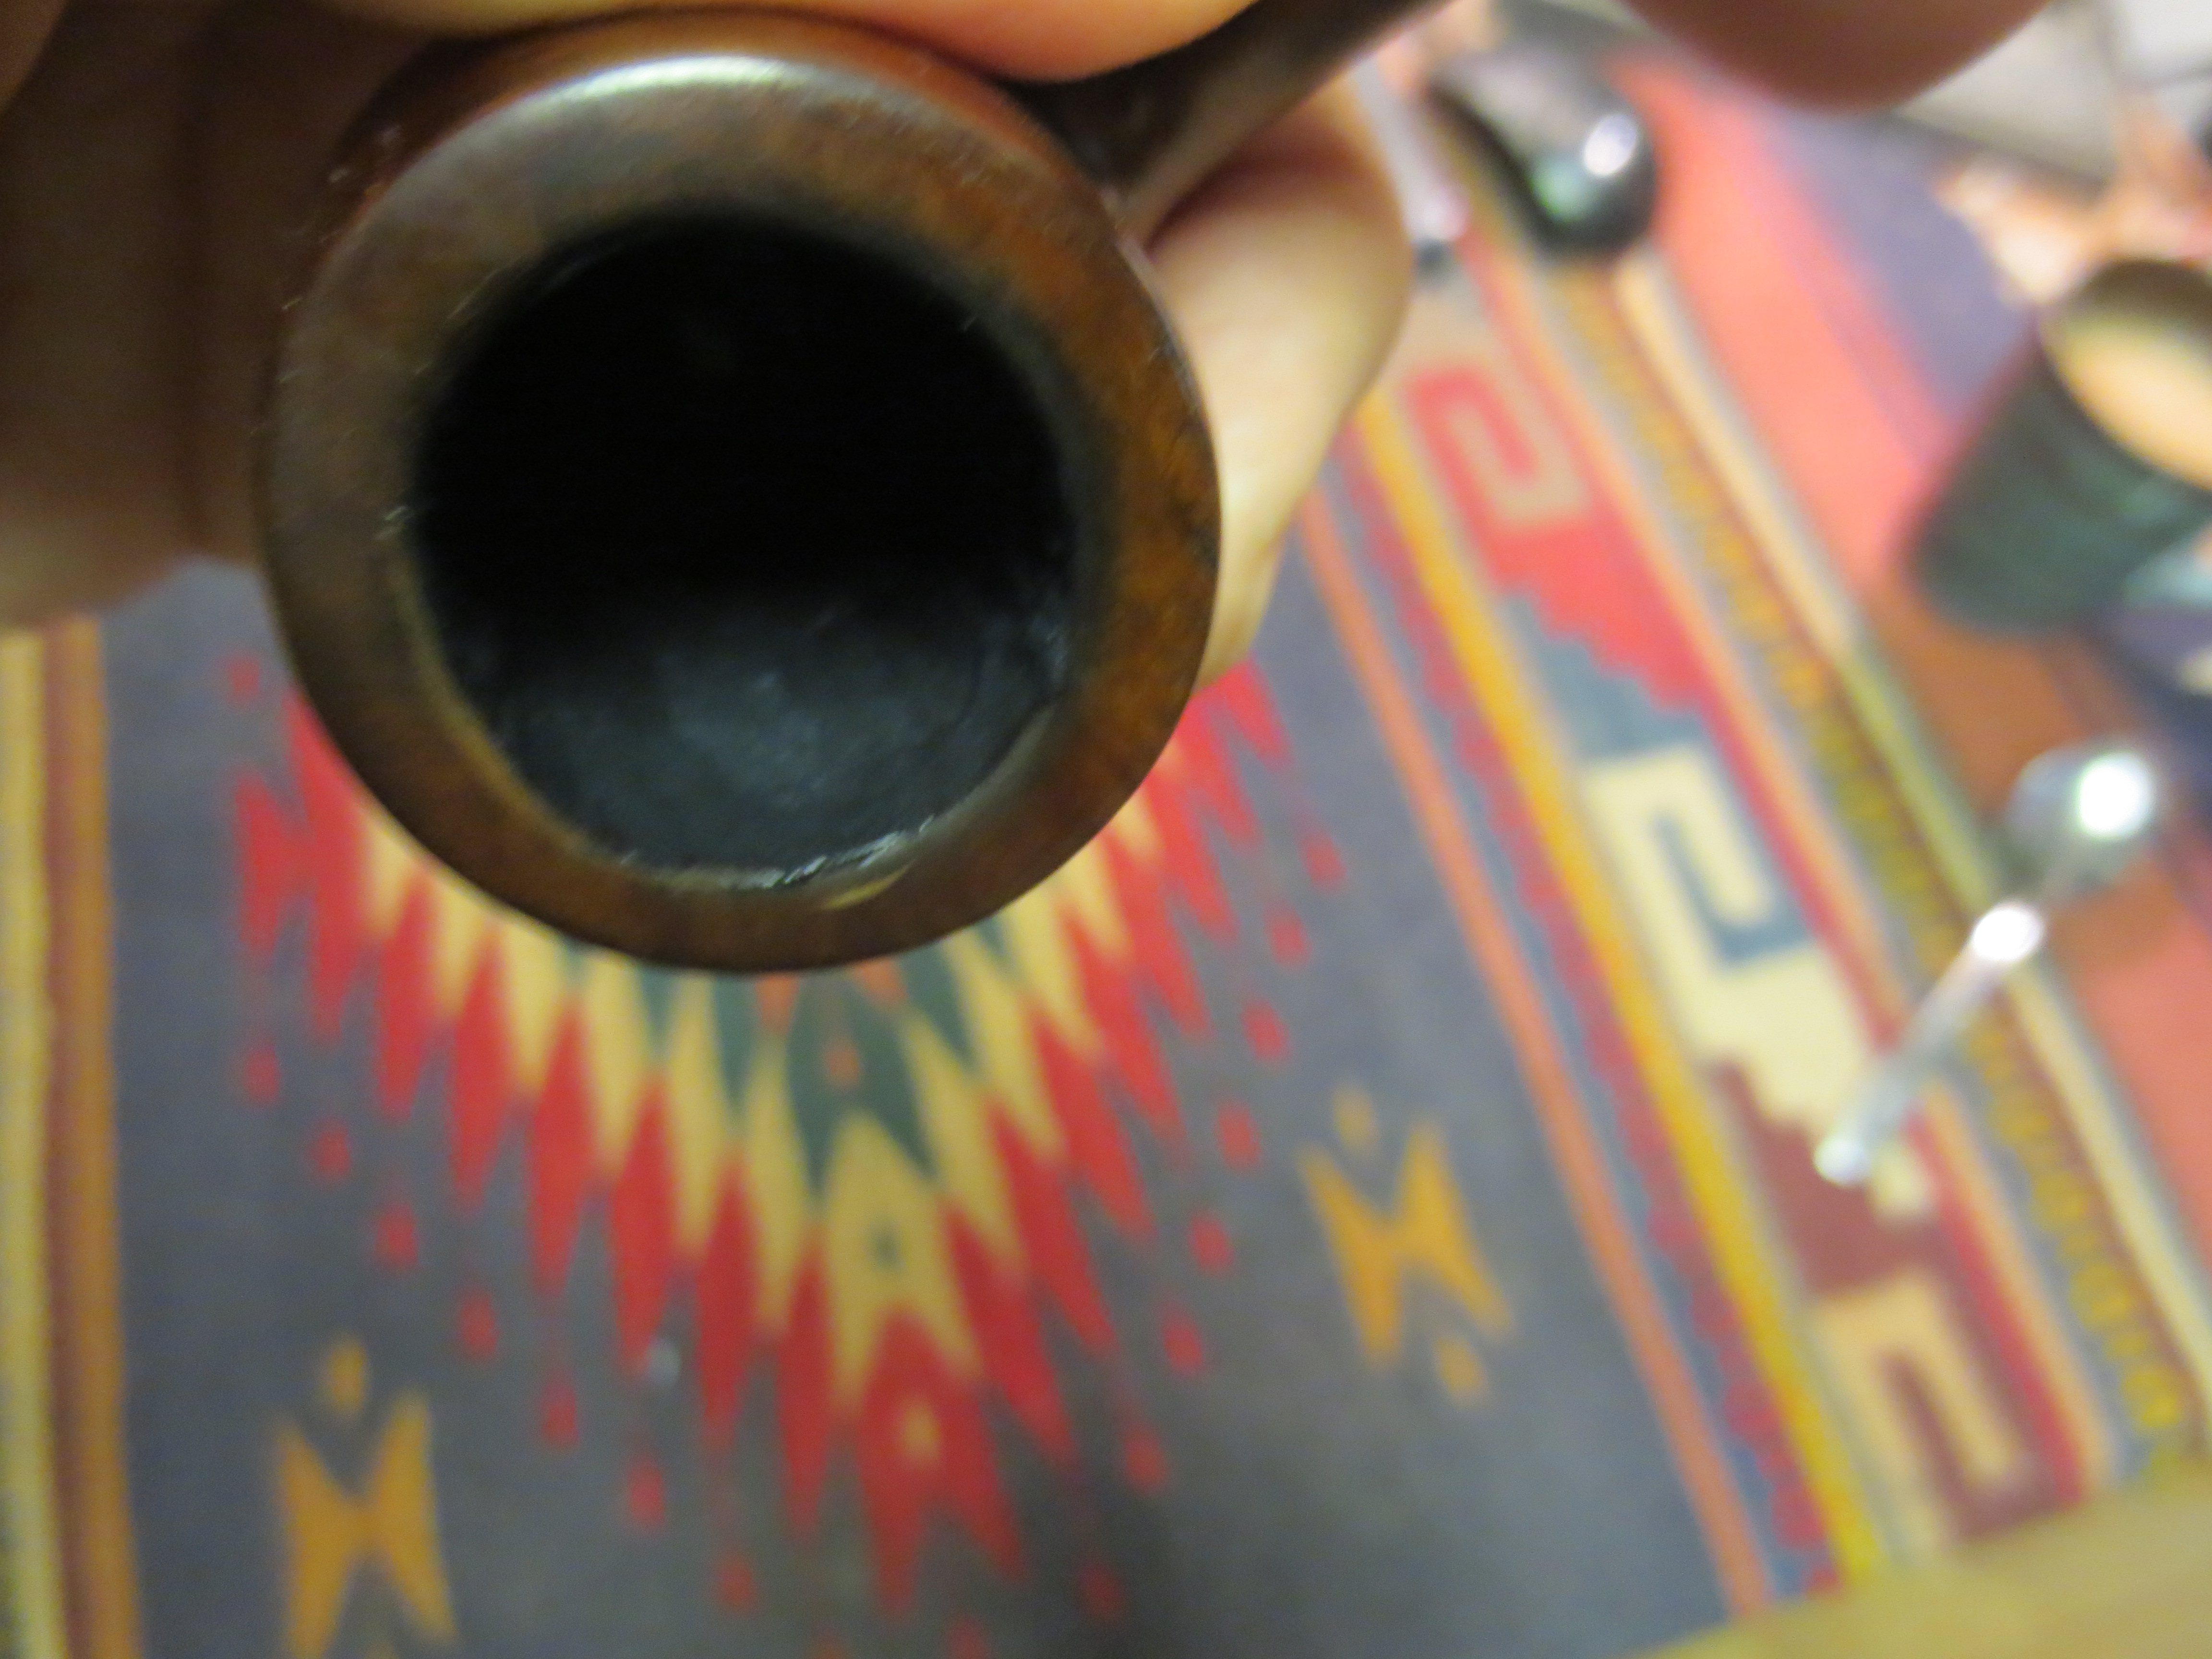
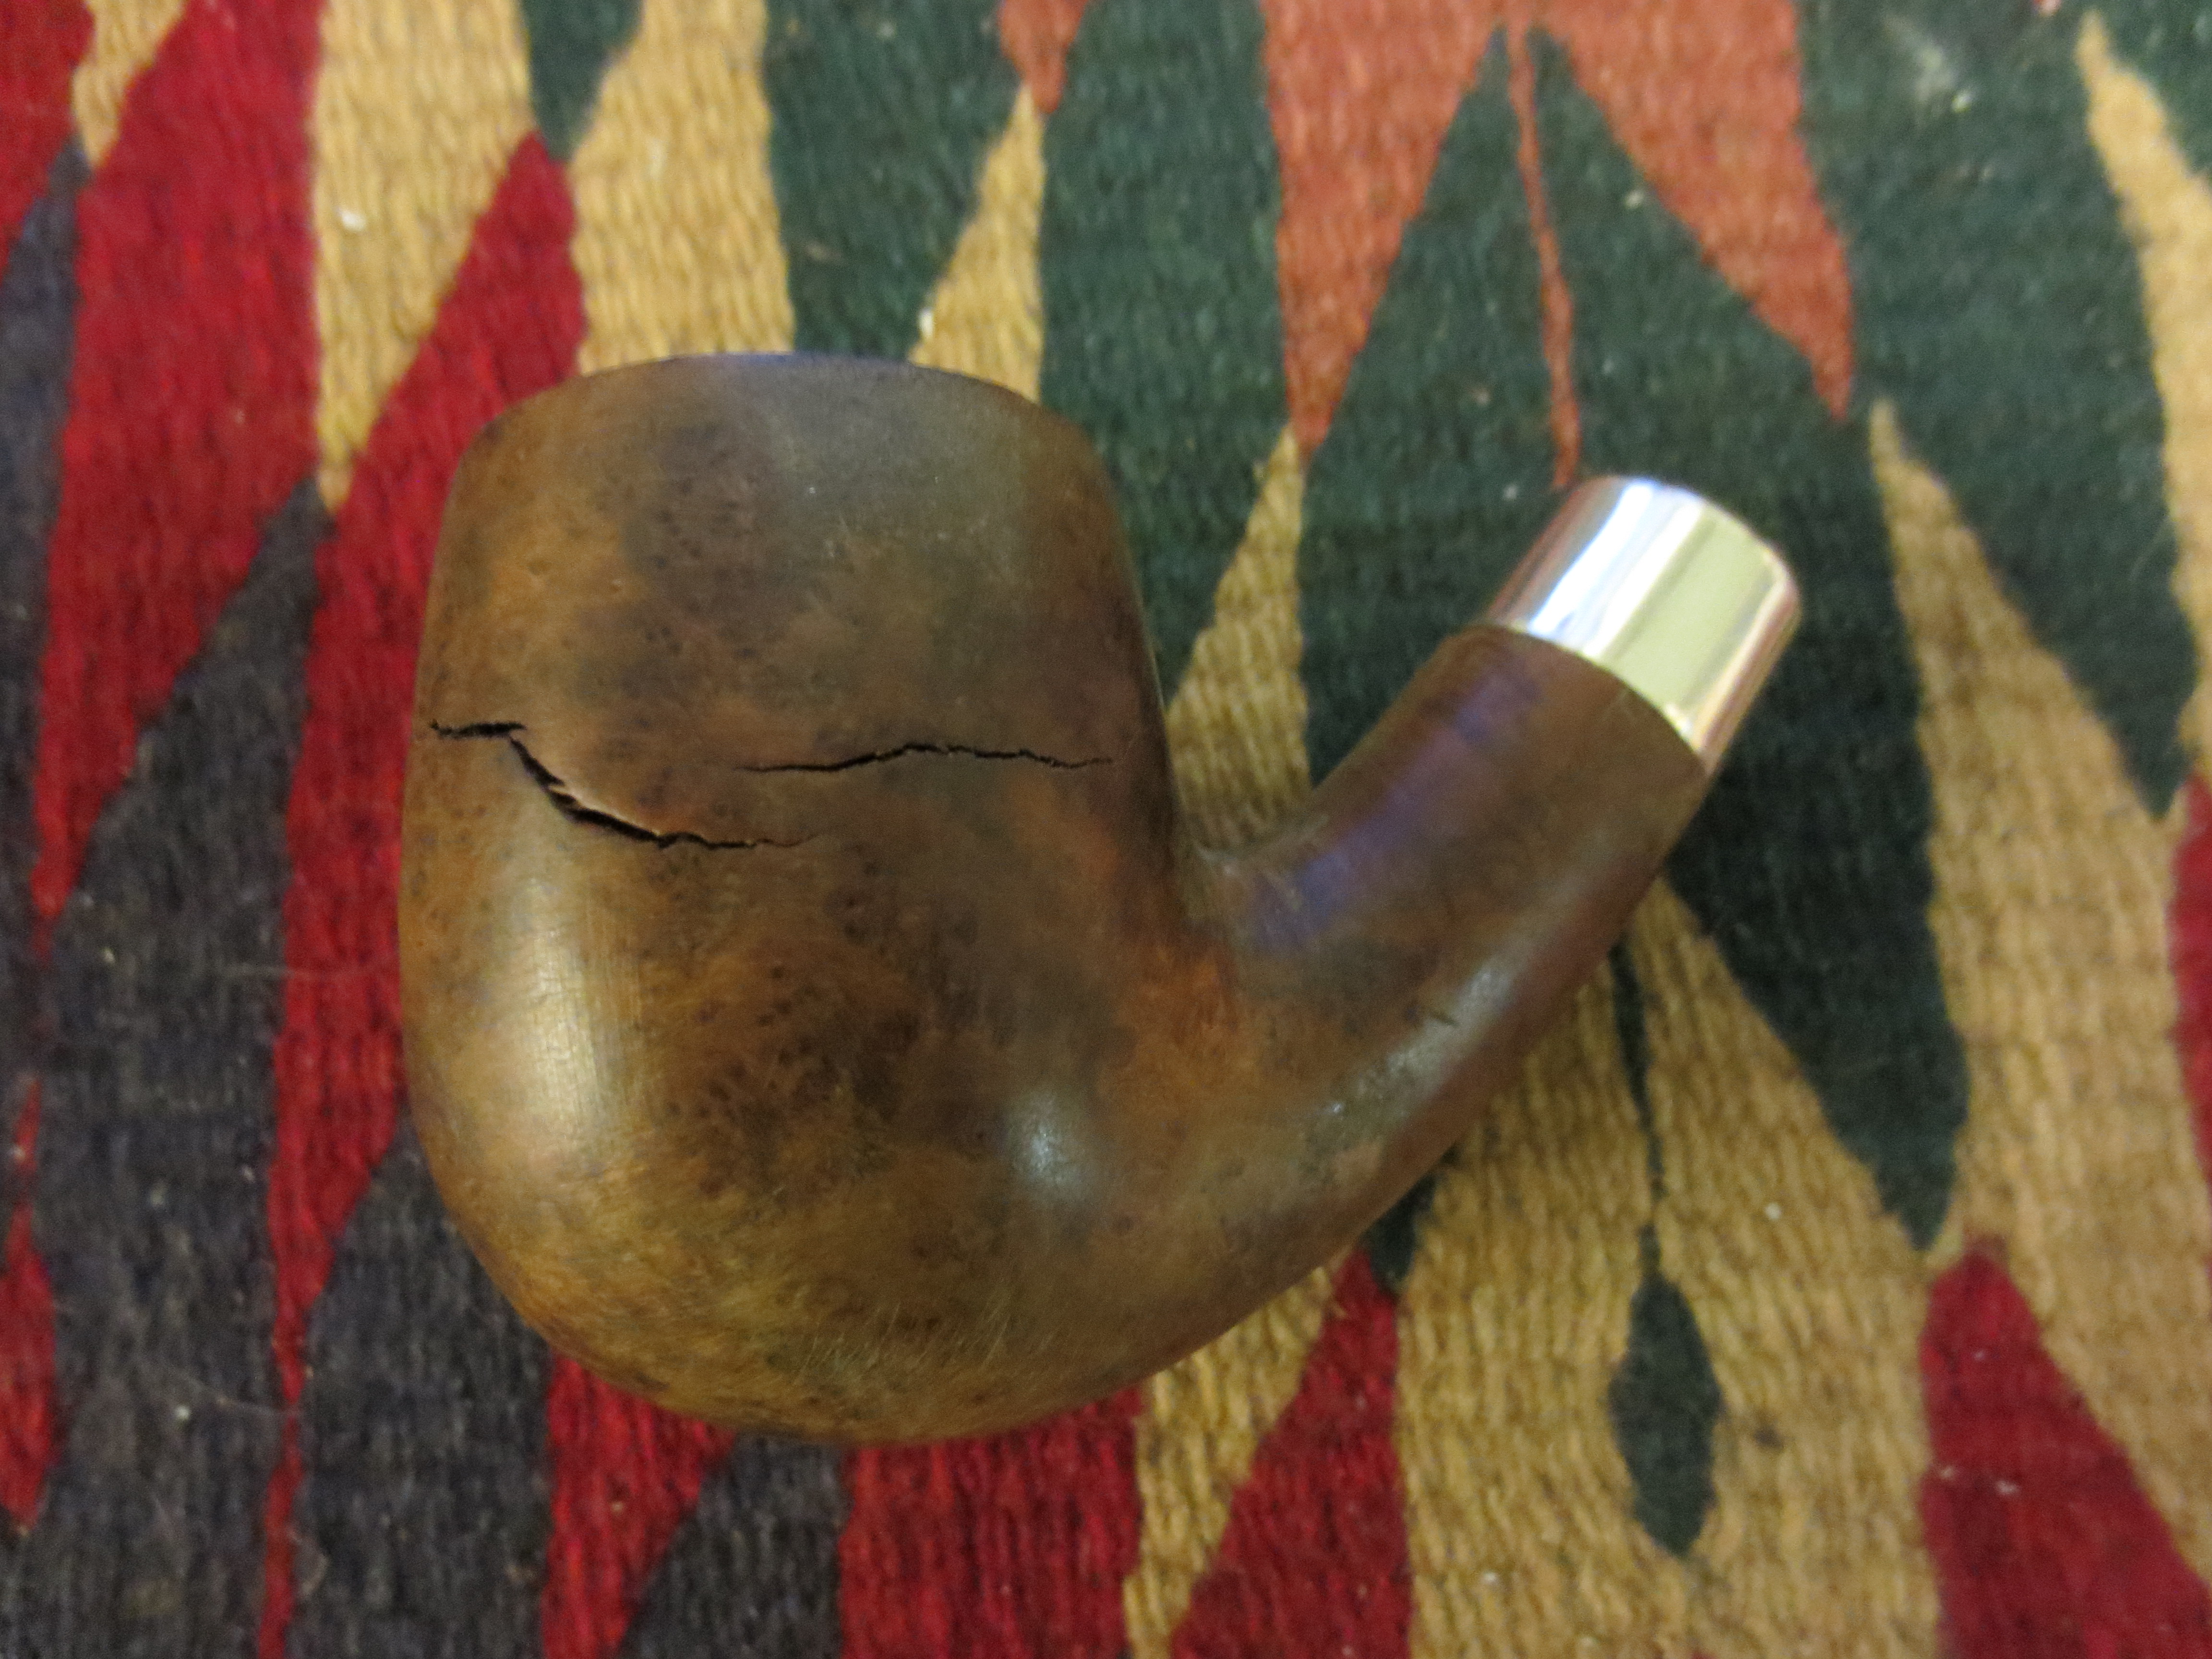
With that done, both the inside and the outside cracks are repaired and the pipe is back in service. I gave the entire pipe a final buff with White Diamond and then applied multiple coats of carnauba wax for protection. The final photos below give you an idea of how the pipe looks today. It is still curing from the bowl coating but I will load it and smoke it once that has cured. The finish of the two stains worked well to blend in the repairs but not hide them. The surface is smooth and the open cracks have been repaired. Now the ongoing test begins. Will the patches hold up or will the new heat from the fired tobacco open them a second time? Time will tell but it is worth the experiment in my opinion.