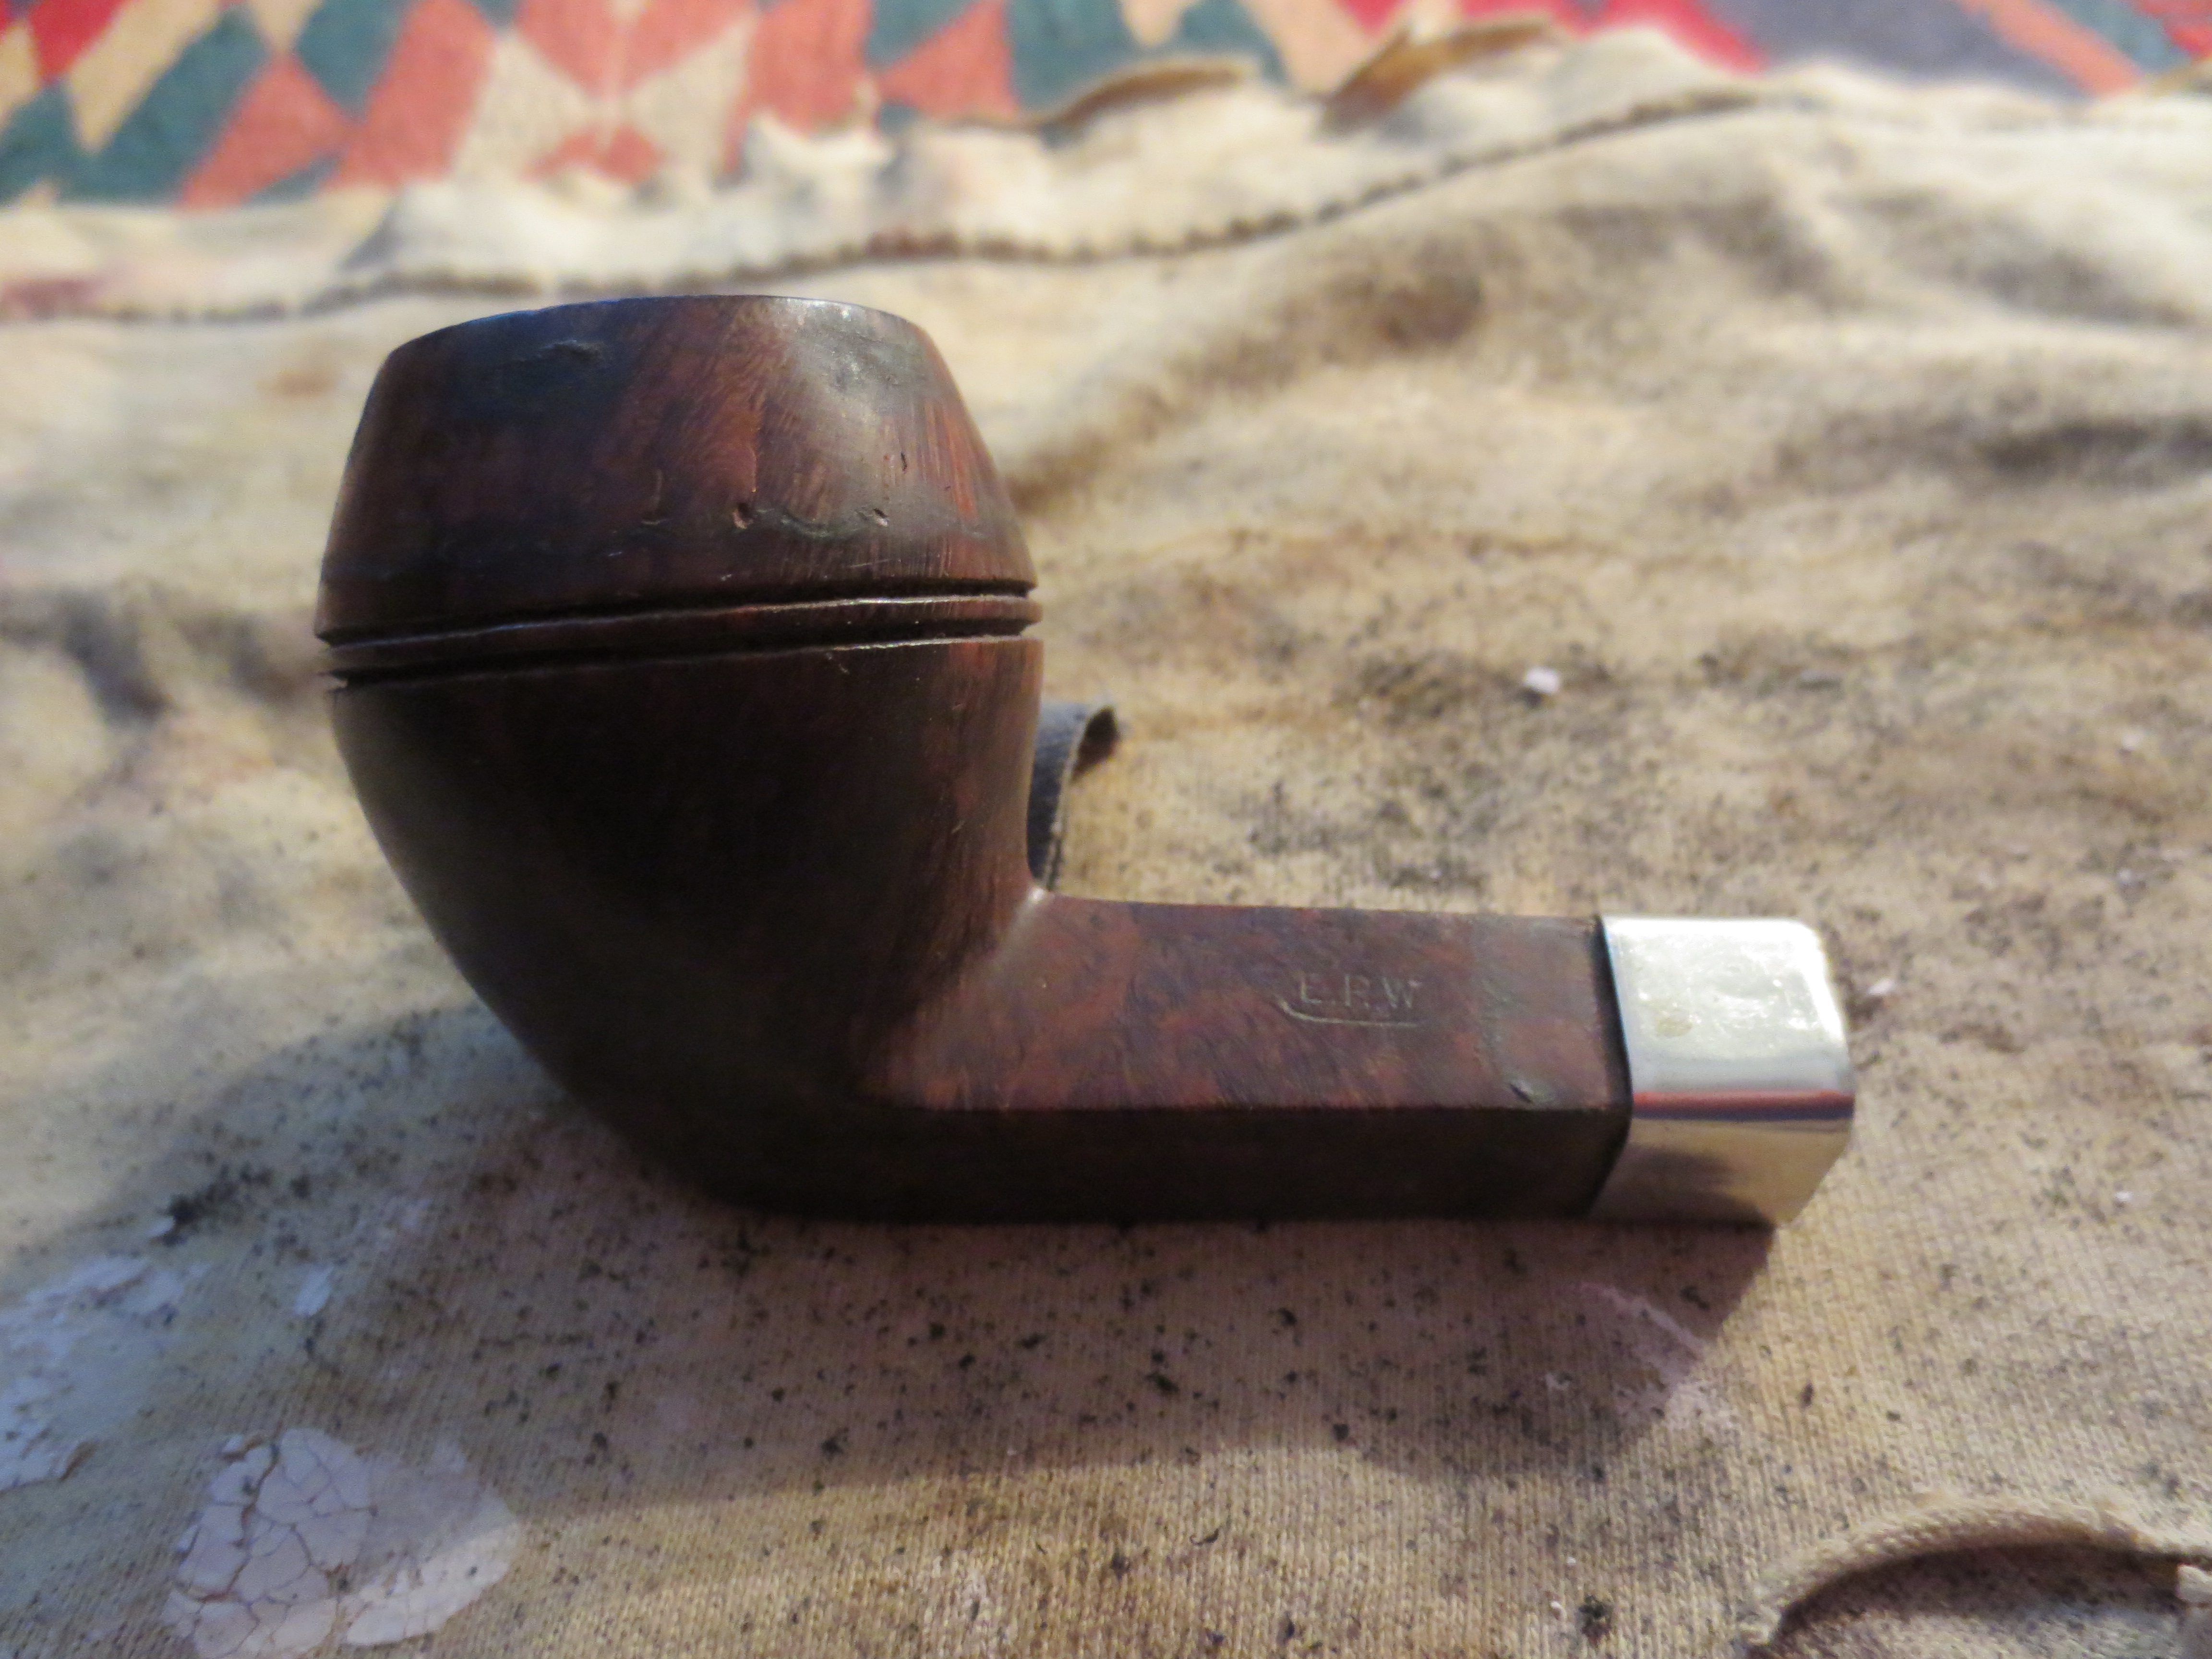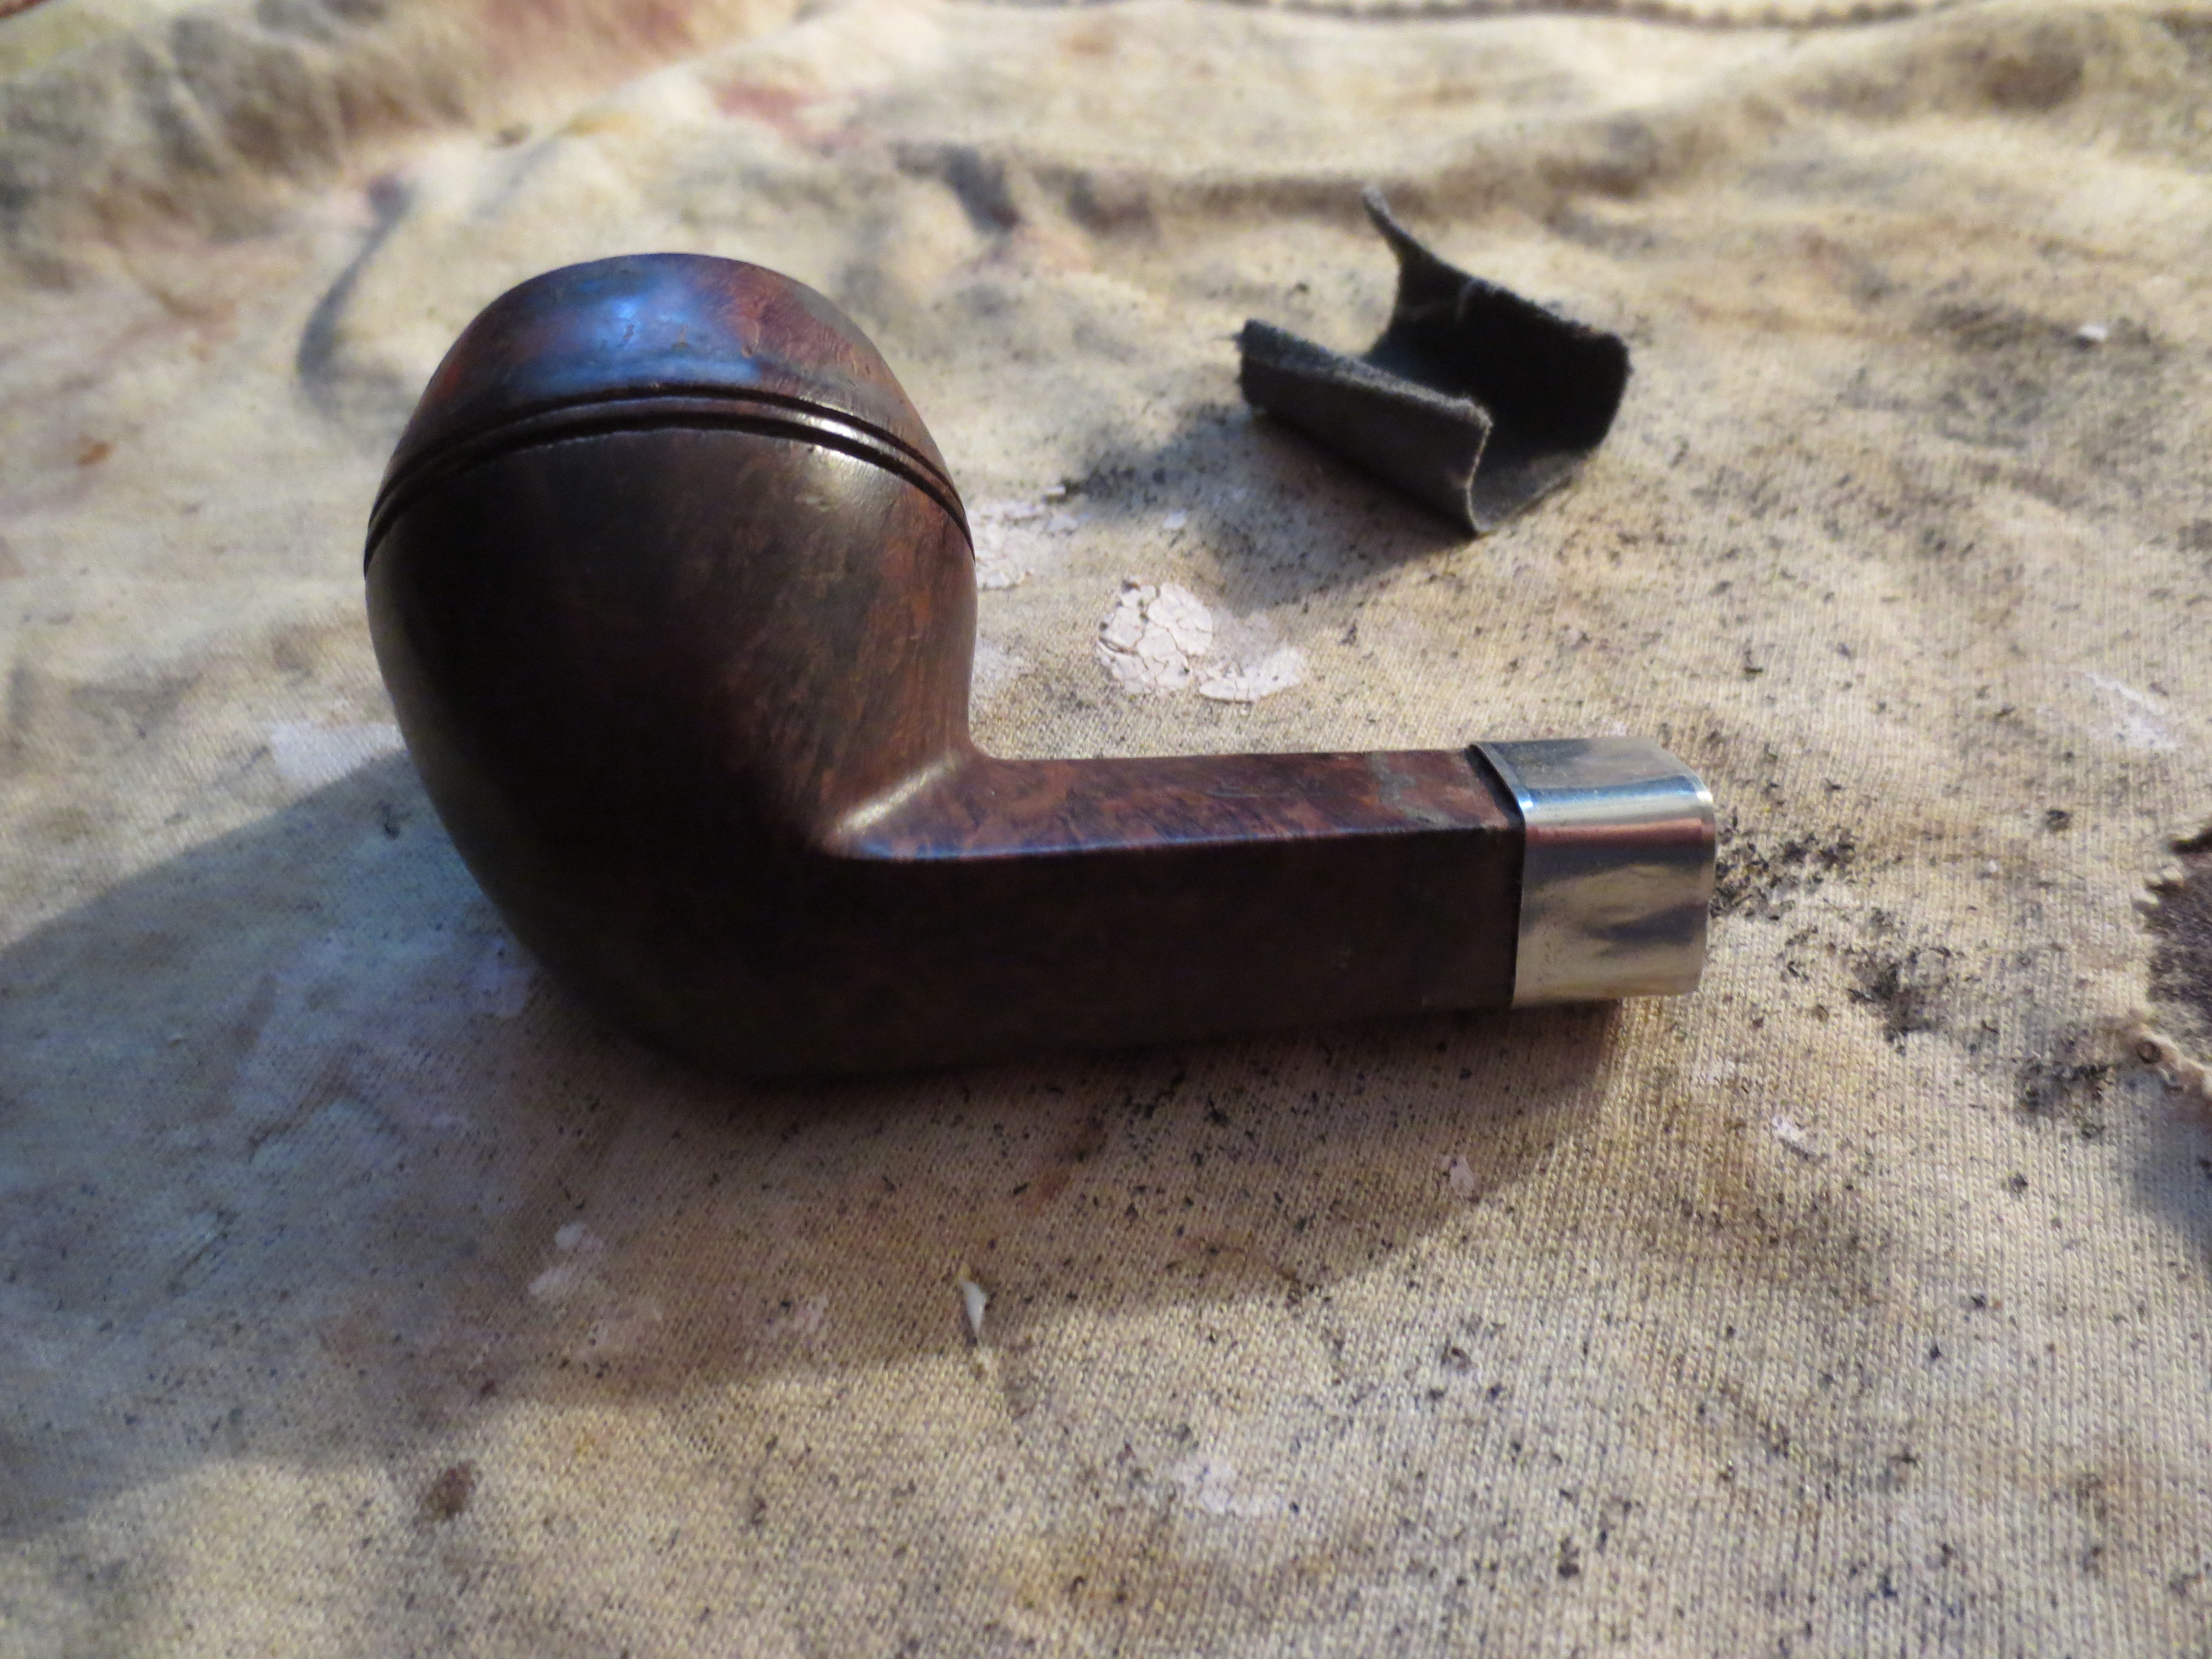
Tag Archives: fills with briar dust and superglue

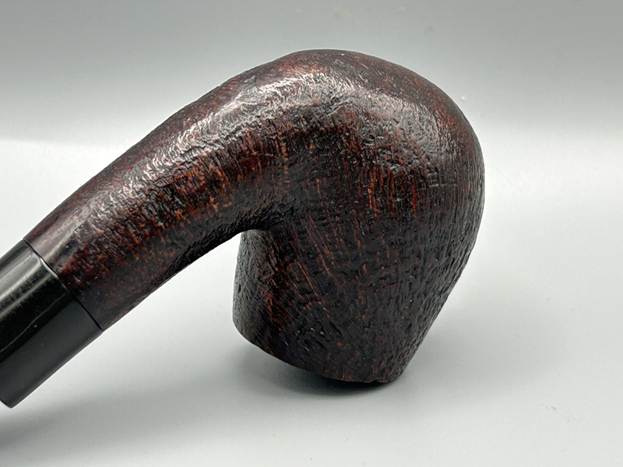
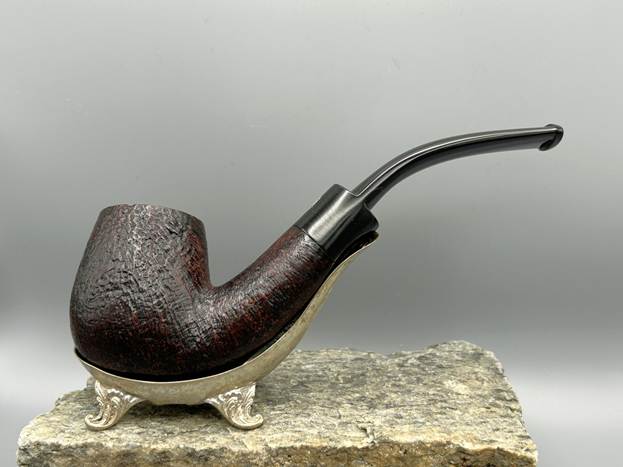
Cleaning Up a Snazzy Jobey Shellmoor Extra E55 Bent Billiard


by Kenneth Lieblich

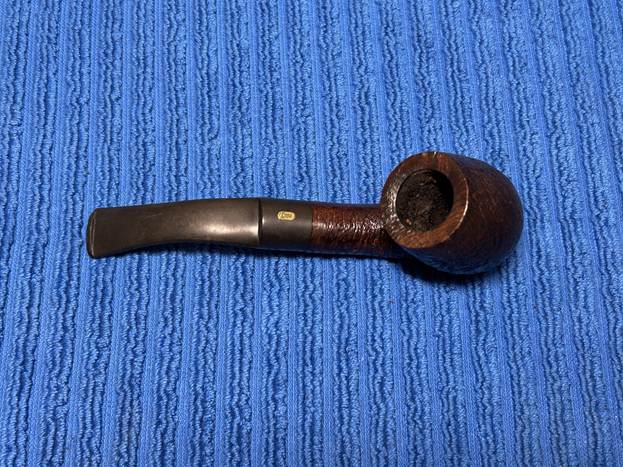
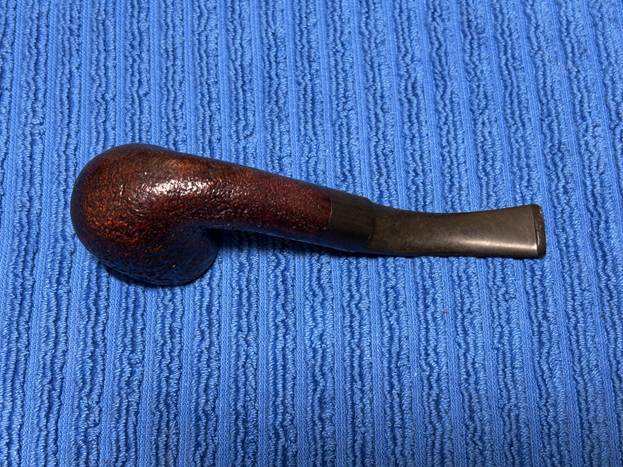
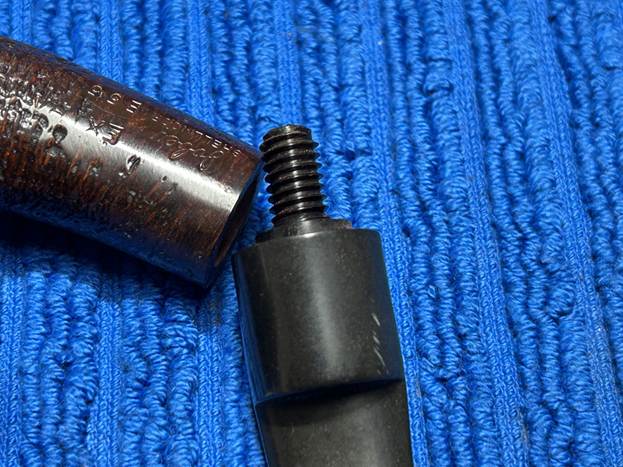
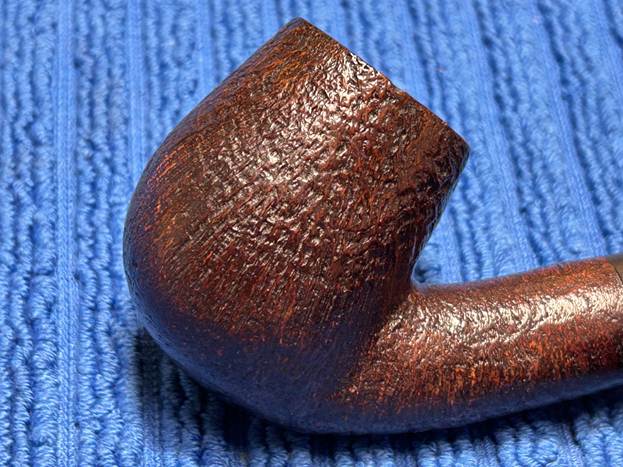
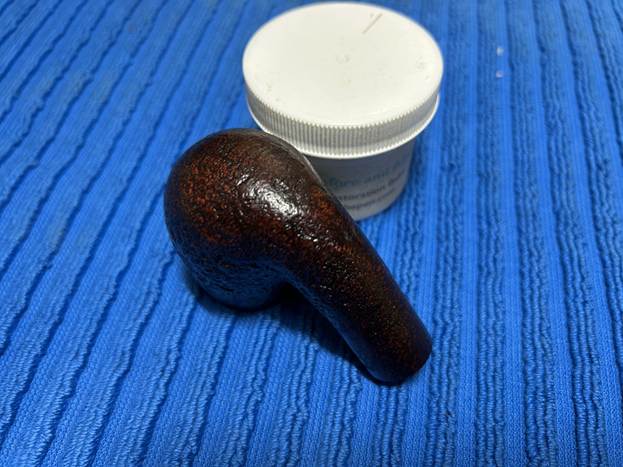
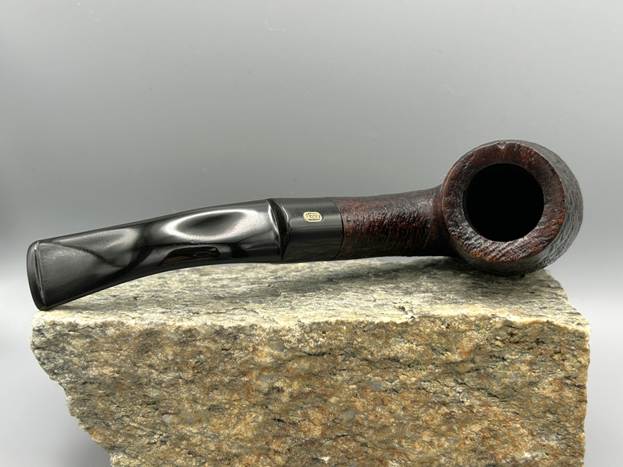
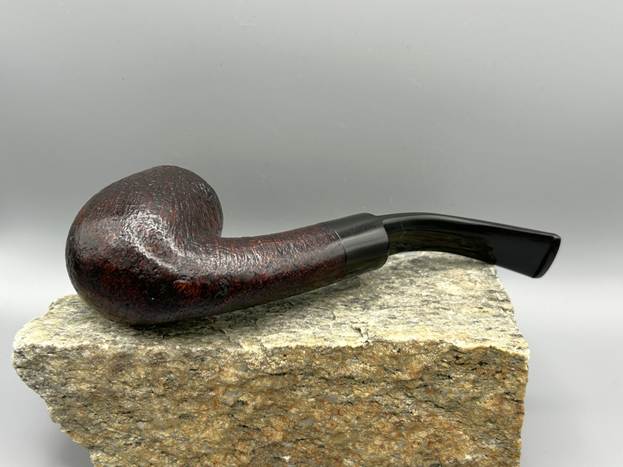
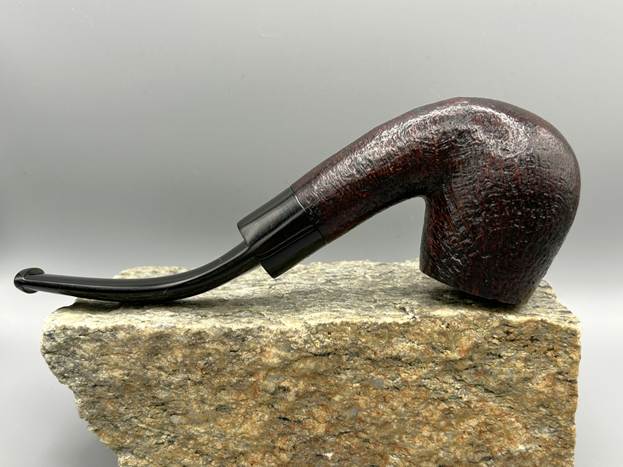
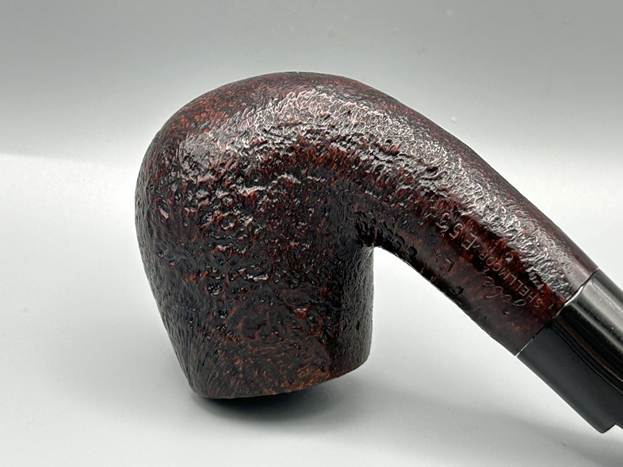
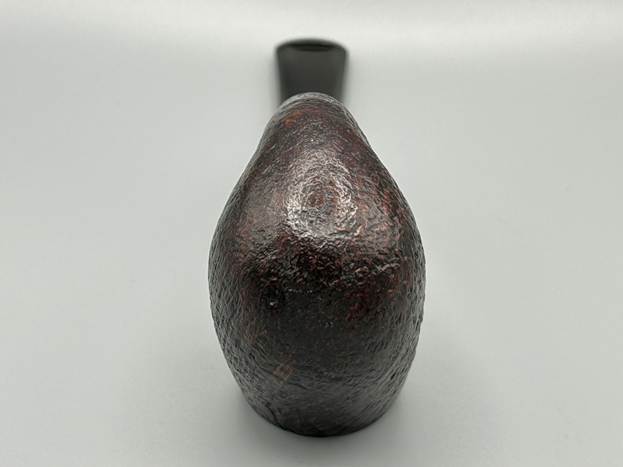
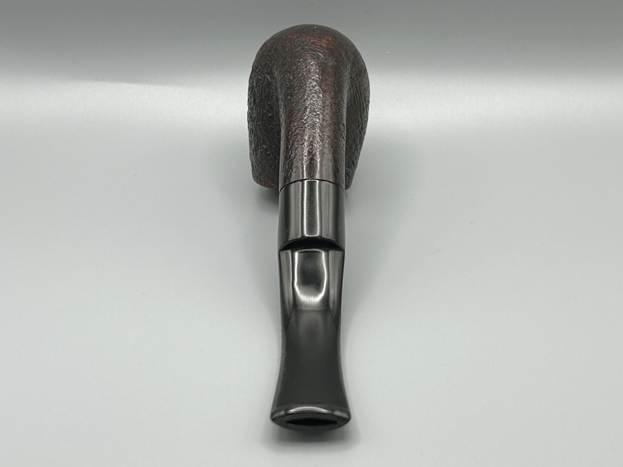
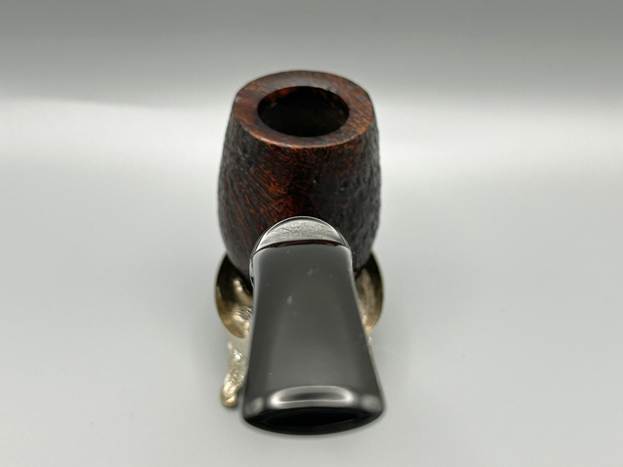
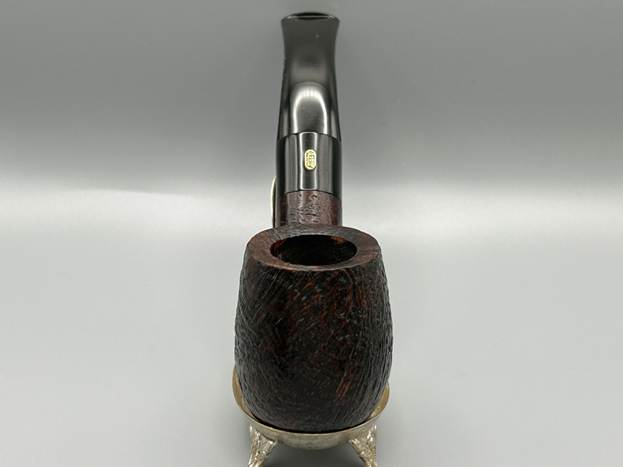
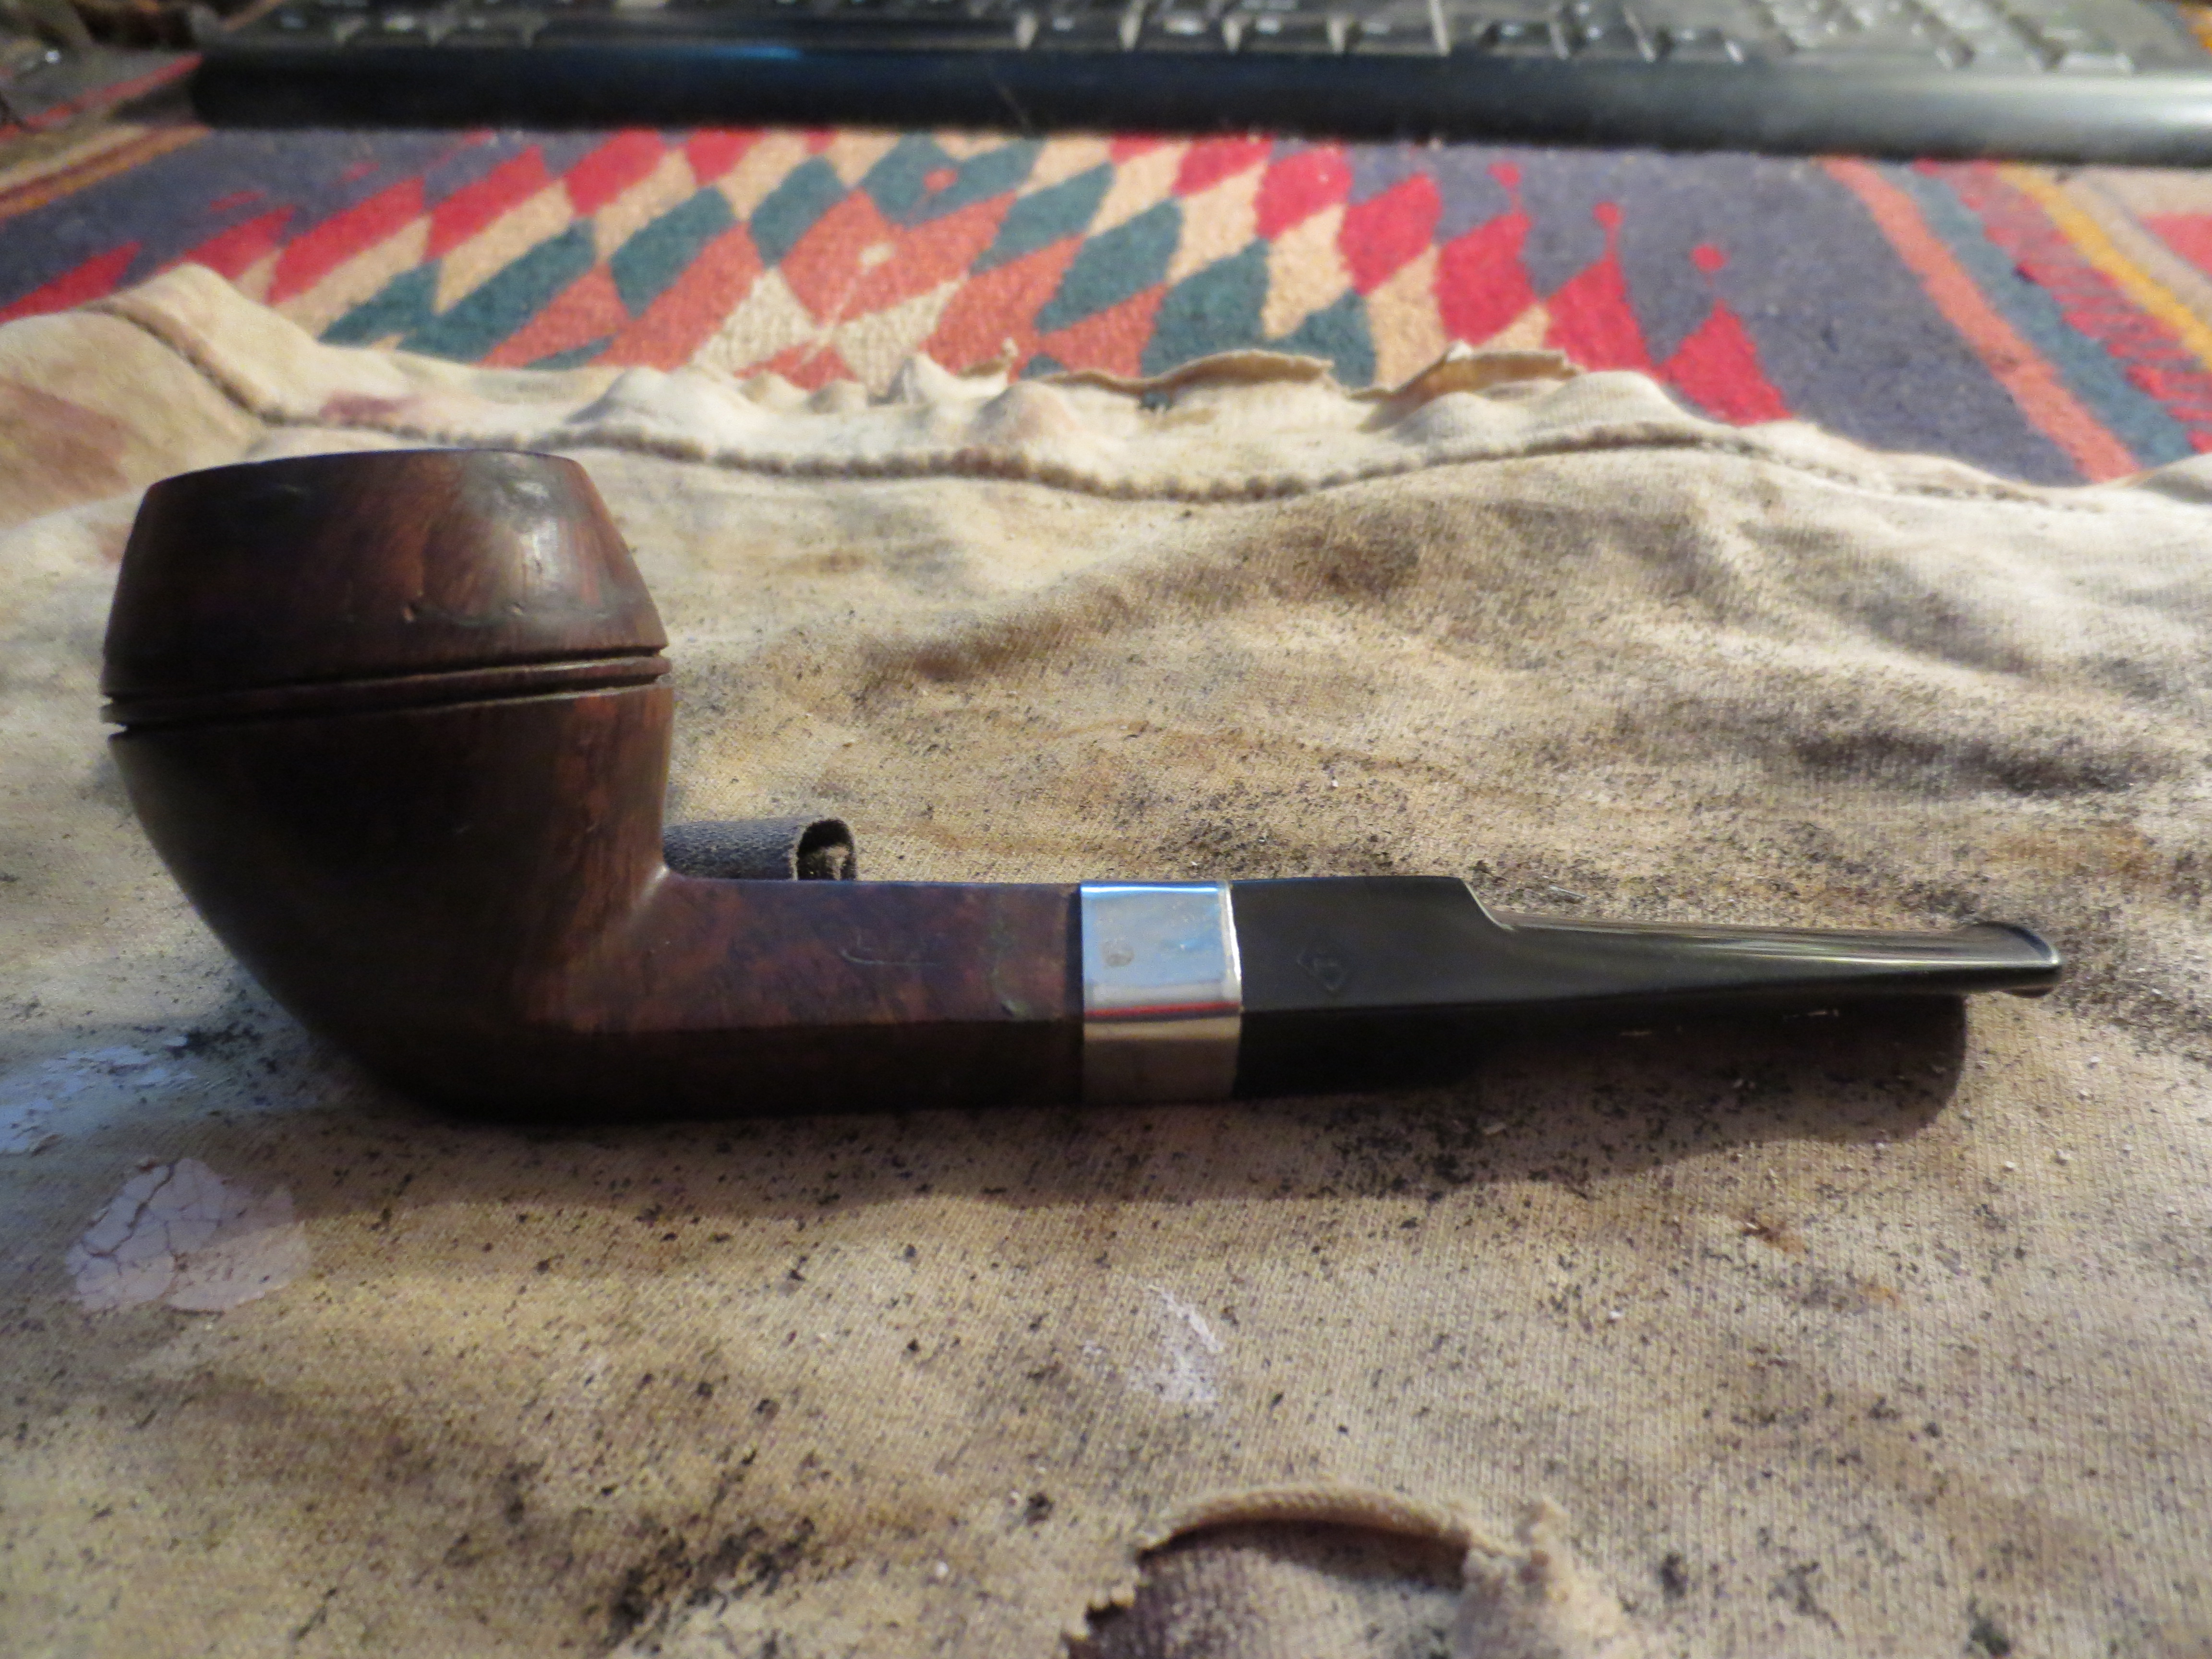
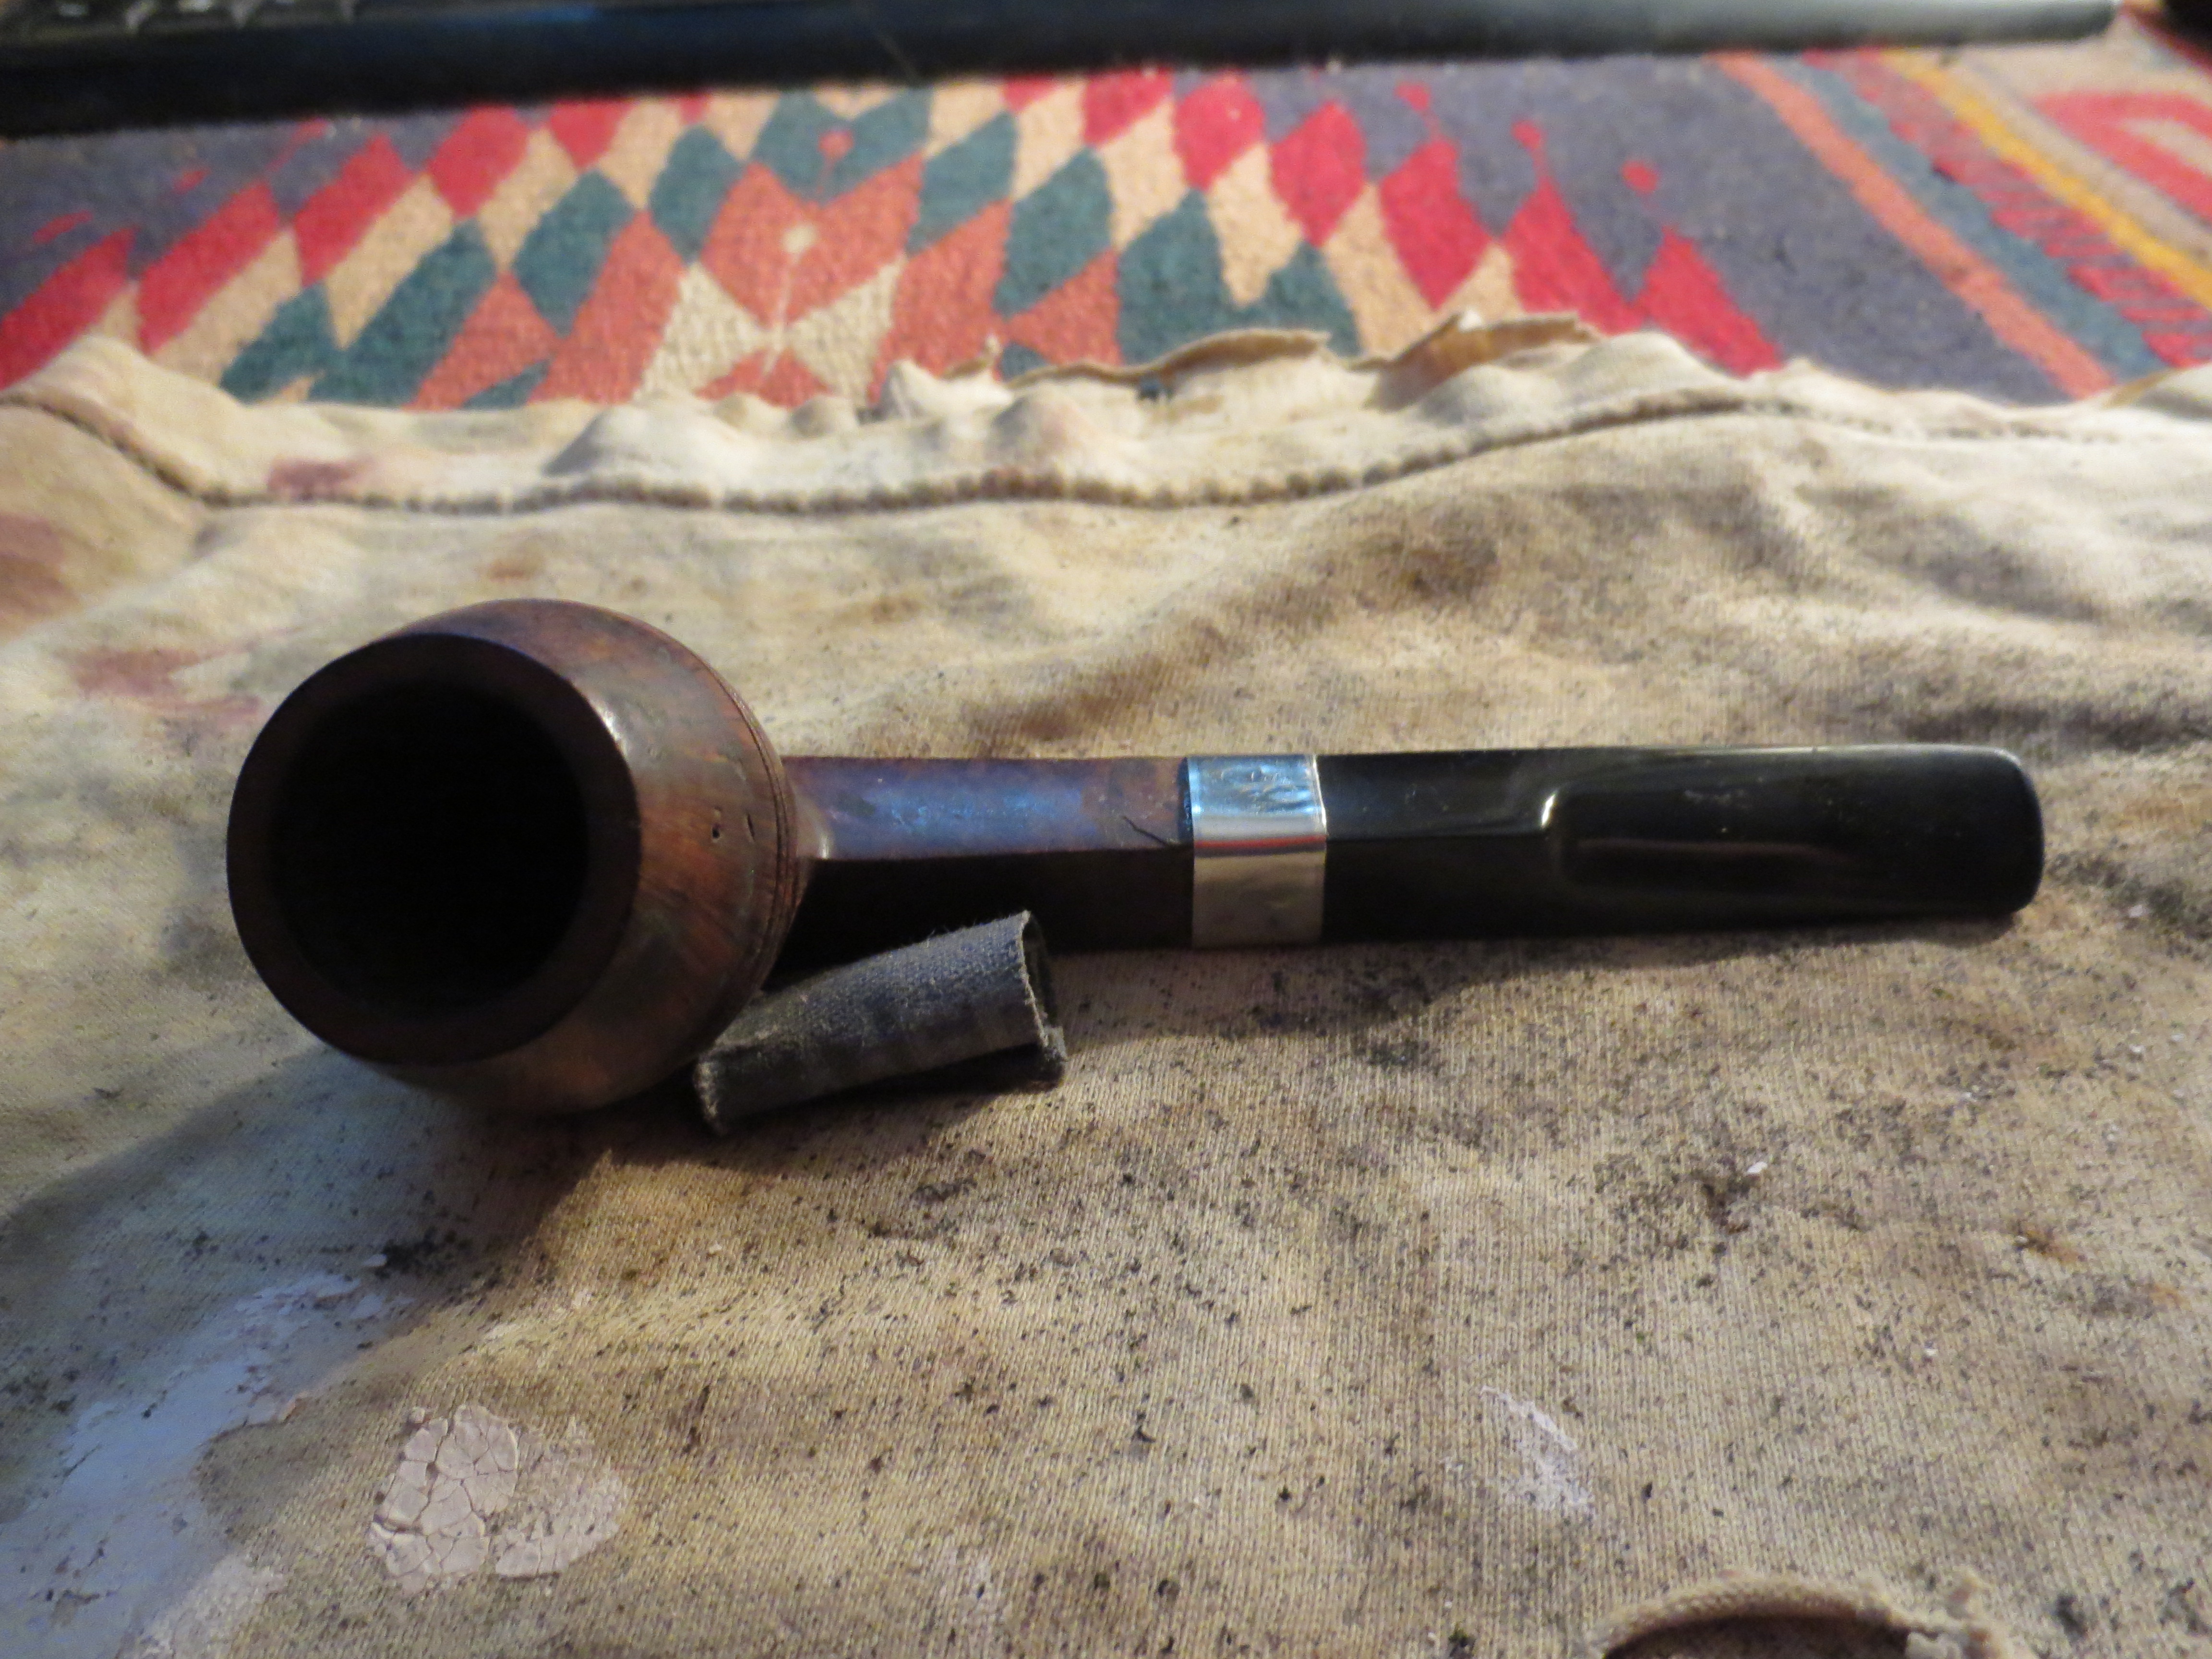
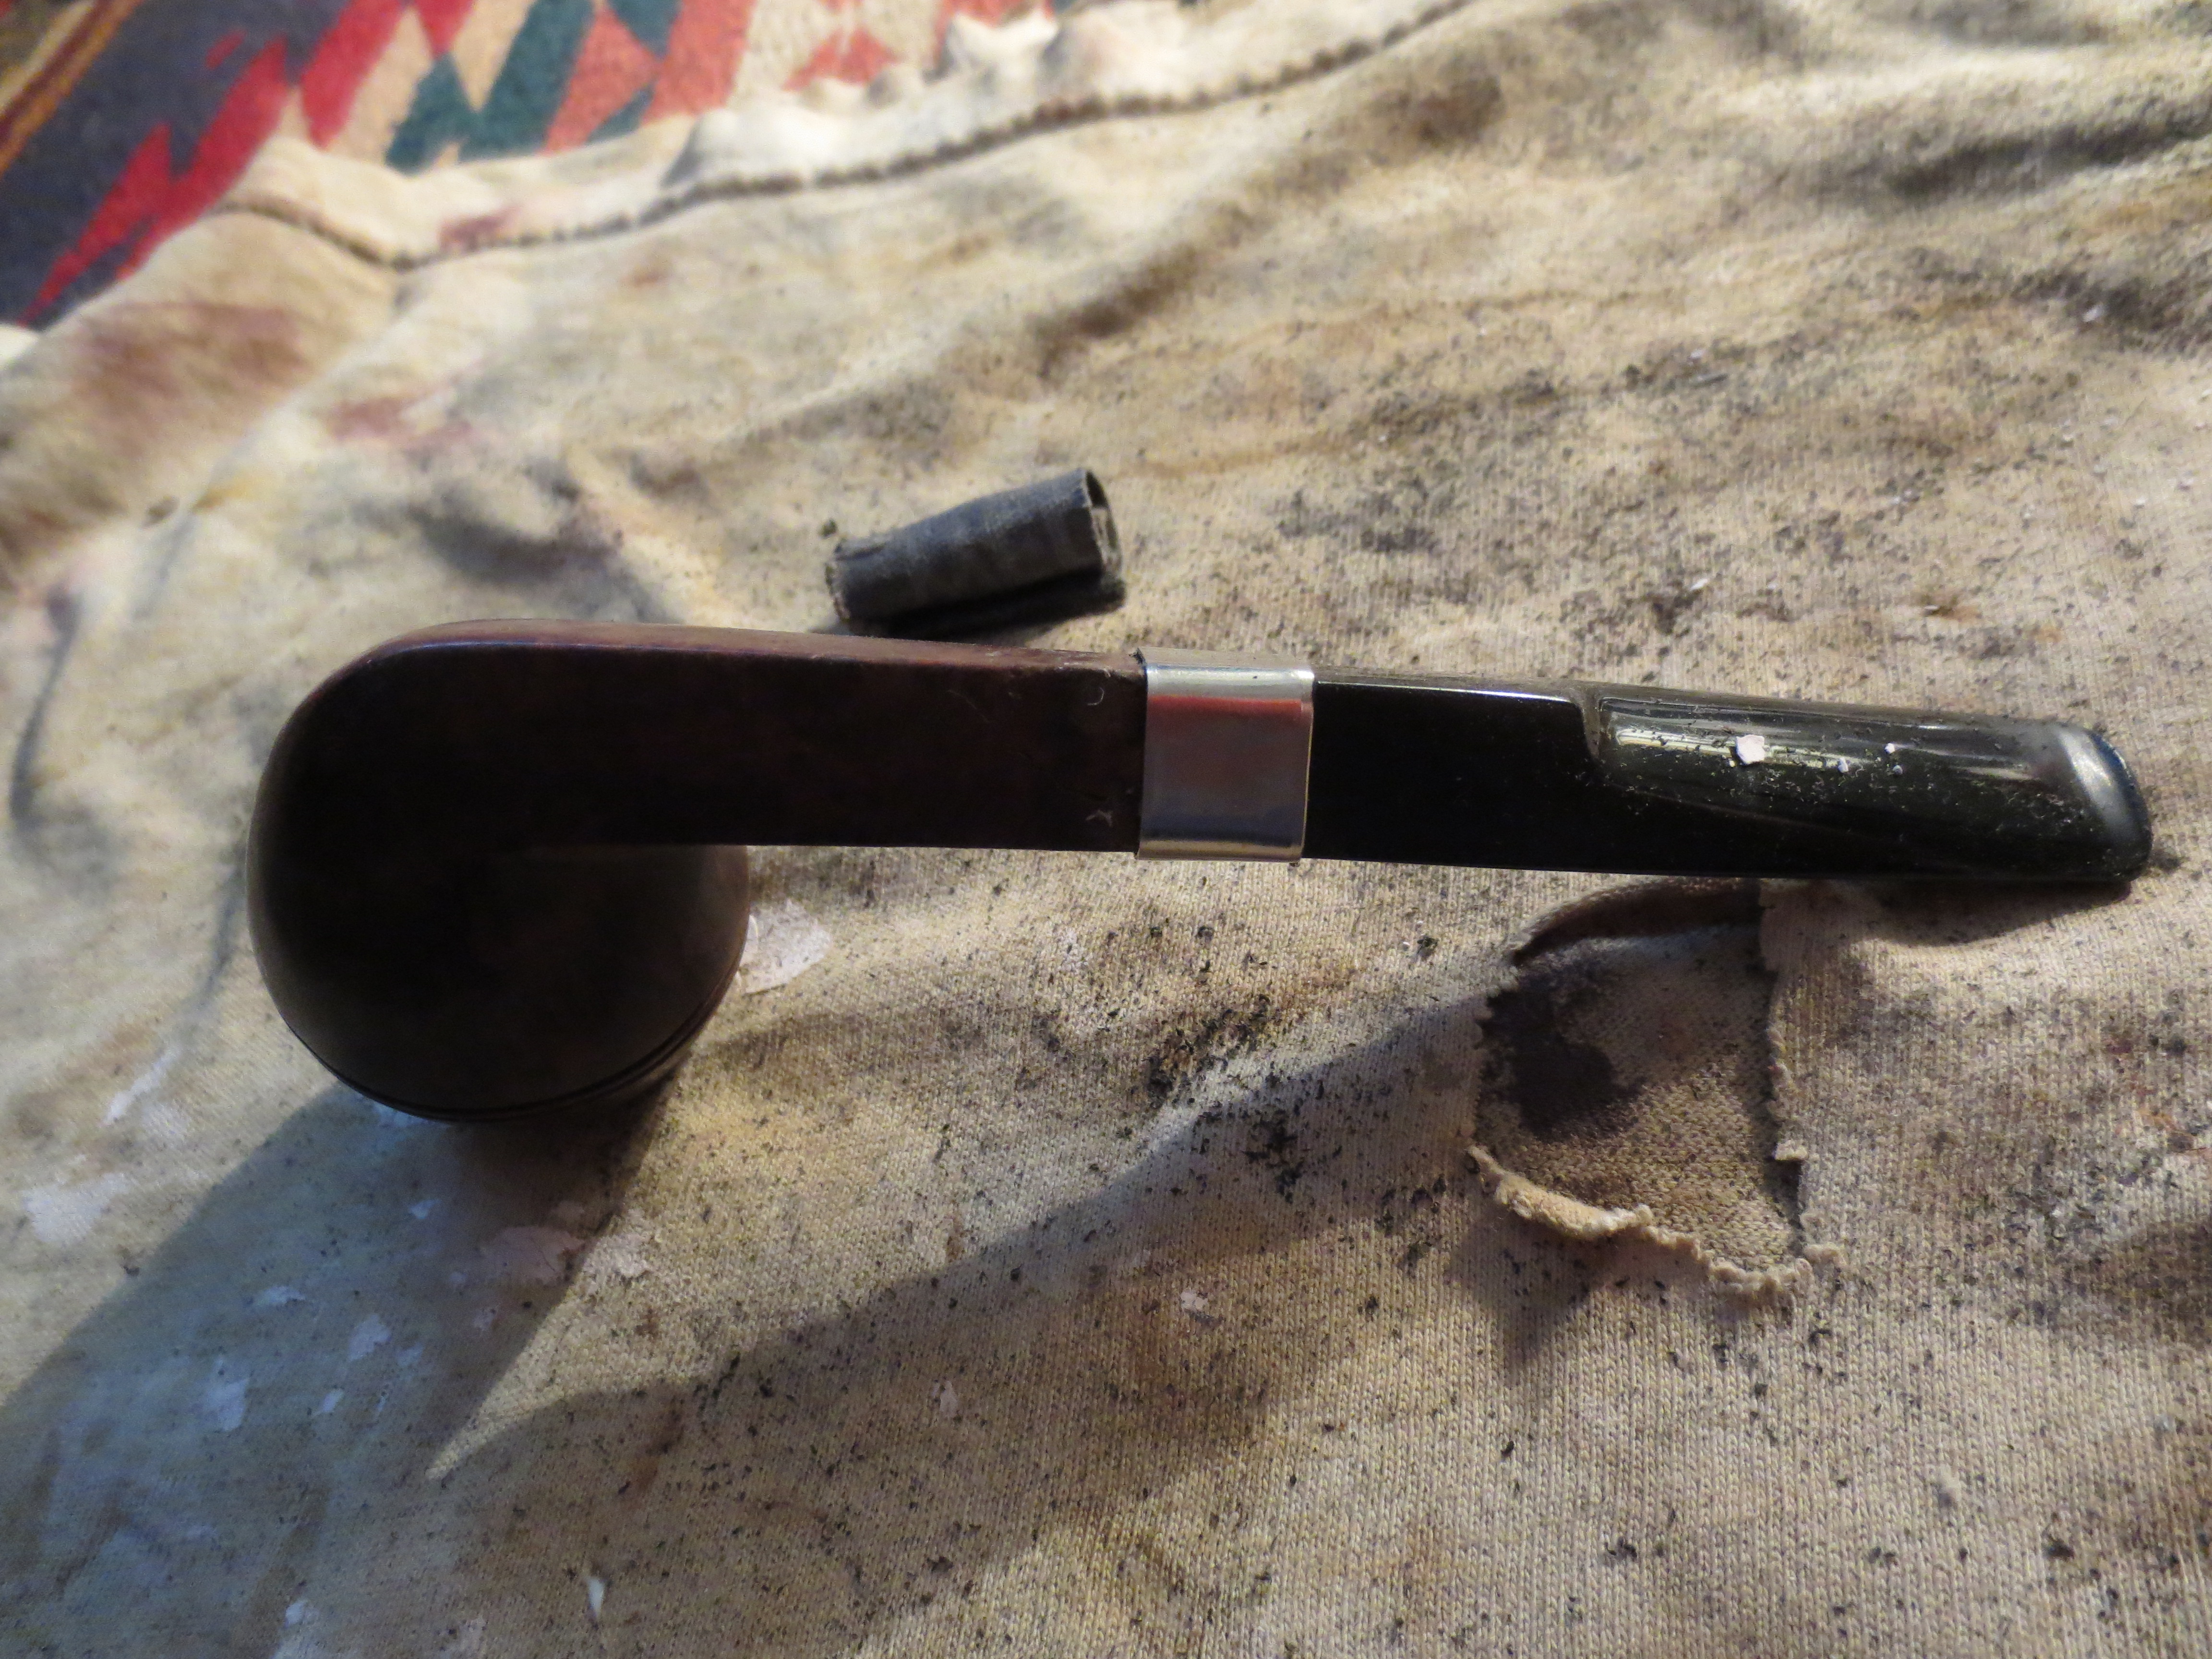
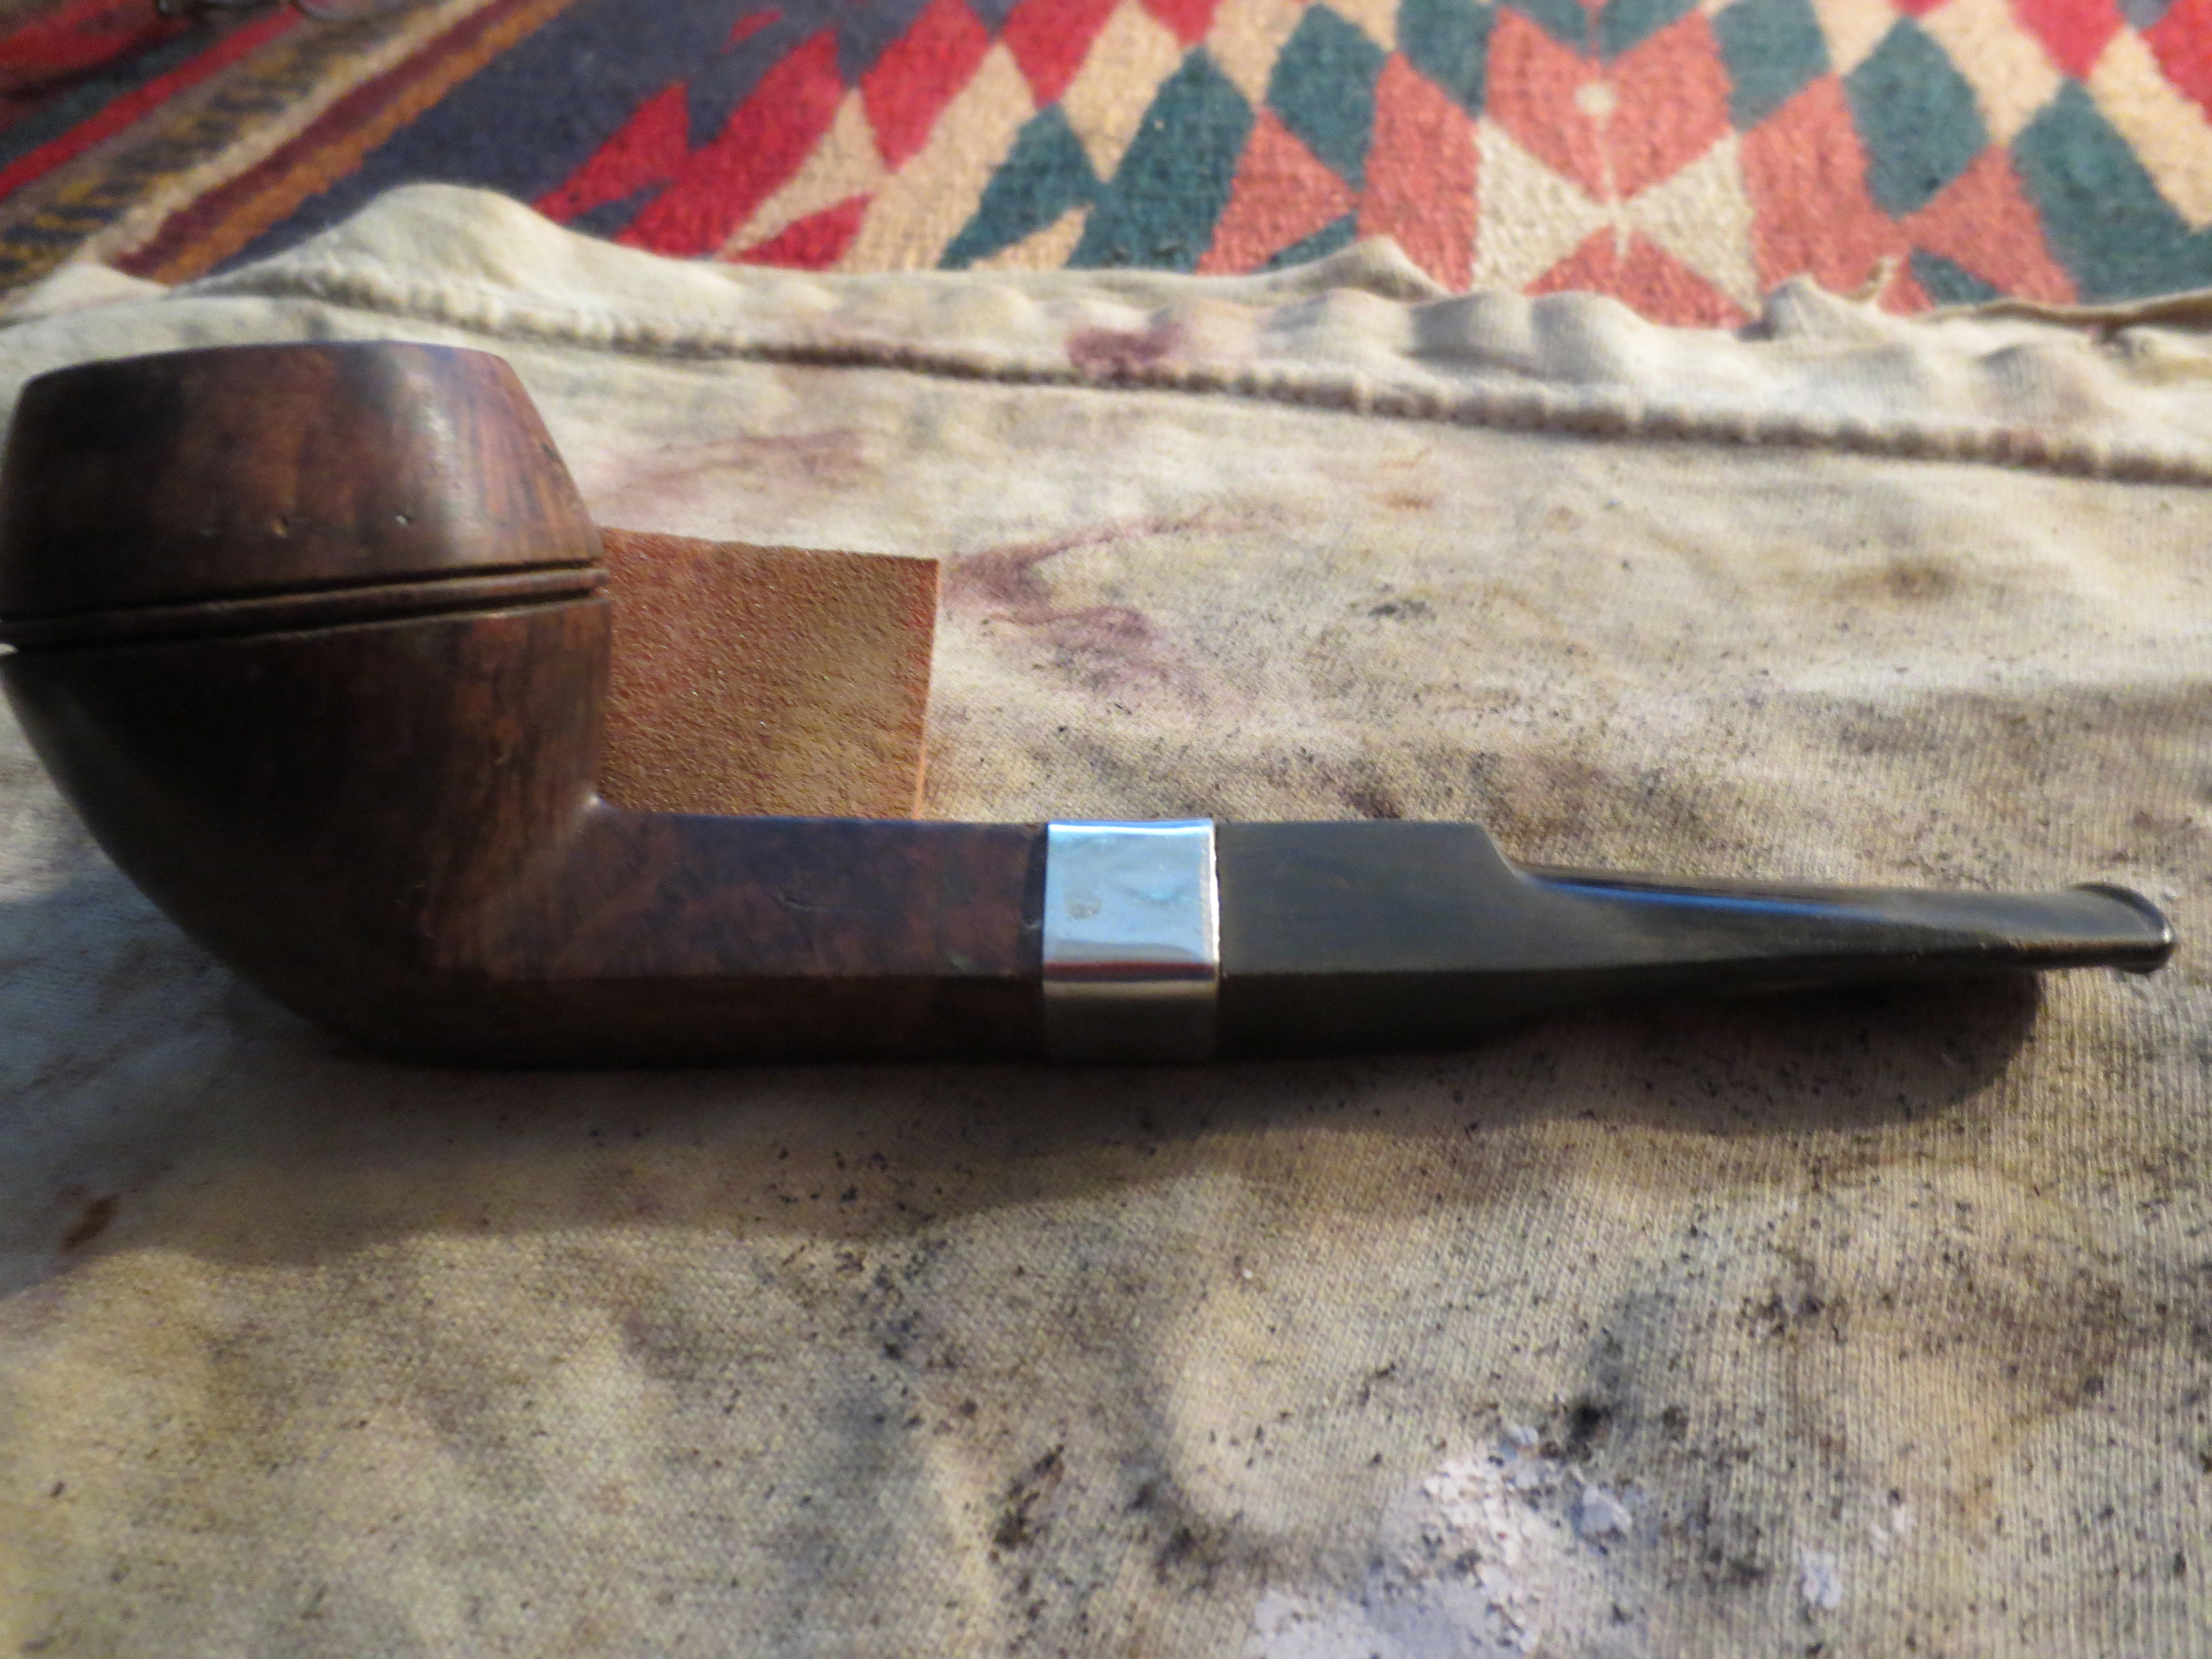
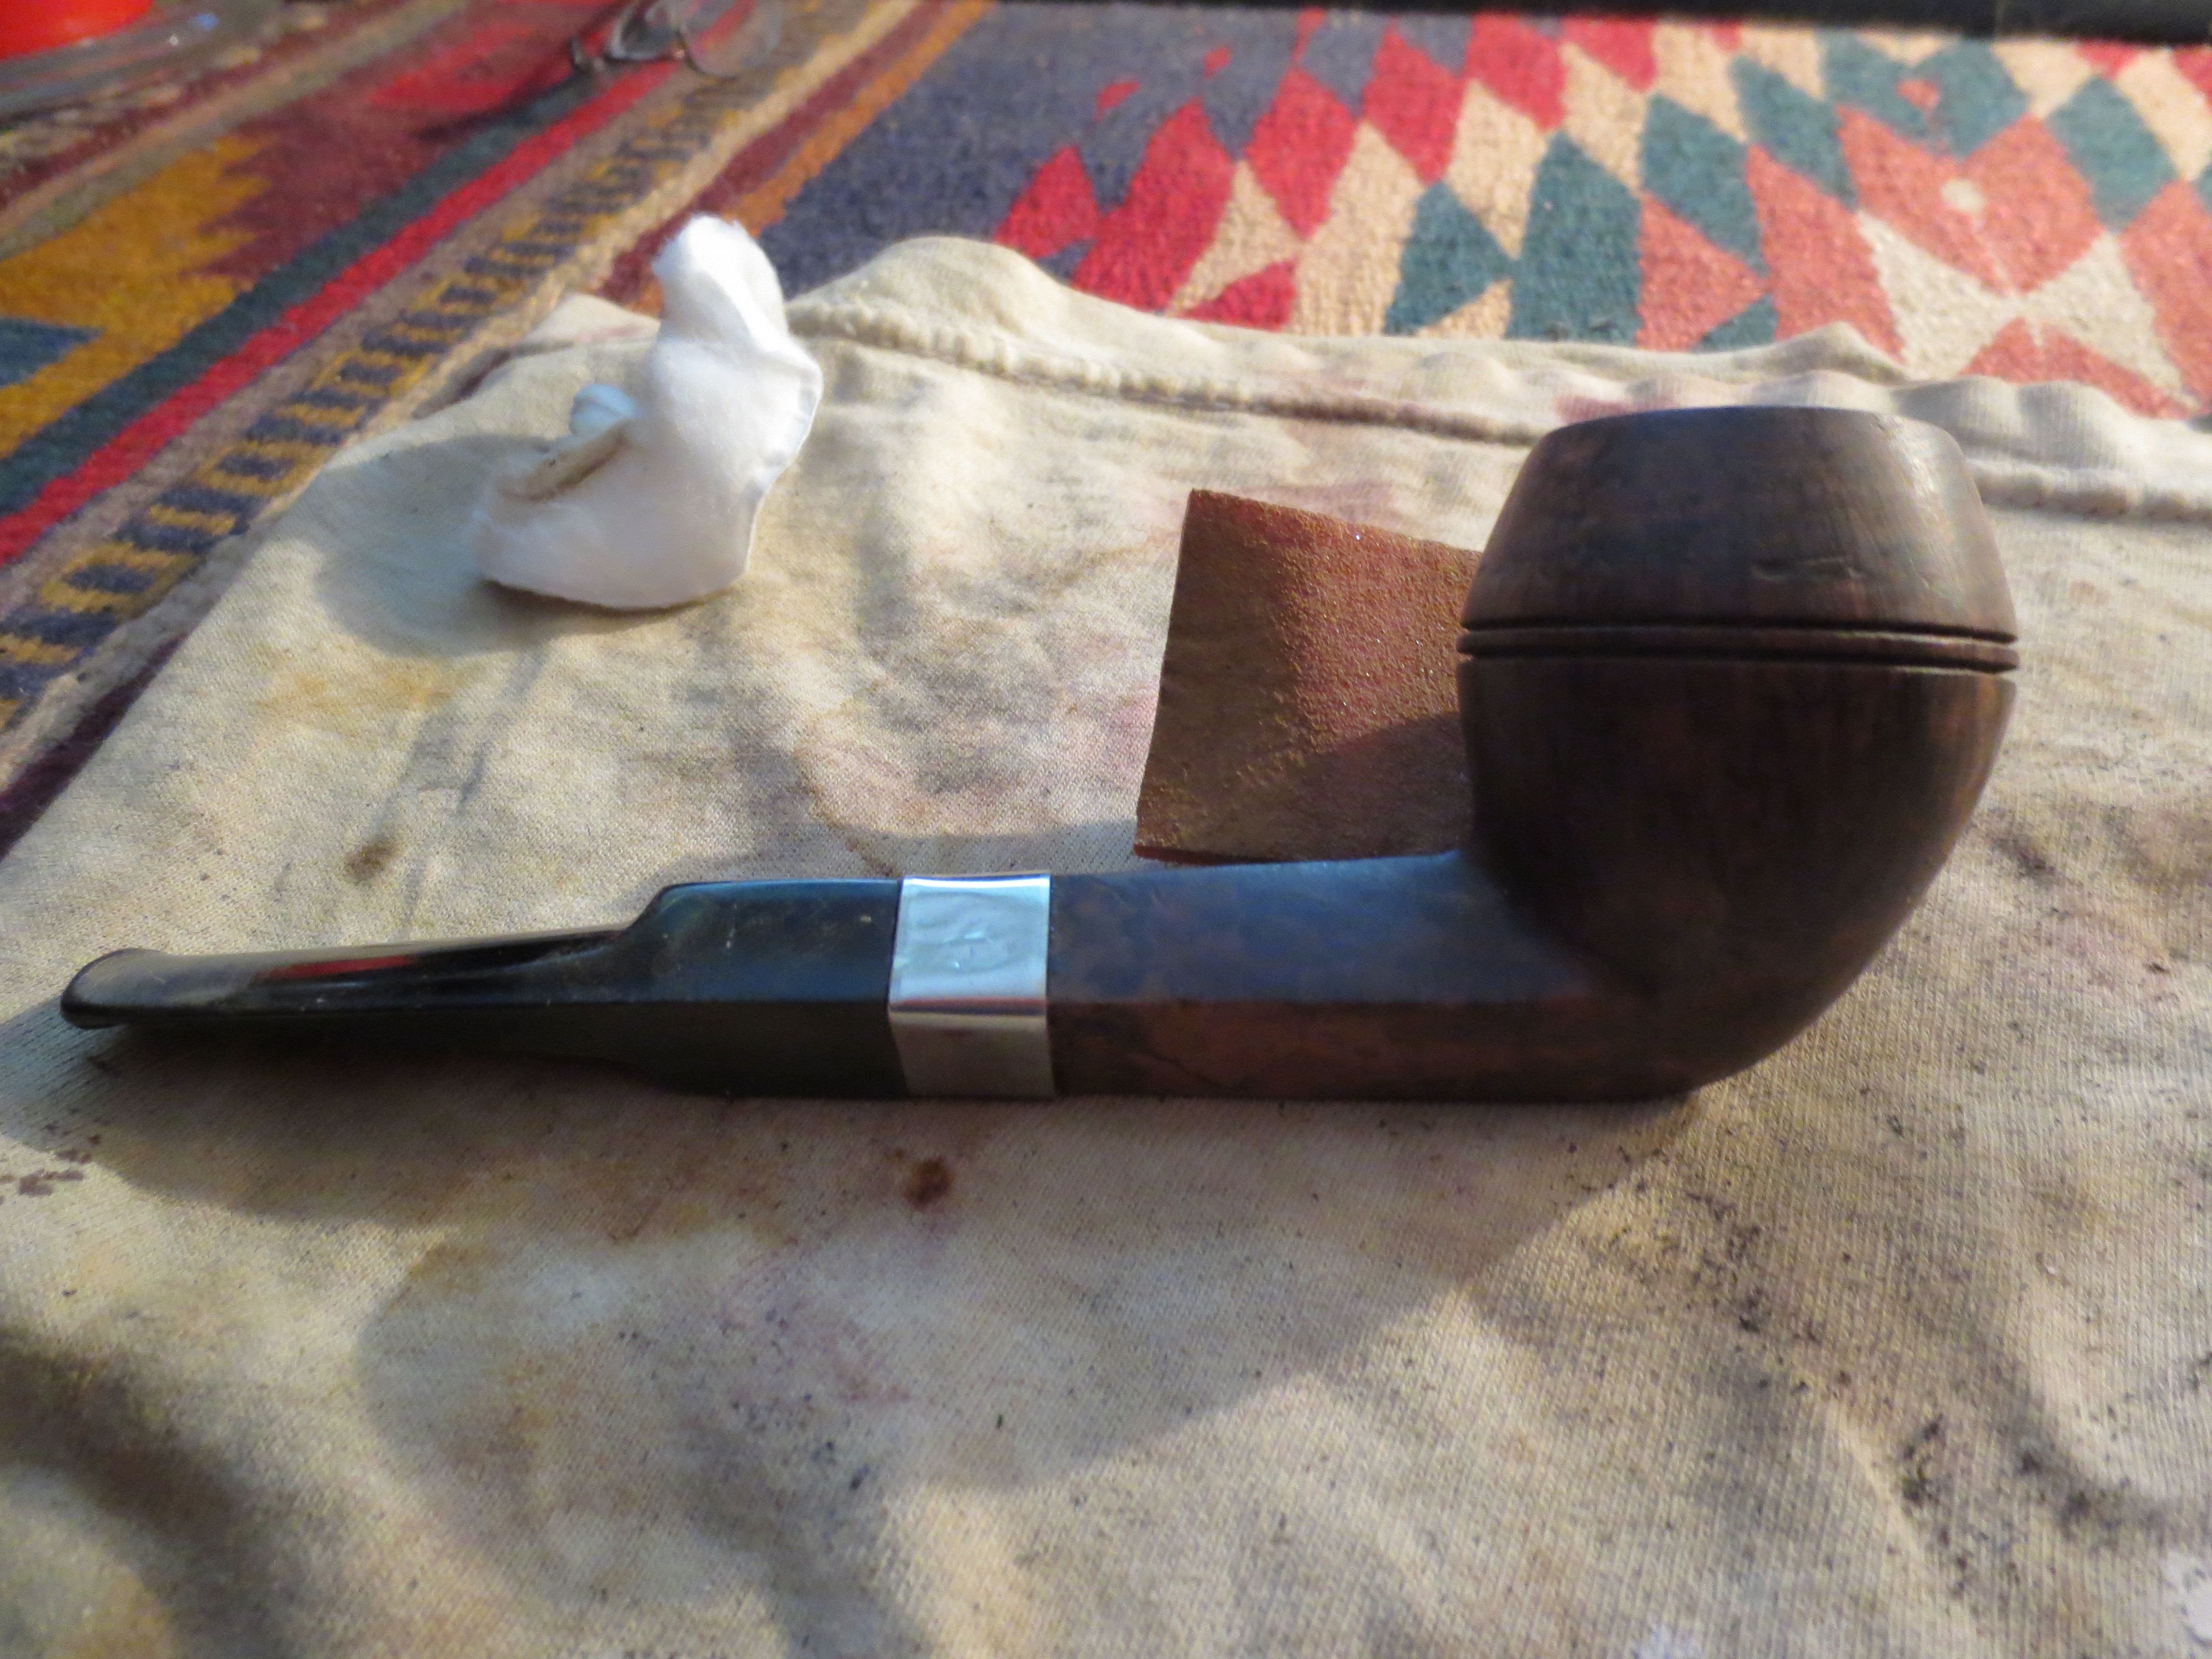
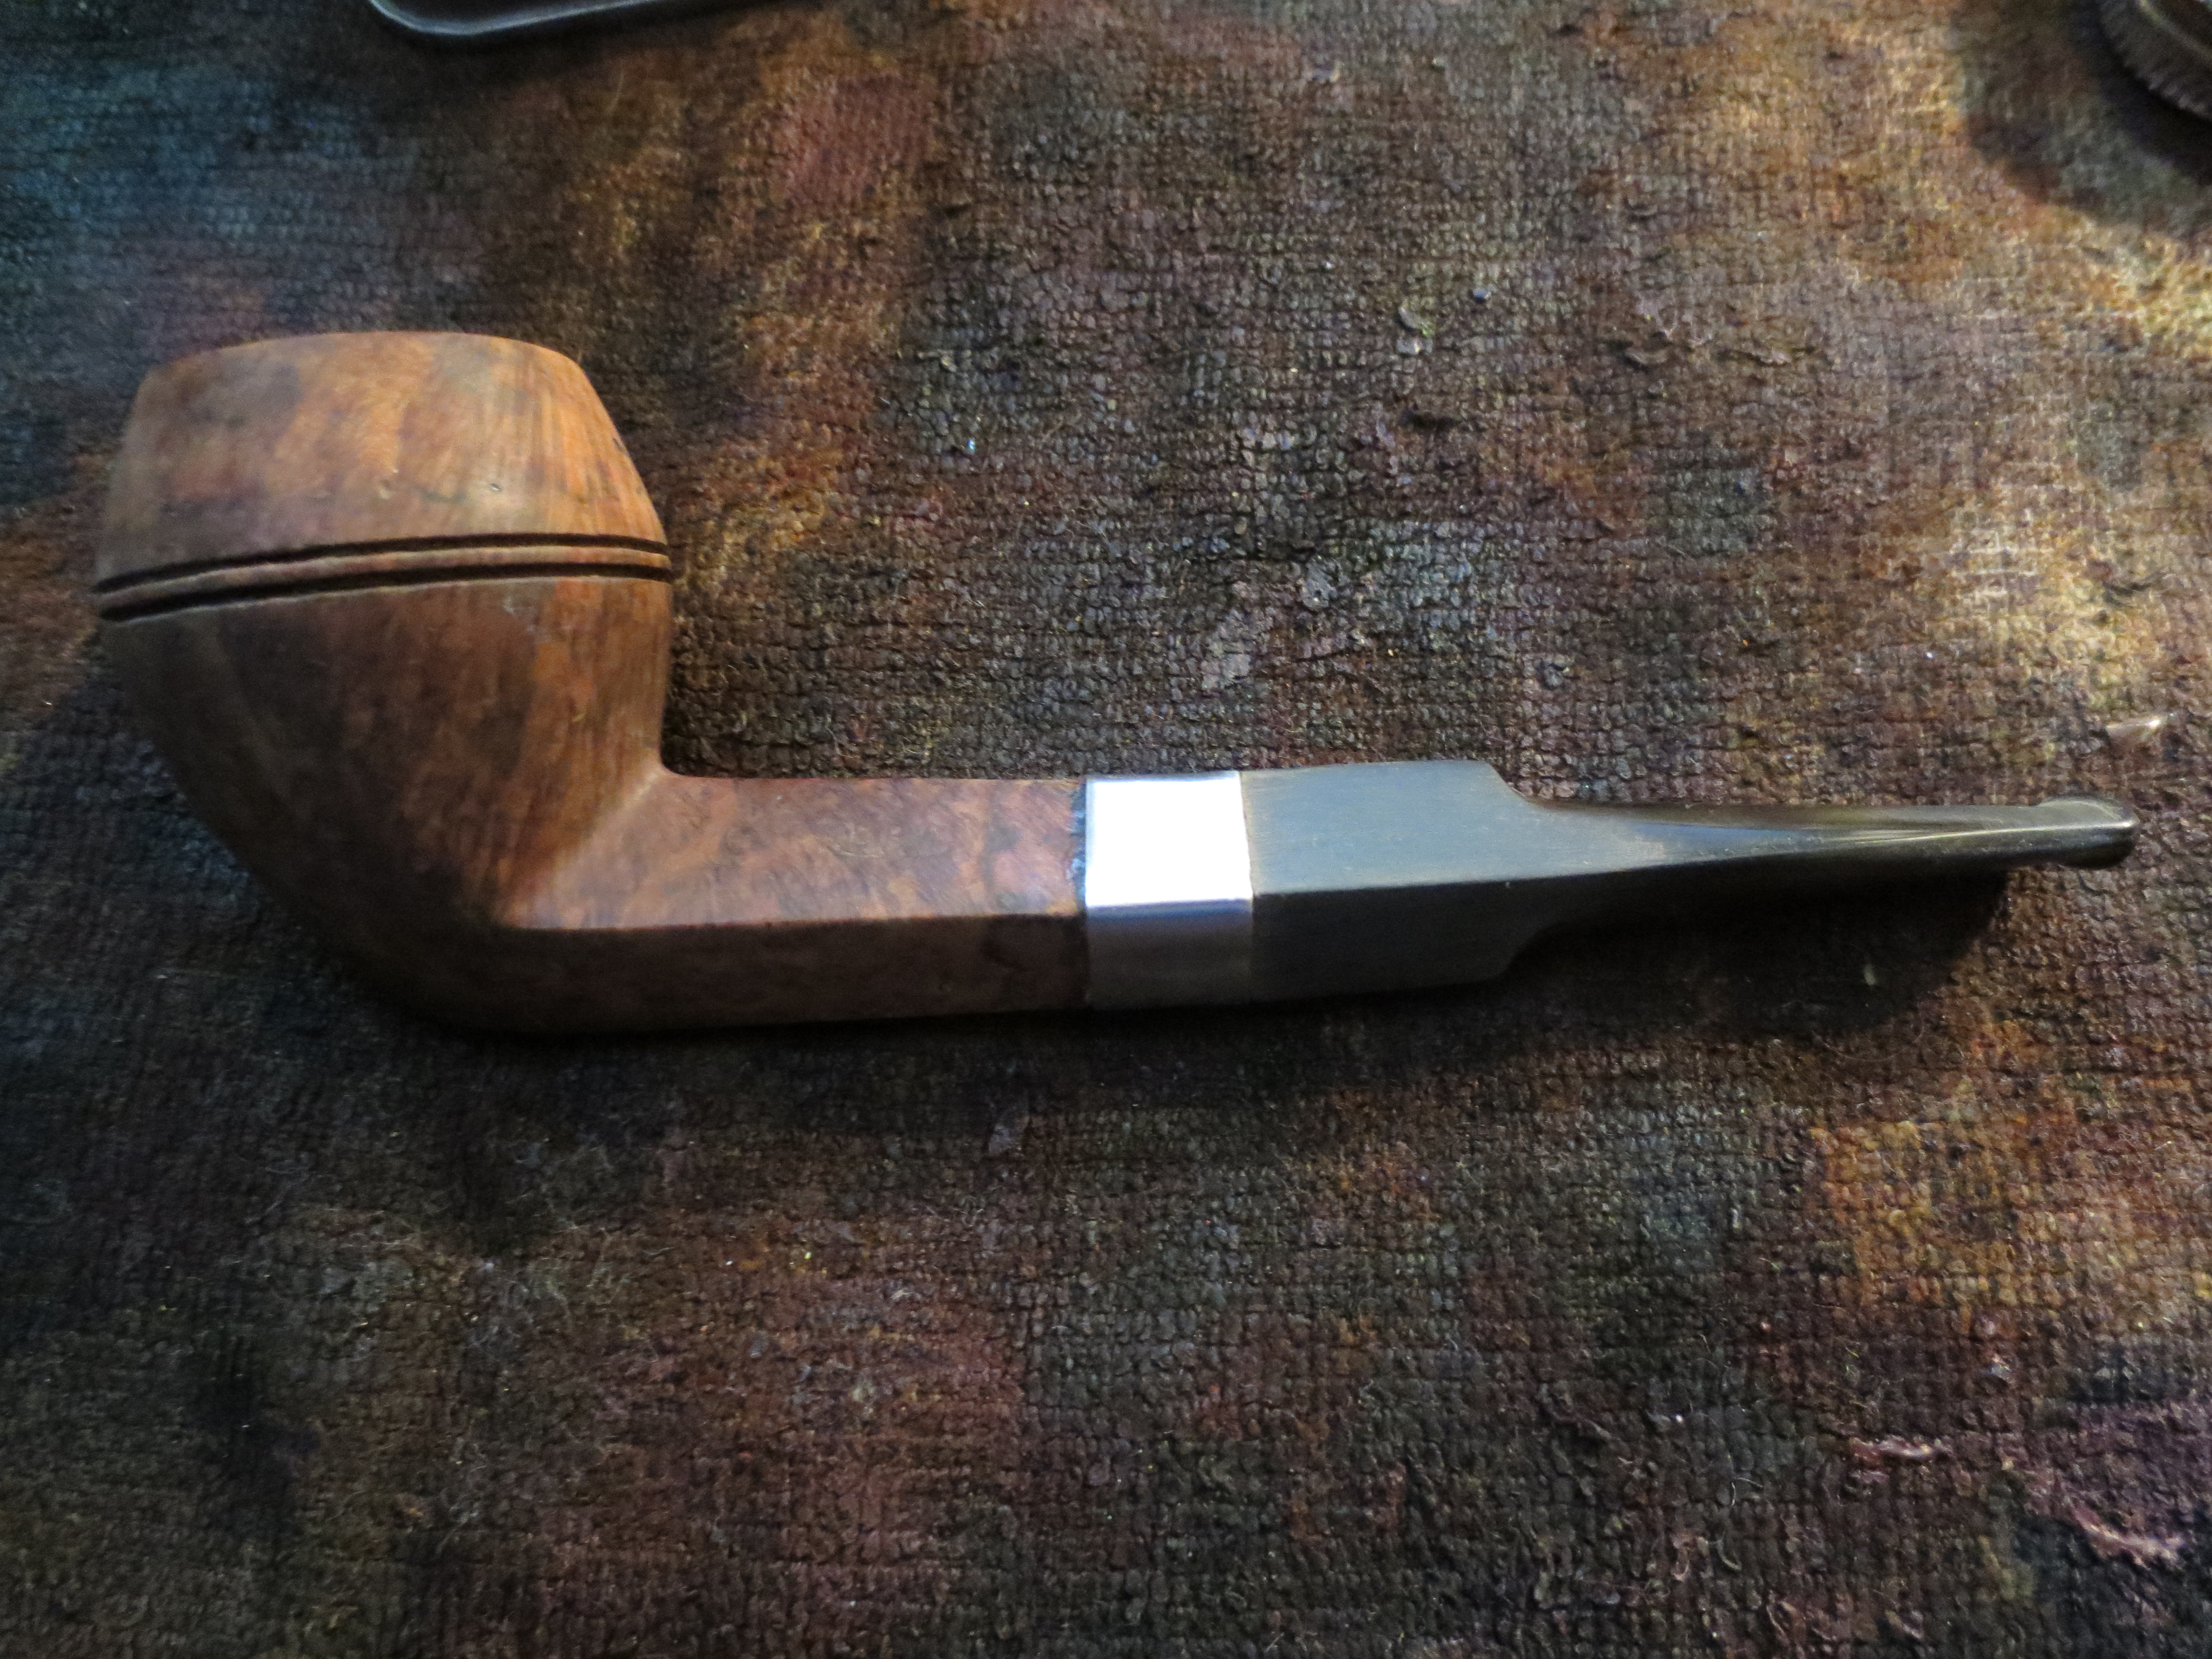
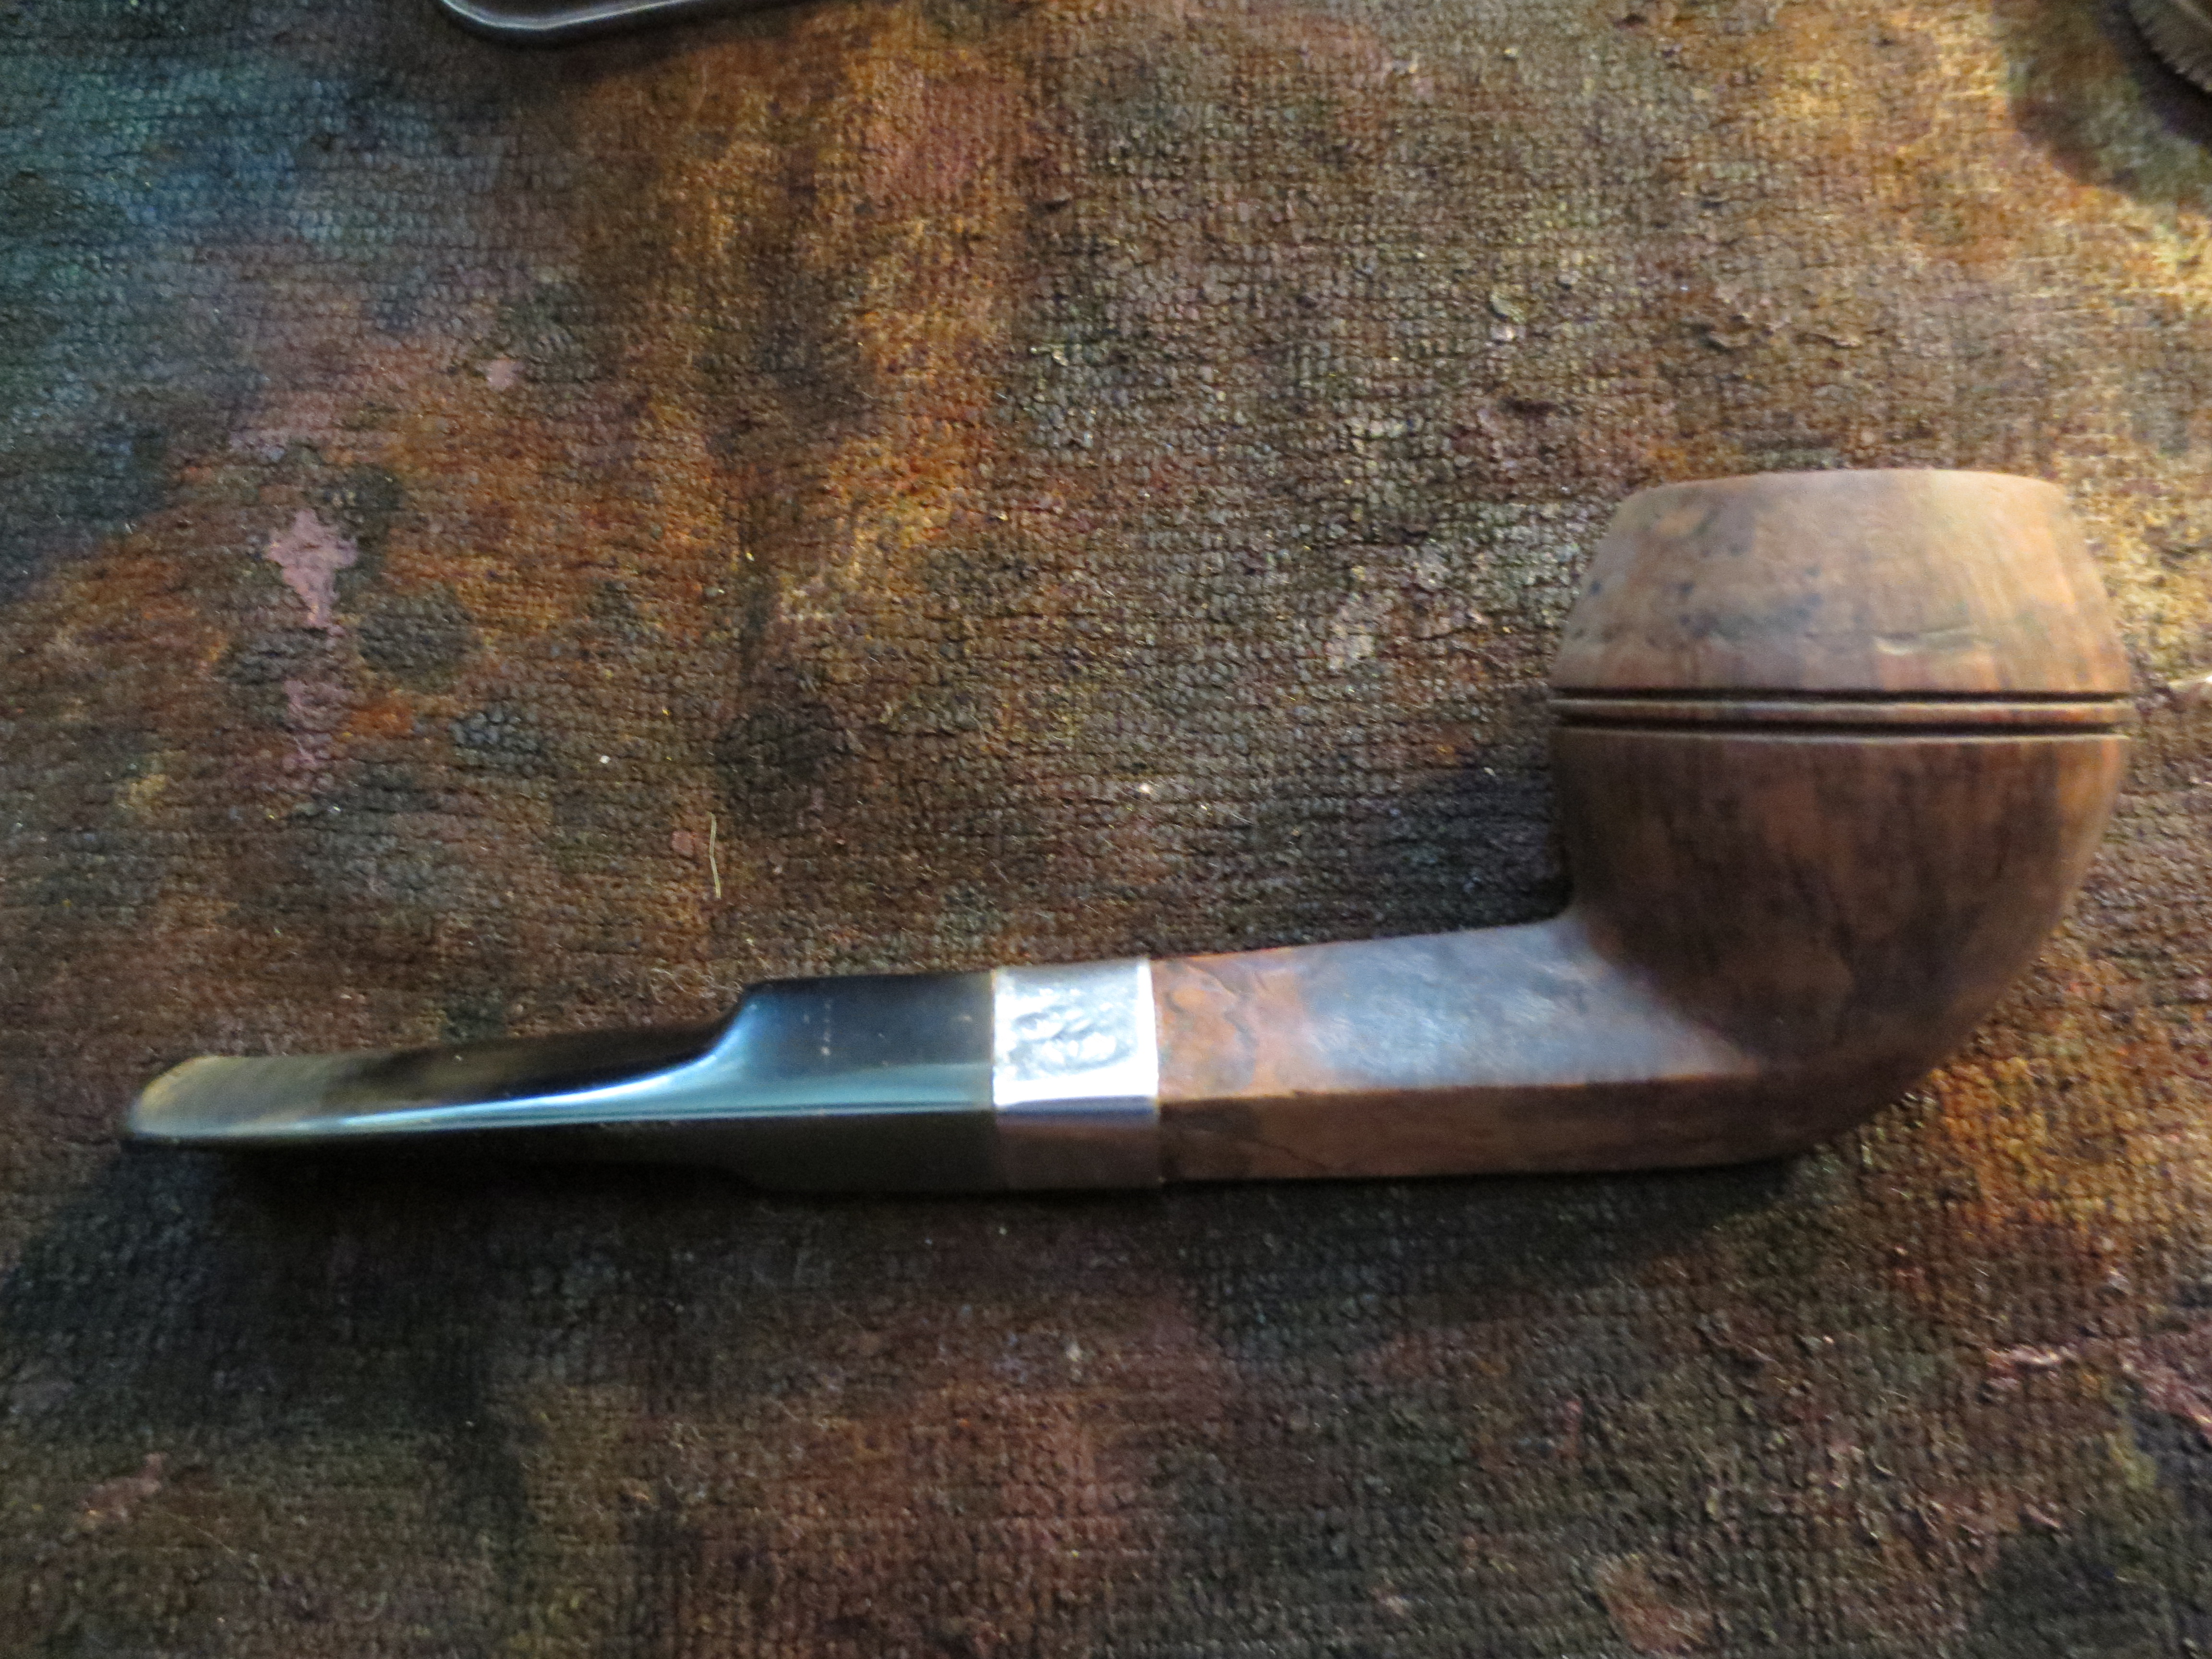
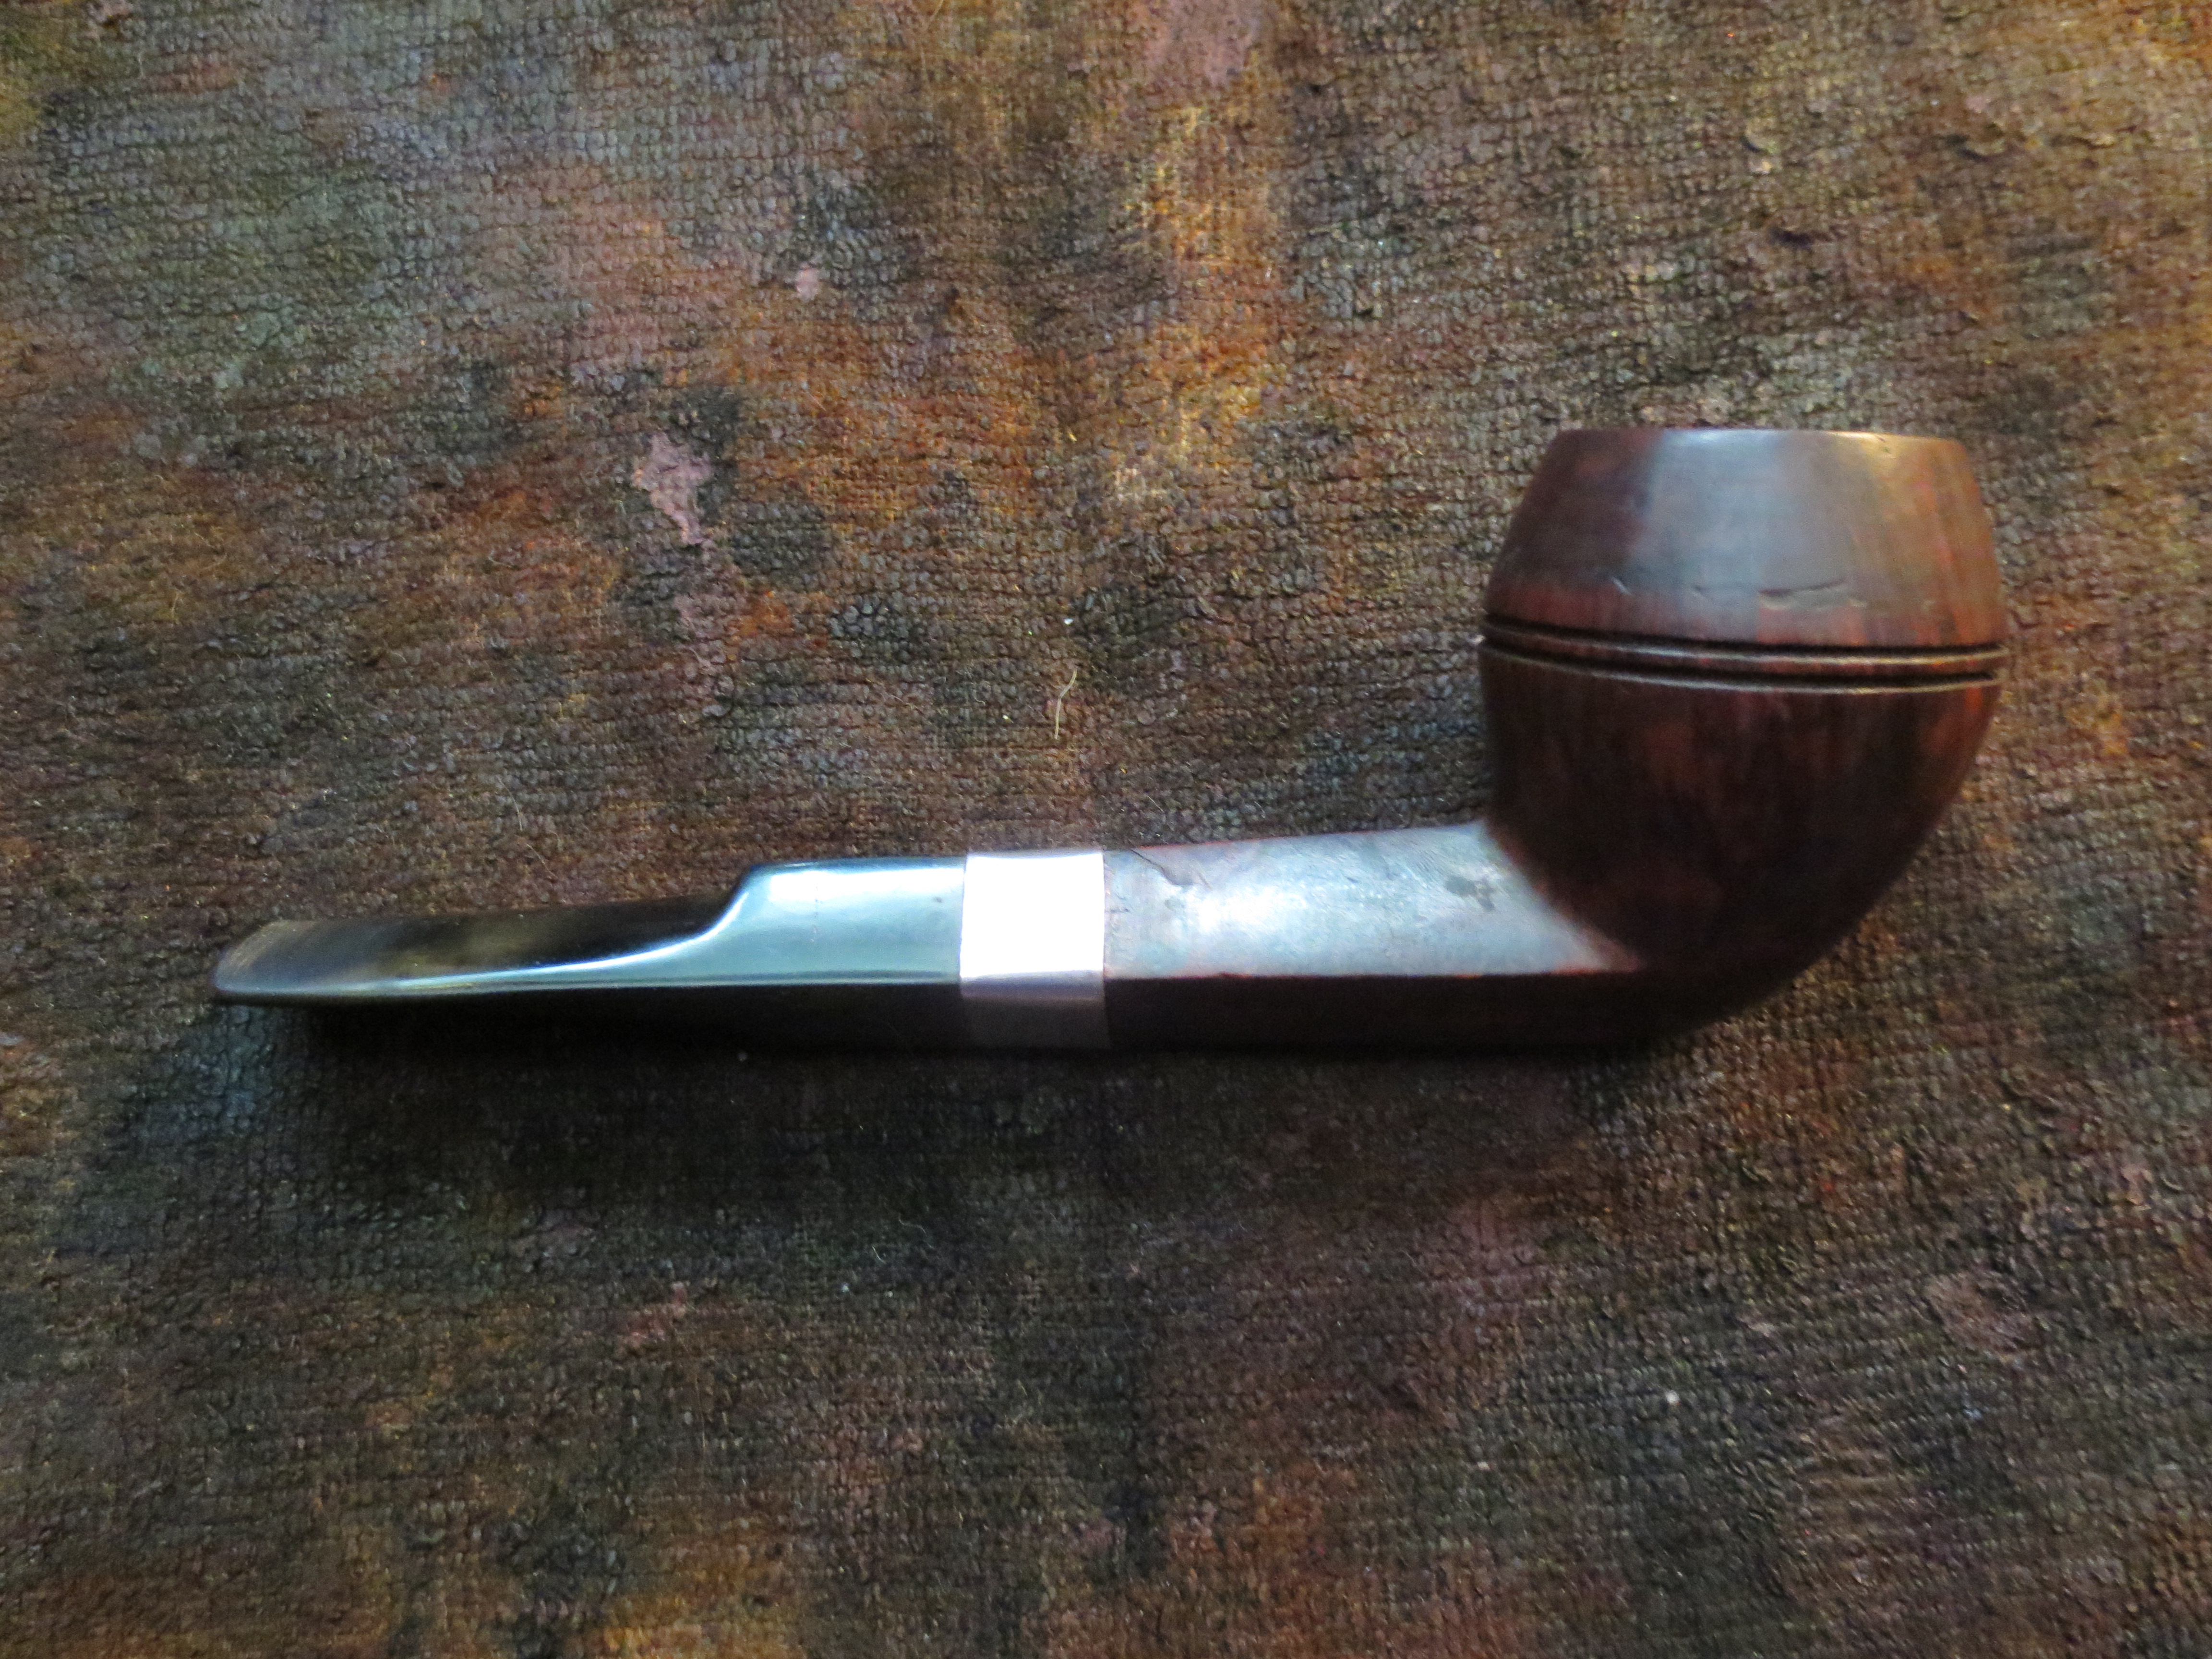
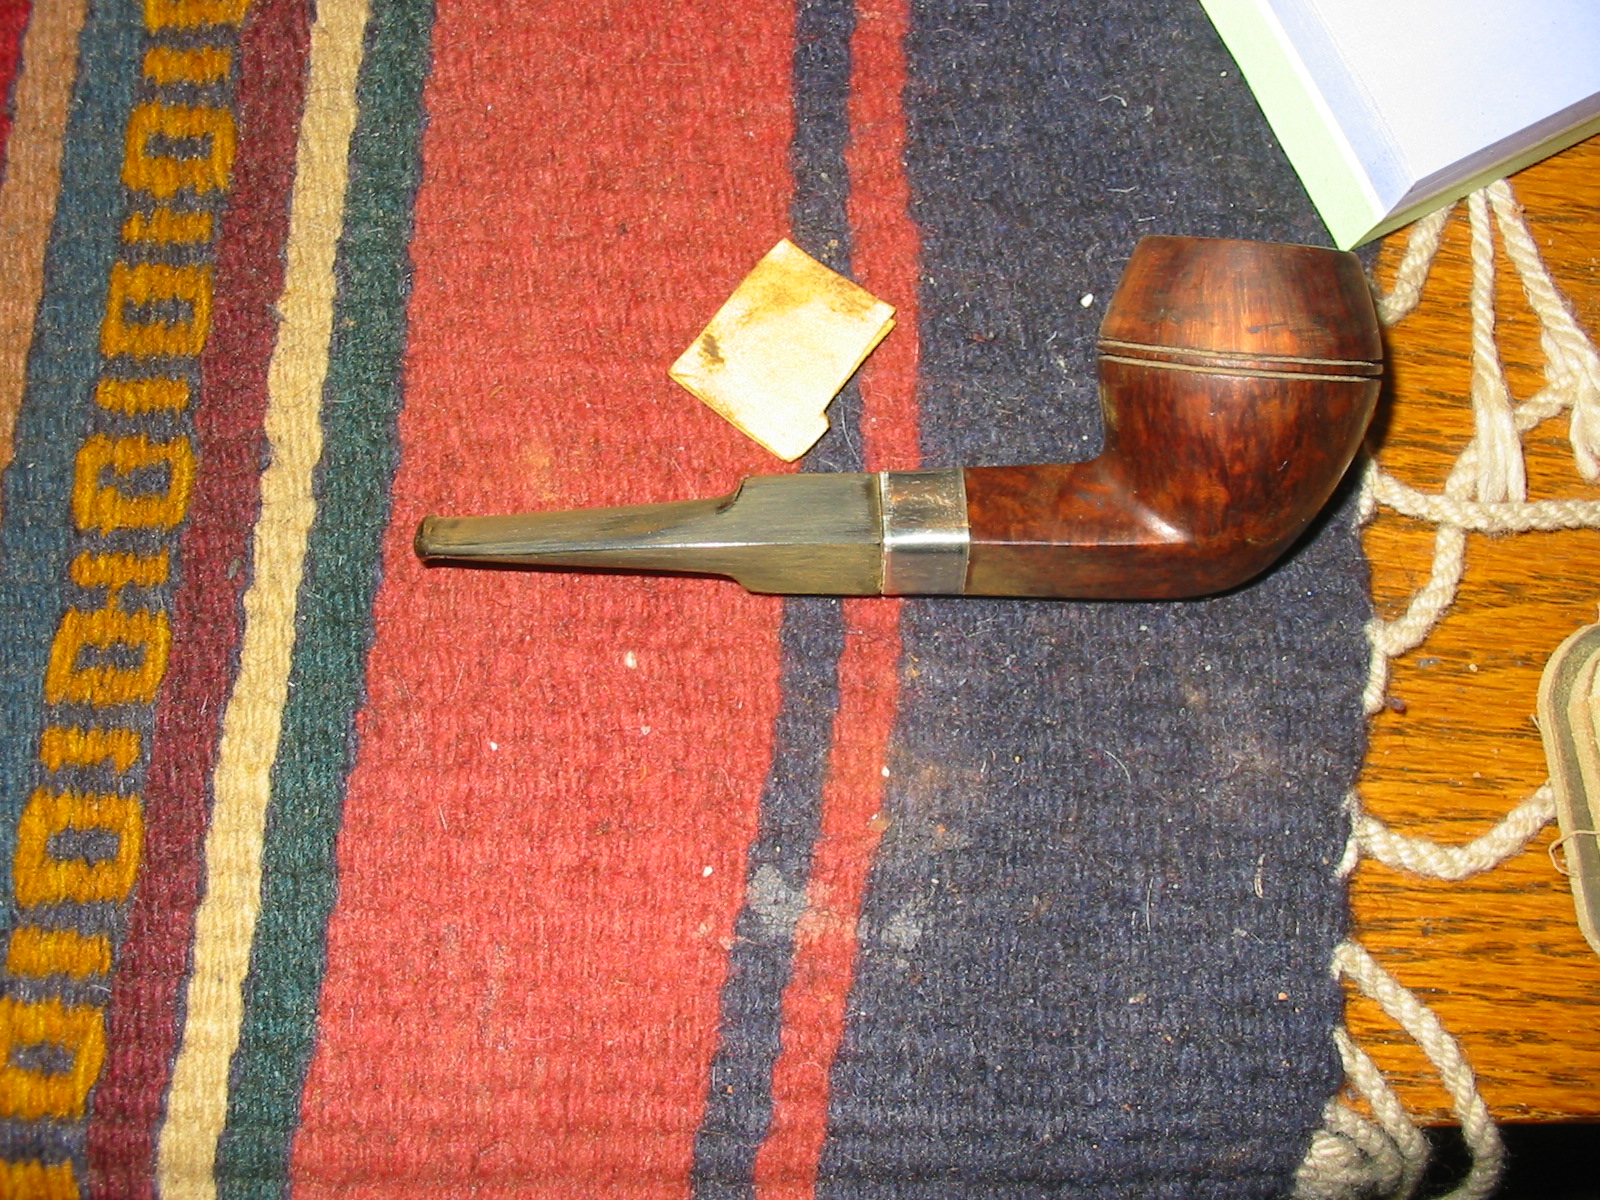
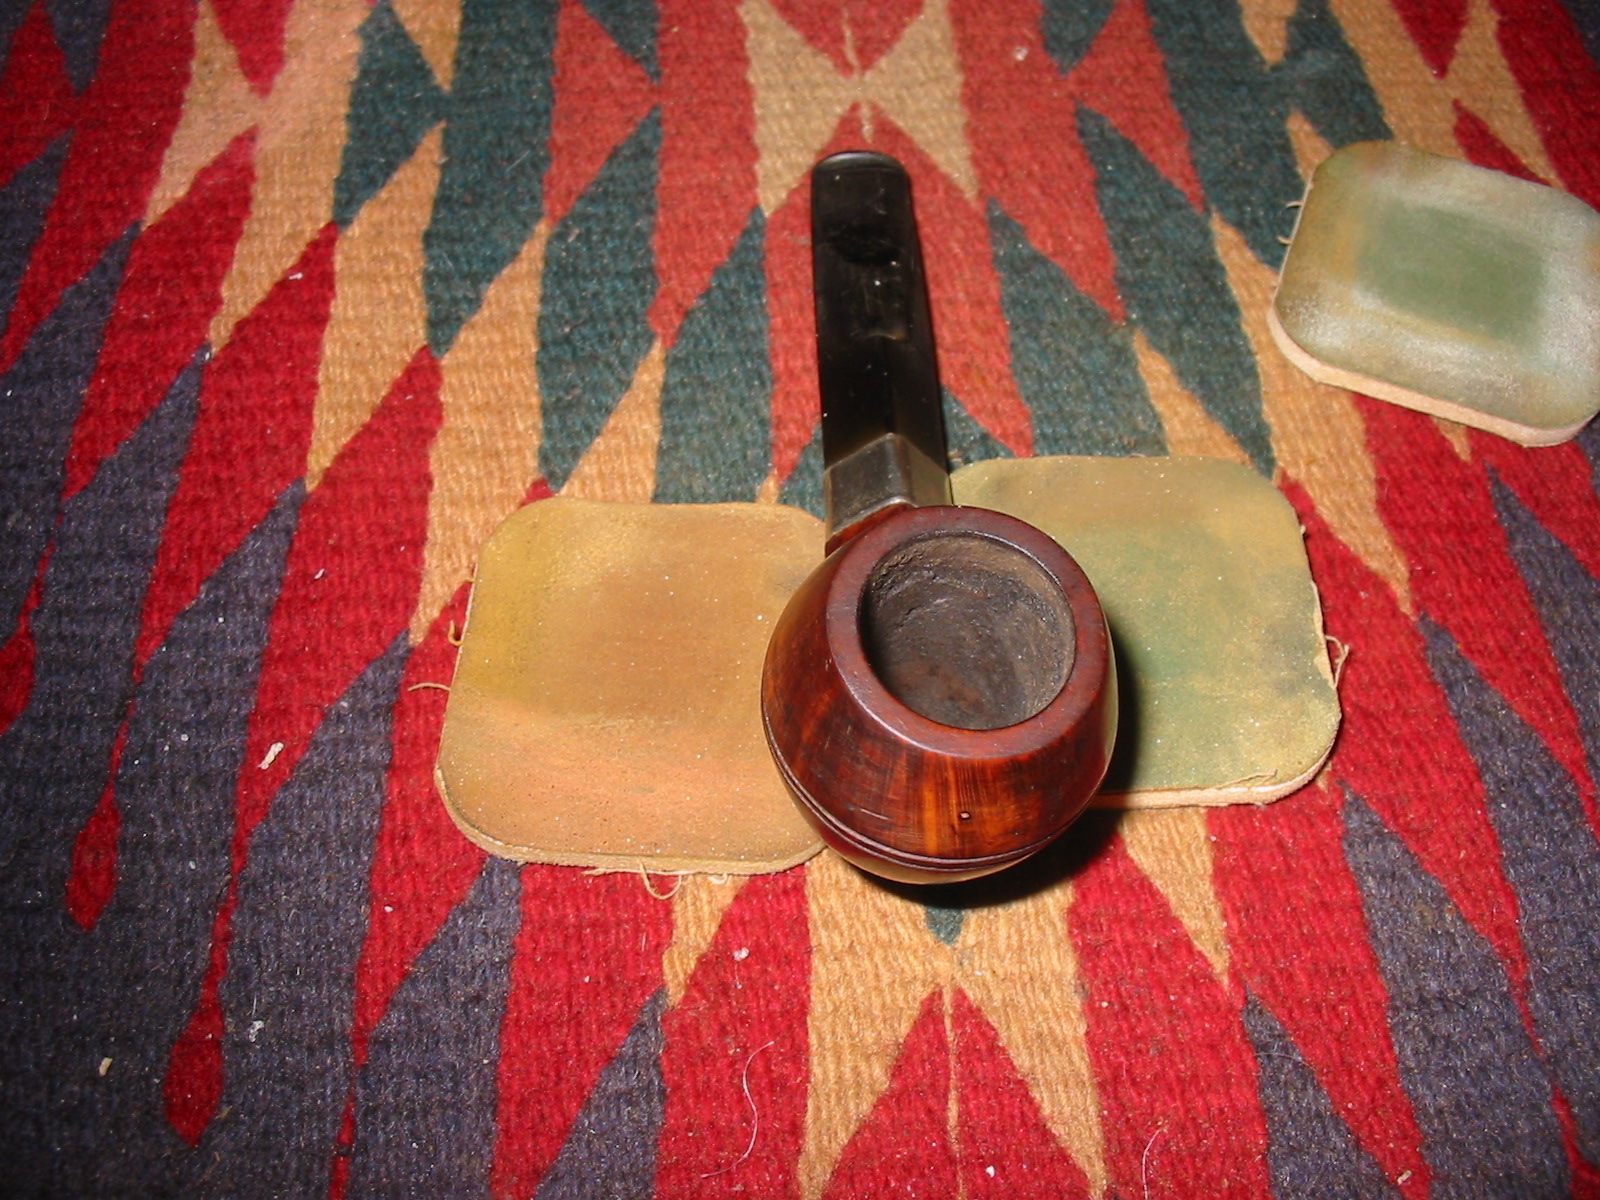
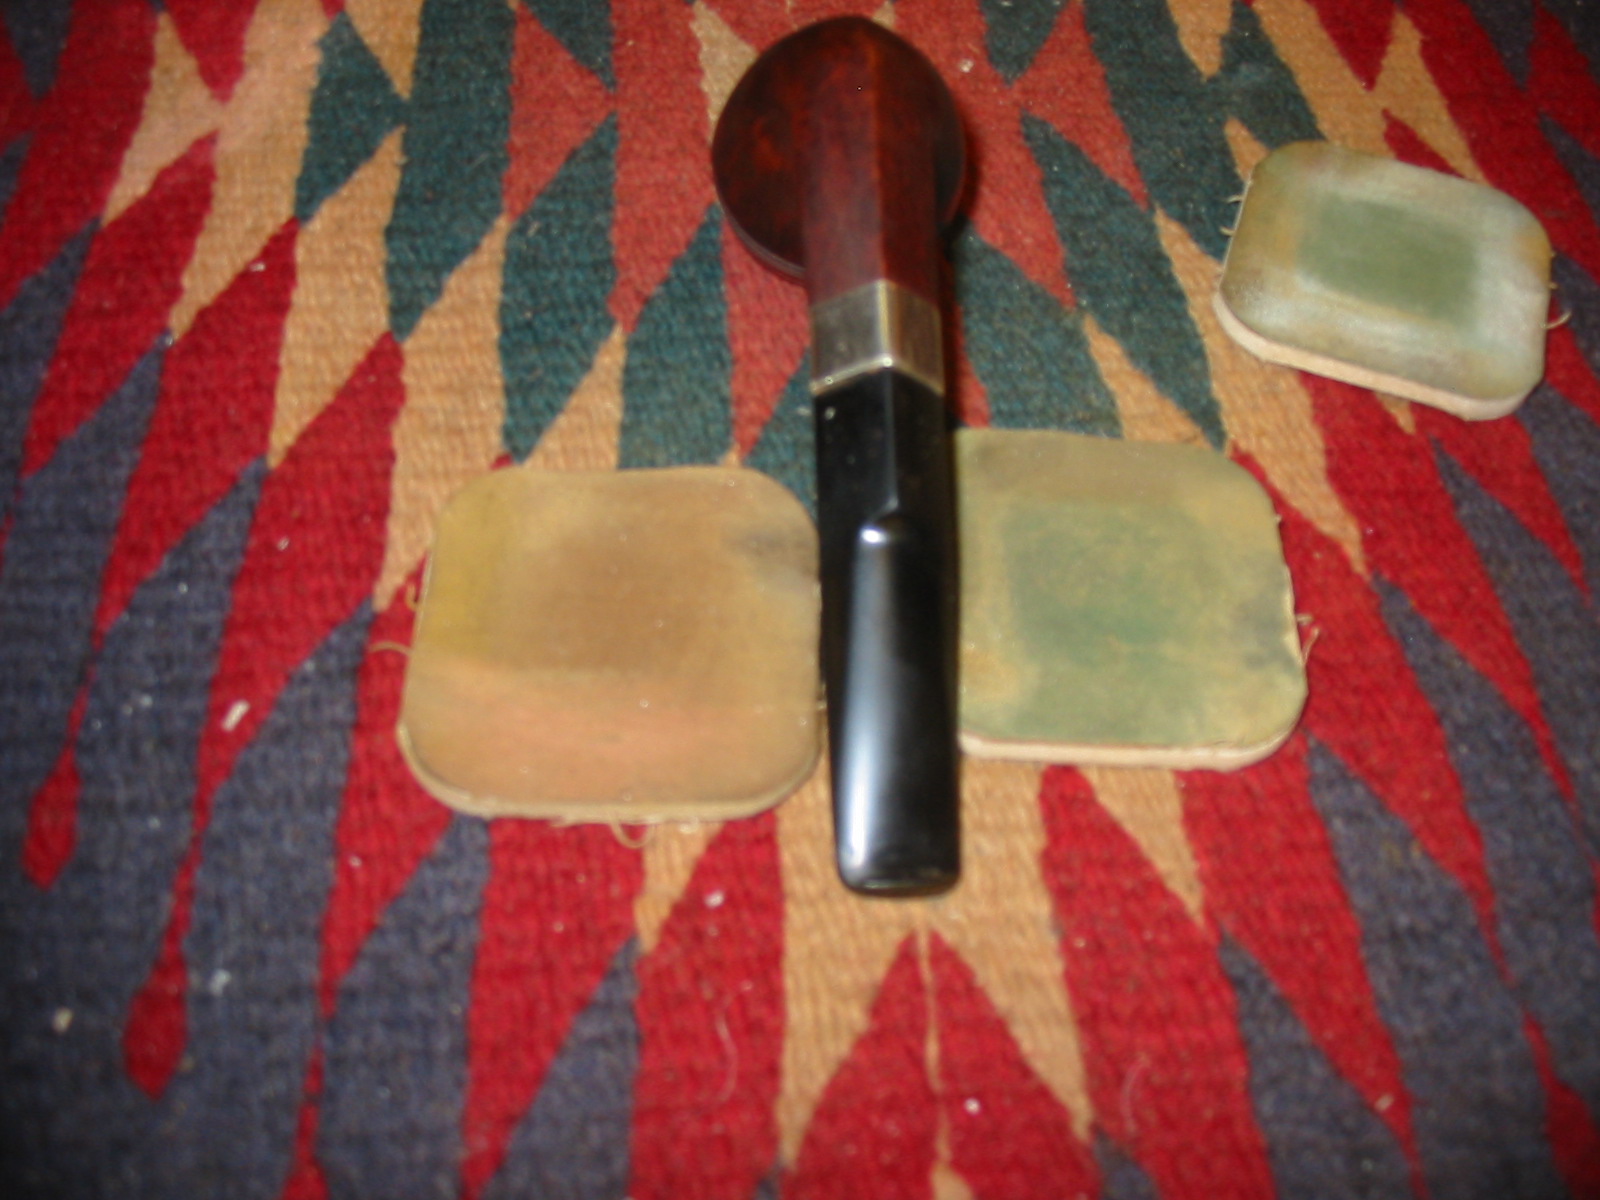
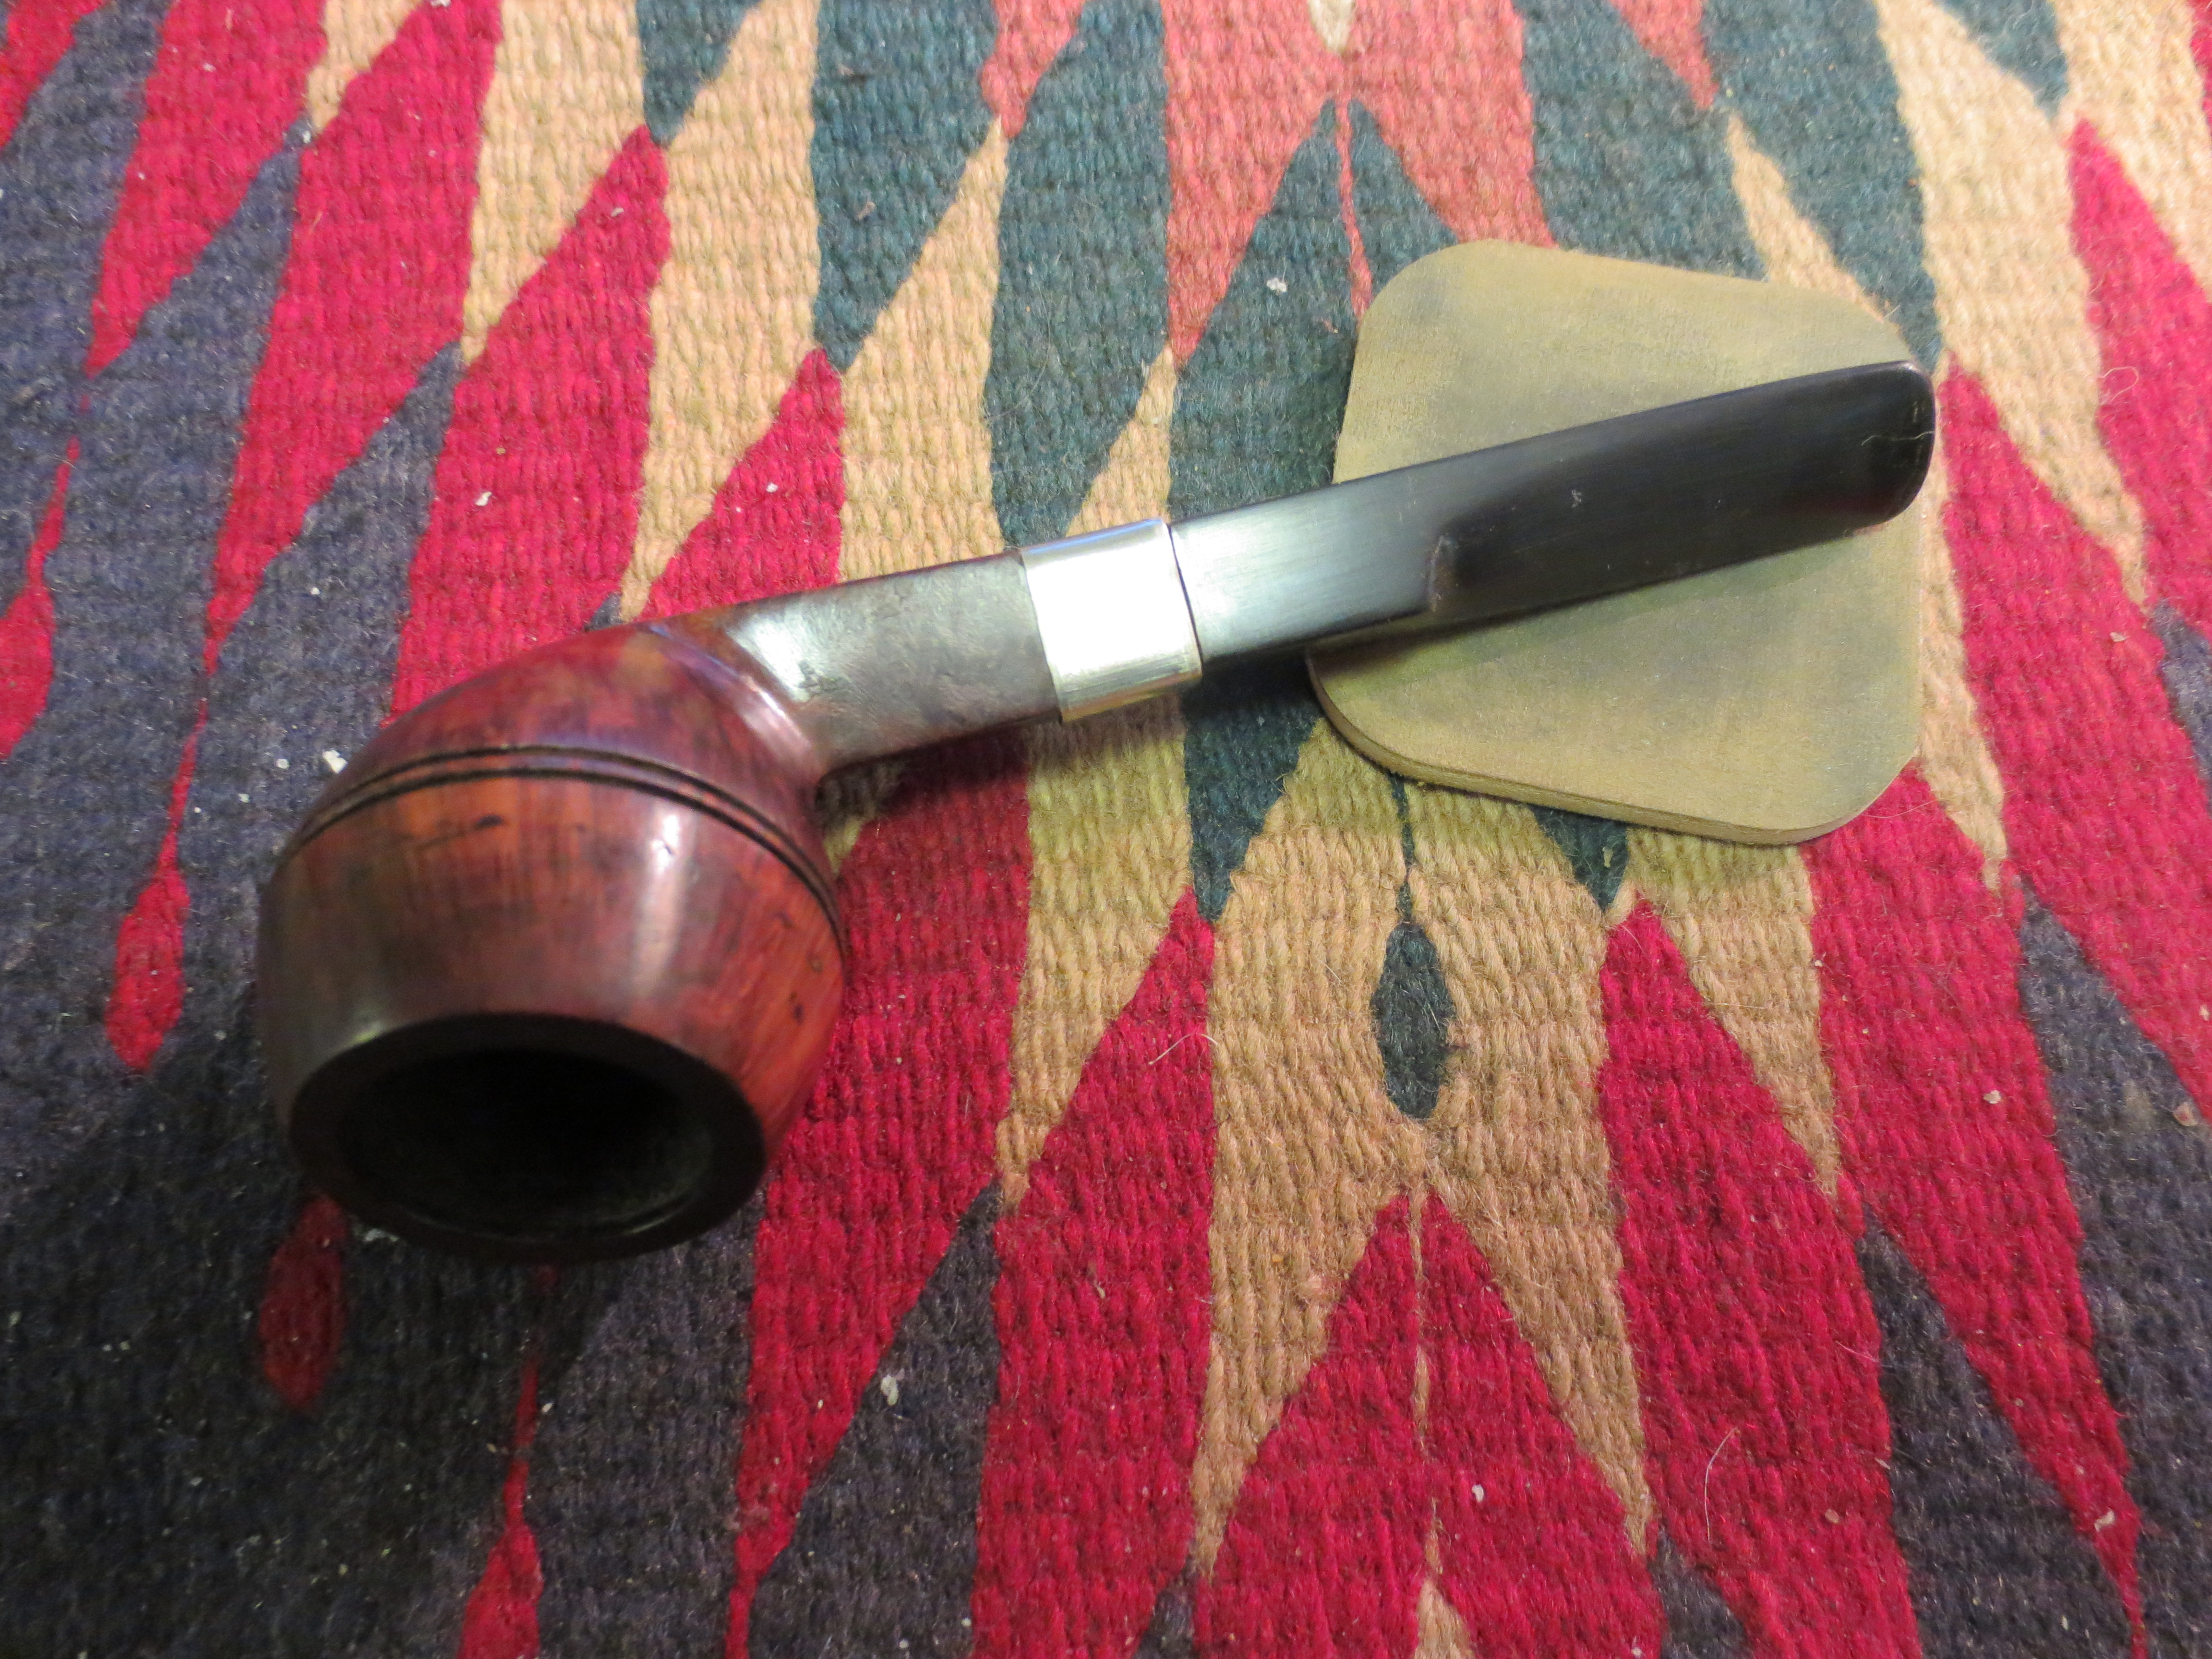
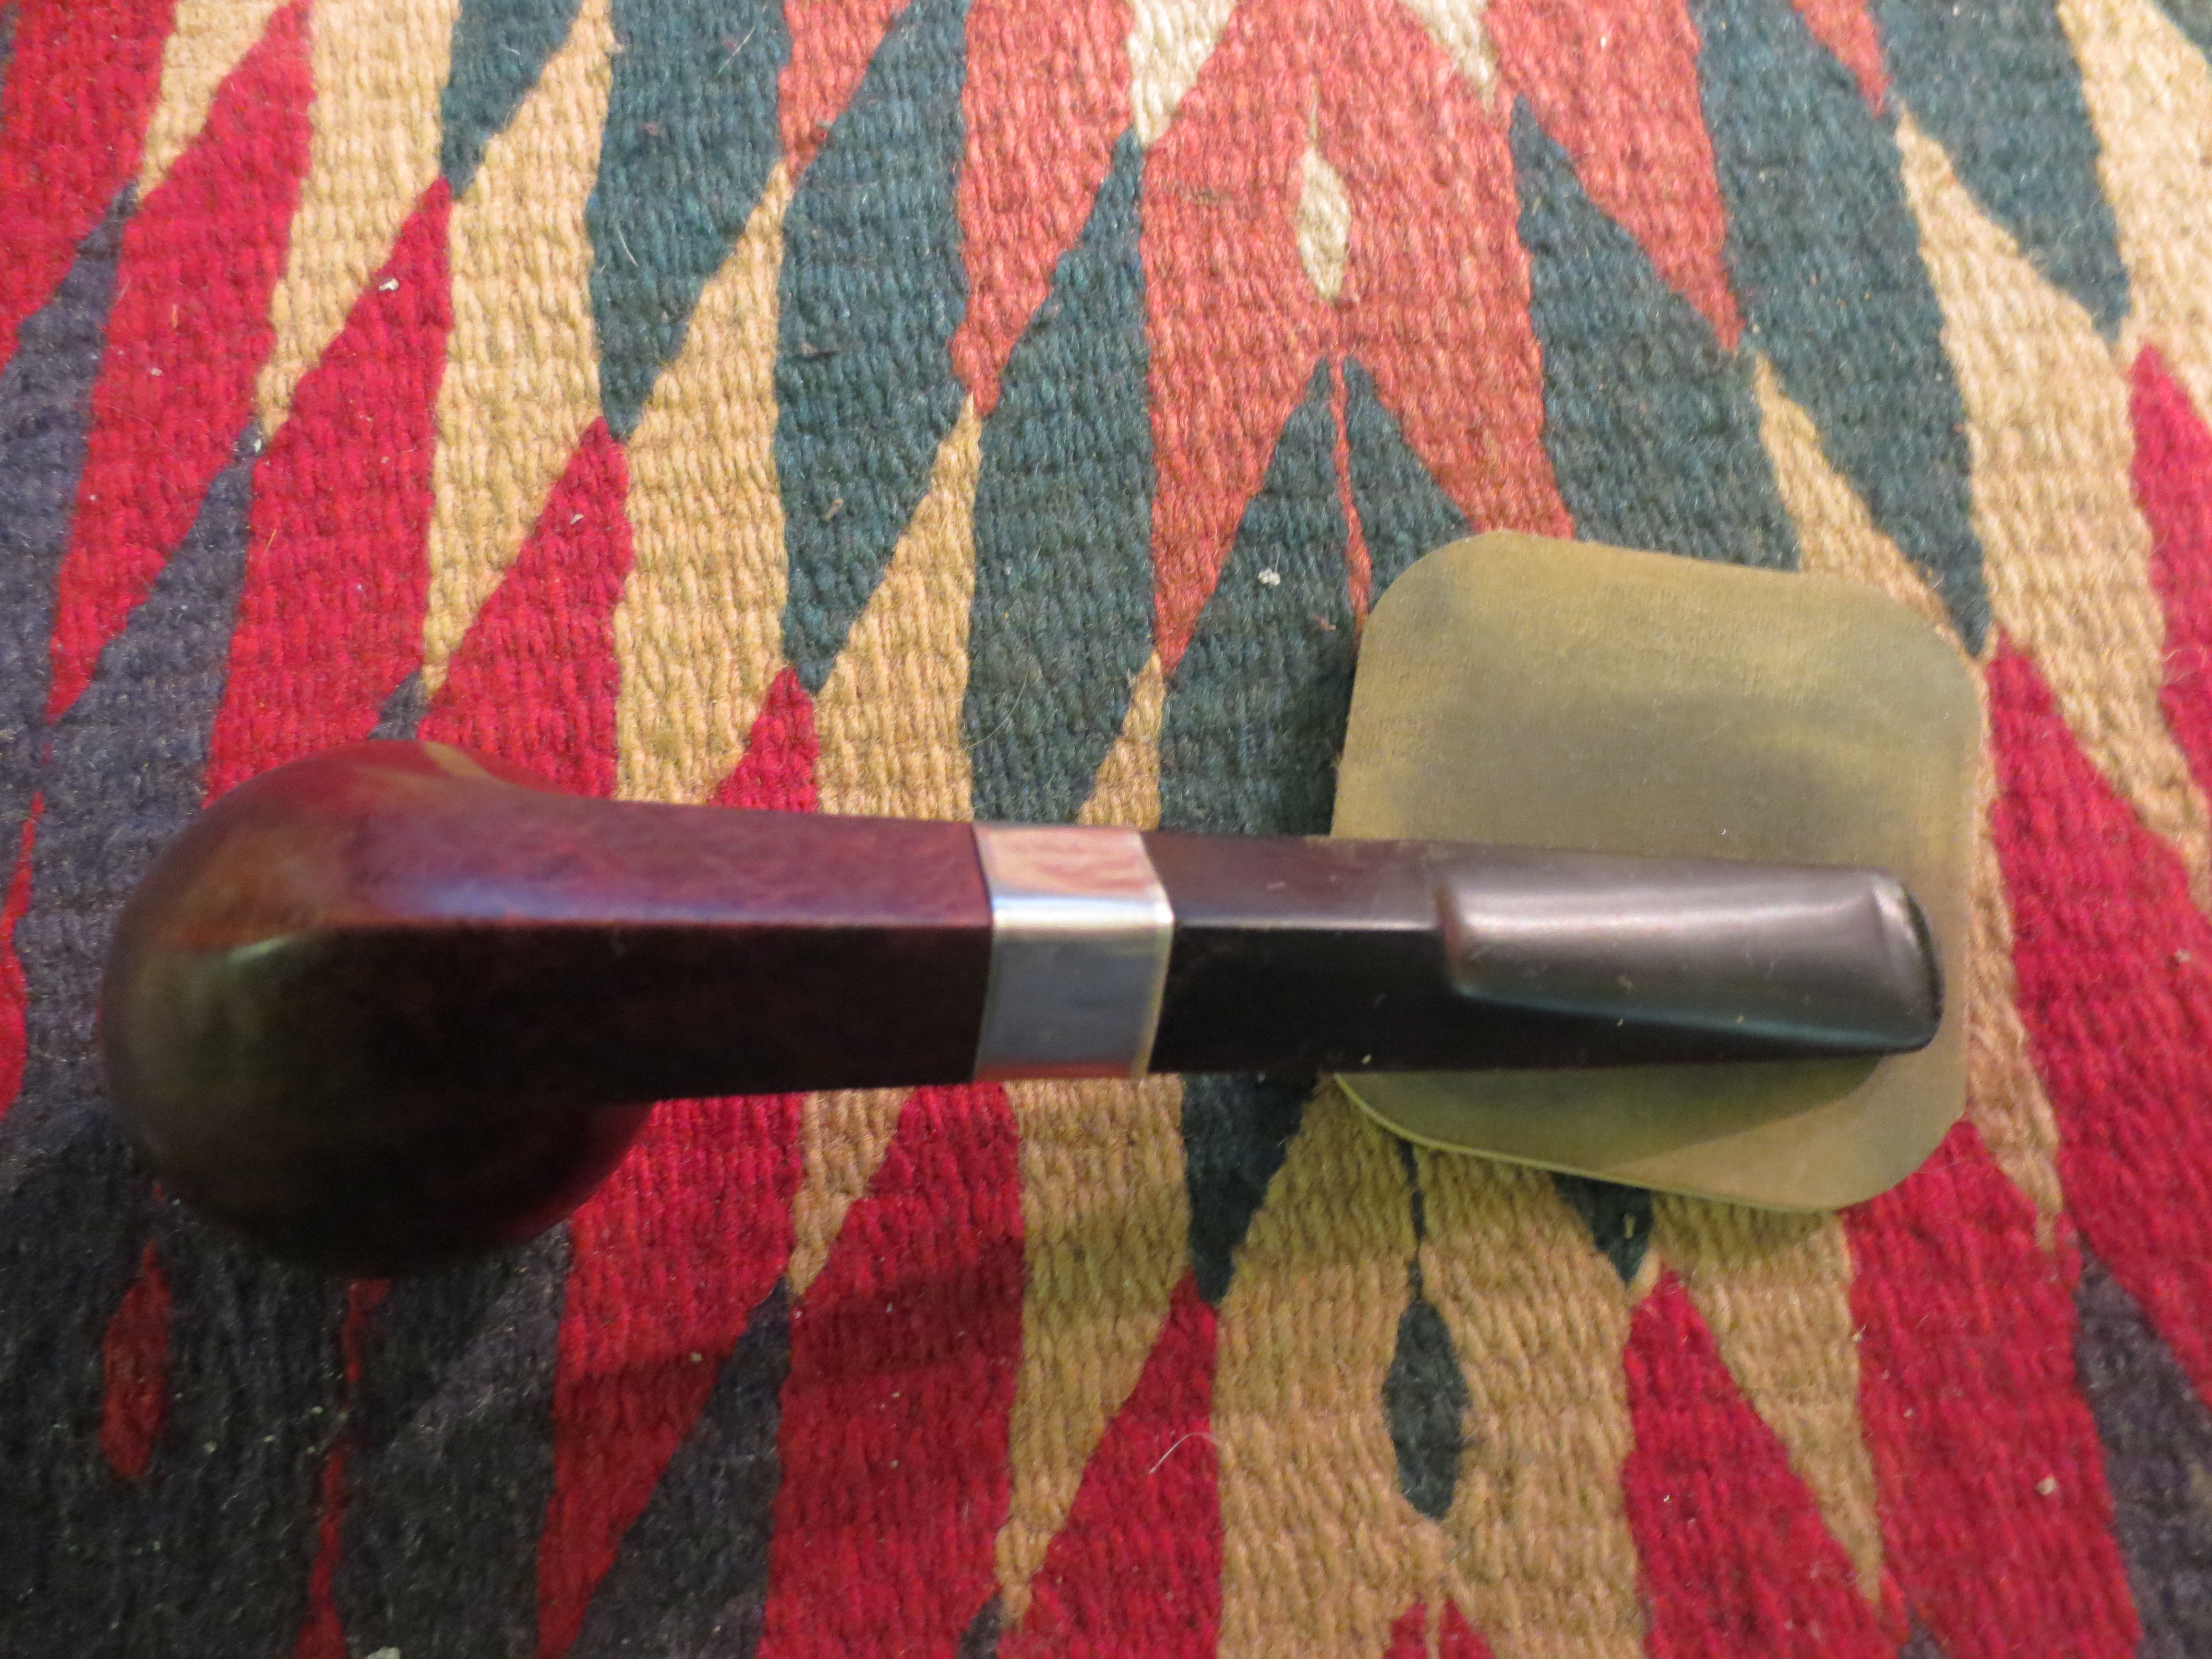
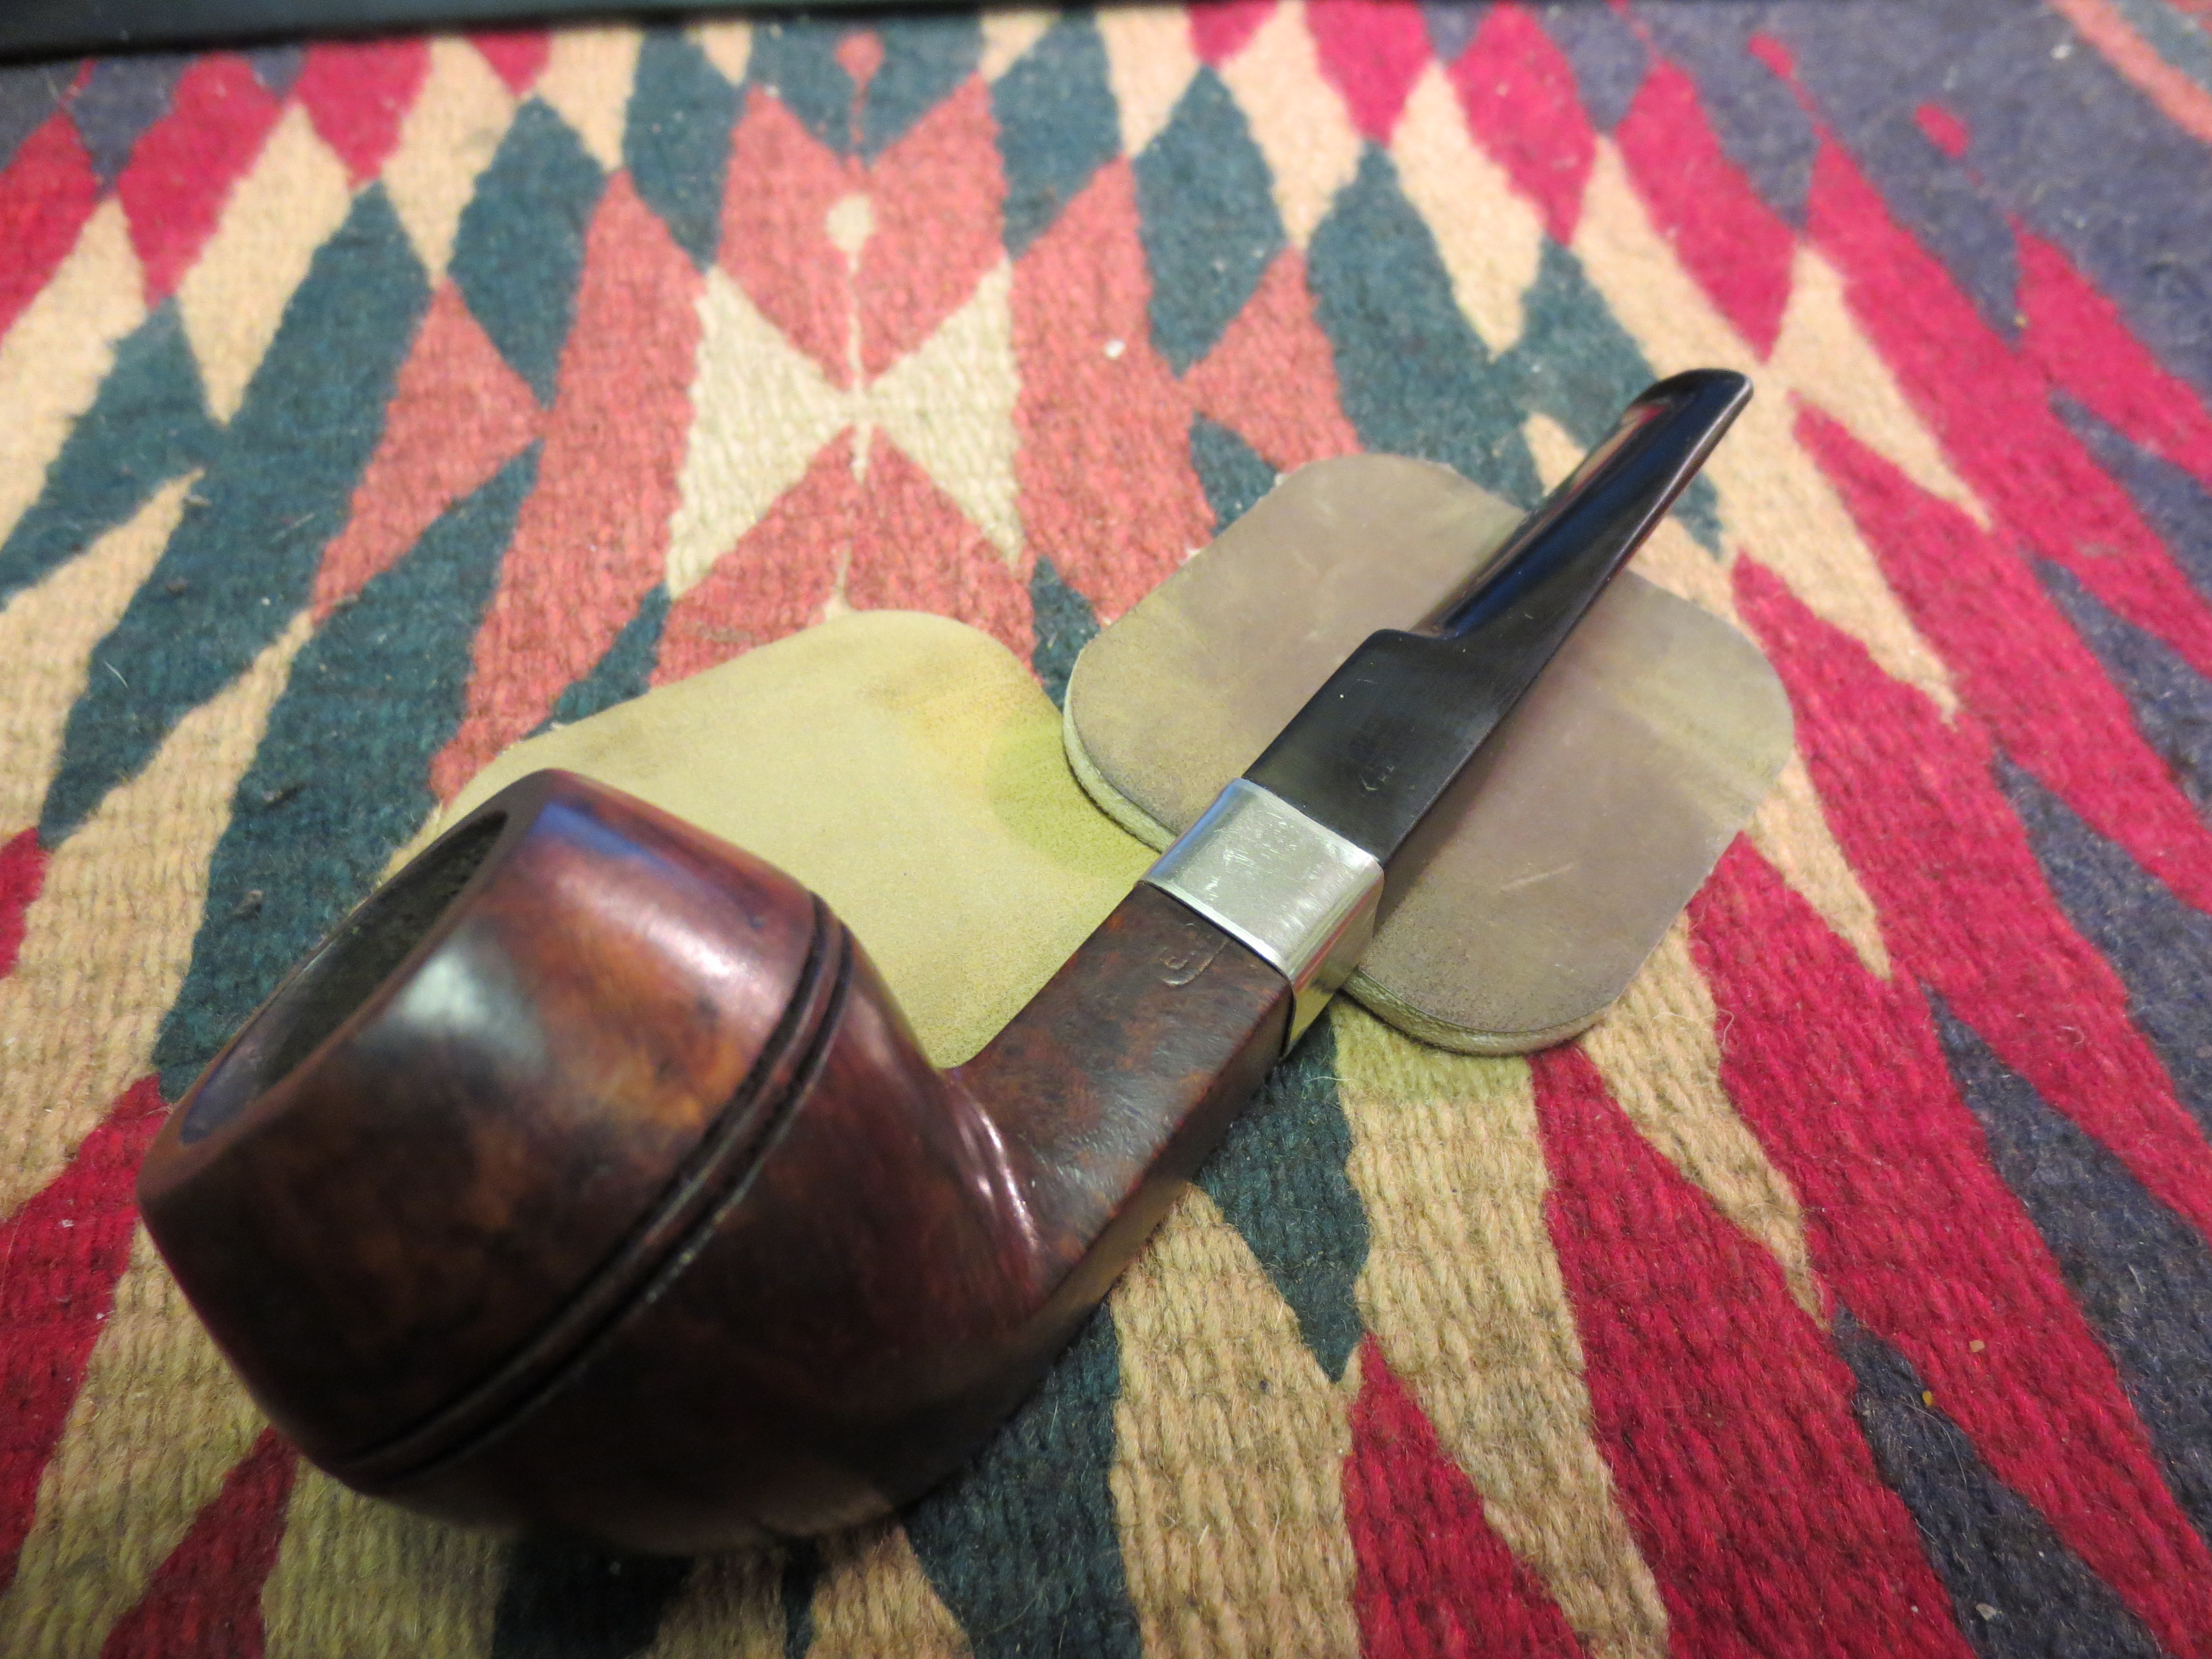
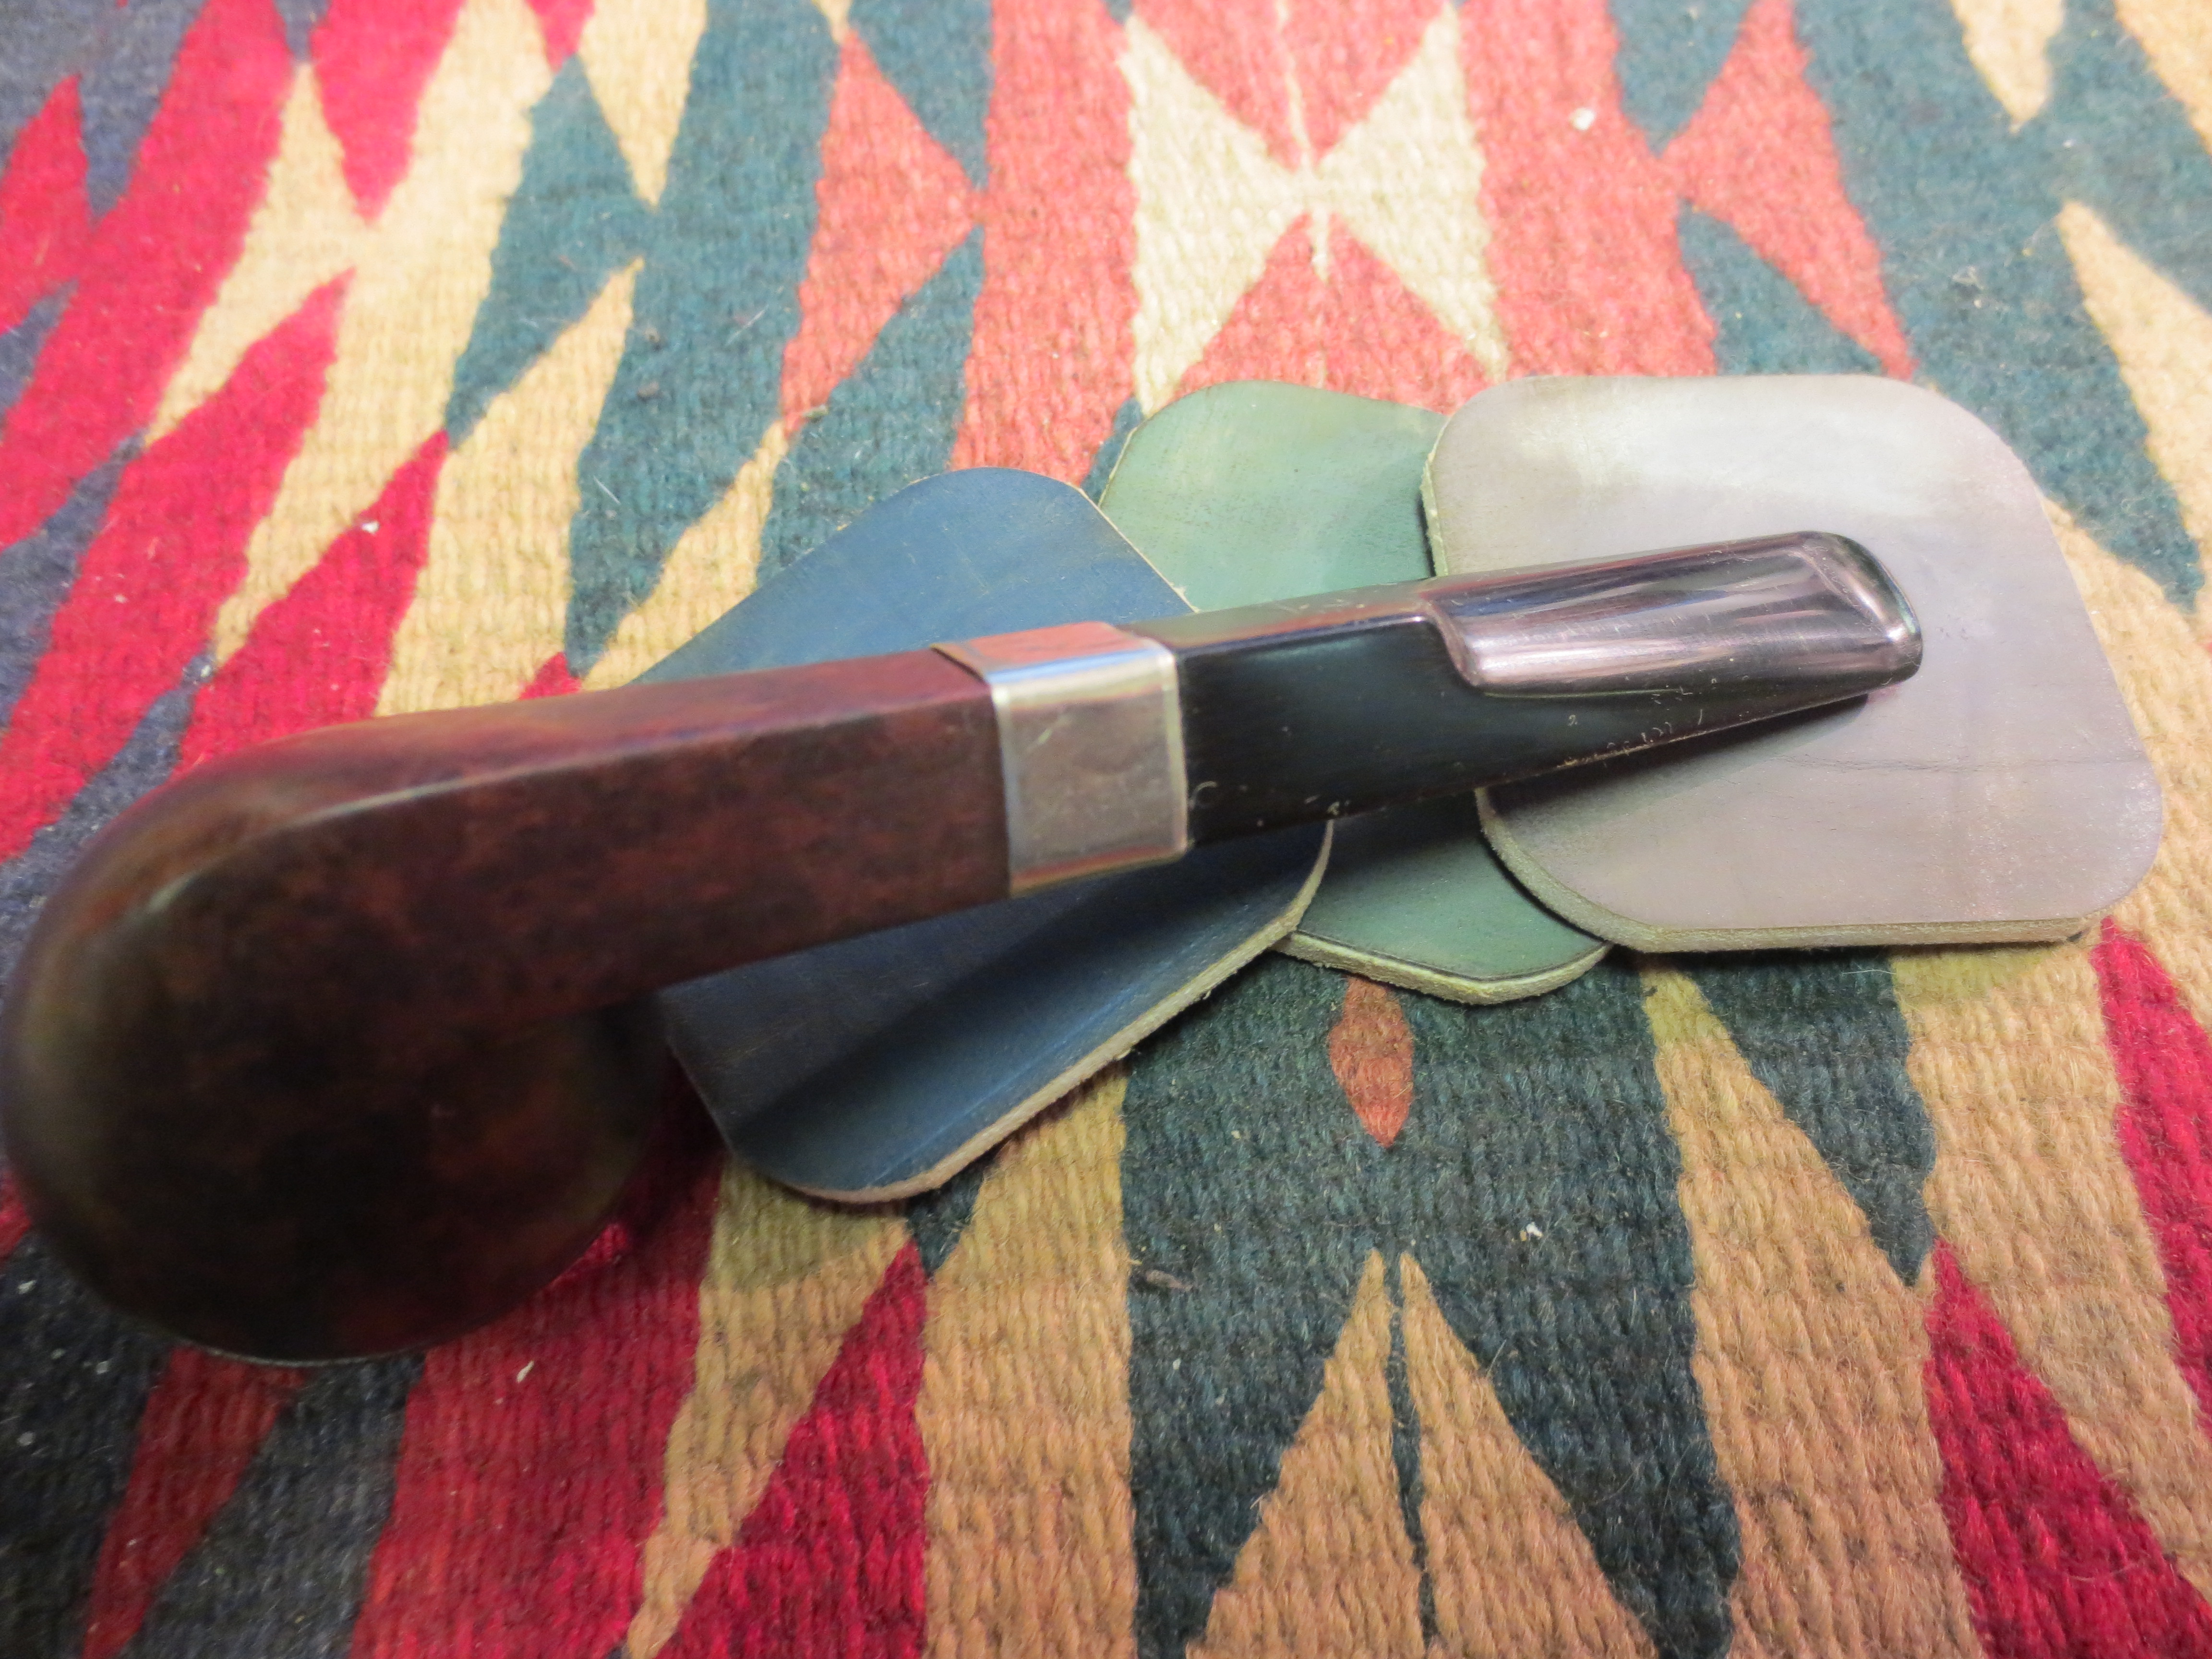
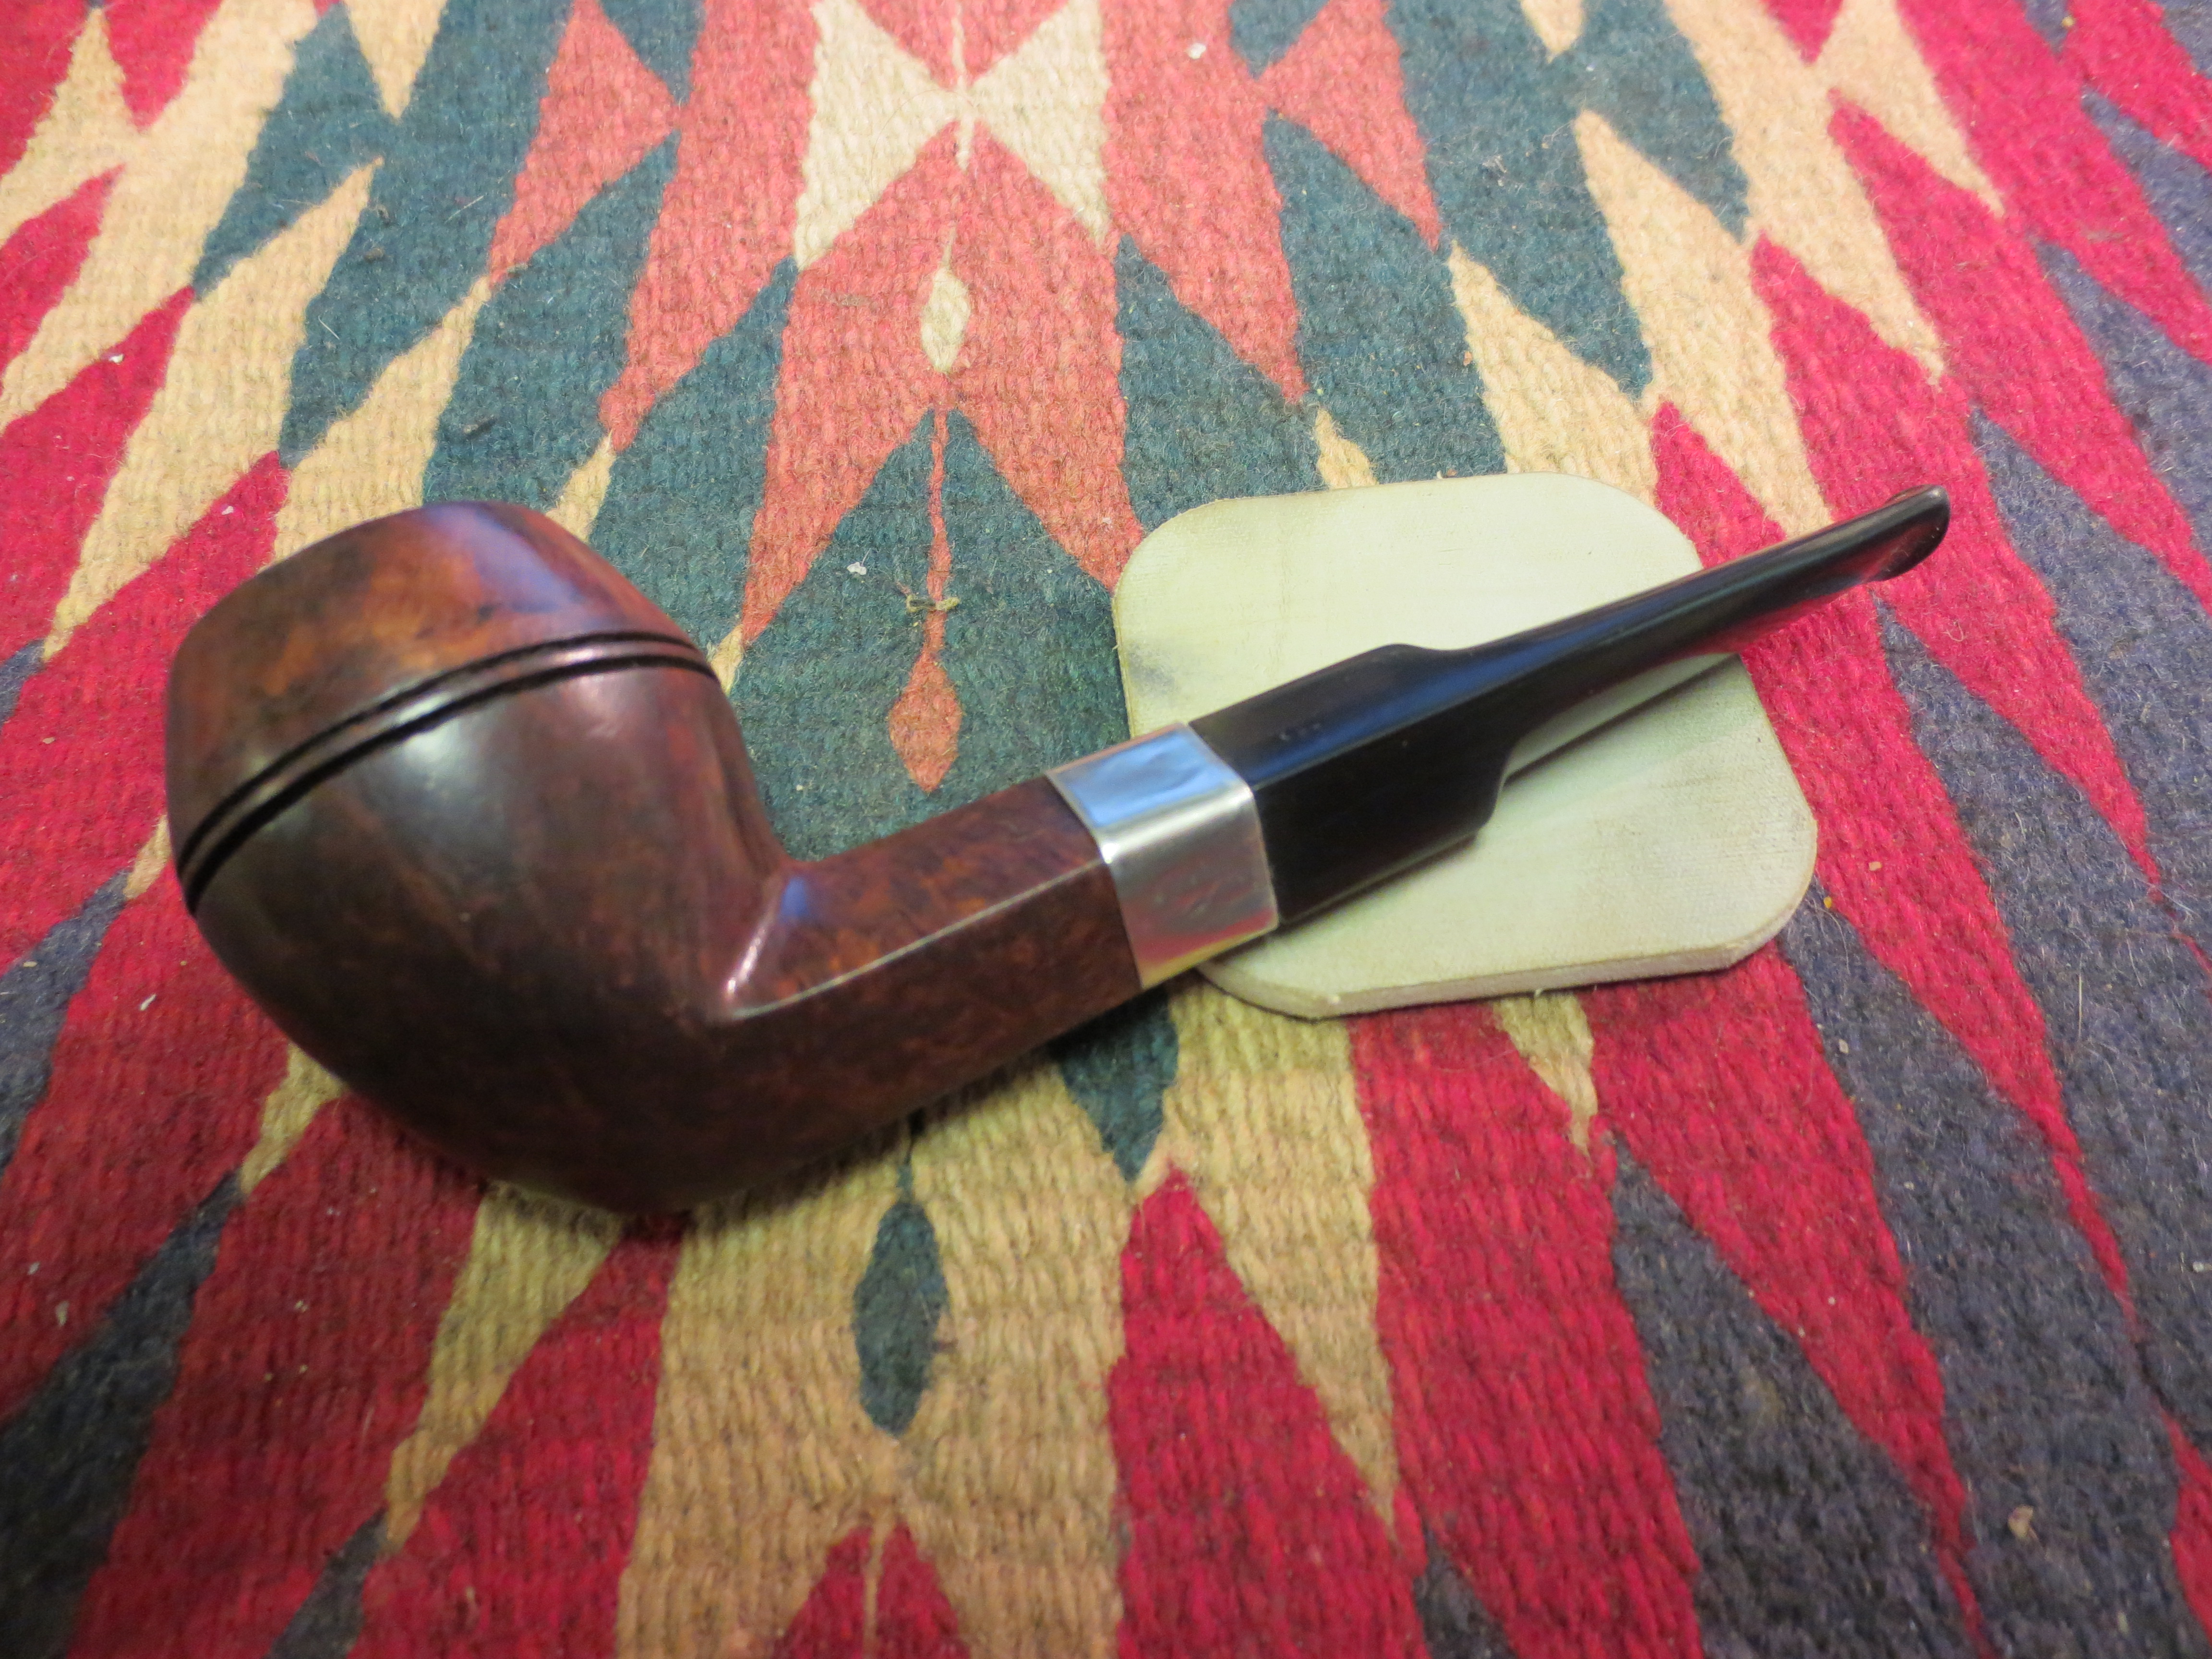
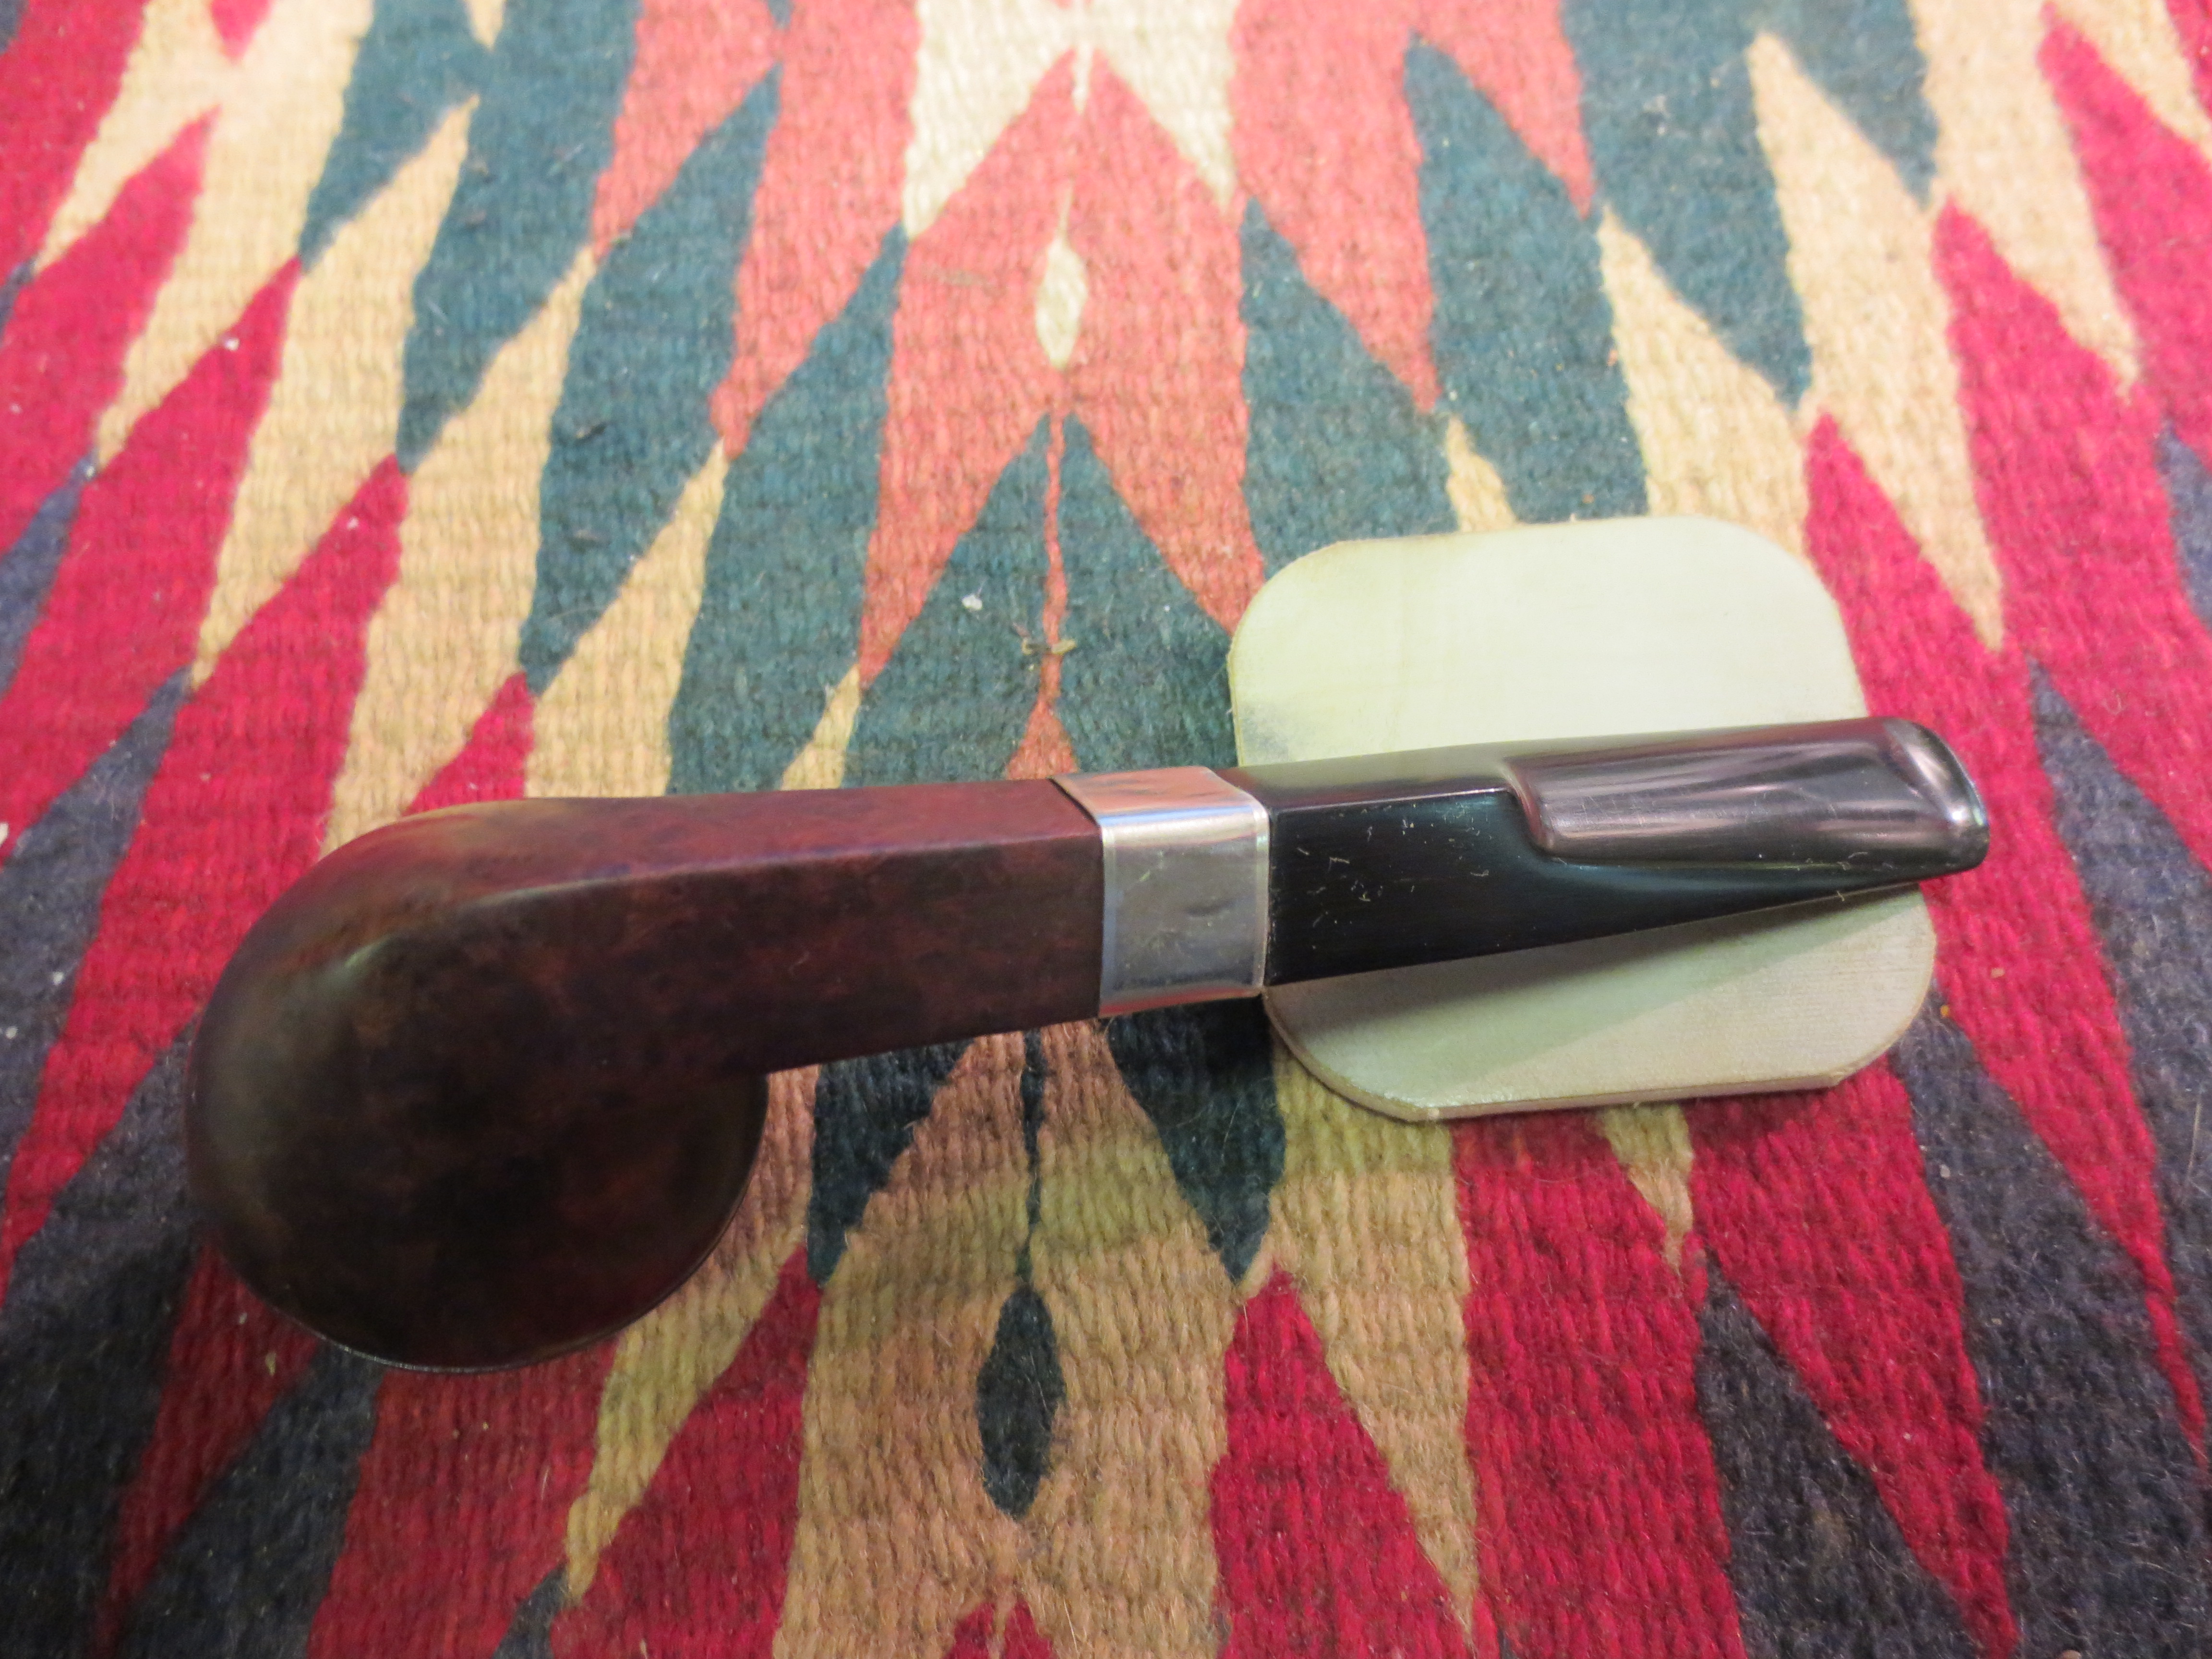
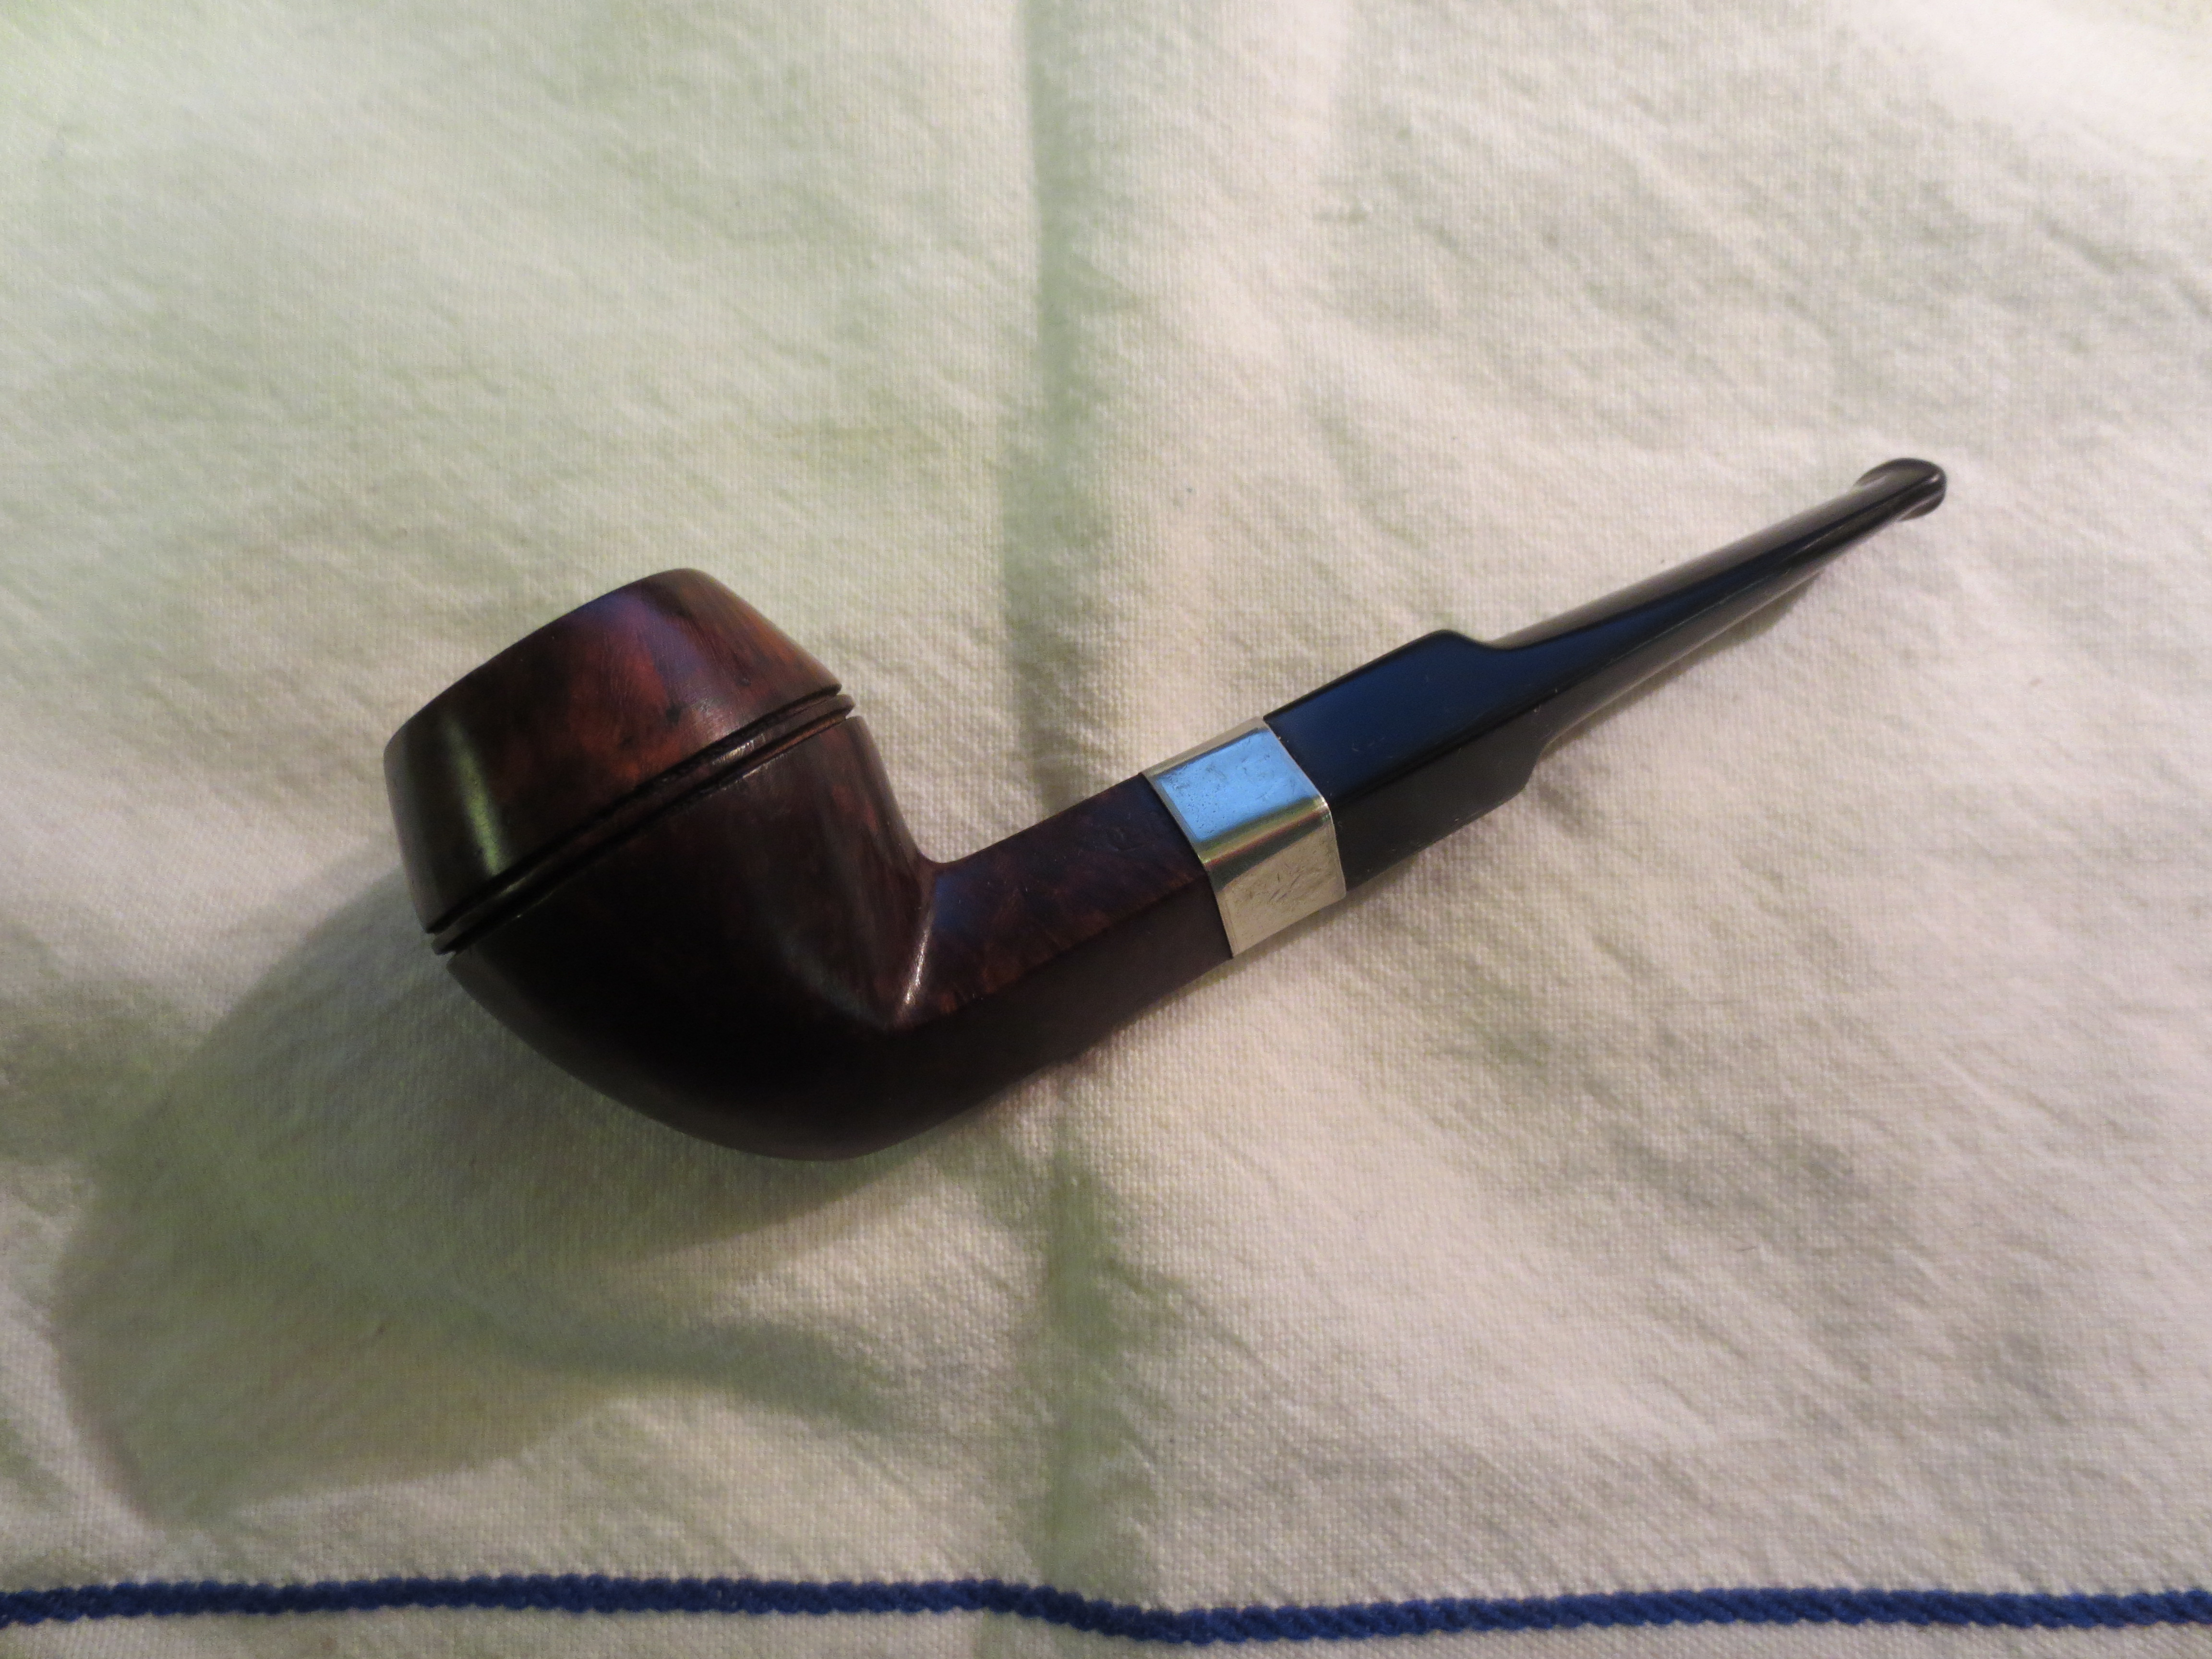
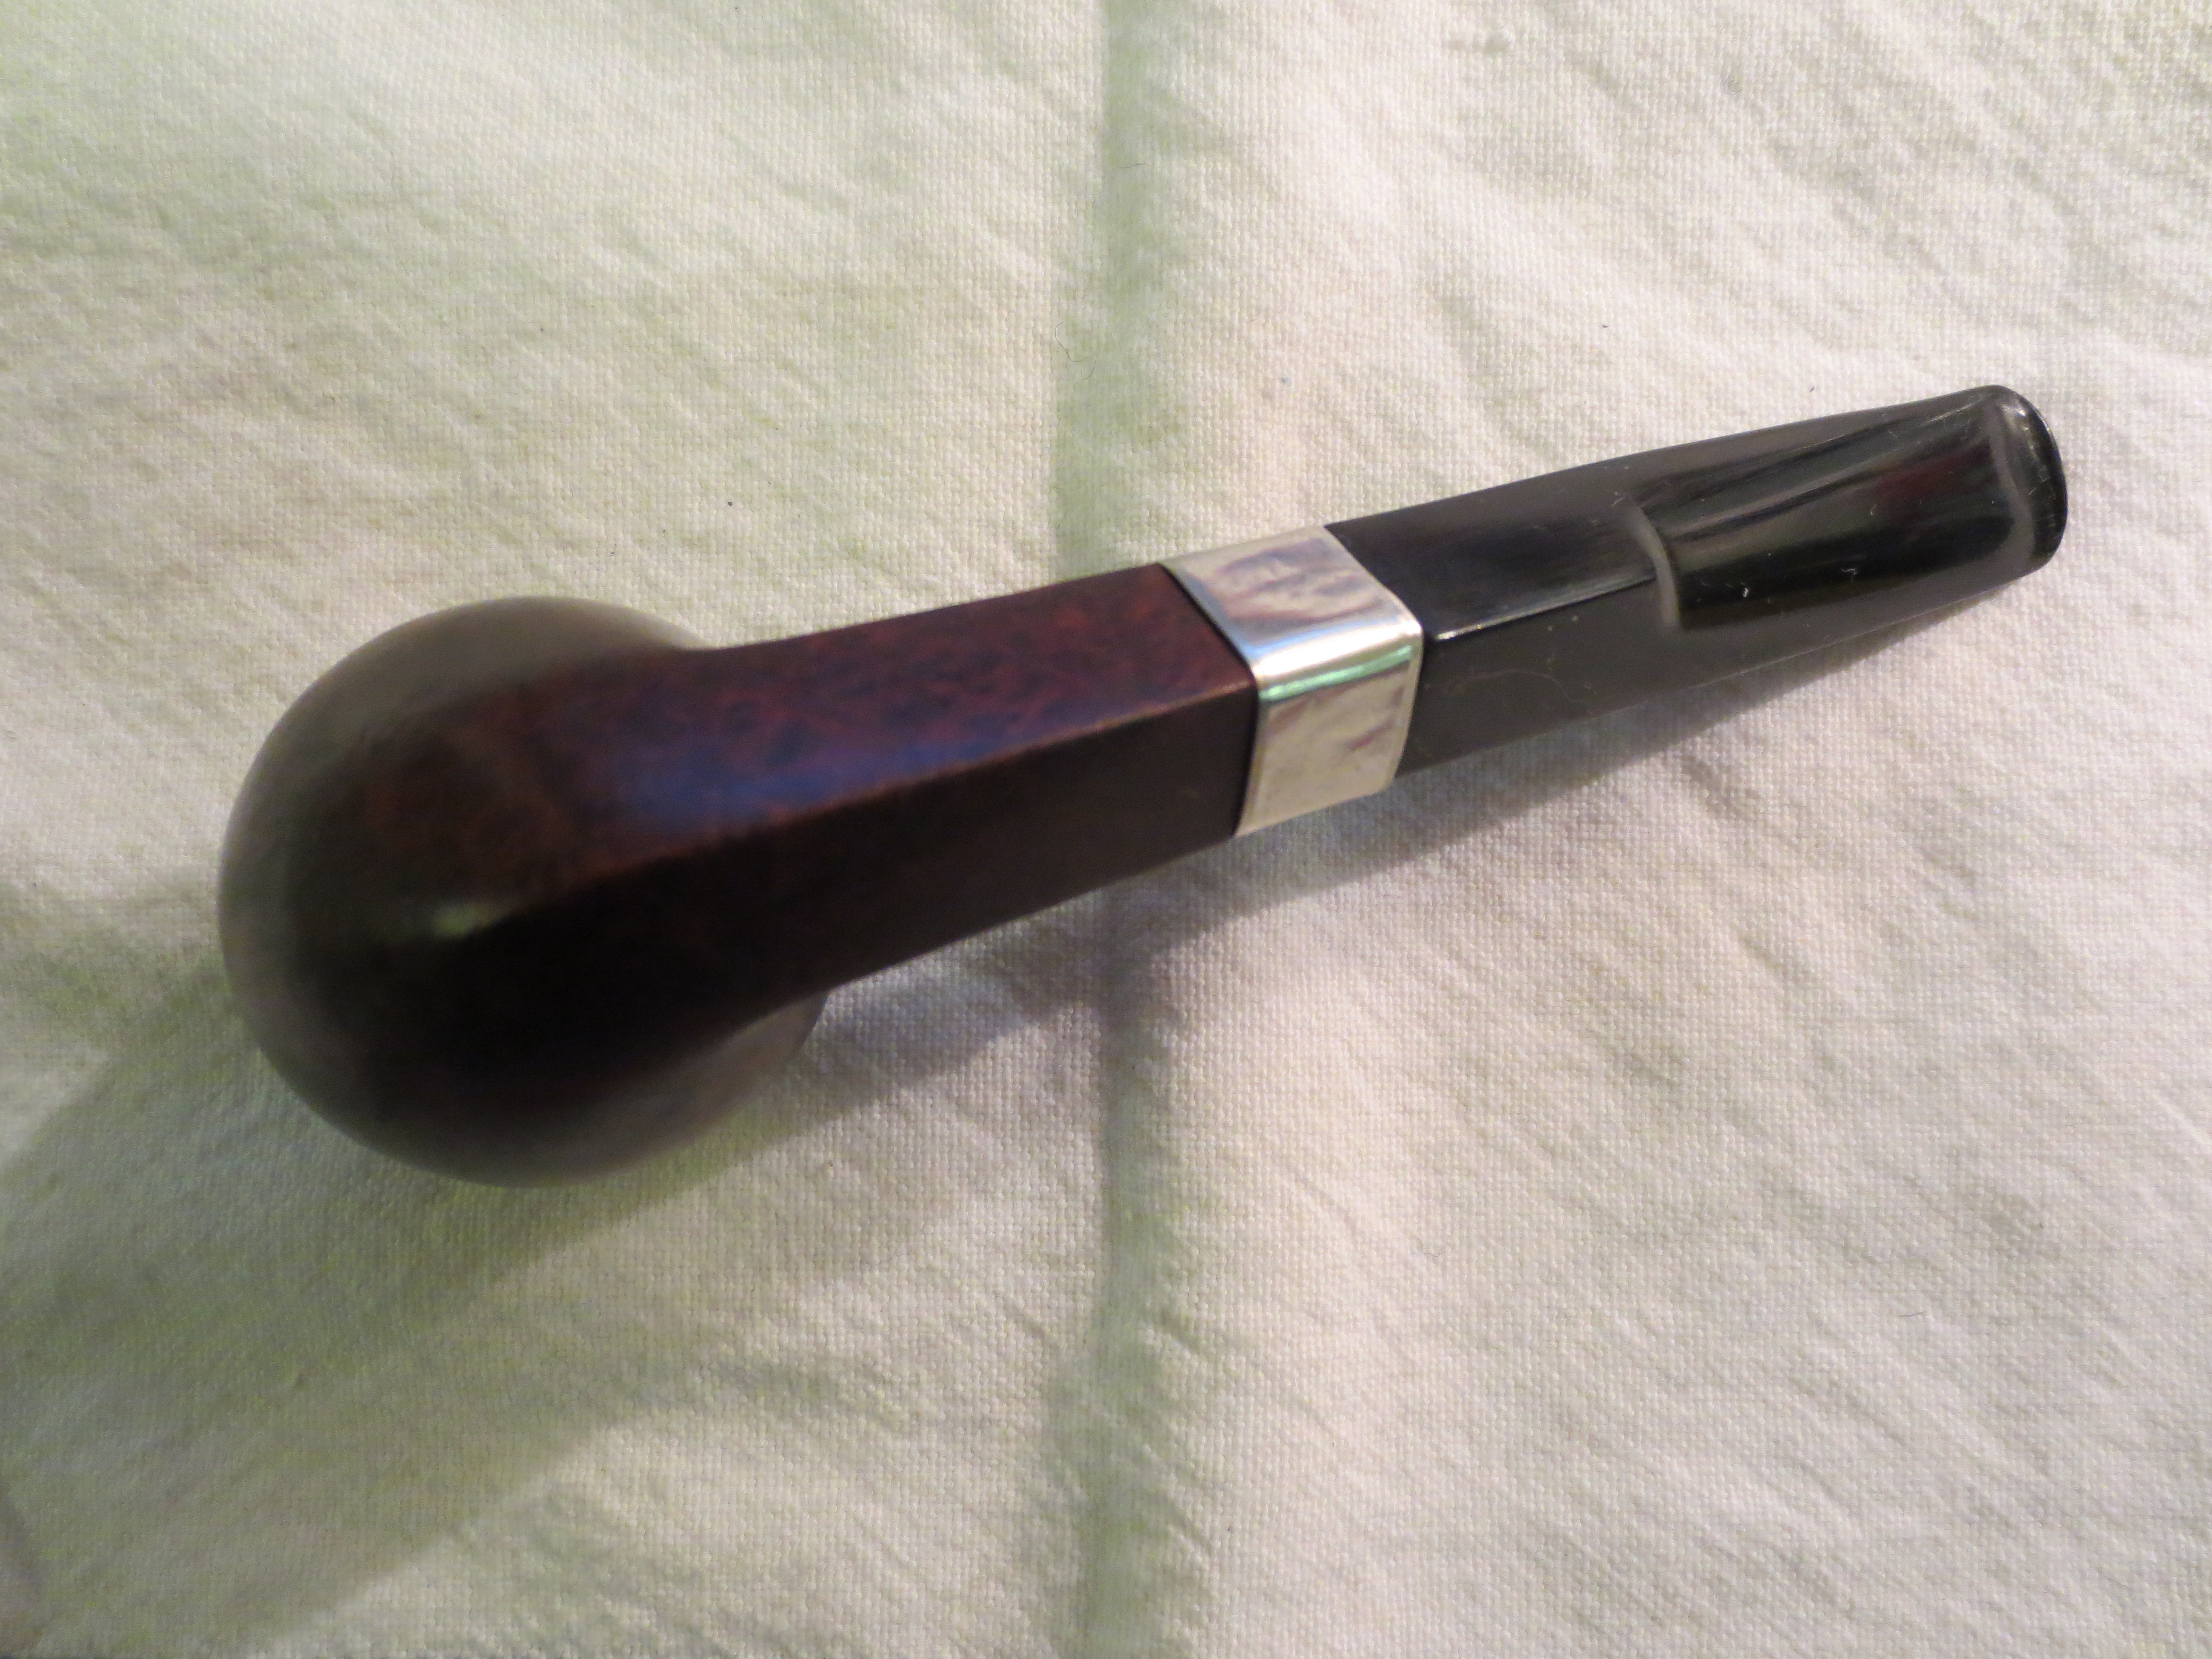
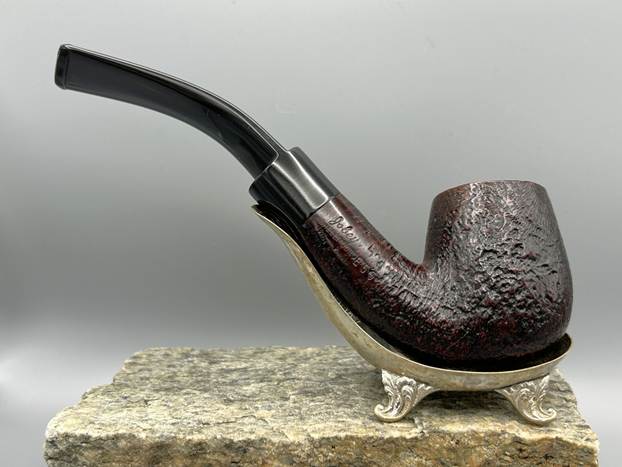
This handsome pipe was found at an antique fair around town and I’ve been meaning to clean it up since I got it. This is a Jobey Shellmoor Extra E55 pipe, in the bent billiard shape, with a vulcanite saddle stem. The stem connects to the stummel with Jobey’s own ‘Jobey Links’ system. It’s a handsome, satisfying, and confidence-generating pipe. I hope you will like this pipe – it needs a new home!
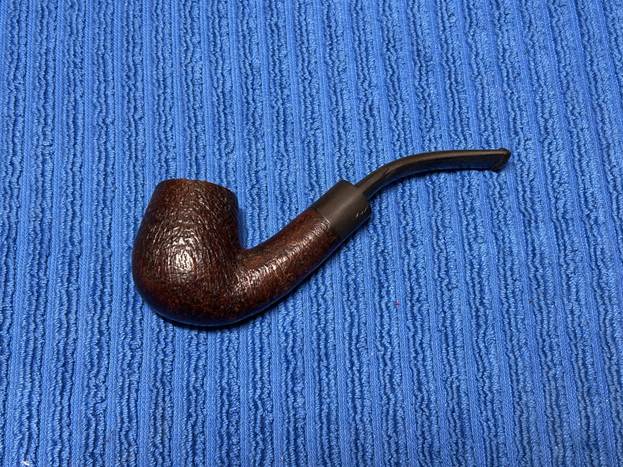
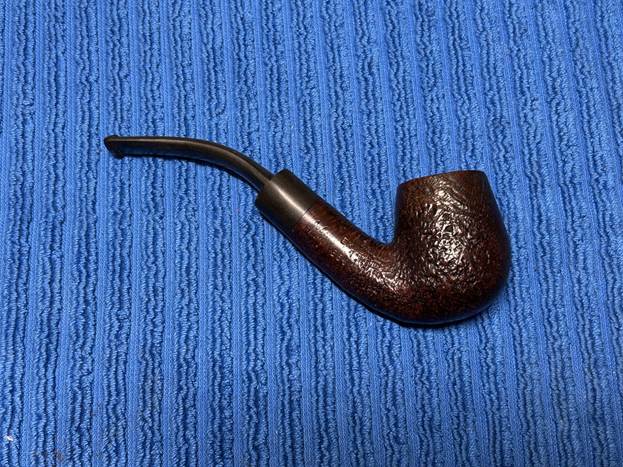
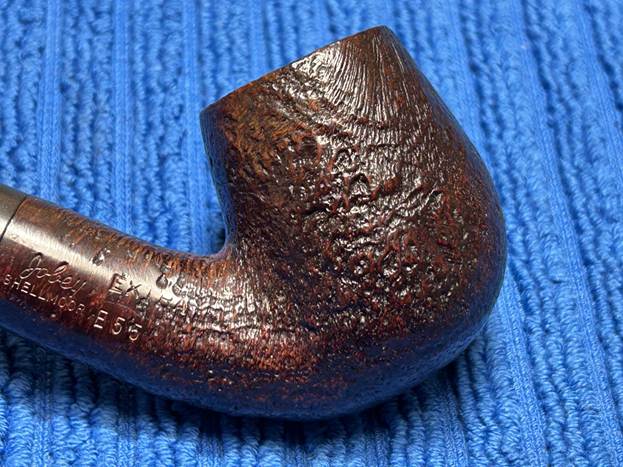
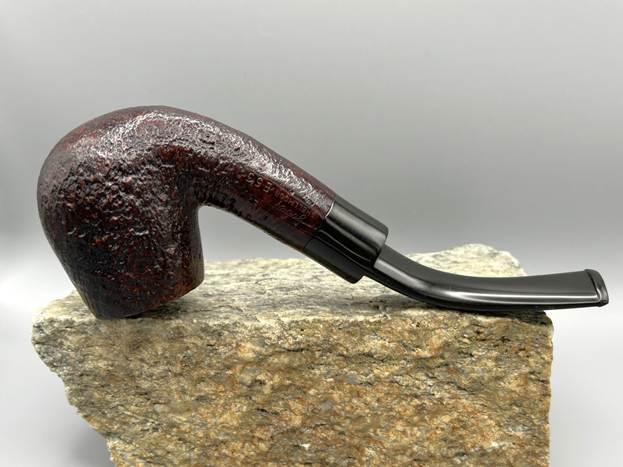
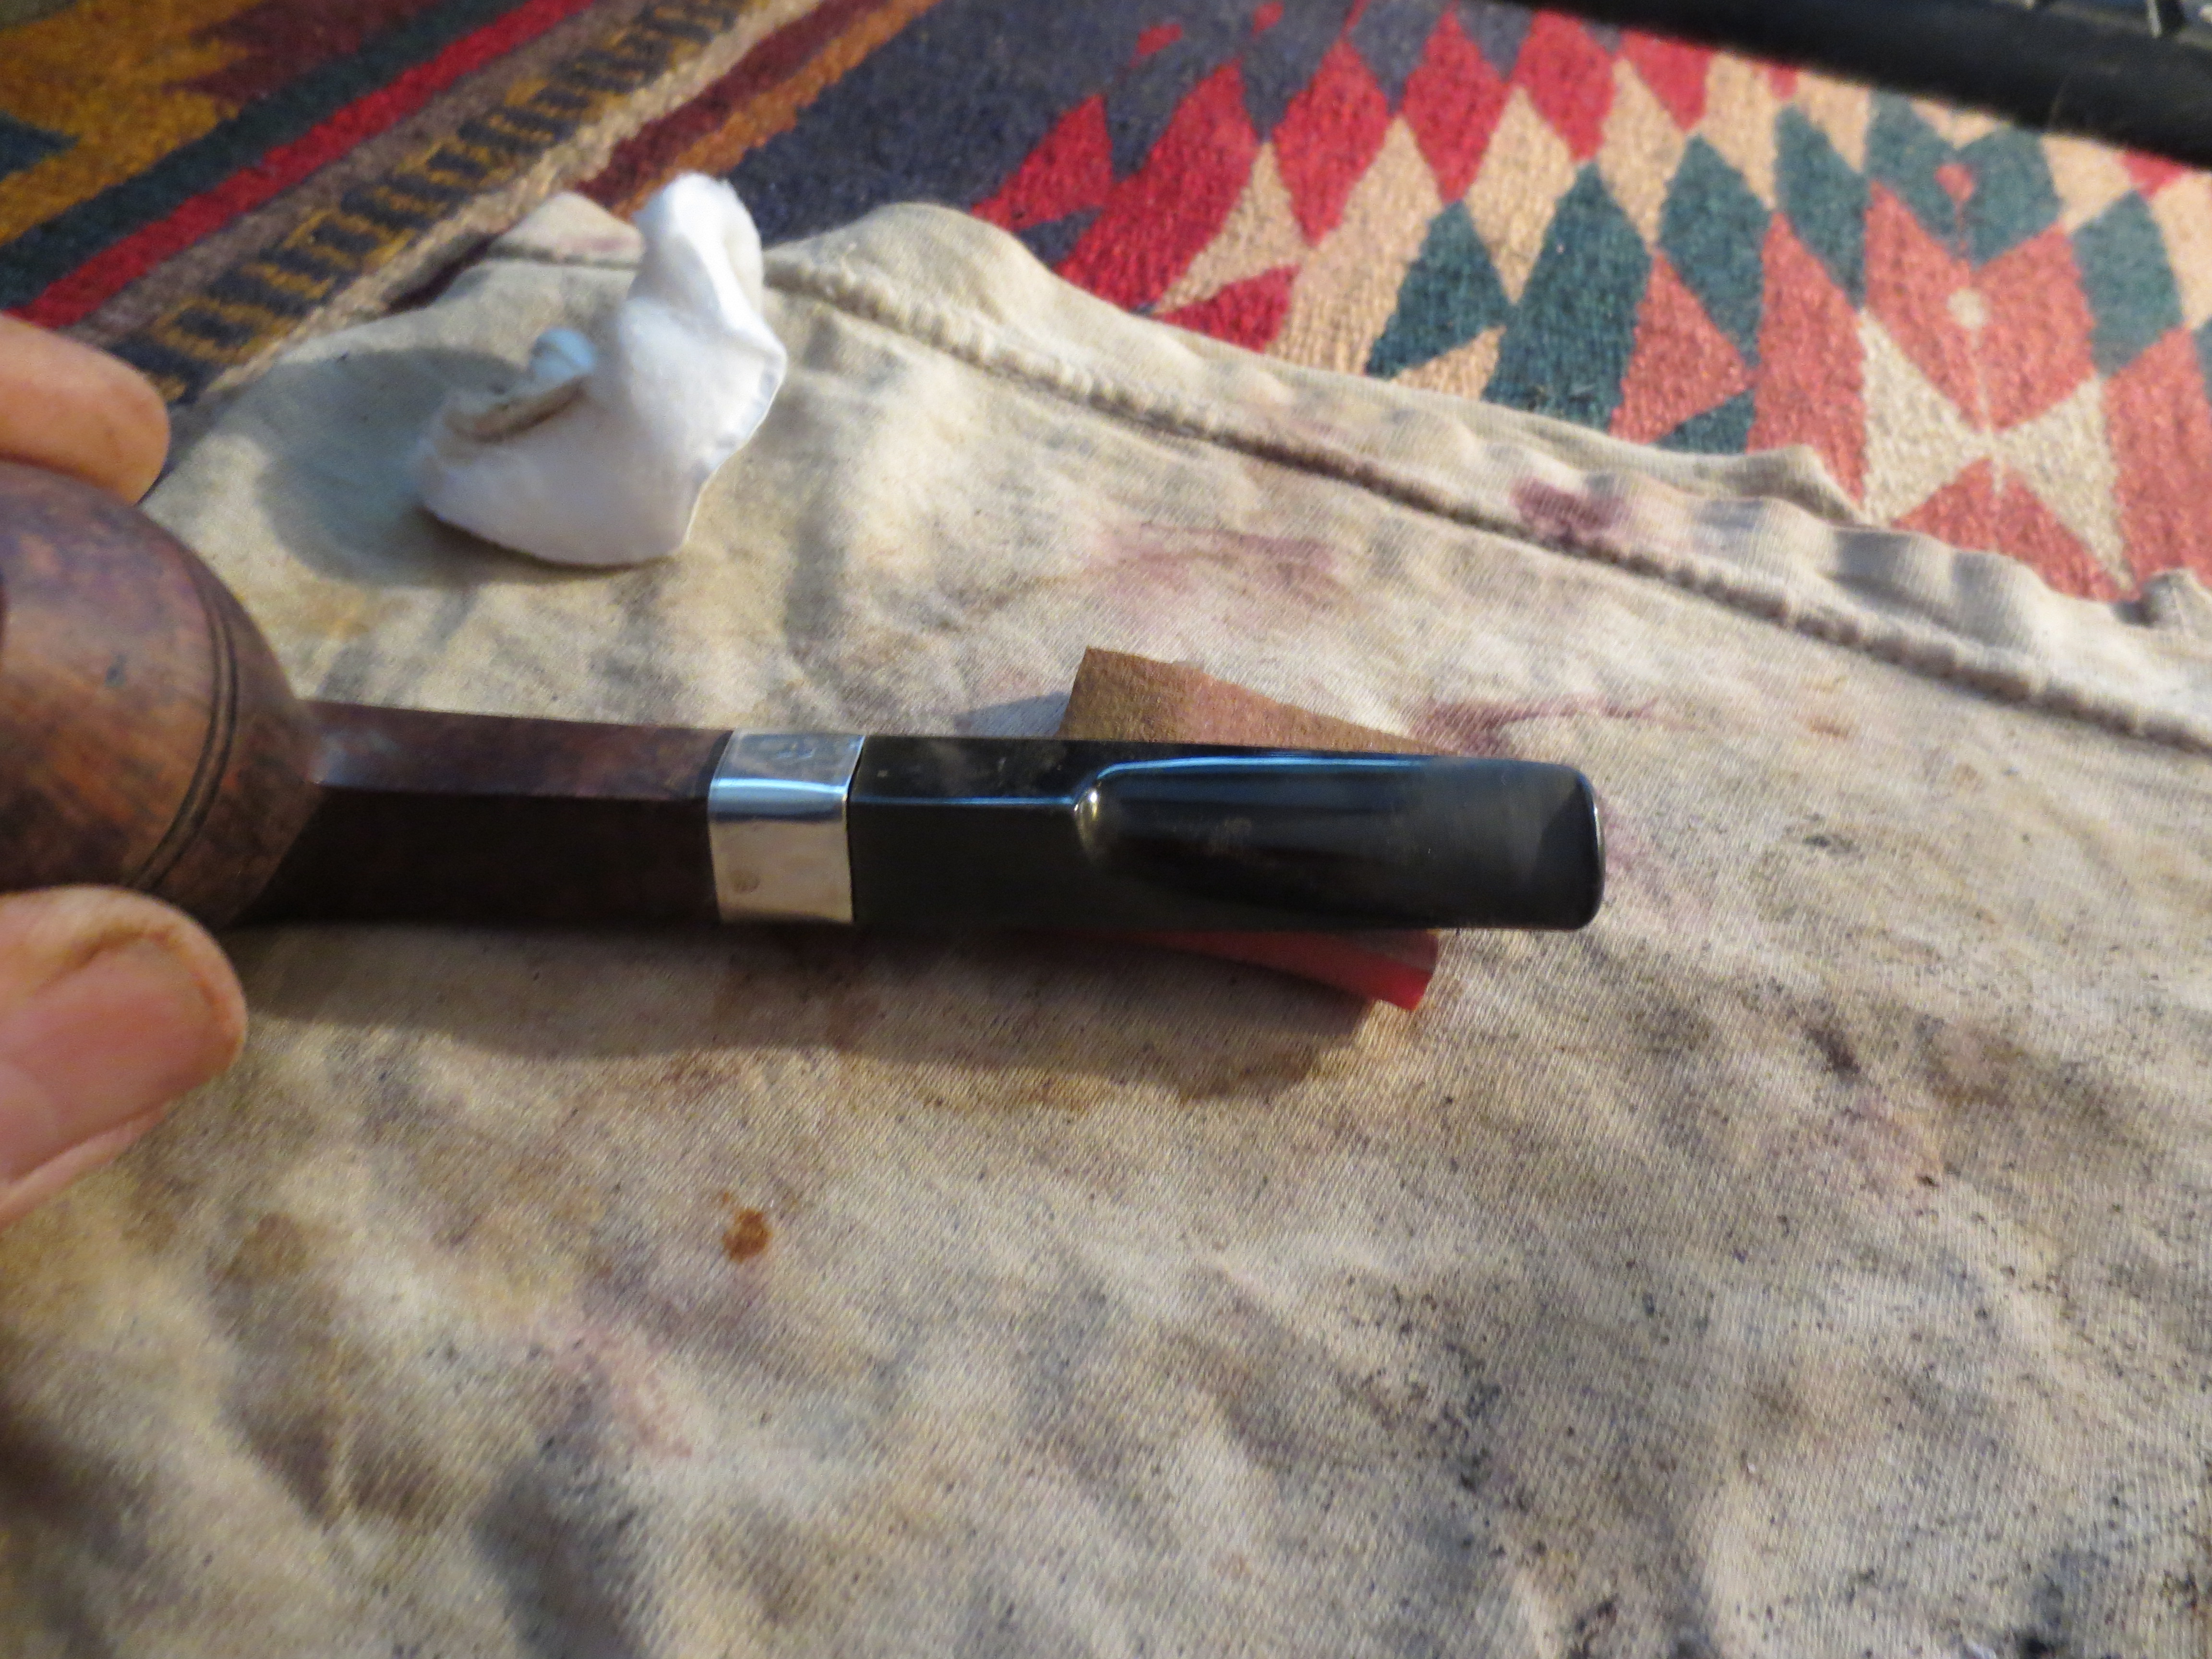
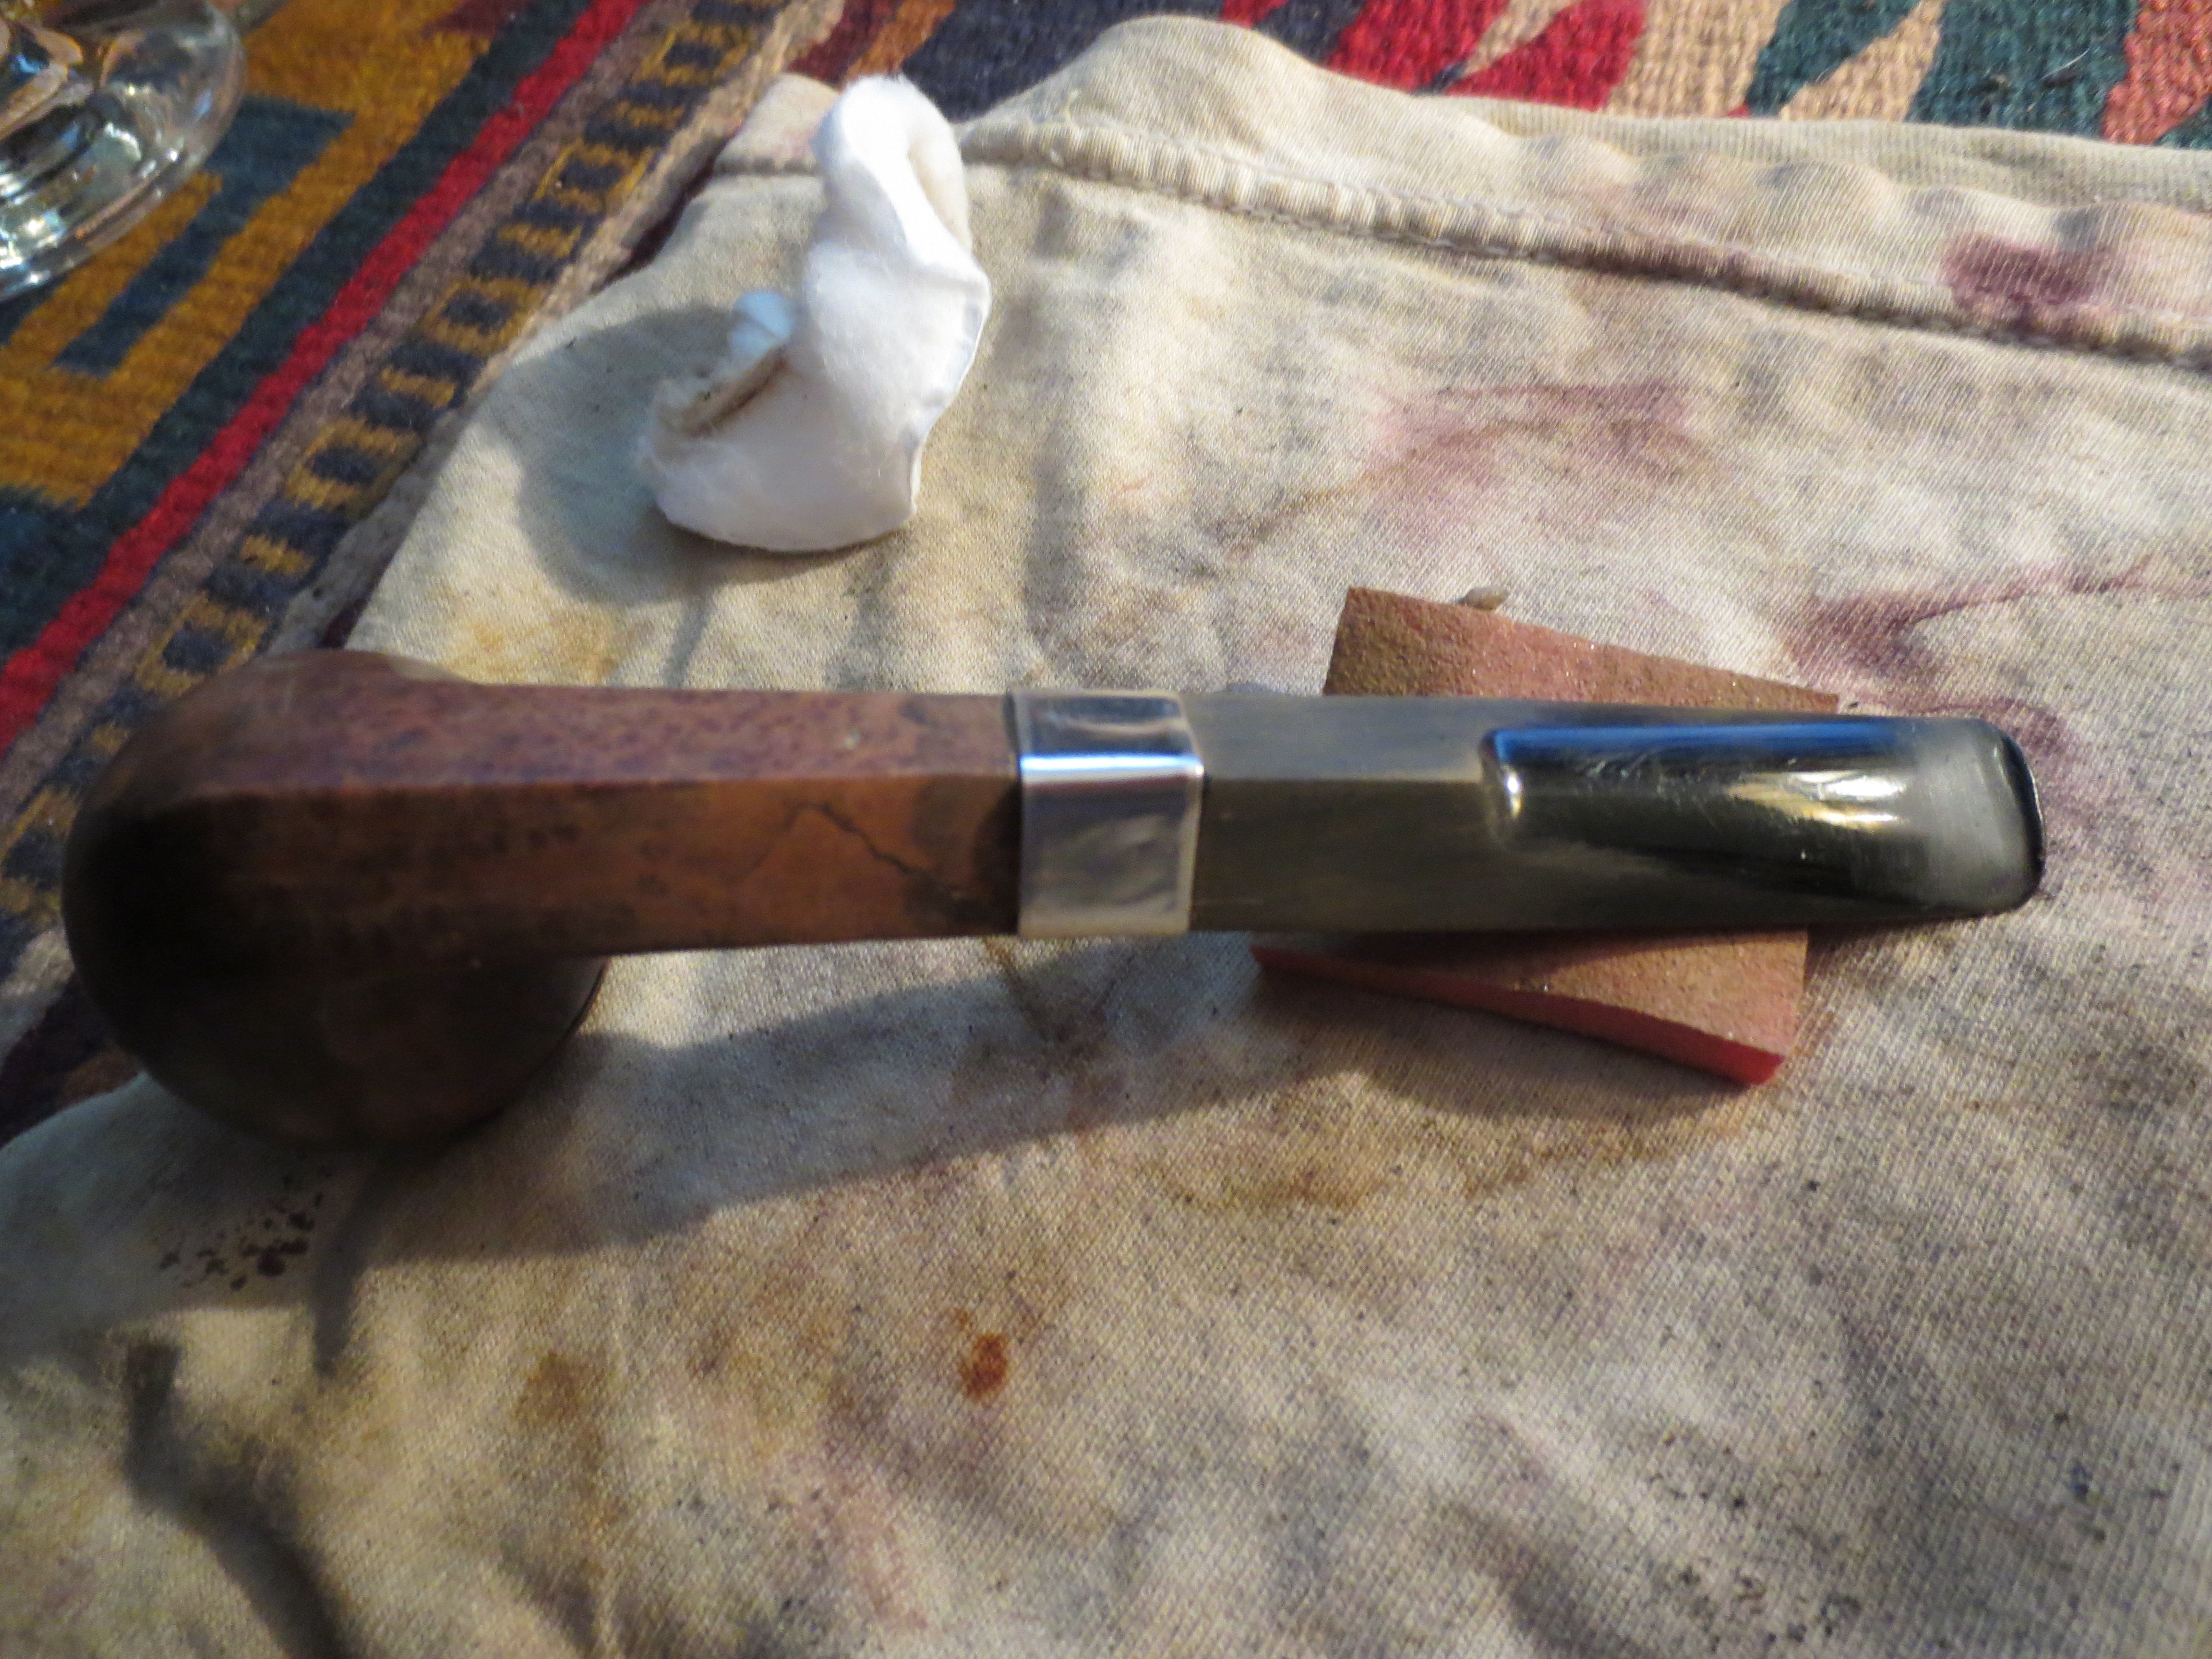
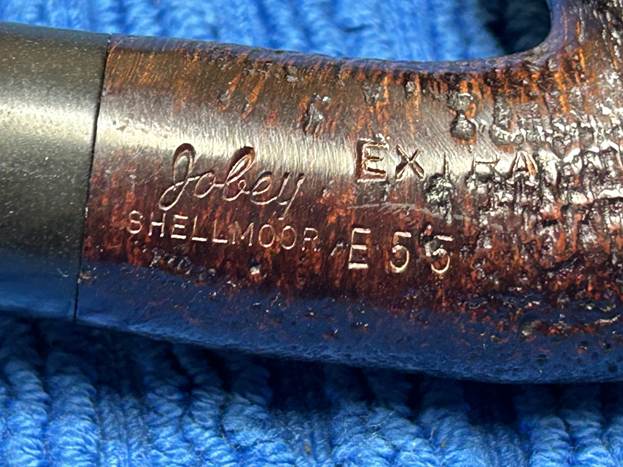
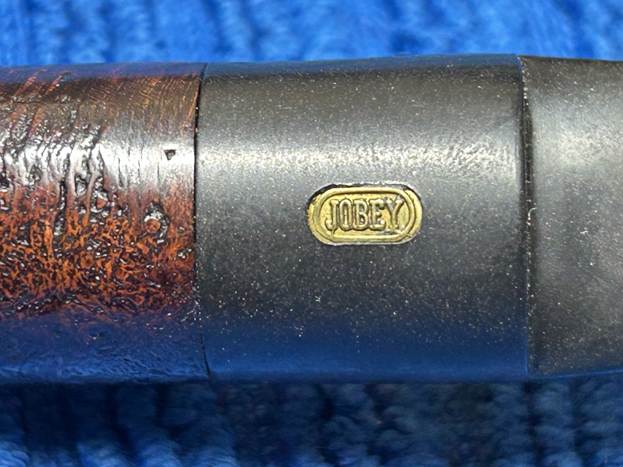
Let’s look at the markings that appear on this pipe. On the right side of the shank, we see Jobey [over] Shellmoor. To the right of that are the words Extra [over] E55. On the stem, we see the Jobey logo inlaid in brass.
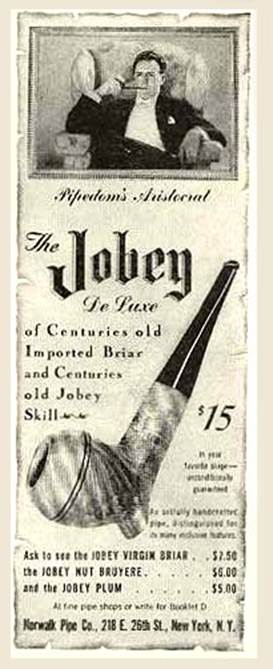
Regarding the Jobey company itself, there is precious little background information. The Pipedia article on Jobey (which I encourage you to read here) begins with this tidbit:

English – American – Danish – French… Sadly, solid information about Jobey is scant. Probably established in England around 1920(?) the brand hiked into the USA later.

And Pipephil adds this note:

These pipes are made in St Claude (France) by Butz-Choquin (Berrod-Regad group) since 1987. Before this date some were manufactured in England and Denmark (Jobey Dansk).
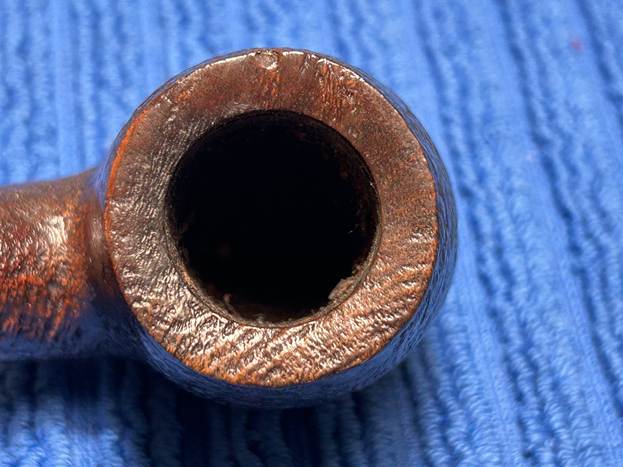
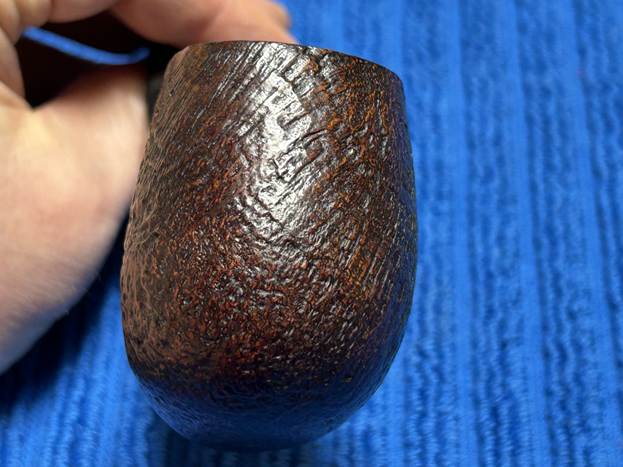
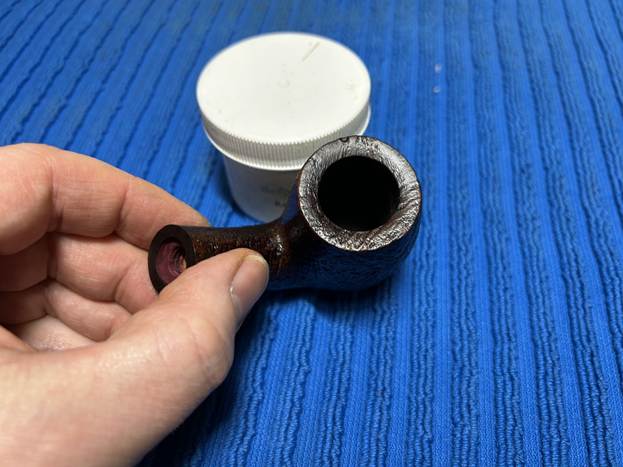
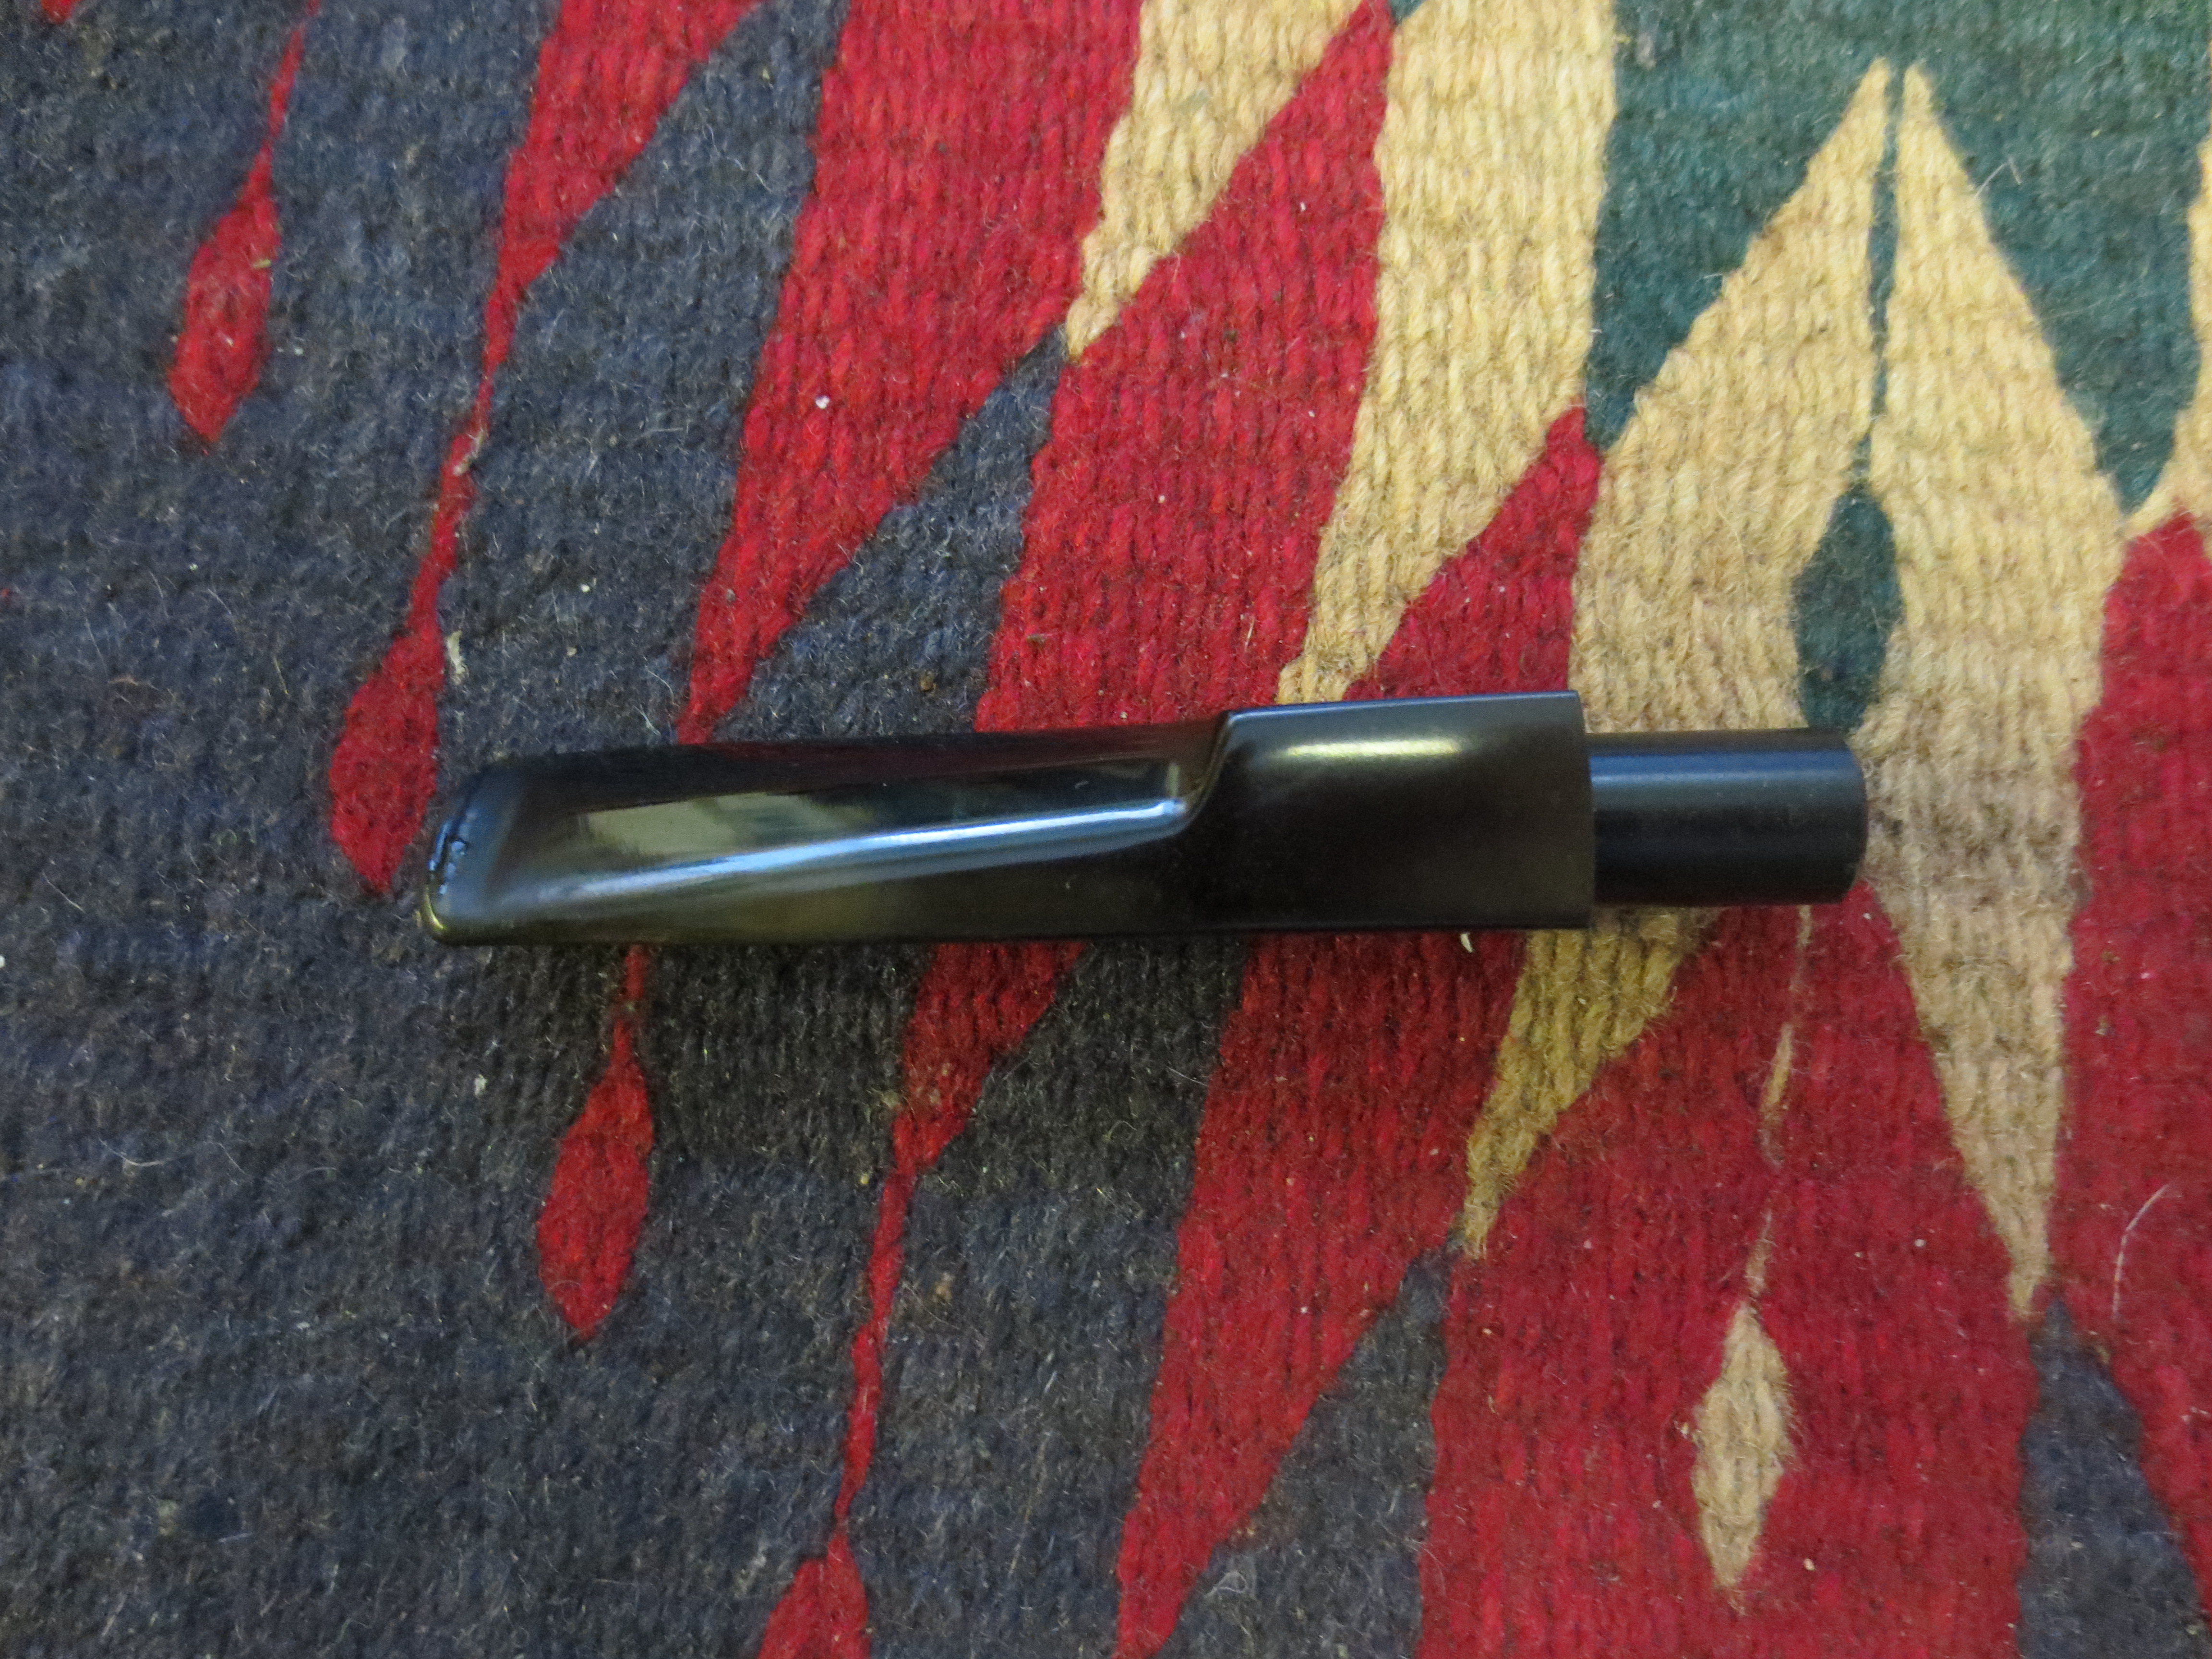
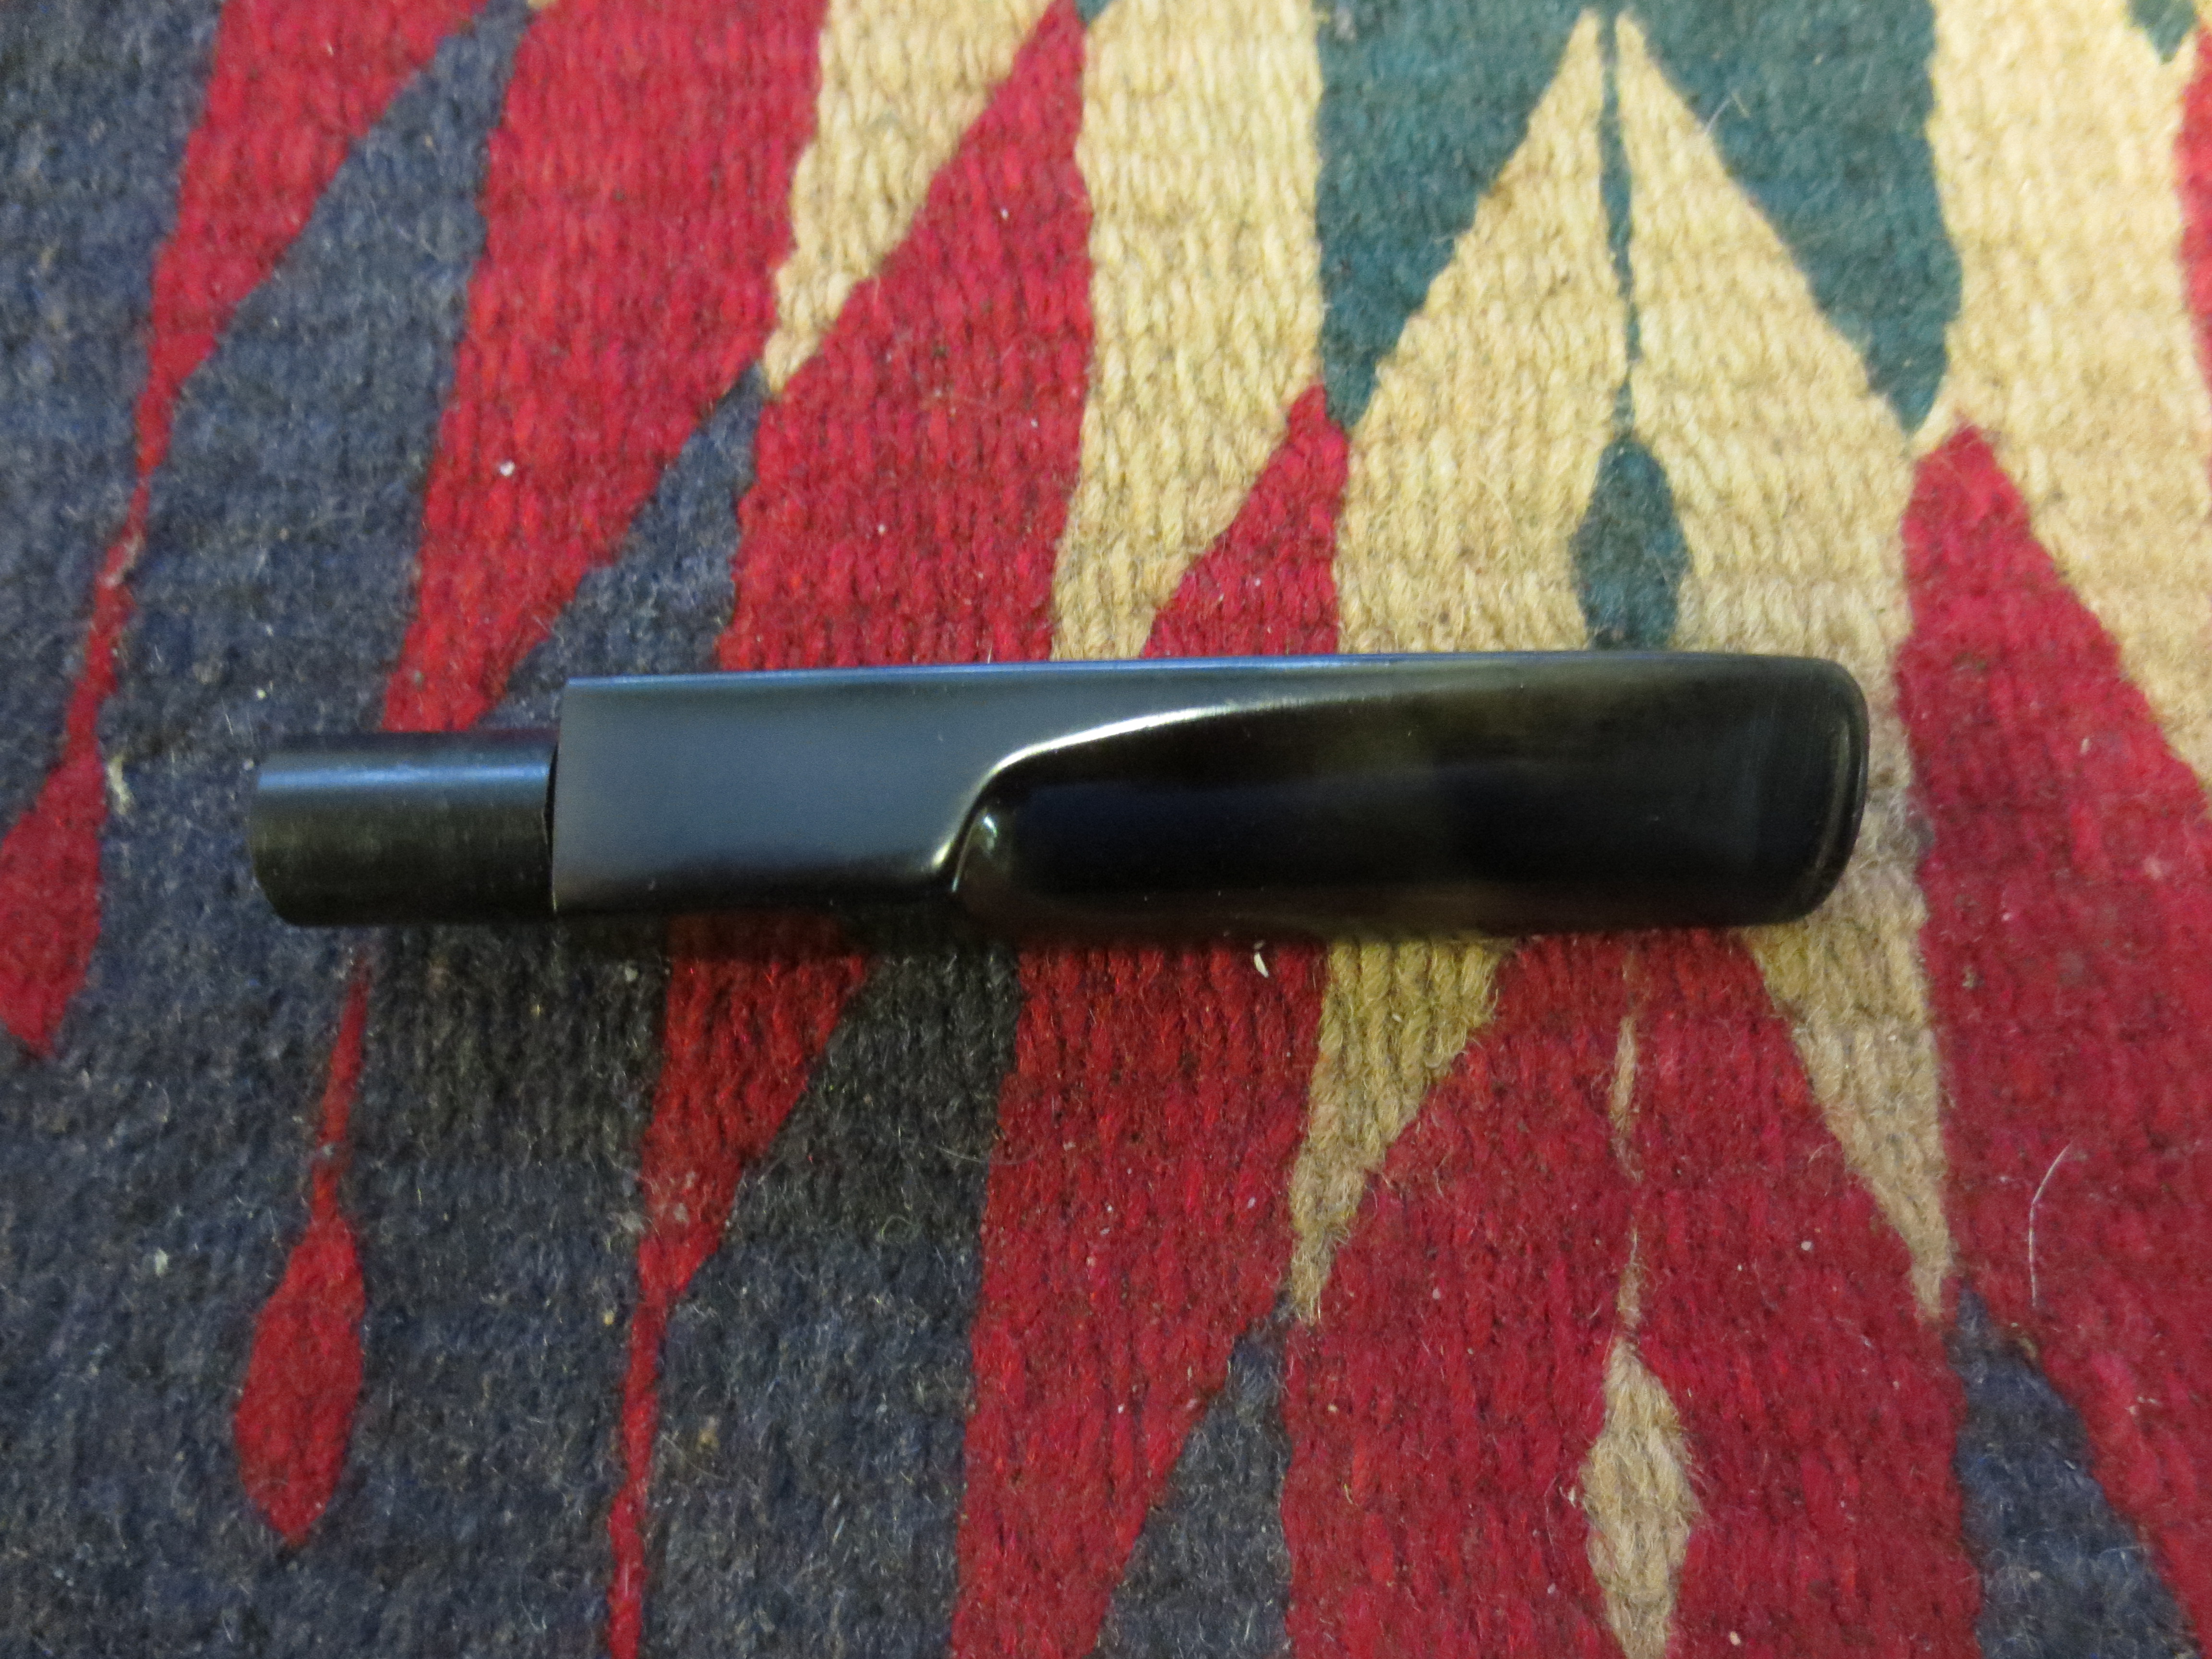
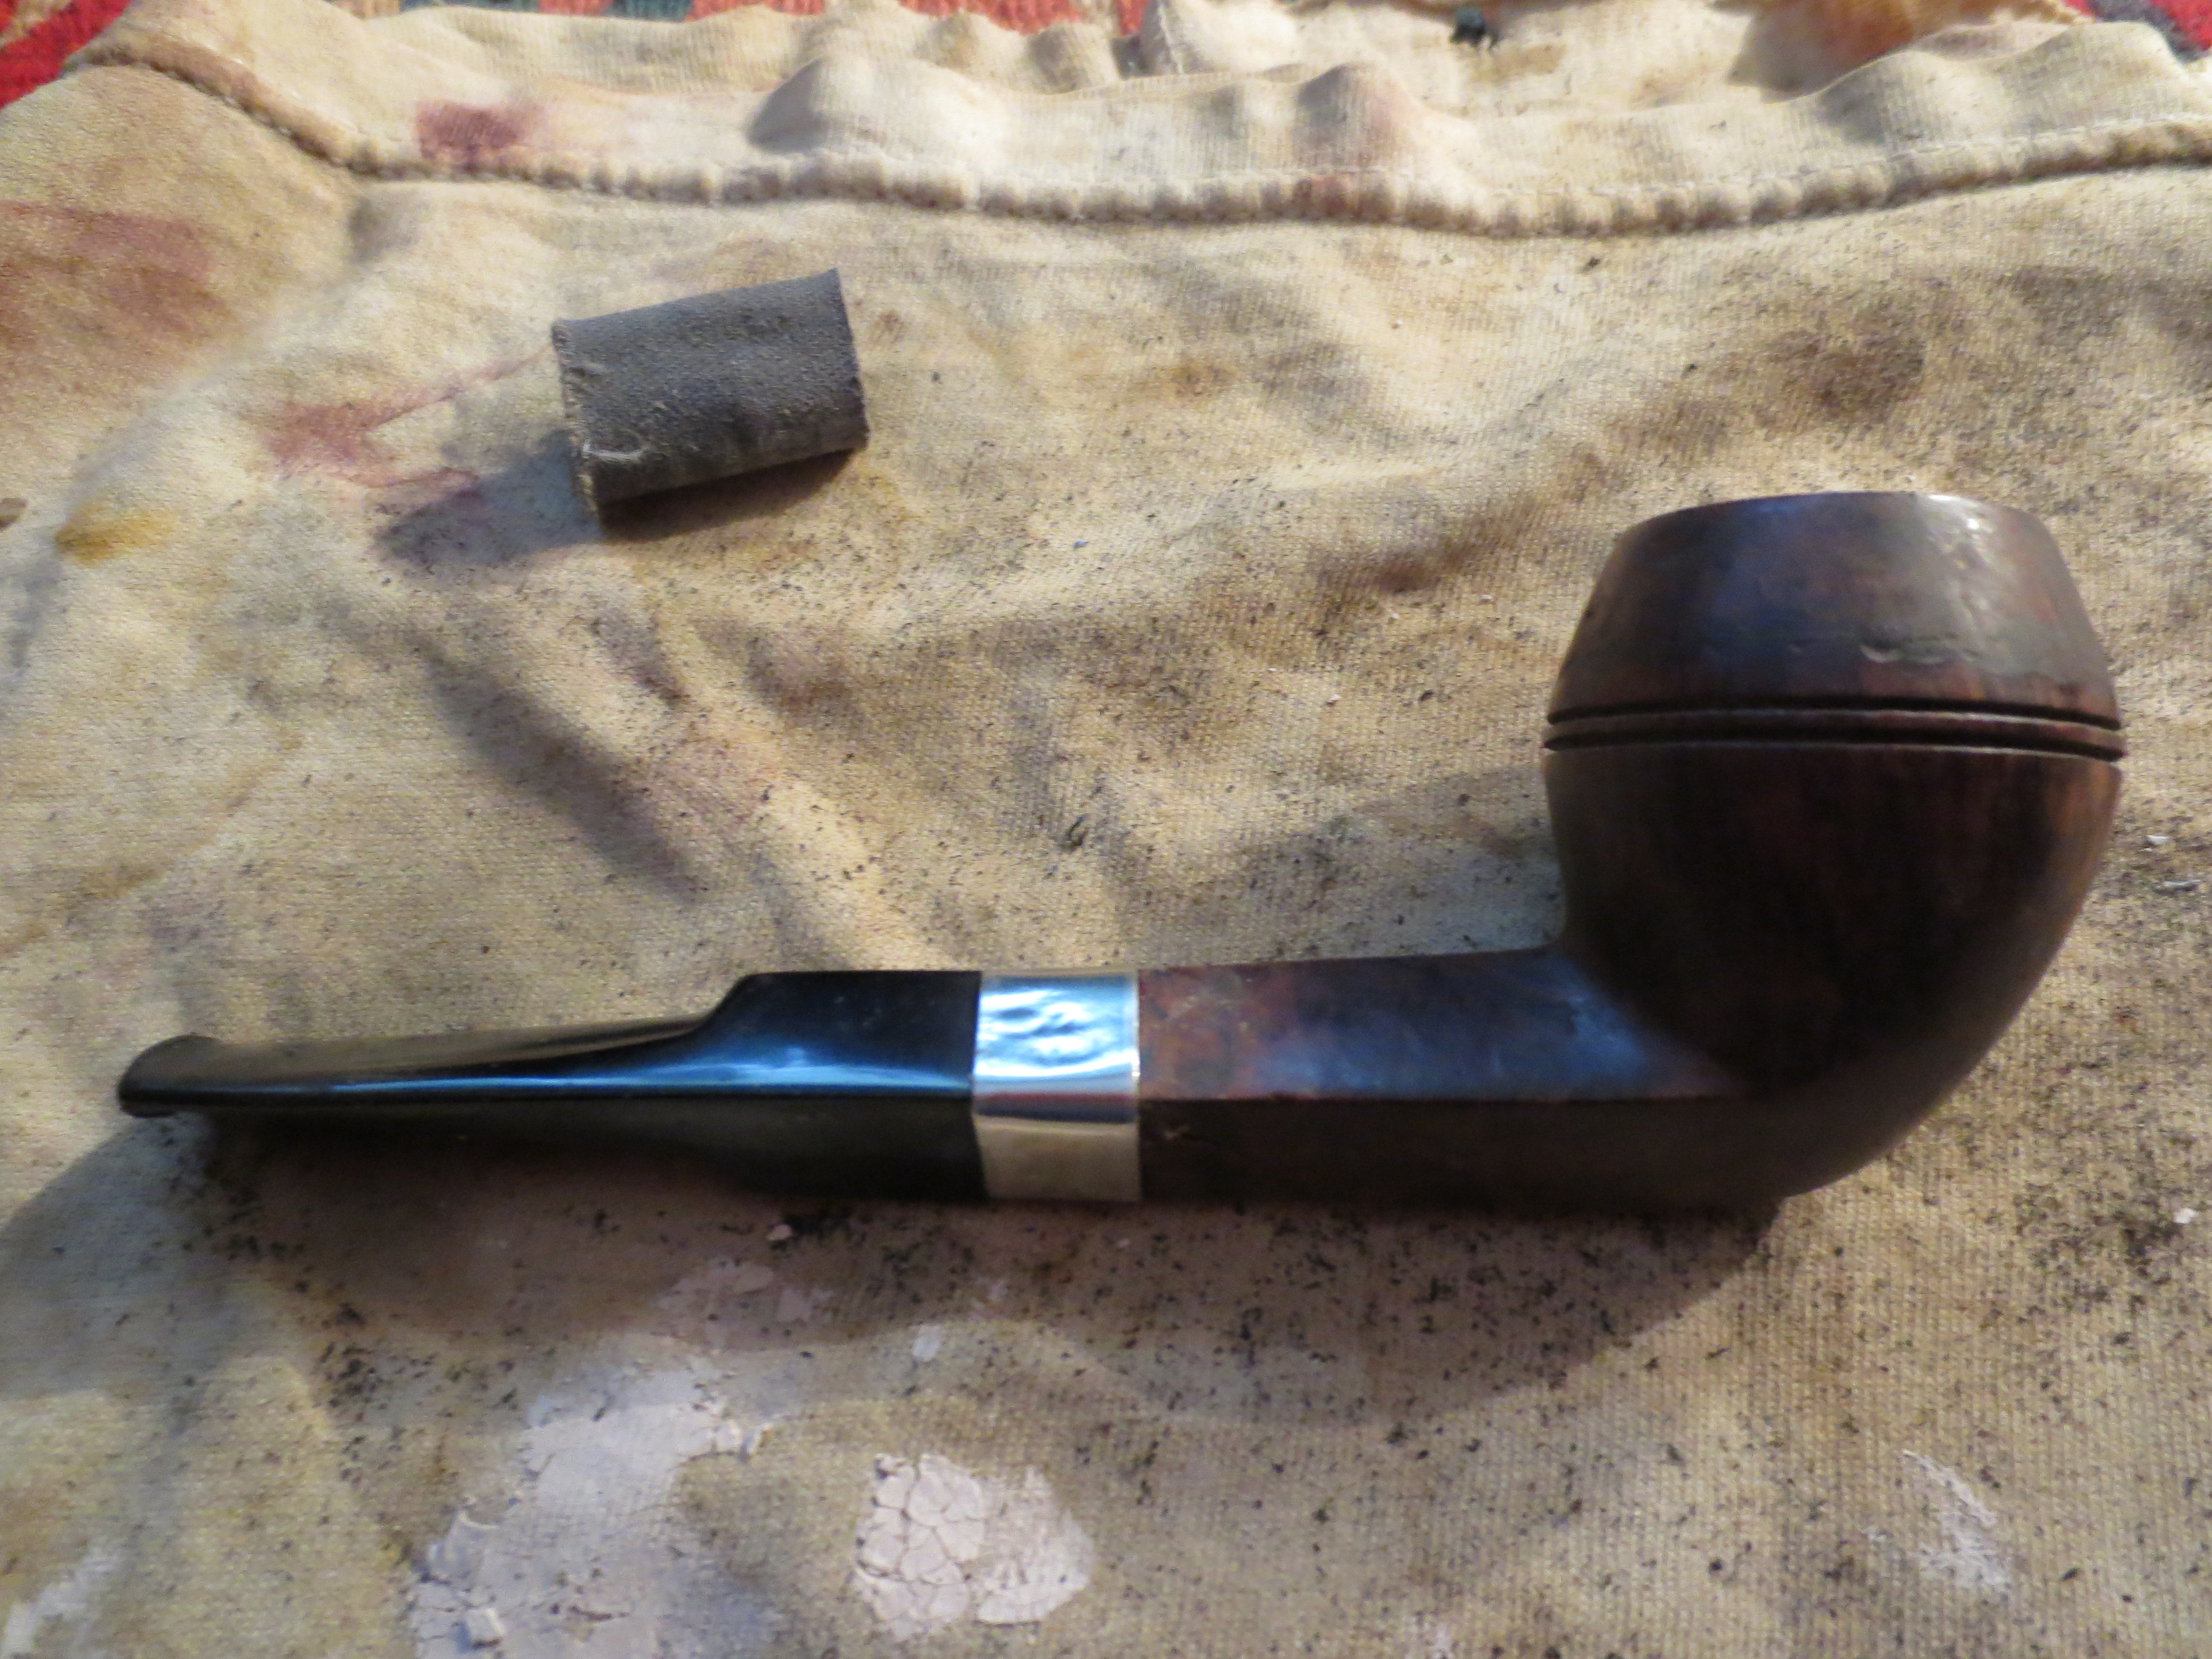
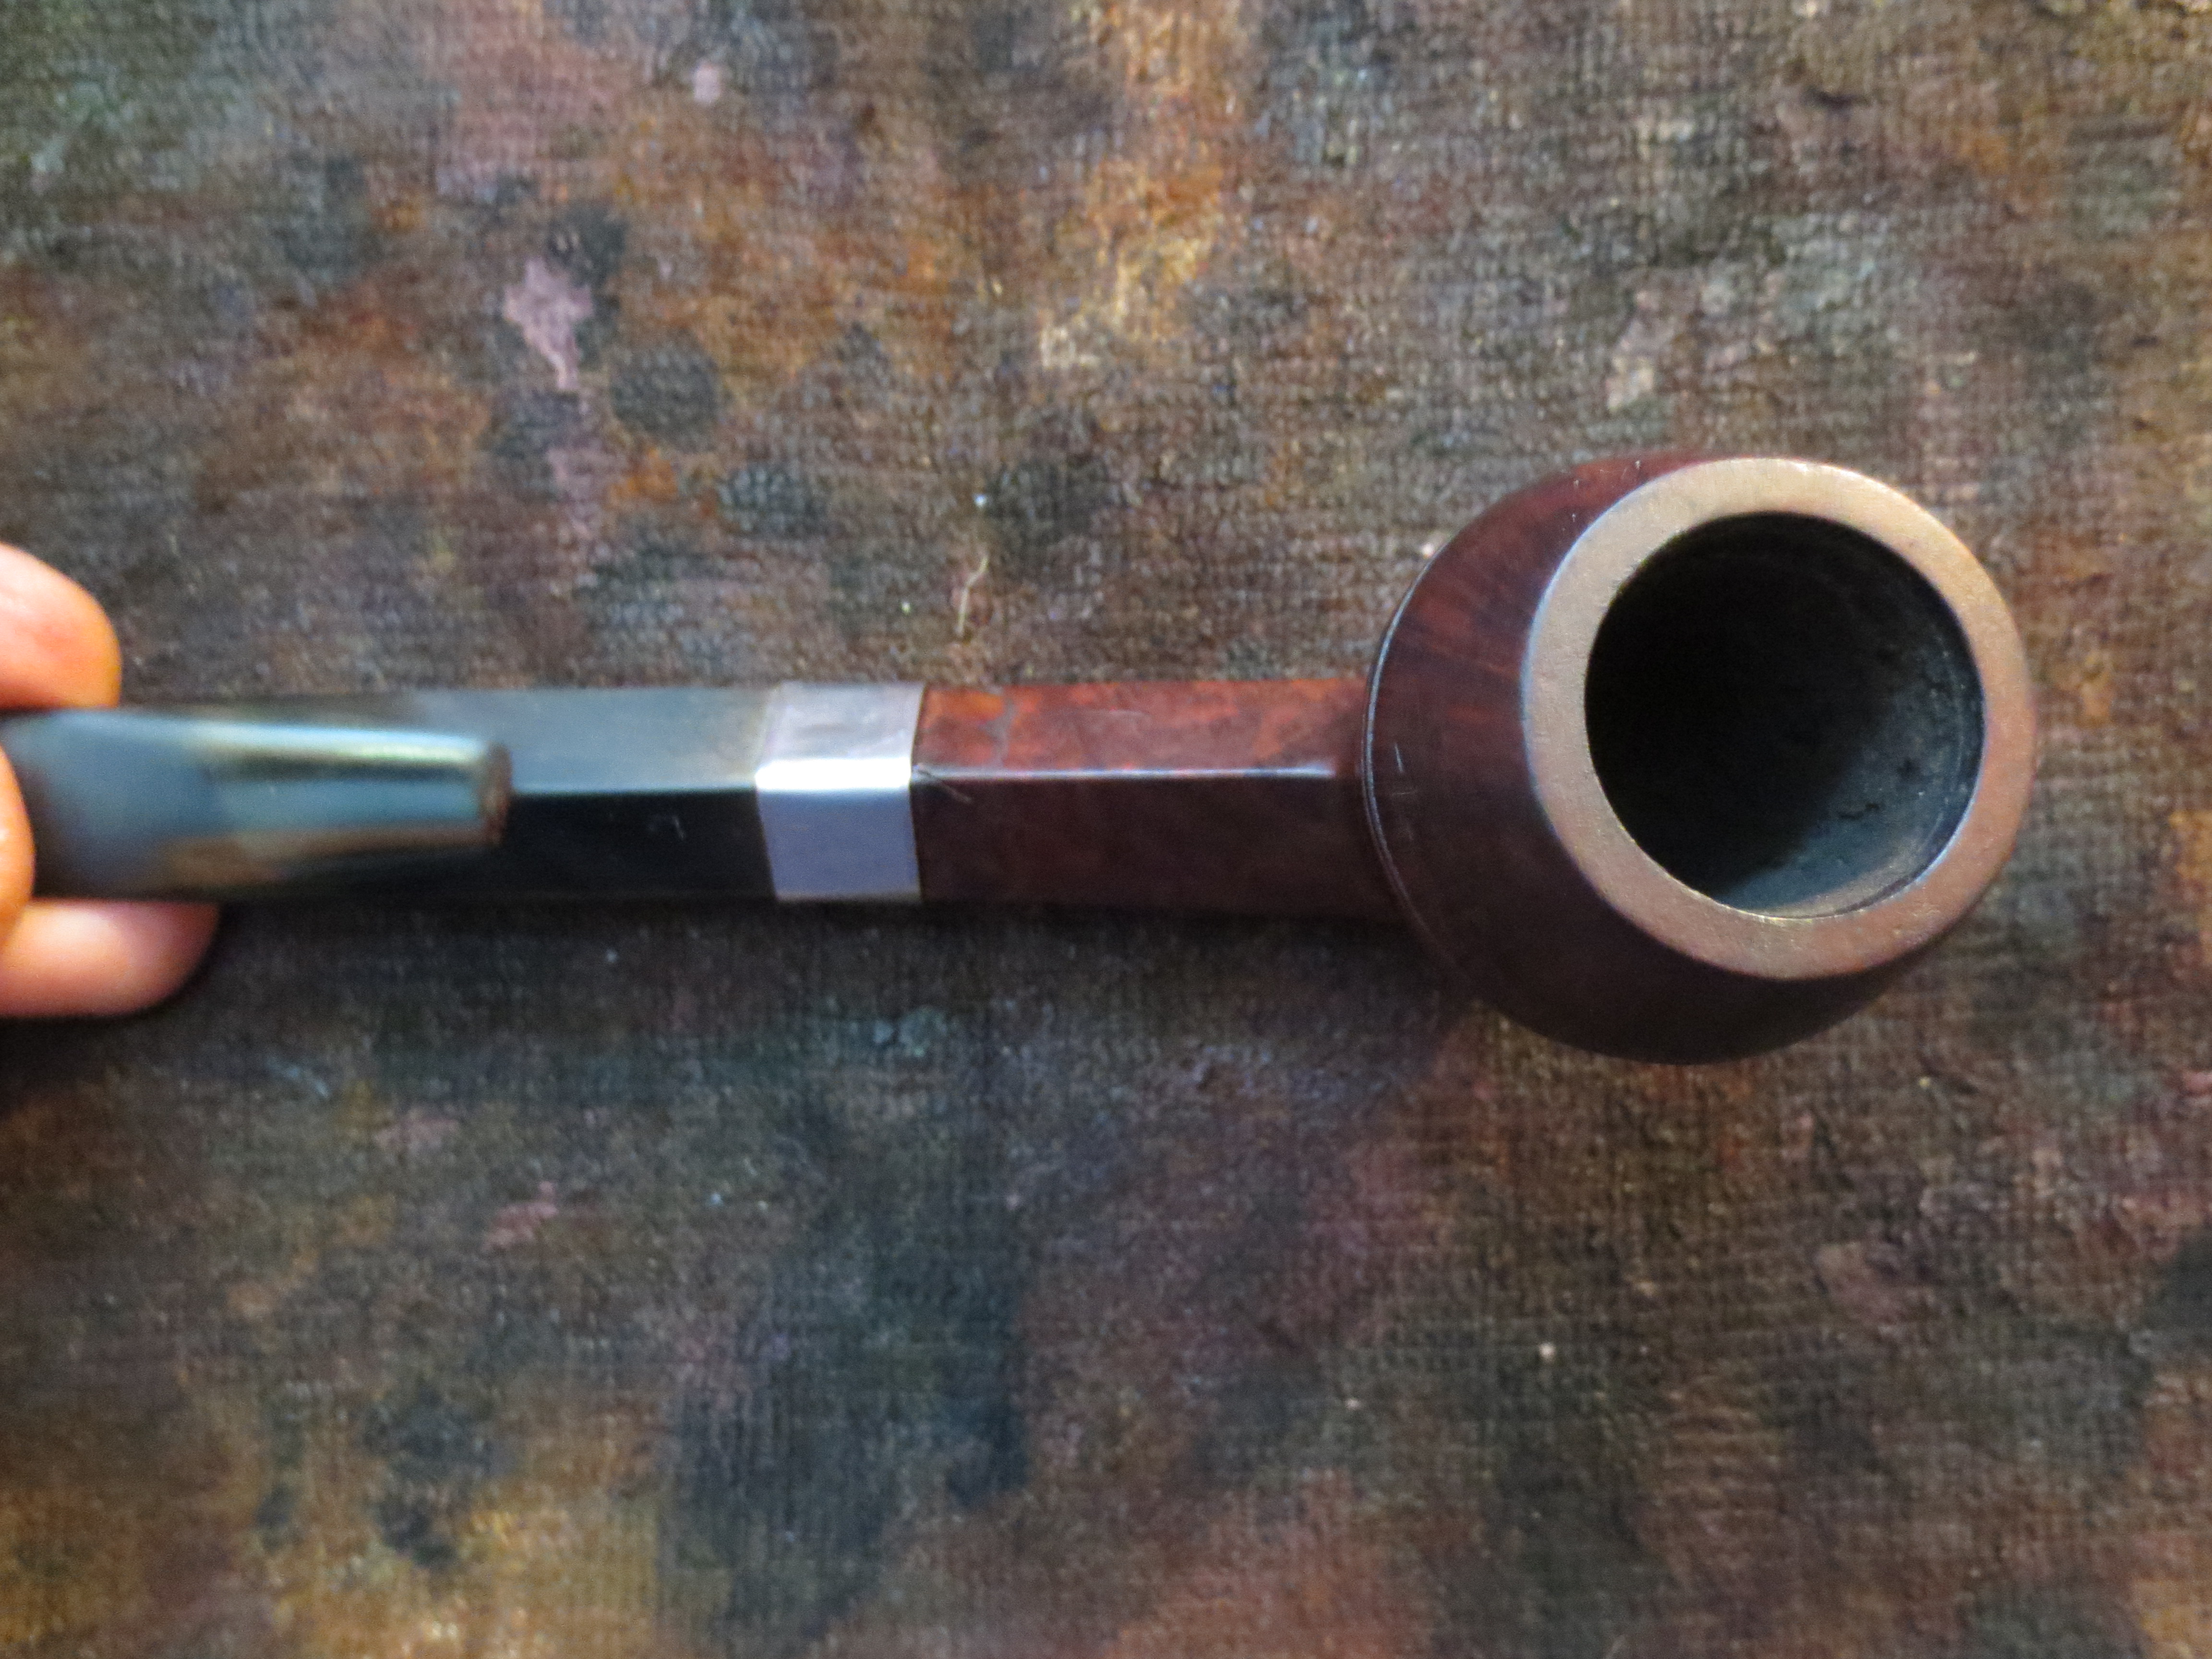
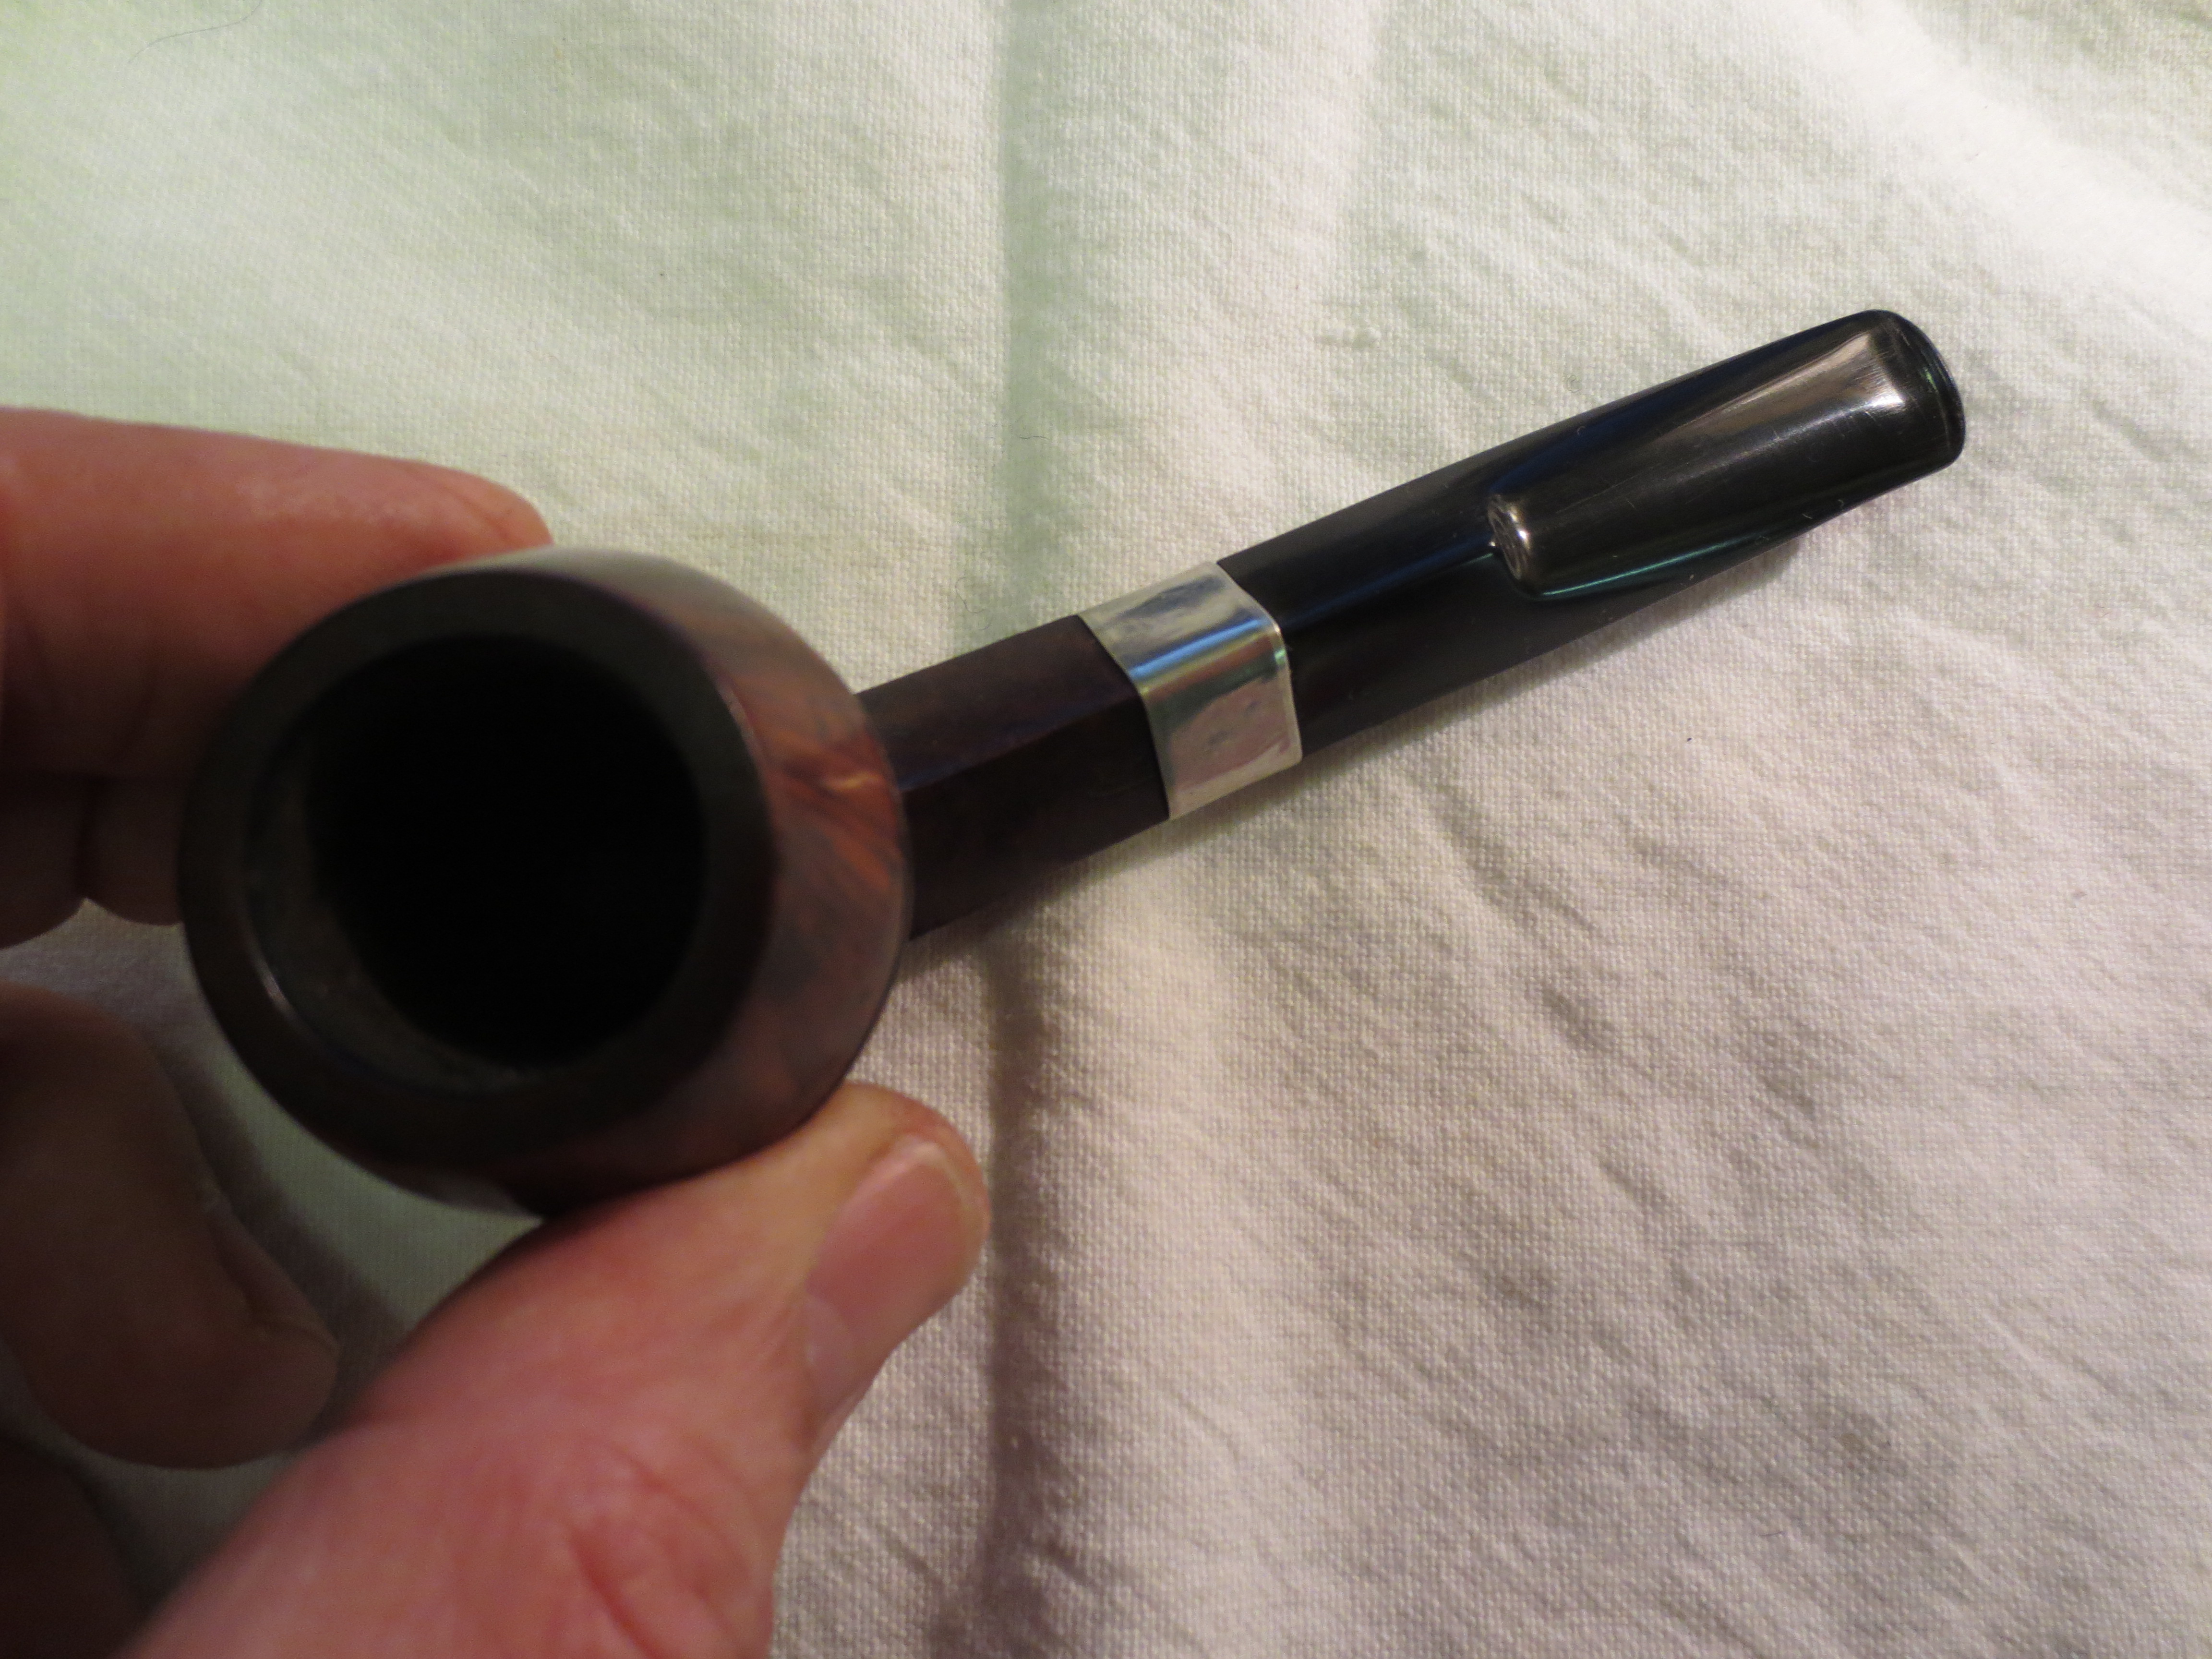
So? Not much history to learn, sadly. Let’s clean this pipe up. Fortunately, this pipe was in good condition and didn’t require too much labour. The stem is dirty and a bit oxidized. There are a few tooth scratches and some minor dents. The stummel is dirty but sound. The rim has only a slight bit of lava. The bowl, similarly, has only a bit of cake in it.
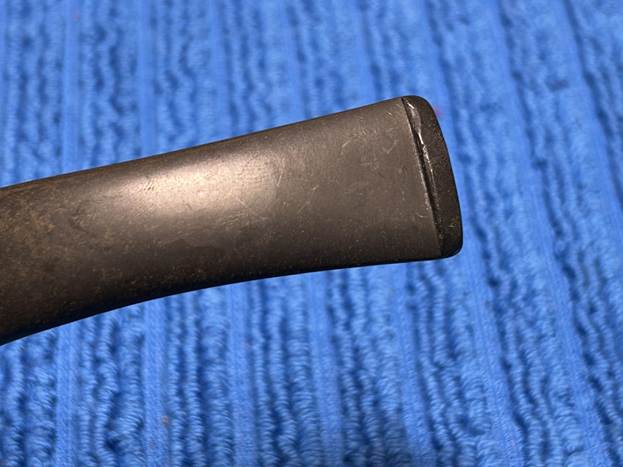
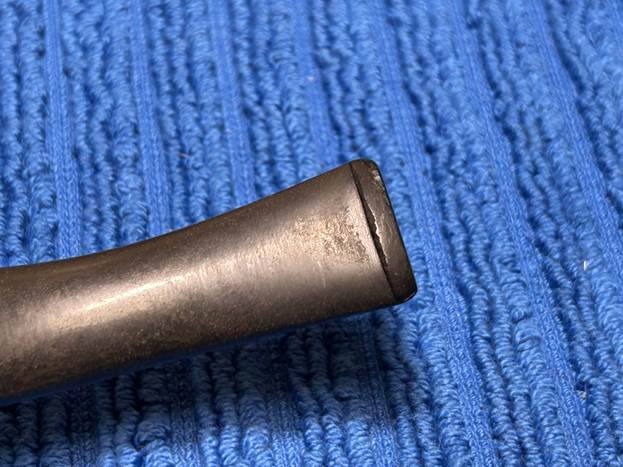
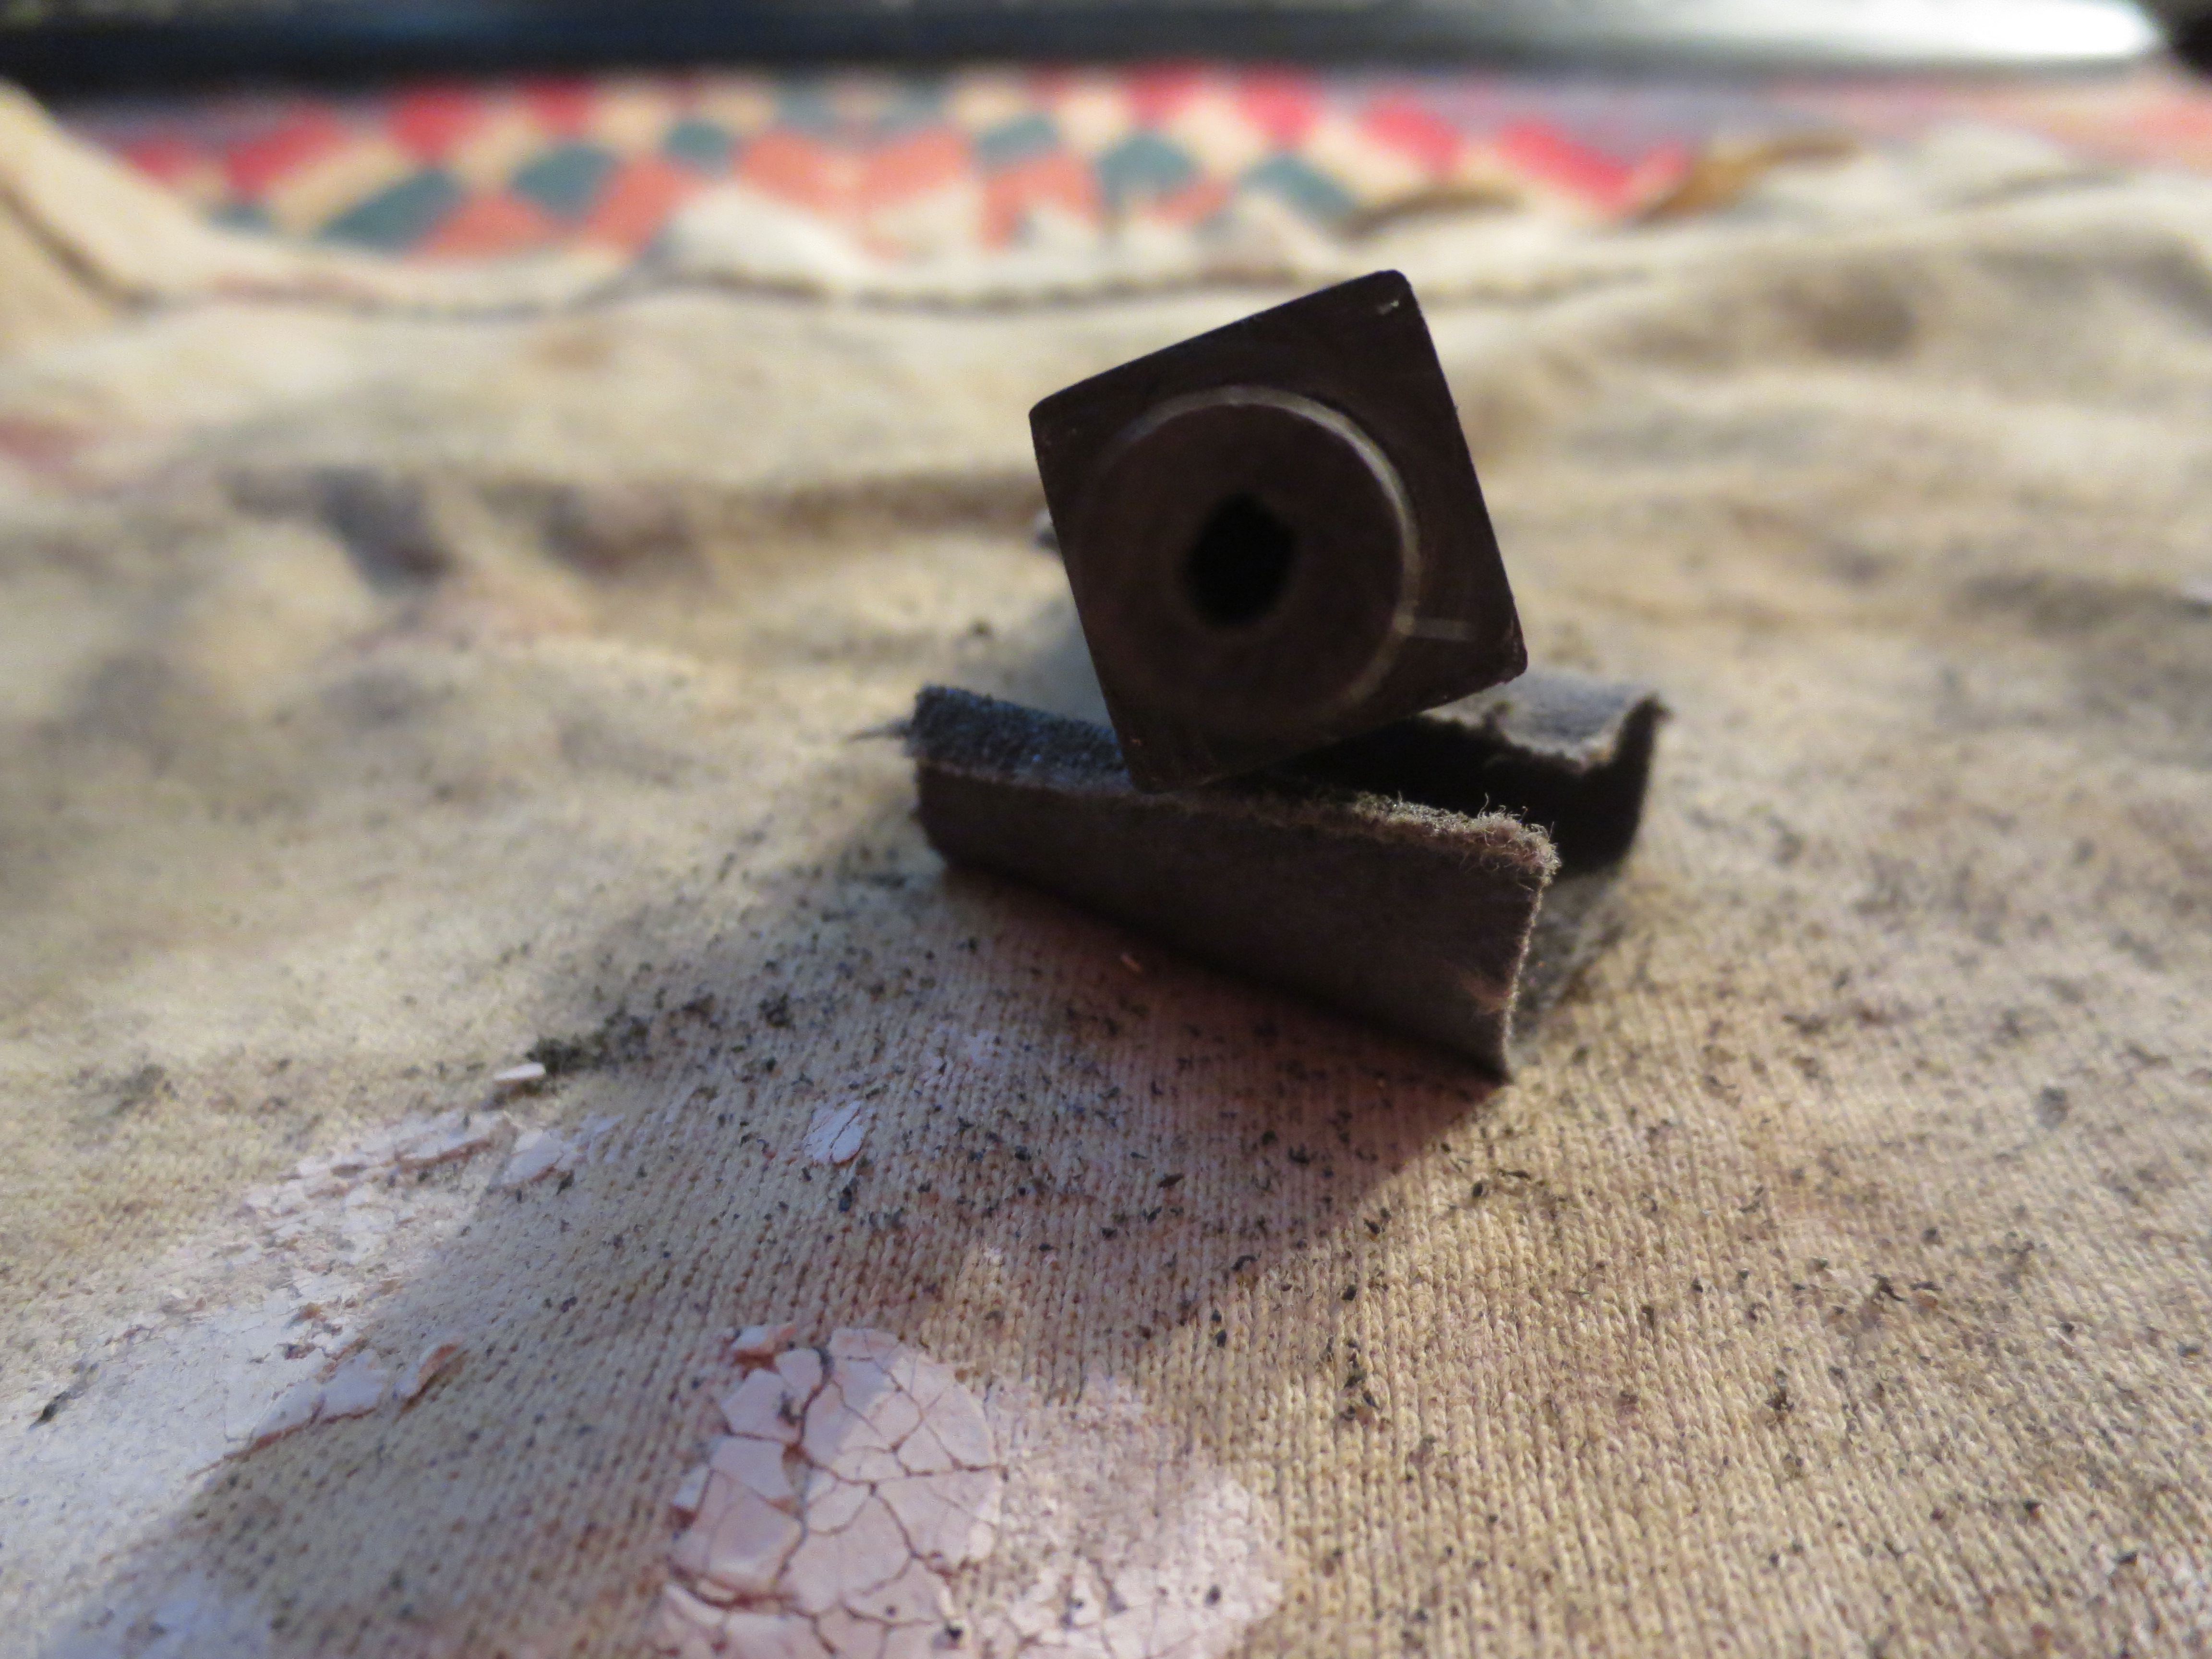
I used isopropyl alcohol on a few cotton rounds and wiped down the stem to provide an initial cleaning of filth before moving on to the next steps. The primary cleaning came next. I disinfected the inside of the stem with both pipe cleaners and cotton swabs dipped in lemon-infused 99% isopropyl alcohol. I scrubbed thoroughly to make sure the interior was very clean.
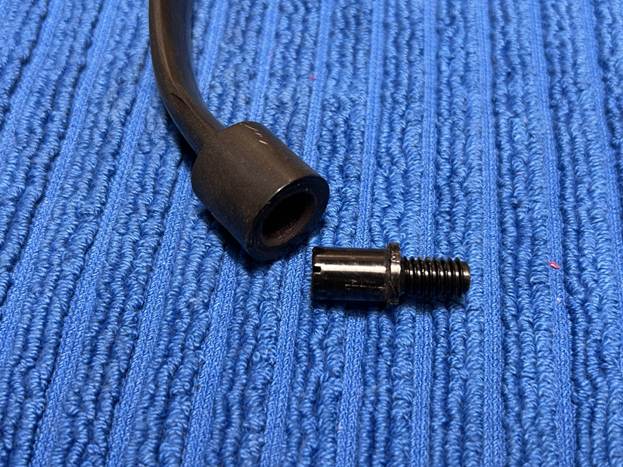
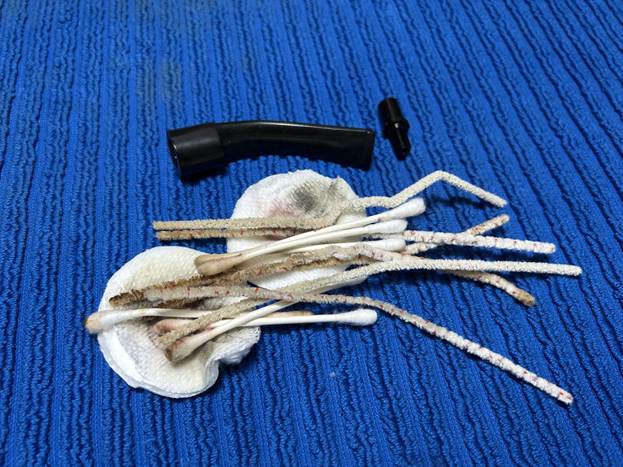
The goal of the next step is the removal (or minimization) of oxidation. Going to my sink, I used cream cleanser, cotton rounds, and a toothbrush, and scoured the stem to remove as much surface oxidation as possible. The result was a hideous, ochre-coloured mess – but better off the stem than on it. Forgot to snap a photo of this step.

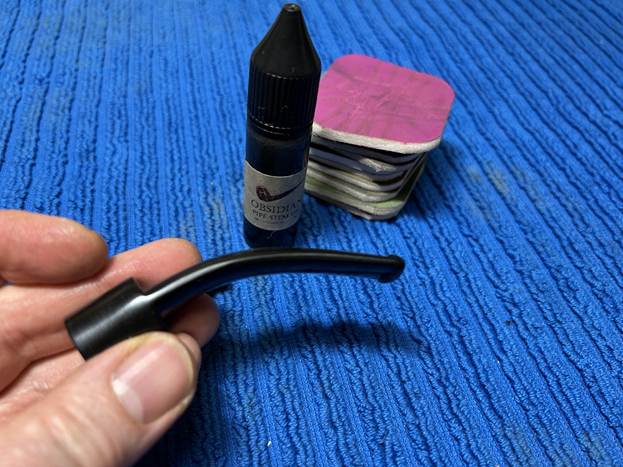
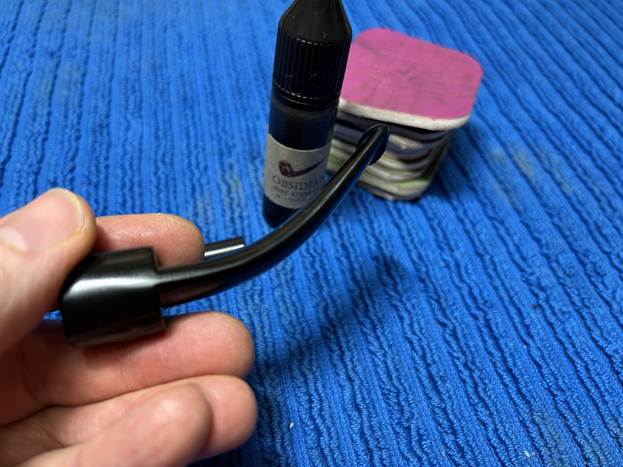
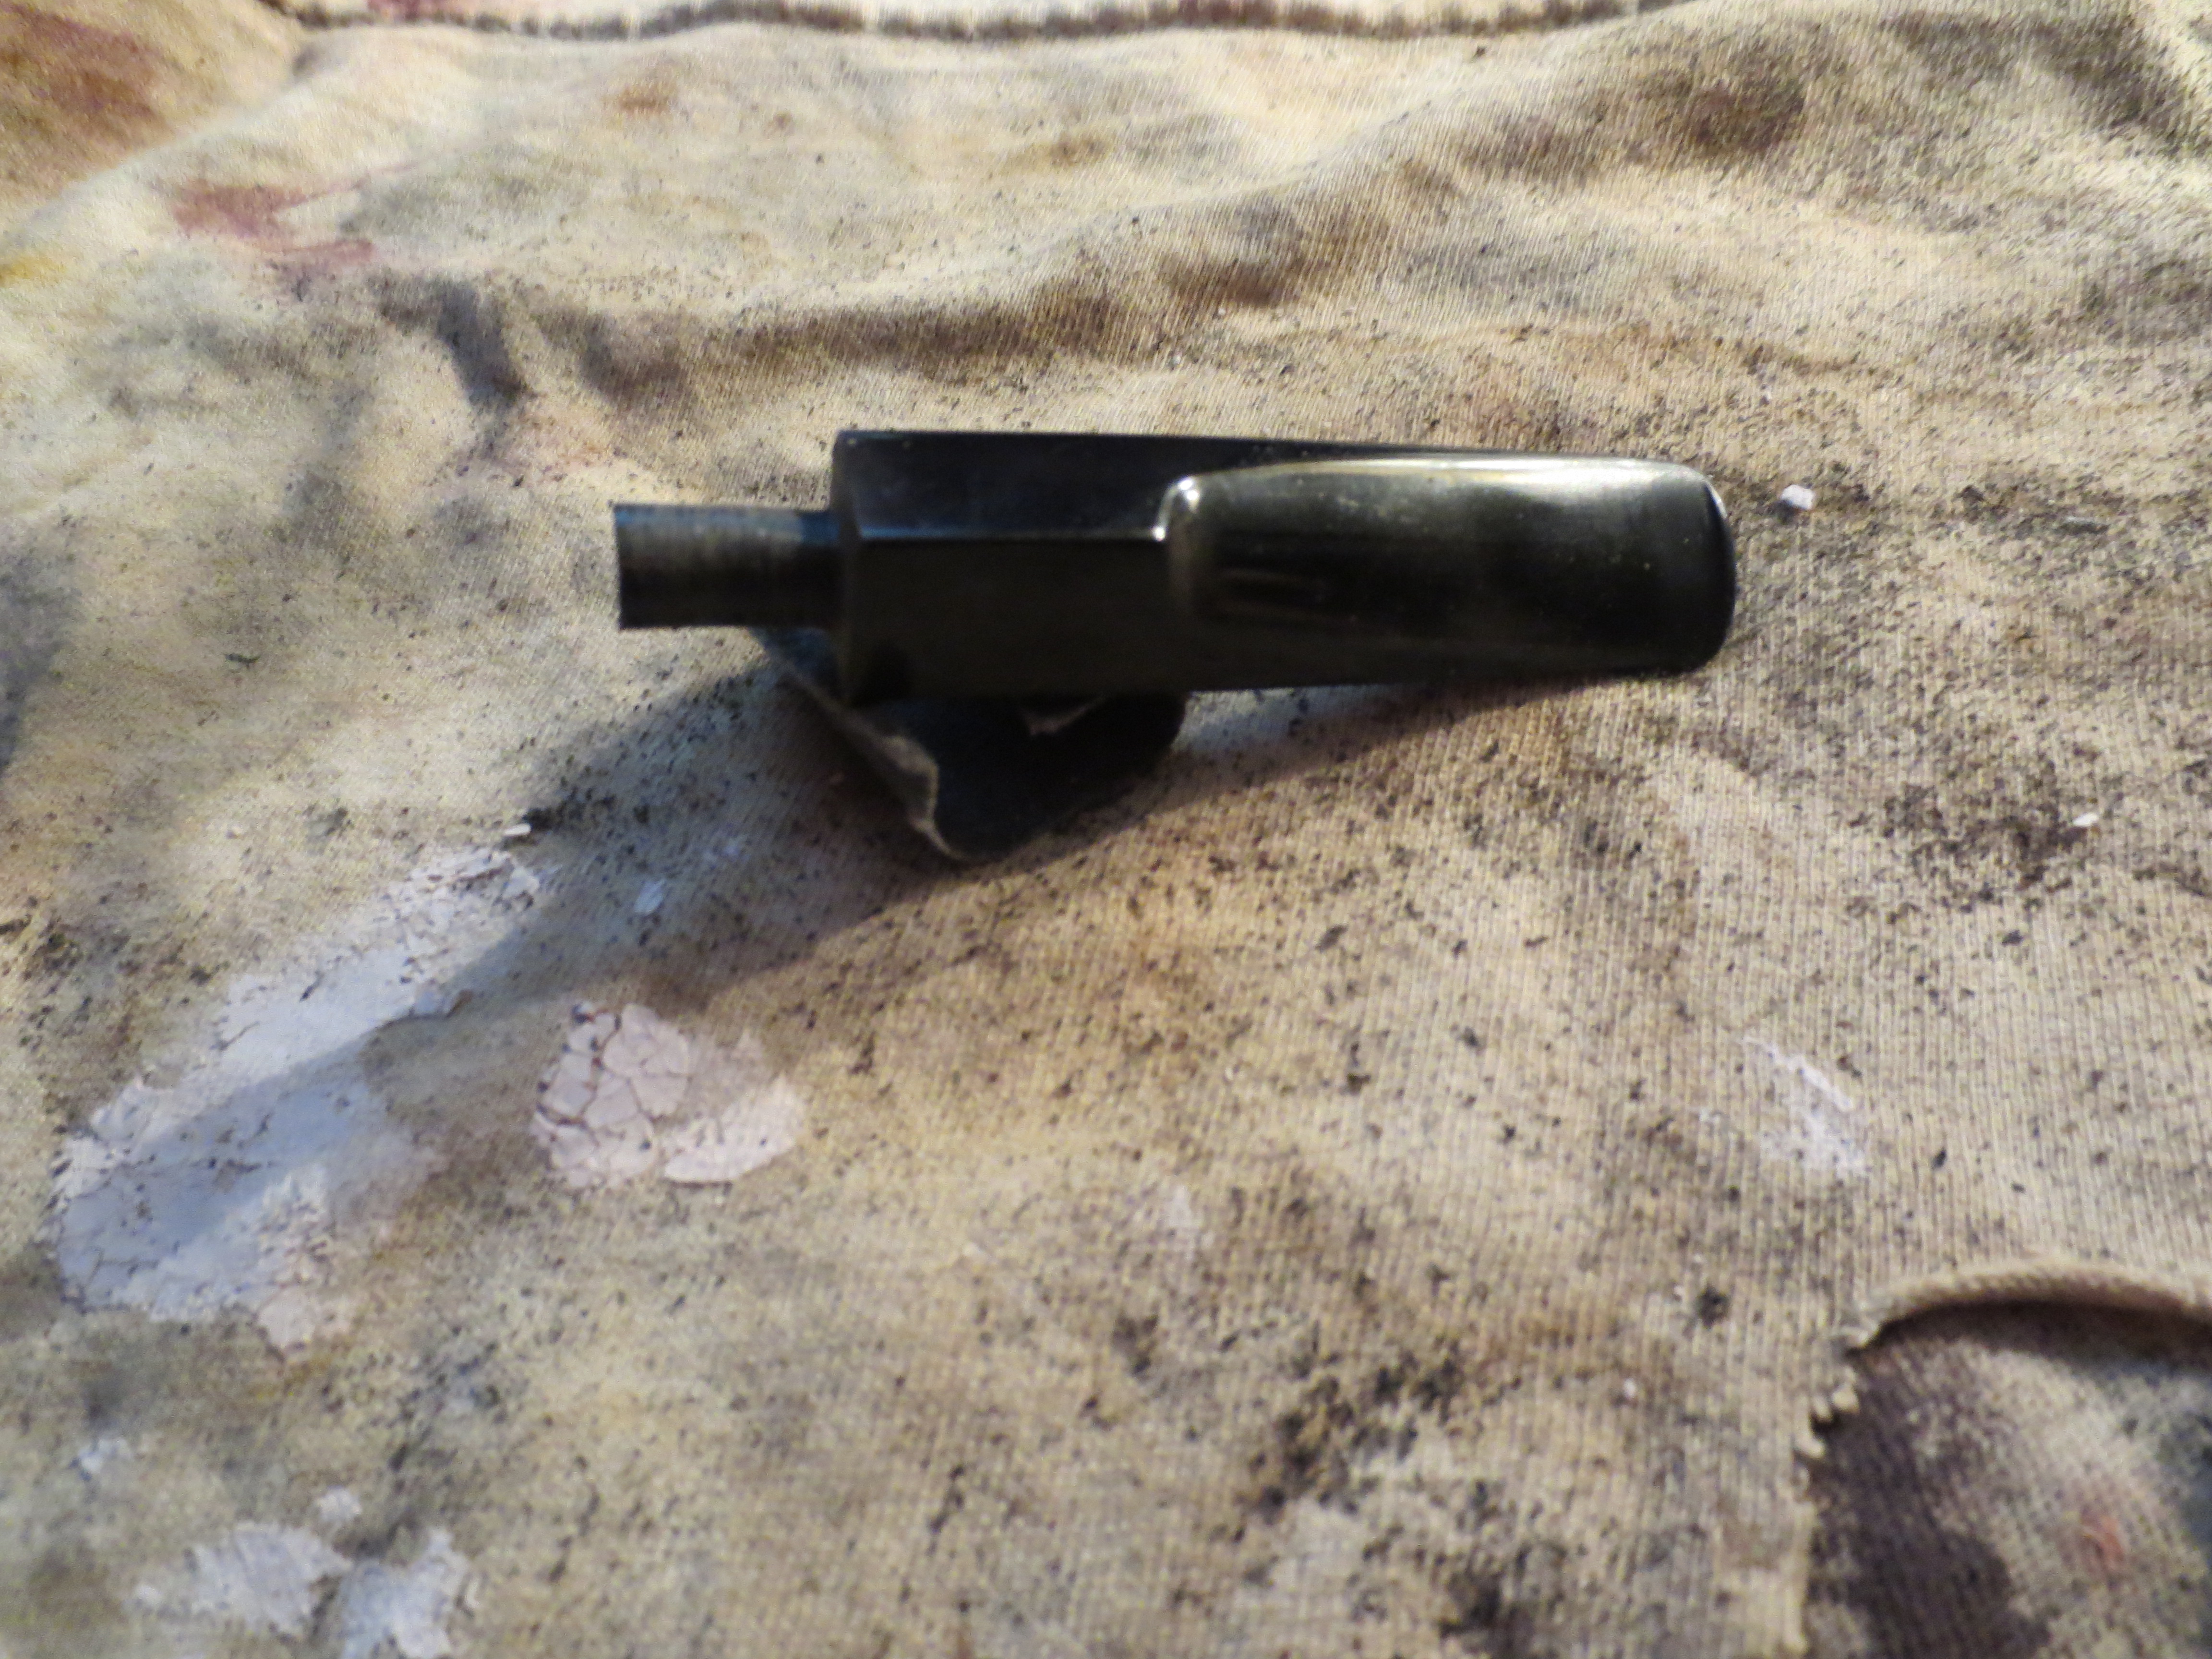
The penultimate step for the stem is sanding. I used all nine of the micromesh sanding pads (1,500 through 12,000 grit) to sand out flaws, even out the vulcanite, and provide gentle polishing of the finished surface. I also applied pipe-stem oil while using the last five micromesh pads. There was a wonderful, deep black shine to the stem when I was done.
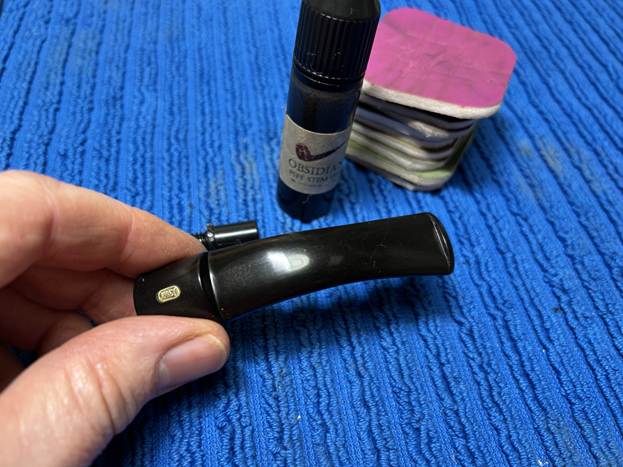
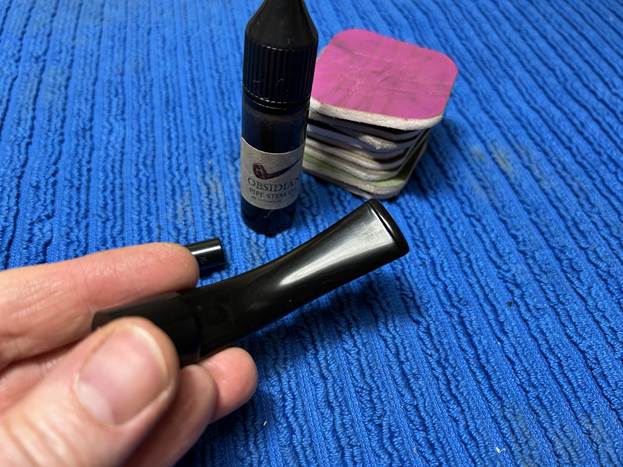
As the stem was (nearly) complete, I moved on to the stummel. The first step was to ream out the bowl – that is to say, remove all the cake inside the bowl. This accomplished a couple of things. First (and most obviously), it cleaned the bowl and provided a refurbished chamber for future smoking. Second, when the old cake was removed, I could inspect the interior walls of the bowl and determine if there was damage or not. I used a pipe knife and a piece of sandpaper taped to a wooden dowel. Collectively, these ensured that all the debris was removed. Fortunately, there was very little in there.
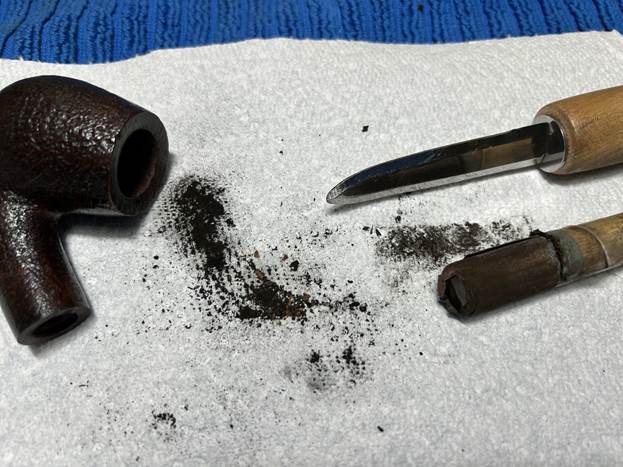
Similar to the stem, I then cleaned the stummel with both pipe cleaners and cotton swabs dipped in lemon-infused 99% isopropyl alcohol. There wasn’t too much filth in there.
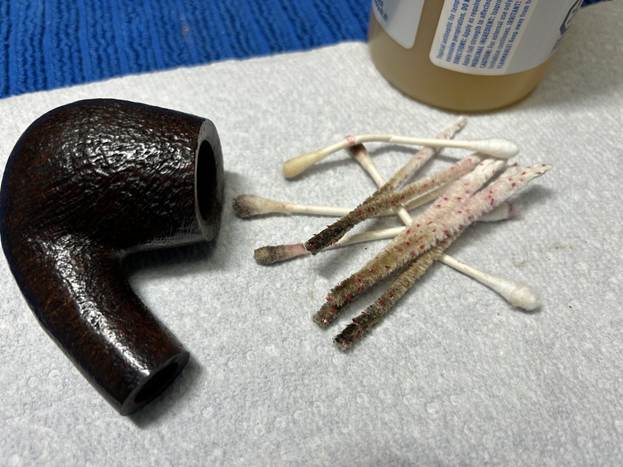
I then decided to ‘de-ghost’ the pipe – that is to say, exorcize the remaining filth from the briar. I filled the bowl and the shank with cotton balls, then saturated them with 99% isopropyl alcohol. I let the stummel sit overnight. This caused the remaining oils, tars and smells to leach out into the cotton. Also, as the photo shows, a good amount of dye leached out too.
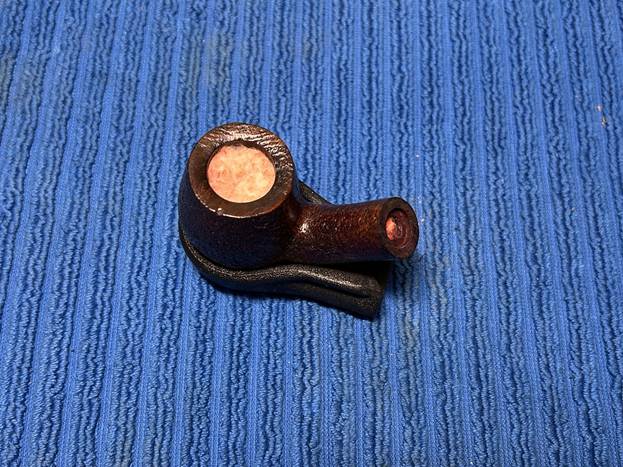
To tidy up the briar, I wiped down the outside, using a solution of a pH-neutral detergent and some distilled water, with cotton rounds. I also used a toothbrush in the crevices. This did a good job of cleaning any latent dirt on the surface of the briar. The last step of the cleaning process was to scour the inside of the stummel with the same mild detergent and tube brushes. This was the culmination of a lot of hard work in getting the pipe clean.
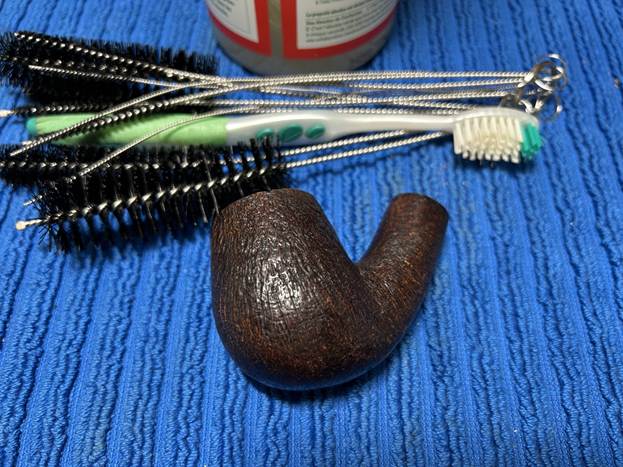
I rubbed some LBE Before & After Restoration Balm into the briar and let it sit for an hour or so. The balm moisturizes the wood and gives a beautiful depth to the briar. I then buffed the stummel with a microfibre cloth.
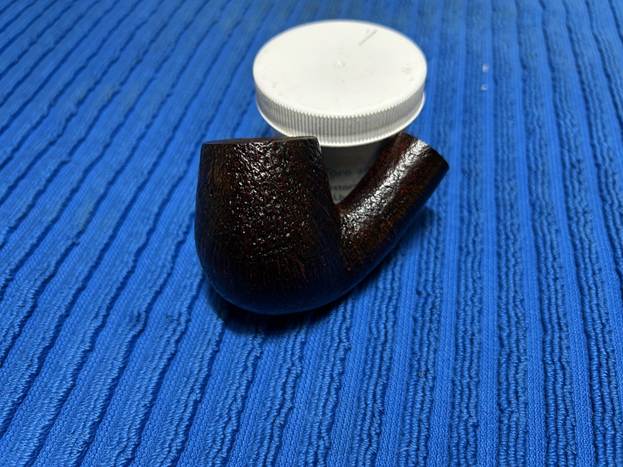
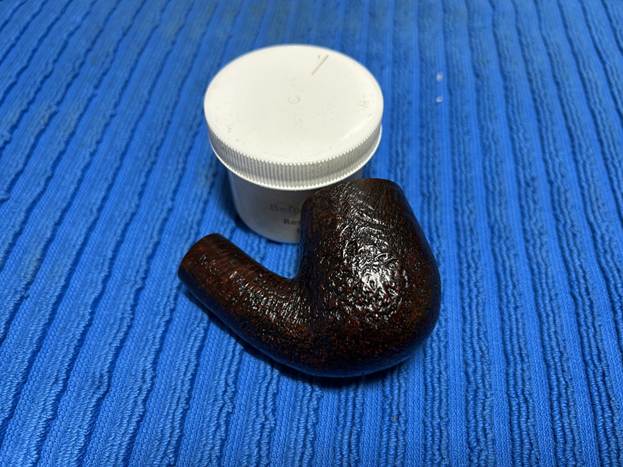
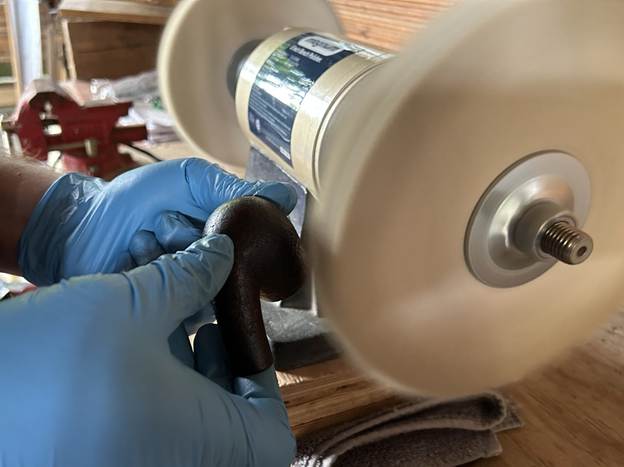
For the final step, I took the pipe to my bench polisher and carefully buffed it – the stem, with a blue diamond compound; then the stummel with some carnauba wax. This procedure makes the pipe look its best – the stummel sings and the stem glows.
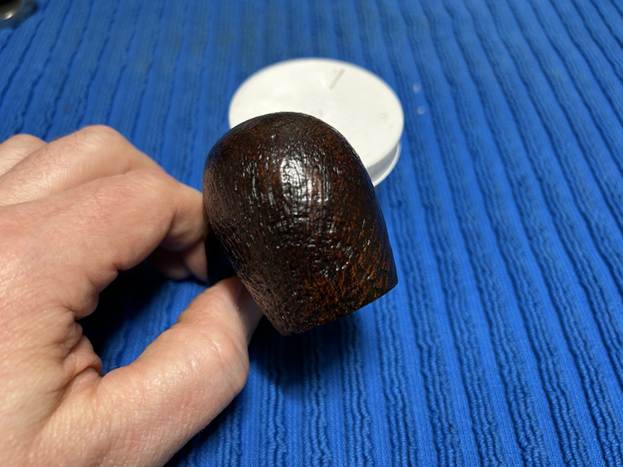
This Jobey Shellmoor Extra E55 bent billiard looks fantastic again and is ready to be enjoyed by its next owner. I am pleased to announce that this pipe is for sale! If you are interested in acquiring it for your collection, please have a look in the ‘American’ pipe section of the store here on Steve’s website. You can also email me directly at kenneth@knightsofthepipe.com. The approximate dimensions of the pipe are as follows: length 5½ in. (141 mm); height 2½ in. (64 mm); bowl diameter 1½ in. (39 mm); chamber diameter ⅞ in. (21 mm). The weight of the pipe is 2⅛ oz. (61 g). I hope you enjoyed reading the story of this pipe’s restoration as much as I did restoring it. If you are interested in more of my work, please follow me here on Steve’s website or send me an email. Thank you very much for reading and, as always, I welcome and encourage your comments.
Reclaiming an EPW Bulldog – Restoring it Twice


Blog by Steve Laug

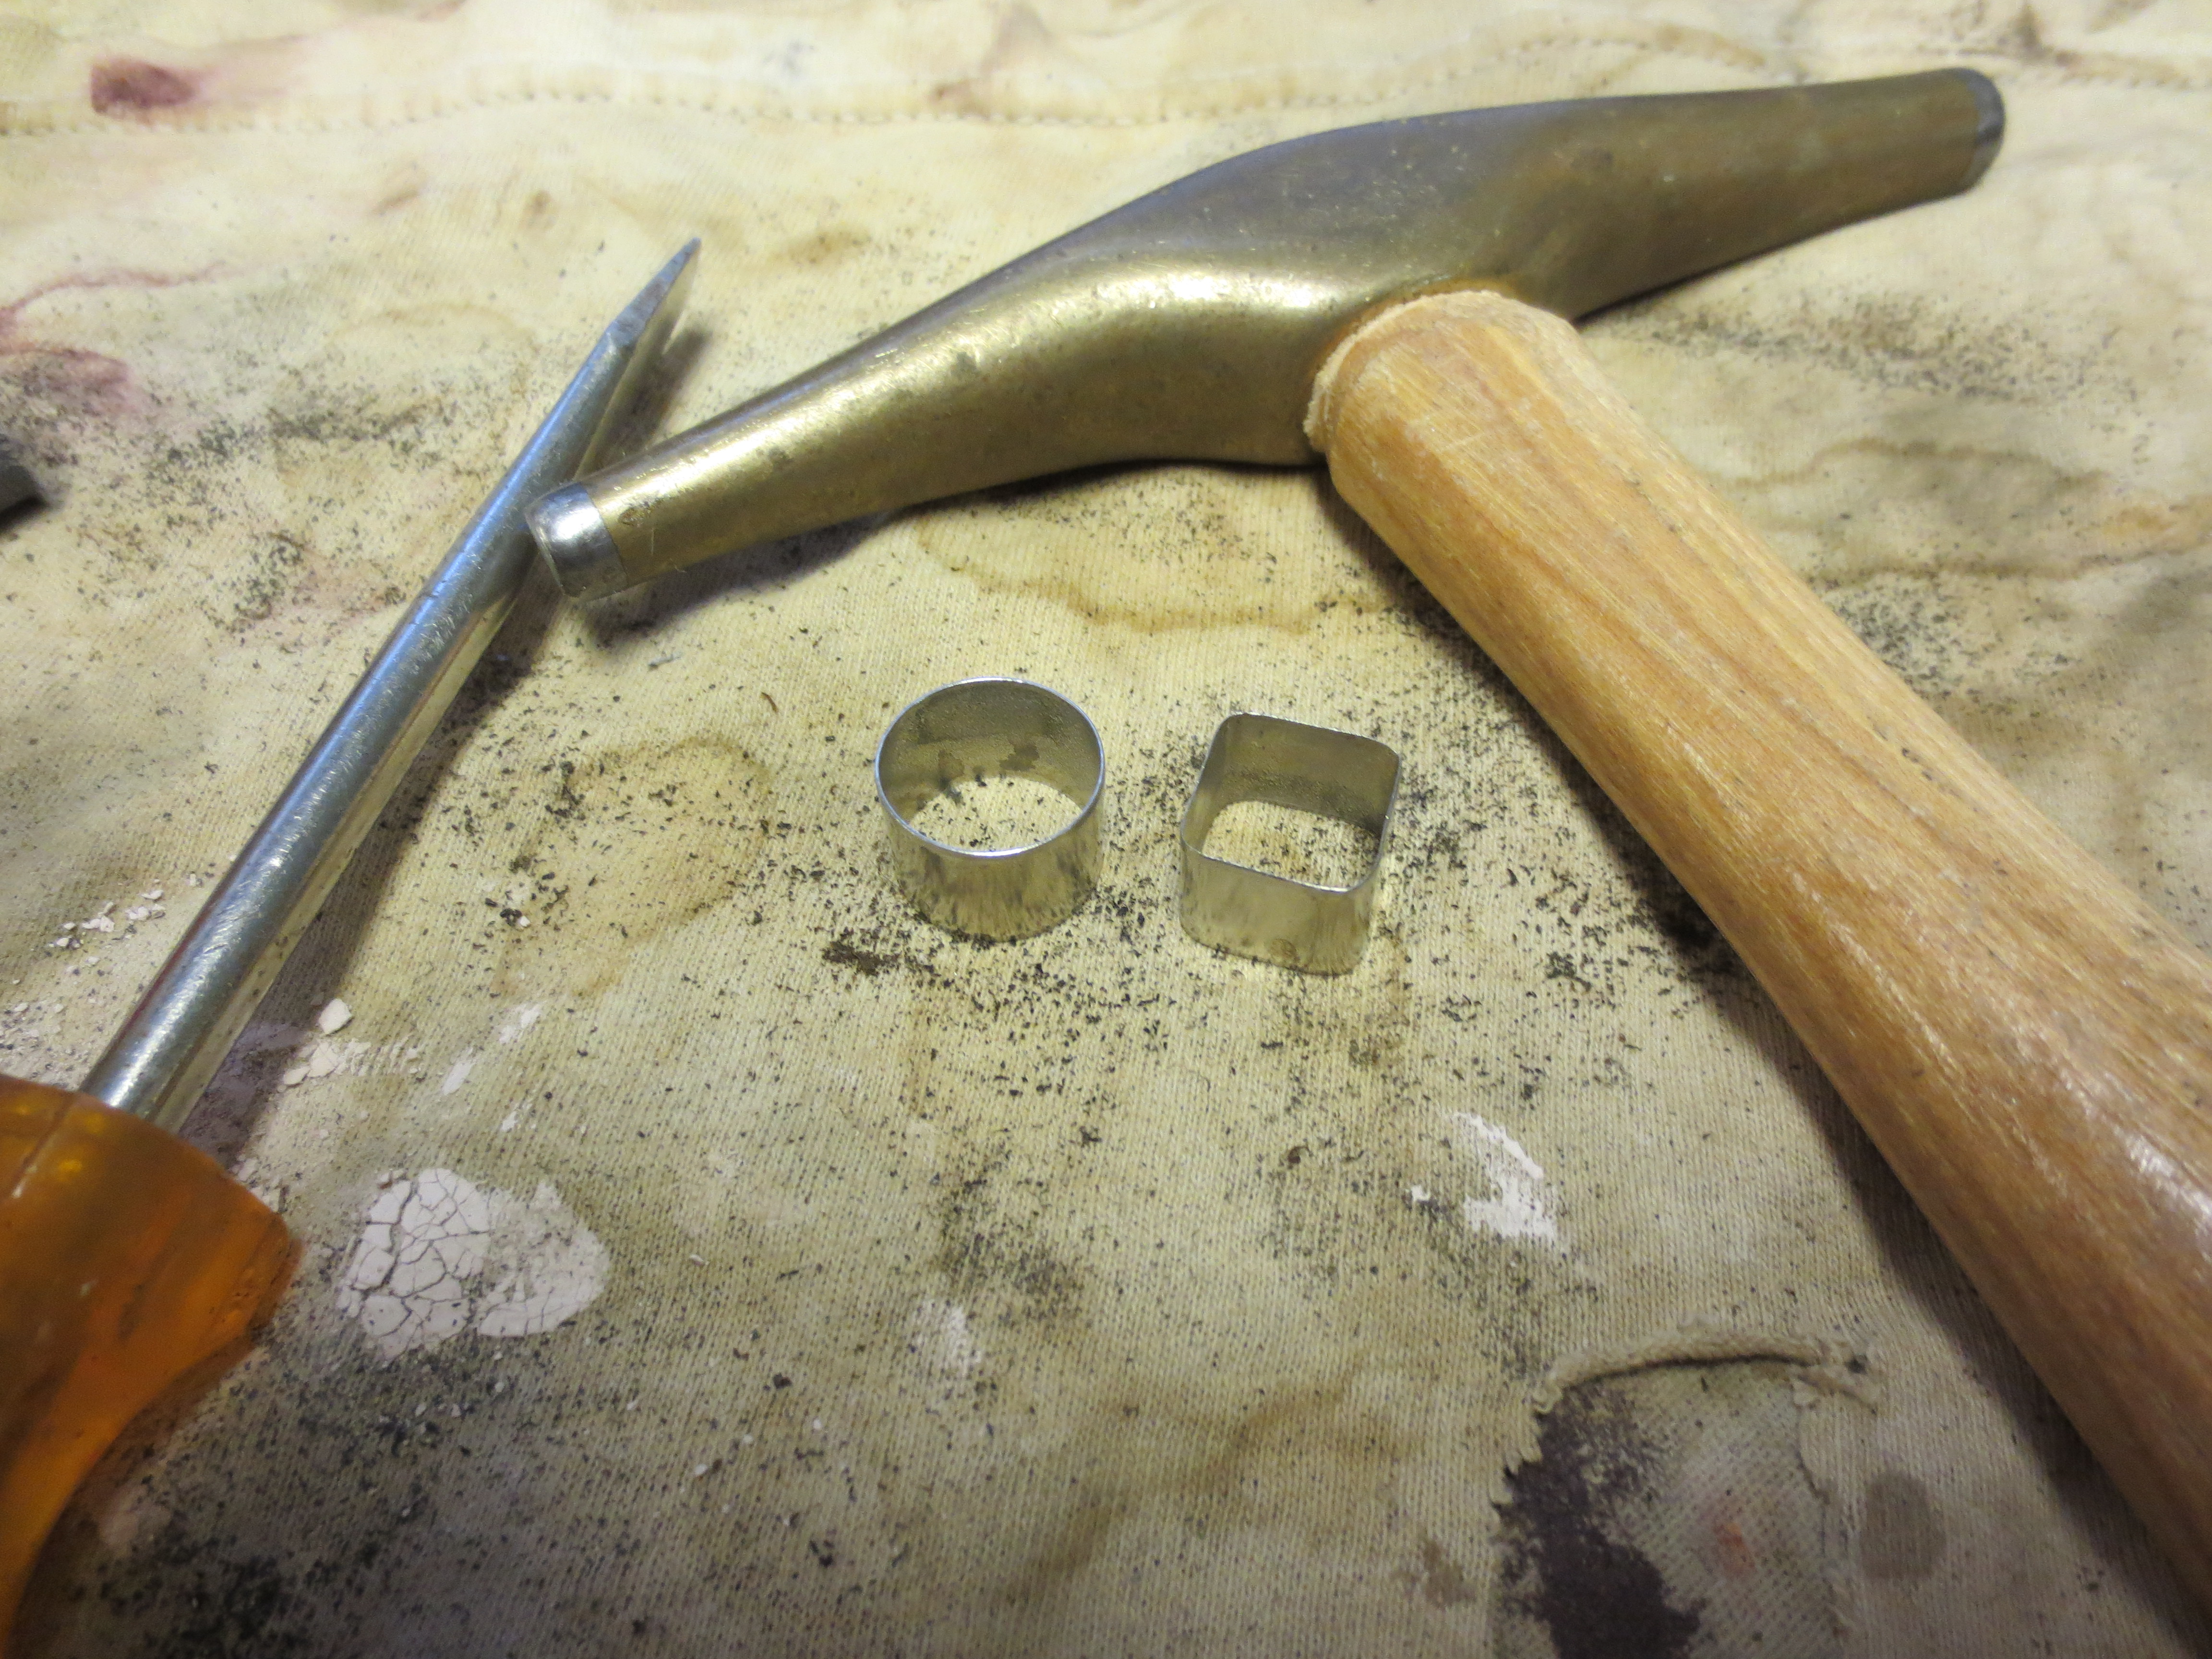
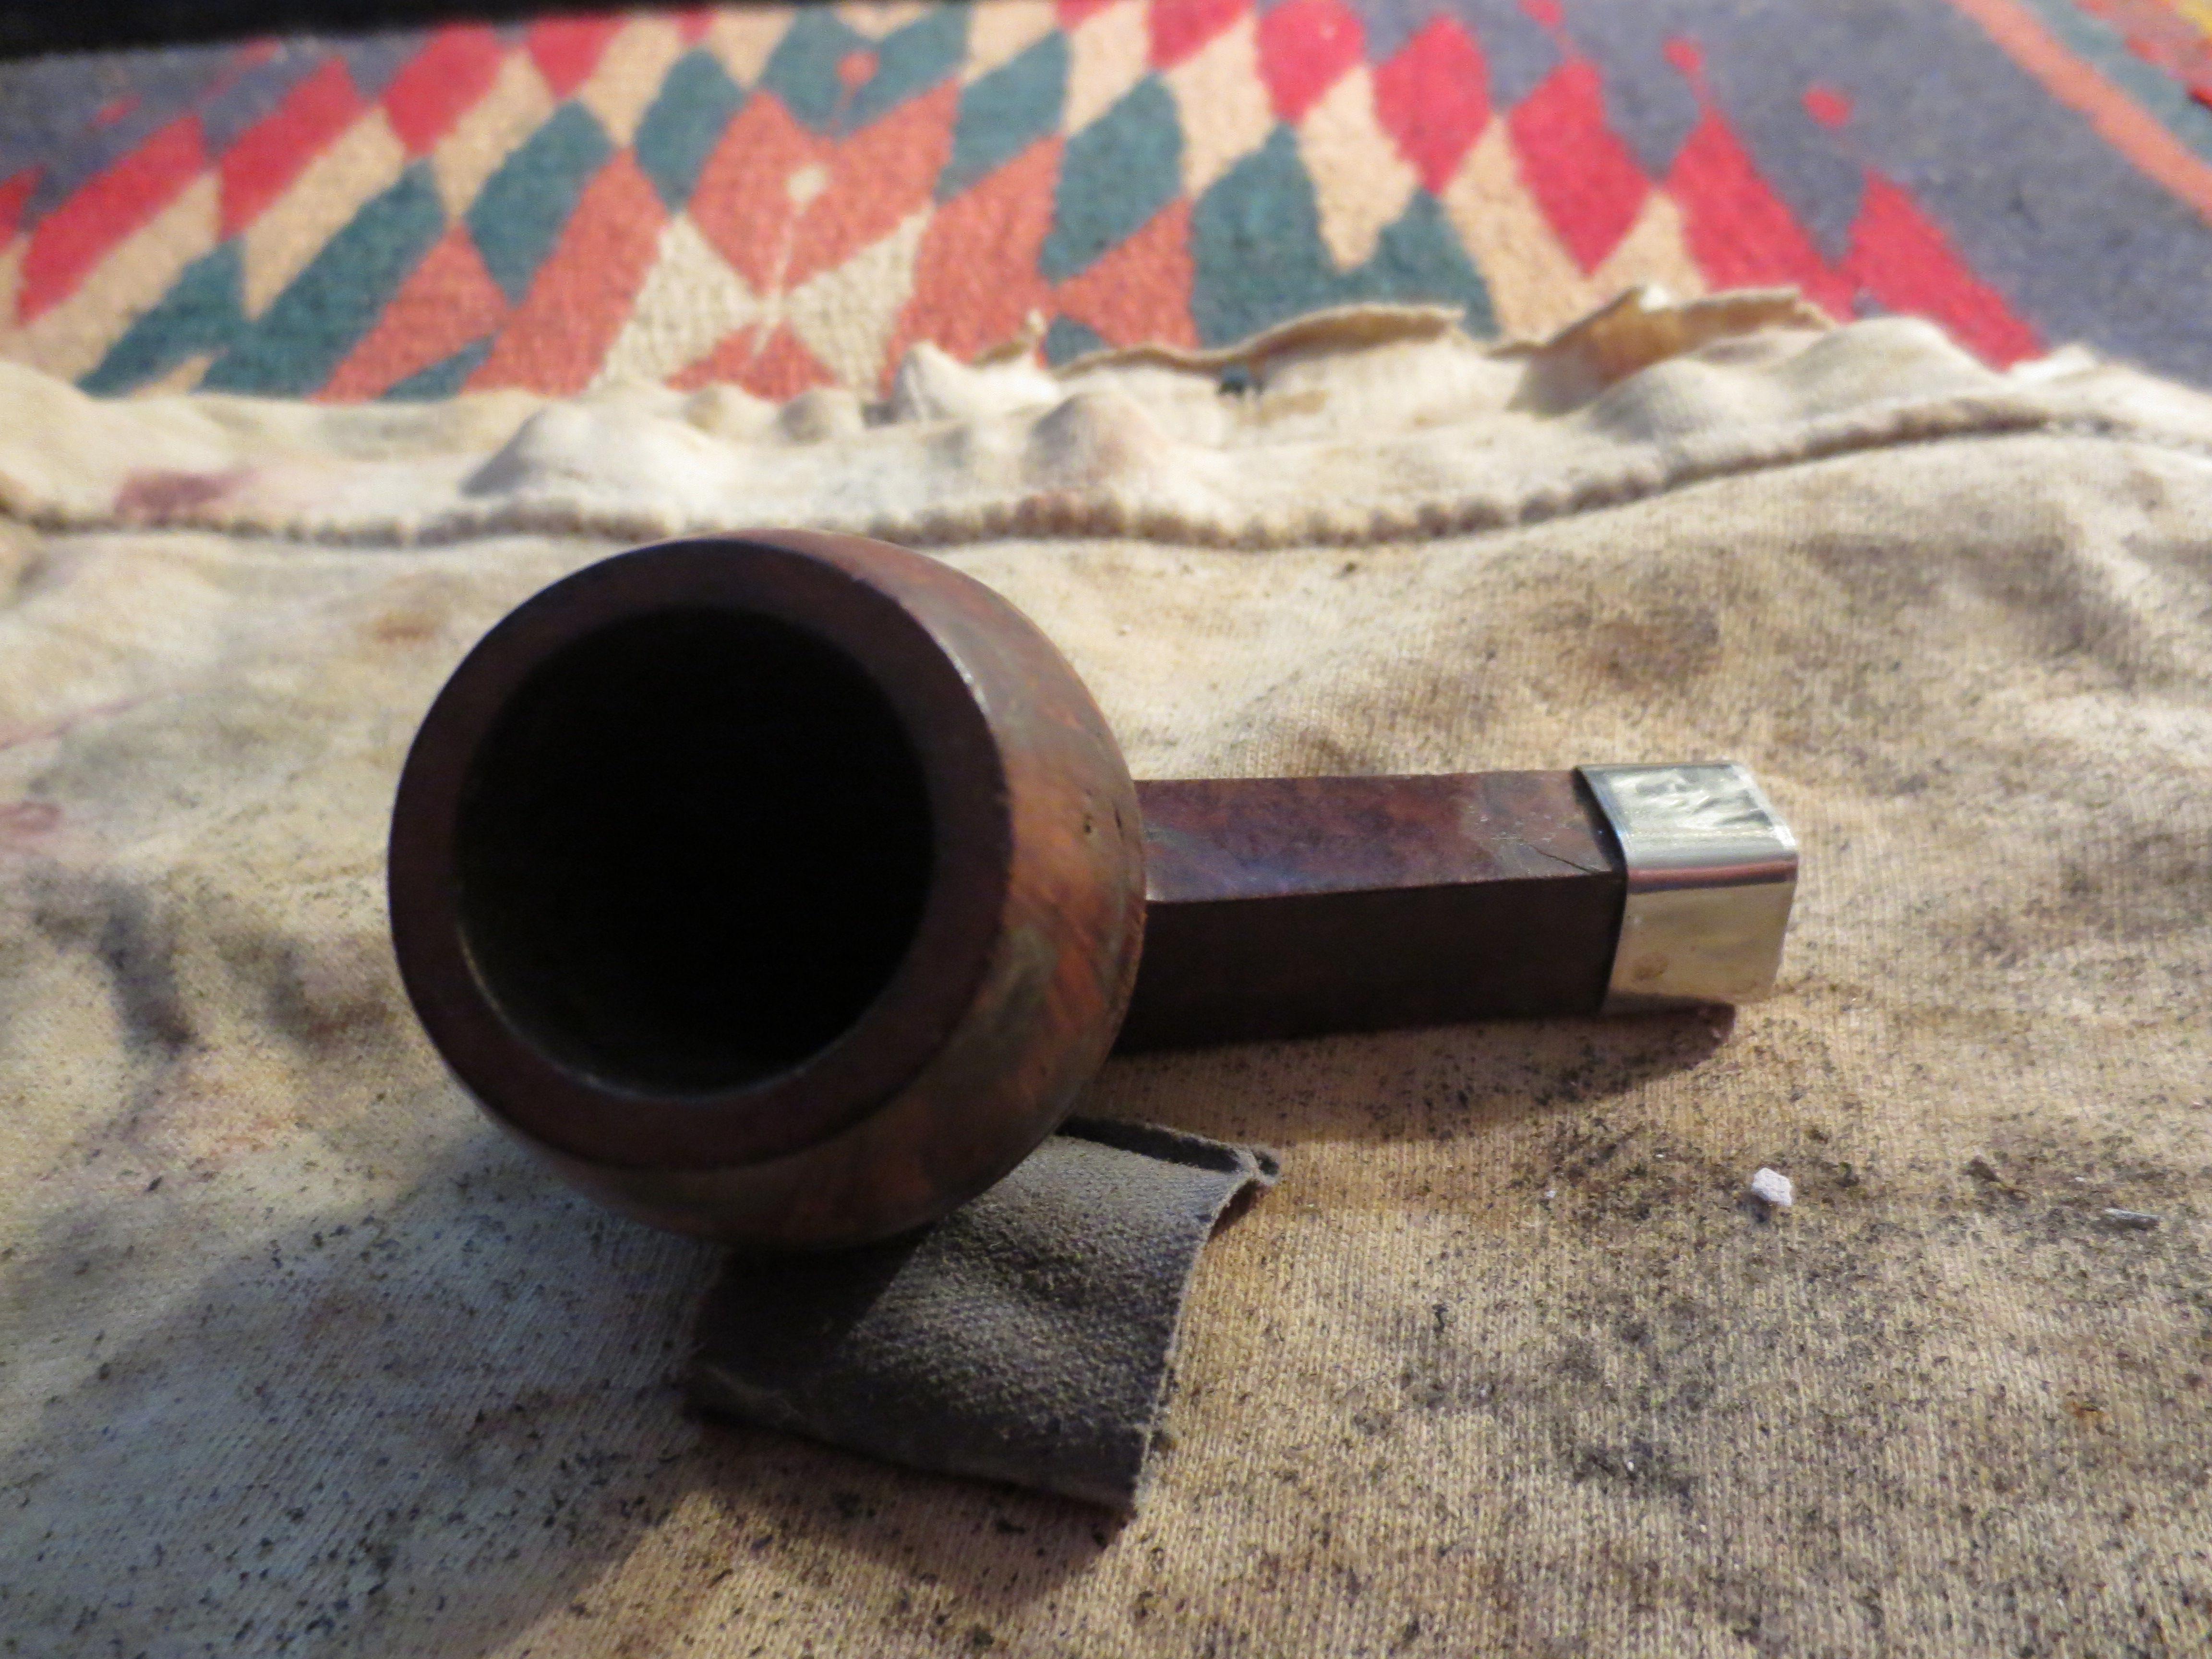
This old time long shanked bulldog was a mess when I got it. At first glance it looks pretty good. But it was not. The shank had previously been banded and that band was lost. It was a deep band and filigreed so it left marks. There were also two large cracks in the shank that extended about an inch into the length. The rim was clean but the top portion of the bulldog shape – above the double rings was also stained and filled with holes from the nails that had held the decorated rim cap in place. There were four holes – back, front and both sides. There were also deep gouges where the decorative border had cut into the briar. The stamping was faint and read EPW in an oval. There was no stem with this one either so it would need to have one made. The overall finish on the bowl was not too bad in that it was not dented or burned or damaged on the sides and undersides of the bowl.  I decided to try banding the shank and see what I could do about the cracks on the top right side of the shank and the lower left side of the shank. They would in all likelihood be an issue. I did not have a deep band so I tried with a narrower band (about ½ inch deep). I shaped a round band with a flat blade screwdriver and a hammer until it was the right shape to fit the shank. I heated the band and pressed it into place.

IMG_0683

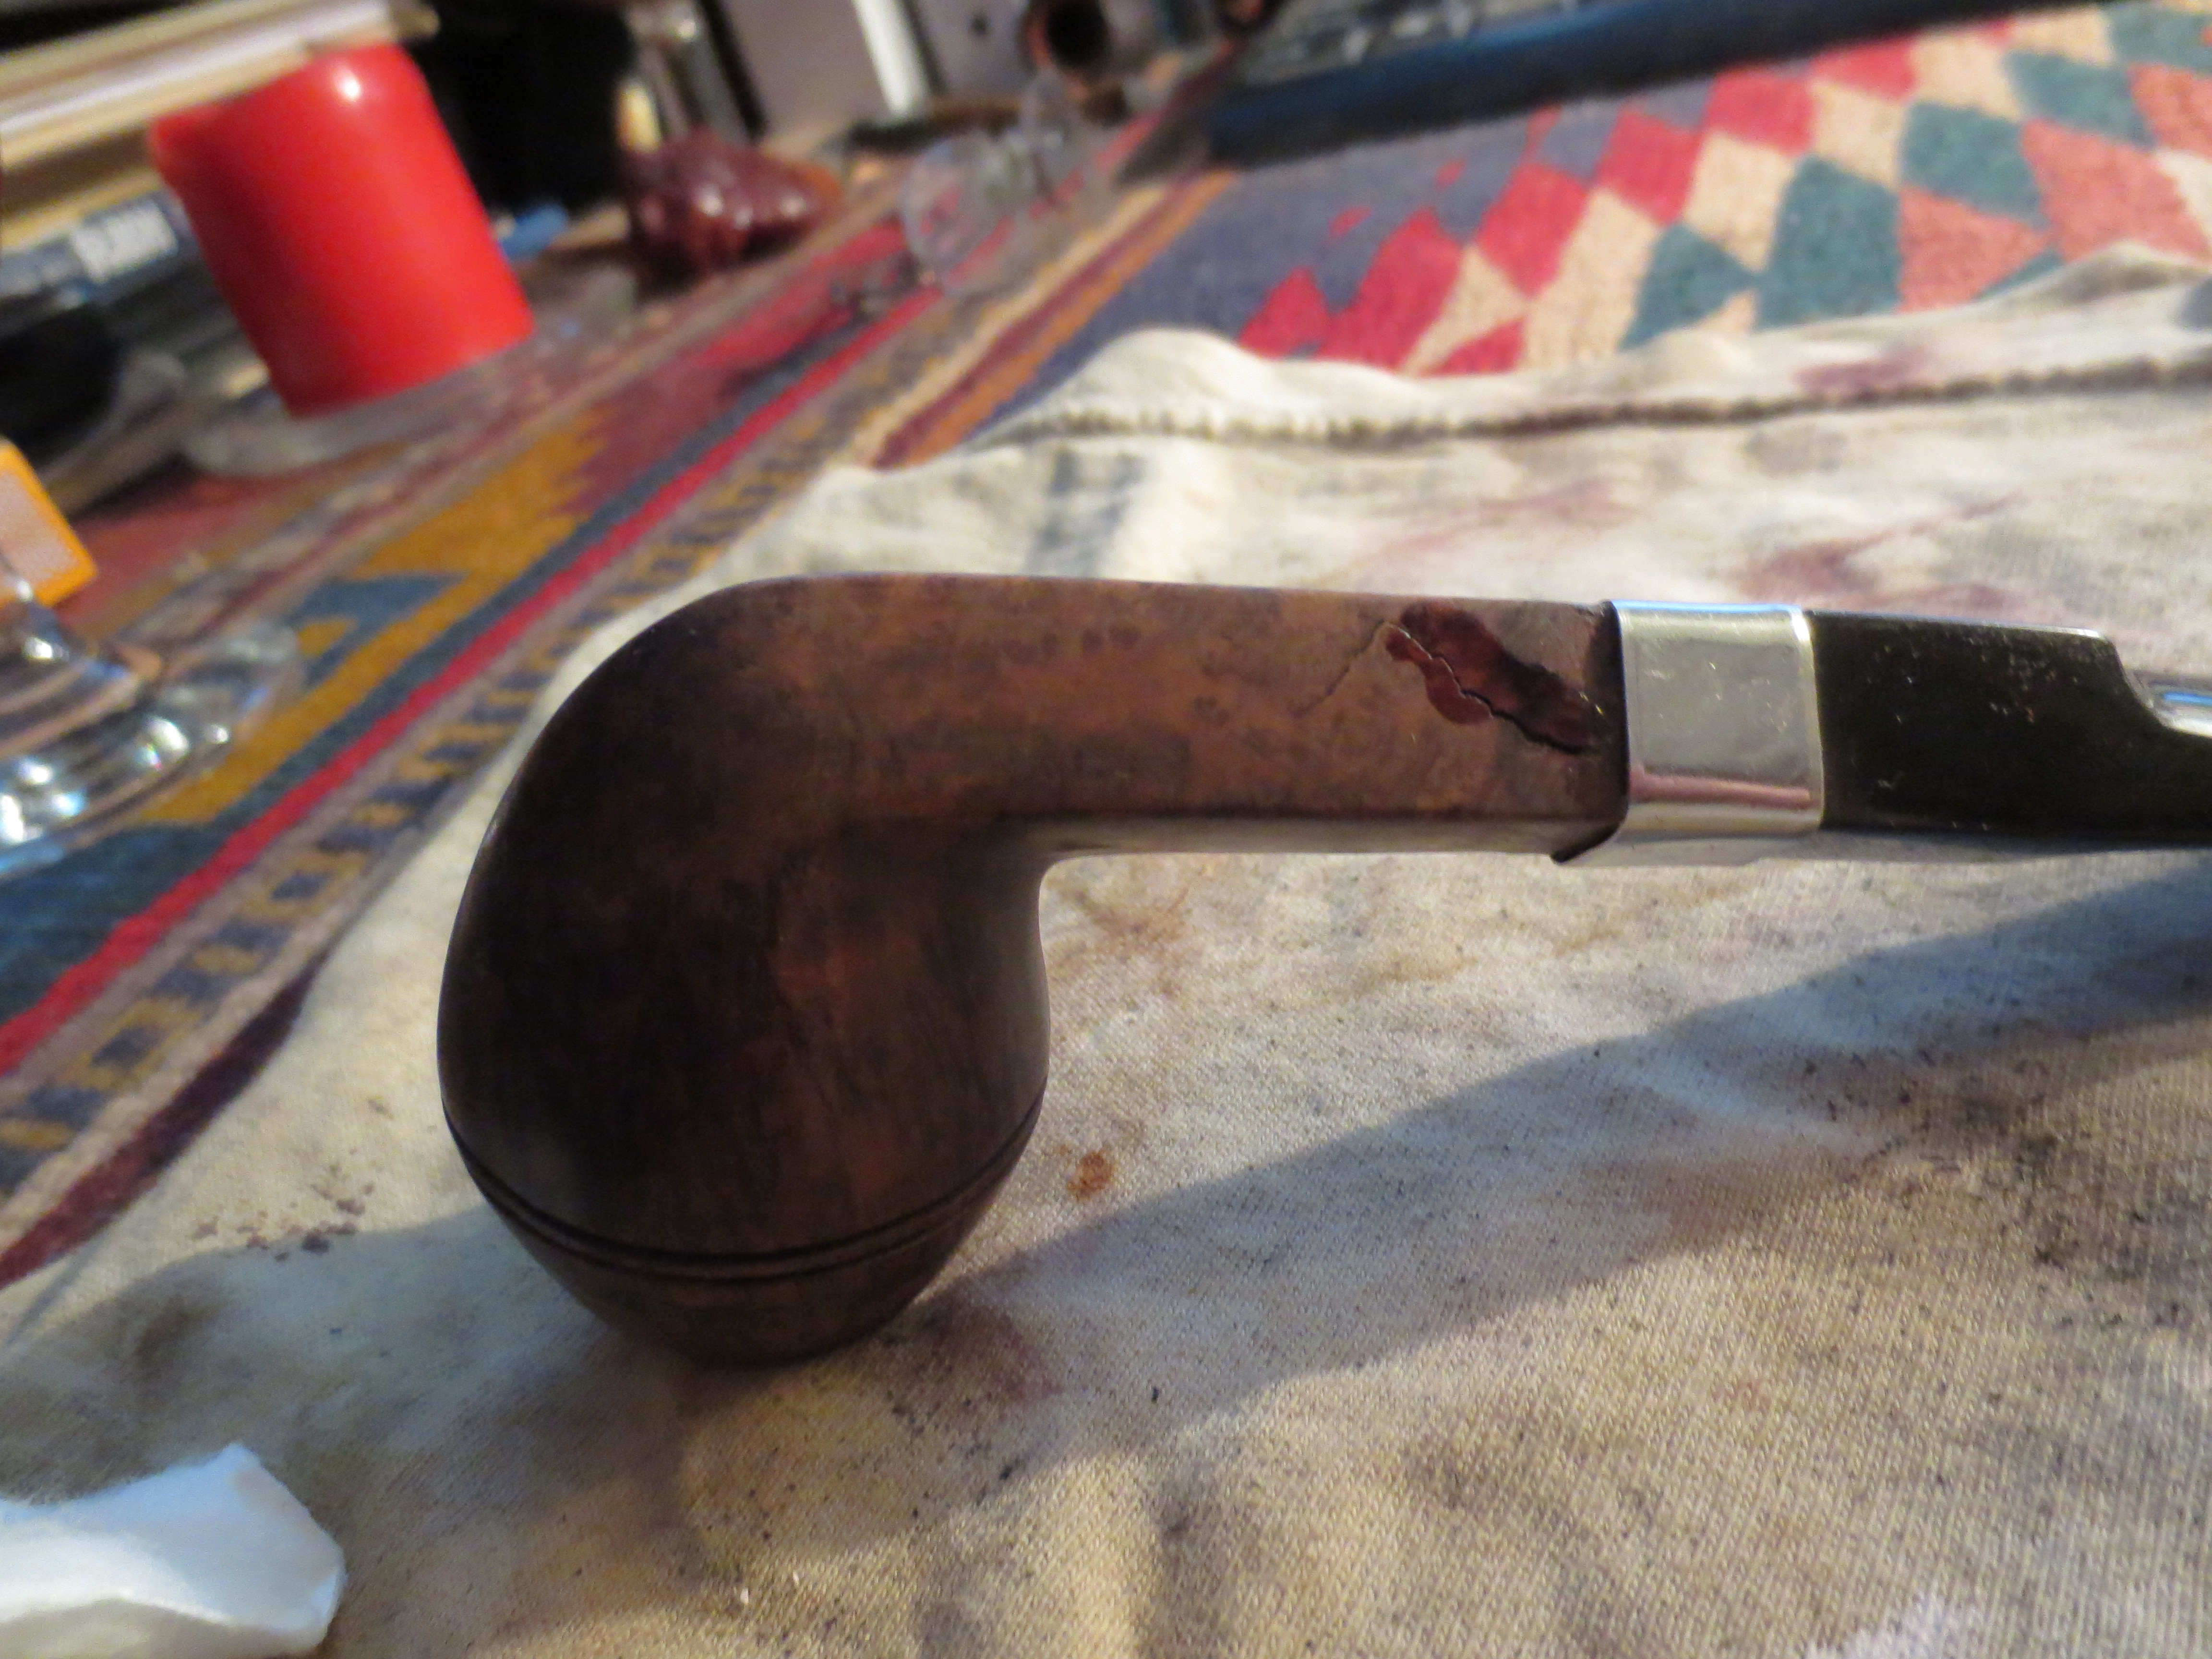
The next three photos show the band in place. If you look close in the photos below you can see the crack on the top of the right side shank. The one on the left underside of the shank did not come out in the photos. You can also see the nail holes in the bowl above the double rings.

IMG_0688 IMG_0687 IMG_0686

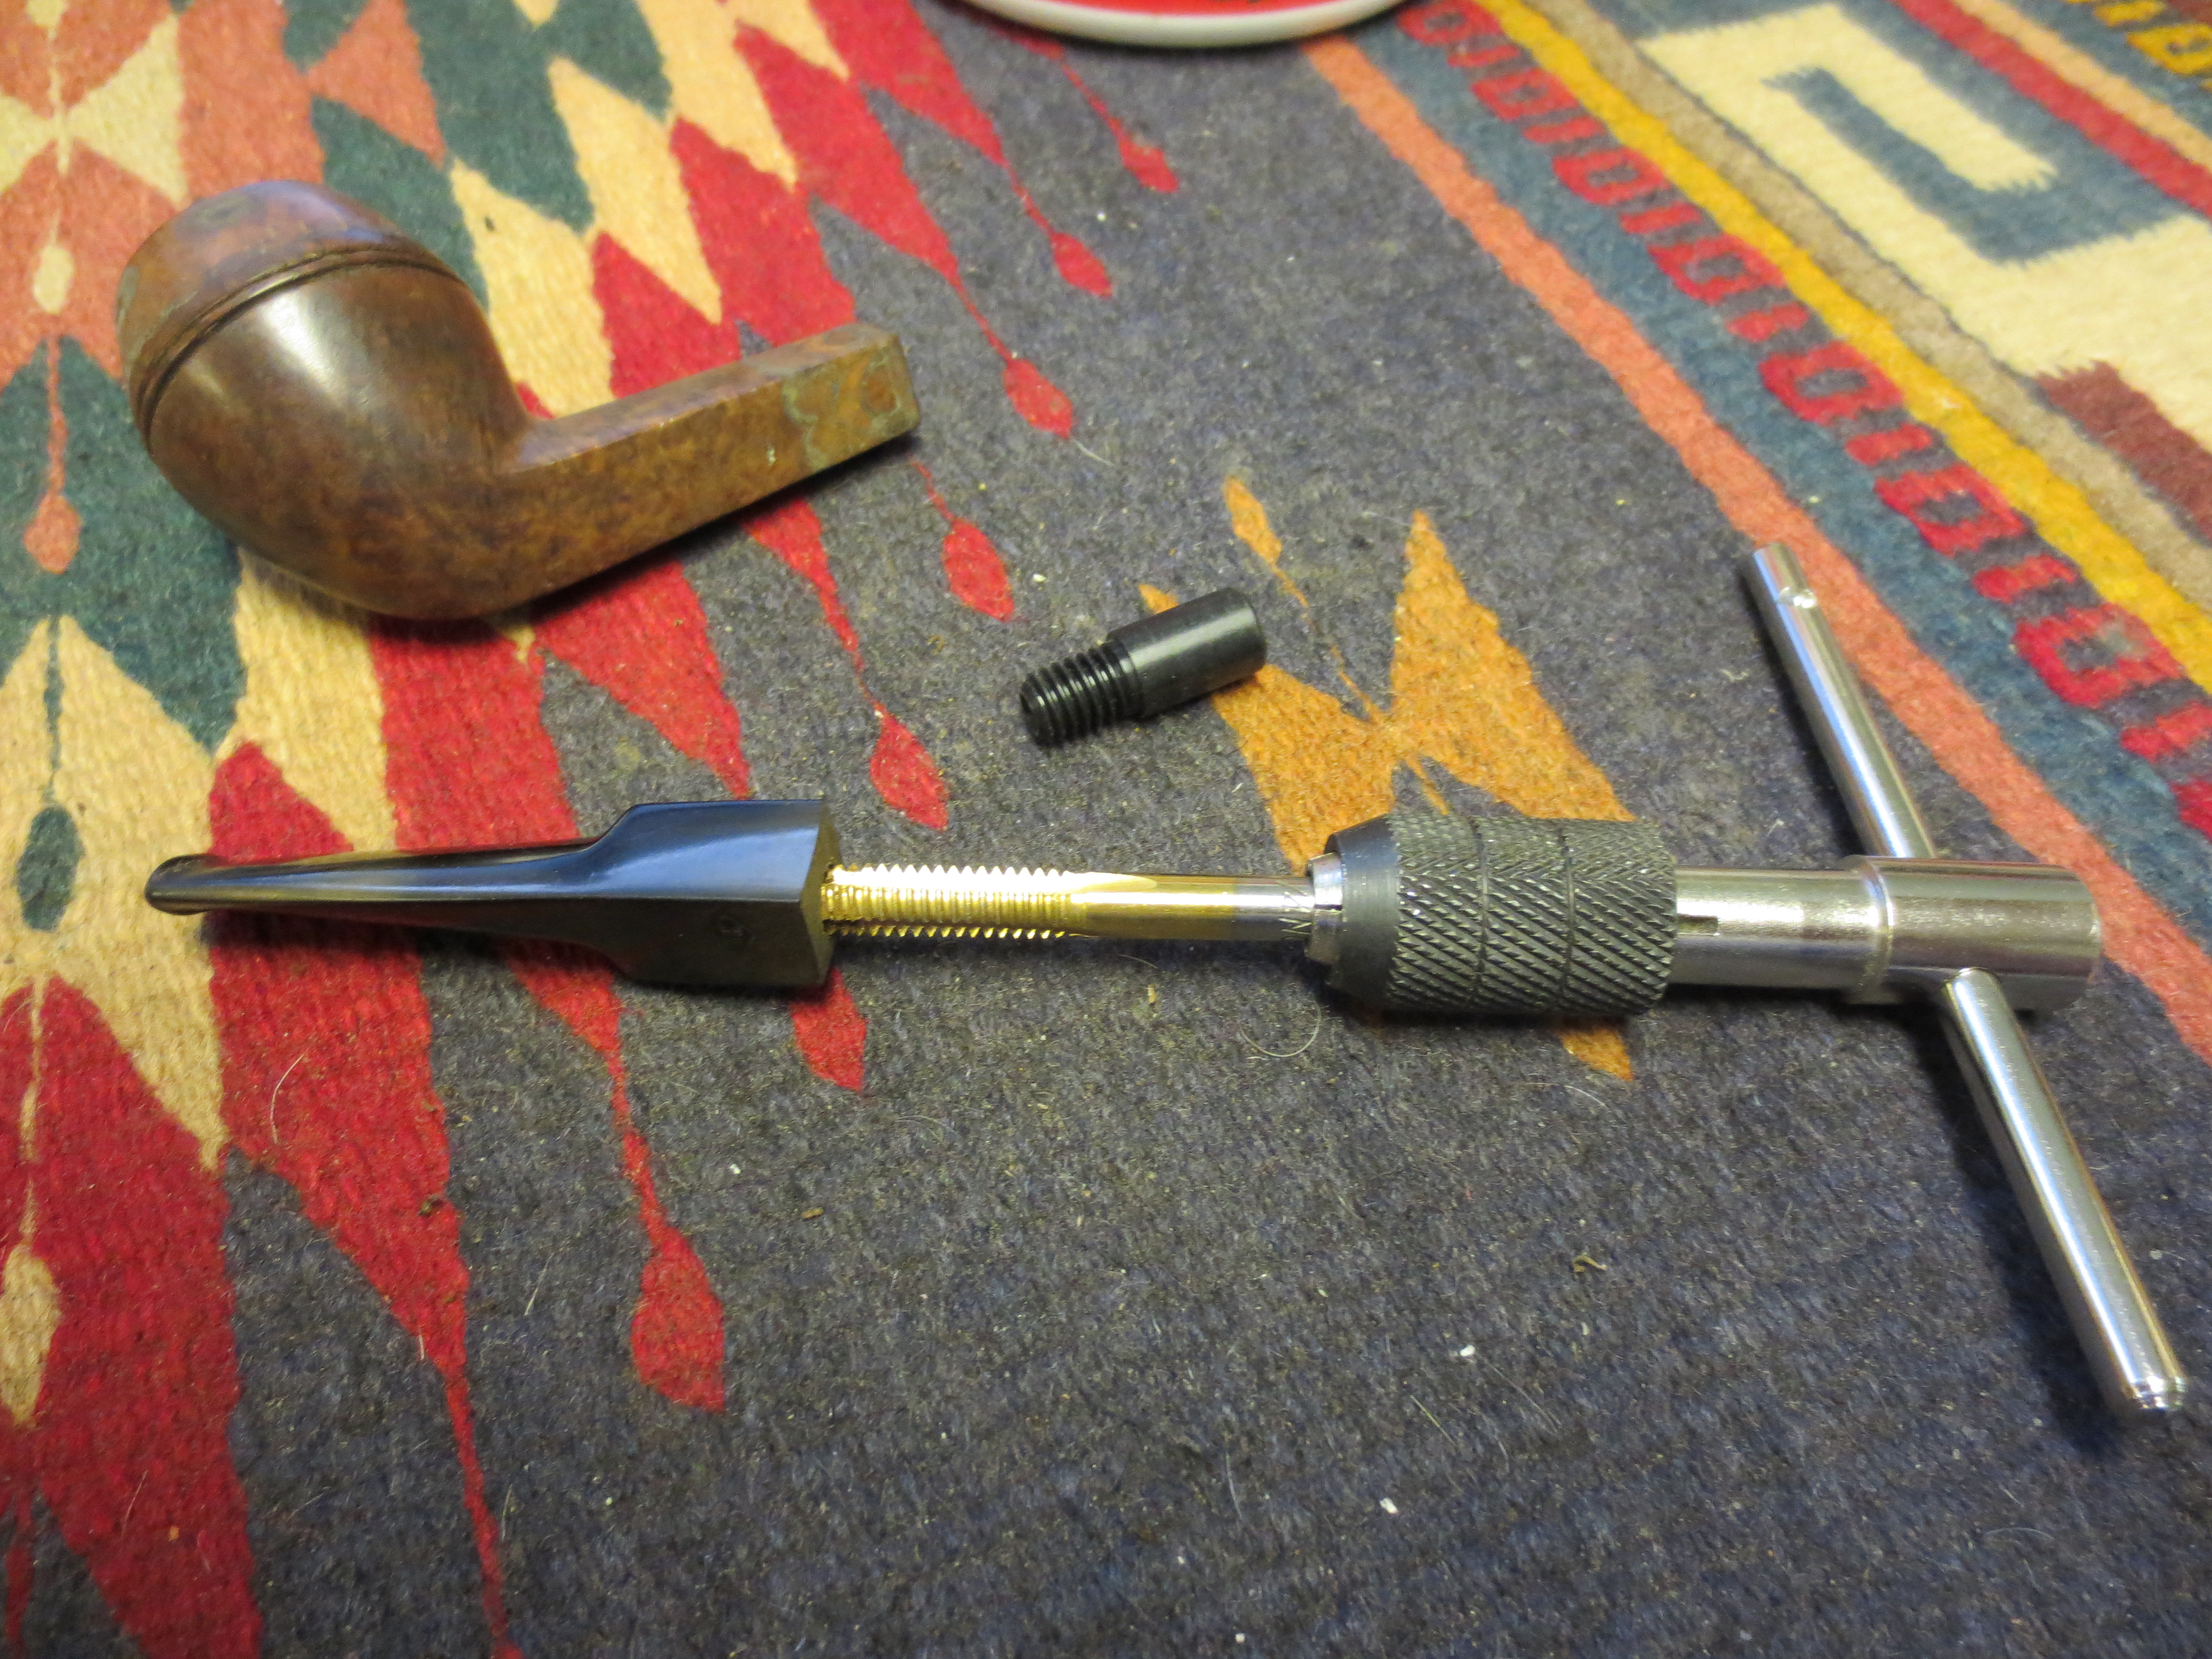
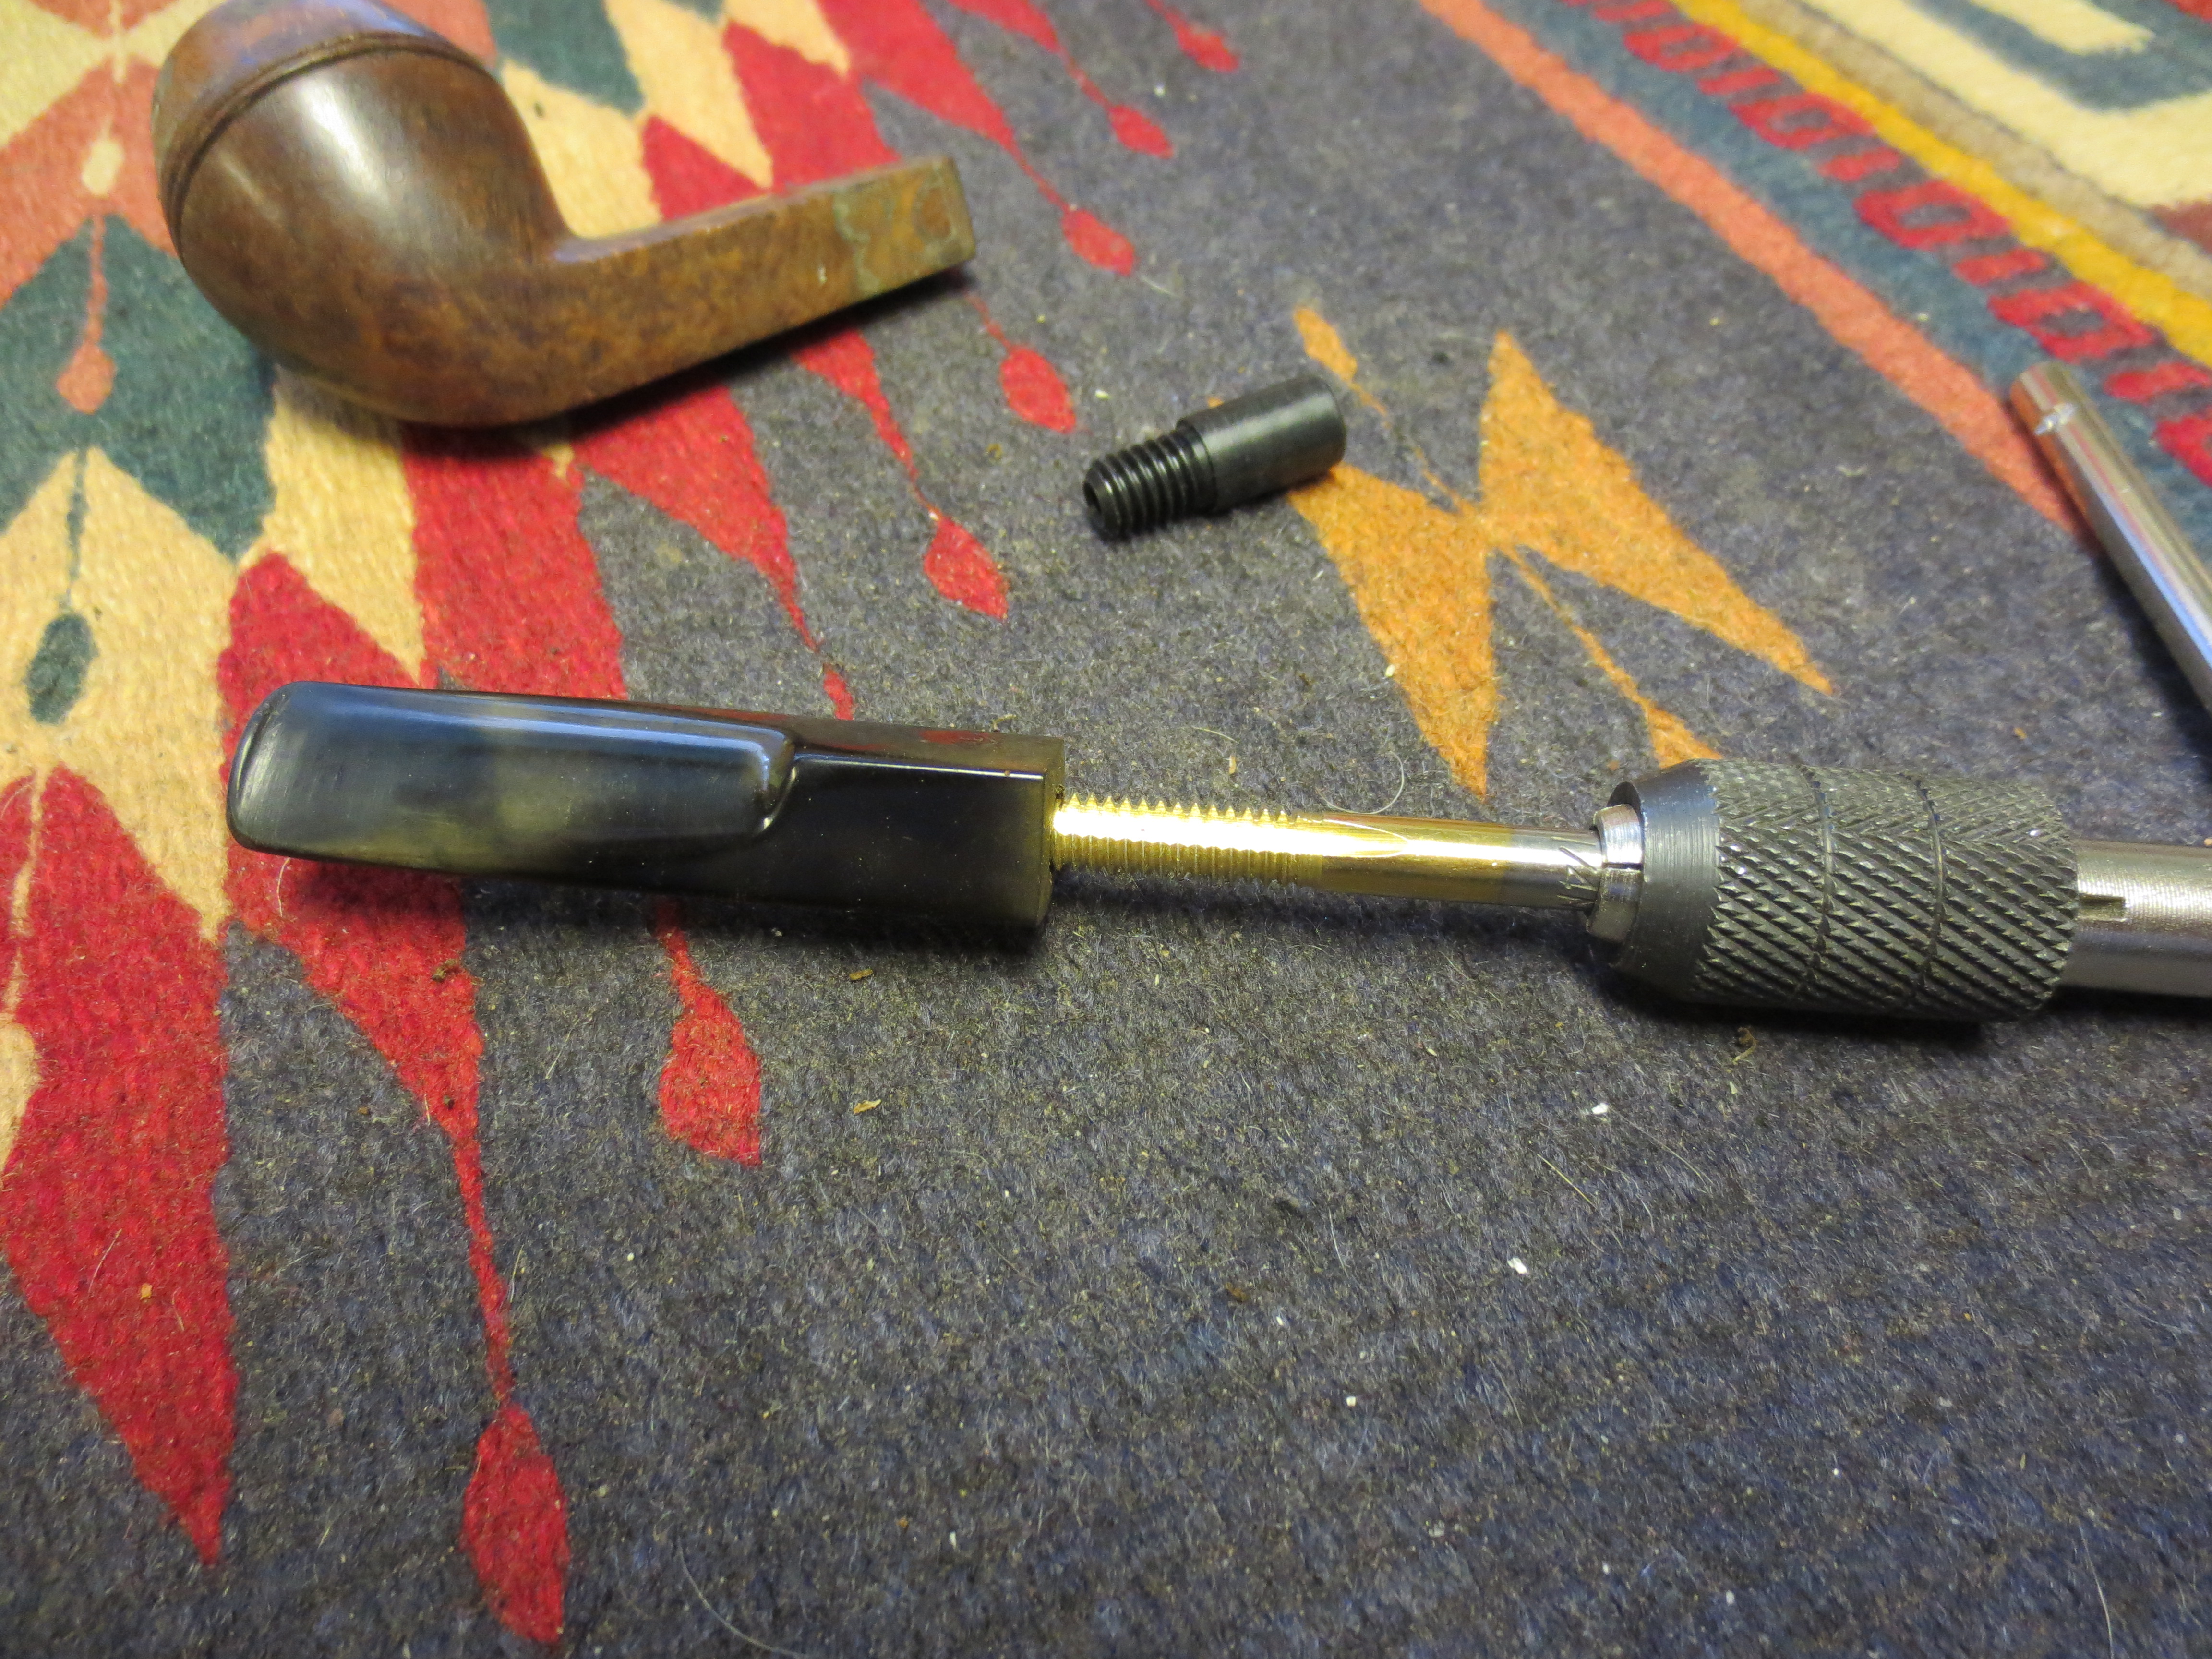
The next series of three photos shows the fitting of a new tenon. I drilled the stem and then used a tap to thread the stem so that I could screw in the new tenon. In the photos below you can see the tap in the stem and the new threaded tenon just above the bowl at the centre of the picture. The third photo shows the hole in the stem threaded and ready for the new tenon.

IMG_0678 IMG_0679IMG_0680

Once the stem was ready I dripped a little superglue on the tenon and screwed it into the stem. The next two photos show the tenon in place. I still needed to turn it with the Pimo tenon turner to reduce the size to fit the shank of the pipe.

ImageImage

I used the tenon turner and reduce the diameter of the tenon until it was close to fitting and then hand sanded it until it fit correctly. With the cracked shank the fit was critical. I did not want the tenon too big as it would open the cracks. The two photos below show the tenon after turning. It still needed a bit more hand sanding to make a perfect fit.

ImageImage

The next four photos below show the restemmed pipe. The stem fit perfectly against the band and the look was exactly what I was aiming for. The issue that remained was the two cracks that extended further than the band.

ImageImageImageImage

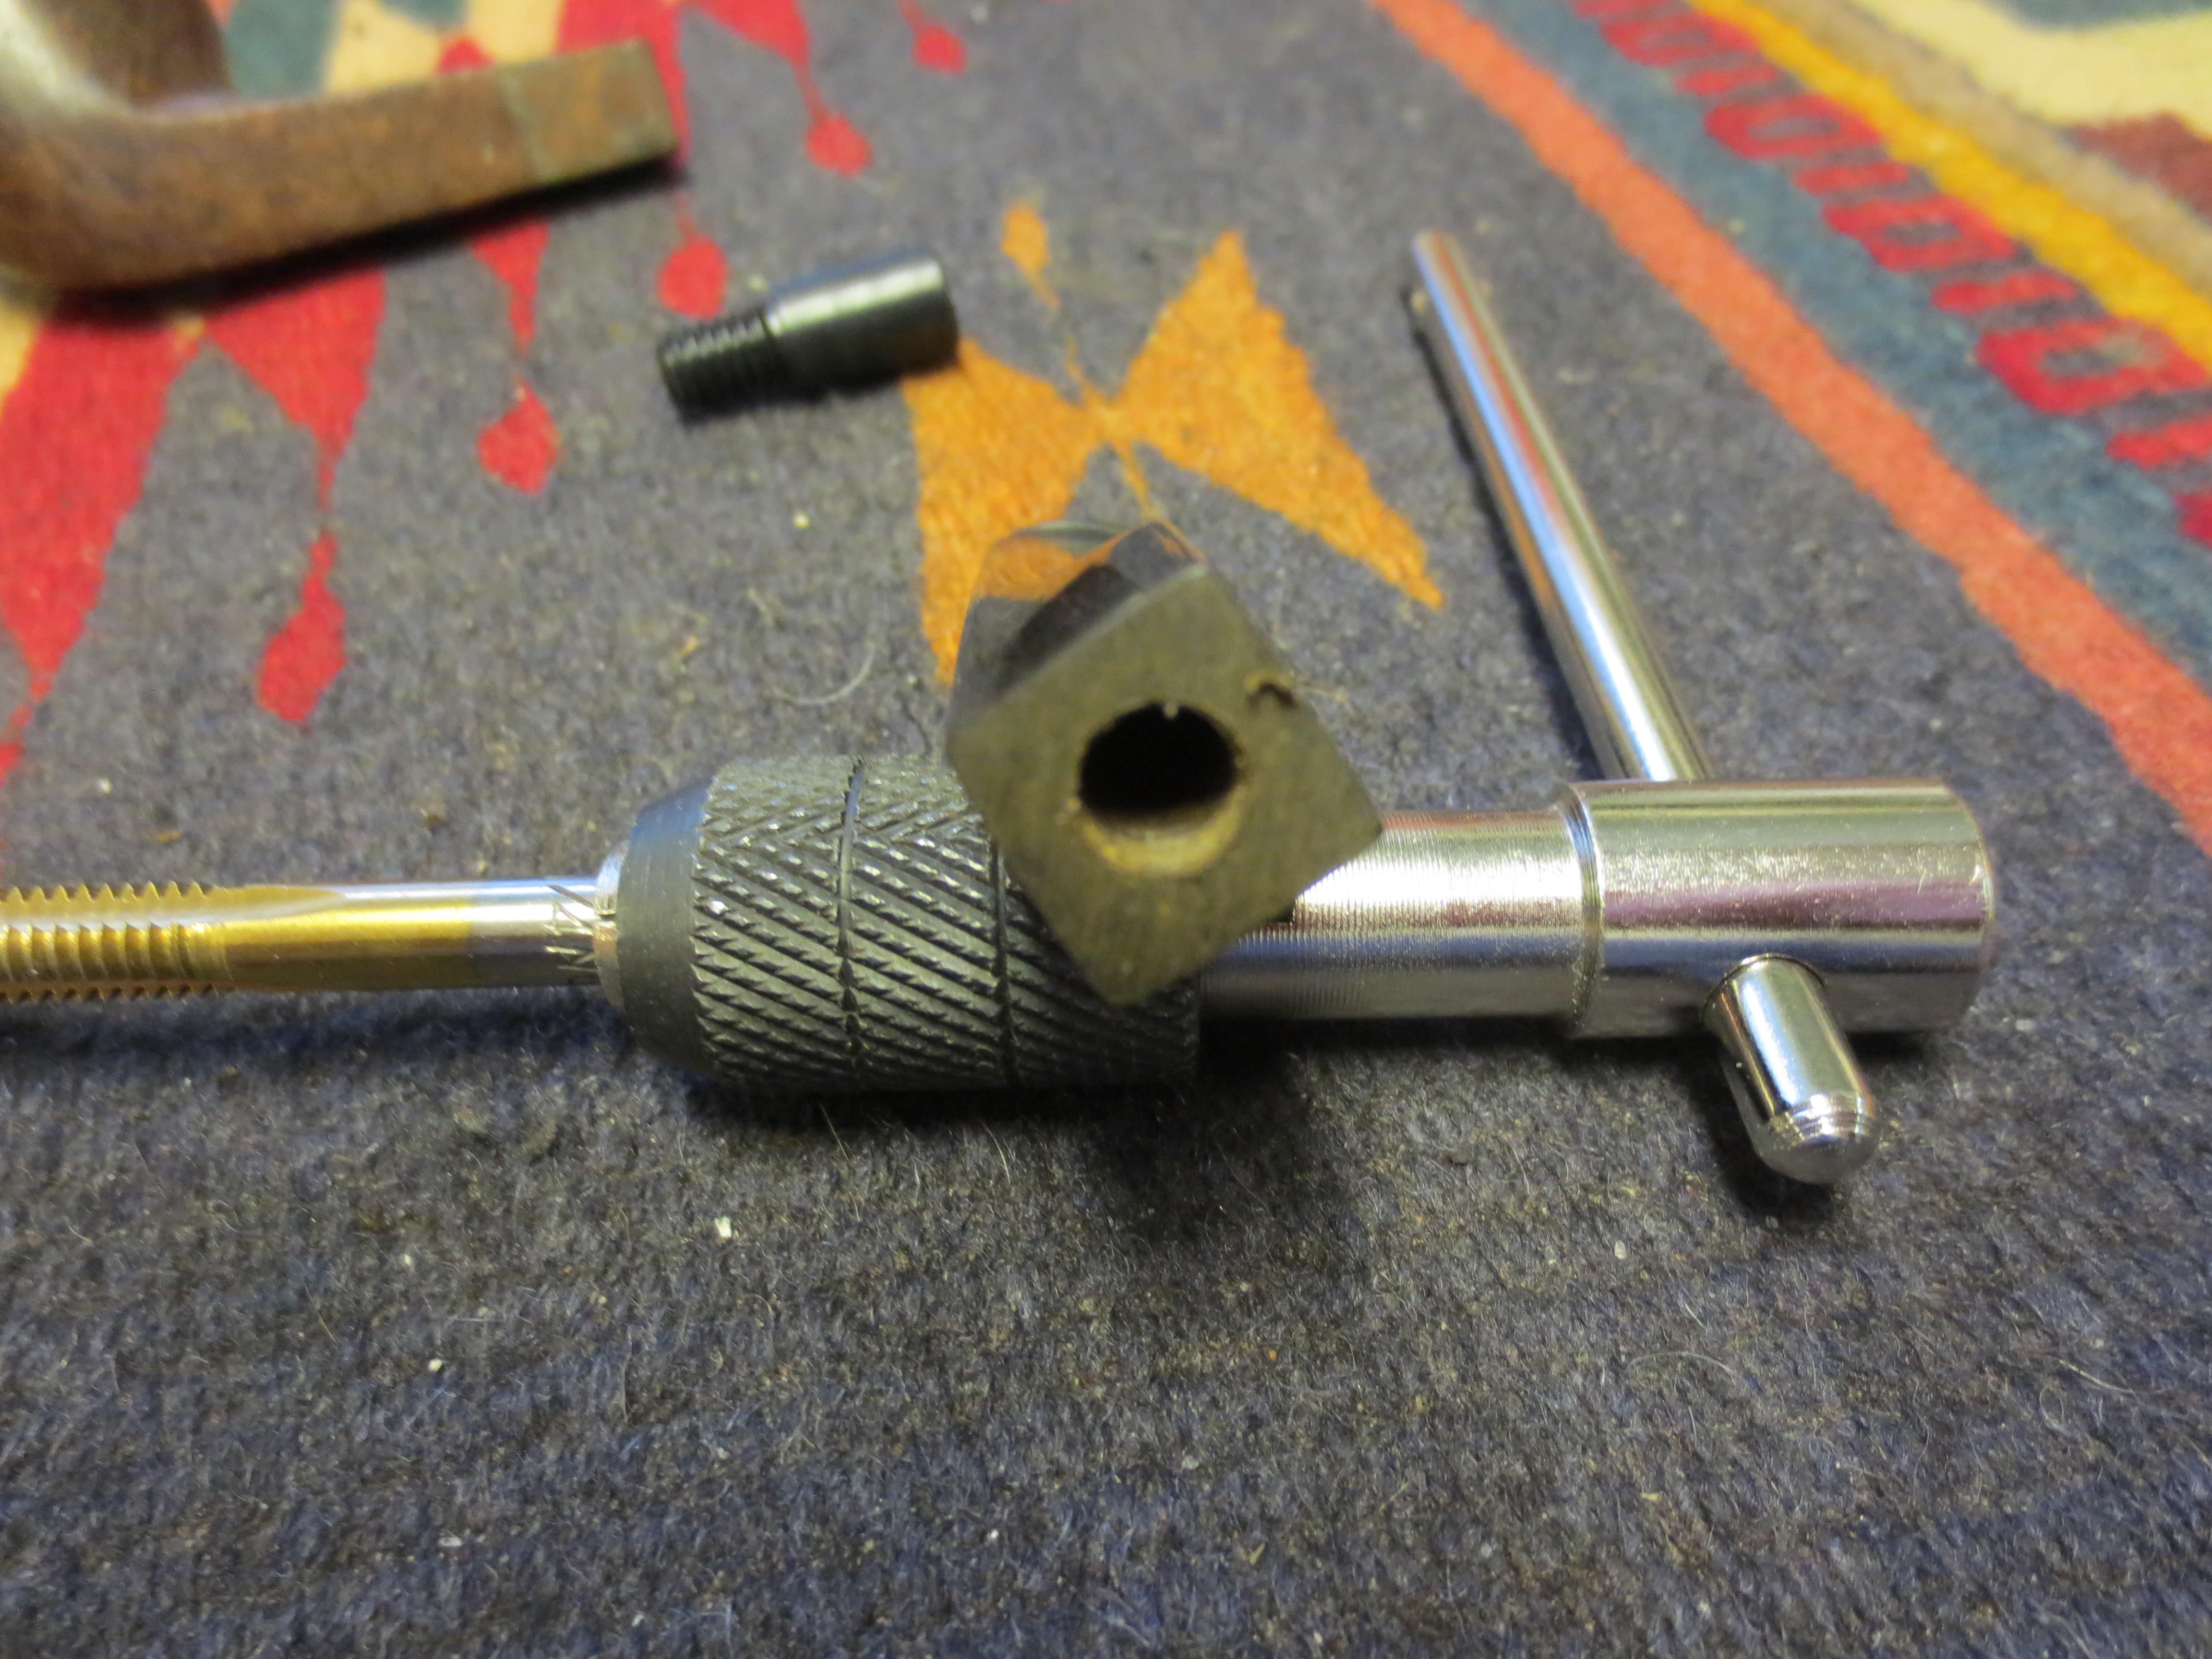
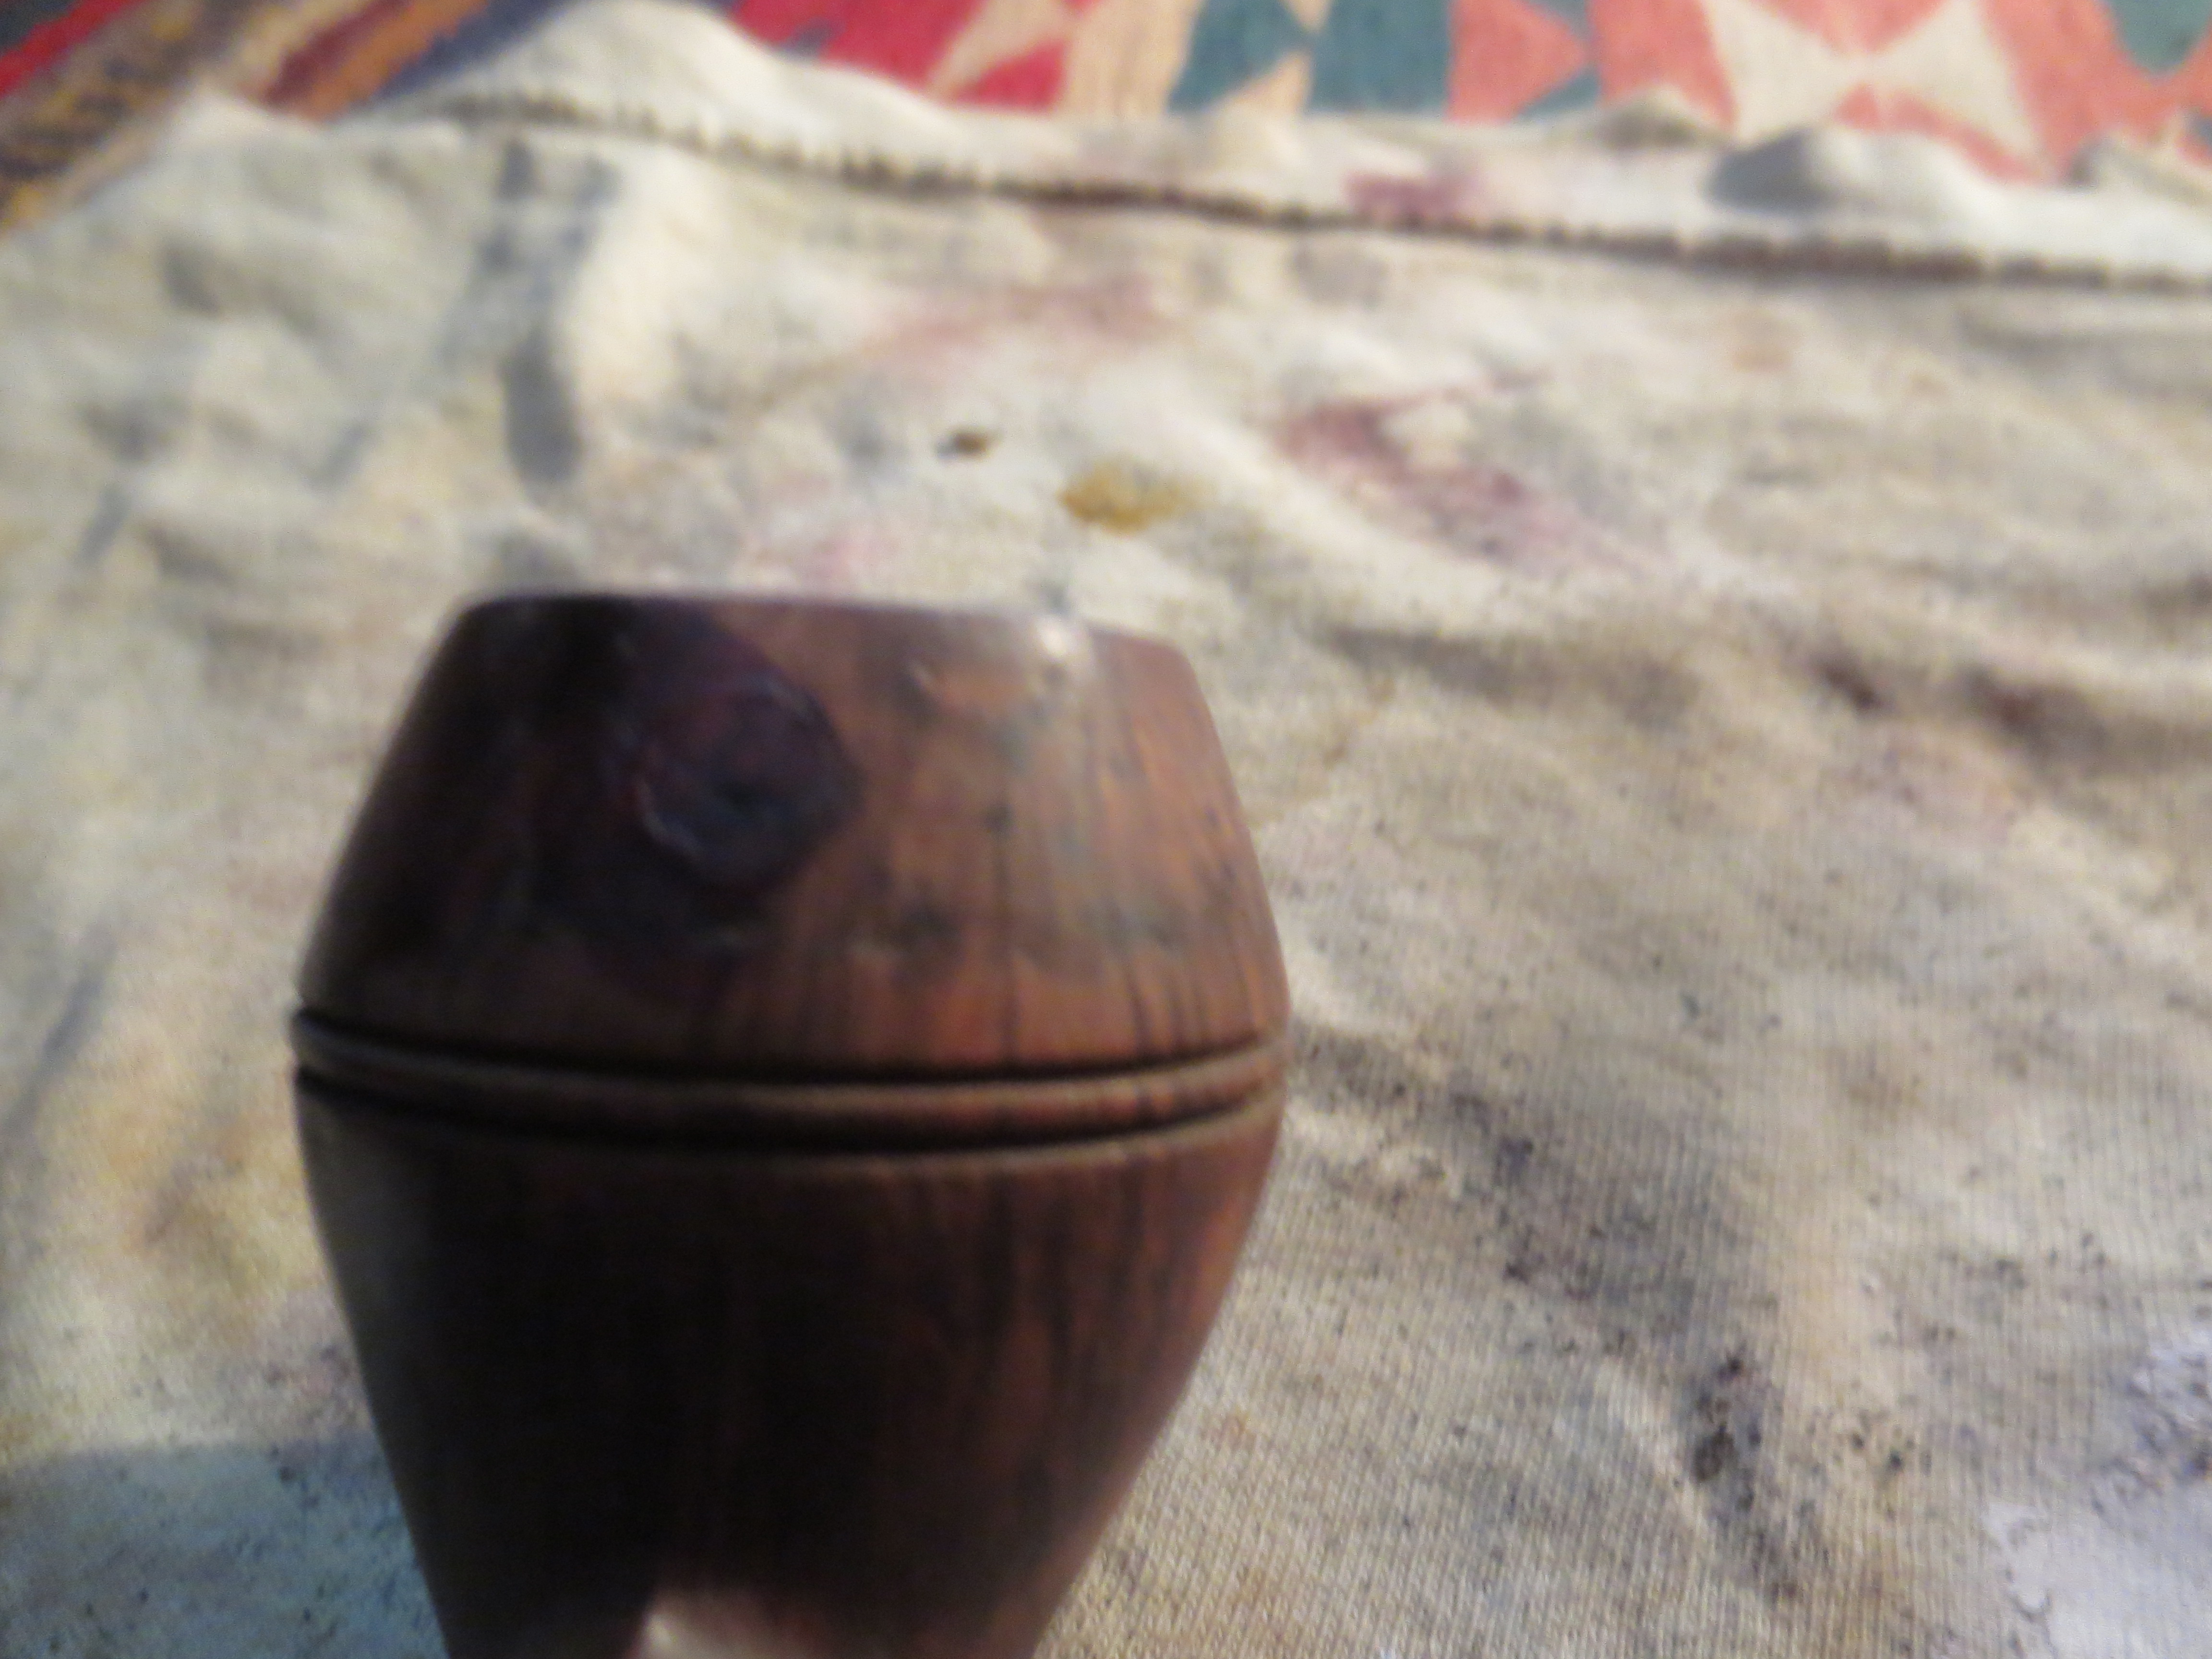
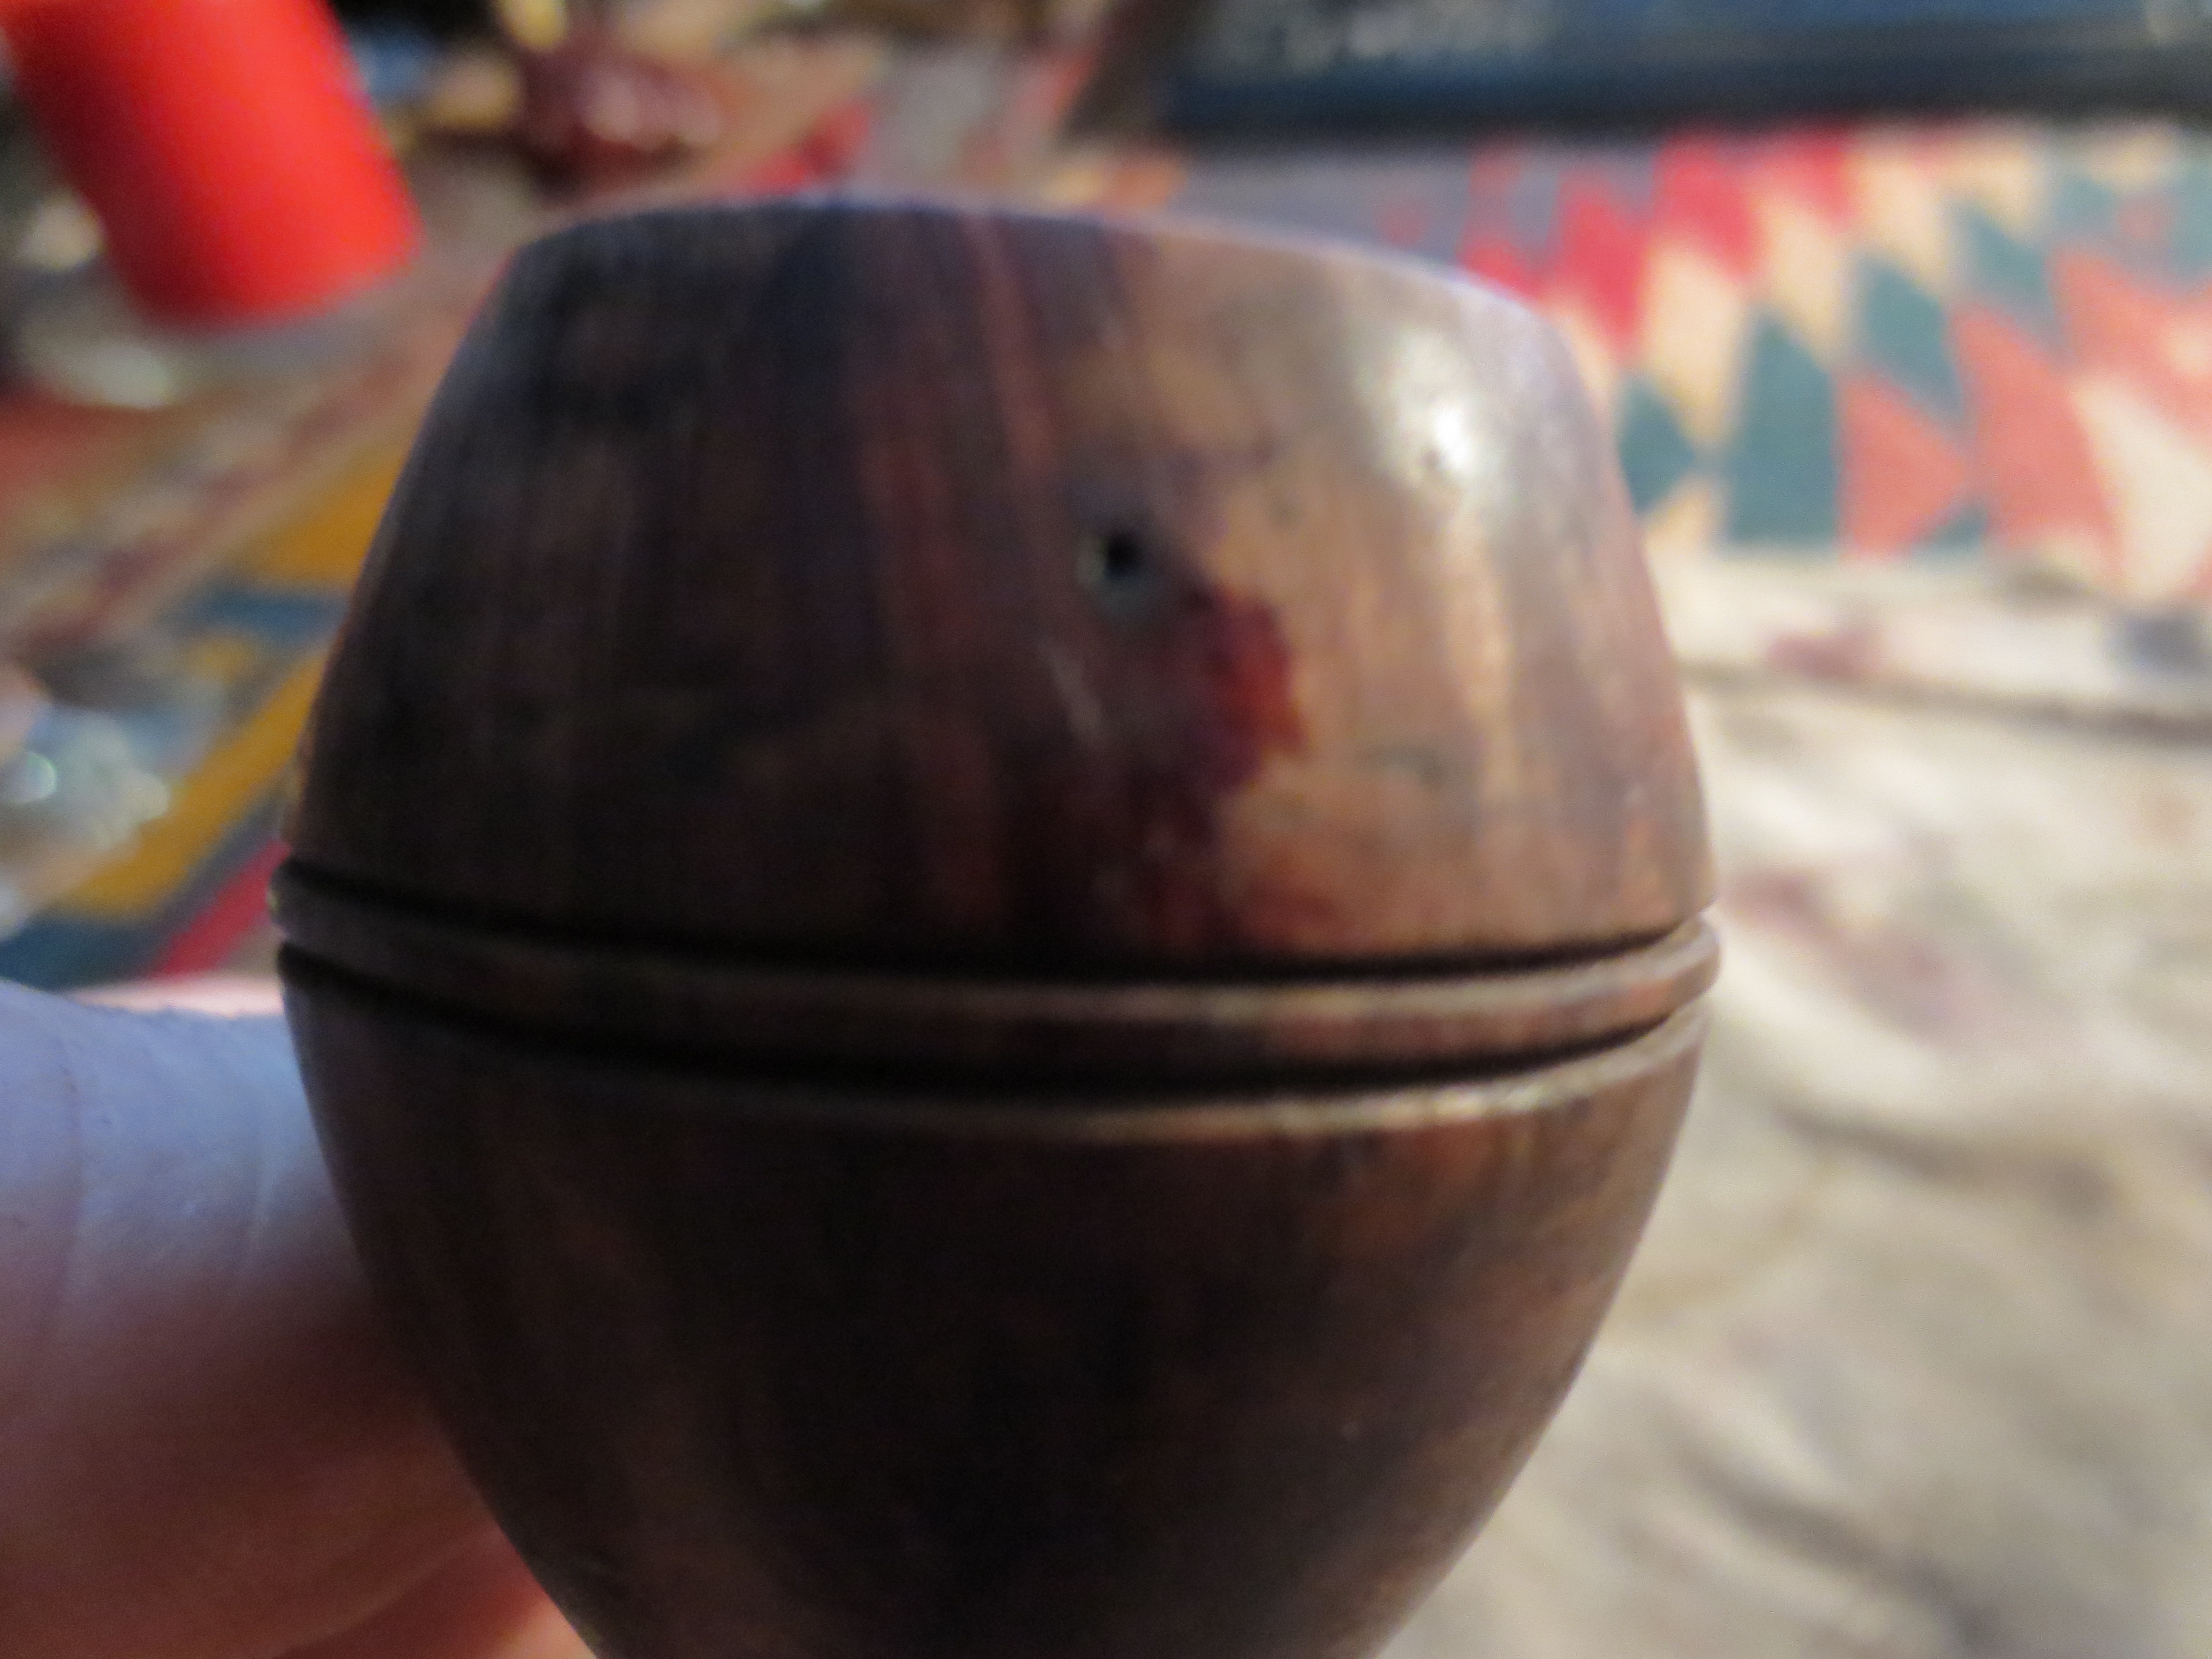
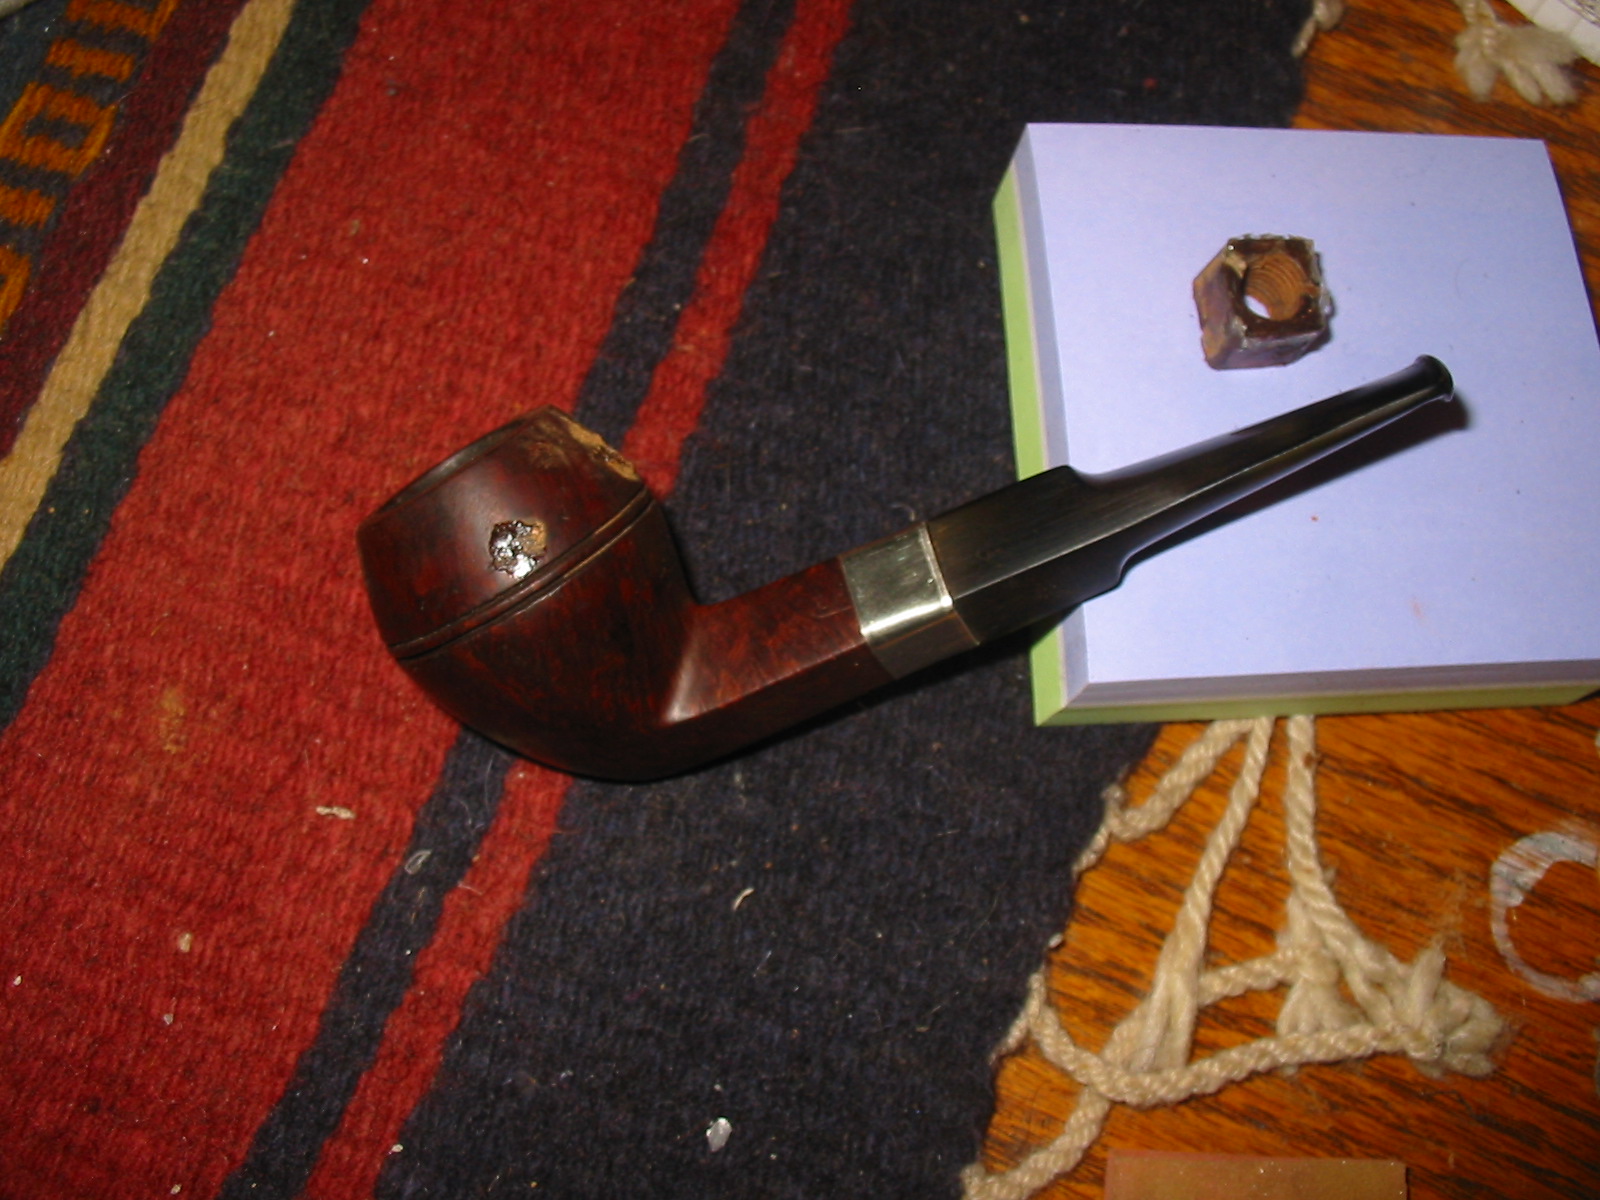
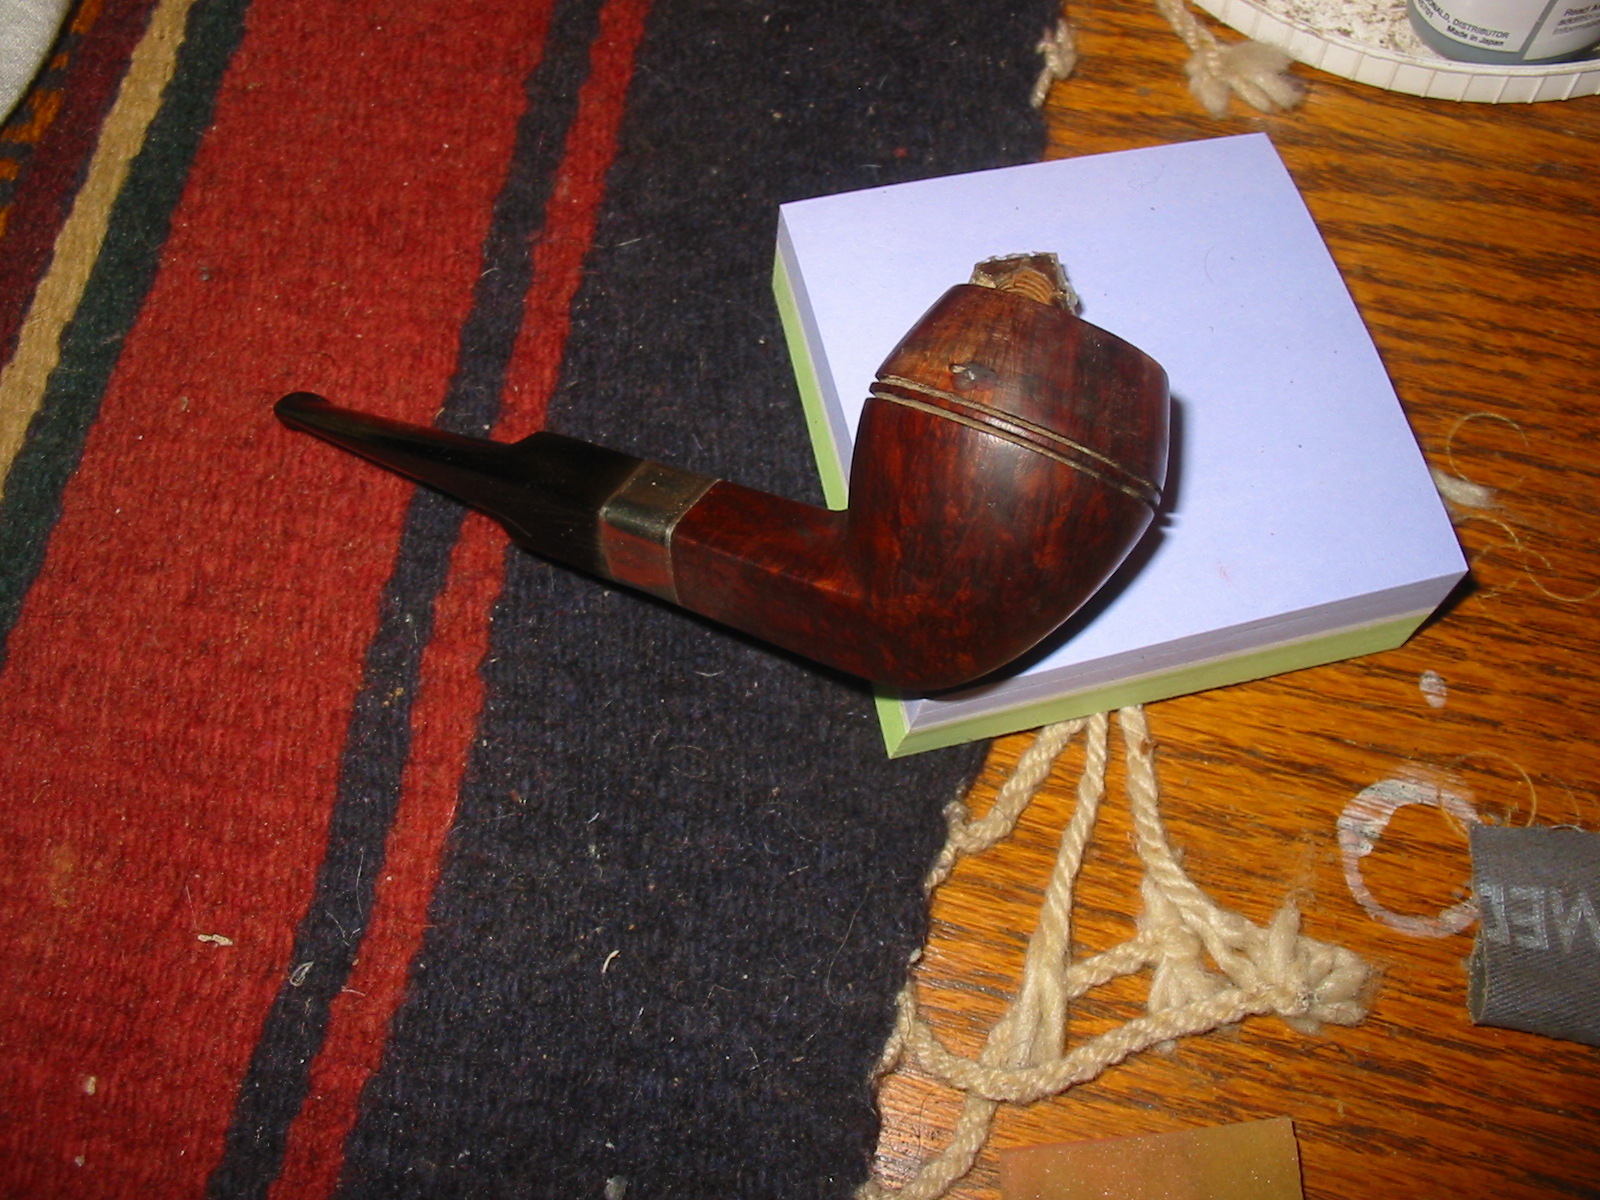
The next three photos show the work of patching the nail holes and the cracks with briar dust and superglue. I packed in the briar dust with my dental pick until they were filled and then I dripped the superglue into the spots. Once they were dry I sanded them down to remove the excess and blend them into the surrounding bowl. I wanted them to be less visible and be able to be blended in with the stain when I got around to staining it.
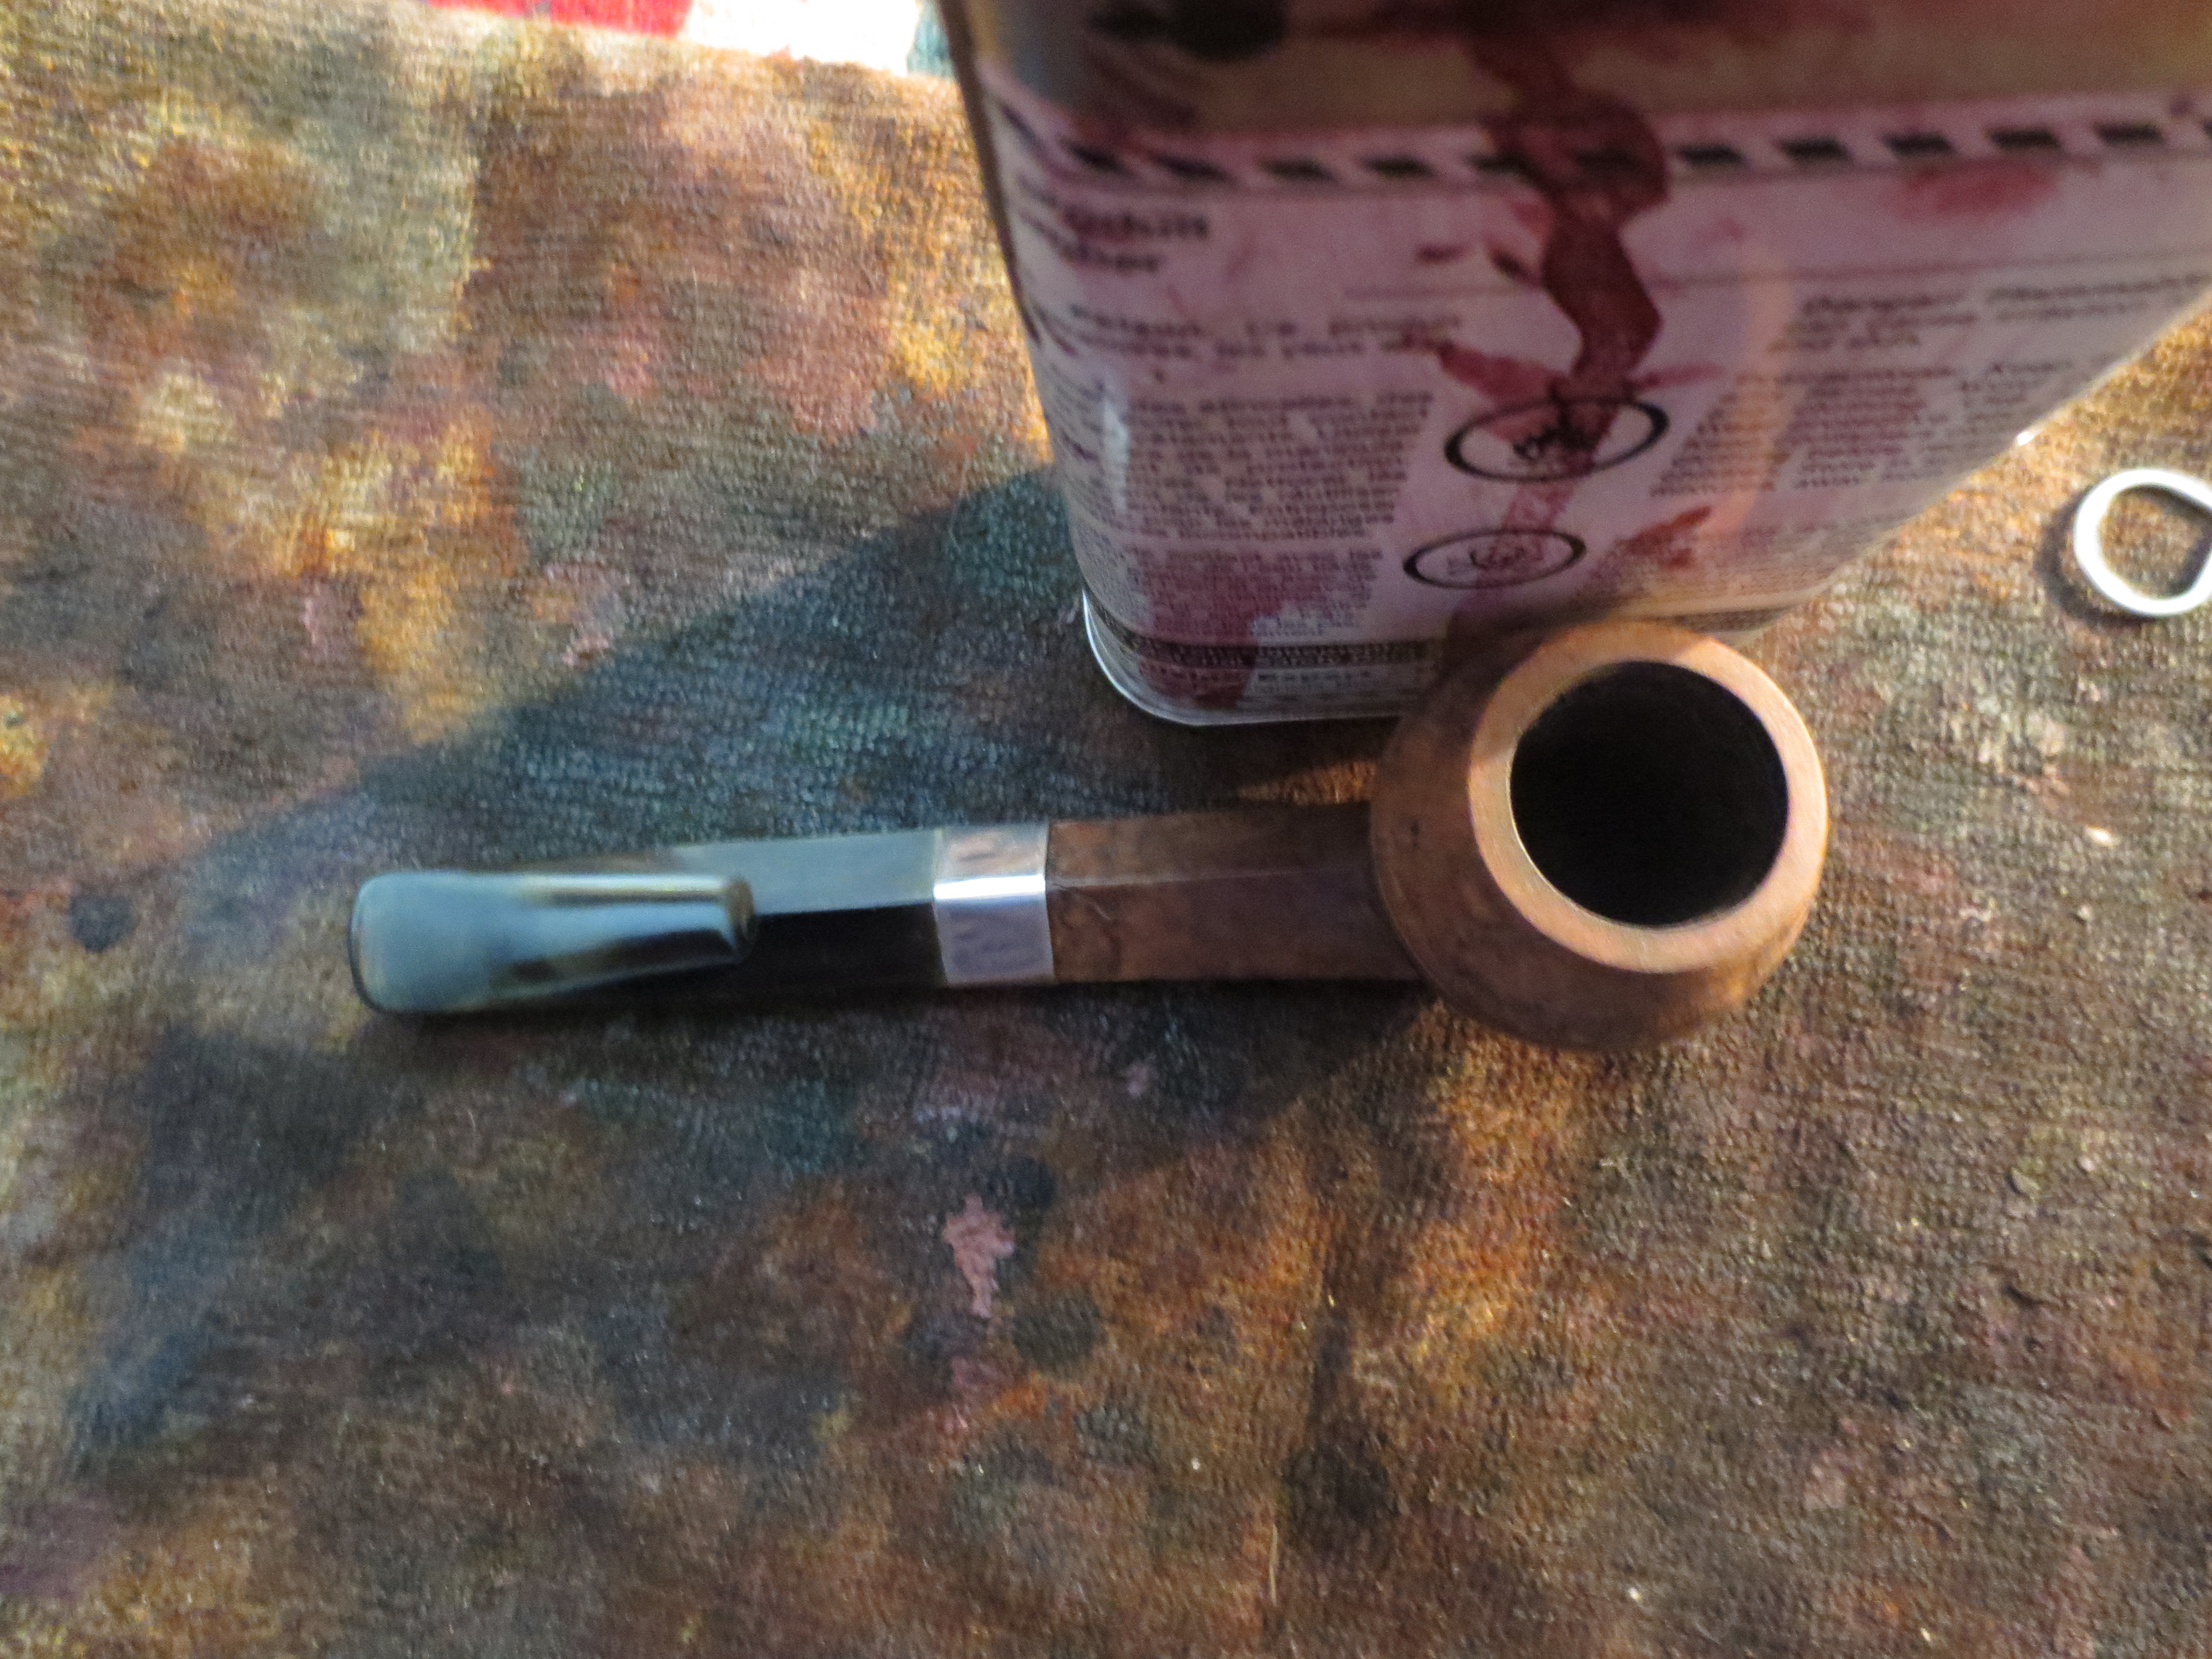
ImageImageImage

With the nail holes filled on the front and back of the bowl I was finished with the patching for now. I still was bothered by the ones on the sides of the bowl but would deal with them later. I sanded down the patches one more time with a fine grit sanding sponge and then wiped the bowl and shank down with an alcohol dampened cotton pad to remove the dust and remaining finish. The next series of eight photos shows that process as I prepared the bowl to be restained.

ImageImageImageImageImageImageImageImage

I restained the pipe with an oxblood aniline stain. The next series of four photos shows the pipe after staining. The nail holes and small holes on both sides of the bowl really bothered me. The cracks, while well bonded stood out clearly and made me wonder about how well they would hold up. I laid the pipe aside for a couple days to think about some solutions to the problem. I mulled over whether I should order a deeper band for the shank or whether I should cut down the shank and make it a normal sized bulldog. I did nothing to the pipe for two days and then on the third evening I came home and went to my work table to see what I could do to deal with the damage on the old pipe.

ImageImageImageImage

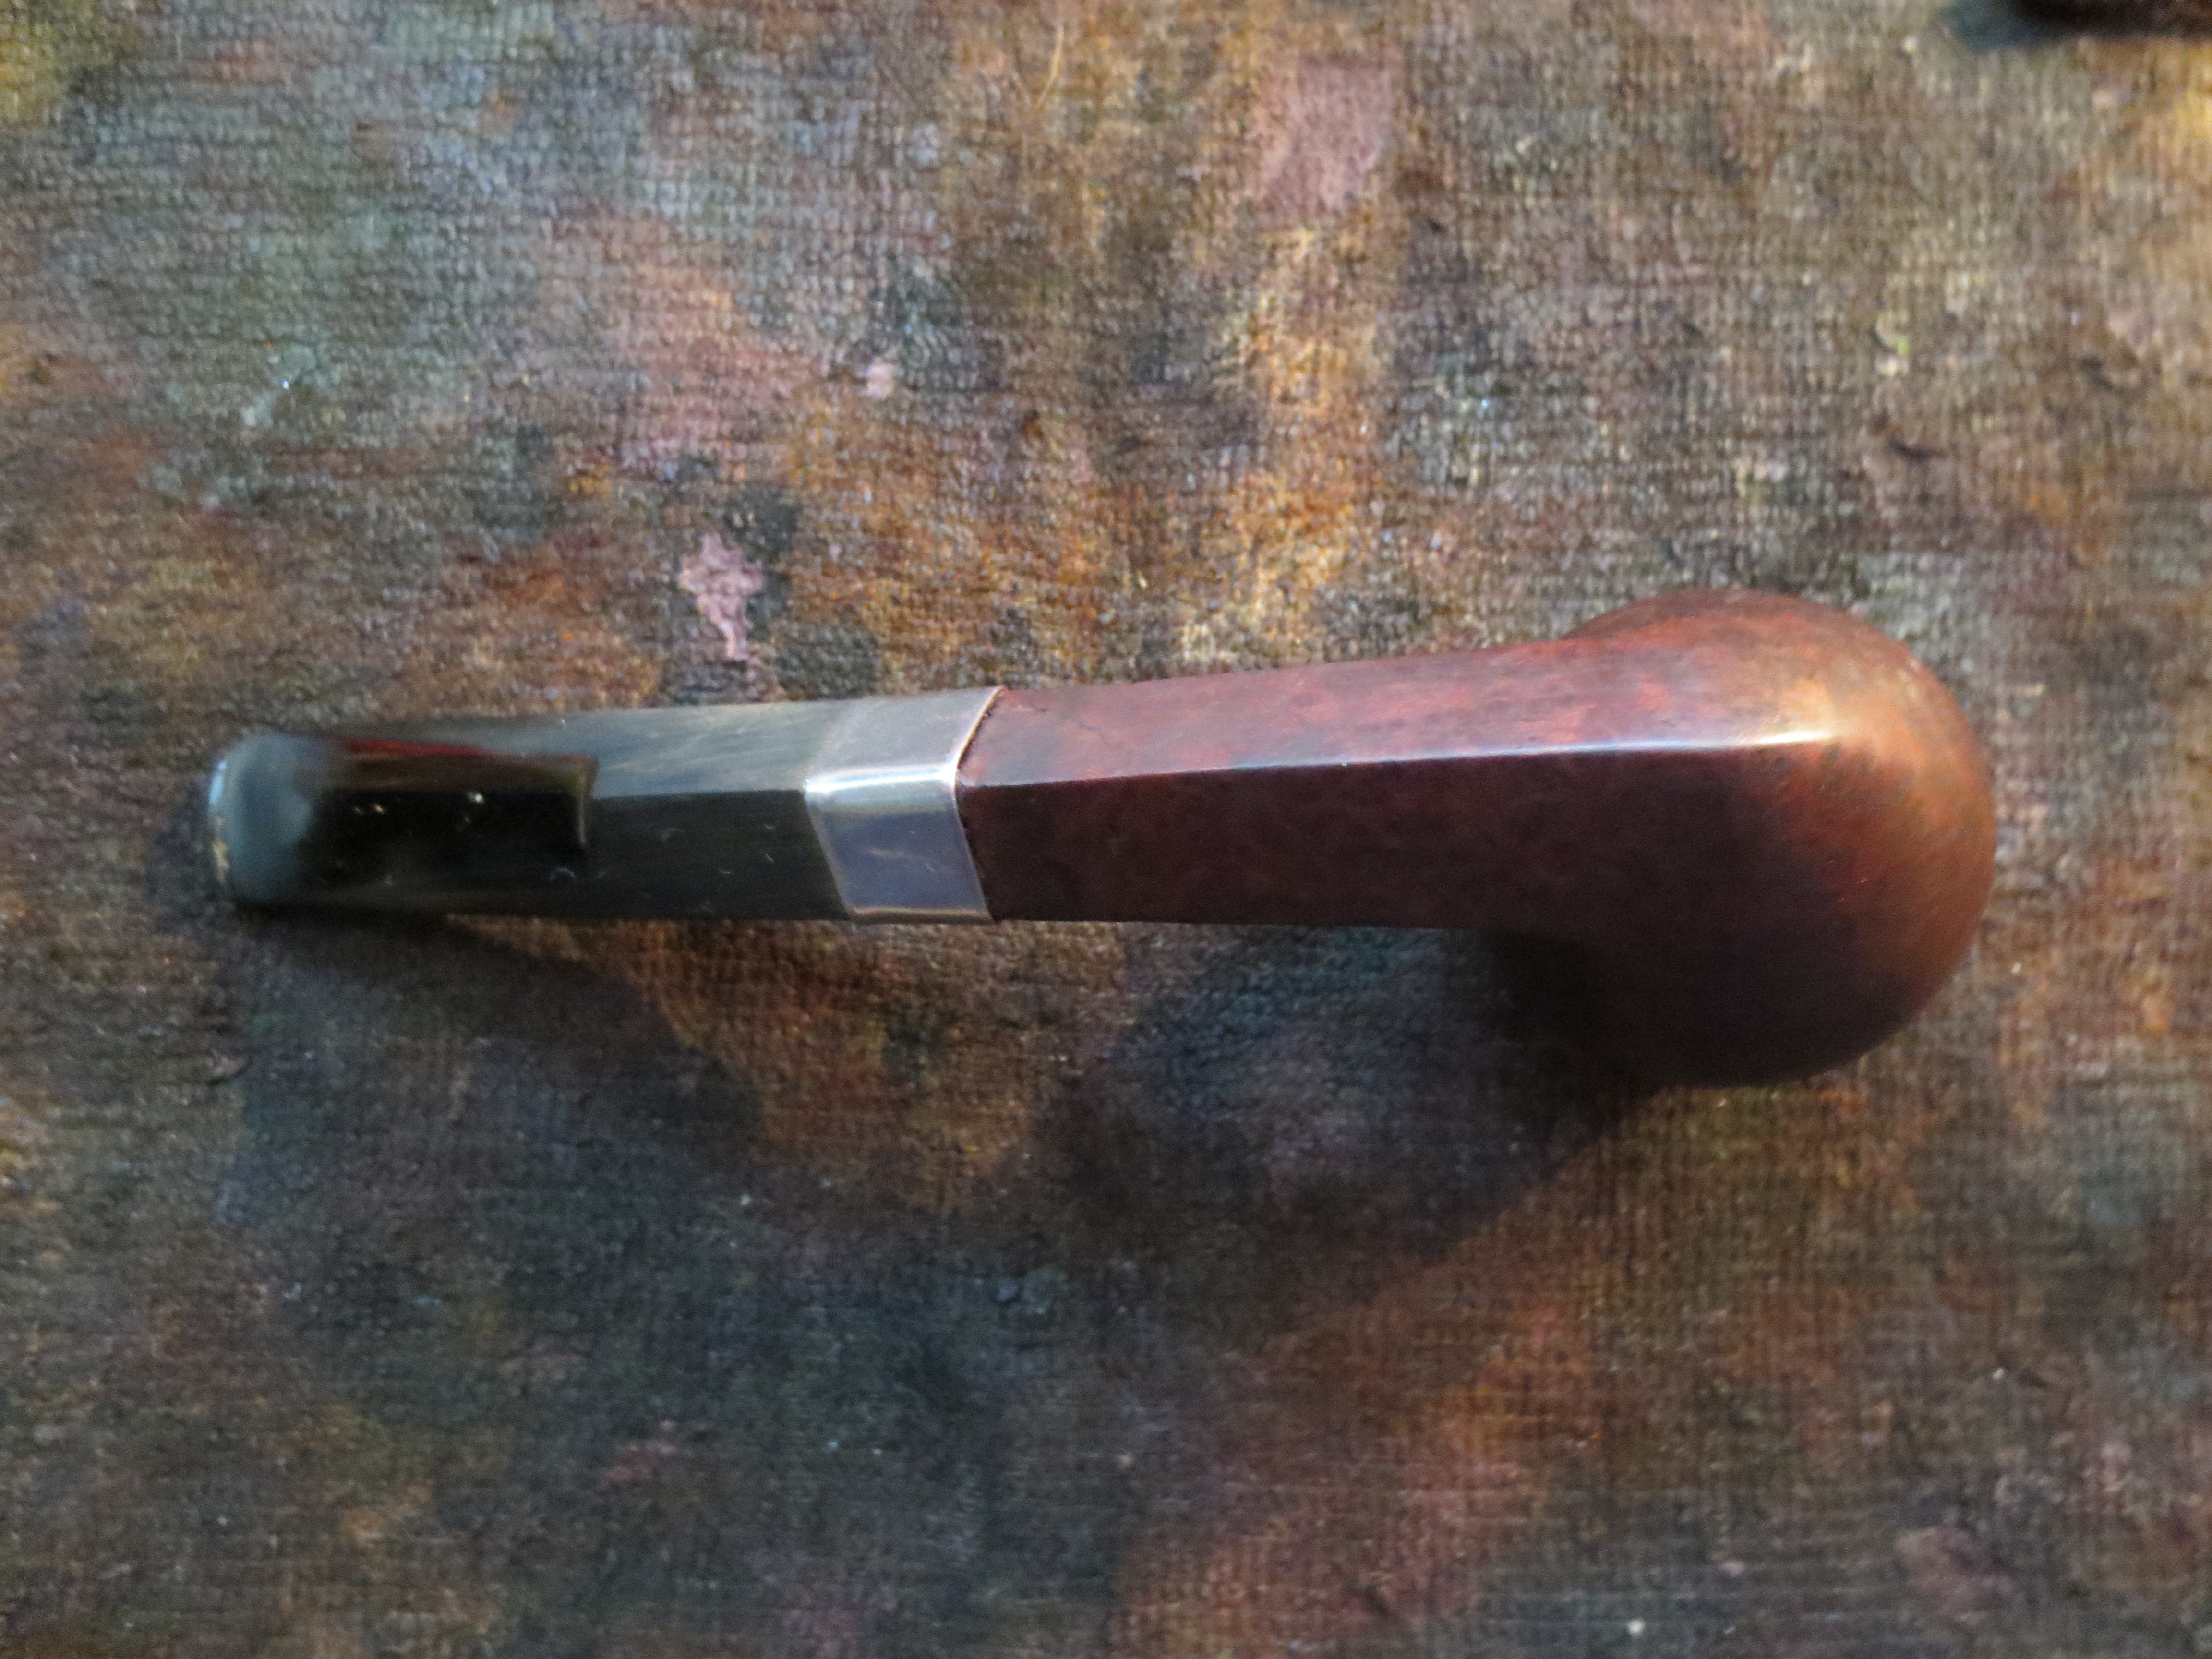
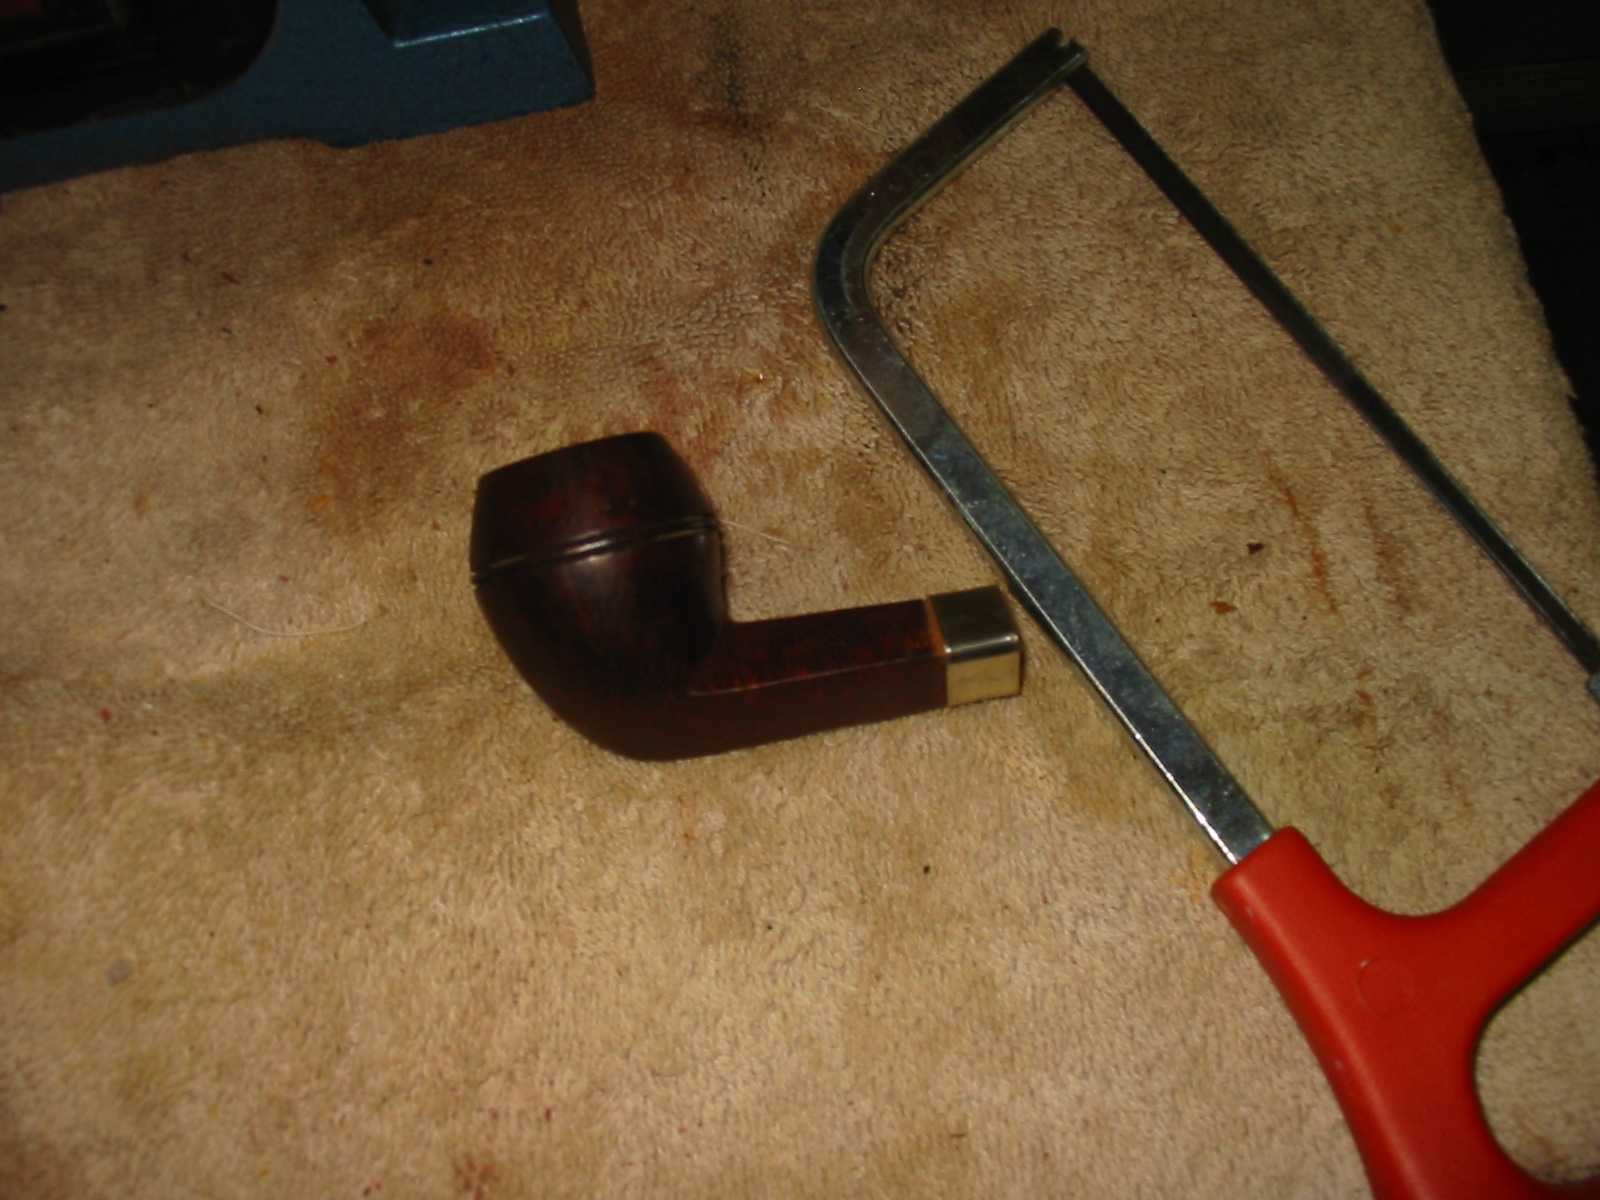
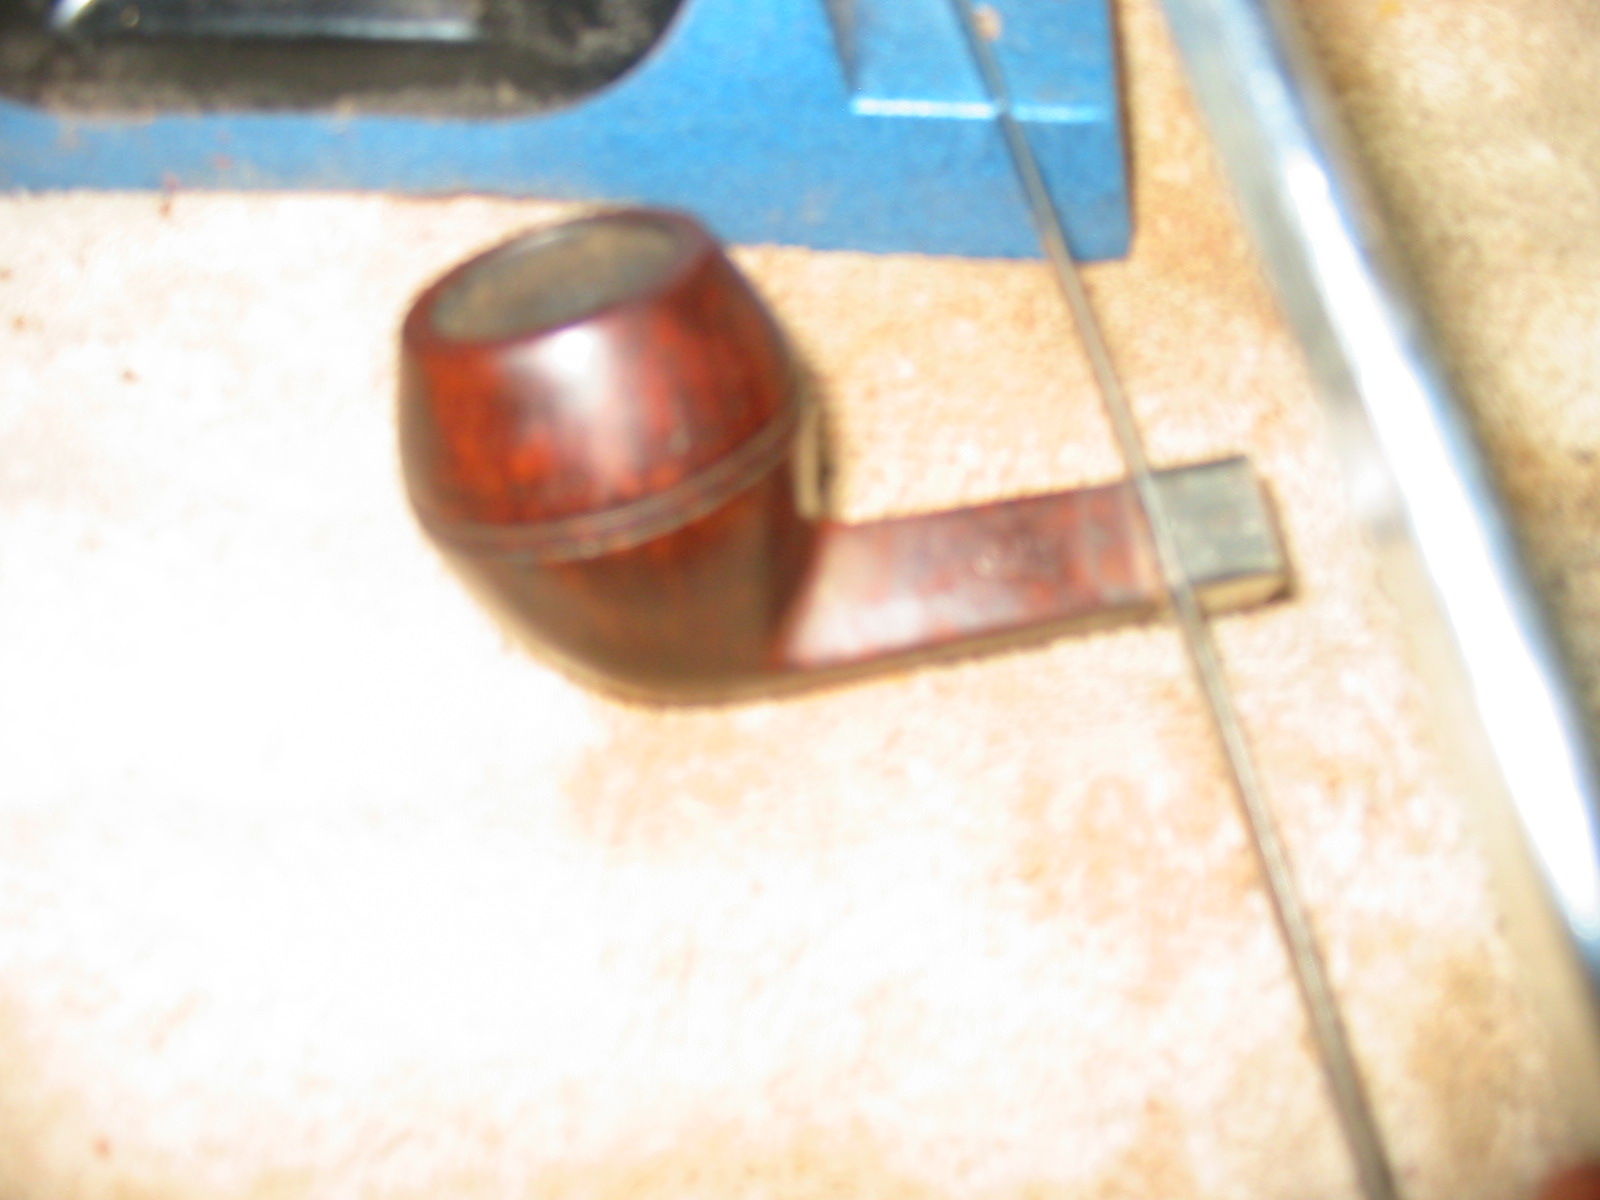
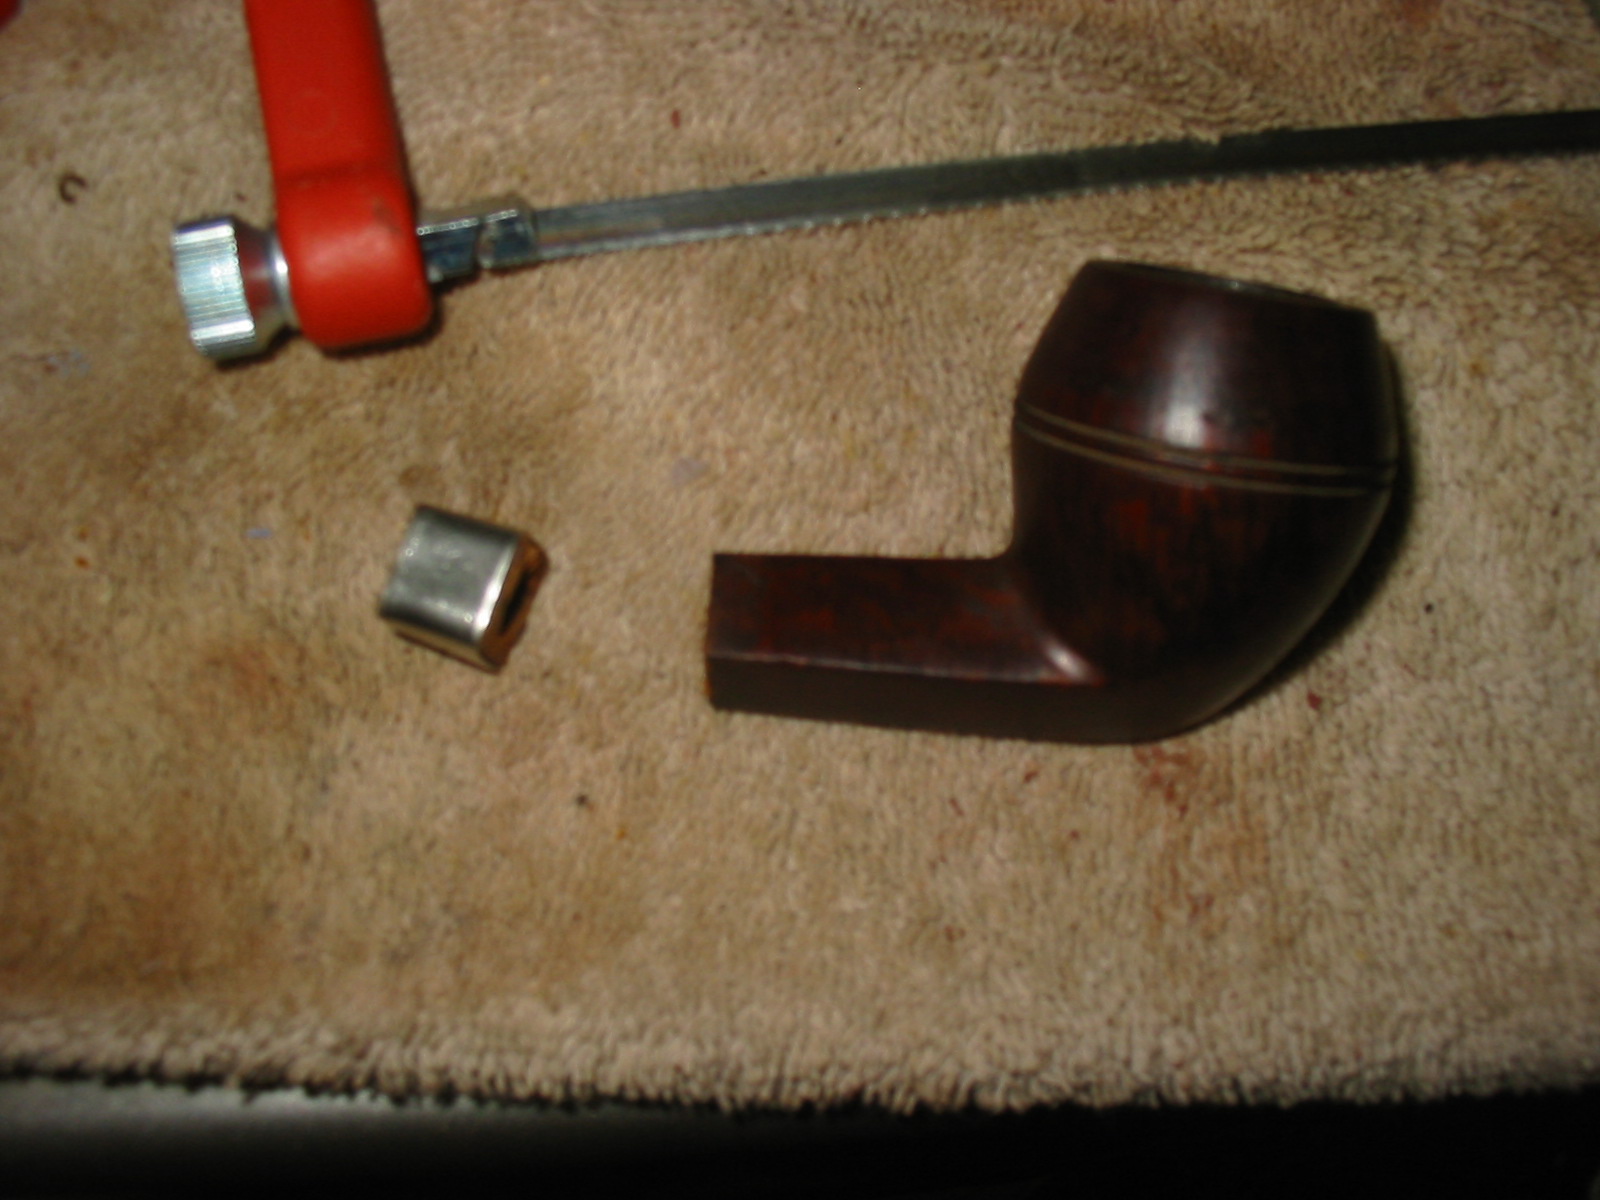
I decided to cut off the shank at the inside edge of the nickel band. I wanted to use the nickel band as the straight edge for the saw. I have seen too many pipes where the cut off shank was poorly cut and at an angle. So I used a hacksaw that has a perfect blade for working with briar. The teeth are fine so they do not chip the wood as they cut it. The cut when completed is clean and smooth with no chips. The next three photos show the set up for cutting and the cutting process itself. (I apologize for the second photo – it is hard to saw and take a photo!) But you can get the idea. The third photo below shows the finished cut.
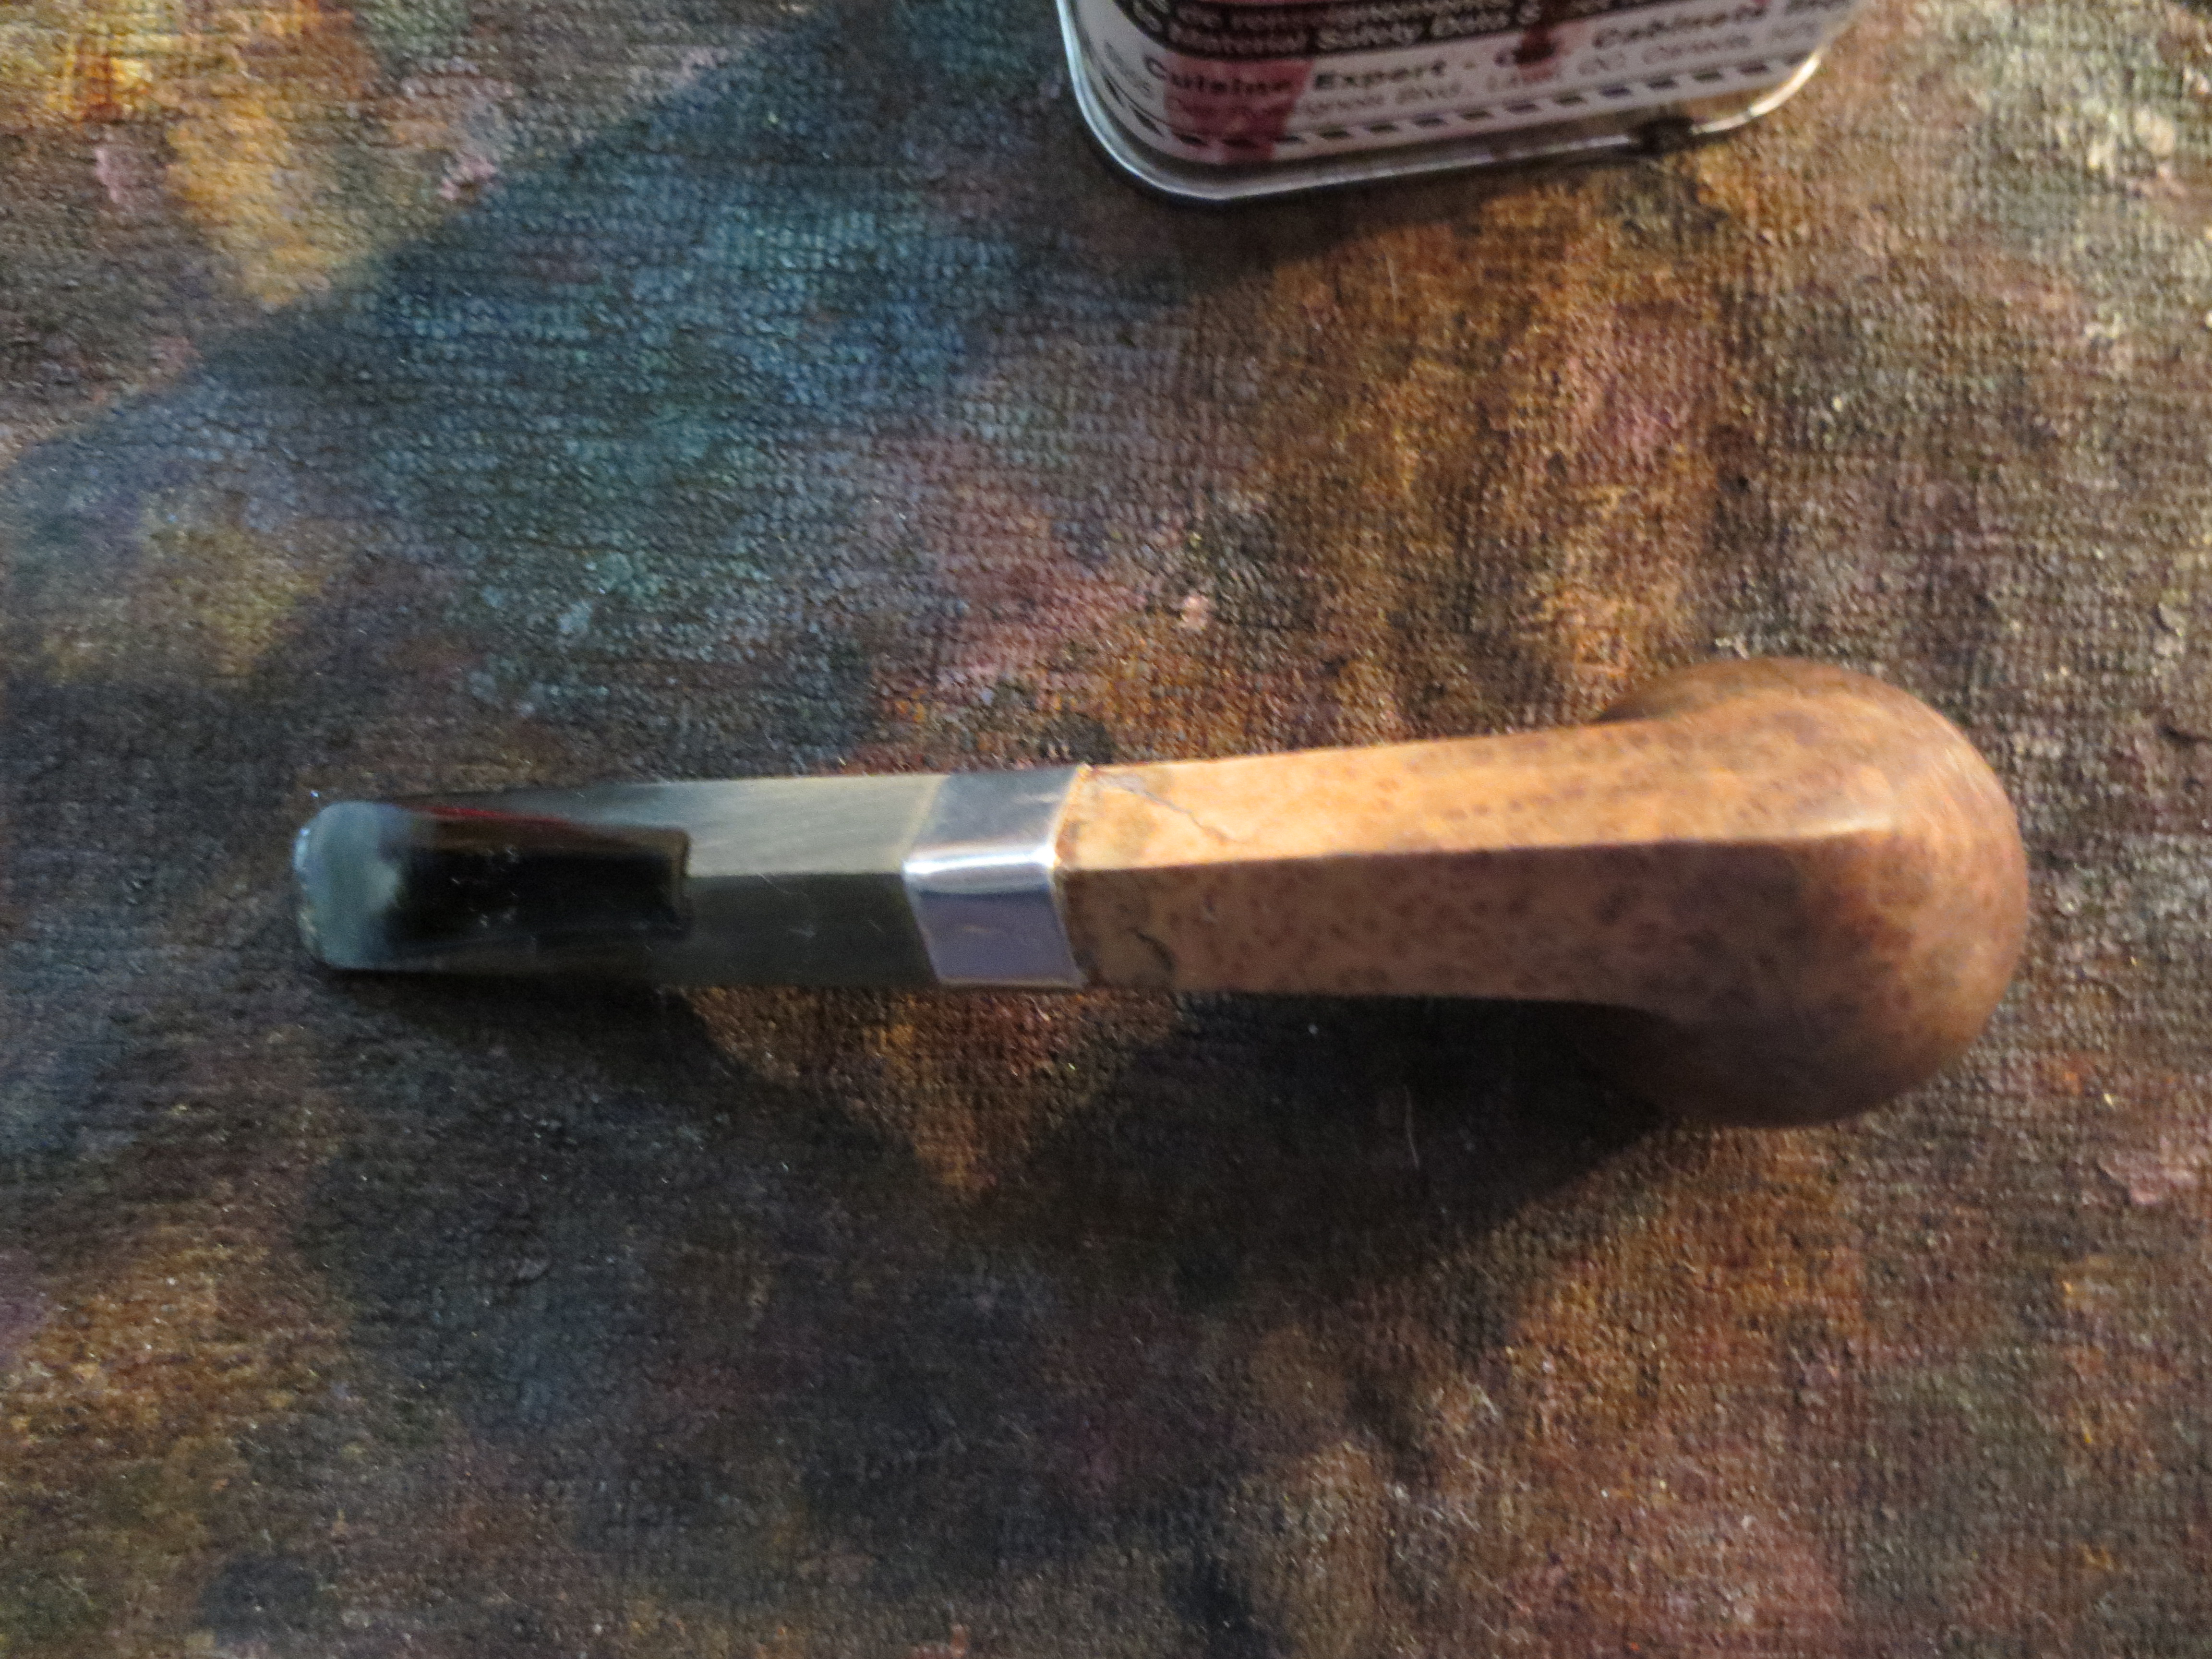
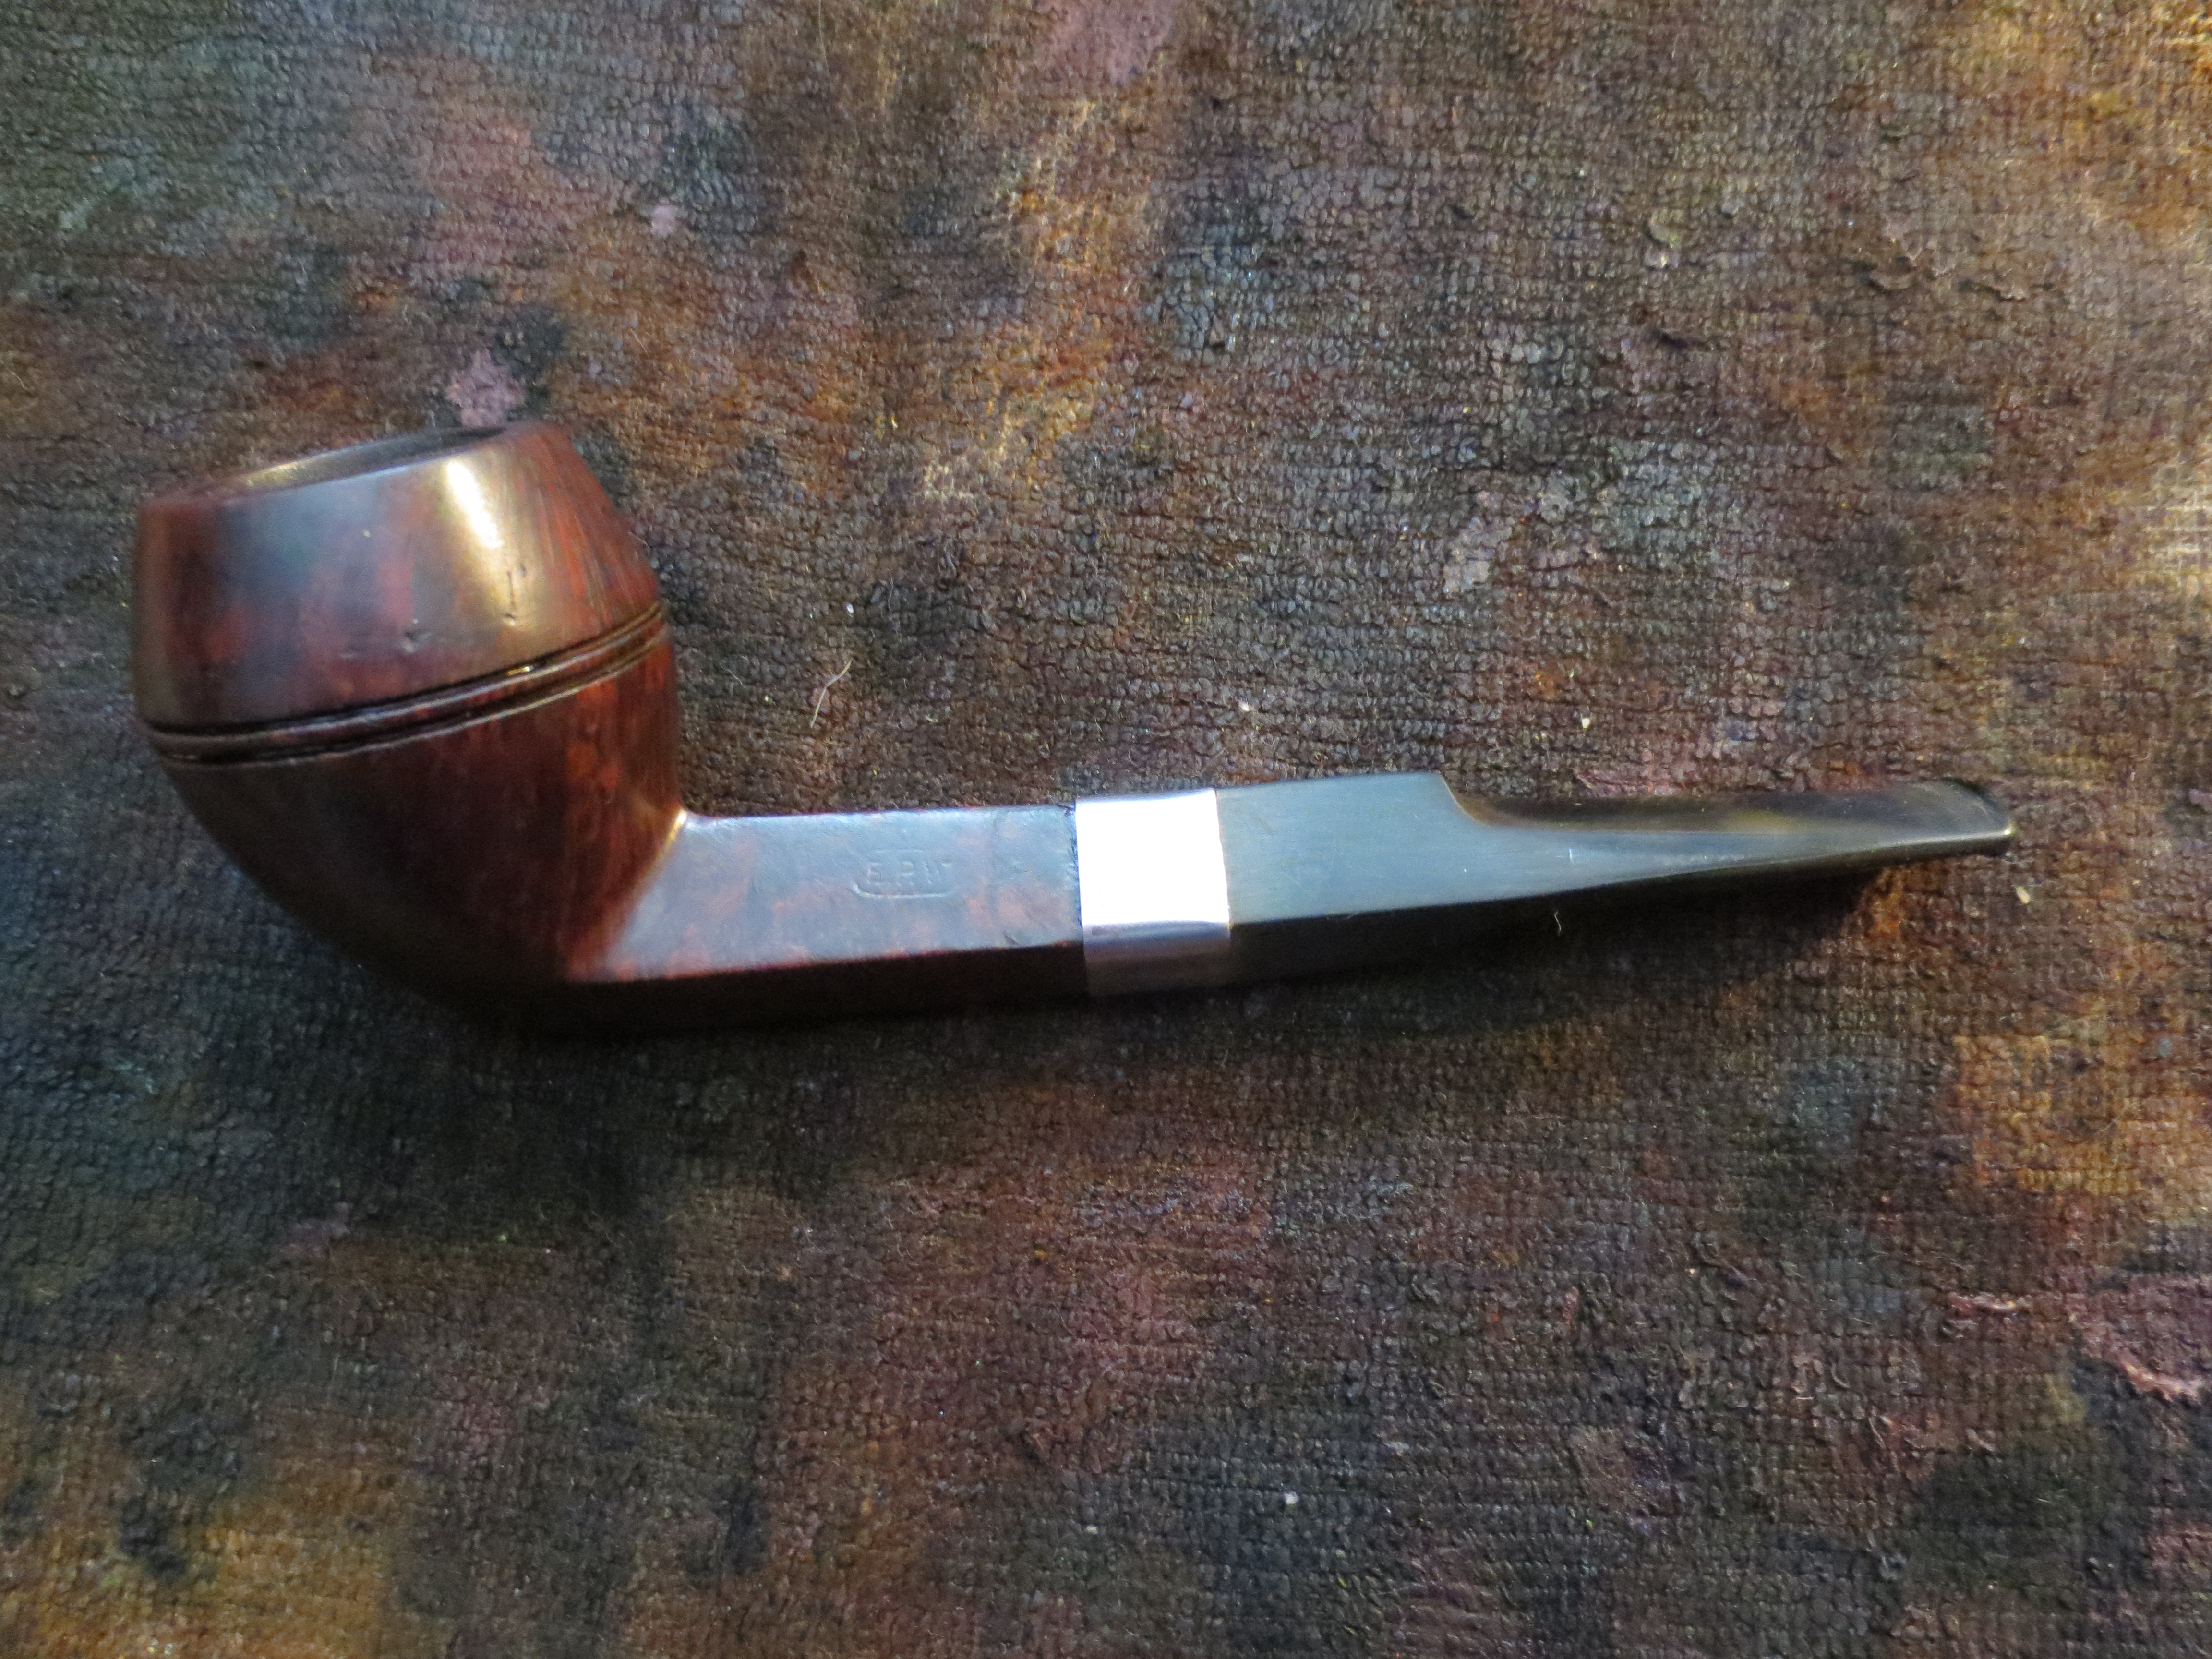
ImageImageImage

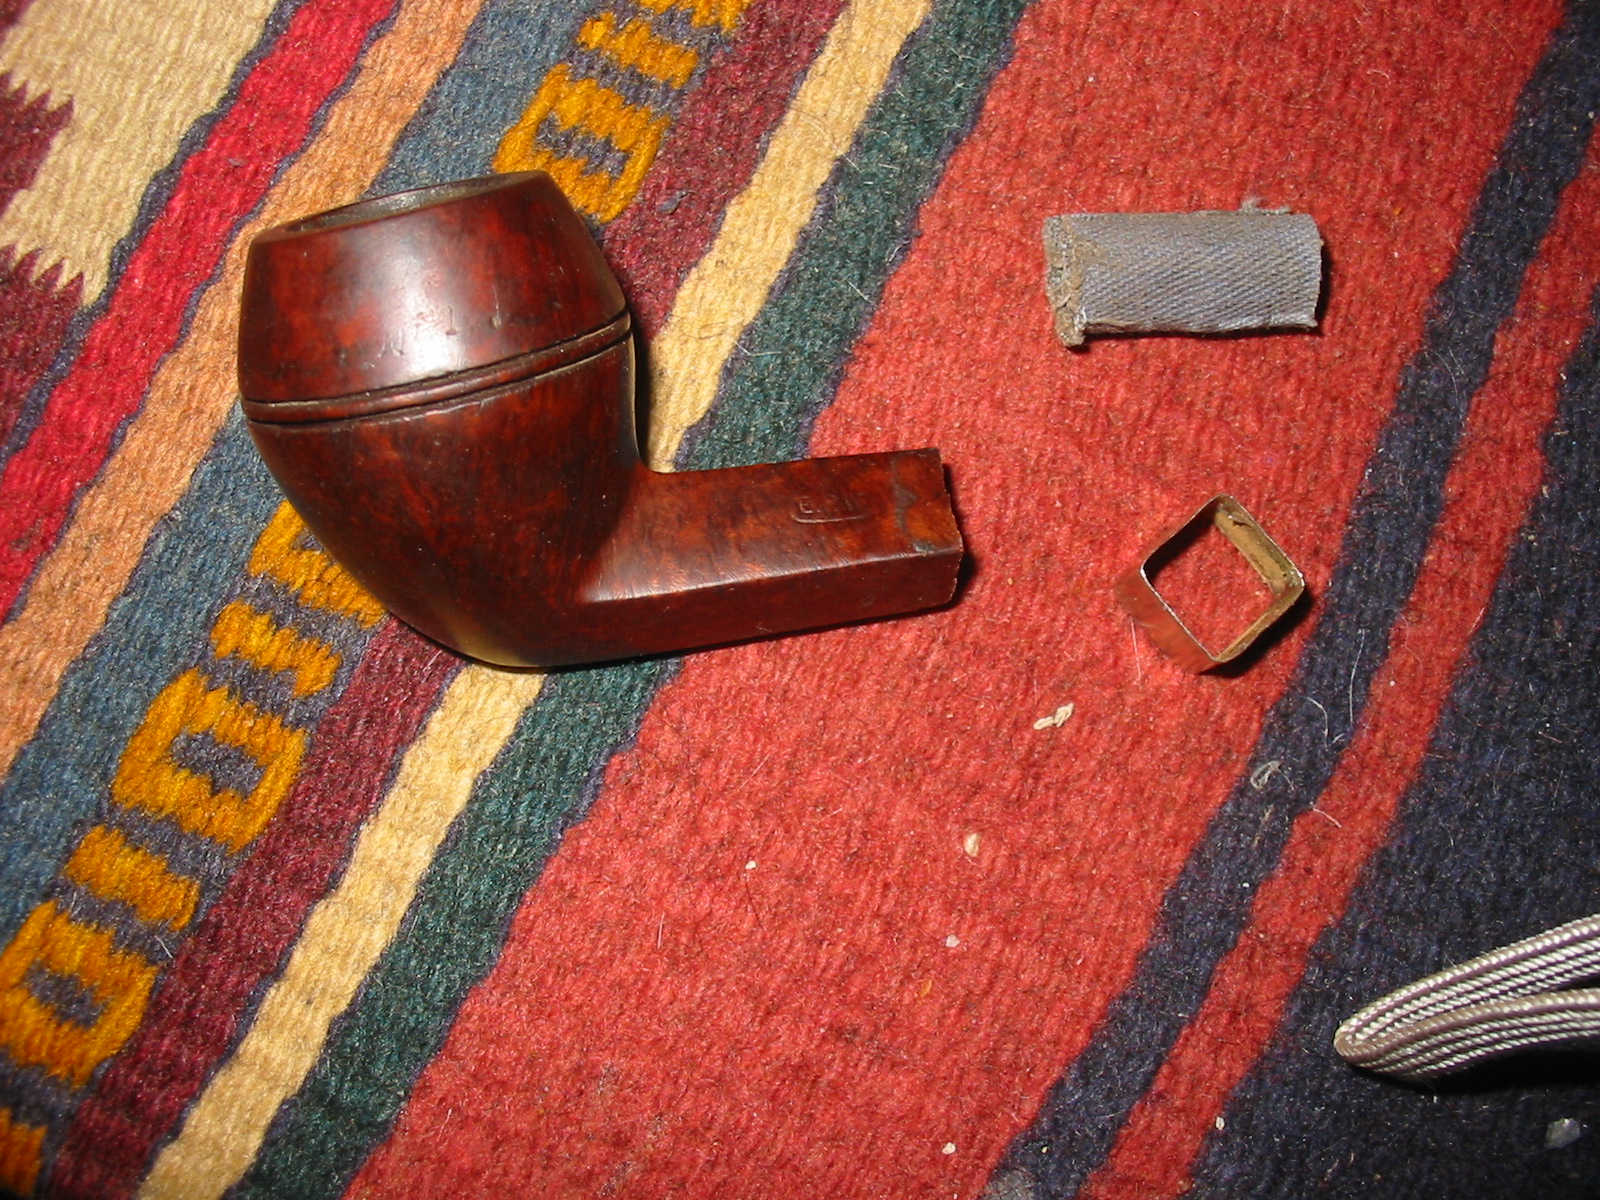
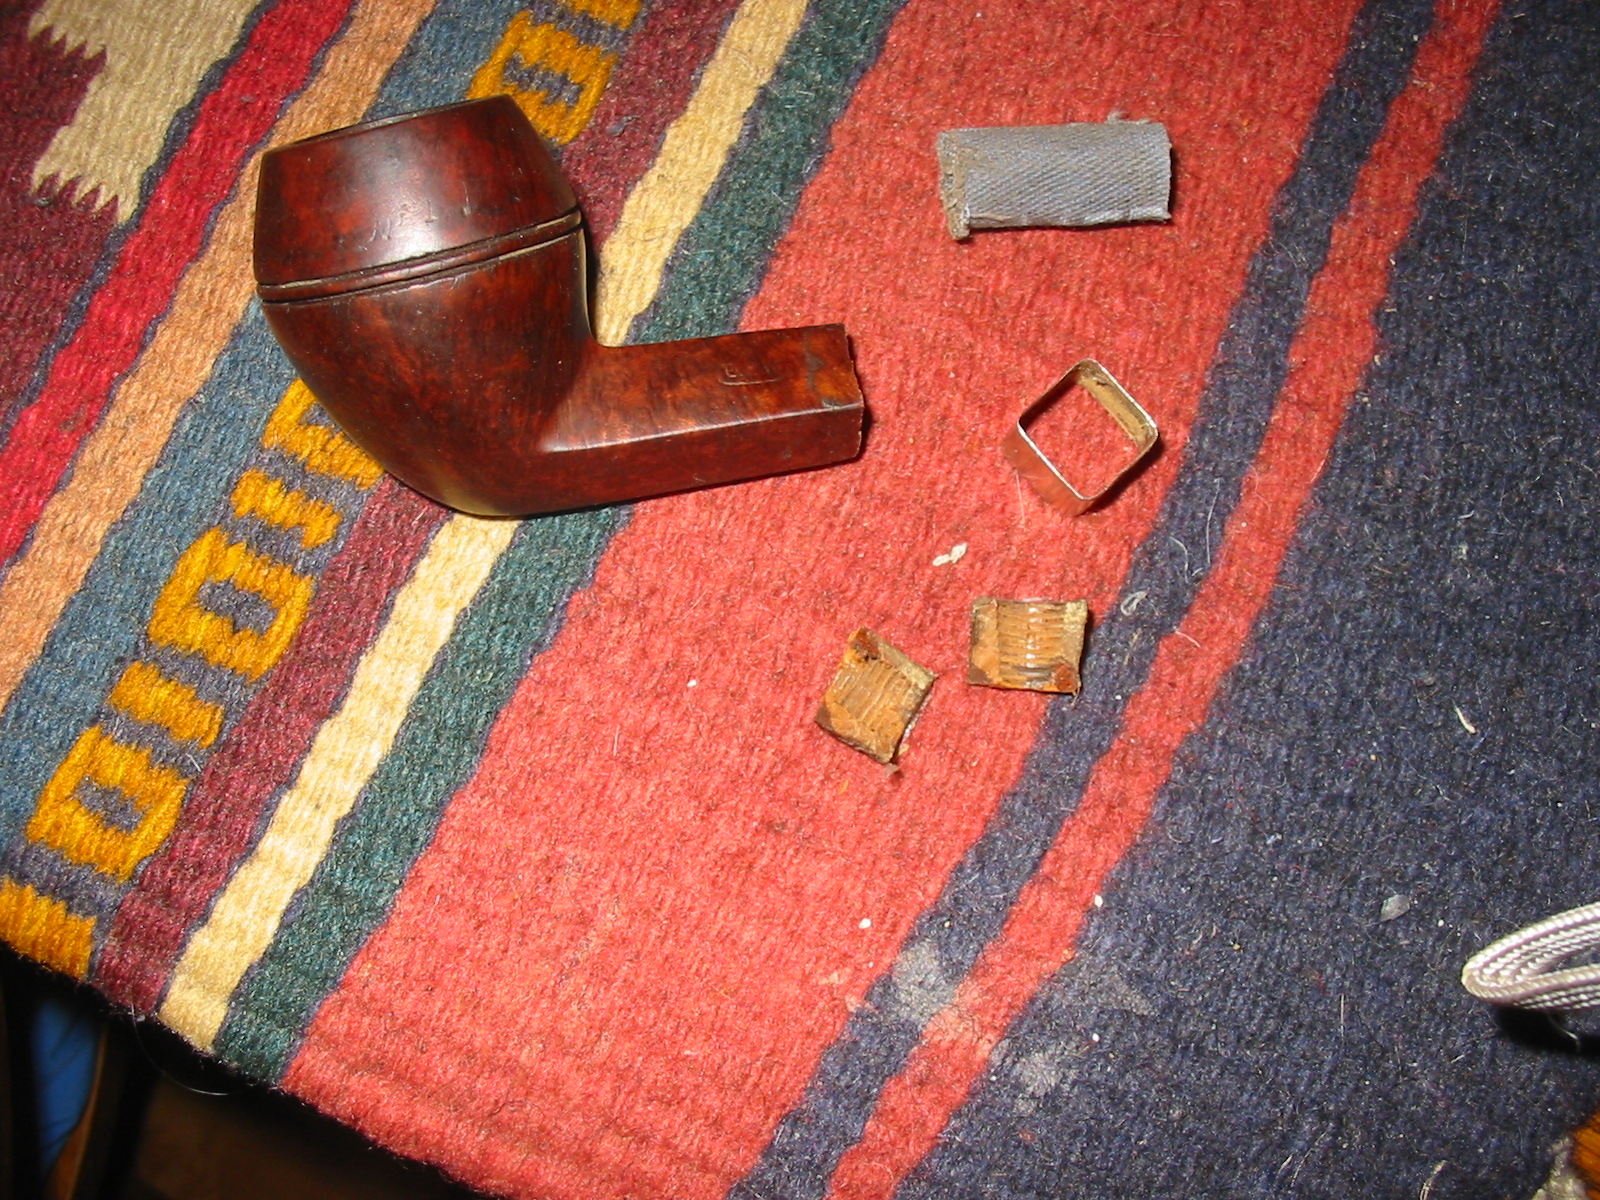
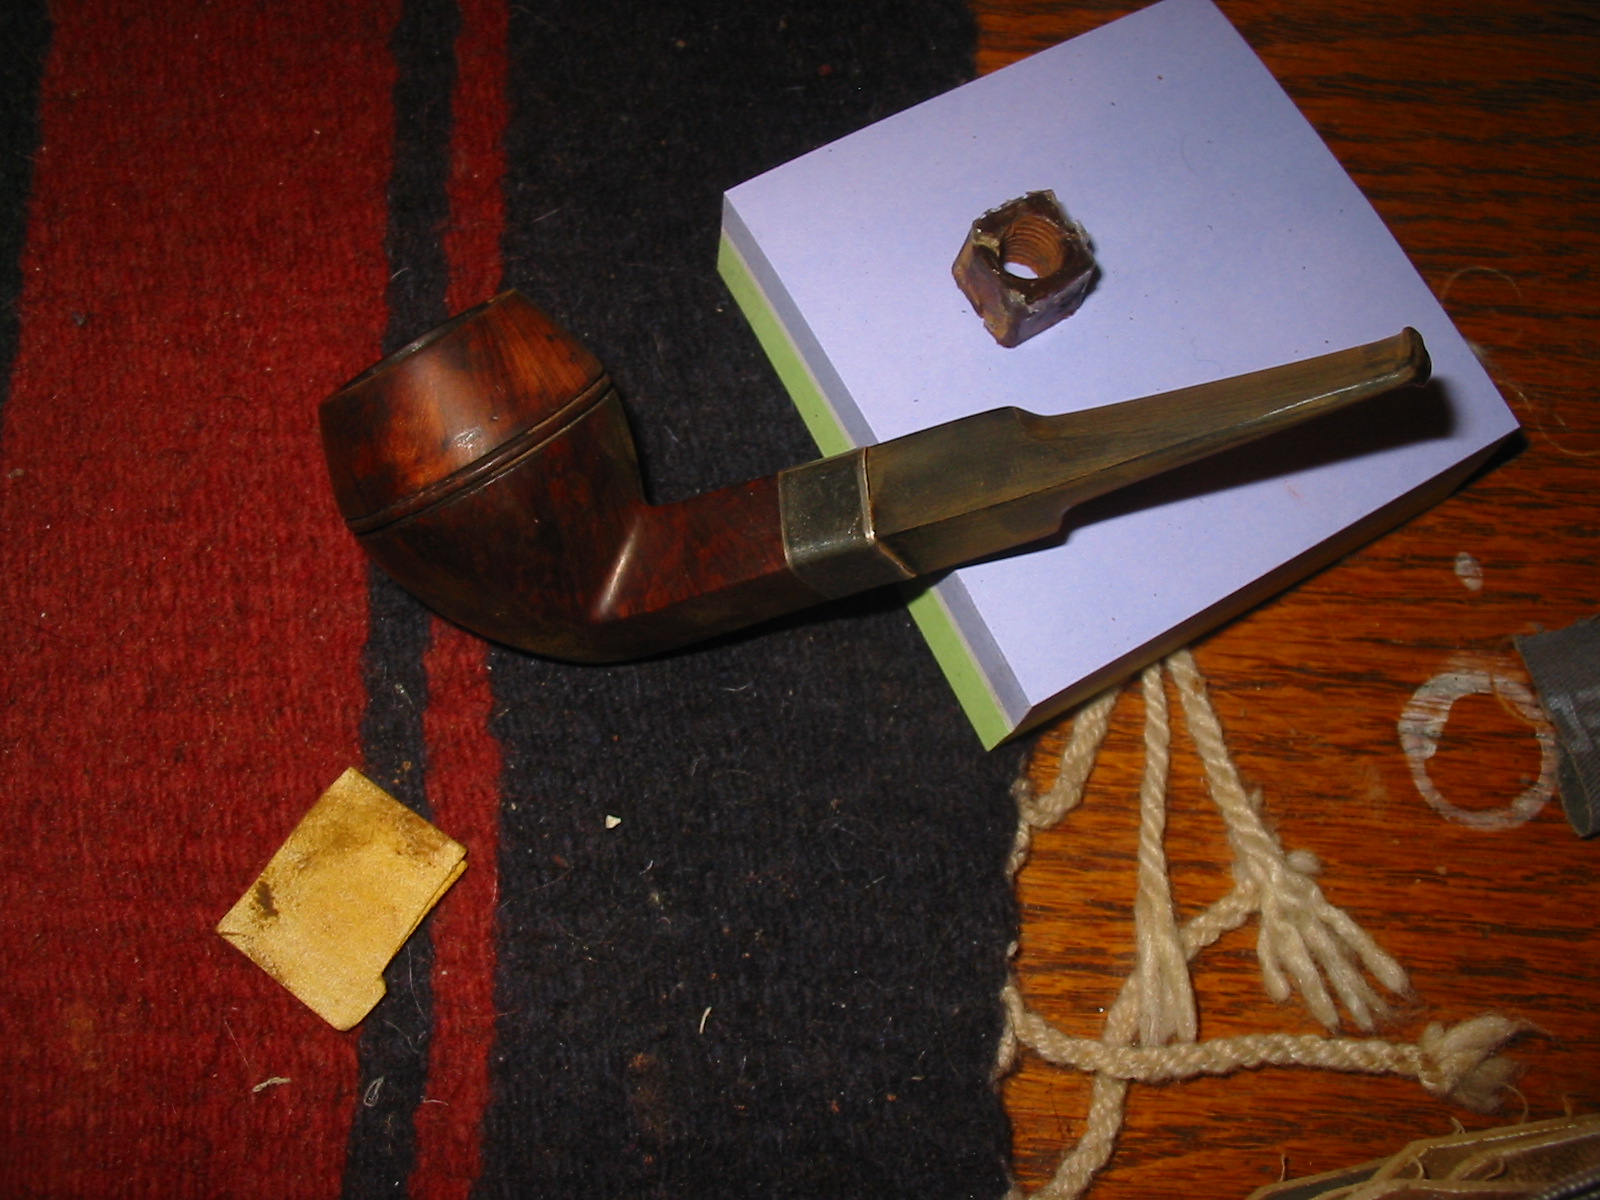
I took the two pieces back to my work table and removed the cut off piece of briar shank from the band. When they fell out they were in two pieces. I cleaned up the band and straightened out the angles to make sure it would fit the shortened shank. It was just a bit too deep and when in place would cover the W of the stamping but it would do a good job on the cracks. With the piece cut off the cracked shank had two very small cracks left that would easily be repaired by the band. I smoothed out the cut end with a piece of emery paper. In the second photo below you can see the cut off shank piece. It is cracked all the way through and in two pieces. Note also that the mortise was threaded for the older original screw tenon.

ImageImage

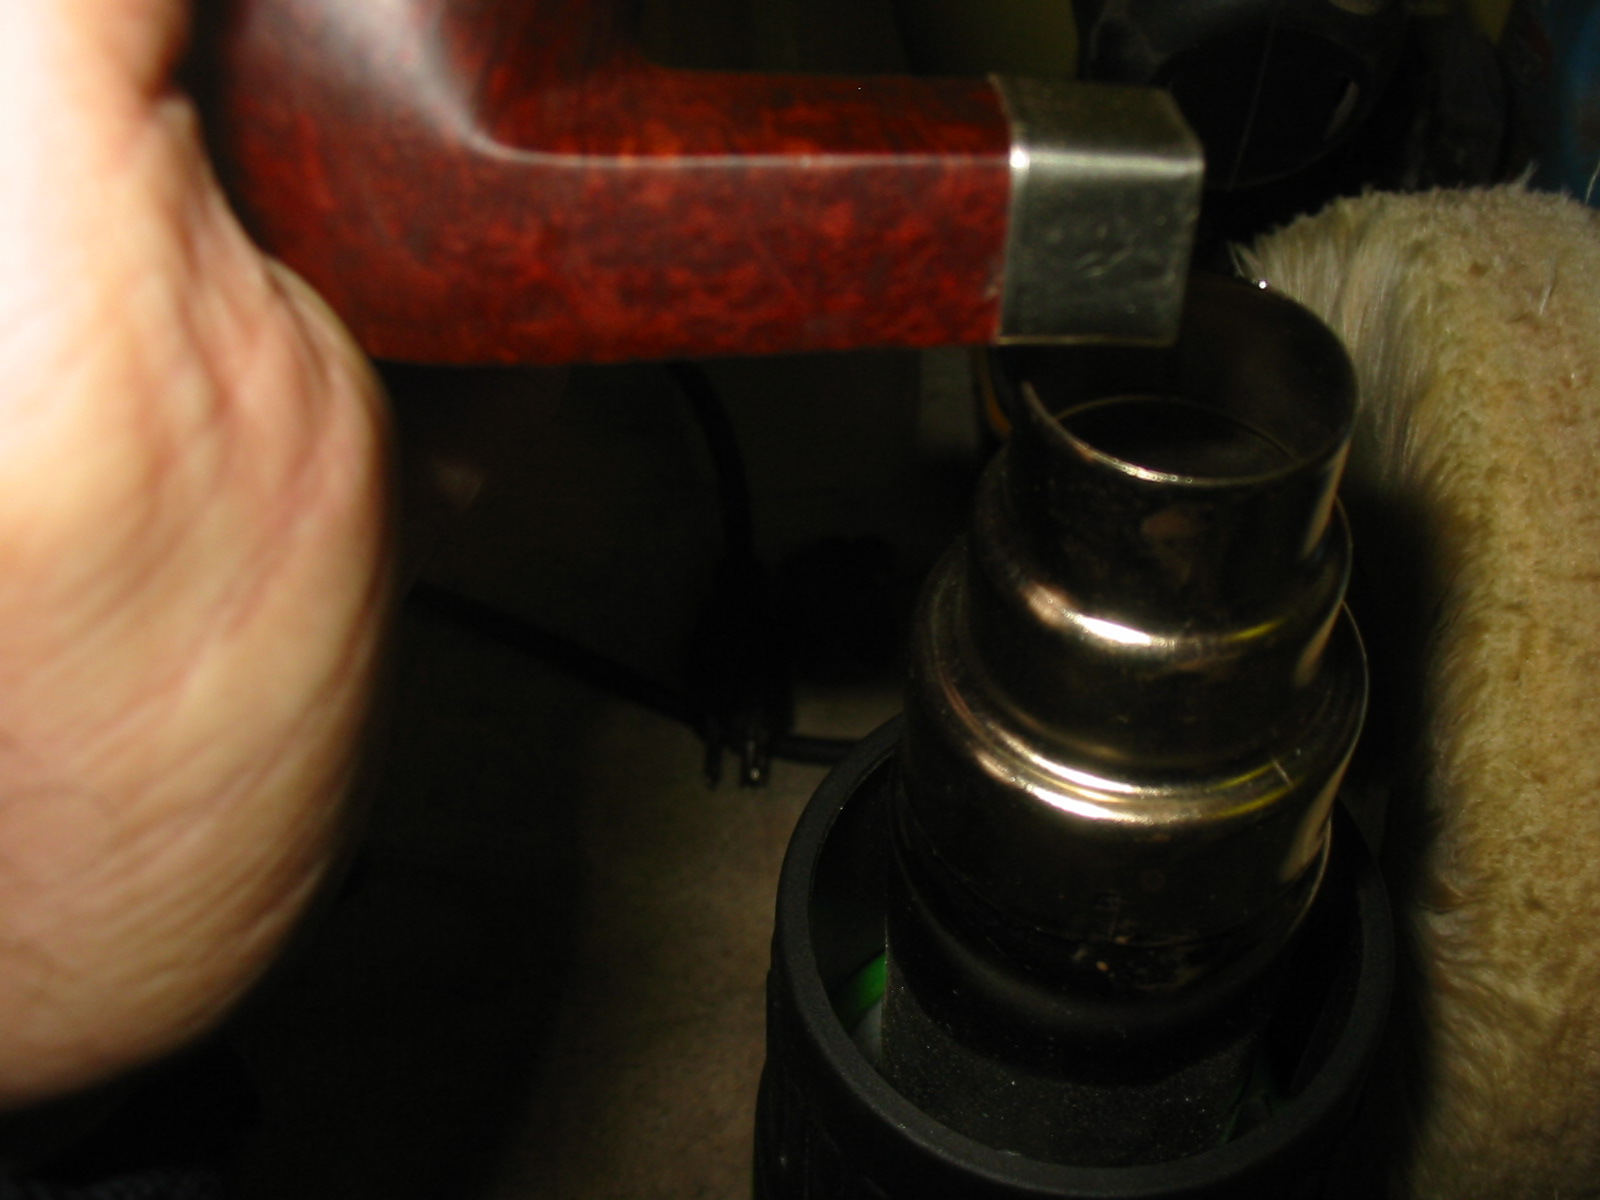
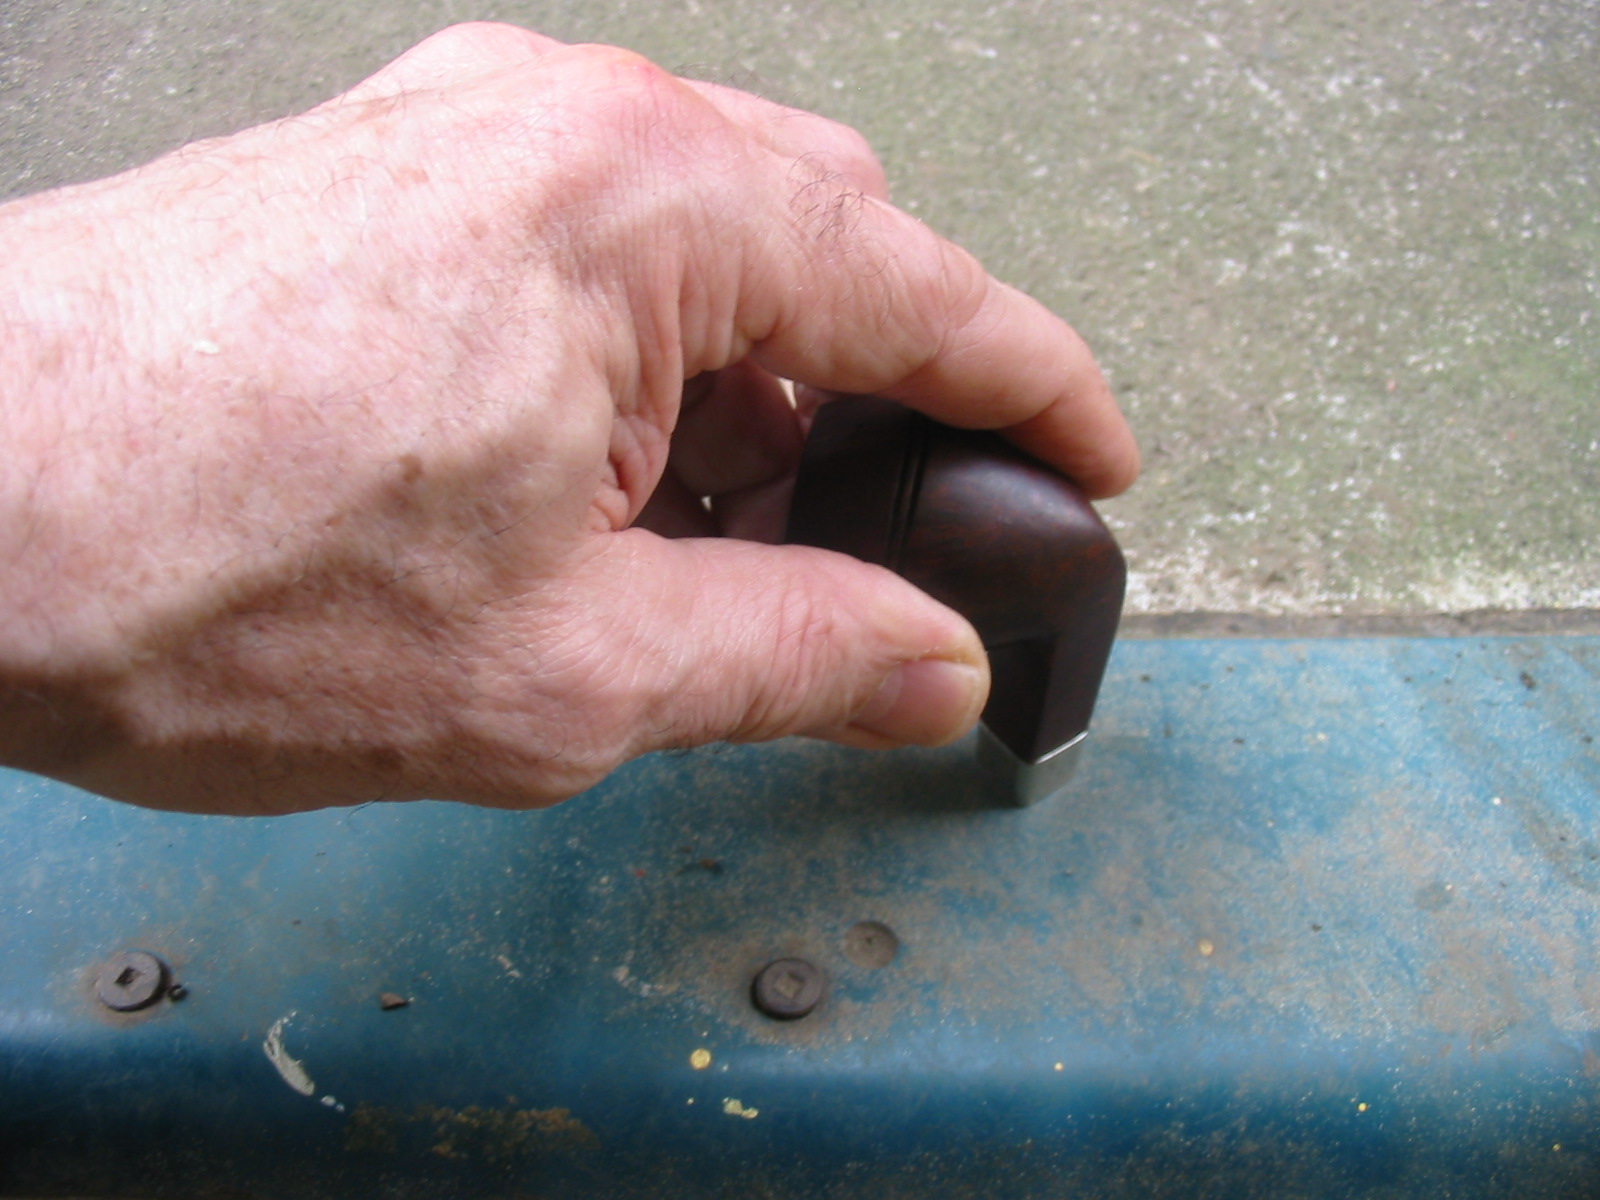
I put the band in place on the end of the shank. It was a good tight fit but would not slide all the way in place. So I set up my heat gun and heated the band (Photo 1 below). I then pressed it into place on the shank by squarely pushing the shank and band on a metal plate (Photo 2 below). The final three photos below show the shank with the newly fitted band in place. The shank is ready to be drilled deeper to fit the tenon.

ImageImageImageImageImage

I matched the drill bit to the mortise in the cut off piece of shank. I used a drill bit one size lower and drilled the mortise to the depth of the tenon. I then used the proper sized drill bit and drilled it a bit larger. Once I had the drilling down I sanded down the tenon with some emery cloth to make a clean tight fit and inserted the stem. Once the stem fit well I decided to rework the nail holes and holes in the sides of the top half of the bowl above the double rings. I packed in briar dust and dripped super glue in to them. The next two photos show the repaired/filled holes.

ImageImage

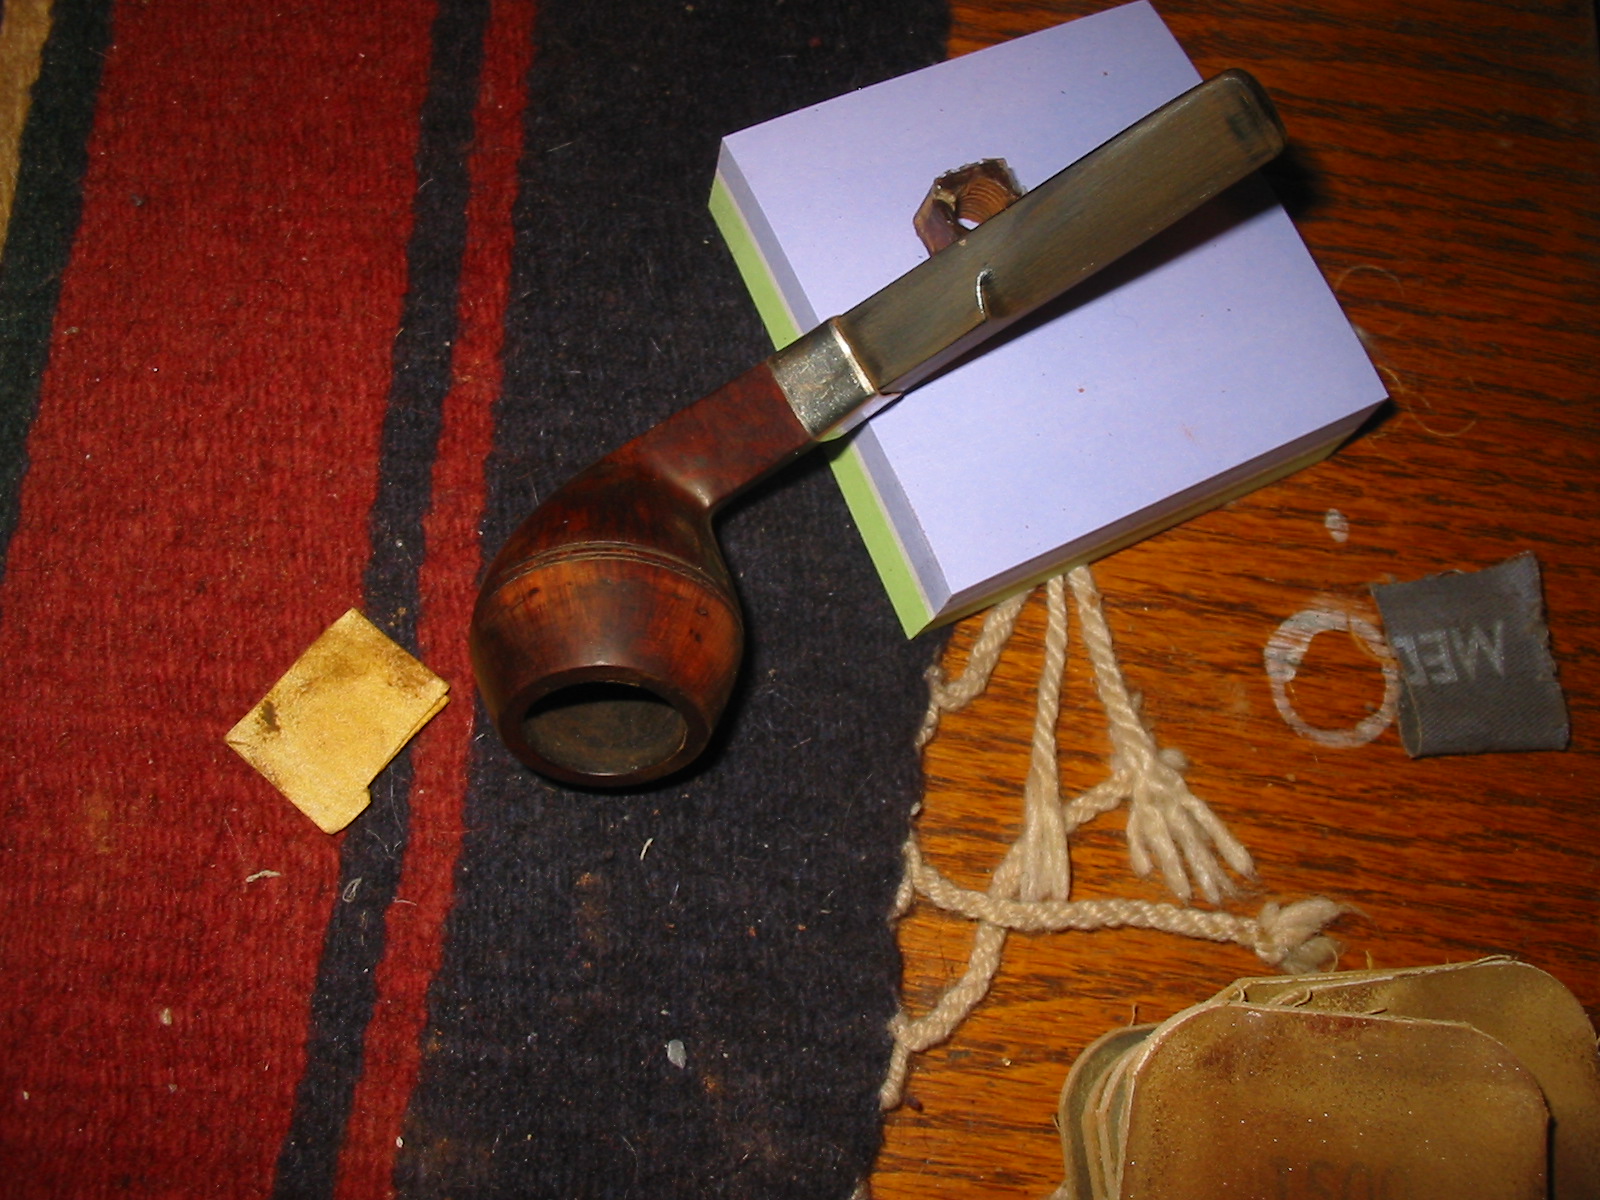
The glue and briar dust dried quickly so I sanded them with 320 grit sandpaper to smooth them out to the surface of the briar. The next four photos show the sanded patches and also the sanded stem. I used the same sandpaper to sand off the oxidation on the stem and clean up the surface of the stem so that I could work on it with the micromesh to bring out a deep black shine. (In the background of the photos I left the piece of cut off shank for a sense of the size of the piece I removed from the length of the pipe.)

ImageImageImageImage

At this point in the process I was ready to work the stem with micromesh sanding pads to remove all of the scratches and bring back the deep black. The shorter stem gave the pipe a great look in my opinion. The finished length is 5 inches as opposed to 5 ½ inches but it looks more balanced to me. The loss is the long shanked look of the original bulldog. The gain is a more solid pipe with less chance for the breakage to continue and render the pipe irreparable.

The next series of photos show the progress of sanding with the micromesh pads from 1500 – 12,000 grit. The first four photos show the stem after I wet sanded with the 1500, 1800 and 2400 grit micromesh. After wet sanding I polished the stem with some Maguiar’s Scratch X2.0 and then took it to the buffer and buffed the stem with Tripoli and White Diamond.

ImageImageImageImage

I then dry sanded with 3200 -12,000 grit micromesh sanding pads. The next series of seven photos show the progress of the developing shine on the stem. Once I finished with the 12,000 grit pad I wiped down the stem with Obsidian Oil and when dry buffed it with White Diamond for a final time. The only thing remaining was a final buff with carnauba wax.

ImageImageImageImageImageImageImage

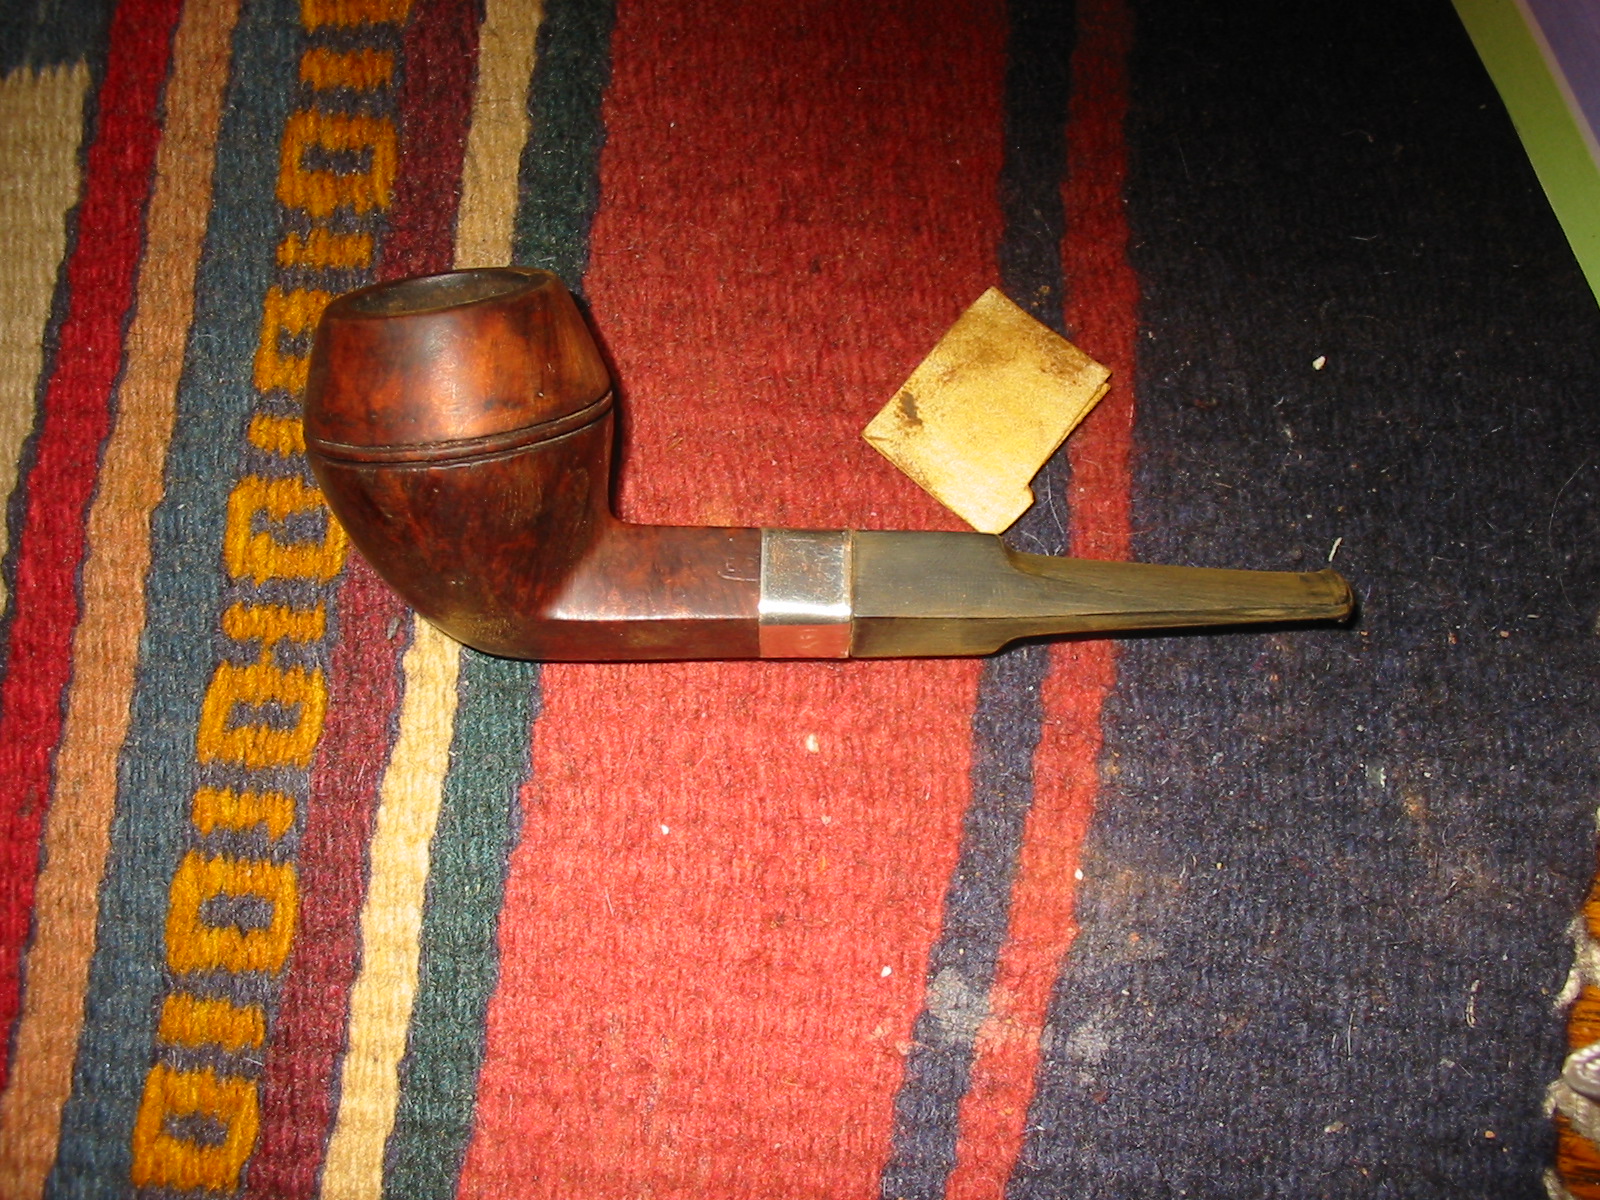
The final four photos below show the finished pipe. I applied several coats of carnauba wax and buffed the pipe and stem with a soft flannel buff to give it the final shine. When I started on this pipe I would have never guessed that I would refurbish it twice, band it twice, stain it twice, work the stem twice, and on goes the list of second times on this one. But the end product speaks for itself. I like the look of the shortened shank and tight band. This one will outlast me in its service to pipemen in the days ahead.

ImageImageImageImage