by Kenneth Lieblich
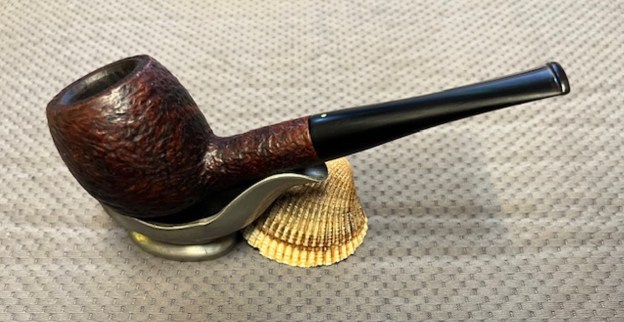
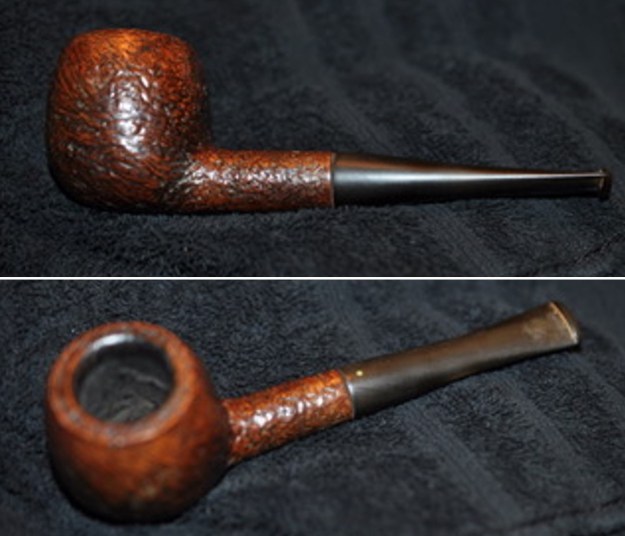
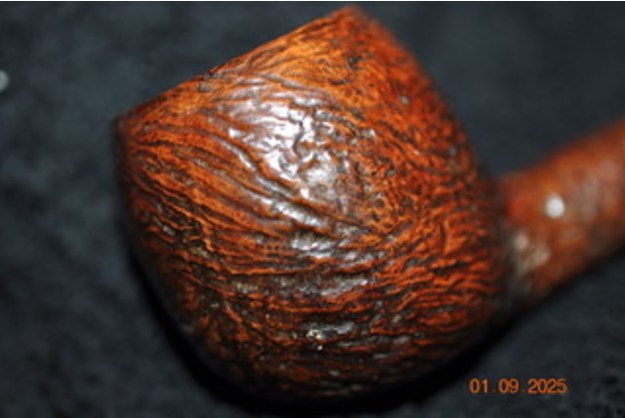
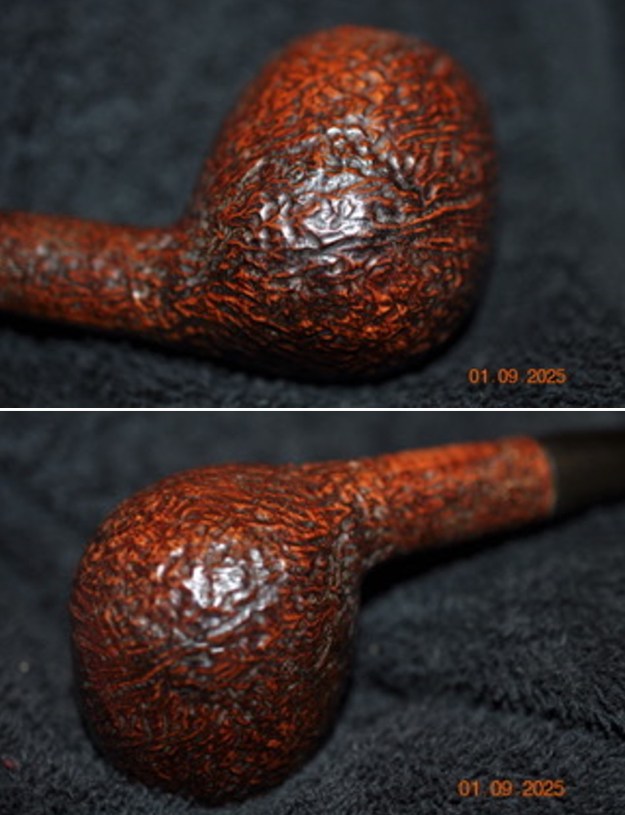
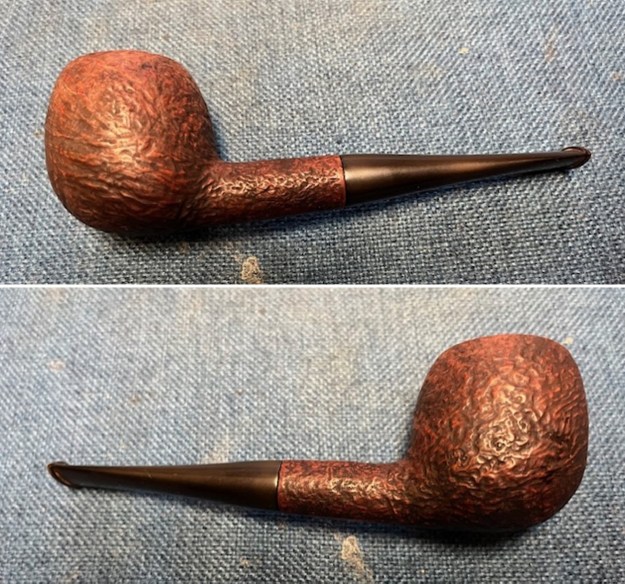
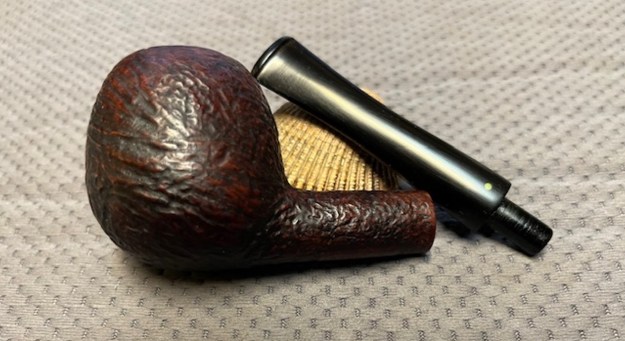
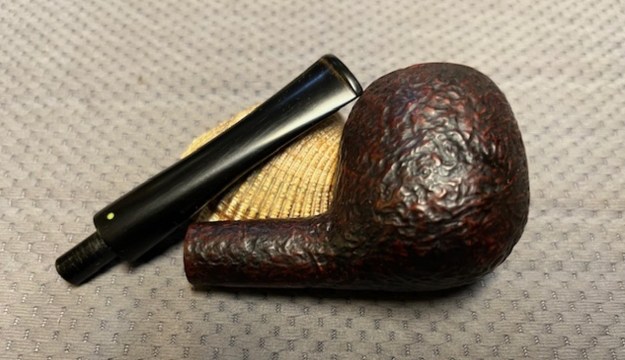
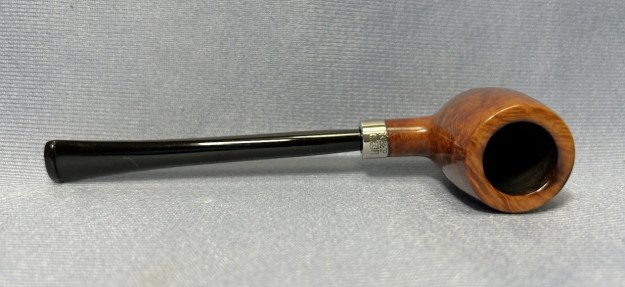
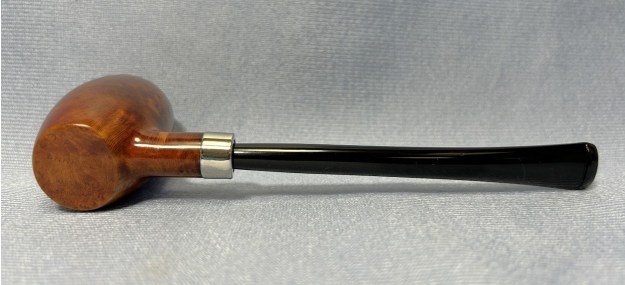
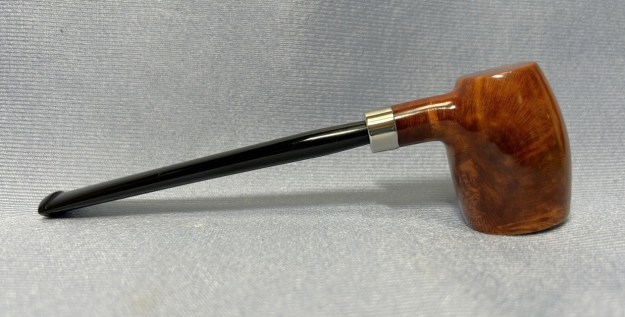
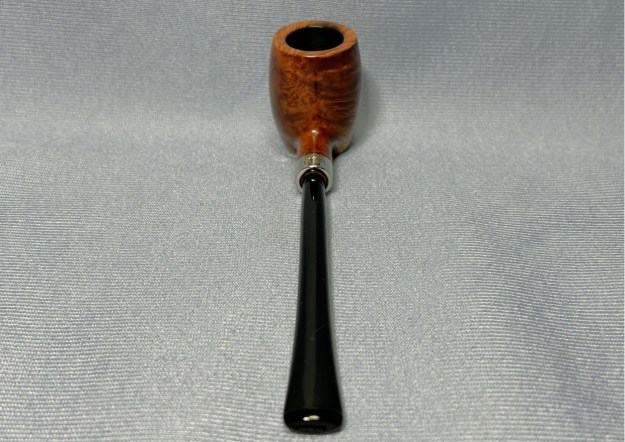
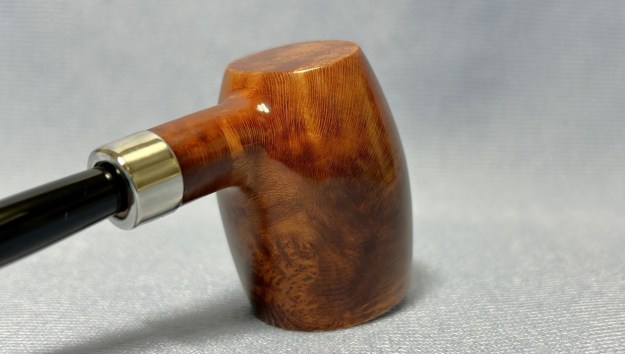
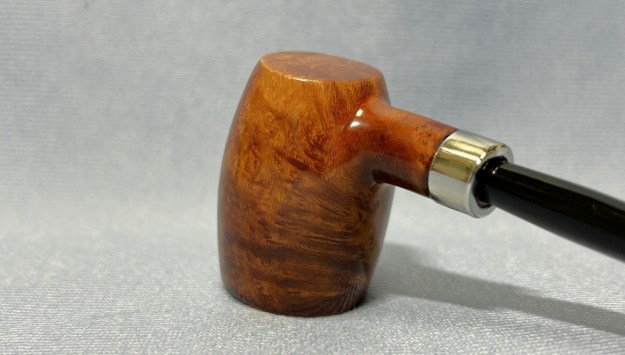
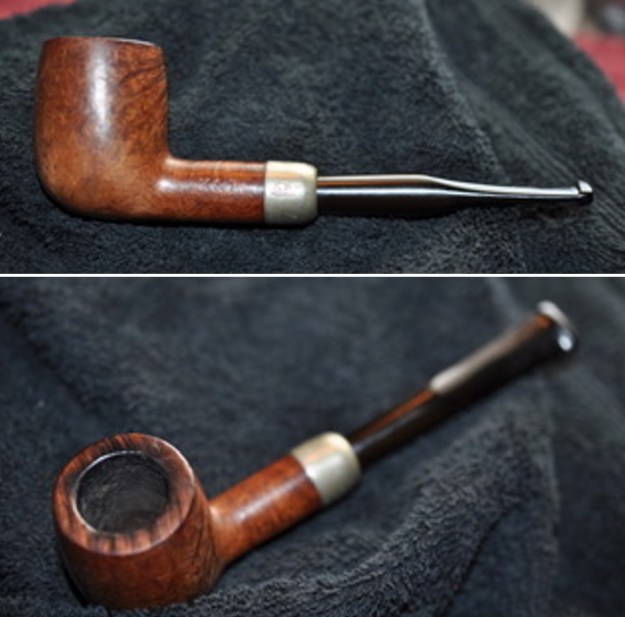
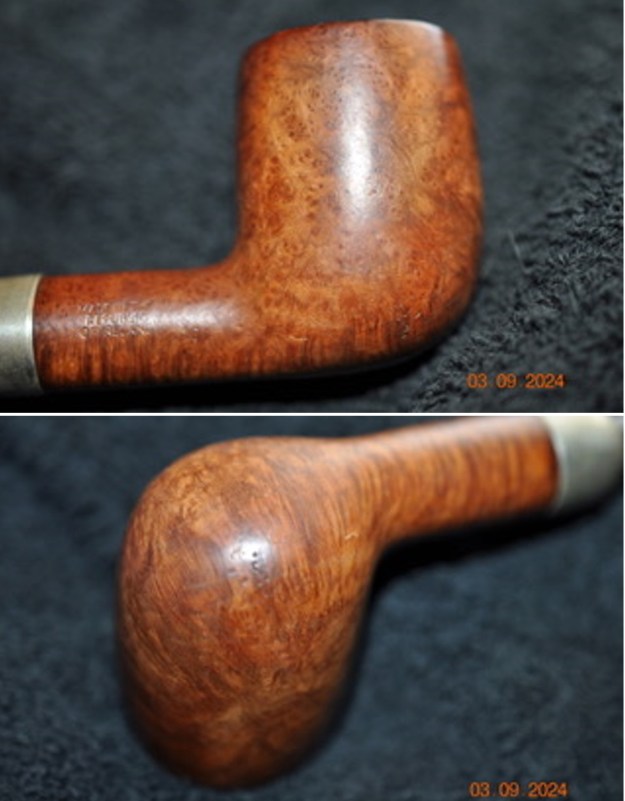
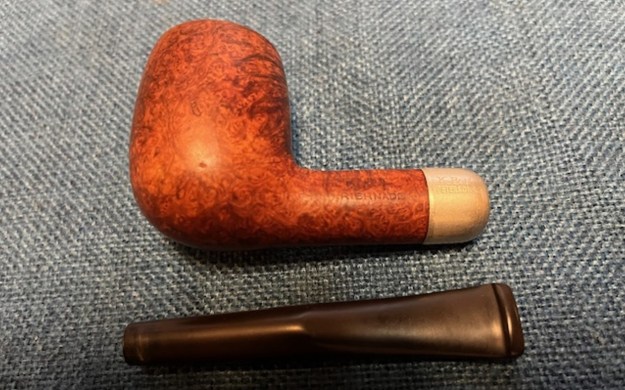
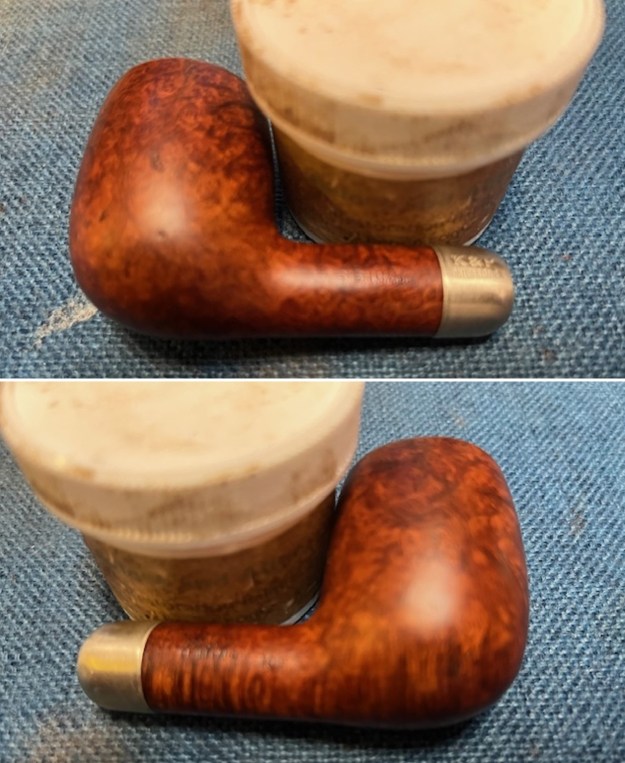
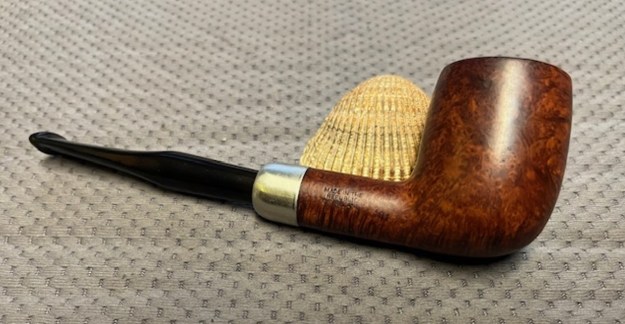
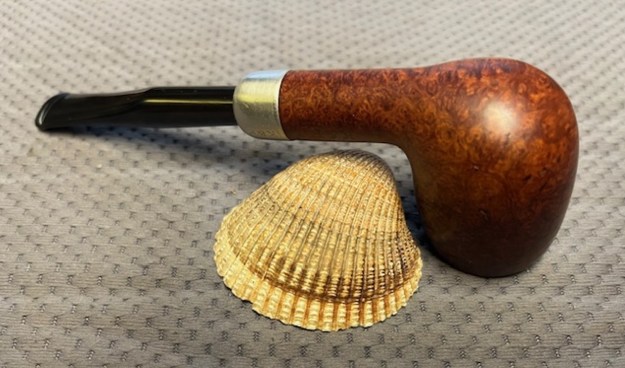
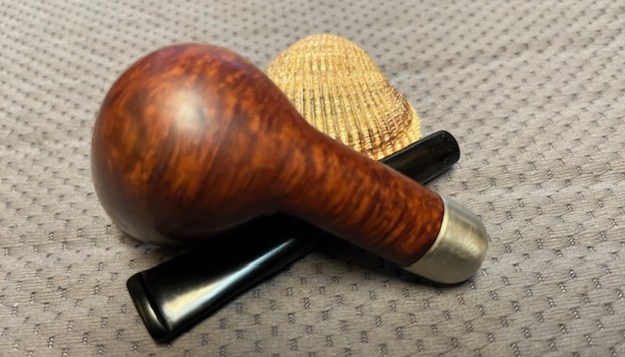
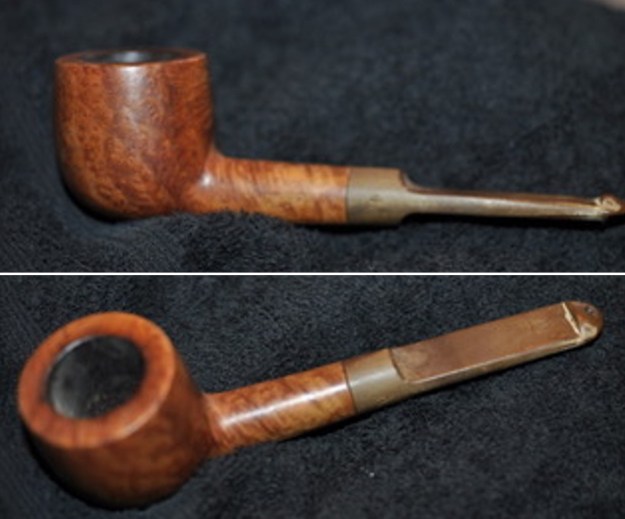
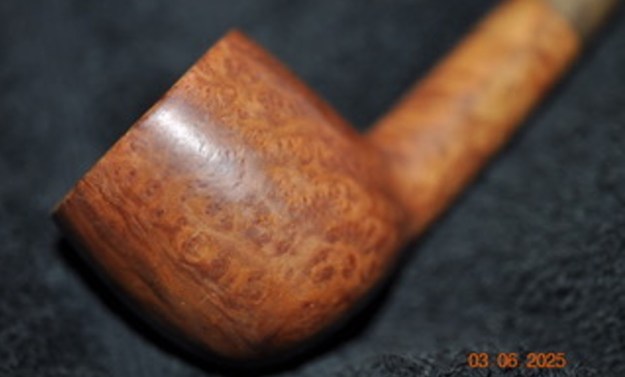
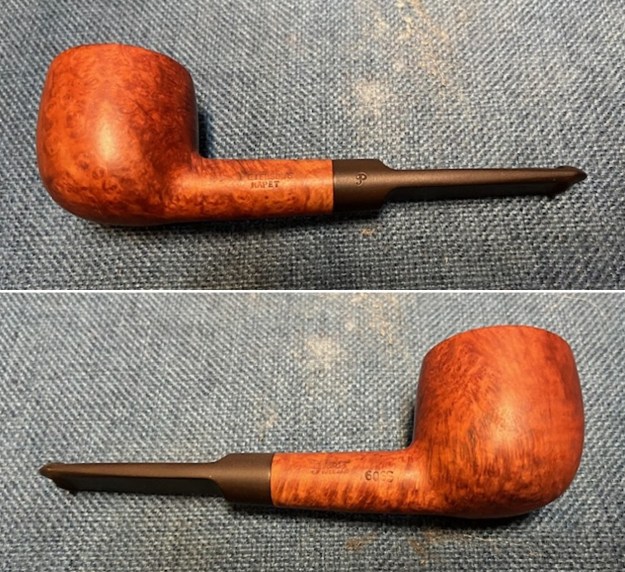
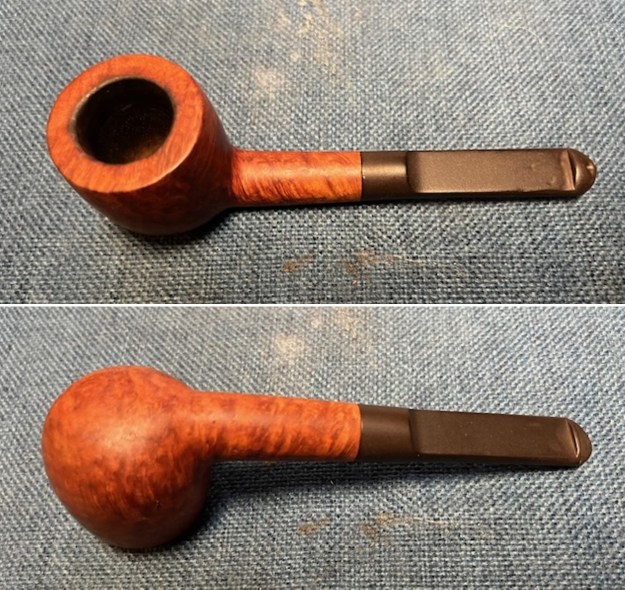
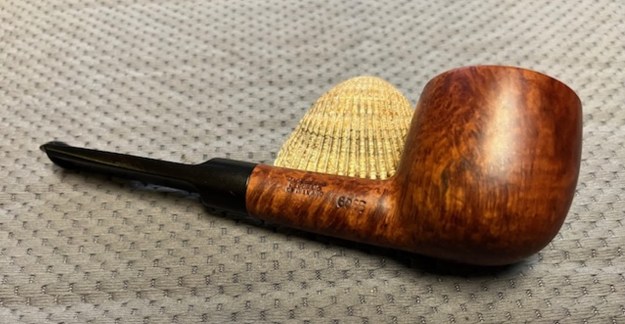
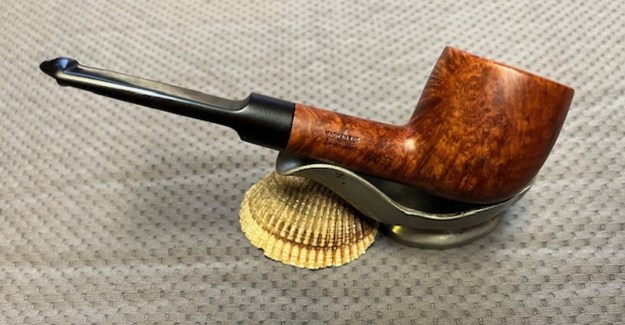
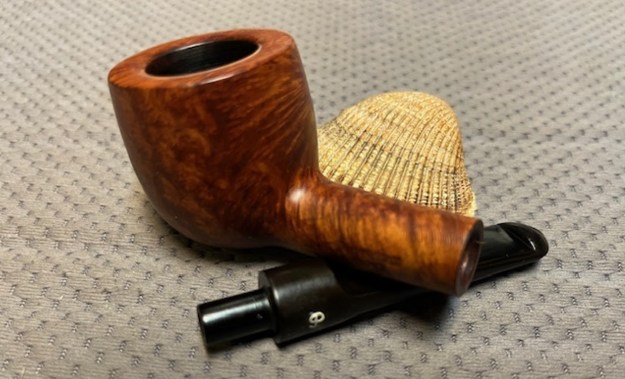
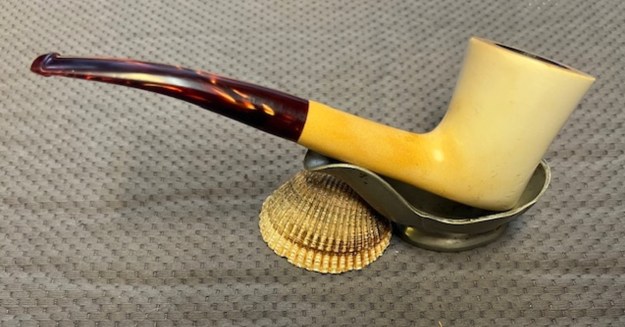
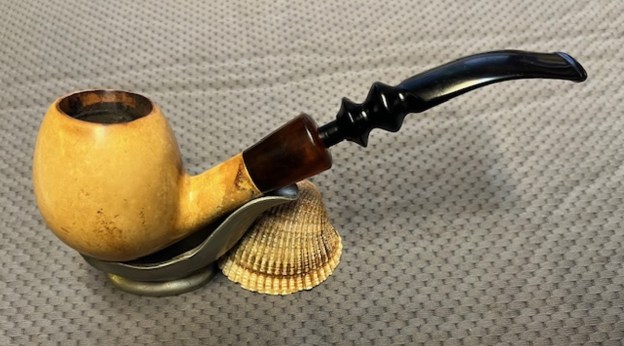
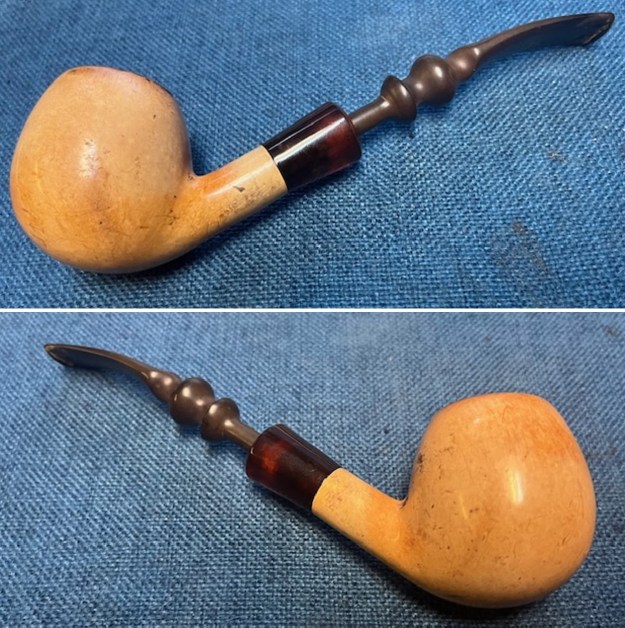
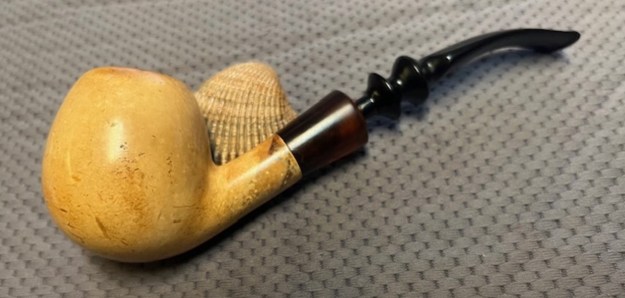
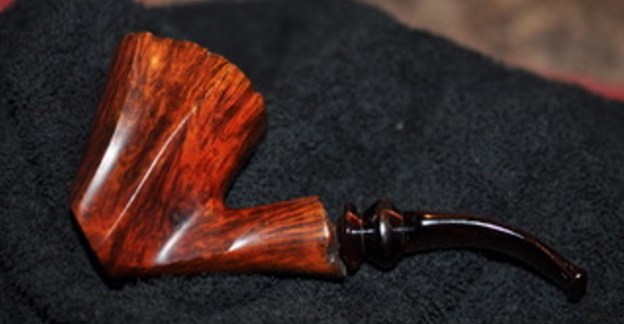
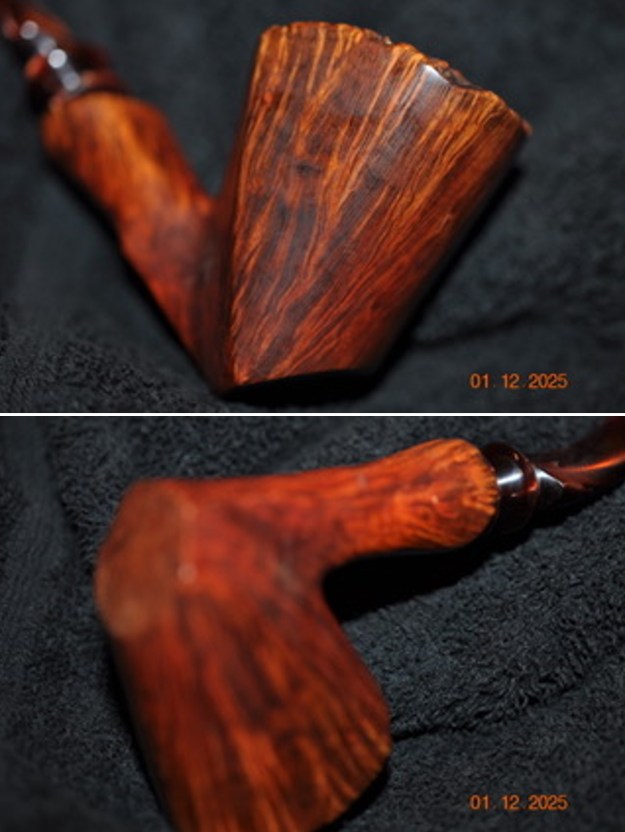
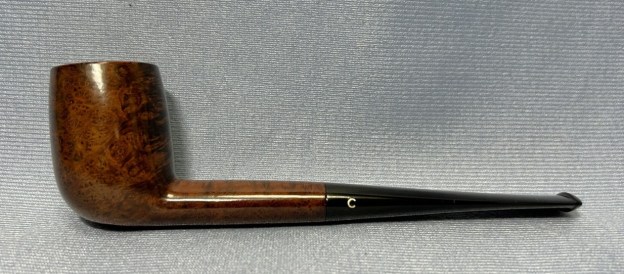
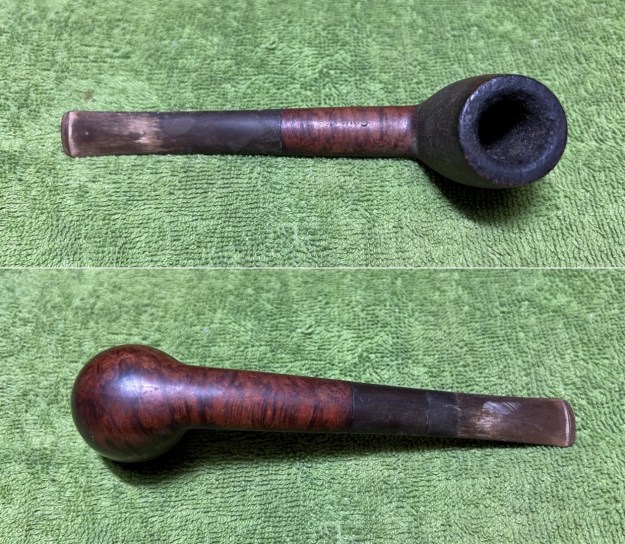
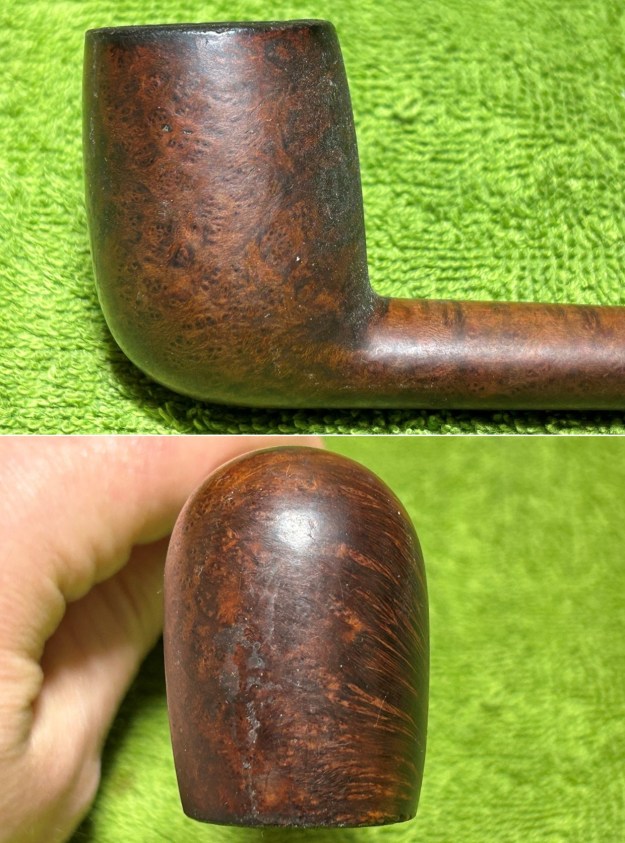
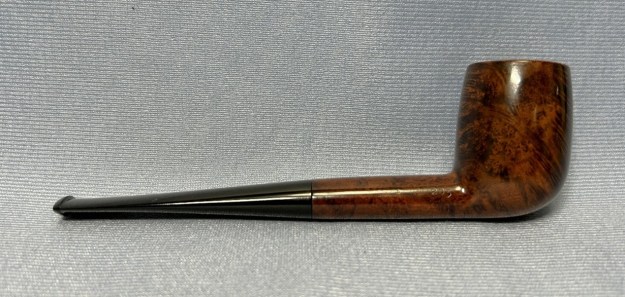
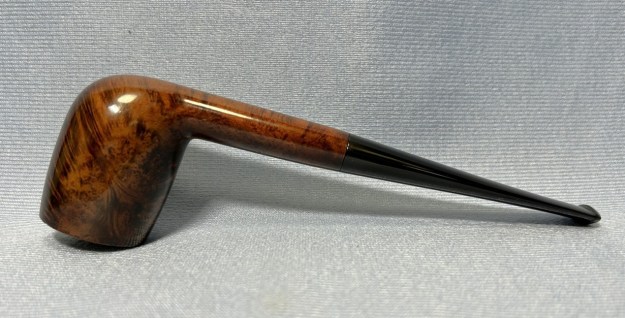
Oh, I really love the look of this pipe! This older Comoy’s came to me in an auction lot and, although it was filthy, I was immediately charmed by its shape. This is a beautiful cutty shape, from the Tradition line, and marked with the 203-shape number. The briar has some very attractive grain hidden away. The pipe has a nice, long shank and a nice, long, oval, vulcanite, taper stem. It has endured a hard life, but must have been well loved over the years. Many of the marks of its hardship still remain, but they are an important part of this pipe’s story. This pipe is actually a bit of a stunner, and it’s light and comfortable to hold.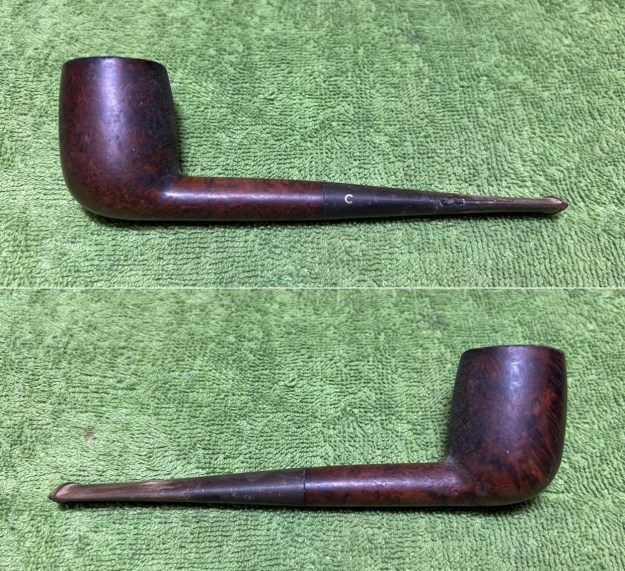
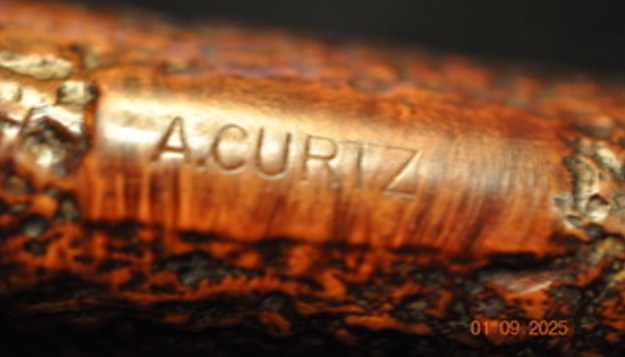
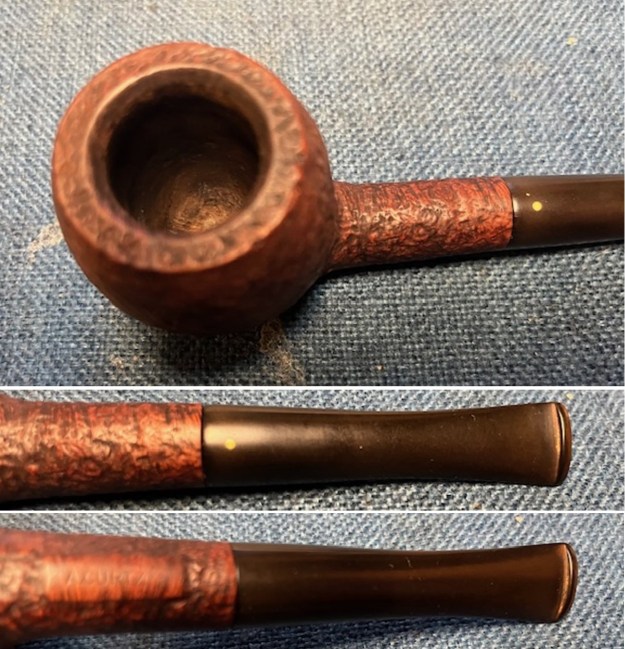
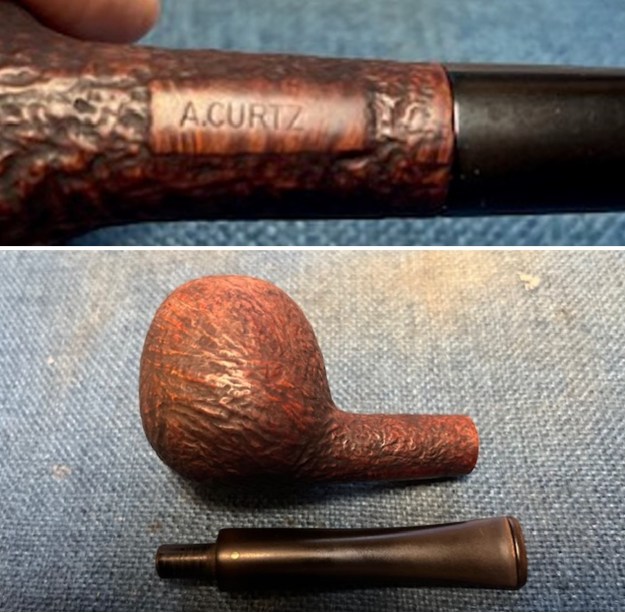
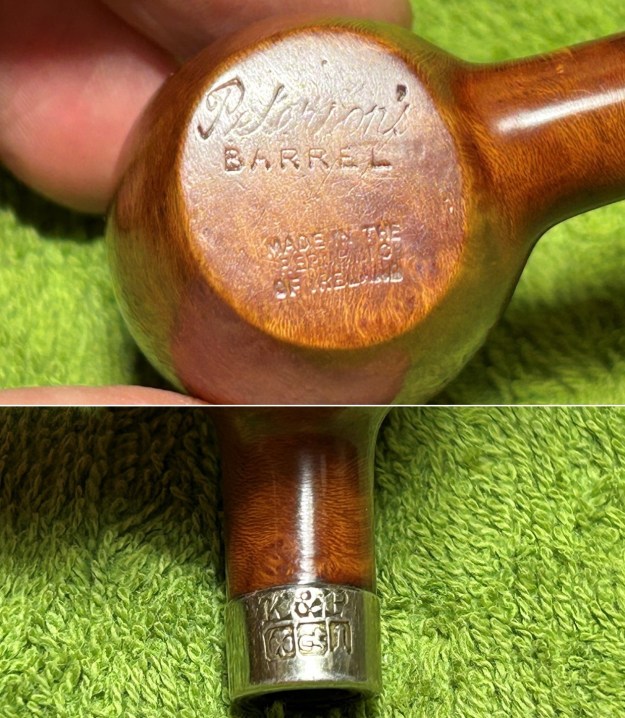
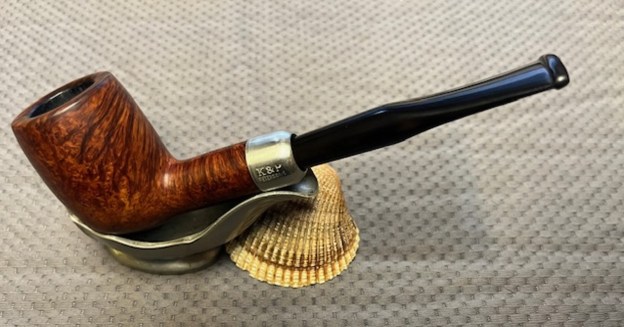
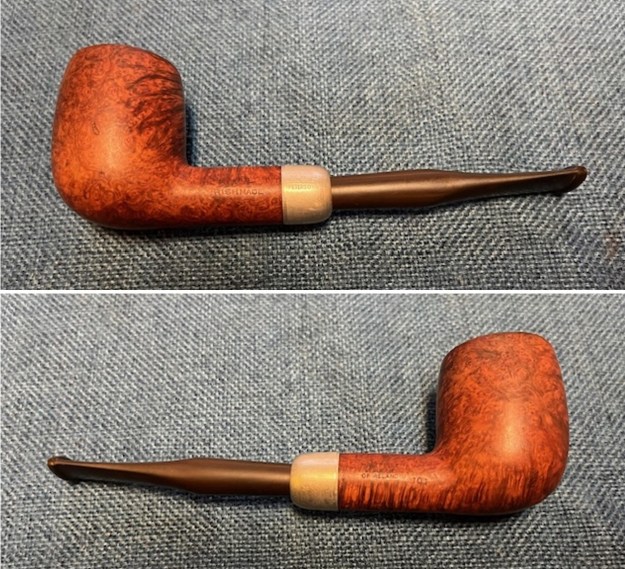
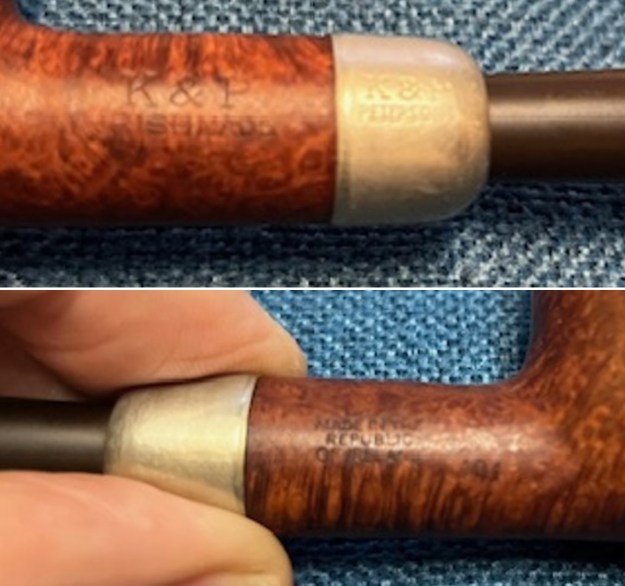
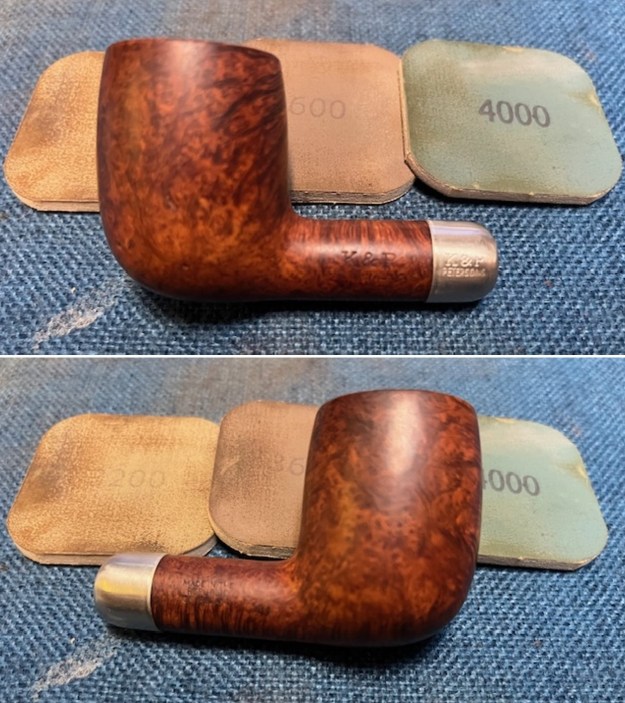
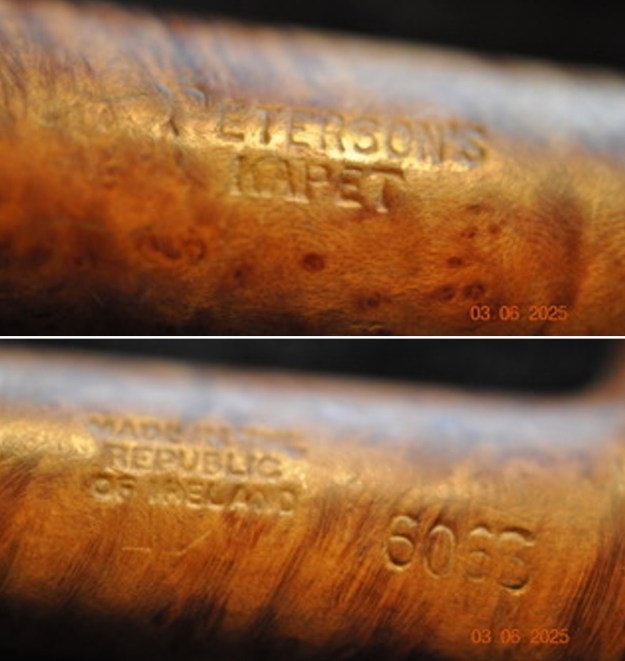
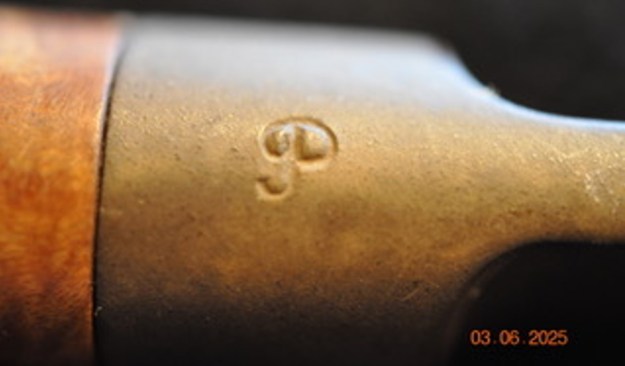
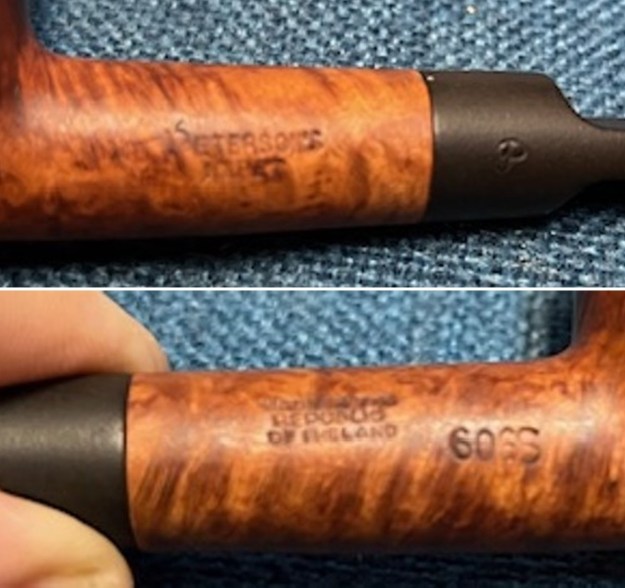
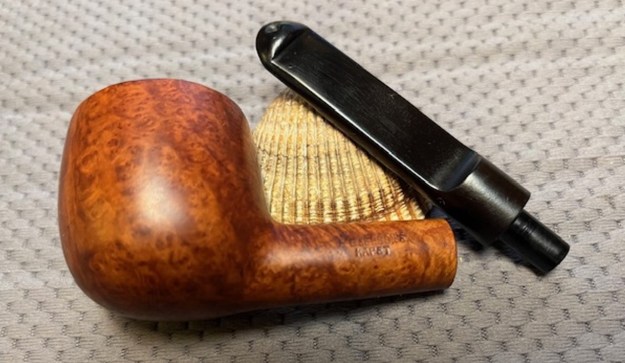
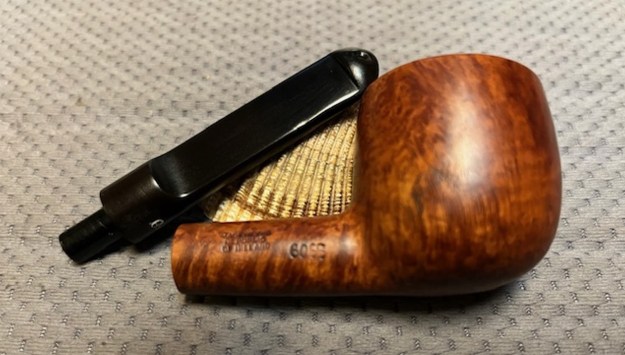
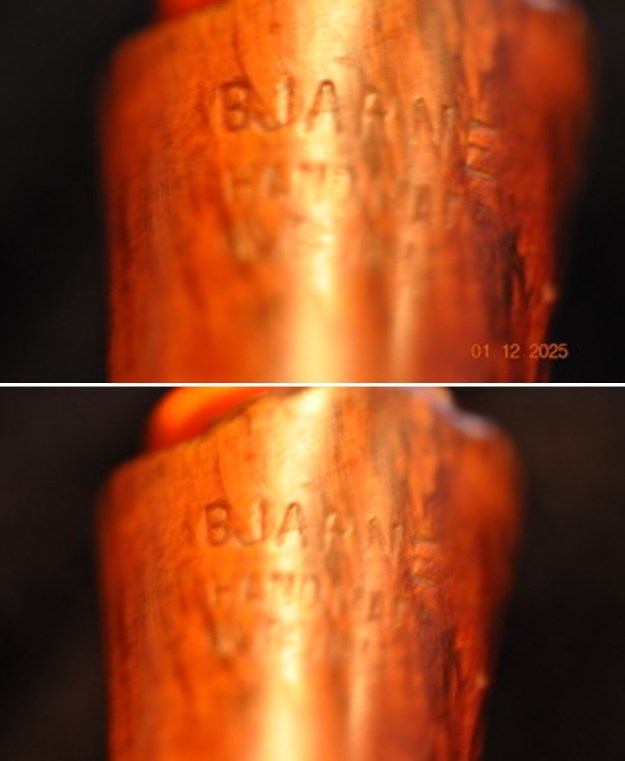
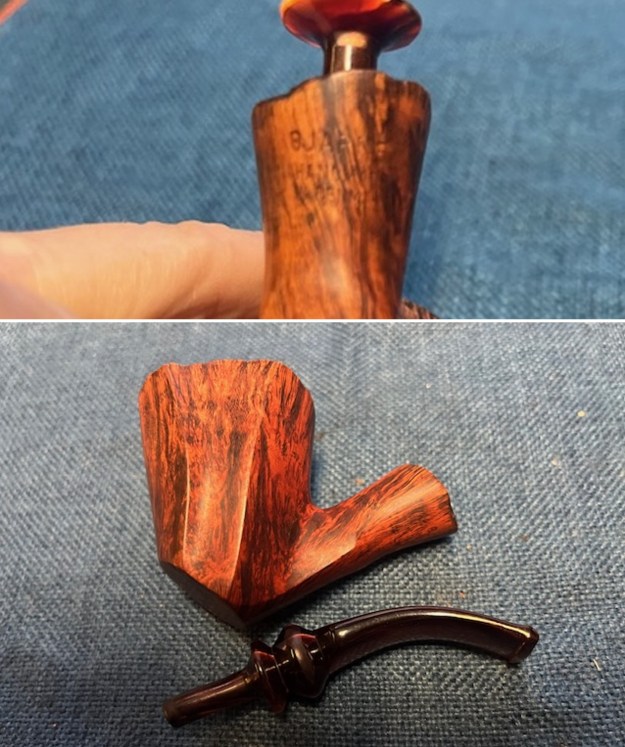
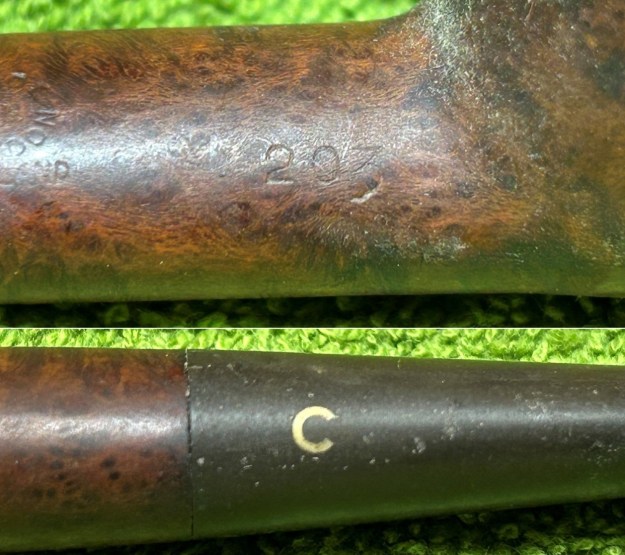
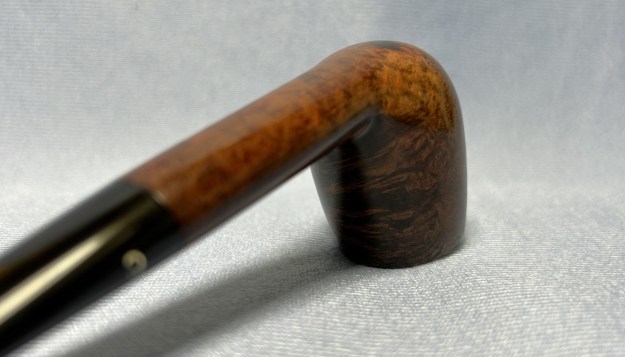
 Let’s look at the markings. They are slightly worn, but still very readable. On the top of the shank (but towards the left side), we see Comoy’s [over] Tradition. On the top of the shank (but towards the right side), we see the circular logo showing Made [over] in [over] London. Then below the circle is the word England. Further along the shank, we see the shape number, 203. In addition, the left side of the stem has the so-called three-piece “C”.
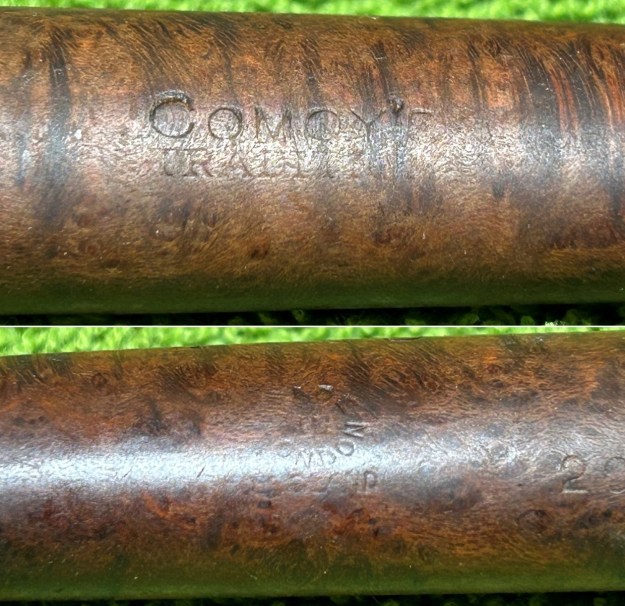
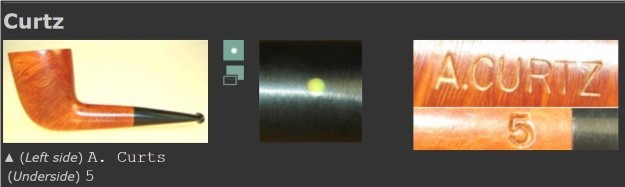
 Comoy’s shape number chart lists the number 203 as being a straight cutty with an oval stem, and that describes exactly what we’ve got. I consulted with the dating guide on Pipedia to narrow down the date of this pipe. If you want to read along, please have a look at https://pipedia.org/wiki/Comoy%27s_Dating_Guide in order to see what I’m talking about. This pipe dates from the 1950s onwards and corresponds to the first variant of Comoy’s stamp during this period, which is
(1) A simple block-letter style without serifs but with the C larger than the other letters and the apostrophe before the “S”.
You can see that this matches my markings. Next, the Tradition line is also referenced in this article. It provides some further information:
Tradition. This grade was introduced in 1925 to mark 100 years of pipe making and continued in production until the 1970s. In 1965, it was priced at $20.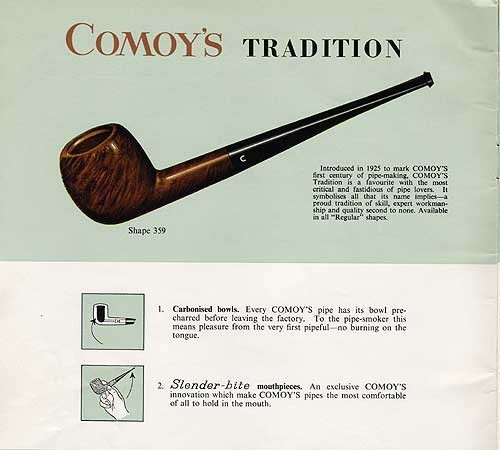 In addition, the “Made in” stamp also corresponds to the same time period as above. The same article mentions the following:
This is again stamped in a circle with “Made” at the top, “In” in the middle, and “London” at the bottom, with “England in a straight line beneath the F/B. I believe this stamp was first used in the export drive in the early 1950s, and I have not seen any pre-WW II Comoy’s stamped in this way.
The three-piece “C” on the stem also dates from the 1950s onwards and was discontinued in the early 1980s, when Cadogan took over. So we know this pipe is before the Cadogan era. We are left with a date range of the 1950s to the 1970s. I am making an assumption that because this pipe corresponds to the first stamping variant listed in the guide, it is of an earlier part of that range. However, I have reason to make that assumption. I looked at Greg Pease’s writeup on Comoy’s and his dating information is basically the same as the Pipedia stuff above. Pease, however, adds this important tidbit:
Sometime in the 60’s, the serifs were returned to the “COMOY’S” lettering, though, as mentioned above, the typeface is not as fancy as the earlier one. It appears that some grades carried different stamps or at least that the stamping changed in different years for some grades. At this point, this is highly speculative, as my sample size is too small to verify it.
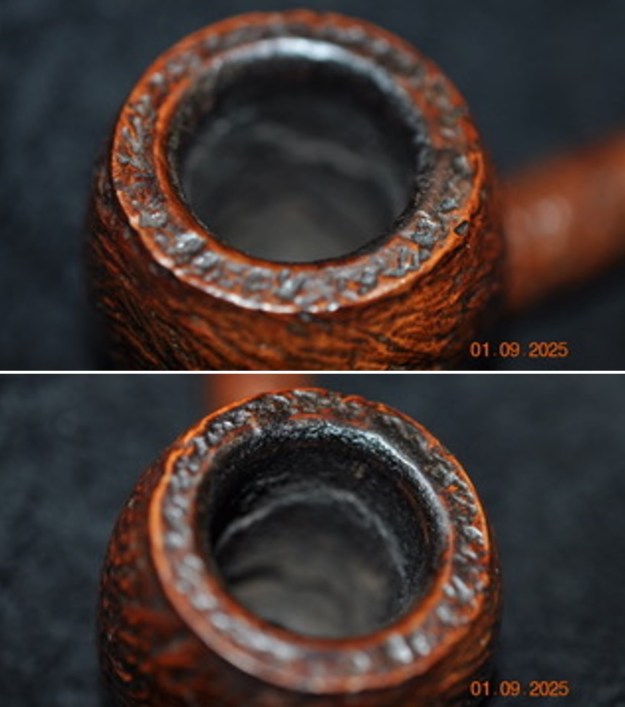
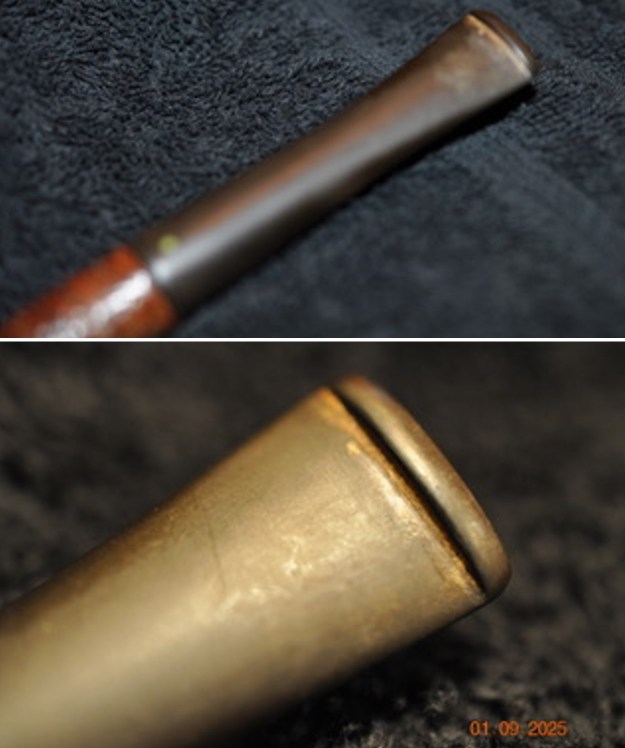
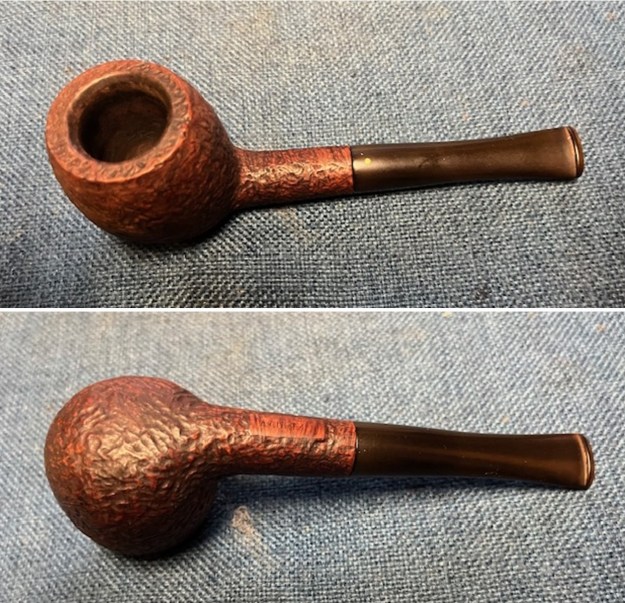
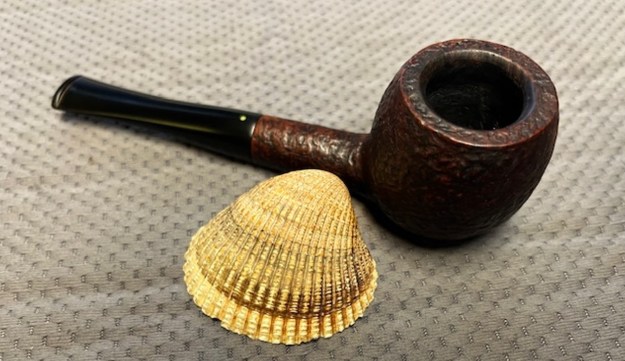
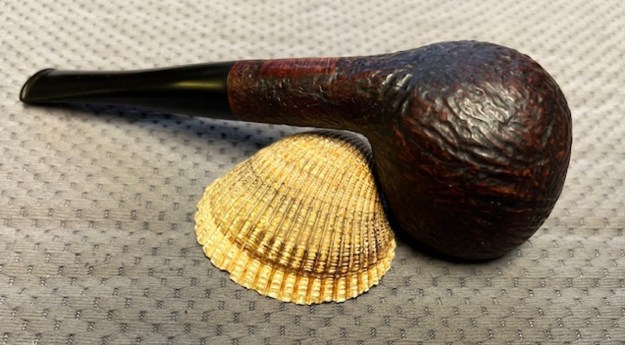
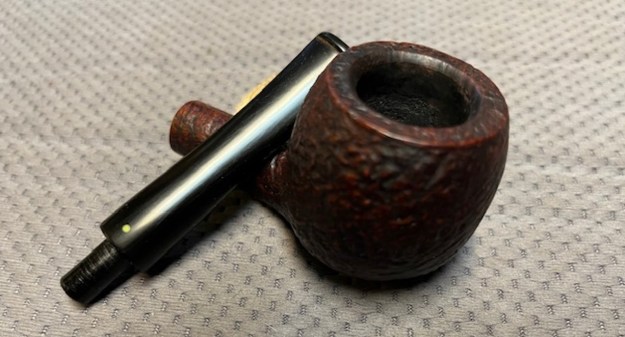
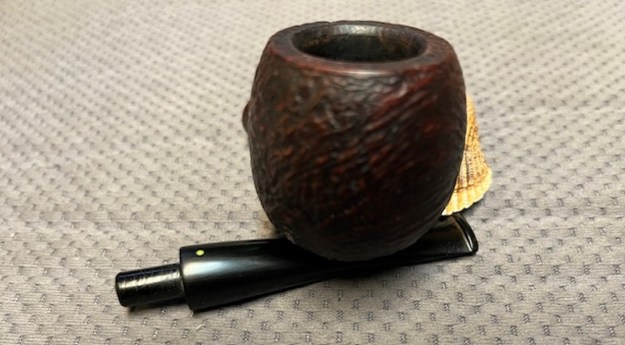
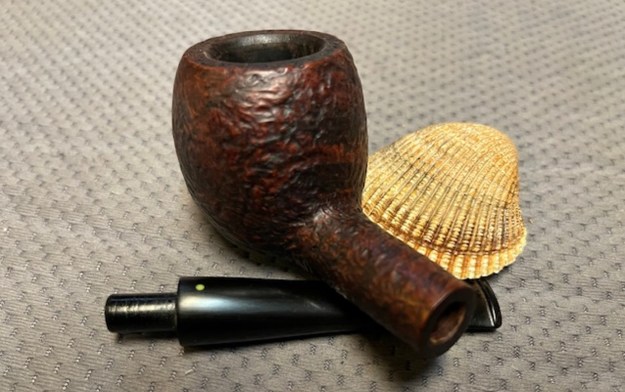
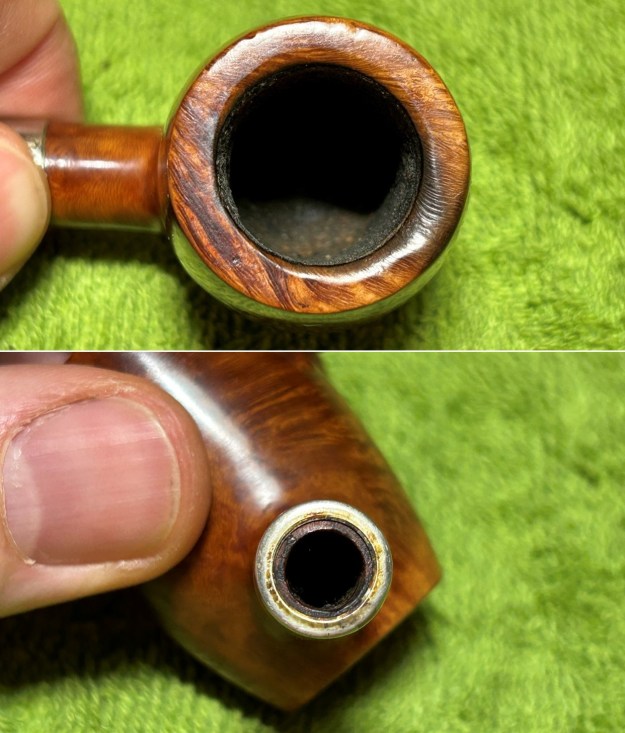
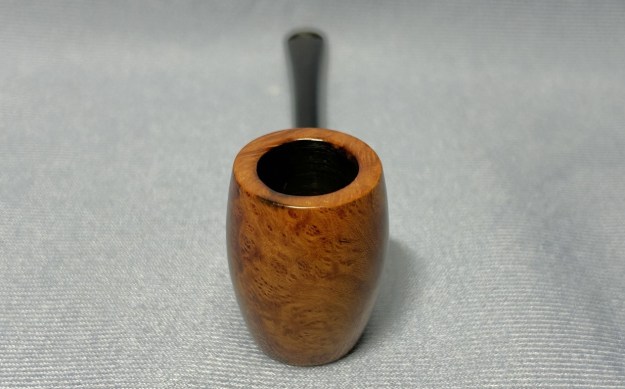
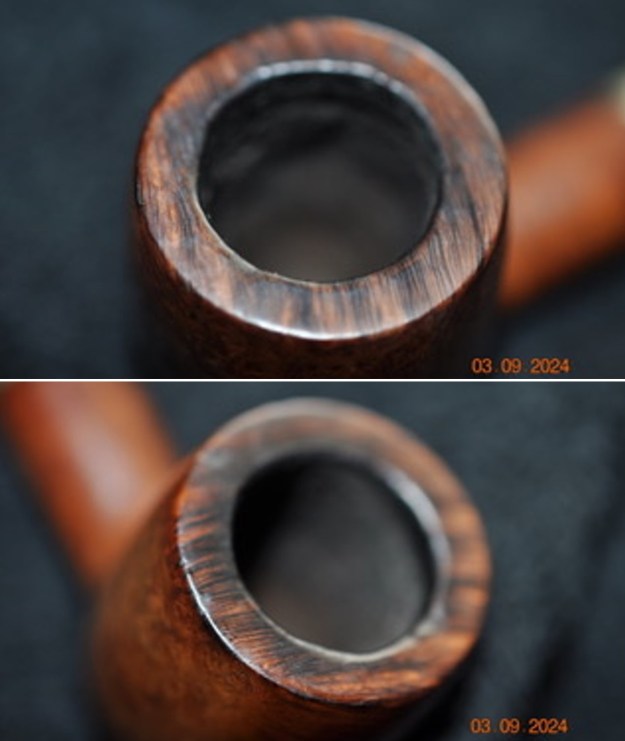
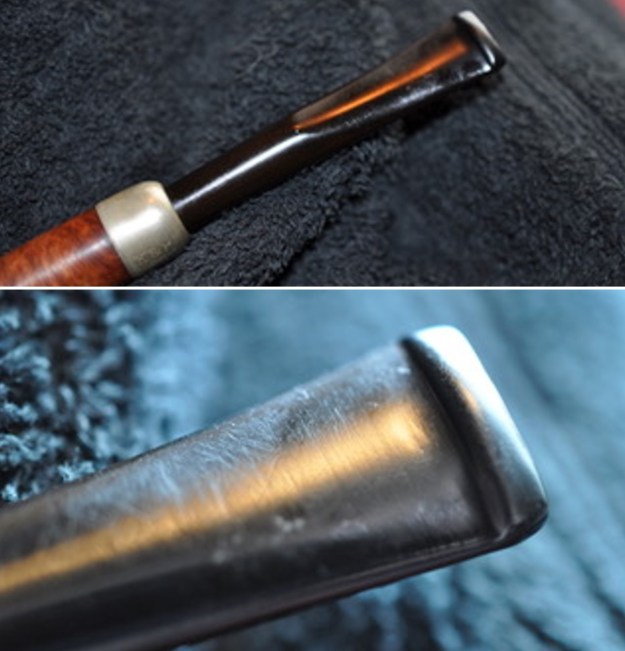
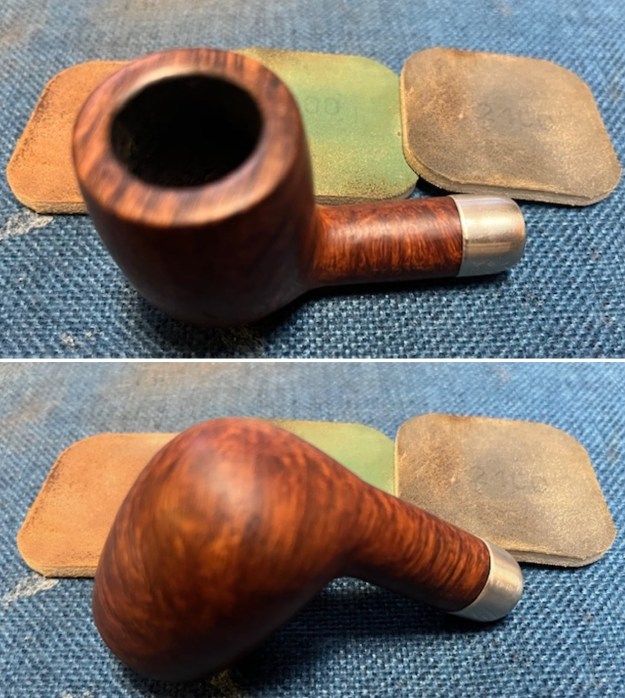
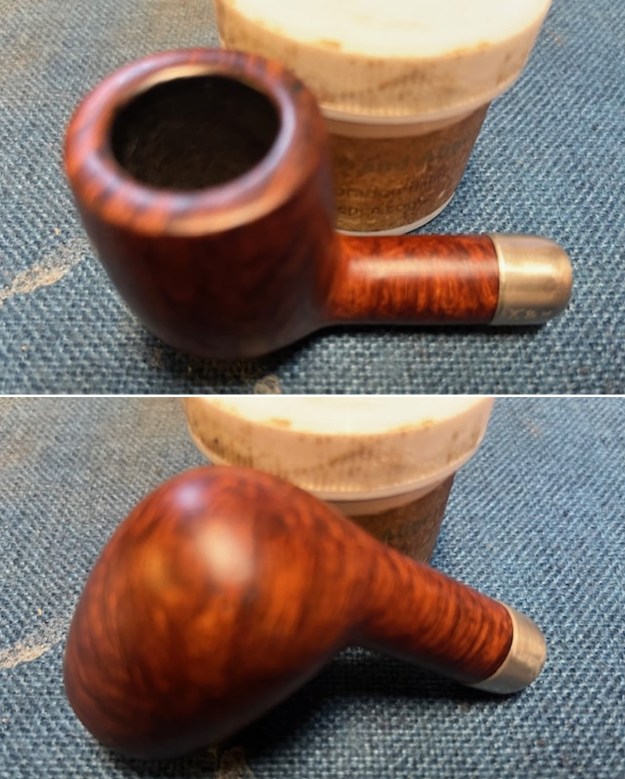
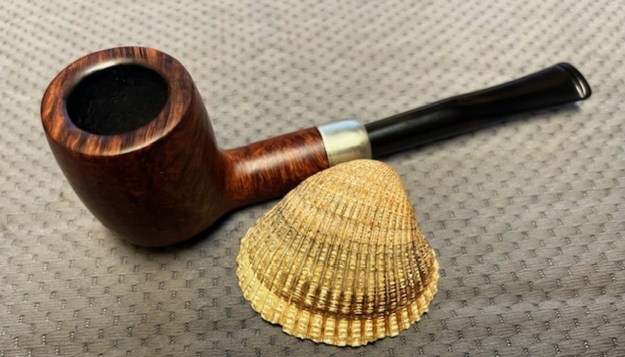
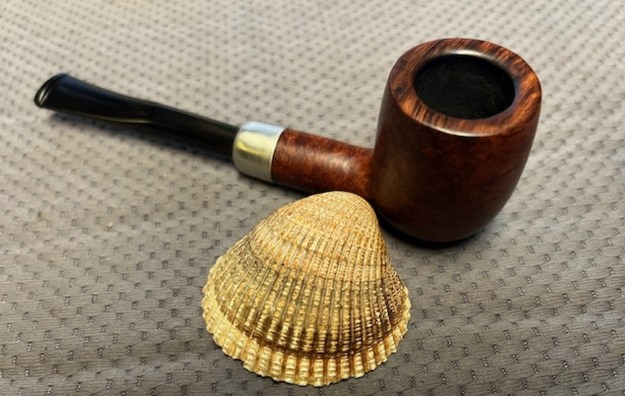
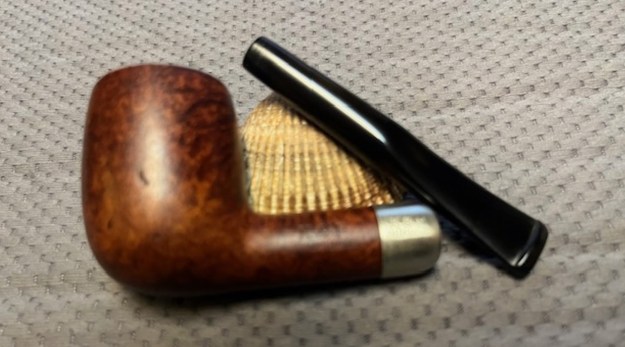
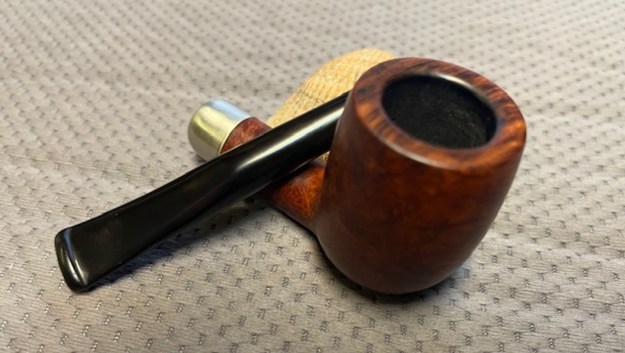
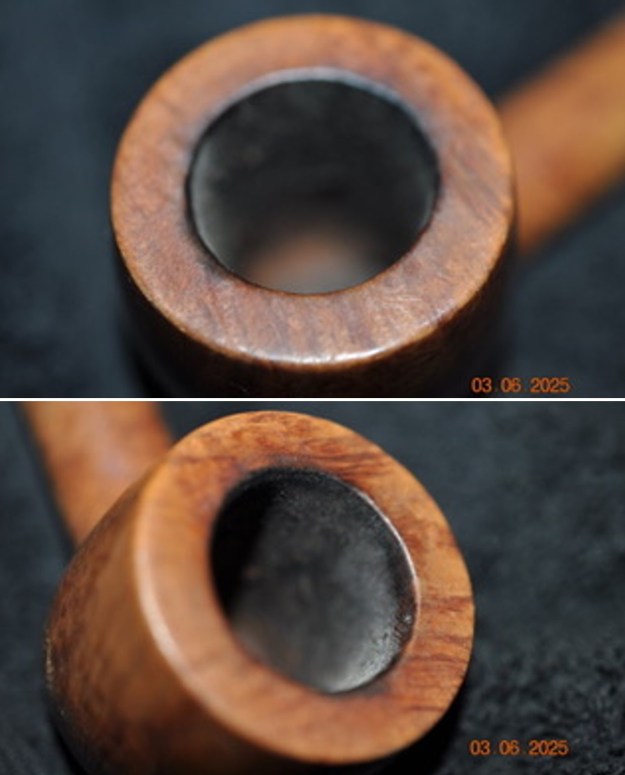
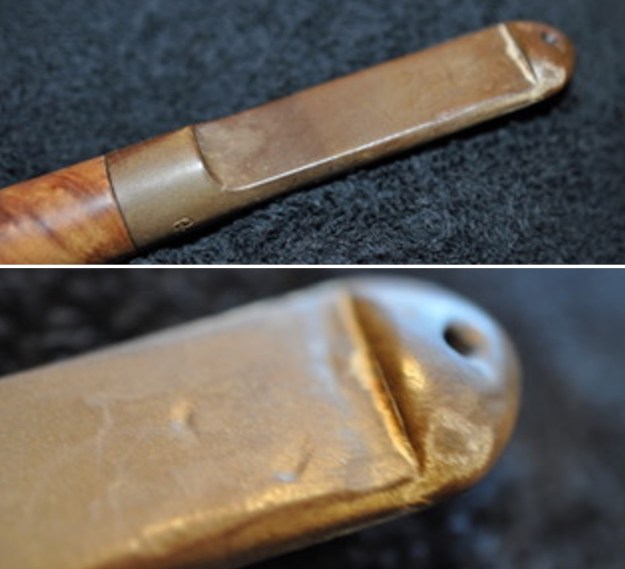
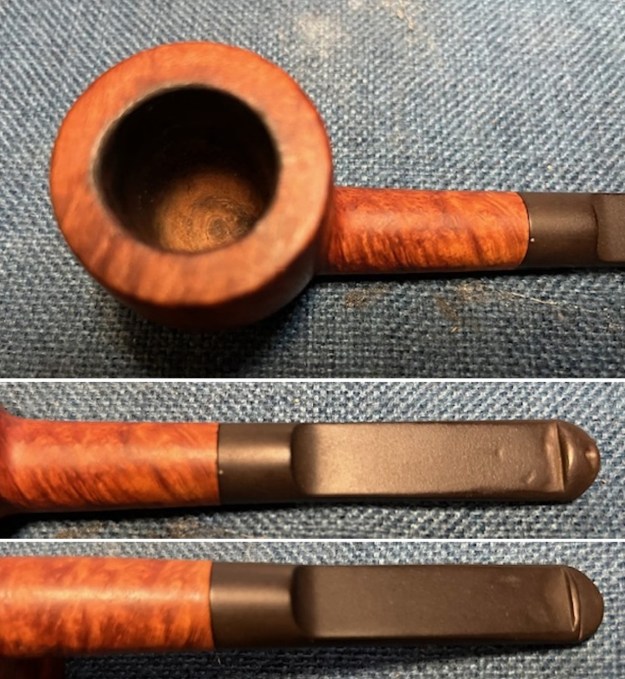
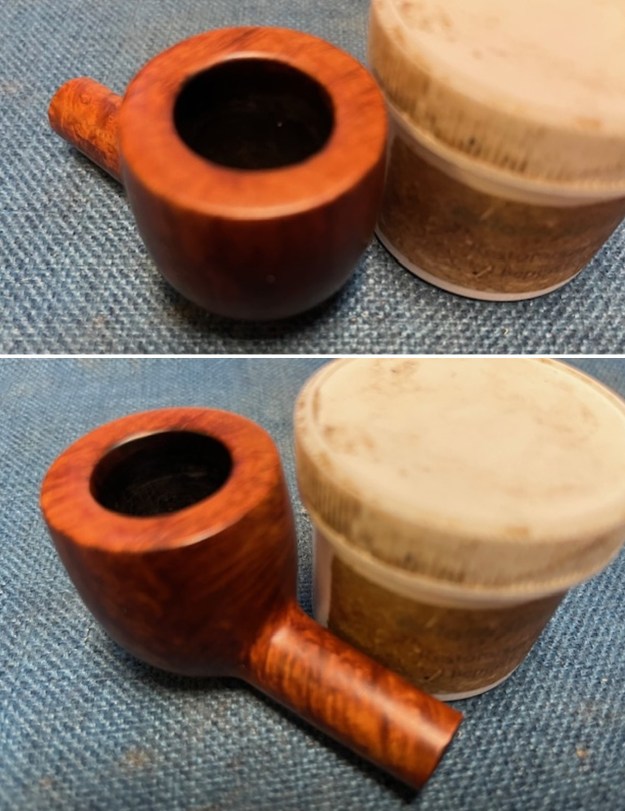
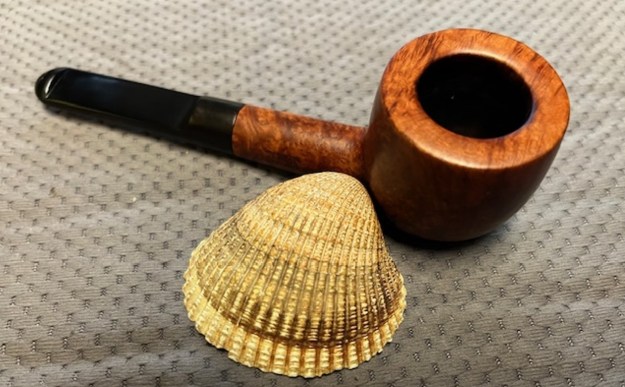
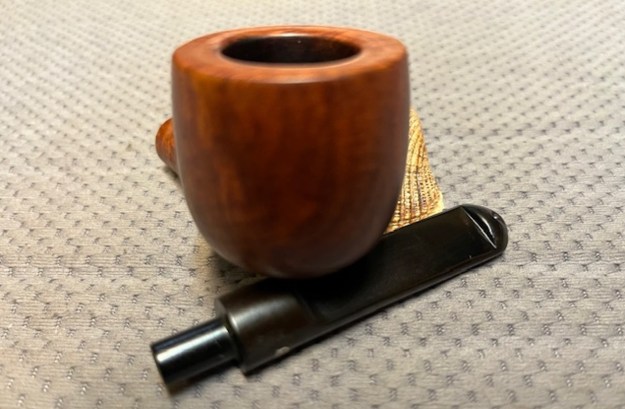
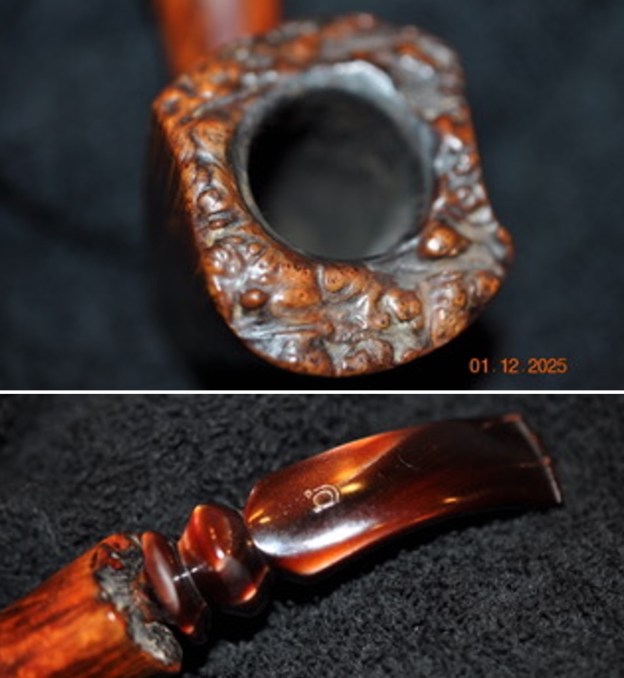
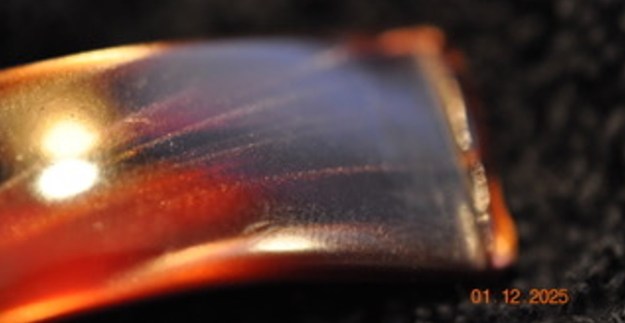
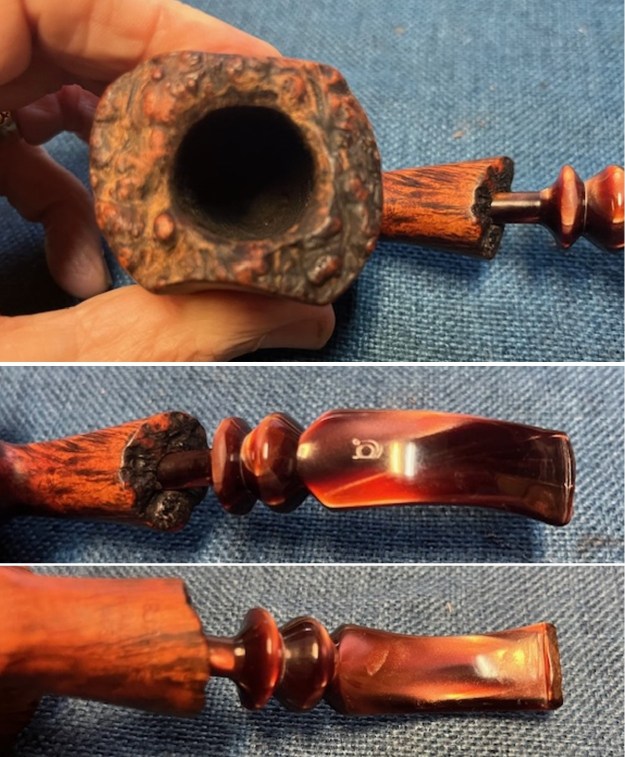
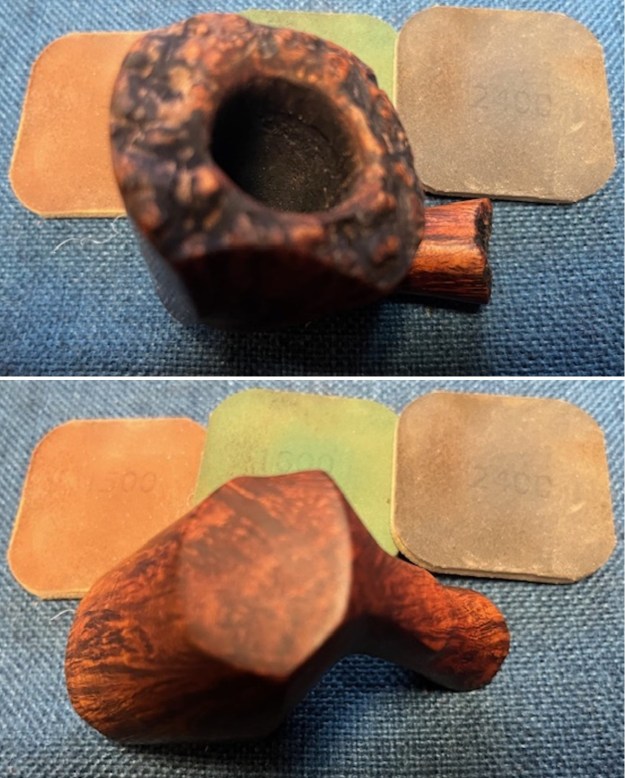
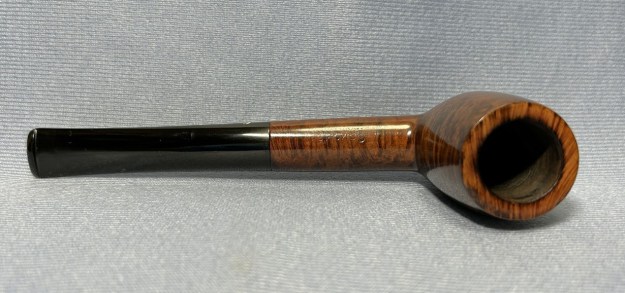
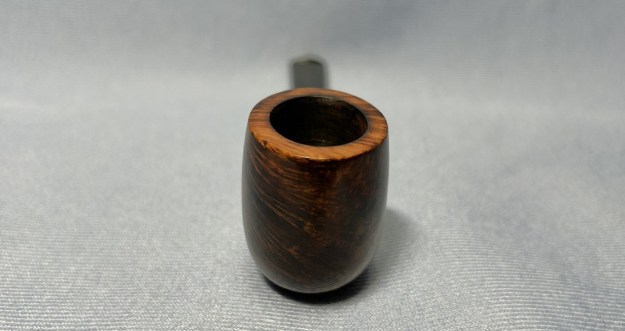
Based on this, I am going to suggest that this pipe probably (but not definitely) dates from the 1950s. If you can shed some light on this, please do so in the comments below. This was one dirty, harried pipe. The stem was thoroughly oxidized and had much calcification on it. This would take some work! There were a couple of small tooth marks, but nothing serious. The stummel was coated in grime and needed rejuvenating. The bowl was choked with cake and the rim had lava everywhere. Who knows what I would find under there? I could see that the edge of the rim had several small nicks, but nothing that disturbed my peace. Let’s get to work!
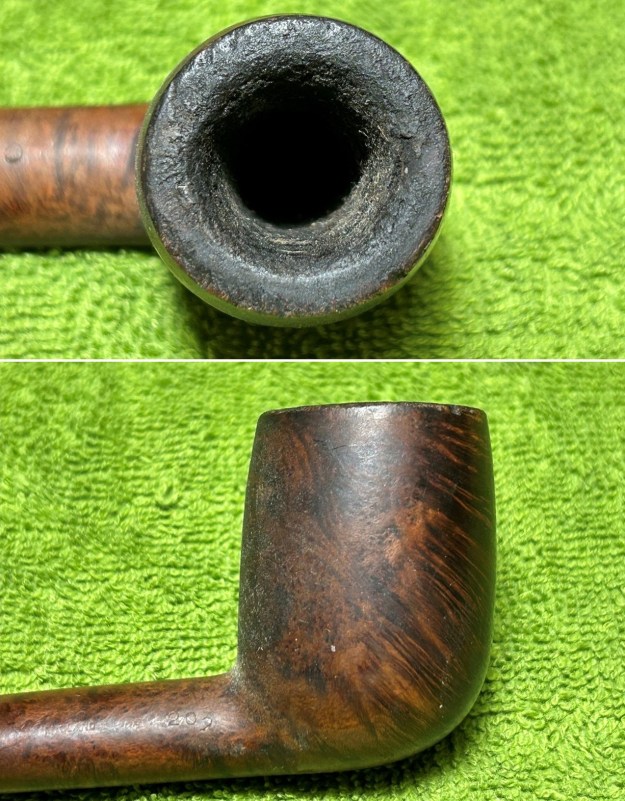
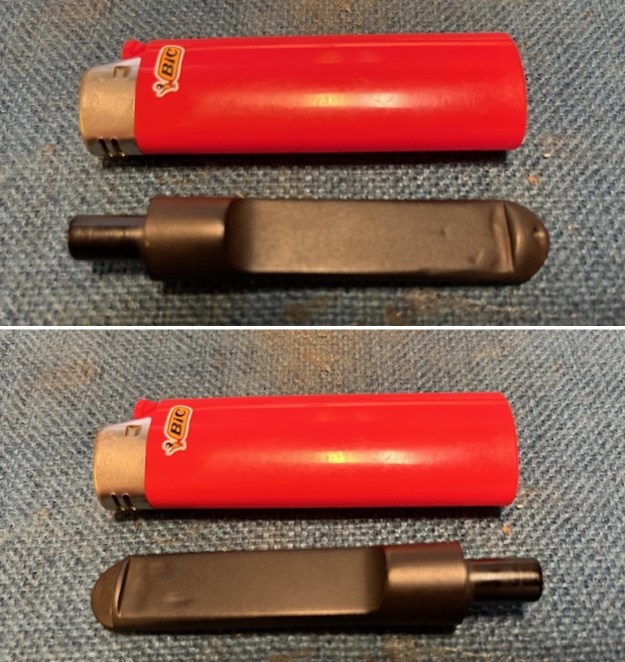
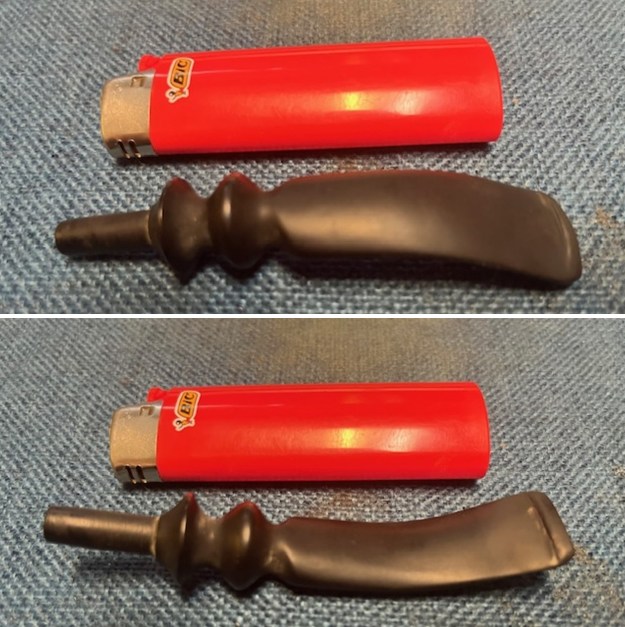
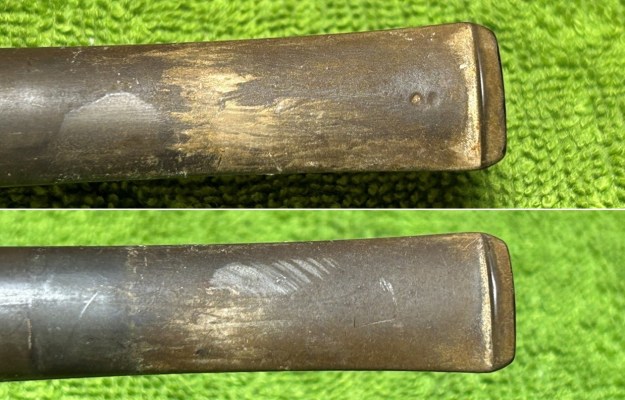 I used a disposable lighter and ‘painted’ the stem with its flame. The gentle heat of the flame can cause the dents in the vulcanite of the stem to expand back into shape. In this case, next-to-nothing happened. Alas. The stem’s calcification was quite substantial. I used an old butter knife and gently scraped some of the thicker accretion off. Doing this now helps later in removing the oxidation. I used alcohol on a few cotton rounds and wiped down the stem to provide an initial cleaning of filth before moving on to the next steps.
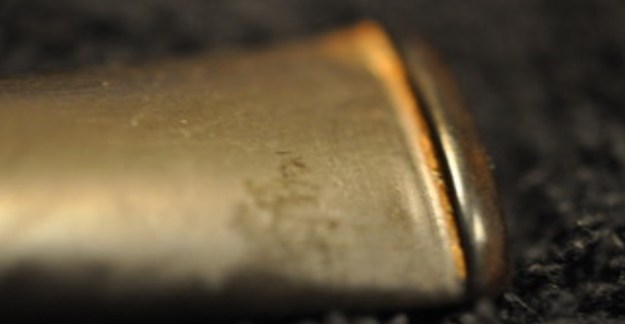
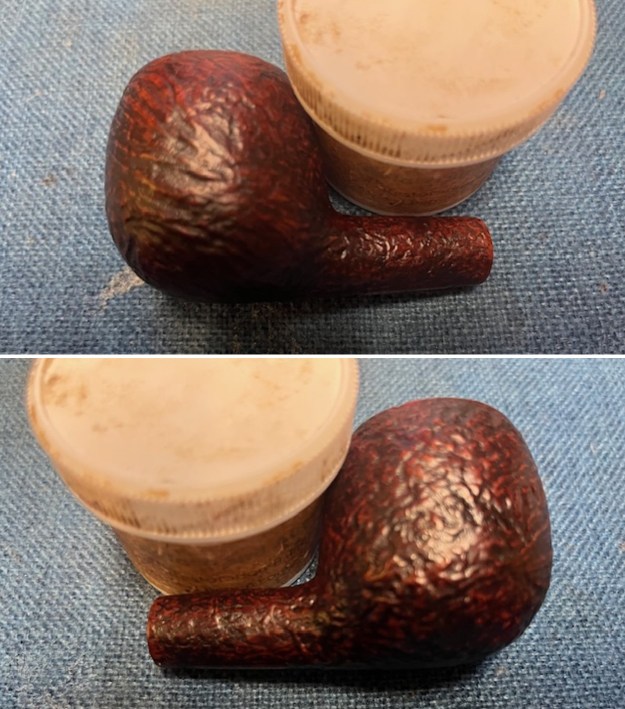
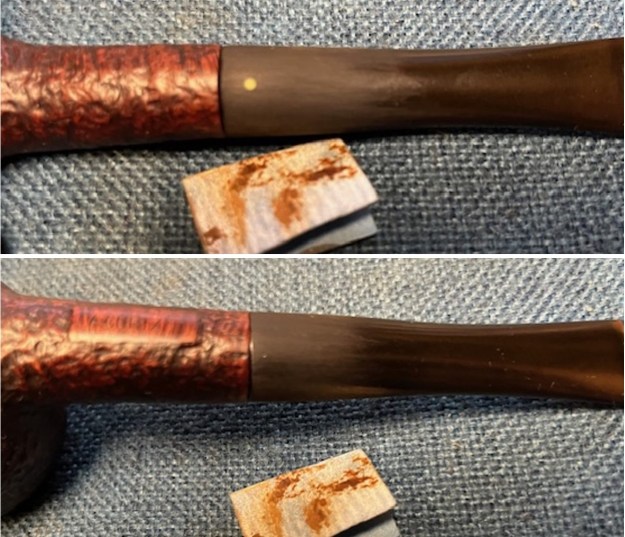
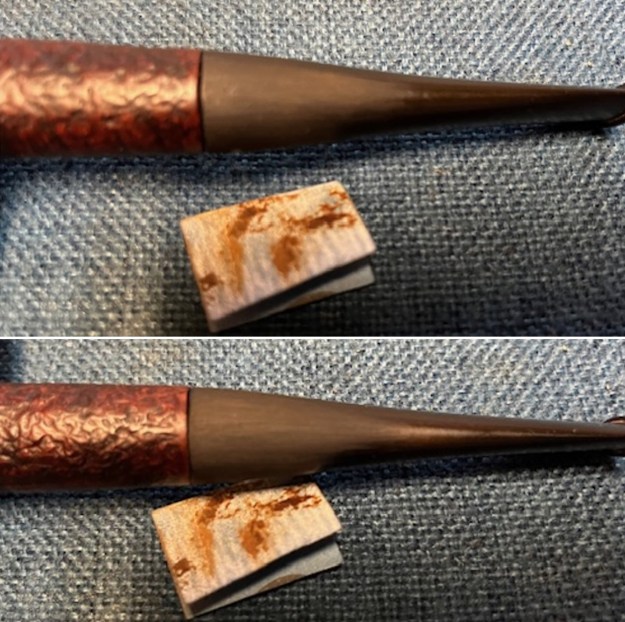
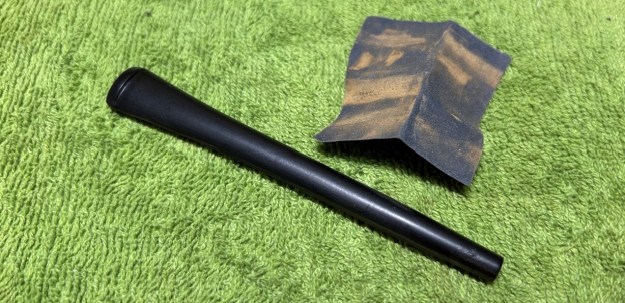
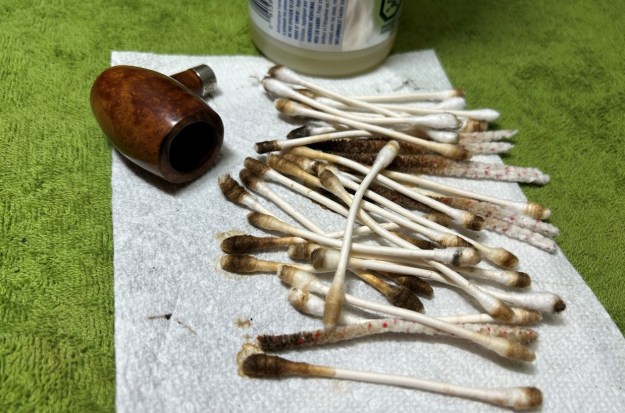
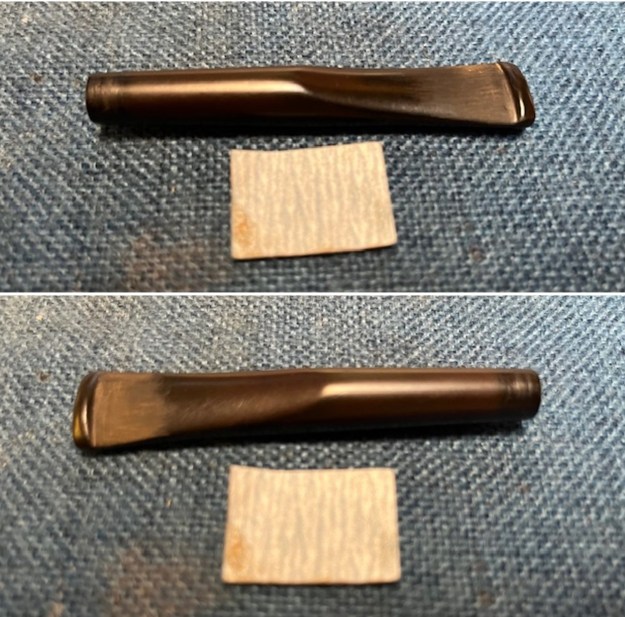
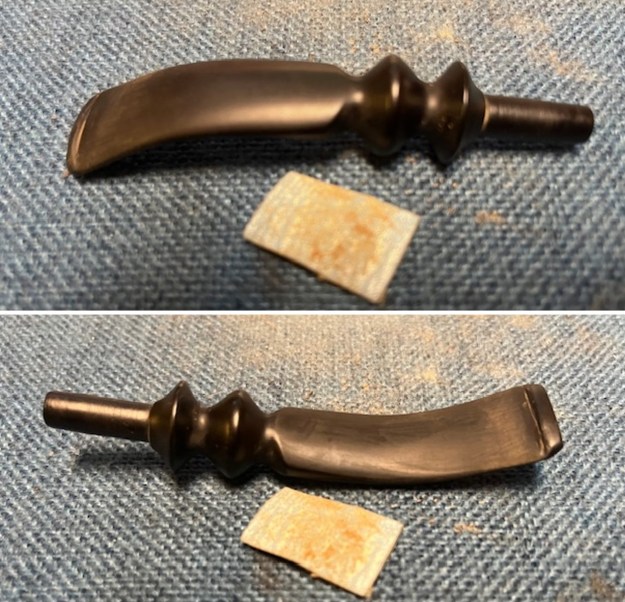
The primary cleaning came next. I disinfected the inside of the stem with both pipe cleaners and cotton swabs dipped in lemon-infused 99% isopropyl alcohol. I scrubbed thoroughly to make sure the interior was very clean. Boy, was it dirty! I used many pipe cleaners and cotton swabs. The goal of the next step is the removal (or minimization) of oxidation. Going to my sink, I used cream cleanser, cotton rounds, and a toothbrush, and scoured the stem to remove as much surface oxidation as possible. As the photos show, the result was a hideous, brownish mess – but better off the stem than on it.
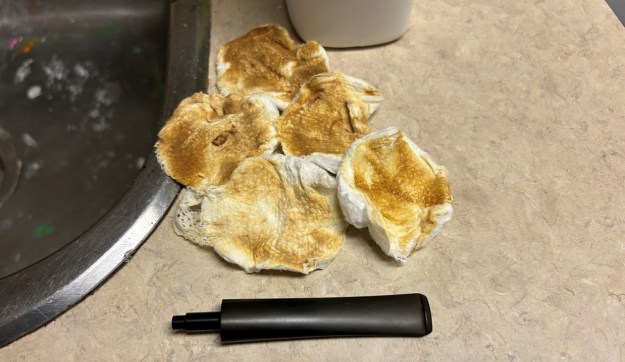 Once the stem was reasonably clean, I soaked it overnight in some Briarville Stem Oxidation Remover. This solution works to draw oxidation in the stem to the surface of the vulcanite. This is a major aid and an important step in ensuring a clean stem. The following day, I drew out the stem from its bath and scrubbed the lingering fluid with a toothbrush. Due to the severity of the oxidation, I then repeated the scrubbing with the cream cleanser for maximum effect.
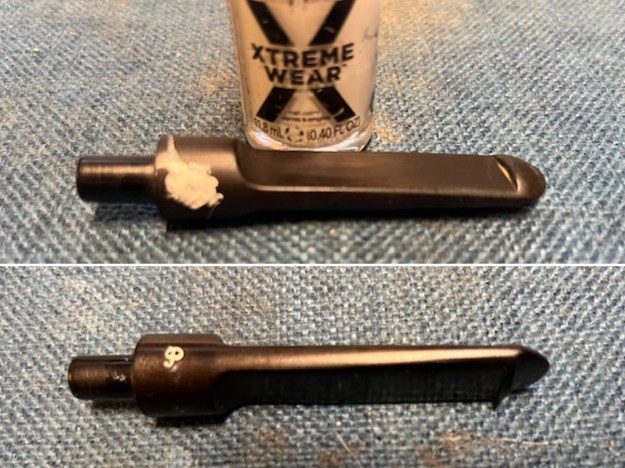
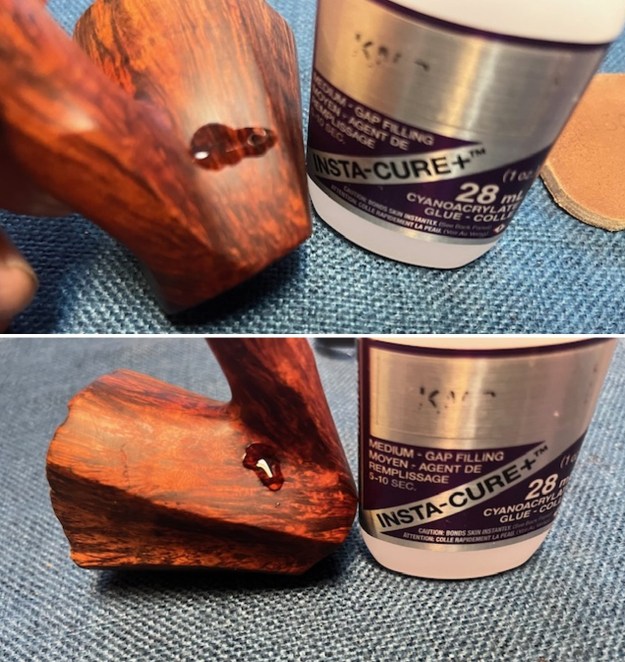
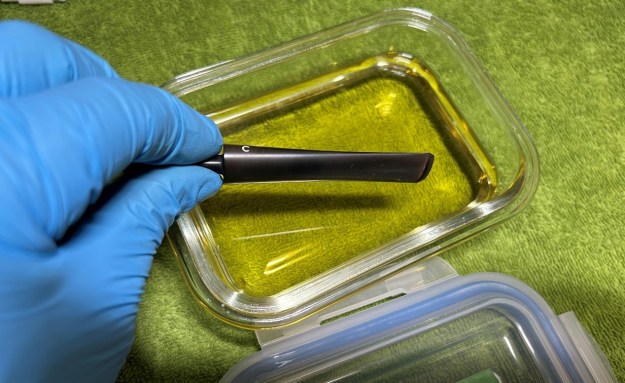 As the stem was now clean and dry, I set about fixing the marks and dents in the vulcanite. This was done by filling those divots with black cyanoacrylate adhesive, impregnated with carbon and rubber. I left this to cure and moved on.
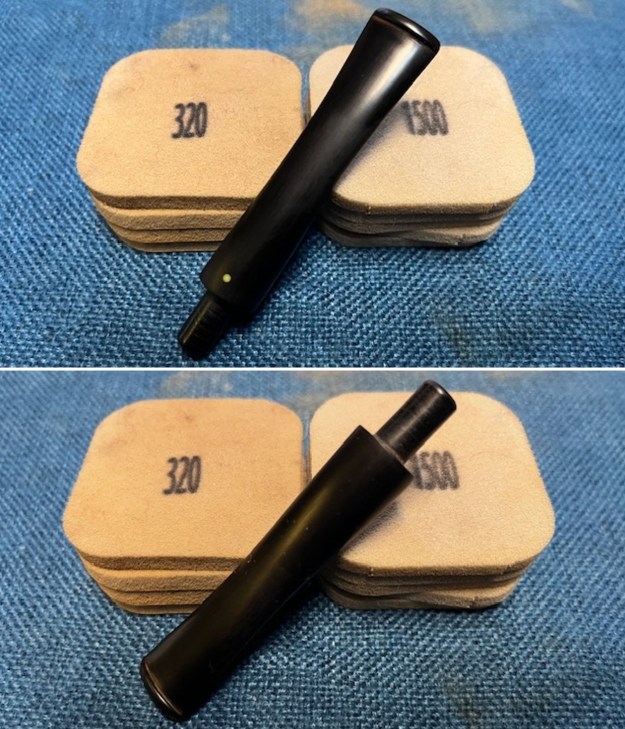
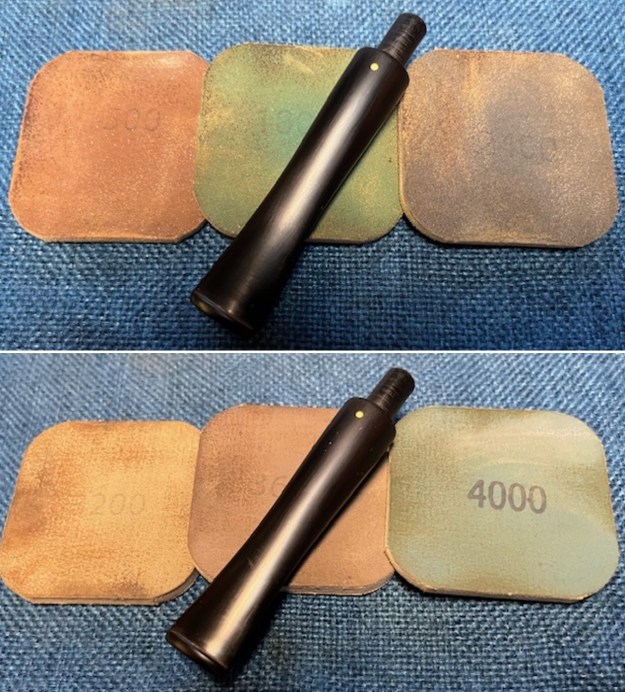
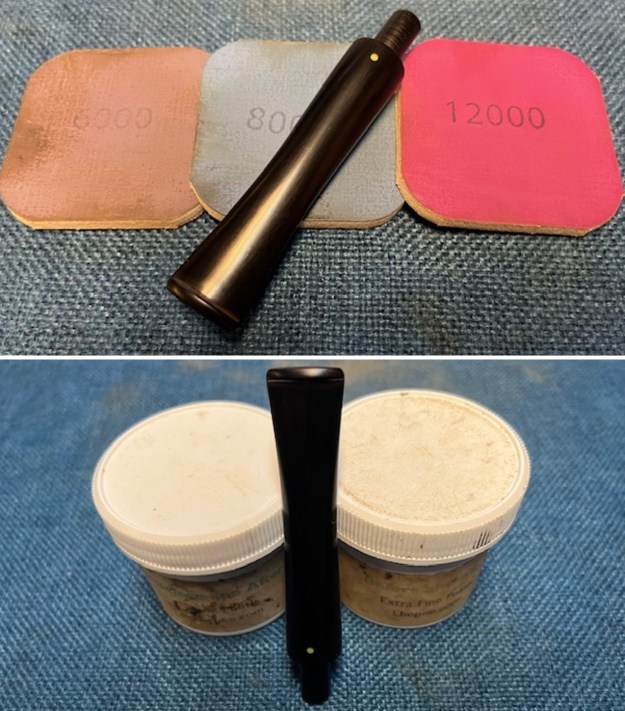
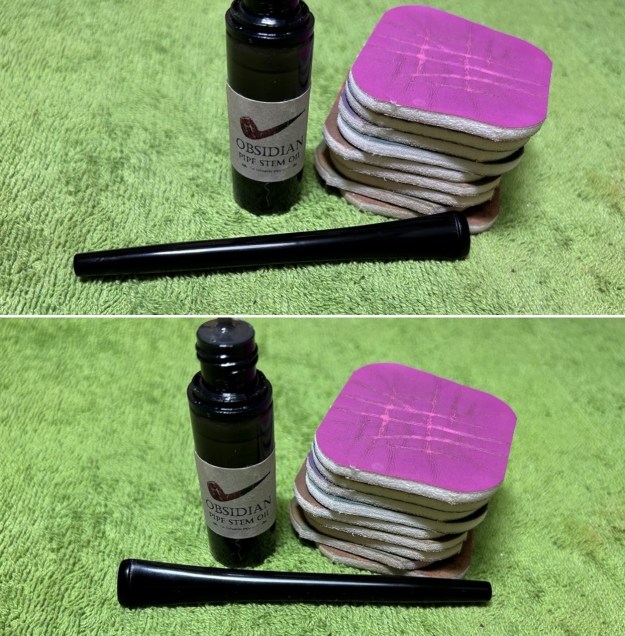
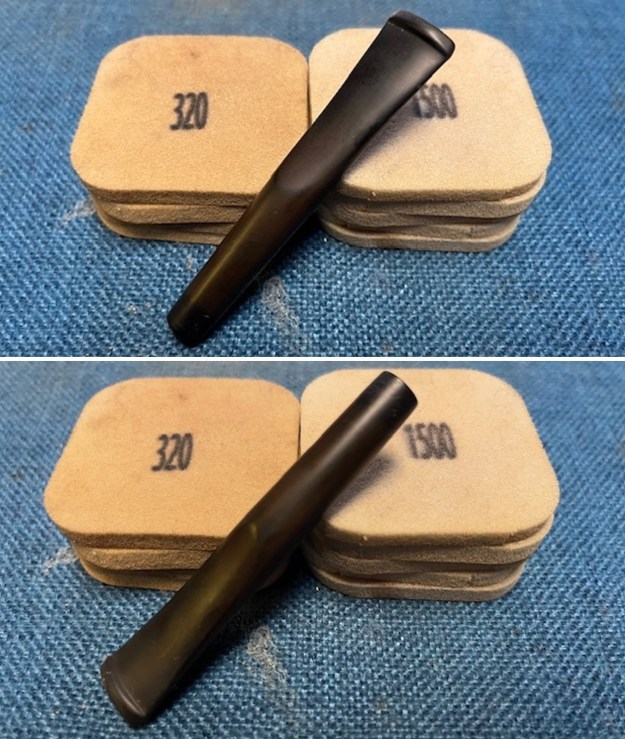
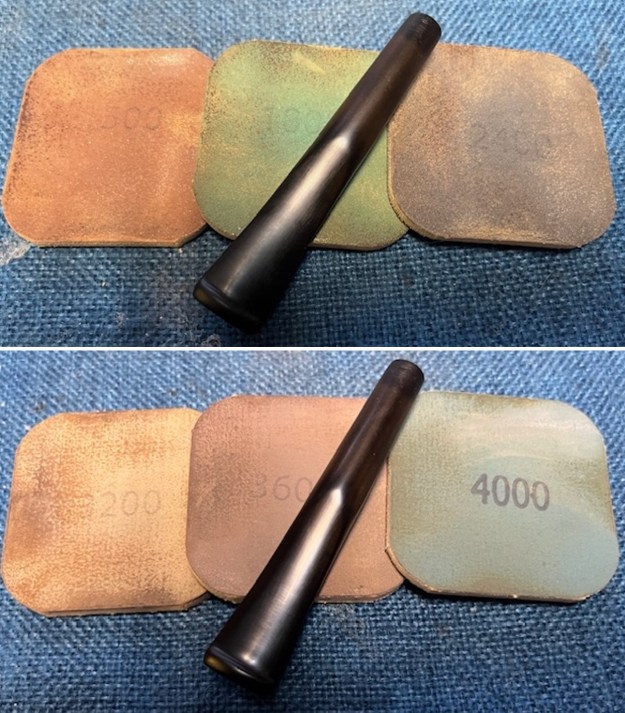
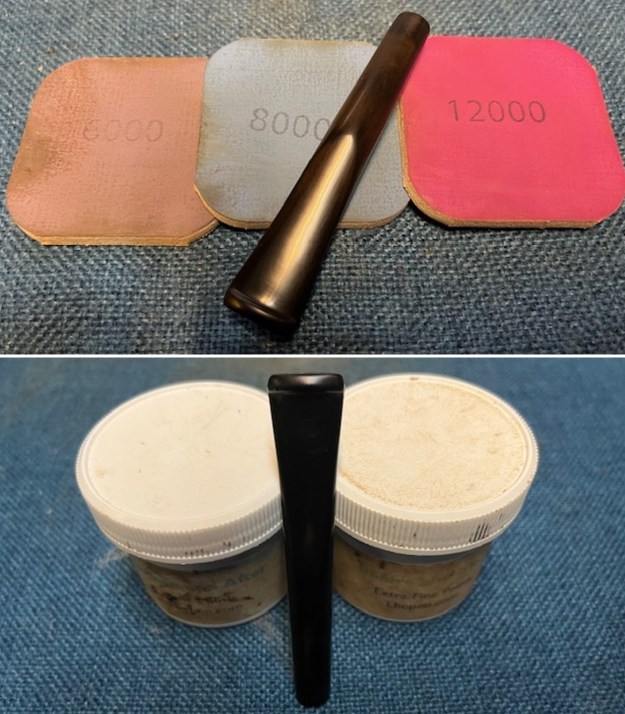
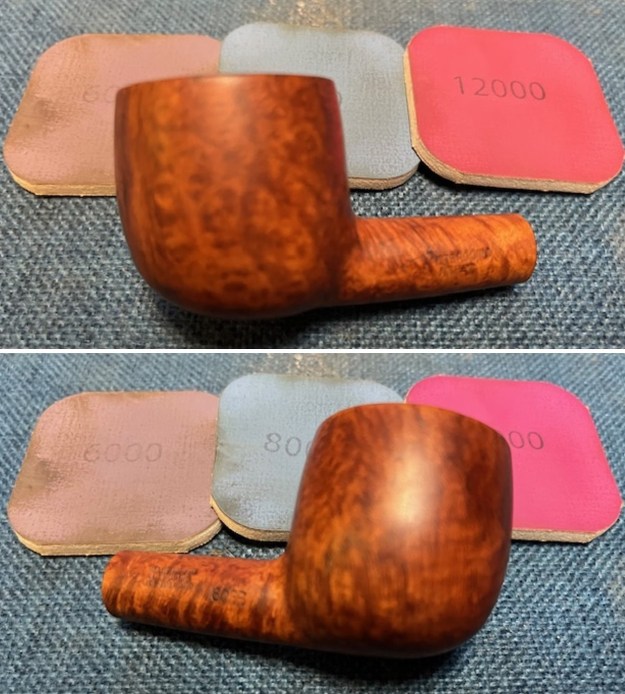
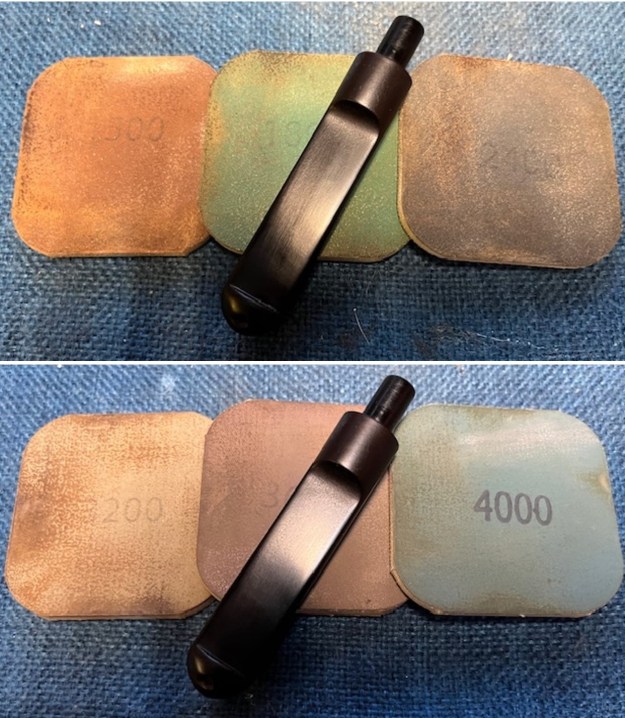
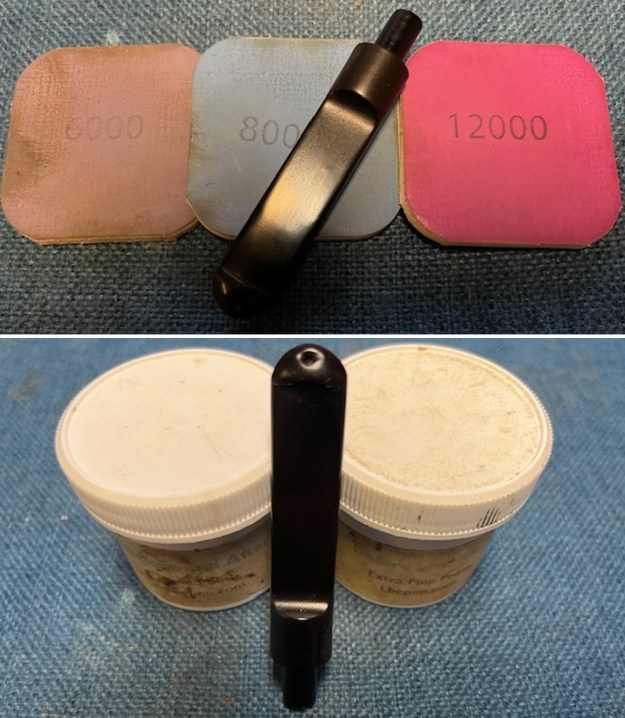
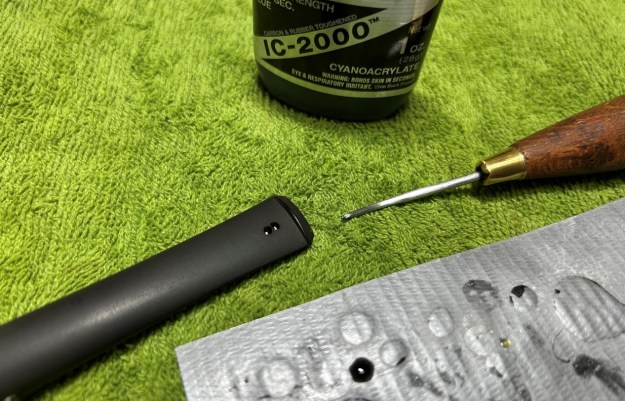 The penultimate step for the stem is sanding. First, with my set of needle files, I reduced the bulk of the cyanoacrylate repairs. I removed the excess adhesive as near to the surface as possible, without cutting into the vulcanite. Following that, I used all nine of the micromesh sanding pads (1,500 through 12,000 grit) to sand out flaws, even out the vulcanite, and provide gentle polishing of the finished surface. I also applied pipe-stem oil while using the last five micromesh pads. There was a wonderful, deep black shine to the stem when I was done.
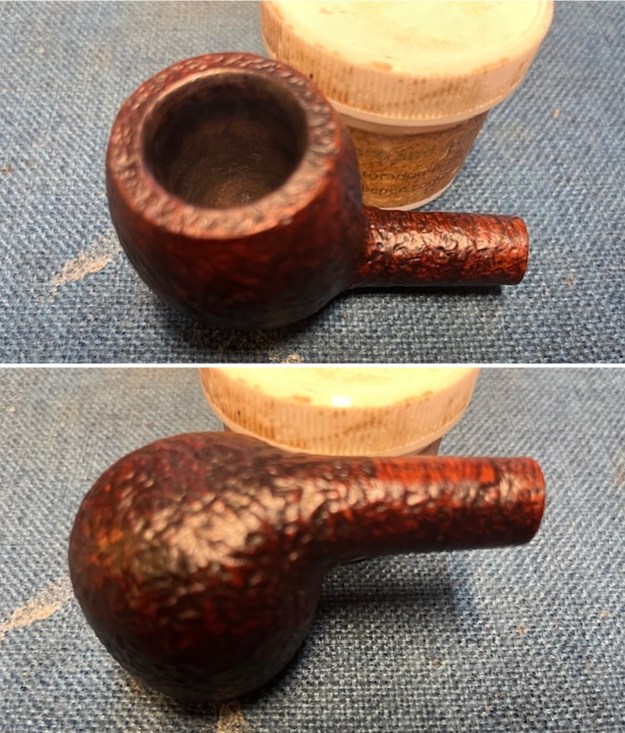
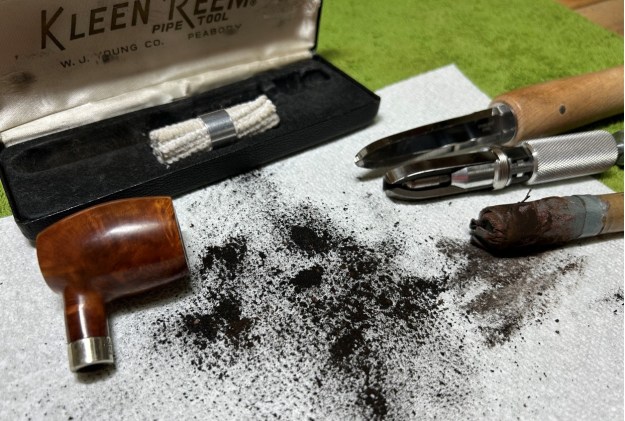
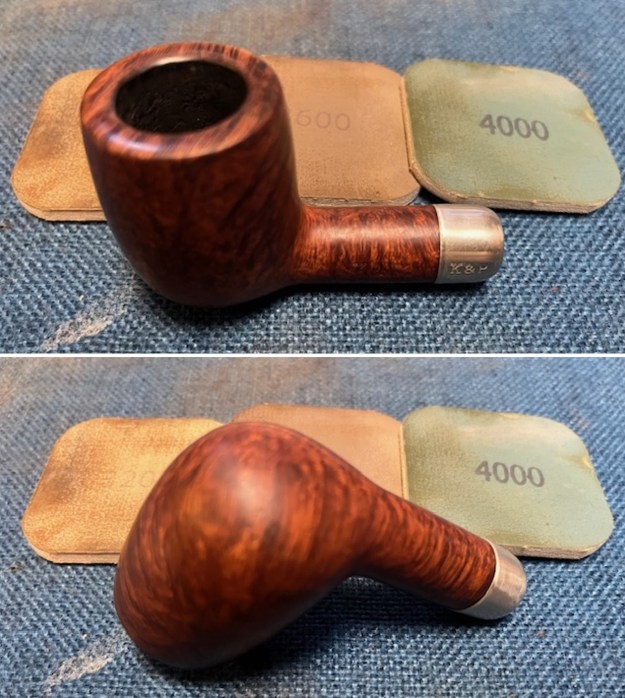
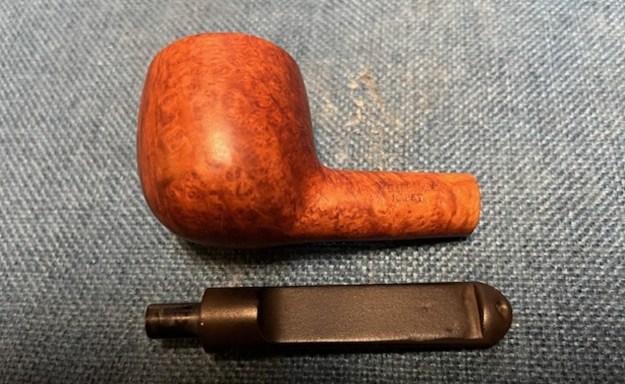
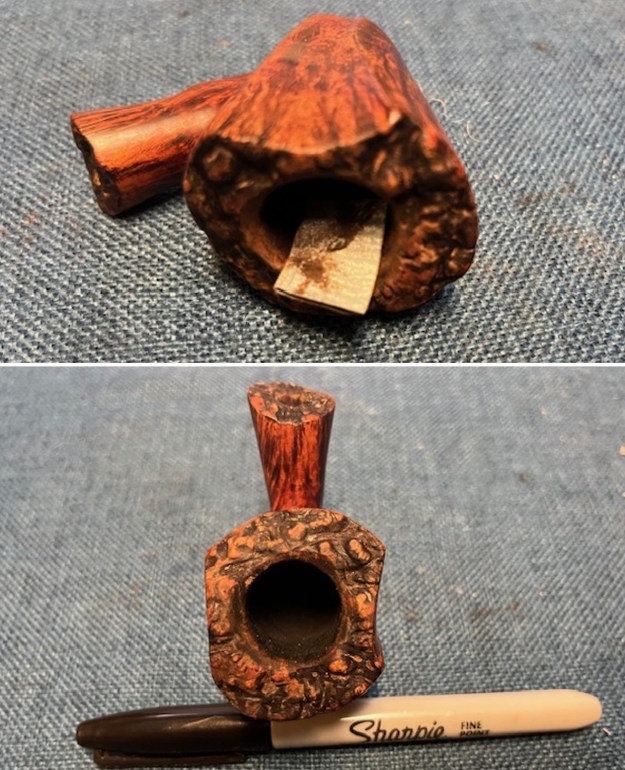
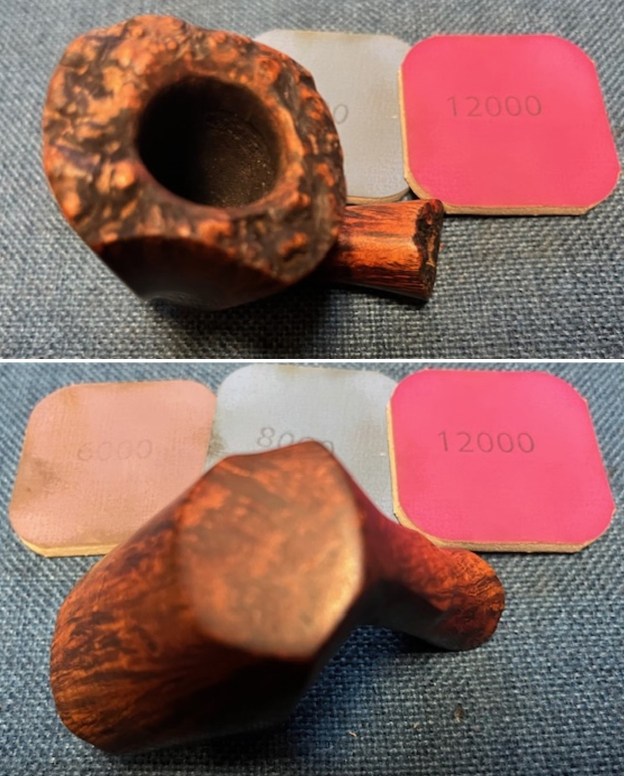
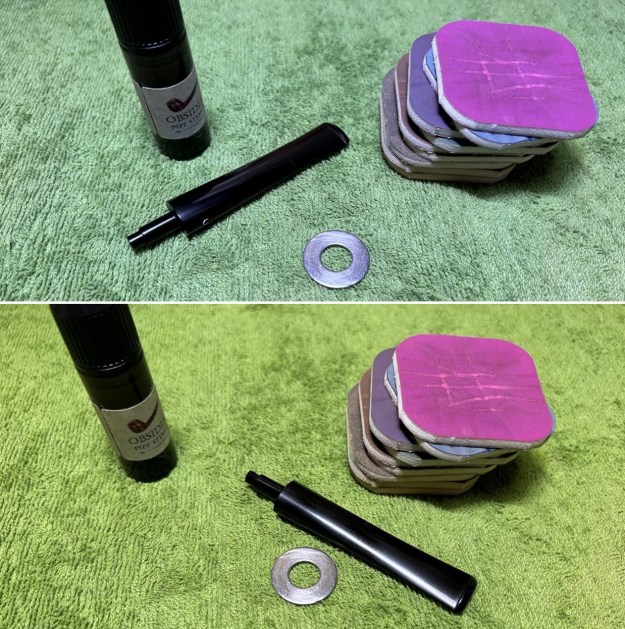 As the stem was (nearly) complete, I moved on to the stummel. The first step was to ream out the bowl – that is to say, remove all the cake inside the bowl. This accomplished a couple of things. First (and most obviously), it cleaned the bowl and provided a refurbished chamber for future smoking. Second, when the old cake was removed, I could inspect the interior walls of the bowl and determine if there was damage or not. I used a couple of reamers, a pipe knife, and a piece of sandpaper taped to a wooden dowel. Collectively, these ensured that all the debris was removed. Humorously, the cake in the bowl was so hard, that I actually got a blister on my hand from cranking the reamer.
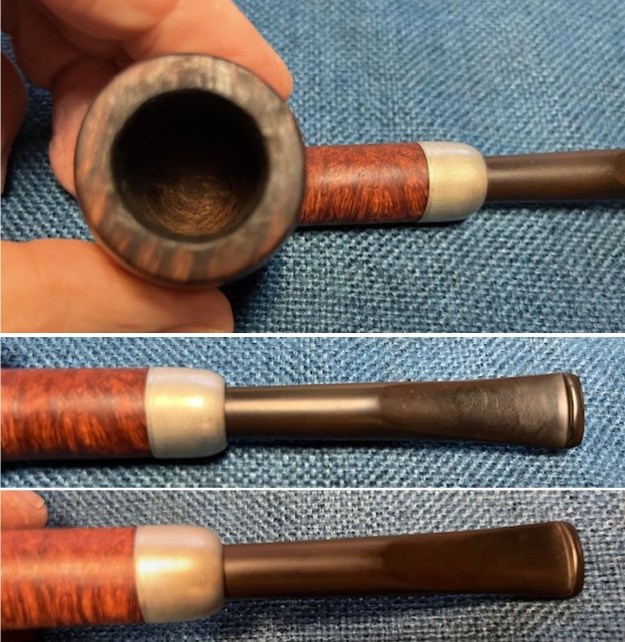
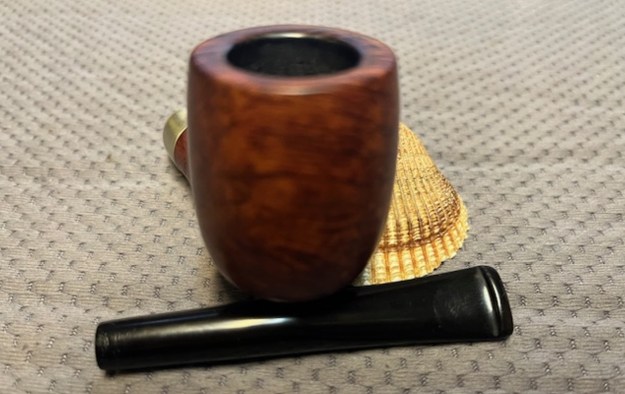
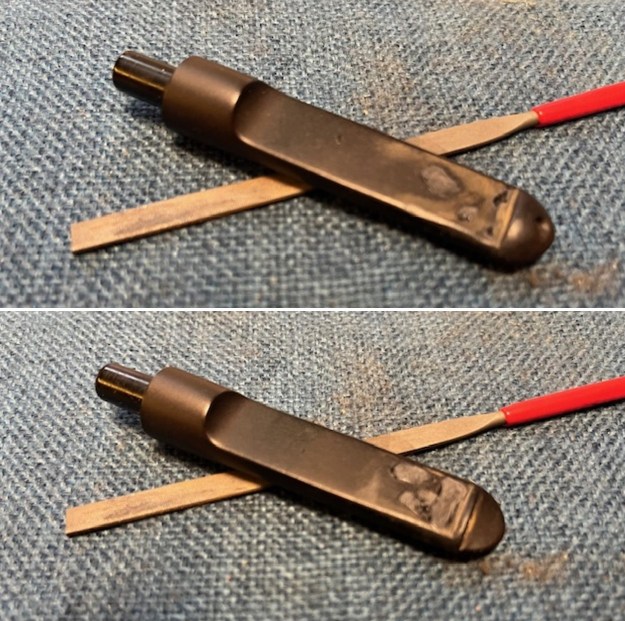
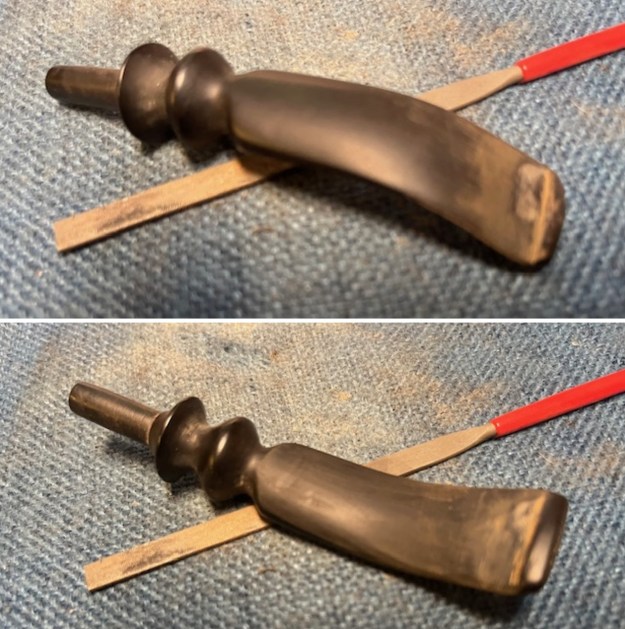
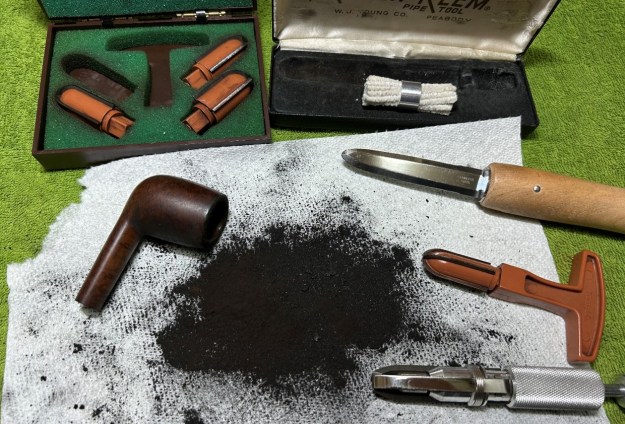 My next step was to remove the lava on the rim. For this, I took a piece of machine steel and gently scraped the lava away. The metal’s edge is sharp enough to remove what I need, but not so sharp that it damages the rim. This work revealed that there was some notably burn marks and a few more nicks. Too bad, but no problem to restore.
 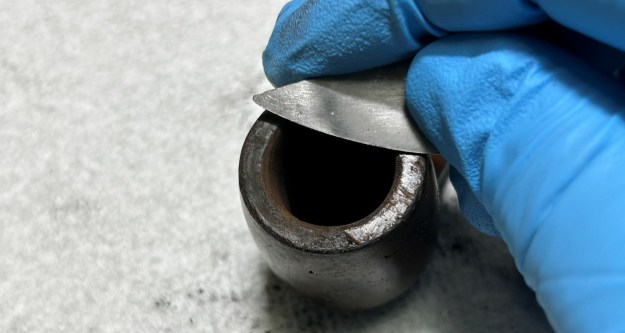 Similar to the stem, I then cleaned the stummel with both pipe cleaners and cotton swabs dipped in lemon-infused 99% isopropyl alcohol. With a pipe this dirty, it took quite a while and much cotton to get clean. Oh, it was so filthy! The previous owner must never have heard of pipe cleaners.
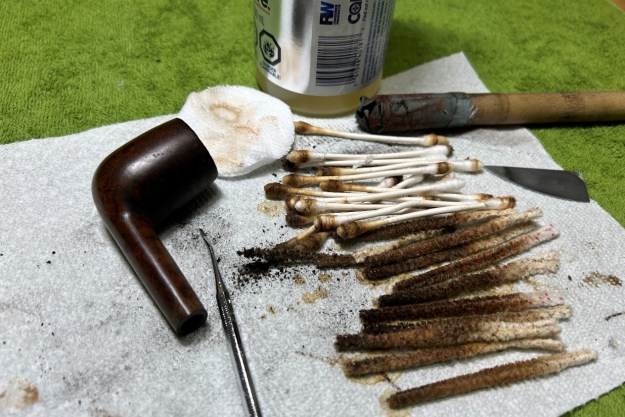 I then decided to ‘de-ghost’ the pipe – that is to say, exorcize the remaining filth from the briar. I filled the bowl and the shank with cotton balls, then saturated them with 99% isopropyl alcohol. I let the stummel sit overnight. This caused the remaining oils, tars and smells to leach out into the cotton.
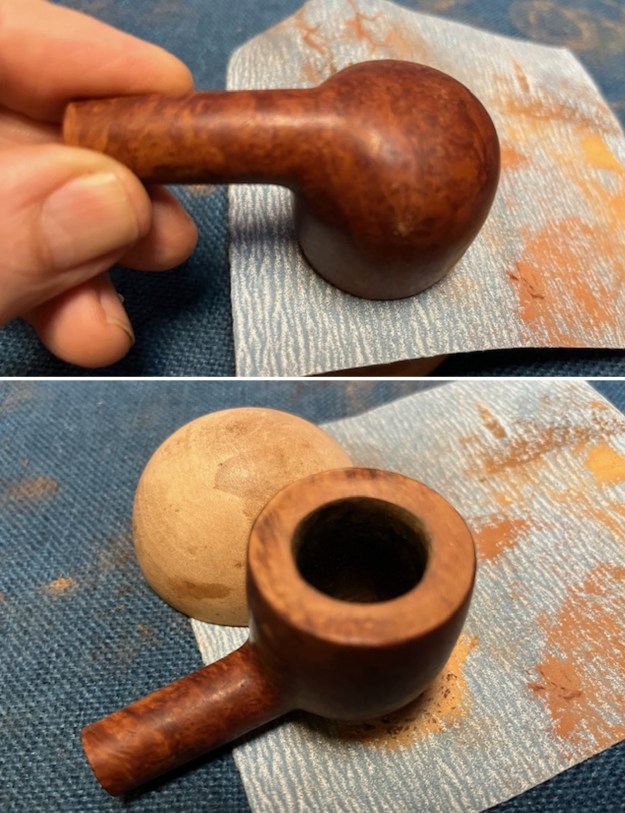
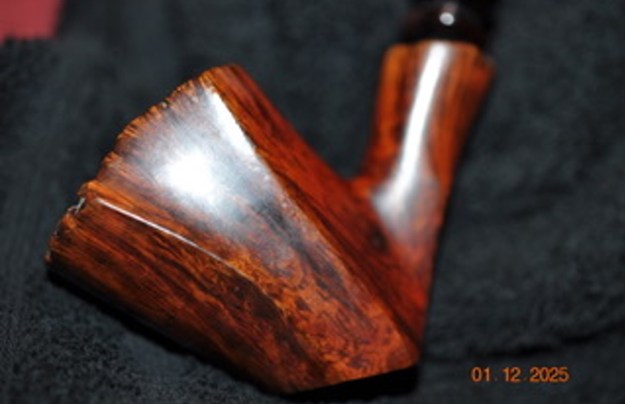
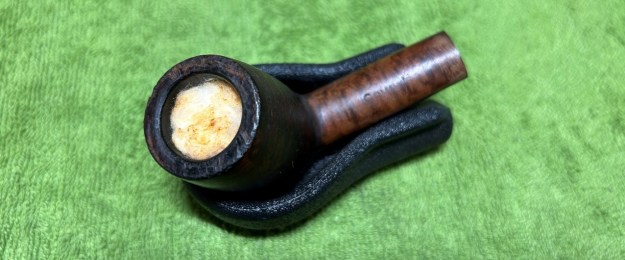 To tidy up the briar, I wiped down the outside, using a solution of a pH-neutral detergent and distilled water, with cotton rounds. This did a good job of cleaning any latent dirt on the surface of the briar. However, it also revealed a mild burn on the underside of the bowl. We’ll come back to that in a moment.
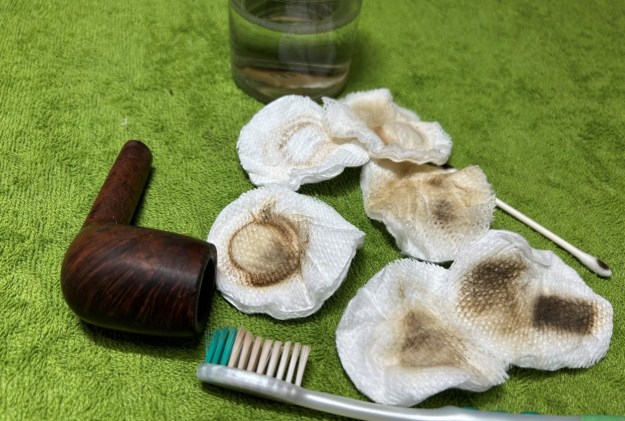 The last step of the cleaning process was to scour the inside of the stummel with some detergent and tube brushes. This was the culmination of a lot of hard work in getting the pipe clean.
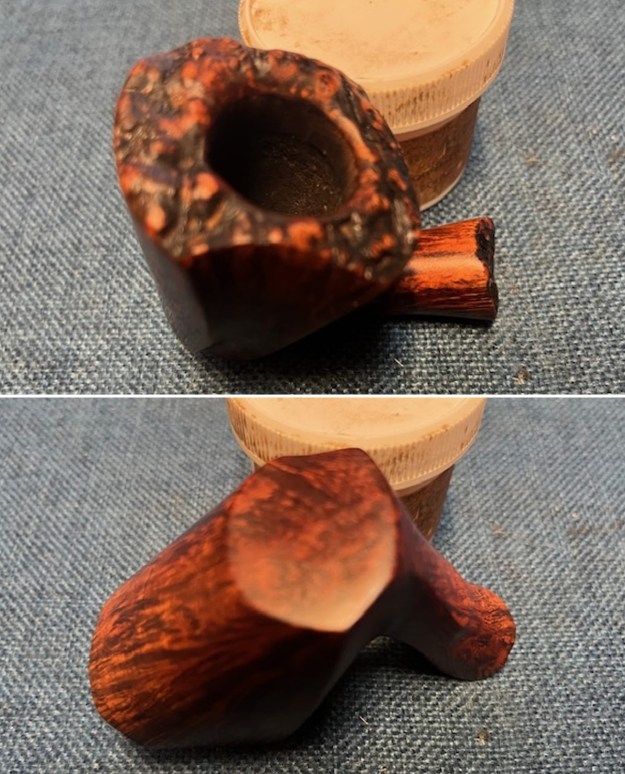
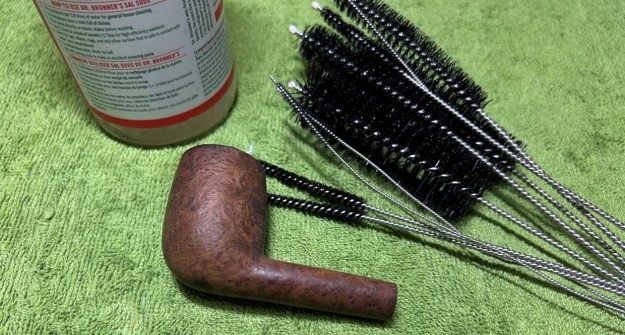 To deal with the burn, I took some crystalized oxalic acid and dissolved it in warm water. I used some cotton swaps, dipped in the solution, and rubbed the burned spot vigorously. The weak acid works very nicely to alleviate superficial burns (burns where the integrity of the wood is still sound). The burn is quite superficial and the solution did work a bit, but the burn will remain as part of the pipe’s history.
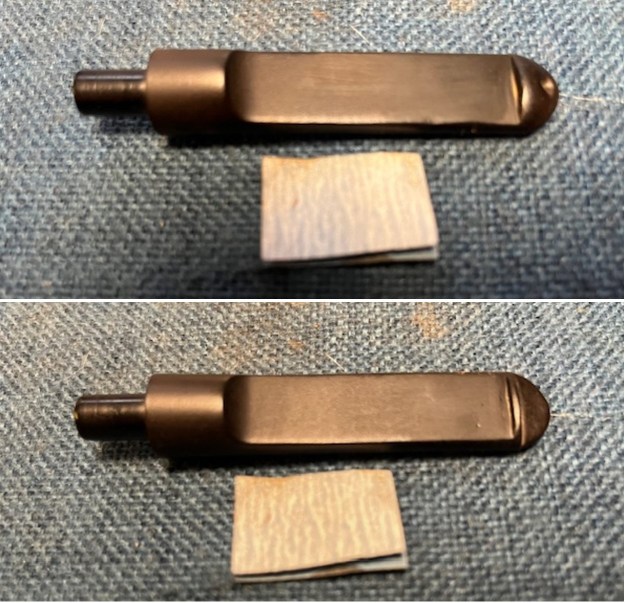
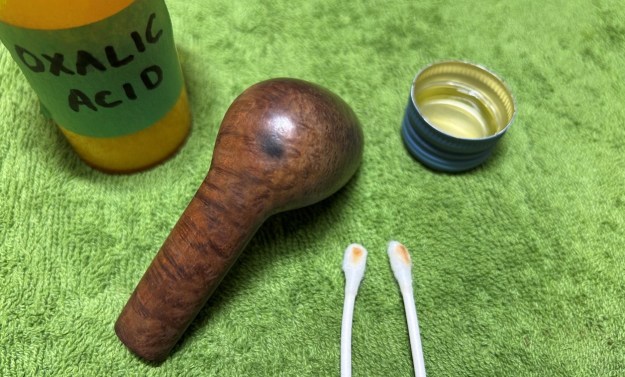 The damage to the rim was significant. In order to lessen the burns and nicks on the rim, I ‘topped’ the pipe – that is to say, I gently and evenly sanded the rim on a piece of 400-grit sandpaper. This effectively minimized the damage, without altering the look of the pipe.
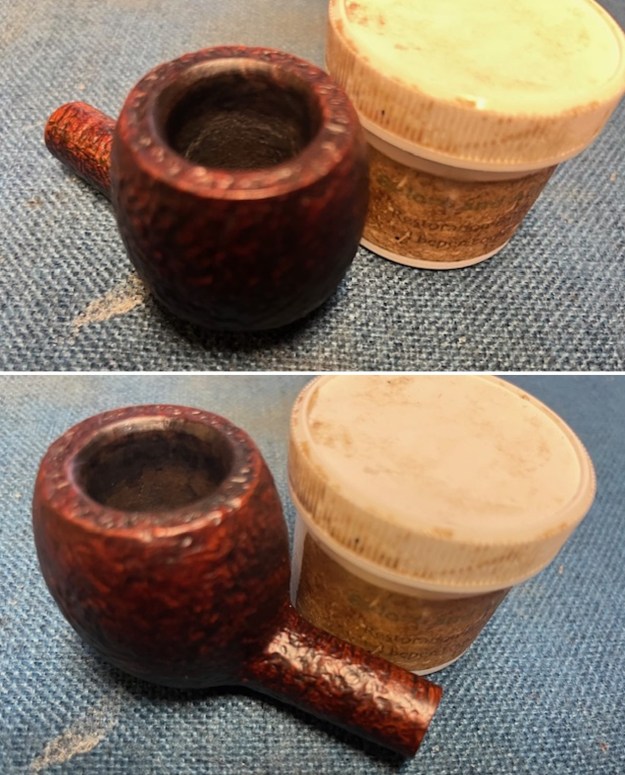
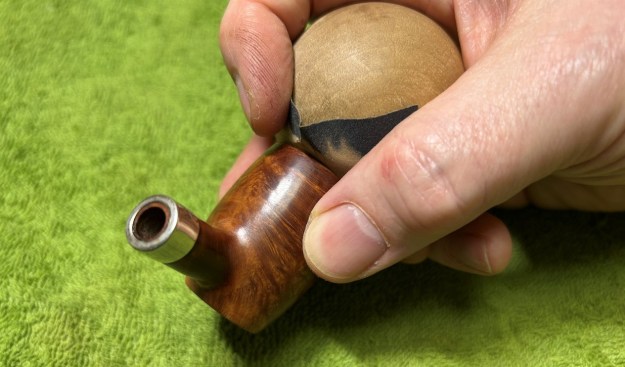
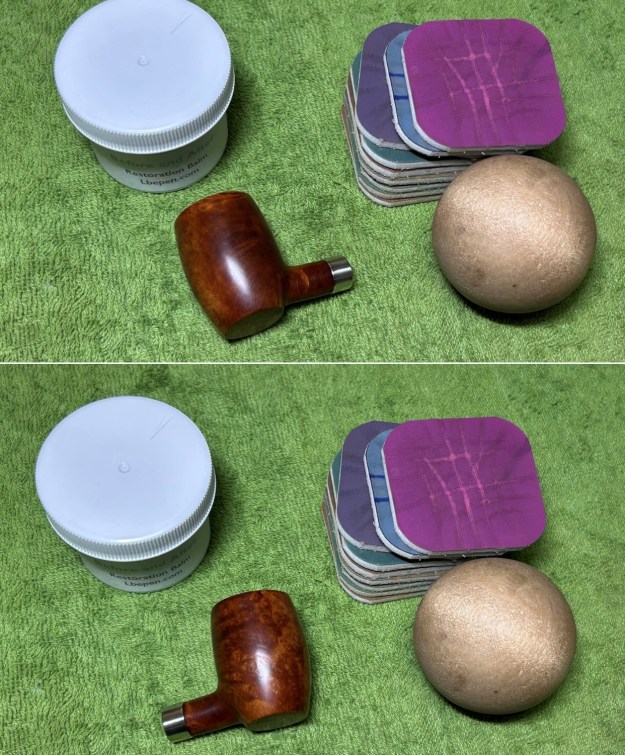
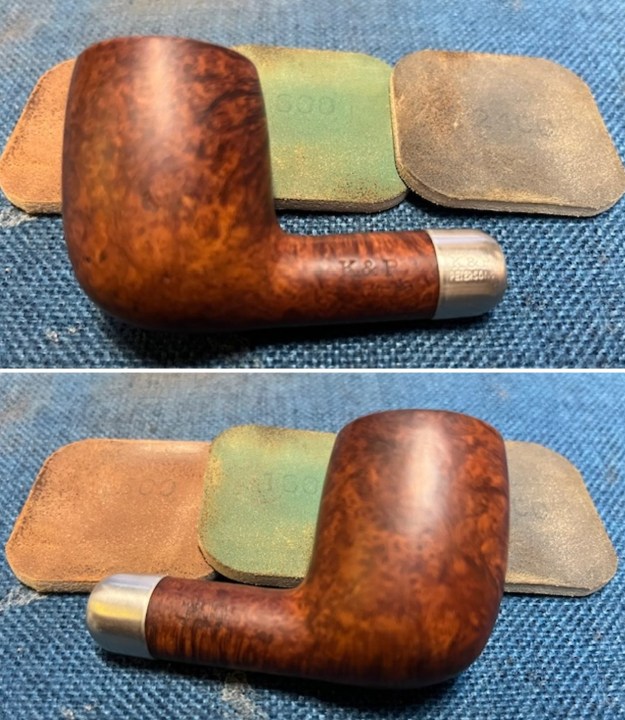
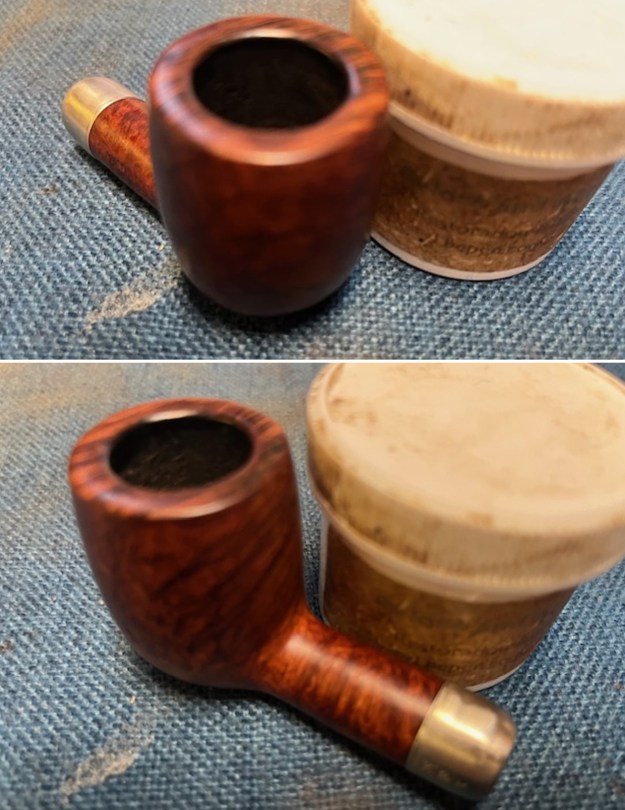
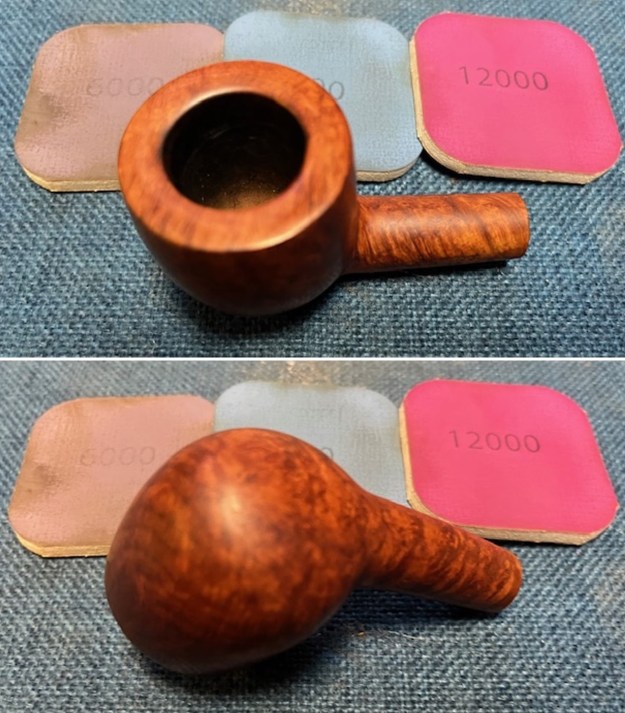
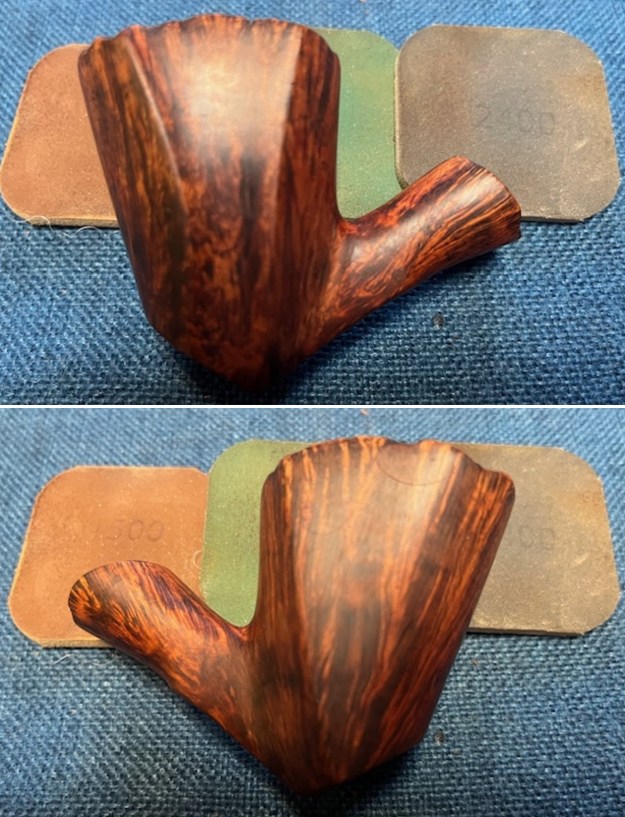
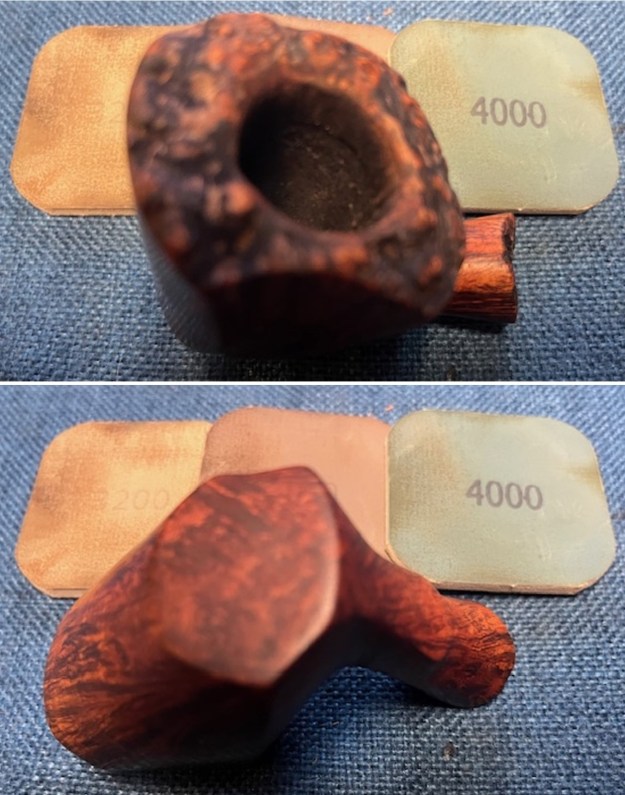
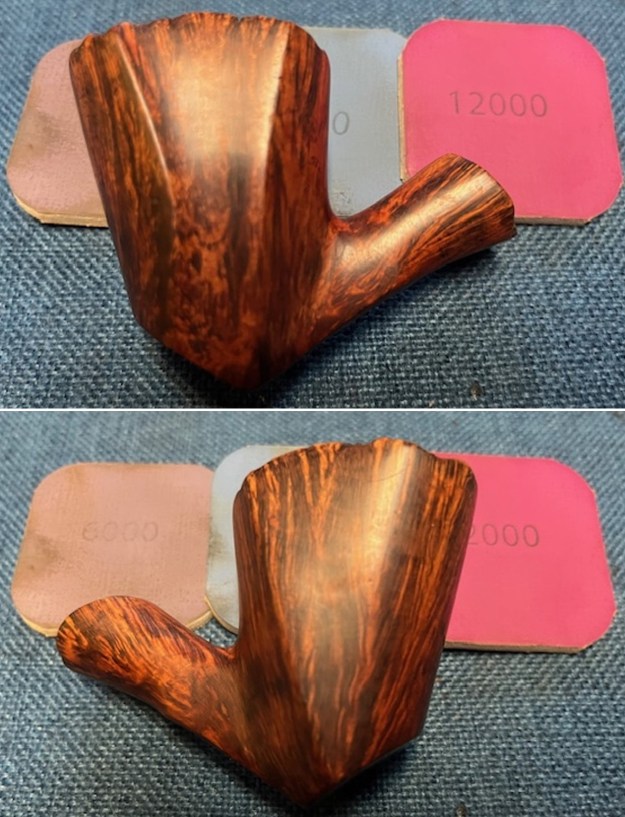
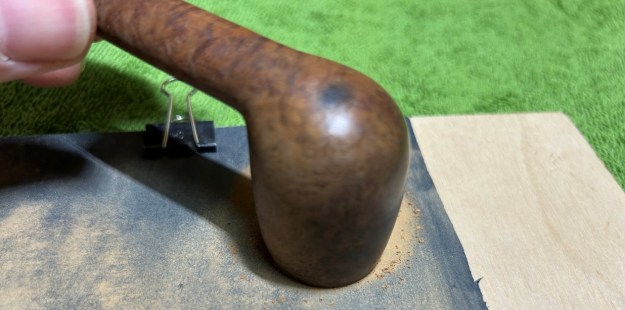 I used all nine micromesh pads (1,500 through 12,000 grit) to sand the outside of the stummel and finish it off. This sanding minimizes flaws in the briar and provides a beautiful smoothness to the wood. I rubbed some LBE Before & After Restoration Balm into the briar and let it sit for 30 minutes or so. The balm moisturizes the wood and gives a beautiful depth to the briar. I then buffed the stummel with a microfibre cloth.
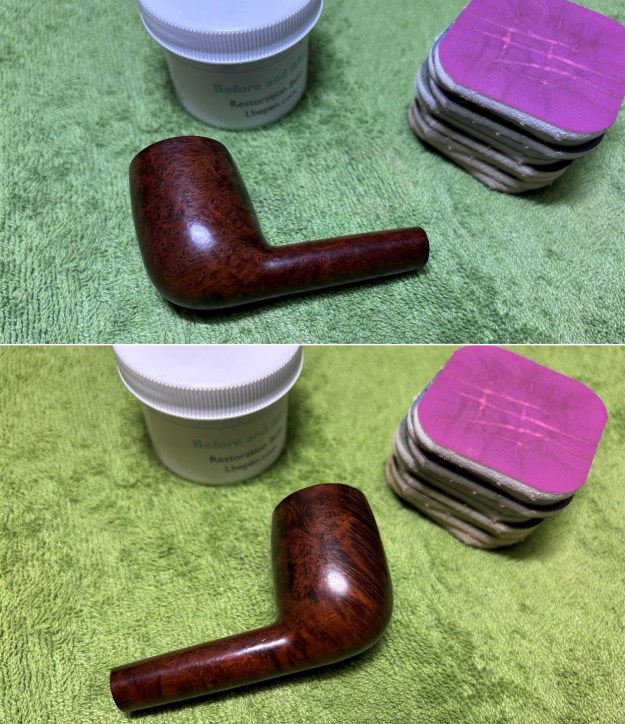
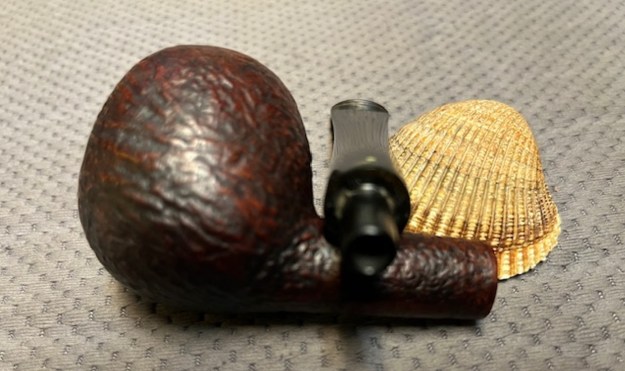
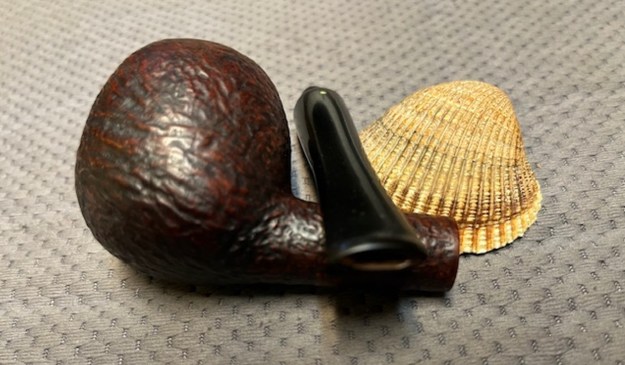
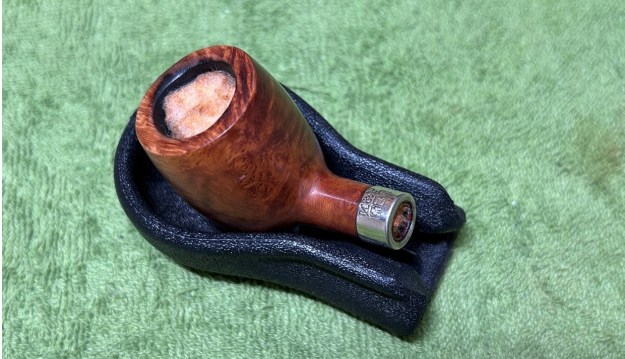
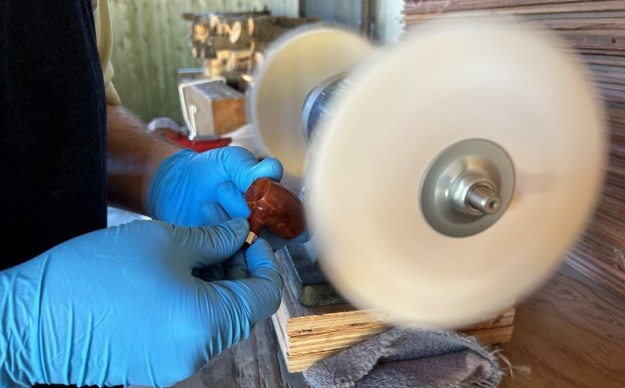
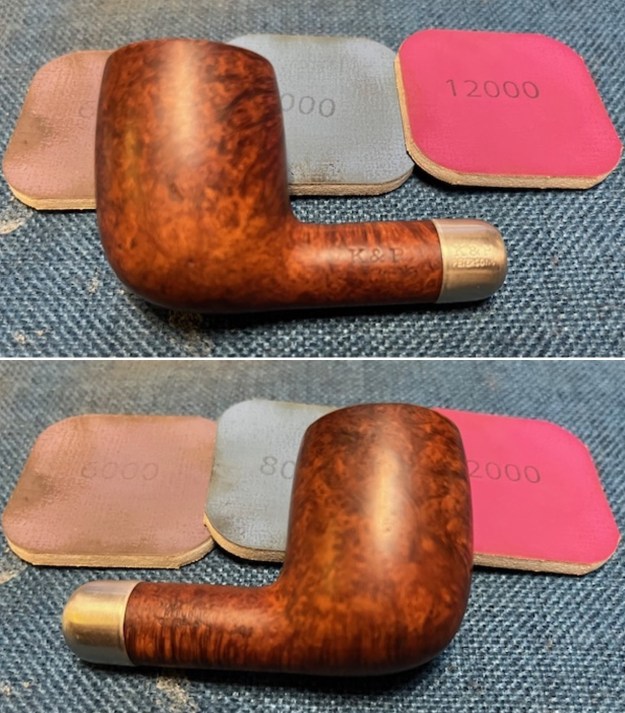
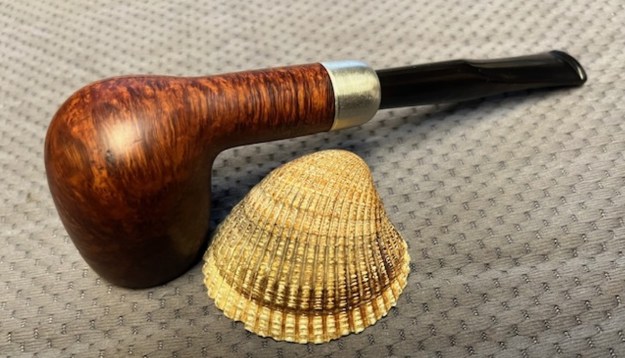
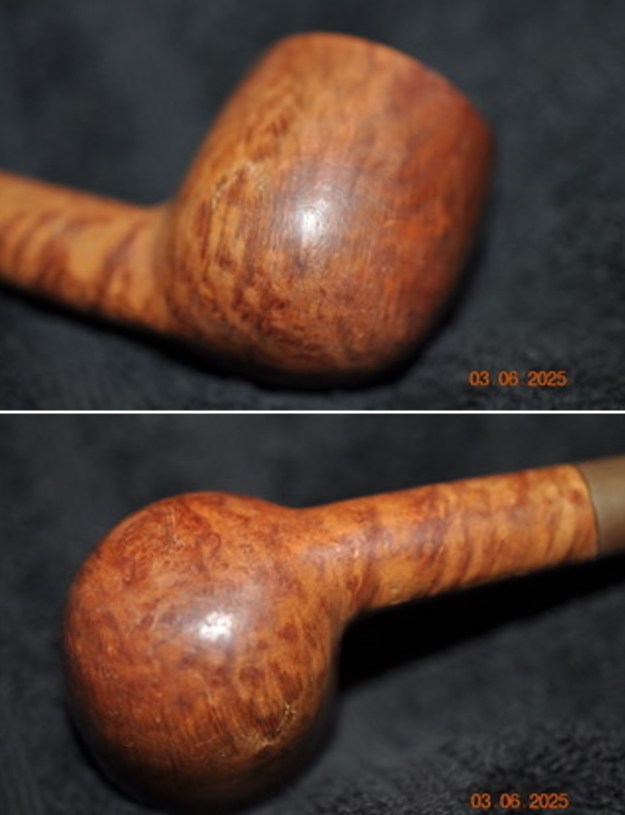
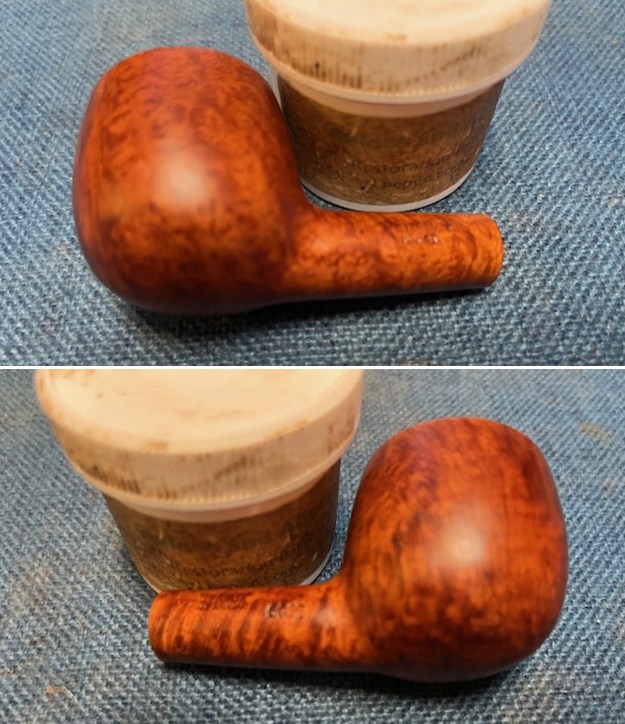
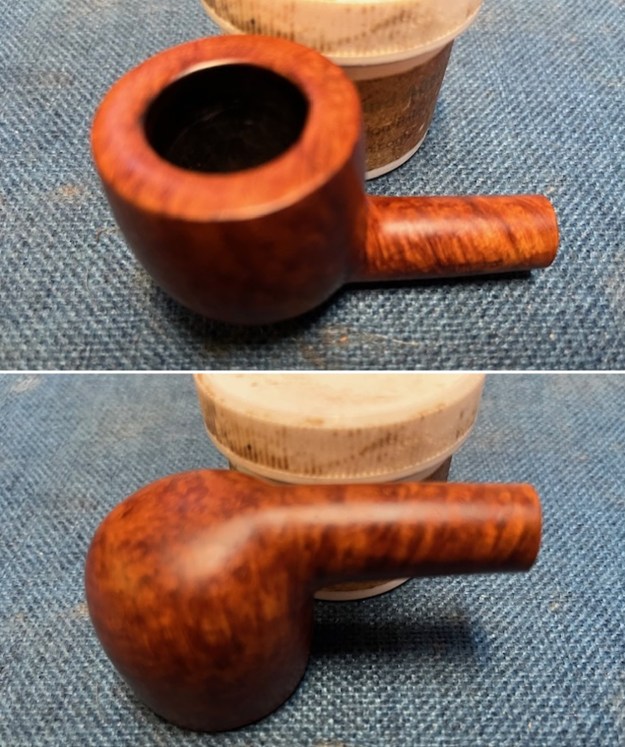
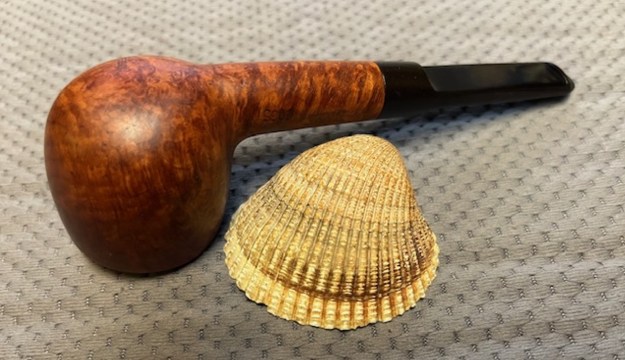
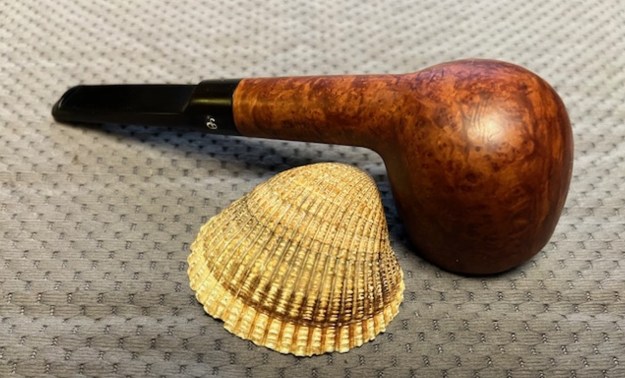
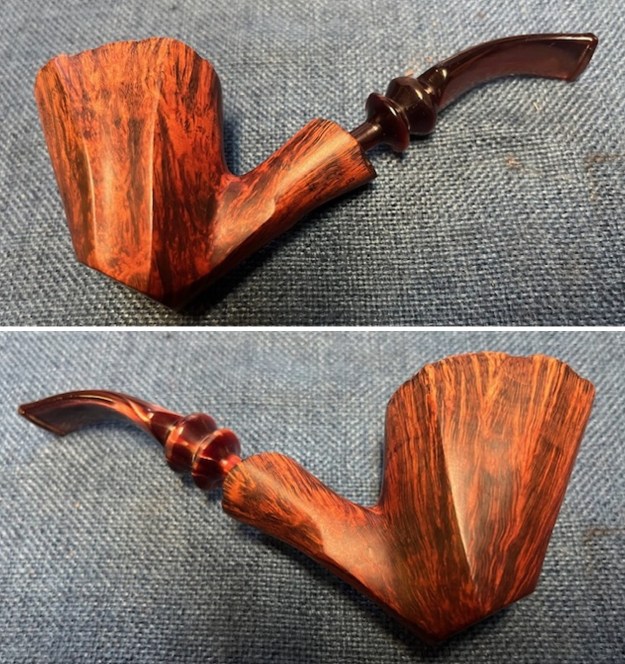
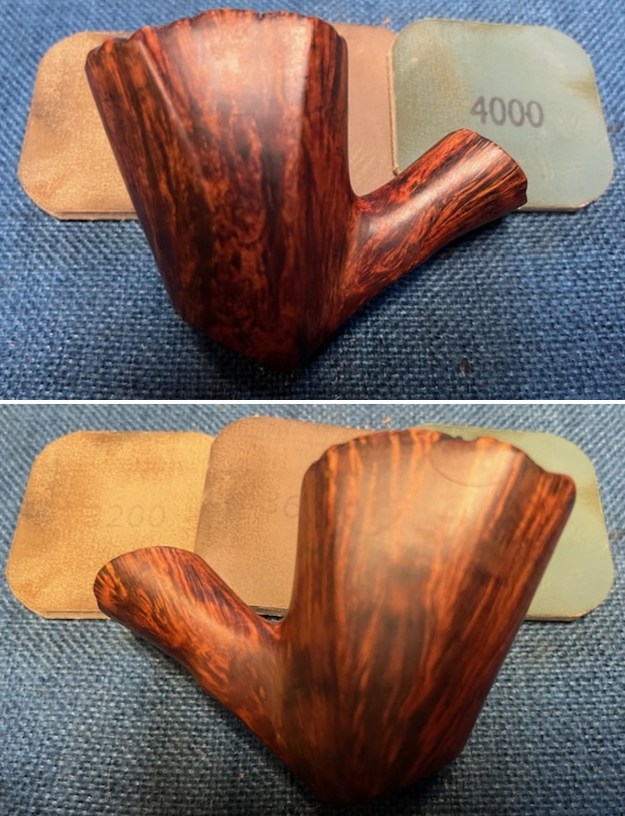
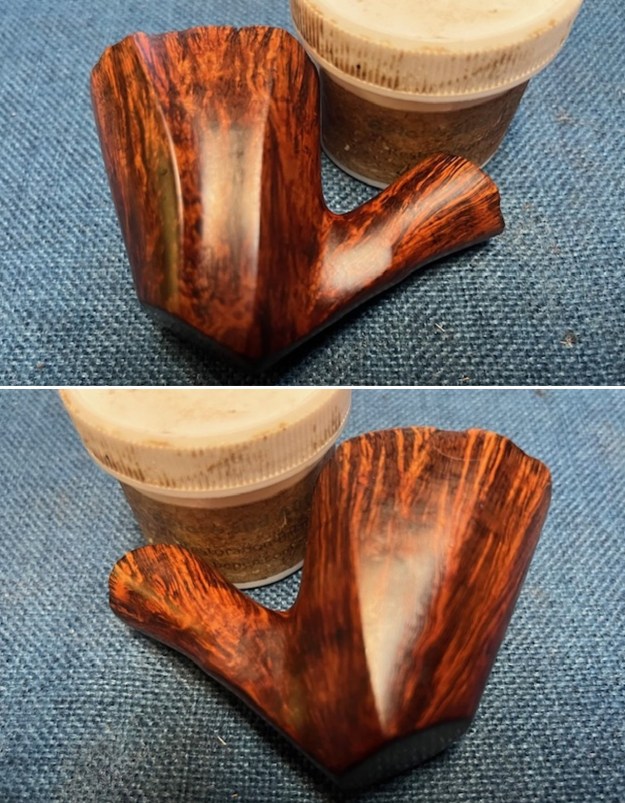
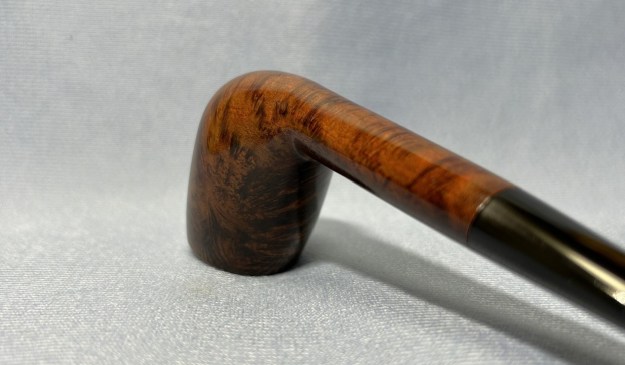
 For the final step, I took the pipe to my bench polisher and carefully buffed it – first with a blue diamond compound, then with three coats of carnauba wax. This procedure makes the pipe look its best – the stummel sings and the stem glows.
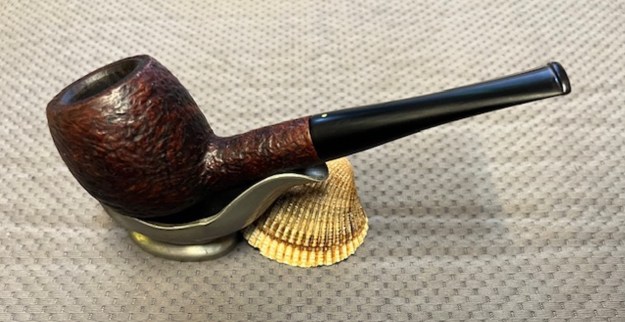
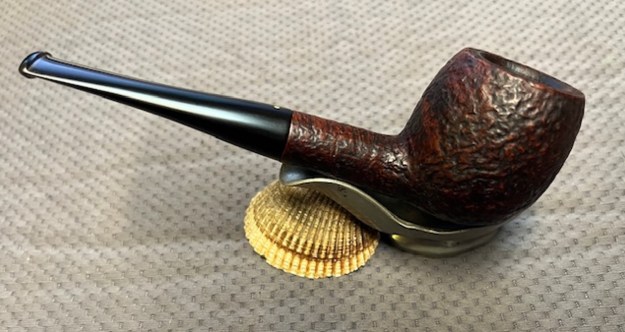
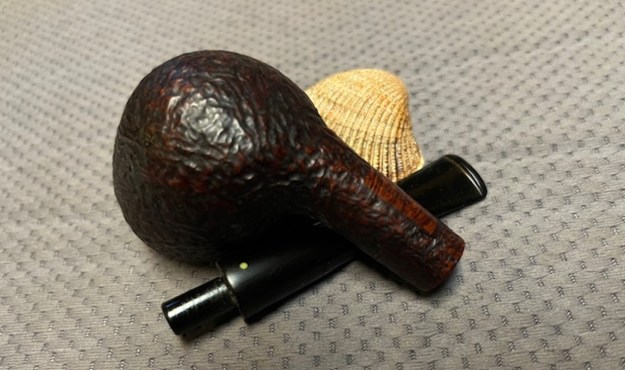
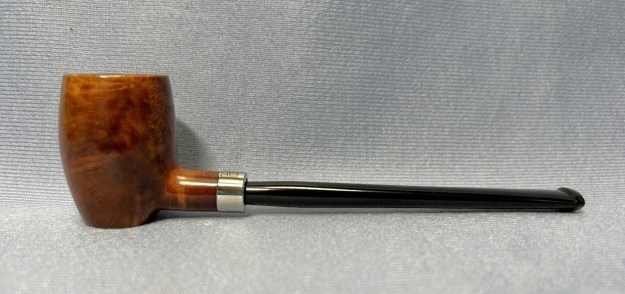
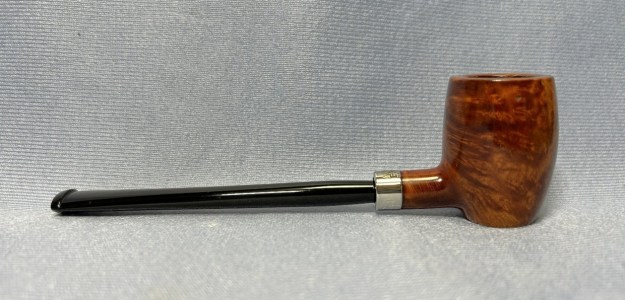
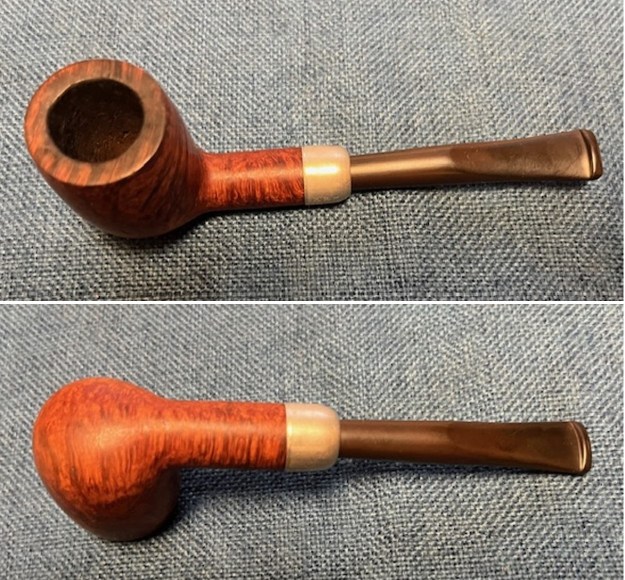
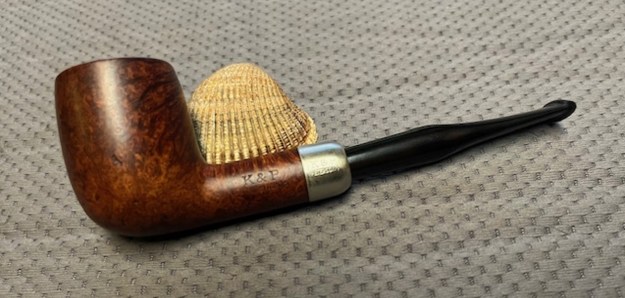
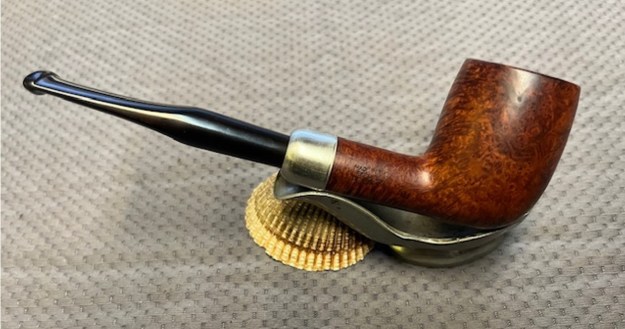
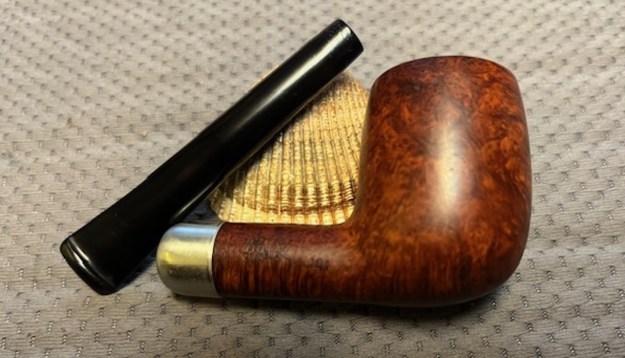
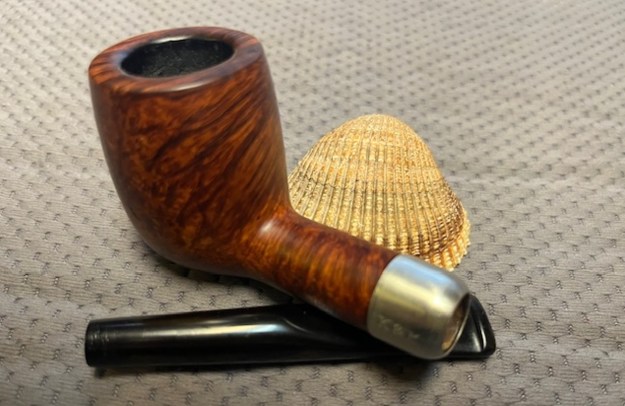
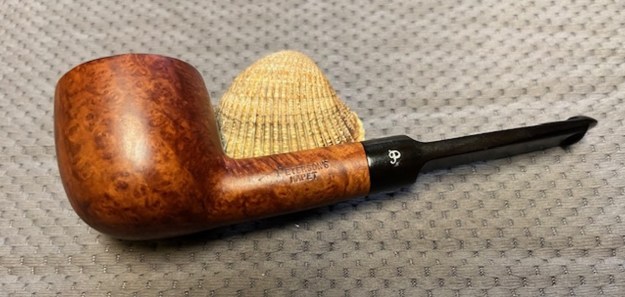
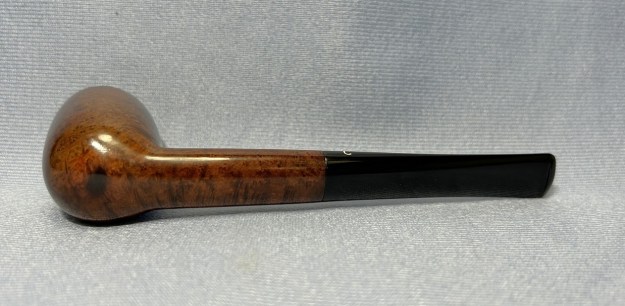
 This Comoy’s Tradition 203 Cutty looks fantastic again and is ready to be enjoyed by its next owner. I am pleased to announce that this pipe is for sale! If you are interested in acquiring it for your collection, please have a look in the ‘British’ pipe section of the store here on Steve’s website. You can also email me directly at kenneth@knightsofthepipe.com. The approximate dimensions of the pipe are as follows: length 5⅞ in. (150 mm); height 1¾ in. (46 mm); bowl diameter 1¼ in. (32 mm); chamber diameter ¾ in. (19 mm). The weight of the pipe is 1 oz. (32 g). I hope you enjoyed reading the story of this pipe’s restoration as much as I did restoring it. If you are interested in more of my work, please follow me here on Steve’s website or send me an email. Thank you very much for reading and, as always, I welcome and encourage your comments.
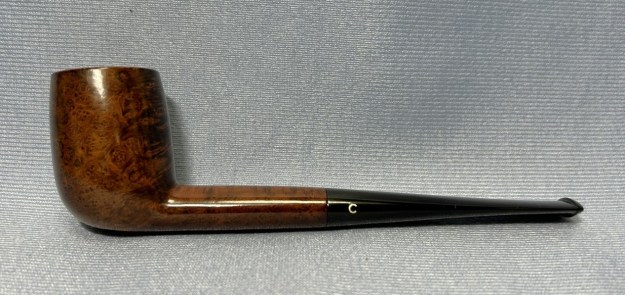


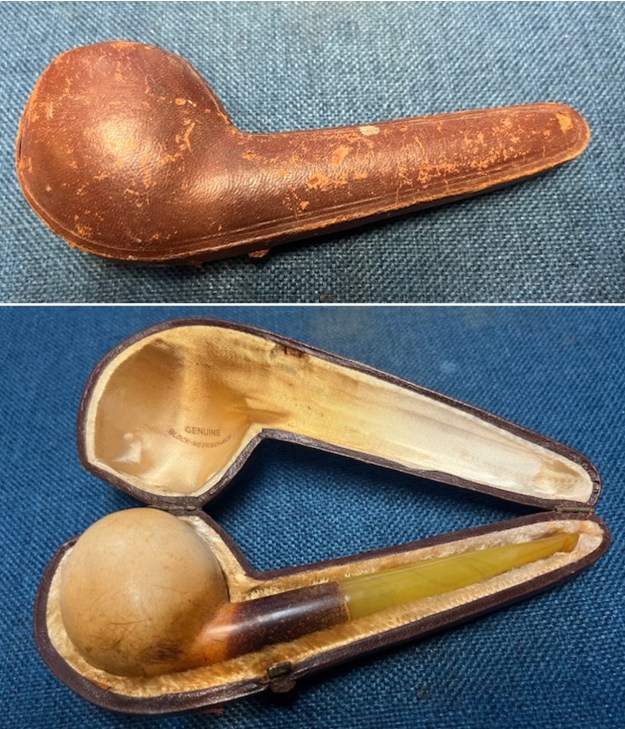

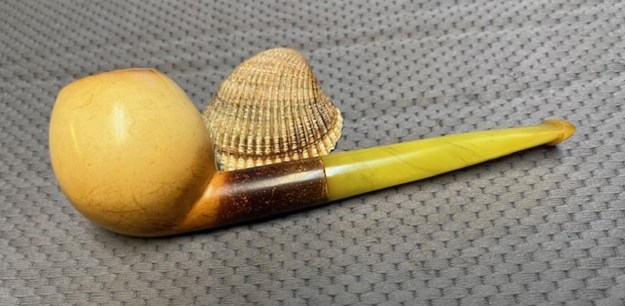
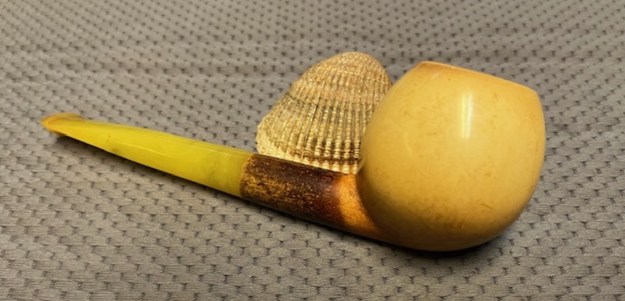
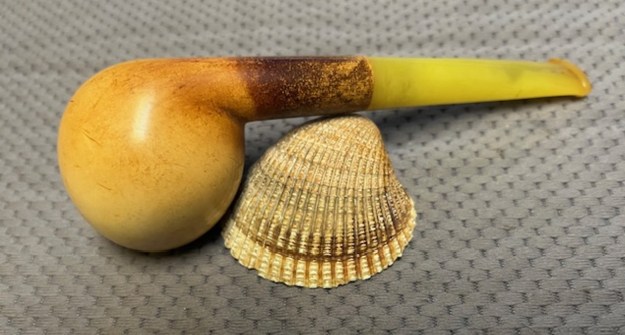
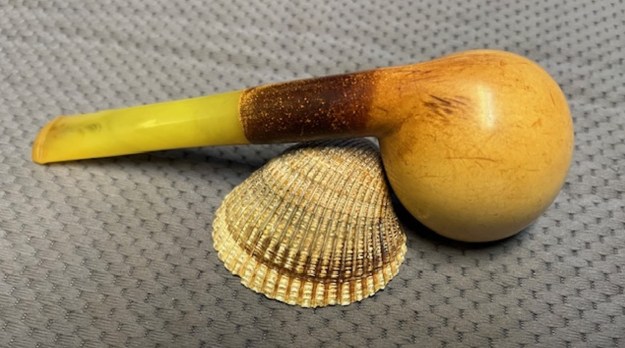
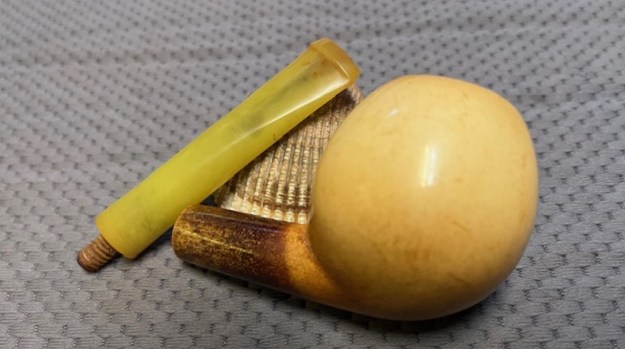
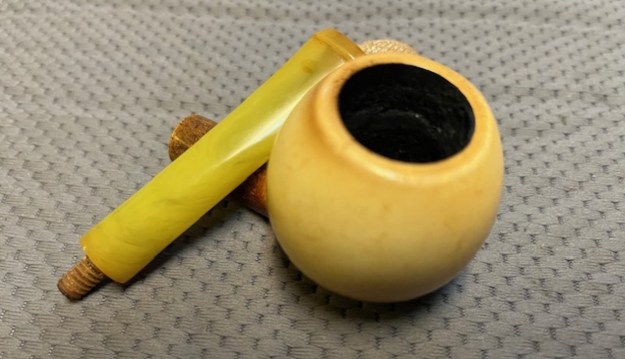
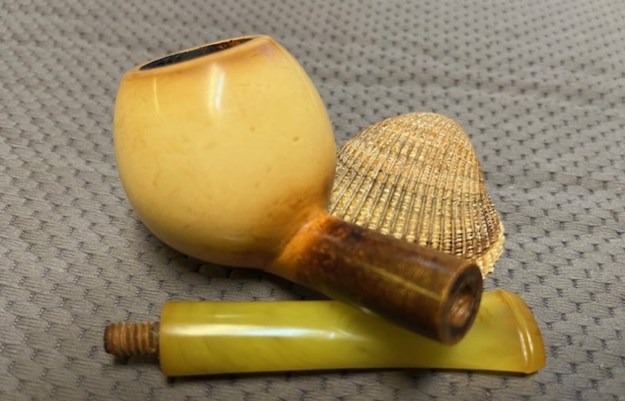
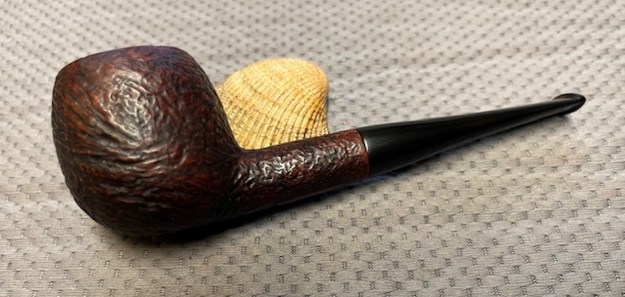
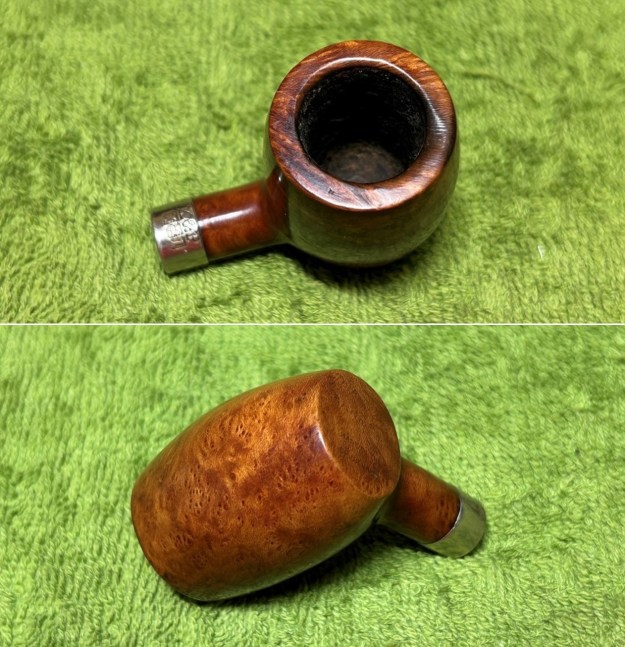
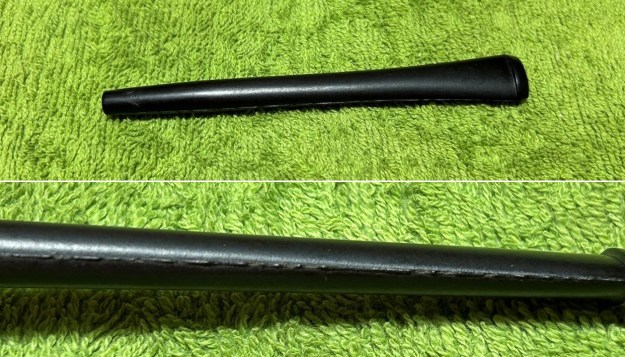
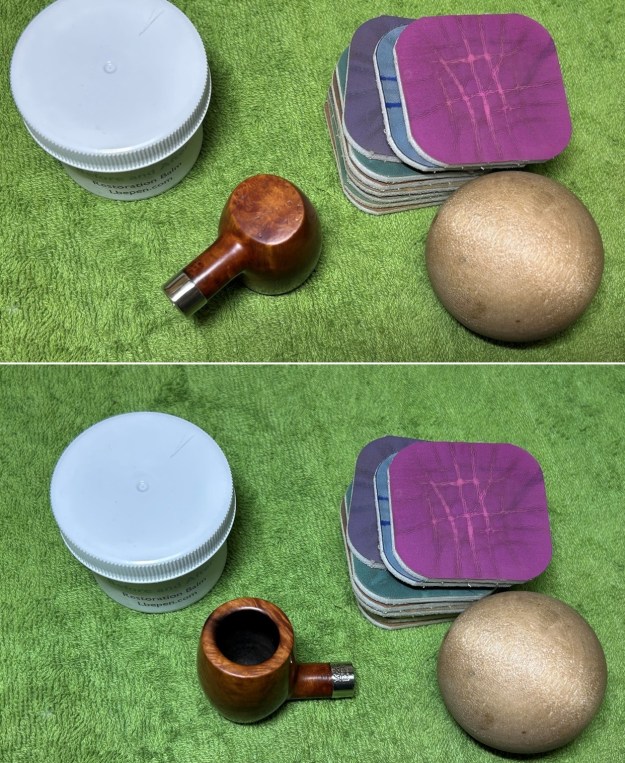
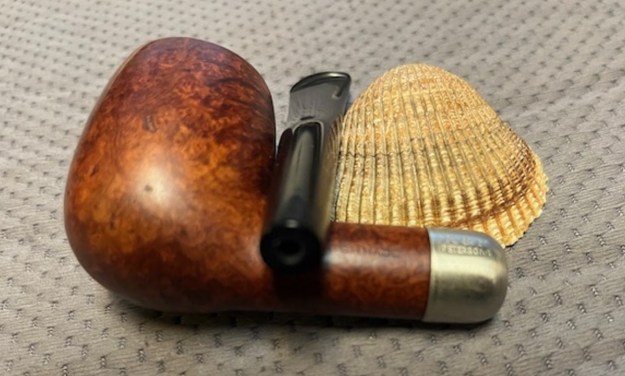
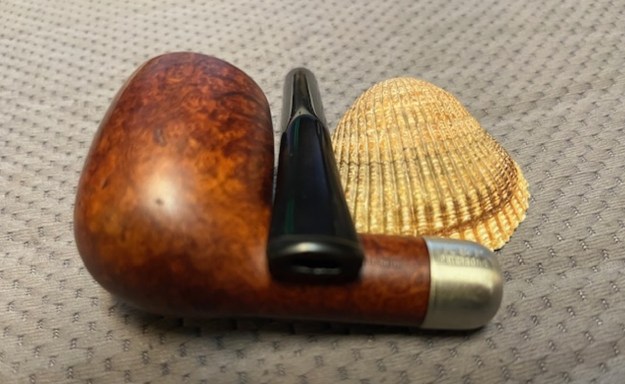
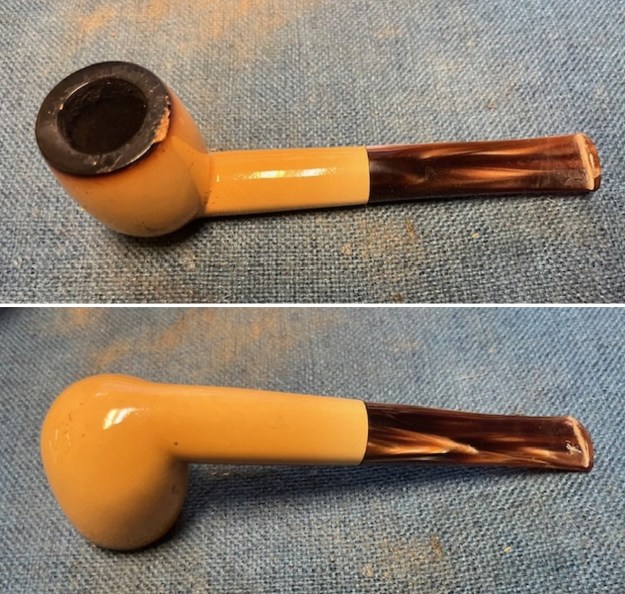
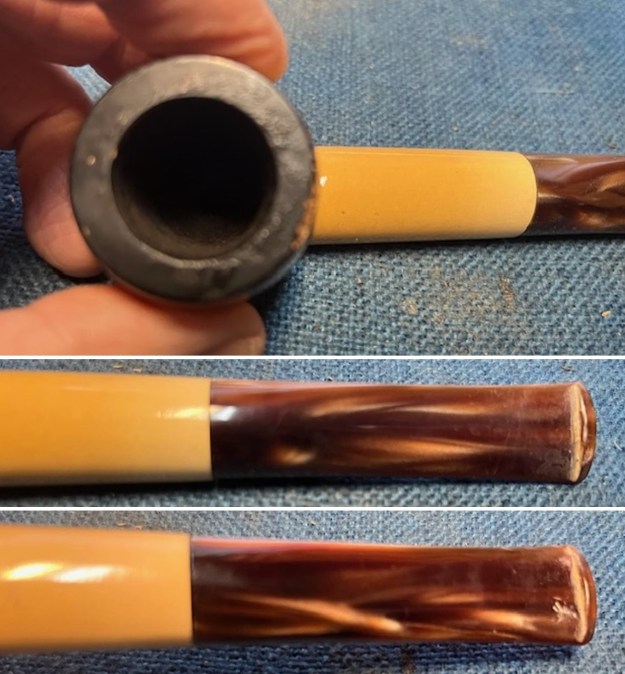
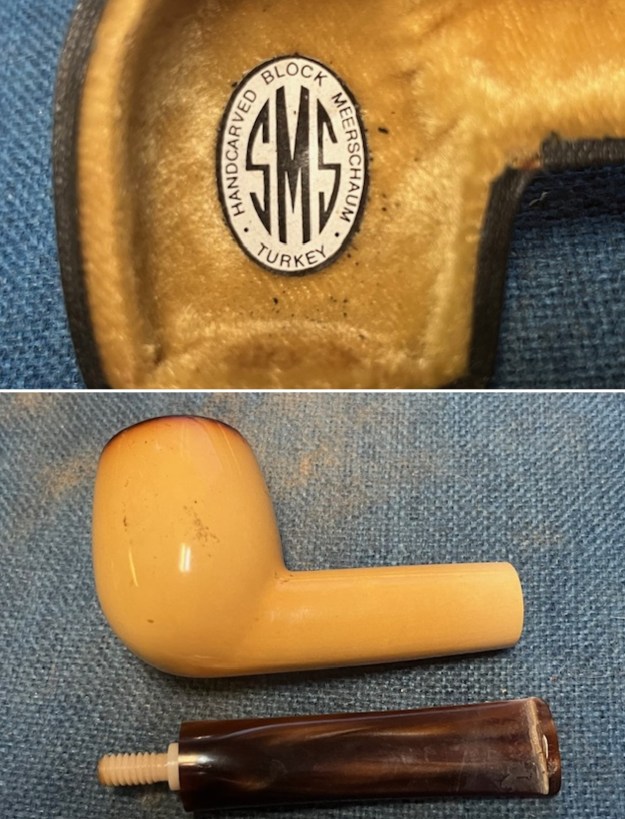
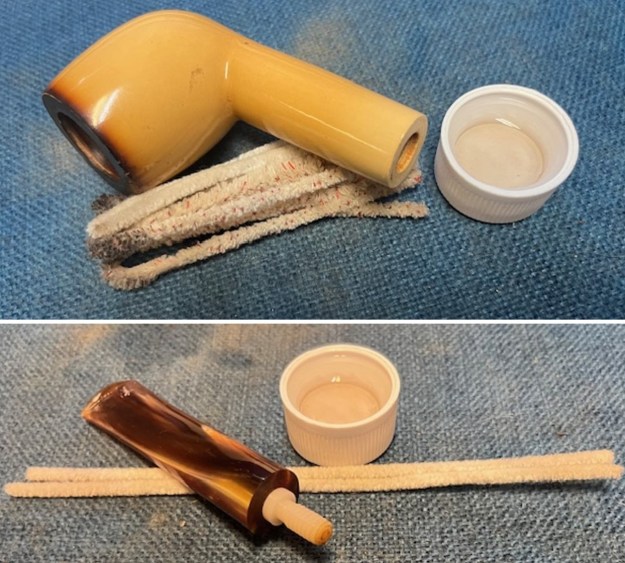
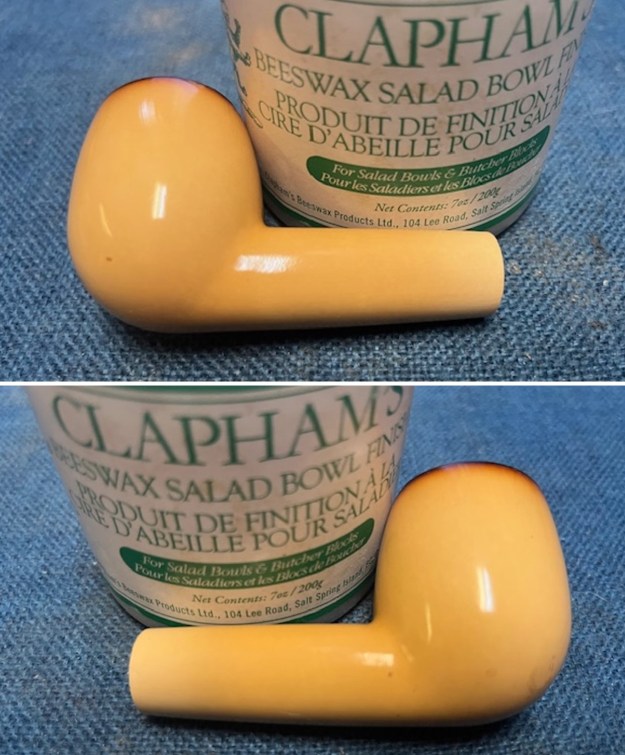
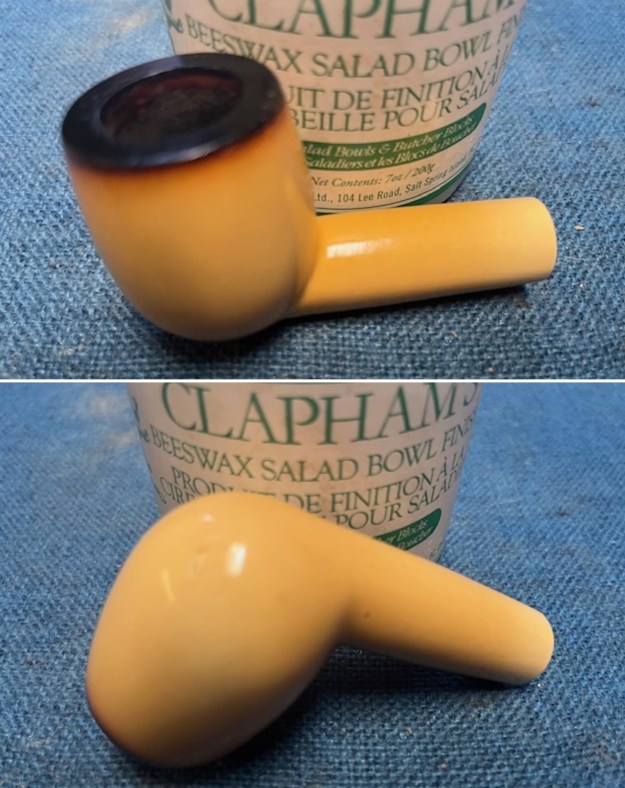
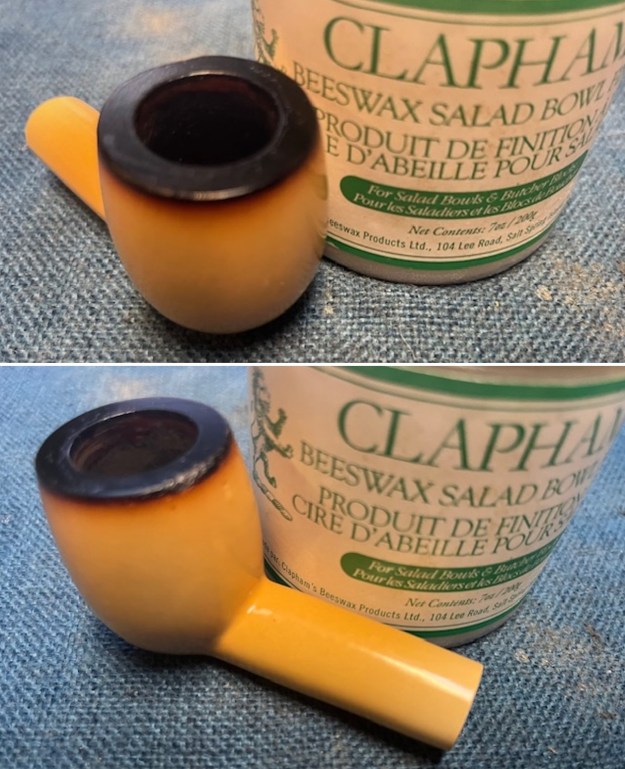
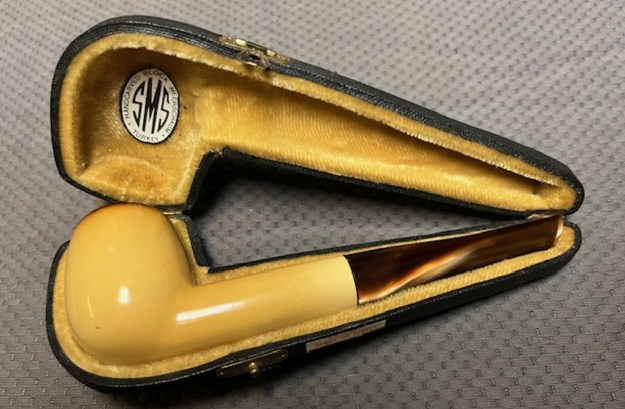
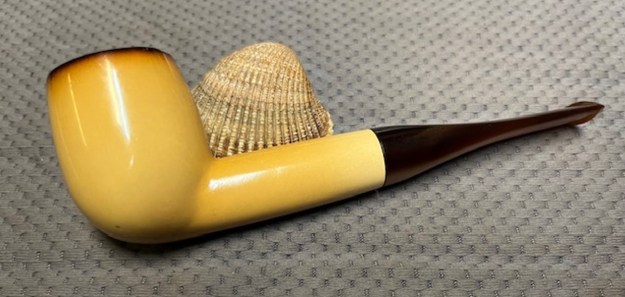
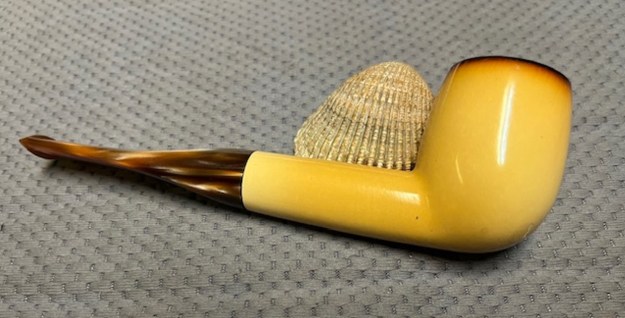
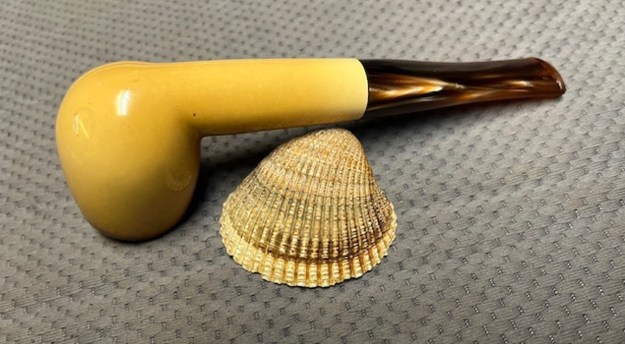
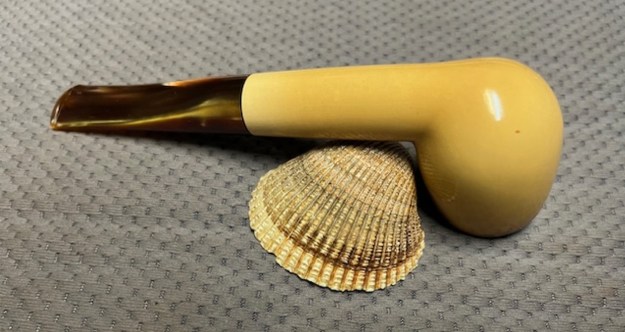
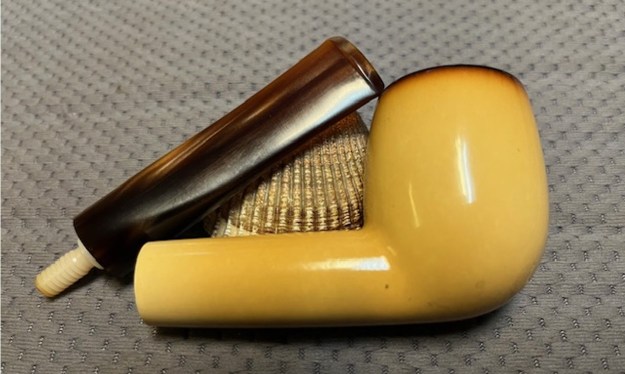
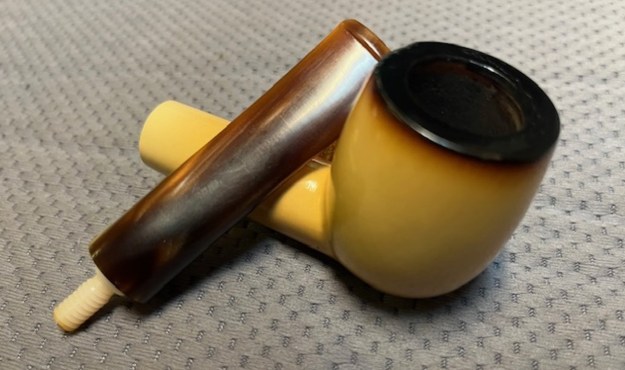
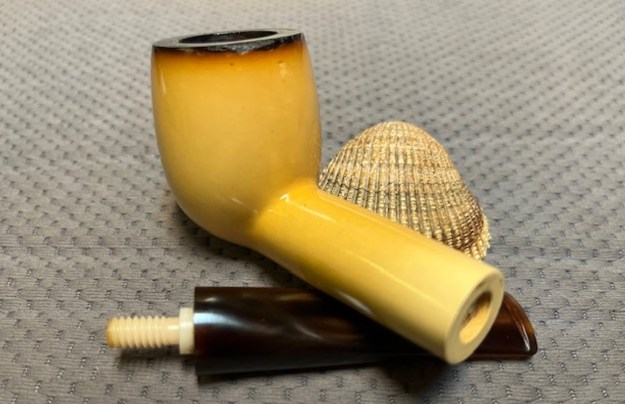
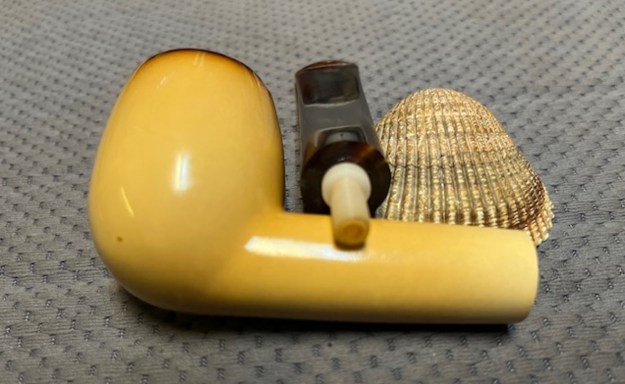
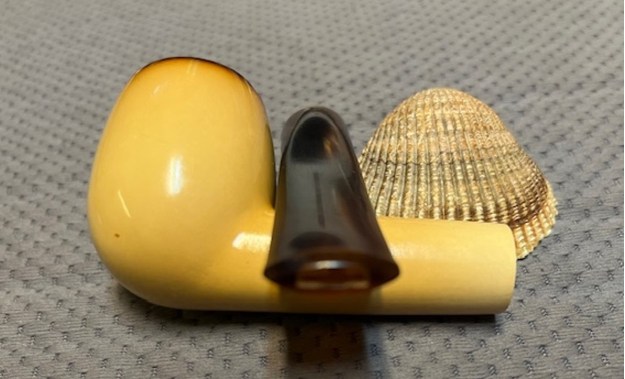
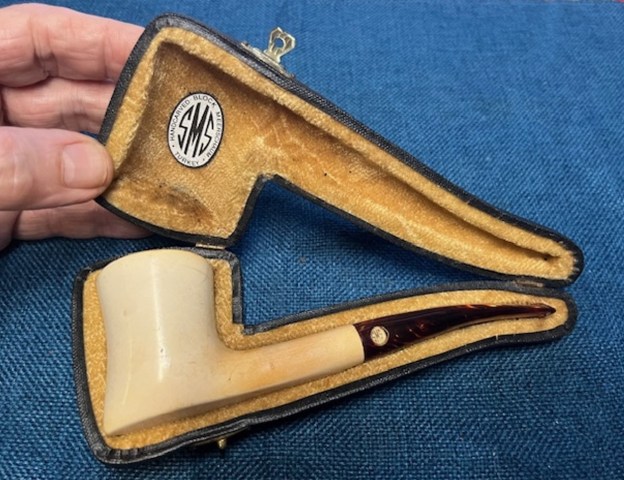
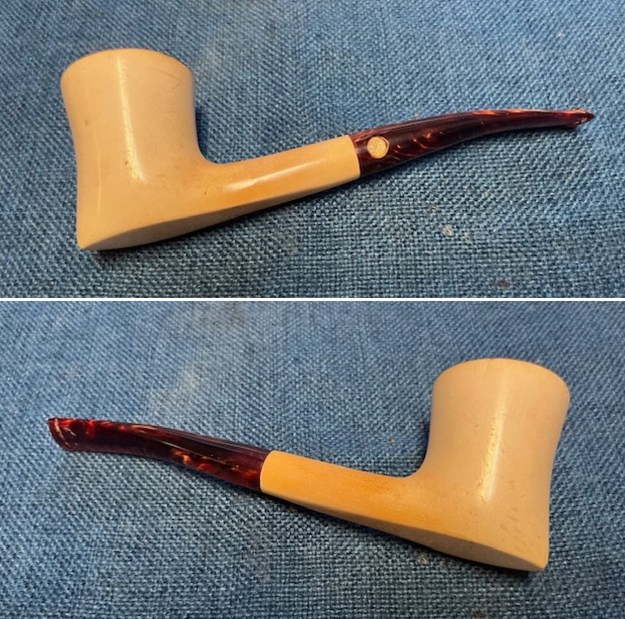
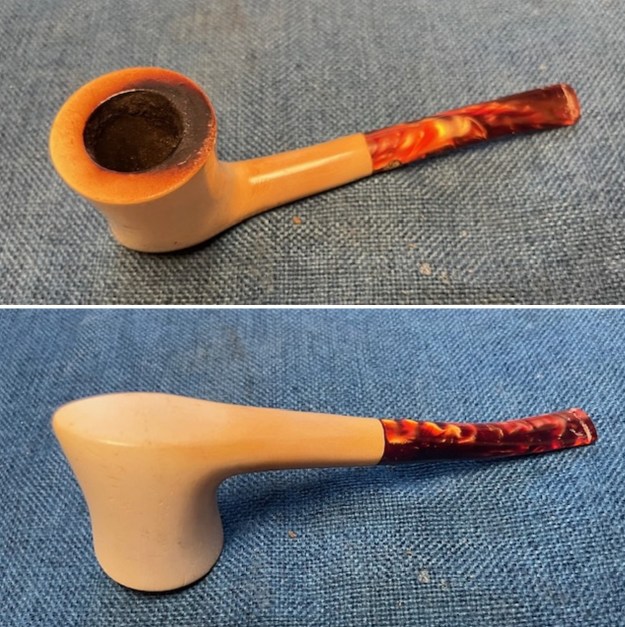
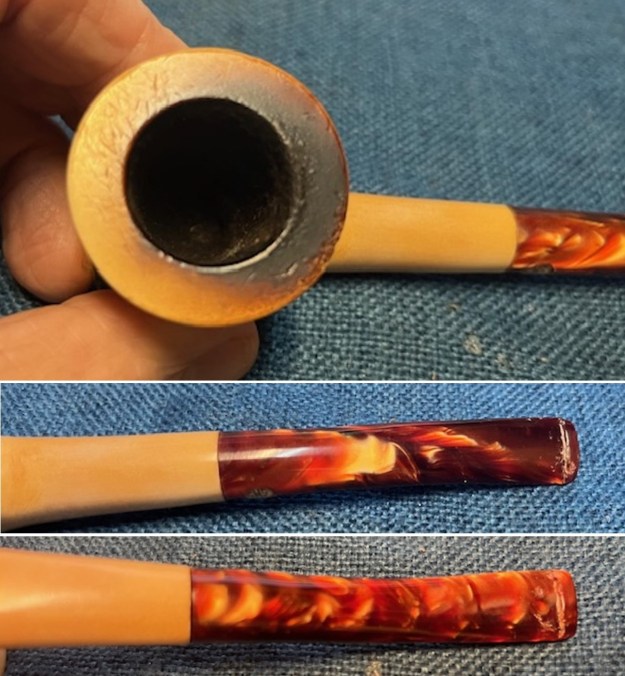
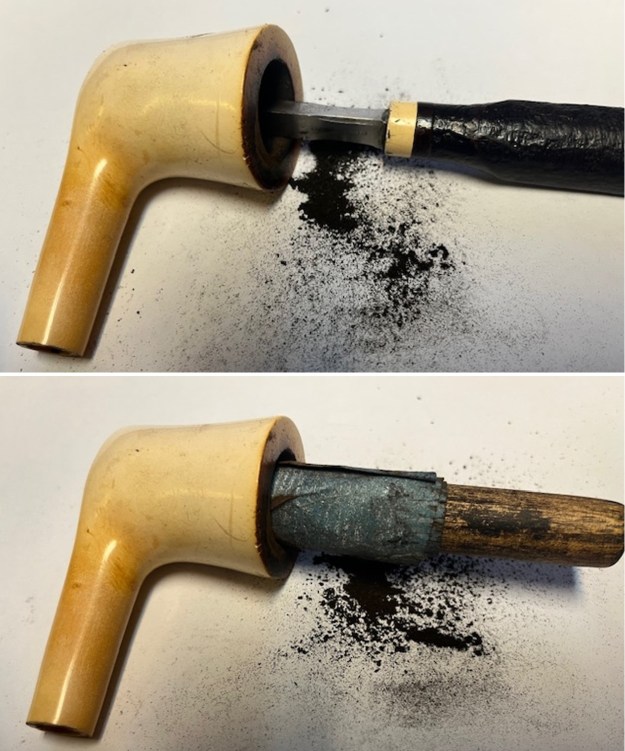
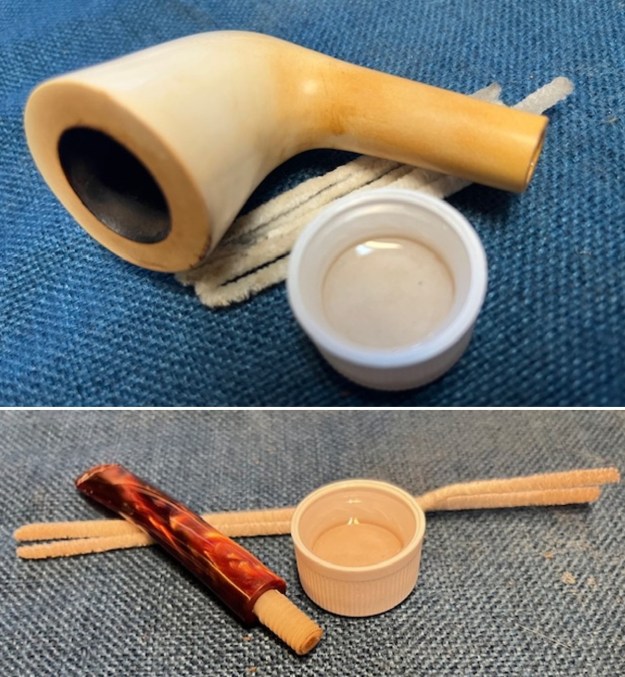
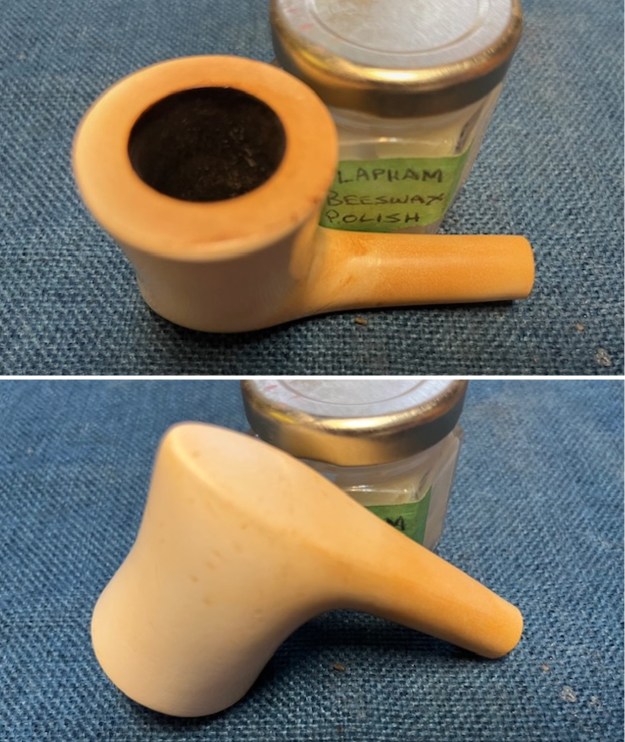
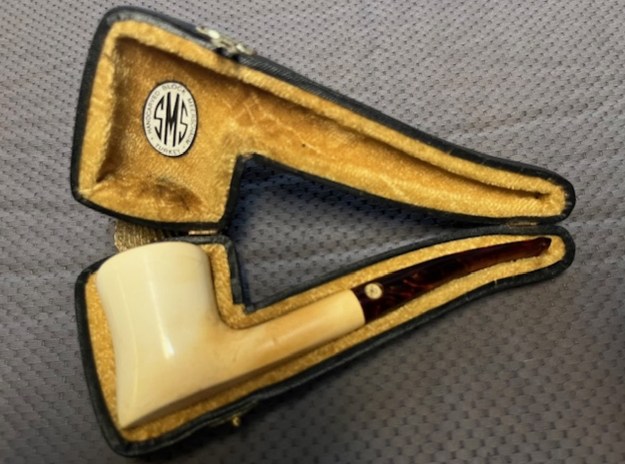
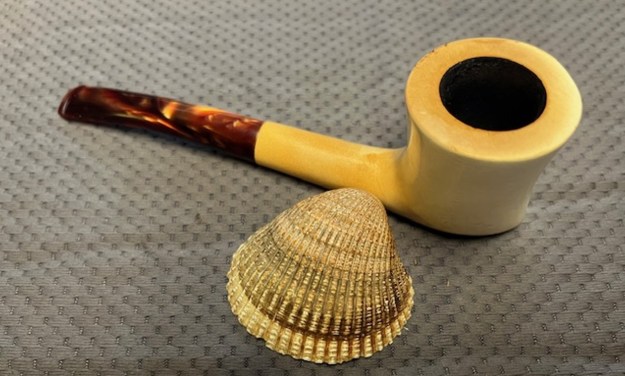
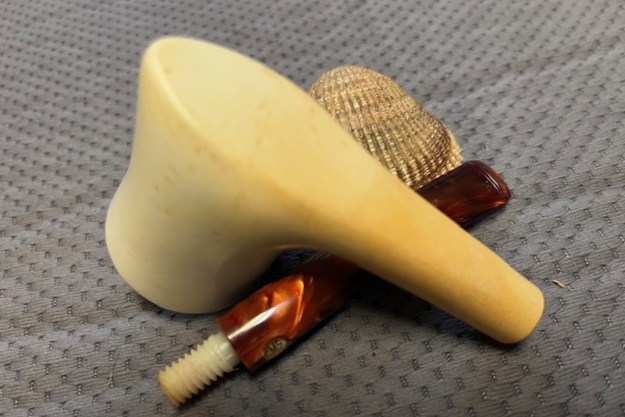
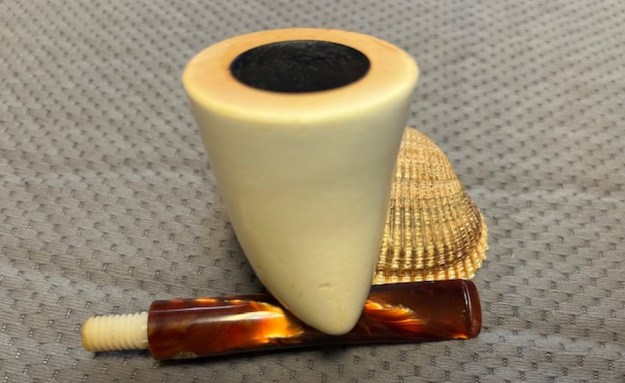
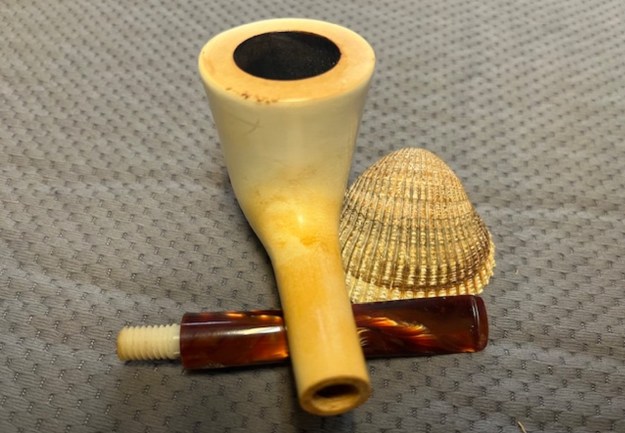
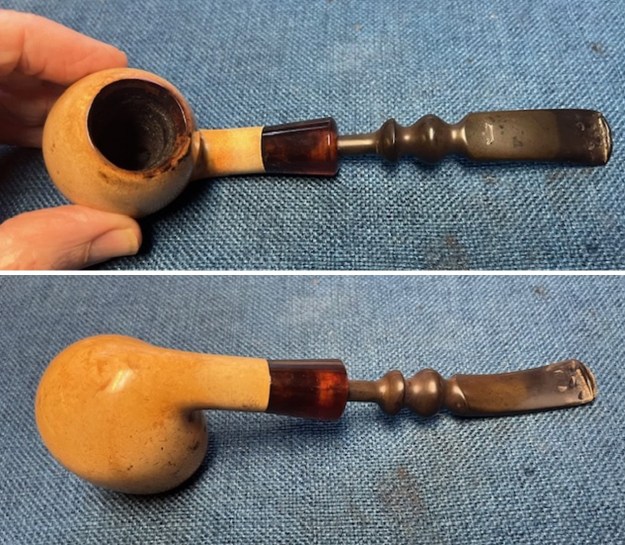
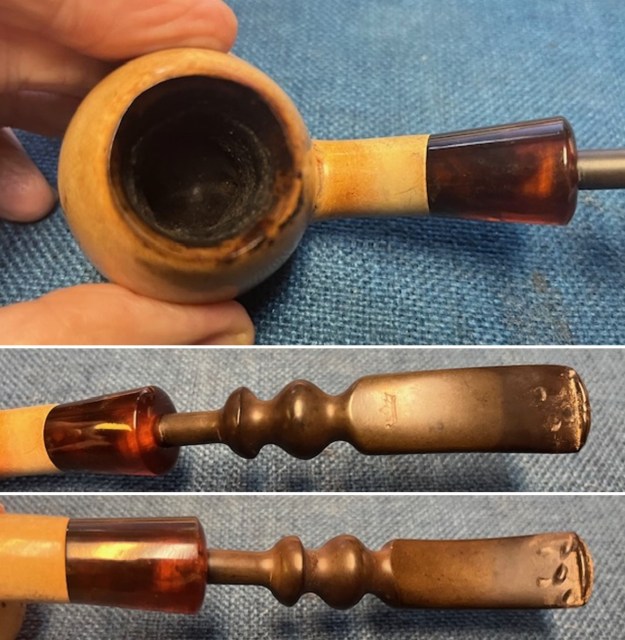
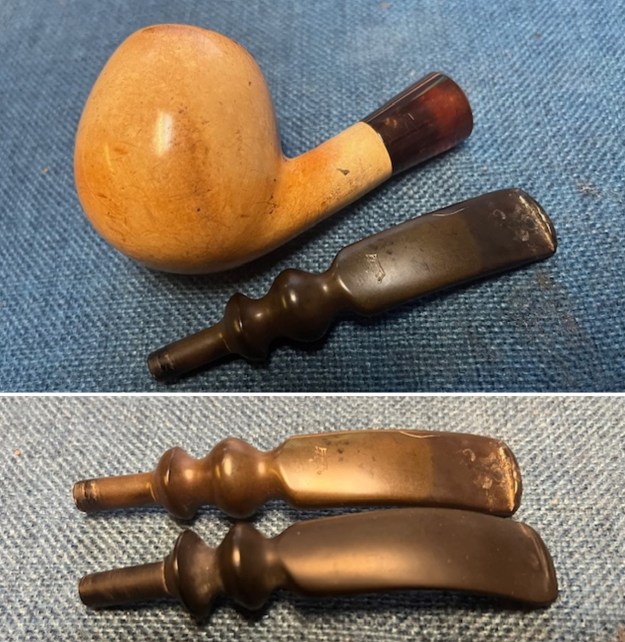
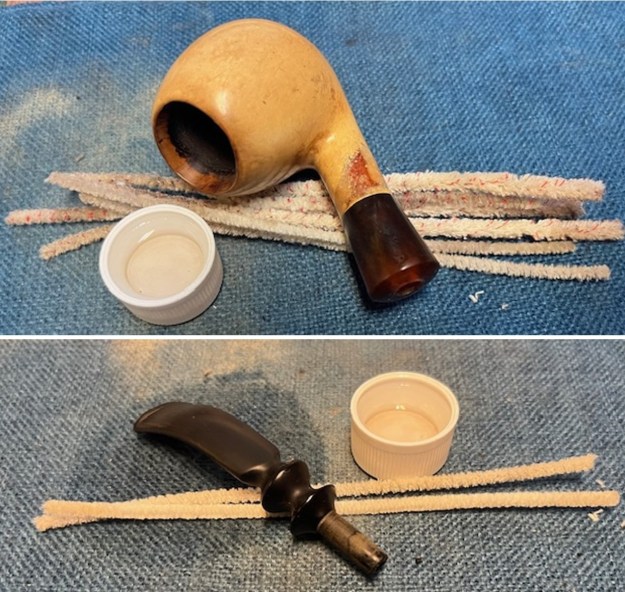
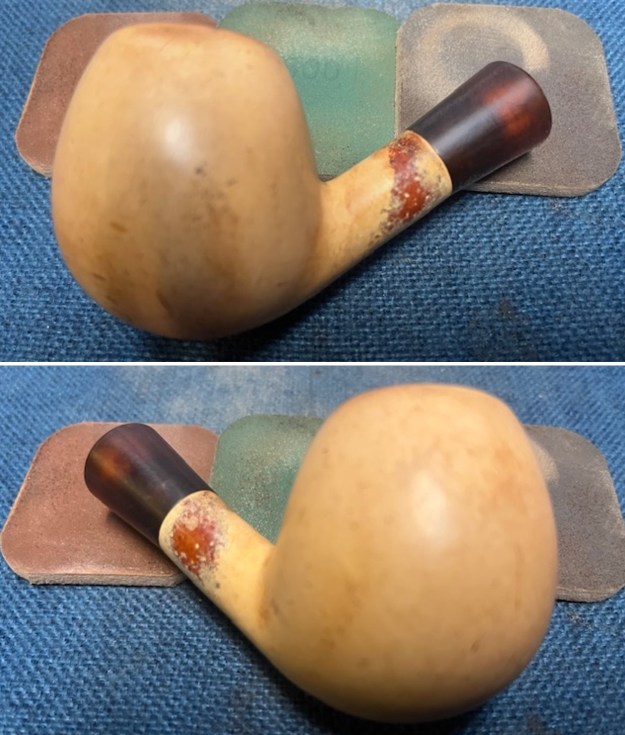
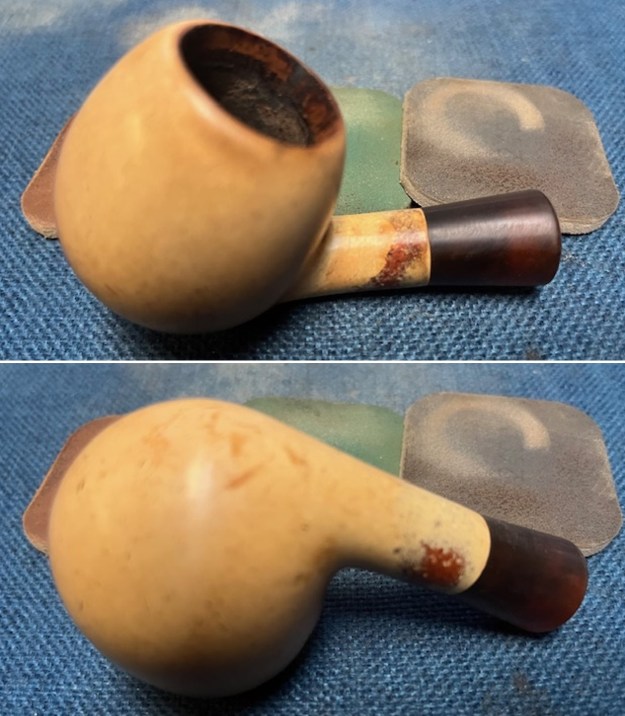
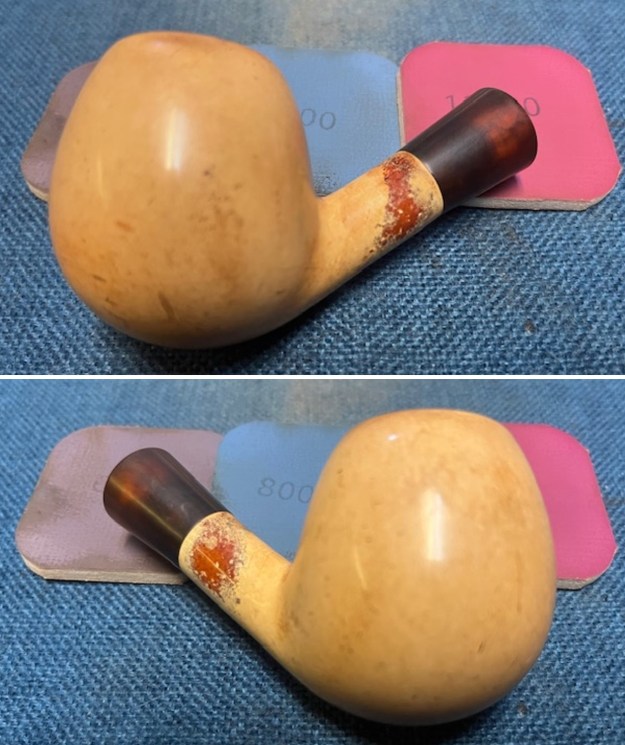
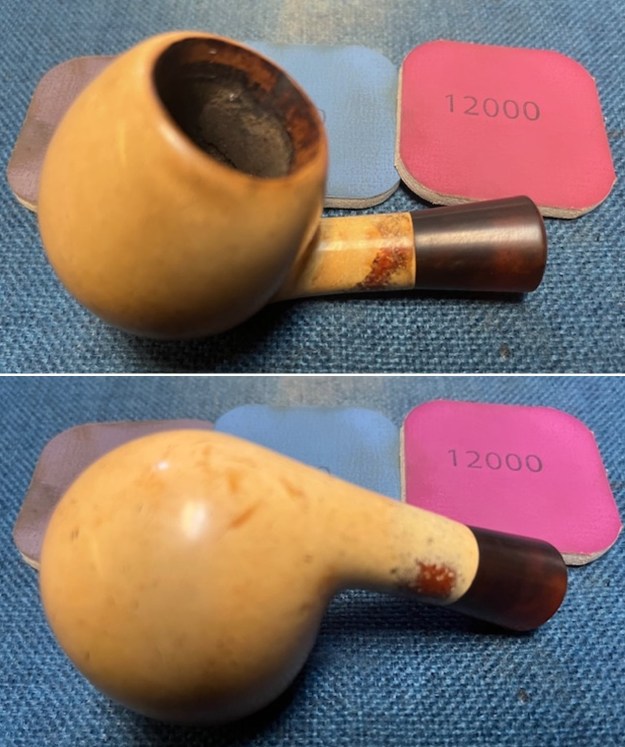
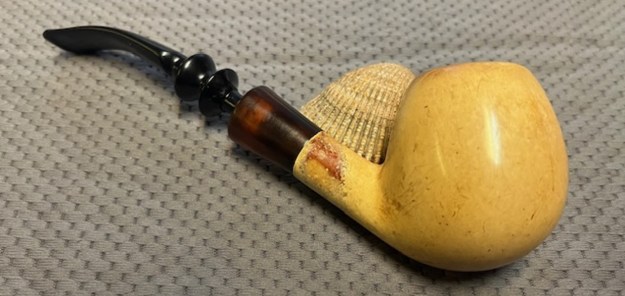
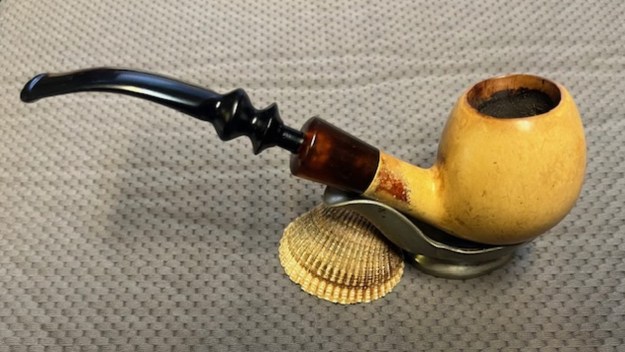
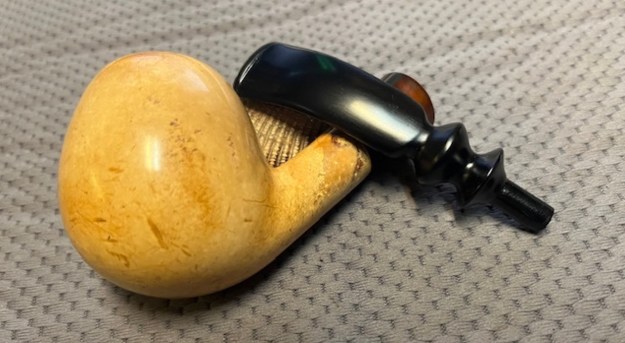
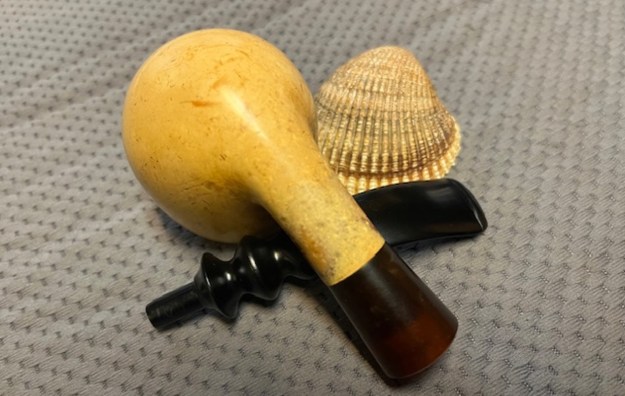
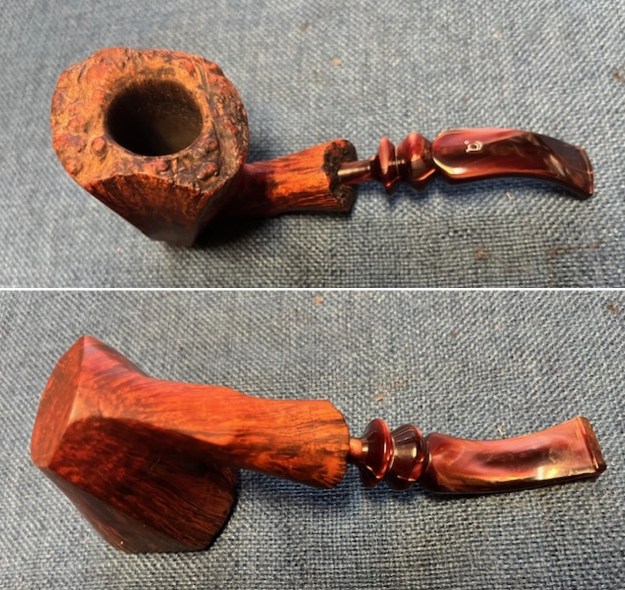
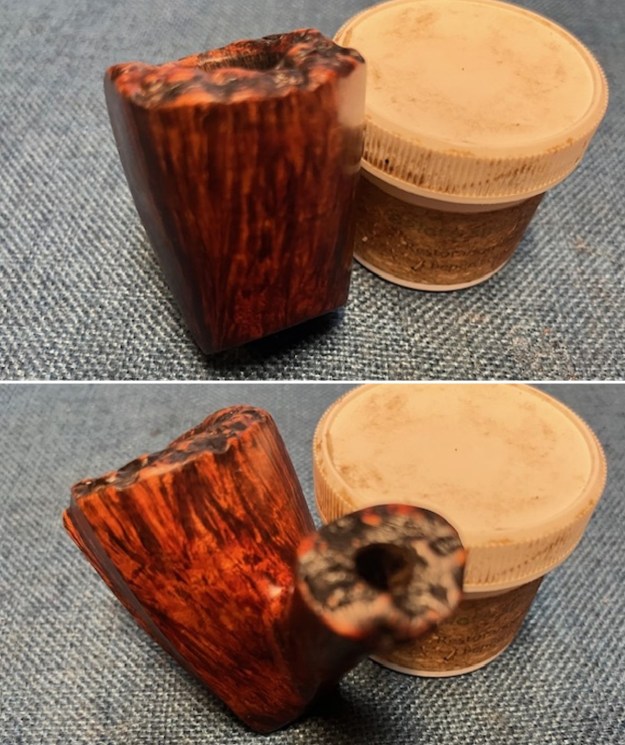
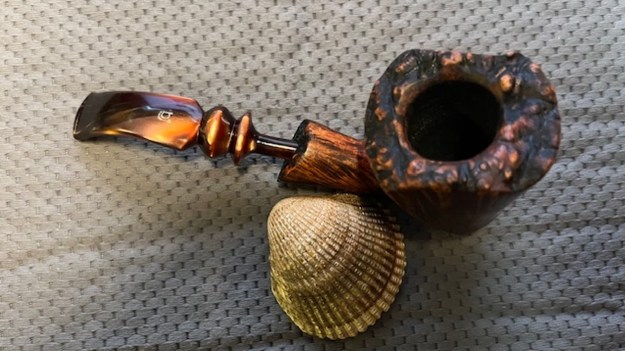
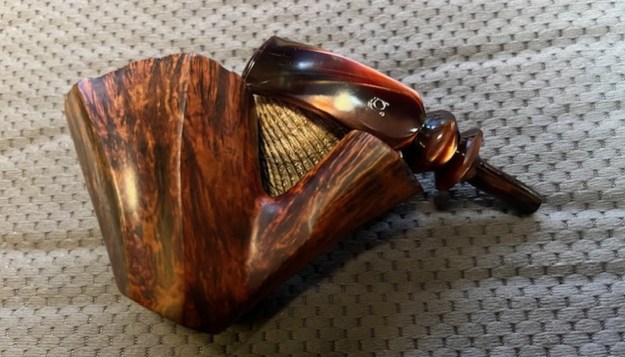
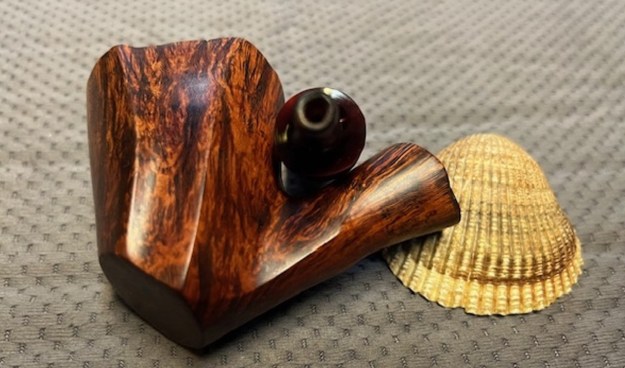
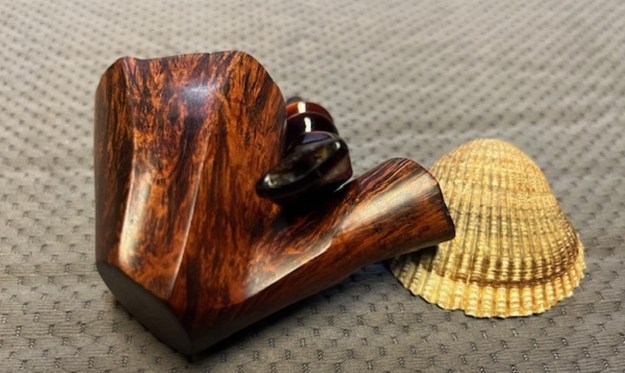
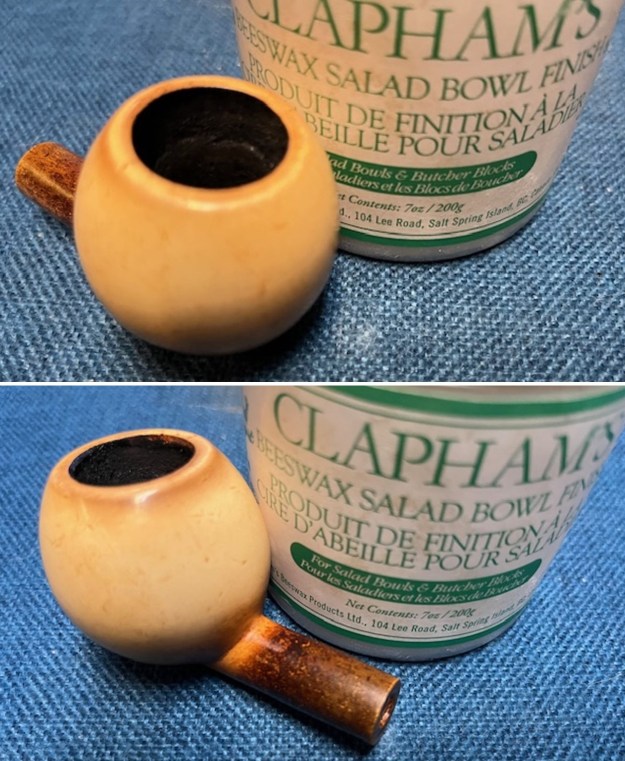
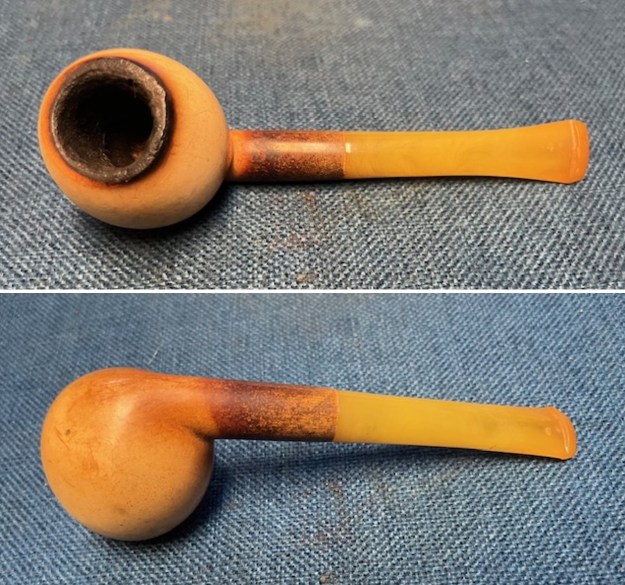 I took photos of the rim top and the stem to show the condition of the pipe when I brought it to the worktable. You can see the cake in the bowl and the build up of lava and debris on the edge and top of the rim top. It is another dirty pipe but still a charmer. The yellow acrylic taper stem has light chatter and deep tooth marks on both sides near the button.
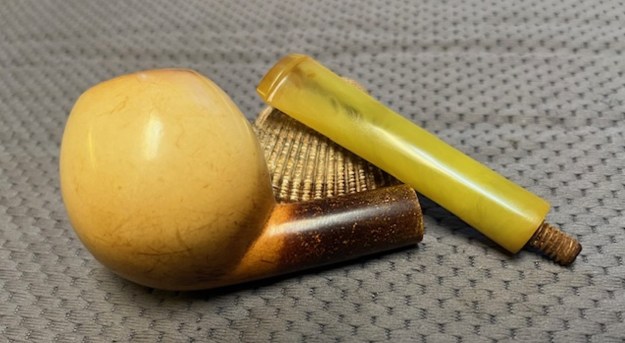
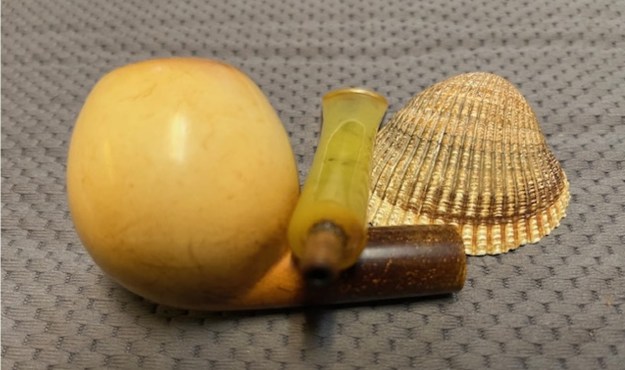
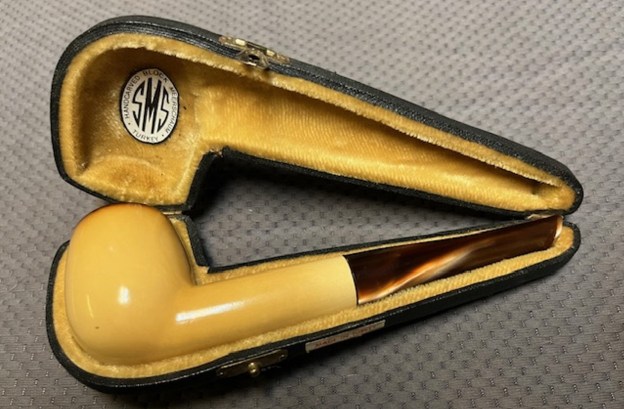
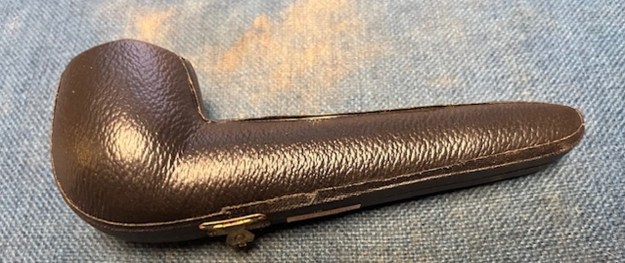
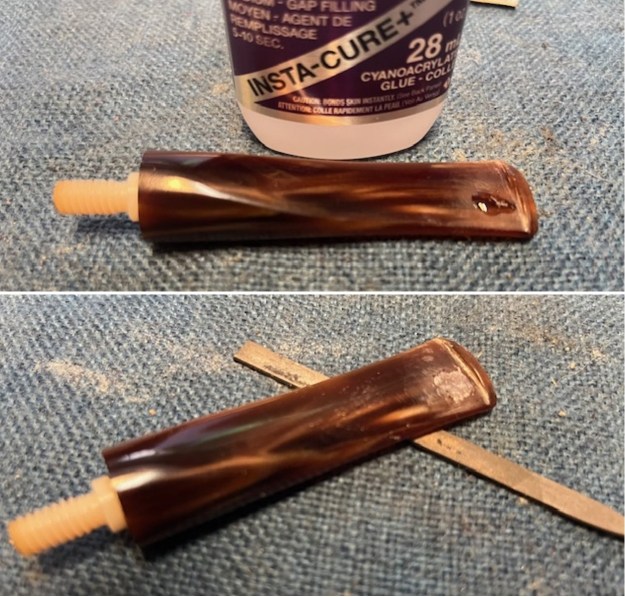
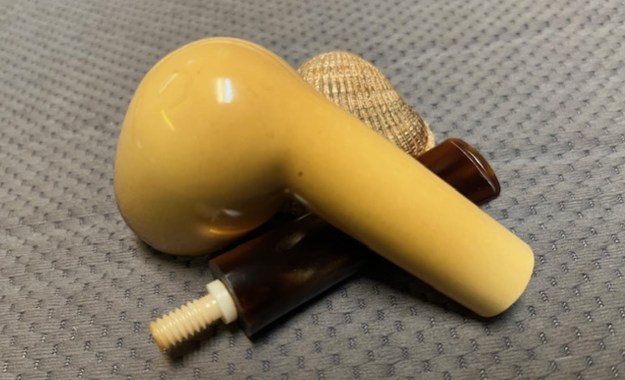
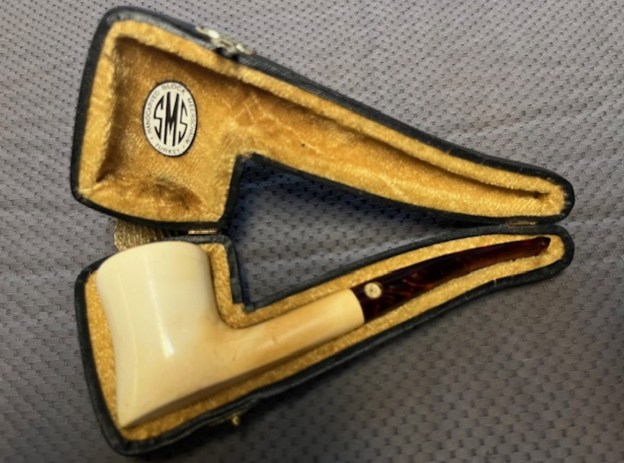
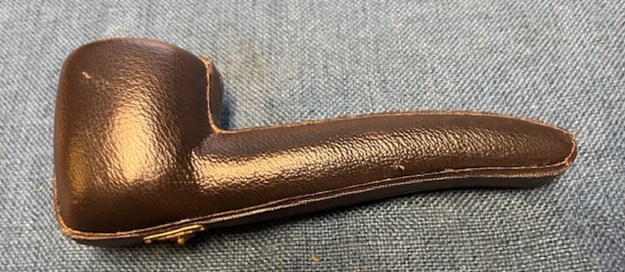
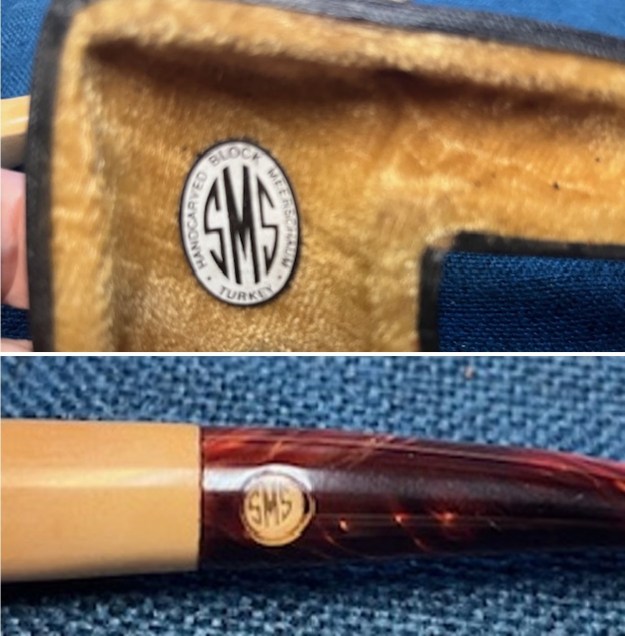
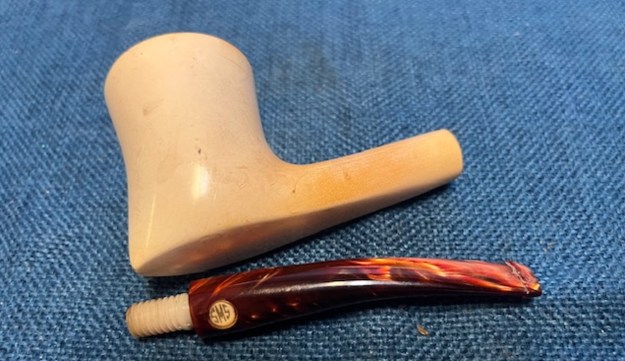
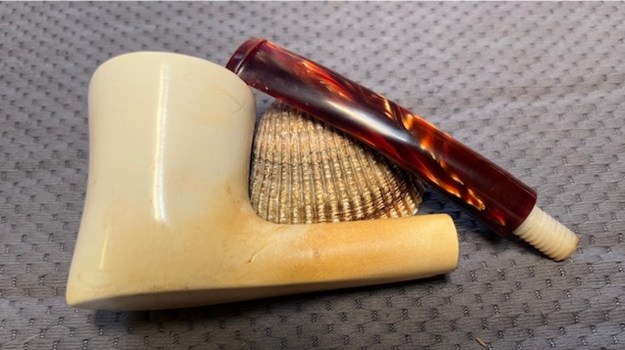
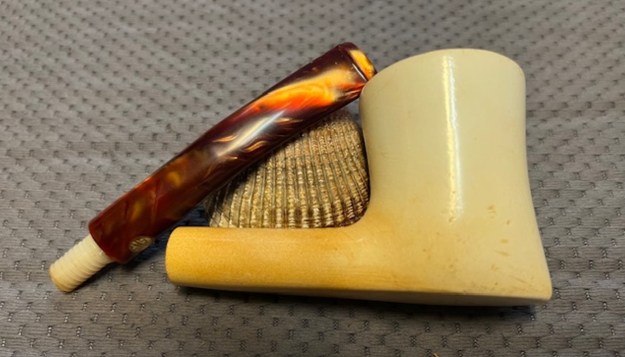
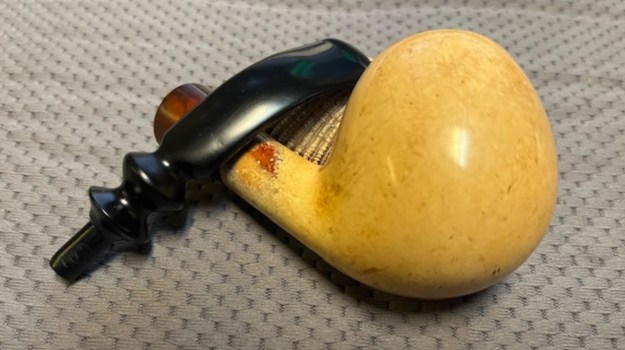
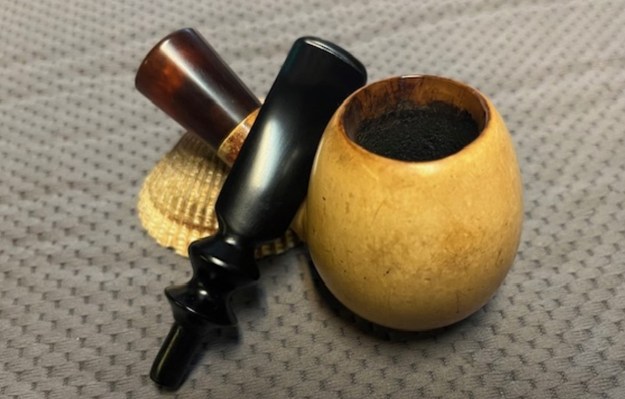
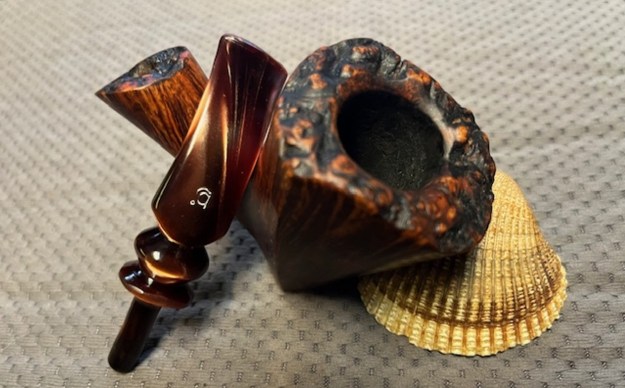
 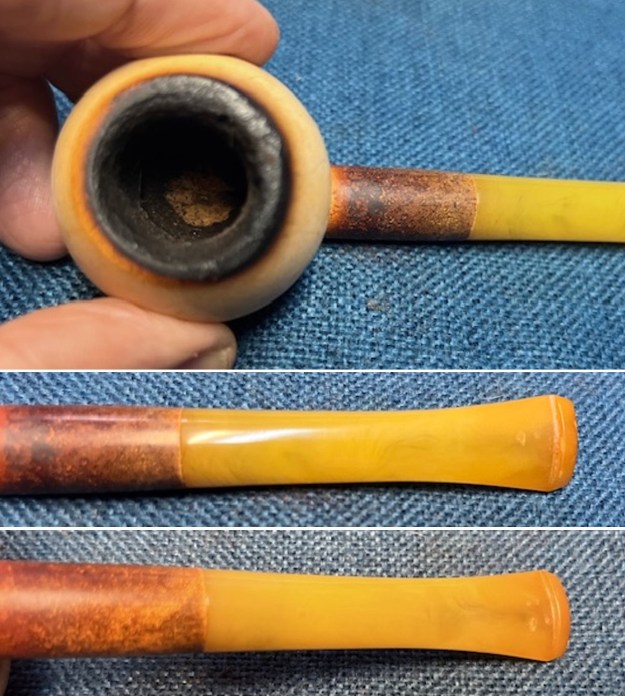 I took a photo of the stamping on the inside of the case. It is clear and readable as noted above. I removed the stem from the shank and took a photo of the parts. I removed the stem from the shank and took a photo of the parts.
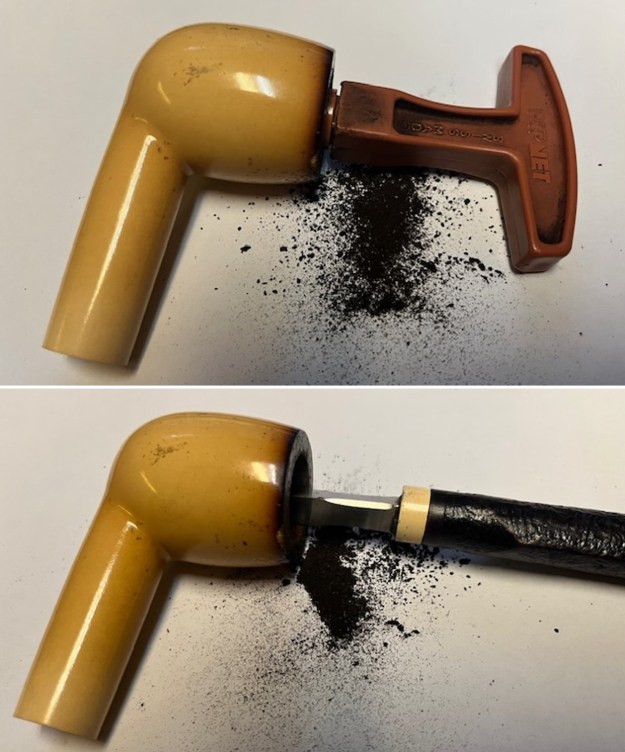
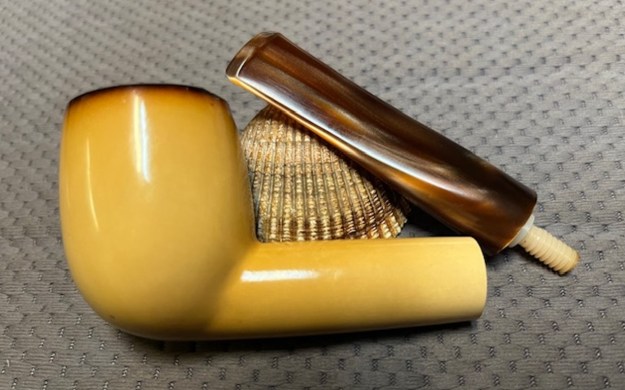
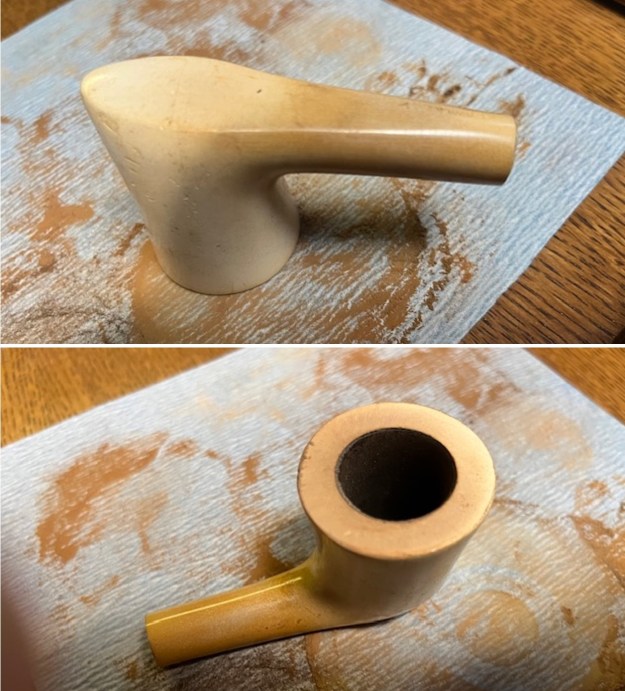
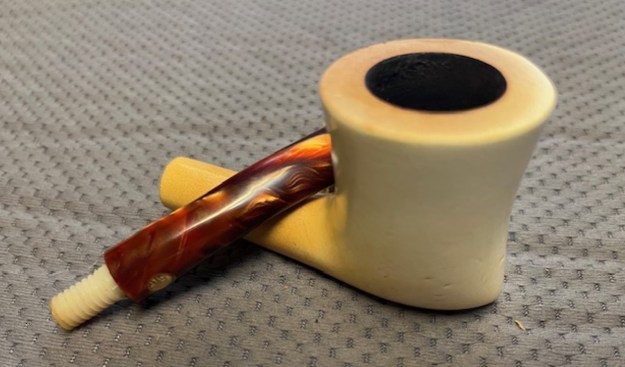
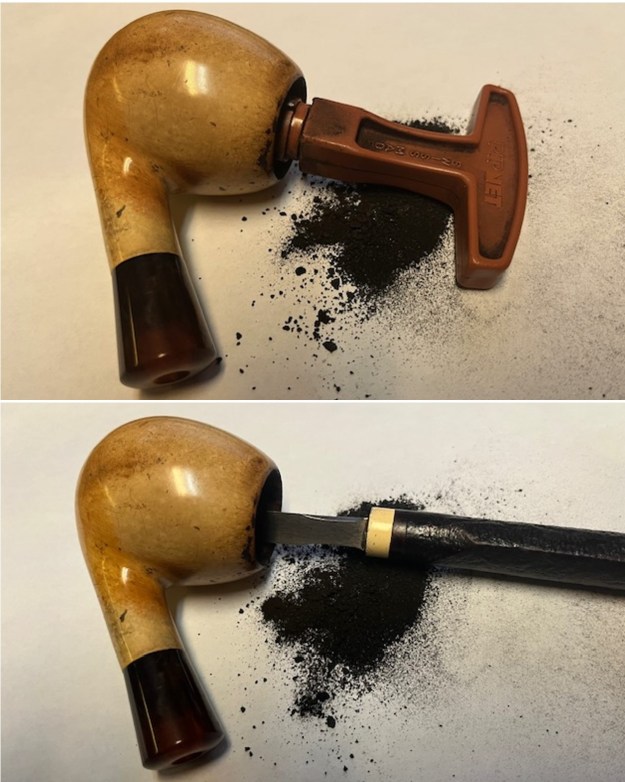
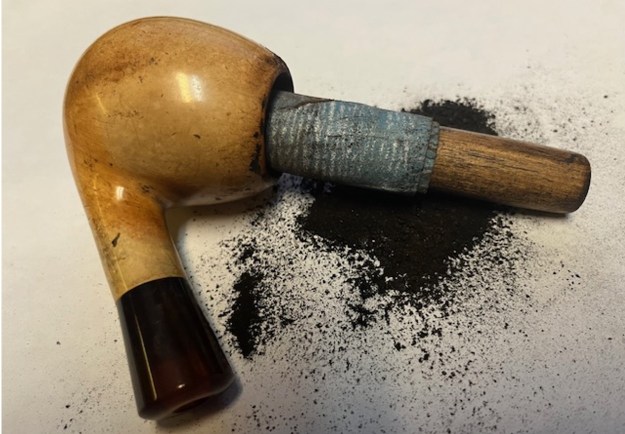
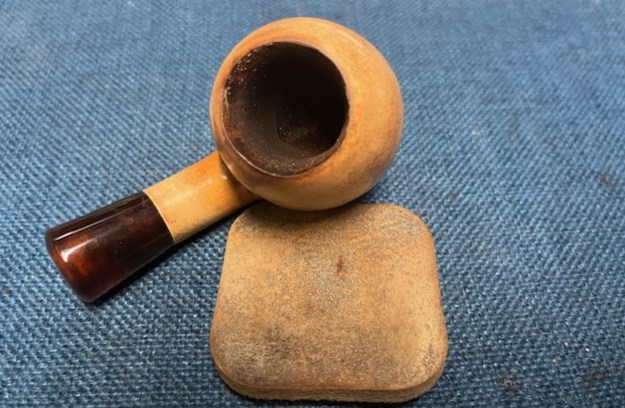
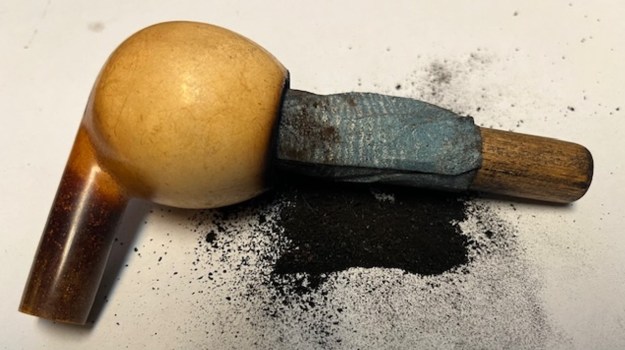
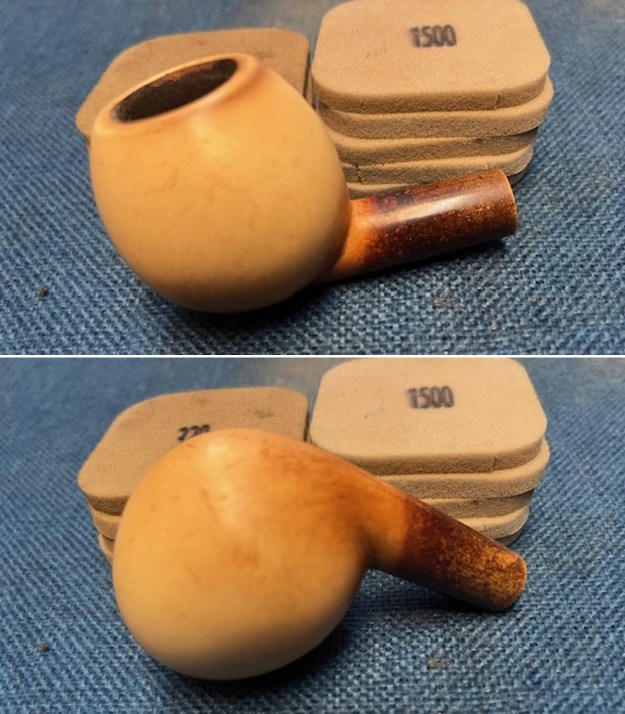
 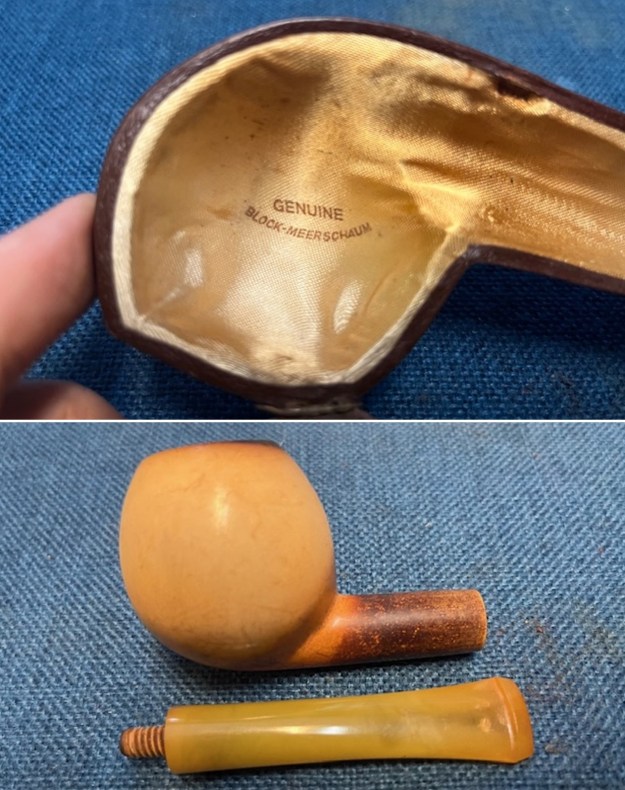 I started my work on the bowl by reaming the thick cake out of the bowl. I started with a PipNet reamer and the 2nd and 3rd cutting heads to take back the cake to the walls of the bowl. I cleaned up the reaming with a Savinelli Fitsall Pipe Knife. I sanded the bowl walls with a piece of dowel wrapped with 220 grit sandpaper. Once finished it looked very good.
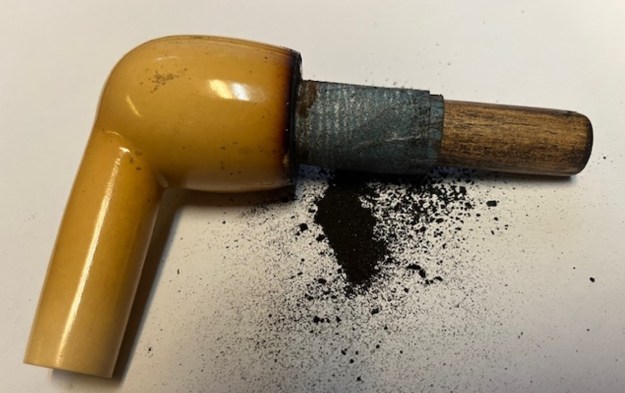
 I cleaned out the airway in the shank and mortise as well as in the new stem with pipe cleaners (both bristle and regular). It was much better.
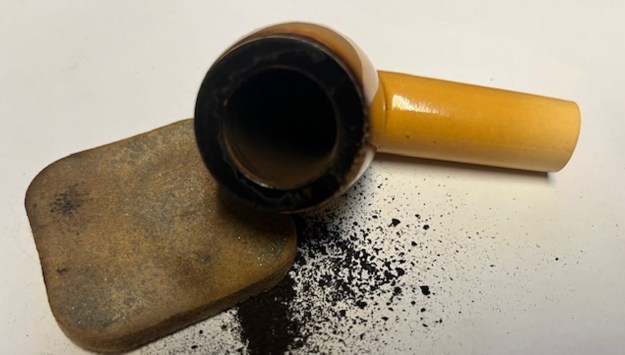
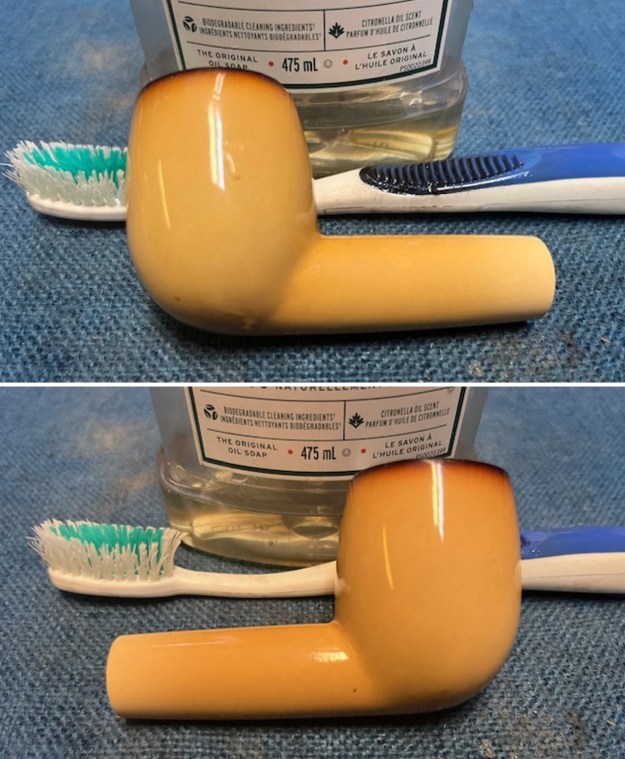
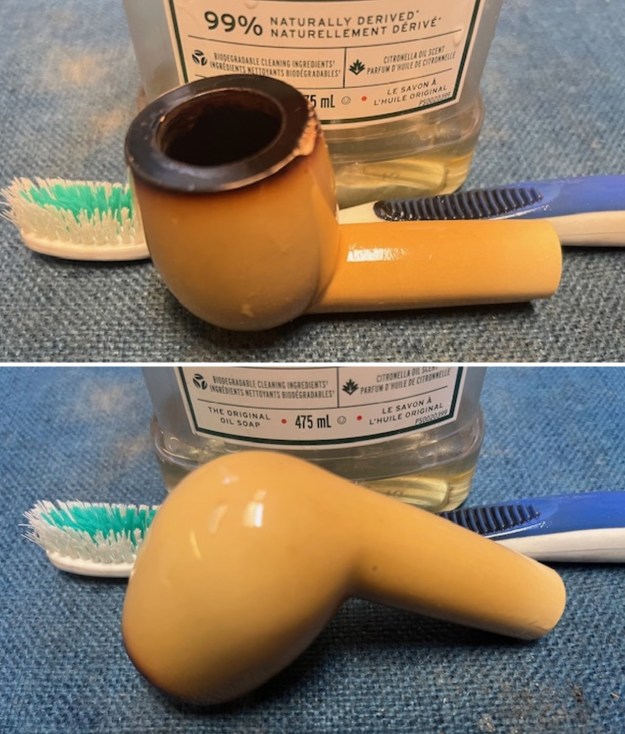
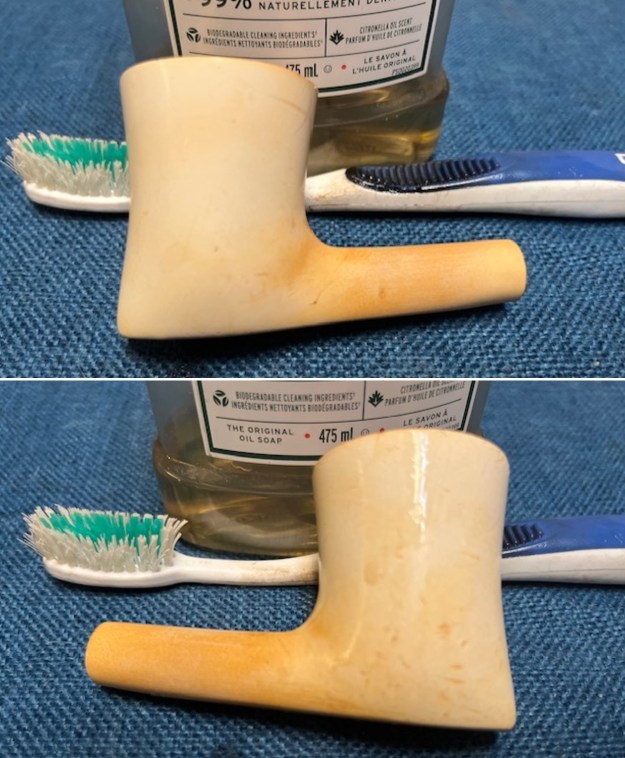
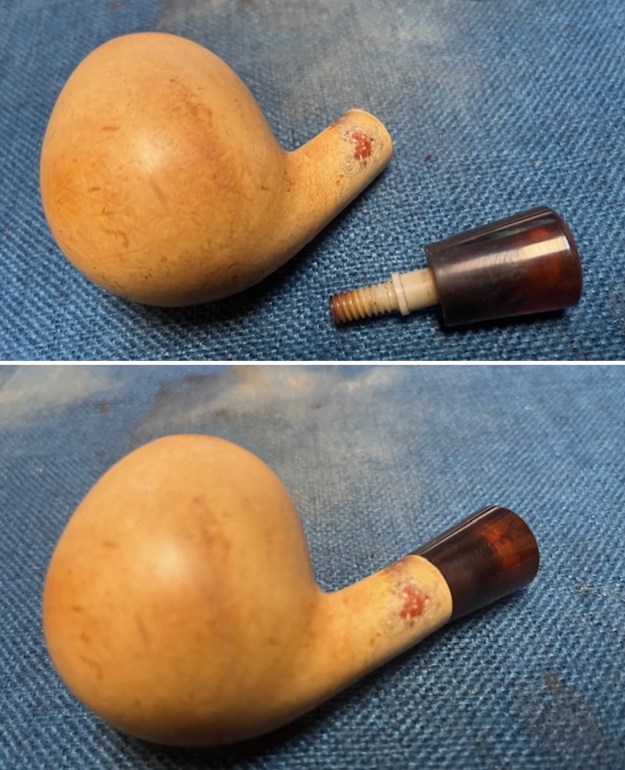
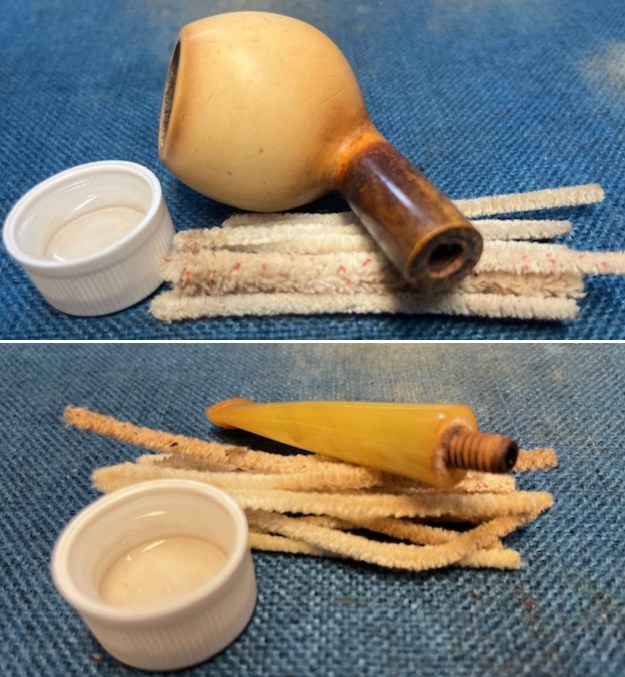 I scrubbed the exterior of the bowl with undiluted Murphy’s Oil Soap and a tooth brush to remove the grime. I rinsed it with warm water and repeated the process until the surface was clean. I dried it off with a soft cloth. It is greatly improved.
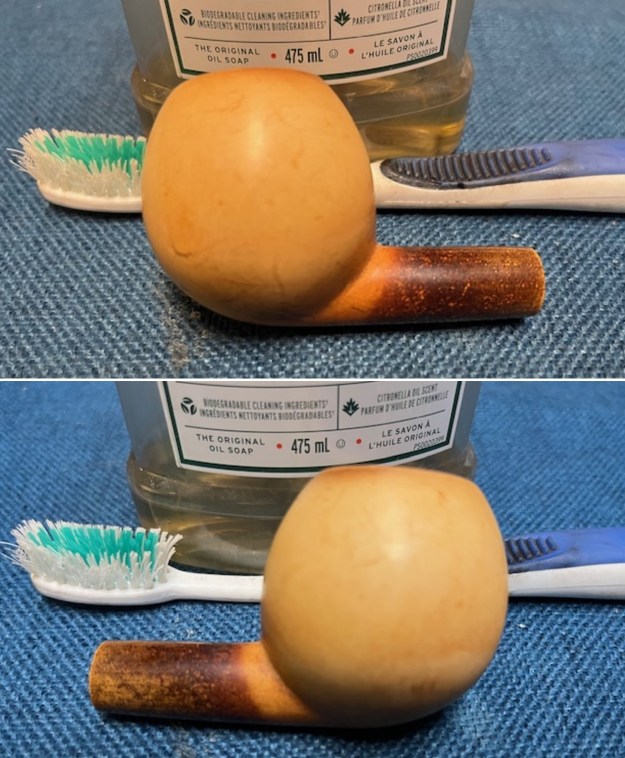
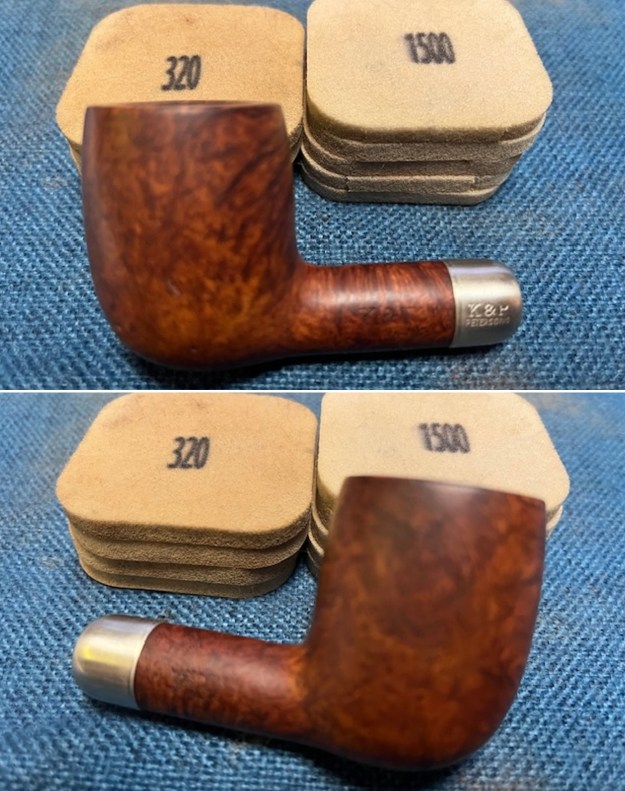
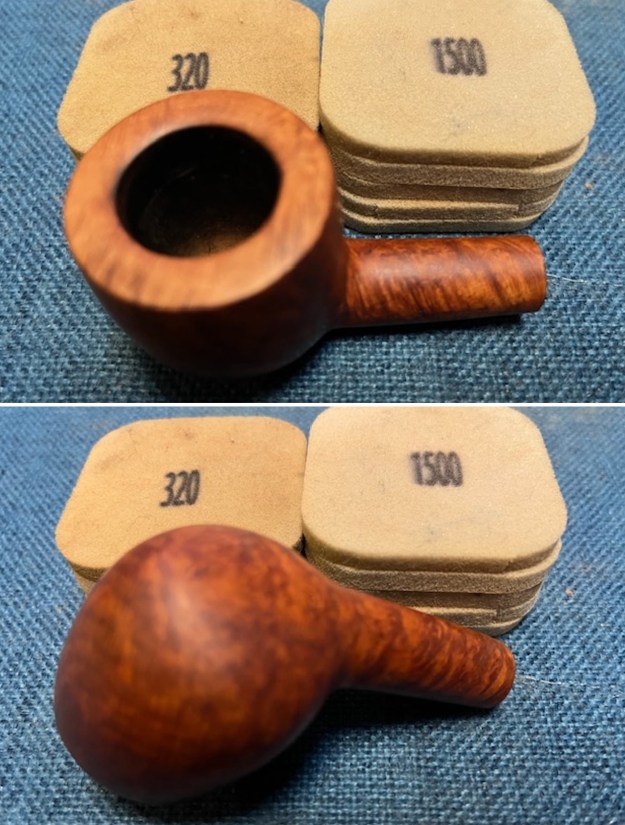
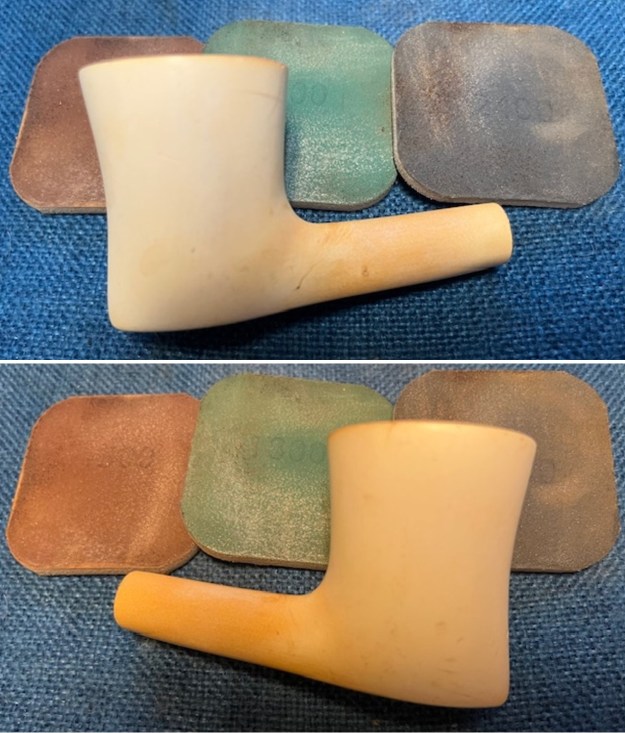
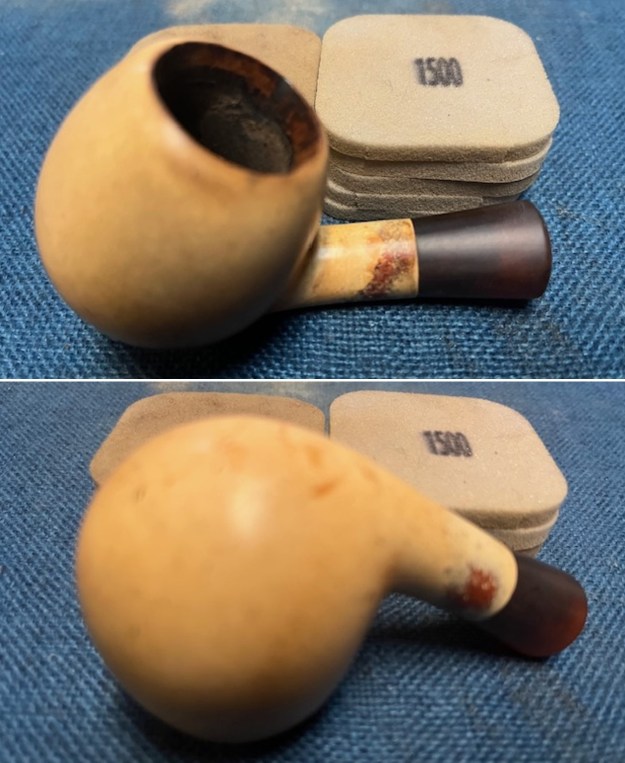
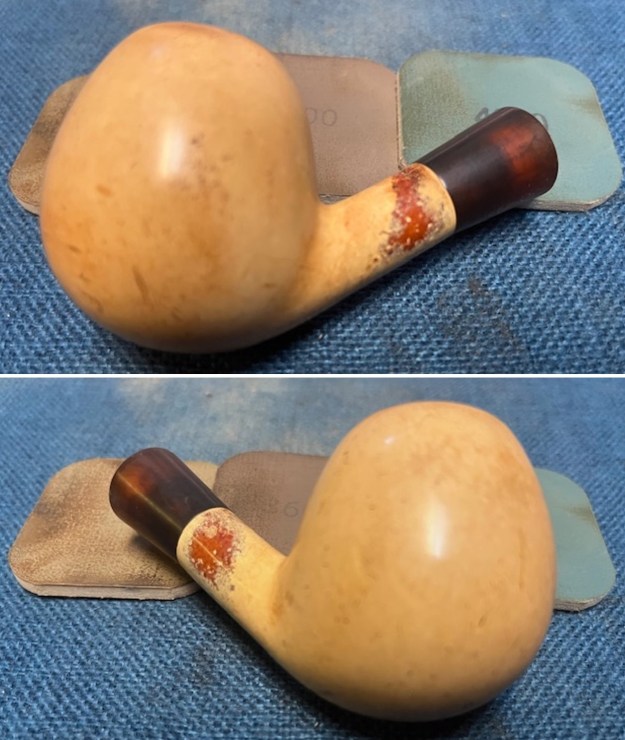
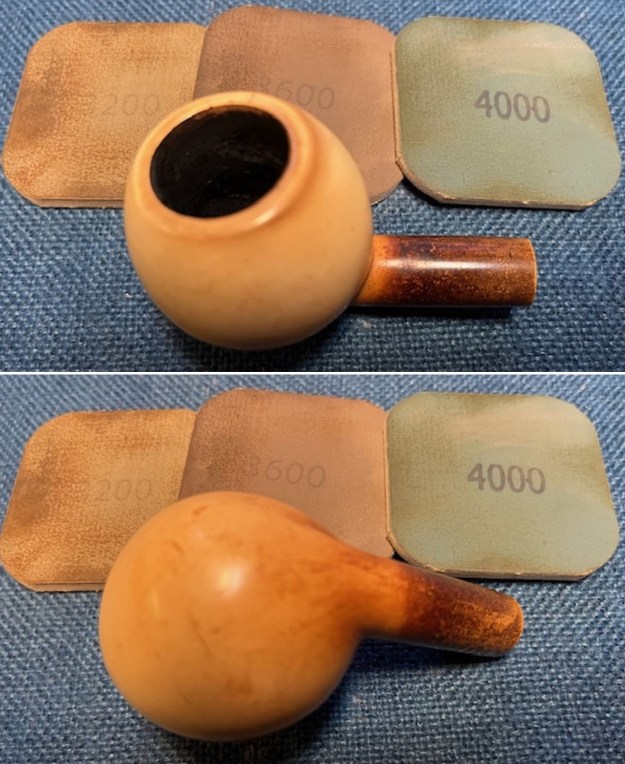
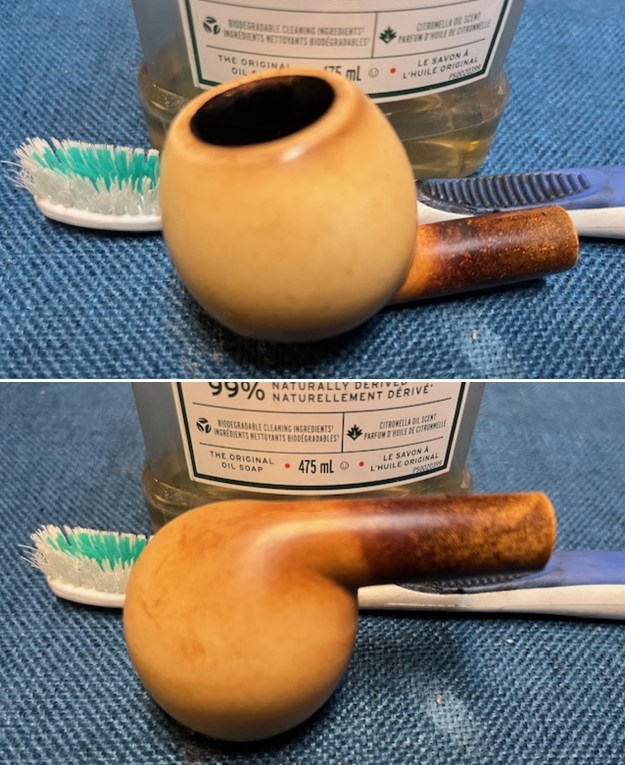 Now it was time to work on the scratches on the bowl and rim top. I started my work by sanding with 320-3500 grit 2×2 inch sanding pads. It smoothed out the scratches and revealed more and more of the patina around the bowl and shank. It is a beautiful looking pipe.
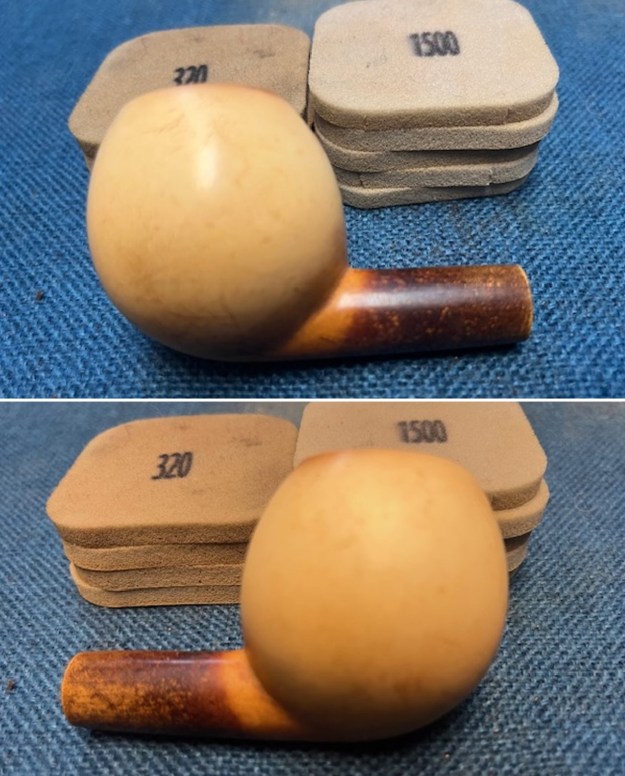
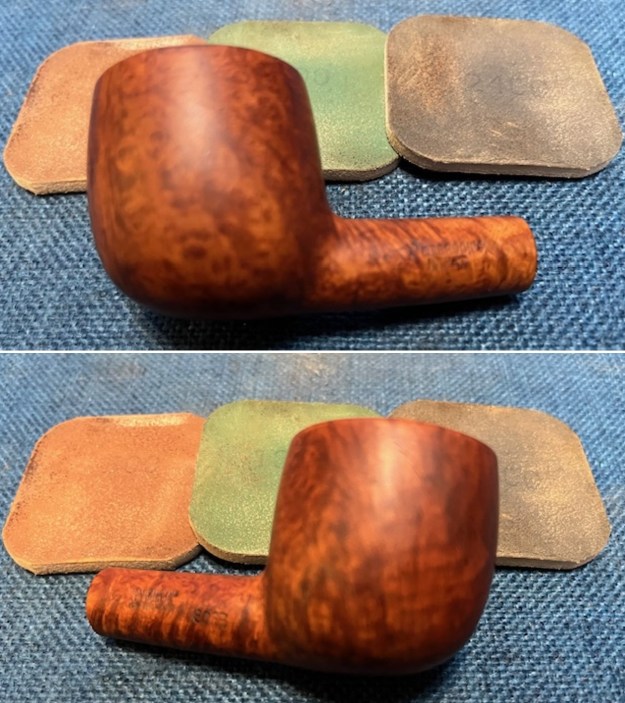
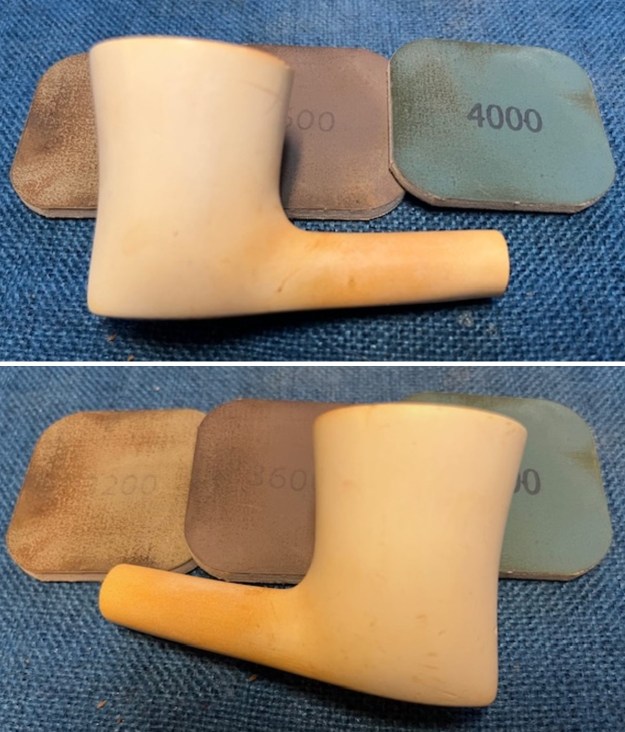
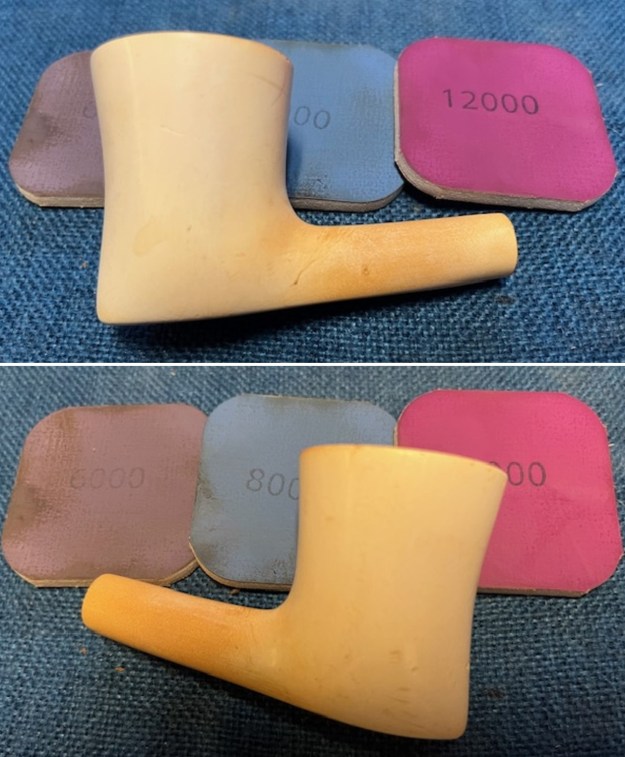
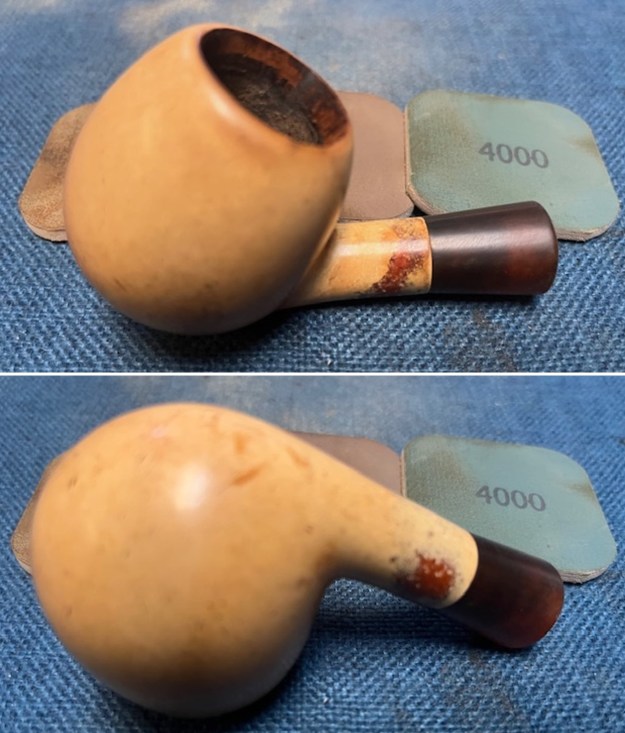
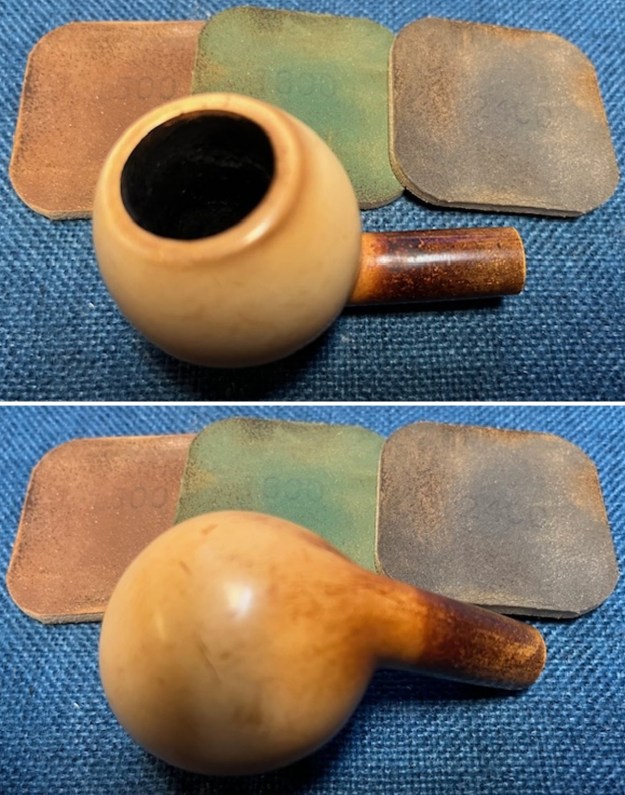
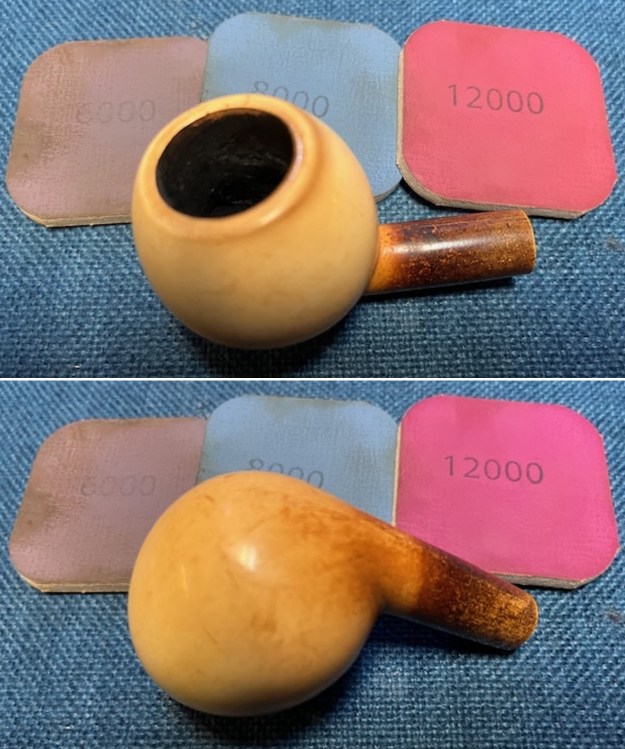
 I polished the meerschaum with micromesh sanding pads – dry sanding with 1500-12000 grit pads. I wiped the bowl down after each pad with a damp cotton cloth. The bowl took on a shine by the last pads.
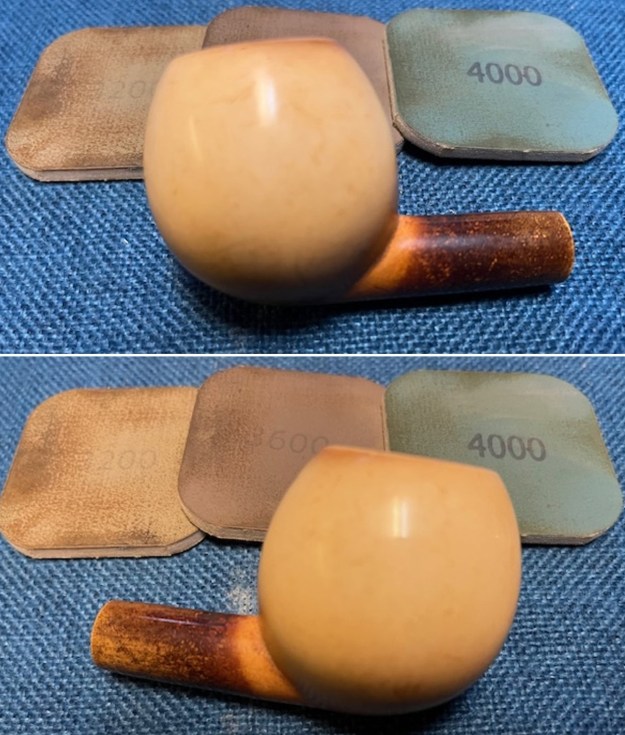

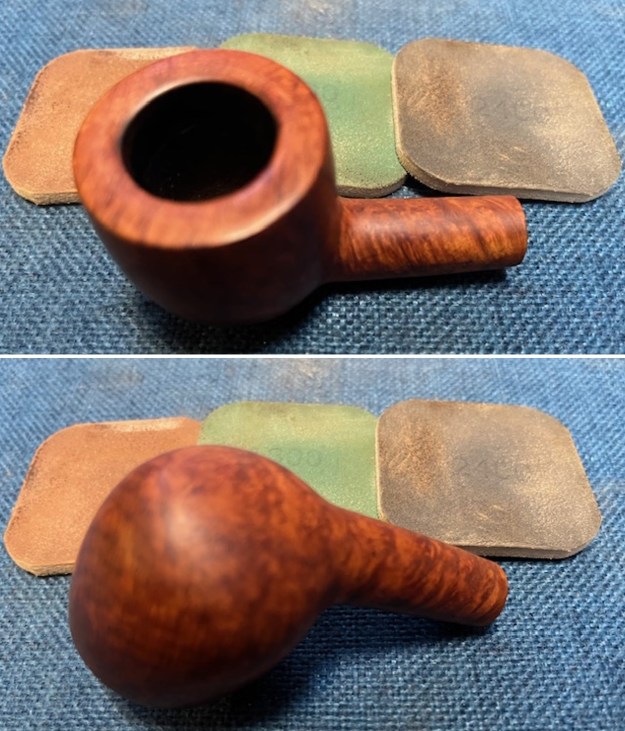
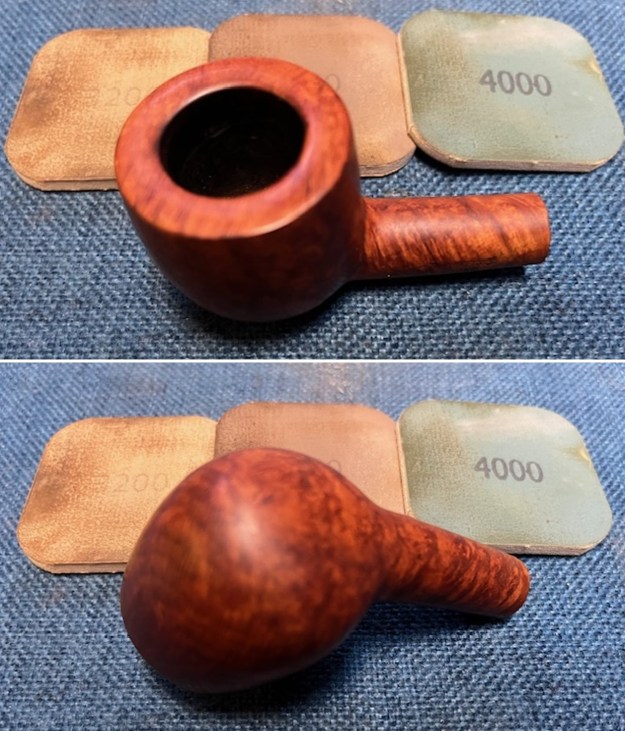
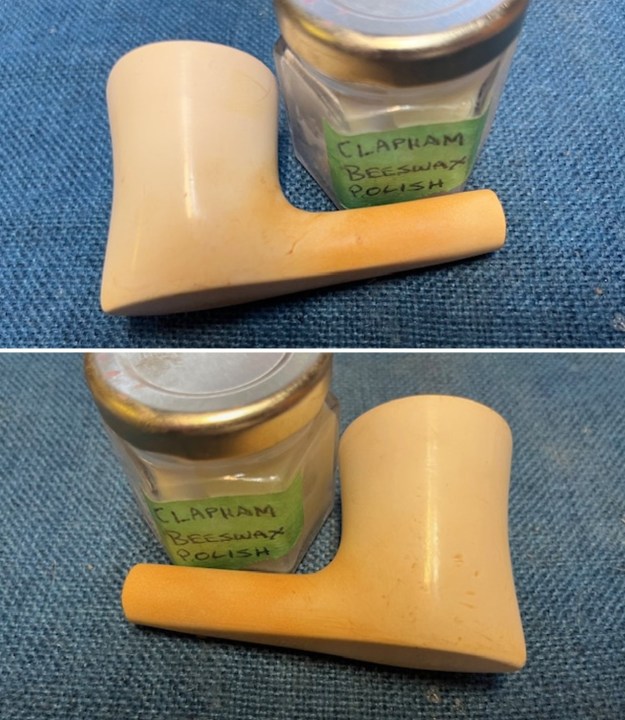
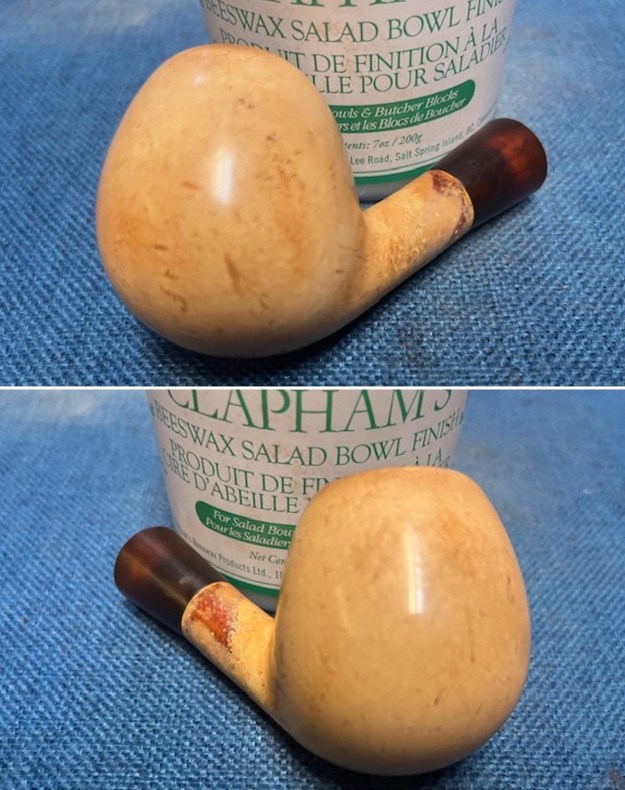
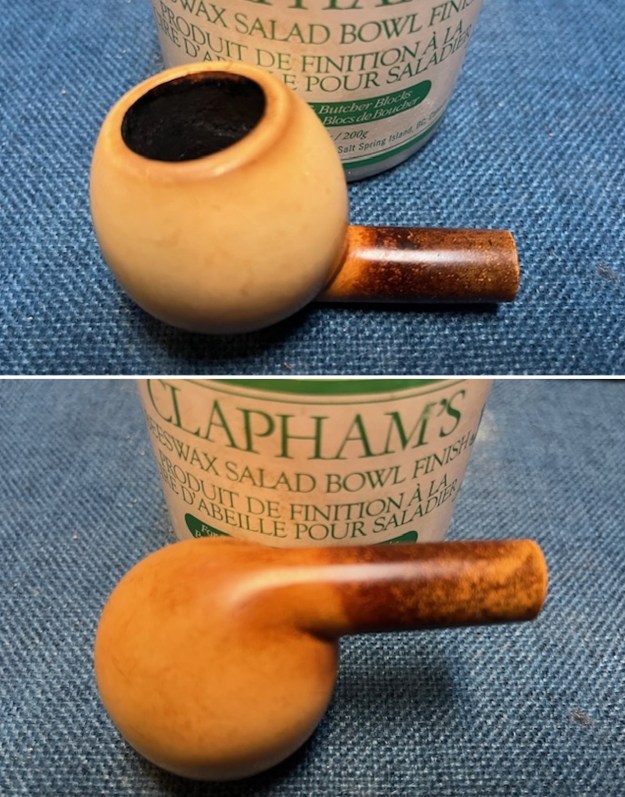
 I gave the bowl multiple coats of Clapham’s Wax that blends both carnauba and beeswax in a soft wax. I rubbed the wax on the bowl sides and the shank with my fingers and set it aside to dry. Once the wax cured I buffed the bowl with a clean buffing pad and then with a soft microfibre cloth. The bowl has a rich glow.
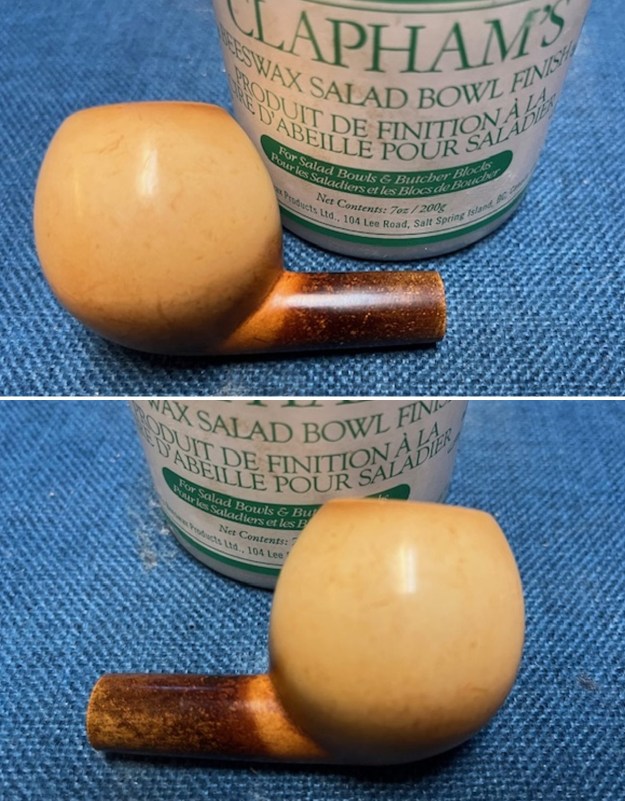
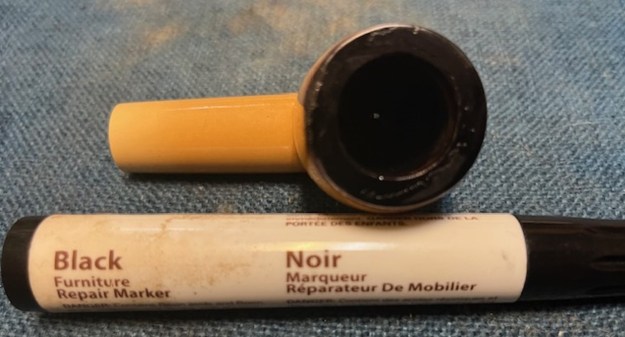
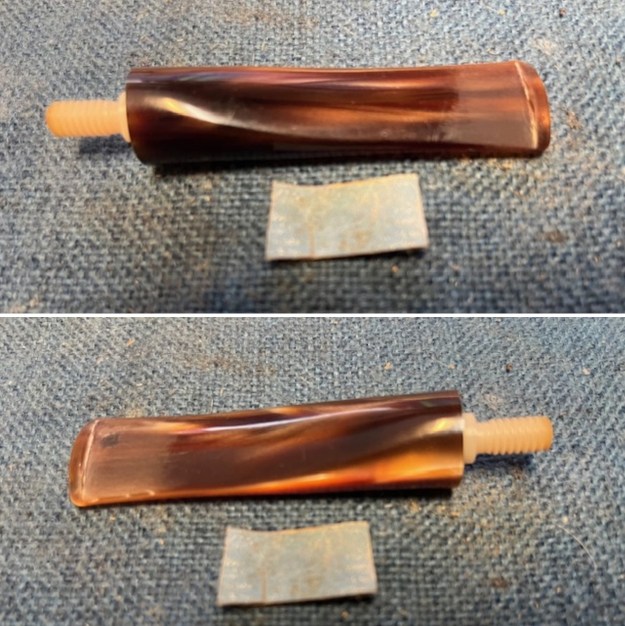
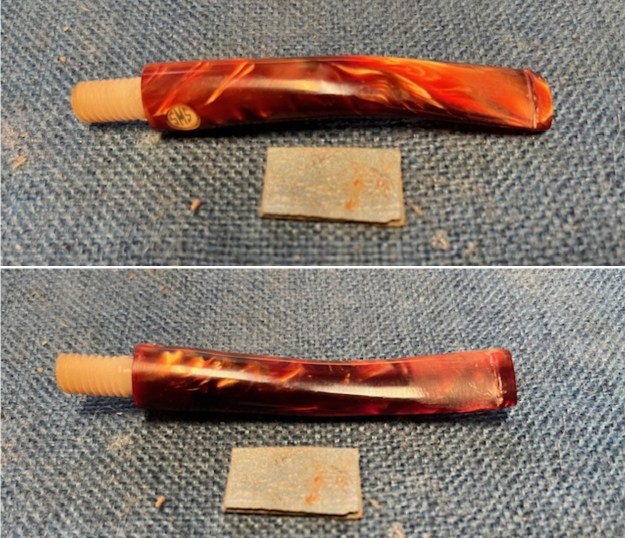
 I set the bowl aside and turned my attention to the stem. I filled in the tooth marks with some clear CA glue. When it cured I sanded it with 220 grit sandpaper to smooth it out.
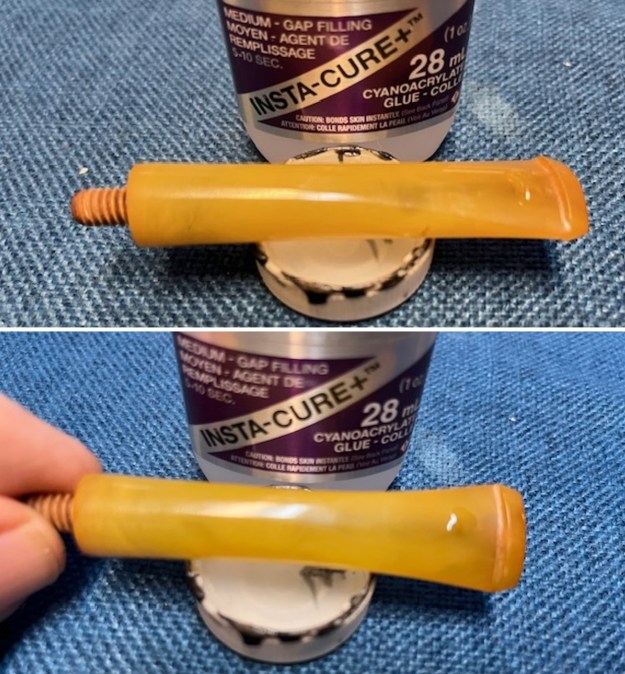
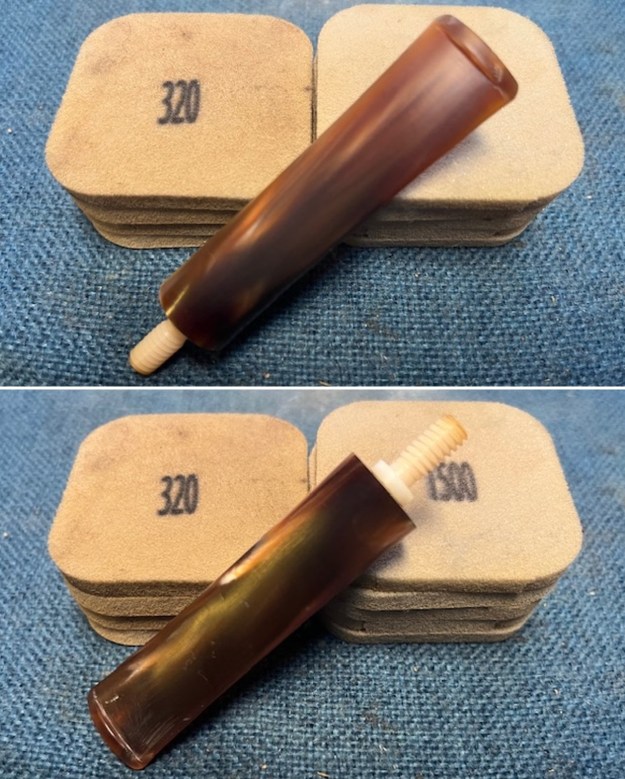
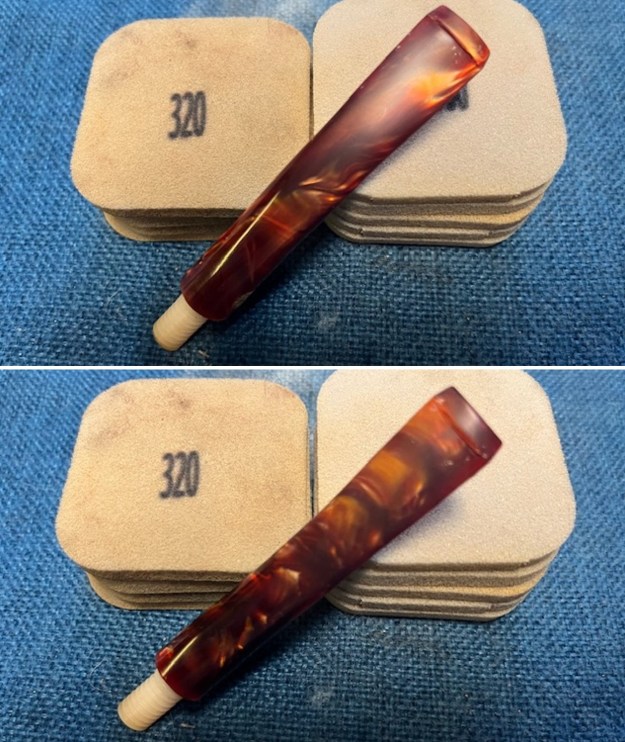
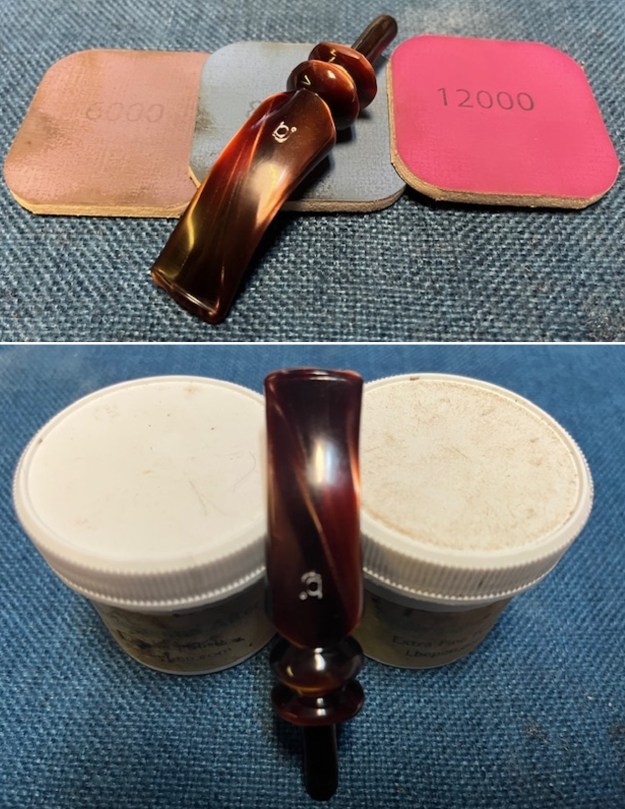
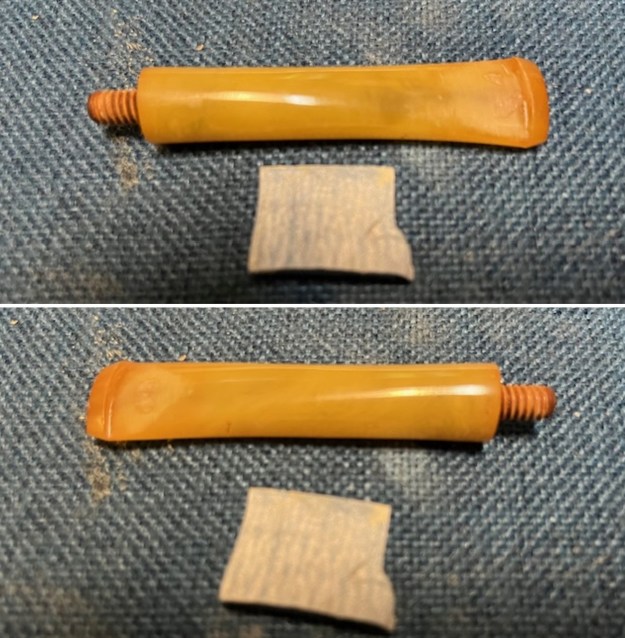 I continued sanding the stem surface with 320-3500 grit 2×2 inch sanding pads. I wiped the stem down after each pad with a damp pad to remove the debris. By the end it was quite shiny and ready for polishing.
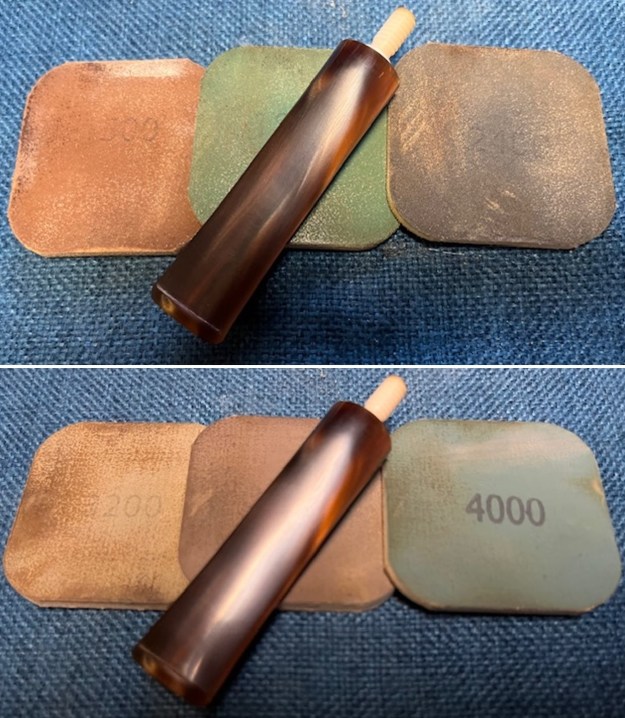
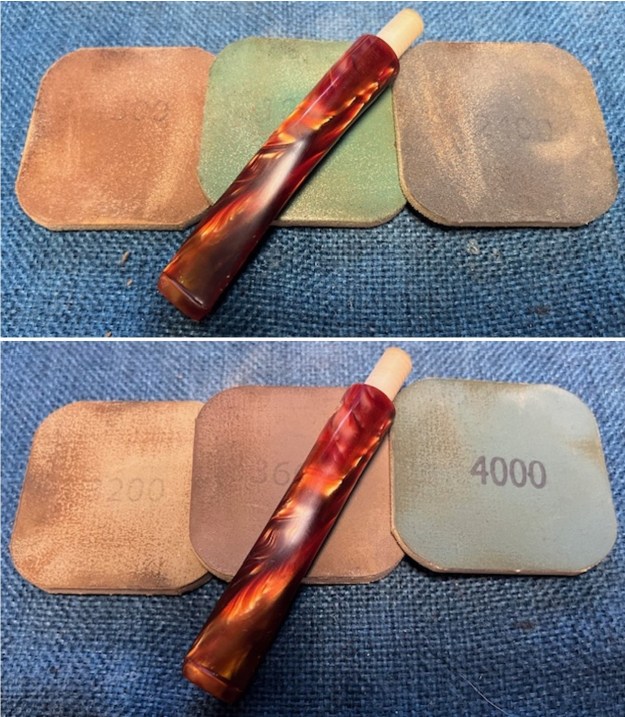
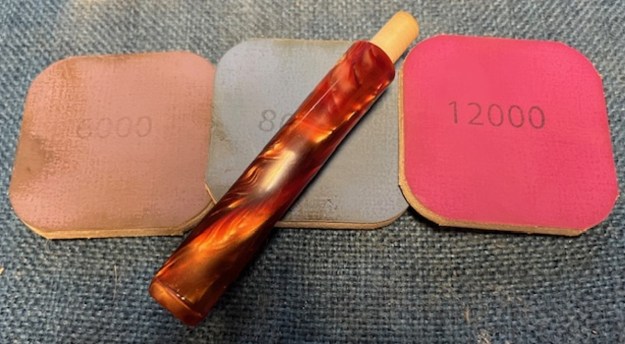
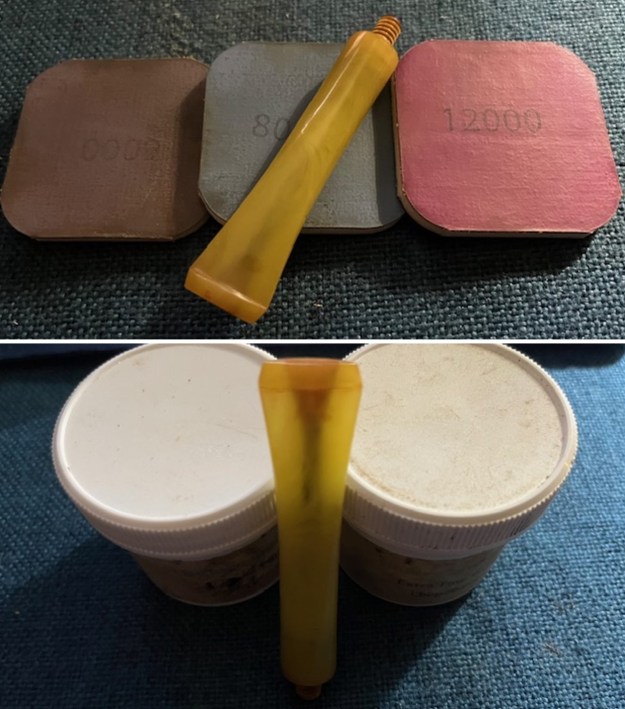
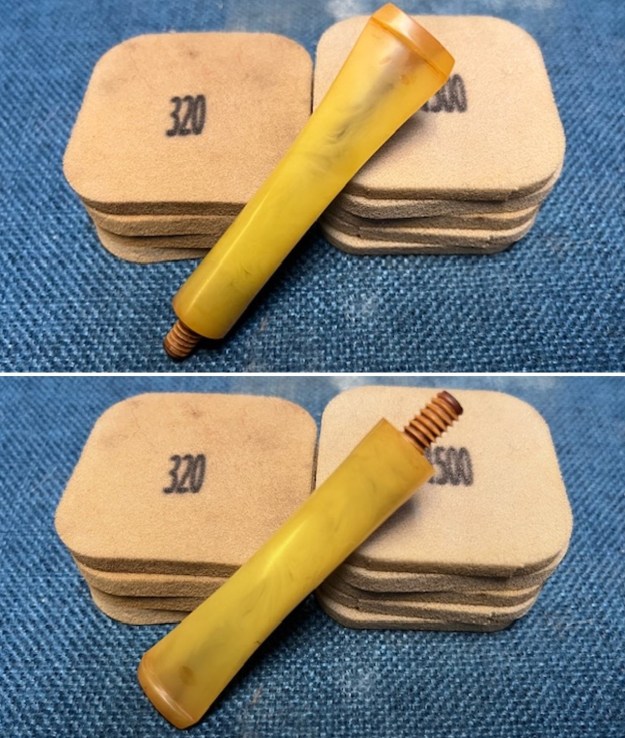 I polished the stem with micromesh sanding pads – wet sanding it 1500-12000 pads. I wiped it down with a damp cloth after each pad to protect it and preserve it. I polished it with Before After Pipe Polish – both Fine and Extra Fine.
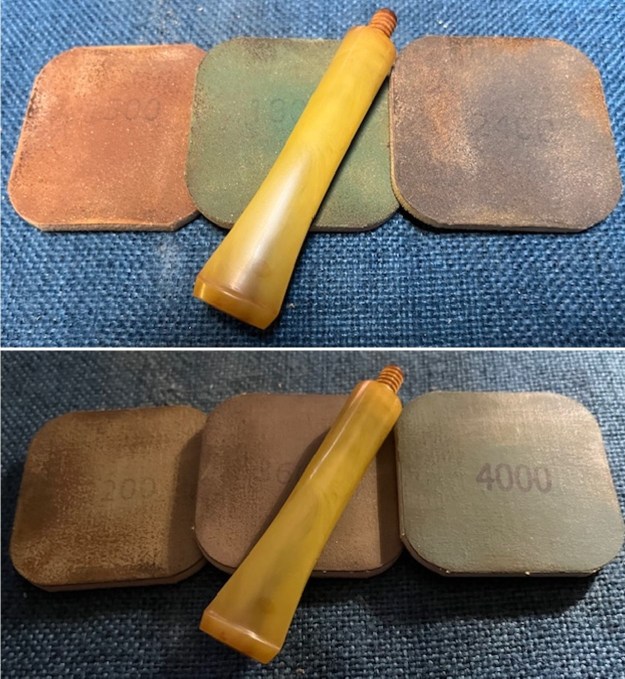
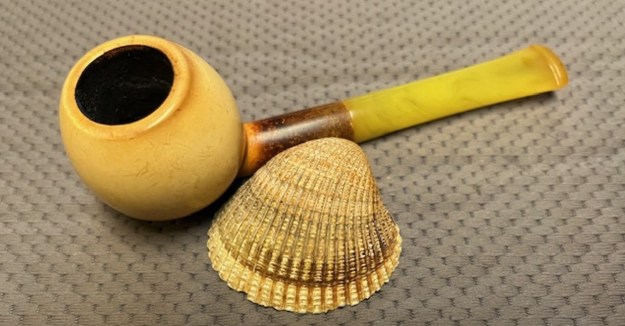
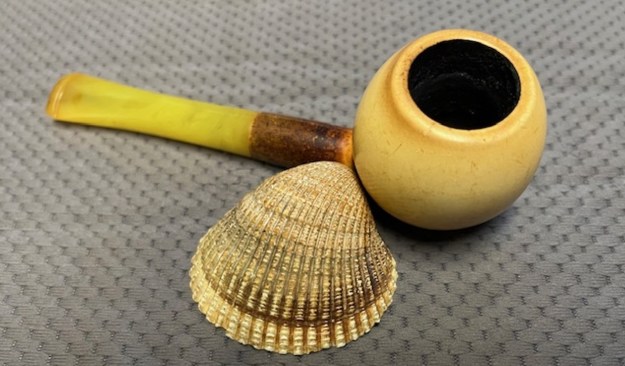
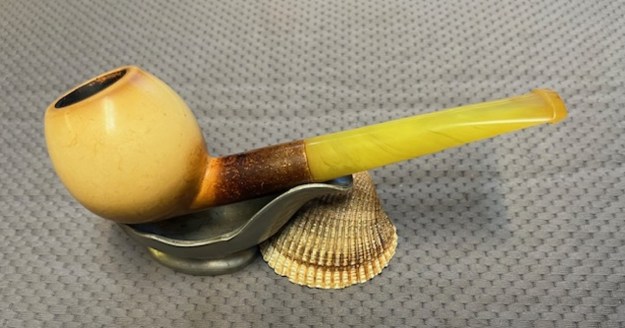
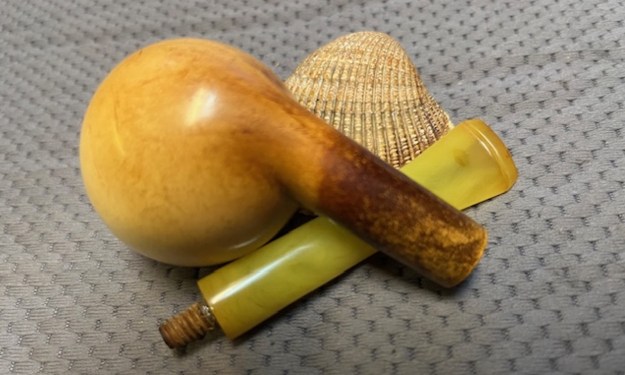
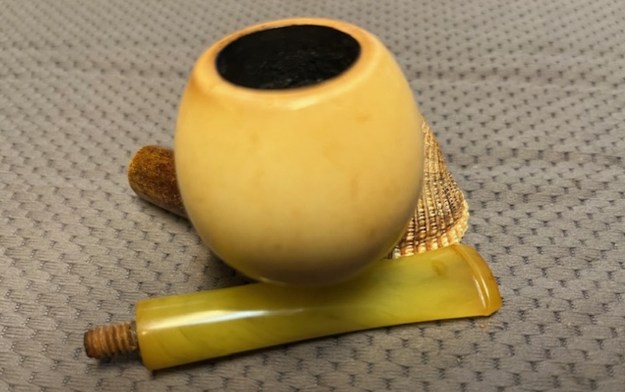
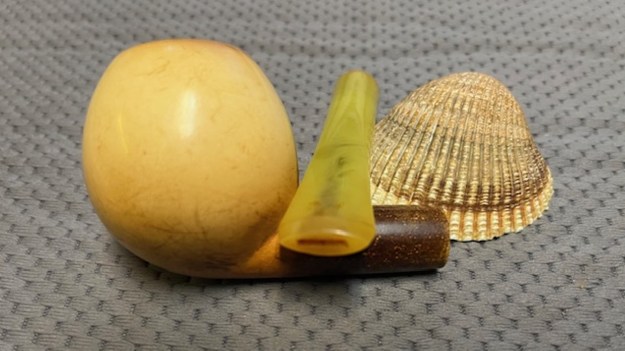
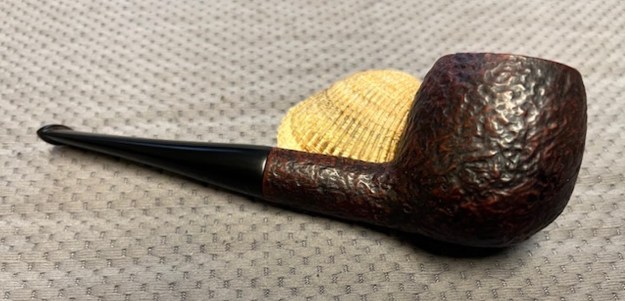
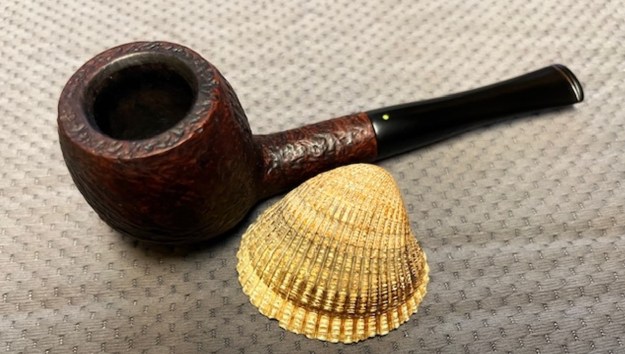
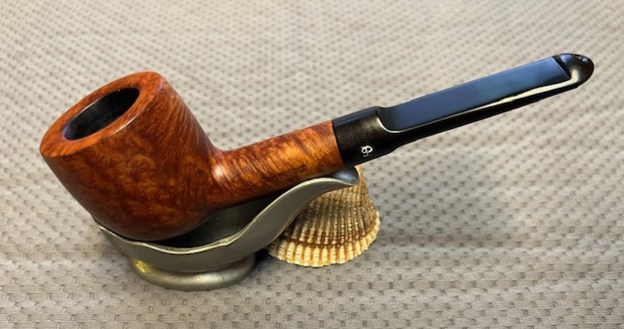
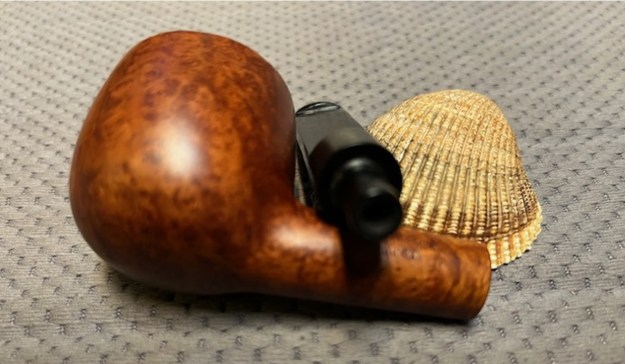
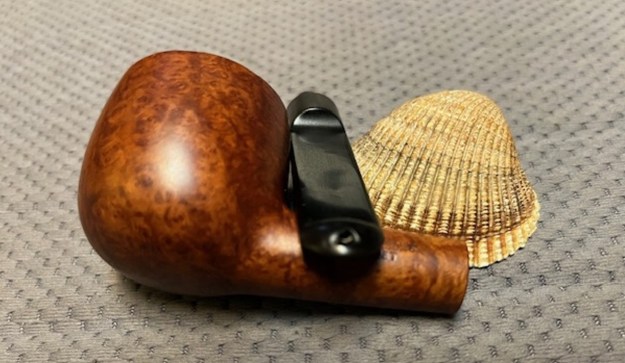
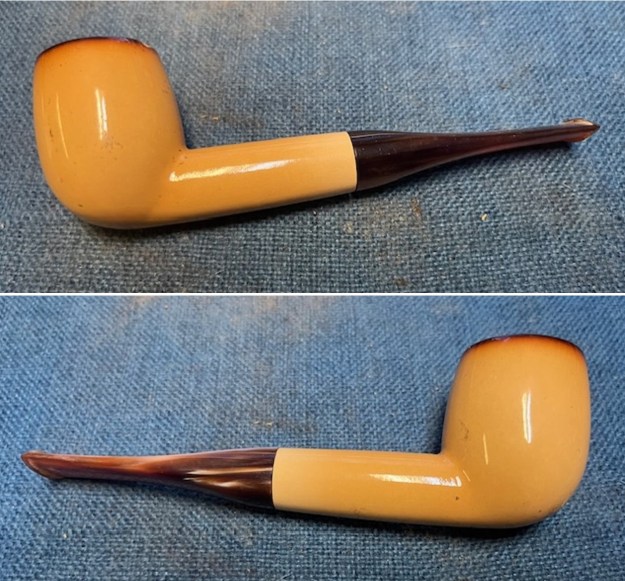
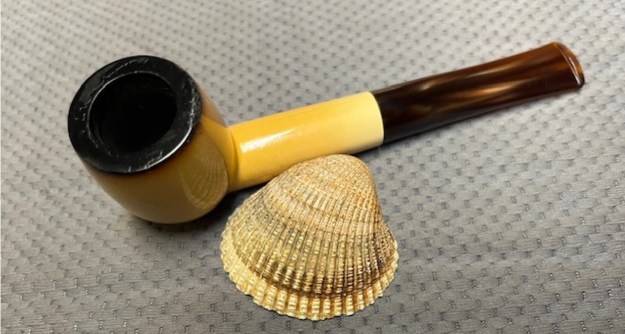
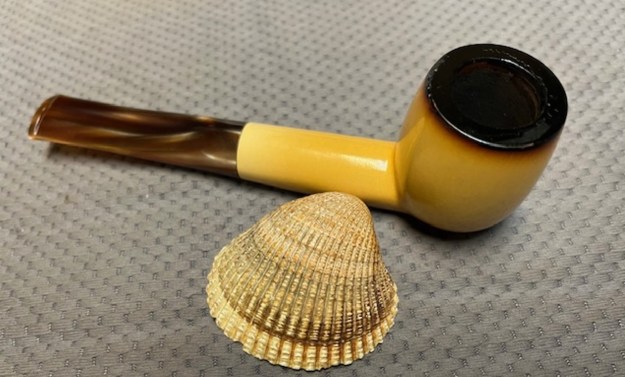
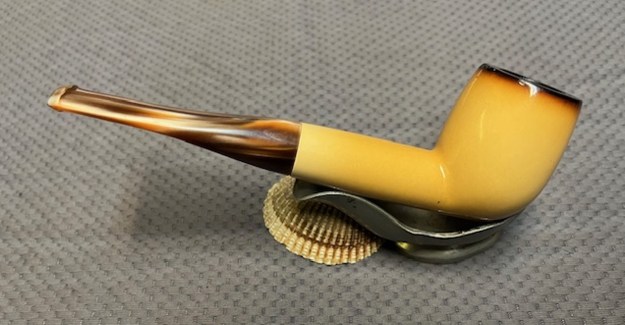
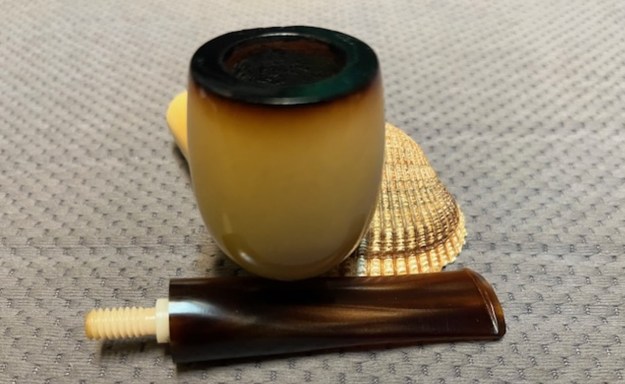
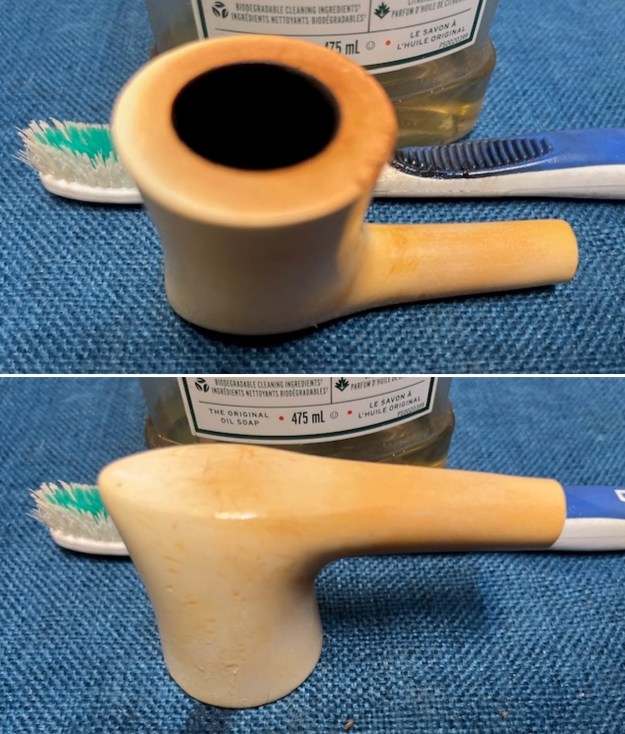
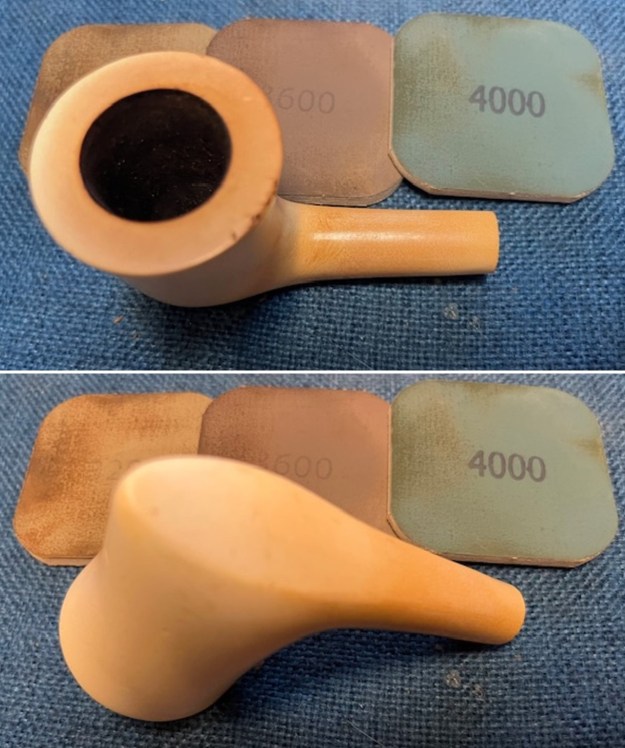
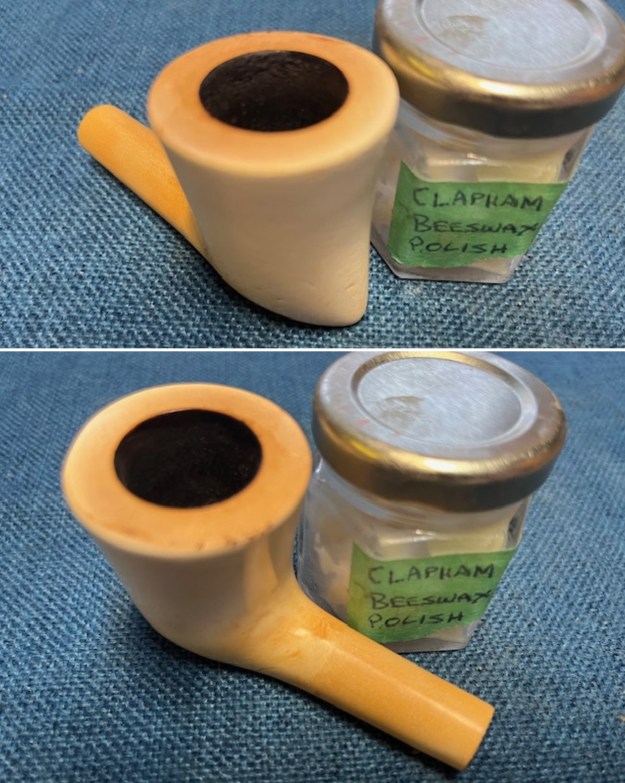
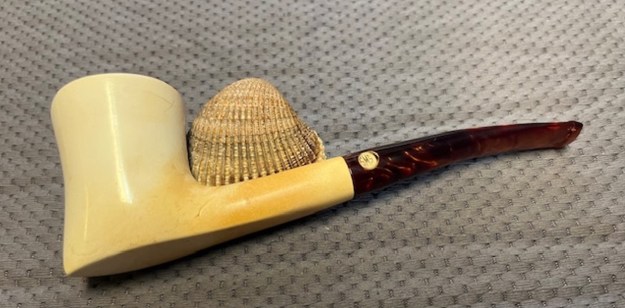
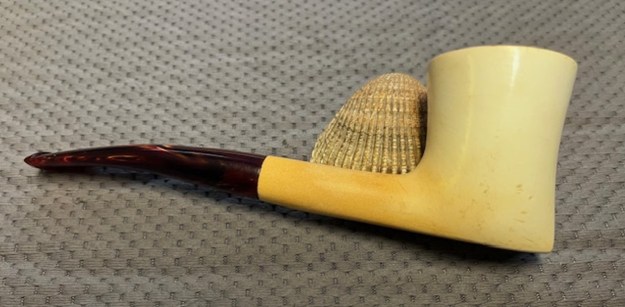
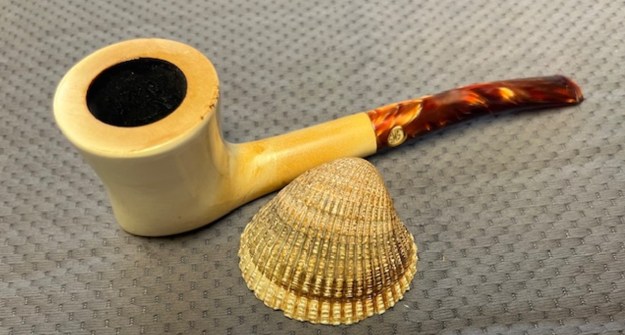
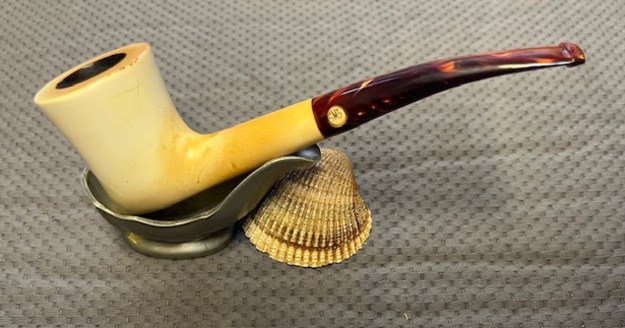
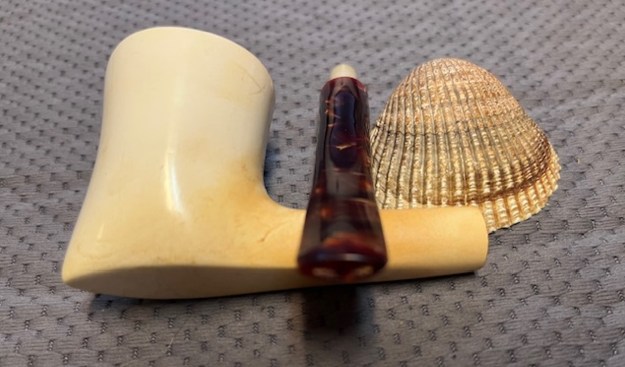
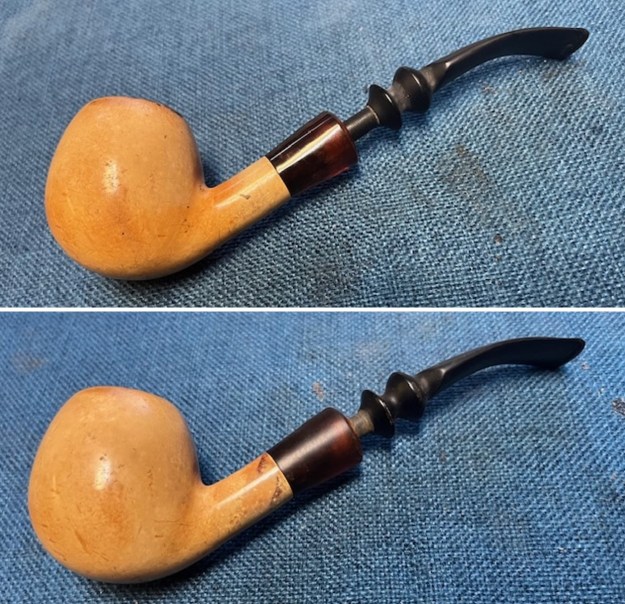
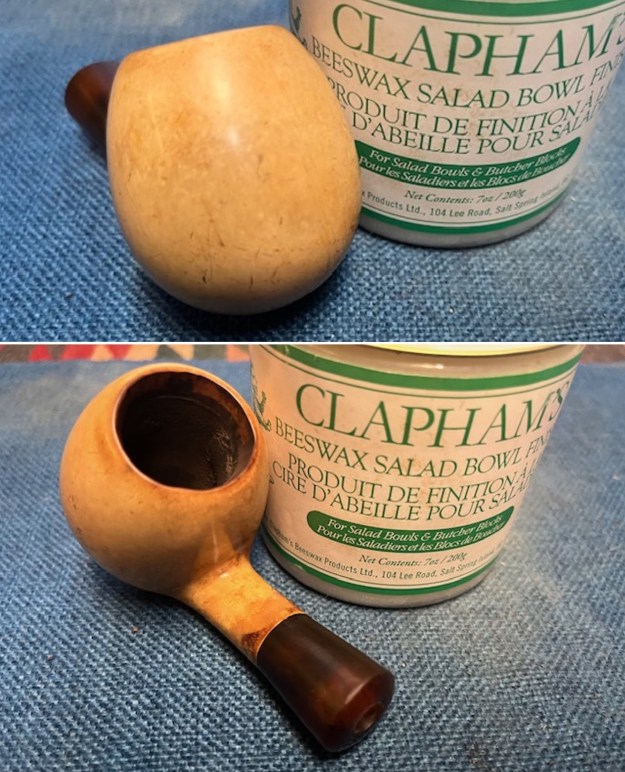
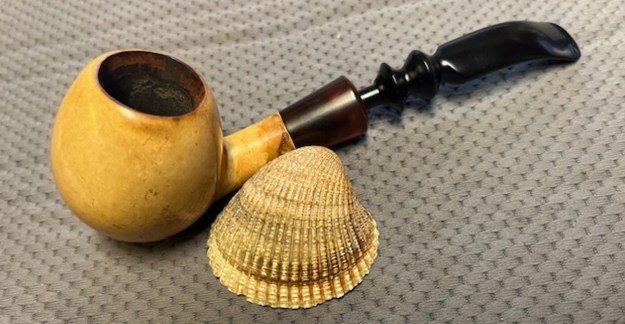
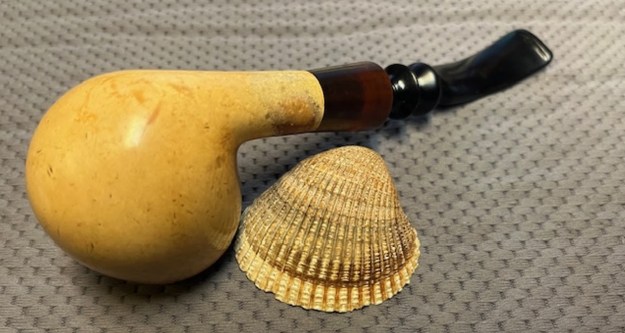
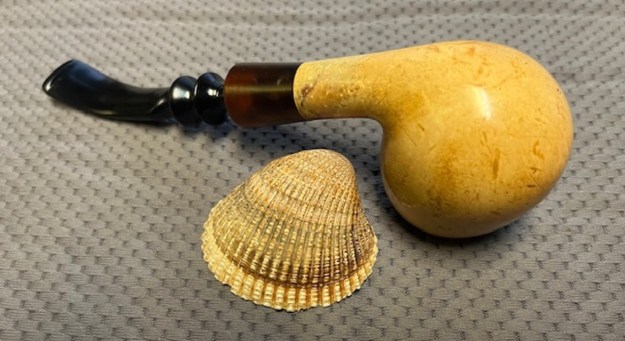
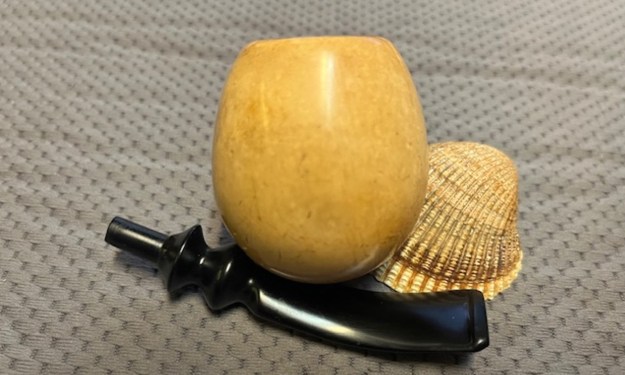
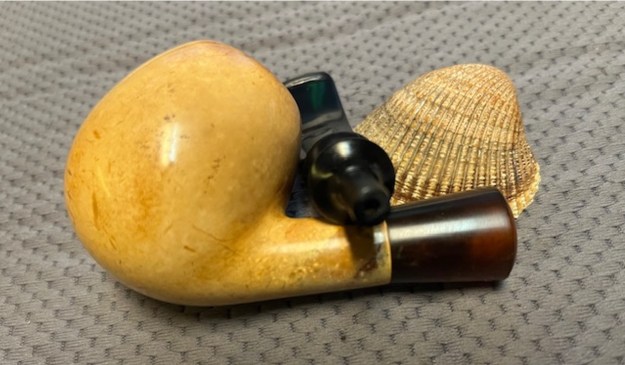
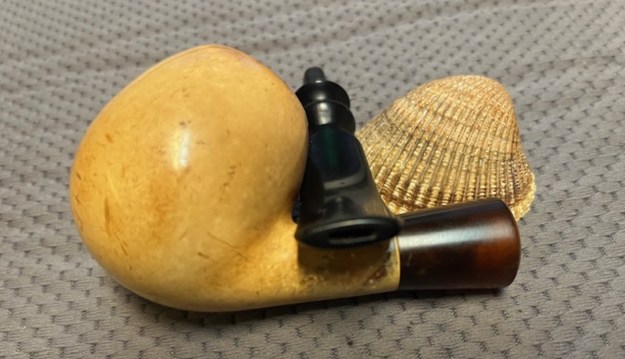
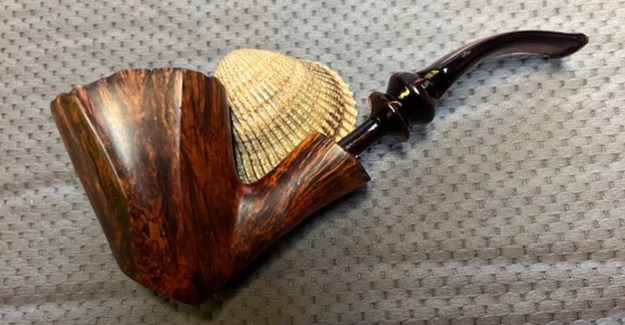
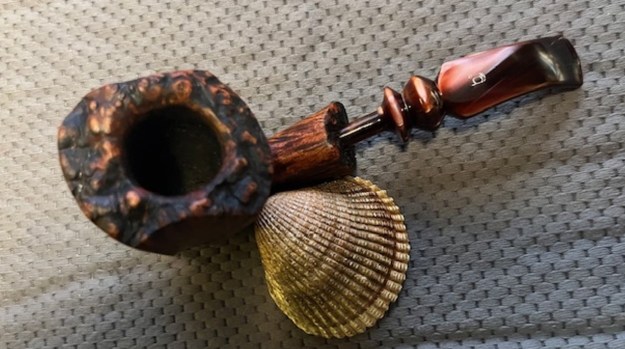
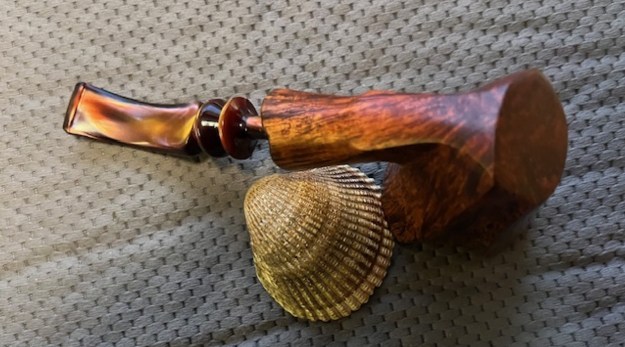
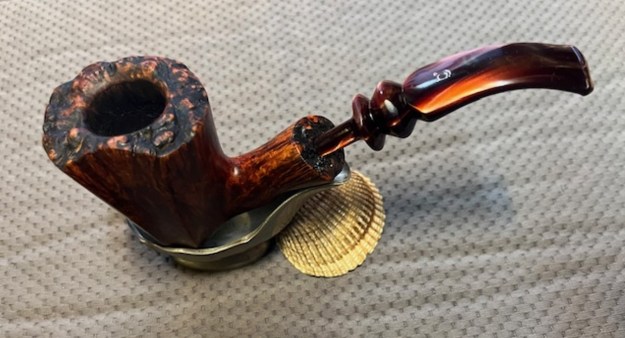
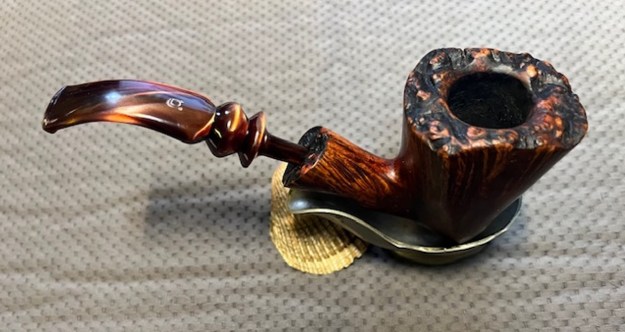
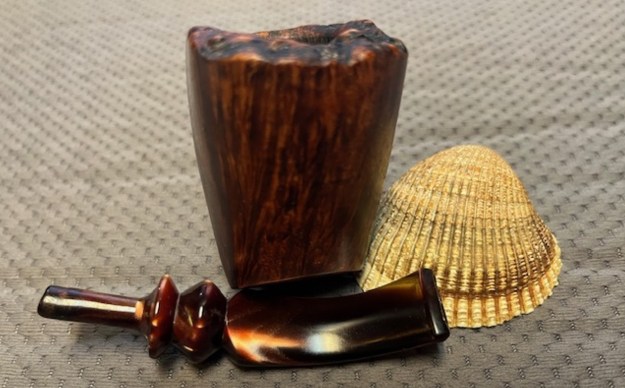
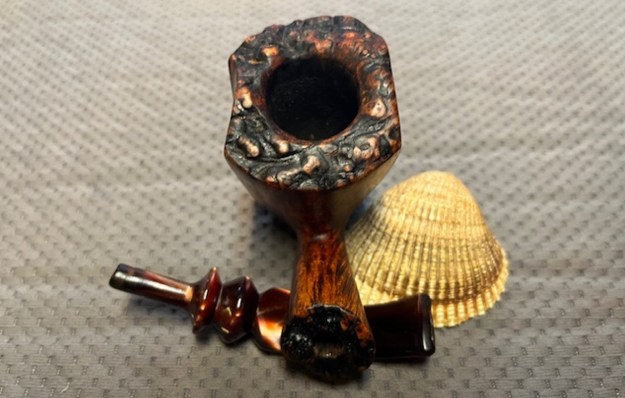
 I am really happy with the way that this Older Meerschaum Apple turned out. It really is a beautiful looking pipe with a unique shape and smooth meerschaum bowl. The yellow amberlike acrylic taper stem are really nice. The rich patina on the meerschaum came alive with waxing and buffing. I put the stem back on the bowl and carefully buffed the pipe with Blue Diamond on the buffing wheel. I gave the bowl and the stem multiple coats of beeswax/carnauba wax and buffed the pipe with a clean buffing pad to raise the shine. I hand buffed the pipe with a microfiber cloth to deepen the shine. The finished Meerschaum Apple really is a beauty and feels great in the hand and looks very good. Give the finished pipe a look in the photos below. The dimensions of the pipe are Length: 5 ½ inches, Height: 1 ¾ inches, Outside diameter of the bowl: 1 ¼ inches, Chamber diameter: ¾ of an inch. The weight of the pipe is 40 grams/ 1.41 ounces. The pipe will be going on the rebornpipes store soon. It will be in the Ceramic and Meerschaum Pipes Section if you would like to add it to your collection. Thanks for reading this blog and my reflections on the pipe while I worked on it. It was a fun one to work on!