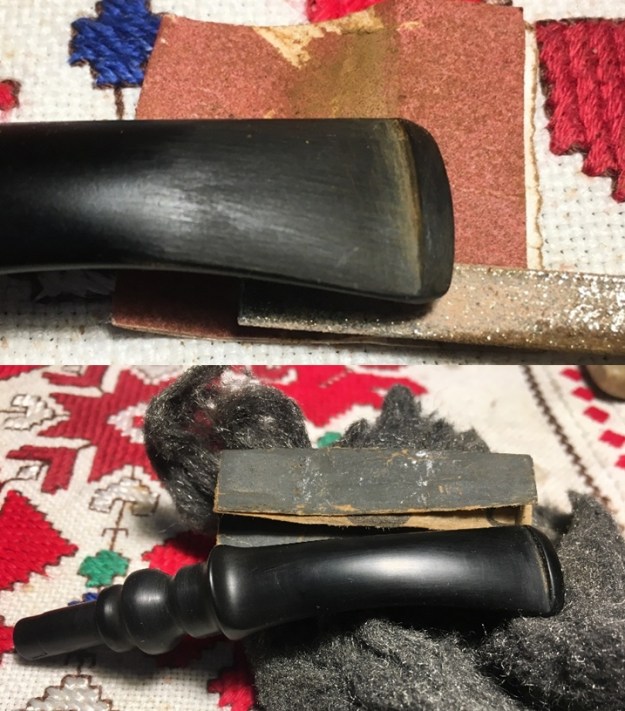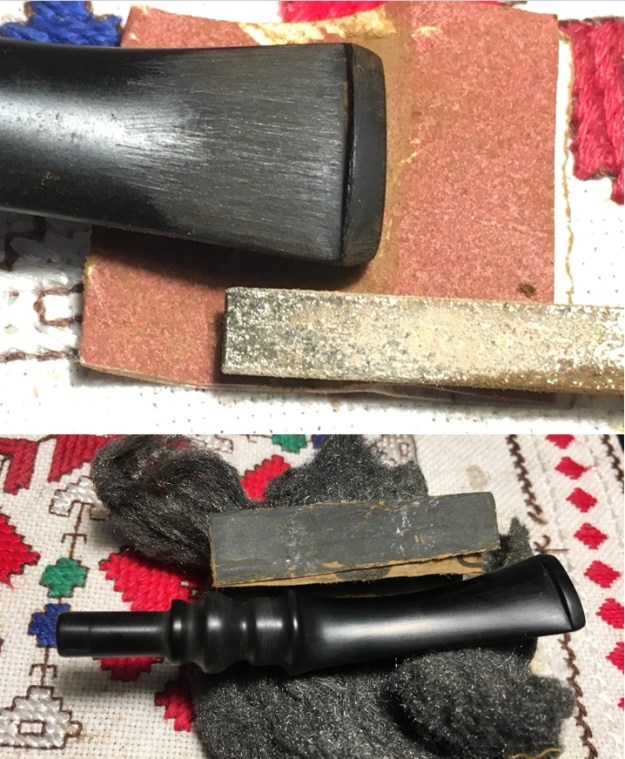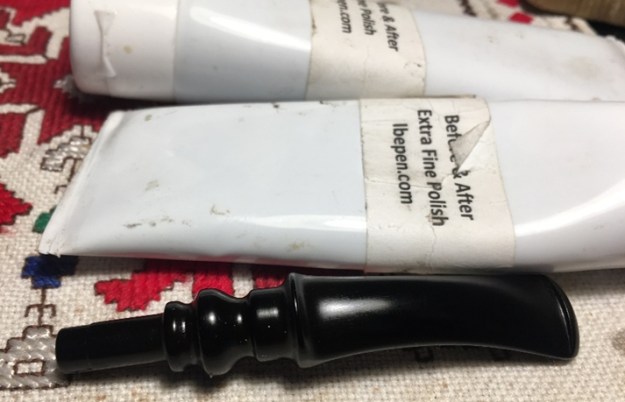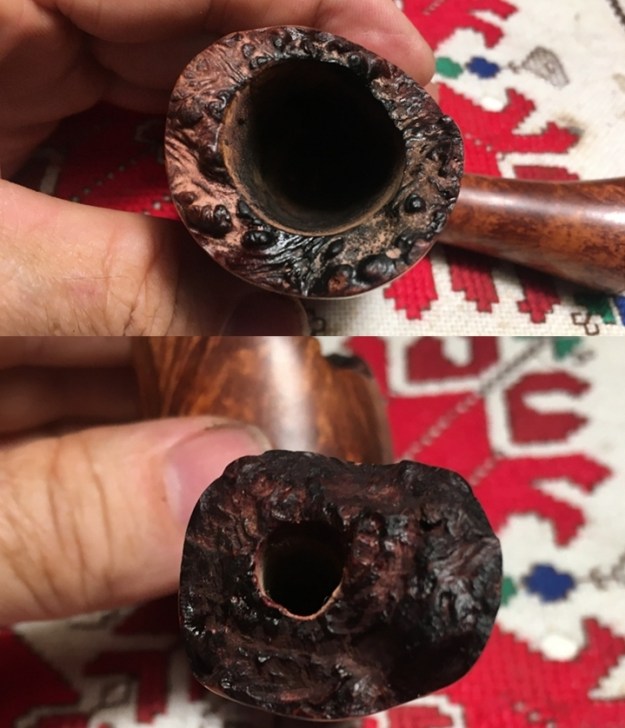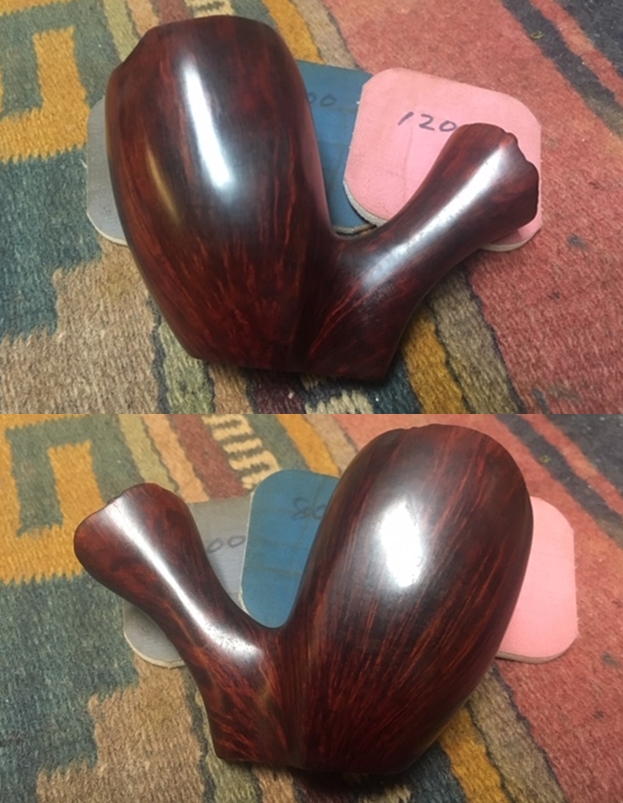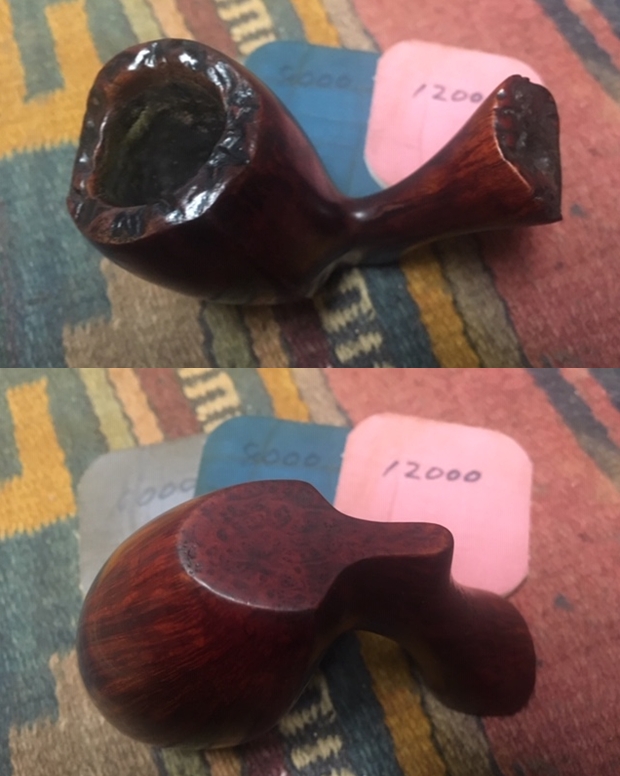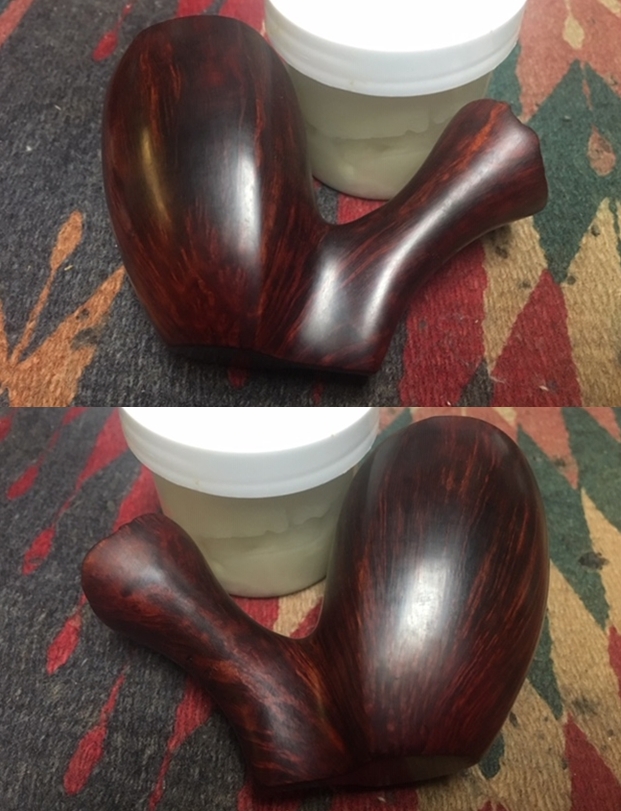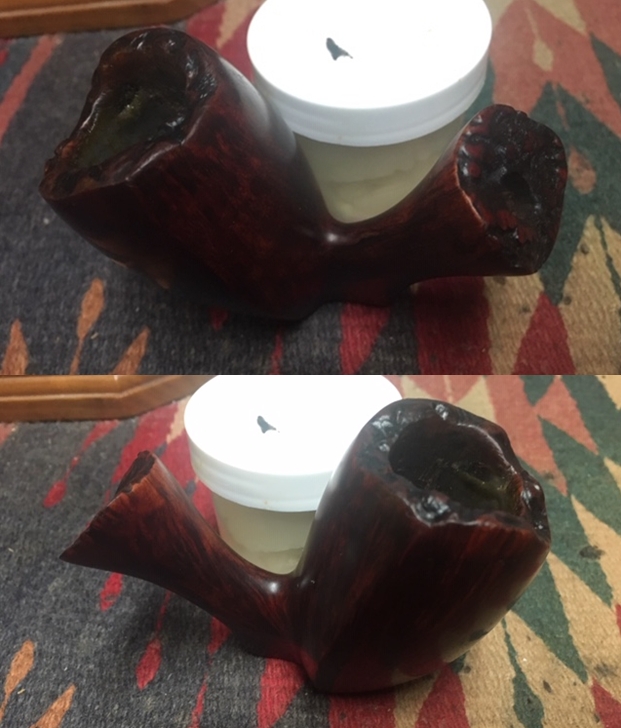
Tag Archives: shaping a stem

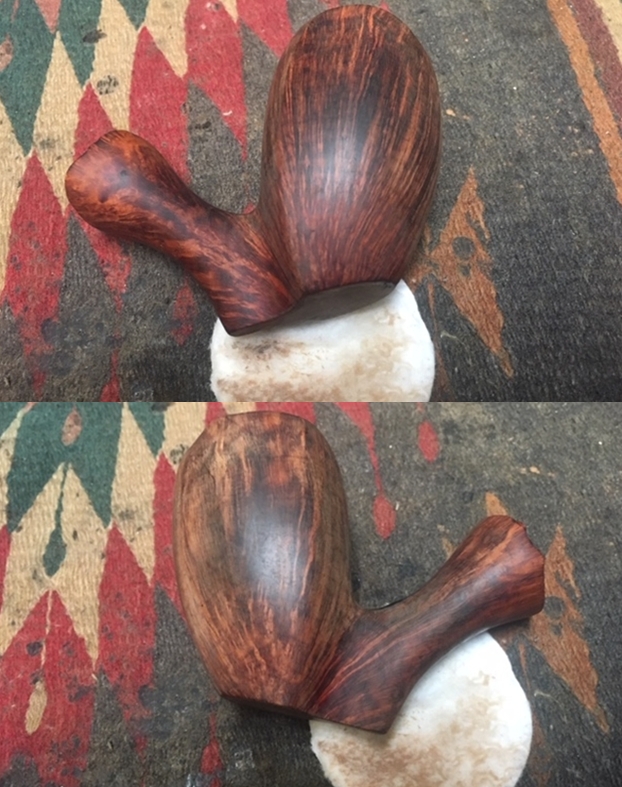
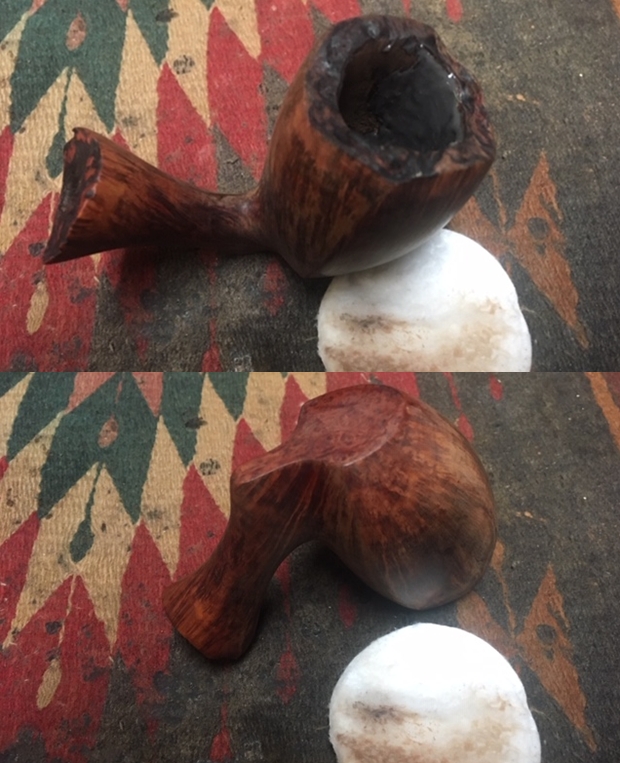
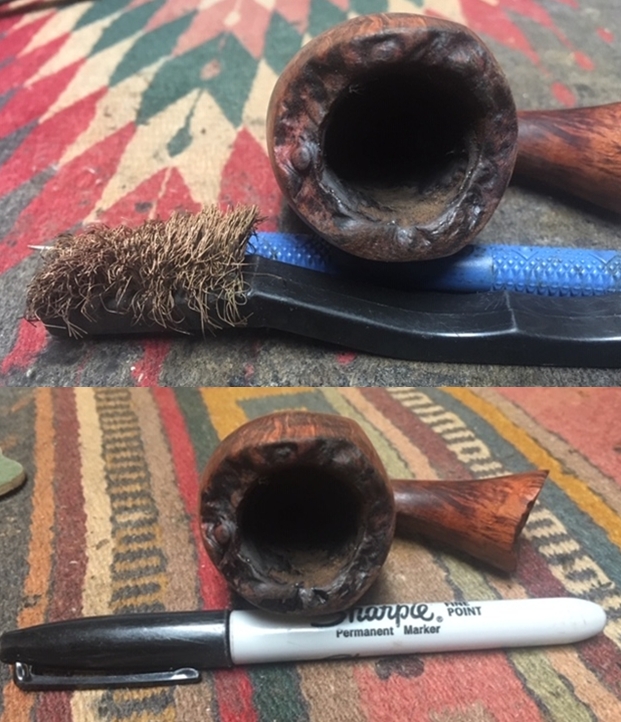
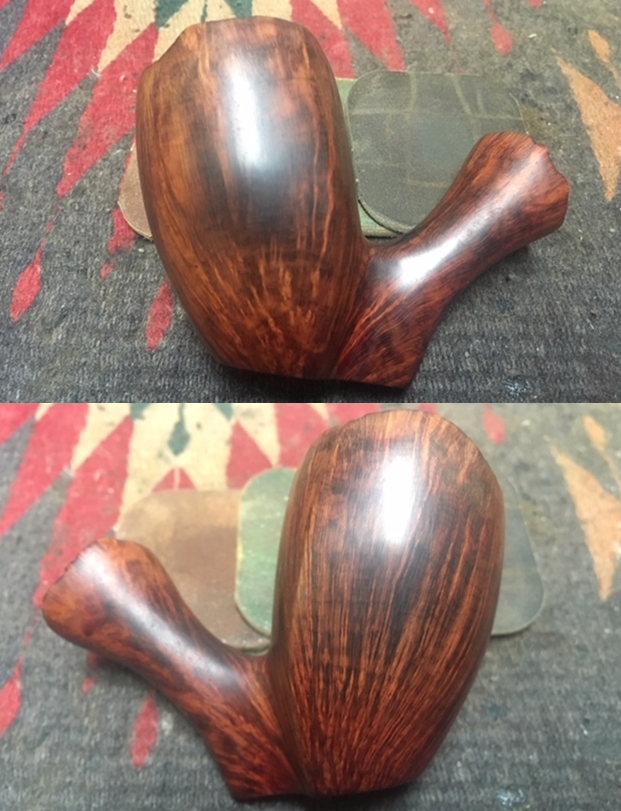
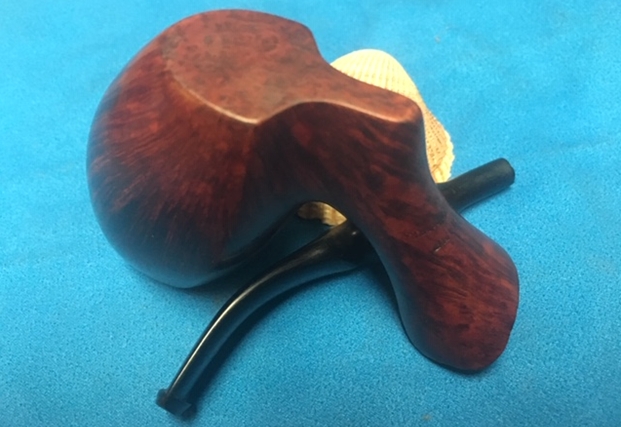
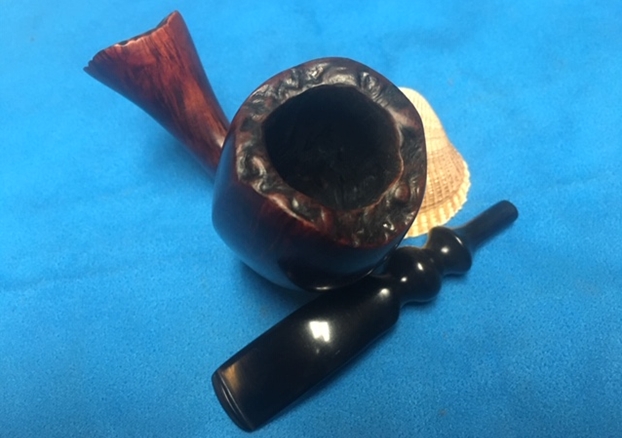
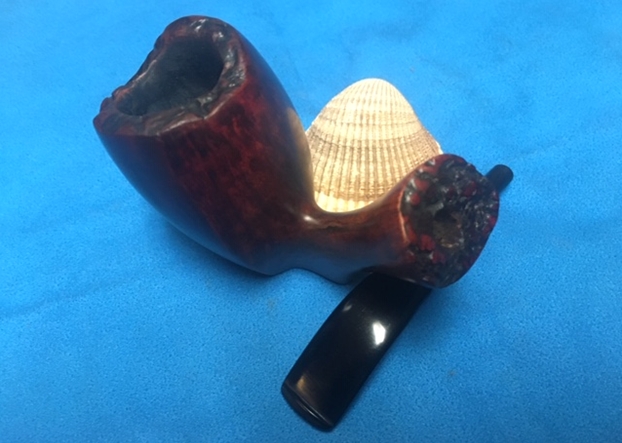
Recommissioning a Sharp BBB Classic London England 106S Chimney


Blog by Dal Stanton

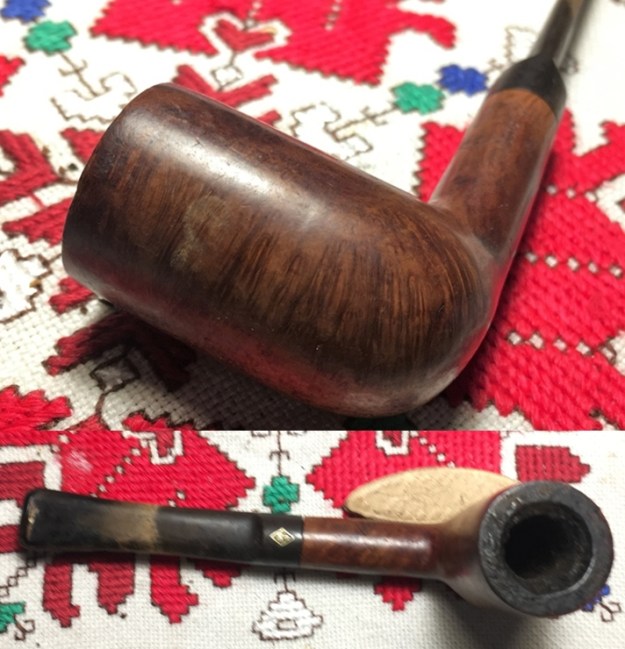
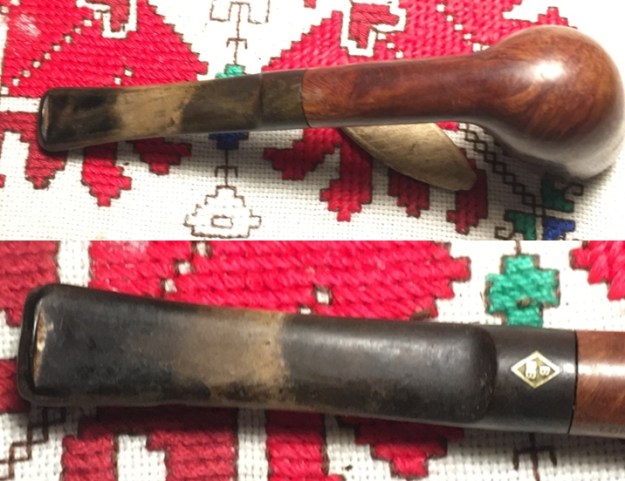
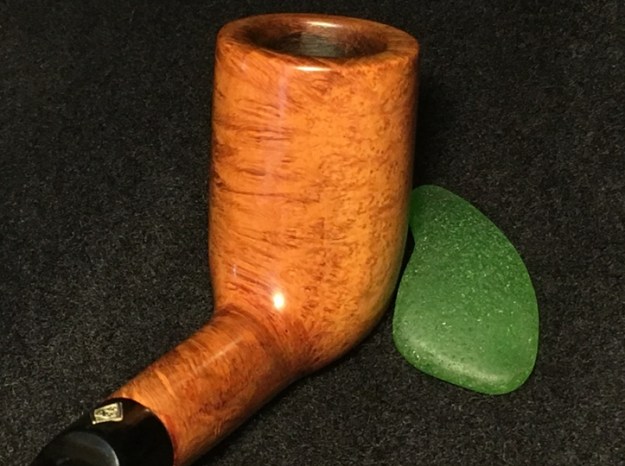
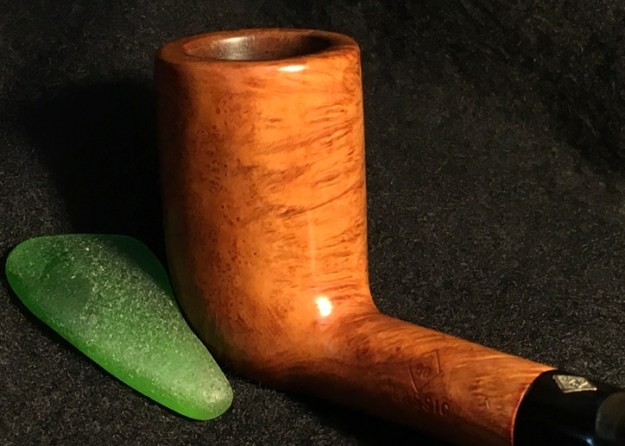
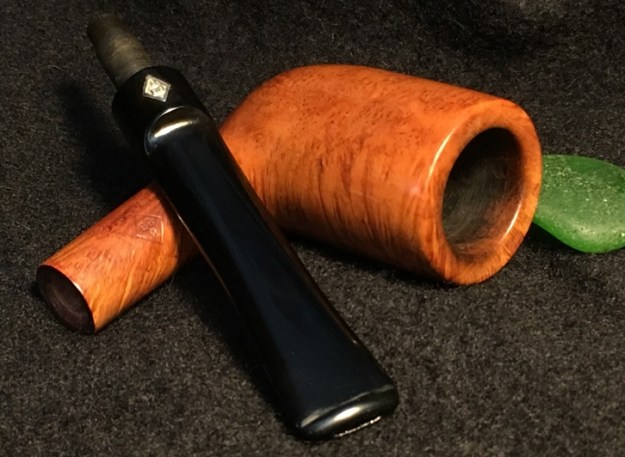
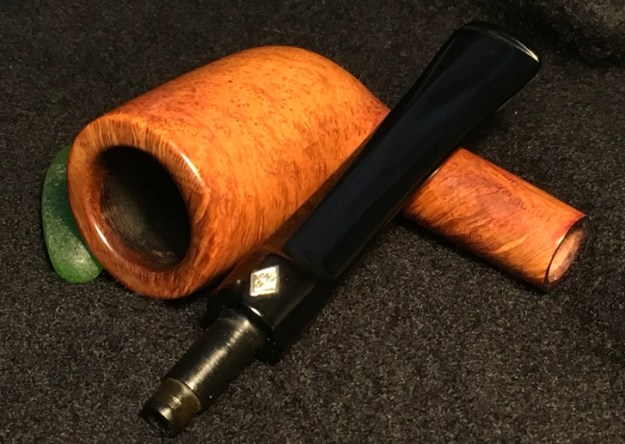
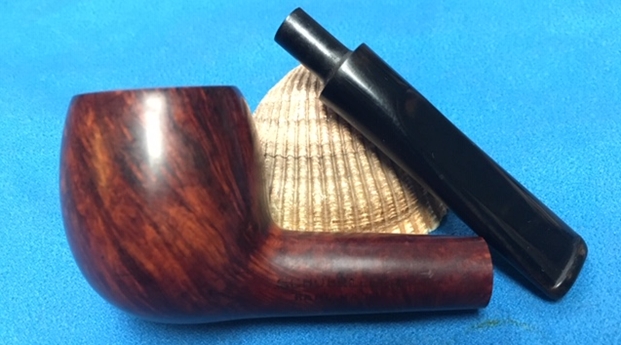
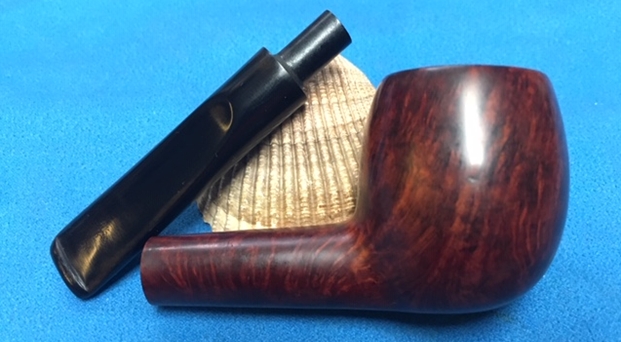
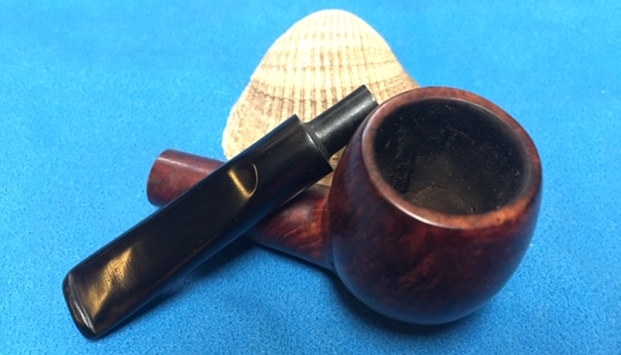
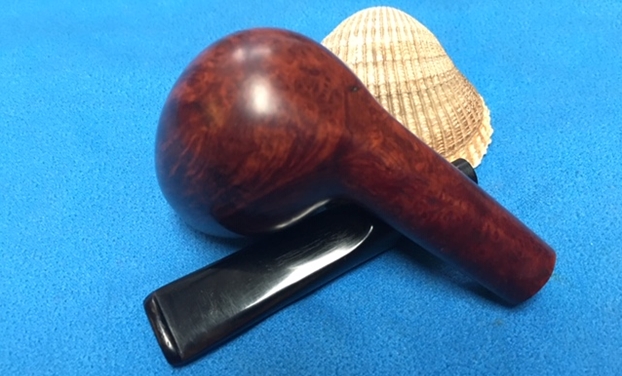
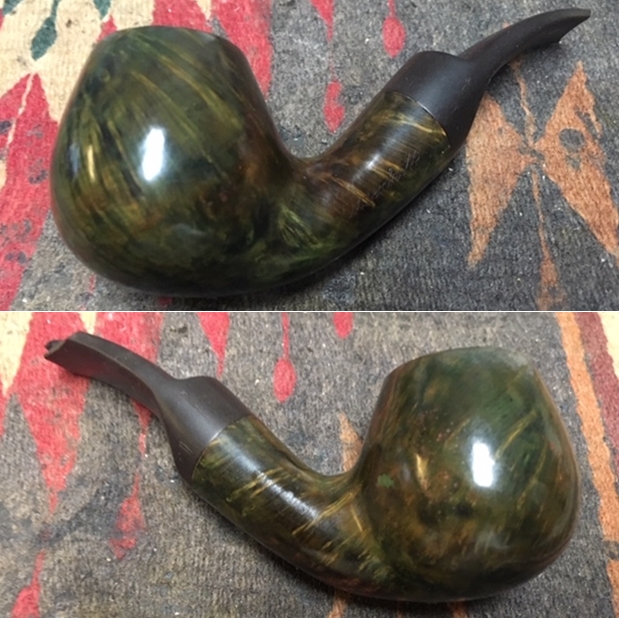
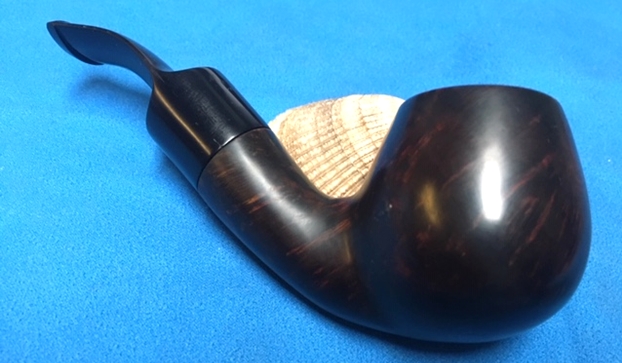
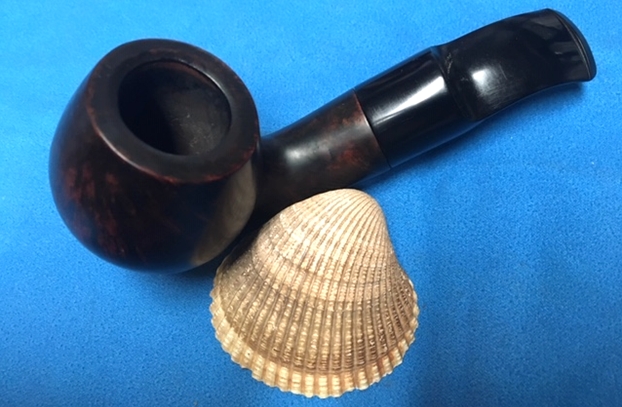
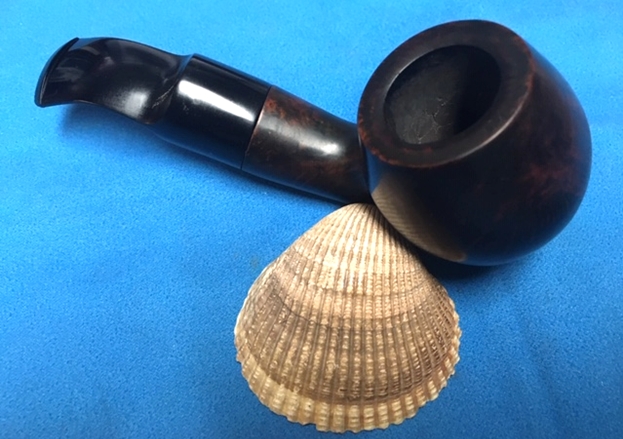
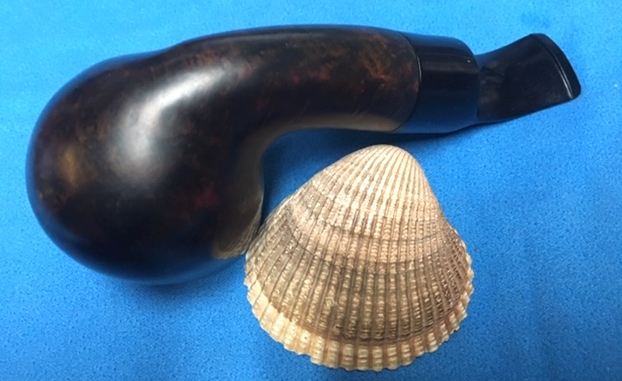
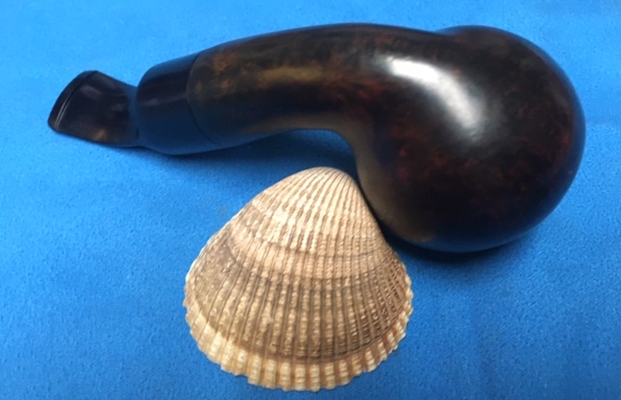
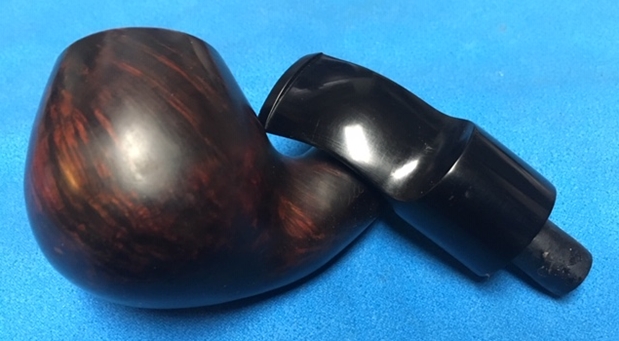
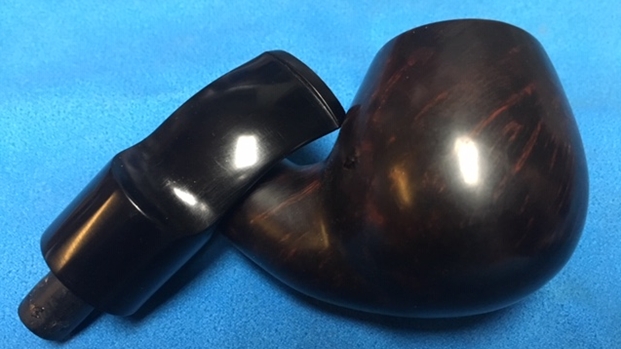
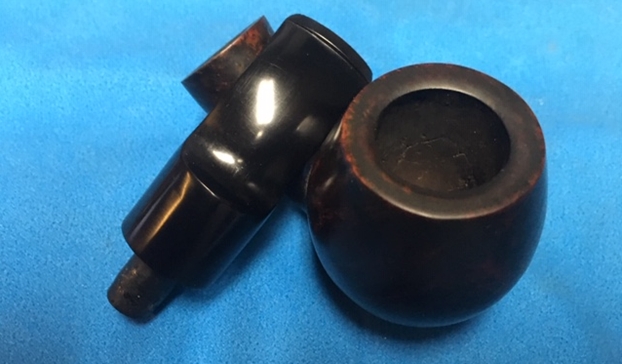
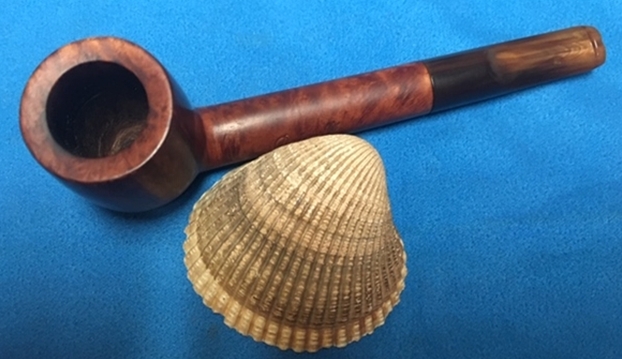
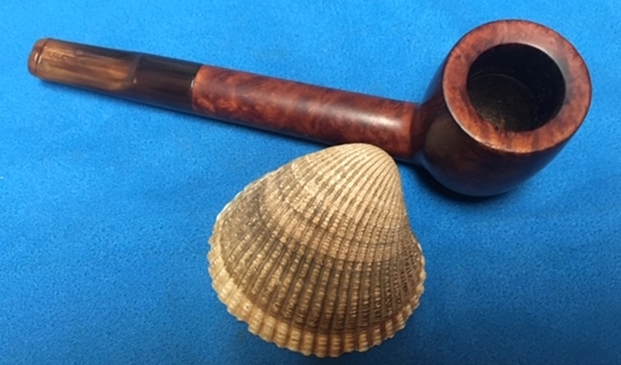
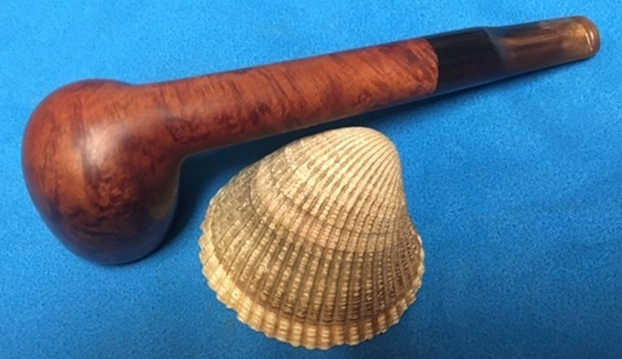
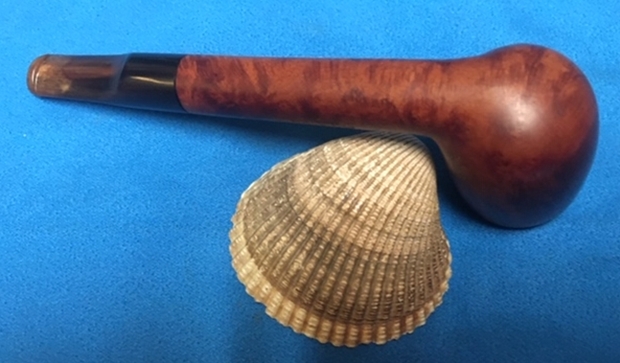
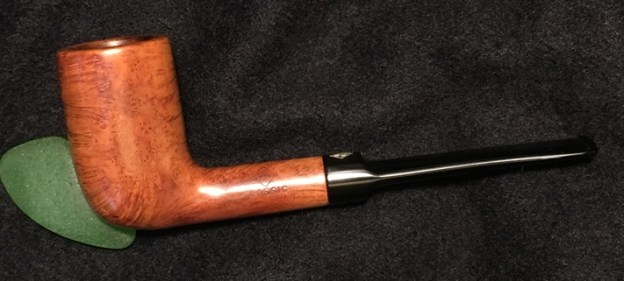
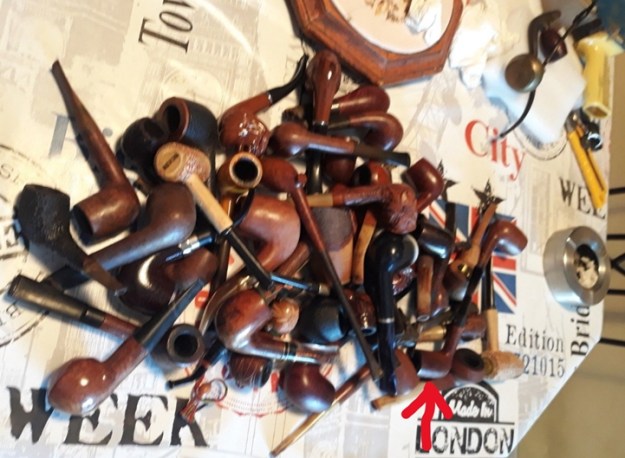
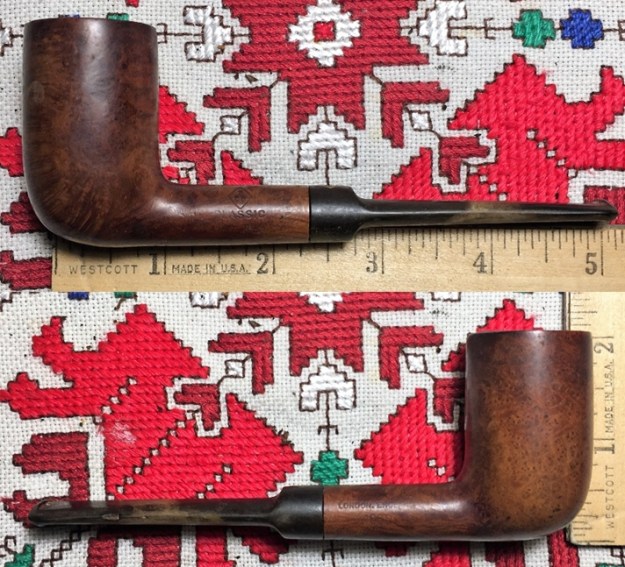
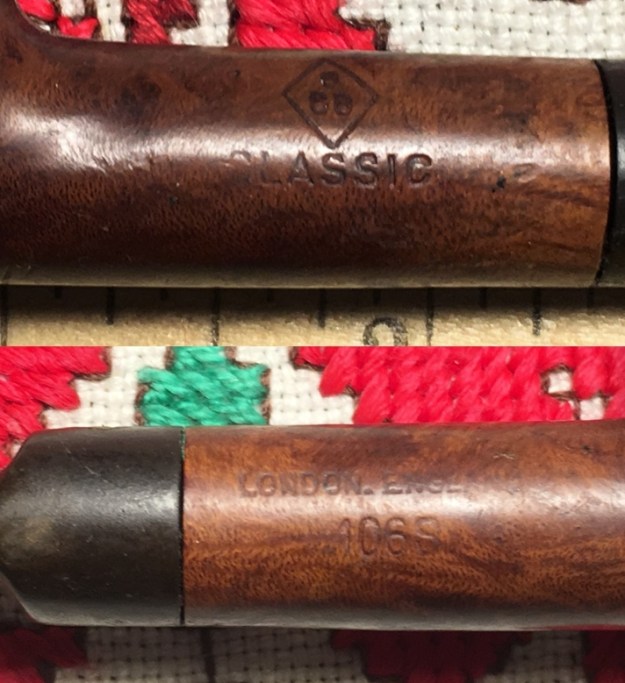
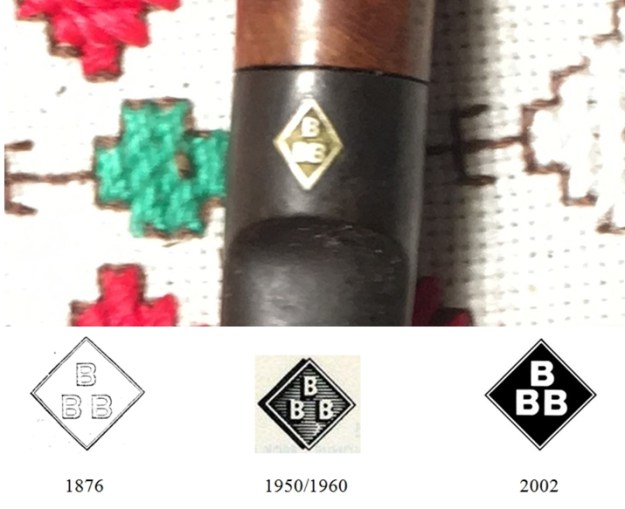
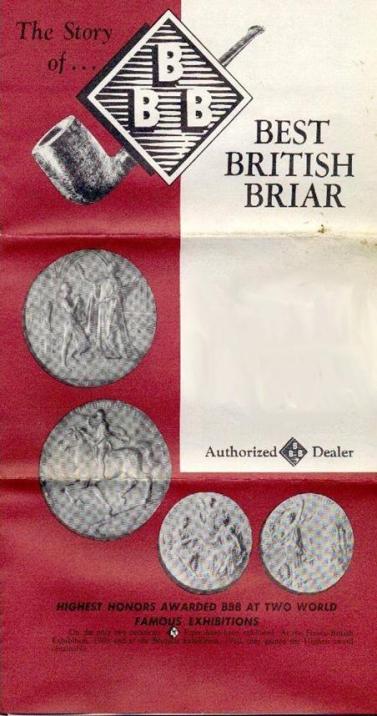
This very classy looking BBB I acquired with the French Lot of 50 that I won on the French eBay auction block along with several other treasures that I’ve enjoyed restoring for new stewards benefiting our work here in Bulgaria with the Daughters of Bulgaria.  Along with a few other pipes commissioned by my friend in India, Paresh saw this BBB in the For “Pipe Dreamers” Only! collection and was interested in adding it to his BBB collection.  I’ve marked the BBB in the pile of pipes that I acquired.  I love looking at ‘pipe piles’ 😊.With the pipe now on my worktable here in Sofia, Bulgaria, I take more pictures to show what got Paresh’s attention.  In prototypical English style, the pipe is on diminutive side measuring, Length: 5 3/8 inches, Height: 1 7/8 inches, Rim width: 1 1/8 inches, Chamber width: 3/4 inches, and Chamber depth: 1 3/4 inches. The left side of the shank is stamped with the classic ‘BBB’ ensconced in the rhombus [over] ‘CLASSIC’.  The right side of the shank is stamped, ‘LONDON, ENGLAND’ [over] 106S – what I’m assuming is the BBB shape number designation.  The shape of the stummel I would label as a Chimney sporting a saddle stem.  In my research I could unearth no BBB Shapes Chart that corroborates my designation matching the 106S.I love the look and feel of this pipe and its distinctive brass rondel embedded on the topside of the stem placing this ‘Best British Briar’ Classic in the 1950s and 1960s.  Below is pictured the evolution of the BBB stem markings which is included in an extensive article on the History of BBB Pipes by Fiona Adler that Steve reposted in rebornpipes after translating from the original French.Pipephil provides a very brief description of ‘BBB’:
BBB: ” Best British Briar” is now a brand of the Cadogan Company (Oppenheimer group). American rights to use the brand name were sold to Wally Frank in 1980.
Founder of the brand in 1847: Louis Blumfeld. The oldest pipe brand name in the UK has been registered in 1876 (Blumfeld Best Briar)
Grading (ascendant): Own Make, Bold Grain, Best Make, Rare Grain

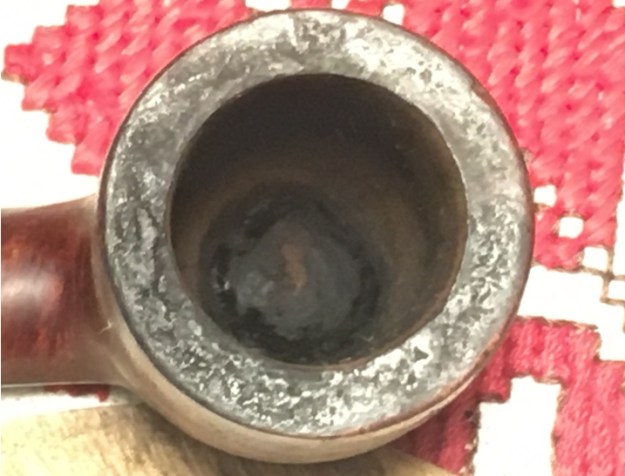
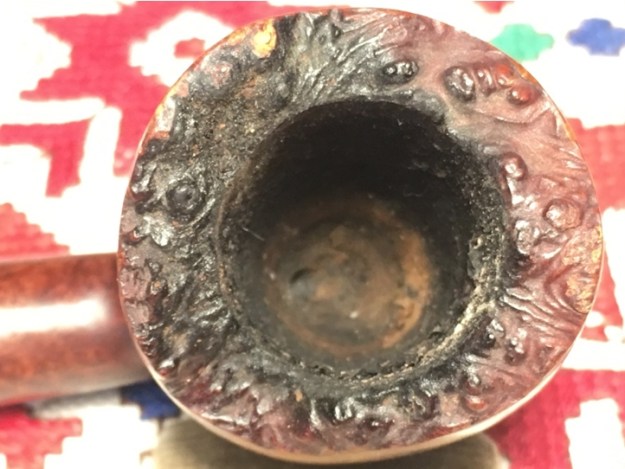
With the dating of this pipe giving it a 50s/60s vintage, I was hopeful to find the ‘Classic’ line in some of the catalogs that Steve acquired from Victor C. Naddeo who is the administrator of the FB Group, Pipe Club of Brasil. I enjoy it when catalogs are posted but unfortunately, I found neither the ‘Classic’ line mentioned or the shape number 106S in the 60s catalog (See: Best British Briar Catalog to see the whole posting).The Chimney stummel is in very good condition – the grain pattern shows great promise after the stummel is cleaned of normal dirt and grime buildup.  The chamber has a thick cake and the lava overflow matches the fact that this pipe was well smoked and served his steward well.  I will remove the cake to give the briar a fresh start and to inspect the chamber walls for heating problems.  The saddle stem has heavy oxidation but very little tooth chatter on the bit.  I’m looking forward to seeing how the very nice-looking BBB Classic Chimney cleans up.
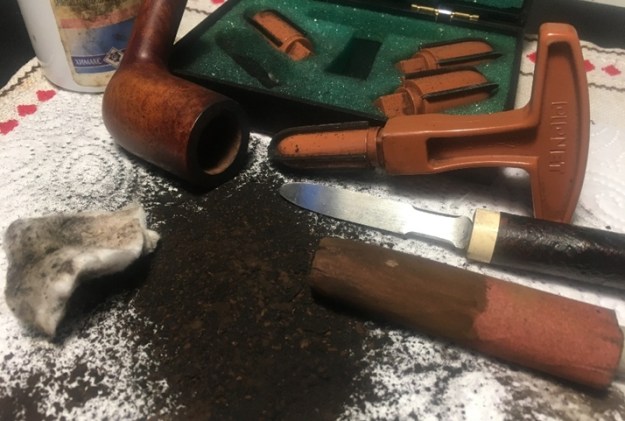
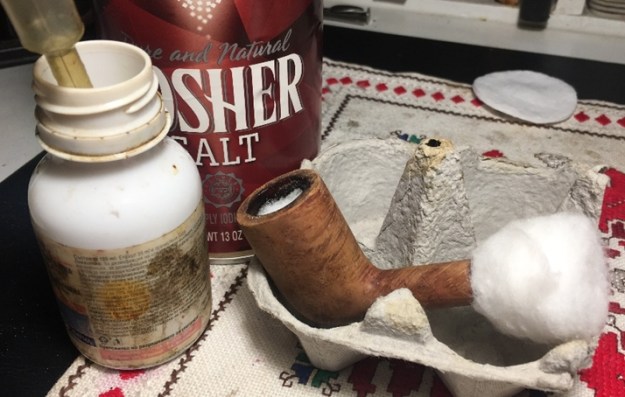
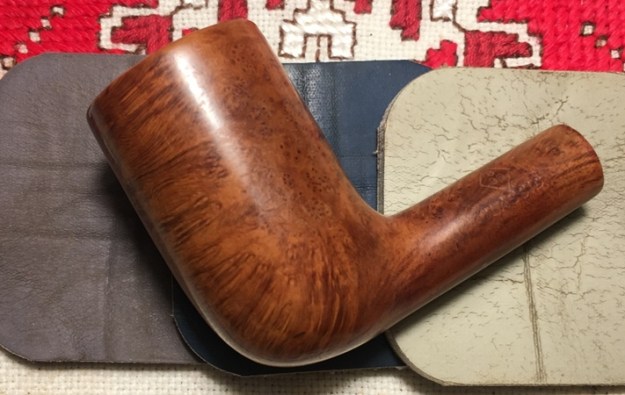
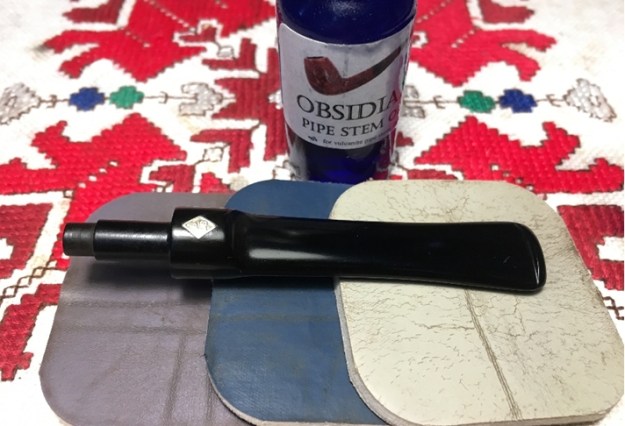
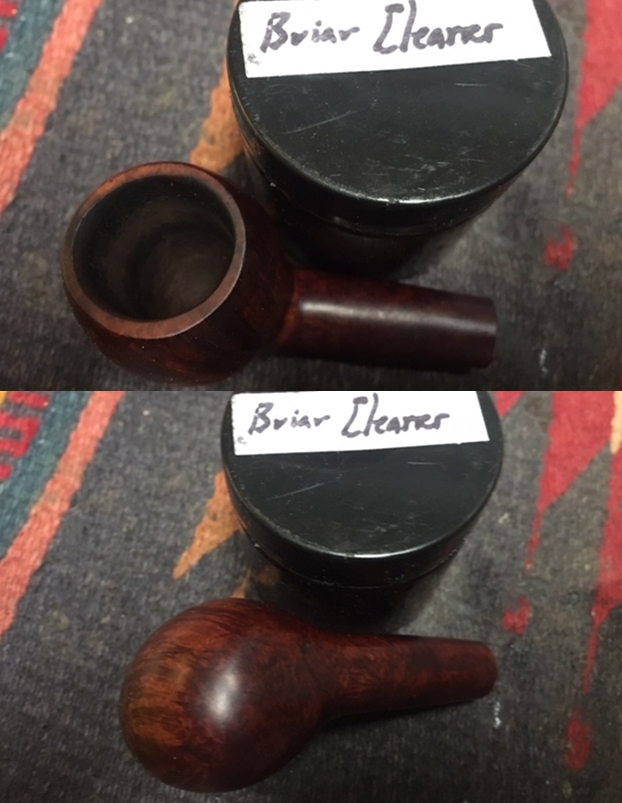
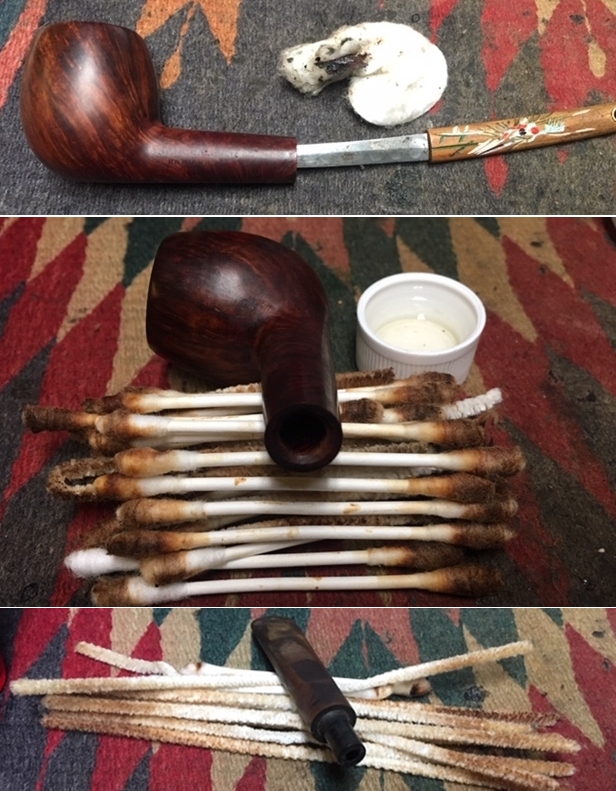
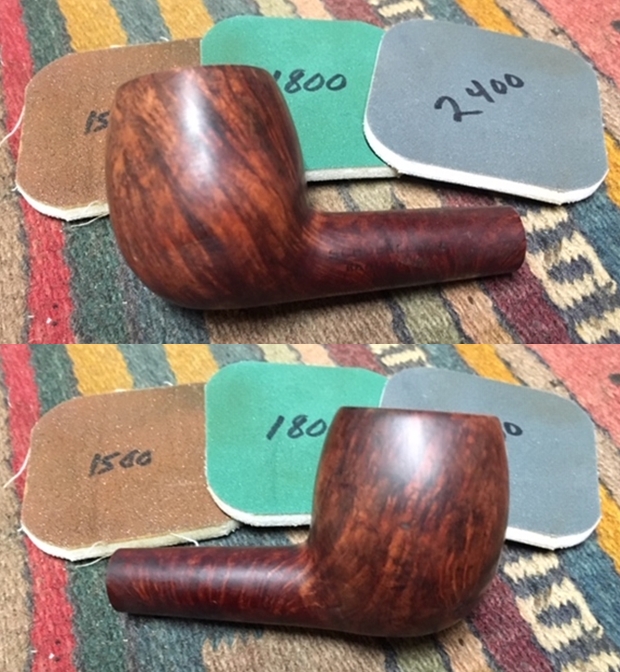
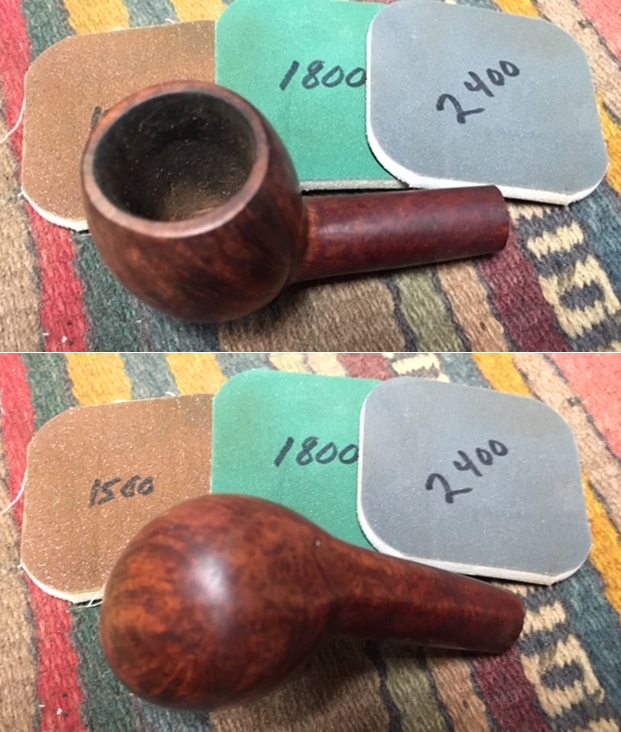
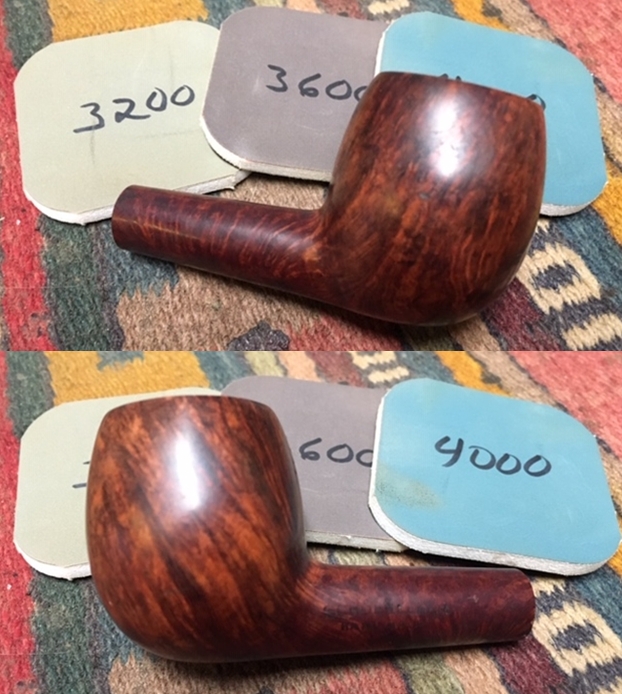
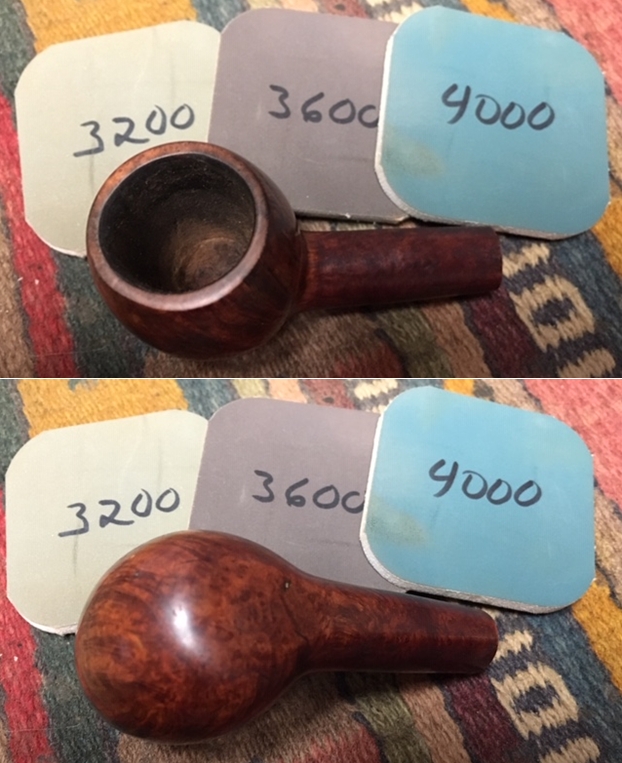
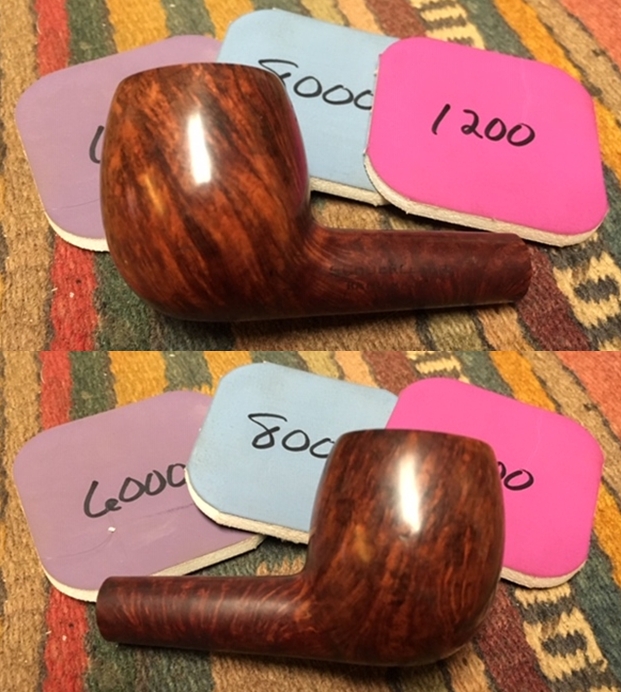
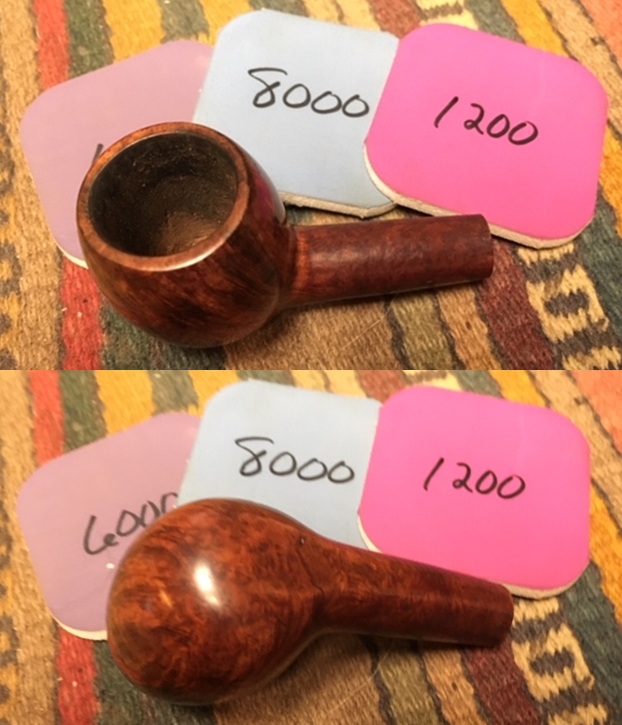
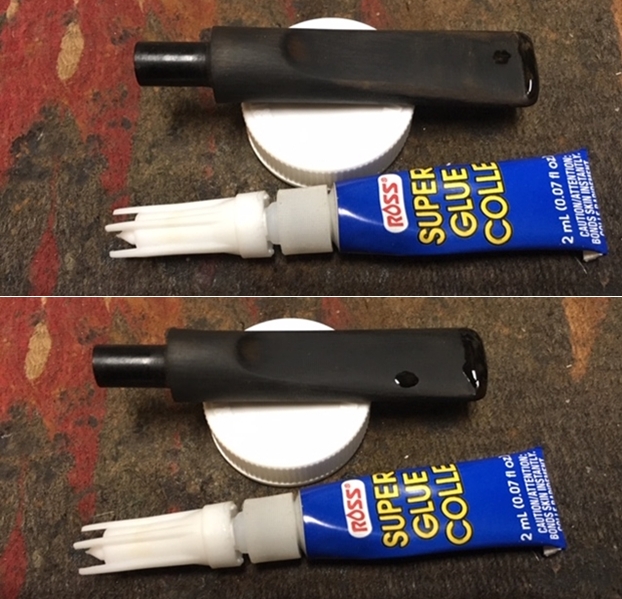
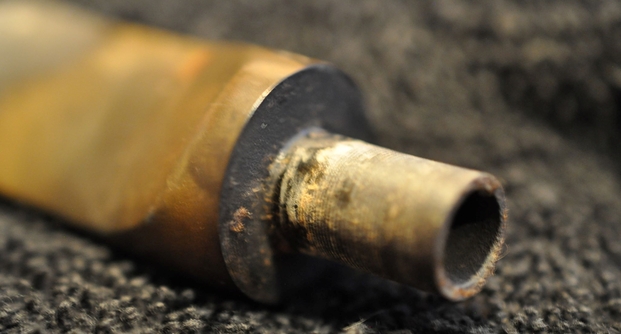
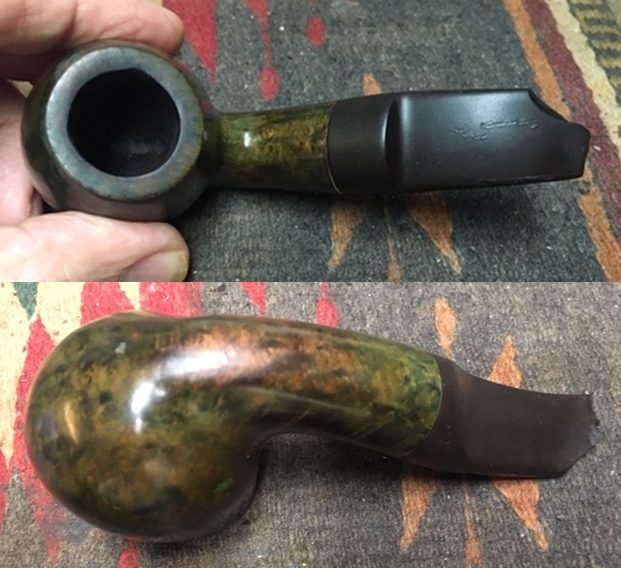
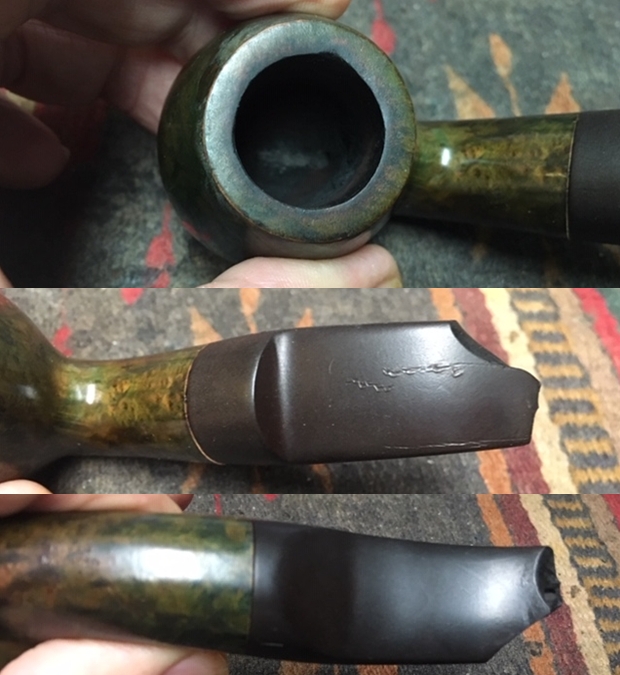
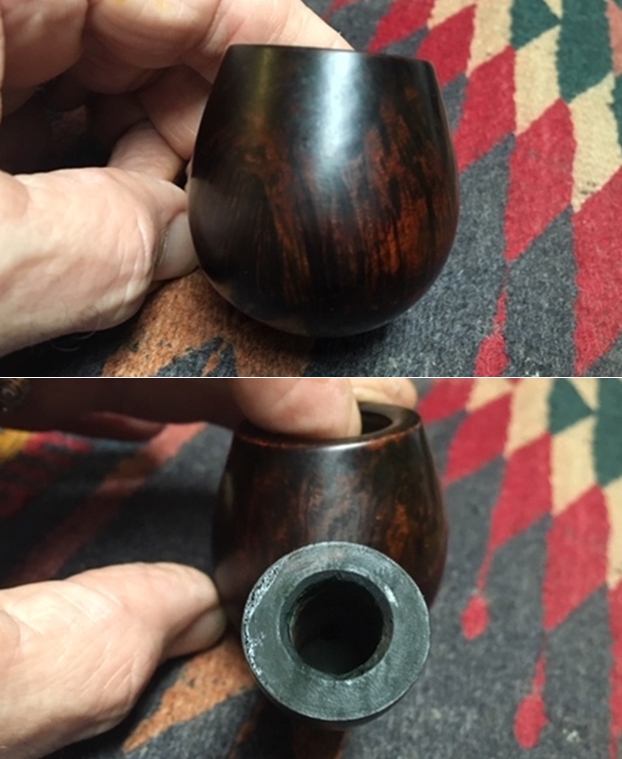
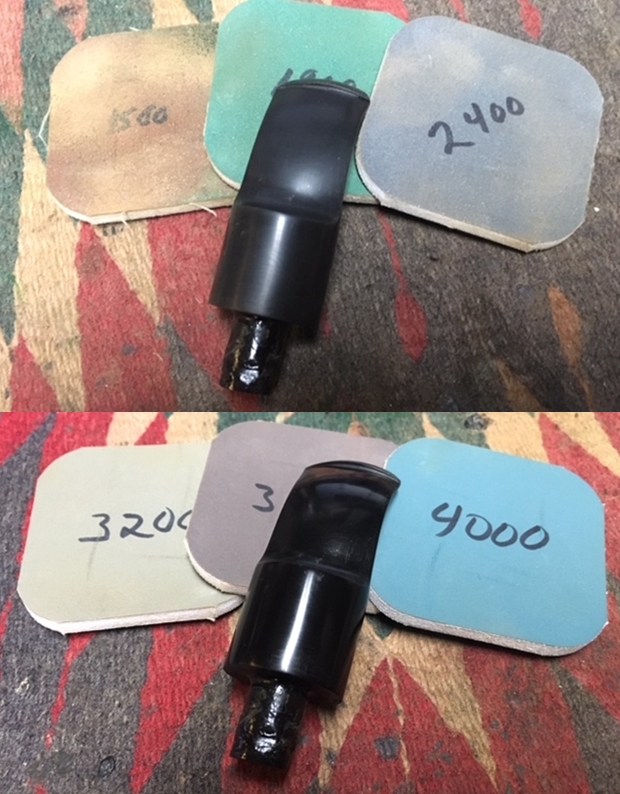
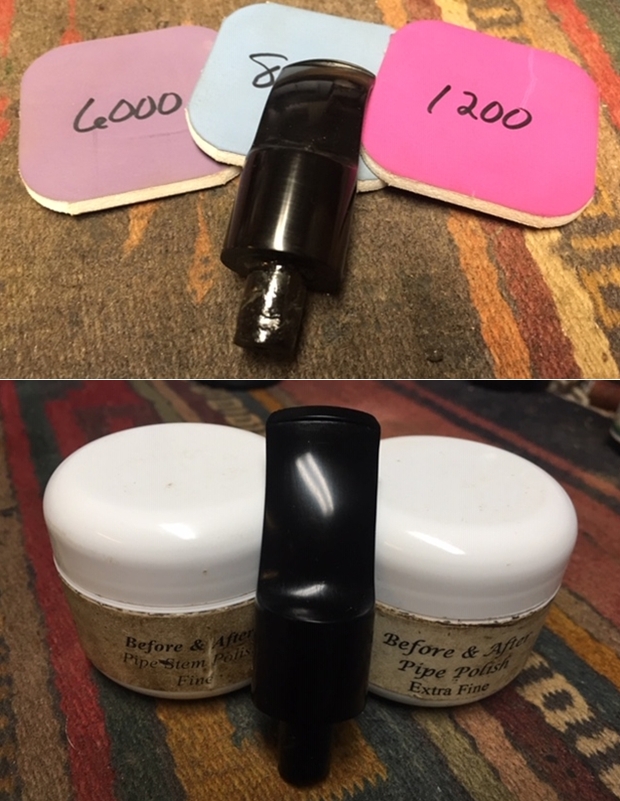
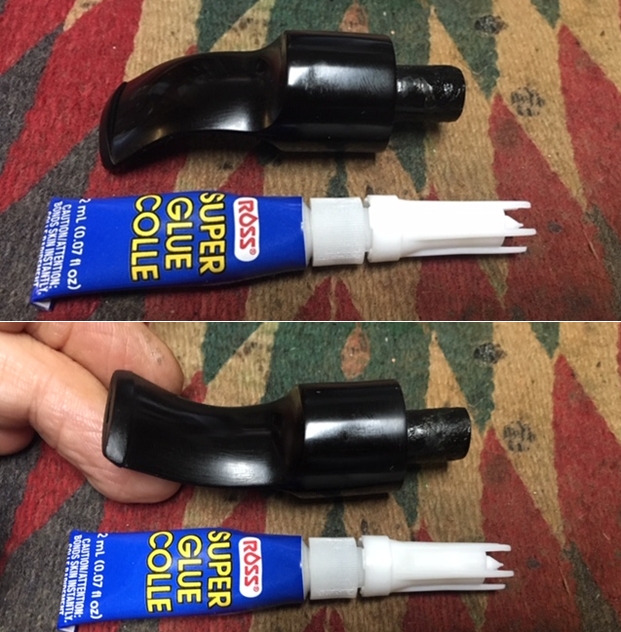
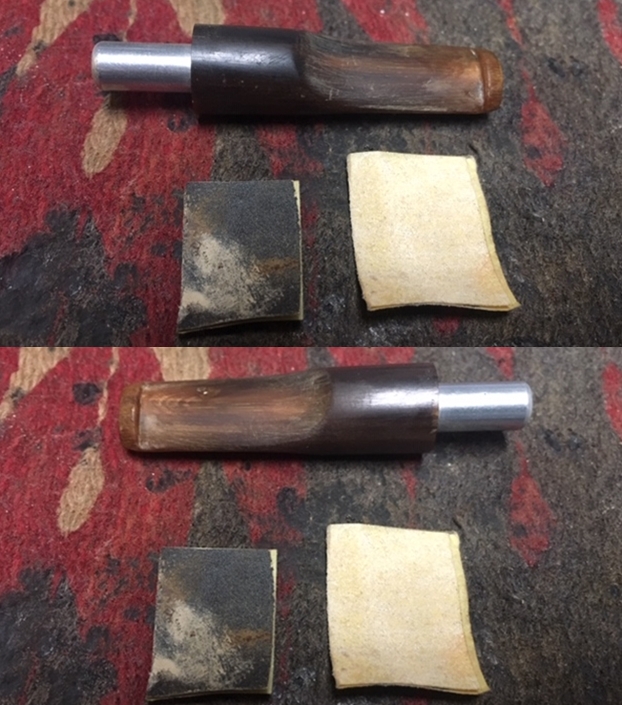
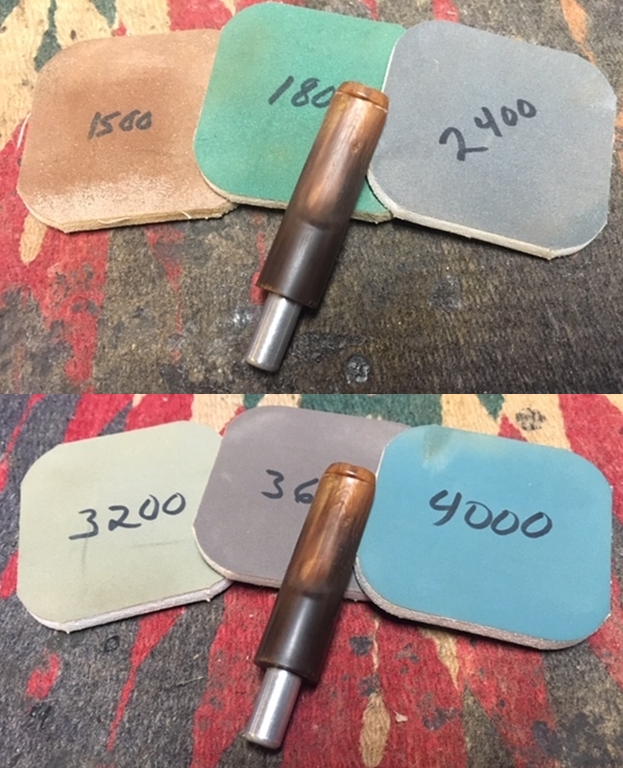
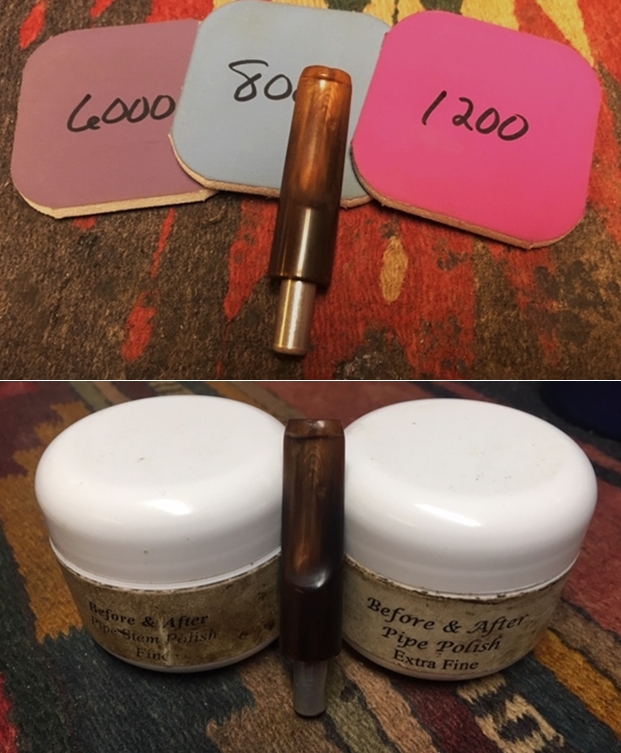
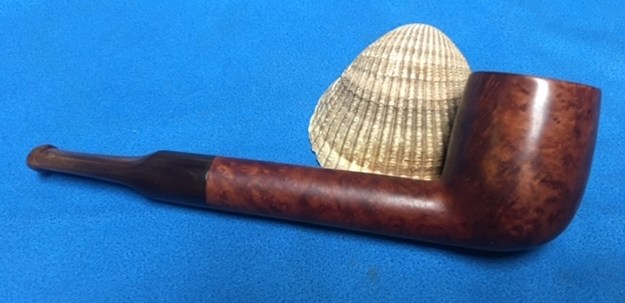
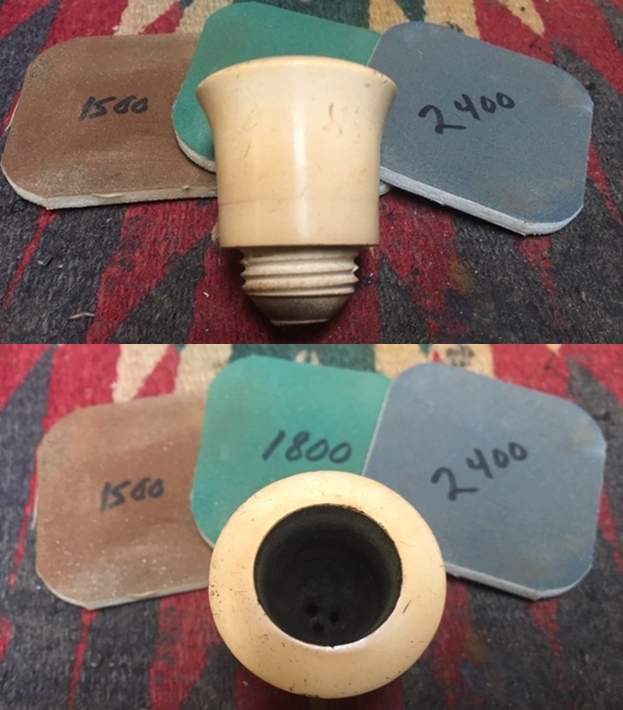
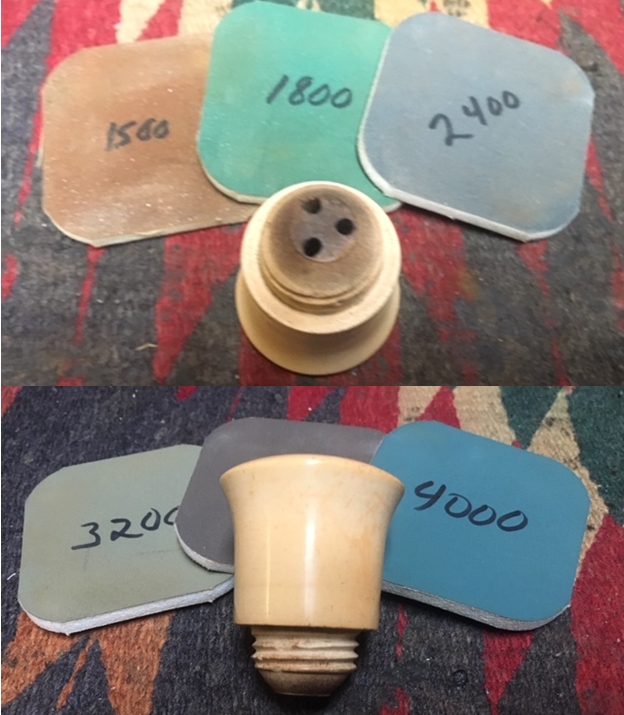
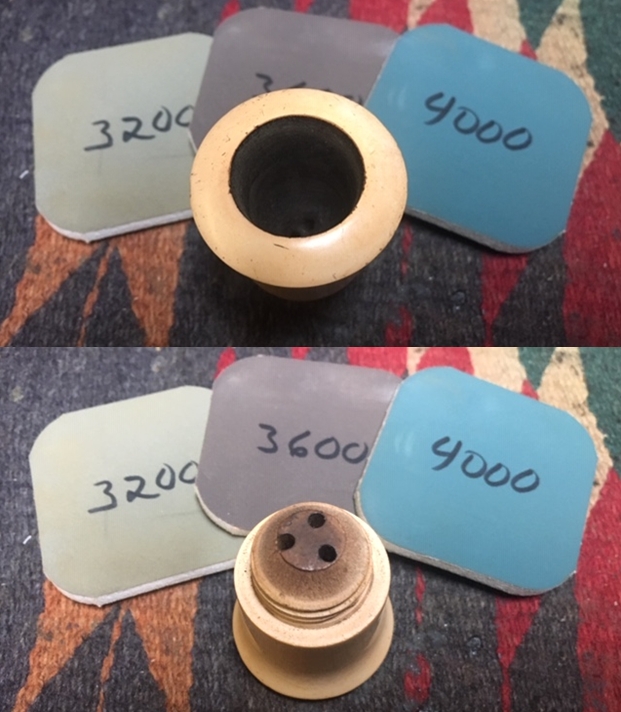
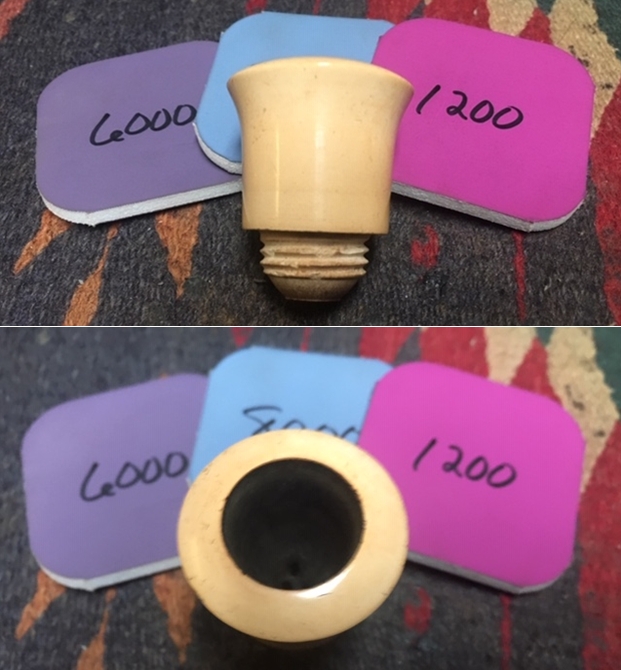
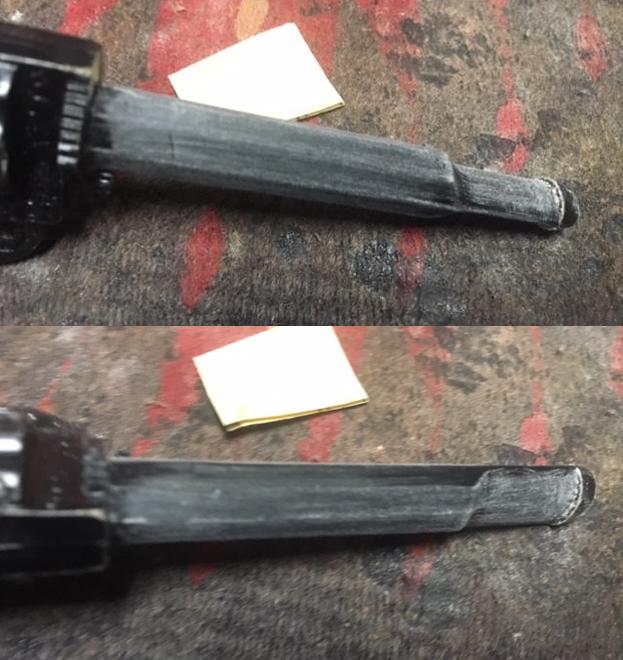
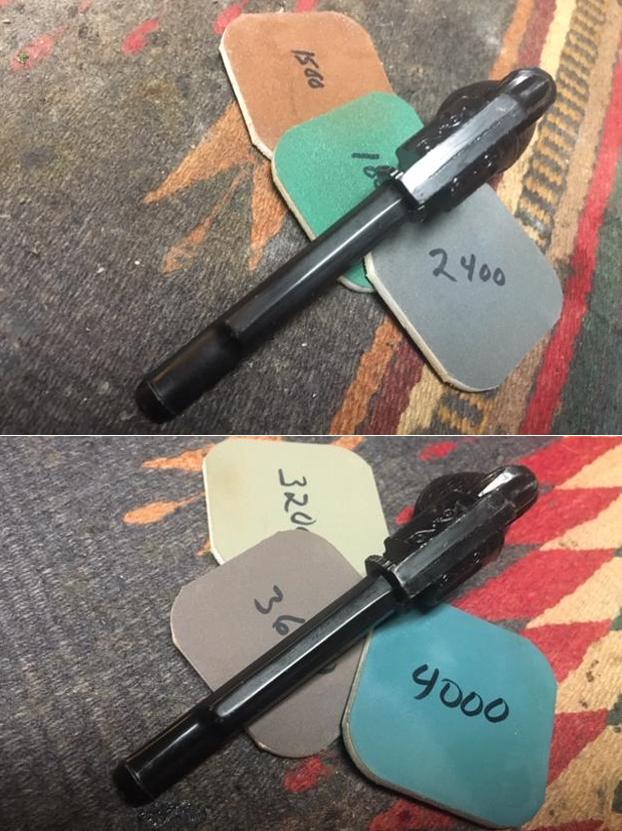
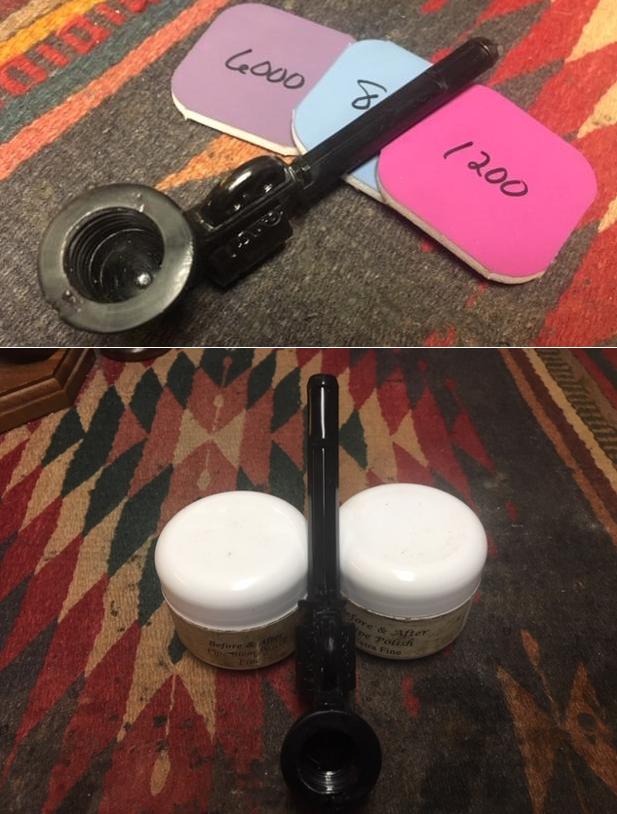
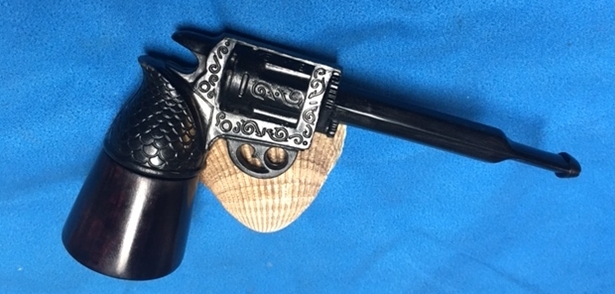
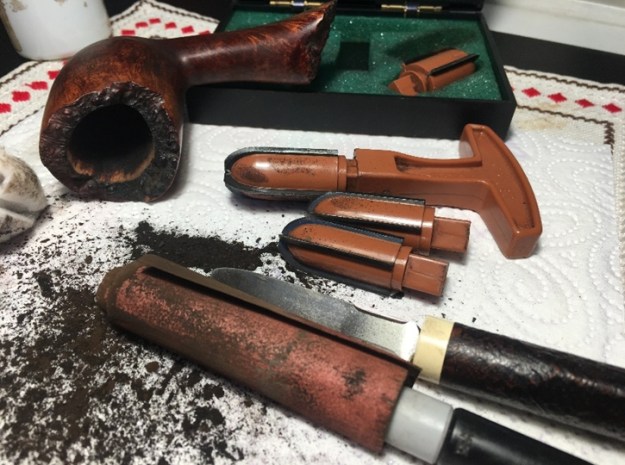
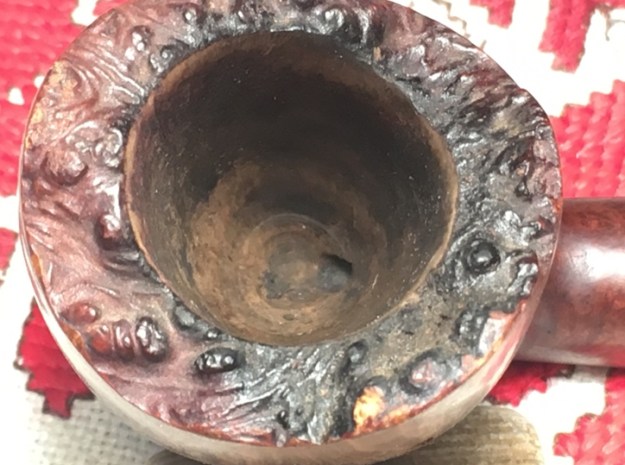
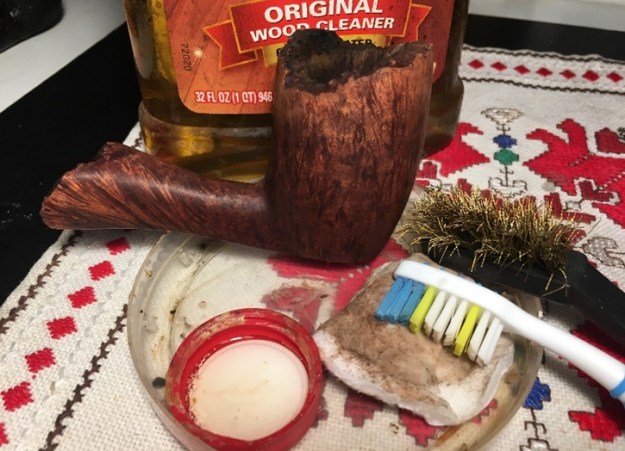
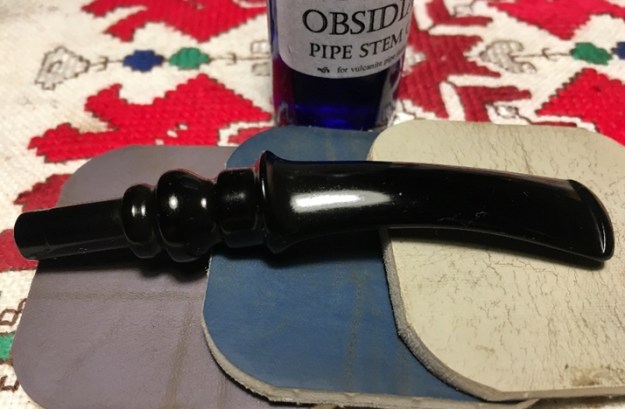
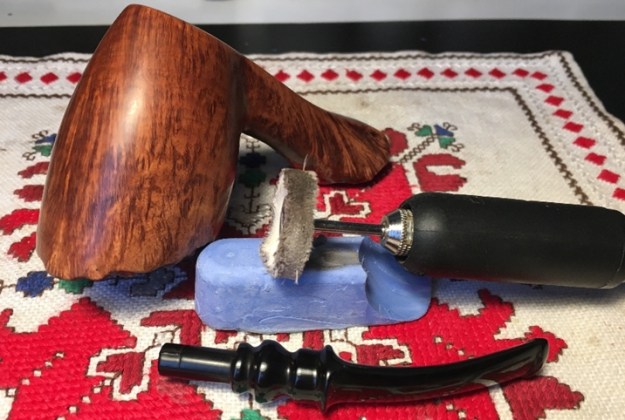
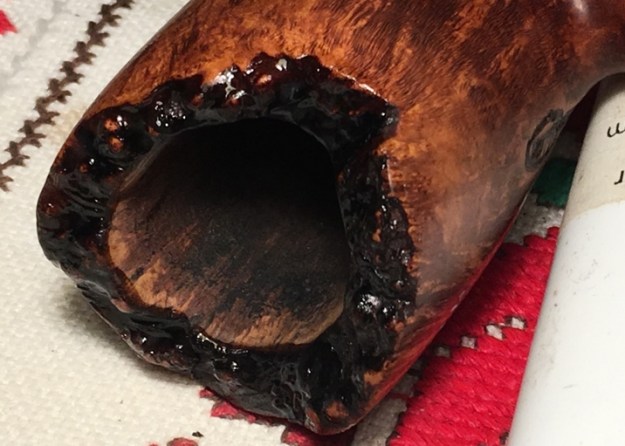
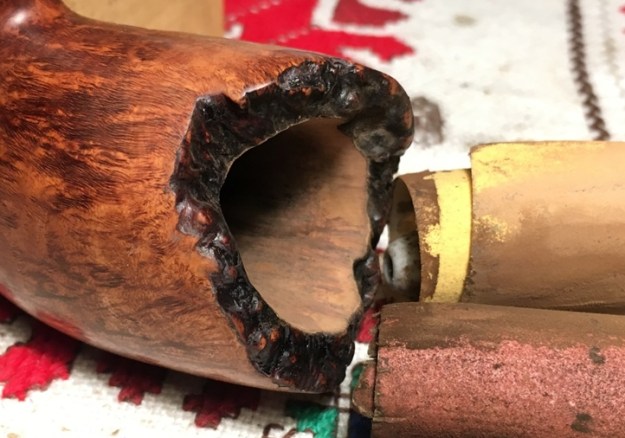
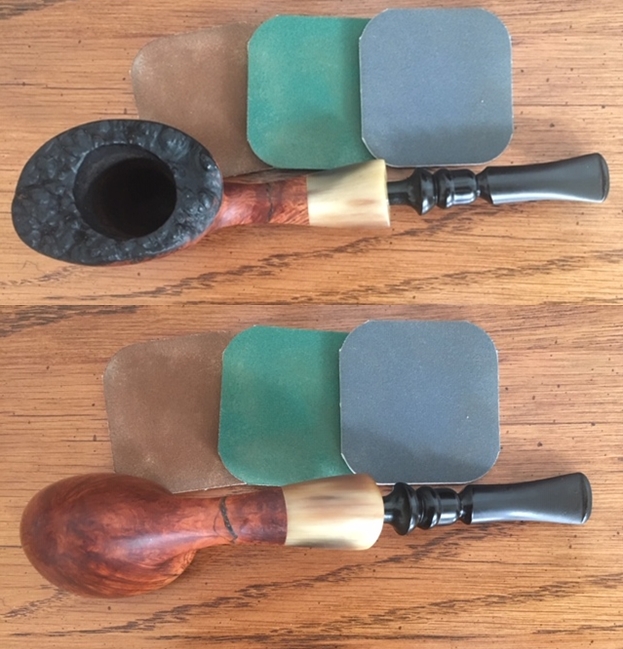
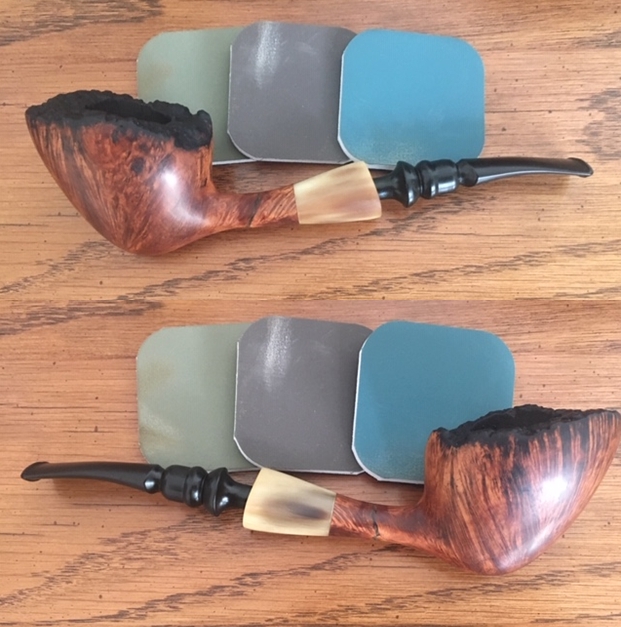
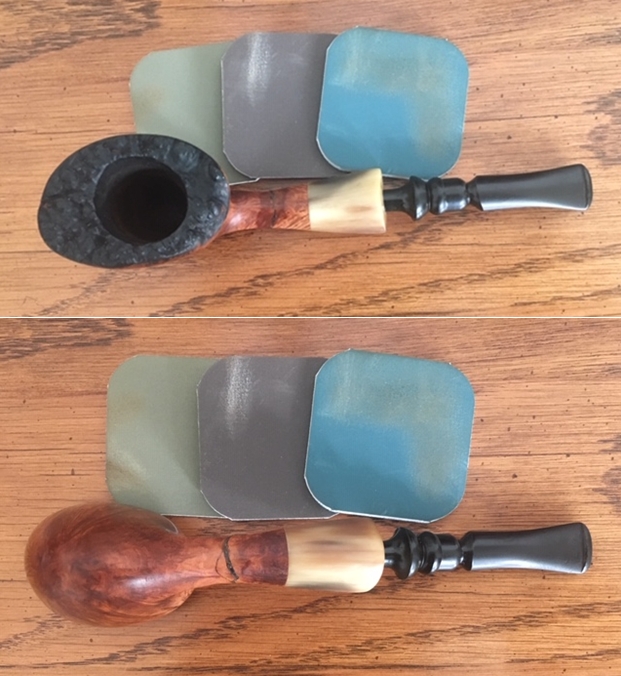
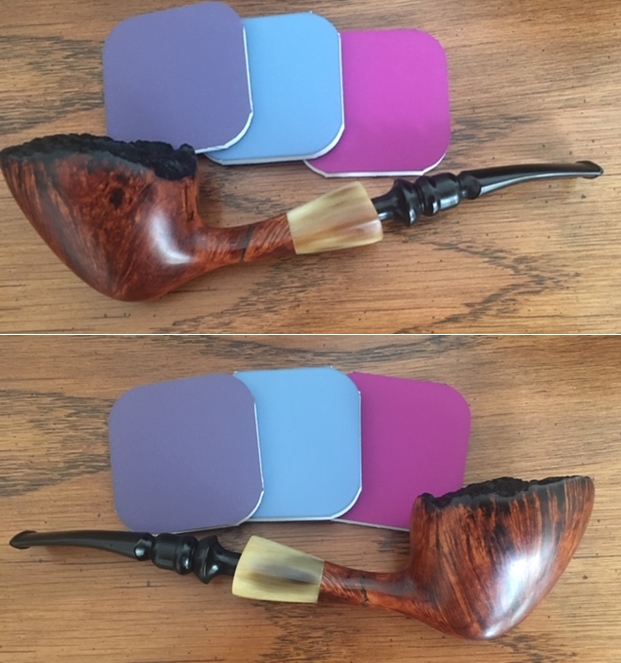
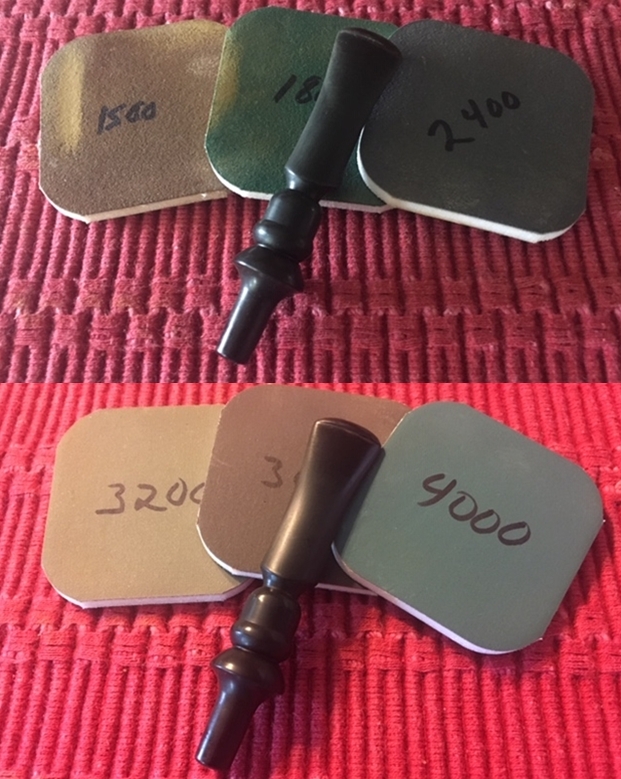
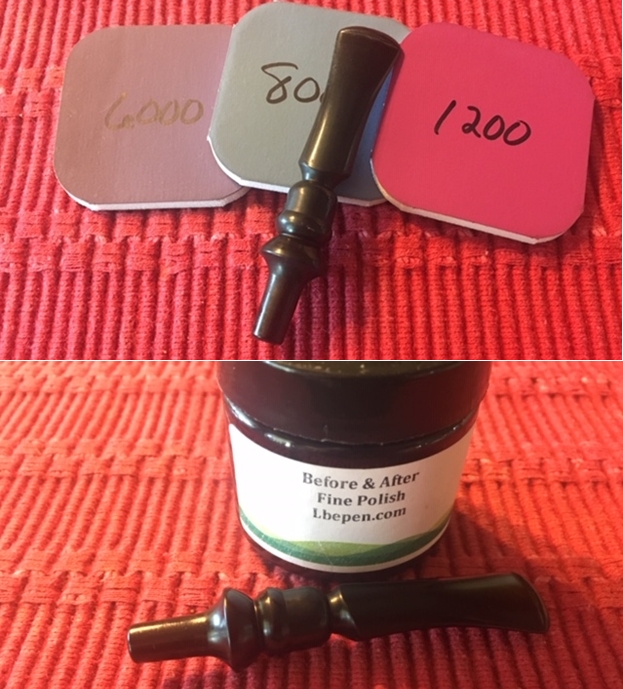
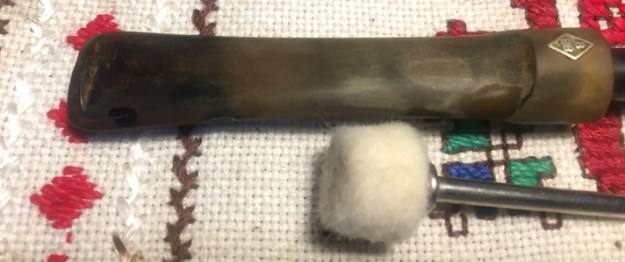
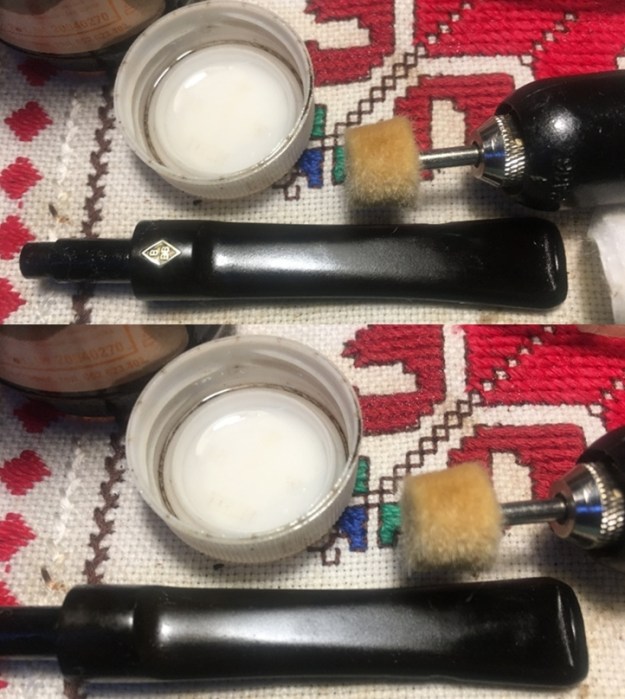
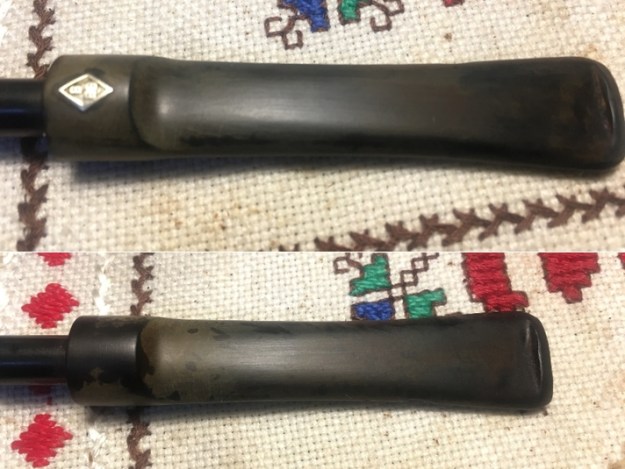
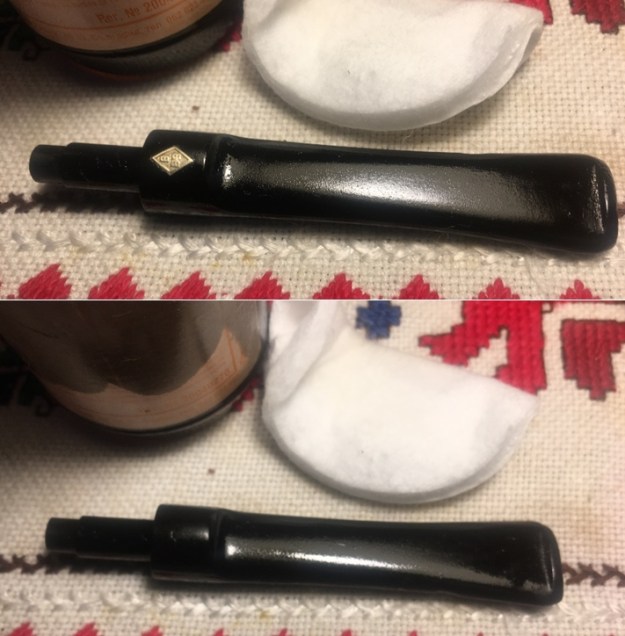
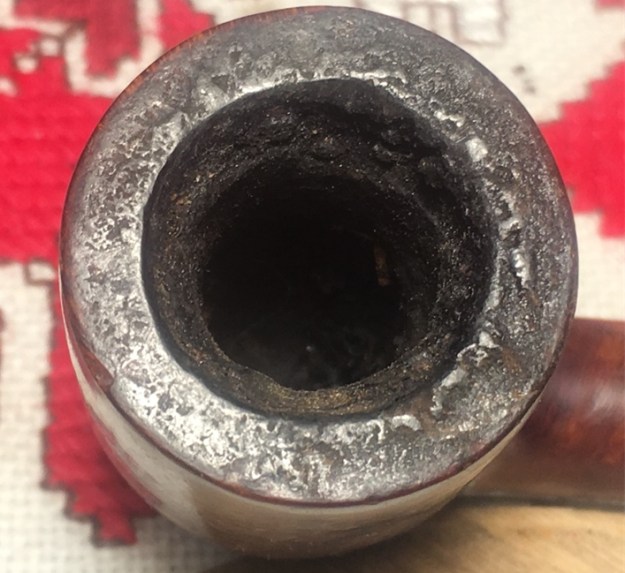
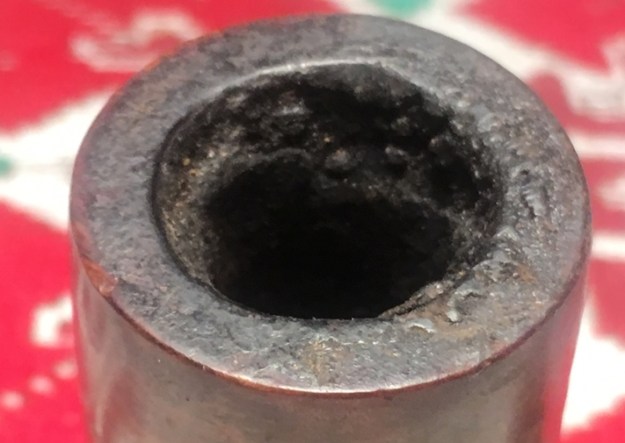
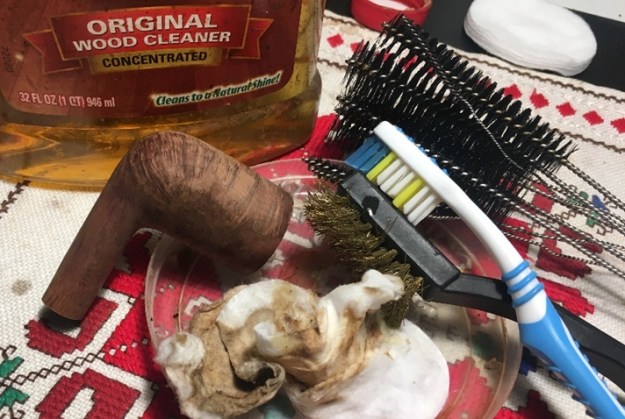
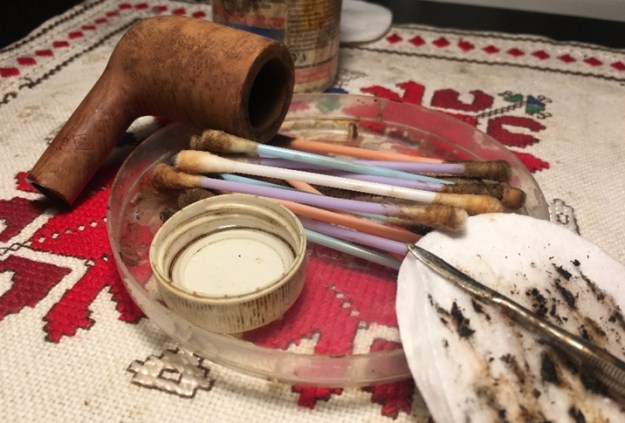
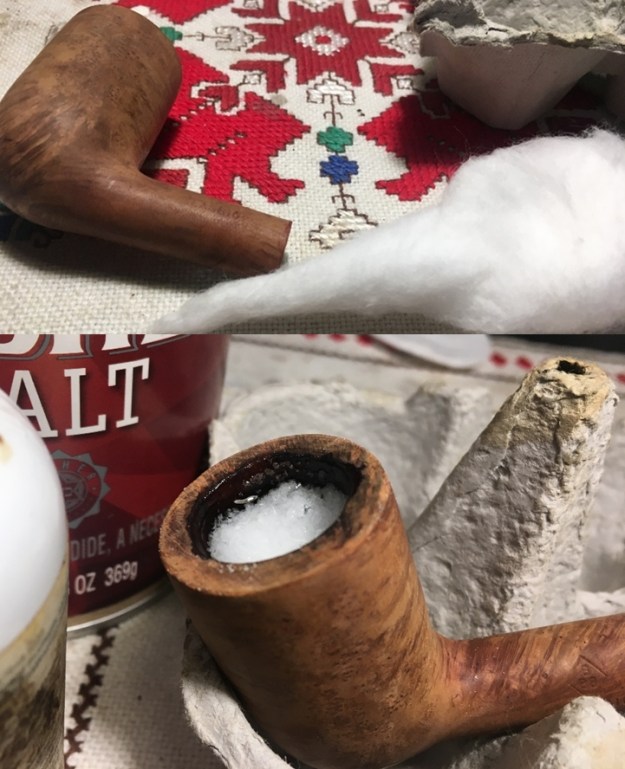
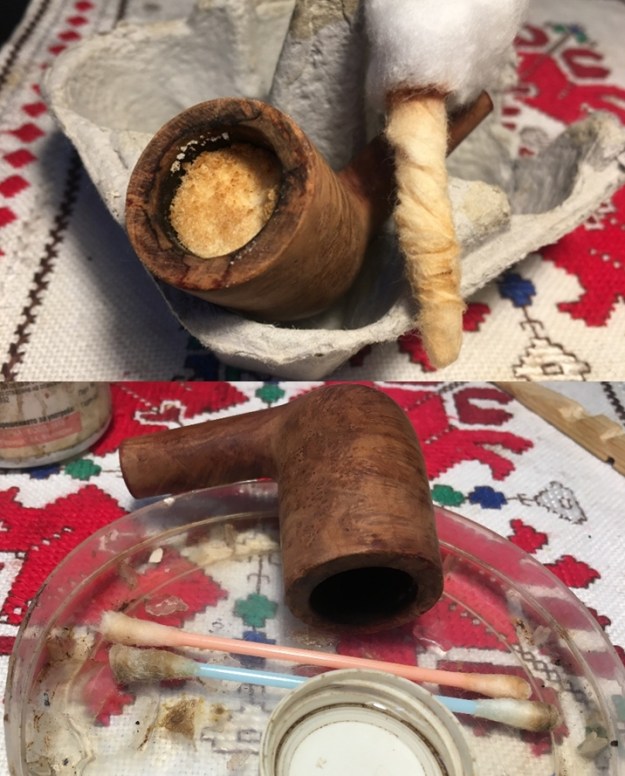
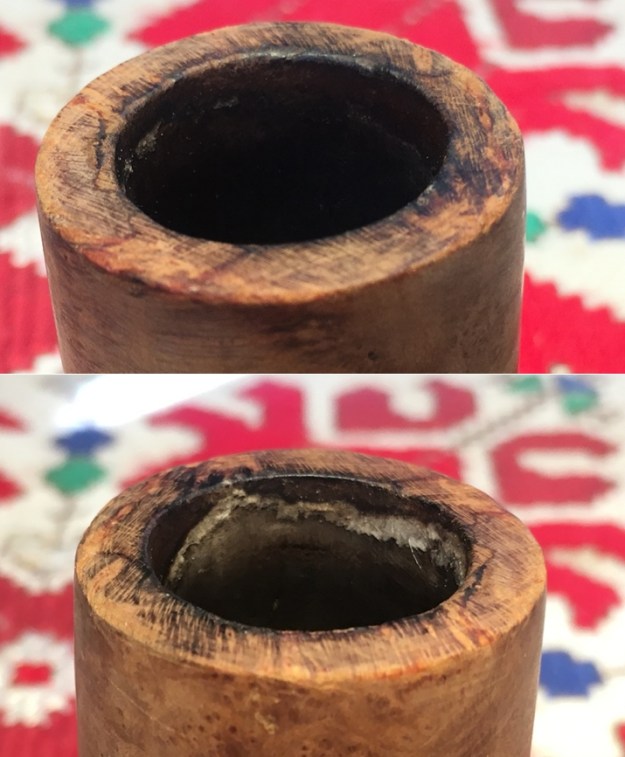
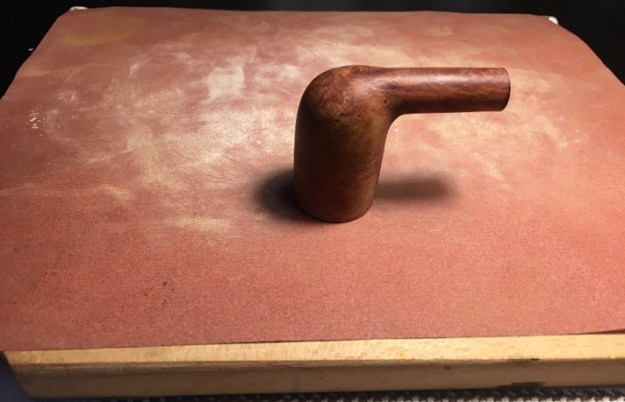
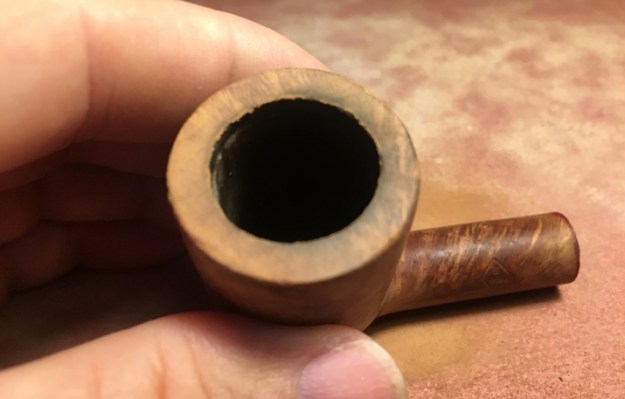
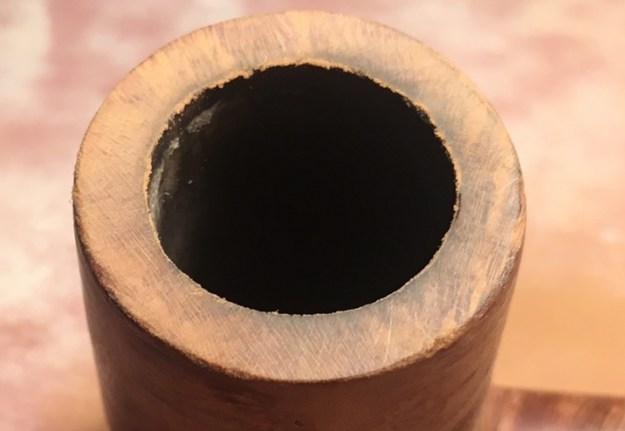
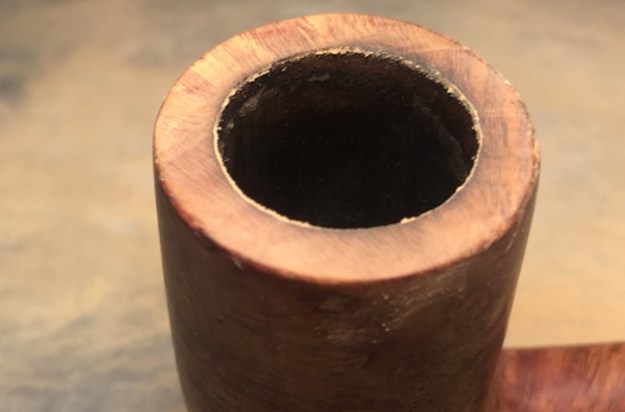
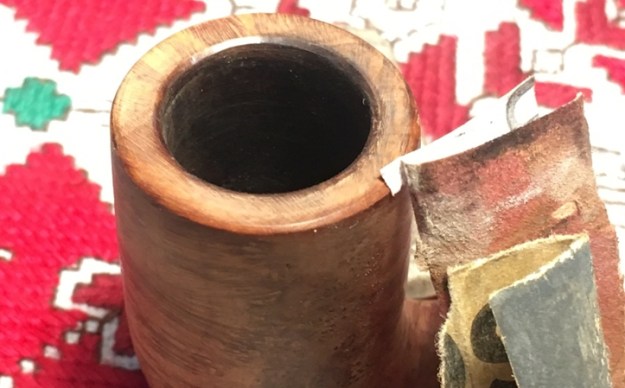
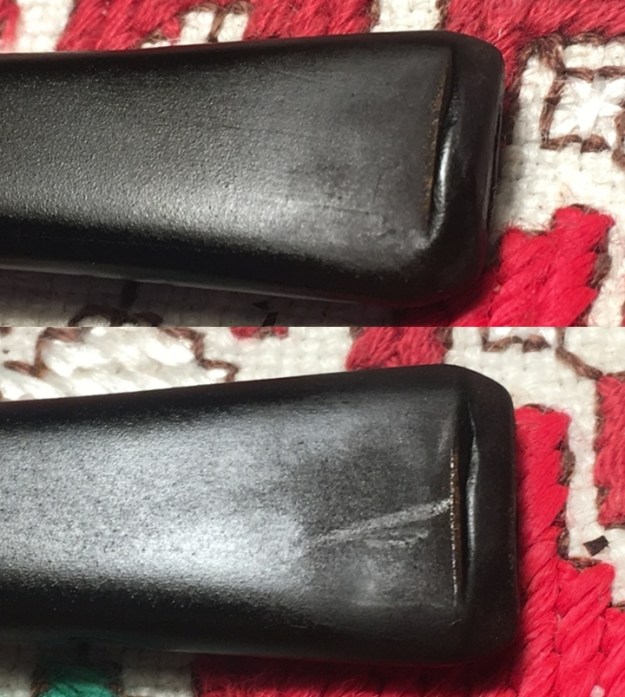
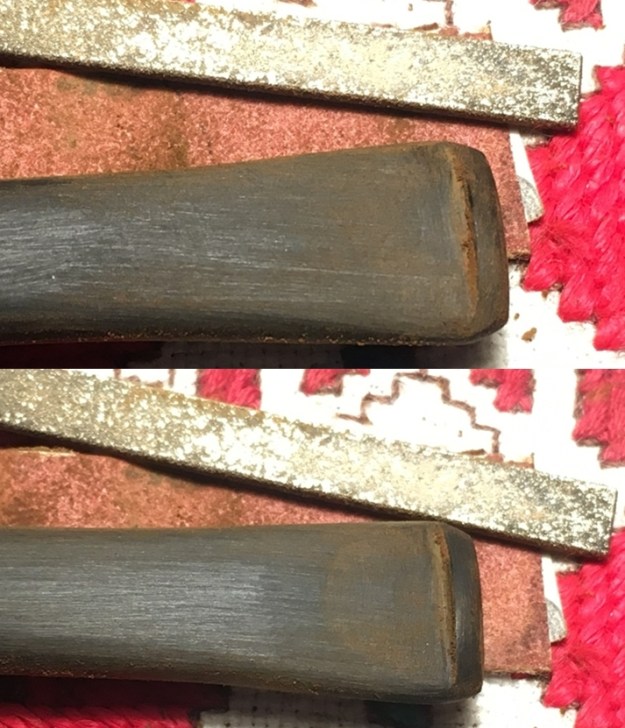
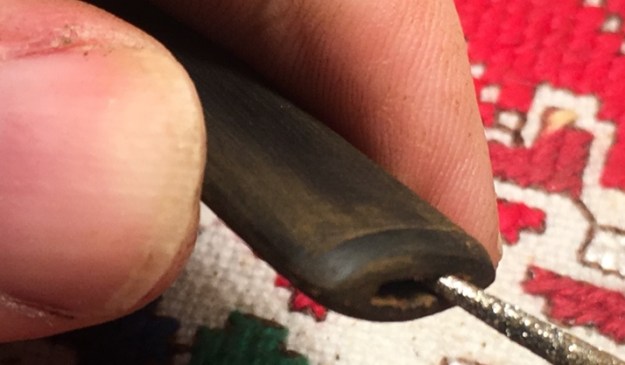
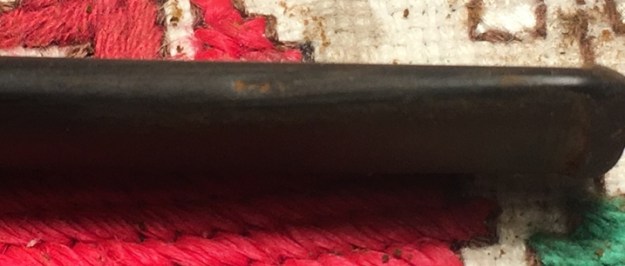
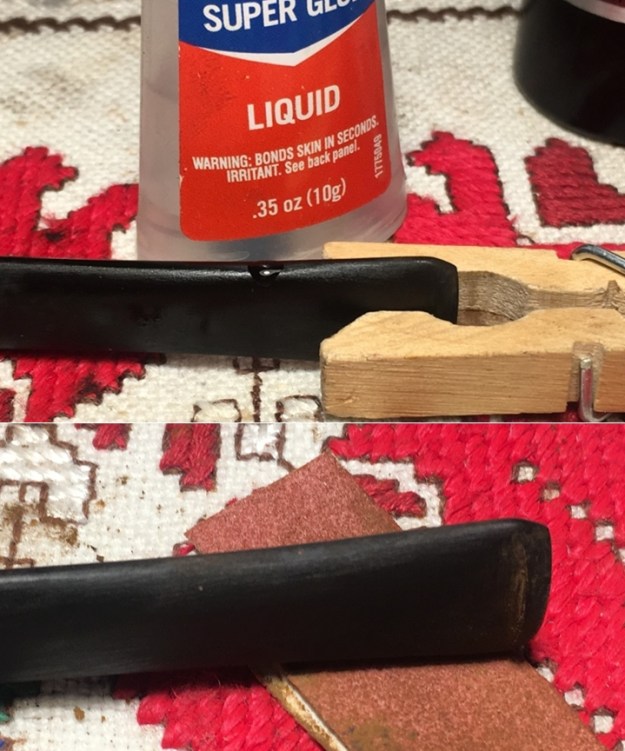
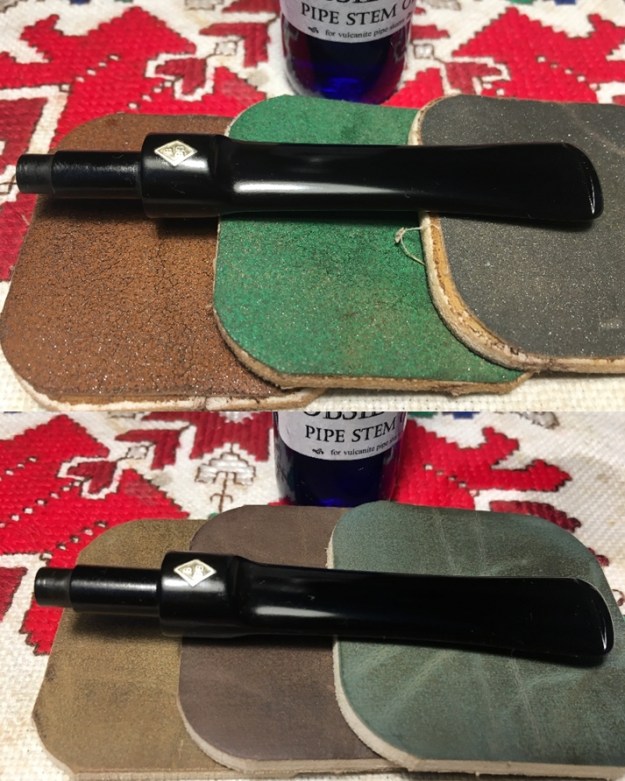
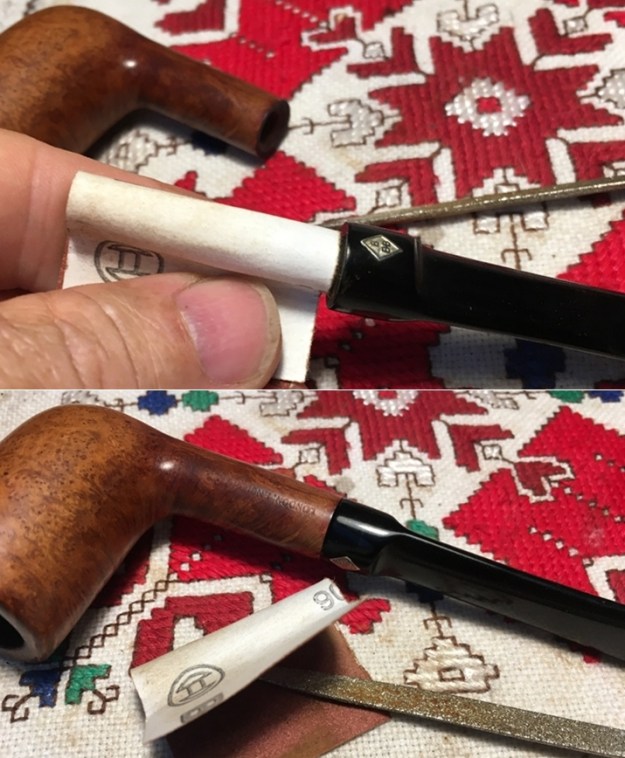
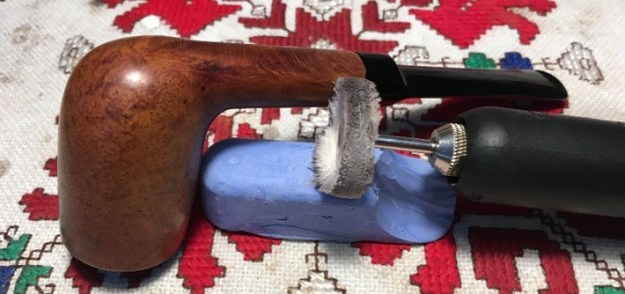
I start by trying something that I haven’t tried before.  The oxidation in the stem is a lot and very deep.  My experience with Before & After Deoxidizer is that it is not able to remove very strong oxidation fully.  It can address some of the issue, but not thoroughly – in my experience.  I try to break up the oxidation by using a small felt buffing wheel mounted on the Dremel set to the lowest speed.  I start first with simply the felt wheel, but I’m concerned that it is too hot on the vulcanite.  I add paraffin oil to the mix.  I wet the felt wheel with the mineral oil and buff the stem trying to break up the oxidation in anticipation of putting the stem in the B&A Deoxidizer soak.After buffing, I wipe the stem down with a cloth and put it aside and allow it to dry.  After drying, the next two pictures show that the buffing did help, but there is still oxidation.I continue by cleaning the airway of the stem with a pipe cleaner wetted with isopropyl 95%.  Once clean, I add it to a bath of Before & After Deoxidizer with other pipes in the queue.  I’m hopeful that the Deoxidizer will now be more efficient after the aggressive buffing I did. After some hours in the Deoxidizer soak, I fish out the BBB saddle stem and after draining off the excess Deoxidizer, I use cotton pads wetted with isopropyl to wipe off the raised oxidation.  I also run a pipe cleaner wetted with alcohol to clean the airway of the fluid.  The pictures show improvement, but I’m not satisfied.Next, I employ Mr. Clean Magic Eraser to address the oxidation further.  I’m satisfied with the results – the vulcanite appears to be free of the oxidation.To rejuvenate the stem, I apply paraffin oil to the vulcanite with a cotton pad and put the stem aside to absorb and dry.  I’m pleased with the results.Turning now to the BBB stummel, I take a few pictures to show the heavy build up both in the chamber and the rim.  I use only the smallest of the Pipnet Reaming Kit’s blade heads to ream the carbon cake out of the chamber. This will give the briar a fresh start.  I transition to the Savinelli Fitsall Tool to do the fine tuning by scraping the chamber walls more, and then wrap 240 grade paper around a Sharpie Pen and sand the chamber to clean it further of carbon cake residue.  Finally, I wipe the chamber with a cotton pad wetted with alcohol to rid the chamber of carbon dust.  I take a final picture of the cleaned chamber and after inspection, I see know problems in the chamber with heating cracks or fissures. Turning now to the external briar cleaning, I use undiluted Murphy’s Oil Soap with a cotton pad to scrub the surface.  I also work on the rim using my thumbnail to scrape the rim to remove the buildup and then with a brass wire brush.  I then take the stummel to the sink and using a bristled toothbrush I brush and further clean the surface under the warm water.  Using shank brushes and anti-oil dish liquid soap as well I clean the internals of the stummel rinsing with warm water.Next, using pipe cleaners and cotton buds wetted with isopropyl 95%, I continue the internal cleaning.  I also scrape the mortise walls with a small dental spoon.  This does a great job removing the thicker tars and oils that are hanging on.  After a time, the cotton buds begin to emerge cleaner.To continue the internal cleaning process, I use the kosher salt and alcohol soak.  To form a ‘wick’ to draw out the tars and oils, I twist and pull a cotton ball to form the wick.  A stiff wire helps to insert and push the wick into the mortise.  Then the bowl is filled with kosher salt, which leaves no aftertaste and freshens the bowl, and I set the stummel in an egg crate to keep it steady.  A large eyedropper is used to fill the chamber with isopropyl 95% until it surfaces over the salt.  After a few minutes, I top the alcohol off after it has absorbed into the internals. I set the stummel aside for it to soak through the night.  It’s late, I also turn out the lights! The next morning, the kosher salt and isopropyl 95% soak has done the job.  The wick and salt are soiled having drawn more tar and oils from the internal cavity.  I thump the expended salt into the waste and wipe the chamber with a paper towel as well as blow through the shank to remove expended salt crystals.  To make sure the internals are clean, I use a few more cotton buds dipped in isopropyl 95%.  As hoped and expected, they come out clean and I move on.With the cleaning complete, I turn my attention to the rim’s condition.  The cleaning did a great job removing the grime and lava over the rim, but the discoloration and skins and nicks on the edge of the rim remain.  I take a couple close-ups picturing both sides of the rim and nicking is evident.To address the rim condition, I bring out the chopping board and put 240 grade paper on it to serve as a topping board.  I top the stummel very lightly – just enough to clean the rim and allow me to erase the rim edge nicks with a simple, inconsequential beveling.After a few rotations on the board I take a picture.After a few more rotations, I’m satisfied with the 240 topping.  On the lower right of the rim you can see the remaining rim edge issues that I’ll rectify with a gentle beveling or sanding.To smooth the rim further, I exchange the 240 paper for 600 grade paper and go a few more rotations.Next, I introduce outer and inner edge bevels to erase the remaining damage and to give the Chimney’s top a smoother softer appearance.  I use 240 grade then 600 grade papers rolled to do the beveling.  I think it looks great.With the rim repair completed, I take the stummel through the full regimen of 9 micromesh pads.  First, I wet sand using pads 1500 to 2400 then dry sand using pads 3200 to 4000 and 6000 to 12000.  I take a picture between each set of 3 pads to mark the change in the briar.  It amazes me how the grain emerges.  This BBB Classic’s grain is striking.  As I track the grain around the bowls, the horizontal grain gradually transitions to bird’s eye grain as the stummel position pivots.  There are no fills in the stummel that I can see – a beautifully crafted block of briar! Before returning to the stem to catch it up with the stummel, I’m anxious to apply Before & After Restoration Balm to this BBB Classic Chimney stummel.  I place some Balm on my fingers, and I work it into the briar thoroughly.  The Balm starts with a cream-like consistency but then thickens into more of a wax-like consistency.  I like the Balm because it seems to draw out the deeper tones of the briar – nothing earth shattering, but the subtle enhancement of the natural briar grain is what I like most.  After applying the Balm, I put the stummel aside for about 20 minutes before wiping off the excess and then buffing it up with a micromesh cloth.  The picture shows the Balm at work.Next, I turn back to the BBB saddle stem.  The tooth chatter is minimal, but the button has some compressions.  The skin of the stem is rough as well.I begin by refreshing the button lips using a flat needle file.  I also work on the bit with 240 grade paper sanding out the imperfections. The slot is also a bit out of shape.  I use a sharp needle file to file the edges to balance the slot.While sanding, I see a pit on the edge of the stem that I didn’t see before.  I try sanding it out, but soon realize is too deep.  I remedy the situation quickly using a spot-drop of regular CA glue on the pit after cleaning it with a cotton pad and alcohol.  I use an accelerator to quicken the curing process and then sand it with 240 grade paper. I then wet sand the entire stem with 600 grade paper and follow by applying 000 steel wool to the whole stem.  The next step is applying the regimen of micromesh pads to the stem starting by wet sanding using pads 1500 to 2400.  This is followed by dry sanding with pads 3200 to 4000 and 6000 to 12000.  Between each set of 3 pads a coat of Obsidian Oil is applied to further enrich and condition the vulcanite.  The freshly sanded pop of the vulcanite contrasted with the embedded BBB Rondel is great!  While trying to reunite the stem and the stummel before applying Blue Diamond compound, it becomes evident that the cleaning of the stummel has expanded the briar making the fit of the tenon in the mortise a bit too tight and forcing the issue could easily result in a cracked shank!  Nothing desired at this point.  To remedy this, utilizing a combination of filing the mortise with a half-circle needle file and sanding the tenon down by wrapping a piece of 240 grade paper around the tenon and rotating the paper does the trick.  The combination approach now allows the tenon fit to be snug but not too tight.With the BBB Classic stem and stummel reunited, after mounting a cotton cloth buffing wheel onto the Dremel, and setting the speed at about 40% full power, Blue Diamond compound is applied to the stem and stummel.After the application of Blue Diamond compound, I wipe the pipe with a felt cloth to remove the compound dust in preparation of applying the wax.  Then, after mounting another cotton cloth buffing wheel on the Dremel, and maintaining the speed at 40%, carnauba wax is applied to the stem and stummel.  The restoration is finished with a hand buffing using a microfiber cloth to raise the shine.
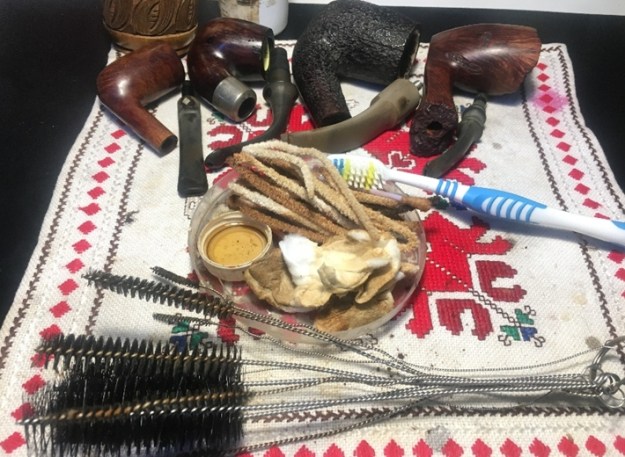
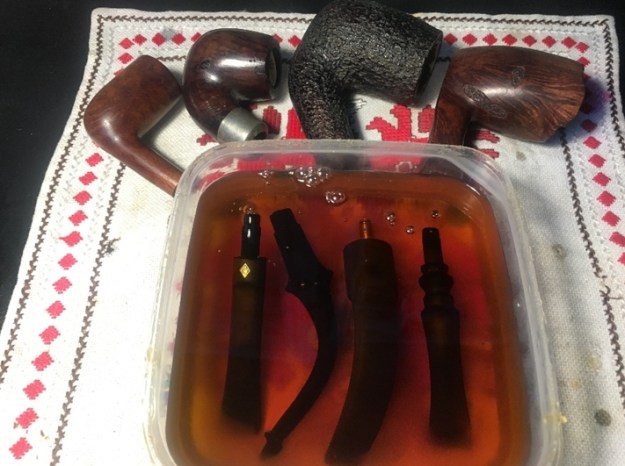
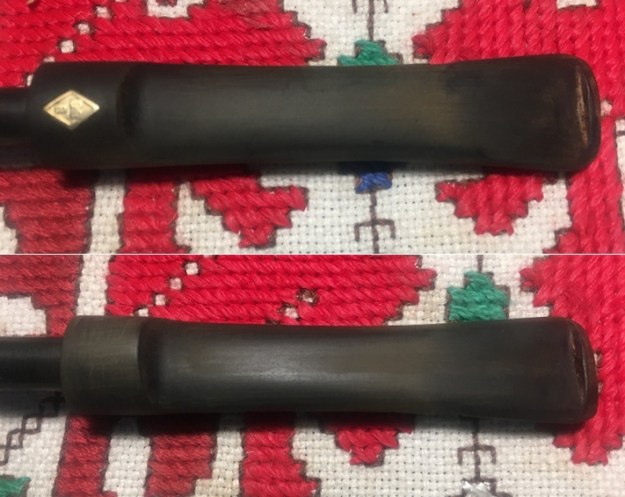
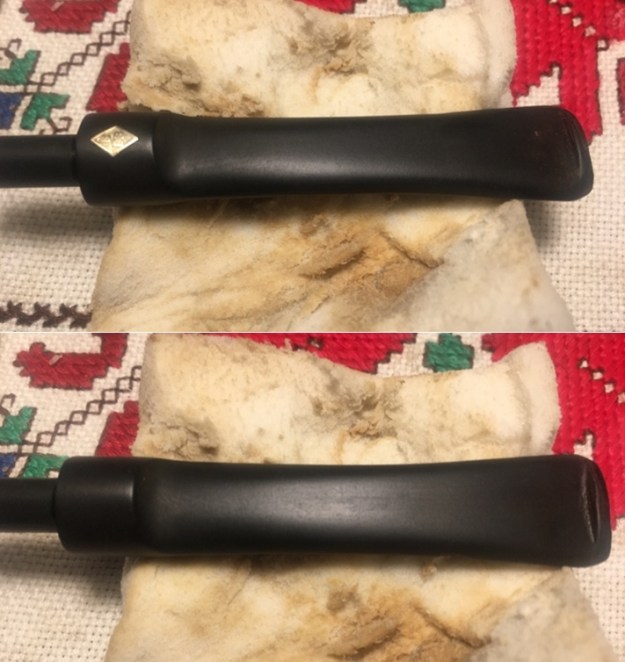
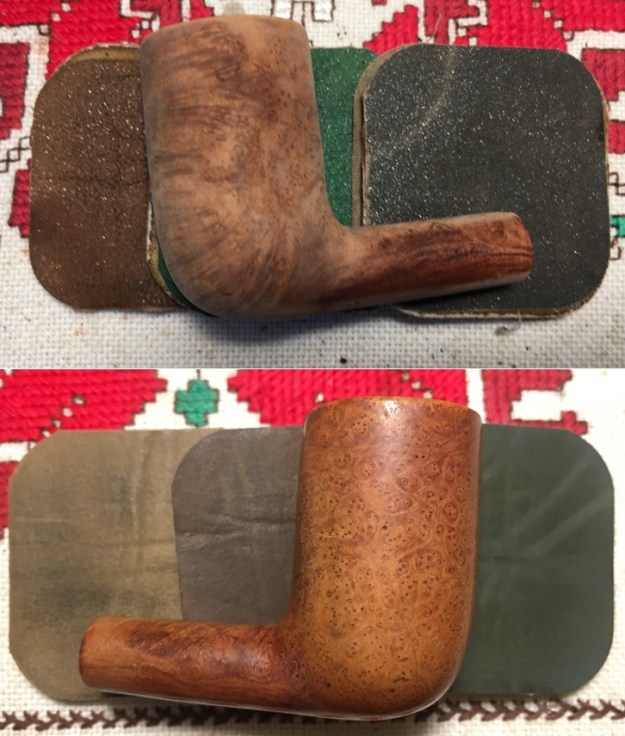
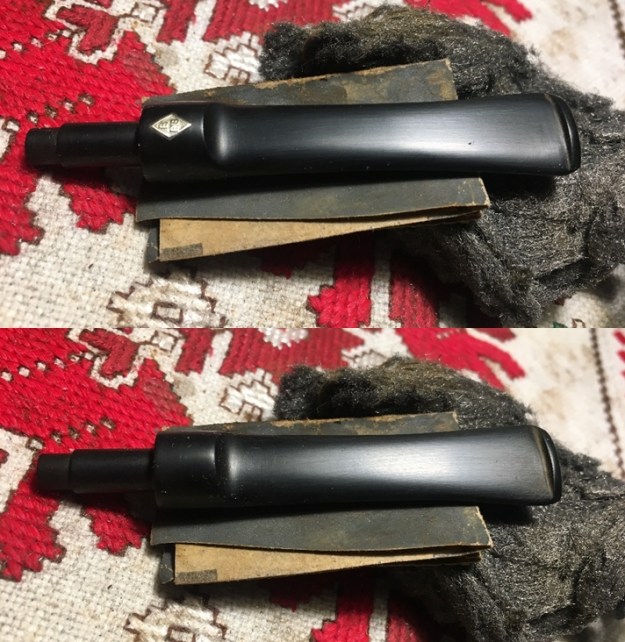
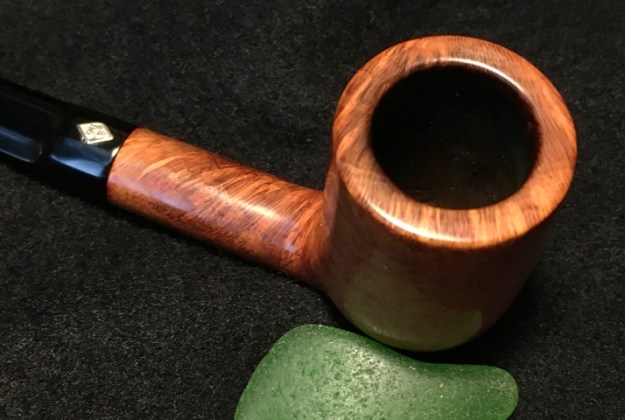
I’m very pleased with results.  This BBB Classic London, England Chimney is a beautiful pipe.  The block of briar is exquisite, with no fills and a landscape of grain transformation as you track it around the bowl.  There is a striking tight patch of bird’s eye grain on the right flank of the bowl that holds the eyes.  As a 1950s/60s vintage BBB, even though the ‘Classic’ line could not be fully identified, there is little doubt as to the quality of this BBB Classic Chimney.  Paresh commissioned this pipe which benefits the Daughters of Bulgaria – women and girls who have been trafficked and sexually exploited and he will have the first opportunity to adopt this BBB from ThePipeSteward Store and bring it home.  Thanks for joining me!
Rebirthing another Schoenleber Hand Made – A Petite Straight Apple


Blog by Steve Laug

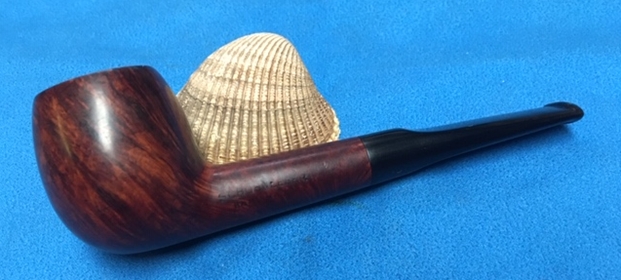
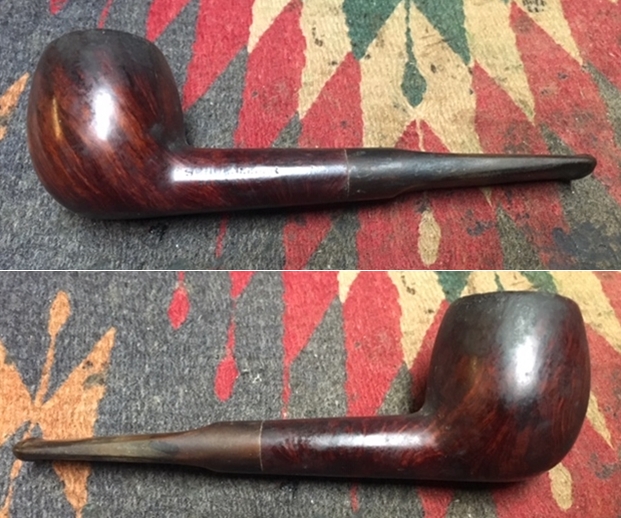
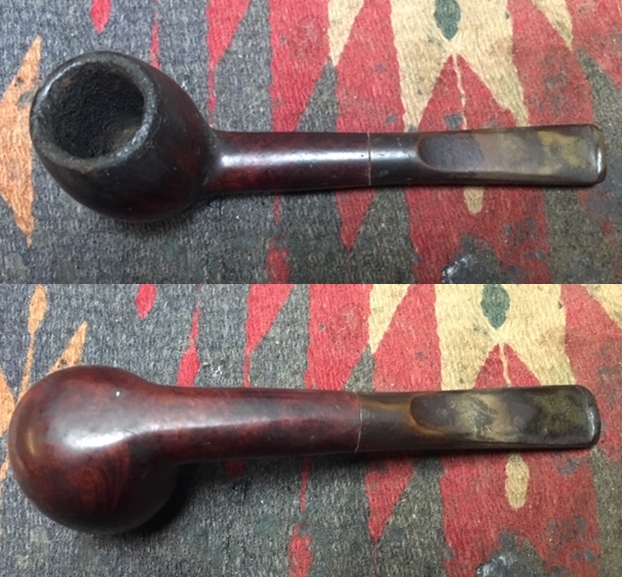
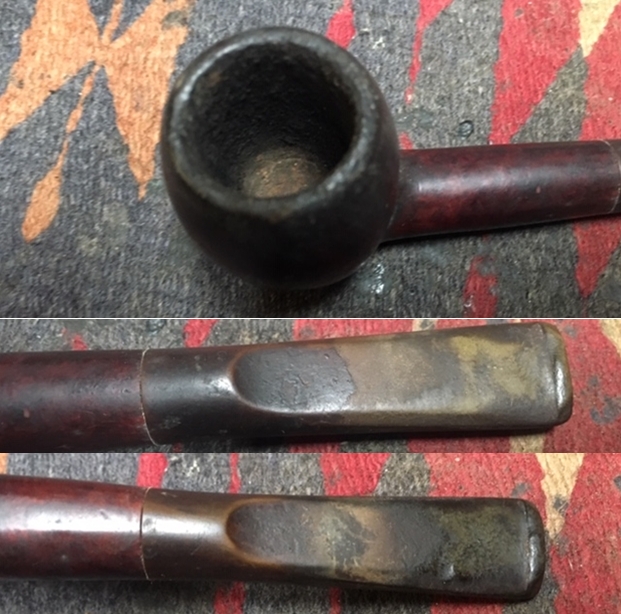
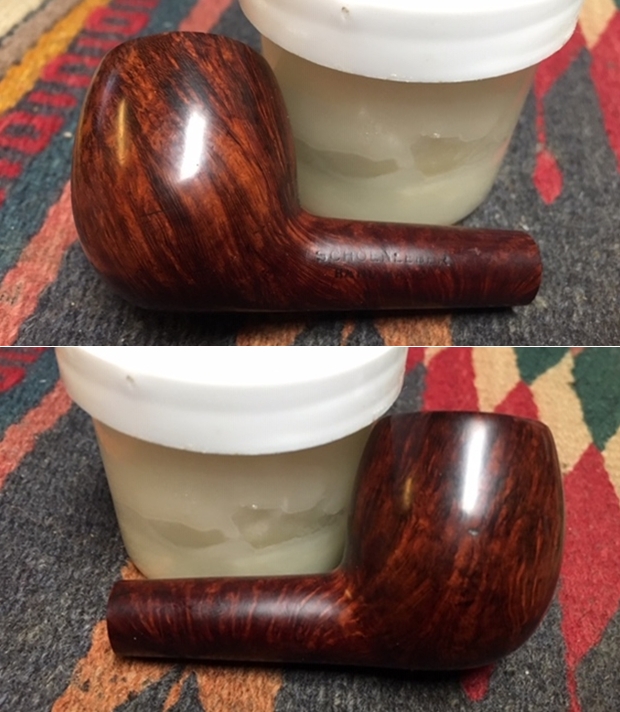
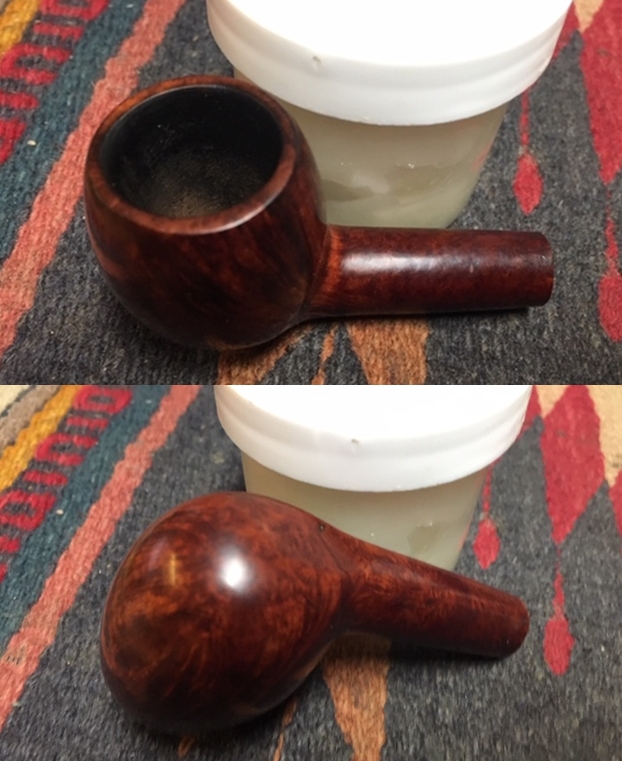
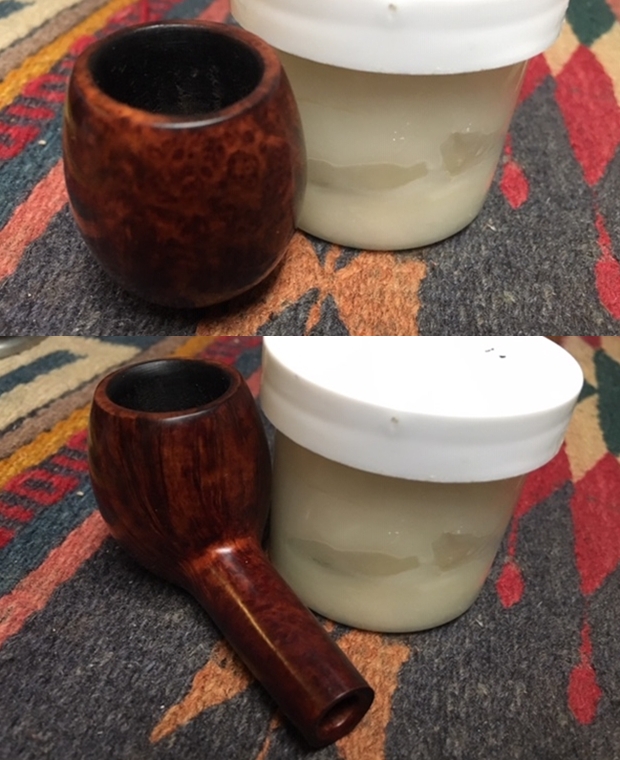
The next pipe in the queue is another one from the batch of pipes I am cleaning up for Alex – this one is another Schoenleber Hand Made – a petite straight shank Apple with some beautiful grain around what appears to be an oil cured bowl and shank. The entire pipe has some beautiful birdseye, straight and flame grain around the bowl and shank. The pipe was filthy with overflowing lava but the grain peaked out under the grime. The carver did a great job utilizing the block of briar to maximize the grain. The pipe is stamped on the left side of the shank. It reads Schoenleber over Hand Made. On the right side next to the bowl/shank junction there is a number 3 which is either a shape number or size designation. The tapered stem is vulcanite and has no marking or stamping. This is another nice looking piece much like many of the pipes Alex is picking up. The bowl has a thin cake inside the bowl but the tars cover the thin rim top and run down the sides of the bowl. There some darkening on the rim top. The exterior of the briar was dirty with grime and dust. The oxidized vulcanite stem tooth marks and chatter on both sides near the button. The photos below tell the story and give a glimpse of the pipe before clean up. I took a photo of the bowl and rim to capture the condition of the pipe before I started my cleanup work. There was significant darkening and damage on the rim top and a thin cake in the bowl flowing over as lava on the thin top edge. The outer edge of the bowl appeared to be in good condition I would only be sure once I removed the lava. The stem was in decent condition under the thick oxidation and calcification on the surface. There was also some tooth chatter and tooth marks on both sides of the stem near the button. The button is also damaged by tooth marks.I also took a photo of left side of the shank to show the stamping. The stamping is readable in the photo below and is as noted above – Schoenleber over Hand Made. On the opposite side there is a 3 at the shank/bowl junction.I remember working on a Schoenleber pipe in the past and had a memory of the pipe being made for a shop in the New York area but could not remember much more than that. I quickly googled the brand to see what I could learn and found a link on Pipedia. Here is that link. I quote the article in full (https://pipedia.org/wiki/Schoenleber).

Louis Schoenleber lived in North Arlington N.J. and was an Austrian immigrant and skilled artisan in pipe making. His hand carved pipes were available in his shop, ‘Schoenleber’s Newark Pipe Shop’, at 26 Branford Pl., Newark NJ, thought to open in the 1920’s. Schoenleber’s carried a full line of tobaccos as well as related pipe smoking accessories. It’s thought the shop operated until the late 1960’s, and Louis Schoenleber died in 1976. It’s also fairly certain they may have sold to other brands such as Jelling, also in Newark and are very similar in design and finish.

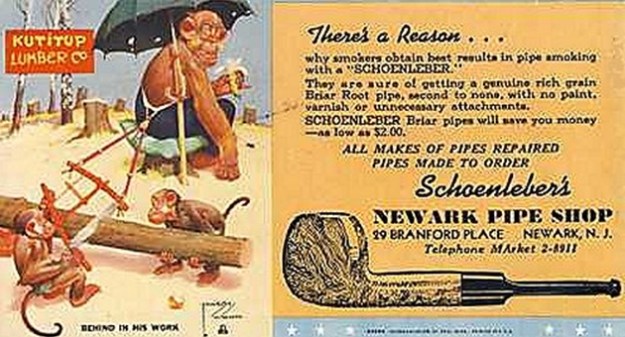
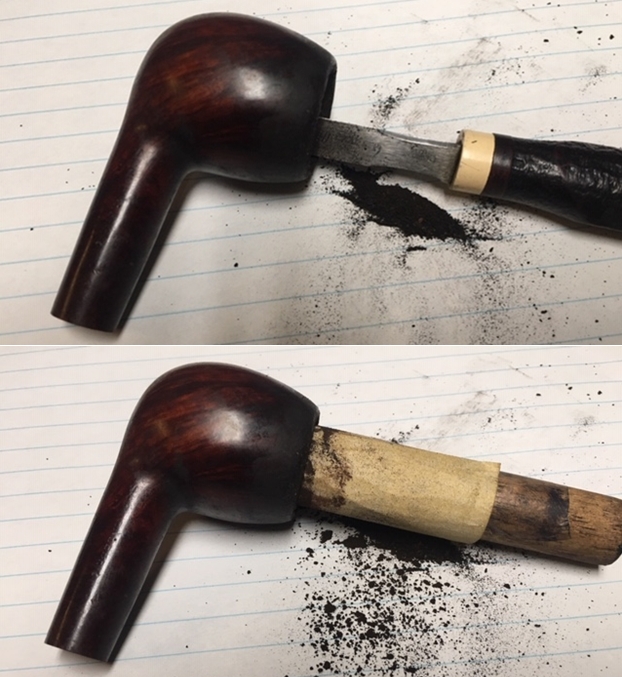
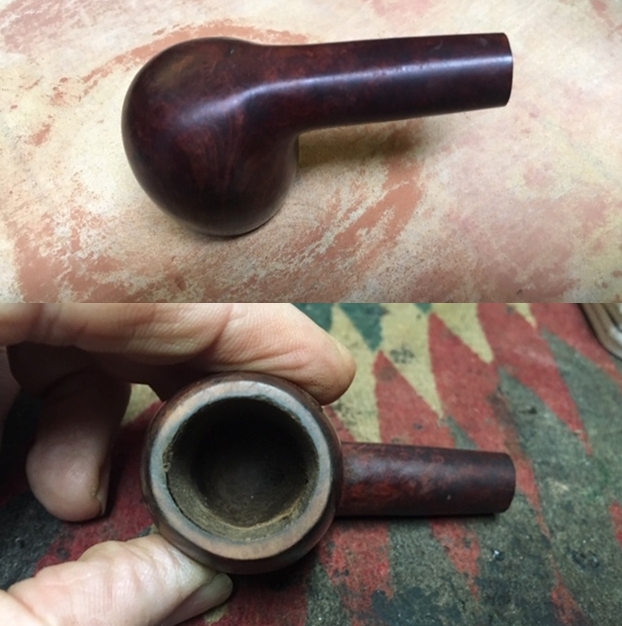
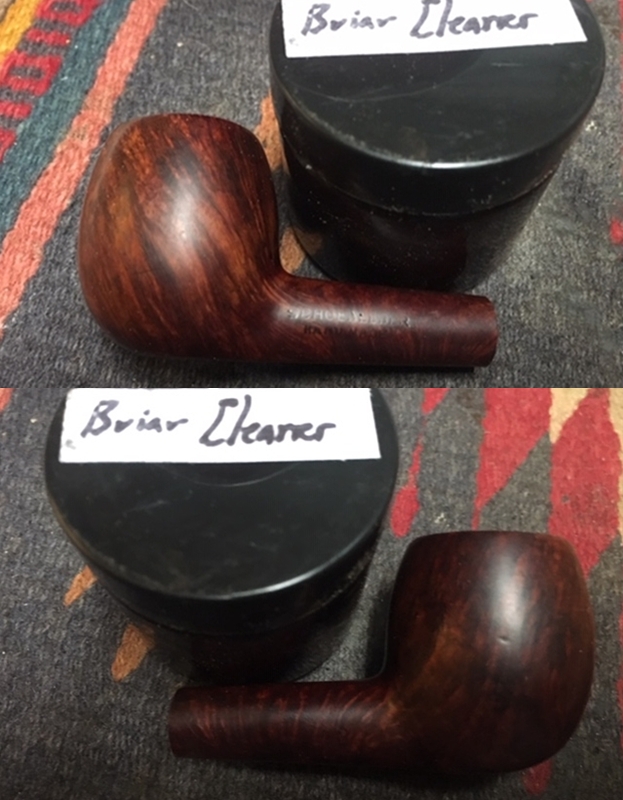
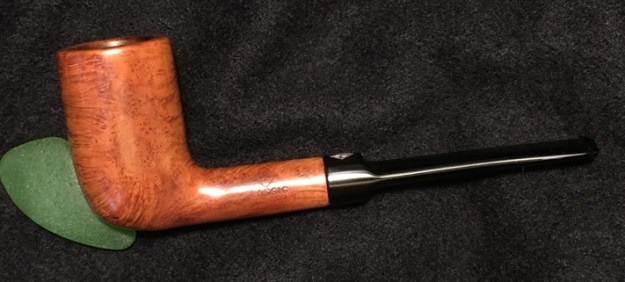
There was also an advertising card on the site that I have included below. It speaks to my assumptions about the curing process and the finishing process on the pipe. It also connects the pipe to Schoenleber’s Newark Pipe Shop in Newark, N.J. It also has a comment on the fact that pipes were made to order.I reamed the bowl with a Savinelli Fitsall Pipe Knife to take the cake back to bare briar. The cake was thin but the lava over flow on the rim and down the bowl was heavy and dark. The rim top looked pitted and damaged. I sanded the internal walls of the bowl with 220 grit sandpaper wrapped around a piece of dowel.I lightly topped the bowl on a topping board with 220 grit sandpaper to remove the damage to the rim top and smooth out the thick lava coat. It did not take too much sanding to remove the damaged briar. I still need to smooth out the inner edge of the rim but the bowl looks pretty good.The filthy exterior of this pipe was perfect for me to continue experimenting with a new product from Mark Hoover of Before & After Products. This one is a product he labels briar cleaner and it has the capacity of absorbing grime and dirt from the surface of briar. I rubbed the bowl down with some of his Briar Cleaner to see how it would work in this setting. In speaking to Mark he noted that the product is completely safe to use. The main product is even FDA approved edible. I rubbed it onto the bowl and rim top with my finger tips and worked it into the grime and grit on the bowl. I let it sit on the pipe for about 5 minutes before I rubbed it off with a microfibre cloth. I rinsed it under warm running water to remove the residue. I was pleasantly surprised by how clean the surface on the bowl looked when I was finished. The mortise and the airway in the shank was filthy. There was a thick build up of tar and oils on the inside of the shank. I scraped the shank walls with a thin bladed knife until the briar was bare. I scrubbed the walls of the mortise and the airway in the shank and stem with pipe cleaners, cotton swabs and isopropyl alcohol until they were clean.I turned to polishing the bowl and rim with micromesh sanding pads – wet sanding with 1500-12000 grit pads. I wiped the bowl down after each pad to remove the sanding debris. My goal was to further remove the darkening on the both the rim top and the first half inch of the bowl. I worked some Before & After Restoration Balm into the surface of the briar with my fingertips to clean, enliven and protect it. I let the balm sit for a little while and then buffed with a cotton cloth to raise the shine. Mark Hoover’s Balm is a product that I have come to appreciate and one I use on every pipe I have been working on. With the bowl finished I set it aside and turned my attention to the stem. I sanded it with 220 grit sandpaper to remove as much of the oxidation as possible. I was also able to remove much of the damage to the surface of the stem on each side. There was a remaining tooth mark on the top and underside of the stem. The button surface also had some tooth marks. I forgot to take photos of the stem after sanding and before repairing. I wiped the stem surface down with a damp cloth and then filled in the tooth marks with clear super glue. I also rebuilt the top and underside of the button surface with clear super glue. Once the repairs cured, I sanded the filed stem surface with 220 grit sandpaper to blend the repairs into surface of the stem. I am happy with the stem surface once that was done. I started the polishing of the surface with 400 grit wet dry sandpaper. I polished the stem with micromesh sanding pads – wet sanding it with 1500-12000 grit pads. I wiped the stem down with a damp cloth after each pad. I further polished it with Before & After Pipe Polish – both Fine and Extra Fine. I wiped it down with a coat of Obsidian Oil and set it aside to dry. With both parts of the pipe finished, I polished the bowl and the stem with Blue Diamond polish on the buffing wheel. I gave the bowl and the stem multiple coats of carnauba wax. I buffed the pipe with a clean buffing pad to raise the shine. I hand buffed it with a microfiber cloth to deepen the shine. The pipe polished up pretty nicely. The rich finish and the grain came alive with the buffing. The finish on the briar works well with the polished black vulcanite stem. The finished pipe is a well-proportioned, nicely grained Classic Apple. Have a look at it with the photos below. The dimensions are Length: 5 inches, Height: 1 1/2 inches, Outside diameter of the bowl: 1 inch, Chamber diameter: 3/4 of an inch. This Schoenleber Hand Made Classic Straight Apple will be going back to Alex soon to join his growing collection of American made pipes. Thanks for walking through the restoration with me on another of Alex’s pipes.

A Nightmare Restoration of an Oldenkott Munchen Huber Filter Pipe


Blog by Steve Laug

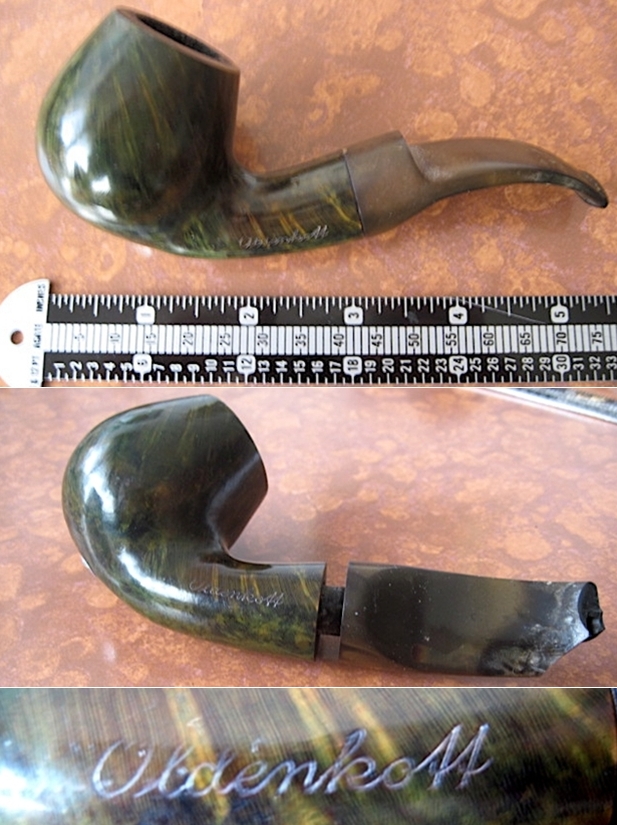
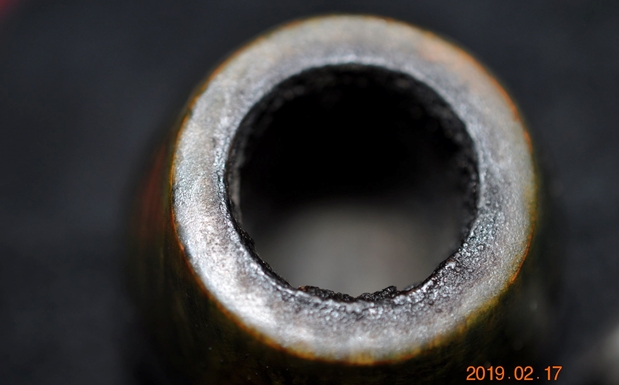
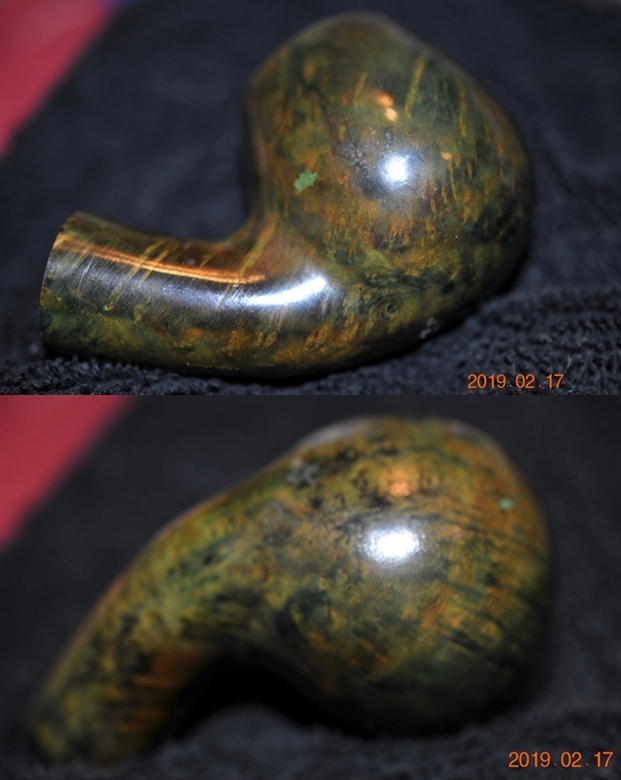
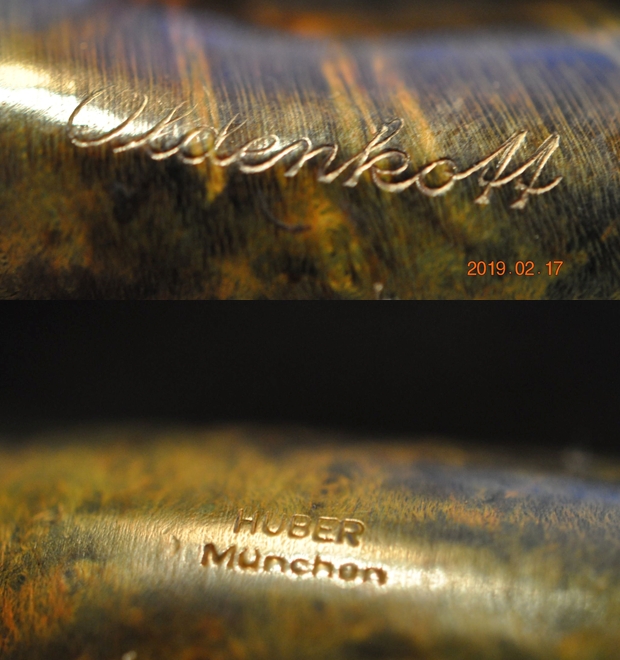
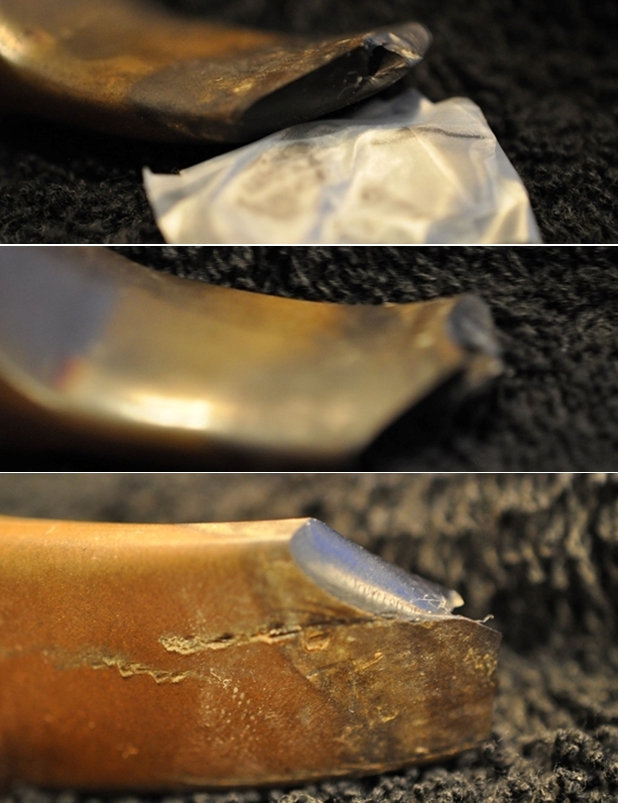
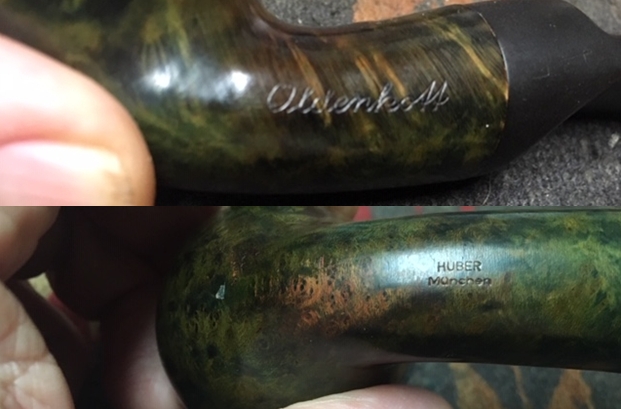
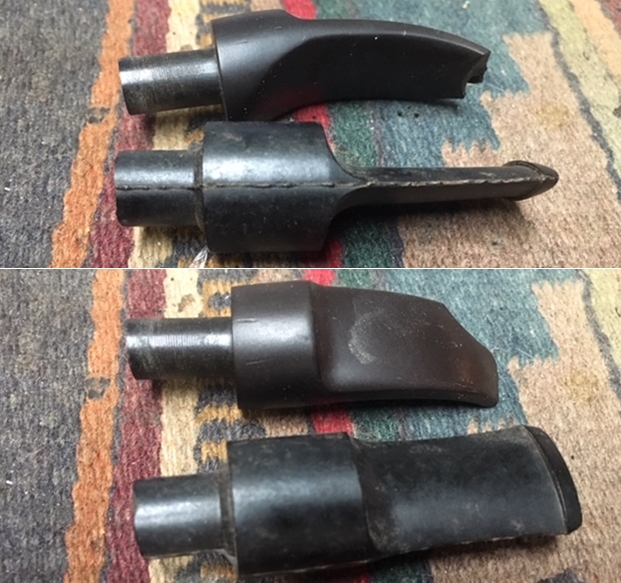
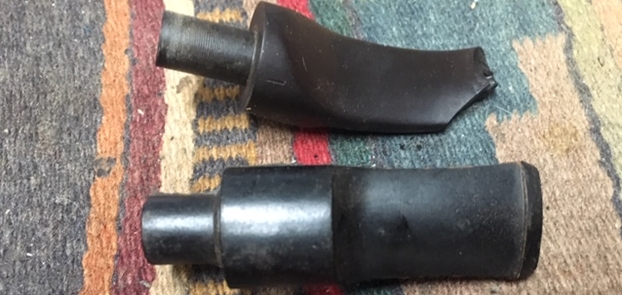
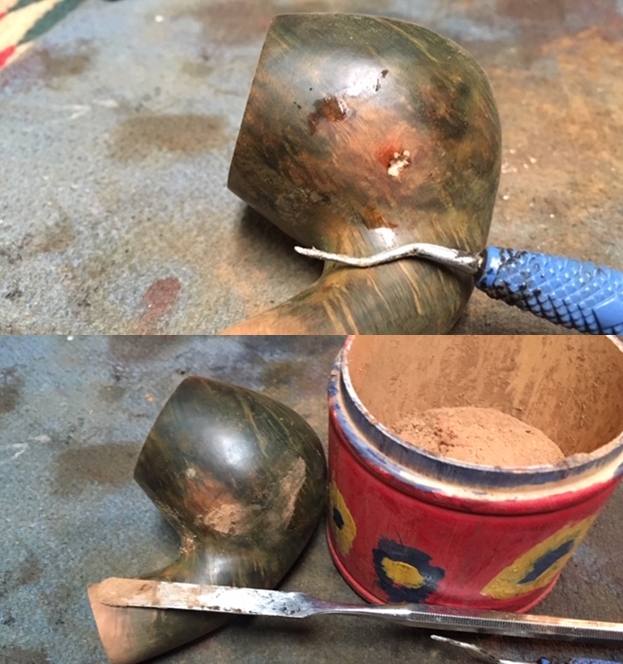
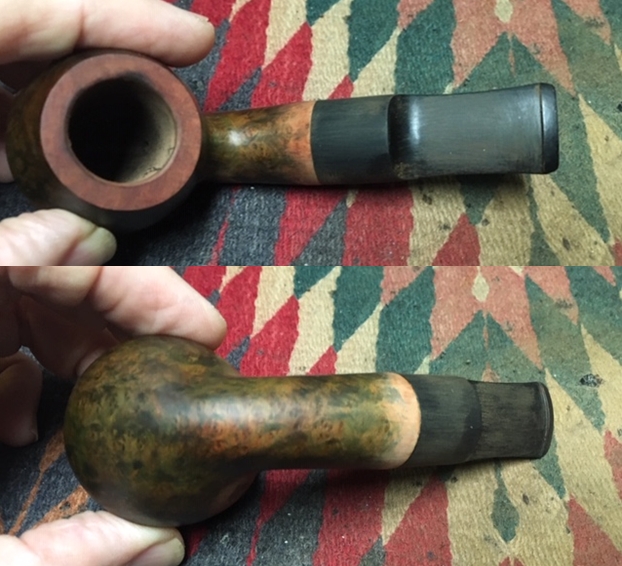
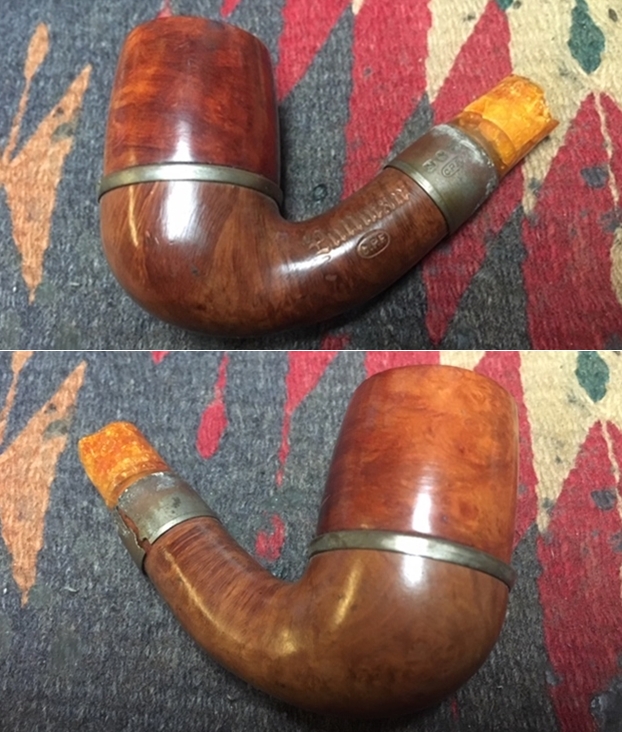
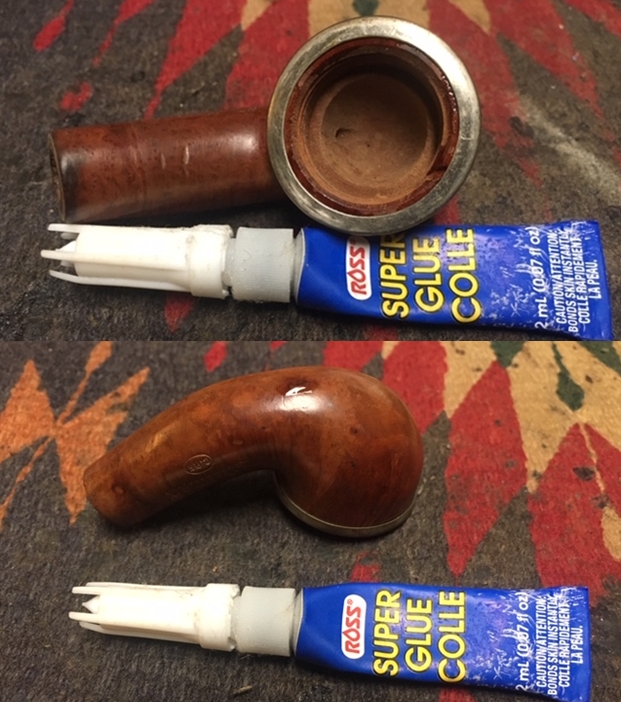
I have had this old pipe kicking around in my box for refurbishing for a long time now. I have picked it up numerous times and put it back as I just had no desire to do anything with it. That changed yesterday. I took it out and looked at it to think about what needed to be done to it. The stem was a mess – it had shattered when the guy who owned it tried to take it off. He sent me these photos of the pipe. It was green which did nothing for me and there was nothing about it that called my name. It was an Oldenkott pipe – a brand that I had worked on before but not a shape that I was interested in. The stem was broken and the pipe was a mess. After seeing the photos below, I had declined purchasing it as it really was not interesting to me. But even my declining it did not matter much – He had mailed it as part of a group of pipes that Jeff and I had purchased from him them.The pipes had been sent to Jeff and in the box was this one. Jeff opened the box and showed me this pipe and really it was in even worse shape than I imagined. The pipe came with the stem pretty well stuck in the shank and a small plastic bag with stem pieces was rubber banded to the tenon. Jeff chucked it in the freezer and the stem came off easily enough. It was a mess and it was a filter pipe! The bowl had a thick in it and a thick lava overflow on the rim top. It was hard to know the condition of the inner edge of the rim because of this. The bowl had a lot of bright green fills around the sides and heel. The stem was a disaster – broken off and shattered at the same time. It was definitely one for the garbage. He took photos of the pipe before he started working on it so I could see what he was dealing with. He took a photo of the rim top and bowl to try to capture the mess of both. The thick cake in the bowl and the overflow of lava are both visible. The cake was thick and hard and the lava overflow was a thick band around the bowl. One consolation is that considering the mess it was in, this must have been a great smoking pipe.The next photos show the side and bottom of the bowl and give a clear picture condition of the green stain. It was spotty and worn. The fills in the bowl were very green spots, like painters green tape and stood out like a sore thumb to me. They were just ugly and almost obscured the interesting grain around the bowl for me. Hopefully you get a feel for why I just kept putting it back in the restoration “to do” box.Jeff took photos of the stamping to capture the clarity of it even under the grime. The Oldenkott name is stamped on the left side of the shank. On the underside it is stamped Huber over Munchen. Jeff took photos of the stem to show the shattered condition. It really was not redeemable even by such a stalwart stem rebuilder as Paresh Deshpande! It was also a 9mm filter stem and to me that also was another strike against it. It was useless in my opinion. I knew I was dealing with a German pipe from previous ones that I had worked on. I had been told that the brand was the German equivalent of Dunhill pipes in England. This one certainly did not make a case for that assumption. I turned first to Pipephil to see if I could get a brief review (http://www.pipephil.eu/logos/en/logo-oldenkott.html). The site gave various lines that had been made by the factory before its closure in 1992.

I went on to Pipedia knowing that there would be some more detailed information and I was correct in that assumption (https://pipedia.org/wiki/Oldenkott). I quote in full from that article.

Very little is known about the company. According to the albums the company was founded in 1760 in Amsterdam as Hermann Oldenkott, and in 1819, a subsidiary in Ahaus (Germany). There were likely other factories as well, as in 1838 August Kersten from Rees (Germany) bought the factories from Heinric Oldenkott in Elten (Germany) and Weesp (Holland), although it is not clear whether these were part of the of the original Oldenkott company. The German company increased rapidly and became one of the largest German tobacco companies. In 1929 the factories from Hermann Oldenkott in Ahaus and Neuss (Germany) were bought by the German Oldenkott company. The German company produced pipes starting in 1932. In 1972 the German company was bought by the Dutch company Niemeijer. Tobacco production ceased in 1974 and only pipes were made afterward. In 1987 the German pipe company was bought by the Kersten family again, but closed in 1992.

The pipes were machine made and in general of mediocre quality. The most important pipes of Oldenkott were the so called “Porsche” design pipe. The bowl was turned like the motor block of a racing car and was lacquered with a silver-grey color. Today these special pipes are very rare and expensive.

In spite of the apparent quality of both Oldenkott and VAUEN pipes, they are known as good smokers.

The site also quotes from the book “Pipes, Artisans and Trademarks, by José Manuel Lopes’ –“Oldenkott is an early 20th century German brand by Henry Oldenkott. His factory in Hallen closed in April 1982, with some of the workder moving to VAUEN. Oldenkott made ipes with and without filters. It was in this company that Porsche pipes were produced.”

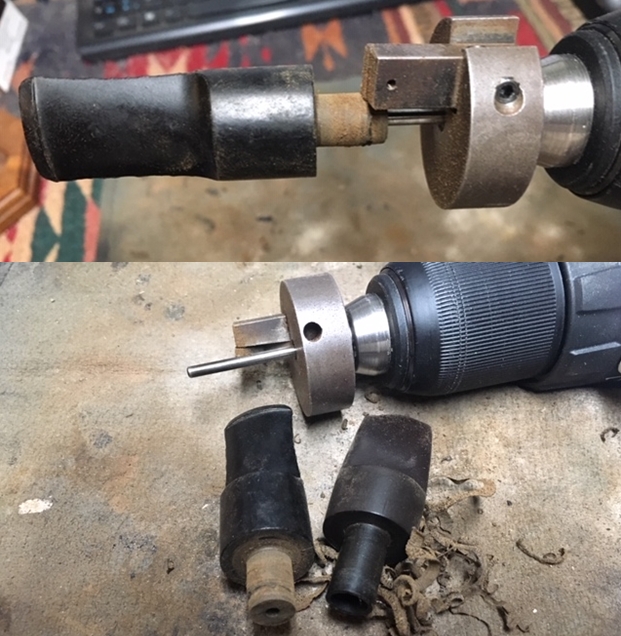
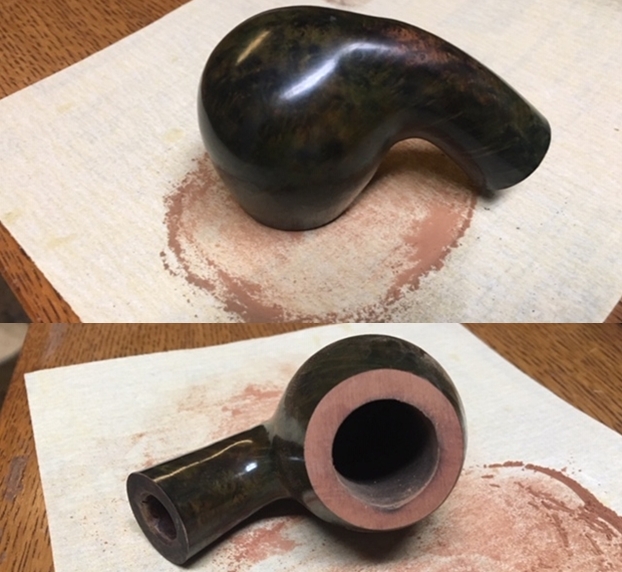
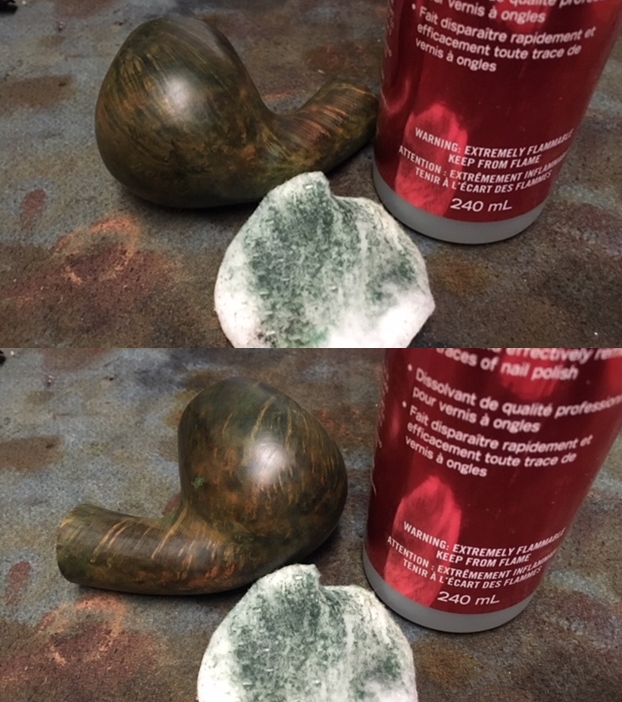
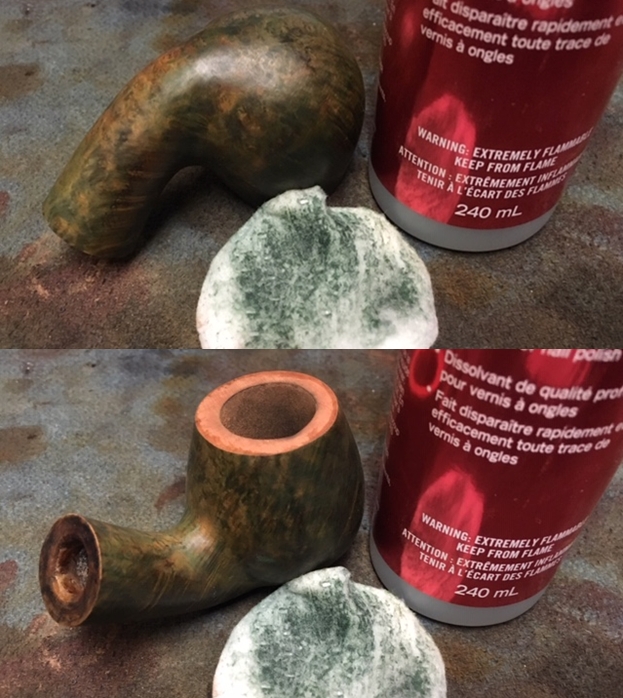
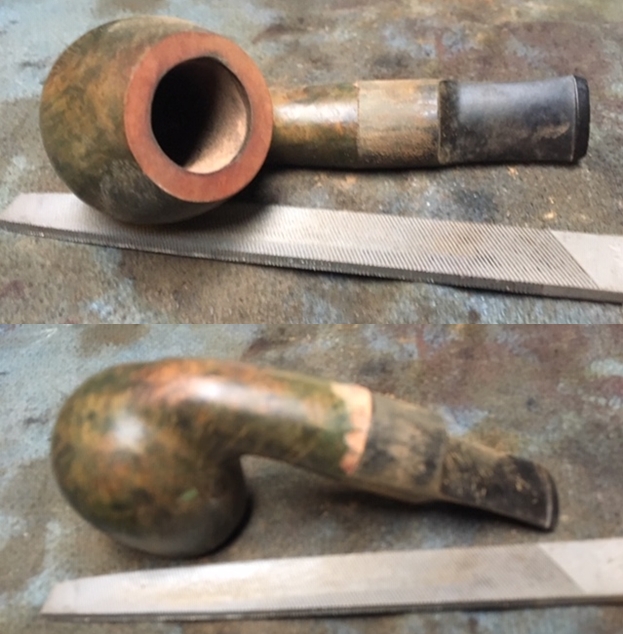
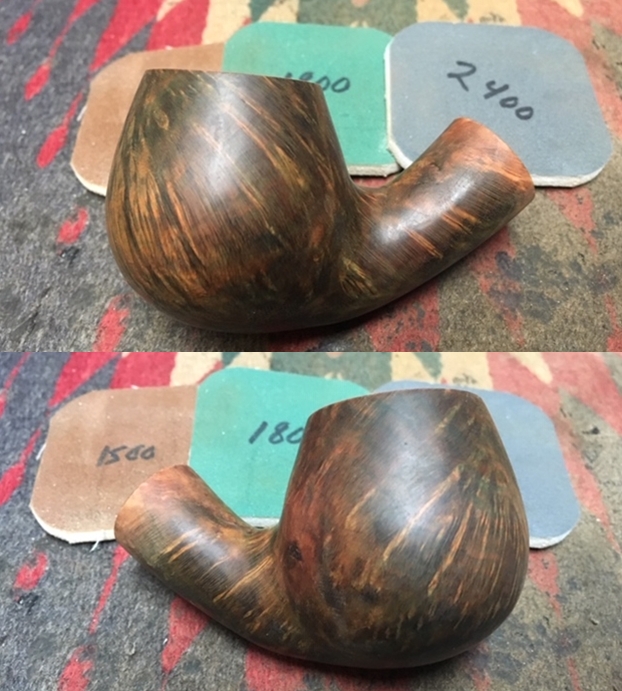
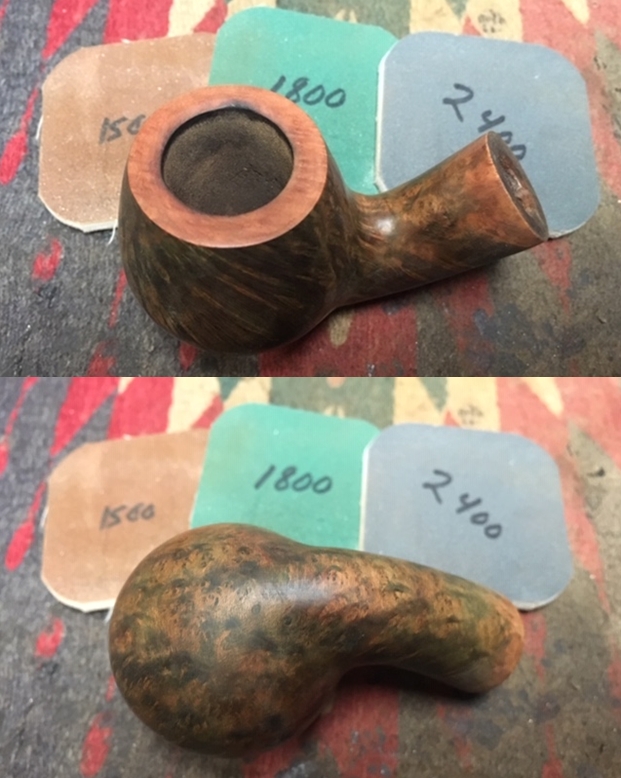
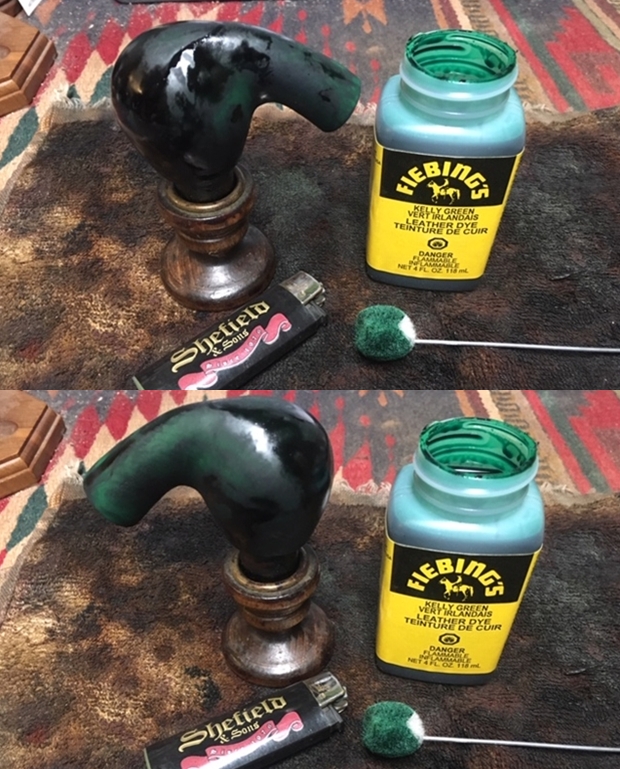
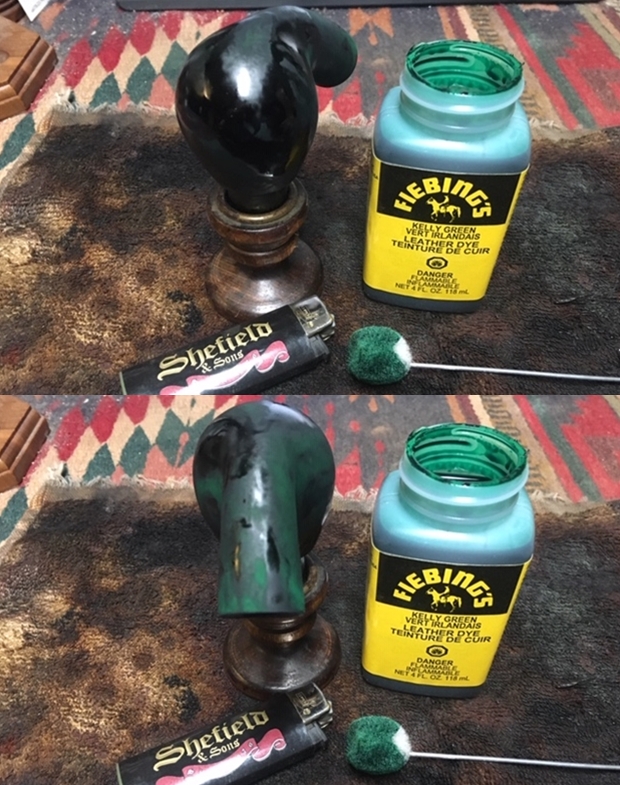
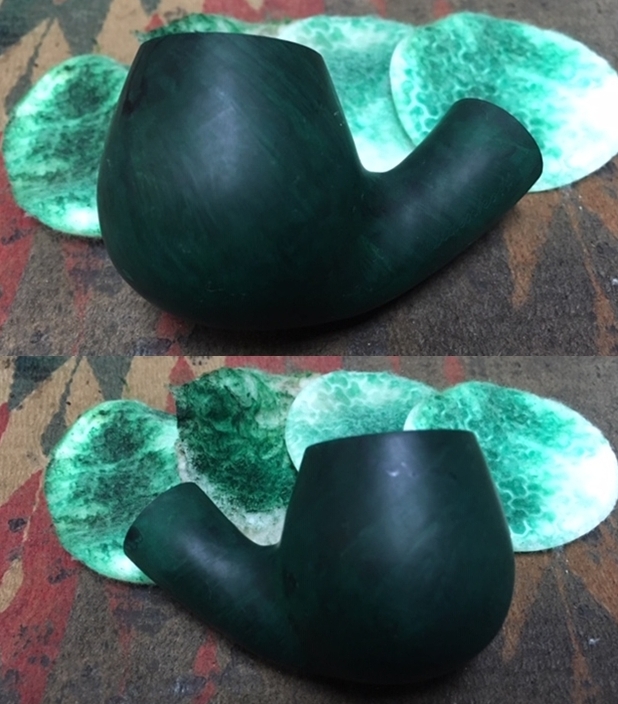
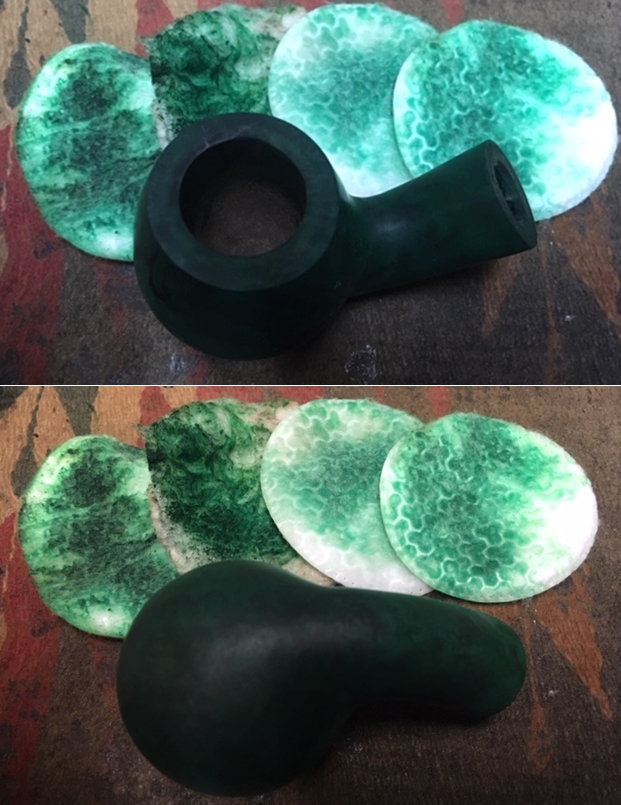
Armed with that information I turned to address the pipe itself. Jeff had cleaned up the pipe before sending it to me. He reamed the bowl with a PipNet pipe reamer and cleaned it up with a Savinelli Fitsall Pipe Knife. He scrubbed the exterior with Murphy’s Oil Soap and a tooth brush to clean off the grime off the finish and the heavy overflow of lava on the rim top. He cleaned up the internals of the shank, mortise and stem with pipe cleaners, cotton swabs and alcohol to remove all of the oils and tars in the pipe. He cleaned up the stem so that it did not stink and soil the other clean pipes he sent me. When it arrived here in Vancouver it was a clean pipe and I knew what I had to work with. I took photos of it before I started my part of the restoration. I took a close up photo of the bow and rim to capture the burn damage on the right side inner edge of the bowl. I also took photos of the shattered stem to show the extent of the damage.I took a photo of the left side and the underside of the shank to show the stamping on the pipe. It read as noted above. After the cleanup it was still readable.I decided to address the broken stem first. I went through my can of stems and found a suitable saddle stem that was roughly the same length as the broken one. It had a different saddle arrangement but to be honest I like the new one better. It was a new cast stem that I had picked up from a fellow who was selling out his father’s refurbishing supplies. I measured the diameter of the tenon on the broken stem and set the PIMO Tenon Turning Tool to crank out a tenon on the new stem that would match. I turned it carefully and once I took it off the tool and measured both were identical in diameter – BUT (and this part is very irritating to me) the new tenon though identical and in size was loose in the mortise!!!I filed out the nubs left behind from the tool and the new stem was now functional. I would need to expand the tenon to get a good snug fit but it was done. I gave the tenon a coat of clear fingernail polish to snug up the fit in the mortise. I set it aside to dry. While the stem was drying I decided to work on the damage to the inner edge of the bowl on the right side. I topped it on a topping board with 220 grit sandpaper and removed as much of the damaged area as possible.I knew that I needed to deal with the uneven green stain coat on the bowl so that I could smooth it out. I also needed to deal with the fills in the bowl. I wiped it down with acetone on a cotton pad to evenly remove the stain. I picked out the largest fill on the right side of bowl with a dental pick. Under the bright green top coat the fill was bright white putty. Once I picked it out wiped it down with alcohol. I filled in the hole with briar dust and clear super glue to replace the fill. I put the stem on the shank and worked on the fit against the shank. I used a wood fill to reduce the diameter on the stem giving it a bit of a conical shape to match the flow of the shank. I also worked on the shank diameter because like everything else that is a bit of a deficit on this pipe the shank was not perfectly round and the stem had to be hand fit to the shank. I sanded the shank and stem with 220 grit sandpaper to smooth out and shape the shank and stem union. I also sanded the repaired fill on the right side of the bowl to blend it into the surface. The stem was looking pretty good as was the new fill. I wiped the bowl down with a damp cloth to have a look at it at this point. I removed the stem and worked on polishing the bowl with 1500-2400 grit micromesh sanding pads. I wiped the bowl down after each pad. I decided to only use these three grits because I had decided to experiment with staining this pipe GREEN once again. (I have to tell you this was an experiment and in many ways a failed one. But I get ahead of the story!). Here is where the restoration took a horrible turn for me. I should have left well enough alone but I wanted to tryout the Kelly Green stain that I had picked up earlier for some Peterson’s St. Patrick’s Day pipes that I have not dealt with yet. I figured this would be a good place to learn about the idiosyncrasies of green stain. I heated the briar and stained and flamed the pipe to set the stain in the wood. I looked at it and just shook my head. The stain set really well. I wasn’t sure how the fills received it and was a bit worried when I saw them shining through the dark green stain. I set the bowl aside to let the stain cure. Once the stain was dry I moved to my next “normal” step which is to wipe the bowl down with alcohol on cotton pads to make it more transparent and make the grain stand out more. Here is where my next issue rose – I wiped it down with four pads and alcohol and kept repeating the wipe down and it did not become more transparent. All that happened was that the fills turned white. I touched them up with green but there was no remedy to the issue. I like the pipe better before I stained it green. Now what was I going to do to make it LESS GREEN? At this point the experiment was a failure in my opinion. The GREEN NOT ONLY SET IN THE GRAIN BUT IN THE WHOLE PIECE OF BRIAR. I have to admit that at this point it crossed my mind that I probably could have thinned the stain a lot and made a green wash but after thought is too late. I buffed the pipe with Red Tripoli to try to remove it from the briar but it really had little effect. I was getting pretty frustrated and know from experience it is time to change things up a bit before I make things worse!

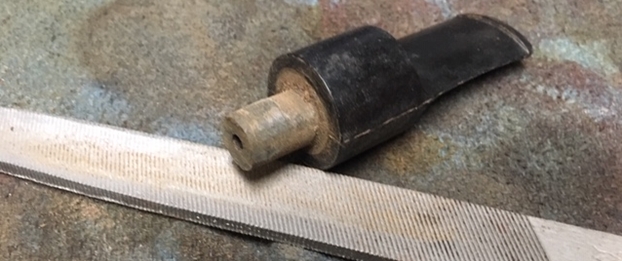
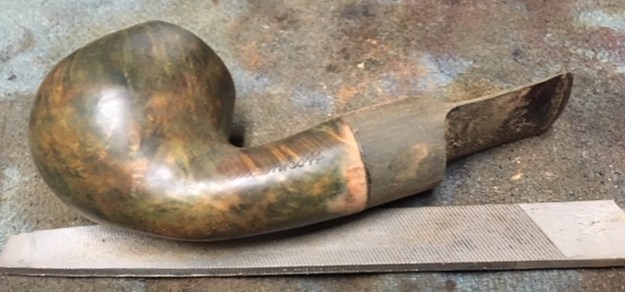
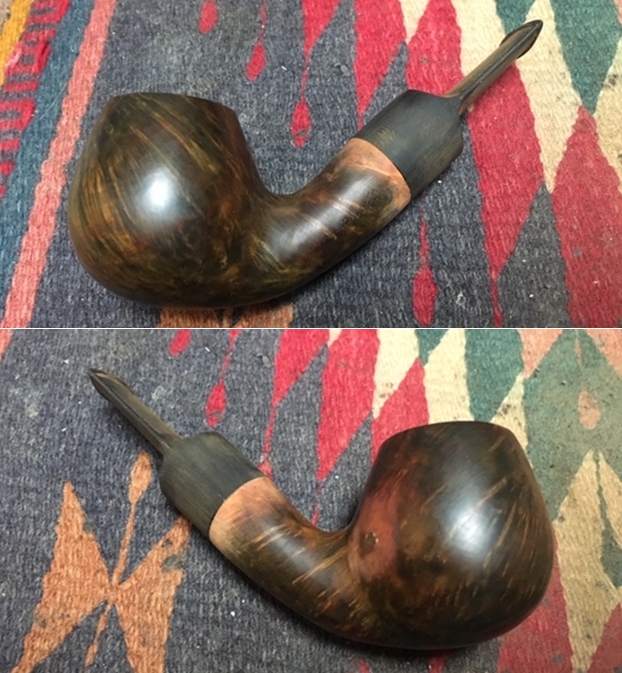
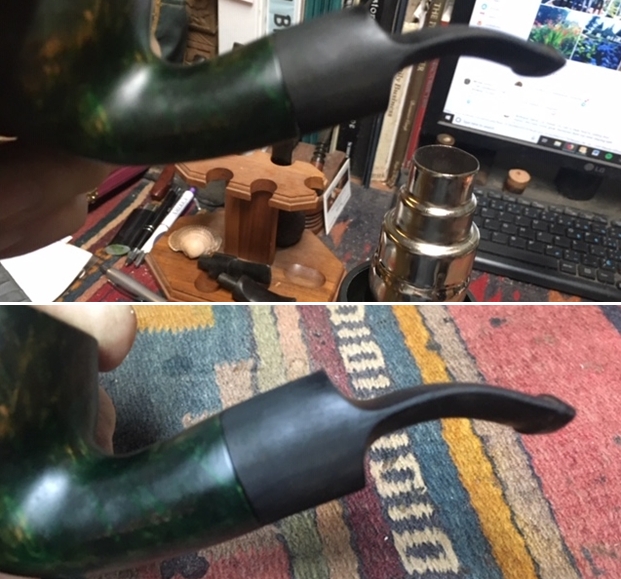
So I decided to address the stem for a while instead of the bowl. I put the stem on the shank and heated it with my heat gun until it was soft. I bent it to match the angles of the bottom of the bowl and set the bend with cool water. It was a good diversion from the GREEN bowl.I took the stem off and went back to work on the bowl. I wiped it down with acetone to try to reduce the green stain and while it partially worked it still was too green to my liking. I sanded the bowl and shank with 1500-2400 grit micromesh sanding pads to further reduce it. I still was not happy with the results. The green was just not to my liking. It needed to go. I restained the bowl with Tan stain and flamed and repeated the process until the coverage was good. I set it aside to cure and went to lunch with a friend. After lunch I buffed the bowl with Red Tripoli to unveil with the bowl looked like at this point. The tan stain had worked together with the Green stain to create a colour that I really liked. I buffed it with Blue Diamond to further polish it. I like the way the bowl looked at this point. I still needed to polish it and wax it but I wanted to finish the stem as well. I wet sanded it with 1500-12000 grit micromesh sanding pads to polish it. I wiped the stem down with Obsidian Oil after each pad. I finished polishing it with Before & After Pipe Polish – both Fine and Extra Fine. I gave it a final coat of Obsidian Oil and set it aside to dry. In looking at the photos above you can see a few nicks in the tenon. I filled them in with clear super glue to smooth them out and set the stem aside to dry. I sanded them smooth with 1500-2400 grit micromesh sanding pads. I wiped it down with Obsidian Oil and again let it dry.  With the parts finished it was time to polish up this nightmarish experiment that took me far longer than it rightly should have taken. I learned a ton in terms of Green stain – such as using it as a wash instead of as it comes in the bottle. I learned that it sinks deep into all of the grain not just the softer parts. I found that it is very hard to remove once it is once it is on the briar. Learning all of that I was finally glad that it was time to finish this pipe. I put the stem and bowl back together and buffed the pipe with Blue Diamond on the buffing wheel. I polished the briar and the minute scratches still in the vulcanite of the stem until there was a rich shine. This Oldenkott turned out better than I expected and has some nice grain showing through. The finish really highlights the grain and hides the fills on a proportionally well carved pipe. Once I buffed the pipe the briar came alive and the mixture of grain popped with polishing. The black vulcanite replacement stem had a rich glow. The finished pipe is a beautiful grained bent Apple. The dimensions are Length: 5 1/4 inches, Height: 1 3/4 inches, Outside diameter of the bowl: 1 1/4 inches, Chamber diameter: ¾ of an inch. Thanks for walking through the long, experimental restoration with me as it was a learning experience for me.

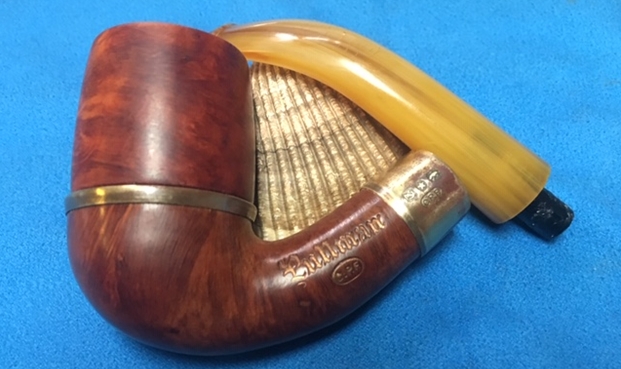
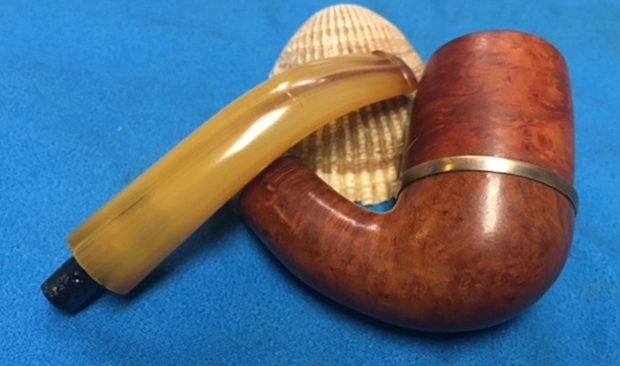
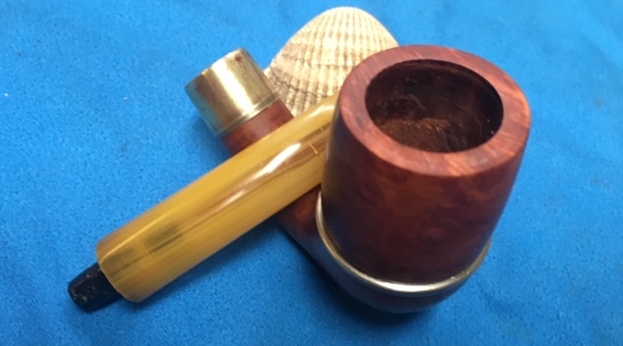
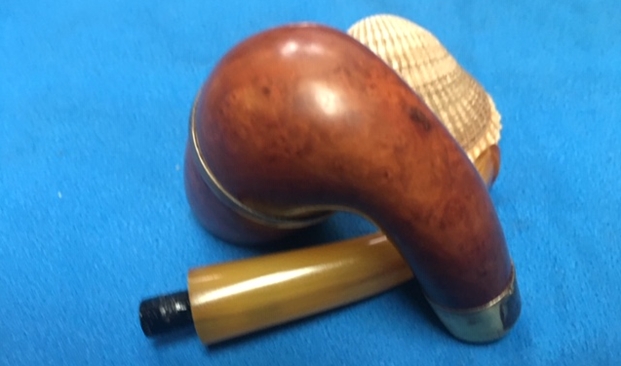
Restoring a Dainelli Silver Lovat with a Horn Stem


Blog by Steve Laug

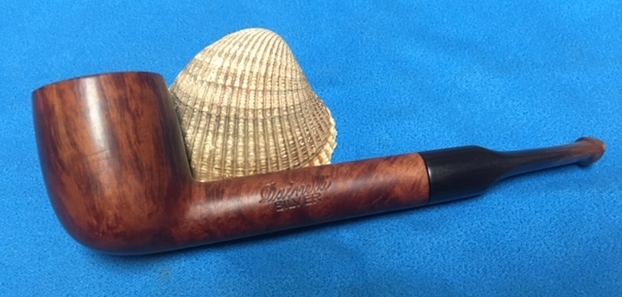
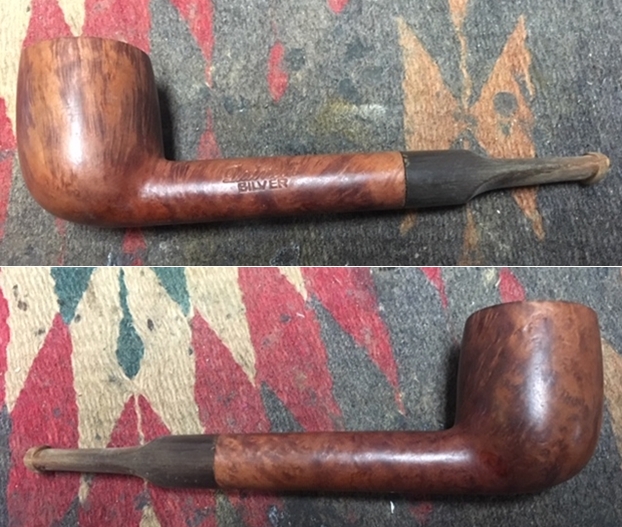
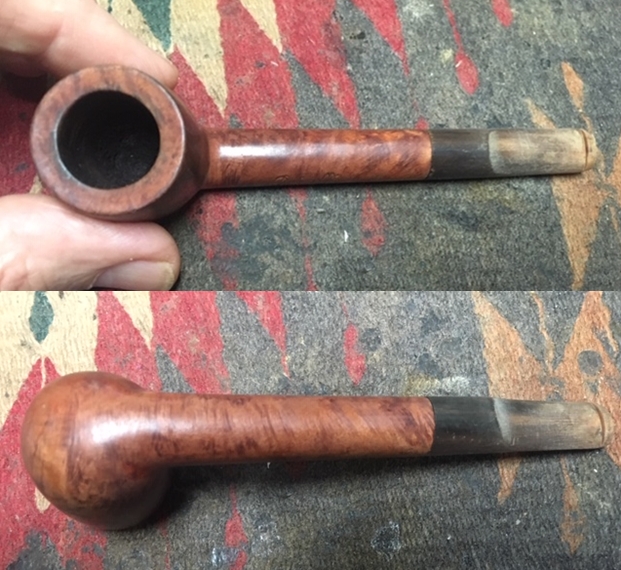
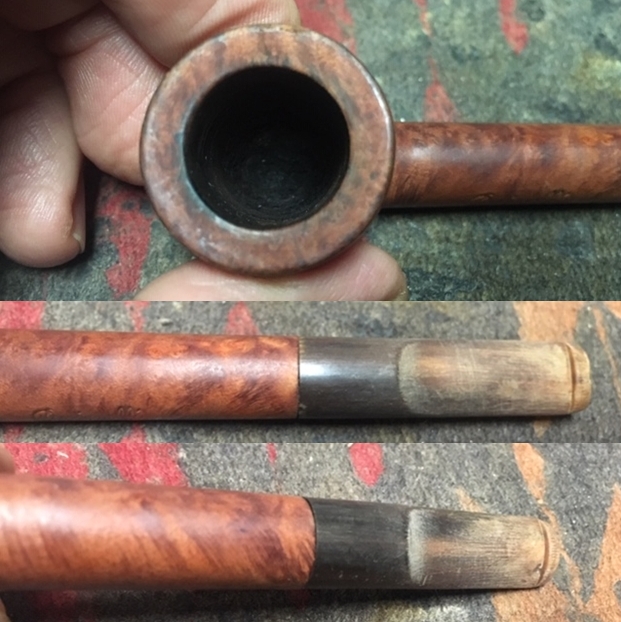
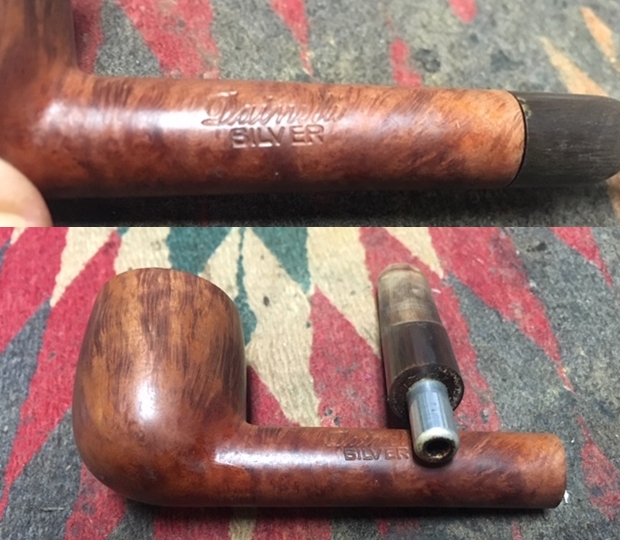
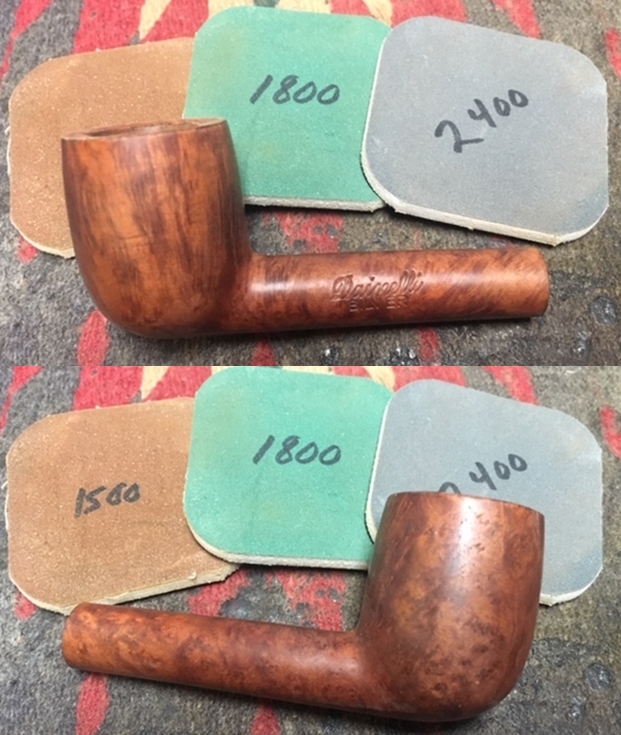
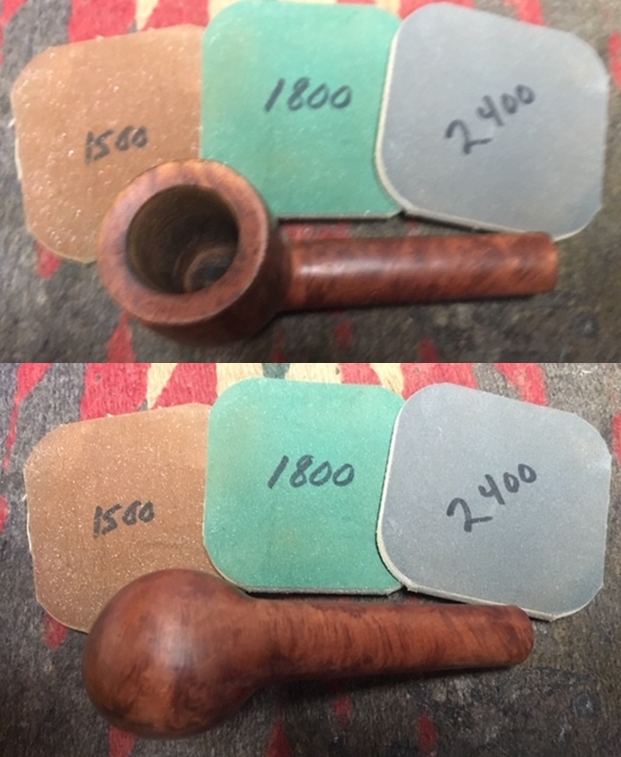
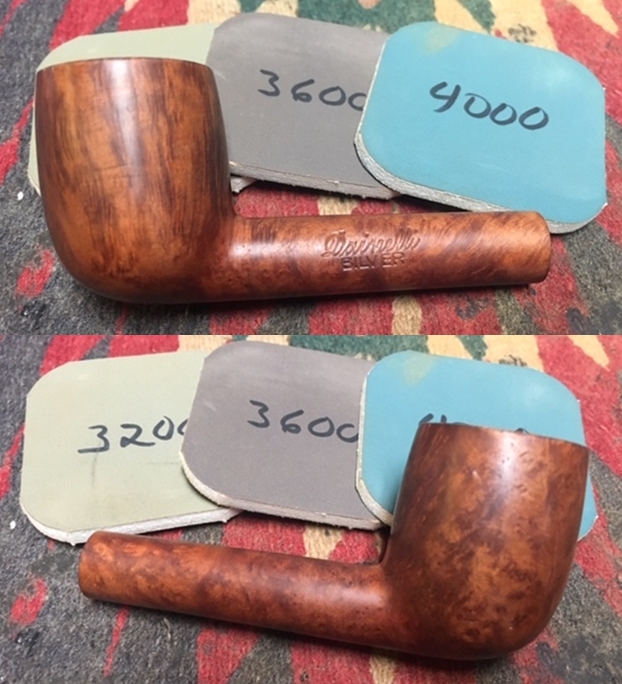
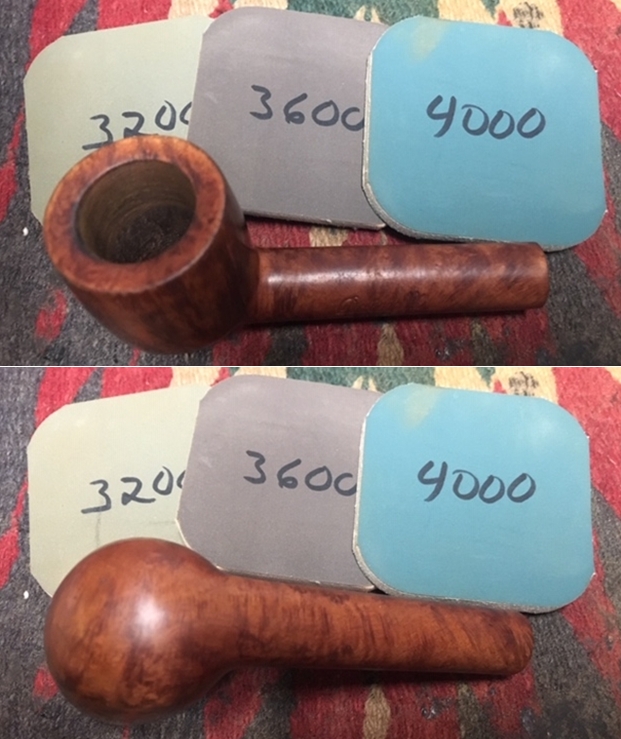
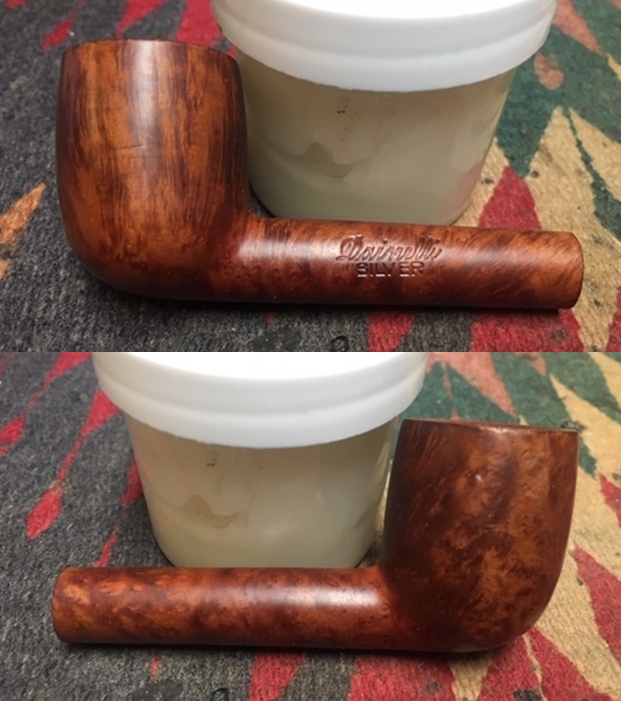
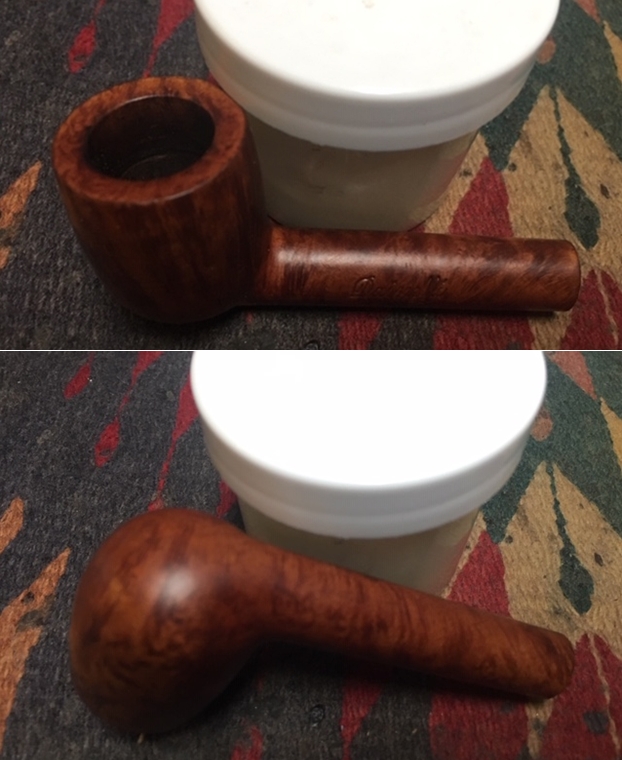
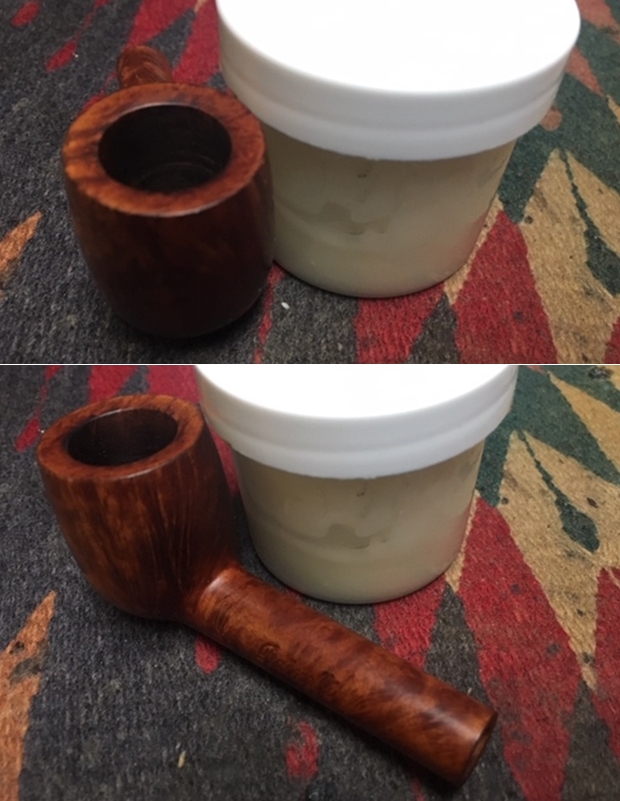
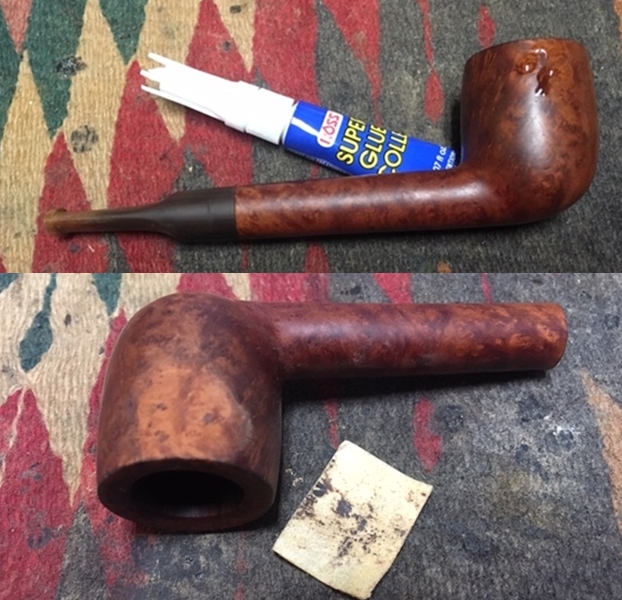
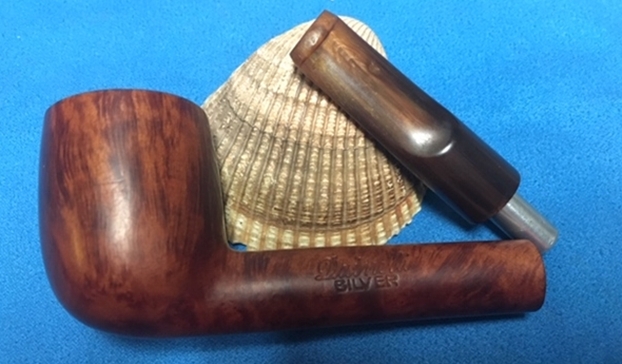
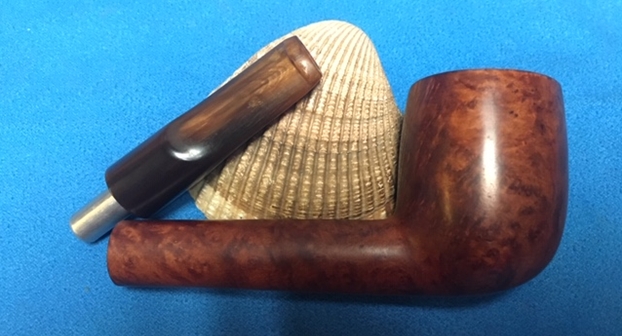
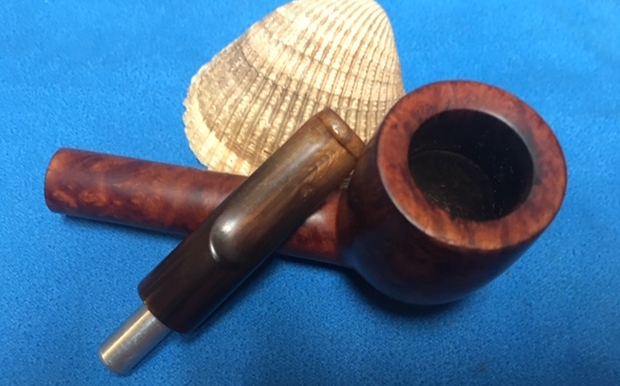
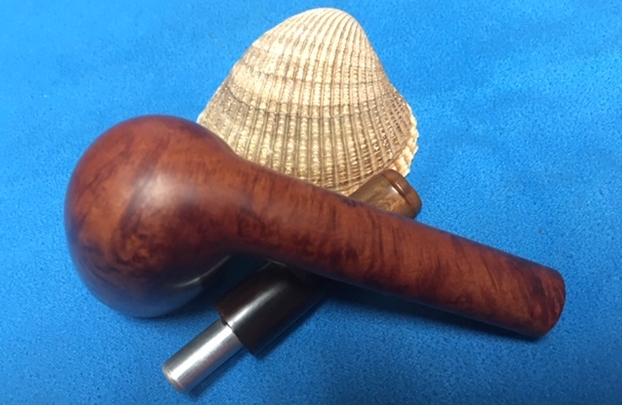
The next pipe on the work table was also in the bag with the C.P.F. pipes that I brought home from Idaho recently. This one is an interesting little Lovat. It is briar with a horn stem. The briar is in decent condition, just dirty from use and sitting. The stamping on the shank reads Dainelli over Silver. There is no other stamping on the shank. The bowl had been reamed previously by the seller but a thick coat was on the bottom of the bowl. The rim top was clean but was dried out. The grain was an interesting mix of straight, swirls, flame and birdseye. There were a few nicks in the briar on the sides of the bowl. The stem was horn and dried out. There was tooth chatter on both sides and a few deeper tooth marks just ahead of the button. The tenon on this one is aluminum and from my experience it is probably a pipe from the 40s war period. Horn stems made a reappearance during the vulcanite shortage in the war years. I took close-up photos of the bowl and rim top to capture the condition of the pipe when it arrived. The rim top look dried out but clean. The outer and inner edges of the rim look good but there are a few nicks in the outer edge. I took photos of the horn stem surface to show the oxidation and the chatter on both sides near the button. The tooth marks are visible next to the button on both sides.The next photo captures the stamping on the left side of the shank. It reads Dainelli over Silver. I took the stem off the shank and took a photo to show the metal tenon.This is the first pipe with this stamping that I have ever worked on. I am unfamiliar with the brand so some research was in order. I checked on Pipedia and Pipephil to see if there was any information on the brand. There was nothing listed on either site. I checked in “Who Made That Pipe” and once again came up empty. I turned to Lopes, “Pipes, Artisans and Trademarks and again the trail was dead. I broadened the search on Google to look for the brand and even associated it with pipe shops or tobacco companies and still there was not a link at all. It looked like I was not the only one who had never heard of the brand.

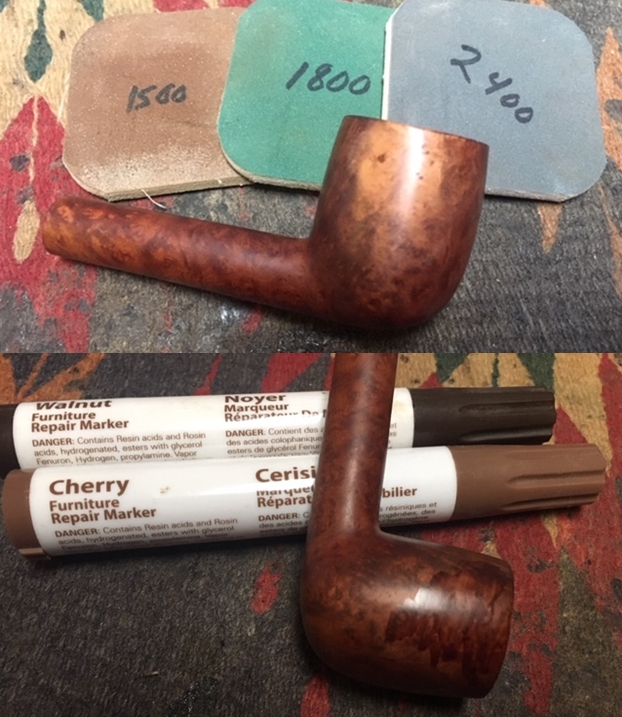
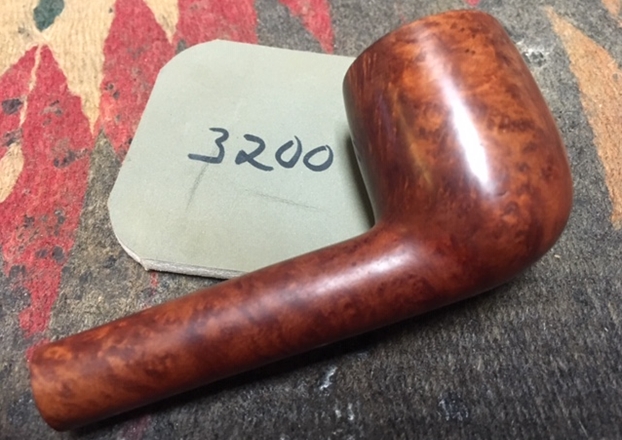
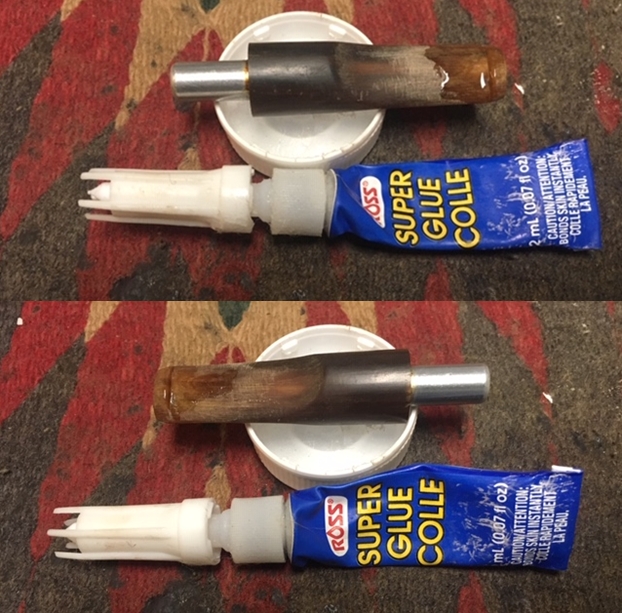
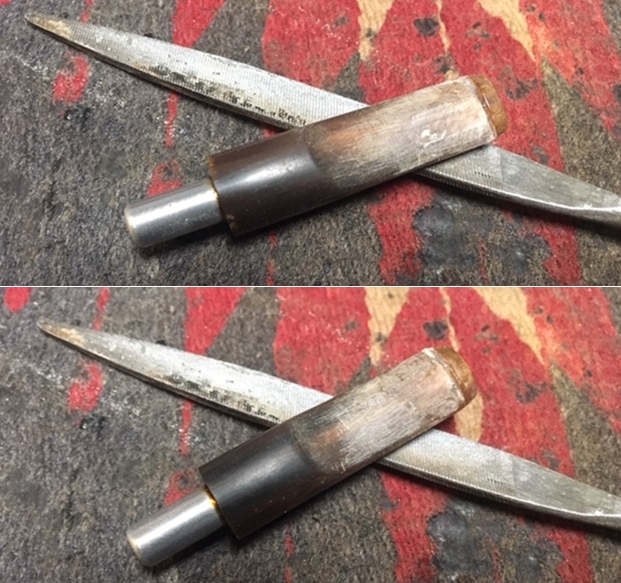
Given that information was not forthcoming I put a photo of the pipe on several Facebook Groups hoping someone might recognize the brand and give me a lead. I turned my attention to cleaning up the pipe. I wiped the bowl down with isopropyl alcohol on a cotton pad to remove the grime from the briar. It was not a bad looking pipe. I reamed the bowl with a Savinelli Fitsall Pipe Knife and scraped the cake out of the bottom of the bowl. The buildup on the bottom was thick and heavy. The pointed end of the knife allowed me to remove the remaining cake. I sanded the bowl walls with a piece of dowel wrapped with 220 grit sandpaper.I scrubbed out the internals of the pipe with pipe cleaners, cotton swabs and alcohol. It was a very dirty shank and mortise. I have found that stems with metal tenons seem to draw moisture and tars around the shank walls. I cleaned out the stem with pipe cleaners and alcohol. I used a cotton swab and alcohol to clean out the end of the tenon.I polished the bowl and rim top with micromesh sanding pads – wet sanding it with 1500-12000 grit pads. I wiped the bowl down with a damp cloth after each pad to remove the sanding debris. After the final sanding pad I hand buffed it with a cotton cloth to raise a shine. I am still experimenting with Mark Hoover’s Briar Cleaner to see what I think of it as a possible replacement for my usual Murphy’s Oil Soap scrub. I rubbed it onto the briar, working it into the grain. I wiped it off with a clean cloth. There was still a residue from the cleaner left behind and no matter how I rubbed it off it was hard to remove. I ended up rinsing it with warm water to remove it and dried it with a microfiber cloth. I am still not sure if this is will replace Murphy’s for me. I am committed to working with it. I took photos of the pipe at this point in the process. I really like Mark Hoover’s Before & After Restoration Balm for its restorative properties with dry briar. I worked it into finish of this Lovat with my fingertips to clean, enliven and protect it as I usually do at this point in the process. I let the balm sit for a little while and then buffed with a cotton cloth to raise the shine. The Restoration Balm really makes the grain stands out beautifully. After rubbing it down I noticed some deep dings and nicks in the briar on the right side of the bowl near the rim. I filled them in with clear super glue. When the repairs had cured I sanded them out with 220 grit sandpaper, polished them with 400 grit sandpaper and 1500-2400 grit micromesh sanding pads. I stained the area on the bowl with a Walnut and Cherry stain pen. Once it had cured I polished it with a 3200 grit micromesh sanding pad. I was able to blend the repair into the rest of the bowl. I set the finished bowl aside and turned my attention to the stem. I filled in the tooth marks and the areas where the horn was dry and delaminating. I set the stem aside to let the glue dry.Once the repairs had cured I used a needle file to reshape the button edge and flatten out the repairs. I sanded the stem surface with a folded piece of 220 grit sandpaper to smooth them out. I started the polishing with a folded piece of 400 grit sandpaper to smooth out the scratches. I polished the stem with micromesh sanding pads – wetsanding it with 1500-12000 grit pads. I wiped the stem down with Obsidian Oil after each pad. I polished it with Before & After Pipe Polish – both Fine and Extra Fine and gave it a final coat and set it aside to dry. I put the stem and bowl back together and buffed the pipe with Blue Diamond on the buffing wheel. I polished the briar and the stem until there was a rich shine. This Dainelli Briar Lovat has a classic shape and a rich finish that highlights the grain around the bowl. Once I buffed the pipe the grain popped. The striated horn stem had a rich glow after polishing. The finished pipe is actually quite a beauty in my opinion. The shape does not quite match a British shaped Lovat and has almost a French look to it. It is a beautifully grained Lovat that fits well in the hand and sits right in the mouth. Have a look at it with the photos below. The dimensions are Length: 5 inches, Height: 1 1/2 inches, Outside diameter of the bowl: 1 inch, Chamber diameter: 5/8 of an inch. If any of you have heard of the brand before let me know in the comments section below. I thank you ahead of time for any info you may give. Thanks for walking through the restoration with me as it was a pleasure to work on.

Another Study in Opposites – Restoring an NOS unsmoked C.P.F. Stack


Blog by Steve Laug

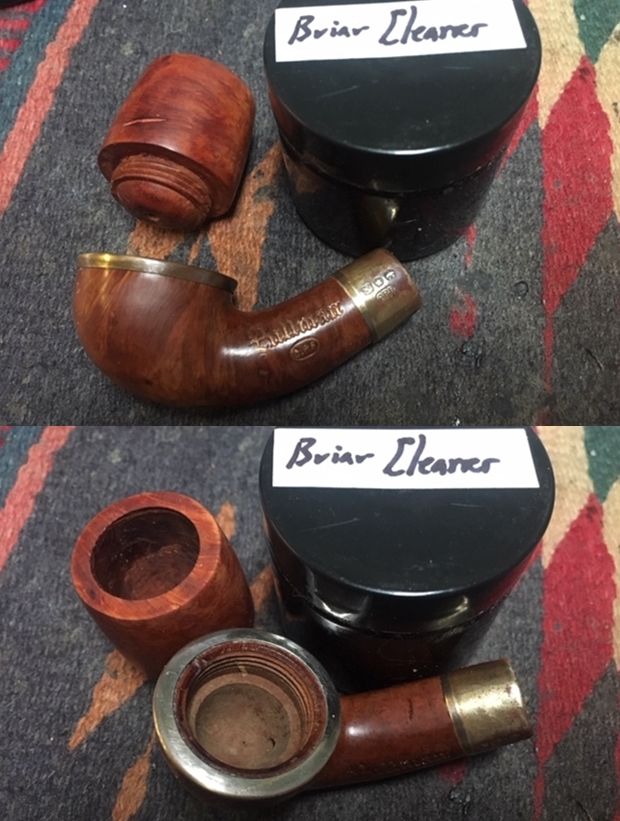
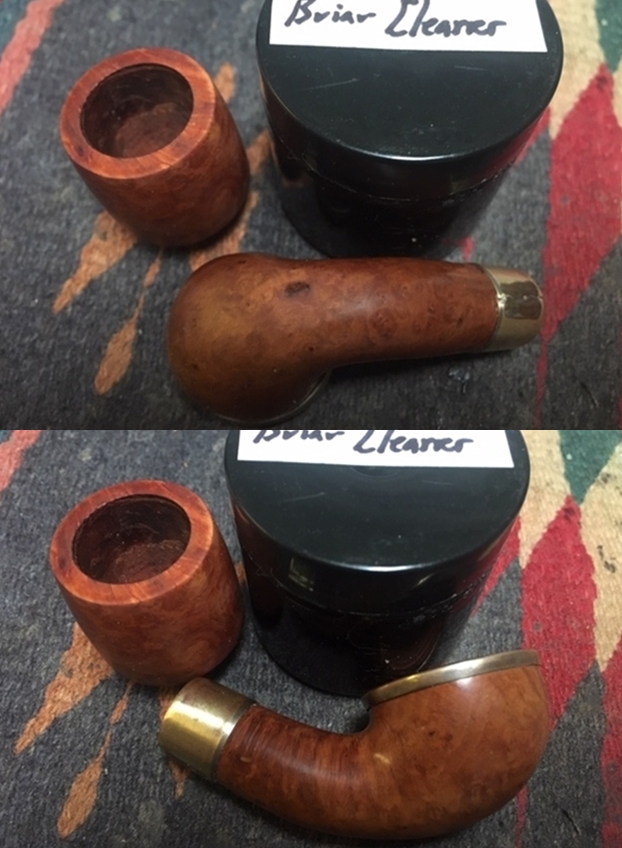
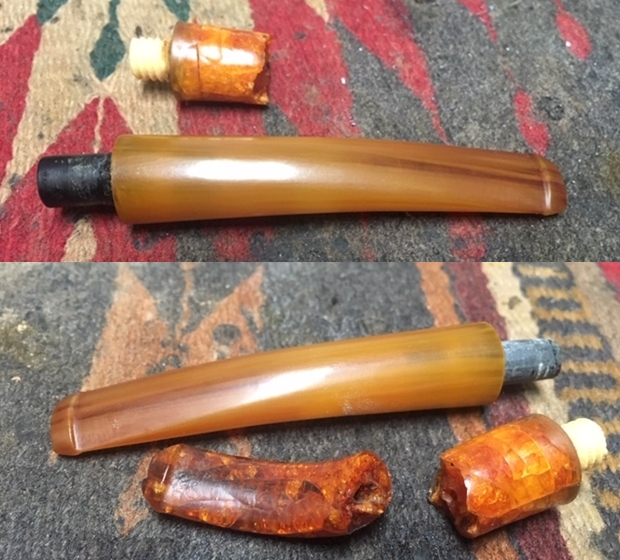
After the last batch of very clean pipes that I brought back from my trip to Idaho in a small bag of unsmoked C.P.F. pipes this is another pipe that was a big change. It was in rough shape with a split band, nicks and marks in the briar and a shattered stem. Other than the unsmoked condition of the bowl and base it was hurting. The bowl was a screw in briar bowl with a single airway in the bottom of the bowl like a calabash. It is dusty and dirty but the bowl was clean. The bowl exterior had been coated with a thick shiny coat of varnish and the base was varnished as well. It gave the pipe a spotty shiny look that had lasted through the years. The left side of the shank is stamped with gold leaf and reads Pullman over C.P.F. in the oval logo. There were deep gouges in the top of the shank and on the underside of the bowl. There is a brass/silver spacer between the bowl and the base. There was also a brass/silver ferrule on the shank end that was split, oxidized and also loose. The amber stem had was shattered was clean but epoxied in the remainder of the stem. I took photos of the pipe to show its condition at the start of the process. The next photo shows the stamping on the left side of the shank. It is clear and readable. The stamping reads as noted above. The band is loose and is stamped with the C.P.F. in an oval logo with the faux hallmarks that are on all of the metal banded C.P.F. pipes.I unscrewed the broken stem from the pipe and took photos of the parts – the briar base and bowl as well as all the adornments. The ferrule is split and will need work and the separator on the base is also oxidized and dirty. I have included the following information with each of the blogs on C.P.F. pipes because I always want to keep the historical context in mind as I work on these. The link to the blog follows (https://rebornpipes.com/2013/04/14/some-reflection-on-the-historical-background-on-cpf-pipes/). I quote a pertinent part of the blog below:

From my reading and research it seems to me that C.P.F. brand was discontinued sometime in the 1910-1920 range. Again, turning to Bill Feuerbach I found that he notes the following, which pins down the time frame of the discontinuation of the brand more specifically, “I have a C.P.F. Chesterfield in our office display that has a name tag from way before my time that says 1900 C.P.F. Chesterfield. It looks like most other Chesterfields you’ve seen, including the military type push stem, except this stem is horn and not vulcanite. As far as I have gathered the C.P.F. brand was phased out sometime around 1915.” Interestingly, he noted that the Chesterfield name and style was later introduced in the KB&B, Kaywoodie and Yello-Bole lines. He says that the 1924 KB&B catalog shows KB&B Chesterfields…

… From my research I believe that we can definitively assert that the C.P.F. logo stands for Colossus Pipe Factory. The brand was purchased by KB&B sometime between 1884 and 1898 and that it continued until 1915. That time frame gives help in dating some of the older C.P.F. pipes you or I might find. It can be said that prior to the dual stamping it is fairly certain that the pipe is pre-1884 to 1898. After the dual stamping it can be placed post 1898 until the closure of the brand line in 1915. C.P.F. made beautiful pipes.

From that information I can tentatively date this pipe to the same period as the other pipes I have been working on – prior to 1884-1898 because of the single C.P.F. stamp on the shank, ferrule and stem. At any rate it is another old pipe though this one is well smoked. The story of its journey to Jeff and me this long after the date it was made is another mystery. This batch of pipes has made me wish that even one of them could share its story with us. I can only imagine the journey it has had even minimally from the bits that I do know. It traveled from the Colossal Pipe Factory in New York City to Idaho Falls in journey that began in the 1880s and ended in 2019. Now it is has further traveled by air to Vancouver, Canada, as far west as it can go and remain on the same continent… what a well-traveled pipe. Armed with that information it was not time to work on the pipe.

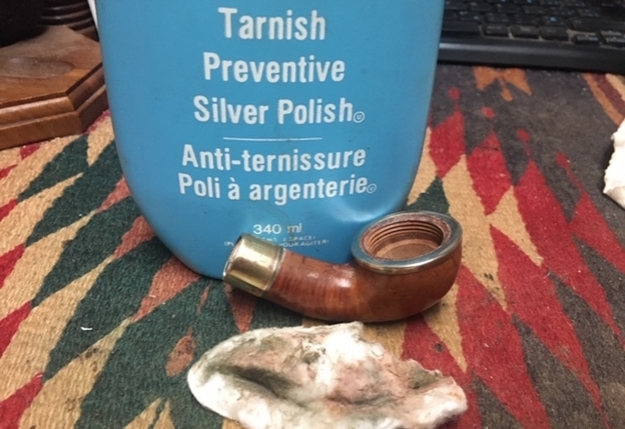
I unscrewed the bowl from the briar base. I removed the loose ferrule and the loose spacer and cleaned the surface with alcohol on a cotton pad. I glued the spacer in place on the base with clear super glue. I filled in the nicks and divots on the top and underside of the shank with super glue. I sanded the repaired spots on the top and underside of the base with 220 grit sandpaper to blend the repairs into the briar. I spread some white glue on the shank end and pressed the ferrule in place. I held the break in the ferrule together until the glue set. I filled in the crack with clear super glue until it was smooth and set it aside to cure.  The internals were clean and a quick pipe cleaner and alcohol run through the shank and bowl to clean out the dust. I polished the brass ferrule on the shank end with Hagerty Tarnish Preventative Silver Polish to remove the tarnish and wear. I used it on the space between the bowl and base as well. You can see the effect of the polishing – the metal shone.I wiped the bowl and base down with isopropyl alcohol on a cotton pad to remove the varnish coat on both the bowl and the base. The briar looked very good. There was a fill in the back side of the bowl and a little one on the underside of the shank. I am continuing to experiment with Mark Hoover’s Briar Cleaner to see what I think of it as a possible replacement for my usual Murphy’s Oil Soap scrub. I rubbed it onto the briar bowl and base and worked it into the grain of the briar. I wiped it off with a clean cloth. There was still a coat of grime and grit from the cleaner left behind so I rinsed it with warm water to remove that and dried it with a microfiber cloth. I am really not sure if this is any better than the Murphy’s but I am committed to working with it. I rubbed the briar bowl and shank down with a coat of Before & After Restoration Balm. I worked it into the surface of the briar. The product works to clean, enliven and protect the briar. The old briar was dry and it drank up the balm. I buffed the bowl with a soft cloth to raise a shine. I like how the pipe looks as this point in the process. I set the bowl aside and went through my can of stems and found a Bakelite stem with the same diameter and length as the original one. It had a push tenon that I would need to sand down a bit to get a good fit in the threaded shank. I tried to remove the bone tenon from the original stem but it was stuck and breaking the old stem would likely damage the tenon. I started working on the stem. I used a needle file to reduce the diameter of the tenon. I heated the stem with a heat gun until it was softened and then bent it to match the angle of the bowl and shank. I sanded out the small ripple marks from bending the stem using 220 grit sandpaper. I sanded out the scratches with 400 grit sandpaper. I wiped the stem down with Obsidian Oil. I polished the stem with micromesh sanding pads – wet sanding it with 1500-2400 grit pads and dry sanding it with 3200-12000 grit pads. I wiped it down with Obsidian Oil after each sanding pad. I finished the polishing with Before & After Pipe Polish – both Fine and Extra Fine. I gave it a final coat of Obsidian Oil and set it aside to dry.   By now if you have read rebornpipes for very long you know that I love these old C.P.F. pipes. There is some serious thought that they were carved by European trained craftsman who were skilled pipemakers. These pipemakers were brought to the US by the Colossal Pipe Factory to make pipes. Many of the shapes, bands and stems have such high quality workmanship involved that I really think there is truth to this story. This little bent Briar Stack is a real beauty.

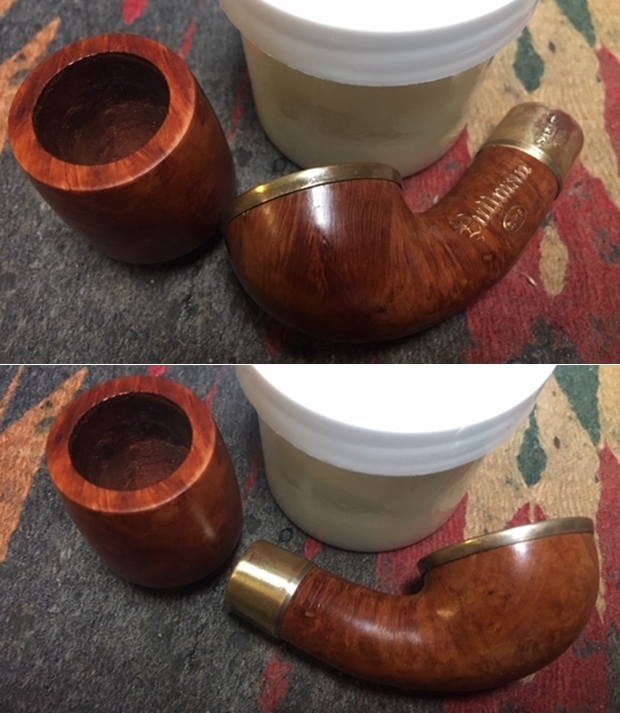
I screwed the bowl back on the base and carefully polished stem and the bowl with Blue Diamond polish on the buffing wheel carefully avoiding the stamping on the shank. I gave the bowl and the stem multiple coats of carnauba wax. I buffed the pipe with a clean buffing pad to raise the shine. I hand buffed it with a microfiber cloth to deepen the shine. The pipe polished up pretty nicely. The mixed grain on the base and shank really began to stand out; it seemed to take on life with the buffing. The rich contrasting brown stain on the base and bowl works well with new golden Bakelite stem. The finished pipe has a rich look that is quite catching. Have a look at it with the photos below. The shape, finish and flow of the pipe and stem are very well done. The dimensions are Length: 5 1/4 inches, Height: 2 1/8 inches, Outside diameter of the bowl: 1 1/8 inches, Chamber diameter: 3/4 of an inch. This is another one that I will be adding to my collection. It fits in the C.P.F. niche group that I have been building. The shape and feel in the hand is perfect. Since this one is another unsmoked pipe it too will be in line for a break in with some rich aged Virginia. Thanks for walking through the restoration with me as I restored and reworked this old Stack from 1884-1898. It is always a treat for me to work on a piece of pipe history especially when I have learned a bit of the story behind it.

A Study in Opposites – Restoring a Hard Used C.P.F. Briar Calabash


Blog by Steve Laug

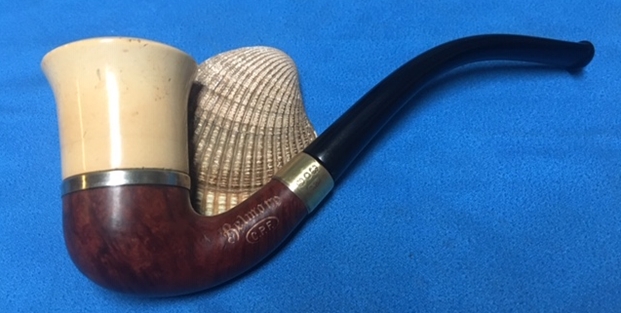
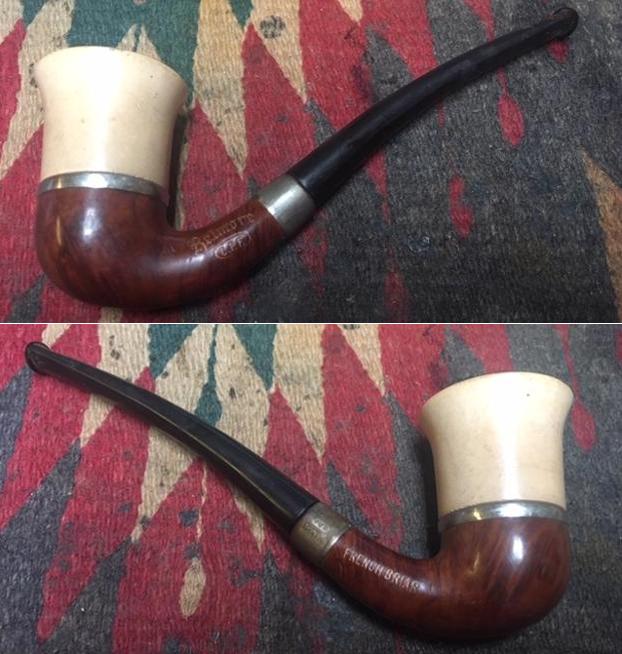
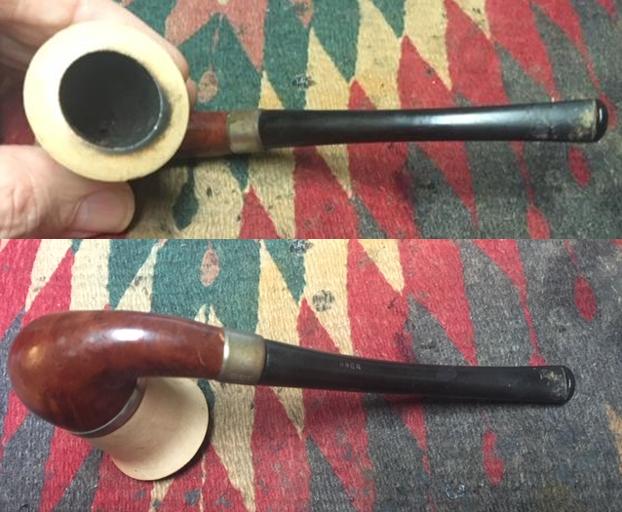
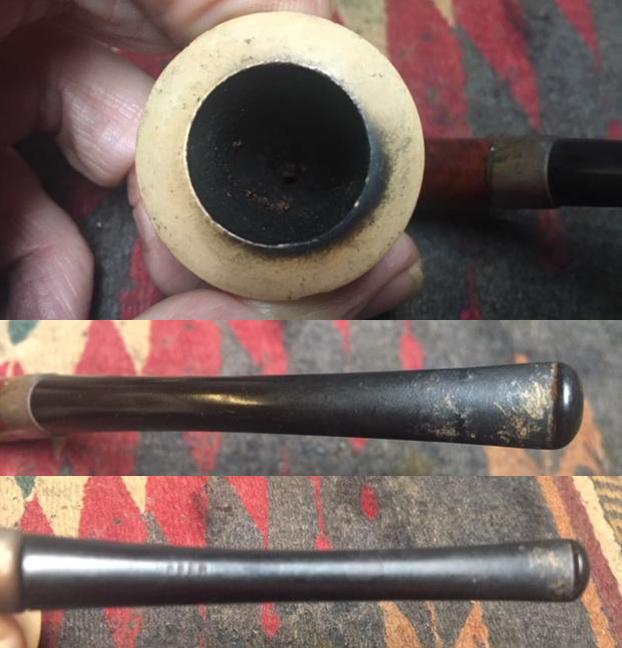
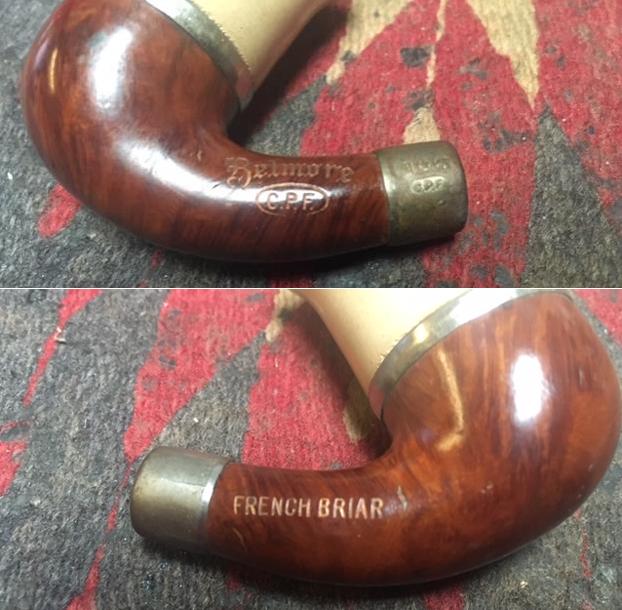
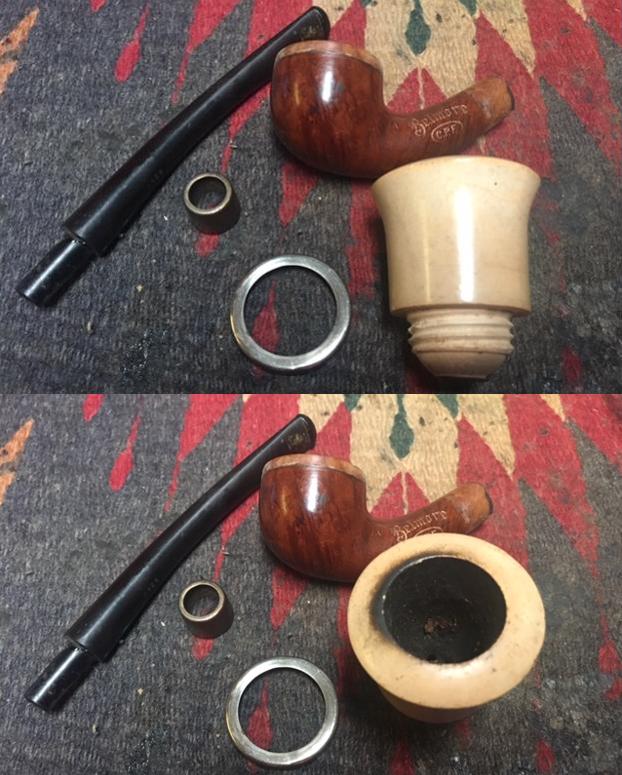
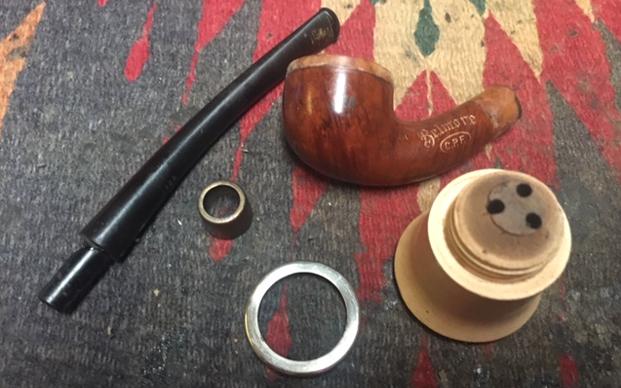
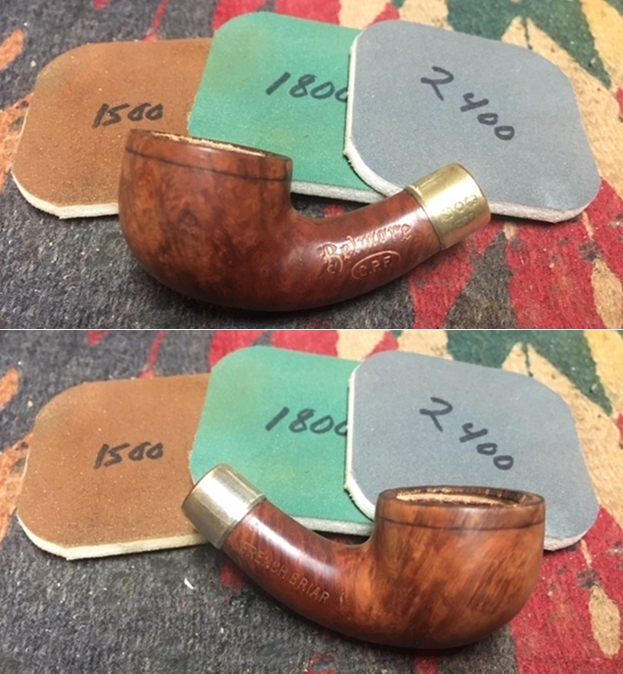
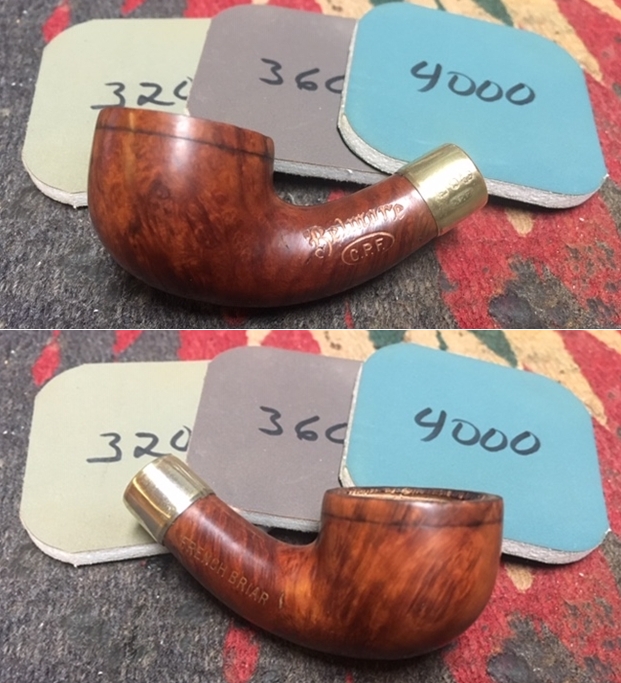
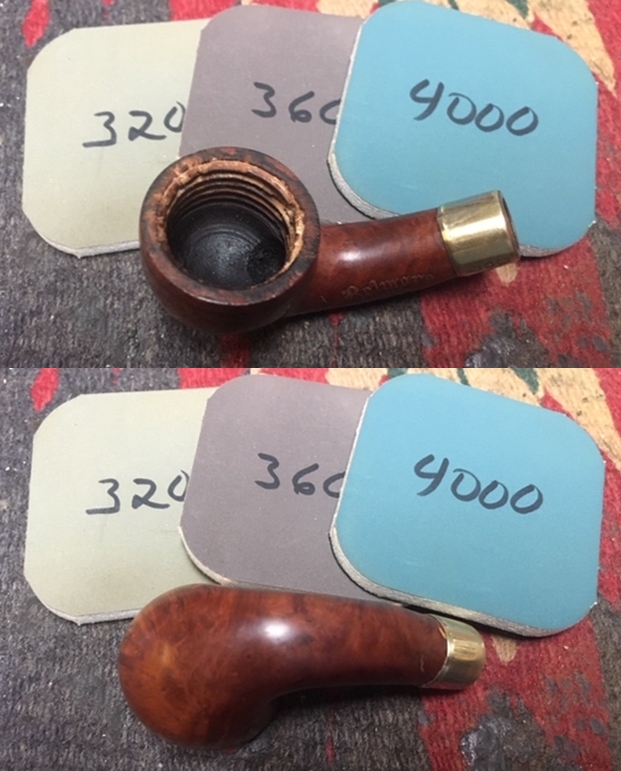
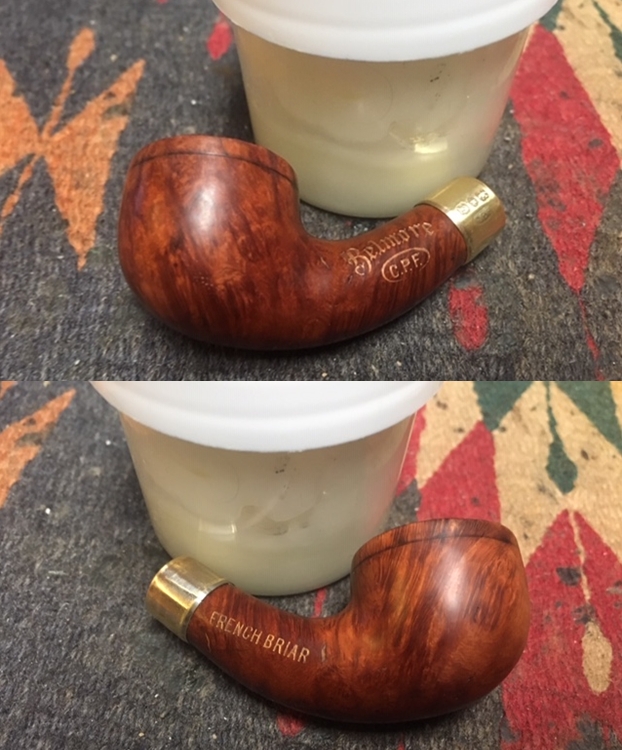
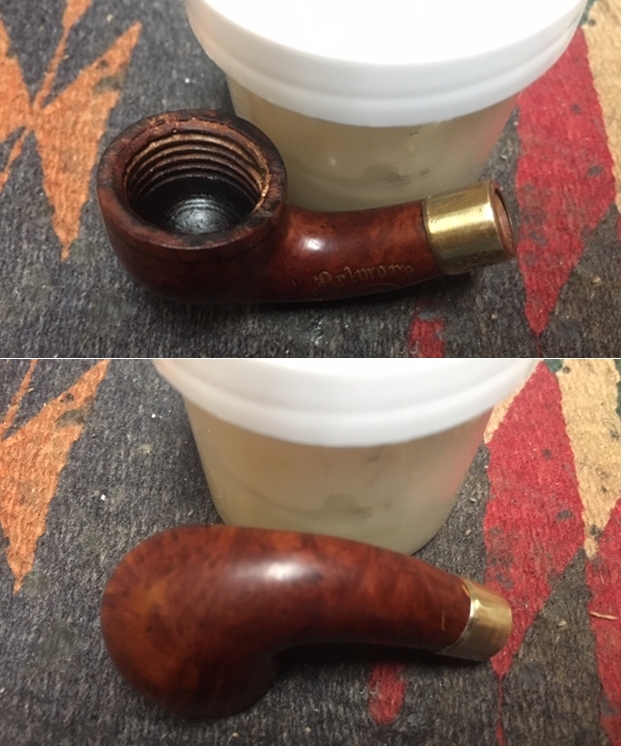
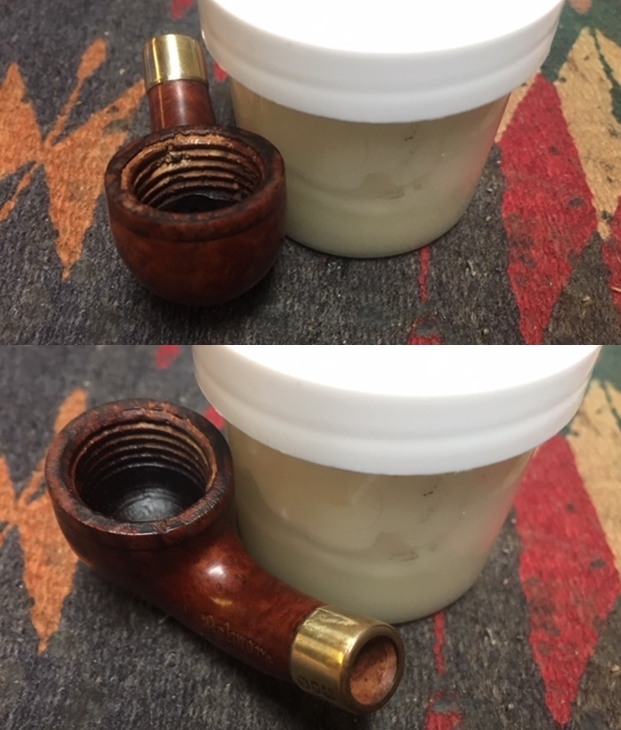
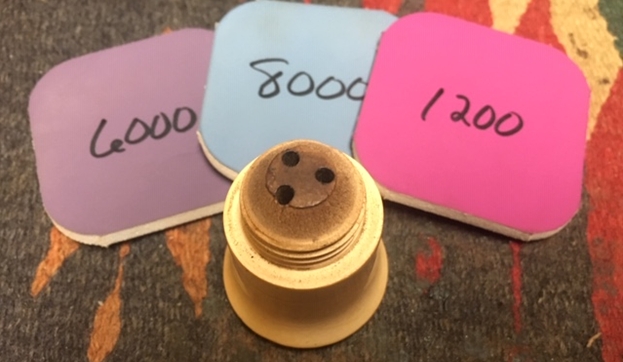
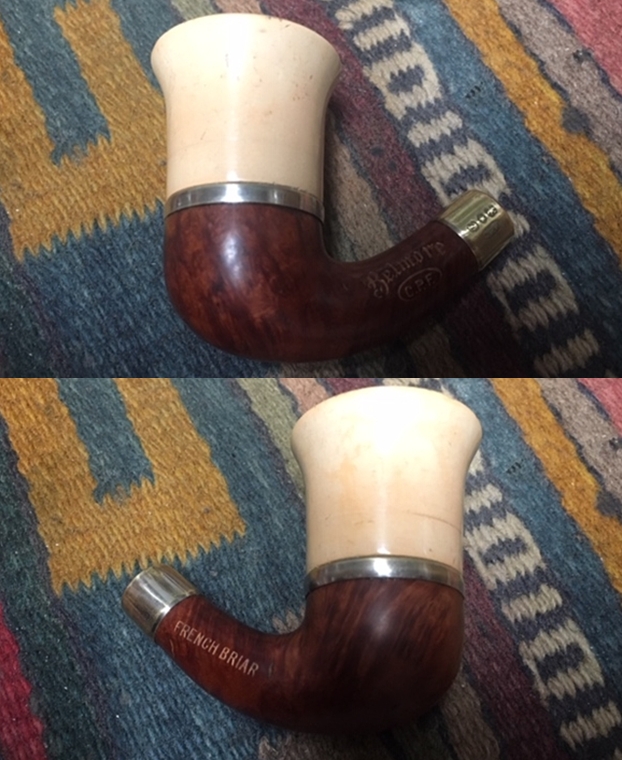
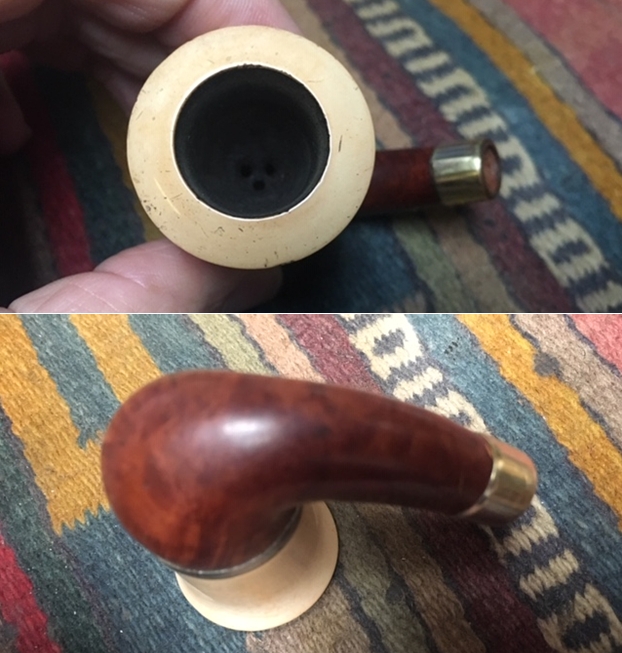
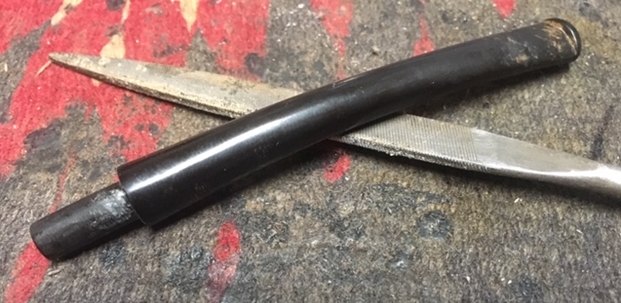
After the last batch of very clean pipes that I brought back from my trip to Idaho in a small bag of unsmoked C.P.F. pipes this pipe comes as a big change. It is the first of the smoked ones from that bag that I am working on. I have to say working on NOS time dusty pipes is a breeze and a pleasure in comparison to this dirty little calabash. The bowl is another screw in meerschaum cup that is almost tulip or funnel shaped. It is dirty and sports a thick cake in the bowl. It has some thick lava on the back side of the rim top and some darkening around the rim and in the bowl. There are no deep chips or nicks in the meer which is unusual in a pipe this age but the bowl is almost grey from use. The base is briar with a brass/metal between the bowl and base. The finish on the briar had a coat of varnish or possibly shellac over it so it had a spotty shiny look to it even under the dirt and grime of years. The left side of the shank is stamped with gold leaf and reads Belmore over C.P.F. in the oval logo. The right side of the shank reads French Briar. There is a brass/silver ferrule on the shank end that is oxidized and also loose. The vulcanite stem had some tooth chatter and light marks near the button. It was oxidized as well. The stem had lost some of its bend over time. The tenon has a chip out of it as well that will need to addressed. I took photos of the pipe to show its condition at the start of the process. I took a close up photo of the meerschaum rim top and bowl to show the condition of the meer bowl. It was heavily caked with lava overflow and darkening on the rim top. The airways are at the bottom of the bowl much like a gourd calabash though in this case there are three openings. The metal ferrule is oxidized and dirty. The photos of the vulcanite stem show its general condition. It was oxidized and dirty. There was tooth chatter and marks on both sides near the orifice button. The tenon had a chip on the topside that will need to be addressed.The next photo shows the stamping on the left side of the shank. It is clear and readable. The stamping reads as noted above. The band is loose and is stamped with the C.P.F. in an oval logo with the faux hallmarks that are on all of the metal banded C.P.F. pipes.I unscrewed the bowl from the pipe and took photos of the parts – the briar base and the meer bowl as well as all the adornments. It looks good on the inside. The threads in the base and on the meerschaum bowl are in good condition. I have included the following information with each of the blogs on C.P.F. pipes because I always want to keep the historical context in mind as I work on these. The link to the blog follows (https://rebornpipes.com/2013/04/14/some-reflection-on-the-historical-background-on-cpf-pipes/). I quote a pertinent part of the blog below:

From my reading and research it seems to me that CPF brand was discontinued sometime in the 1910-1920 range. Again, turning to Bill Feuerbach I found that he notes the following, which pins down the time frame of the discontinuation of the brand more specifically, “I have a CPF Chesterfield in our office display that has a name tag from way before my time that says 1900 CPF Chesterfield. It looks like most other Chesterfields you’ve seen, including the military type push stem, except this stem is horn and not vulcanite. As far as I have gathered the CPF brand was phased out sometime around 1915.” Interestingly, he noted that the Chesterfield name and style was later introduced in the KB&B, Kaywoodie and Yello-Bole lines. He says that the 1924 KB&B catalog shows KB&B Chesterfields…

… From my research I believe that we can definitively assert that the CPF logo stands for Colossus Pipe Factory. The brand was purchased by KB&B sometime between 1884 and 1898 and that it continued until 1915. That time frame gives help in dating some of the older CPF pipes you or I might find. It can be said that prior to the dual stamping it is fairly certain that the pipe is pre-1884 to 1898. After the dual stamping it can be placed post 1898 until the closure of the brand line in 1915. CPF made beautiful pipes.

From that information I can tentatively date the pipe to the period prior to 1884-1898 because of the single C.P.F. stamp on the shank, ferrule and stem. At any rate it is another old pipe though this one is well smoked. The story of its journey to Jeff and me this long after the date it was made is another mystery. This batch of pipes has made me wish that even one of them could share its story with us. I can only imagine the journey it has had even minimally from the bits that I do know. It traveled from the Colossal Pipe Factory in New York City to Idaho Falls in journey that began in the 1880s and ended in 2019. Now it is has further traveled by air to Vancouver, Canada, as far west as it can go and remain on the same continent… what a well-traveled pipe. Armed with that information it was not time to work on the pipe.

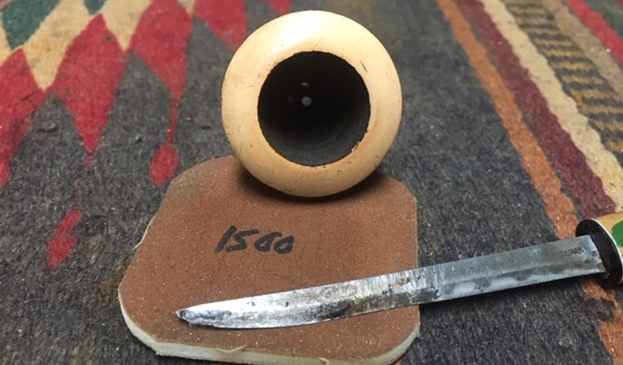
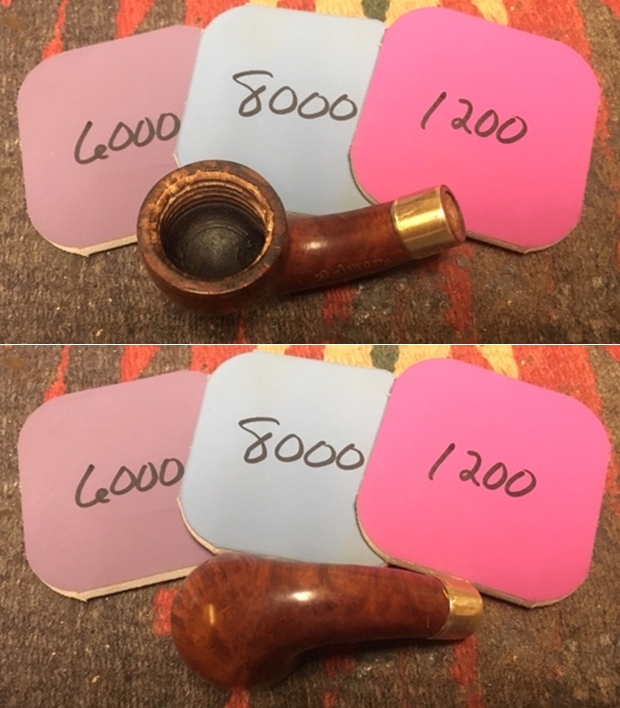
I decided to begin with the bowl. I unscrewed the bowl from the briar base. I carefully scraped the rim top to remove the lava build up. I finished it up with a 1500 grit micromesh pad. I reamed the bowl with a Savinelli Fitsall Pipe knife to scrape away the cake on the walls. I wanted to avoid cracking or damaging the meer in any way so I chose this method. Once it was reamed, I sanded the internal walls with 220 sandpaper wrapped around a dowel until it was smooth. I wiped down the bowl with a damp cotton pad to remove the surface dirt. I cleaned out the sump area in the base with cotton swabs and alcohol. I worked on the airway in the bowl and shank and the mortise with alcohol, cotton swabs and pipe cleaners. I scrubbed until the airway was clean. I cleaned out the airway in the stem with pipe cleaners and alcohol. I am still experimenting with Mark Hoover’s Briar Cleaner to see what I think of it as a possible replacement for my usual Murphy’s Oil Soap scrub. I rubbed it onto the briar portion of the pipe and worked it into the grain of the briar. I wiped it off with a clean cloth. There was still a coat of grime and grit from the cleaner left behind so I rinsed it with warm water to remove that and dried it with a microfiber cloth. I am really not sure if this is any better than the Murphy’s but I am committed to working with it. I forgot to take photos of this point in the process.

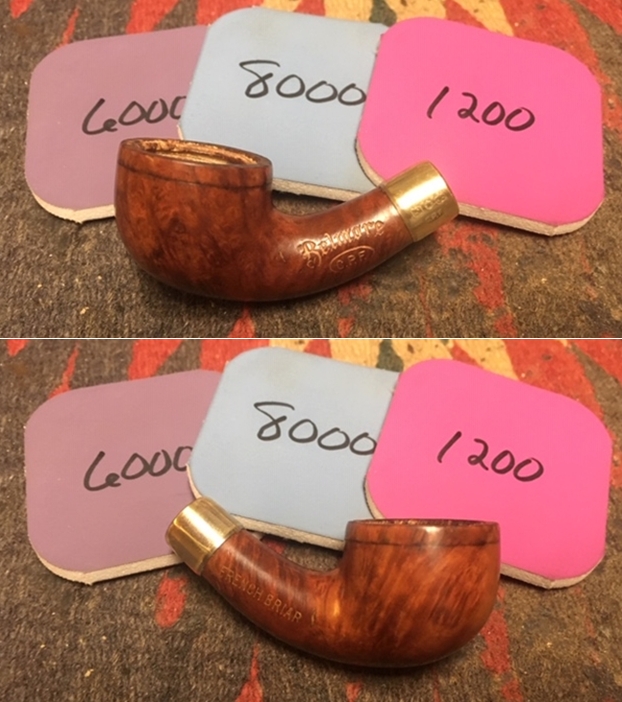
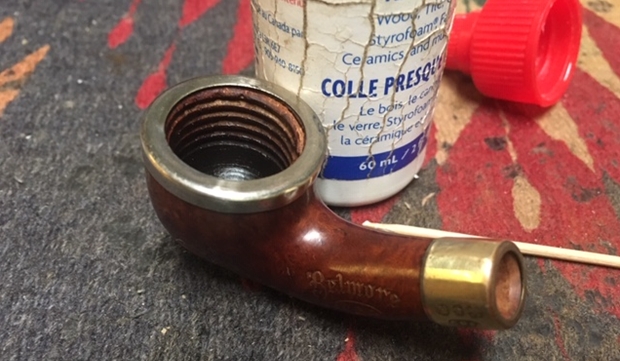
I sanded the old glue and dirt off the shank and then I spread some Weldbond white glue on the shank end. I spread it evenly on the shank end with a tooth pick. I pressed the brass ferrule on the shank end and aligned it so that the C.P.F. oval logo and the faux hallmarks lined up with the stamping on the left side of the shank. I rubbed the briar bowl and shank down with a coat of Before & After Restoration Balm. I worked it into the surface of the briar. The product works to clean, enliven and protect the briar. The old briar was dry and it drank up the balm. I buffed the bowl with a soft cloth to raise a shine. I like how the pipe looks as this point in the process. I glued the metal spacer on top of the base plate making sure all was aligned properly before I pressed them into place.I polished the meerschaum bowl with micromesh sanding pads – wet sanding with 1500-12000 grit pads. I wiped the bowl down after each pad with a damp cloth to remove the dust. Each successive sanding pad brought more shine to the meerschaum. There was a scratch in the meerschaum on one side of the bowl about 1/3 up from the bottom of the bowl. It appears to look like a crack but it is not one. If I had continued to sand it I would have changed the profile of the bowl. I put the meerschaum cup back in the briar bowl and buffed it with microfiber cloth to raise a shine. The scratch at the front of the bowl is visible but it is still a beautiful pipe.I set the bowl aside and started working on the stem. I filled in the damaged area on the tenon on the top side with clear super glue. Once the repair cured I used a needle file to smooth out the repaired area. I smoothed out the tenon repair and sanded out the tooth chatter and marks with 220 grit sandpaper. I sanded out the scratches with 400 grit sandpaper. I wiped the stem down with Obsidian Oil.I heated the vulcanite stem over a candle until the rubber had softened and bent the stem to the proper angle to match the curve of the base.I polished the stem with micromesh sanding pads – wet sanding it with 1500-2400 grit pads and dry sanding it with 3200-12000 grit pads. I wiped it down with Obsidian Oil after each sanding pad. I finished the polishing with Before & After Pipe Polish – both Fine and Extra Fine. I gave it a final coat of Obsidian Oil and set it aside to dry. By now if you have read rebornpipes for very long you know that I love these old C.P.F. pipes. There is some serious thought that they were carved by European trained craftsman who were skilled pipemakers. These pipemakers were brought to the US by the Colossal Pipe Factory to make pipes. Many of the shapes, bands and stems have such high quality workmanship involved that I really think there is truth to this story. This is little bent Meerschaum stacked Calabash is a real beauty.

I screwed the bowl back on the base and carefully polished stem and the bowl with Blue Diamond polish on the buffing wheel carefully avoiding the stamping on the shank. I gave the bowl and the stem multiple coats of carnauba wax. I buffed the pipe with a clean buffing pad to raise the shine. I hand buffed it with a microfiber cloth to deepen the shine. The pipe polished up pretty nicely. The grain on the base and shank really began to stand out; it seemed to take on life with the buffing. The rich contrasting brown stain on the bowl works well with the polished Meerschaum bowl that is also beginning to take on colour. The black vulcanite stem also provides contrast. The finished pipe has a rich look that is quite catching. Have a look at it with the photos below. The shape, finish and flow of the pipe and stem are very well done. The dimensions are Length: 5 1/2 inches, Height: 2 1/4 inches, Outside diameter of the bowl: 1 3/8 inches, Chamber diameter: 3/4 of an inch. This is another one that I will be adding to my collection. It fits in the C.P.F. niche group that I have been building. The shape and feel in the hand is perfect. Since this one is already well smoked it will be an easy pipe to load and fire up. Thanks for walking through the restoration with me as I restored and reworked this old meerschaum stack Calabash from 1884-1898. It is always a treat for me to work on a piece of pipe history especially when I have learned a bit of the story behind it.

Cleaning up an Unsmoked Gutta-percha Pistol Pipe with a Flawed Bowl


Blog by Steve Laug

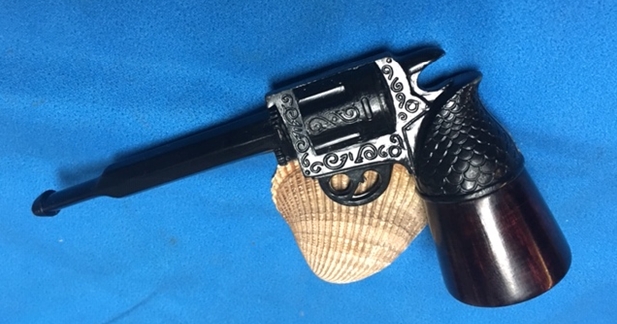
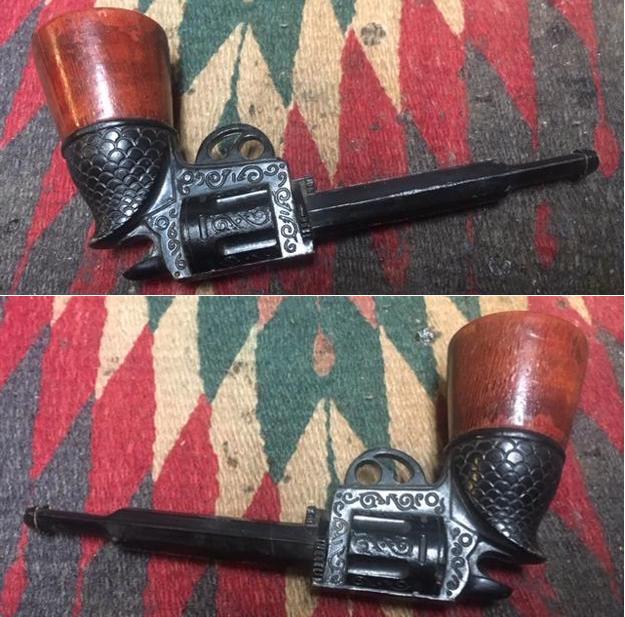
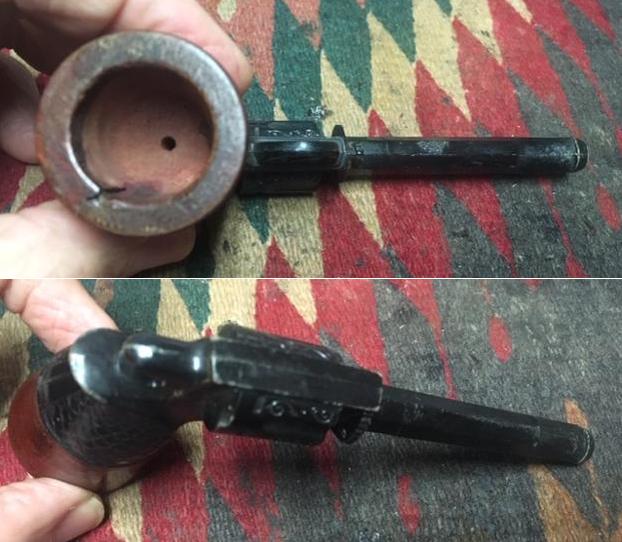
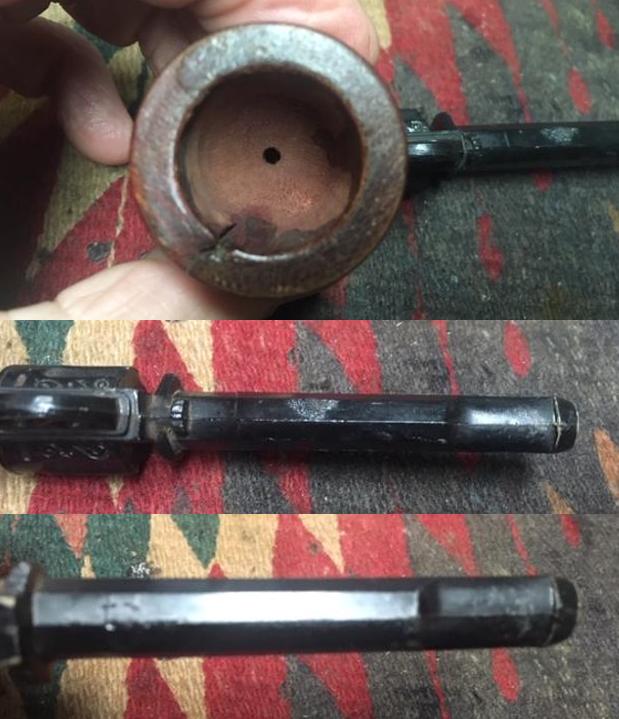
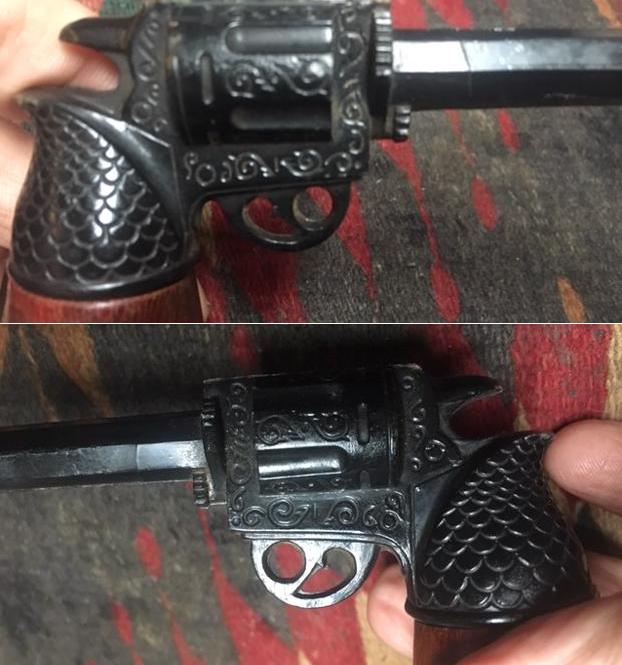
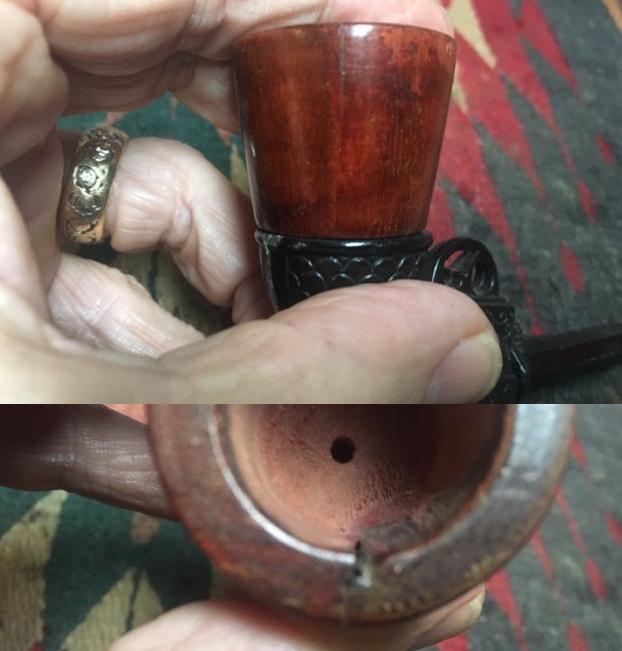
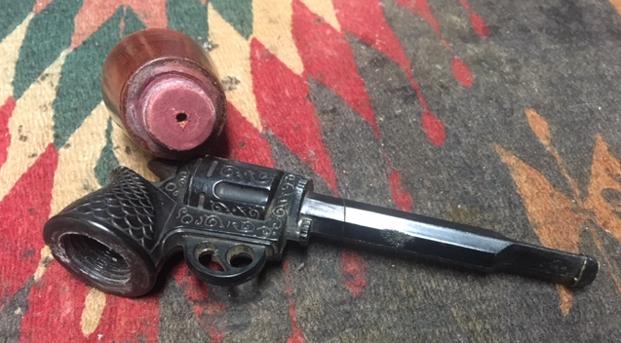
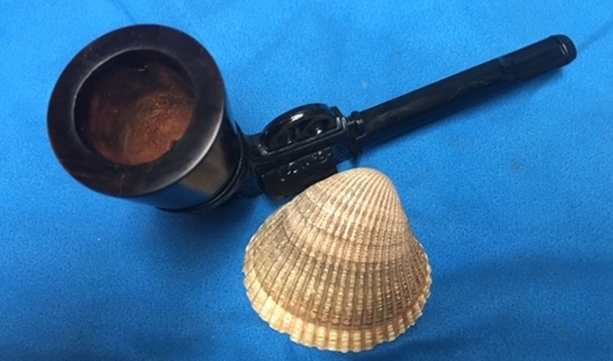
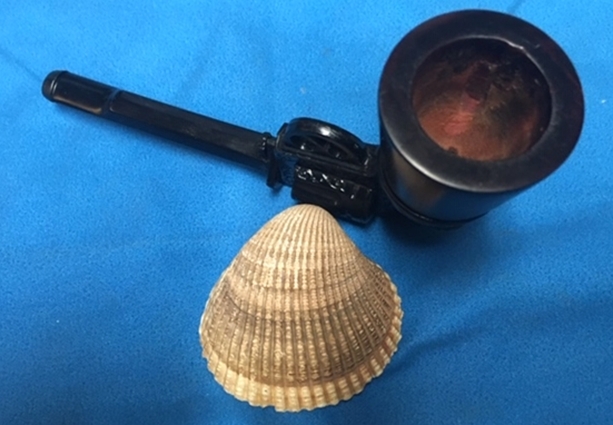
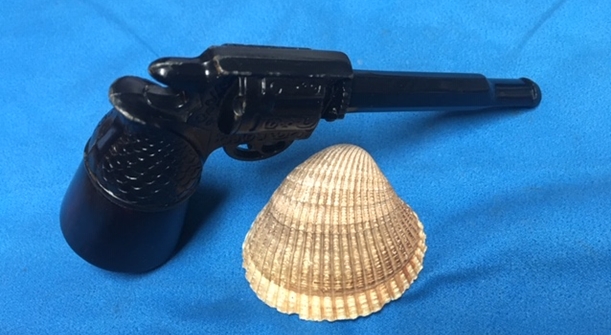
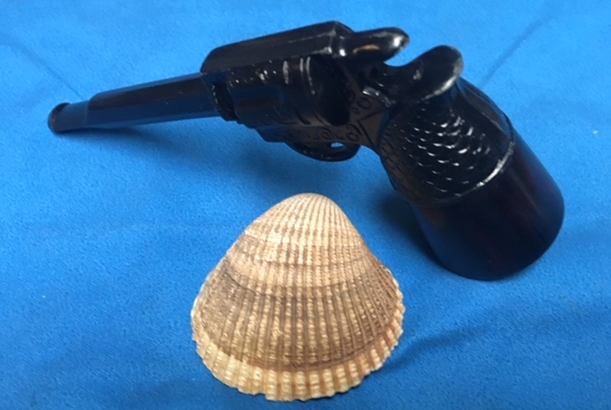
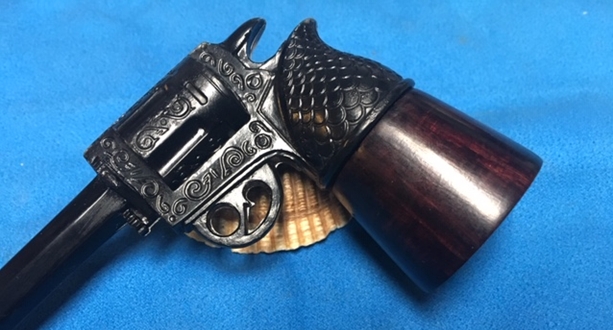
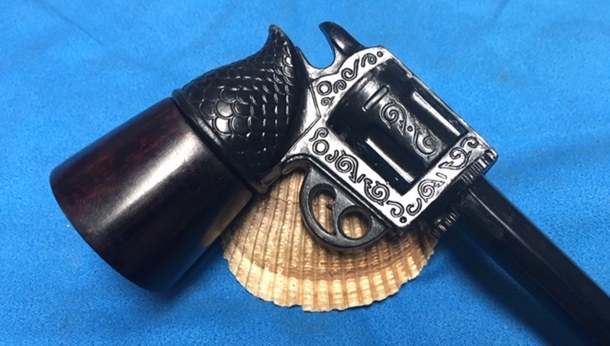
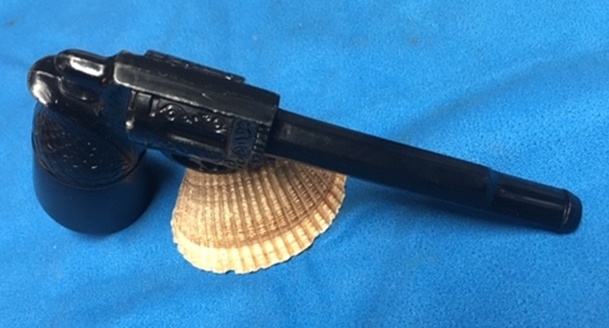
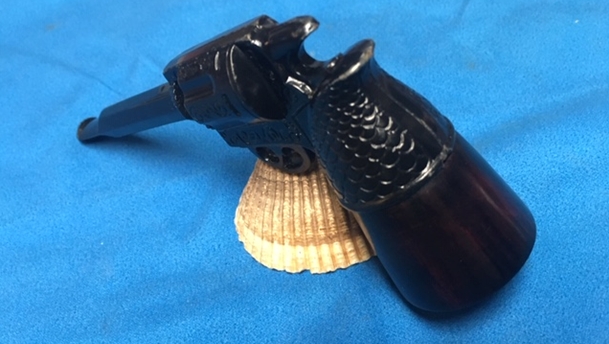
One of the great packages I brought back from my trip to Idaho was a small bag of C.P.F. pipes smoked and unsmoked. Some have horn stems; some have Gutta-percha bases and stems. I went through the bag and chose the next pipe I wanted to work on. It was an unsmoked Gutta-percha pistol pipe with a wooden bowl. I say wooden as it did not appear to be briar. There is no stamping on the barrel (shank) or on the body of the pistol. The maker is thus unknown. The shank had been snapped off and repaired – sloppily with what appears to be epoxy. There was a lot of residue left all over the barrel. The joint seemed solid and was pretty well aligned but would need to be sanded smooth and polished. The bowl was unsmoked but had a lot of dust and debris inside. It had a large flaw in the rim top extending down into the bowl from the rim to the bottom edge. There was a crack on the outside of the bowl at that point as well. A large flaw in the wood was in wood opposite the crack. The finish was a poorly varnished red over the flaws. The finished needed to go to make the repairs. I took photos of the pipe before I began my work. I took a close up photo of the rim top and bowl to show the condition of the unsmoked bowl as well as the flaw on the top. The flaw is very visible at the bottom of the photo and on the left side of the bowl. It was clean but dusty and grimy. The photos of the pistol shaped base show its general condition and the poor repair to the broken off barrel. There was a lot of dust and grime in the small casting features on the base. It still should clean up well.The next photo shows the details of the casting of the pistol. It is a well cast model that has great detail in the parts of the pistol. The grips and barrel as well as the cylinder in the middle are well cast (incidentally you can also see the repaired crack in the barrel).Because I was once again working with a Gutta-percha cast pipe I went back and read a previous blog that I had written to reacquaint myself with the material and the variety of cast products that were sold. I remembered that I had included a photo in the blog of a trio of pistols that this one reminded me of. Here is the link to the blog (https://rebornpipes.com/2017/12/08/59256/). I quote a pertinent part of the blog below:

That led me to do some research on the web to see what I could find out about the material. (Honestly, I don’t know what I would do without Google. I don’t know how I survived college and graduate school without it.) The first link I found and turned to was on Wikipedia (https://en.wikipedia.org/wiki/Gutta-percha). I quote large portions of that article below to set the base for understanding the material’s composition and origin.

Scientifically classified in 1843, it was found to be a useful natural thermoplastic. In 1851, 30,000 long cwt (1,500,000 kg) of Gutta-percha was imported into Britain. During the second half of the 19th century, Gutta-percha was used for myriad domestic and industrial purposes, and it became a household word. In particular, it was needed as insulation for underwater telegraph cables, which, according to author John Tully, led to unsustainable harvesting and a collapse of the supply.

According to Harvey Wickes Felter and John Uri Lloyd’s Endodontology: “Even long before Gutta-percha was introduced into the western world, it was used in a less processed form by the natives of the Malaysian archipelago for making knife handles, walking sticks and other purposes. The first European to discover this material was John Tradescant, who collected it in the Far East in 1656. He named this material “Mazer wood”. Dr. William Montgomerie, a medical officer in Indian service, introduced Gutta-percha into practical use in the West. He was the first to appreciate the potential of this material in medicine, and he was awarded the gold medal by the Royal Society of Arts, London in 1843.”

…In the mid-19th century, Gutta-percha was also used to make furniture, notably by the Gutta-Percha Company (established in 1847). Several of these ornate, revival-style pieces were shown at the 1851 Great Exhibition in Hyde Park, London. When hot it could be molded into furniture, decorations or utensils.

It was also used to make “mourning” jewelry, because it was dark in color and could be easily molded into beads or other shapes. Pistol hand grips and rifle shoulder pads were also made from Gutta-percha, since it was hard and durable, though it fell into disuse when plastics such as Bakelite became available. The material was adopted for other applications. The “guttie” golf ball (which had a solid Gutta-percha core) revolutionized the game. Gutta-percha remained an industrial staple well into the 20th Century, when it was gradually replaced with superior (generally synthetic) materials, though a similar and cheaper natural material called balatá is often used in Gutta-percha’s place. The two materials are almost identical, and balatá is often called Gutta-balatá.

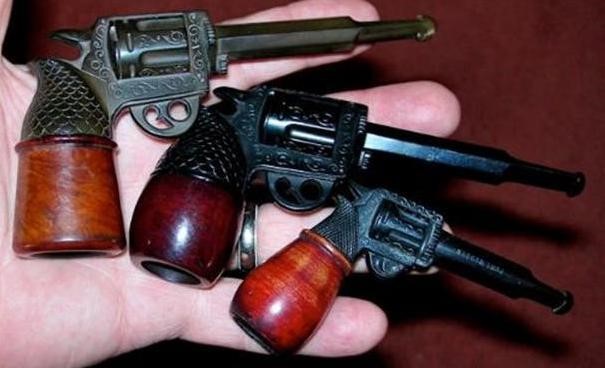
When I reread the blog I found the photo that I had remembered with three pistol pipes with wooden bowls and Gutta-percha bases. I include copy of that photo below. The one that I have is very similar to these with the expected variations.From that information I can give a potential date for the pipe as having been made in the late 19th to early 20th century – the period when Gutta-percha was in vogue. During that period many items were cast of the material because it could easily be cast with detail and because of its durability. For me the interesting fact is the old pipe remained unsmoked for this long. That may well be the result of the flaw in the bowl and the desire to not make it worse. The story of its journey to Jeff and me this long after the date it was made is another mystery. This is one of those times that I wish an old pipe could speak and share the story of its journey. What a well-traveled pipe and one that I will never really know the story about the nature of the journey. Armed with that information it was now time to work on the pipe.

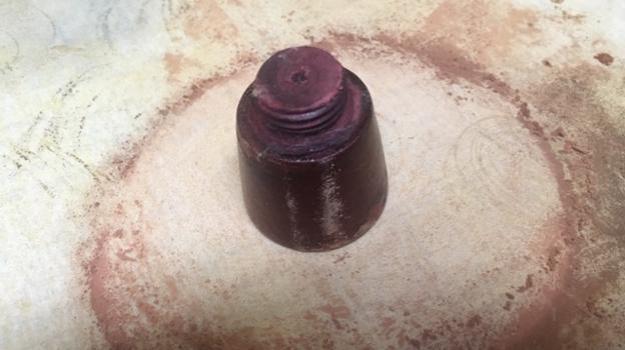
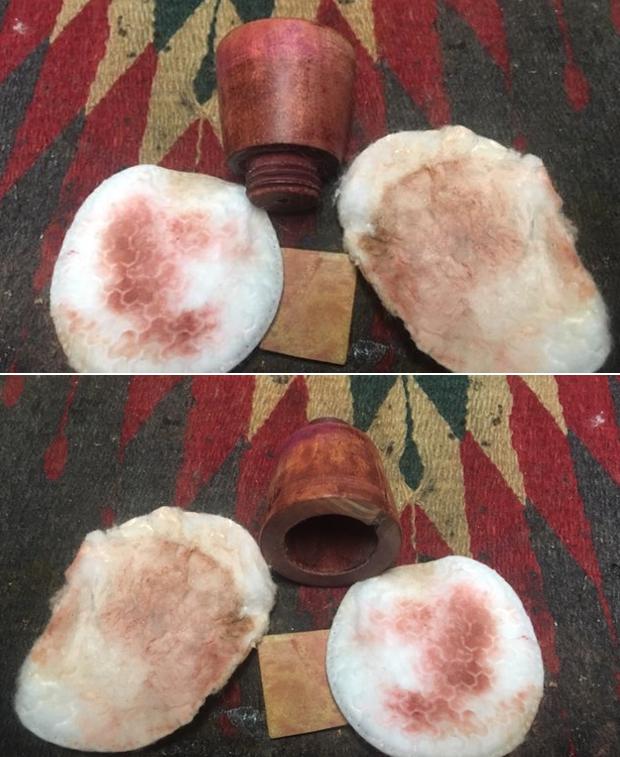
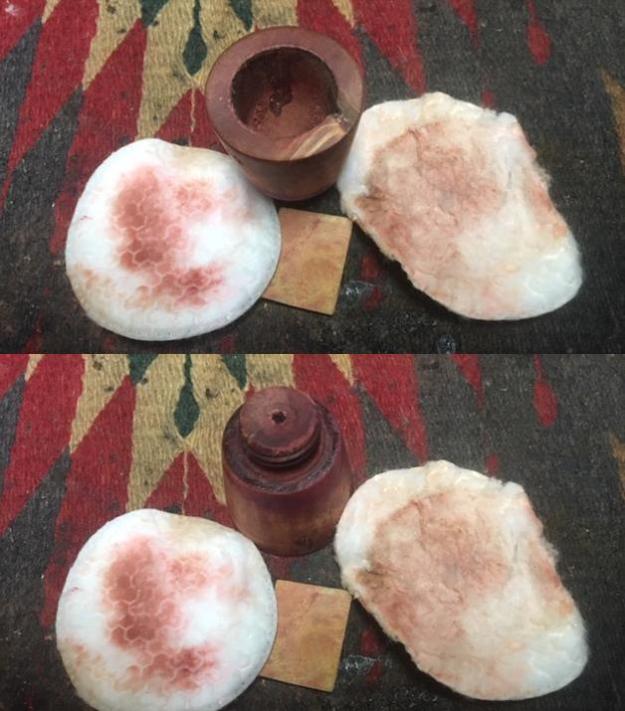
I decided to begin with the bowl. I took it off the base so that I could address the horrible finish and then work on the flaws in the wood. I took a photo of the crack on the outside of the bowl and the flaw on the top and inside. I also took a photo of the pipe taken apart before beginning my restoration. I started the clean up on bowl with working to remove the varnish or shellac coat. I wiped it down with acetone on a cotton pad to break down the shiny top coat and had very minimal success. I would need to resort to more intrusive measure to truly remove the finish. I topped the bowl on a topping board with 220 grit sand paper to break through the thick shiny coat on the rim top. I sanded the bowl with 220 grit sandpaper to remove the thick shiny coat and get down to the wood. I repeatedly washed the bowl down with acetone on a cotton pad during the sanding process to see how it was progressing. It was clearly not a piece of briar that I was working on so I wanted to be sure to clean it off before restaining. I examined the crack on the outside of the bowl and it appeared to actually be a grain line. I examined it with a lens to double check. There was a small hairline crack for the first ¼ inch from the rim top. I ran a bead of clear super glue down the line and let it seep into the crack. I held it tight until the glue set. For the flaw on the inside of the bowl I filled it in with clear super glue and briar dust to rebuild the damaged area of the wall.Once the repair had cured I sanded the inside and outside of the bowl smooth again with 220 grit sandpaper and polished it with 400 grit wet dry sandpaper. I polished it with 1500-4000 grit micromesh sanding pads to remove the scratches. All of this was done in preparation for the first coat of stain. I had decided to stain it with a base coat of Fiebing’s Tan stain as it has a red tint to it. I applied the stain, flamed it and repeated the process until I was happy with the coverage. I generally put a cork in the bowl which allows me to manipulate the bowl and a candle stand to let the stain cure. I took pictures of the bowl after the stain had cured overnight. I noted that the inner edge of the rim needed a bit more work before the next stain coat that I had chosen. I filled it in with more super glue and briar dust until the edge was filled in. I sanded it and the spot on the rim top smooth. I decided to use a Mahogany stain pen for the next coat. Because the grain was vertical I stain the bowl vertically with the pen. The next photos show the bowl after the stain coat has been applied. I lightly, cautiously buffed the bowl with Blue Diamond polish on the buffing wheel. I gave it a coat of carnauba wax and buffed it with  a clean buffing pad to raise the shine. I took the following photos after that. There is a bit more polishing to go but you can see where I am heading with the stain coat.I set the bowl aside at this point and went to work on the base and “barrel”. Because of all the nooks and crannies in the casting it was very dusty and dirty. I scrubbed the base with Murphy’s Oil Soap and a tooth brush to get the debris and dust out of the crevices and valleys. I rinsed it under warm water and ran a pipe cleaner through the airway. The pipe looked really god at this point and it was ready from the next step of sanding the “barrel”. Now that the grime was cleaned off it was time to address the sloppy repair on the cracked “barrel” and clean up the excess glue around the repair. I sanded the “barrel” with 220 grit sandpaper to remove the excess glue that was around the repaired area of the broken shank. I sanded the “barrel” and the mouthpiece end to remove not only the glue but also the casting marks that were left behind from when the pipe was made. I polished the stem with micromesh sanding pads – wet sanding it with 1500-12000 grit pads. I wiped it down with Obsidian Oil after each sanding pad. I finished the polishing with Before & After Pipe Polish – both Fine and Extra Fine. I gave it a final coat of Obsidian Oil and set it aside to dry. Over the last few years I have come to appreciate the workmanship that went into creating the molds for these Gutta-percha pipe bases. The combination of design and skill that went into the molds is reflected in the cast Gutta-percha pipe bases. The creativity exceeds even the most ornately carved clay in terms of the minute detail that can be cast into the Gutta-percha material. I have yet to find as much care going into the pipe bowls as I have seen them made from a variety of woods and showing less craftsmanship in shaping or finishing them. Almost all of the ones I have worked on used a dark stain that hides the grain and a heavy varnish coat that covers a multitude of flaws. Nevertheless, these pipes have endured for over 125 years and look much like they did when they were made – at least underneath the grime and grit of use and time. This little revolver really captures the look and feel of a pistol in the details of the casting. Though this one was unsmoked (in part due to the flaws in the bowl) even the smoked ones that I have seen have lasted a long time.

I finished my restoration and put the base and bowl back together and gently polished with Blue Diamond polish on the buffing wheel. I gave the bowl and the stem multiple coats of Conservator’s Wax and hand buffed it with a microfiber cloth to raise the shine. The pipe polished up pretty nicely. The contrast between the newly stained wooden bowl and the dark Gutta-percha base looks really good. The finished pipe has a rich look that is quite catching. Have a look at it with the photos below. The shape, finish and flow of the pipe and stem are very well done. The dimensions are Length: 5 1/2 inches, Height: 2 3/4 inches, Outside diameter of the bowl: 1 1/4 inches, Chamber diameter: 3/4 of an inch. This one will be joining my collection as it fits in the American Made Pipe niche group that I have been building. The shape and feel in the hand is perfect. Now I have to make a hard decision – do I leave it unsmoked or do I load it up with some aged Virginia and break it in. Thanks for walking through the restoration with me as I restored and reworked this old Gutta-percha Pistol Pipe from late 19th Century. It is always a treat for me to work on a piece of pipe history especially when I have learned a bit of the story behind it.

A Denver Christmas Karl Erik Heading for the Black Sea Beach!


Blog by Dal Stanton

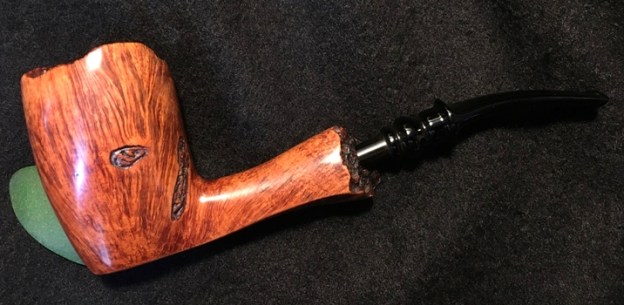
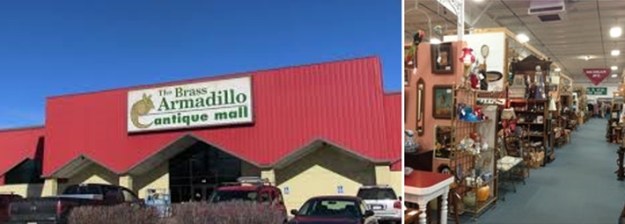
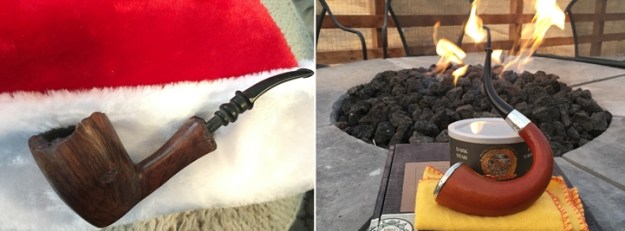
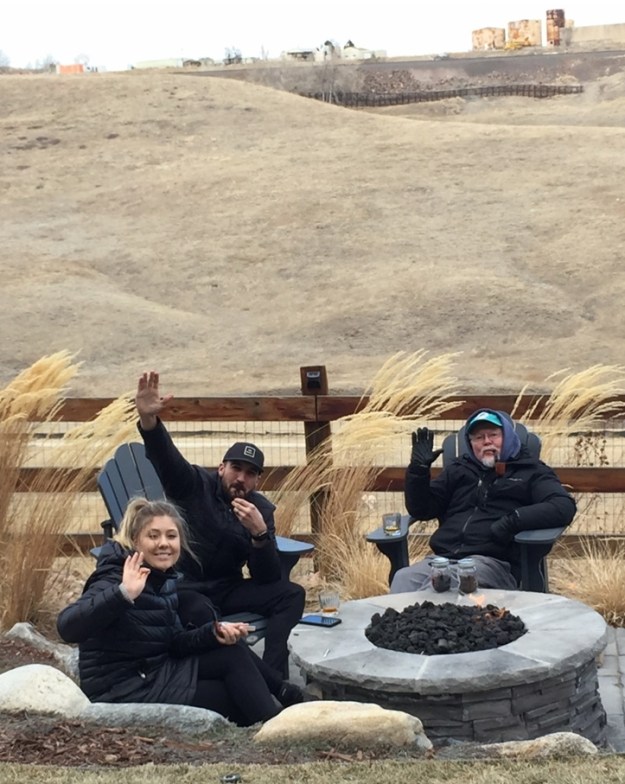
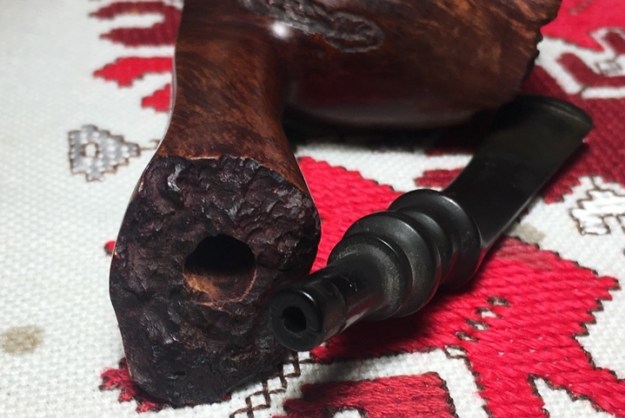
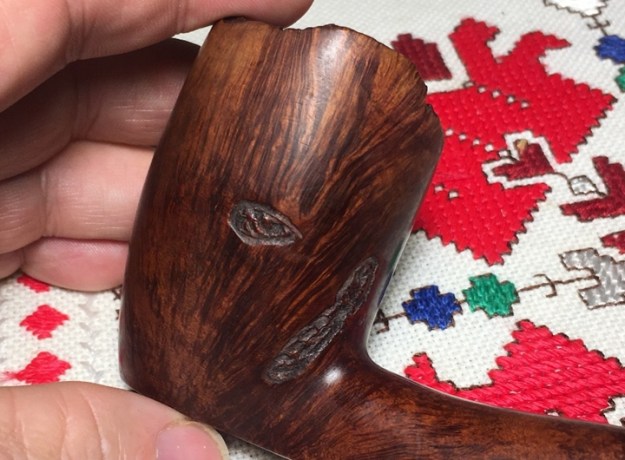
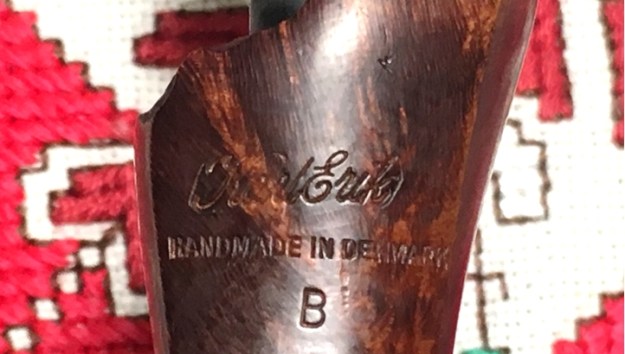
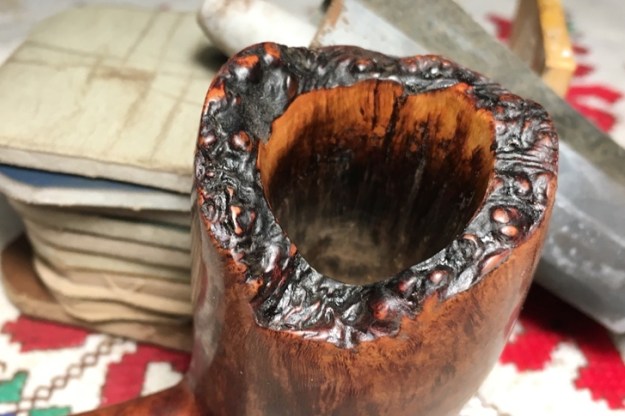
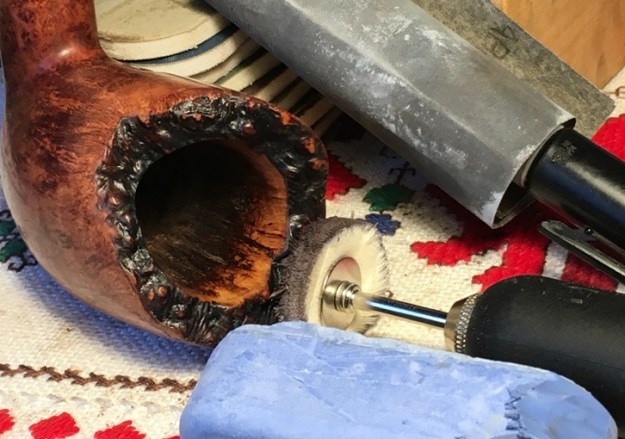
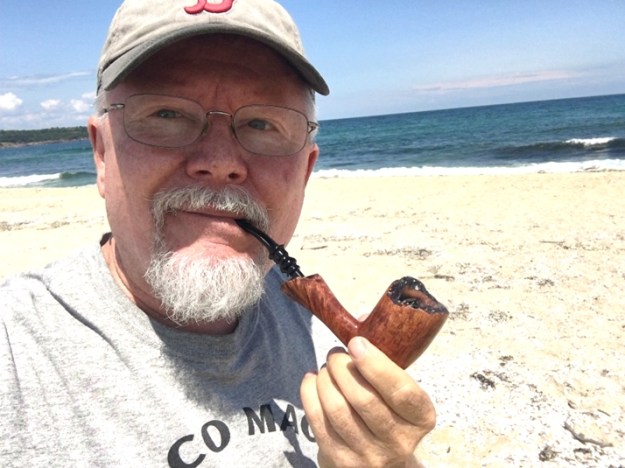
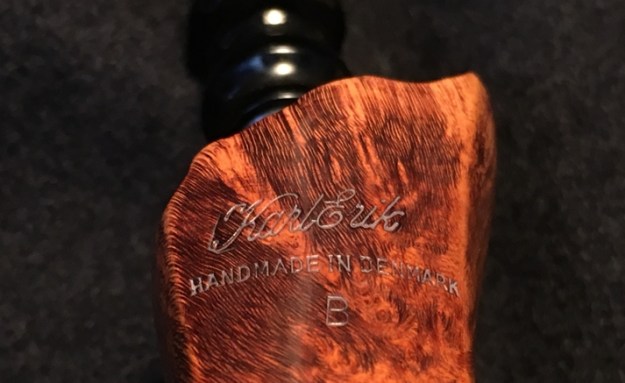
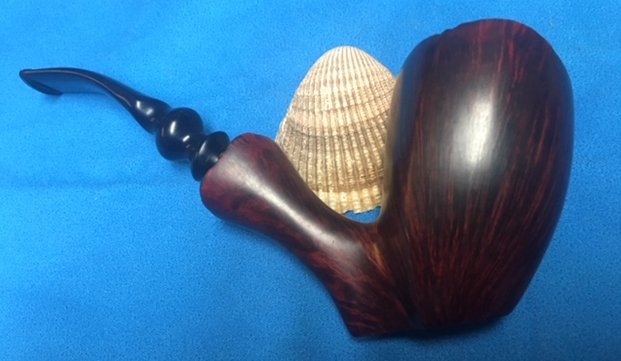
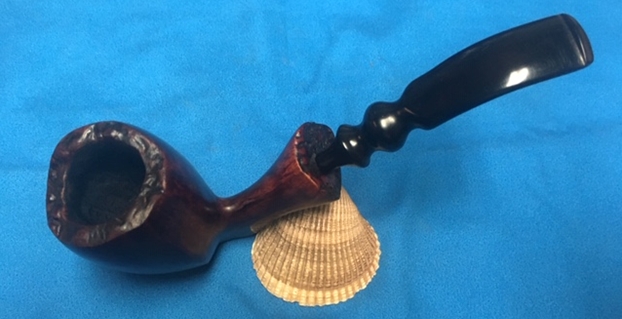
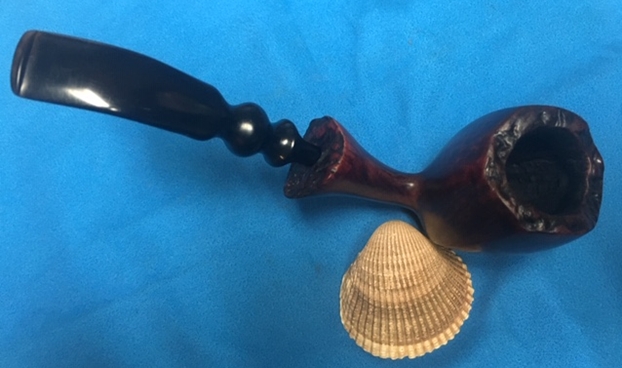
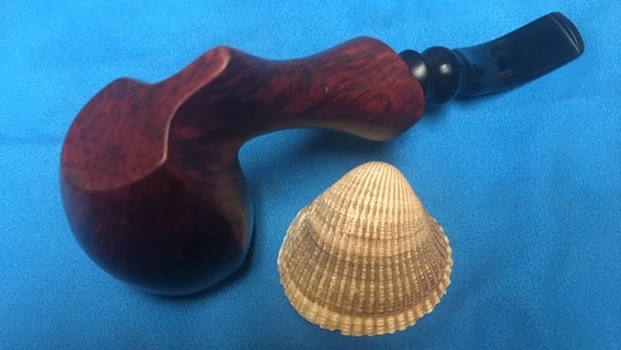
Last Christmas, my wife and I made the trek from Bulgaria to Denver to celebrate the holidays with our family – renewing relationships with our growing number of grandchildren in the US!  Living and serving in Bulgaria is a deeply fulfilling life, but we miss our family and this Christmas reunion was a wonderful close to the year.  One of the highlight activities with the ‘Ole Man’ (that would be me) is to go pipe picking at the various secondhand stores and antique shops in the Denver area.  My main aim during these picking expeditions is to add pipes to the ‘For “Pipe Dreamers” Only!’ collection to benefit our work with the Daughters of Bulgaria – women and girls who have been trafficked and sexually exploited.  One of the favorite spots I’ve picked before is the huge Brass Armadillo Antique Mall where you can spend hours and we did.  There were many pipes, but few were priced favorably enough for me to justify acquiring for the Daughters, but I did see one particular pipe that I ‘ooooo’d and ahhhh’d’ over and my Denver-based daughter, Jocelyn, and her husband, Jordan, were watching me closely 😊.  Yes, you guessed it, the Karl Erik Handmade in Denmark B Freehand that I was drooling over, but was stressing my pocketbook too much, had been secretly squirrelled away from the Brass Armadillo.  I discovered it a few days late under the tree on Christmas morning – woohoo!  When you have a dad who does what I do, gift giving is never a problem!  This Dad has made out quite well from Jocelyn and Jordan’s gift-giving.  Along with the Karl Erik Handmade, a few years ago they gifted me the pictured unbelievable 1907 McLardy Silver Ferruled Gourd Calabash which I restored (see LINK) and have enjoyed as a treasure in my collection.  The McLardy was enjoying their fire pit in Jocelyn and Jordan’s back yard while I enjoyed the very mellow McClelland Dark Star loaded in the McLardy.  Rebornpipes’, very own Steve Laug, suggested Dark Star as a good way to inaugurate the McLardy Gourd Calabash.  As usual, Steve was on the money! I love my family and I’m thankful to God for each one of our 5 children and the spouses they’ve found (one is still working on that!) and the now, 5 grandchildren they have brought into the world.  My younger daughter from Nashville, and her husband, Niko, joined me out by the firepit while we each enjoyed a Christmas bowl together at the foot of the Rocky Mountains – trying to stay warm!The Karl Erik is now on the worktable back in Bulgaria and was pulled out of my personal collection ‘Help Me!’ basket to restore.  Now Summer, mid-July, my wife and I will be heading to the Black Sea coast for a few days of R&R and I want to bring the Karl Erik with me!  He’s been waiting patiently for me in the basket and now on the worktable, I take some additional pictures to get a closer look at this striking Christmas gift. The nomenclature is located on the lower shank, just below the shank facing plateau.  Stamped there in cursive script is the name, ‘Karl Erik’ [over] HANDMADE IN DENMARK [over] B. Not long ago I worked on a Karl Erik, Knute of Denmark Freehand, that I gifted to my son, Josiah, upon his graduation with a Master’s Degree in counseling (see LINK).  The Freehand style was given to the pipe world by the Danish and Karl Erik was a major contributor.  Pipedia’s article gives the basic history which has been repeated many times – one more time for this Karl Erik on my worktable (https://pipedia.org/wiki/Karl_Erik):

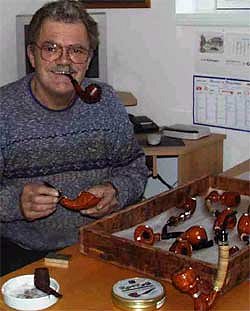
Karl Erik Ottendahl (1942 – 2004) was born in Aalborg (Jutland), just a few miles from the very northernmost tip of Denmark. He began smoking a pipe when he was 14 and upon leaving school he started an apprenticeship in the craft as a lithographer at the age of 16. While working as an apprentice he began hand carving pipes as a hobby. Many were given as gifts to his more senior colleagues. Upon completion of his apprenticeship he moved to Nairobi, Kenya to work as a lithographer during the 1962 war. While in that war-torn country, he was unable to procure pipes for himself. In the face of such a predicament, he chose to continue to make pipes for his own use rather than go without.

Returning to Denmark after three years he couldn’t find a well paid occupation in his job, and so he began making a few pipes on the side to boost his income choosing his prenames “Karl Erik” – logo “KE” – for his label. When he managed to find some major Copenhagen pipe stores willing to sell his pieces his reputation grew little by little and he was finally able to purchase more and better machinery and began working full time as a pipe maker.

One other paragraph from the Karl Erik article in Pipedia referenced above is noteworthy in understanding this pipe man who died in 2004:

As one of the few notable Danes Karl Erik Ottendahl dedicated himself to the needs of the normal pipe smoker with a normal income. In the end he was one of the last of this tier. He never made any pretense of the fact that his “hand mades” were prefabricated to a large extent on automated machines and only the last steps of fine-shaping and finishing were carefully made by hand. But he never employed a copy milling, so many KE pipes may look very similar but not two are identical. As well the bulk of the stems was supplied by Stanwell in a close-to-finished state. Stanwell also did the sand blasting for KE to a large extent.

One more bit of information from Pipedia helped me understand the “B” in the nomenclature.  Regarding the grading system for Karl Erik pipes it said:

KE’s new grading used numbers ascending from D to A. The unique “Ekstravagant” pipes C, B, A, AA to AAA. These superb pieces of remarkable quality were, almost certainly, the least expensive high- quality handmade pipes coming from Denmark today!

What this tells me is that the ‘B’ rating is just under the best, ‘A’ rating regarding quality.  My Black Sea beach bound Karl Erik got my attention at the Brass Armadillo in Denver because of the sweeping vertical grain that defines and encircles the Freehand bowl – reaching upward to the expressive plateau.  I’m thankful that he doesn’t need too much attention to be recommissioned!  The chamber has light cake buildup and the plateau surfaces, bowl and shank facing, are dirty.  The smooth briar is in great shape and only needs cleaning.  The grain is pristine – I detect few very small scratches from normal wear and no fills, which one would expect with a Karl Erik higher grade I suppose!  The stem has very mild tooth chatter on the upper and lower bit and a small compression on the upper lip.  To begin, to address the very mild oxidation, I add the Karl Erik fancy stem to a soak of Before and After Deoxidizer with other pipes in the queue.  I first clean the airway with pipe cleaners wetted with isopropyl 95%. After a few hours soaking, I fish out the KE stem and after draining the Deoxidizer, I wipe the stem with a cotton pad wetted with alcohol to remove the raised oxidation.  I also run another pipe cleaner wetted with isopropyl 95% through the stem to clear the Deoxidizer liquid. To continue to rejuvenate the stem, I then add a coat of paraffin oil to the vulcanite and put it aside.Turning now to the Handmade’s stummel, I take a closeup showing the chamber and the mild carbon cake build up.  To remove the cake to give the briar a fresh start, I use the Pipnet Reaming Kit to start the job.  After putting paper towel down to help in clean up, I start by using the smallest blade head and then quickly graduate through two additional blade heads.  I then transition to using the Savinelli Fitsall tool and this does a great job getting down into the chamber’s hard-to-reach recesses.  Finally, I wrap a piece of 240 grade sanding paper around a Sharpie Pen and sand the chamber and follow by wiping it with a cotton pad wetted with alcohol to clean it.  After an inspection of the cleaned chamber, I see no problems with burning or heating. Moving on to the external briar surface, I use undiluted Murphy’s Oil Soap to scrub the briar with a cotton pad.  I also use a bristled toothbrush and a bit of a brass wire brush to clean the plateaus – bowl and shank facing.  After the scrubbing, I take the stummel to the sink and continue the cleaning by using a shank brush and kitchen dish soap to scrub the mortise using hot water.  After scrubbing, I rinse the stummel thoroughly. Now, moving to the internals I use cotton buds and pipe cleaners dipped in isopropyl 95% to start the cleaning. Happily, I find that the internals are clean after the previous scrubbing with dish soap and shank brushes – I move on!I move on to applying the full regimen of micromesh pads to the stummel.  I start by wet sanding with pads 1500 to 2400 and follow with dry sanding with pads 3200 to 4000 and 6000 to 12000.  I absolutely love the way the micromesh pads coax and tease out the grain.  Beautiful vertical grain – possibly called ‘fire grain’! Before turning again to the stem, I apply Before & After Restoration Balm to the stummel.  The B&A Balm does a great job pulling out the subtle hues of the grain.  I put some Balm on my fingers, and I work it into the briar surface.  For now, I do not apply it to the plateaus because I first need to do some further work.  I put the stummel aside for about 20 minutes to allow the Balm to do its thing.After about 20 minutes, I wipe off the excess Balm with a cotton cloth and then buff it with a microfiber cloth. Not bad!  I’m loving my Christmas gift!With the stummel on the sidelines for a time, I turn again to the Karl Erik fancy stem.  The light tooth chatter should be addressed easily.  I start using the heating method by painting the chatter with the flame of a Bic lighter.  The characteristics of the vulcanite expands as its heated to reclaim its original shape – or at least in part.  After painting with the Bic flame, I do a before and after picture for the upper and then lower.  There is a notable difference!

Upper before and after:Lower bit before and after:I continue using 240 grade sanding paper to dispatch the remaining chatter and compression on the upper button lip.  I also use the flat needle file to freshen the button.  I follow that with wet sanding the entire stem with 600 grade paper and finishing this phase of sanding with 000 steel wool – upper then lower: Next, in order to recondition the stem, I apply Before & After Fine and Extra Fine Polishes in succession.  For each, I apply using my fingers – rubbing the polish into the vulcanite and then putting aside for a few minutes to do its thing.  I then wipe the excess polish off with a paper towel and then buff the stem with a cloth.Turning again to the Karl Erik Handmade stummel, my next step is to freshen the plateau presentations.  Looking at examples of Karl Erik Freehand pipes, the treatment of the plateaus is even between leaving the plateaus the natural hue and darkening the plateau moonscape to provide a contrasting perspective.  With this Karl Erik, it appears that the plateau had color previously and so I decide to go in this direction.  The next two pictures mark the starting point for each plateau. The first step is to apply an Italian dye stick labeled Medio Noce, which is a very dark shade of brown that almost appears black.  I apply this in random ways along the ridges and valleys of both the rim and shank facing plateaus.  Then, more sparingly, I use a black Sharpie Pen to darken the more distinctive valleys.  I do this to give slight, subtle contrast in hues.  Forgetting to picture, I also use a fine point Sharpie to darken and accent to two small sculptings on the side of the stummel.Then to add more contrast, I use micromesh pads 1500 to 2400 to ‘feather’ sand off the peaks of the ridges.  I like this contrasting effect – providing a rustic look that is attractive.I then apply some Before & After Restoration Balm to the plateaus and put the stummel aside to absorb.Back to the stem with the full regimen of 9 micromesh pads.  I start by wet sanding with pads 1500 to 2400 and follow with pads 3200 to 4000 and 6000 to 12000.  Between each set of 3 pads I apply a coat of Obsidian Oil to further condition the vulcanite. The stem is looking great! With the stem ready to go, I mount a cotton cloth buffing wheel to the Dremel and set the speed at about 40% full power.  I then apply Blue Diamond compound to both the stem and the stummel of the Karl Erik Handmade. I keep the stem and stummel separated because it’s easier to rotate each piece individually.While applying the compound and working on the rim plateau, I realized that I was missing a great opportunity to release more grain to enjoy.  With a peaked Freehand style, I find that the inside wall of the plateau crest provides additional aesthetic enjoyment when it is sanded, and this allows a grain presentation on the chamber side.  I forgot to take a picture but borrow the previous picture during the B&A Balm to show the inside chamber wall – darkened and ignored.I decide to coax out this grain and use 240 and 320 grade papers in succession wrapped around the Sharpie Pen to sand this area.Following this, I use 600 grade paper wrapped around the Sharpie Pen.  I keep the sanding parallel to the chamber wall – I don’t want to bevel the internal lip eating into the plateau.  I follow the 600 grade paper by sanding the area through each of 9 micromesh pads – 1500 to 12000.The final step is to apply Blue Diamond compound to the chamber wall.  I like it.  It’s a small enhancement but I think it adds a classiness to an already very classy Karl Erik.With the application of the Blue Diamond compound completed, I wipe/buff the stem and stummel with a felt cloth to remove any residue compound dust in preparation of applying wax.  I mount another cotton cloth buffing wheel to the Dremel, maintain 40% power and apply a few coats of carnauba wax to stem and stummel.  After completing the application of the wax, I give stem and stummel (separately) a rigorous hand buffing with a microfiber cloth to make sure all the excess wax is removed and to raise the shine even more.

This Karl Erik Handmade in Denmark is stunning, and a wonderful gift: Thanks Jocelyn and Jordan!  I’m pleased to add it to my collection!  He came along to the Black Sea and here I’m inaugurating his recommissioning with a bowl of my favorite blend, Lane BCA.  Thanks for joining me!
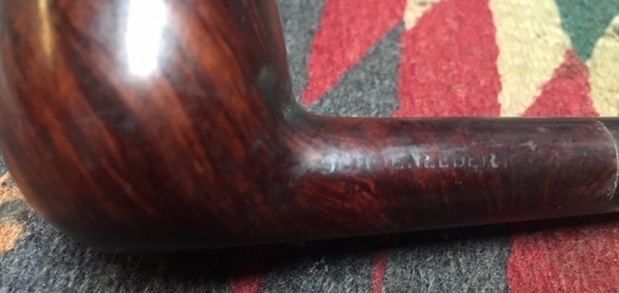
New Life for a Broken Nording Danmark F Freehand


Blog by Steve Laug

In one of the bags of parts Jeff purchased there was a bowl and there was a piece of shank with a stem in place. We took all the parts out of the bag and were able to see that these two parts actually went together. The shank piece is stamped on the underside as follows: F over NORDING over DANMARK near the horn extension/shank union. The bowl shape follows the grain of the block of briar very well. The break in the shank was not a clean one – it was a mess. The inside of the airway was plugged with lava and tar. Someone had tried to repair the two parts by gluing them together with epoxy. As expected the repair did not hold. Jeff took photos of the pieces to show the extent of the damage to the pipe – it really was a stunning pipe originally. The shank was thin but the briar was thick enough. The nice piece of striated horn that made a shank extension was in excellent condition. There was a steel tube in the end of the horn where the stem sat in place to protect it from splitting when the stem was repeatedly inserted. The turned fancy stem was in good condition with some tooth marks on both sides but otherwise it was undamaged. There was a thick cake in the bowl and a heavy overflow of lava on the rim top.The next series of photos shows the two parts of the shank and the thick buildup of tars and oils in the shank interior and the broken briar around the shank. The next photos show the rim top and the thick cake in the bowl and the lava build up on the plateau top. The valleys and high spots are almost filled smooth with lava.Jeff also took photos of the sides and heel of the bowl to show the grain on the pipe. The finish is very dirty but the grain is quite beautiful. There are nicks and dents in the briar.The stamping on the shank portion of the broken pipe is readable but worn. The joint between the shank and the horn extension is very good – solid. The metal tube in the shank end provided the internal strength to hold this joint tight. It is interesting to note that the shank broke just ahead of the tube inside the shank. The stem appeared to be in good condition. The button was worn with tooth marks on the topside. There was some oxidation and wear on the surface near the button.Jeff reamed the bowl and cleaned up the plateau top with Murphy’s Oil Soap and a tooth brush. He scrubbed it until it was clean. He cleaned out the inside of the two parts of the shank with pipe cleaners, cotton swabs and alcohol until the airway was clear. He cleaned up the broken ends of the shank with a tooth brush and the soap. He rinsed off the bowl and shank and the airway with warm water. He dried it off and set it aside. He cleaned up the stem and let it soak in a bath of Before & After stem deoxidizer. He took it out of the bath and rinsed it off and cleaned out the airway with pipe cleaners and alcohol. When I arrived he showed me the parts. They were incredibly clean. I was excited to get started on the repair of the broken shank… so much so that I forgot to take pictures of the cleaned up parts of the pipe.

I picked up some tubing at Hobby Lobby and cut off a piece that was close to the length I needed to join the two parts of the shank together. I used a Sawsall blade and a hacksaw to cut a length from the tube. I used a metal rasp to flatten the end of the piece of tube and shorten it enough to fit into the two parts of the shank. I used the small blade on a pocket knife to open up the airway in the bowl end of the shank and to flare the end of the tube in the stem end of the shank.I used the hacksaw to rough up the surface of the tube so the glue would have a surface to bond to between the briar and the tube. I used some Testor’s Metal and Wood Glue to insert the tube into the bowl end of the shank. I used a tooth pick to press the glue into the area around the tube. I filled in the remainder of the gap with clear Gorilla glue.I used the tooth pick to put Gorilla Glue on the open ends of each piece of the shank. I coated the tube with some glue as well. I aligned the two parts and pressed the pieces together. I held them tightly in place until the glue set and the two parts were bound together. I filled in the repaired area with Gorilla Glue to smooth out the repair. I set the bowl aside to let the repair cure. Once the glue had cured and the shank was solid, I smoothed out the repair a medium and fine sanding block. I sanded the repaired area and glue with 1500 and 1800 grit micromesh sanding pads to remove the excess glue. I smoothed out the finish. I decided to use Mark Hoover’s Briar Cleaner at this point in the process to clean off the briar. It works to remove the dust and debris in the briar and leaving behind a clean piece of briar. I polished the bowl and horn shank extension with micromesh sanding pads – wetsanding with 1500-12000 grit sanding pads. I took photos of the pipe at this point in the process. It is a nice looking pipe for sure. At this point in the process I brought the pipe back to Vancouver. I sanded the repaired area with a folded piece of 220 grit sandpaper to blend it into the surrounding briar. I wanted to remove some of the darkened area around the repair so that I could polish it further and restain the shank to match the rest of the pipe.I polished the repaired area with micromesh sanding pads – wet sanding with 1500-2400 grit pads to polish out the sanding scratches. I polished it further with 3200-12000 grit pads. Once it was smooth I stained it with a Cherry stain pen to blend it into the rest of the pipe. The photos tell the story of the repair. I rubbed the bowl and shank down with Before & After Restoration Balm. I worked it into the briar and set it aside to dry. Once the Balm had been doing its work for a while I buffed it down with a microfiber cloth. The Balm cleaned, protected and enlivened the briar. The repaired shank was looking very good at this point in the process. I cleaned the pipe stem with a new version of Mark Hoover’s Before & After Restoration Balm that he had designed to work well on both the briar bowls and the vulcanite stems. I rubbed it into the surface of the stem with my fingertips and buffed it off with a microfibre cloth. I polished the stem with microfibre pads – wetsanding with 1500-12000 grit pads. I wiped it off with Obsidian Oil after each sanding pad. After the 12000 grit pad I polished it with Before & After Fine Polish and gave it a final coat of Obsidian Oil. I put the stem back on the pipe and took the pipe to the buffer. I carefully buffed the bowl and stem with Blue Diamond to polish the briar and the vulcanite. I wanted to get a shine but not risk damaging the pipe by having it fly off the wheel. Blue Diamond does a great job on the smaller scratches that remain in both briar and vulcanite. I gave the bowl and the stem several coats of carnauba wax and buffed the pipe with a clean buffing pad to raise the shine. I hand buffed it with a microfiber cloth to deepen the shine. The pipe polished up really nicely with a great contrasting stain look to the briar. The finished pipe is shown in the photos below. This is a beautiful Eric Nording F Freehand – the fancy turned stem and the horn shank extension give the pipe a great look. The polished black vulcanite stem looks really good with the rich browns standing out in the grain and the blacks of the plateau rim. The dimensions of the pipe are Length: 7 inches, Height: 2 inches, Outside diameter of the bowl: 1 ½ inches wide and 2 inches long, Chamber diameter: 7/8 of an inch. This pipe is truly a rebornpipe. The shank repair and inside tube that binds it together should last a long time. Thanks for walking with me through the repair and the restoration of this beauty!

Restoring Jennifer’s Dad’s Champ of Denmark 4 Freehand


Blog by Steve Laug

I decided to change things up a bit and work on a few more of Jennifer’s Dad’s pipes. I just posted the finished Sasieni Four Dot Walnut “Appleby” M apple on the blog. For the next pipe from the estate of George Rex Leghorn I have chosen a nicely shaped Champ of Denmark Freehand. You may not have read about this estate before, so I will retell the story. I received an email from Jennifer who is a little older than my 64+ years about whether I would be interested in her Dad’s pipes. My brother Jeff and I have been picking up a few estates here and there, so I was interested. Here is the catch – she did not want to sell them to me but to give them to me to clean up, restore and resell. The only requirement she had was that we give a portion of the sales of the pipes to a charity serving women and children. We talked about the organization I work for that deals with trafficking and sexual exploitation of women and their children and she decided that would be a great way to carry on the charitable aspect of her Dad’s character. With some great conversation back and forth she sent the pipes to Jeff and he started the cleanup process on them. Once he had finished cleaning them all he sent them to me to do my work on them.

The Champ of Denmark pipe is stamped on the underside of the shank CHAMP over of Denmark and below that is the number 4. It came to us with a broken stem and the tenon stuck in the shank. The beautiful straight and flame grain around the bowl and up the shank is visible through the very thick coat of grime. It seemed like it had a dark stain but hard to tell. There were oil stains from George’s hands on both sides of the bowl obscuring the grain. It was so dirty that it was hard to see the colour well. There was a thick cake in the bowl and it had overflowed with lava into the plateau on the bowl top and shank end. It was a dirty and tired looking old pipe. The stem was badly oxidized with deep gouges and tooth marks both sides from the button up about 1 inch onto the stem surface. The button was cracked on the topside and tooth marks made it an unlikely candidate for a repair. It had been sitting in boxes for a lot of years and it was time to move ahead with the restoration. Jennifer took photos of the pipes she was sending. I have included two she included from this pipe.When the box arrived from Jennifer, Jeff opened it and took photos of each pipe before he started his cleanup work on them. There were two Champ of Denmark Freehands in the box – both were in bags and both had broken tenons and stems. There is something about classic Danish Freehands that is intriguing and I like working on them. The shapes seem to really capture the flow of the grain on the briar and this is no exception. The briar appeared to be in good condition underneath the grime. The finish looked intact under the grime. The bowl had a thick cake that had hardened with time. The lava overflow on the rim but it could very well have protected the rim from damage. We won’t know what is under it until Jeff had cleaned it off. The stem was irreparably damaged and would need to be replaced. The broken tenon was only one of the problems that led me to the decision that this stem would need to be replaced. (Jeff quickly pulled the broken tenon before he even cleaned the pipe.)Jeff took photos of the bowl and rim top to show the cake in the bowl and the lava build up on the plateau rim top and on the shank end as well. It was thick and hard but hopefully it had protected the rim and edges from damage. The lava coat looks horrible but it points to a well-used, favourite smoking pipe. George must have enjoyed this old timer and when the tenon broke he must have been frustrated. Jeff took photos of the sides and heel of the bowl to show the condition of the finish – the grime and grit all over the sides and flat bottom of the bowl. It is a dirty pipe. Jeff took photos of the top and underside of the broken stem showing the scratching, oxidation and deep tooth damage to the stem surface. You can also see the broken tenon (totally fixable by with the other damage I don’t think it is worth it). I looked on the Pipephil site to get a quick overview of the brand. In the back of my mind I remembered a connection to Karl Erik. I could not remember the details of the connection (http://www.pipephil.eu/logos/en/logo-c4.html). I did a screen capture of the section on the brand that was shown on the site. I have included it below.In summary it says that the brand was distributed by Larsen & Stigart a tobacconist in Copenhagen, Denmark. The warehouse had a workshop that had such famous carvers as Soren Eric Andersen, Karl Erik Ottendahl and others.

I turned then to Pipedia (https://pipedia.org/wiki/Champ_of_Denmark) to see if I could get a bit more information. I quote in full from that site:

“Champ of Denmark” were made for and distributed by Larsen & Stigart by Karl Erik Ottendahl. Larsen & Stigart had some indoor carvers at certain times, too (e.g. Søren Eric Andersen) and among other things they managed to supply Dunhill with wild Danish fancy pipes.

In an endnote under the article on Karl Erik (https://pipedia.org/wiki/Karl_Erik) I found someo more information. I quote the endnote in full.

¹ It is almost impossible to draw a sharp line between some of these brands… Larsen & Stigart – once a famous Copenhagen pipe shop, now almost forgotten – offered pipes produced by KE stamped “Larsen & Stigart” as well as pipes stamped “Larsen & Stigart” + “Champ of Denmark” or “Larsen & Stigart” + “Shelburne”. Almost needless to say, there are pipes stamped “Champ of Denmark” or “Shelburne” only. And the only reason is inconsistent stamping??? (BTW Larsen & Stigart employed own indoor carvers for approximately one decade – e.g. Søren Eric Andersen. They even managed to supply Dunhill with wild Danish fancy pipes.)

Now I had the verification of the link to Karl Erik Ottendahl. The pipe was most probably made by him for the pipe shop in Copenhagen. Before I get on to cleaning up the pipe I thought I would once again include the tribute that Jennifer wrote to her Dad for the blog. She also sent some photos and an article that her Dad wrote for Jeff and me to be able to get a feel for him. I have included those below. Note in each of them that he is holding a pipe in his left hand. I asked her to also send me an email with a brief tribute to her Dad. Here is her tribute from an email to me.

Steve, I want to thank you again for accepting my dad’s pipes.  They were so much a part of my dad’s life that I could not simply discard them. But as his daughter, I was not about to take up smoking them either. *laughing* I think my dad would like knowing that they will bring pleasure to others.  I know that I do.

I’m not sure what to say about his pipes. I always remember Daddy smoking pipes and cigars.

First a bit about my dad. Though my father, George Rex Leghorn, was American (growing up in Alaska), he managed to join the Canadian Army at the beginning of WWII, but in doing so lost his American citizenship.  He was fortunate to meet a Canadian recruiting officer who told him the alphabet began with “A” and ended with “Zed” not “Zee”, and also told him to say that he was born in a specific town that had all its records destroyed in a fire.  When the US joined the war my dad, and thousands of other Americans who had made the same choice*(see the link below for the article), were given the opportunity to transfer to the US military, and regain their citizenship.

After WWII, my dad, earned his degree at the University of California Berkeley and became a metallurgist. There is even a bit about him on the internet.

He loved taking the family out for a drive, and he smoked his cigars on those trips. (As a child, those were troubling times for my stomach.)

I most remember my father relaxing in his favorite chair with a science fiction book in one hand and a pipe in the other… Sir Walter Raleigh being his favorite tobacco… and the pipes themselves remind me of him in that contented way.  If I interrupted his repose, he’d look up, with a smile on his face, to answer me.

It seemed he smoked his Briarwood pipes the most, though he had others.  At the time, it was only the Briarwood I knew by name because of its distinctive rough shaped bowl.  And it was the Anderson Free Hand Burl Briar, made in Israel, which I chose for his birthday one year, because I thought he might like that particular texture in his hand.

At least two of his pipes, he inherited from his son-in-law, Joe Marino, a retired medical laboratory researcher (my sister Lesley’s late husband)… the long stemmed Jarl (made in Denmark), and the large, white-bowled, Sherlock Holmes style pipe.  I believe Joe had others that went to my dad, but Lesley was only sure about those two.

The Buescher, corncob pipe my older sister Lesley bought for Daddy while on one of her travels around the States.

A note on the spelling of my sister’s name…

My dad met my mother, Regina, during WWII and they married in Omagh, Ireland.  My mother was English and in the military herself.  The English spelling of Lesley is feminine, and Leslie masculine, in the UK… just the opposite of here in the United States.  I guess my mom won out when it came to the spelling of the name.

I’ll send you photos of my dad soon, along with his WWII experience story.

Jennifer

*https://www.thestar.com/news/world/2013/10/22/the_americans_who_died_for_canada_in_wwii.html

I am getting more and more used to Jeff cleaning up the pipes before I work on them. So much so that when I have to clean them it is a real chore! This pipe was a real mess just like the other ones in the collection. I did not know what to expect when I unwrapped it from his box. He reamed it with a PipNet pipe reamer and cleaned up the reaming with a Savinelli Fitsall Pipe Knife. He scrubbed out the internals with alcohol, pipe cleaners and cotton swabs until the pipe was clean. He scrubbed the exterior of the bowl with Murphy’s Oil Soap and a tooth brush to remove the grime and grit on the briar and the lava on the rim top. The finish was in rough condition with some darkening from oils on both sides of the bowl. The rim top and shank end plateau looked lifeless. Since I was going to replace the stem he cleaned the internals and scrubbed the exterior to keep the box from smelling. When the pipe arrived here in Vancouver for the second stop of its restoration tour it looked very good. I took photos before I started my part of the work. It is still darkly stained on both sides. I started sanding the bowl before I took photos so the top view shows the sanding dust… I quickly did some photos. At this point I decided to see what I had in terms of a freehand stem that would work with this bowl. I went through my options here and chose one with the approximate shape. It is a little less ornate but I think it will work well when it is cleaned up.I put the stem in the shank and took some photos to get an idea of the look of the pipe with the new stem. I will likely bend it slightly more to match the bowl angles but at the moment it is the same bend as the broken on. I like it! I took some close up photos of the rim top and also of the stem surface. I wanted to show what an amazing job Jeff did in the cleanup of the rim top. Even with the work there was still some hard lava in the plateau area I also took close up photos of the new stem to show condition it was in. It would not take a lot of work – just sanding out the scratches and polishing with micromesh sanding pads.I wiped the underside of the shank down with a cotton pad and alcohol so I could more easily see the stamping. It read as noted above.I started to sand out the inside of the bowl as noted above – a lesson learned from Paresh’s daughter Pavni while I was in India. It soon became apparent that there were some heat fissures in the briar. Fortunately they were not too deep but they were significant on the front and backside of the inner walls of the bowl. I mixed a small batch of JB Weld and used a folded pipe cleaner to fill in the fissures in those areas. I did not coat the entire bowl. Once it had cured I would sand the areas smooth leaving the fill only in the fissures themselves.Once the repair had hardened to touch it was time to continue my work on the bowl. I wanted to scrub the briar with alcohol and see if I could remove some of the oils in the briar on both sides. I also worked over the front and rear of the bowl and the shank. I was able to remove a lot of the darkening oils with the alcohol. I used a dental pick and a brass bristle wire brush to work over the rim top plateau. I was able to clean out the remaining lava and set the rest of the definition of the plateau free. It is a nice looking rim top. I wiped it down with alcohol and then touched up the valleys in the plateau with a black Sharpie pen.I polished the bowl with 1500-2400 grit micromesh to see what the sides looked like. I was not happy with the finished look on the sides of the bowl as it seemed to highlight the darkening on both sides. I was going to have to stain the bowl to try to blend in the darkening on the sides.I decided to use a Tan stain to see what I could do with it. I applied it and flamed it to set it in the grain. I repeated the process until I was happy with the coverage on the bowl. Once the stain had set and the alcohol evaporated I wiped it down with alcohol on cotton pads to make the colour more transparent. I wanted the grain to stand out but still hide the darkening on the sides of the bowl. I was happy with the results so far. Once I polished it with micromesh sanding pads and buffed it with Blue Diamond it would be even more transparent. I polished the bowl and rim with micromesh sanding pads. I wet sanded it with 1500-12000 grit pads and wiped it down between pads with a soft cotton cloth. You can see the progress in the shine as you go through the photos. I worked some Before & After Restoration Balm into the finish of the bowl and the plateau on the rim top and shank end with my fingertips to clean, enliven and protect it. I find that the balm really makes the briar come alive again. The contrasts in the layers of stain really made the grain stand out. I let the balm sit for a little while and then buffed with a cotton cloth to raise the shine. The pipe really looks good at this point. I am very happy with the way the pipe is looking at this point in the process.  With the outside of the bowl finished and the repairs on the inside hardened and cured it was time to smooth out the interior of the bowl. I sanded it with a piece of dowel wrapped with 220 grit sandpaper. I was able to remove the material around the repairs by sanding. I wiped the bowl down with alcohol on a cotton pad to clean up the dust. I mixed up a batch of bowl coating – sour cream and charcoal powder blended together. The mixture dries hard and does not have any residual taste. I put a pipe cleaner in the airway to keep the coating out of it. I coated the bowl with the mixture by painting it on the briar with a folded pipe cleaner. Once the bowl was coated, I set it aside to dry. I will need to wipe off the rim top and externals before waxing the bowl but it is looking very good at this point. I set the bowl aside to allow the bowl coating to cure and turned my attention to the “new” stem. I sanded the stem with 220 grit sandpaper to remove the oxidation followed by 400 grit wet dry sandpaper. I rubbed the stem down with Denicare Mouthpiece Polish and a cotton pad to remove remnants of oxidation and to further blend in the sanding. The stem was showing some promise at this point in the process. I heated the stem over a candle to soften the vulcanite. When it was softened I bent it over a jar to match the angle that would match the top of the bowl.I polished the stem with micromesh sanding pads – wet sanding it with 1500-12000 grit pads. I polished it further with Before & After Pipe Stem Polish – both fine and extra fine. I finished by wiping it down with Obsidian Oil after each pad and set it aside to dry. Once the bowl coating had cured I wiped the bowl down with a microfiber cloth and hand wiped off any residual bowl coating on the outside with a damp cotton pad. I put the stem back on the bowl and polished the bowl and stem with Blue Diamond polish on the buffing wheel. I gave the bowl and the stem multiple coats of carnauba wax. I buffed the pipe with a clean buffing pad to raise the shine. I hand buffed it with a microfiber cloth to deepen the shine. The new darker stain works well to mask the darkening and make the grain really pop. The pipe polished up really well. The polished black vulcanite bit seemed to truly come alive with the buffing. This Freehand  feels great in my hand and it is a sitter as well. It must have been a fine smoking pipe judging from the condition it was when we received it from Jennifer. There should be a lot of life left in this Champ of Denmark by Karl Erik. Have a look at it with the photos below. The dimensions are Length: 6 ½ inches, Height: 2 3/4 inches, Outside diameter of the bowl: 1 1/2 inches, Chamber diameter: 7/8 of an inch. This is one that will go on the rebornpipes online store shortly. If you want to carry on the pipe trust of George Leghorn let me know. Thank you Jennifer for trusting us with his pipes. Thanks to each of you who are reading this blog. Remember we are not pipe owners, we are pipemen and women who hold our pipes in trust until they pass on into the trust of the next pipeman or woman.