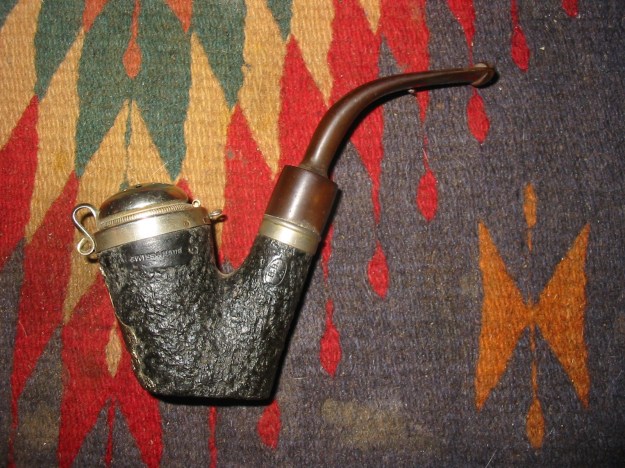
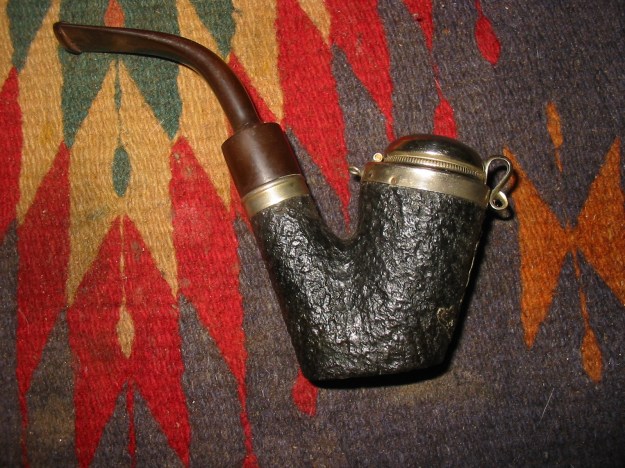
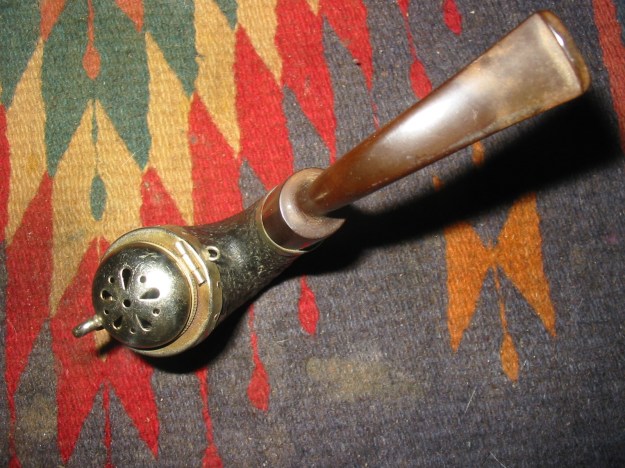
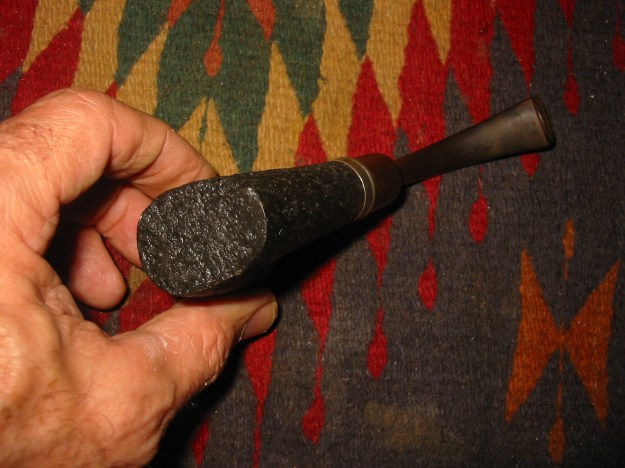
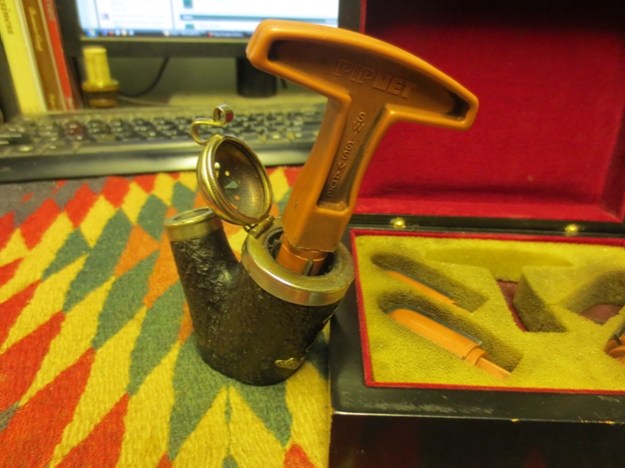
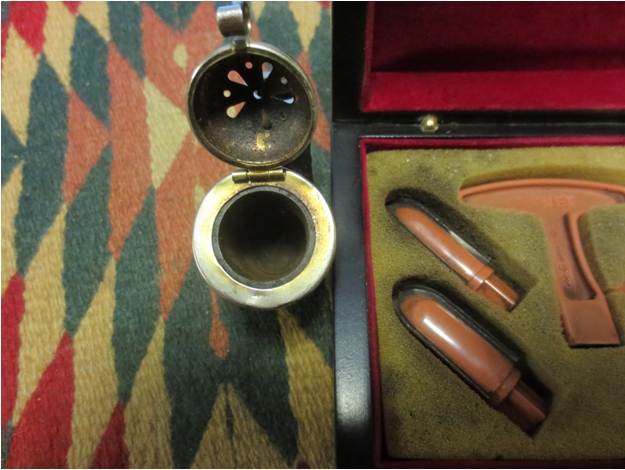
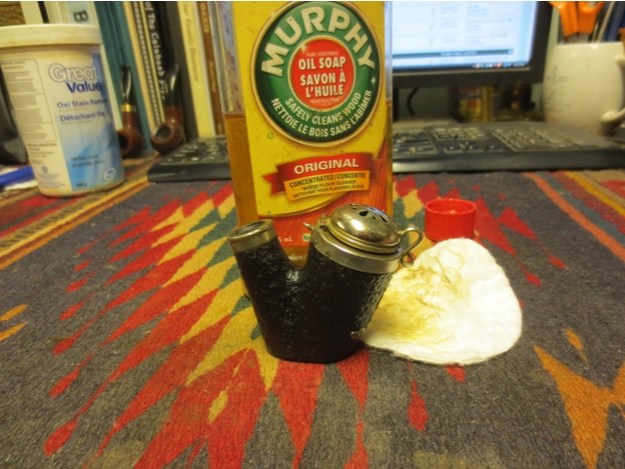
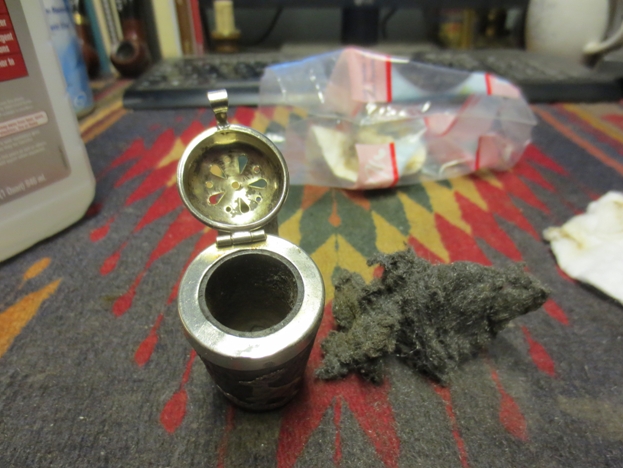
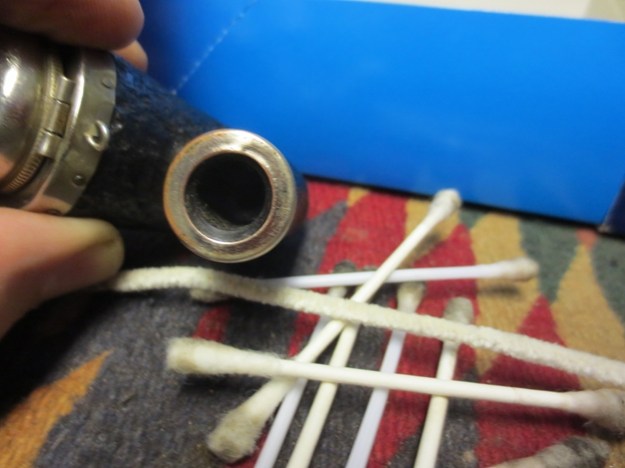
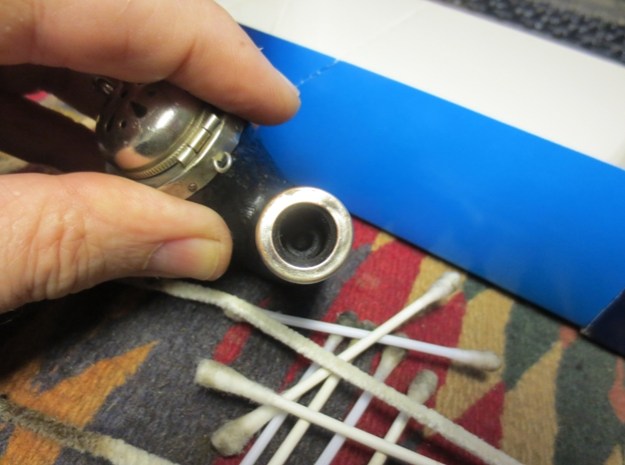
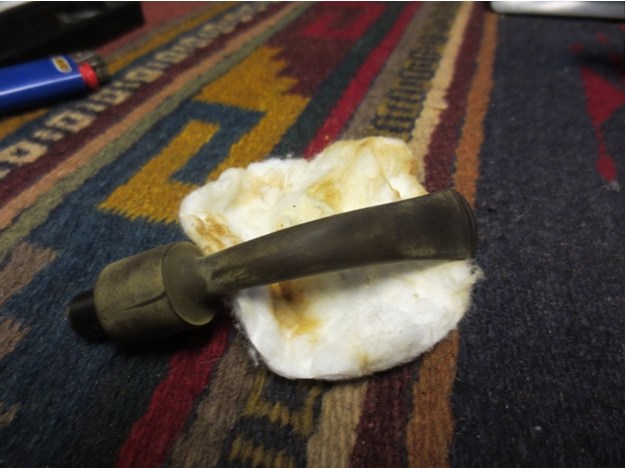
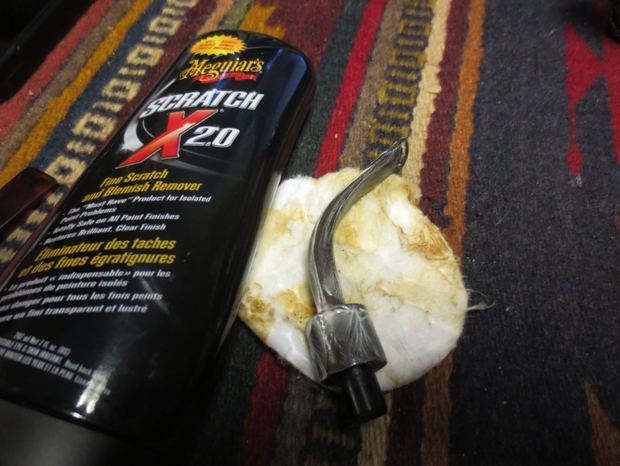
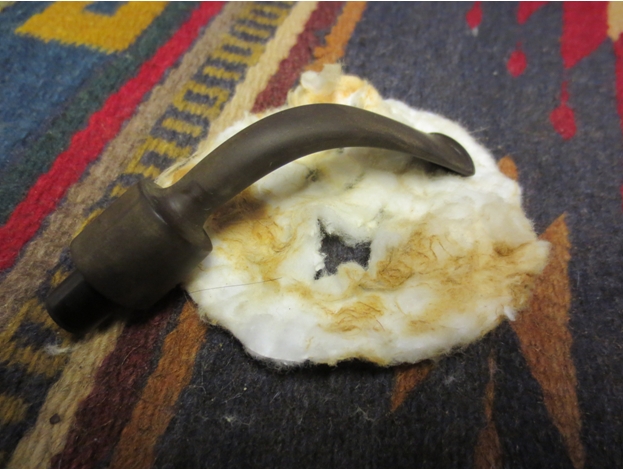
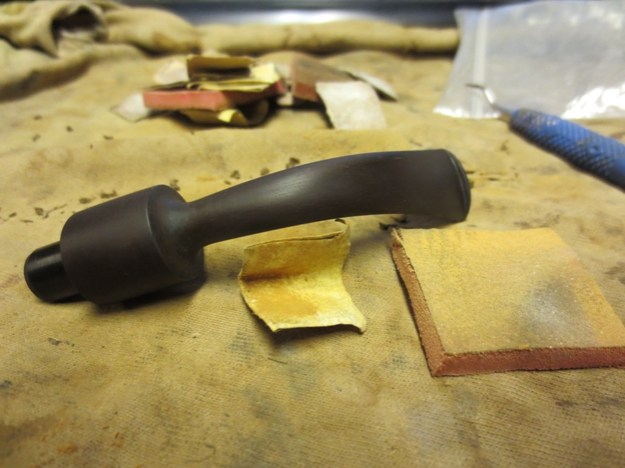
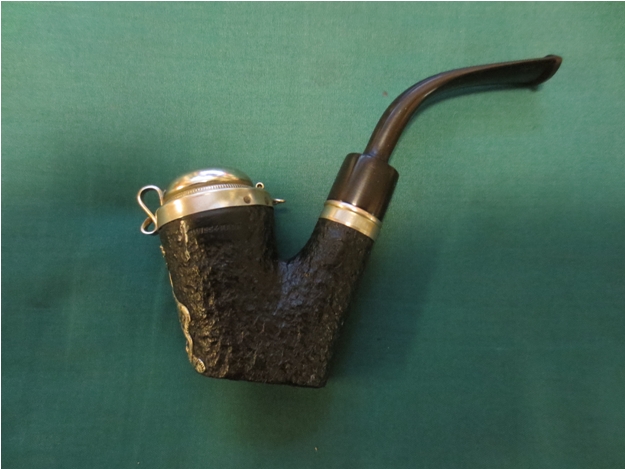
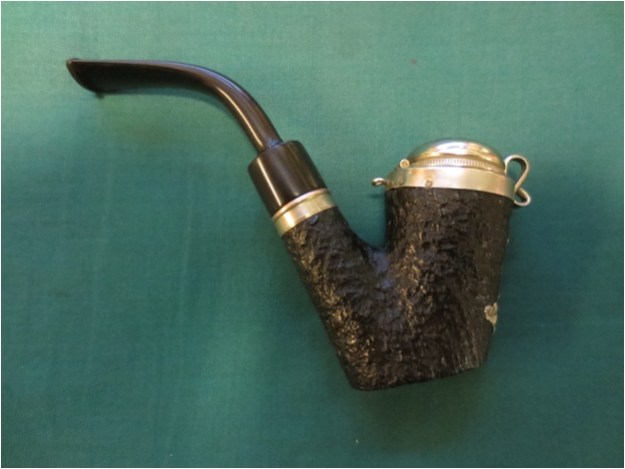
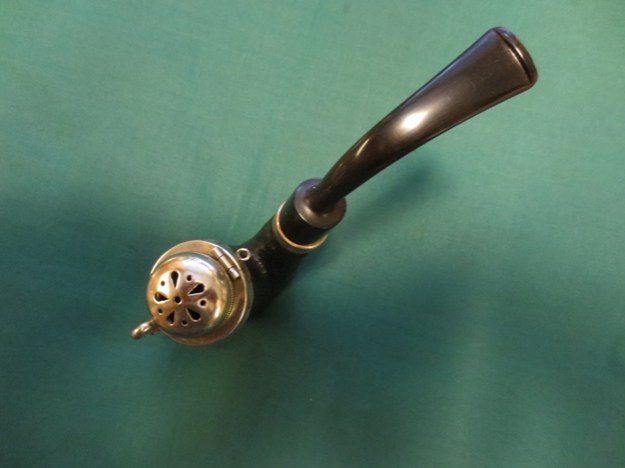
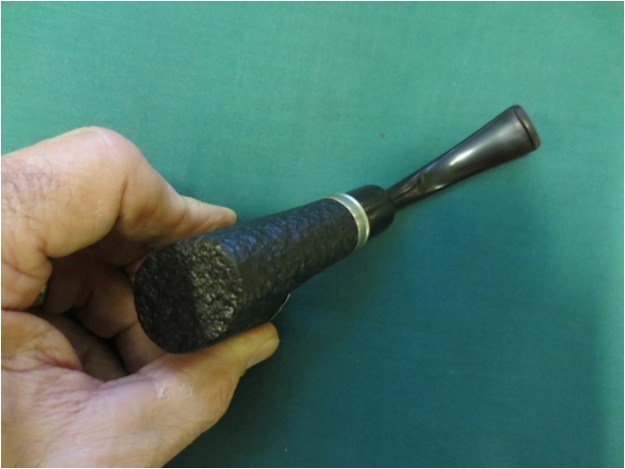
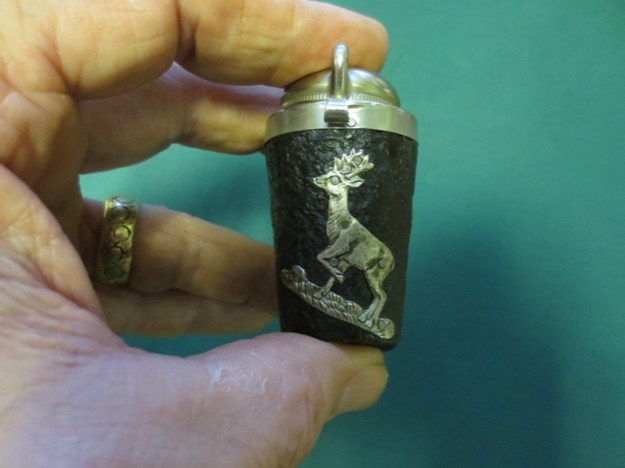
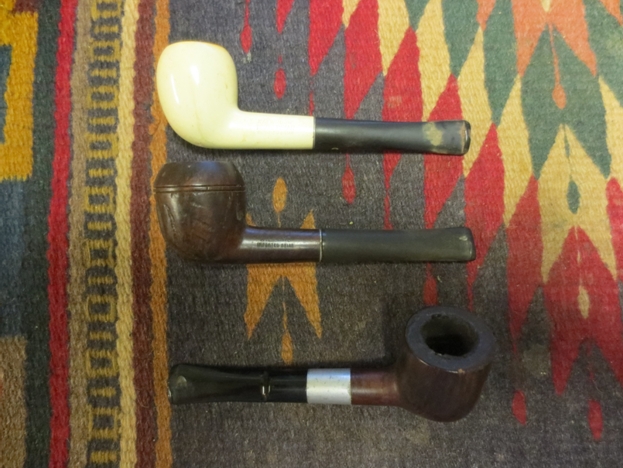
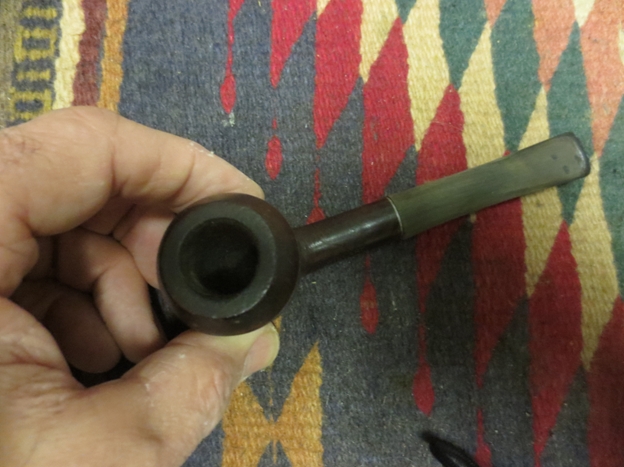
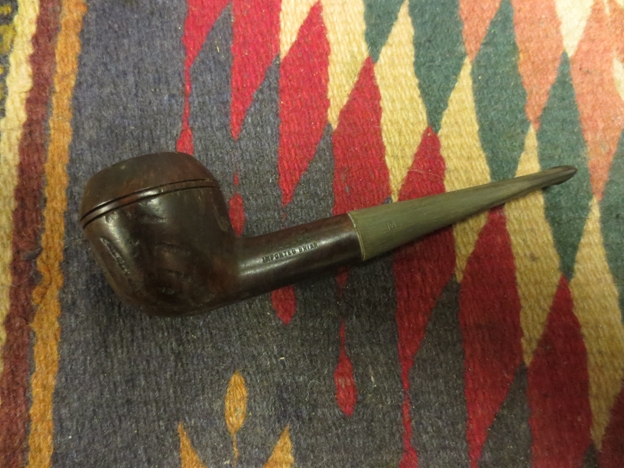
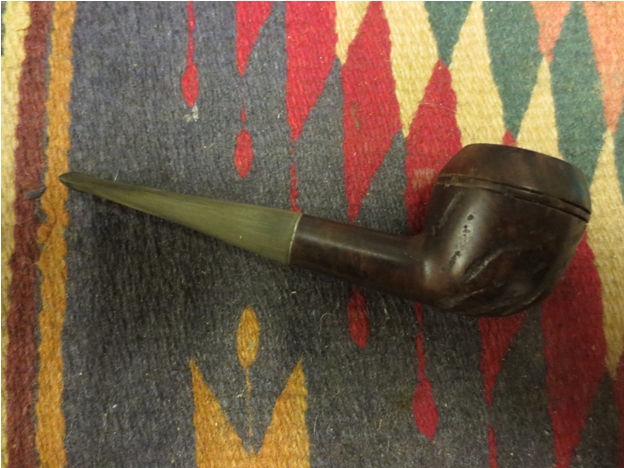
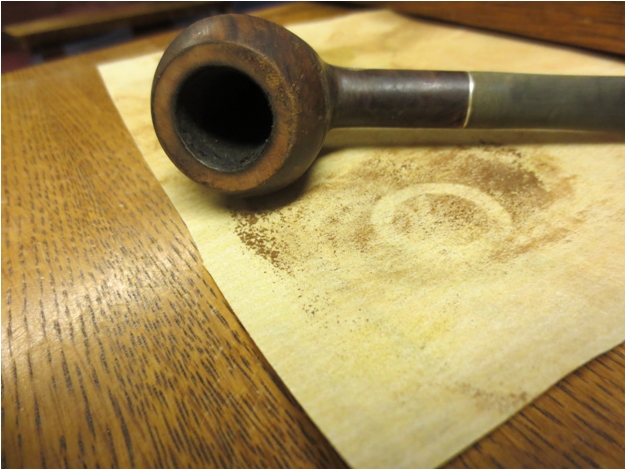
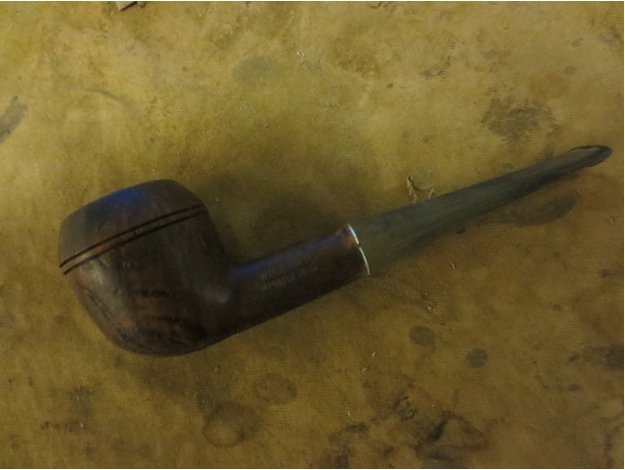
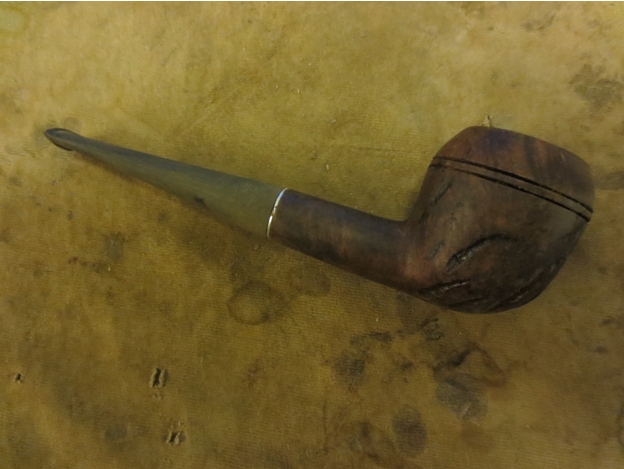
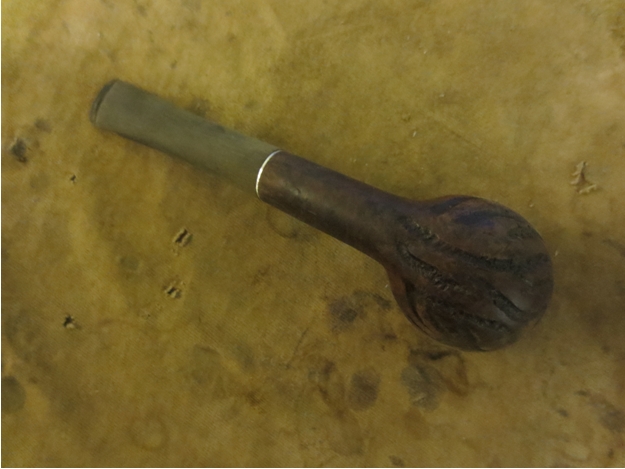
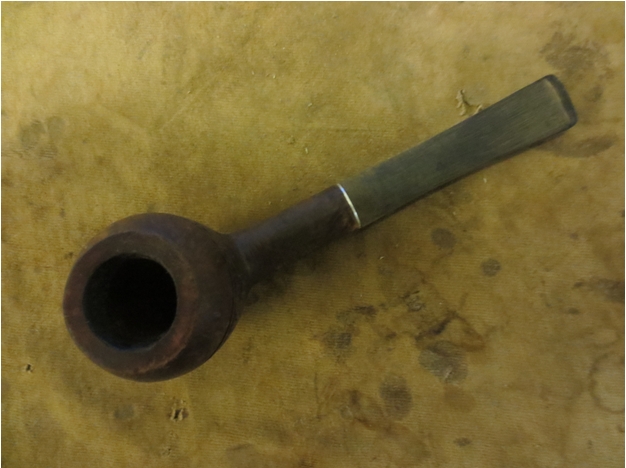
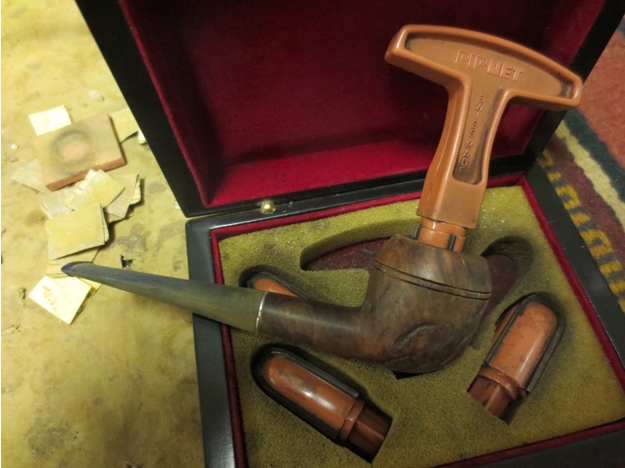
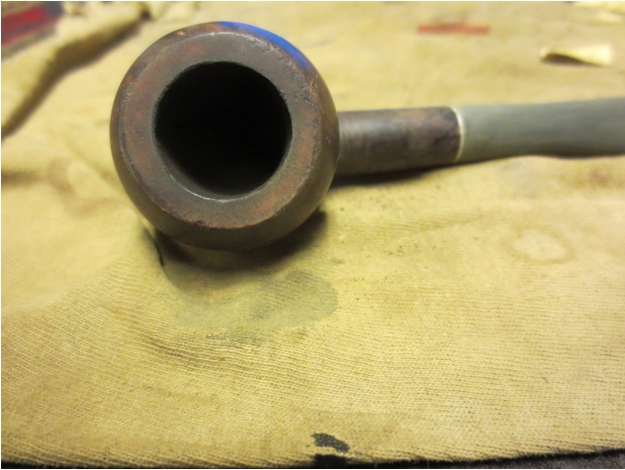
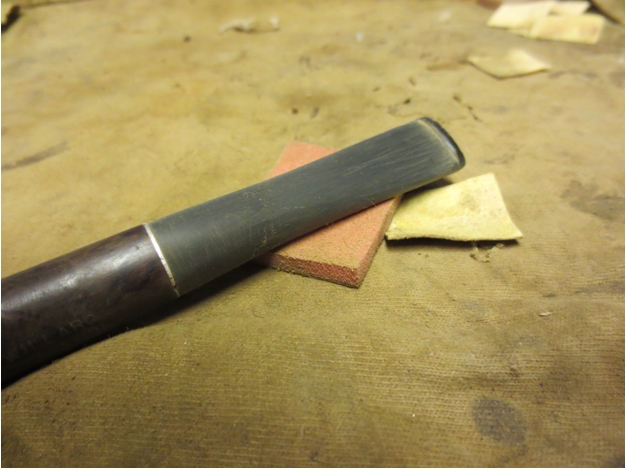
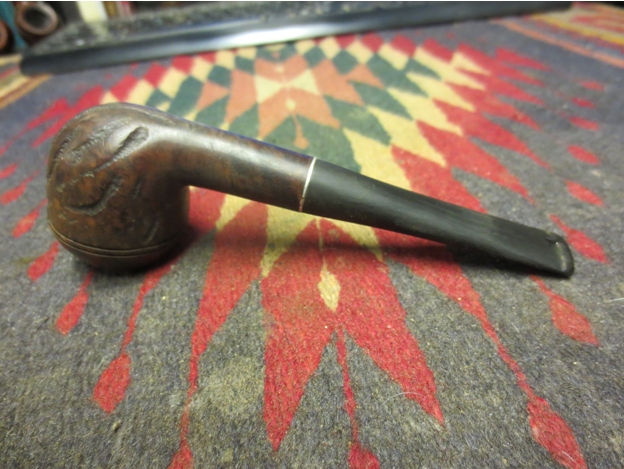
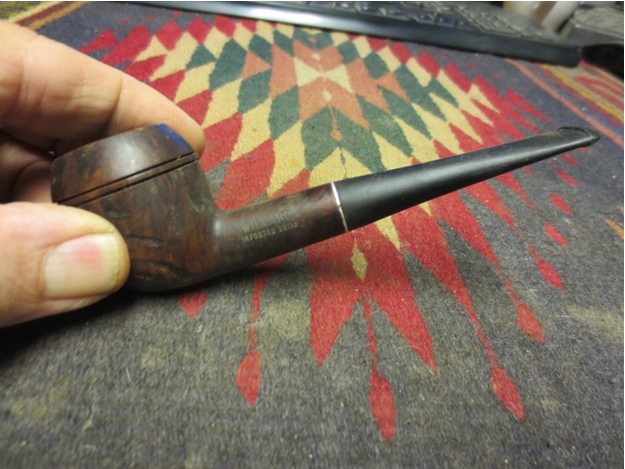
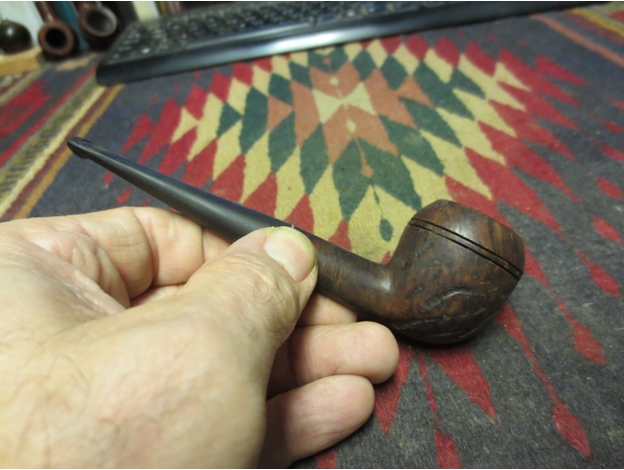
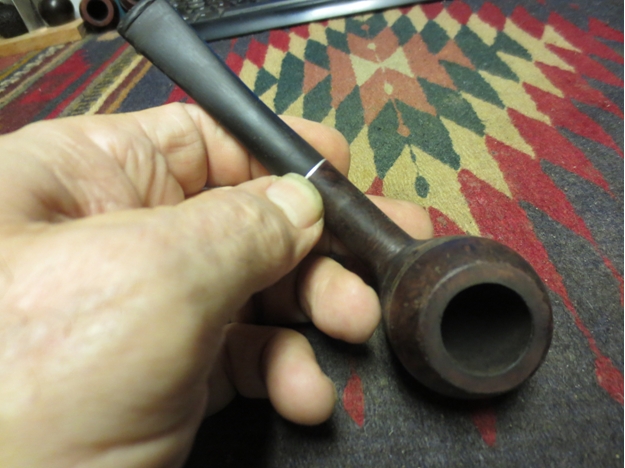
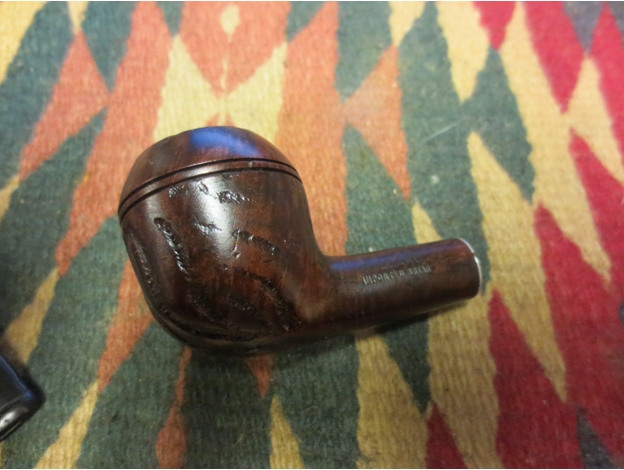
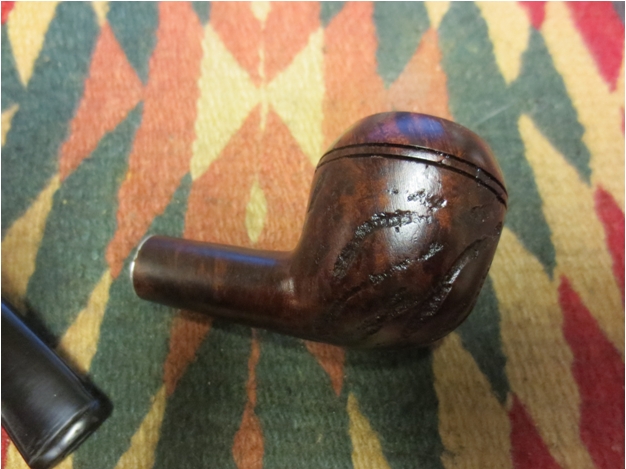
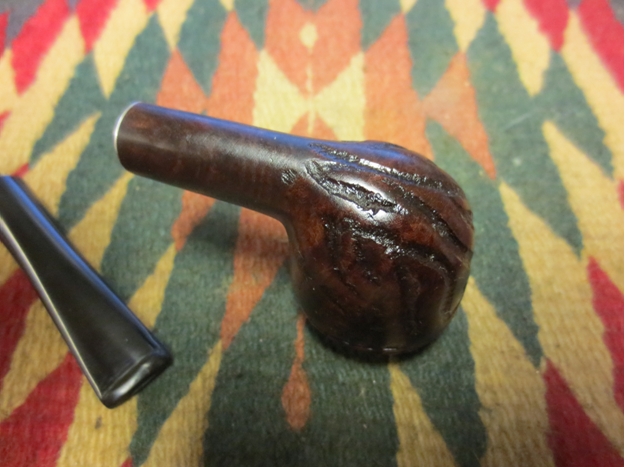
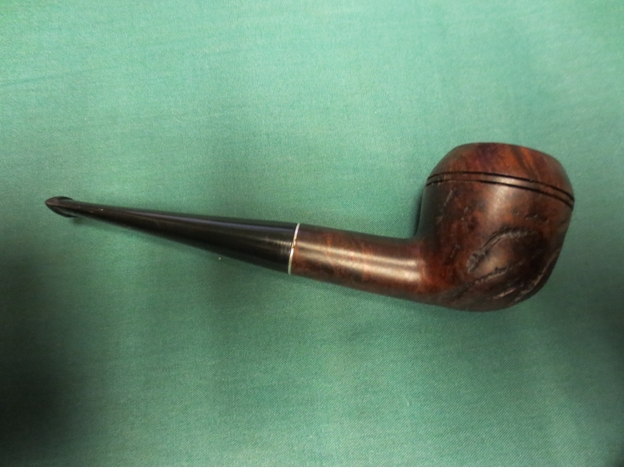
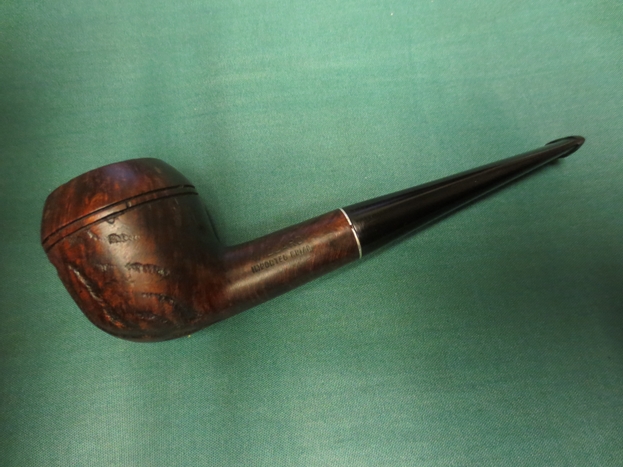
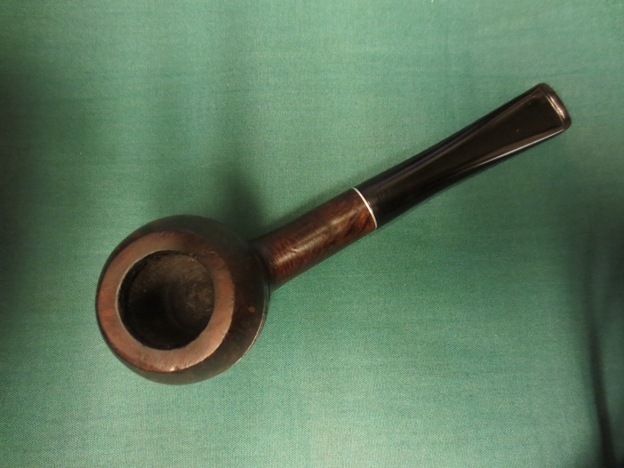
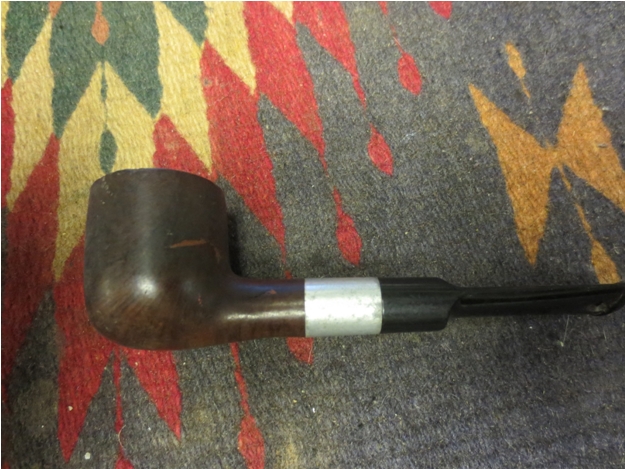
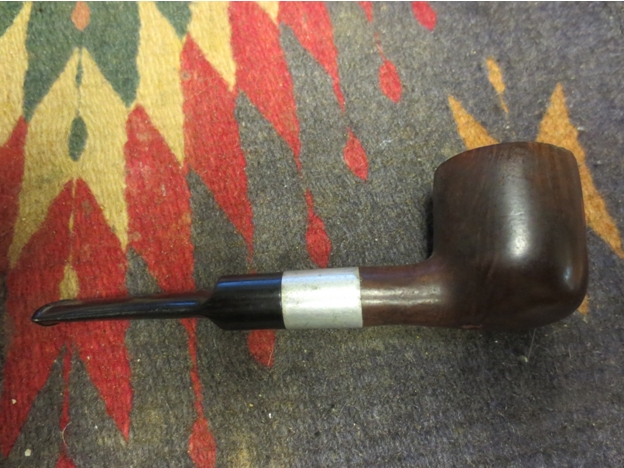
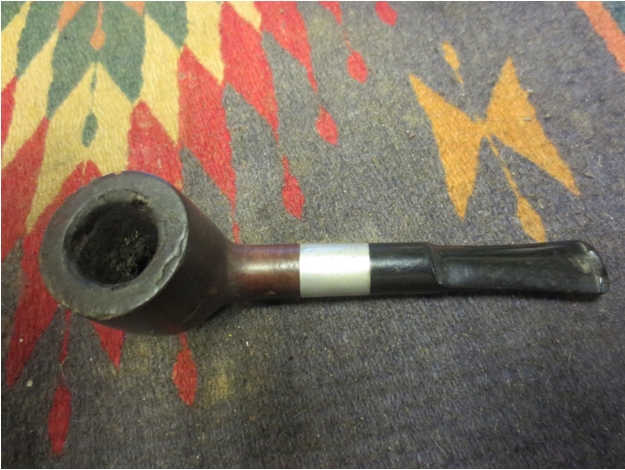
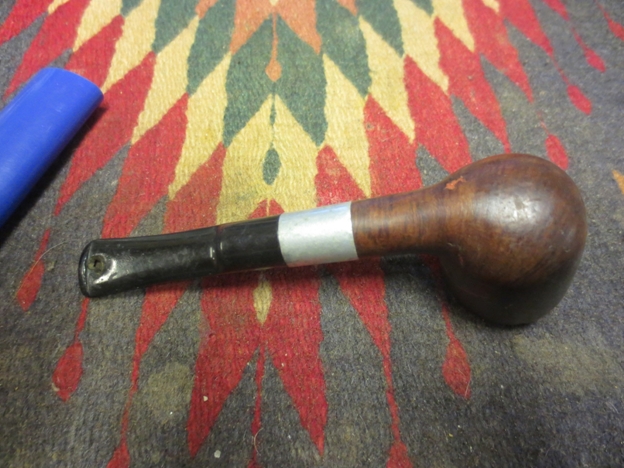
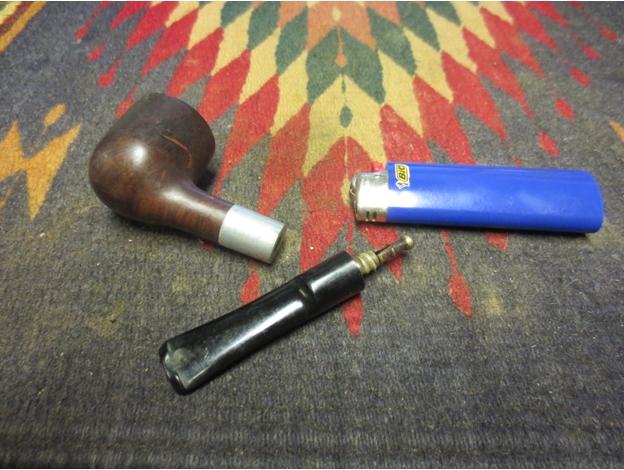
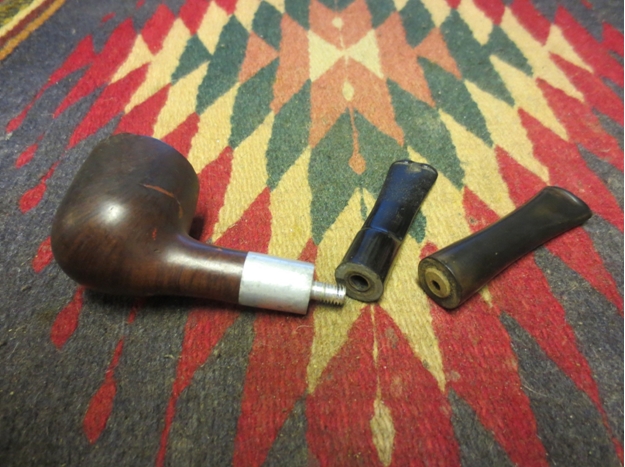
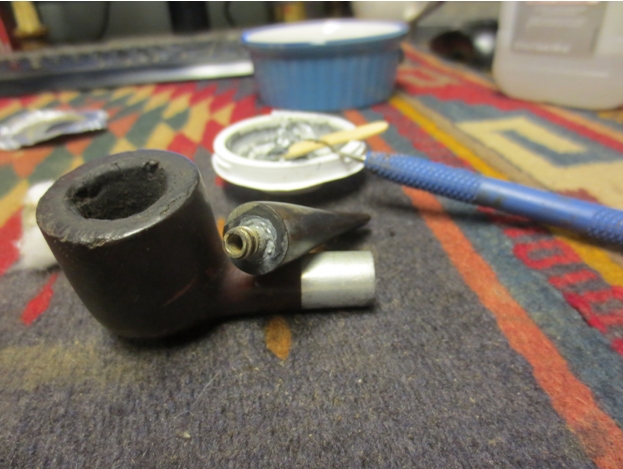
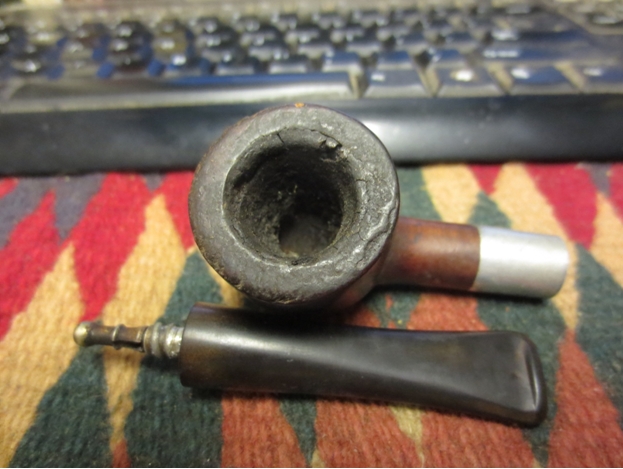
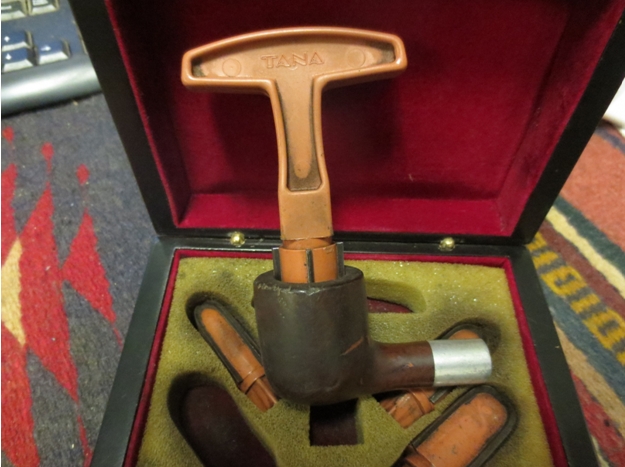
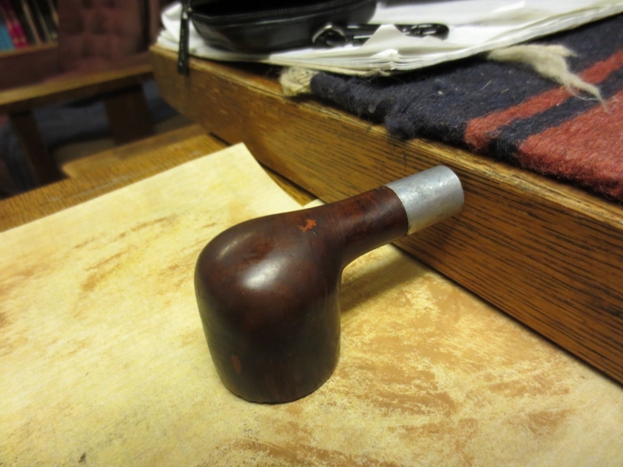
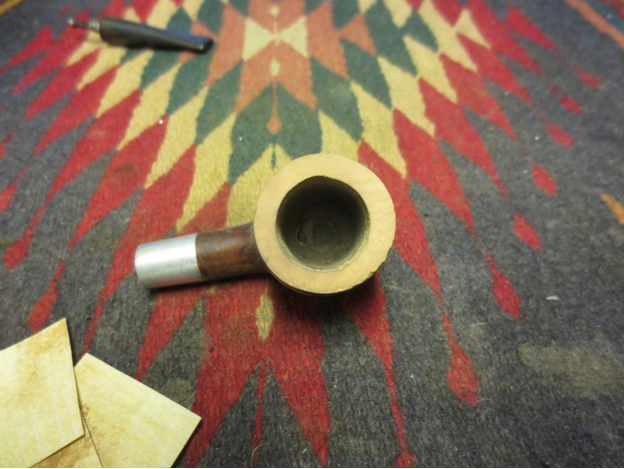
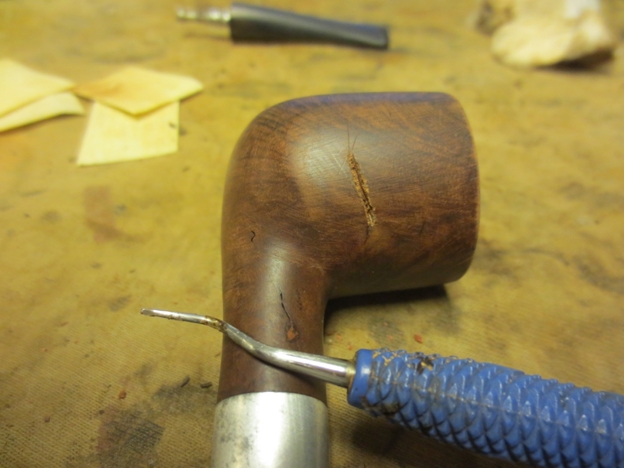
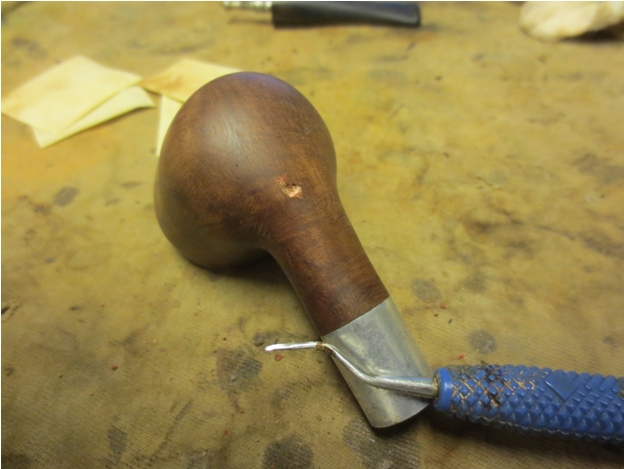
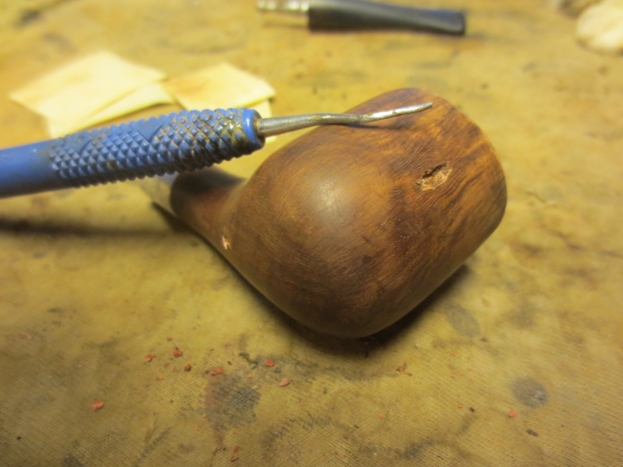
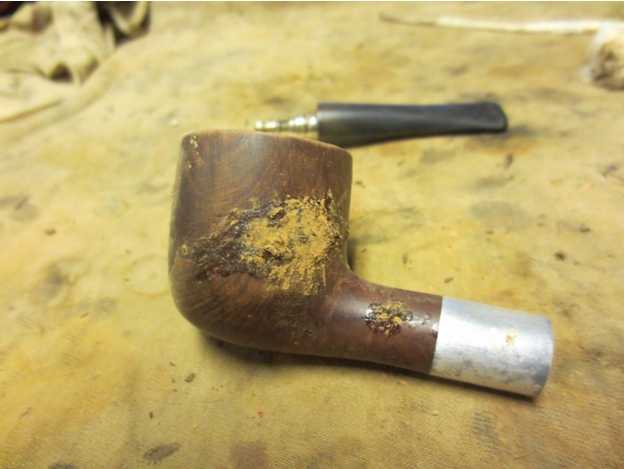
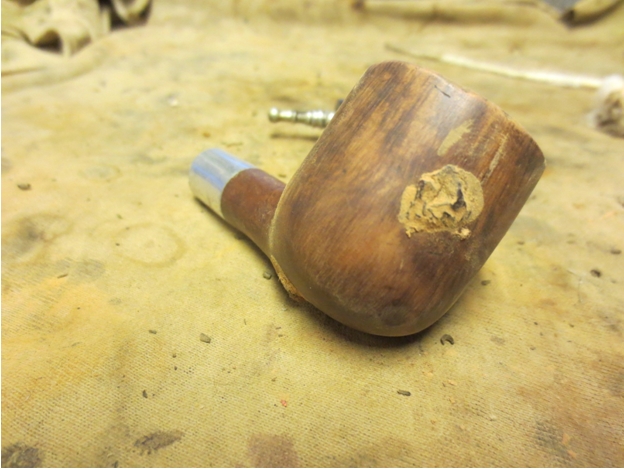
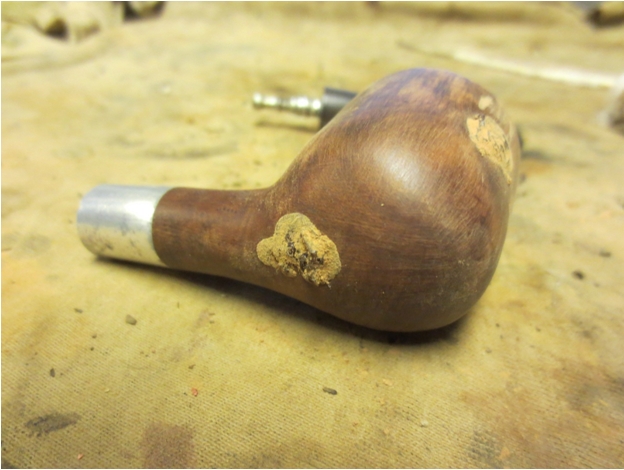
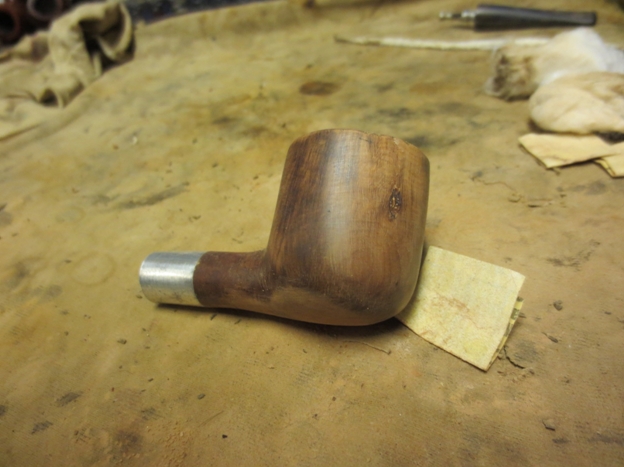
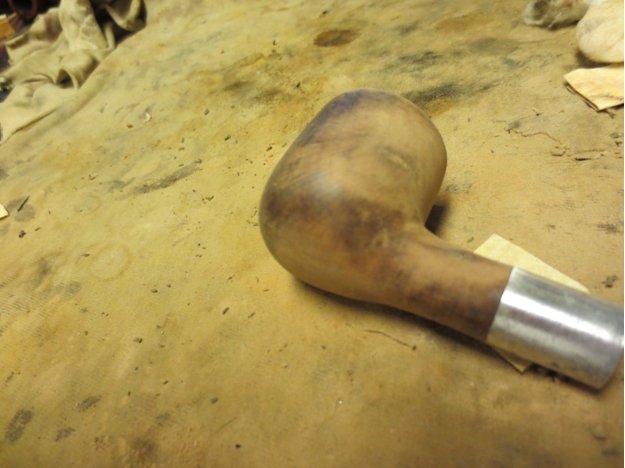
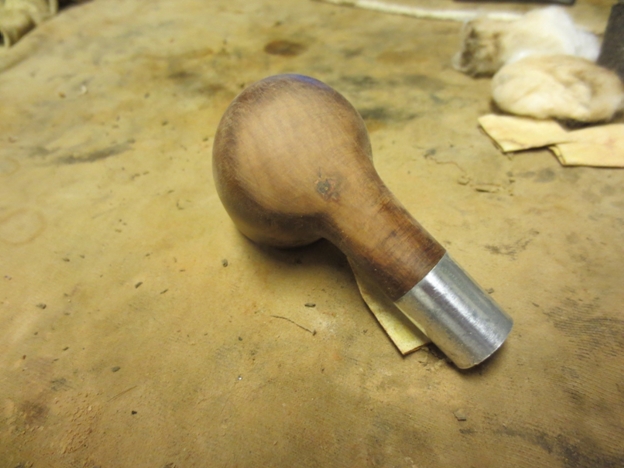
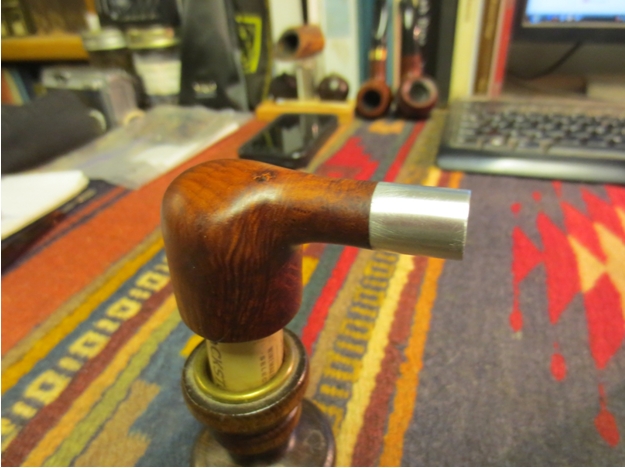
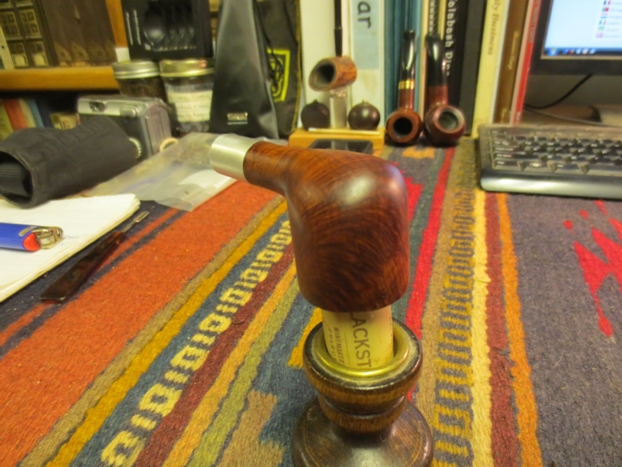
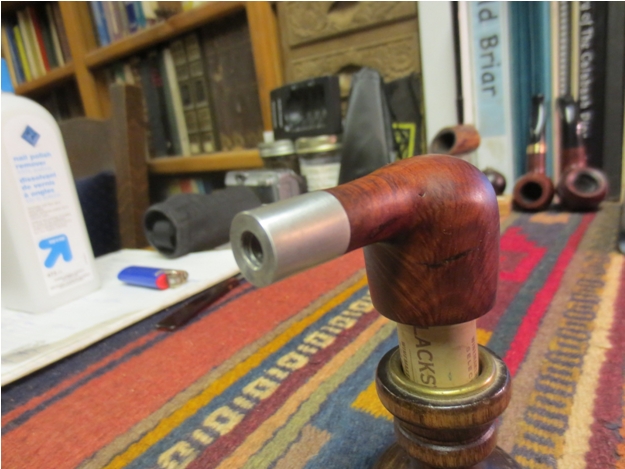
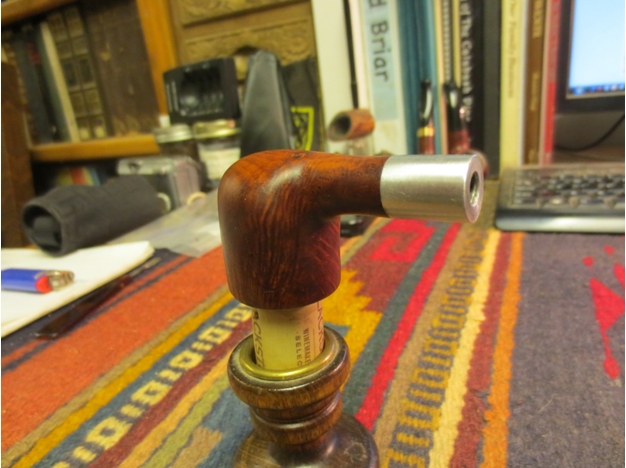
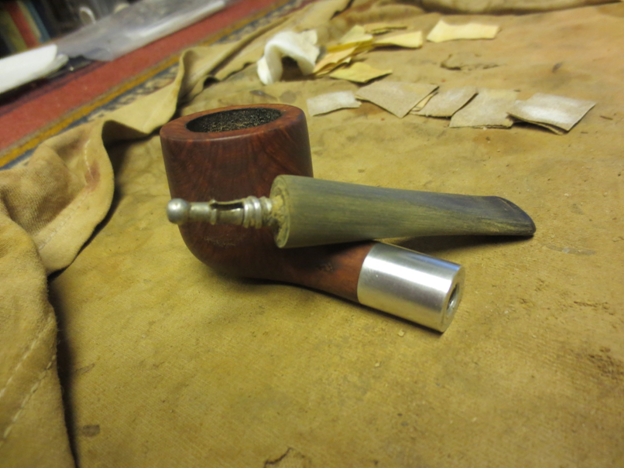
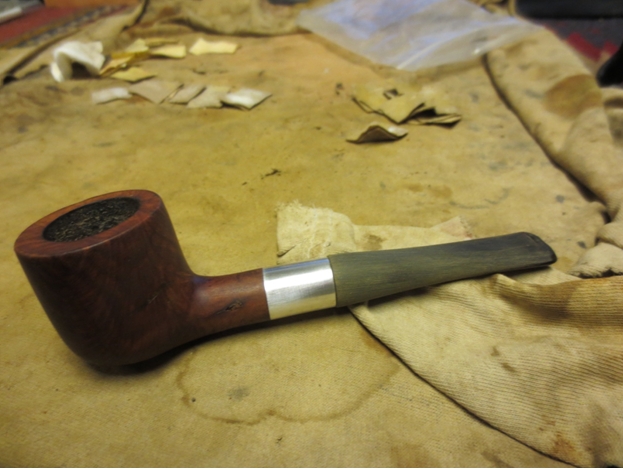
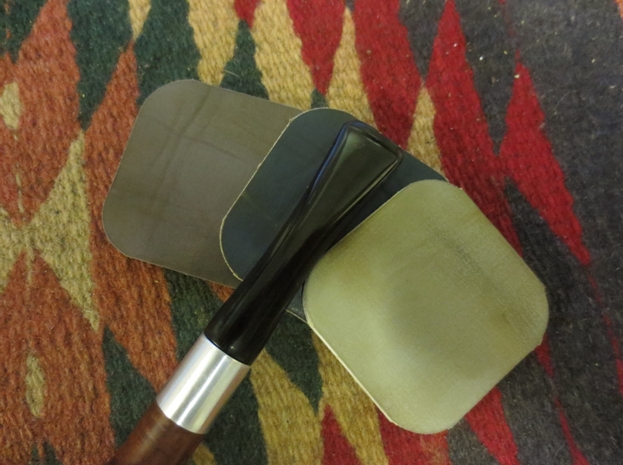
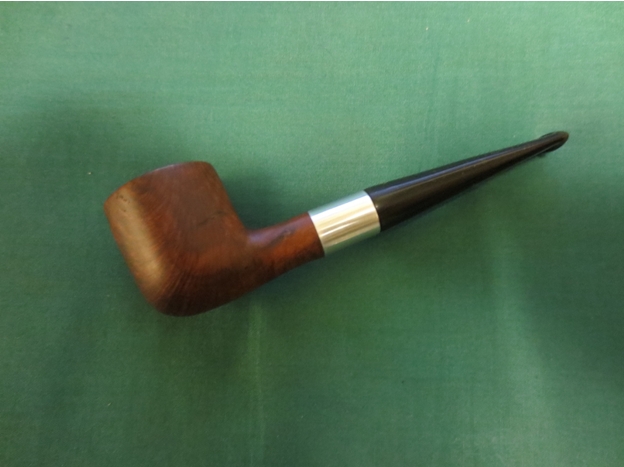
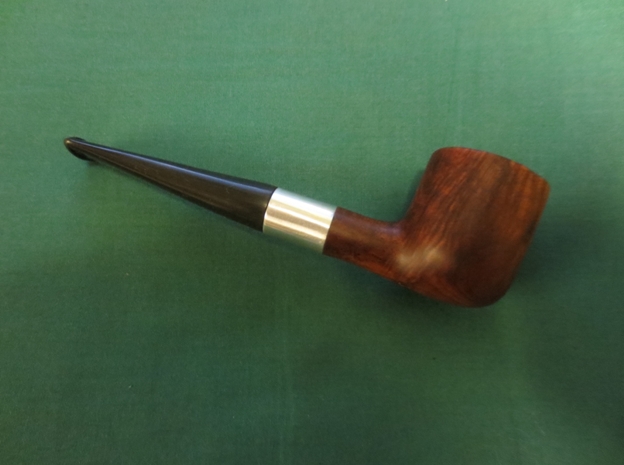
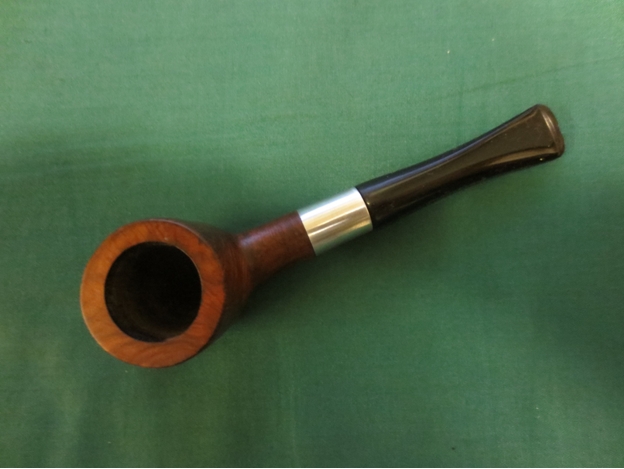
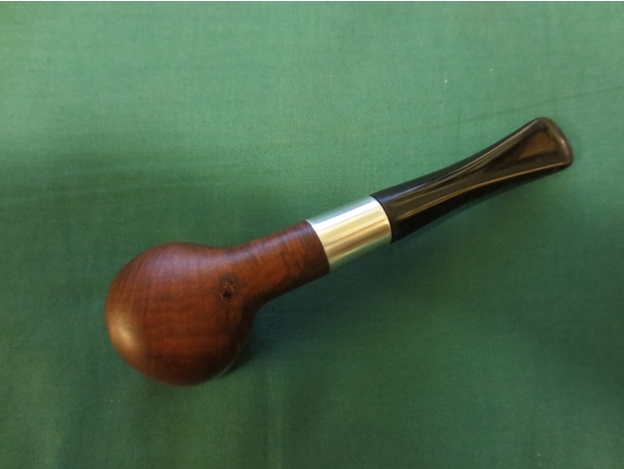
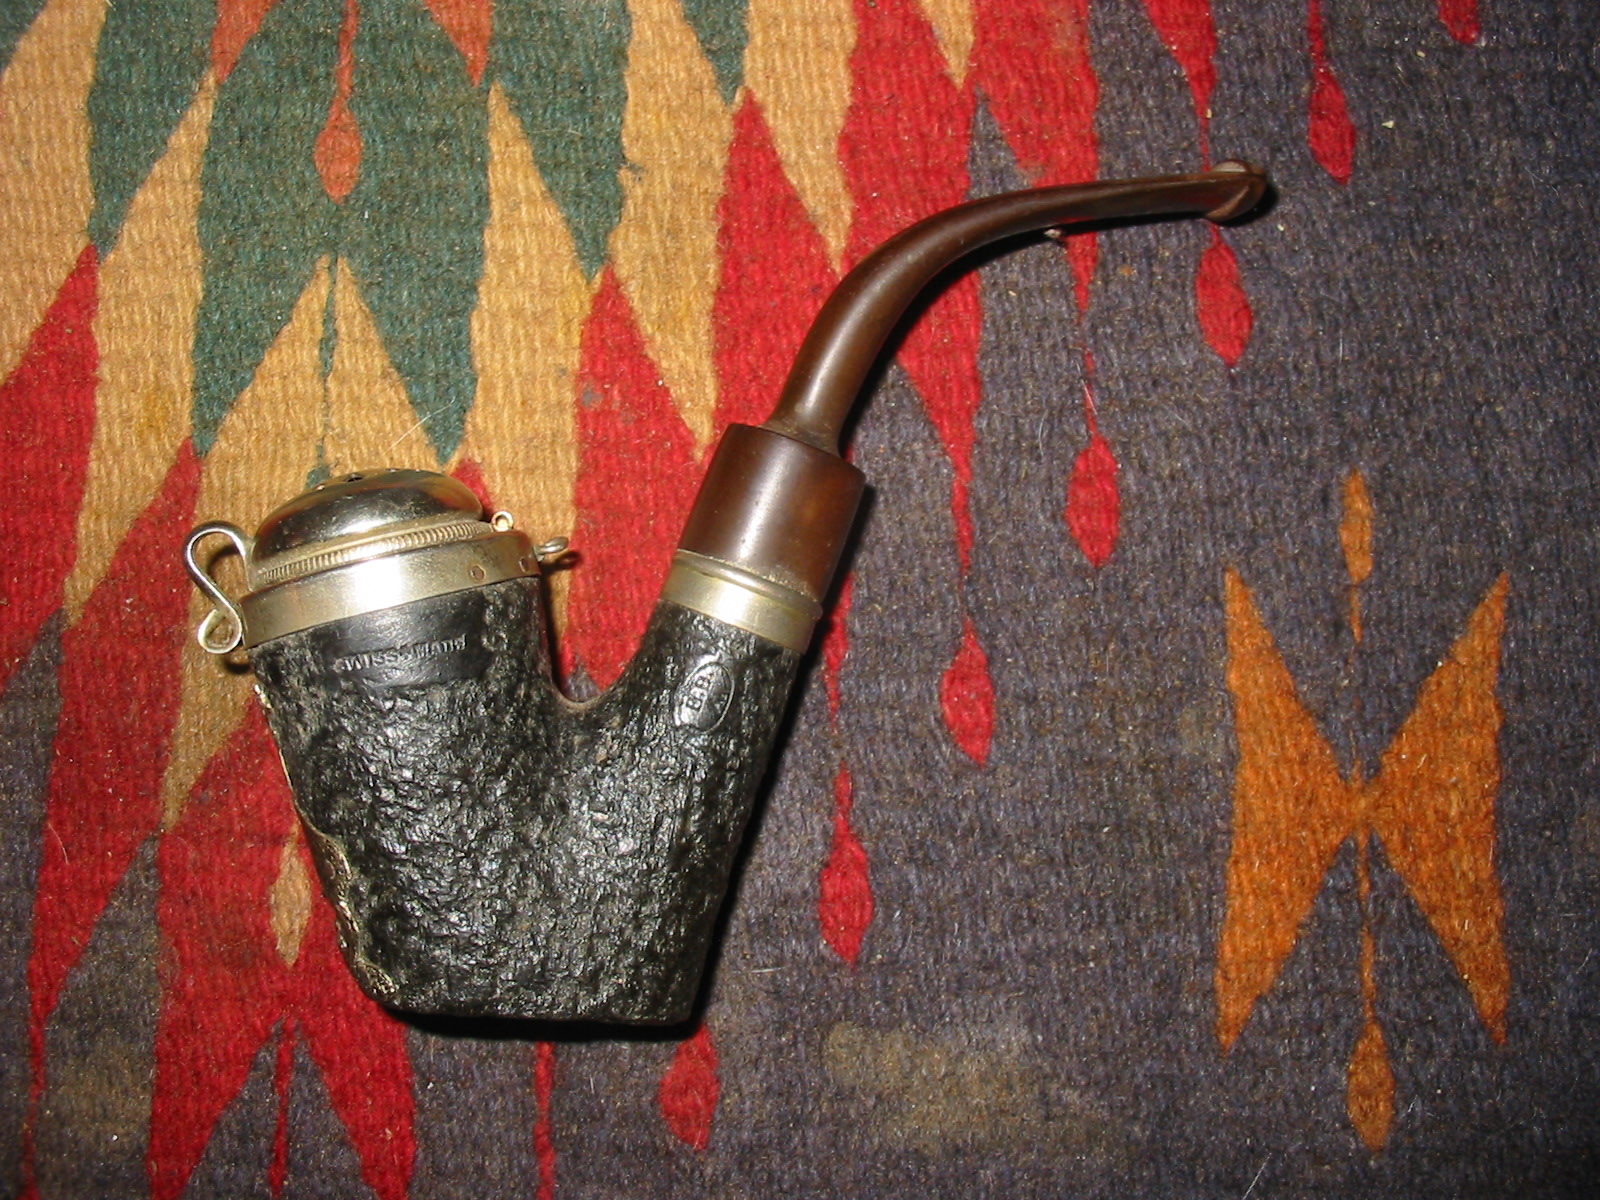
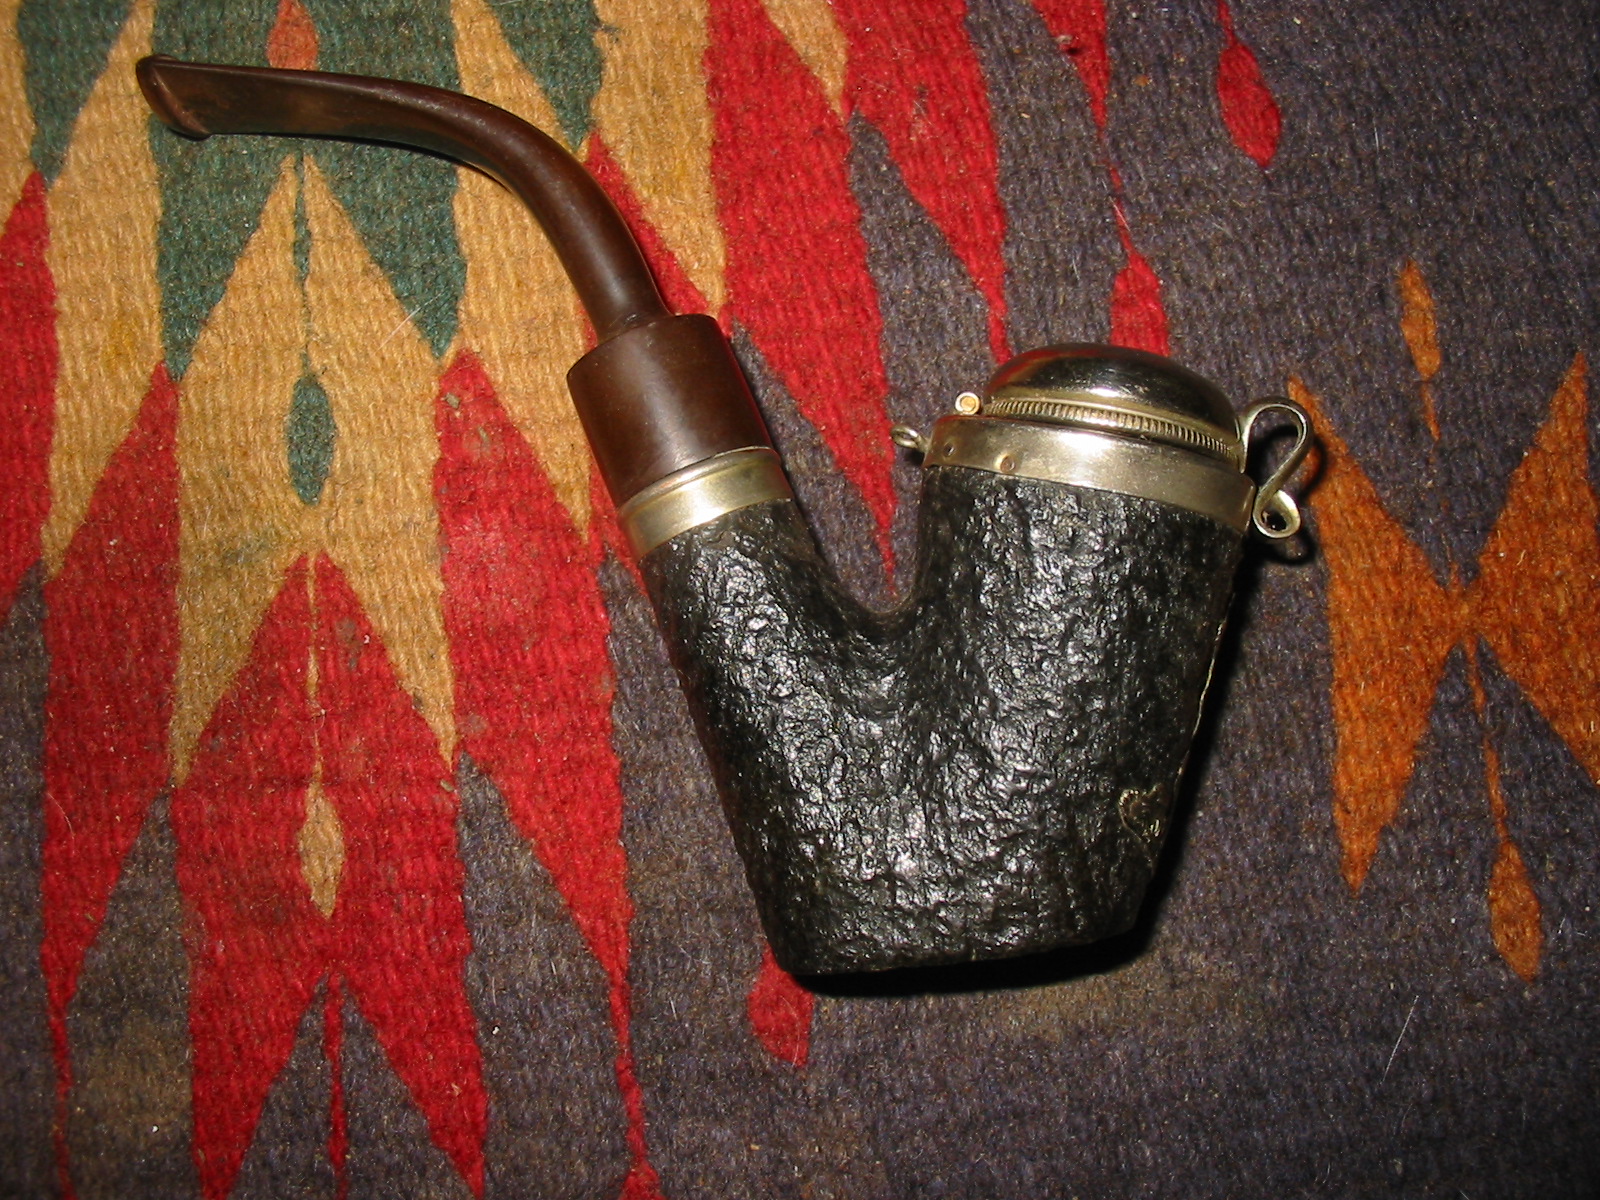
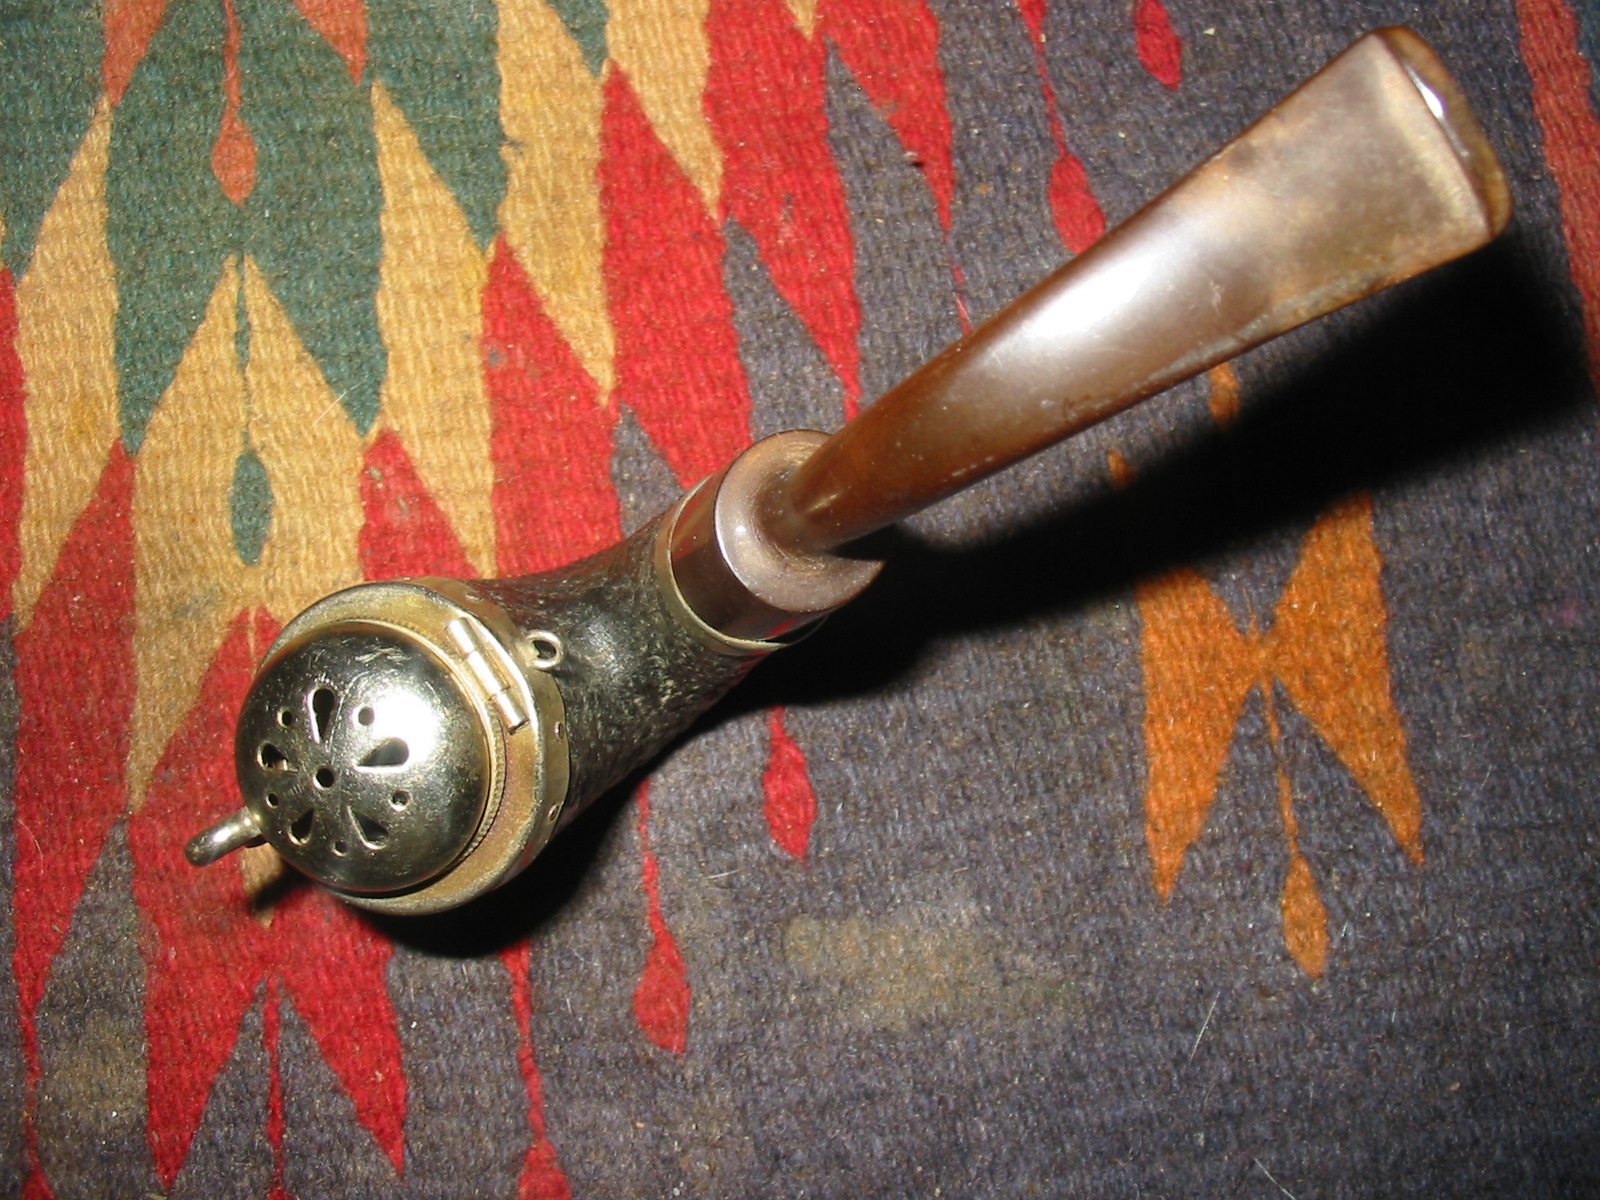
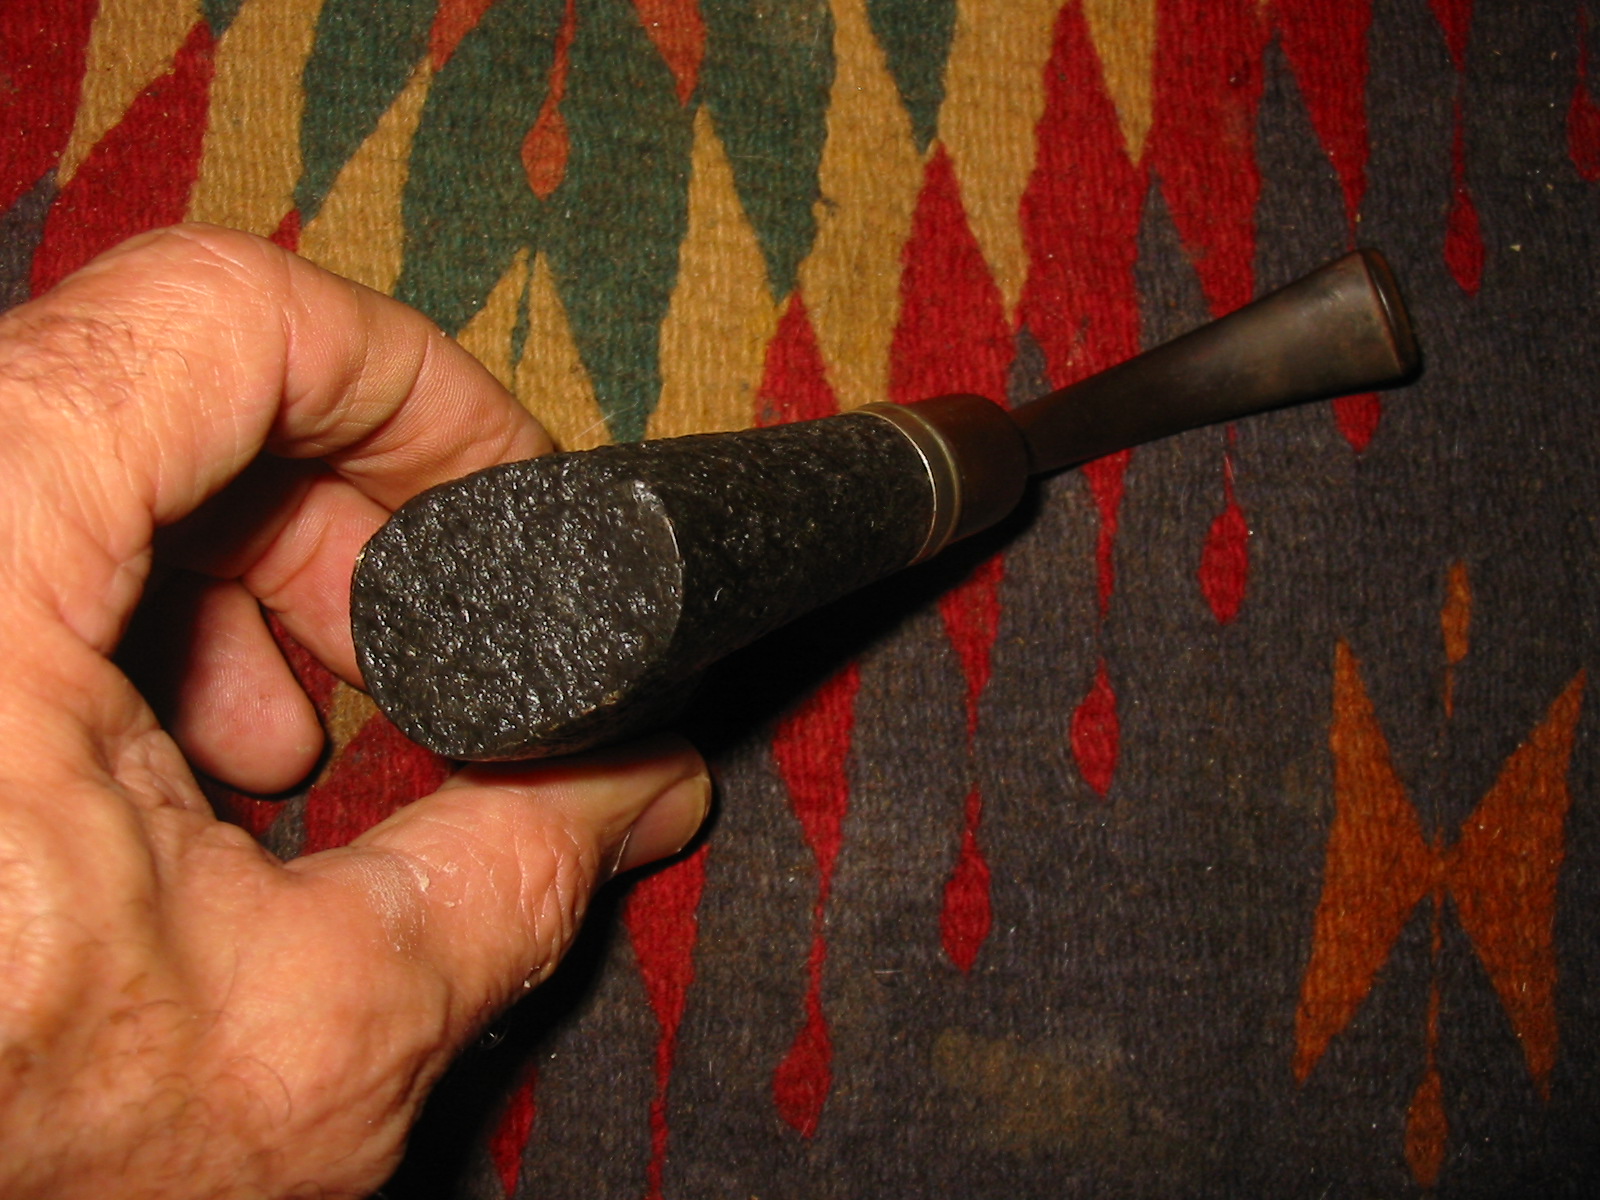
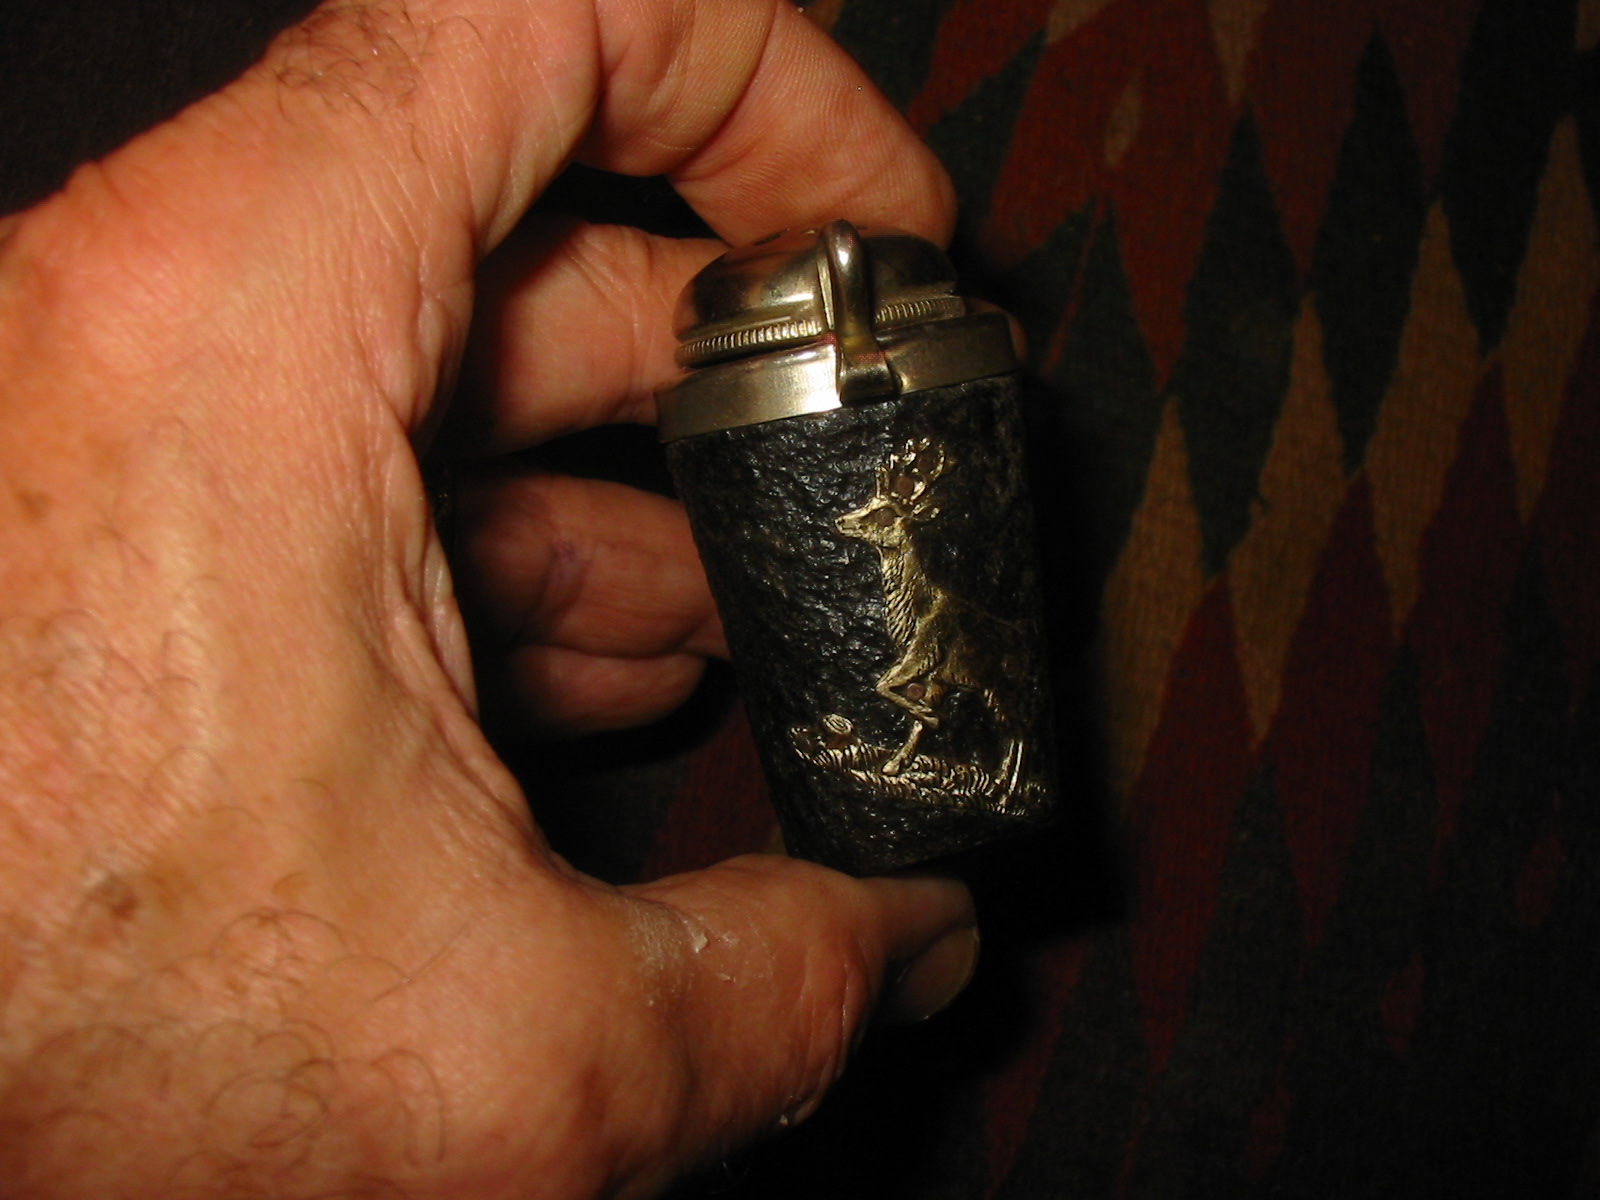
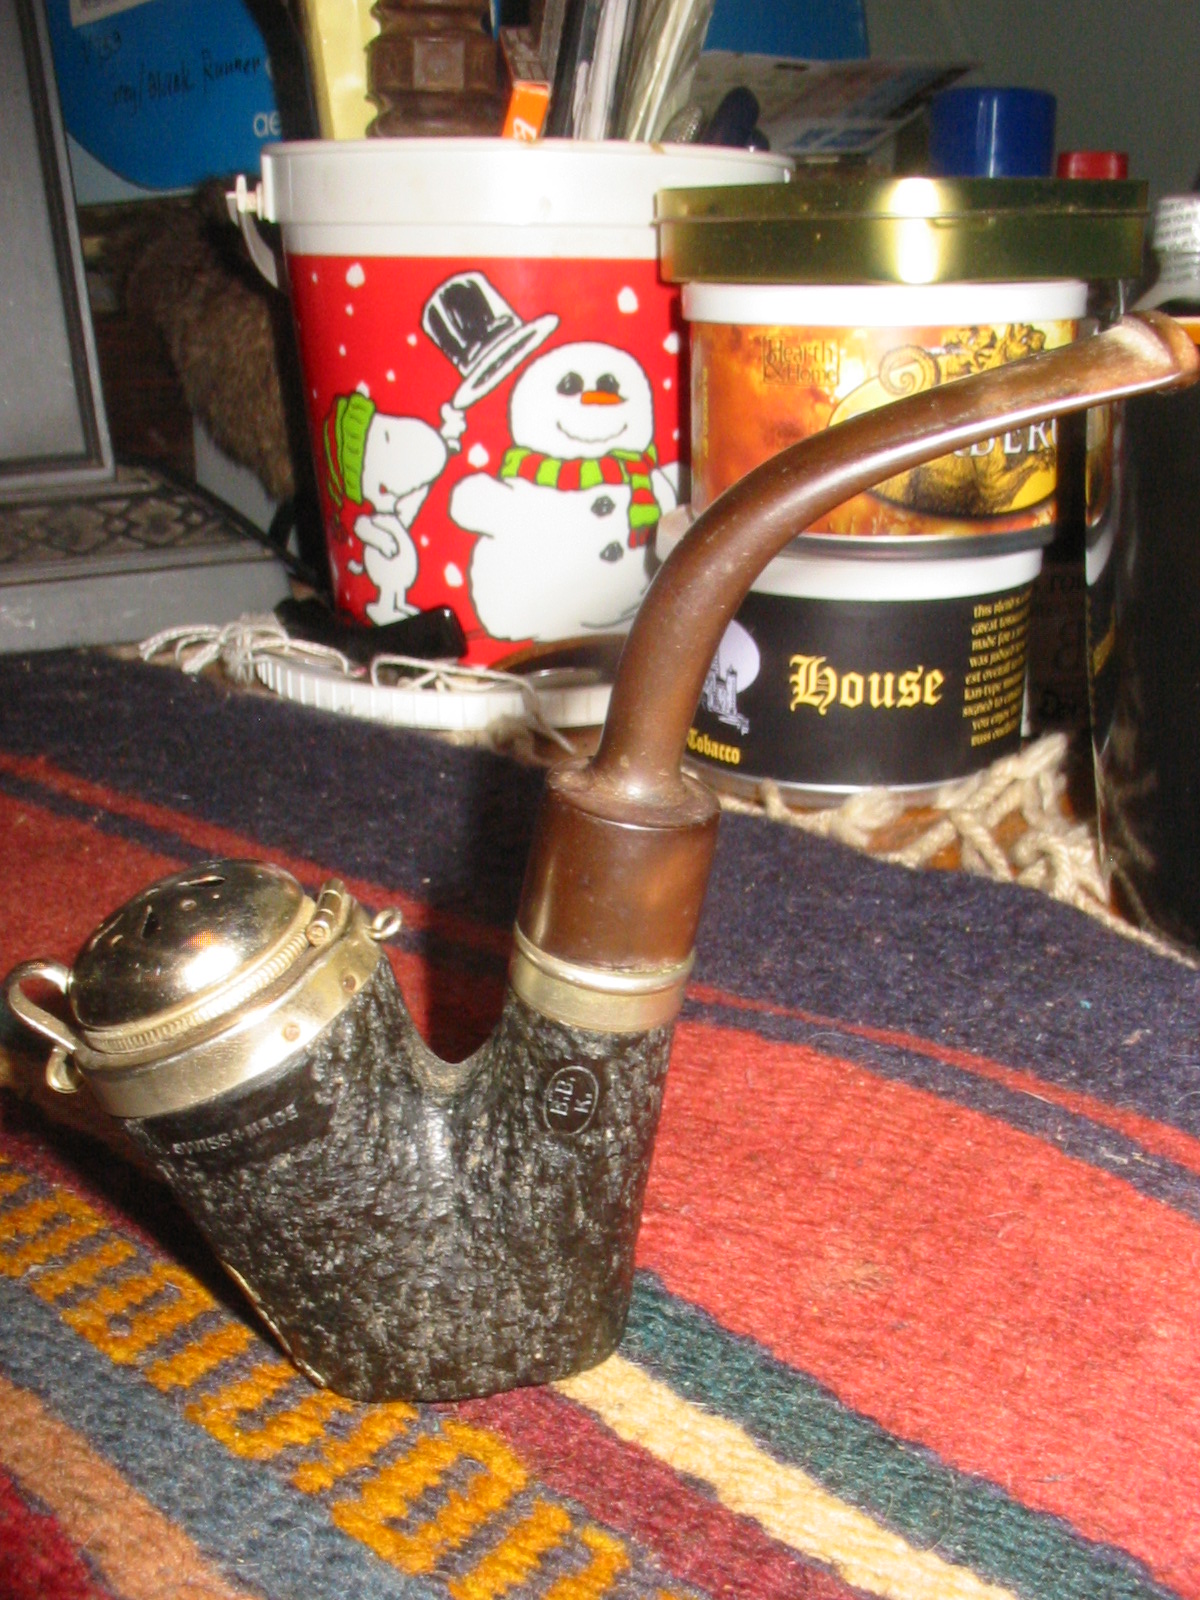
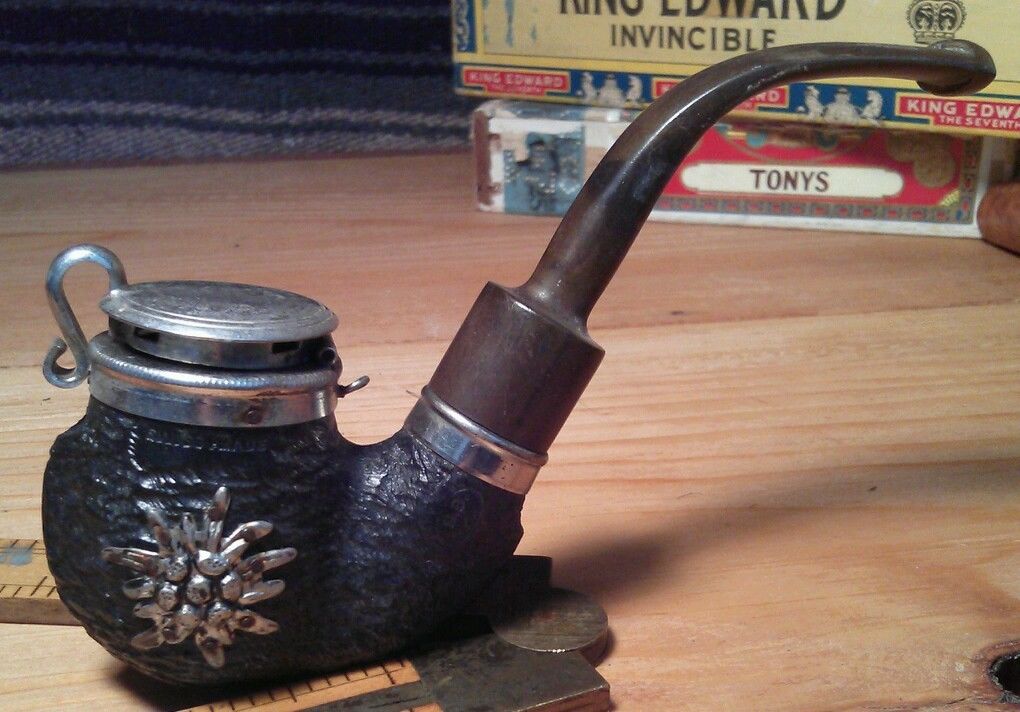
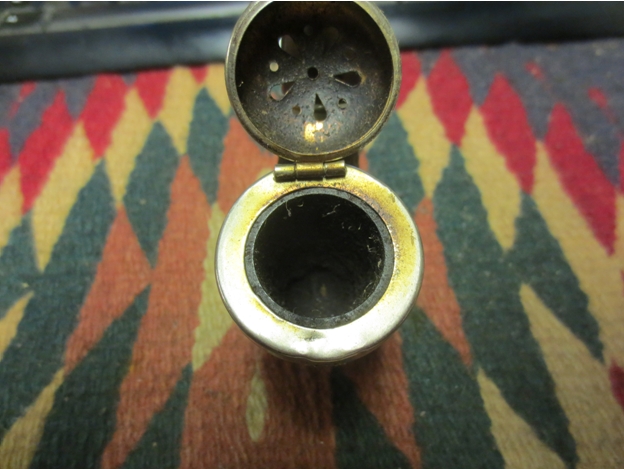
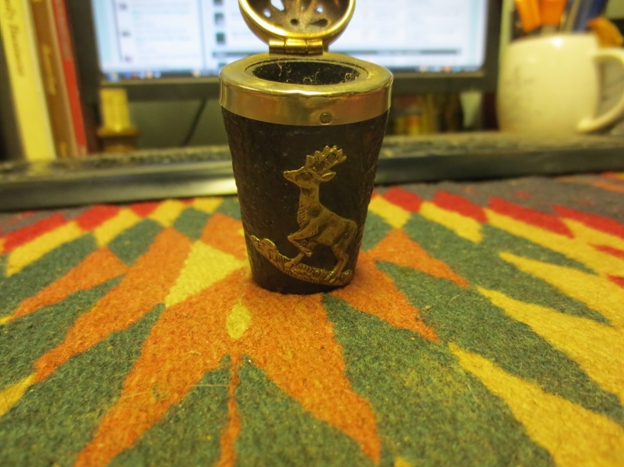
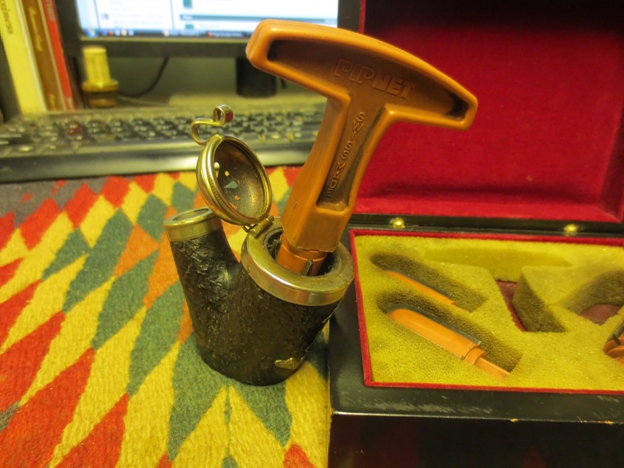
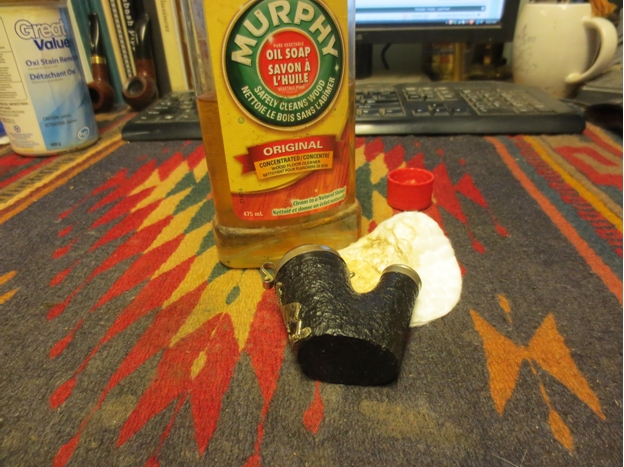
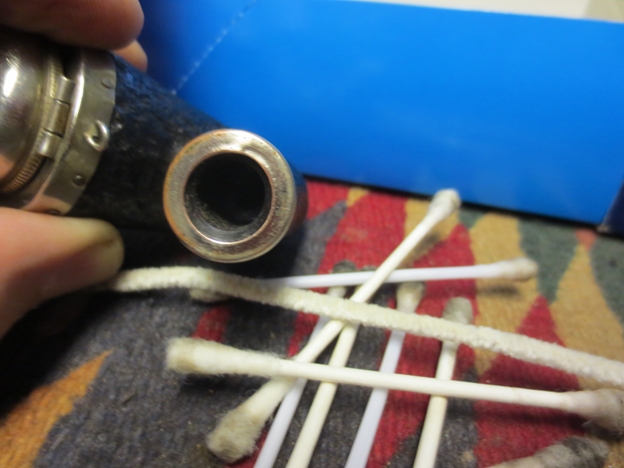
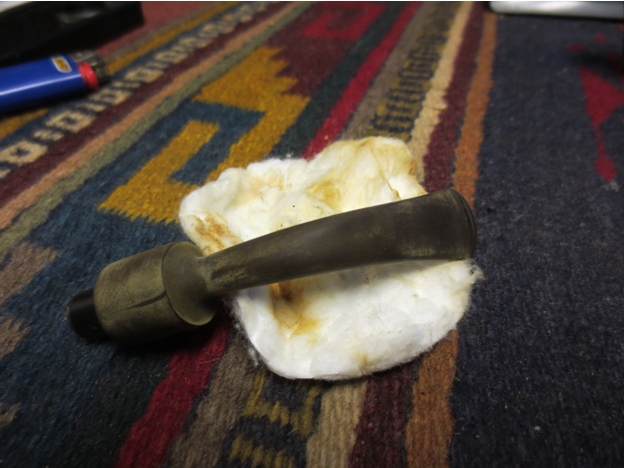
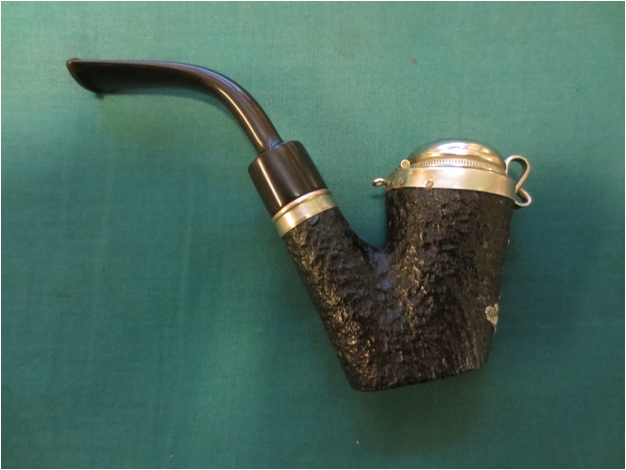
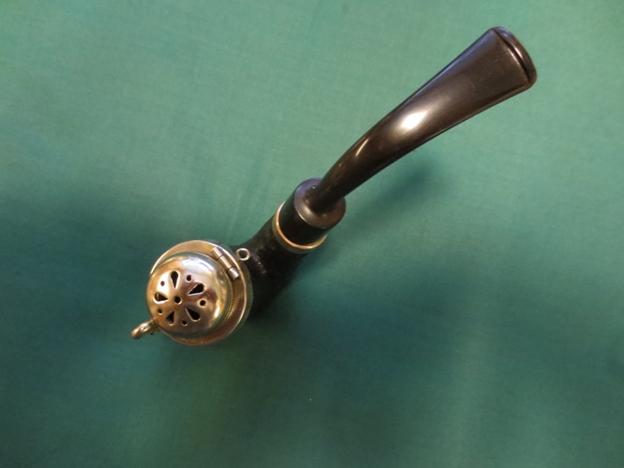
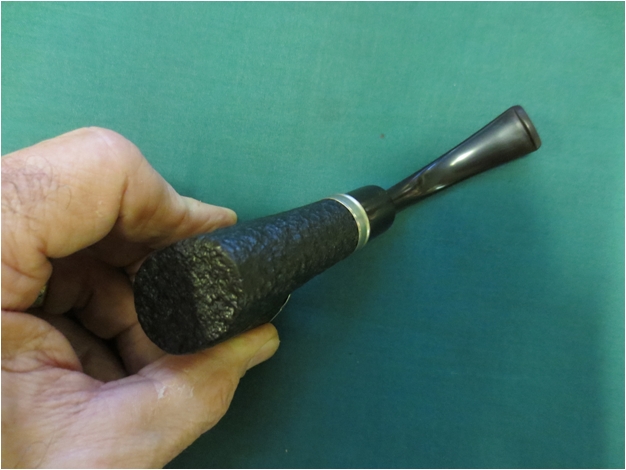
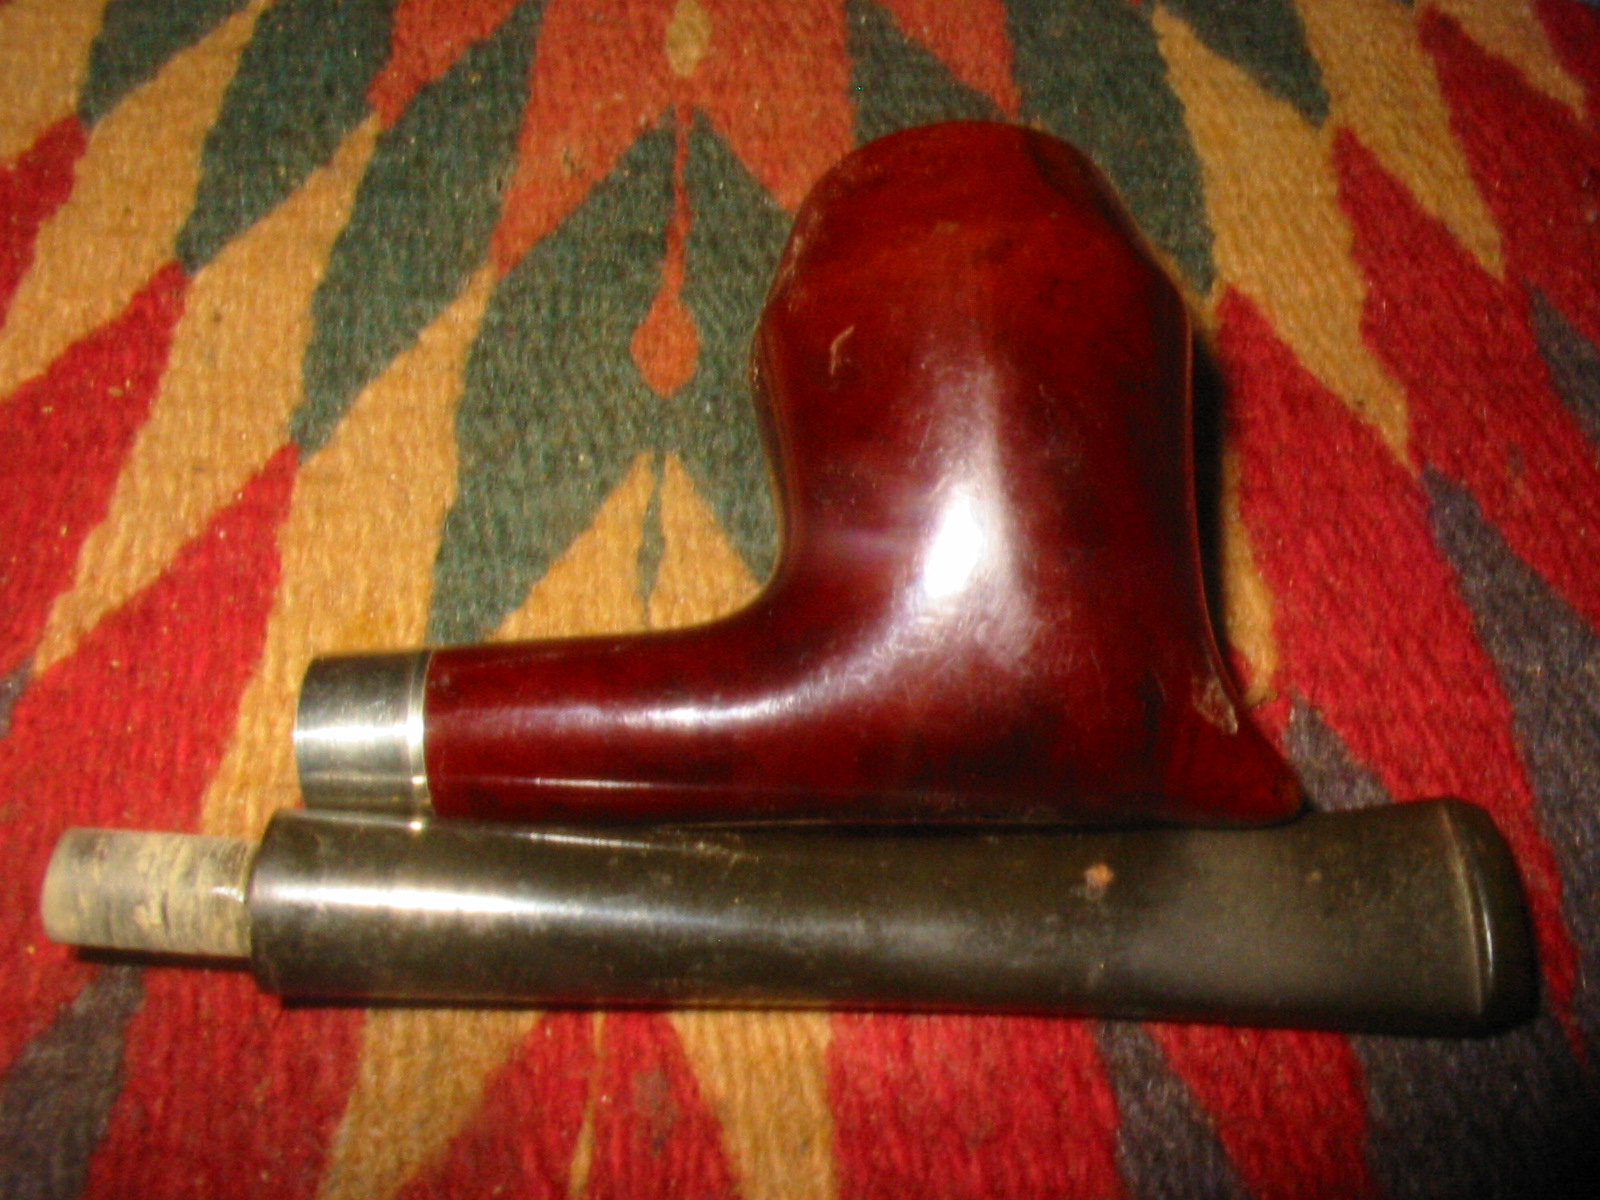
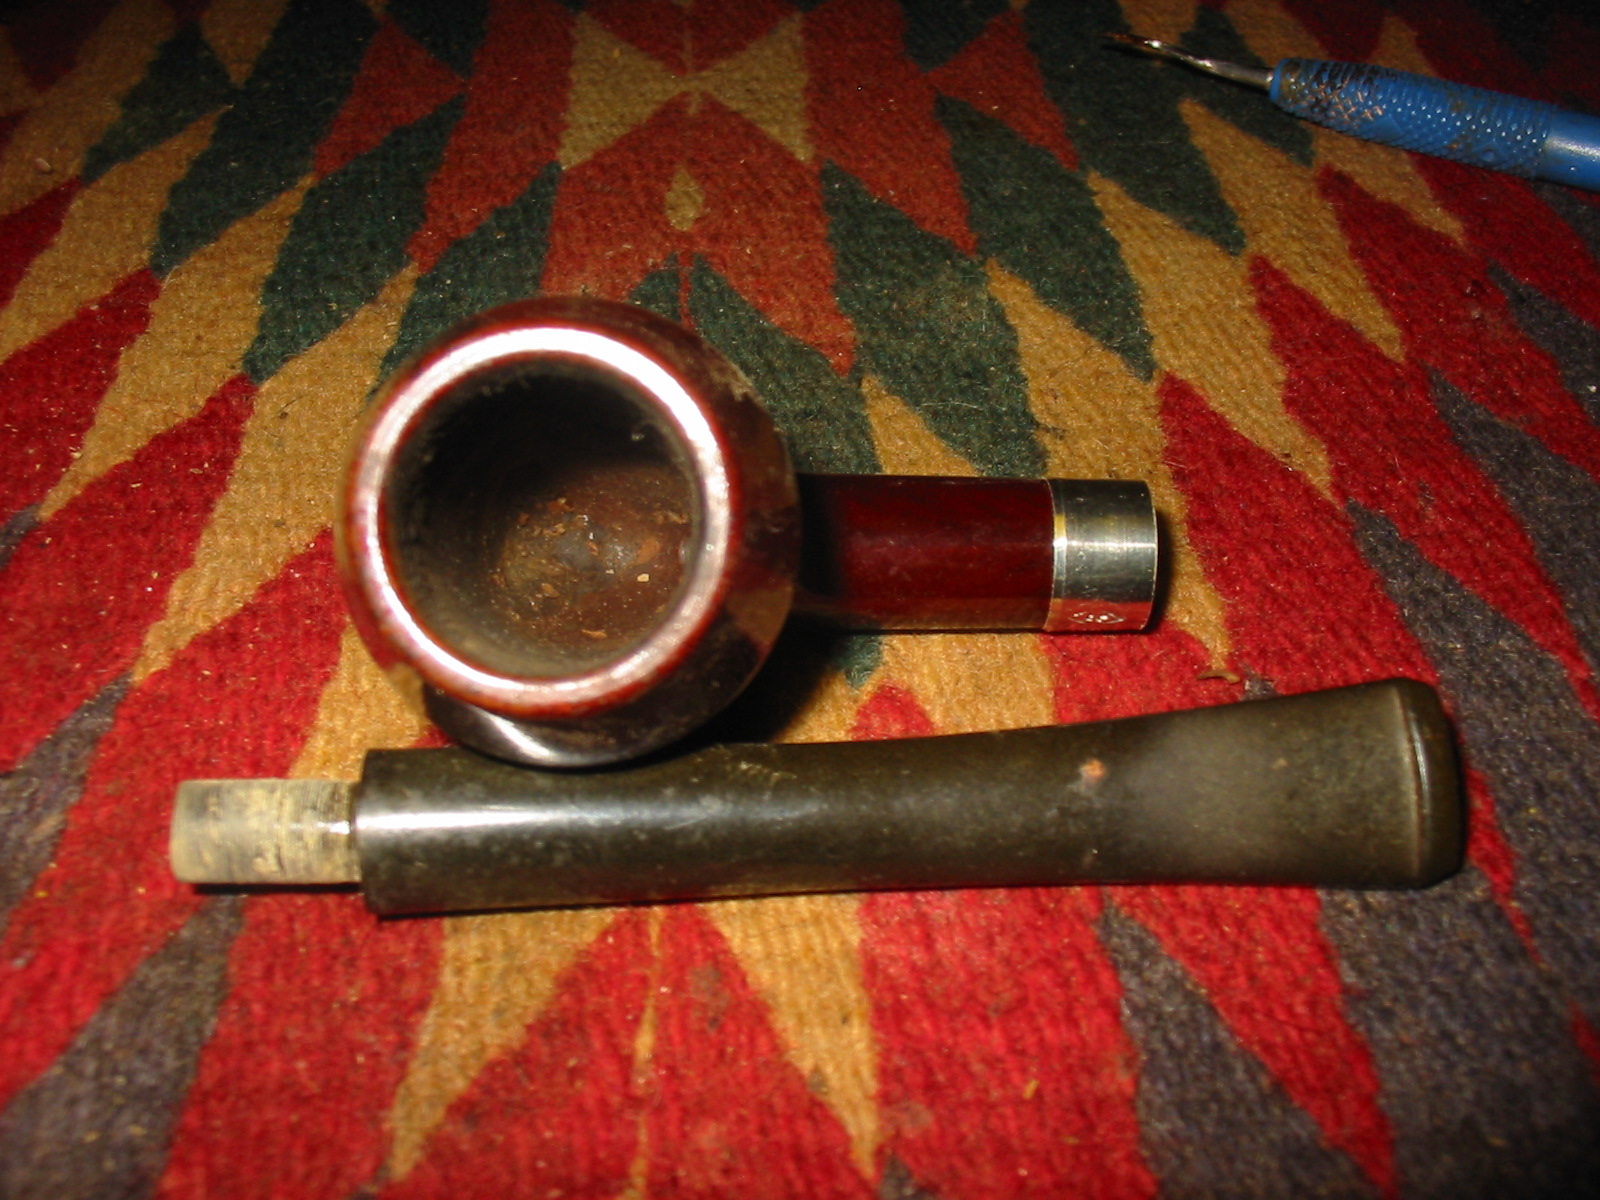
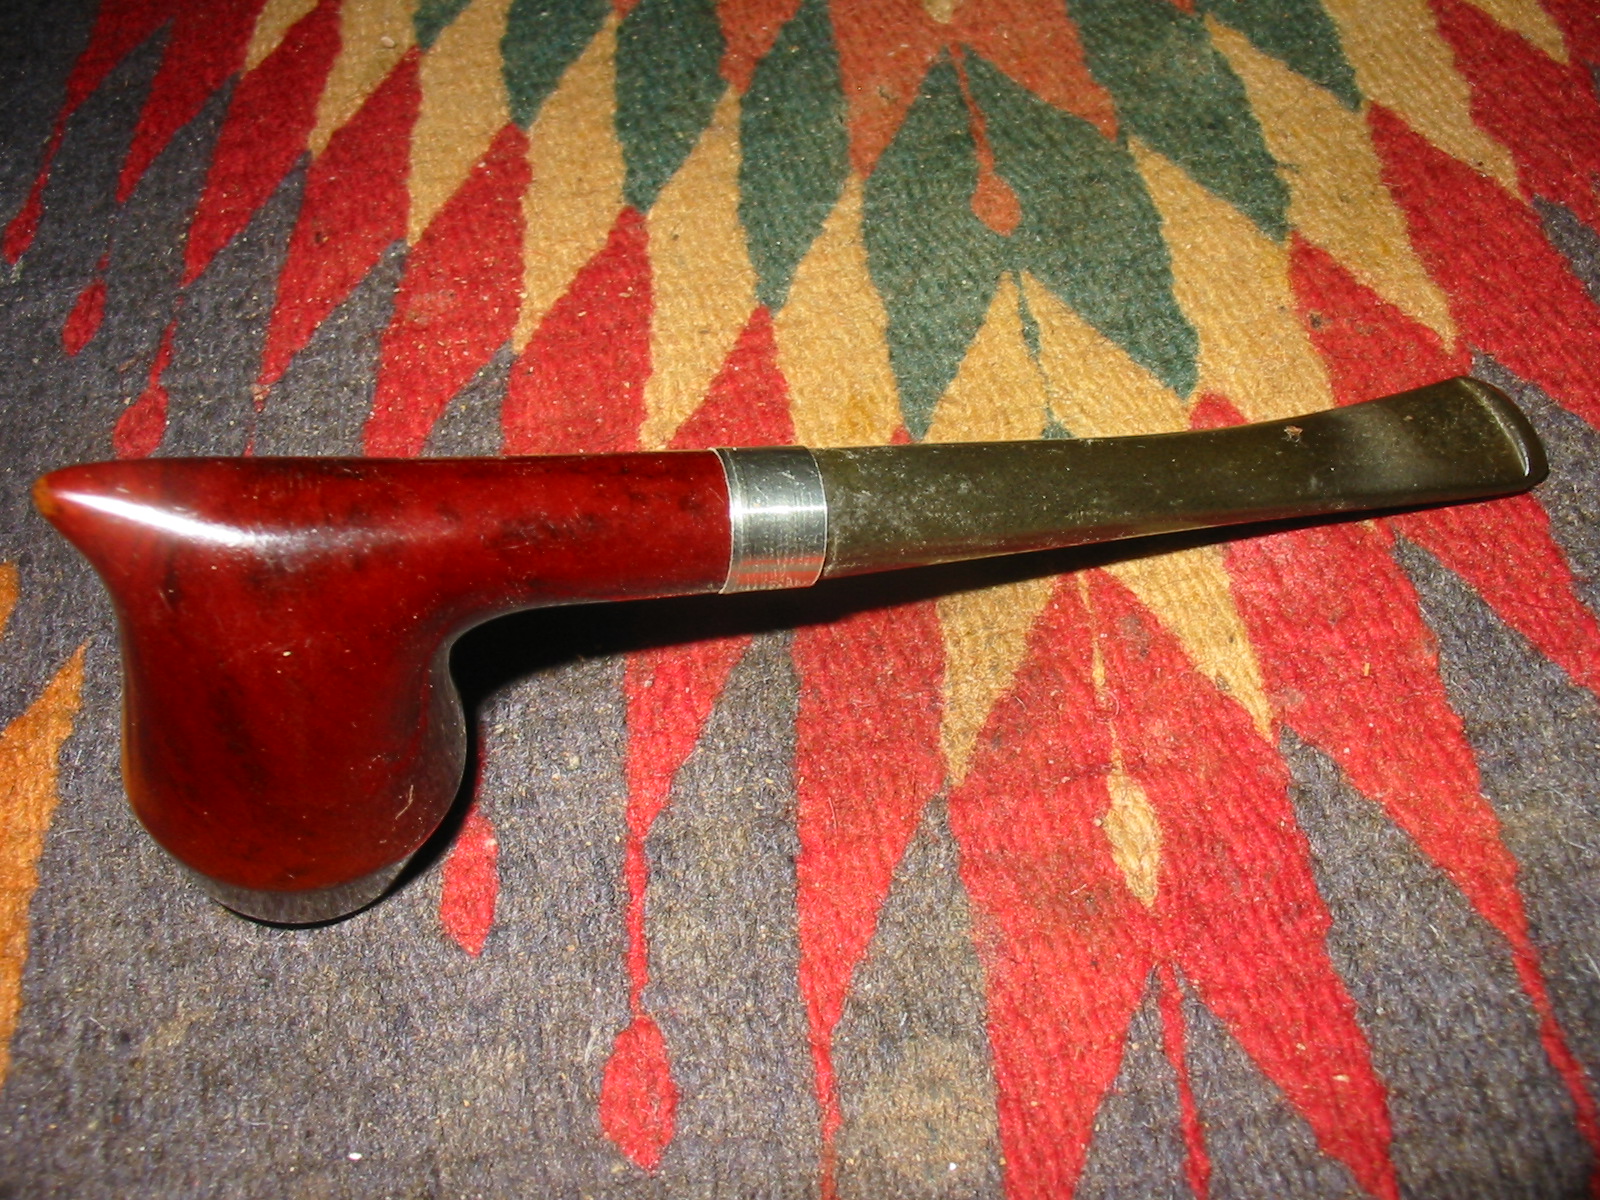
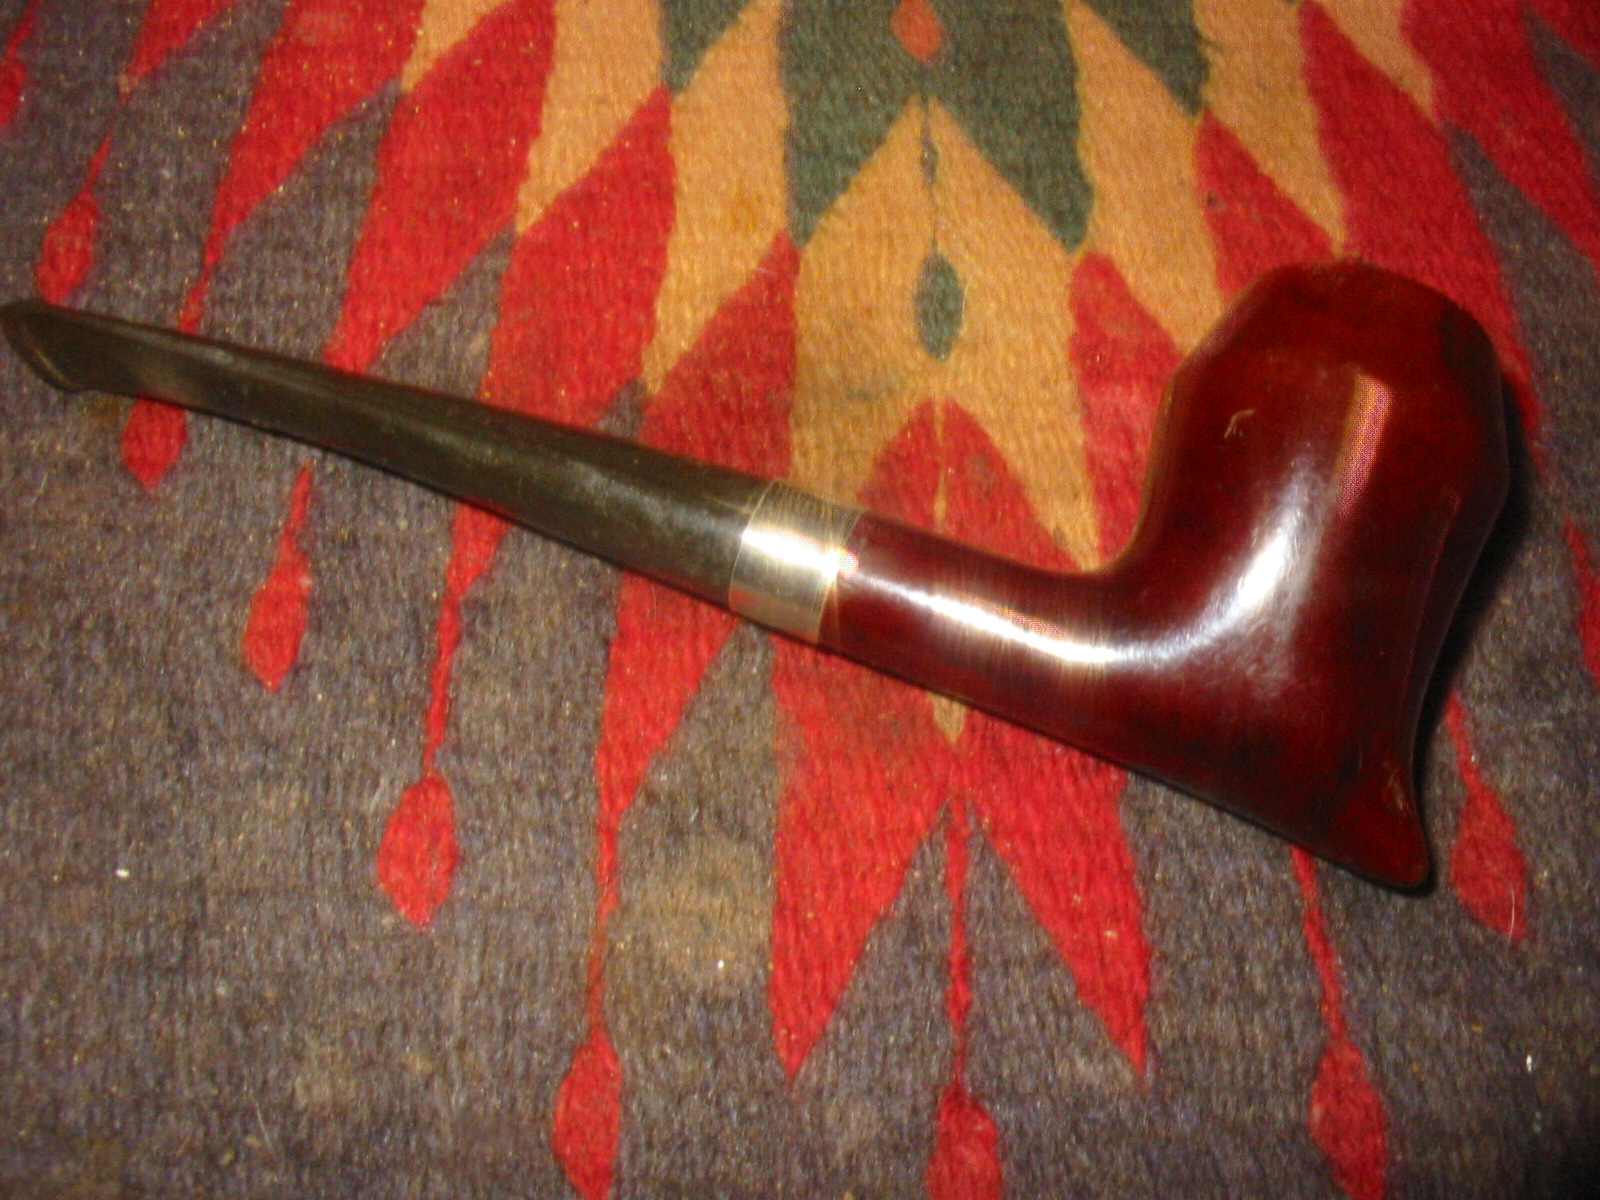
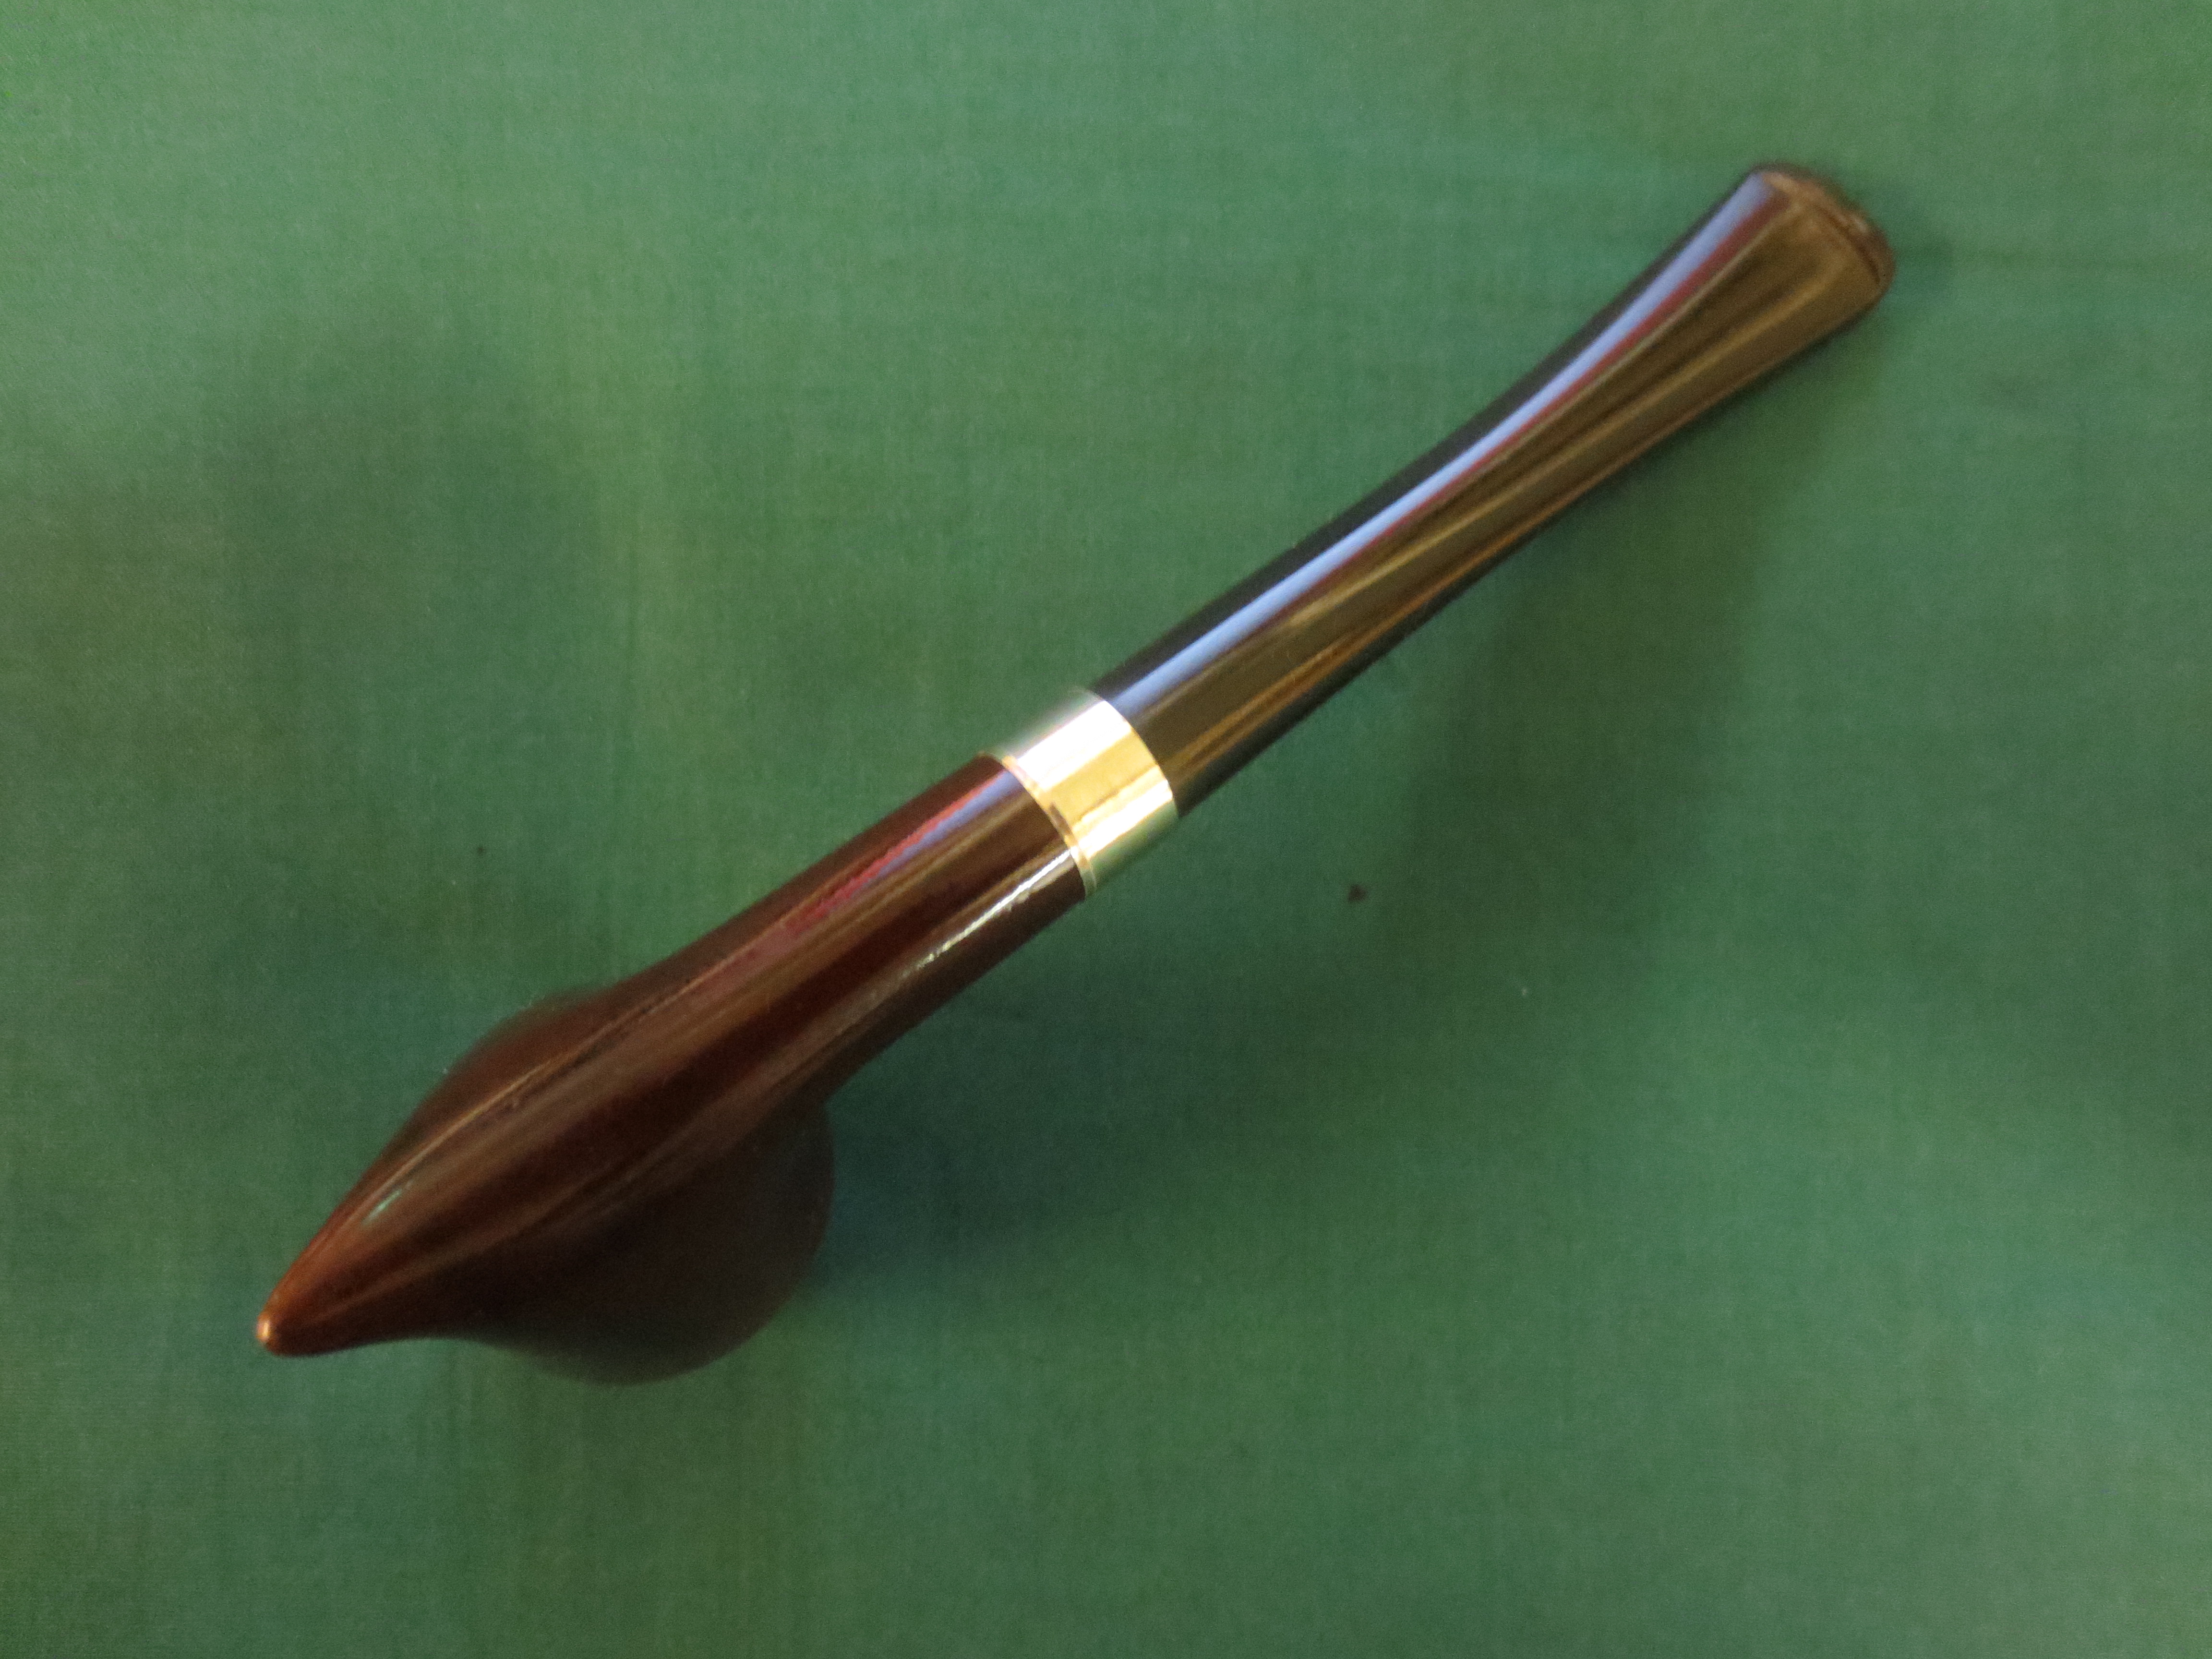
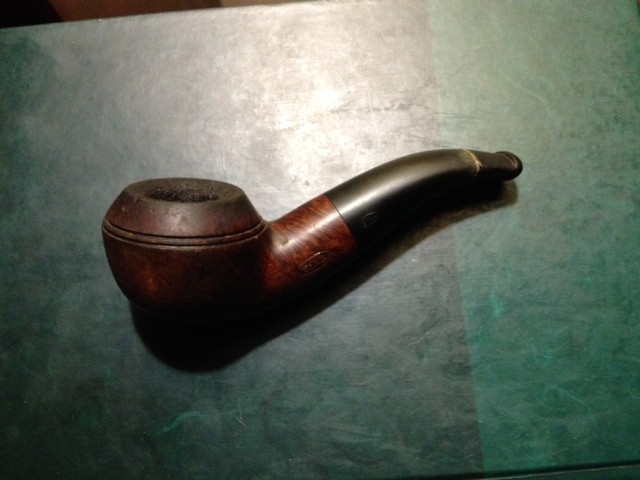
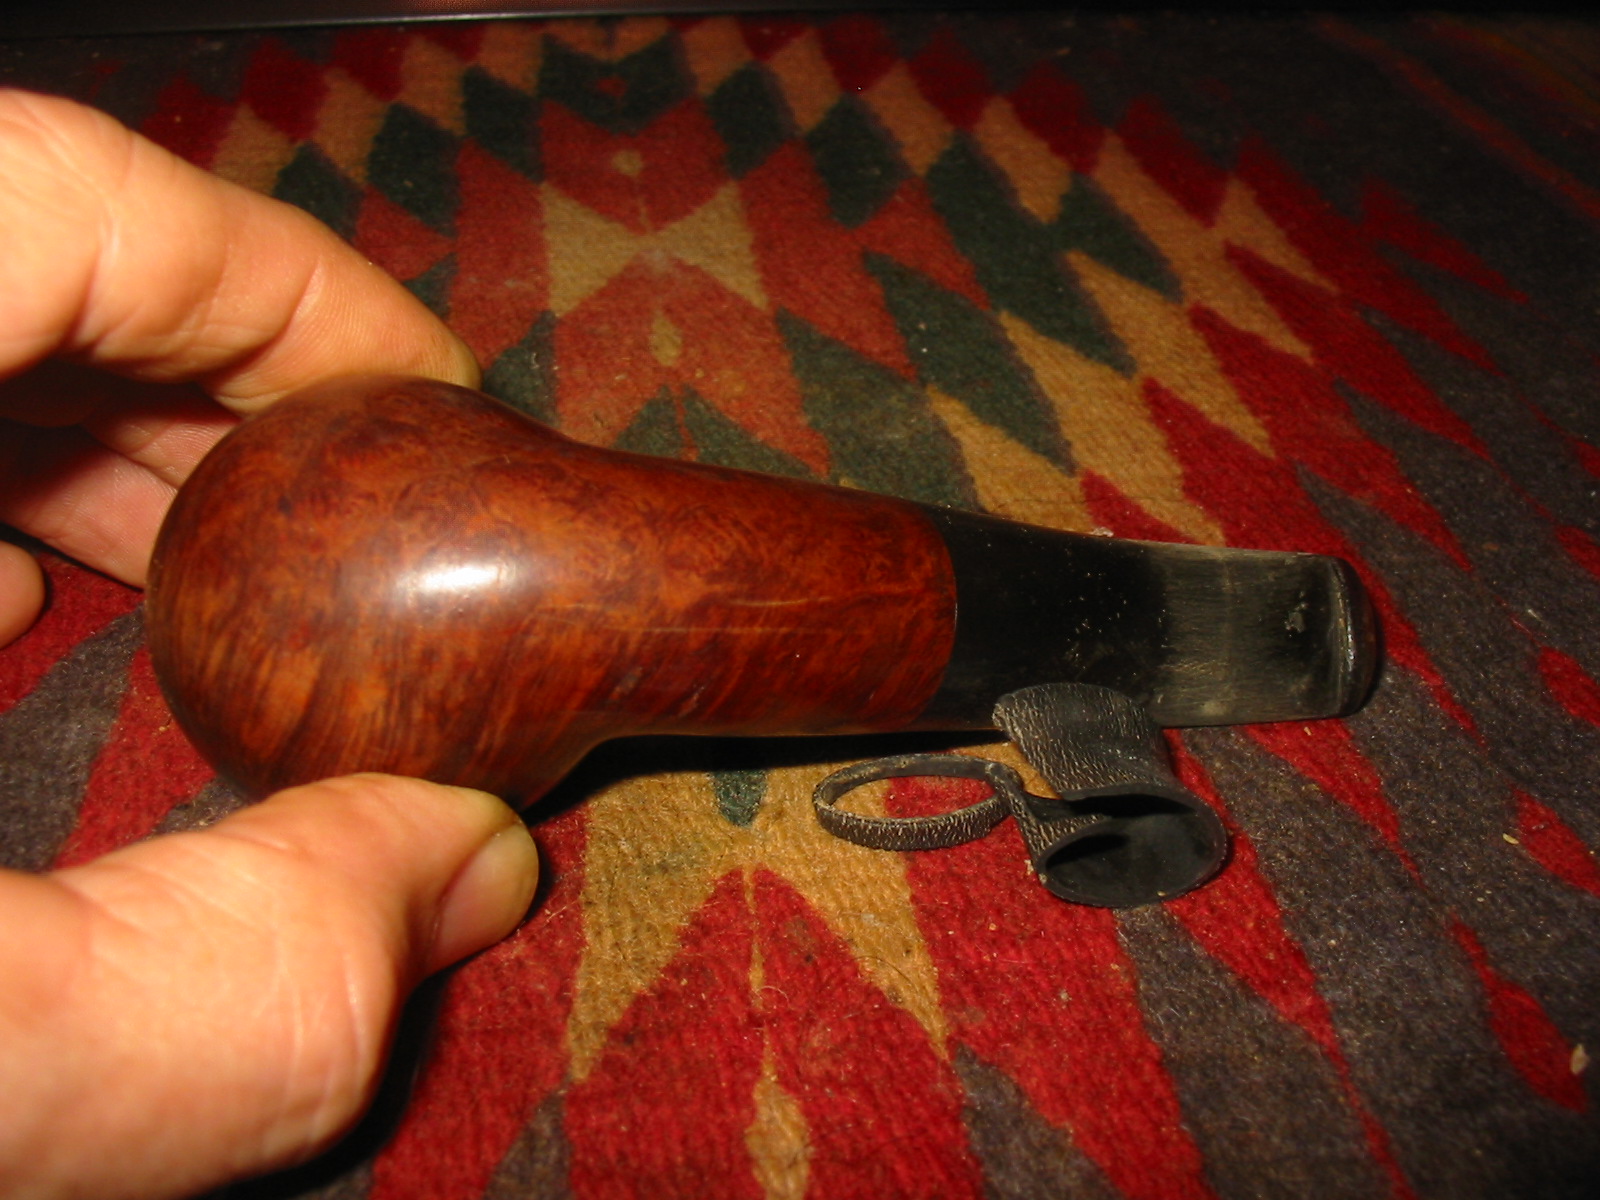
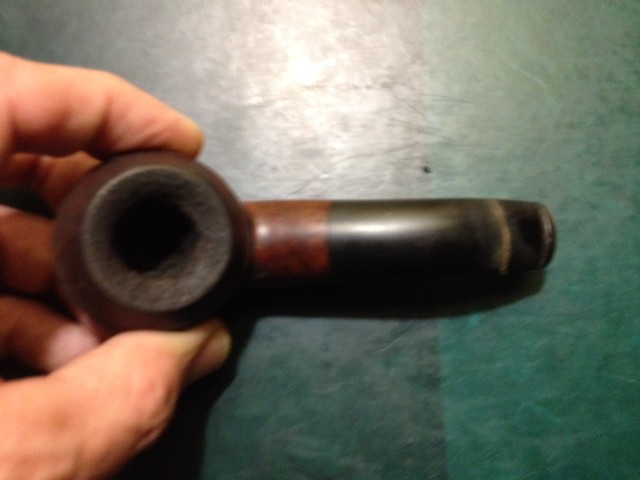
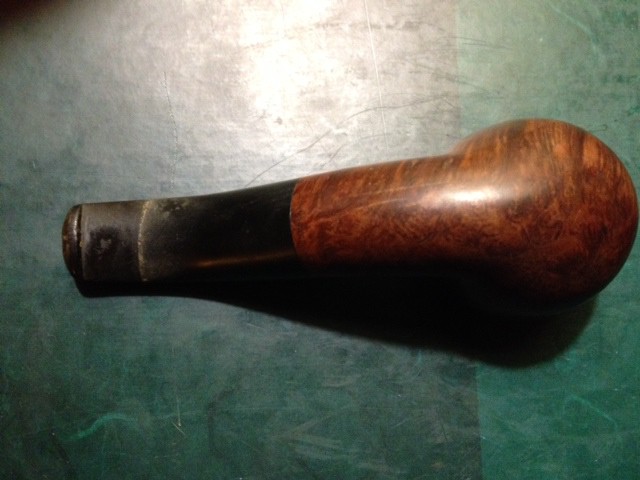
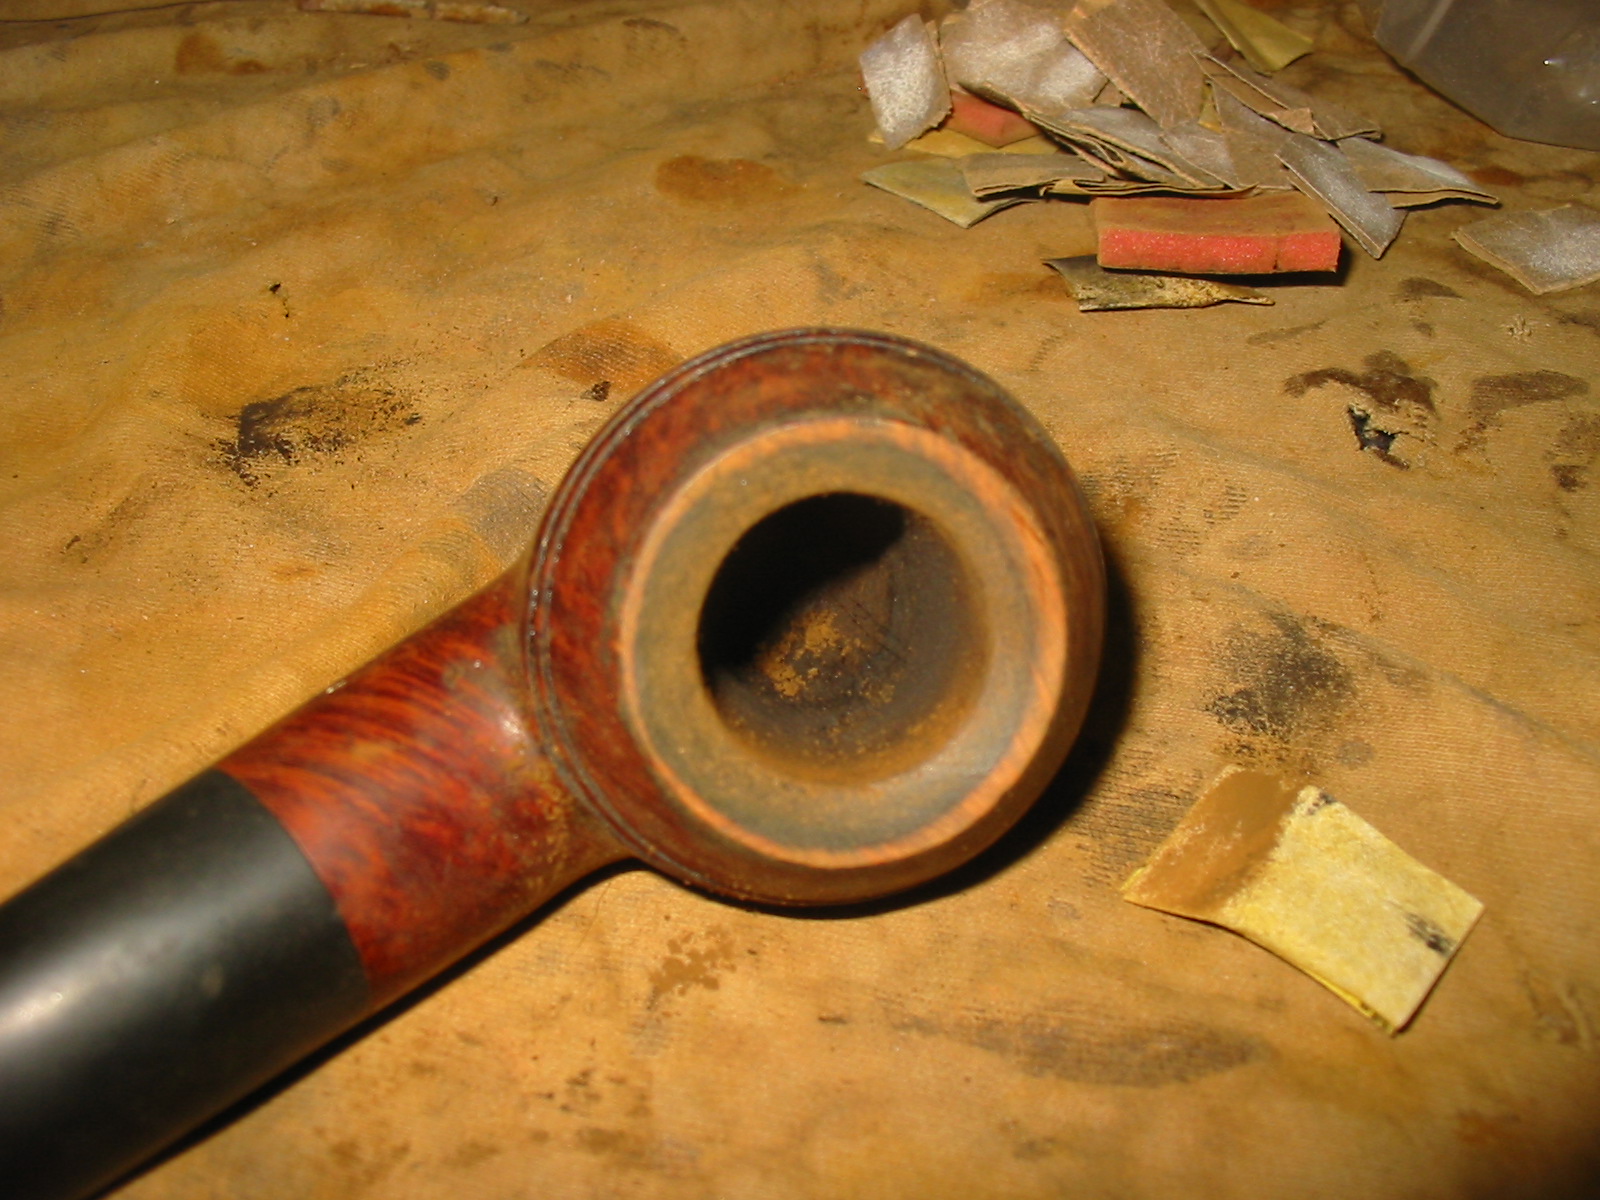
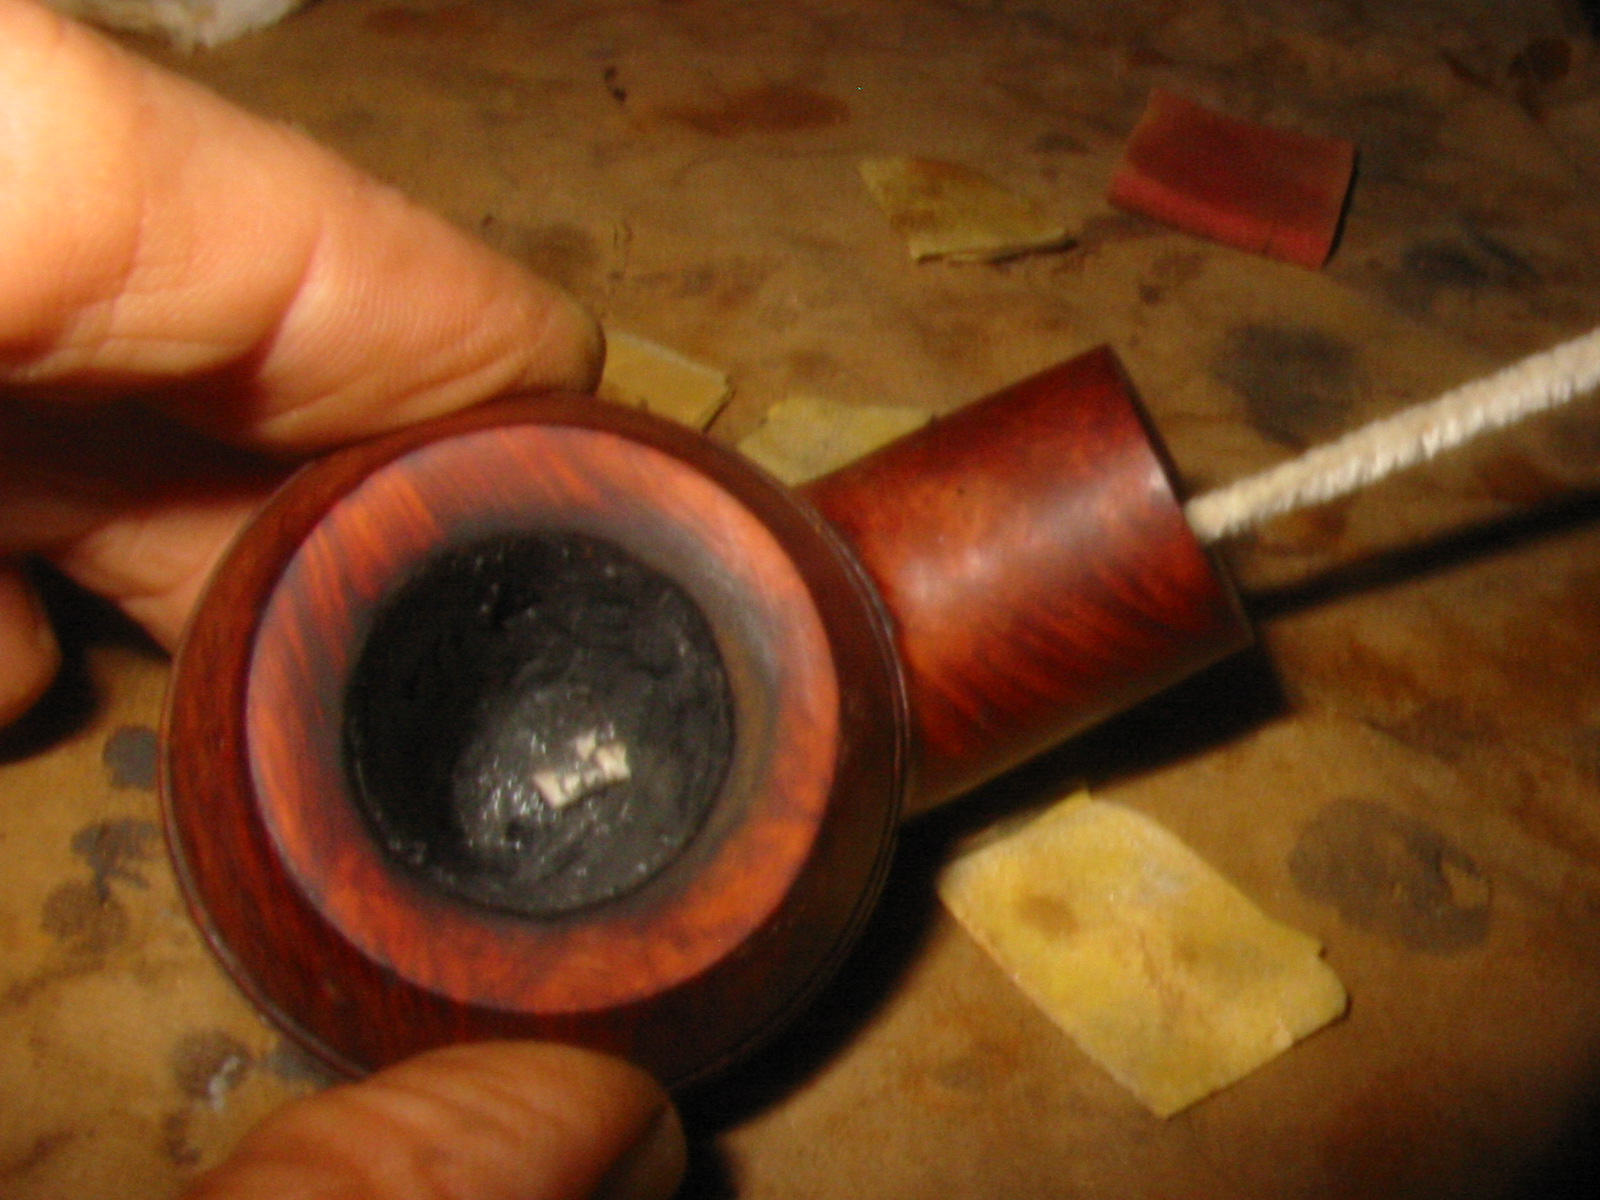
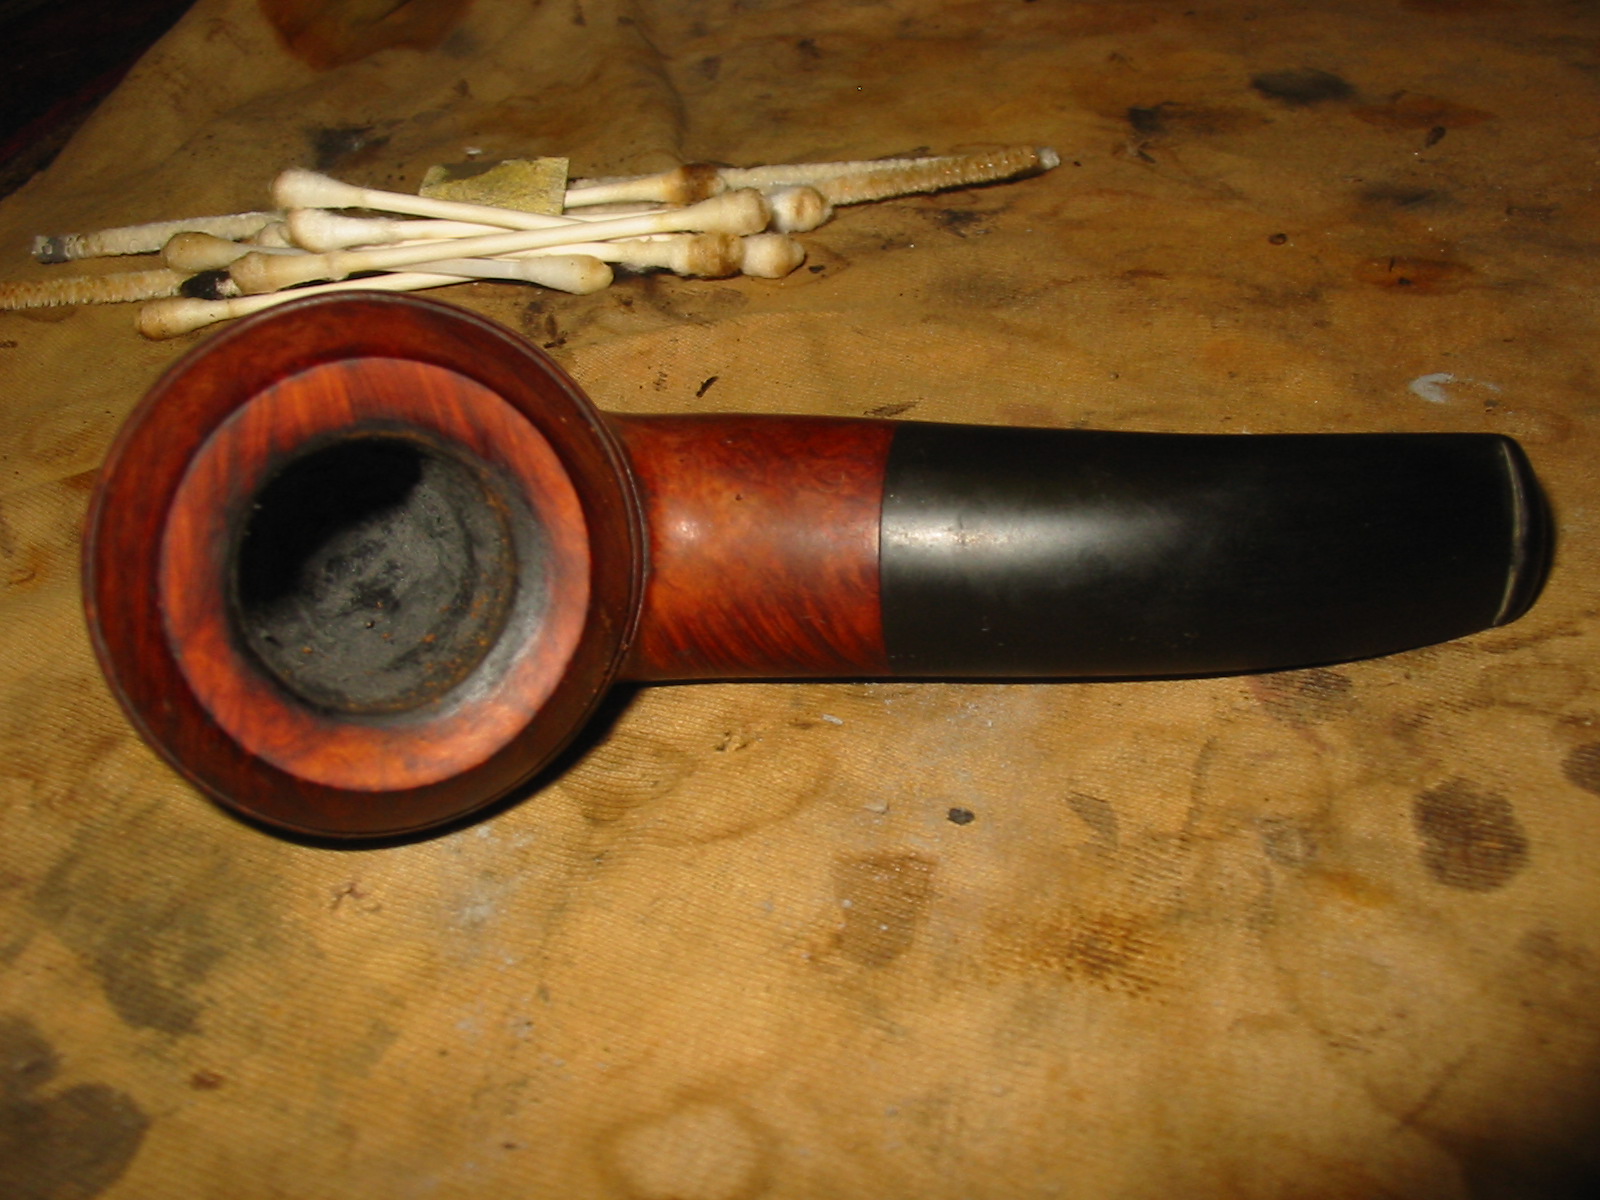
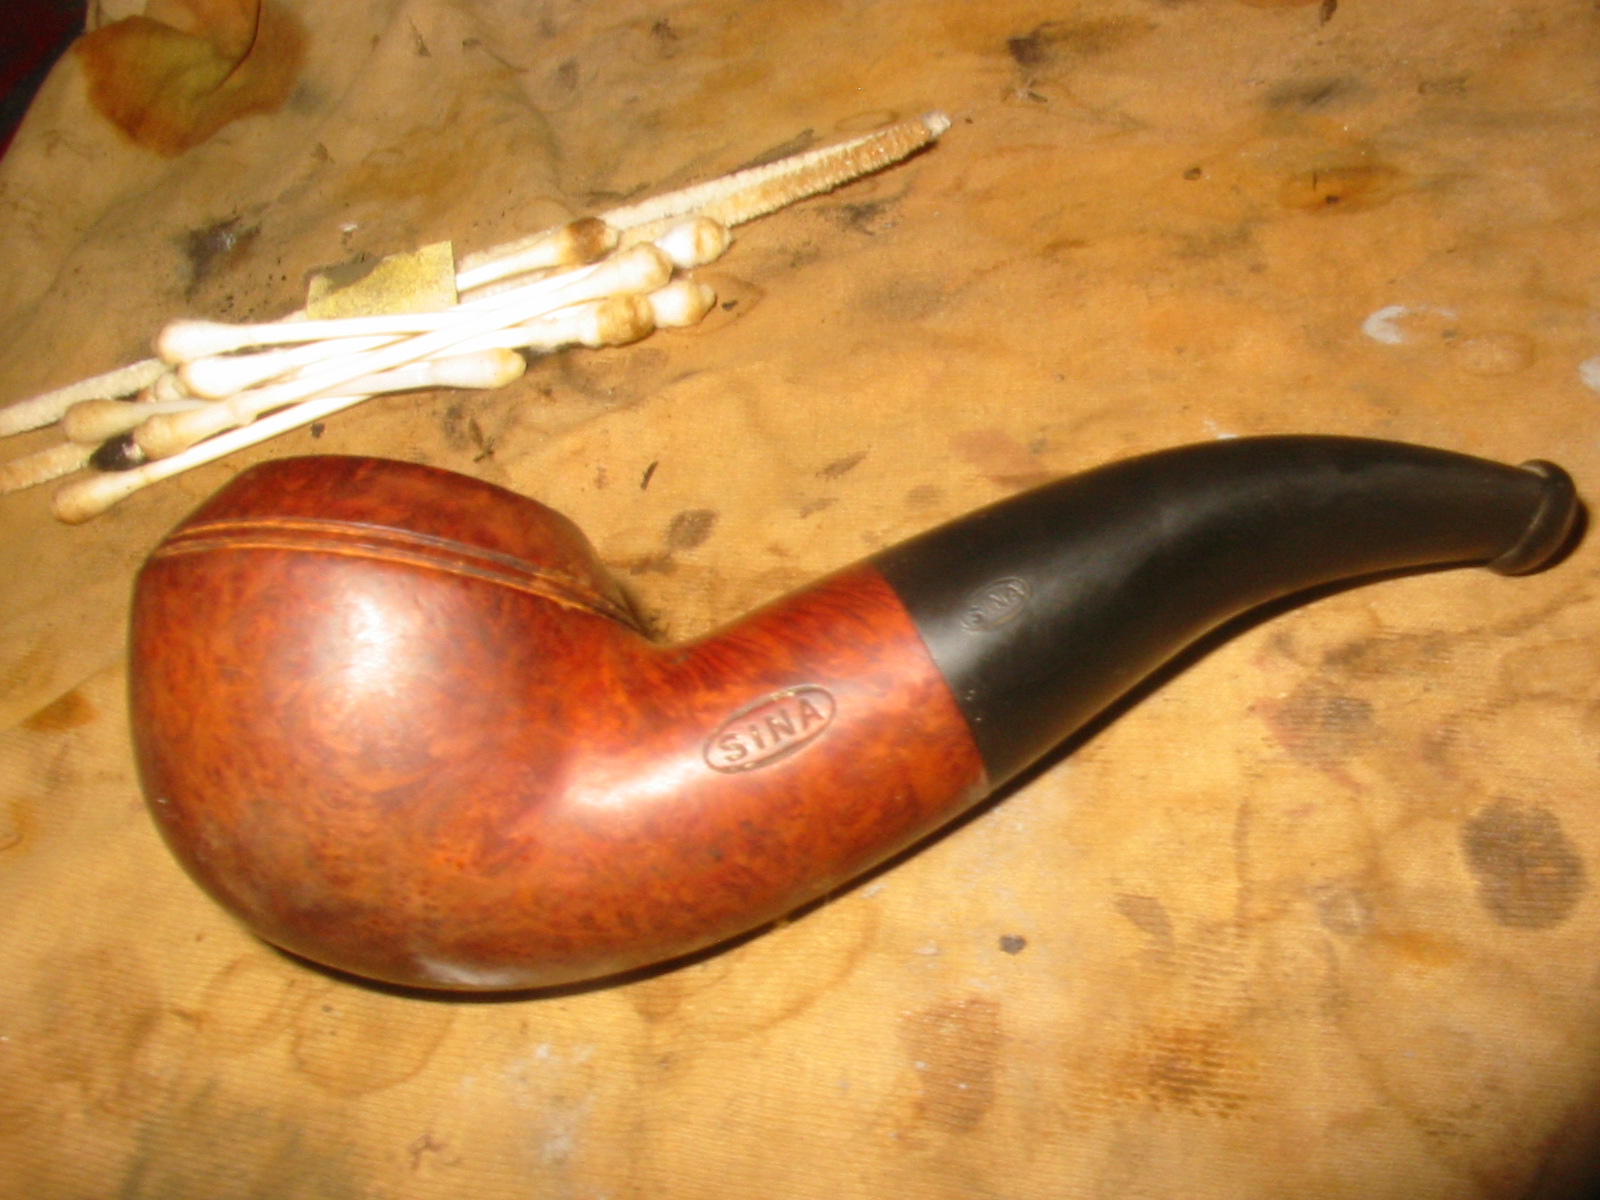
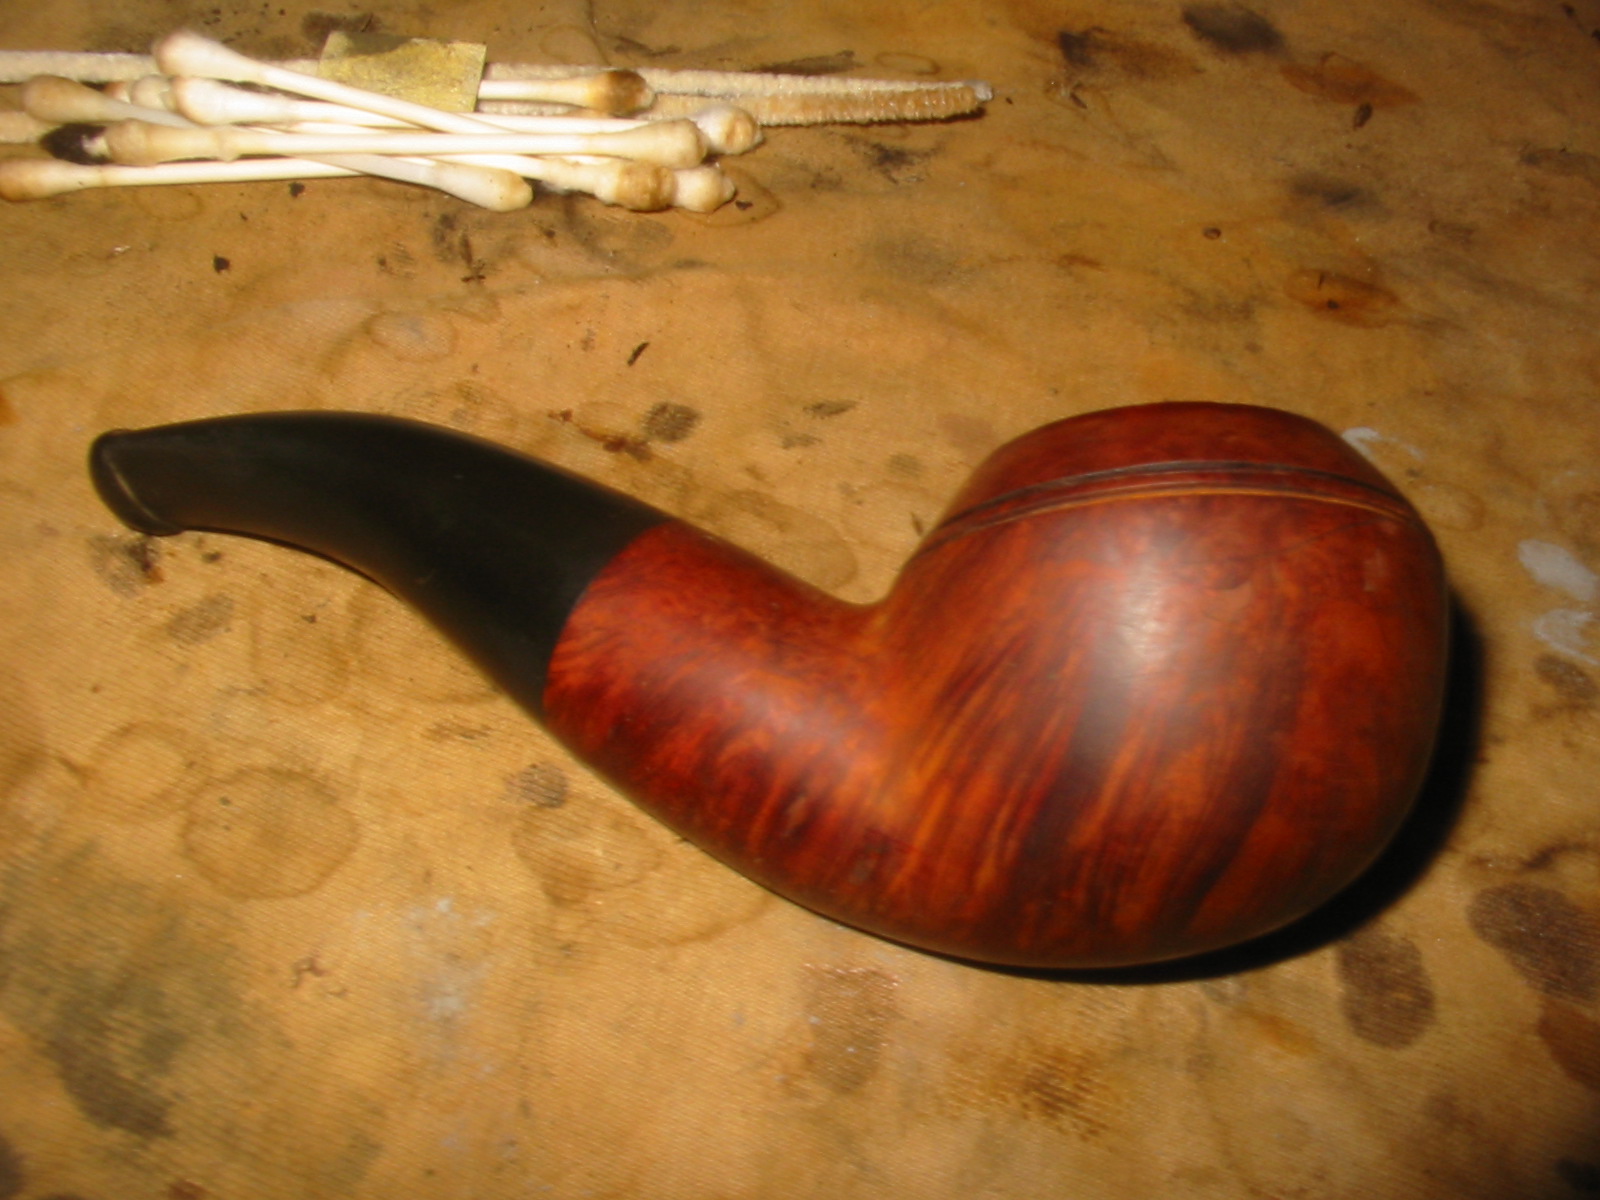
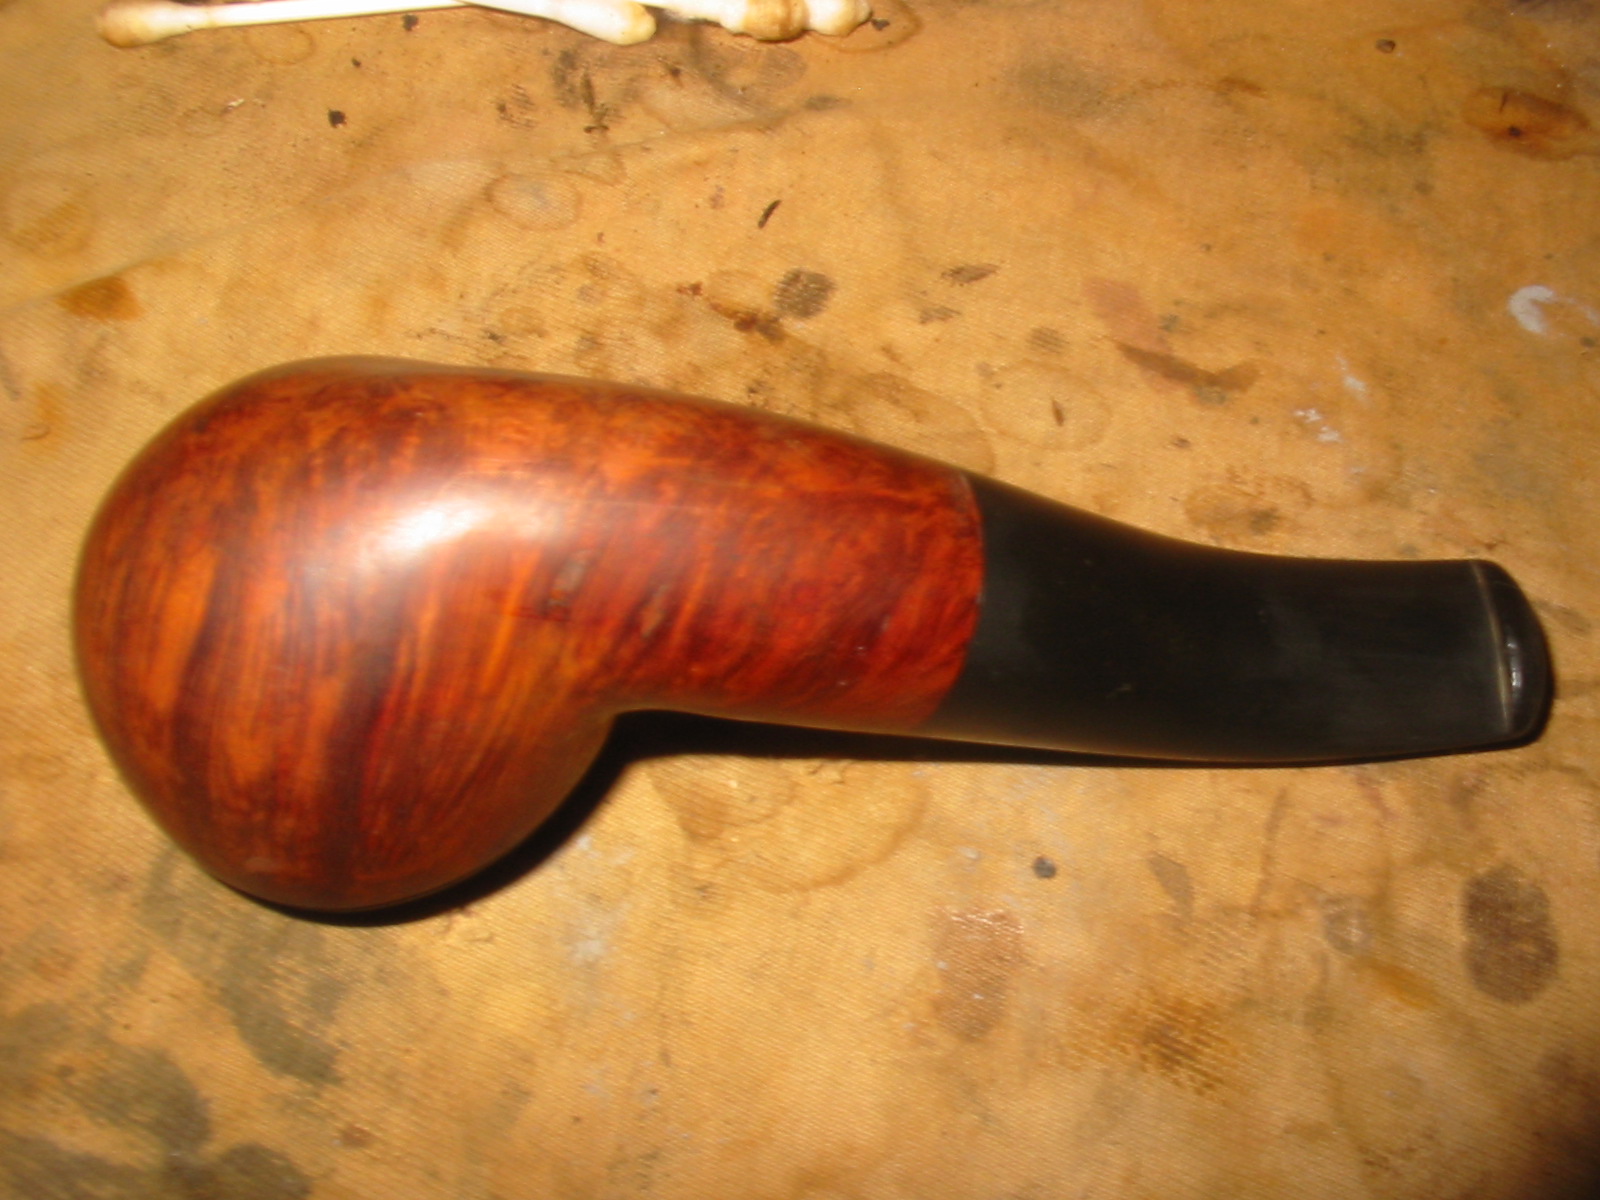
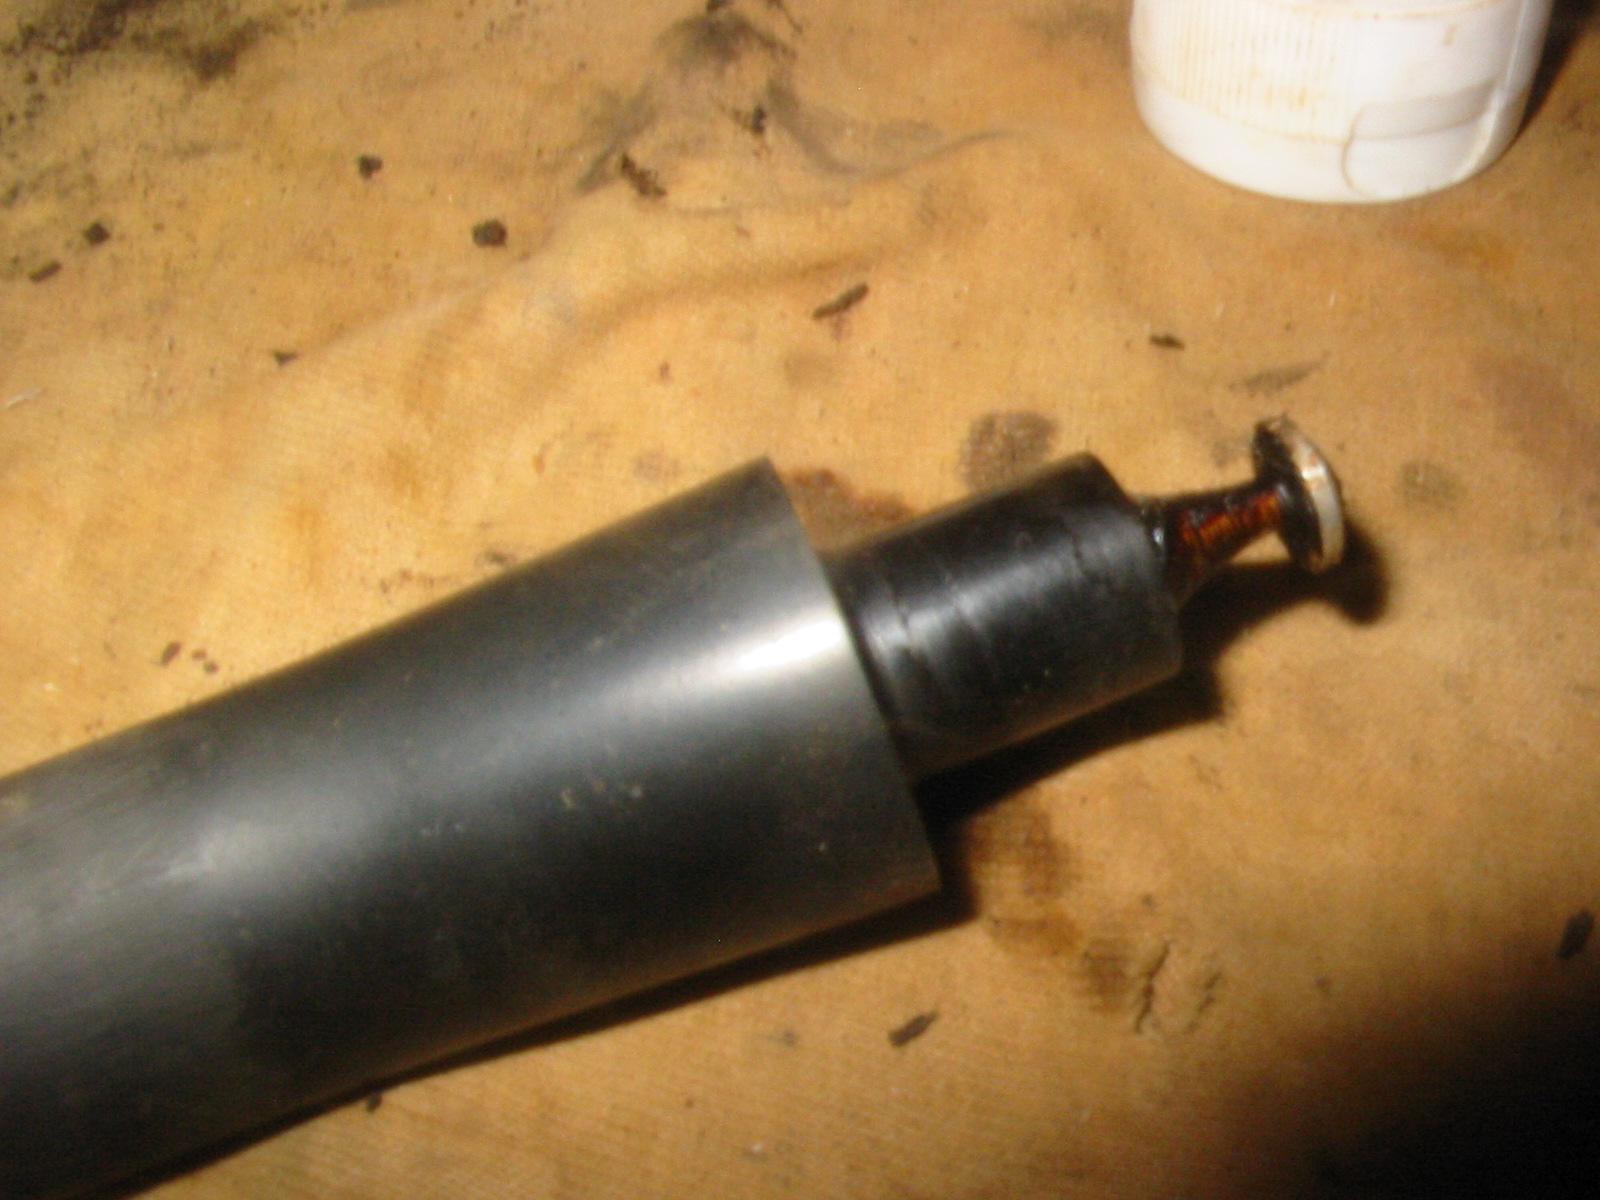
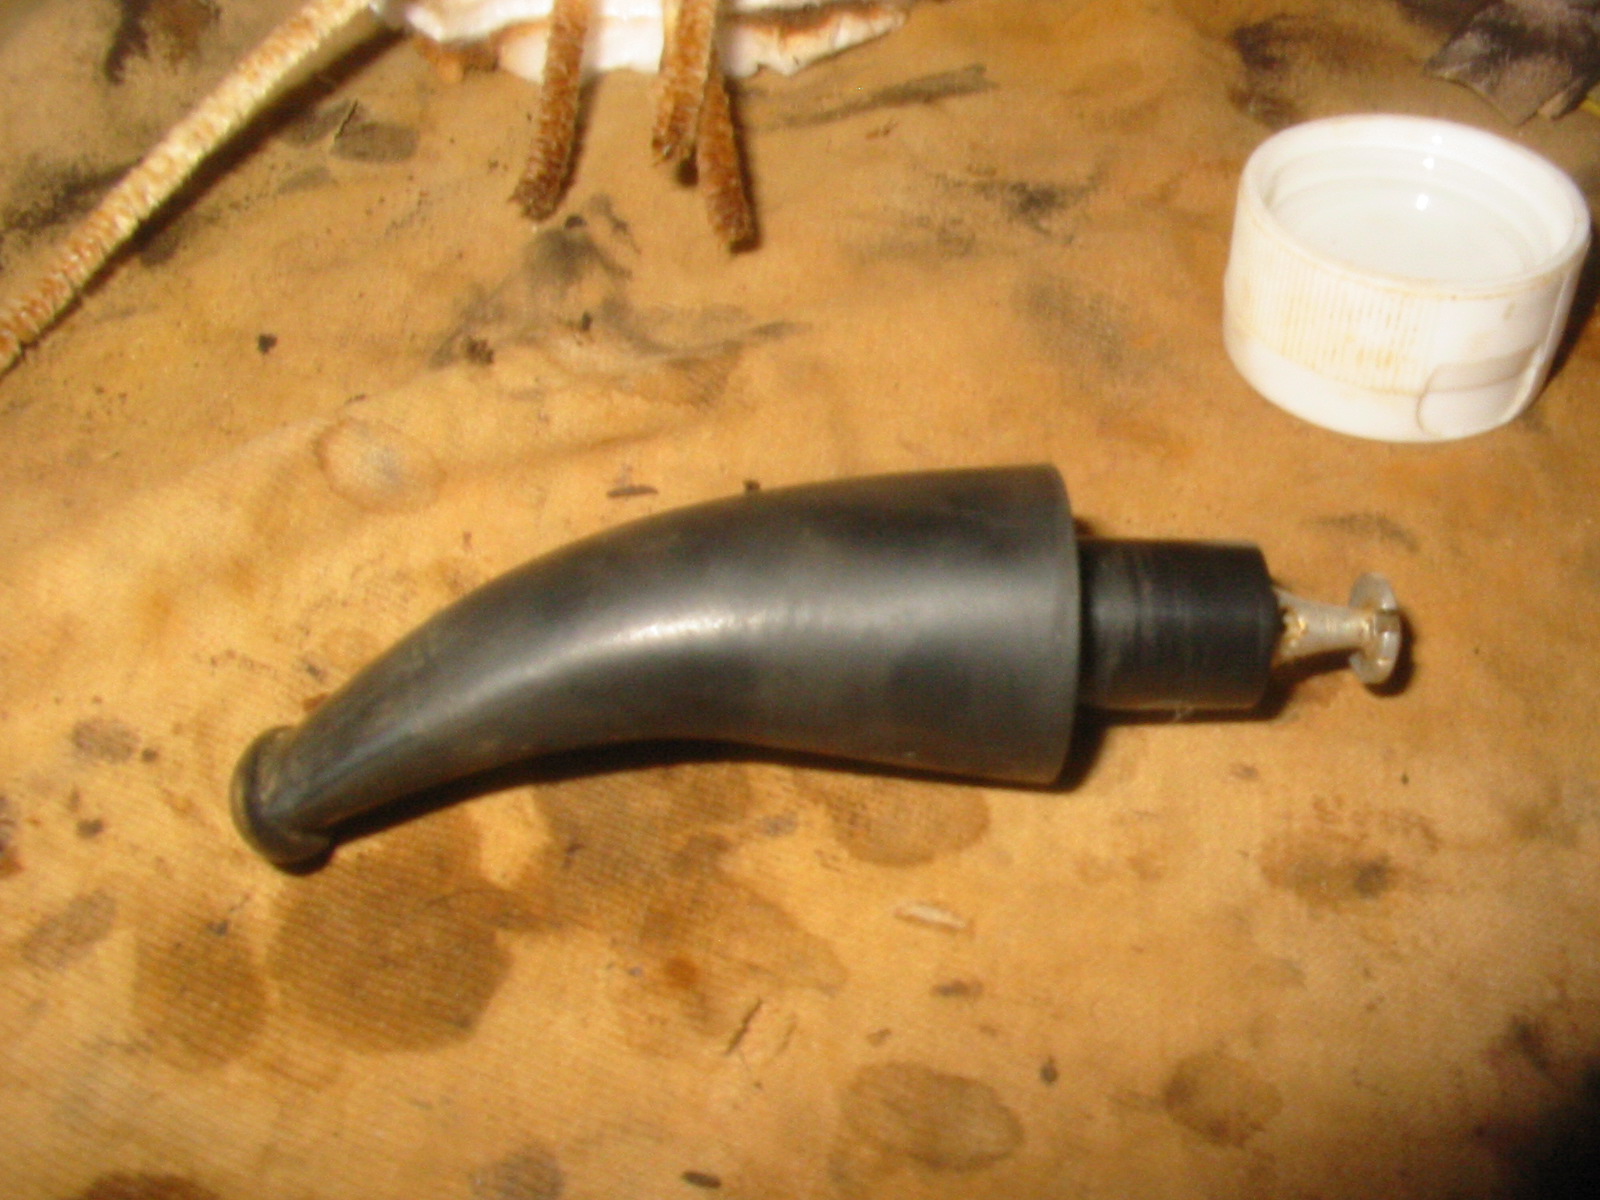
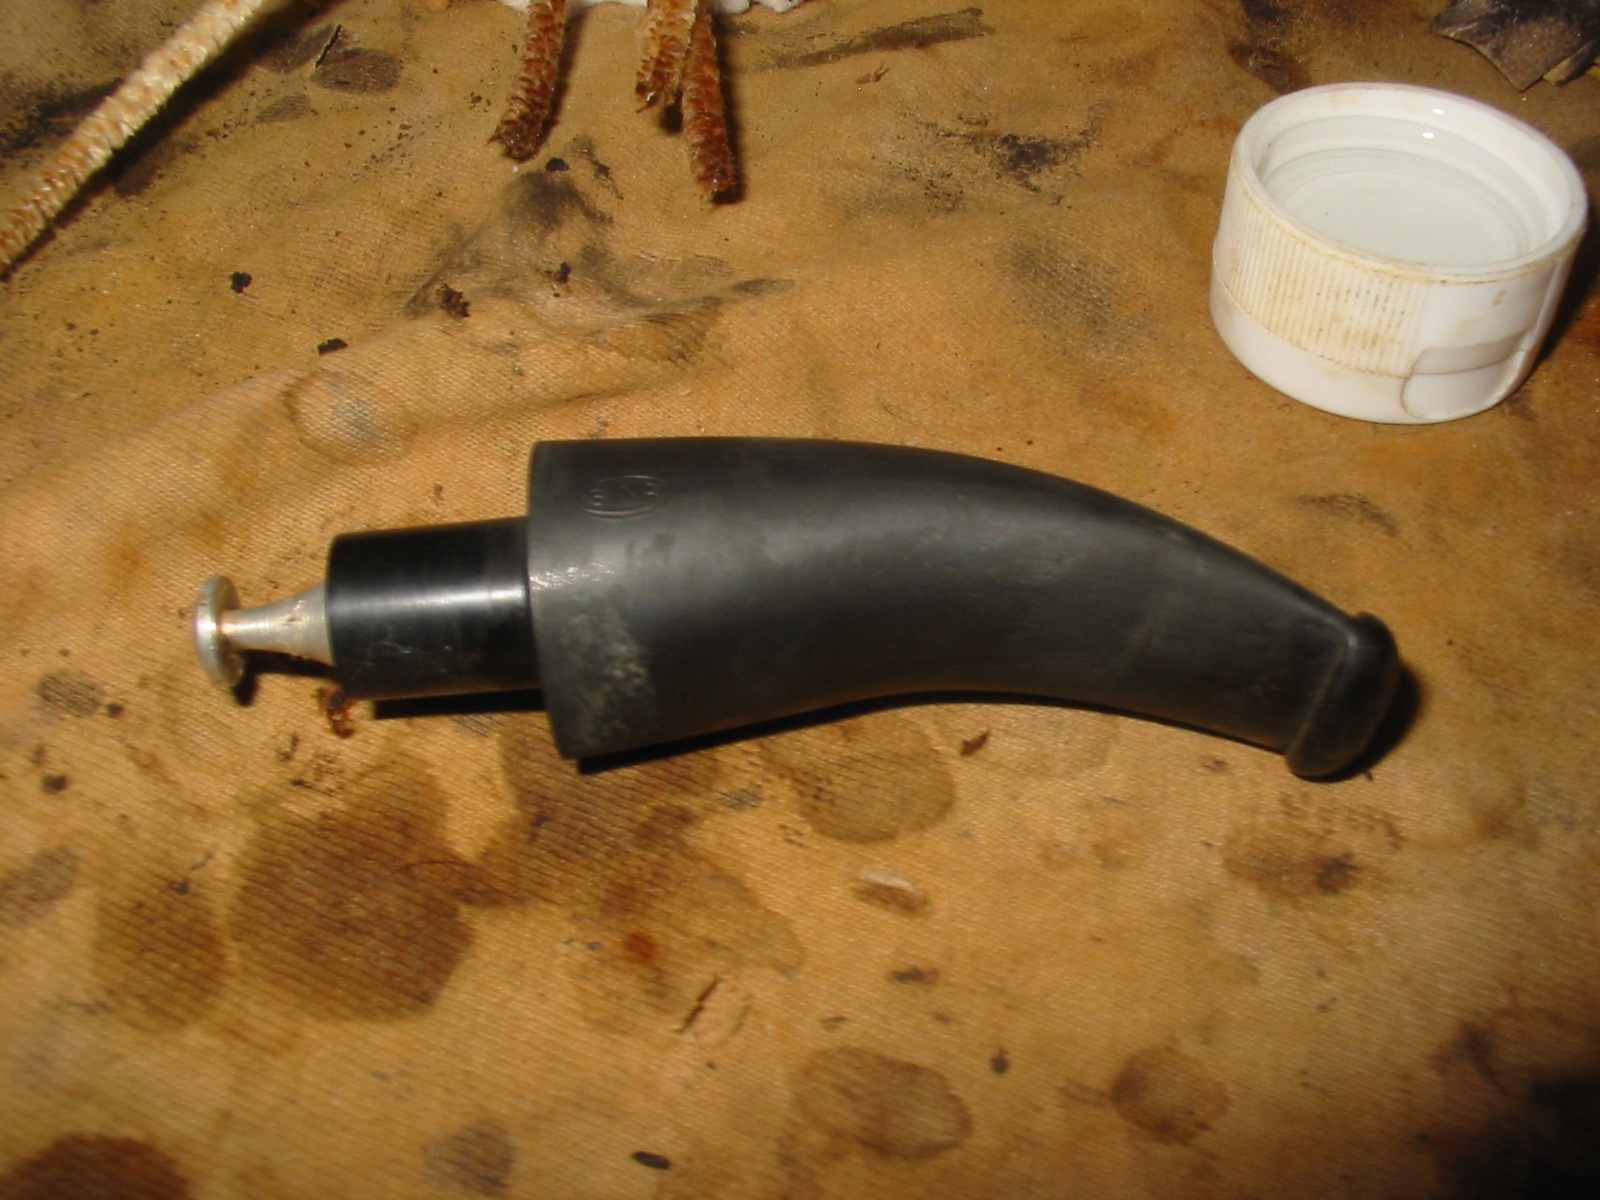
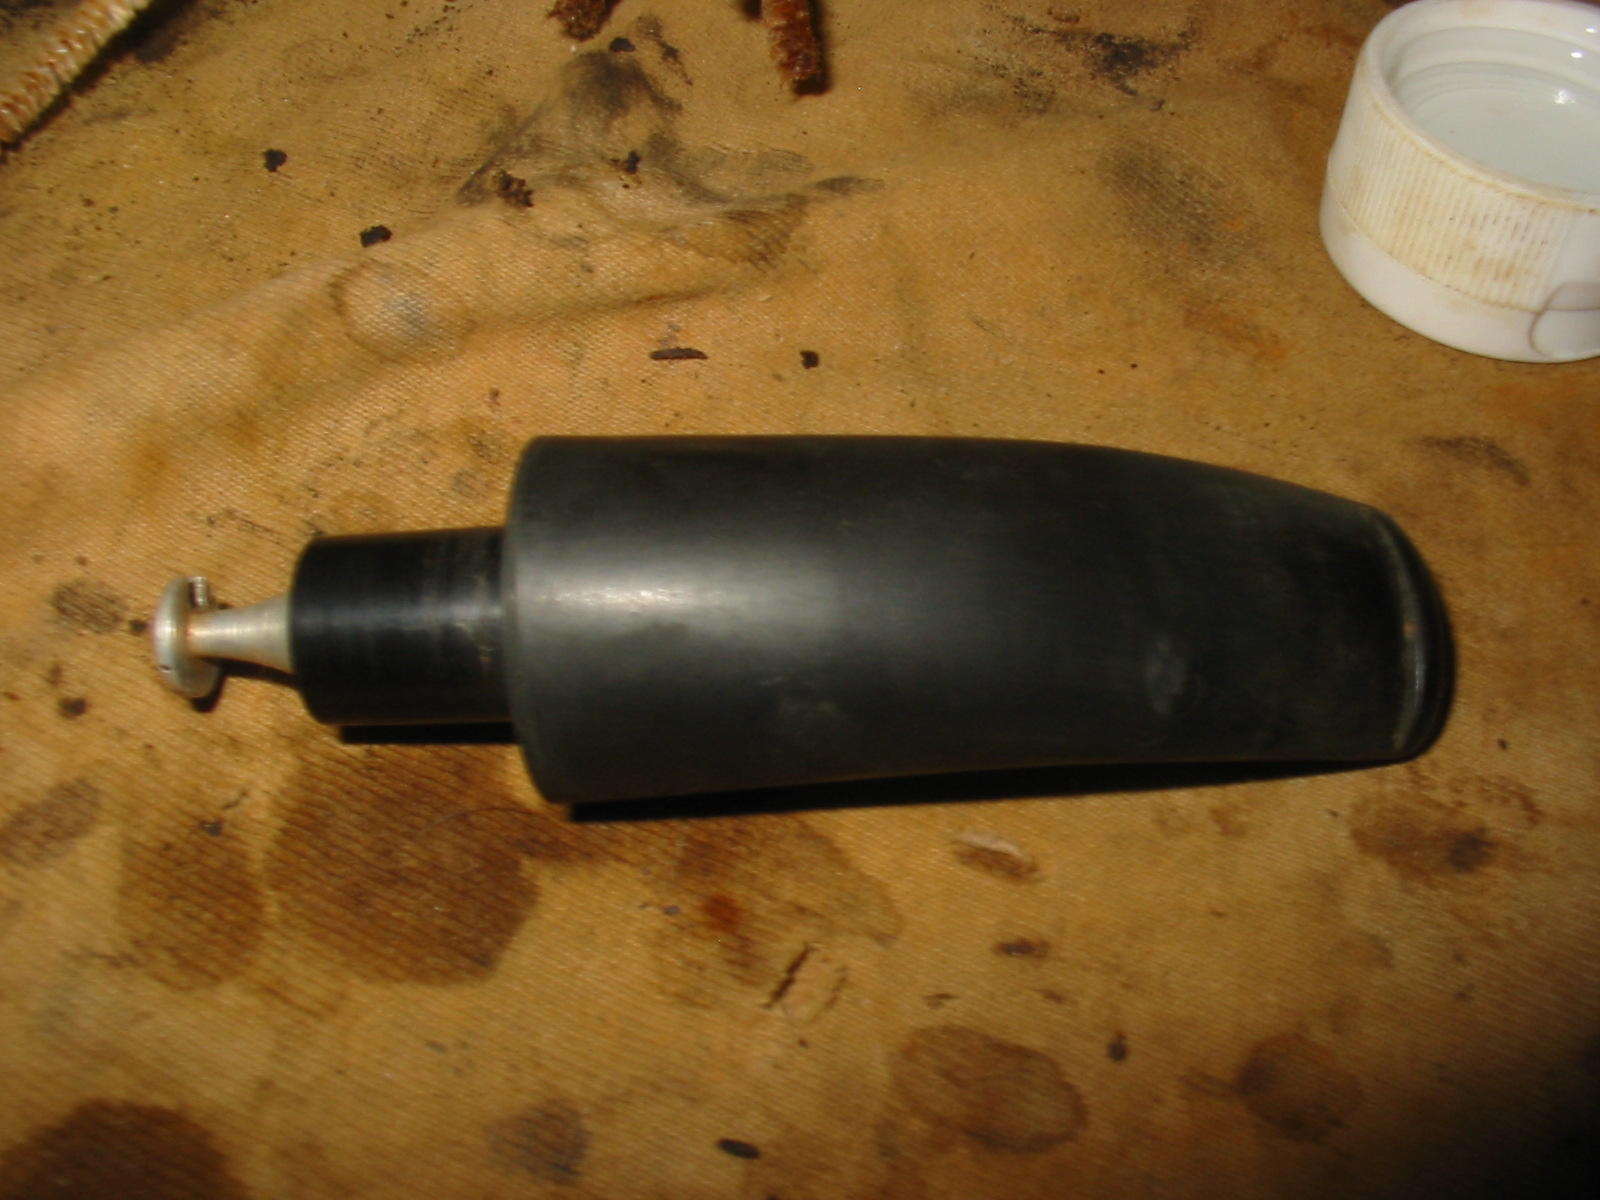
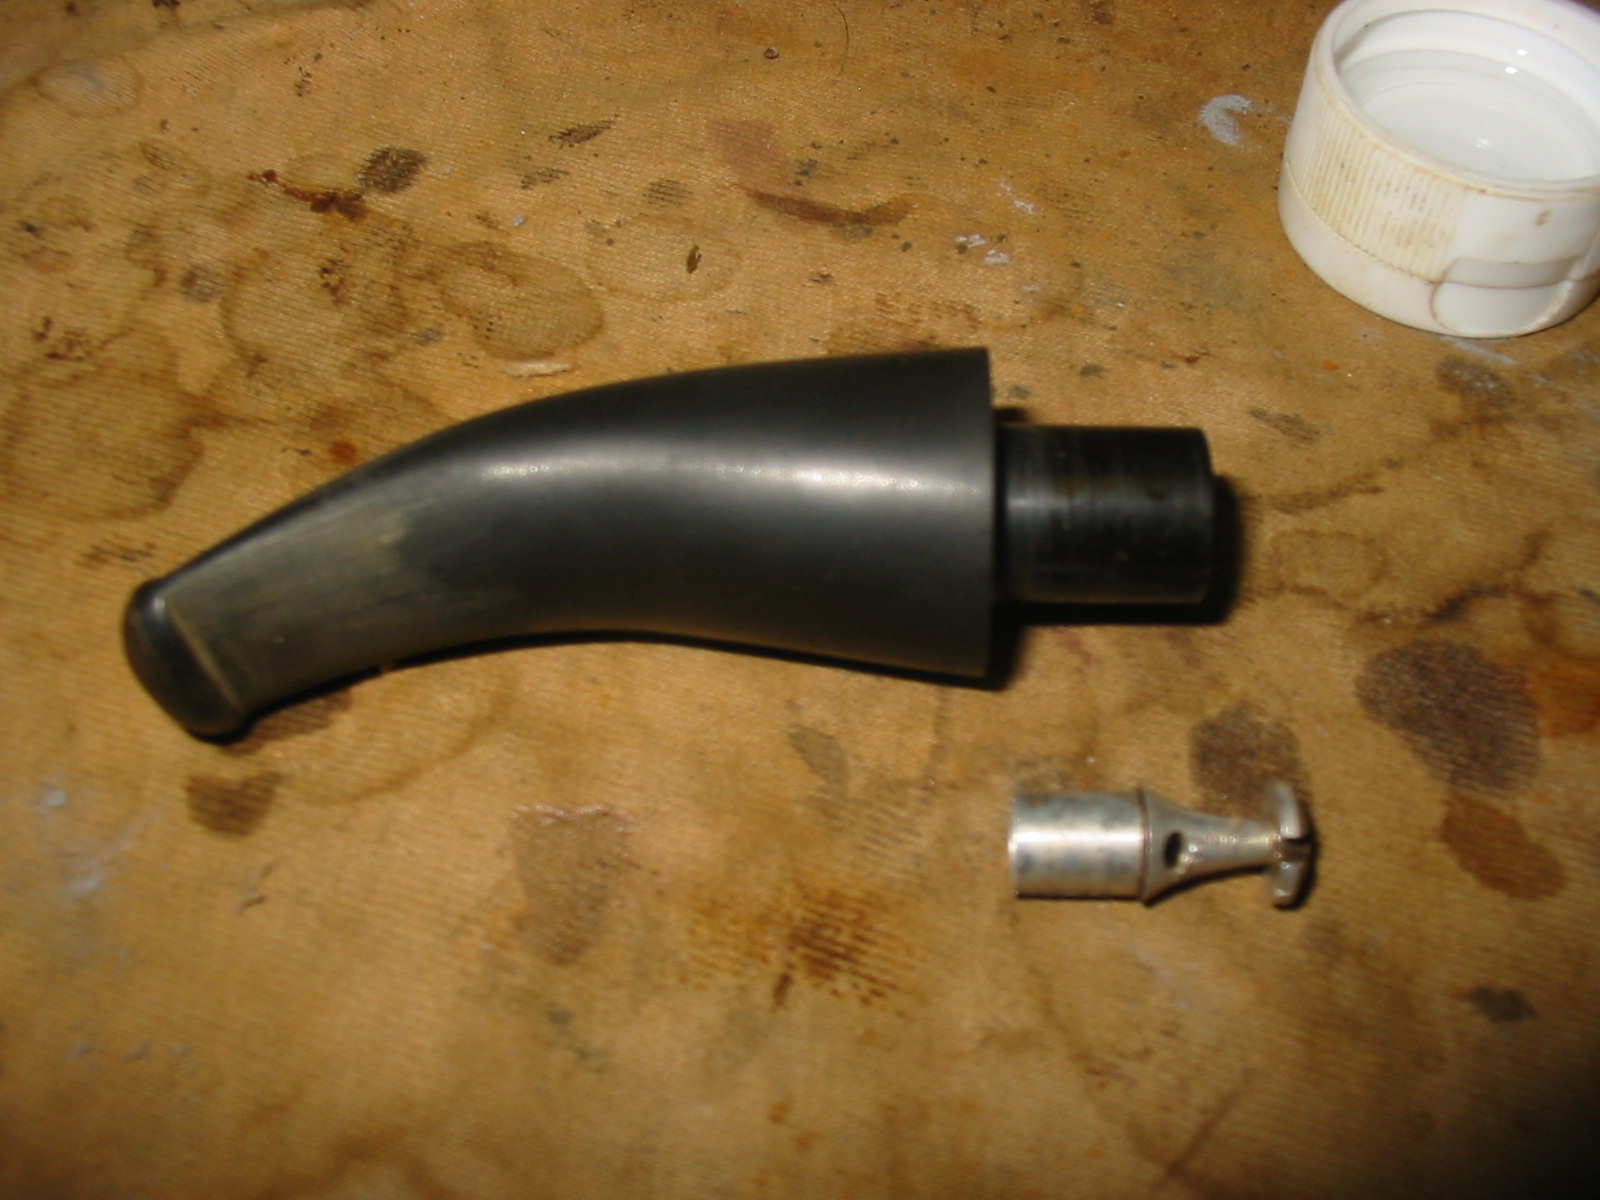
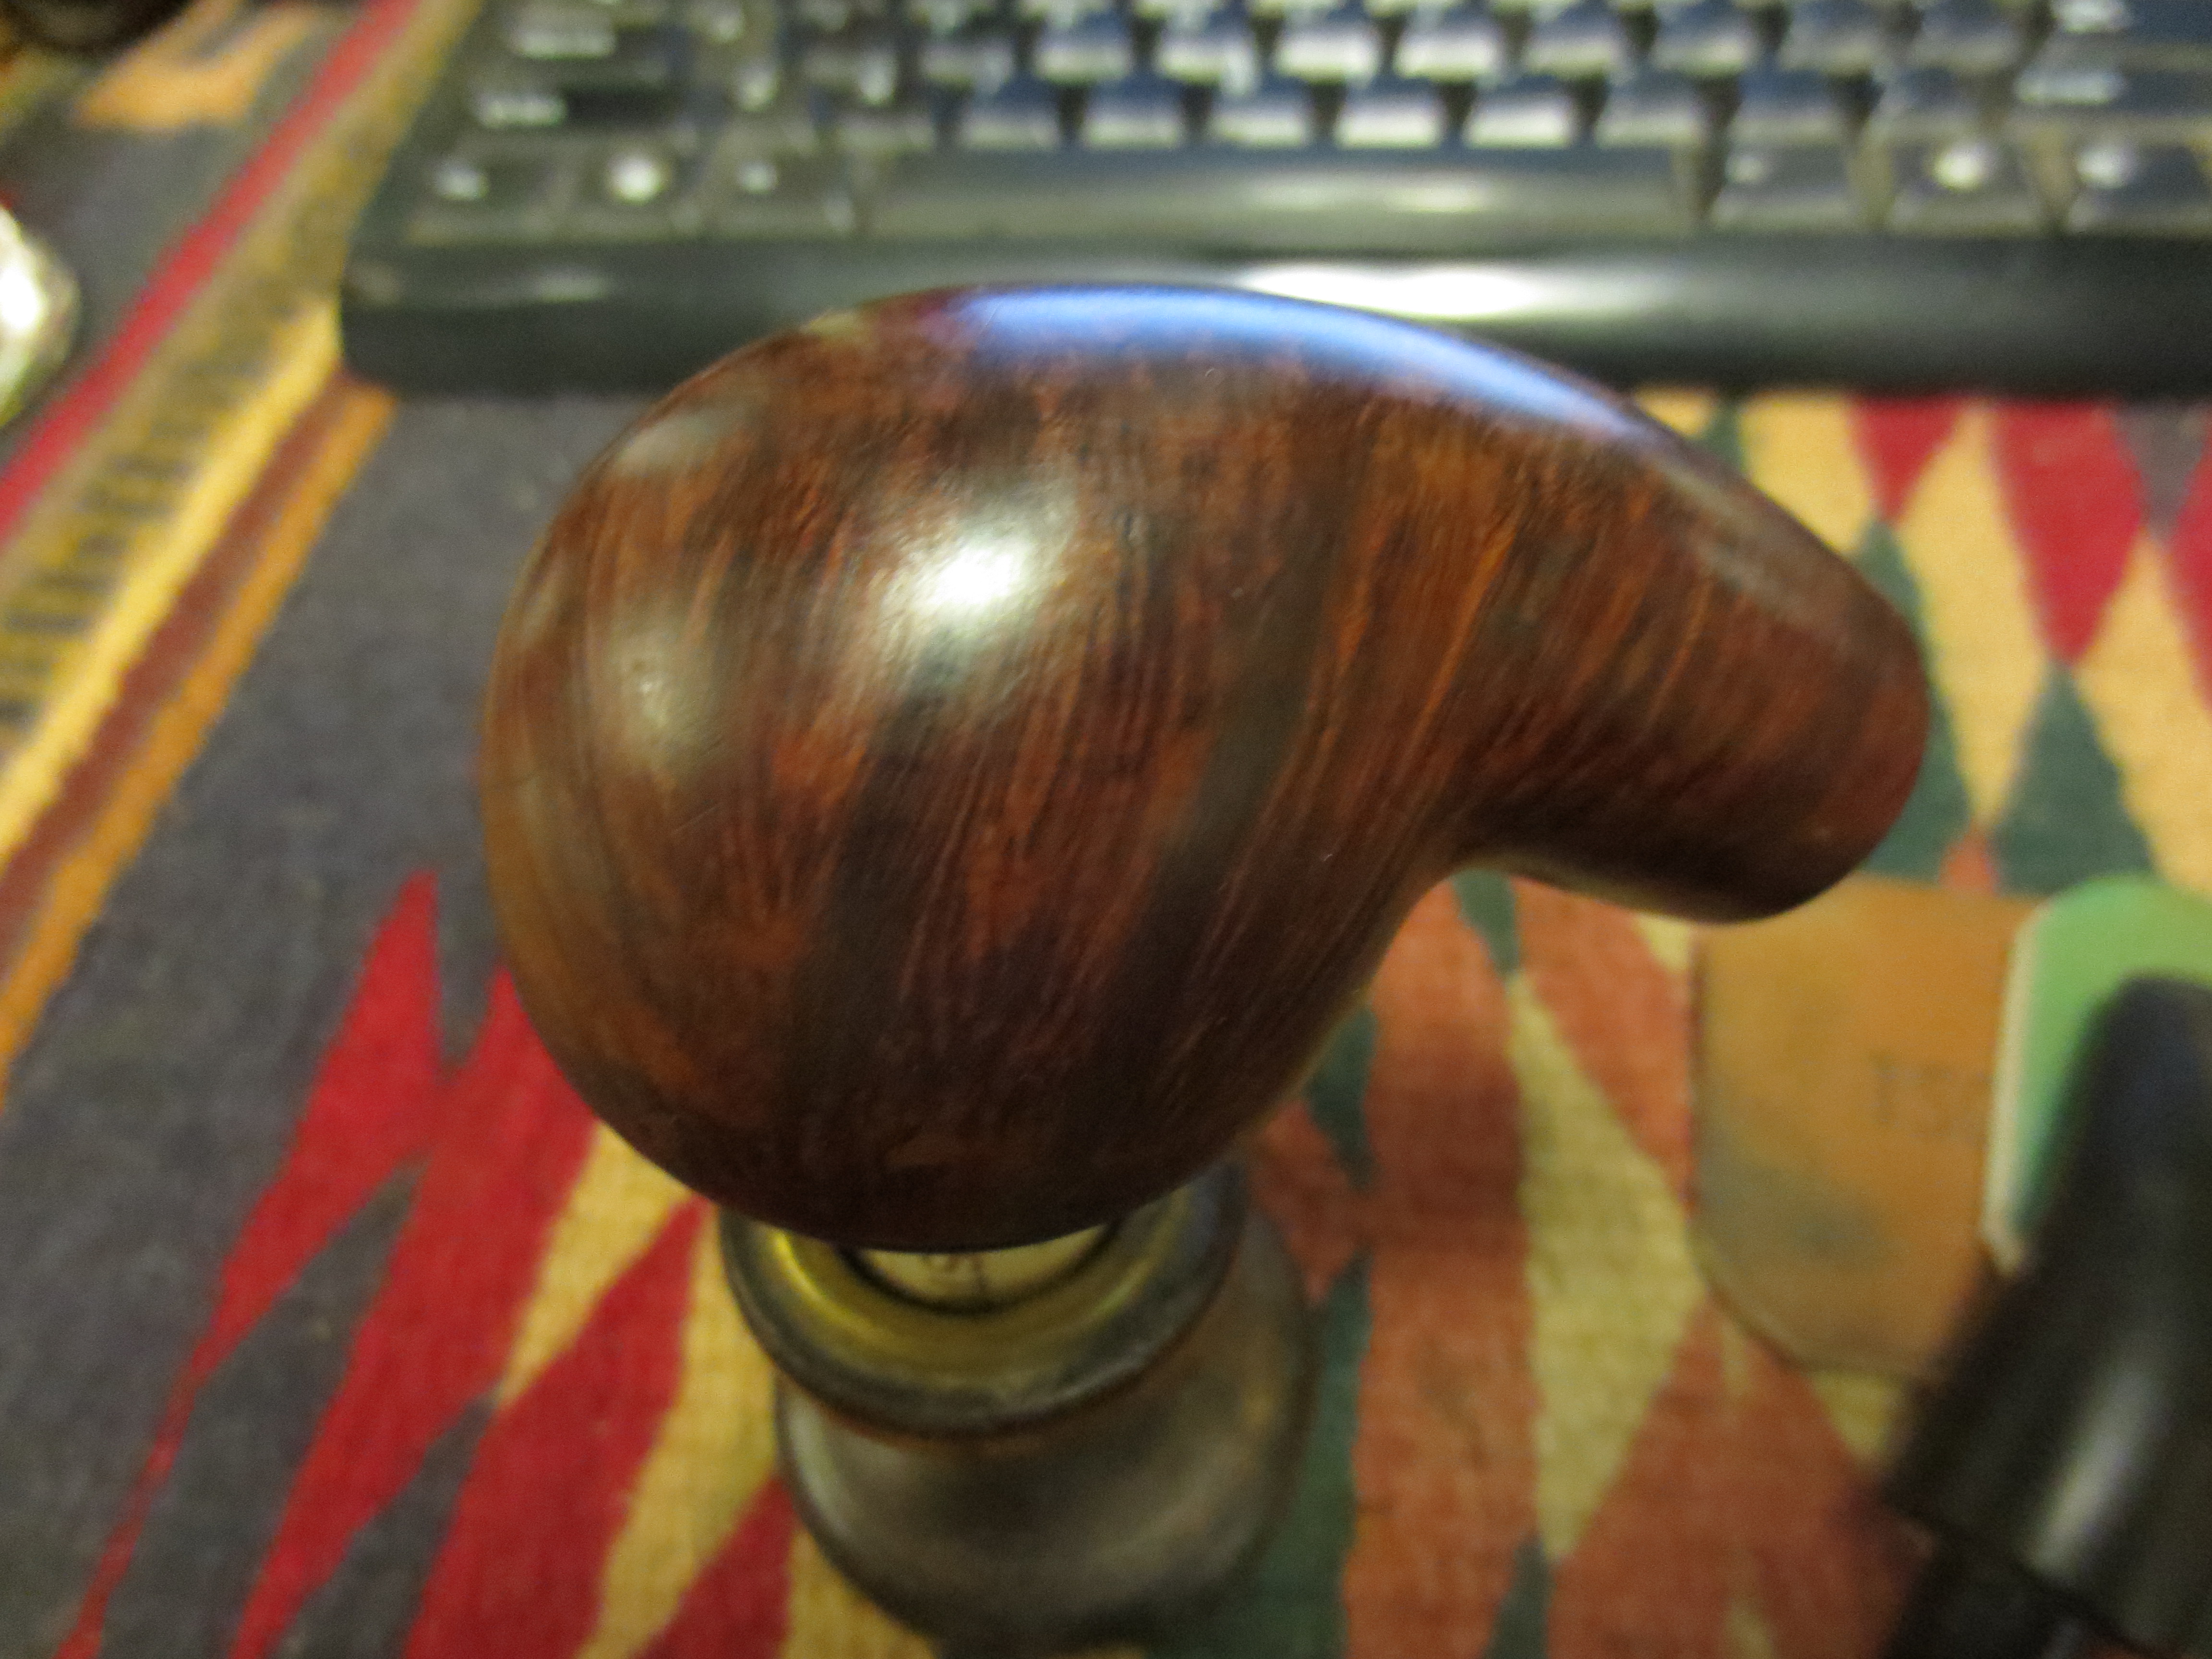
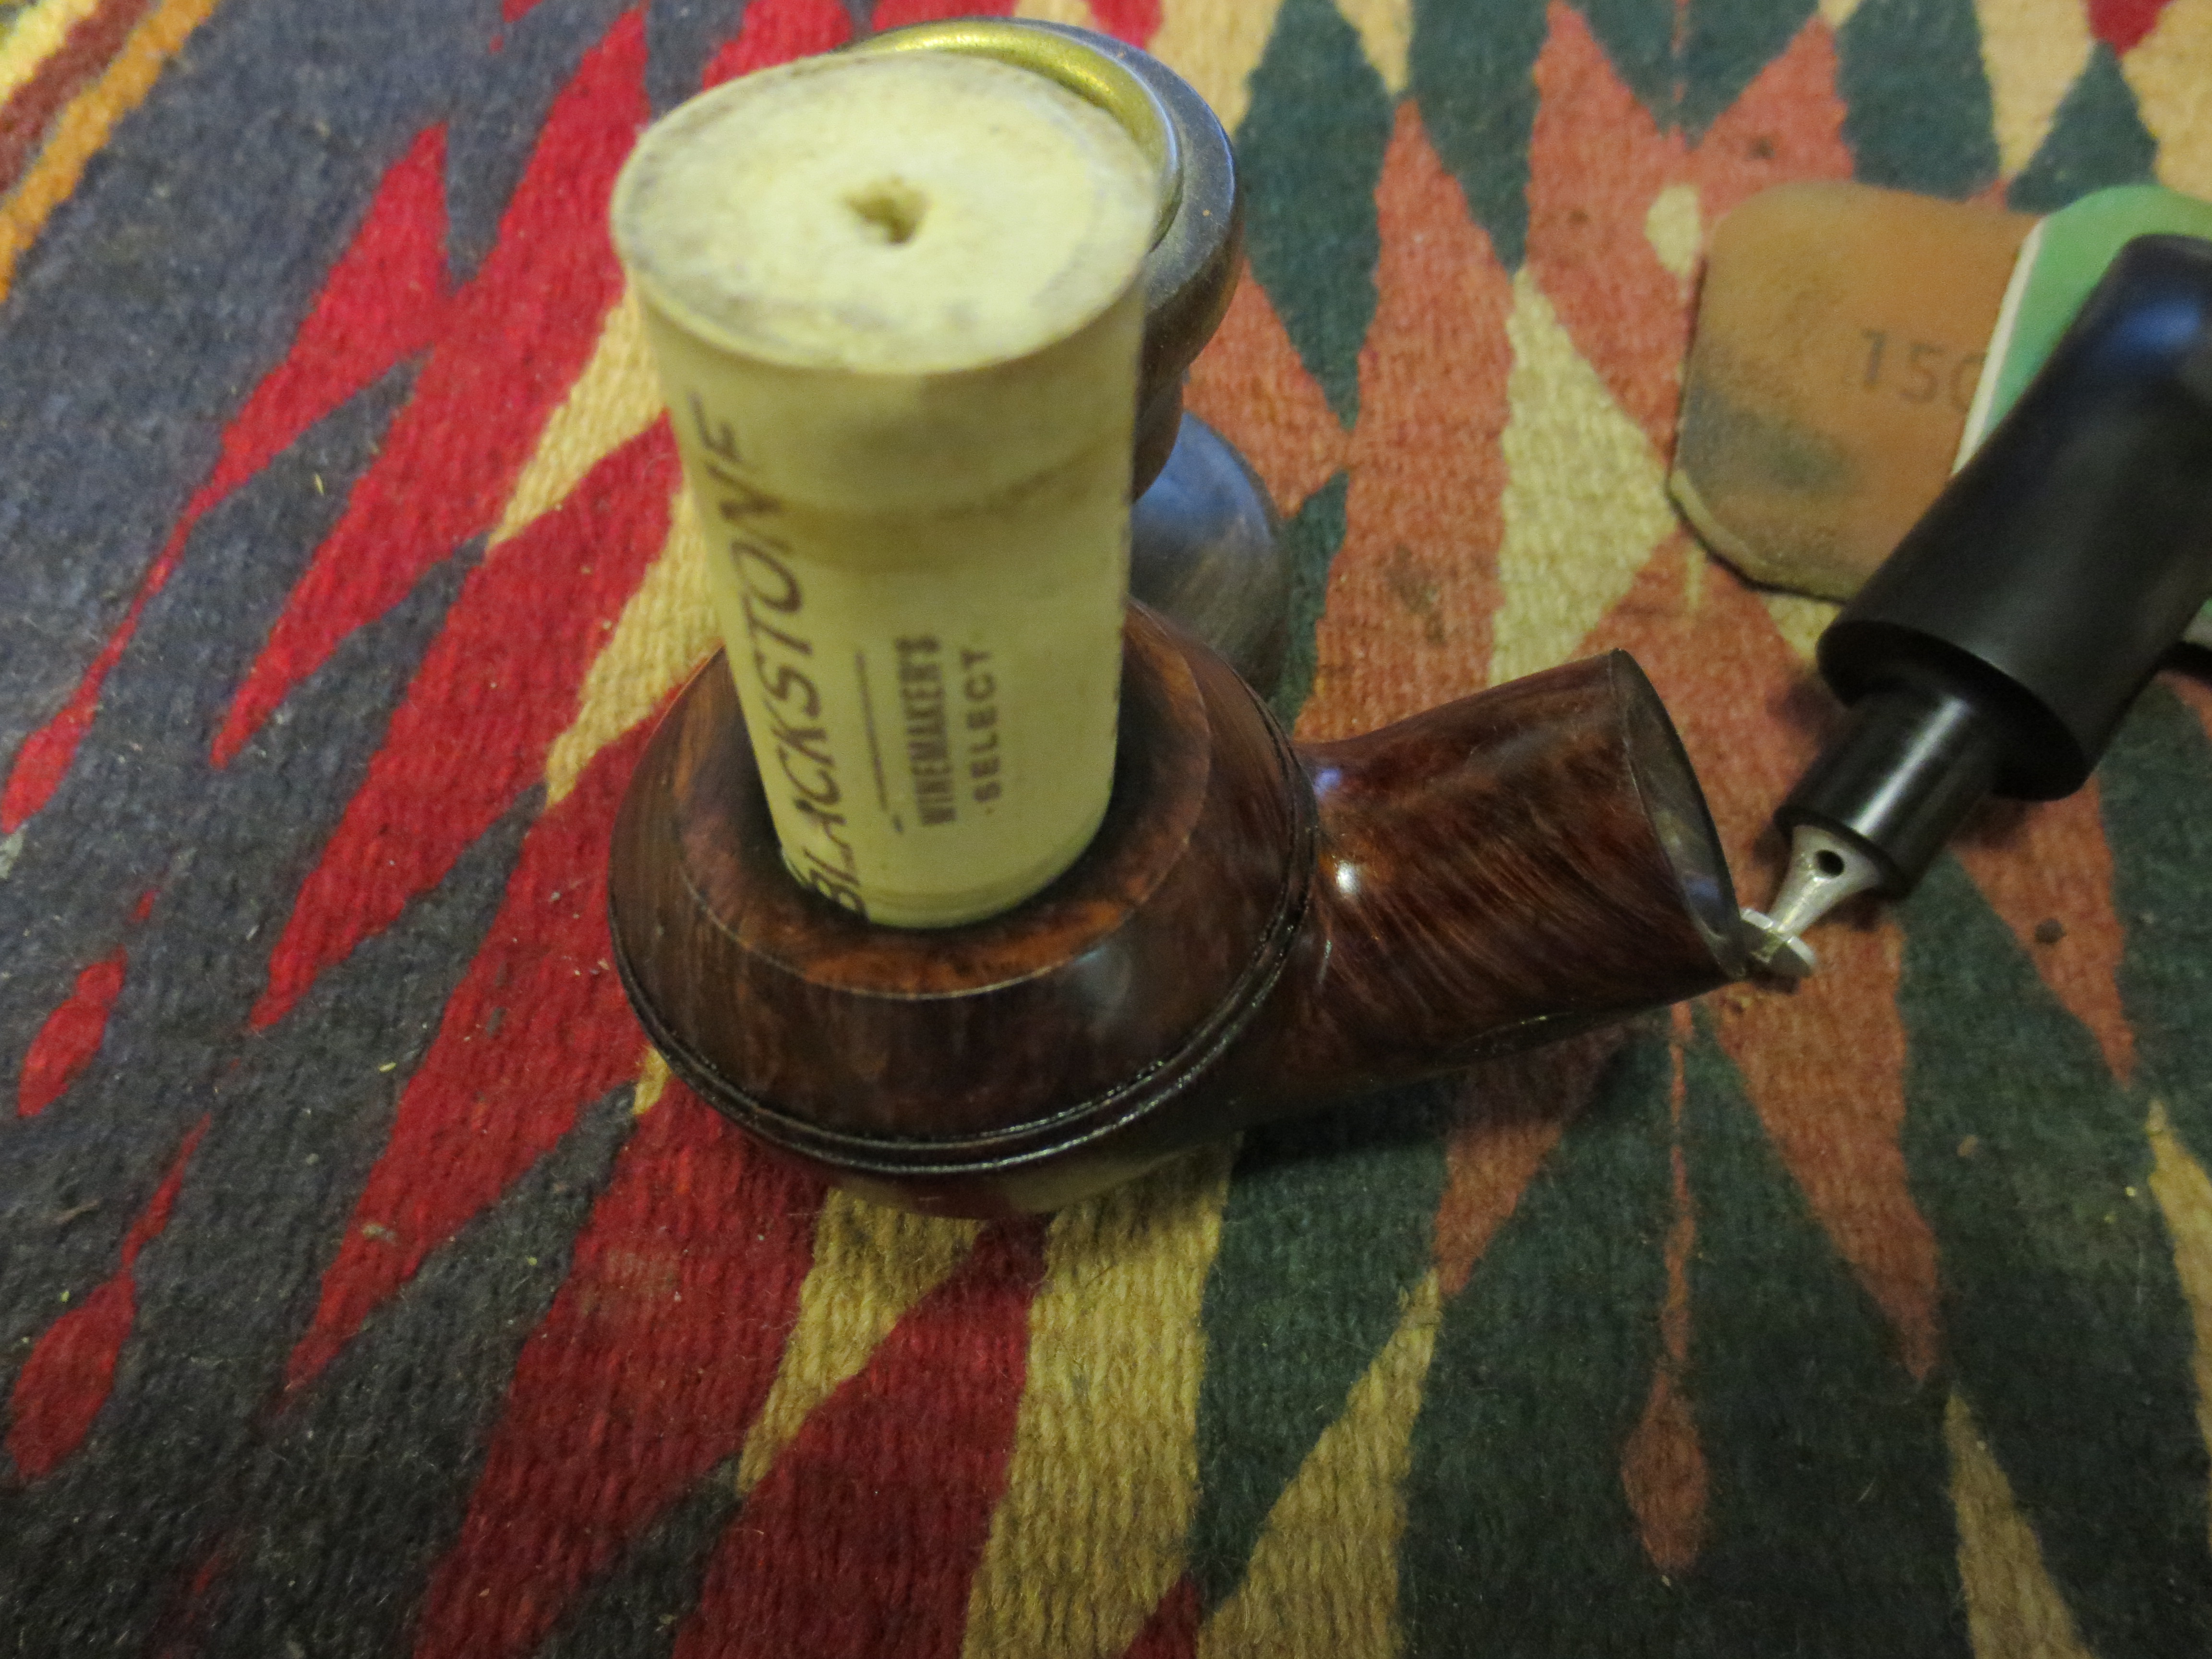
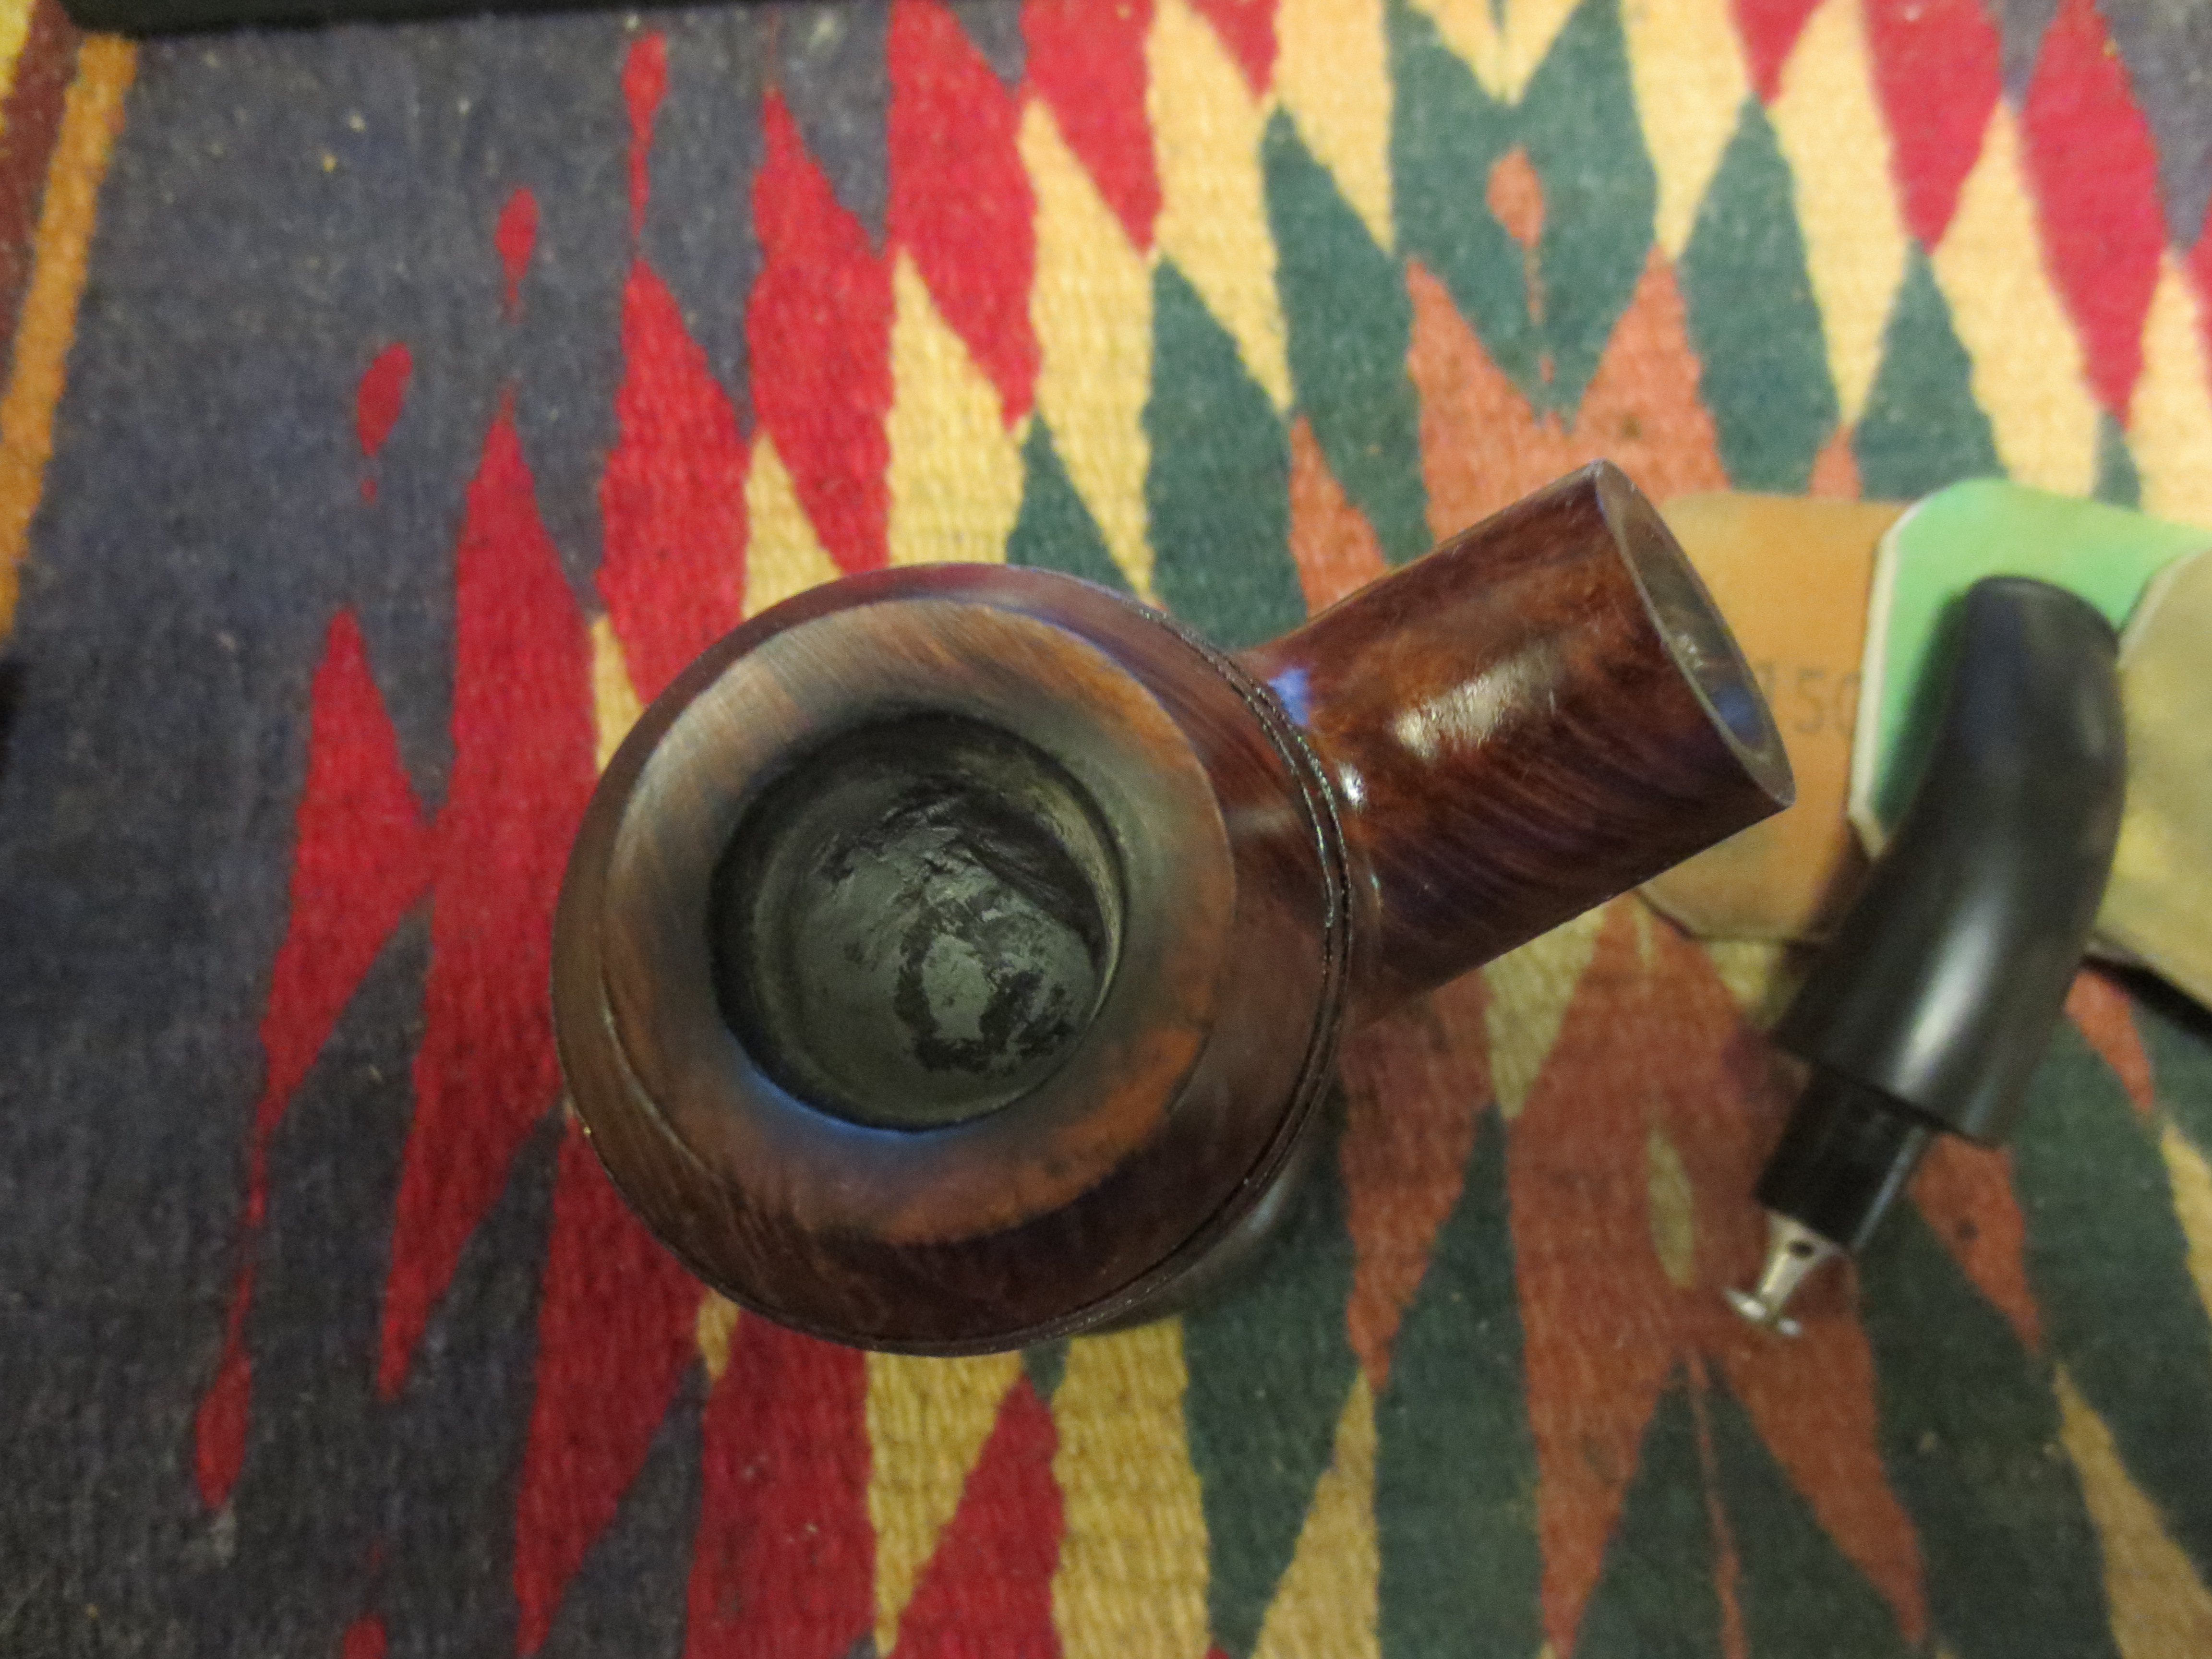
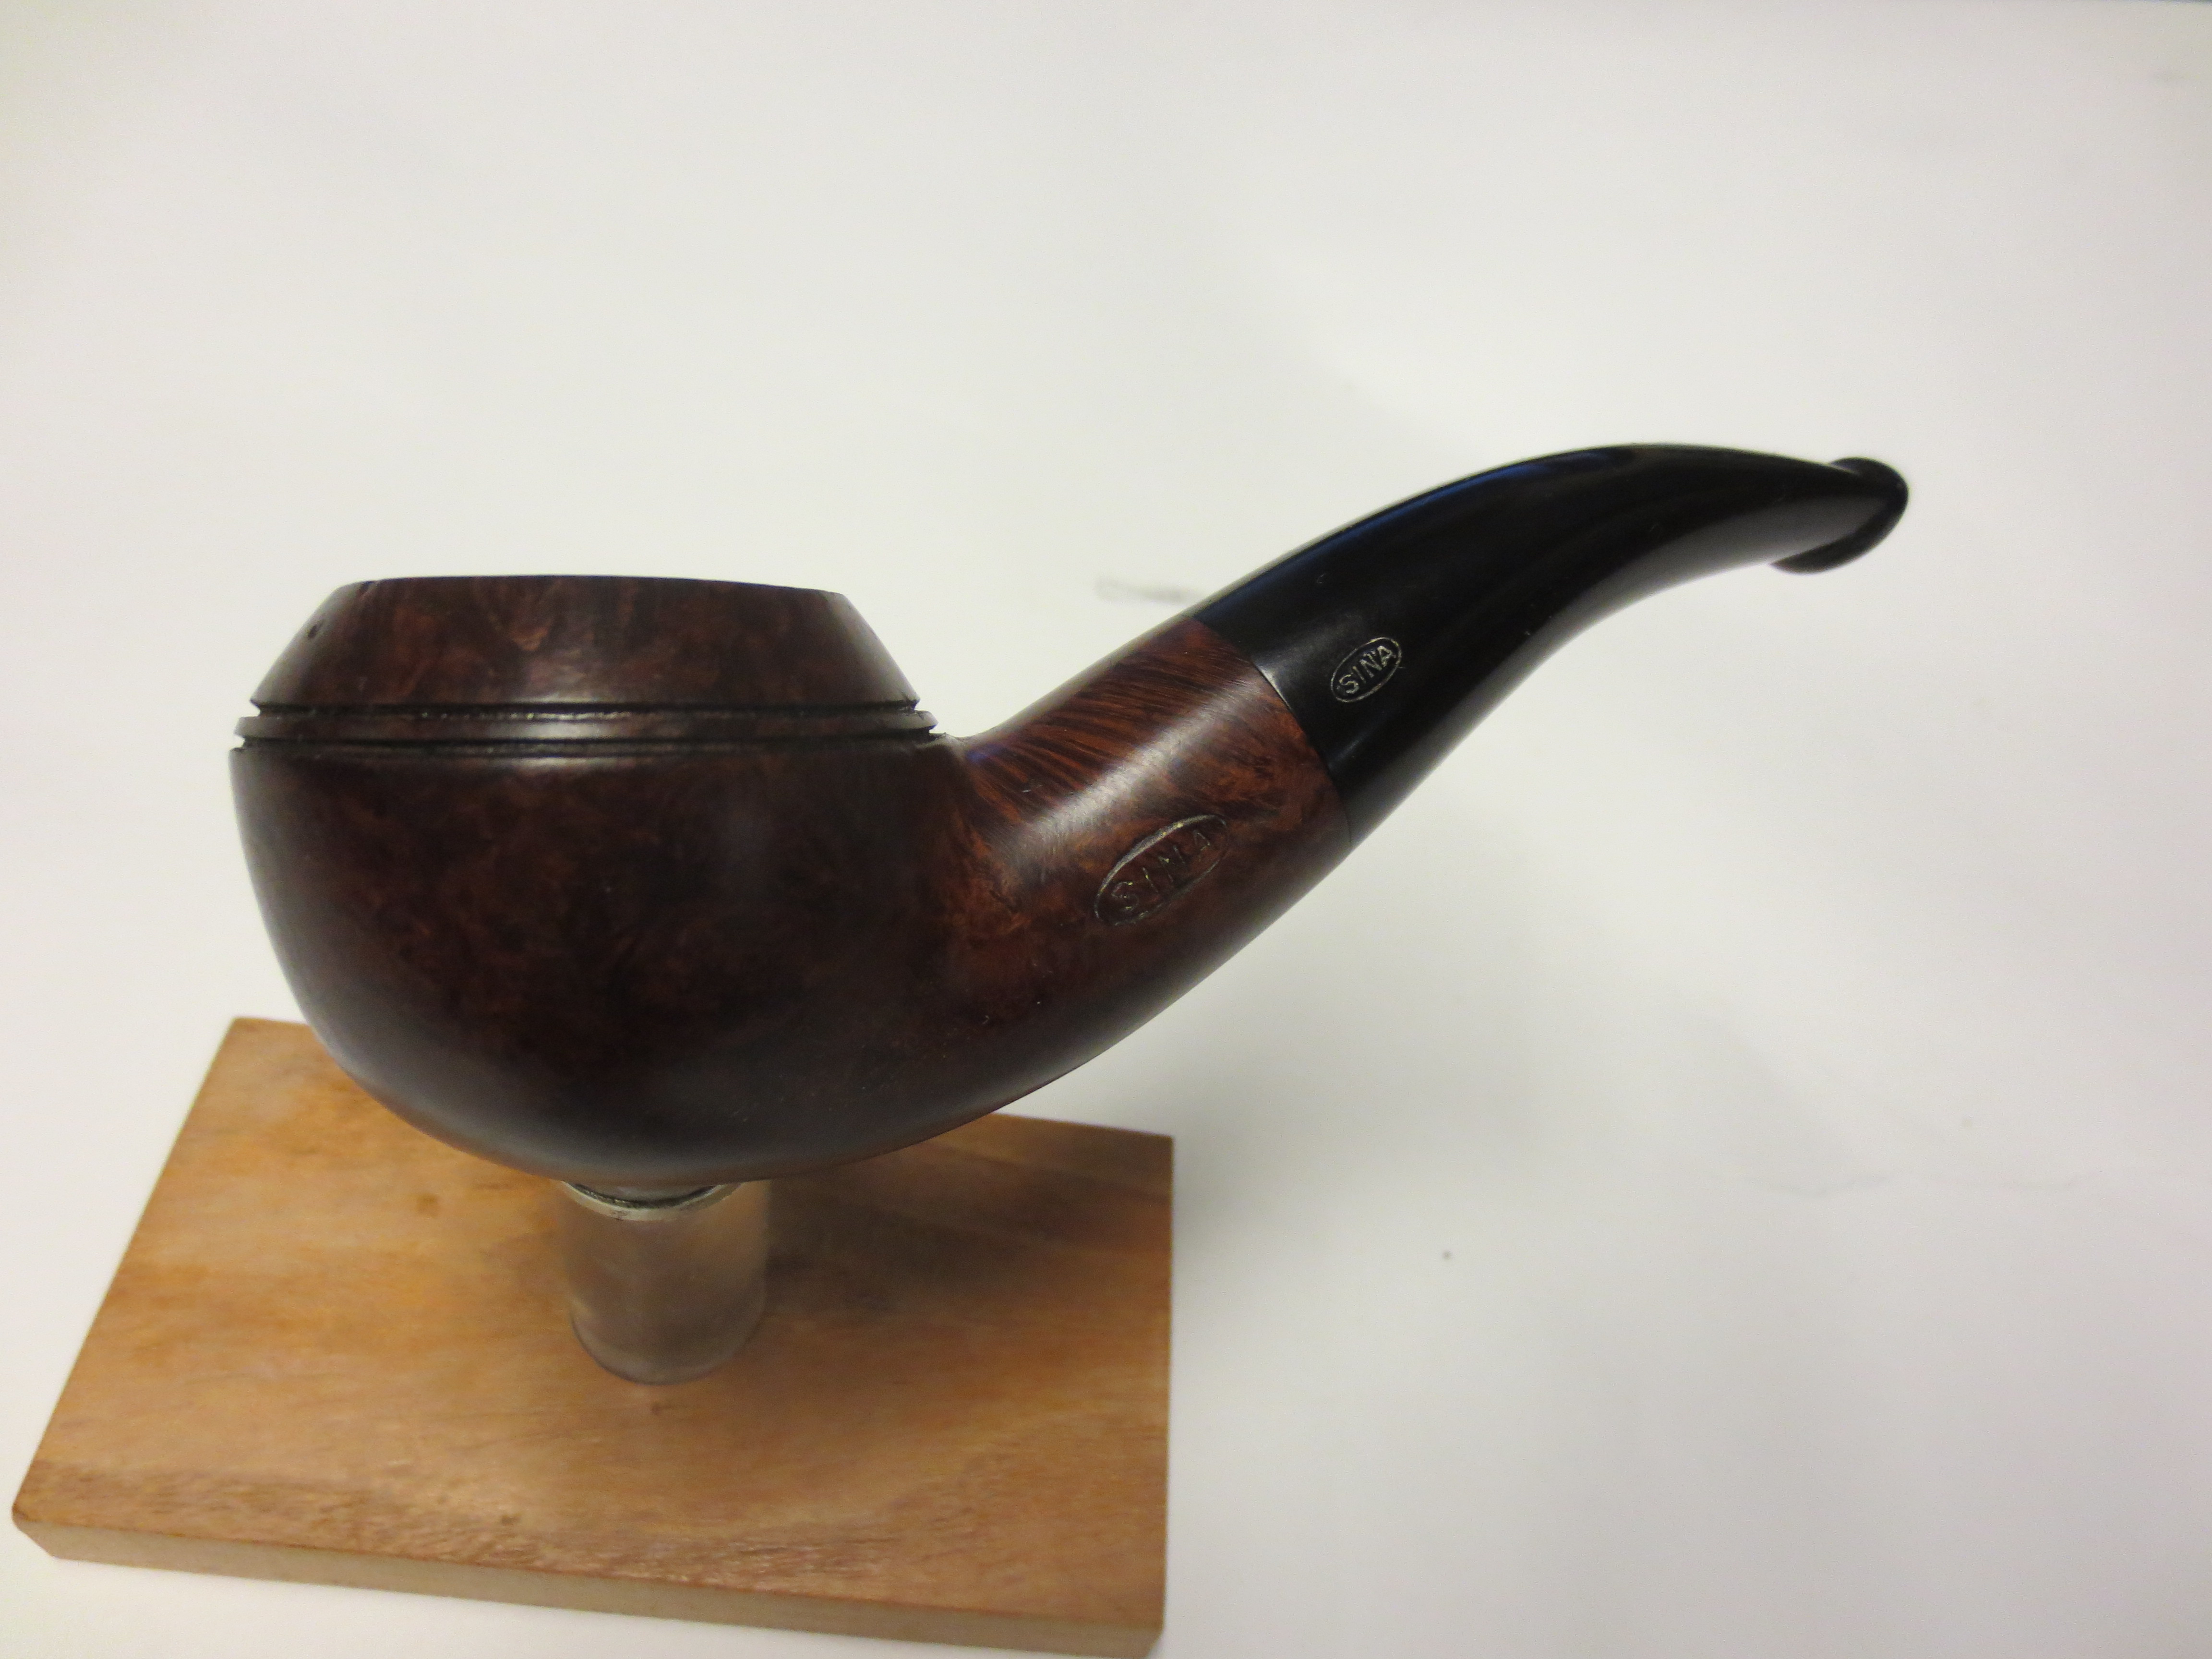
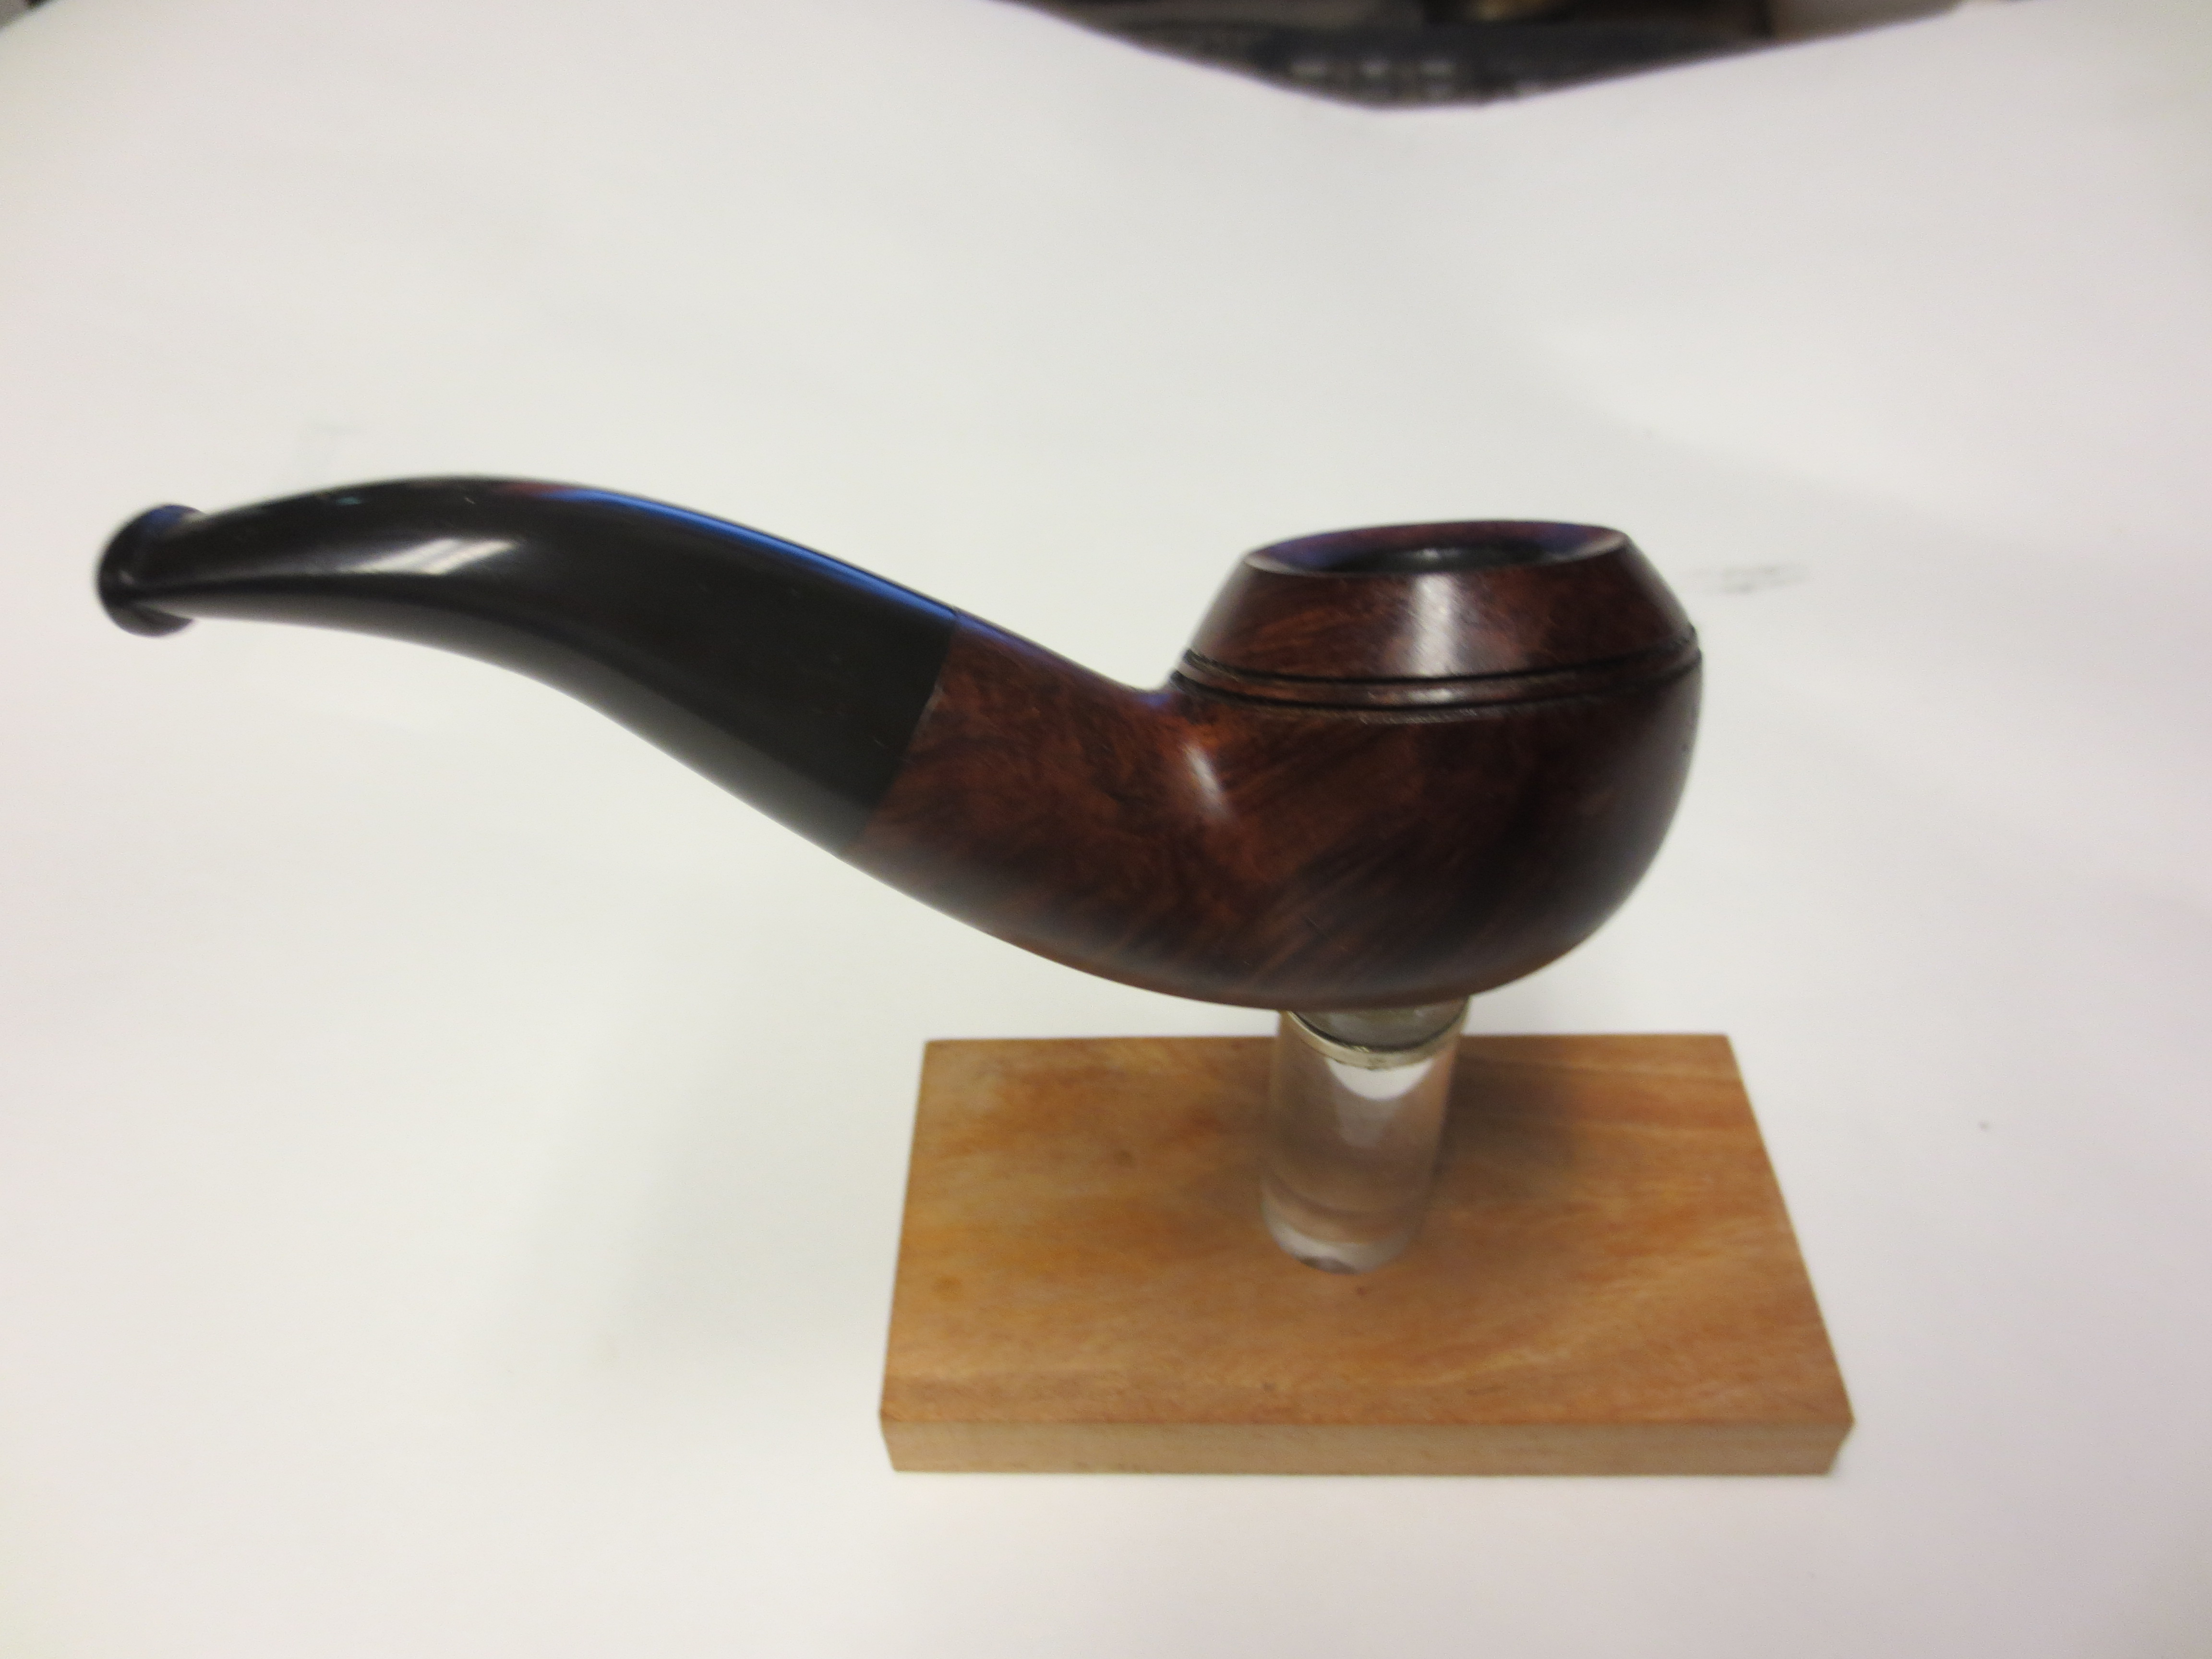
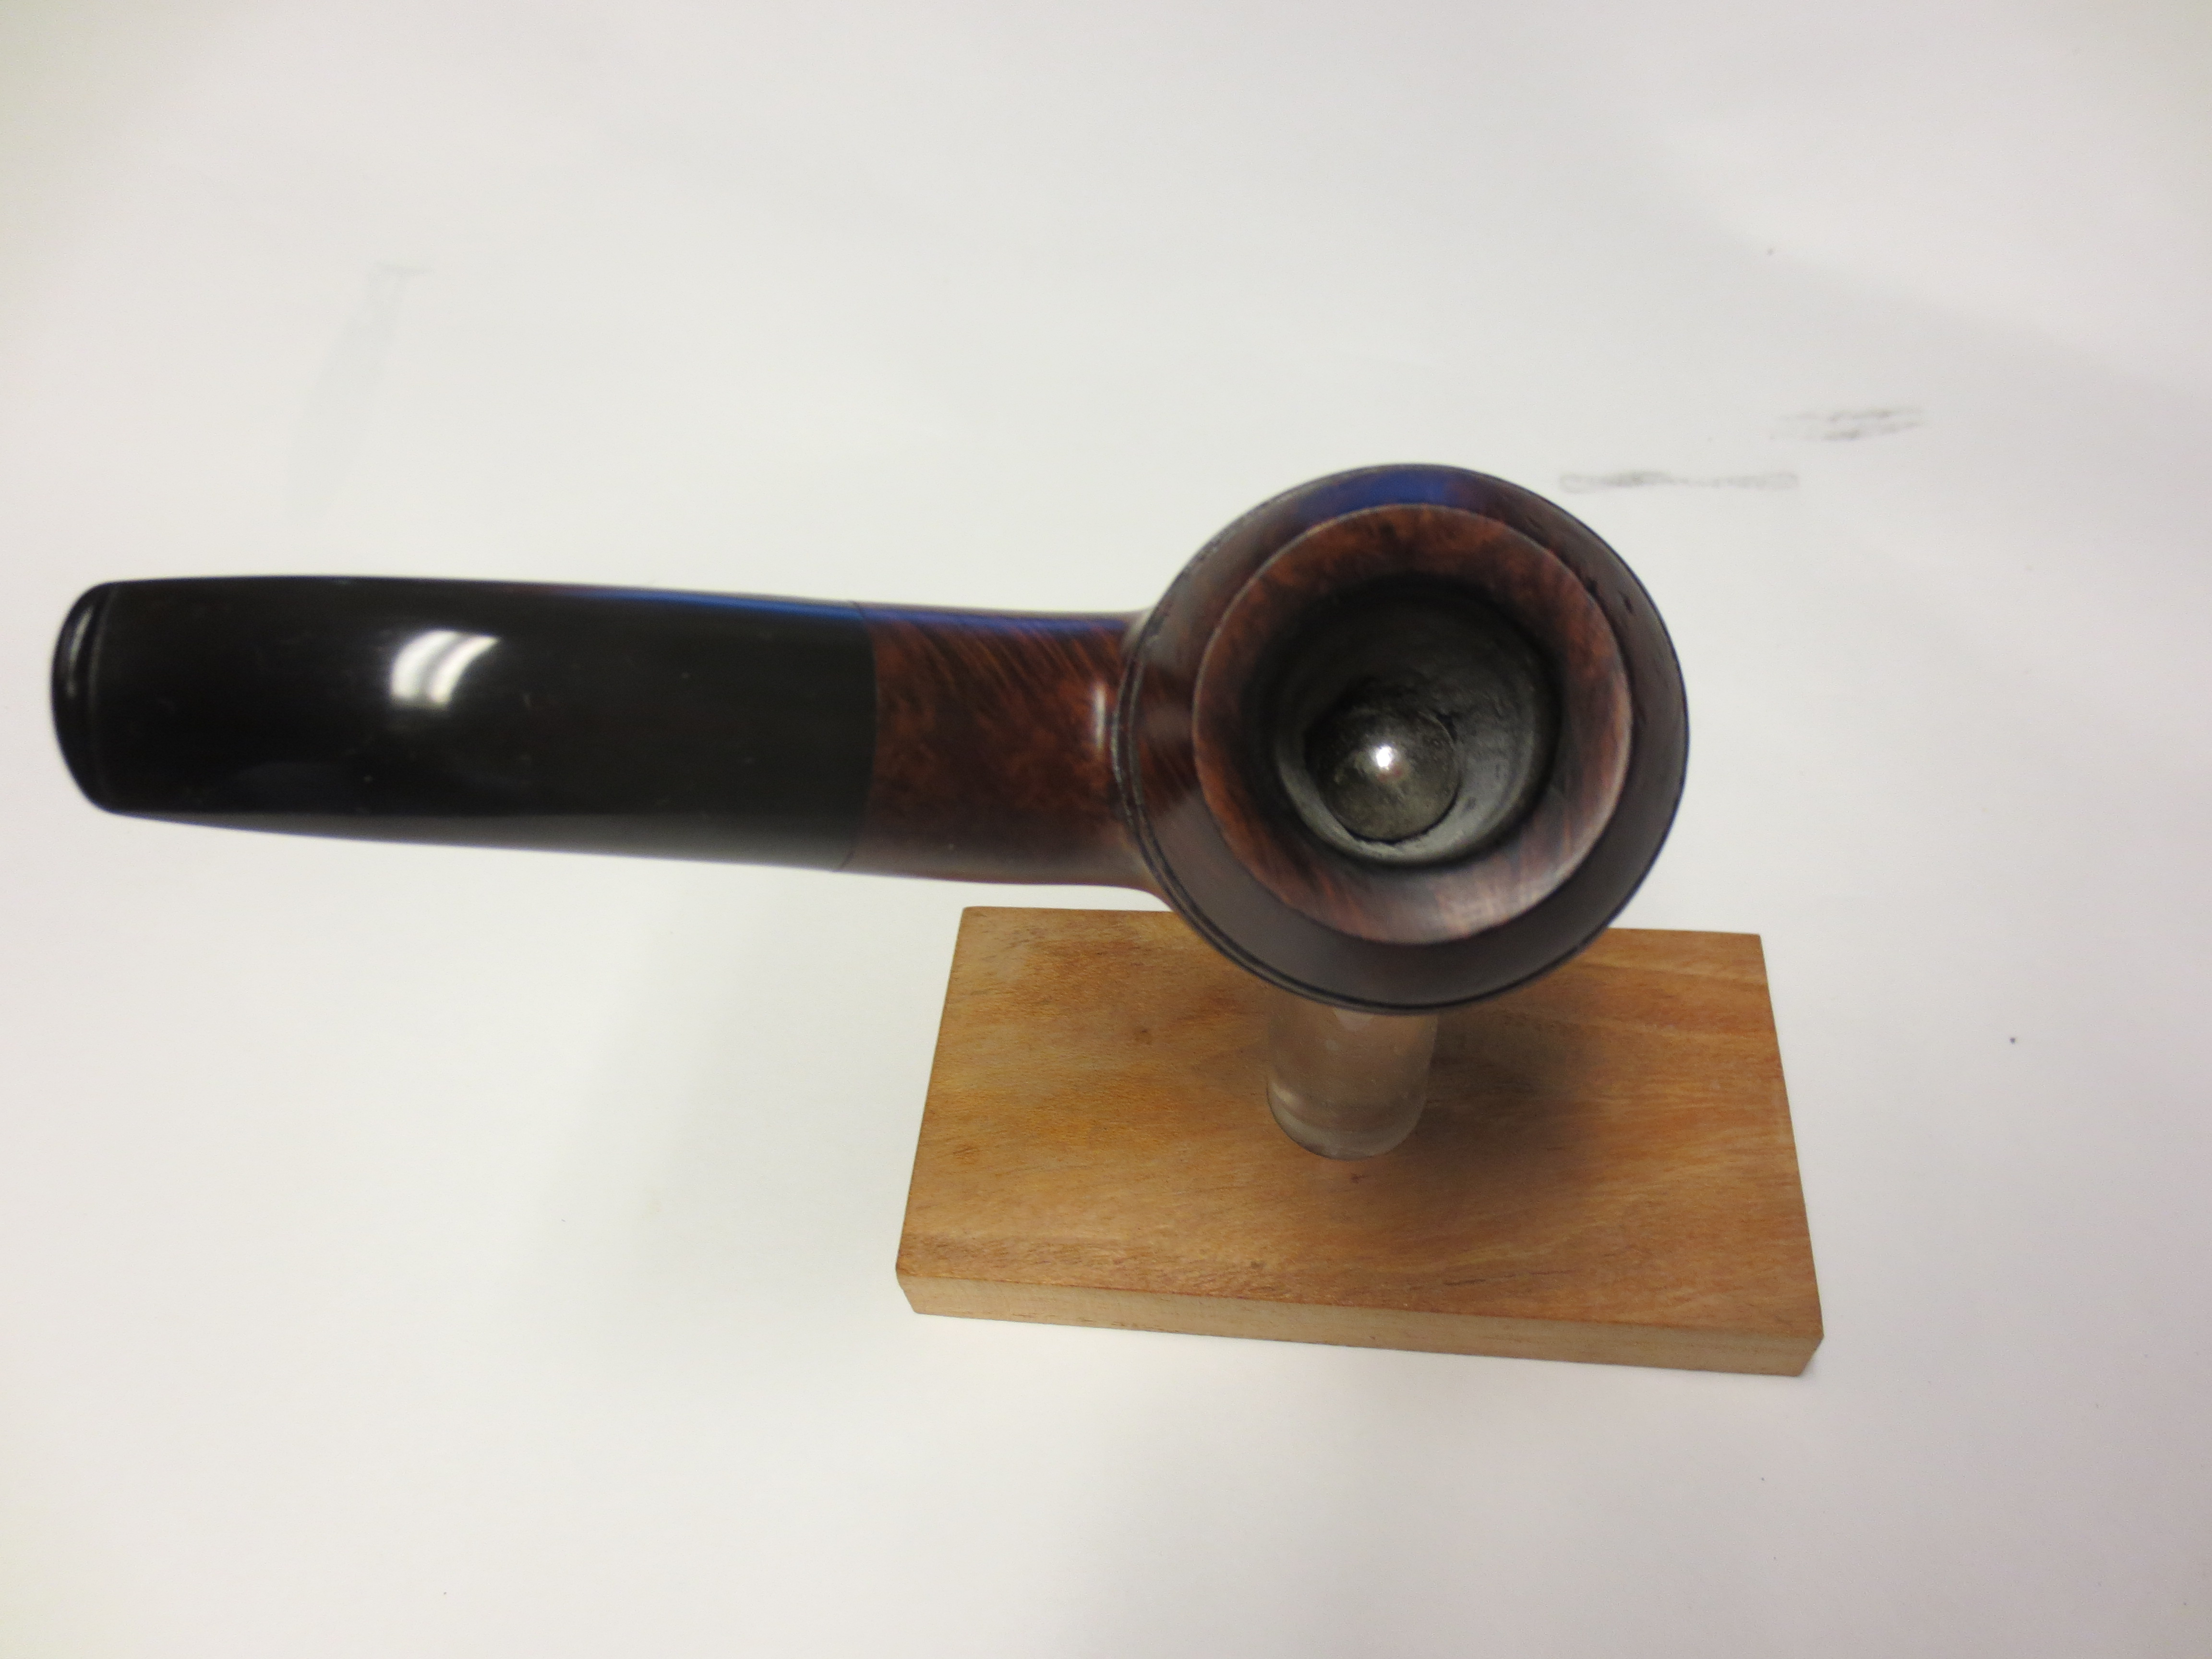
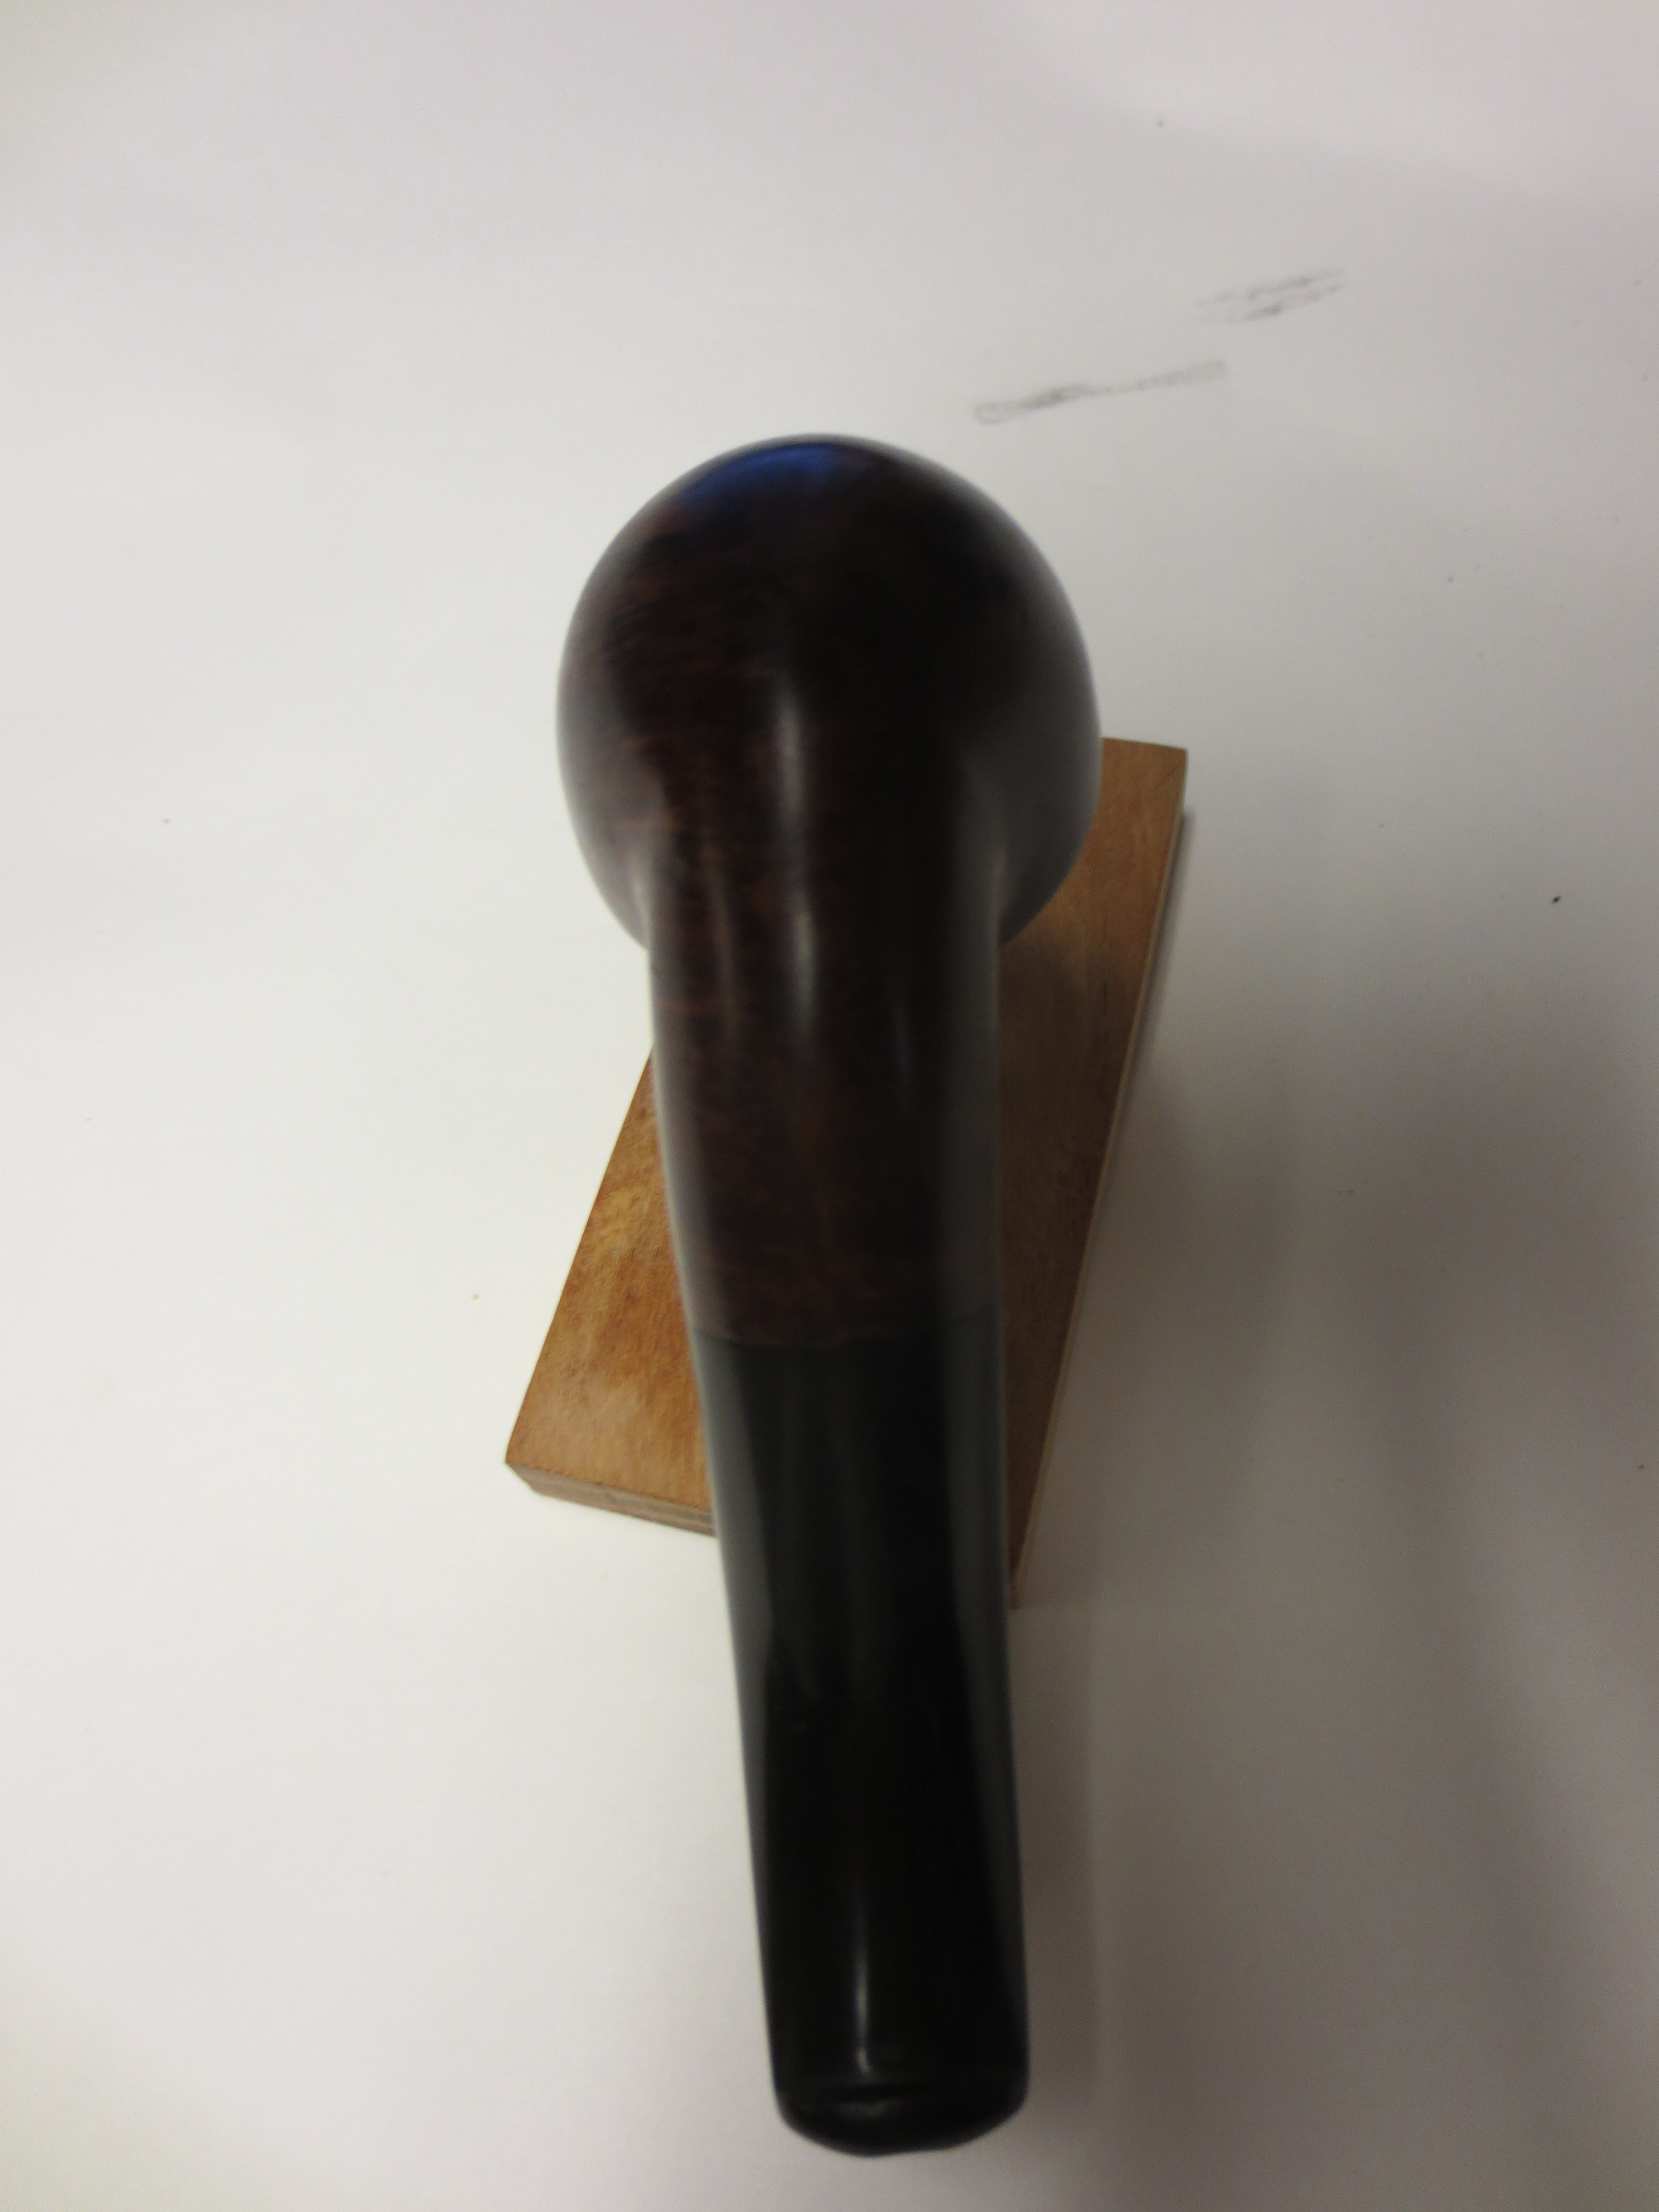
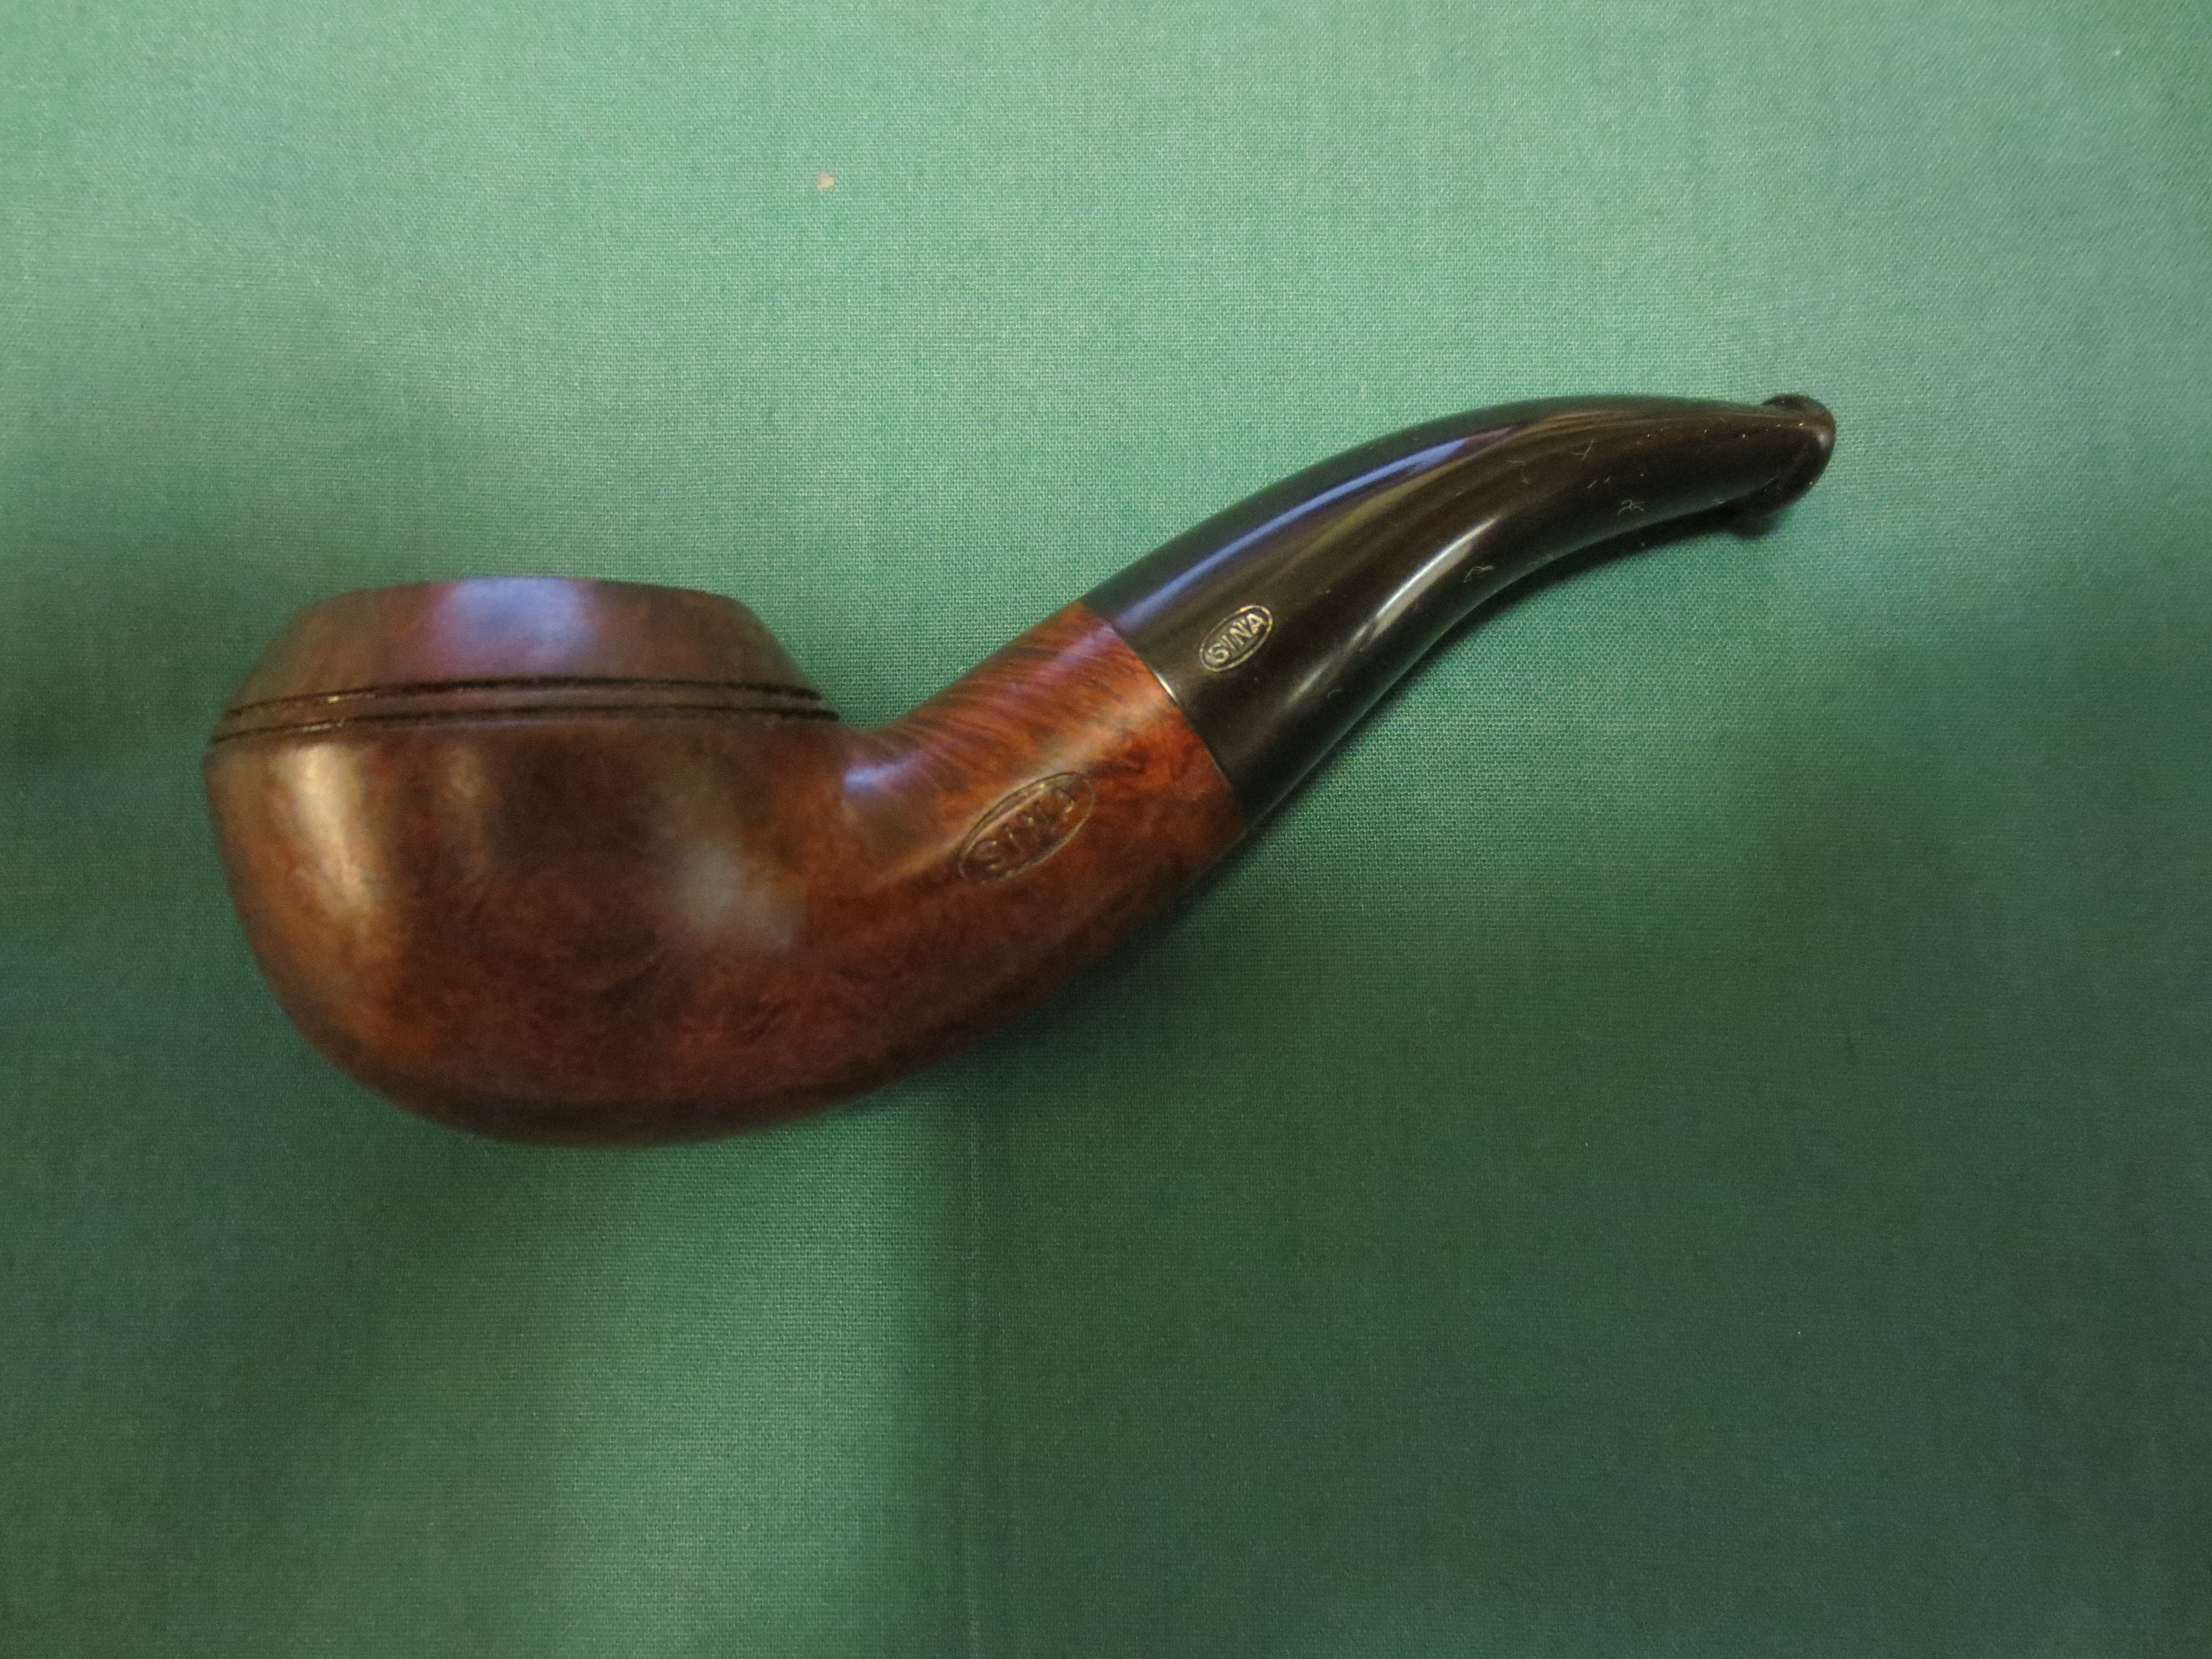
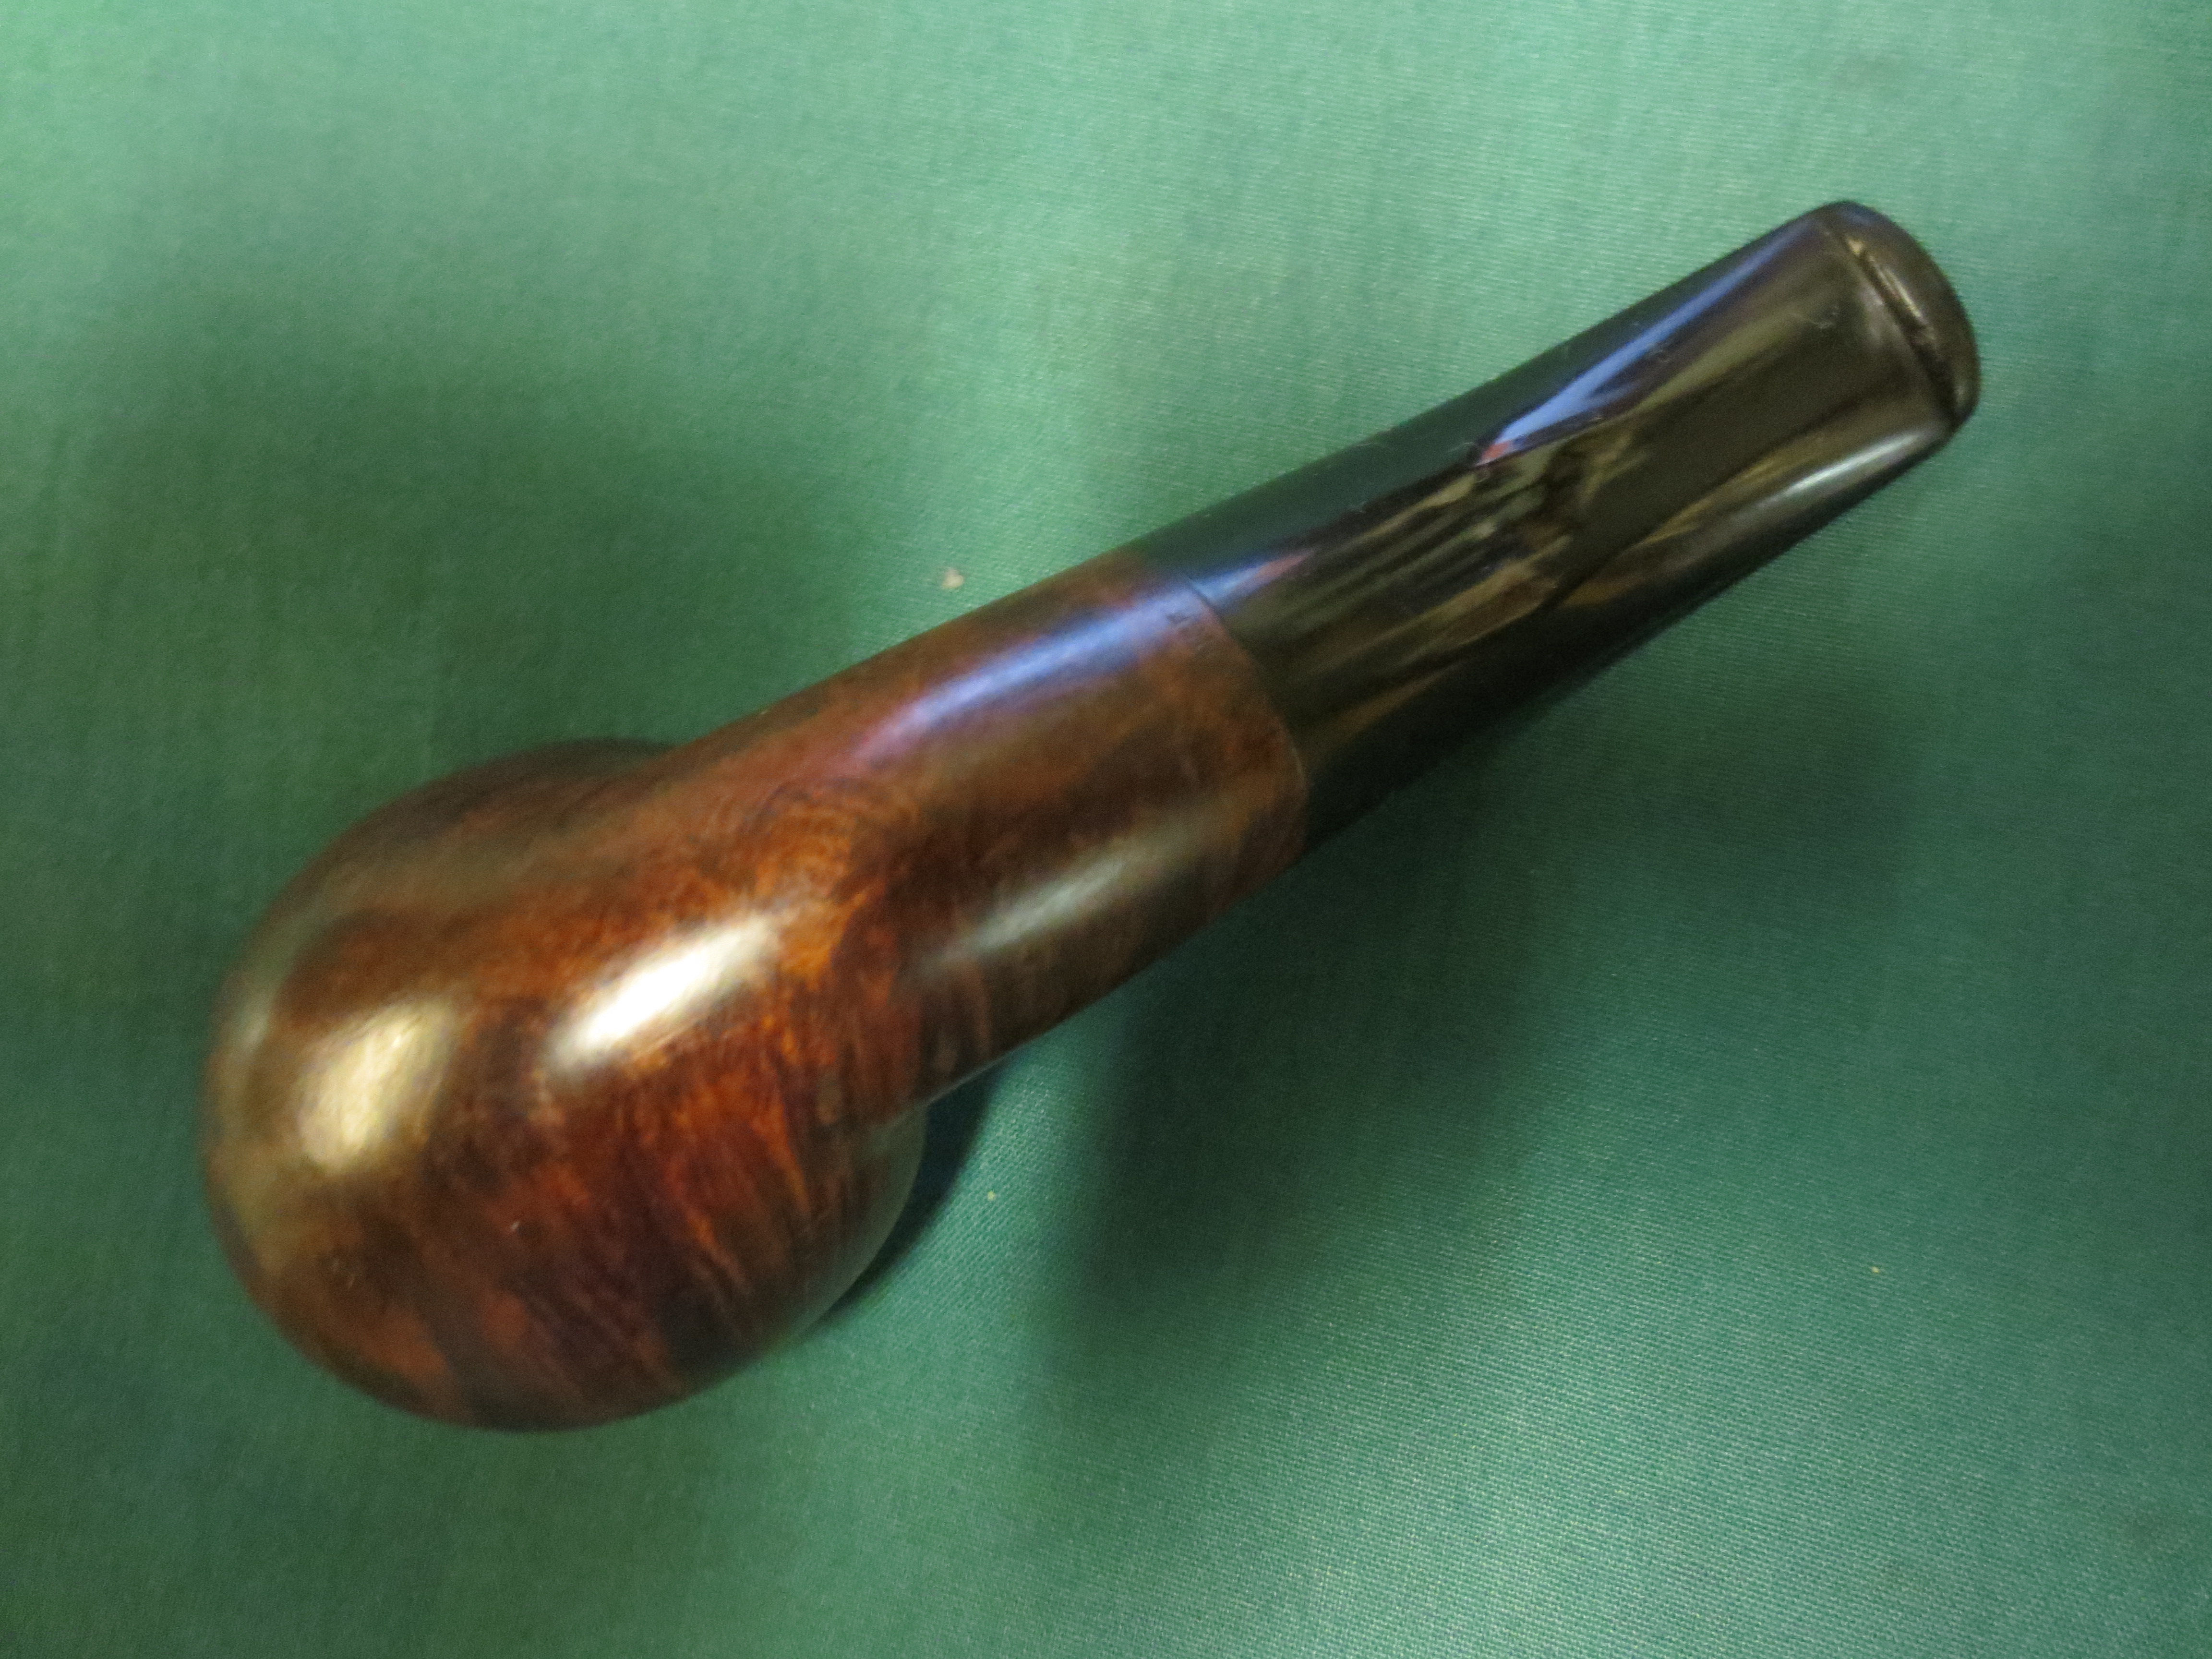
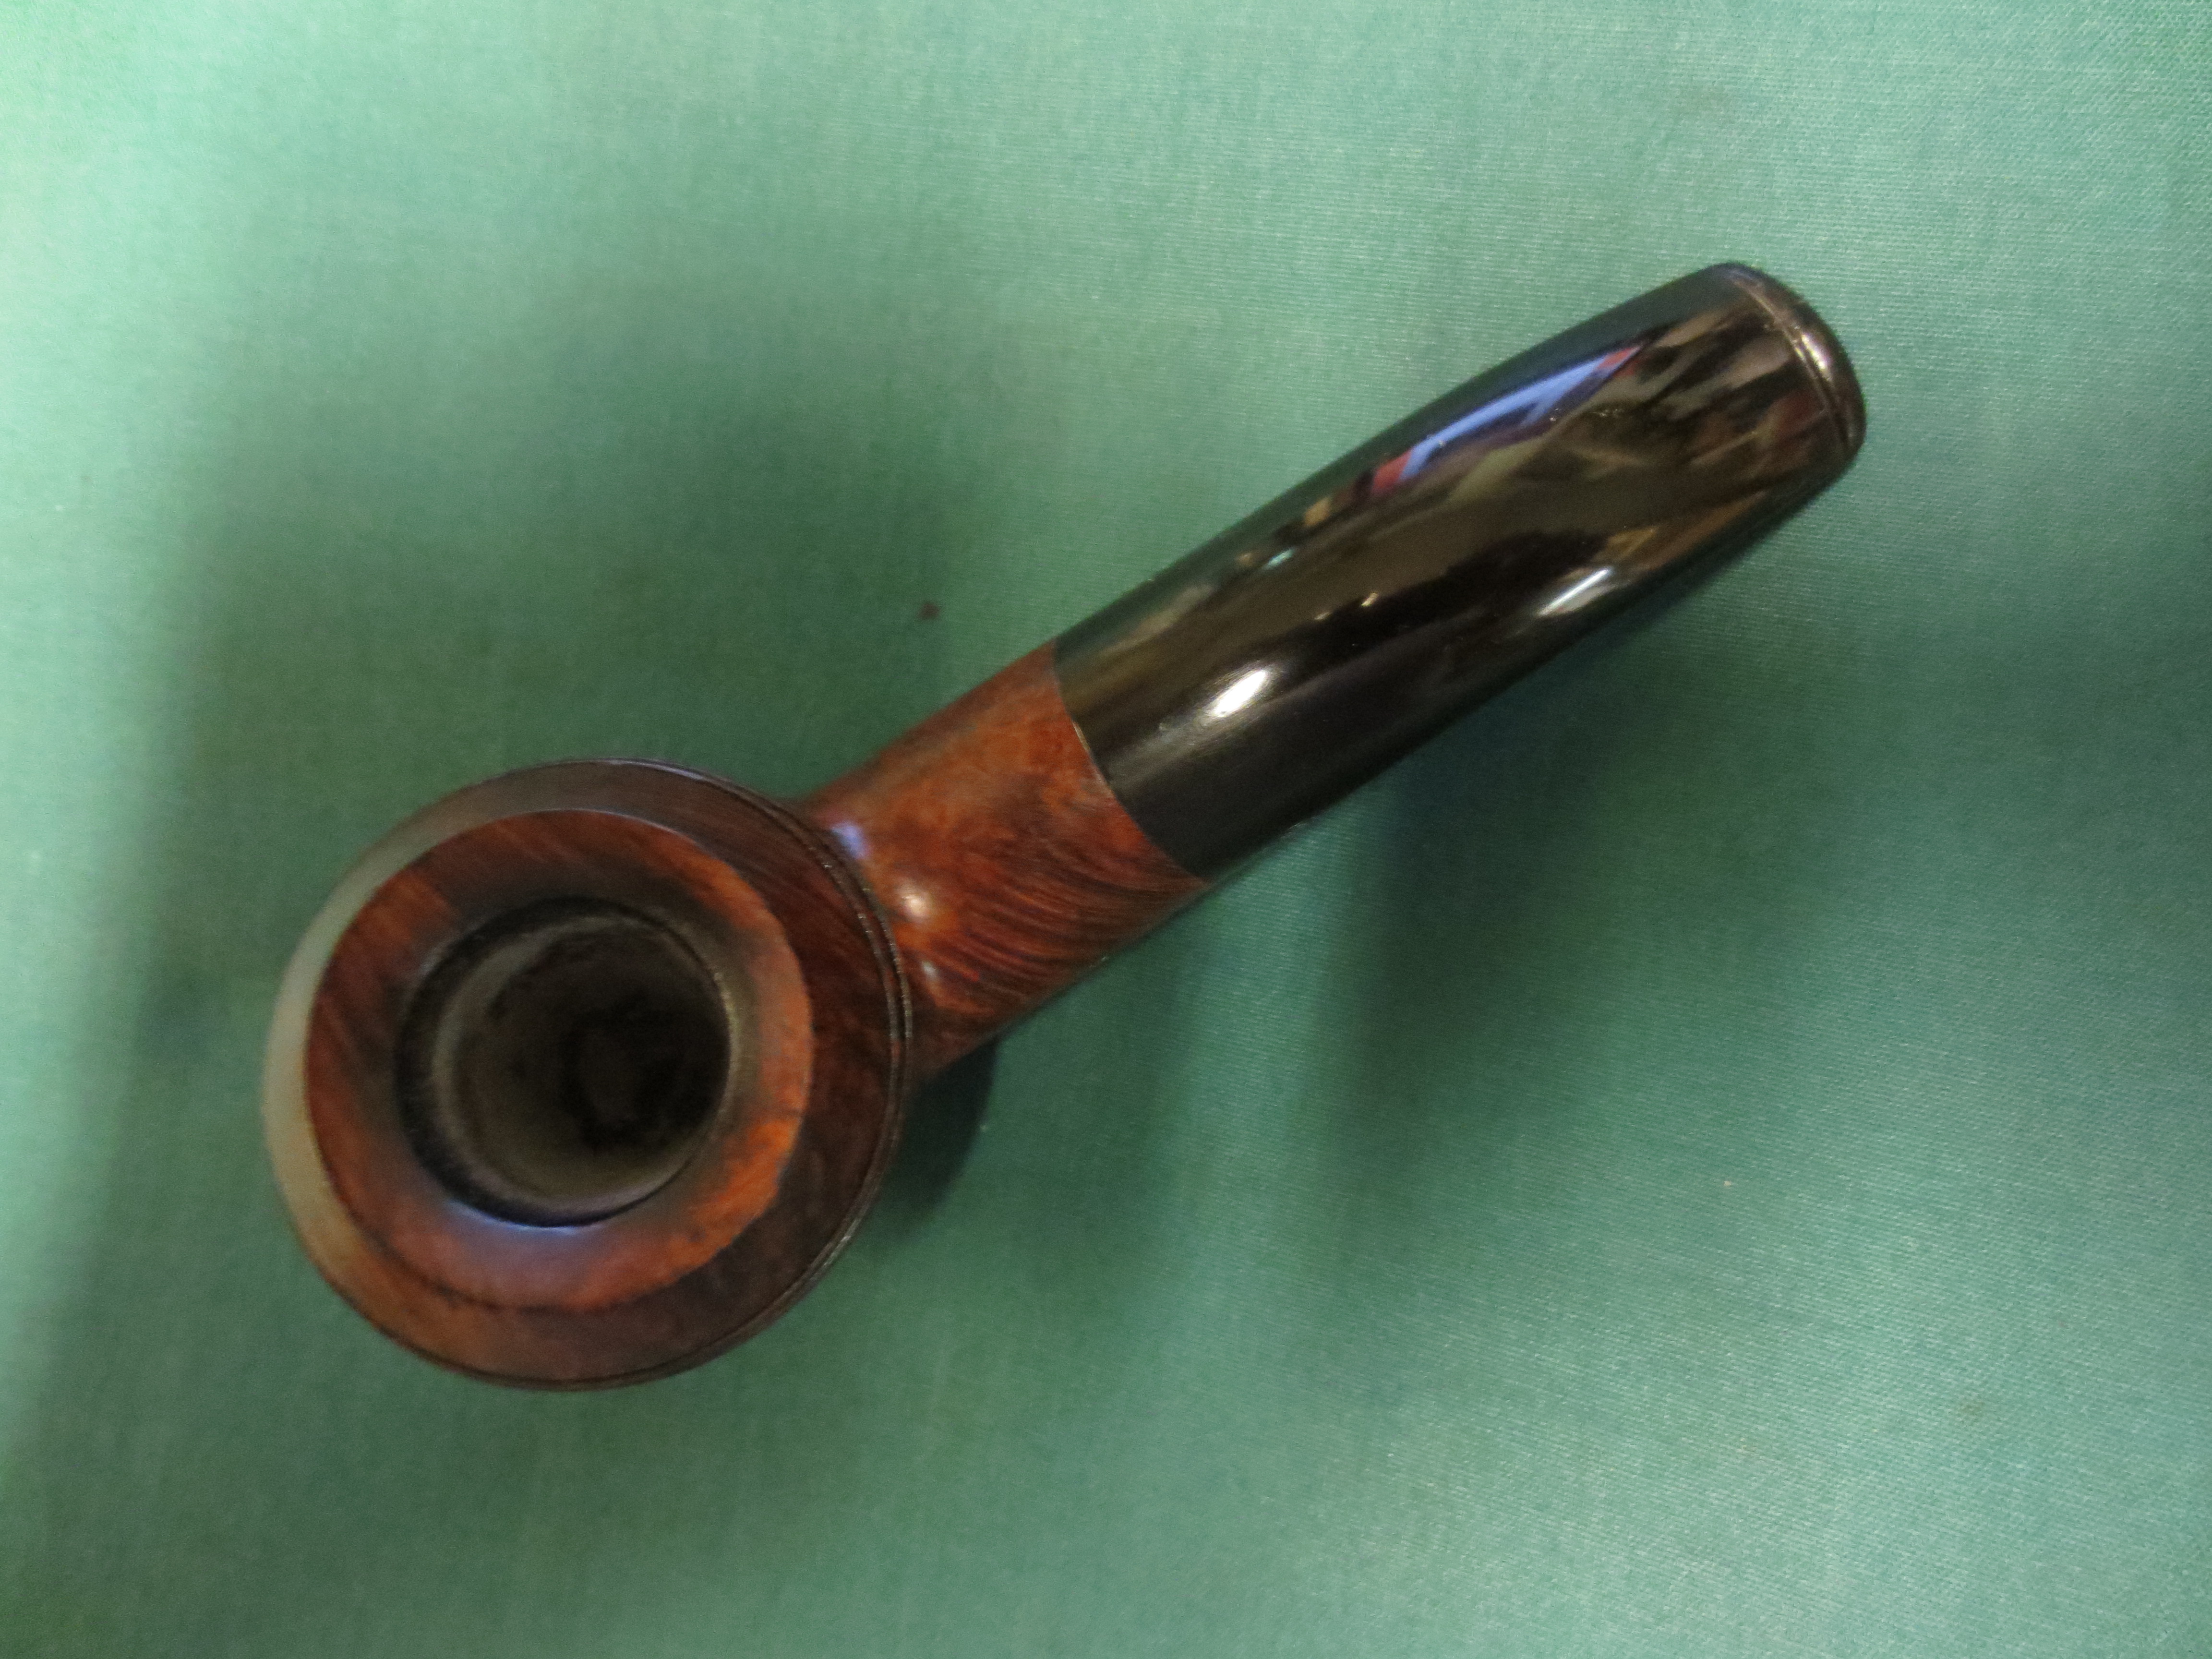
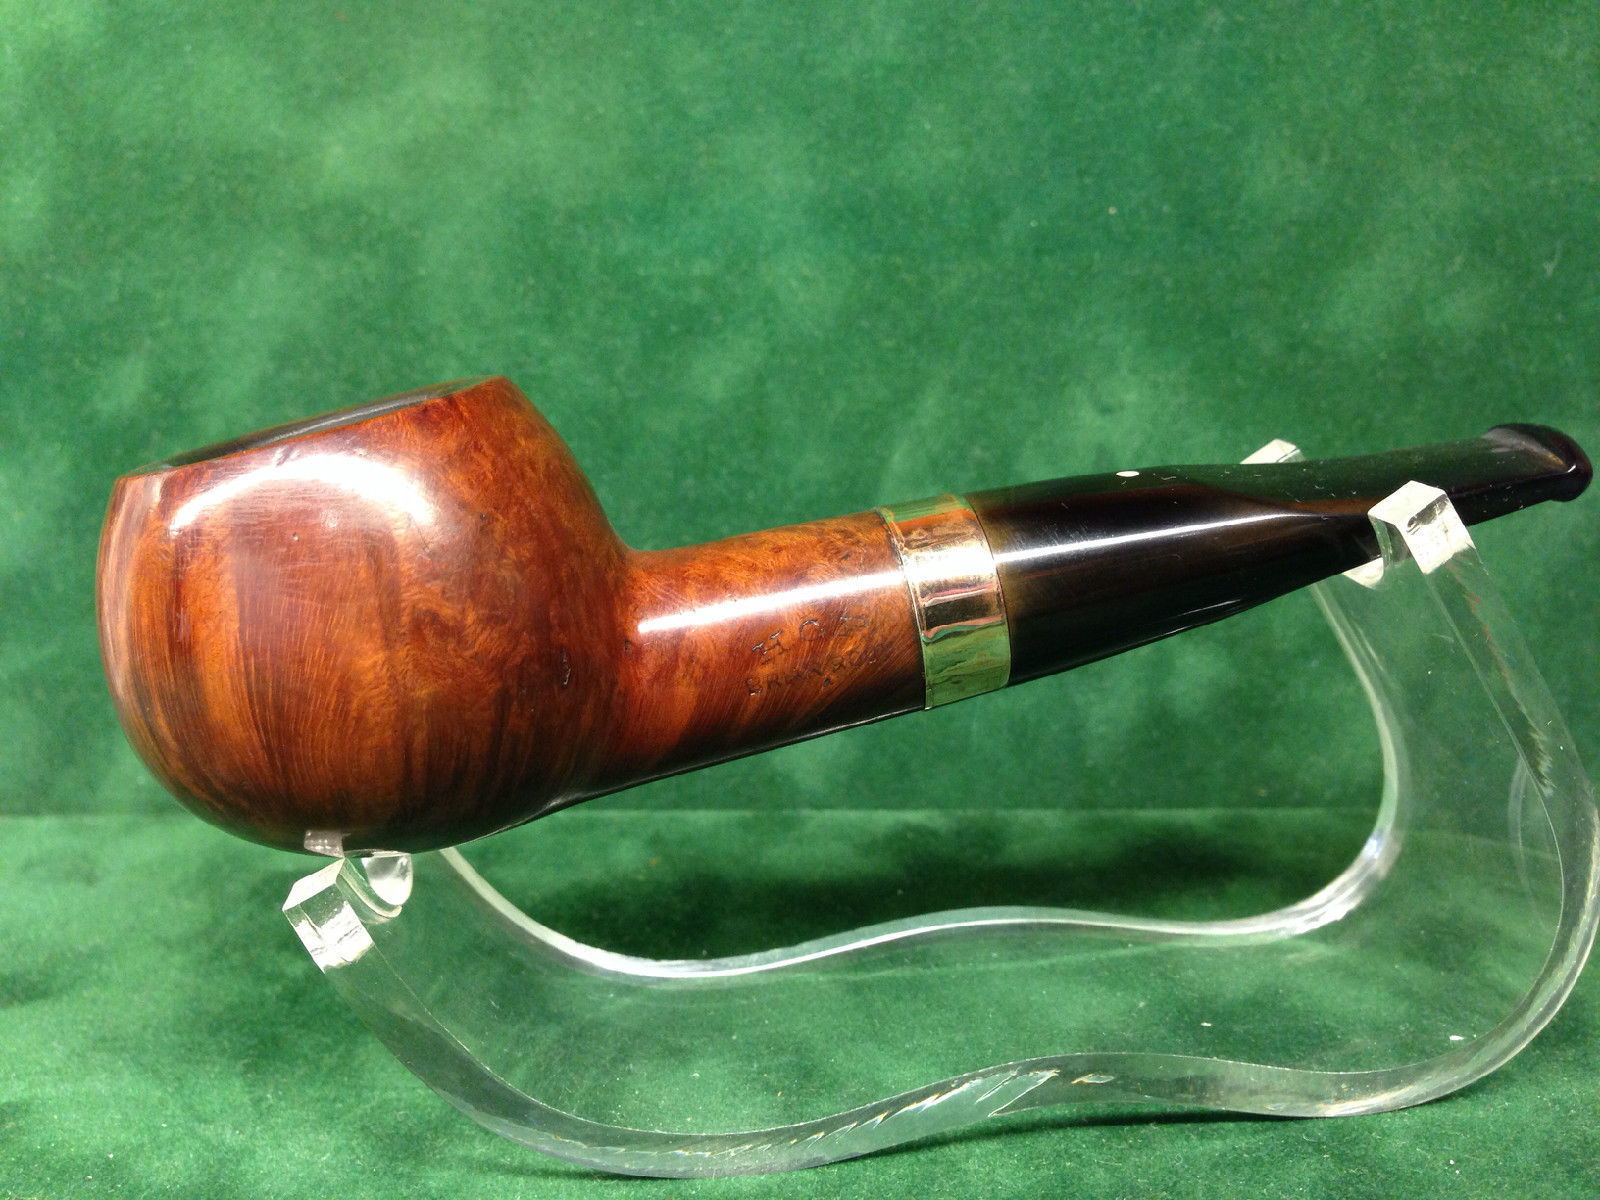
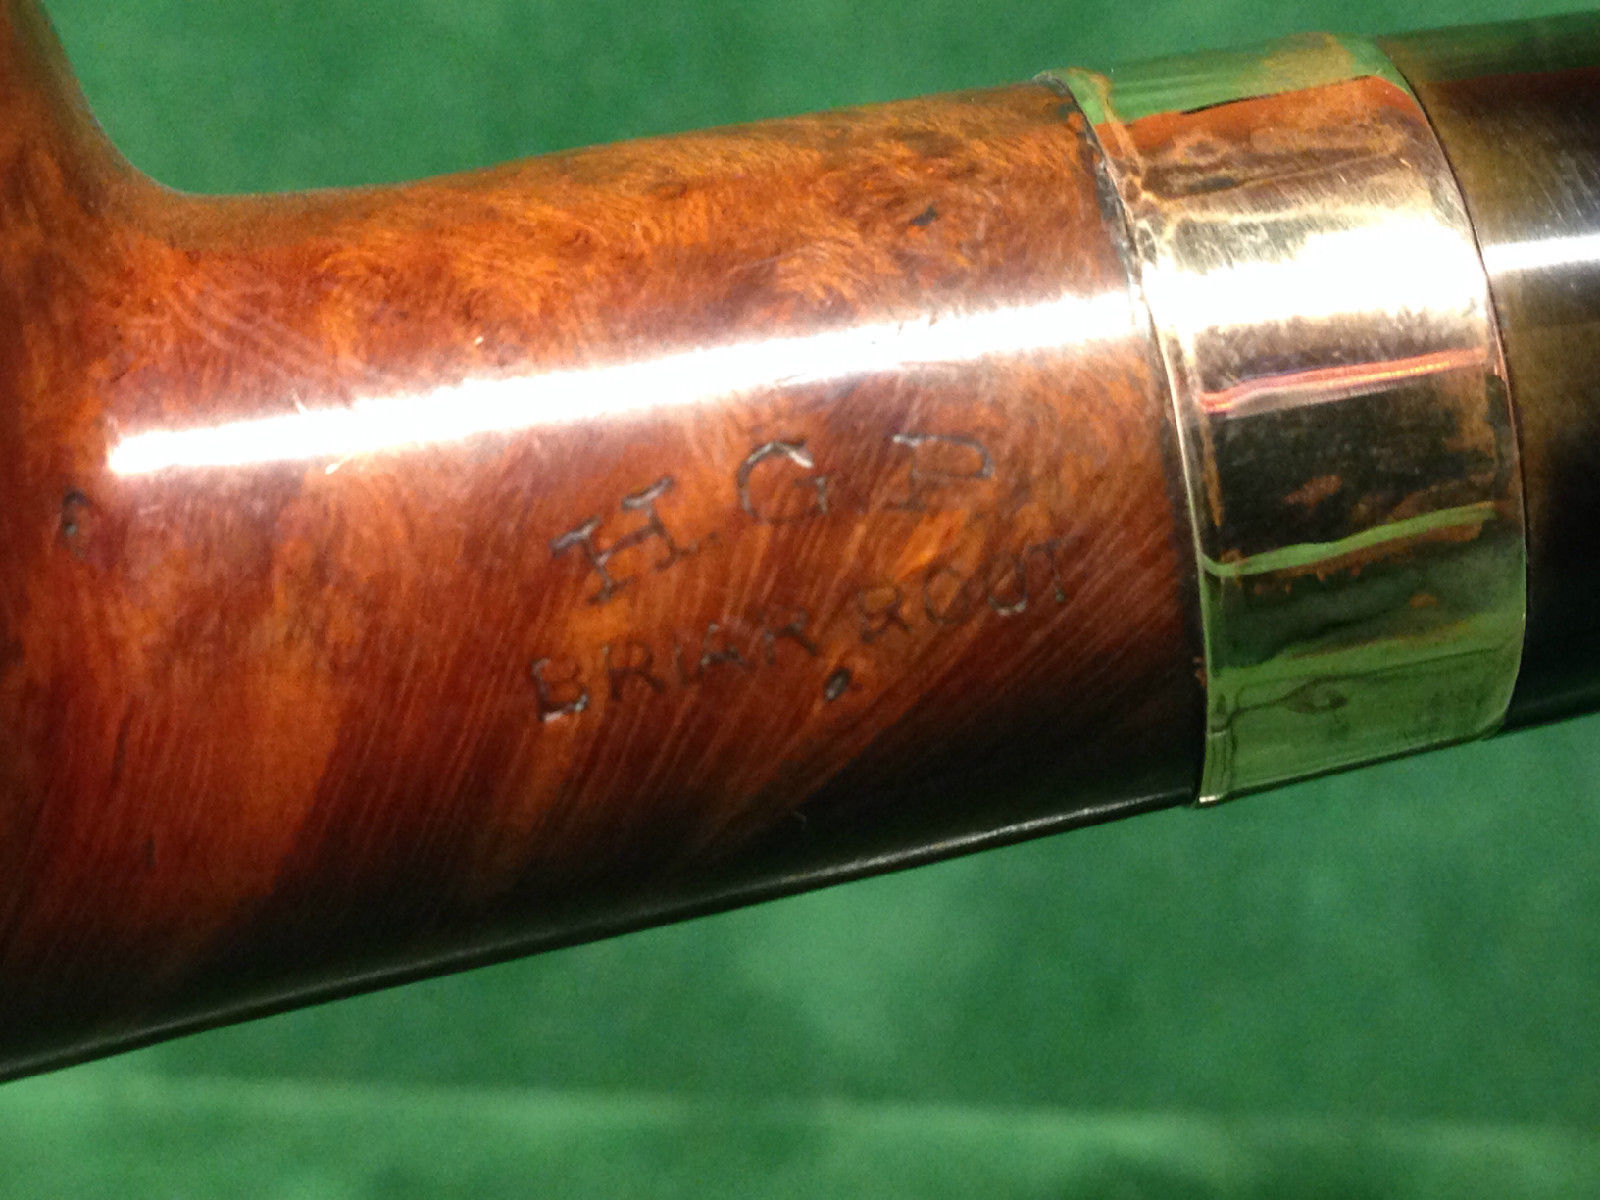
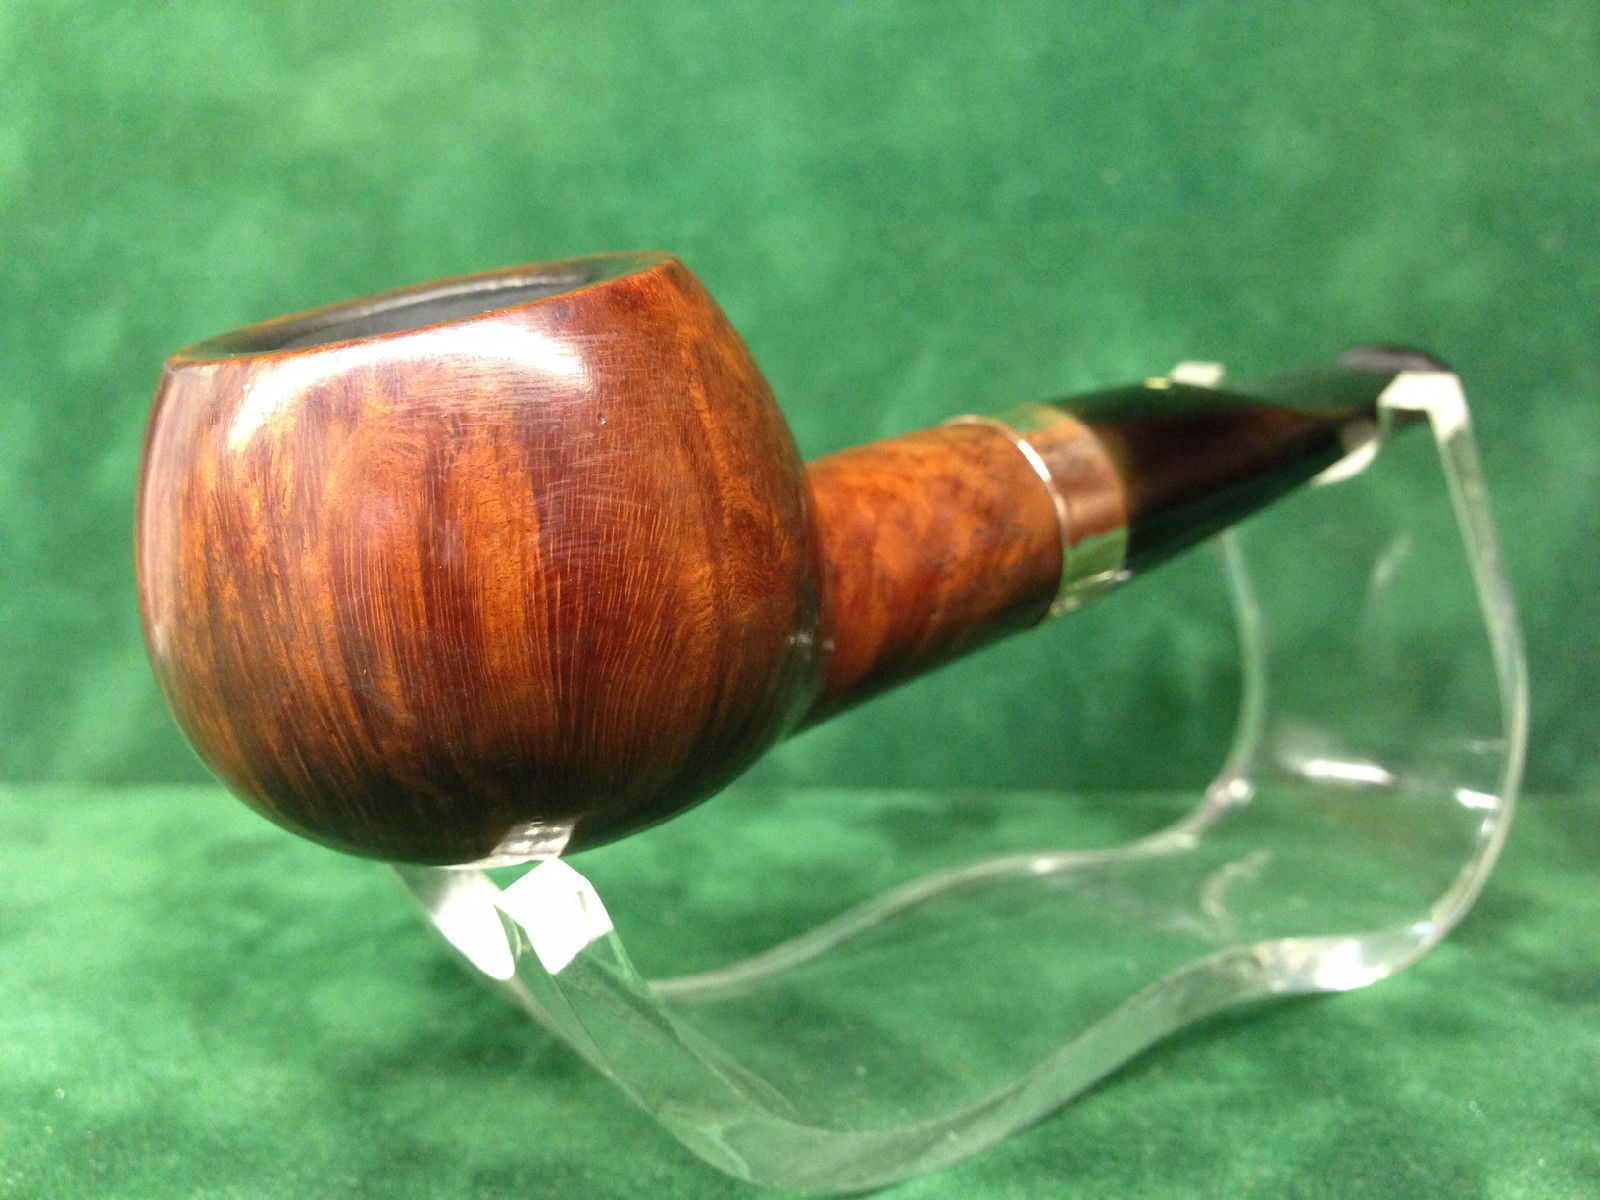
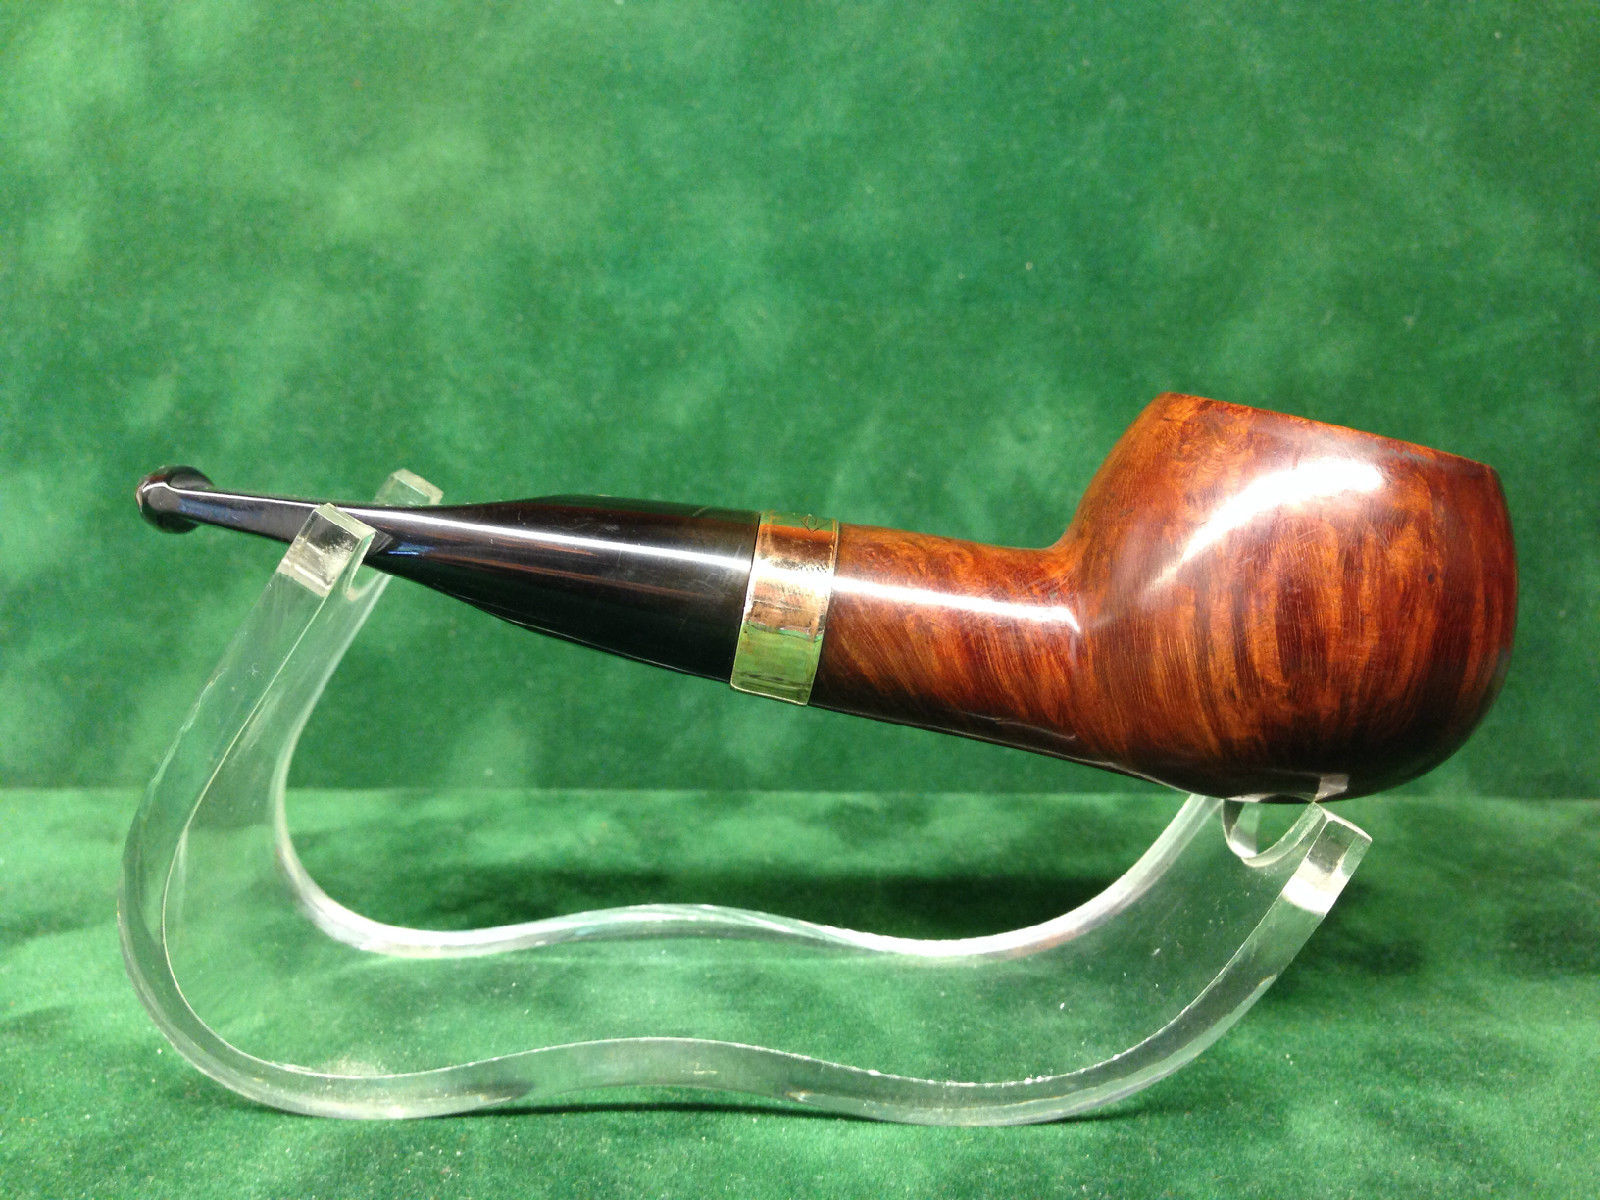
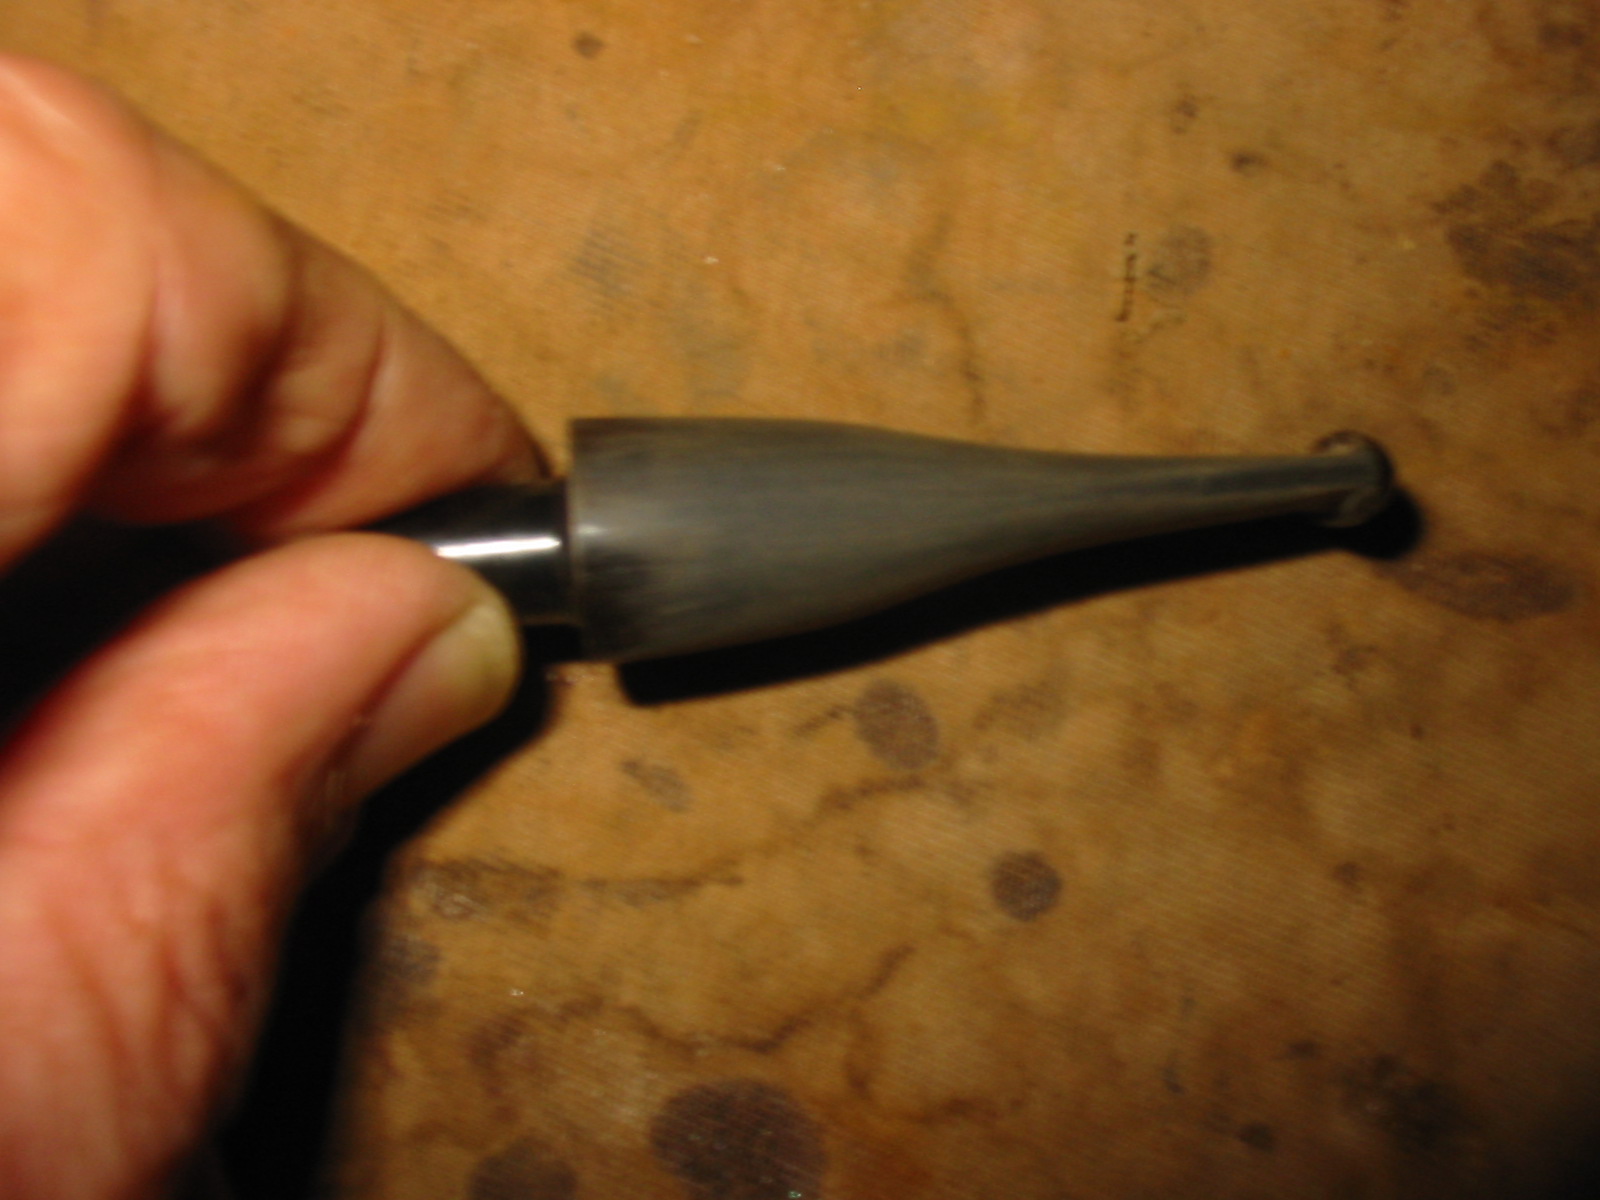
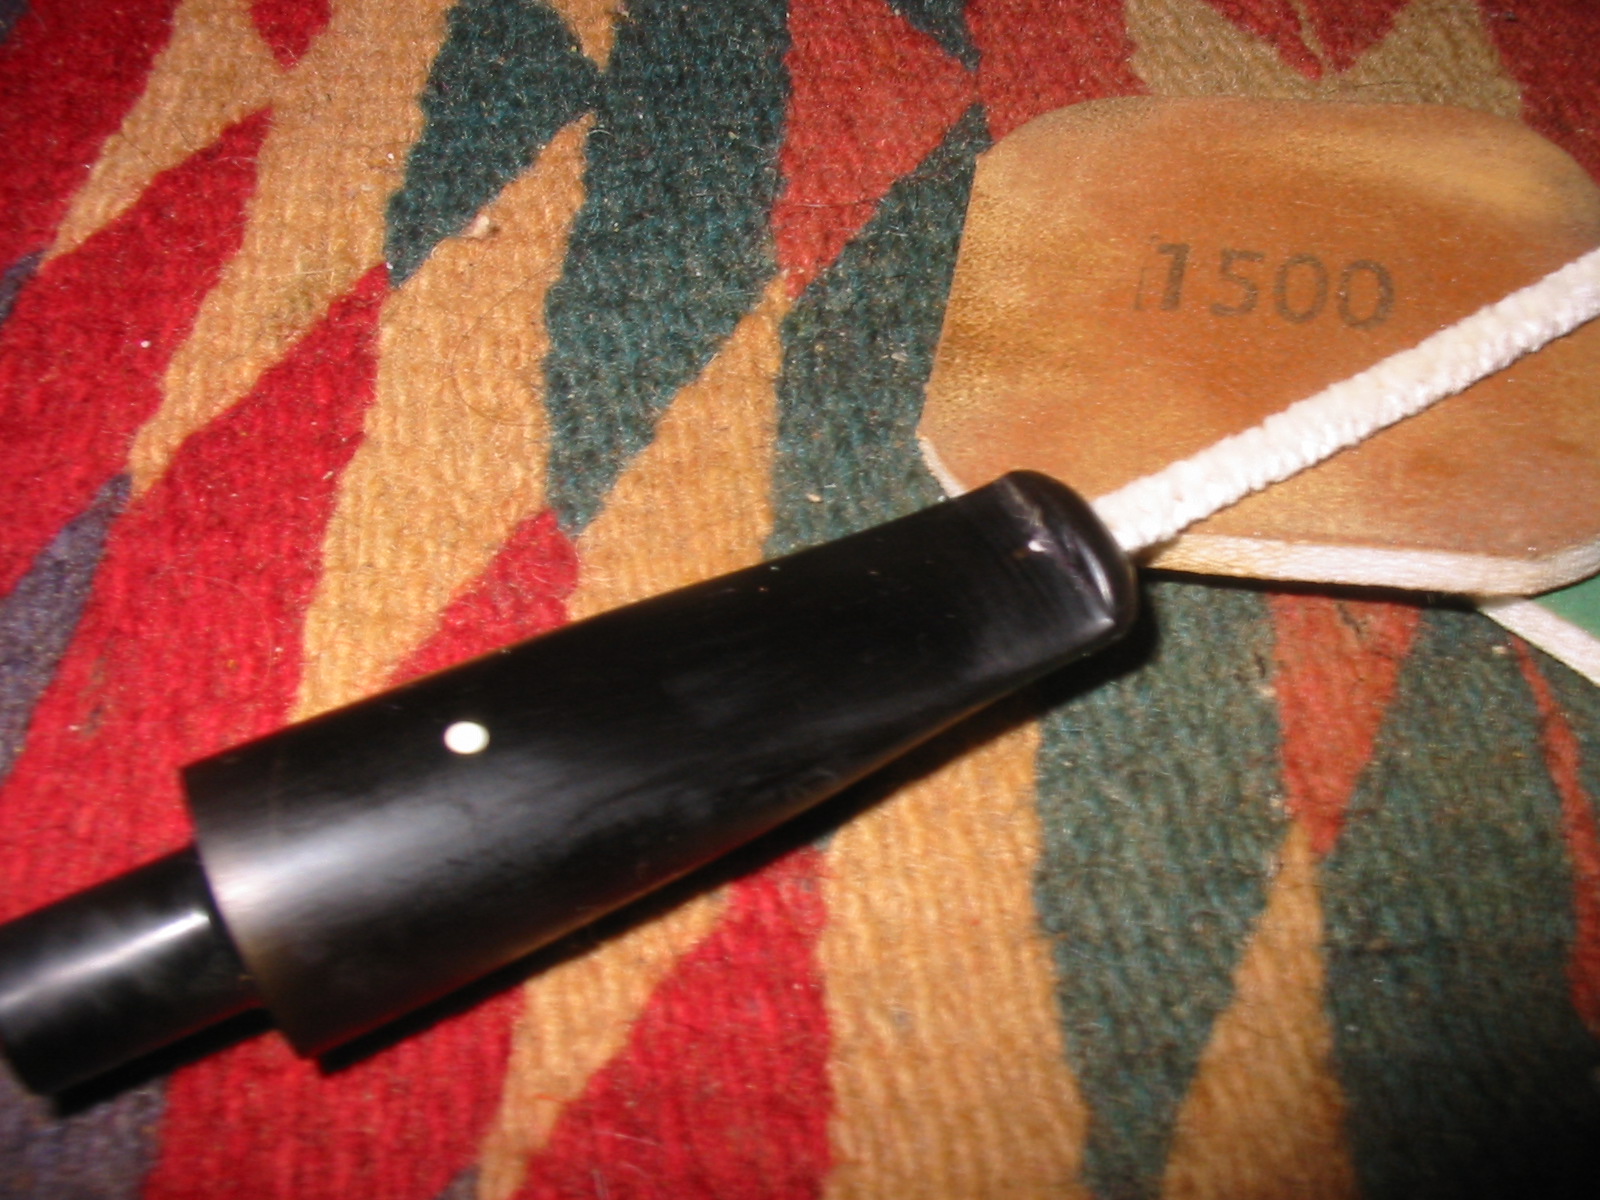
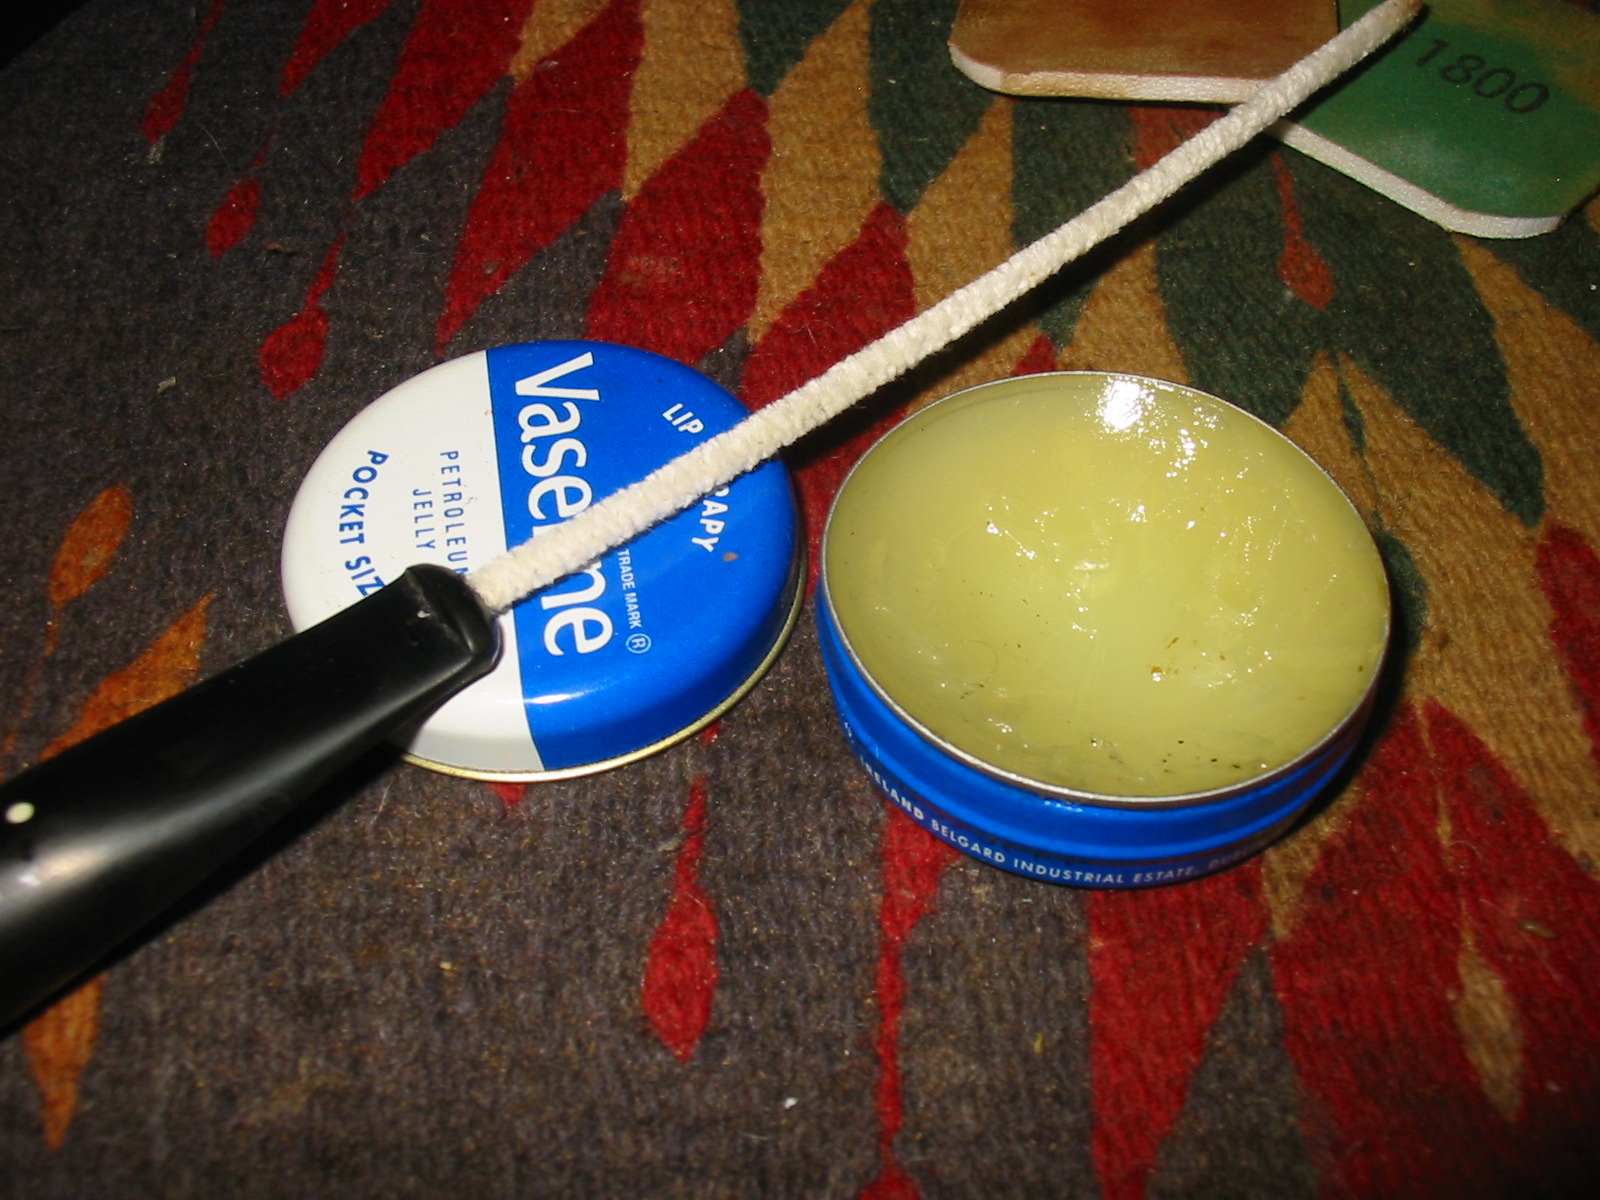
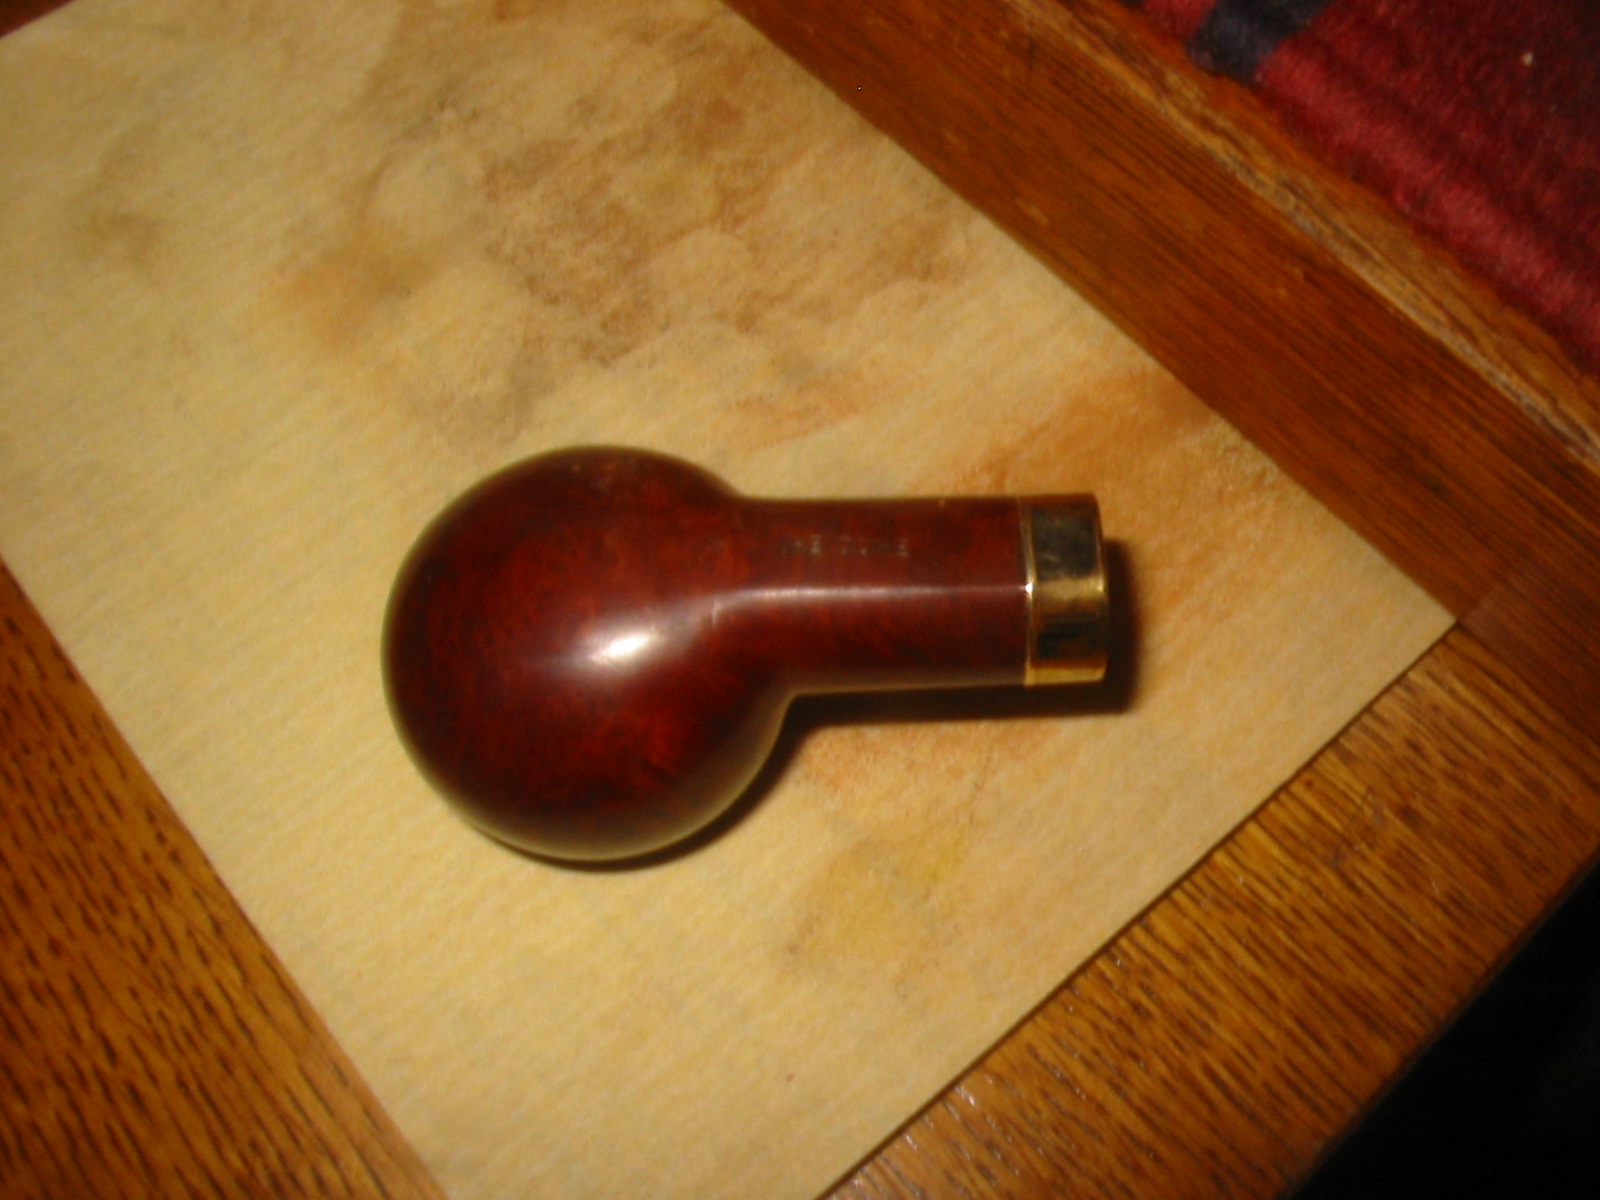
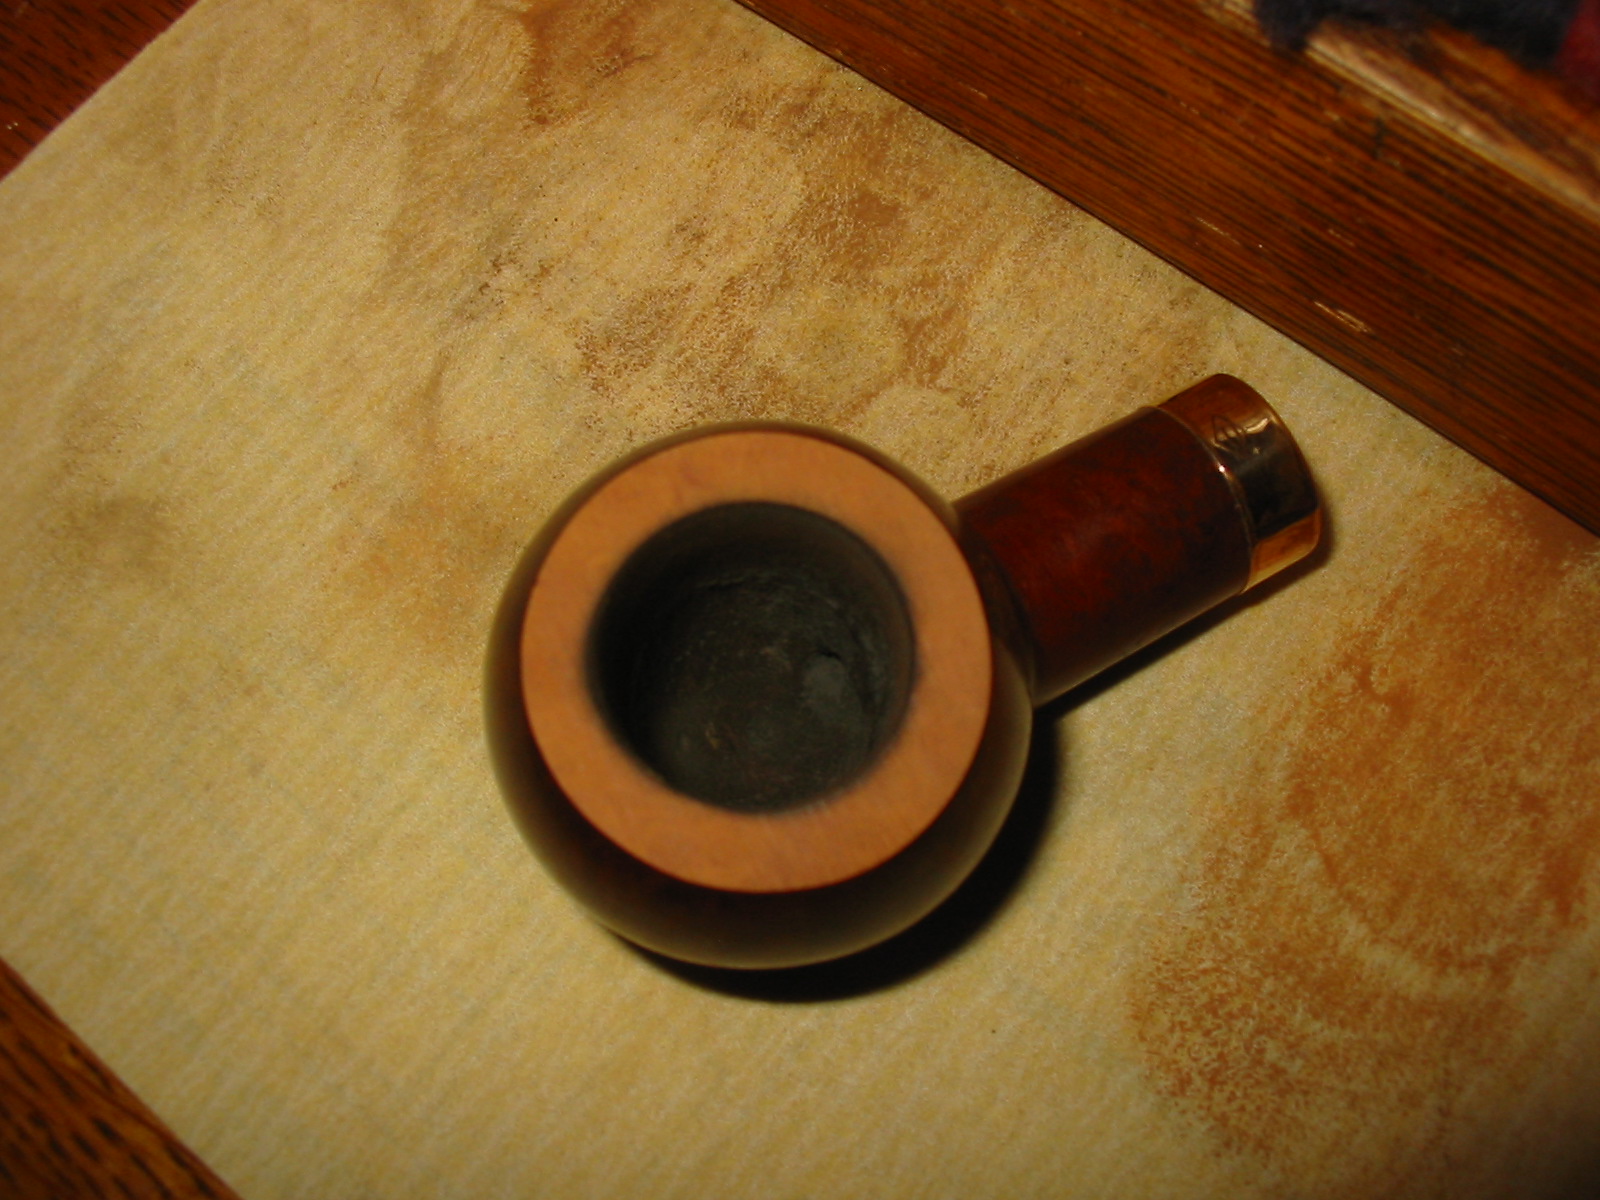
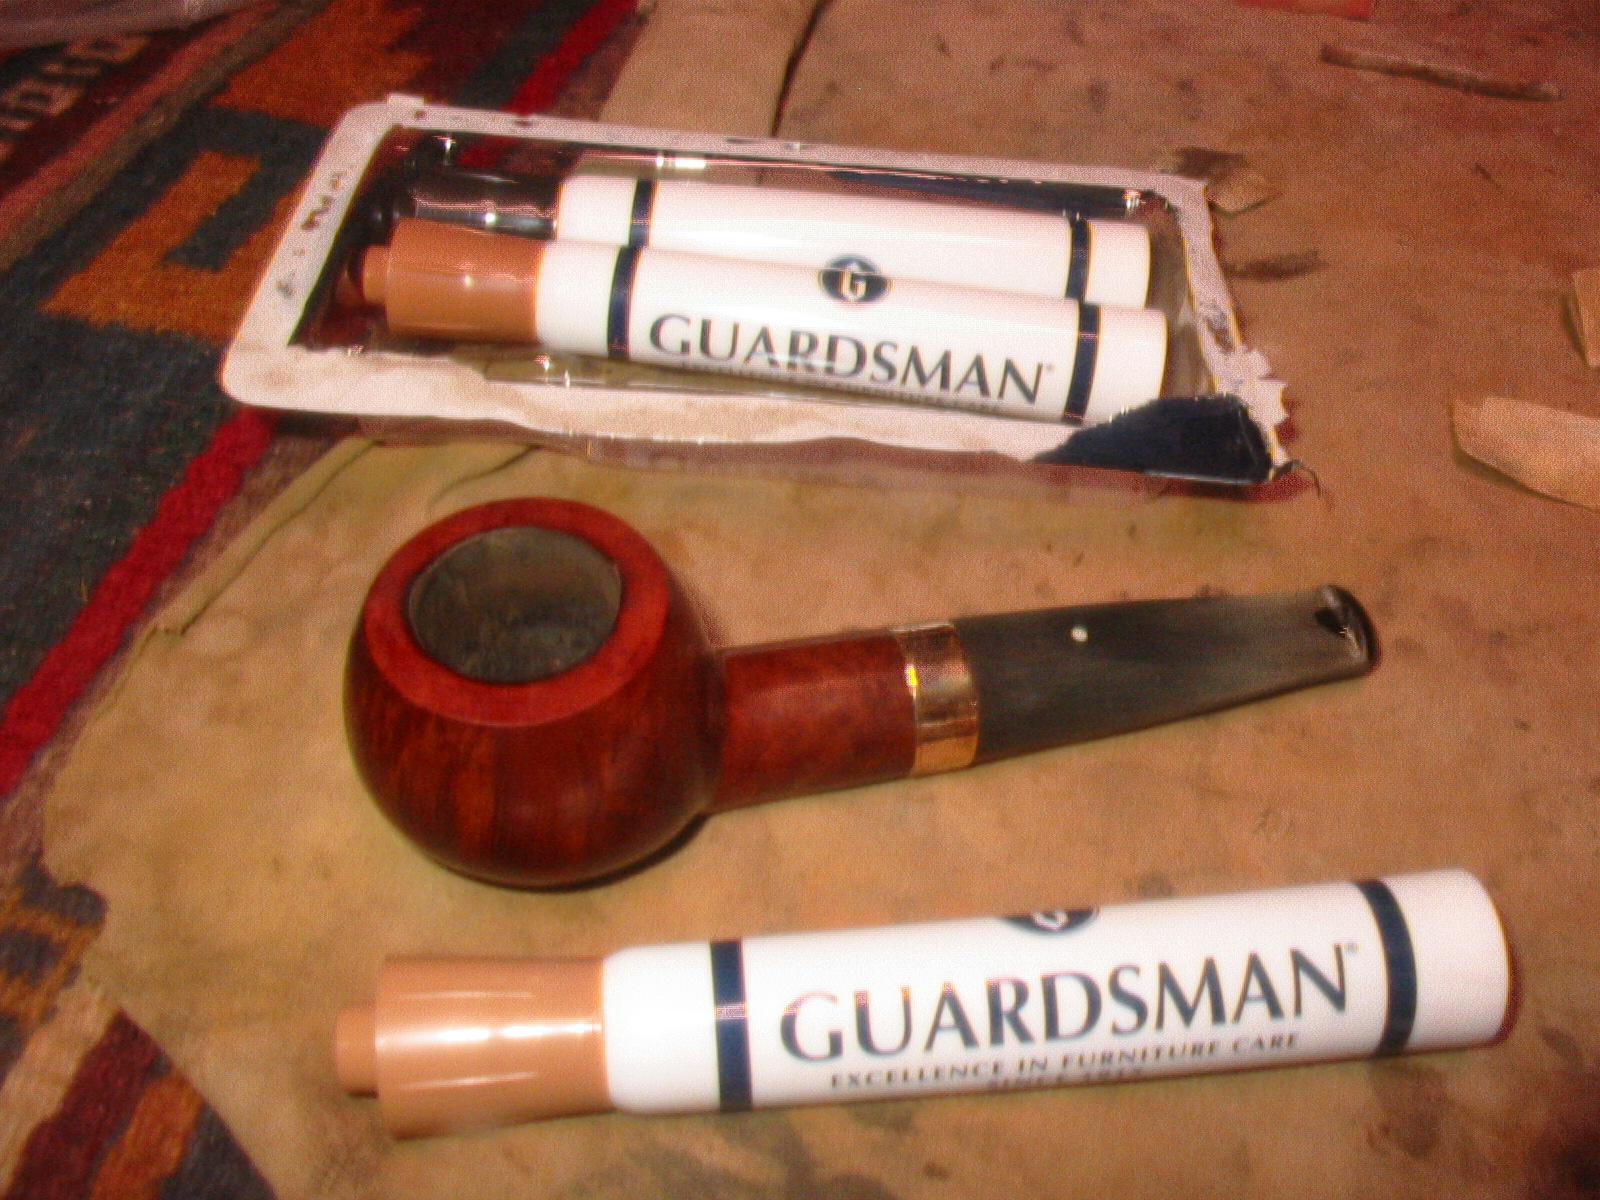
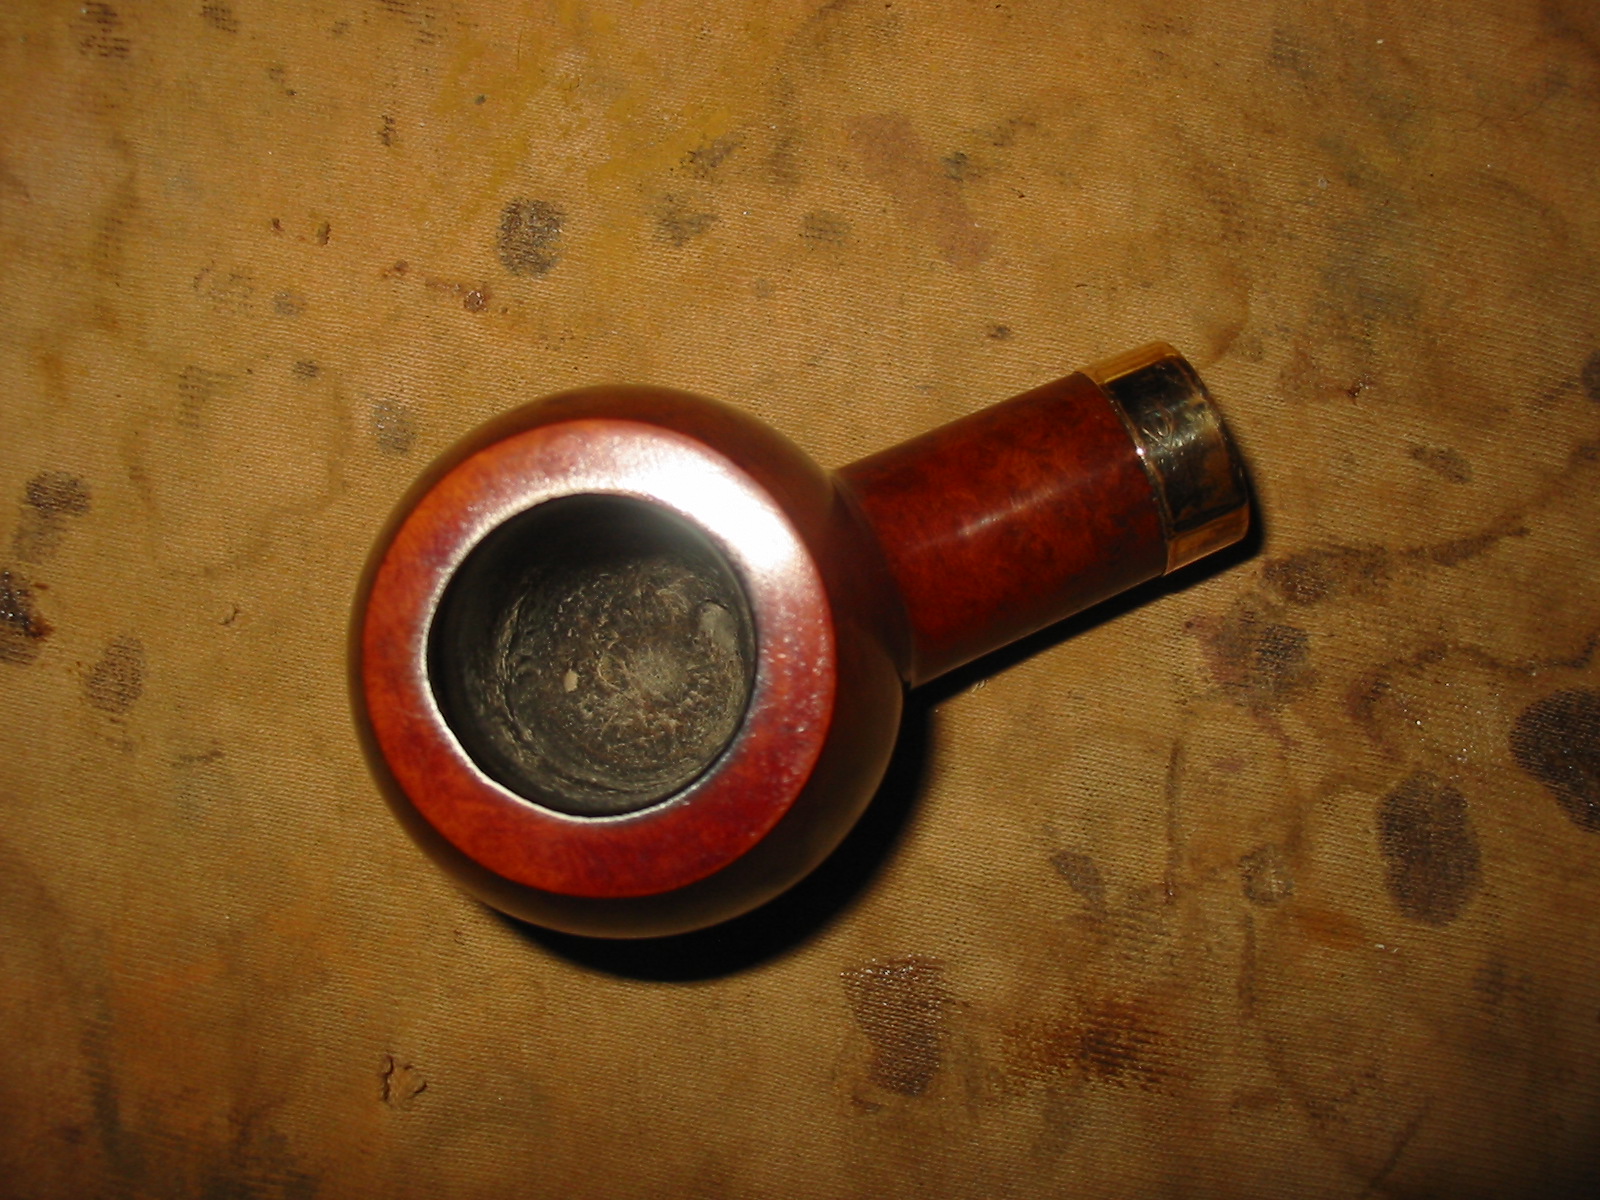
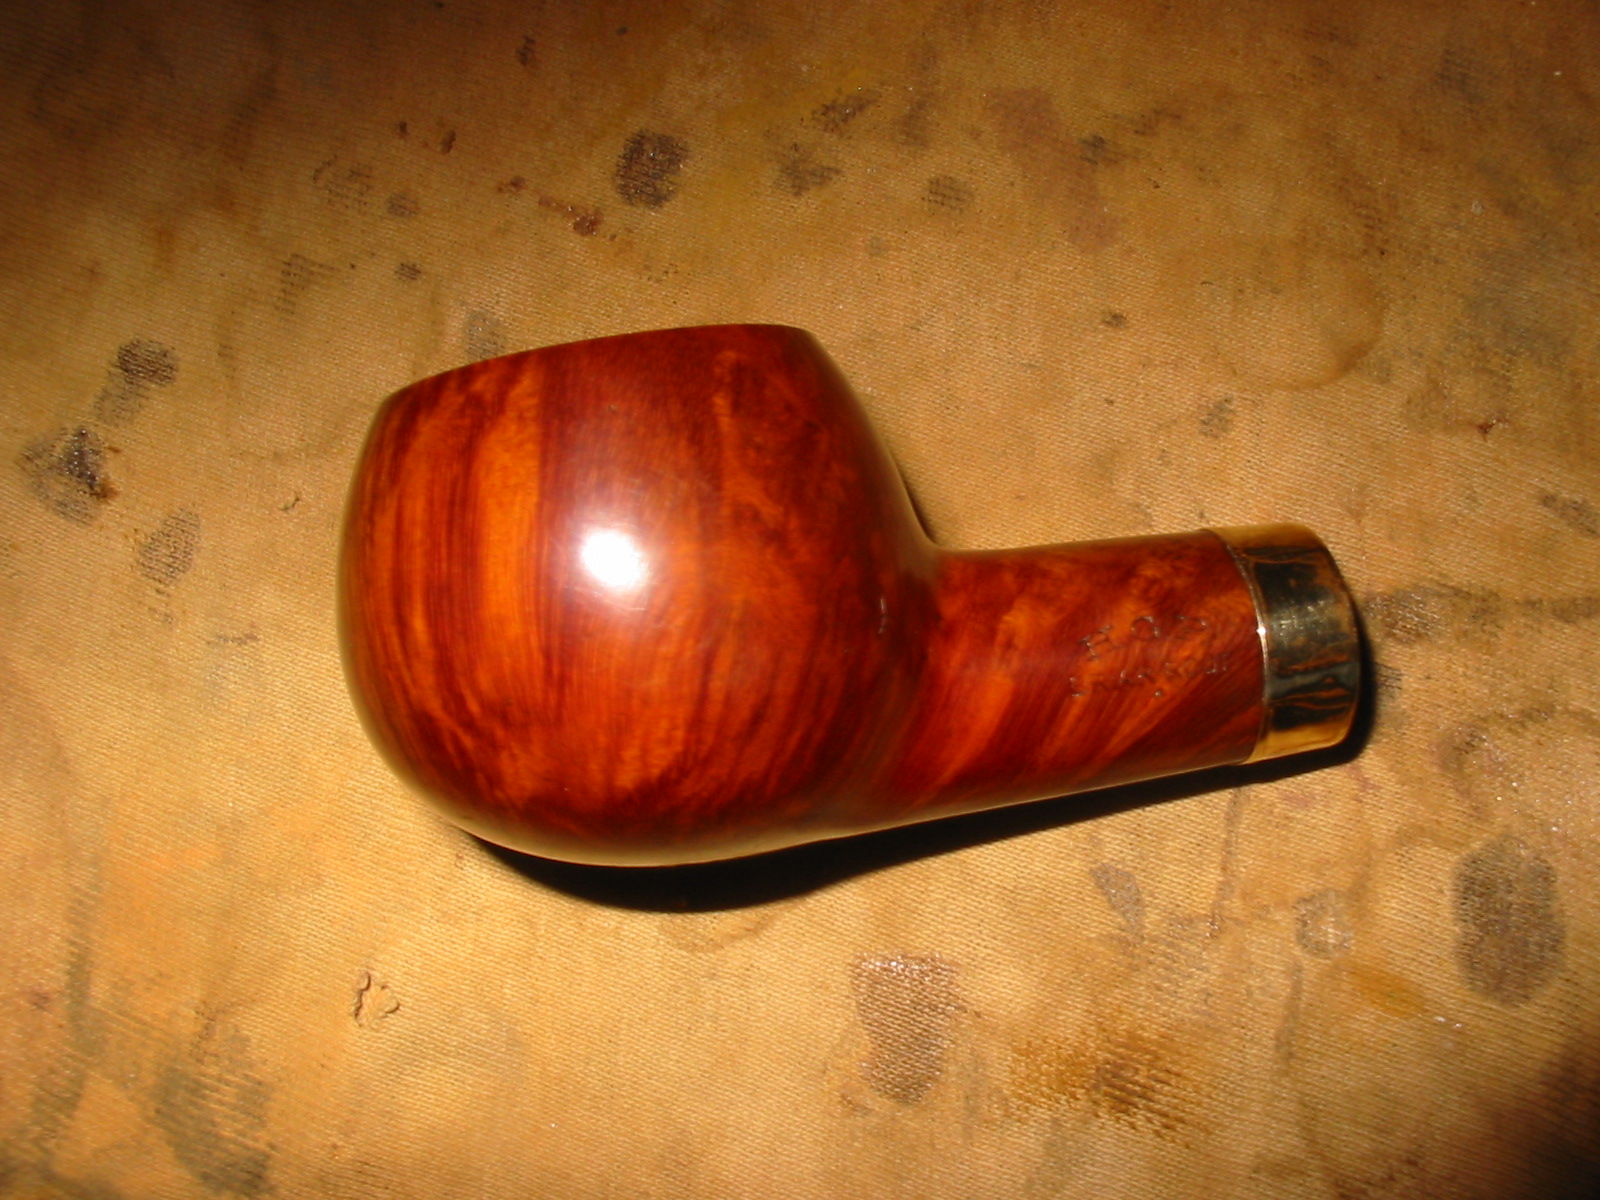
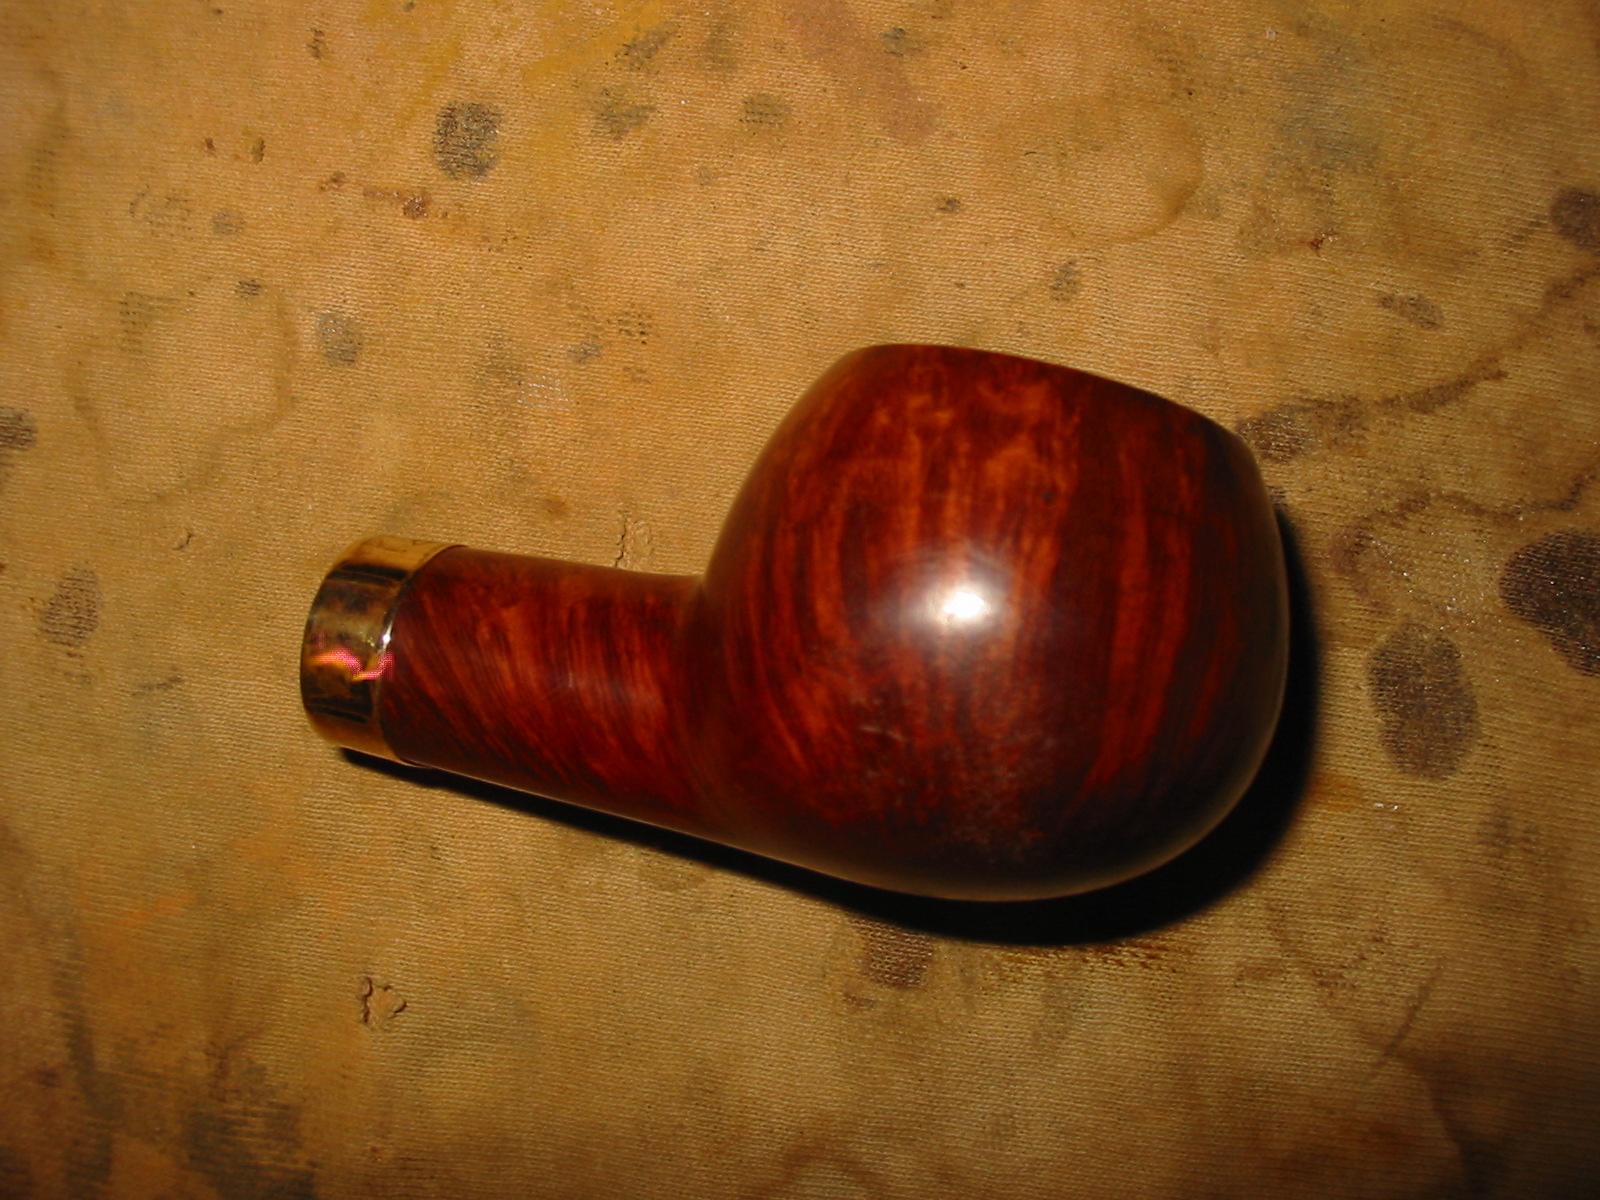
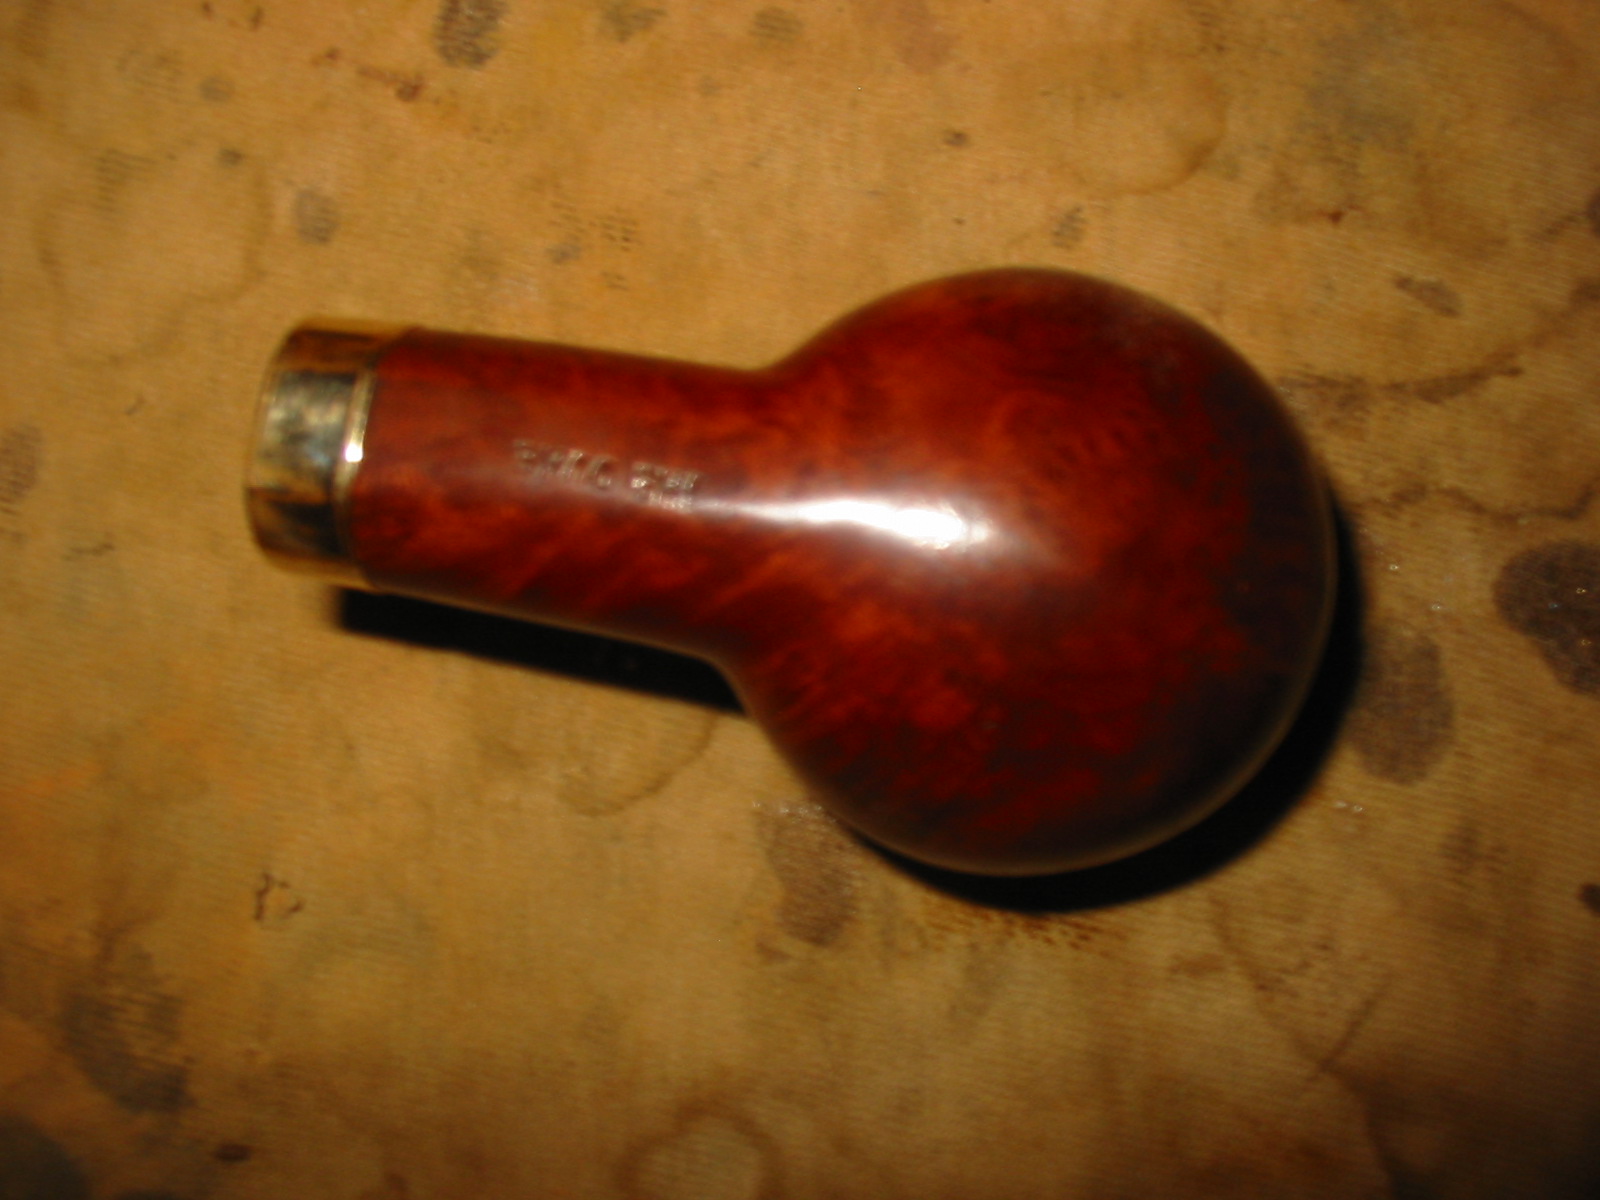
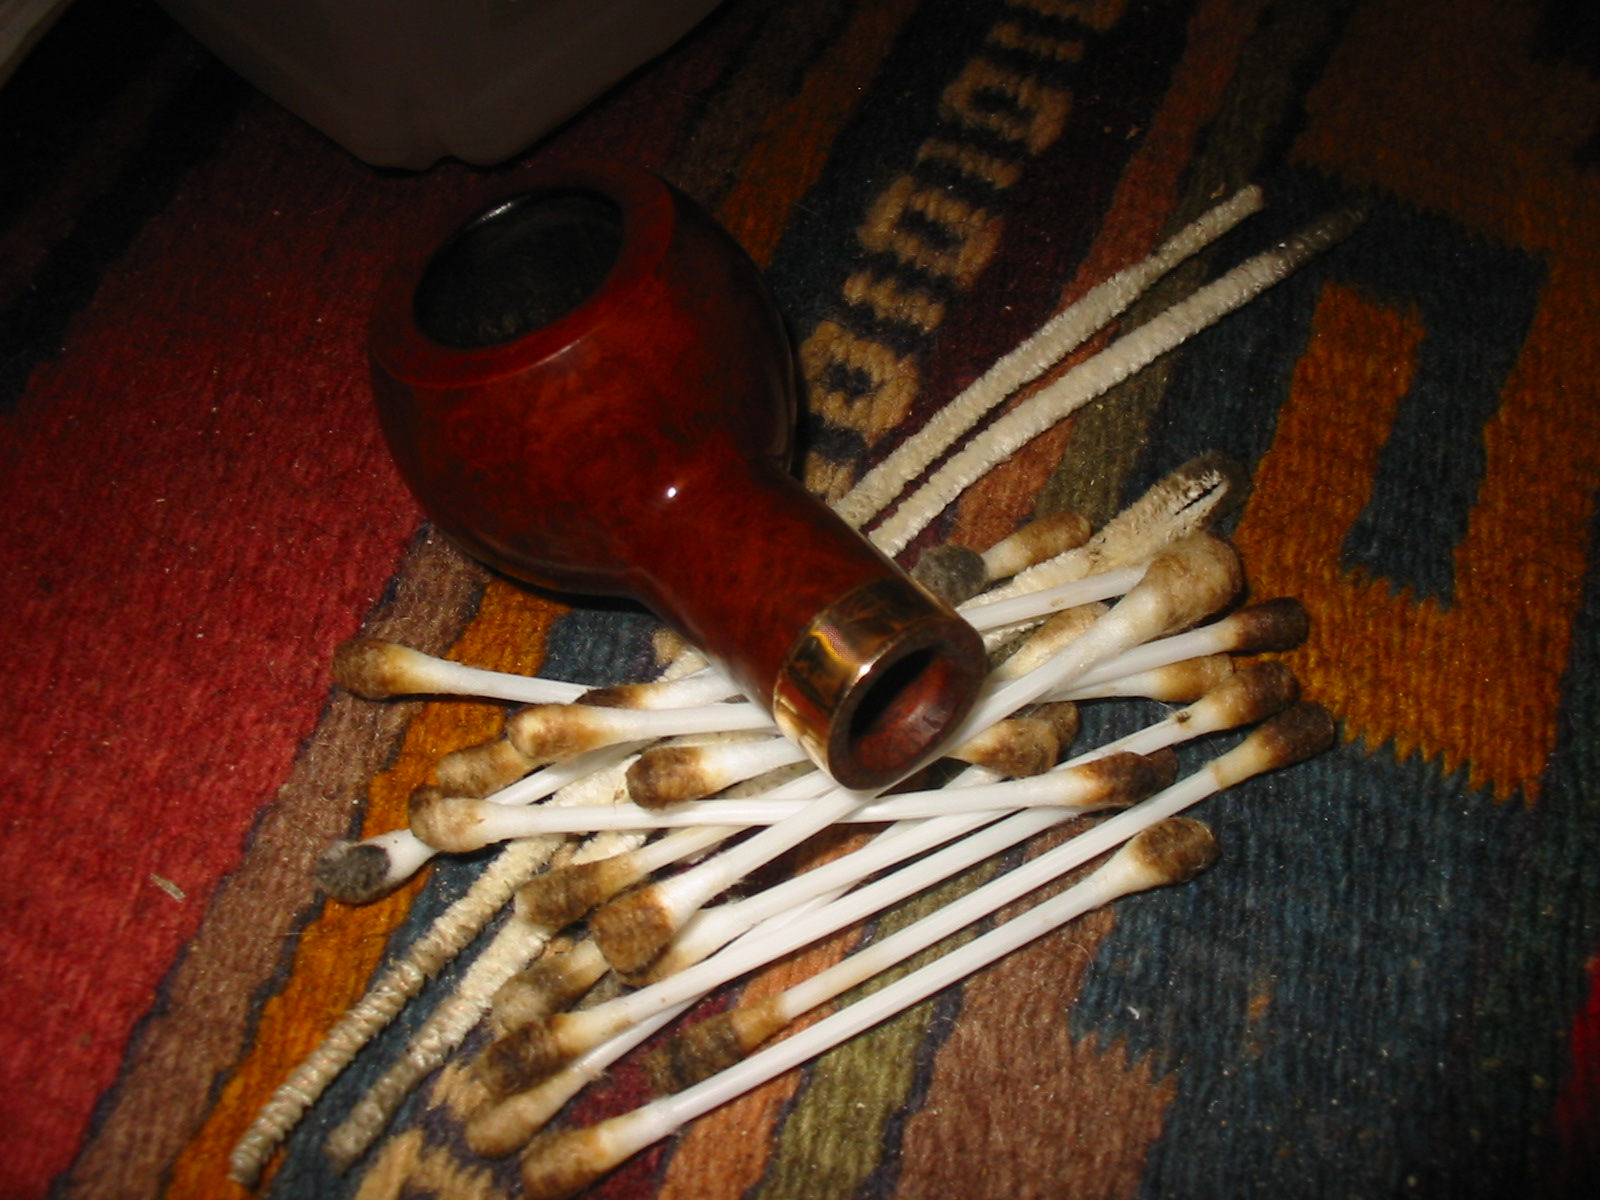
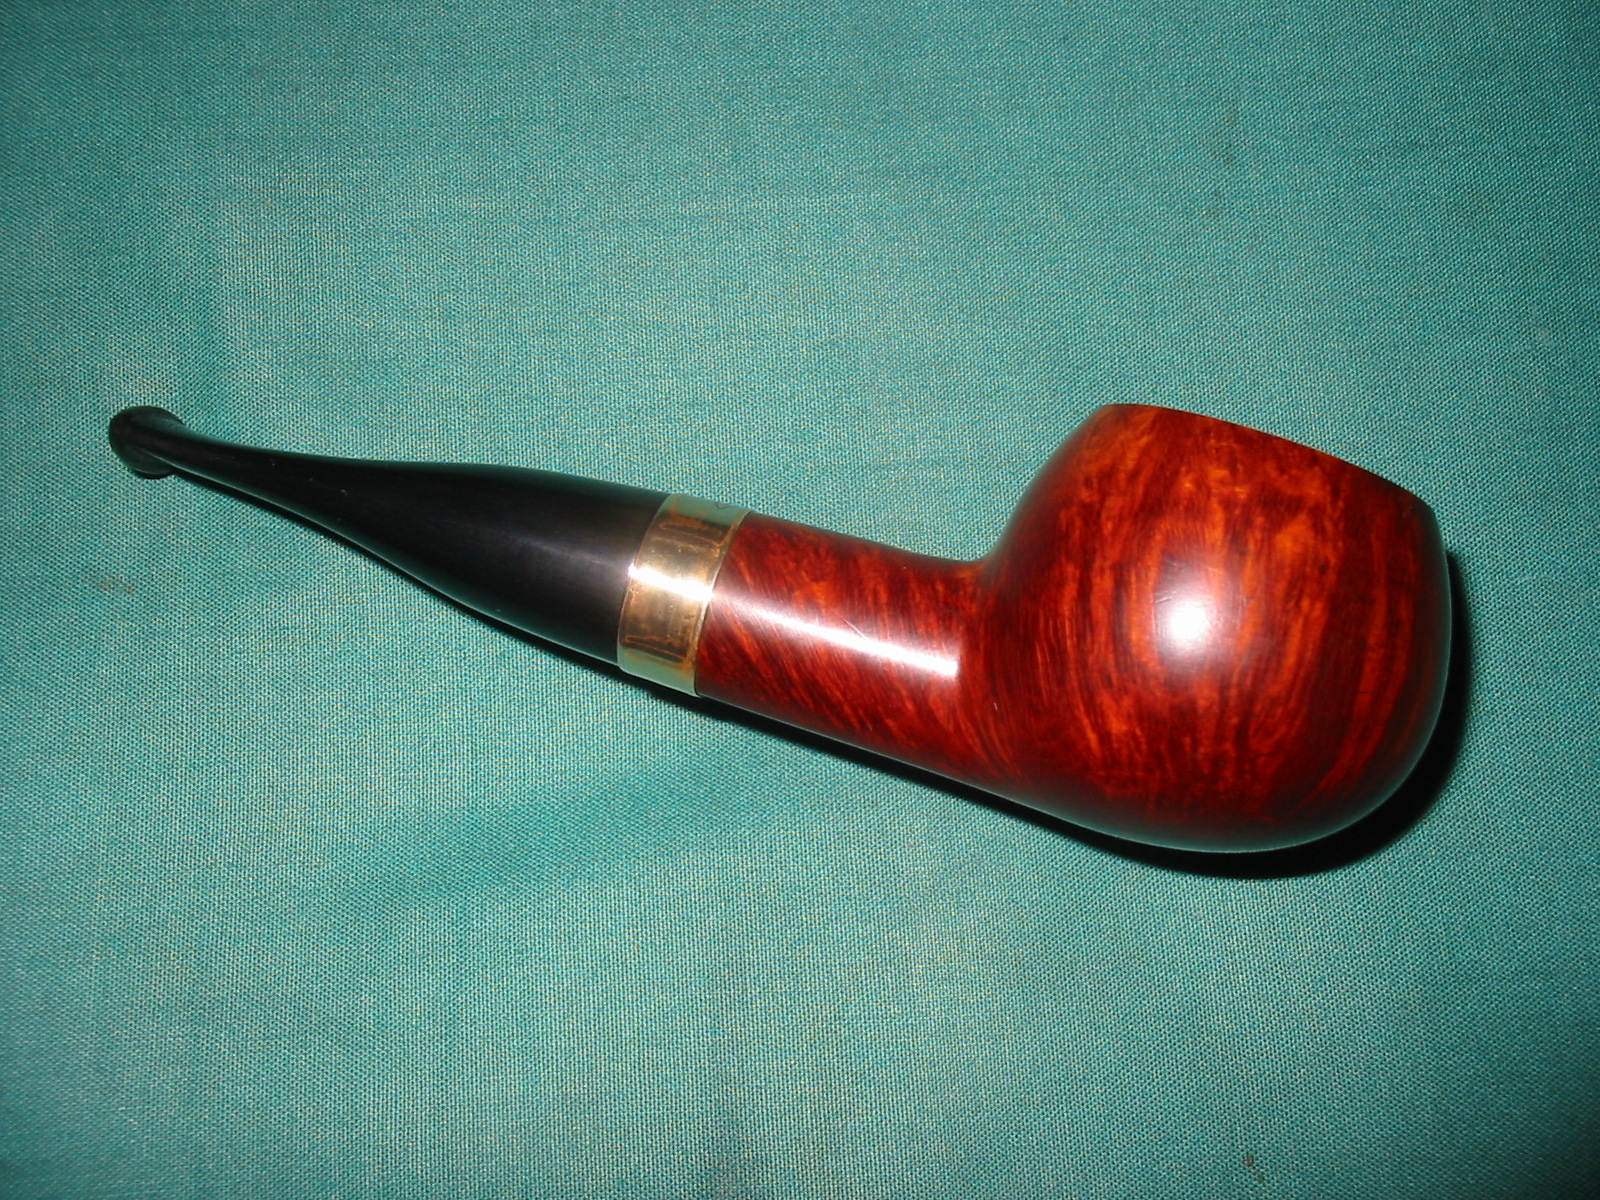
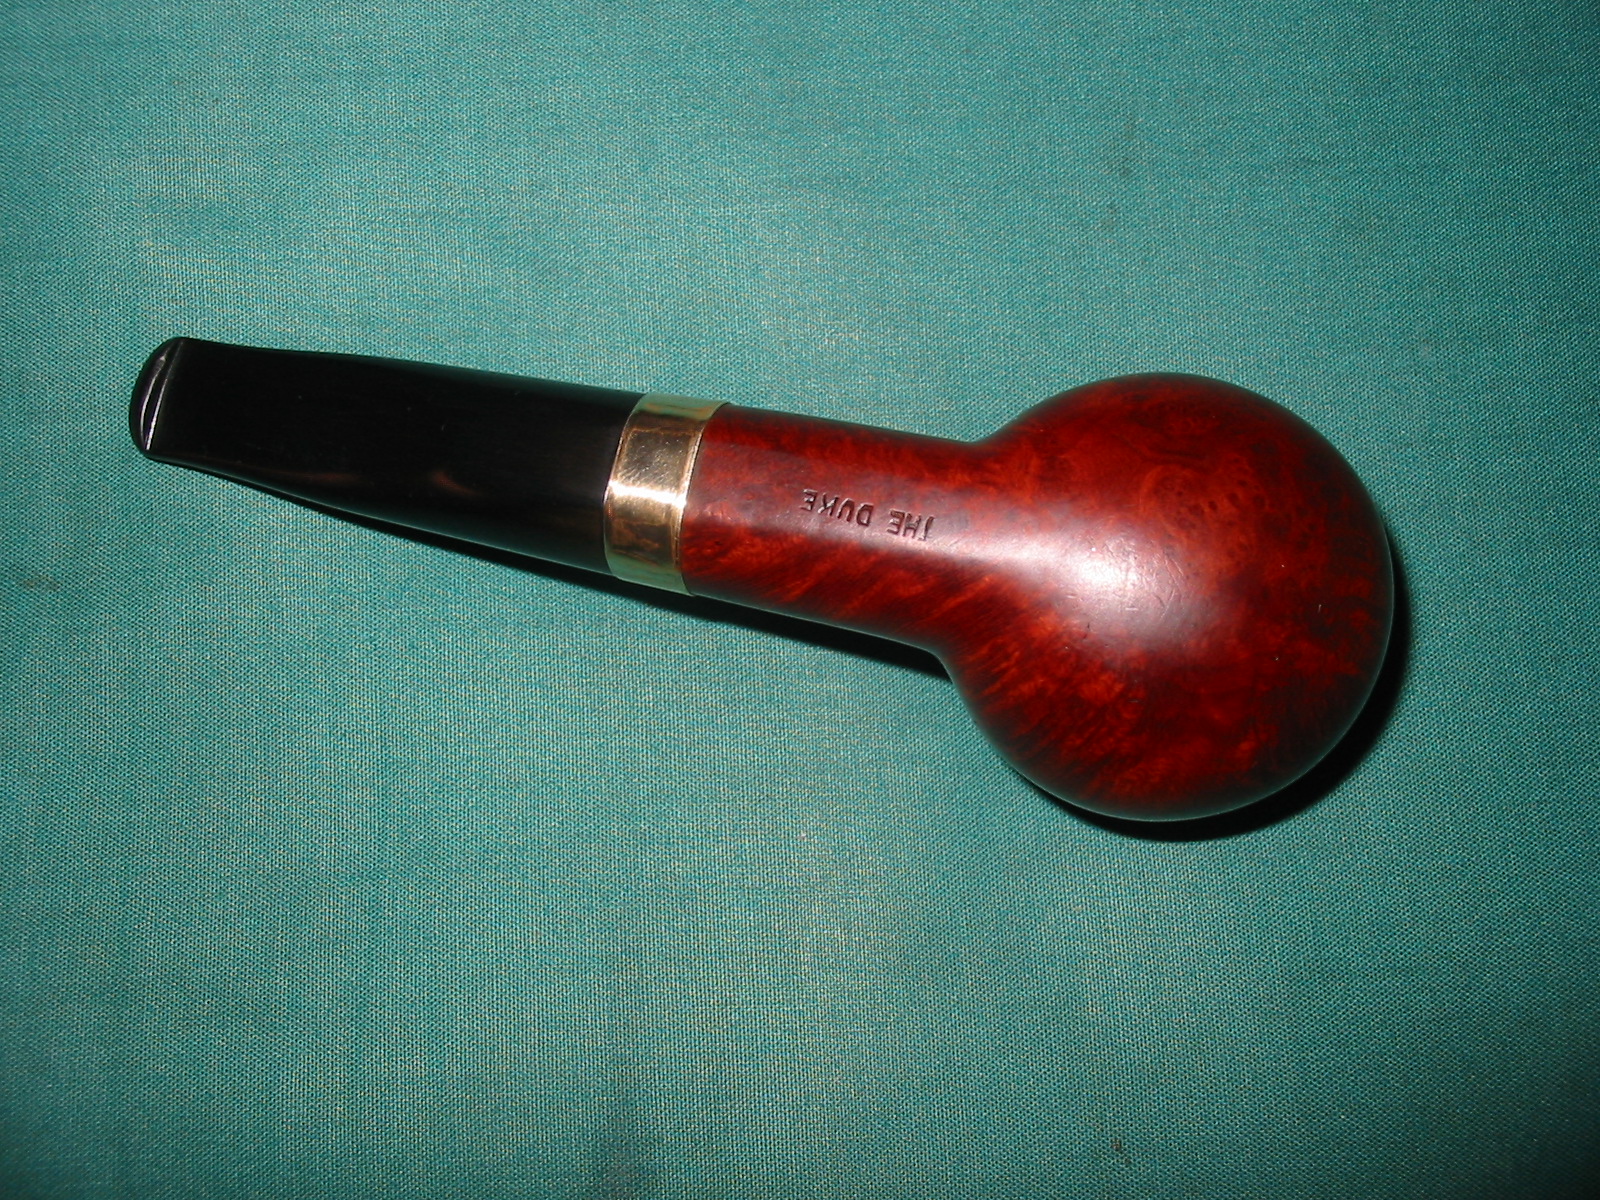
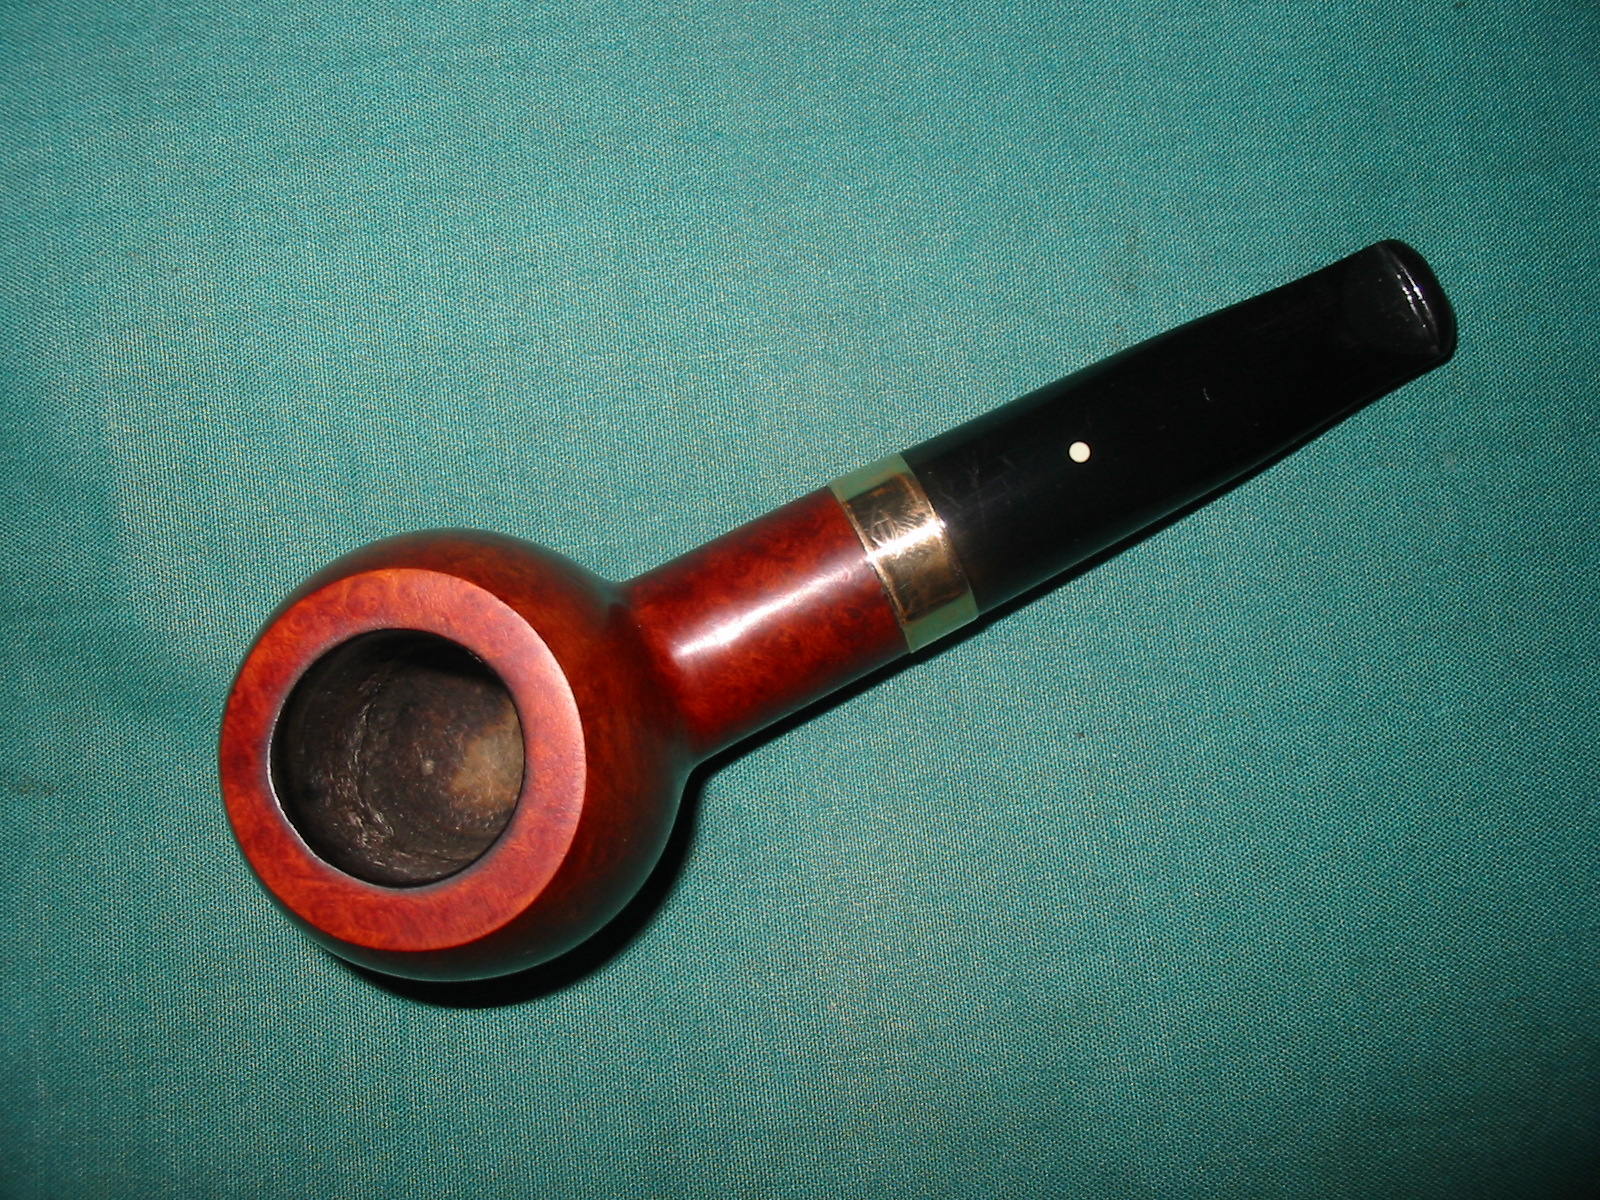
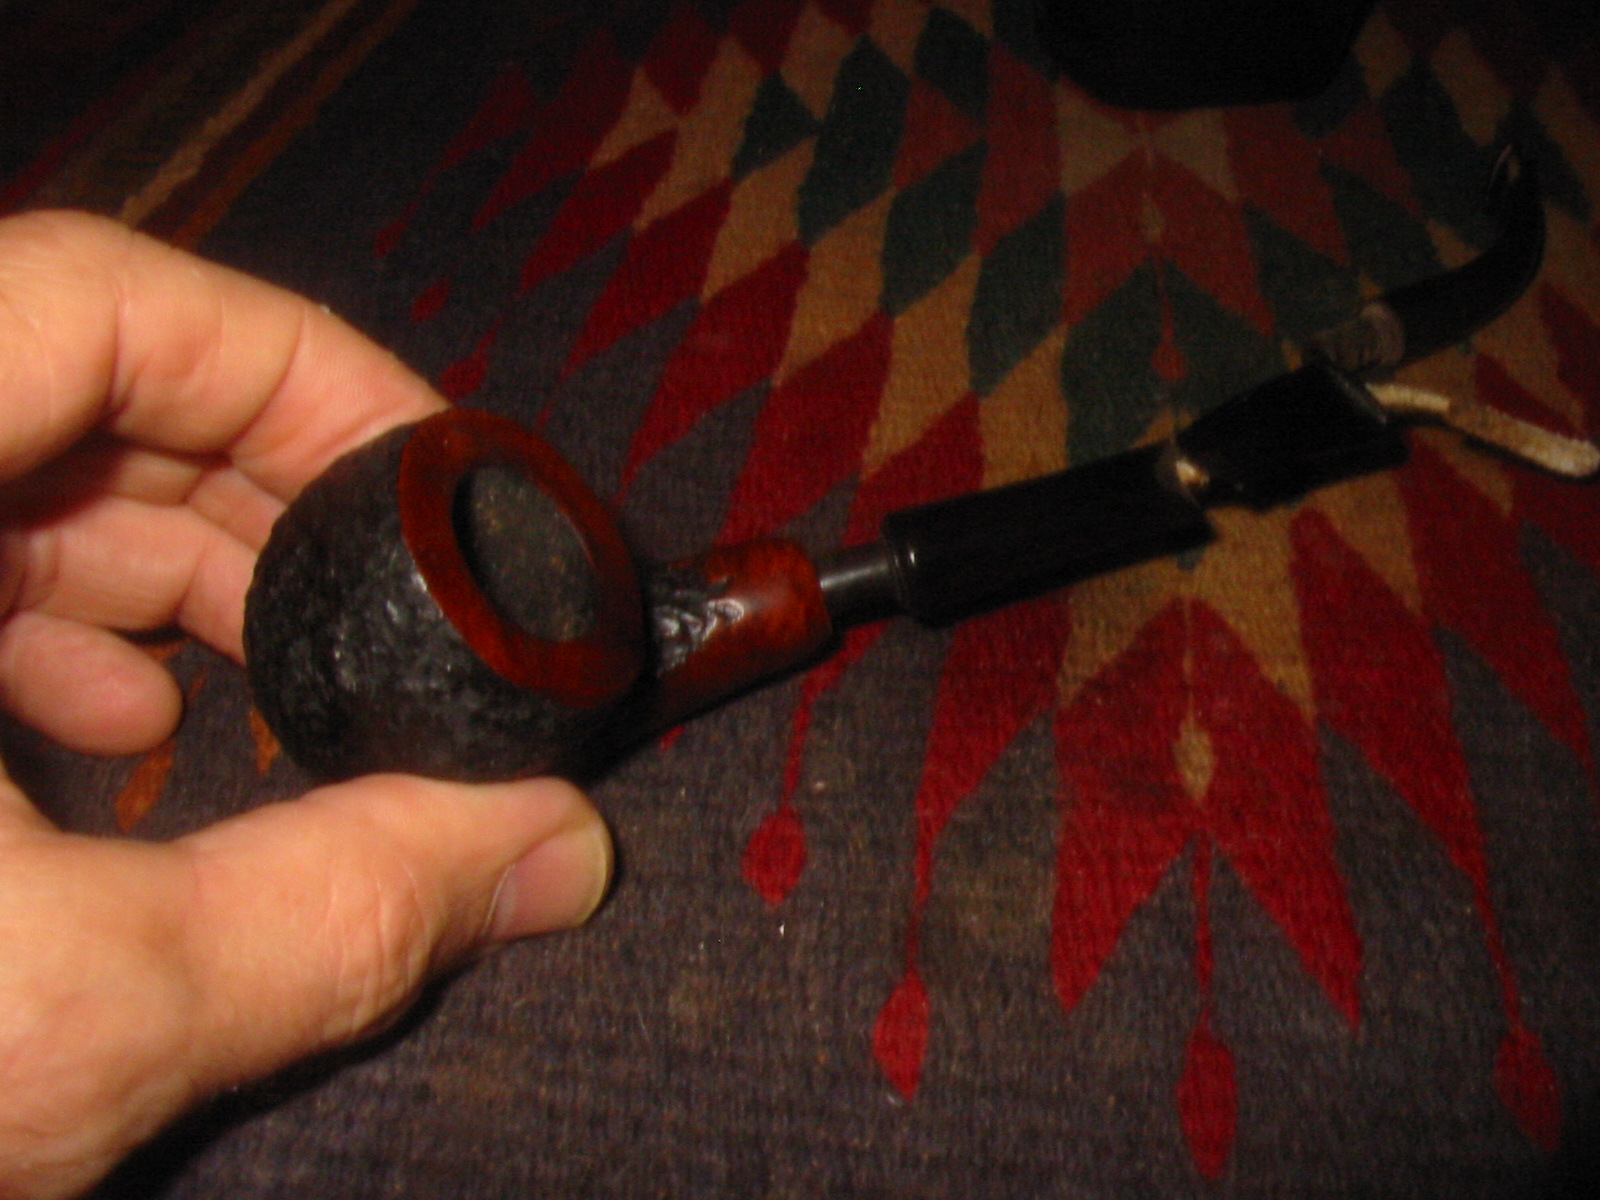
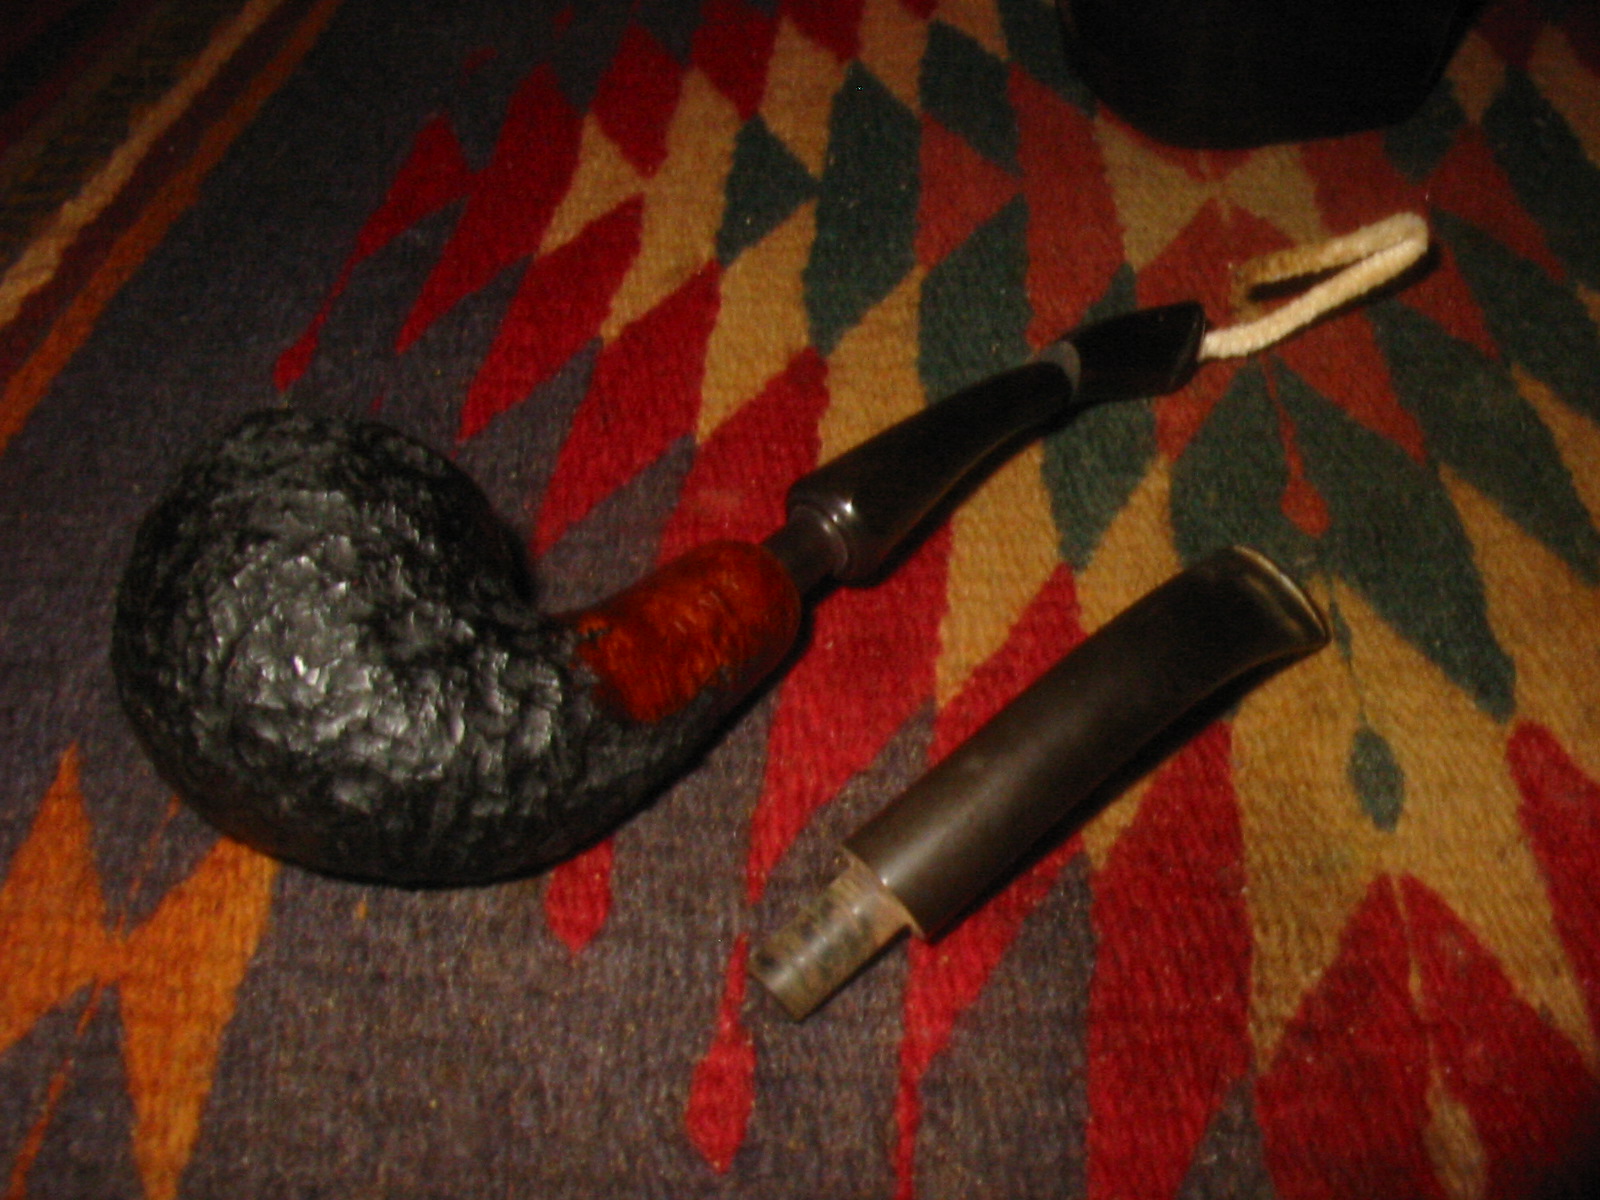
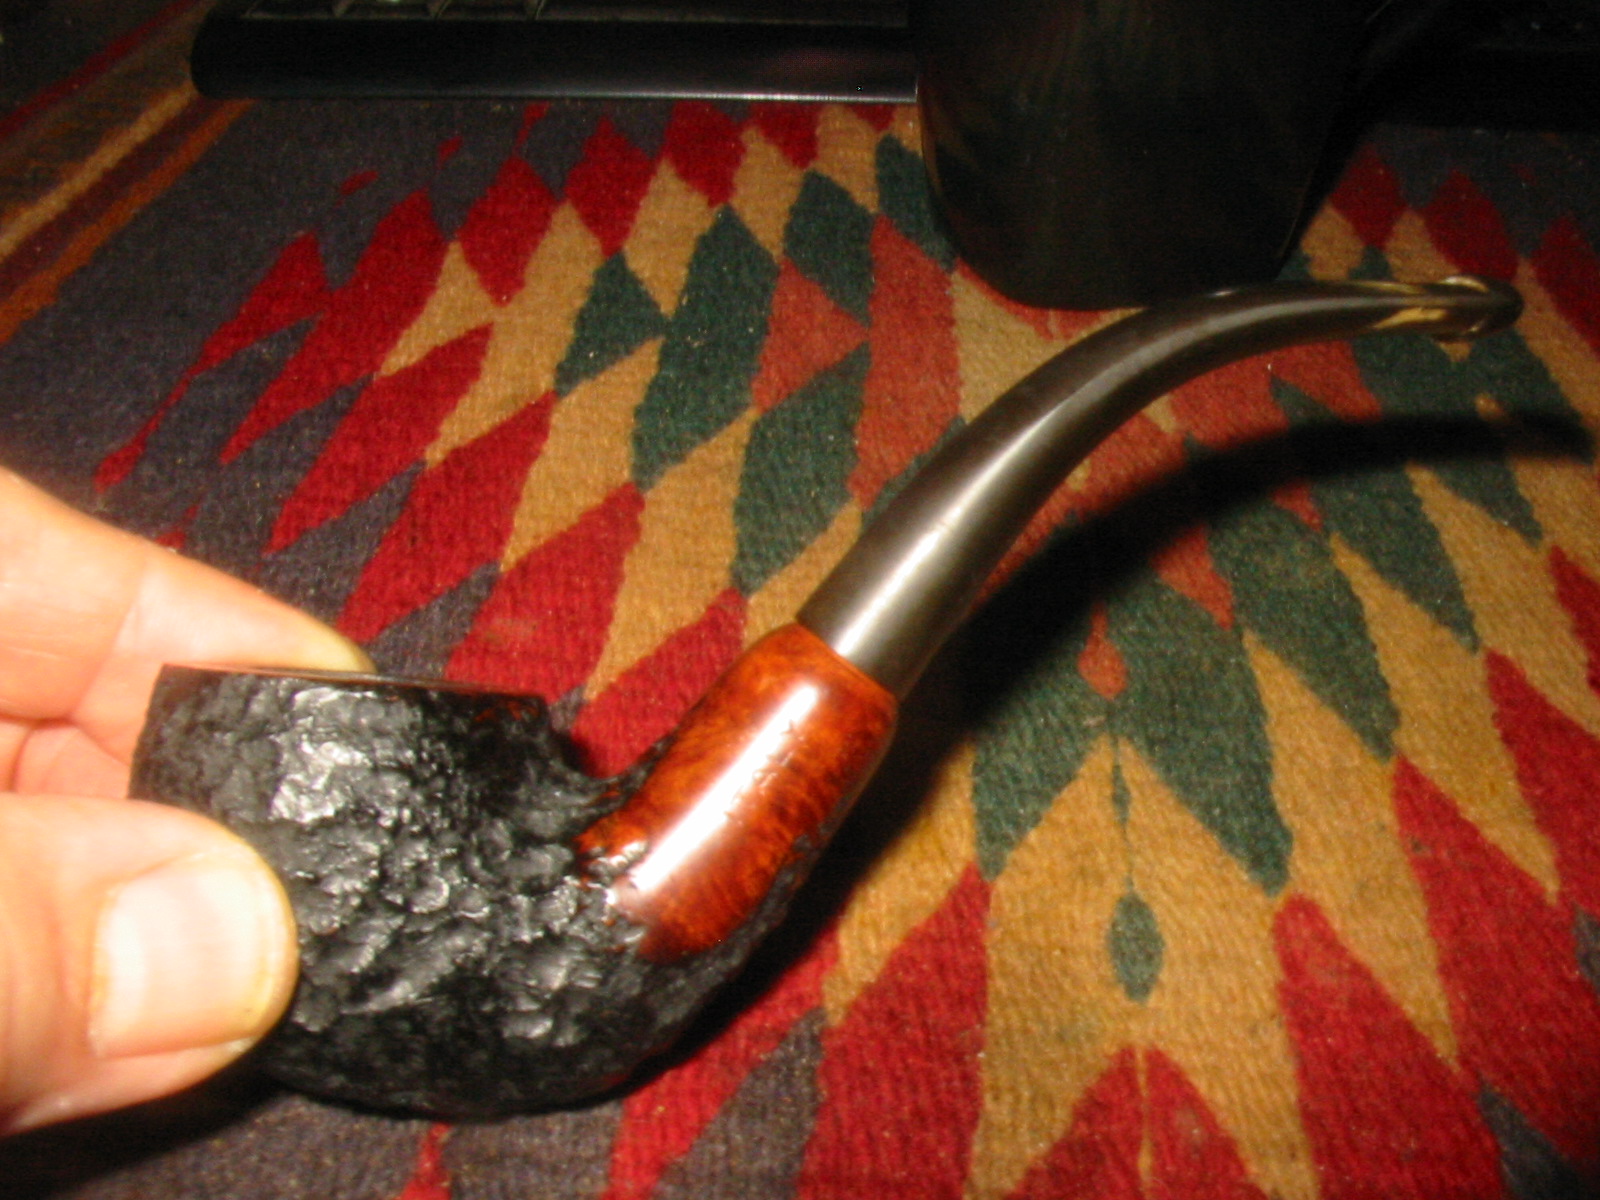
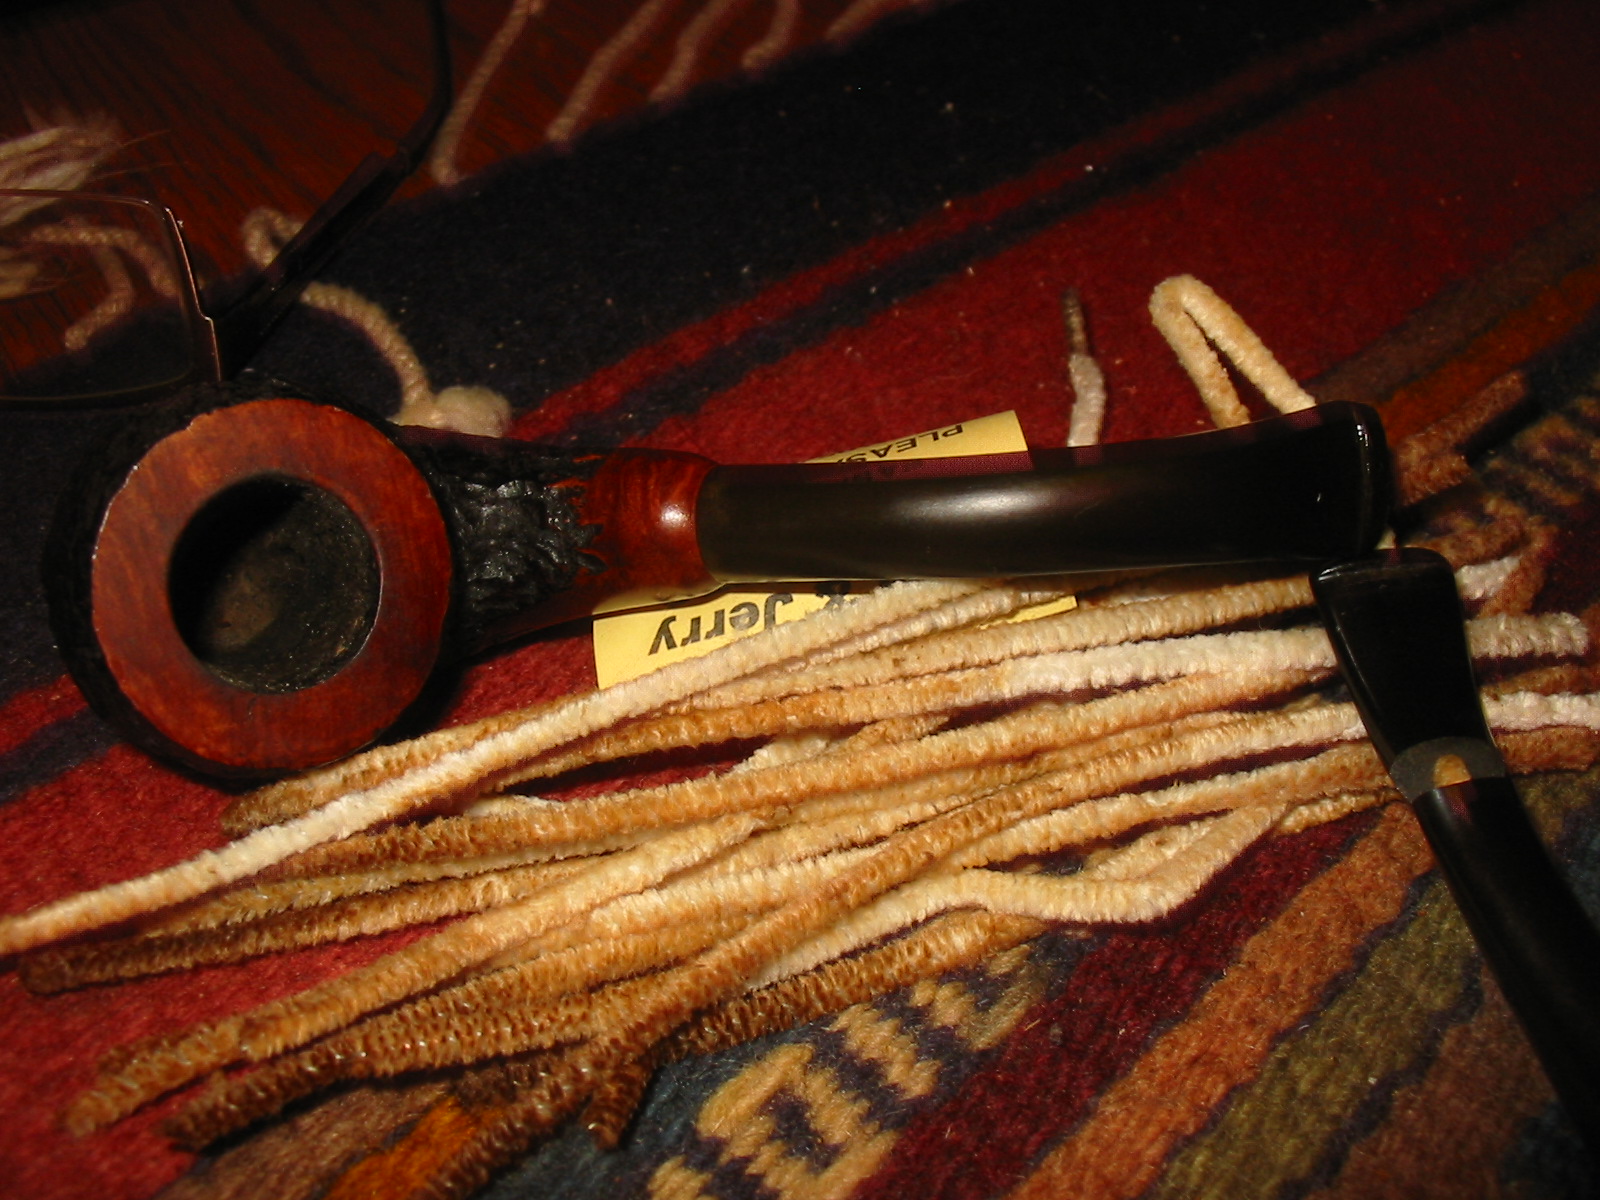
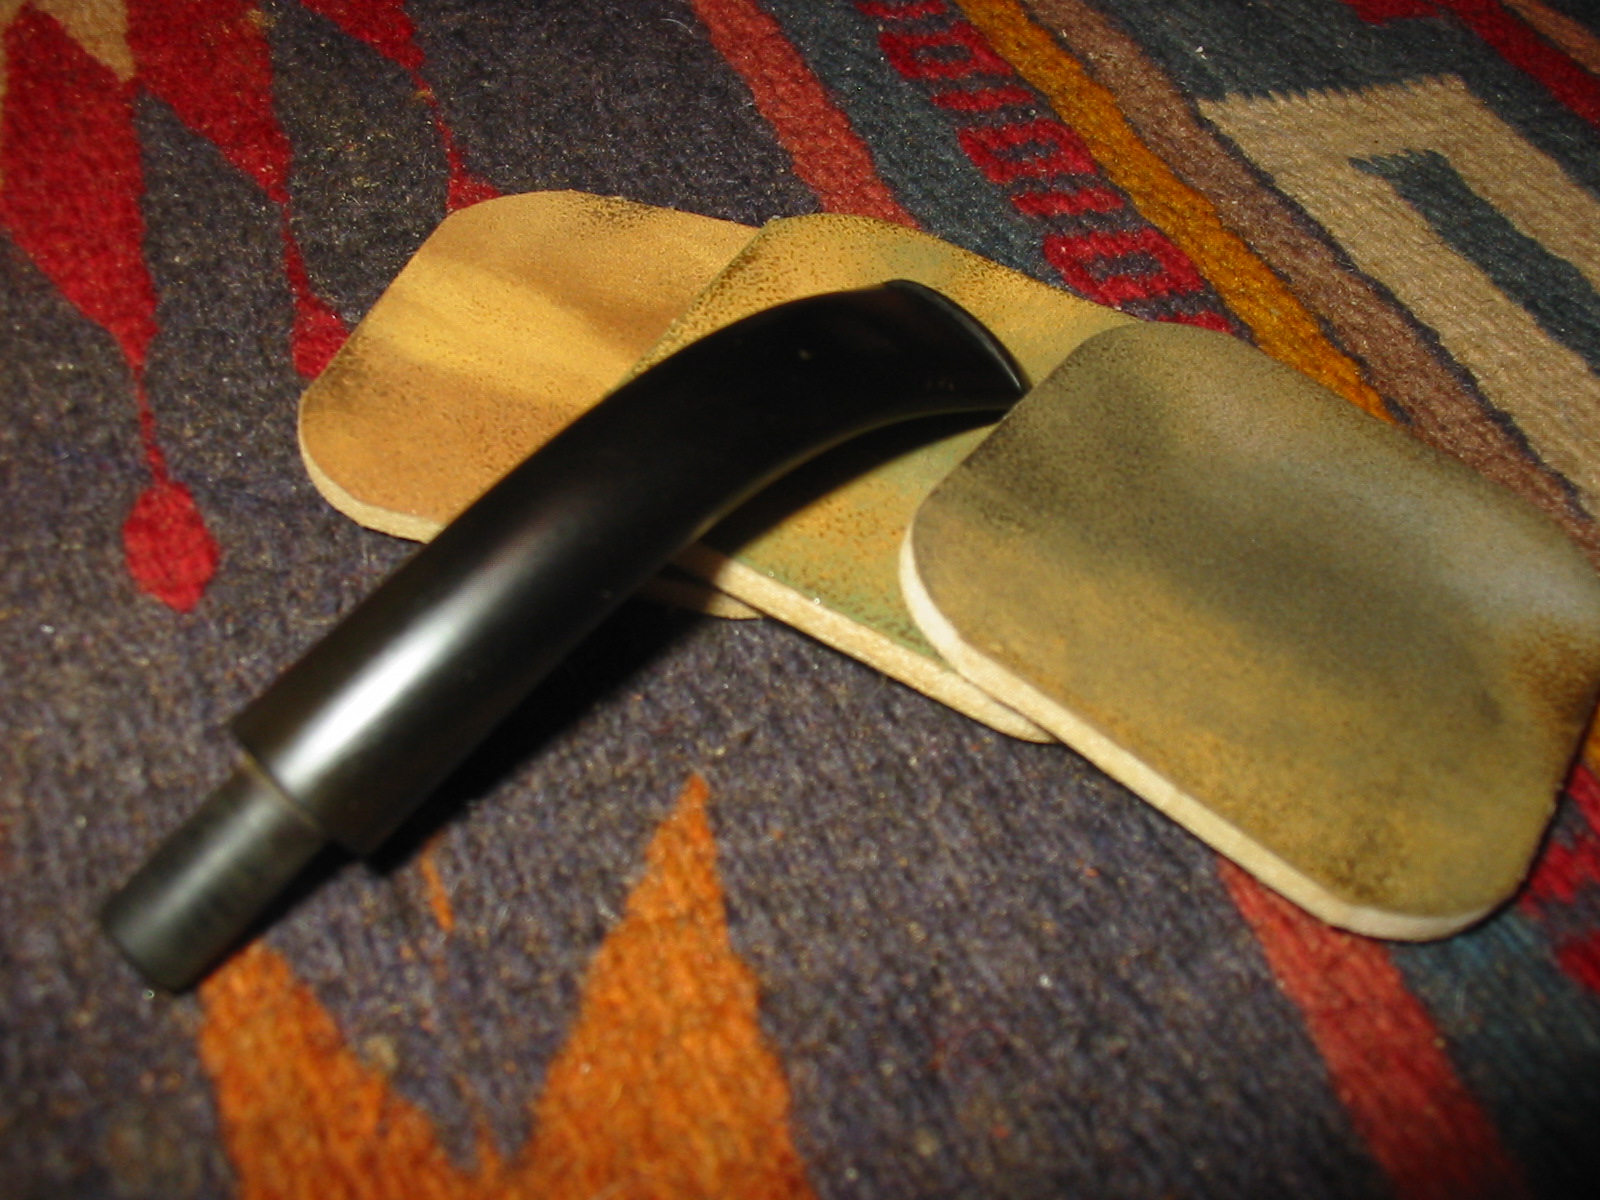
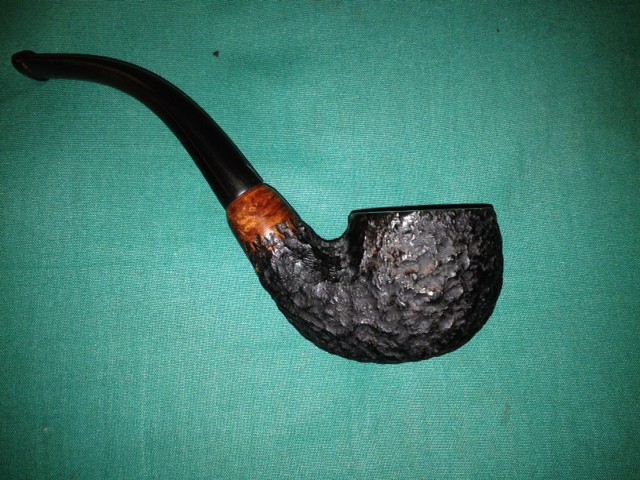
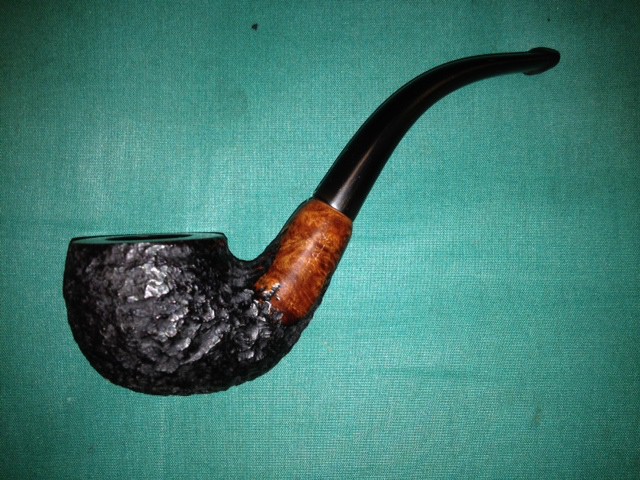
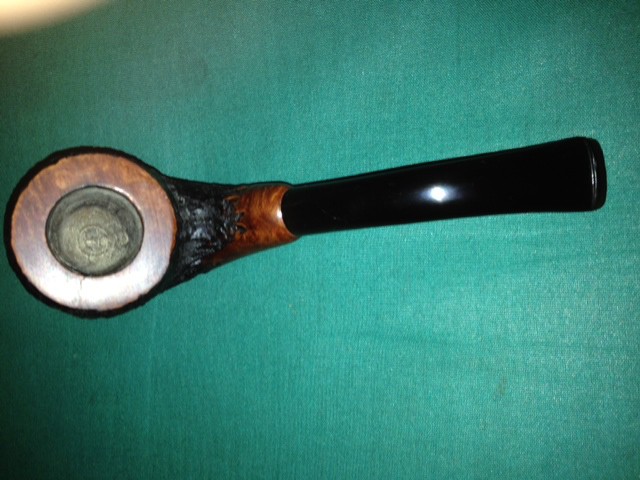
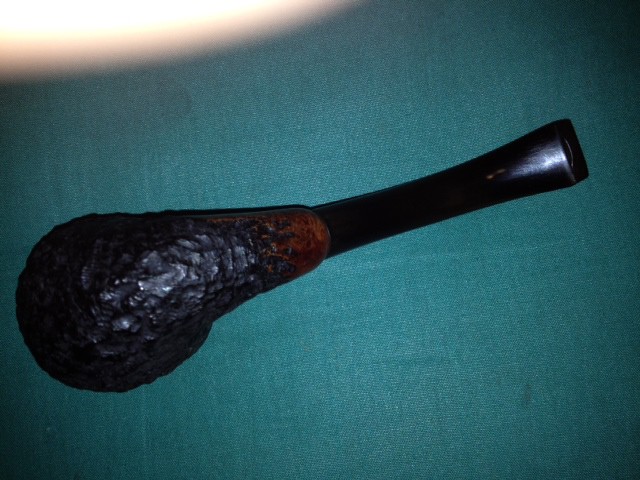
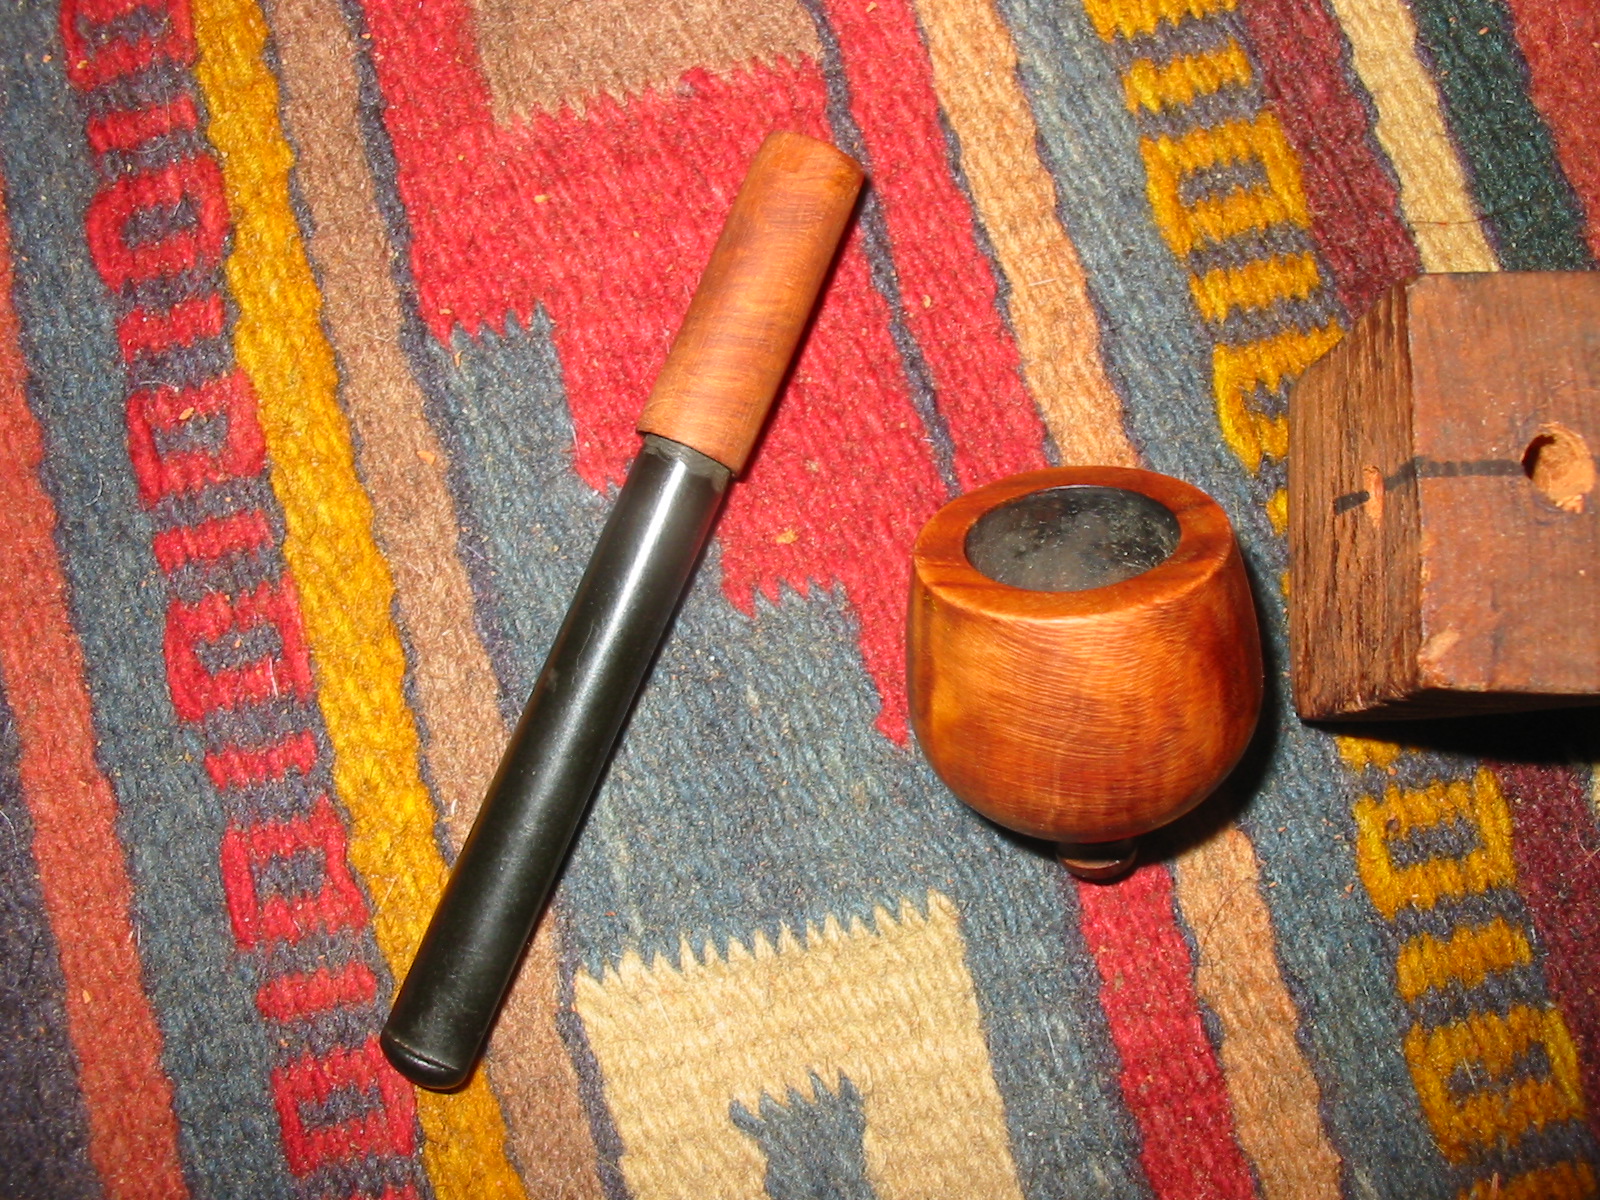
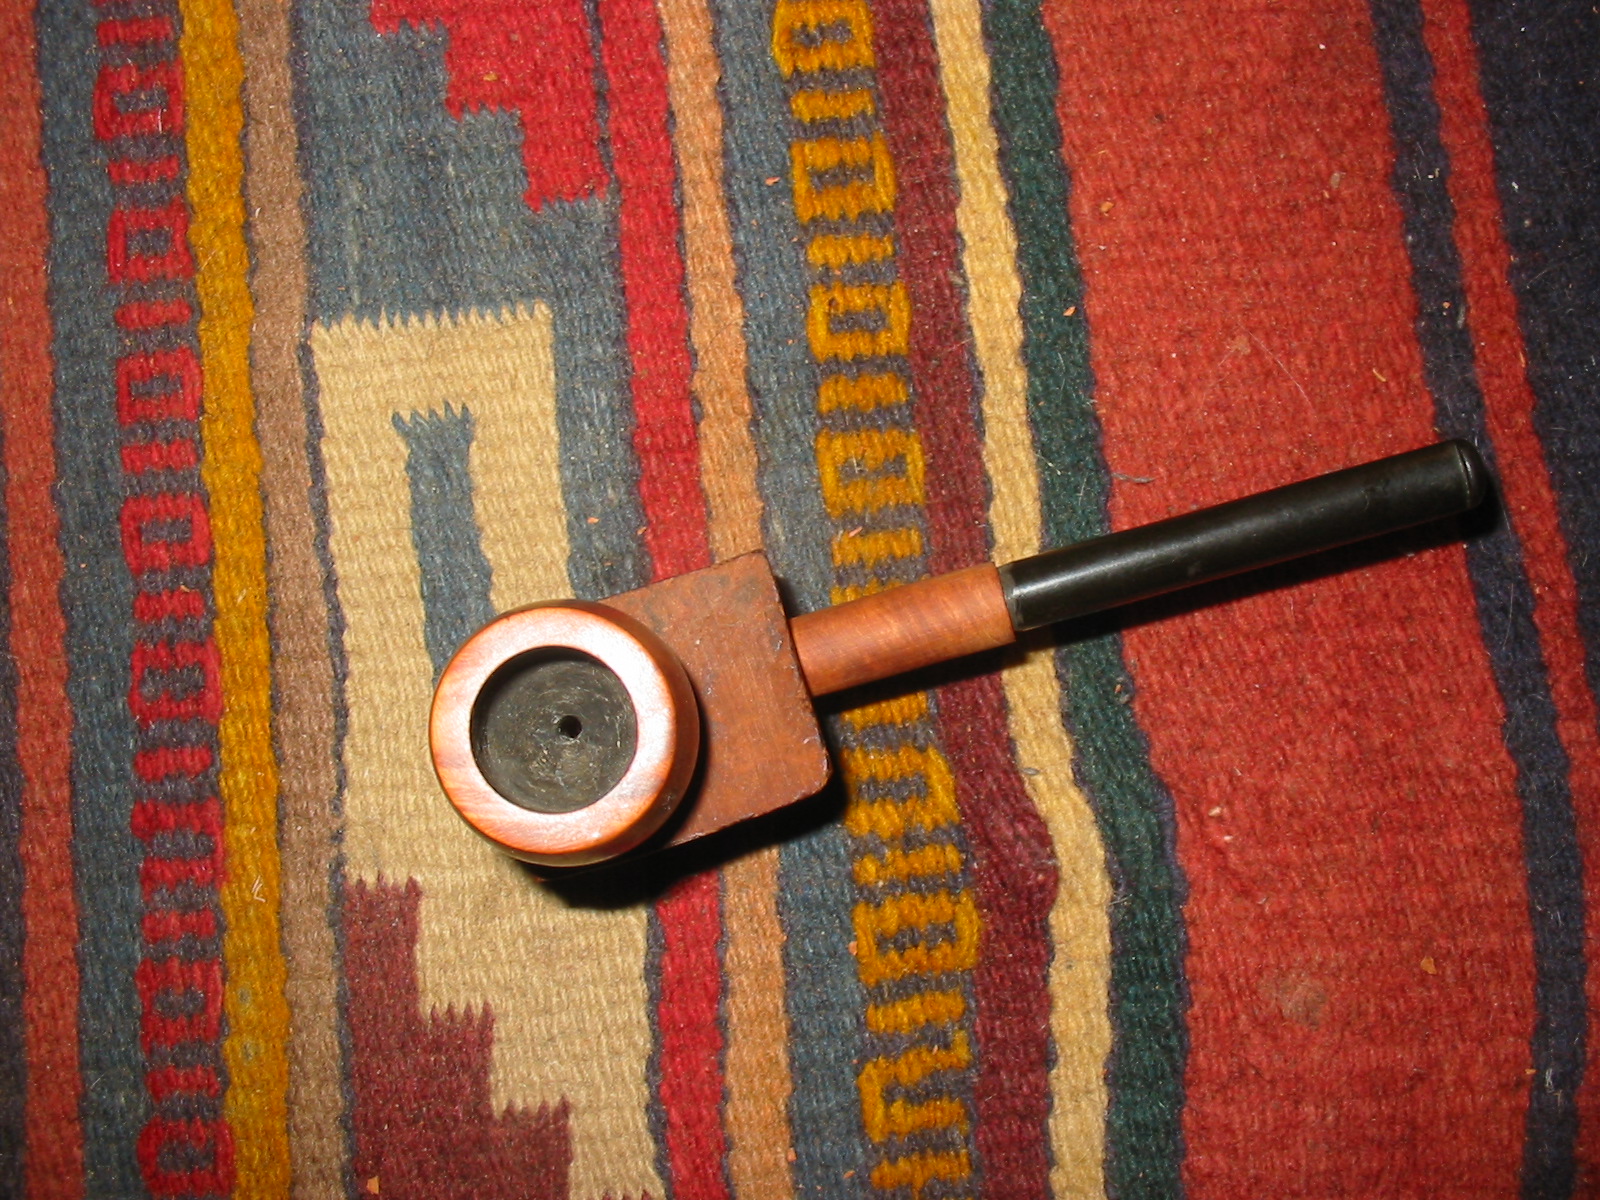
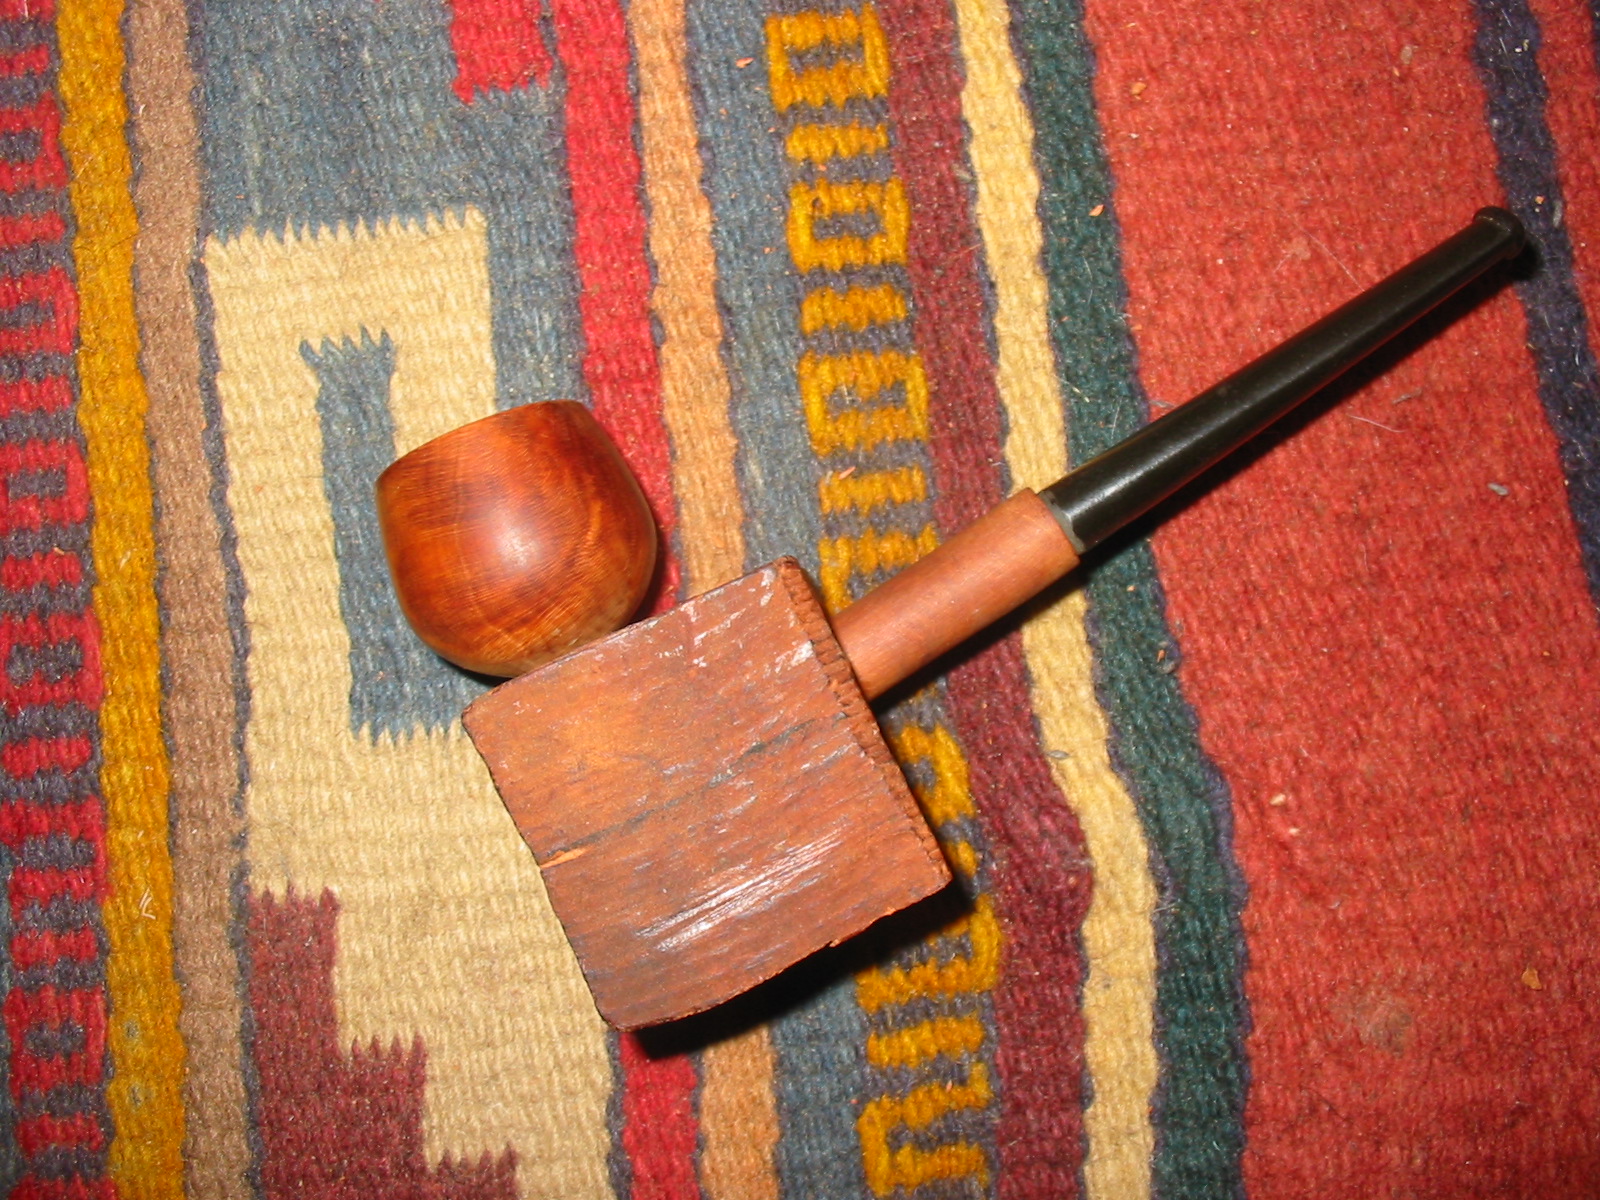
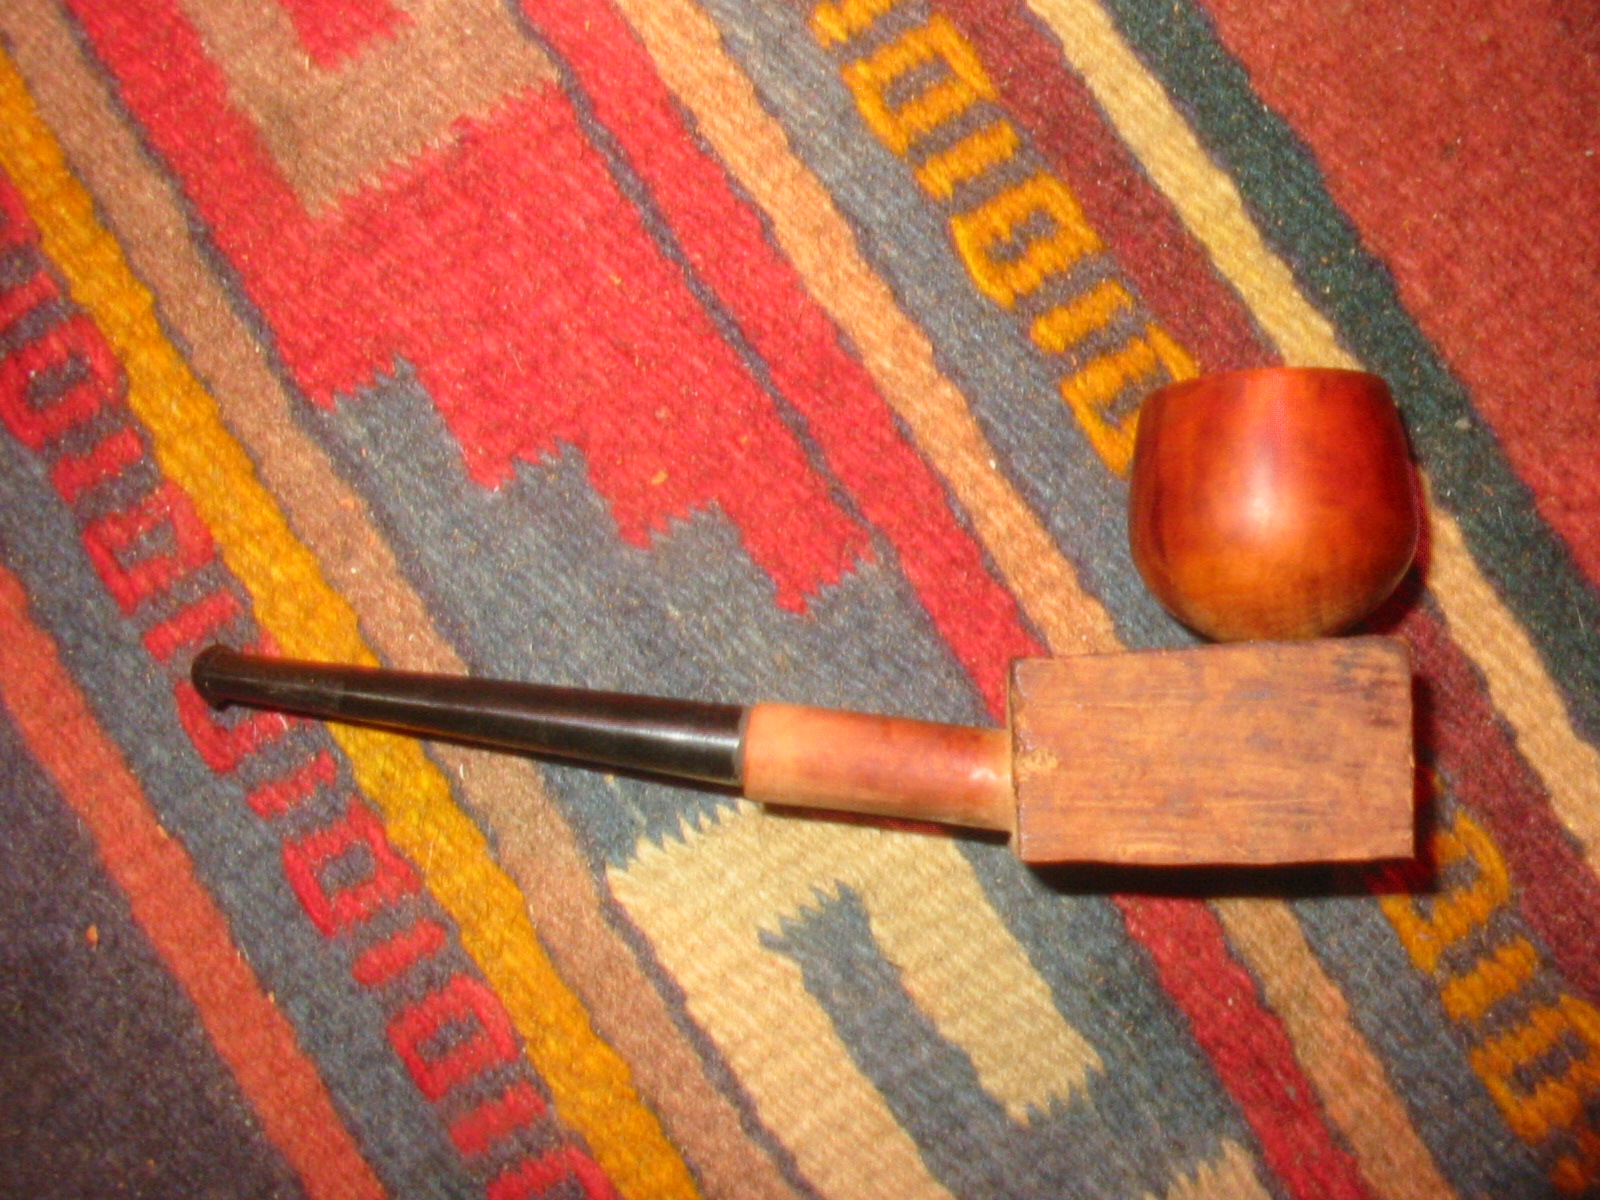
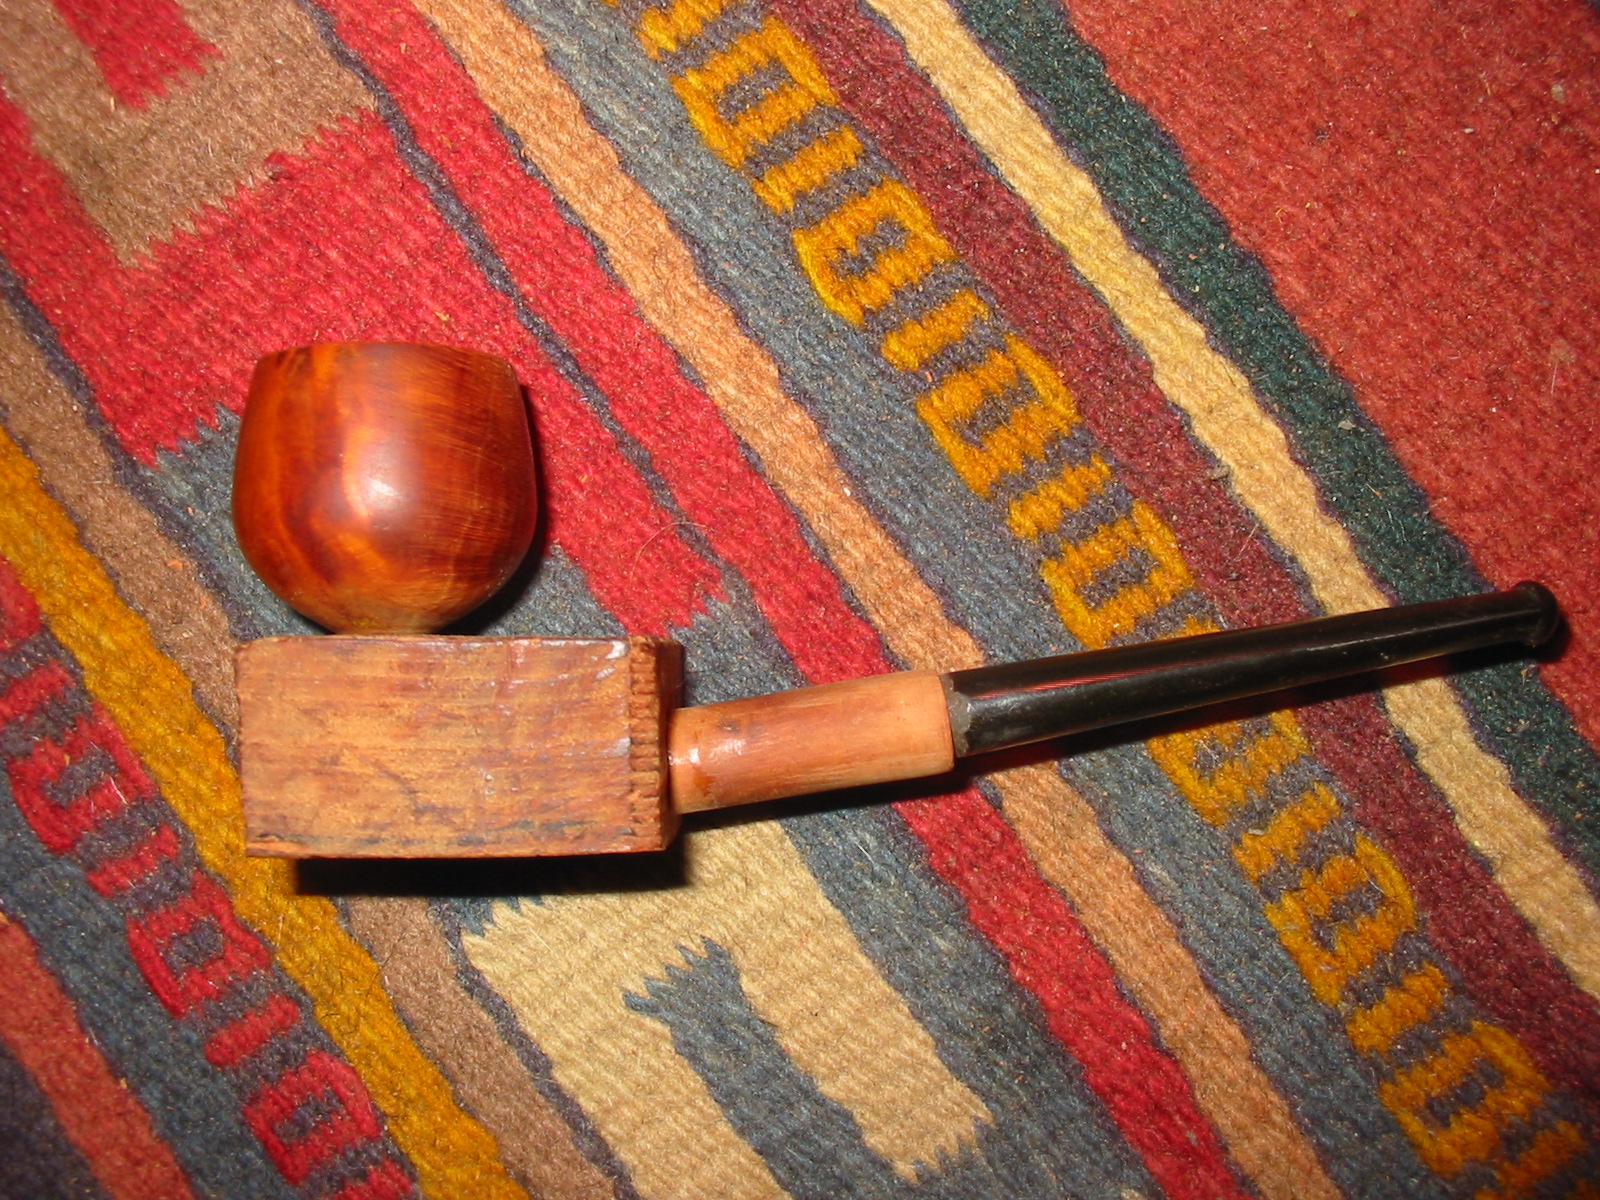
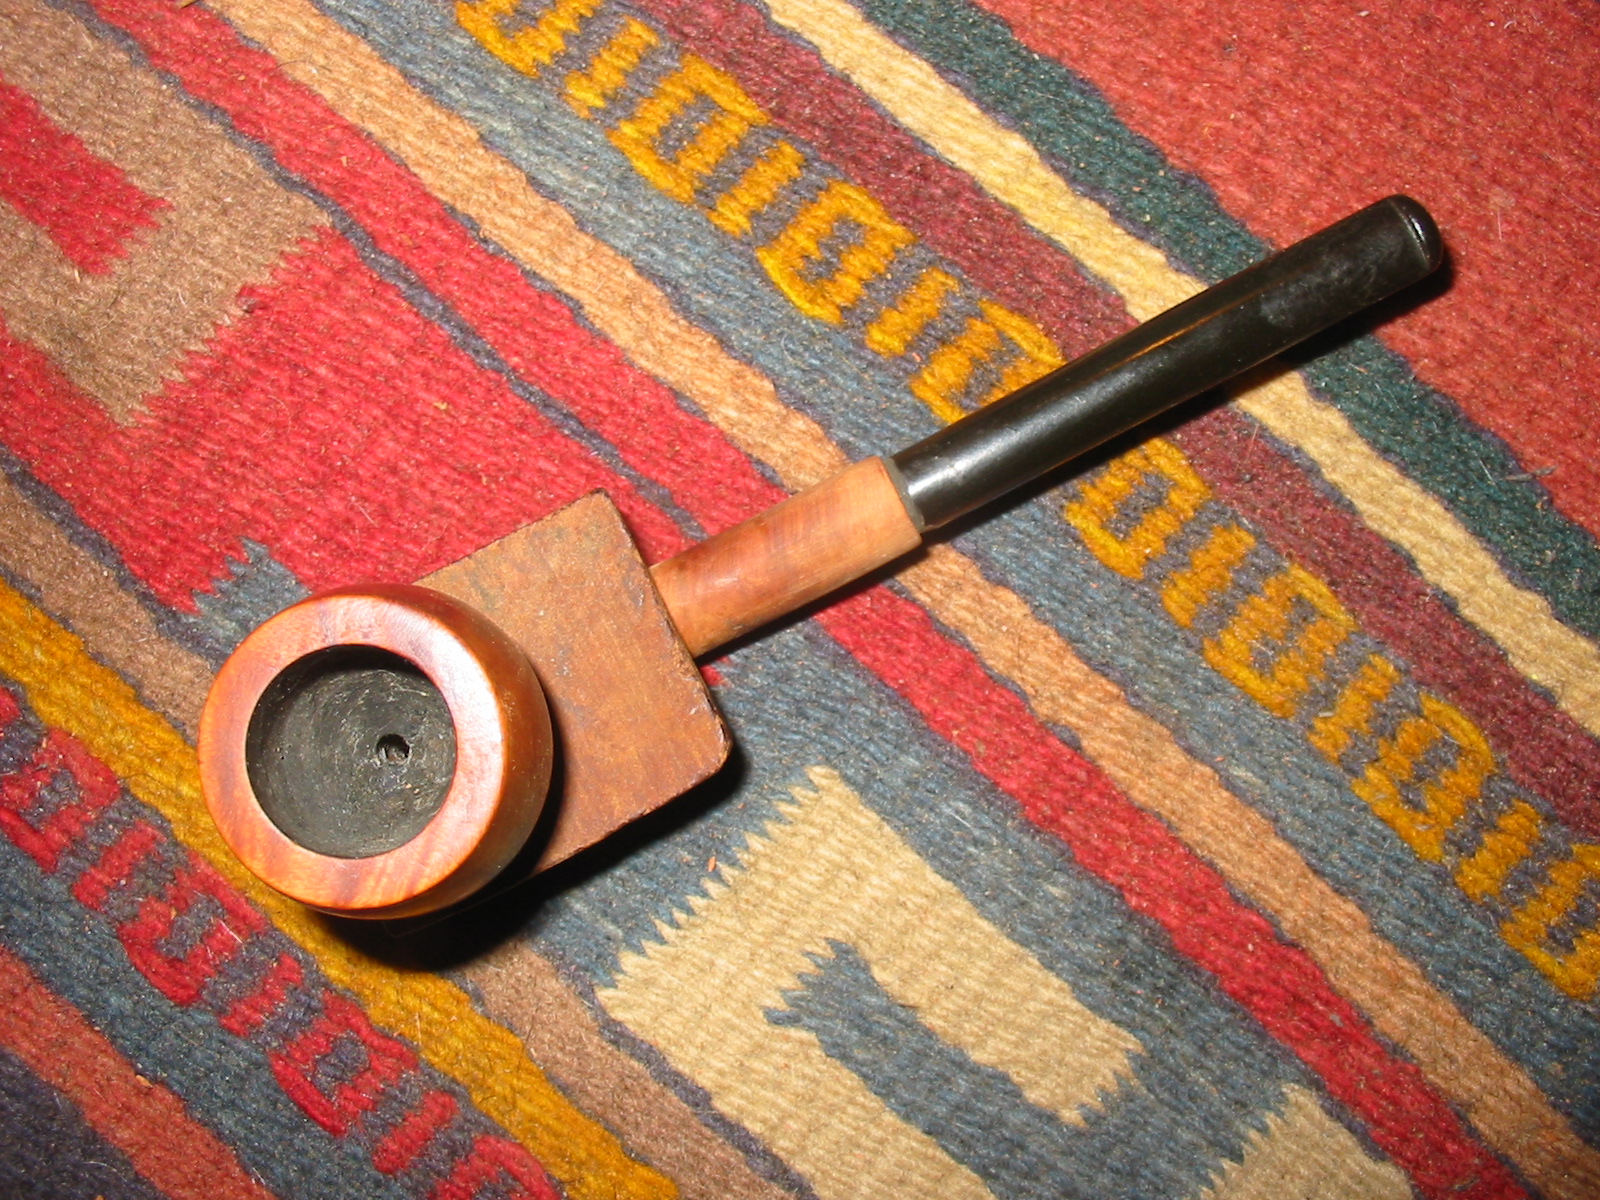
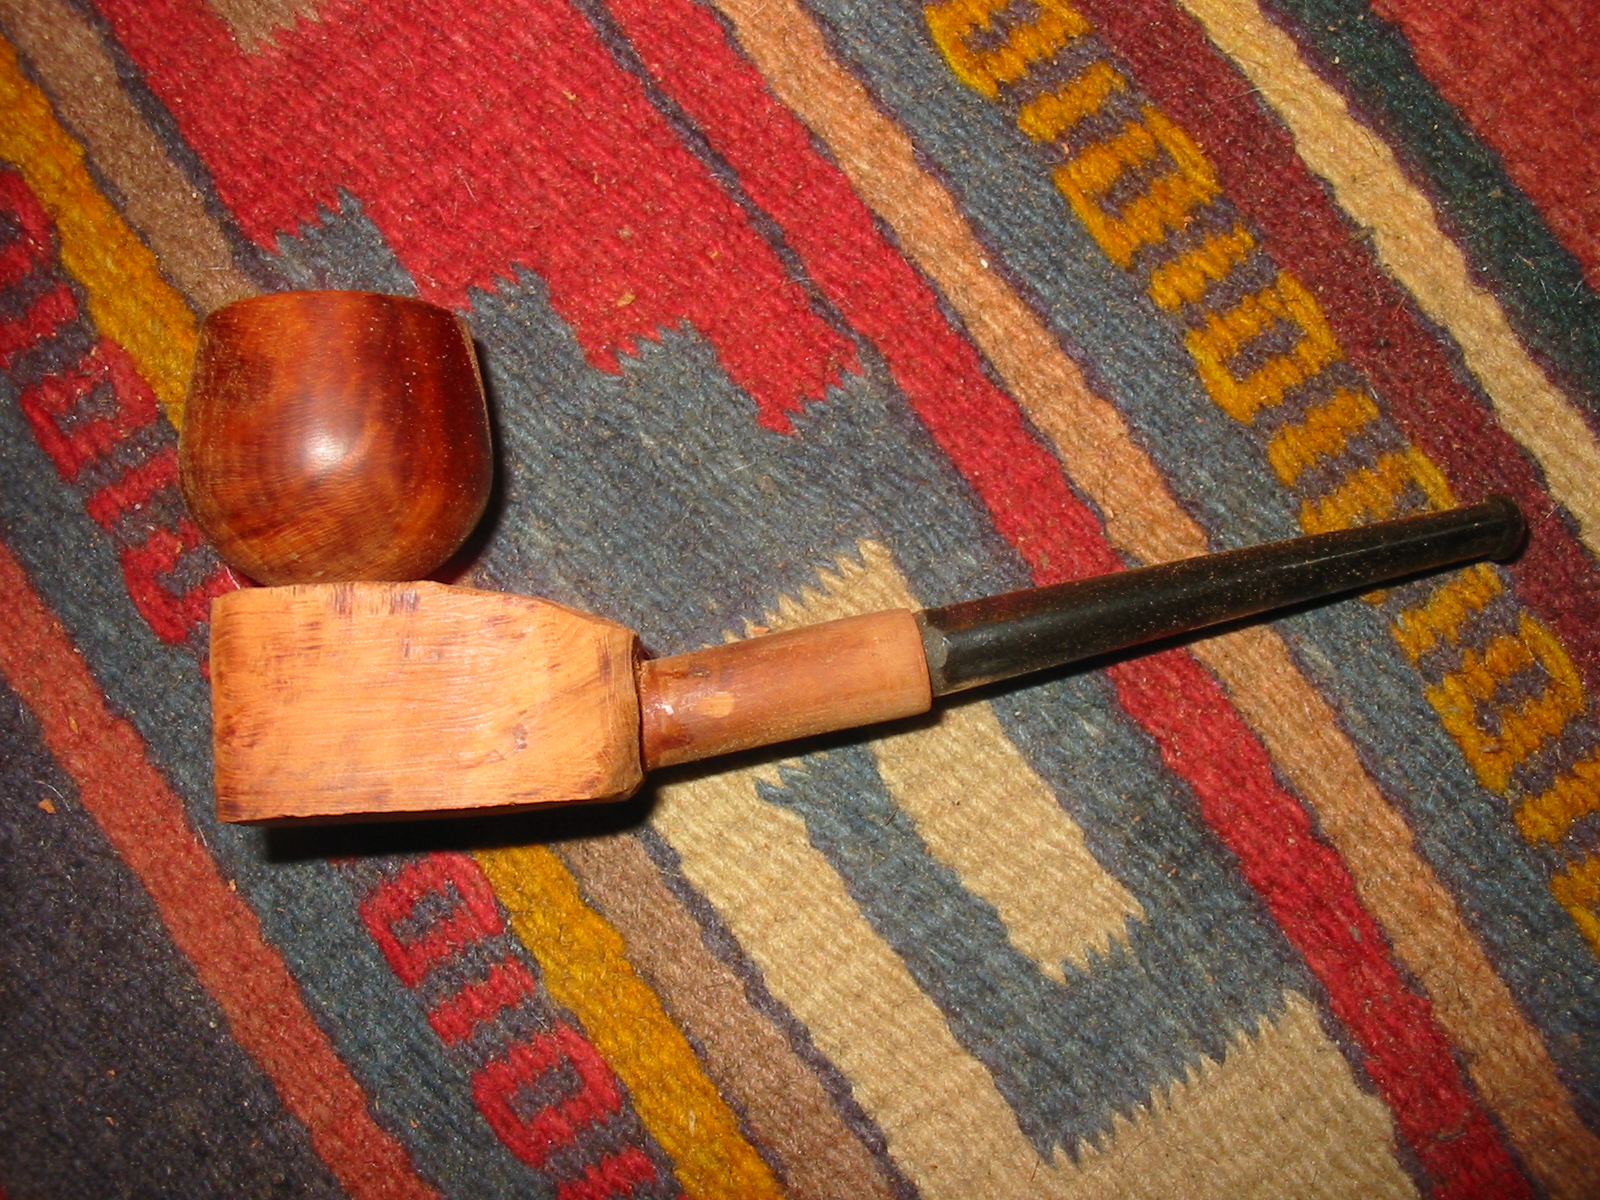
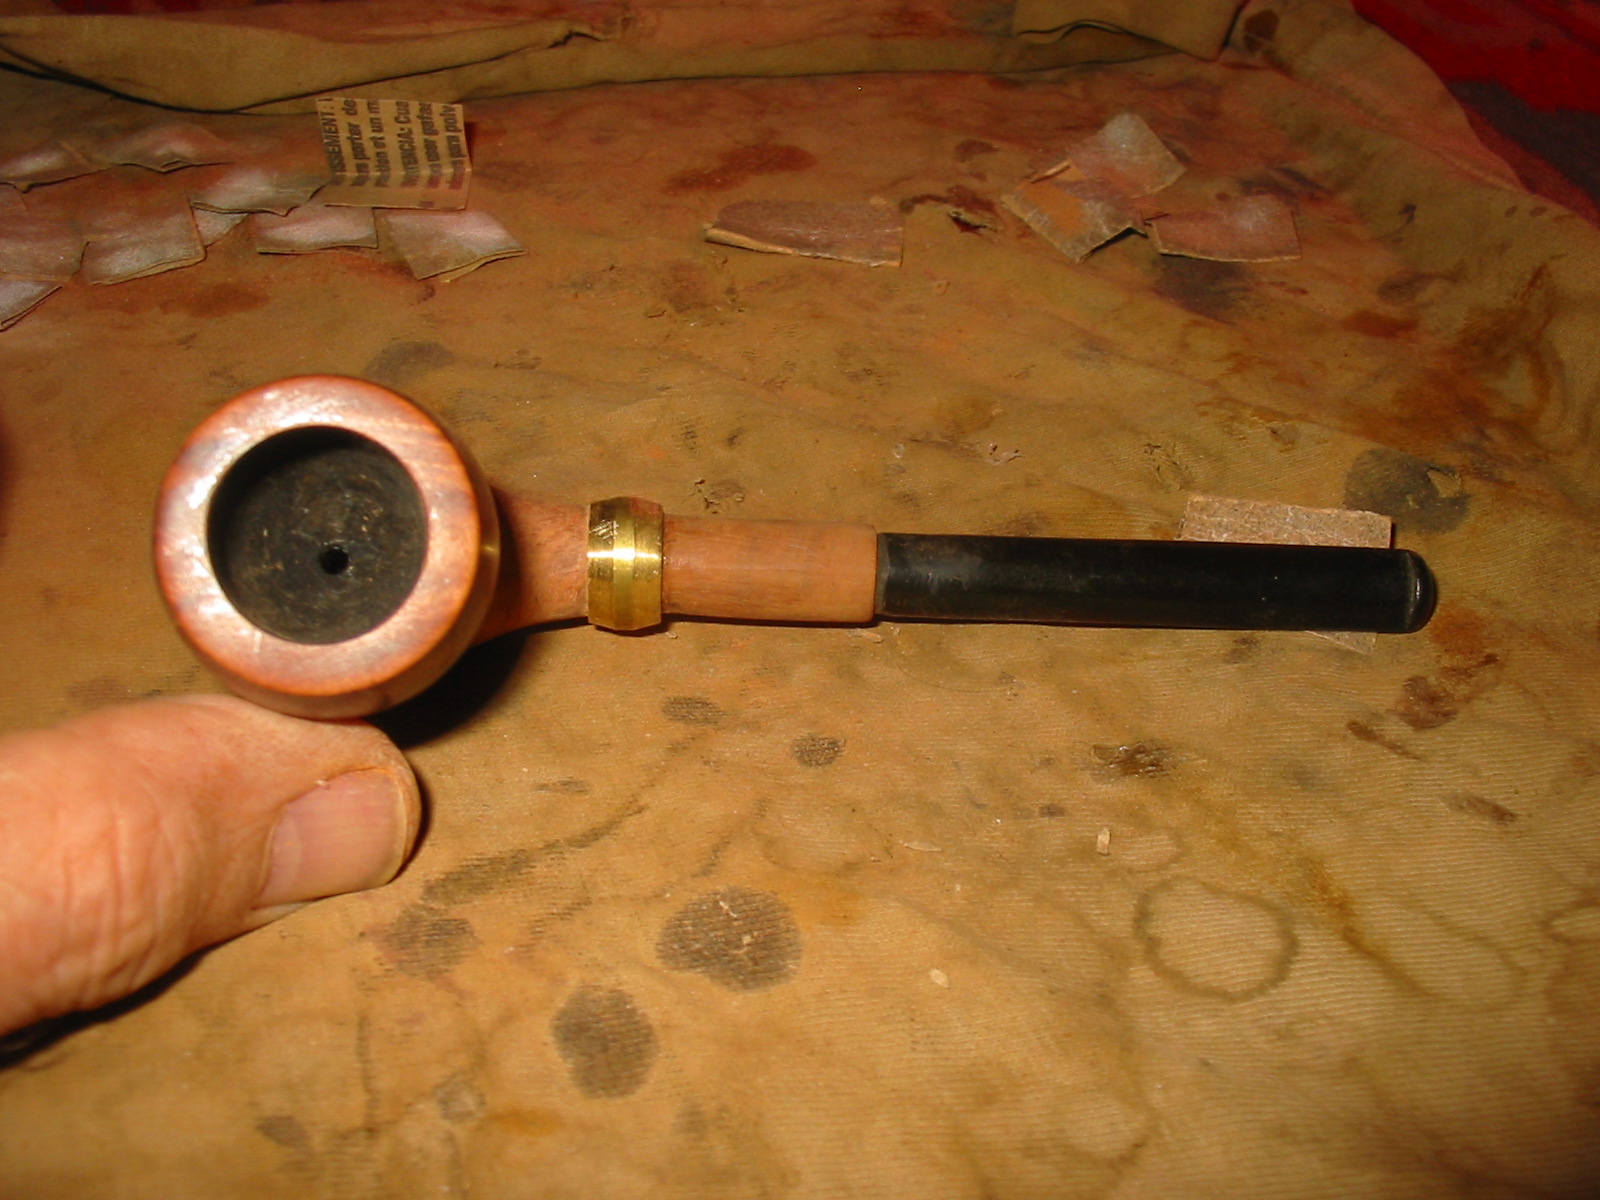
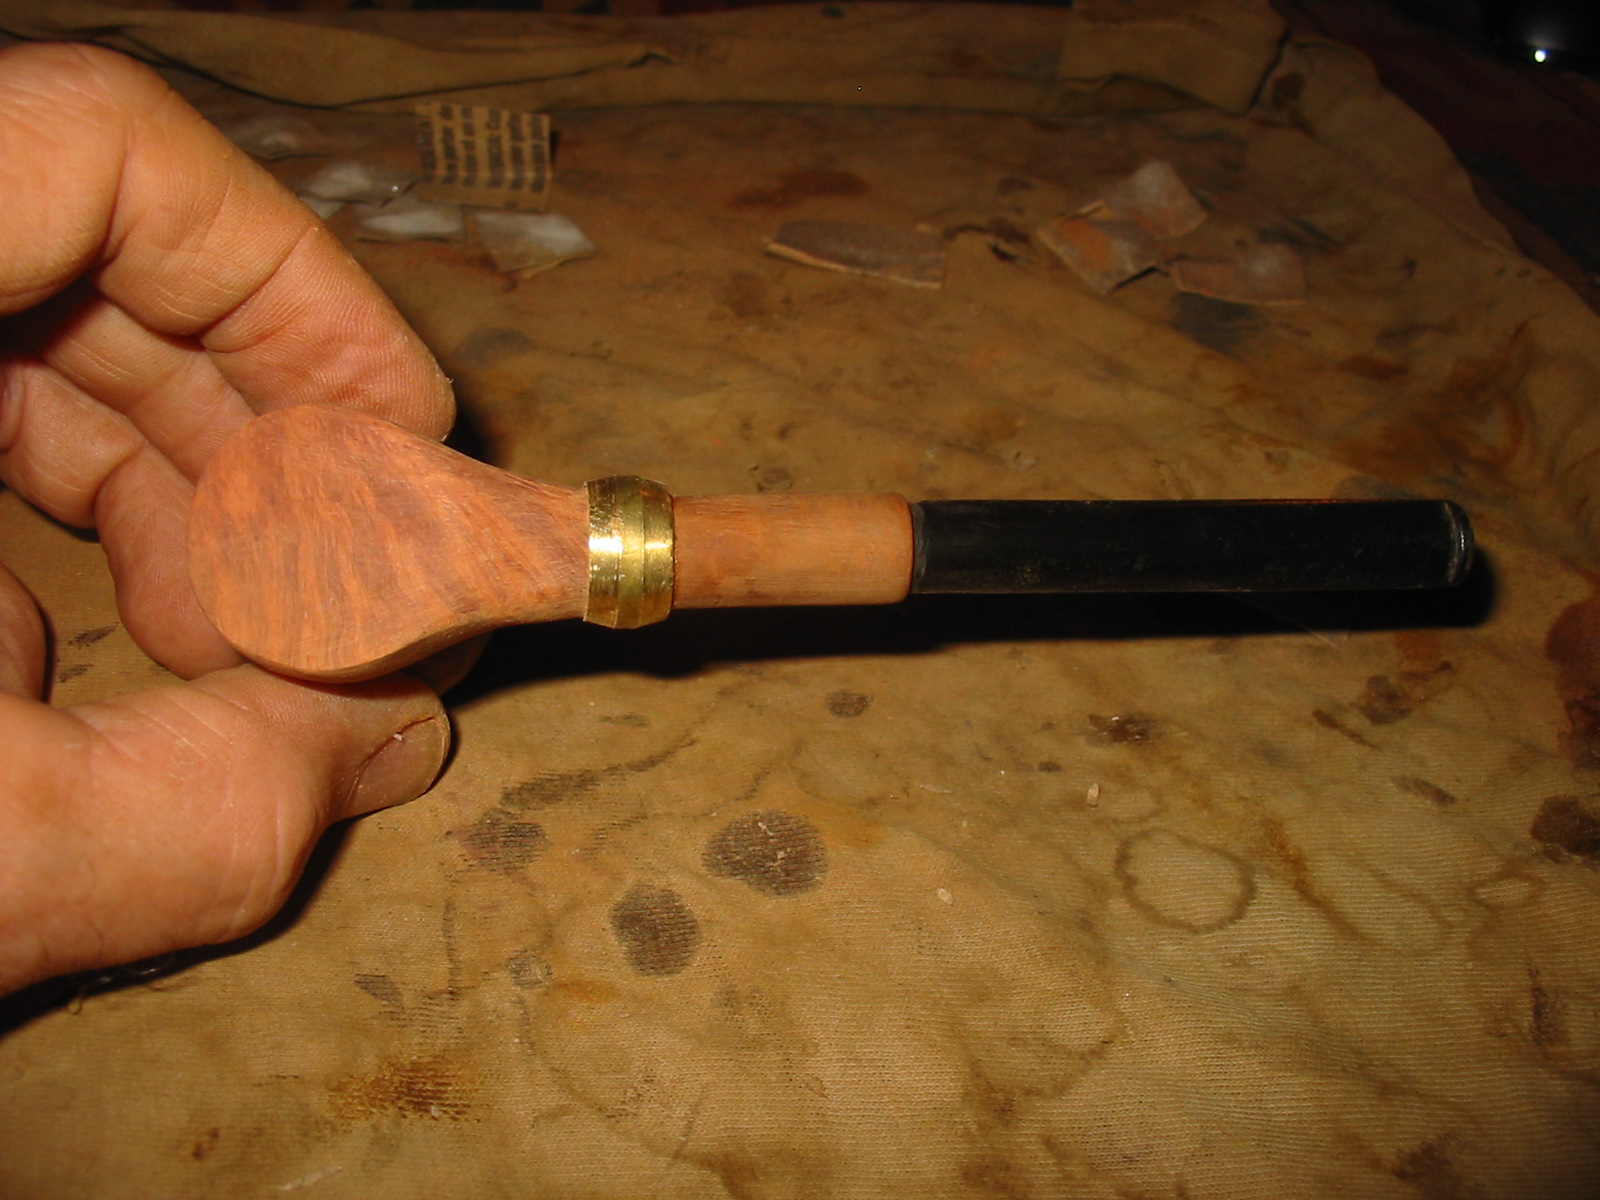
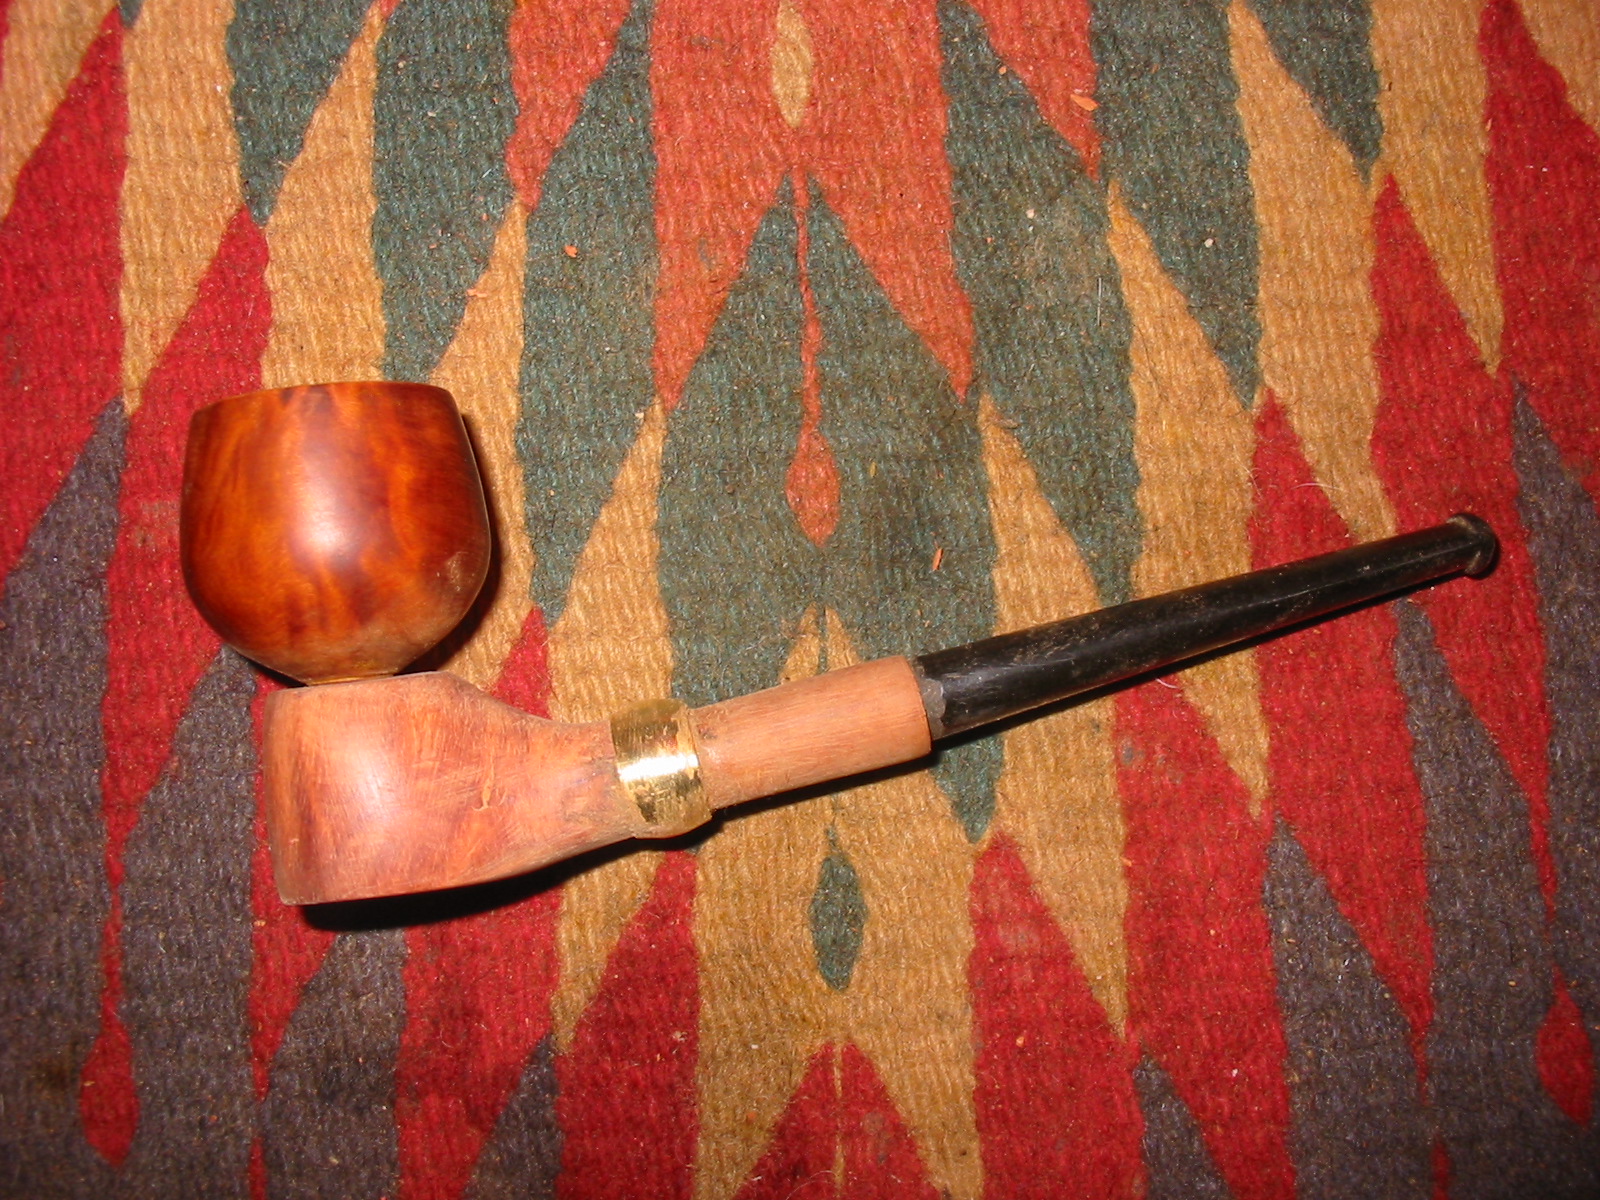
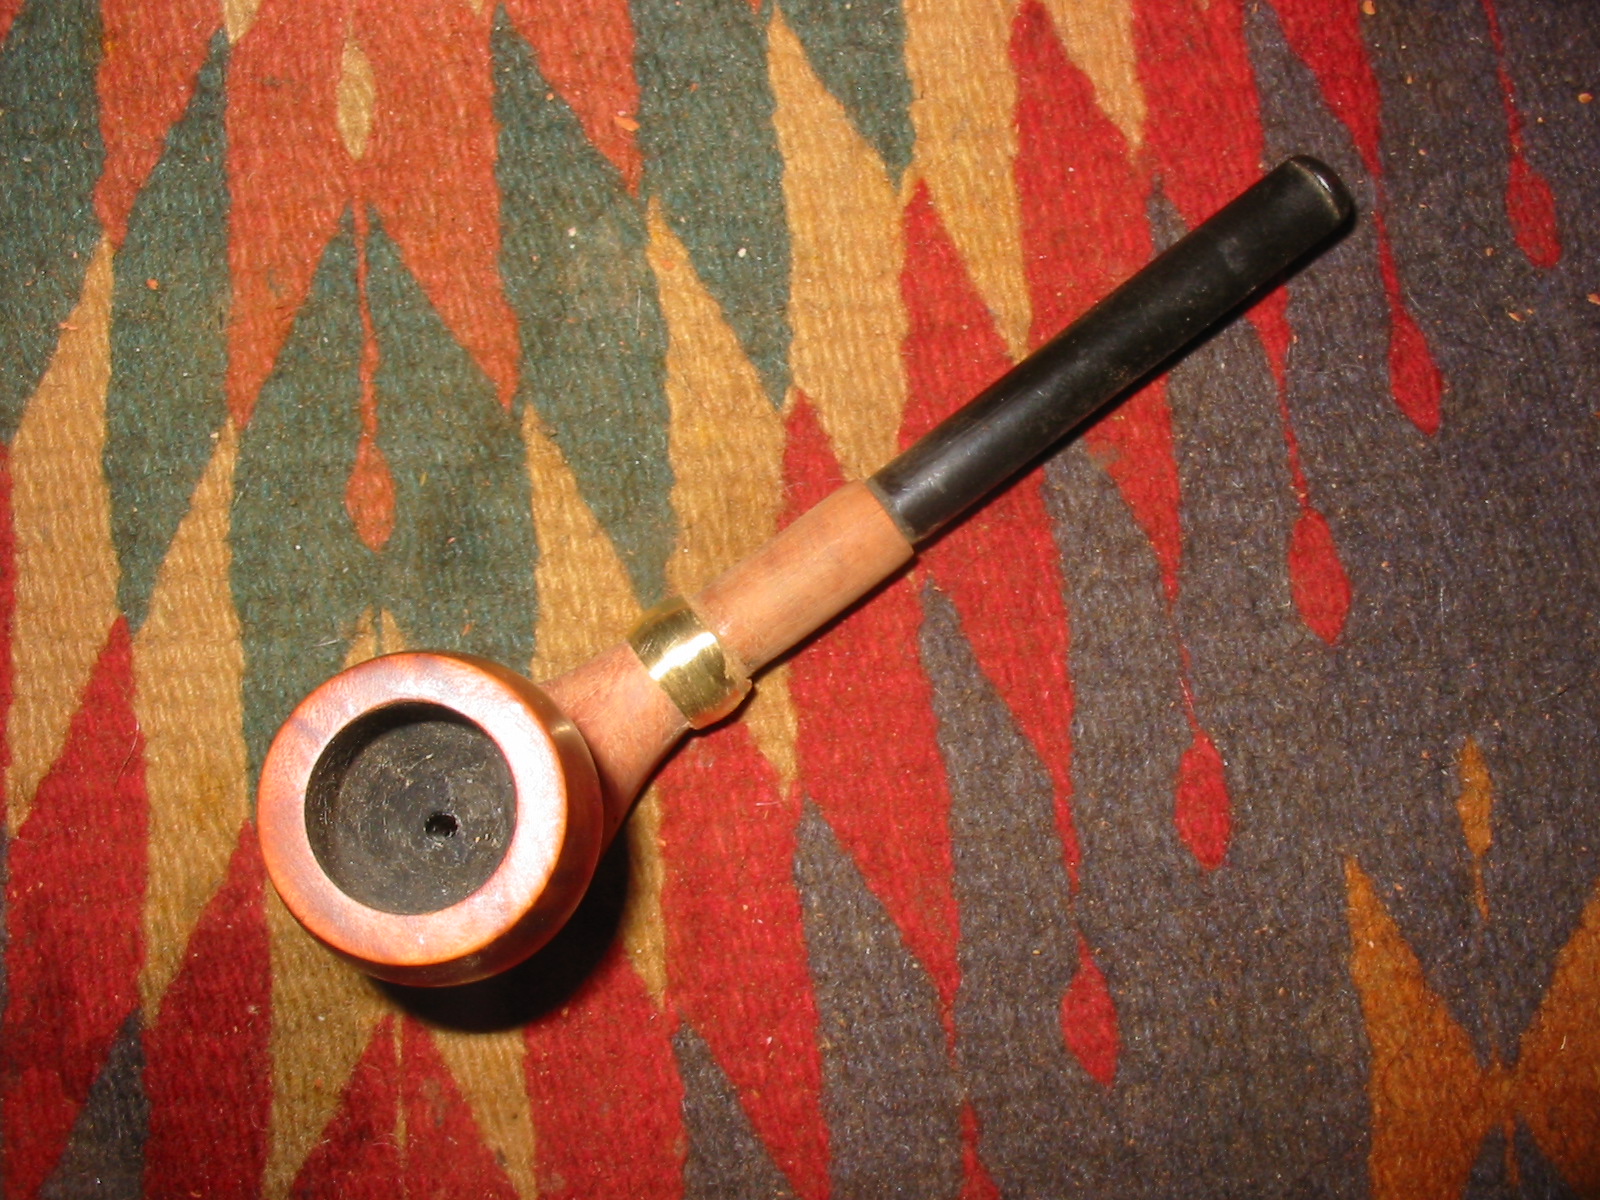
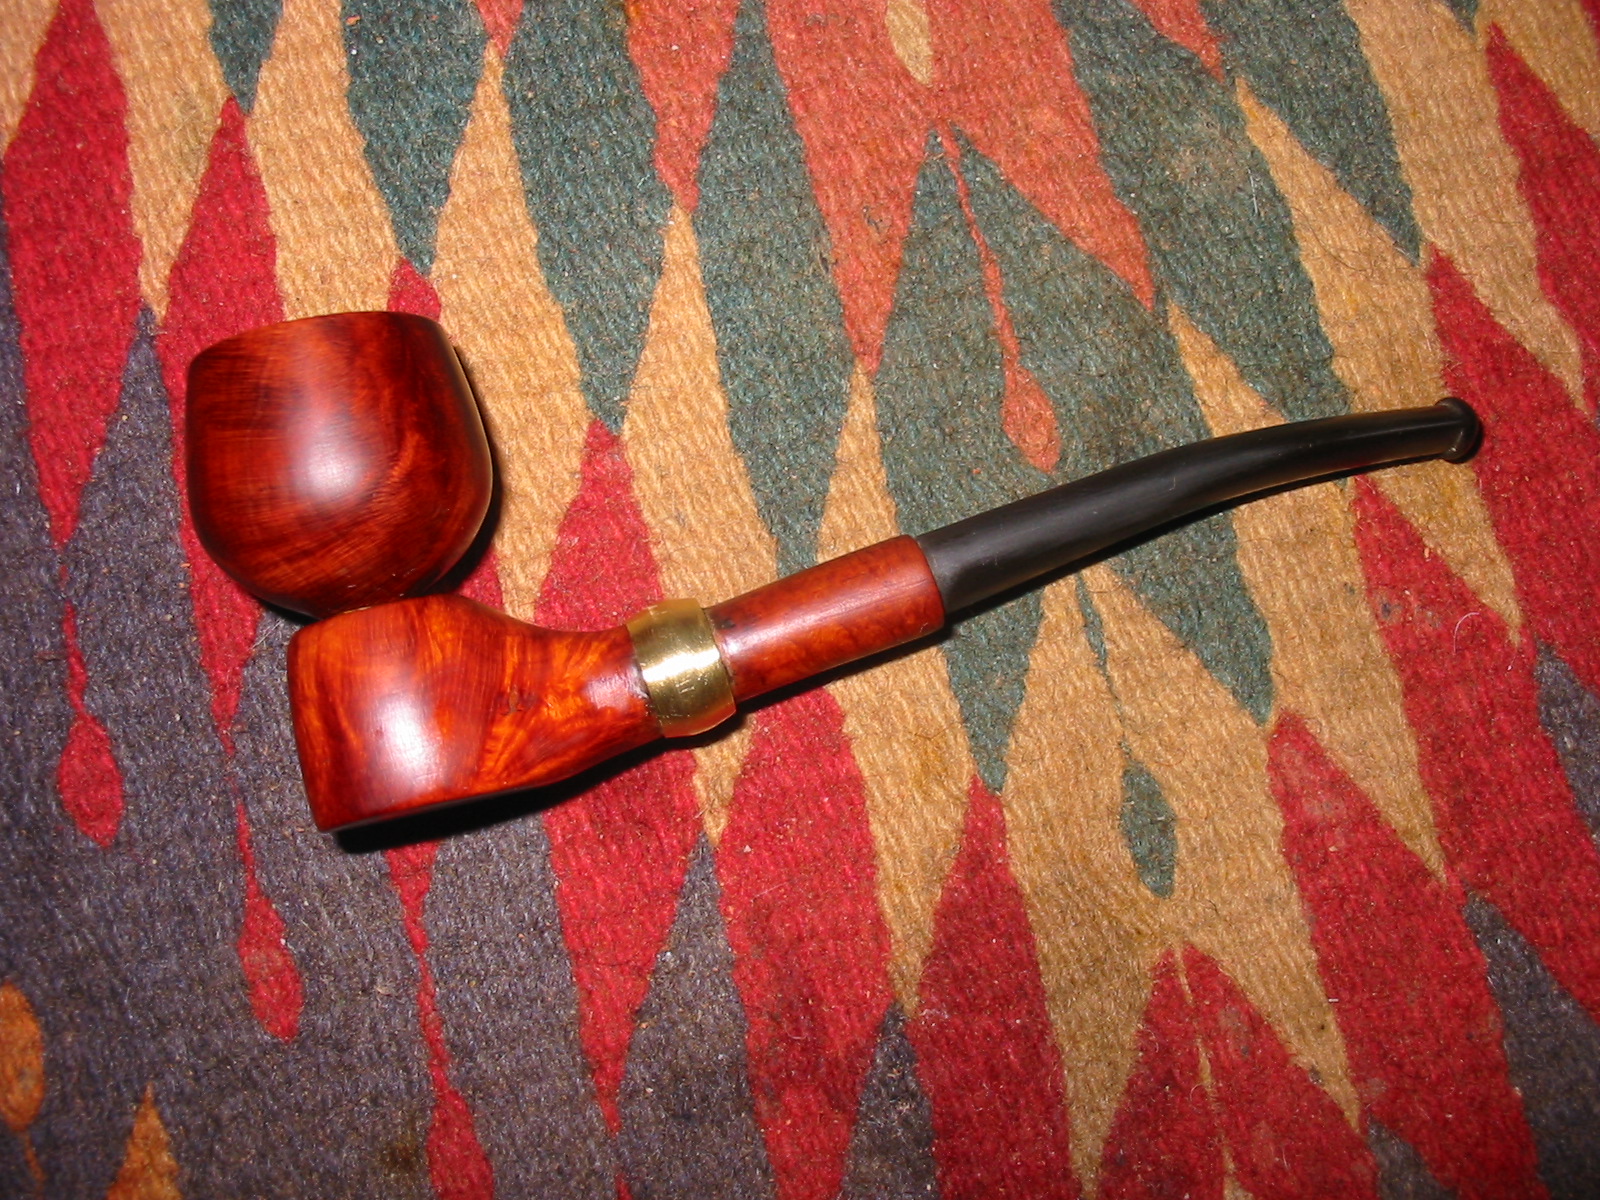
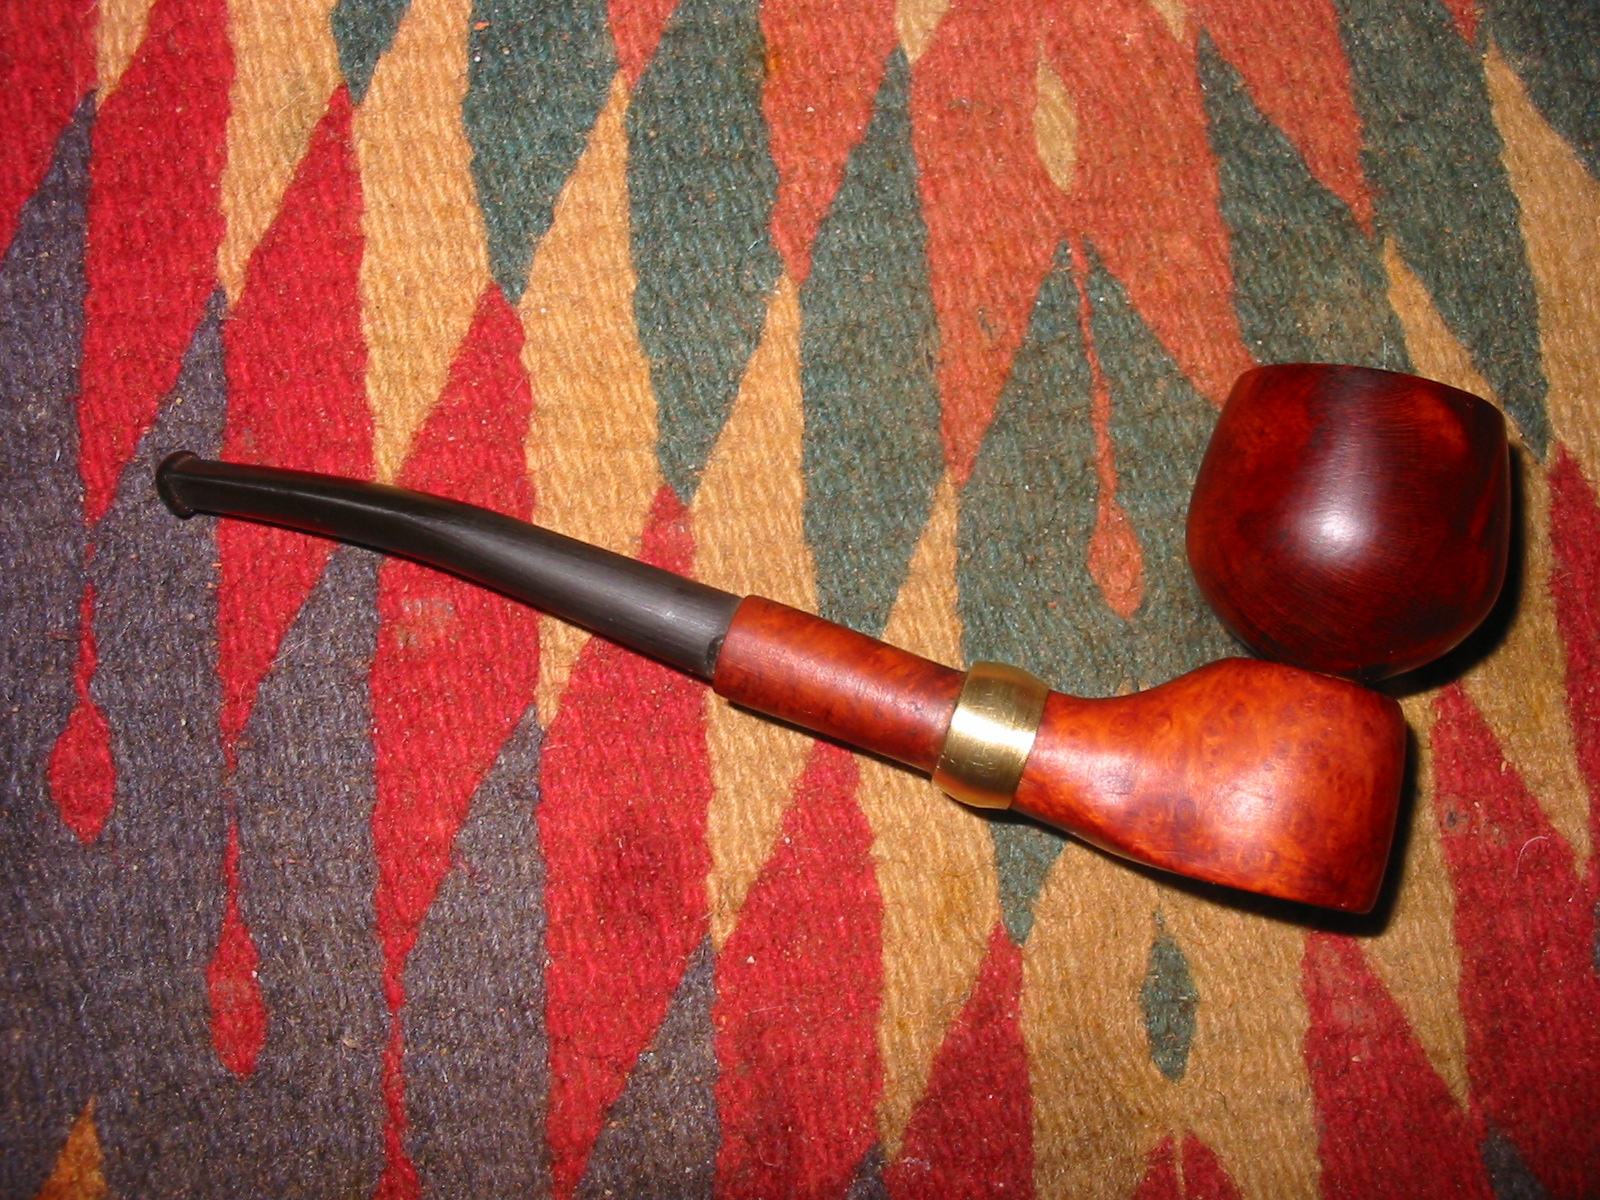
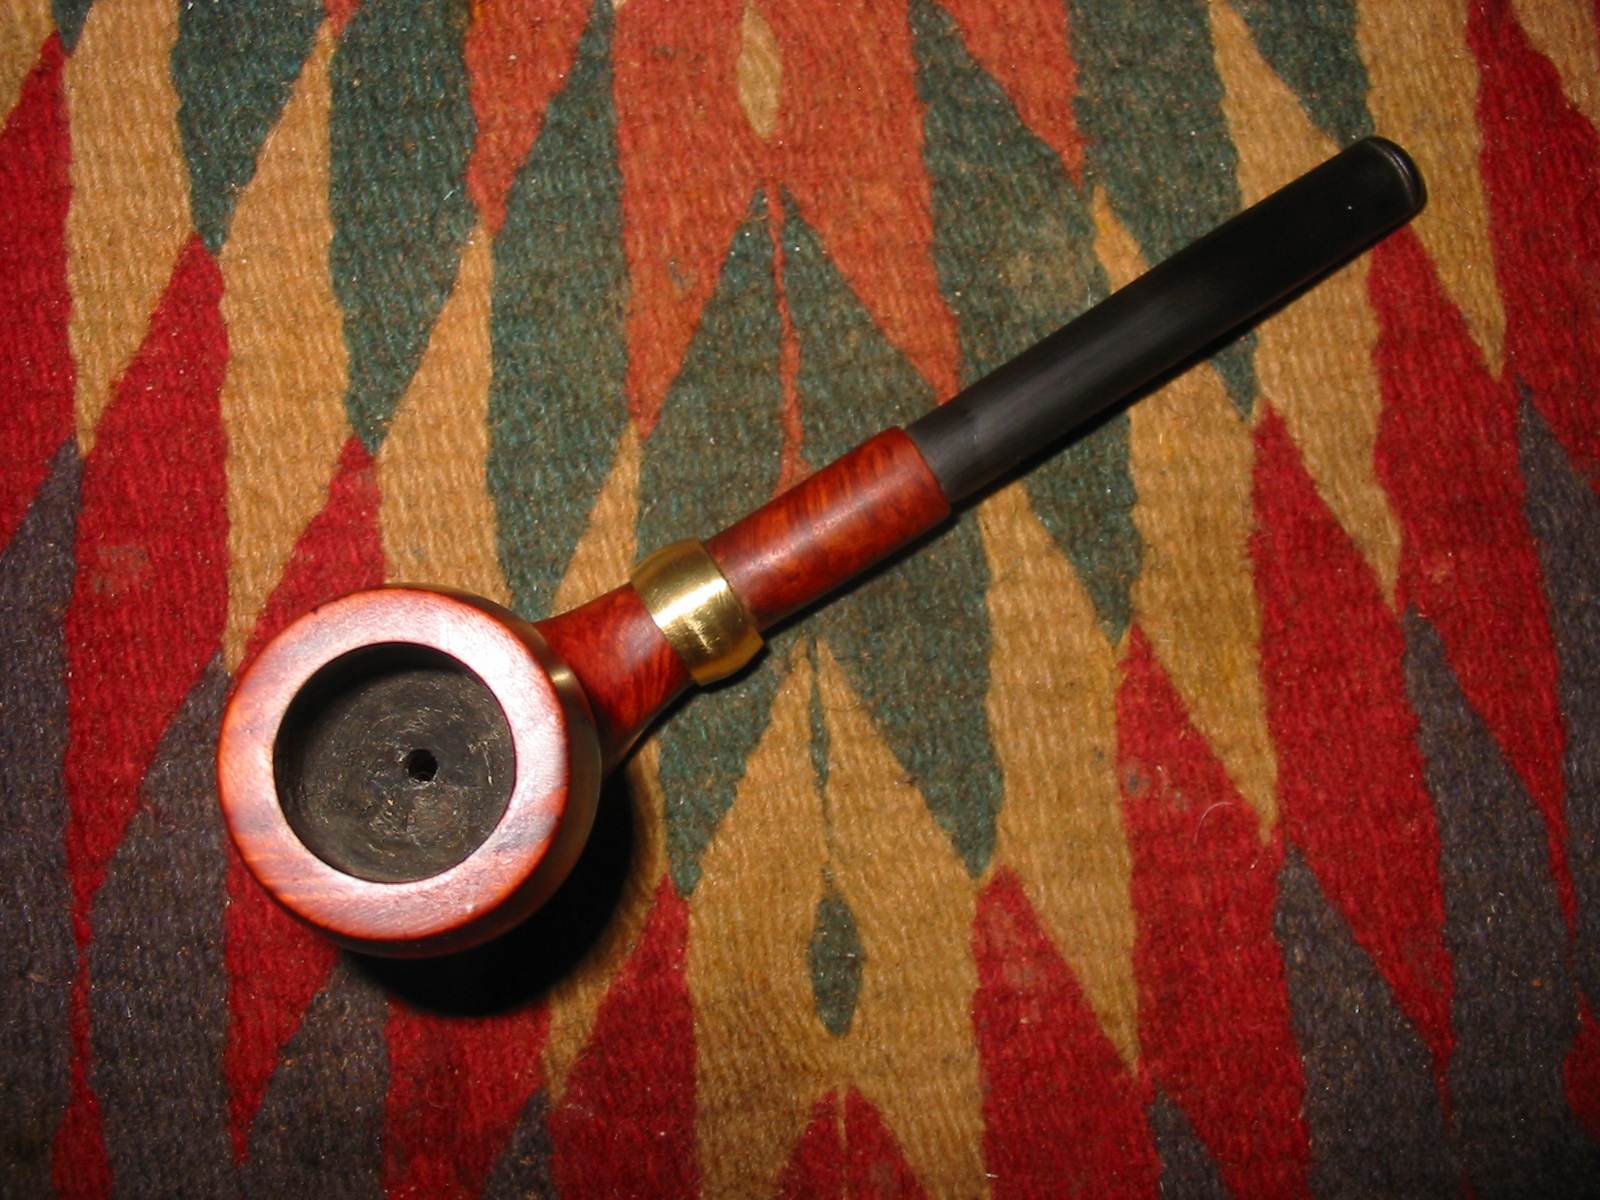
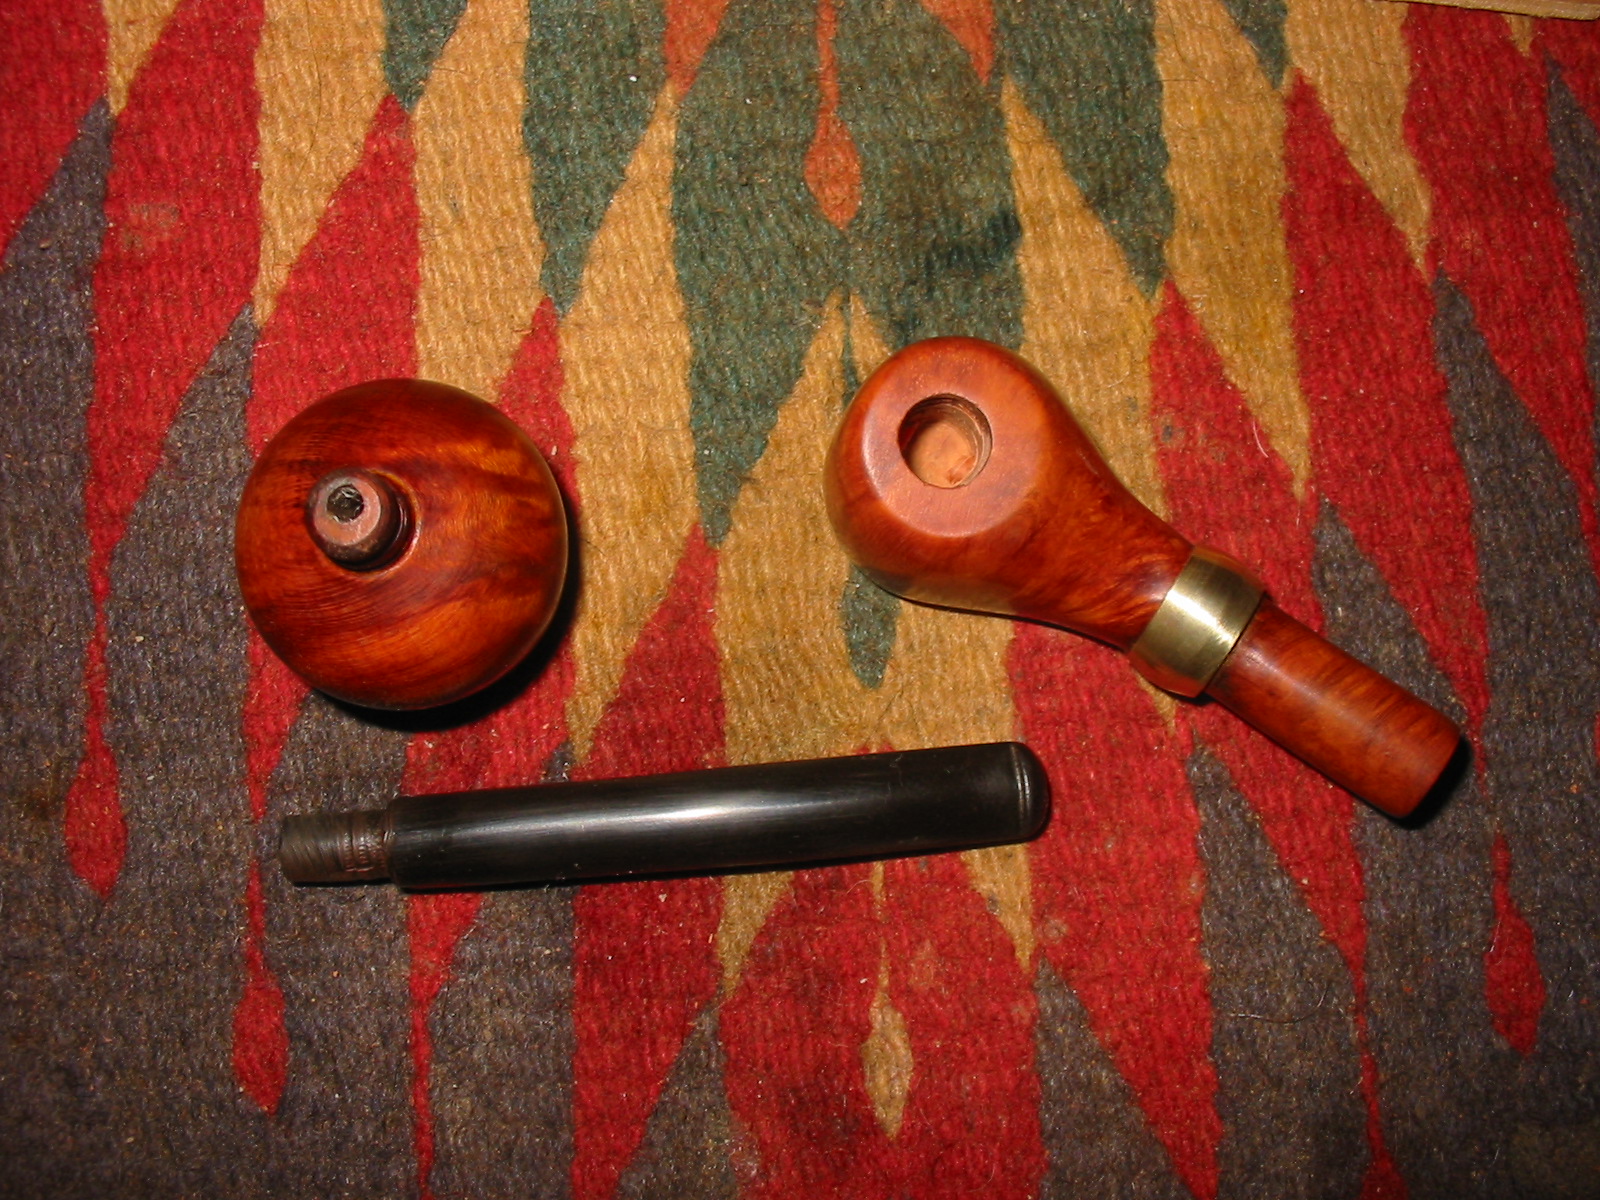
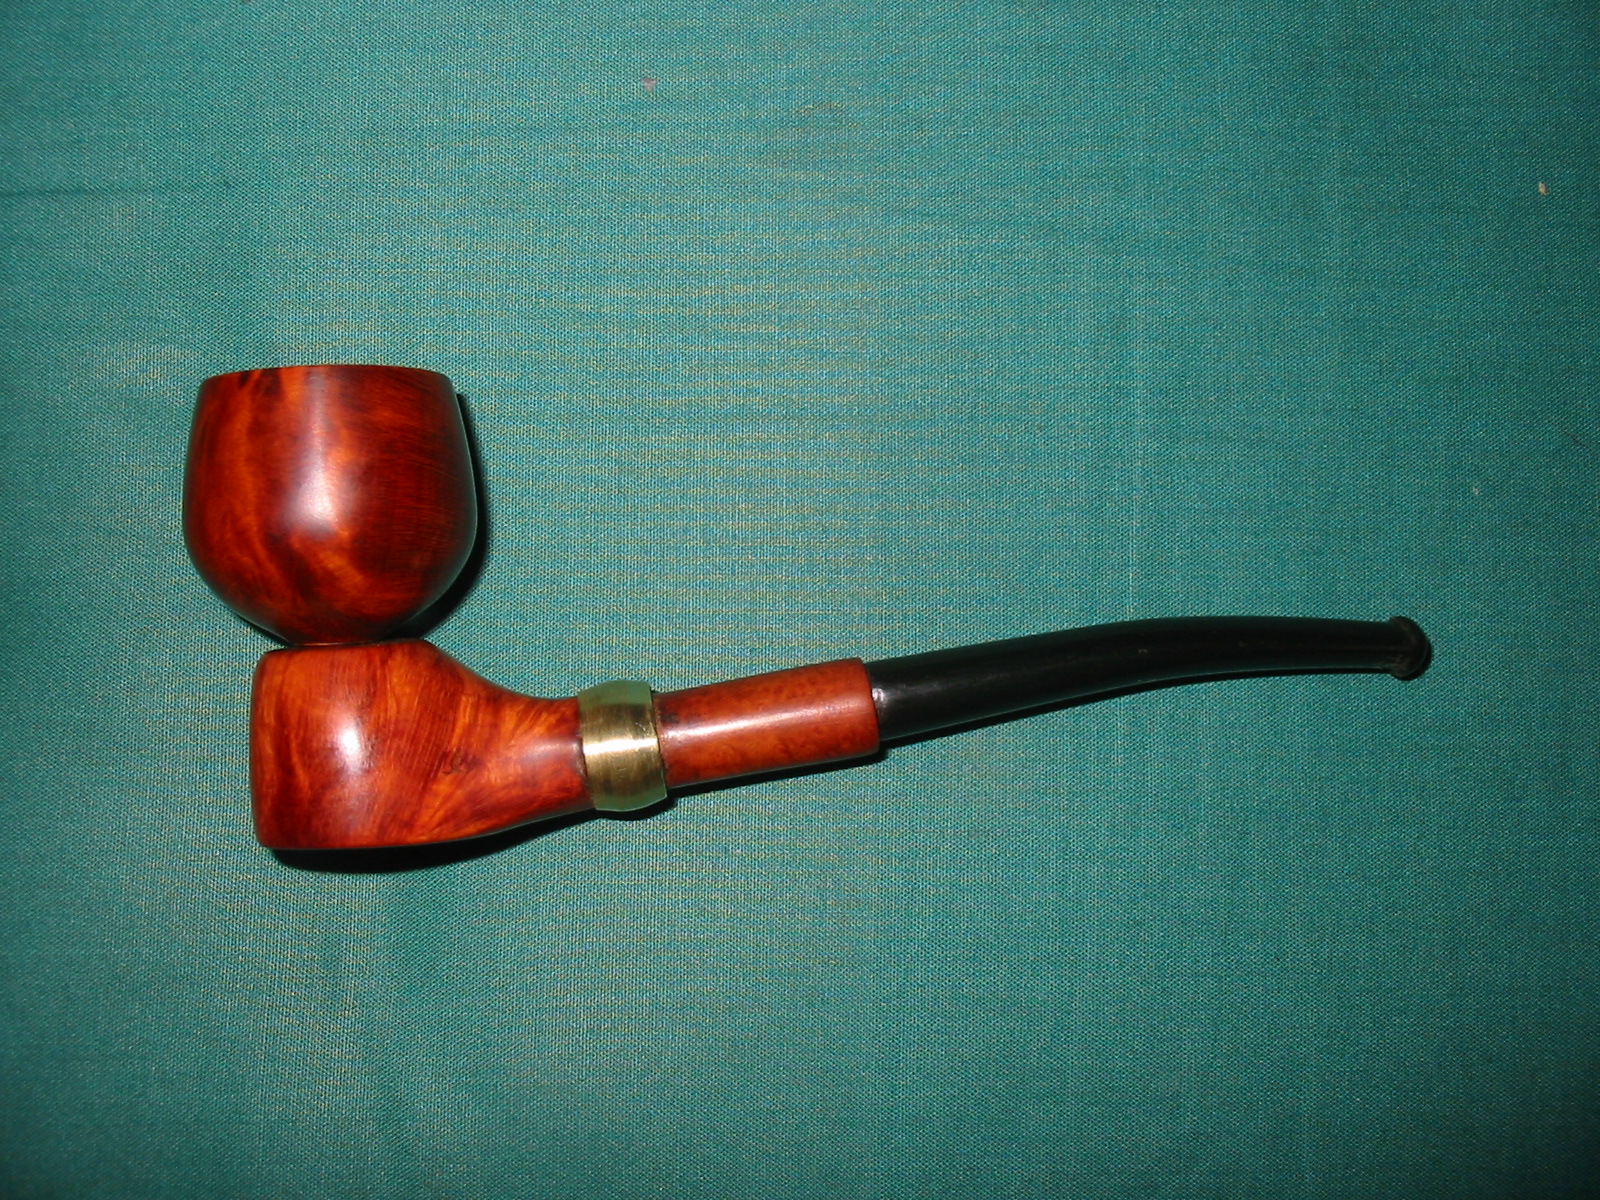
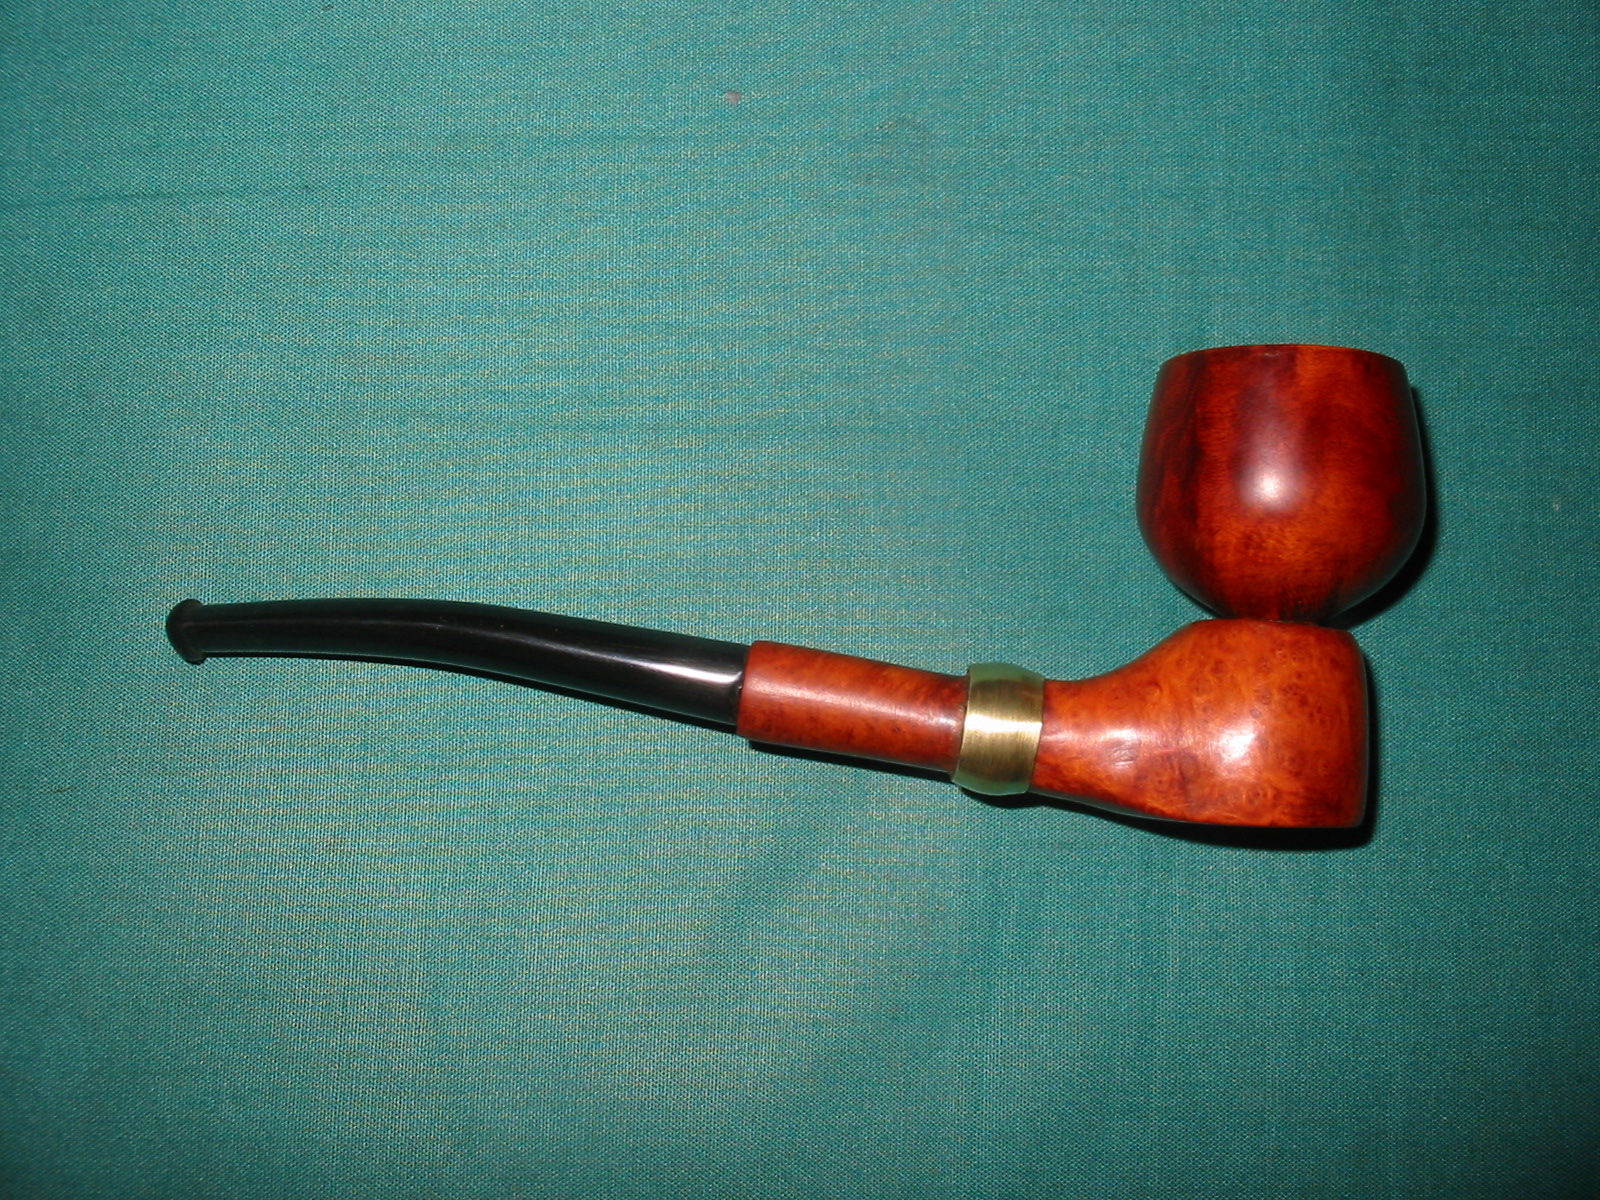
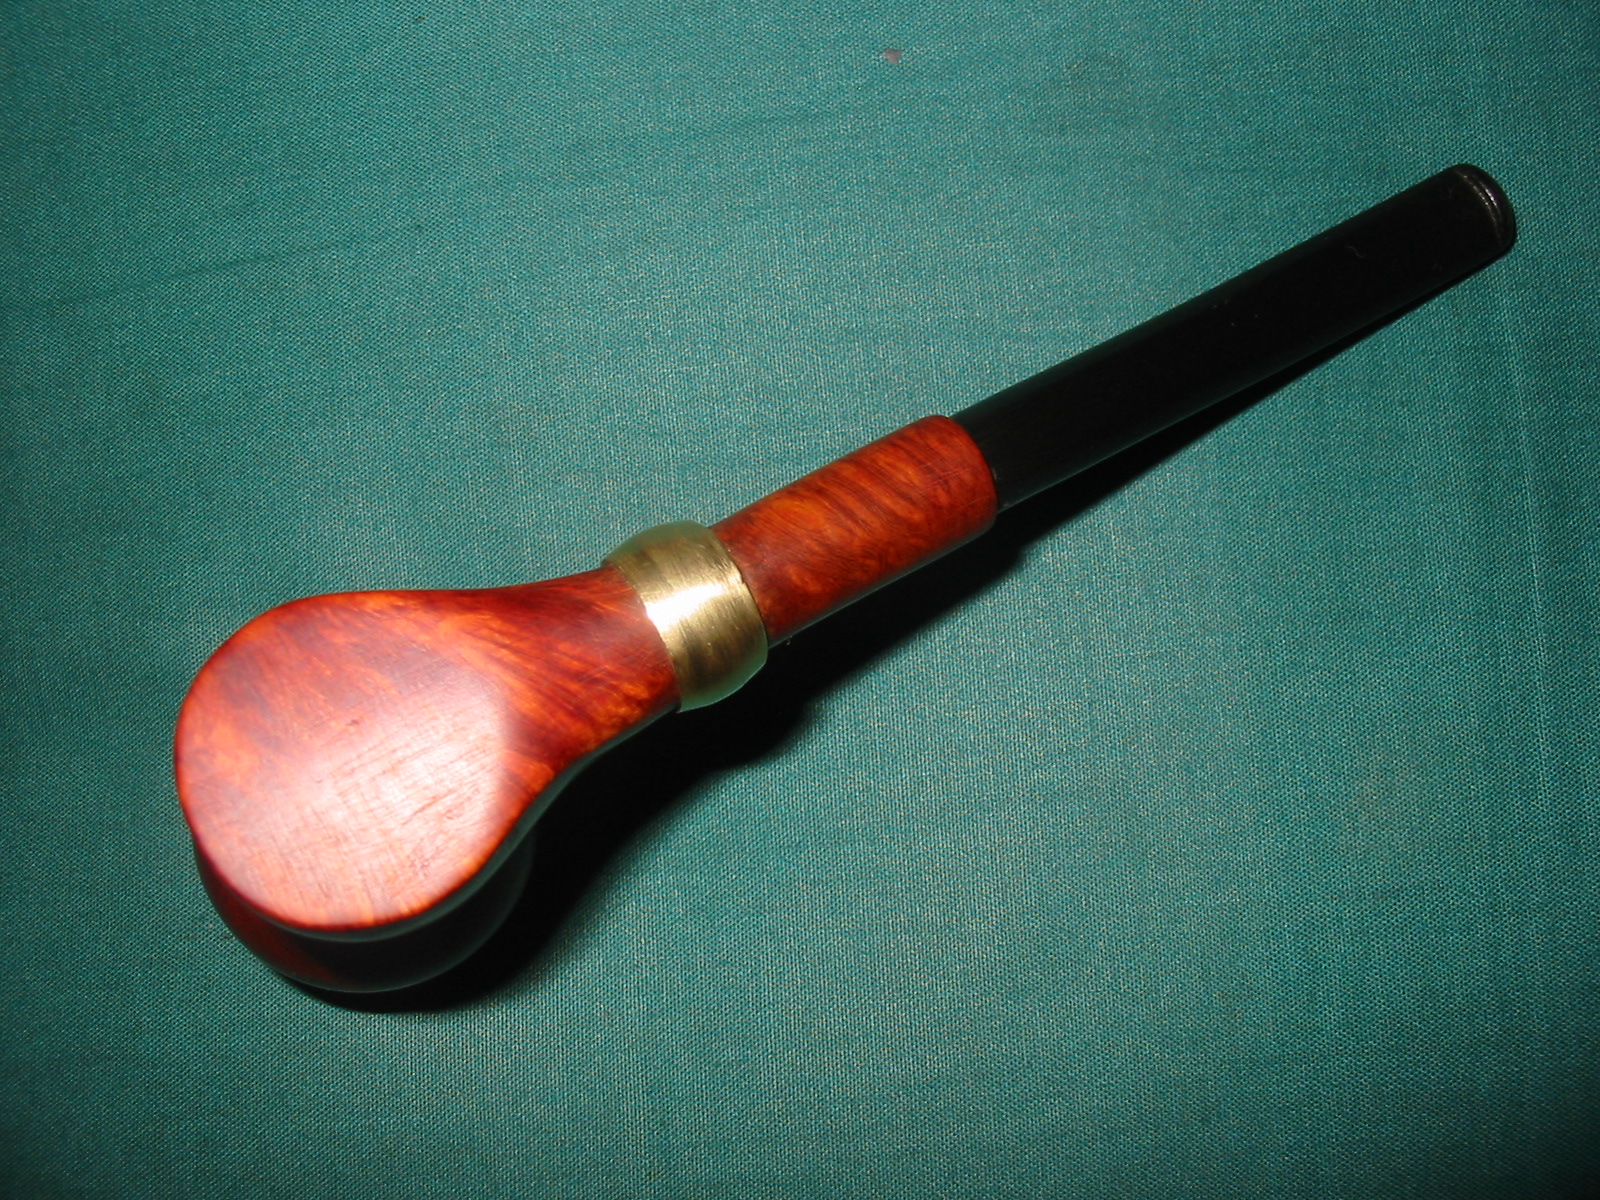
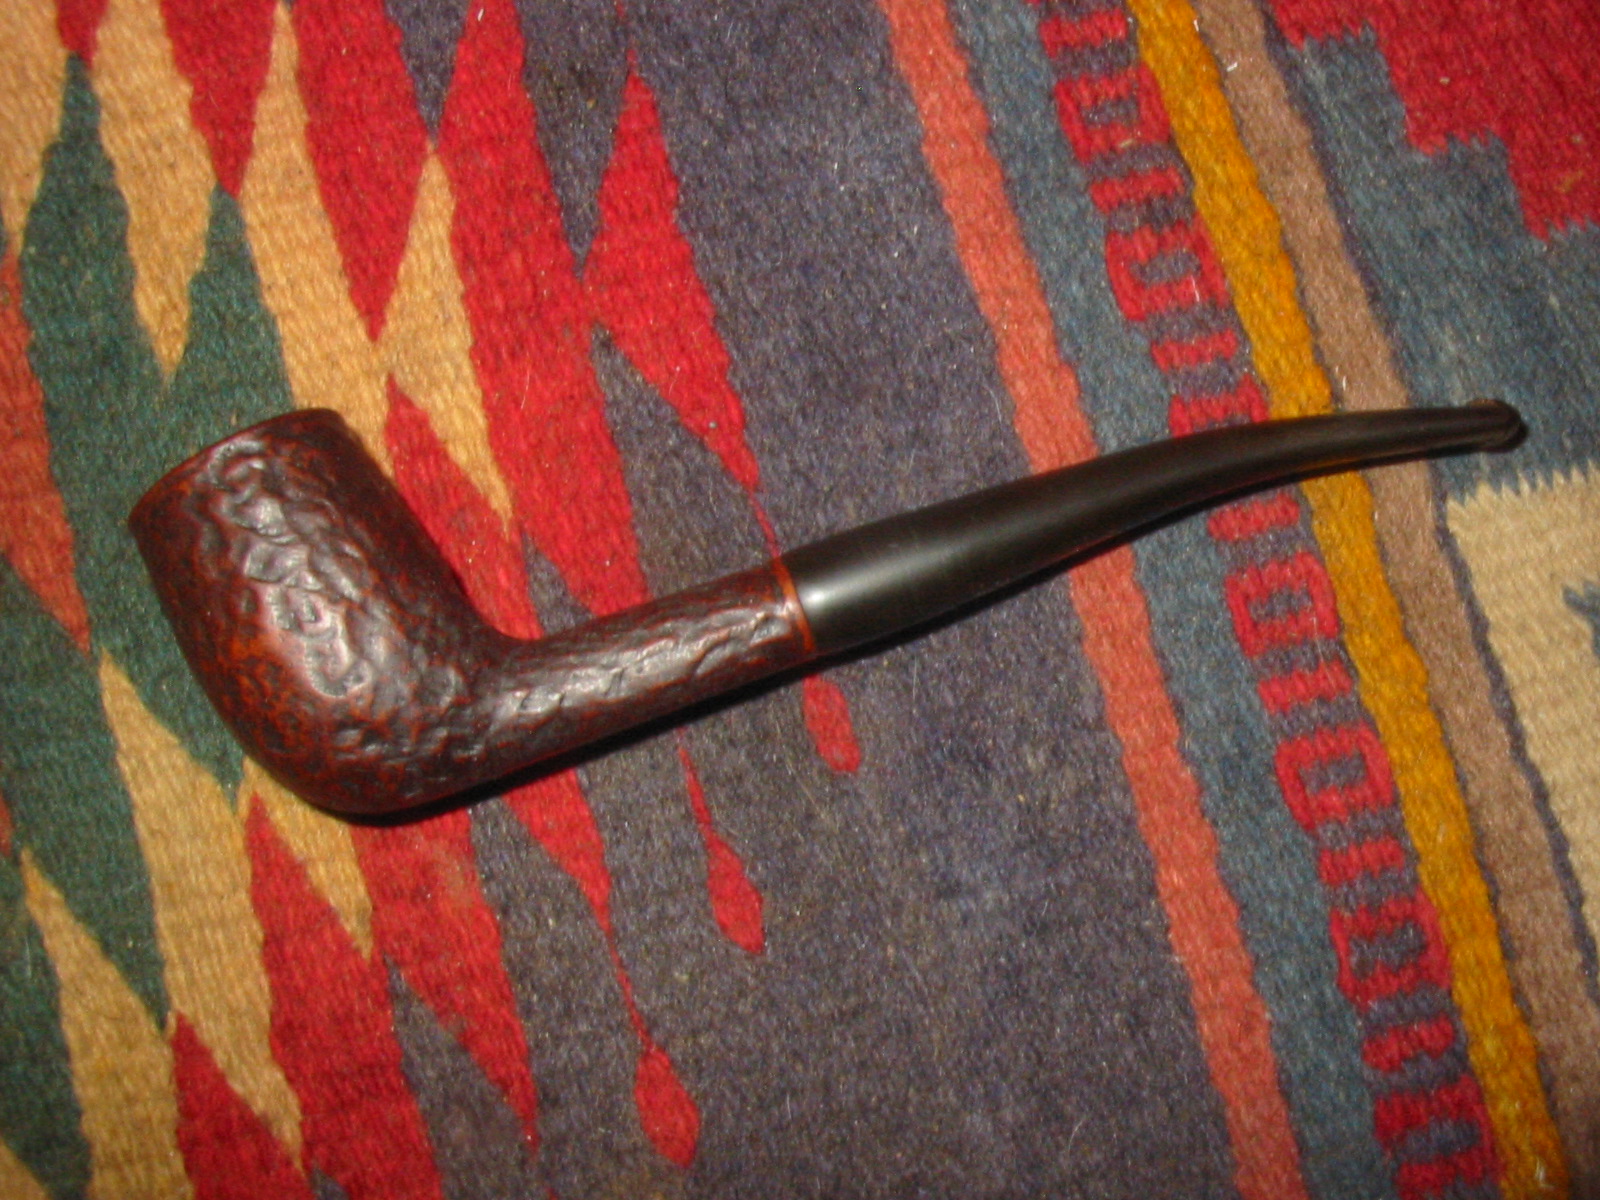
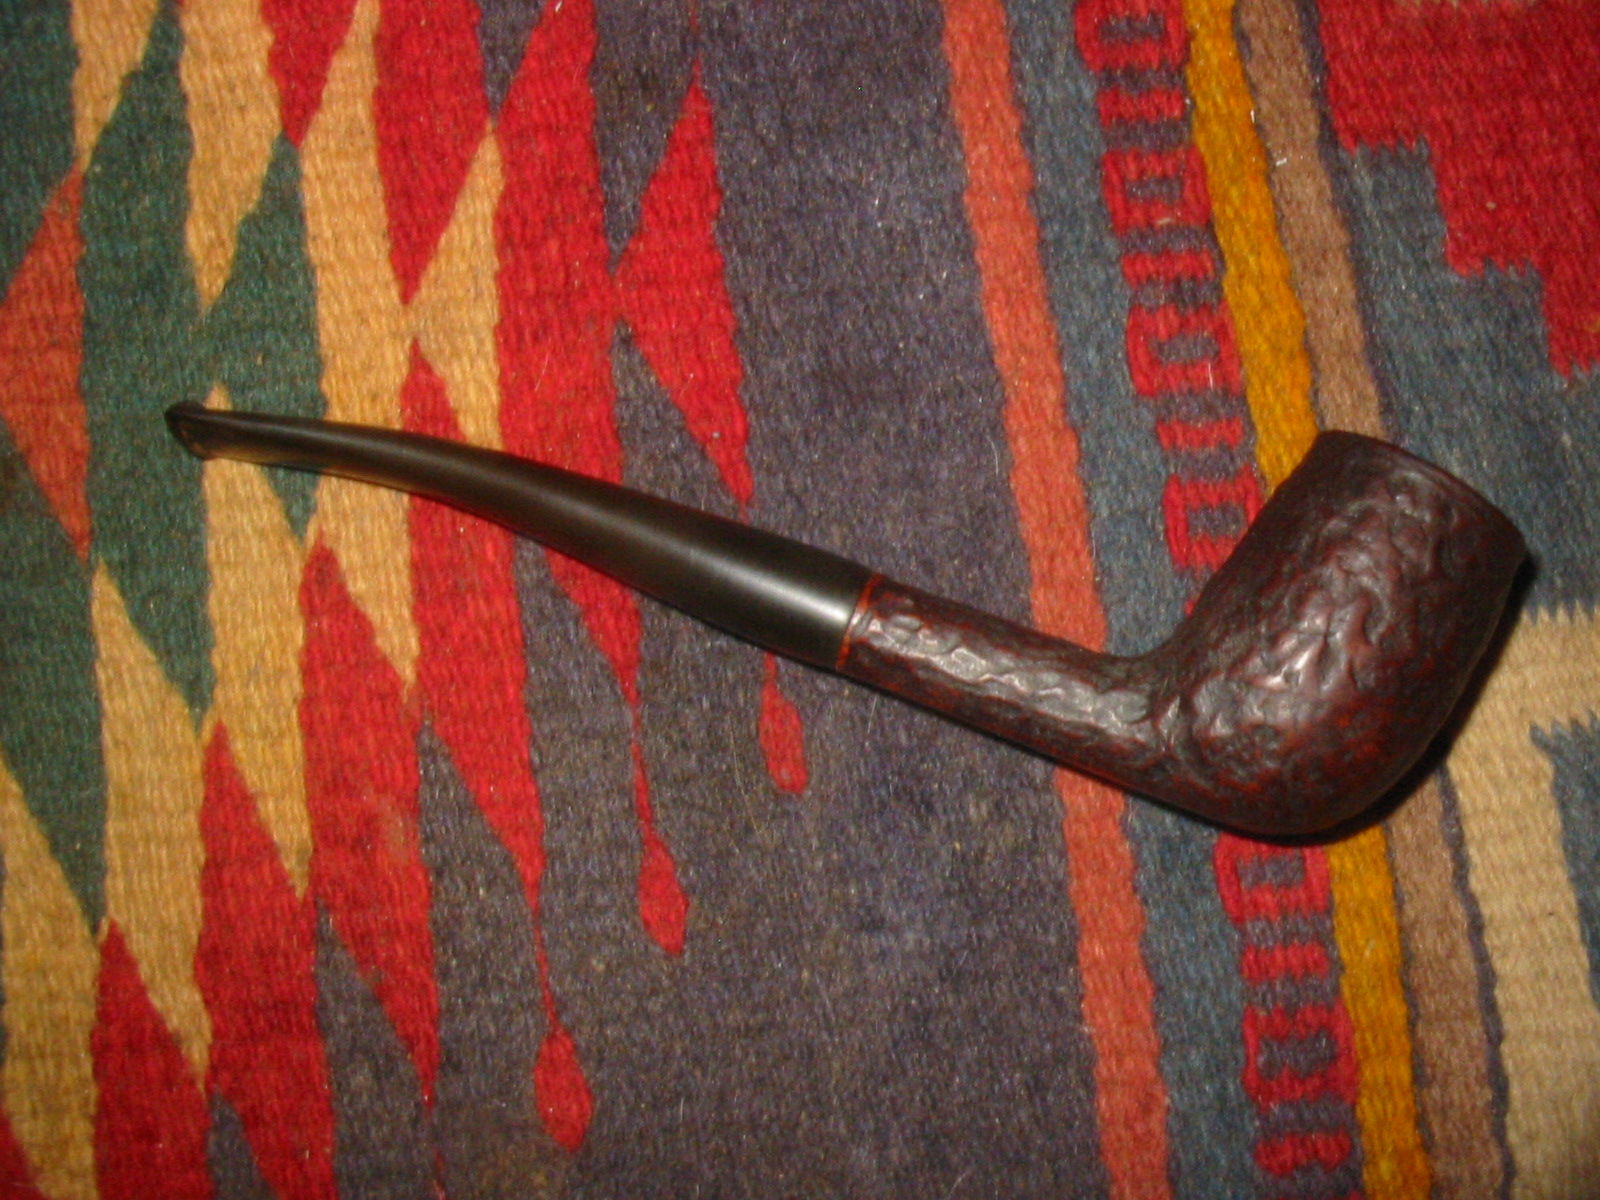
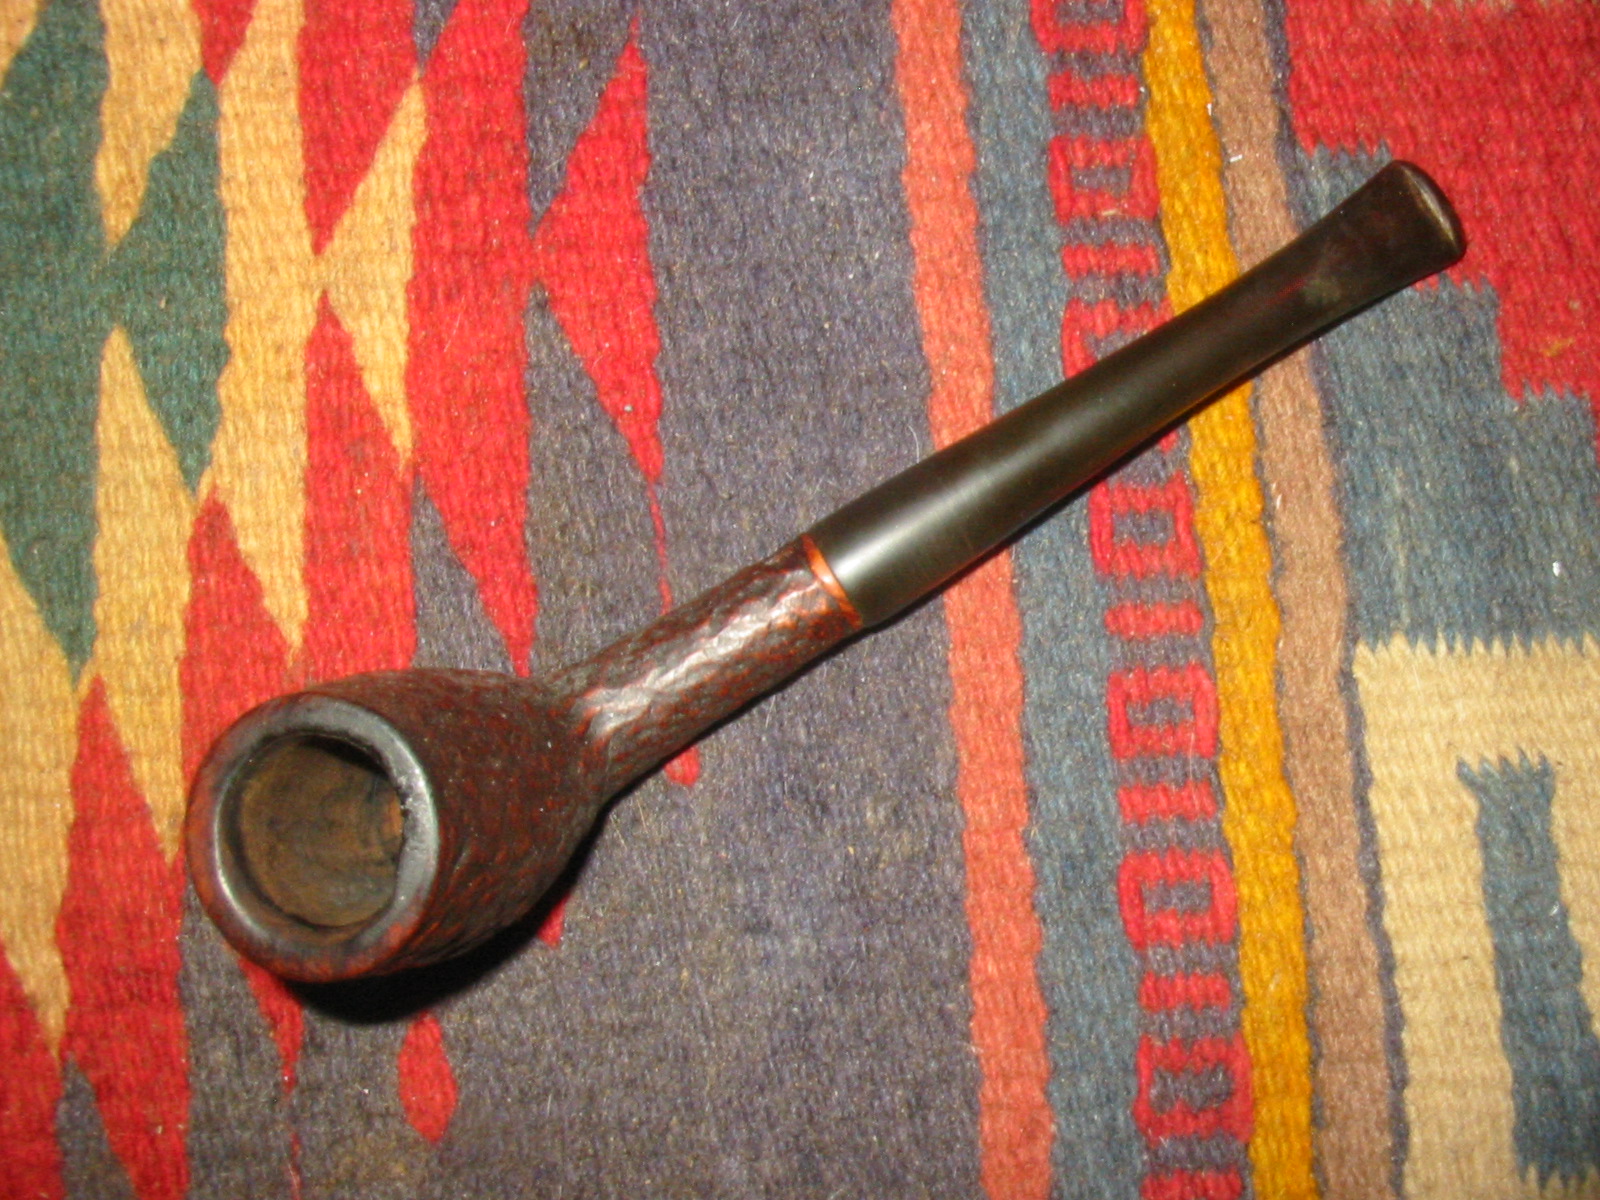
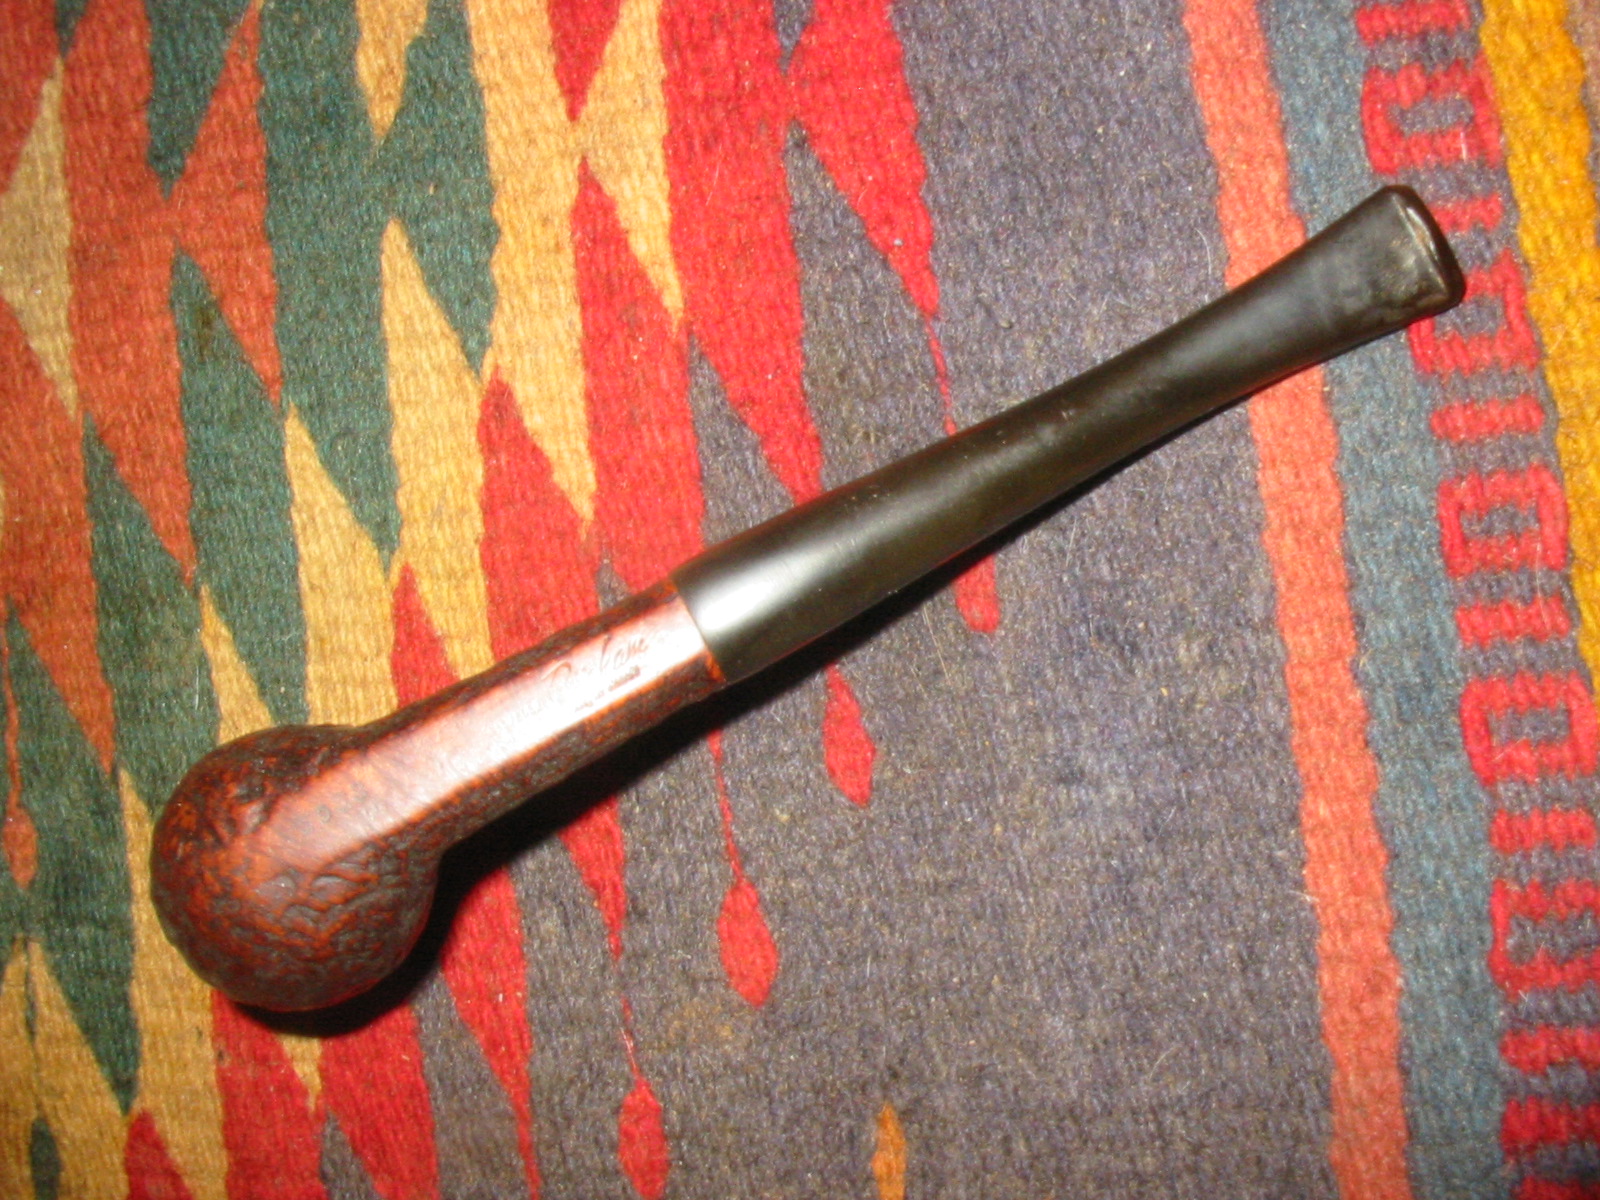
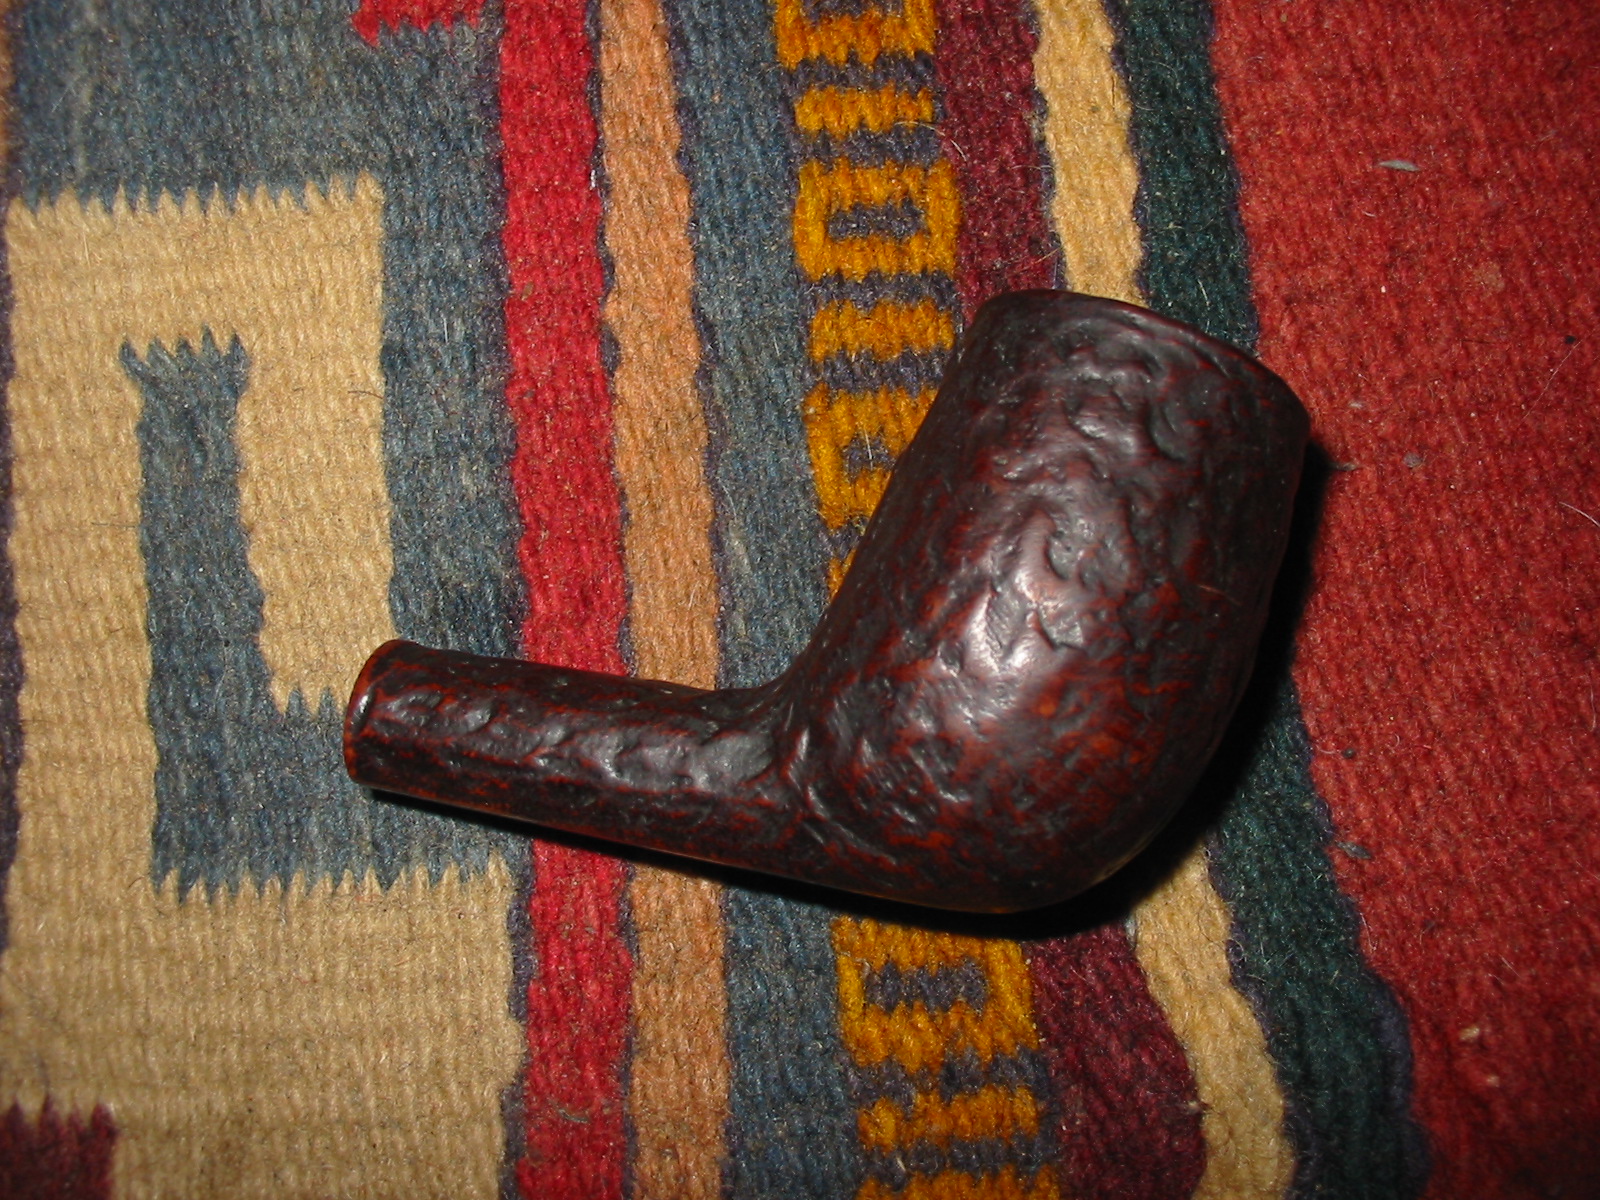
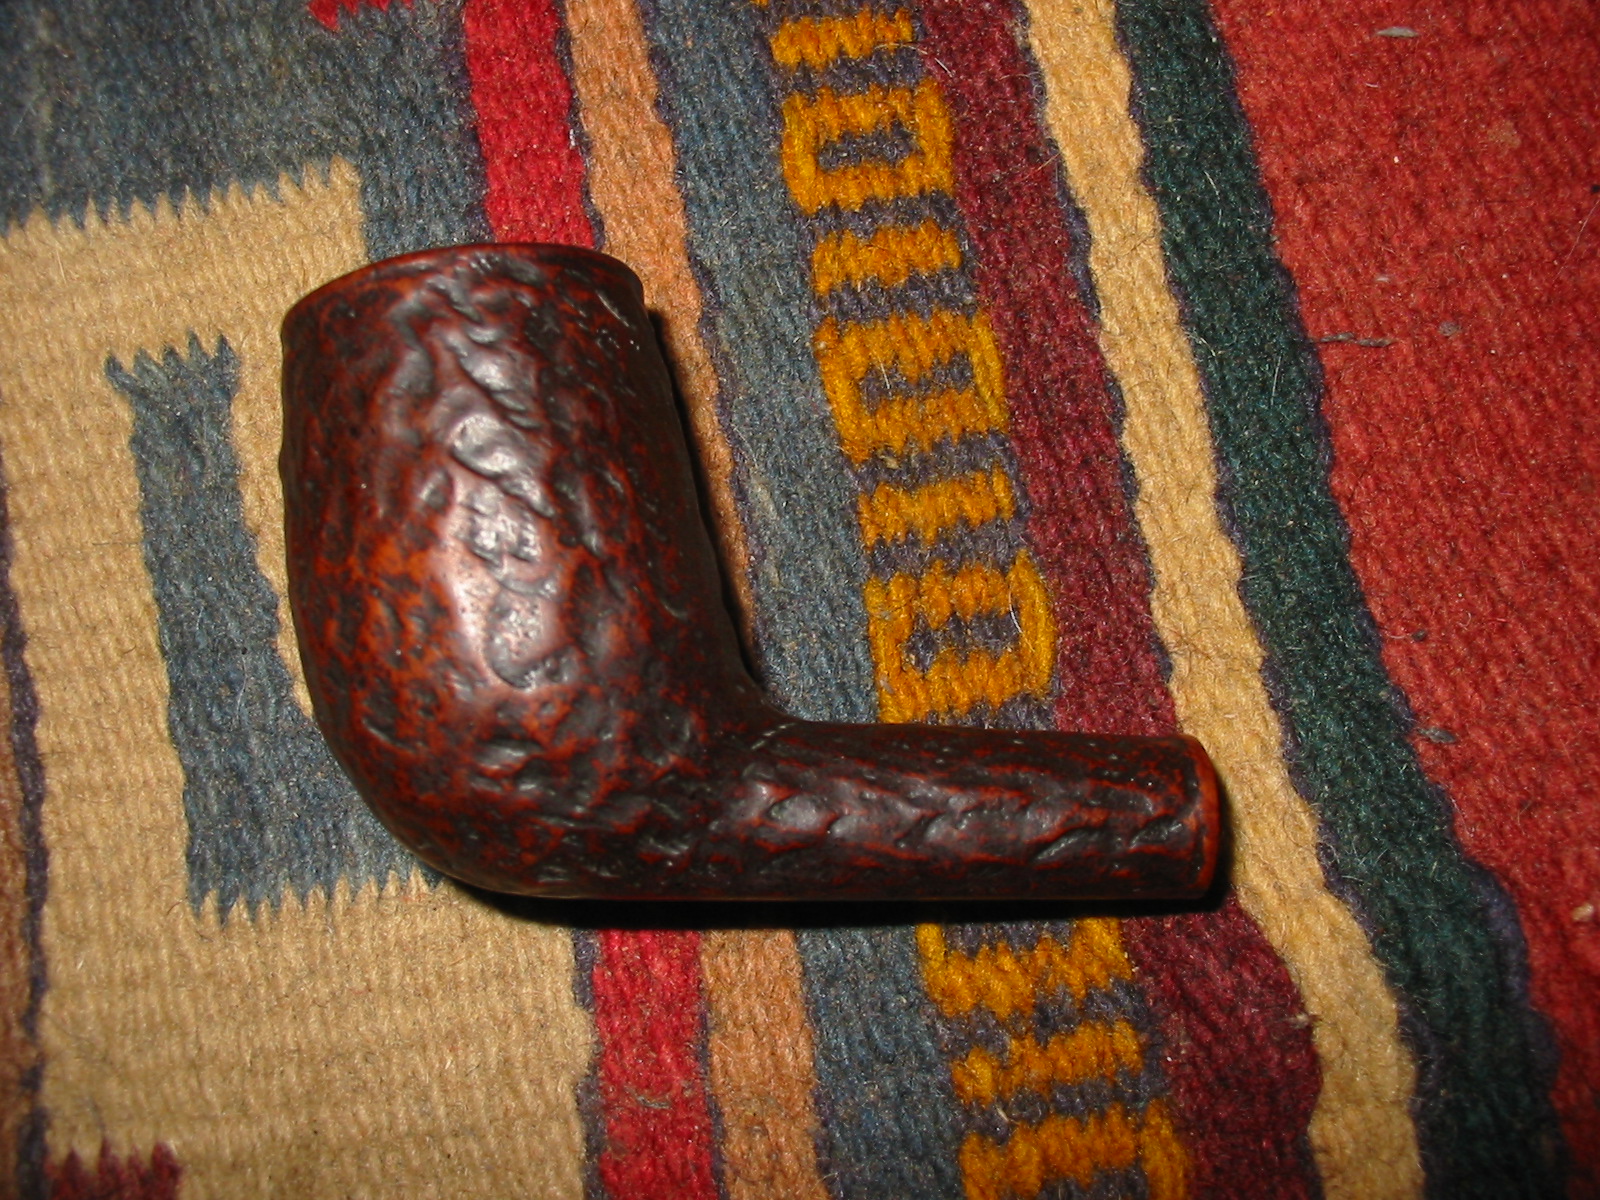
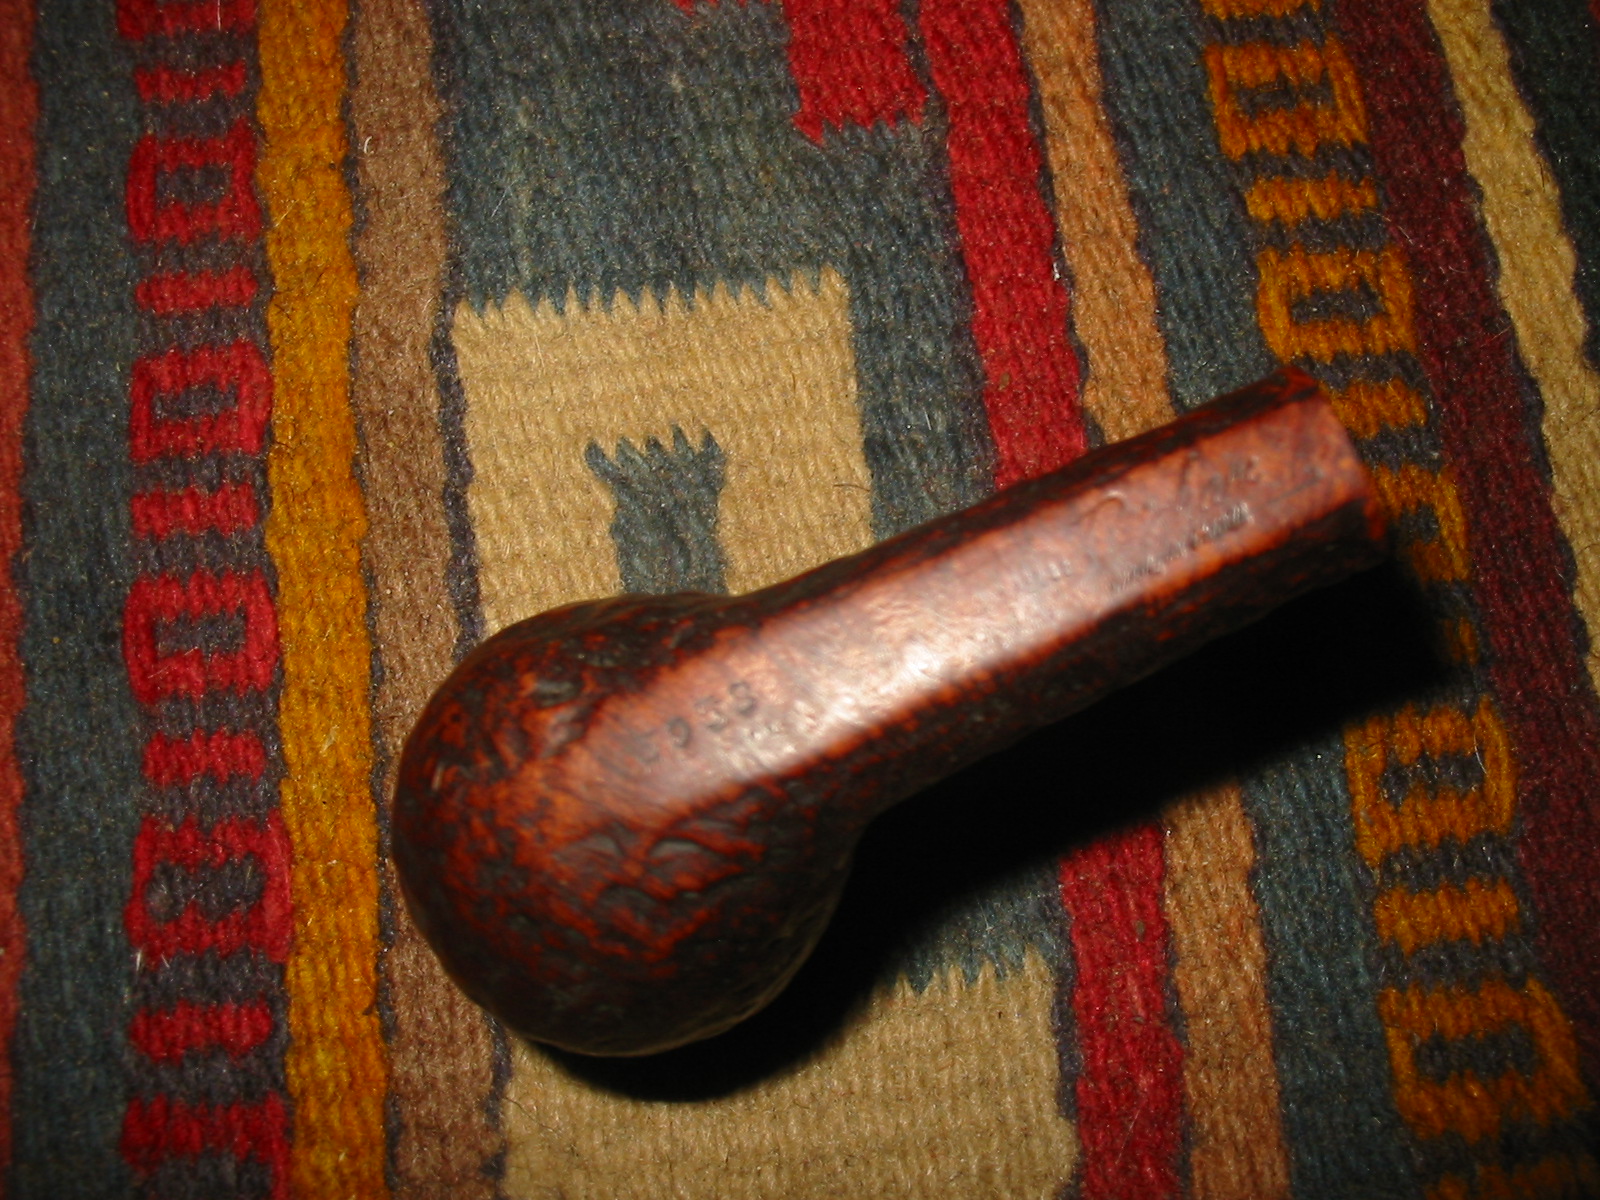
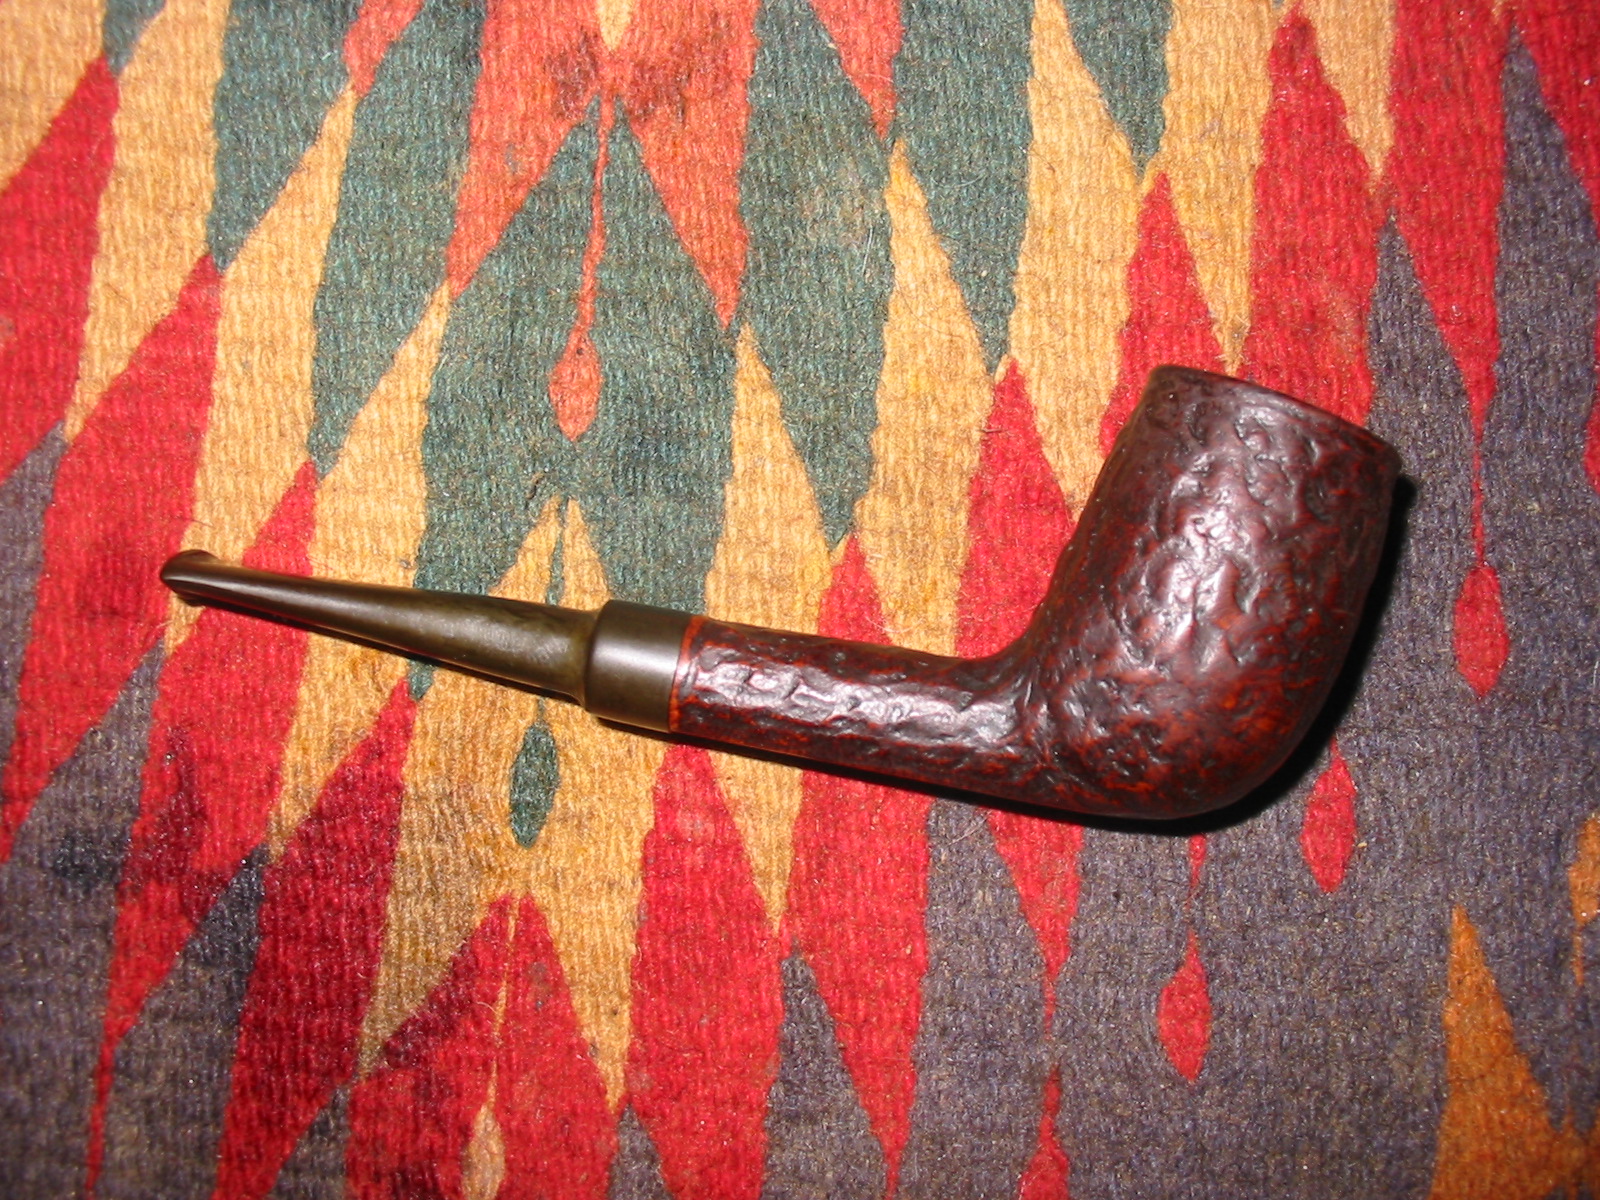
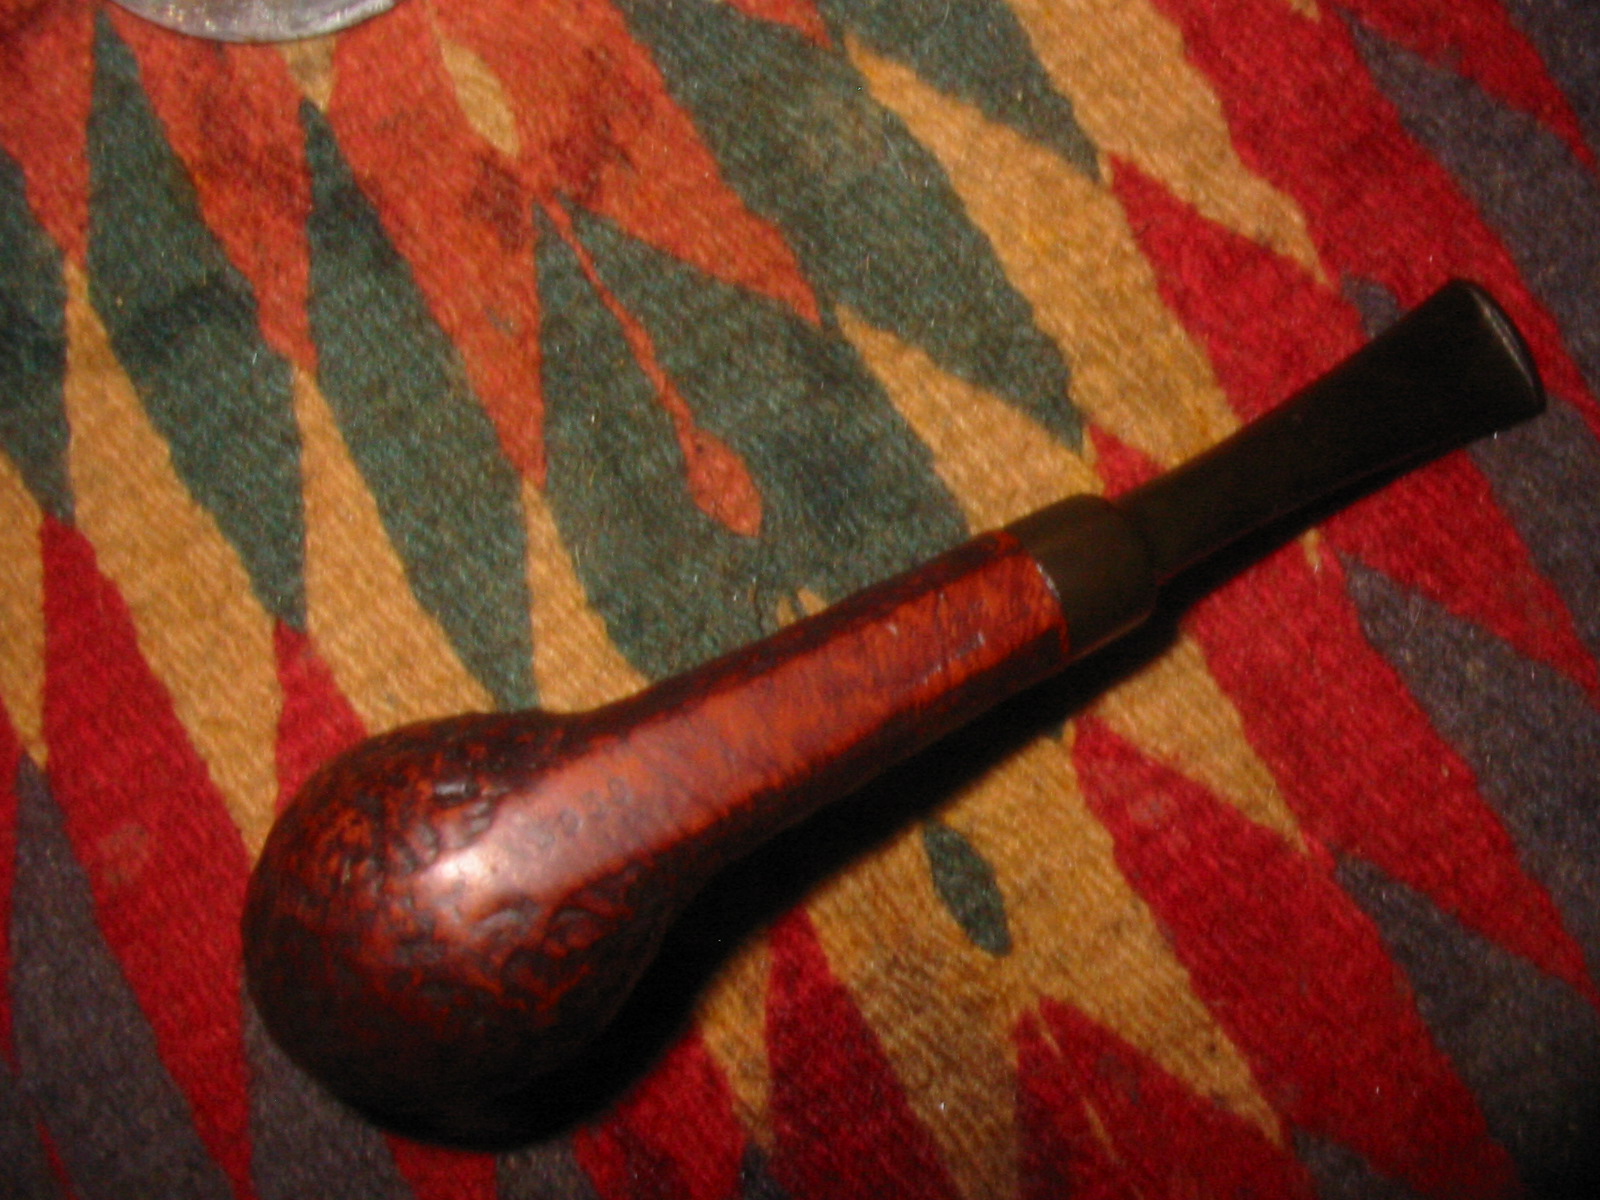
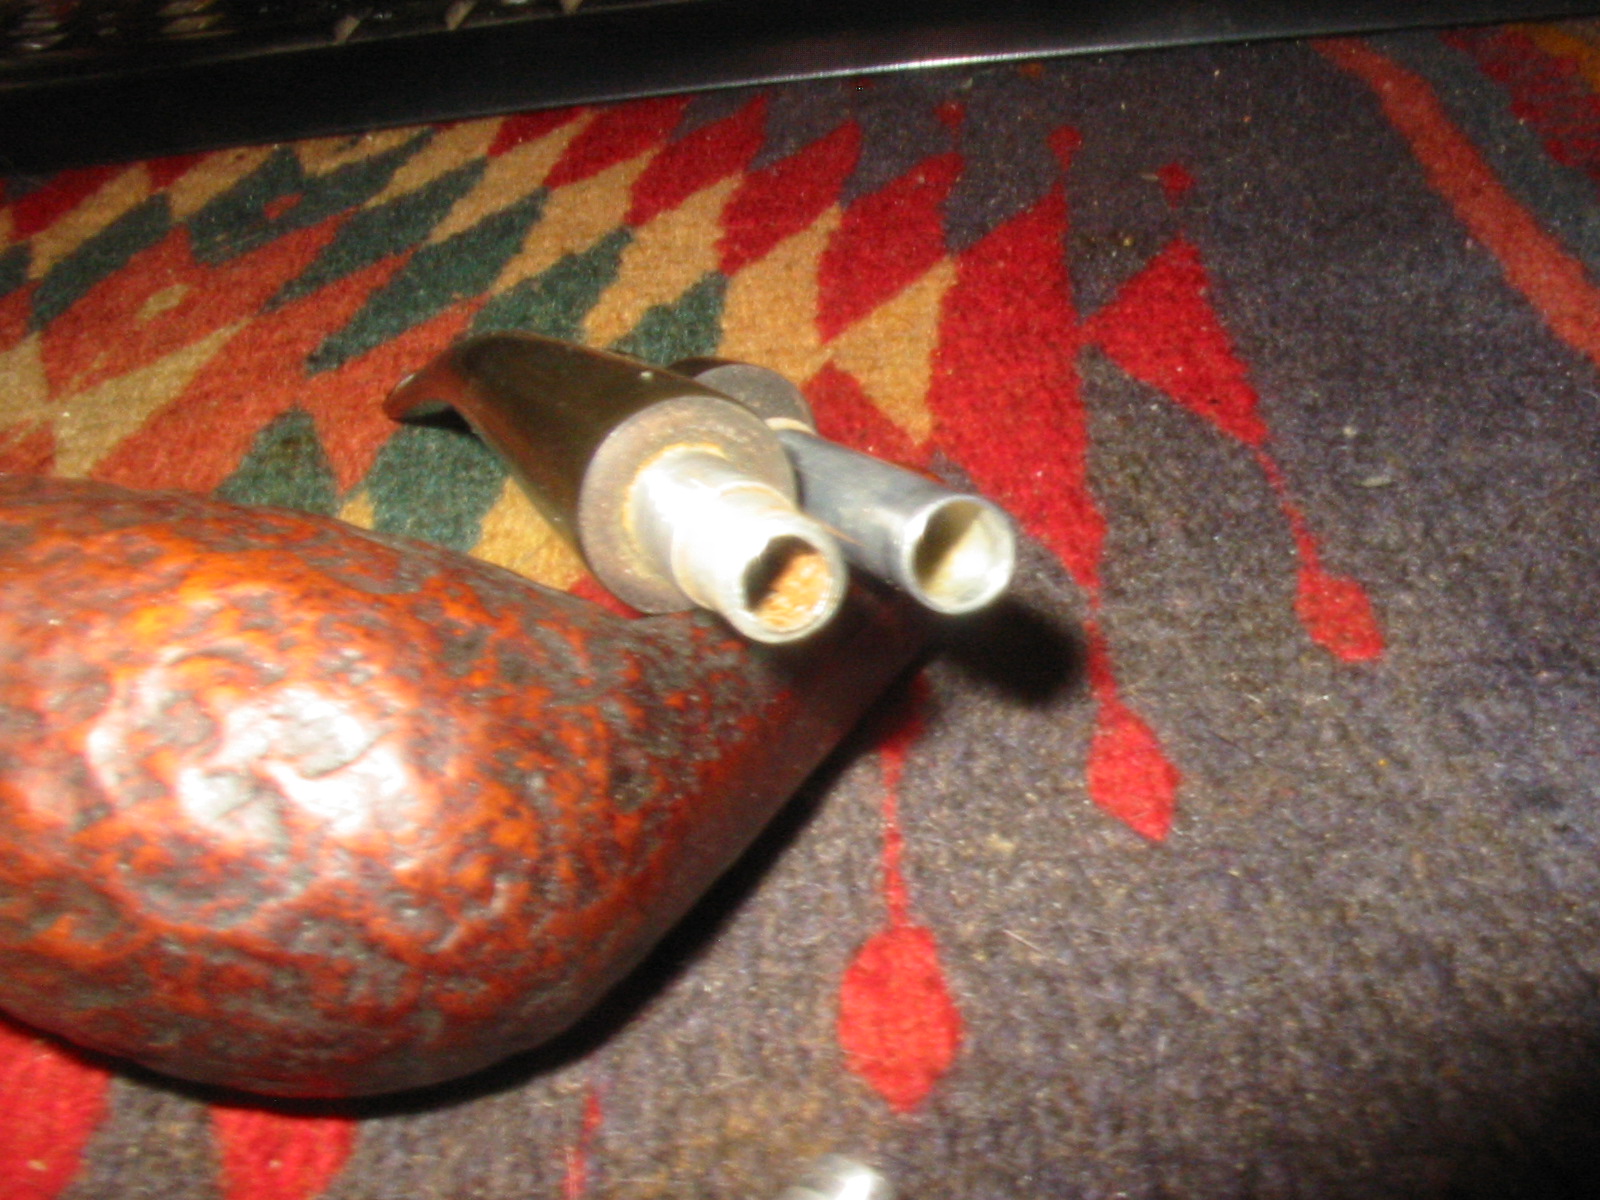
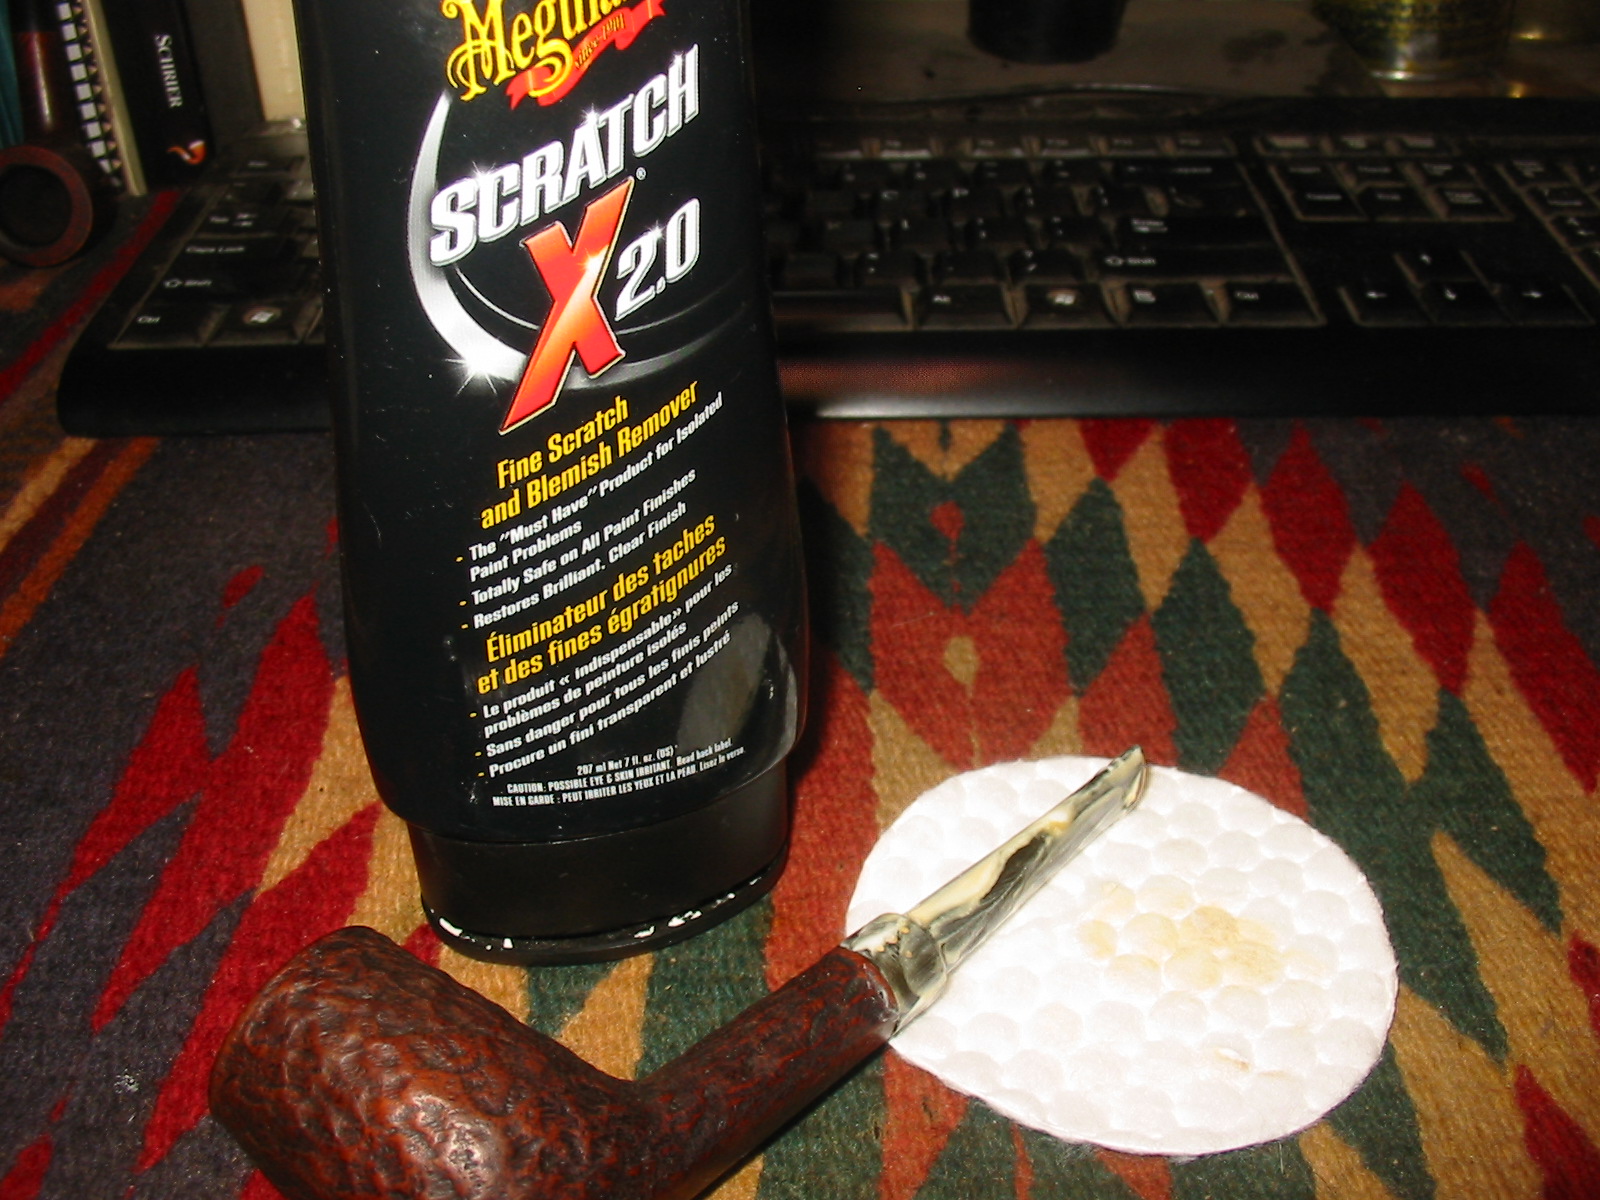
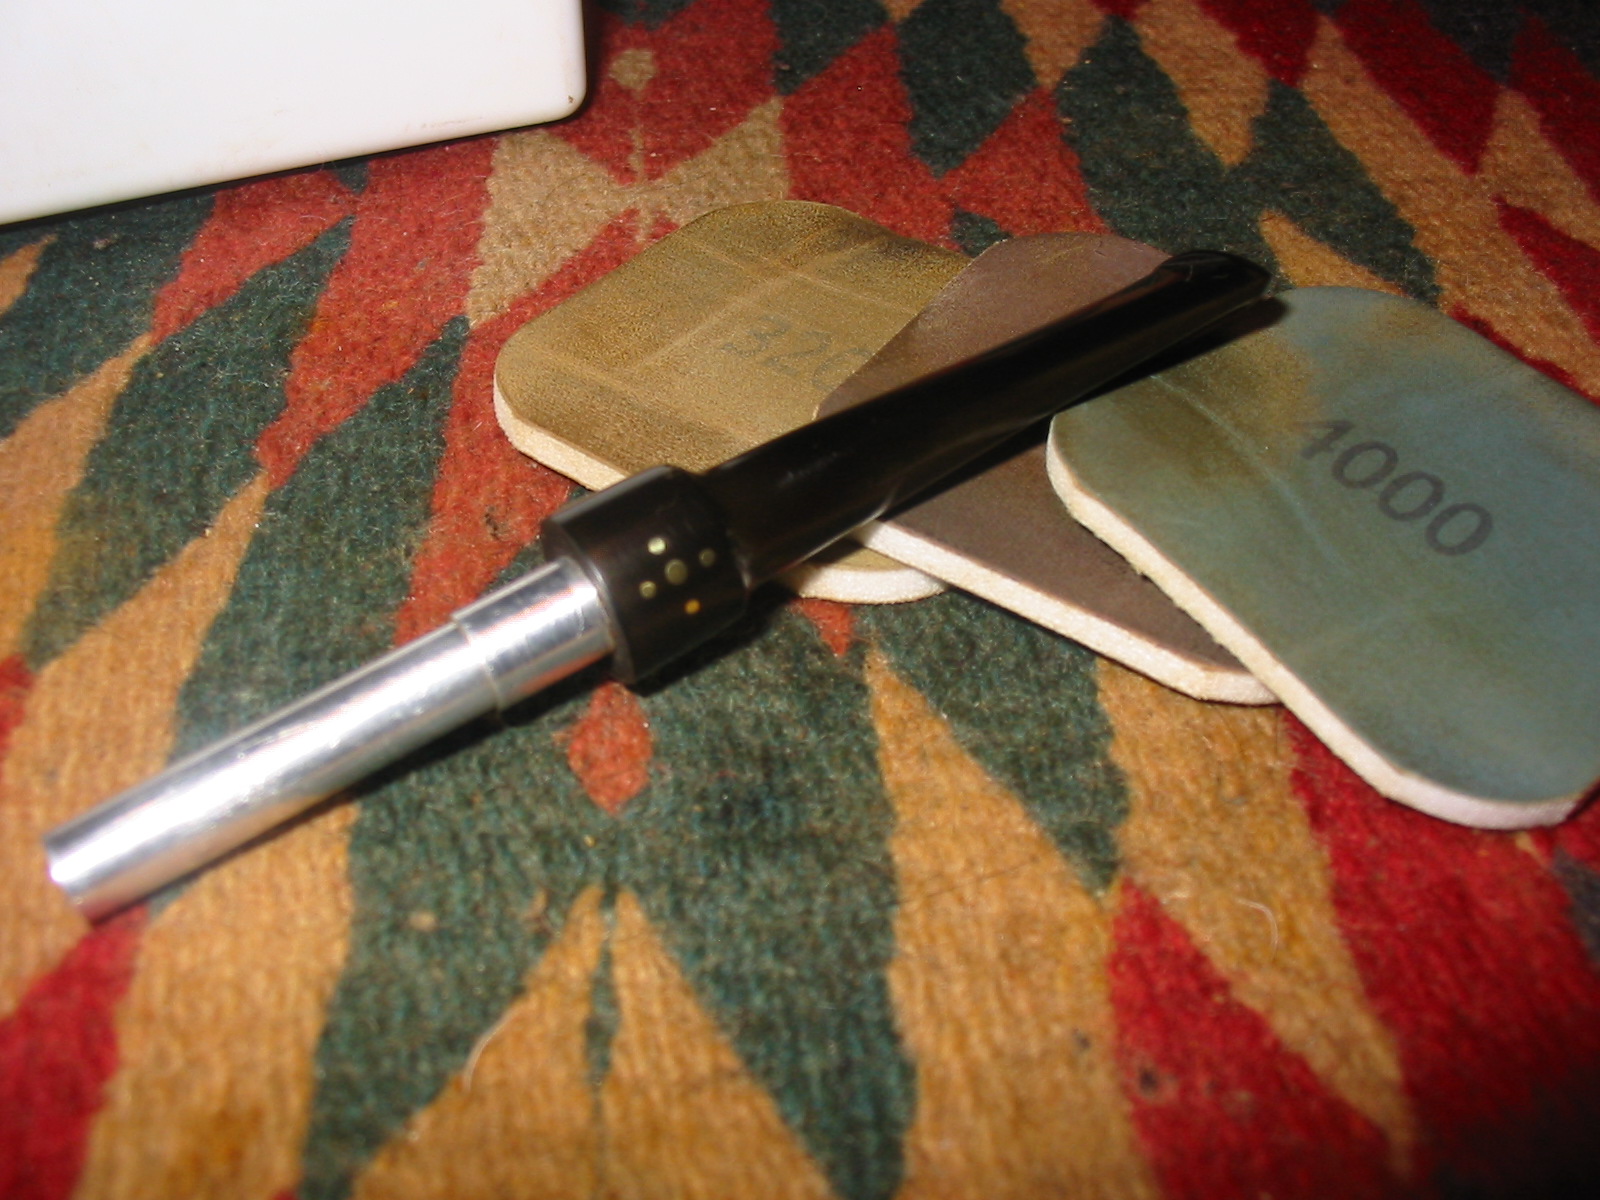
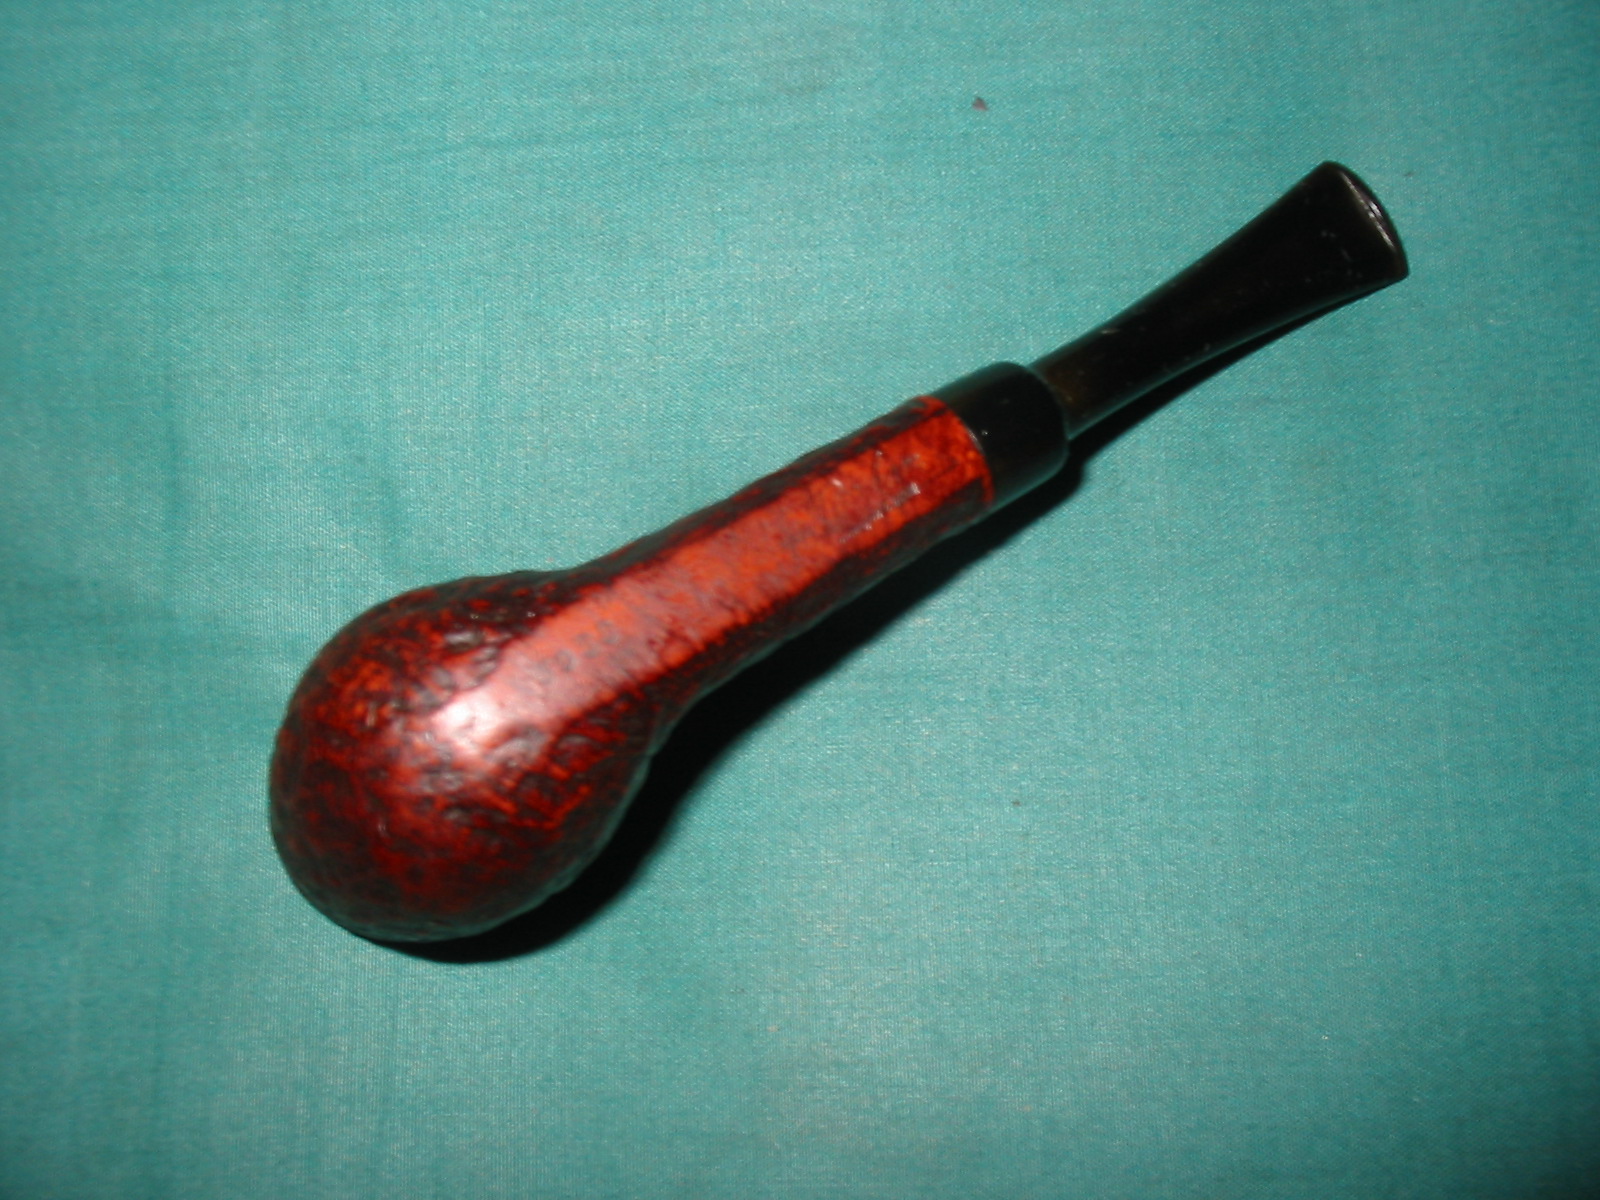
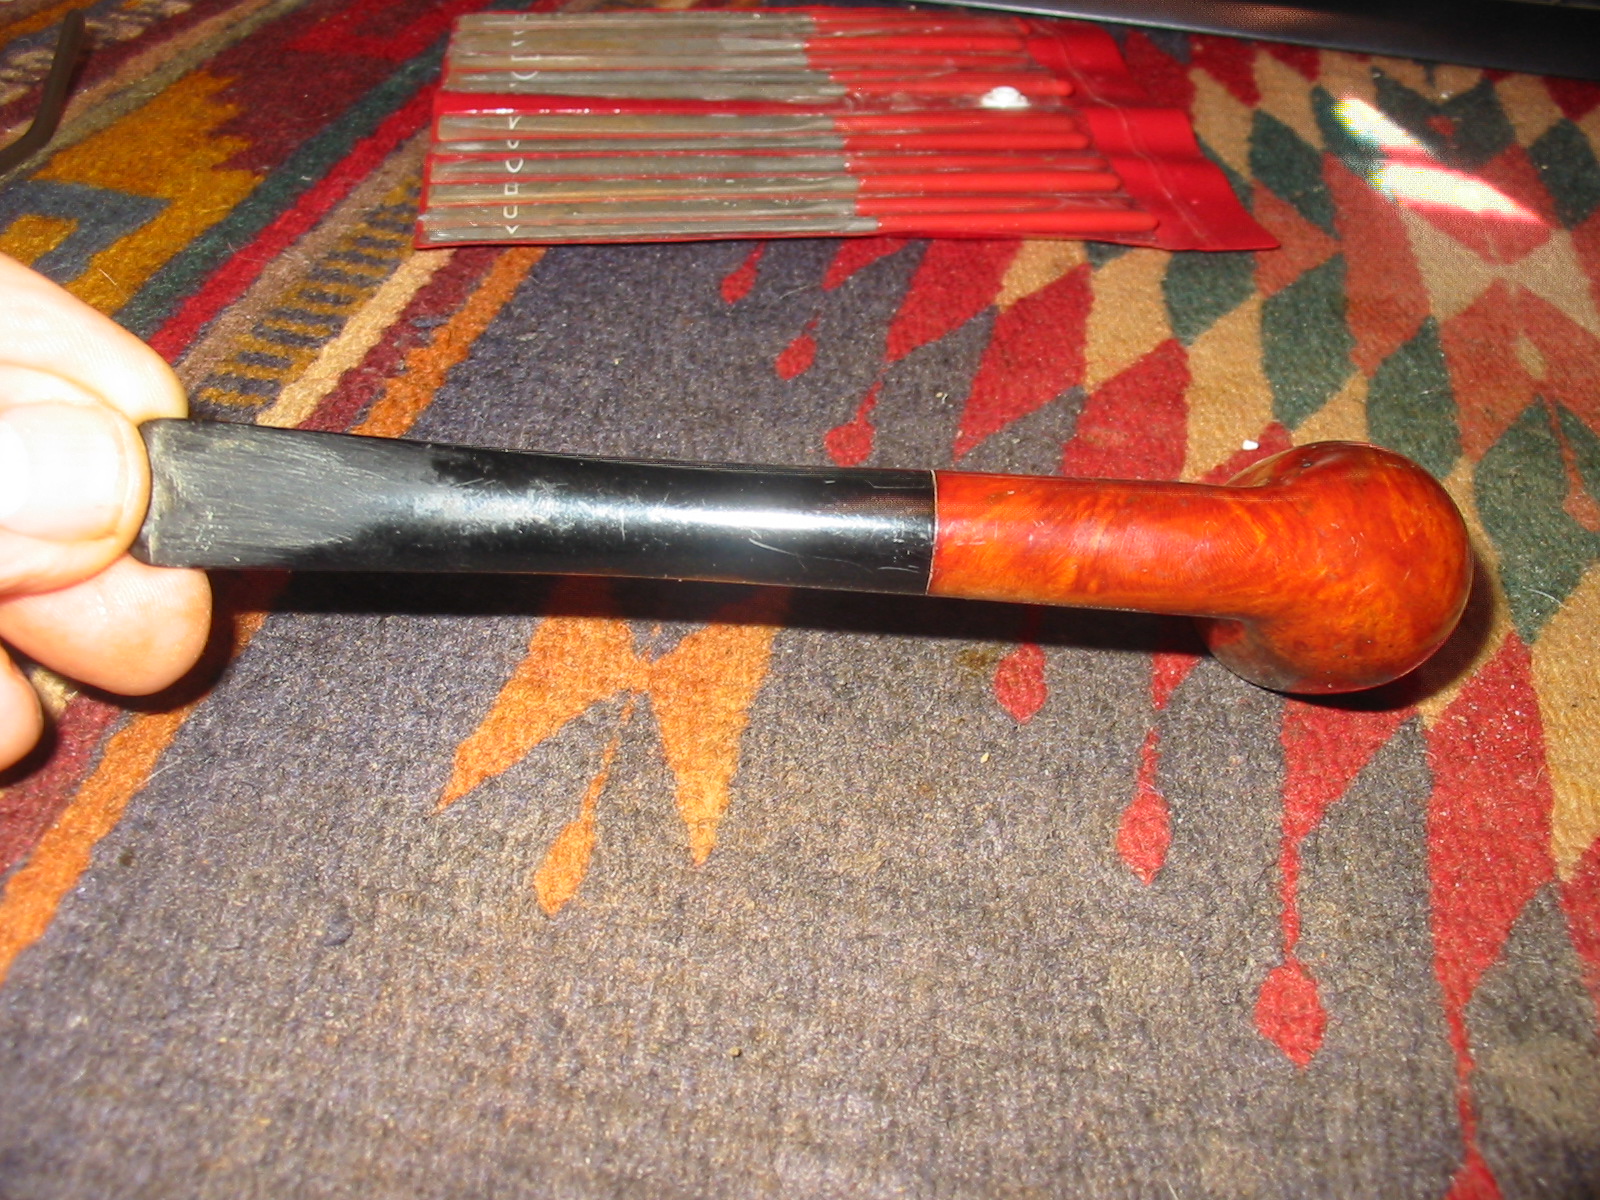
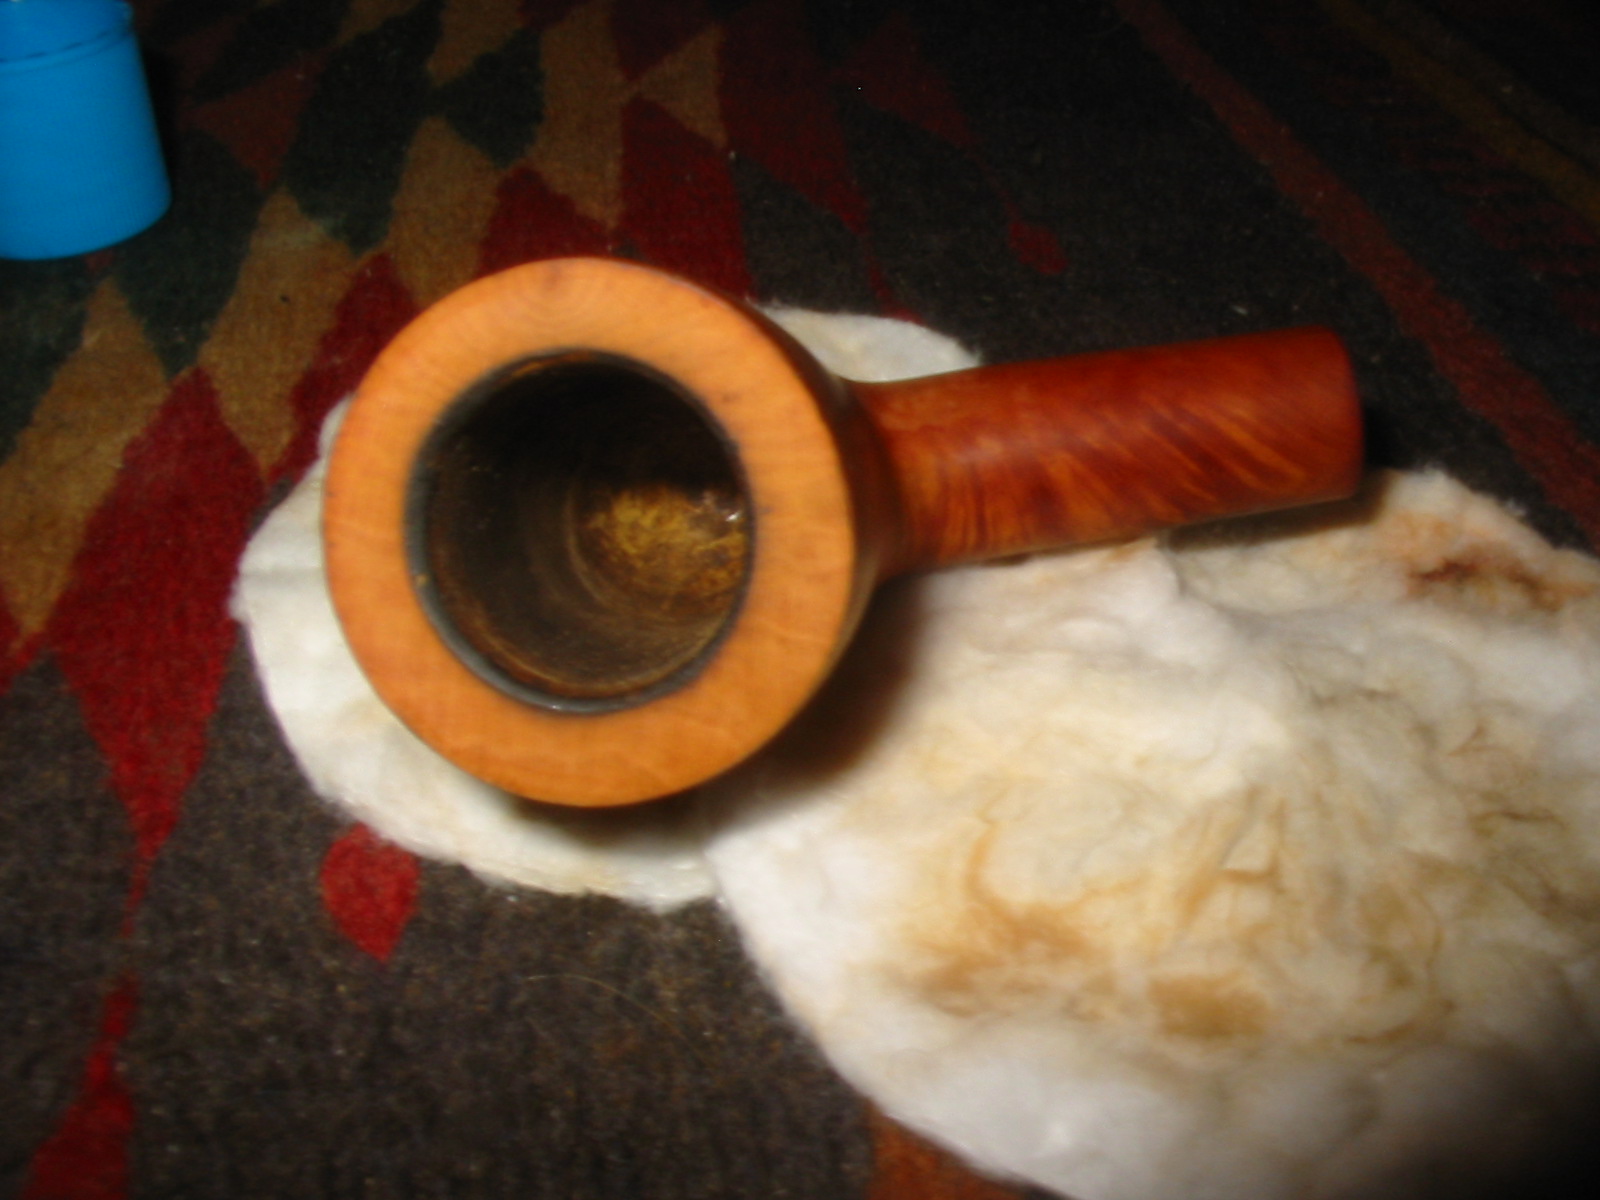
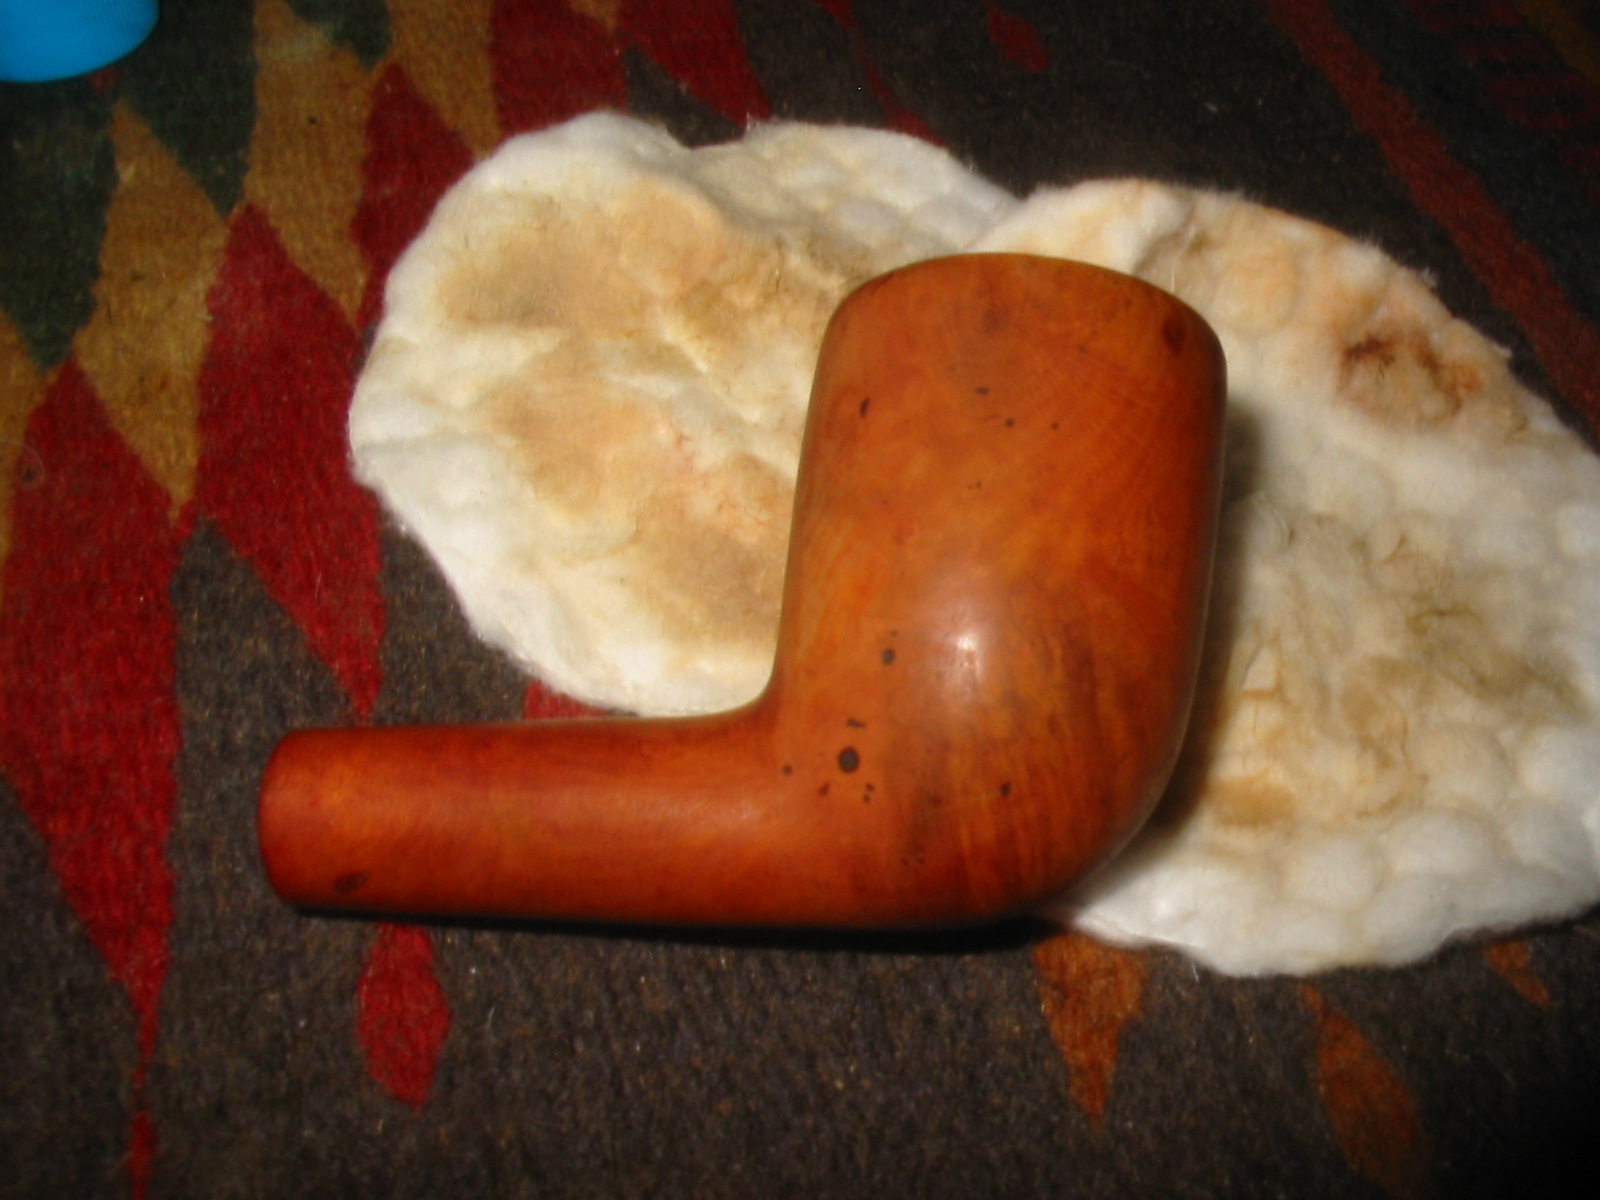
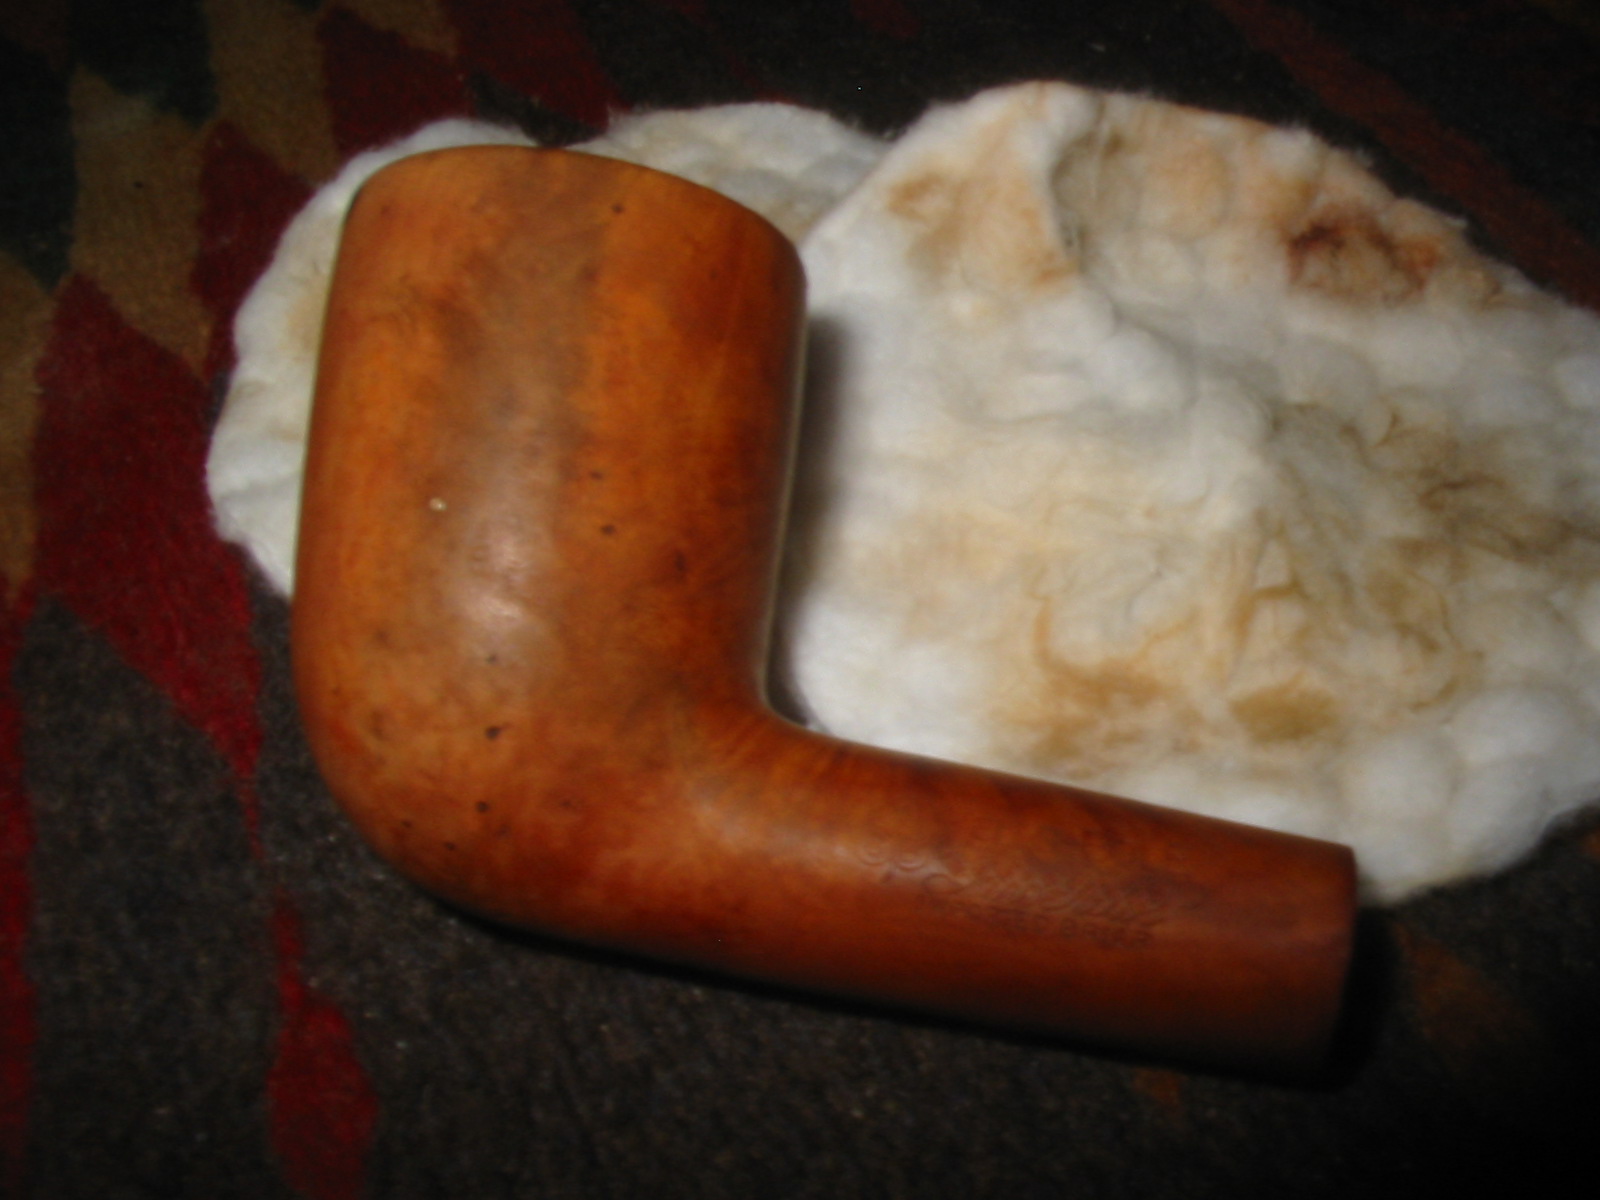
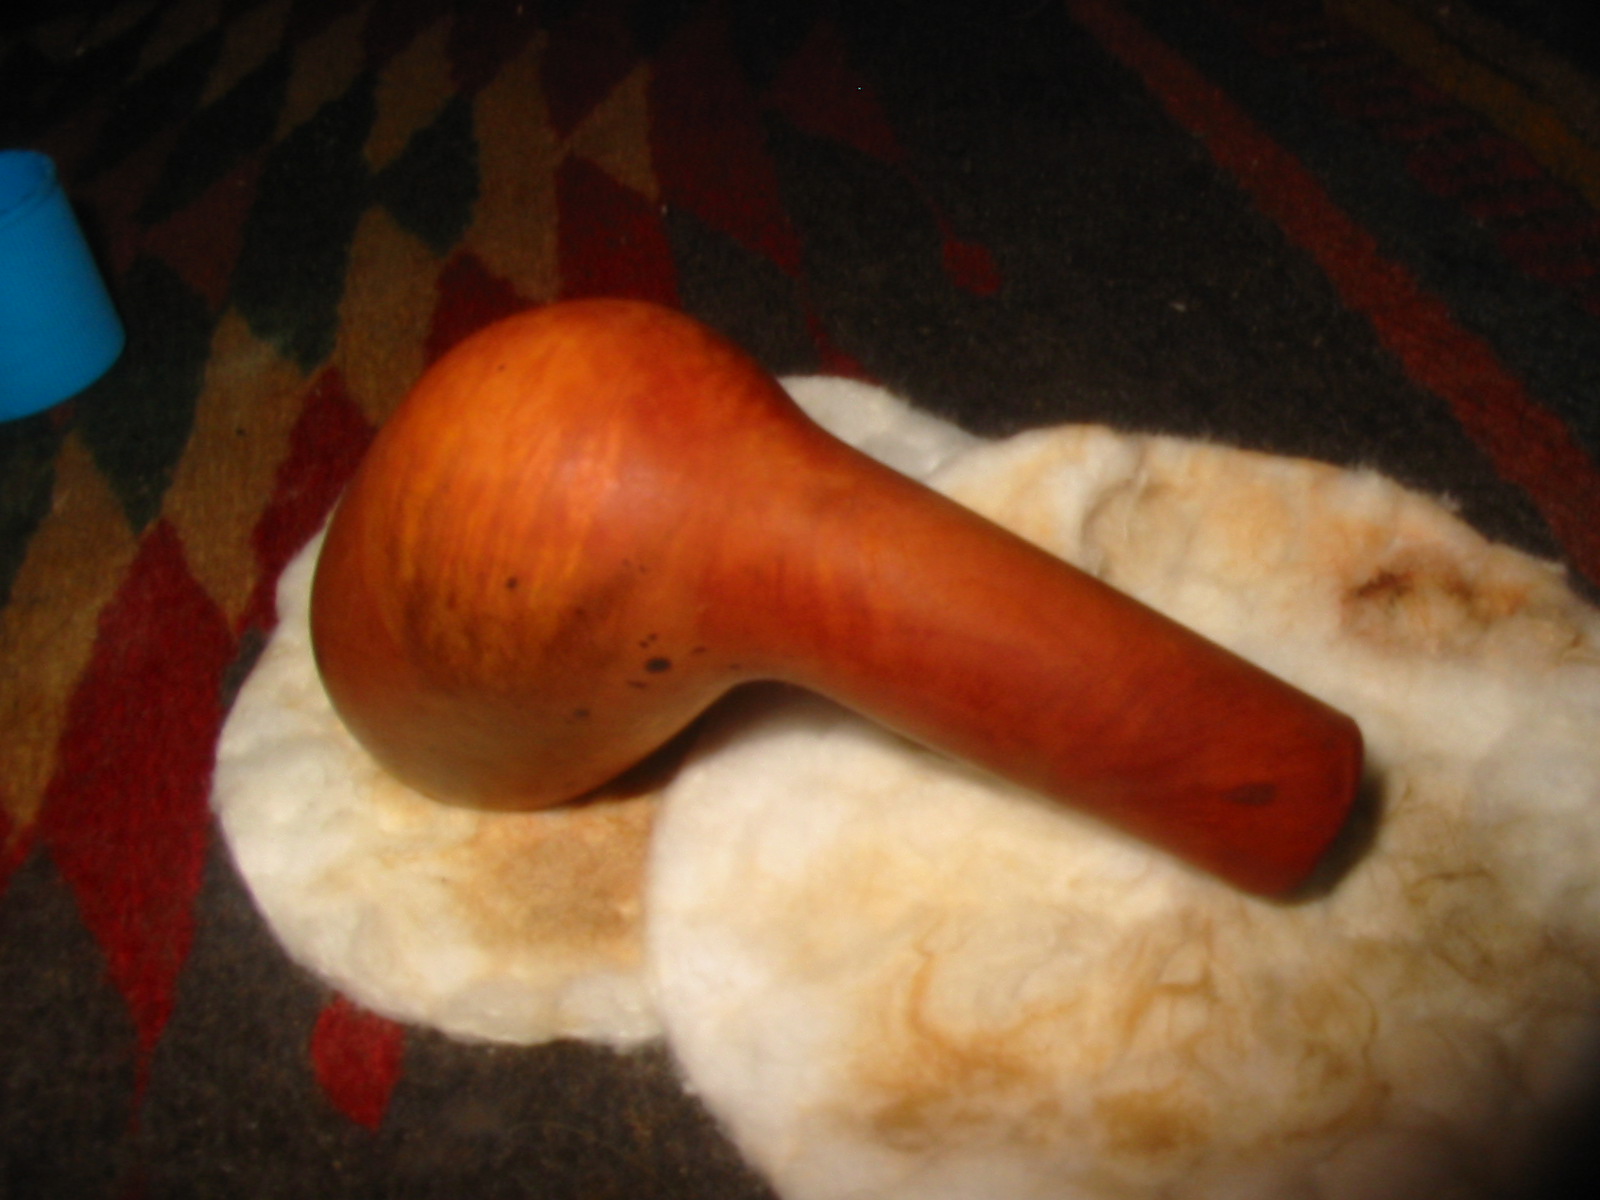
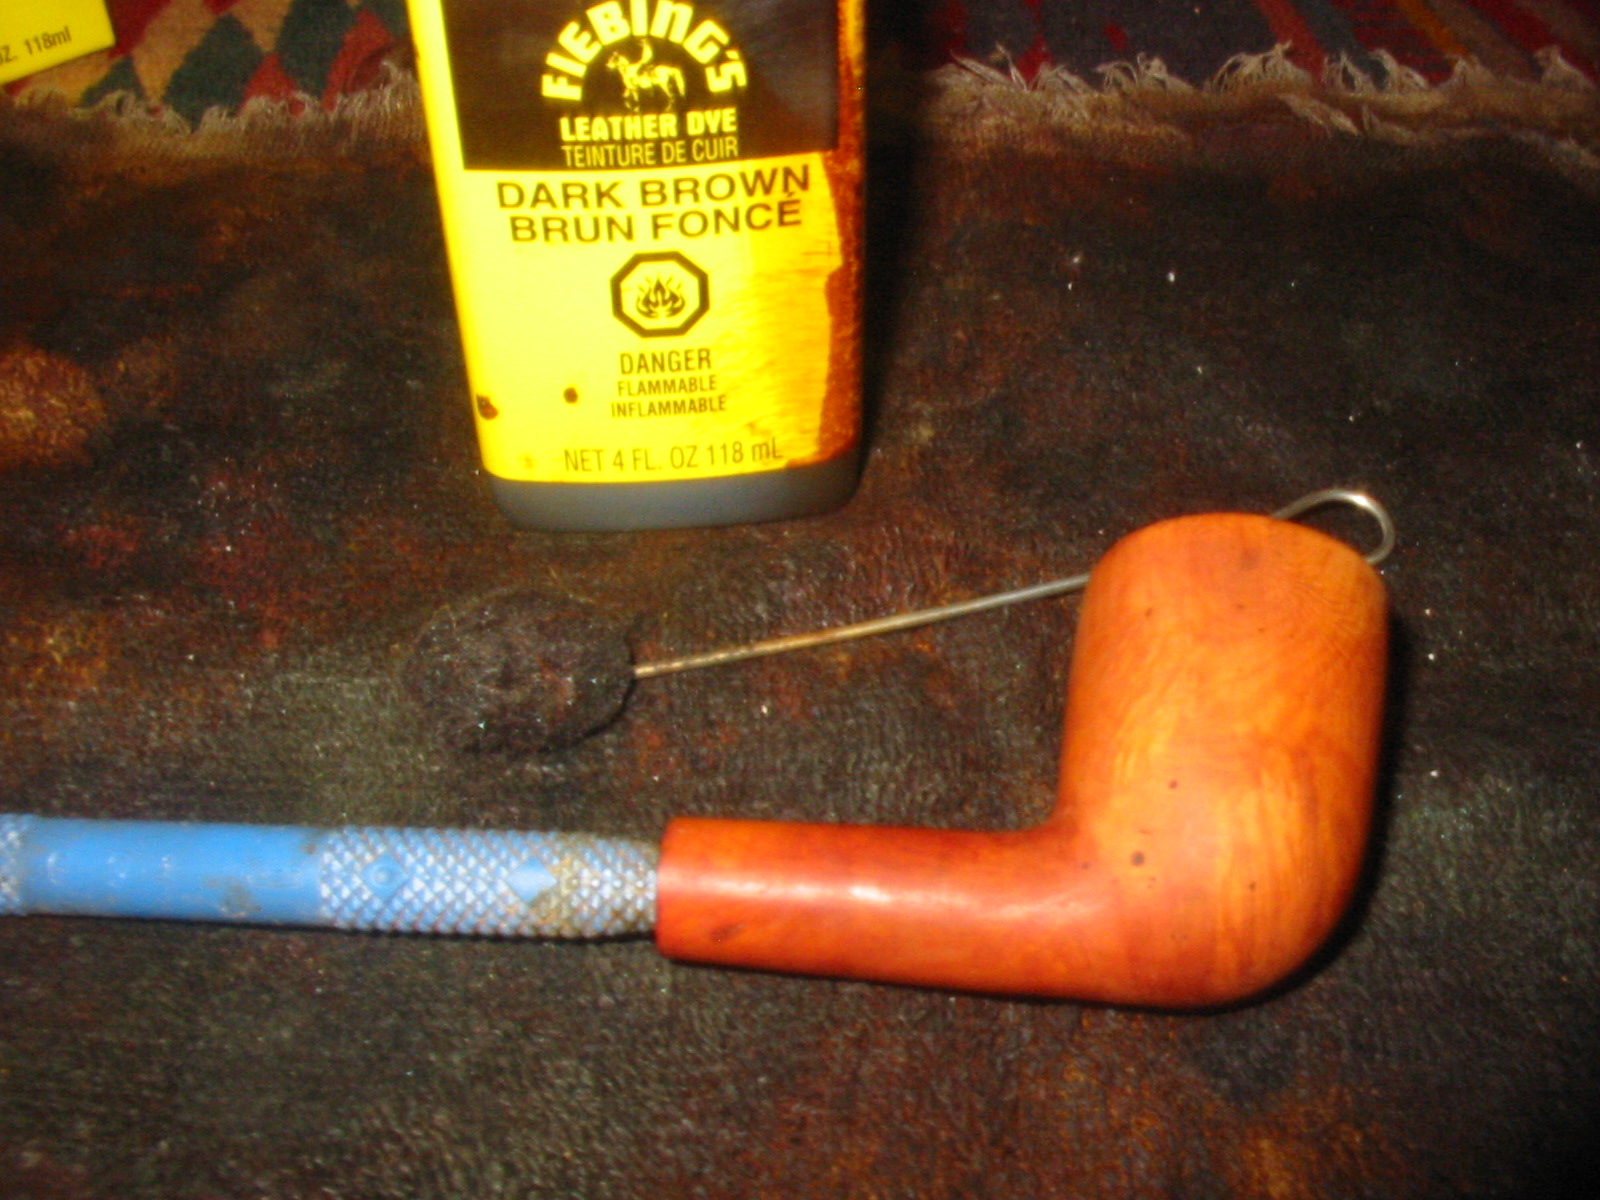
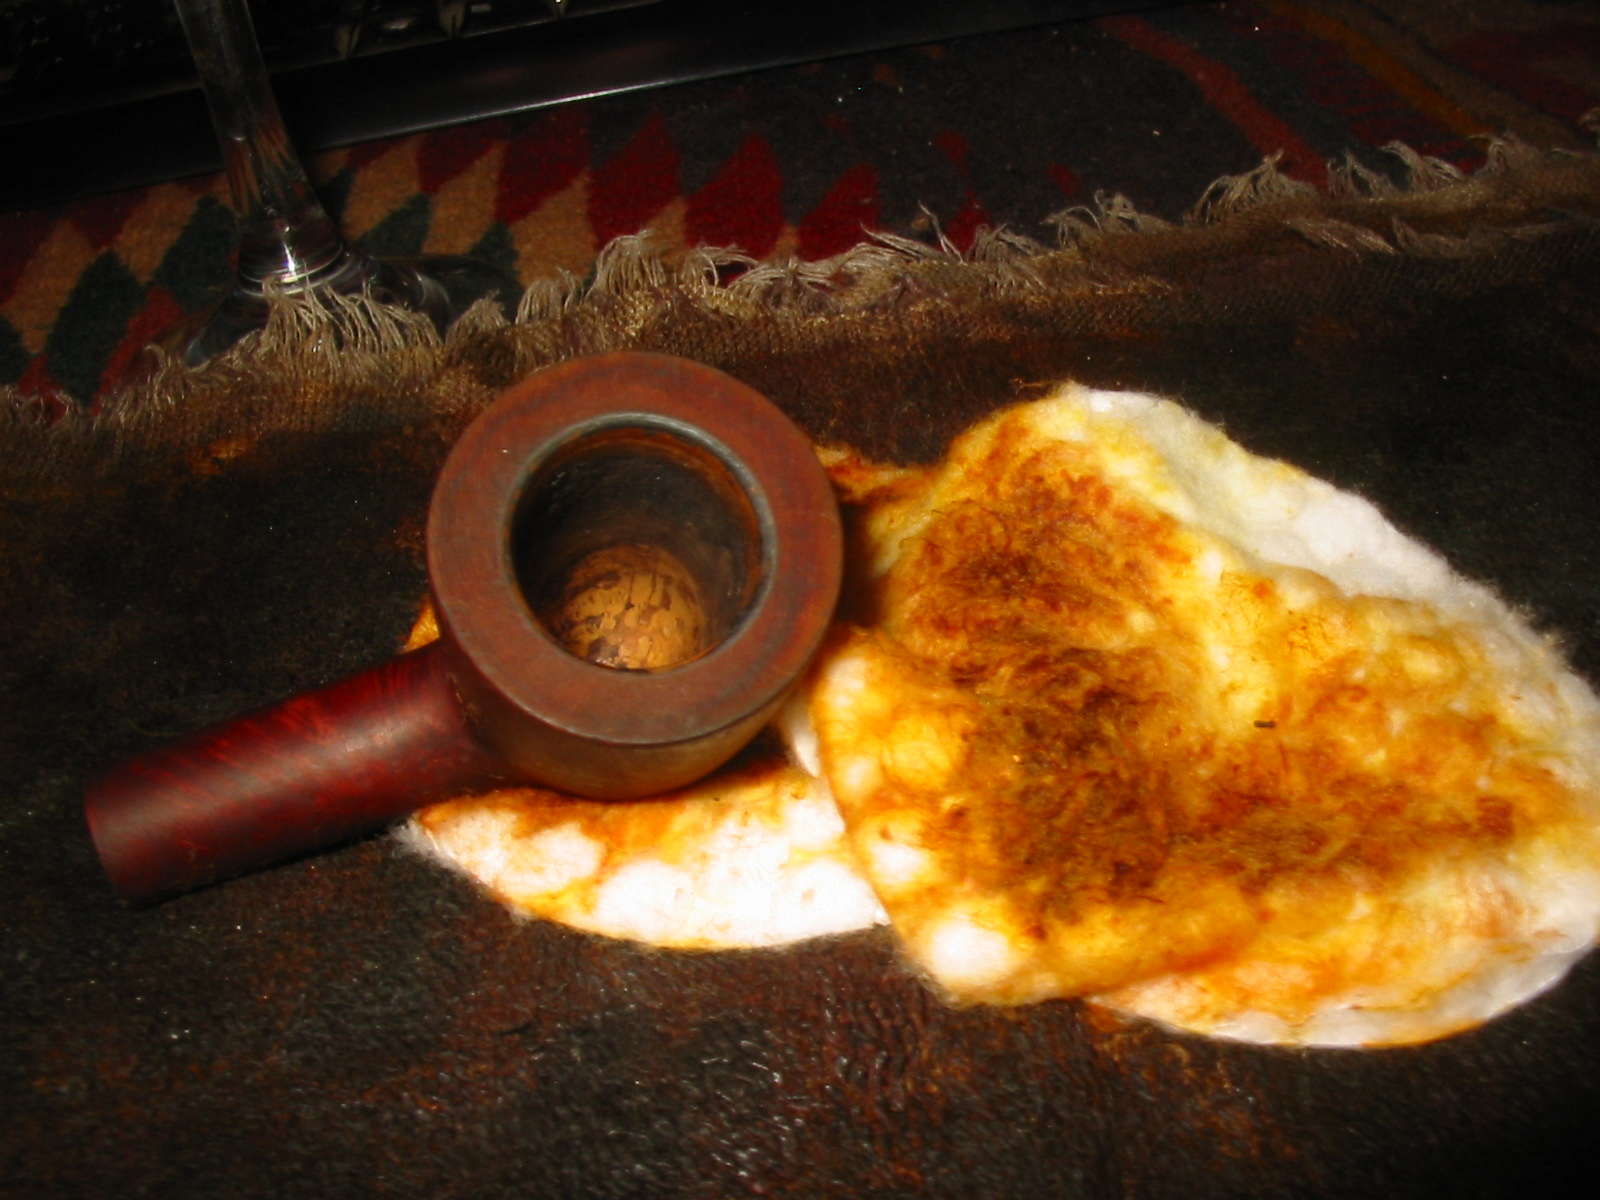
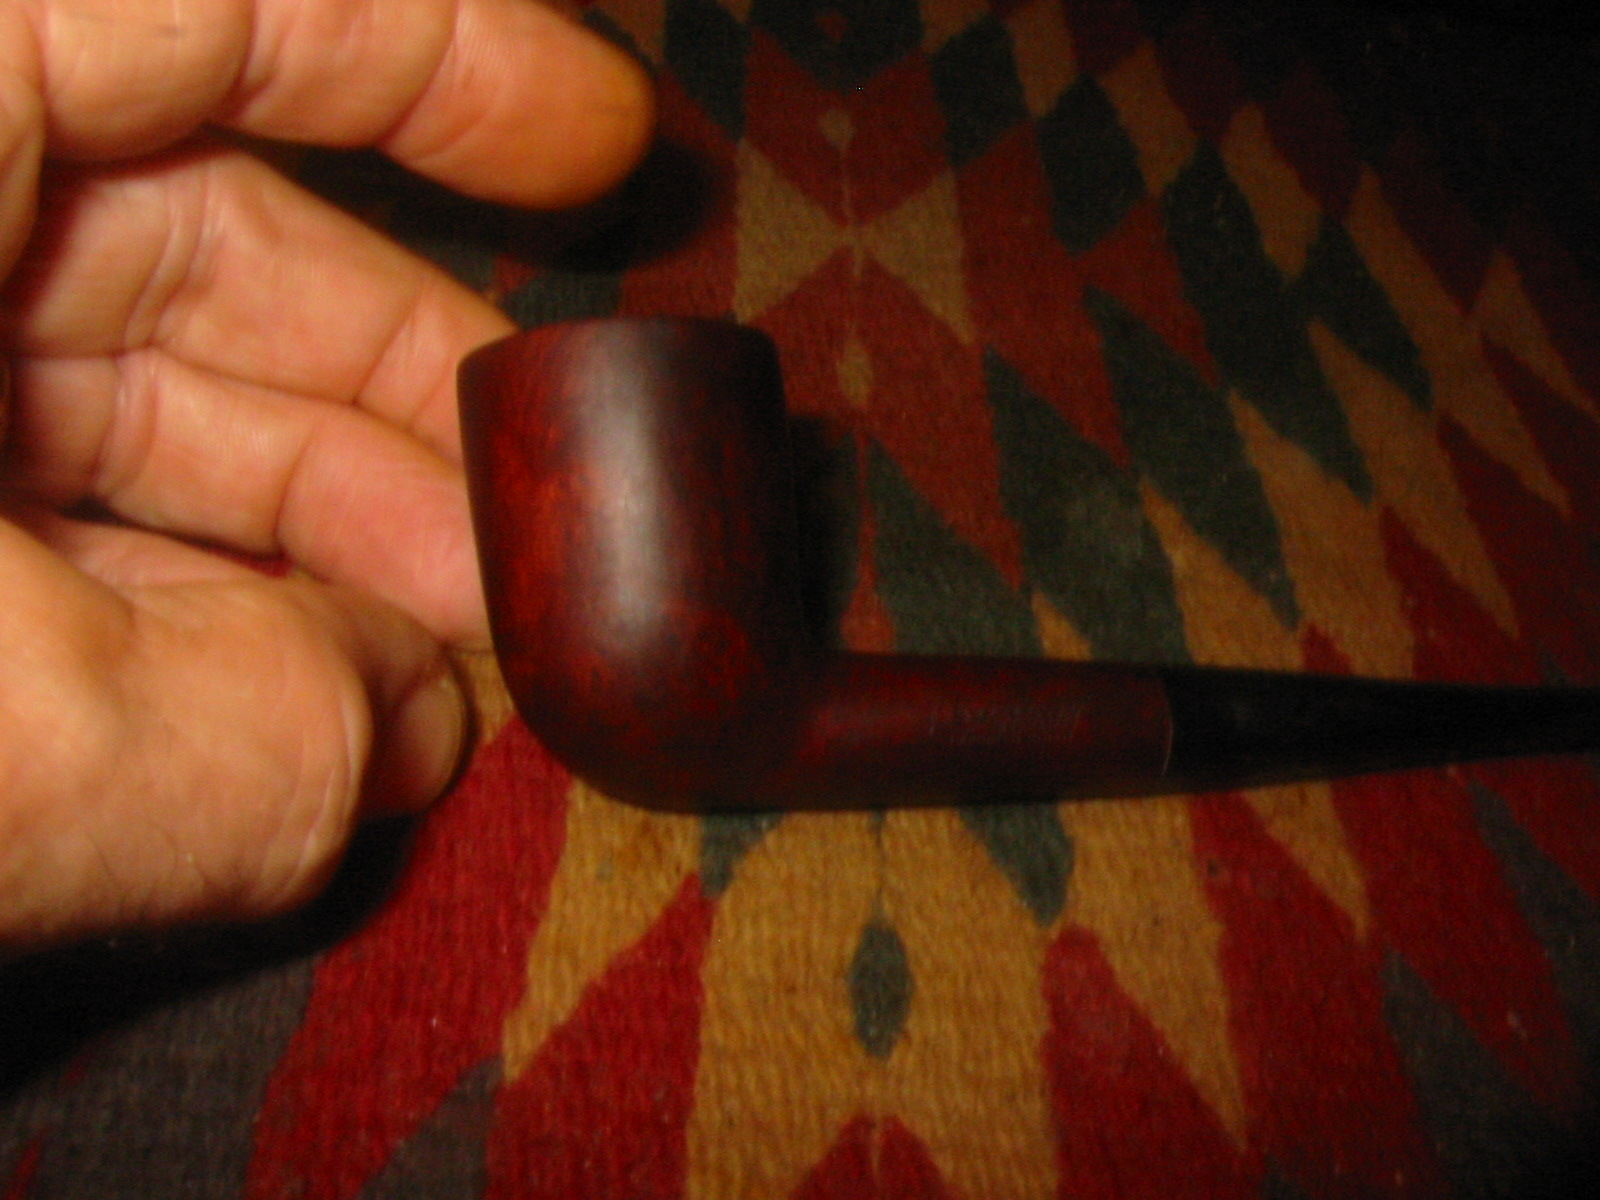
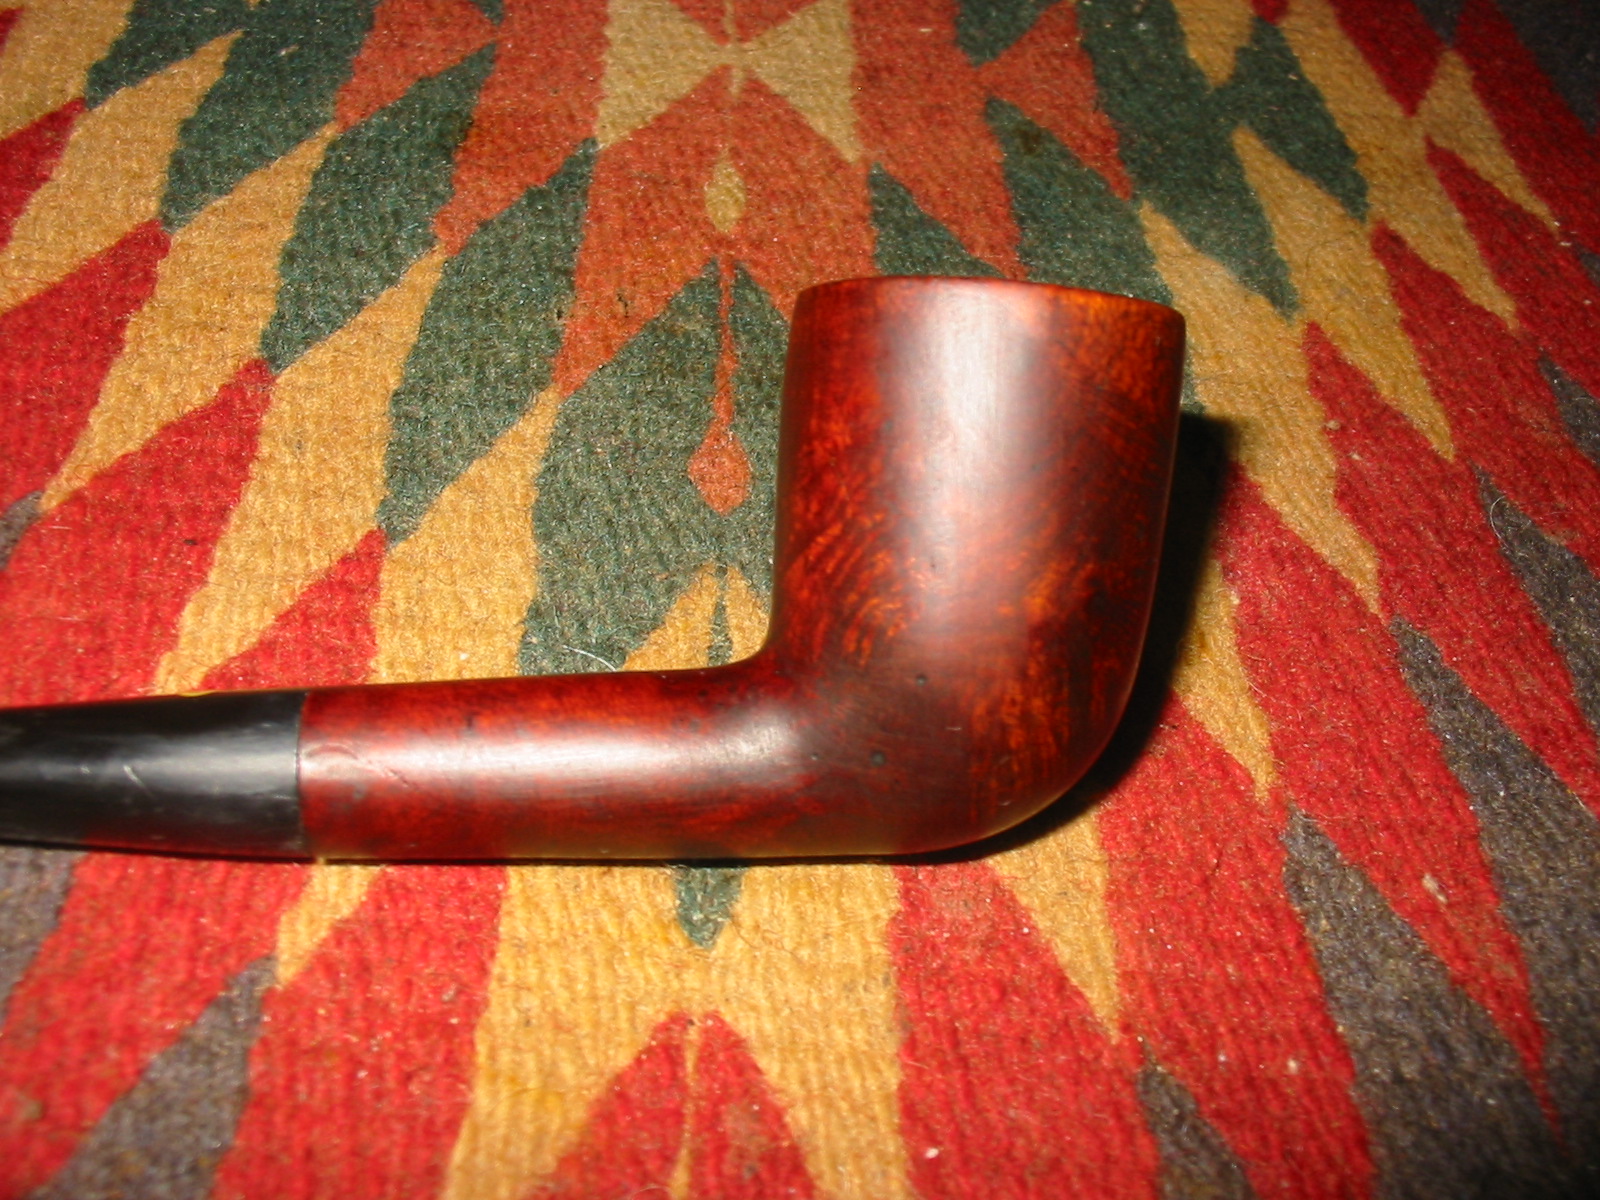
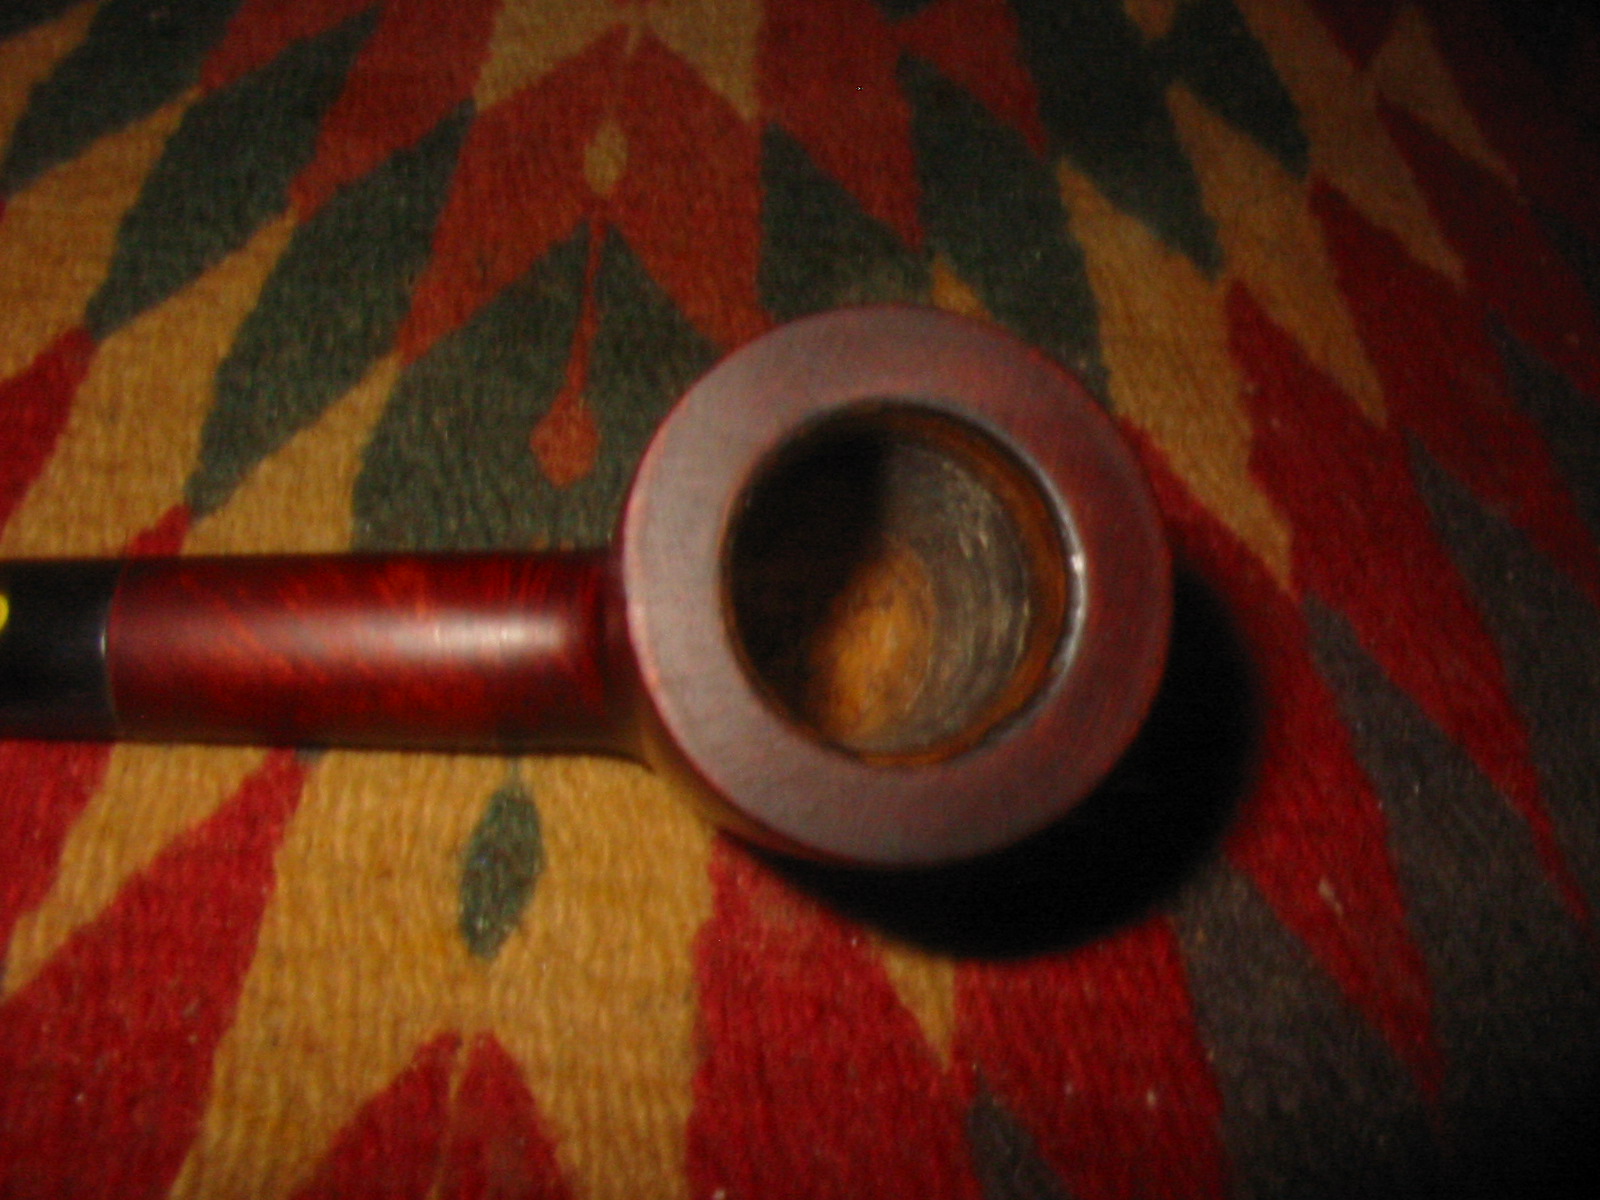
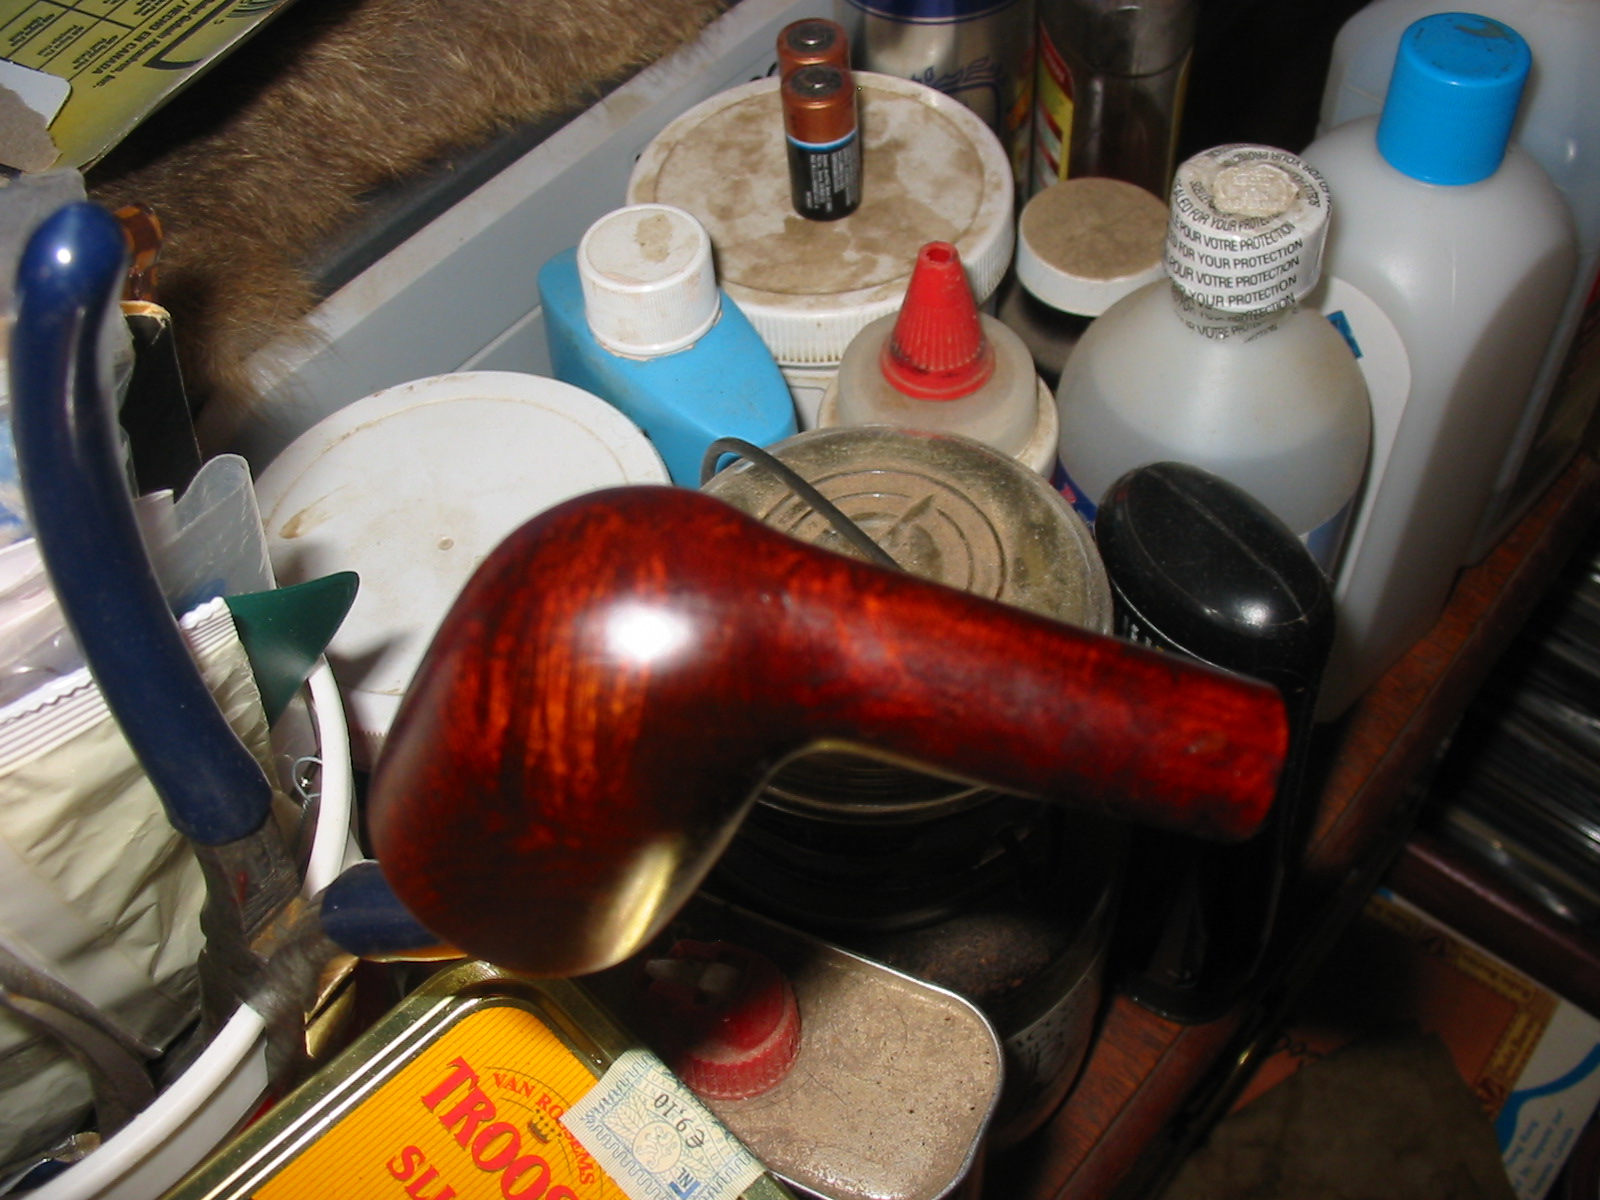
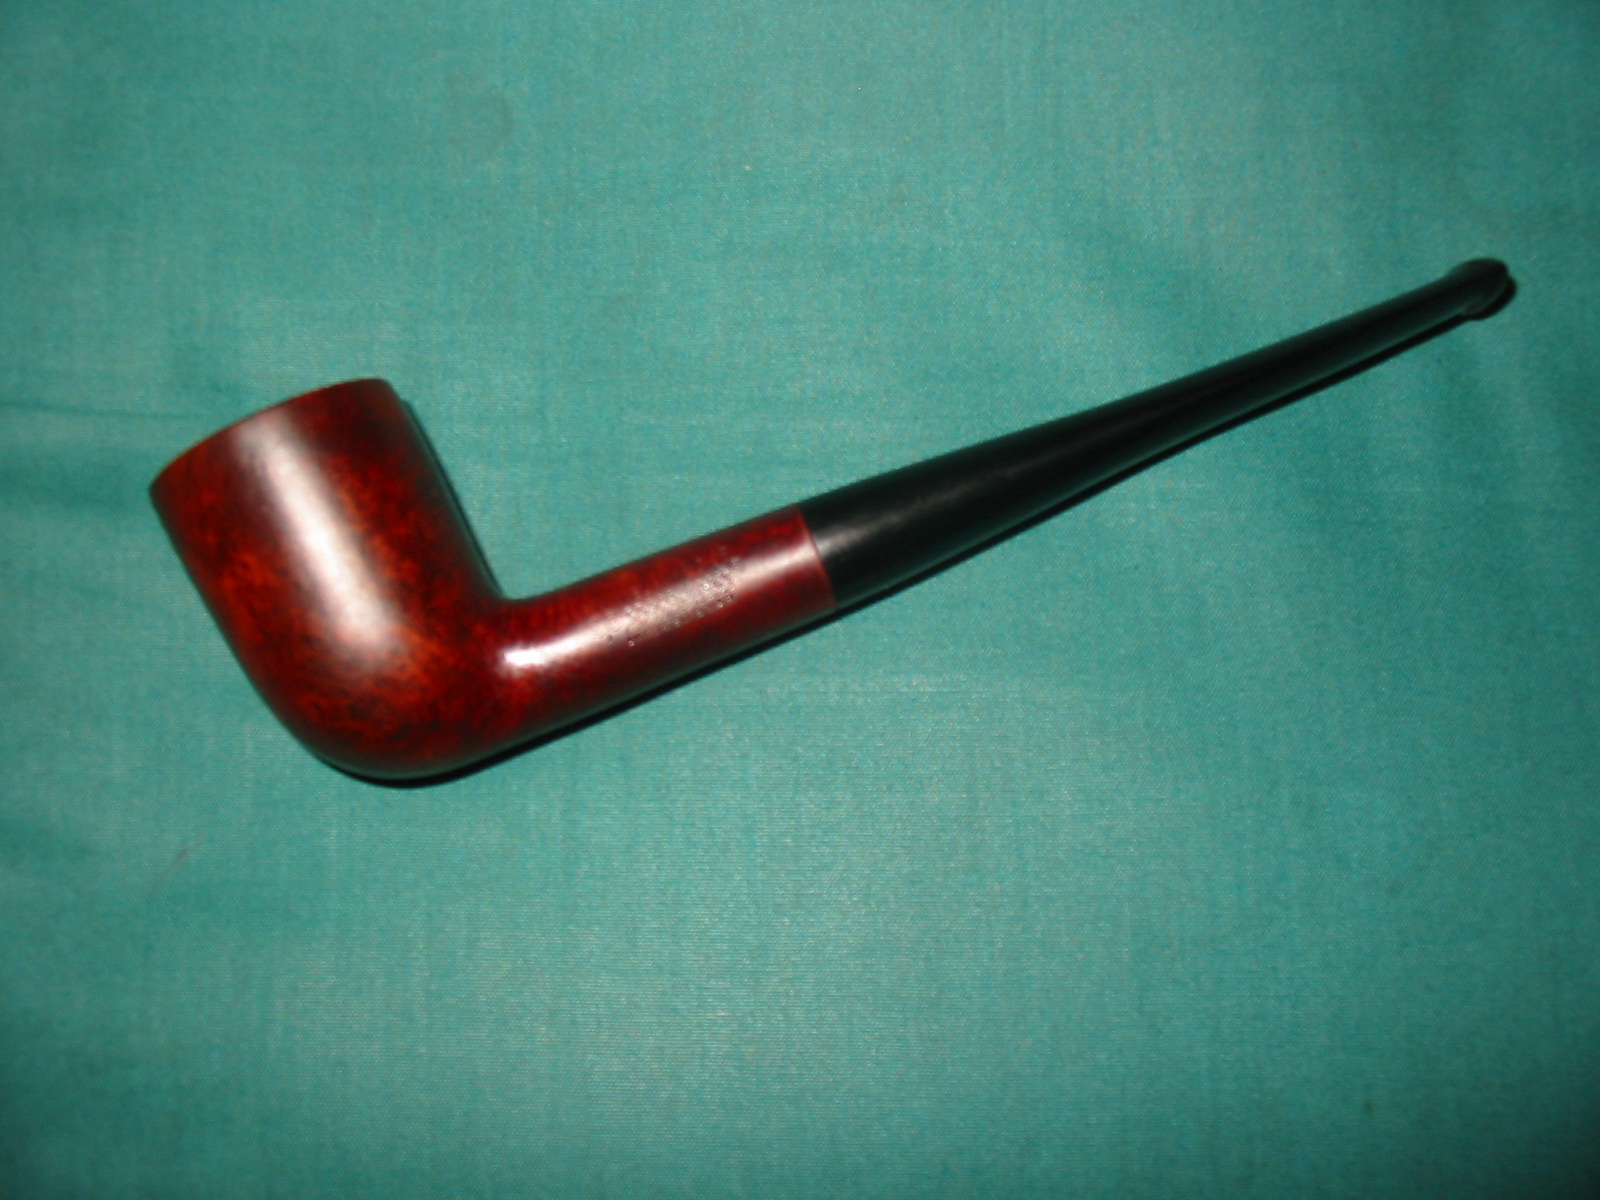
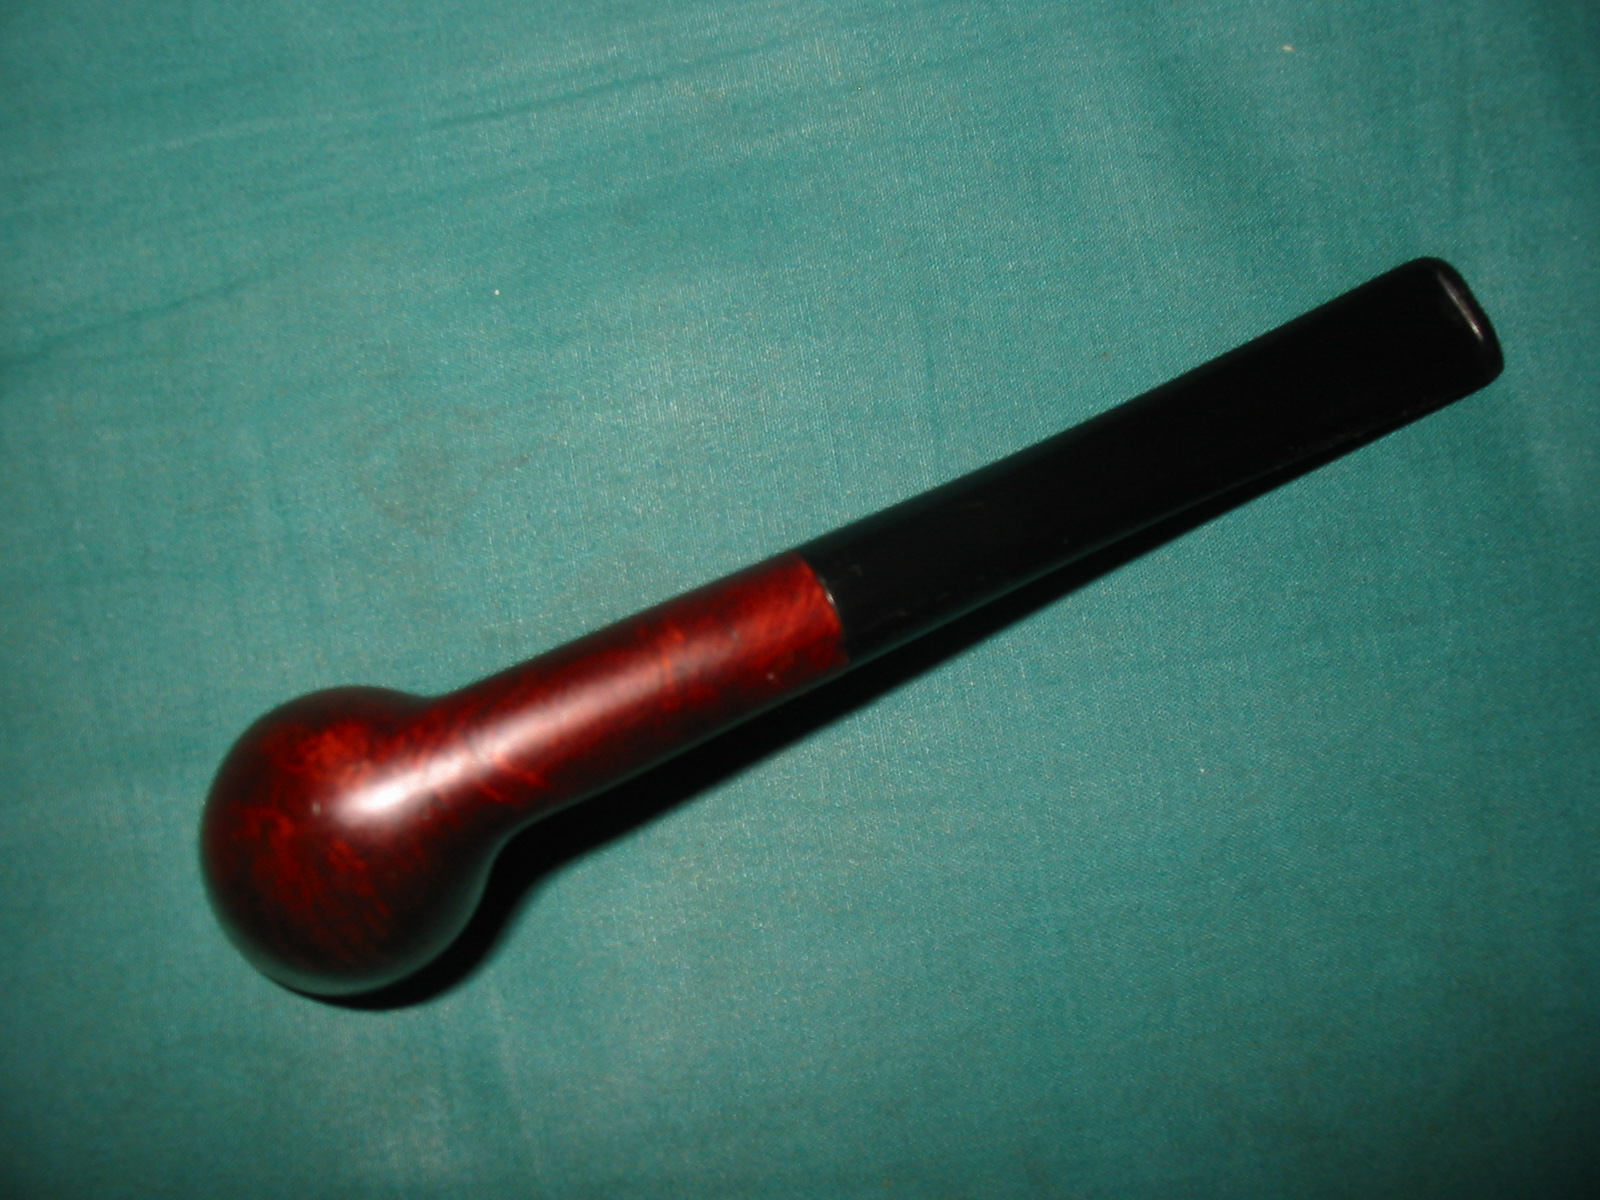
Frankenpipes are born out of having no more pipes in the refurb box to work on. I have many in transit at the moment but none with which to sit and unwind. That always is a recipe for me to dig in the boxes of parts and see what I can come up with to keep the hands busy. The pipe that follows was born of fiddling with parts in my parts box. The part I started with was an old bowl that I received in a gift box recently that did not have a pipe to go with it. It was a pressure fit bowl that obviously sat on a base of some kind of system pipe. I searched the Metal Pipes website to see if I could find out any information but did not find any likely candidates for this mystery bowl. It had some nice grain on it so it seemed like a shame to just let it sit in the box and wait for a potential pipe for it. I also I had a cut off shank piece that I had made for another purpose, a stem that fit the shank nicely and a block of briar that was too tiny for a pipe. The small block is one that I have been scavenging pieces off of to make plugs for burnout repairs. As I looked at the pieces I had an idea for putting them together into an interesting pipe that had kind of art deco feel to it. Now it was time to bring the pipe together and actualize my vision.
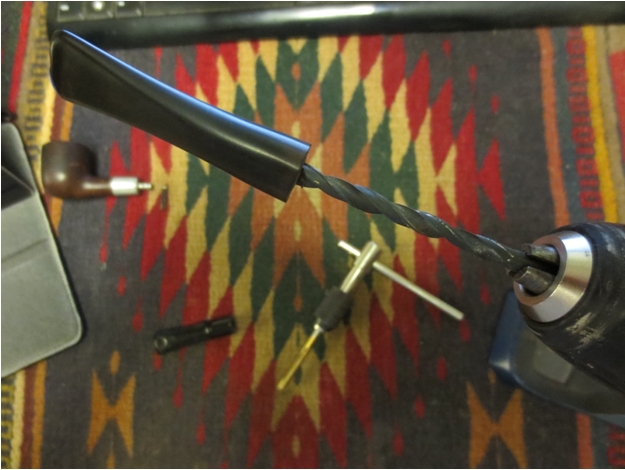
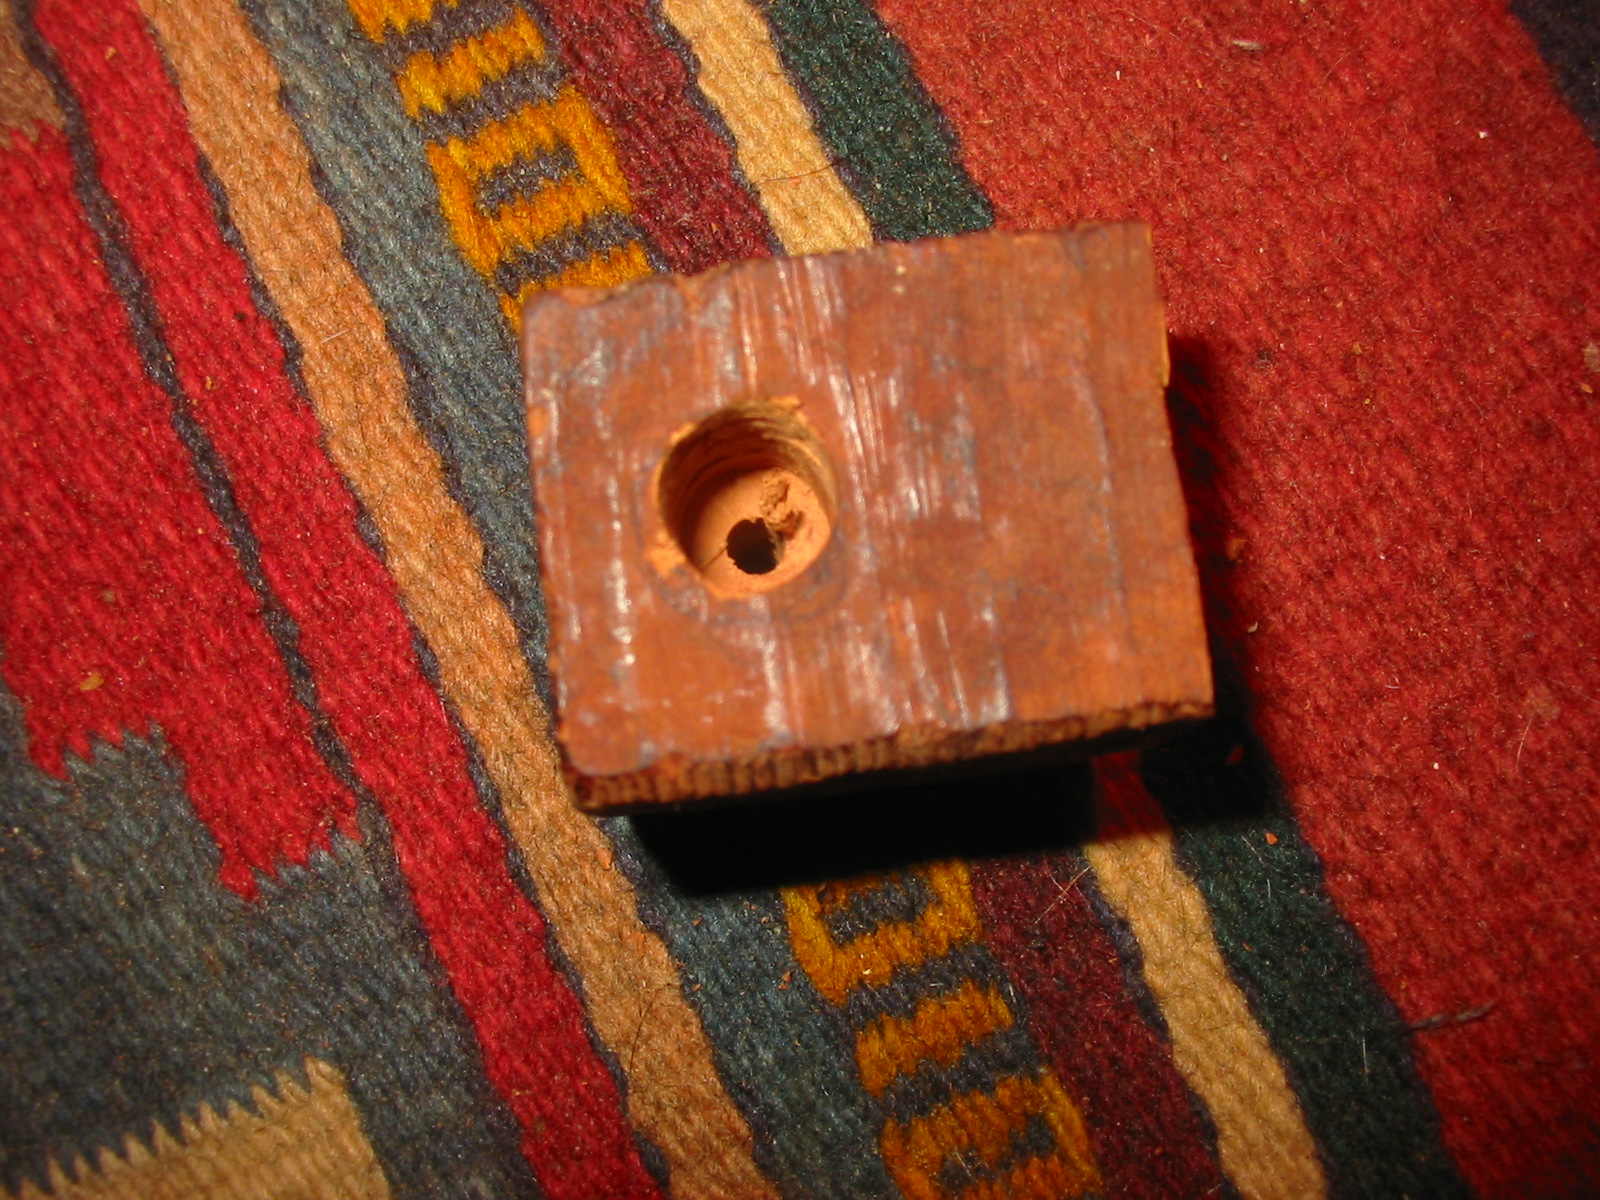
I measured out the drilling areas for the block. I needed to drill the airway large enough to insert the briar shank. I would use the Missouri Meerschaum concept of inserting the shank into the briar block. I started by drilling the first hole in the end of the block. I drilled the mortise area first. I did this in stages as it needed to be big enough for the shank piece to be pressure fit into place. Afterward I drilled the rest of the airway in the block. I decided to drill it all the way through to the other side of the block so that I could put in a funky plug on the front end. I looked around for what I would use and had several ideas. Time would tell which I would choose in the end.
I moved through several drill bits until the bit that was the size of the shank piece. I drilled it deep enough to inset the shank quite deep in the hole.
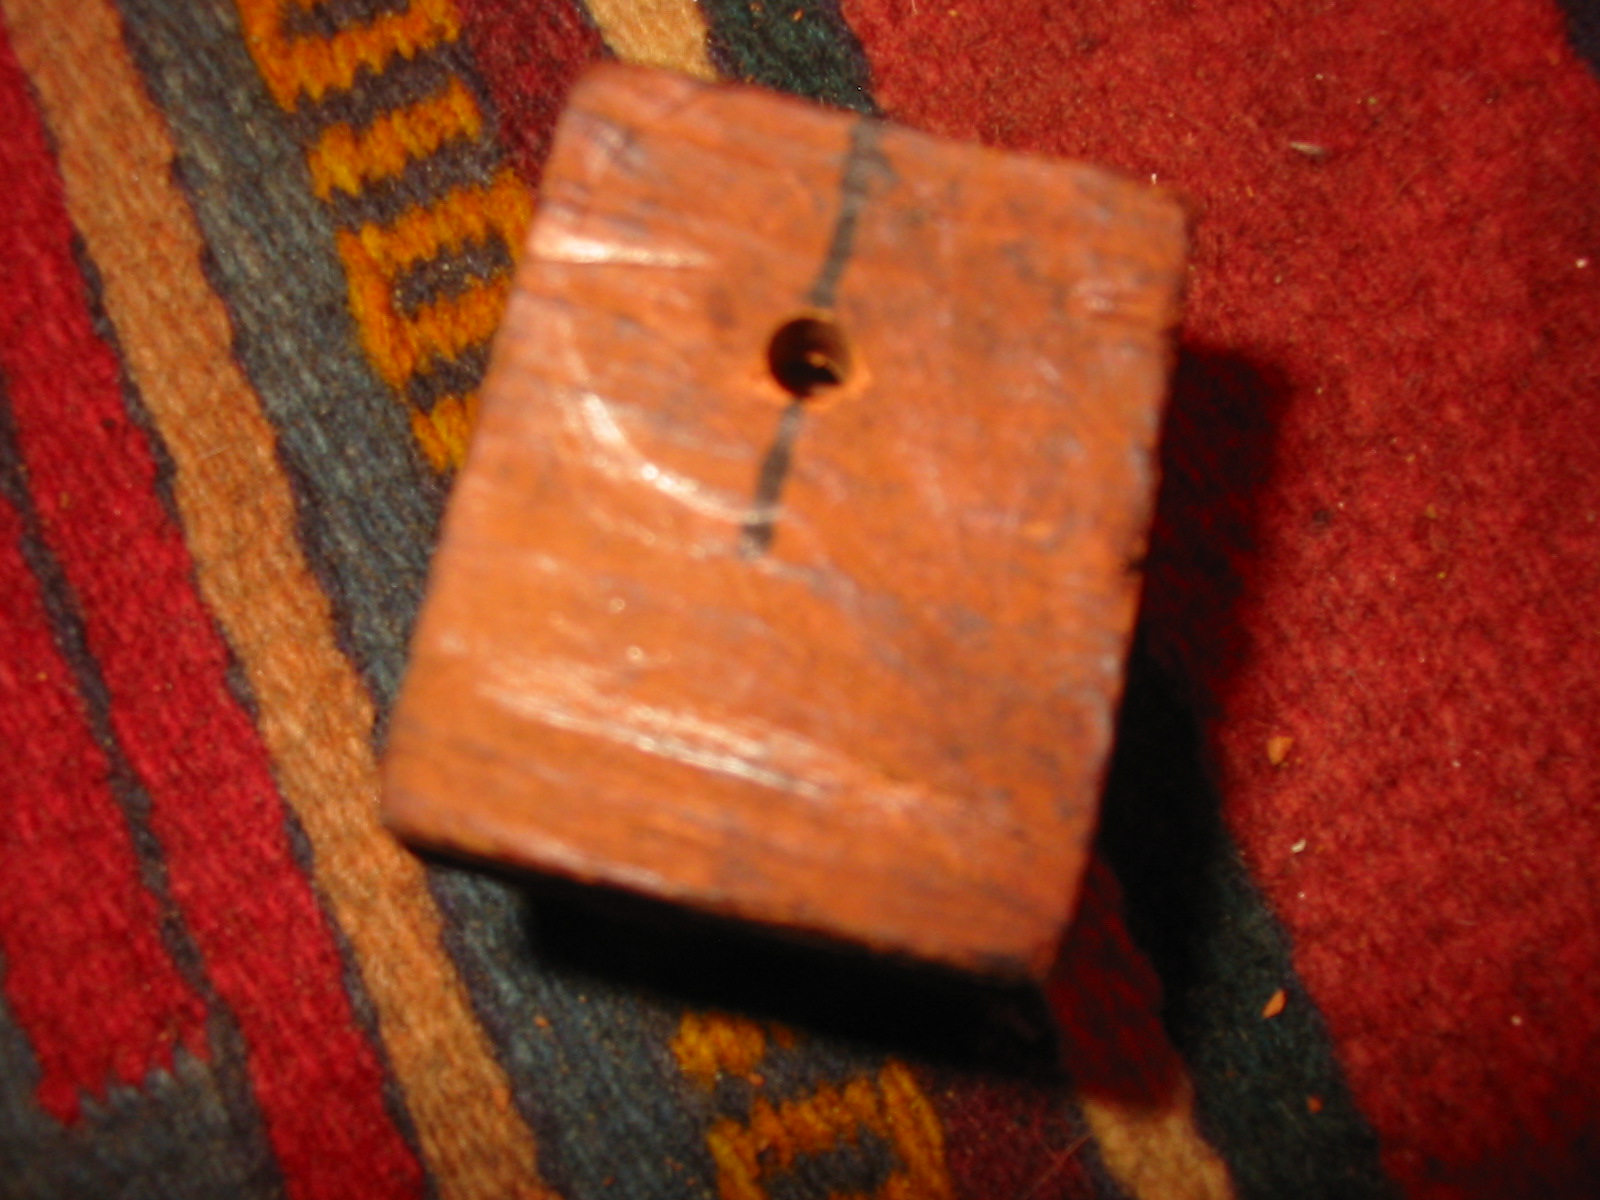
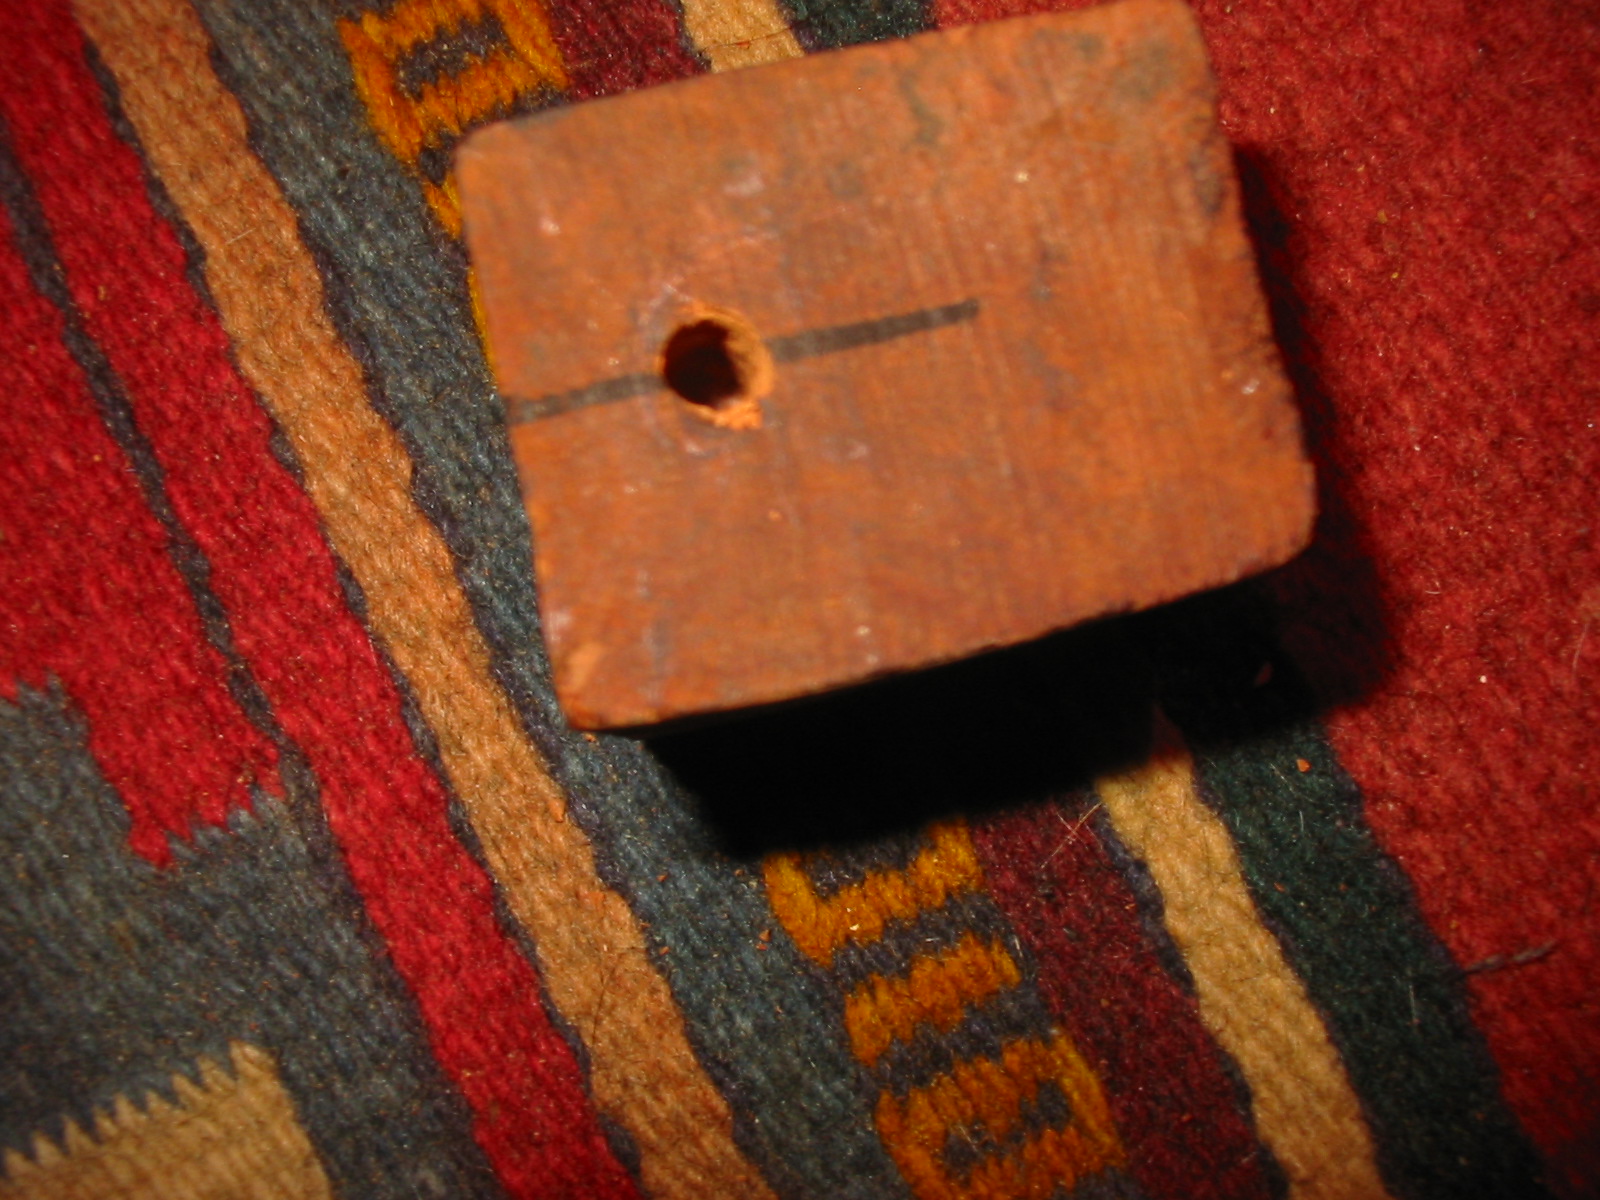
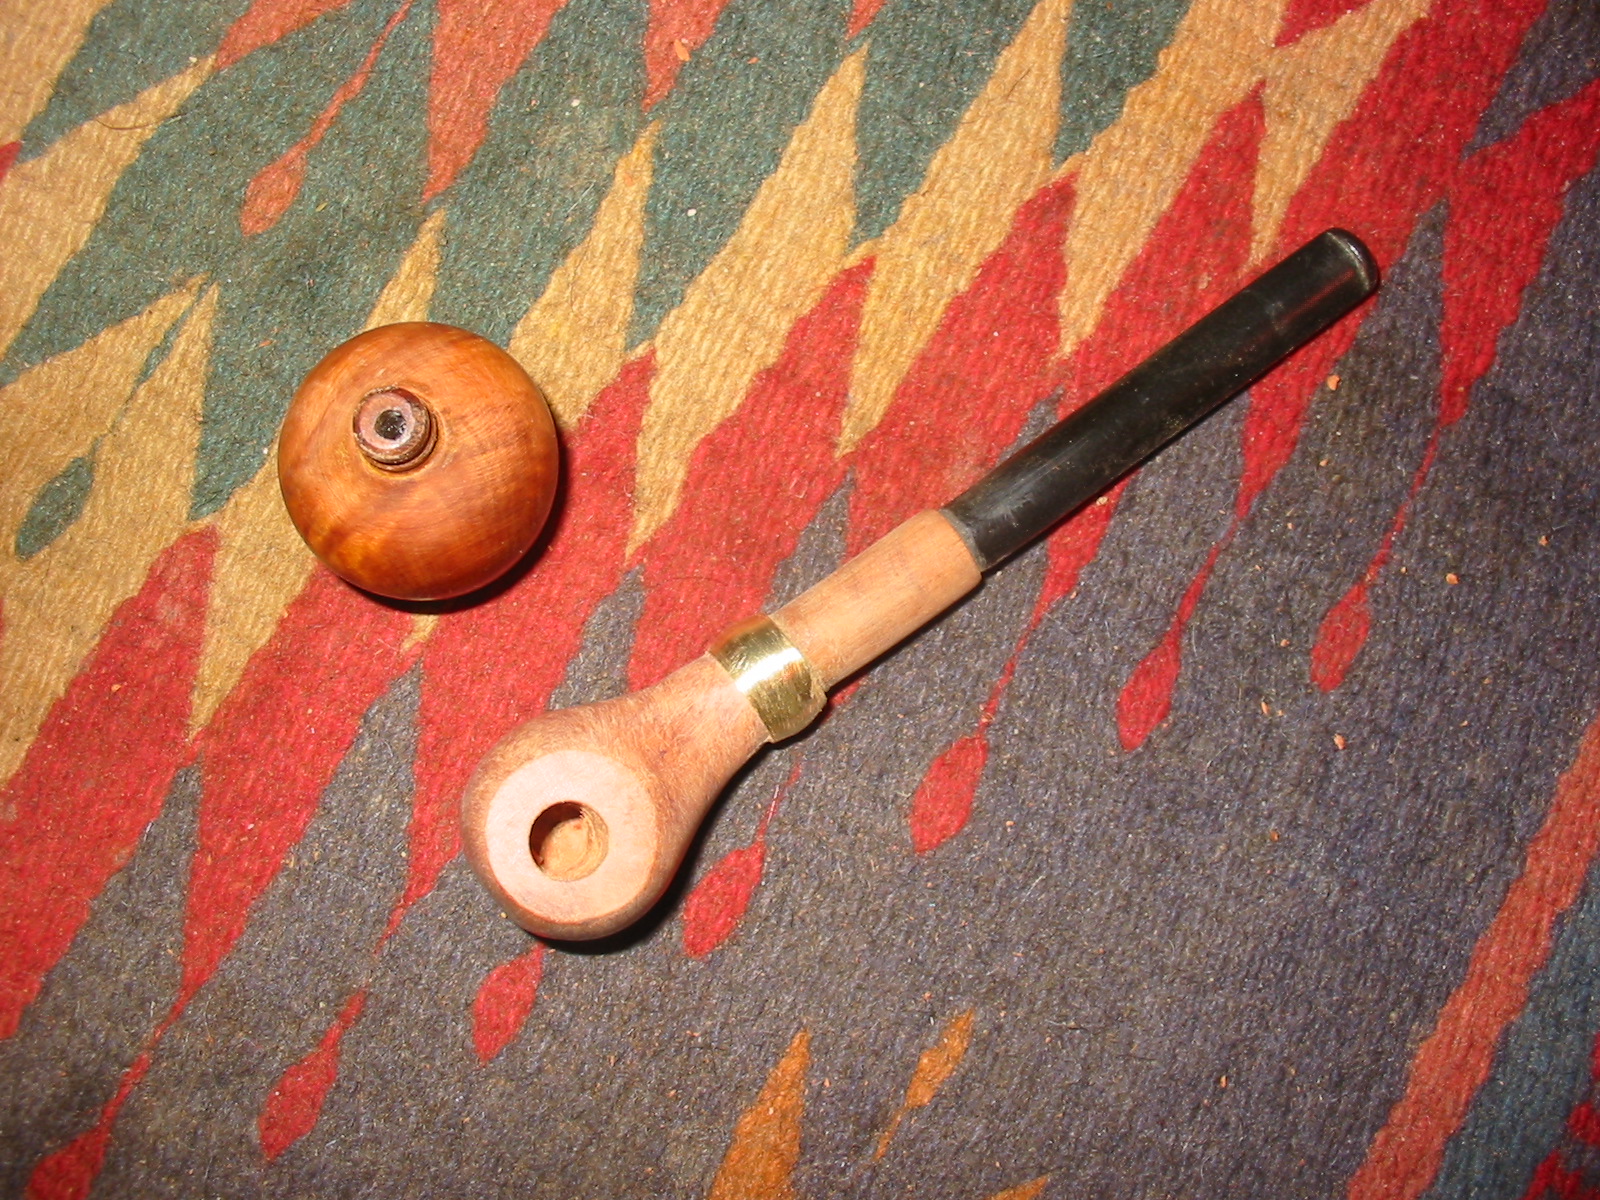
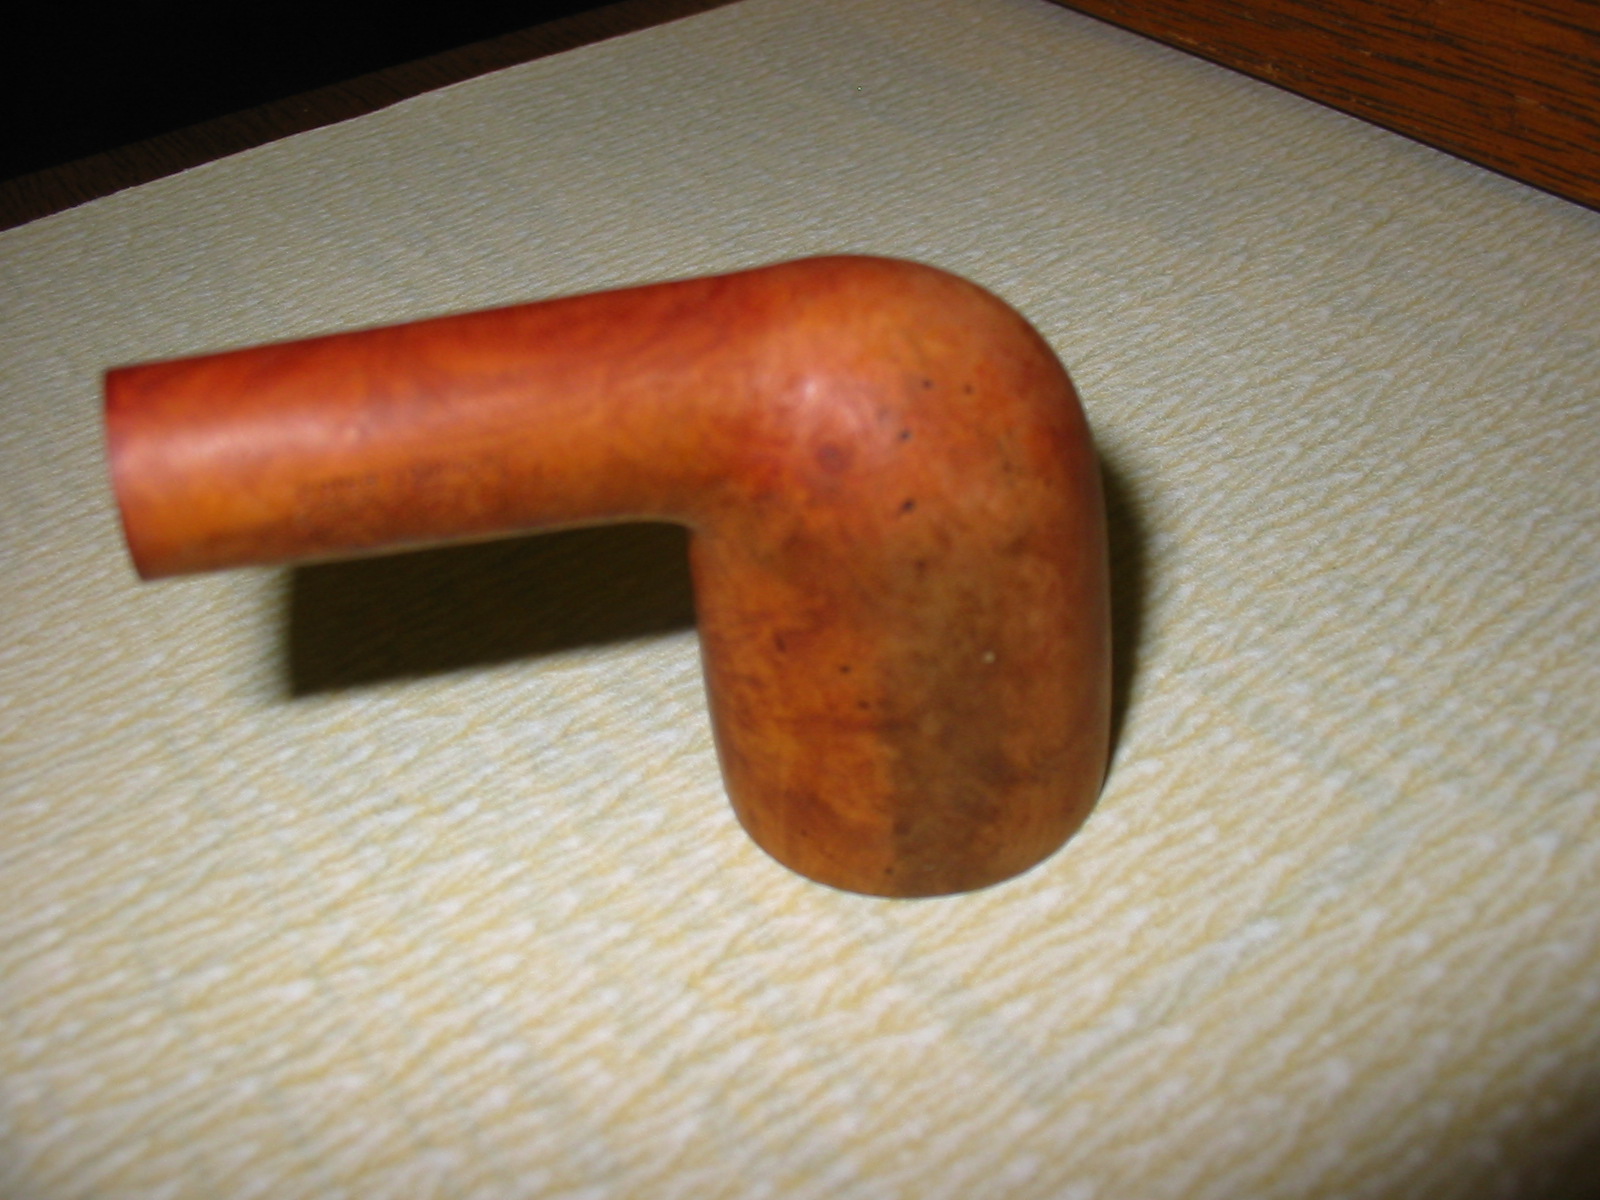
I marked the airway exit on the top of the block with a permanent marker and drew a line to show the track of the airway. I marked my drill bit to the depth of the top of the airway and drilled the hole in the top of the block. I wanted the hole to be the size of the nipple on the bottom of the bowl so that it would pressure fit into the hole. I wanted the hole to go through to the top of the airway so that the nipple on the bowl would sit on top and create good airflow from bowl to stem.
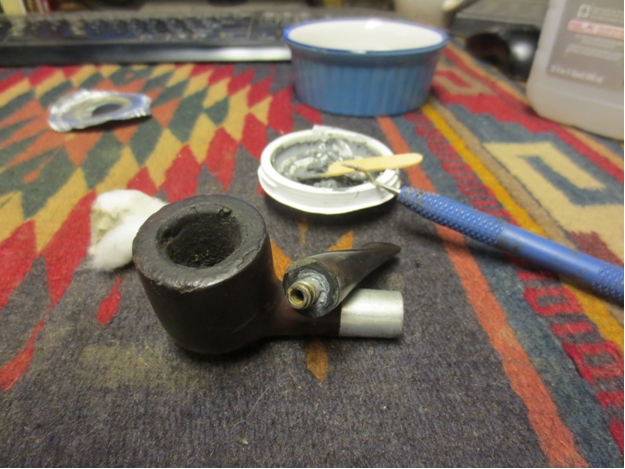
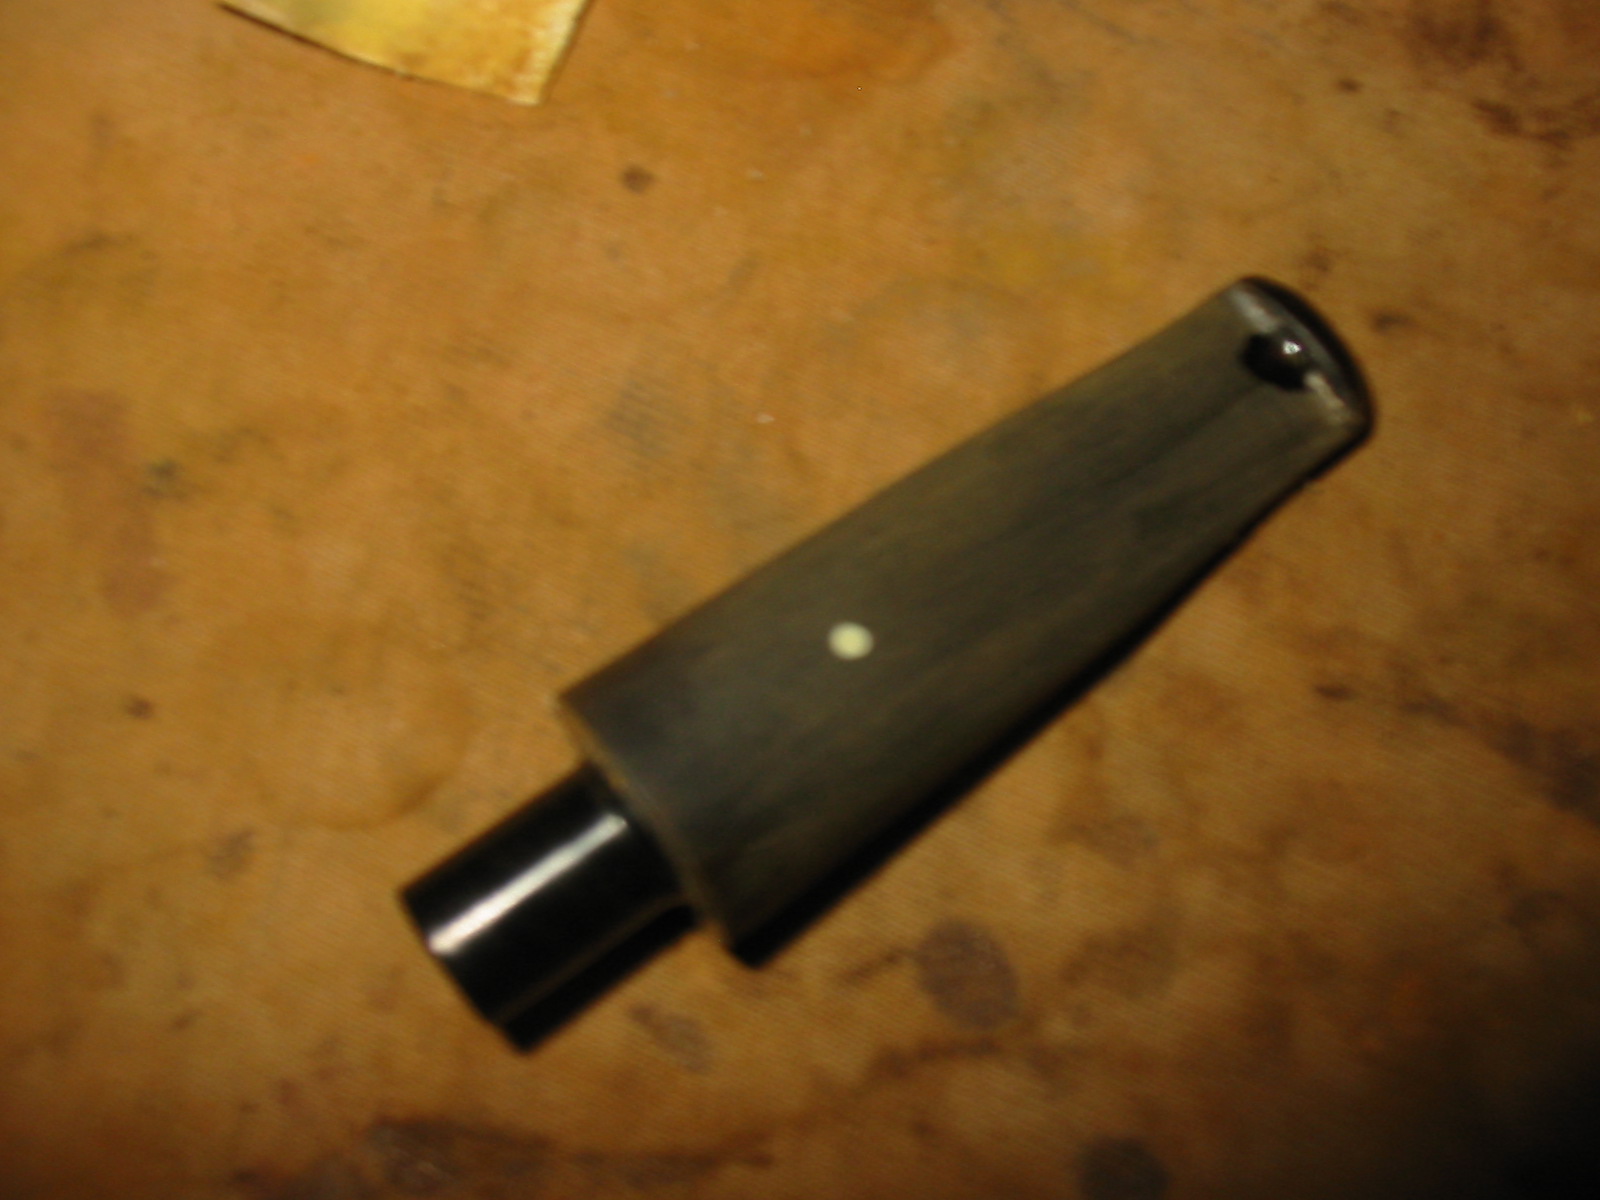
I pressure fit the bowl in the top of the block and the shank in the end of the block for the next two photos. I wanted to see if the parts all fit together well. I gave the shank a slight angle upward and would later bend the stem if the look was correct. Everything worked well at this point. For the plug on the end of the block I decided to do something simple. I wanted a plug that would be like a coloured dot on the end of the base. I cut off a piece of knitting needle and inserted it in the airway at the end of the block that is not showing at this point. I glued it in place and used the Dremel to take the overage back flush with the block.
The height of the block was too much so I wanted to cut it in half. I do not have power tools to do that kind of thing so a bit of sweat equity and a small hack saw did the job. I sliced off the bottom half of the block to be used in making bowl plugs at a later date and now the height was more suitable to this little sitter.
I glued the shank into place in the block with epoxy and angled it the way I wanted it to be when I finished the work on the base.
I used the Dremel and a sanding drum to begin to shape the block into a base for the pipe. I wanted a slope upward to the bowl – the sides would also slope upward. My idea was to have the bowl sitting on top of a volcano like base.
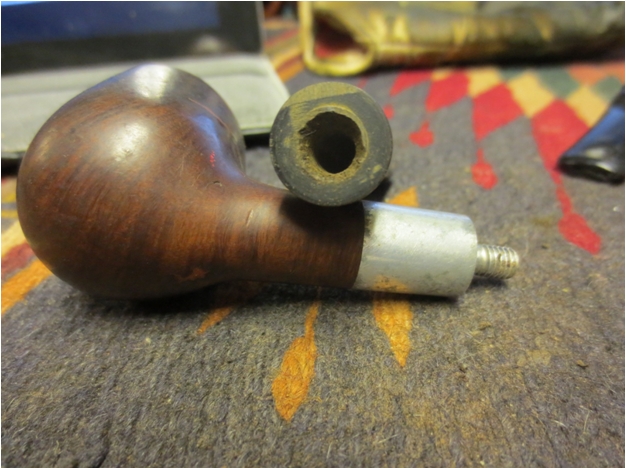
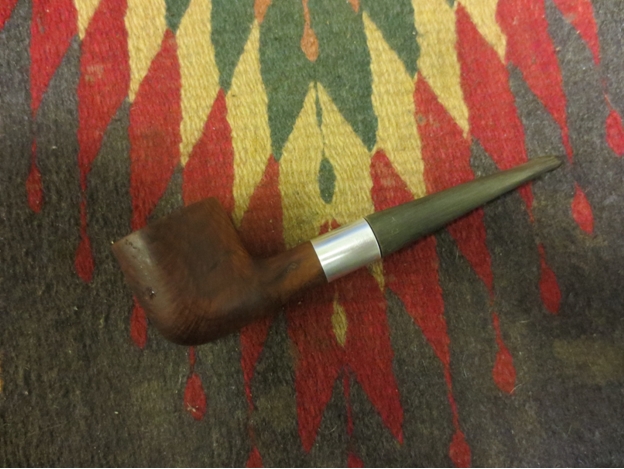
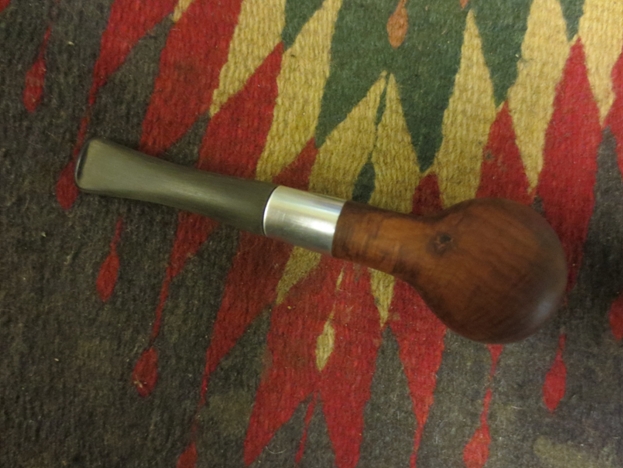
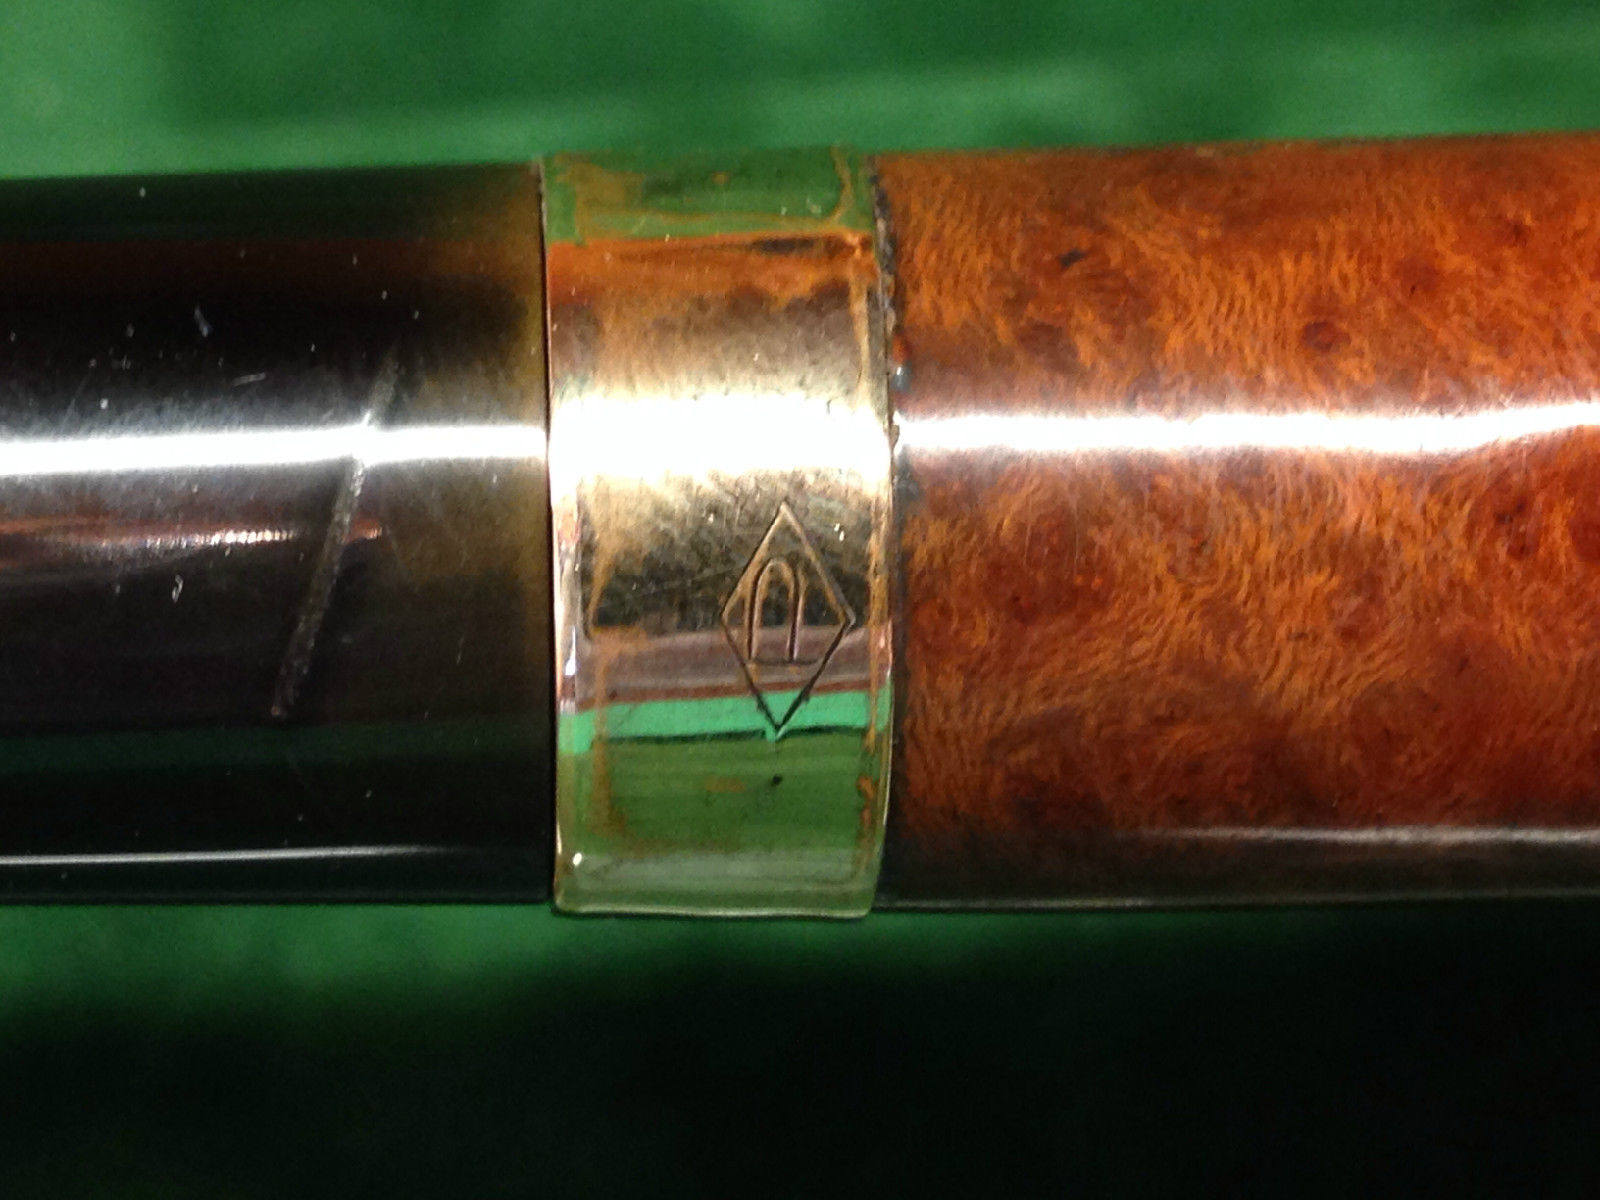
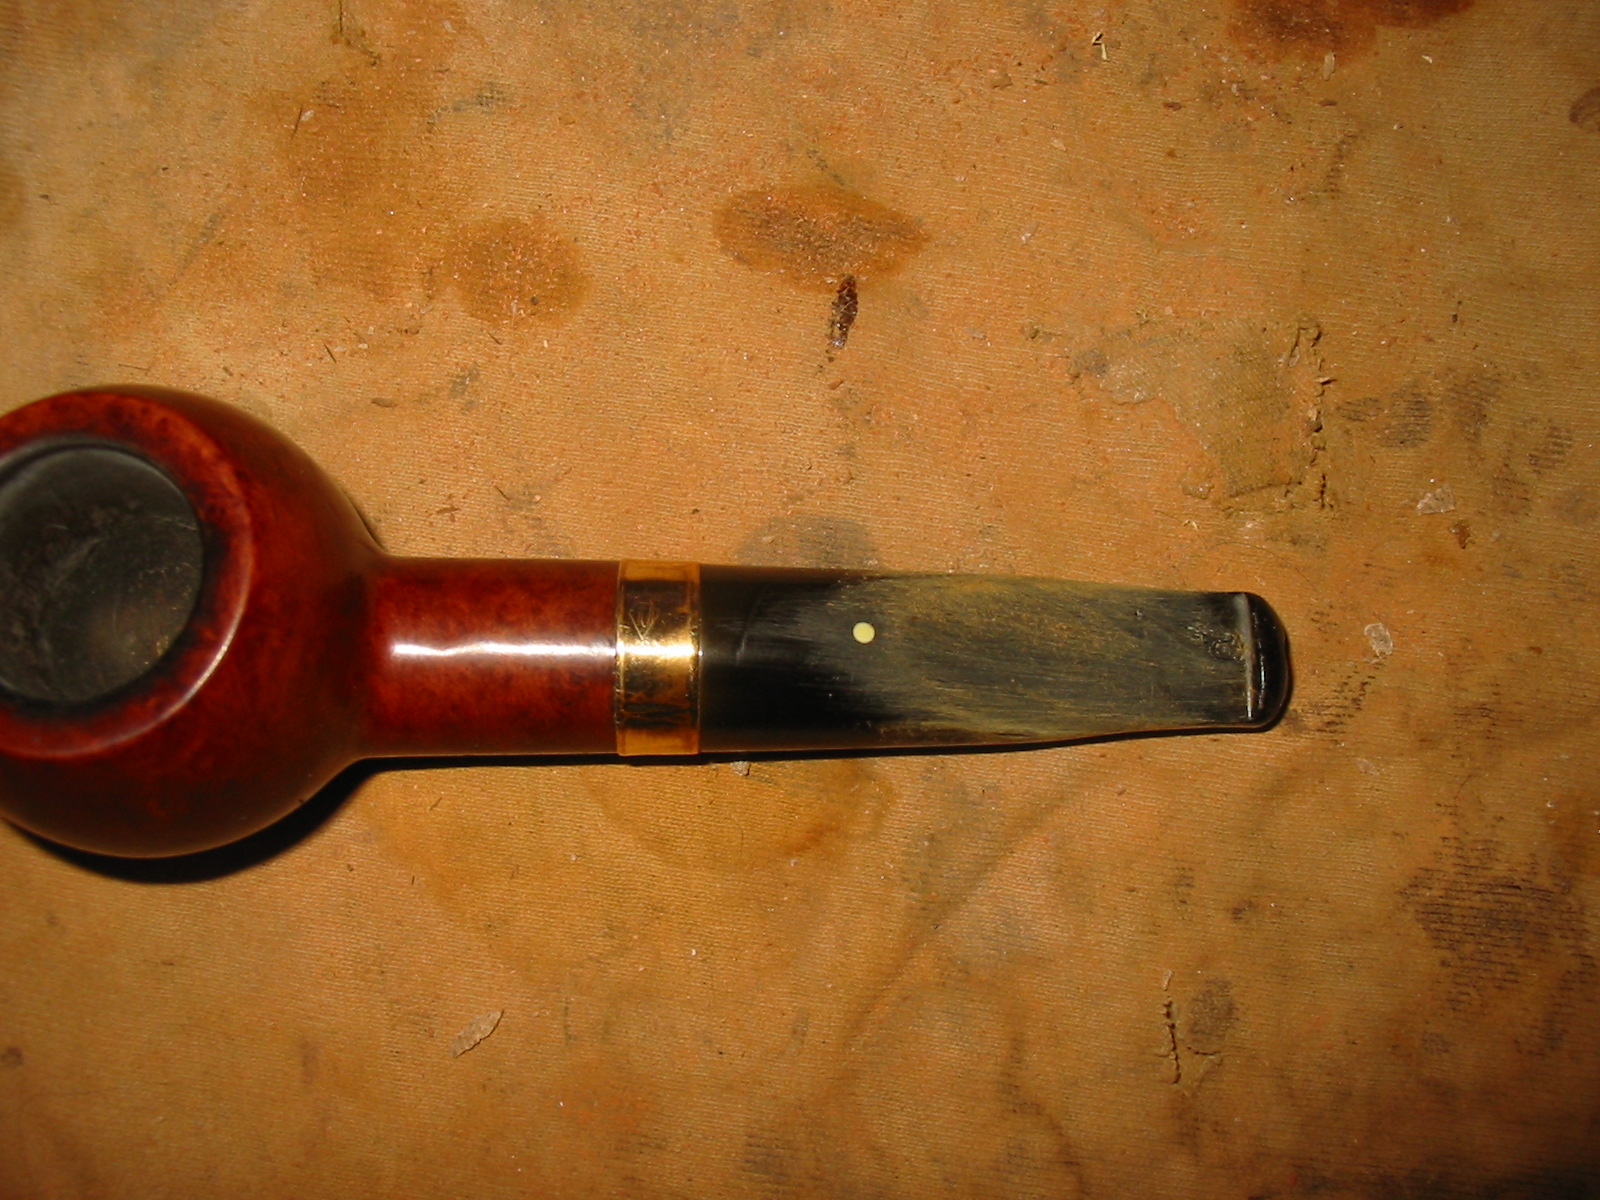
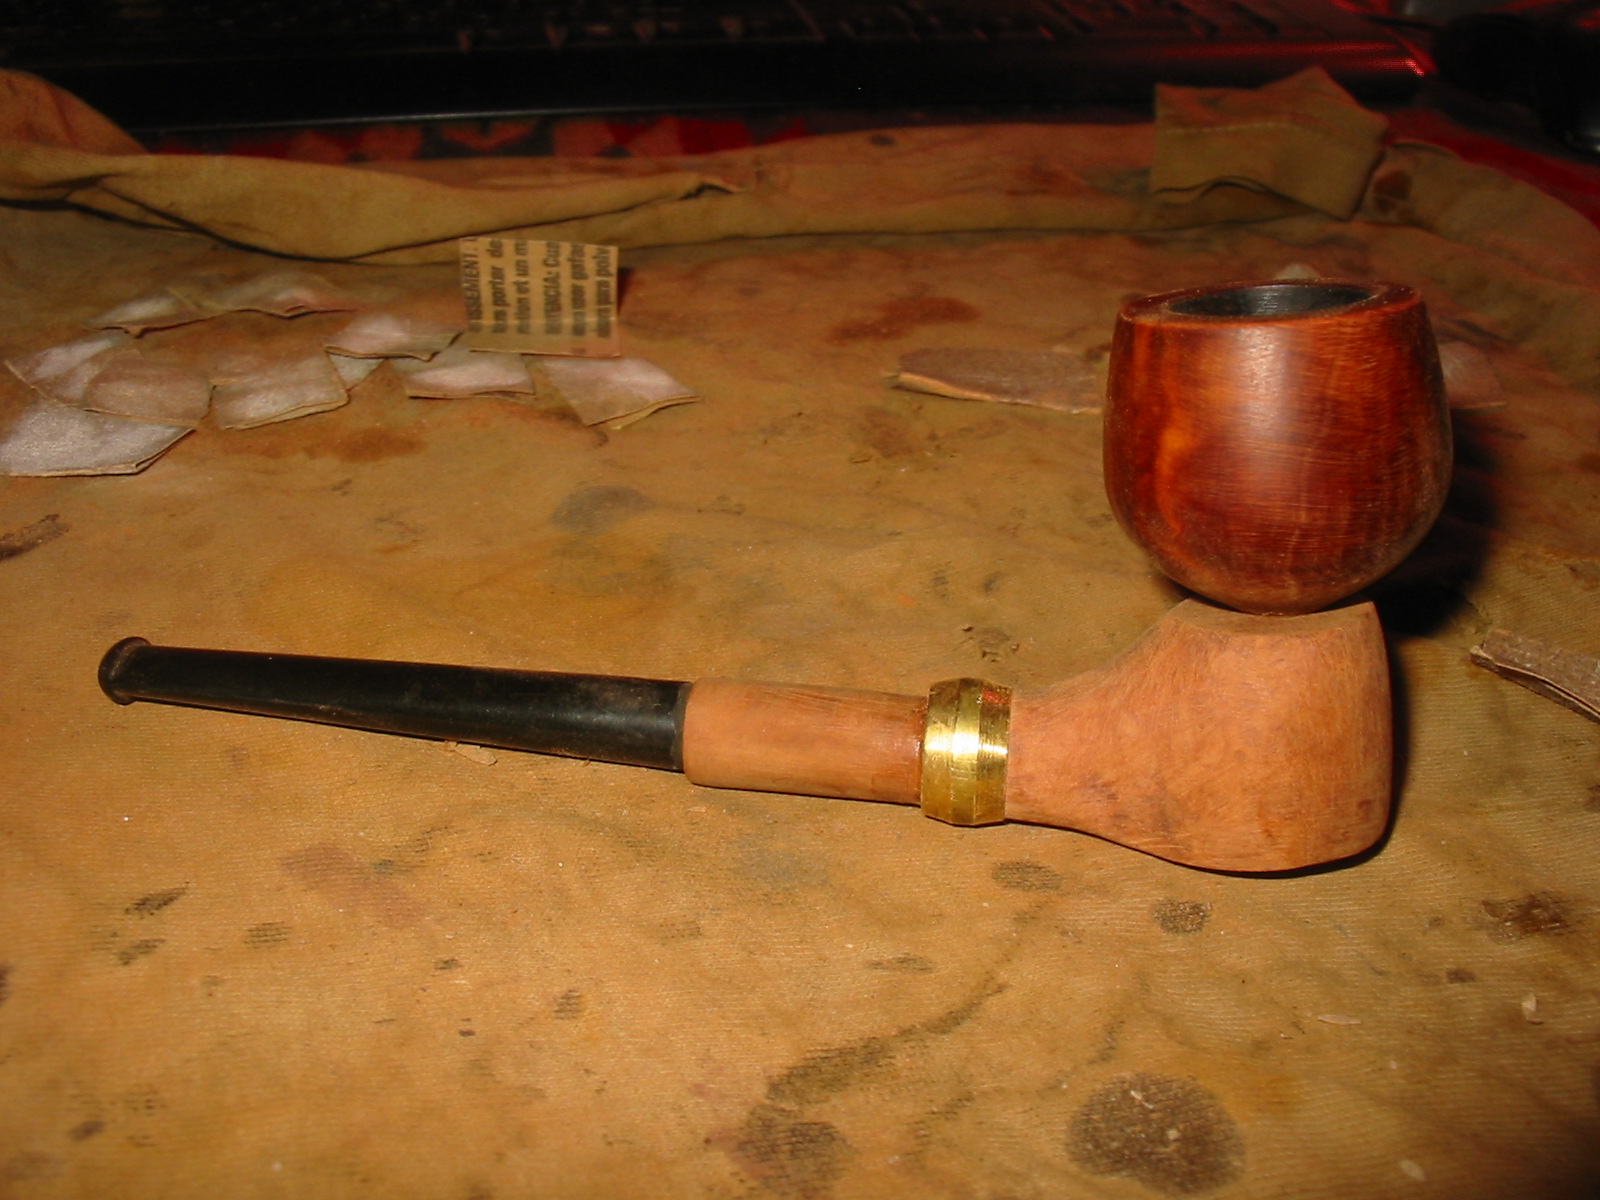
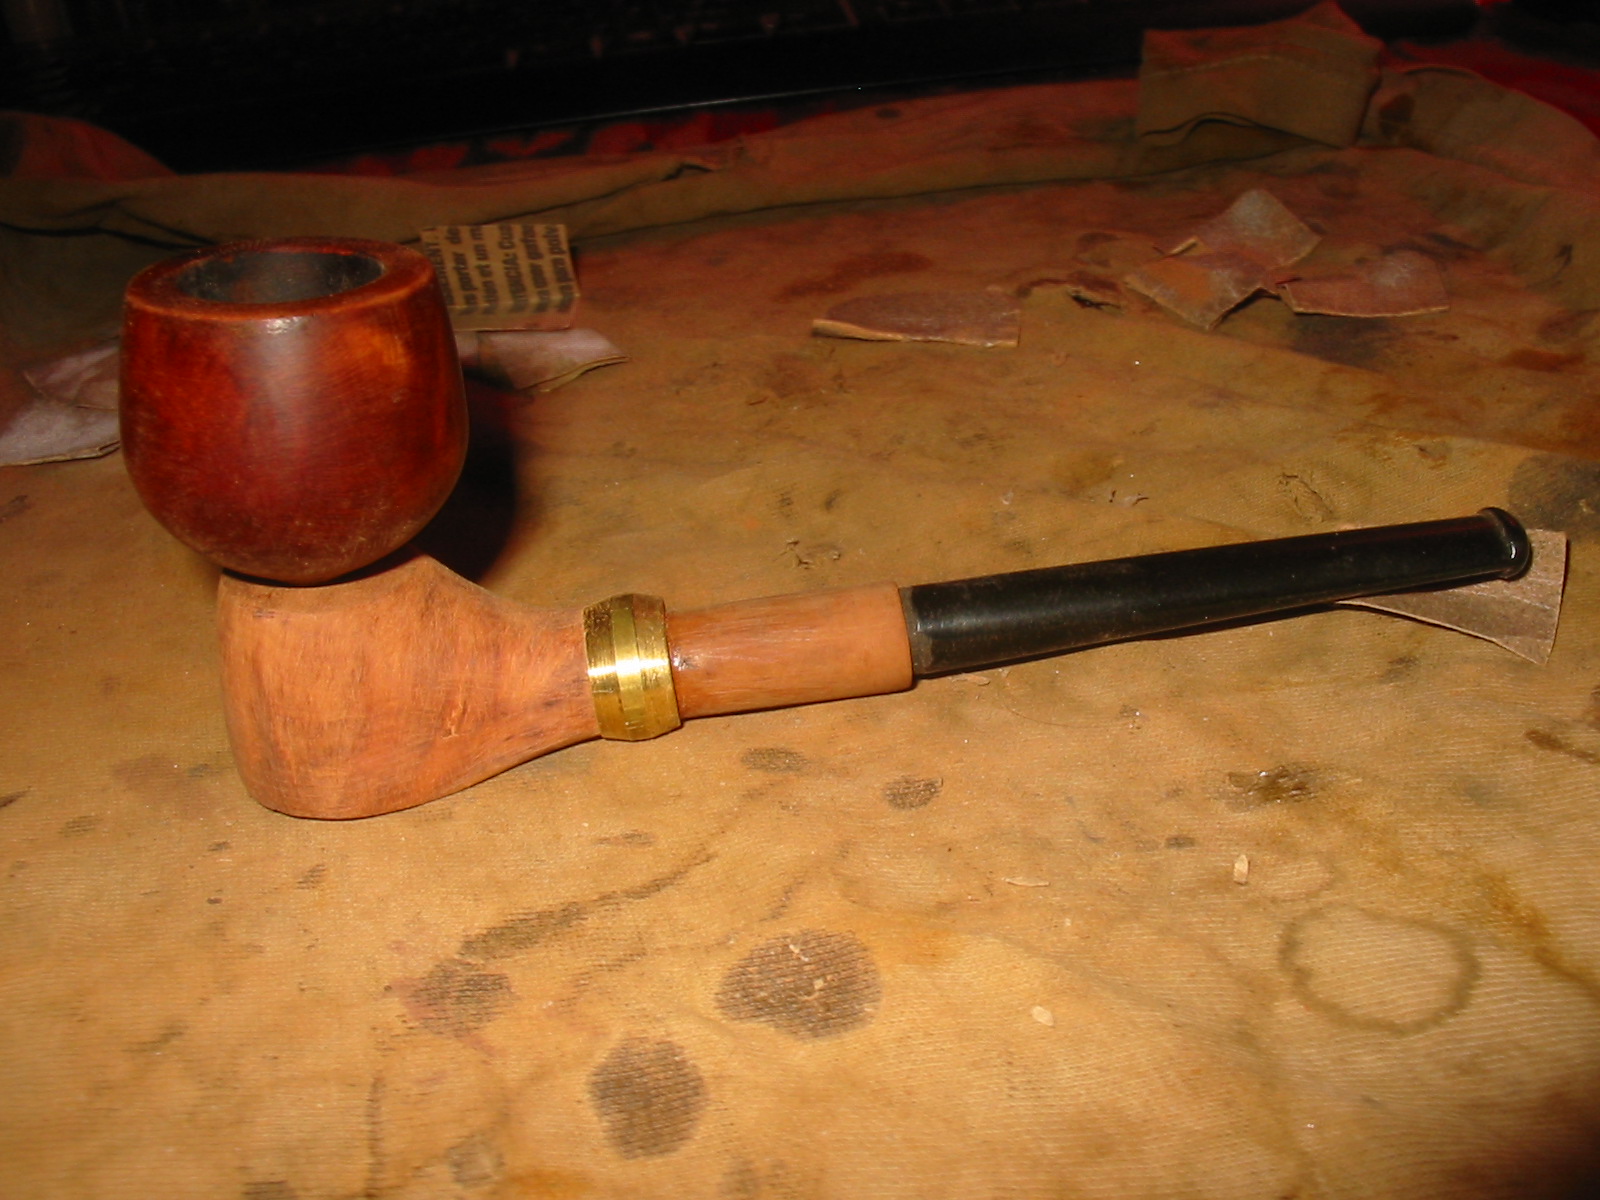
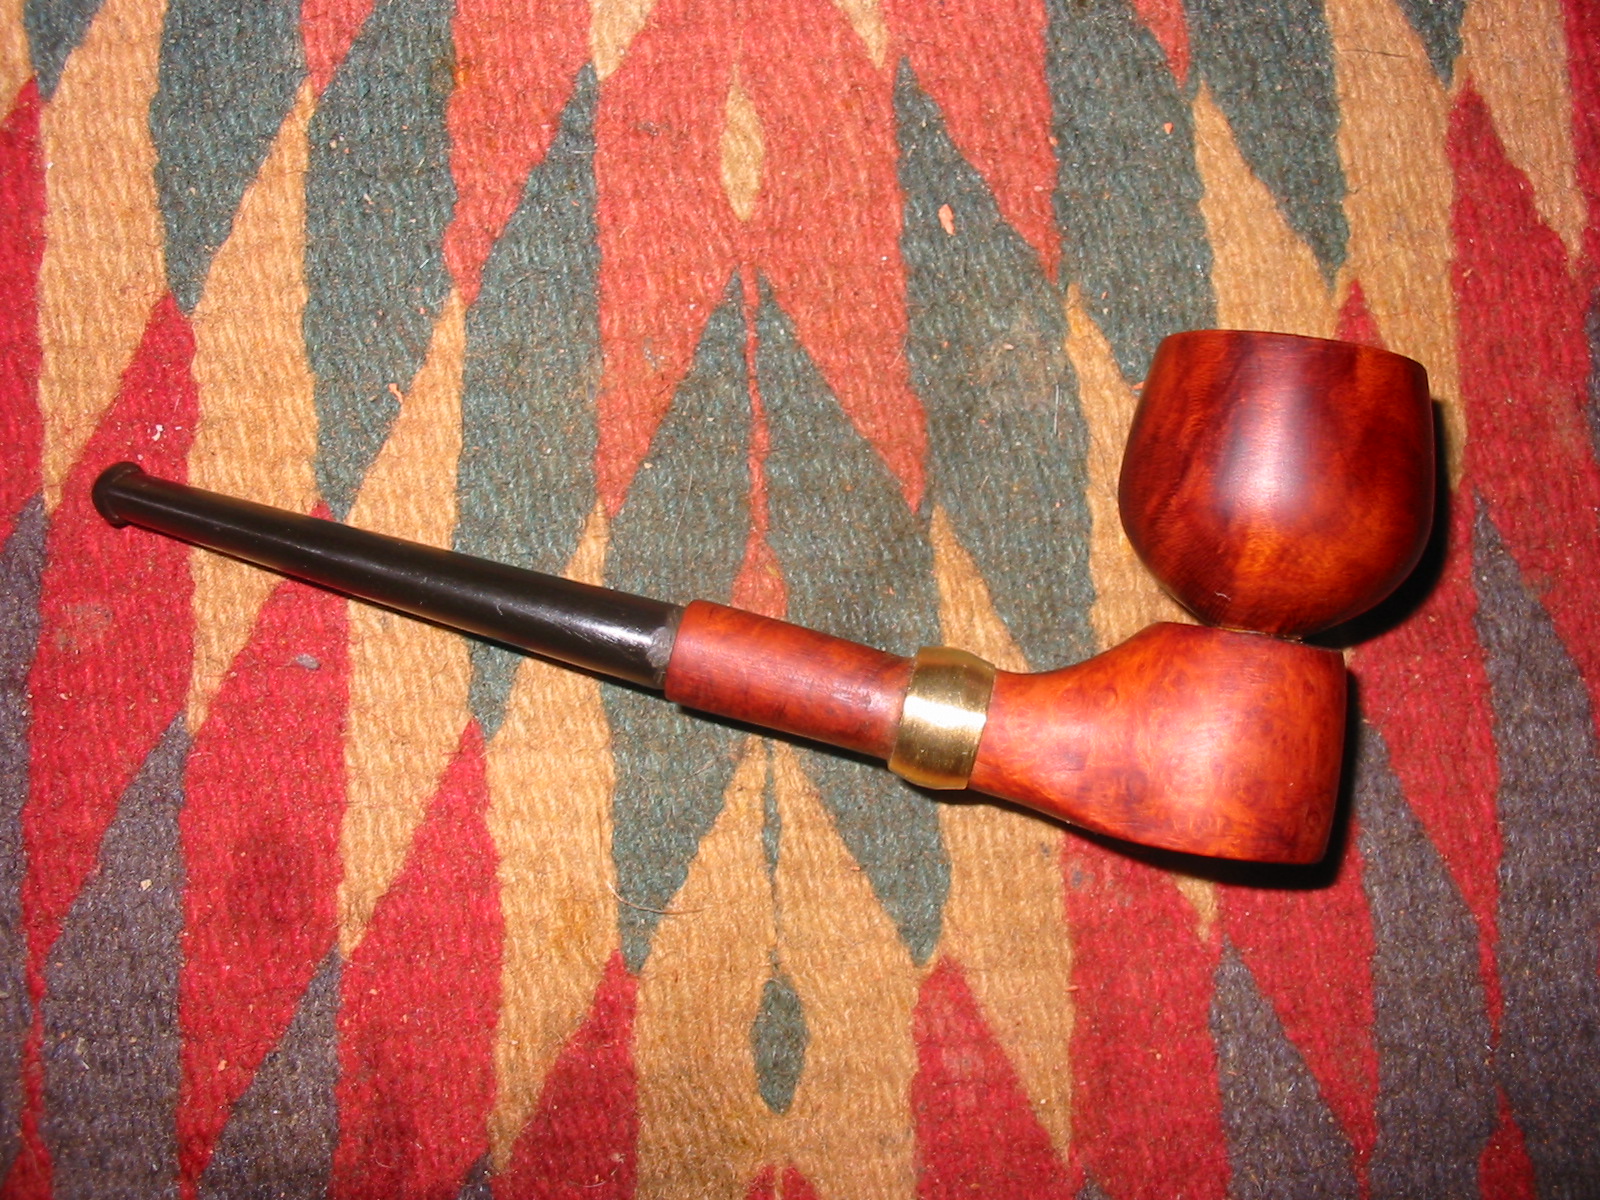
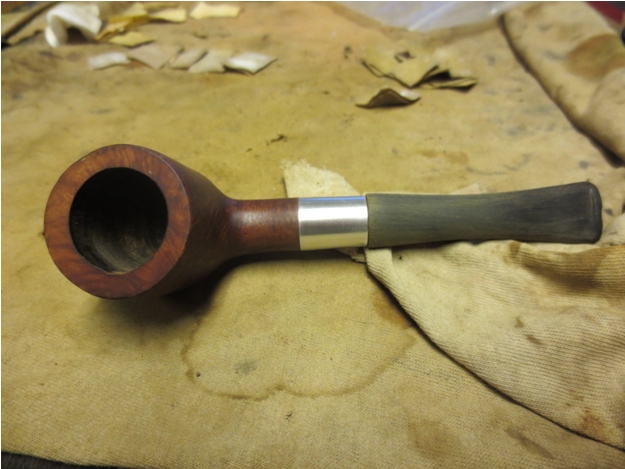
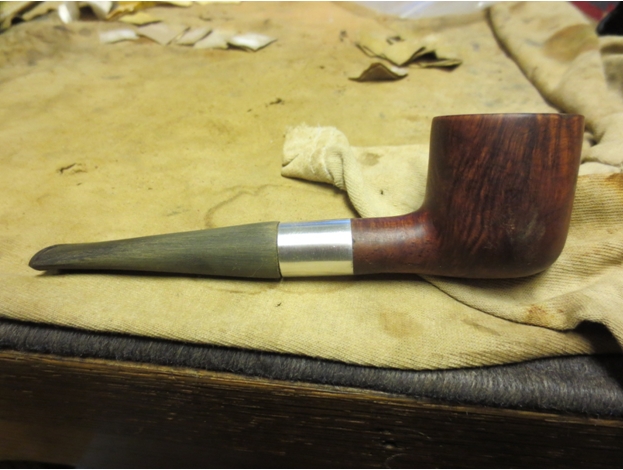
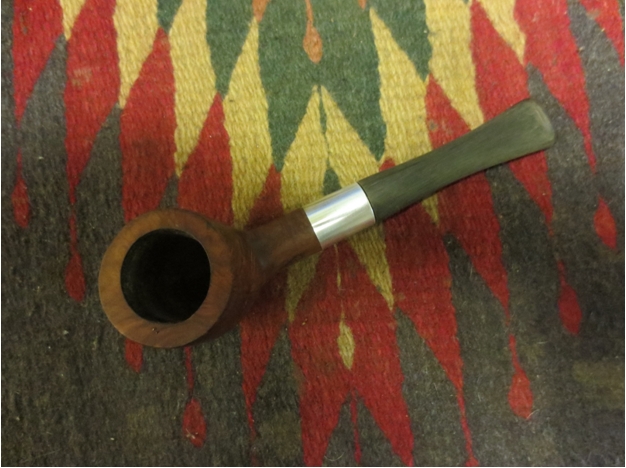
It took a lot of sanding to get the shape even close to what I had envisioned and in the process I ran into my first problem. The joint of the block and the shank could not be sanded smooth or the walls would be too thin and the shank would break too easily. I probably should have used a Delrin tenon to connect the two parts but as usual looking back is not overly helpful. So I had to improvise with this one. I had a small brass pressure fitting that would look kind of interesting on this little Frankenpipe so I worked the joint area to accommodate the brass fitting. The photos below show the pipe taking shape with the brass band high on the shank. (At the time of these photos I had not yet glued the band on the shank.)
I filled in the openings around the edges of the fitting where the shank joined the block with briar dust and wood glue packed into place with a dental pick. I sanded the ridges on the fitting with 150 grit sandpaper to remove them. I would have to do more work on the look of the band as I worked out the details later. I took the following photos after I had done more shaping of the base and glued the band in place. While the band is not beautiful it certainly strengthens the joint on the shank of the pipe and makes up for my lack of planning!
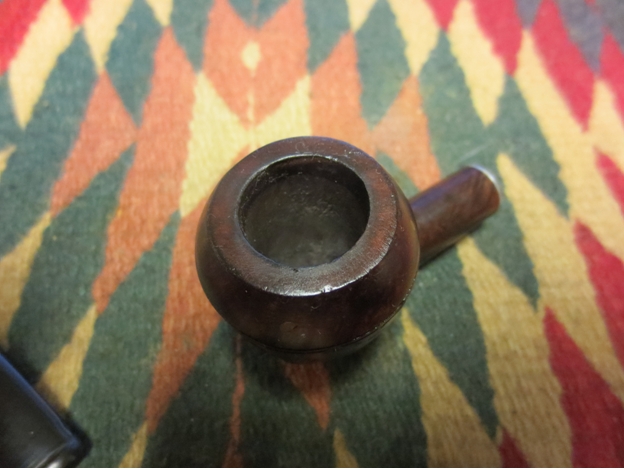
The photo below shows the base with the bowl removed. You can get a clear picture of the base without the bowl and how the bowl looks from the bottom. The hole in the base is the same size as the nipple on the bowl.
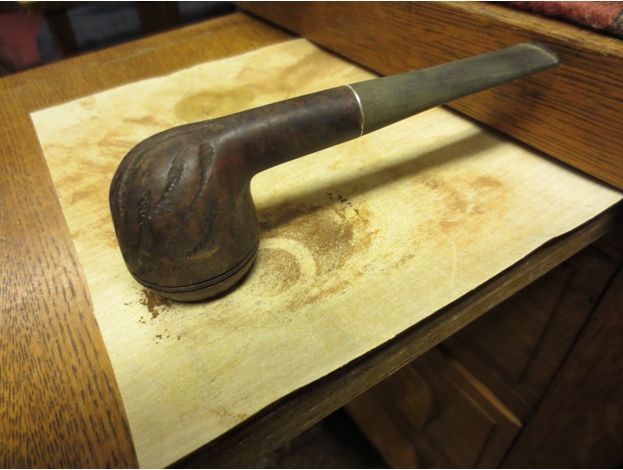
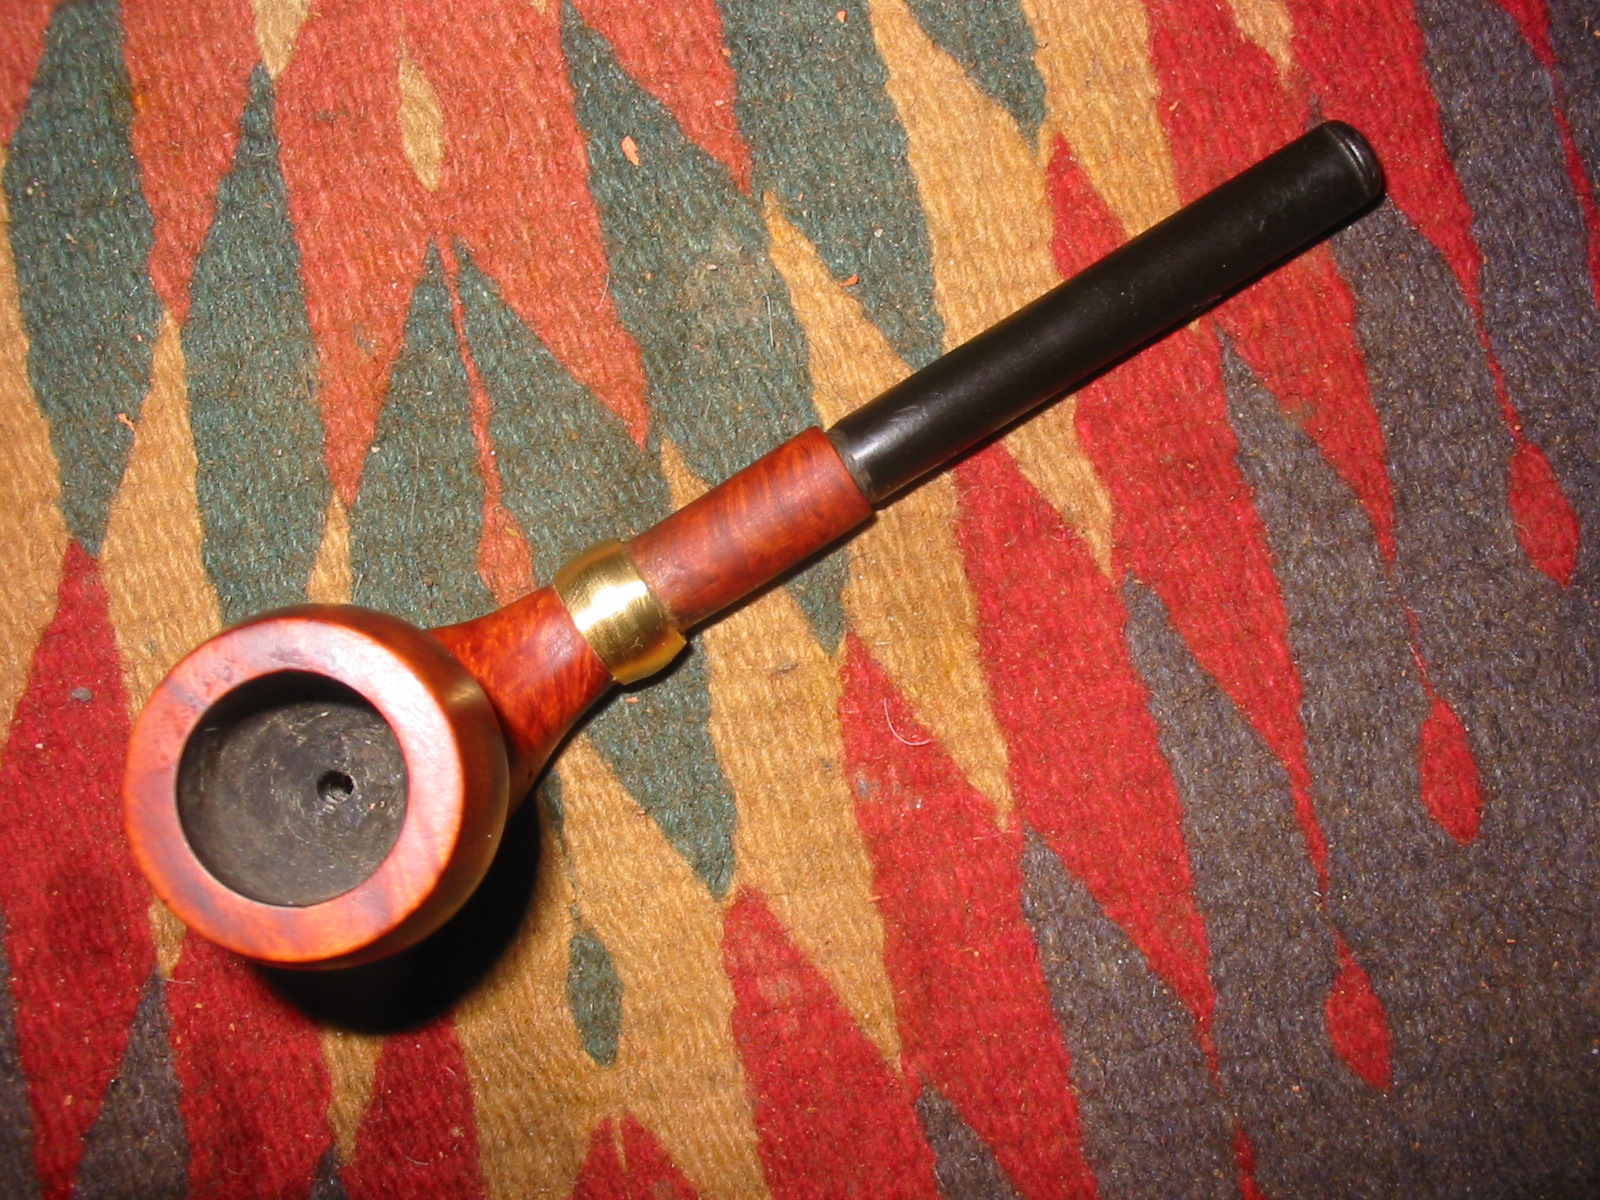
I sanded it for another hour before calling it a night and then wiped it down with some light olive oil to get an idea where the scratches were that I needed to do more work on and also to see the grain. The next four photos show the pipe at this point in the process. There is still more sanding to do on the base and shank as well as some minor shaping. The idea though is clear – and the pipe is smokeable. The draw is very good and there are no leaks around the joint where the bowl presses into the base. So far so good.
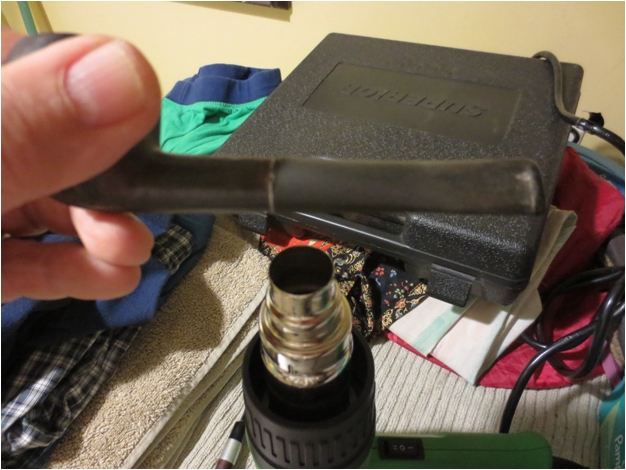
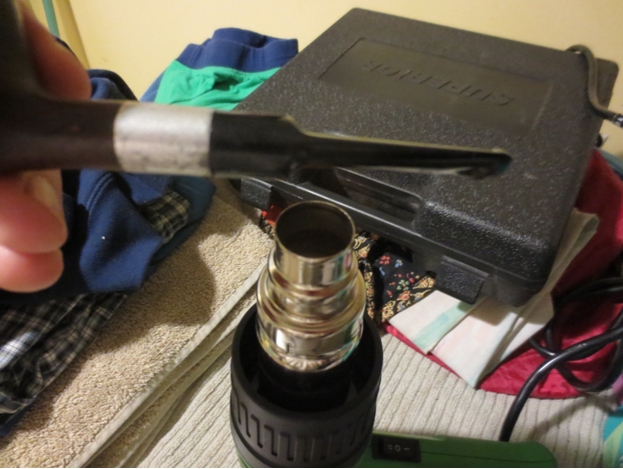
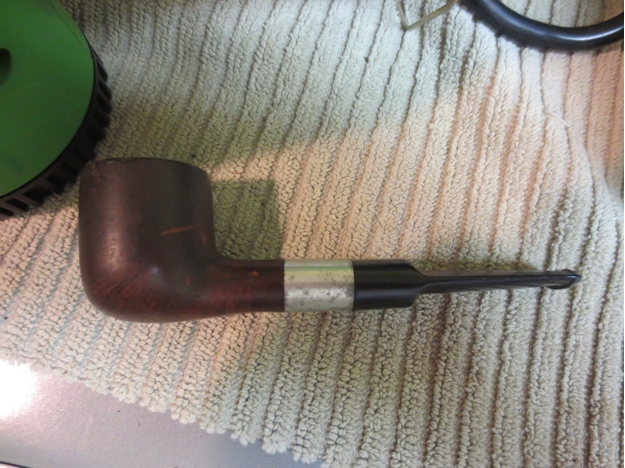
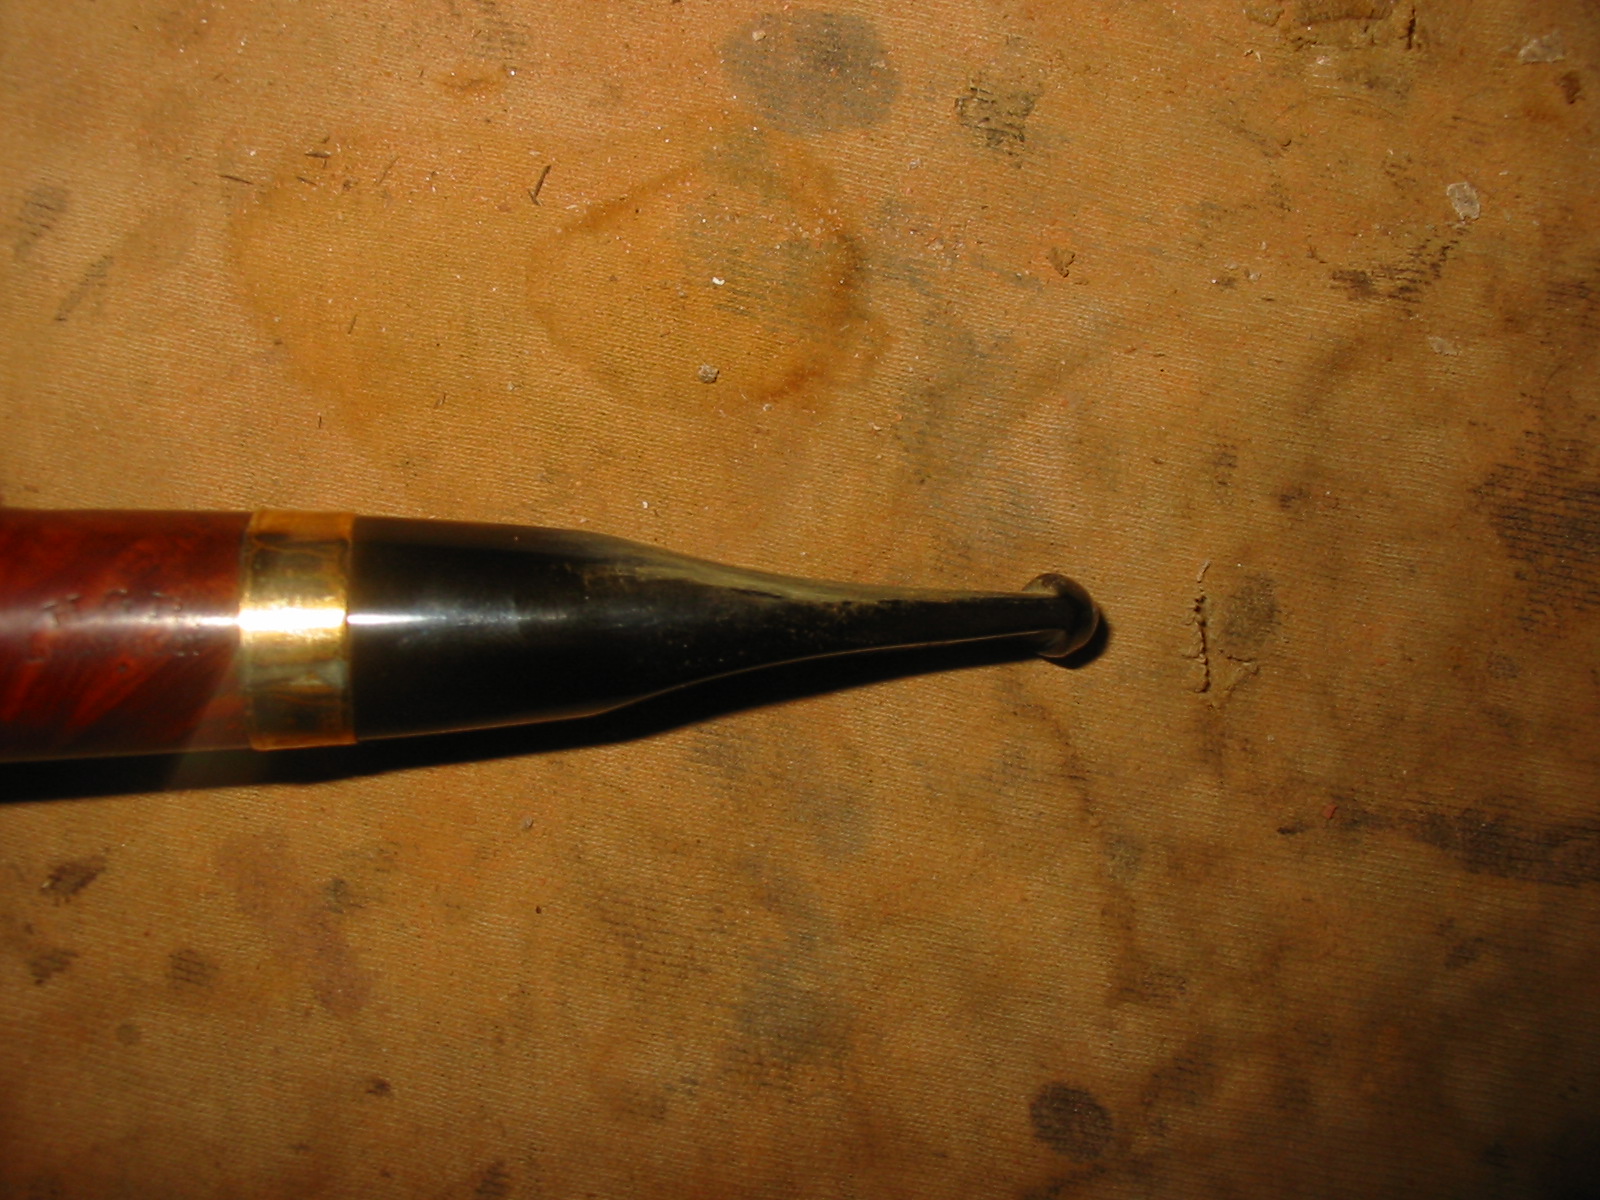
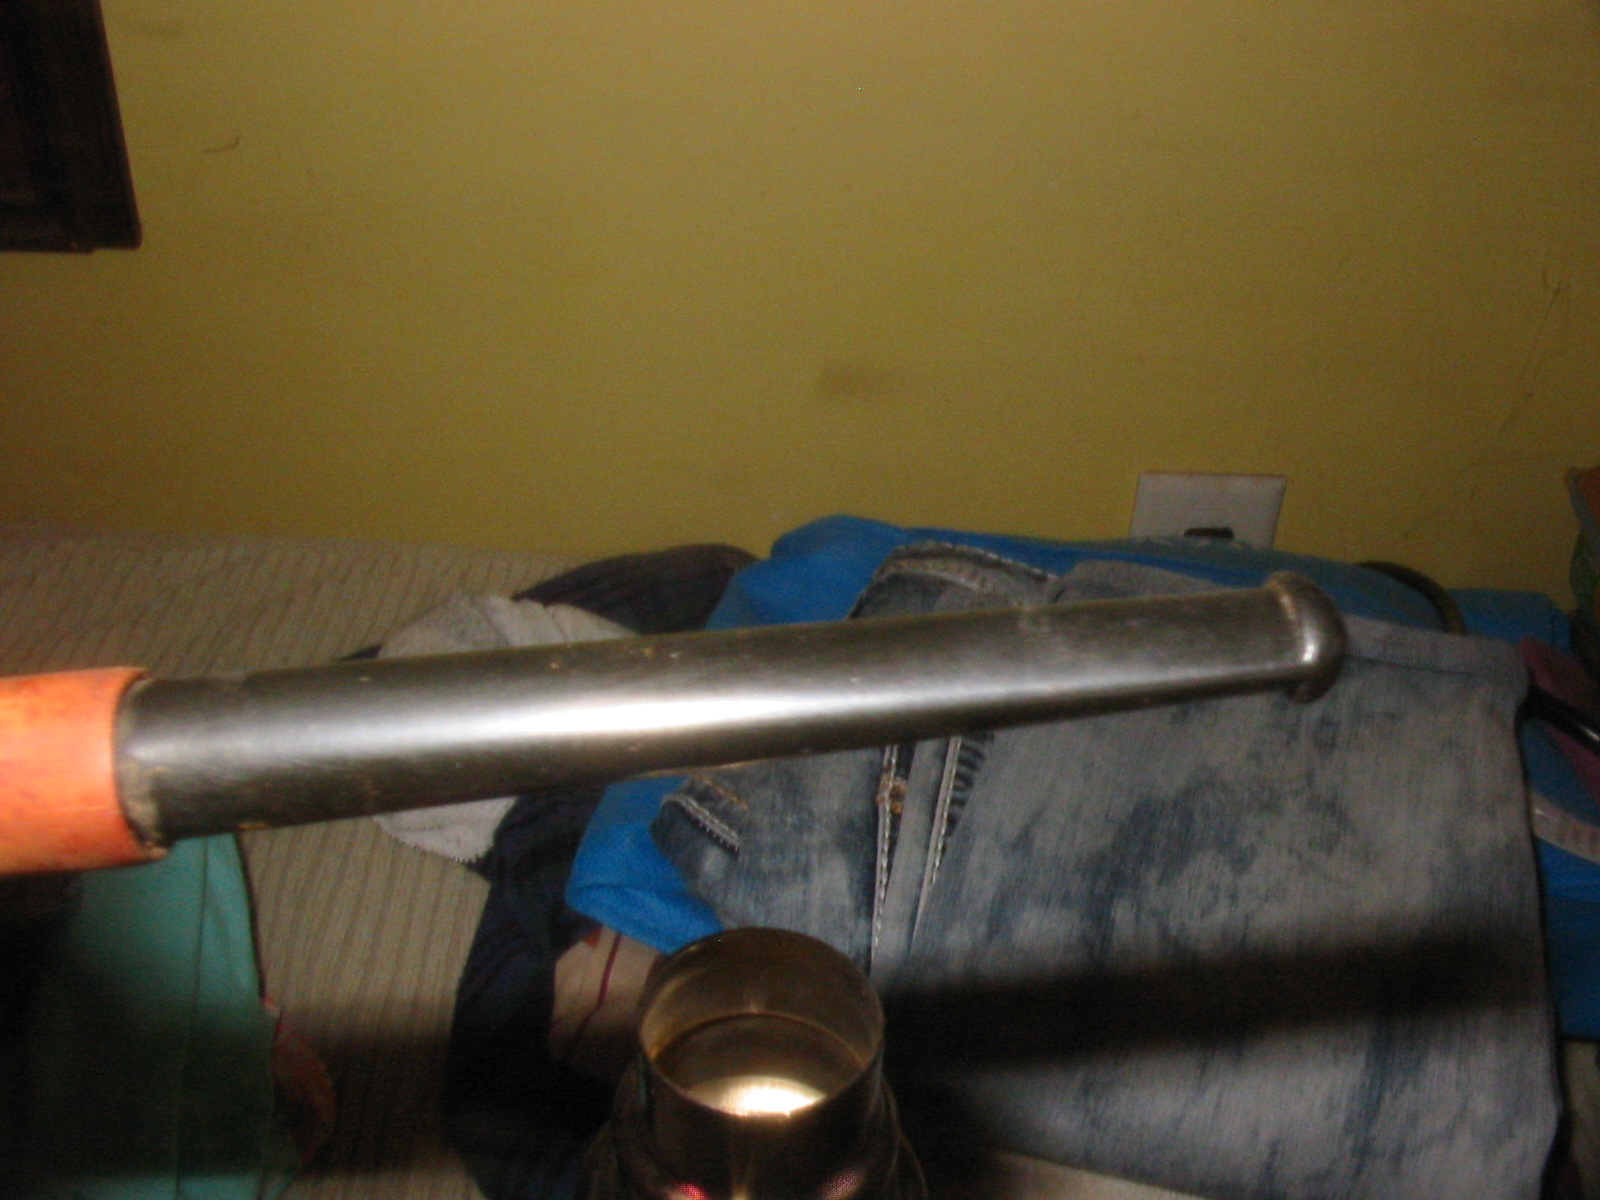
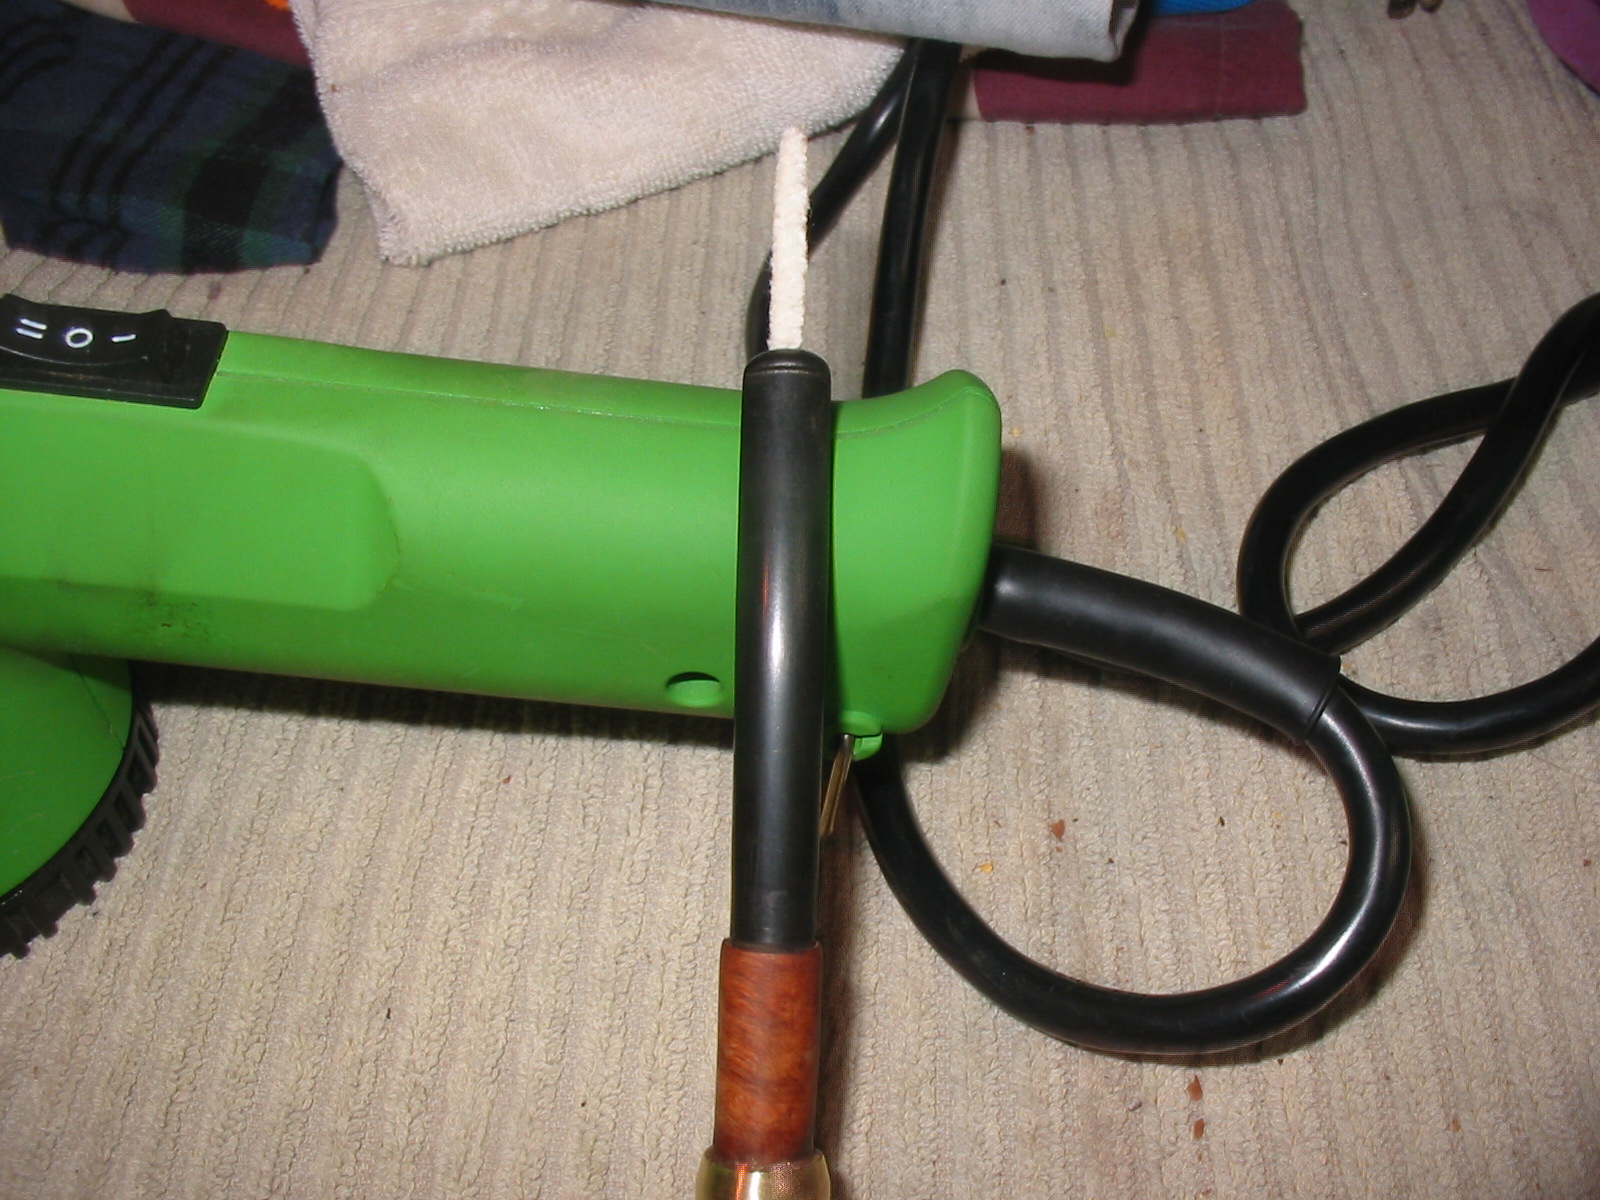
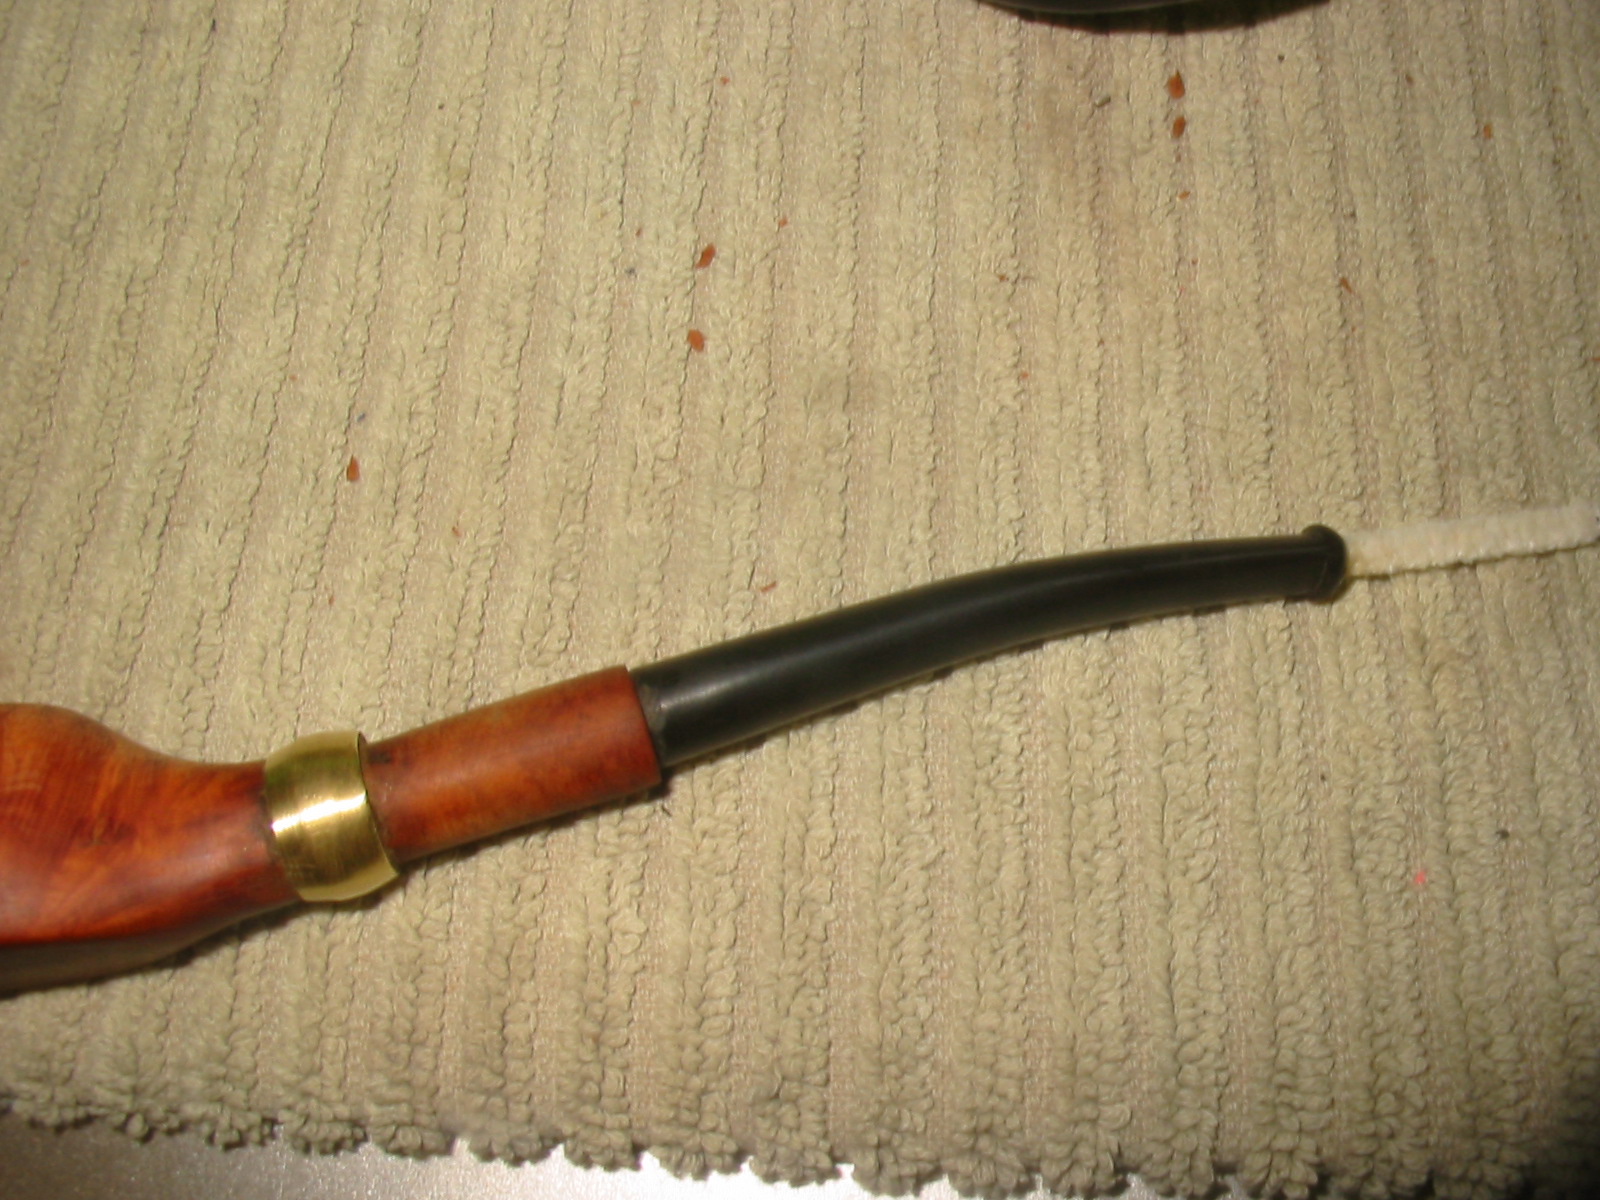
I set up a heat gun and bent the stem over the rounded handle of the heat gun to get a slight bend in it. I set the bend with cool water. With the bend the pipe is a sitter. The bend pulls the weight backward and the pip sits nicely on the button and the flat bottom of the base.
I did quite a bit more sanding and shaping of the base with 150 and 220 grit sandpaper. Once I had the shape to where I wanted it I sanded it with medium and fine grit sanding sponges. I gave the bowl and shank a wipe down with a cloth that was dampened with olive oil. Other than that the bowl and shank are not stained.
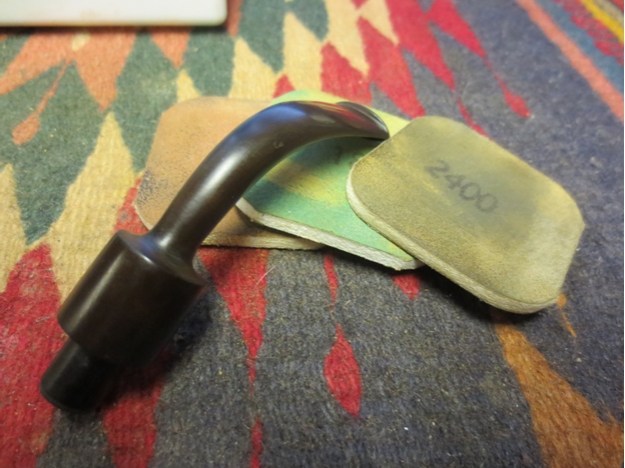
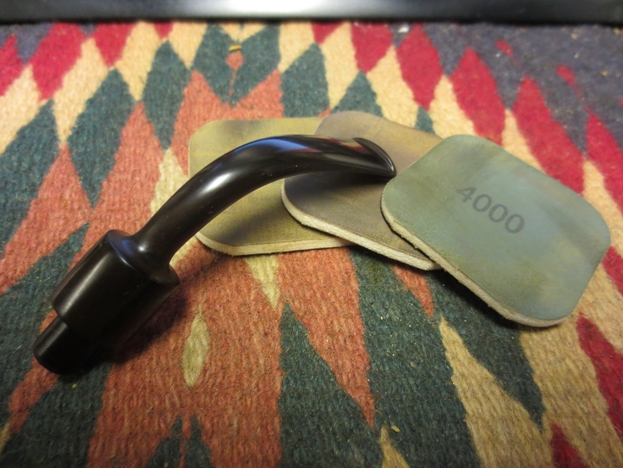
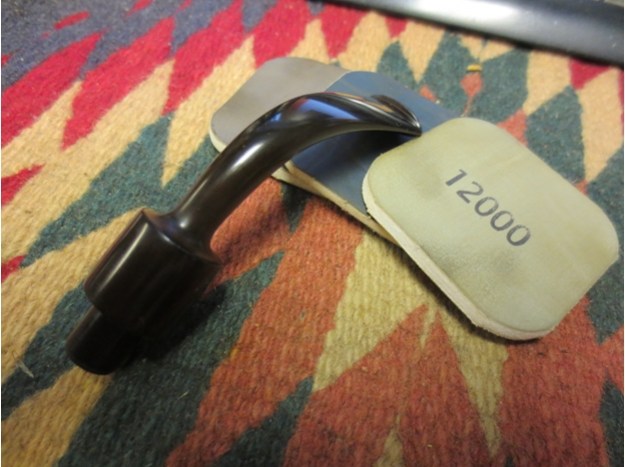
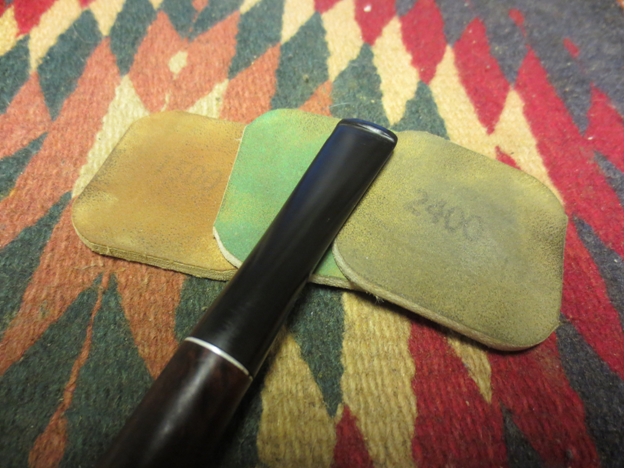
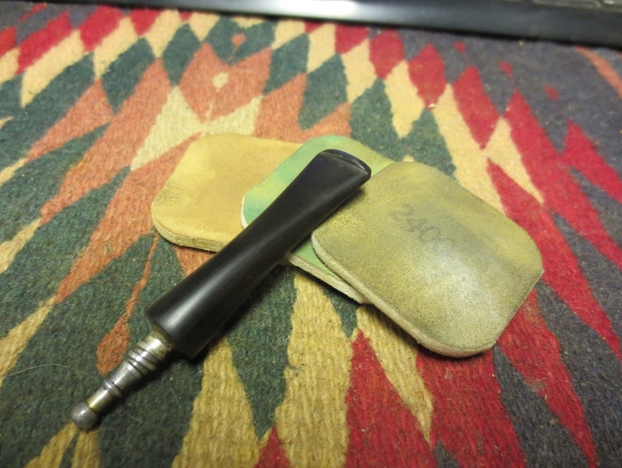
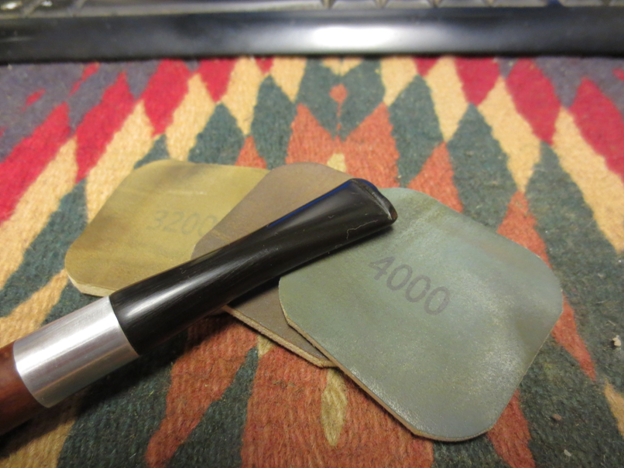
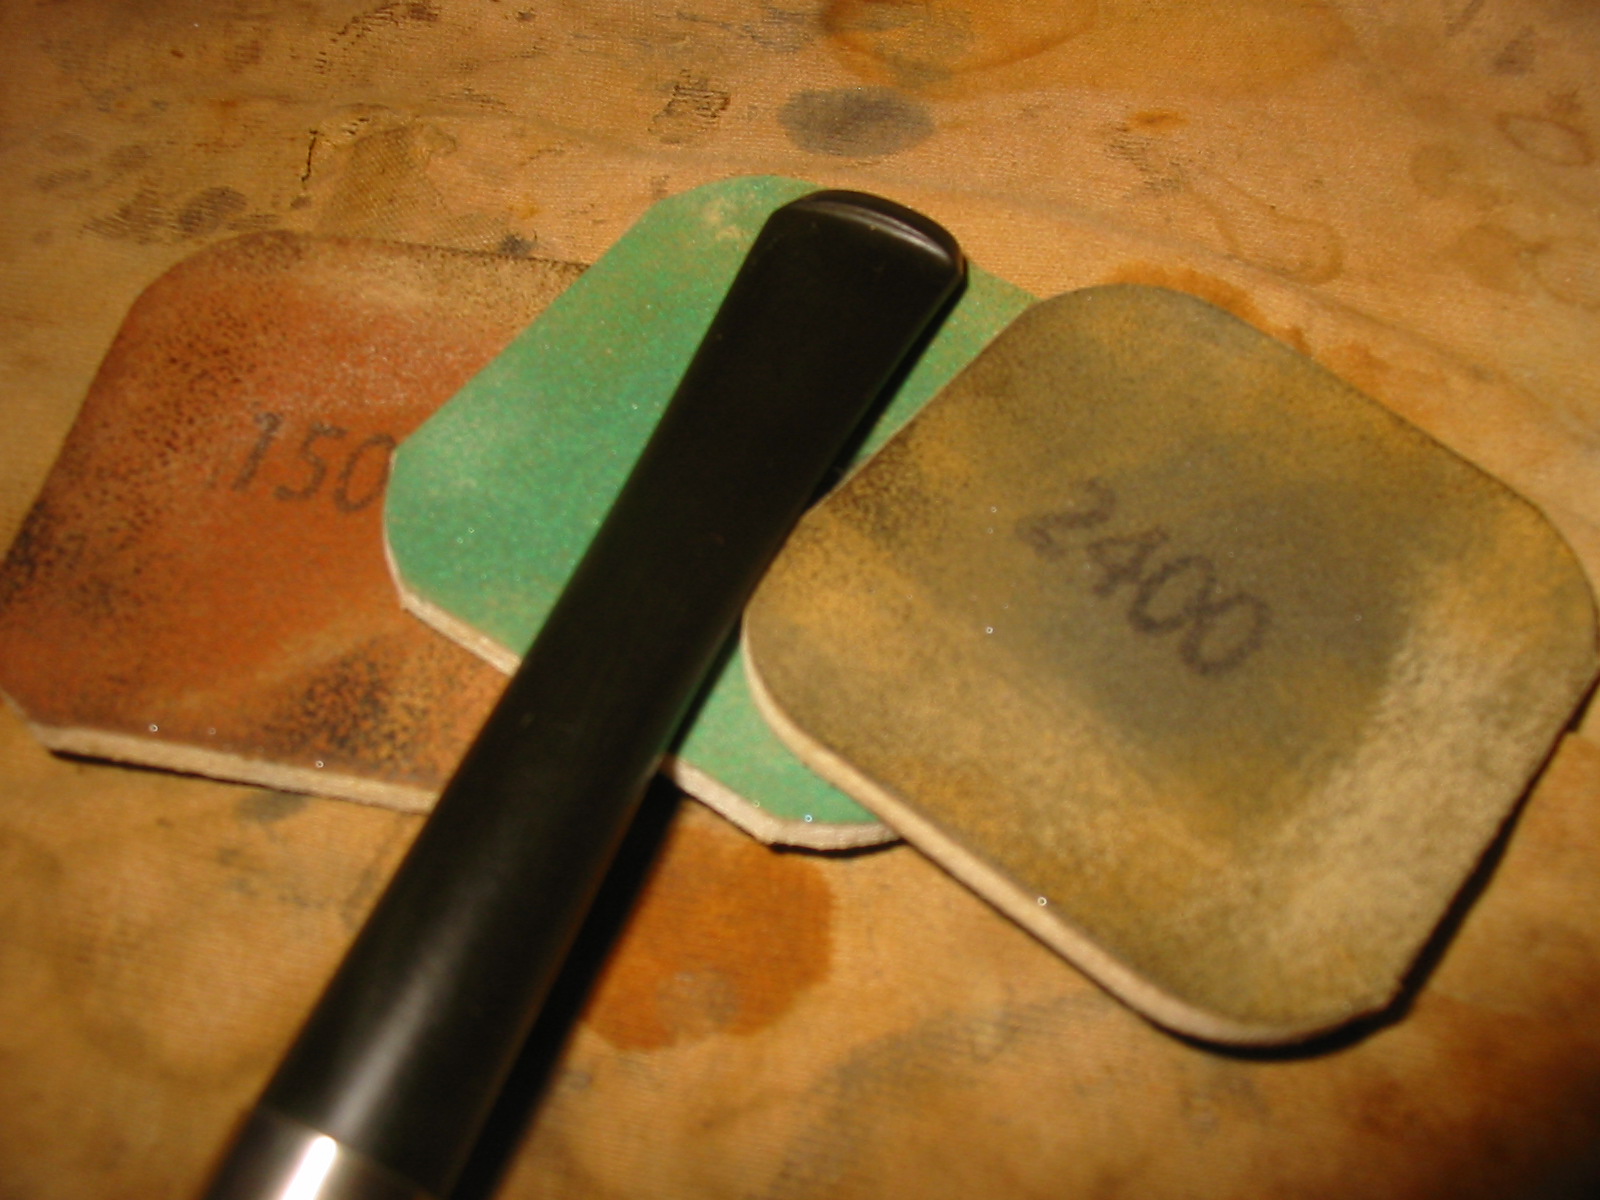
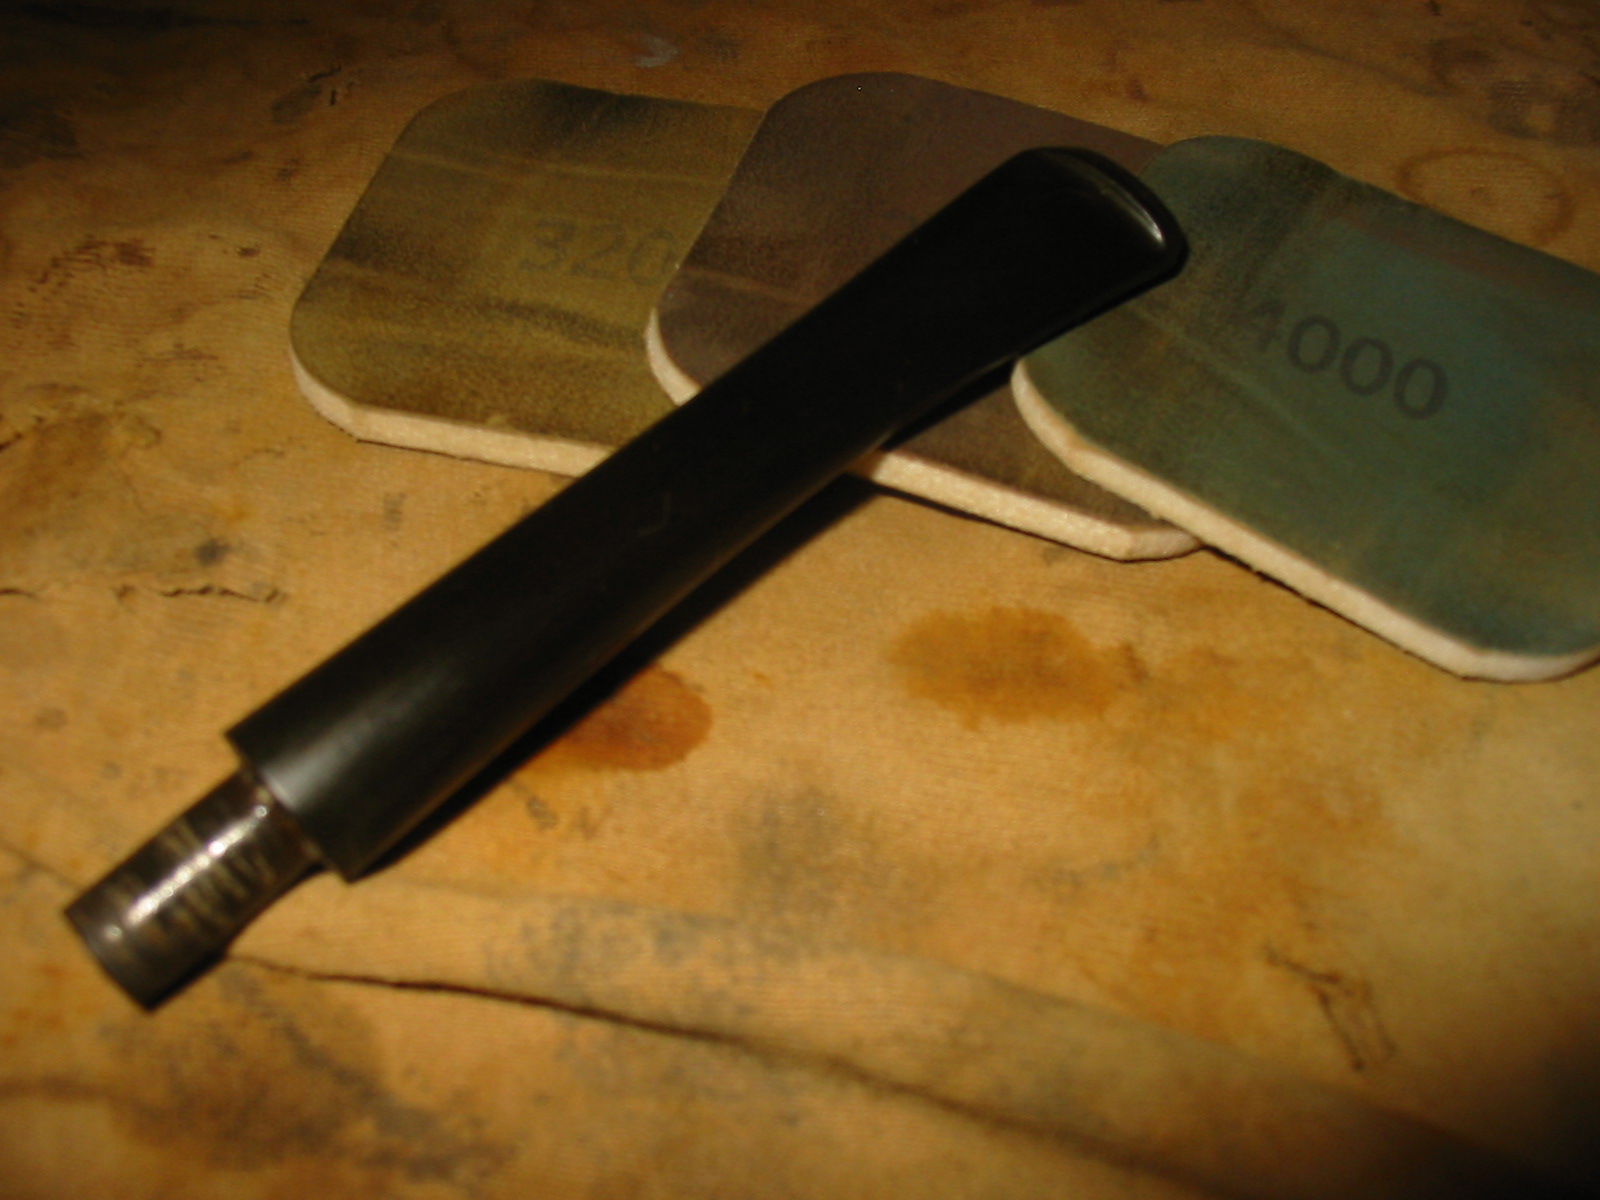
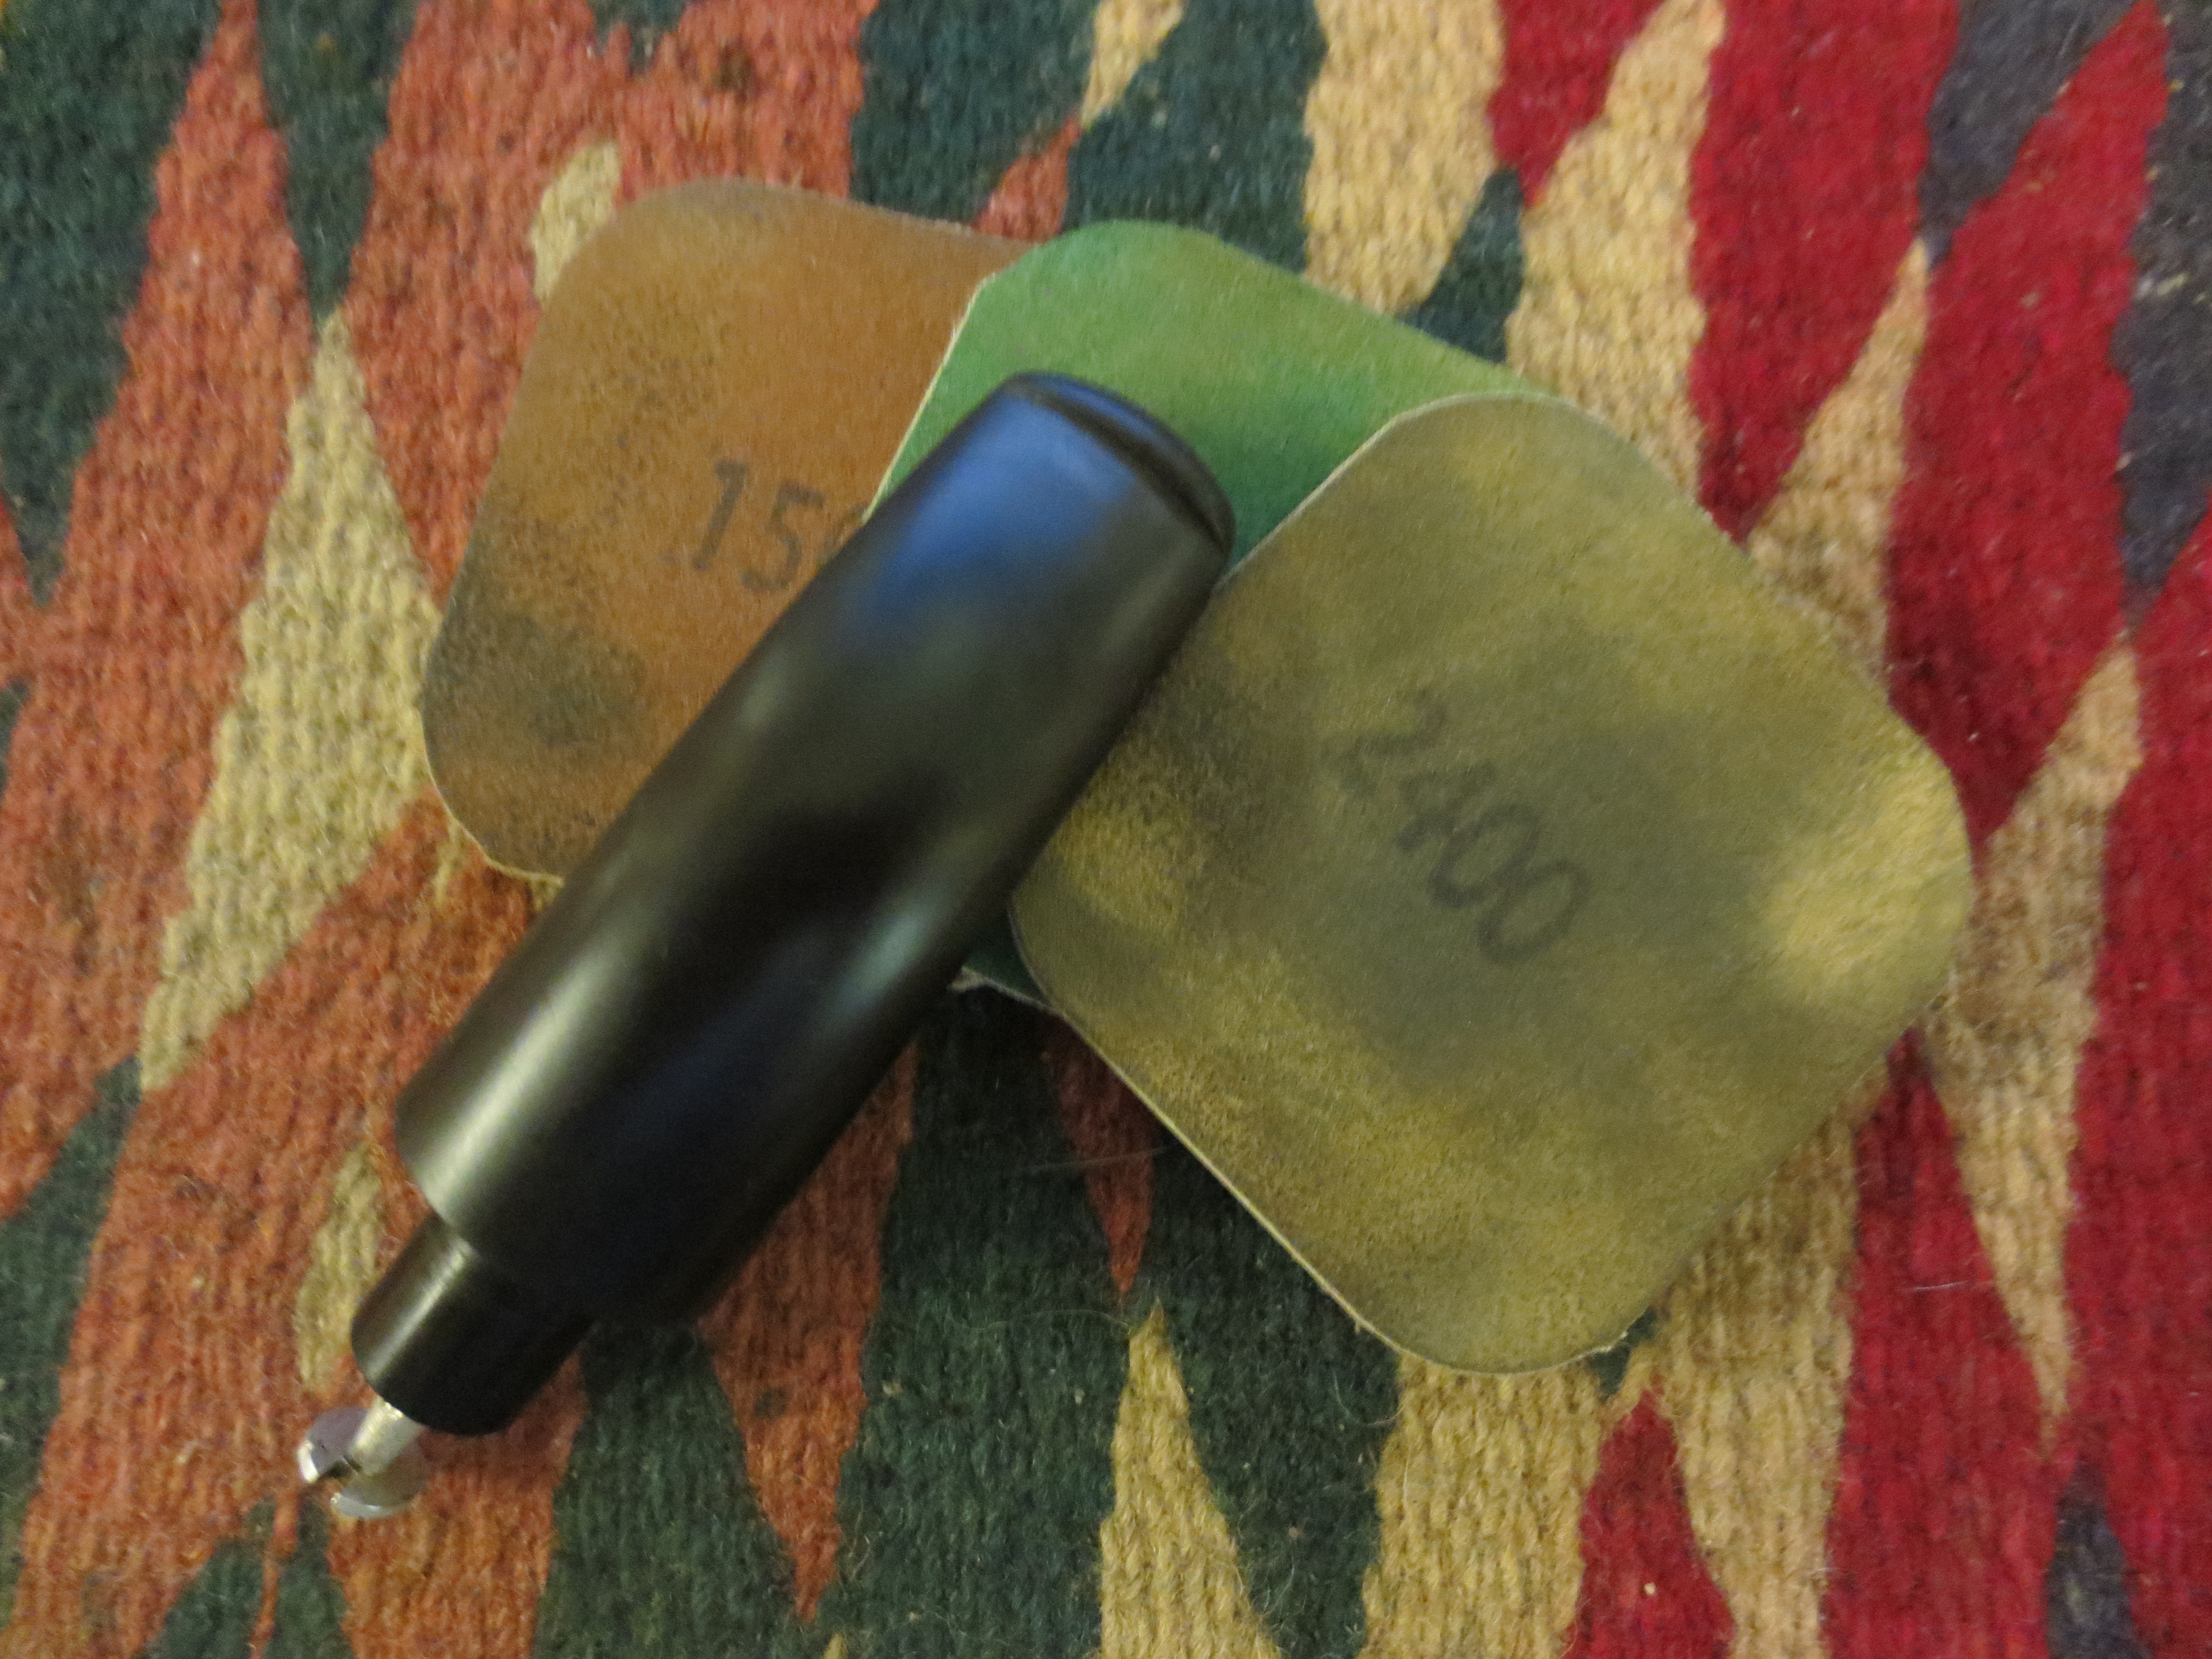
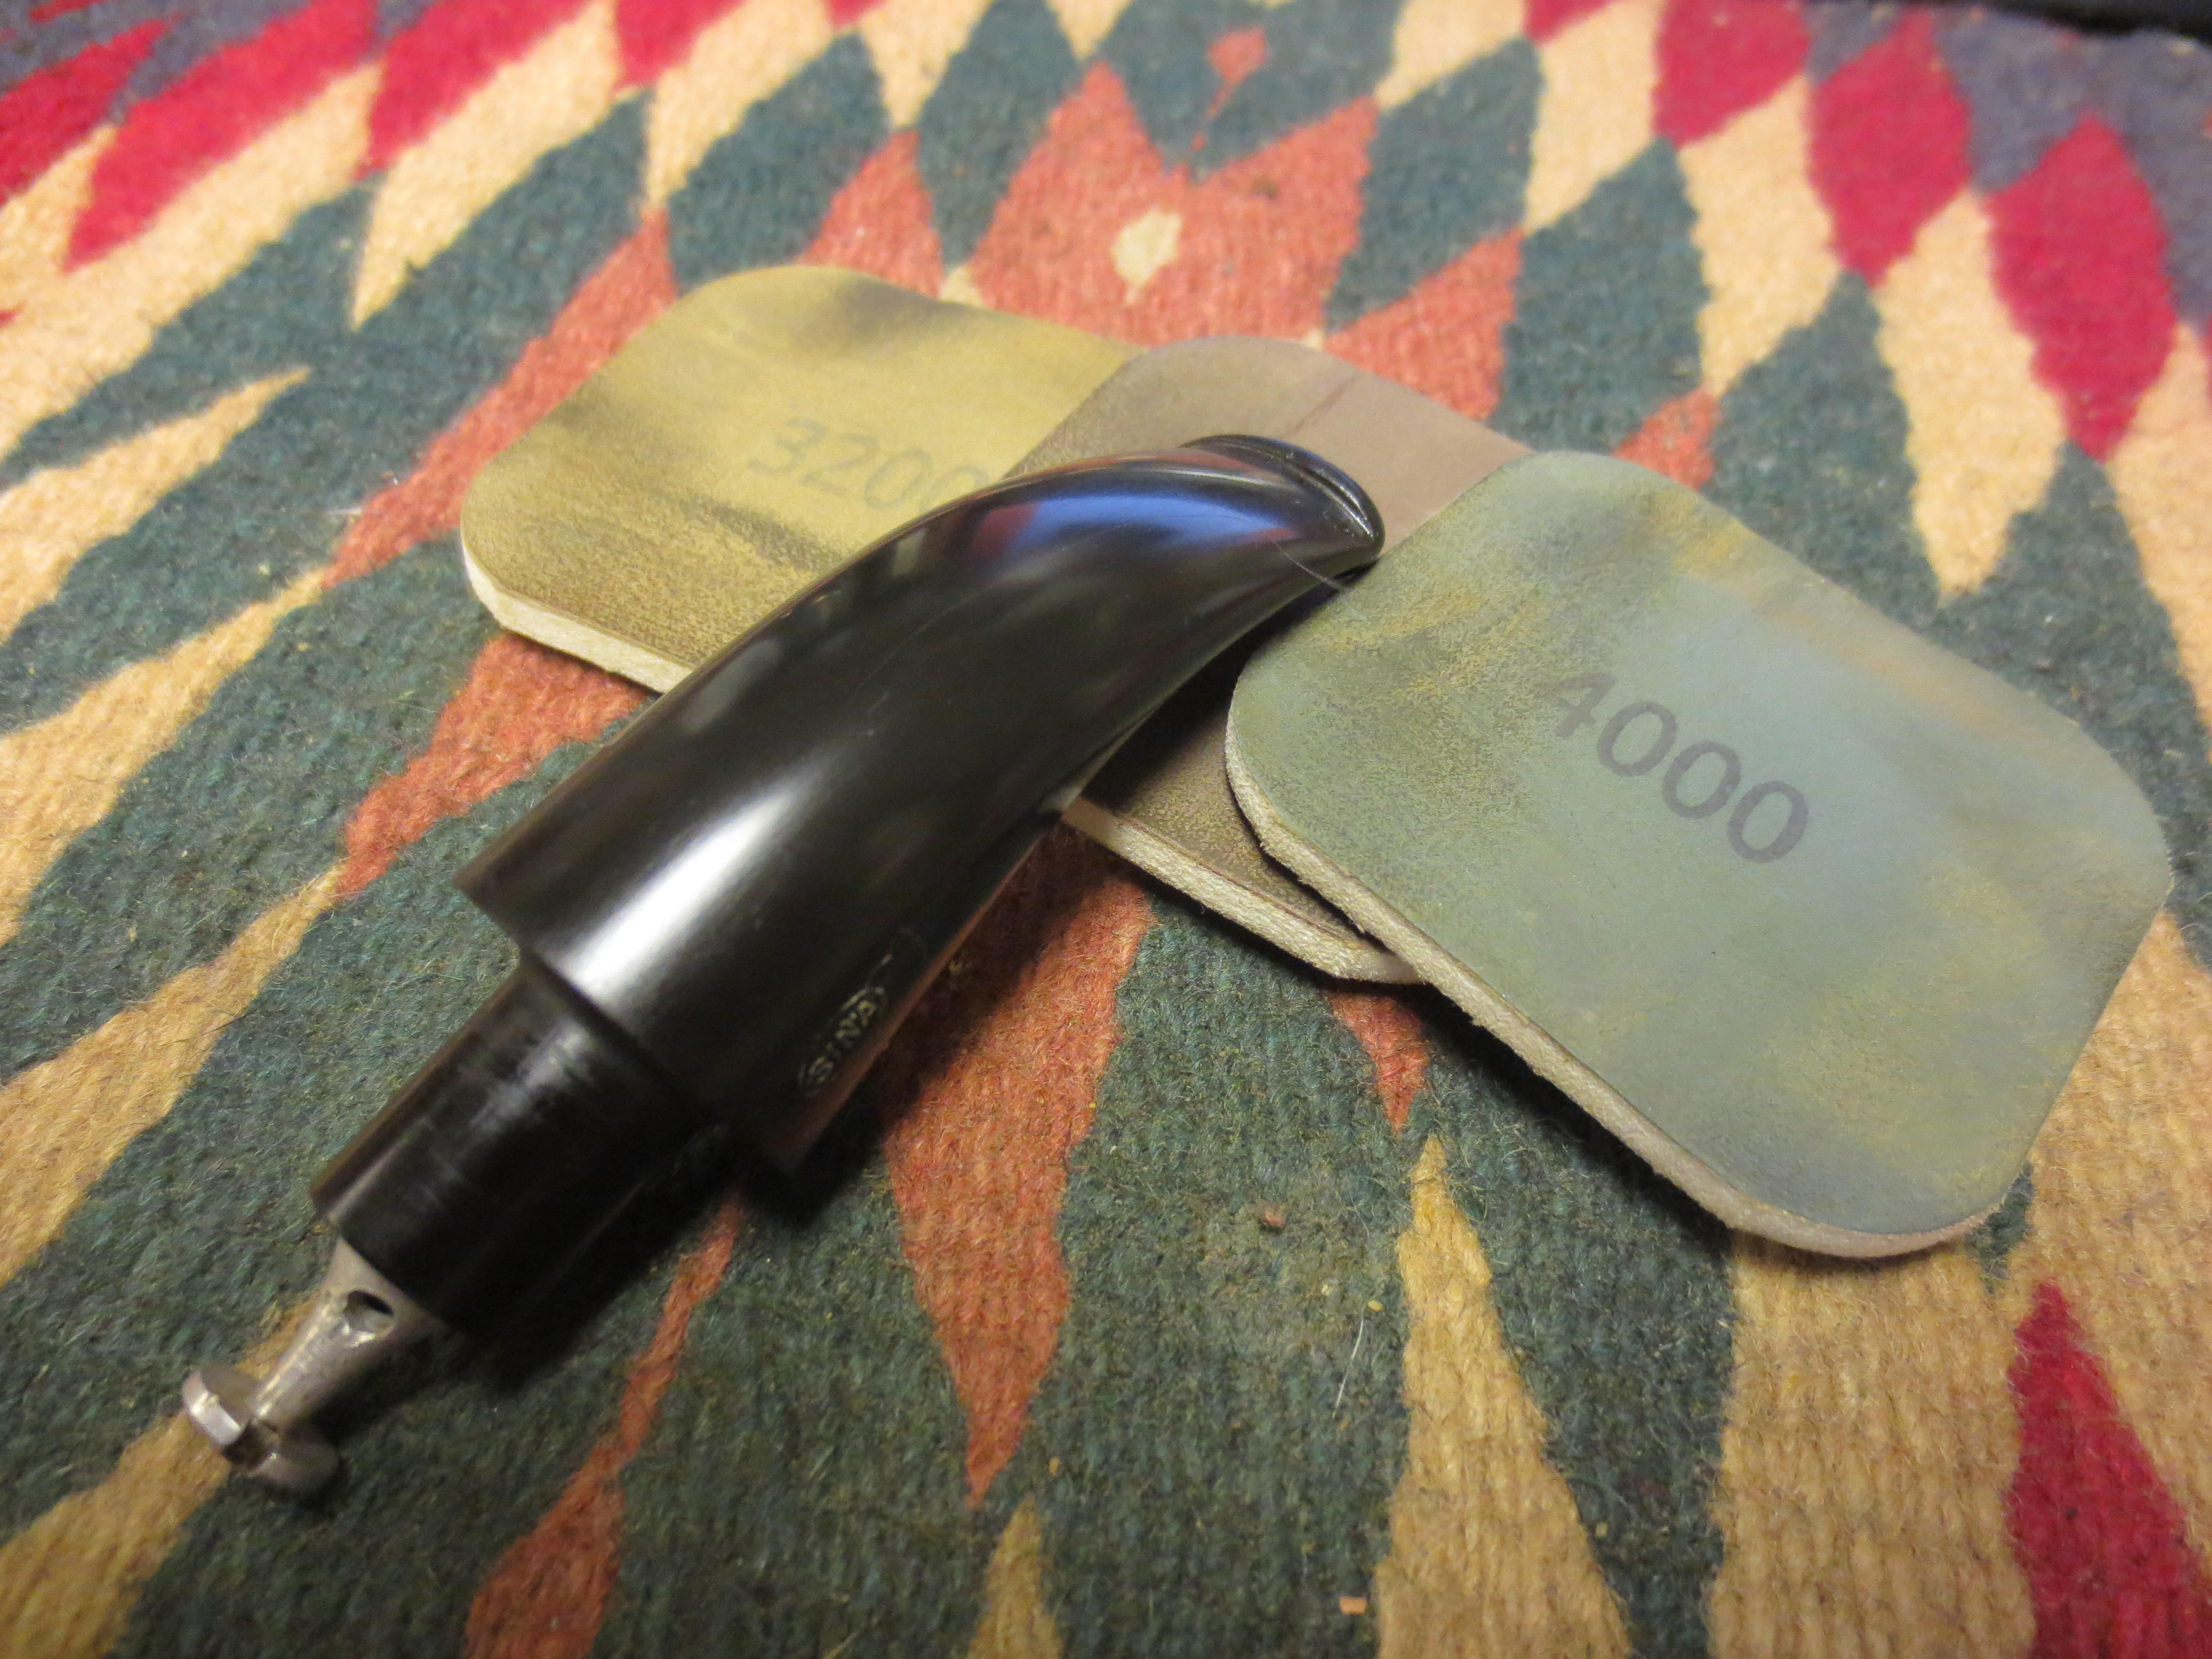
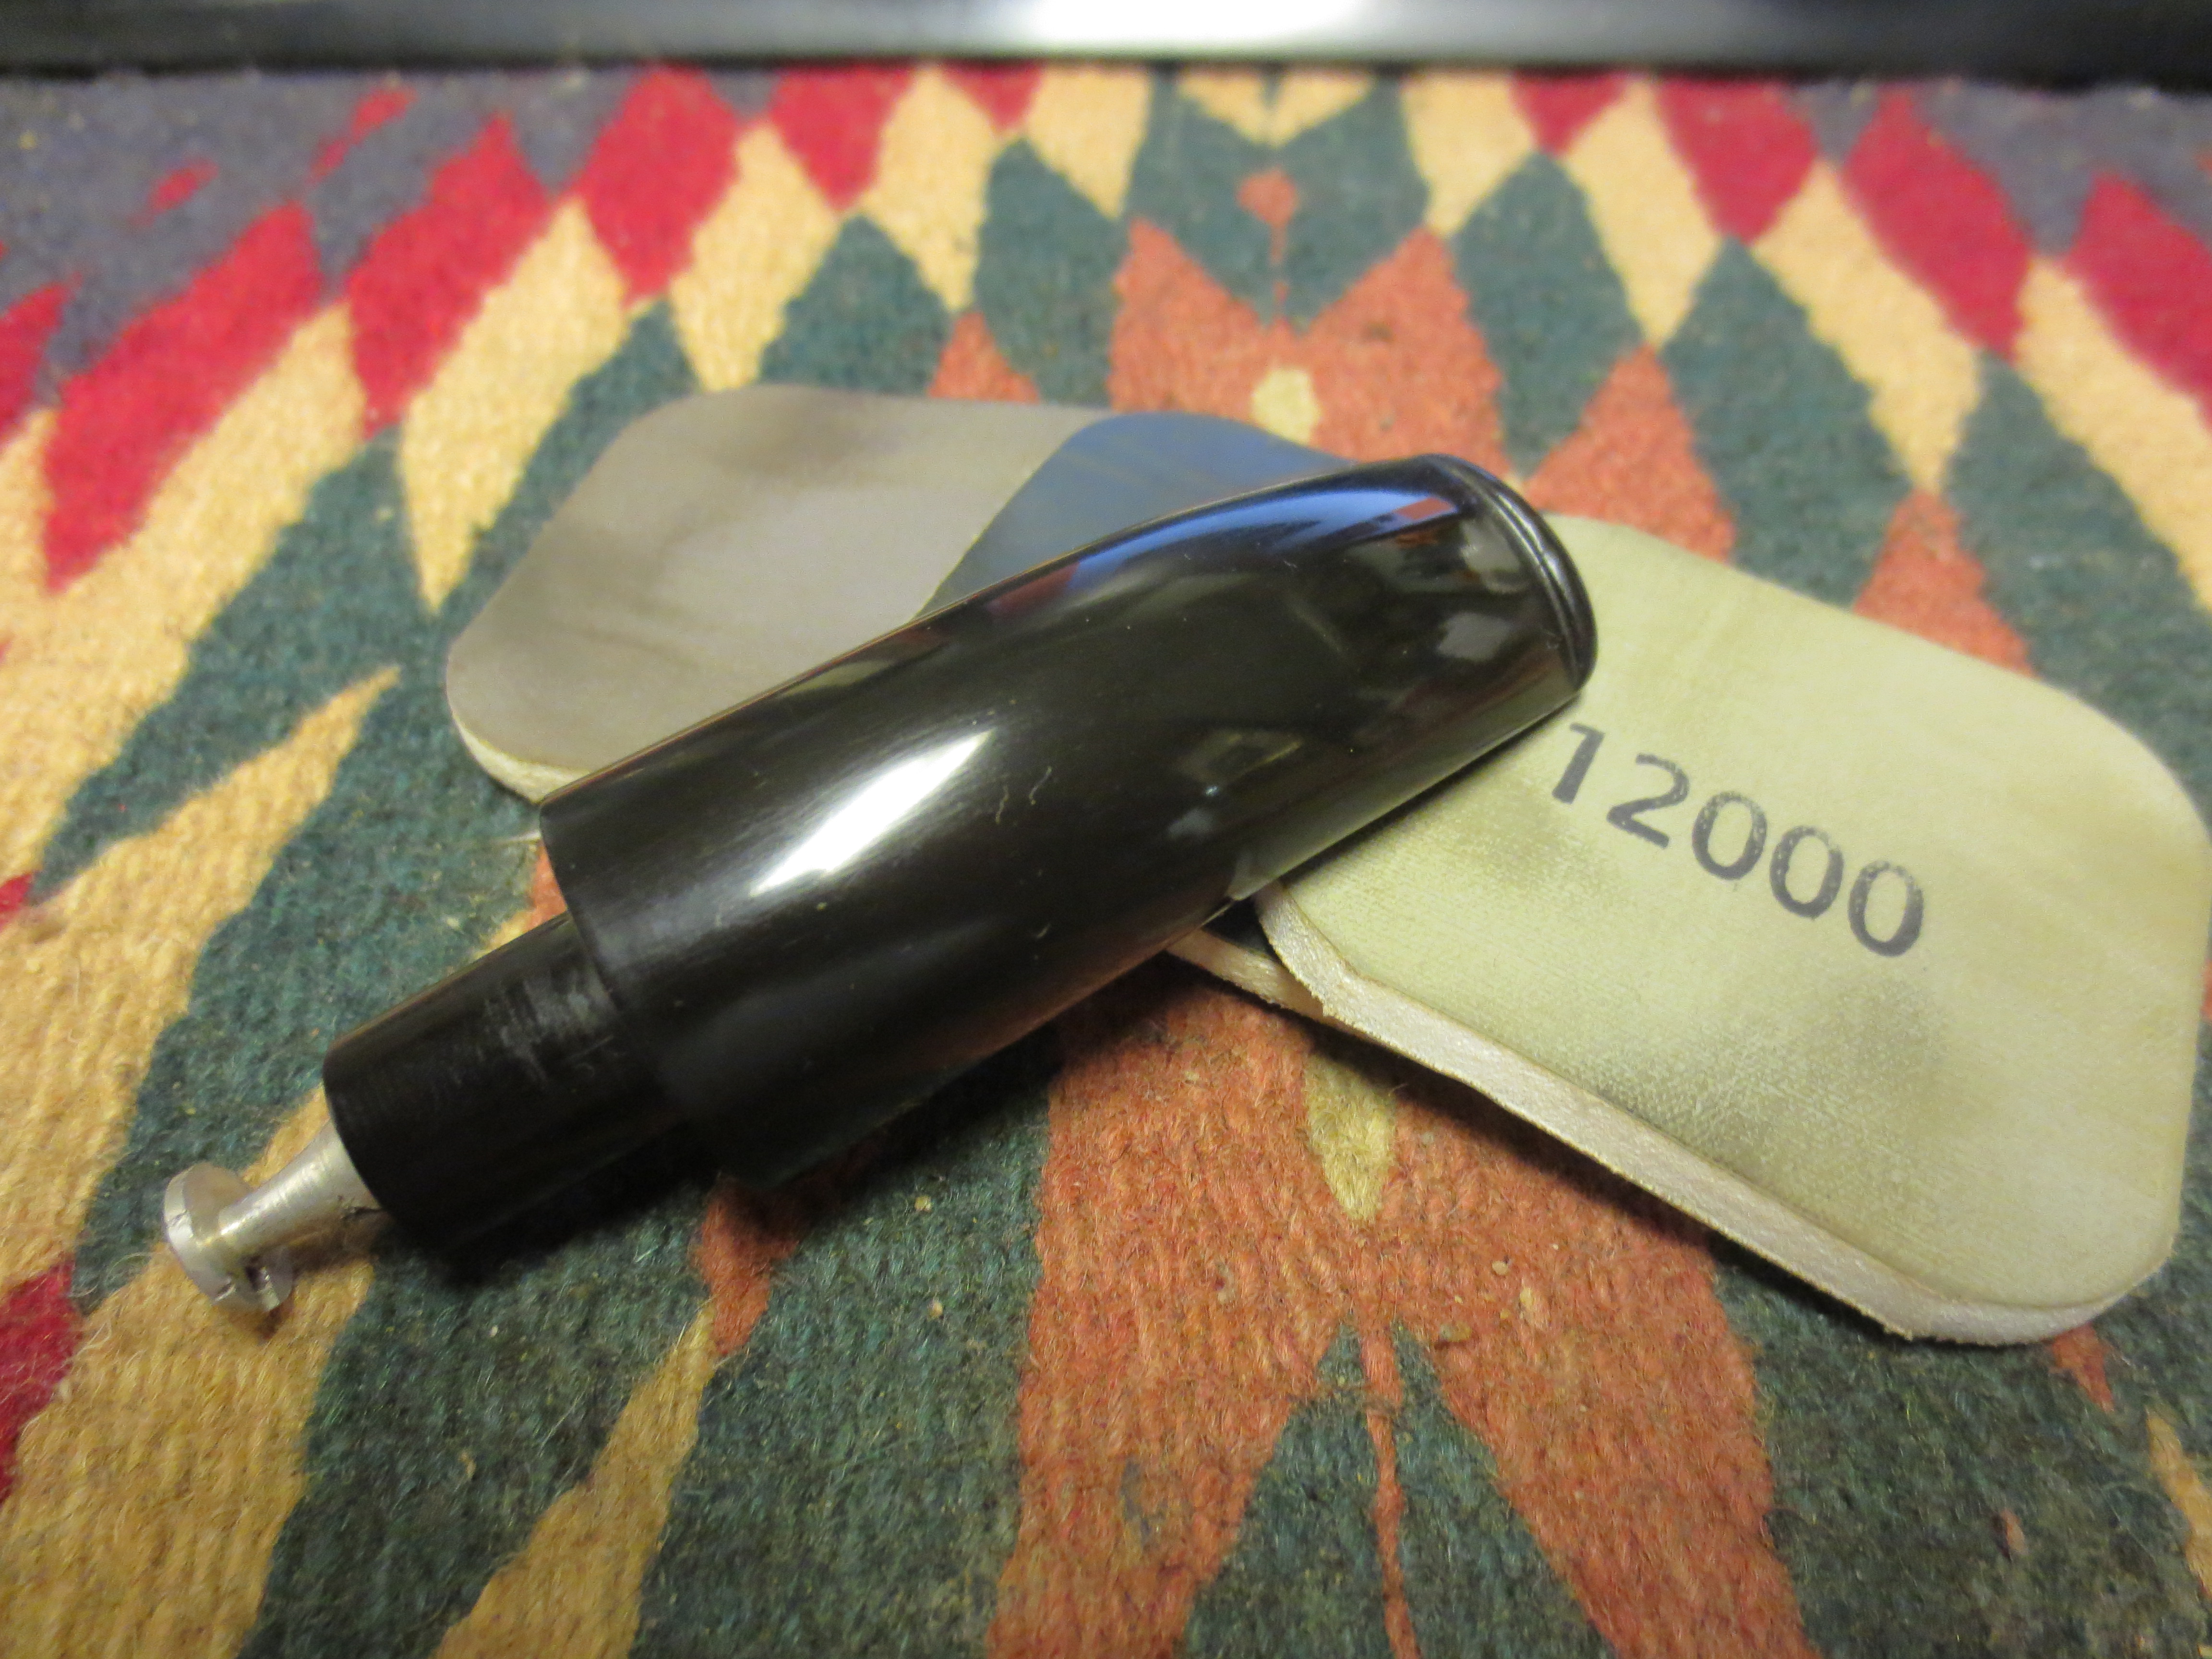
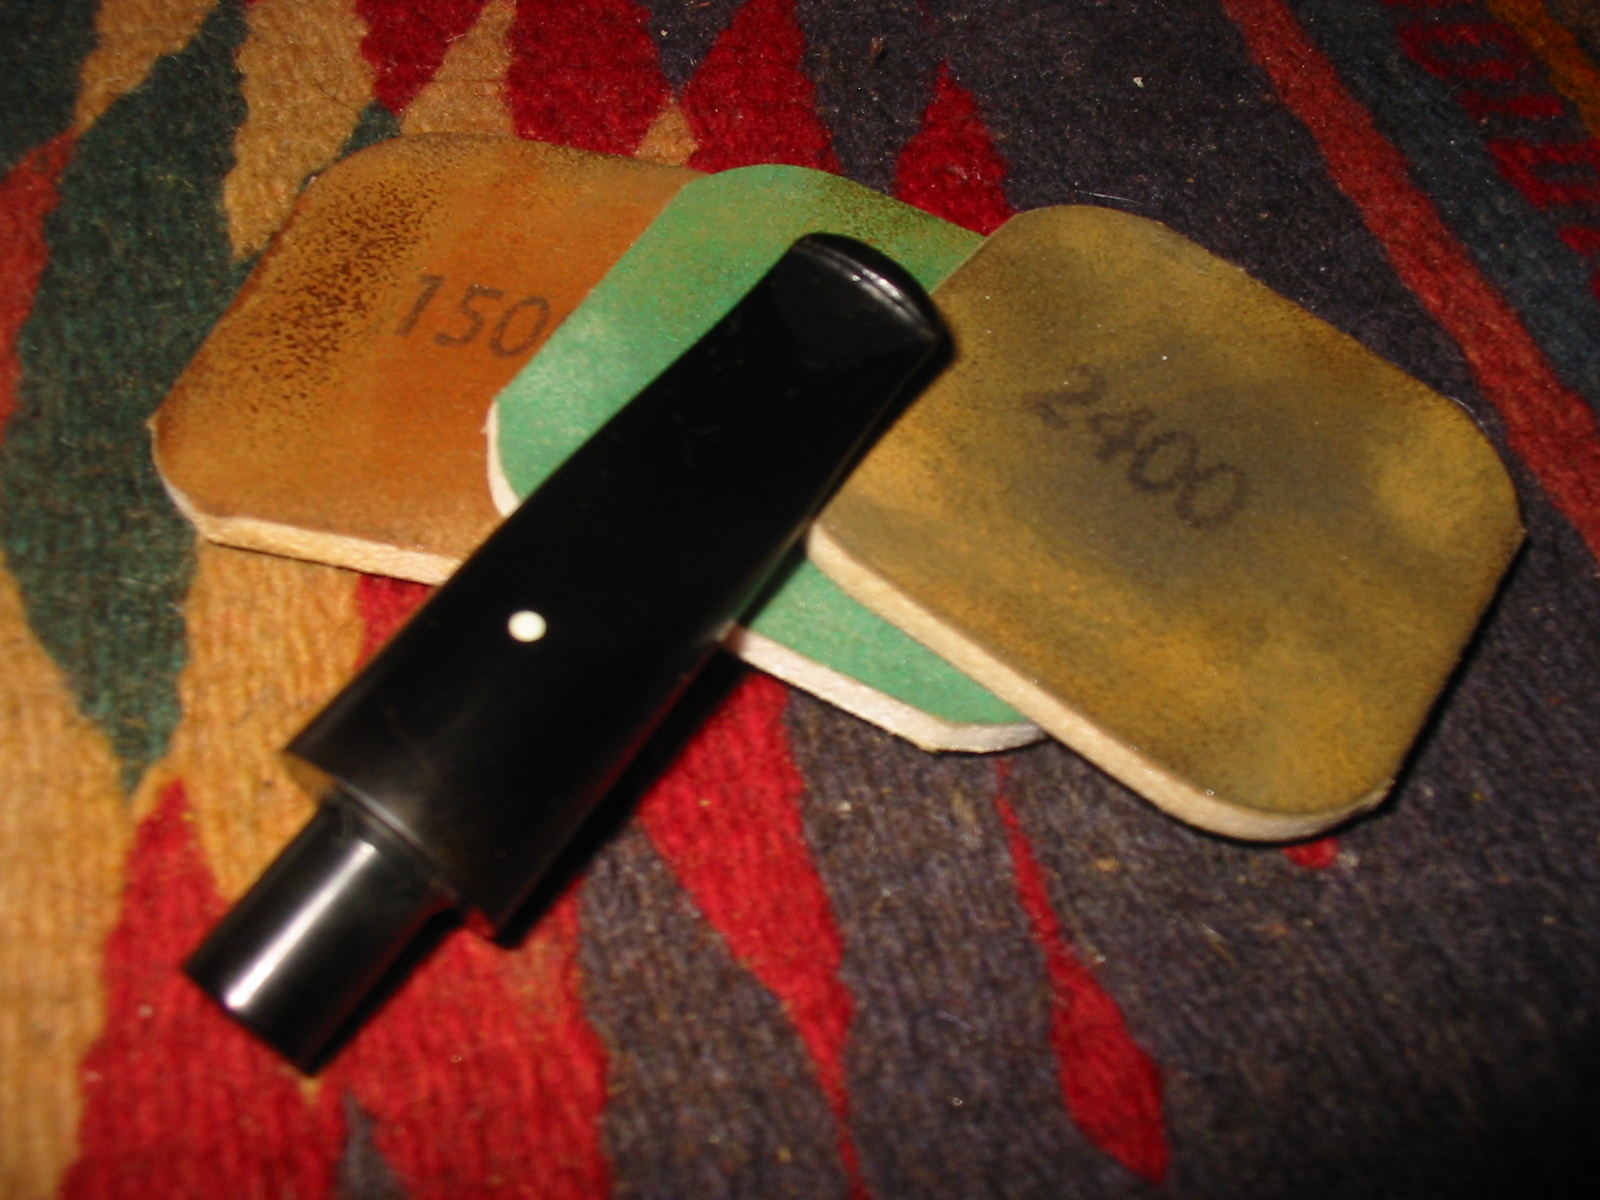
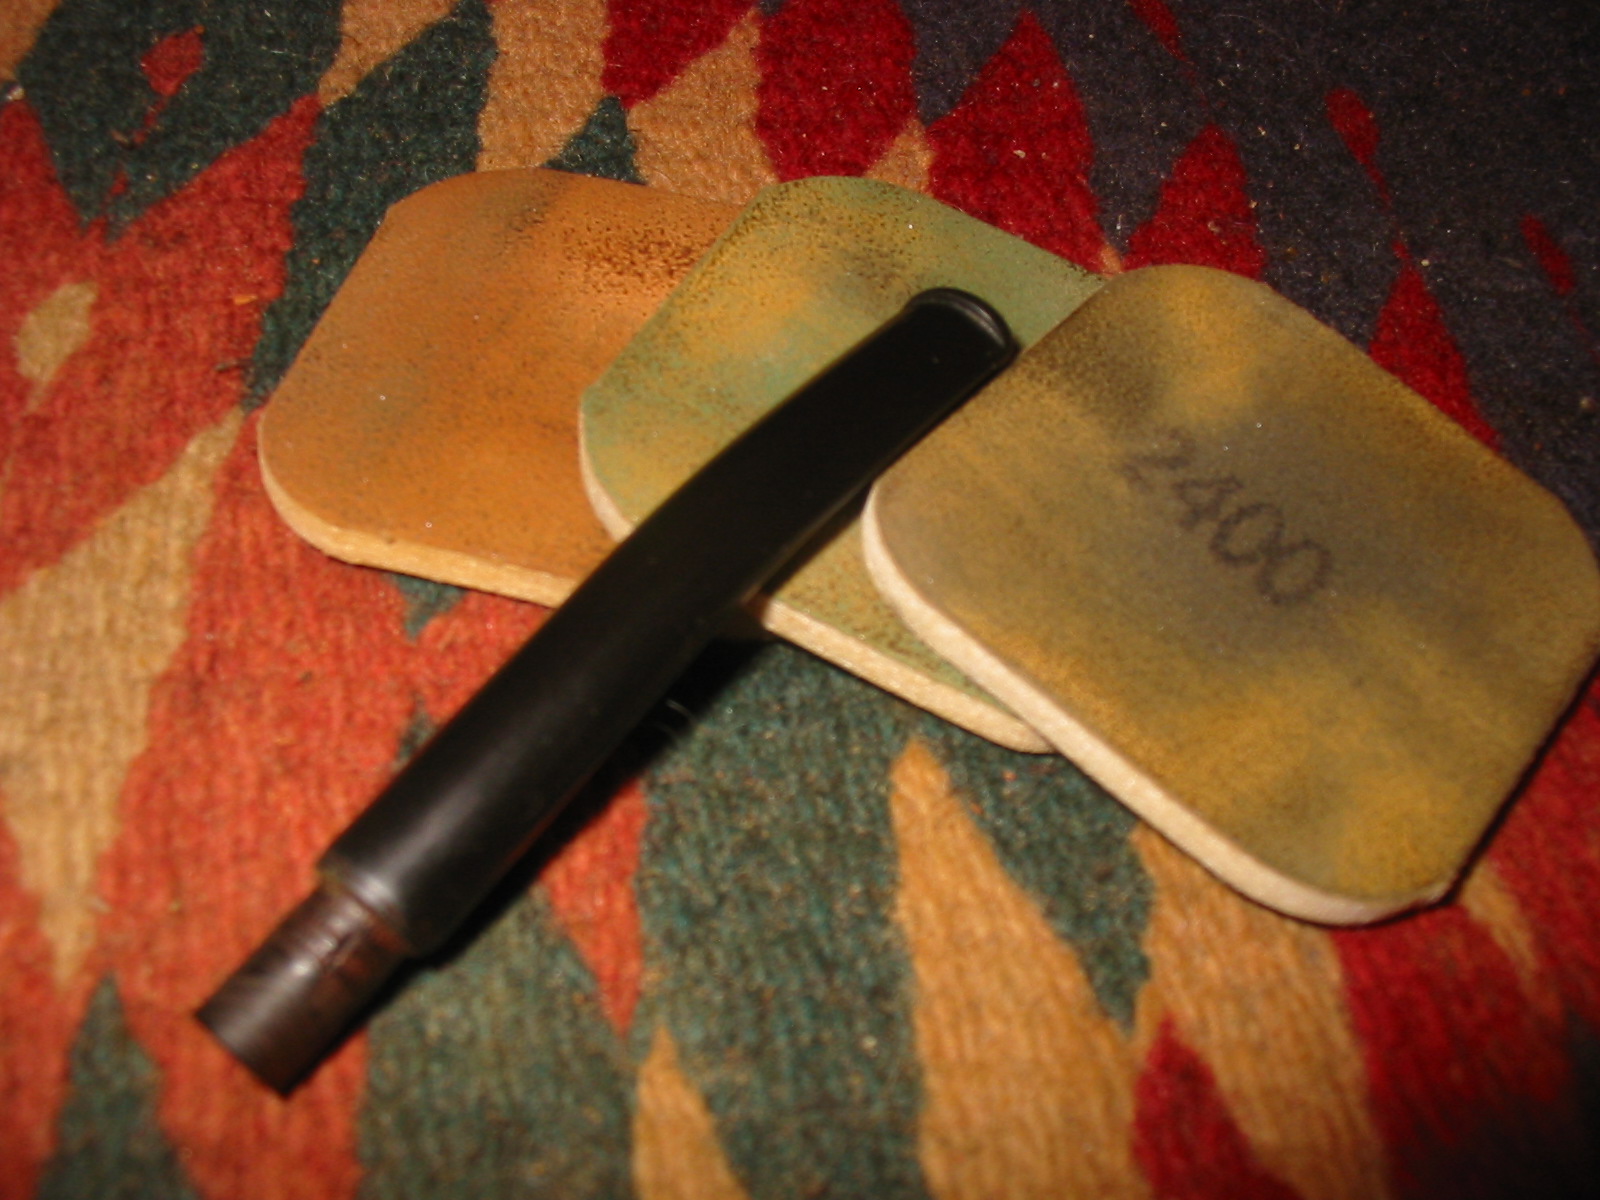
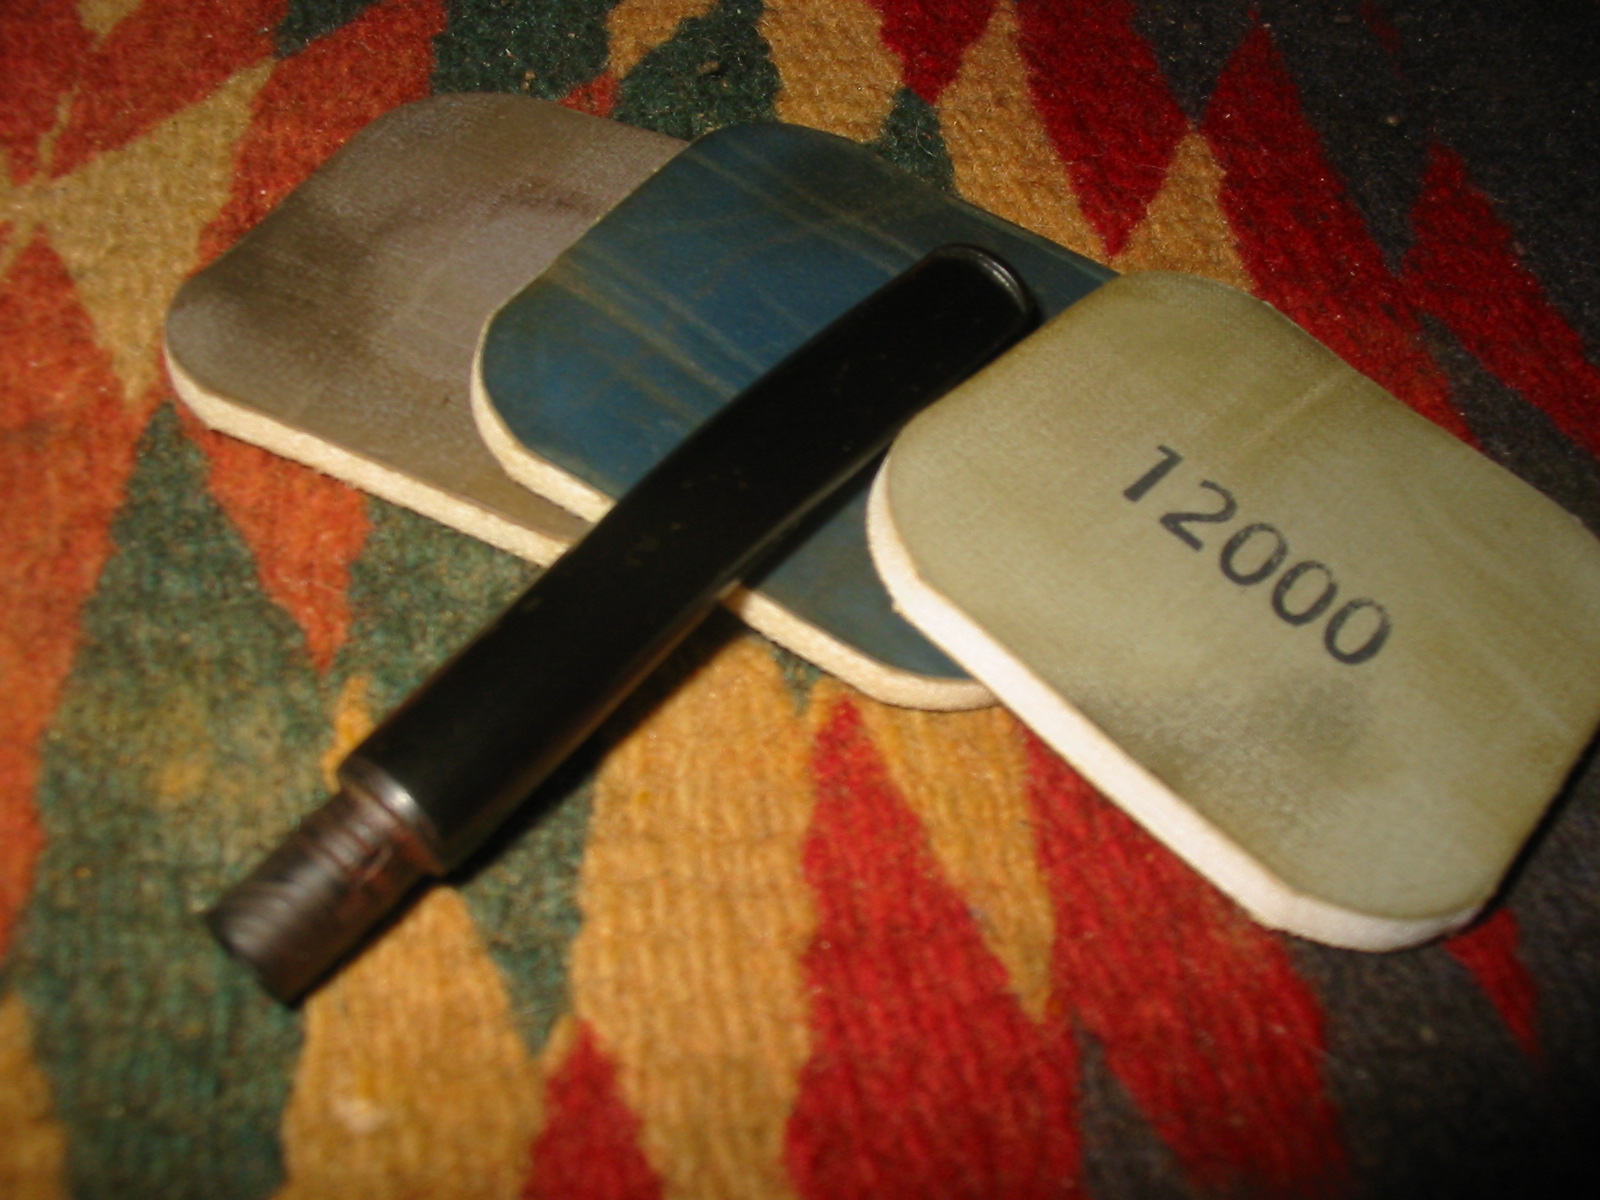
While the shaping was finished there was still a lot of sanding to do to remove the scratches that remain in the briar. I also want to do some sanding on the band to remove scratches and polish it as well. The vulcanite stem also needs sanding and polishing. I took the pipe apart and sanded all the pieces with micromesh sanding pads. I sanded all of them with 1500-2400 grit pads and then finished sanding them with a 6000 grit pad. I buffed the parts with red Tripoli and then White Diamond and gave each part of the bowl and base multiple coats of carnauba wax.
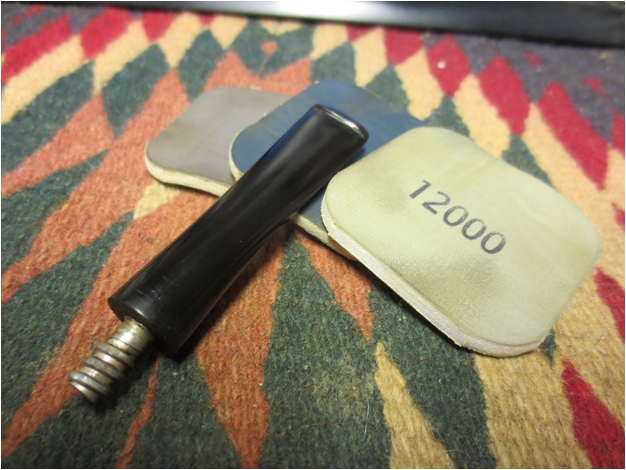
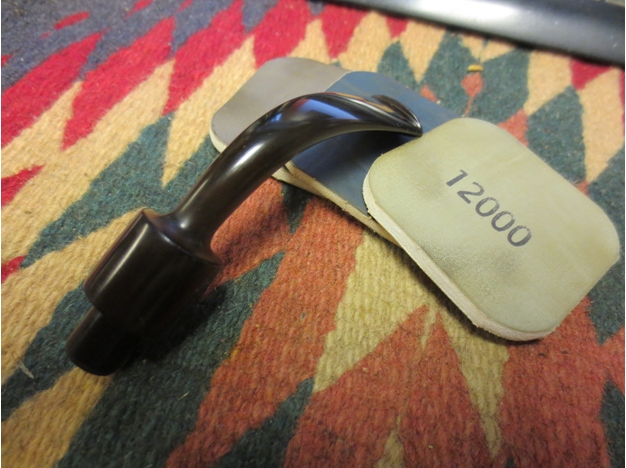
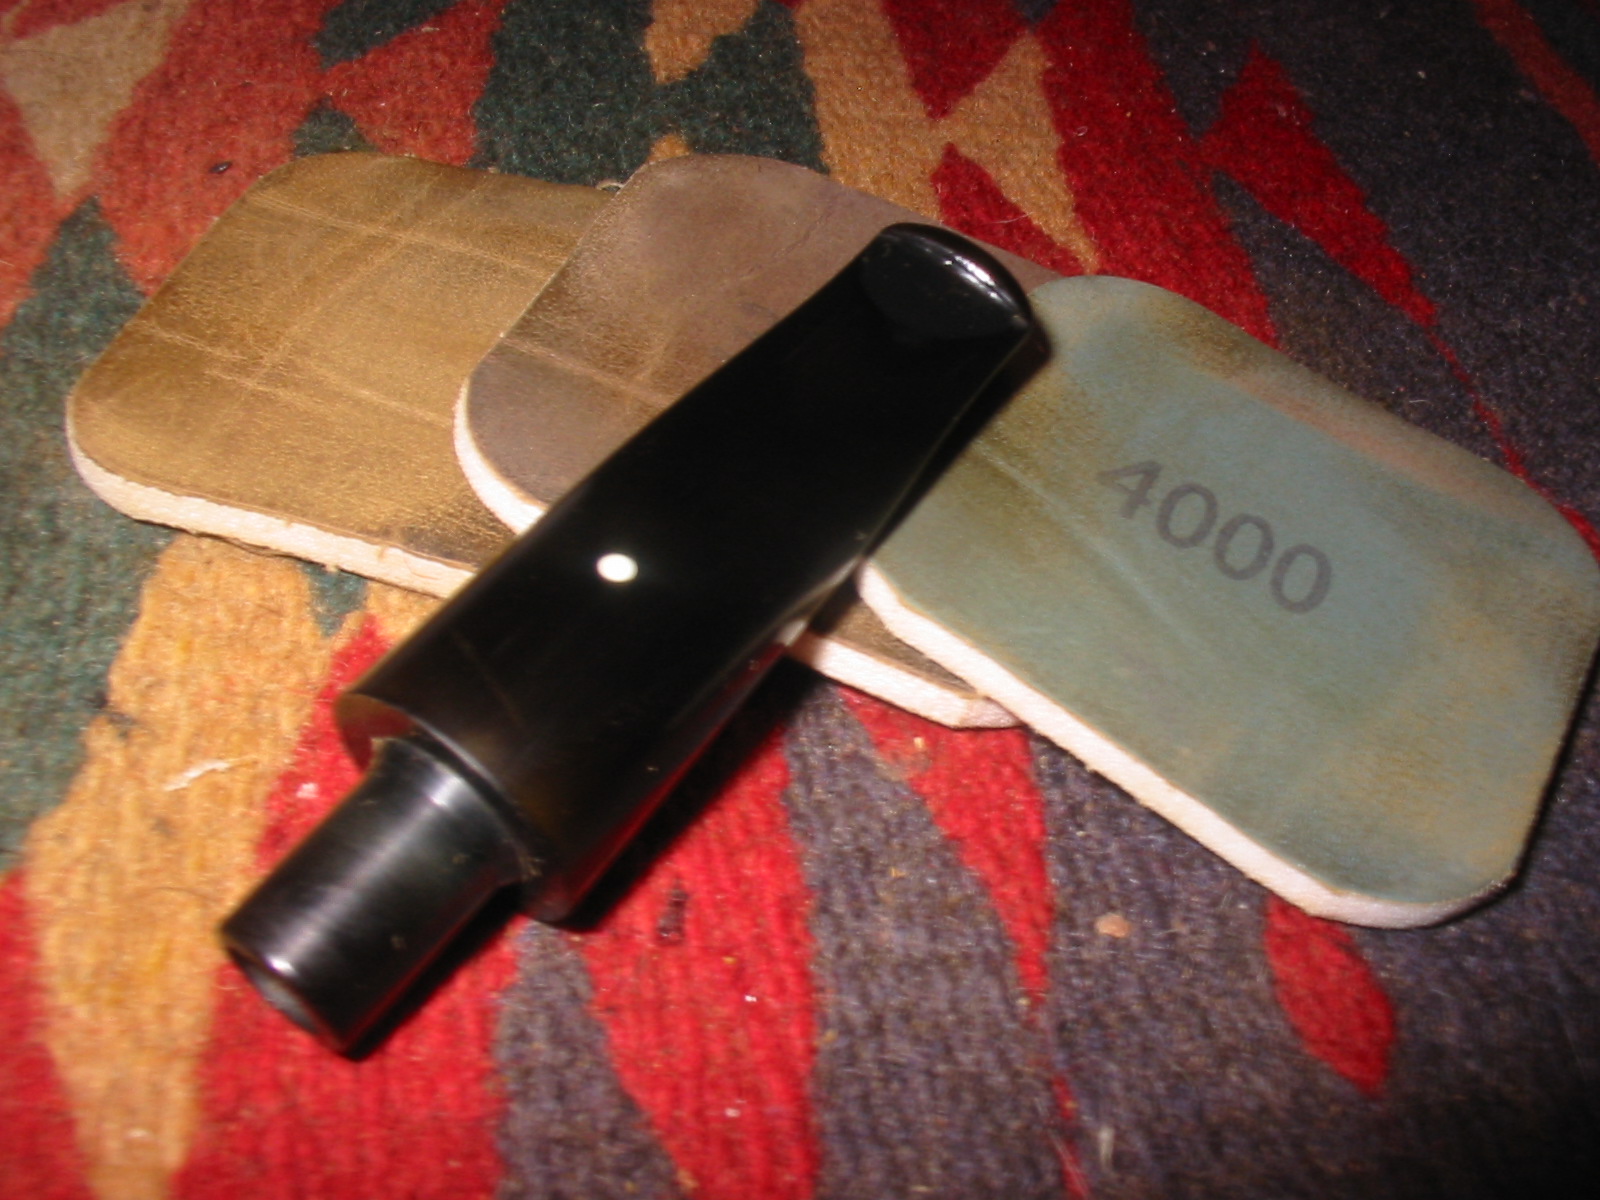
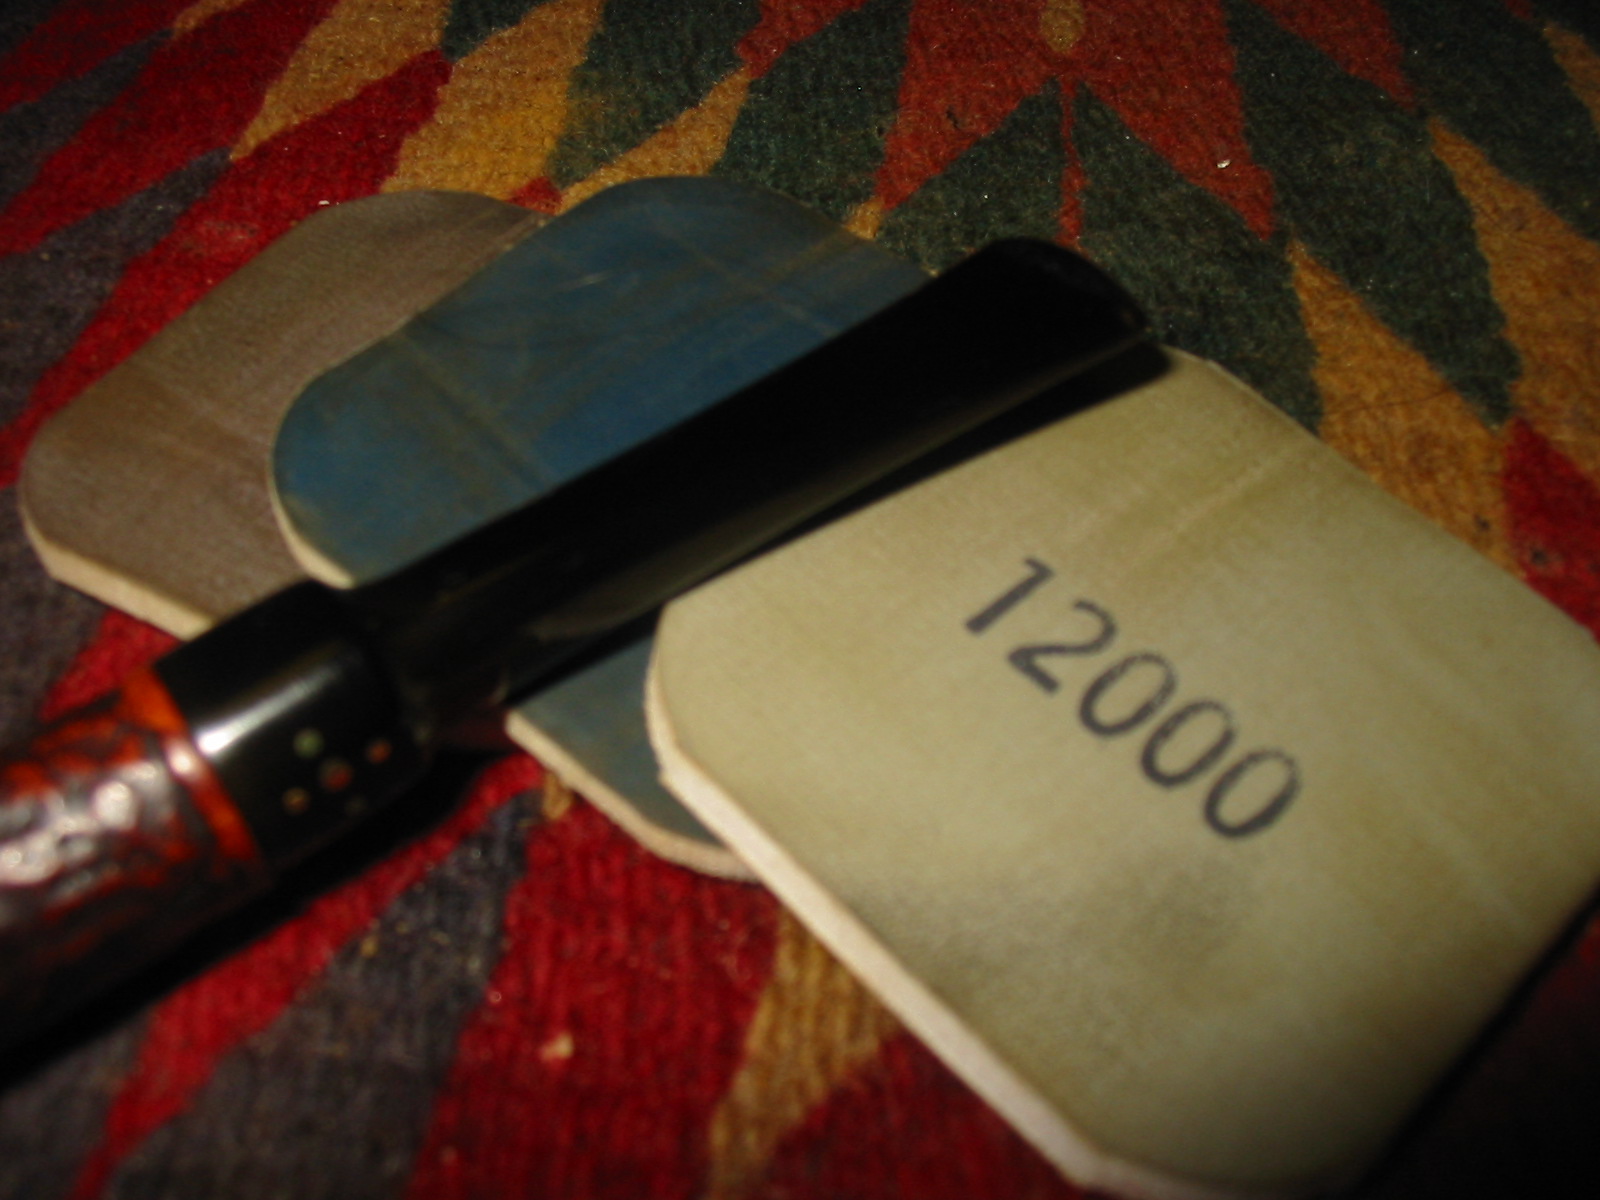
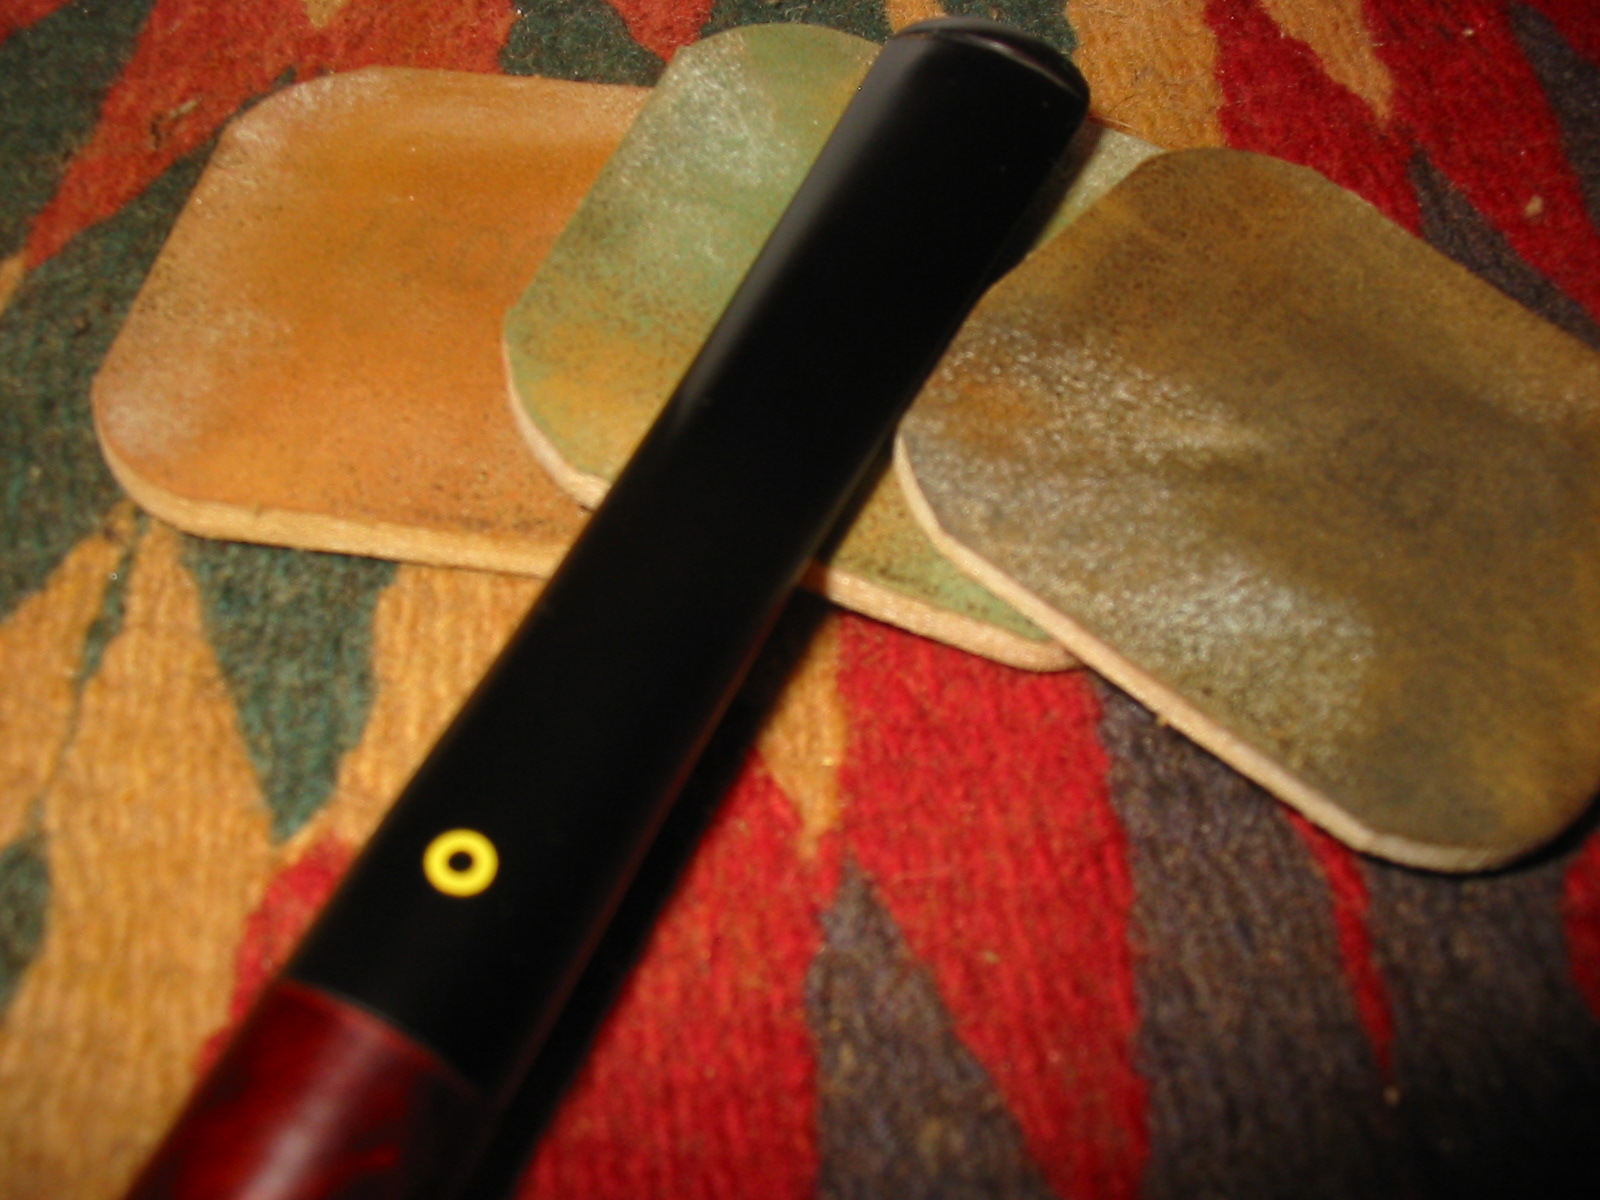
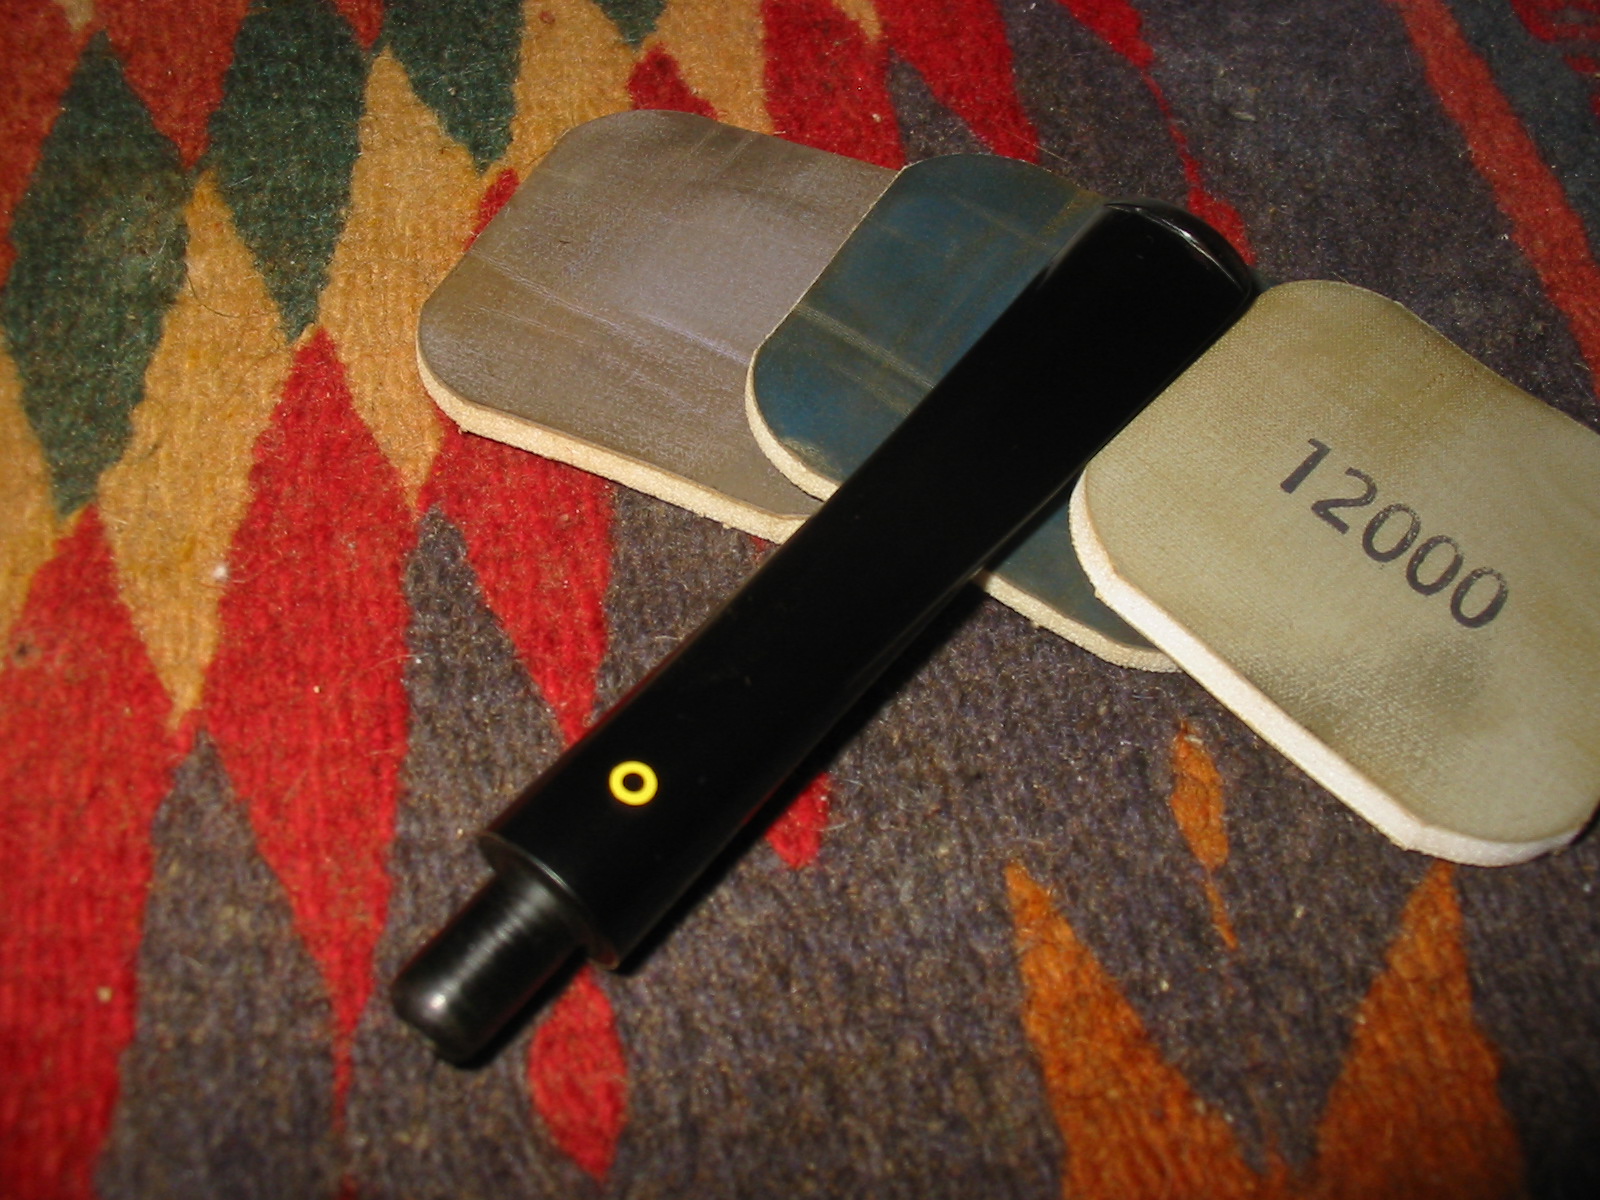
I sanded the stem with a fine grit sanding sponge and then with the various grits of micromesh sanding pads. I wet sanded with 1500-2400 grit pads and dry sanded with 3200-12,000 grit pads. I buffed the stem with White Diamond, rubbed it down with Obsidian Oil and finished by giving it a buff with carnauba wax.
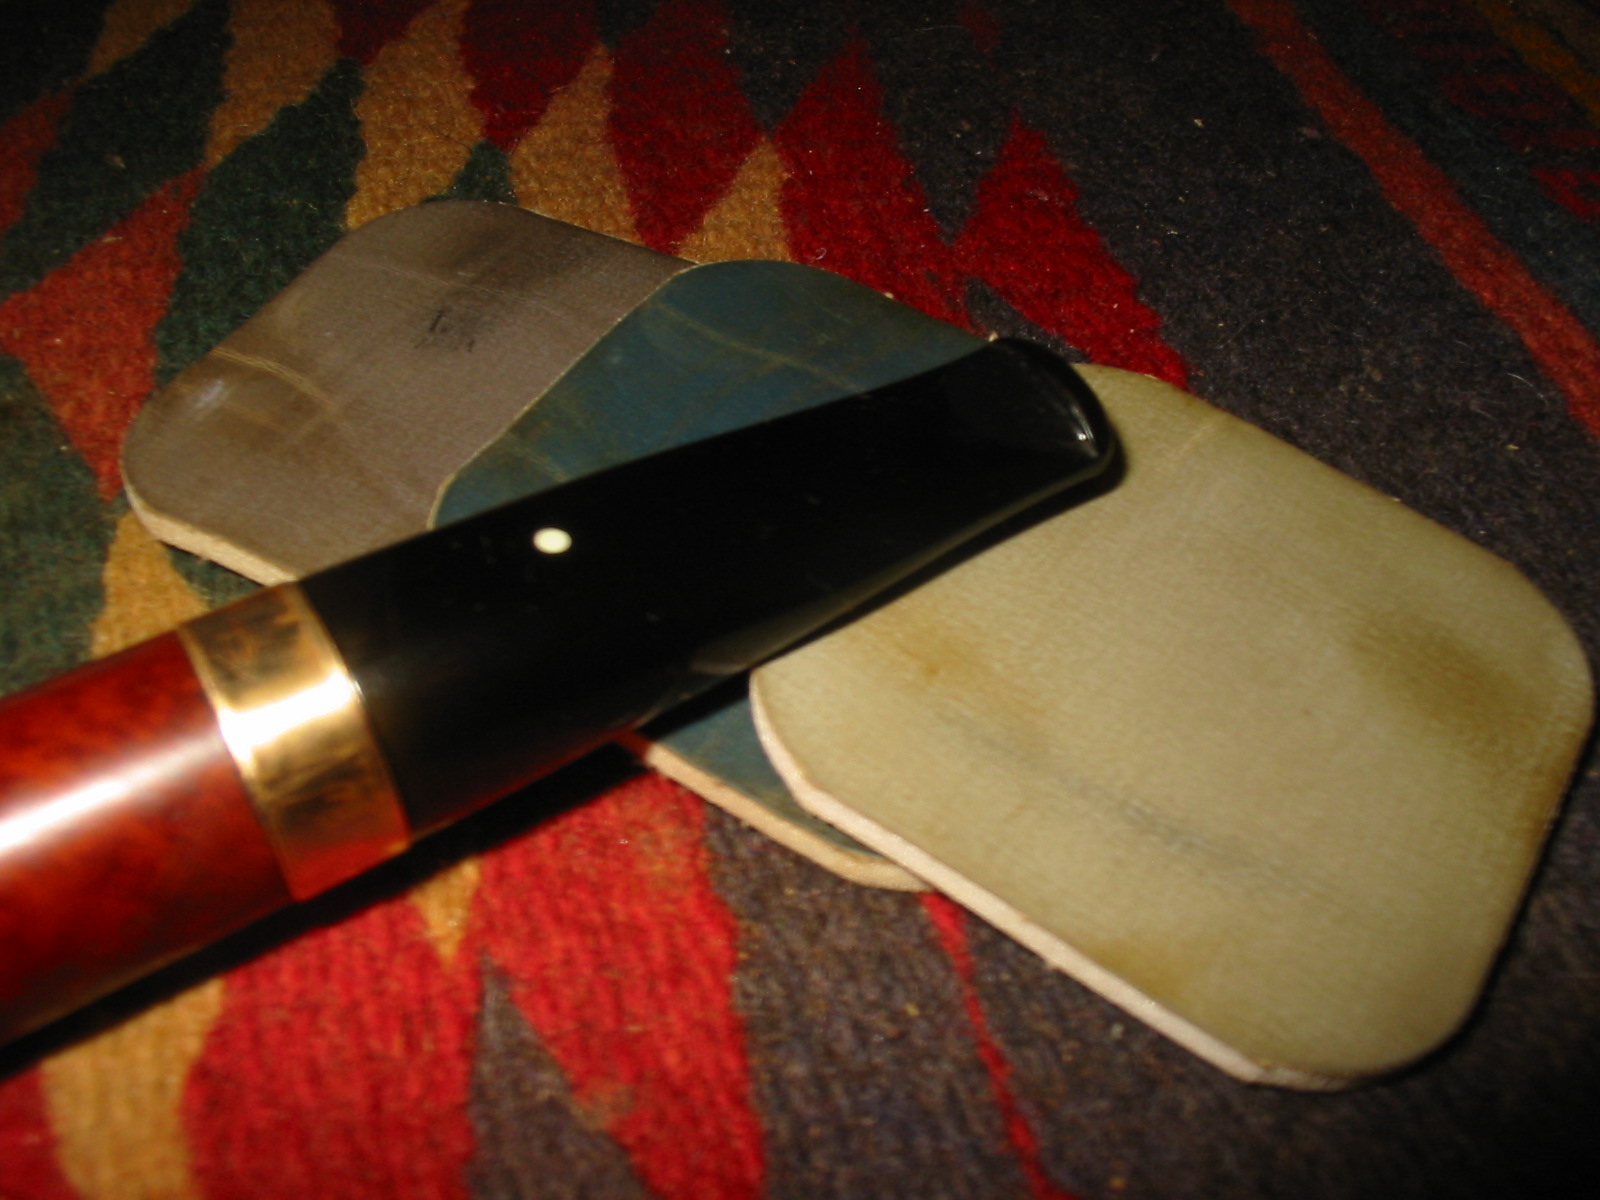
I sanded the brass band with the micromesh pads to polish it as well. When I had finished I gave the pipe a final buff with White Diamond and then applied carnauba wax to each part. I buffed them with a soft flannel buff to finish the shine.
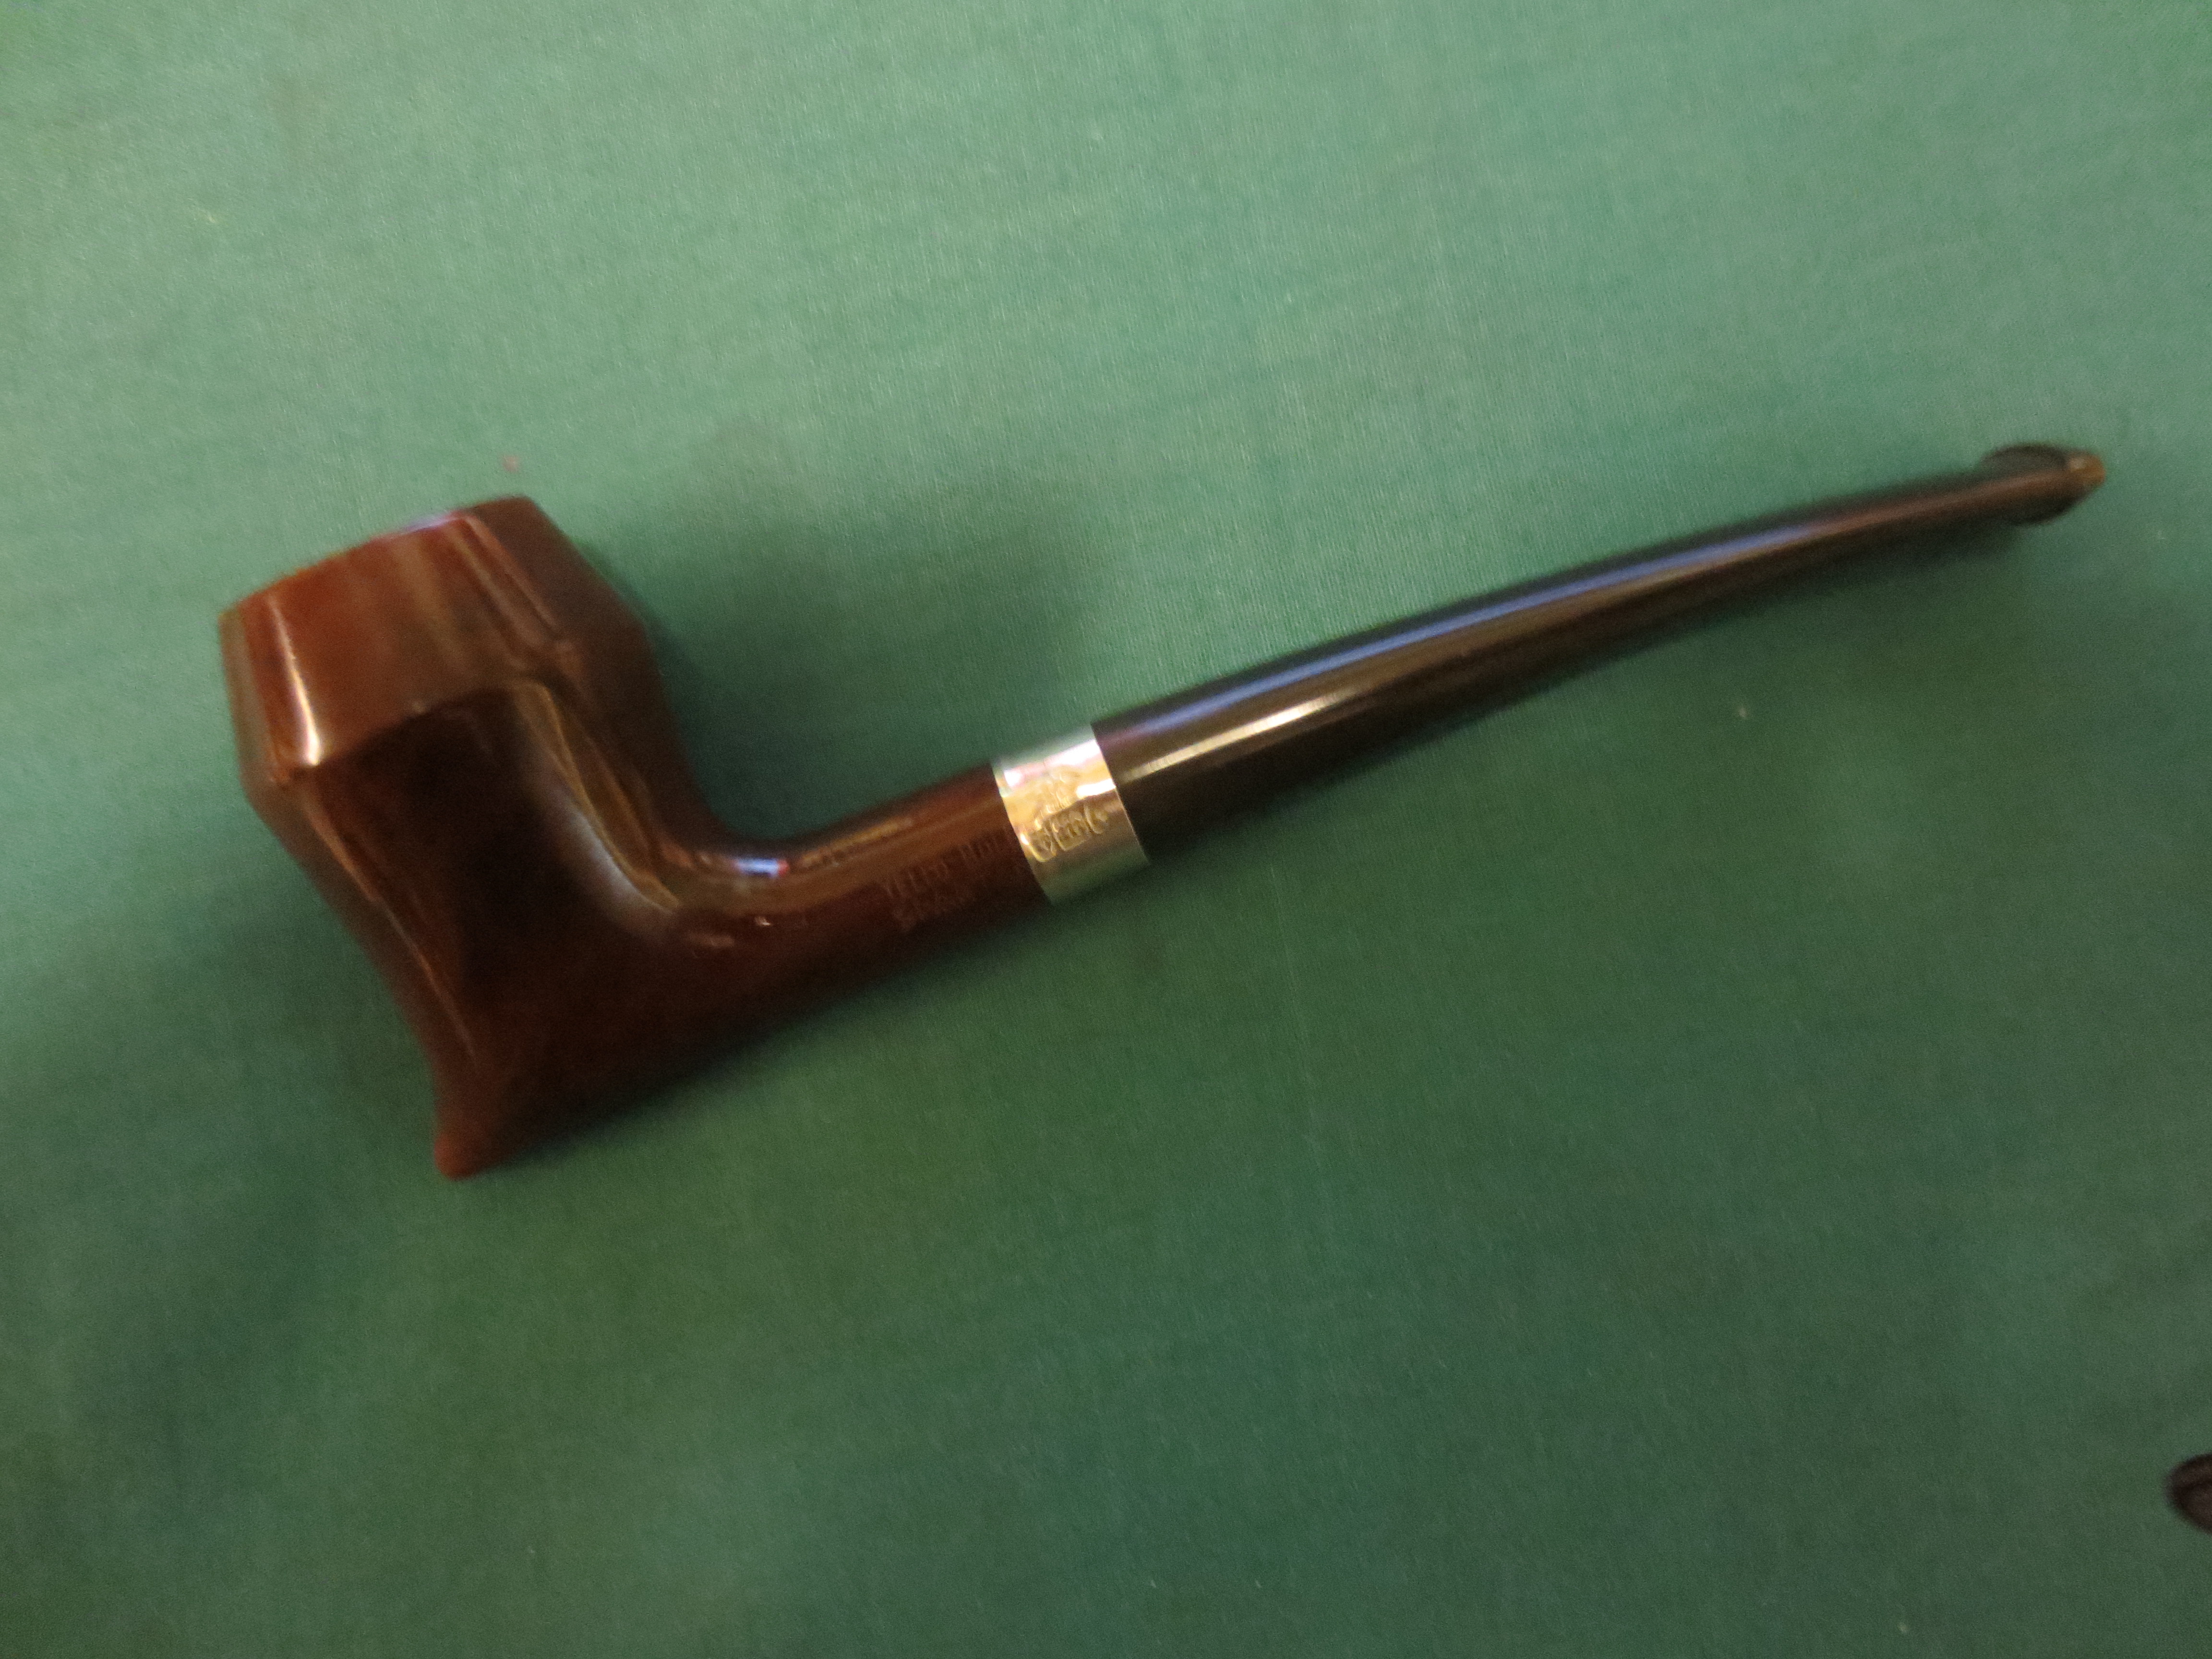
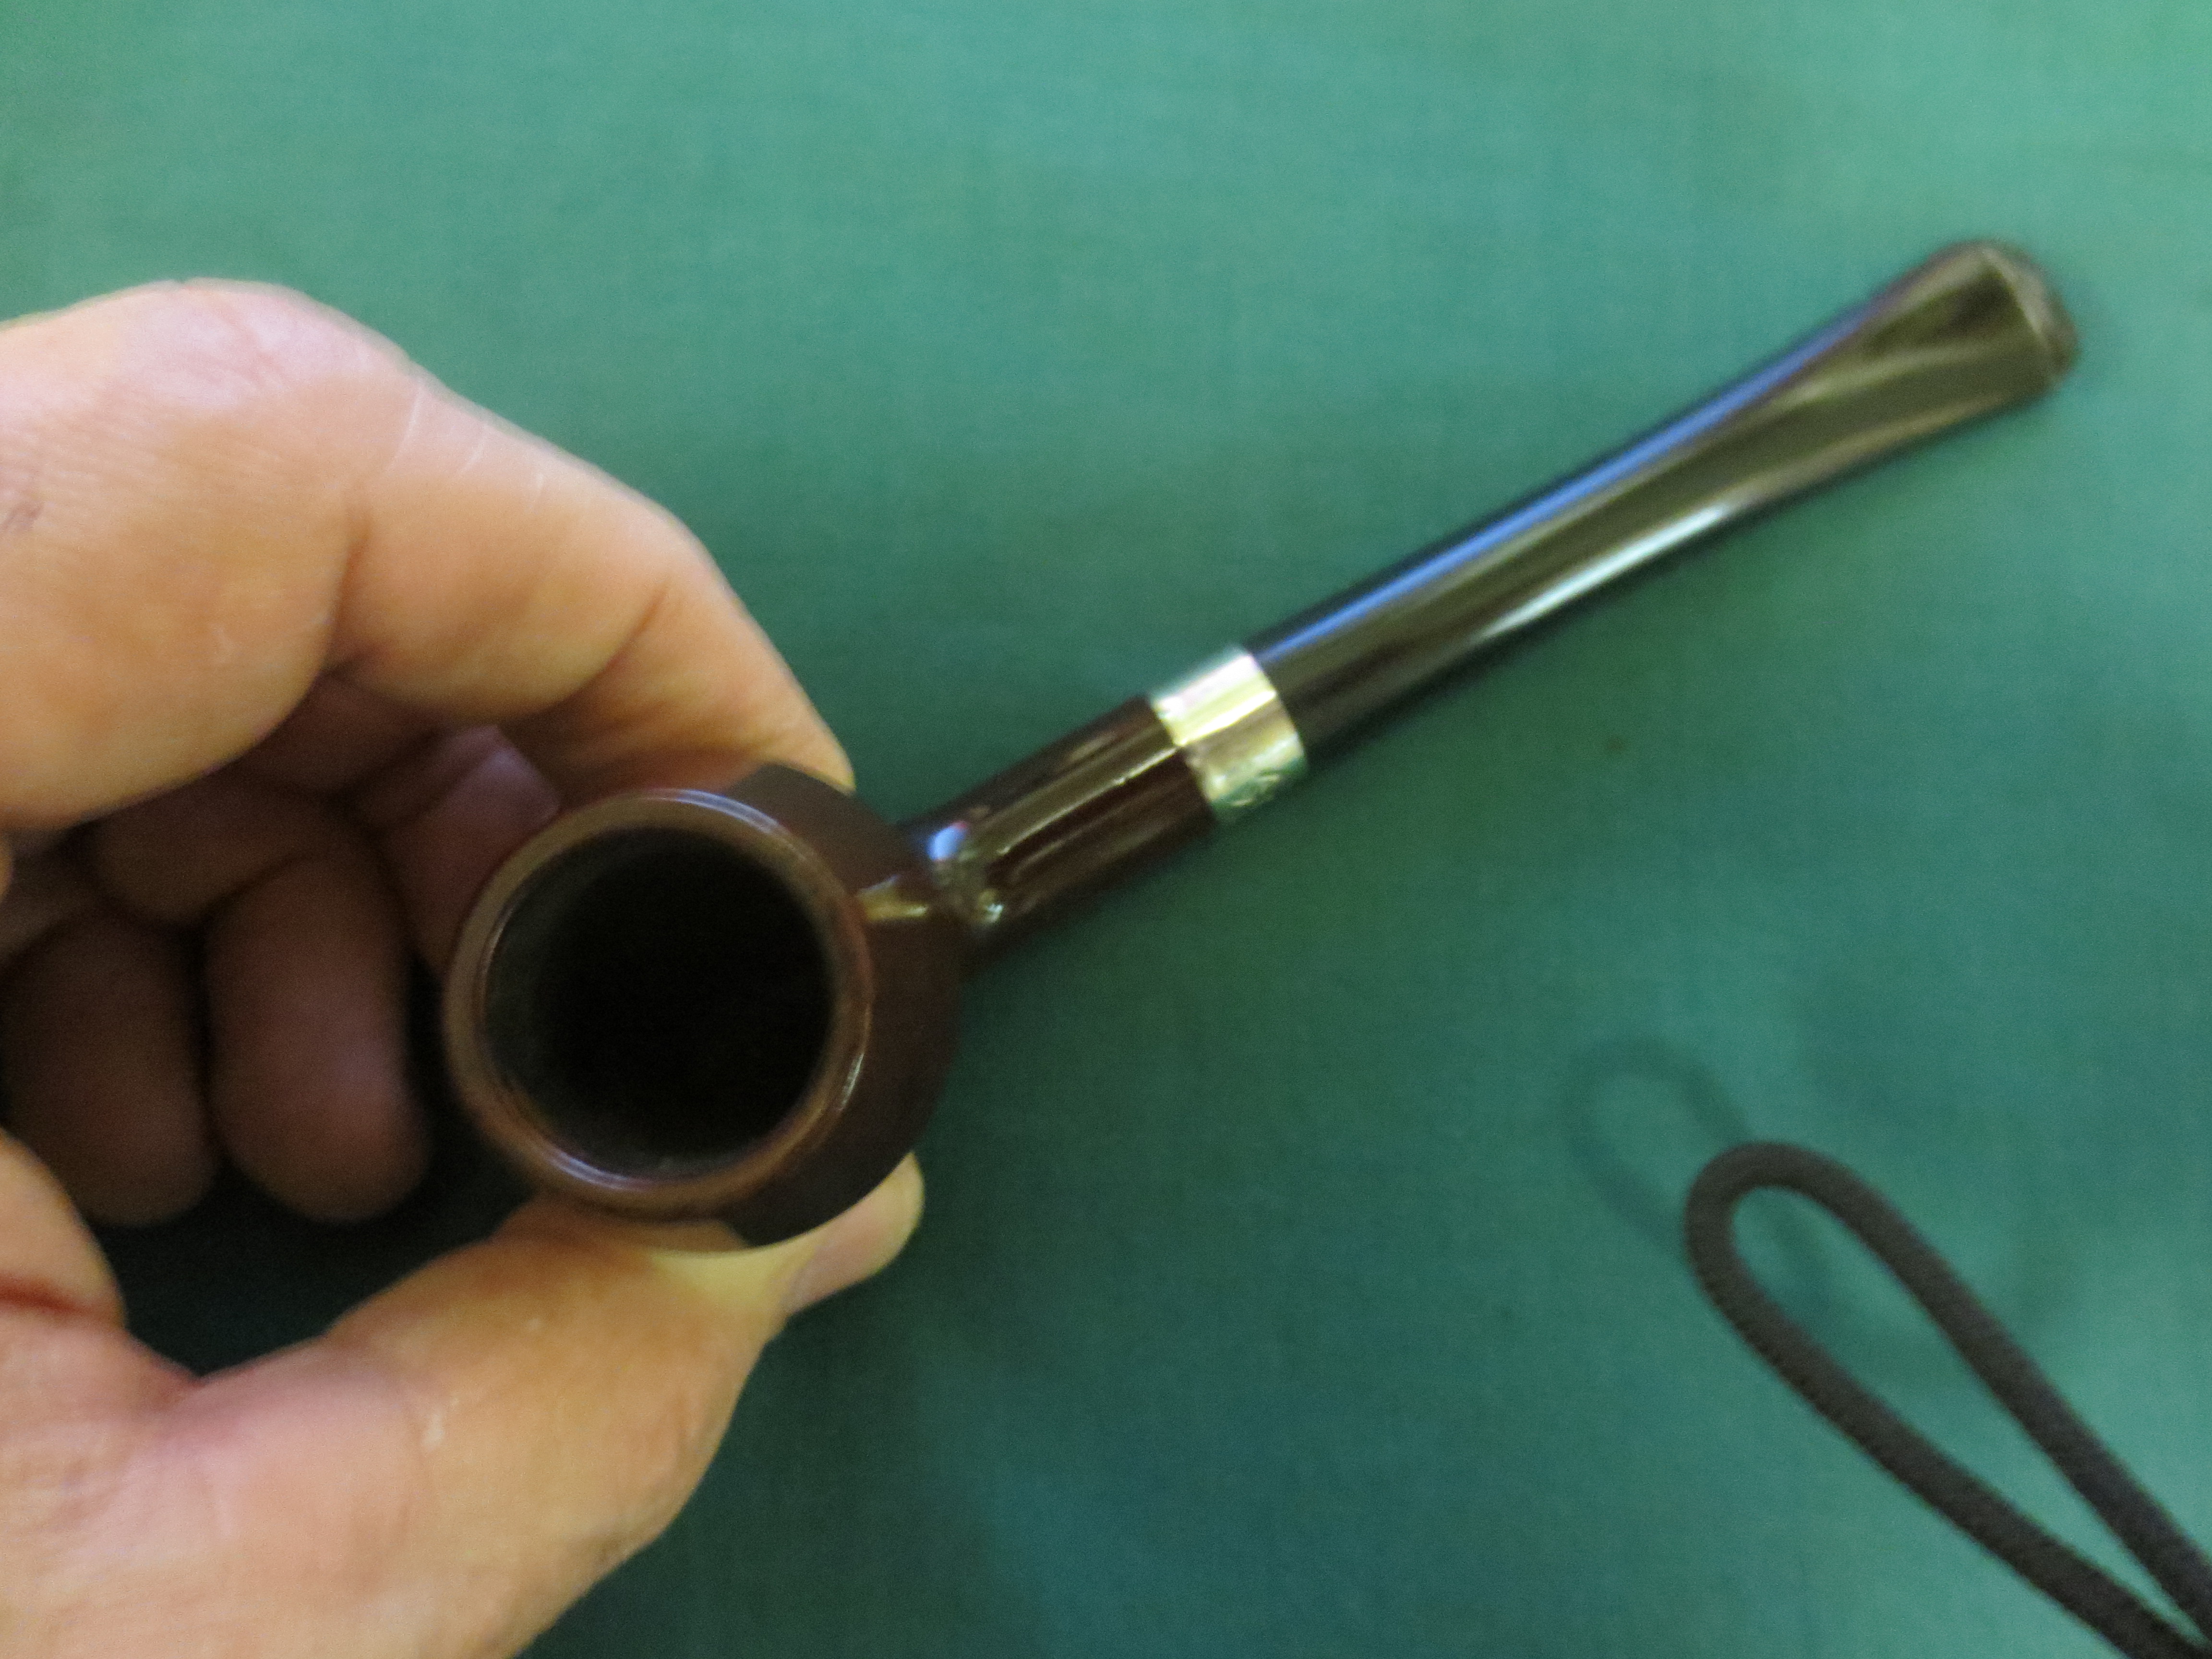
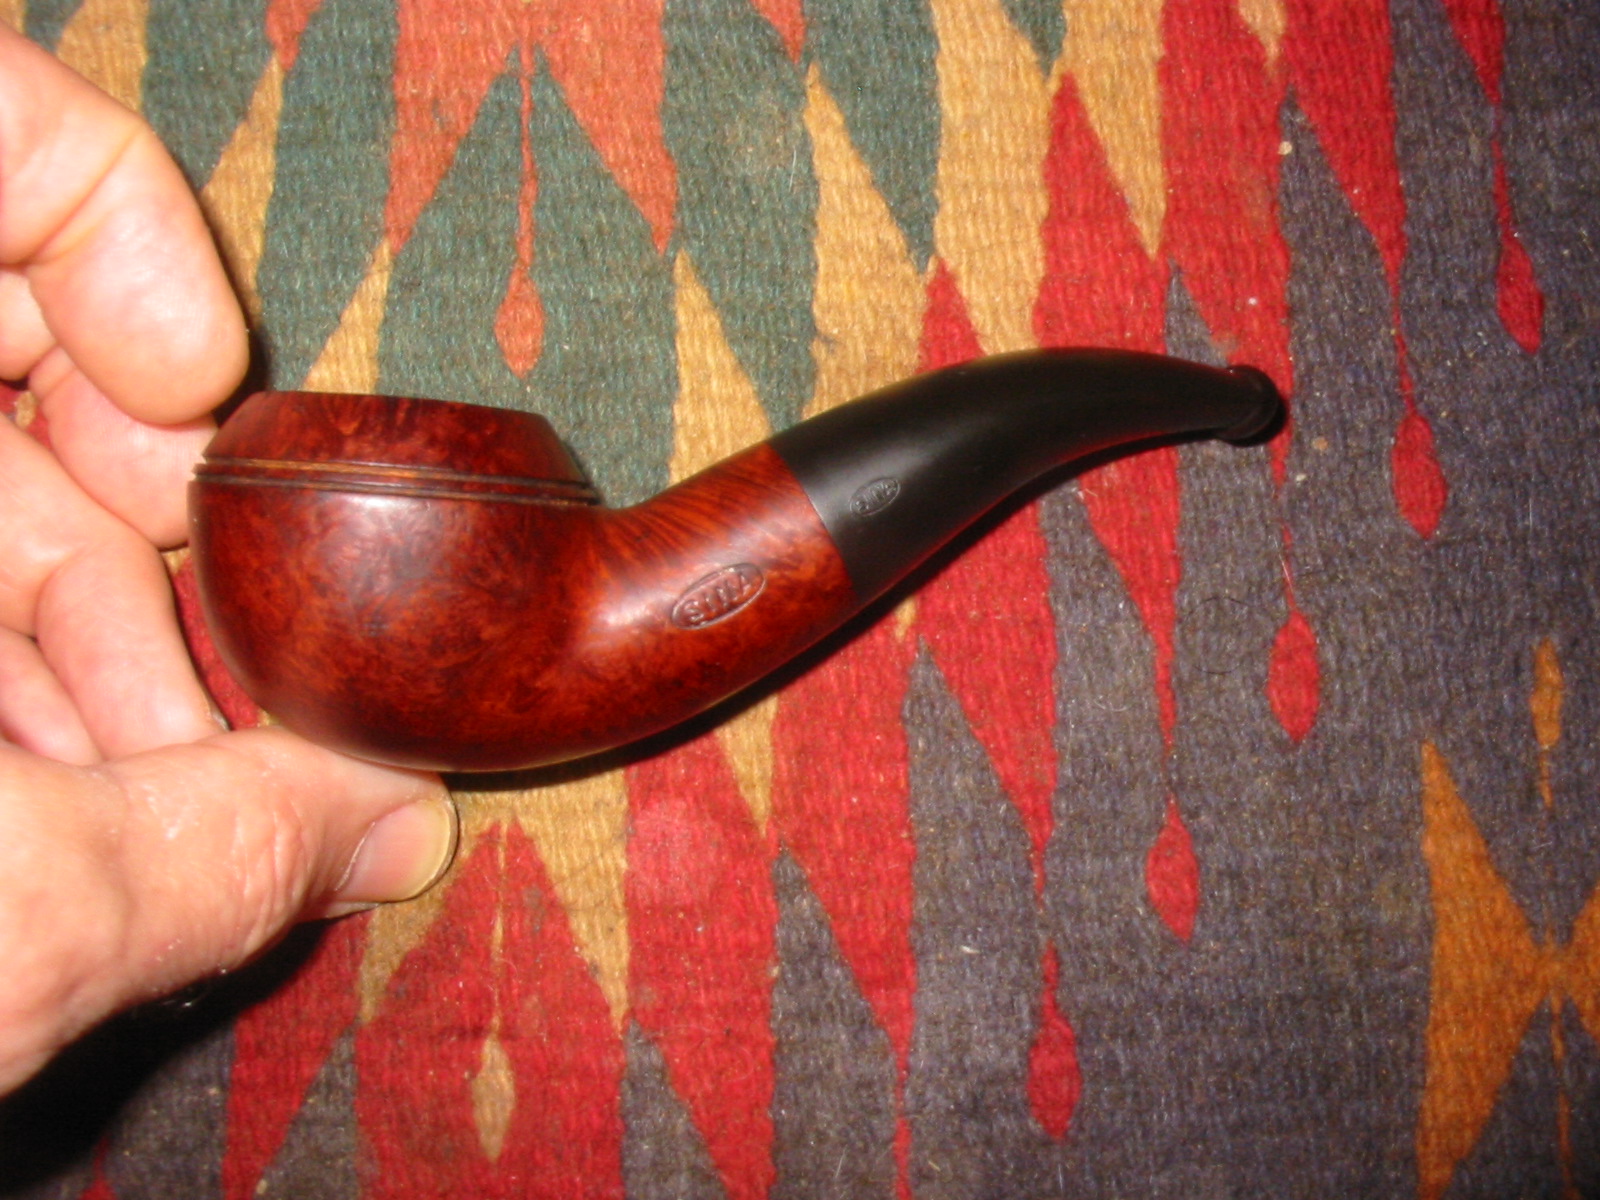
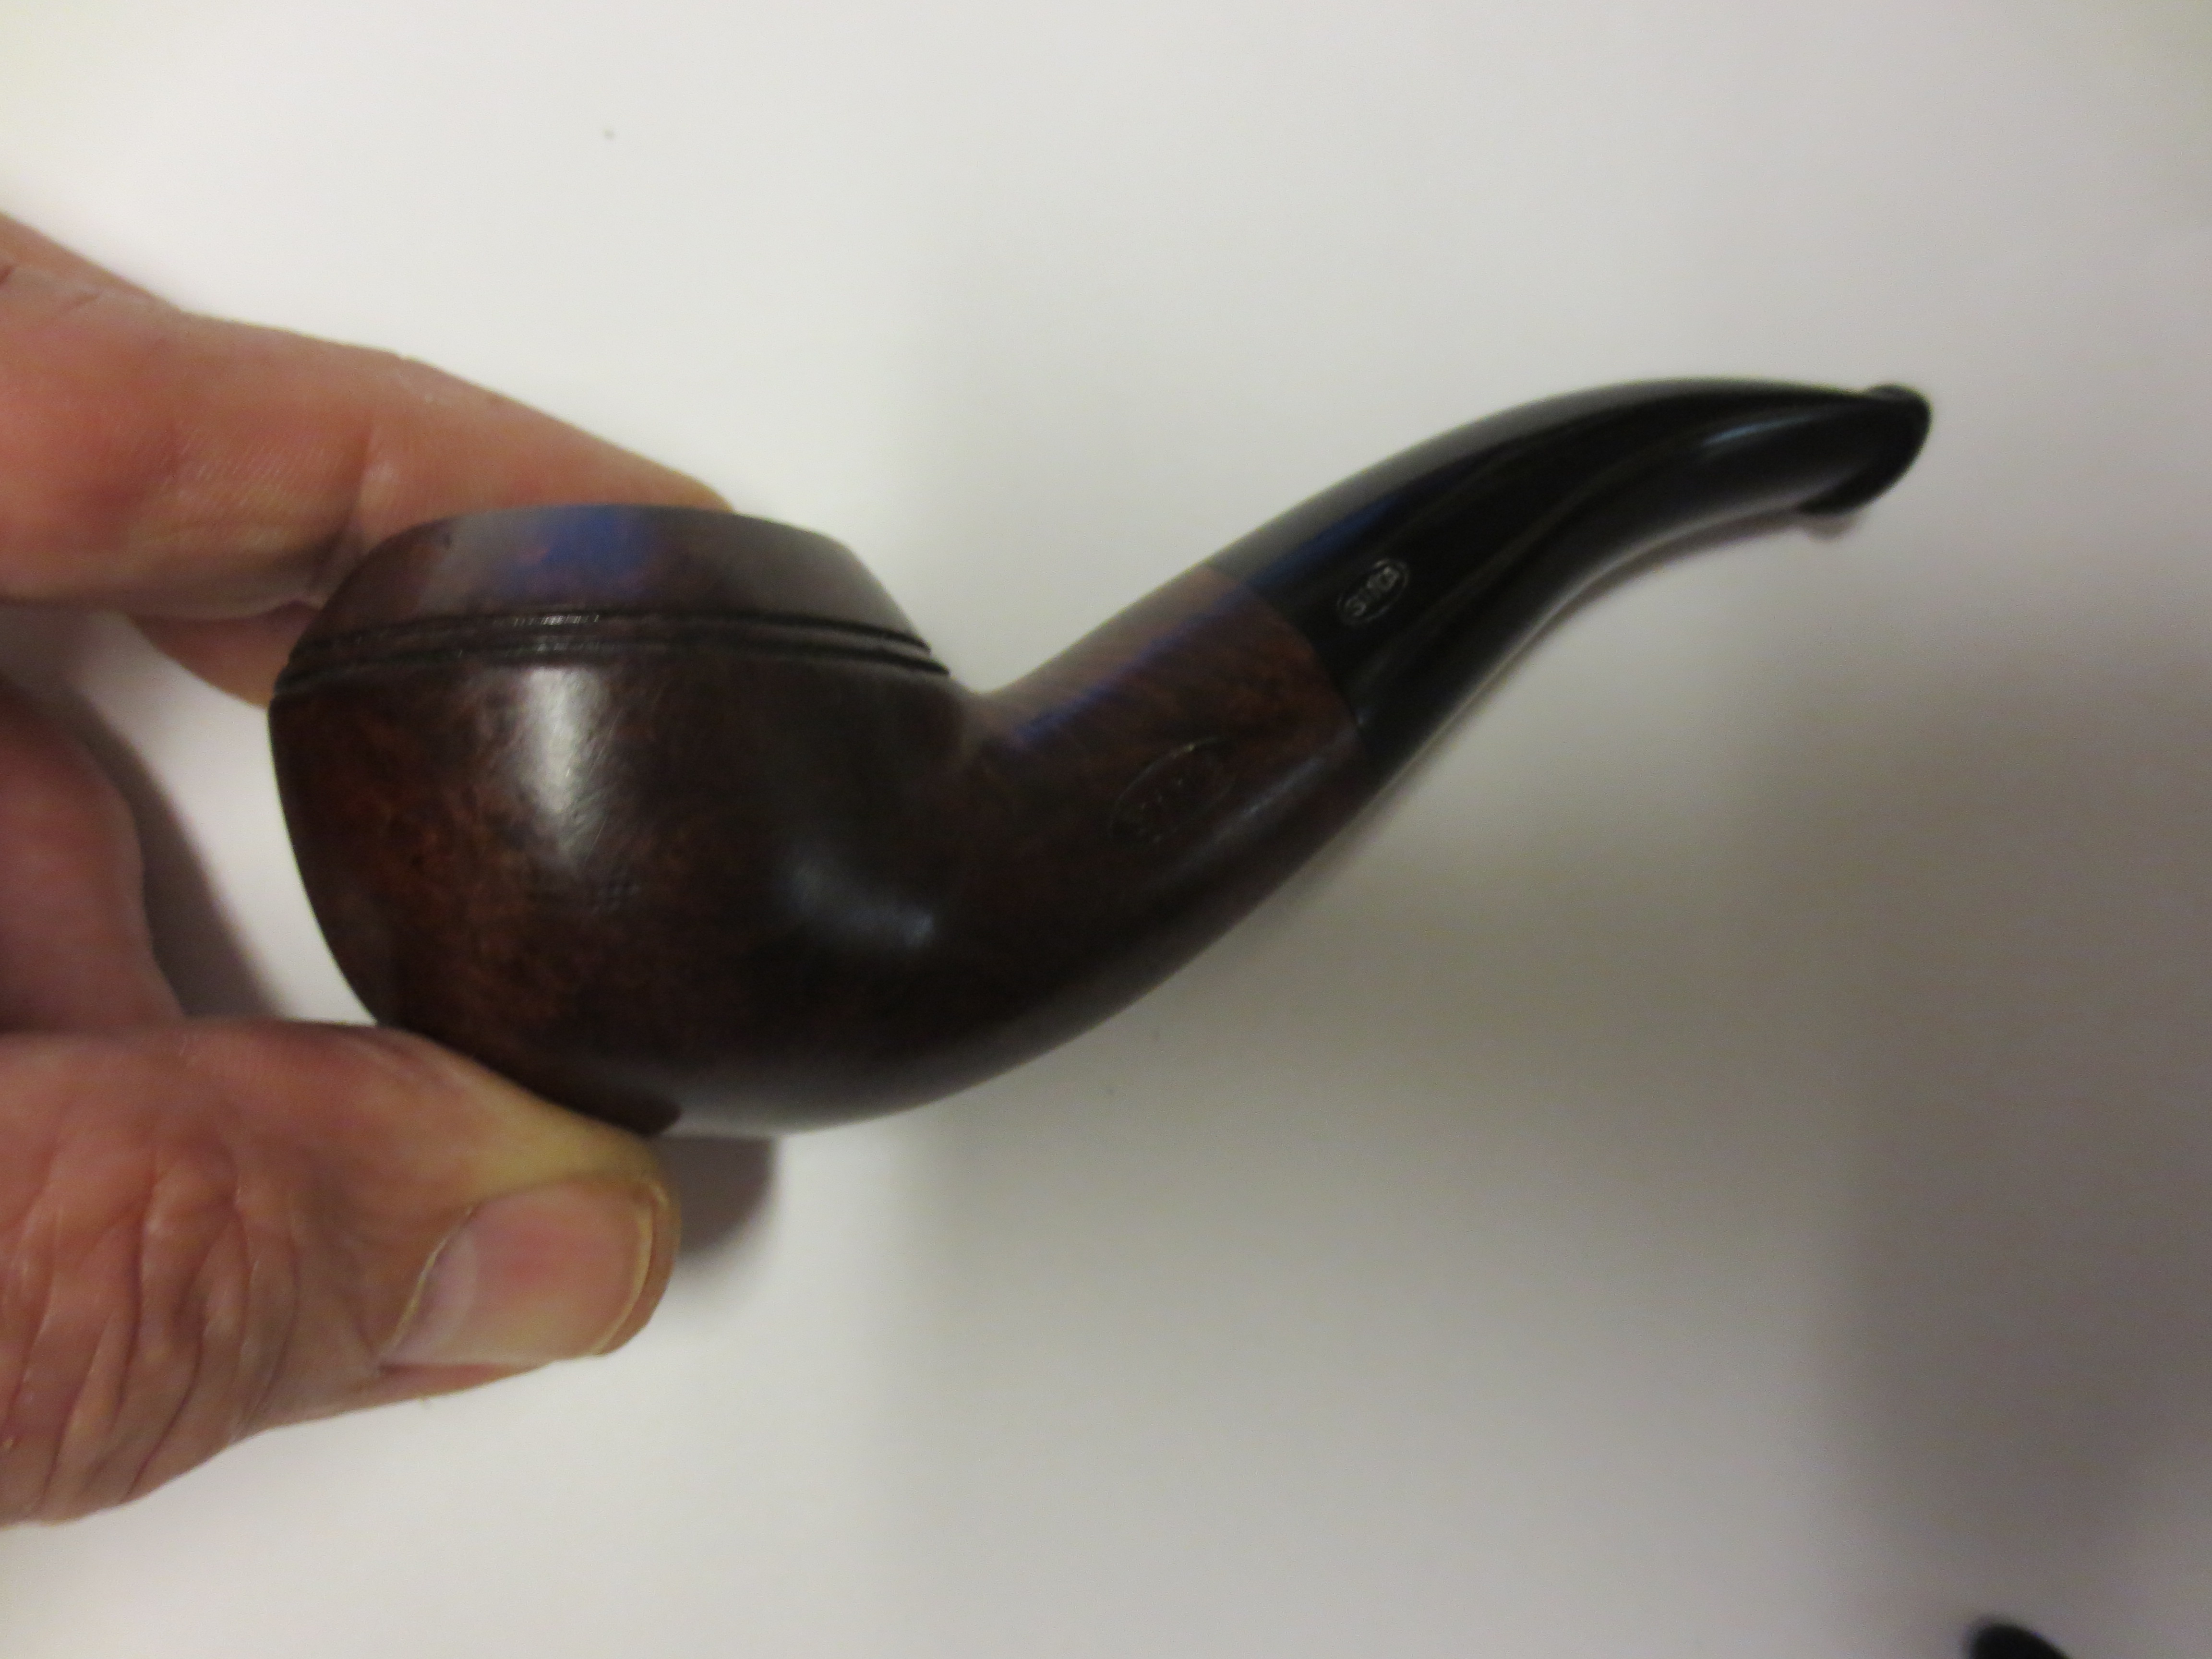
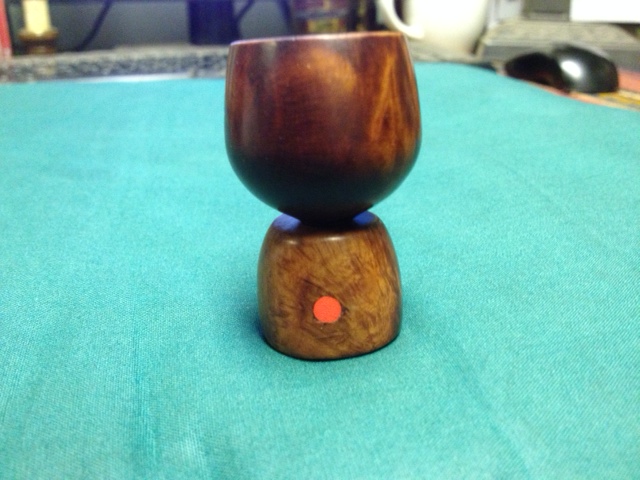
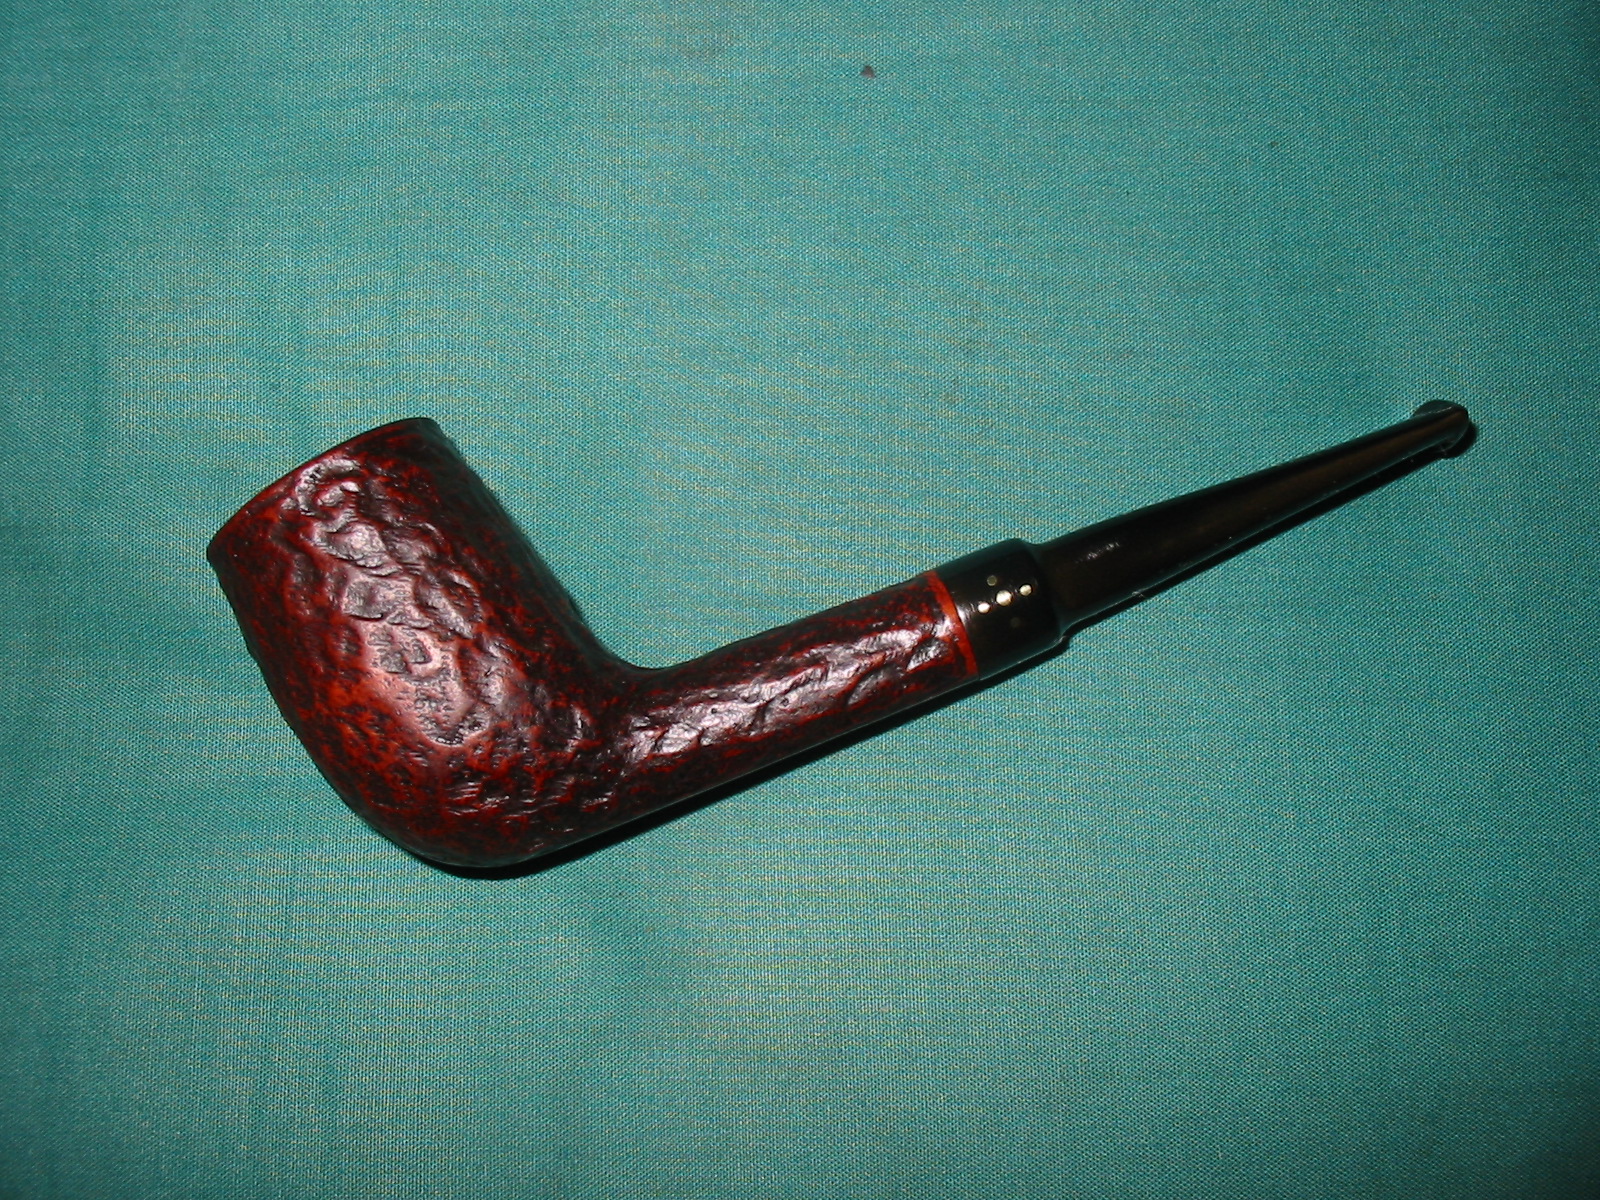
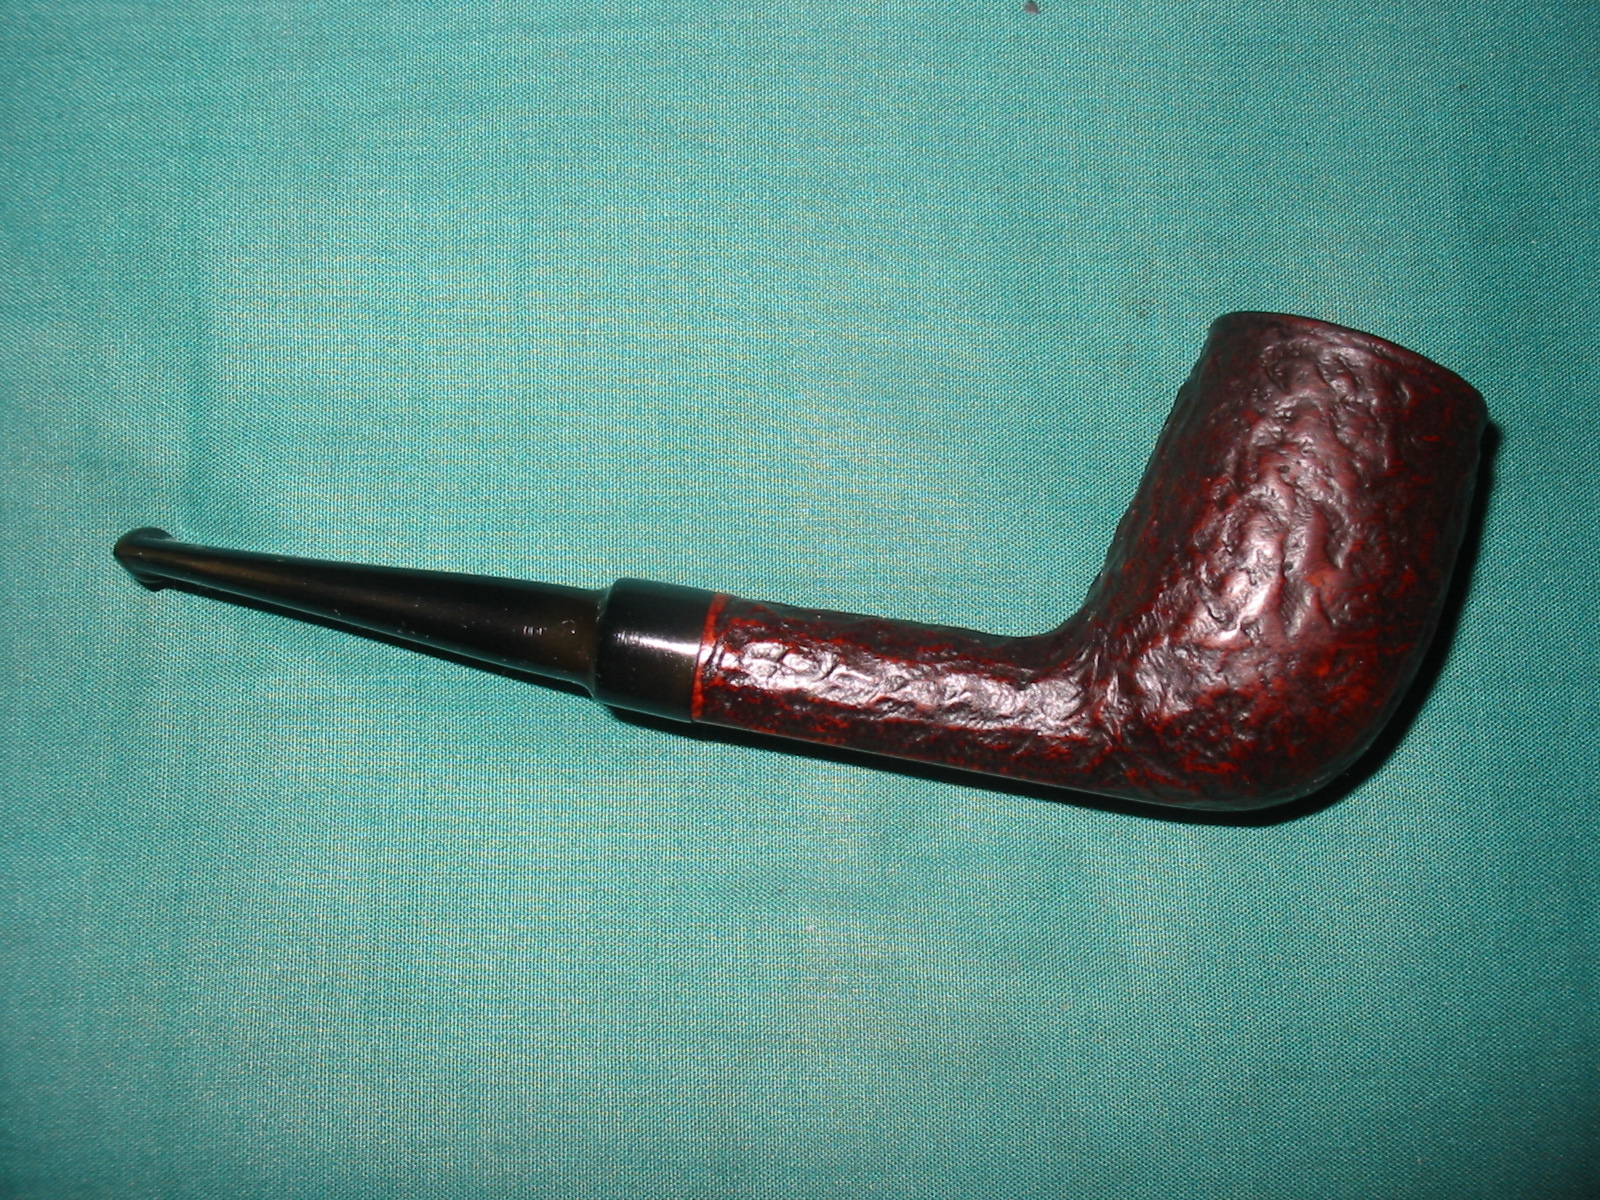
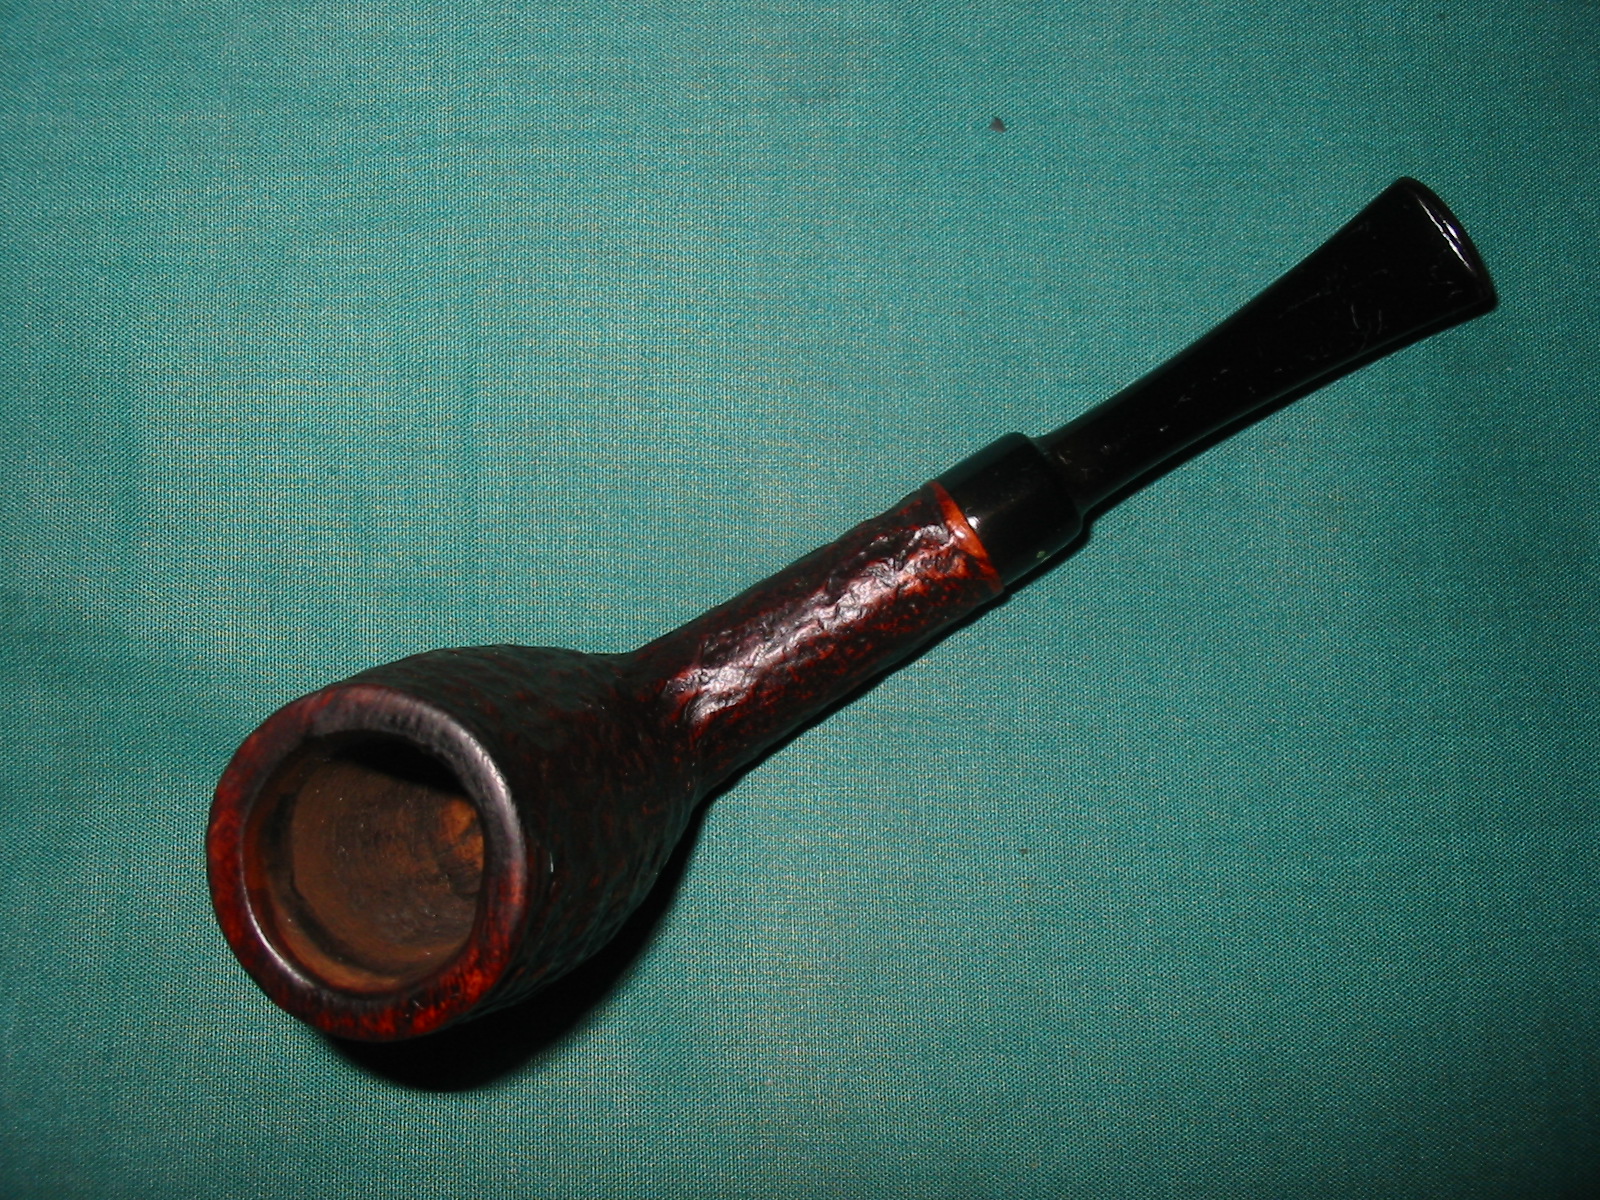
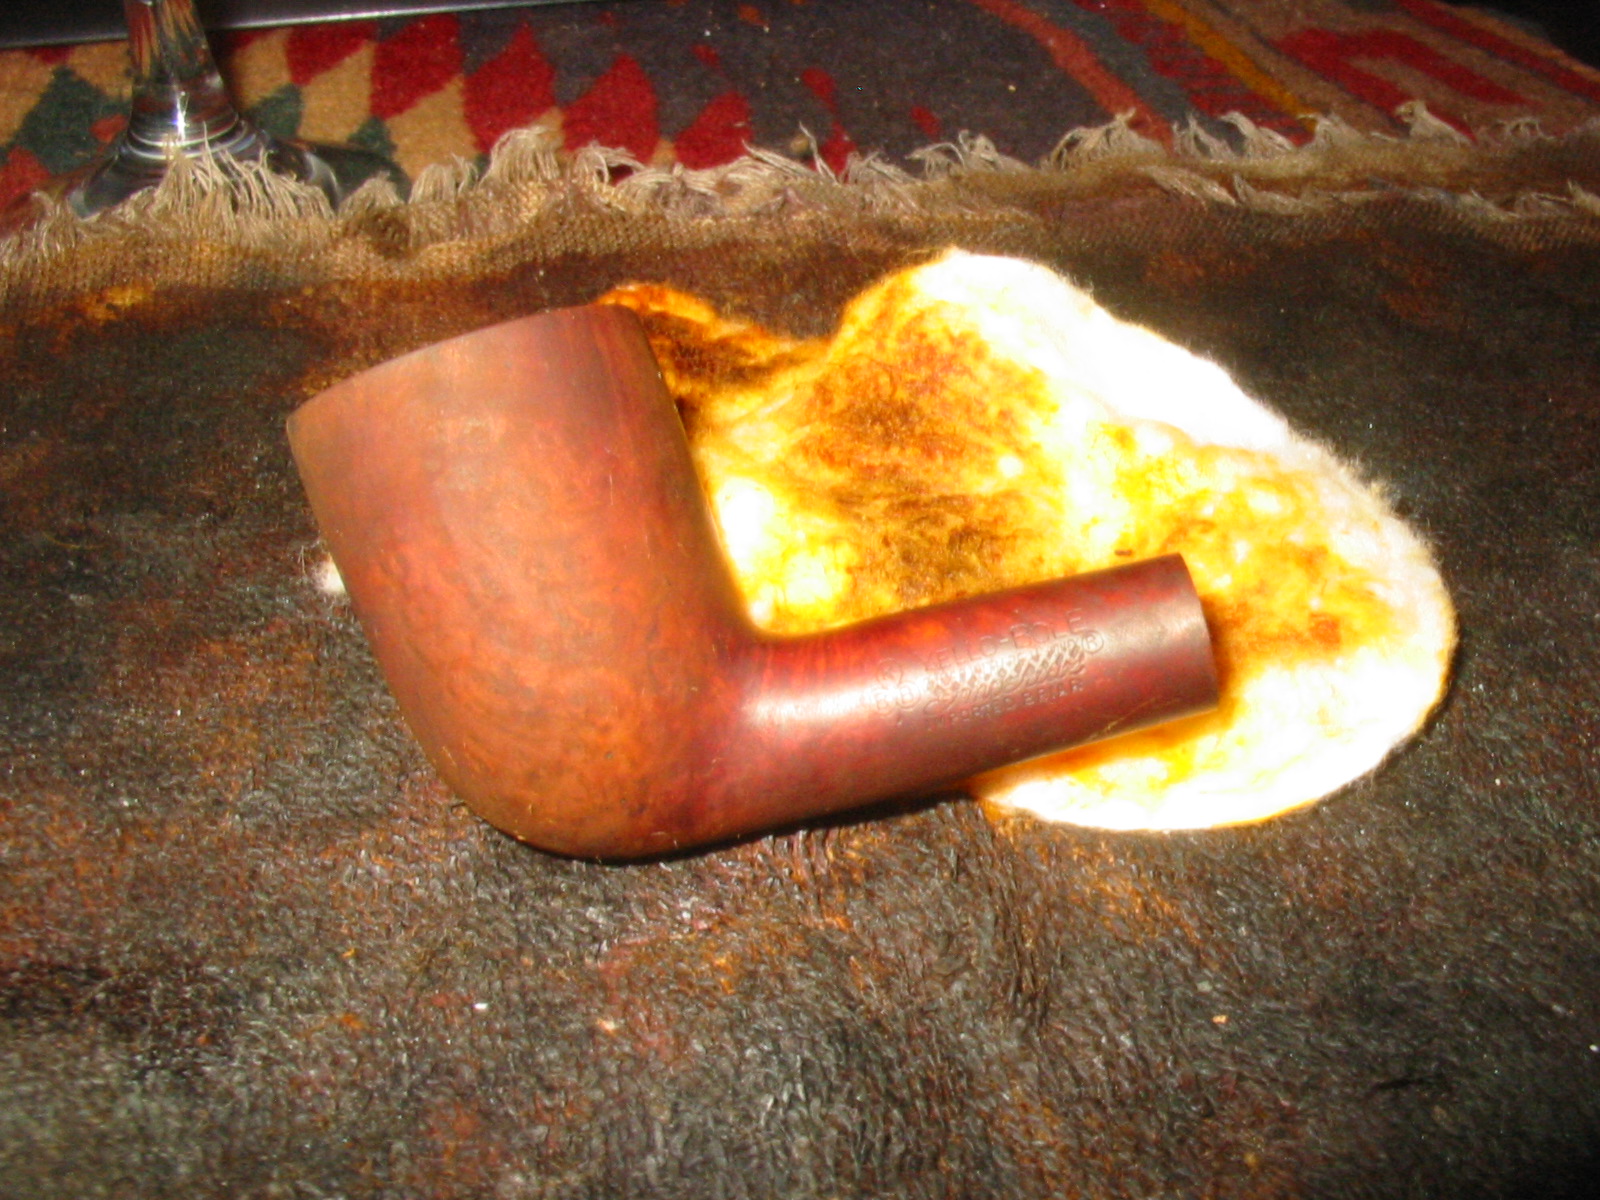
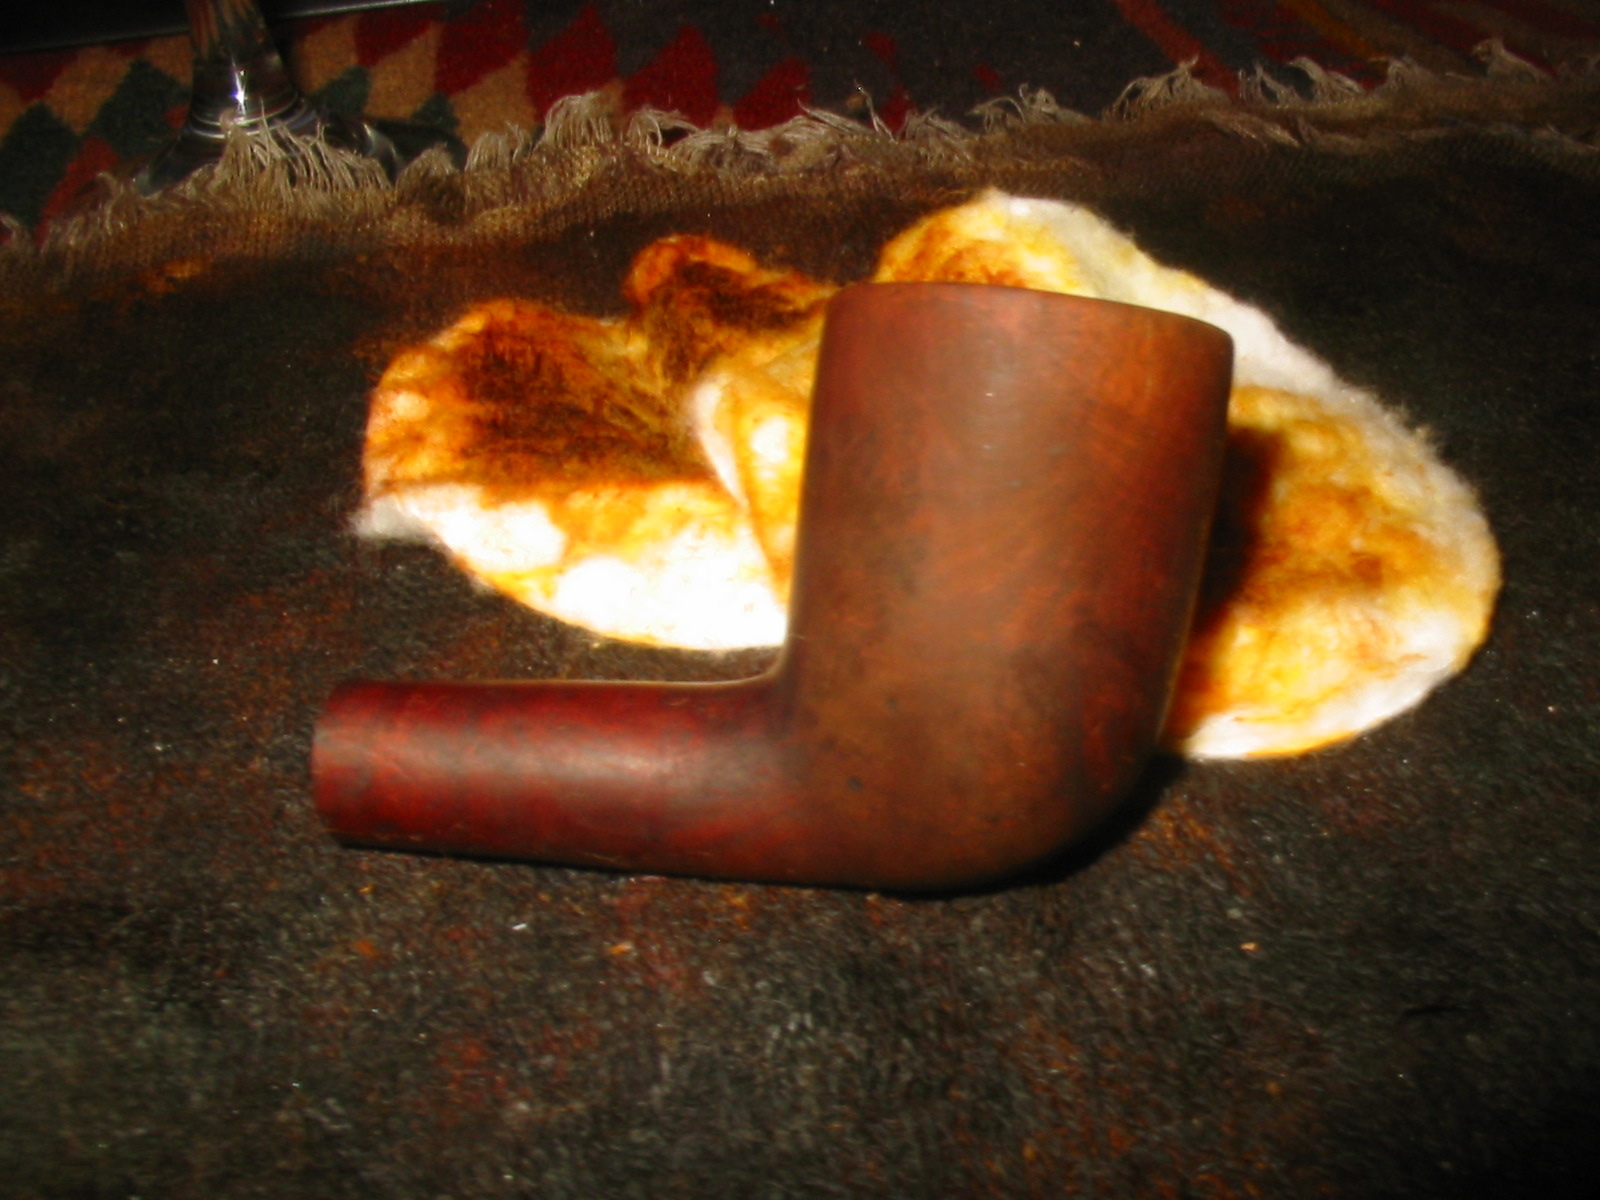
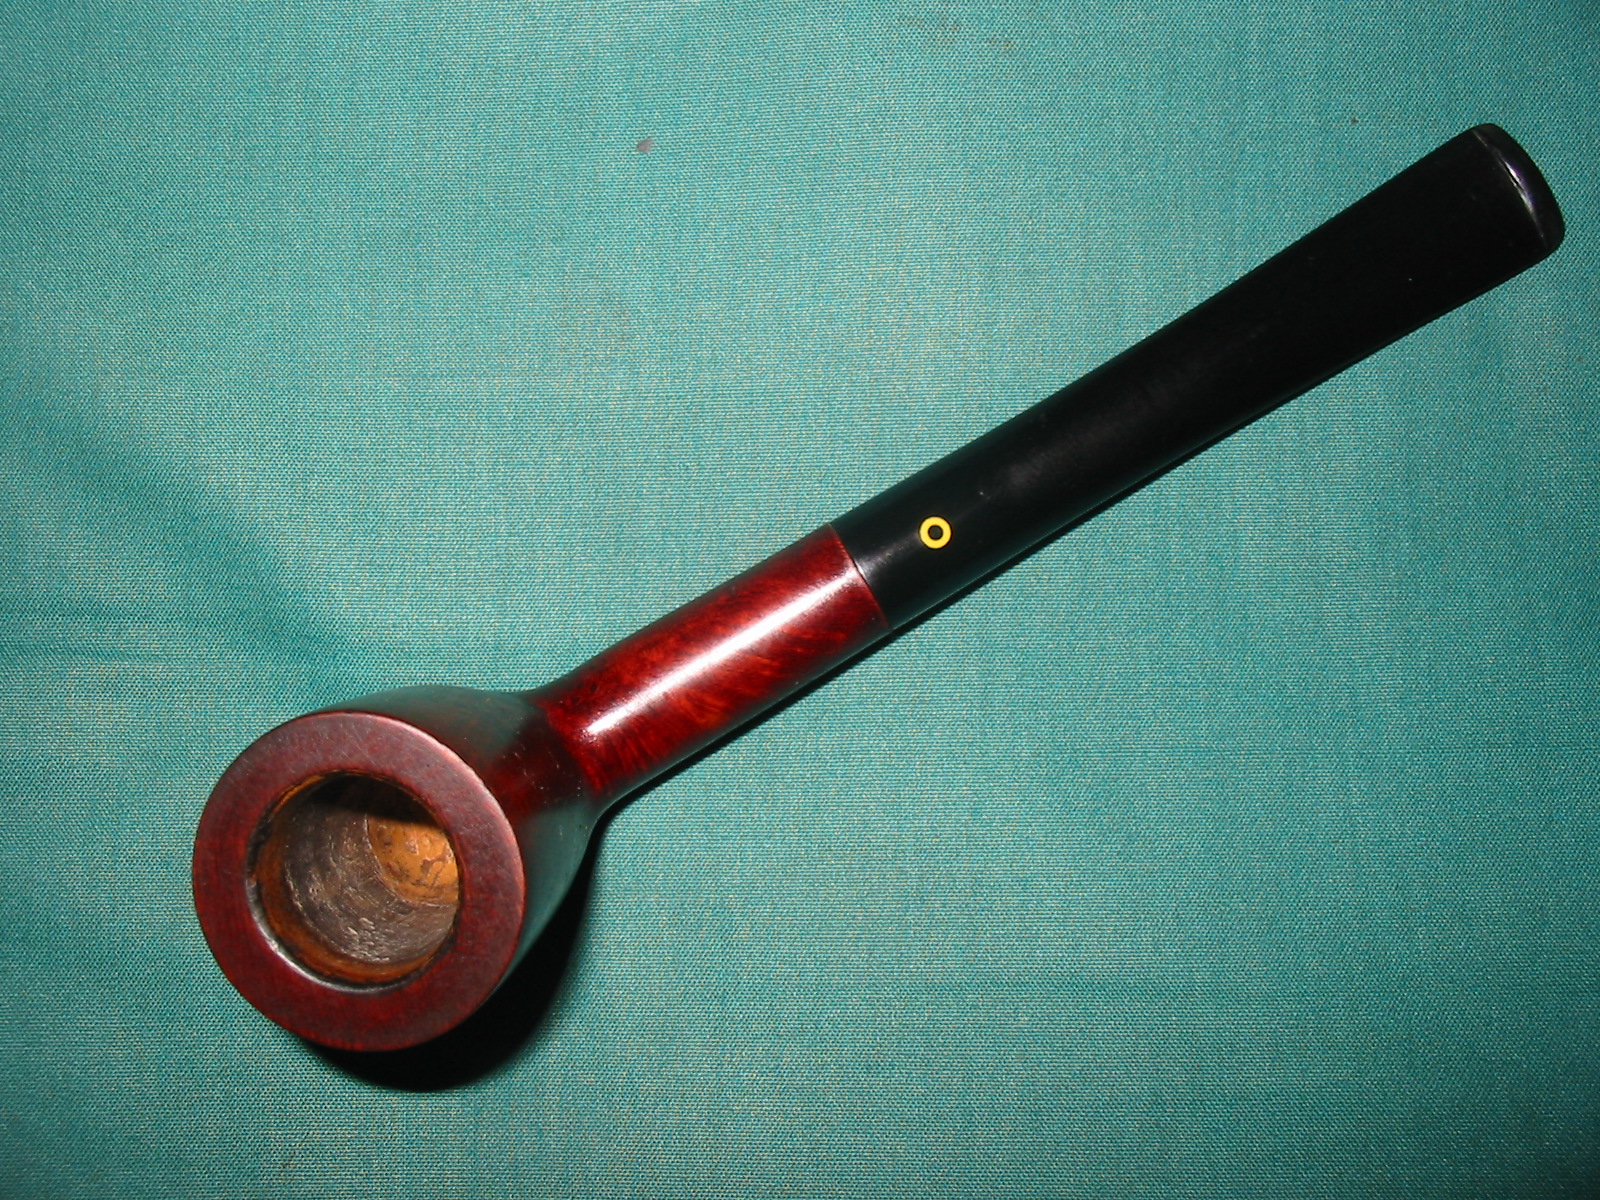
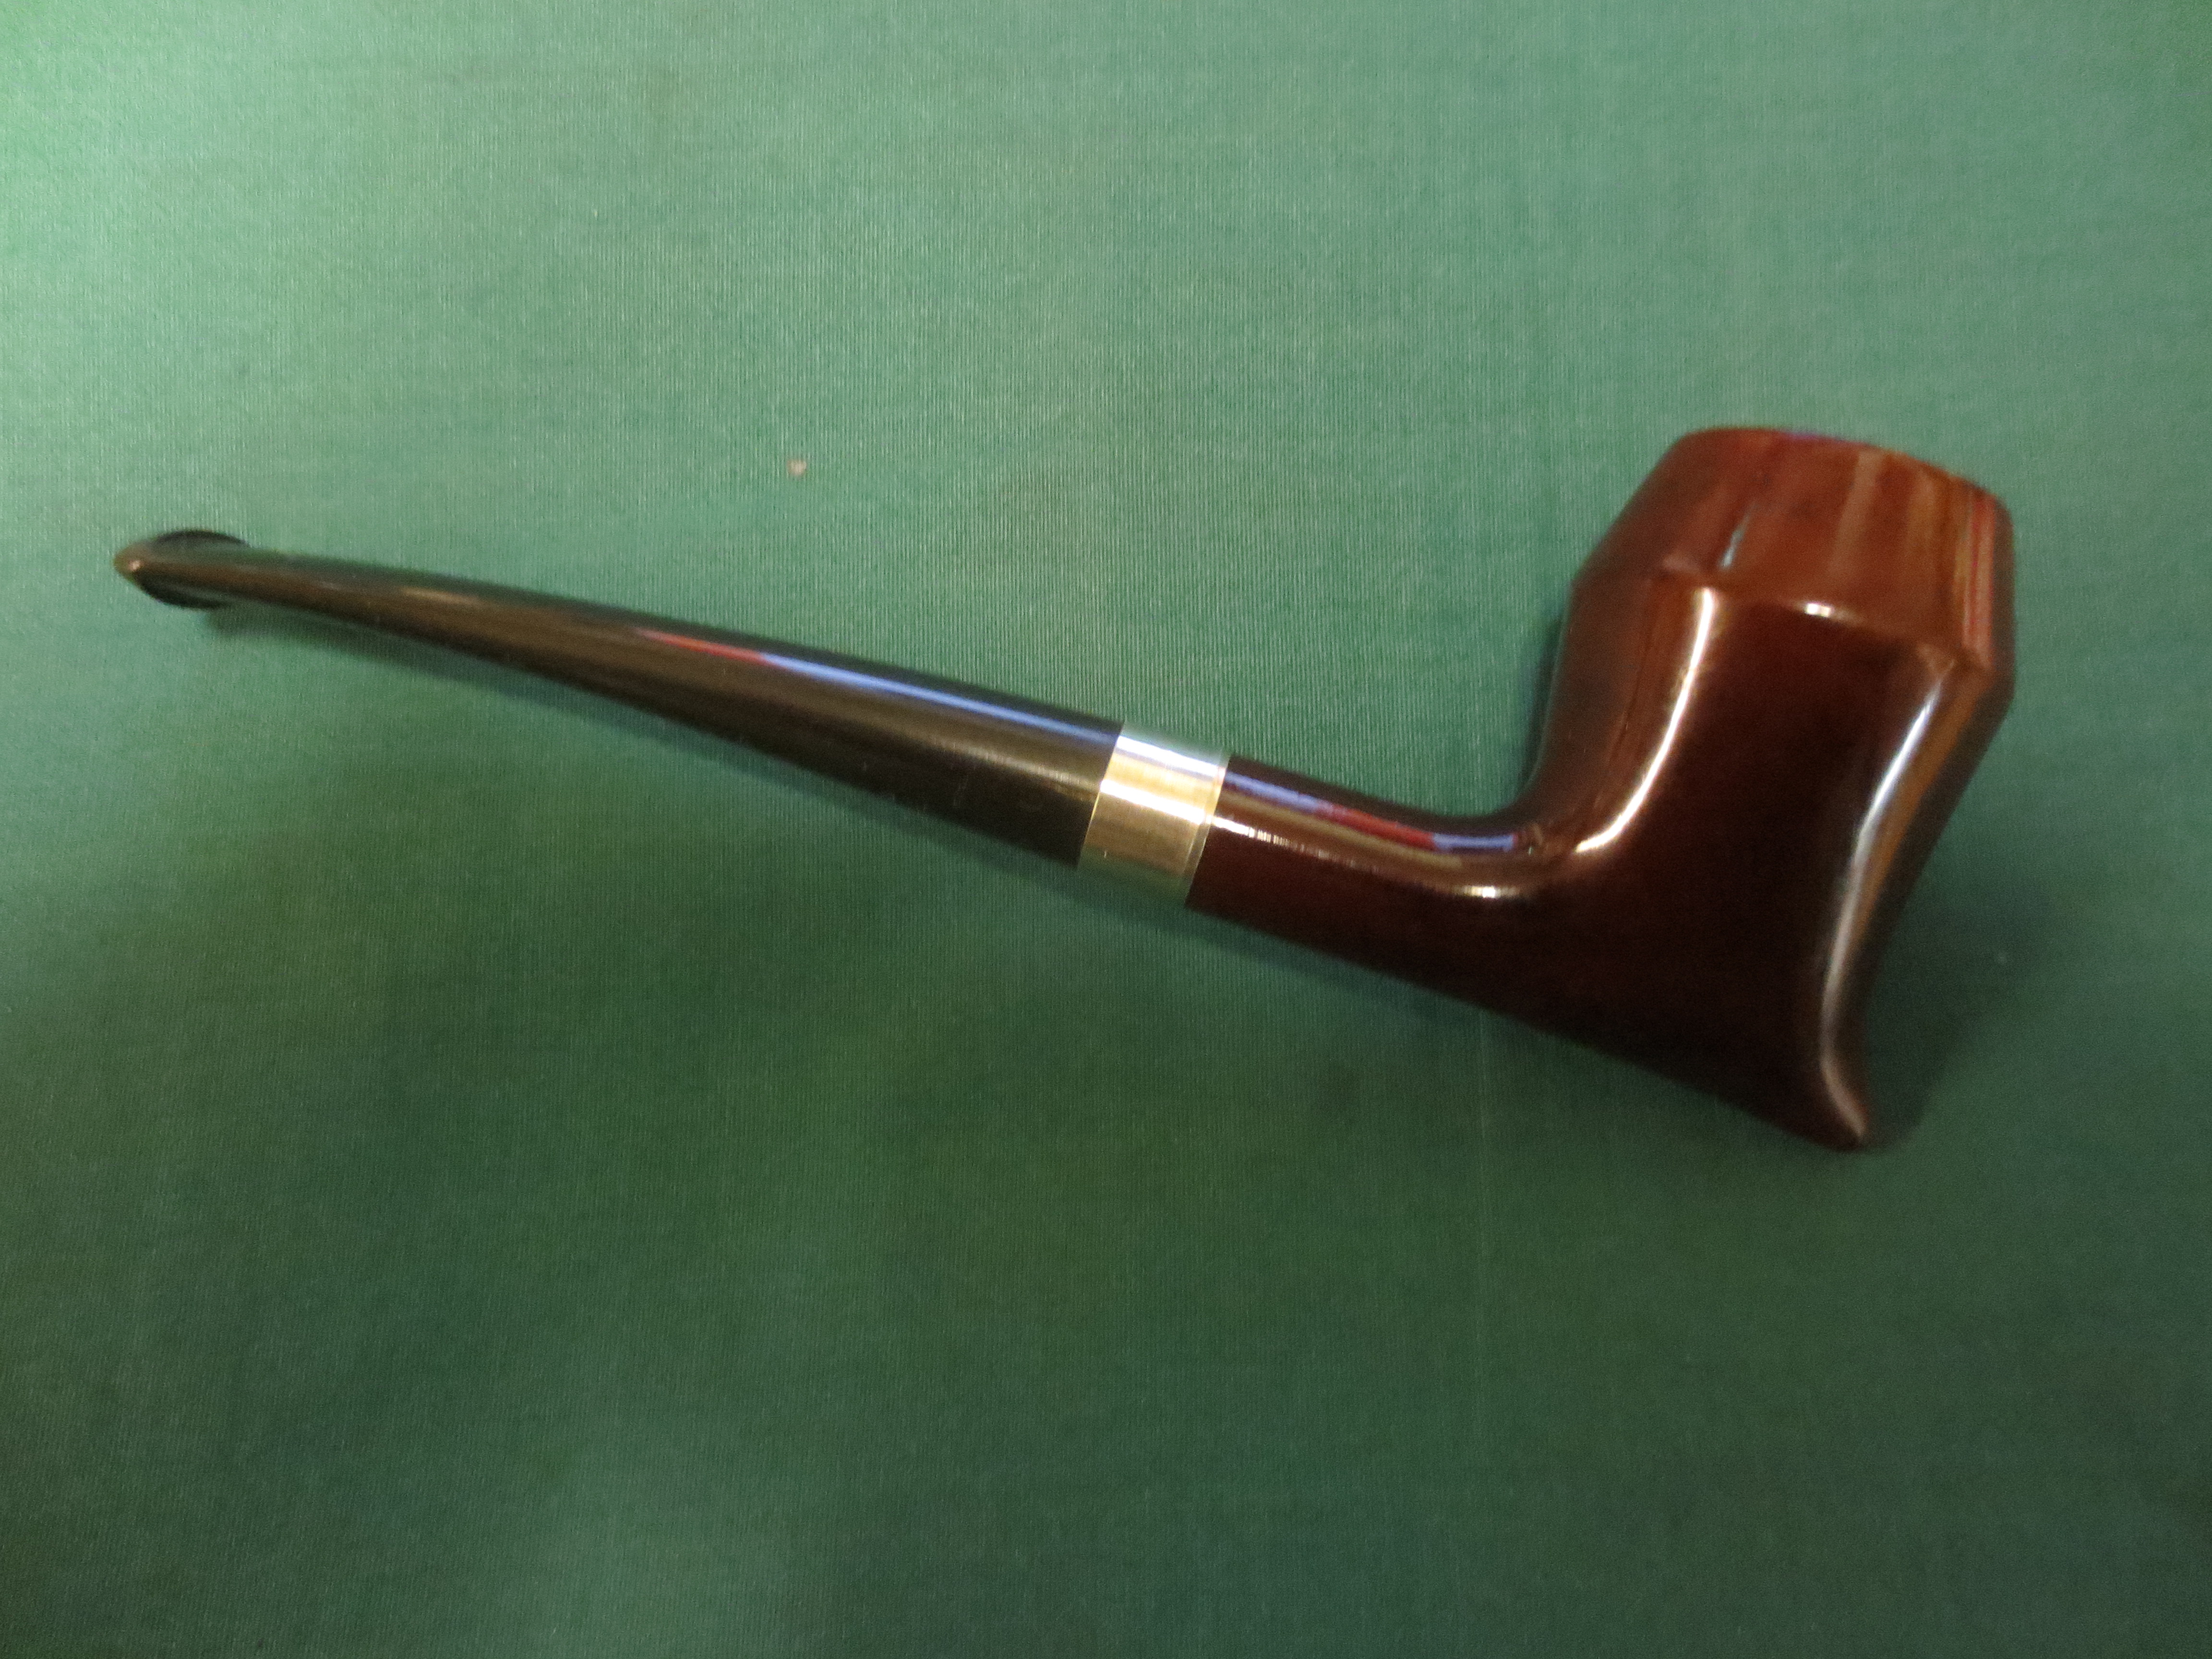
The final photo is of the front of the pipe. The knitting needle plug that I used is a bright reddish orange circle that sits at the base of the pipe on the front. The colour of the pipe is the red of the previous four finished photos. The last photo was taken with my cell phone and is a bit washed out. 
Tag Archives: sanding a stem
Restoring a Gift Brigham 595S Zulu – A new stem and a new look
I wrote earlier in a blog post about helping a Bill Tonge with the stamping on a Brigham pipe that he had picked up. He had told me that the stamping was 5955 on the underside of the shank. He said he had called Brigham and that they had told him that number was not on their shape charts. He had hit a dead-end. We connect on Twitter so he contacted me and asked for help. I thought I would give it a try to see what I could find out about the pipe. I Googled and read various online pipe forums where information was given. I searched for Brigham shape and numbering charts and old catalogues. Nothing helped. Then I decided to go to the Brigham site itself and go through the layers of information there and see what I could dig up. I was certain the clue to the mystery had to be there. It was just a matter of spending the time reading through the layers of information there to see what could be found.
Using this information I took the number that was given to me – 5955 stamped on the bottom of the pipe’s shank – as my starting place. The first number in the stamp denoted the series (1 to 7). Thus the pipe was a 500 series pipe. The next 2 numbers indicated the shape number which in this case was 95. I am assuming that is the shape number for the Zulu or yachtsman shape of this pipe. Summarizing what I had learned so far – I now knew what the first three digits in the stamping meant. The “595” indicated a 500 series pipe in shape #95. Reading further I found that a letter could follow the numbers in the stamp – particularly on older pipes. The letter indicated the size of the bowl. Thus the letter S = small, M = medium, ML = medium/large, L = large. I wrote the questioner and asked him to magnify the stamping on his pipe. Sure enough, the pipe was a 595S – the final stamp was the letter S, making this pipe a 500 series Zulu with a Small bowl. Mystery solved on this one.
I sent him the information and shortly later received a tweet from him that he was sending the pipe to me. He thought I would enjoy working on it and seeing what I could do with it. It arrived here in Vancouver yesterday and I opened the box Bill had sent. Inside were quite a few samples of English tobaccos that he was passing on to me, a nylon Falcon style pipe that Bill had refinished and the old Brigham Zulu. The smells were divine and I am looking forward to enjoying Bill’s generosity. But last evening I had to get started on the old pipe. I had a Brigham 5 dot stem in my stem can that I had scavenged from a friend who had a Brigham that he converted to a church warden. He did not want the saddle style stem so he gave it to me. Being the scavenger that I am I have had it in the can for about 15 years. Last night it met the pipe that it would grace.
Before I worked on the fit of the new stem I took some pictures of the pipe when it arrived. The pipe was definitely a Brigham, stamping and finish said that clearly. The stem was not a Brigham stem. It was a poorly made replacement stem. It was larger in diameter than the shank and bulged as it moved away from the shank. The finish on the stem was rough and the fit was poor. The rubber had a different feel to it than most of the vulcanite stems I have worked with. It was very thick at the bit and was not a comfortable stem to hold in the mouth. The tenon was definitely not a Brigham tenon. At first it looked to have been cut off but upon closer examination it was clear that the back part of the tenon was like a Dr. Grabow or Medico filter tenon with the slits on the sides that allowed the tenon to be widened to fit tighter in the shank. Into that tenon someone had inserted a piece of aluminum tubing that had walls that were approximately twice as thick as the aluminum used in the Brigham tenon. When I tried to fit the Brigham filter in, which should have fit nicely in even a cut off tenon, it did not fit. All of that confirmed my suspicions that the tenon was a repair replacement.
The finish on the bowl was dirty and the grooves were plugged with an oily build up almost to the point that the Brigham rustication was smoothed over. The bowl was slightly out of round with some burn damage on the inner rim at the back left and right sides of the bowl. The cake in the bowl was quite heavy and smelled of good heavy latakia tobacco. It was uneven and I wanted to do some work on the inner rim and try to bring it back as close to round as I could so I would need to ream the bowl back to the wood to do that work.
The stamping on the underside of the bowl is worn but legible. The Brigham stamp is identifiable as 595S and next to that is a patent number that is almost illegible but I think it reads Can. Pat. 372982 which is the same patent number as one of my older Brighams. The Brigham logo is stamped over Made in Canada and is next to the patent number.
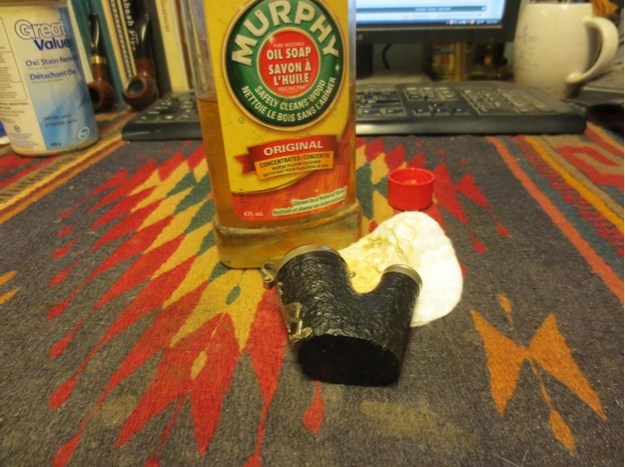
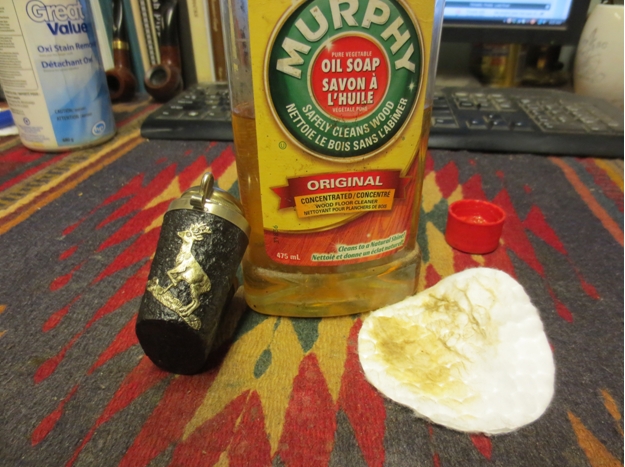
I removed the stem from the bowl, reamed it and cleaned the outer surface with Murphy’s Oil Soap and a tooth brush. I use the soap undiluted and scour until the surface is clean and then rinse it off with running water. I keep the water out of the inside of the bowl and shank.
I cleaned out the inside of the bowl and shank with cotton swabs, pipe cleaners and isopropyl alcohol. Once I had the majority of the tarry buildup out of the shank I found that the metal end of the hard maple filter had broken off inside the shank and was stuck against the airway. I examined the airway from the inside of the bowl and poked at it with a dental pick. I soon found that the airway was clogged at the side of the bowl with a tarry, oily buildup. I picked it free and found the airway very open and quite large. I was able to carefully turn a drill bit by hand into the shank and catch the metal of the end cap and draw it out of the shank. I then scoured the shank with alcohol until all the cleaners came out white.
I then cleaned the inside of the 5 dot stem that I had and fit it into the shank of the pipe. It fit well and actually had an interestingly look (IMHO). It was oxidized and needed work but it fit. The shank was still very tight at the end so I was not able to get the maple filter to fit in the tenon and still fit tightly against the shank. I have to do a bit more work opening the far end of the mortise to accommodate that. The next series of four photos show the 5 dot stem and give a rough idea of the look of the pipe at this point.
I took the next three photos of the two stems side by side to show see the difference in diameter of the stems and the difference in shape of the two tenons. In the first photo the top stem is the replacement one and the bottom is the original Brigham made stem. The second and third photos show an end view of the two different tenons side by side. The one on the left is the replacement tenon and the one on the right is the original Brigham. Note the difference in diameter of the inner circle of the opening and the thickness of the walls of the tube in both tenons. The maple filter tube fit tightly in the replacement stem with no allowance for air to flow around the tube. It was shorter as well so the filter would not have been used with the replacement stem.
To start the cleanup on the oxidized stem I decided to use the Meguiar’s Scratch X2.0 scratch remover on the stem. It works quite well to remove some of the surface oxidation. I let it dry before buffing it off with a soft cloth.
The deeper oxidation still remained so I sanded the stem with 220 grit sandpaper and medium and fine grit sanding sponges. I followed up with micromesh sanding pads – wet sanding with 1500-2400 grit pads and dry sanding with 3200-12,000 grit pads. I rubbed it down with Obsidian Oil between each set of three pads and a final rub down at the end.
Once the Obsidian Oil had dried I buffed the pipe with White Diamond and then gave the bowl a light coat of carnauba wax and the stem several coats of carnauba wax. I buffed in between with a soft flannel buff to polish each coat. The finished pipe is shown below. I am looking forward to firing it up with one of the good English tobaccos that Bill sent along. Thanks again Bill for the great addition to my collection.

Restoring an older KBB Yello-Bole Imperial Dublin
Blog by Steve Laug
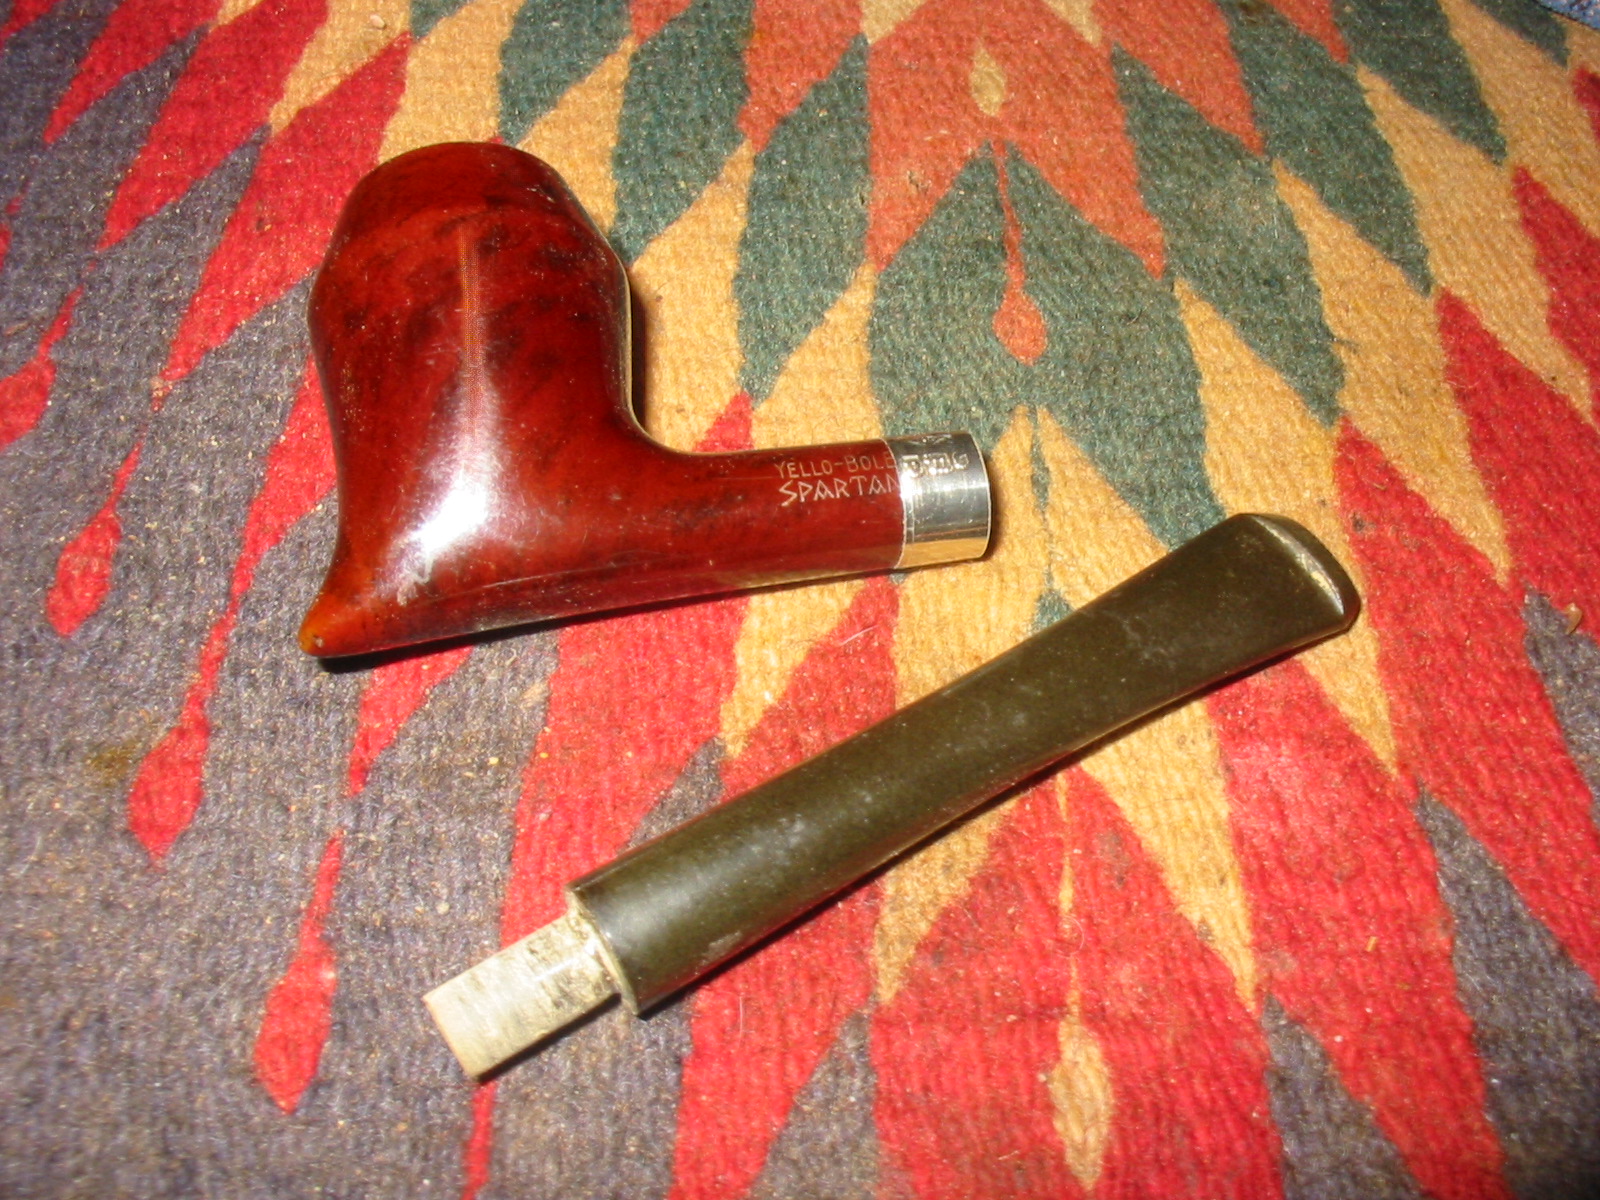
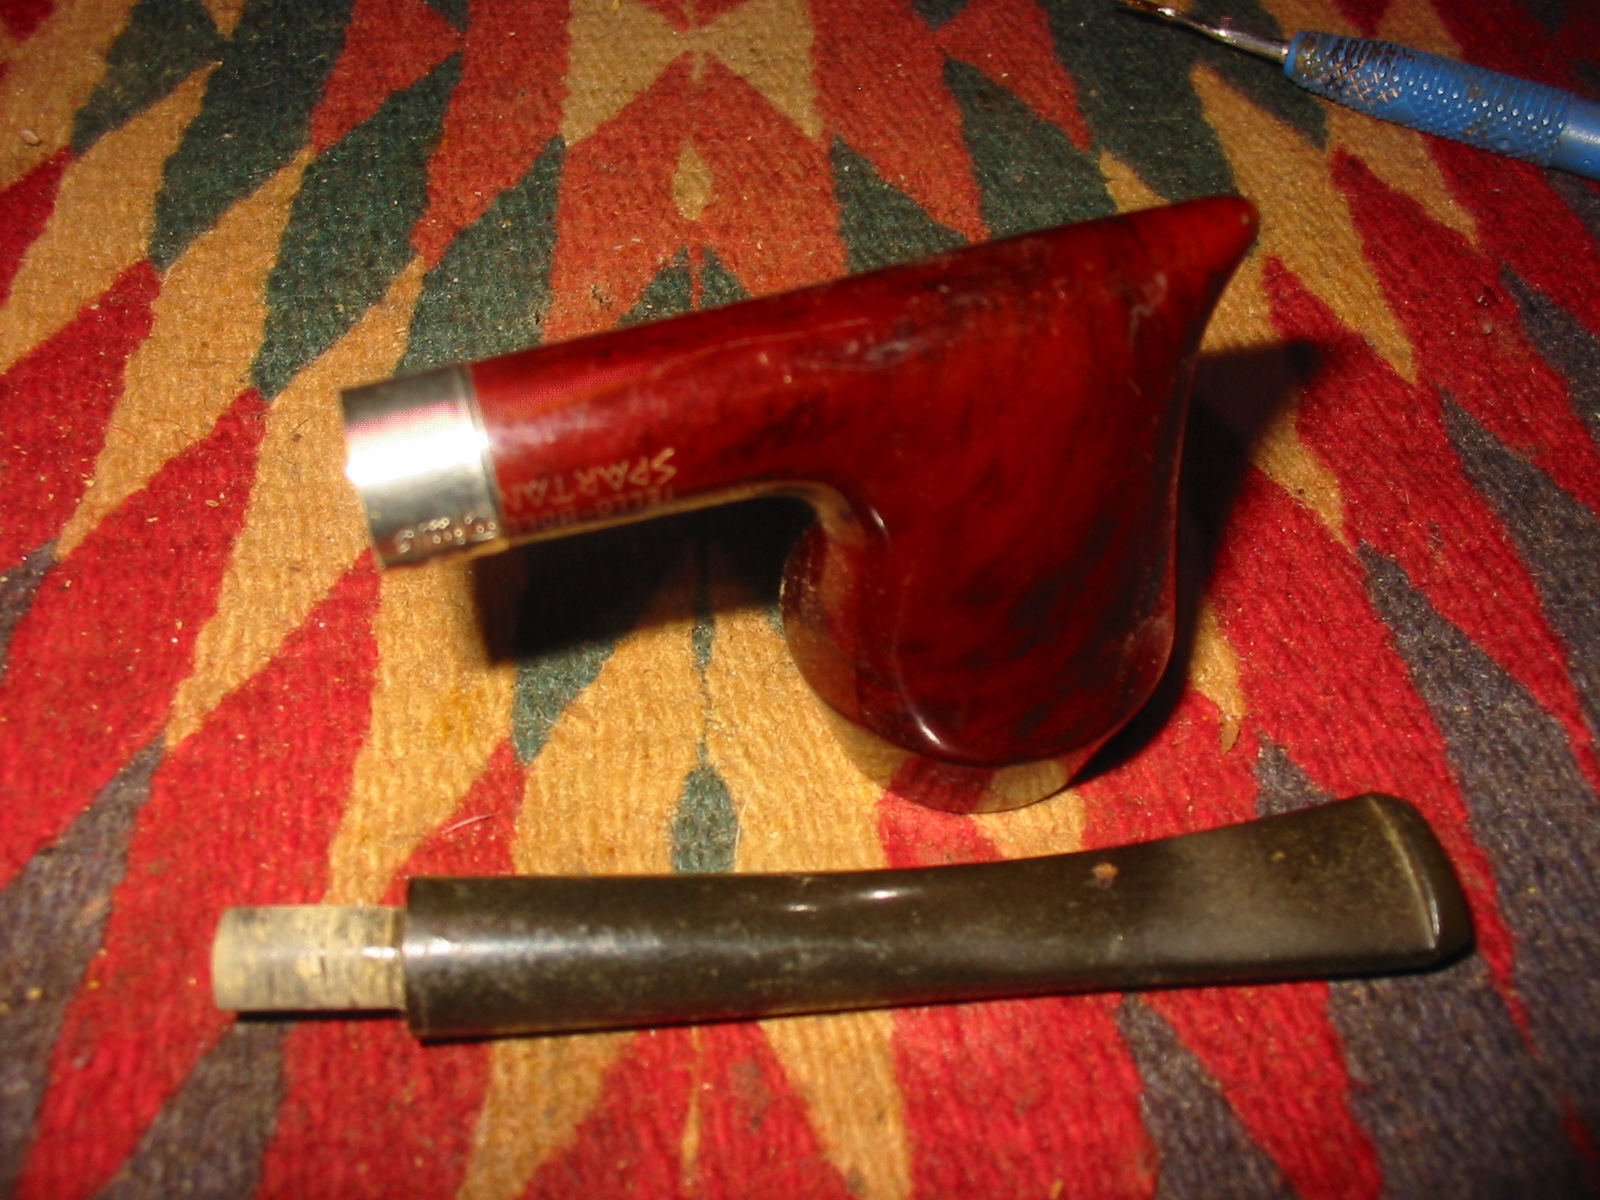
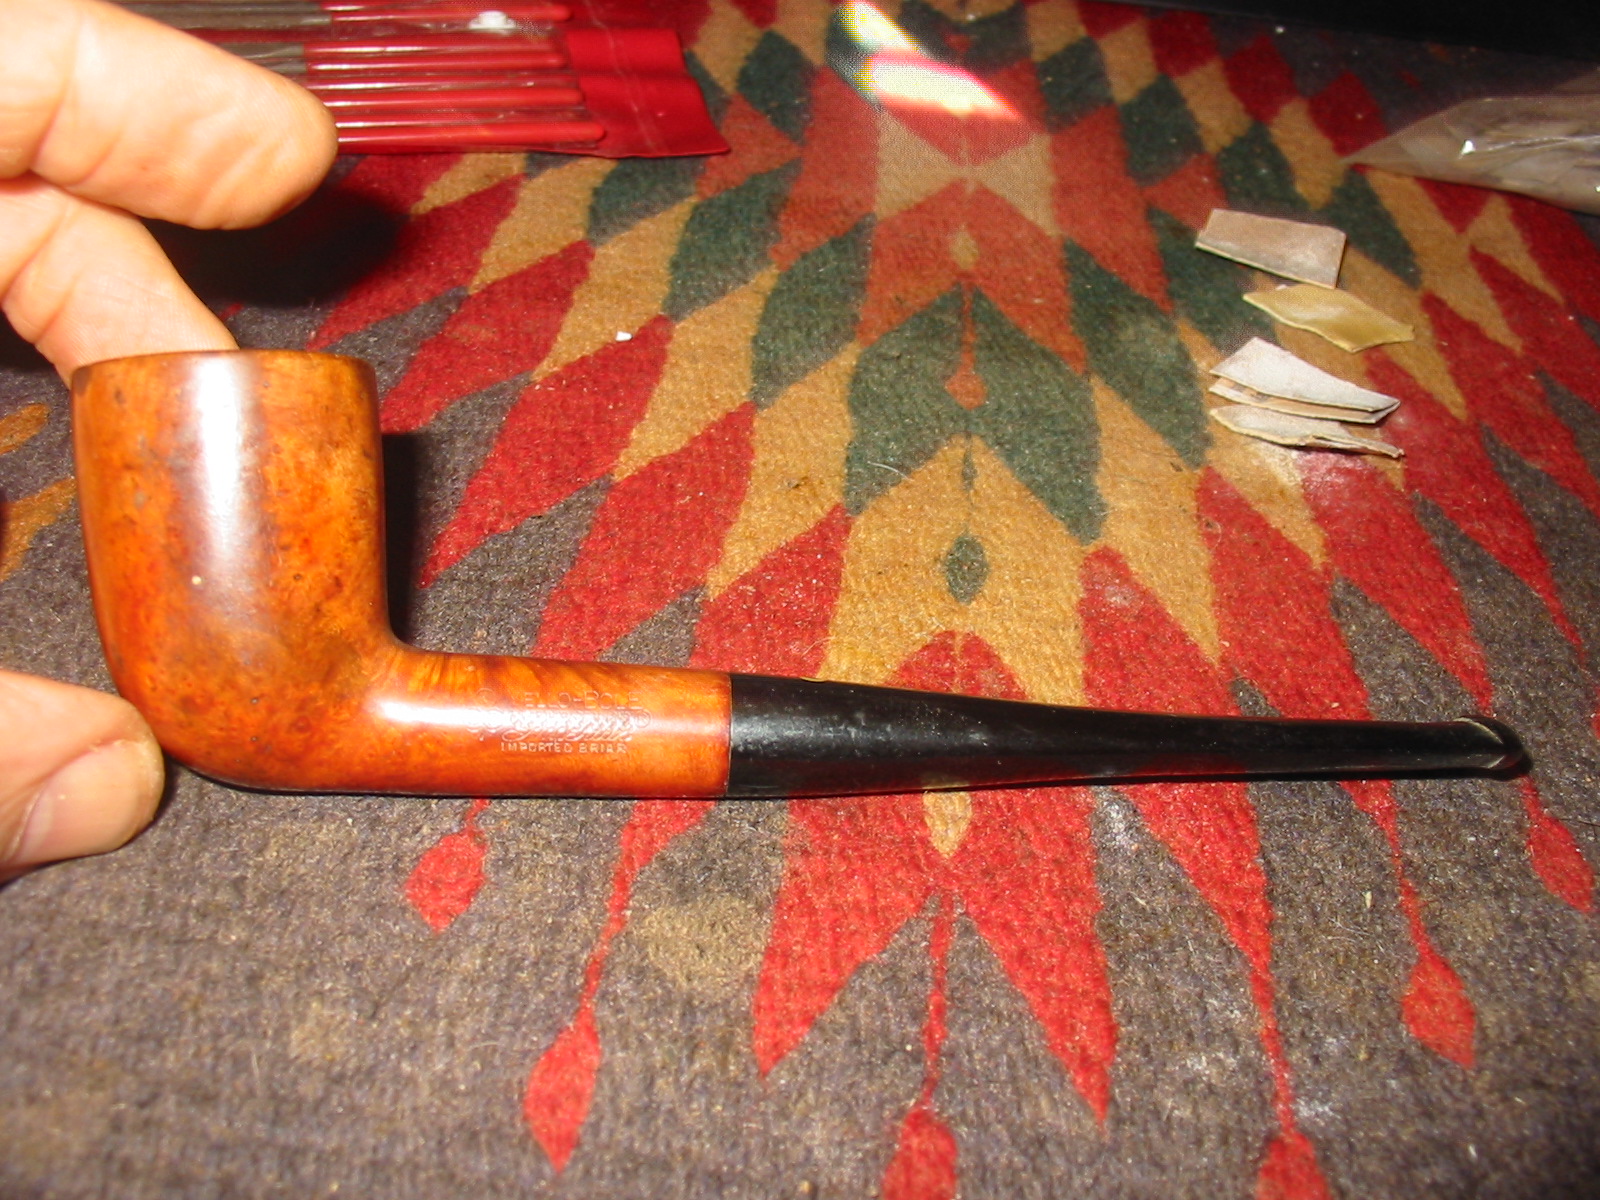
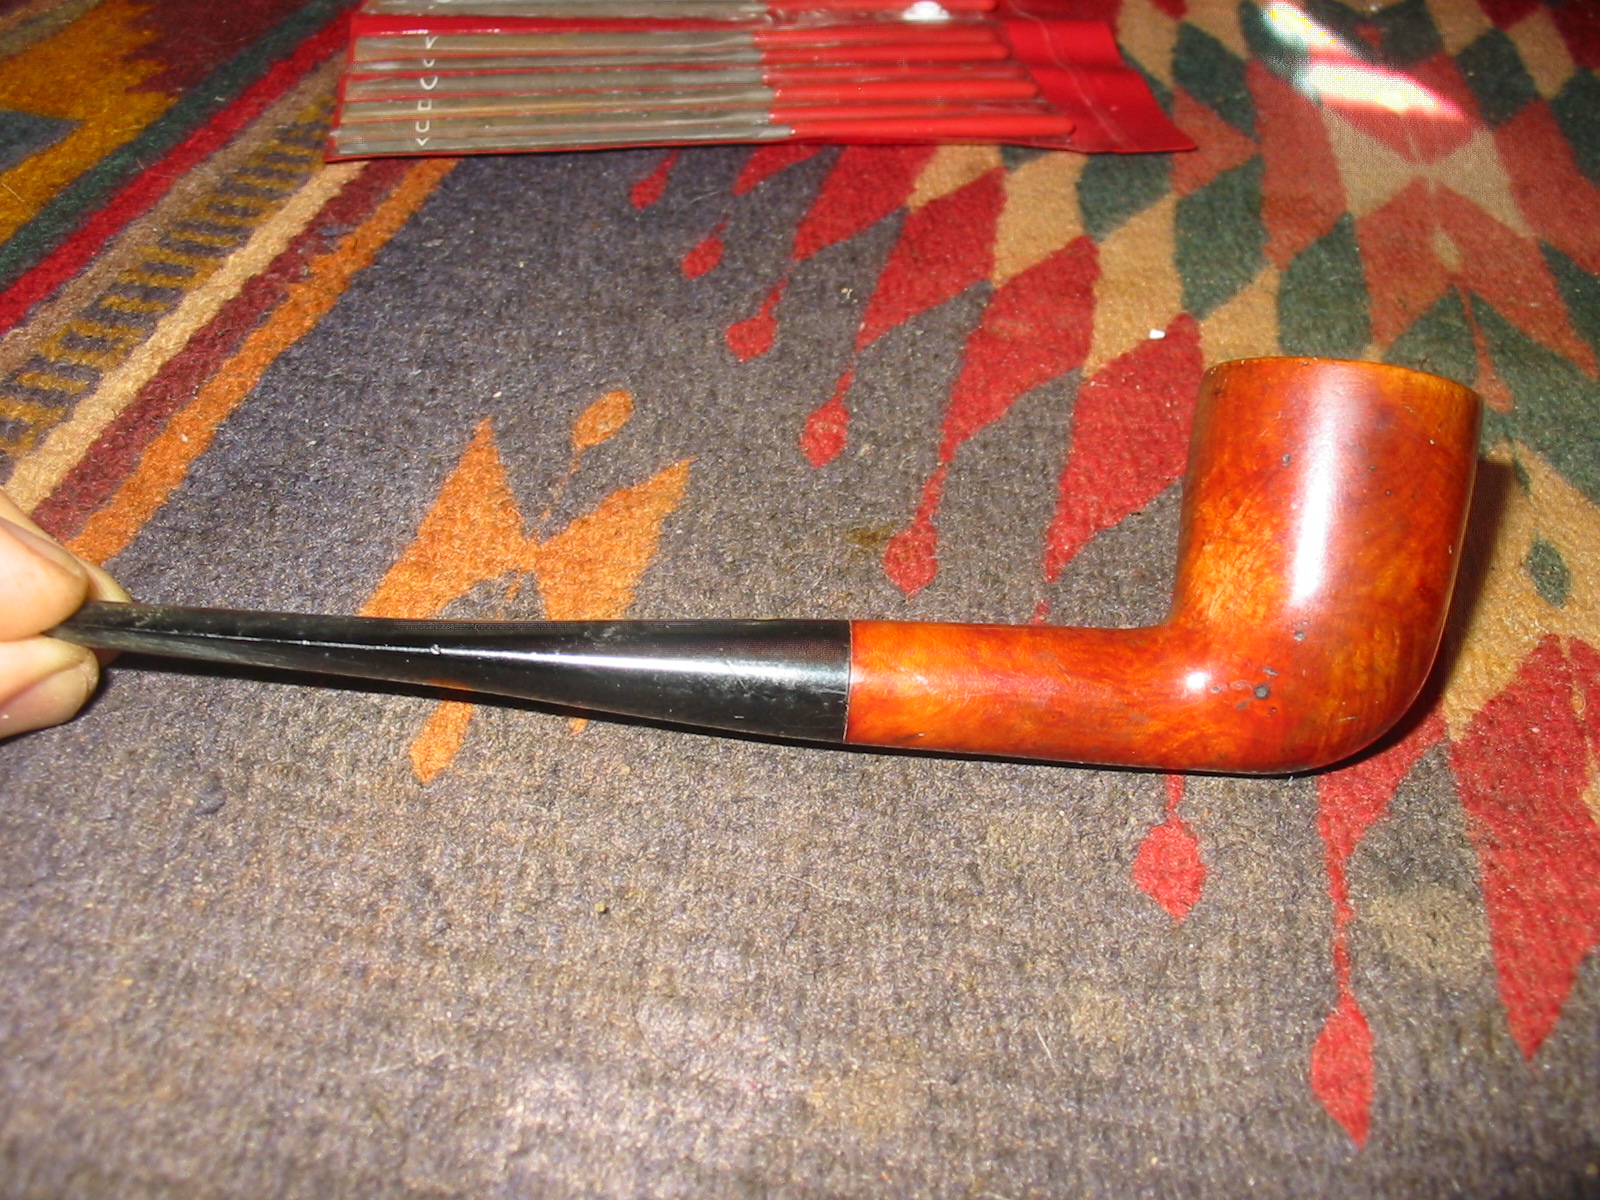
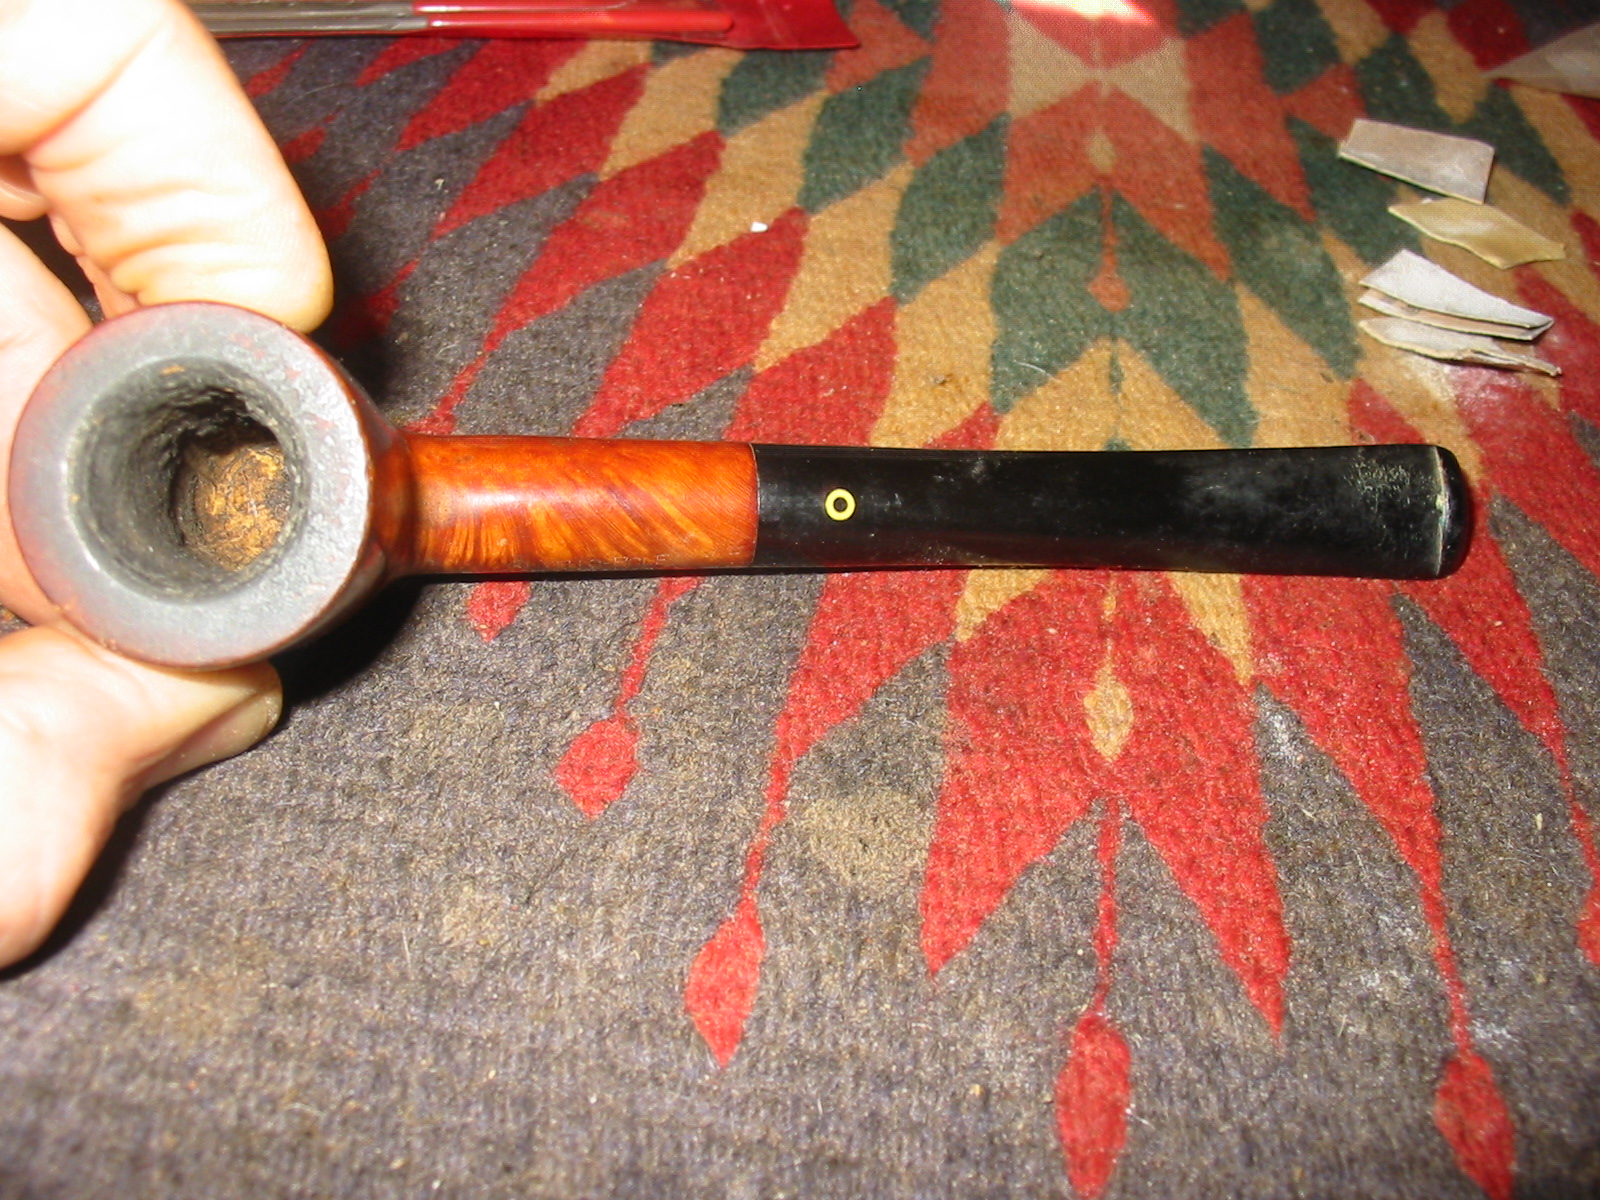
This is the last of the pipes I picked up when I was down in Washington State with my wife for 38th Anniversary. It is an older KBB (no ampersand between the two B’s). It had no shape numbers on the right side of the shank, but on the left side it had the KBB in the cloverleaf/club and next to it was stamped Yello-Bole over Imperial over Imported Briar. The Imperial stamping had been over-stamped with a cross hatch pattern. The bowl was in decent shape. The finish had dark soiling and oils on both sides of the bowl. There were also some dark spots on the sides of the bowl. There was a heavy coat of varnish over the bowl except for the worn spots where the oils and darkening was. The rim was heavily caked with tars and oils. The bowl was caked from the top half way down the bowl, though the yellow honey coating was still visible on the bottom half of the bowl. There were some burn marks along the outer edge and top of the rim.
Again since Yello-Bole is one of my favourite older US brands I did some more reading online to see if I could narrow down when this one was made. I have come to understand that these older Yello-Boles are great smoking pipes and underrated. I turned to one of my go to sources of information on all things KBB and Kaywoodie – the Kaywoodie forum http://kaywoodie.myfreeforum.org/ftopic13-0-asc-0.php. There I found a very helpful article by Dave Whitney that helped narrow down the date. The pipe I have has the shovel drinkless mechanism, the KBB-in-a-clover logo on the left side of the shank and the yellow circle on the stem. From what I can ascertain from Dave’s information it seems to have been produced between the years of 1938-42. I am fairly certain that it did not come from the later period of 1945-50 (World War II) since it did not have the aluminum stem ring and the aluminum drinkless mechanism which came out during those years.
The photos below show the pipe as it was when I found it in the antique shop.
The stem is made of nylon rather than vulcanite. It has the yellow circle inset in the top near the shank of the pipe. The button area was chewed and dented. There was a shallow dent on top of the stem and deeper ones on the underside of the stem next to the button. The button had been chewed down and had deep dents on the underside while the slot had been dented in so that it was not longer straight.
I sanded the stem down and was able to remove the dents on the topside. The underside tooth mark was too deep to sand or even heat and raise.
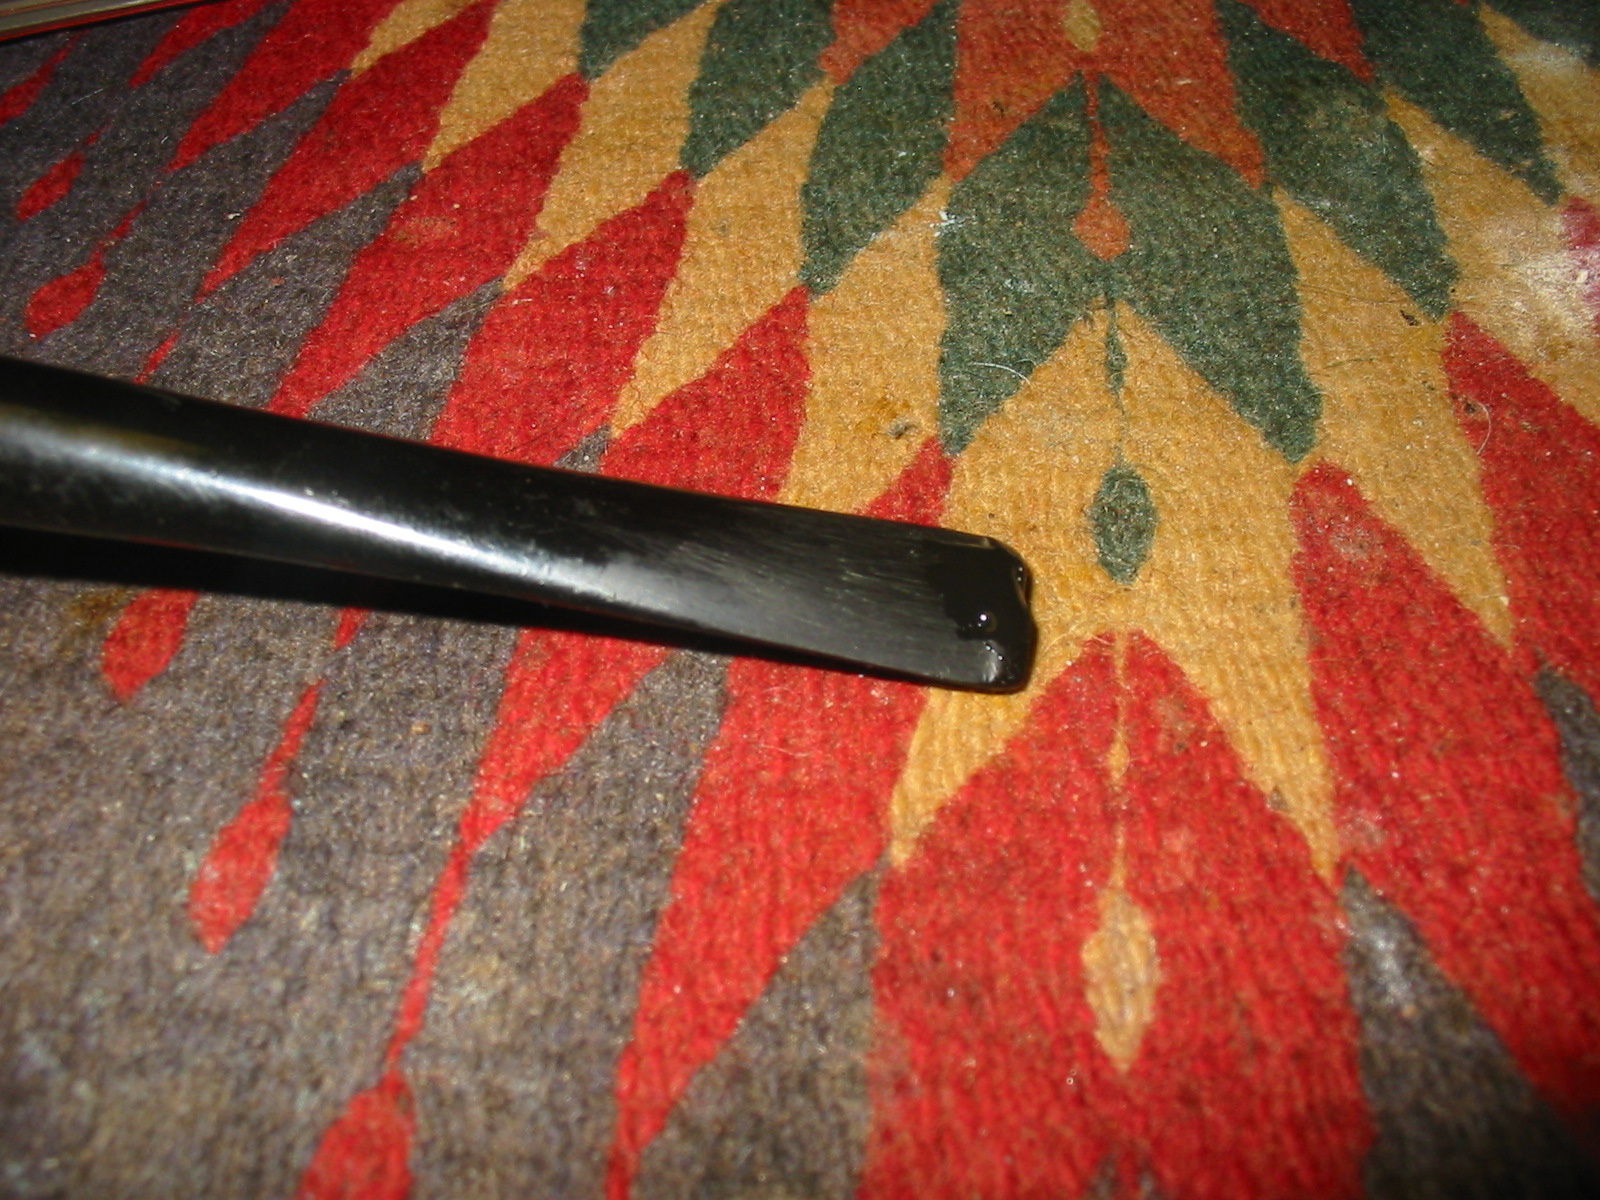
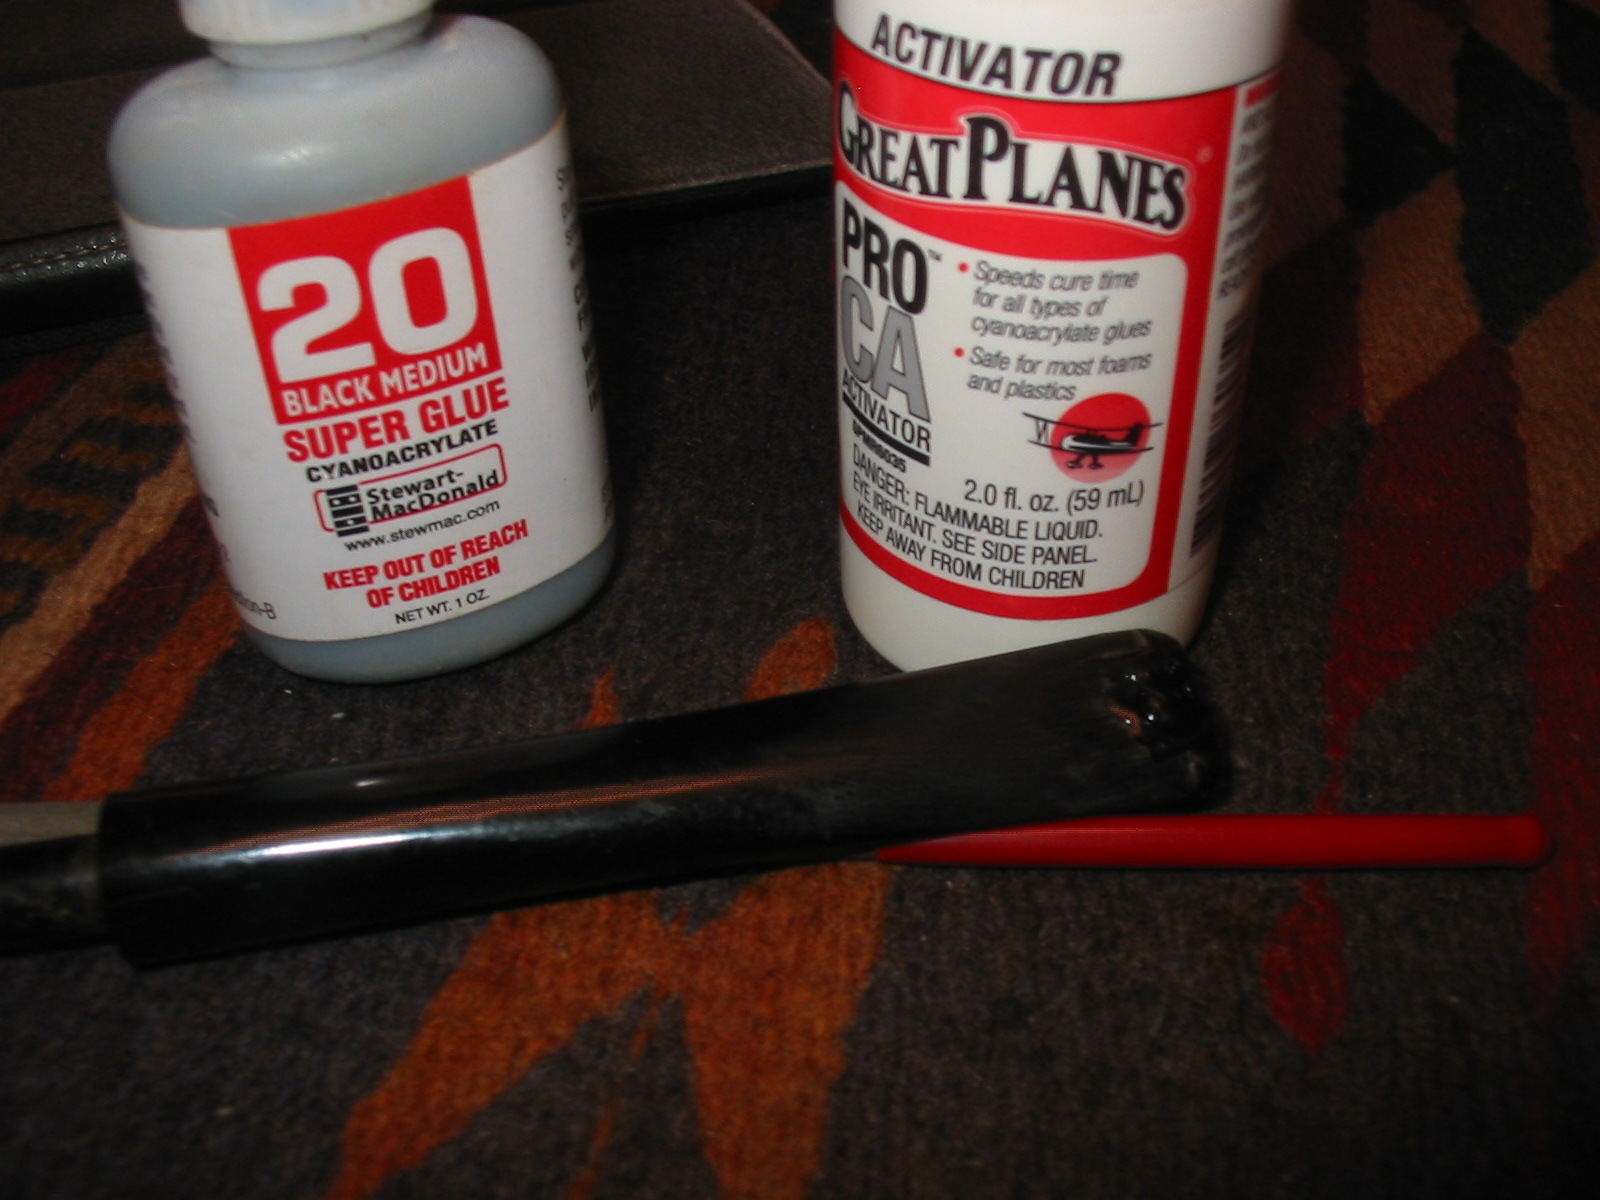
I sanded it with 220 grit sandpaper to clean up the chatter further up the stem and then picked the area clean around the large dent with a dental pick. I wiped the stem down with alcohol to clean off the dust and then filled it with black super glue that I purchased from Stewmac online. I filled it the first time and sprayed it with an accelerator. Once it dried it had shrunken and left a divot in the stem surface. I refilled it with the glue and then sprayed it again with the accelerator. I set it aside overnight to cure and worked on the bowl.
The bowl and rim were caked with an uneven cake so I reamed it with a PipNet pipe reamer to take it back to the briar. The cake was soft and once I removed it from the middle portion of the bowl I could see the yellow coating on the bottom half and partway down from the rim. The only portion that was darkened was in the centre of the bowl.
I set up my topping board to remove the hard tars on the rim and also the burn damage. Fortunately the burn damage did not go too deep but merely sat on the surface under the tar coat.
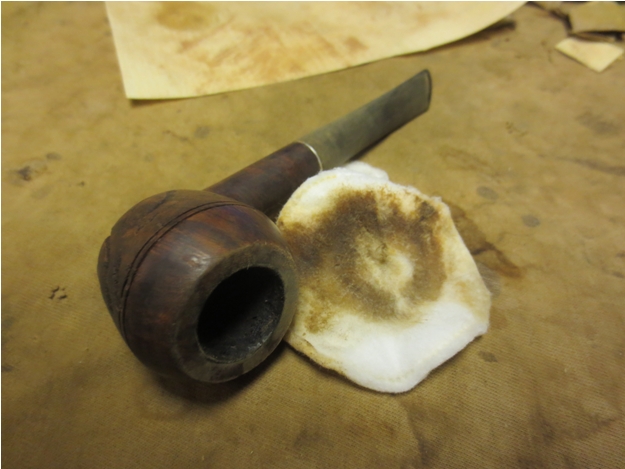
I wiped down the bowl with acetone on cotton pads to remove the finish and as much of the dark staining on the side of the bowl as possible. The dark spots were deep in the finish of briar so I was not sure I would be able to remove them.
Even after wiping down the bowl repeatedly the dark stains on the sides remained, lighter though still present. The dark spots appeared to be ink stains and they too remained. I decided to let the bowl soak in an alcohol bath overnight and address it again in the morning.
The next morning I removed the bowl from the alcohol bath and found that it had done its magic. The stains were gone and the ink stains were significantly lighter. I cleaned out the shank with cotton swabs, pipe cleaners and alcohol. I kept cleaning until the pipe cleaners and swabs came out clean.
I stained the bowl with Fiebings Dark Brown aniline stain. I applied the stain and then flamed and repeated the process until the coverage was even.
I wiped it down with alcohol on cotton pads to remove some of the opaque colour of the stain and to make the grain more visible.
I buffed the bowl with White Diamond. The next three photos show the bowl at this point in the process.
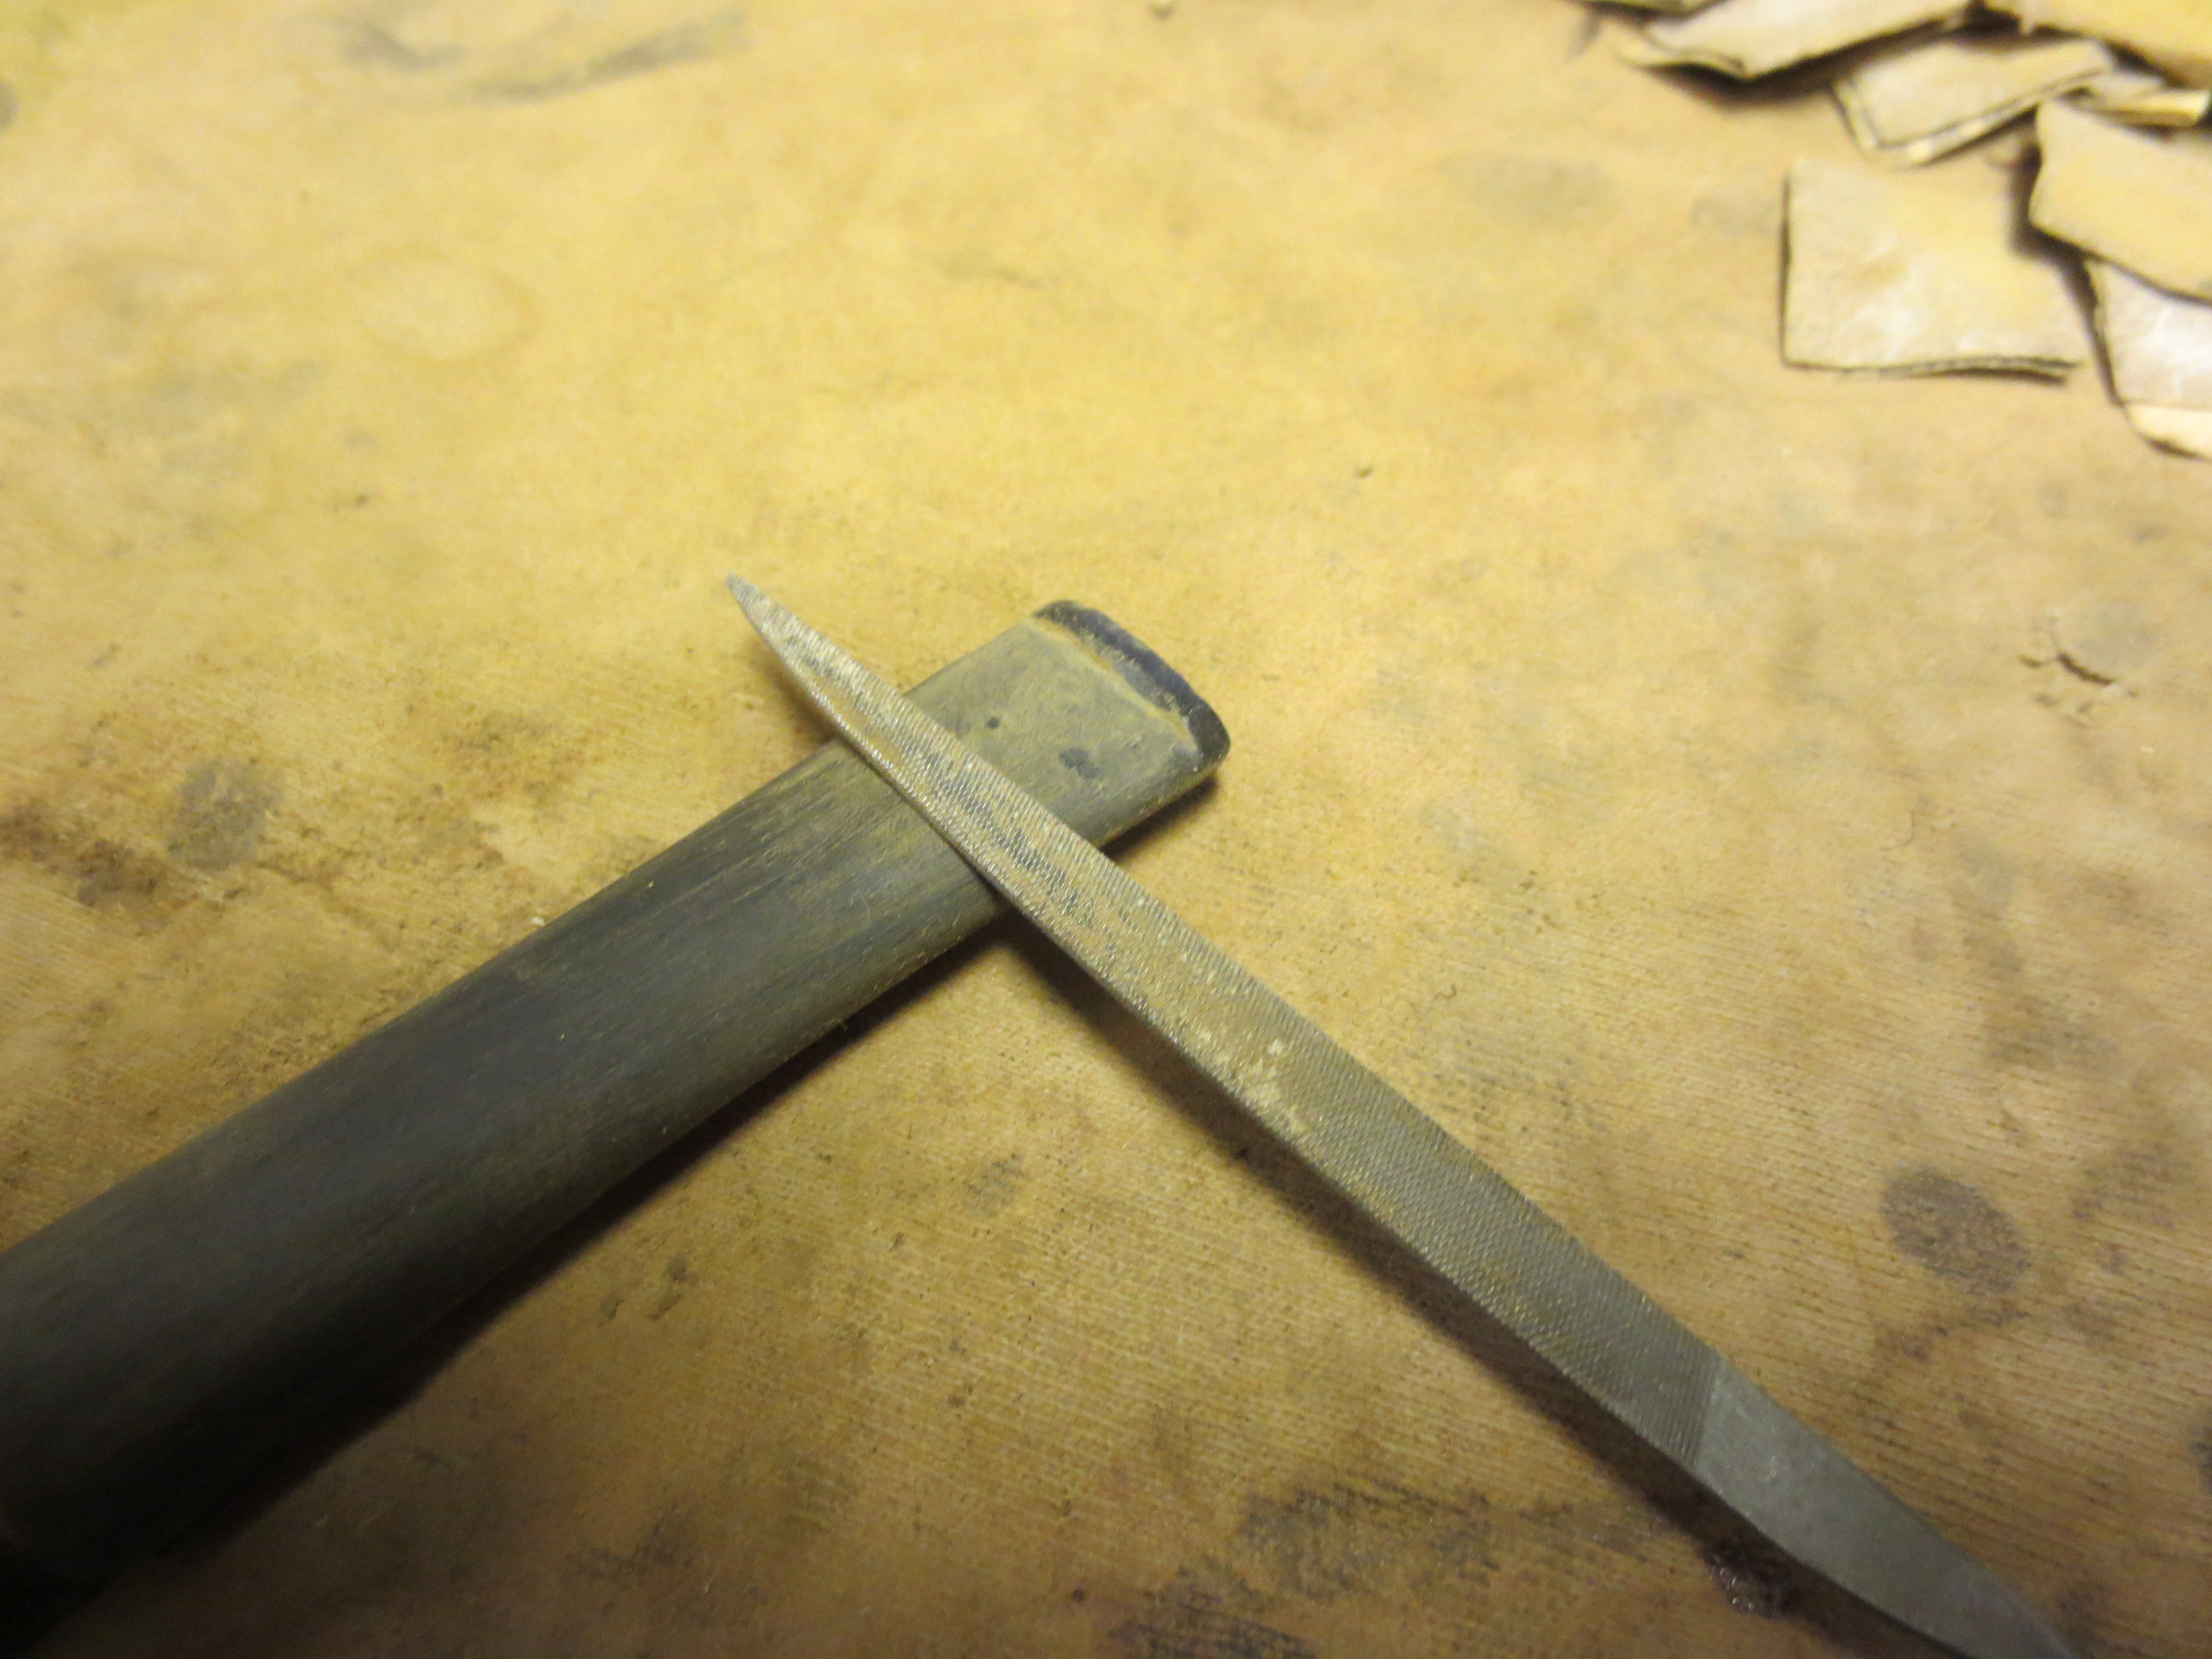
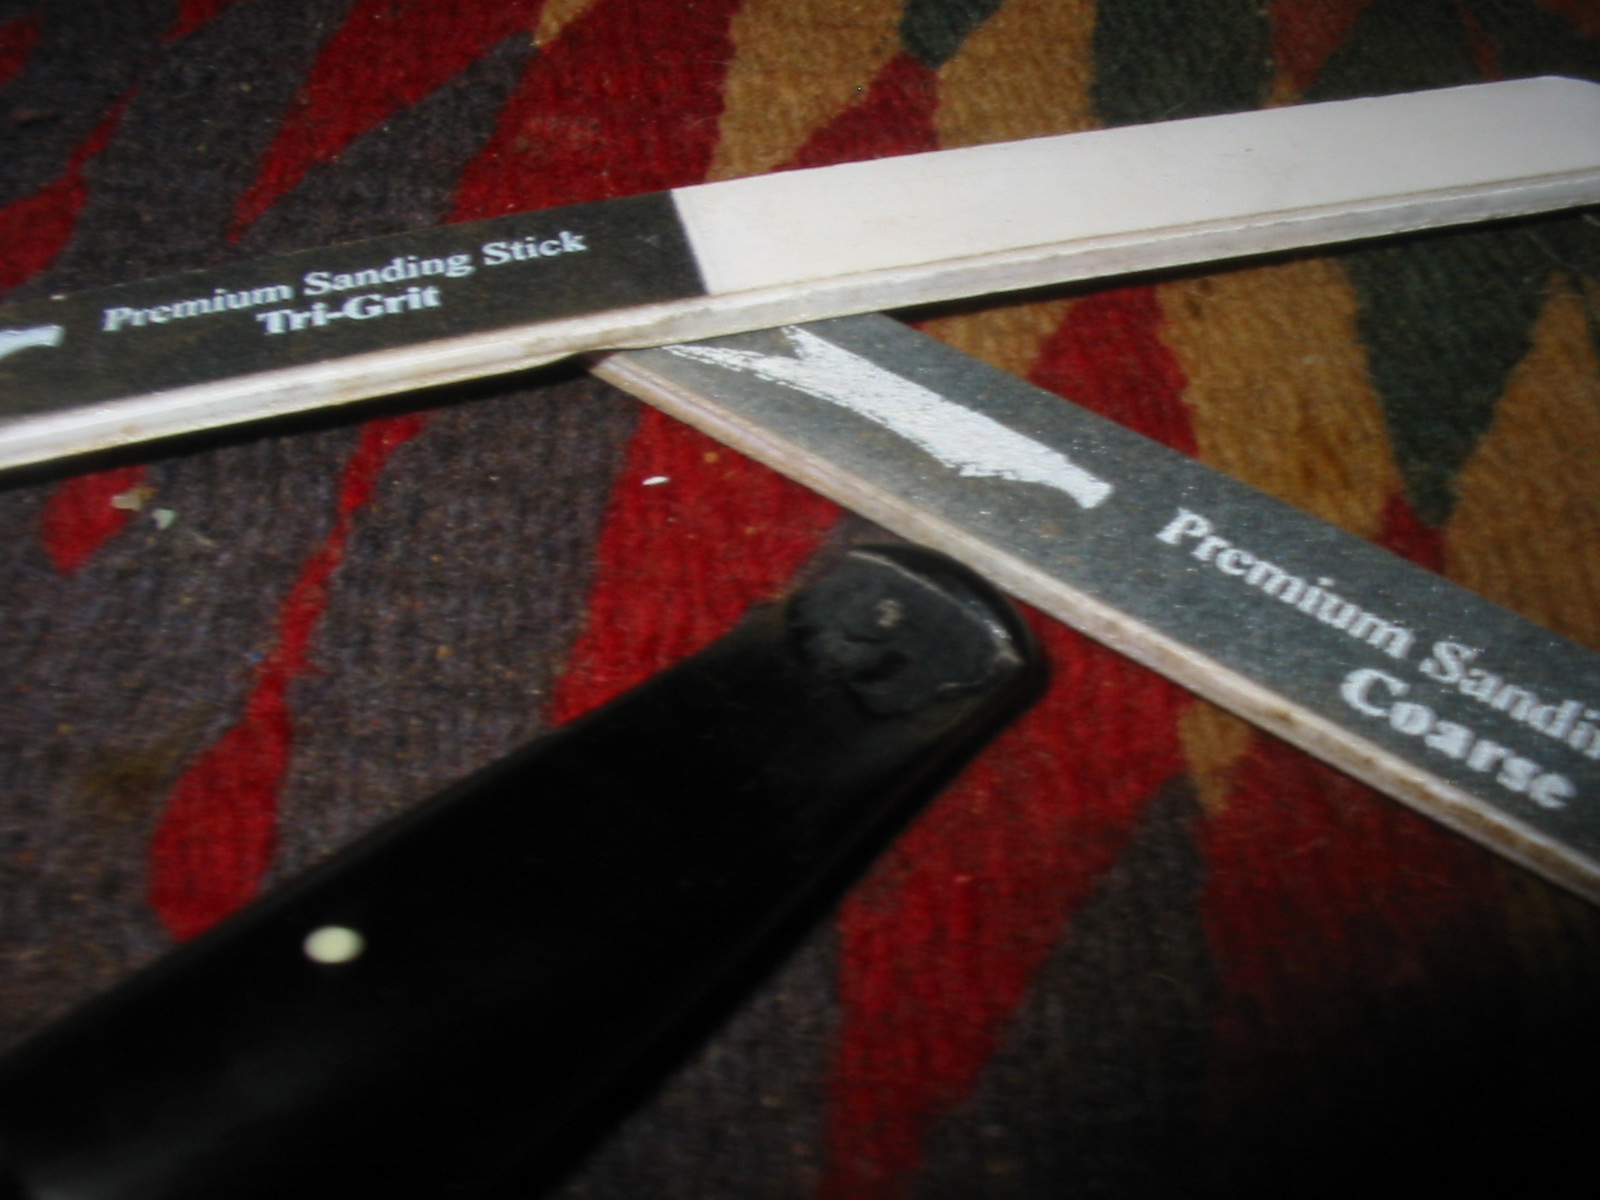
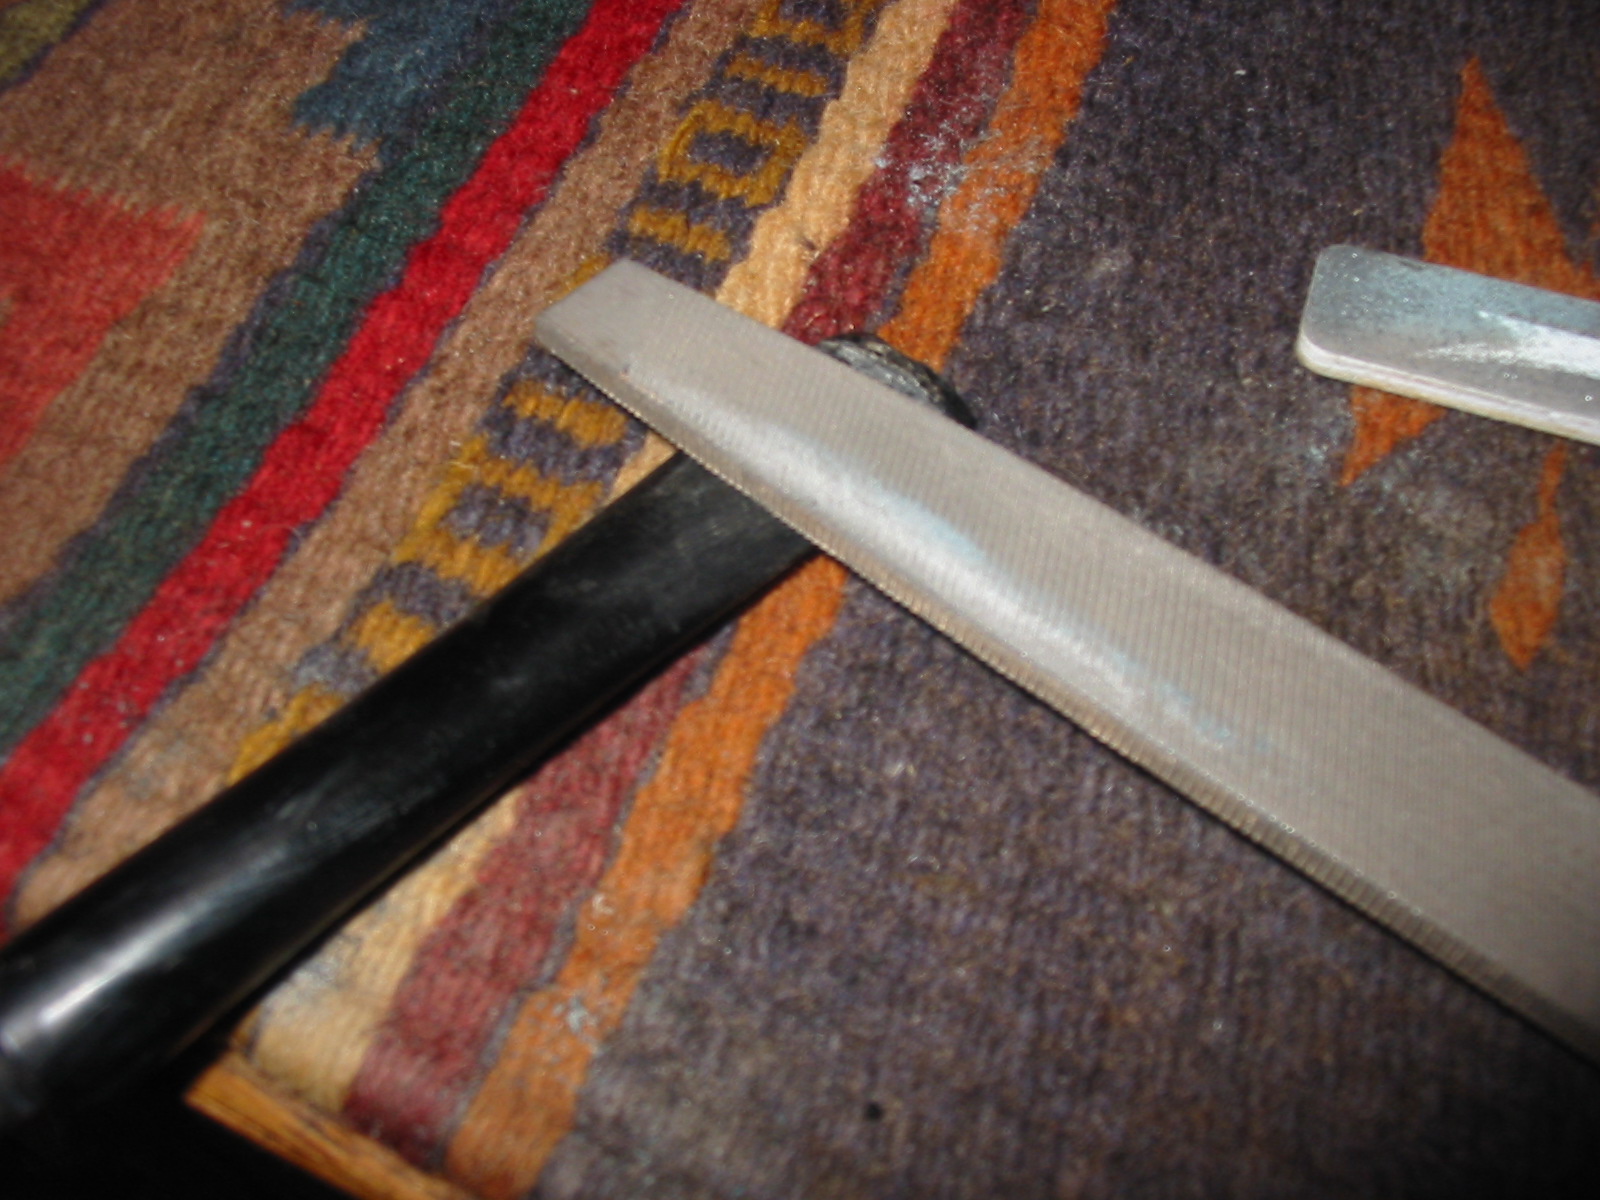
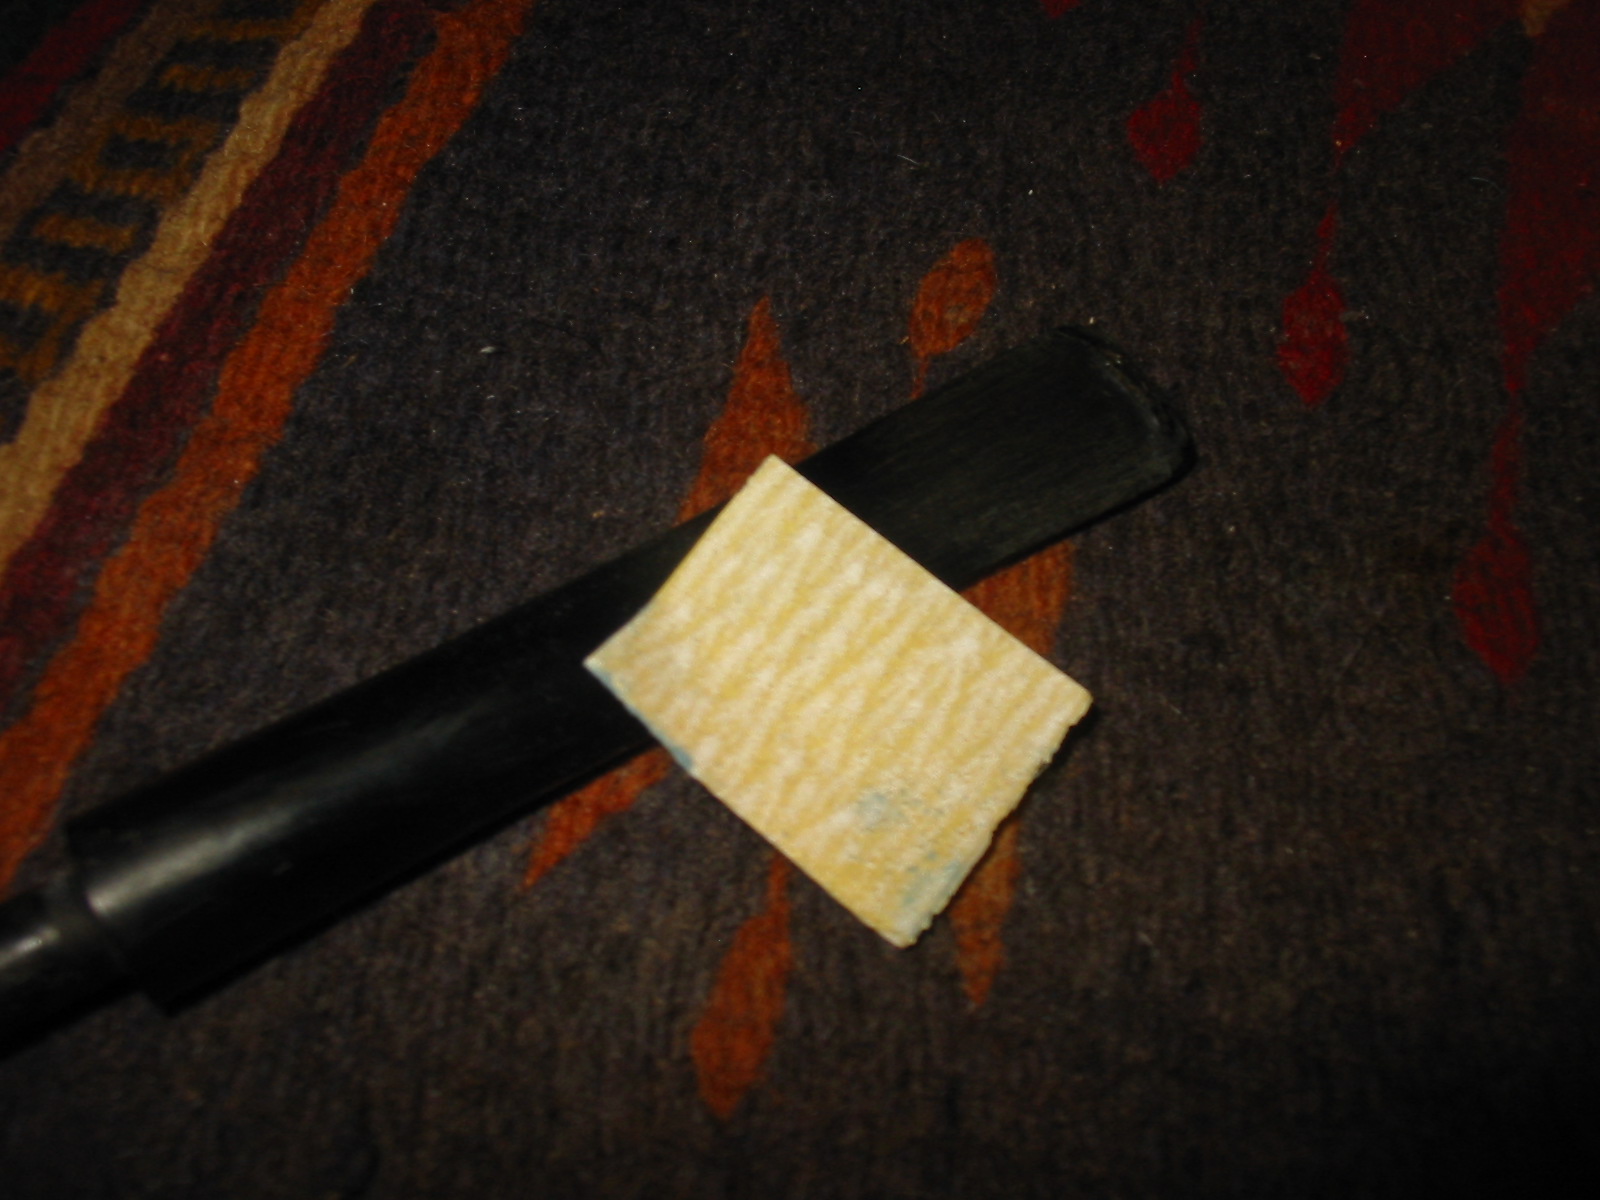
Once I had finished the work on the bowl to this point I decided to work on the stem. I used a coarse grit sanding stick to cut the sharp edge of the button. While it worked relatively well I could see that the hardened super glue needed something with more teeth to cut into the repair. I used a file to take off the overfill on the repair and then followed that with the sanding stick and 220 grit sandpaper.

I sanded the stem further with the 220 grit sandpaper and then with medium and fine grit sanding sponges to remove the scratches in the surface. I wet sanded with 1500-2400 grit micromesh sanding pads and dry sanded with 3200-12,000 grit pads. Between each grit of micromesh I wiped the stem down with olive oil. I have found that the olive oil allows the micromesh sanding pads to really cut into the surface of the nylon stem. I cleaned up the stinger with alcohol and cotton pads and then 0000 steel wool.
I gave the bowl a coat of walnut stain and boiled linseed oil to bring out a shine. I wanted the pipe to have a similar shine to what it originally had when it left the factory but did not want to use a varnish coat. I wiped it on the bowl with a cotton pad and then set it aside to air dry.
Once the finish had dried I buffed the pipe with White Diamond and then gave it several coats of carnauba wax and buffed to a shine with a soft flannel buff. I hand waxed the stem with Paragon Wax as I find that the nylon stems are hard to buff. Without a light touch the wheel can do irreparable damage to the nylon stem. The heat generated by the buffer will actually cause the stem to melt. The final photos below show the finished pipe cleaned, polished and ready to enter into the next years of its life. I think that this one will outlive me if properly cared for by the next pipeman after me.

Restoring and restemming a second Television Pipe – a Prince
The second Television Pipe I received was a prince shape bowl without a stem. From the previous post I found out that it was an English Brand with a long stem. The brand was sold by A. Grunfield Co. and was produced by Gasparini. That bit of information came from Jose Manuel Lopes – Pipes Artisans and Trademarks. The bowl had a thick coat of varnish and a large fill on the front of the bowl. It appeared to be a deep fill and went from the top edge of the rim down about a third of the bowl. It did not go all the way through the briar to the bowl itself. There was also a smaller fill on the bottom of the bowl near the shank bowl junction. The grain was very mixed. On the back side and on the left and right sides there was some nice straight grain. The front of the bowl looked bald with the fill in the middle. The rim had a tarry buildup and was rough. The bowl had an uneven cake on the inside. Since there was no stem with the pipe and I did not have any church warden stems on hand I had some choices to make on the stem. I had a vulcanite stem and a clear Lucite stem that had potential. They were both longer than a typical prince stem but still not a church warden style.
I wiped the bowl down with acetone on a cotton pad to remove the varnish and the grit that was in the finish.
I set up my topping board and 220 grit sandpaper to top the bowl and smooth out the surface. With the fill going from the rim down the side I wanted to clean off the surface to see what repairs would need to be done.
Once the top was cleaned off the fill looked like it was a crack that ran from the inside to the outside of the bowl. Upon examination with a loupe I could see that it was not a crack but the edges of the putty fill. I decided not to remove the fill at this point as I did not want to destabilize the bowl so I left it.
I reamed the cake back with a PipNet reamer.
I decided to use the clear Lucite stem that I had so I turned the tenon down with the PIMO Tenon Turning Tool on a cordless drill.
I fine tuned the fit in the shank with 220 grit sandpaper. The diameter of the stem was wider than that of the shank so I sanded it with 150 grit sandpaper to bring it down in size.
When I got it close to the proper diameter I sanded it with 220 grit sandpaper and a medium and fine grit sanding sponge to smooth out the scratches in the Lucite. I sanded the shank to match so I had a smooth transition. I intended to restain the pipe any way so this was not a real problem. I liked the overall look of the new stem and with a slight bend it would look like a long stemmed prince.
The Lucite stem did not have a slot carved in the end – merely a drilled airway so that I would need to use needle files to open and shape it into a funnel. The next four photos show the progress of the shaping of the slot. I apologize for the blurriness of the last two photos but they do give a rough idea of the shape of the slot at this point.
To bend the stem I set up my heat gun and heated the Lucite until it was pliable and then bent it over my rolling pin. It took a few tries to get the bend that I wanted but eventually I set it with cool water.
The next series of five photos show the bend in the stem. I still needed to do some sanding on the underside of the bend to thin it and shape it more cleanly. The angle appears a little abrupt but some sanding and shaping would take care of that. I also rubbed down the bowl with a cloth and olive oil to darken the briar to get a better idea of the grain patterns. I often use this method to show the grain but I am careful to not put too much oil on it.
To polish the inside of the stem/airway I used a pipe cleaner dipped in Bar Keepers Friend (a cleanser). I have found that the grit of the cleanser polishes the inside of the airway.
I sanded the stem to thin it on the top and on the underside of the bend with 220 grit sandpaper and when it was an even taper I sanded it with medium and fine grit sanding sponges. I sanded with my usual array of micromesh sanding pads – wet sanding with 1500-2400 grit pads and dry sanding with 3200-12,000 grit pads.
I buffed the pipe and stem with White Diamond to raise the shine. I put cotton balls in the bowls of the prince and the other Television pipe and used an ear syringe to put isopropyl alcohol in them to draw out the tars and oils of the tobacco. I set them in an old ice cube tray overnight. In the morning the alcohol had drawn out a lot of oils and the cotton was dark. I removed the cotton and cleaned the bowl and shank with cotton swabs and pipe cleaners.
I rubbed down the bowl with some walnut stain in a Danish Oil and put it on a cork to dry. I know that many may question the use of linseed oil on pipe bowls but I use it sparingly on a few specific pipes that I want to give protection. In the case of this particular pipe, the large fill in the front seemed like it needed the extra protection.
I buffed the finished pipe with White Diamond and gave the bowl and stem several coats of carnauba wax to protect it. I buffed it with a soft flannel buff to give it a shine. The finished pipe is shown below. It is drying on a pipe stand to let any residual alcohol from the cotton ball and alcohol soak to evaporate. After than it will be given an inaugural smoke to make sure the draw is correct and the stem is comfortable. Who knows I may even reheat the stem and experiment some more with the bend.

Restoring and restemming the first of two Television pipes – a Pot
Blog by Steve Laug
The first Television pipe of the two that came to me in a gift box of bowls needing stems was this pot shaped bowl. I had not heard of the brand before so I put a question on the online pipe forums that I frequent and got two responses with information. The first was a link to the Smoking Metal website which has become a standard place I check for metal pipes that I pick up or pipes with screw on bowls. I had not thought of looking on that site as the Television pipes that I had found were regular briar pipes. The link follows and gives a look at a unique Television pipe with a threaded bowl http://www.smokingmetal.co.uk/pipe.php?page=277. The second response came from Jose Manuel Lopes – Pipes Artisans and Trademarks. Lopes states that the brand was sold by A. Grunfield Co. and was produced by Gasparini. They were known to be an English brand with long stems.
The first bowl I had was a pot shape without a stem. Like the second bowl it had a thick coat of varnish. There was a large fill on the right side of the bowl toward the top. It was a putty fill and was lighter than the briar. The grain on the pipe was very mixed. On the back and front of the bowl was cross grain and on the sides was some nice birdseye. The rim had a tarry buildup and a burned area on the back right side of inner rim. The bowl had an uneven cake on the inside. The right side of the shank was stamped Imported Briar over Italy and the left side was stamped TELEVISION. The second pipe bore identical stamping. There were no shape numbers on either bowl or shank. Both pipes had a broken tenon in the shank.
I used a wood screw I keep around for pulling out the broken tenons. I screw it in by hand and the wiggle it until it comes out. I removed the broken tenon from both of the pipe shanks while I was at it.
I found a vulcanite stem in my can of stems that would work with the pipe and make it a standard pot shape pipe and stem. I turned the tenon on the PIMO Tenon Turning Tool until it was close and then fine tuned the fit with 220 grit sandpaper. The diameter of the stem was larger than that of the shank so I sanded it with 220 grit sandpaper to match the two.
I decided to replace the large ugly fill on the right side of the bowl. It was a light brown/pink colour and stood out from the rest of a decently grained pipe. I picked it out with a dental pick and found that underneath the surface it was a white hard putty.
There was also a fill on the underside of the bowl that I picked out and one on the rim. I decided to top the bowl to see how close to the side fill the top one was. I set up the sanding board and topped the bowl. Once it was topped I could see the fill on the rim and I decided to leave it as it was close to the inner edge of the bowl.
I wiped off the surface of the bowl with isopropyl alcohol and spent time scrubbing the large fill on the side of the bowl. I then took some briar dust that I had and began to work on the patching material for the hole. I poured some Fiebings Dark Brown stain into the briar dust and mixed it until the briar dust was evenly stained a dark brown.
I then mixed in some Weldbond multipurpose white glue into the stained briar dust. Once it began clumping I worked it into a dough and kneaded in the briar dust until it was evenly mixed.
The mixture was tacky but not wet. I tamped it into the two repairs on the bowl, the bottom and the left side. I pushed it down into the deep parts of both fills with a dental pick and a pipe nail.
When the patch had cured overnight it looked like the photo below. It was a solid bump on the side of the bowl. It took a lot of sanding with 180 grit sandpaper and 220 grit sandpaper to reduce the footprint of the patch and level it with the surface of the briar. The next series of photos show the process of sanding the patch.
I also sanded the shank to smooth out the junction of the stem and the shank at the same time I worked on sanding the patch. I used 220 grit sandpaper and then sanded both the bowl and shank with medium and fine grit sanding sponges.
When all the sanded areas were smooth I sanded them again with micromesh sanding pads – wet sanding with 1500-3200 grit pads and dry sanding with 3600-6000 grit pads. When the scratches no longer stood out I stained the bowl with a dark brown aniline stain (same colour I had used in the briar dust patch). I applied the stain and flamed it and repeated until the coverage was even. I wiped the bowl down with acetone and isopropyl alcohol on cotton pads to make it less opaque. It took quite a few wipes to get it to the colour I wanted. The next series of photos show the progress of the wipe down. (The stained briar dust and wood glue dough patch did not work well in terms of blending with the briar. It still stood out but now was a dark brown.)
I still needed to do more sanding on the bowl – particularly in the area of the patch as it looked grainy. I wanted it to be smooth to the touch so I worked on it with the micromesh sanding pads and tried to blend it in more with the stain on the bowl. I also sanded the bowl and stem with the micromesh sanding pads. I wet sanded as usual with 1300-2400 grit pads and 3200-12,000 grit pads. I rubbed the stem down between each three grits of pads with Obsidian Oil.
I decided to use a walnut stain and boiled linseed oil. I wiped it on the bowl and then wiped it down. I used a cork and candle stand to hold the bowl while I let the linseed oil dry. I put the stem back on the bowl and then buffed both the bowl and stem with White Diamond and gave them multiple coats of carnauba wax. I buffed with a soft flannel buffing pad between coats of wax to give it a deep shine. The finished pipe is shown in the photos below. It is ready to load and smoke an inaugural bowl of tobacco by whoever owns it next.

Restoring an older KB&B Borlum Dublin
I was gifted a small KB&B Dublin from a friend on Smokers Forums. I always like to know what I am working on when restoring old pipes so I did a bit of digging into the stamping on the pipe and found the following information. I already knew that Kaufmann Brothers and Bondy was the oldest pipe company in the USA, established in 1851. The Club Logo predated Kaywoodie with the “KB&B” lettering stamped within the Club, and a multitude of KB&B lines were in production long before “Kaywoodie” first appeared in 1919. So I knew that the pipe I had was a pre-1919, pre-Kaywoodie KB&B Made BORLUM Dublin.
It is stamped BORLUM in an arc over KB&B in a cloverleaf. Underneath it is stamped ITALIAN BRIAR in a reverse arc. All of the above is stamped on the left side of the shank. On the right side of the shank it is stamped UNBREAKABLE BIT. It was made before Kaywoodie became the flagship name for pipes from Kaufman Brothers & Bondy (KB&B). It was made before the Kaywoodie invention of the “Stinger” was added, and even before shank logos, model stamps and other features invented by Kaywoodie came to be standards of the pipe making industry. It comes from the time when names like Ambassador, Heatherby, Melrose, Suez, Rivoli, Cadillac and Kamello dominated the pre-Kaywoodie scene. Borlum is one of those vintage names.
The Borlum pipe featured some innovations which were new for the time but commonplace to us: (1) A solid rubber bit (vulcanite, ebonite), (2) aluminum inner-tube construction in the stem thus marked “Unbreakable Bit” on the right side of the shank, (3) a standard nickel plated band (marked KB&B) to strengthen the shank connection for the stem. The stem features the older style more rounded bit tip/orific button, and you can see the aluminum inner-tube fitting just inside the tip.
I have included several pictures that I found on the internet to show the unique stem tube that the Borlum has. The first photo shows the type of stem the pipe has. My little Dublin has a stem that is shaped like the second stem from the left but includes the same metal tube that shows in the bent stem, third from the left. The second photo shows the tenon end of the stem and the other end of the metal tube in the Borlum stem. It is the inclusion of the tube that gives rise to the claim that is stamped on the shank – Unbreakable Bit. The third photo below is a Borlum display and sales card. What is particularly interesting to me is the diagram at the top of the card showing the interior of the stem in place in the shank. It also includes the claim, “Guaranteed against Breakage”. I love these old pipes and the prices they sold for back in the day. Note the $1 and up tag on the sales card.
The pipe that was a gift to me is similar to the Dublin at the bottom left of the above card. It has the same shape and straight shank. It also has a similar profile. The difference is that min has a shank band which is also part of the unbreakable system of these pipes. I guess they found that an unbreakable stem can still leave a breakable shank. The band stabilizes the shank and makes the pipe more indestructible. The band is stamped with the Club/Cloverleaf with KB&B in the center and under that Nickel Plated. It adds a touch of class to this little Dublin. The pipe was gifted to me by Jim Wagner from Smokers Forums. I recently refurbished an older KBB Yello-Bole and Jim said he had this one. It came this week and I took it on today. The pipe was in good shape when I took it out of the shipping package. The finish was clean but the rim had a few minor issues. There was a slight darkening near the back of the bowl and there were some ripples in the varnish finish on the rim. The cake was thin and even. The bowl was in round. The nickel band and the stem showed oxidation. I really like these old timers with the orific buttons. They are more rounded than the modern flat stem but are very comfortable in the mouth. Jim had mentioned that the stem was a hard material. In cleaning it up I found that it was indeed vulcanite or vulcanized rubber. It was hard but not as hard as an acrylic stem. There were no bite marks in the stem and minimal tooth chatter near the button. It was a beautiful old pipe that truly did not show it 100+ year age.
I reamed the bowl lightly with a PipNet reamer to smooth out the thin cake. I cleaned out the shank with pipe cleaners, cotton swabs and isopropyl alcohol. I kept at it until the cleaners came out the same way they went into the shank – white.
In order to address the issues with the rim I wiped it down with acetone on a cotton pad and then gently sanded it with an extra fine grit sanding sponge. My intent was not to top the bowl but to smooth out the ripples of the varnish and remove some of the darkening. In checking it out the darkening was not deep in the briar but merely on the surface so this method would remove the damage.
I wiped the bowl and shank down with the acetone and cotton pads to clean off the slight darkening of the finish. I wanted to remove the varnish coat so that I could use just wax on the bowl. I did not want to remove any of the colour/stain. I wanted to leave the colour/patina intact with no change.
I sanded the stem with 220 grit sandpaper and medium and fine grit sanding sponges. I shone a flashlight on the stem to highlight the oxidation and continued to sand with this combination until the brown/green hue was gone and the stem was a dull black. I rubbed it down with Obsidian Oil and then sanded it with my usual array of micromesh sanding pads. I wet sanded with 1500-2400 grit pads and dry sanded with 3200-12,000 grit pads. I rubbed the stem down with the Obsidian Oil after each set of three micromesh pads.
I polished the nickel band with a silver polishing cloth and then used the higher grits (6000-12,000) of micromesh on it to polish it further. I buffed the pipe and stem with White Diamond and then gave it multiple coats of carnauba wax, buffing with a soft flannel buff between applications of the wax. The finished pipe is shown below. It has been restored with little intrusion into the original shape or finish and is ready for many more years ahead. Thanks Jim for the beautiful little Dublin that you have added to my collection.

An Elegant New Look for a Forester Pinecrest Chubby Apple
I worked on this chubby apple over the weekend. It was in rough shape when I started the stem had a bite through on the end and was missing a large chunk. It was badly oxidized and dirty. The pipe itself had many fills in the bottom side and small sandpit fills all over the bowl. The rim was dirty and damaged on the inner and outer edge. There were missing pieces from it as well. The finish was absolutely gone but it has some really nice looking grain on it and that is why I picked it up – that and it was a chubby apple which is one of my favourite shapes. The stamping on the left side is FORESTER over Made in England and on the right side reads PINECREST. There was a stinger in the tenon that was tarry and stained. I went digging on the web and could find nothing on the brand of pipe. PipePhil had photos and a question mark as to the maker. No one showed any information as to the manufacturer so this one will remain a mystery.
I have to apologize for the lack of detailed photos of the pipe before and during the initial stages of the refurb. I had some great photos of the pipe before and during these stages but sadly they are no longer available to me. During the course of last evening my dog died in our arms and somehow in the fog of that I erased the majority of the photos of this old timer. So… you will have to take my word for the work that needed to be done.
In the two photos below I show the bowl after I had fit the new stem. I had turned the tenon on my PIMO Tenon Turning Tool and then hand fit it. I had to shorten the tenon as I wanted to be able to use the stinger on the pipe. I sanded the stem and the shank to get a good fit against the shank. I wiped the bowl down with acetone on cotton pads to remove the finish that remained. I reamed the bowl with a PipNet reamer and then hand shaped the inner and outer edge of the rim with a folded piece of 220 grit sandpaper and then medium and fine grit sanding sponges.
I drilled out the tenon to receive the stinger apparatus and glued it in place with metal and wood glue. With heat it is removable. In the photo below you can see the old stem and the new one. I added about ½ inch of length to the new stem and made the taper more defined. I liked the added length to the stem and thought it would look good with the bowl.
I cleaned out the shank with cotton swabs, pipe cleaners and isopropyl alcohol. I cleaned it until the swabs came out clean. The pile of pipe cleaners and swabs shown in the photo is about half the number it took to clean this old timer. Normally I would have used a retort but I needed the therapeutic repetitiveness after we buried our old spaniel.
I inserted the stem part way into the shank so I had something to hold onto while I stained it. I used a dark brown aniline stain and stained, flamed and repeated the process until the coverage was sufficient. I then wiped the bowl down with isopropyl alcohol on cotton pads to help the grain stand out through the stain.
I sanded the stem with fine grit sanding sponges and then with the usual array of micromesh pads. I wet sanded with 1500-2400 grit pads and then dry sanded with 3200-12,000 grit pads. I rubbed the stem down with Obsidian Oil between each set of three pads. I also sanded the bowl and shank with the higher grades of micromesh from 6000-12,000 grit.
Once the bowl was dry I used a black permanent marker and used it to darken the fills – spots and larger ones on the bowl sides and bottom. I then gave the bowl a coat of Danish Oil with a walnut stain in it. I know that using this product bothers some folks but I like the way it seals the black touch ups on the fills and helps to mask them and blend them into the finish. I used a wine cork in a candle holder to hold the bowl until it dried. The grain on this old pipe really pops now and the birdseye and cross grain look quite stunning with the top coat.
When the pipe dried I gave it a light buff with White Diamond and buffed the stem more rigorously. I gave the entire pipe a buff with multiple coats of carnauba wax and buffed with a soft flannel buff between coats. The finished pipe is shown in the next series of photos below. The new stain and stem give it an attractive and rather elegant look.

A Painful Stem Refitting – a Schowa Briar Selected Billiard
Yet another gift bowl made its way to the work table today. It is stamped Schowa Briar Selected. The brand was one I had never heard of and never seen before. There is little background information on the brand on the internet. What I could find came from Pipephil’s website http://www.pipephil.eu/logos/en/logo-s4.html There I read that the brand belongs to the Schum family who were established in Bad König (Odenwald, Hesse), Germany. The name was a combination of the Schum name and Odenwald. The factory crafted briar and porcelain pipes (Bavarian style). I have no idea on the date or time of the brand. I did find some porcelain examples of their work from the mid to late 1970’s and some nice briar pipes with no dates. They seem to also have carved figurals in briar. That was the extent of information I could find.
This bowl is on the small side with the stamping on the left side of the shank. It was pretty clean internally. The finish was gone and what remained was bare briar. There were several nicks in the sides of the bowl. The inner edge of the rim has some burn damage and there was a burn mark on the front middle top of the rim and inner edge. The back outer edge of the rim had a large divot out of it. The shank was pinched at the end and was out of round. The left side was significantly thinner than the right side. Restemming it was going to be a bit of a challenge in terms of getting a good clean/smooth fit of the shank and stem.
I found a stem in my stem can that would work with this bowl and sanded the tenon so that it would fit in the shank. The diameter of the stem was larger than the shank and the out of round and pinched shank was going to make getting a proper fit an issue.
I took down the excess material with a Dremel and sanding drum and then hand sanded with 220 grit sandpaper to smooth things out. I could easily sand about ¾ of the shank to get a smooth fit but the left side stamping made working on that side a challenge.
In the photo below of the top of the pipe the indent on the left side is visible. The stem and the shank dip in at the joint and make the fit less than I wanted to achieve. The other three sides were perfect.
I decided to leave the bothersome fit of the stem and work on the bowl. I topped the bowl with my usual method of a sanding board and 220 grit sandpaper to remove the burn damage on the front and the large divot on the back of the rim. I was able to remove most of it with a light topping. The remaining dark spot on the front of the rim would blend in to the stain fairly well.
I wiped down the bowl with acetone on cotton pads to remove the finish that remain and to prepare the pipe for staining.
I cleaned out the shank with pipe cleaners, cotton swabs and isopropyl alcohol until the cleaners came out with no colour.
The dip in the left side of the union of the stem and shank bothered me. I took photos of the shank end and the end of the stem to show the degree that they were out of round. These are slightly out of focus but the problem can be seen. The left side of the stem next to the tenon is thinner than the right and the same is true of the shank. The stem is straight and clean edged but the shank is pinched inward. The union of the two would always be slightly pinched on the left.
I was not happy with the fit but decided to leave it for the moment. I stained the bowl with a dark brown aniline stain (Fiebings) and flamed it. I repeated the process until the coverage was even. I wiped down the bowl and shank with isopropyl alcohol on cotton pads to lighten the stain on the bowl and make it less opaque. (In the first photo the troublesome left side joint really stands out.)
The joint bothered me enough that I took out a second stem and fit it in the shank. I sanded the outer diameter until it was a close fit to the shank. This time I did not sand the shank any further and avoided the junction on the left side altogether. I decided to focus on keeping the profile of the stem straight and not worry about the pinched end on the left side of the shank. I knew that it would look slightly oversized on the left when finished but I could live with that look.
I washed down the bowl when I was finished with isopropyl alcohol on cotton pads to clean up the sanding dust from the stem and further lighten the look of the stain on the briar.
Once I had finished with the bowl I worked on the stem. I sanded it with a medium and find grit sanding sponge to clean up the scratches left behind by the sandpaper and then used micromesh sanding pads to polish it. I wet sanded with 1500-3200 grit pads and dry sanded with 3600-12,000 grit pads. I rubbed the stem down with Obsidian Oil between the wet and dry sanding and also between each successive group of three grits of micromesh pads. This time the fit on the shank was better though far from flawless. It would work for me though. One day I may well end up banding this pipe but not today.
I buffed the pipe and stem with White Diamond and then gave it repeated coats of carnauba wax to raise a shine and protect the new finish. The finished pipe is shown below. While the stem fit is far from perfect it is now a serviceable pipe and ready for use.

Thanks to Father Tom I have a Base for the Yello-Bole Airograte Bowls
Blog by Steve Laug
Those of you who have followed the blog for a long time will get the irony of the title. I have written quite a few Father Tom stories over the years and have had them on the blog. I am hoping that a book of these stories will be published in the near future. Anyway on the Pipe Smokers Unlimited Forum I posted that I was looking for a base unit/stem for some Yello-Bole Airograte pipe bowls that I had been gifted. I had refurbished the bowls and written of them here on the blog: https://rebornpipes.com/2014/07/17/restoring-a-couple-of-yello-bole-airograte-bowls/ Father Tom sent me a private message saying that he had one and would be glad to send it to me. We exchanged a few messages and settled on a trade. Last evening when I got home from work I was greeted by a package from him. The pipe had arrived. He had put a Grabow Viking bowl on the stem just for traveling and when I opened the box and removed the pipe from the wrappings I was excited to get to work on it. I removed the Grabow bowl and went to work cleaning the stem. I used pipe cleaners, cotton swabs and isopropyl alcohol to remove the buildup from the bottom of the base and the dental pick to clean out the threads.
Once it was clean I used Vaseline to lubricate the threads so that the bowls would turn easily into the base. I applied it with cotton swabs to get it into the threads. In the background are some brass screens that Tom sent along that go in the base between the bottom and the bowls. The open bottom on the bowls sit against this screen. Tom has found that these brass screens work far better than the original metal plate with holes that originally formed the grate for the bottom of the bowls. He says they clog far less frequently.
The Airograte base has two small airholes in the sides of the bowl just below the ledge where the grate or screen sits. These tiny holes allow air to the bottom of the tobacco when smoked. When air is drawn in the bowl, it enters through these small airways. In this particular base the airways were clogged. I used an unfolded paper clip to open them again. I pushed out the clogs from both sides of the base from both the inside and the outside. The airflow is now unrestricted in those airways.
I put the brass screen in place in the base once I had the cleaning finished. The bowl will screw on top of the screen and the tobacco when loaded will sit on top of the screen.
With the above statement about the bowl sitting on top of the screen I thought that it might be helpful to take a photo of the two different bowls. The one on the left is the bowl for the Airograte while the one on the right is for Grabow Viking. The Airograte is more of a tube that sits on top of the grate. The tobacco burns on the grate.
The Viking bowl also fits perfectly on the nylon stemmed pipe I have written about earlier. I am pretty certain that the nylon one is also a Grabow though it is unstamped. The photo below shows the bowl from the nylon pipe and the Grabow bowl from the bottom.
While I was cleaning up the bowl base I noticed the Patent and Patent pending information on the bottom of the bowl. This made me curious to see exactly what was patented/patent pending. I went to the US Patent Office on line ( http://patft.uspto.gov/ ) and searched the number on the bottom of the base. I was able to find that the patent had been applied for in 1949 by Samuel Lawrence Atkins of New York City. The patent was for the airograte that sat between the airway in the bowl and the tobacco and the two small holes in the bottom sides of the bowl. It was designed to give a dry and even burning smoke and keep bits of tobacco from entering the airway and mouthpiece. I have included a copy of the patent document with a diagram below. I find that it is always interesting to read the pitch that is made in terms of purpose for the design. The ongoing hunt for the perfect pipe continues to this day.
With the bowl finished, the base cleaned and the airway opens and clean all that remained was to tidy up the stem. The nylon stem, though similar to the ones on Vikings and Falcons had a slimmer profile. The thinness made it very comfortable in the mouth. There was tooth chatter against the button on the top and the bottom of the stem as well as some deep tooth marks mid stem that had been poorly sanded out leaving dents in the flat surface of the stem midway up the stem on both sides. I sanded the stem with 220 grit sandpaper to remove the tooth chatter and to smooth out the flow of the taper. I followed that by sanding with a medium and fine grit sanding sponge to work on the scratches.
Once the dents and scratches were gone I worked on the stem with micromesh sanding pads. I wet sanded with 1500-3200 grit pads. I found it really frustrating work to try to remove the scratches and marks. Wet sanding did not seem to really do the job – so I started over with the pads and a drop of olive oil. The oil seemed to do the trick. It proved to be the right medium for the micromesh. It gave bite to the pads and really worked quite well.
I continued to sand with the drop of oil through the 3200-4000 grit pads. The scratches really began to disappear and the stem was getting smoother.
I did the same with the 6000-12000 grit pads and a drop of olive oil.
Once I had finished sanding the stem with the micromesh I gave it a light buff with White Diamond. A light touch is essential when buffing nylon stems or you make more of a mess than you started with. I rubbed the stem down with Obsidian Oil and when dry I coated it with Paragon Wax and hand buffed it. Below are some photos of the pipe with each of the two bowls in place. I really like the looks of the finned shank on this one. The flat stem makes it very comfortable. I am looking forward to loading a bowl and trying out the patented “Airograte” screen that is on the bottom of the bowl.

Renewing a 30’s Era KBB Yello-Bole Honey Cured Briar
Blog by Steve Laug
I just finished restoring and restemming an older Yello-Bole billiard. The bowl was stamped with the KBB (no ampersand) on the left side of the shank and next to it is stamped Yello-Bole in capital letters. Underneath is stamped Honey Cured Briar. On the right side of the shank it is stamped 2068B.
The bowl was in decent shape. The finish had a heavy coat of varnish over the stain but the briar appeared to be quite nice. I could not find any visible fills in the bowl. There was some good grain under the varnish. The rim had been topped and was rounded and crowned. It still had some scratch marks in the wood and also it was stained in a much lighter colour than the rest of the bowl. The stem was missing. It originally had a push tenon stem as the mortise was not threaded. Fitting a new stem would not be difficult but getting proper look to the stem required that I had some idea of the era of the pipe. That pushed me to do a bit of research. 
Since Yello-Bole pipes are one of my favorite older US brands doing the research would be enjoyable. As with other early brands made in the states I have found that older is better. A KBB in a cloverleaf stamp will date them back to the ’30’s. I have found through my reading that the 4 digit shape numbers are older than 2 digit ones. The pipes with the logo on top of the stem are older than ones that have them on the side. That is just some of the information that I found with a cursory read through the forums and a variety of websites.
I found that Kaywoodie would sort shipments of briar and send the culls to be used for Yello-Boles, meaning they got some quality briar. One fellow on the web believes that is why Yello-Bole pipes tend to be smaller over all, working around flaws. He also said that he thinks calling them Kaywoodie seconds is a bit of a misnomer, being that Kaywoodie was one of the largest briar purchasers in the world at the time (’20’s-50’s) and got some fantastic wood.
I came across the SM Frank website http://www.smfrankcoinc.com/home/?page_id=2 and found a wealth of historical information on Kaywoodies, Yello-Boles and the merger between KBB and SM Frank and later Demuth. It was a great read and I would encourage others to give the website a read. The information in the next paragraph was condensed from that site. I found confirmation for the statement above that the Yello-Bole line was an outlet for lower grade briar not used in Kaywoodie production. Yello-Bole’s were introduced in 1932 and manufactured by Penacook, New Hampshire subsidiary, The New England Briar Pipe Company. Advertising from the 1940′s, pictures the Yello-Bole “Honey Girl” and urges the pipe smoker to smoke the pipe with “a little honey in every bowl.” Honey was an ingredient of the material used to line the inside of the bowl. It was said to provide a faster, sweeter break-in of the pipe.
I went hunting further to see if I could find information on establishing dates for Yello-Bole pipes and found that there was not a lot of information other than what I had found above. Then I came across this link to the Kaywoodie Forum: http://kaywoodie.myfreeforum.org/archive/dating-yello-bole-pipes__o_t__t_86.html I quote the information I found there as it gives the only information that I found in my hunt to this point.
“OK so there isn’t a lot of dating information for Yello-Bole pipes but here is what I have learned so far.
– If it has the KBB stamped in the clover leaf it was made 1955 or earlier as they stopped the stamping after being acquired by S.M. Frank.
– From 1933-1936 they were stamped Honey Cured Briar.
– Pipes stems stamped with the propeller logo they were made in the 30s or 40s no propellers were used after the 40s.
– Yello-Bole also used a 4 digit code stamped on the pipe in the 30s.
– If the pipe had the Yello-Bole circle stamped on the shank it was made in the 30s this stopped after 1939.
– If the pipe was stamped BRUYERE rather than briar it was made in the 30s.
That is all I have in my notes right now I don’t have anything on the multitude of stem stampings or any other age indicators. If anyone has more definitive information or other methods of determining date please feel free to post it and I will edit this as I go. I currently have 2 from the 30s and 6 from pre 55 and 2 fairly modern ones.”
One further item was also found on that site. It was just a passing comment in the midst of some information on Kaywoodie pipes. I quote: “The pre-Kaywoodie KB&B pipes were marked on the shank with a cloverleaf around KB&B. Some early Kaywoodies had this same marking on the shank, but the practice was dropped sometime prior to 1936. Yello-Boles also had KBB in the leaf on the shanks, but did not have the ampersand found on Kaywoodies.” (Highlighting is mine)
Given the above information I discovered that the pipe I was working on was made sometime between 1933-1936. It was stamped with the Honey Cured Briar stamping on the shank and had a four digit code. Thus it was an early Yello-Bole from the 1930s. With that information I had a fairly clear idea of what kind of stem I needed to fit to the shank. I looked for photos of the pipe online and found none from that era. So I looked at KW stems to get some sense of what the shape of the stem and the slope of the taper would have been like. I found one the shape I was looking for in my can of stems. It had the right taper and look and after turning the tenon I was able to fit it to the shank. The diameter of the stem was slightly larger than the shank on the top and would need to be sanded until the transition was smooth between the shank and stem. 

I sanded the stem with 220 grit sandpaper to remove the excess material on the top side. I sanded the shank to make the transition smooth. I planned on removing the varnish and touching up the stain on the rim anyway so to touch up the shank would not be a problem. I sanded carefully so as not to damage the stamping. 


There were some slight ripples in the taper of the stem so I sanded it with a sanding block to smooth out the high points on the taper and even out the line. 

I wiped down the bowl with acetone and cotton pads to remove the varnish and some of the stain coat. I always do that when I am going to do a restain on the rim and shank as I find that it makes the new coat of stain much simpler. 
I wanted to remove the crown and rounding of the rim and flatten it out. The original bowls did not have a crowned rim but a flat one so I wanted to repair that and bring it back to its original look. I set up a topping board and 220 grit sandpaper and pressed the rim into the sandpaper and sanded the top flat. 
I sanded the rim with a medium and a fine grit sanding sponge and also with 1500-2400 grit micromesh sanding pads to prepare it for staining. I stained the bowl, rim and shank with oxblood aniline based stain, flamed and repeated until the coverage was even. I then buffed the pipe with White Diamond. 


I sanded the stem with medium and fine grit sanding pads once again and then sanded it with the micromesh sanding pads. I wet sanded with 1500-2400 grit pads and 3200-12,000 grit pads. I rubbed the stem down with Obsidian Oil and when it had dried took the pipe to the buffer. 

I buffed the pipe with White Diamond and then gave it multiple coats of carnauba wax, buffing with a flannel buff between the coats. The finished 1930’s era pipe is shown below ready to be loaded and enjoyed for another 80 years. The stain does a great job highlighting the grain on this little pipe. It came out looking like new. The stamping stands out and is still sharp. The stem tapers just right to my liking. It is finished and waiting. Now the only decision left is what tobacco to use to break it in once again.