Tag Archives: sanding a stem

A Reborn KBB Yello-Bole 2329 Billiard


Blog by Steve Laug

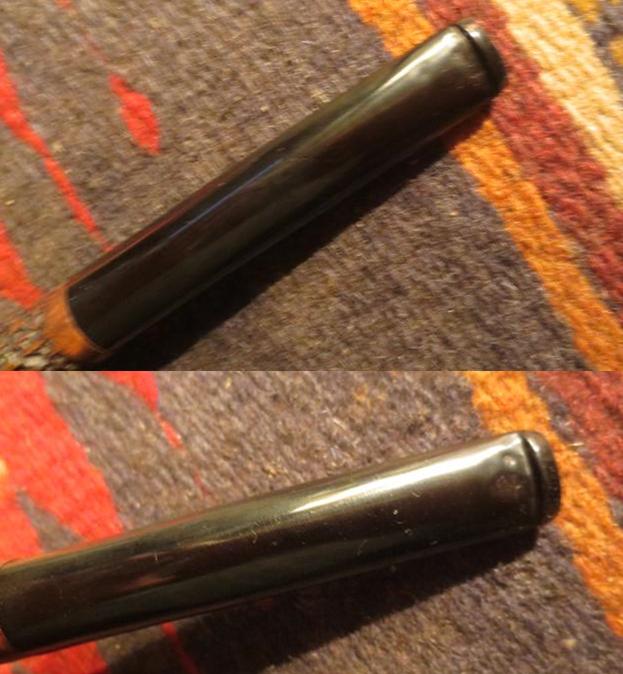
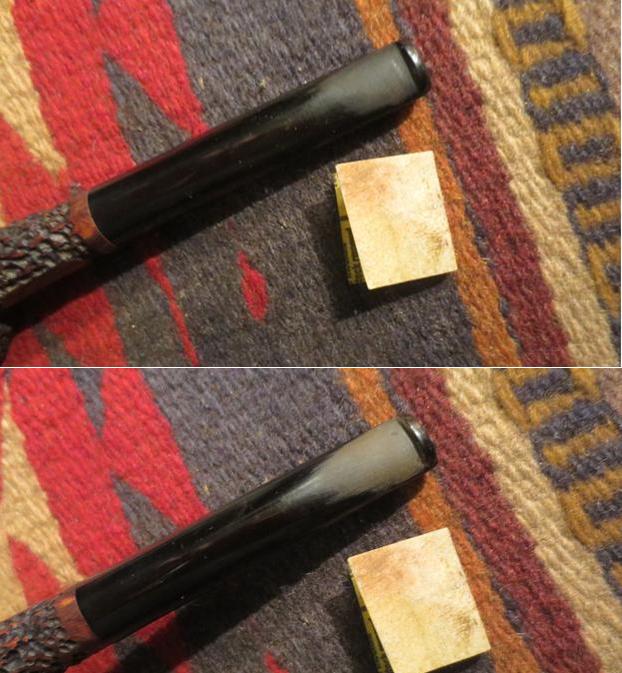
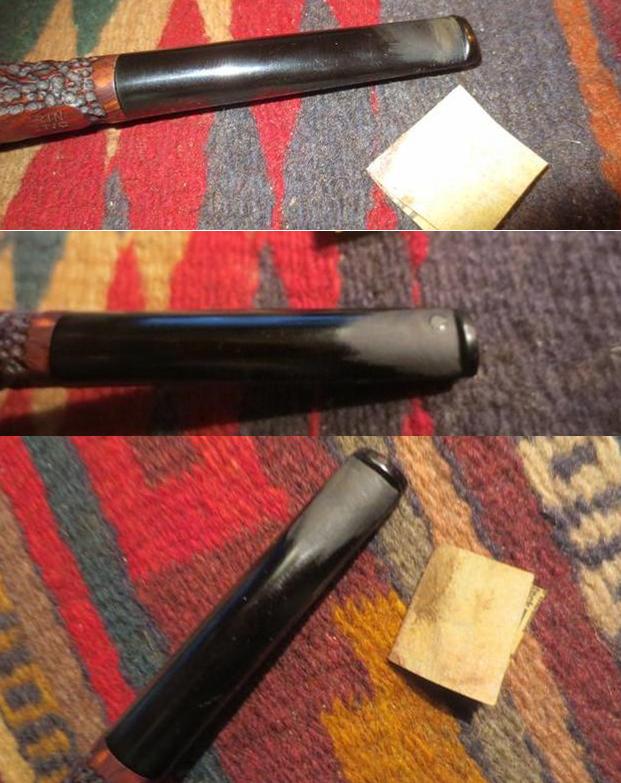
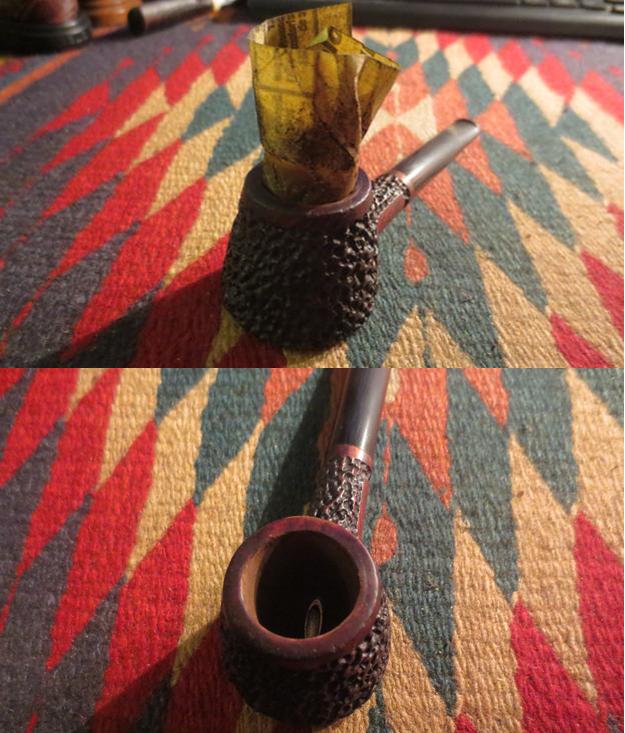
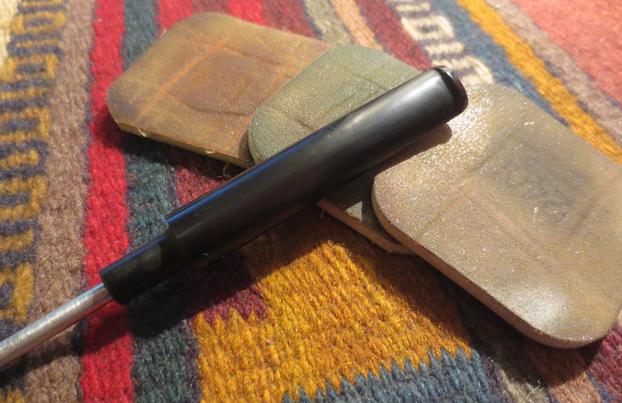
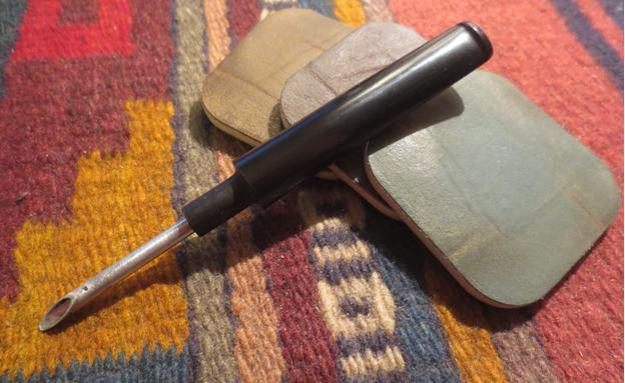
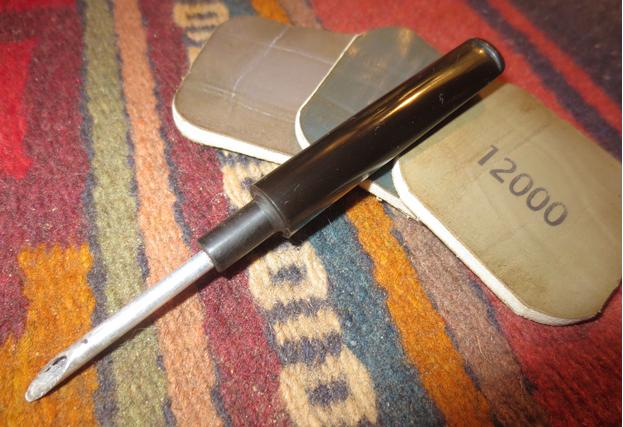
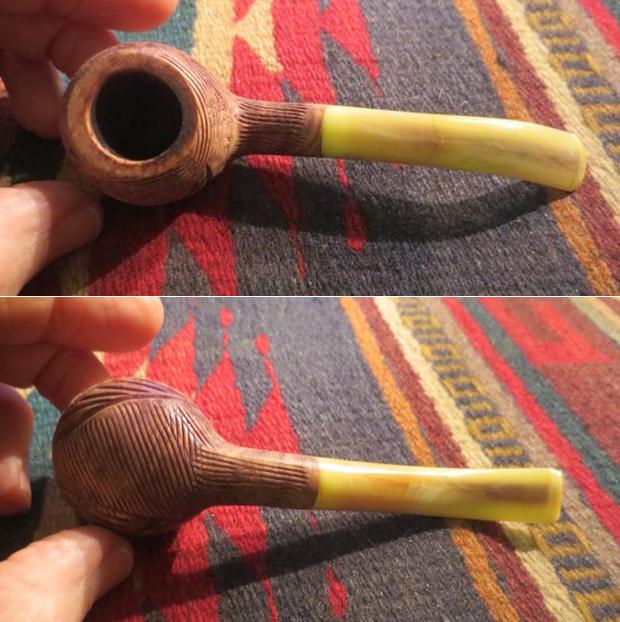
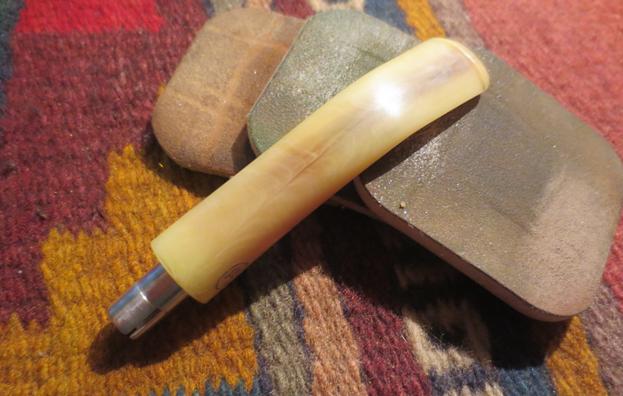
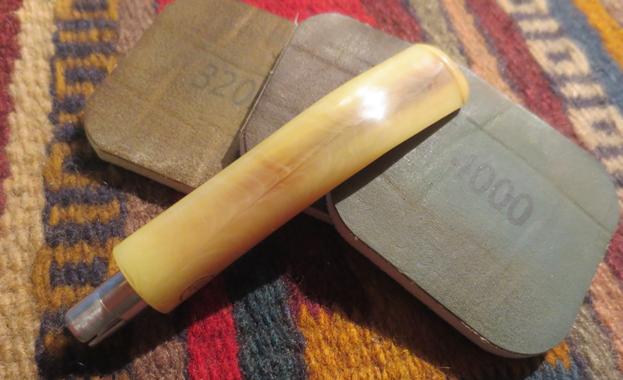
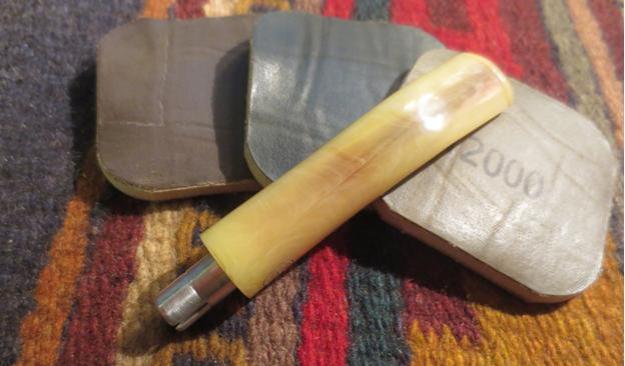
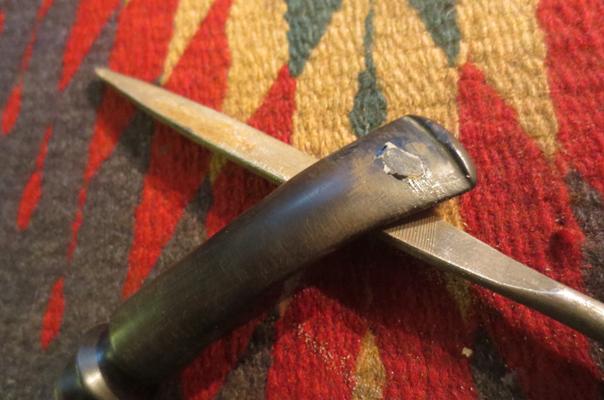
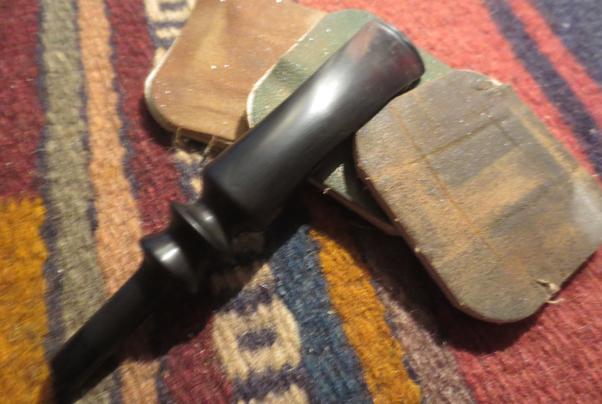
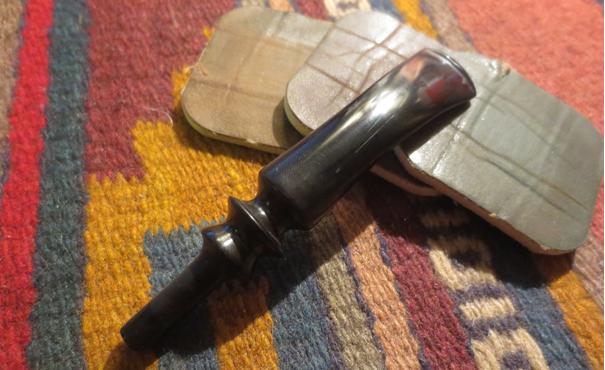
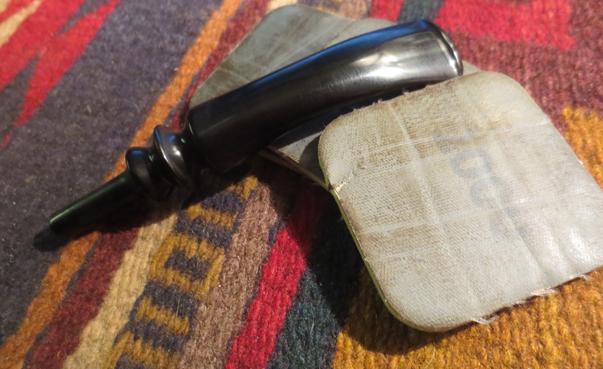
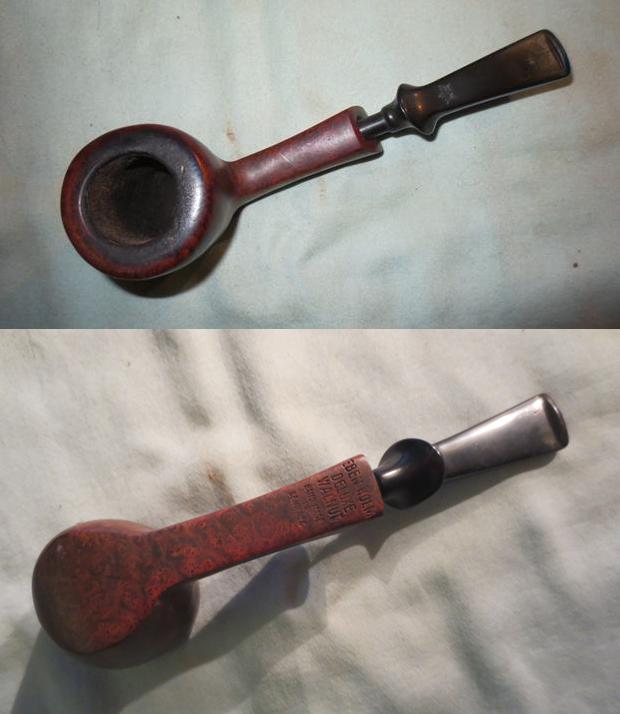
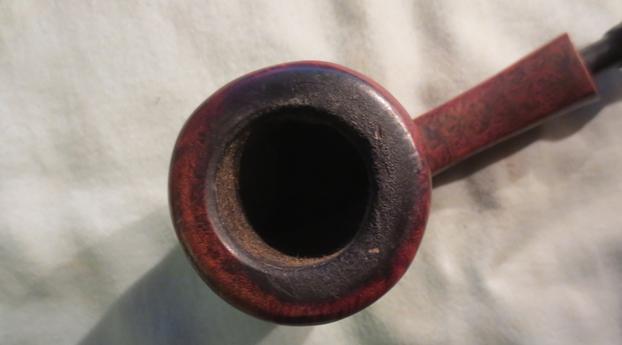
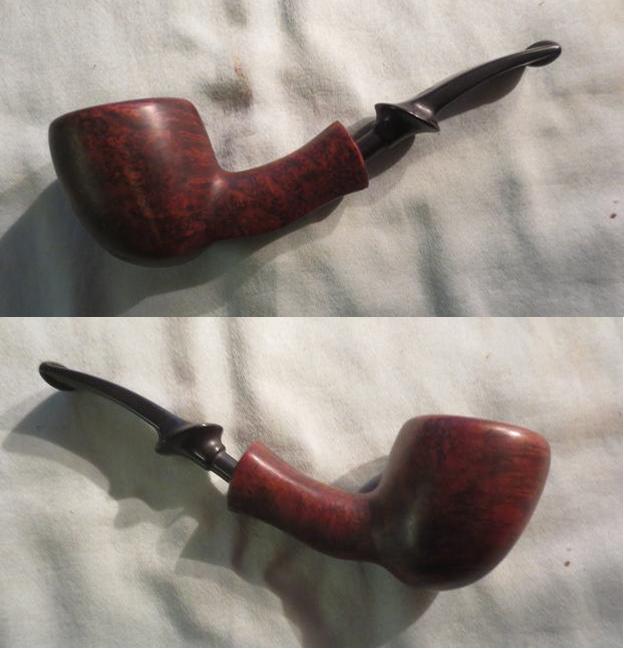
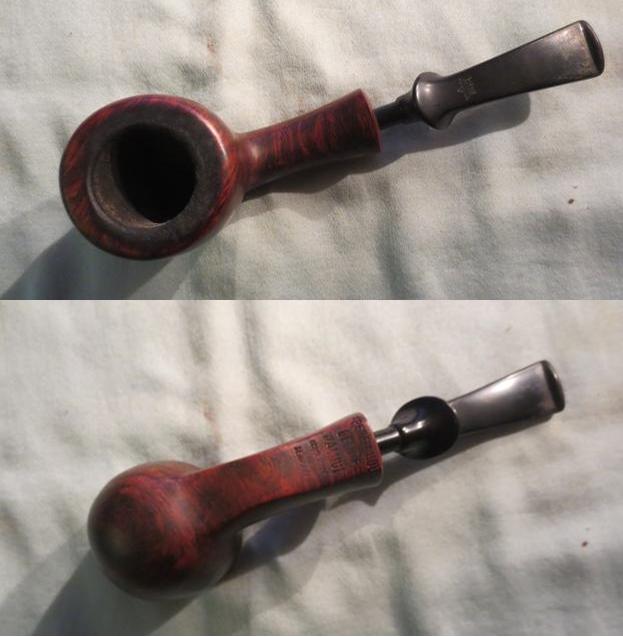
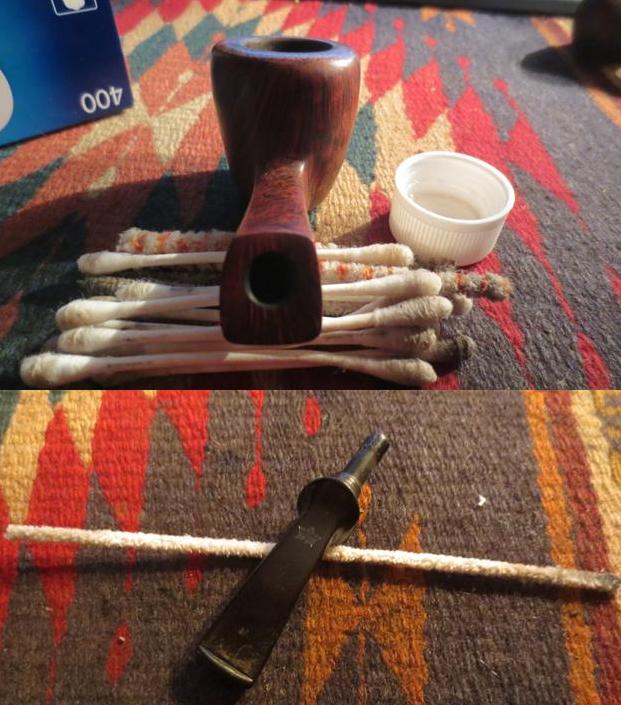
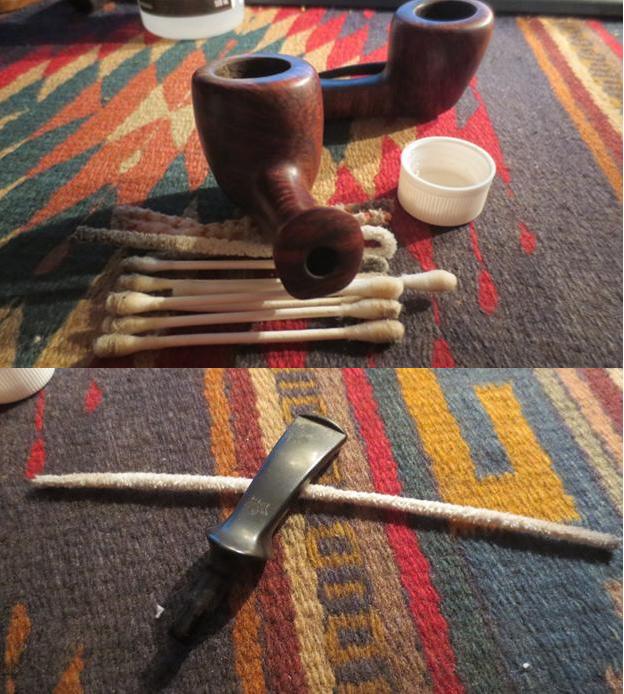
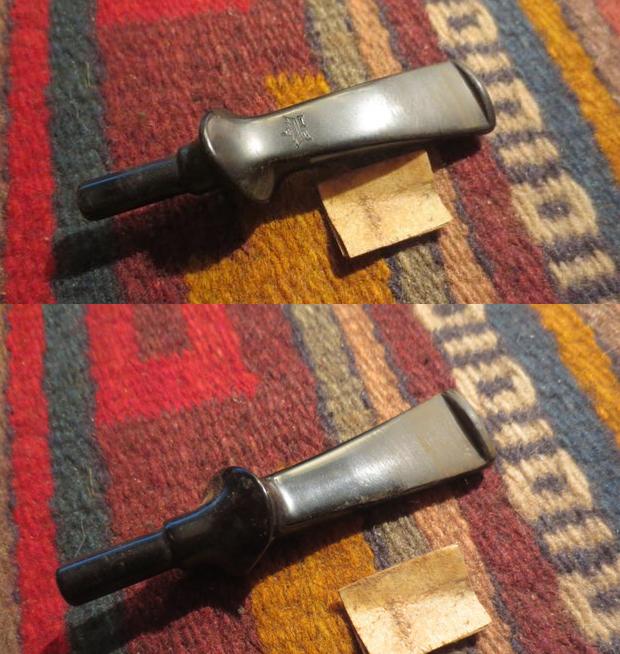
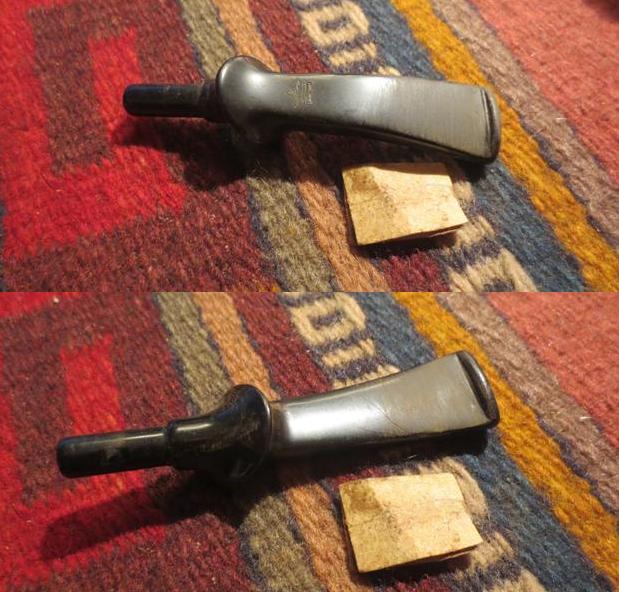
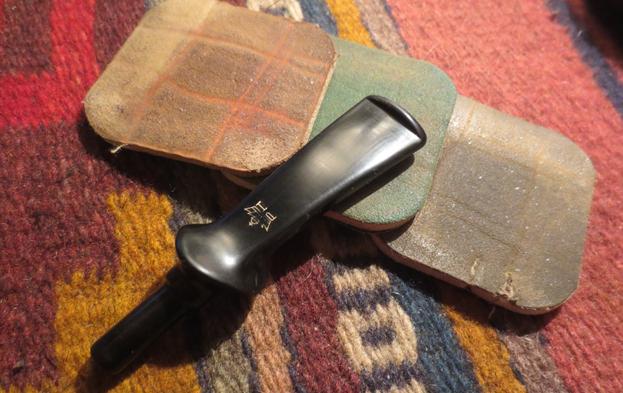
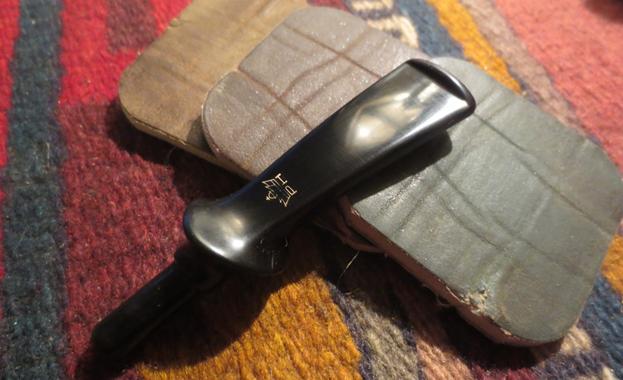
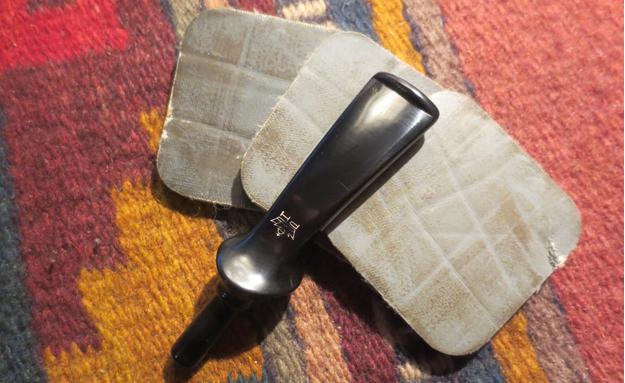
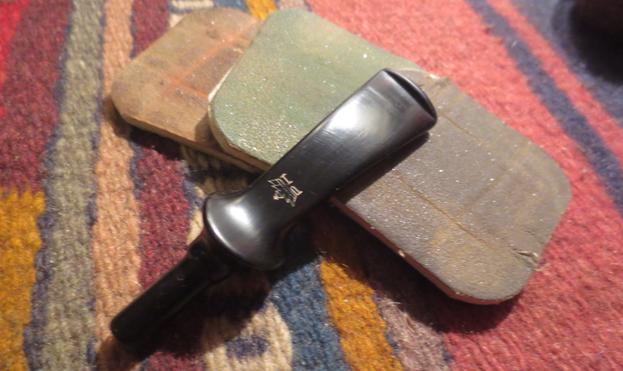
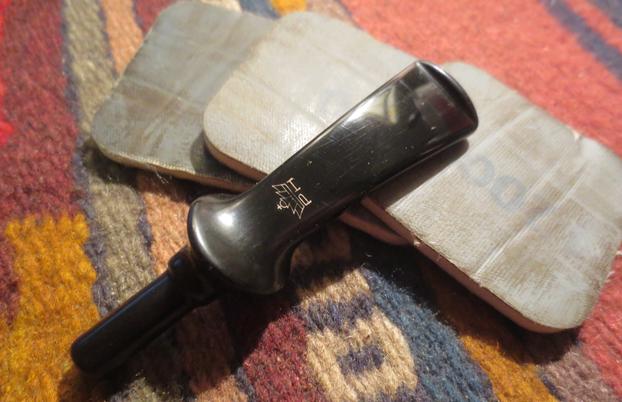
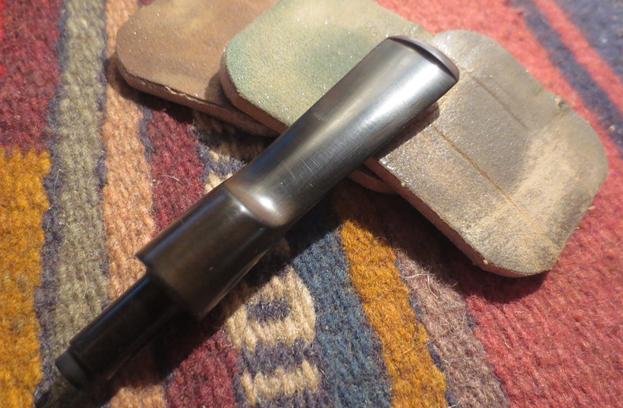
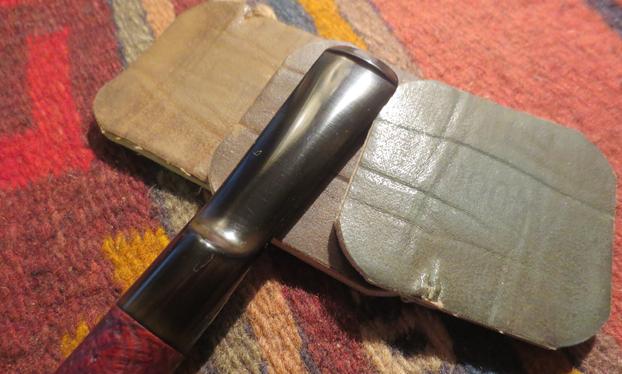
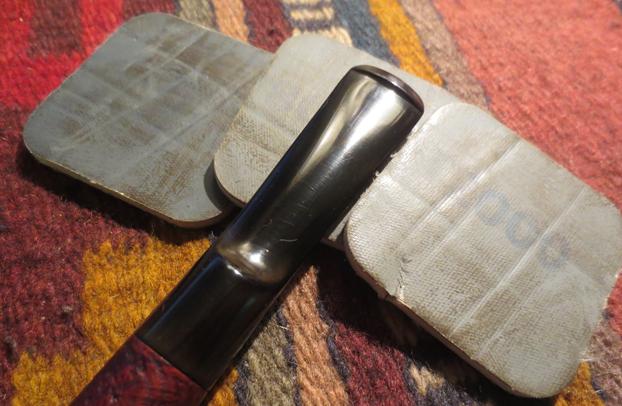
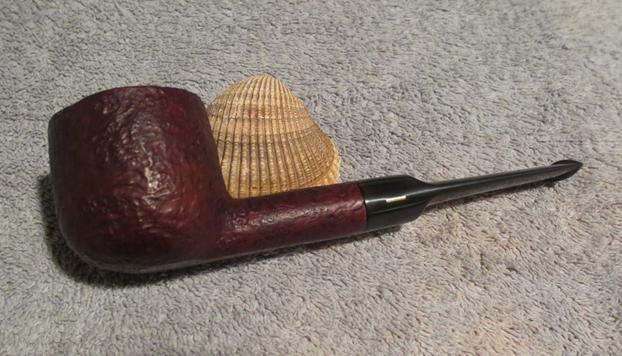
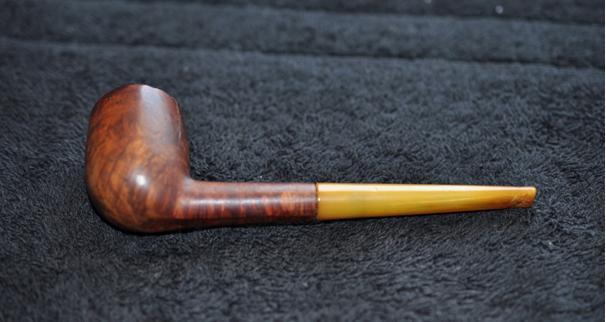
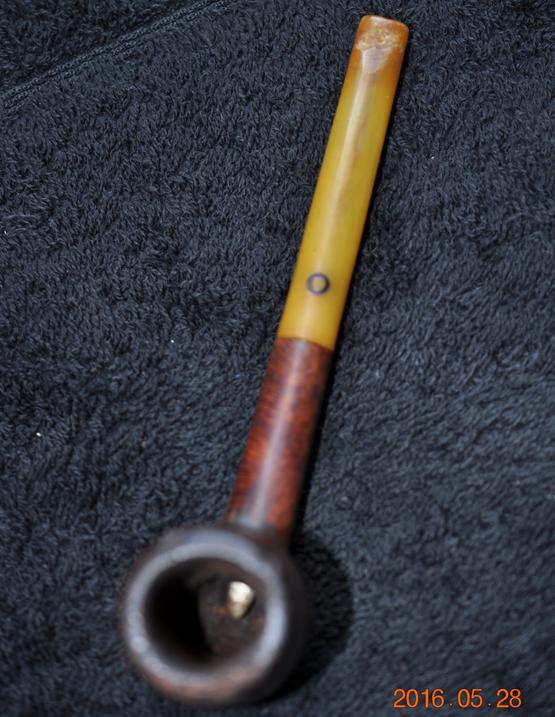
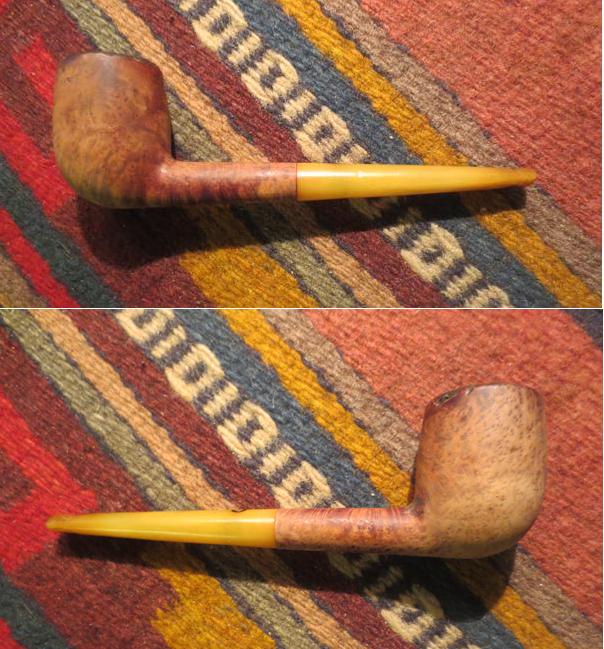
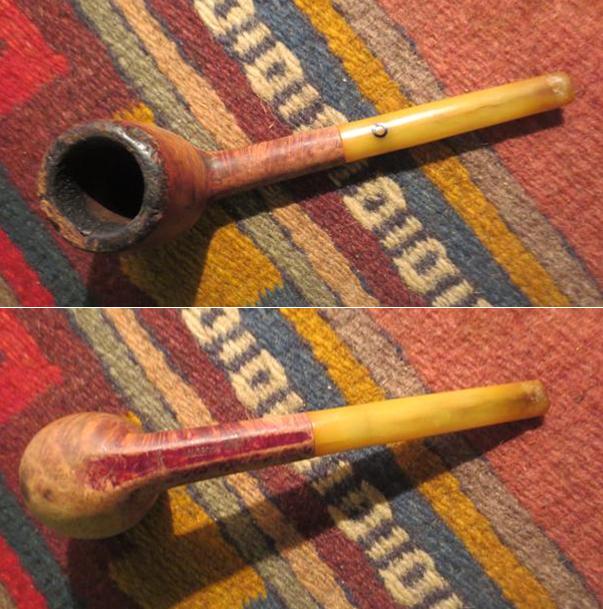
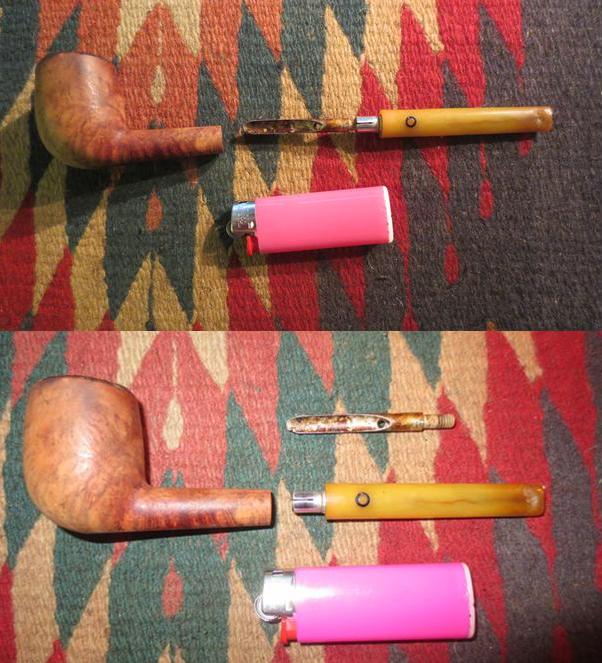
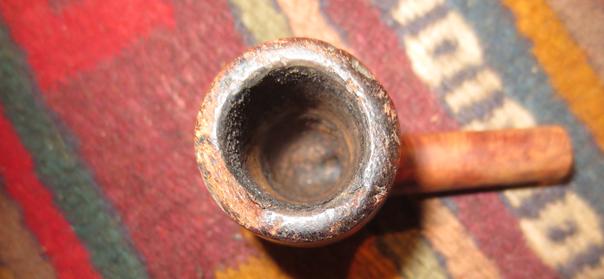
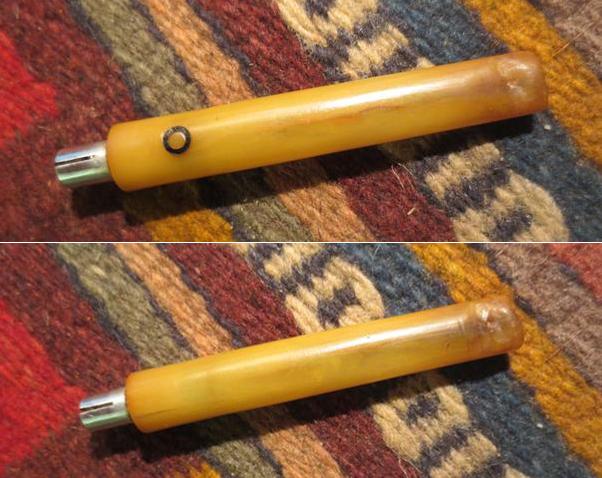
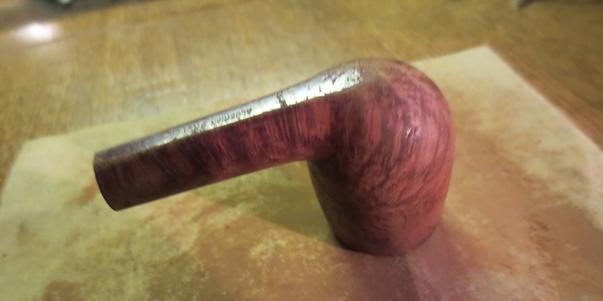
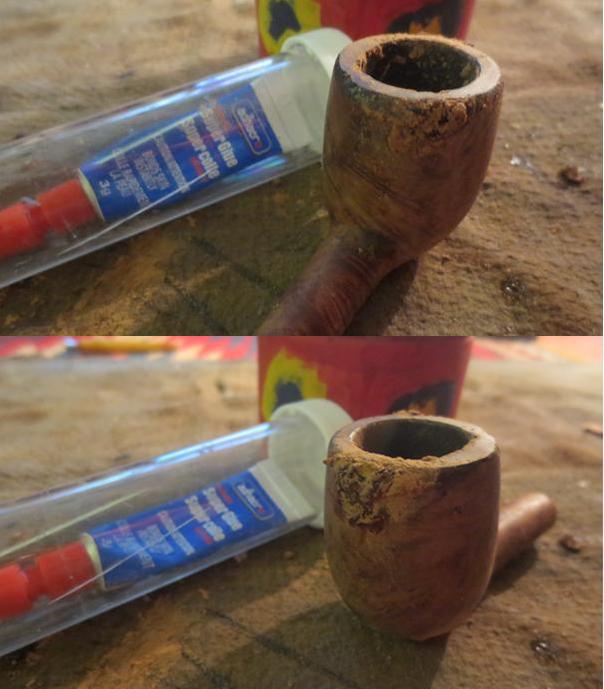
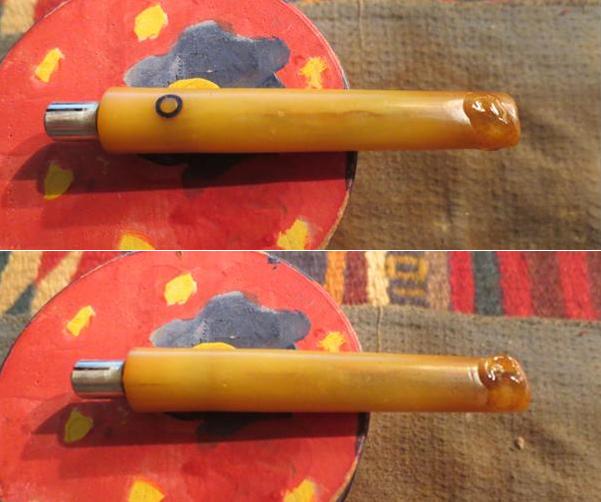
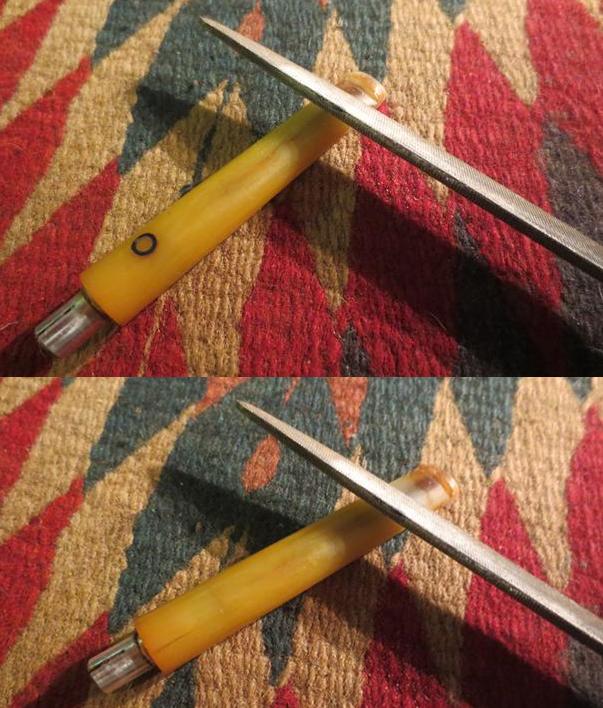
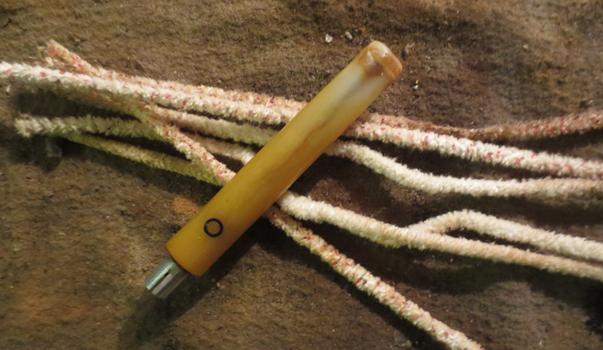
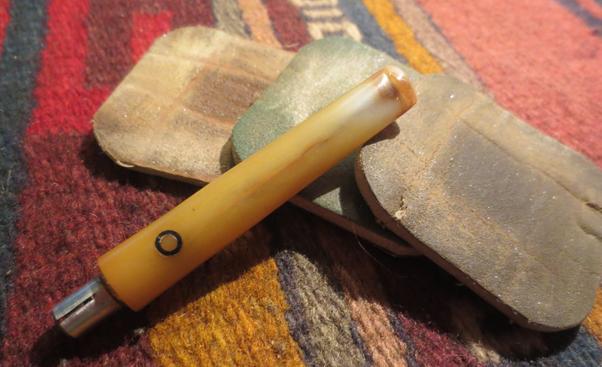
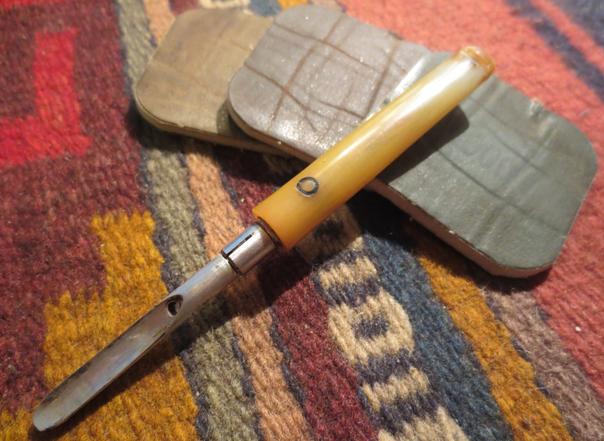
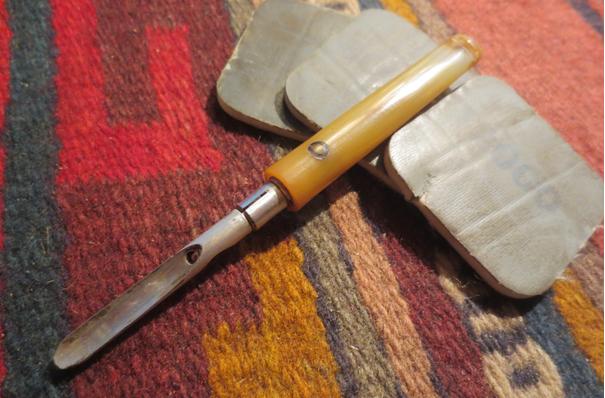
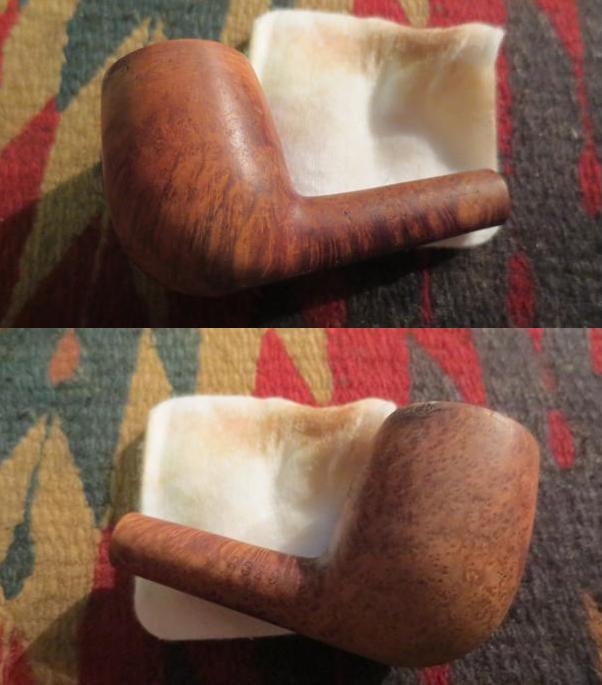
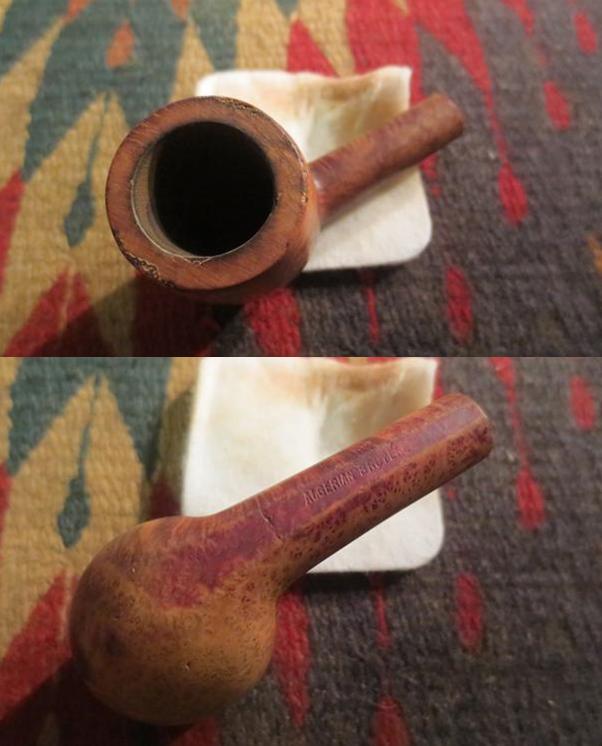
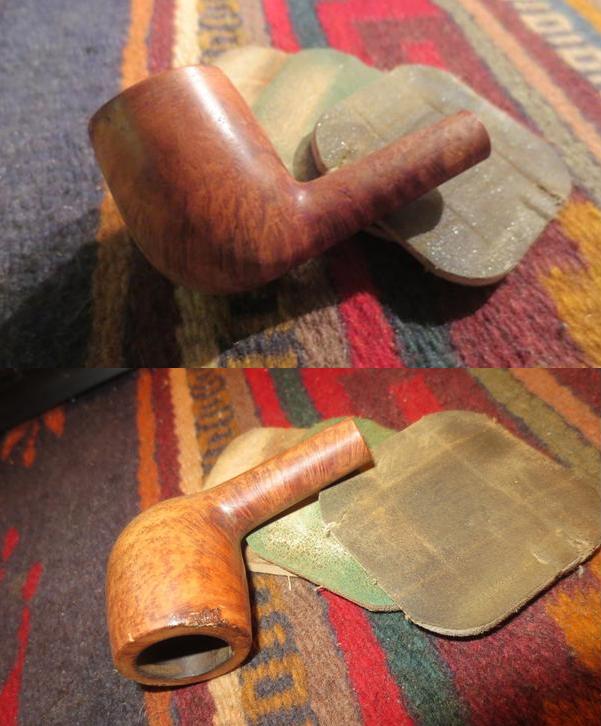
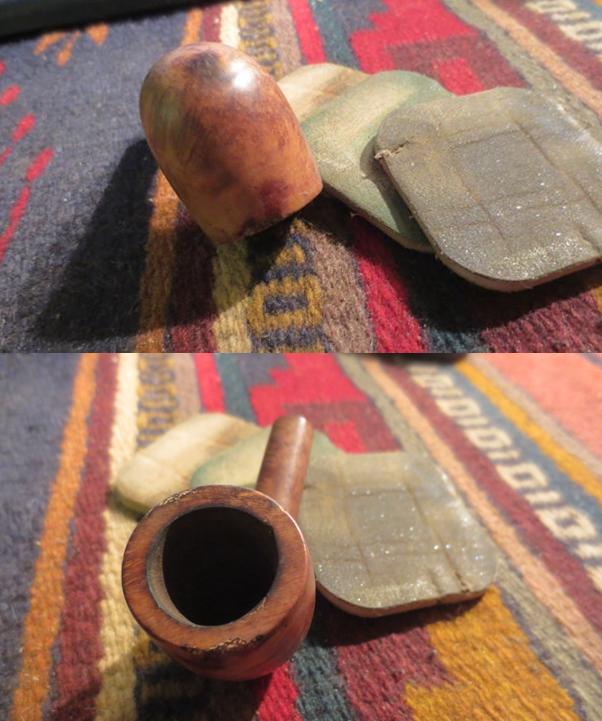
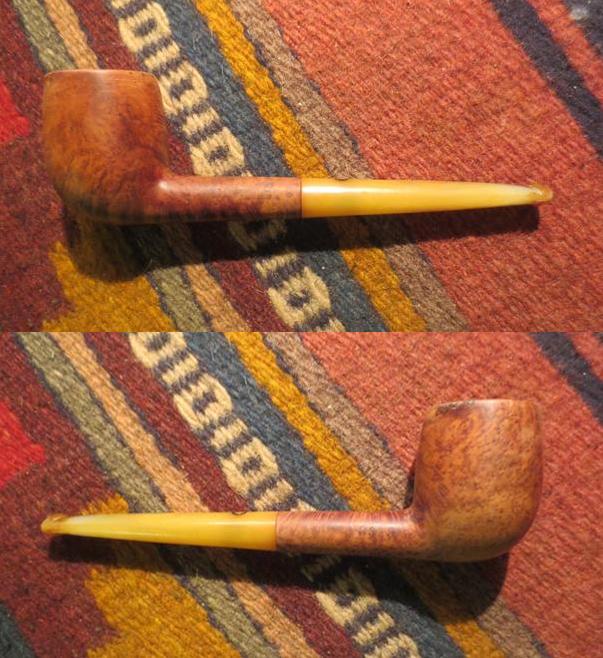
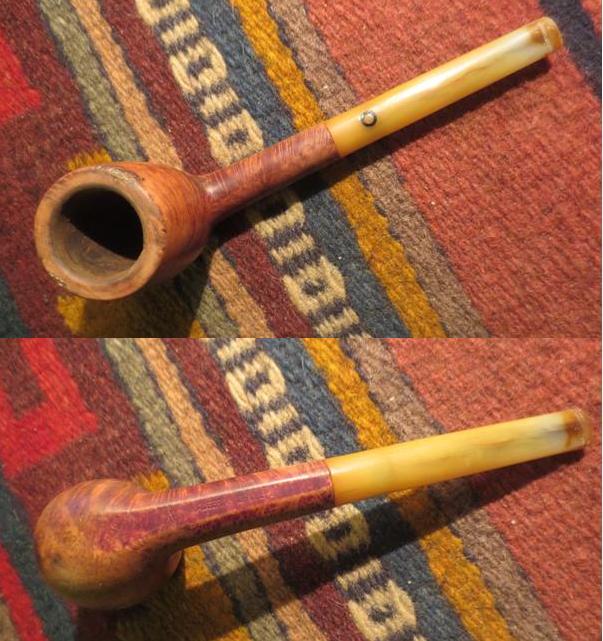
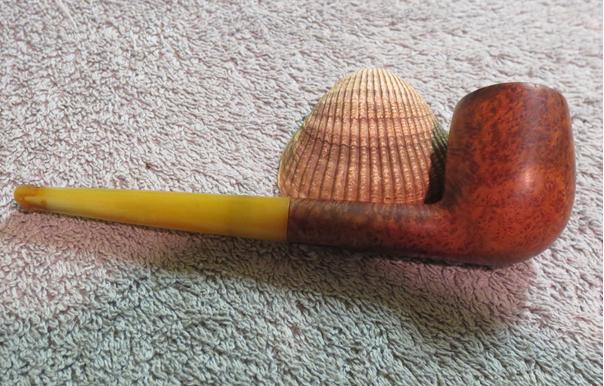
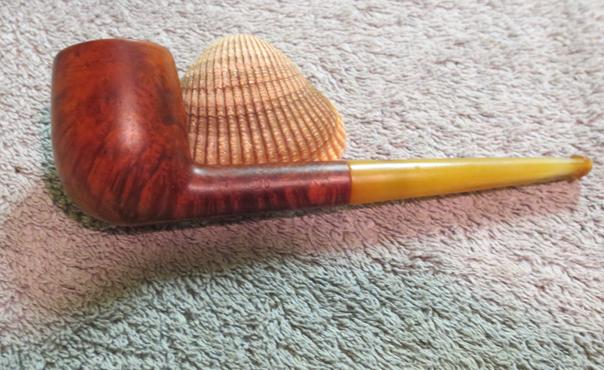
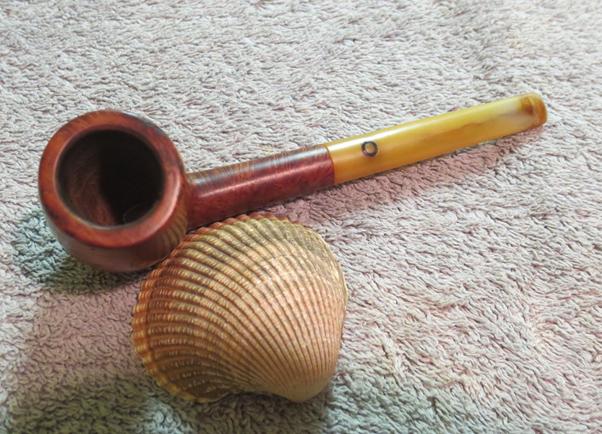
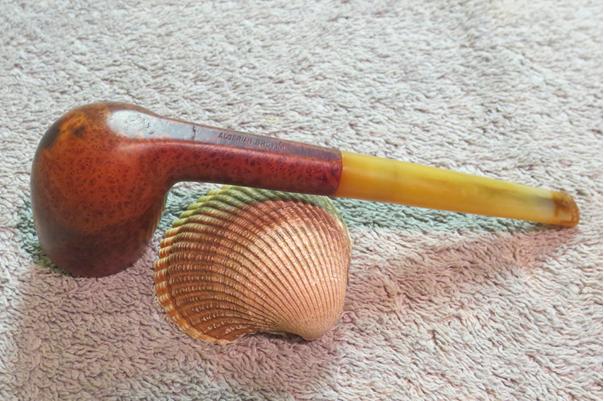
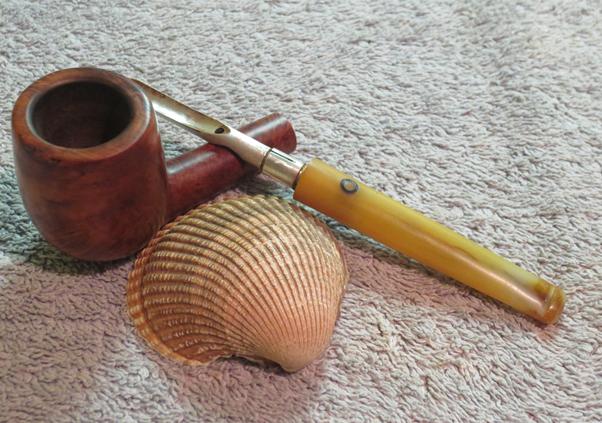
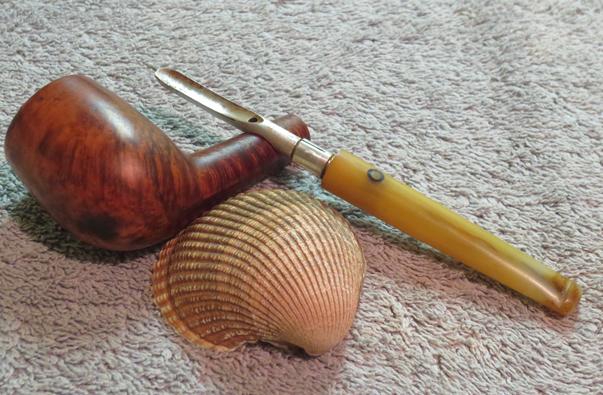
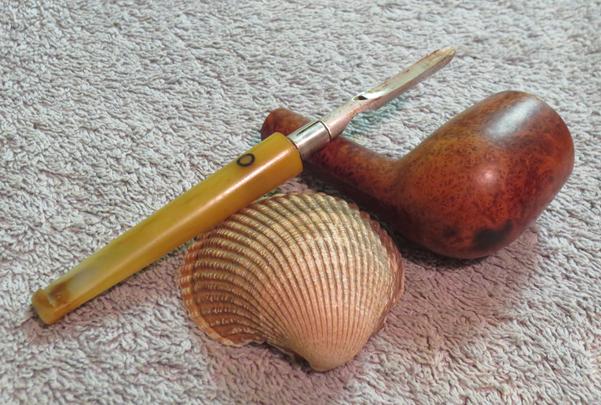
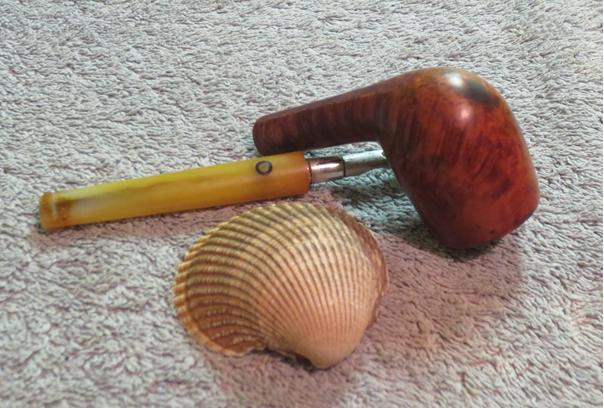
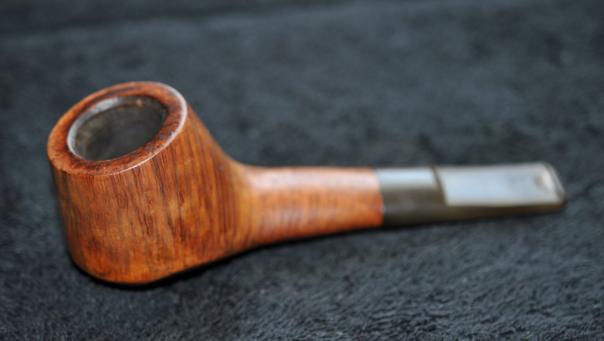
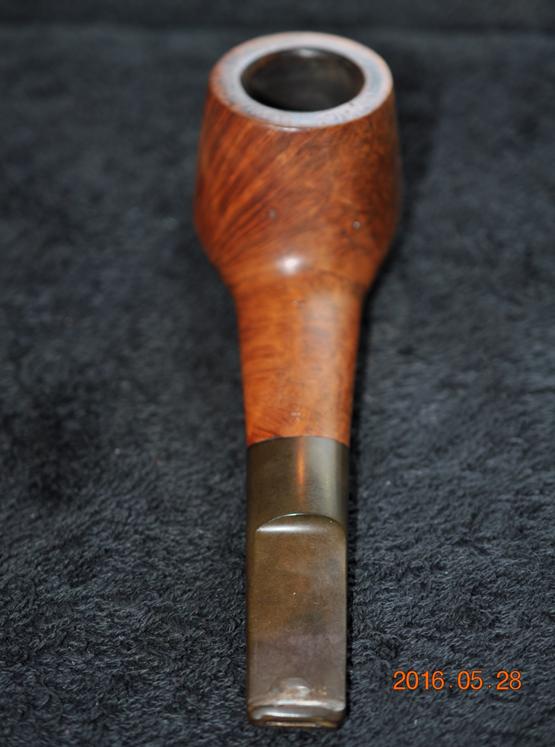
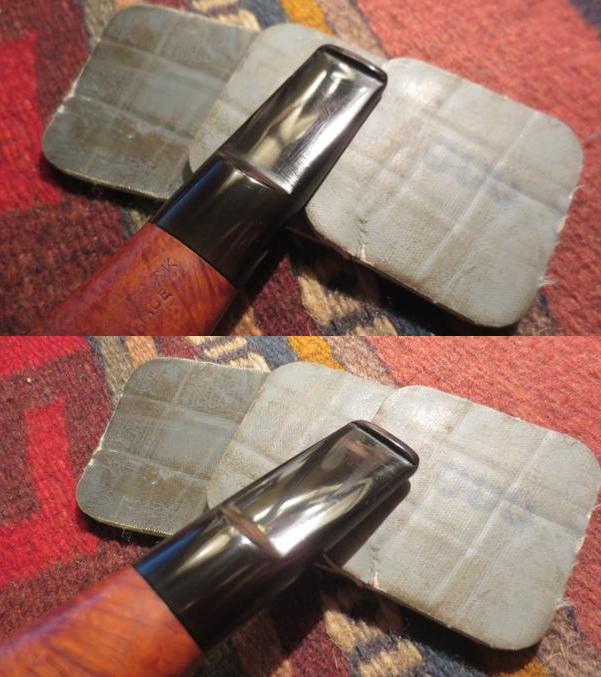
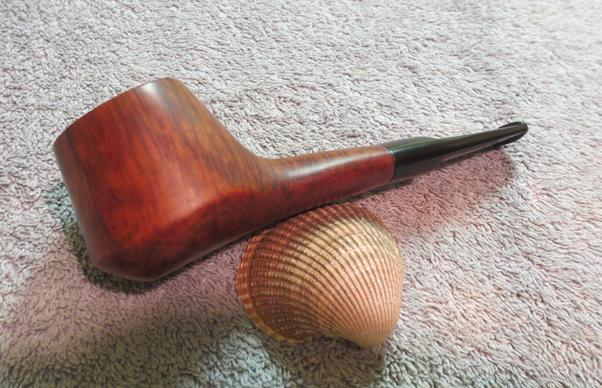
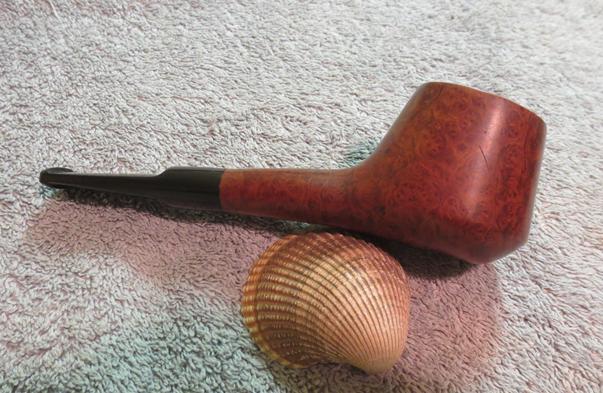
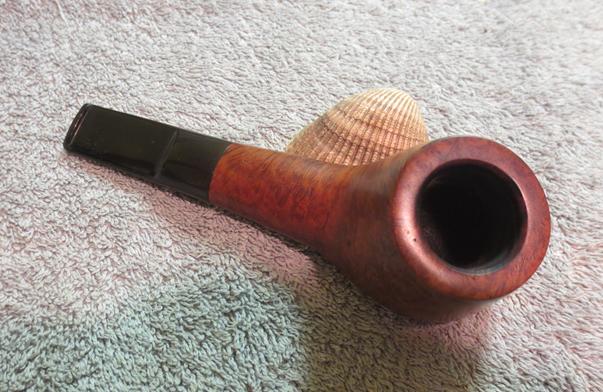
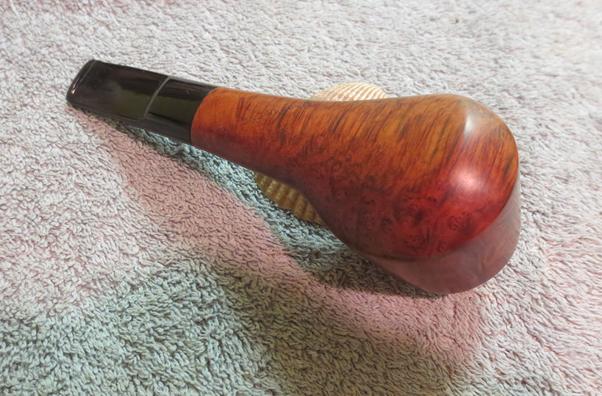
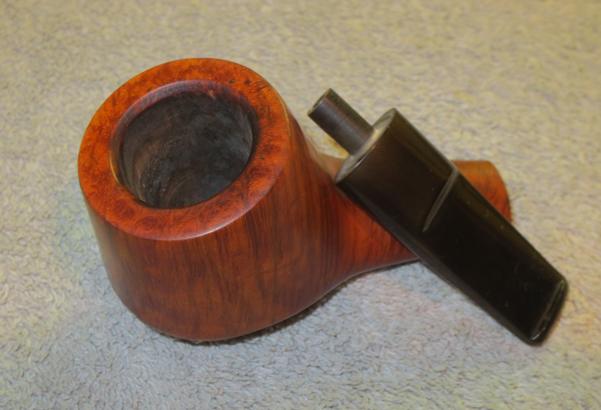
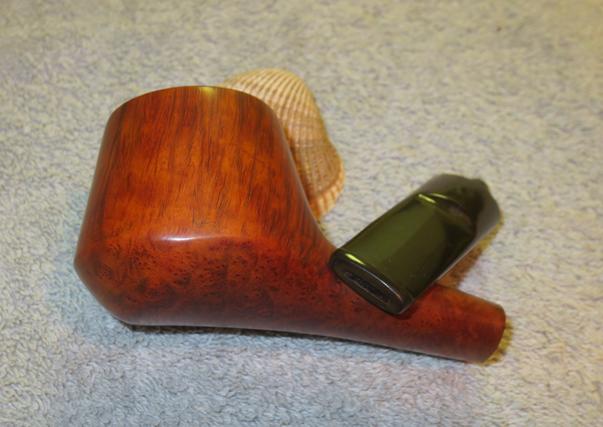
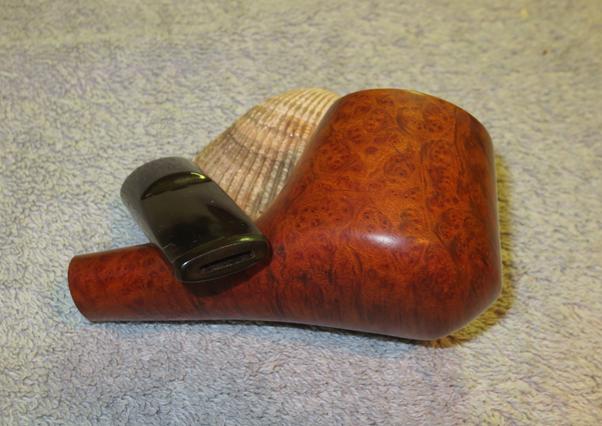
I really like older KBB Yello-Bole pipes. The initial look of this one as it is seen in the first two photos confirms that. There is something about the grain, the briar that is used and the natural patina that comes with years of use that draw me to them. The yellow stem with the inset circle is attractive as well. The Yello-Bole spade stinger that extends into the bowl bottom does not restrict the draw. I had hopes that this one would be in decent shape when my brother sent me the photos below. He had mentioned that the rim was in rough shape and the stem had a lot of bite and tooth marks but the photos did not clearly show that to me.Bowl Bowl1He did his usual stellar job in cleaning up the bowl and stem. The briar and the internals were clean when it arrived. Only then did I see the extent of the rim damage to this one. If you look carefully at the photos you can see how rough the rim top and sides are. You can also see the deep tooth marks on the yellow stem. The stamping on the pipe read KBB in the usual cloverleaf on the left side of the shank with Yello-Bole next to that. The shape number 2329 was on the right side of the shank. All stamping was faint but legible with a lens.Bowl2 Bowl3I took the stem off the bowl and found that the stinger was stuck in the tenon. On these older Yello-Boles the stinger is often threaded rather than pressure fit. I heated the stinger with a lighter and soon I was able to unscrew it from the tenon using some needle nose pliers.Bowl4I took close up photos of the rim and the tooth marks on both sides of the stem. The first photo below shows the extensive damage to the top of the rim. It looked as if the pipe had been used as a hammer. The rough spot on the front of the bowl went down quite far down the outside edge of the bowl. On the back right side of the bowl there was also a deep nick down the side of the bowl. The bowl would need to be topped but the depth of the gouges made it necessary to think of other options along with topping.Bowl5The top and bottom sides of the stem next to the button were imposing. The stem had been deeply gnawed on by the previous pipe smoker. The dents were deep and extensive across both sides of the stem almost obliterating the button from view.Bowl6This was one of those hard ones. The stamping is faint and the amount of work necessary to bring it back to life was questionable. But I decided I liked the look of it enough to go for it. I topped the bowl on the topping board to smooth out the top surface of the rim. This still left a lot of work to do on the gouges down the front and back sides of the bowl. I pressed briar dust into the gouges on the side and top of the bowl and put some clear super glue on top of the briar dust. I put more briar dust on top of the glue to fill in the gouges.Bowl7 Bowl8I filled in the deep tooth marks on both sides of the stem and set it on a small wooden lid to dry. I knew that in sanding the stem after the repairs I would lose some of the rich golden colour but the stem would actually be very usable.Bowl10Once the repair dry I used a needle file to recut the button and flatten the repairs to the surface of the stem.Bowl11I cleaned out the airway in the stem and in the shank with pipe cleaners, cotton swabs and alcohol. You can also see the lightning of the yellow stem at the repair.Bowl12I polished the stem with micromesh sanding pads – wet sanding with 1500-2400 grit pads and dry sanding with 3200-12000 grit pads. I rubbed the stem down with Obsidian Oil after each set of three pads. With the final rub down with oil I set the stem aside to dry.Bowl13 Bowl14 Bowl15I wiped the bowl down with acetone on cotton pads to clean off the remnants of the finish. There was still some finish and varnish on the underside of the shank that needed to be removed. I was careful to not wash off the repairs as the acetone will dissolve the super glue patches.Bowl16Interestingly the bottom of the shank is stamped Algerian Briar. There appears to be a crack or repair on the underside of the shank but it is not it is merely a large scratch that I was able to sand out.Bowl17I polished the briar bowl with micromesh sanding pads – wet sanding it with 1500-2400 and dry sanding it with 3200-12000. Each successive grit of micromesh pads raised the level of shine on the bowl.Bowl18 Bowl19After polishing it with the micromesh pads I took some photos to show the state of the bowl.Bowl20 Bowl21I touched up the stain with a medium brown stain pen on the repaired areas on the rim to blend them into the surface of the briar. I buffed the pipe and stem with Blue Diamond on the buffing wheel and then gave the pipe multiple coats of carnauba wax. I buffed it with a clean buffing pad and then buffed it by hand with a microfibre cloth to deepen the shine. The finished pipe is shown in the photos below. I chose to leave the darkened spot on the bottom of the bowl. I sanded it and found that it was more of stain than a burn mark. The wood is solid in that spot and there is no sign of burn through inside the bowl. Thanks for looking.Bowl22 Bowl23 Bowl24 Bowl25 Bowl26 Bowl27 Bowl28 Bowl29

I love the shape of this Comoy’s Regent’s Park London Made Canted Volcano


Blog by Steve Laug

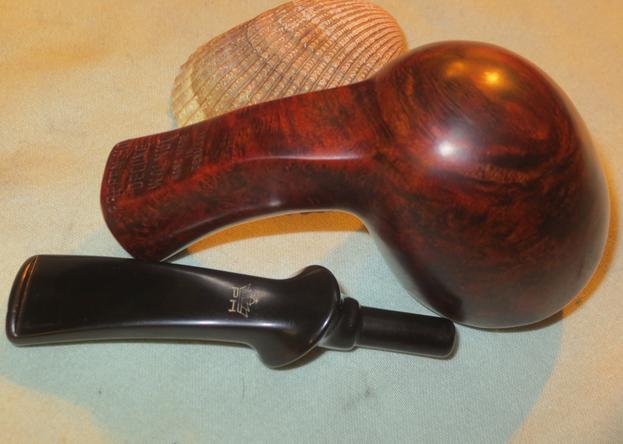
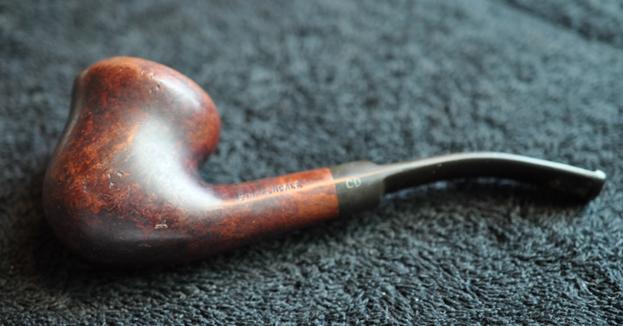
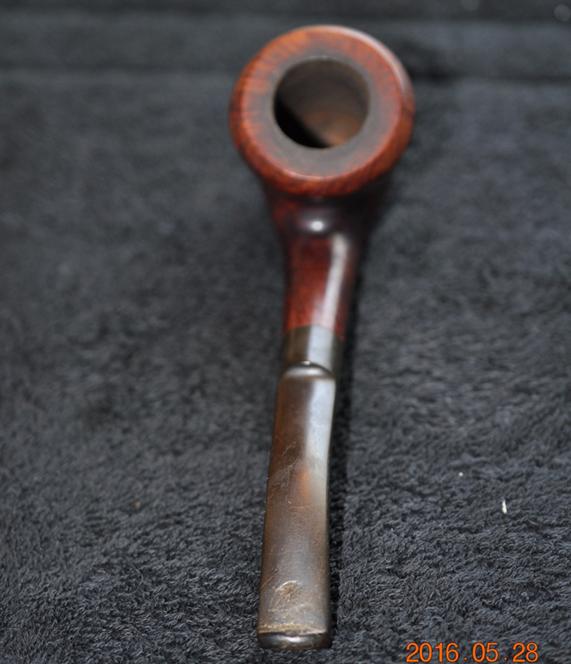
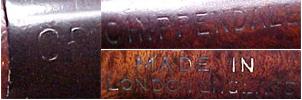
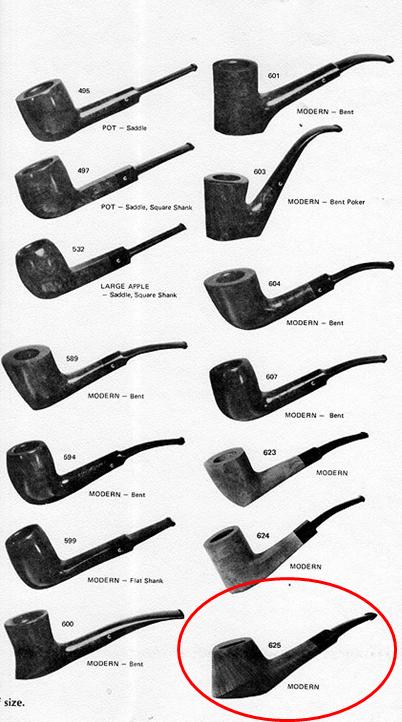
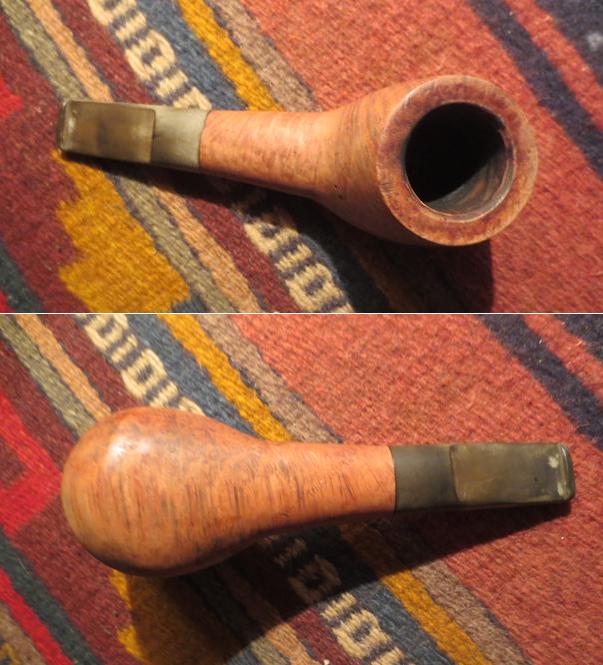
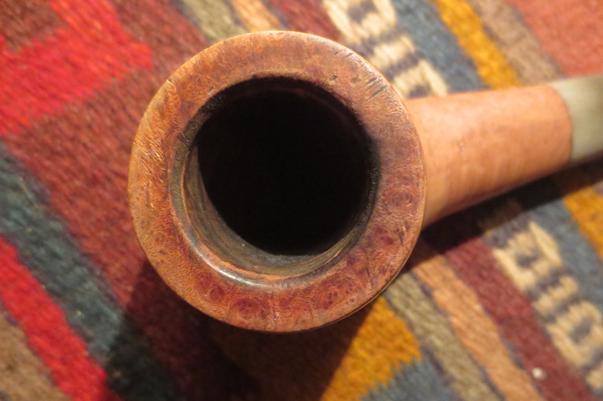
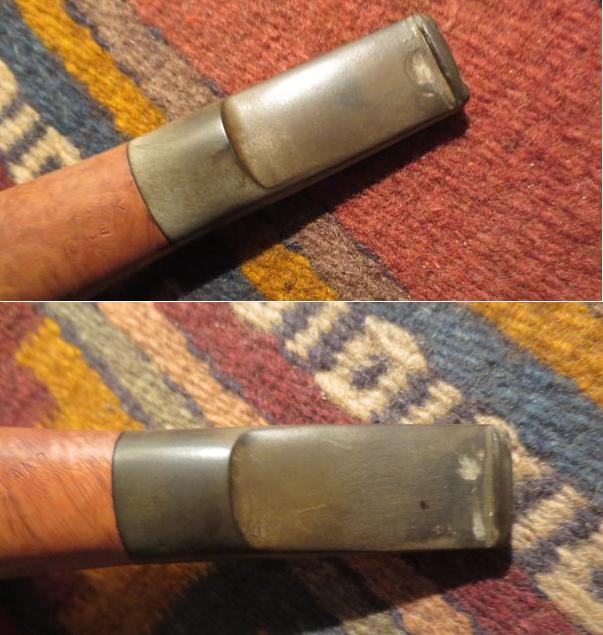
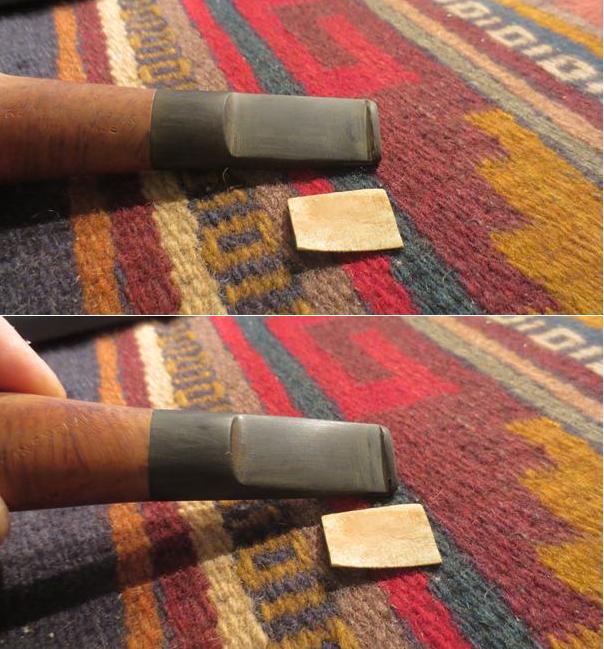
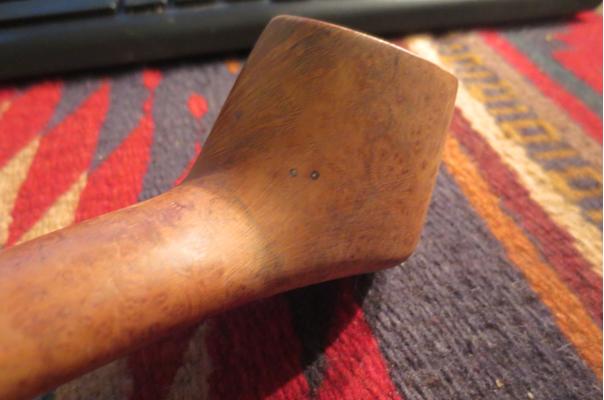
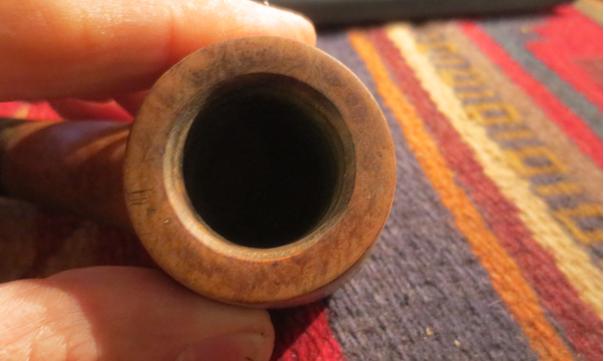
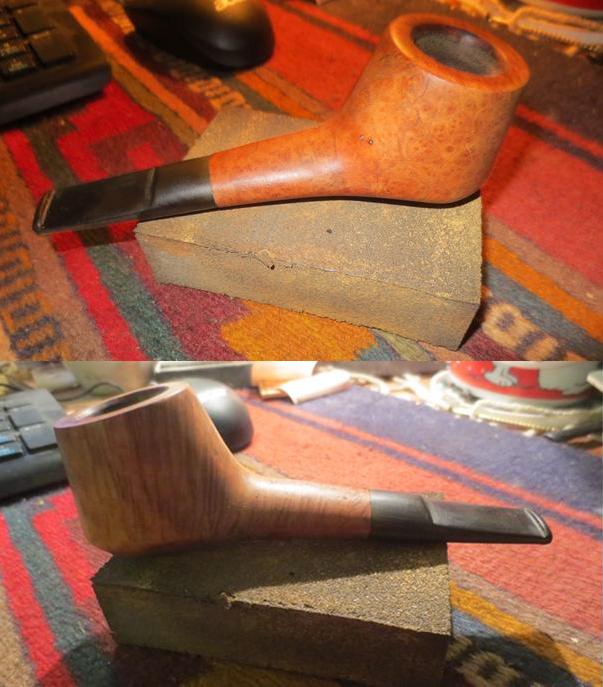
This pipe takes advantage of the grain to the maximum. The shape has flame, mixed and stunning birdseye on the sides, top and bottom of both the bowl and the shank. This is another of the pipes that my brother Jeff found. The stamping is faint but readable with a lens. It is stamped on top of the shank with the words Regent’s Park over London Made. On the underside of the shank stamped diagonally from front to back it reads Made in England. From the photos that Jeff set me the pipe was in decent shape. The finish was spotty and dirty. The rim was clean and undamaged with a light and spotty lava coat. Comoy1The stem was lightly oxidized and there was a deep and large tooth mark on the top side near the button. I have learned that there is usually a match to that on the underside of the stem. The canted volcano shape is very nice. In the photo below it appears that there were some small pin prick fills on the back side of the bowl just above the shank.Comoy2From what I can find online the pipe is made by Comoy’s. They made the Hyde Park brand and it appears they also made the Regent’s Park brand – both which are Comoy’s seconds and are named after London Parks. I found this Comoy’s Shape Chart on-line which shows the pipe as a Modern 625. I have circled it in red – it is shown on the bottom of the right column, last pipe.Comoy3As usual now, my brother did a stellar job cleaning up the pipe before he sent it to me. He reamed it and scrubbed the exterior with Murphy’s Oil Soap so the finish was very clean. He cleaned out the internals as well. The pipe was ready for me to work on the finish and stem repairs when I received it. The next four photos show what the pipe looked like when it arrived to my work table.Comoy4 Comoy5I took a close up photo of the rim to show the slight damage – almost cut marks on the top of the rim surface. The inner and outer edge of the rim is fairly undamaged though so it will not take much to clean up this rim. I also took close up photos of the stem to show the large bite/tooth marks on the top and bottom sides near the button.Comoy6 Comoy7I cleaned up the tooth marks with sandpaper, a dental pick and alcohol. I filled in the deep dents with black super glue and let it cure. I forgot to take photos of the repairs before I sanded them out. Once the glue had cured I sanded both sides of the stem with 220 grit sandpaper to smooth out the repair to match the surface of the rest of the stem.Comoy8I also filled the pin holes in the back side of the bowl with clear super glue and briar dust. Again I forgot to take a photo of the glue and dust mixture. Once it dried I sanded the bowl with 220 grit sandpaper and blended the repairs into the surface of the briar. The surface was smooth to touch .Comoy9I sanded the slash marks on the rim with 220 grit sandpaper to minimize them. It did not take too much sanding to remove them. I also sanded the inner beveled edge of the rim to clean it up and remove the darkening.Comoy10I sanded the bowl and rim with a medium and a fine grit sanding block. I worked to remove the scratching left behind by the 220 grit sandpaper. I carefully avoided the areas on the shank that held the already faint stamping.Comoy11 Comoy12I sanded the stem with the sanding block as well.Comoy13I wet sanded the stem with 1500-2400 grit micromesh sanding pads and rubbed it down with Obsidian Oil. I dry sanded it with 3200-4000 grit pads and gave it another coat of oil. I finished sanding it with 6000-12000 grit pads, gave it a final coat of Obsidian Oil and set it aside to dry.Comoy14There were some scratches on the top of the stem. I would need to work on them some more at this point.Comoy14a Comoy14bOnce I buffed the stem with Blue Diamond the scratches would be blended into the stem surface. I gave the bowl a coat of Danish Oil and Cherry Stain to highlight the red of the briar. I set it aside to dry for about twenty minutes.Comoy15I wiped the bowl off with a soft cloth and hand buffed it lightly to get a clear picture of the finish and the grain on the bowl.Comoy16 Comoy17I polished the bowl and stem with Blue Diamond on the buffing wheel. I buffed out the scratches in the stem and the briar. I gave the bowl and stem multiple coats of carnauba wax to protect it. I buffed it with a clean buffing wheel to raise the shine. I hand buffed the pipe with a microfibre cloth to deepen the shine. The finished pipe is shown in the photos below.Comoy19 Comoy20 Comoy21 Comoy22 Comoy23 Comoy24 Comoy25

An Old Timer Horn Stem, Cherrywood Shank and Briar Bowl BBK Bosshardt Luzern


Blog by Steve Laug

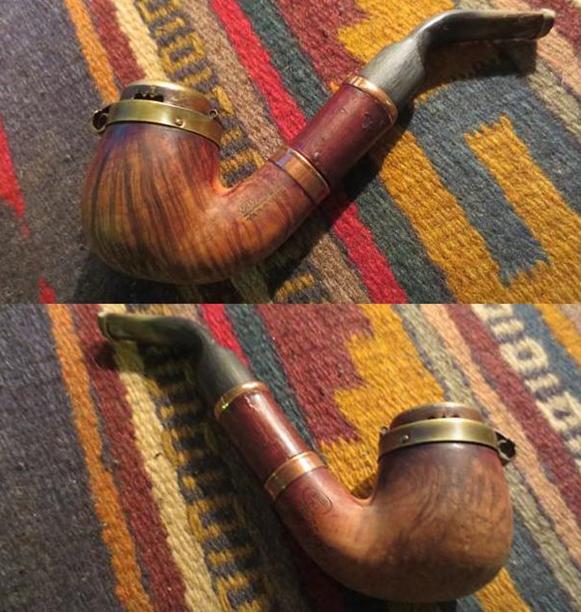
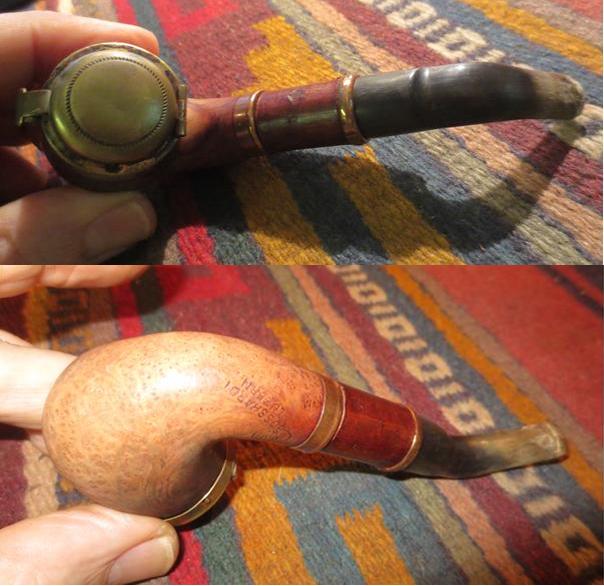
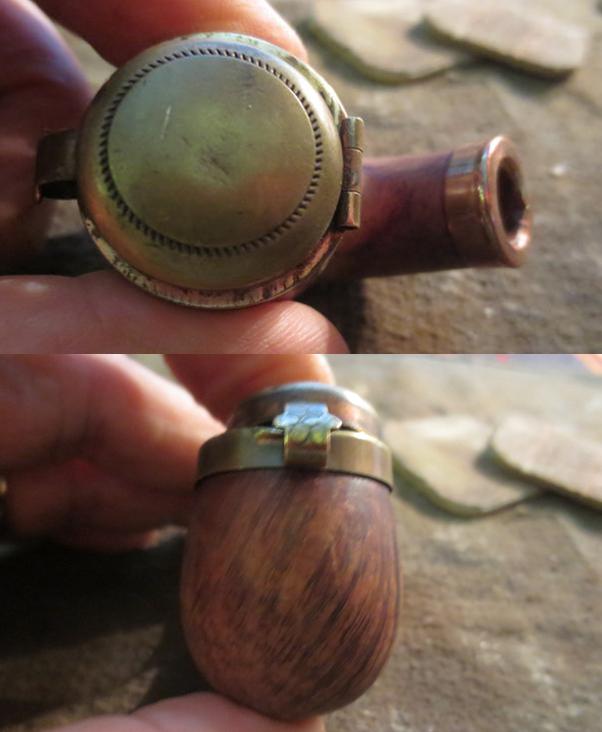
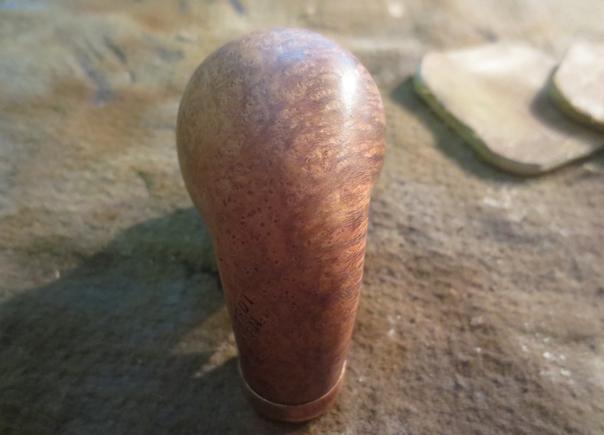
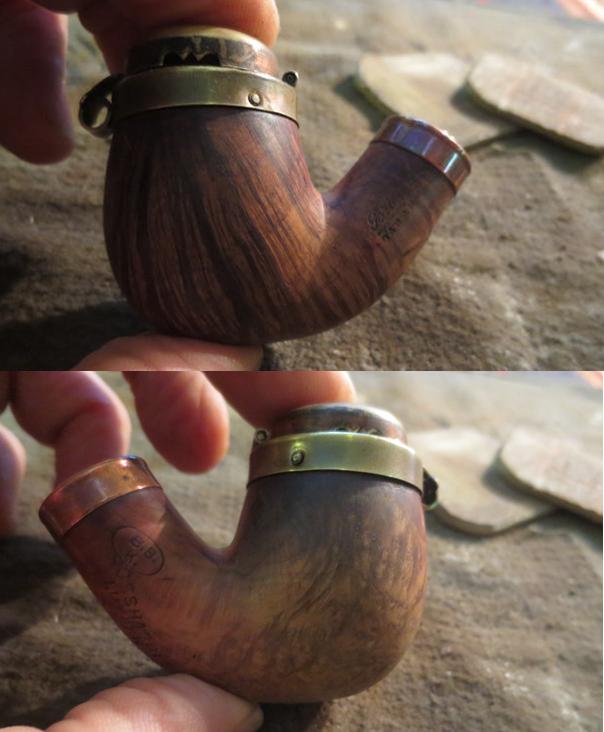
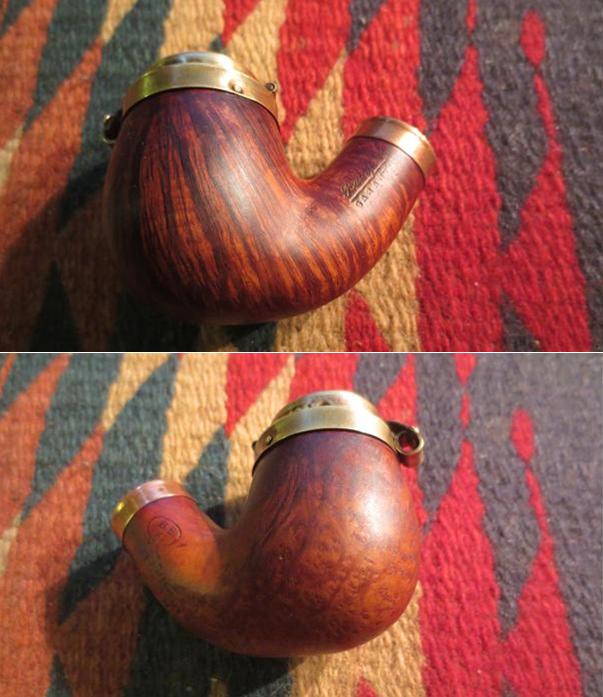
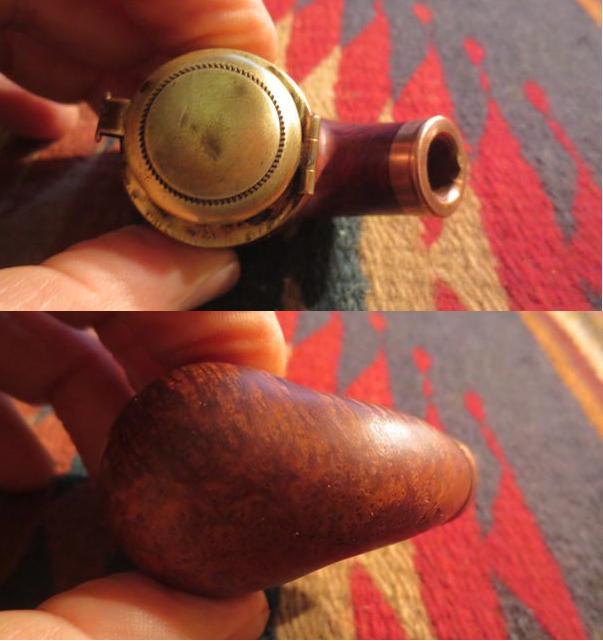
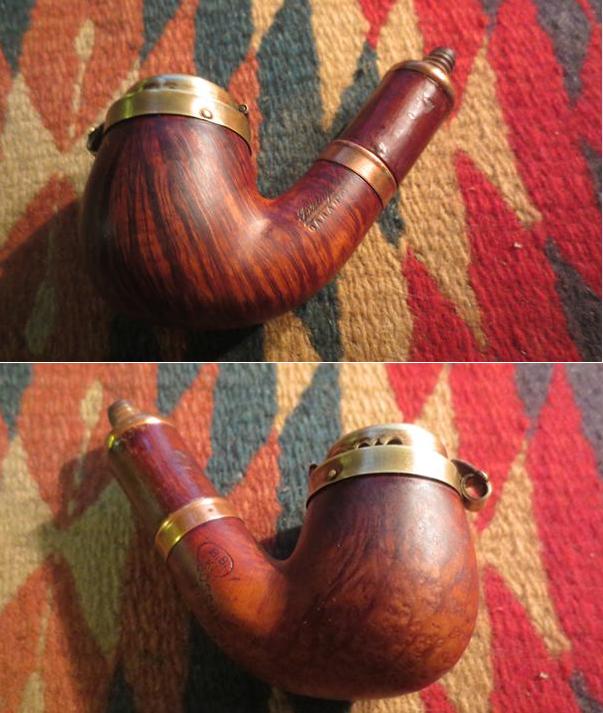
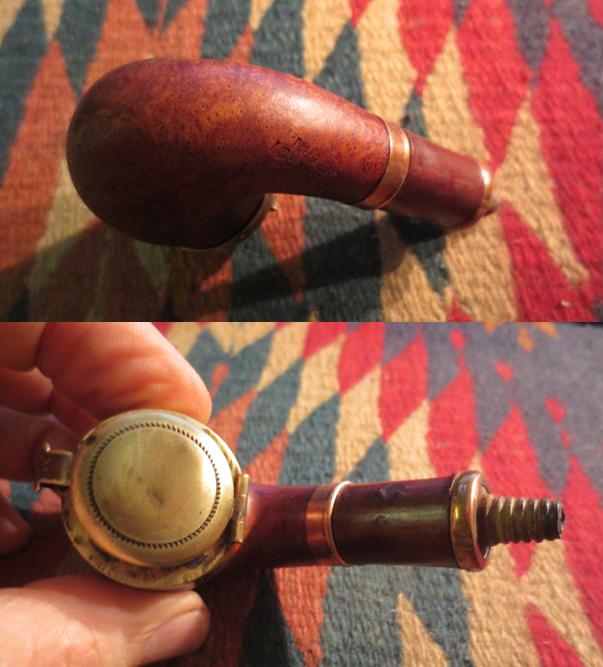
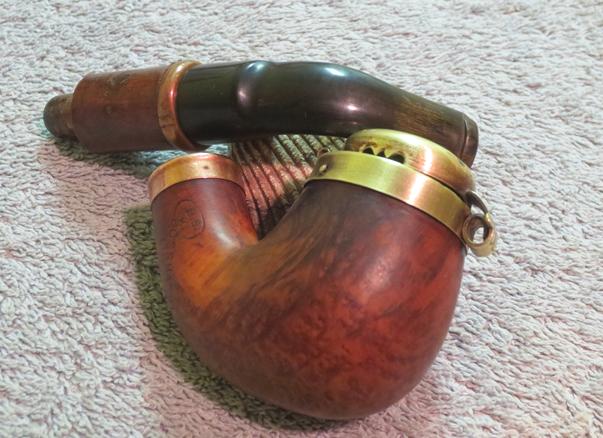
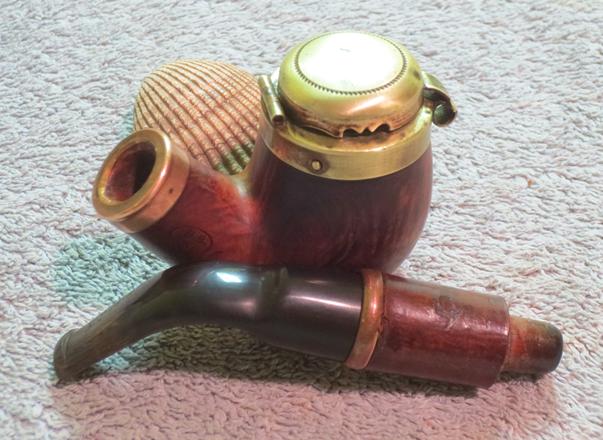
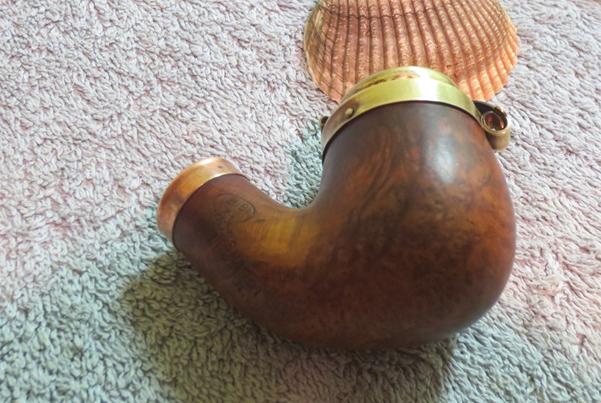
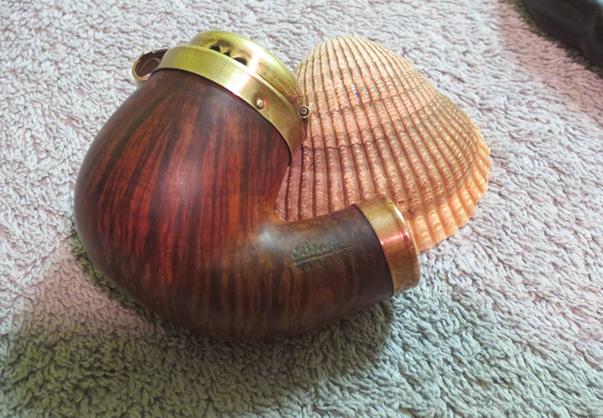
This old pipe came to me from my brother. He picks up some interesting pipes in his hunts and eBay purchases and this is a unique one. The bowl is a really nice piece of briar with some amazing grain – a mix of flame and birdseye on the bowl. The rim cap and bowl cap are brass coloured. The hinge on the back of the rim connects the rim cap and the bowl cap. There is a curved spring piece of brass on the front that fits over a ridge on the front of the rim. The end of the briar shank has a brass shank cap/ferrule. It was tarnished to almost copper coloured brass. The shank extension is cherry wood and is pressure fit into the mortise. The top of the cherry wood extension has a brass ring that is pressure fit on the end of the extension. The stem is horn. The end of the cherry wood has a threaded end that the horn stem screws onto. The stem had some tooth marks and chatter on the top and underside of the stem next to the button. The shank of the pipe is stamped on the left side with the words Bruyere over Garantee. On the right side of the shank it is stamped BBK in an oval over Bosshardt over Luzern.BBK1Through the years I have cleaned up several BBK pipes. The last one was a rusticated hunter pipe with a windcap. Prior to that, I restored a square shanked panel billiard. I have written about both them on rebornpipes at the following links: https://rebornpipes.com/2012/09/21/refurb-on-a-bbk-panel-billiard-swiss-made/, https://rebornpipes.com/2014/08/31/restoring-an-old-bbk-hunter-pipe/.
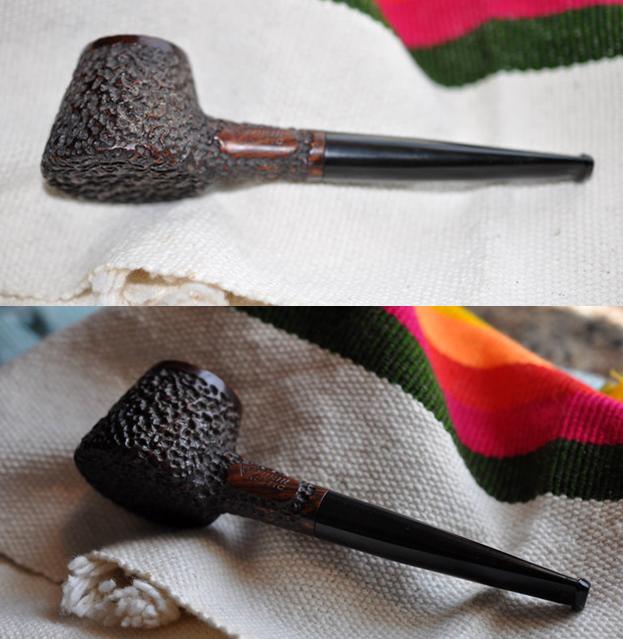
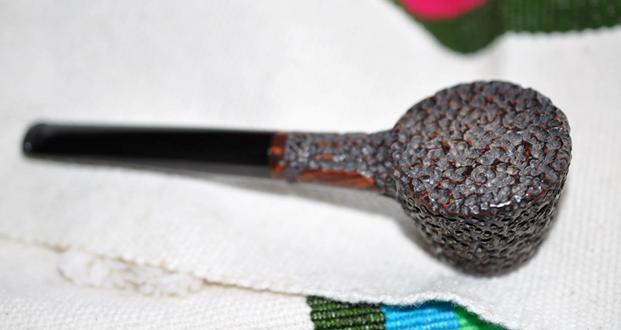
When I worked on the BBK Hunter I researched the brand. The BBK was a Swiss made brand as the shanks of all the pipes I had cleaned up and restored were stamped that way. Pipedia was my primary reference in that blog. Here is the link: http://pipedia.org/index.php?title=Bru-Bu. I have included the material from the previous blog below.

“Josef Brunner, oldest son of the farmer Konstantin Brunner from the hamlet Nieder-Huggerwald, belonging to the community of Kleinlützel (Canton Solothurn), was sent in 1871 to a pipe turner in Winkel/Alsace for his apprenticeship. As was usual at that time, Brunner wandered as a journeyman after ending the apprenticeship. Eventually, he went to Saint-Claude, France which was then the world’s stronghold of briar pipe manufacturing. There, Brunner was able to increase and deepen his knowledge in the field of industrial pipe making. When he returned home in 1878, he installed a small turner’s workshop in the house of his father. With the energetic support of his two younger brothers, he began to produce tobacco pipes of his own calculation, taking them to the markets in the surrounding area. In 1893, Bernhard Brunner’s wife inherited the mill in Kleinlützel. At this point, the pipe fabrication was transferred to an annex belonging to the mill. Now it was possible to drive the machines by water power – an important relief to the workers and a considerable innovation compared to the previous pedal-driven system.”

“The business developed so well after the turn of the century even when a lack of workers in Kleinlützel occurred. The problem was solved by founding a subsidiary company in the small nearby town Laufen an der Birs in the Canton of Bern. This plant didn’t exist too long. The disastrous economic crisis in the 1920’s and early 1930’s forced the Brunner family to restrict the fabrication of pipes dramatically. In addition the big French pipe factories in Saint-Claude – although suffering from the same circumstances – flooded the Swiss market with pipes at prices that couldn’t be matched by Swiss producers. By 1931 approximately 150 of 180 Brunner employees had been sacked – the rest remained in Kleinlützel, where the cheap electric energy ensured a meager survival.”

“In 1932, Mr. Buhofer joined the Brunner family. The company was named Brunner-Buhofer-Kompagnie, and, shortly thereafter, Bru-Bu. Buhofer had made his fortune in the United States but, homesick, returned to Switzerland to search for a new challenge. Bru-Bu’s fabrication program was expanded with many handcrafted wooden art articles: carved family coats of arms, bread plates, fruit scarves, and – more and more – souvenir articles for the expanding Swiss tourism industry. Pipes remained in the program continuously, but the offerings changed from traditional Swiss pipes to the more standard European shaped pipes. Bru Bu is widely known as BBK.”

The last paragraph of the Pipedia article linked BBK pipes to Former Nielsen. I have two of Former’s pipes so this stood out to me. “At some point in the late 1970’s, Bru-Bu went out of business. Some of the Brunners, as far as known, continued as timber traders. But in 1986 new life filled the old Bru-Bu pipe workshop, when Dr. Horst Wiethüchter and “Former” Nielsen started to produce the high-grade Bentley pipes there.”

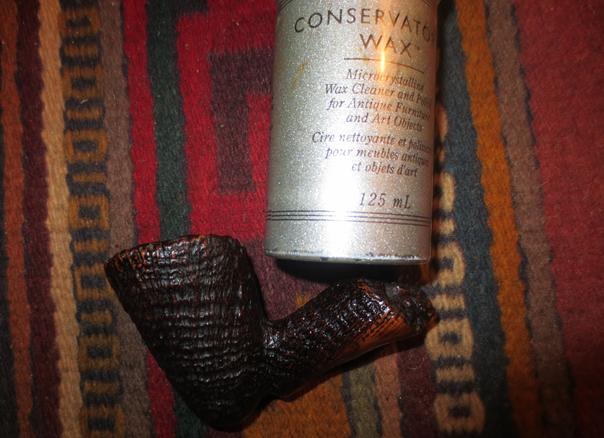
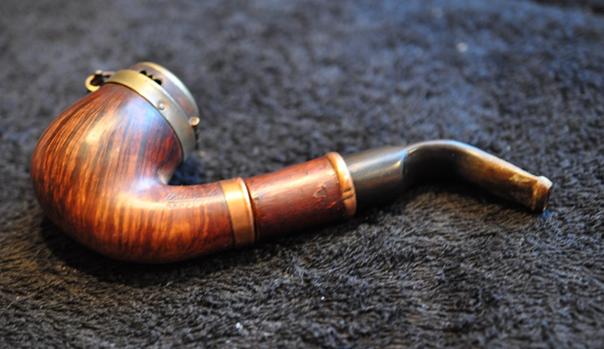
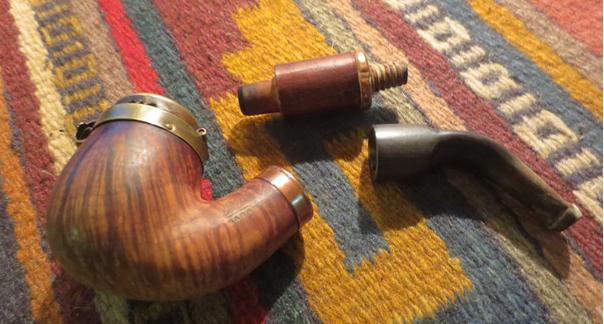
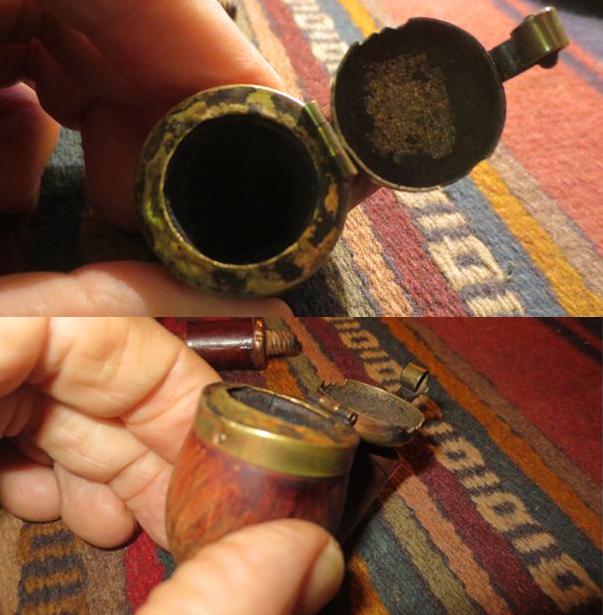
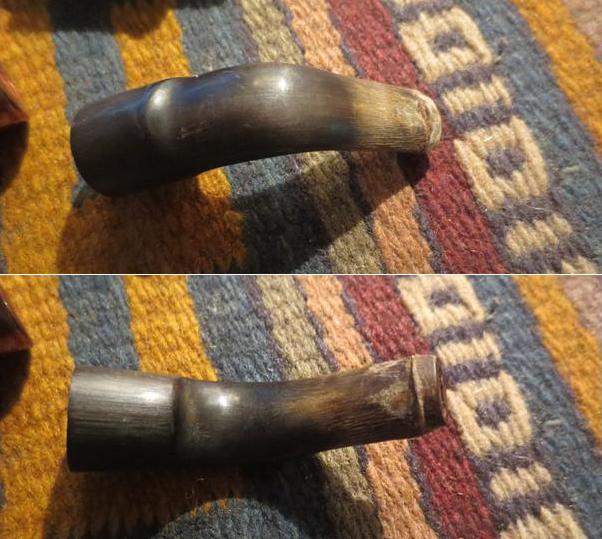
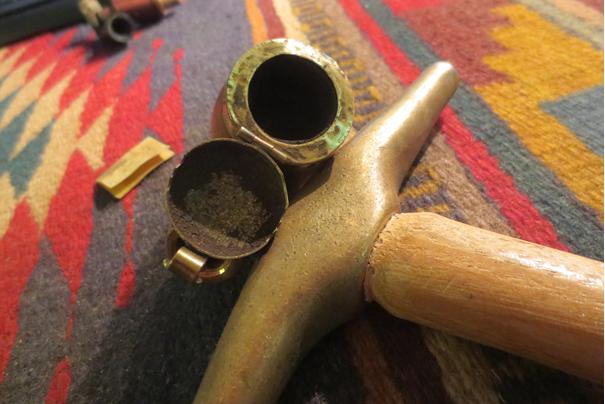
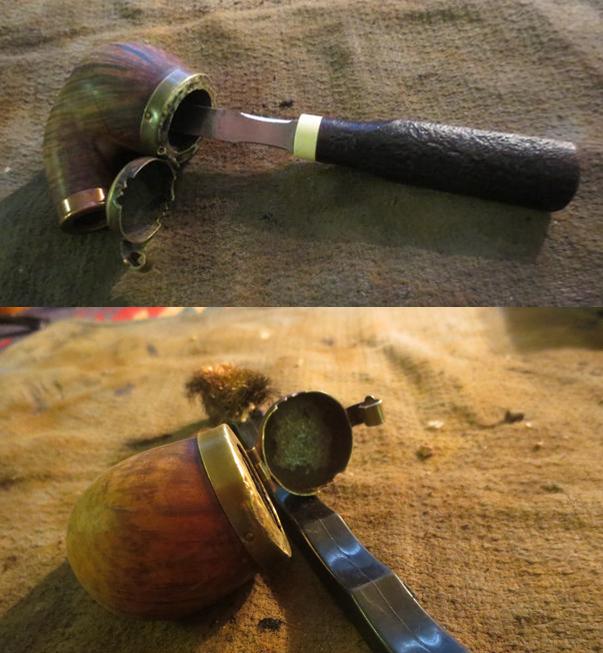
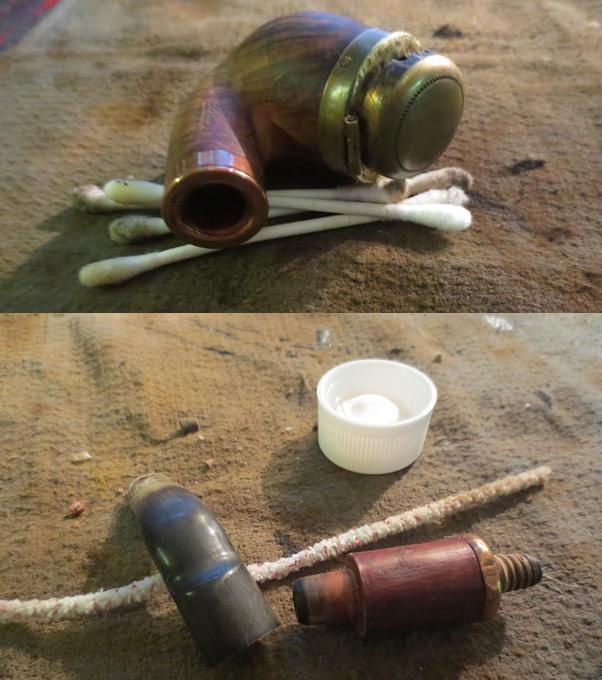
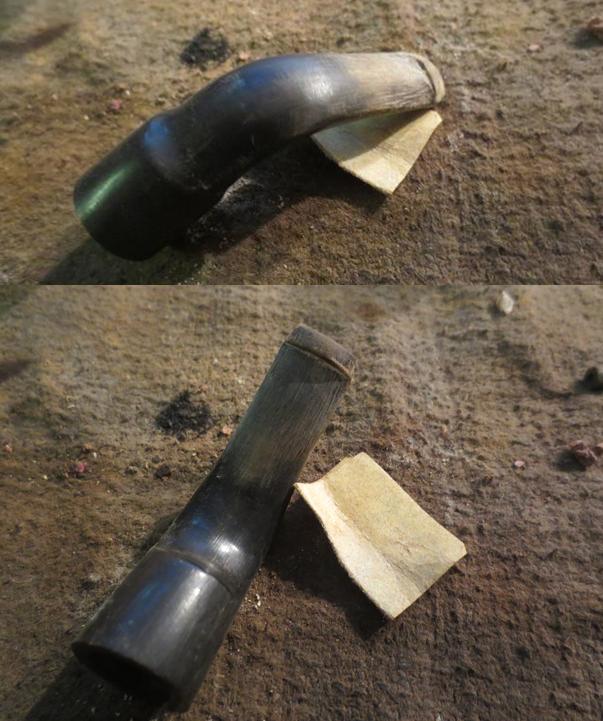
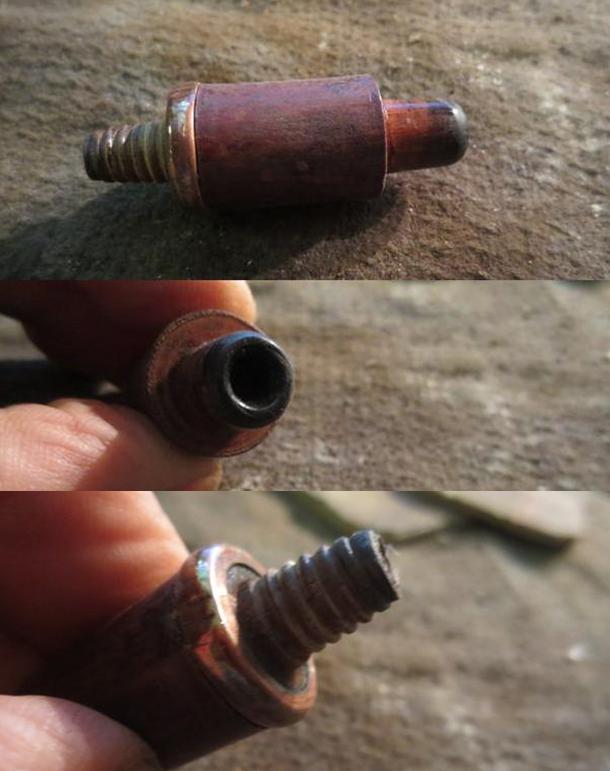
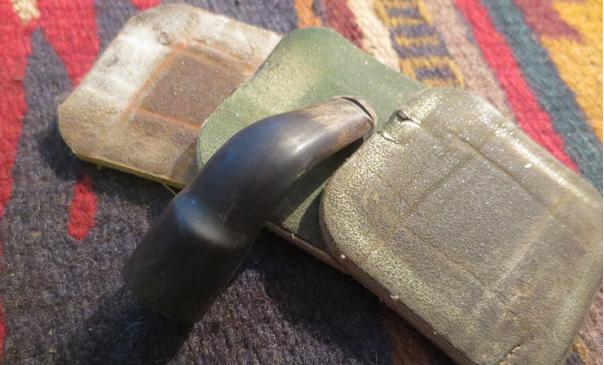
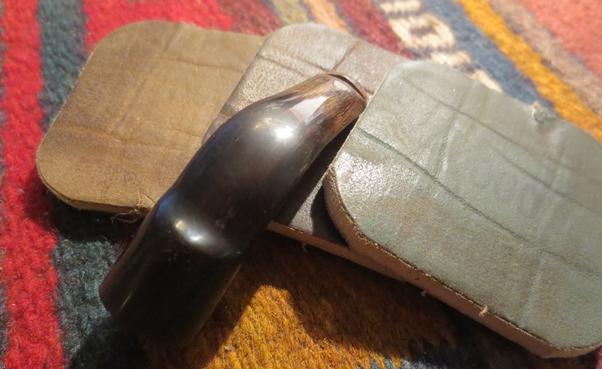
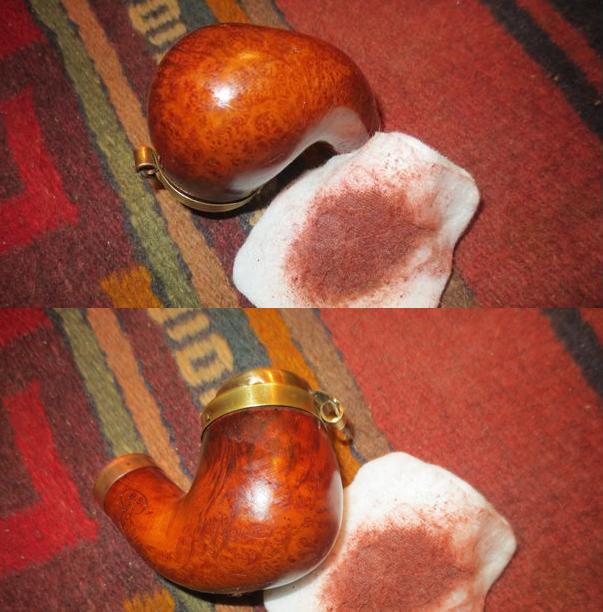
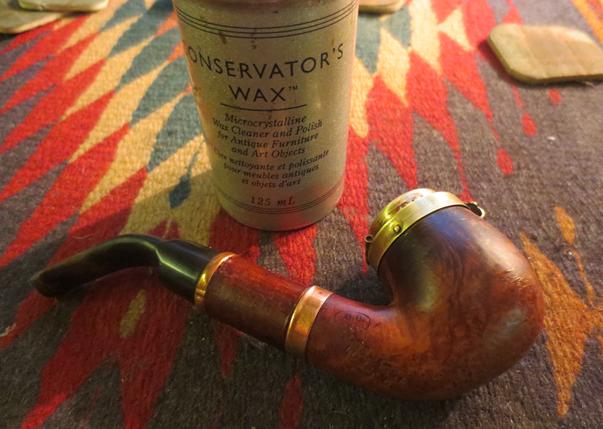
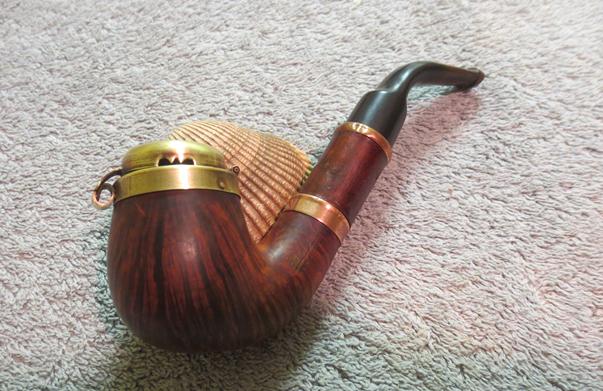
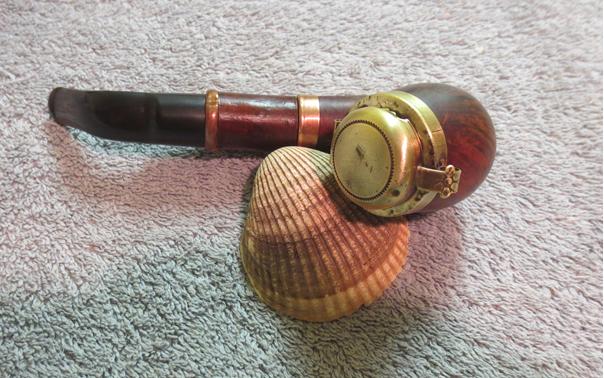
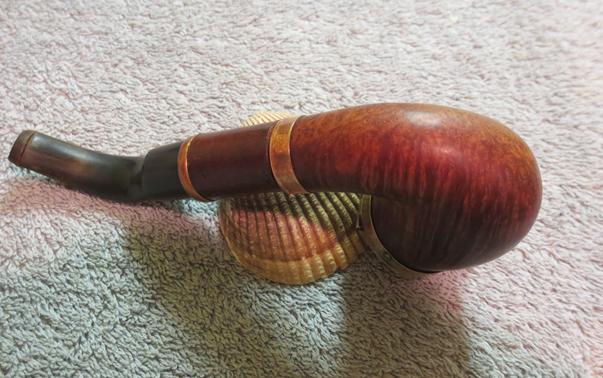
My brother cleaned up the pipe and reamed the bowl. He scrubbed out the wind cap and the brass rim cap. He cleaned out the shank and the airways in the stem, shank extension and the mortise. It turned out that the cherry wood extension was loose fitting in the shank. The wood had worn enough that it was no longer snug. The horn stem was clean but had tooth chatter and a deep tooth mark on the underside of the stem near the button. The brass rim cap was dented and worn but the wind cap still fit tightly against it. The next set of four pictures show the condition of the pipe after he had cleaned it up. BBK2 BBK3I took the pipe apart to show the various components of the pipe. The cherry wood extension in the centre of the photo has a tapered end that fits into the shank and a threaded end that the stem screws onto.BBK4I took a close up photo of the rim cap and the inside of the wind cap. You can see from the photo that the rim is badly dented and quite dirty. The inside of the wind cap is pitted and has some rust. The edge of the rim on the front had lifted slightly from the inner edge of the bowl and was dented on the front. The ridge on the edge was still there and held the front spring on the wind cap in place.BBK5I took some photos of the stem to show the tooth chatter and worn surface of the stem near the button on both the top and the bottom near the button. There was also some deeper tooth marks on the underside of the stem.BBK6I used a small ballpein hammer to flatten the rim cap to the briar rim underneath. I worked on it to minimize some to the dents and dings in the brass rim.BBK7I cleaned out the remaining debris in the bowl with a Savinelli Pipe Knife. My tapping the hammer on the rim knocked some pieces of cake free so the knife cleaned up what remained. I used a brass bristle wire brush to clean out the inside of the wind cap. I was able to remove some of the rust on the inside with the brush.BBK8I scrubbed the shank with alcohol and cotton swabs to remove any of the dust from my quick ream clean up. It was amazingly clean. I also ran pipe cleaners and alcohol through the shank extension and the stem.BBK9I sanded the tooth chatter and the tooth marks on the horn stem with 220 grit sandpaper to remove them and blend them into the material. I also wanted to smooth out the roughness of the stem at those points.BBK10The cherry wood shank extension was dirty so I wiped off the exterior with an alcohol dampened cotton pad. I noticed that the end of the pressure fit tenon had a horn end cap to seal the end of the wooden tenon. I believe that addition preserved the tenon from shrinkage and splintering. The threaded tenon on the other end of the extension fit snug into the end of the horn stem.BBK11I polished the wind cap, rim cap and the shank cap with 1500-4000 grit micromesh sanding pads. I took some photos the pipe after the polishing was completed. It is a beautiful piece of briar.BBK12 BBK14 BBK13I polished the horn stem with micromesh sanding pads – wet sanding with 1500-2400 grit pads and dry sanding with 3200-12000 grit pads. I rubbed the stem down with Obsidian Oil between each set of three pads. I gave it a final rubdown of oil after sanding it with the 12000 grit pad and set it aside to dry.BBK15 BBK16 BBK17I stained the bowl with a Danish Oil and Cherry stain mixture.BBK18 BBK19After it sat for about 20 minutes I rubbed it down with a soft cloth to polish it. After the hand rubbing the grain stood out more clearly. The red stain and the brass caps really looked great together.BBK20 BBK21I gave the wooden friction fit tenon several coats of clear fingernail polish, being careful to keep it off of the horn cap on the end. That did the trick and the extension sat snug in the mortise.BBK23 BBK24I gave the bowl, shank and stem a thick coat of Conservator’s Wax and let it dry. I hand buffed it and gave it a second coat of the wax.BBK25I buffed the pipe by hand with a microfibre cloth and polished the metal with a jeweler’s cloth. The finished pipe is shown in the photos below. I love the way the grain just pops on this old pipe. The cherry wood shank extension adds not only length but also a touch of rustic to the pipe, though this particular piece of cherry wood has bark that is quite smooth. The dark striations of the horn stem also go well with the wood. The brass bands at the stem and the shank as well as the rim cap and wind cap give this old timer a real look of class. The finished pipe is shown in the photos that follow. It is a beautiful pipe to my eyes. Thanks for looking.BBK26 BBK27 BBK28 BBK29 BBK30 BBK31 BBK32 BBK33 BBK34


A First Horn Stem on a Throw Away Pipe


Blog by Dal Stanton

On a recent pipe foraging expedition at the Antique Market near Nevski Cathedral in the heart of downtown Sofia, Bulgaria, I saw this pipe on one of the tables I was methodically scanning.  It was a sad scene but a survivor.  It was a petite (5.25”) hexagonal paneled shape pipe with a diamond shank banded and it was beat up.  What got my attention through the sorry state of affairs was the stem.  The vendor made sure I knew that the stem was bone – at least that’s what I thought he said as he hyped the great deal before me in Bulgarian.  I have yet to collect a ‘bone’ stem pipe, if that is indeed what it is, of any variety so I decided to start the bargaining dance.  He also said it was from Greece, which I could not determine by looking at the faint markings stamped in the right side of the shank, Extra over Bruyere.  Five euros was the opening volley – about 10BGN or $5.70 – not high stakes.  After getting permission from the vendor to take the stem off to get a better look I tried a few gentle twists and it wouldn’t budge.  Without pause, I handed it back to the vendor not wanting to break it and sealing the deal by default, “You broke it, you own it.”  After twisting and pulling and pouring water on it, he also could not remove the stem –  which was to my favor.  We struck a deal at 7 BGN ($4) and I gave him a 10 Leva bill.  Without proper change he asked nearby vendors for help and received none.  I dug further in my pockets and produced two 2BGN bills – 4 Leva total small stuff.  I held the 10 and the pair of 2s in each hand and shrugging my shoulders and he took the pair of 2s and the deal was sealed – about $2.30 for the ‘bone’ stem pipe.  I thanked him for the discount, but made a mental note to pay the vendor the additional 3BGN on a future visit – a good vendor friend can be achieved!  At home I took pictures of my $2.30 acquisition and promptly dropped the pipe into an alcohol bath to decontaminate it and hopefully loosen the stem.  I wasn’t sure if the stem was simply inserted with a straight tenon or if the stem screwed into the mortise.  Hopefully, this would all become clear after the bath got a chance to soften the cemented crud – which was in great supply.  The pictures I took when I was home tell the story.Horn1 Horn2 Horn3 Horn4 Horn5 HORN6 Horn7 Horn8 Horn9The alcohol bath did the trick and I was able to remove the stem and get a look at the internals.  Looking down the mortise, there was a solid wall of hardened tar muck that closed access to the bowl.  The airway of the stem was also blocked by crud.  The rim still showed lava flow and tar caked on the top, but I could see the rim and the damage done to it as well as to the bowl.  I decide to have a second alcohol bath to loosen things up further and to clean up the rim to better assess how to proceed.

With question in my mind about the true nature of the stem, I sent some pictures of the stem to Steve with the question, “Horn or Bone?”  His guess was that it is horn because of the tooth chatter on it.  He also referenced his recent post, A Ropp La Montagnarde Deposee 298 Horn-Cherrywood-Briar and a helpful essay (My Process for Repairing and Polishing Horn Stems) to give me input on working with horn stems.  He did say that he had never seen a horn stem spliced like this one.  I’ve included that picture (4th) he referenced below – interesting factoid.  While the pipe got its second alcohol bath I read the essay on repairing and polishing horn stems.Horn10 Horn11 Horn12 Horn13Well, that was gross.  The second bath finished, I take the stem and start to push bristled pipe cleaners dipped in isopropyl 95% through the airway from the tenon toward the button.  As I push, from the button air hole oozed what looked like a seal brown loaf of lava gunk toothpaste – nasty, nasty stuff.  But I guess, the ooze of magna putridum was good news as the airway was in the process of being reconquered.  After many pipe cleaners, bristled and smooth, the stem starts coming clean.  I put the stem aside and I grab the stummel from the bath and work on the mortise attacking the tar gunk blockage.  After many Q-tips and pipe cleaners dipped in alcohol, it too is reclaimed.  I’m thankful that Q-tips are plentiful in Bulgaria.  Taking a brass bristle brush which will not scratch the wood surface further, I work on the rim to remove the lava and thick oil/gunk buildup.  I finish by working the stummel surface with a toothbrush and cotton pads.  The pictures show the progress (I’m on the 10th floor balcony and notice that the sun goes down on my labors!) and I take a close up of the rim to assess how to tackle it.Horn14 Horn15 Horn16 Horn17 Horn18

Before working on the rim, I need to ream the bowl to bring it down to the briar.  The cake is very light.  After I get my Pipnet reaming kit out and ready the smallest blade, I realize that the bowl is too small and the blade would only impact the very top area of the chamber.  Then I think of the Savinelli Pipe Knife that I snagged on eBay a week ago that my son-in-law will be bringing to Bulgaria in a few weeks when he and our daughter visit from Denver!  My Winchester pocket knife will have to do the job.  To avoid cutting into the chamber wall I reverse the blade angle to scrape it over the wall.  It works pretty well as I work the blade down into the bowl which is more conical coming to a point at the bottom than oval shaped.  I follow the Winchester by sanding the chamber wall with 120 grit sanding paper rolled up then finishing with 240 grit.  I want the bowl to be as clean and smooth as I can get it.Horn19 Horn20 Horn21Returning to the work table the next day after work, I’ve had some time to think about the rim repair.  I take another close up shot after finishing the reaming and sanding the bowl to see where I am.  The stummel reminds me a bit of a bulldog shape with the cap of the bowl rising from the panels.  The challenge is that the rim is pretty chewed up and there isn’t a whole lot of wood to work with on the cap!  I decide to establish a thin rim by topping the bowl, just enough to establish a ring, then fudge on the inside by cutting a bevel to remove the damage and on the outside sand to round up to the rim’s ring hopefully removing the damage and leaving a balanced stummel.  This is the plan. I use 240 grit sanding paper on a chop block as a topping table.  I rotate the stummel on the table very conservatively, checking the progress after every few rotations.  I’m careful to keep the rim level!  The pictures show the progress.  The last picture below shows the result.  I do not want to take more briar off at this point.  A rim is established but with significant incursions on the inside of the rim at 2, 7 and 11 o’clock with smaller cuts at 8 and 10.  An inside bevel should take care of the 8 and 10 o’clock damage but will not fully eradicate the larger injuries to this rim. Horn22 Horn23 Horn24 Horn25In order to fill in the deep crevices I decide to mix a thick putty of briar dust and super glue. I prepare the rim by first cleaning it thoroughly with alcohol and a cotton pad getting rid of residue left over from the topping and using the dental pick to clean out any loose stuff stuck in crevices.  I want a good bond to form to fill crevices but also to form an even resistance on the inner rim when I cut the bevel later.  I use toothpicks to apply the briar dust putty to the cuts and bruises.  I decide to apply it to the small wounds too and then put the stummel aside to allow the putty to cure overnight.  I hope this approach works!Horn26 Horn27 Horn28With the super glue on the work table, I take the horn stem and look at it more closely.  I read the essay Steve wrote especially for working with horn stems and understand that the approach is not as aggressive as working with vulcanite or Lucite stems.  The goal is to repair surface areas that are broken and can splinter and become porous and treat the entire stem surface with polish and waxes to harden and smooth the surface.  There is tooth chatter above and below the bit, with some opening of the horn surface.  I also identify minuscule holes on the edge of the bit.  There was also a crack that ran between the two ‘bonded’ parts of the stem.  I have no idea whether cracks in horn stems will ‘creep’ but following the general principle of closing up the surface area, I decide to apply some super glue to the crack at least to seal it.  I start with 240 grit sanding paper by mildly sanding above and below the bit addressing the chatter and open, porous area.  I sand lightly not trying to totally remove the open areas but preparing it for a super glue patch to fill it in and close it.  After sanding, I apply super glue to the bit area making sure to fill the porous, softer surface.  Super glue was also applied to the small holes on the edge of the stem as well as to the crack.  The pictures show the progress.HORN29 Horn30 Horn31 Horn32 Horn33 Horn34With the super glue cured after sitting overnight, I use 240 grit sanding paper to bring the bump of the super glue patch down to the stem surface level. I gingerly use the flat square corner of the needle file to cut into the super glue to redefine the button lip.  My goal is to blend the patch with the horn stem so I feather the sanding outward toward the stem.  You can still see the darker patch but it should blend more as I polish the horn stem.  While I smooth out the super glue patch to fill in the crack on the splice line I also detect a small ridge along one side of the stem where the bonding between the two horn pieces come together.  I sand that down with 240 grit paper as well.  My goal is a smooth hardened horn surface.  Pictures show patches on the top and bottom.Horn35 Horn36With Steve’s essay on horn stem repair informing my steps, I use medium and fine grit sanding sponges on the entire stem.  I want to feather the patches with the rest of the stem surface with the goal that transitions from super glue patches to the horn surface are not detected either by touch or with the tongue on the button area. I’m pleased with the blending I see as the marks from the 240 grit paper disappear – even the crack (first picture center bottom) at the horn splice point is less visible.Horn37 Horn38Now I polishing the horn stem with the normal cycles of micromesh sanding pads. I wet sand using 1500 to 2400 pads and follow with a hearty application of Obsidian Oil.  The horn absorbs the oil readily.  After the first micromesh cycle, I noticed that what I had been calling a ‘crack’ at the splice joint had almost disappeared.  Perhaps the wound was not a crack but a sharp cut into the horn.  Either way, the polishing process was going well.  I also polish the metal tennon with the 1500-2400 pads to clean and shine it.  Next I dry sand using 3200 to 4000 and again apply Obsidian Oil.  Again, using 6000 to 24000 micromesh pads I dry sand and then apply a final coating of Obsidian Oil and put the stem aside to dry.  The blending looks good – even though the patch areas are visible, with the blending and polishing the patches now have more of a natural horn look.  The pictures show the micromesh progress.Horn39 Horn40 Horn41The stummel has had ample time for the briar dust super glue putty patches to the rim to cure.  I take a close up of the cured rim patches to mark the progress and then use 240 grit sanding paper to strategically take the briar dust patches down to the rim surface level.  I want to remove the mounds before returning the stummel to the topping table outside on the balcony for a few more rotations on 240 grit paper just to make sure the plateau is flat.Horn42 Horn43 Horn44Now I cut a bevel inside the rim to address the rim damage and to finish smoothing out the briar dust super glue patches.  I use a tightly rolled piece of 120 grit sanding paper to establish the bevel by gradually rotating the bowl in my hand while sanding to achieve a gradual uniform bevel.  Then, with the bevel cut, I use 240 grit paper, again tightly rolled to present a harder surface to the wood, to finish it.  The rim repair looks good.  The three main patched areas are barely visible and blending well.Horn45Now to the external surface of the stummel.  I remove the metal band and apply Murphy’s Wood Soap with a cotton pad to see to remove any leftover tars and oils on the surface.  The cap of the bowl shows the most damage.  At the top of the picture above you can see pitting in the briar.  I use medium and fine grade sanding sponges to work the pitting out of the cap around the circumference of the rim.  Satisfied, I decide not to stain but to restore the original stained surface – I like the color and the grain is promising.  I begin working on the stummel with micromesh sanding pads beginning by wet sanding using 1500 to 2400. Following this, dry sanding 3200 to 6000, then 6000 to 12000.  This little pipe is starting to pop.Horn46 Horn47 Horn48 Horn49 Horn50After remounting the metal band and attaching the horn stem, I complete the polishing with the Dremel wheels by applying Blue Diamond to stem and stummel with a felt Dremel buffing wheel.  I’m careful to work the horn stem lightly so I don’t overheat the surface and cause splintering or an opening of the surface.  Following the Blue Diamond, stem and stubble receive several coats of carnauba wax with a cotton cloth wheel.  Finally, I give a Dremel wheel buff with a clean cotton cloth wheel.  To raise the shine of the horn and briar, I give the pipe a vigorous buffing with a microfiber cloth.

I’m very surprised how well this little pipe cleaned and polished up.  The rim repair was daunting but amazingly the briar dust patches are practically invisible and blend well with the natural grain movement.  My first horn stem repair looks good from where I sit.  I’m not sure who smokes a pipe this small but someone did before I received it and I’m happy to return it to service.  I couldn’t resist a ‘before and after’ shot to start things.  Thanks for joining me!Horn51 Horn52 Horn53 Horn54 Horn55 Horn56 Horn57 Horn58 Horn59


Rejuvenating a Don Roberto Cherrywood 1344


Blog by Steve Laug

When Jeff and his wife took a trip to Southern California he could not stay away from the antique shops and looking for pipes. He found quite a few that will over the months show up on the blog after refurbishing. The one I chose to work on next came in a box with the Don Roberto logo and name on it. It is labeled a Lancelot pipe. On the end of the box it reads Don Roberto Lancelot over 9489 which immediately made me think of the GBD numbering system and Italy which threw me off from my GBD assumption. I had looked at the pipe a few months back when he sent it to me for restoring but had put in the refurbishing bin and forgotten what was in the box.Don1I took the box out of the bin of pipes awaiting restoration and brought it to my work table. I opened the box and found myself looking at a Cherrywood or a Poker shaped pipe. It was sitting on top of a pipe sock that did not look original.Don2I took the pipe out of the box to have a look at it. The finish originally must have been virgin or oil finished. The stamping on the pipe was interesting – on the left side of the shank it was stamped with the logo like the one on the box, Don Roberto separated by at sword over Lancelot. On the right side of the shank it was stamped 1344 over Italy. There was something familiar to me about the shape and the shape number so I looked it up and found it on my GBD shape chart. 1344 was the number for a GBD Poker so the number and shape matched. The mystery to me was the Italy stamp. How does that fit into the picture? The stem also had a worn Don Roberto and sword logo on the left side of the saddle.Don3The rim was in bad shape. It looked as if it had been knocked out on concrete. The entire crowned surface of the rim was covered with road rash – stippling left behind from the concrete. There was also some tars and oil on top of the damage. The inner edge of the bowl looked to be in round and undamaged and the inner bevel looked to be in good condition. There was a groove carved on the bottom of the bowl and part way up the front side. Probably it was cause by aggressive cleaning with pipe cleaners over the years but I cannot be sure. The stem had a heavy coat of calcification on the end and the button hiding quite a bit of tooth damage and tooth marks.Don4I took a close up photo of the rim top to more adequately show the damage to the crowned surface. The light cake in the bowl is also visible in the photo.Don5I sanded the crowned rim with a folded piece of 220 grit sandpaper to preserve the crown and not flatten it on a topping board. Care must be taken to keep the angle of the curve and the line around the top of the bowl sides equal. I sanded until I removed damage to the bowl top. I wiped down the bowl with acetone to remove the grime and the wax on the briar. The photo below shows the bowl top before I sanded out the scratches.Don6The next photos show the bowl after the scrubbing with acetone.Don7 Don8I sanded the rim some more with the folded 220 grit sandpaper and also worked on removing the calcification on the stem. It took a lot of sanding to get the rim smoothed out and also to remove the buildup on the stem.Don9 Don10There were a lot of tars and oils lining the walls of the mortise. I used a dental spatula to scrape the walls before scrubbing the mortise with pipe cleaners, cotton swabs and alcohol.Don11I scrubbed the airway in the stem with pipe cleaners and alcohol. As I cleaned it a small reducing ring popped out of the tenon. I have never figured out why people put these constrictors inside o the tenon but this one had one. It is shown in the second photo below. I used the spatula to scrape away the buildup on the stepped down area on the end of the tenon.Don12I used a drop of black super glue to repair a deep tooth mark on the underside of the stem near the button and also to repair a tooth mark in the surface of the top side of the button. I sanded the patch with 220 grit sandpaper to smooth it out and blend it into the surface of the stem.Don13I wet sanded the stem with 1500-2400 grit micromesh sanding pads and gave the stem a rubdown with Obsidian Oil. I dry sanded with 3200-4000 and 6000-12000 grit pads and gave the stem a coat of oil between each set of three. I gave it a final rubdown of Obsidian Oil and set the stem aside to dry.Don14 Don15 Don16I wet sanded the bowl and crowned rim with 1500-2400 grit micromesh sanding pads and dry sanded it with 3200-12000 grit pads. The polishing with the micromesh really made the grain stand out. The pipe is well laid out to follow the grain. The sides of the bowl are covered with birdseye grain that wraps around to the front and back to perfectly aligned cross grain. The top and bottom of the bowl as well as the shank all have cross grain as well. I cannot find a fill in the briar – it is one great looking piece of briar.Don17I buffed the bowl and stem with Blue Diamond on the wheel and then gave it multiple coats of carnauba wax. I buffed it with a clean buffing pad and then by hand with a microfibre cloth. The finished pipe is shown in the photos below. The layout of the grain with the shape of the pipe is exceptionally well done. Look at the stunning grain around the bowl. Thanks for looking. Don18 Don19 Don20 Don21 Don22 Don23 Don24 Don25
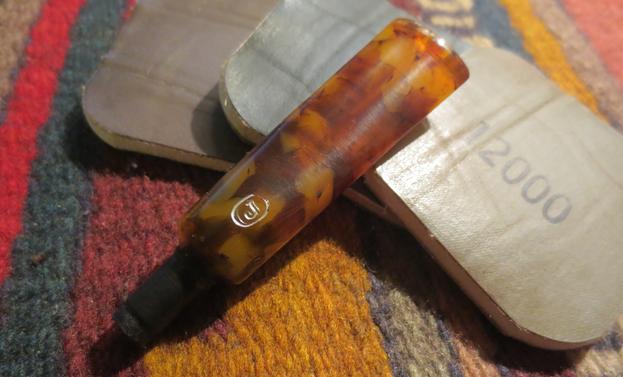
Cleaning up a Unique Savinelli Autograph Grade 4


Blog by Steve Laug

My brother found this Savinelli Autograph on a trip through Nebraska. He picked it up in an antique shop. It was in very good shape with a light cake in the bowl. It is a large pipe that is sandblasted on three sides of the bowl and the shank. The sandblast finish was very clean and the smooth portion was also smooth and undamaged. The Pipes and Cigars website http://www.pipesandcigars.com/pipes/73592/savinelli-autograph-pipes/ says that:

“Savinelli Autographs are as individual as your fingerprints. Each is the dream of an expert pipe maker realized in briar and personally selected by Giancarlo Savinelli. Every Autograph is 100% ‘Hand made’ using only the highest grade of Sardinian and Corsican Briar Plateau blocks. Well grained briar, worthy of becoming an Autograph is rare and therefore, these beautiful masterpieces are very limited and coveted by pipe smokers worldwide. Truly an achievement to be treasured, Autographs are available in smooth, paneled, sandblasted brown or black.” The Autograph my brother found is a paneled version.

On the Savinelli website it says this about the Autographs:

This rare, unique and irreplaceable pipe is shaped from the raw material following the grain and the “fiammatura” (“flame”), which Mother Nature has put at our disposal, according to the artistic mood of our master craftsmen. The wood is natural and the shape is unique for each piece. The name “Autograph” was created from the handwritten signature of Achille Savinelli Senior printed on the mouthpiece.” 

“These pipes are graded according to very strict parameters: the 0 (zero) category goes from 000, an outstanding masterpiece, to 00 and then 0. The grading then goes down to 8, 6, 5, 4 and 3.” The one my brother found is stamped with a 4 thus it is a 4 Grade pipe.

The Savinelli website went on to confirm that the Autograph are available as ‘Panel’ pipes which have both a smooth and a sandblasted part or are completely sandblasted. http://www.savinelli.it/en/autograph-lisciaAuto1The rim was dirty but undamaged. The inner and out edge was in perfect shape. The stem was oxidized and had some tooth marks on the top and bottom sides near the button.Auto2There was a smooth spot on the underside of the bowl and shank that is stamped Savinelli Autograph over the number 4 over Italy. The finish was a little dirty on the bottom of the shank and would need to be scrubbed off. The first photo below shows the underside of the bowl and the shank. The second photo shows the stamping on the pipe. The third photo shows the state of the stem.Auto3 Auto4My brother is doing all of the initial cleanup work for me. He reamed the bowl and cleaned up the rim and the shank. He scrubbed out the internals in the shank and the stem. He scrubbed the stem with Murphy’s Oil Soap to remove the stickiness and some of the surface grime on the stem. When I received the pipe it was in very good shape. The finish was very clean. The bowl and the rim were cleaned. The stem had some oxidation and there were tooth marks on the top and underside of the stem.Auto5 Auto6I took a close up photo of the rim to give a clear view of the cleanup Jeff had done for me. He is doing some excellent work preparing the pipes before I get them. I can’t thank him enough as it saves me a lot of time and work.Auto7I quickly swabbed out the mortise and airways in the shank and in the stem with pipe cleaners, cotton swabs and alcohol. It did not take too much work to clear out the sanding dust and debris from my work on the pipe.Auto8The stem had the autograph of Achille Savinelli Senior printed on the mouthpiece. It was faded and worn and the gold colour in the stamp had disappeared. I cleaned off the oxidation with 220 grit sandpaper being careful around the autograph. I rubbed it down with some Obsidian Oil and used Rub n’ Buff Antique Gold to fill in stamped area on the stem. I rubbed it in place with a soft cloth.Auto9 Auto10I was able to sand out the tooth chatter on the underside of the stem with the 220 grit sandpaper. There were several deeper tooth marks on the top side. I patched them with a drop of black super glue. I let it harden over night and sanded it smooth to blend into the surface of the stem.Auto10aWith the stem cleaned and repaired I just needed to polish it. I wet sanded it with 1500-2400 grit micromesh sanding pads to begin to polish it and remove the remaining oxidation. I worked carefully around the signature so as not to damage it. I rubbed the stem down with Obsidian Oil. I dry sanded it with 3200-12000 grit pads using the Obsidian Oil between each set of three pads. I gave it a final rubdown and let it day.Auto11 Auto12 Auto13I buffed the stem with Blue Diamond on the buffing wheel and gave the stem multiple coats of carnauba wax. I hand waxed the bowl with Conservator’s Wax and buffed the bowl and stem with a clean buffing pad. I hand buffed the pipe with a microfibre cloth to deepen the shine. The finished Autograph is shown in the photos below. It is a unique and stunning pipe made in a shape that is unique to this particular pipe. The combination of smooth and sandblast finish works well on this panel version of the Autograph. The finished pipe is shown in the photos below. If any of you are interested in adding this one to your rack let me know. I am sure we can make a deal. Thanks for looking.Auto14 Auto15 Auto16 Auto17 Auto18 Auto19 Auto20 Auto21

Restemming and Restoring a Tiny KBB Rocky Briar 1540B Salesman’s Pipe


Blog by Steve Laug

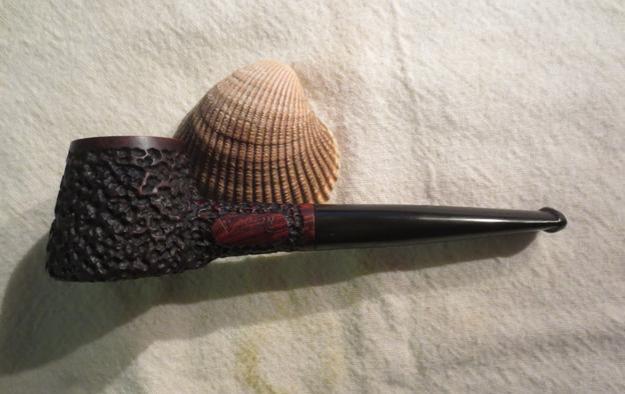
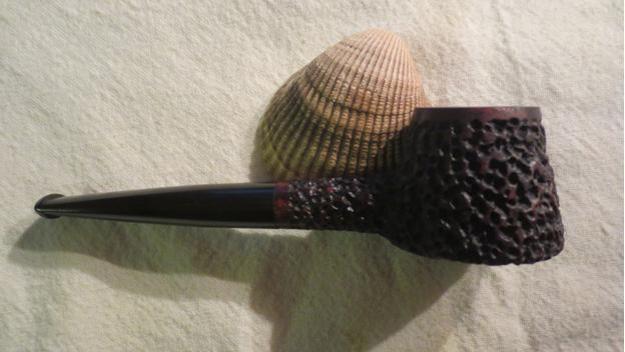
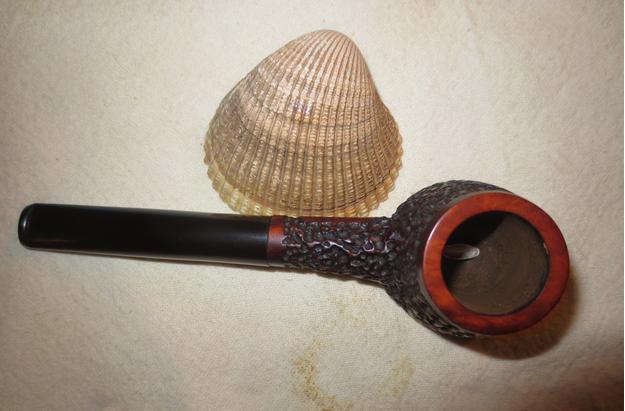
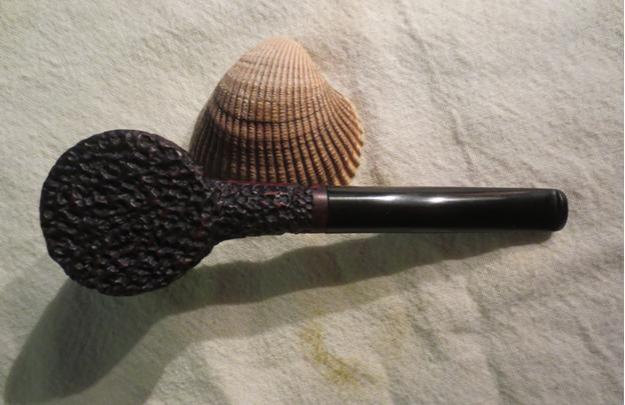
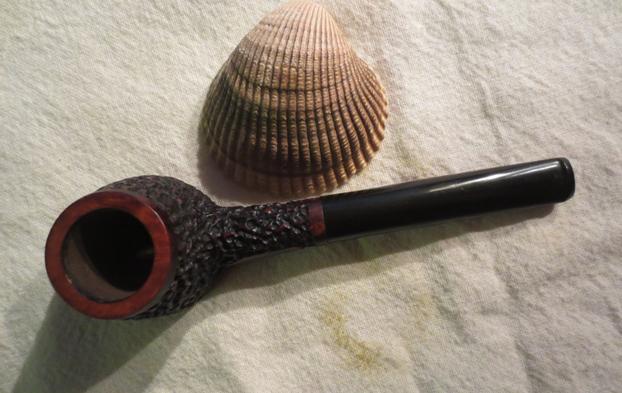
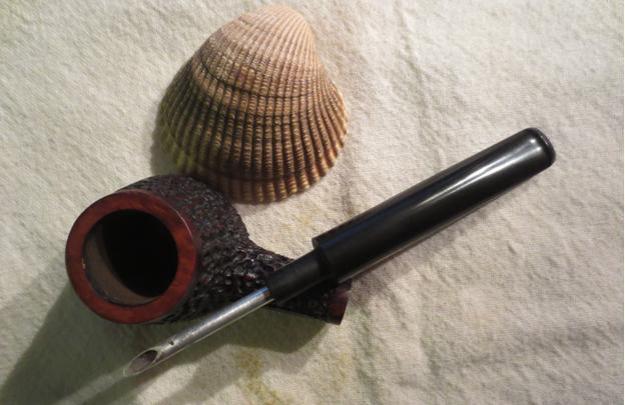
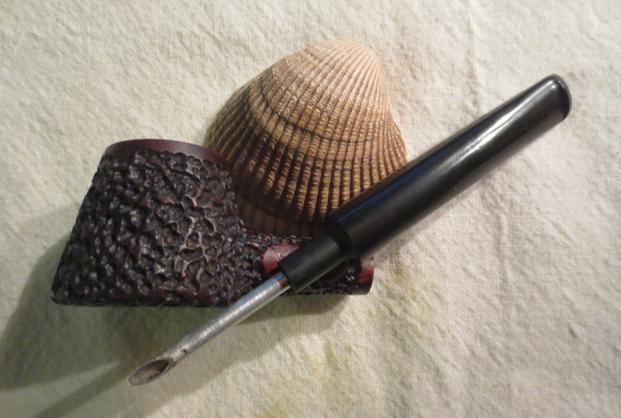
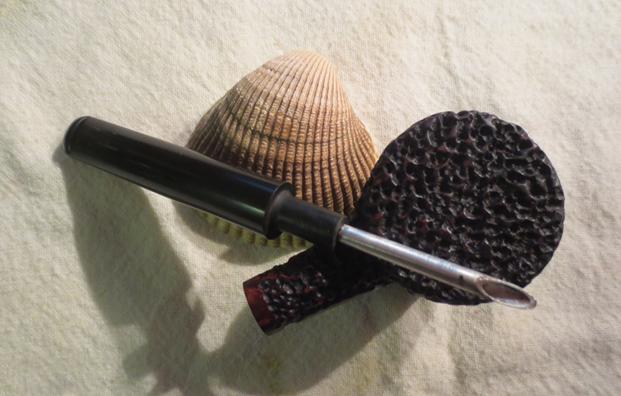
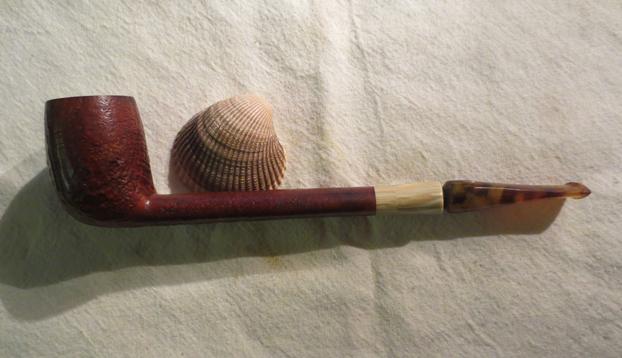
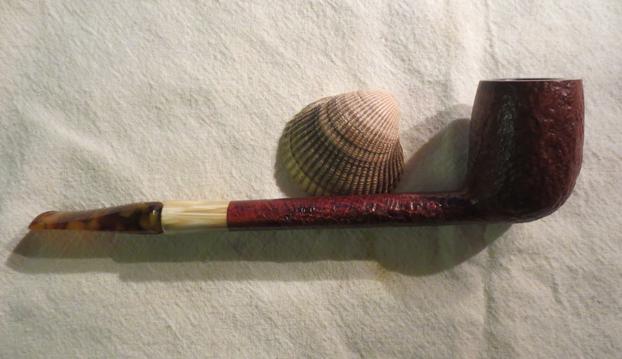
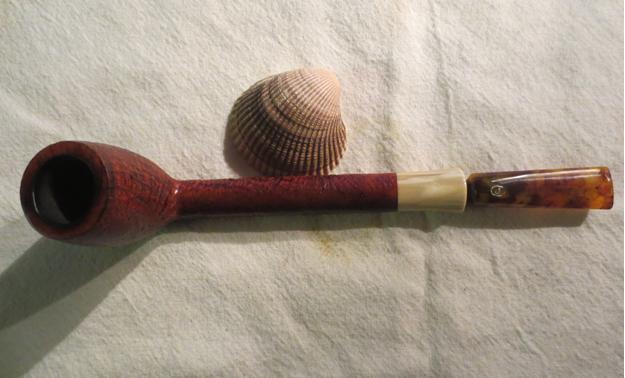
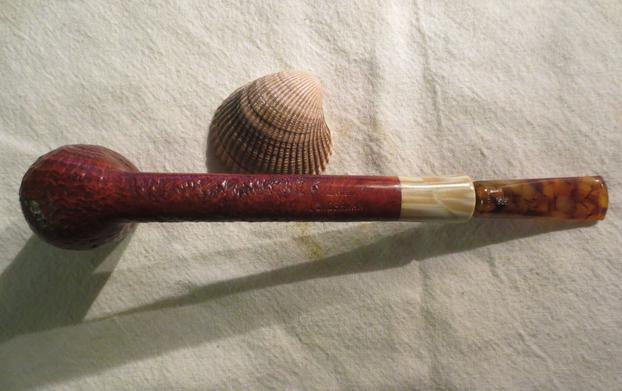
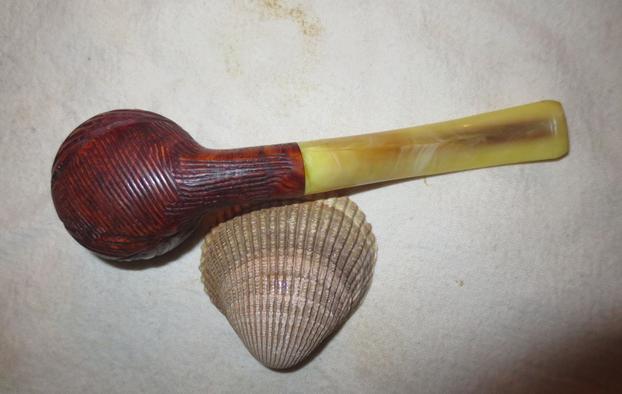
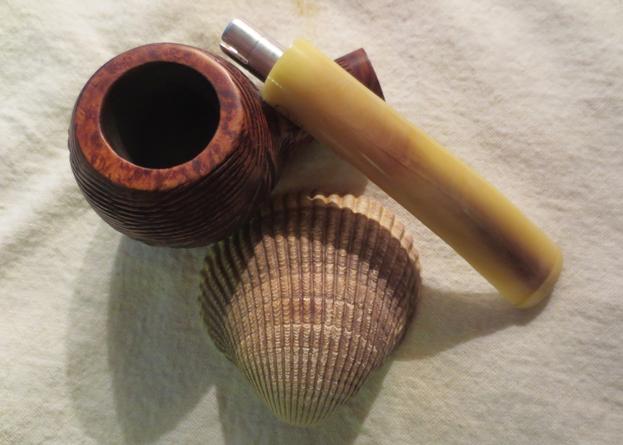
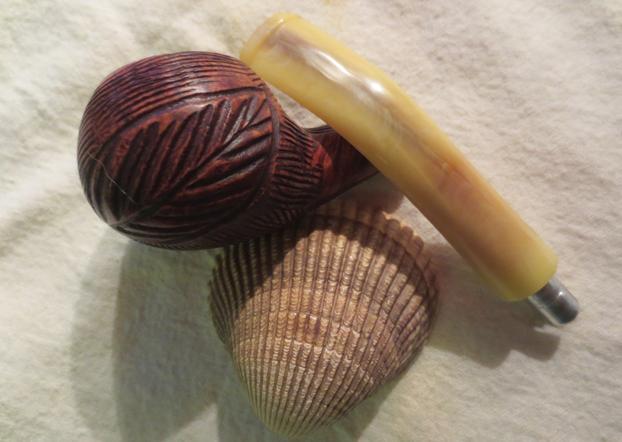
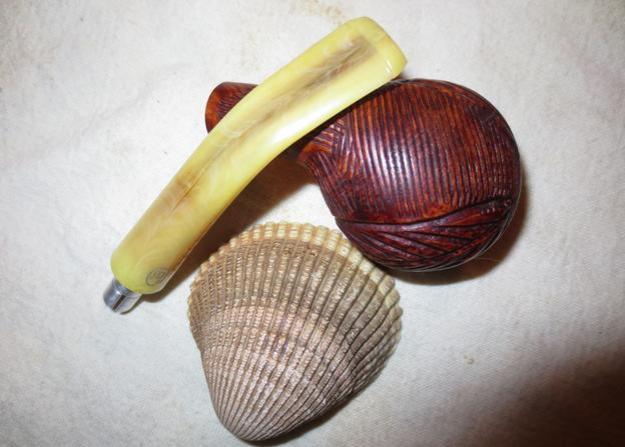
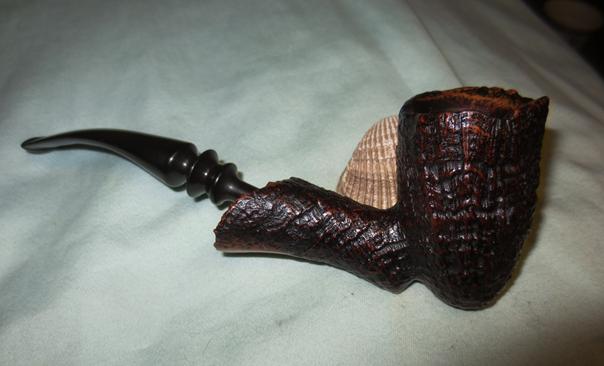
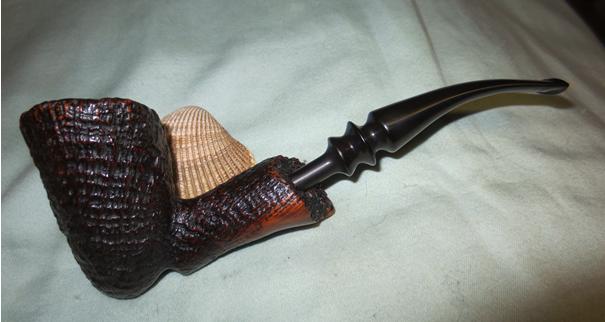
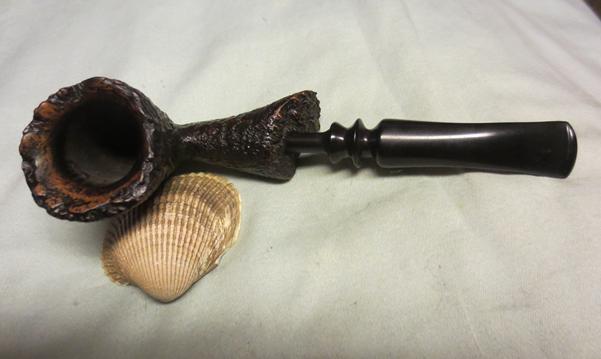
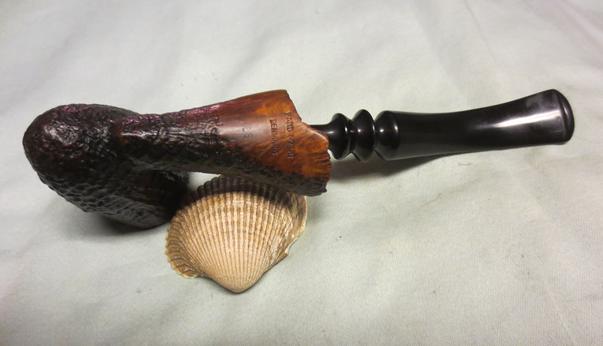
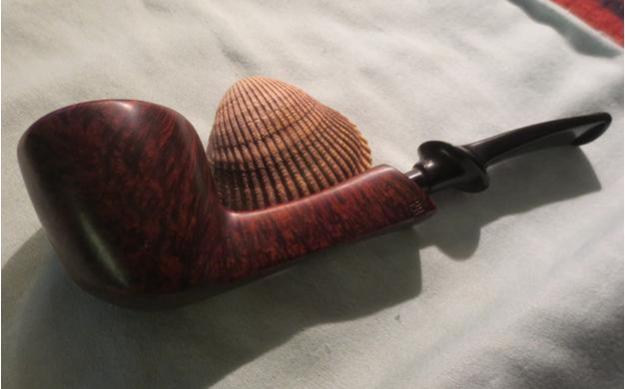
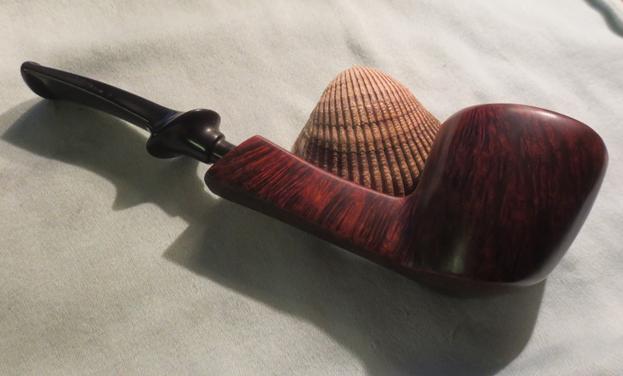
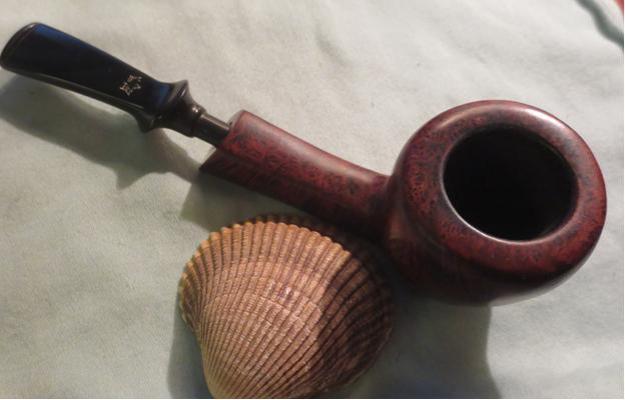
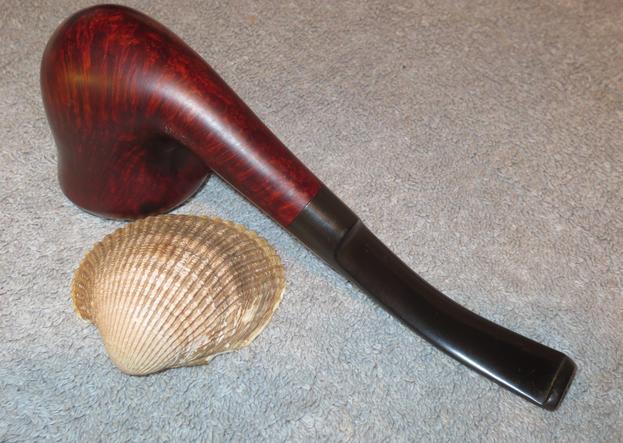
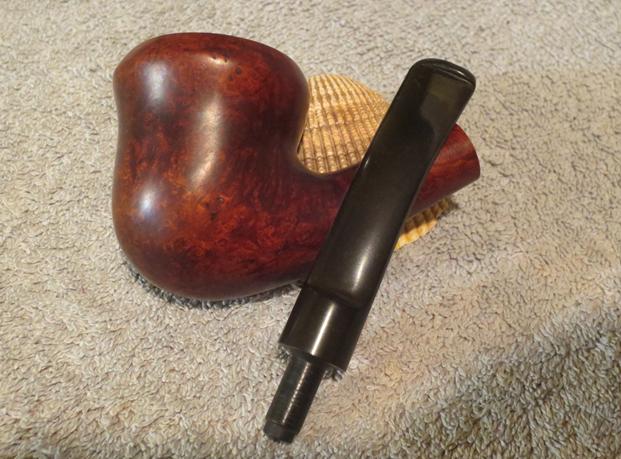
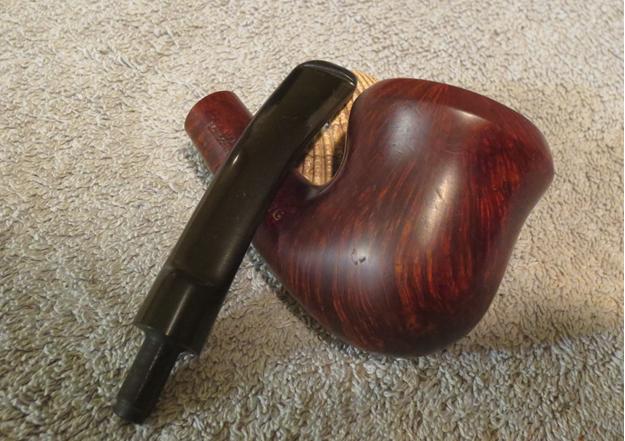
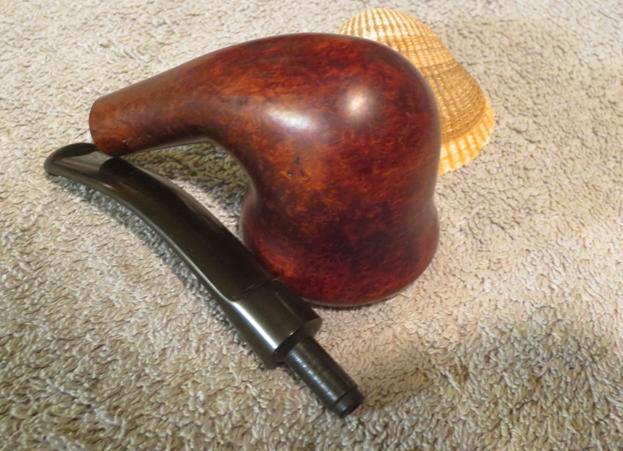
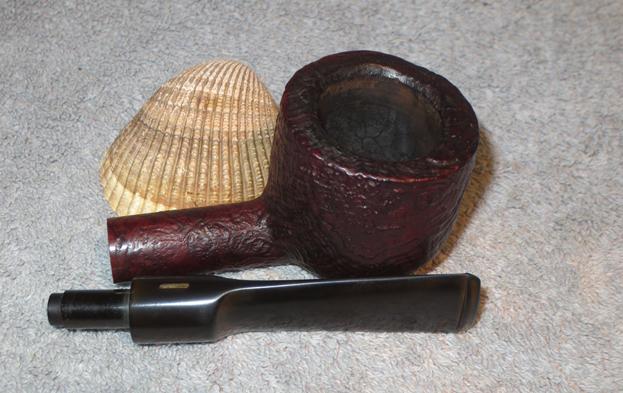
In the box of pipes my brother sent me was a beat up leather pipe and tobacco pouch. I pushed it aside and cleaned up the rest of the pipes in that particular part of the box. The other evening I was doing a bit of sorting and I took out the pouch and looked it over. It had a large tear on the bottom edge. The zipper was worn and hard to work and the leather was brittle. I almost tossed it in the bin but felt something inside of the pouch. I looked at the inside of the underside of the pouch and there was nothing there. I open the broken zipper on the top of the pipe and inside was a very small – tiny if you will – pipe. The tenon was broken and the stem and bowl sat in the pouch.  I took it out of the pouch to have a look. KBB1It was a KBB that was stamped Rocky Briar. Why it bore that stamp I have no idea as it is a smooth briar. There is no rustication or and carving on the bowl at all – just very smooth. Underneath the KBB in a cloverleaf stamp and the Rocky Briar on the left side of the shank it read Reg. Pat. No. 298978. On the right side of the shank it reads 1540B which it was the shape number. All of that seems very normal but did I say that this pipe is tiny? It is only 4 ¾ inches long, 1 1/8 inches tall. The diameter of the bowl is 5/8 inches and the chamber is 7/16 inches in diameter. All is proportional and well laid out. It makes me wonder if it was not a salesman’s pipe.KBB2The tenon was snapped in the shank but no damage had been done to the shank itself. Really the pipe looked quite good other than the broken tenon.KBB3Obviously the pipe had been smoked and quite often. There was a fairly thick soft cake in the bowl and the rim top had a coating of tars and oils. The back left side of the rim had a burn mark on it that was quite large.KBB4I took a photo of the pipe before I began to work on it. The finish was very shiny – like it had been given a coat of varnish. The rim was obviously rough as you can see from the photos but the rest of the pipe looked good. The stem had tooth chatter on the top and the bottom of the stem near the button. The logo on the shank was a clearly stamped circle within a circle. The broken tenon would need to be pulled and if possible the stem given a new tenon.KBB5I used a drywall screw to pull the broken tenon. I screwed it into the broken tenon in the shank and wiggled it free. Before I pulled it out of the shank I took the following photos.KBB5a KBB5bI pulled the piece of tenon out of the shank and reamed the bowl with the only reamer that would fit in the tiny opening – a Savinelli Pipe Knife. I scraped back the cake to bare briar.KBB6The burned area on the top of the bowl made it necessary to top the bowl on the topping board using 220 grit sandpaper.KBB7I scrubbed off the briar with acetone on a cotton pad. I wanted to clean off the sanded rim and the shiny coat on the bowl so that it would be easier to stain the bowl and rim to match.KBB8I used the Dremel and sanding drum to flatten the face on the stem and then set up my cordless drill to drill out the end of the stem. I hand twisted the stem onto the drill bit. I started with a bit slightly larger than the airway in the stem and worked my way up until I had opened up the airway large enough to hold the tenon in place.KBB9I decided rather than trying to turn a small tenon that would fit in the shank I would clean up and use the existing broken tenon. Fortunately on these old pipes the tenon was quite long. I glued the broken tenon piece into the newly drilled opening in the stem with black super glue. I filled in around the tenon piece with the super glue using a dental pick and a piece of paper clip. I smoothed out the glue and aligned the tenon in the shank and set the stem aside to let the glue cure. Once it hardened, I sanded the new tenon with 220 grit sandpaper to remove the excess glue and make the fit in the shank smoother.KBB10I put the stem in the shank and sanded the shank and stem to make the transition smooth. Once I had the stem fit adjusted I sanded the shank and stem with a 1500 grit micromesh sanding pad to remove the scratches.KBB12 KBB13I wet sanded the stem with 1500-2400 grit micromesh sanding pads. I rubbed it down with Obsidian Oil. I dry sanded it with 3200-4000 grit pads and gave it a second coat of oil. I finished sanding it with 6000-12000 grit pads and gave it a final coat of Obsidian Oil. I set the stem aside to dry.KBB15 KBB16 KBB17I gave the bowl a first coat of Medium Brown Stain with a staining pen to serve as an undercoat. KBB18I realize that for many of us who read about pipe restoration the measurements of this pipe really do not give a clear picture of the true size of the pipe. To give more of a sense of perspective to the diminutive size of the pipe I decided to take two photos of the tiny bowl with a regular sized Comoy’s long shank billiard. The first photo shows the pipe above the larger one. The second photo shows the bowl fitting inside of the regular sized bowl. Hopefully that helps give you a clear idea of the tiny nature of the pipe.KBB19I gave the bowl a second coat of stain using a Danish Oil Cherry stain. I wanted a bit of contrast to the brown and also to enhance the reds in the briar.KBB20 KBB21I rubbed the bowl down with a soft cotton cloth to spread the stain coat out and rub it into the briar. The next photos show the look of the pipe after a quick hand buff.KBB22I buffed the bowl with Blue Diamond on the buffing wheel to polish it. I gave the bowl several coats of carnauba wax and buffed it with a clean buffing pad. I hand buffed it with a microfibre cloth.KBB23KBB24I gave the bowl and stem another coat of carnauba wax and lightly buffed it with a clean buffing pad. I hand buffed the entire pipe with a microfibre cloth. The finished pipe is shown in the photos below. It came out really nicely. Looking at the pipe is hard to tell from the photos the tininess of the pipe as all is proportional. The seashell in the photo is the same one that I use in all of the final photos and with this pipe it seems quite large. Thanks for looking.KBB26 KBB27 KBB28 KBB29 KBB30 KBB31 KBB32 KBB33

A WDC Bakelite/Briar Pipe like none I have seen before


Blog by Steve Laug

When my brother sent me this pipe I have to say I was surprised and enamored with it. I have cleaned up a lot of WDC pipes over the years and have come to really like them. There is something about them that always gets my attention. The workmanship is generally well done. The materials used are good quality. The briar always tends to have some flaws and is never perfect. But there is something about the brand that I like. Well this pipe is an oddity to me. It is a shape that is similar to some of the CPF pipes I have cleaned up and the combination of briar, brass and Bakelite it really nicely done. The first difference is that this one has a flat rectangular shank and saddle stem. The Bakelite base is rounded and flows into the flattened shank and stem. The stem is also Bakelite or Redmanol as the case may be. It is a rich reddish colour that is translucent and the light really plays with. The second difference is that in a lot of this style pipe the threaded connector and bottom of the bowl is metal. On this one it is white porcelain. When the bowl is removed the threaded connector is also porcelain – a single porcelain unit from the cupped bottom of the bowl to the connector. Those two differences intrigued me.WDC1There is a brass spacer between the base and the briar bowl and at some time in its life the spacer had been reversed and the sharper edges scarred the bowl. The Bakelite is actually notched to receive the sharp turned down edges of the spacer. The bowl had lots of dents and scars – character marks that I wish could talk and tell the story of the travels of this old pipe. The brass rim had long since come loose and was easily removed but for some reason never disappeared as it clung to the rim of the pipe. In the next photo you can see the rim top and the porcelain bottom of the bowl… it almost looks like the old milk glass that my grandmother collected.WDC2After looking at the two pictures above that came from my brother I was looking forward to seeing the pipe in person. When it arrived and I finally took it out to work on it was all that I had expected. The stem was over clocked so that would need to be addressed but I lined things up and took the next set of photos to show what the pipe looked like after my brother did an amazing job cleaning it. (It is great to have him work with me – it really speeds up the process on the restoration. He reams and cleans the pipes and does the dirty work of reaming and removing the debris of the years.) I looked it over to see if there were identifying marks. What I thought was brass may all be what is stamped on the right side of the band – 14K Gold Plated. The left side of the band bears the inverted WDC triangle logo.WDC3 WDC4I took a close up photo of the rim top to show the dents, scratches and scars on the surface. The photo also shows the porcelain cup in the bottom of the bowl. It has three round air holes for directing the smoke into the bottom chamber and into the stem.WDC5I dismantled the pipe to show the many parts that went into its construction. The photo below shows the broken down pipe.WDC6The next photos show the over clocked stem. (I had removed the loose band at this point in the process.) Once the base was screwed onto the stem it was grossly overturned. The metal tenon was set in the stem so it would need to be heated to be able to repair this.WDC7I heated the metal tenon with a lighter and once the glue softened I was able to align the stem and shank very easily. Underneath the band the number 43 had been scratched into the Bakelite shank. I am not sure if that is the shape number or if it is the “autograph” of the assembler of the pipe. Either way it is something that remained hidden for many years. WDC8I set the base aside and worked on the bowl. I removed the rim cap and cleaned off the glue that remained behind on the top of the bowl. It was rough and I was thinking that it was reason that the cap was no longer smooth. I scrubbed out the glue residue in the inside of the rim cap as well with alcohol and cotton swabs. I used a flat blade screw driver to smooth out the interior flat surface of the cap. I wiped down the bowl with acetone to remove the remnants of the finish and then glued the rim cap back in place with an all-purpose glue. I polish the rim with some micromesh and metal polish. I decided to leave some of the dents and dings as to me it gave the pipe character.WDC9 WDC10I cleaned the surface of the Bakelite base and sanded the whole base with micromesh sanding pads from 1500-12000 grit. I rubbed the base down with Obsidian Oil several times throughout the process to give the micromesh some bite as I polished the base. WDC11WDC12I gave the internals a quick clean with alcohol and cotton swabs to remove any of the sanding dust that might have found its way into the bowl base and shank. I also cleaned the airway in the stem at the same time with alcohol and pipe cleaners.WDC13I roughened the area on the base that would be underneath the band to give the glue something to bind to. I used an all-purpose glue and applied it sparingly to the shank. I had previously polished the band with metal polish to remove any tarnish and give it a shine. I pressed it in place and laid the base aside for the glue to set.WDC14I cleaned the inside of the space plate with alcohol and cotton swabs to remove the debris of the years. The spacer appeared not to have been glued in place so I left it that way. I polished it with micromesh sanding pads 1500-4000 grit until it gleamed. I laid it aside until I was ready to put the pipe back together.WDC15I turned my attention to the stem. There were some light tooth marks on the underside of the stem near the button. I sanded these out with 220 grit sandpaper. I wet sanded the stem with 1500-2400 grit micromesh sanding pads. I wiped the stem down with a damp cotton pad and dry sanded it with 3200-12000 grit pads. I gave the stem a final wipe down with the damp pad.WDC16 WDC17 WDC18With the stem finished and the glued band dried I put the base and stem back together. I would still need to buff the entirety with Blue Diamond on the buffing wheel.WDC19WDC20I used a medium brown stain pen to stain the bowl. I heated the briar and then applied the stain with the pen. I repeated the staining until the coverage was smooth and even.WDC21I gave the bowl several coats of Conservator’s Wax and hand buffed it to raise the shine with a microfibre cloth.WDC22WDC23With all the parts finished I took a final photo of the bowl and the base before putting it back together.WDC24I buffed the completed pipe with Blue Diamond to polish out some of the scratches in the base and the stem. I was not able to remove all of them so I left a few behind to tell the story. I gave the pipe several coats of carnauba wax and buffed it with a clean buffing pad. I hand buffed it with a microfibre cloth. The finished pipe is shown in the photos below. I am really pleased with the finished pipe and how it looks. Thanks for looking.WDC25 WDC26 WDC27 Wdc28 WDC29 WDC30 WDC31 WDC32


Another Attempt at a Drier Smoke – a Vintage Dri-Bowl Rhodesian


Blog by Steve Laug

My brother sent me a link to this sale on eBay and I found it intriguing. In the first photo there is what appears to be the edge of a dial on the bottom of the bowl – it is peeking out at the bottom of the bowl. That was intriguing to me. I wanted to know more about the pipe but at this point I had not read the seller’s description of the pipe. I was still looking at the pictures and seeing all of the fills and rim damage on the pipe in the first three photos. It really was quite a mess. The bowl appeared to be reamed but the dings and dents added to the fills made me wonder if it was worth the effort. I still had no idea what the bottom looked like and what made this a dry bowl. Scrolling through the rest of the seller’s photos soon made that clear.Dri1Dri2

Dri3The fourth and fifth pictures remove the mystery of the knurled edge on the bottom of the bowl that showed in the first photo. You can see in that photo of the bowl bottom that the silver disk looks like it was made to be rotated. We talked and my brother bid and won the pipe (I can’t wait for the pipe to get here so I can check this out). The fifth photo shows the inside of the bowl. The top of the disk appears to be a cup intruding into the bowl bottom. It was really odd looking.
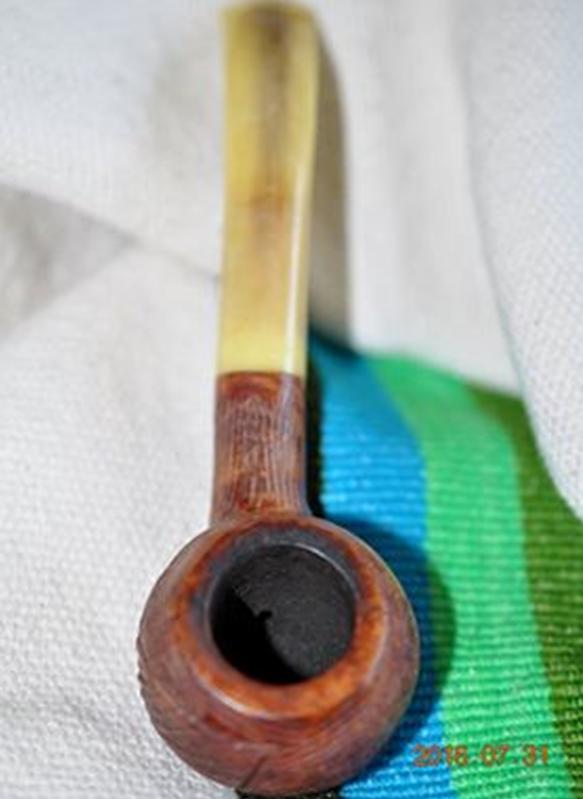
I dropped to the bottom of the eBay ad to read the seller’s description of the pipe. I wanted to get some information on the pipe. I had done some searching on Google but was unable to find any information on the brand. It is a bit mysterious. The seller writes:

“This French Briar Rhodesian Dri-bole has a 5/8″ diameter silver metal “sump”, with knurled edge, set into the bottom of the bowl. The “sump” may actually be an alloy of silver, such as coin or sterling; metal is untested, but has silver-like qualities.”

“According to advertisements, found in various 1911 magazines, this “sump” was used to hold a provided, removable “wad”. The throw away “wad” would absorb all of the nicotine and saliva as the tobacco burns. Thus the tobacco was kept dry, so that it would be fully burned.”

“This extra nice Dri-bole pipe has the same “wad” holder or “sump”, as those “silver mounted” pipes patented on Sept. 7, 1909 and shown in 1911 Saturday Evening Post and Literary Digest Magazine advertisements! That would make this pipe over 100 years old, if it is indeed the same Dri-bole pipe! There are not any “wads” with this one, but it should be a good smoker, with a nice look and make a great conversation piece!”Dri4Dri5 That information was helpful on many levels. He did not however have any photos or drawings of the pipe or pictures of the advertisements. I wanted to know if the bottom “sump” as he called it was pressure fit or threaded and screwed into the briar. I wanted to know if the bottom of the bowl was damaged or if the “sump” sat as it was supposed to flush with the bottom. It was hard to tell from the photos. I wanted to know was the “wads” were that sat in the sump. From the look of the bowl bottom it appeared that the “wads” may well have been lozenges that fit in the curved cup and then sat flat in the bottom of the bowl. But what did they look like? More research would be needed to answer these questions. But at least the mystery of the knurled edge peaking from the first photo was solved. It was a single unit with a cup on the inside of the bowl. I could not wait to see this in person and “fiddle” with it.

The seller also included a photo of the stamping on the pipe and briefly spelled out what it said. The left side of shank is stamped DRI-BOLE (in crescent) and below the crescent it reads REG. U.S. PAT. OFF. The right side of the shank is stamped Imported Briar leading me to believe that is it American made. The bottom of shank is stamped “266”. Dri6He gave the dimensions of the pipe as follows: overall length: 5 ½ inches, bowl height: 1 ½ inches, diameter of the bowl: 1 5/8 inches, bore diameter: 7/8 inches, bore depth: 1 1/8 inches and the weight: 44 grams or 1.6 ounces

When the pipe arrived in Vancouver I was looking forward to working on it. My brother had done a great job cleaning the interior and stripping the shiny coat that had been applied to the pipe. It was clean and ready for me to work on. I tried to turn the knurled silver disk on the bottom of the bowl and could not move it at all. The rim looked rough and needed topping. The stem was in decent shape with some pitting and dulling to the old rubber. I was so excited that I forgot to take photos of the pipe before starting my restoration. I put the bowl in an alcohol bath to see if I could loosen the tars that held the silver disk tightly in place. I was guessing it was threaded so I was thinking that if I could soak the bowl overnight things would soften up. Dri7I took it out of the alcohol bath and heated the disk with the flame of a lighter. I used a pair of pliers to hold tightly to the edge of the disk and I was able to twist it out of the bowl. Once it popped free I could undo it by hand. The first photo below shows the inside of the silver disk. The second shows the knurled outside.Dri8To remove the damage to the rim top and edges I topped the bowl on a topping board with 220 grit sandpaper.Dri9There were some nicks around the hole in the bottom of the bowl so I sanded those smooth with sandpaper and then cleaned out the threads in the briar with a cotton swab and alcohol.Dri10I used the brass bristle brush to scrub the threads and the cup on the disk. I cleaned it afterwards with cotton swabs and alcohol.Dri11I used a cotton swab to coat the threads on the disk with Vaseline and turned it into the bottom of the bowl. I wanted to make sure that I could easily turn the disk by hand.Dri12I cleaned out the internals with pipe cleaners, cotton swabs and alcohol. It was pretty clean thanks to my brother. It did not take too many to clean it out.Dri13I sanded the bowl and stem with a medium and a fine grit sanding block. The pipe is beginning to look really good. I had to make a decision how far to sand the bowl and how many of the original dings and dents to remove without changing the “story” and character of this old timer.Dri14I heated the briar and then stained it with dark brown aniline stain cut by 50% with isopropyl alcohol. I flamed it to set the stain and repeated the process.Dri15I wiped down the stain with alcohol dampened cotton pads to make it more transparent and make the grain stand out. At this point the fills stood out and I would need to address them a bit differently.Dri16Dri17I used a black Sharpie Permanent Marker to draw some lines across the fills and blend them into the grain on the pipe. I then chose to give the bowl a second contrast staining using a Cherry Danish Oil stain. I find that the combination of the black marker and the cherry stain blends the fills better than a brown stain. The combination of the brown and the cherry stains gives depth to the finish so I like using them together.Dri18Once the cherry Danish Oil stain dried (overnight) I buffed it lightly on the wheel with Blue Diamond and then gave the bowl a coat of carnauba wax. I hand buffed it with a microfibre cloth. You can see the small dings that I left in the bowl sides rather than change the look. I polished the silver disk with a silver polishing cloth. The next series of photos shows the bowl at this point in the process.Dri19Dri20I set the bowl aside and worked on the stem. The old hard rubber that was used on this stem was good quality. There was very little oxidation if any on it. The main issue was the pitting that covered the surface of the stem. I sanded it with 220 grit sandpaper to address the pitting and smooth out the surface and then began my normal sequence of micromesh sanding pads. Between each set of three grits (1500-2400, 3200-4000, 6000-12000) I rubbed the stem down with Obsidian Oil. I gave it a final coat of the oil and let it dry before I buffed the pipe.Dri21Dri22I buffed the pipe and stem with Blue Diamond and gave it several coats of carnauba wax. I buffed it with a clean buffing pad to raise the shine. I hand buffed it with a microfibre cloth to put the finishing touches on the pipe. The finished pipe is shown in the photos below. Thanks for looking.Dri23Dri24Dri25Dri26Dri27Dri27aDri28Dri29Dri30


A Ropp La Montagnarde Deposee 298 Horn-Cherrywood-Briar


Blog by Steve Laug

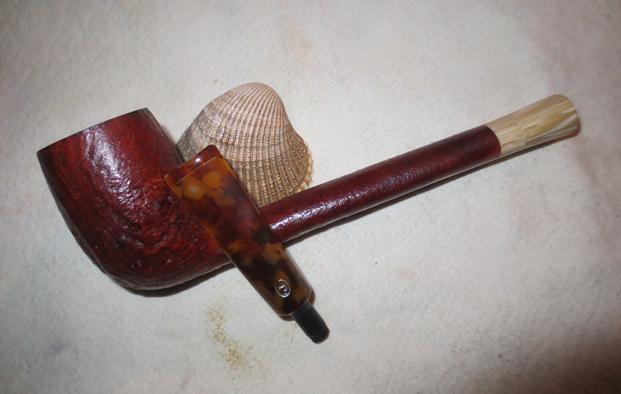
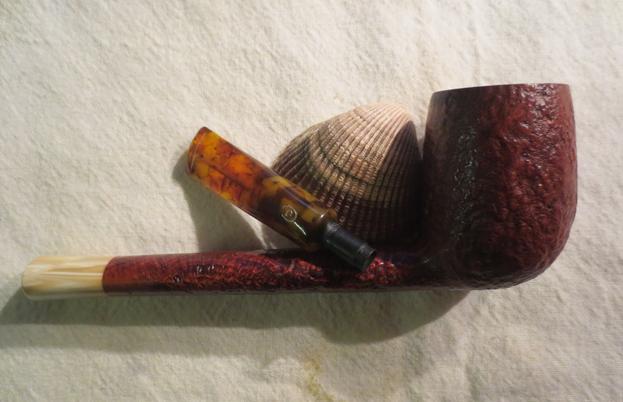
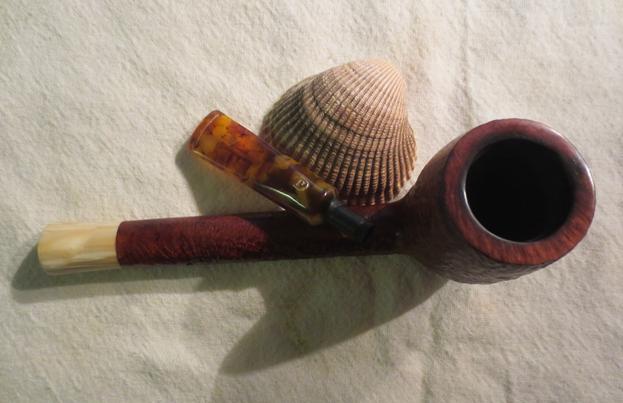
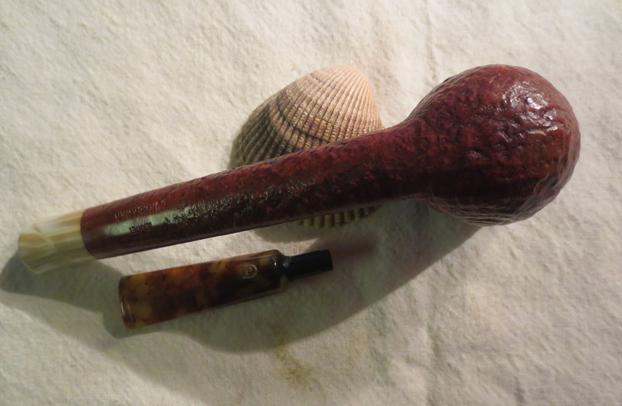
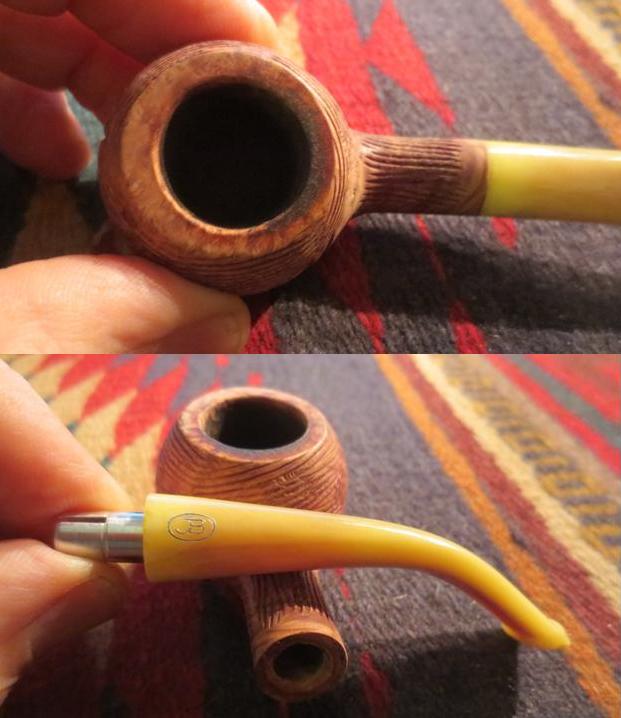
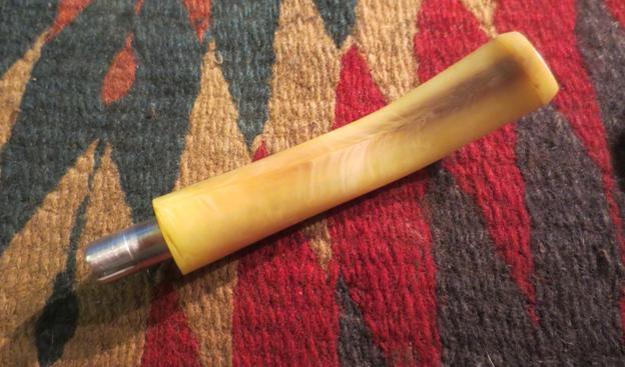
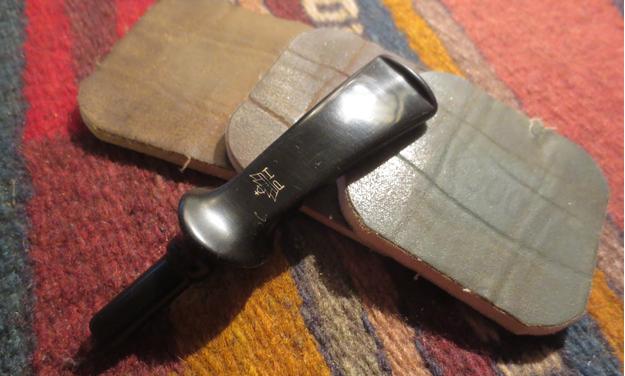
I have been cleaning up a lot of pretty standard pipes lately, whether metal, meerschaum or briar. It has been a while since I took on a unique looking piece that captured my interest. In the current box of pipes my brother sent there are some great one of a kind pipes that I have not seen before so I turned my attention to one of them. The first one that I decided to work on just called out my name. The combination of rustic cherrywood with the bark on, really nicely striated horn and beautifully grained briar just called out to see what I could do with a restoration. I have no idea of the age of the pipe but the horn stem with the orific button speaks of some age. The pipe is stamped on the left side La Montagnarde over Deposee and on the right side it is stamped with Ropp in an oval with the 298 shape number next to it. The brass band on the shank and the small wedding ring brass band on the cherrywood extension give the pipe a touch of class. The next two photos were the seller’s photos. The pipe looked to be in really good condition.Cherry1 Cherry2When the pipe arrived at my brother’s house it was not nearly as clean as it appeared. The finish was spotty and worn. It had been waxed or maybe shellacked to give it a shine. The stem screws into the cherrywood and then the wood end is pressure fit into the shank of the pipe. It was very loose and would not stay in place. My brother cleaned the internals and scrubbed the exterior with Murphy’s Oil Soap. It took off the soiled finish and the remnants of the polish. When I got it the pipe was very clean. The brass bands were tarnished and the horn was dull.Cherry3 Cherry4I took some close up photos of the rim and the stamping to have a better look. The top of the rim had a burn mark on the inner edge of the right side. It did not go deep into the surface of the briar so a light topping would remove the damaged area.Cherry5The second close up shows the stamping on the shank. La Montagnarde Deposee is what it reads. La Montagnarde translates from French as “The Mountain” and Deposee translates as “Filed” or “Registered”.Cherry6I topped the bowl with 220 grit sand paper on a topping board. Once the bowl was topped I used a rolled piece of sand paper to sand out the bowl and smooth out the inner edge of the rim.Cherry7 Cherry8The internals were pretty clean. My brother had done a good job scrubbing out the mortise and shank. I used a few cotton swabs and pipe cleaners and alcohol to remove and of the dust left behind by my sanding.Cherry9I stained the bowl with dark brown aniline stain and flamed it. I repeated the process until the bowl was covered.Cherry10I wiped the bowl down with a cotton pad and alcohol to thin the stain and make the grain stand out better.Cherry11I buffed the bowl with Blue Diamond and gave it a light coat of olive oil. I rubbed down the cherrywood bark with oil as well to bring some life to it. In the photo below you can see the way in which the pipe is held together.Cherry12The cherrywood insert has a threaded wooden tenon on the outer side which the horn stem threads onto. The other end is a wooden stinger apparatus that fits into the shank of the pipe and holds the stem in place on the bowl.Cherry12aI polished the brass bands with a tarnish polish to bring back the shine.Cherry13I cleaned out the threads in the end of the stem with cotton swabs and alcohol.Cherry14I sanded the stem with micromesh sanding pads – wet sanding with 1500-2400 grit pads and dry sanding with 3200-12000 grit pads. I rubbed the stem down with Obsidian Oil between each set of three pads. What appears to be chips along the end of the stem are not actually chips but striations that run through the rest of the stem.Cherry15 Cherry16 Cherry17I sanded the bowl with 1500-12000 grit micromesh sanding pads. As I sanded it the grain really began to pop and some of the scratches in the briar disappeared.Cherry18 Cherry19 Cherry20I buffed the bowl and stem with Blue Diamond. I avoided buffing the cherrywood insert as I did not want to risk peeling the bark. The finish began to take on a rich glow. The finished pipe is shown in the photos below. The first four photos show the pipe as a whole. The rest of the photos show the various pipe parts. Thanks for looking.Cherry21 Cherry22 Cherry23 Cherry24 Cherry25 Cherry26 Cherry27 Cherry28 Cherry29 Cherry30