Blog by Steve Laug
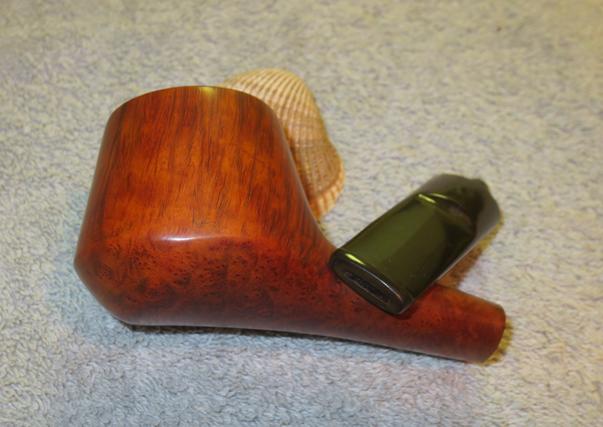
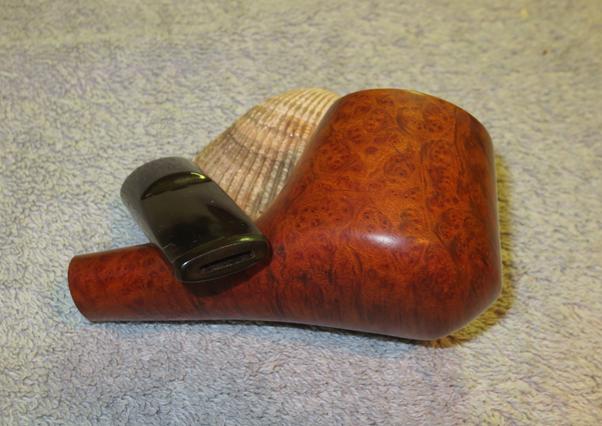
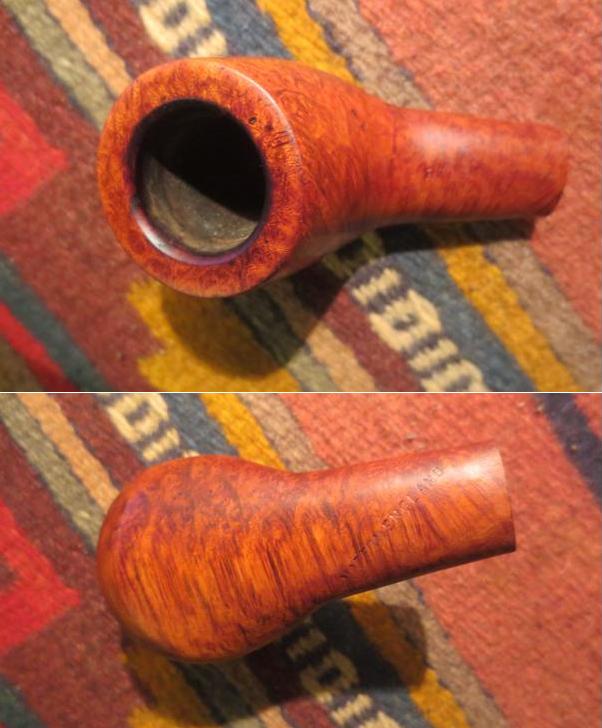
This pipe takes advantage of the grain to the maximum. The shape has flame, mixed and stunning birdseye on the sides, top and bottom of both the bowl and the shank. This is another of the pipes that my brother Jeff found. The stamping is faint but readable with a lens. It is stamped on top of the shank with the words Regent’s Park over London Made. On the underside of the shank stamped diagonally from front to back it reads Made in England. From the photos that Jeff set me the pipe was in decent shape. The finish was spotty and dirty. The rim was clean and undamaged with a light and spotty lava coat. 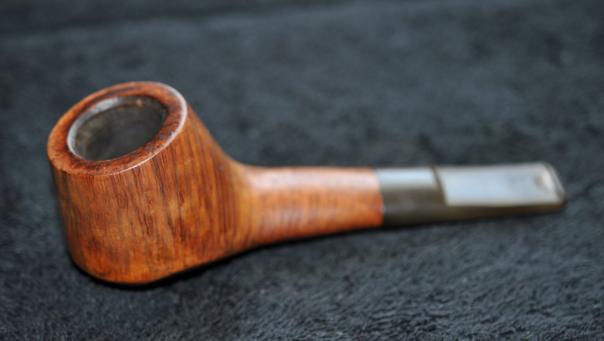 The stem was lightly oxidized and there was a deep and large tooth mark on the top side near the button. I have learned that there is usually a match to that on the underside of the stem. The canted volcano shape is very nice. In the photo below it appears that there were some small pin prick fills on the back side of the bowl just above the shank.
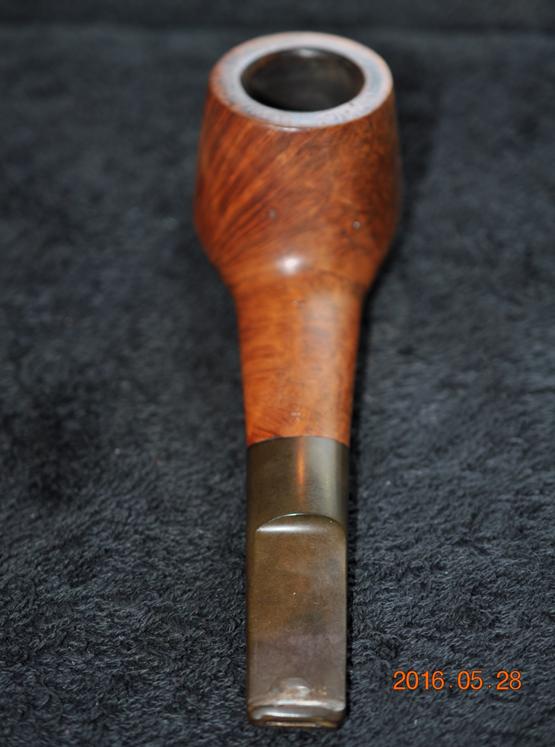 From what I can find online the pipe is made by Comoy’s. They made the Hyde Park brand and it appears they also made the Regent’s Park brand – both which are Comoy’s seconds and are named after London Parks. I found this Comoy’s Shape Chart on-line which shows the pipe as a Modern 625. I have circled it in red – it is shown on the bottom of the right column, last pipe.
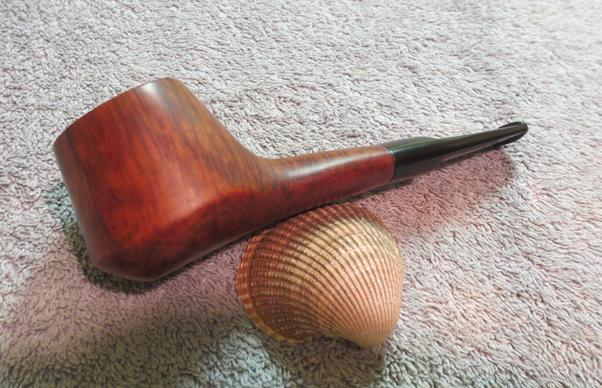
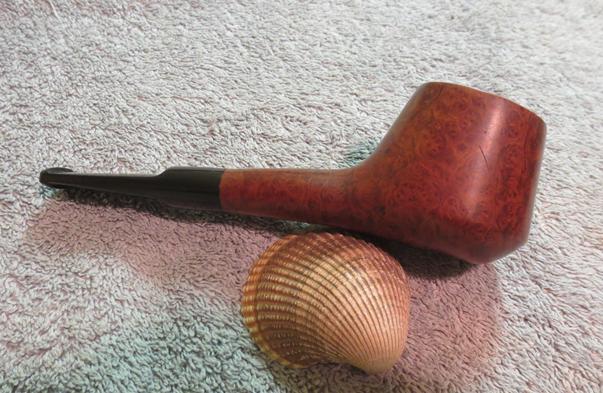
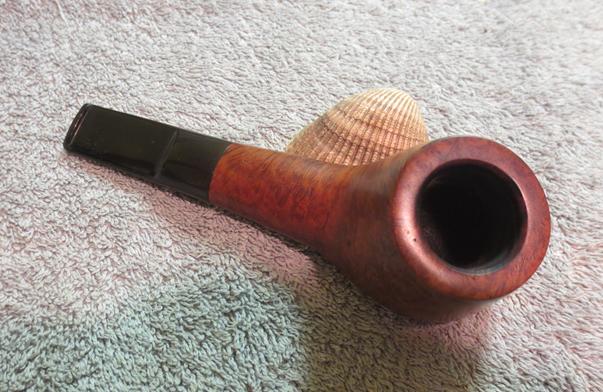
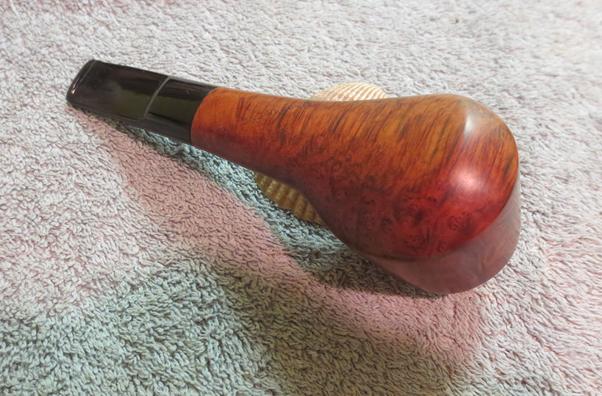
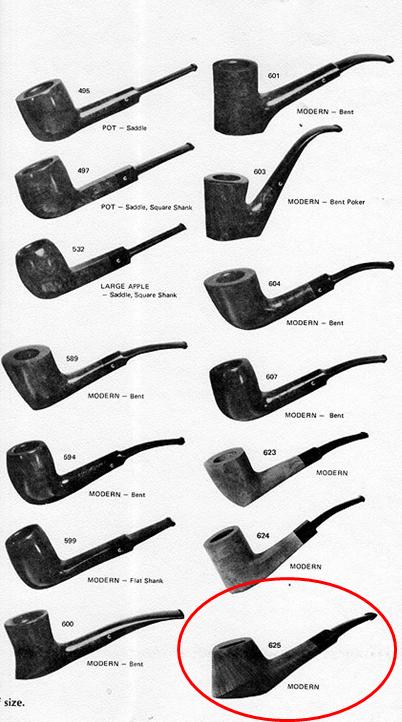 As usual now, my brother did a stellar job cleaning up the pipe before he sent it to me. He reamed it and scrubbed the exterior with Murphy’s Oil Soap so the finish was very clean. He cleaned out the internals as well. The pipe was ready for me to work on the finish and stem repairs when I received it. The next four photos show what the pipe looked like when it arrived to my work table.
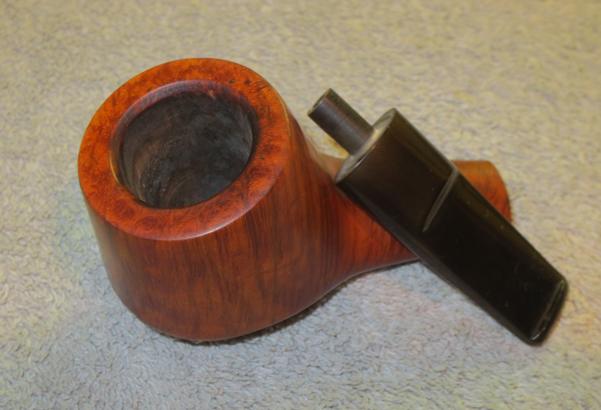
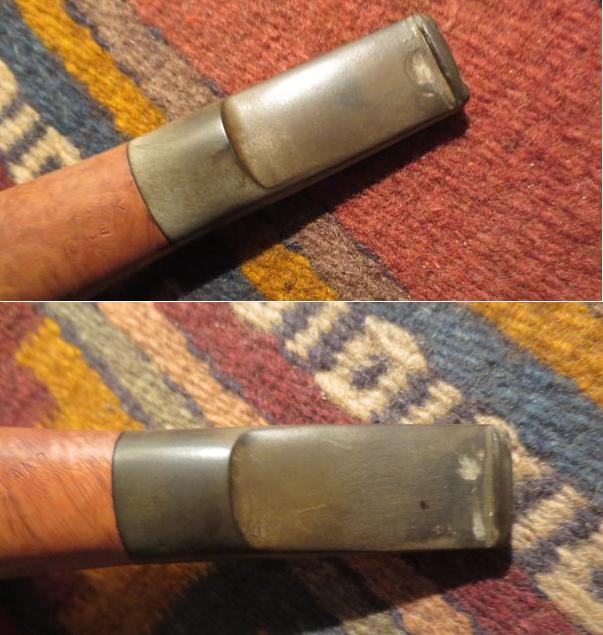
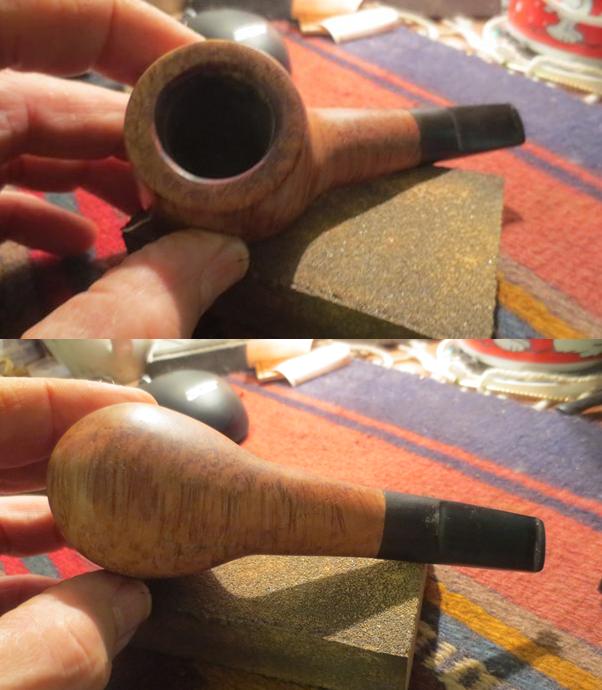
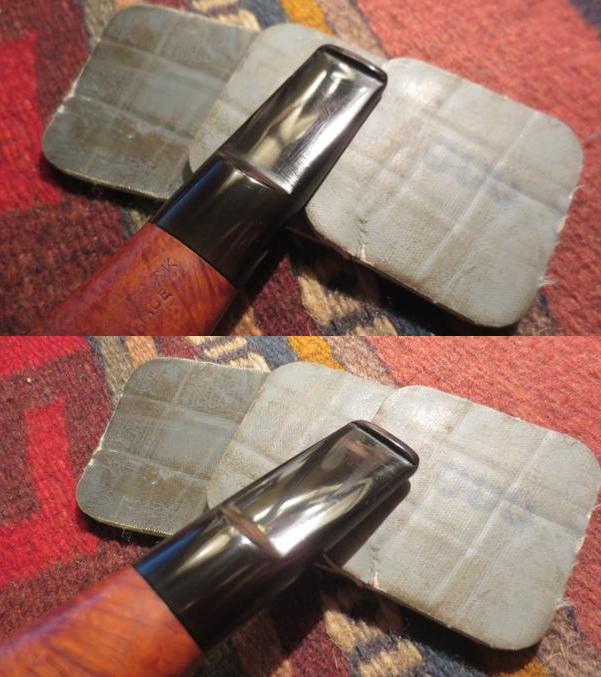
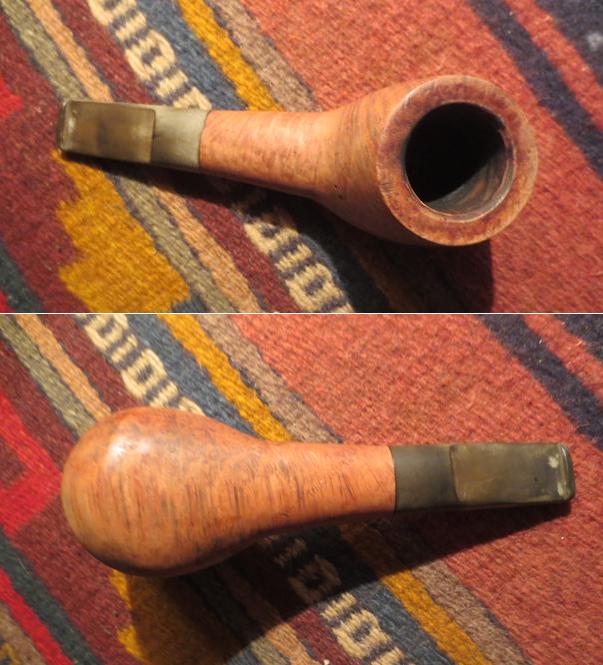 I took a close up photo of the rim to show the slight damage – almost cut marks on the top of the rim surface. The inner and outer edge of the rim is fairly undamaged though so it will not take much to clean up this rim. I also took close up photos of the stem to show the large bite/tooth marks on the top and bottom sides near the button.
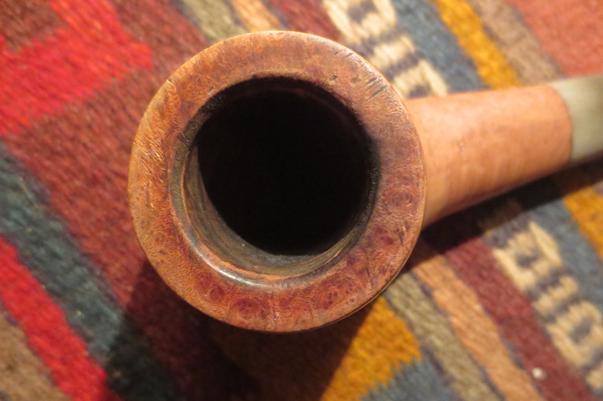
 I cleaned up the tooth marks with sandpaper, a dental pick and alcohol. I filled in the deep dents with black super glue and let it cure. I forgot to take photos of the repairs before I sanded them out. Once the glue had cured I sanded both sides of the stem with 220 grit sandpaper to smooth out the repair to match the surface of the rest of the stem.
 I also filled the pin holes in the back side of the bowl with clear super glue and briar dust. Again I forgot to take a photo of the glue and dust mixture. Once it dried I sanded the bowl with 220 grit sandpaper and blended the repairs into the surface of the briar. The surface was smooth to touch .
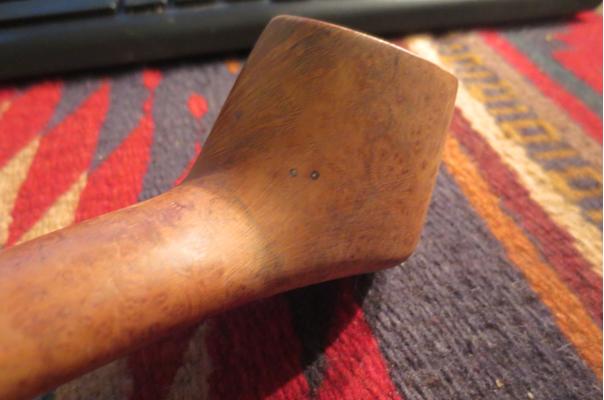 I sanded the slash marks on the rim with 220 grit sandpaper to minimize them. It did not take too much sanding to remove them. I also sanded the inner beveled edge of the rim to clean it up and remove the darkening.
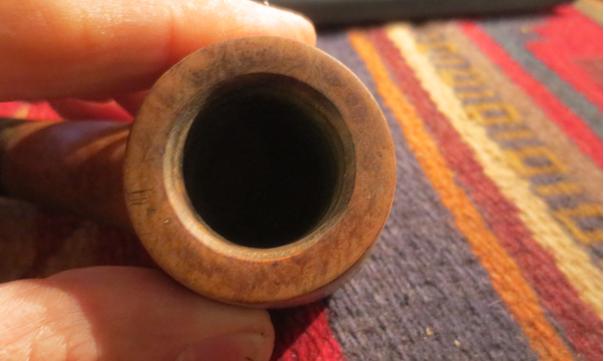 I sanded the bowl and rim with a medium and a fine grit sanding block. I worked to remove the scratching left behind by the 220 grit sandpaper. I carefully avoided the areas on the shank that held the already faint stamping.
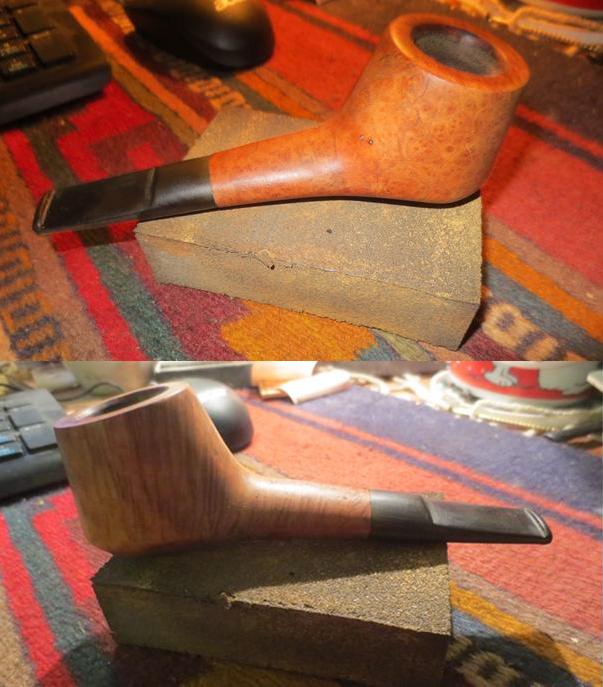
 I sanded the stem with the sanding block as well.
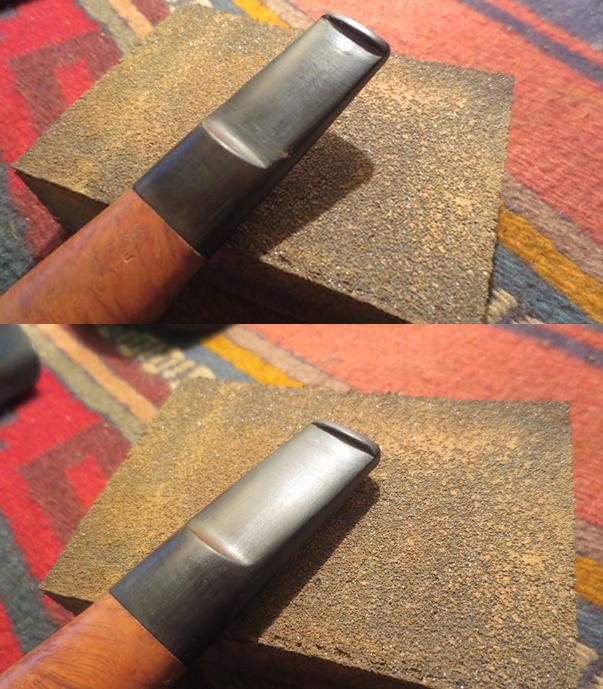 I wet sanded the stem with 1500-2400 grit micromesh sanding pads and rubbed it down with Obsidian Oil. I dry sanded it with 3200-4000 grit pads and gave it another coat of oil. I finished sanding it with 6000-12000 grit pads, gave it a final coat of Obsidian Oil and set it aside to dry.
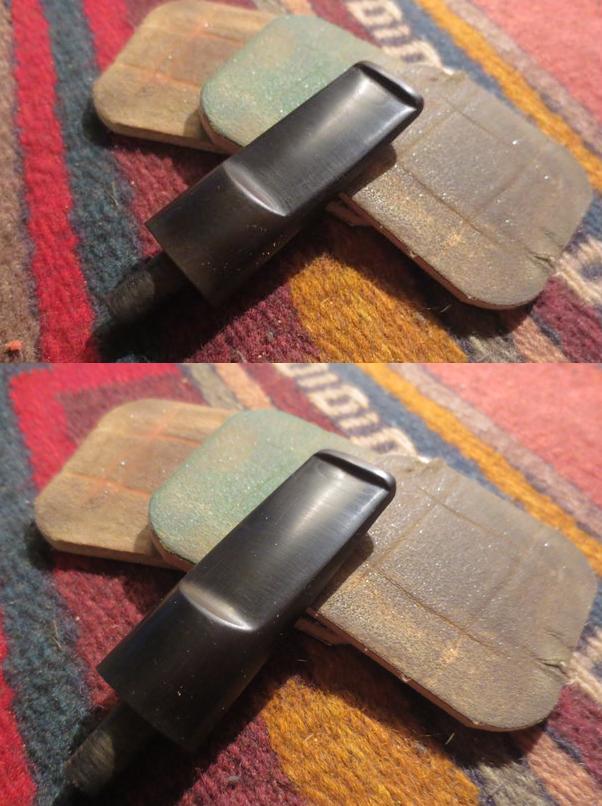 There were some scratches on the top of the stem. I would need to work on them some more at this point.
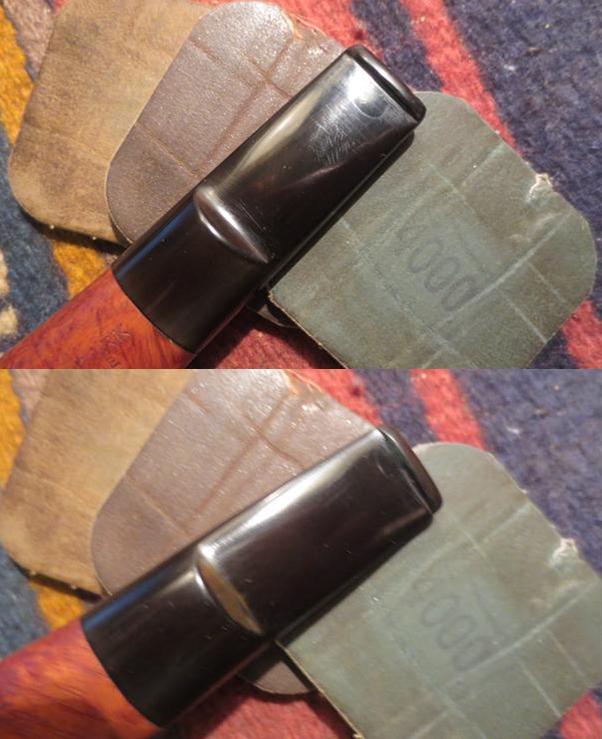
 Once I buffed the stem with Blue Diamond the scratches would be blended into the stem surface. I gave the bowl a coat of Danish Oil and Cherry Stain to highlight the red of the briar. I set it aside to dry for about twenty minutes.
 I wiped the bowl off with a soft cloth and hand buffed it lightly to get a clear picture of the finish and the grain on the bowl.
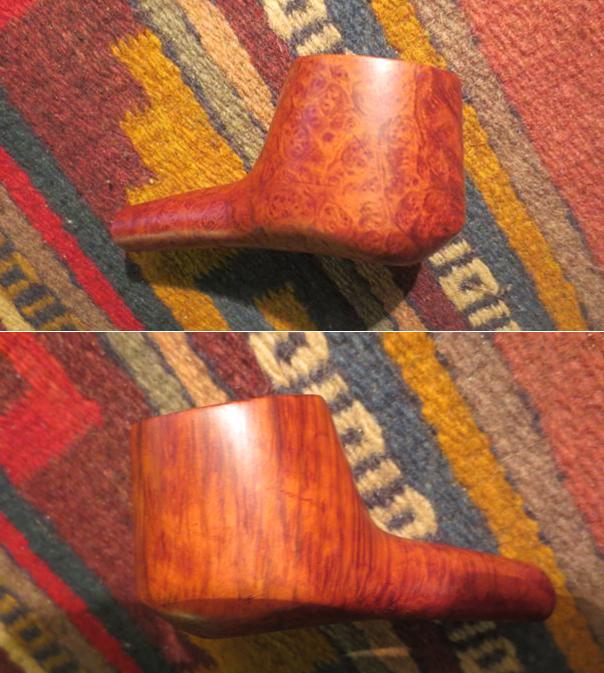
 I polished the bowl and stem with Blue Diamond on the buffing wheel. I buffed out the scratches in the stem and the briar. I gave the bowl and stem multiple coats of carnauba wax to protect it. I buffed it with a clean buffing wheel to raise the shine. I hand buffed the pipe with a microfibre cloth to deepen the shine. The finished pipe is shown in the photos below.