Blog by Steve Laug
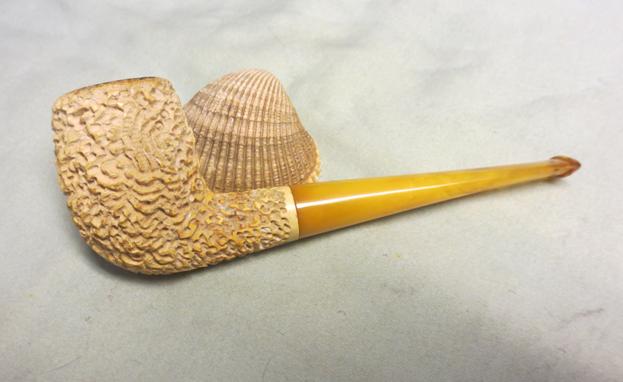
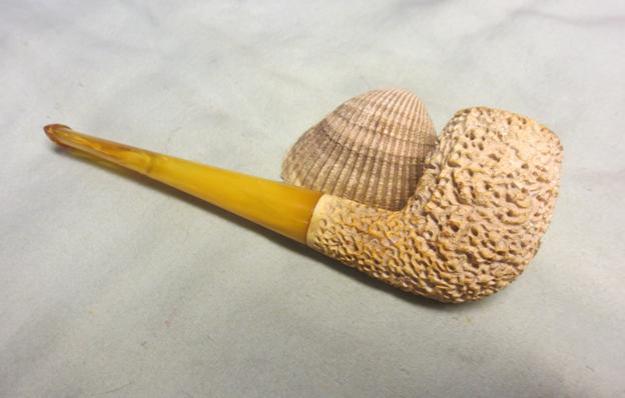
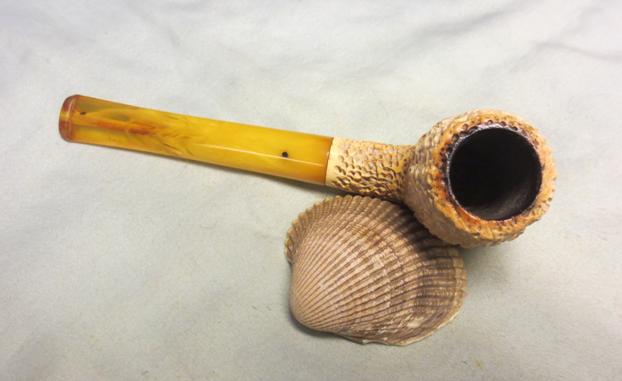
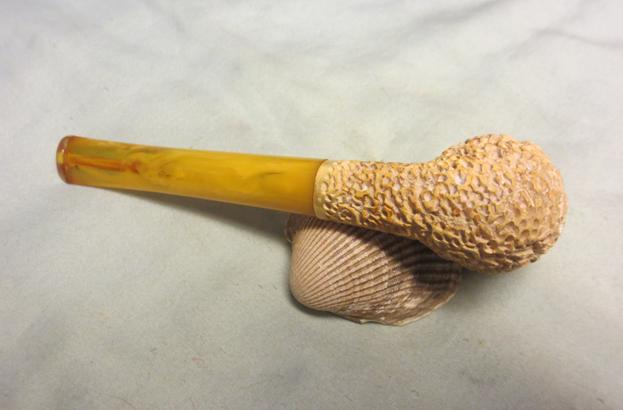
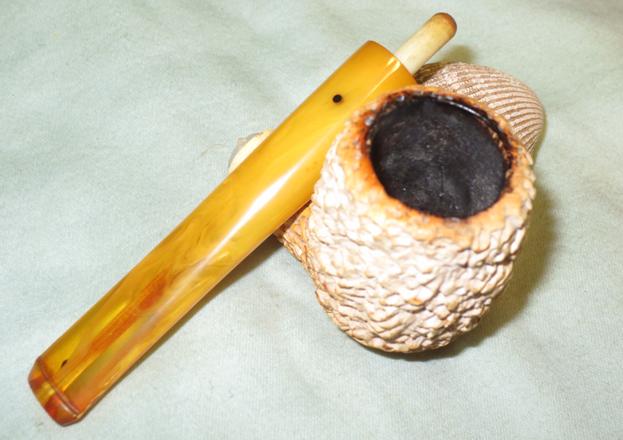
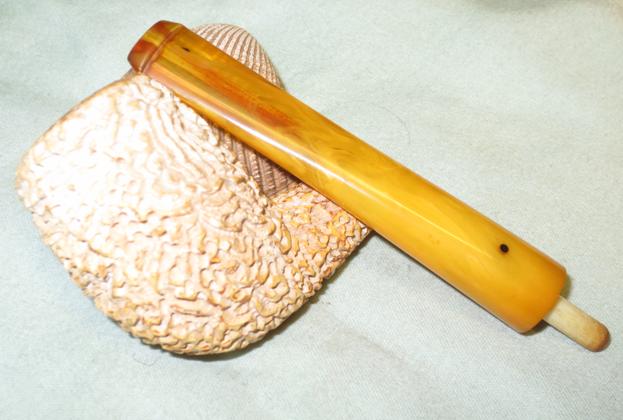
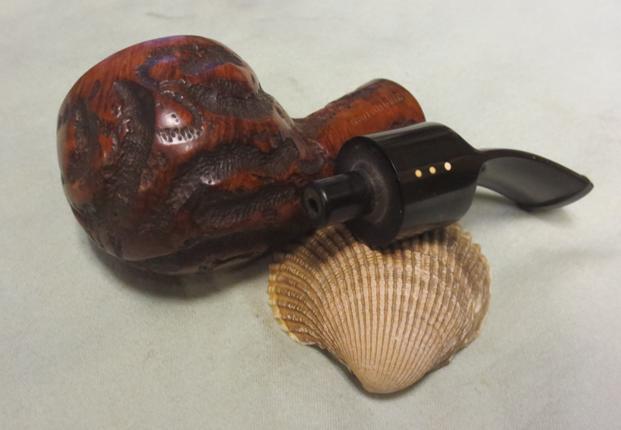
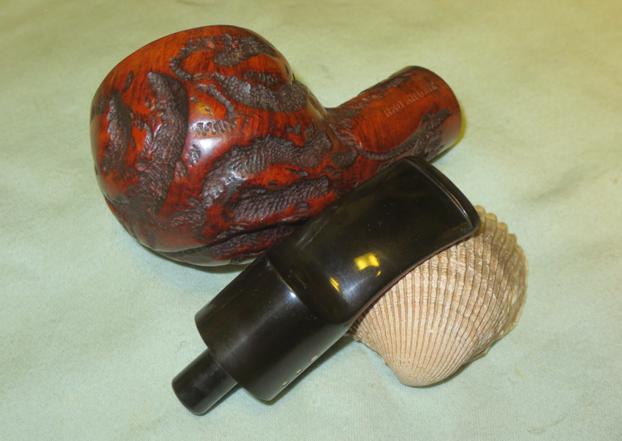
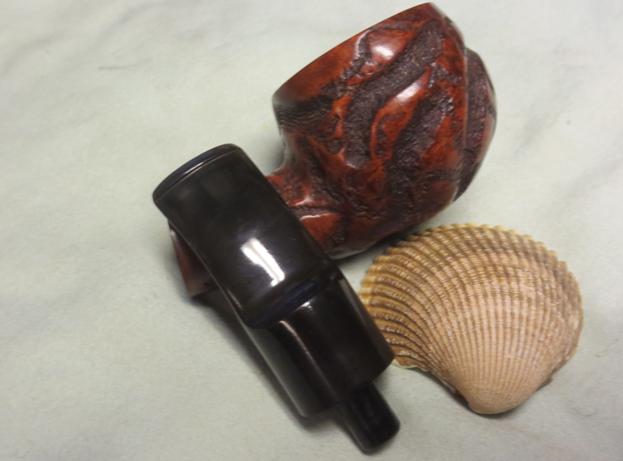
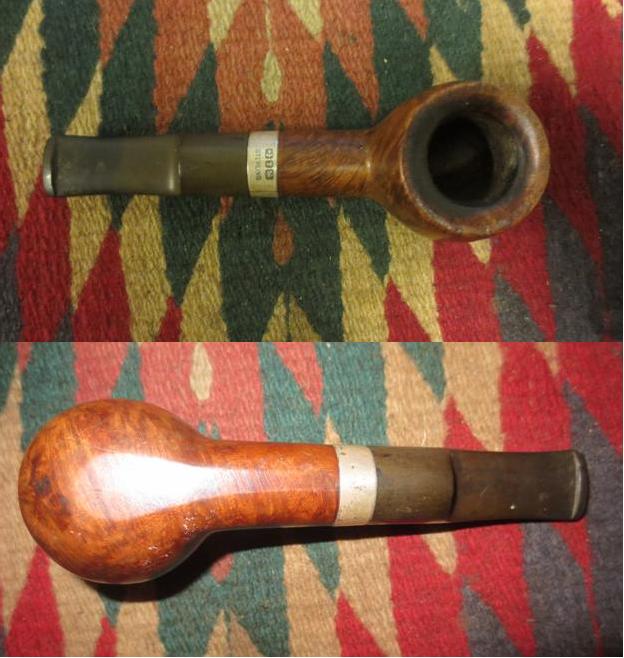
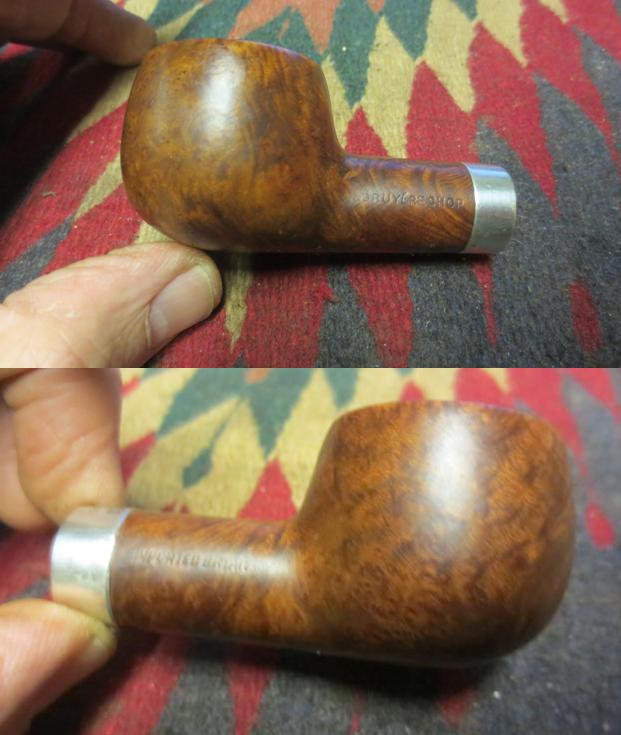
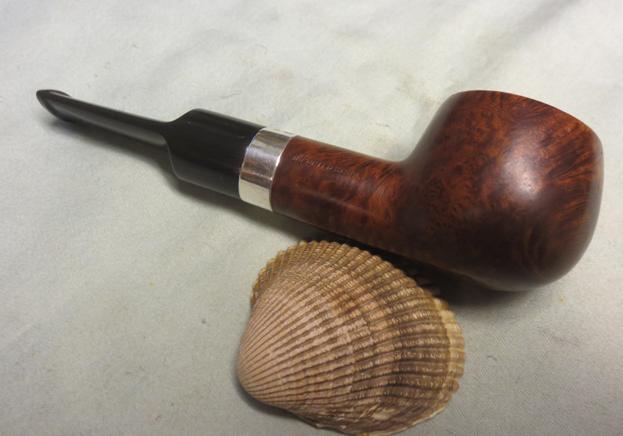
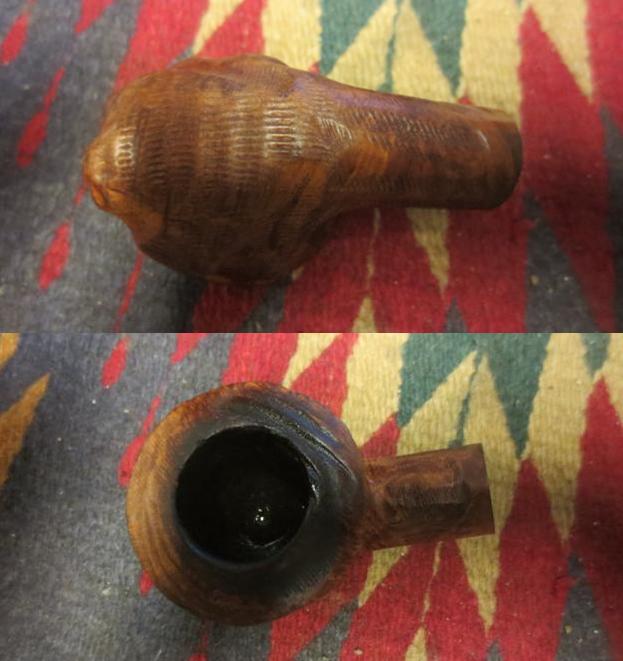
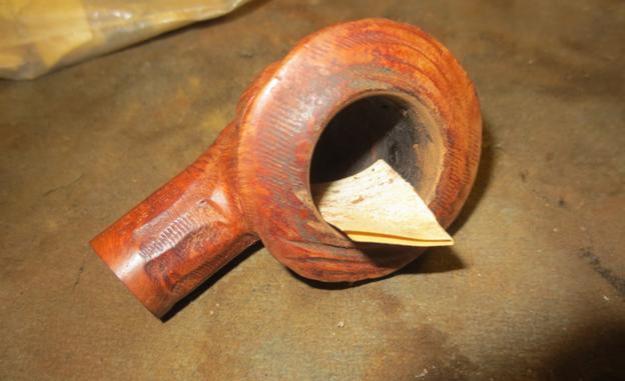
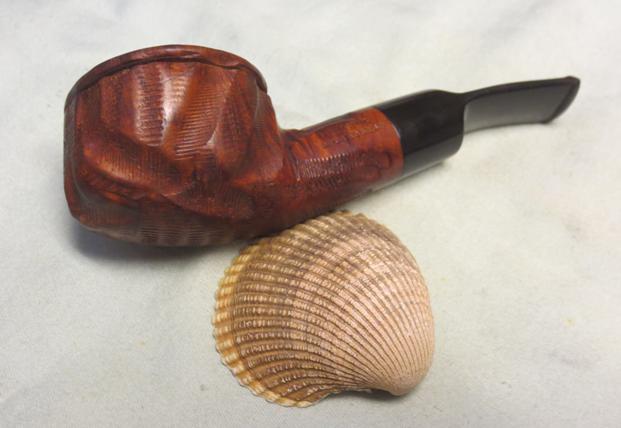
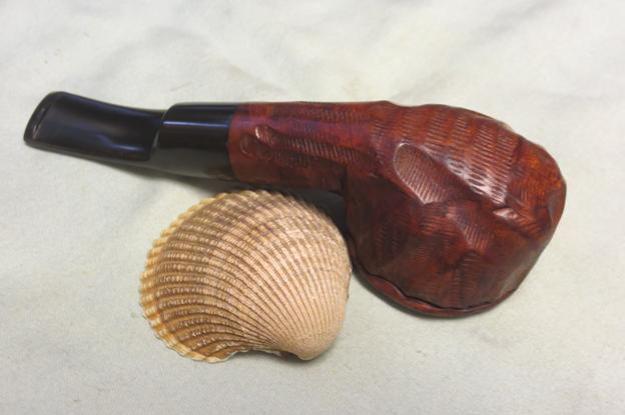
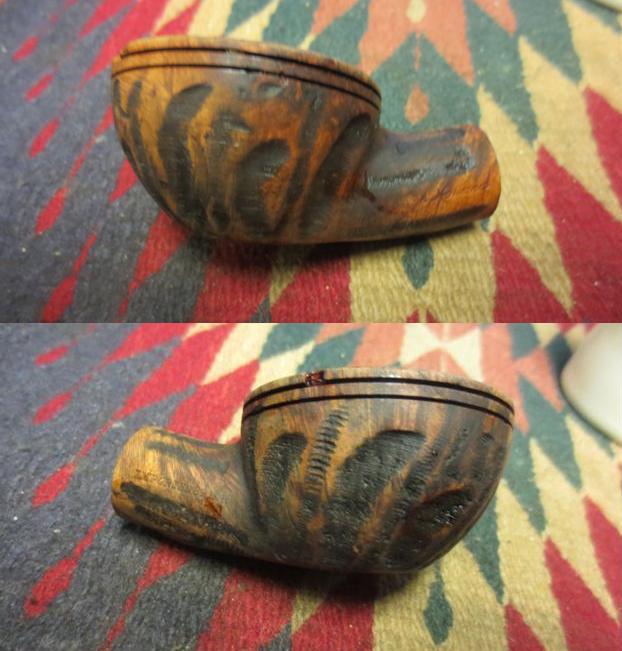
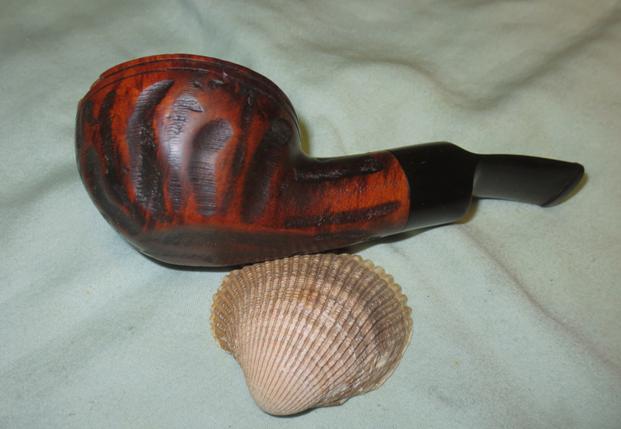
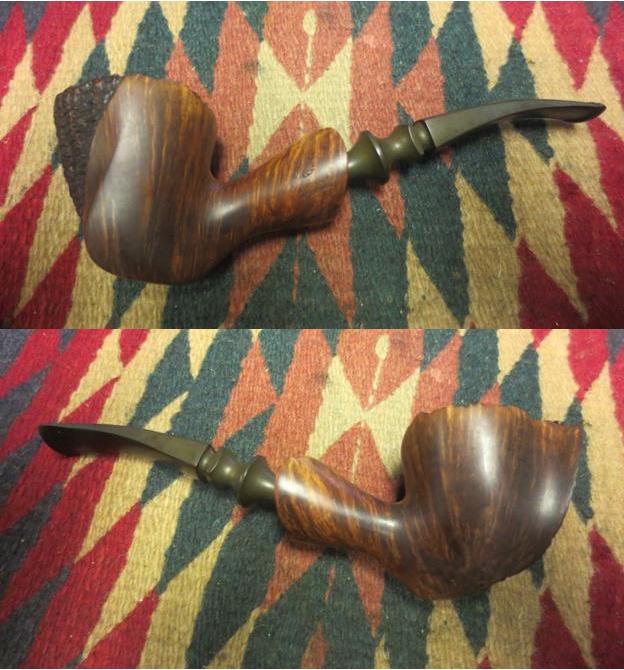
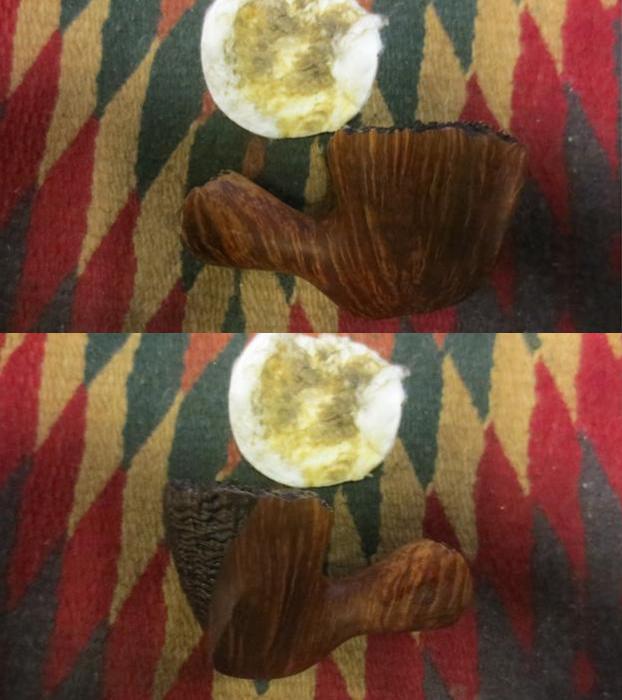
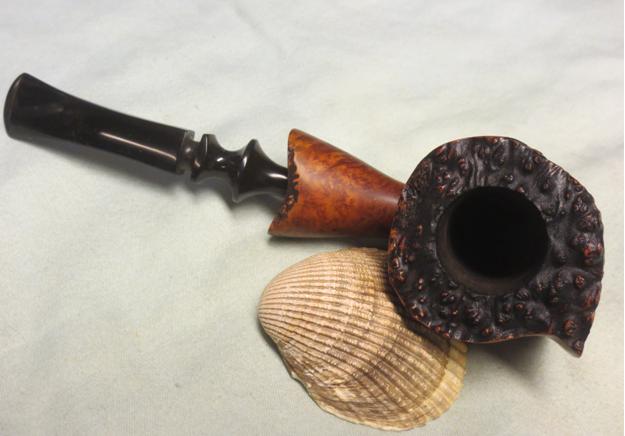
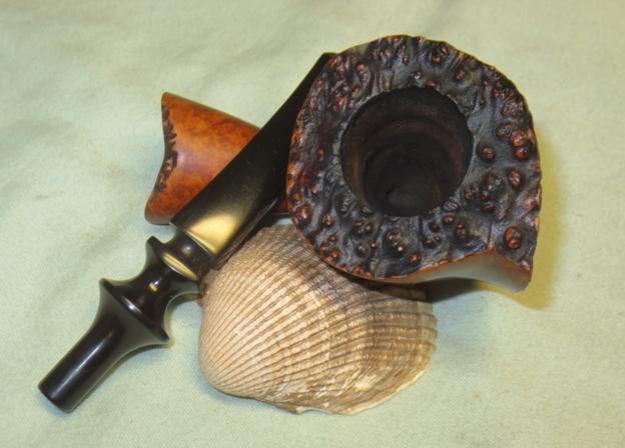
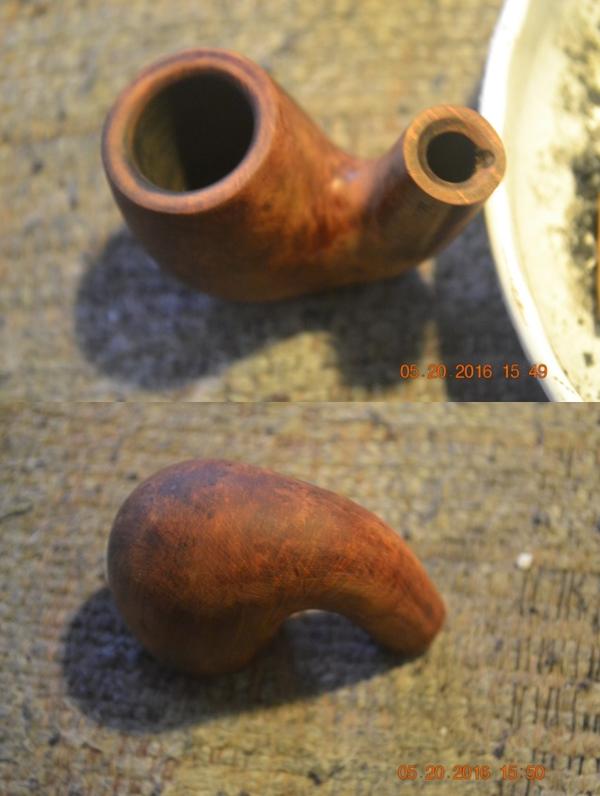
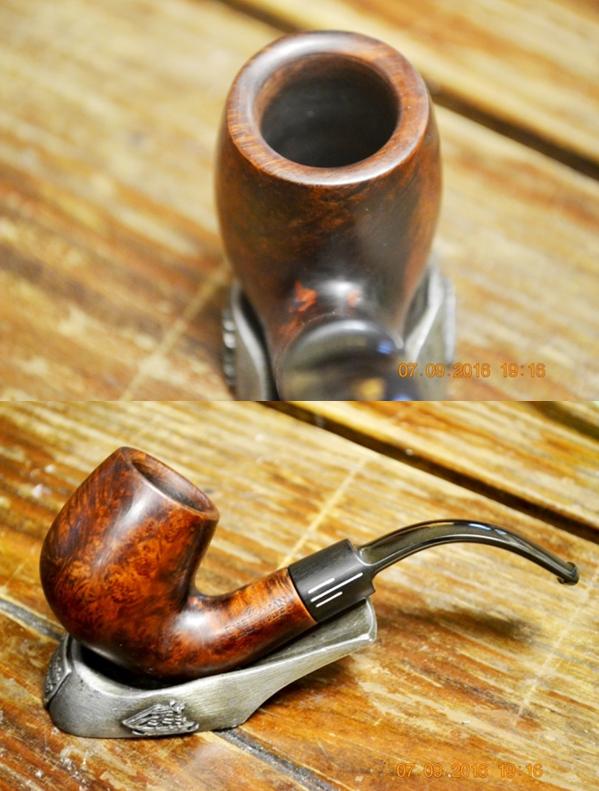
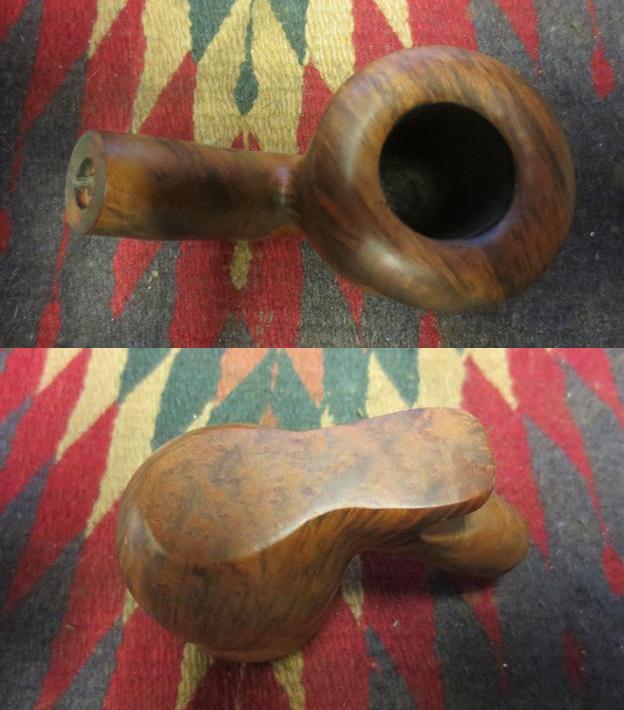
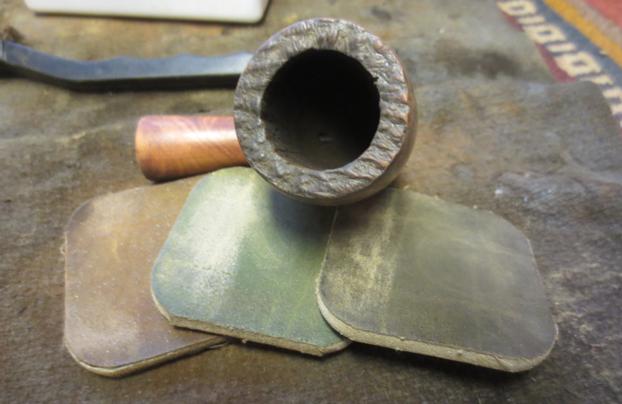
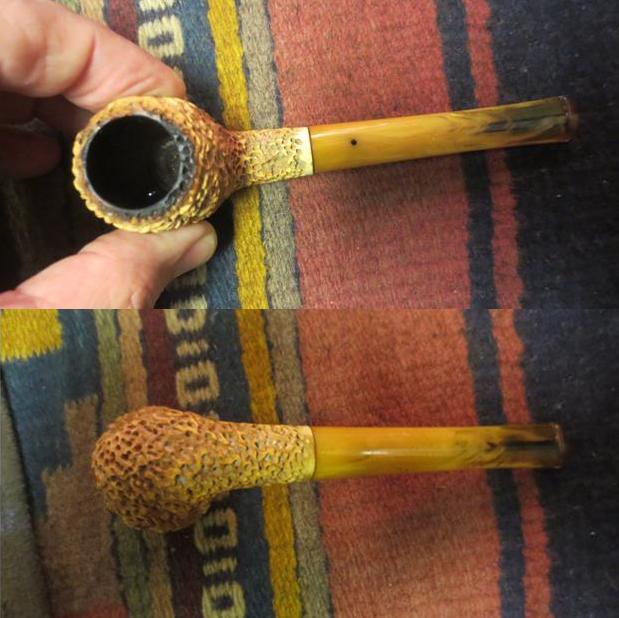
One of the pipe bowls that came to me in the box of pipes from my brother was a tall nicely grained freehand that was stamped on the shank Hardwicke’s and Italy on the underside of the shank next to the shank stem junction. 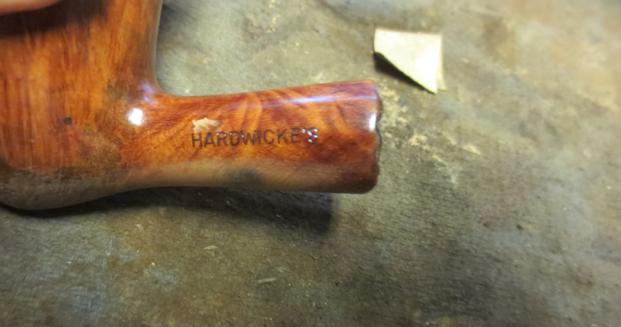 I had never heard of the brand before and it was not listed on Pipedia or on the Pipephil website. The more I looked in my usual sources such as Who Made that Pipe the more stymied I was about the brand. It was an interesting shaped bowl. The bowl had some dark marks on the shank, the bowl bottom and on the right side at the point and up the side midway. There was a thick coat of urethane over the entire bowl and the faux plateau. The rustication on the rim matched that of the end of the shank and had been done with tools. There was a thick coat of tars and oils under the urethane on the rim. The bowl itself had a thick cake in it that filled it from top to bottom. The first quarter inch down from the top of the rim had a darker stain that ran down the walls. (I almost forgot to take photos of the bowl before I had sanded all of the urethane off the surface. I stopped and caught these. On the lower part of the bowl on the right side there was a spot of real plateau.
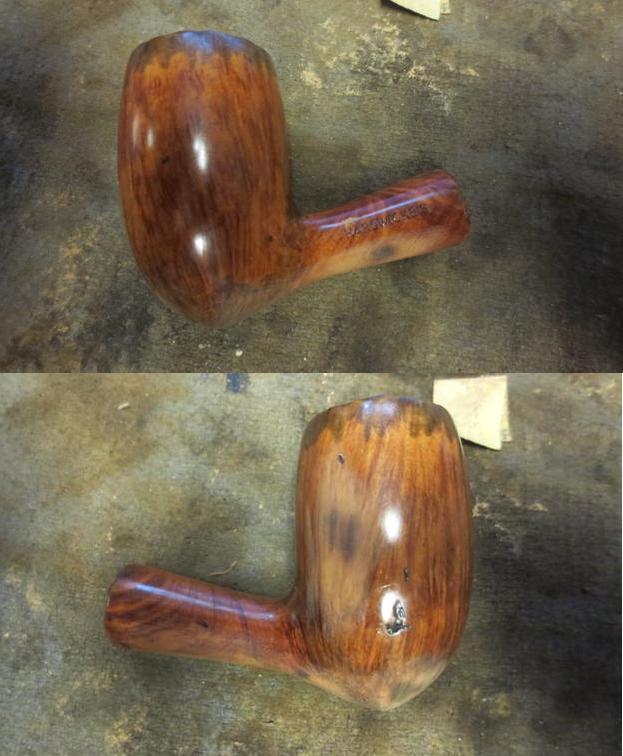
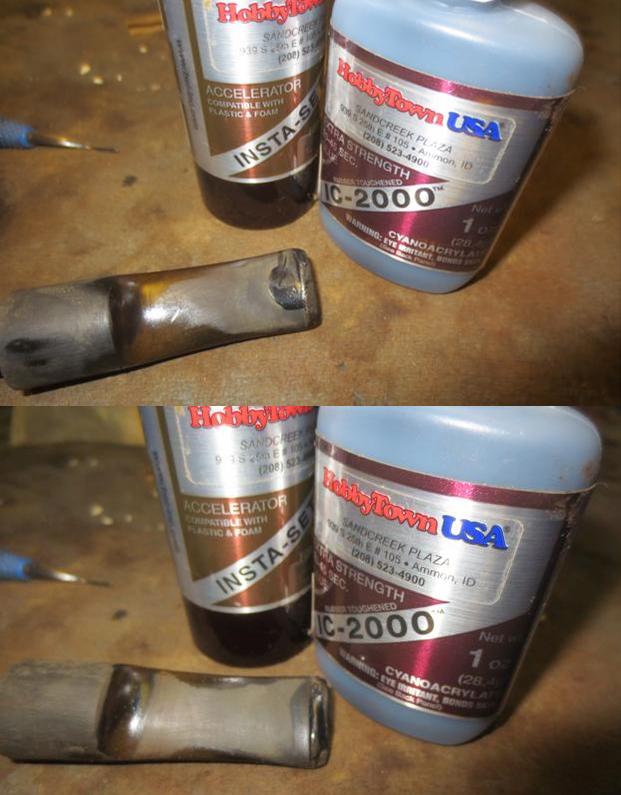
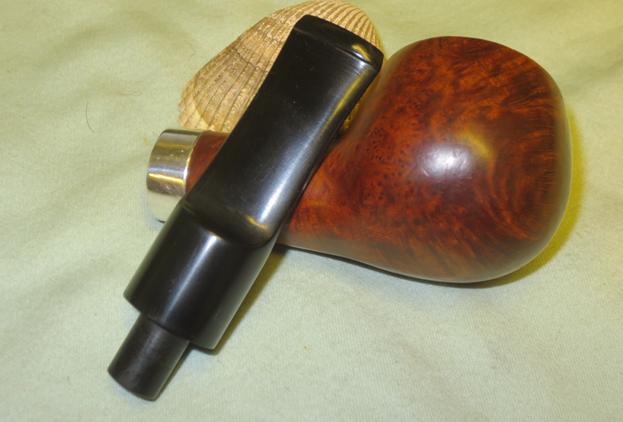
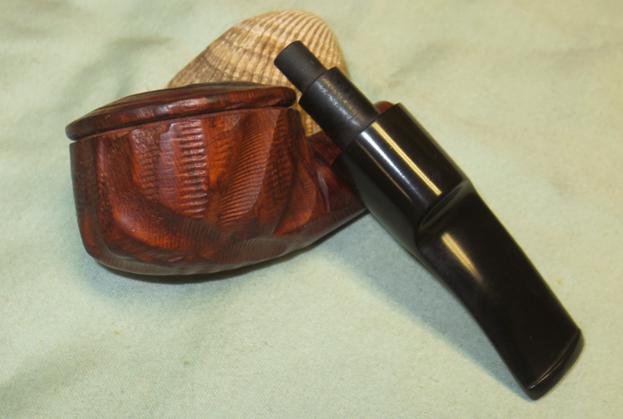
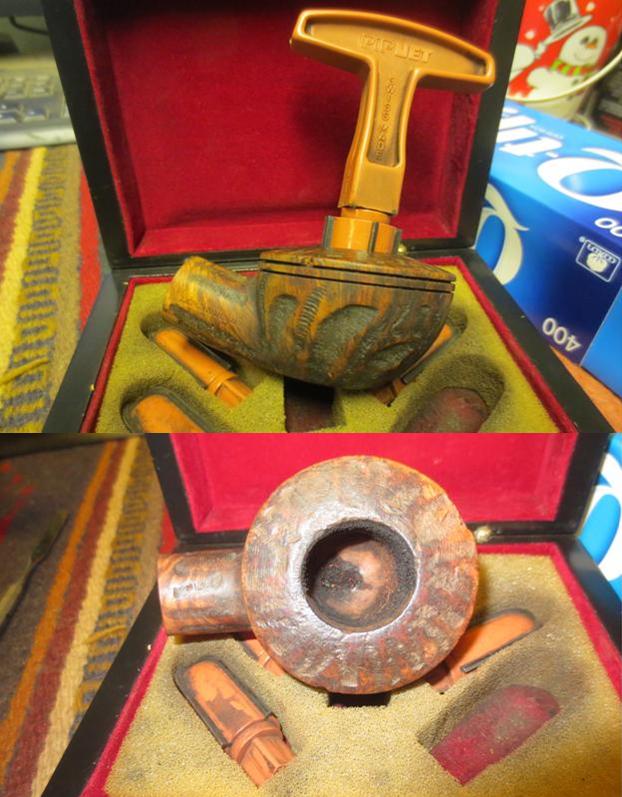
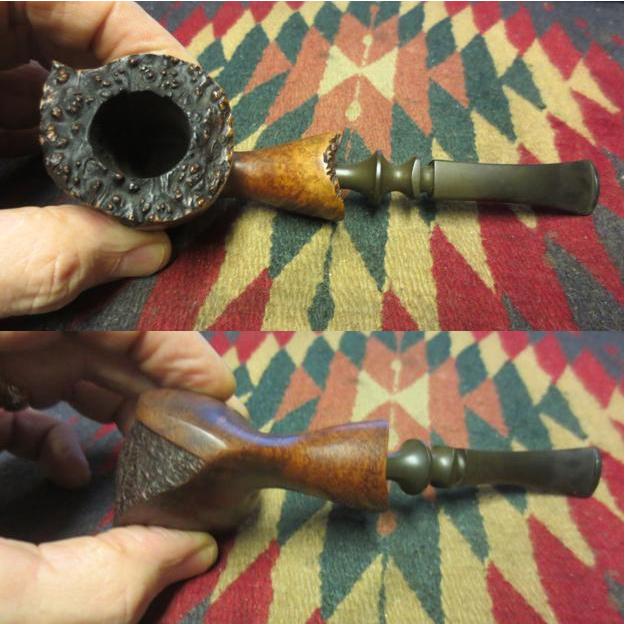
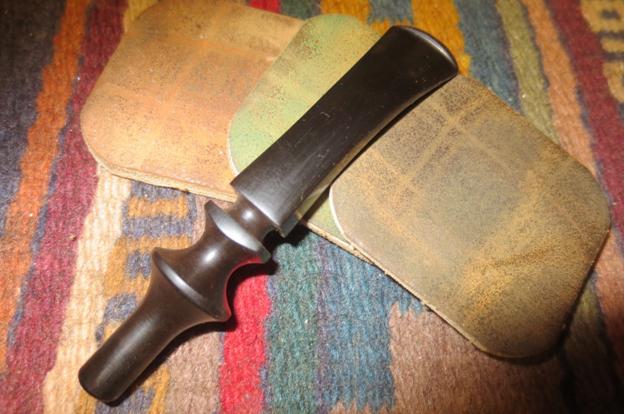
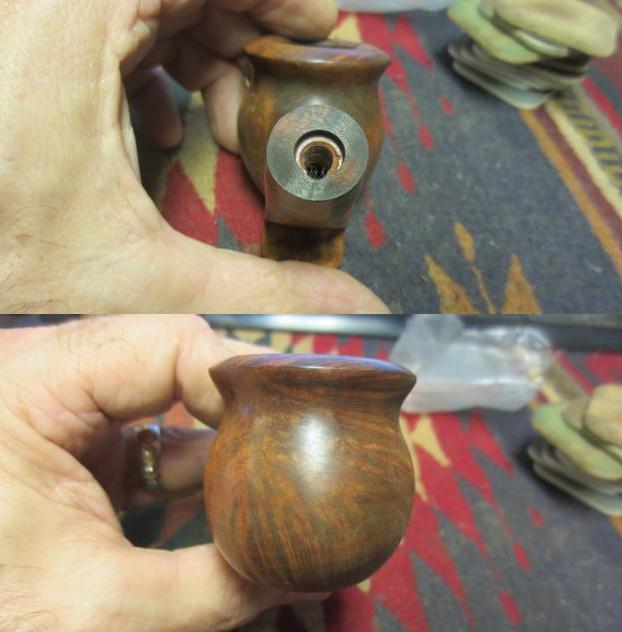
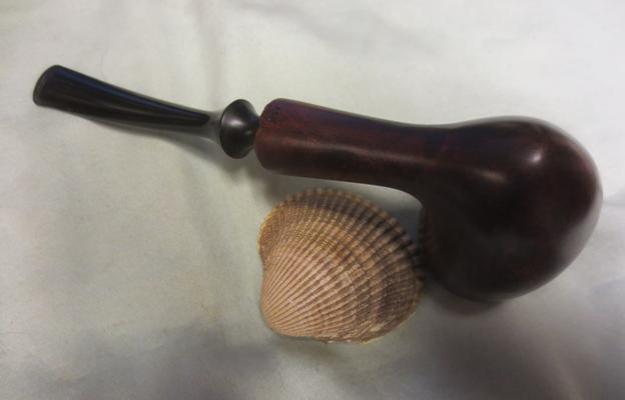
 I went through my box of stems and had a stem that would work really well with this pipe. It would need to have the tenon end reduced so that it would sit in the mortise.
 I decided to Google Hardwicke’s Cigar and Pen to see if the pipe could have been a shop pipe. It was made in Italy but the Hardwicke’s stamping pointed elsewhere. I found that there was a group of shops in Indianapolis, Indiana. The main shop was located at 743 Broad Ripple Ave, Indianapolis.
 One reviewer of the shop had this to say about the shop: “This small cigar shop is located just south of the circle, so in the heart of downtown. They carry a pretty impressive stock of cigars and the pricing is relatively reasonable considering their location. The staff is incredibly knowledgeable and willing to help you find something in your price range. They do have a lot of cigars at the $5 price point so don’t be put off by the fact there are also a lot of $15+ cigars.”
“They also have their own brand, which is rolled with several different tobaccos and in several sizes, these should not be overlooked, especially if you don’t want to spend a lot on your smoke.”
“They also offer pens, pipes, pipe tobacco and the usual array of cutters and lighters you’d expect from a cigar shop. I’ve only purchased cigars here so cannot comment the rest of their offerings, although their selection of pipes does seem good to me.”
Further digging found an article in the Indy Star newspaper about the Downtown shop closing. The article also says that the Broad Ripple Store remains open. I have included the link to the article as well the article in full. http://www.indystar.com/story/money/2016/01/20/smoke-free-downtown-landmark-hardwickes-exits/78800744/
Hardwicke’s Pipe & Tobacco, a long-time Indianapolis fixture, seems to have shuttered its Downtown store.
The inventory was being removed last week, and a store clerk said closure was imminent. The store now stands empty, void entirely of the fine cigars, cigarettes and pipes the retailer sold for five decades.
Hardwicke’s Broad Ripple store, which predates the Downtown shop, remains open. Staffers answering the phone there declined to comment on the fate of the Downtown location, which had occupied a storefront at 18 N. Meridian St., just off Monument Circle, since 1977.
The demise of Hardwicke’s Downtown comes amid a flurry of change for Indianapolis’ old-time businesses.
Last month Kincaid’s, the high-end meat market at 56th and Illinois streets that had been in the same family since its founding nearly a century ago, was sold. Virginia Jarvis Coiffures, a beauty shop for many of Indianapolis’ leading women since 1965, closed its doors Saturday. G. Thrapp Jewelers, in the Butler-Tarkington neighborhood, closed Sunday after 33 years.
Contact IndyStar reporter Will Higgins at (317) 444-6043. Follow him on Twitter @WillRHiggins.
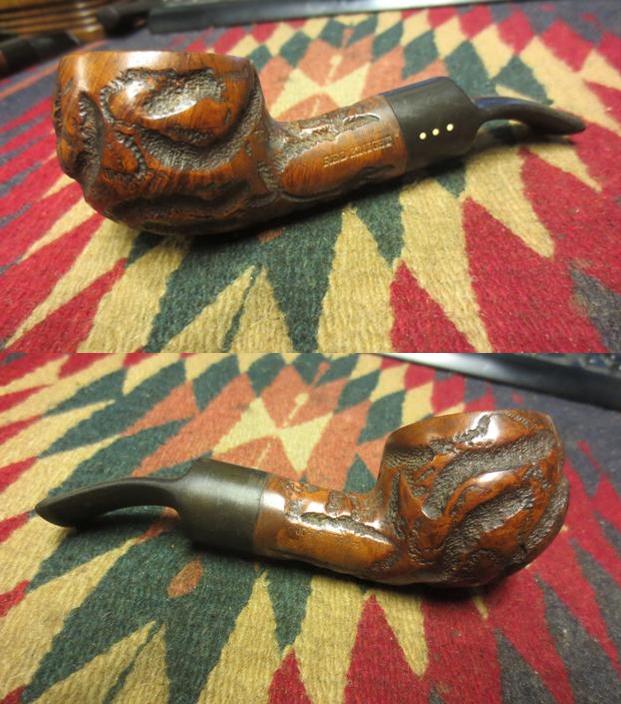
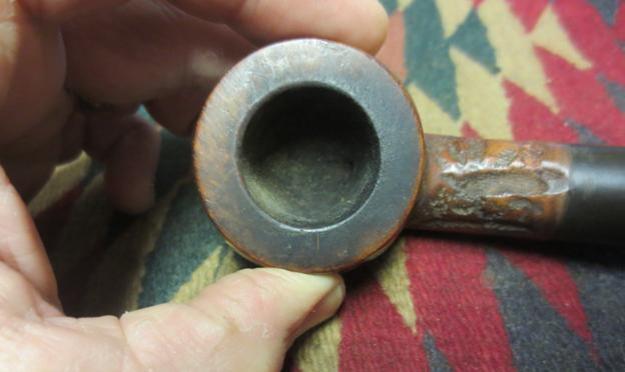
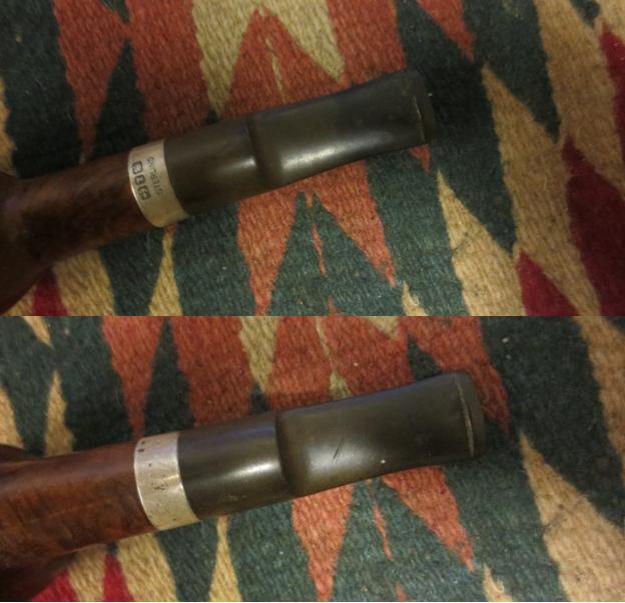
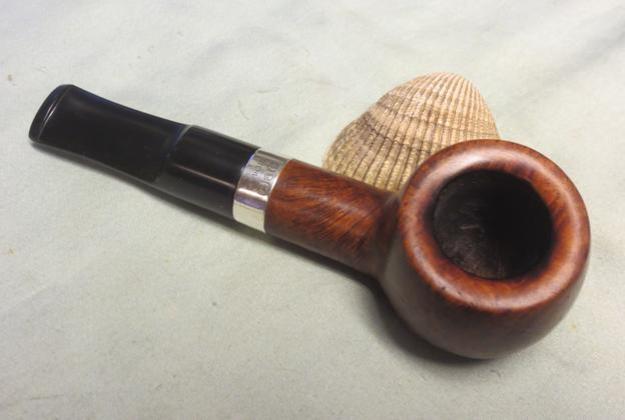
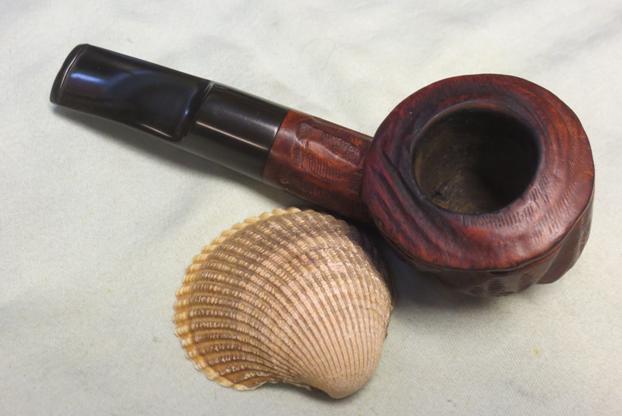
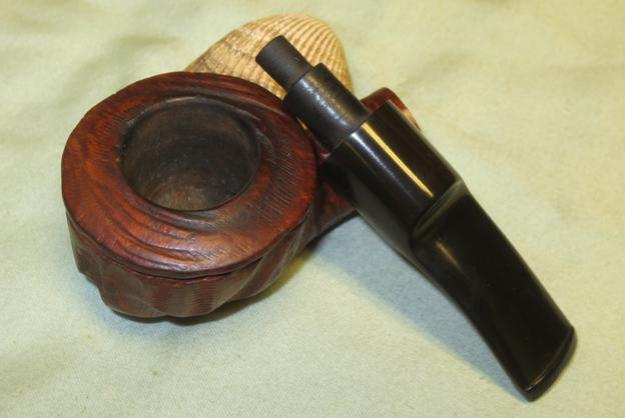
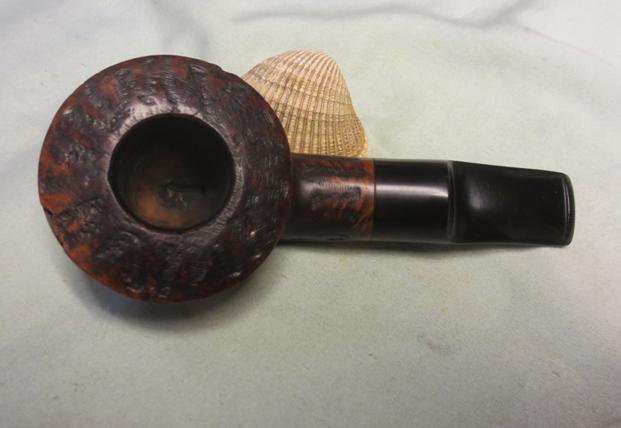
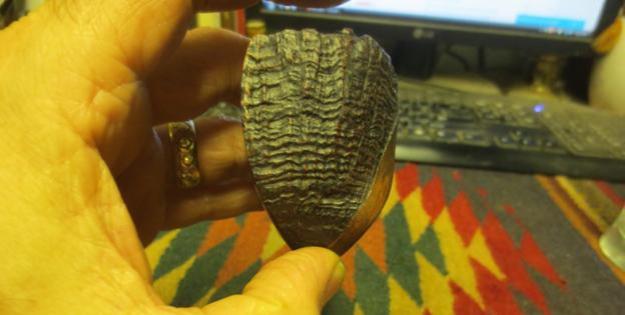
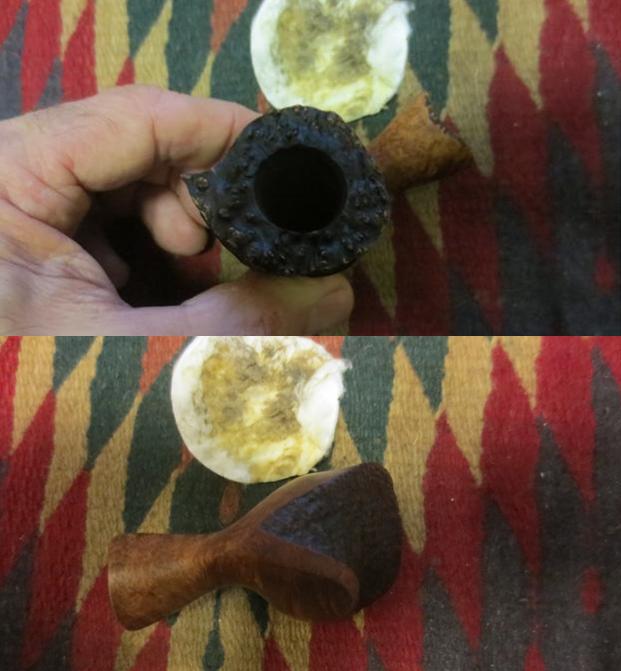
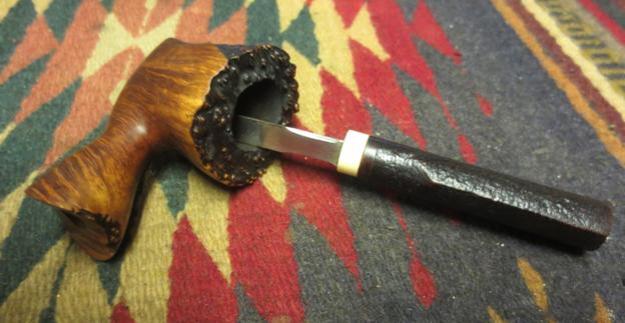
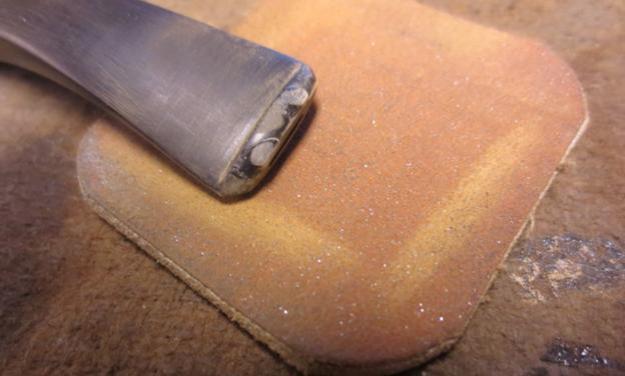
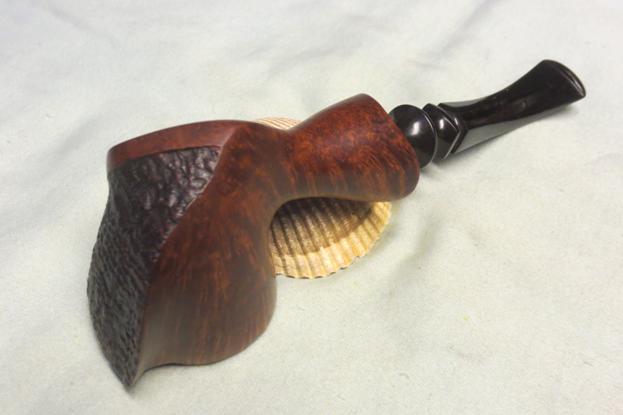
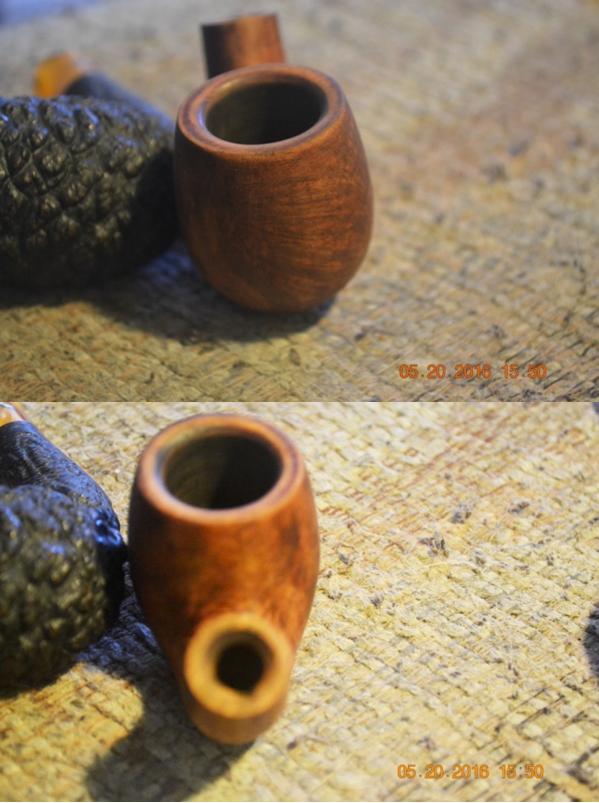
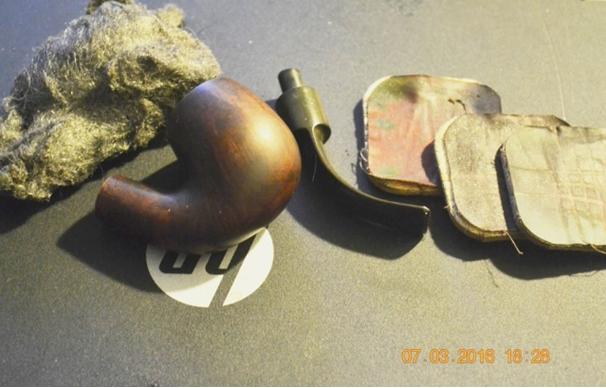
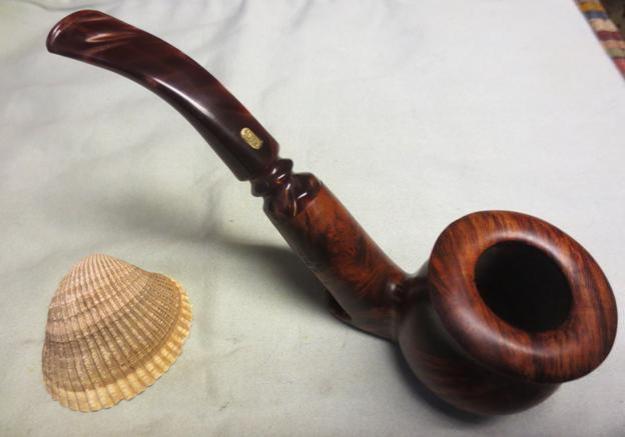
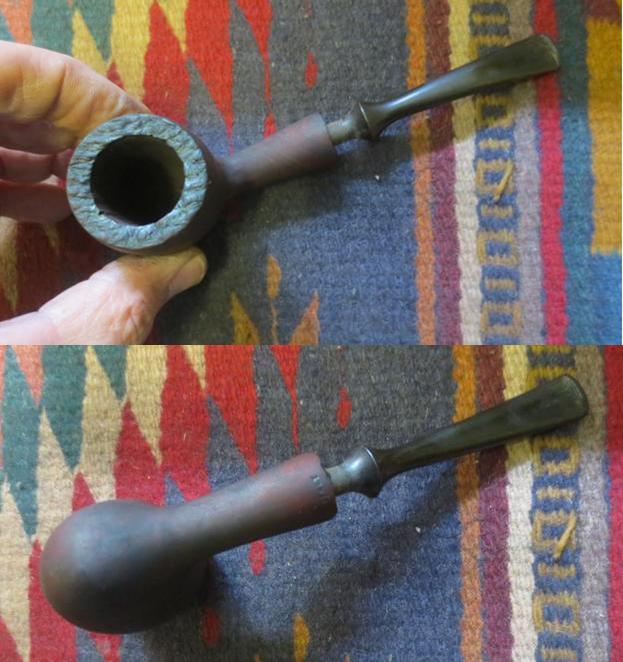
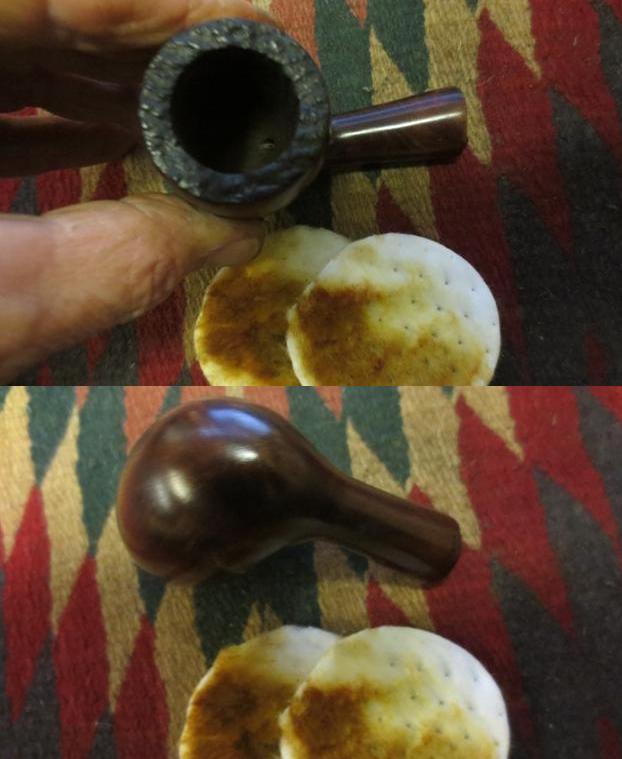
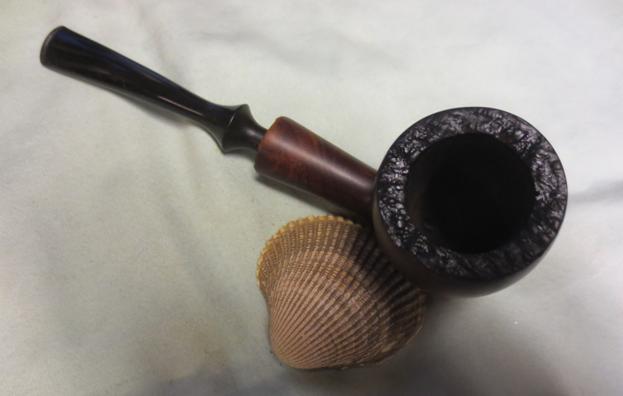
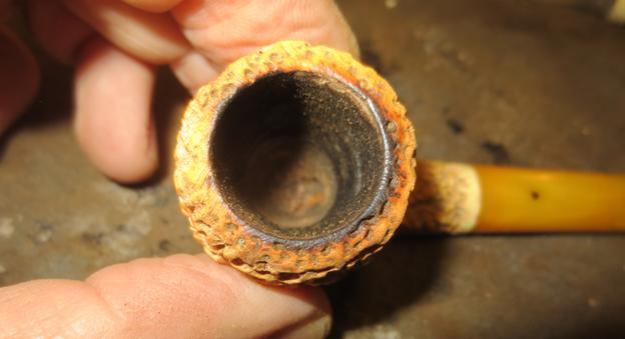
So now I knew that the pipe I had was indeed a shop pipe made for Hardwicke’s Tobacco Shop of Indianapolis. Now it was time to work on it and restore and restem it. I sanded the bowl with 220 grit sandpaper to remove the urethane finish that covered the grime and the burn marks. I sanded the burn marks and tried to reduce the damage to the briar. The more I worked on them the more I am convinced that they were not burn marks but rather dark stains that happened when the bowl was laid in something that left a stain mark. I remember when my mom made pickles when I was a lad and the jars of vinegar left dark rings in the oak table top. These looked identical to the ones I remember as a boy. I sanded and was able to remove several of them. I wiped the bowl down with acetone to clean off the stain and the dust.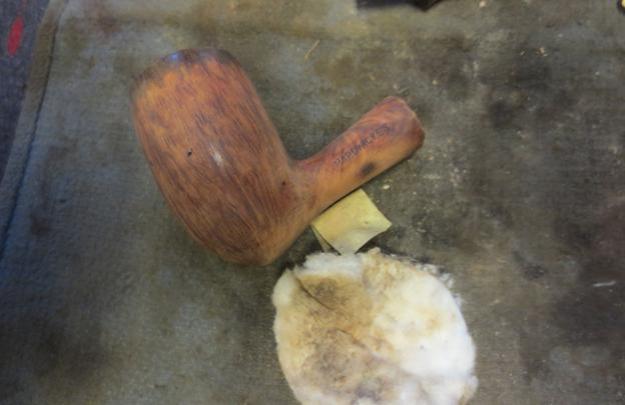 The rim was thickly caked. I worked on it with a brass bristle wire brush and a dental pick to remove the build up on the rim. You can see from the second photo the rustication pattern in the faux plateau on the rim. It is identical to the one that is cut on the end of the shank.
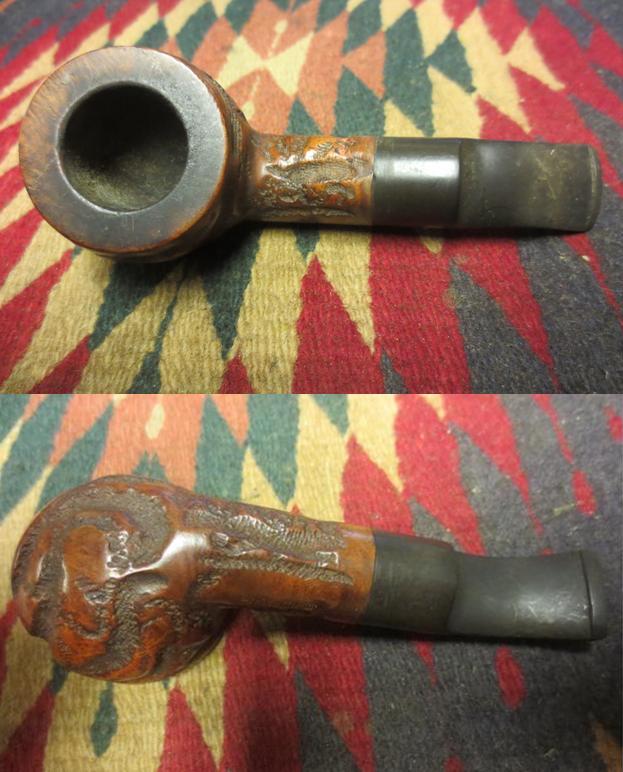
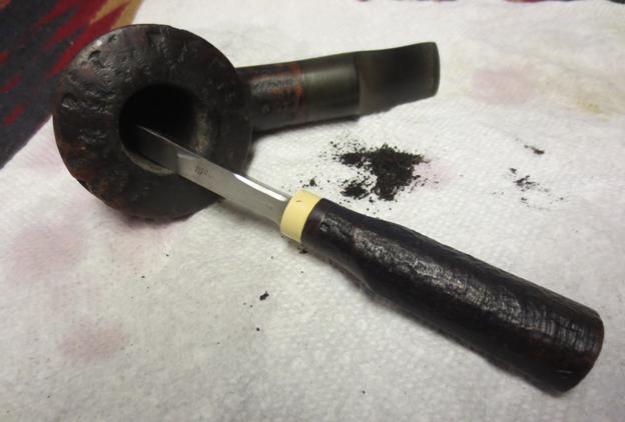
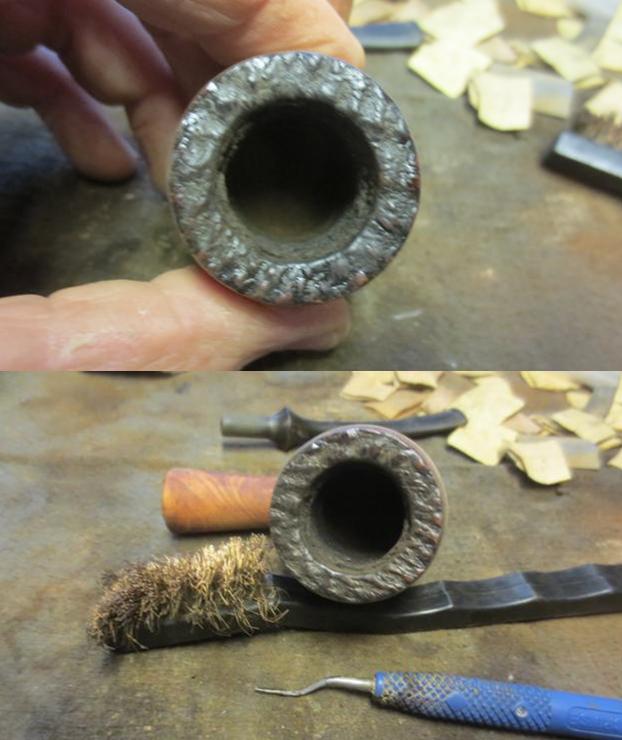 I reamed the bowl with a PipNet reamer and took the cake back to bare wood. I cleaned up the edges and the bottom of the bowl with the Savinelli Pipe Knife.
 I sanded the bowl with a medium and fine grit sanding sponge and then with 1500-2400 grit micromesh sanding pads to remove the scratching in the surface left behind by the 220 grit sandpaper. I remove the darkening around the top of the rim so the surface of the briar was the same over the entire bowl.
 The bottom of the bowl shows a scratch in the surface that looks like it is a hairline crack. Looking at it with a magnifier I am pretty sure it is a scratch and not a crack.
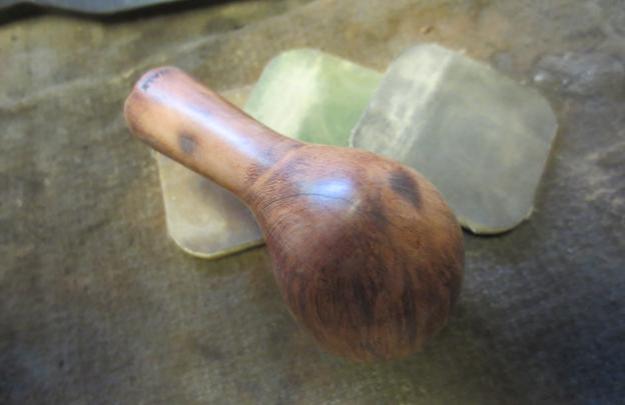 To deal with the darkened spots on the shank and the bowl bottom as well as the scratch I decided to use a contrast stain. I stained the bowl with a black aniline stain and flamed it. I repeated the process until the coverage was even.
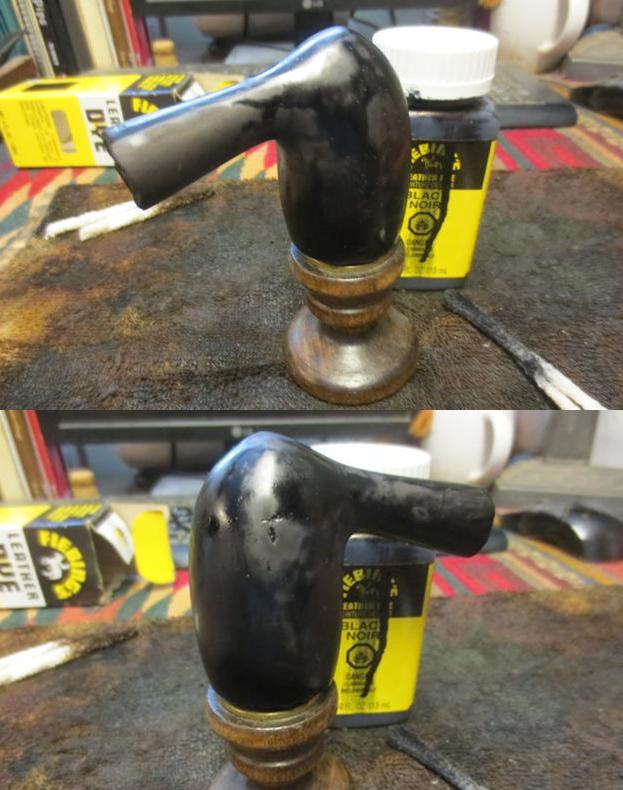 I wiped down the black stain with alcohol on cotton pads to remove the stain in the body of the briar and leave it in the grain.
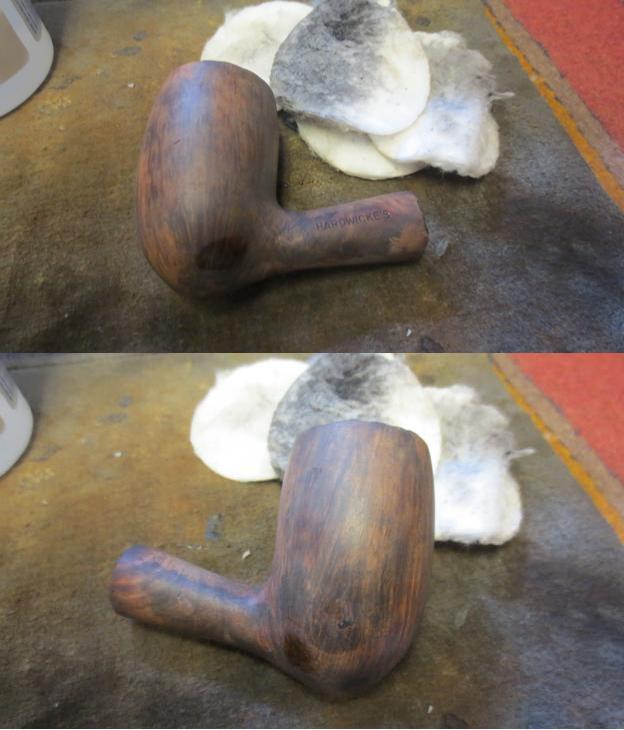 I washed it down with an alcohol damp pad and gave it a top coat of brown stain. I flamed it and applied it until the coverage was even. Then I set it aside to dry.
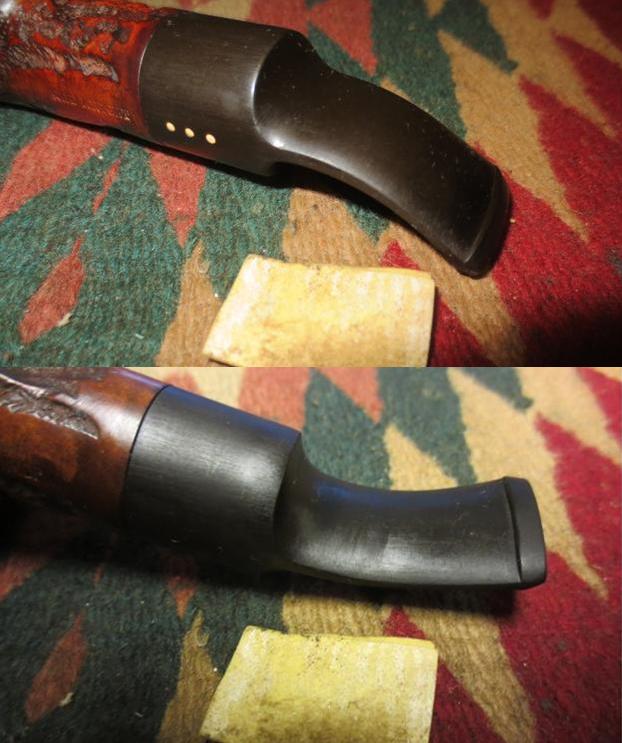
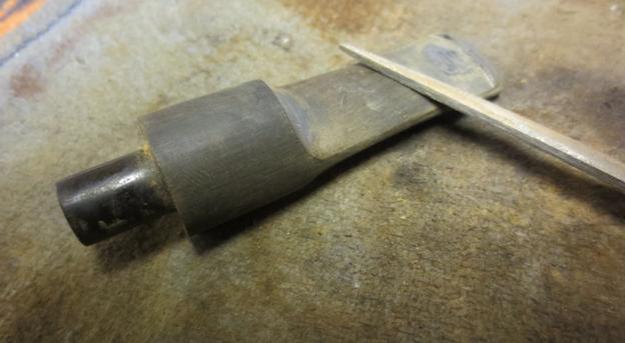
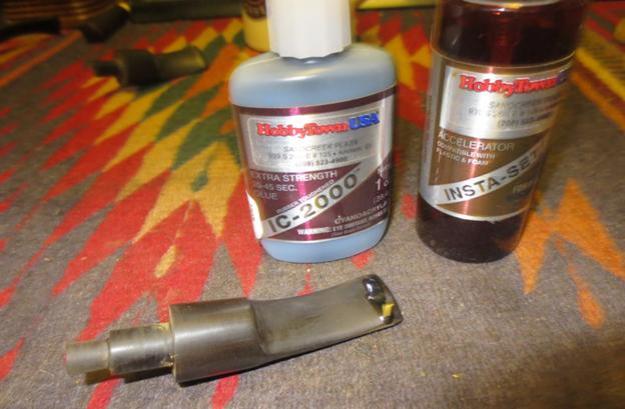
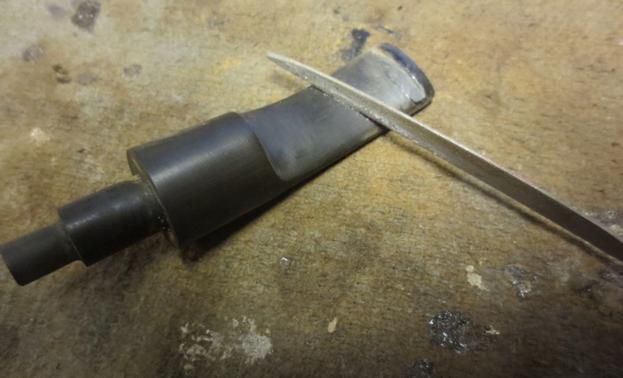
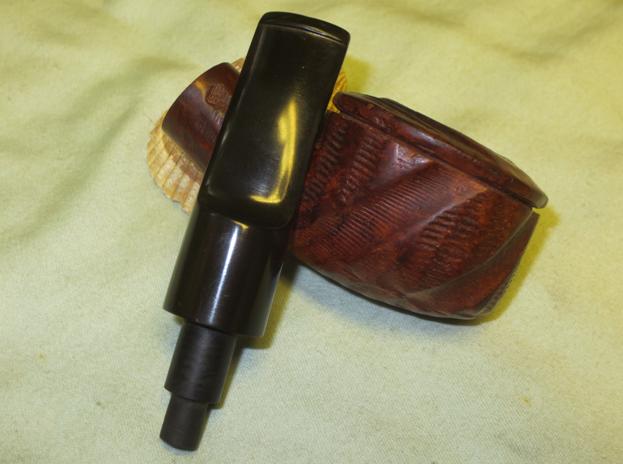
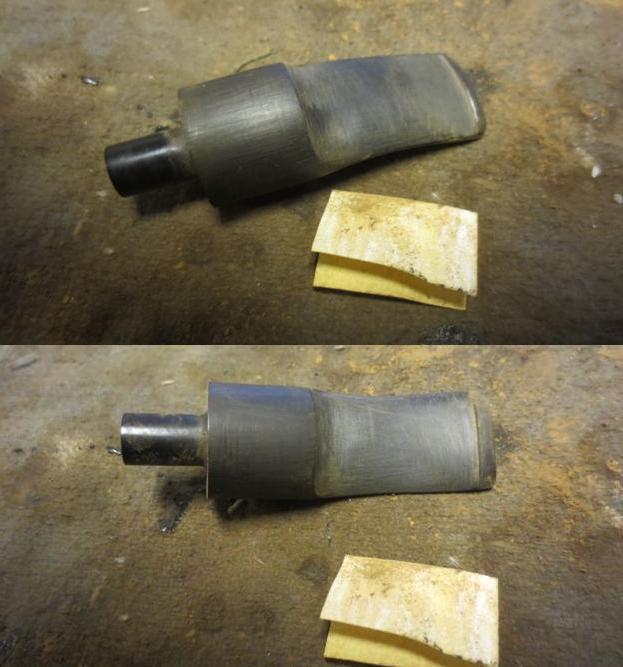
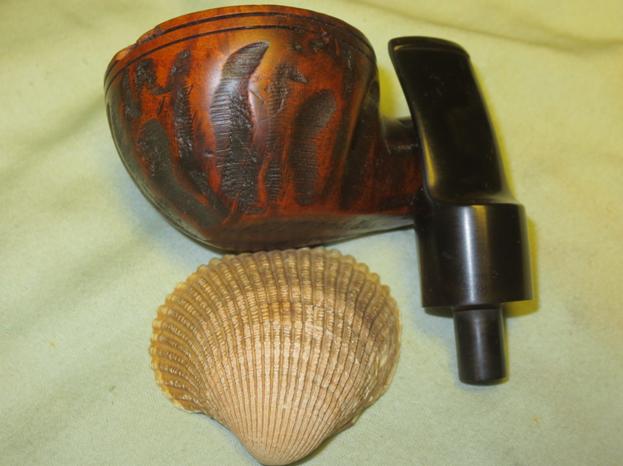
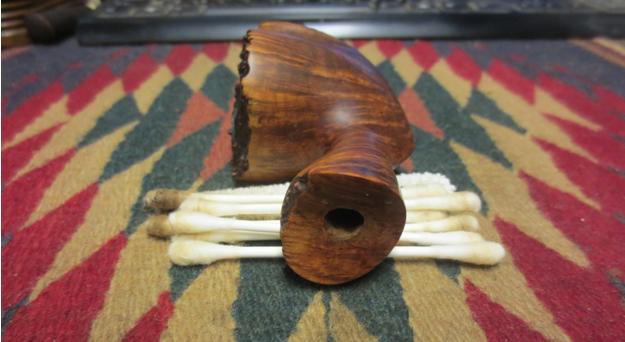
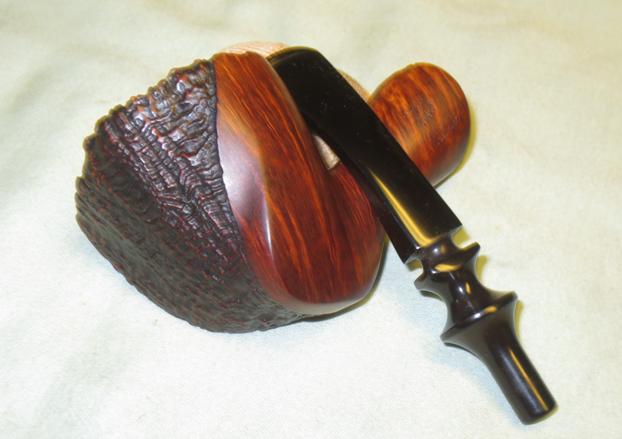
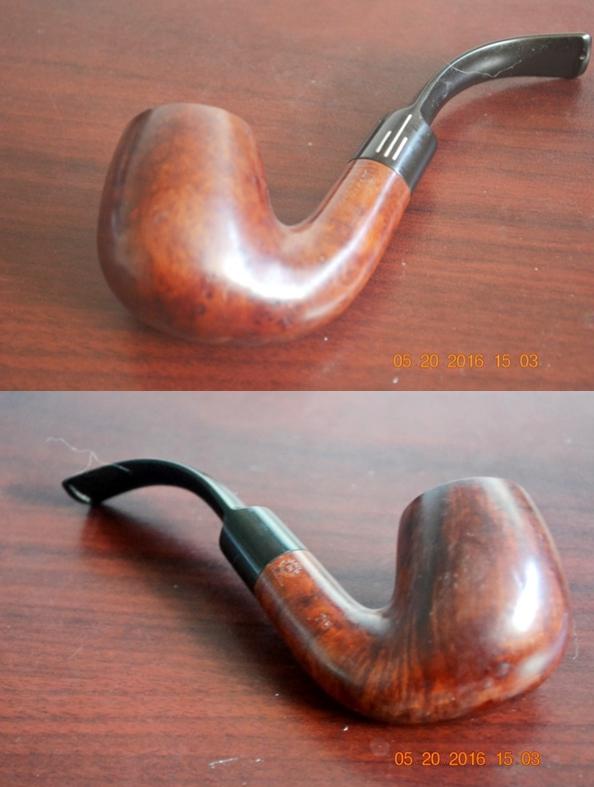
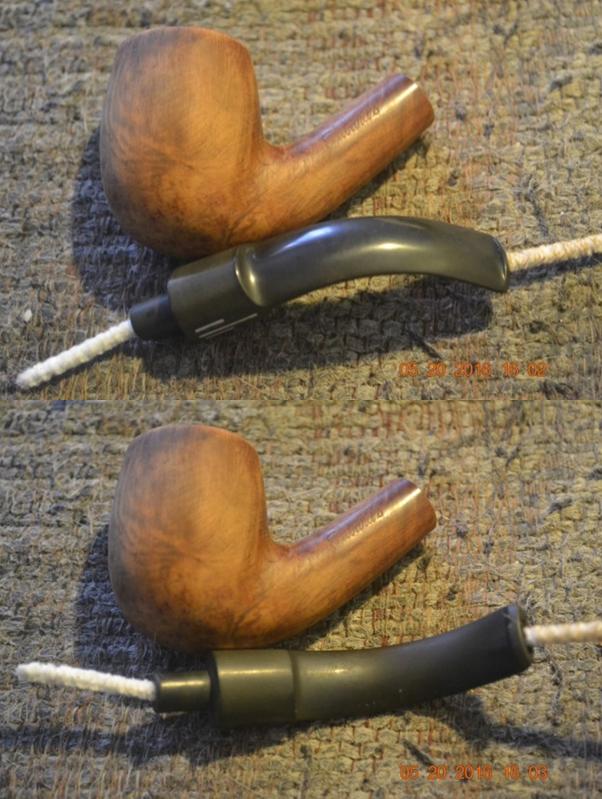
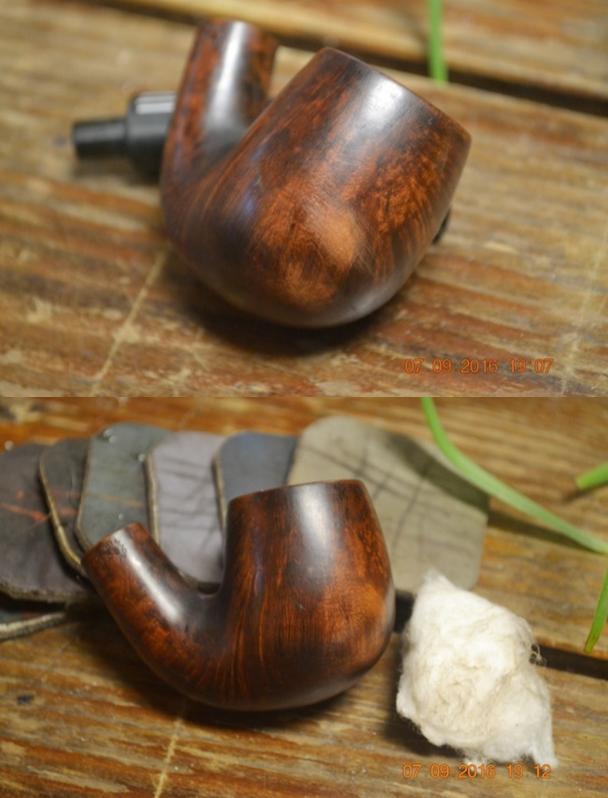
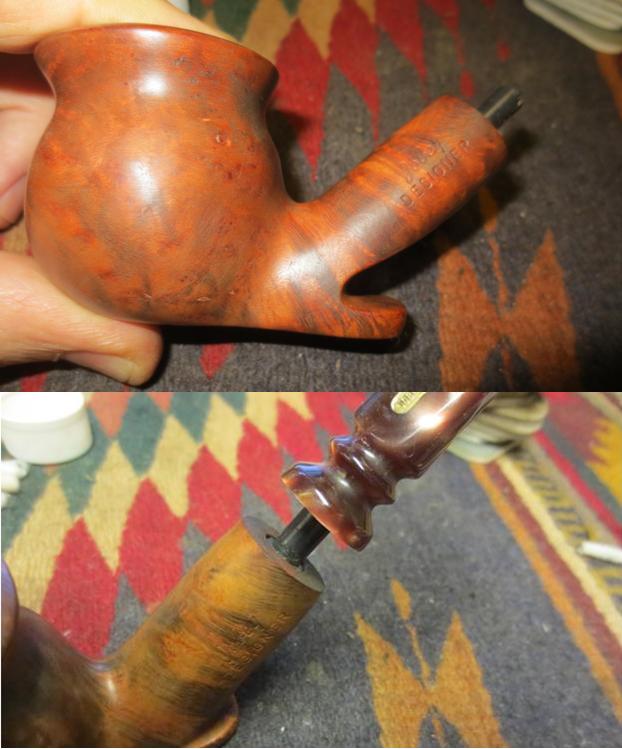
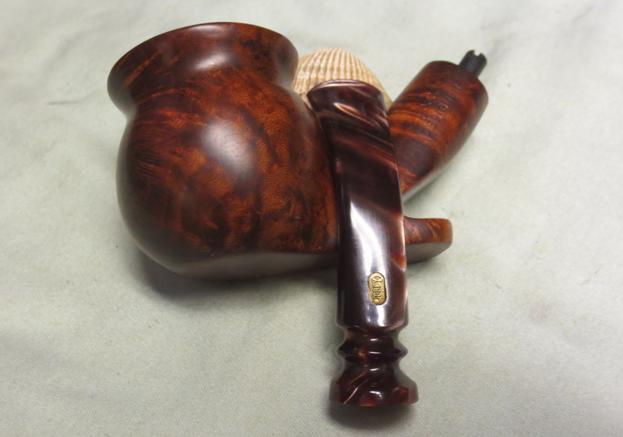
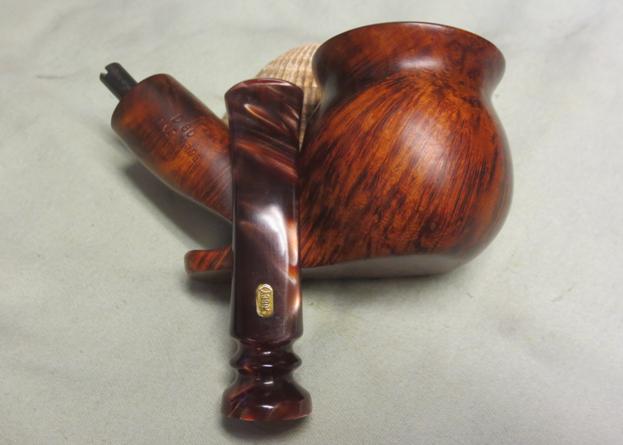
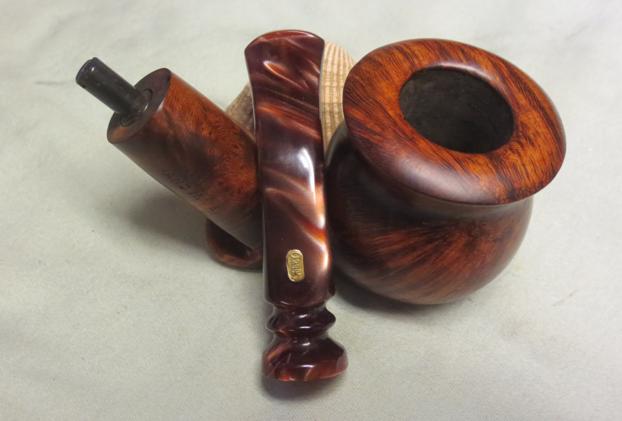
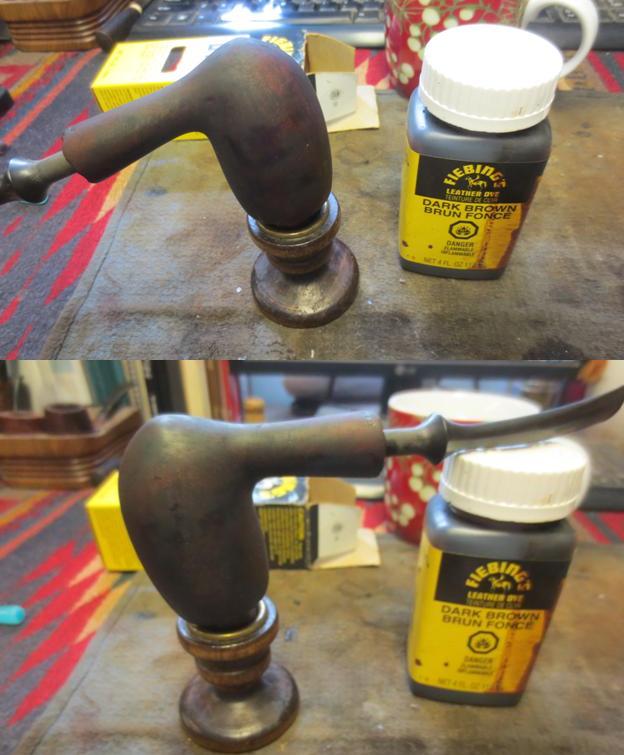 I used the Dremel and sanding drum to reduce the diameter of the tenon. I cleaned it up with a piece of 220 grit sandpaper. I put the stem in the shank and took some photos of the look of the pipe at this point in the process.
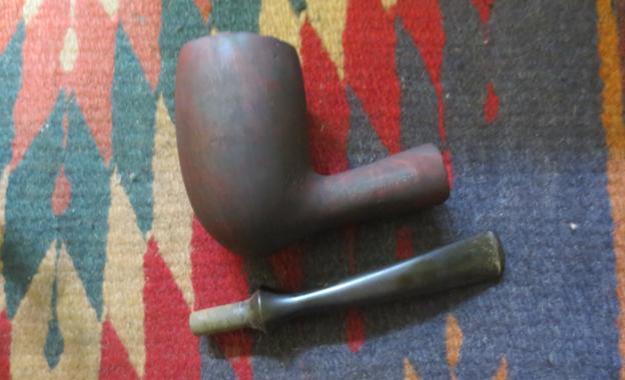

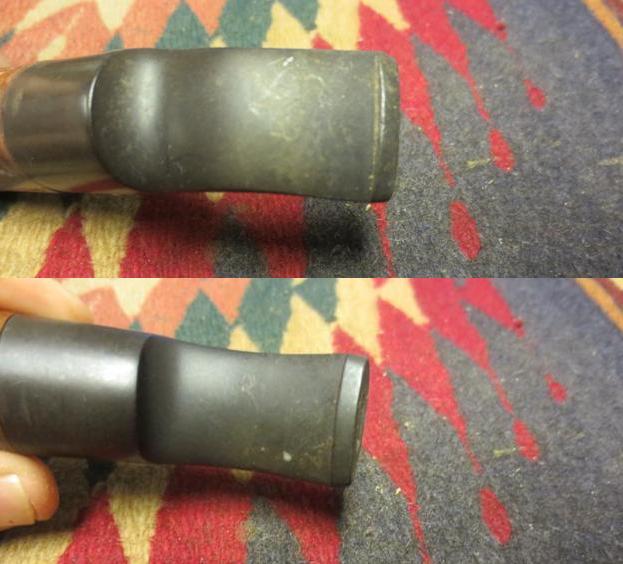
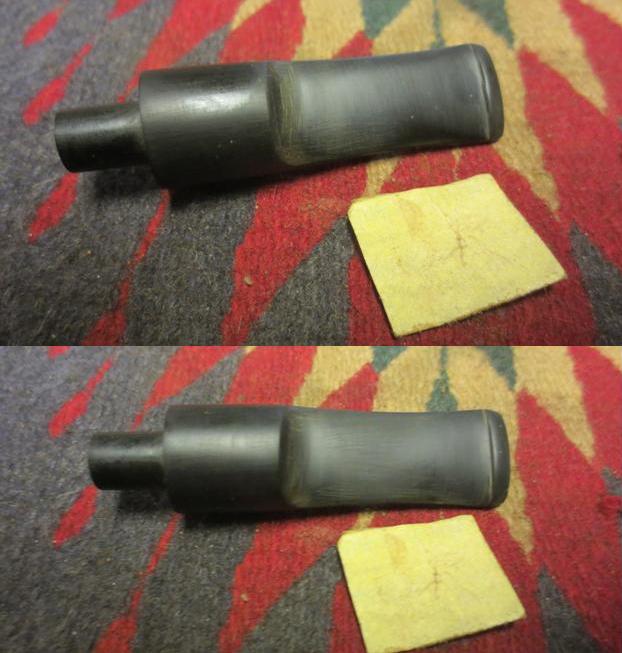
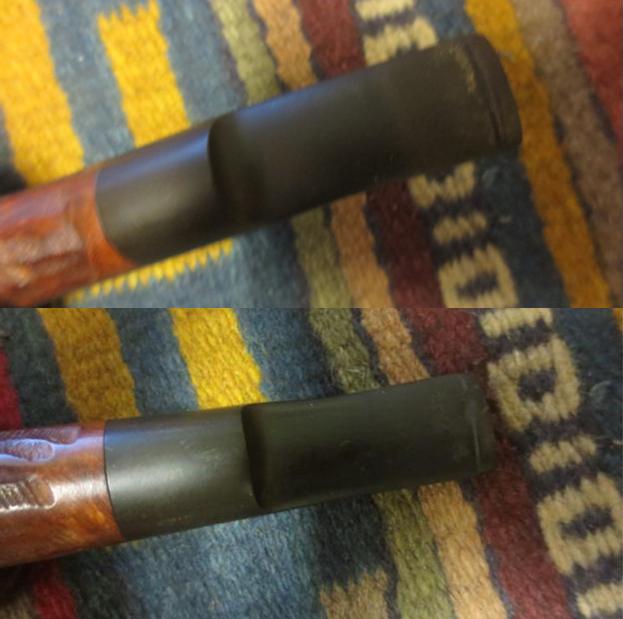
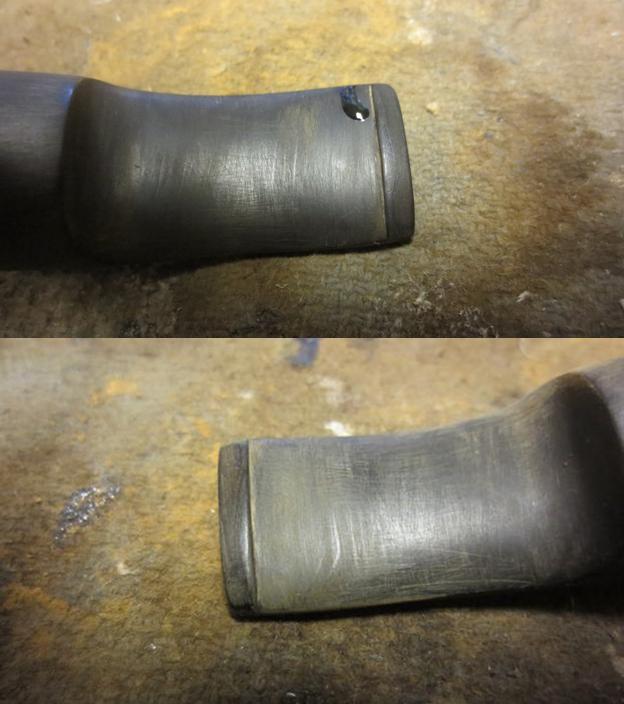
 I sanded the stem with 220 grit sandpaper to remove the tooth chatter on the top and bottom sides of the stem at the button.
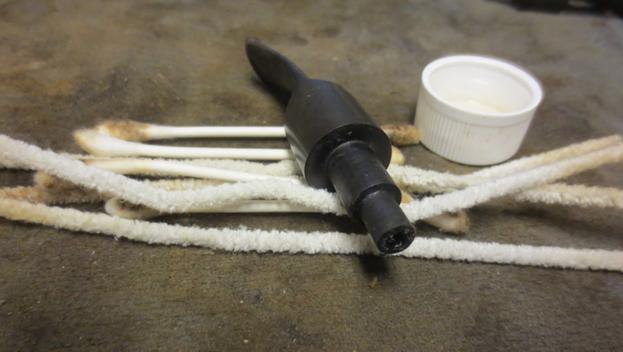
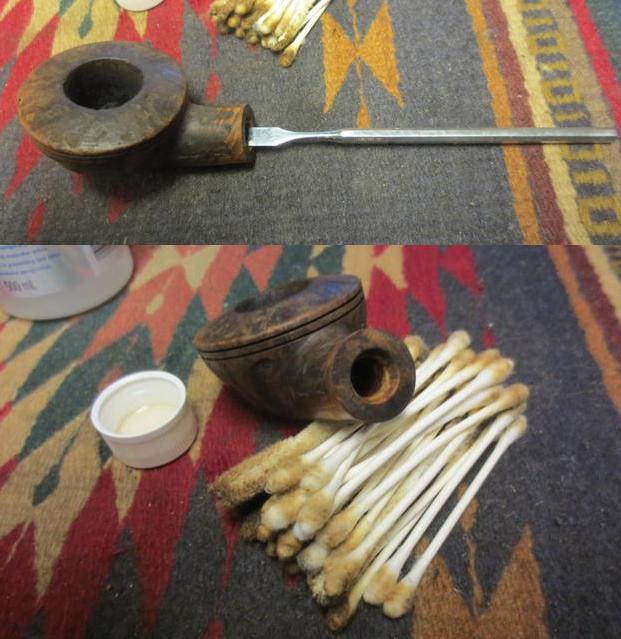
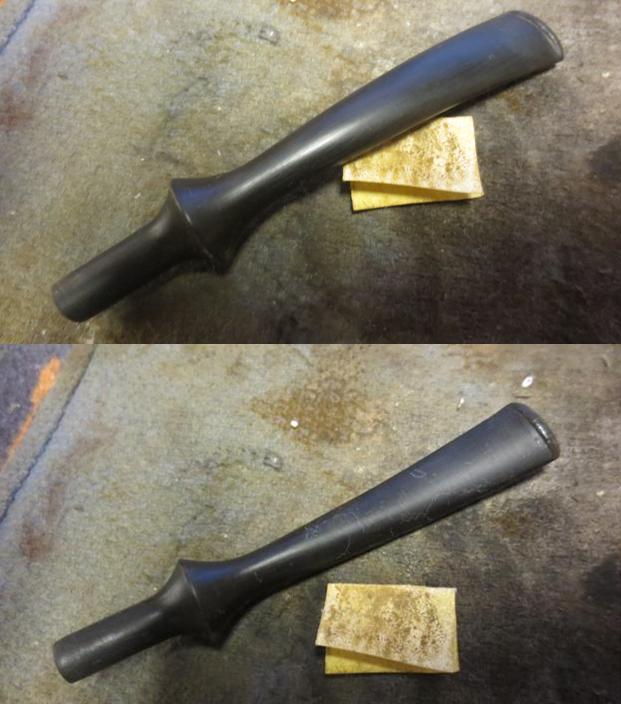 I cleaned out the airway with a pipe cleaner and alcohol. It was not dirty at all which surprised me.
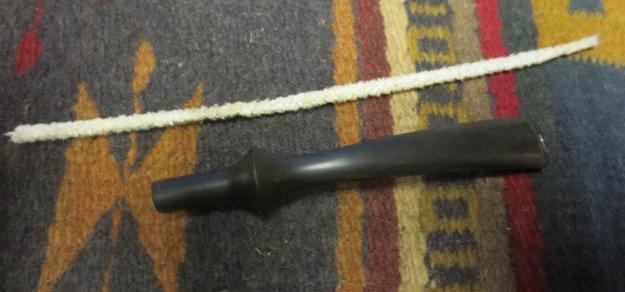 I wiped down the bowl with alcohol on cotton pads and then buffed the bowl with Blue Diamond on the buffing wheel.
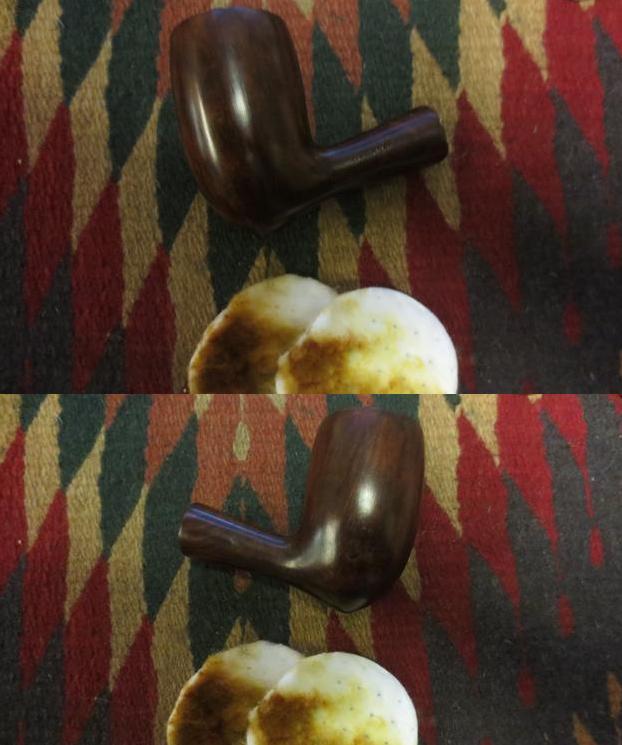
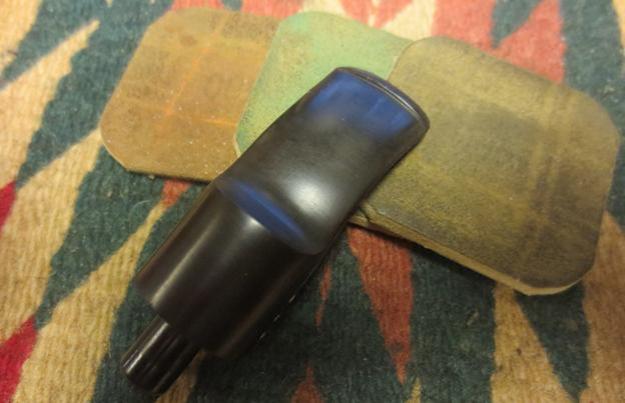
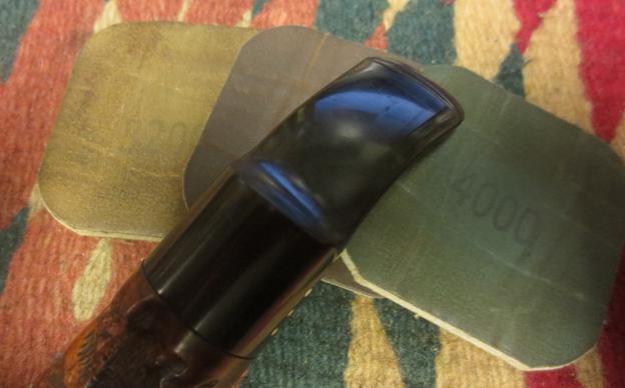
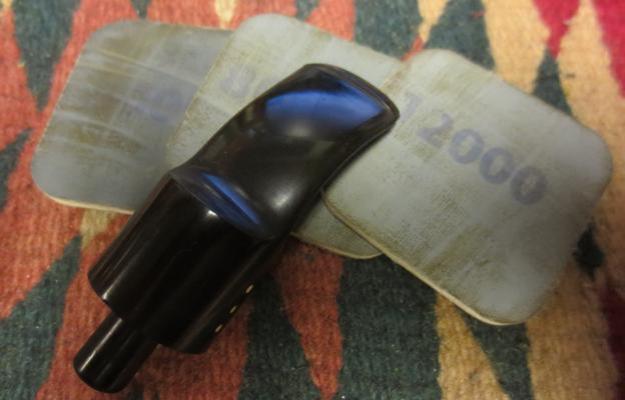
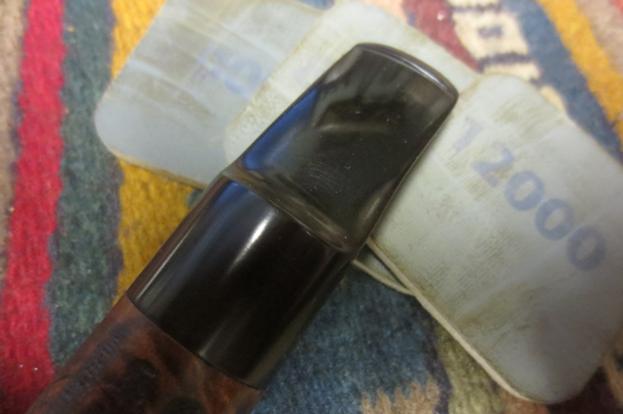
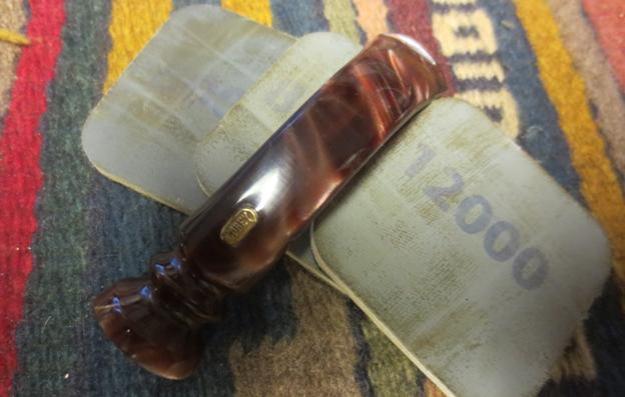
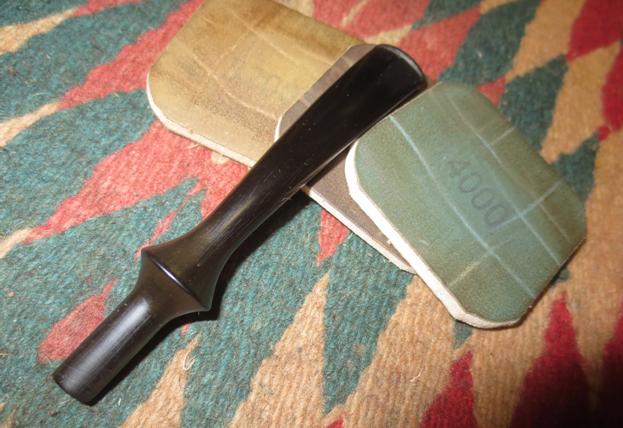
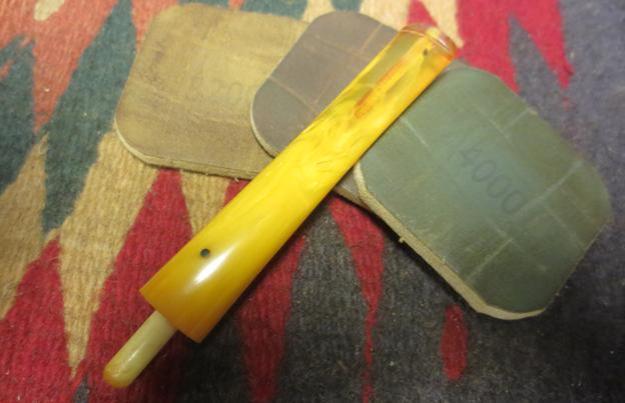
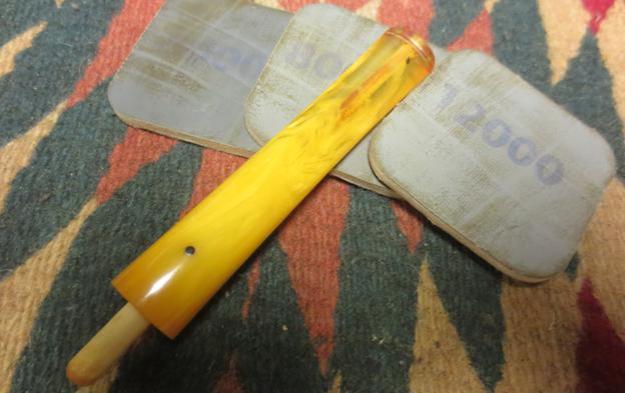
 I wet sanded the stem with 1500-2400 grit micromesh sanding pads and rubbed it down with Obsidian Oil. I dry sanded with 3200-4000 grit pads, gave it another coat of oil and finished sanding it with 6000-12000 grit pads. I gave it a final coat of Obsidian Oil and set it aside to dry.
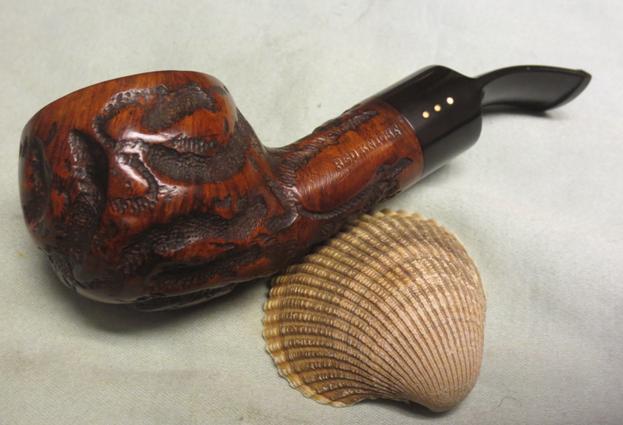
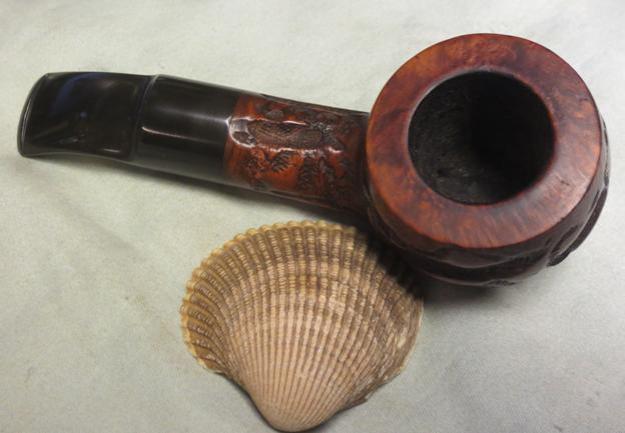
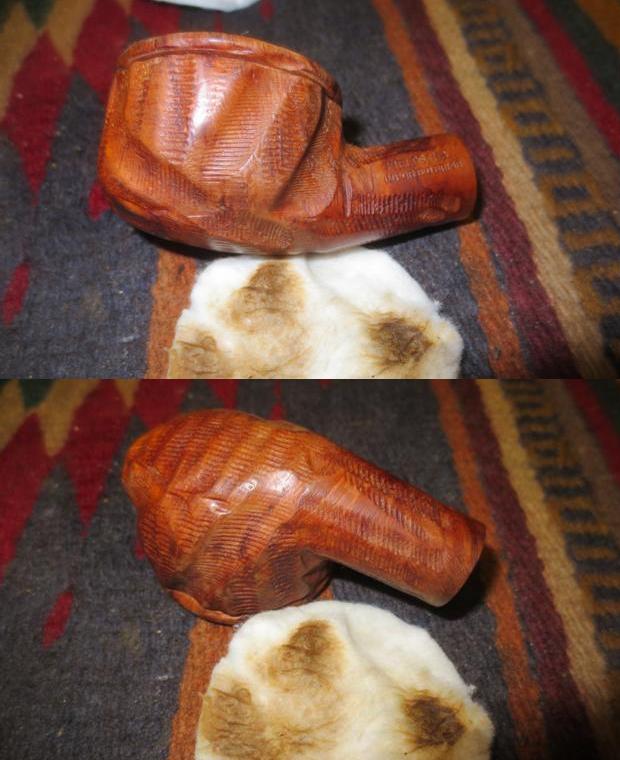
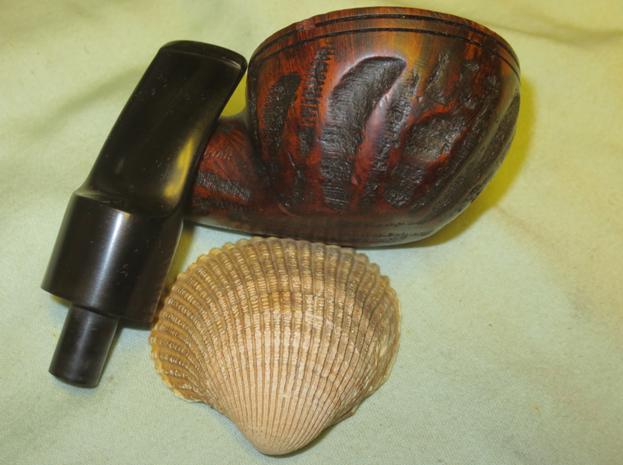
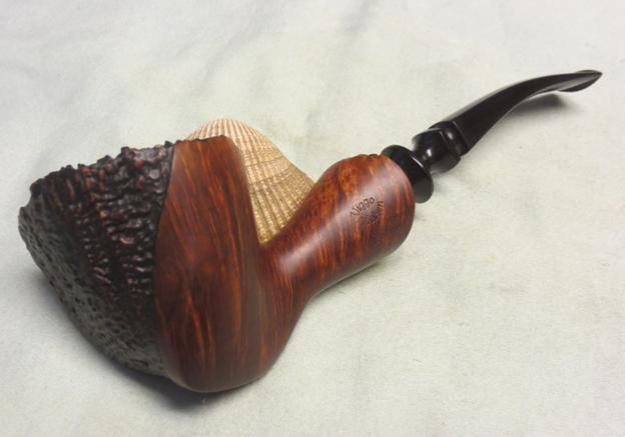
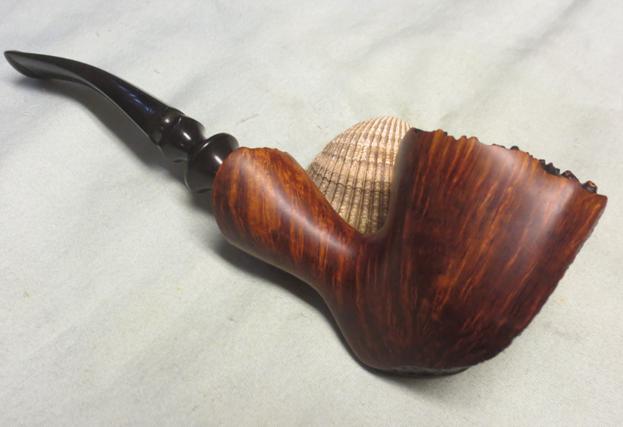
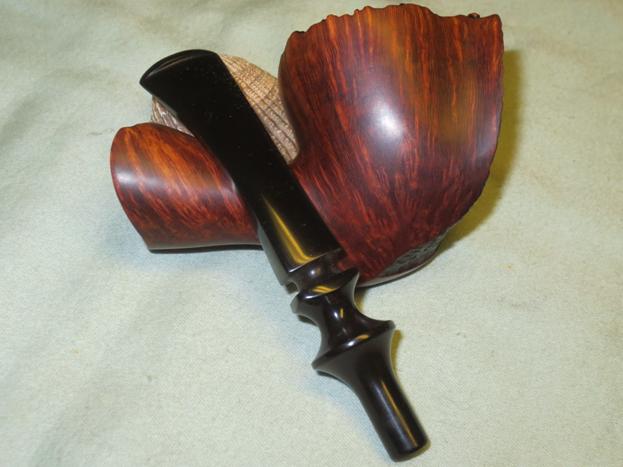
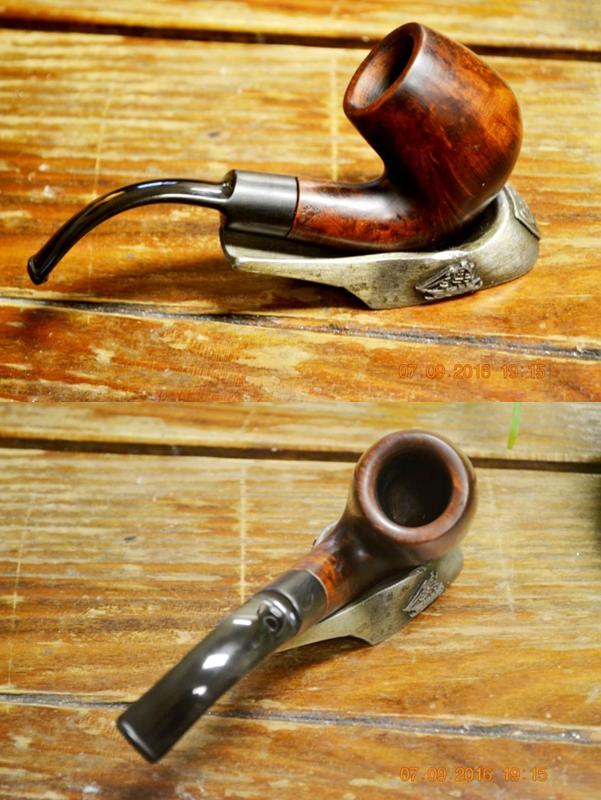
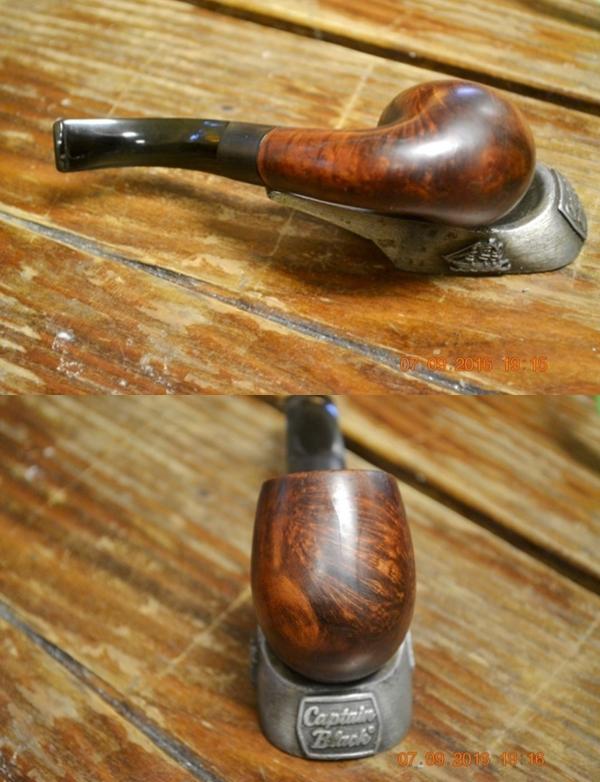
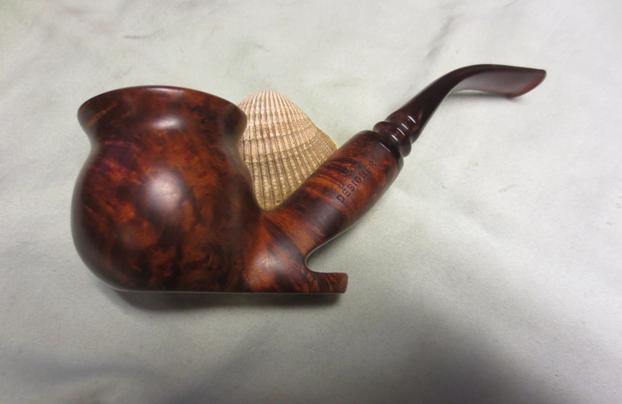
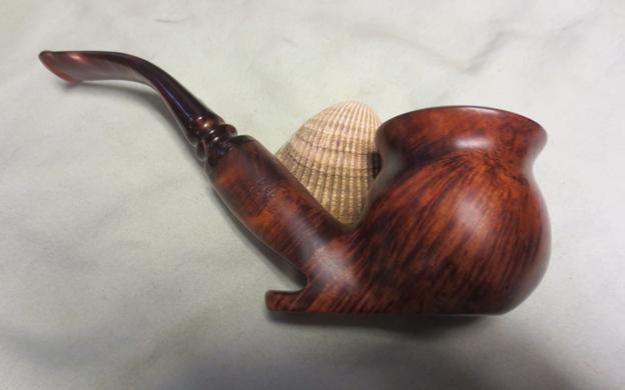
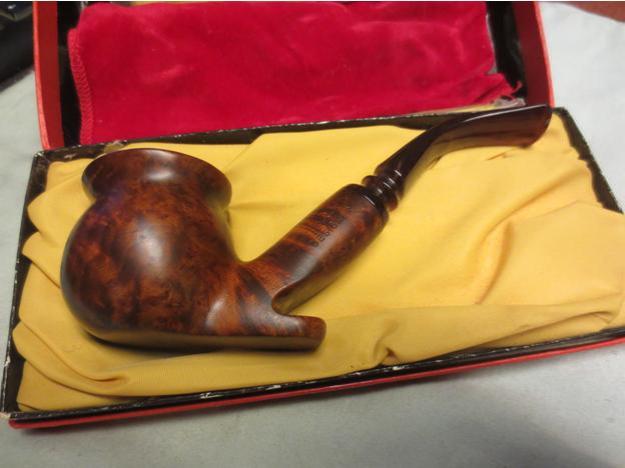
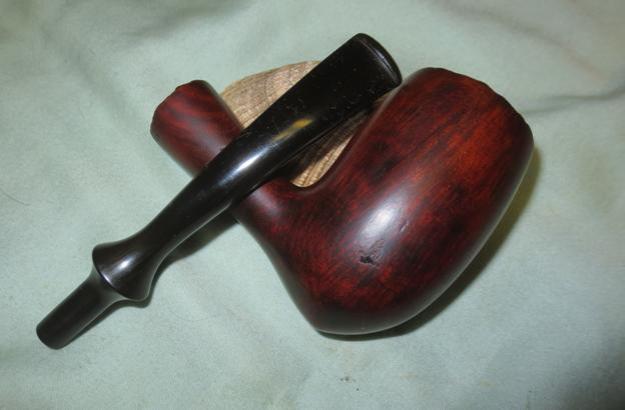
 I buffed the bowl and stem with Blue Diamond on the buffing wheel. It removed a little more of the brown stain and made it a bit more translucent. I gave the stem and bowl several coats of carnauba wax and buffed it with a clean buffing pad to raise the shine. The new stem looks like it belongs with the pipe and the curve of the bowl and the new stain look great in my opinion. The grain on the pipe is very nice. The black and brown stain combination hides the dark mars on the shank and the bowl. They are still present but blend in nicely. Thanks for looking.
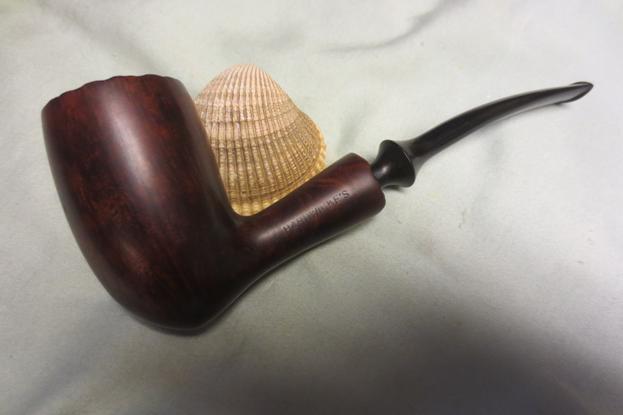


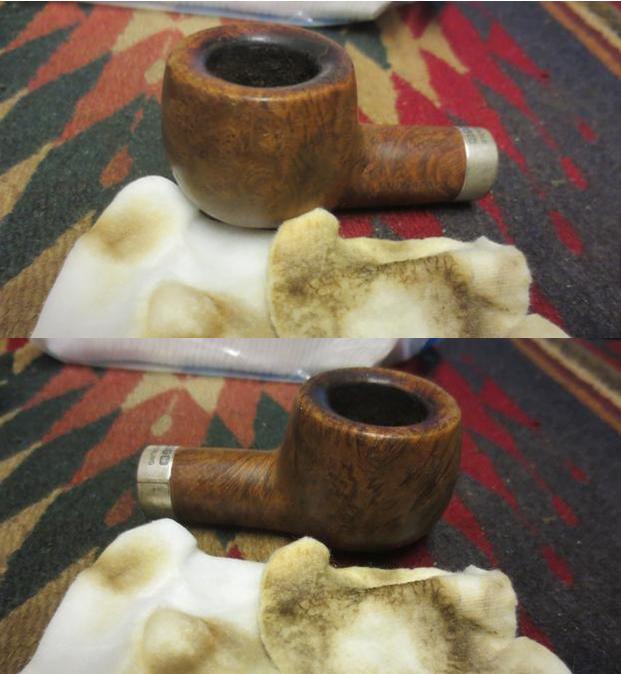
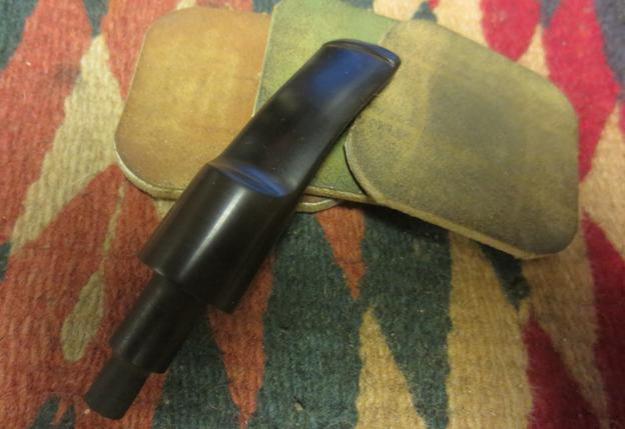
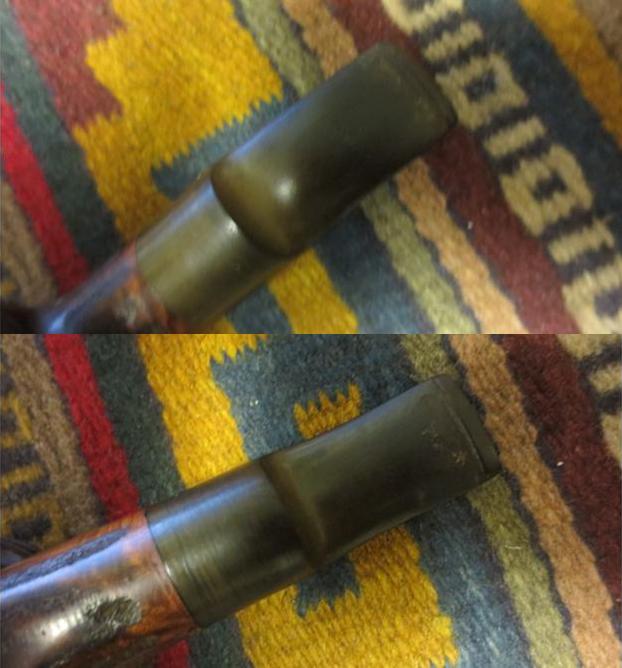
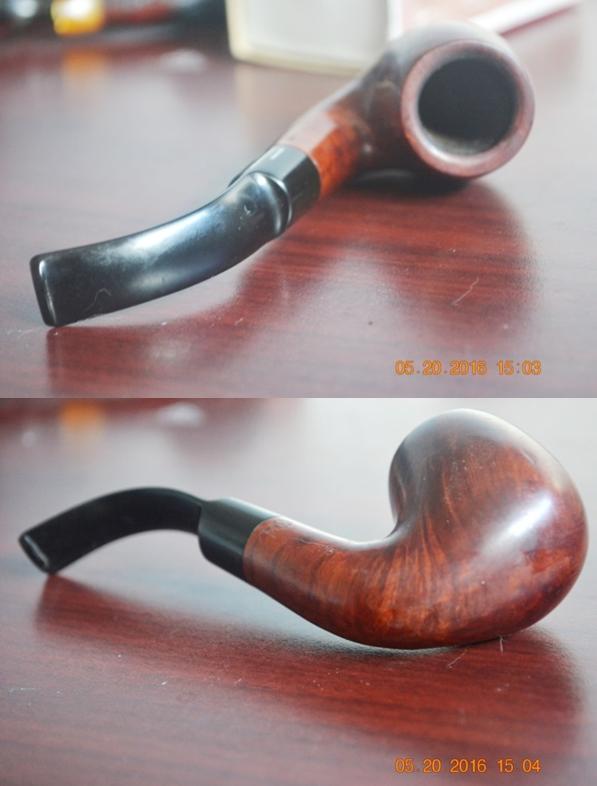
 I took a close-up photo of the rim to show the build up on the back of the top along with darkening to a lesser degree all the way around the top of the bowl. I also took a photo of the top and bottom of the stem. Though they are clear enough they do not show the rippling and tooth marks in the surface. It looked to me like someone had tried to buff out the tooth marks and ended up with a wavy surface on the stem. You can also see the staining of the airway in the clearer portion of the stem.
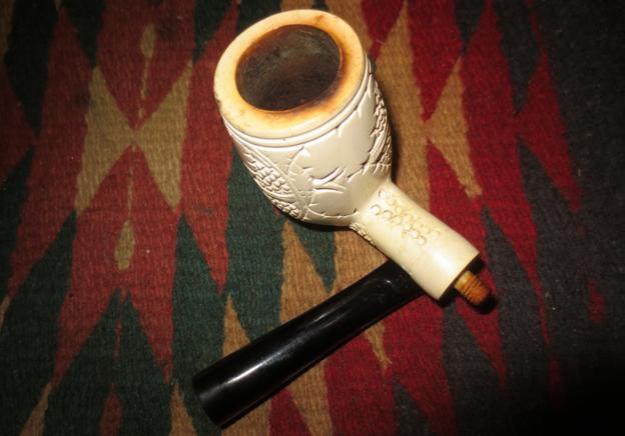
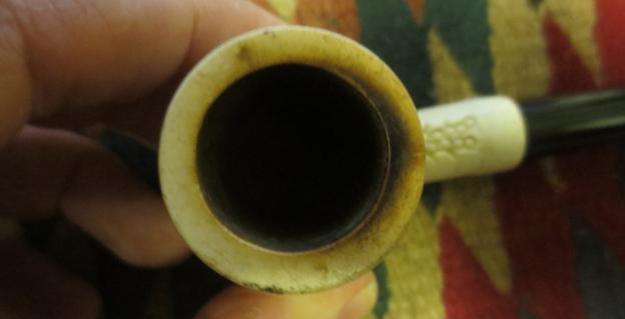
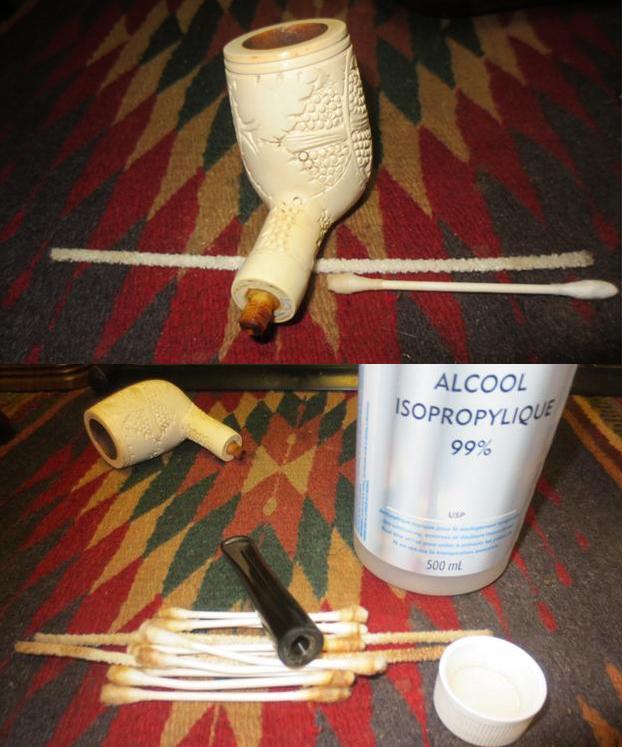
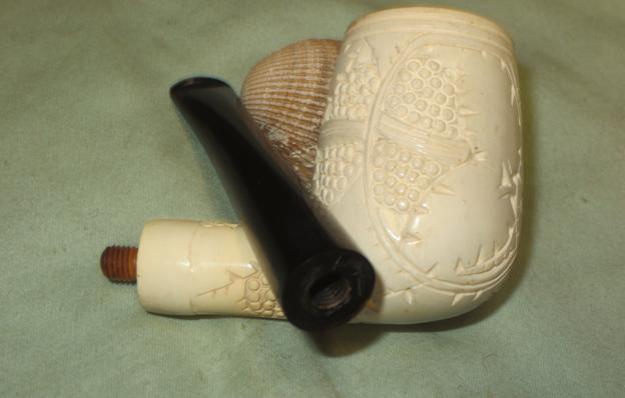
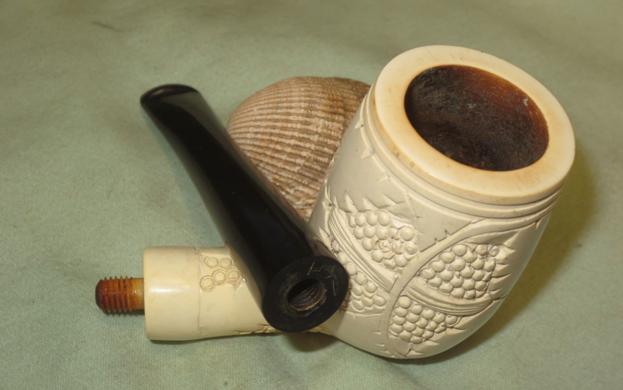
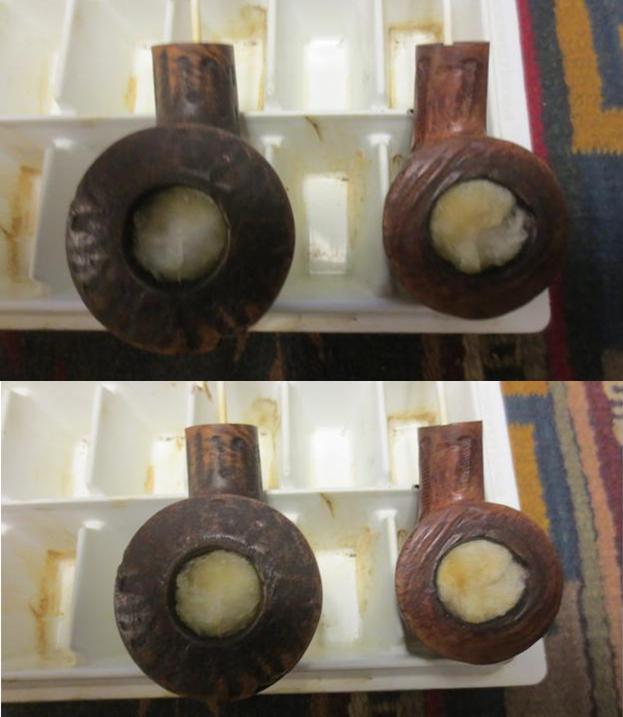
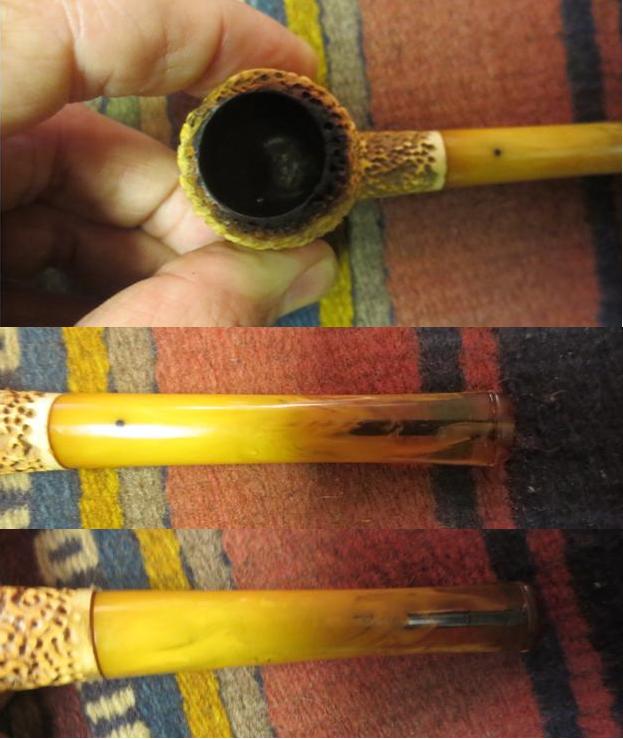 I decided to use a gentle soft scrub product to clean the exterior of the meerschaum and the tarry buildup on the rim. I scrubbed it with a tooth brush and rinsed it under running water. I dried it off with a towel. I used a brass bristle brush to work on the rim top. I was able to remove much of the tarry buildup on the rim and rinsed it once again with running water.
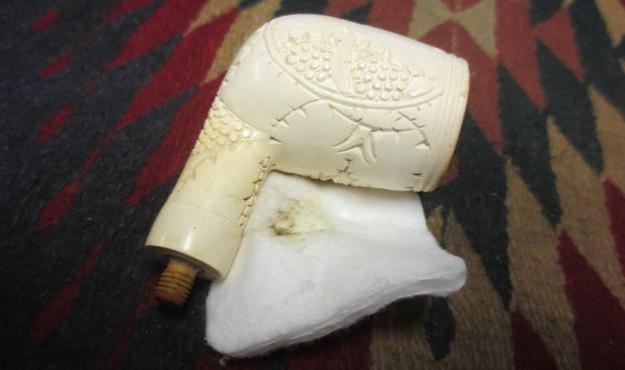
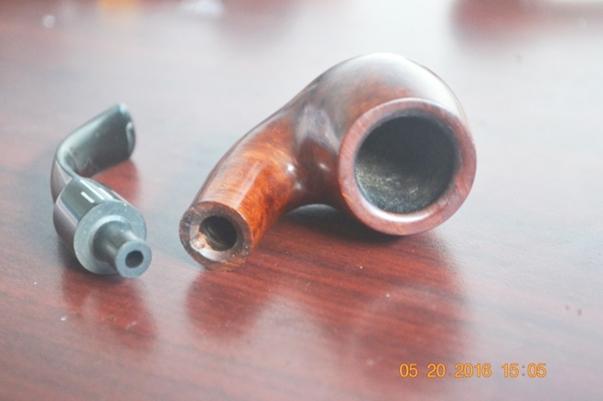
 I reamed out the light cake with a Savinelli Pipe Knife and took the cake completely out of the bowl.
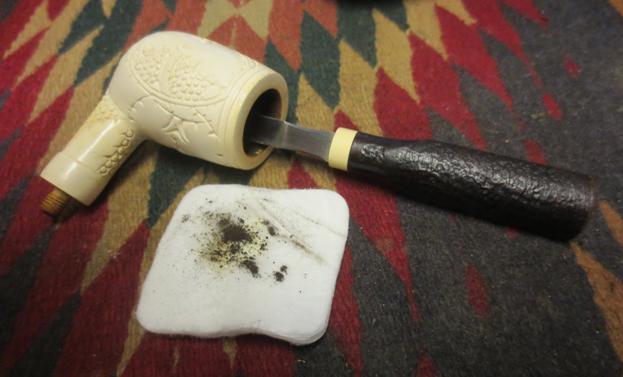
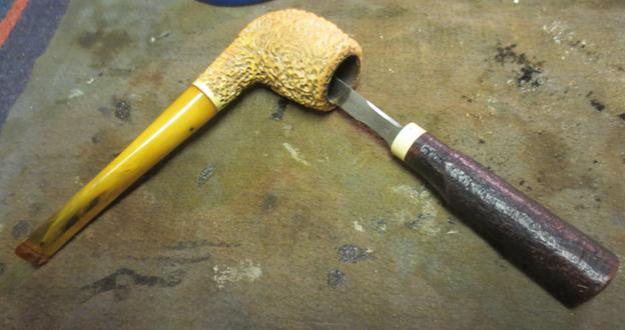 I worked on the inside of the airway with mini-needle files to smooth out the drilling and the slot. It took three different needle files to remove much of the roughness – a round, an oval and a flat oval file.
 I scrubbed the inside of the stem with bristle pipe cleaners and soft scrub cleanser. With repeated scrubbing alternating with the needle files I was able to remove the majority of the staining in the airway. I scrubbed the airway and mortise in the bowl with alcohol and pipe cleaners.
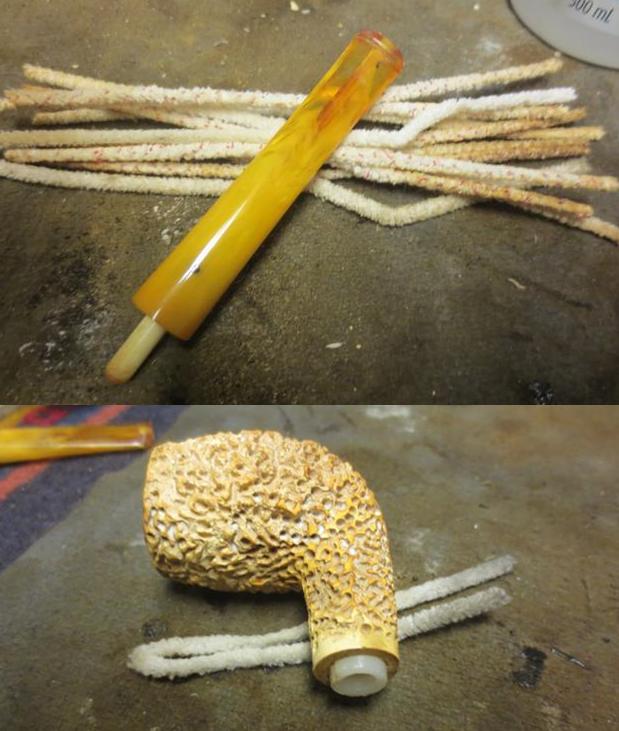 To remove the waviness of the stem and the tooth marks I sanded it with 220 grit sandpaper and a medium grit block. I was able to remove the wavy lines and the tooth marks and restore the taper of the stem.
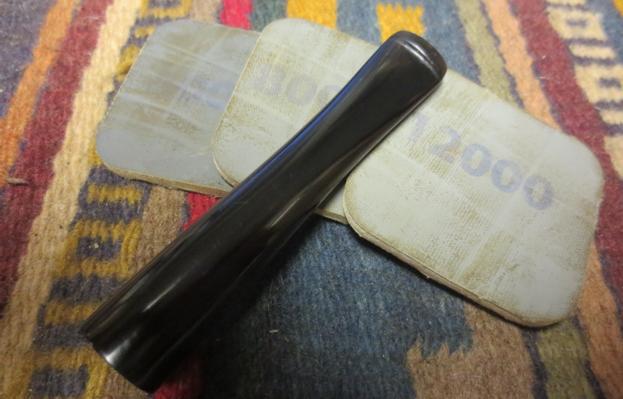
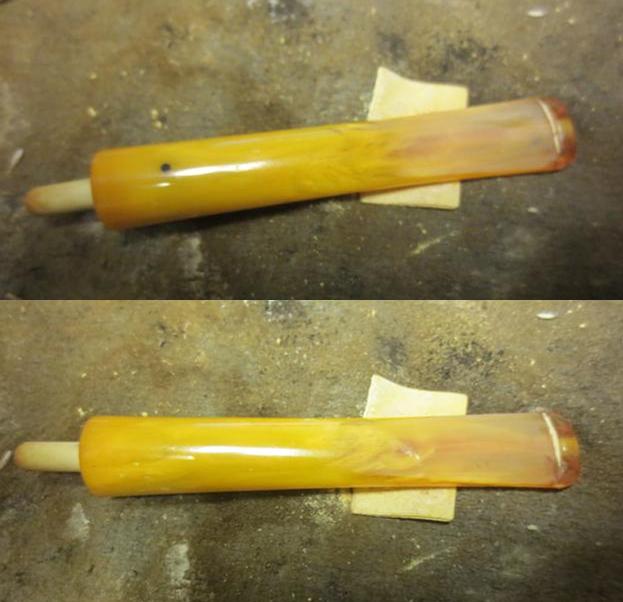 I wet sanded the stem with 1500-2400 micromesh sanding pads and wiped the stem down with a damp cotton pad. I dry sanded it with 3200-4000 grit pads and wiped it down again. I finished sanding it with 6000-12000 grit pads and wiped it down a final time to remove the sanding dust.
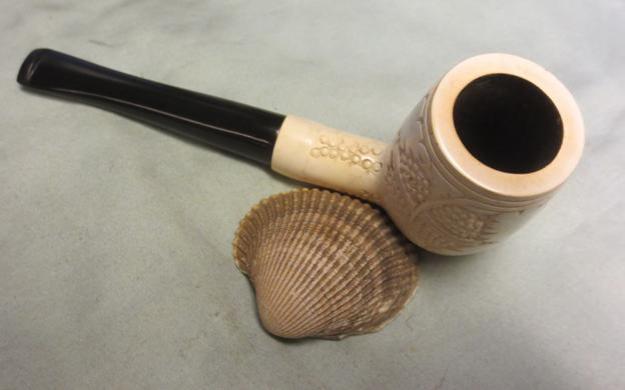
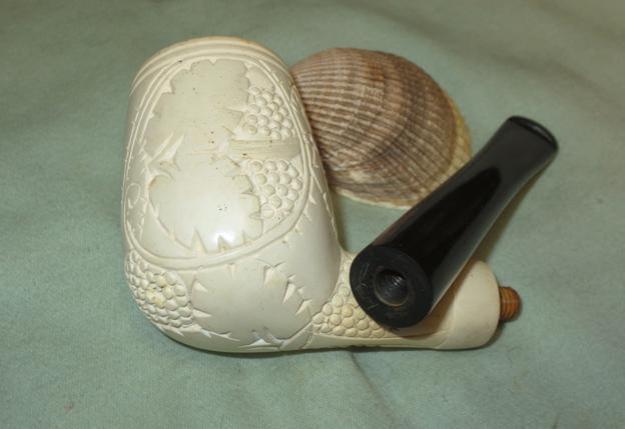
 I buffed the bowl and stem lightly with Blue Diamond on the wheel. I gave the stem multiple coats of carnauba wax and buffed the pipe with a clean buffing pad. I hand buffed the stem and bowl with a microfibre cloth. The finished pipe is shown in the photos below. If you are interested in adding this pipe to your collection send me a message on Facebook or respond in the space below the blog. Thanks for looking.