
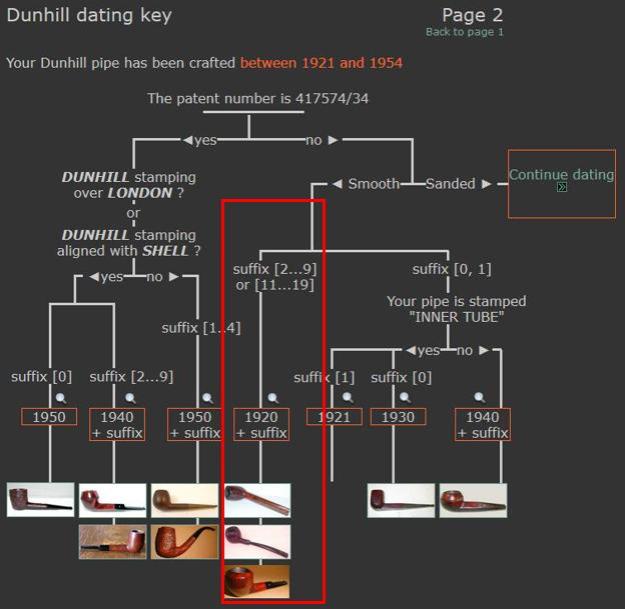
Blog by Steve Laug
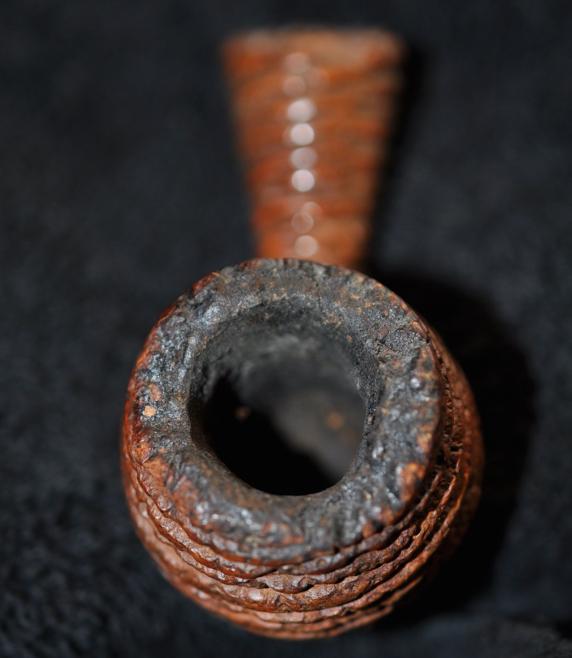
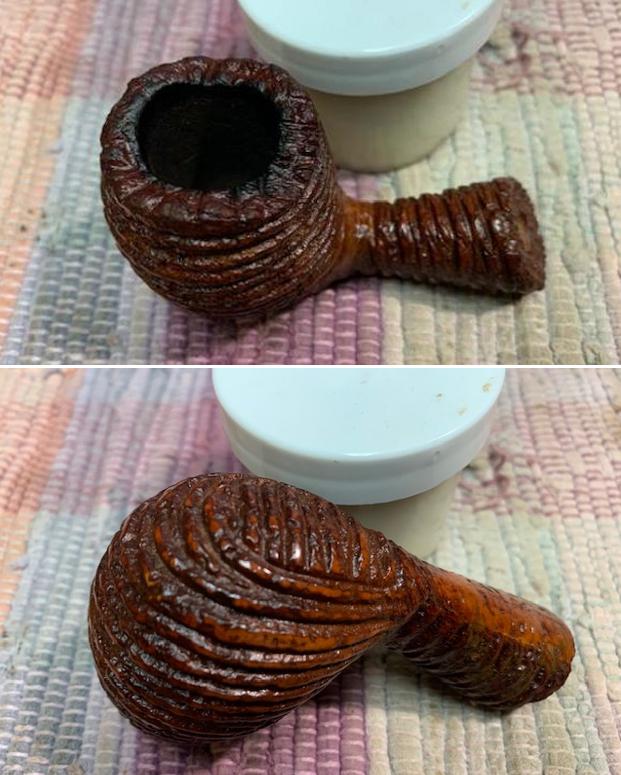
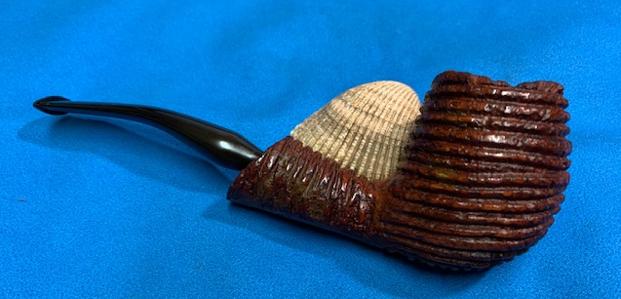
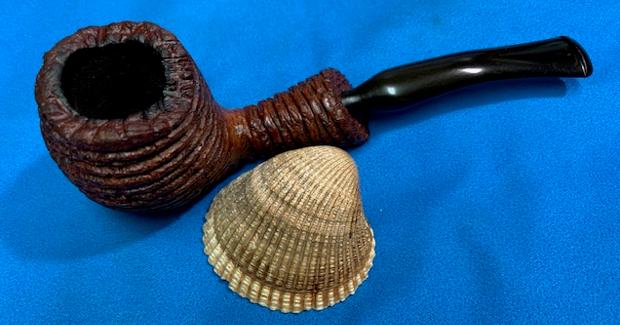
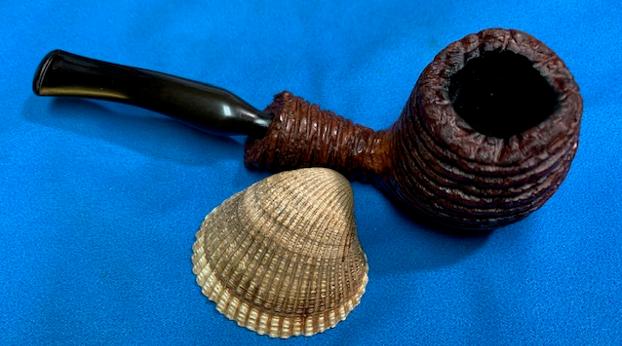
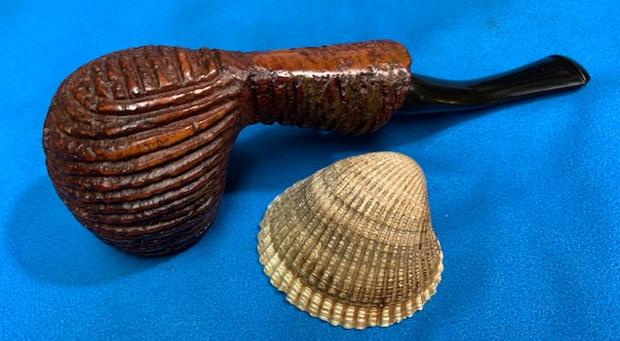
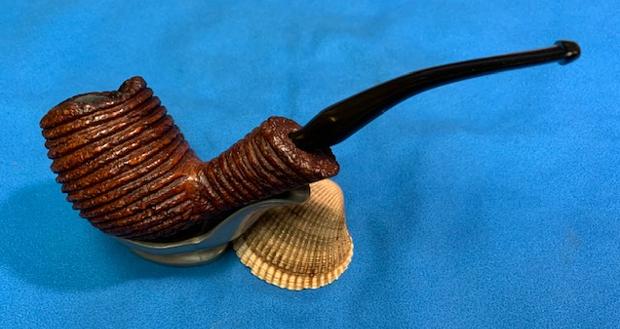
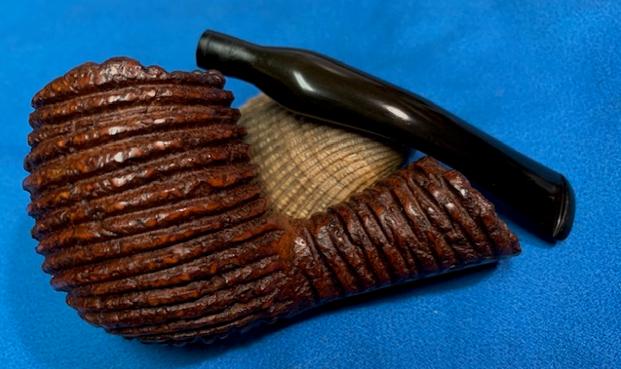
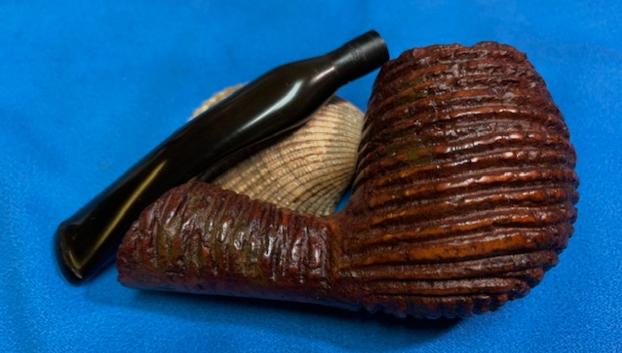
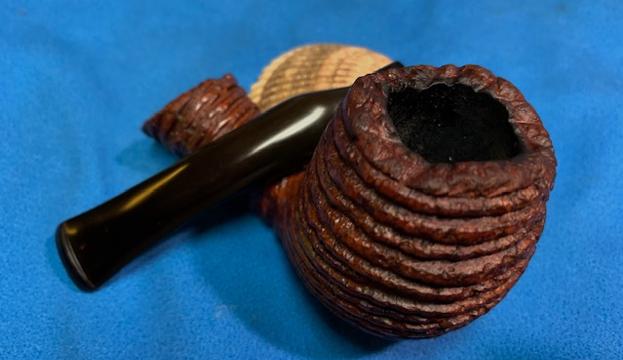
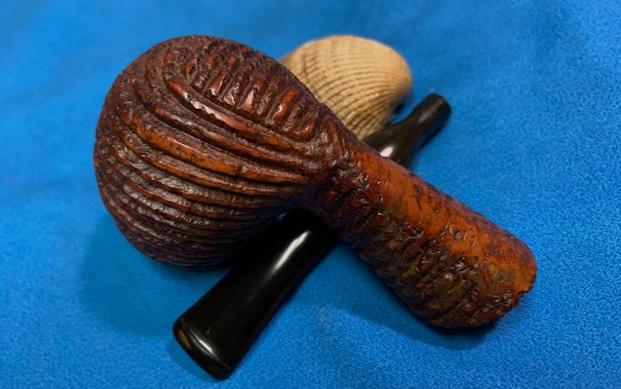
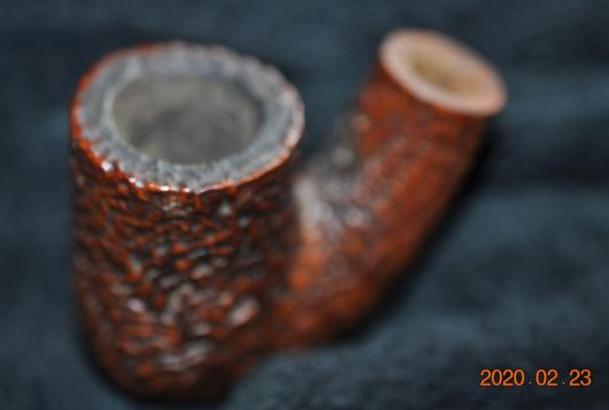
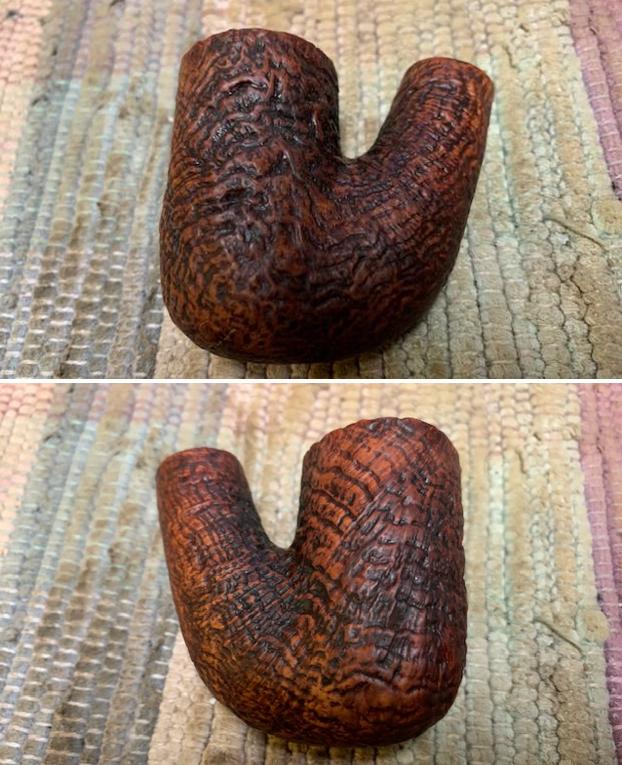
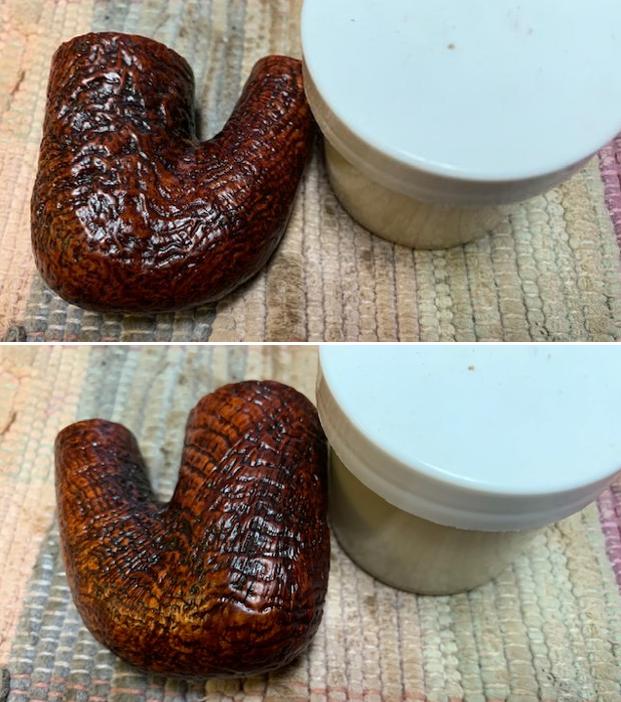
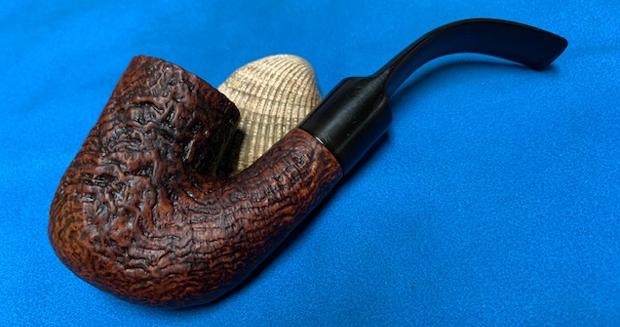
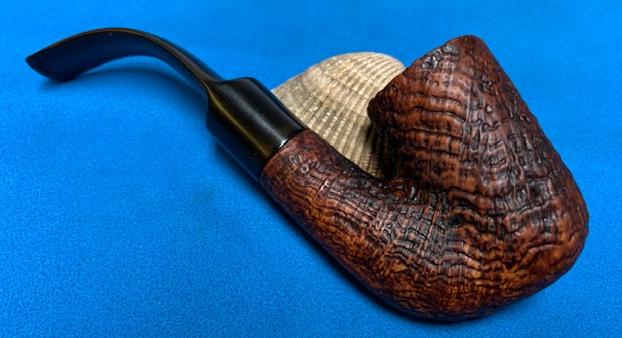
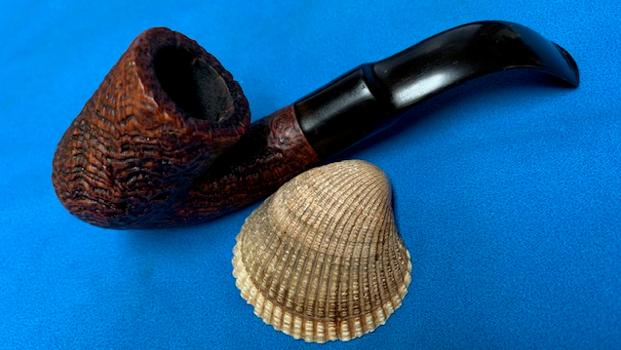
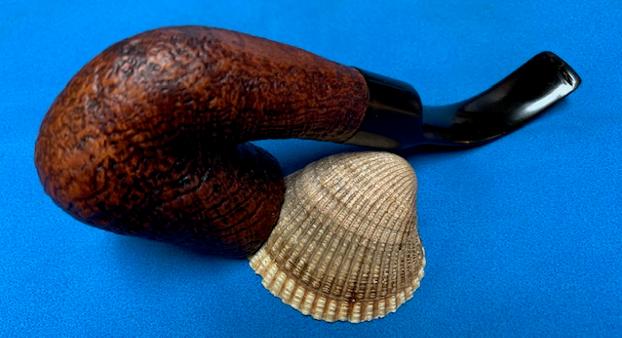
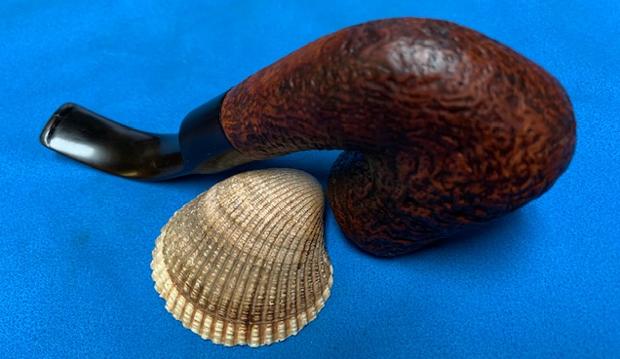
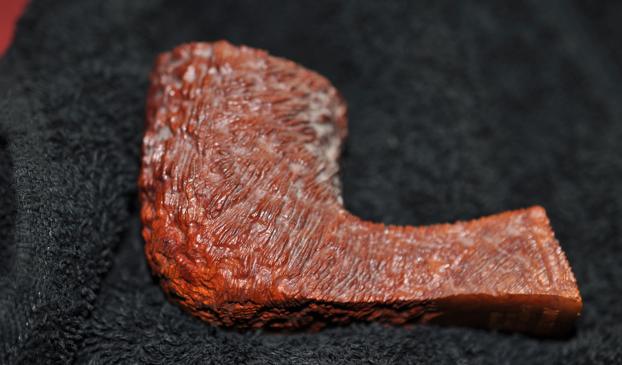
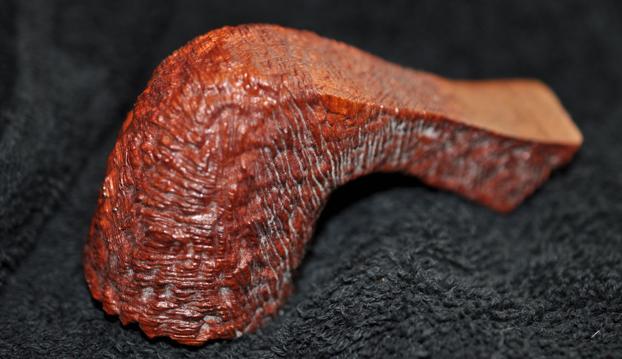
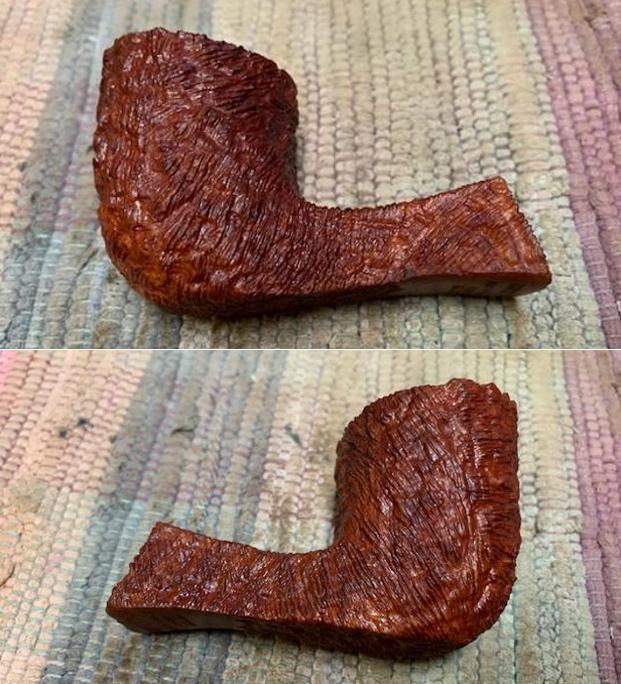
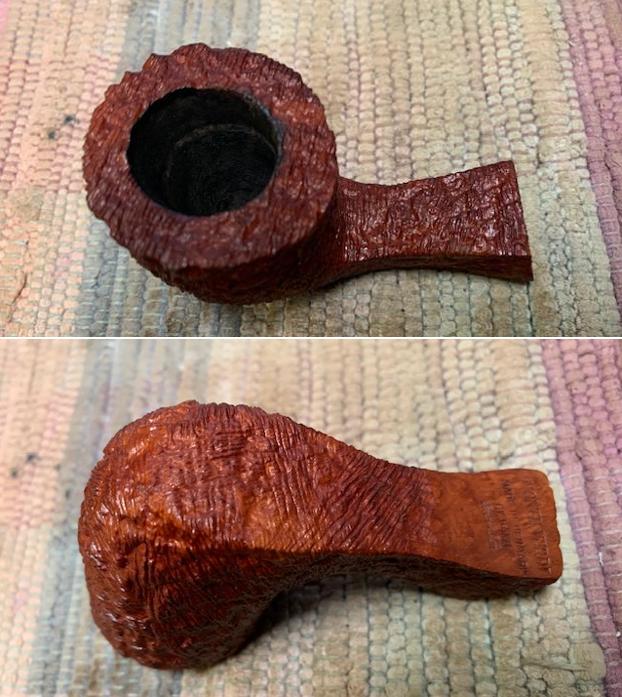
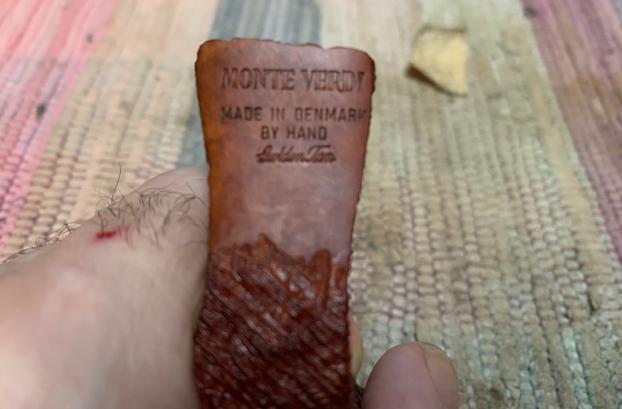
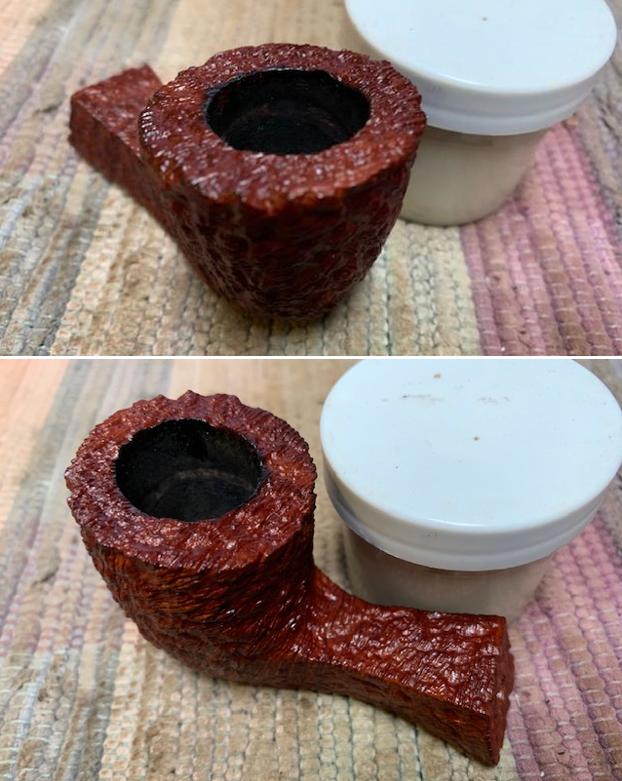
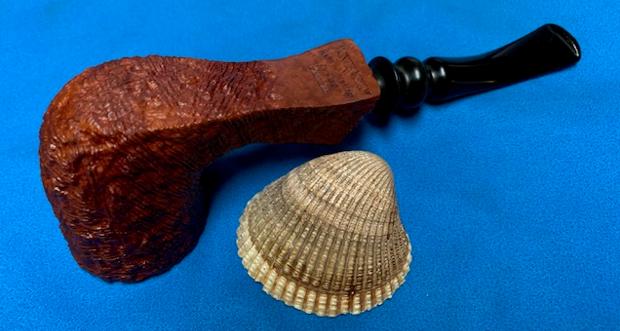
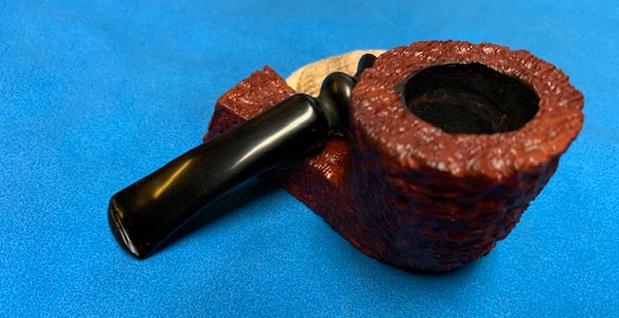
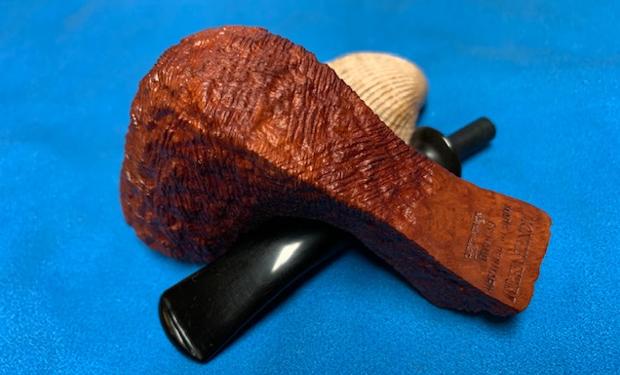
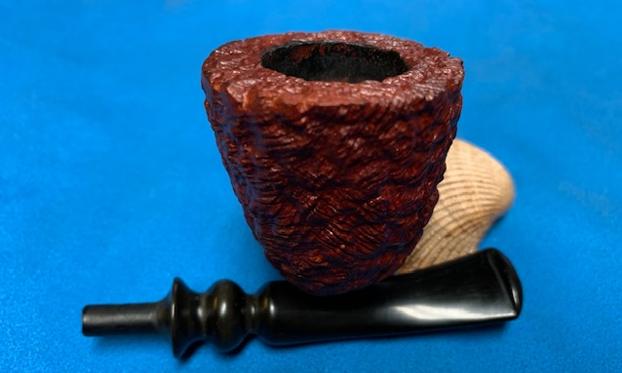
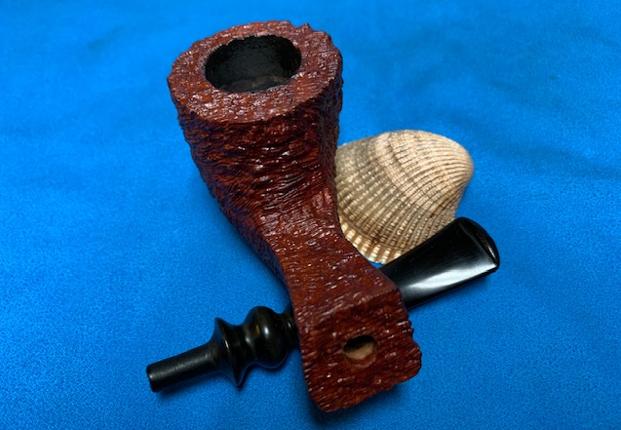
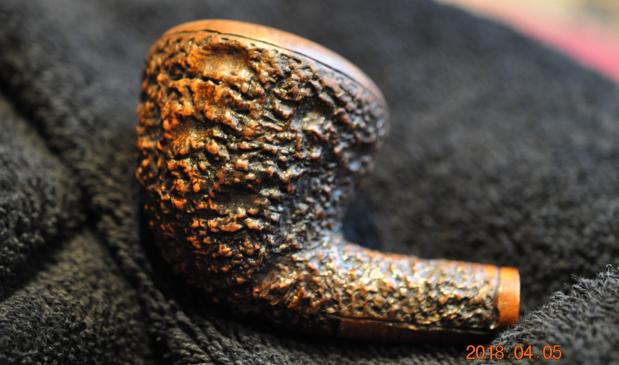
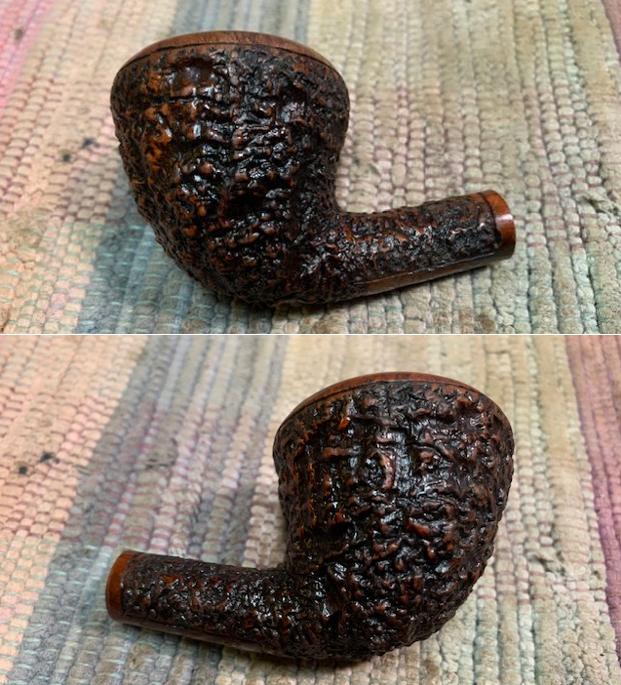
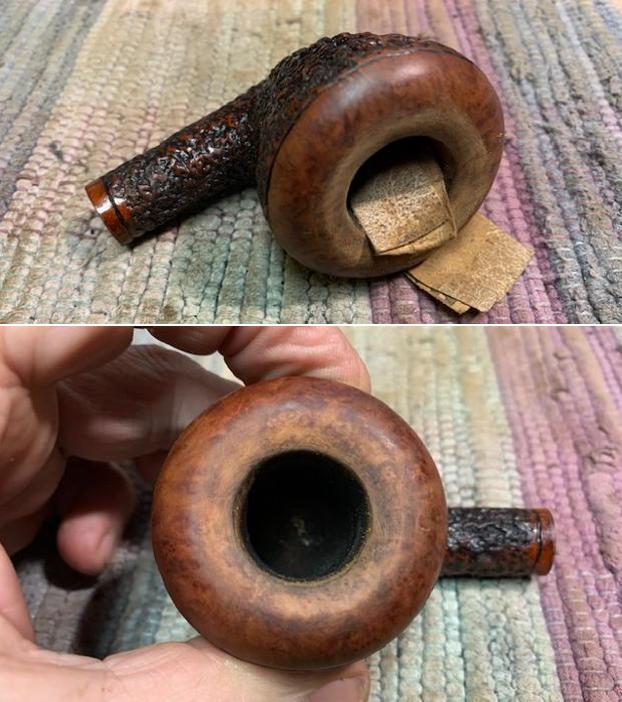
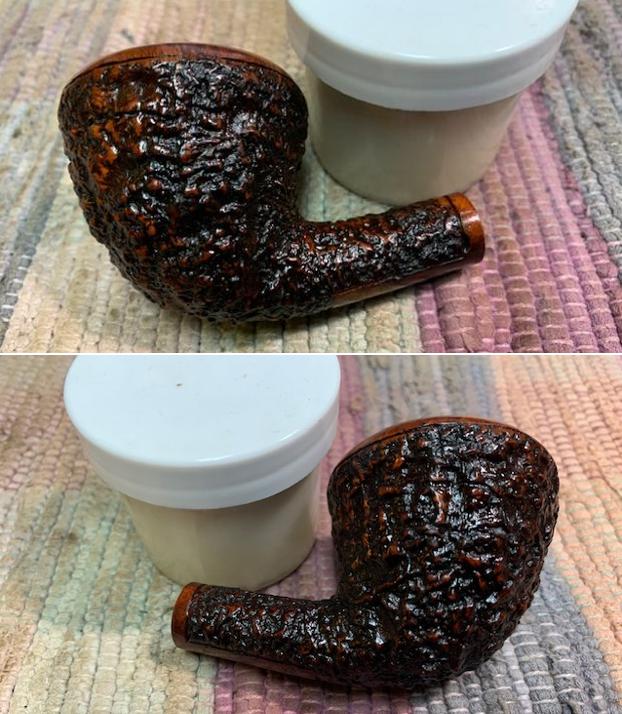
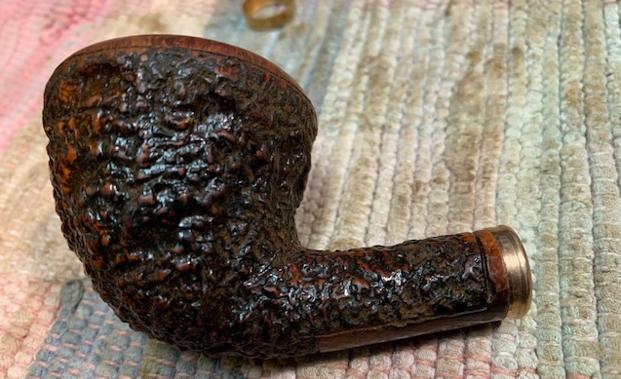
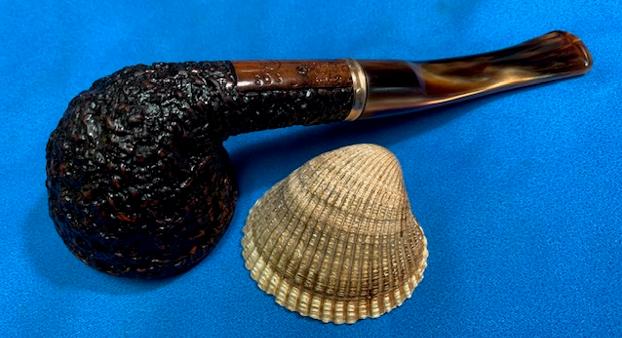
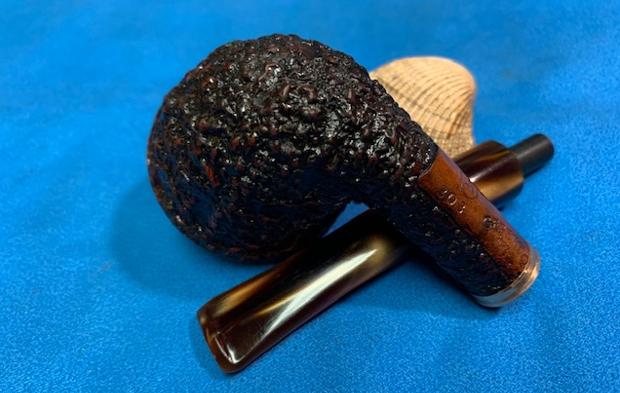
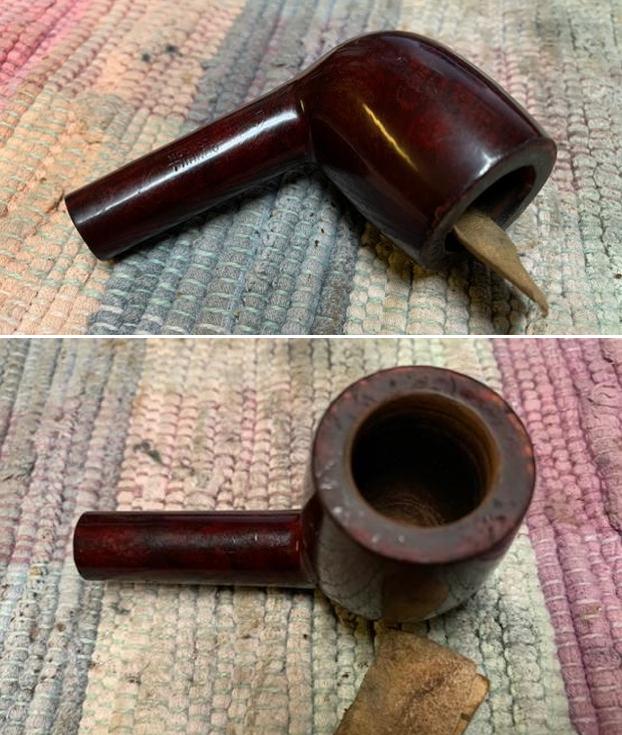
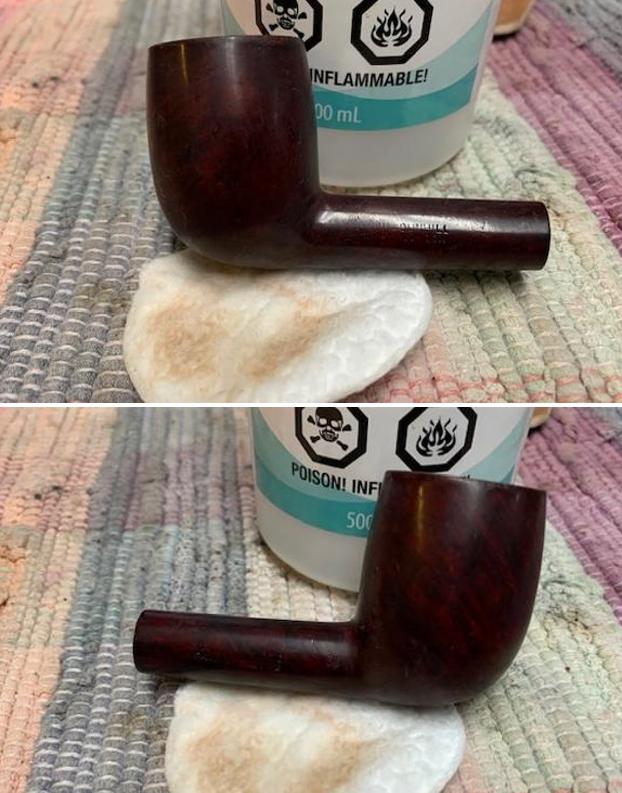
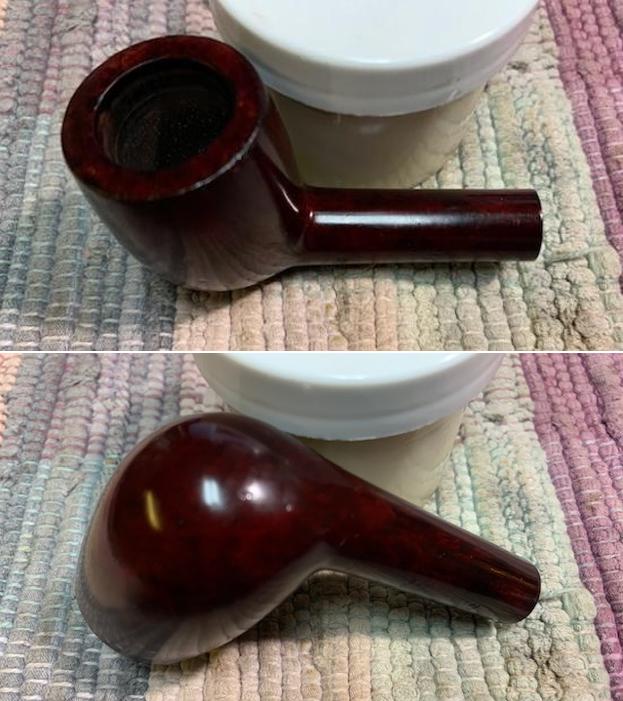
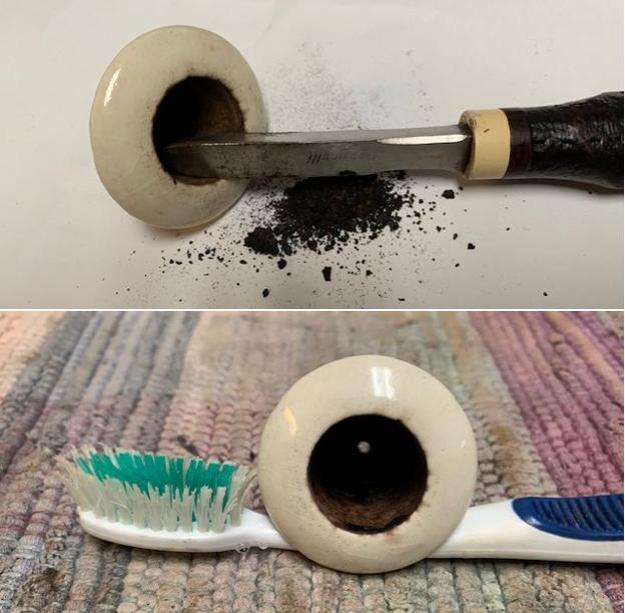
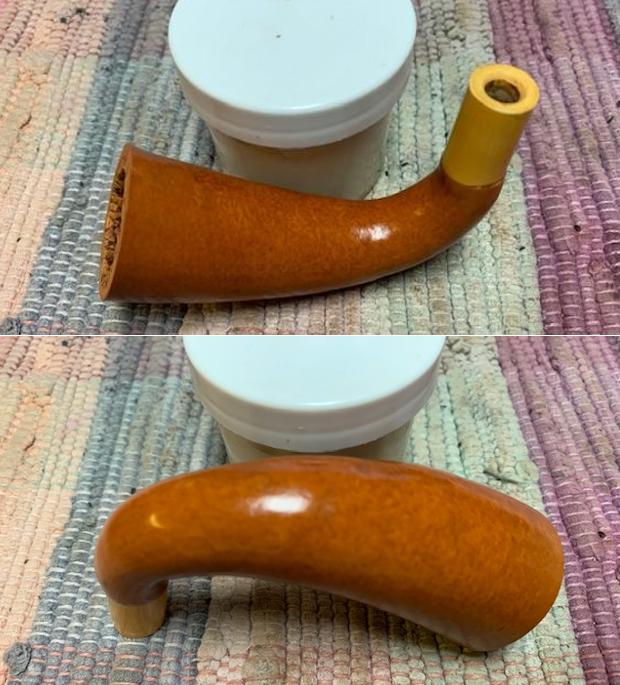
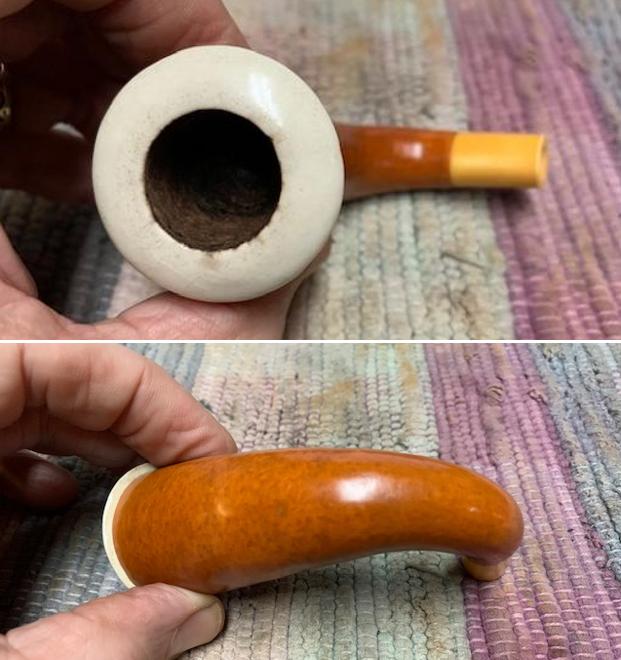
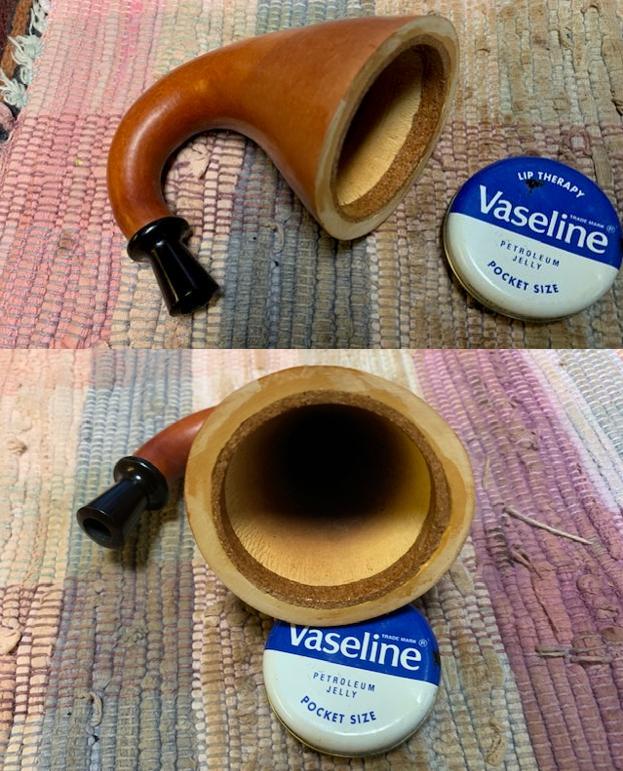
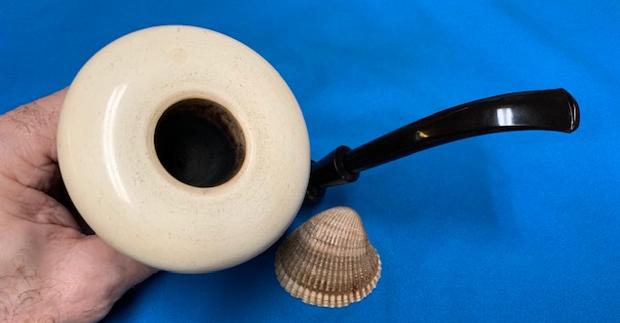
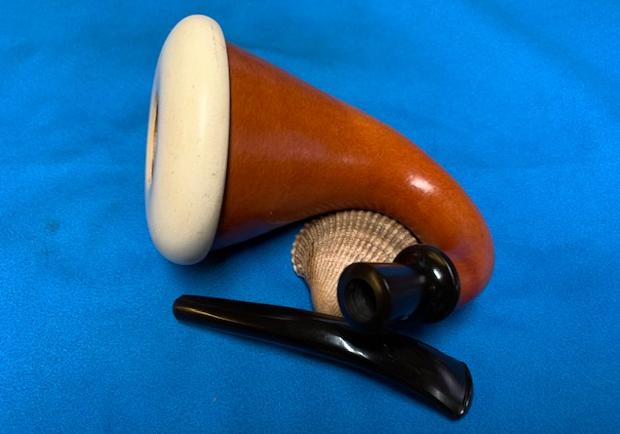
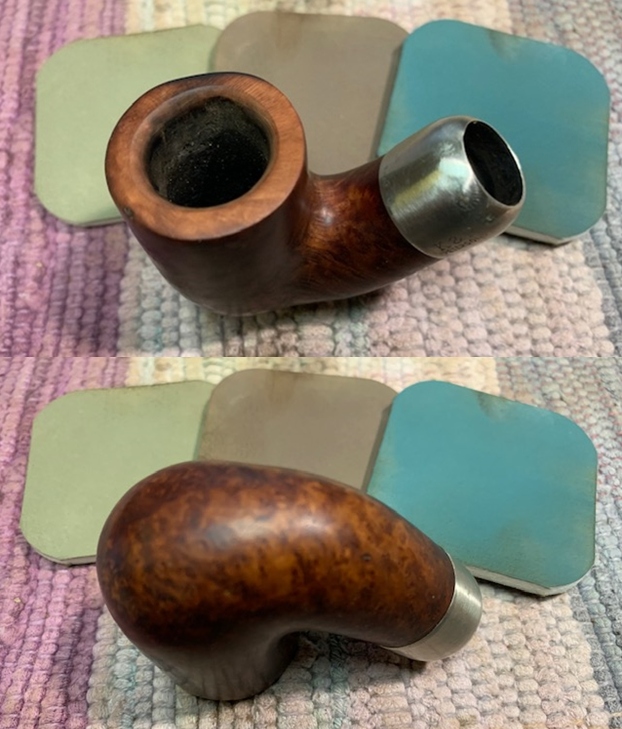
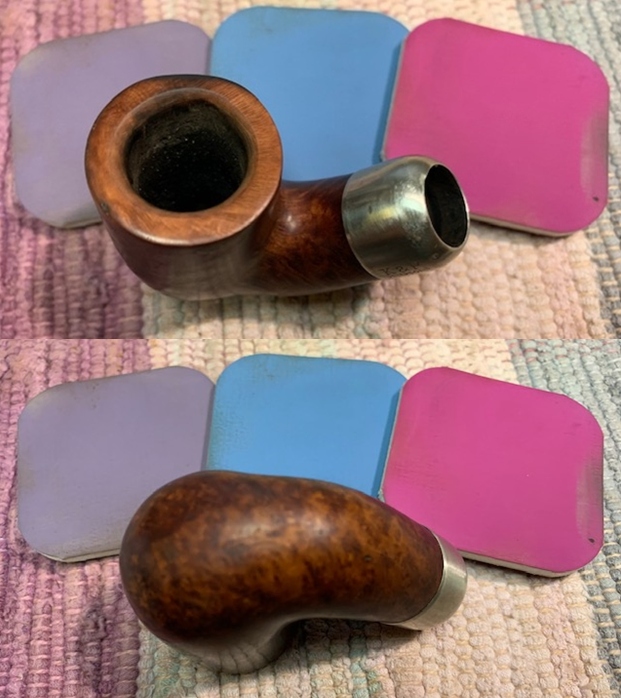
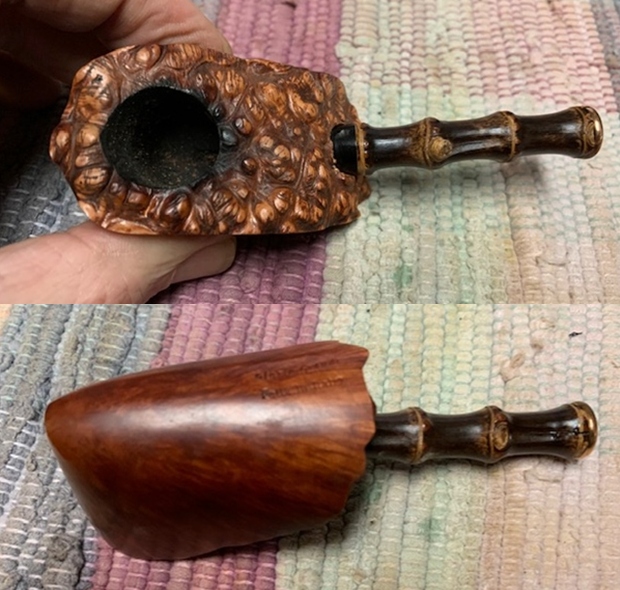
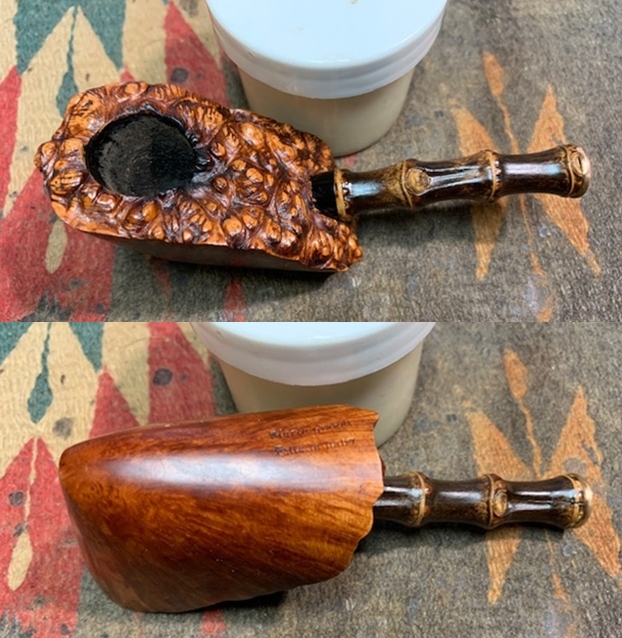
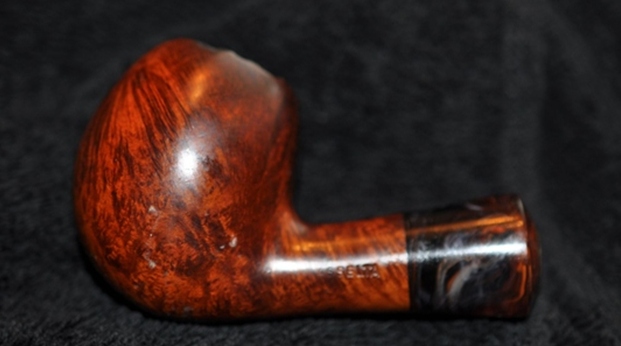
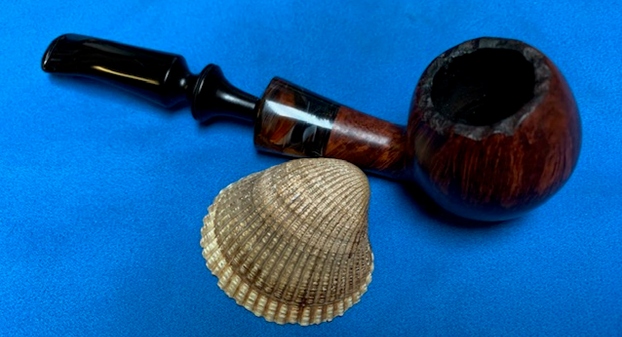
The next pipe I chose to work on was a bowl sans stem that is interestingly rusticated and reads Stone Age K11 [over] shape number 609 followed by Italy on a smooth panel on the underside of the shank. The shape number reminded me of a Savinelli number but I was not certain. It was purchased in November, 2018 from a fellow in Scottsdale, Arizona, USA. It has been sitting in my box of bowls since that time. Jeff cleaned it up and mailed it to me. It is another pipe that I have been postponing restemming for a while. This morning while going through my collection of stem I found one that fit the pipe. At least it works for me! When I found the stem I pulled the bowl out of the box and set aside to be the next pipe to work on. It has a very unique rustication that is quite different – both rugged and spun that reminds me of a honey swizzle stick. The flared shank and rim top both look like rusticated plateau – faux or real, I am unsure. Overall it is a pretty pipe. The bowl had thick cake in the bowl and the rim top had a coat of lava on the inner edge of the bowl and in the grooves of the rim top. The finish had a lot of dust and debris in the valleys of the rustication. I have no idea who made it but it is definitely interesting. Jeff took some photos of the bowl before he cleaned it up.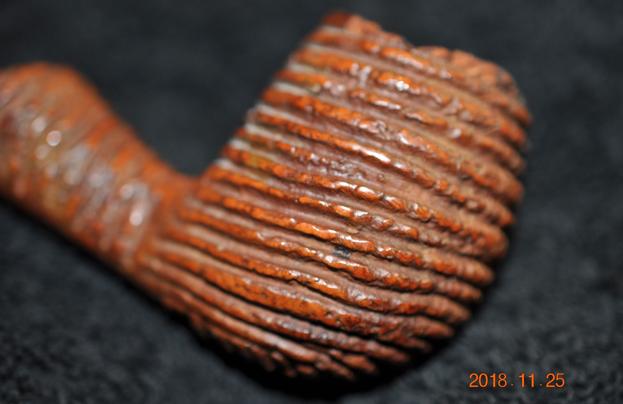
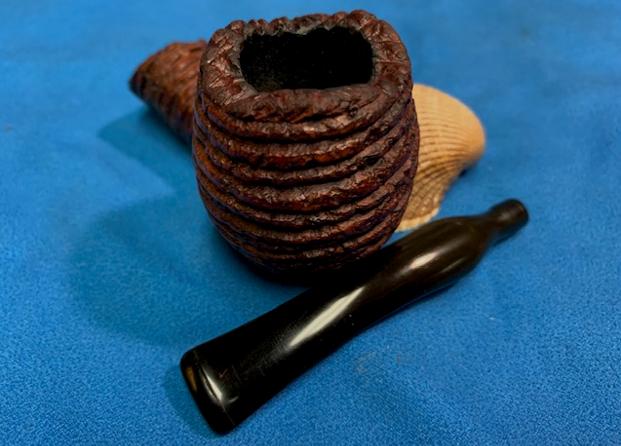
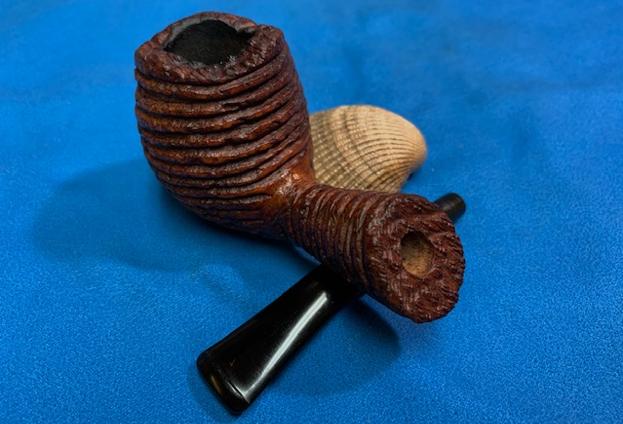
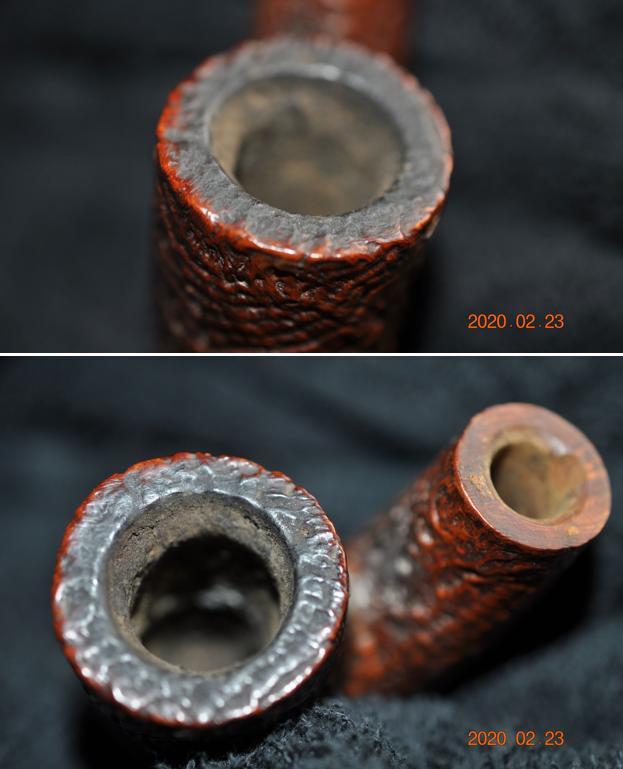
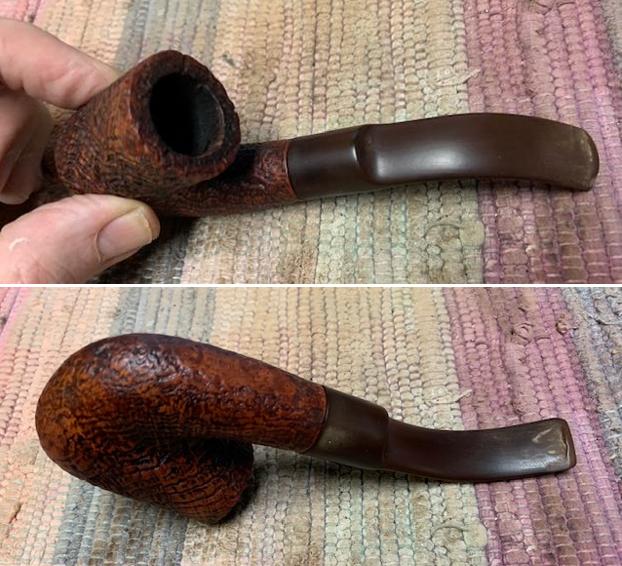
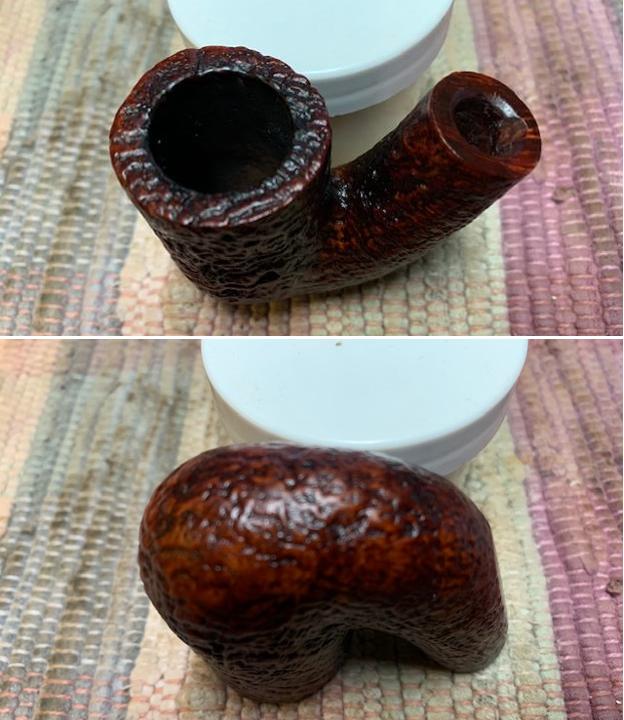
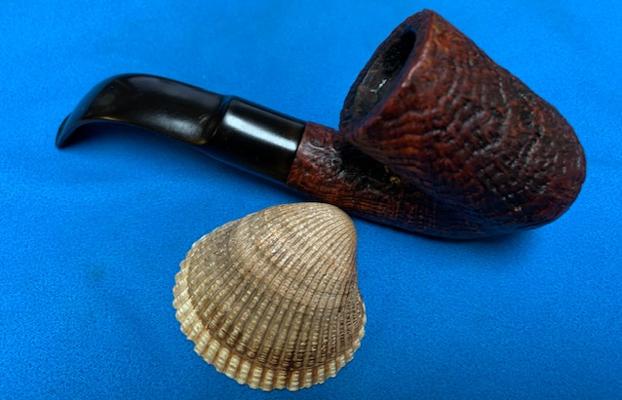
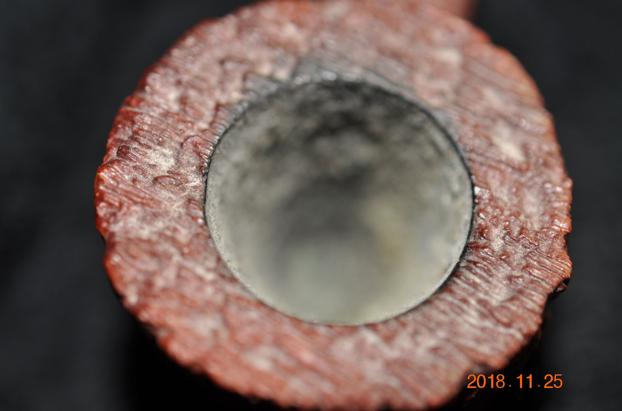
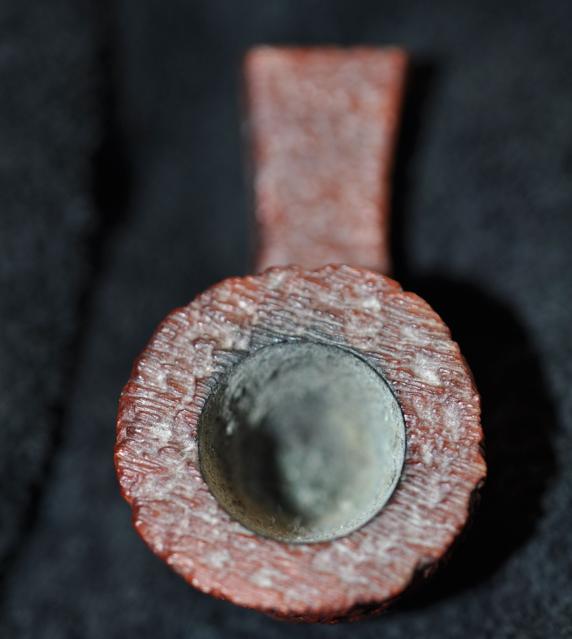
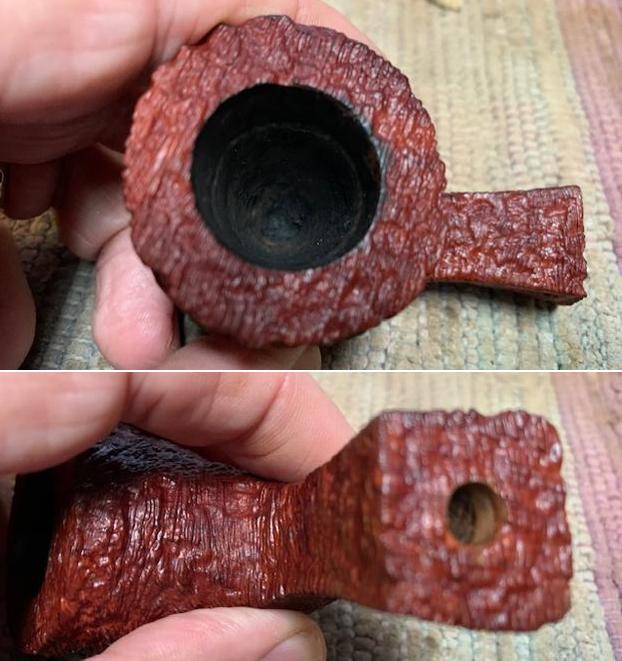
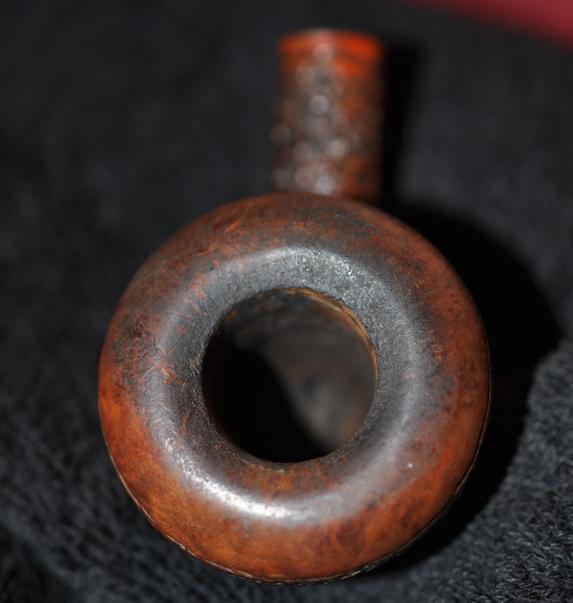
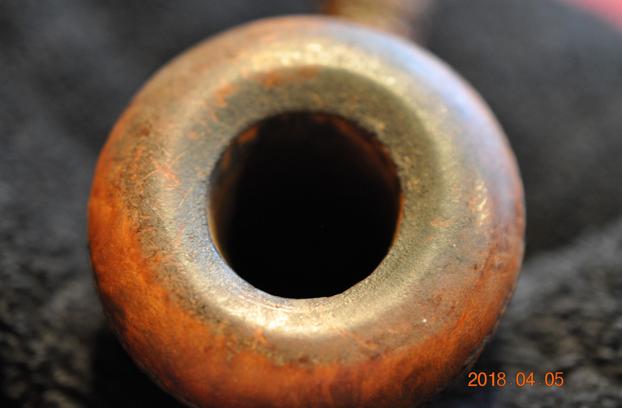
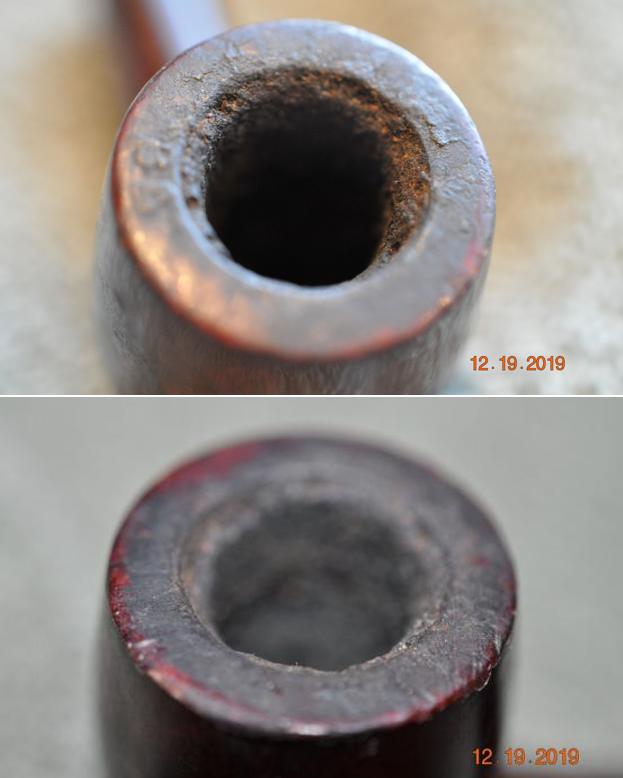
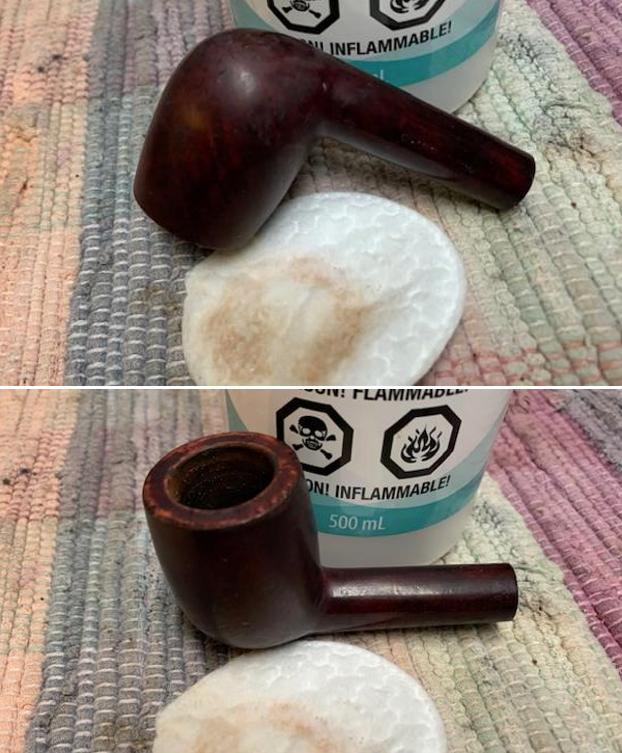
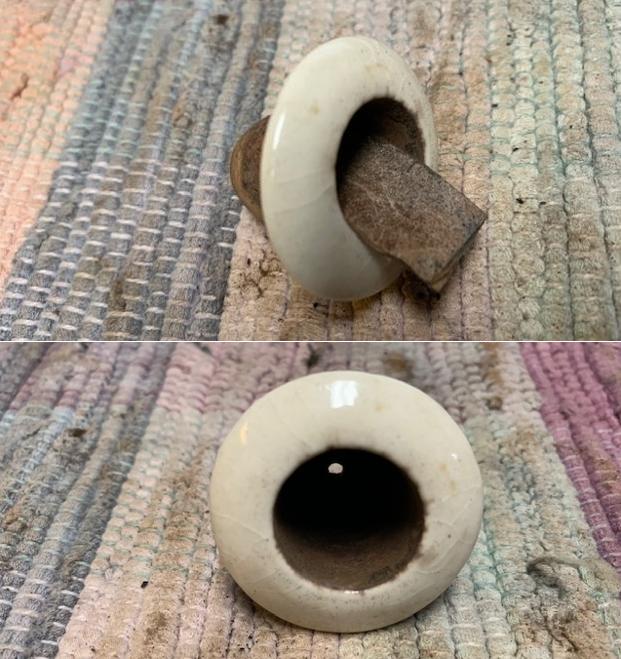
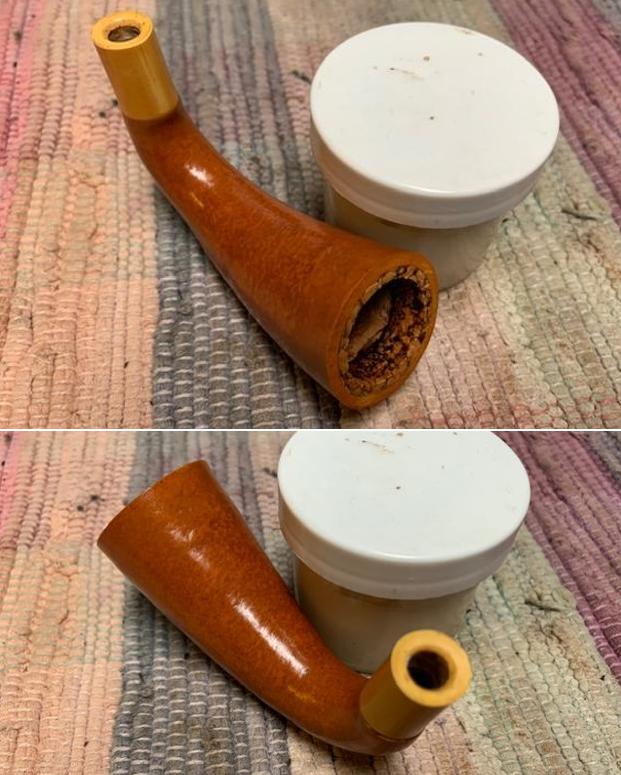
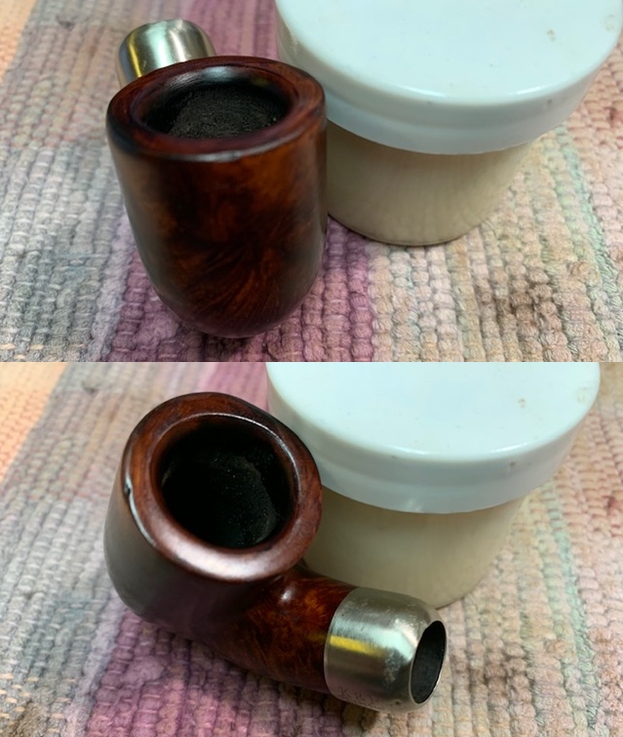
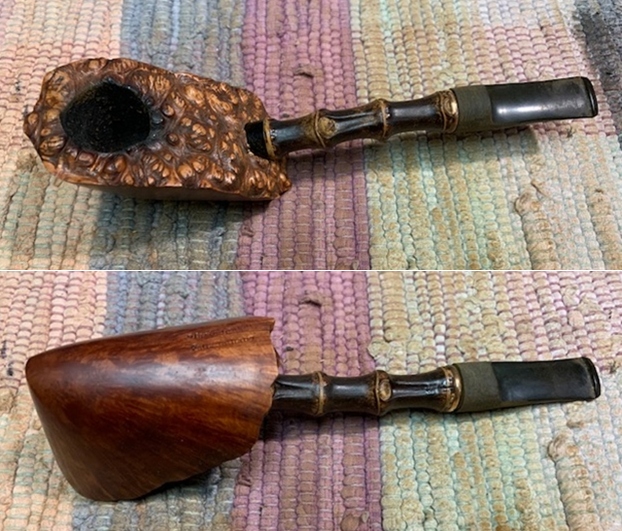
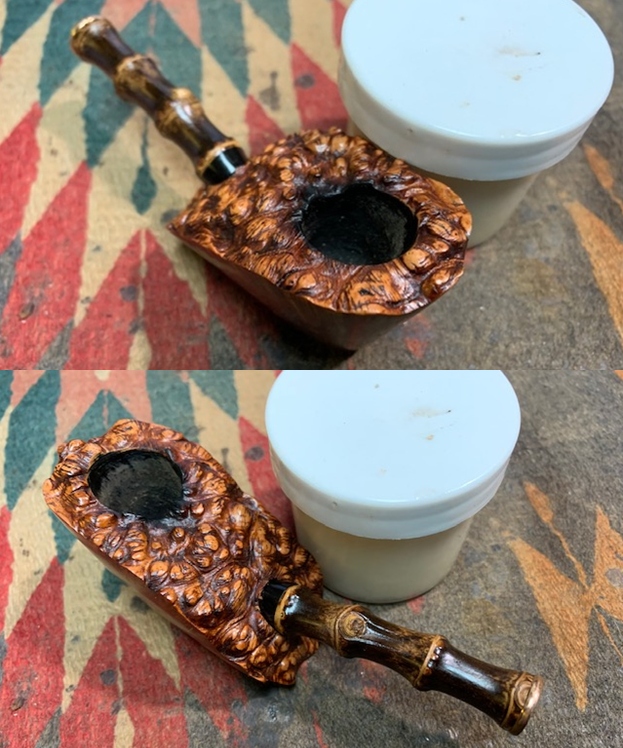
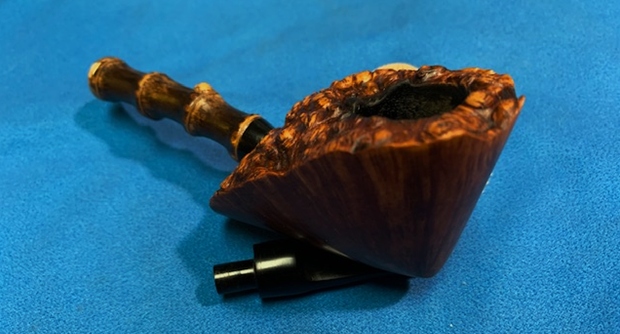
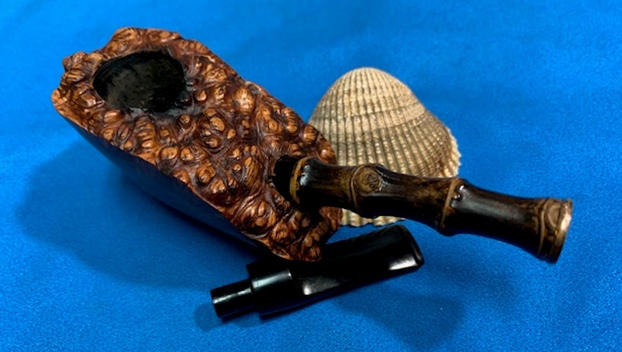
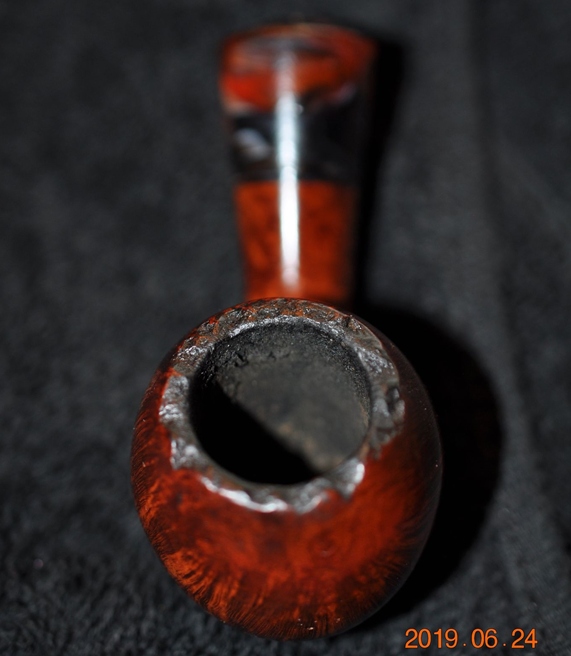
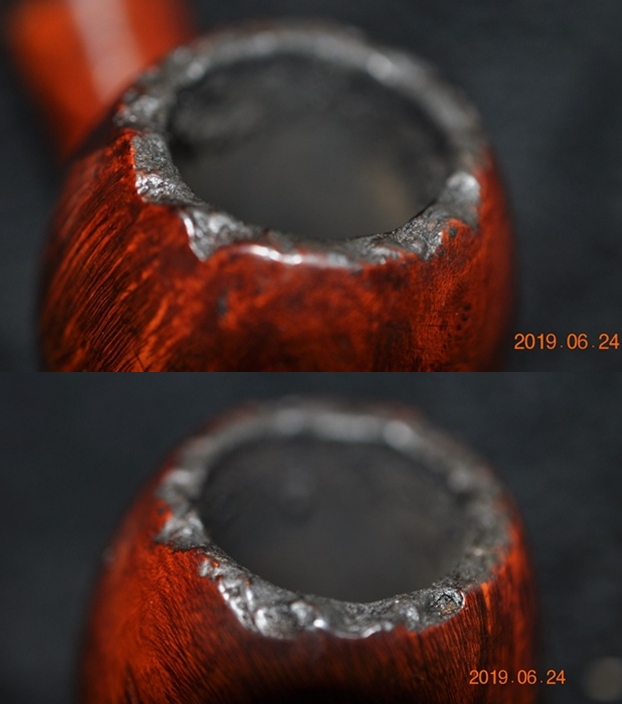
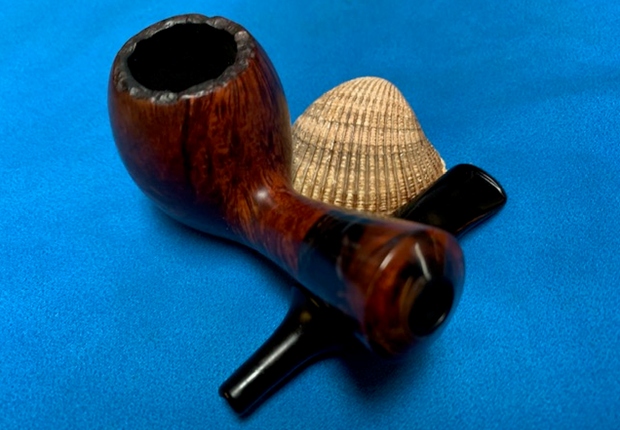
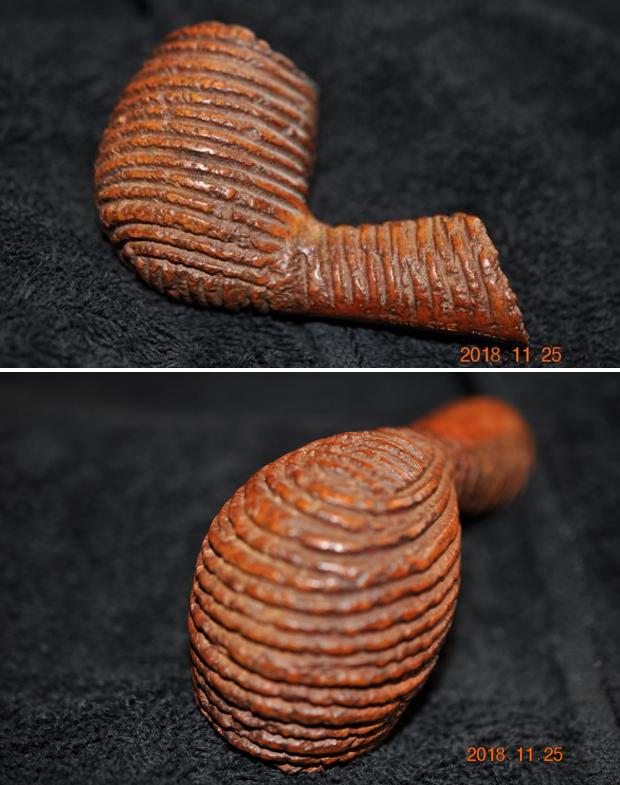 The next two close up photos show the condition of the bowl and rim top. You can see the thick lava coat on the inner edge of the bowl and in the rustication of the rim top.
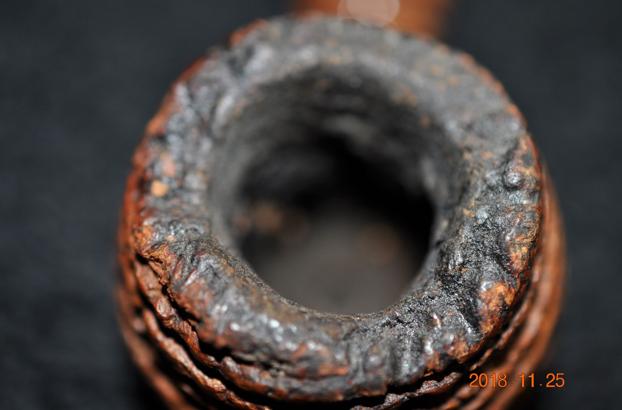
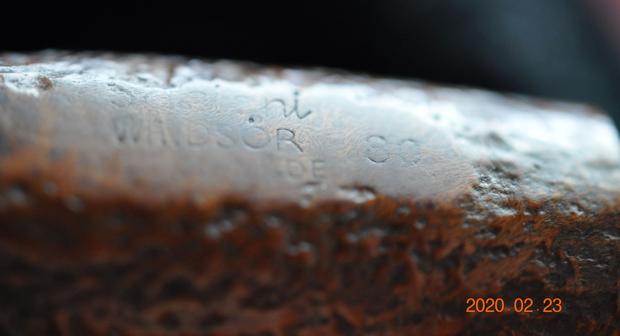
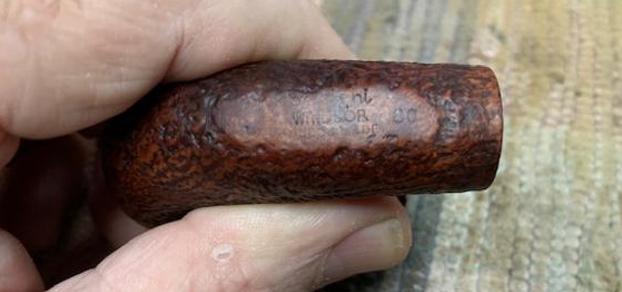
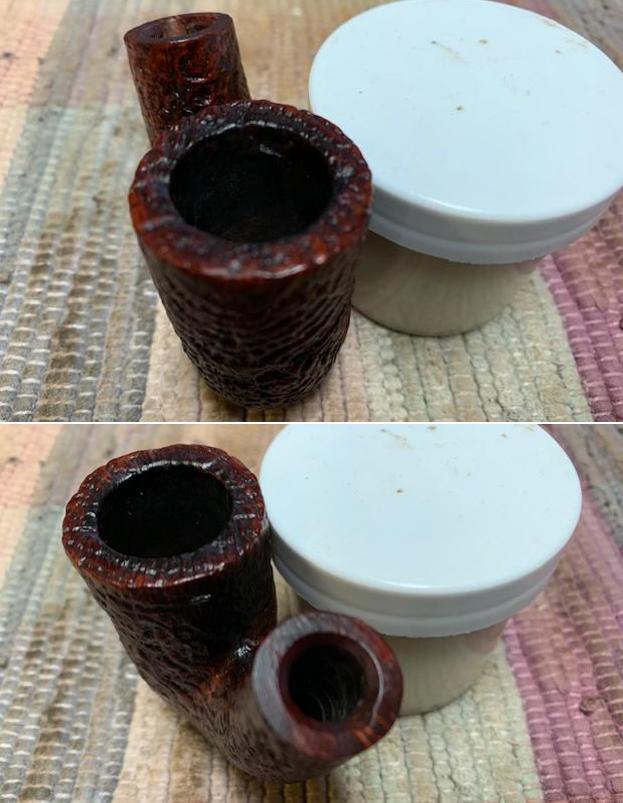
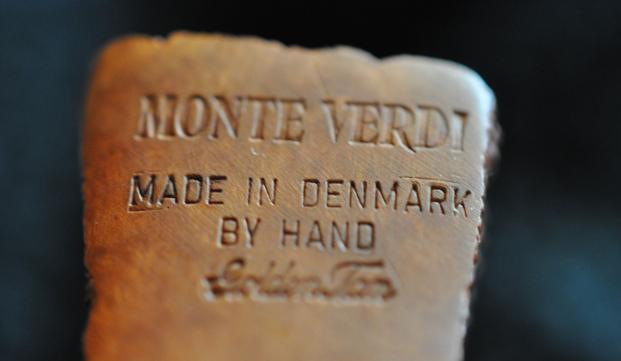
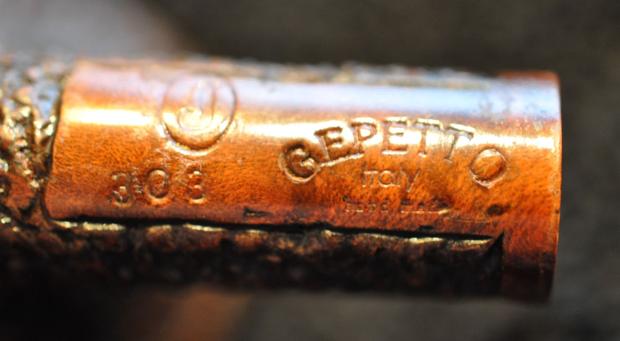
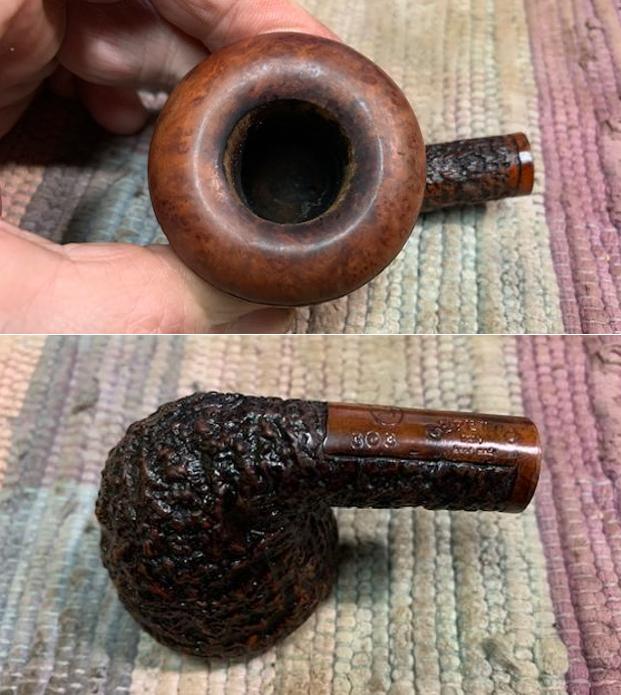
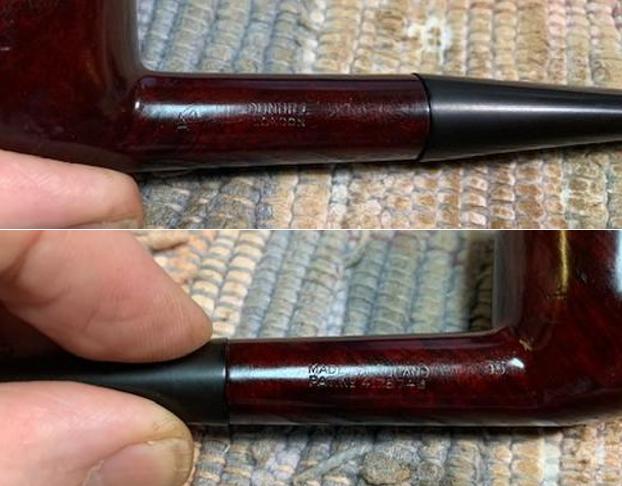
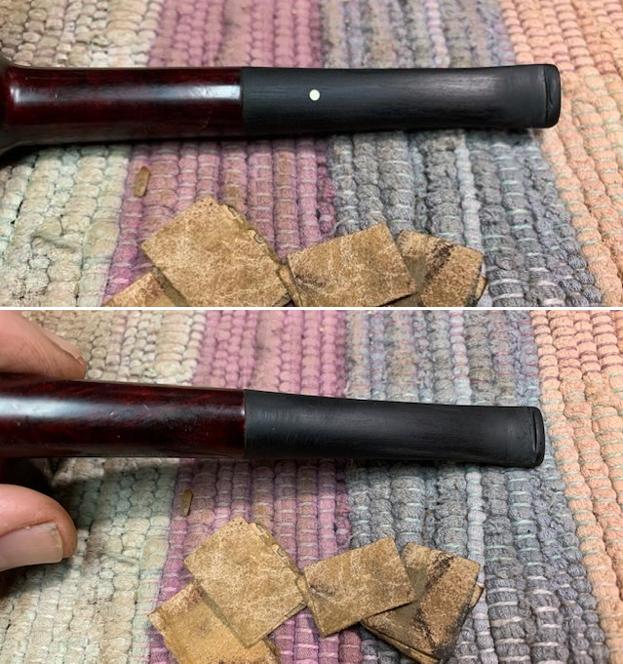
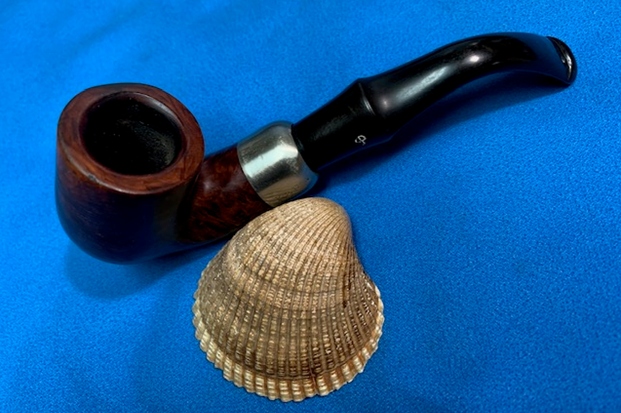
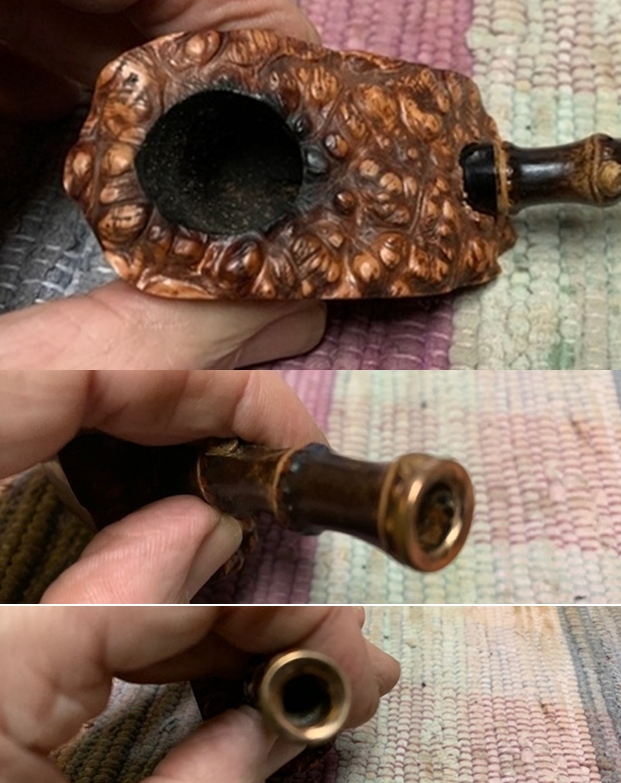
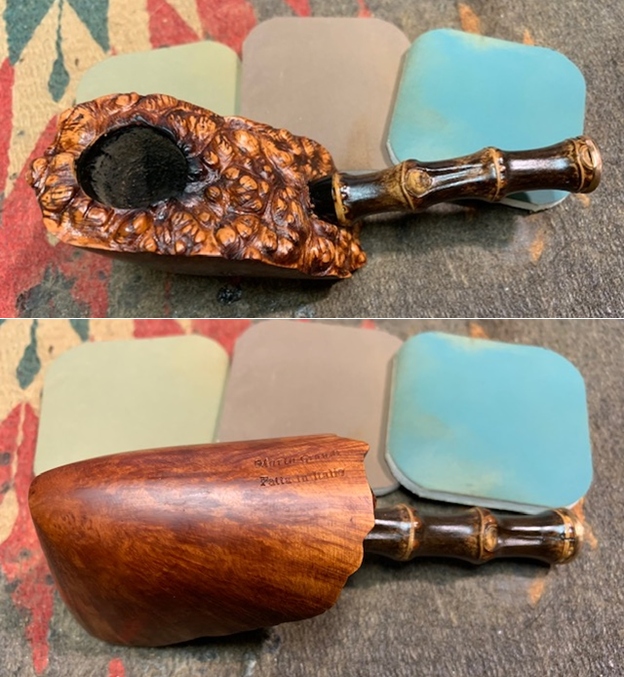
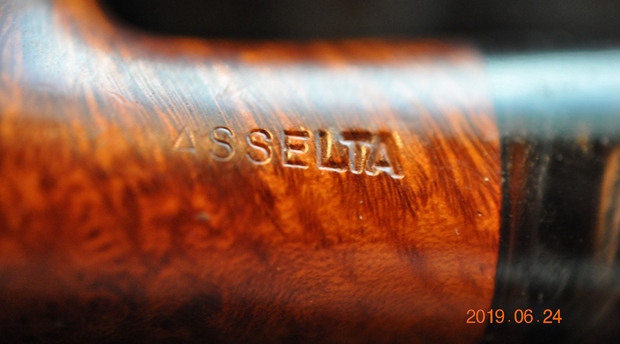
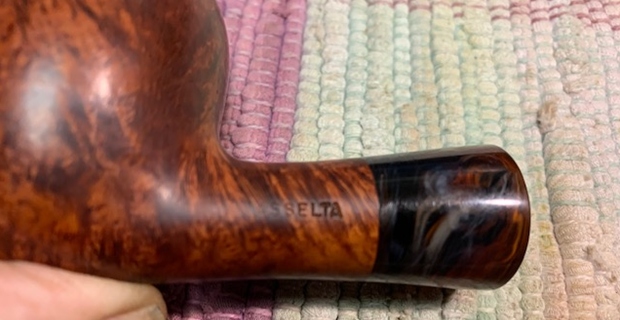
 Jeff took a photo of the stamping on the underside of the shank. It read as noted above and is clear and readable.
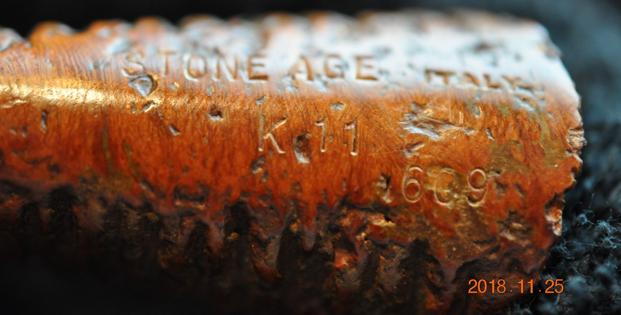 I decided to see if could confirm my thinking that the pipe was connected with Savinelli. I turned to Pipephil’s site and found nothing connecting the Stone Age K11 609 to the brand. However I was not convinced as I am sure the shape number 609 is a Savinelli number.
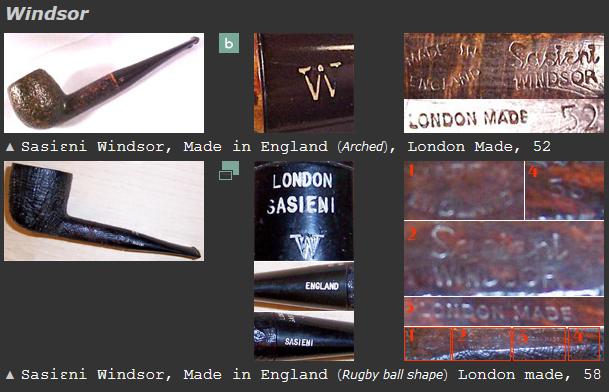
I turned to Pipedia (https://pipedia.org/images/4/41/Sav_Shape_Chart_2017.jpg) and found a shape chart and indeed for the 609 listed as a shape for a bent billiard. I am pretty sure that with a bit of imagination this freehand that I am working on could possibly be construed as a Freehand in a Bent Billiard shape. But I am uncertain. I have included the chart below. I found pipes with a similar rustication on several sites on the internet. Worthpoint, an online auction site (https://www.worthpoint.com/worthopedia/stone-age-italy-k11-603-tobacco-428555927) listed a 603 with the same rustication style and stamping on the underside of the shank.
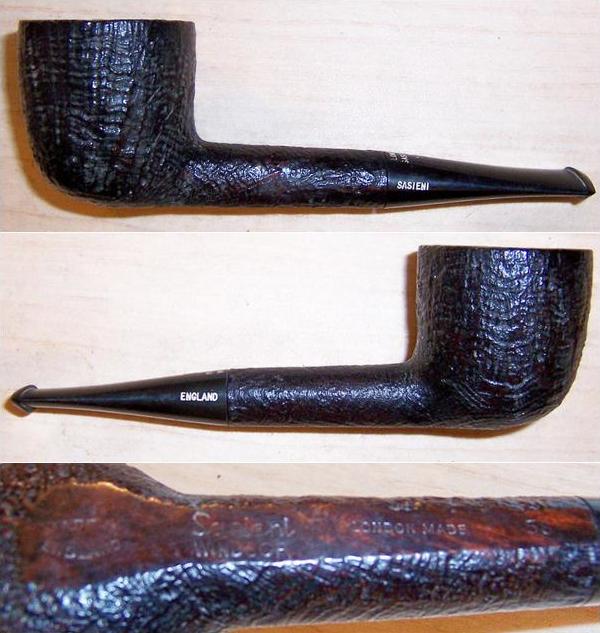
  Smokingpipes.com also listed a Stone Age K11 613 Volcano sitter with the same rustication and stamping on the shank that they had sold in the past (possibly as early as 2010 from the photo (https://www.smokingpipes.com/pipes/estate/italy/moreinfo.cfm?product_id=73396).
With those photos and the shape numbers that at least appear to be made by Savinelli it leaves me wondering. The shapes really do not match the shape chart above but the numbers are present. Ah well another mystery!
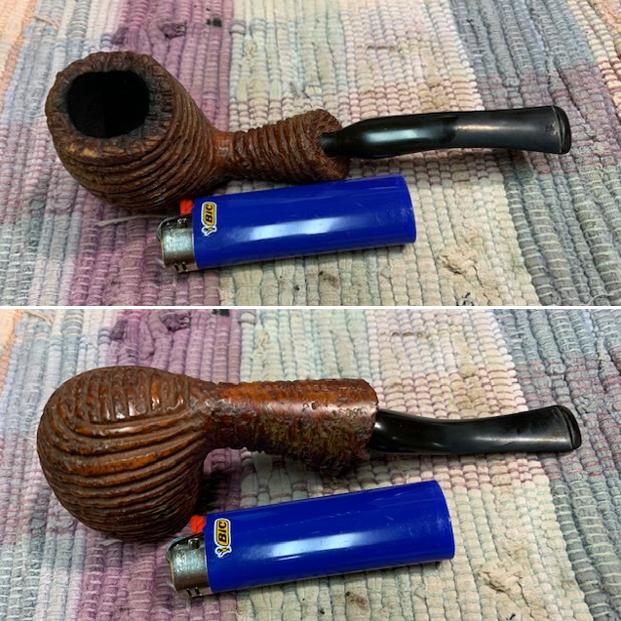
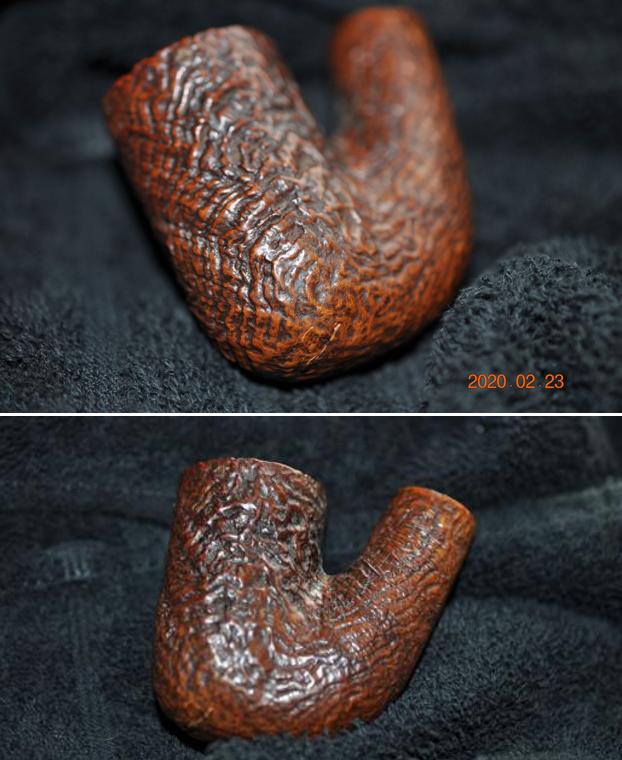
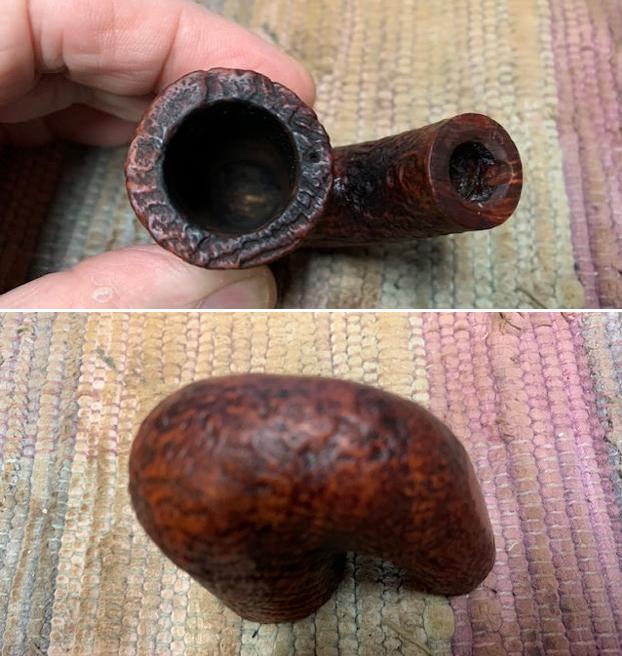
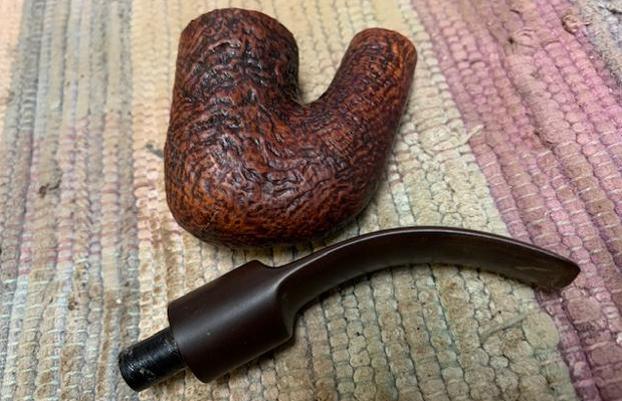
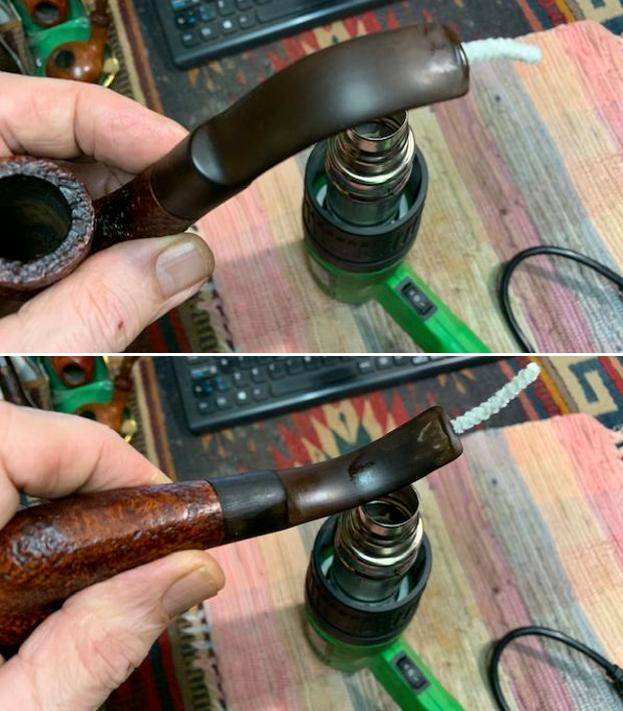
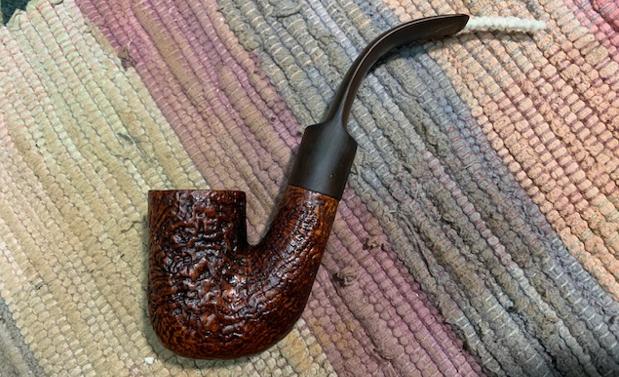
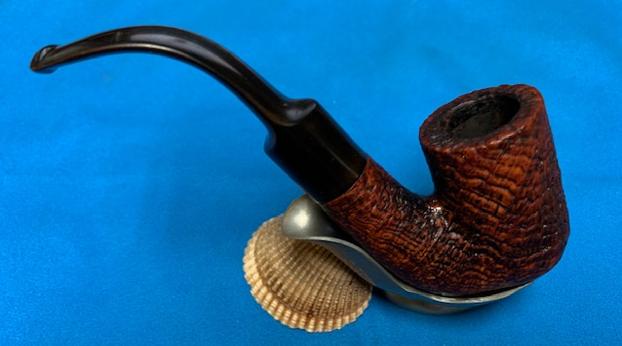
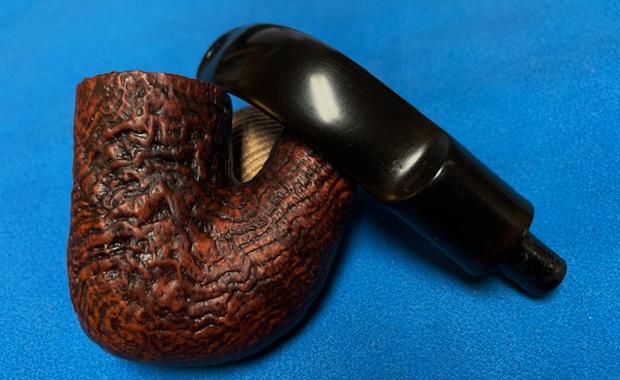
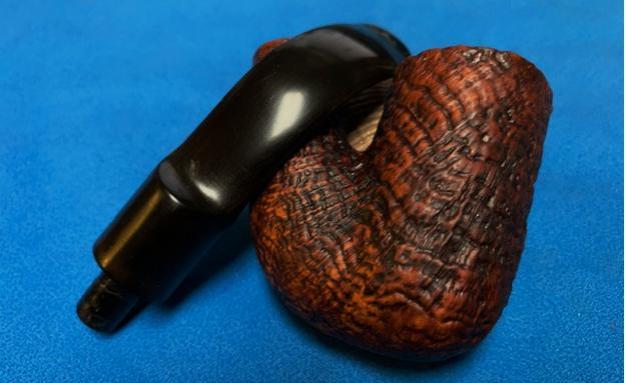
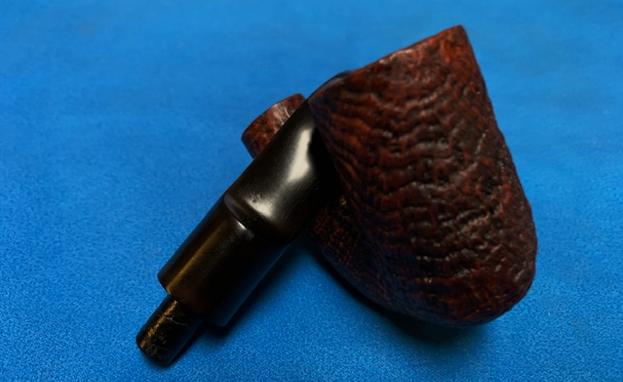
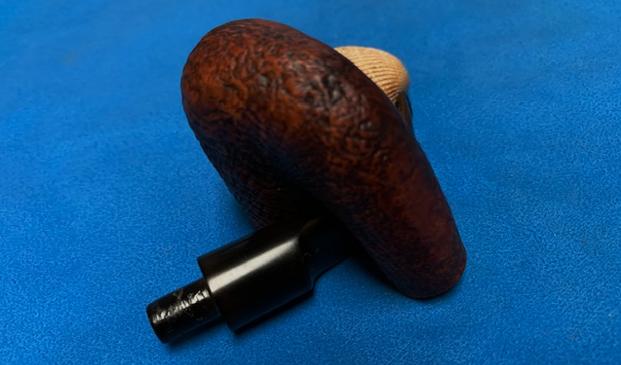
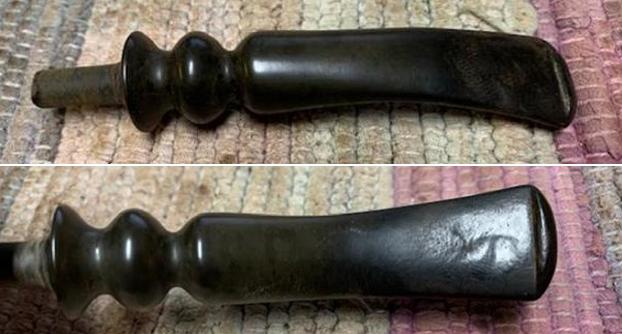
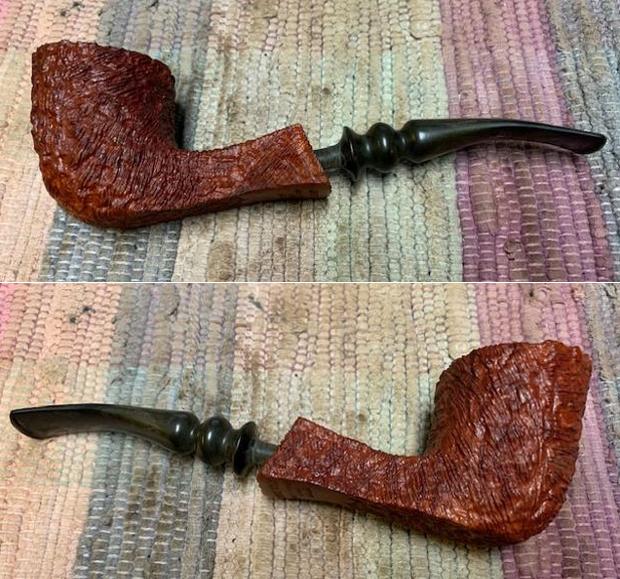
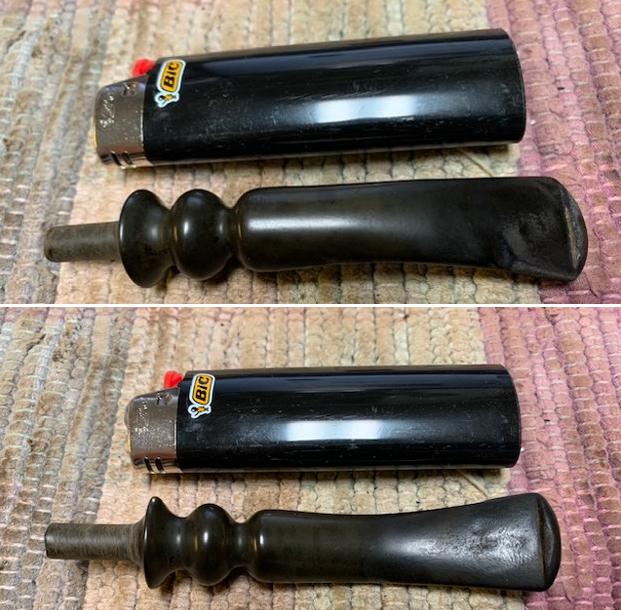
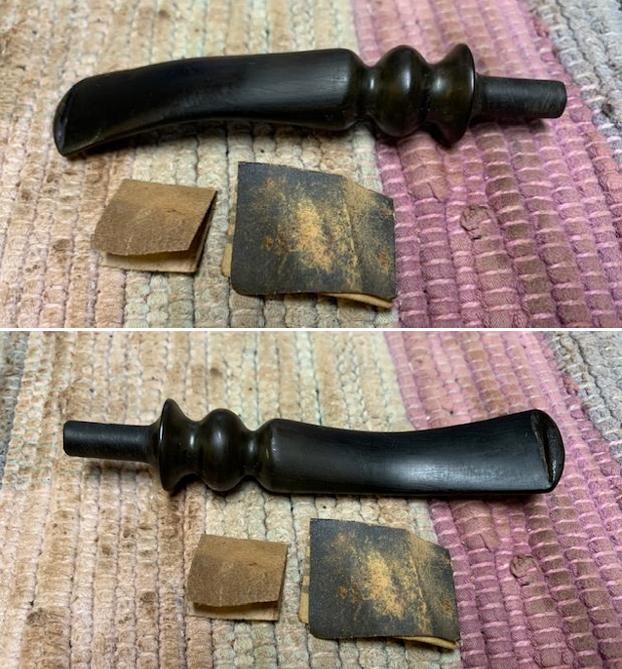
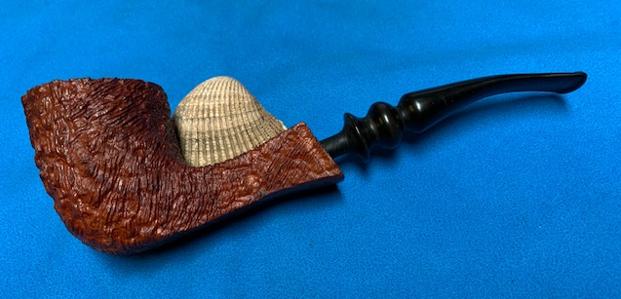
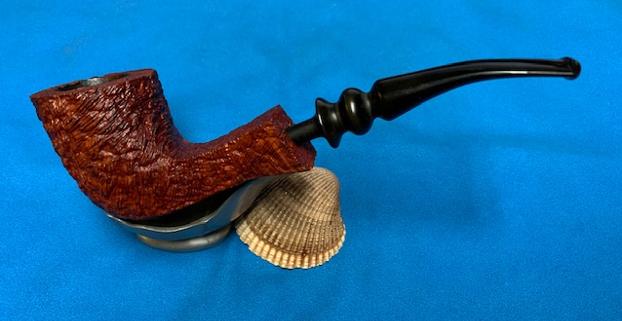
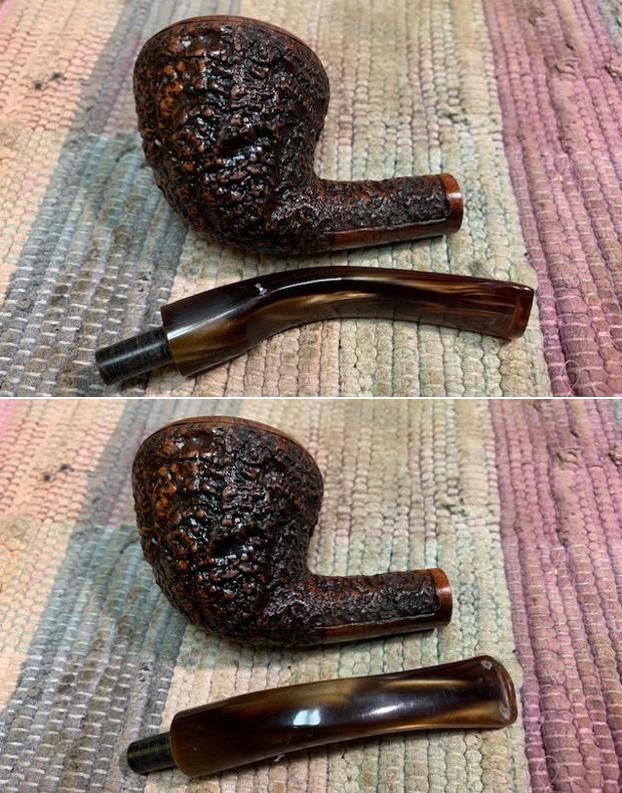
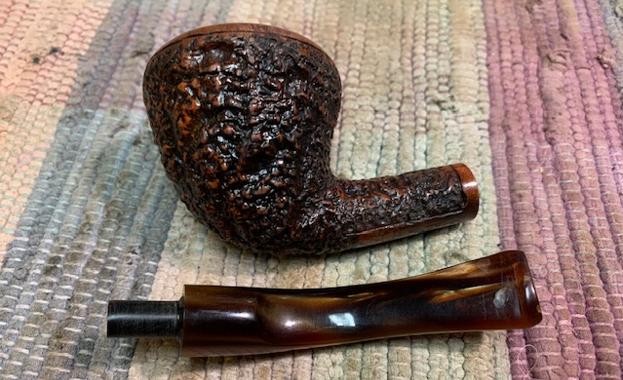
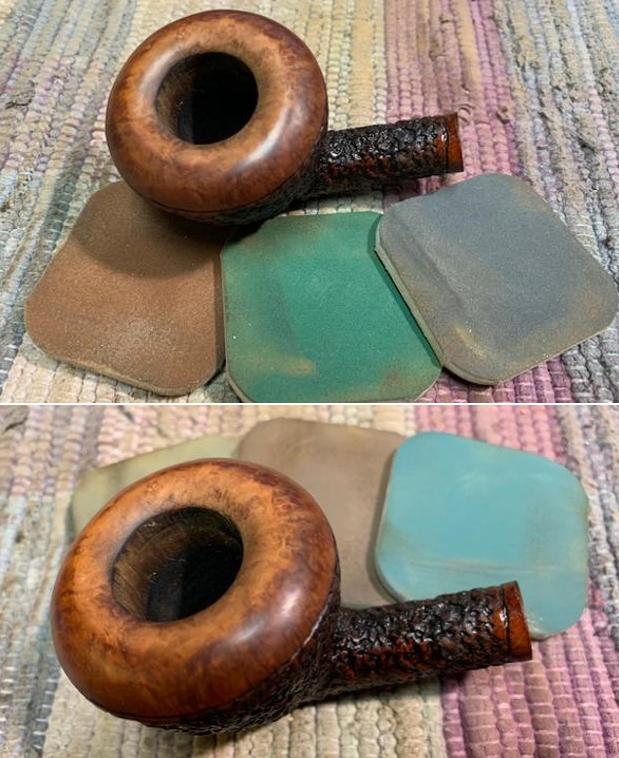
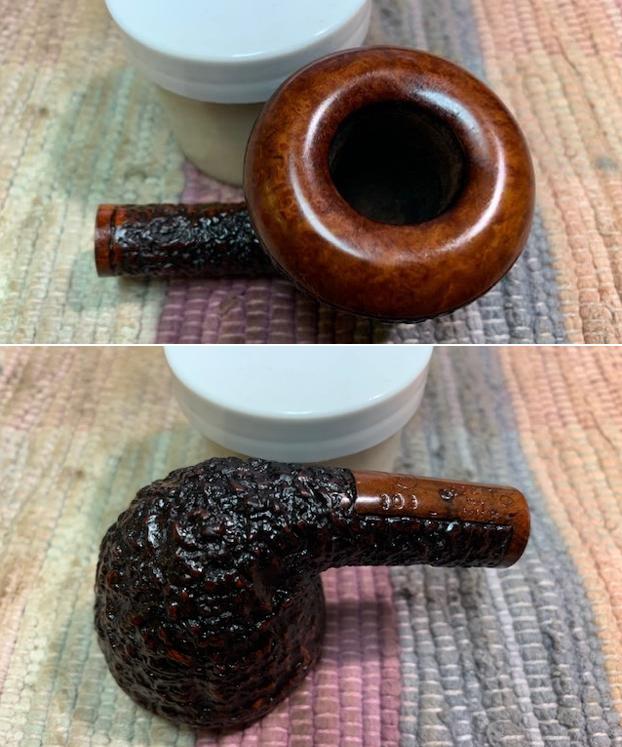
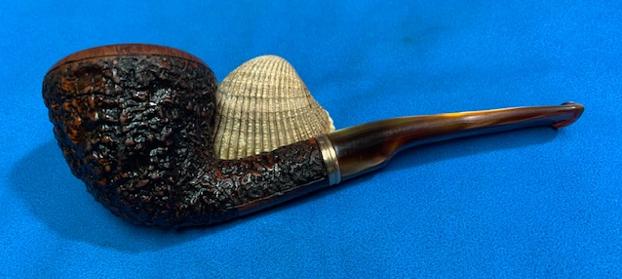
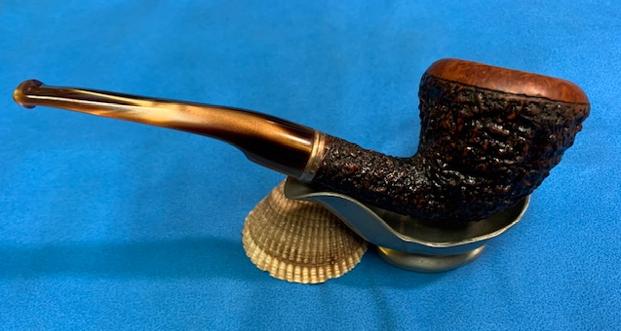
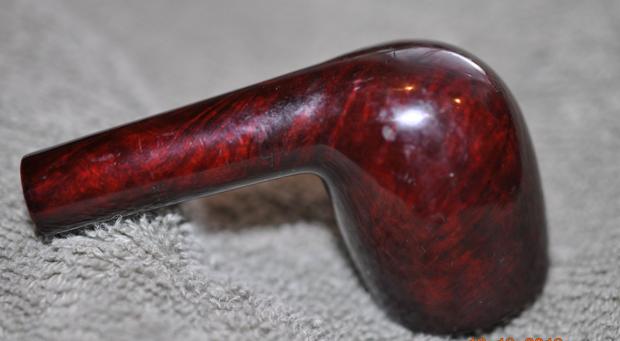
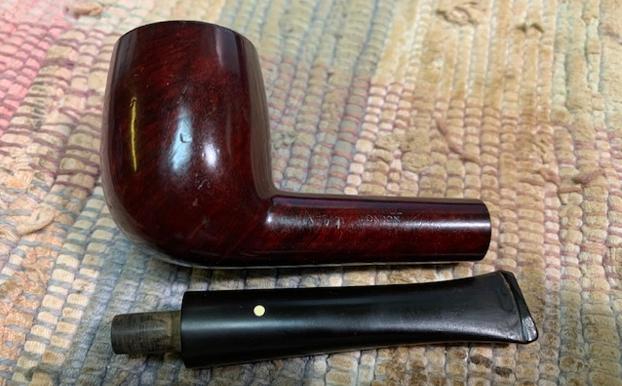
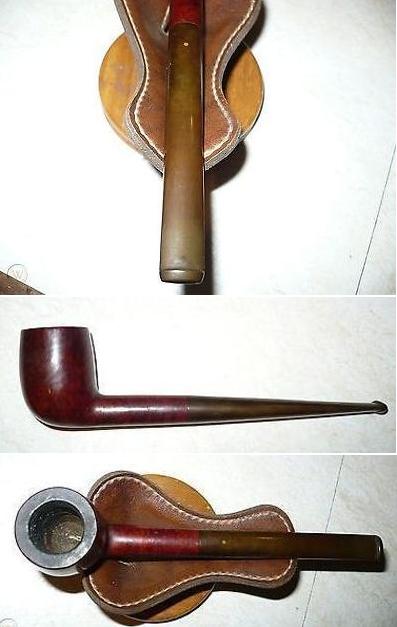
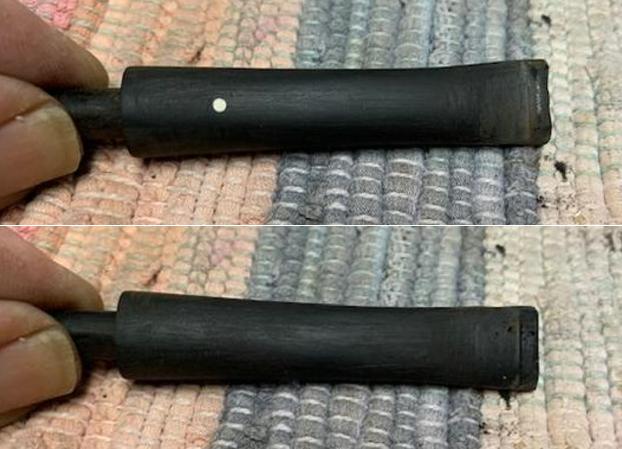
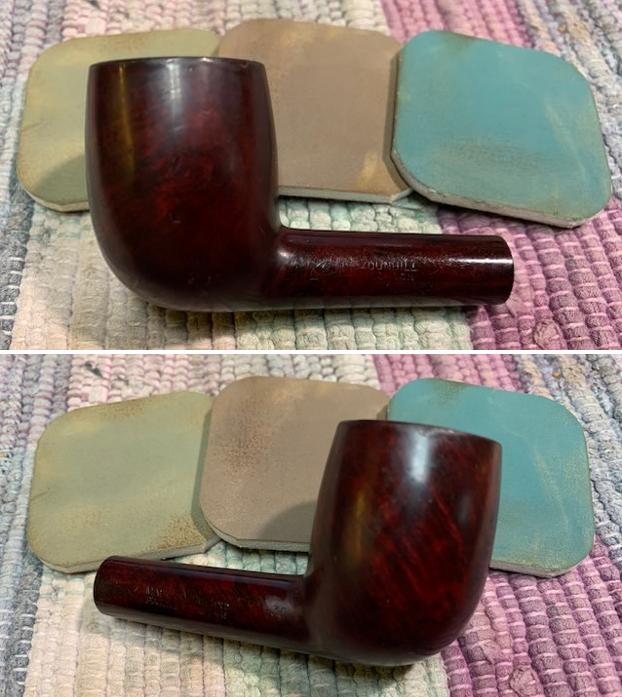
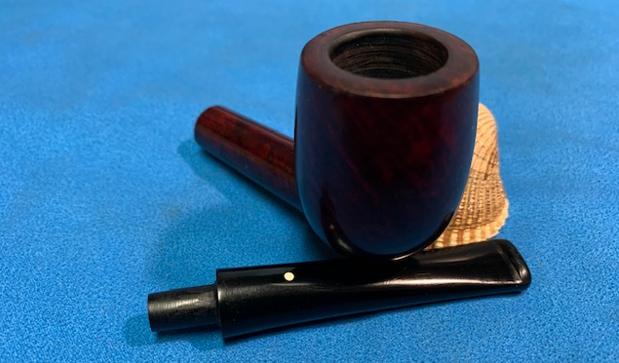
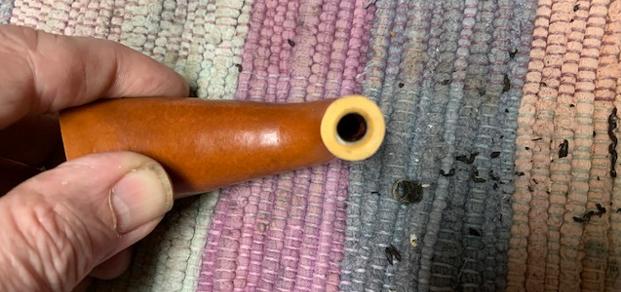
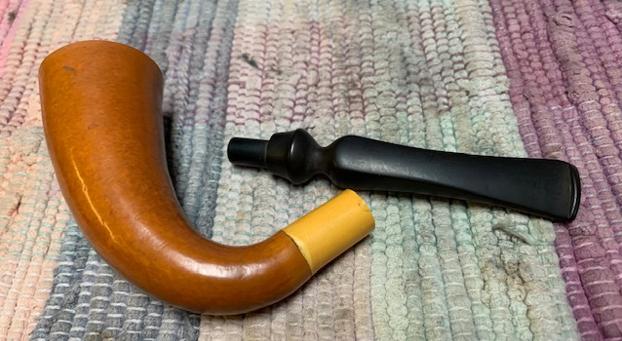
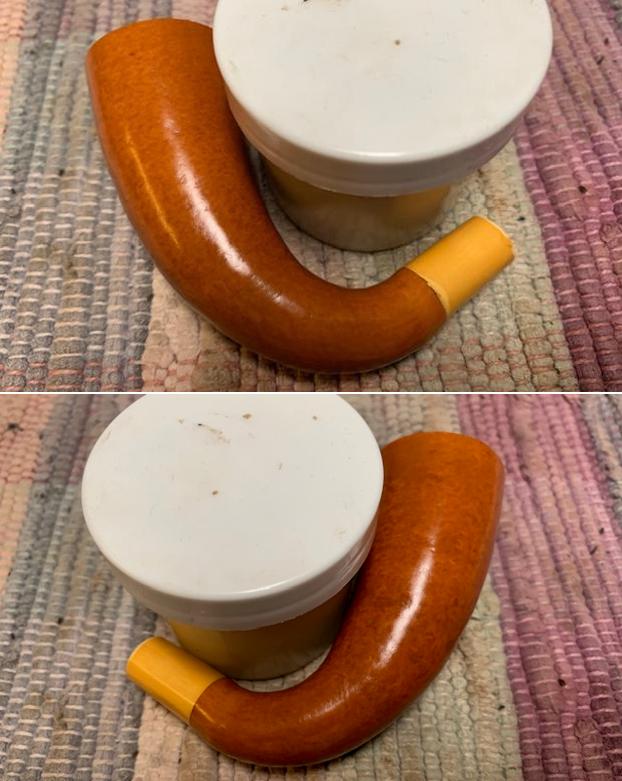
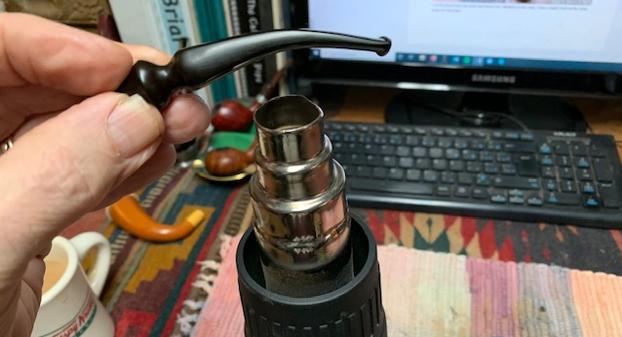
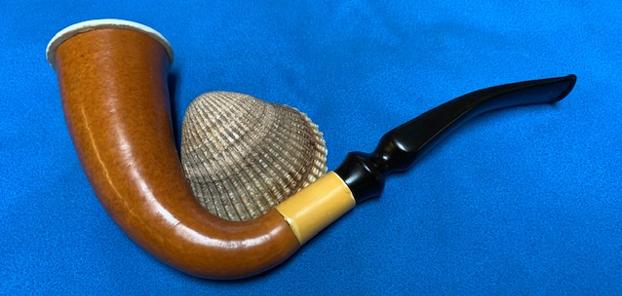
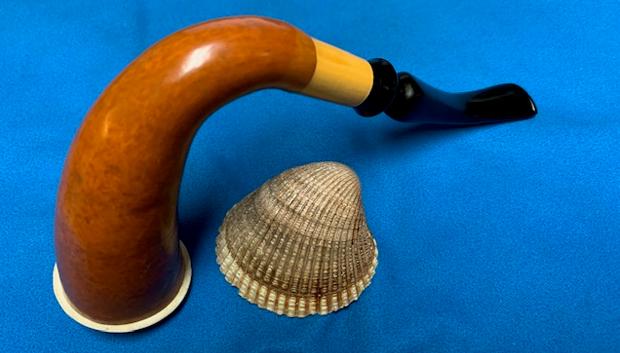
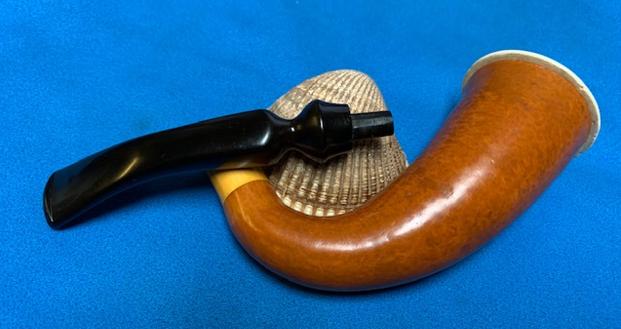
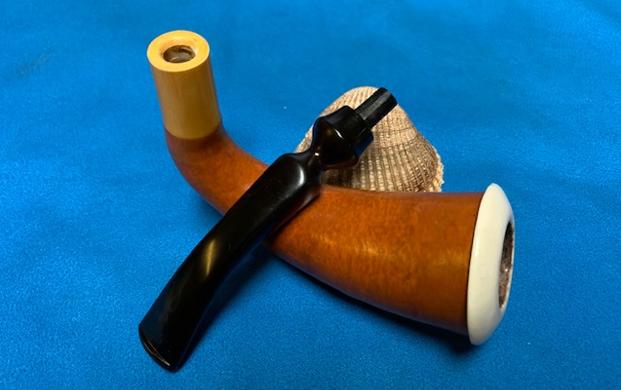
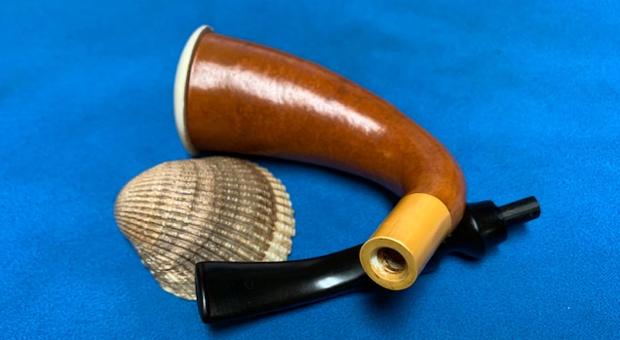
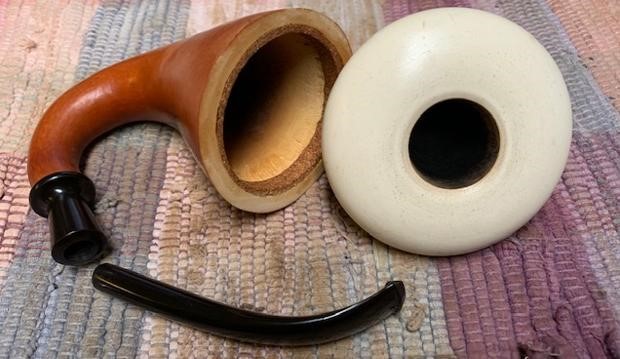
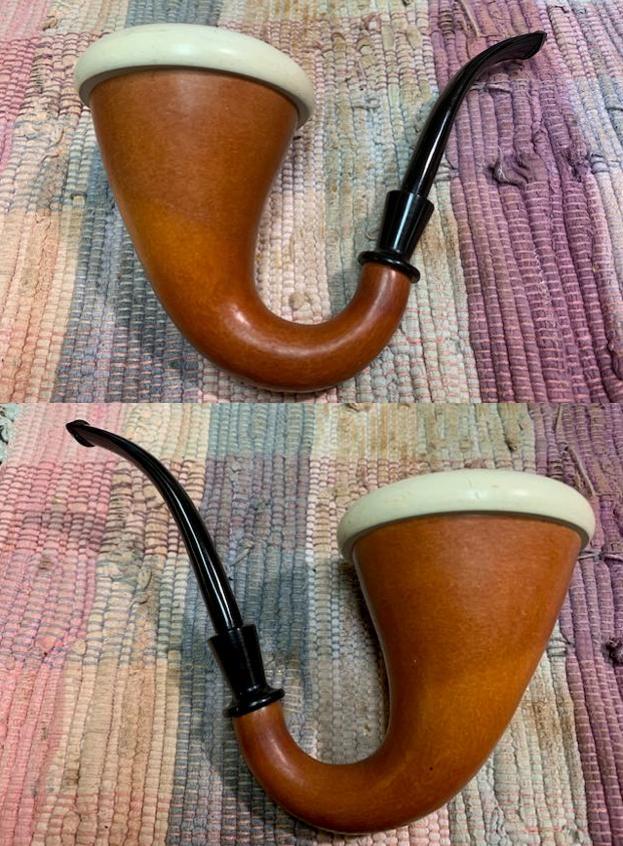
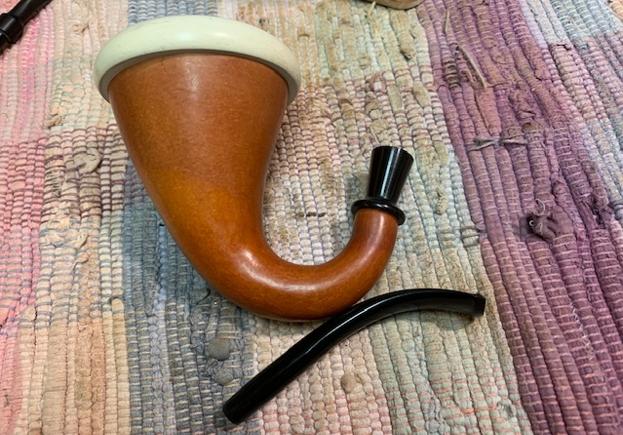
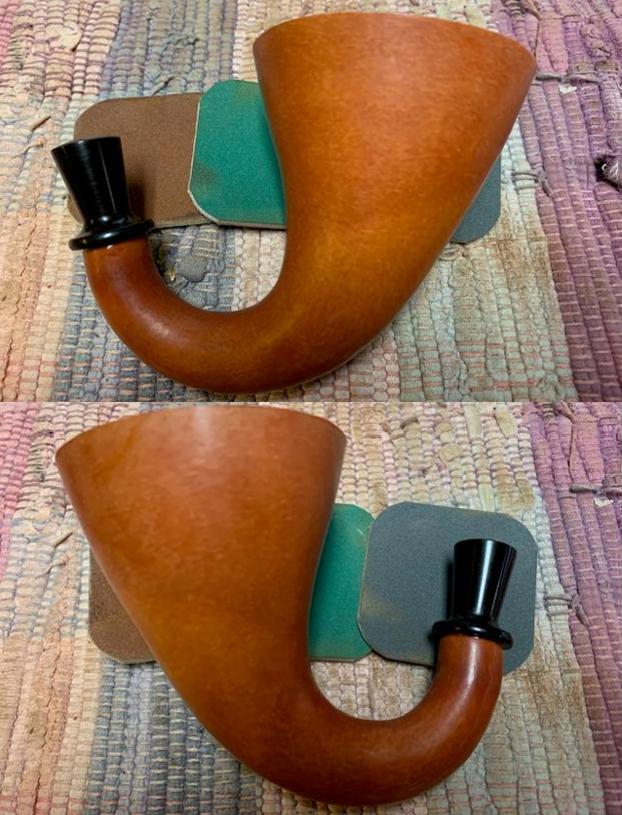
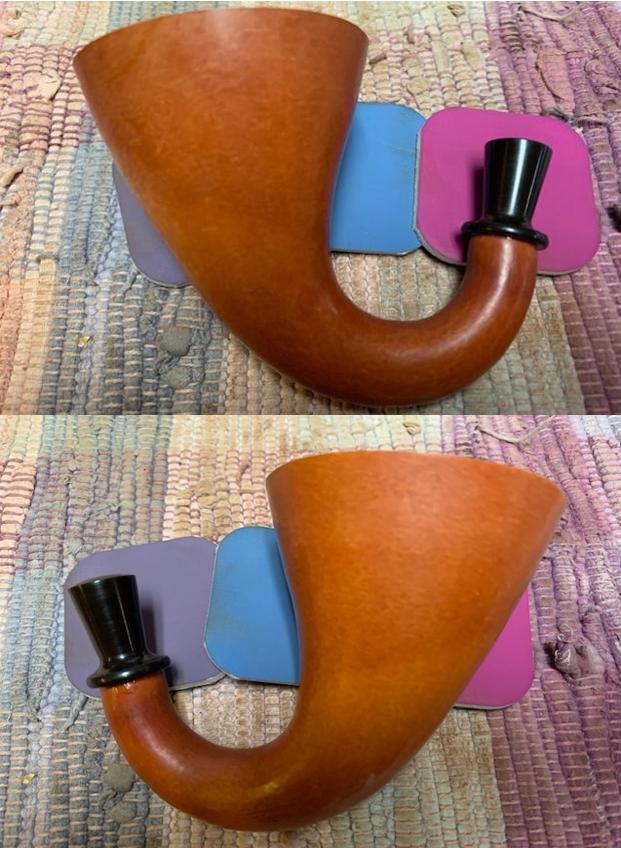
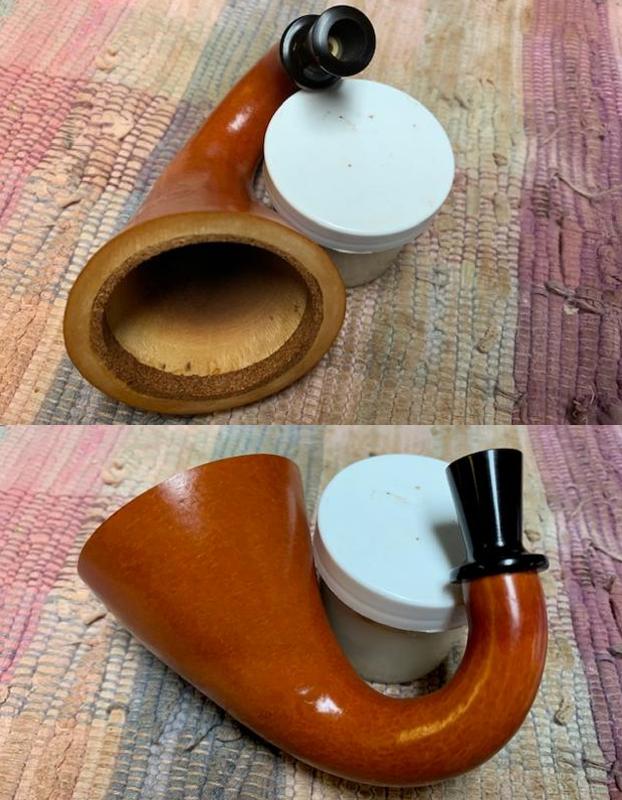
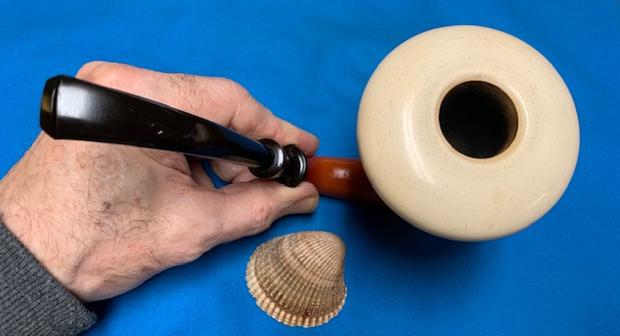
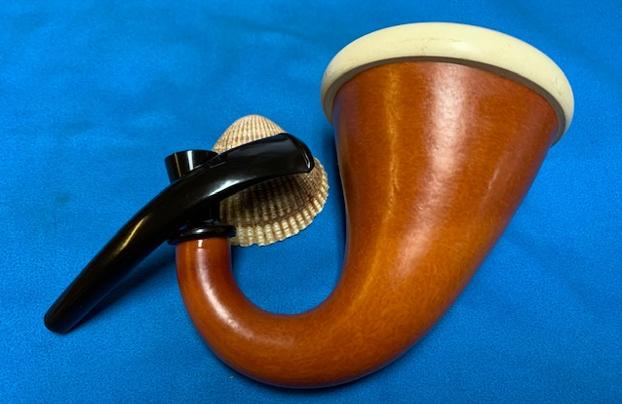
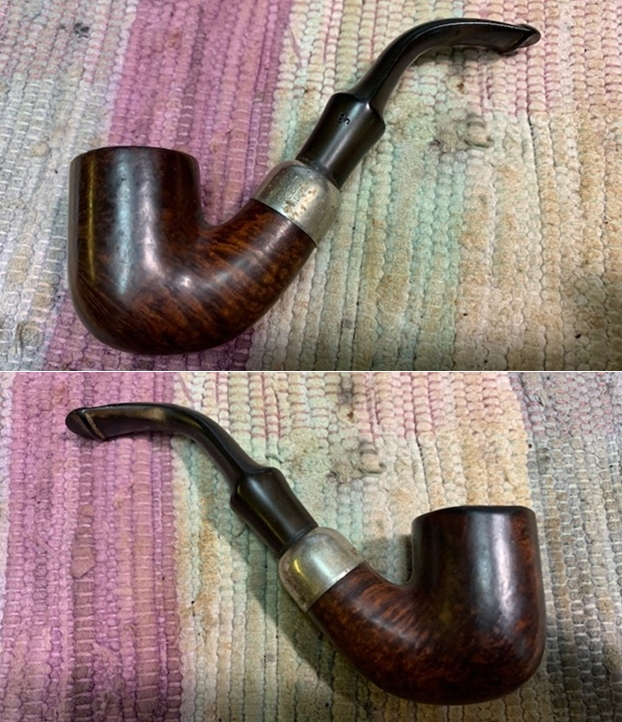
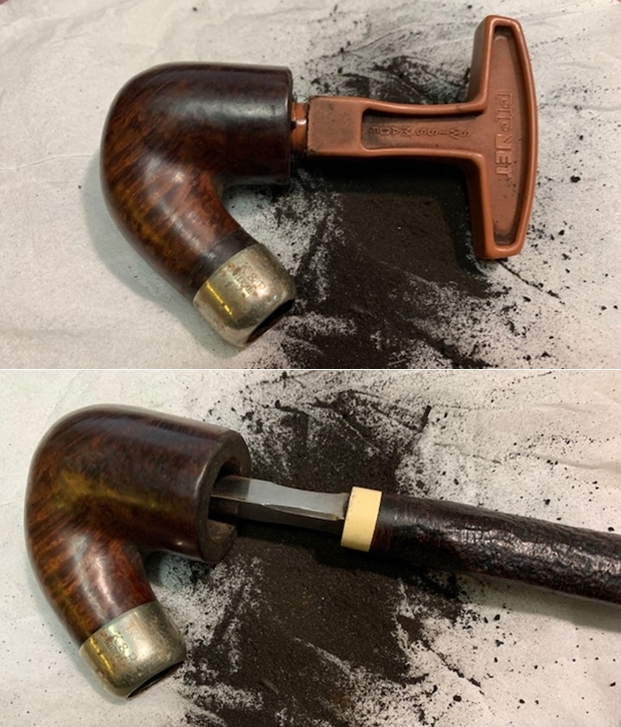
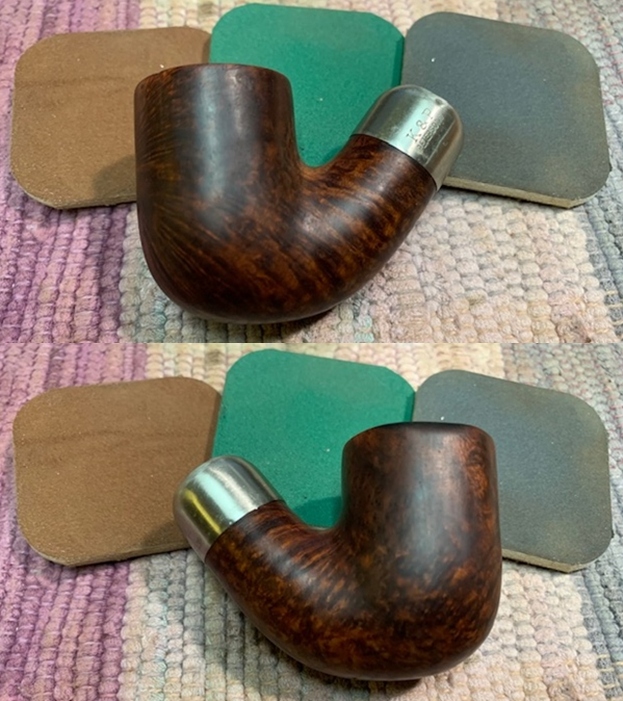
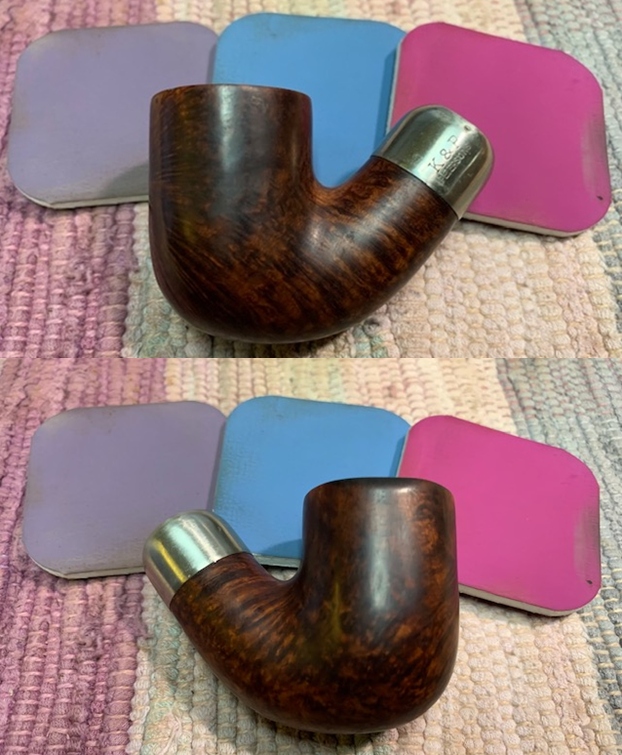
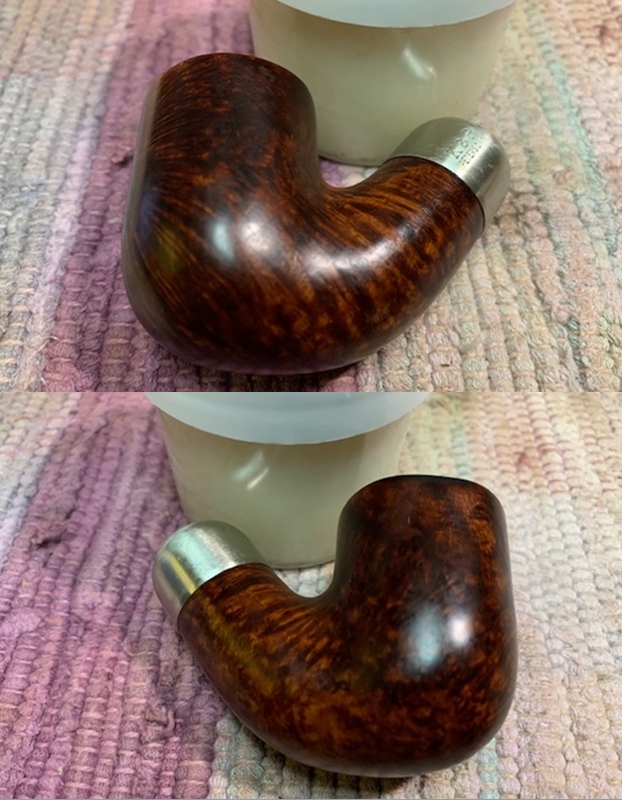
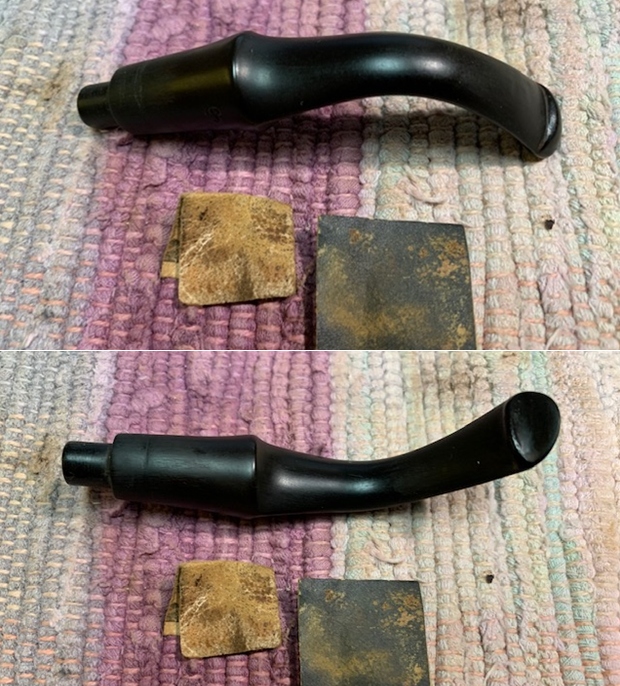
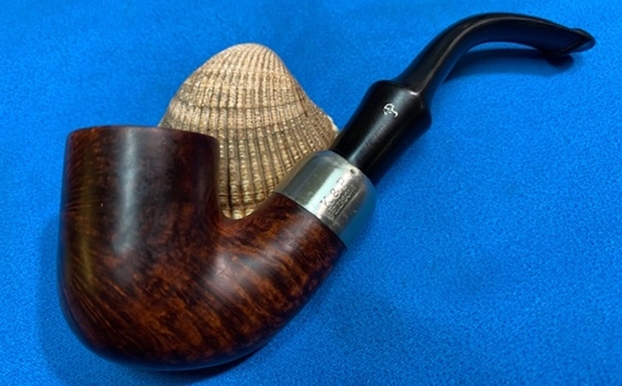
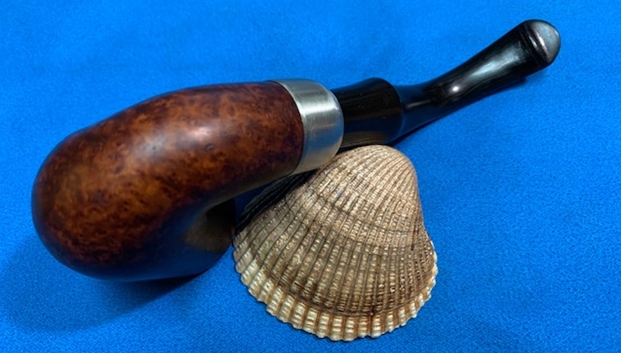
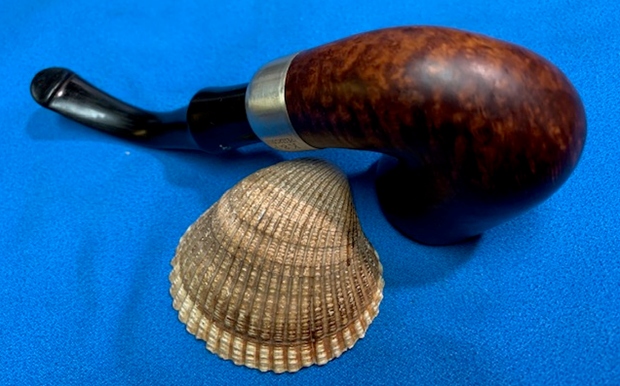
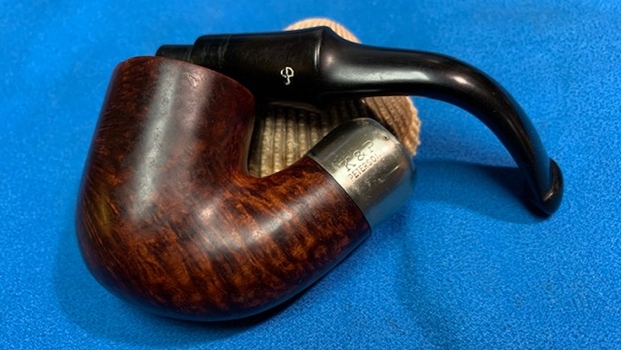
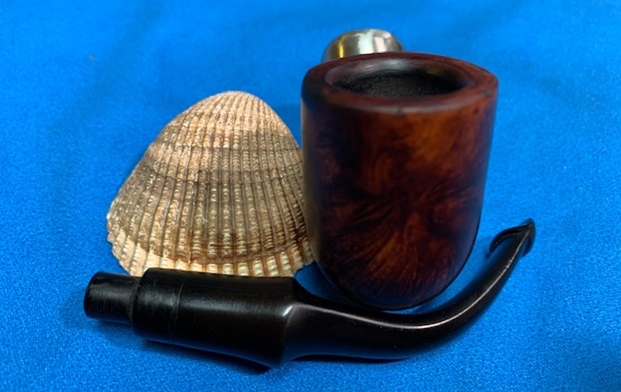
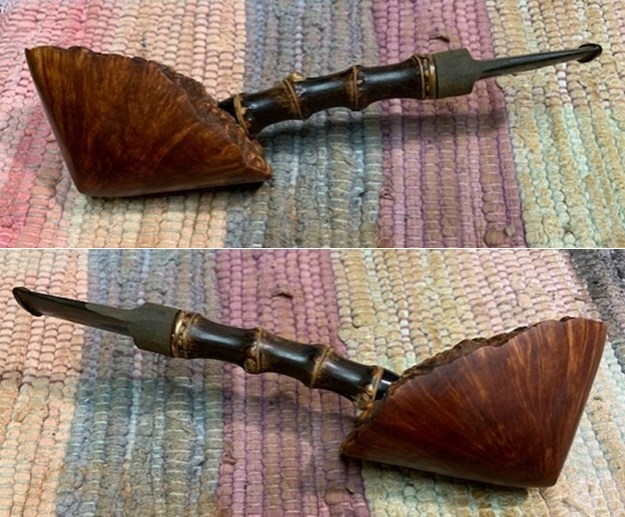
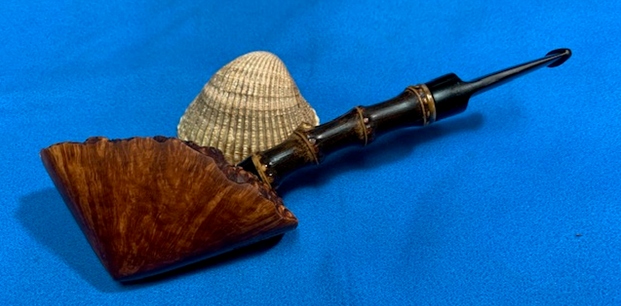
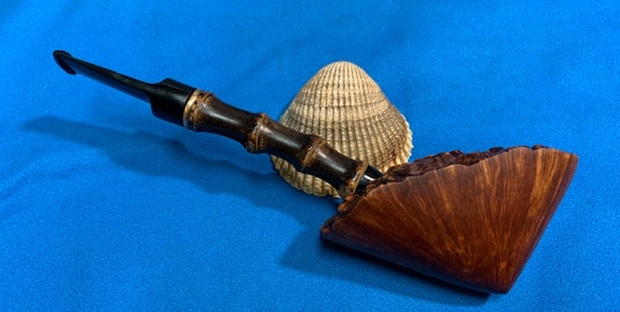
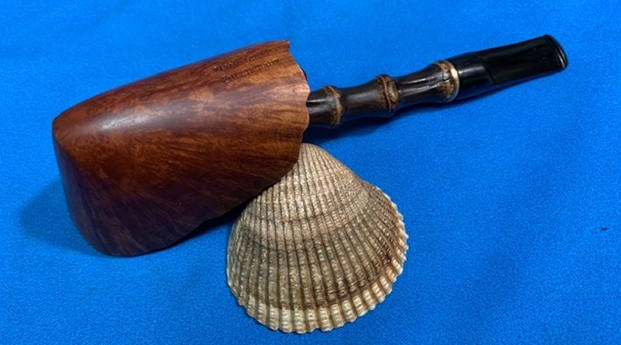
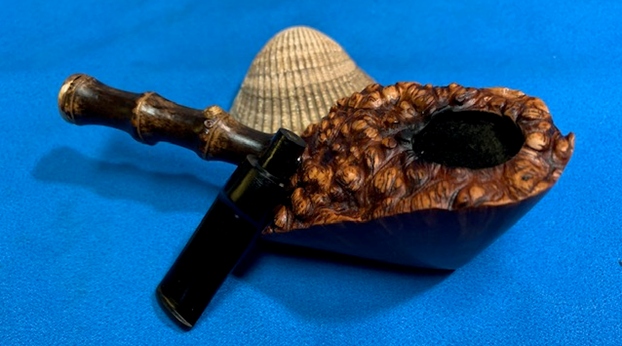
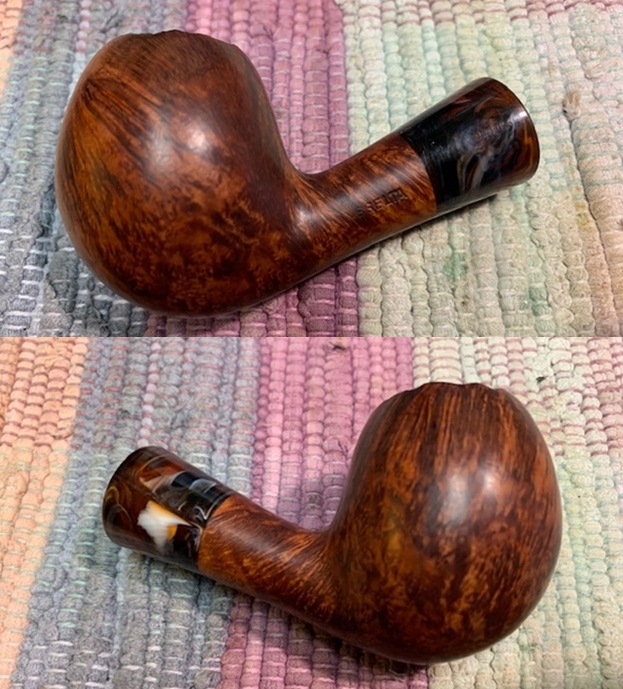
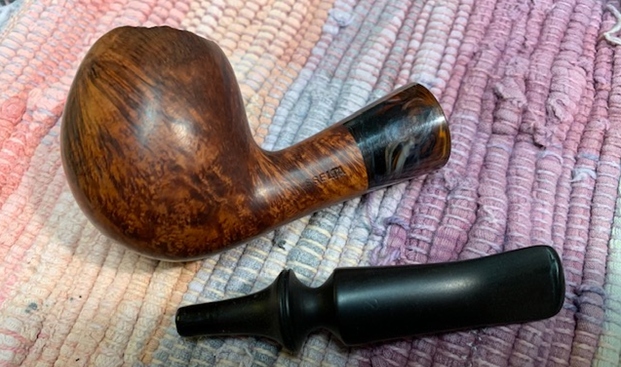
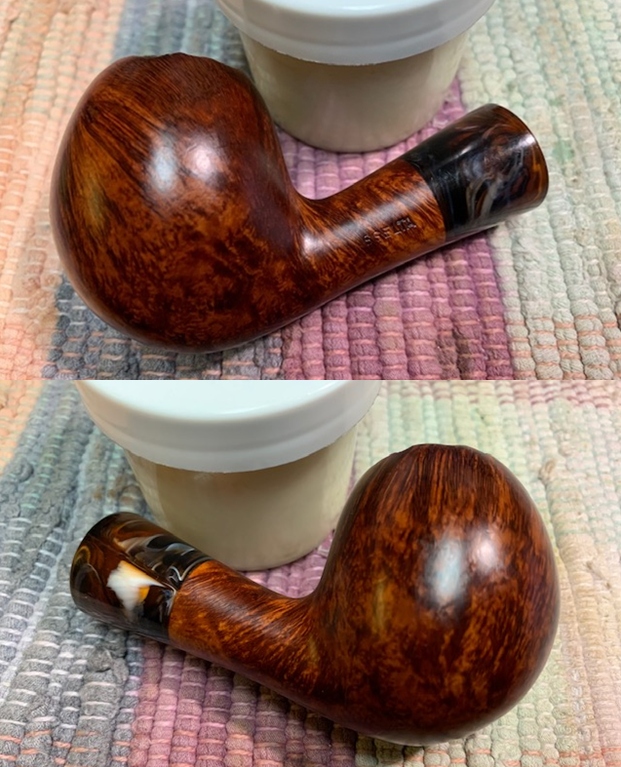
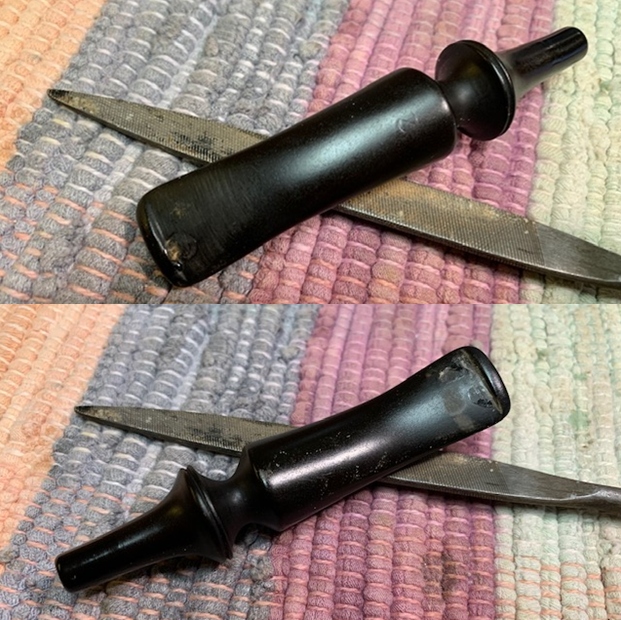
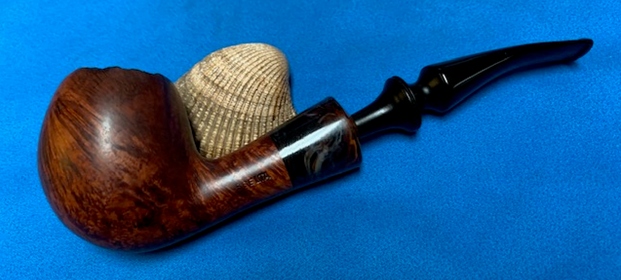
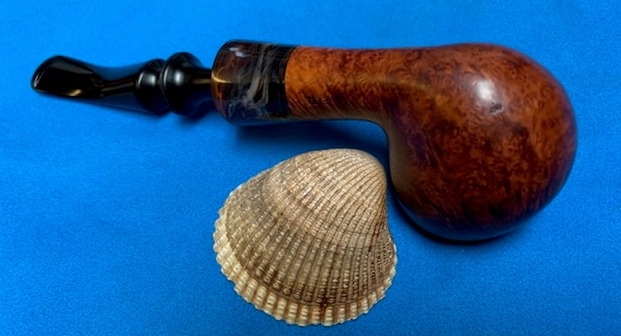
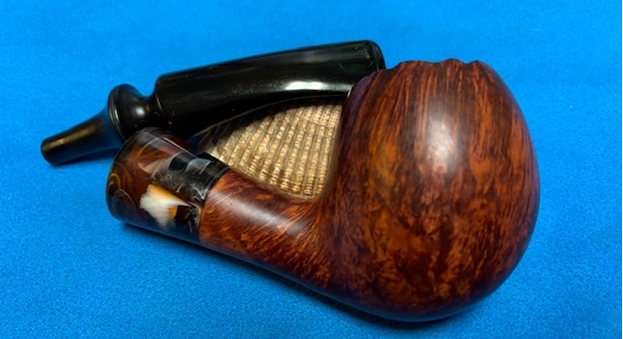
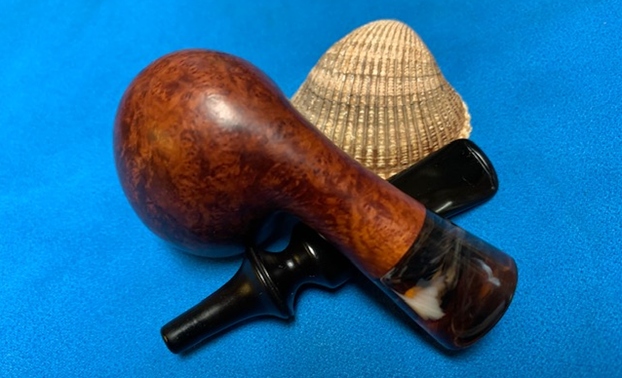
I turned to work on the pipe itself. Jeff had carried out his usual thorough cleanup of the pipe. He had reamed it with a PipNet reamer to remove the cake and cleaned the reaming up with a Savinelli Fitsall Pipe Knife. He scrubbed the internals of the bowl and stem with alcohol, cotton swabs and pipe cleaners. He scrubbed the externals with undiluted Murphy’s Oil Soap and rinsed the bowl off with running water. The pipe looked very clean when I received it. I went through my can of stems and found turned freehand style vulcanite stem that I thought would work well with the bowl and shank. I took a photo of the combination below. 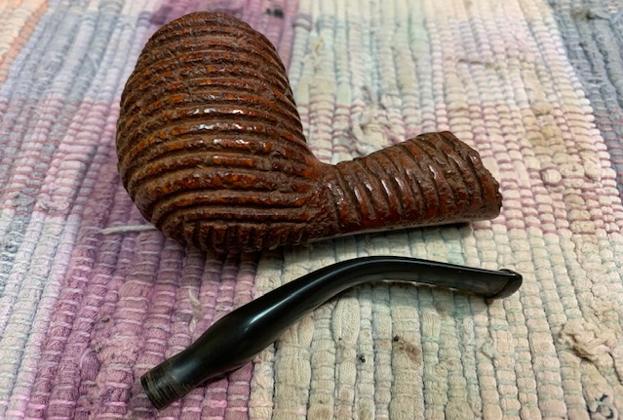 The stem fit the mortise perfectly though the bend to much to work well with the pipe. There were tooth marks in surface of the top and underside of the stem at the button that would need to be dealt with in the restoration. I put the stem in the shank and took some photos of the pipe.
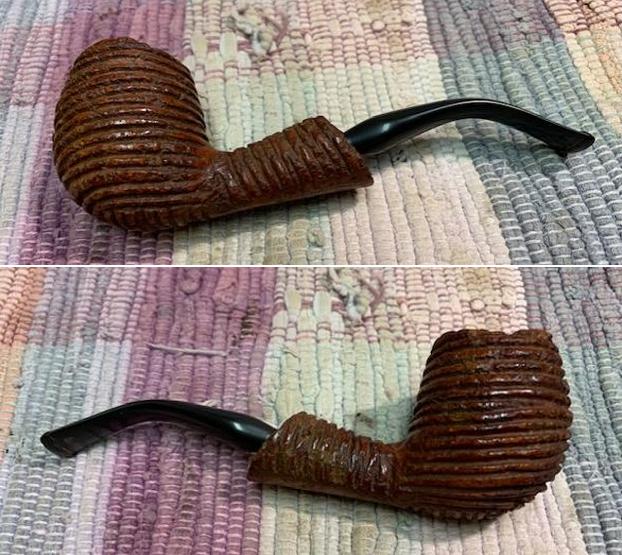
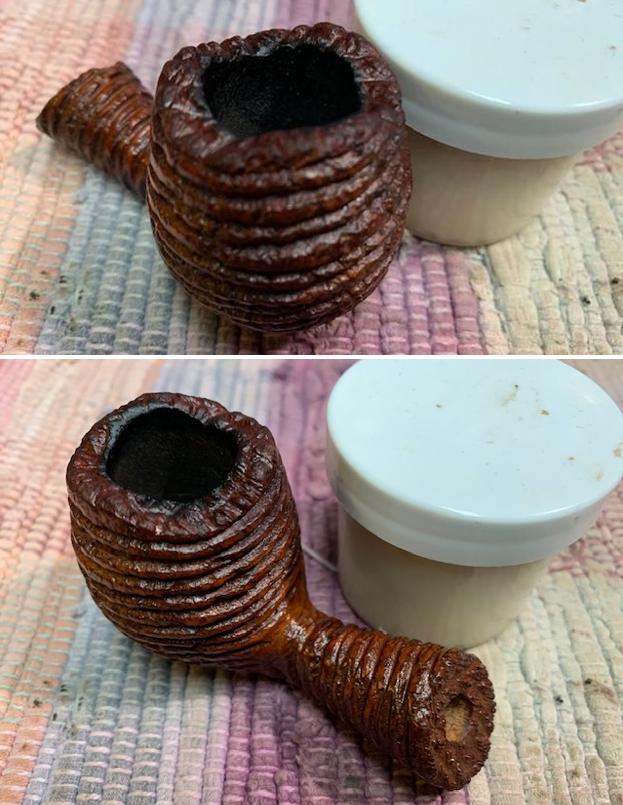
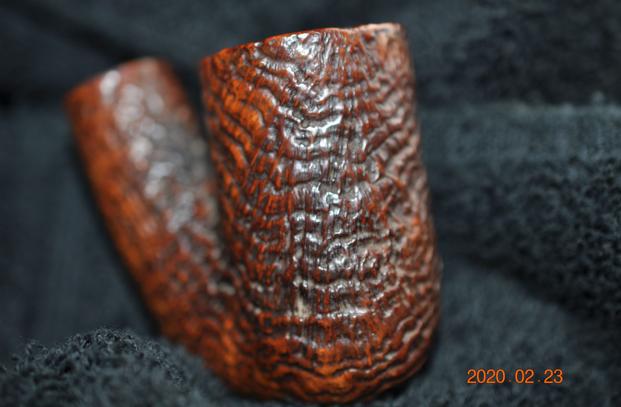
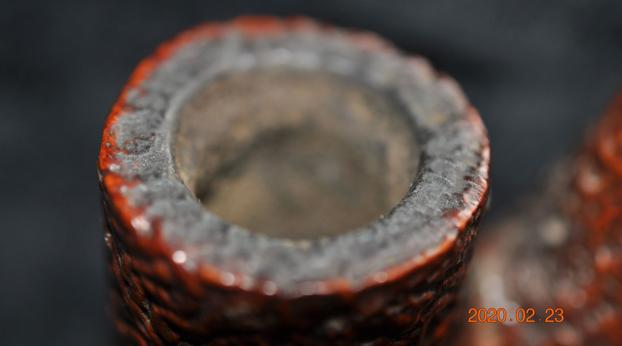
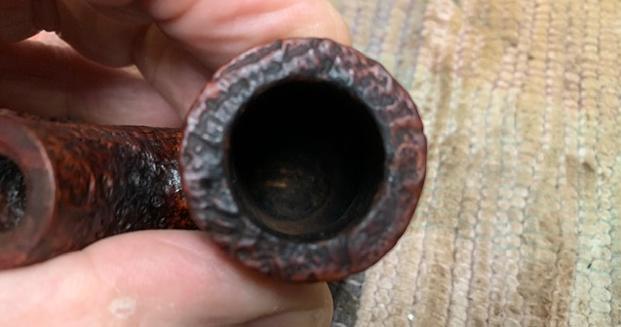
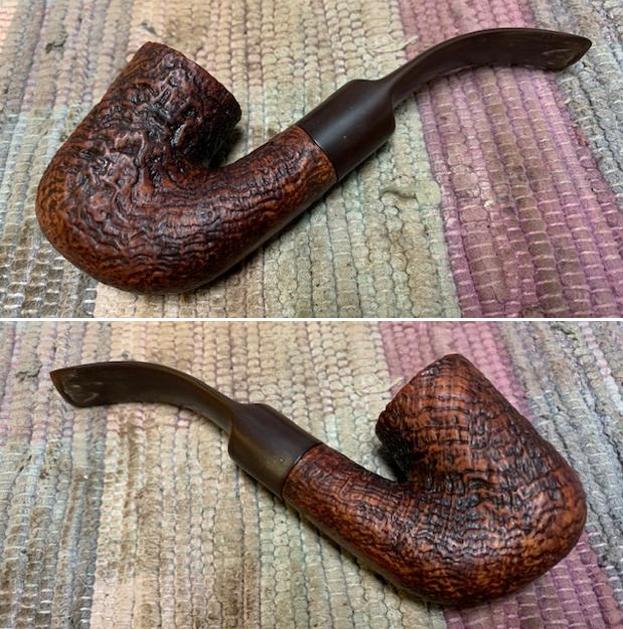
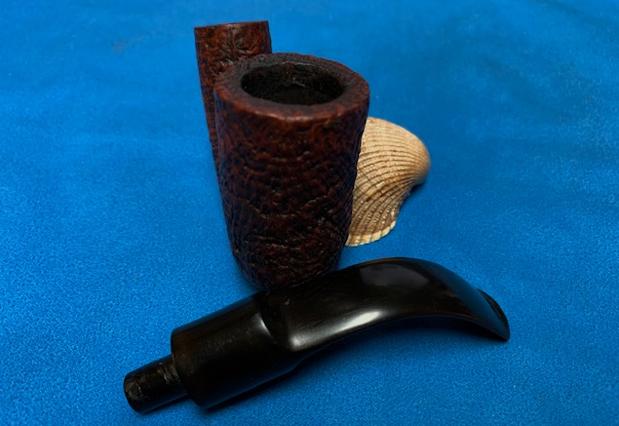
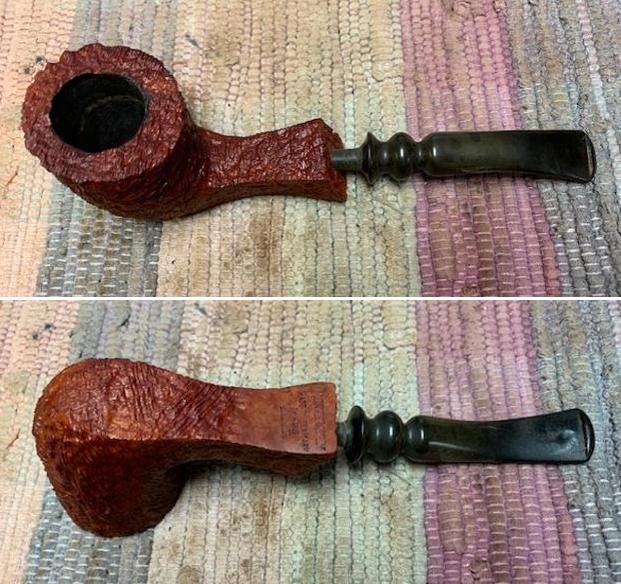
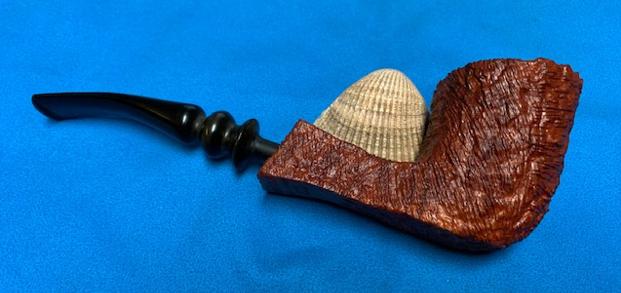
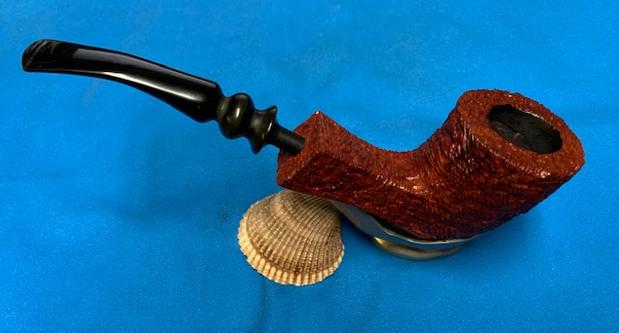
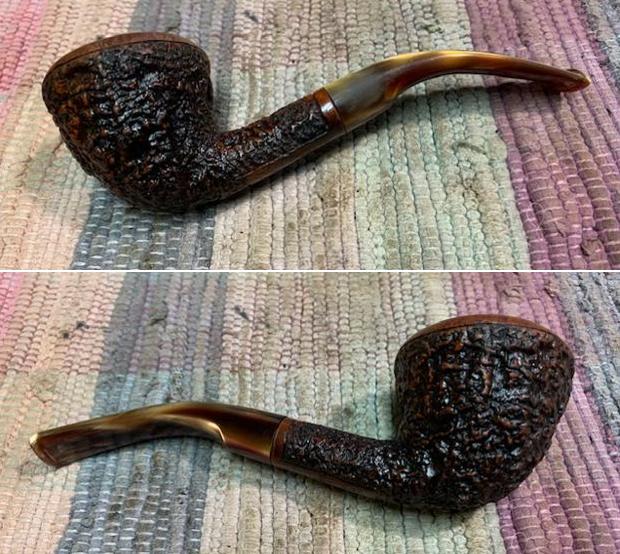
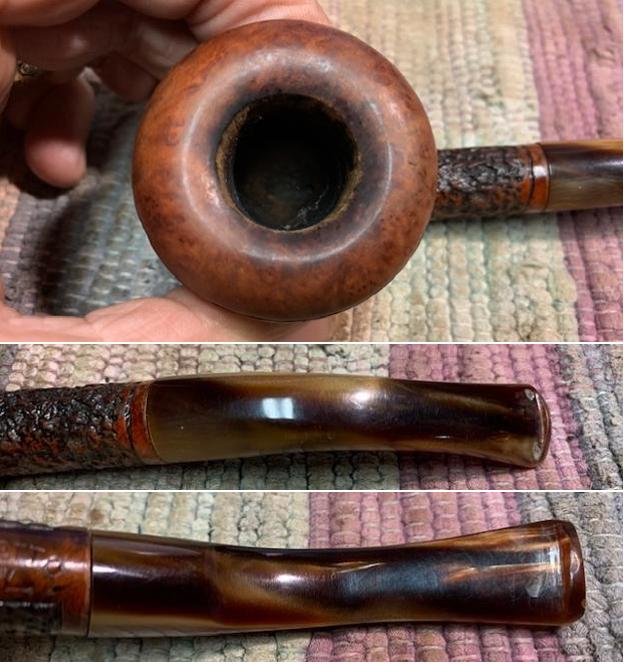
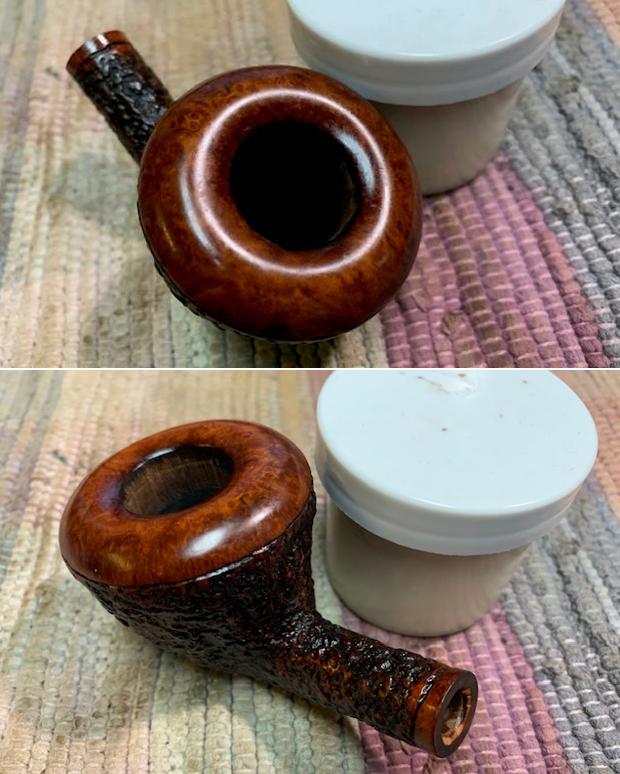
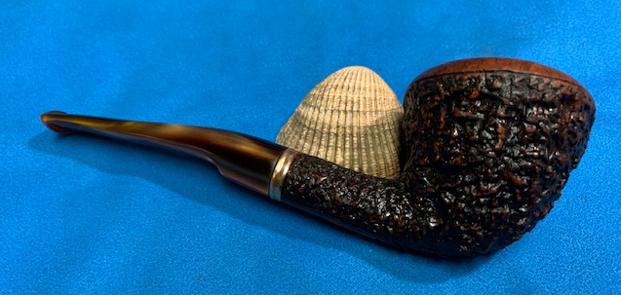
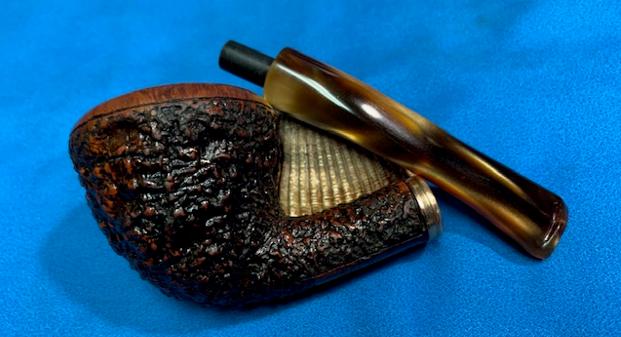
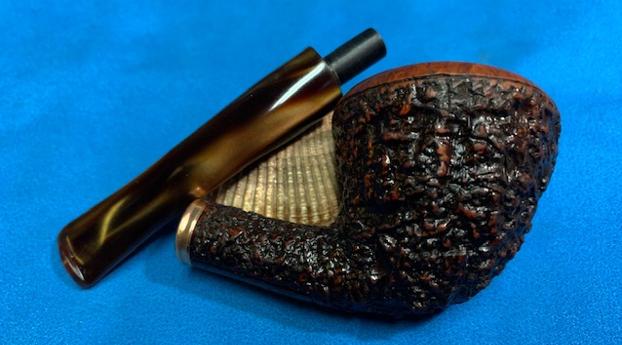
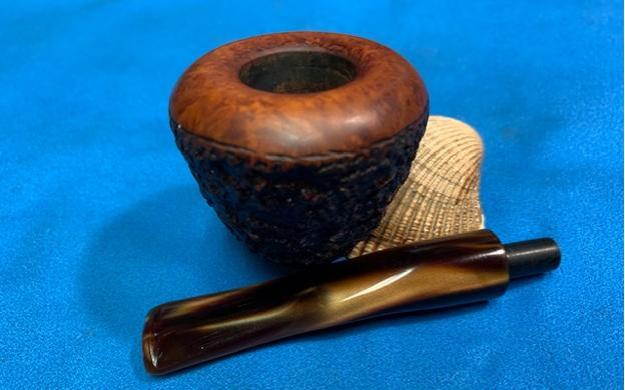
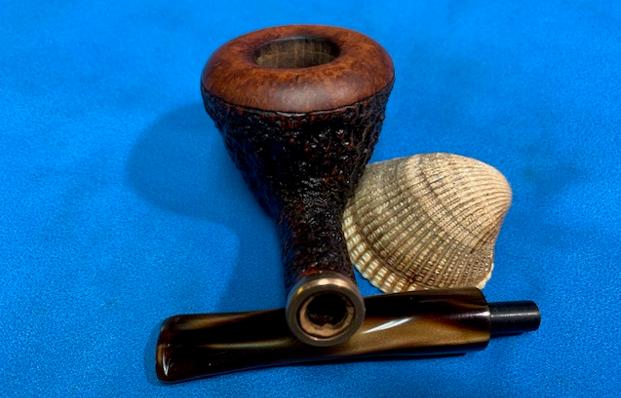
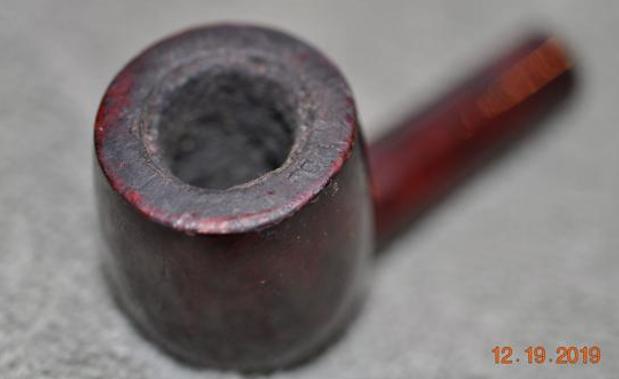
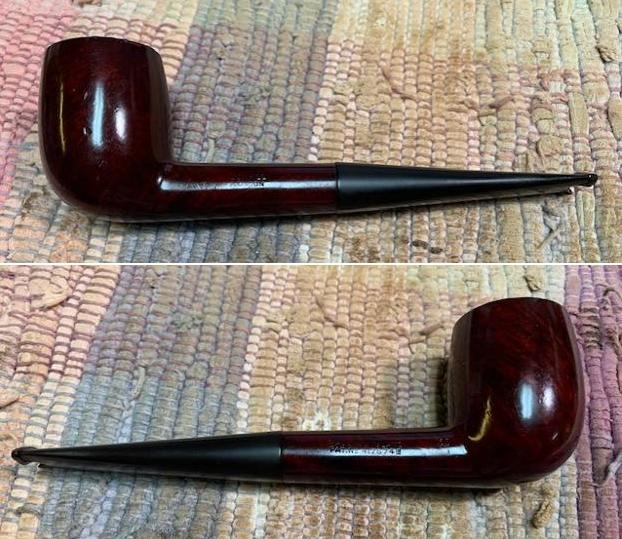
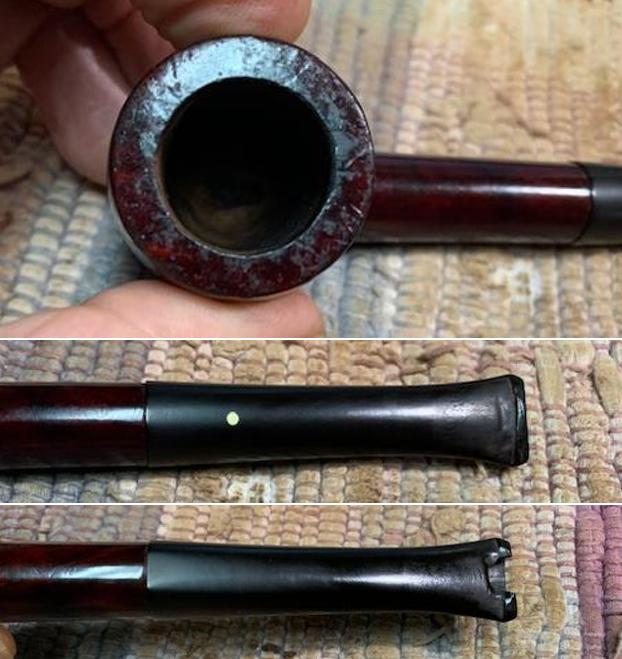
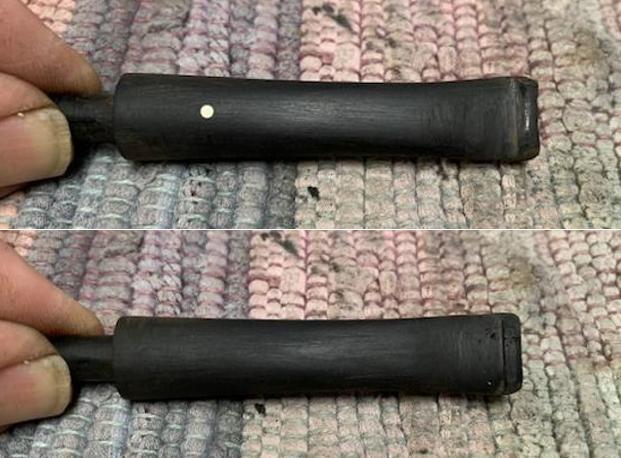
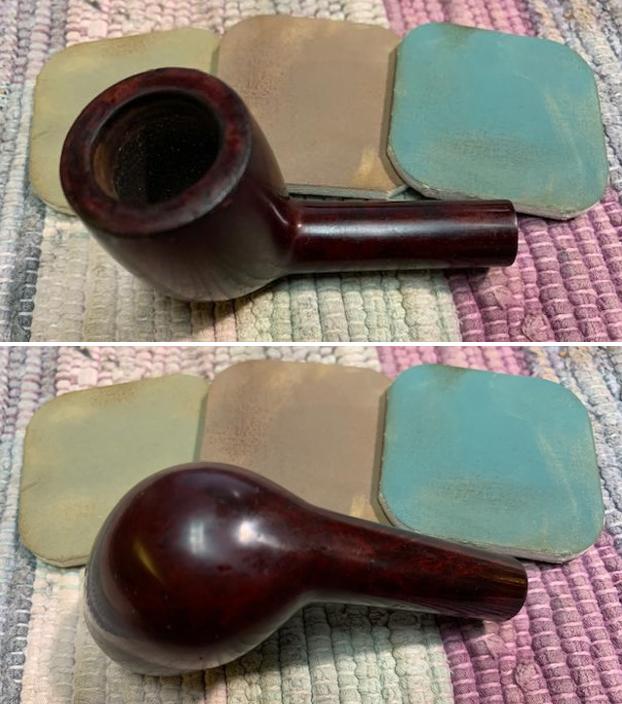
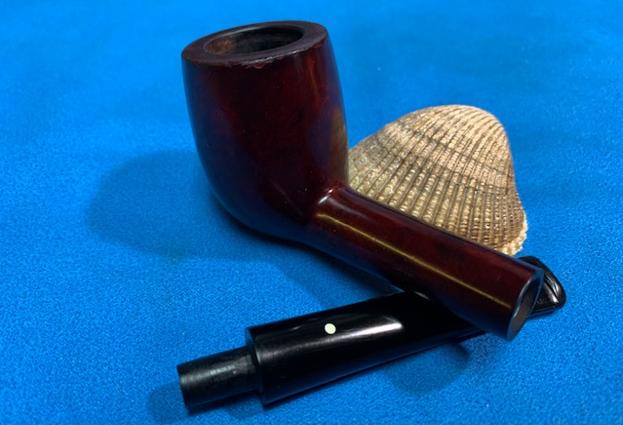
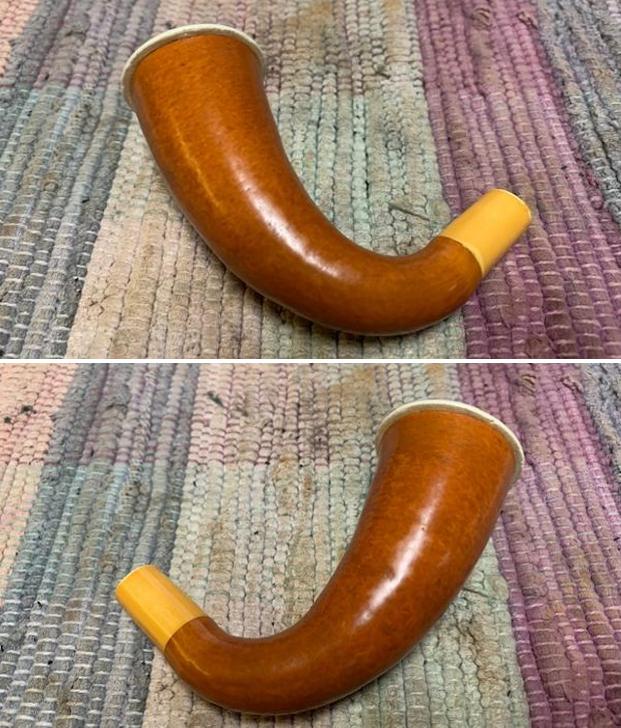
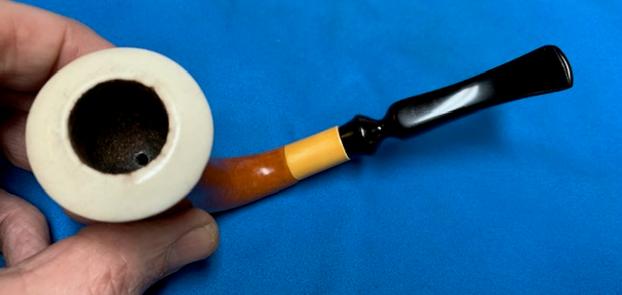
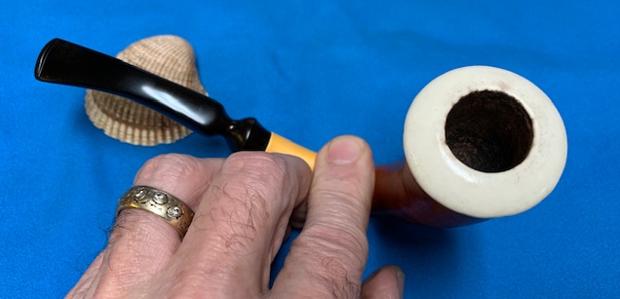
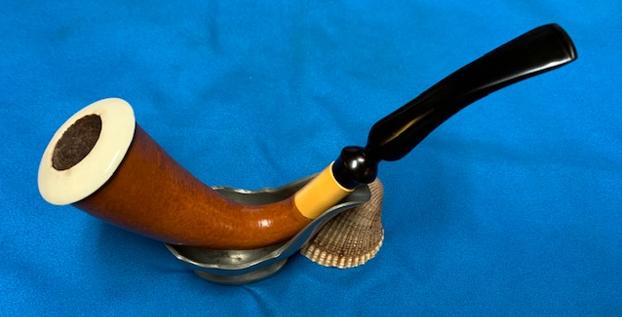
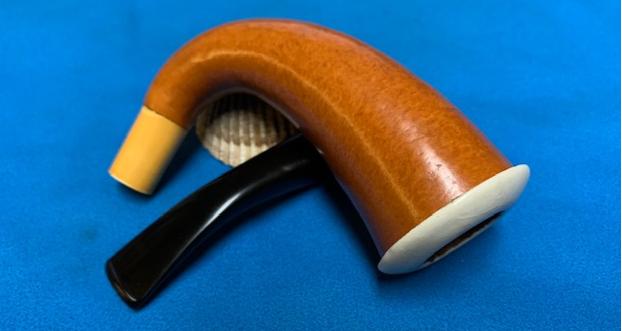
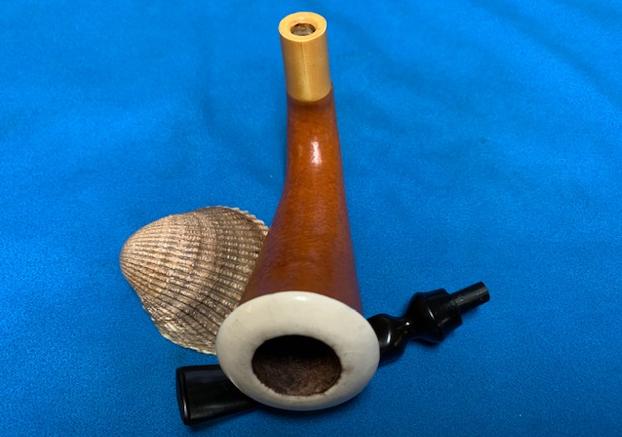
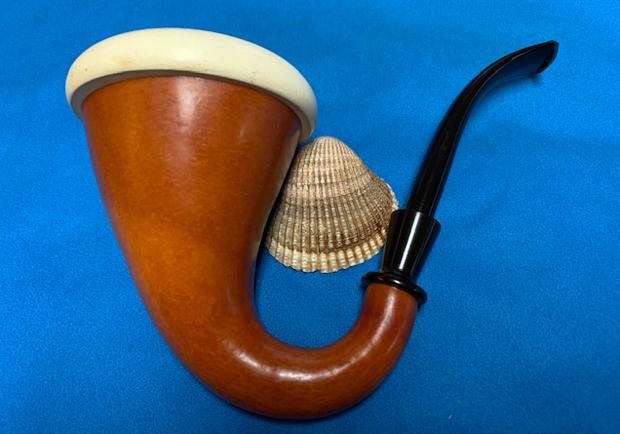
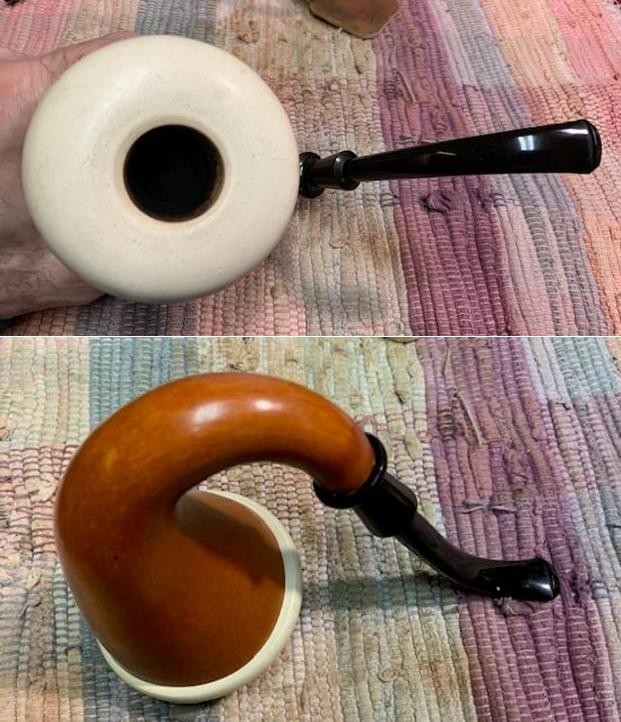
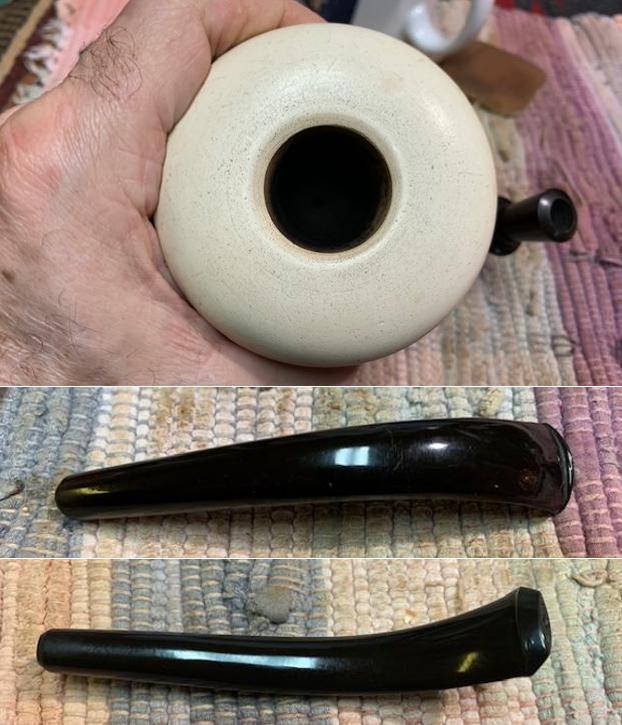
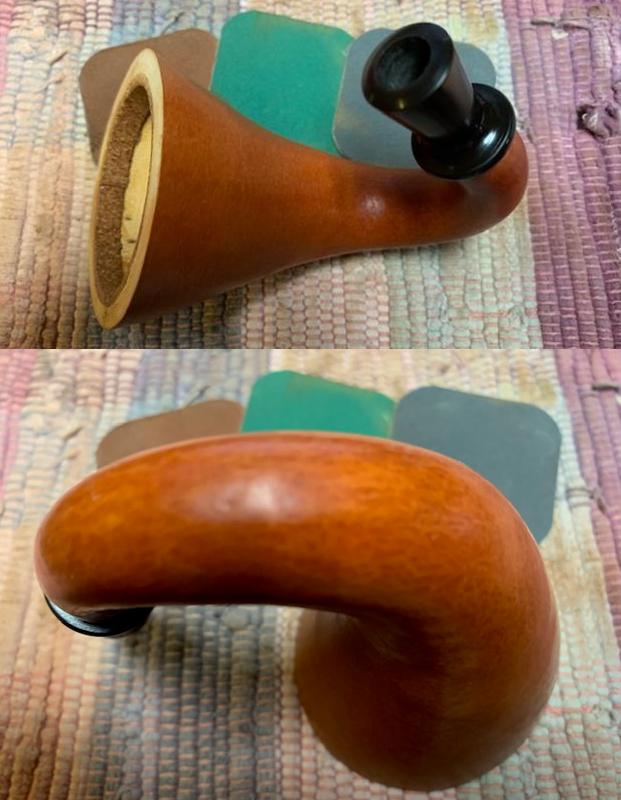
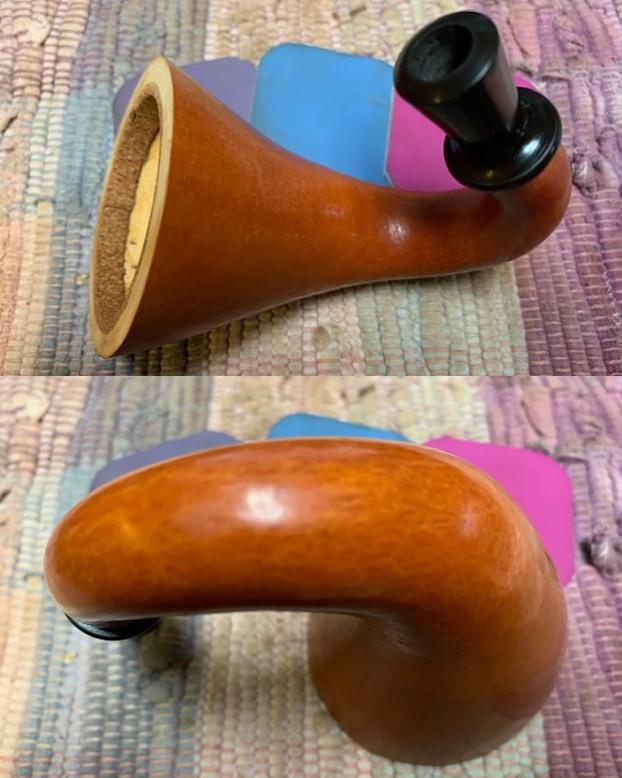
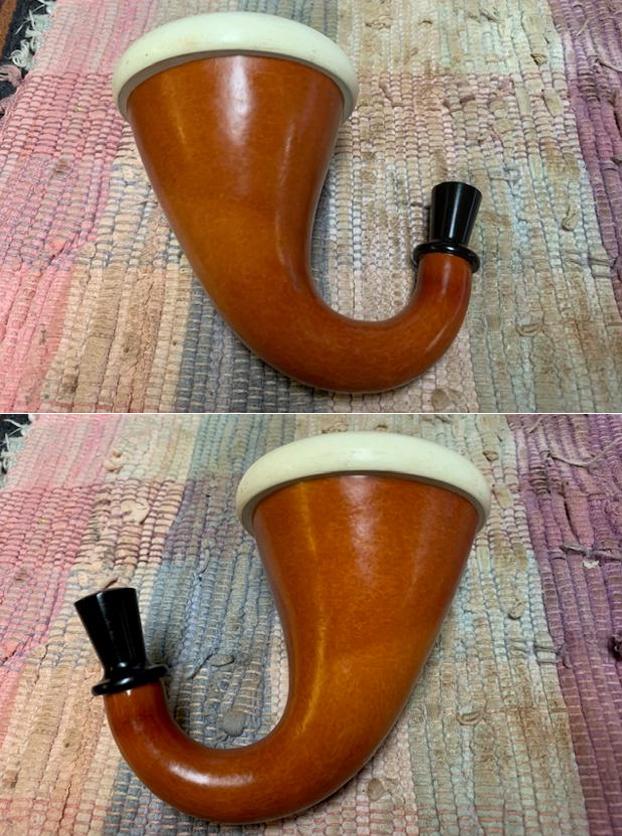
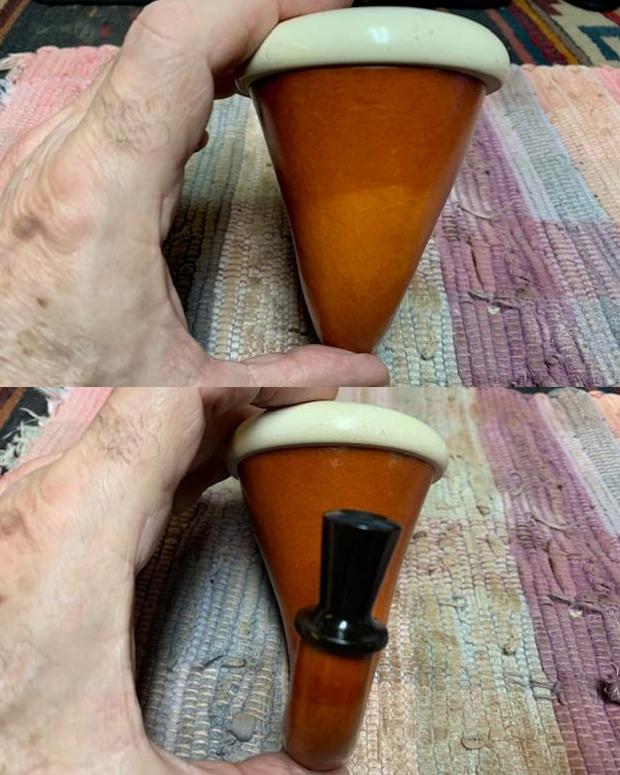
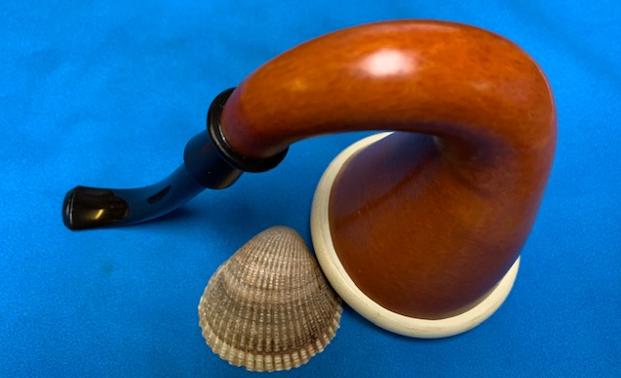
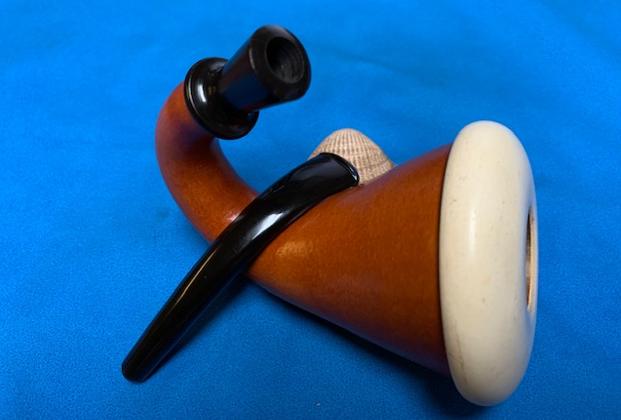
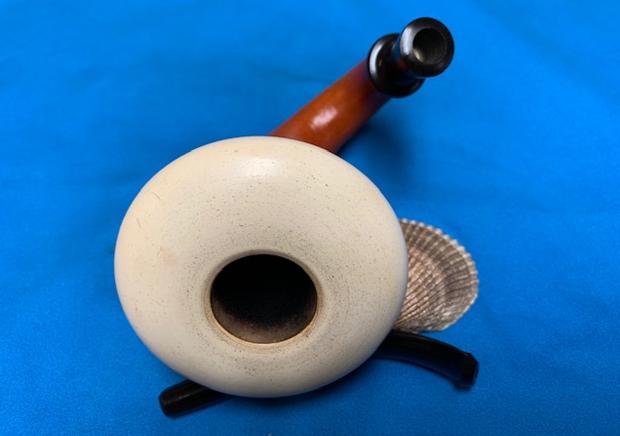
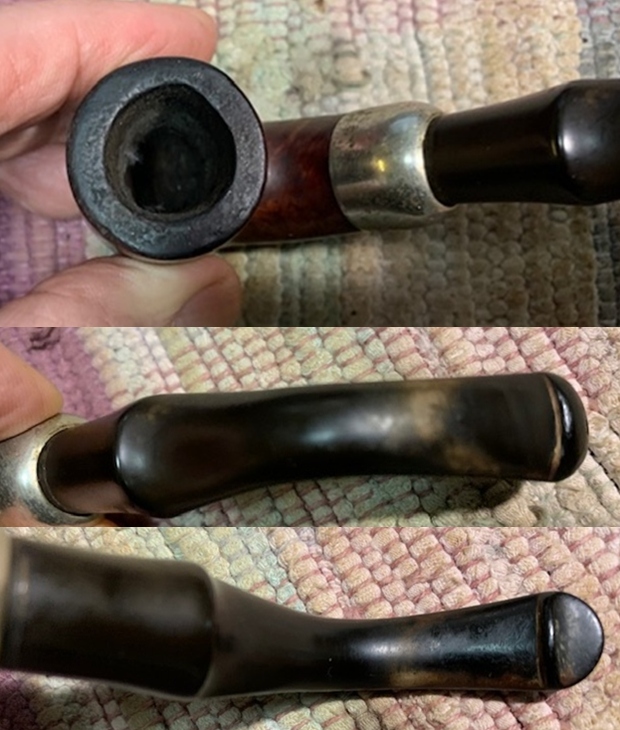
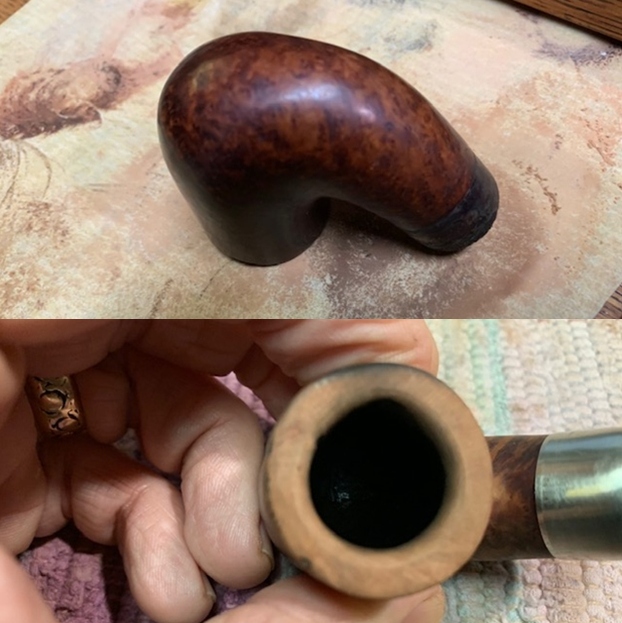
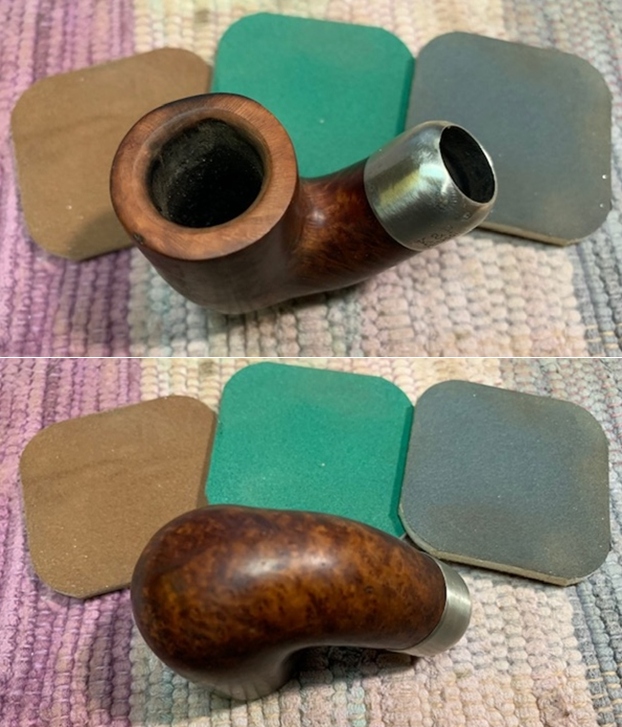
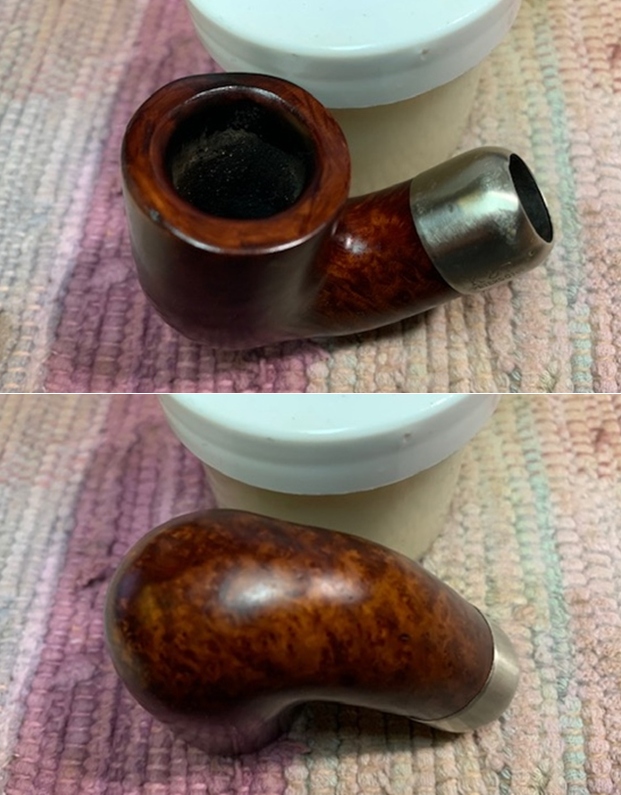
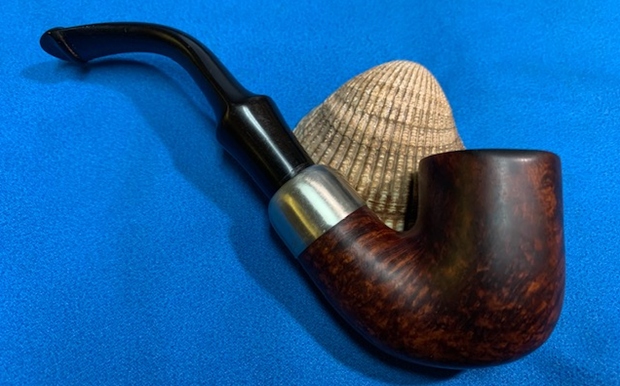
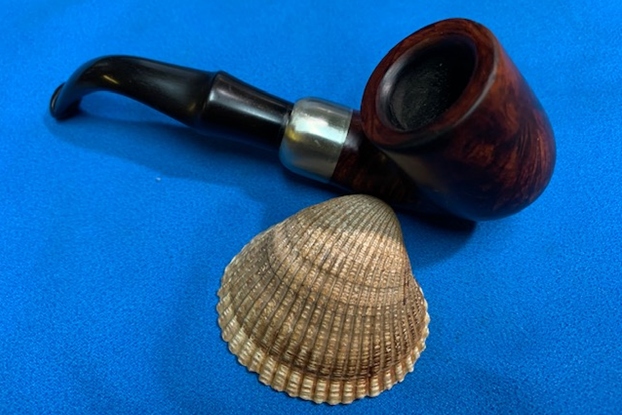
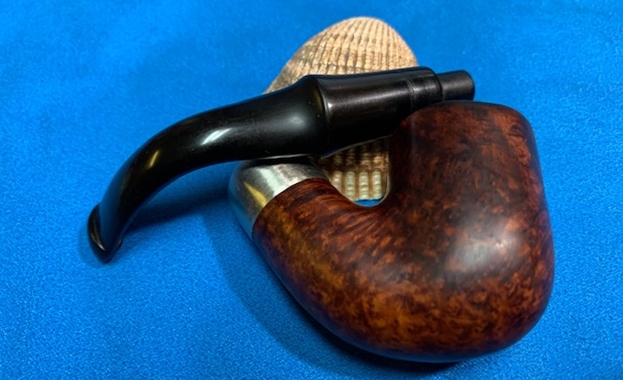
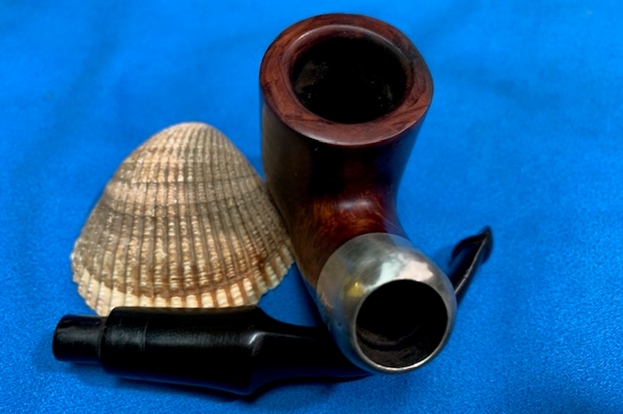
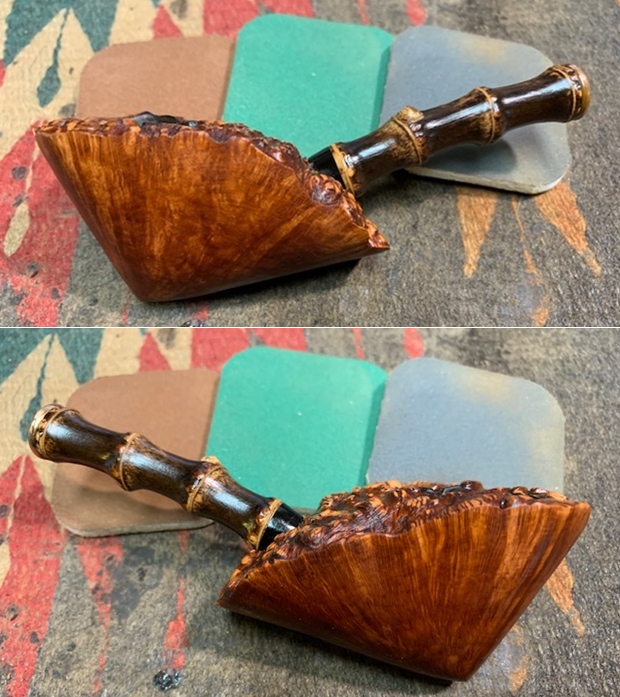
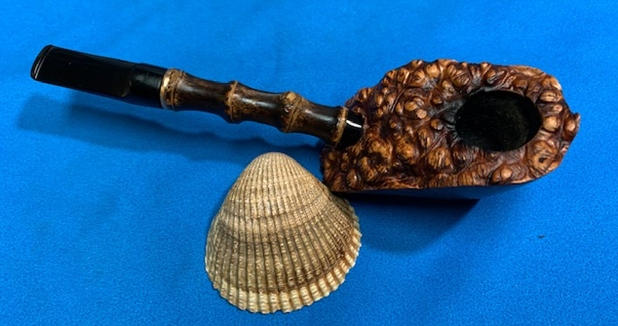
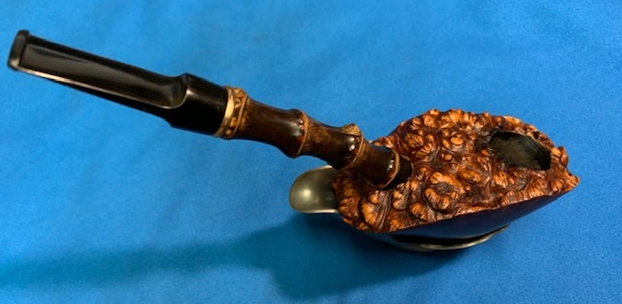
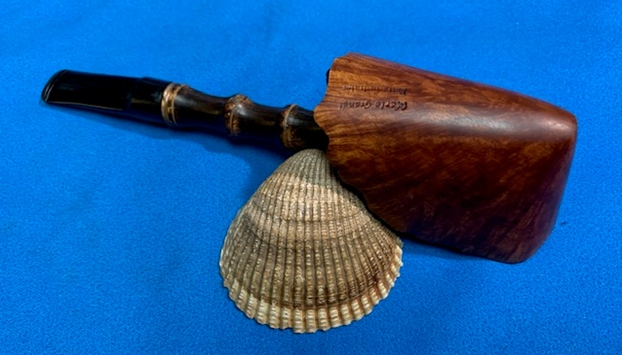
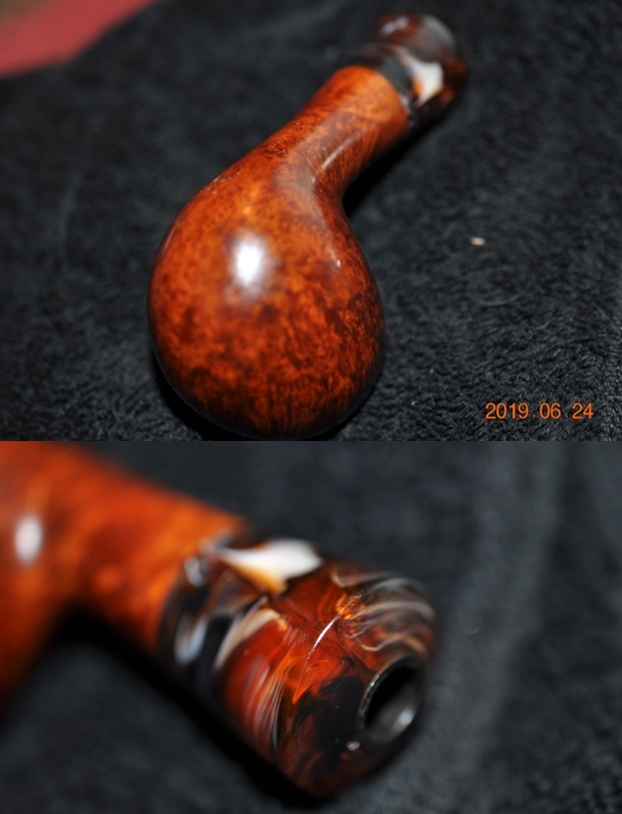
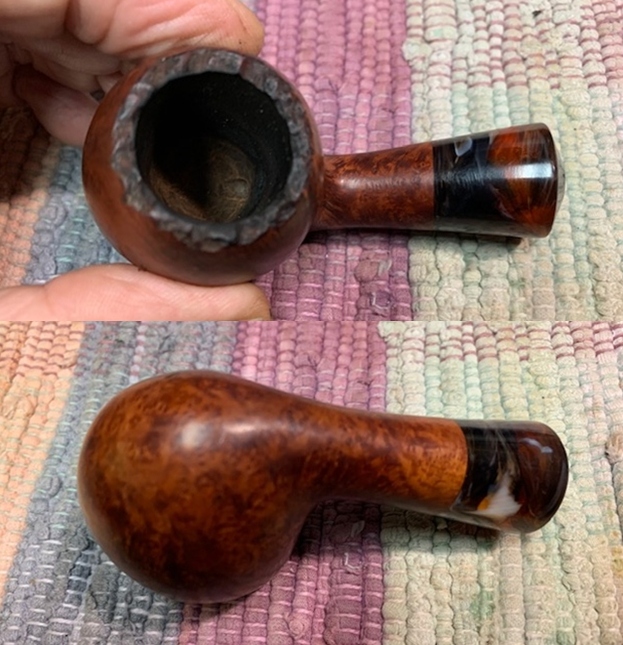
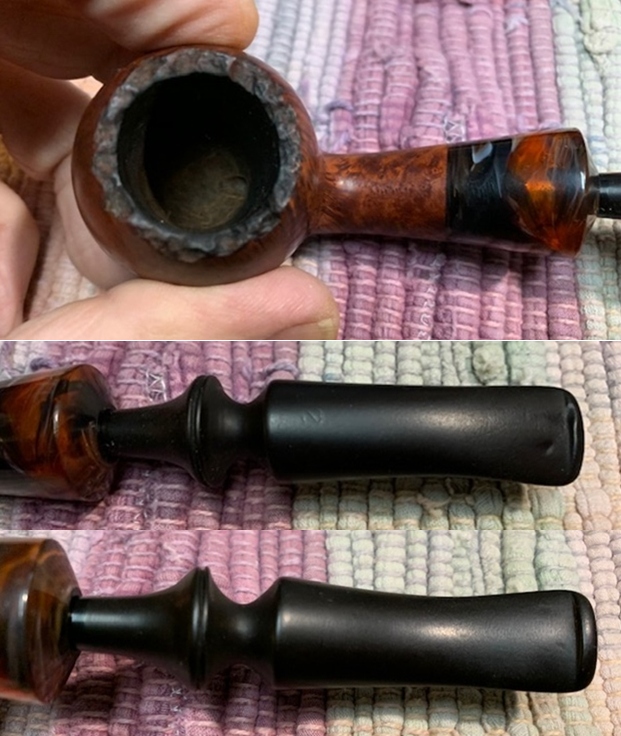
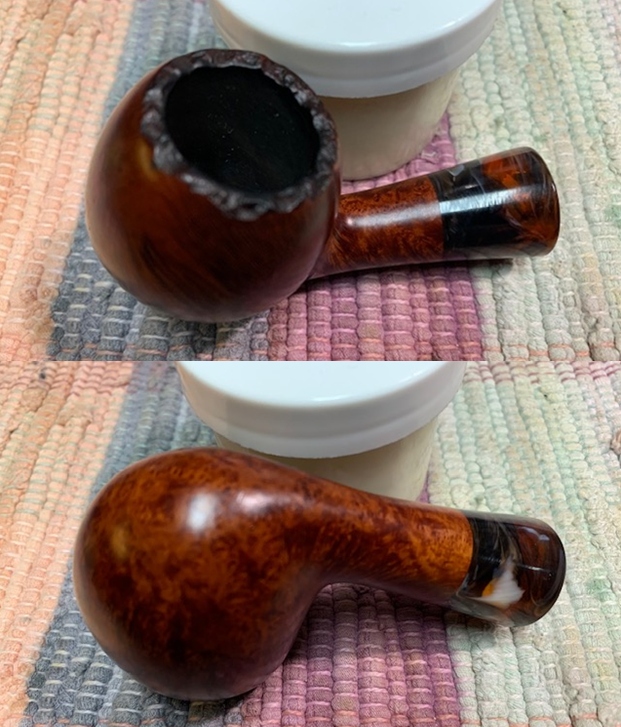
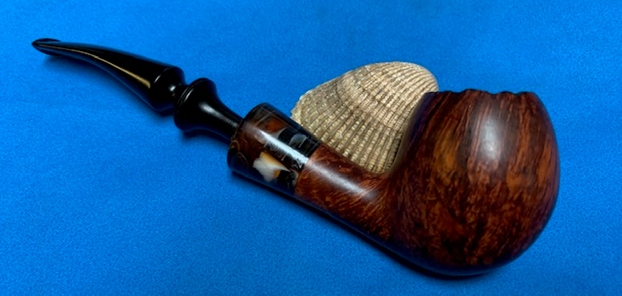
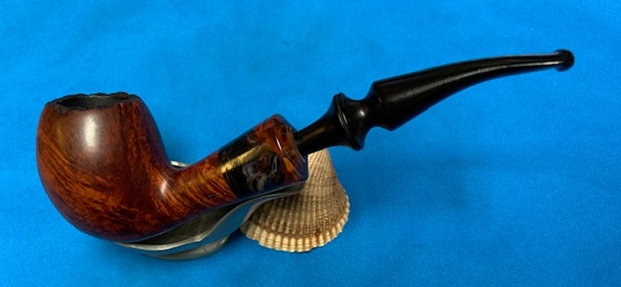
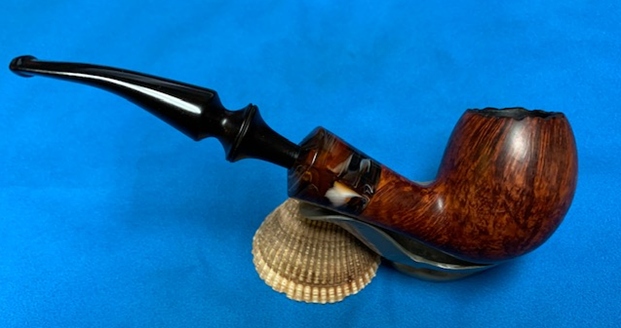
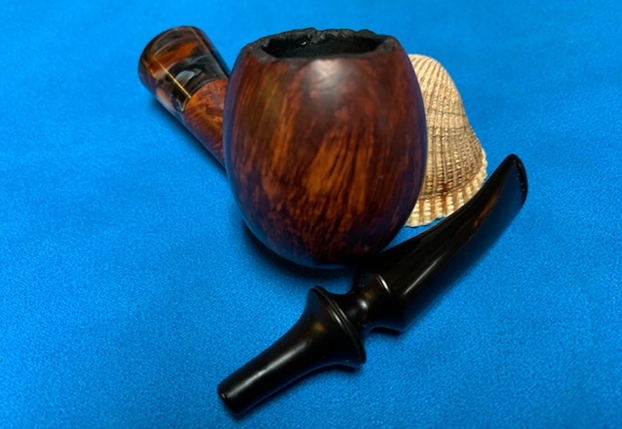
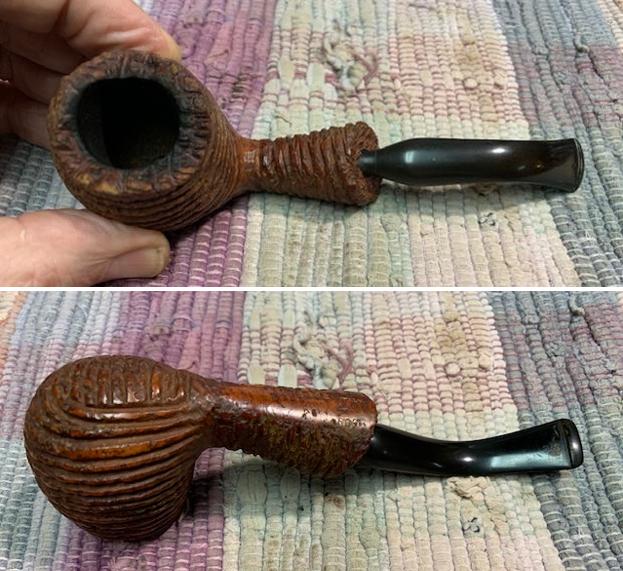 The rim top and shank end cleaned up really well as can be seen in the close up photos below. There appeared to be some debris in the grooves of the plateau top of the rim that would need to be dealt with but without the lava coat it was impressively cleaned. The stem looked like it belonged. I already noted the tooth marks and chatter on both sides near the button.
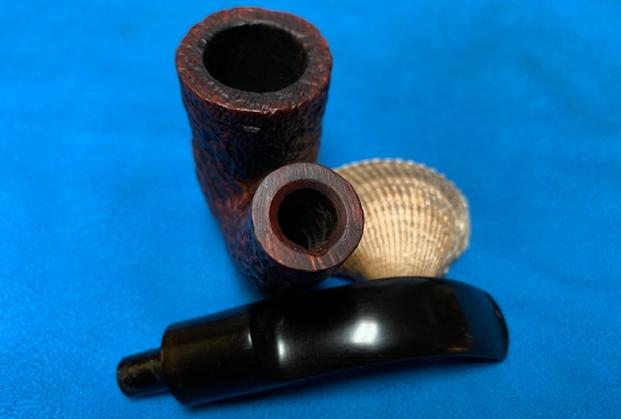
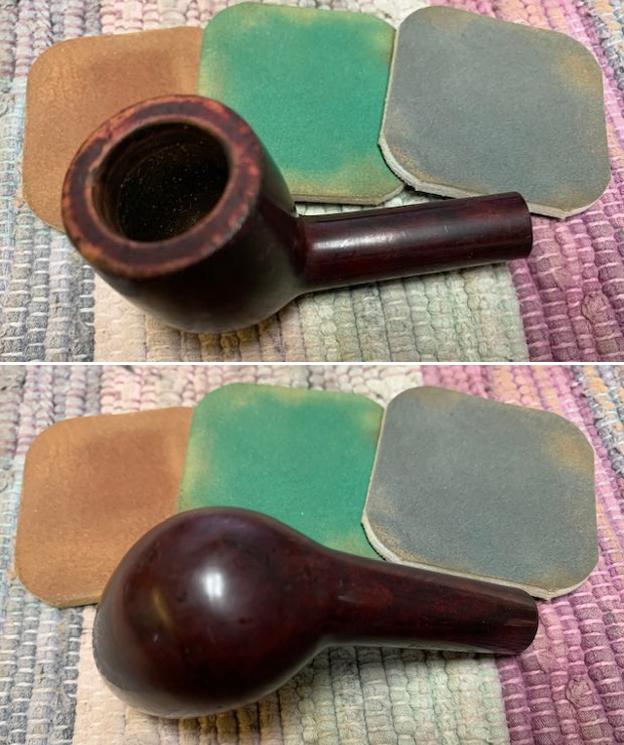
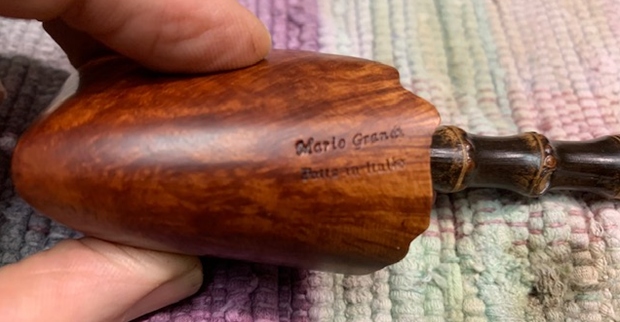
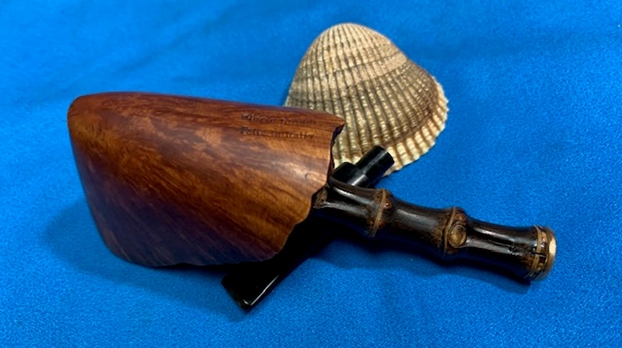
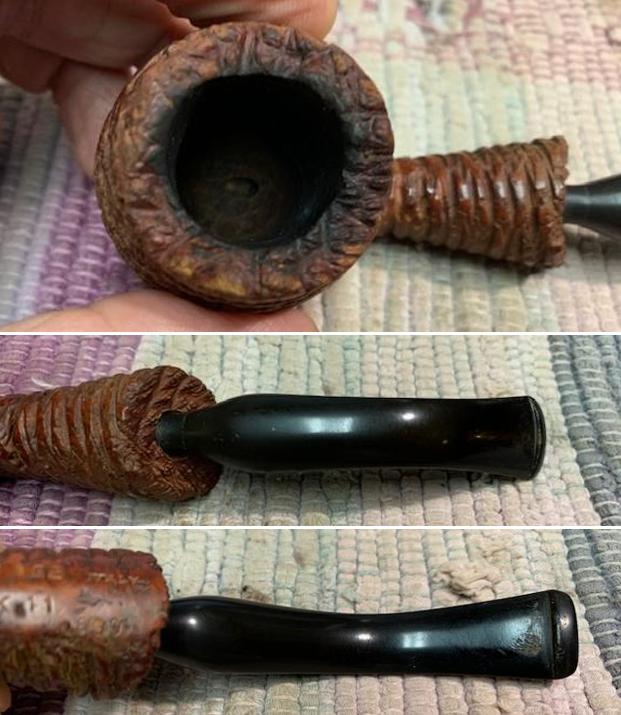 I took a photo of the stamping on the underside of the shank. It really is clear and readable.
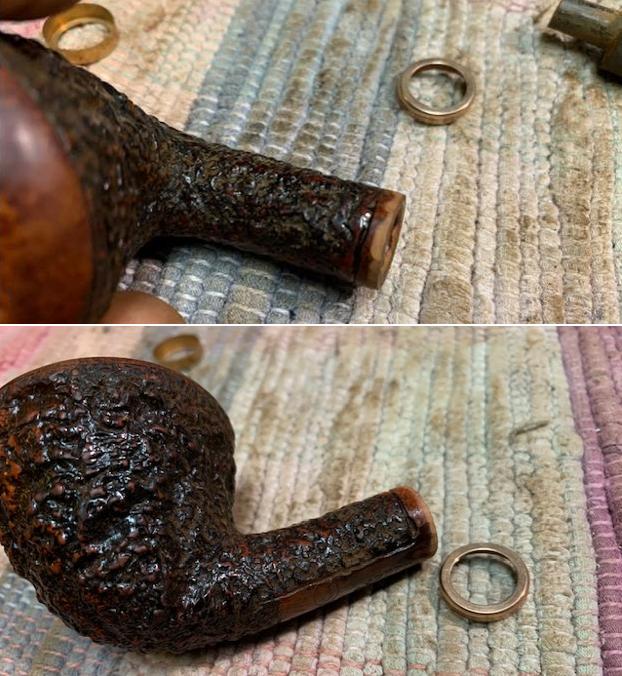
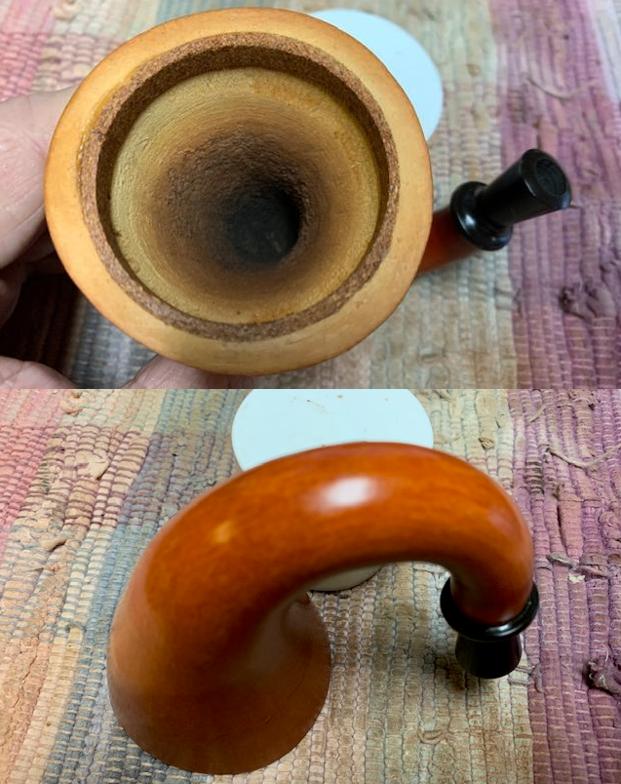
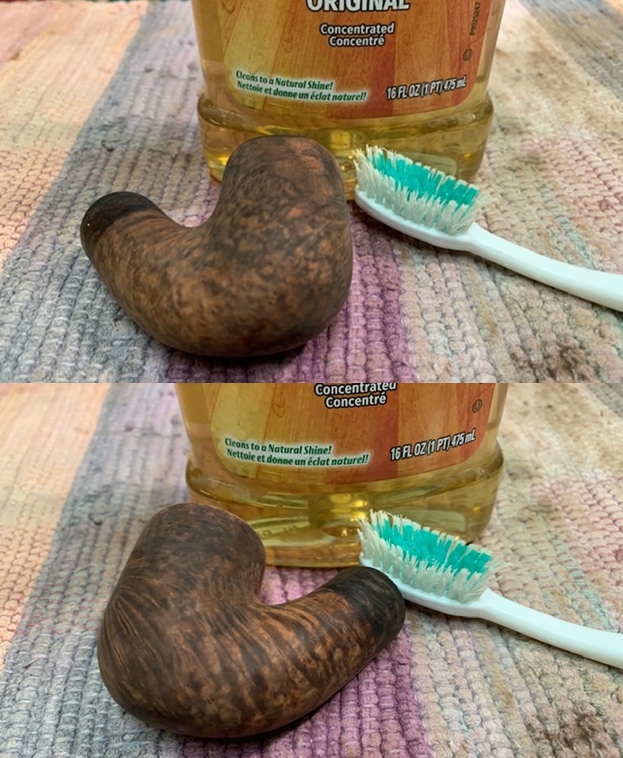
 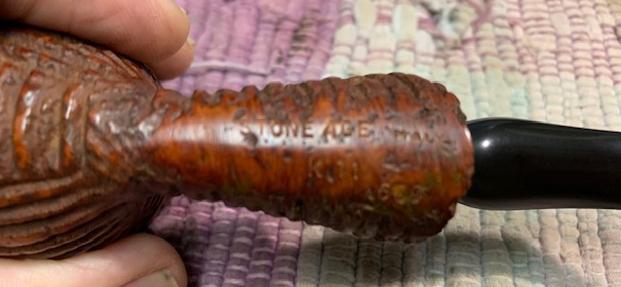 I decided to start my work on restoring the pipe by addressing the debris and darkening on the rim top. I used a brass bristle brush and scrubbed the surface of the rim top and shank end working on removing debris and darkening from the grooves of the plateau and rustication. It looked much better than when I started.
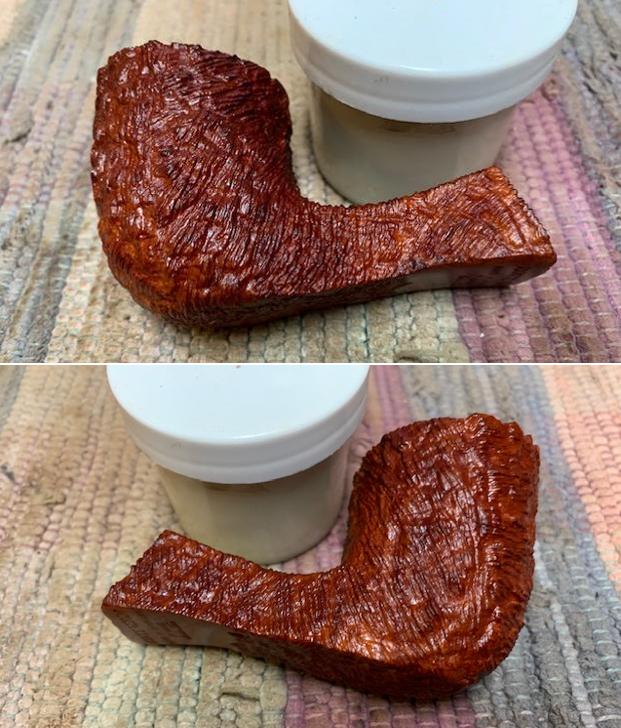
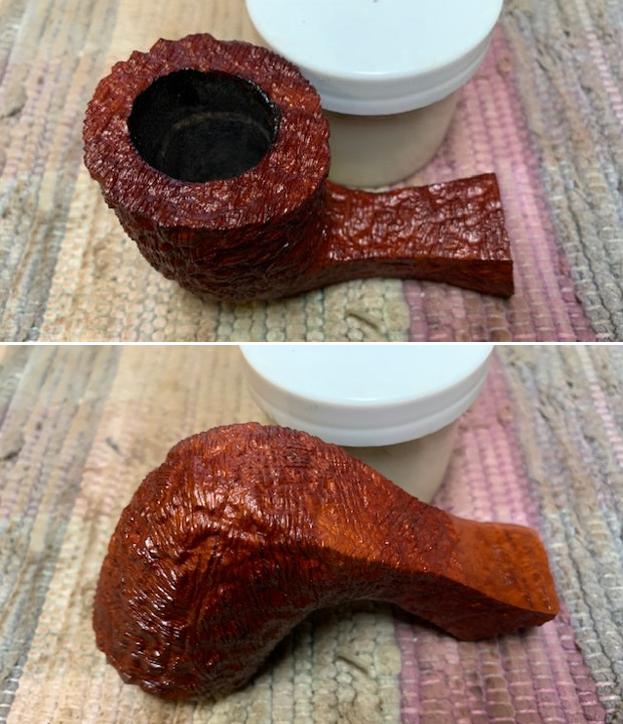
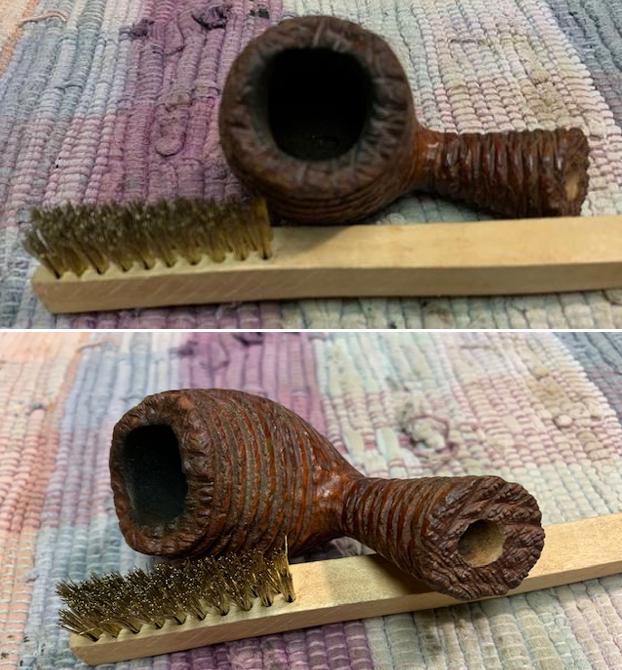 I rubbed the briar down with Before & After Restoration Balm. I worked it into the briar and the the grooves around the bowl and shank with my fingertips and a horsehair shoe brush. The product works to clean, enliven and preserve the briar. I let it sit for 15 minutes while I worked on the stem. After the time passed I buffed it with a cotton cloth to deepen the shine. The briar really comes alive with the balm.
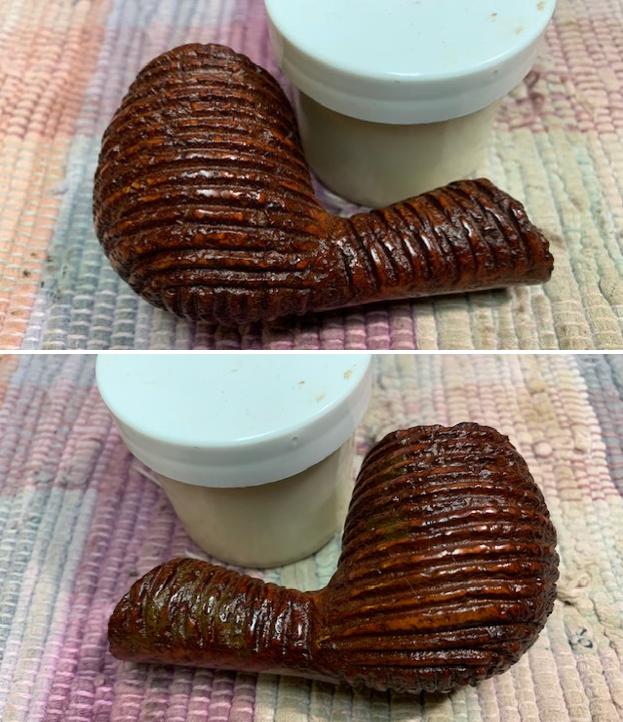
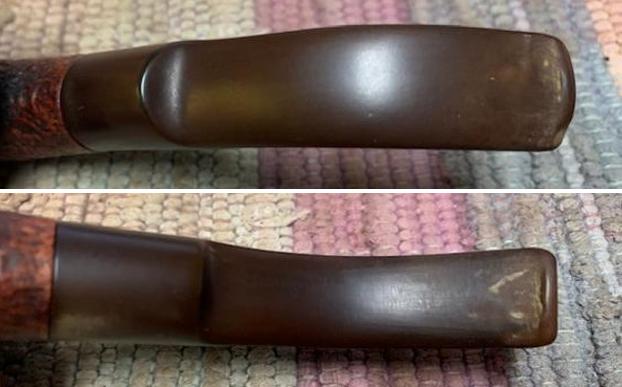
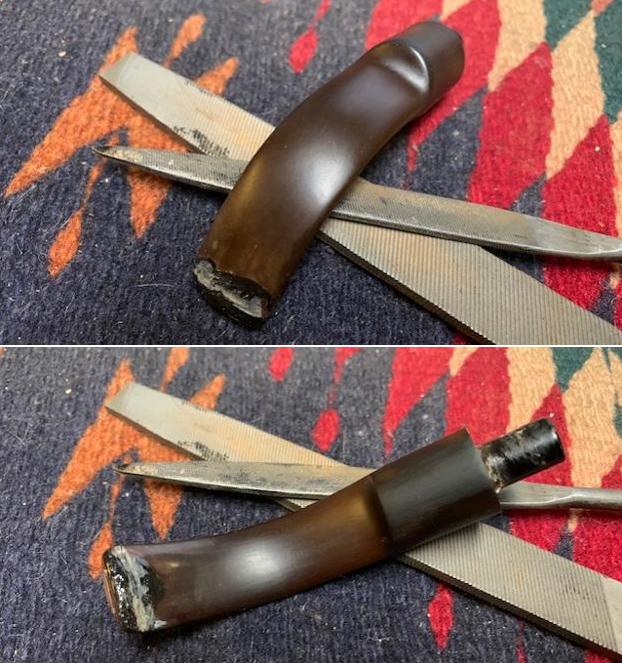
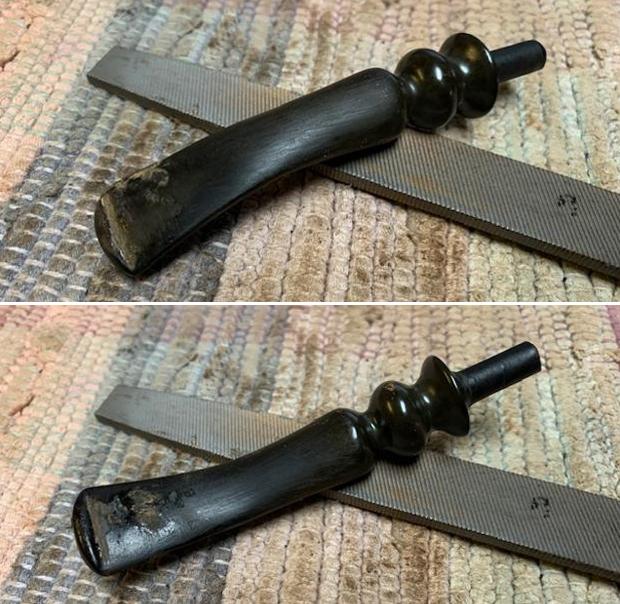
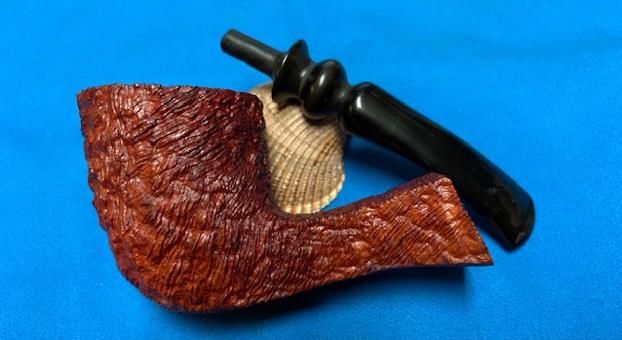
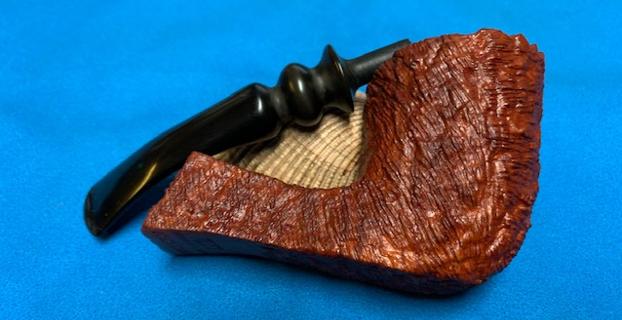
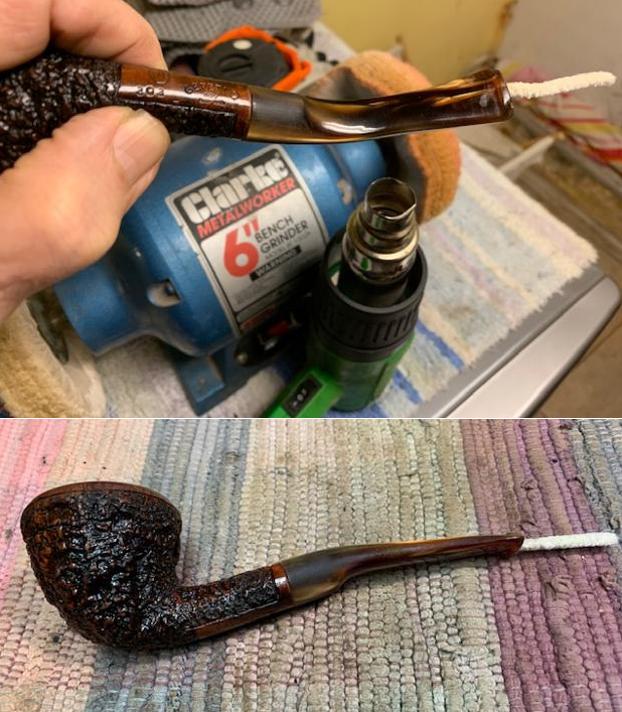
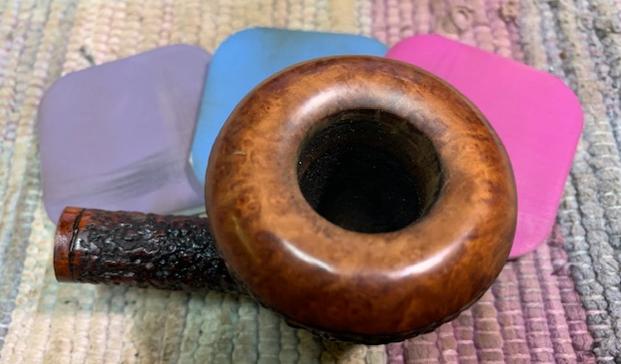
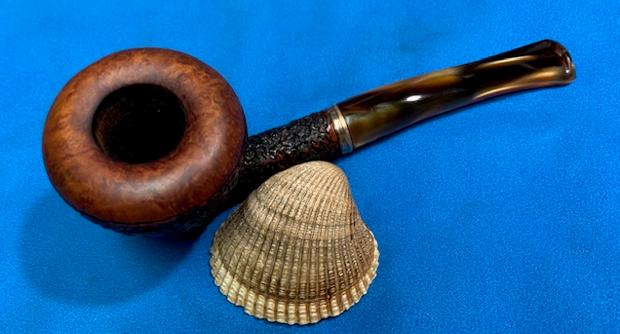
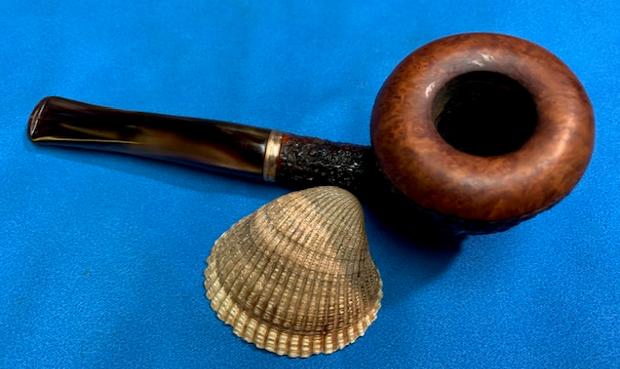
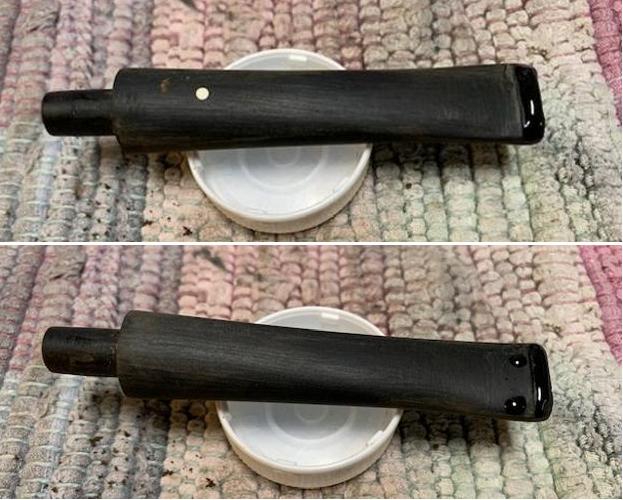
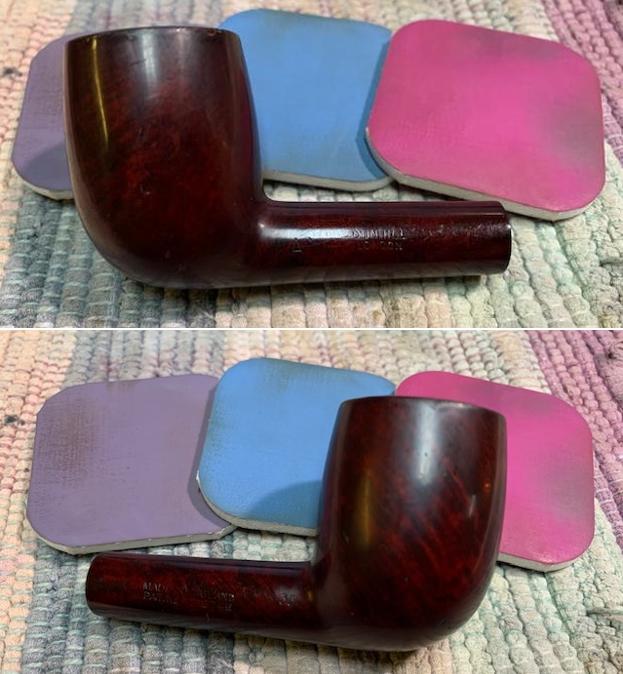
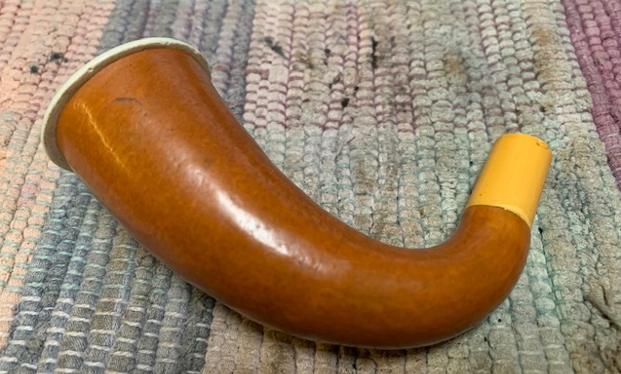
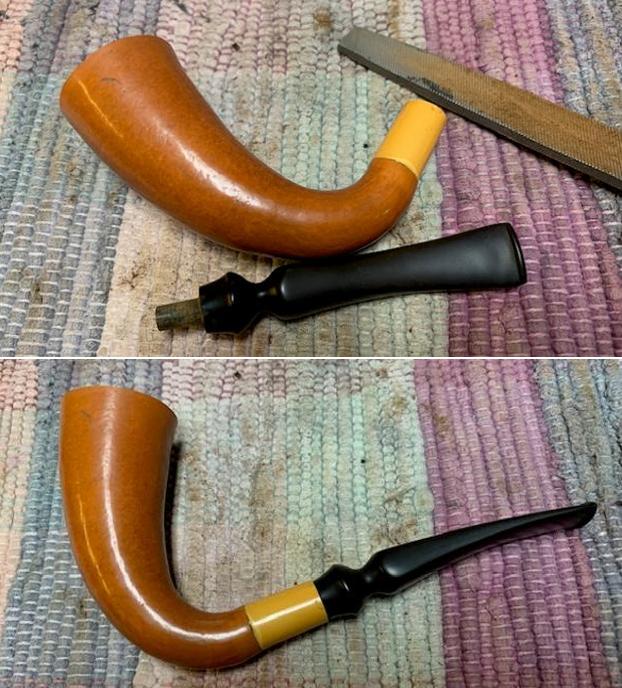
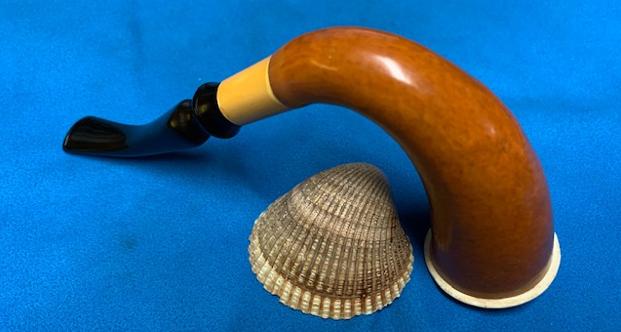
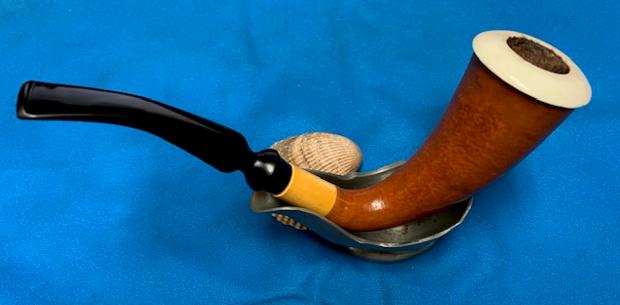
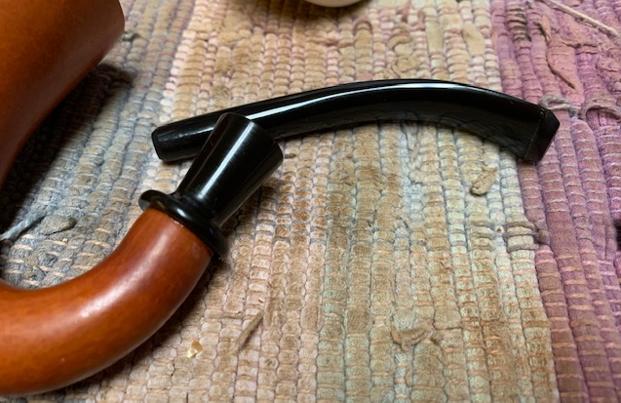
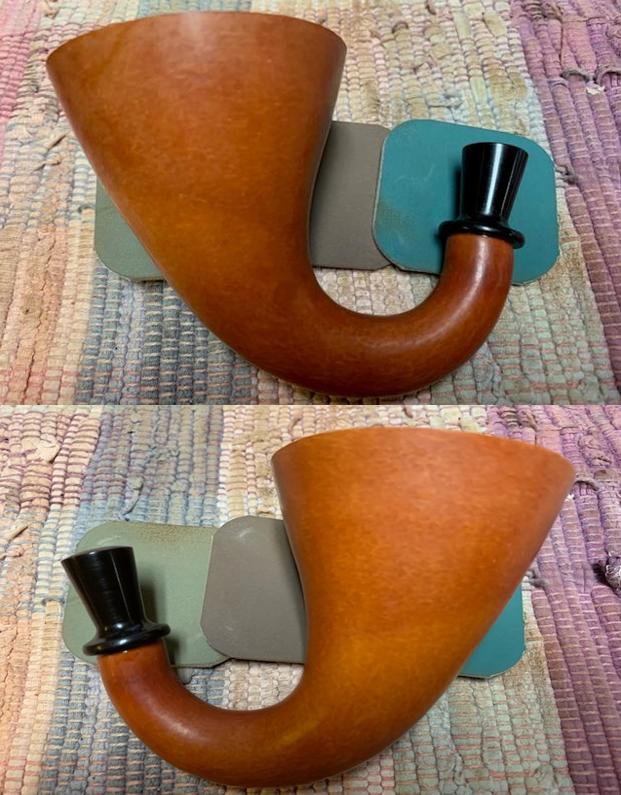
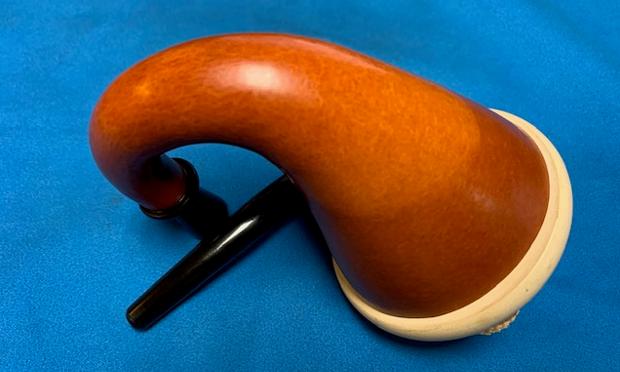
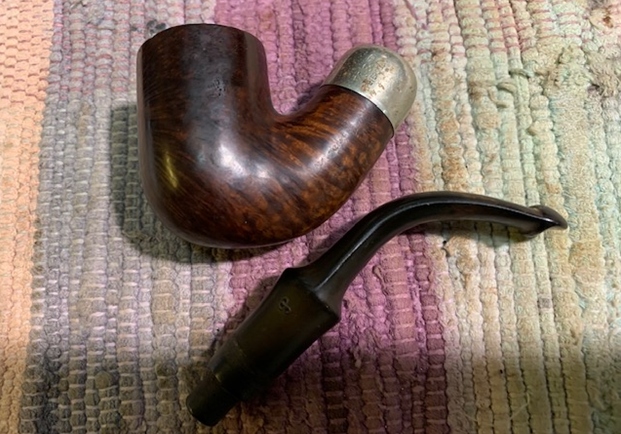
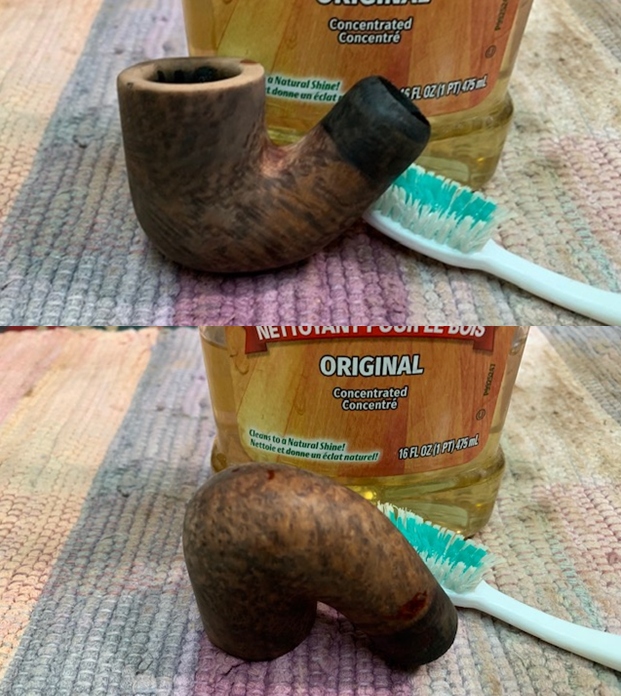
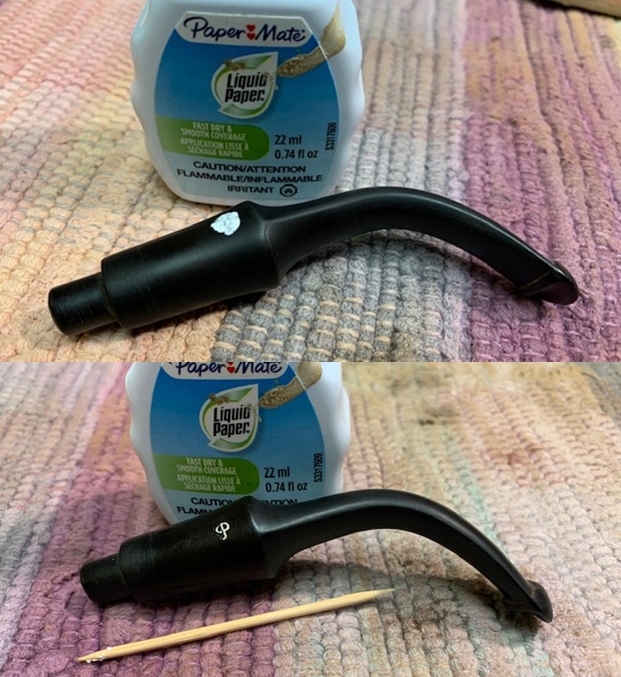
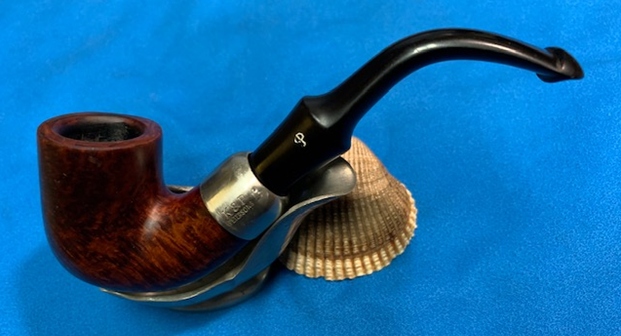
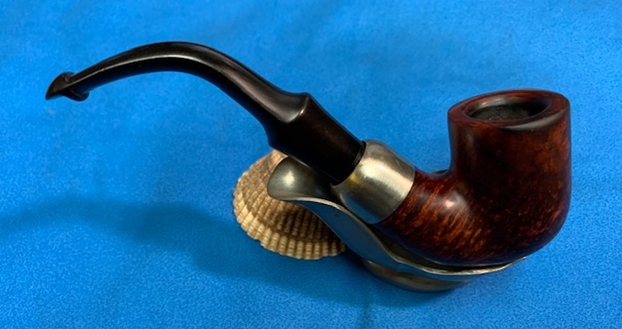
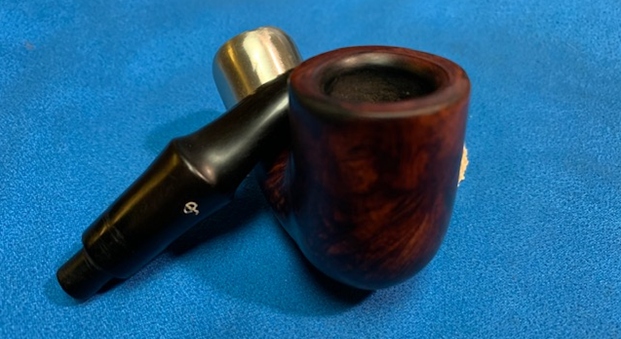
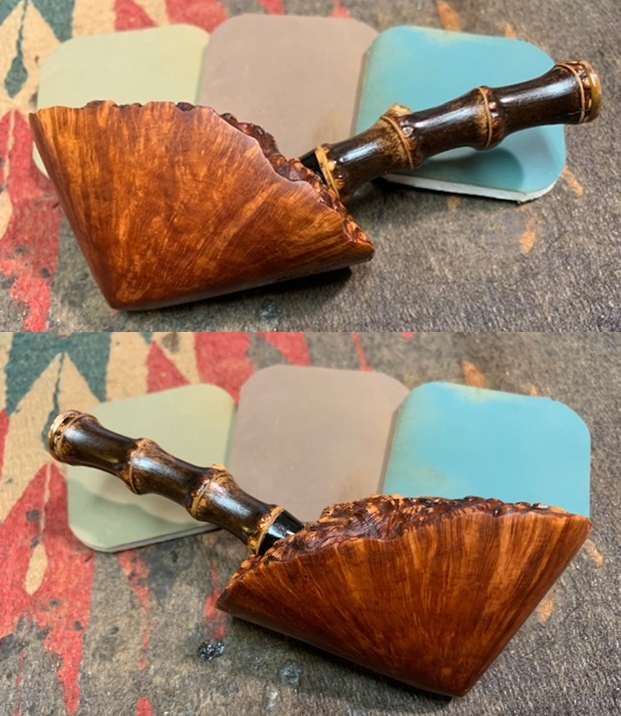
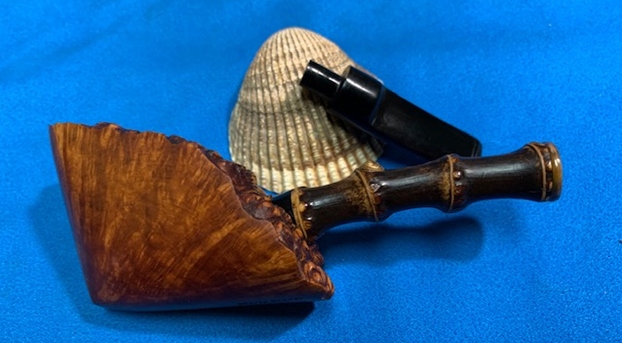
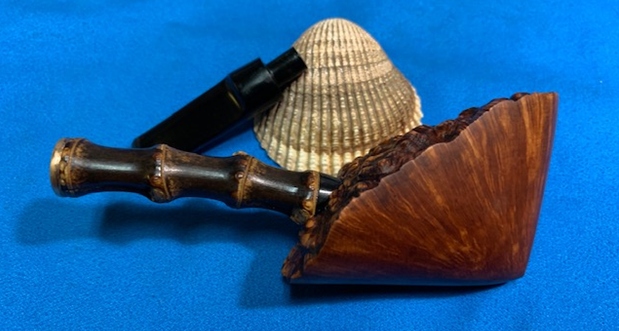
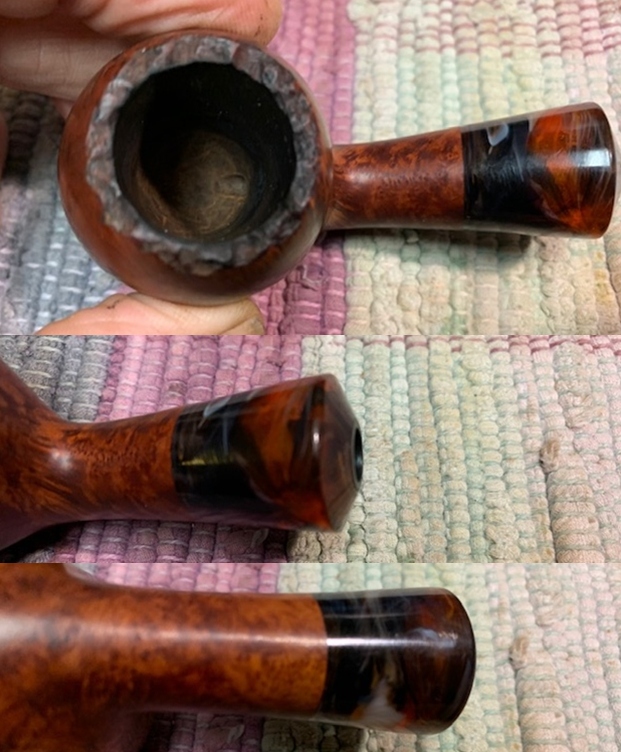
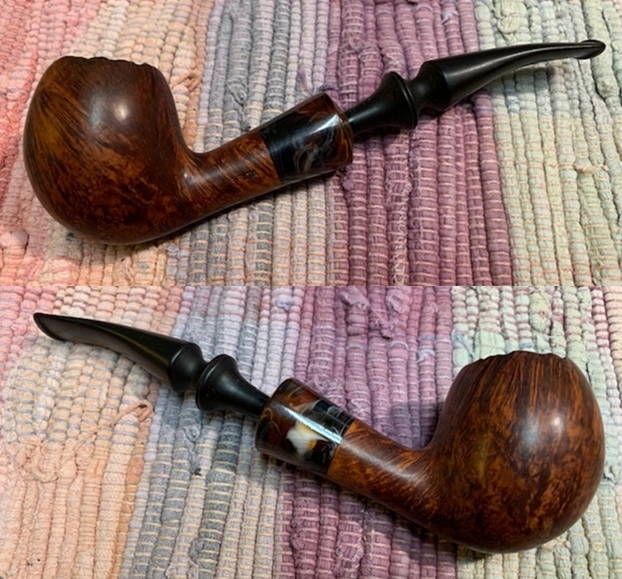
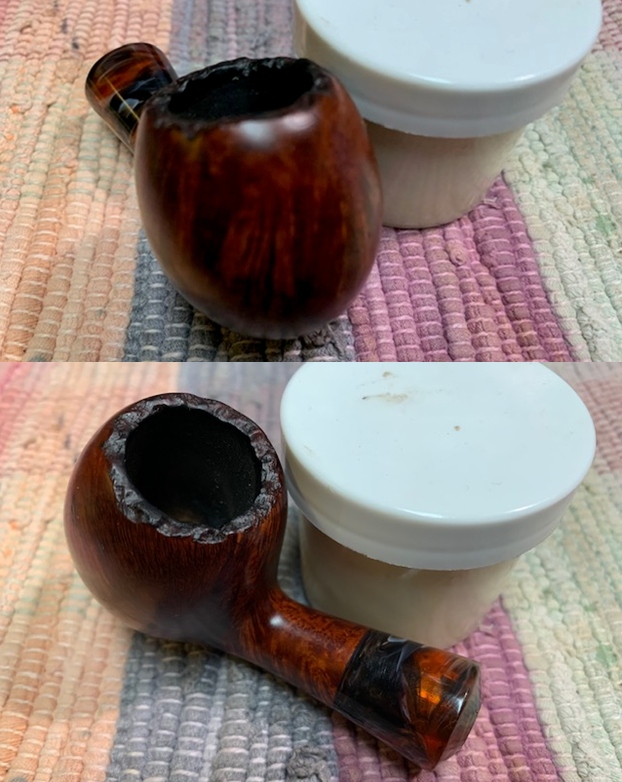
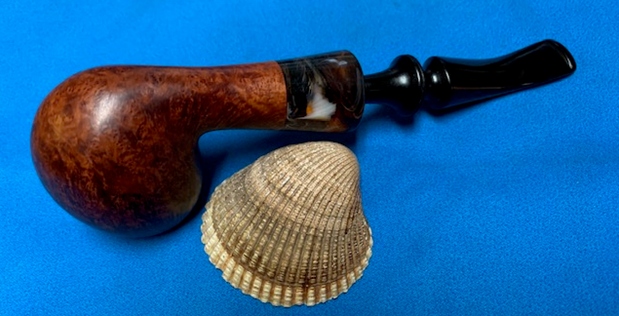
 Now it was time to straighten the bend I the stem to match the flow of the pipe. Instead of using my heat gun I painted the stem surface with the flame of a Bic lighter until the vulcanite became flexible. I straightened it out to the angles I wanted for the pipe. I took photos of the pipe at this point in the process.
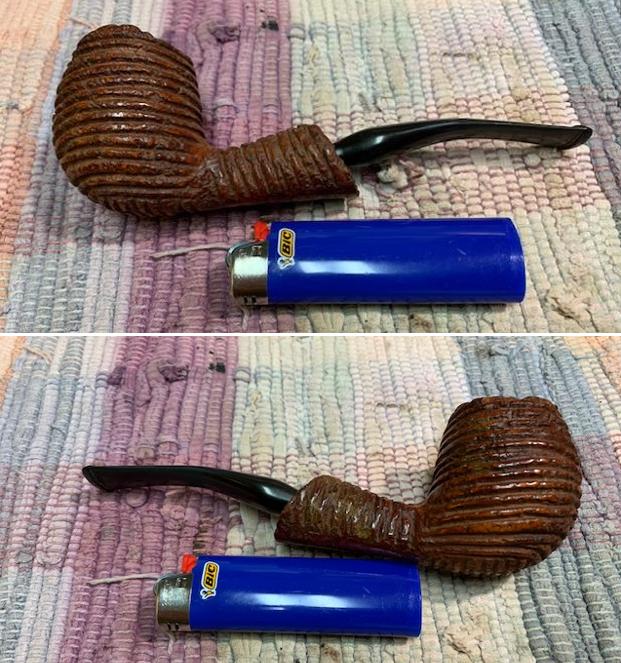
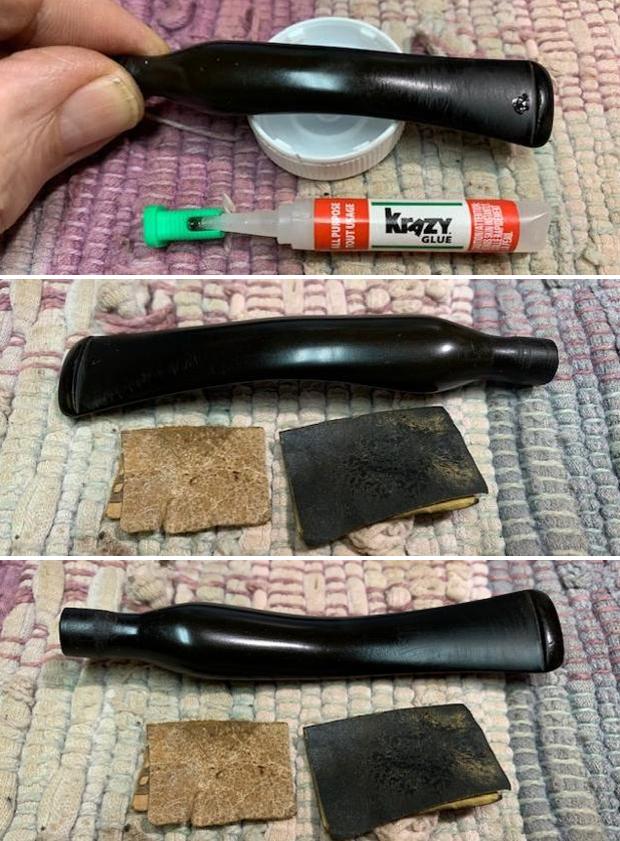
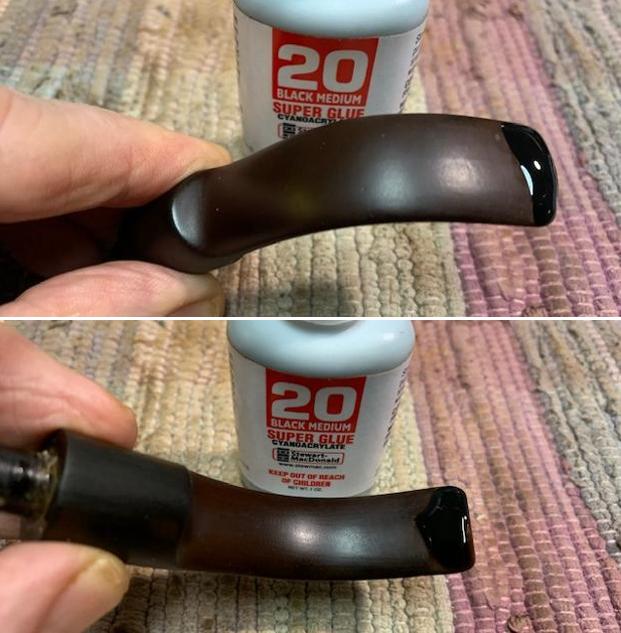
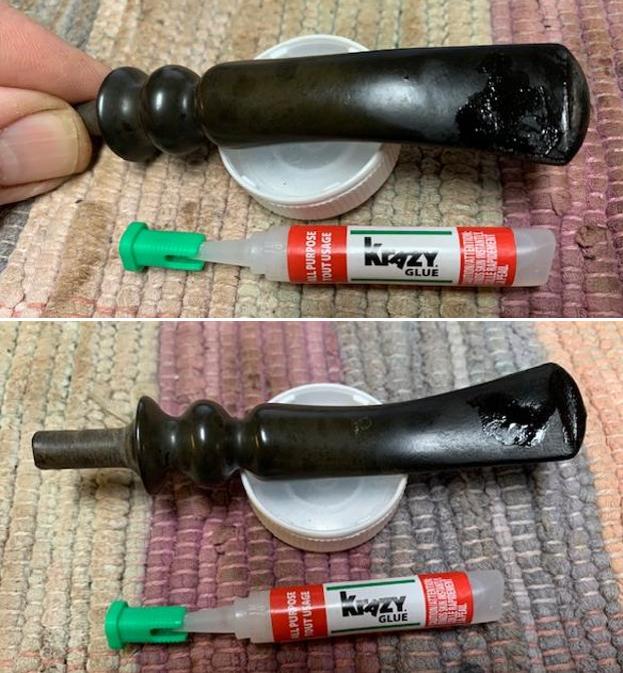
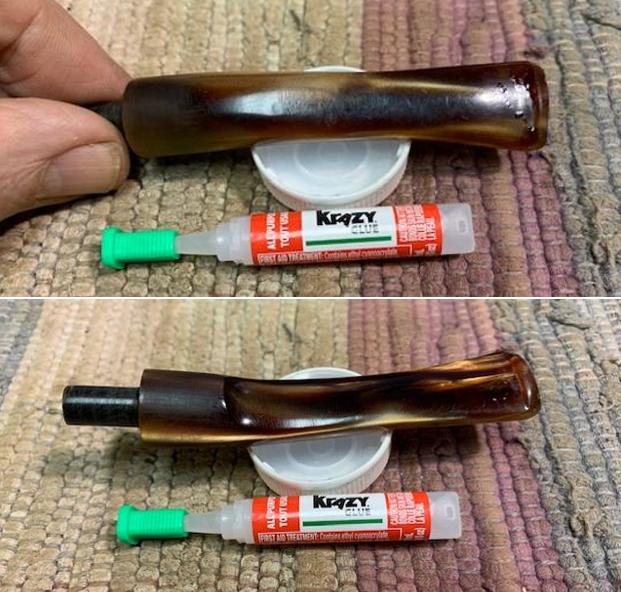
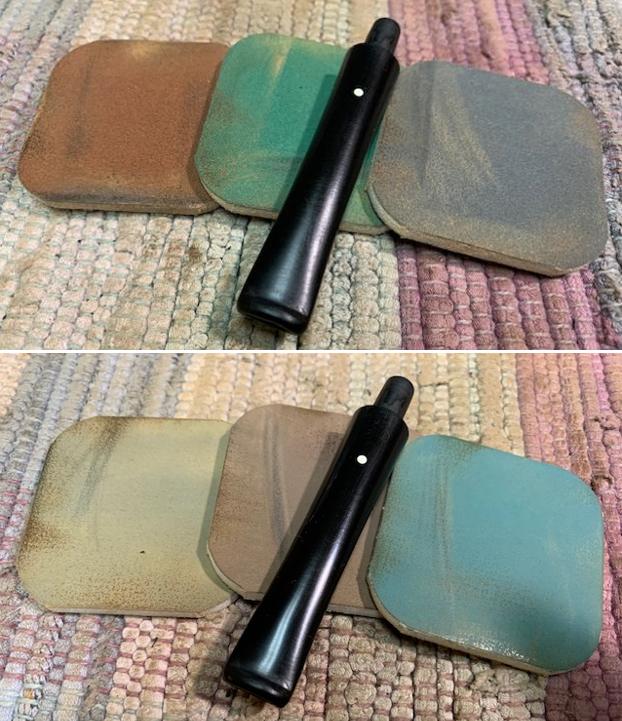
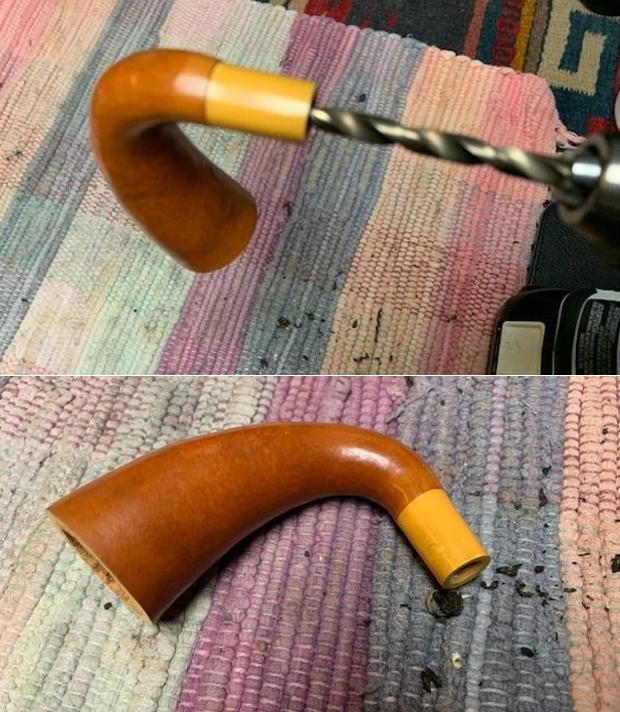
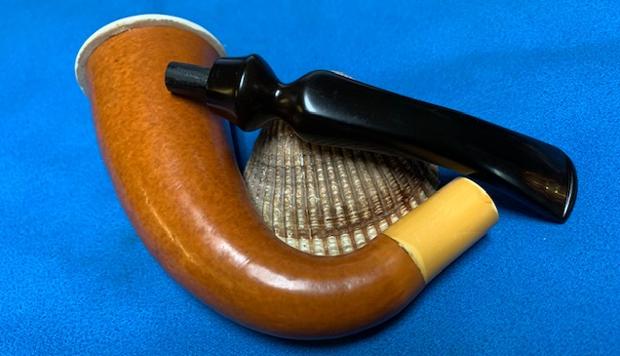
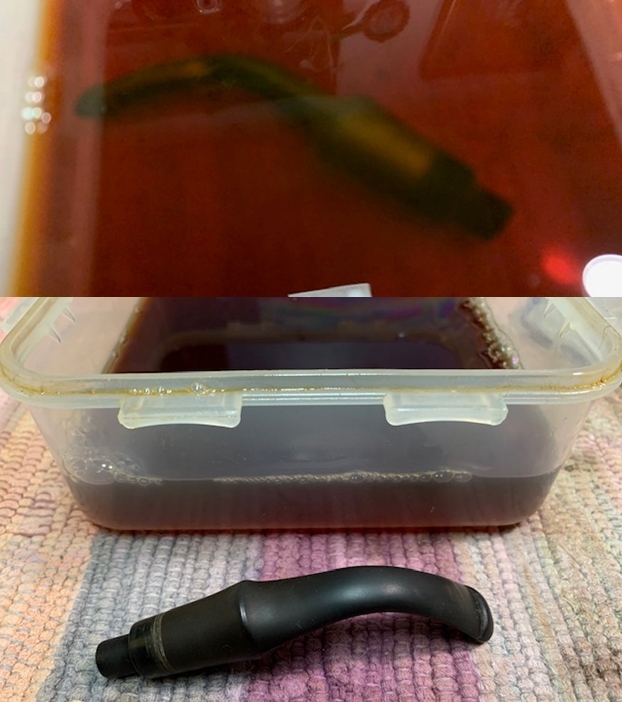
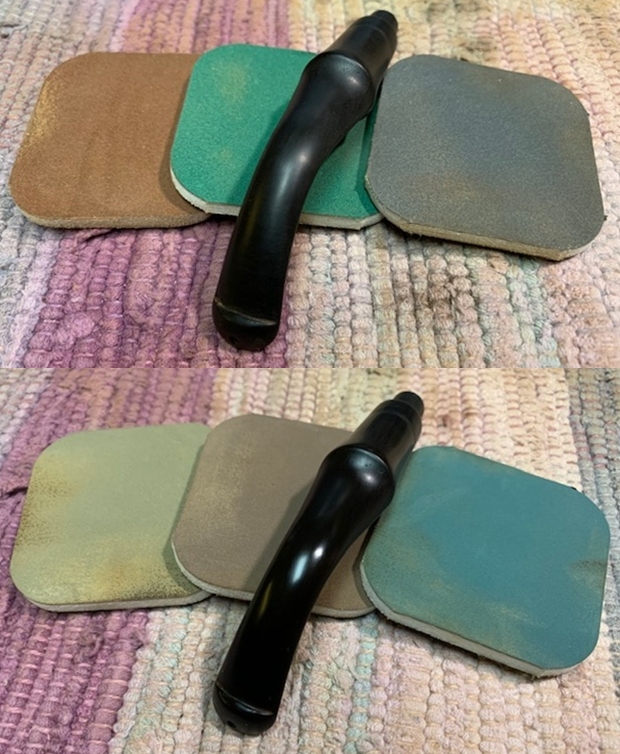
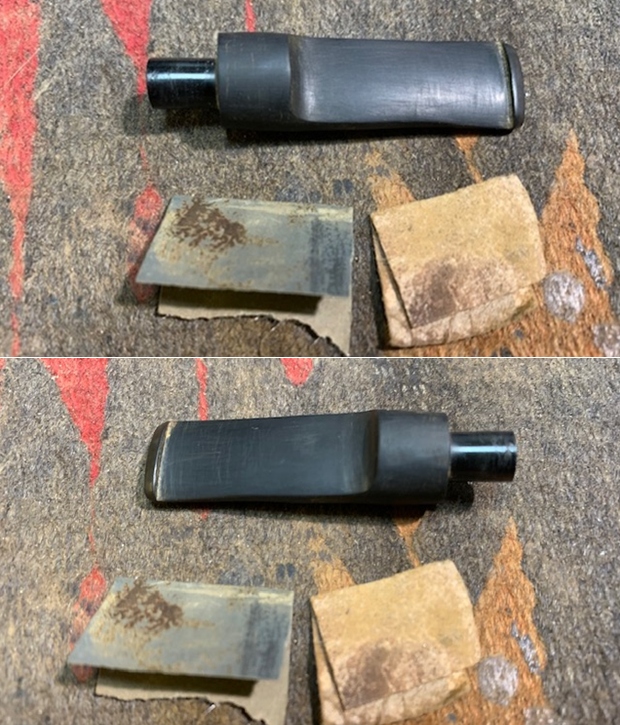
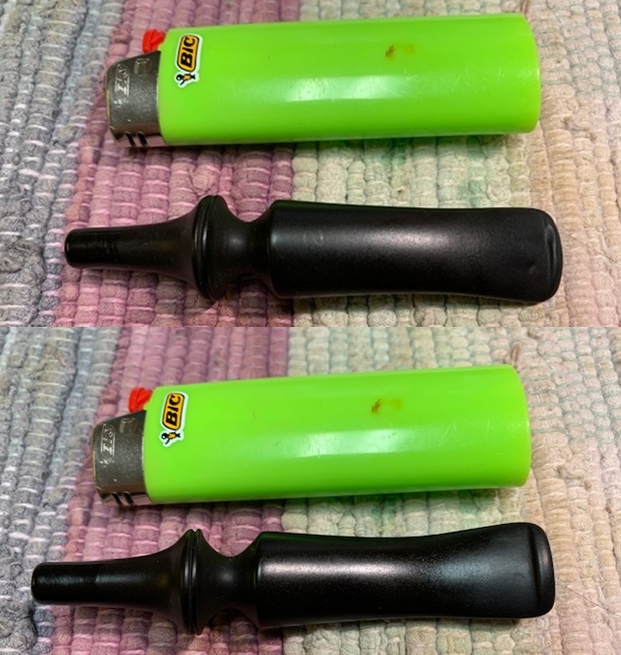
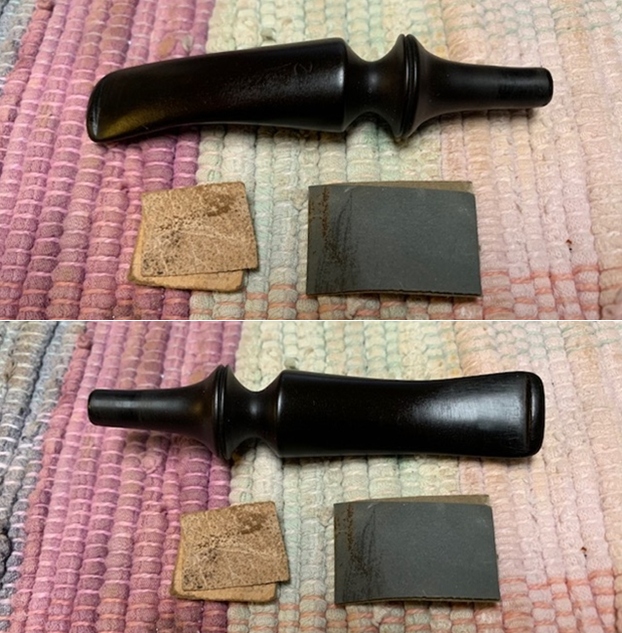
 I removed the stem from the bowl and set the bowl aside. I turned my attention to the stem. I “painted” the tooth marks on both sides of the stem with the flame of a lighter to lift them as much as possible. They all lifted but one on the topside. I filled in the remaining tooth mark with clear super glue and set it aside to cure. Once cured, I blended the repairs into the surface of the vulcanite with 220 grit sandpaper. I started polishing the stem with 400 grit wet dry sandpaper. The stem was looking much better.
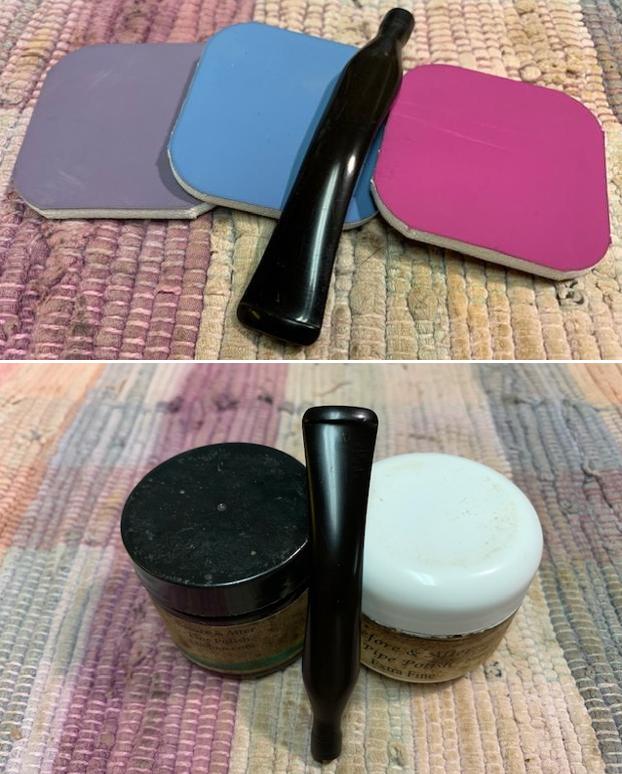
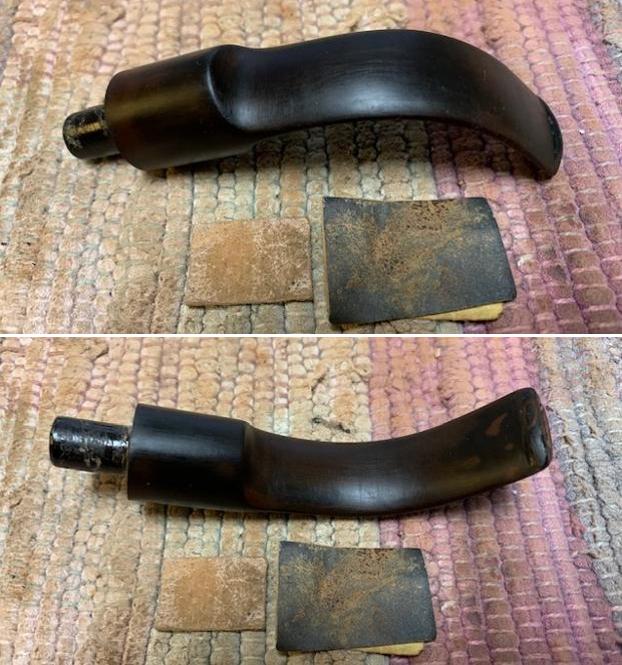
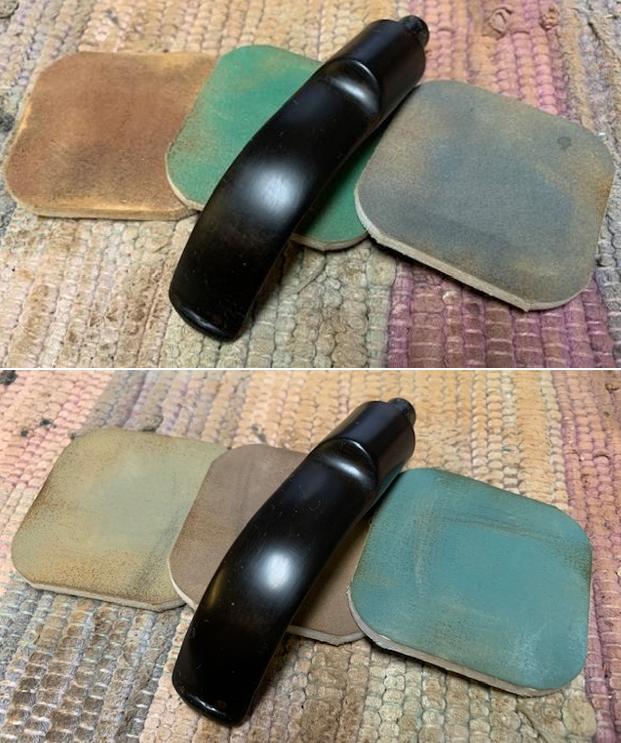
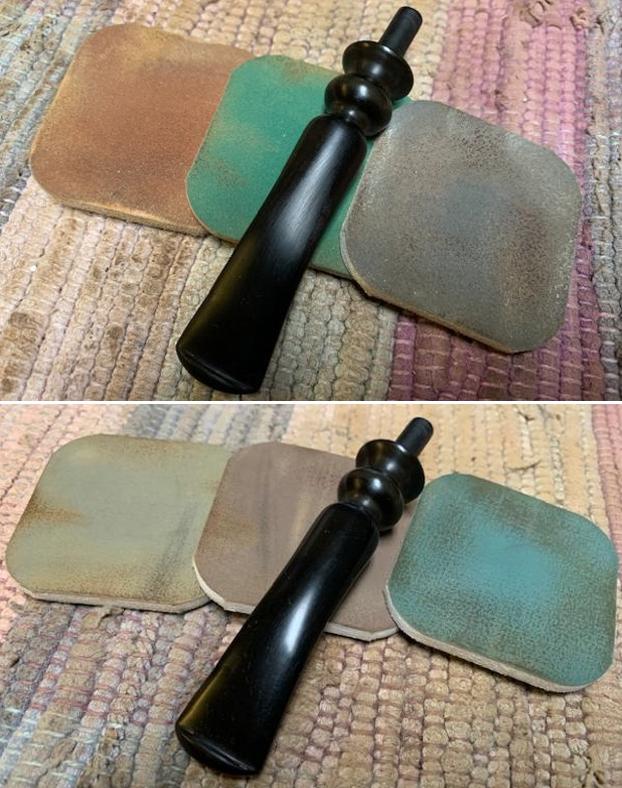
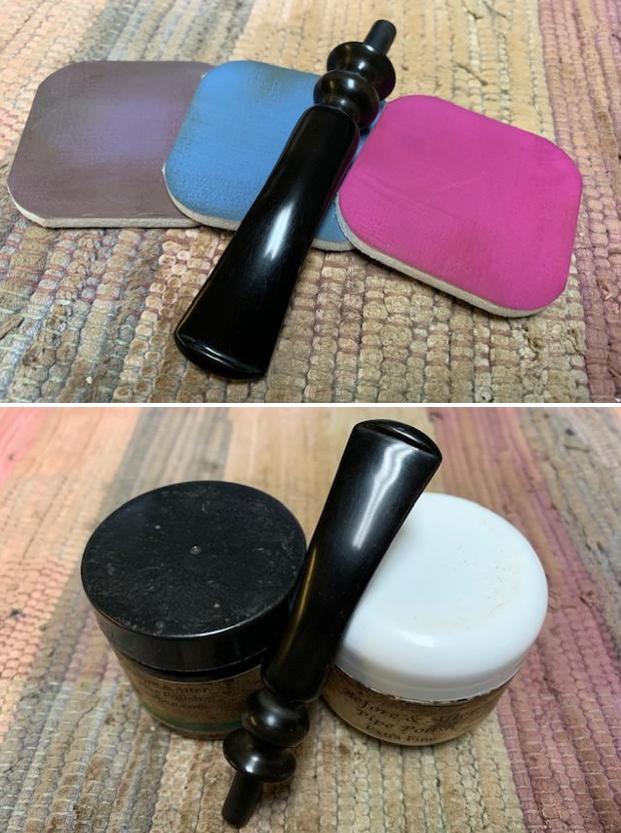
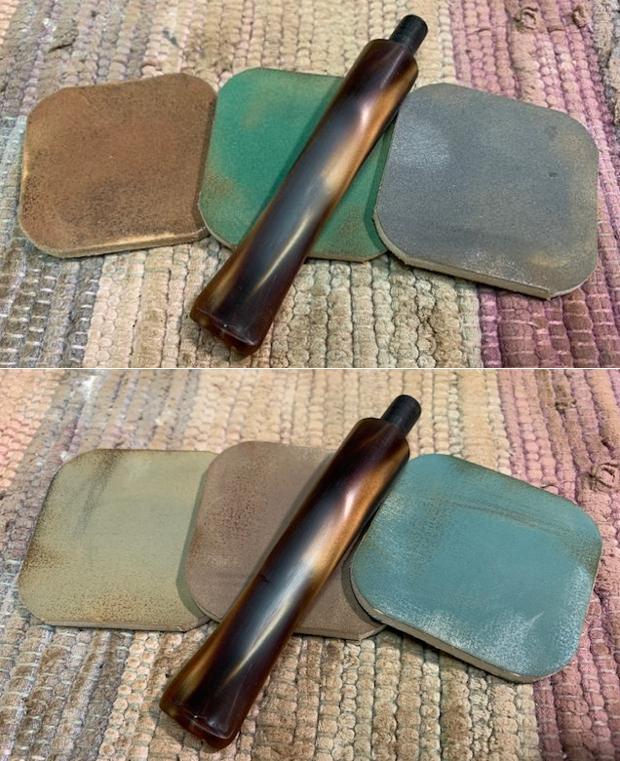
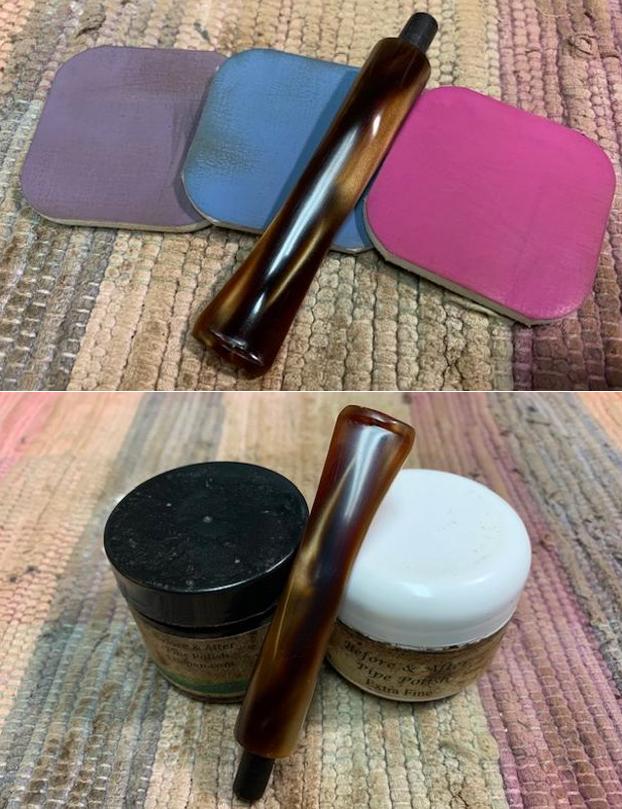
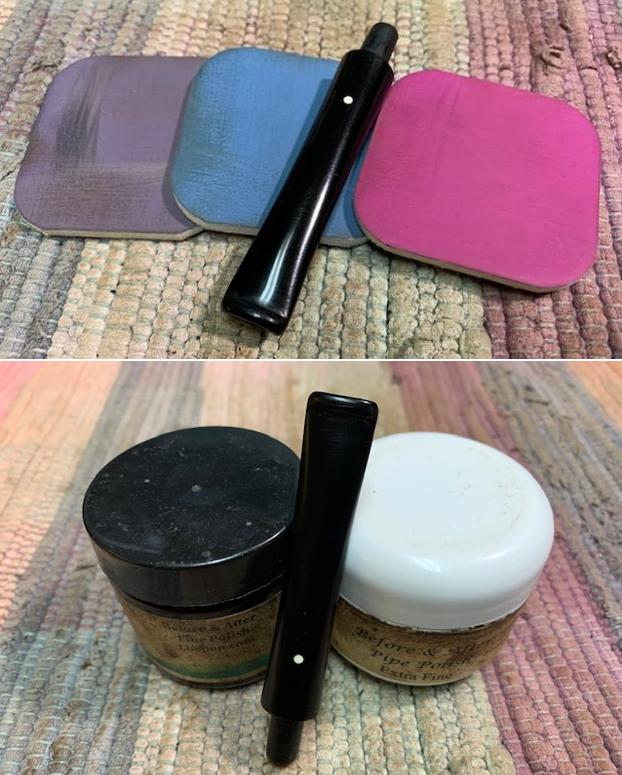
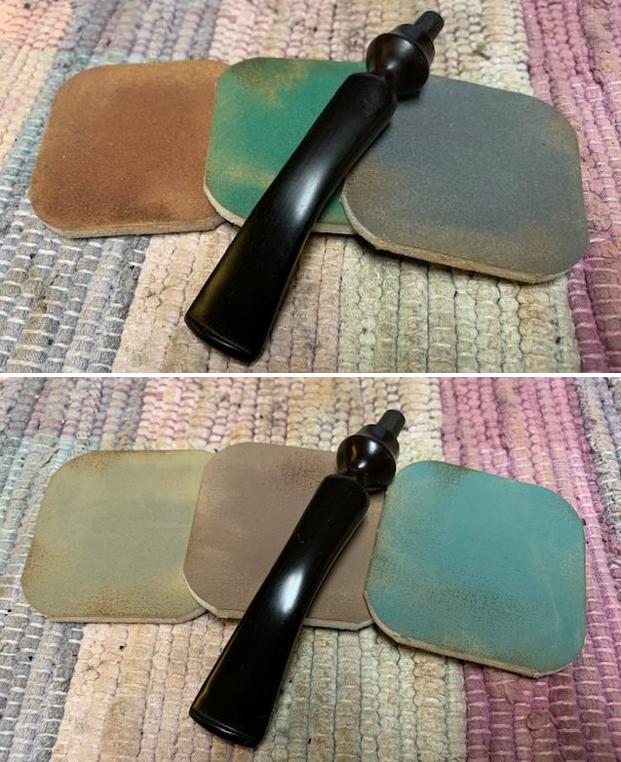
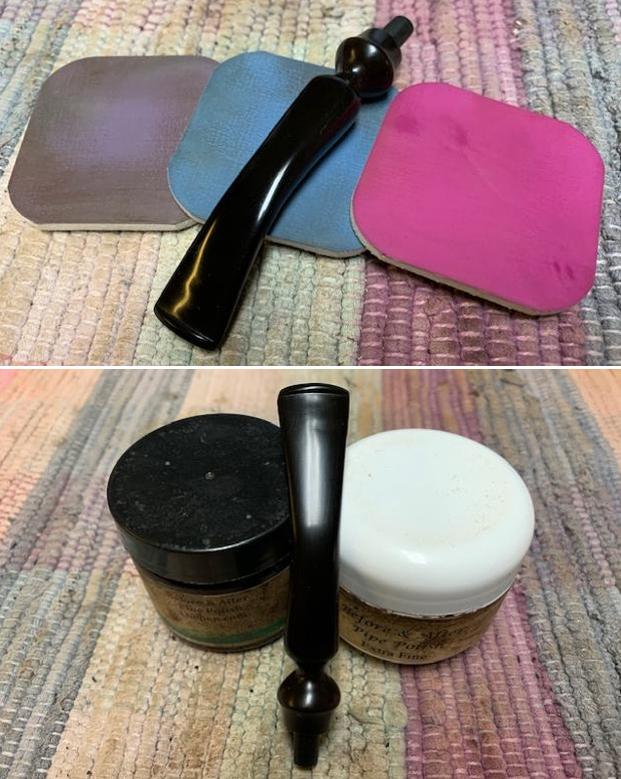
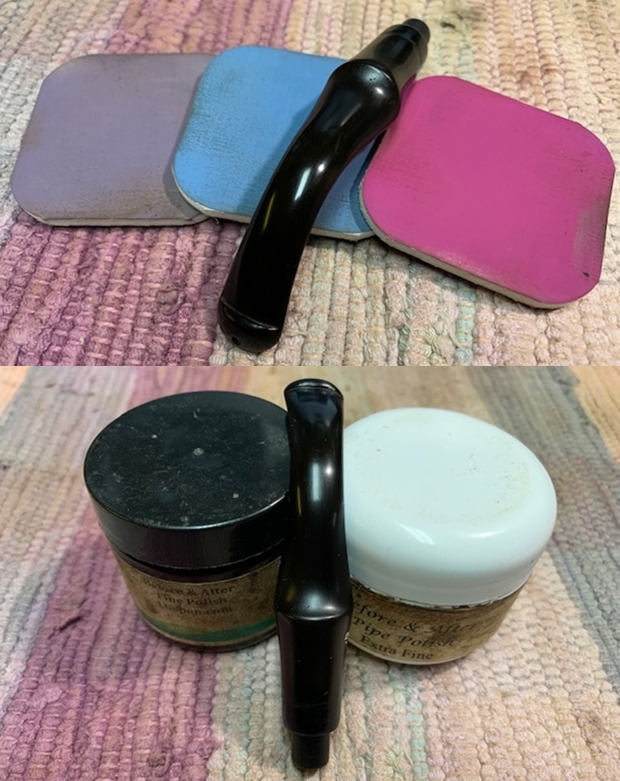
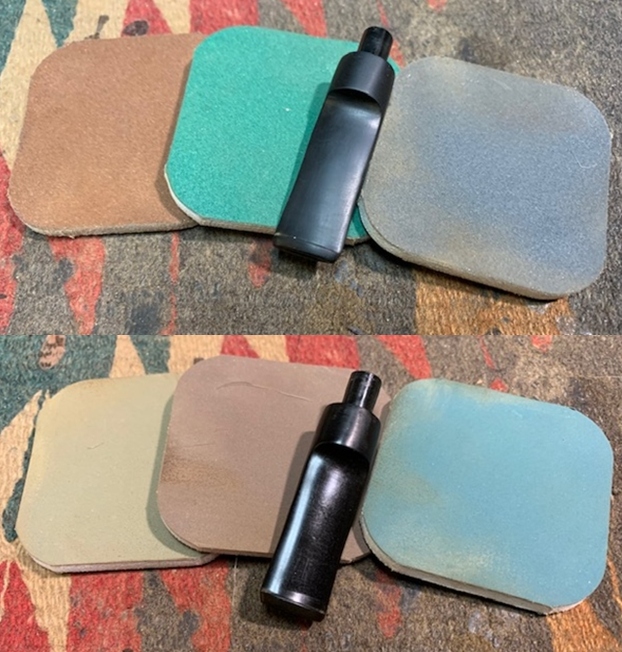
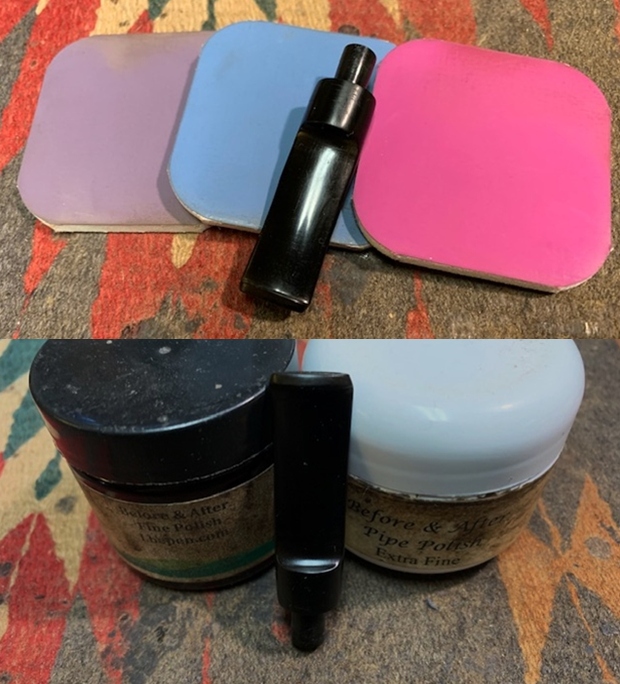
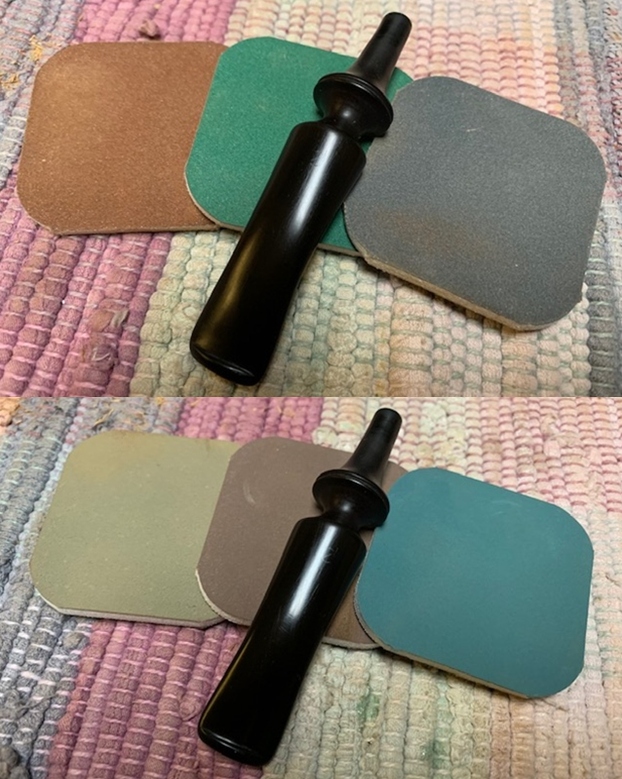
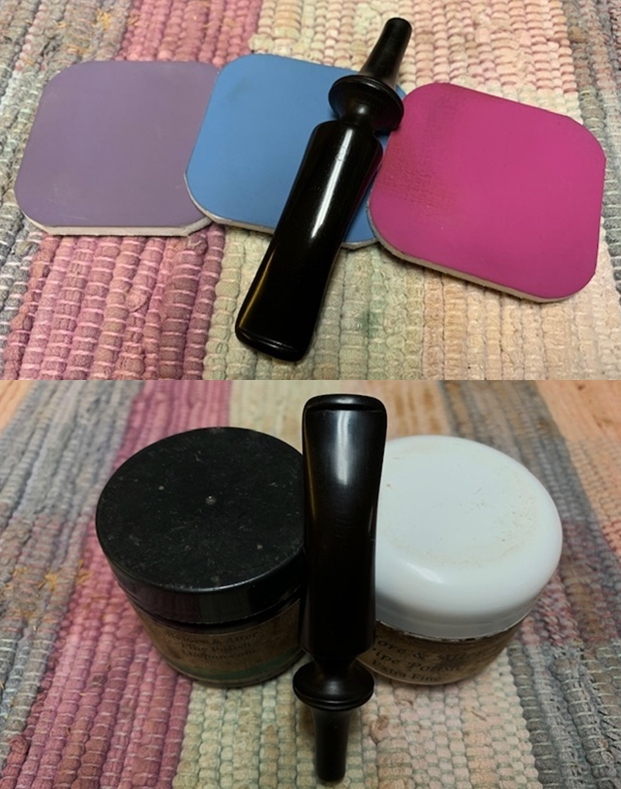
 I polished the vulcanite with micromesh sanding pads – 1500-12000 grit pads. I wiped it down with Obsidian Oil after each sanding pad. I used Before & After Pipe Polish – both Fine and Extra Fine to further polish the stem.
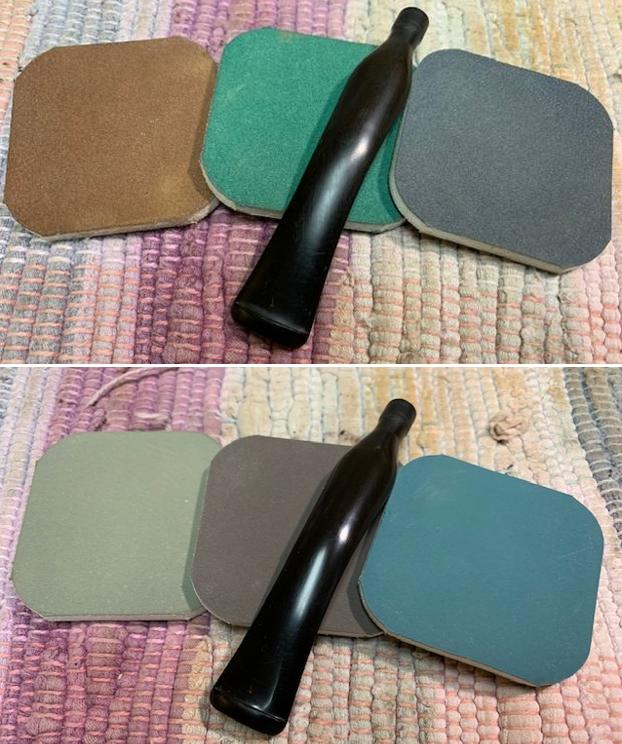
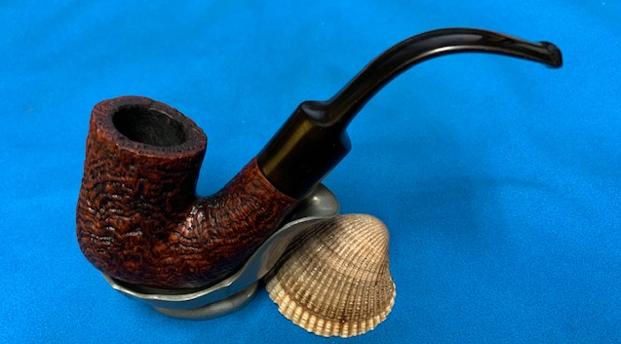
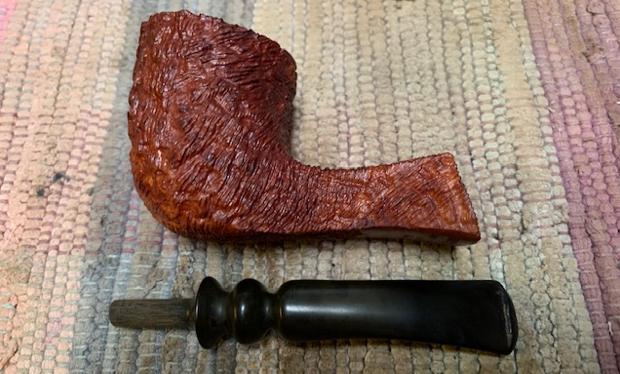
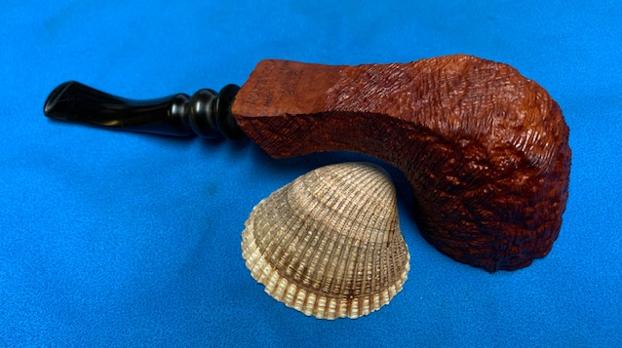
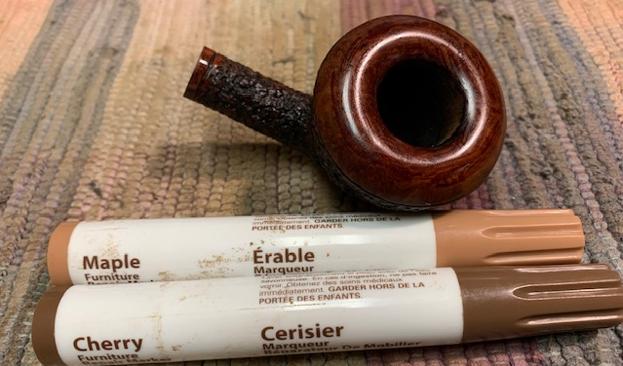
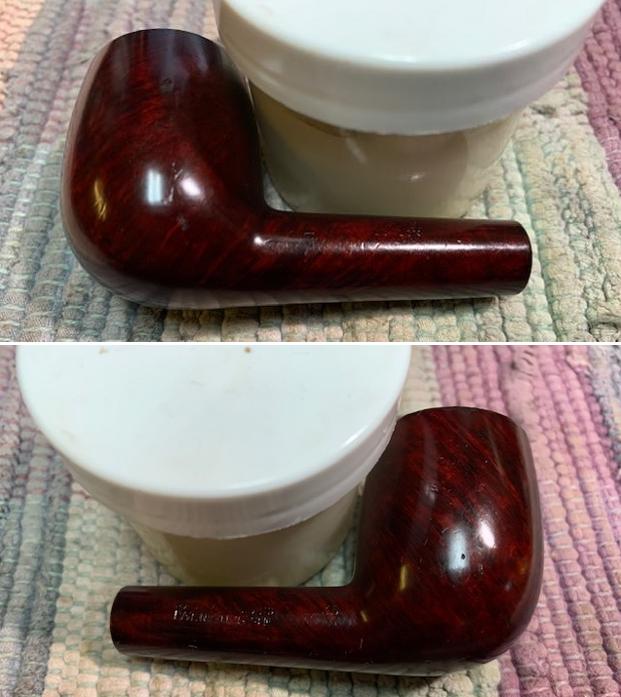
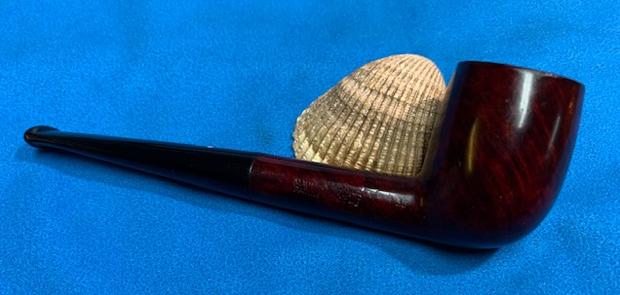
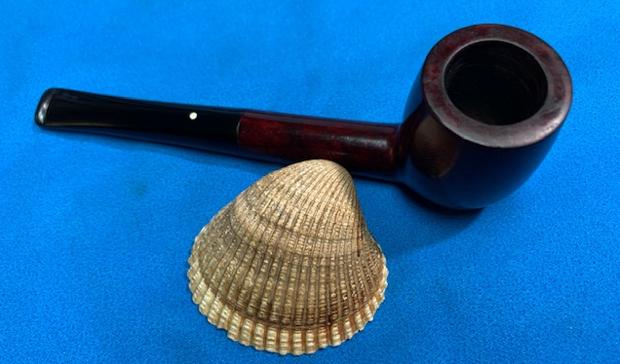
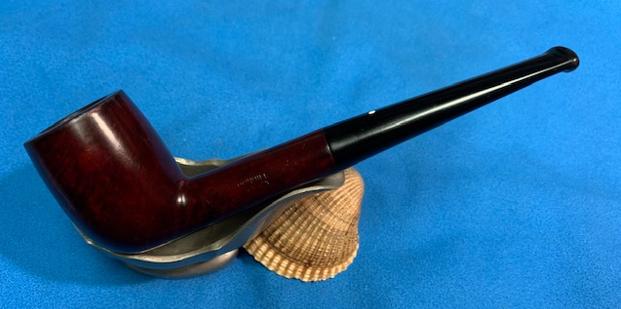
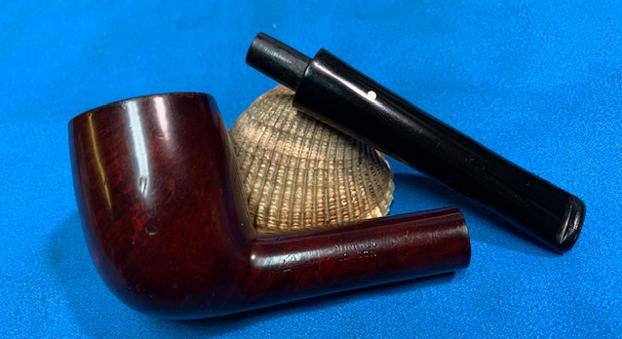
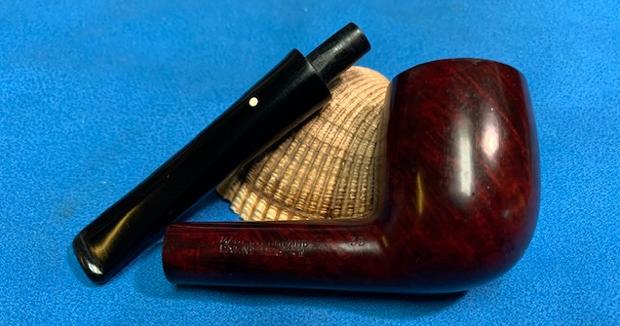
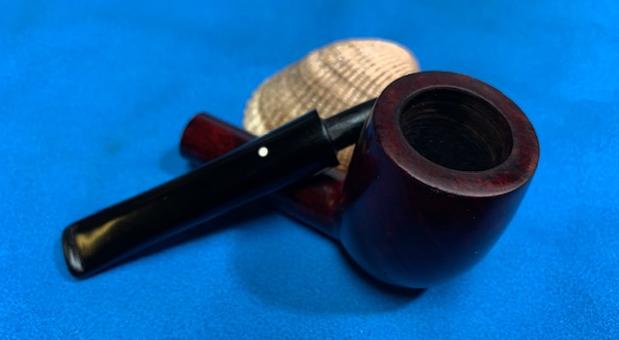
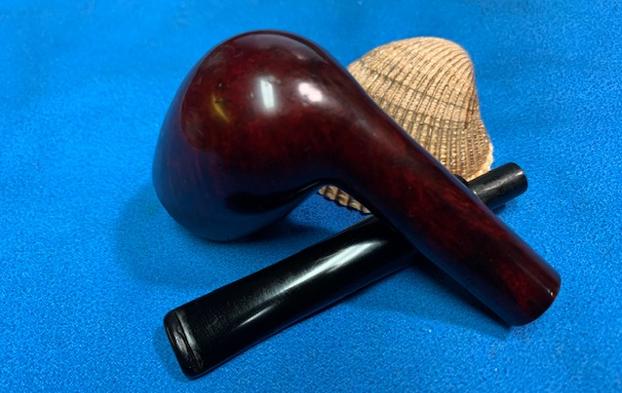
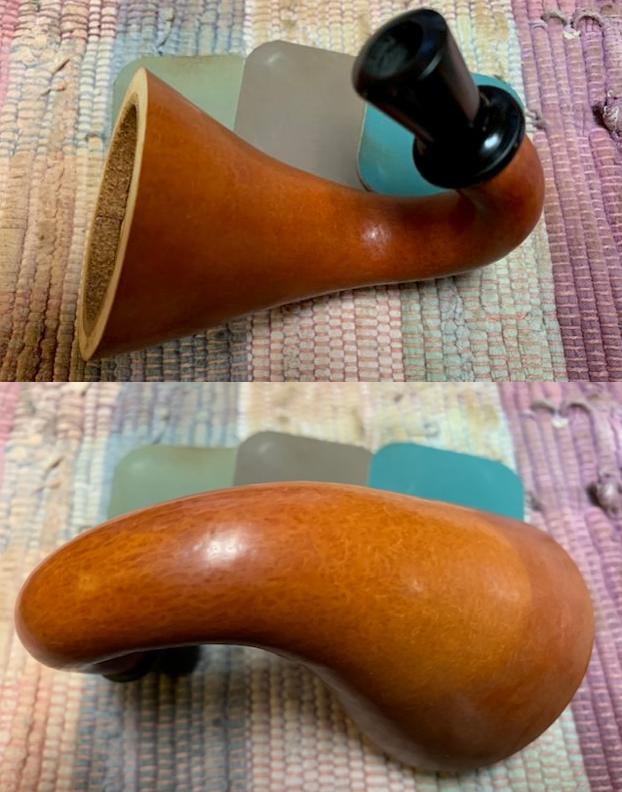
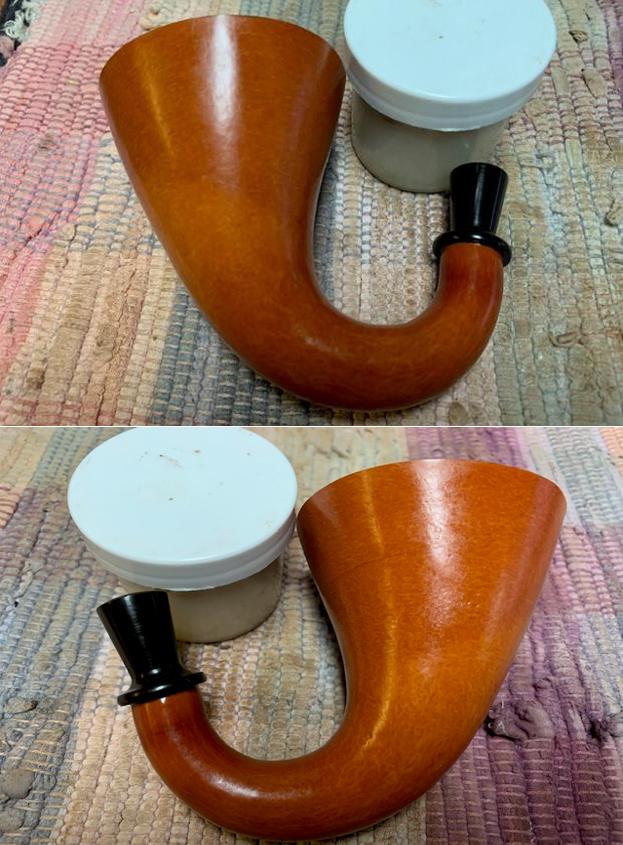
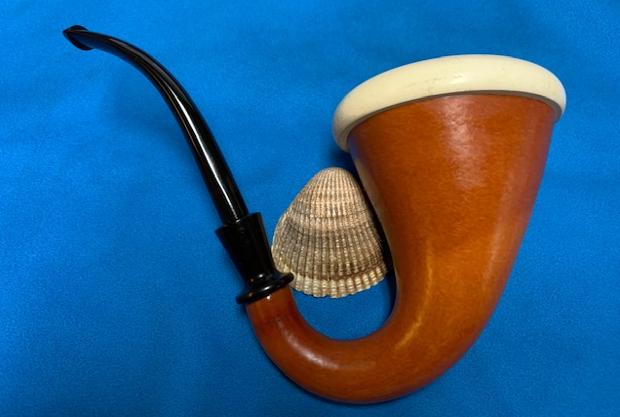
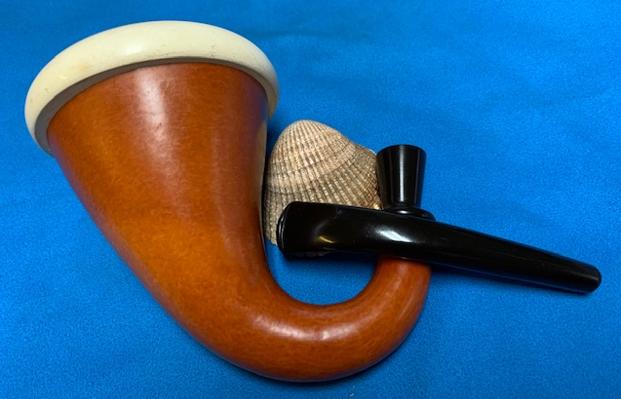
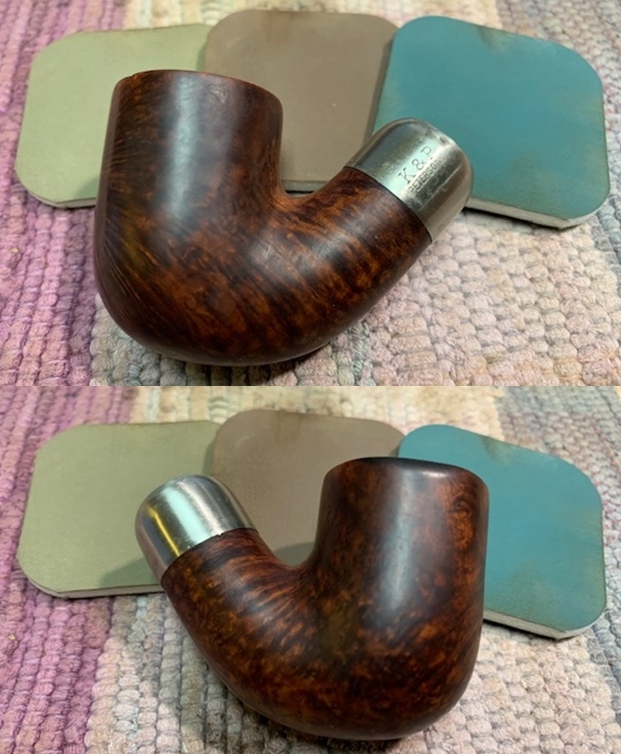
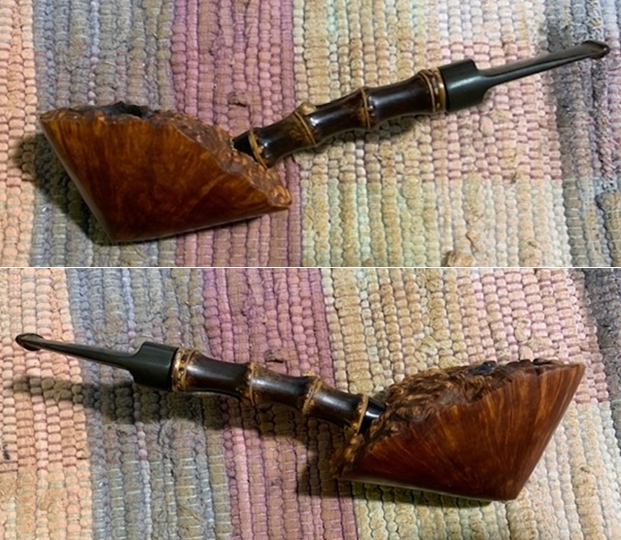
 This restemmed, rusticated Stone Age K11 609 Italian Freehand is a beautiful looking pipe that combines a rusticated finish with a unique shaped. I may never know for sure if Savinelli made it but I think so! The brown stains on the bowl work well to highlight the finish. The polished turned fancy black vulcanite stem adds to the mix. I put the finished stem on the bowl and buffed it with Blue Diamond on the buffing wheel being careful to not buff the stamping. I gave the bowl multiple coats of Conservator’s Wax and the stem multiple coats of carnauba wax on the buffing wheel and followed that by buffing it with a clean buffing pad. I hand buffed the pipe with a microfiber cloth to deepen the shine. The finished pipe is quite nice and feels great in the hand. Give the finished pipe a look in the photos below. I can only tell you that like the other pipes I am working that it is much prettier in person than the photos capture. The dimensions of the pipe are Length: 6 inches, Height: 2 inches, Outside diameter of the bowl: 1 ½ inches, Chamber diameter: ¾ of an inch. The weight of the pipe is 54grams/1.90oz. It will soon be added to the Italian Pipe Makers section on the rebornpipes store. Thanks for walking through the restoration with me as I worked over another beautiful pipe. Remember we are not pipe owners; we are pipemen and women who hold our pipes in trust until they pass on into the trust of the next generation.
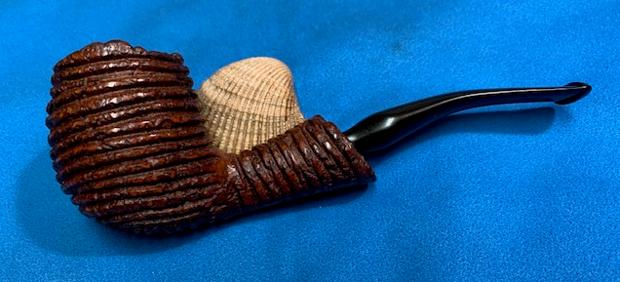


