by Steve Laug
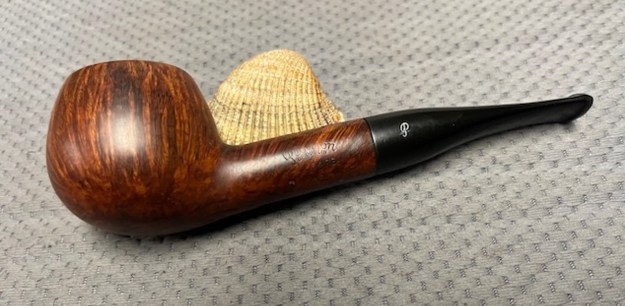
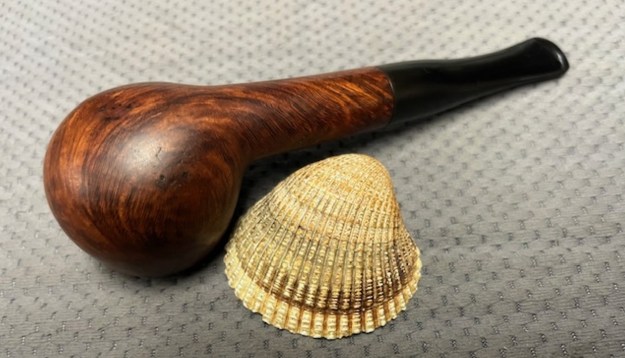
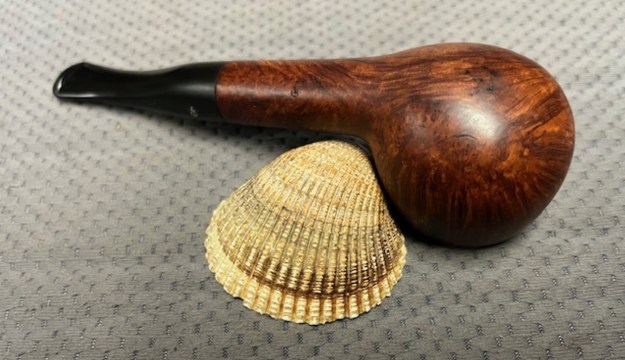
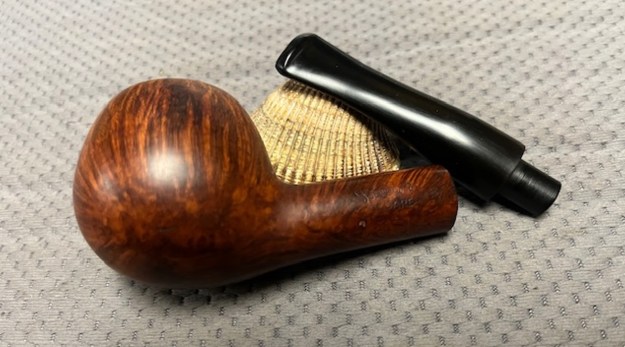
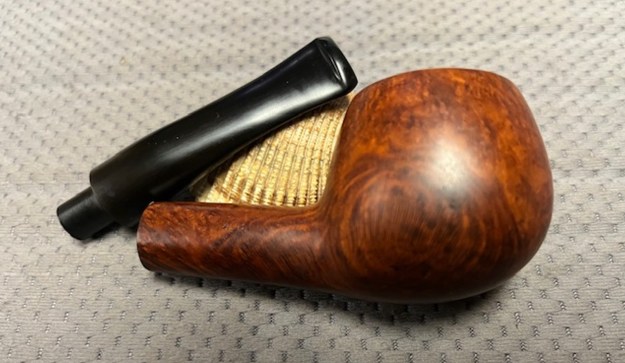
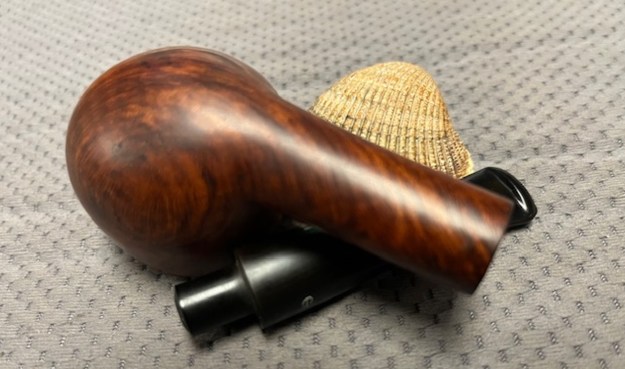
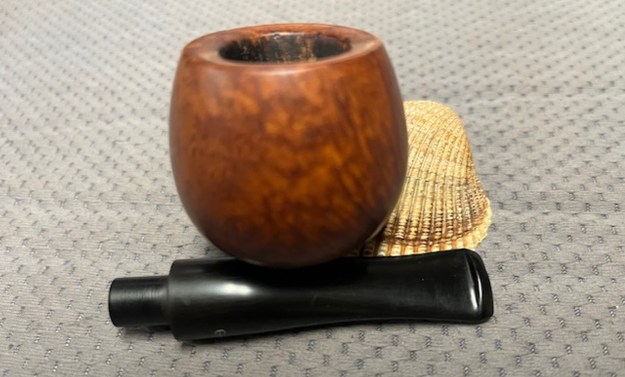
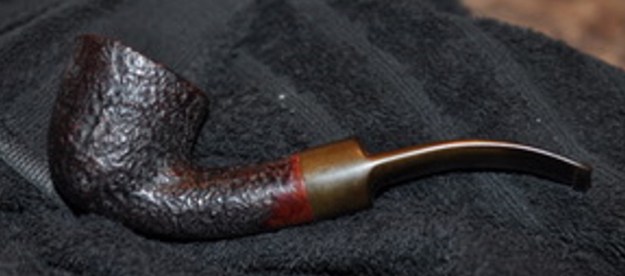
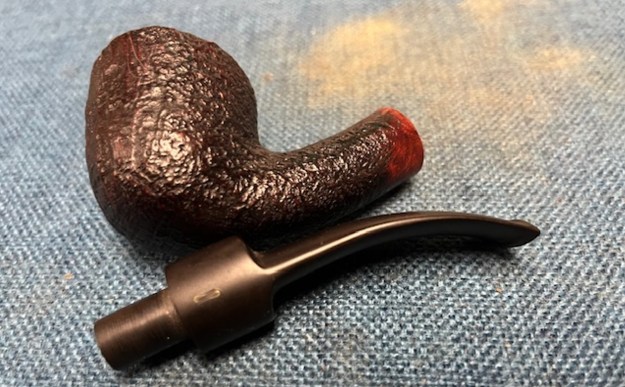
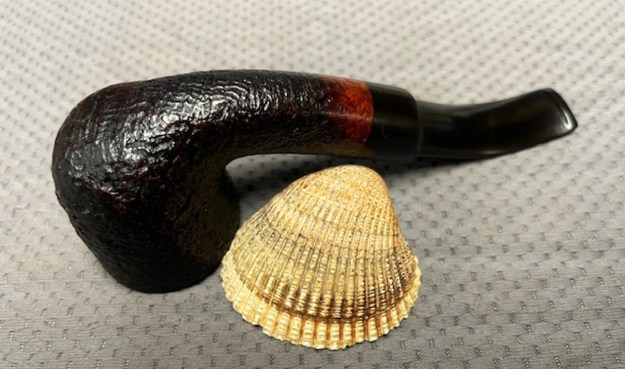
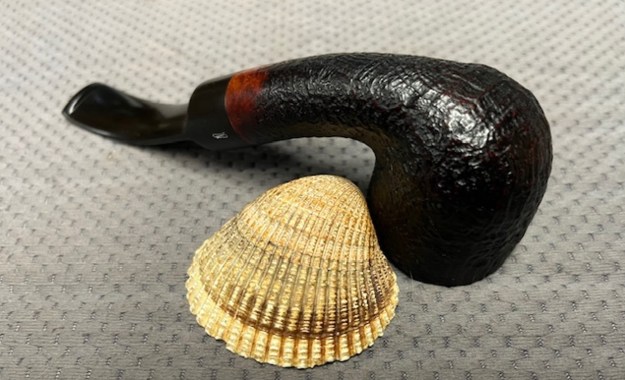
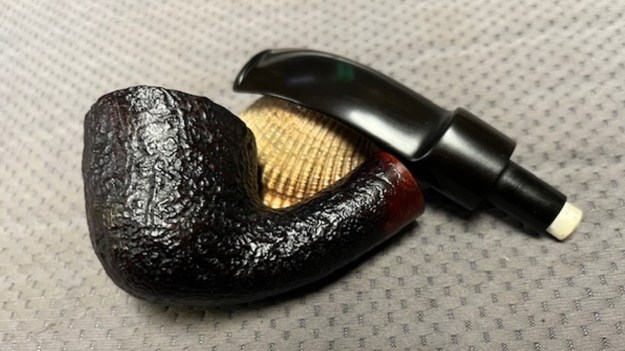
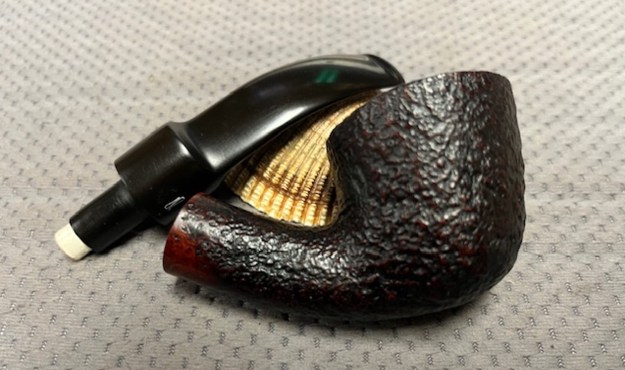
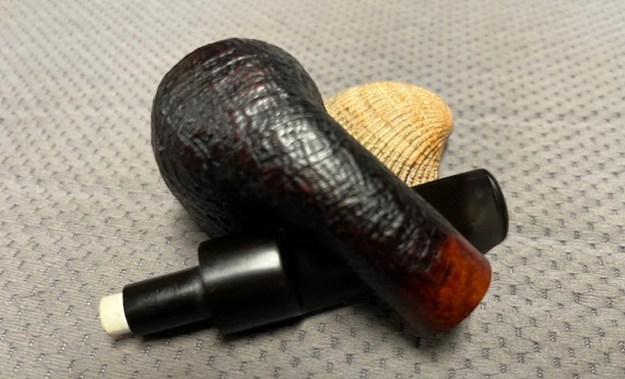
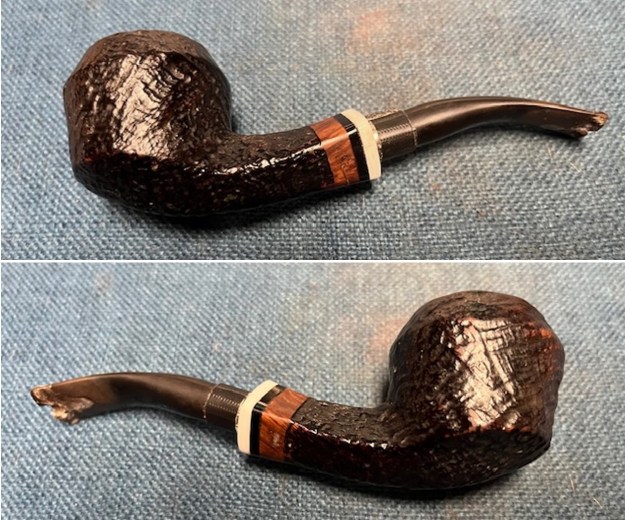
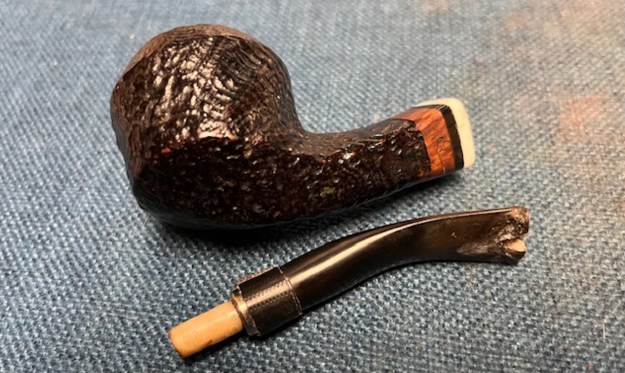
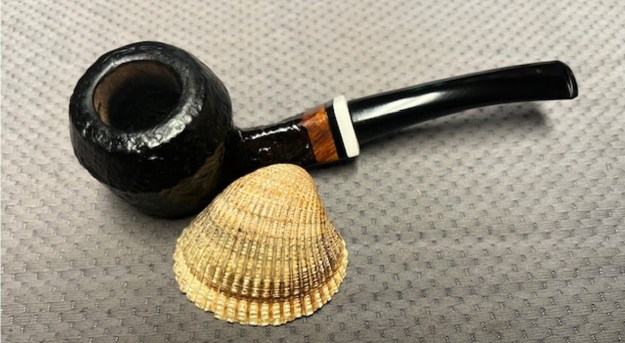
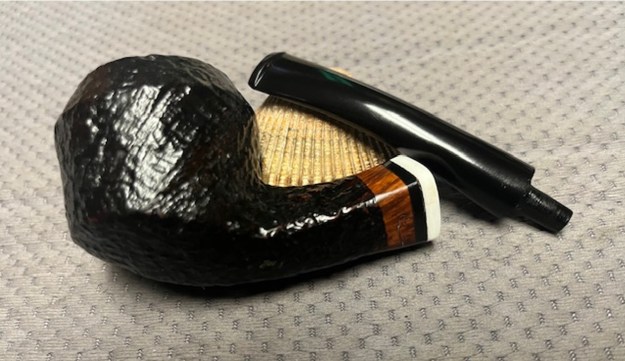
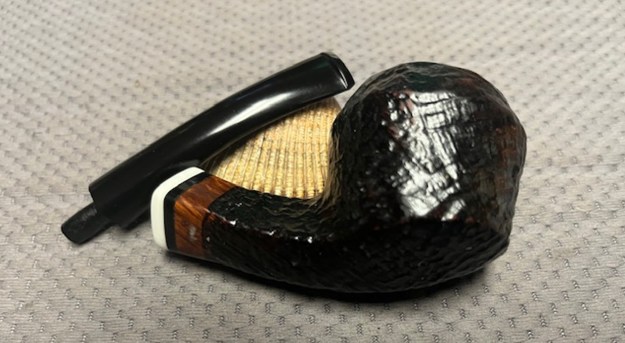
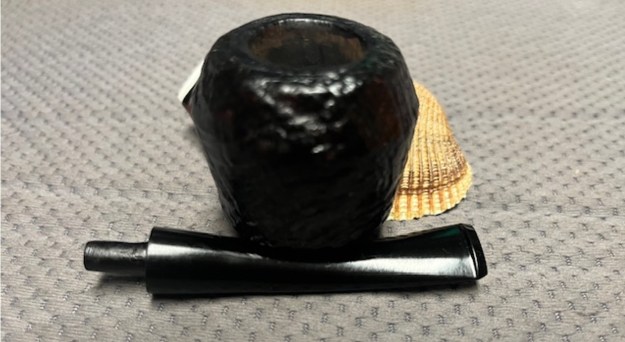
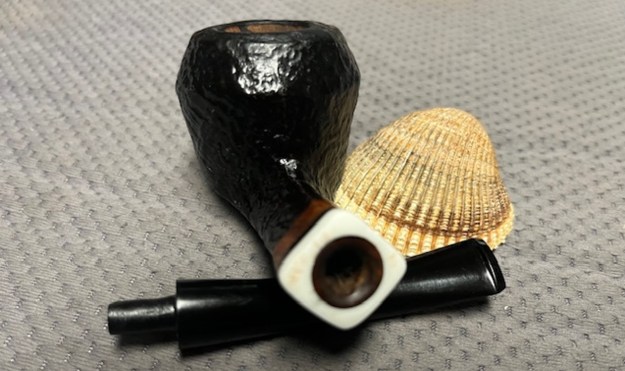
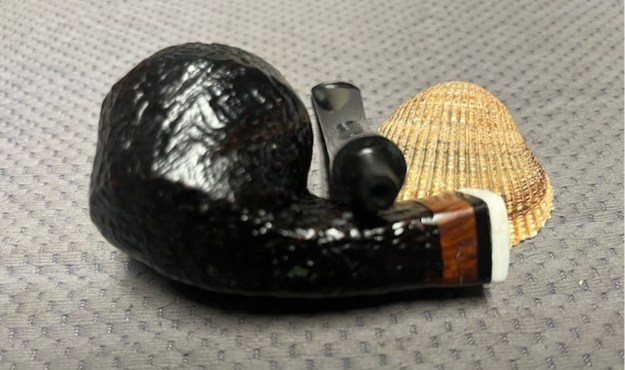
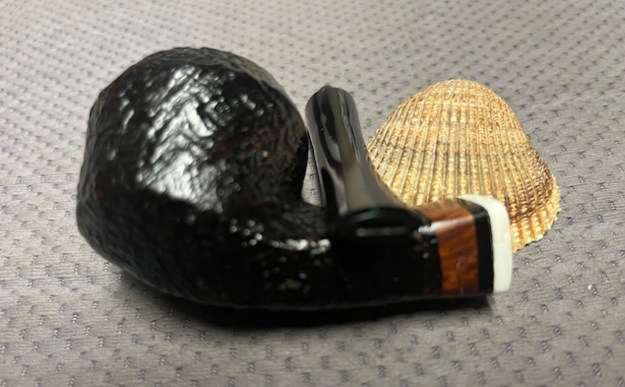
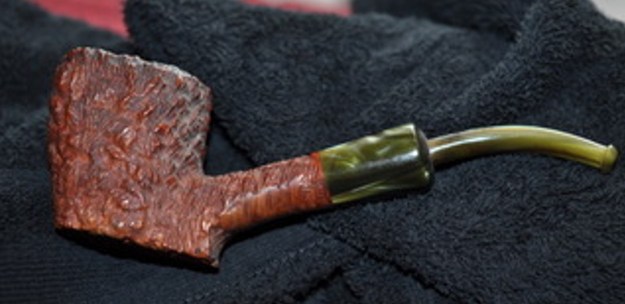
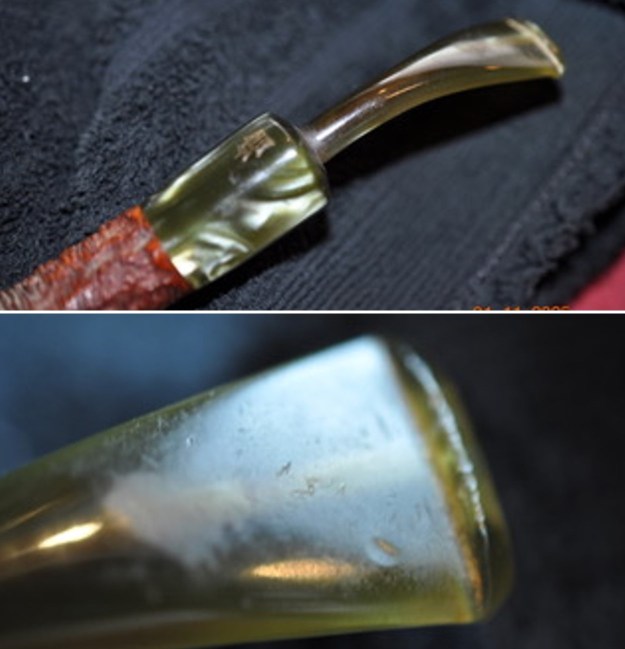
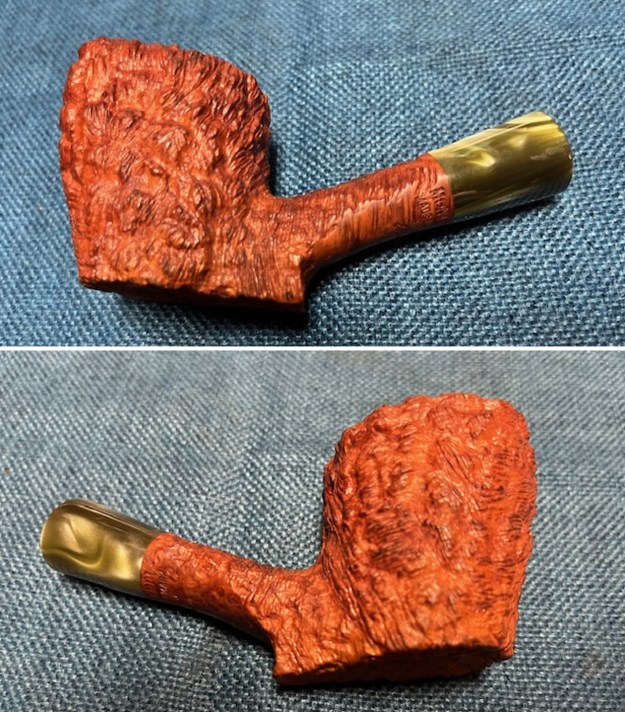
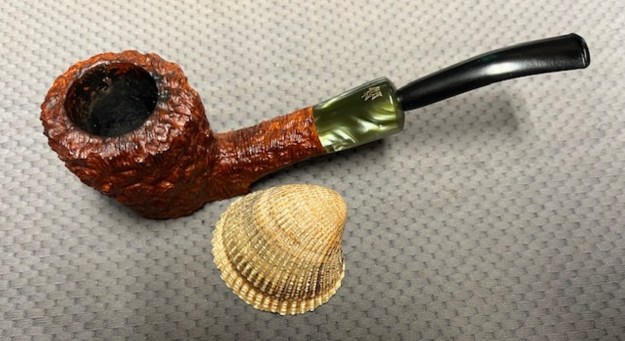
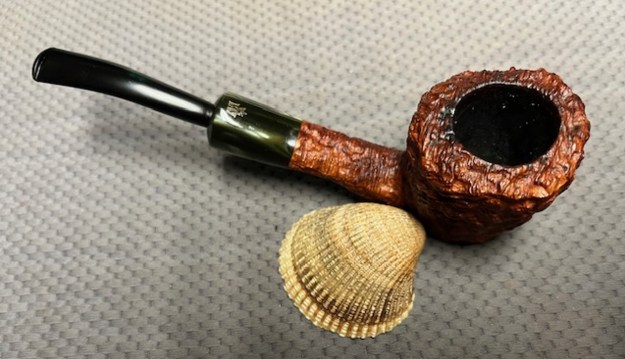
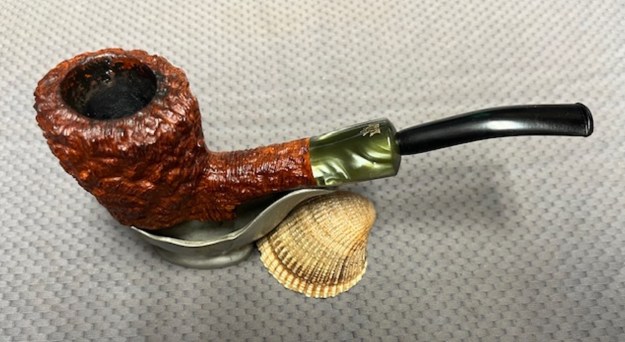
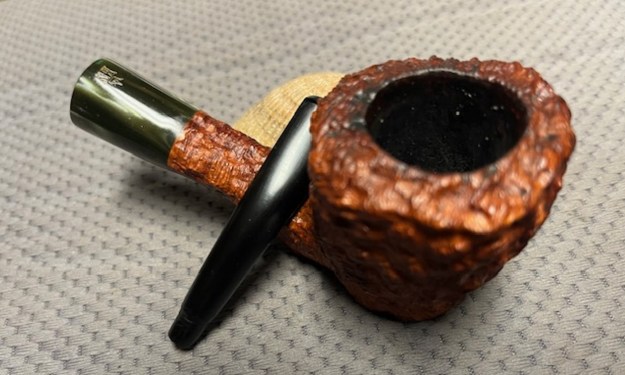
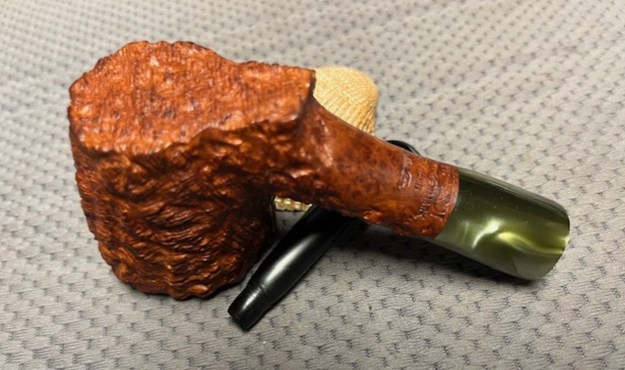
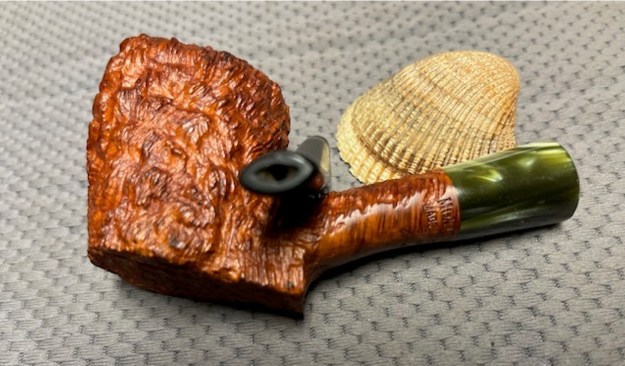
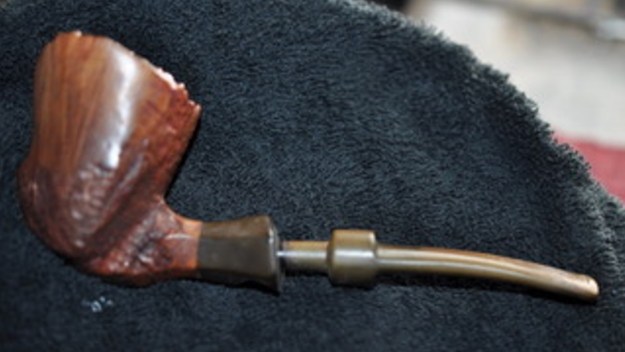
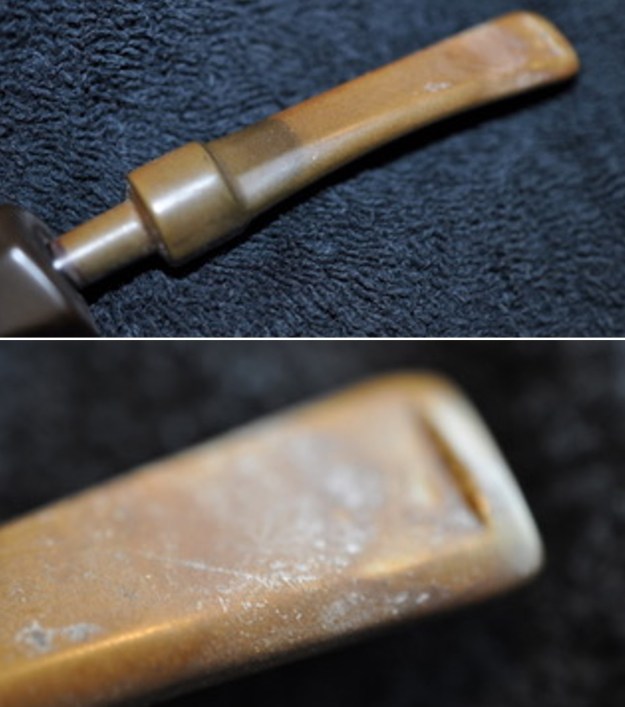
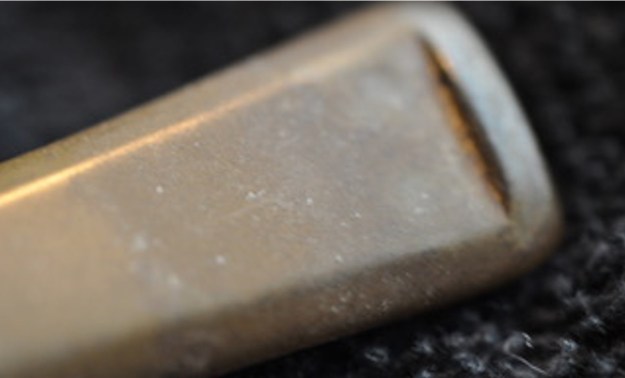
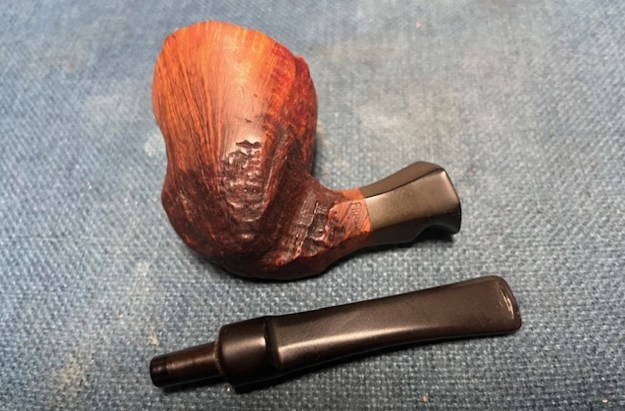
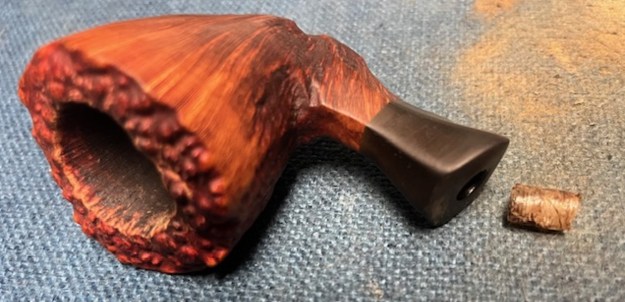
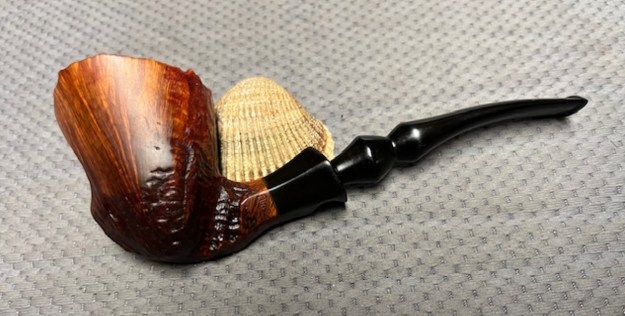
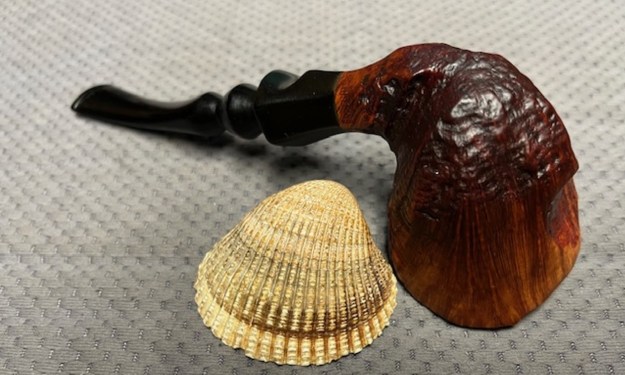
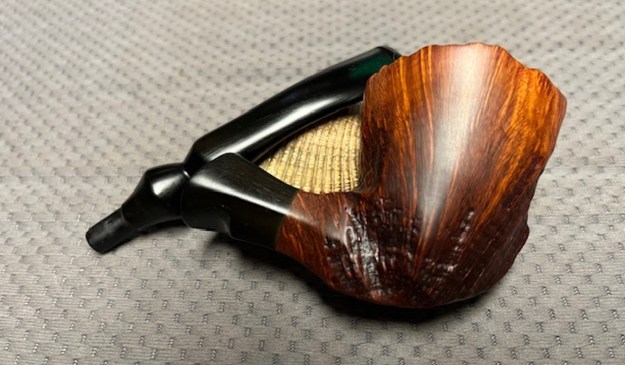
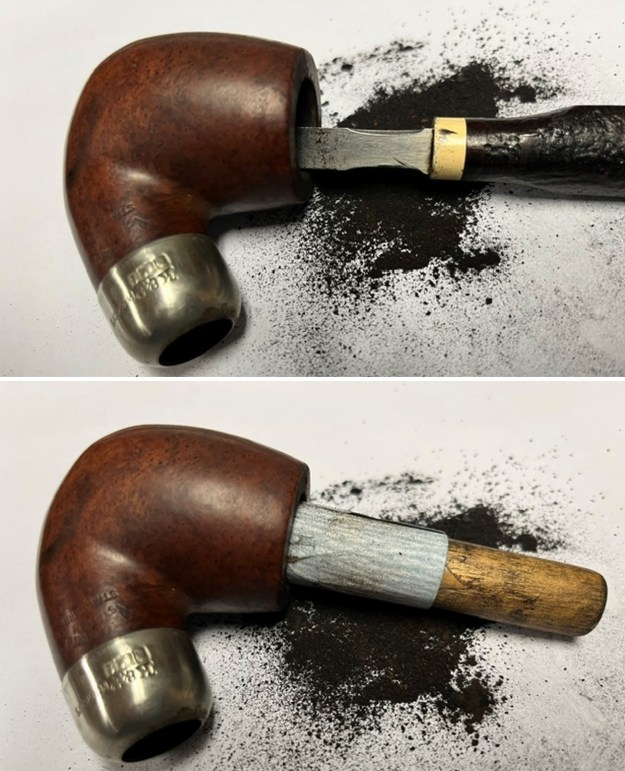
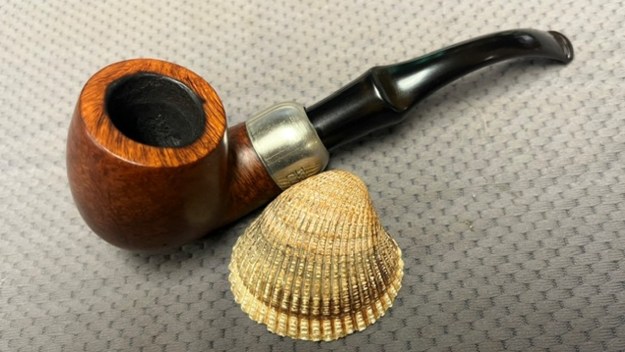
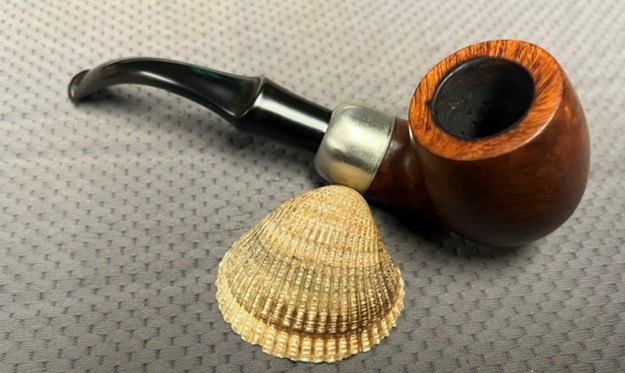
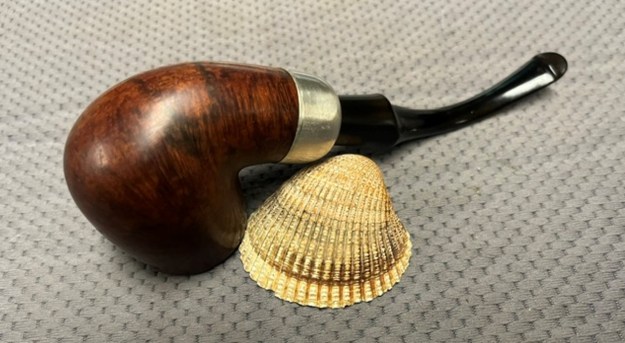
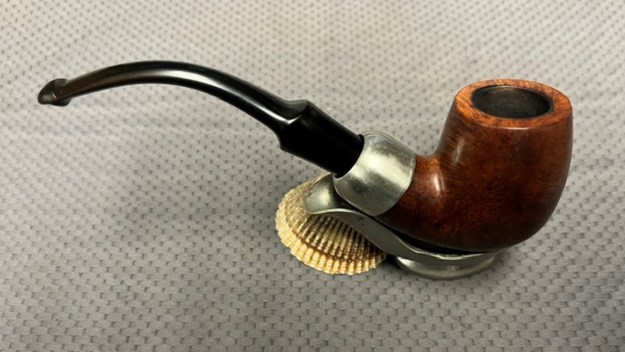
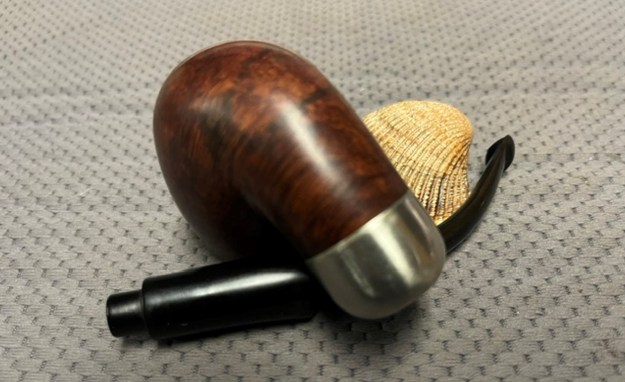
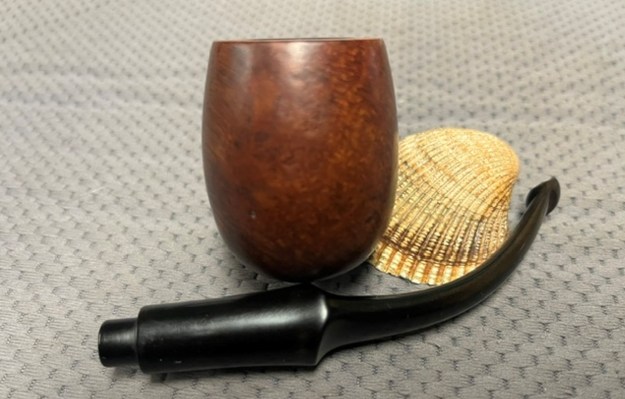
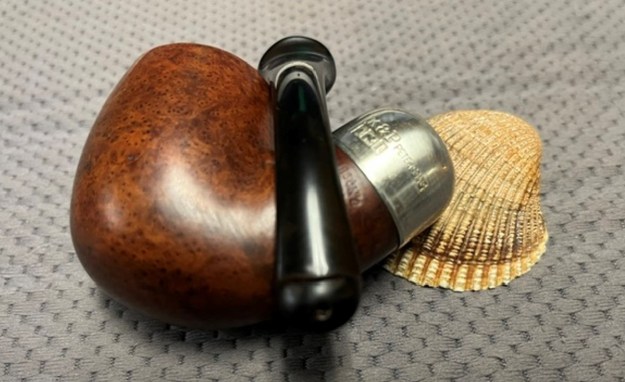
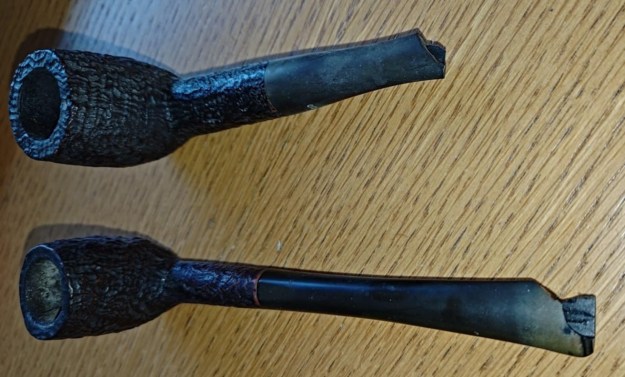
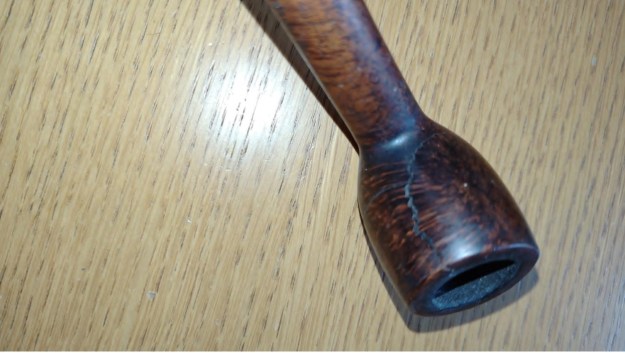
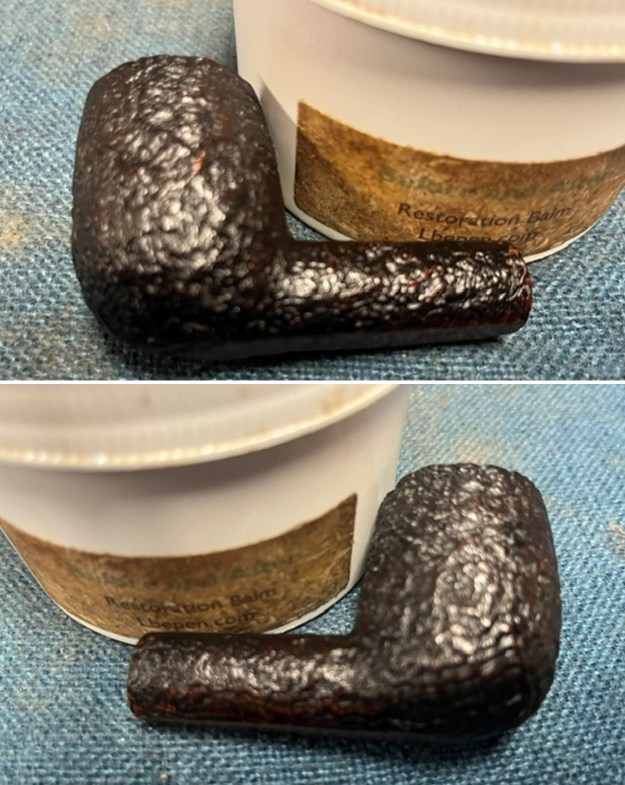
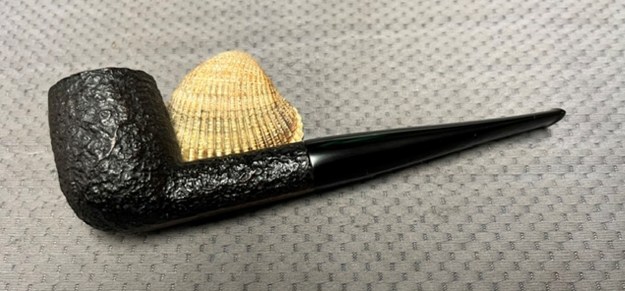
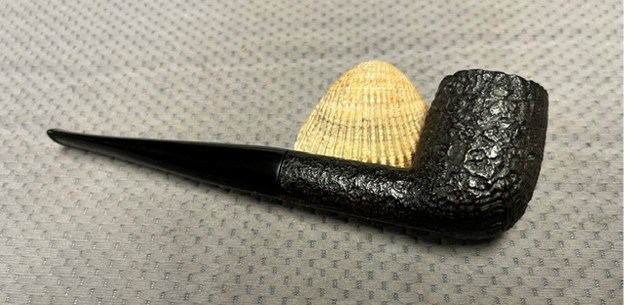
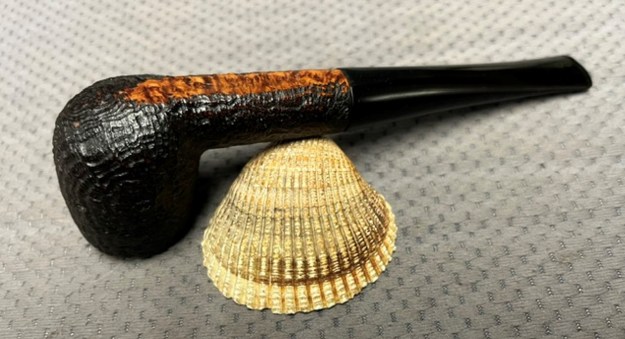
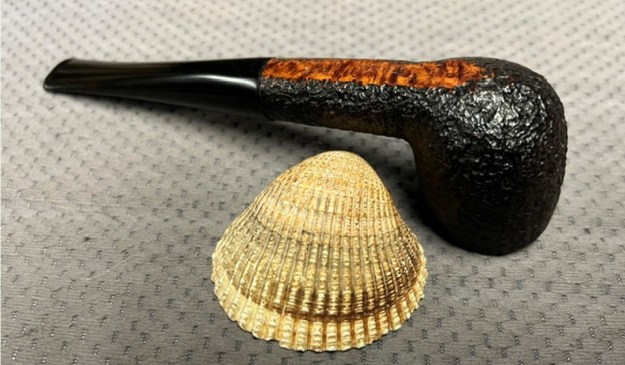
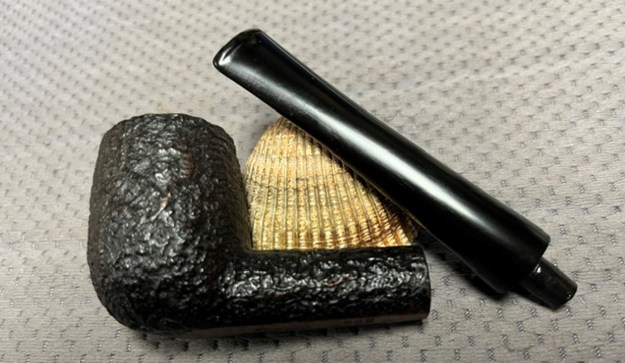
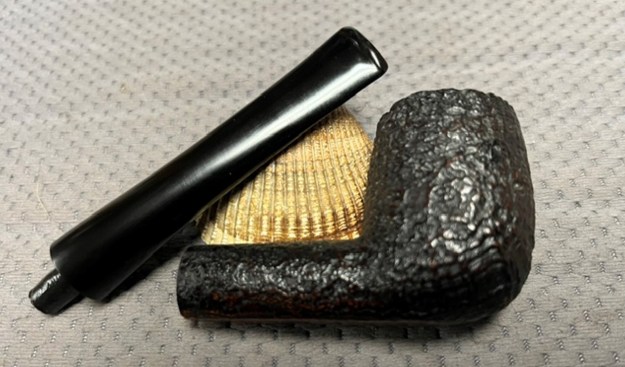
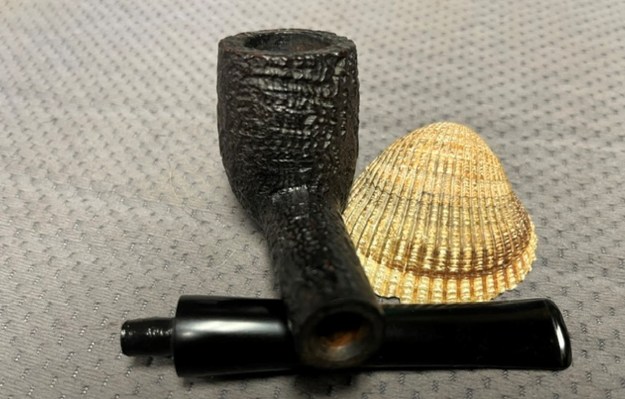
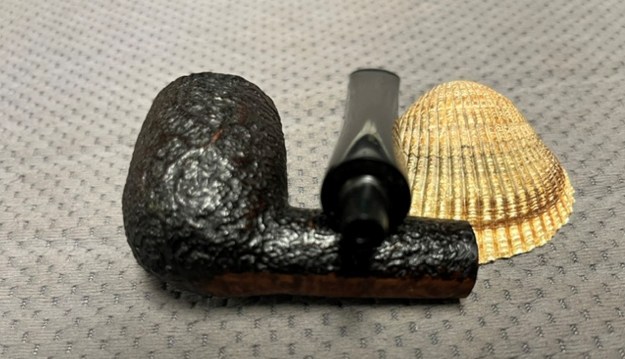
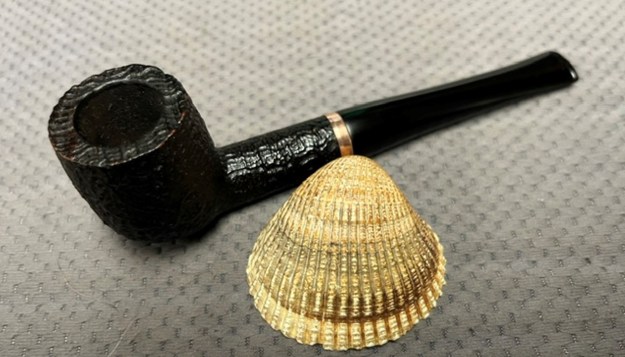
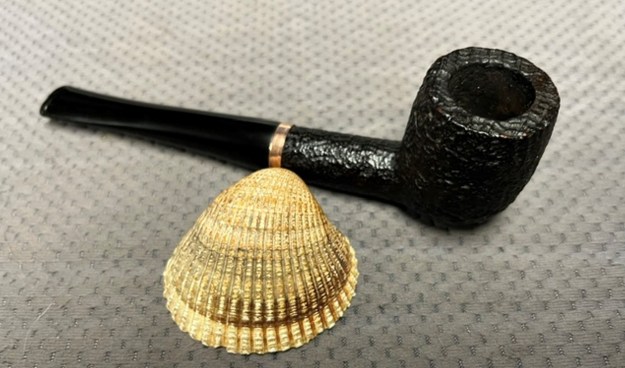
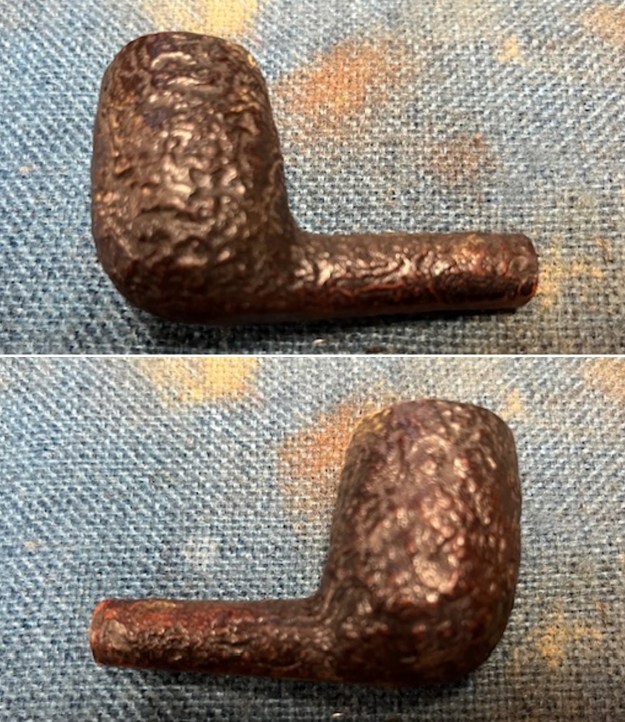
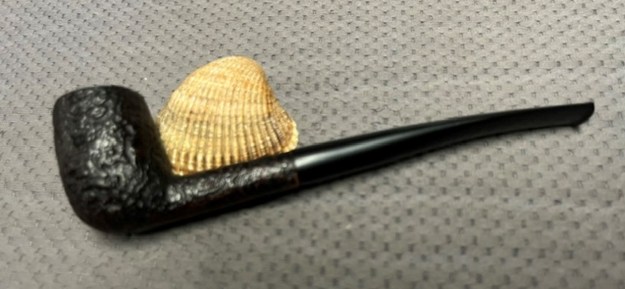
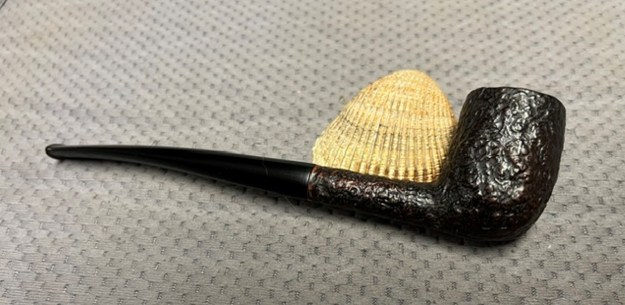
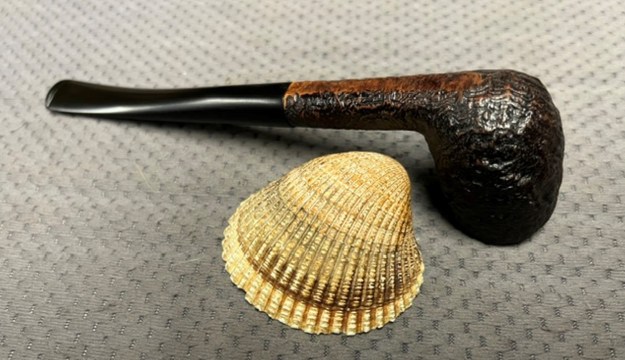
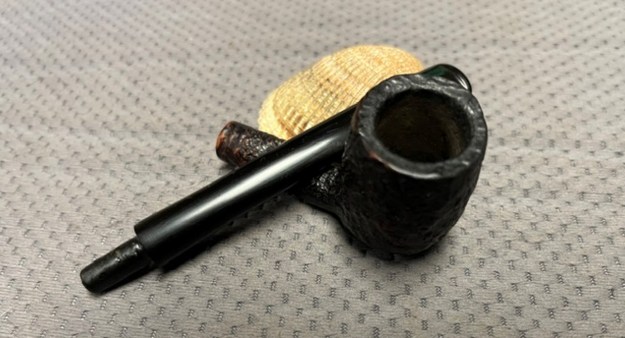
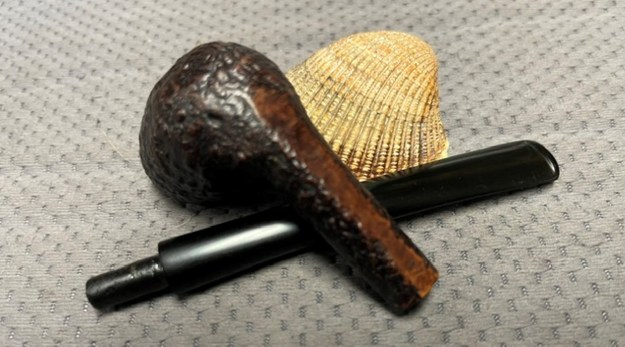
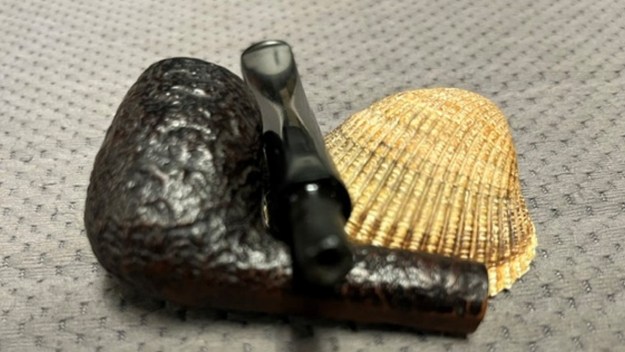
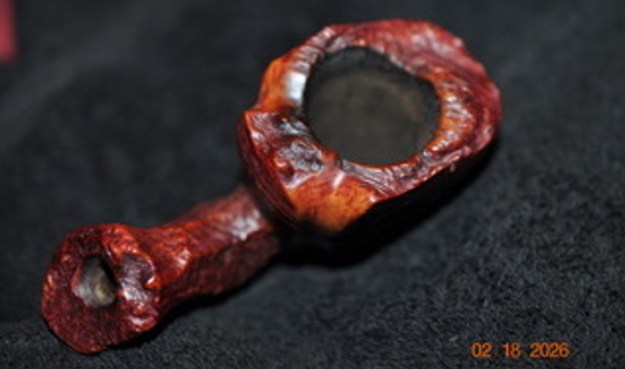
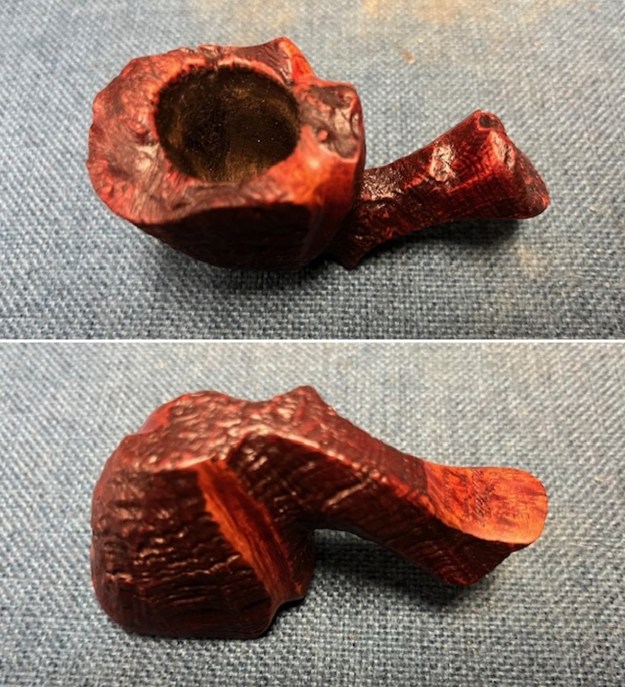
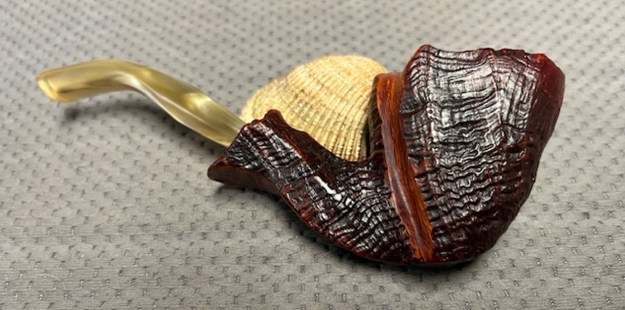
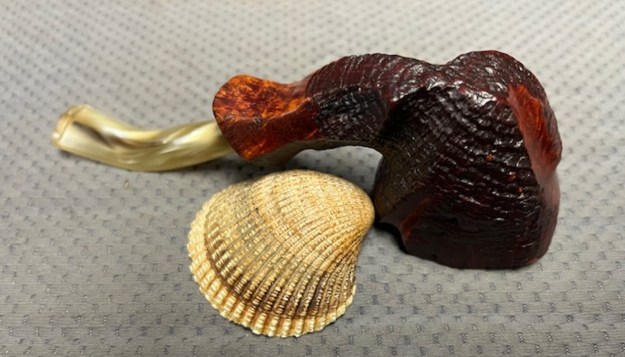
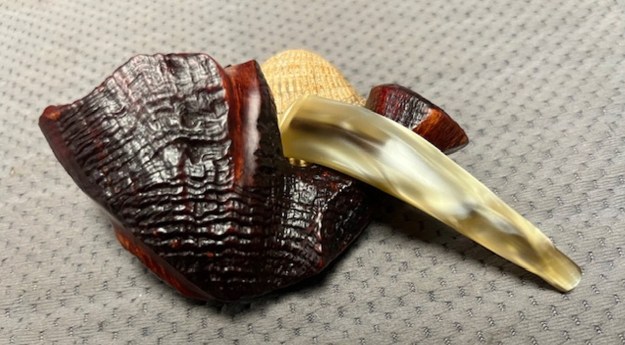
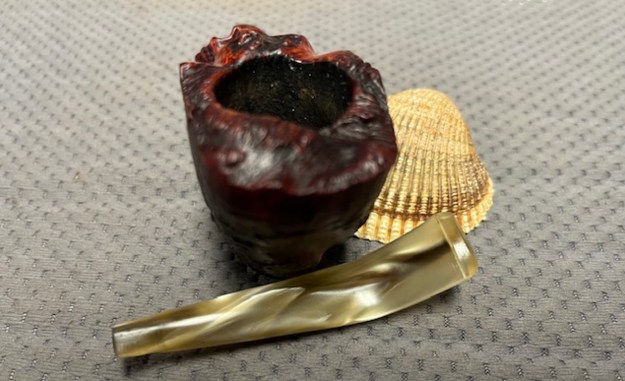
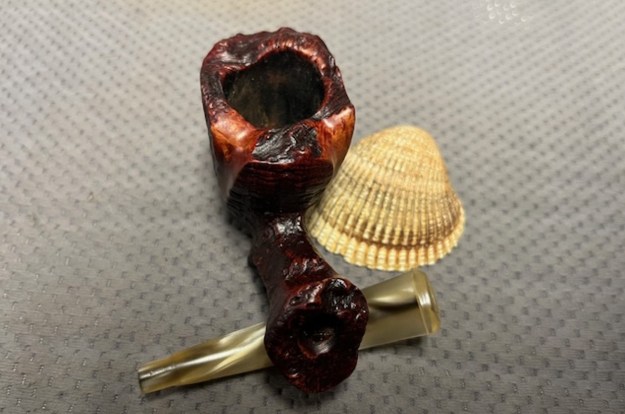
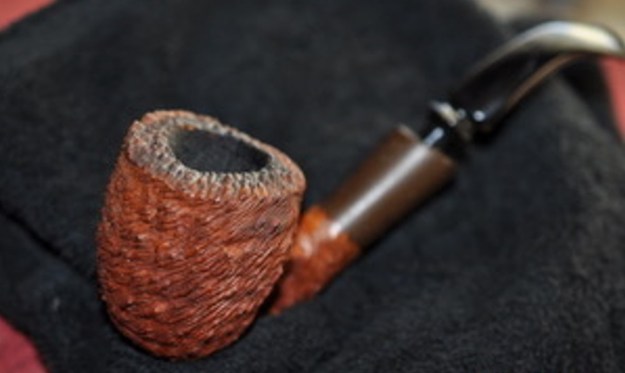
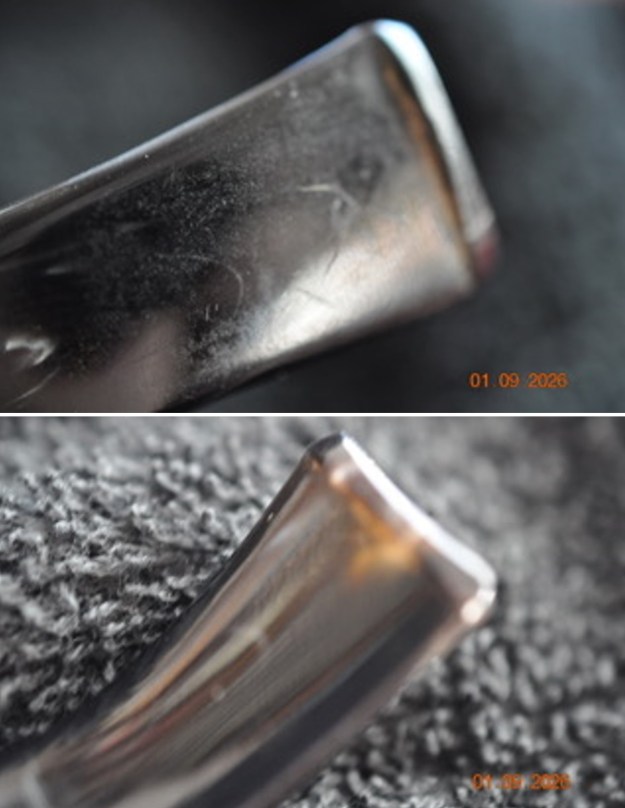
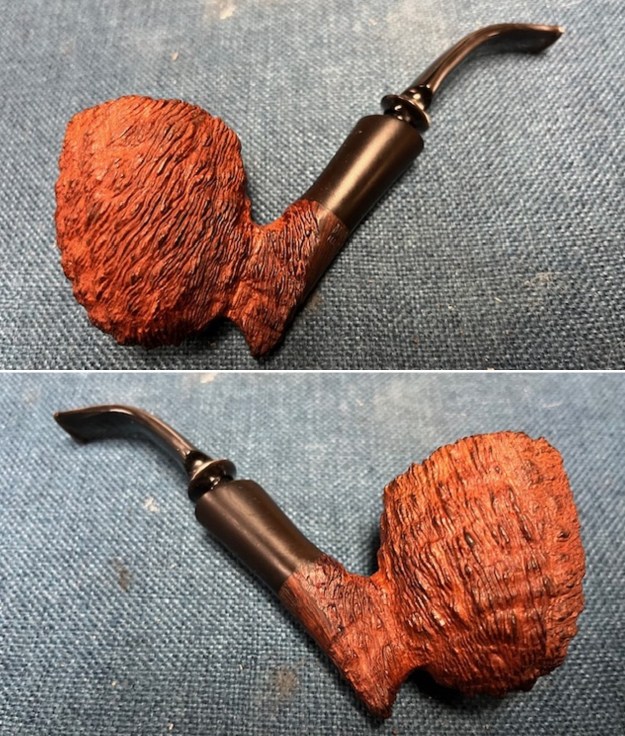
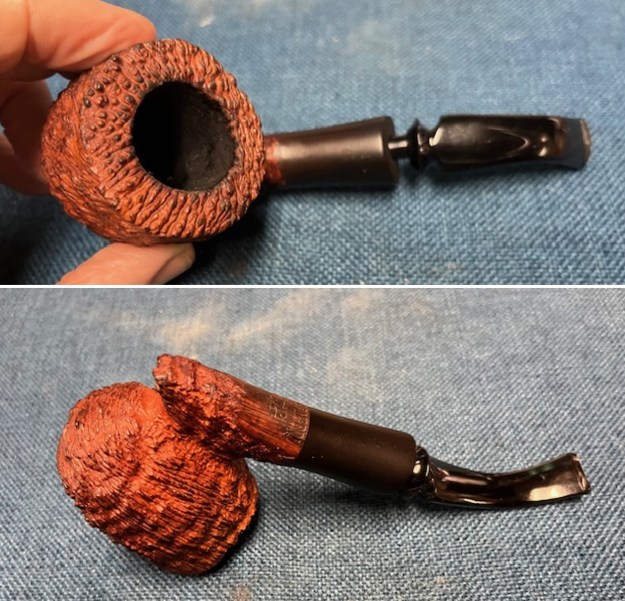
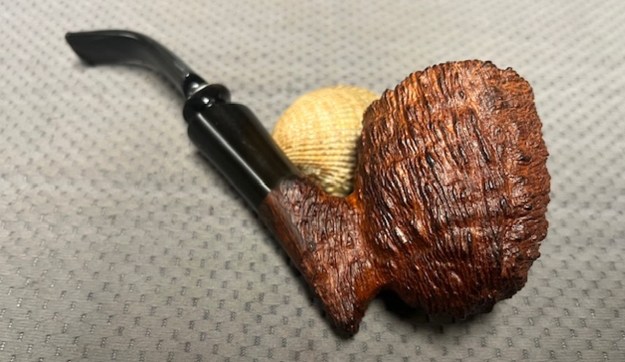
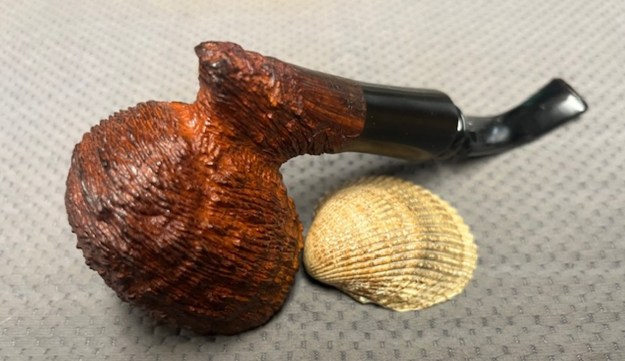
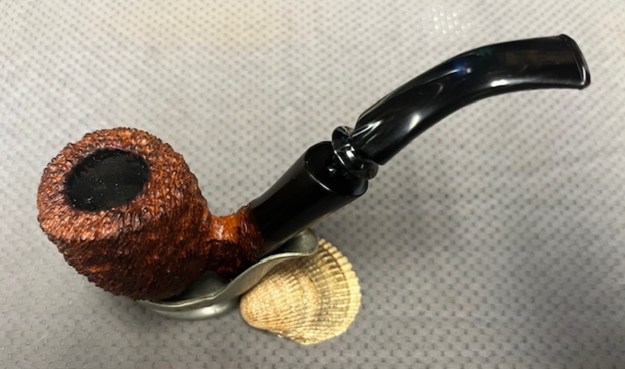
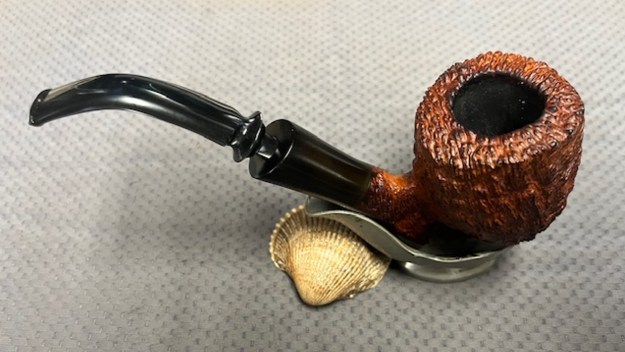
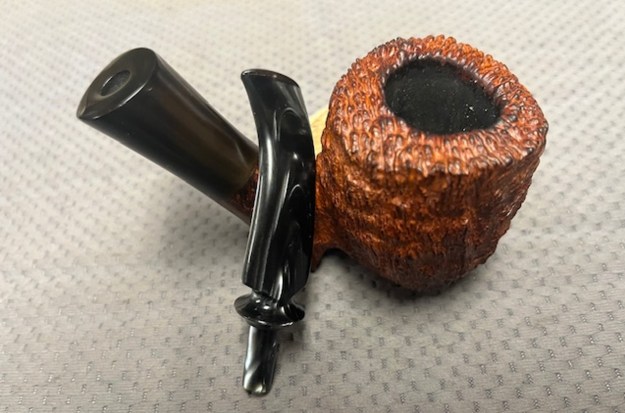
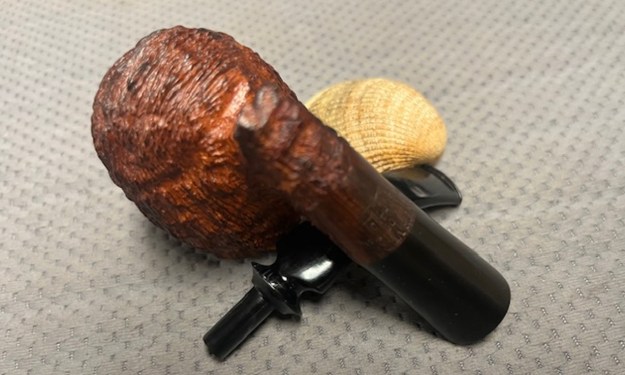
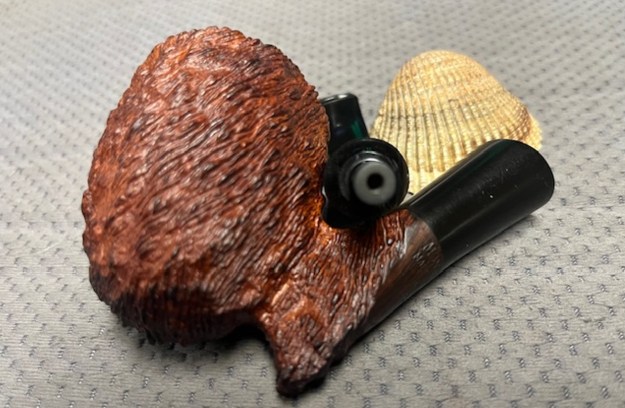
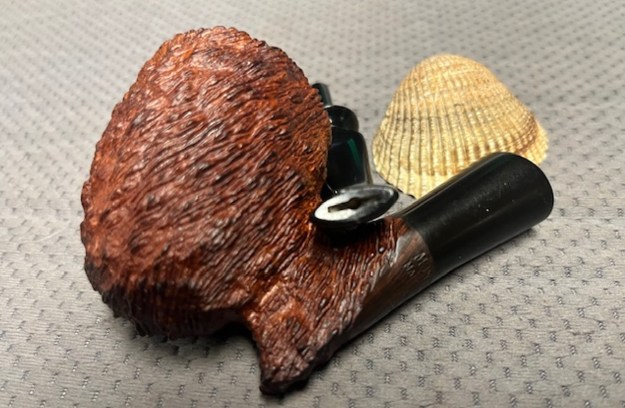
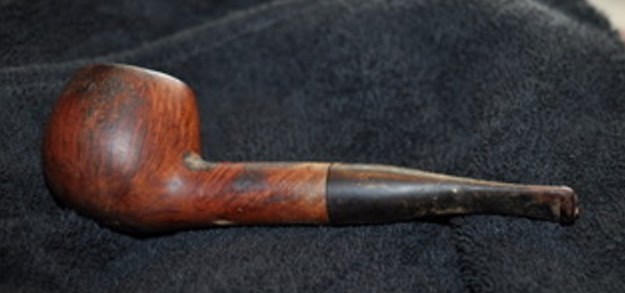
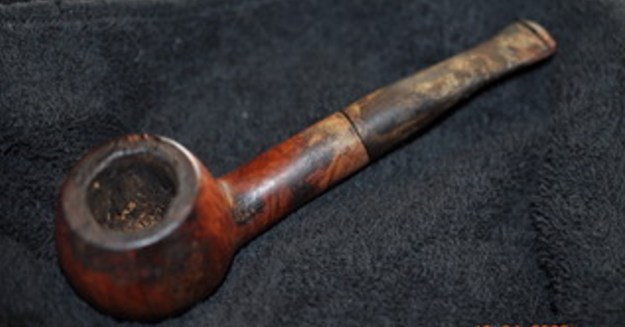
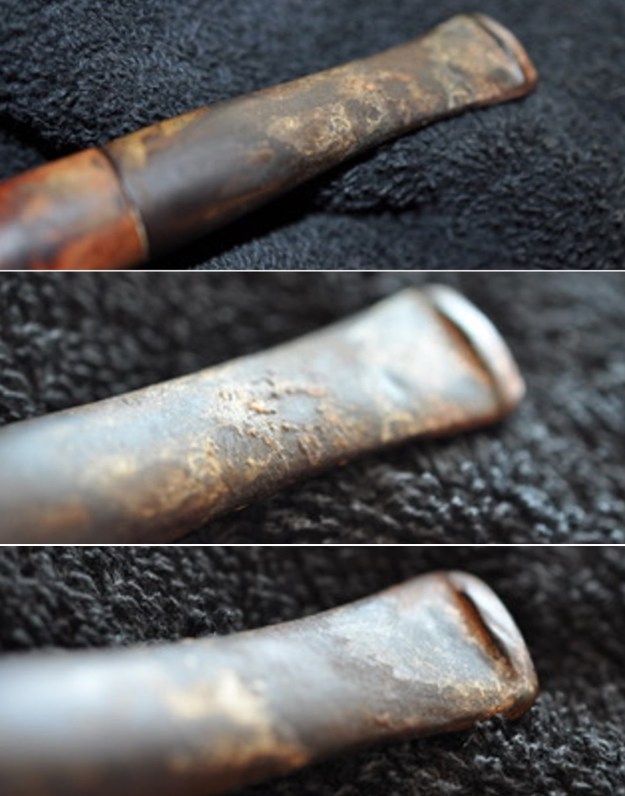
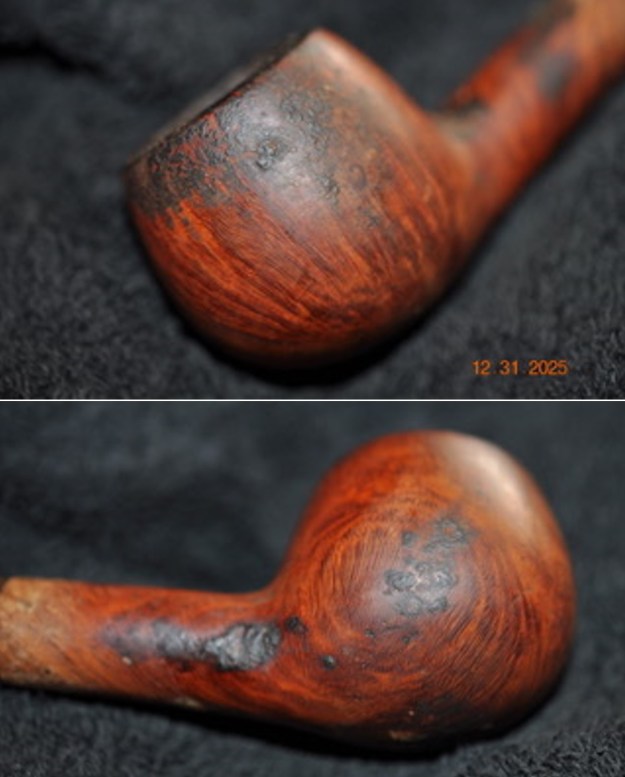
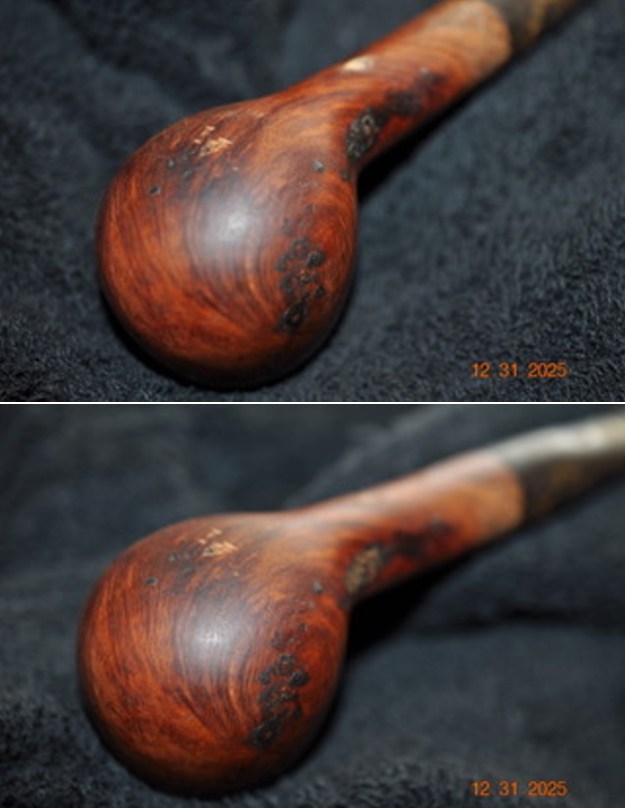
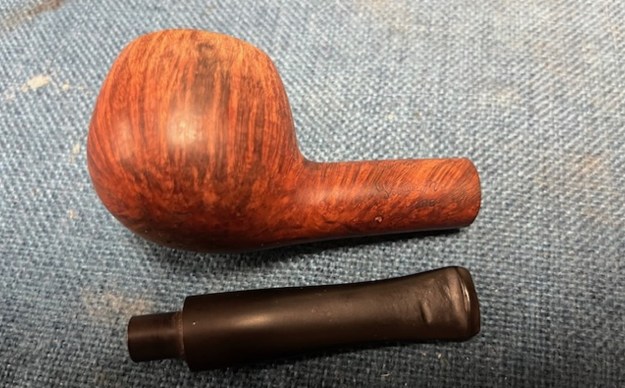
The next pipe on the work table is Peterson’s System pipe that a reader, Don sent to me to work on. It was stamped Peterson’s [arched over] System [arched over] Standard on the underside side of the shank in a smooth panel. It was stamped Peterson’s [over] System [over] Standard. On the right side it is stamped Made in the Republic of Ireland (in three lines) [over] the shape number XL307. It has a a great looking smooth bowl with some nice grain around the bowl and shank that is dirty with ground in oils, debris and grime. There was a moderate cake in the bowl and a light lava overflow and darkening on the rim top. There was a very beautiful pipe underneath all of the buildup of years of use. The nickel ferrule on the shank end was oxidized and is stamped on the left side K&P [over] three faux hallmarks. That is followed by Petersons. It is not dented or damaged. The stem was broken midway between the button and the saddle. I would need to restem it with a proper stem in the process of my work. 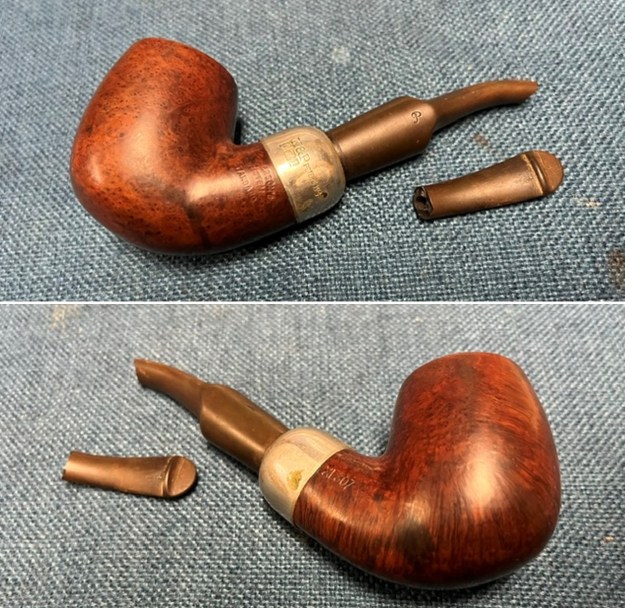
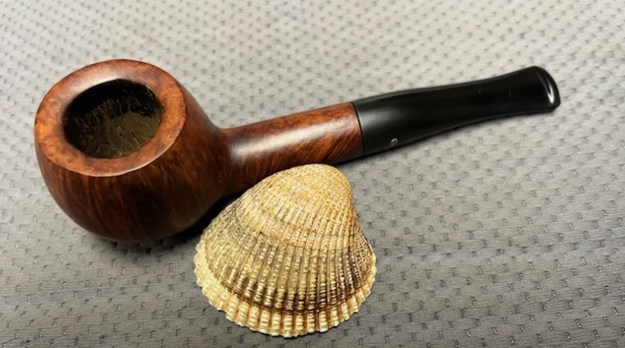
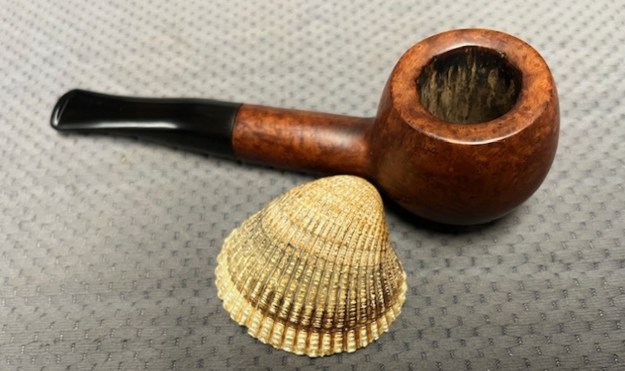
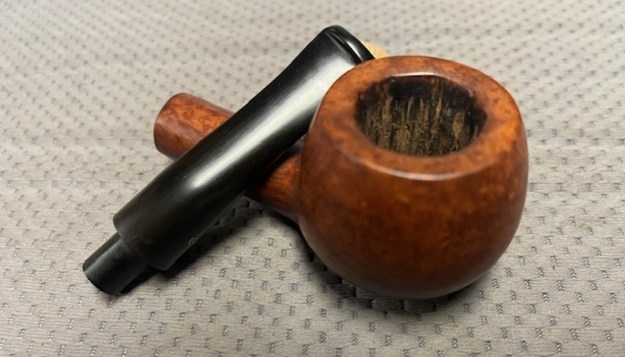
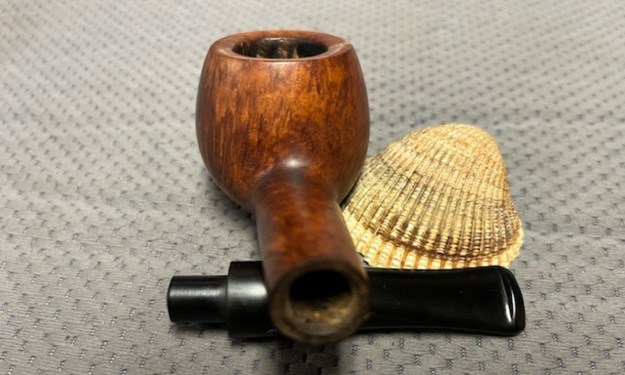
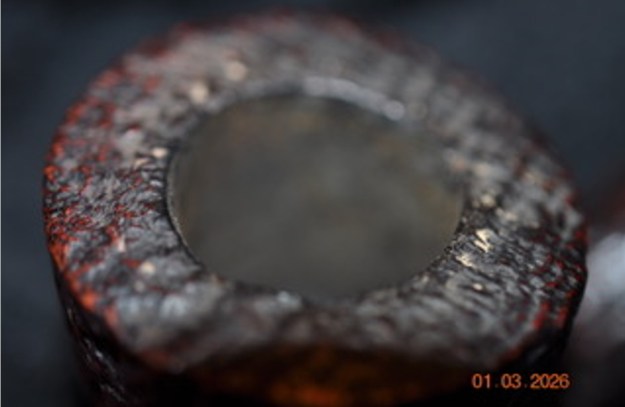
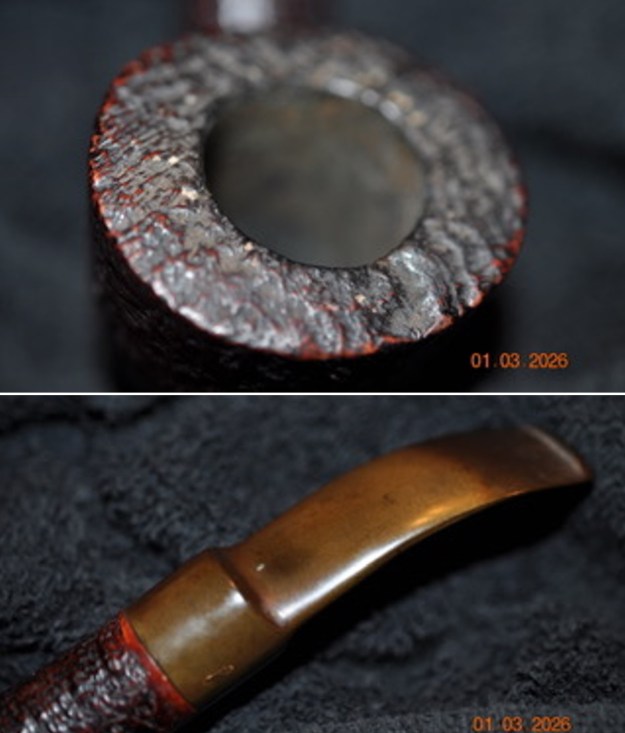
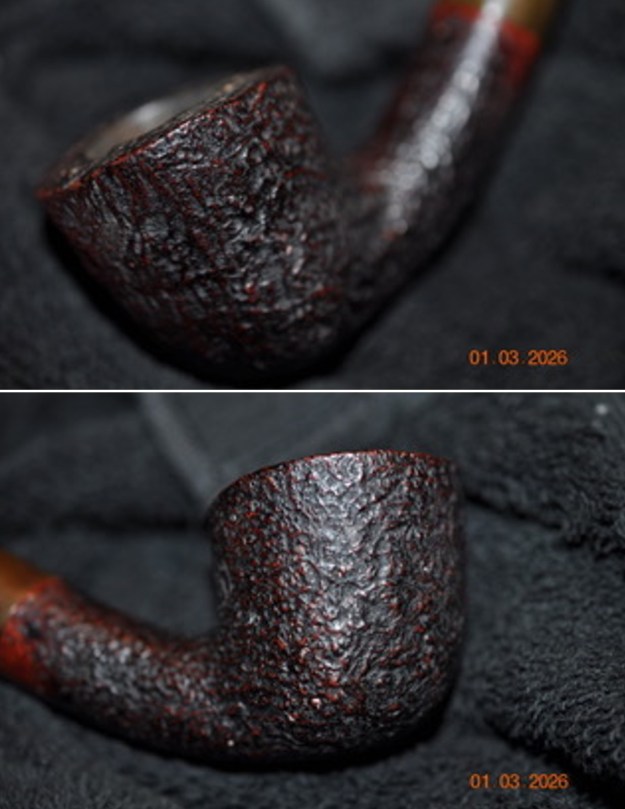
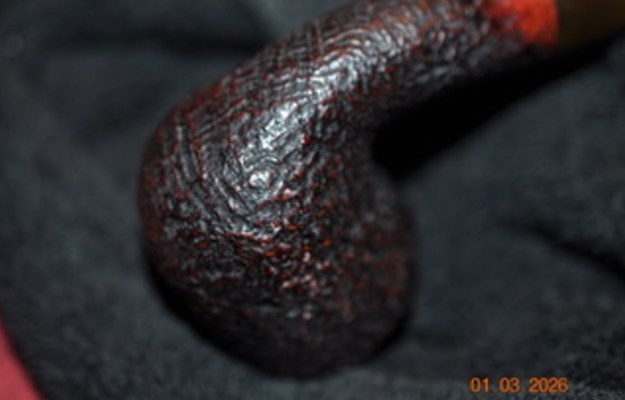
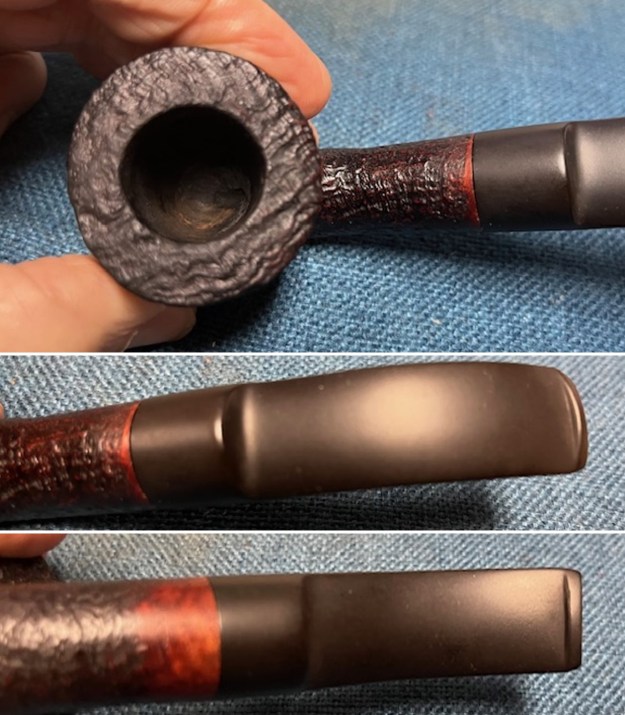
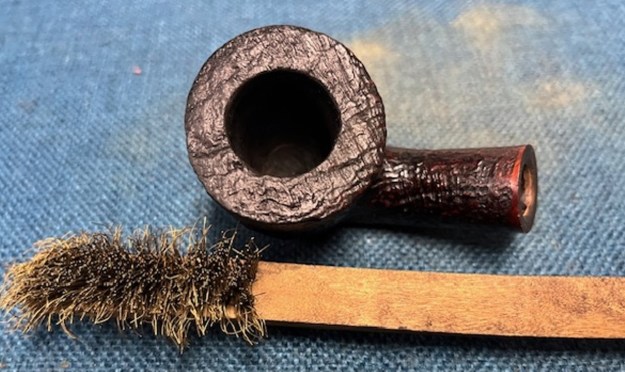
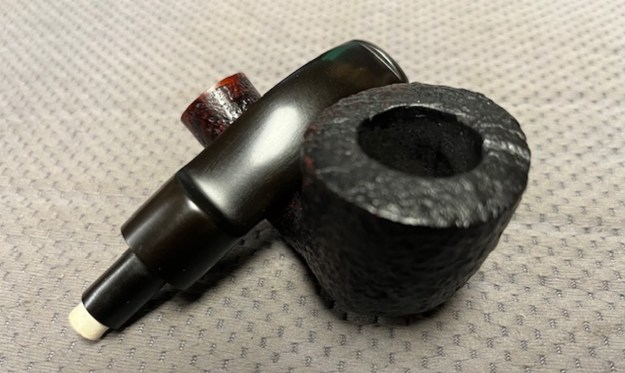
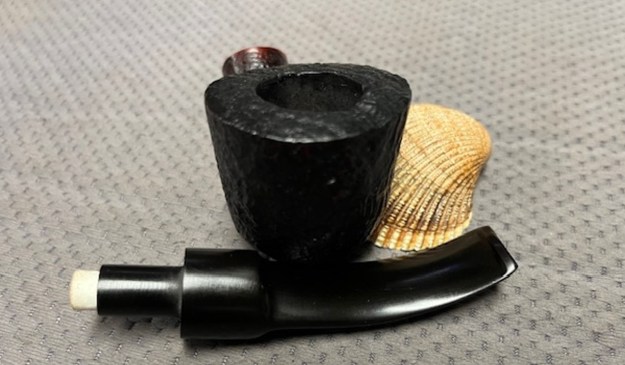
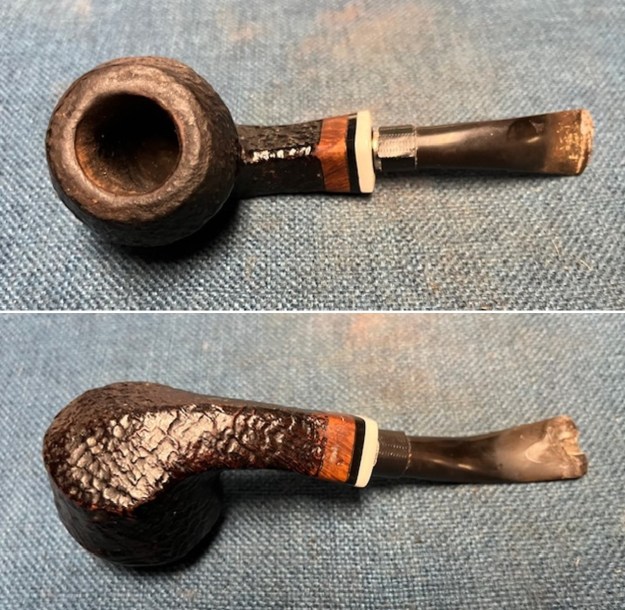
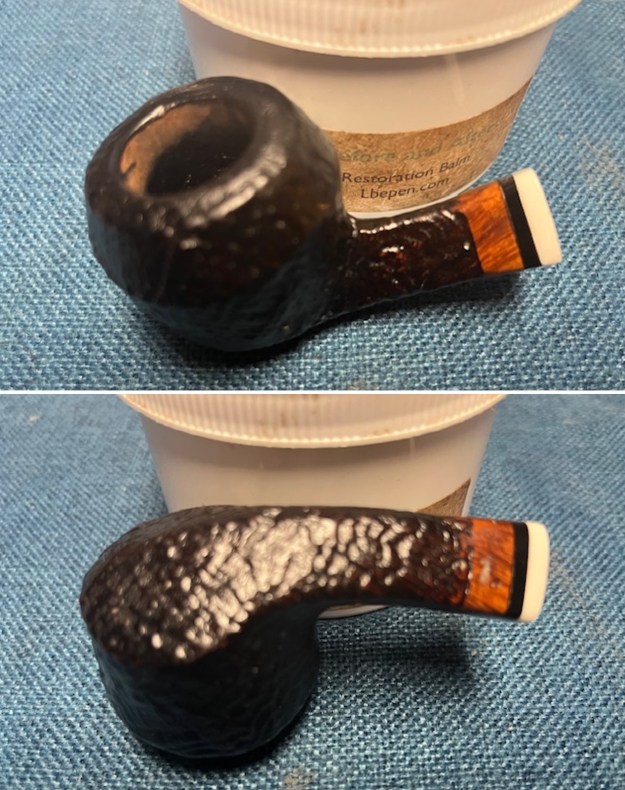
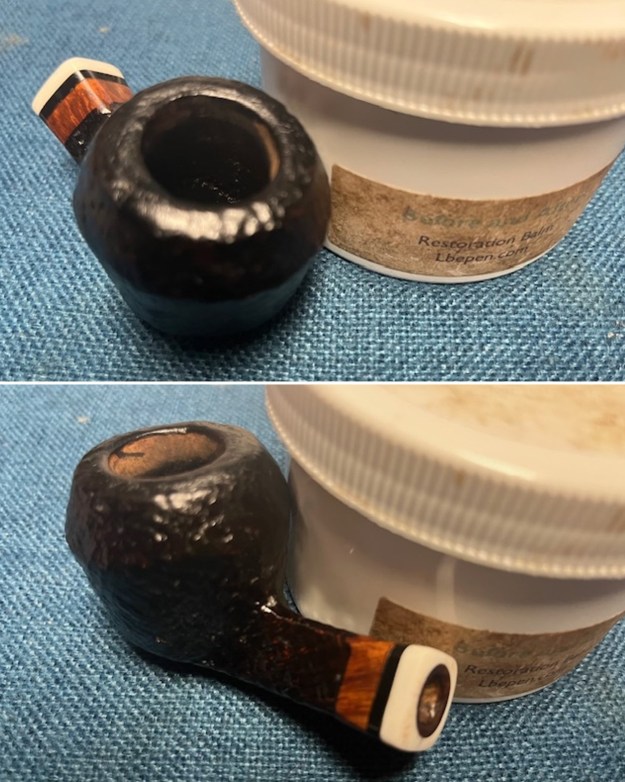
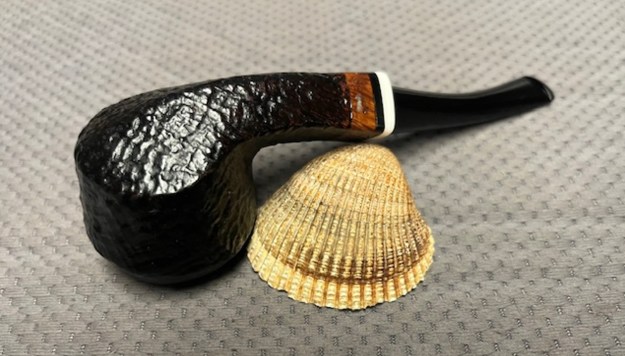
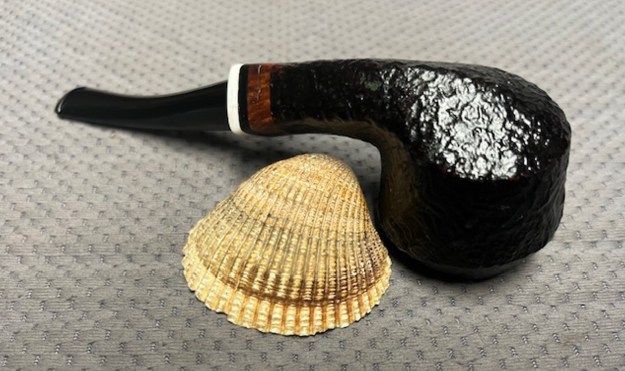
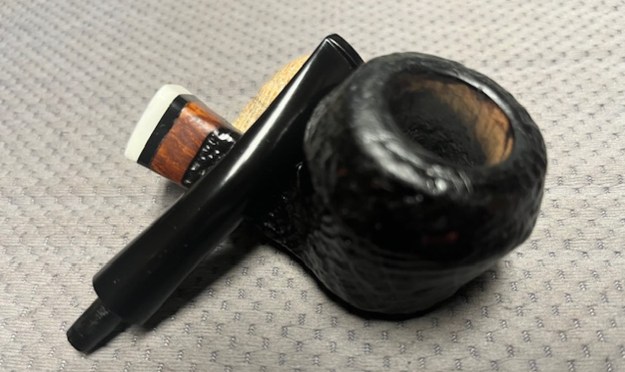
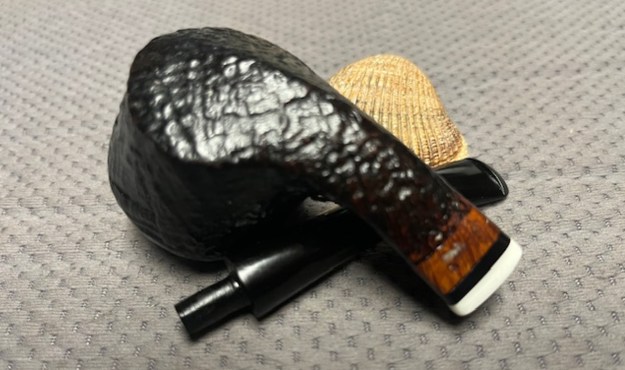
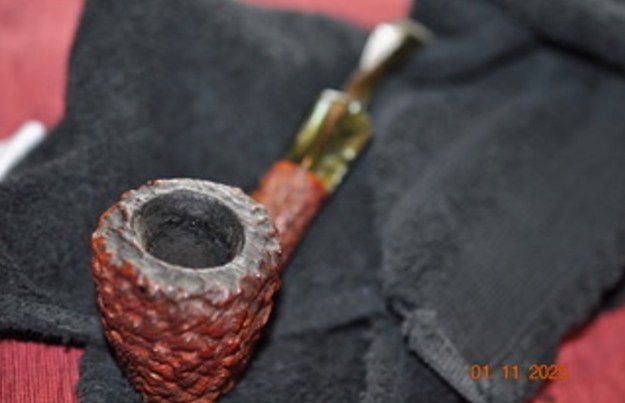
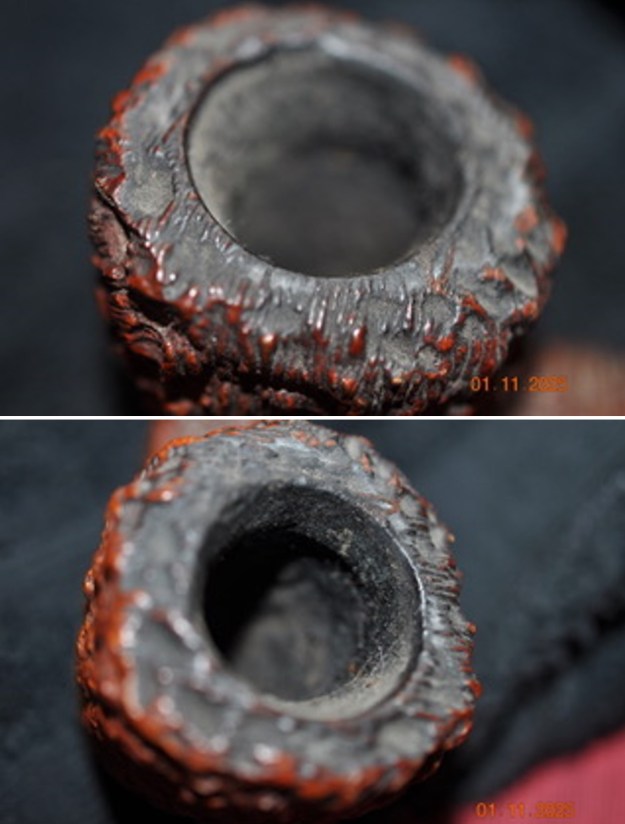
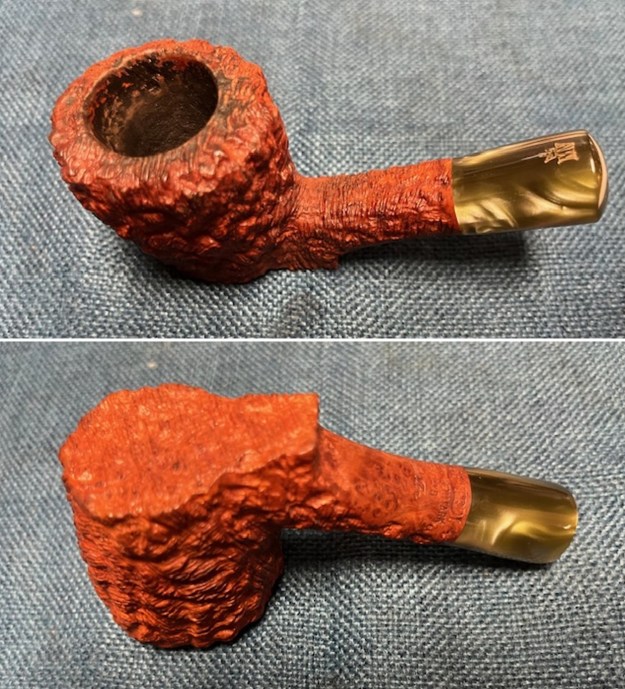
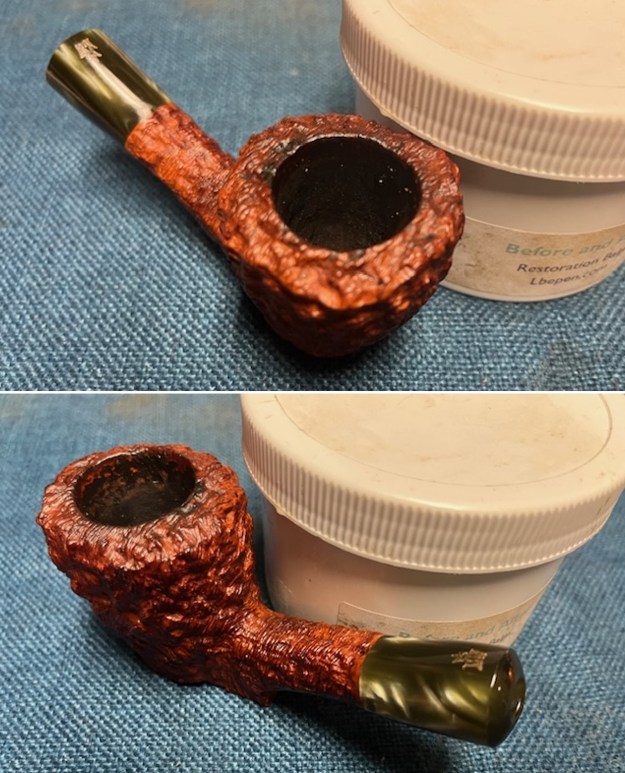
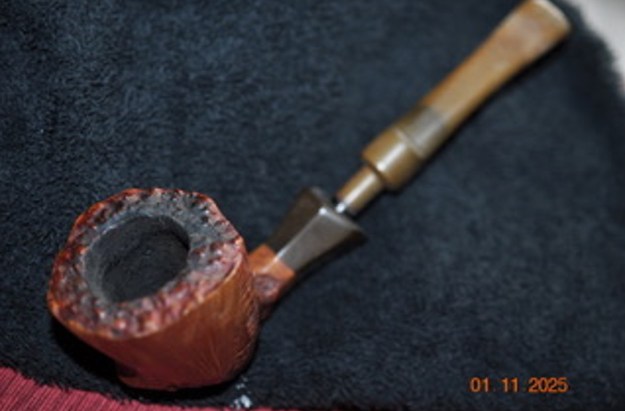
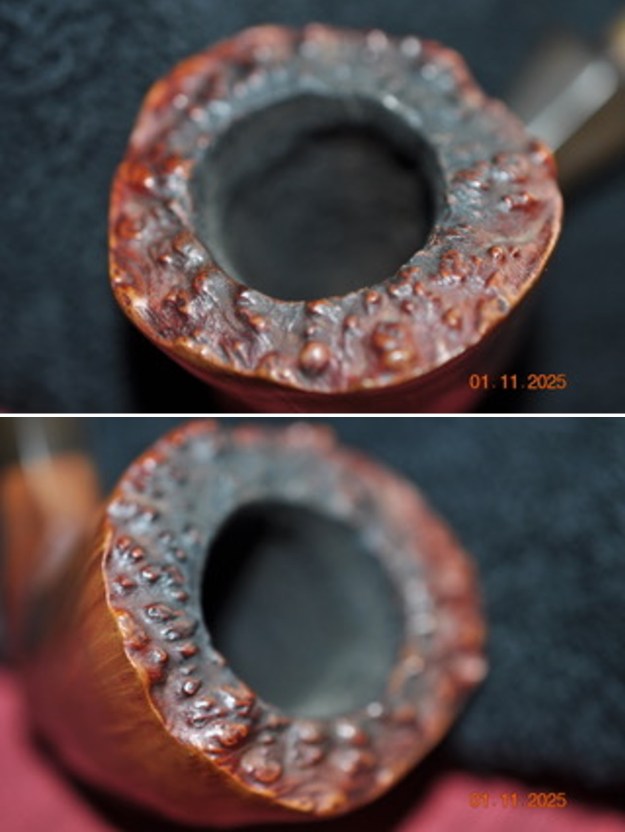
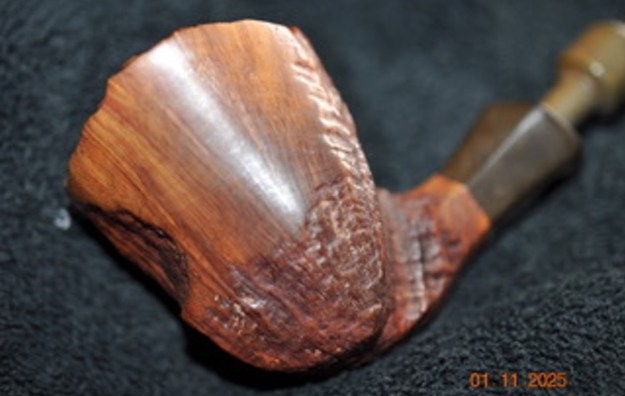
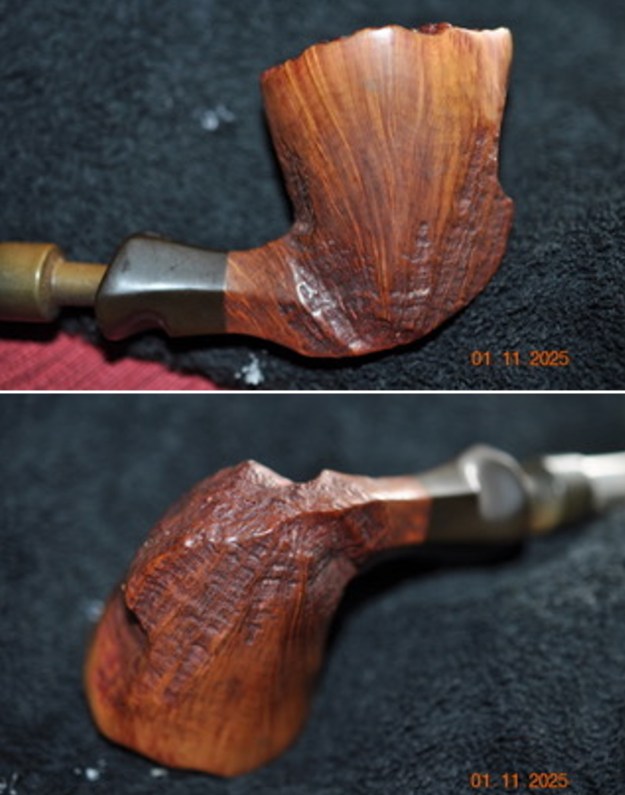
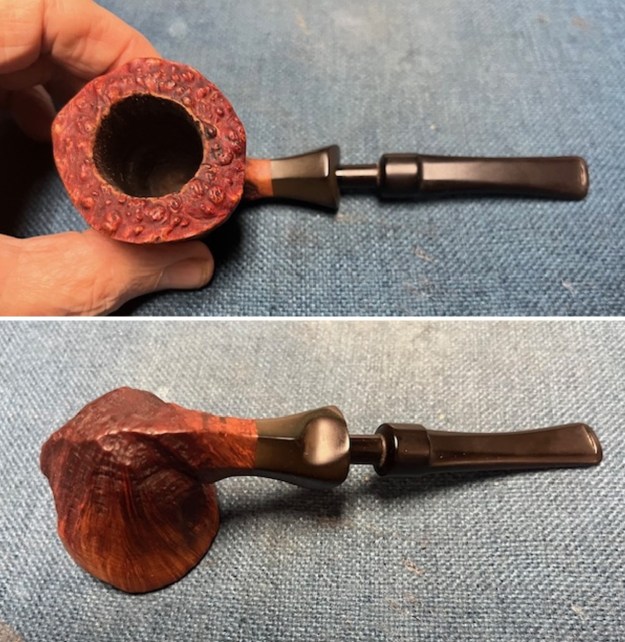
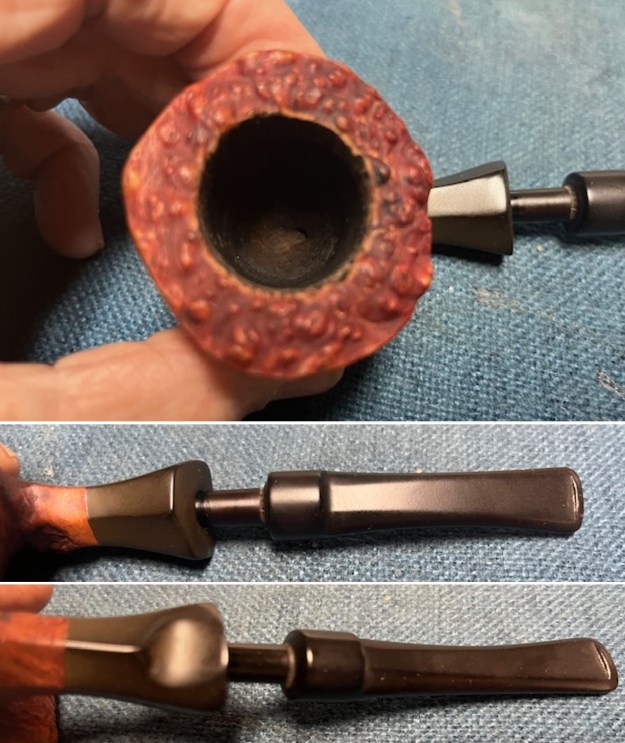
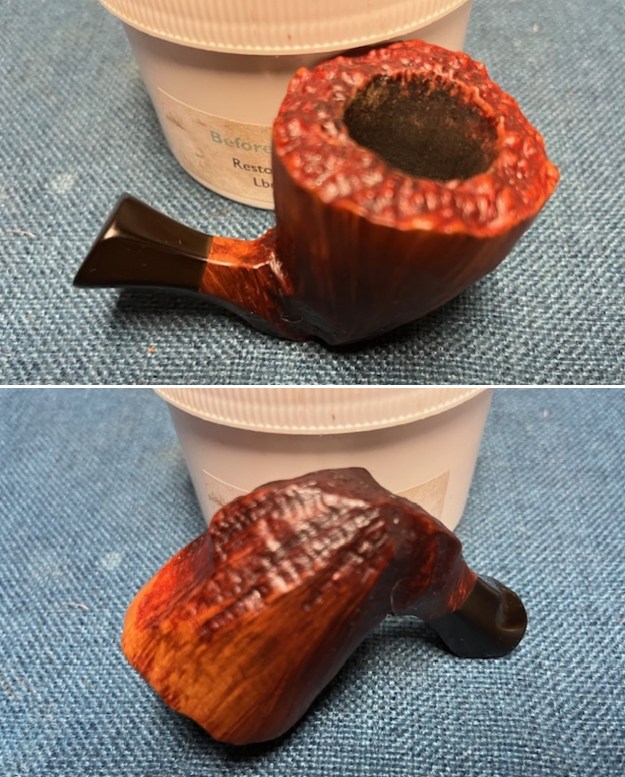
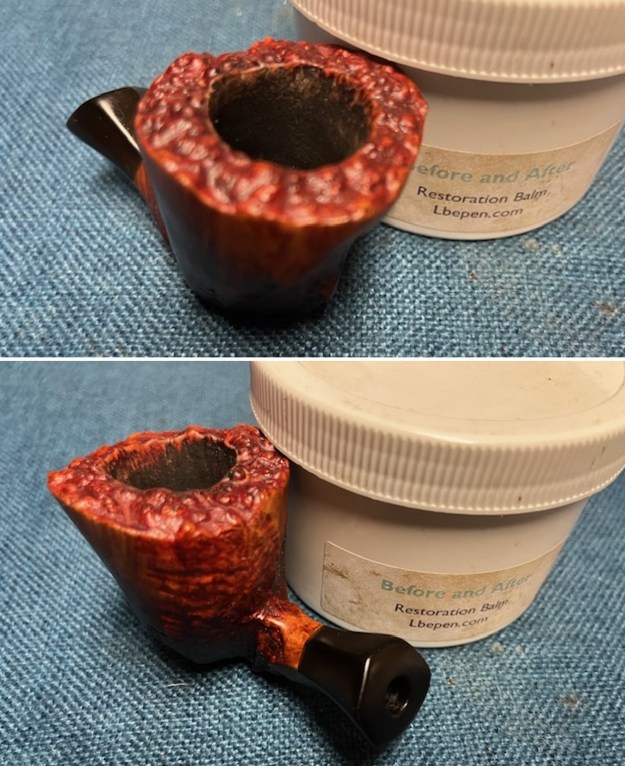
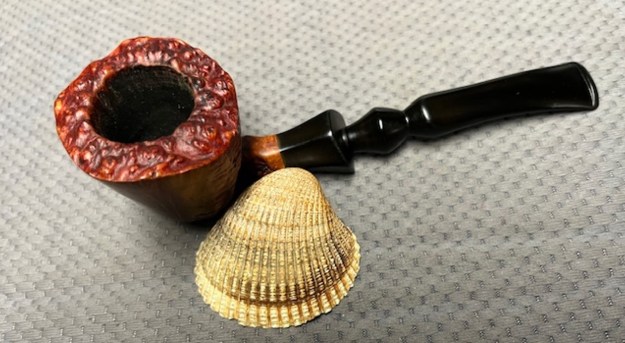
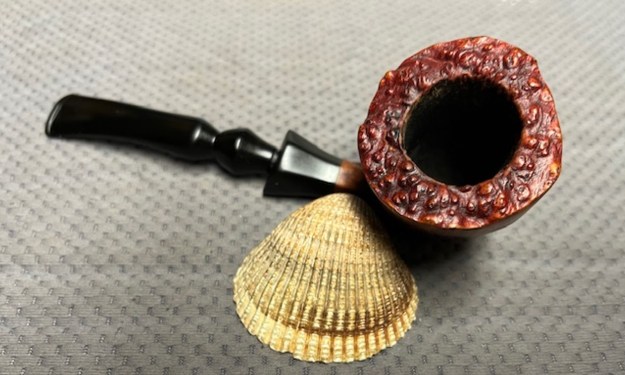
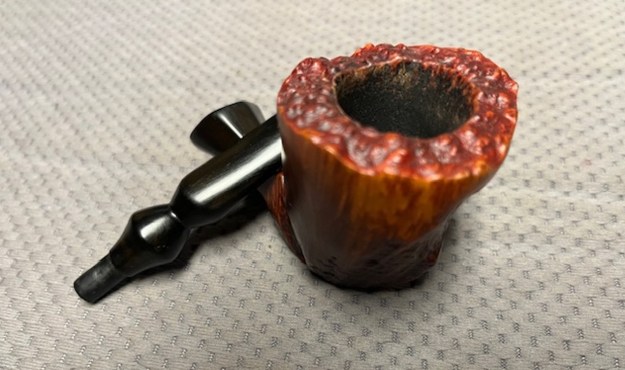
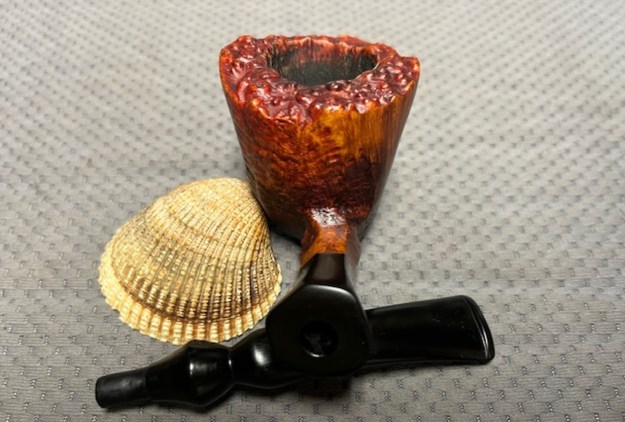
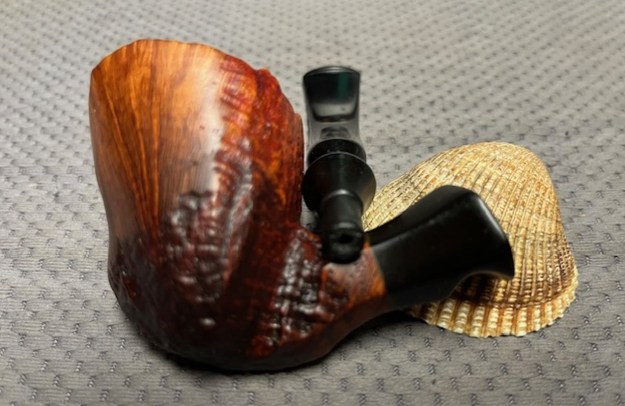
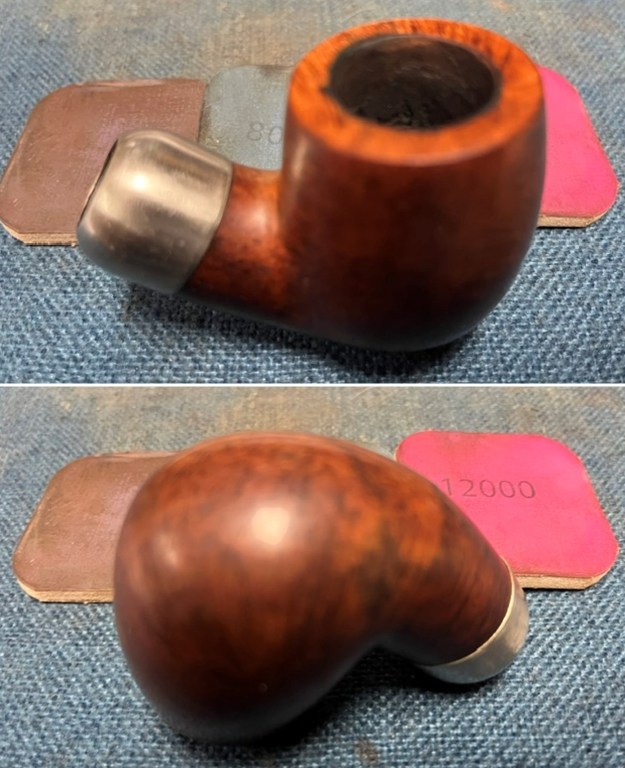
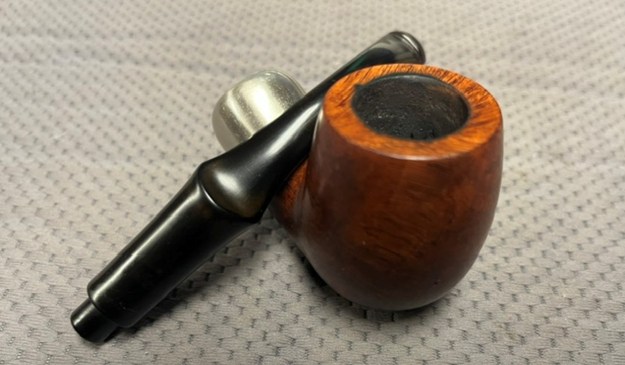
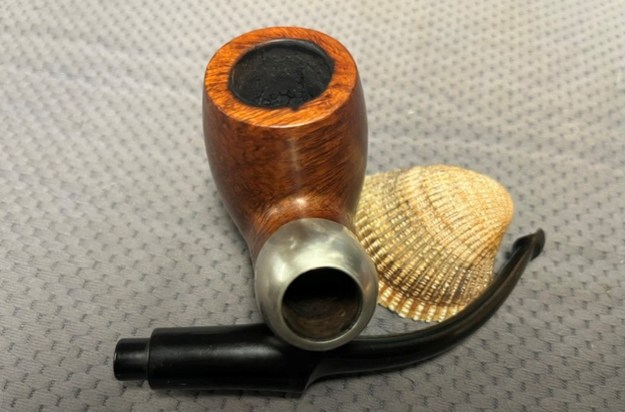
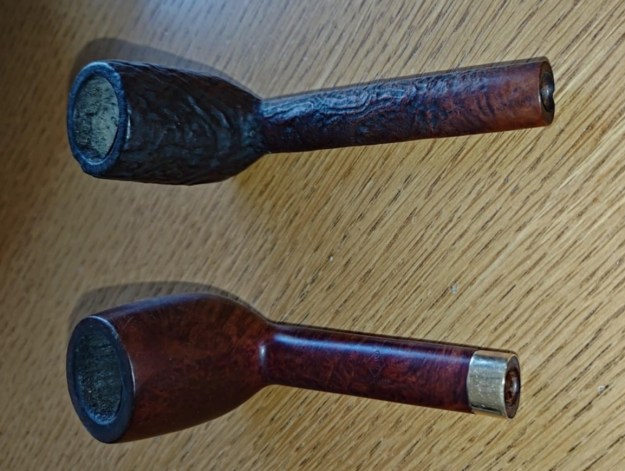
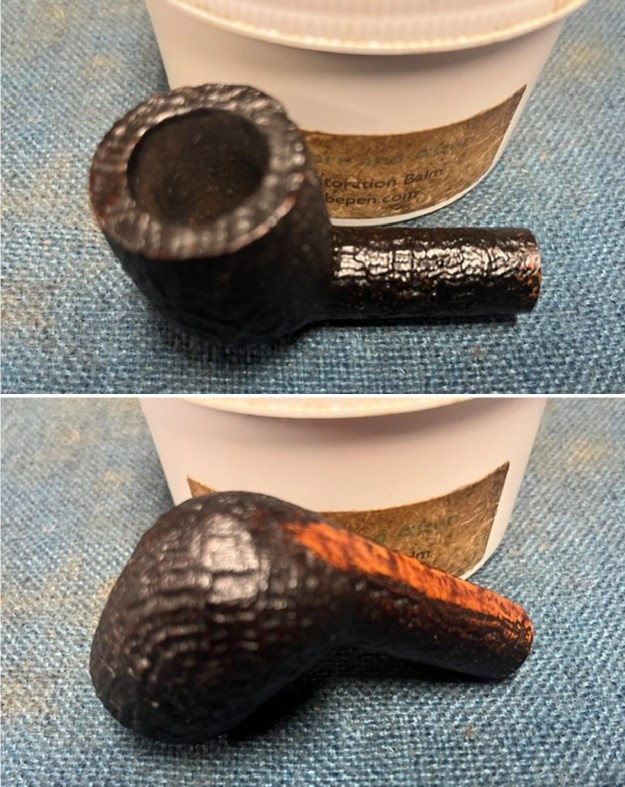
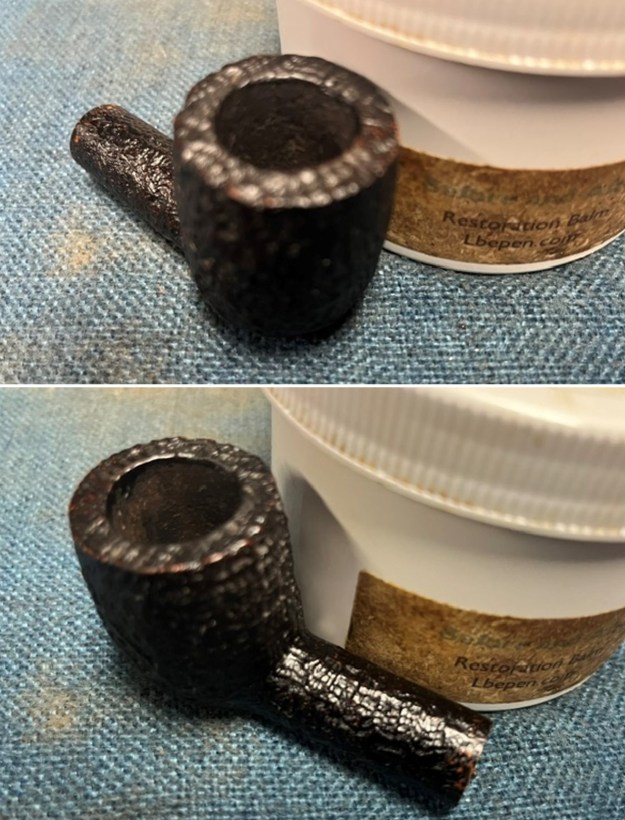
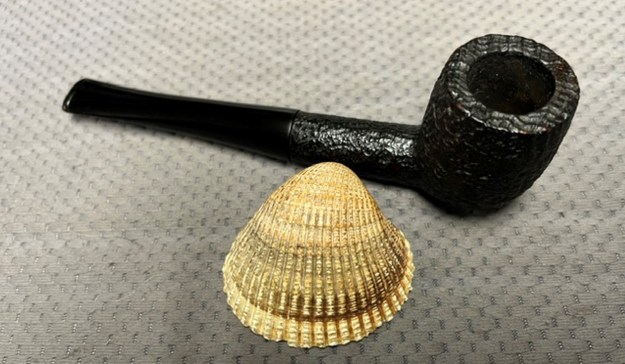
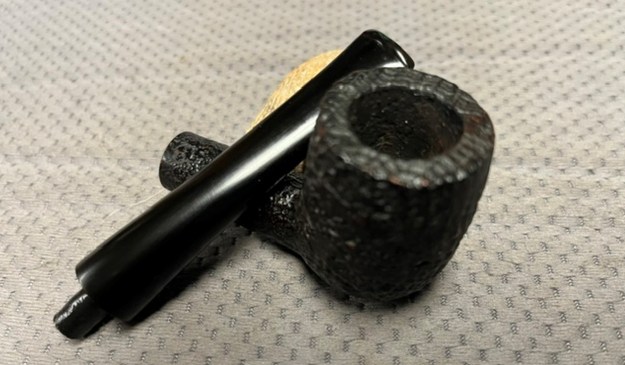
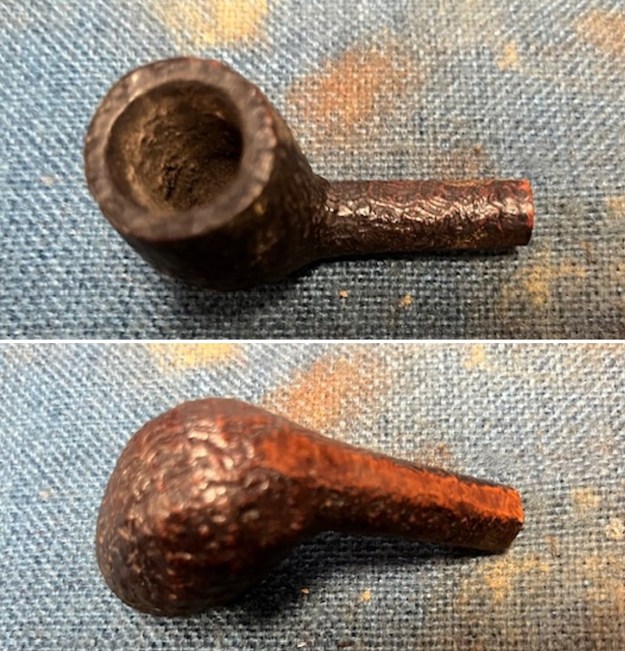
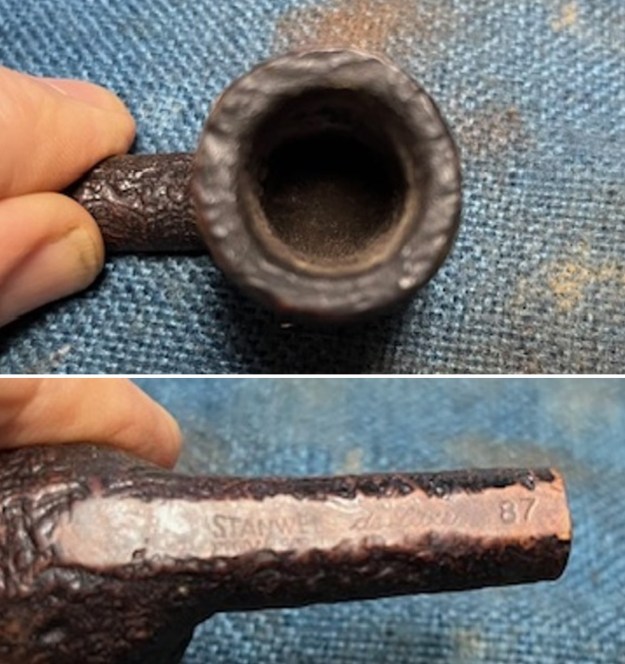
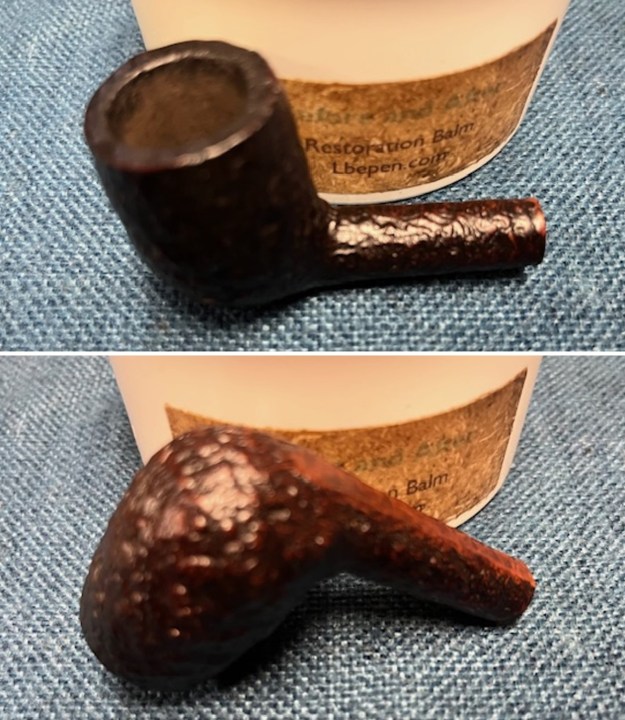
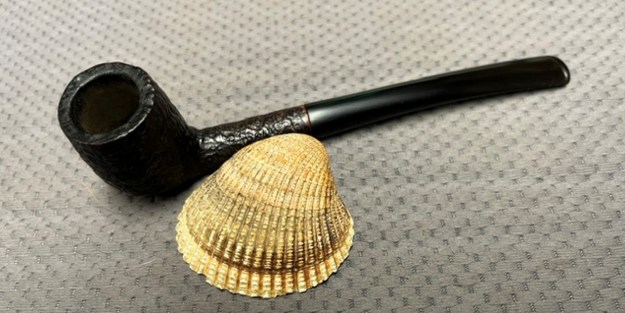
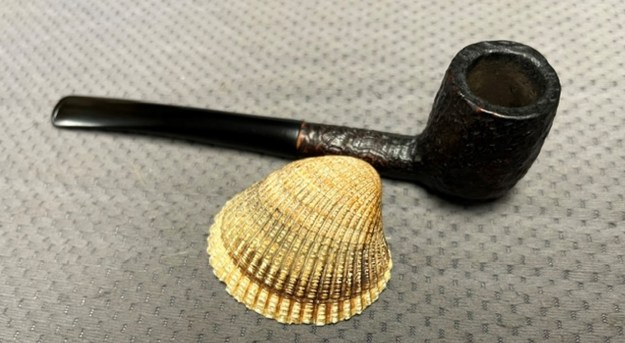
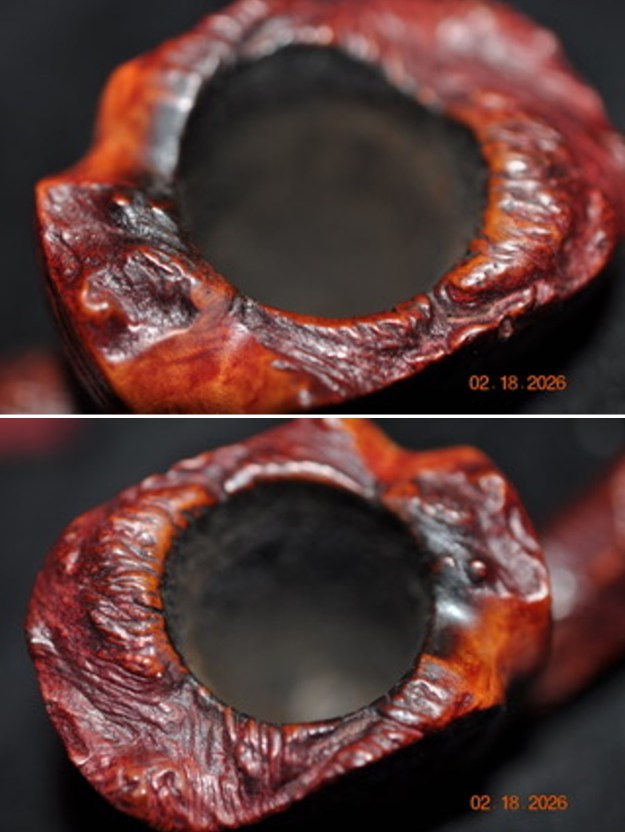
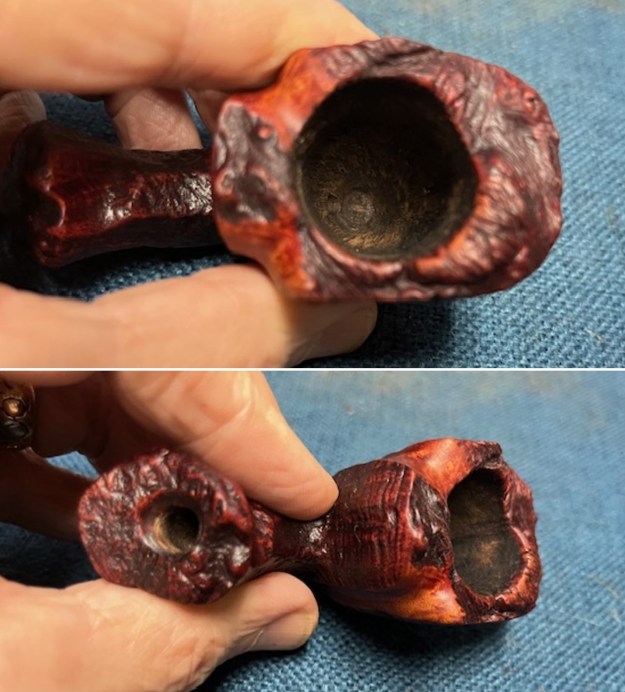
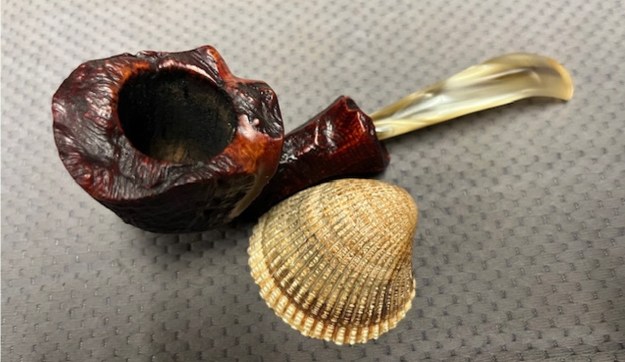
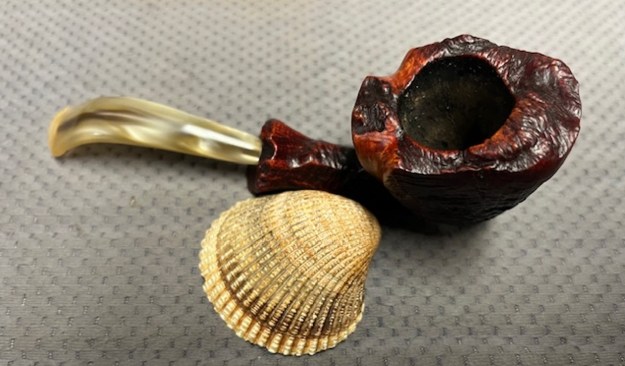
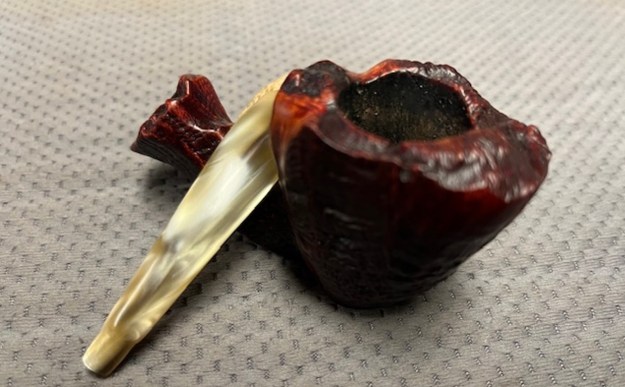
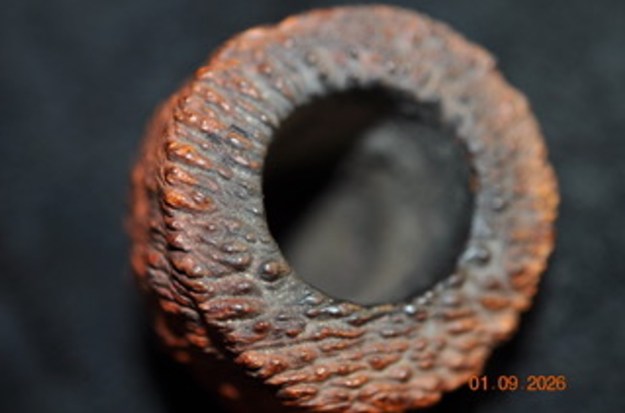
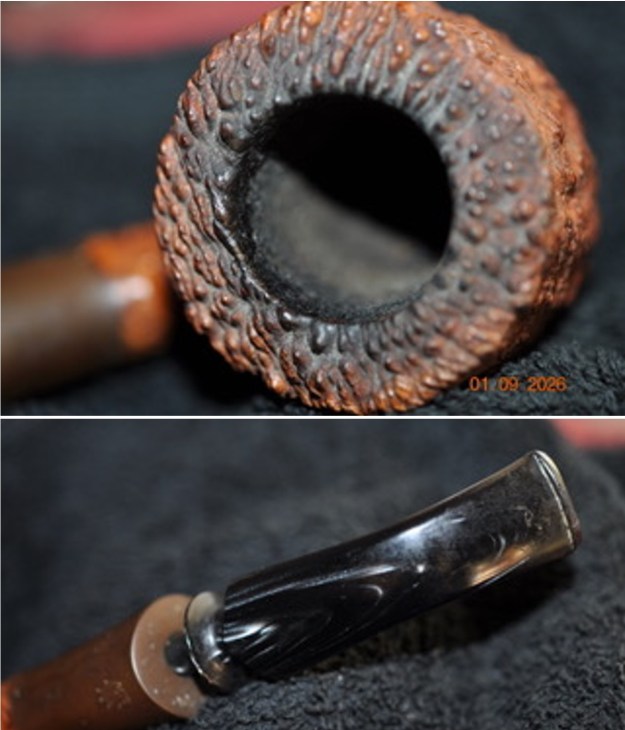
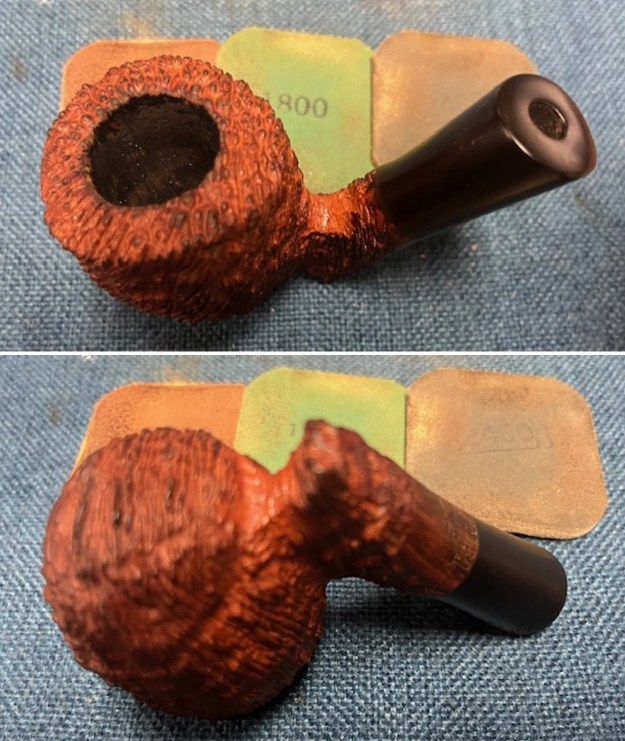
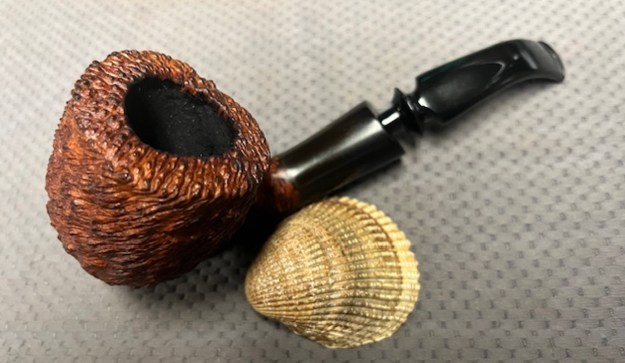
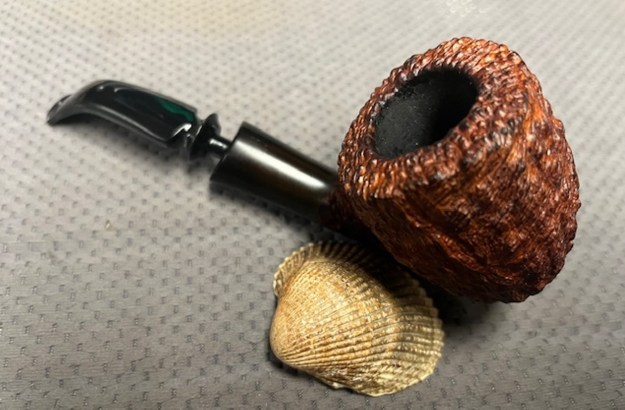
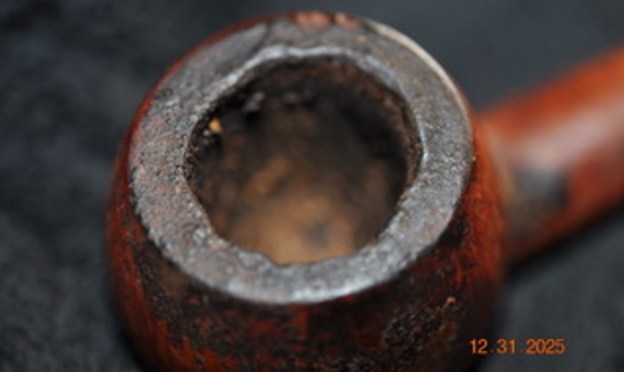
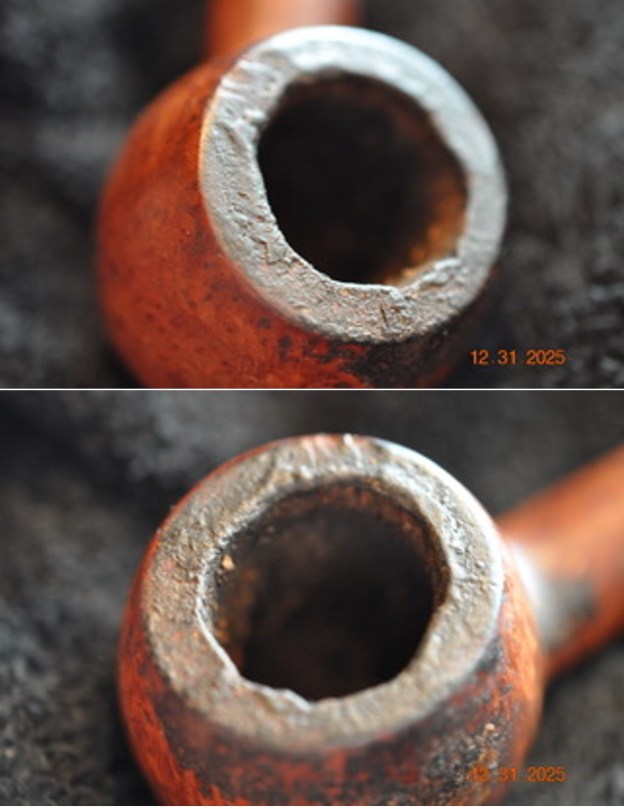
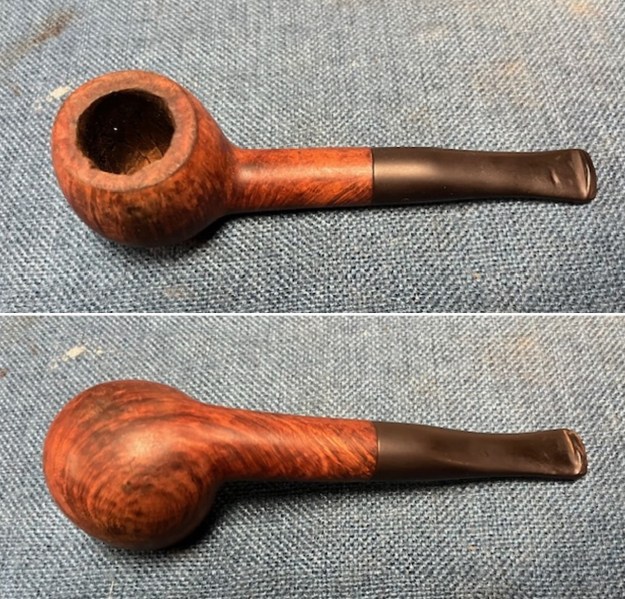
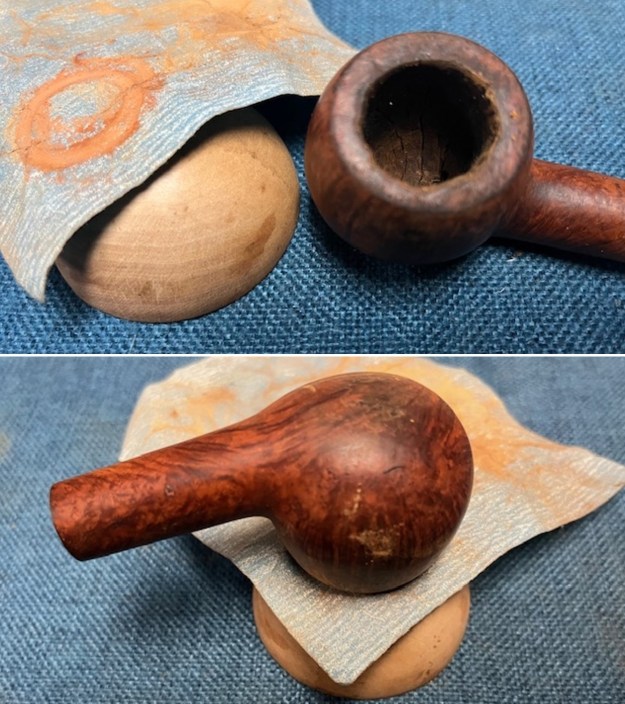
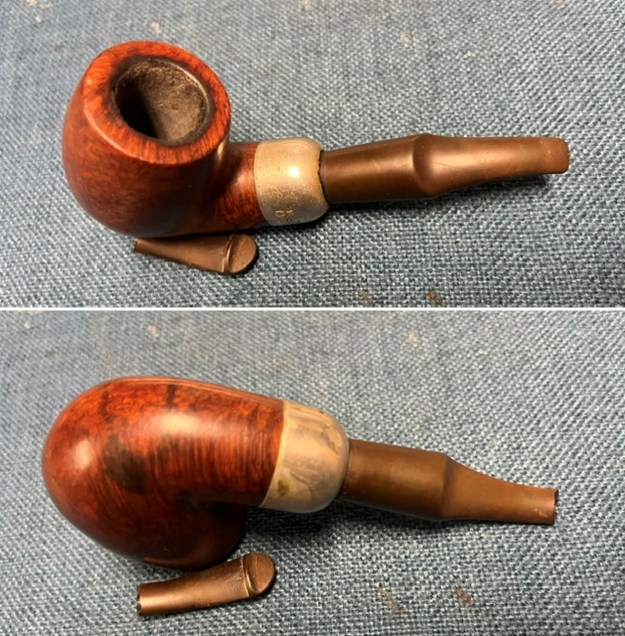 I took photos of the bowl and rim top to show the cake in the bowl and the light lava build up on the top of the rim and the edges of the bowl. The rim top and edges look very good. Only clean up would tell the full story.
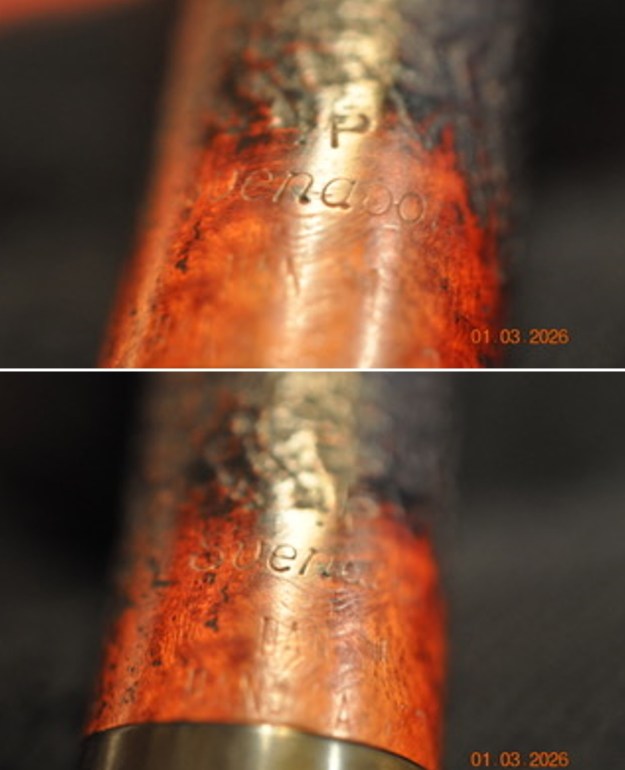
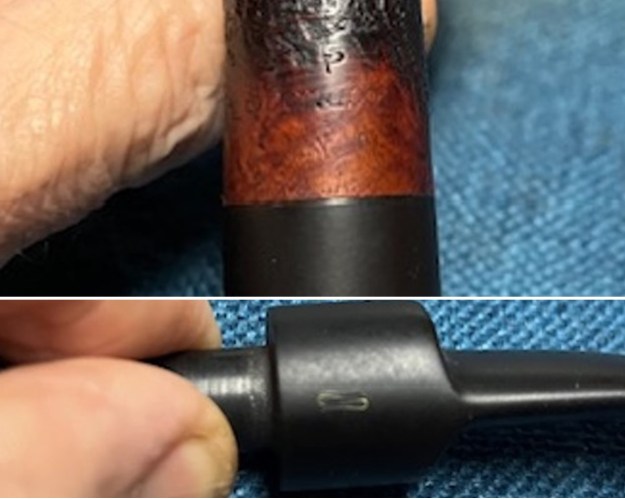
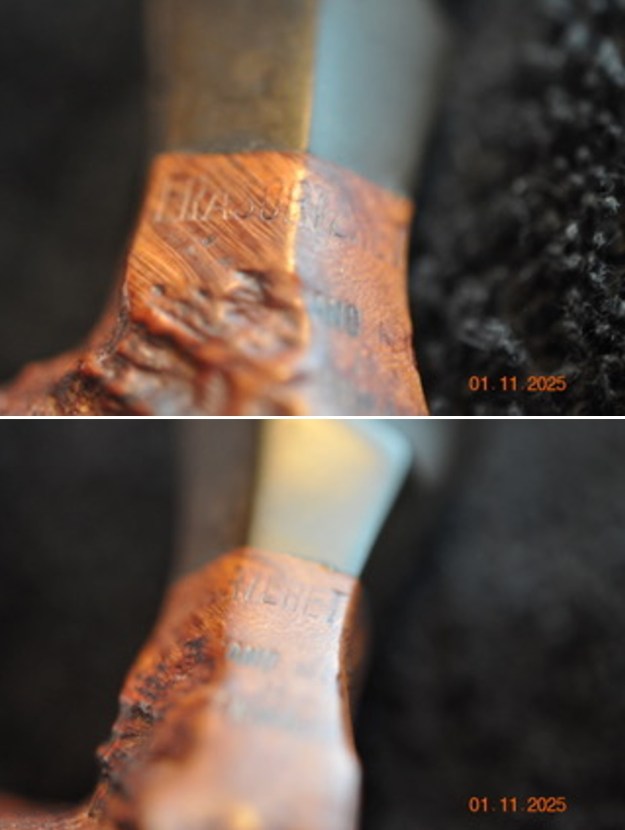
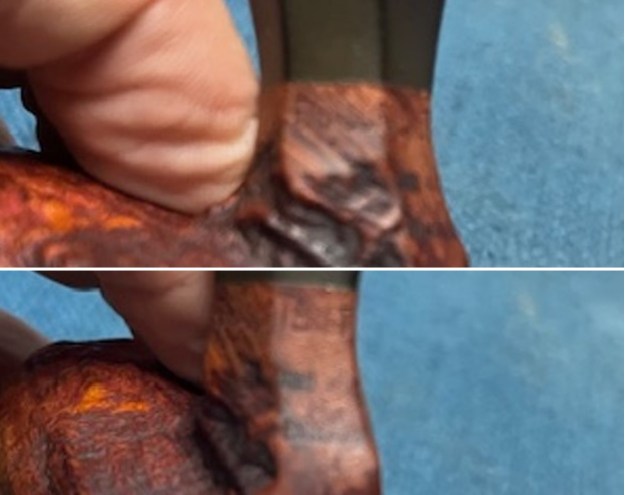
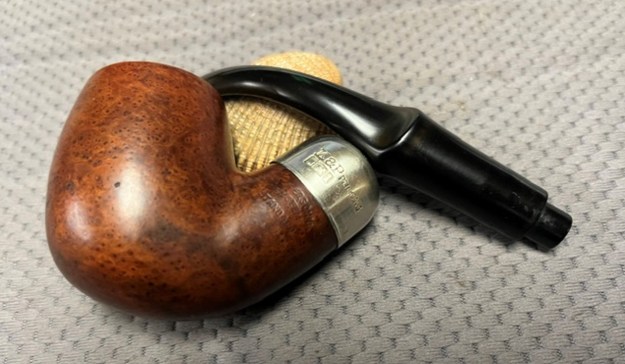
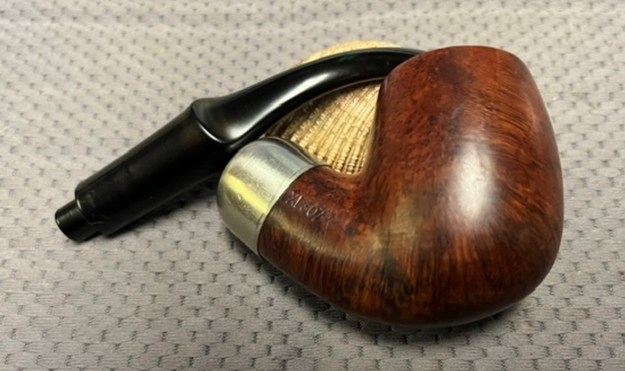
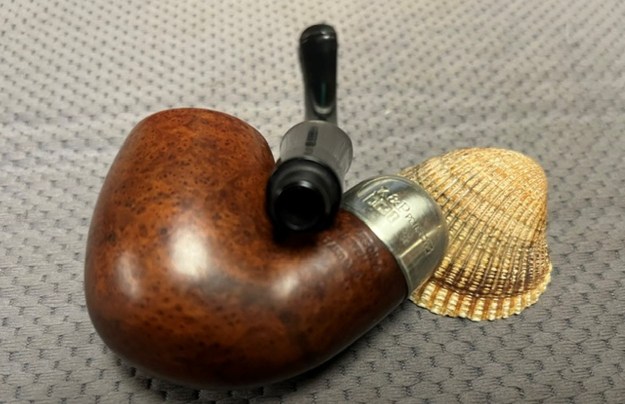
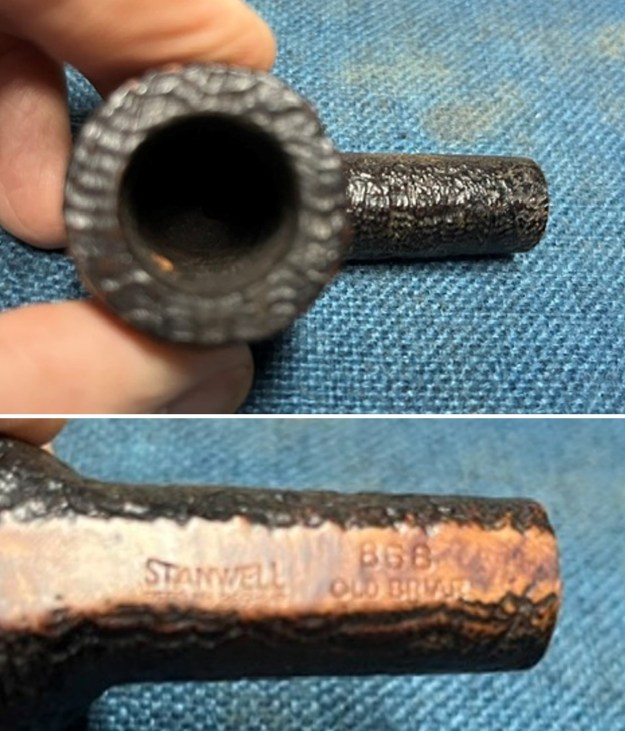
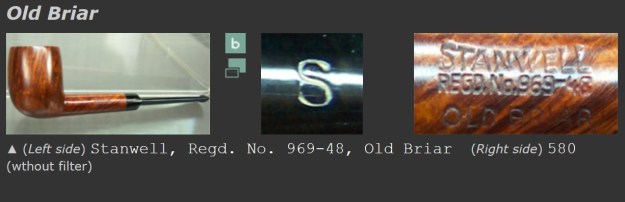
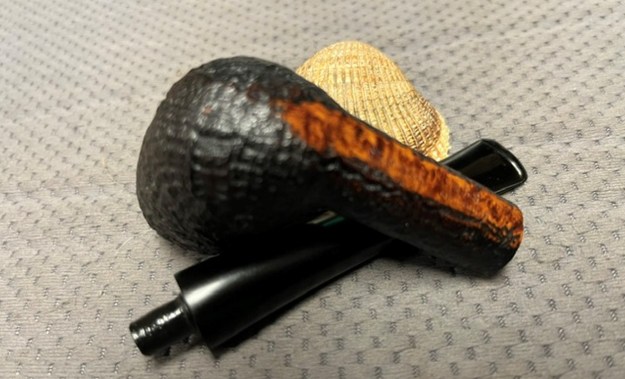
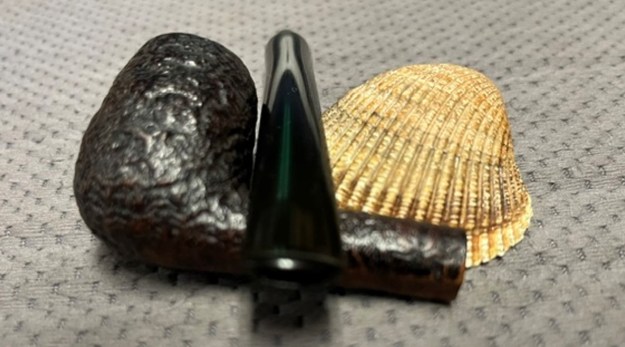
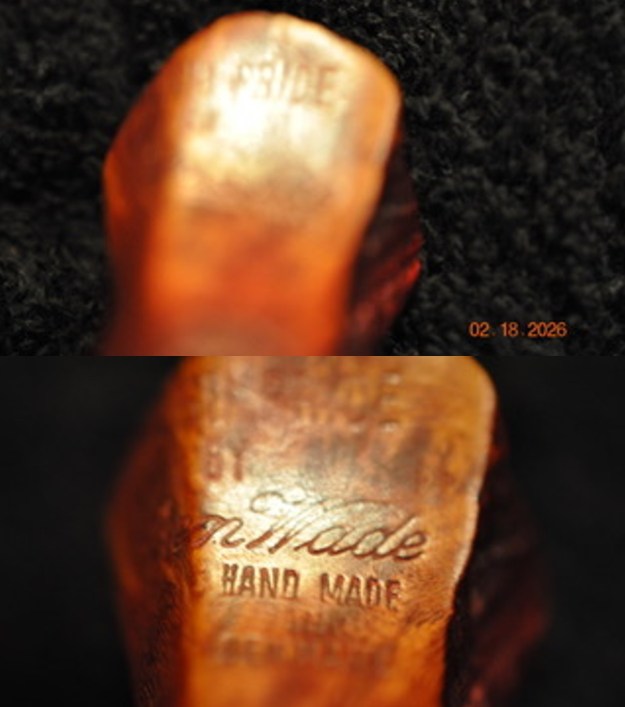
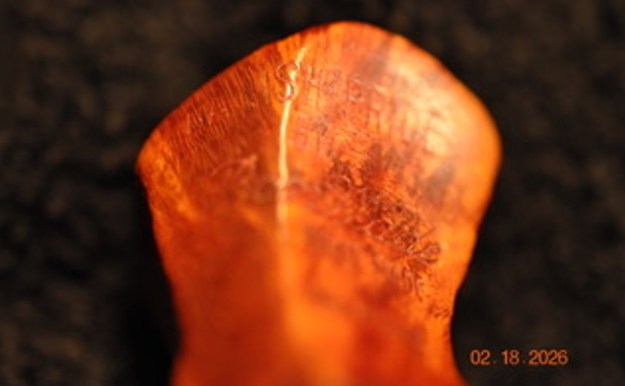
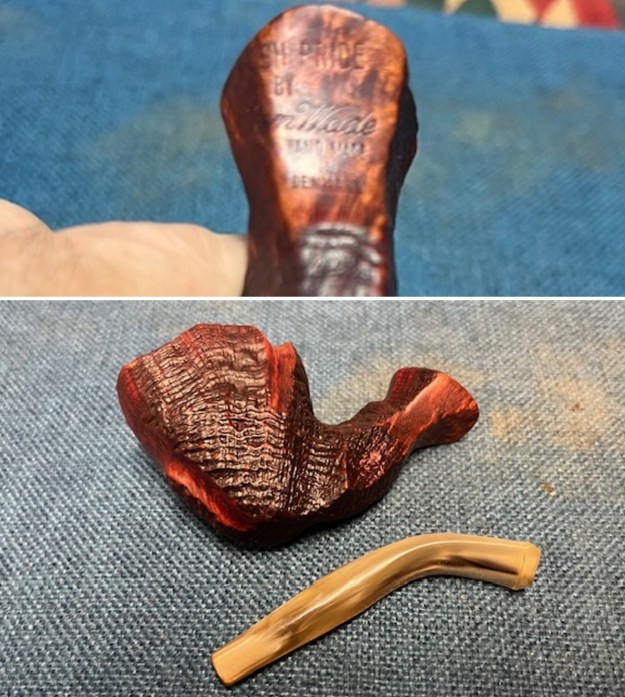
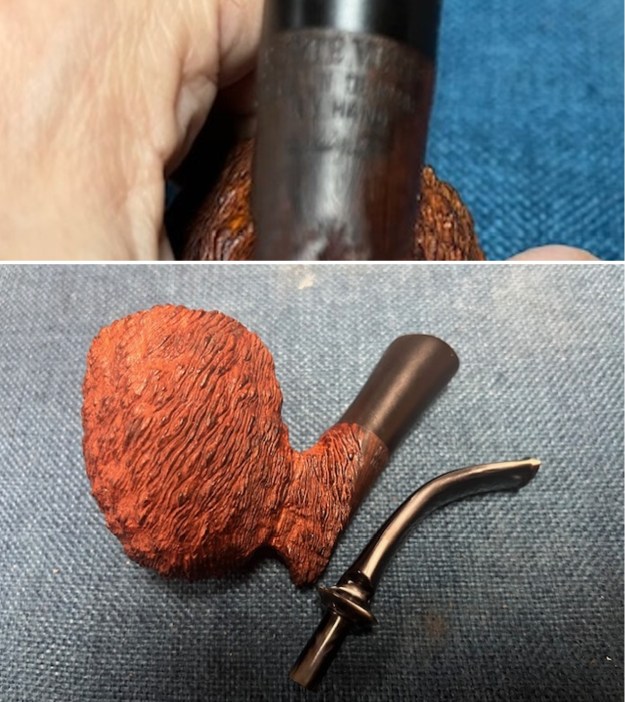
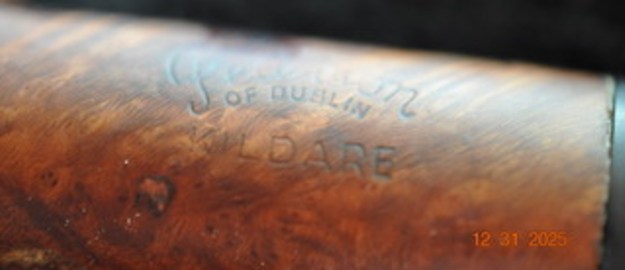
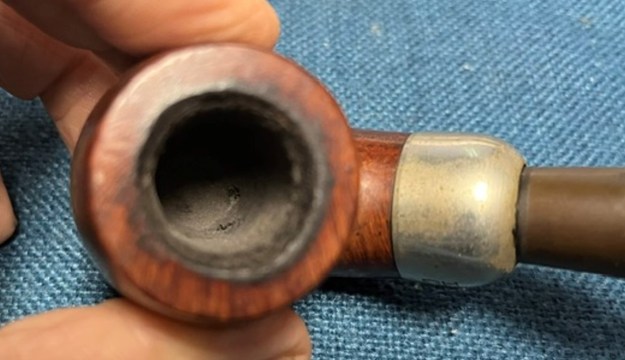 I took photos of the stamping on the sides of the bowl and shank. The stamping was faint in spots but readable as you can see from the photos. It read as noted above. The nickel ferrule on the shank end is stamped on the top and left side K&P Peterson’s over three Peterson marks used on nickel ferrules.
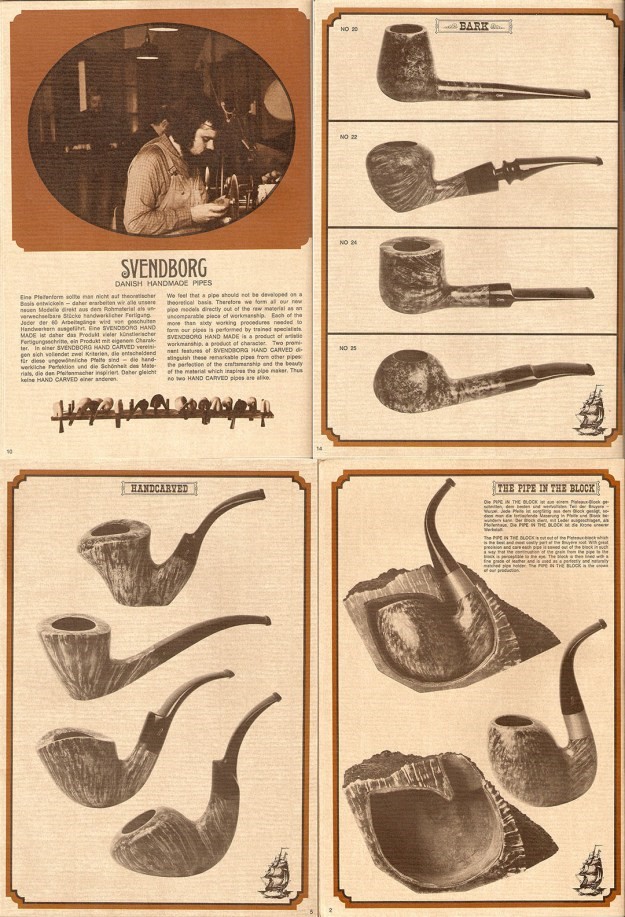
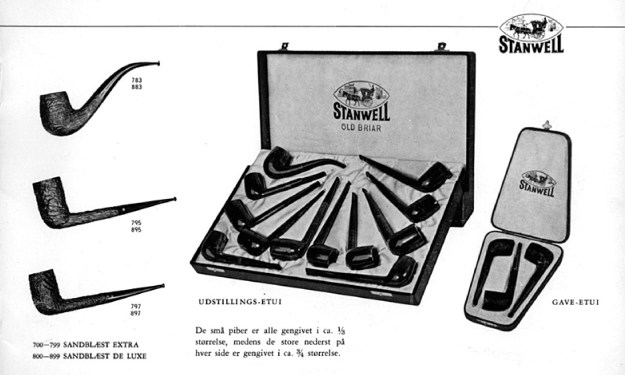
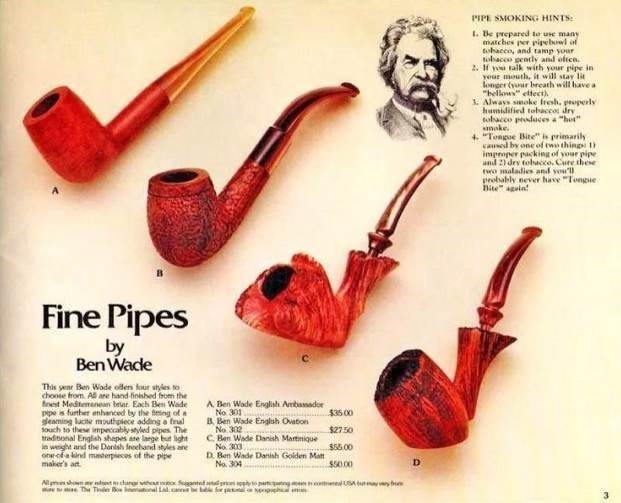
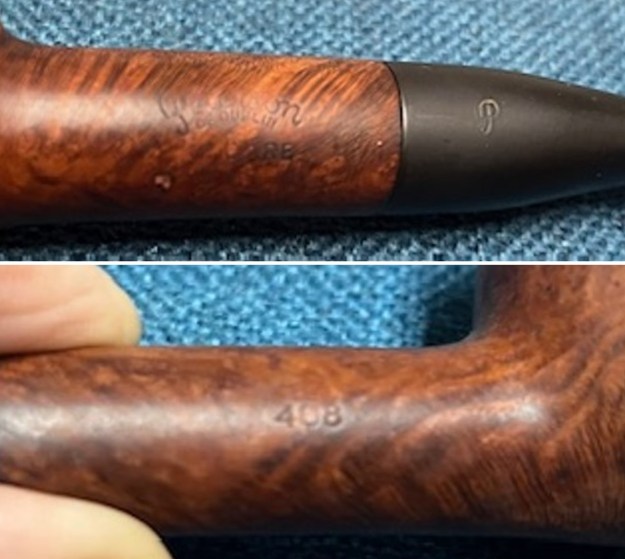
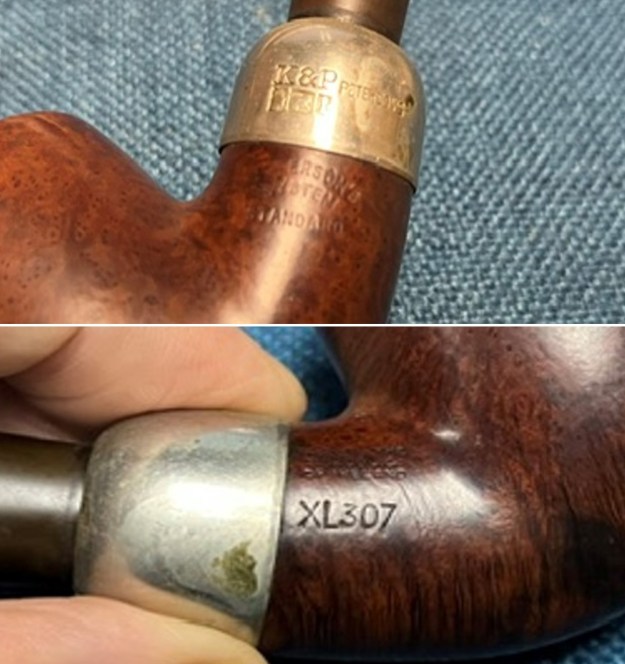 I have included the information on the shape number on this pipe that I picked up on researching the previous pipes. This is the second of two Peterson’s System Standard pipes in Bob’s collection marked with the 307 shape number. I have included a page from a Petersons Catalogue that I have on rebornpipes (https://rebornpipes.com/tag/peterson-hallmark-chart/). I have put a red box around the 307 shown in the catalogue page shown below. That should give a clear picture of the size and shape of the pipe.
 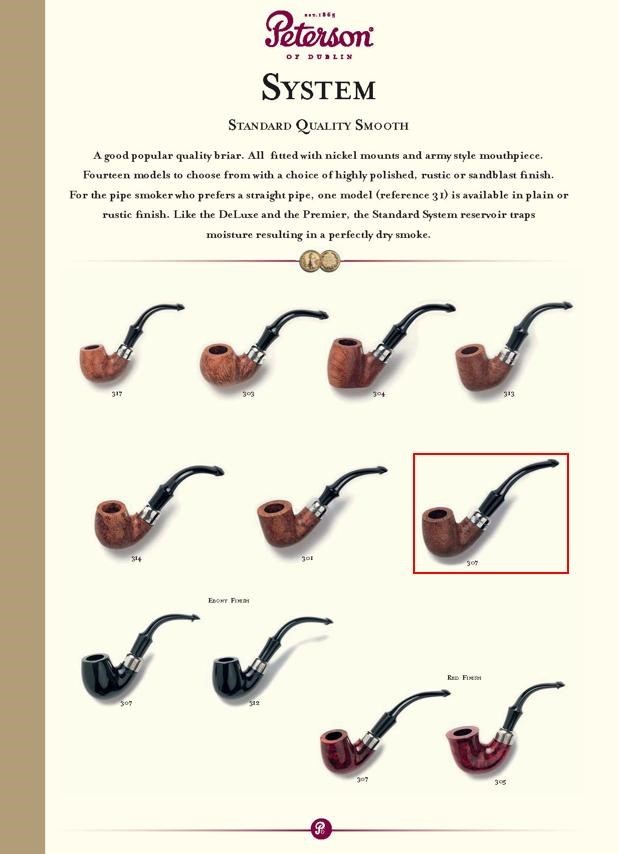 I am also including the information from Pipedia’s article on Peterson pipes. It is a great read in terms of the history of the brand (https://pipedia.org/wiki/Peterson). I have included a bit of the pertinent history here.
1950 – 1989 The Republic Era – From 1950 to the present time, the stamp for this era is “Made in the Republic of Ireland” in a block format generally in three lines but two lines have been used with or without Republic being abbreviated.
During the 1950’s and 60’s the Kapp & Peterson company was still in the ownership of the Kapp family. However 1964 saw the retiral of the company Managing Director Frederick Henry(Harry) Kapp.
Pipedia also included a section of information on the System pipes including a diagram of the systems look (https://pipedia.org/wiki/Peterson#Republic_Era_Pipes). I quote a section of the article in part and include a link to another article on Pipedia on the System pipe.
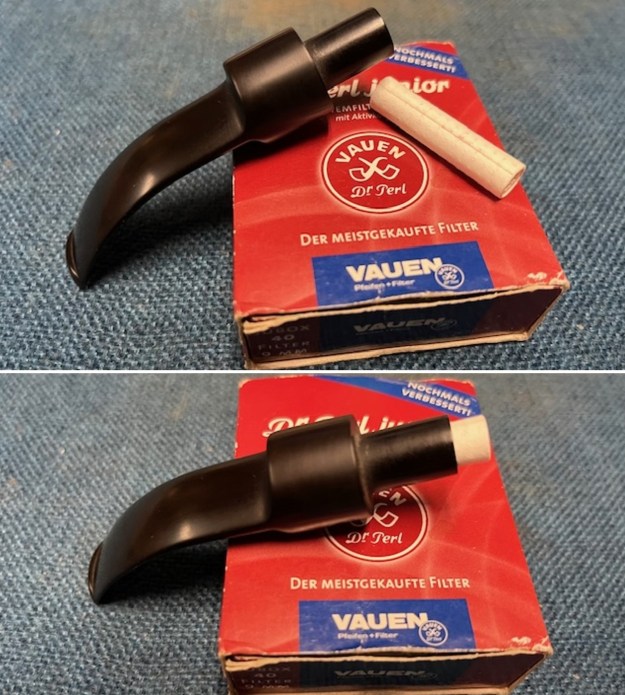
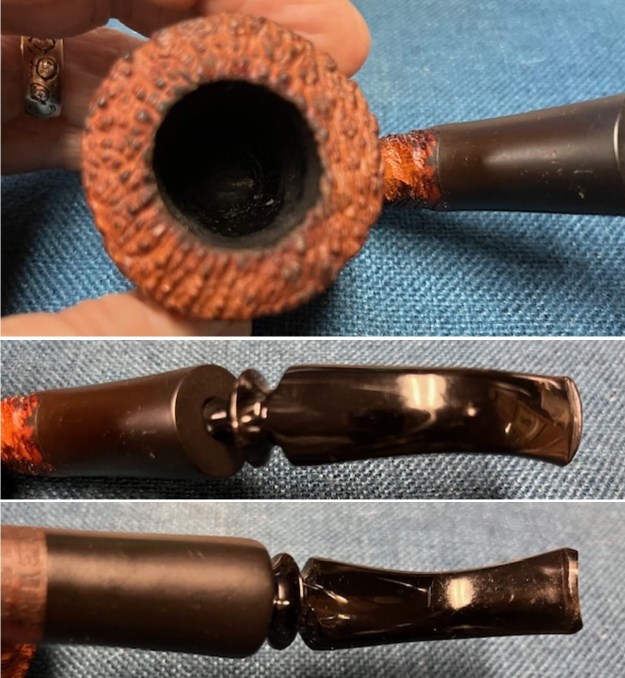
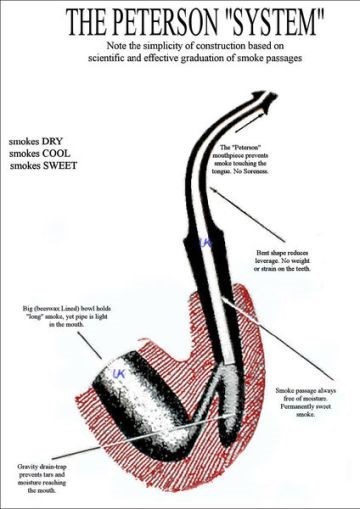 The Peterson System pipes are the standard bearers of the Peterson pipe family, famous for the excellent smoking pleasure they provide. Often imitated but never equaled, the Peterson System smokes dry, cool and sweet, thanks to the scientific effectiveness of the original design. The heart of the System is the unique graduated bore in the mouthpiece. This makes the suction applied by the smoker 15 times weaker by the time it reaches the tobacco chamber. The result is that all the moisture flows into the reservoir and, thus cannot reach the smoker’s mouth. The Peterson Lip further enhances the effectiveness of the graduated bore by directing the flow of smoke upwards and away from the tongue. This achieves a uniquely even distribution of smoke and virtually eliminates any chance of tonguebite or bitterness. Furthermore, the shape is contoured so that the tongue rests comfortably in the depression under the opening. Each “PLip” mouthpiece is made from Vulcanite. For the Peterson System pipes to work properly, the stem/tenon has to have an extension, the tip of which will pass by the draft hole from the bowl and into the sump. Upon the smoker drawing in smoke, this extension then directs the smoke down and around the sump to dispense a lot of the moisture before the smoke enters the extension and stem. On the System Standards and other less expensive systems, this extension with be made of Vulcanite turned integrally with the stem. On the more expensive System pipes this extension will be made of metal which screws into the Vulcanite stem. This extension on the earlier pipes will be of brass and the newer pipes will be of aluminium. Most smokers not knowing this function of the metal extension, assumes that it is a condenser/stinger and will remove it as they do with the metal condensers of Kaywoodie, etc. Should you have a System pipe with this metal extension, do not remove it for it will make the System function properly and give you a dryer smoke (https://pipedia.org/wiki/A_closer_look_at_the_famous_Peterson_Standard_System_Pipe).
With that information in hand I knew what I was dealing with in terms of the stamping and the age of this pipe. I knew from the information that the pipe was made during the Republic Era between 1950 and 1989. My guess is that the pipes is a 1960s era System pipe. Now it was time to work on the pipe.
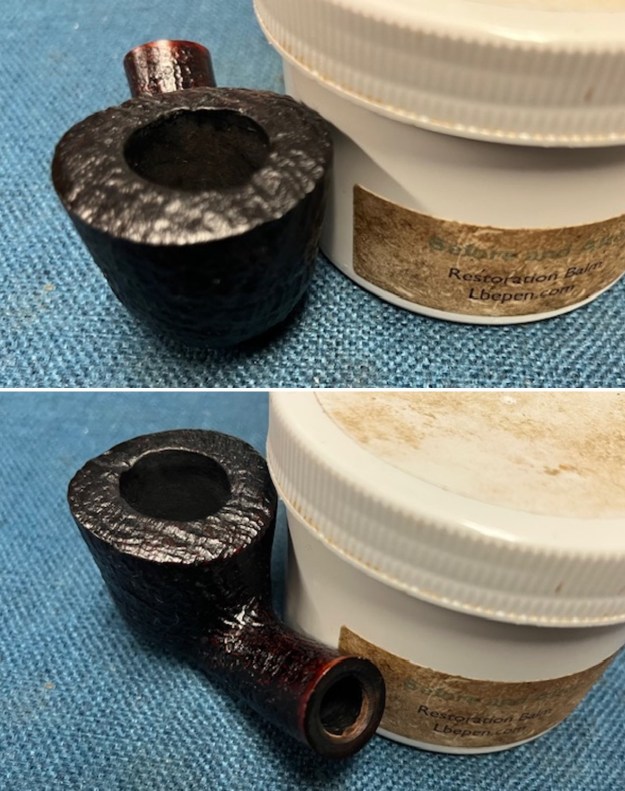
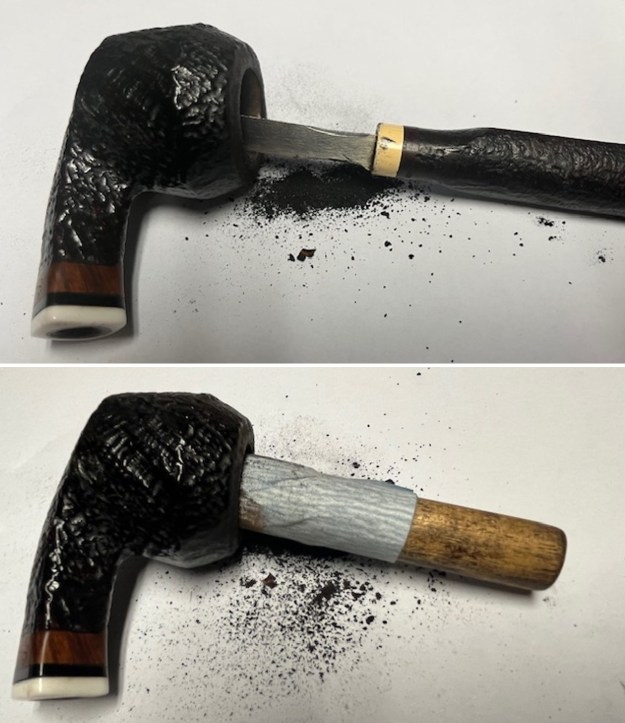
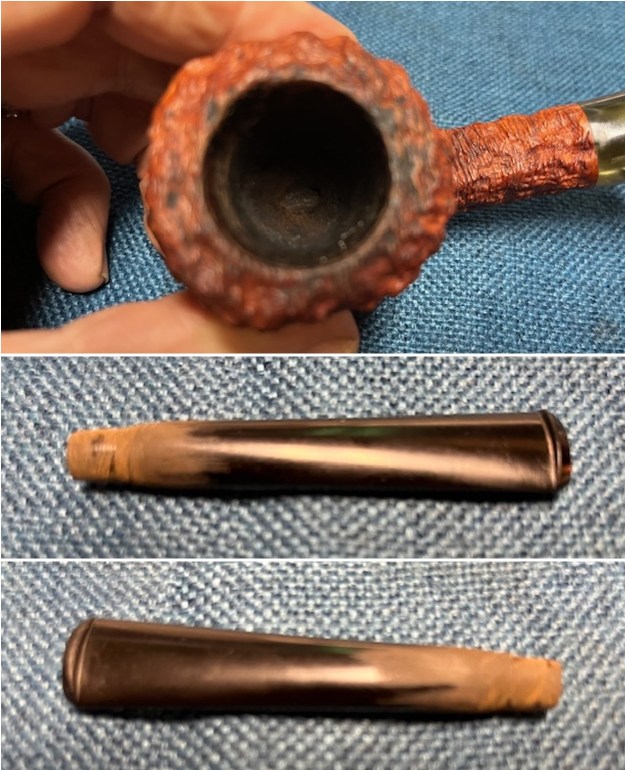
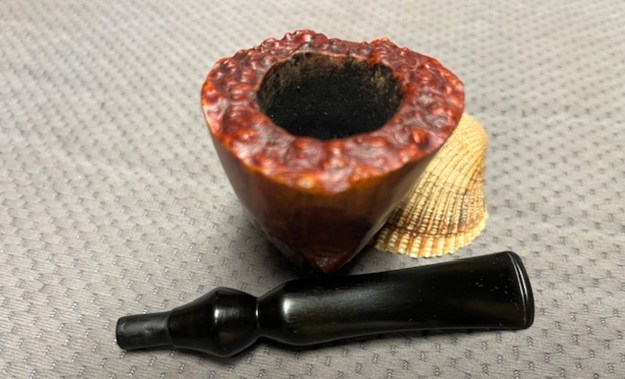
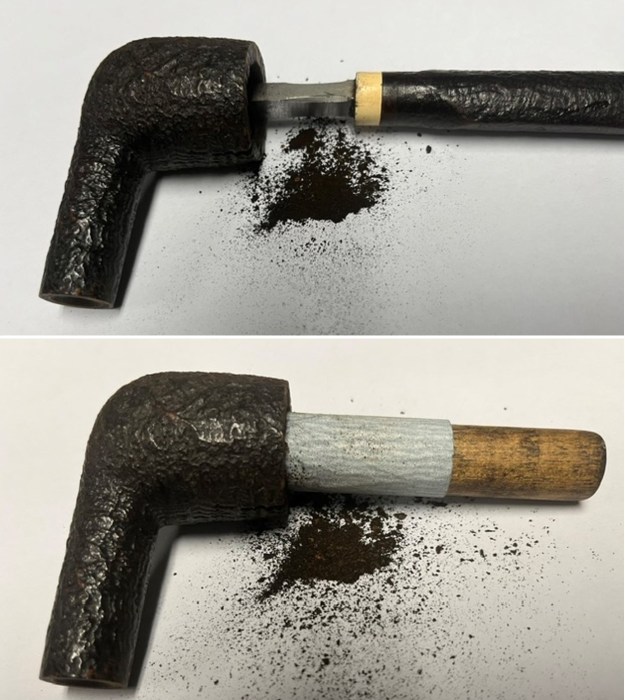
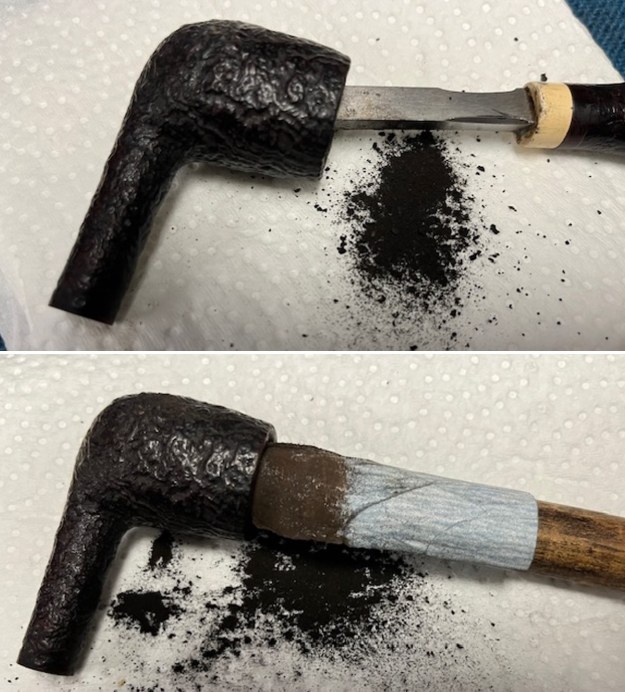
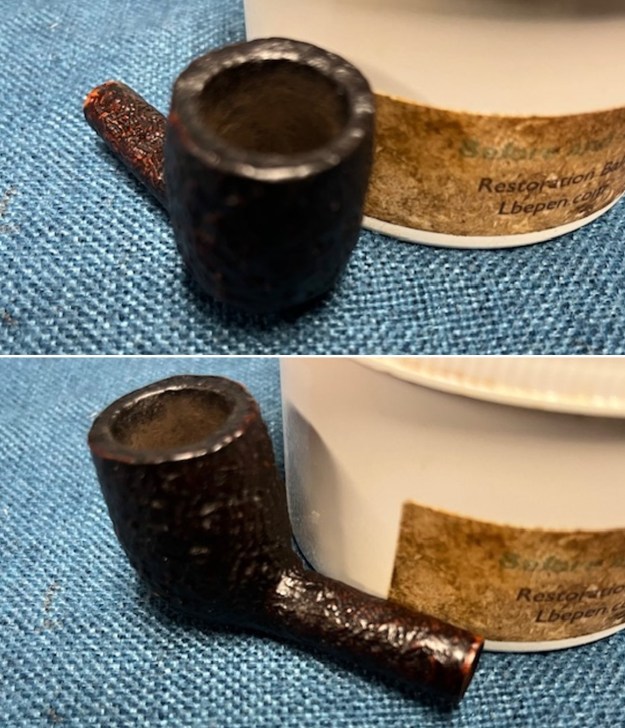
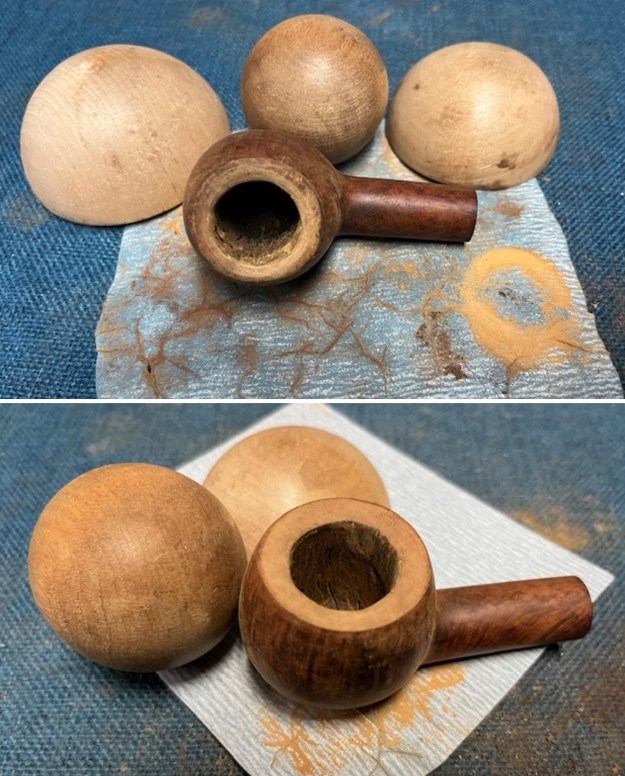
I started with the bowl and reamed it with a PipNet pipe reamer and cleaned up the reaming with a Savinelli Fitsall Pipe Knife. I took the cake back to bare briar. I sanded the walls with 220 grit sandpaper wrapped around a piece of dowel.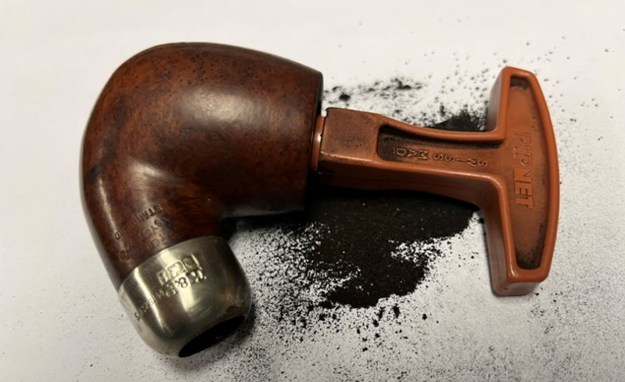
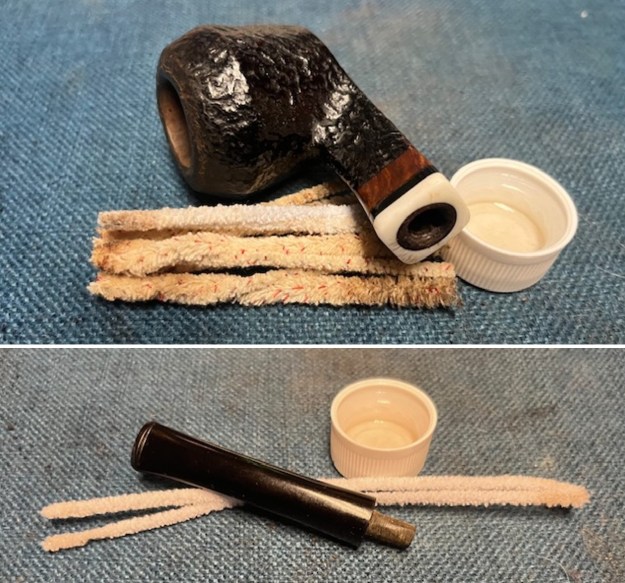
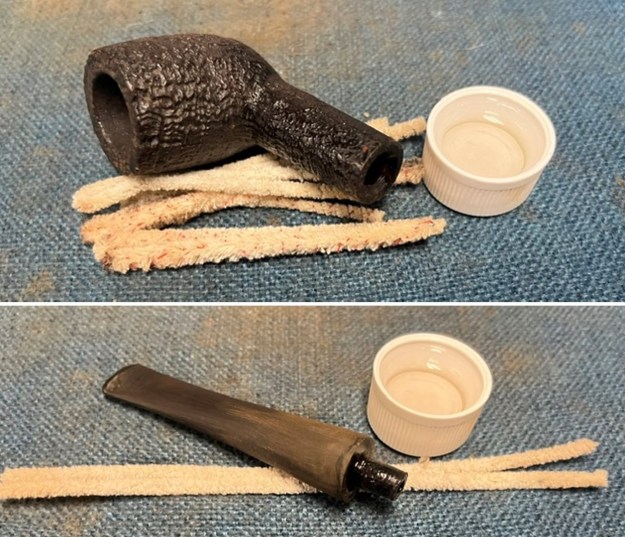
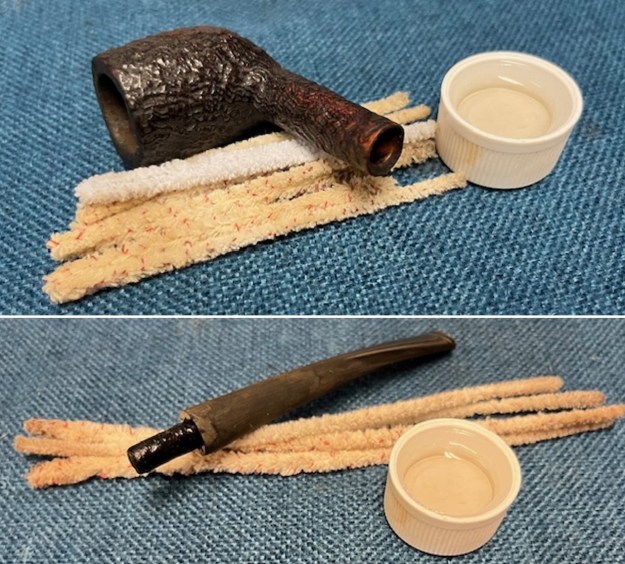
 I scrubbed out the internals of the bowl, sump and shank with alcohol, pipe cleaners and cotton swabs until the pipe was clean. I also cleaned up the inside of the stem at the same time. It was ready for the rest of the restemming process.
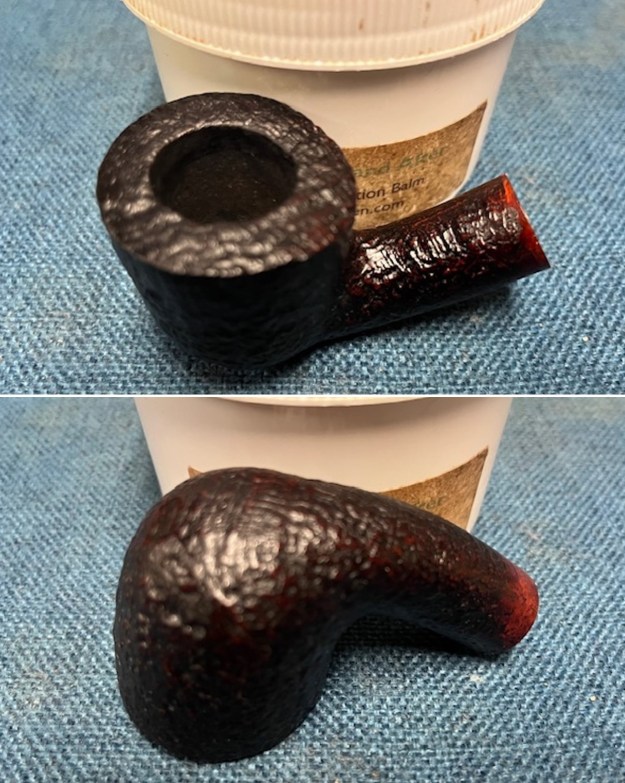
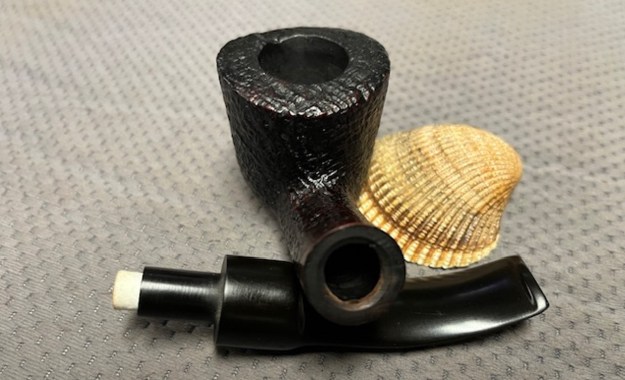
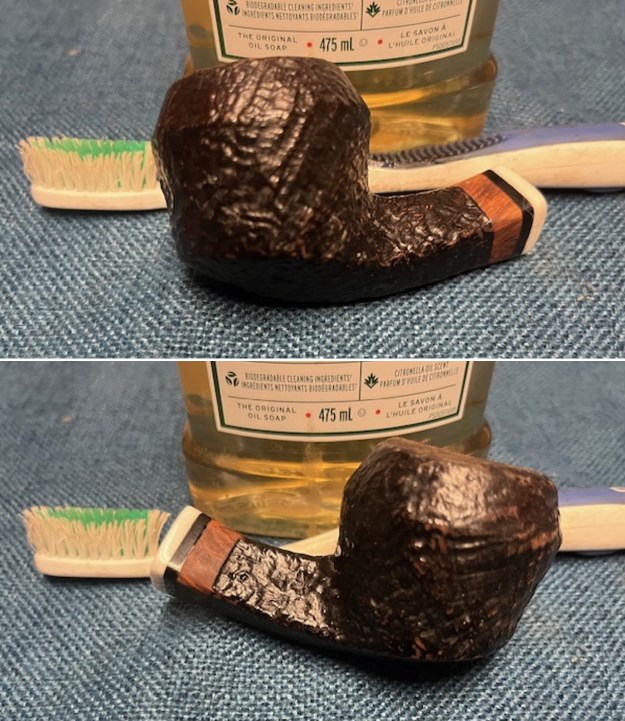
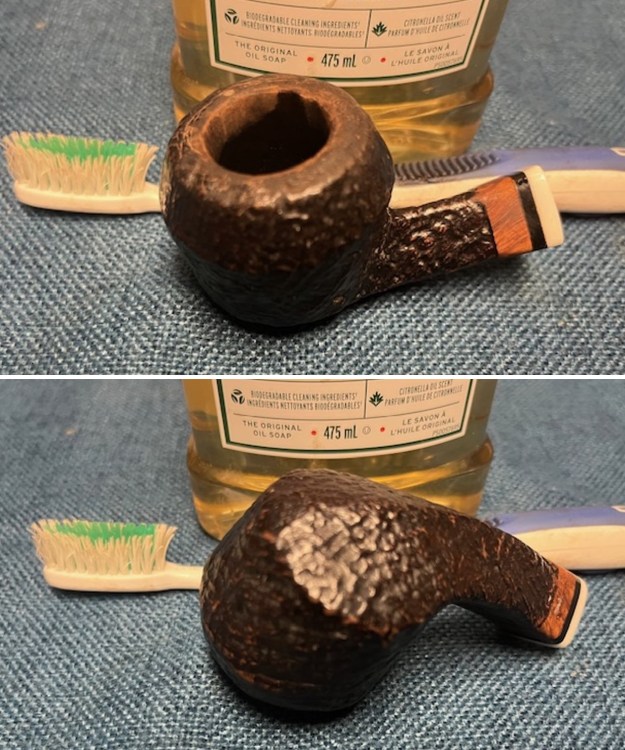
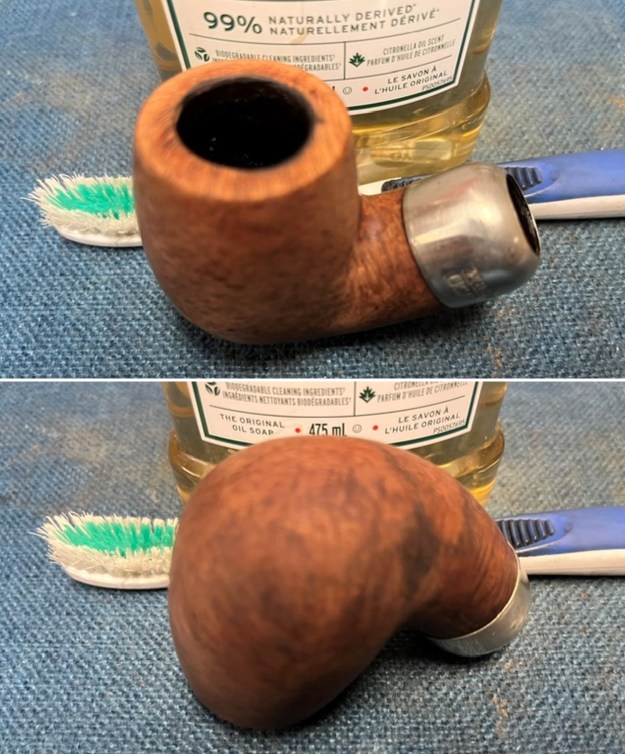
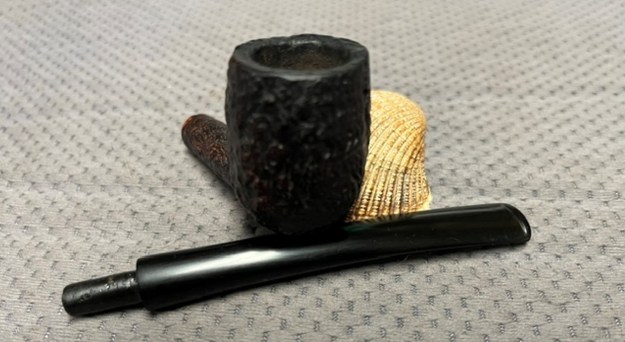
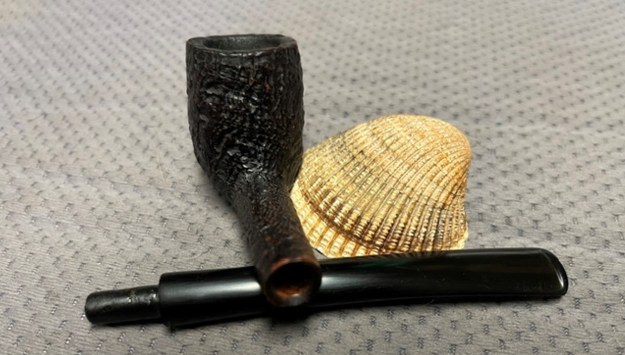
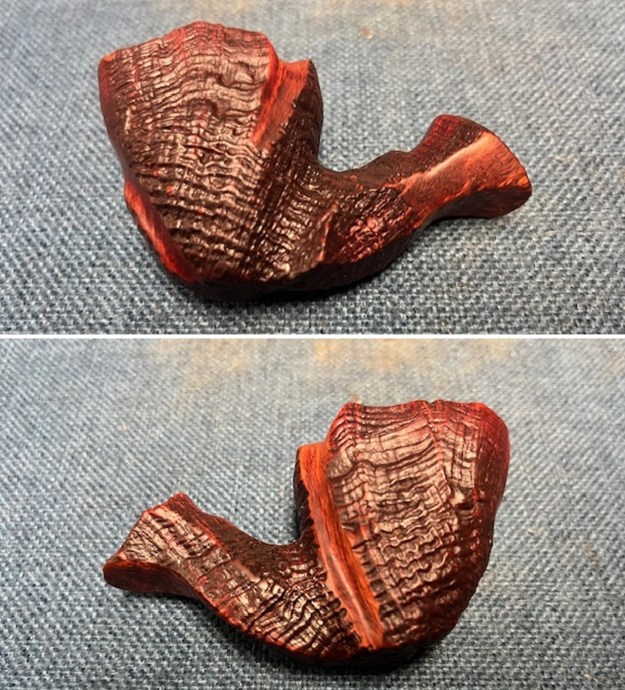
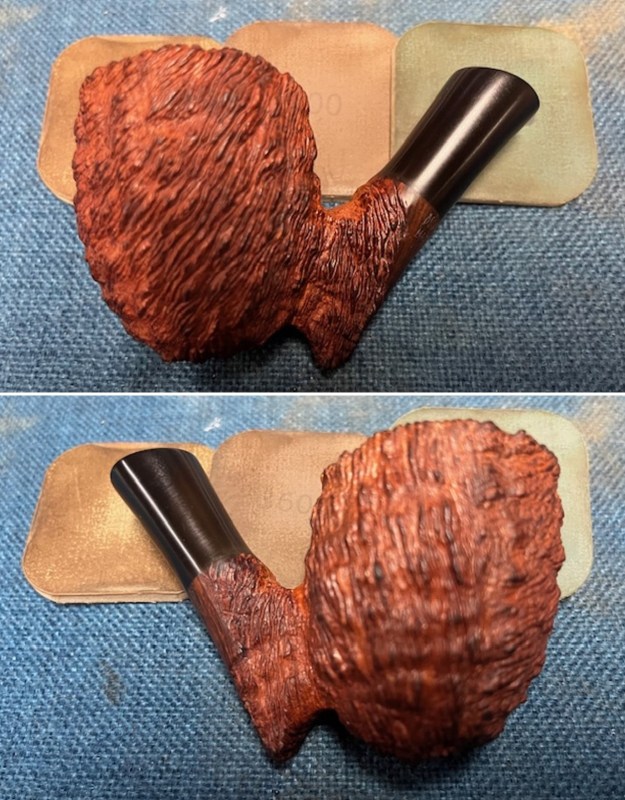
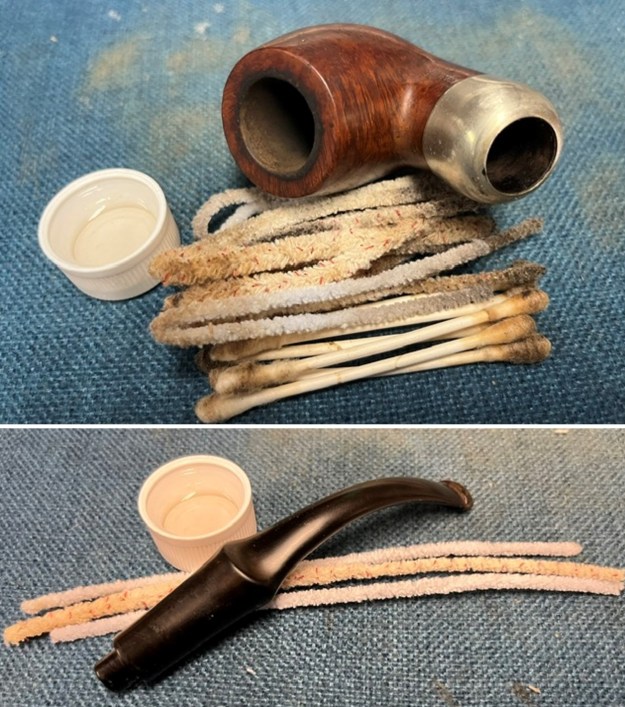 I scrubbed the exterior of the bowl with Murphy’s Oil Soap and a tooth brush to remove the grime and grit on the briar and the lava on the rim top. The finish looks very good with great looking grain around the bowl and shank.
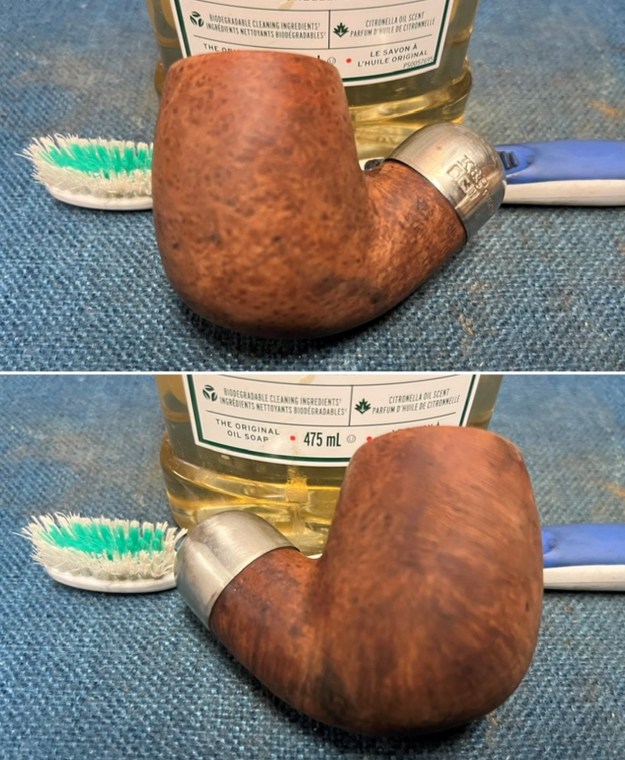
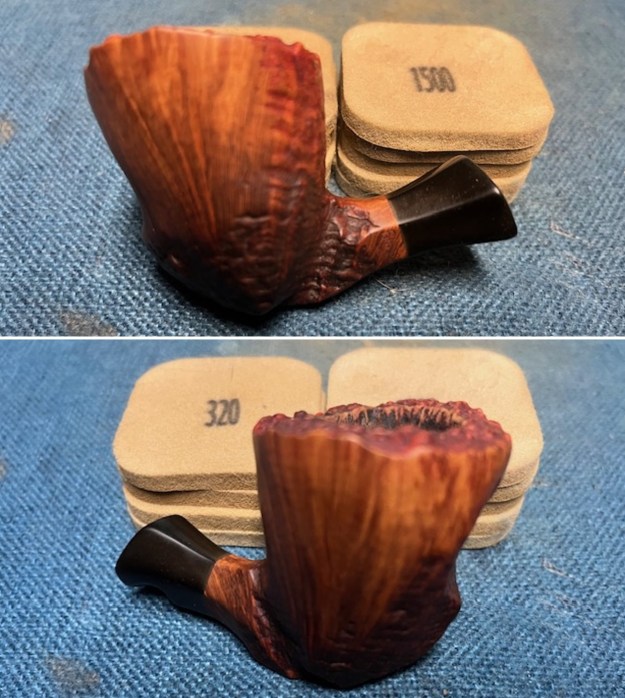
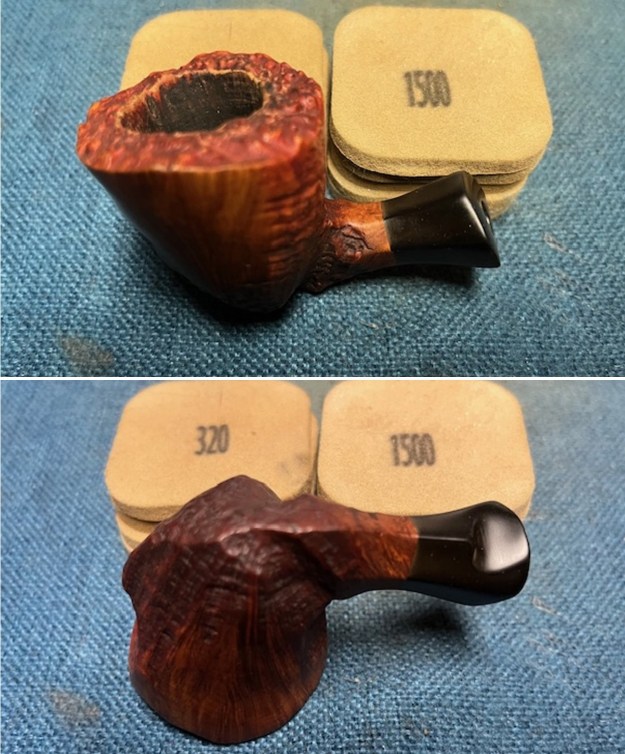
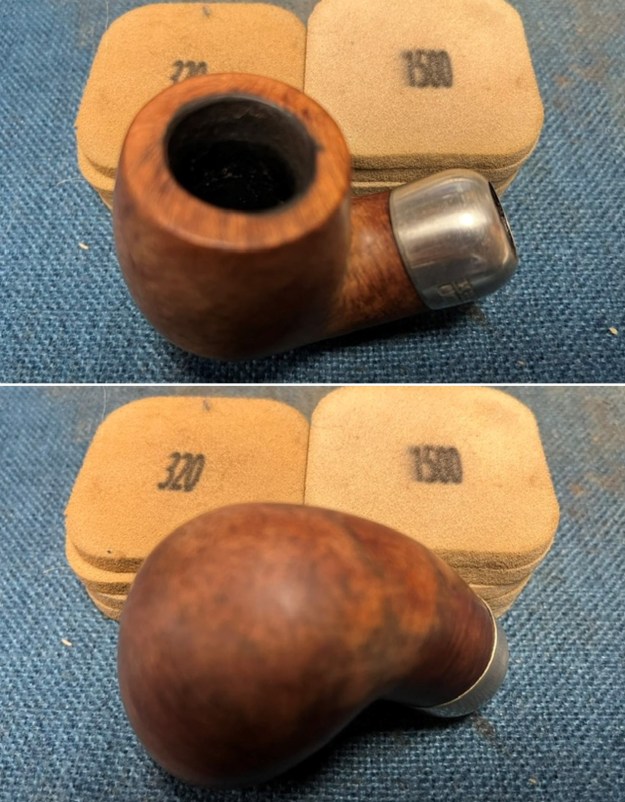
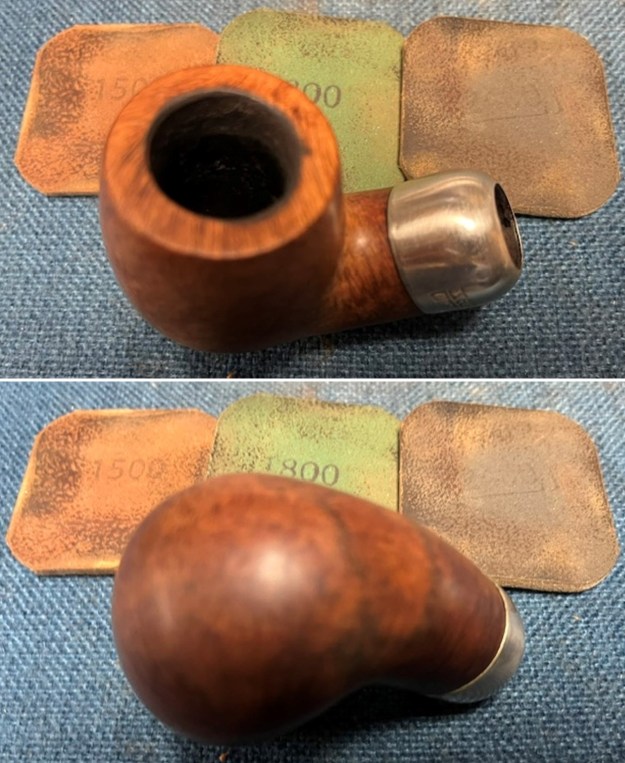
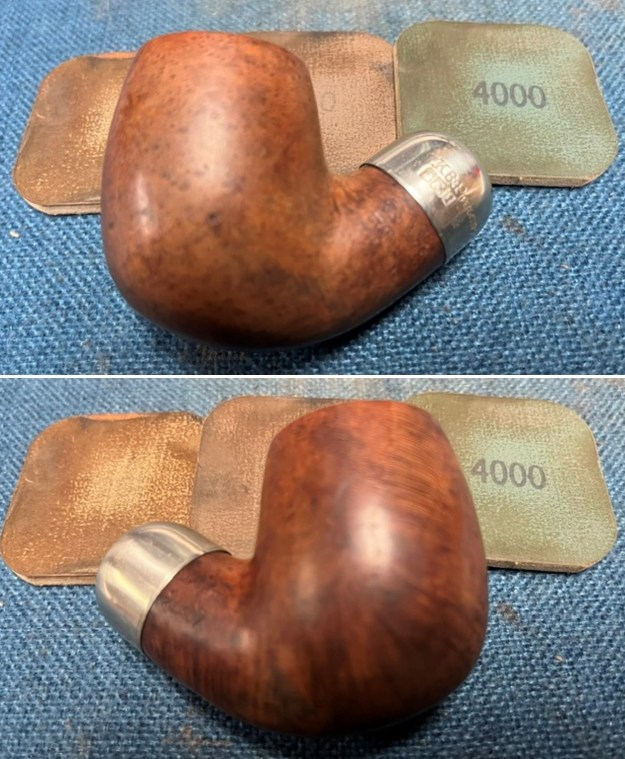
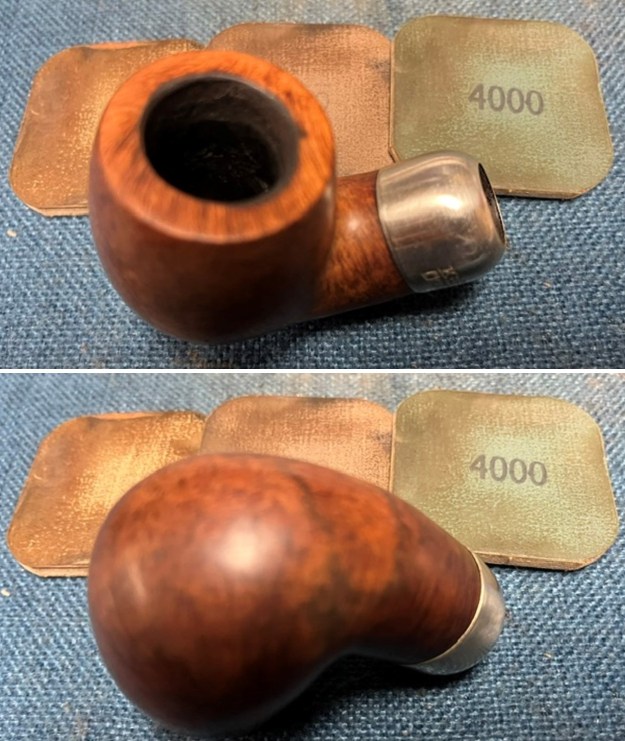
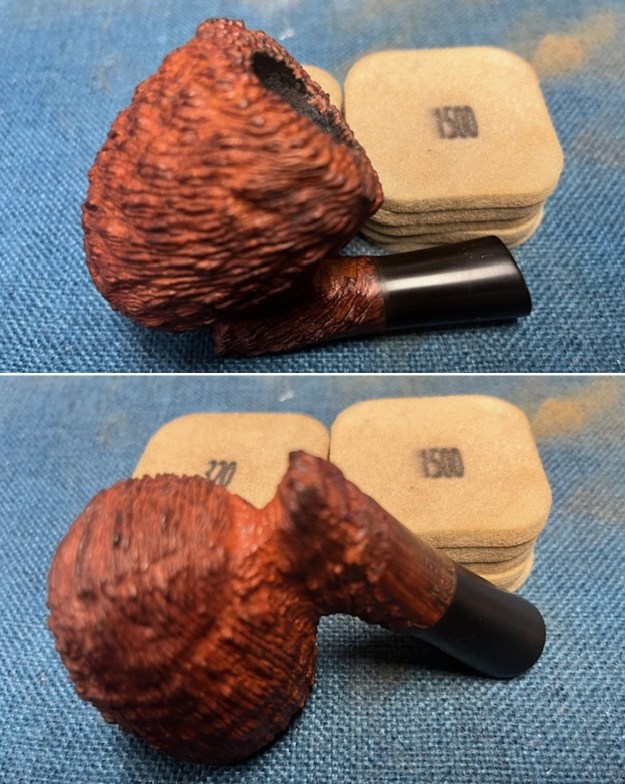
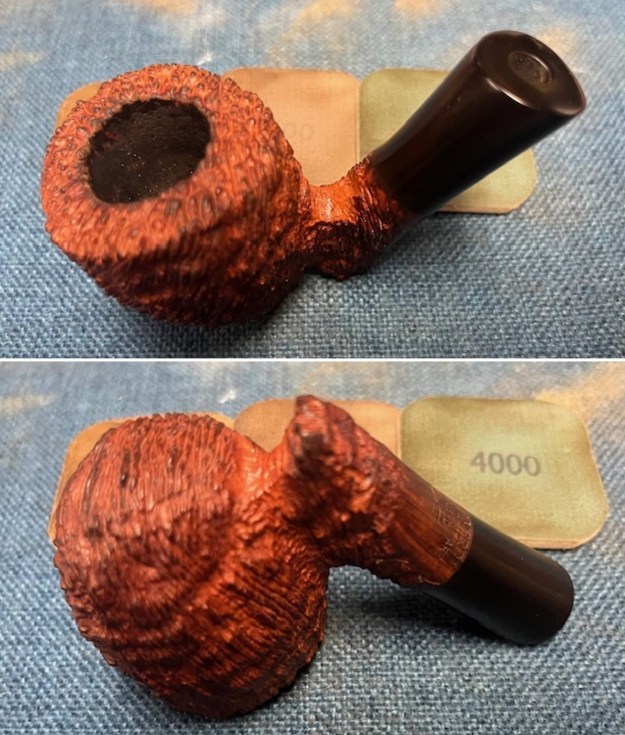
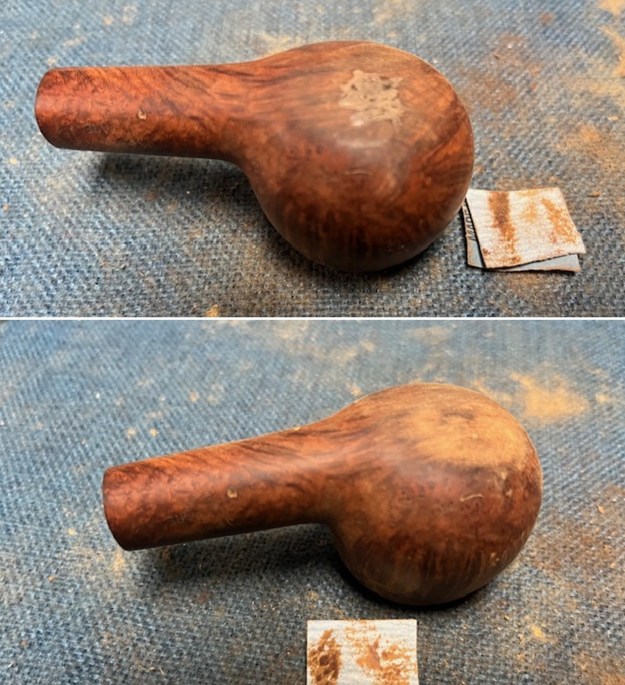
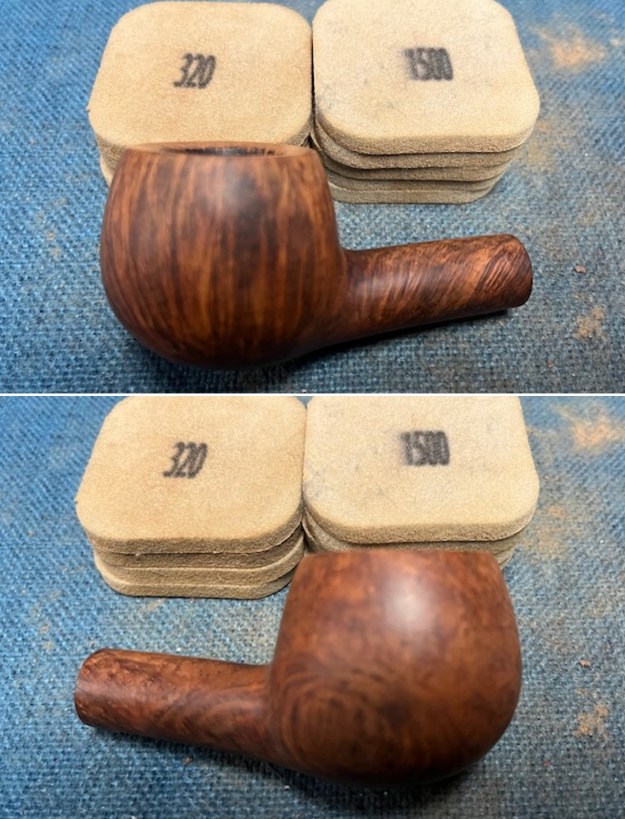
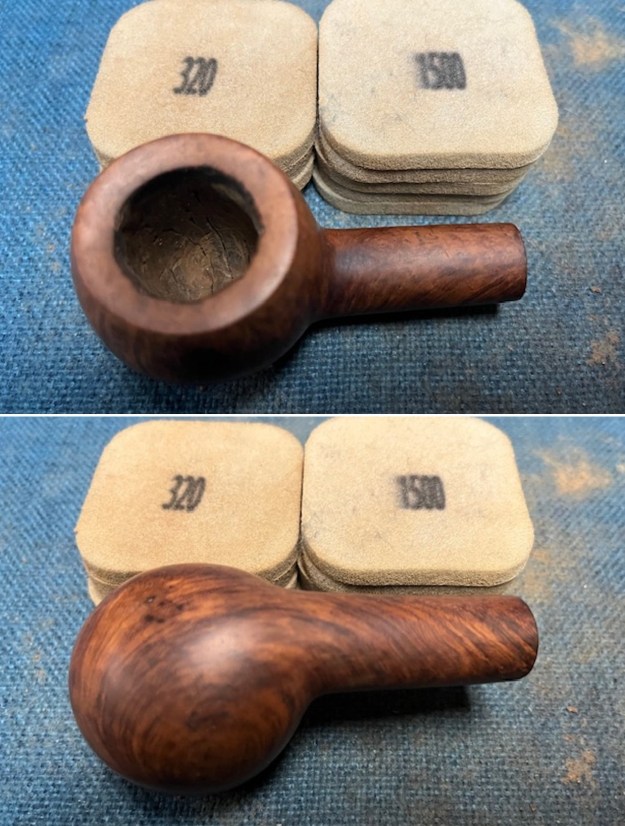
 I sanded the bowl with 320-3500 grit 2×2 inch sanding pads to remove the scratches and dark marks in the briar. I worked over the bowl and shank with each pad and wiped it down after each pad with a damp cloth to remove the sanding dust.
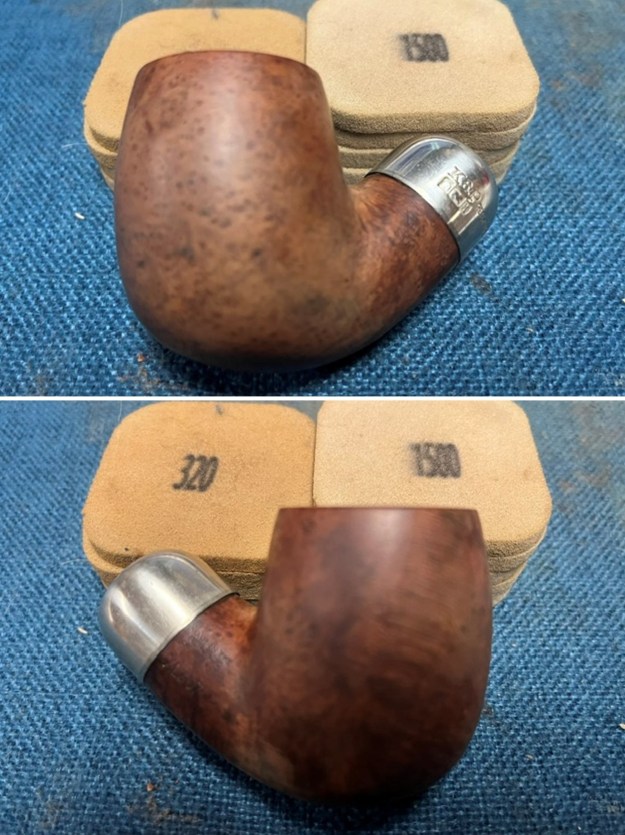
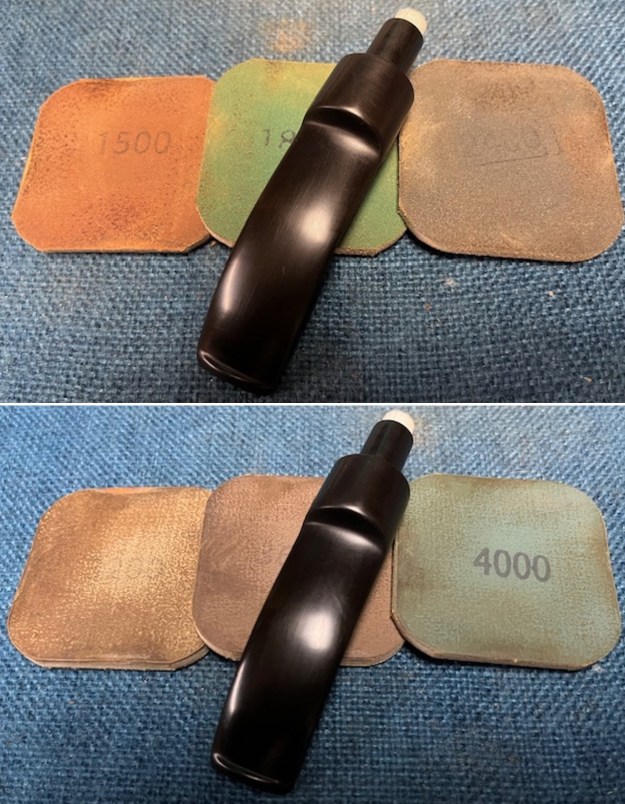
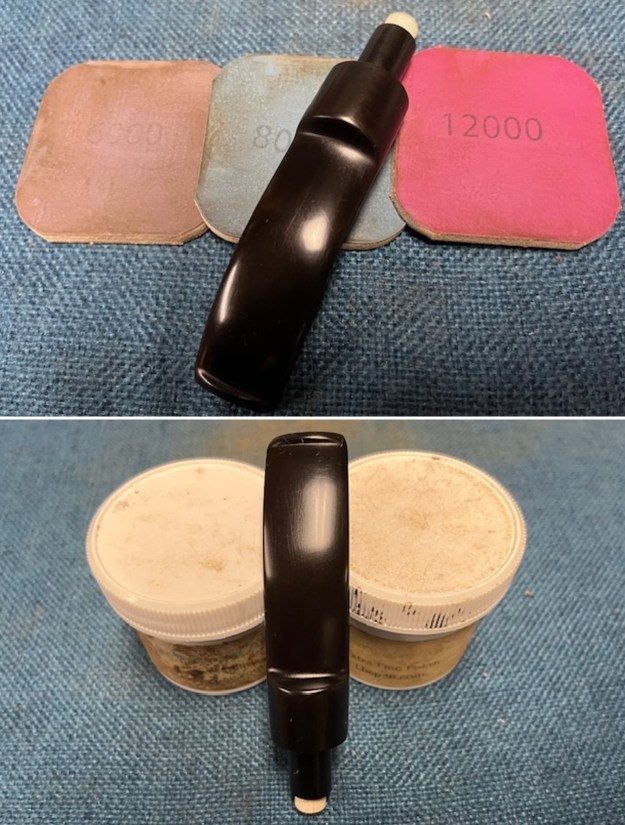
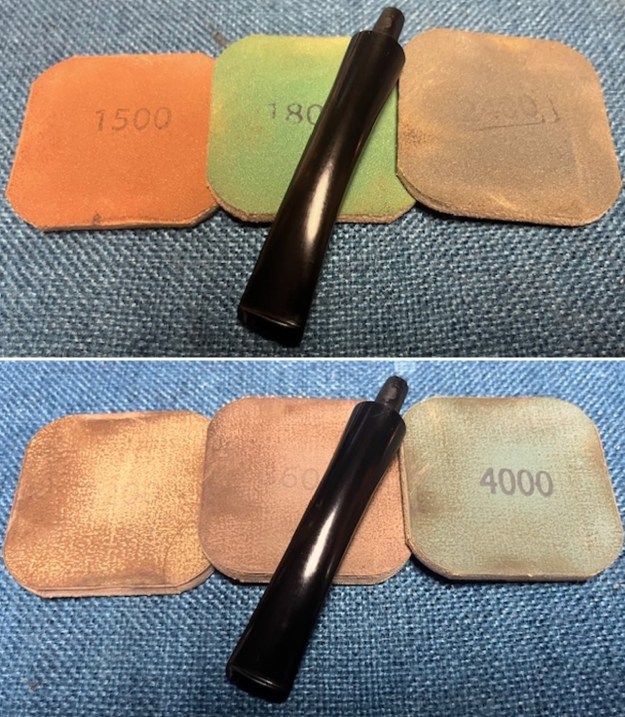
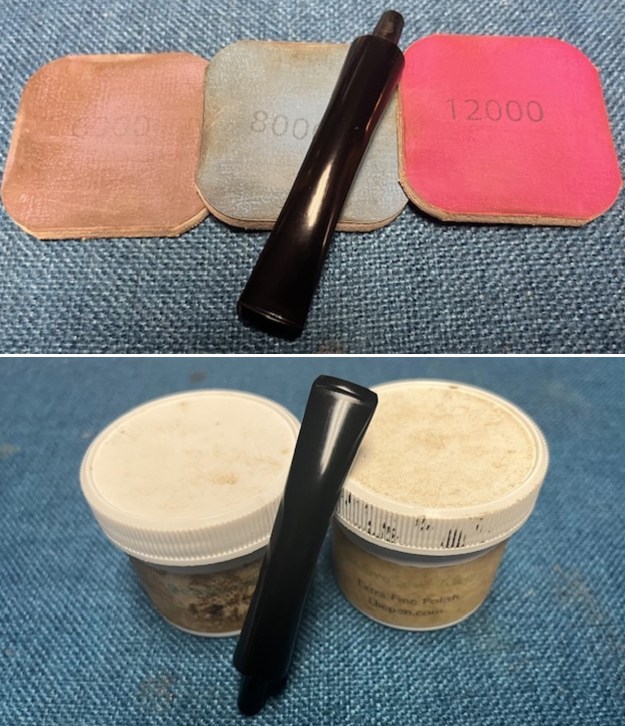
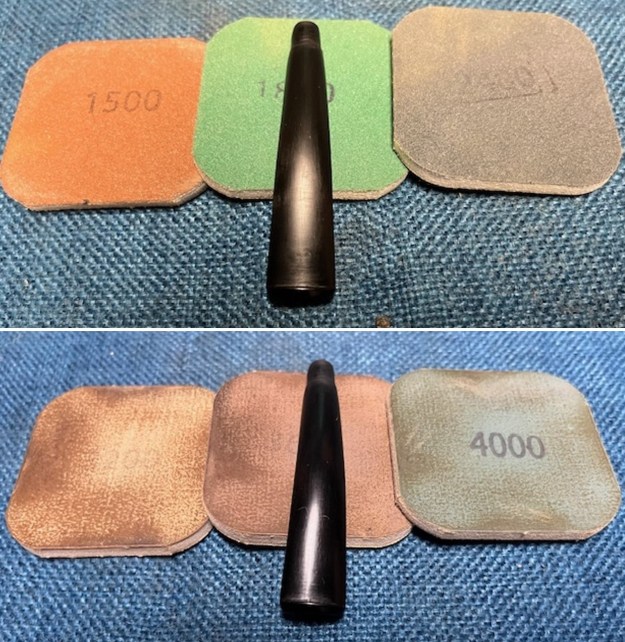
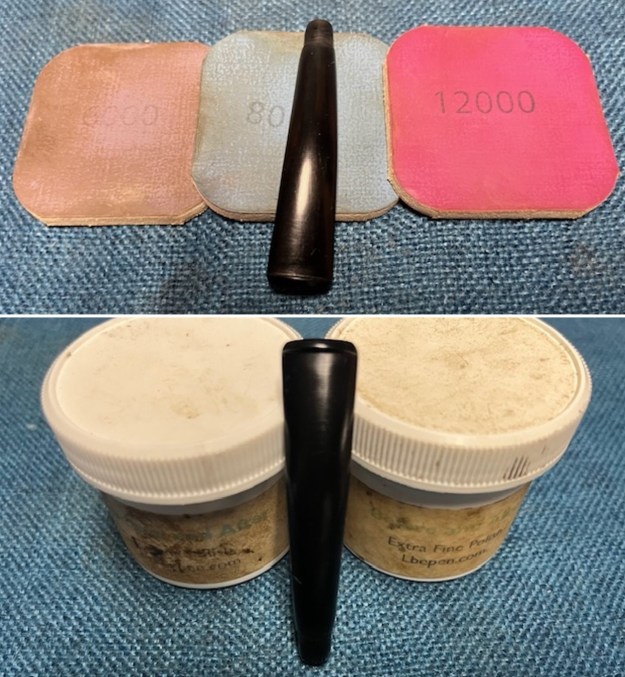
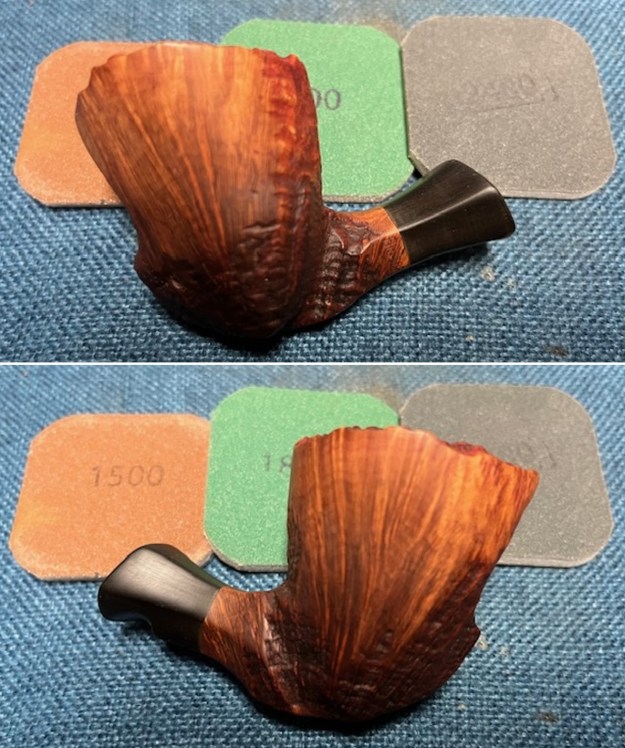
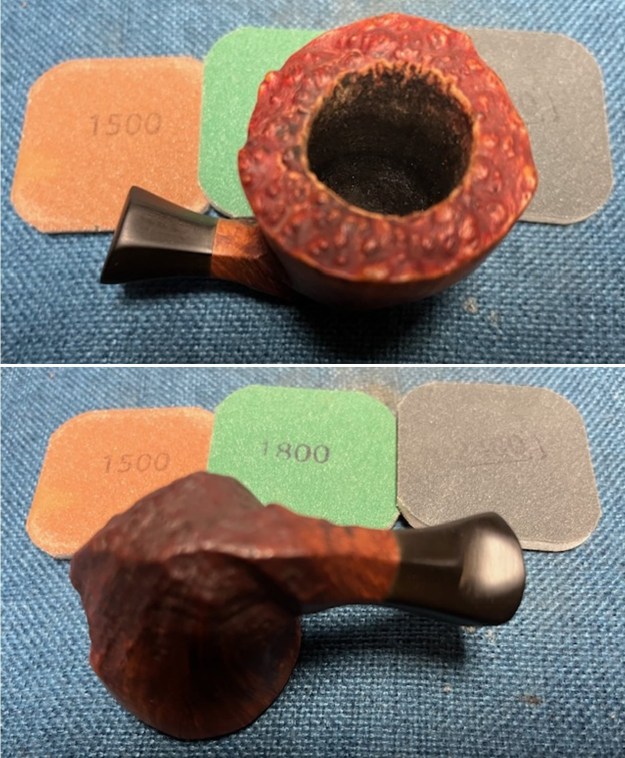
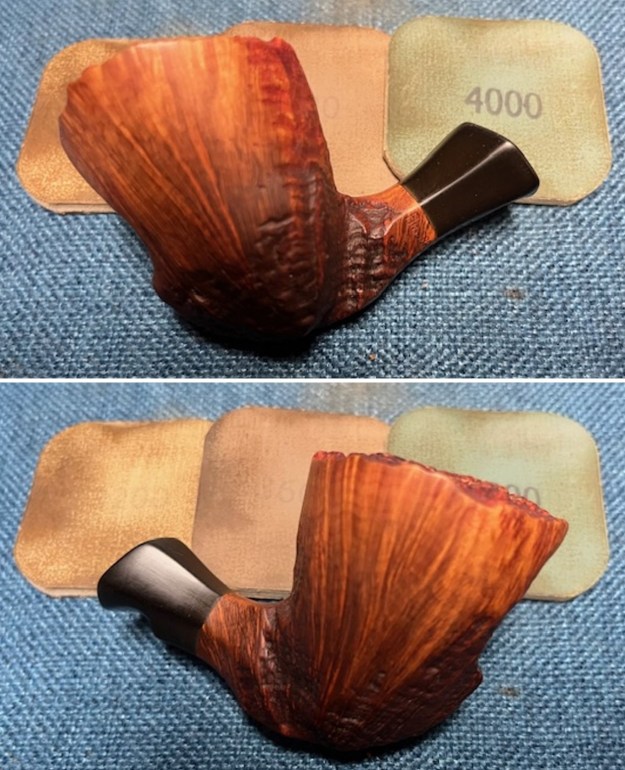
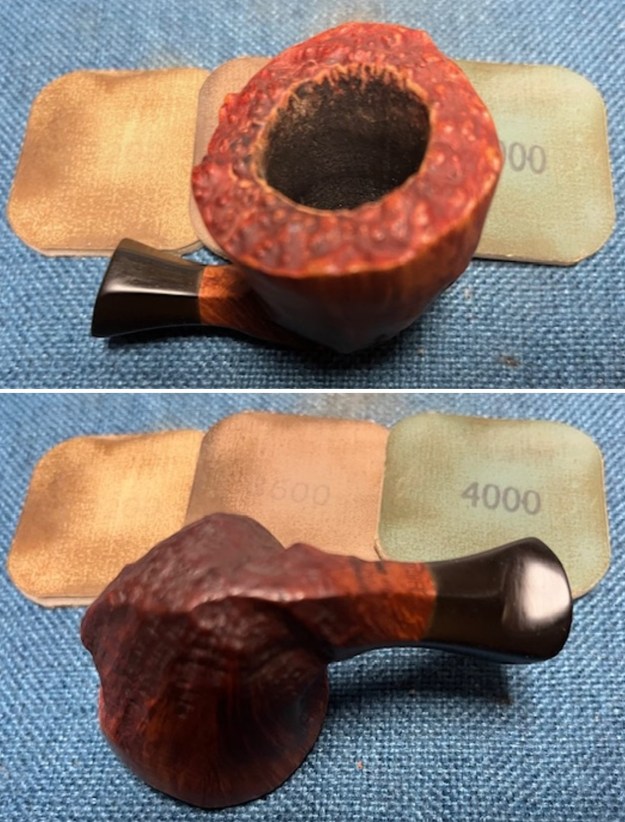
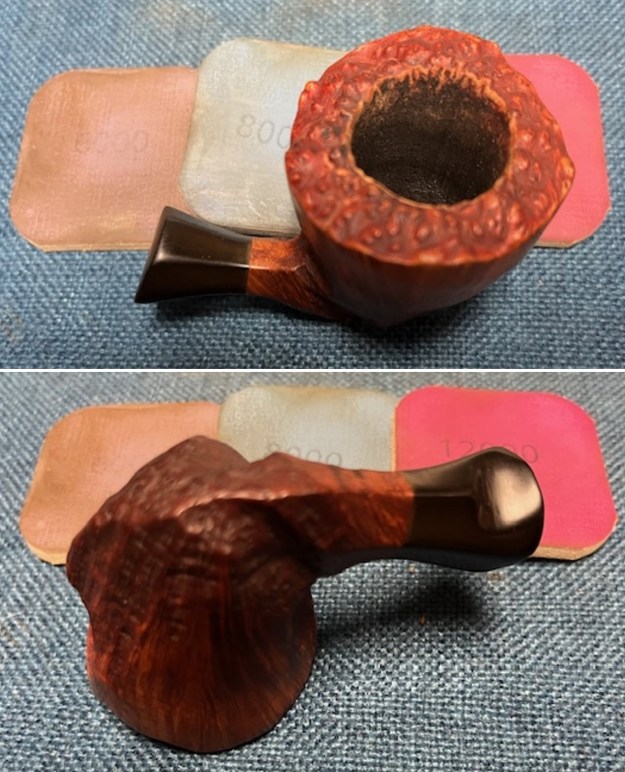
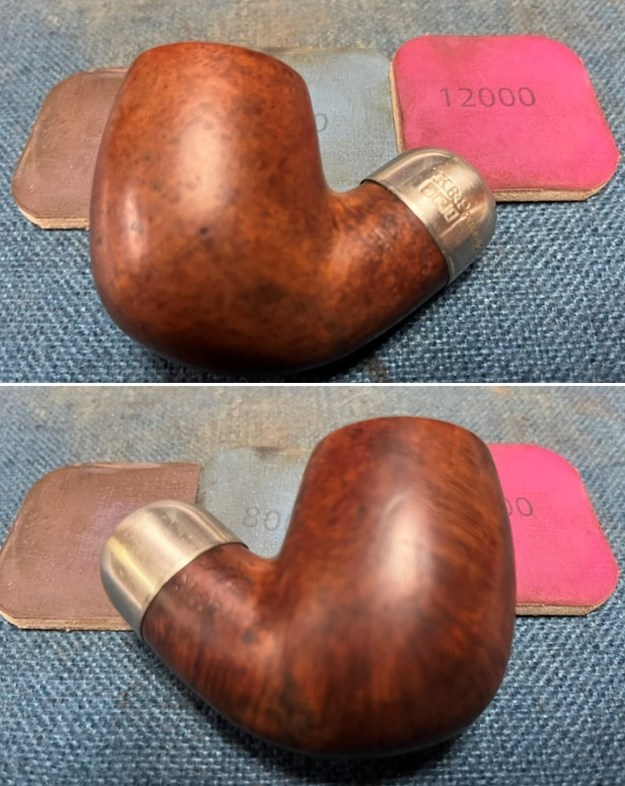
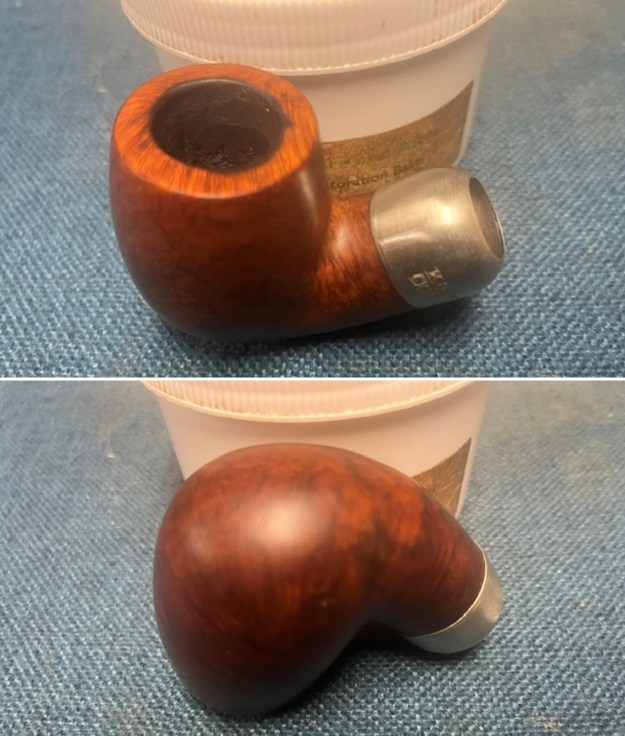
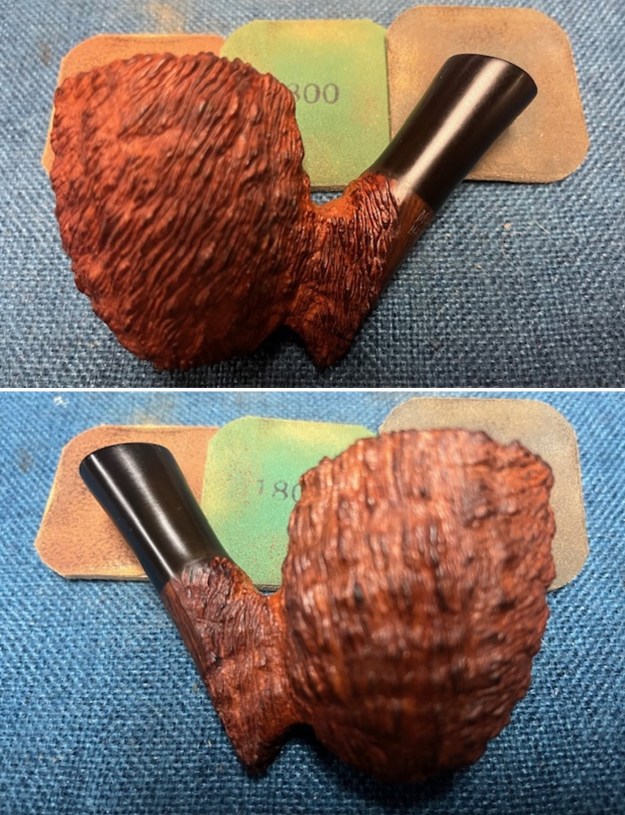
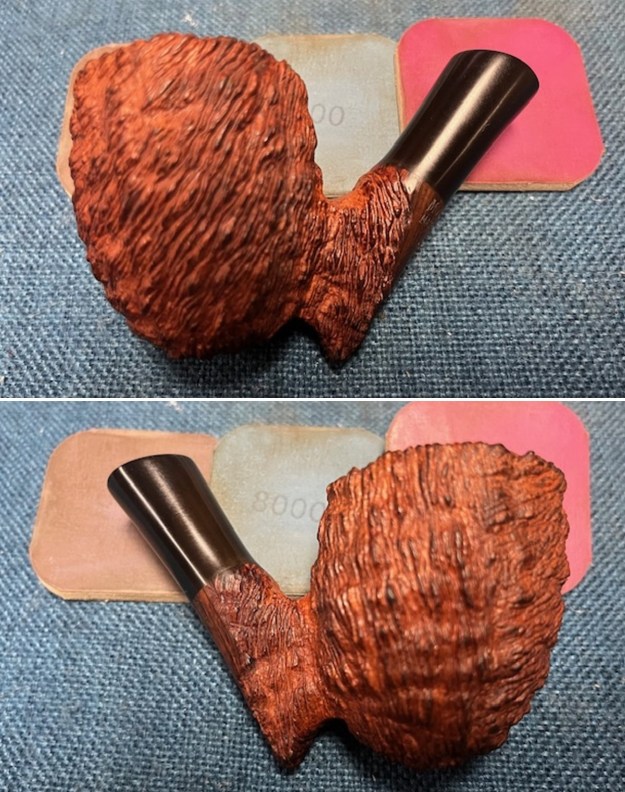
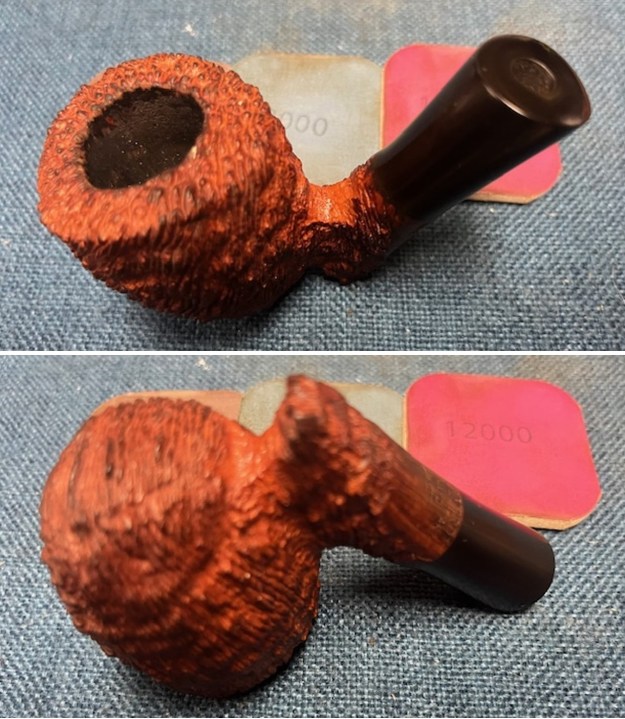
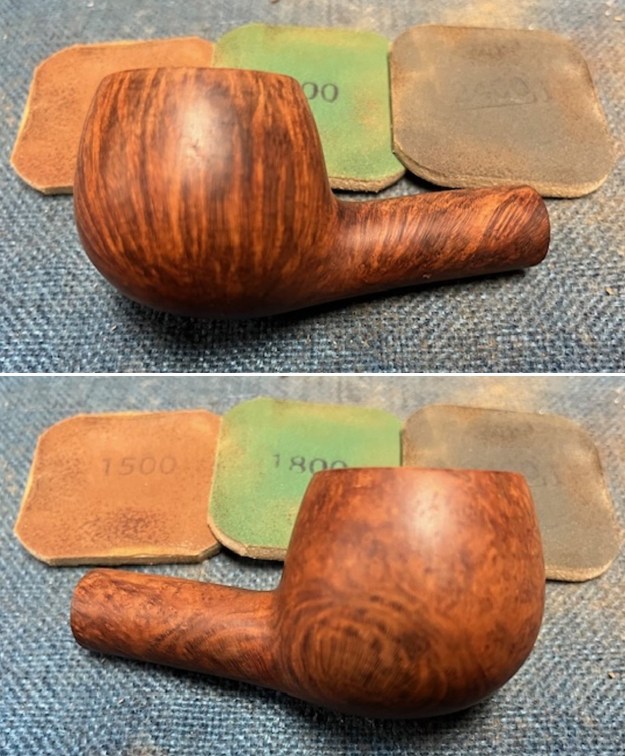
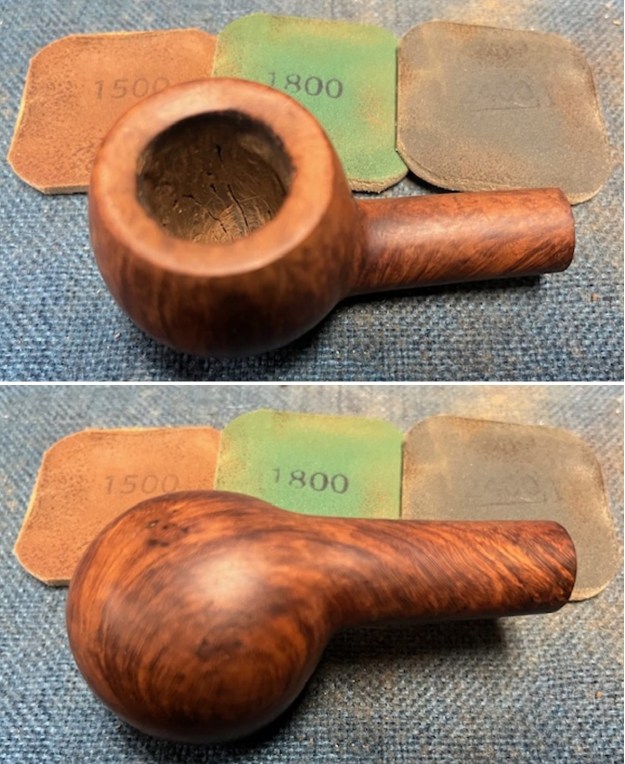
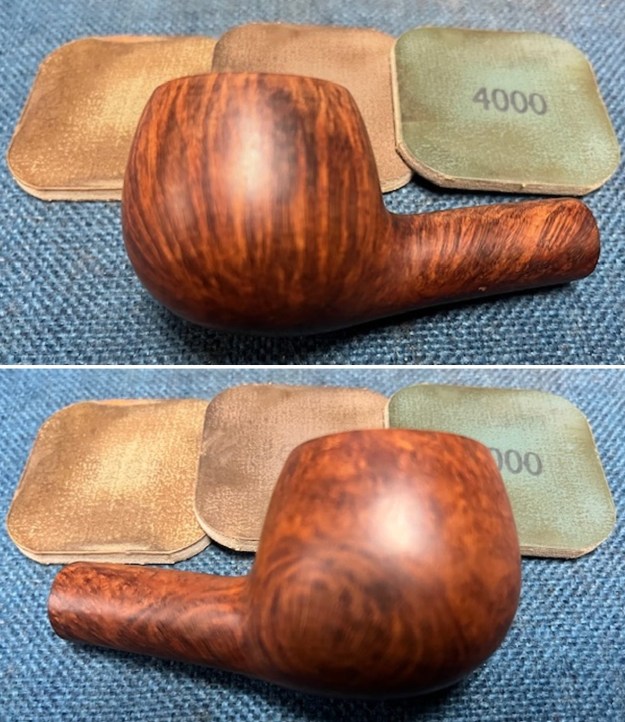
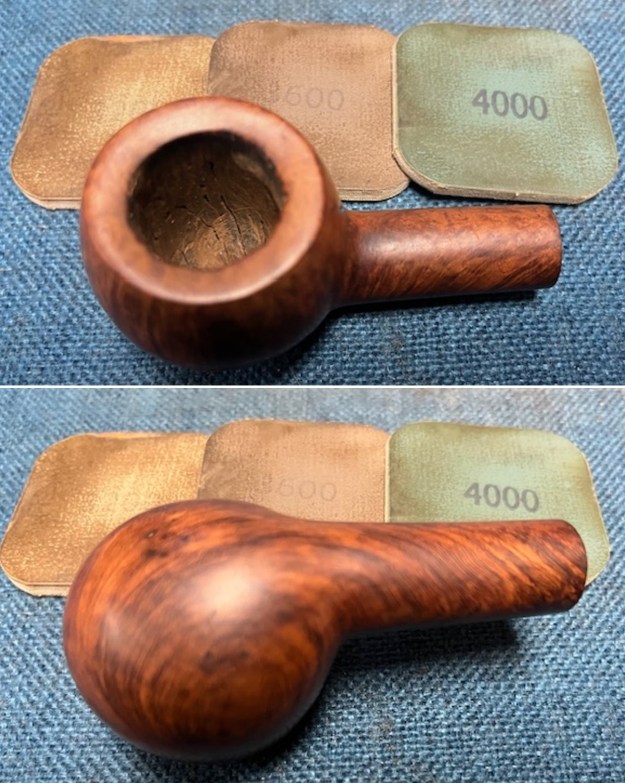
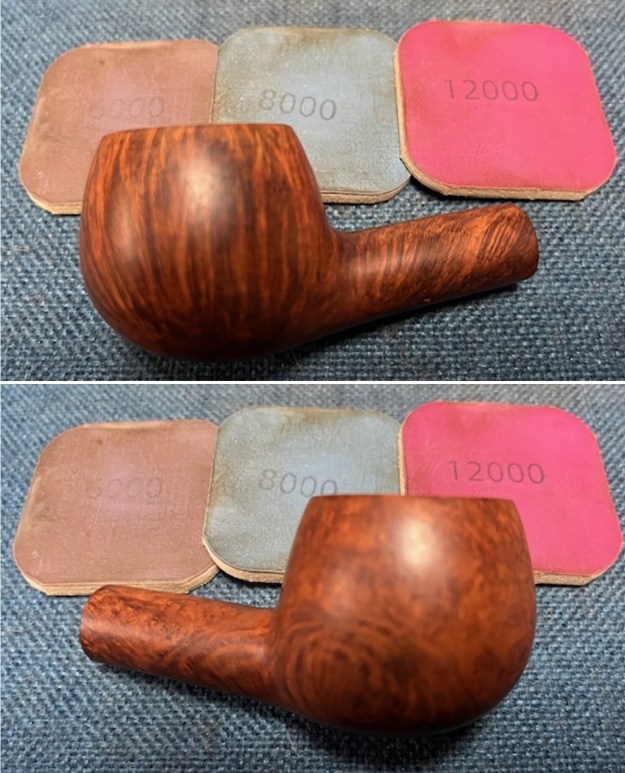
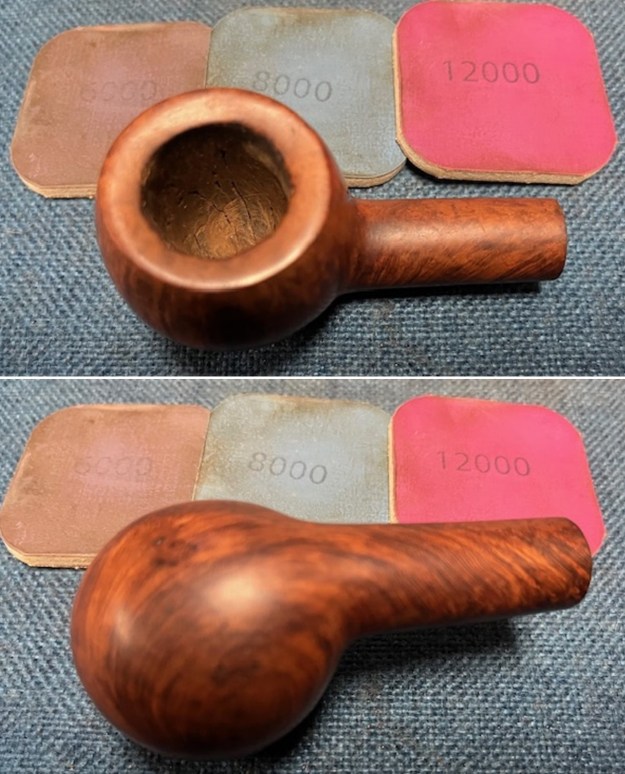
 I polished the briar with 1500-12000 grit micromesh sanding pads – dry sanding with each pad and wiping it down after each one with a damp cloth. The briar began to take on a rich shine.
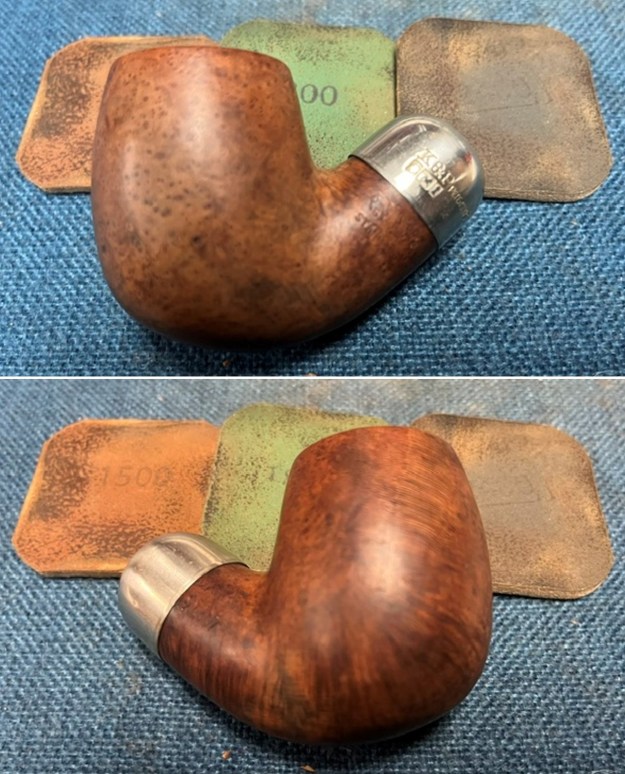
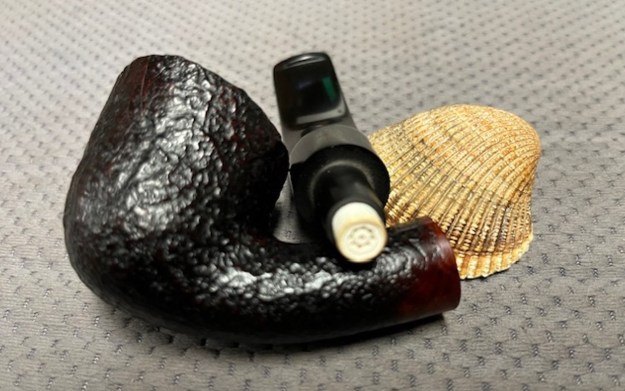
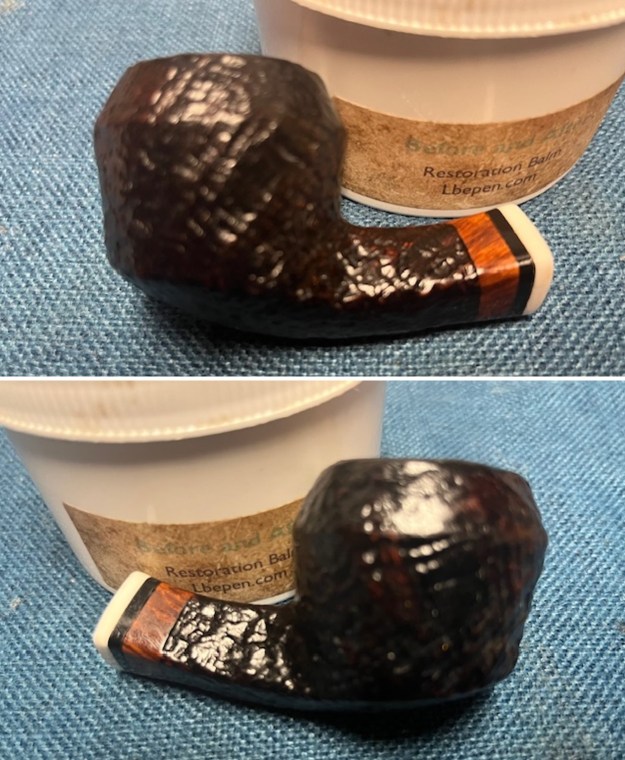
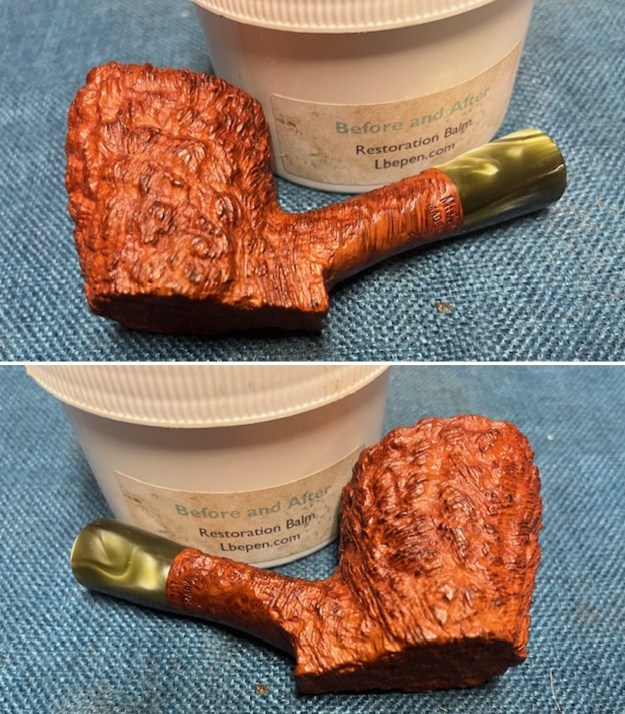
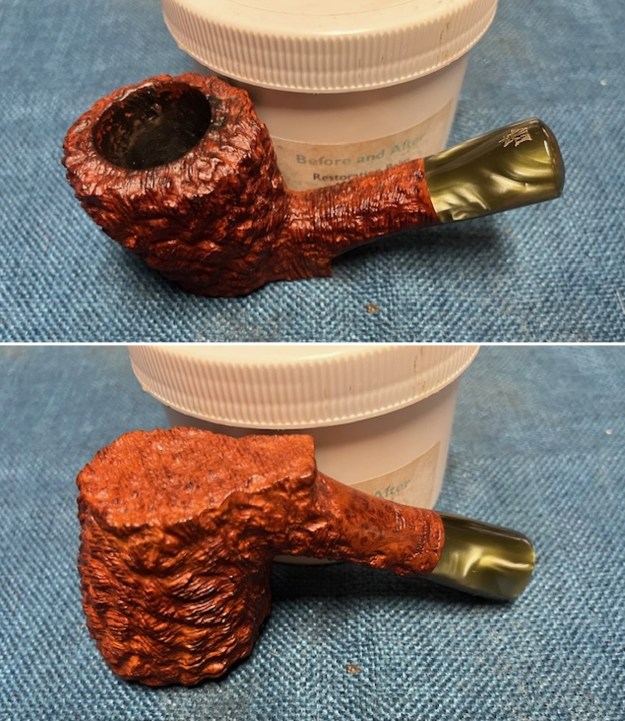
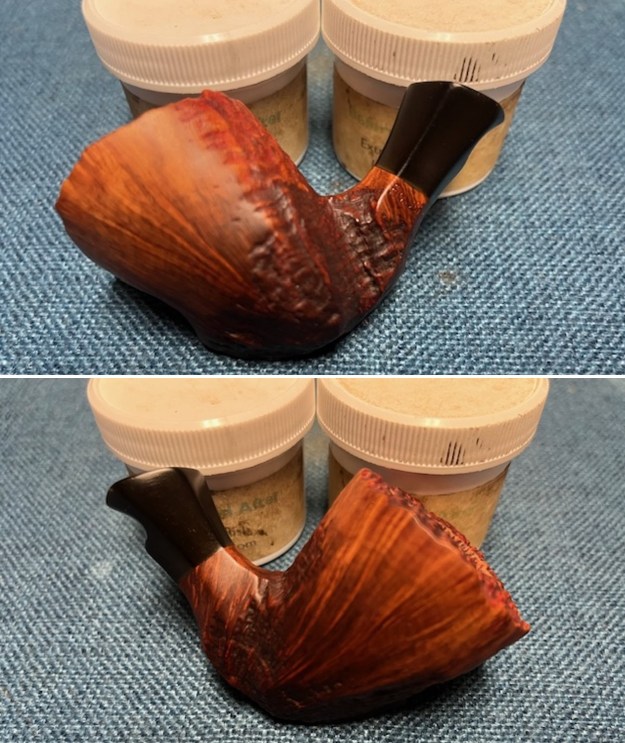
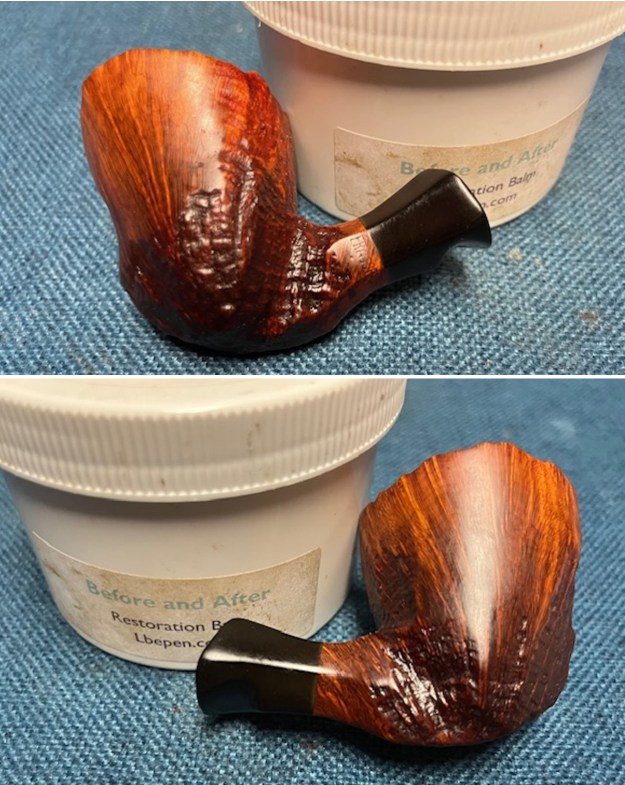
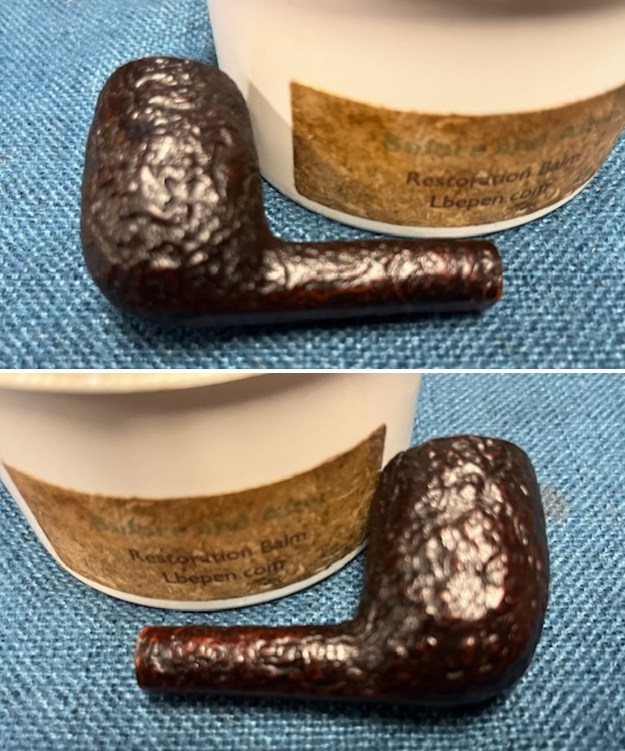
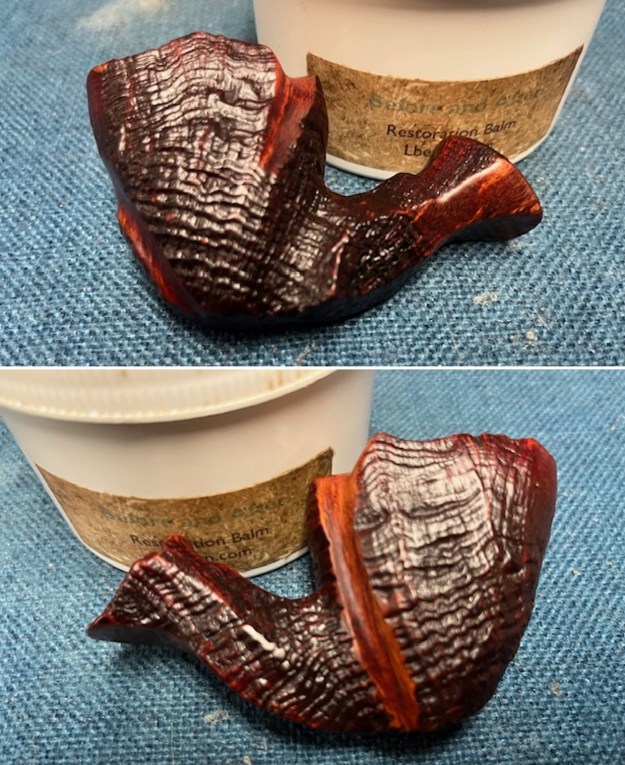
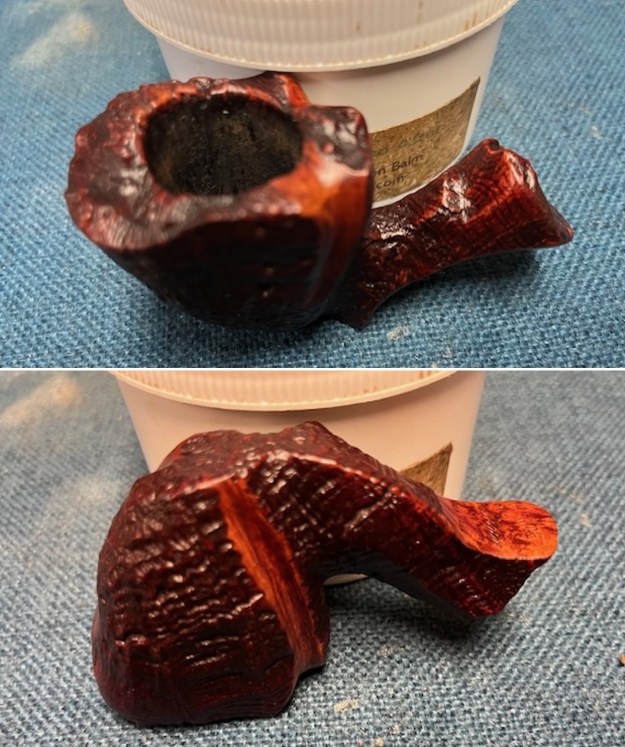
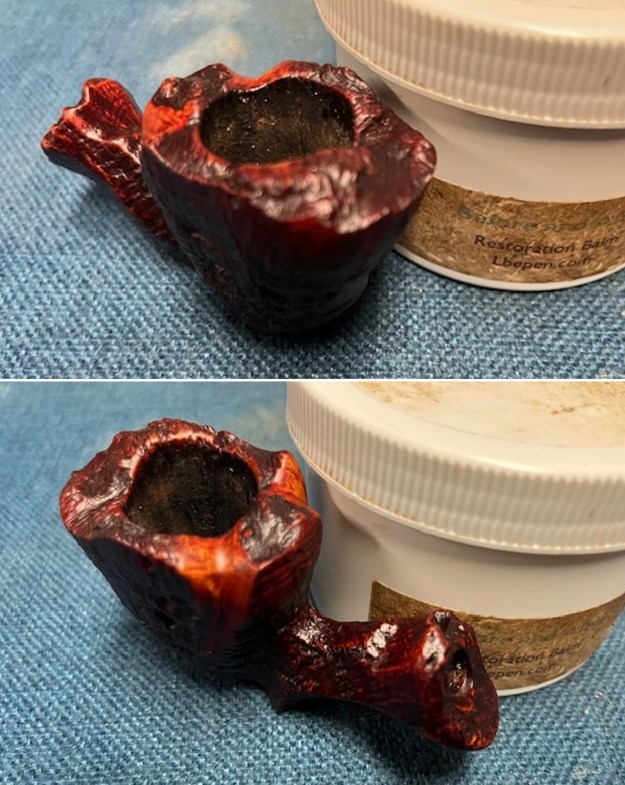
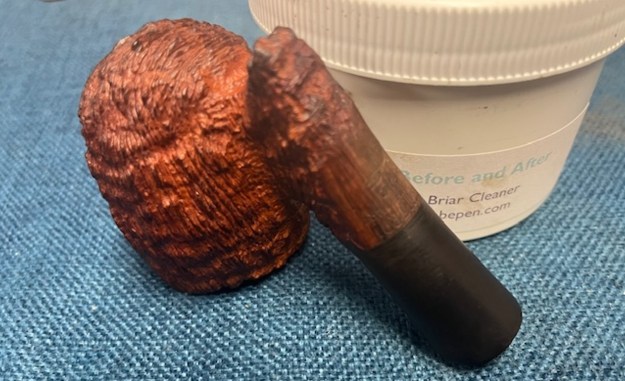
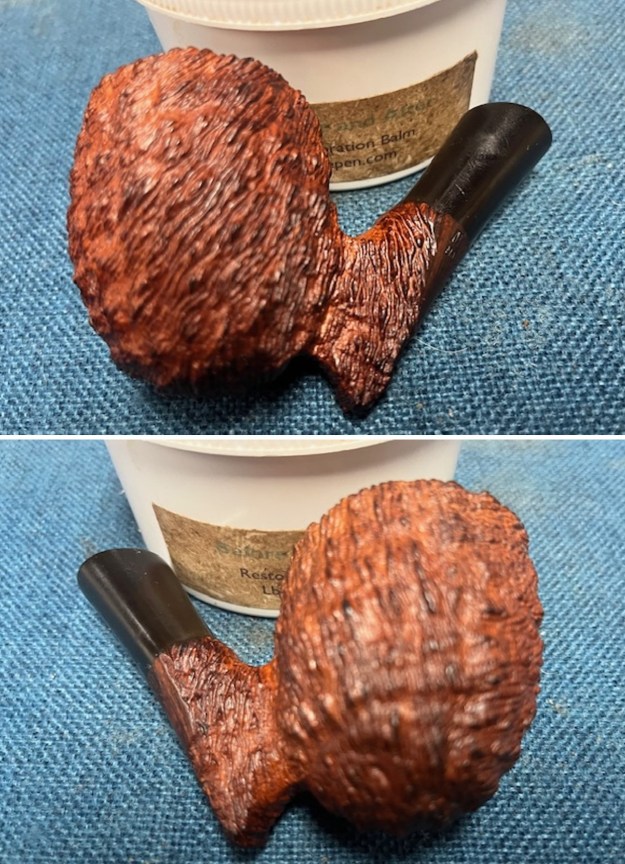
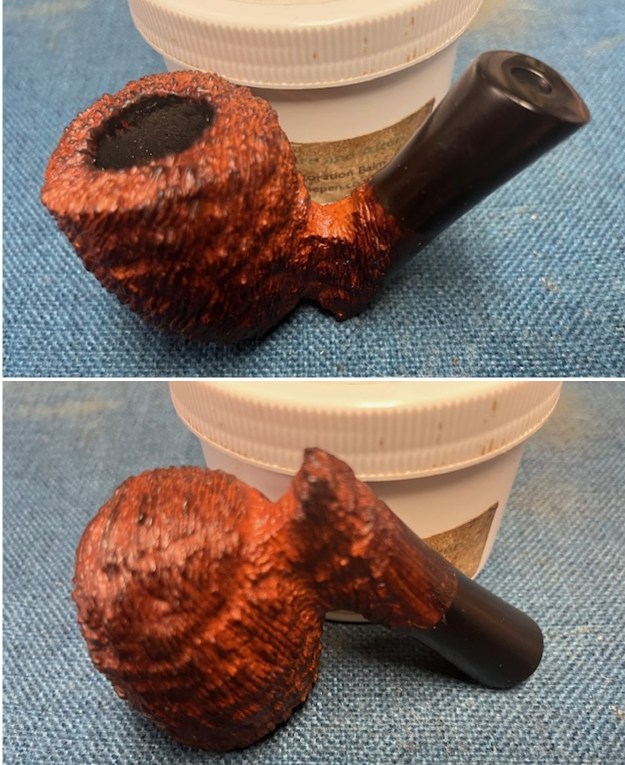
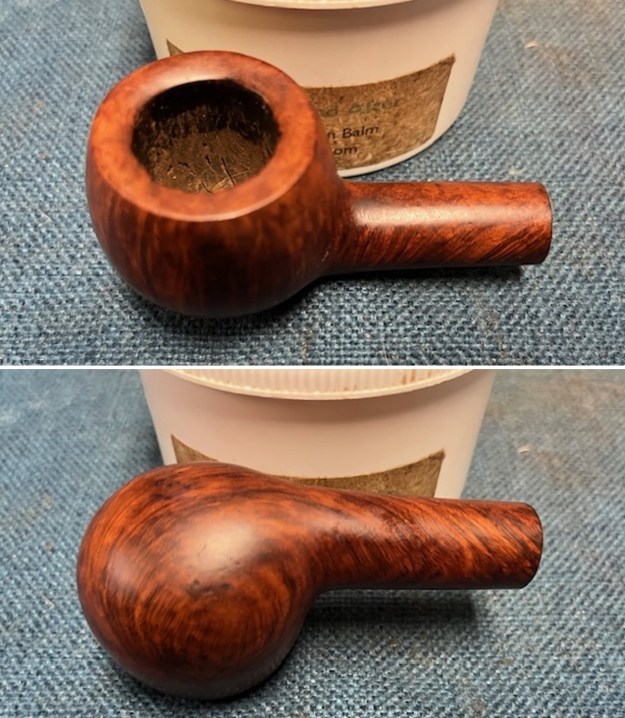
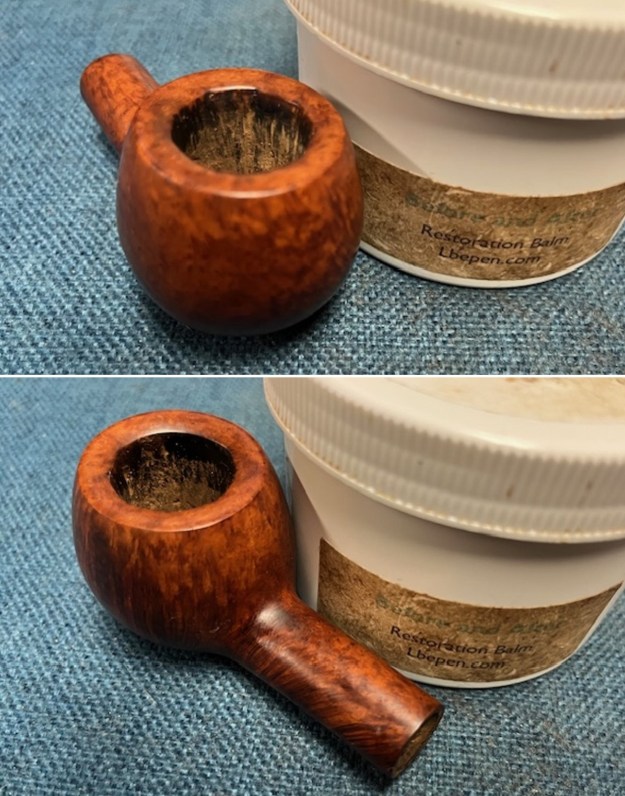
 I worked some Before & After Restoration Balm into the surface of the briar with my finger tips to work it into the finish. The product is incredible and the way it brings the grain to the fore is unique. It works to clean, protect and invigorate the wood.
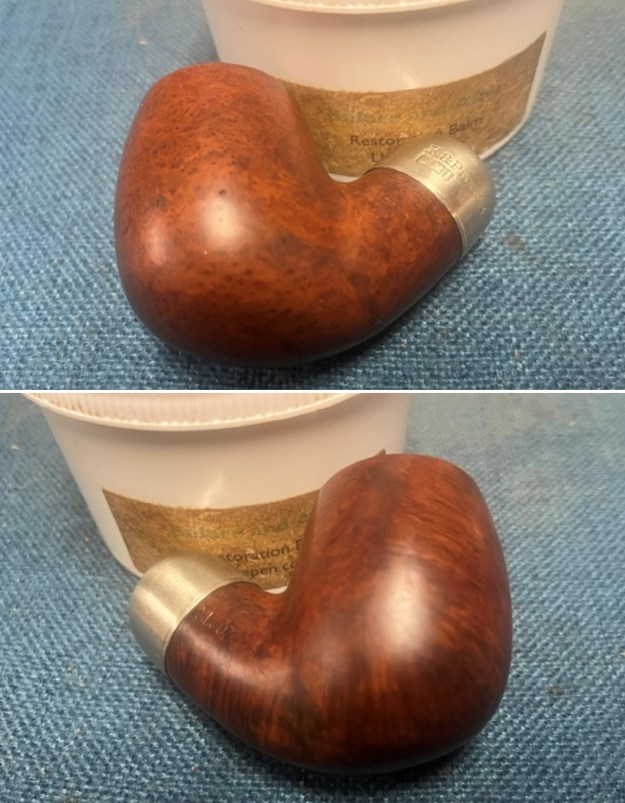
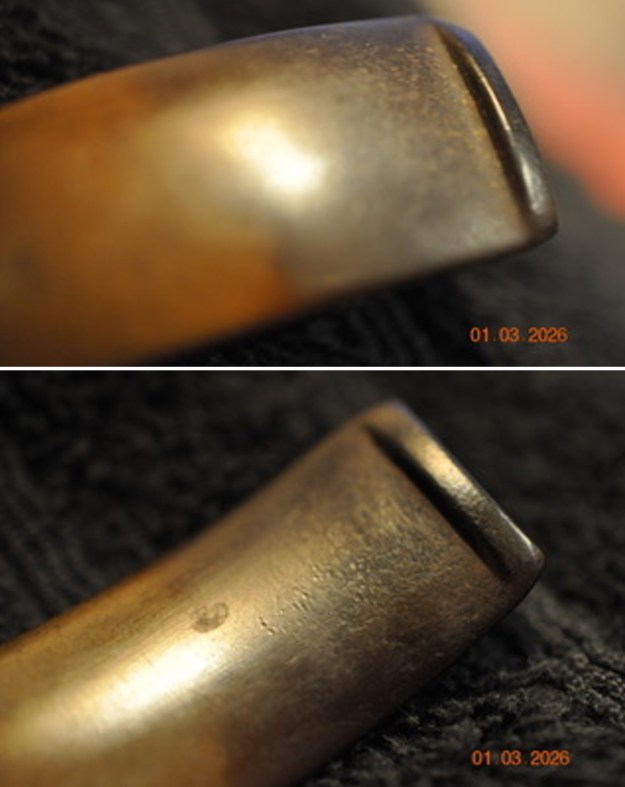
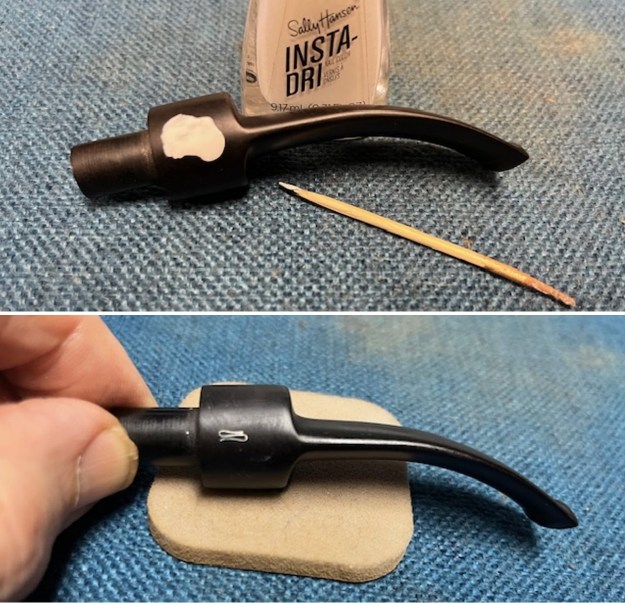
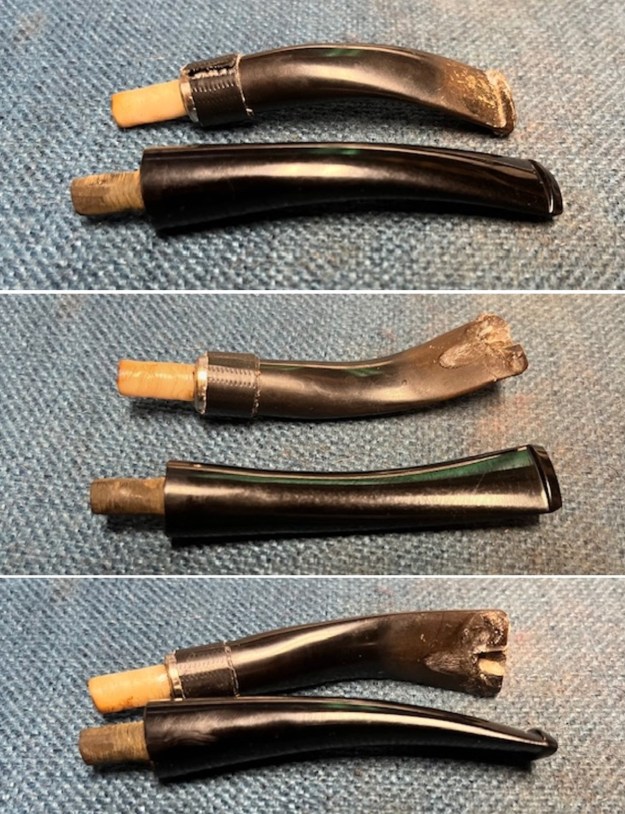
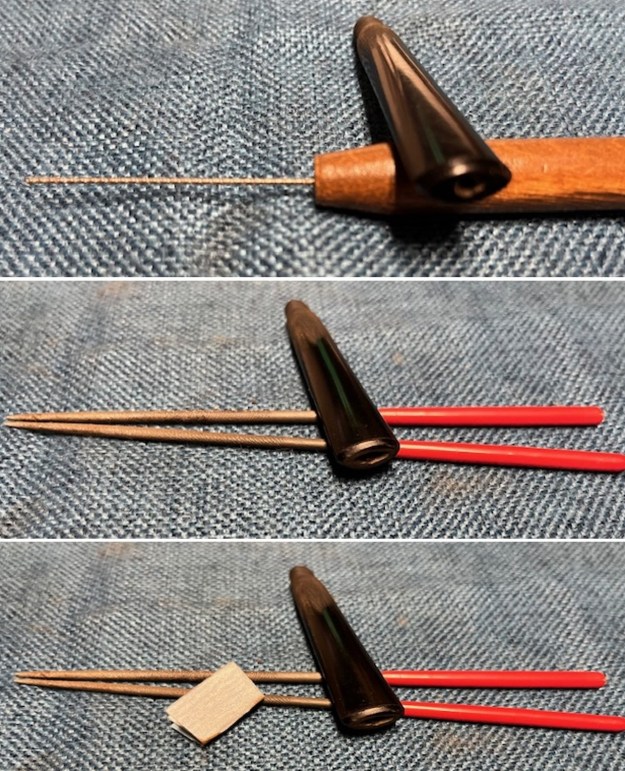
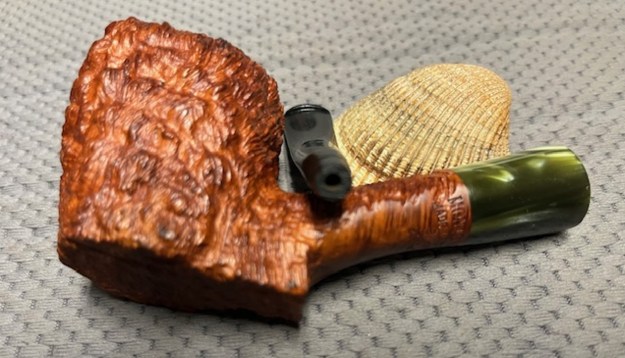
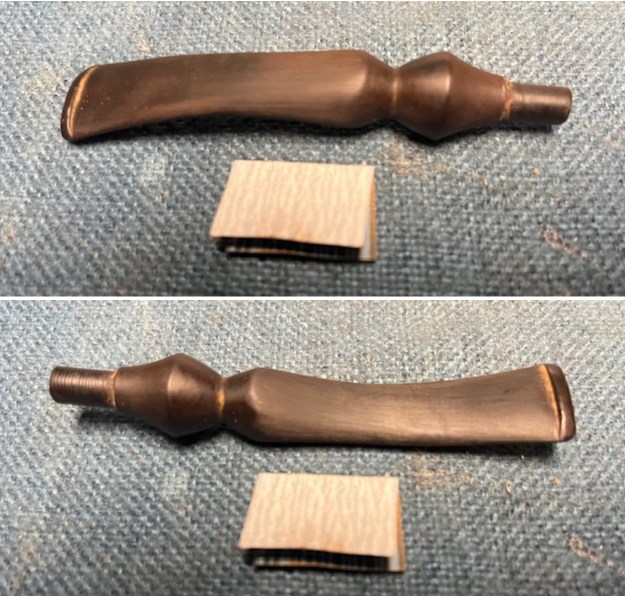
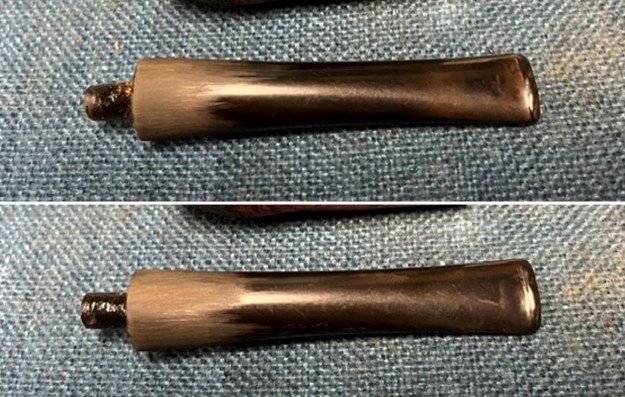
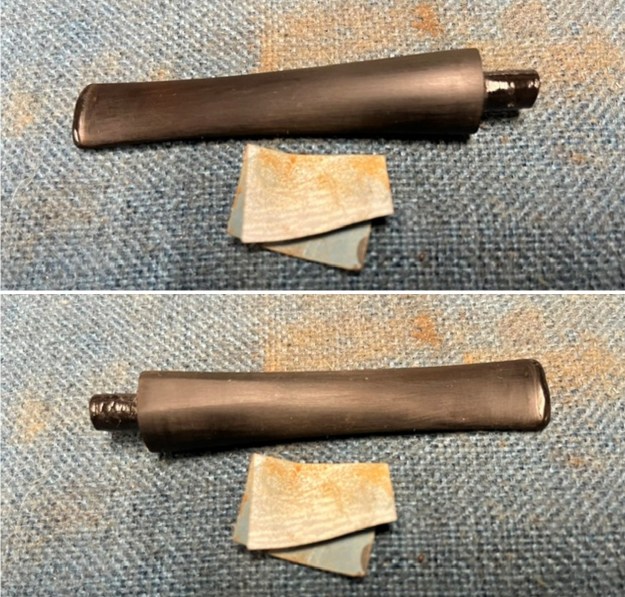
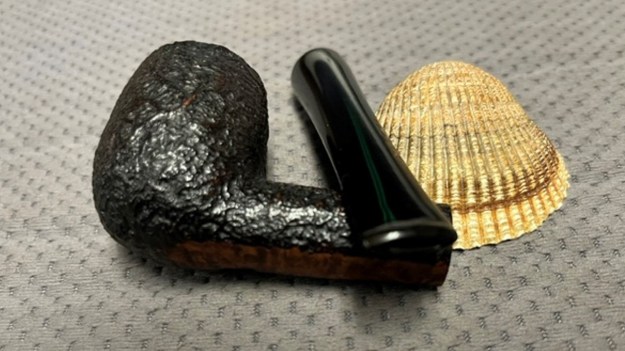
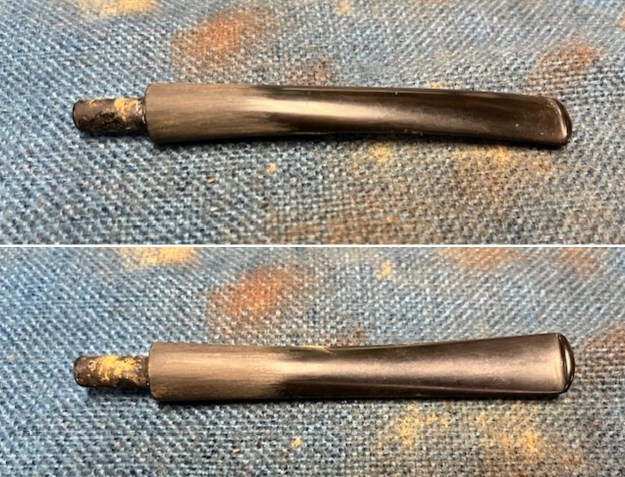
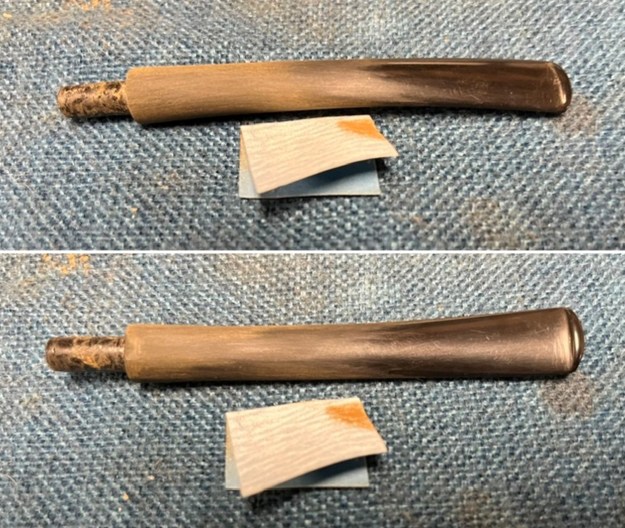
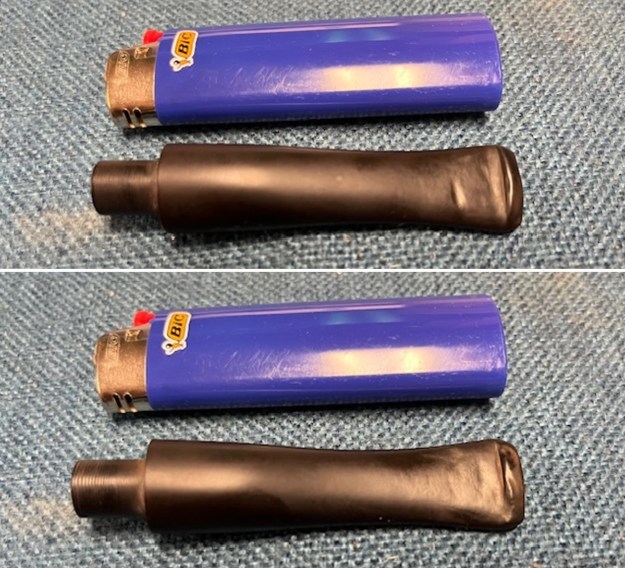
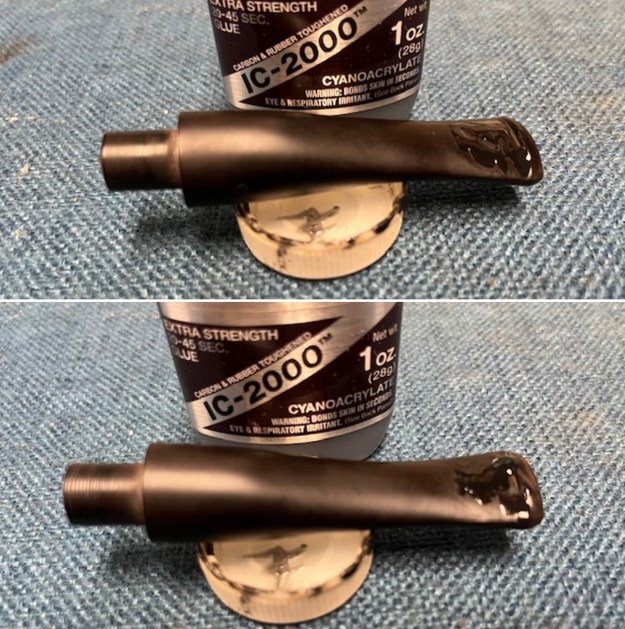
 I went through my stems and found one that was the right length diameter of the shank and the tenon. It was on older Peterson’s P-lip that I had here that fits these 307 pipes. It was oxidized and had light tooth marks but otherwise was a duplicate of the original. It did not have the P logo on the stem side.
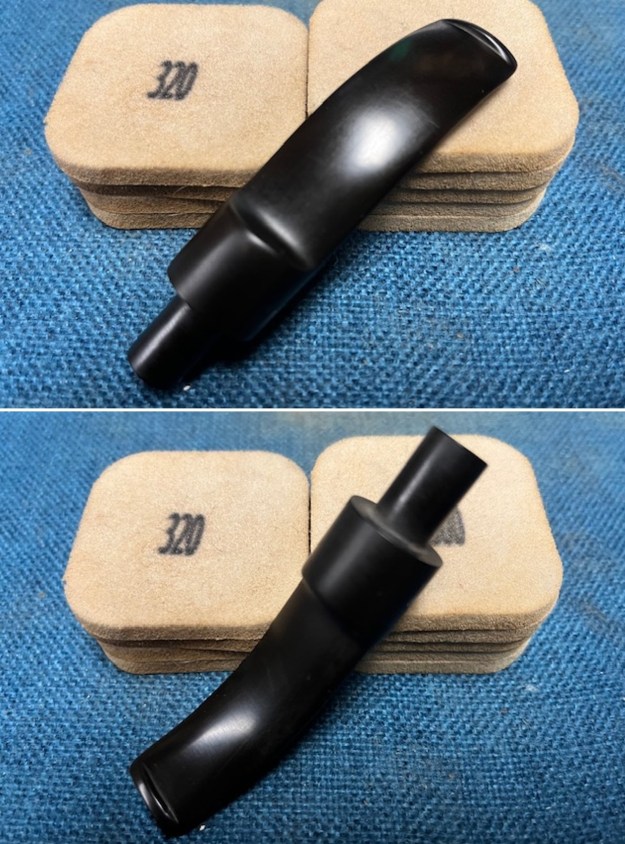
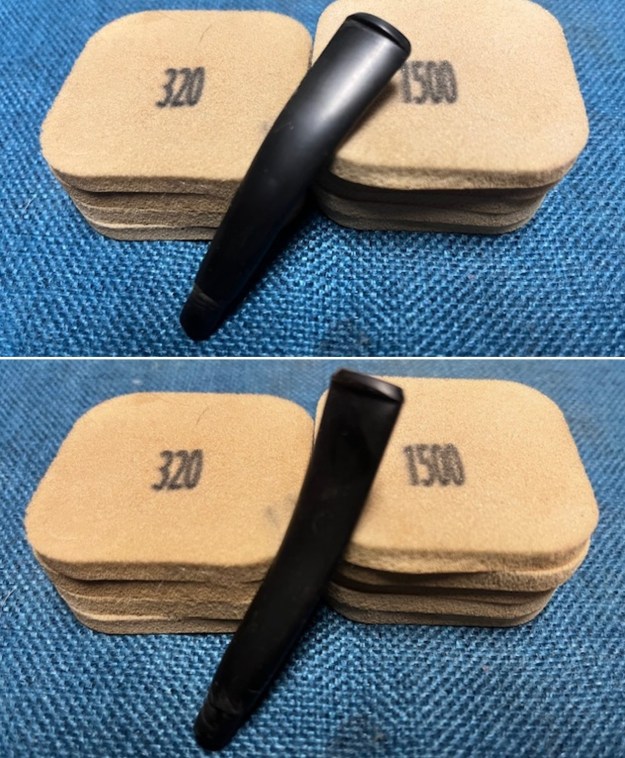
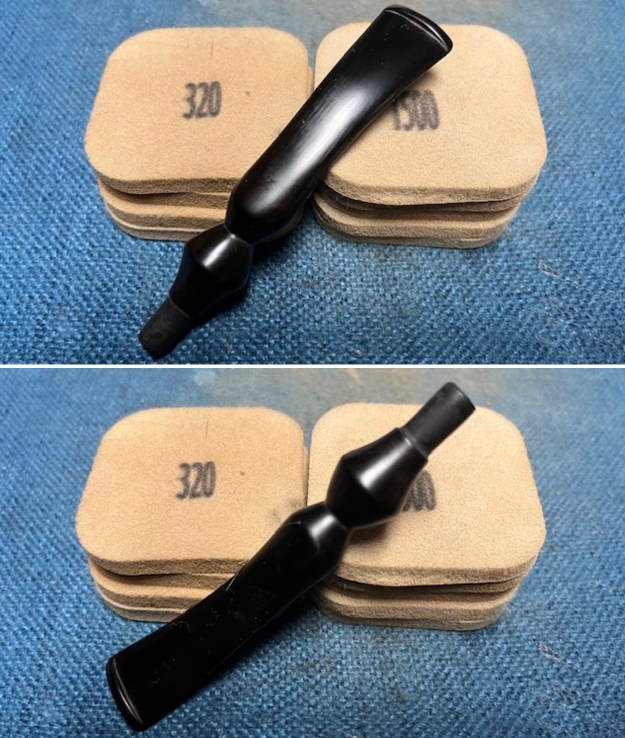
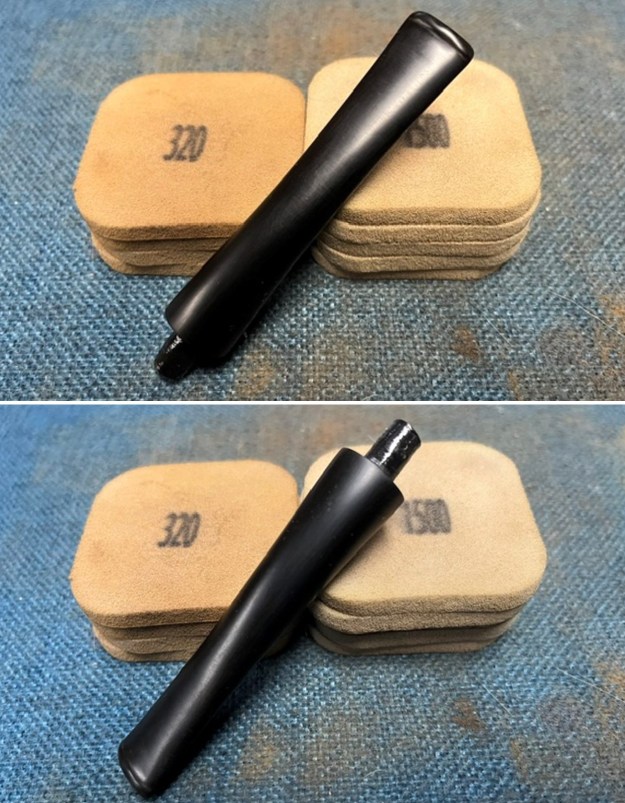
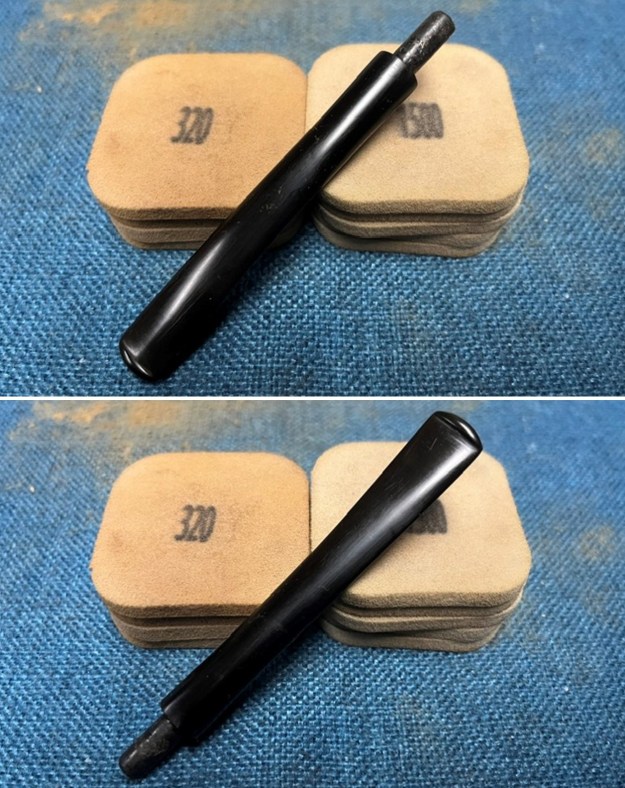
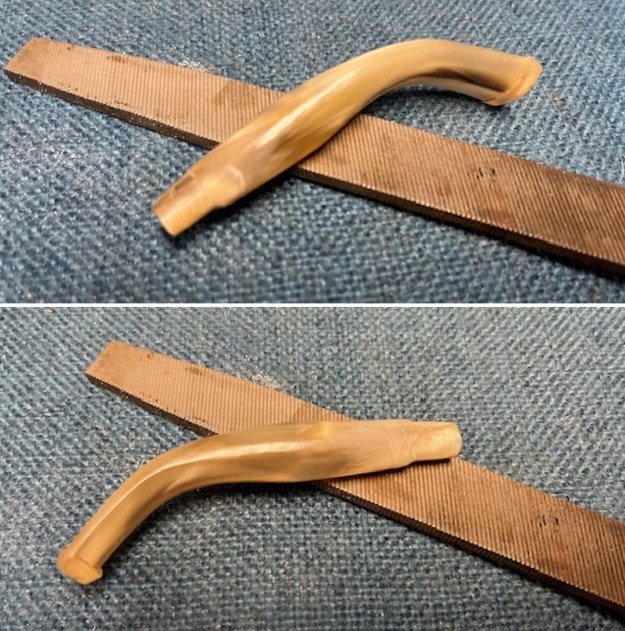
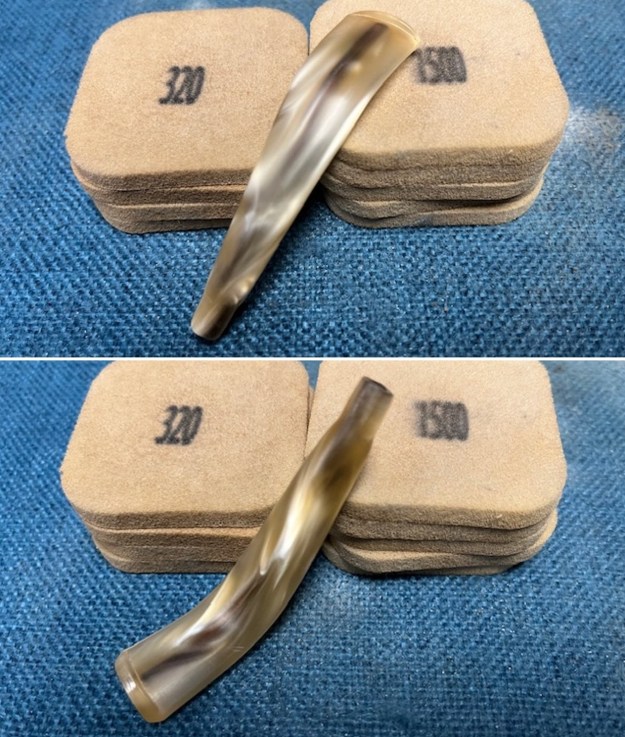
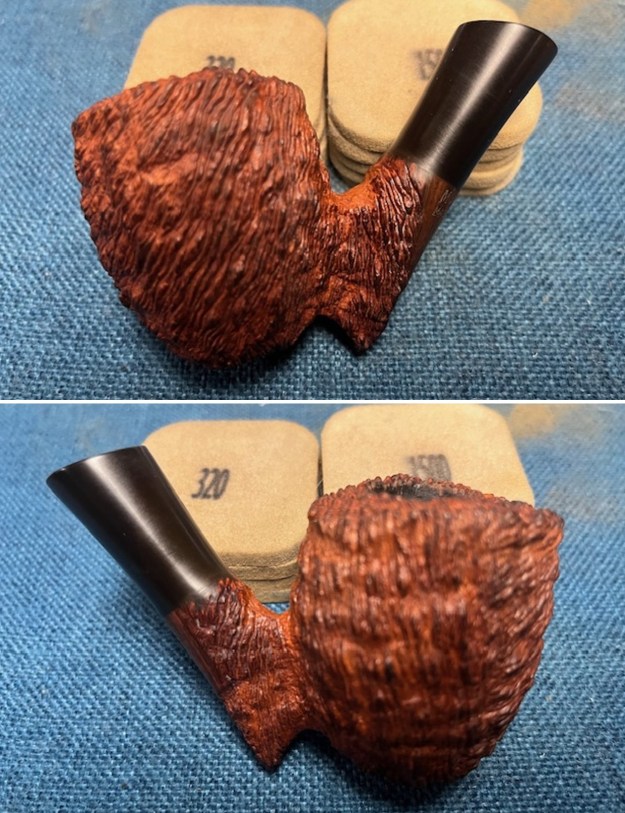
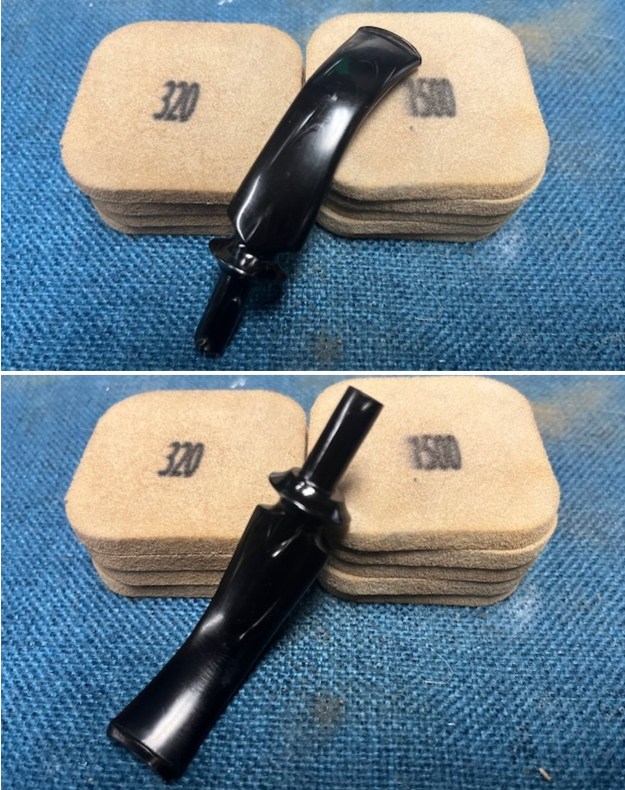
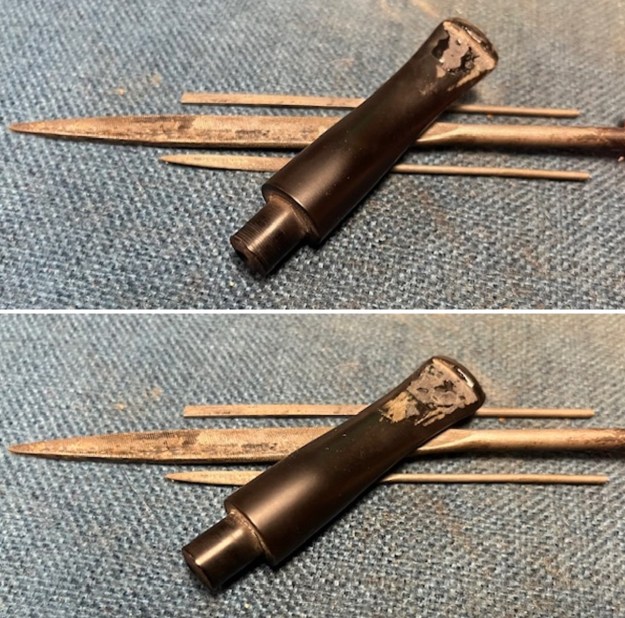
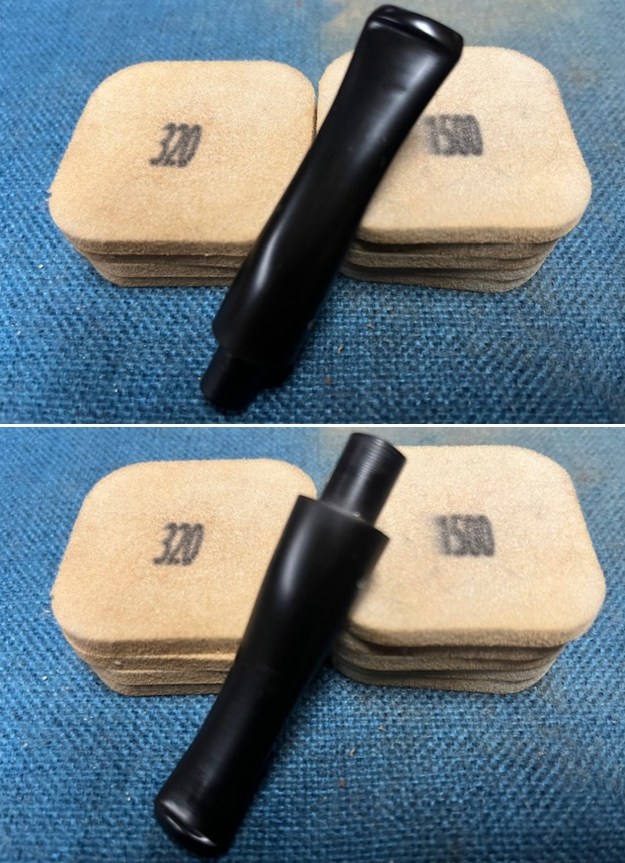
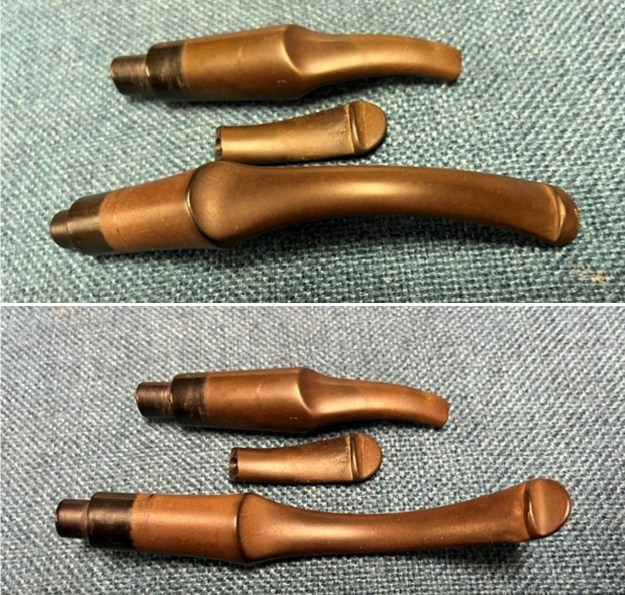 I sanded the stem with 320-1500 grit 2×2 inch sanding pads. I wiped the stem down after each sanding pad with an Obsidian Oil Cloth to remove the sanding dust. It began to look very good.
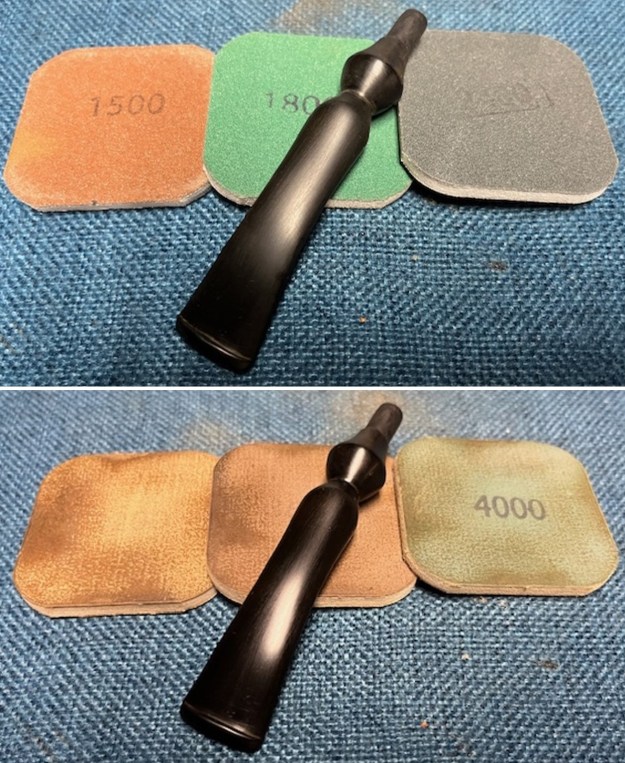
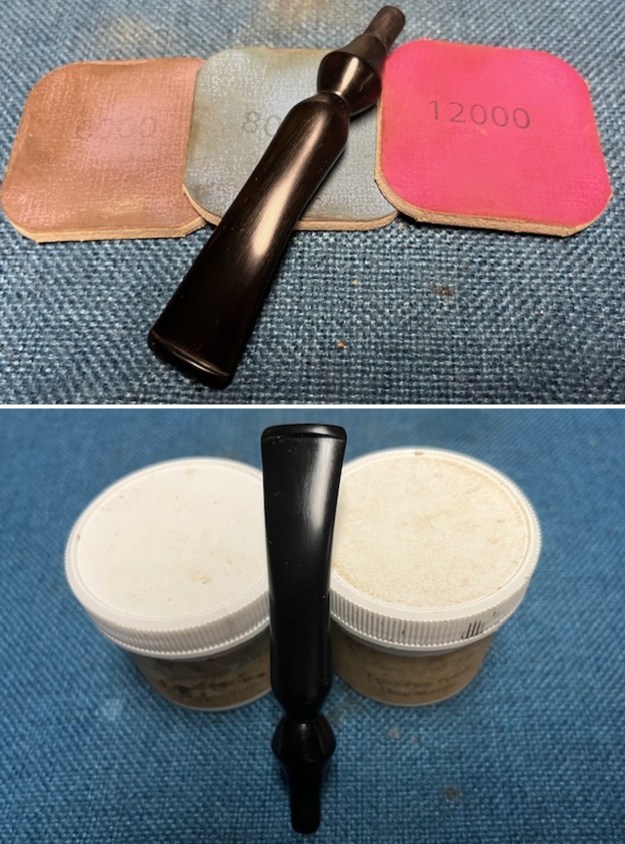
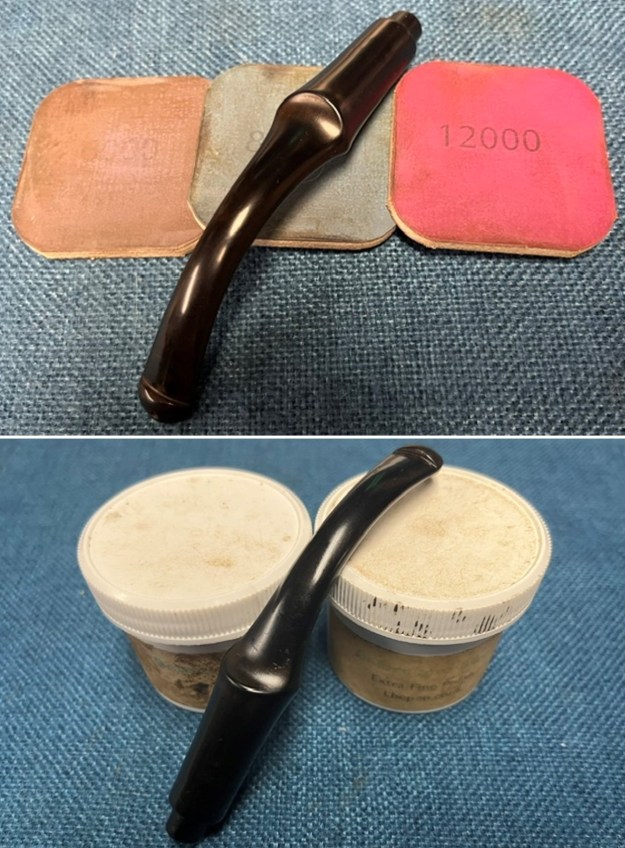
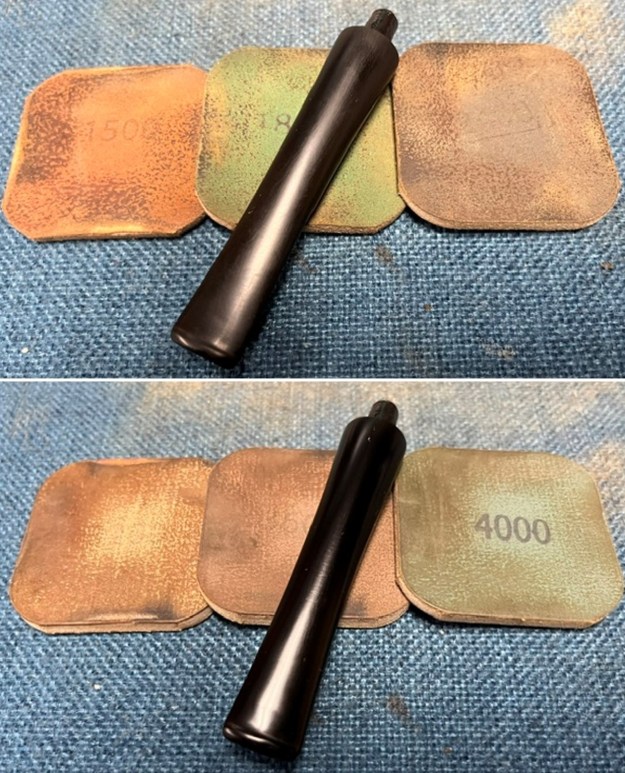
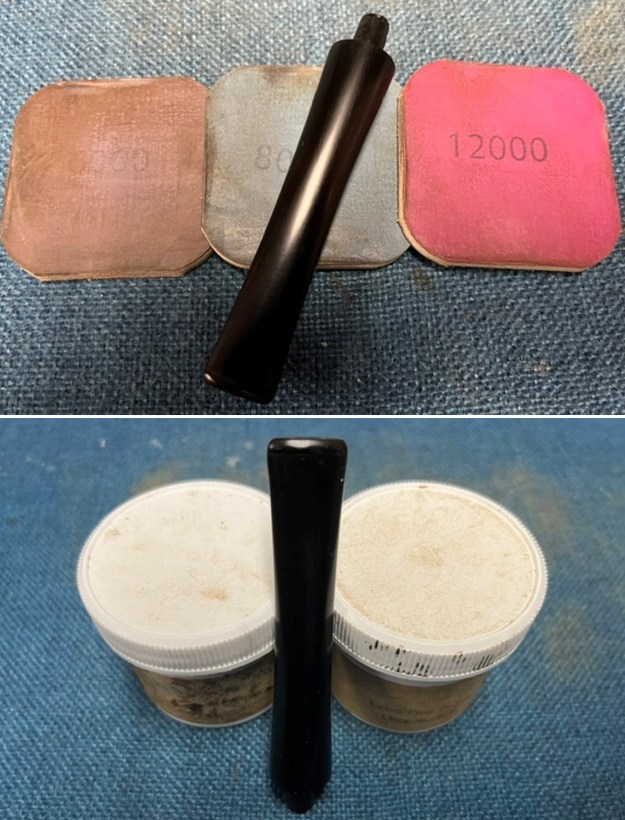
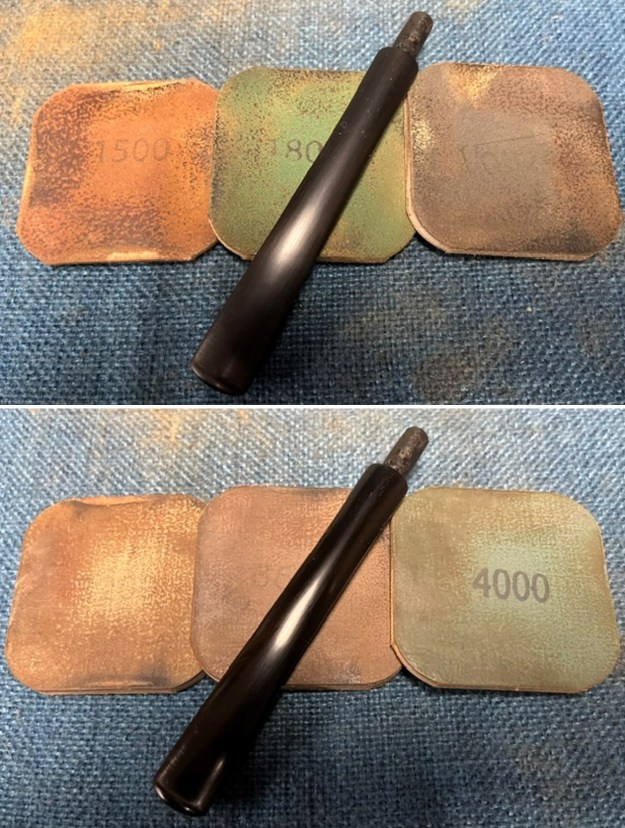
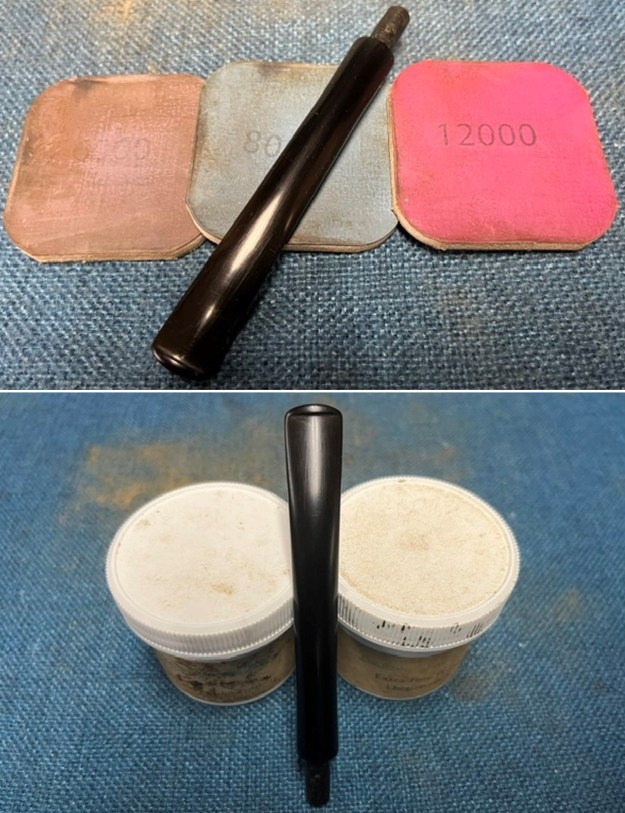
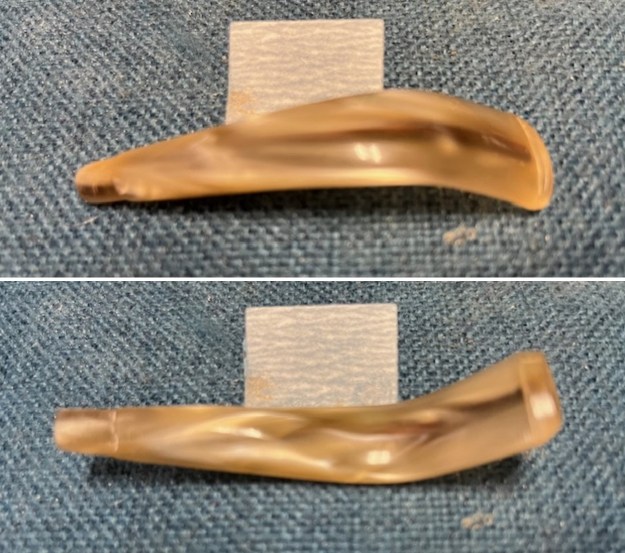
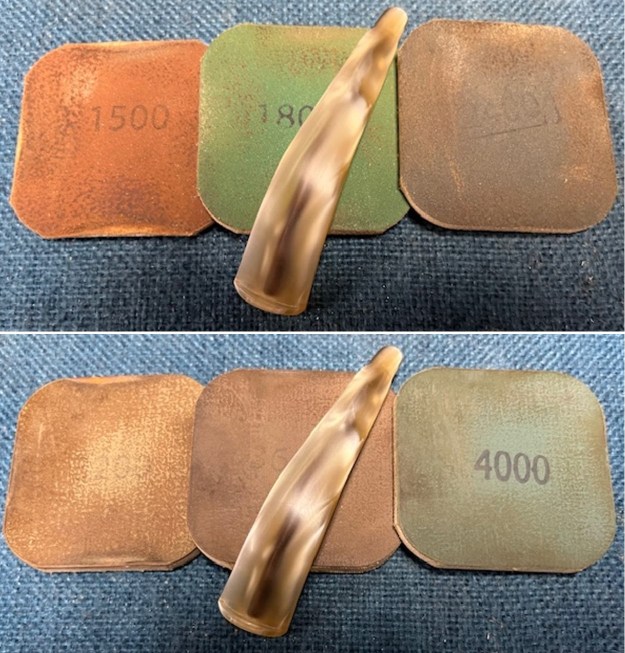
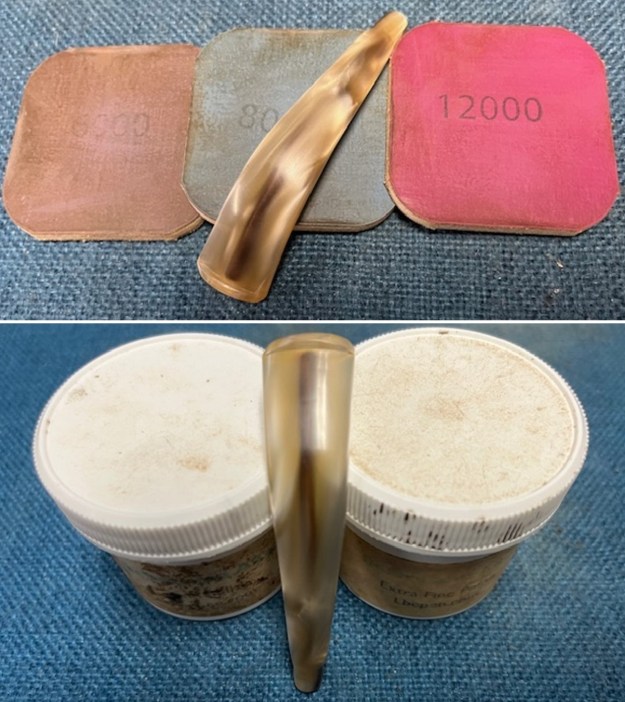
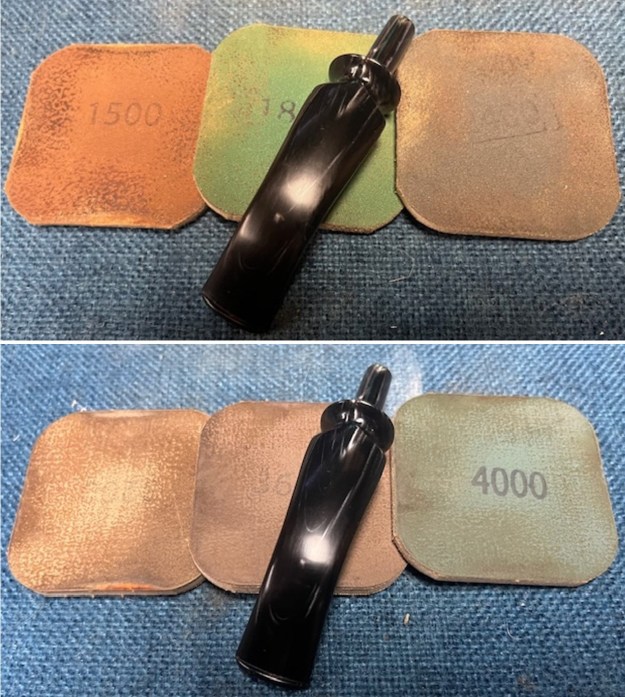
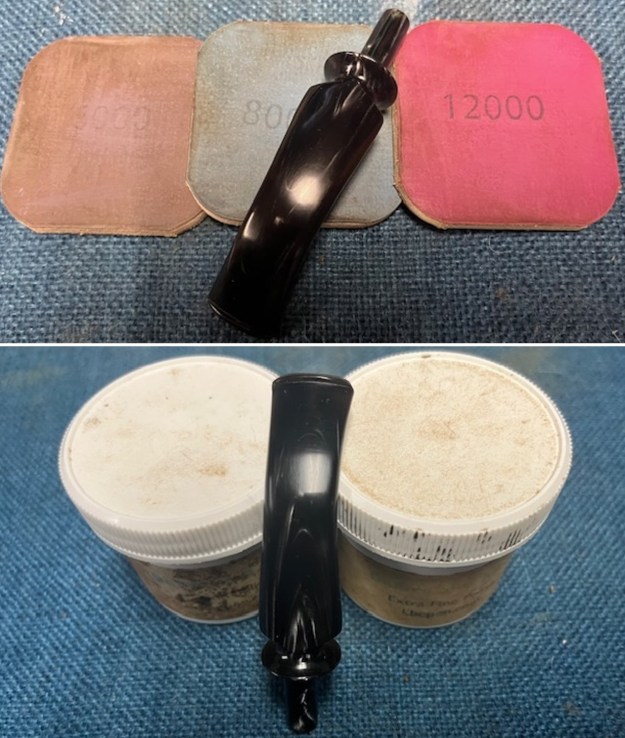
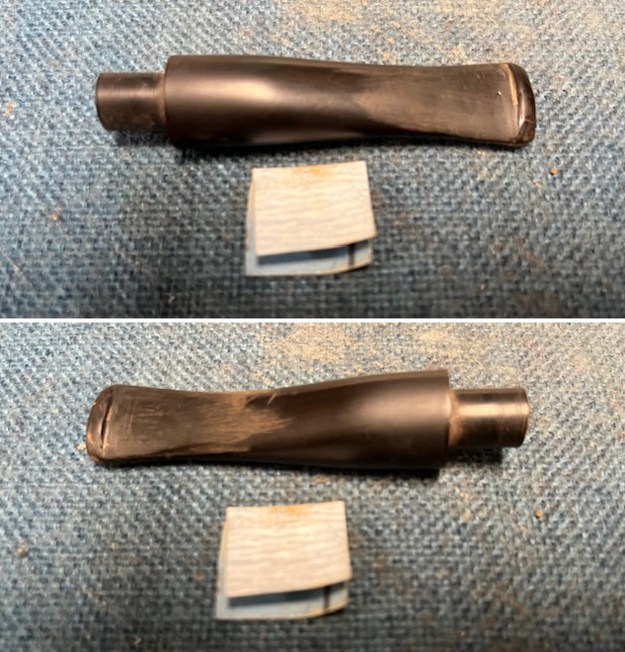
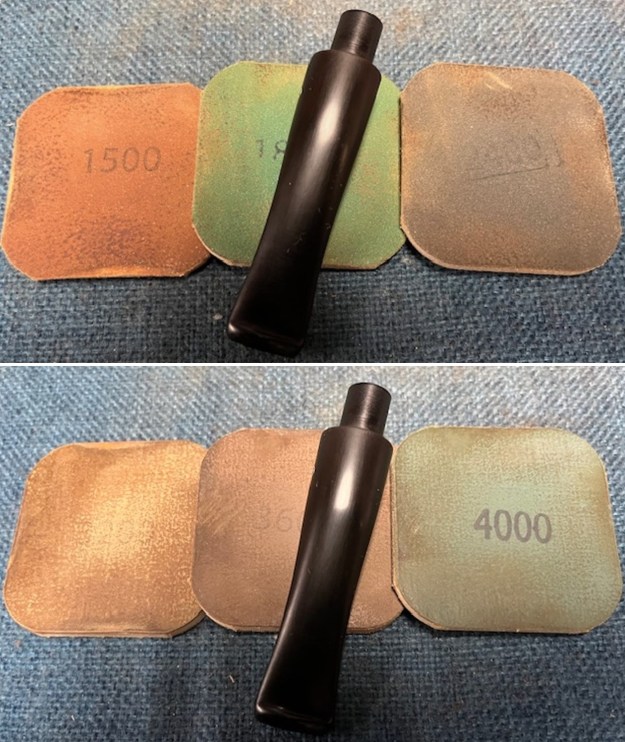
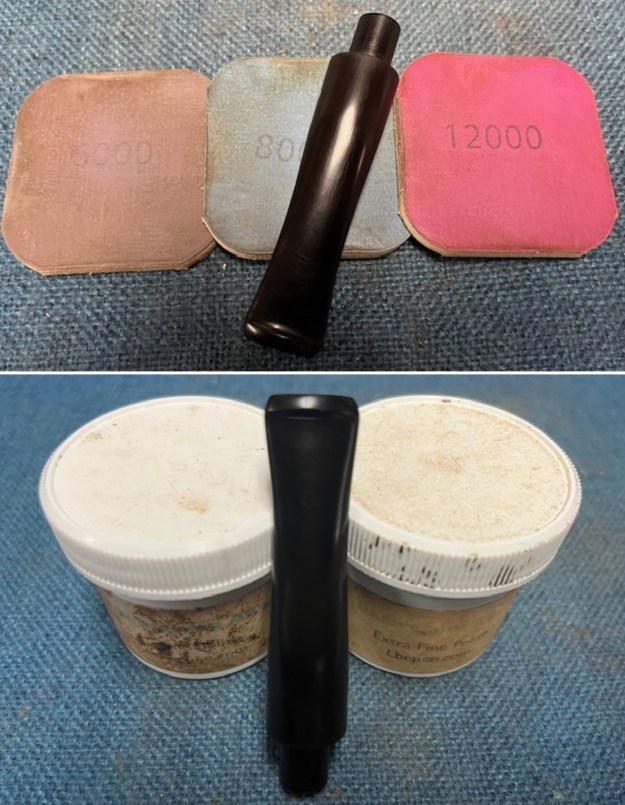
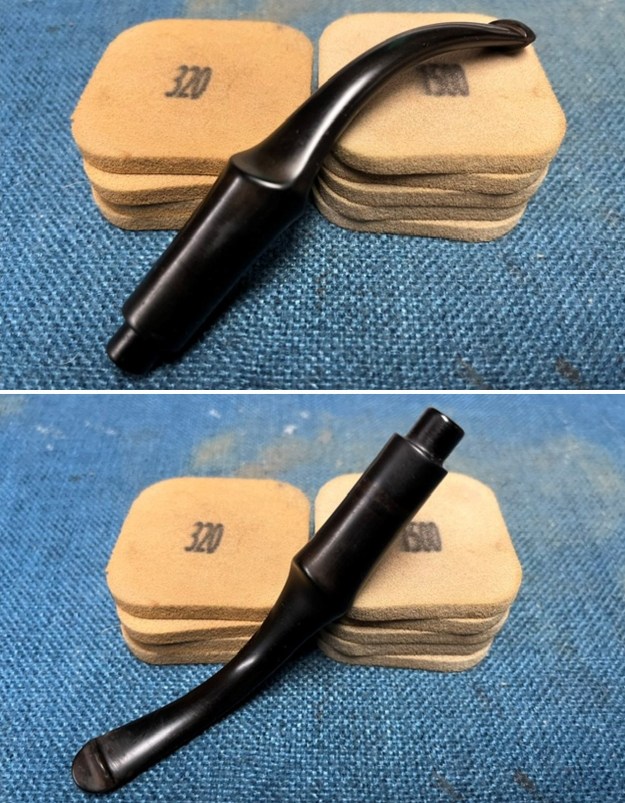 I polished the stem with micromesh sanding pads – dry sanding with 1500-12000 grit pads. I wiped the stem down after each sanding pad with an Obsidian Oil Cloth. The stem began to take on a rich shine.
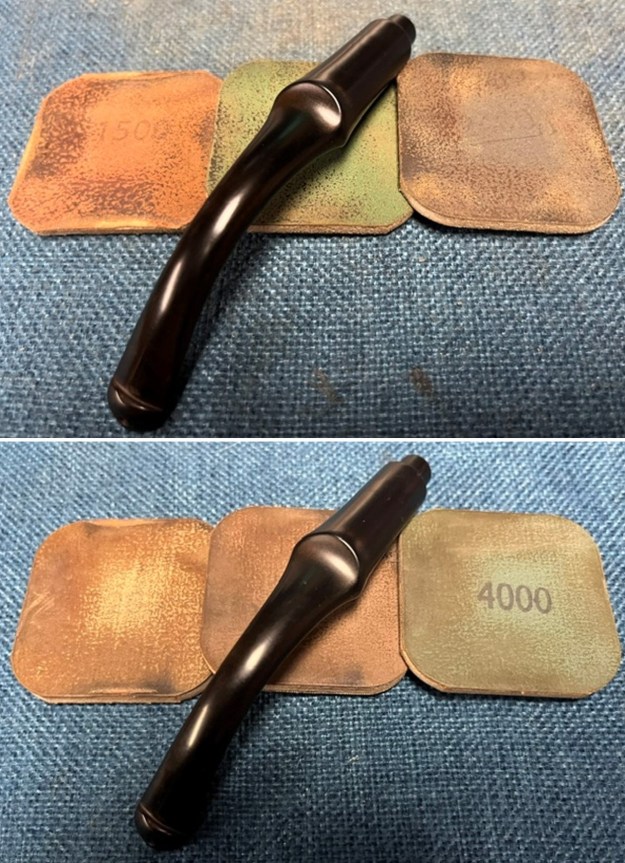
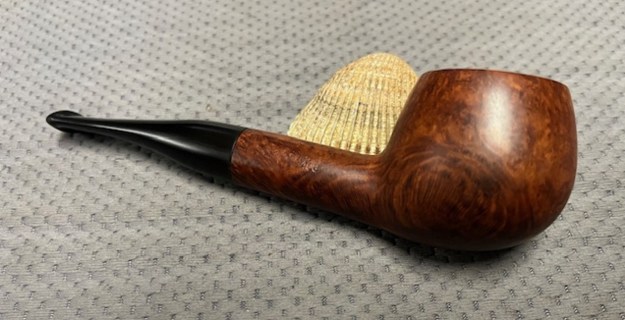
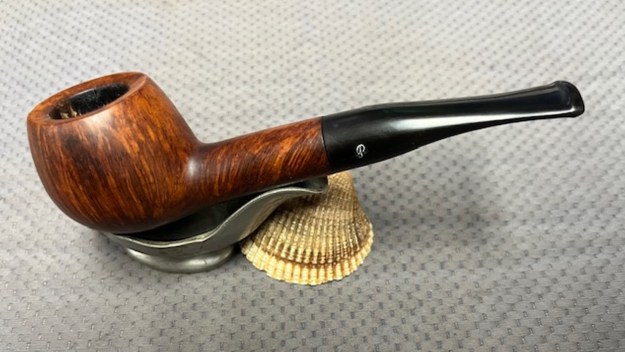
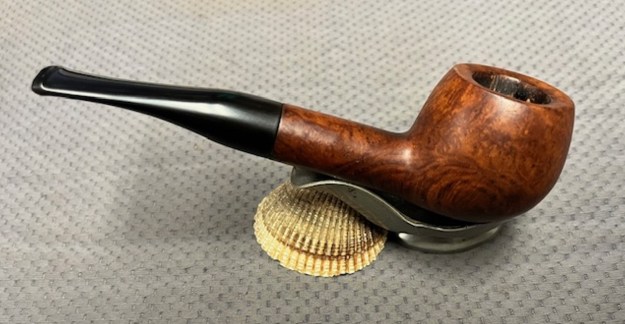
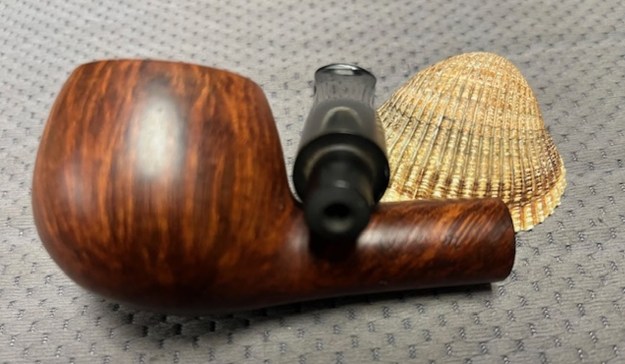
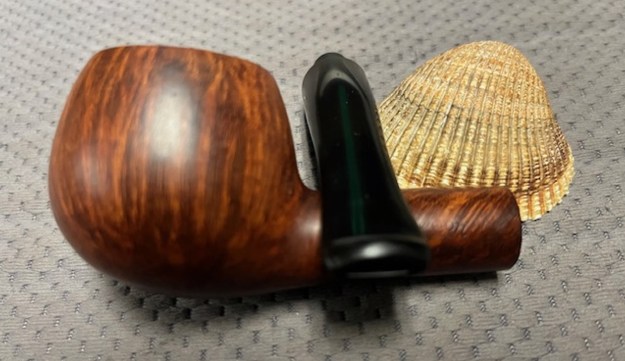
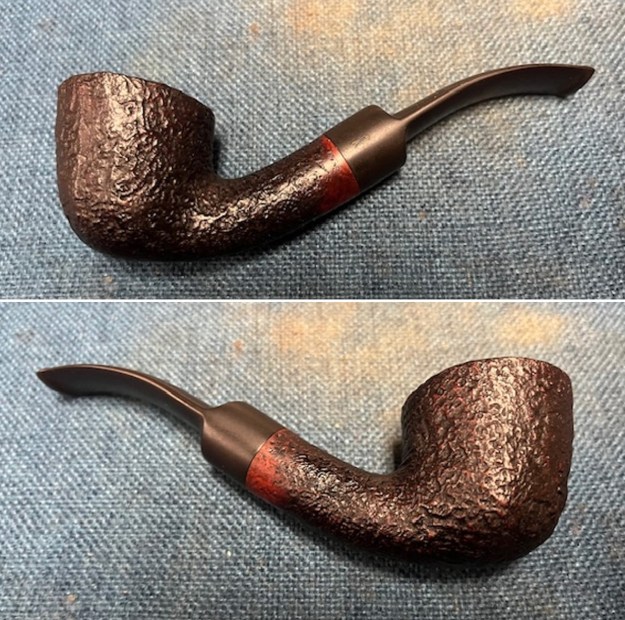
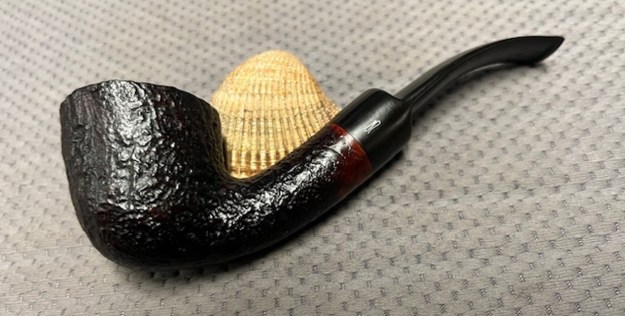
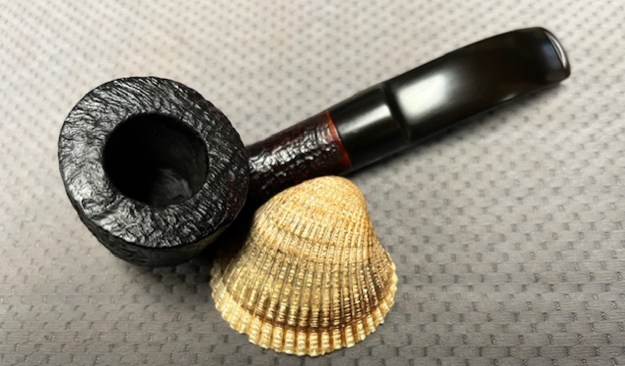
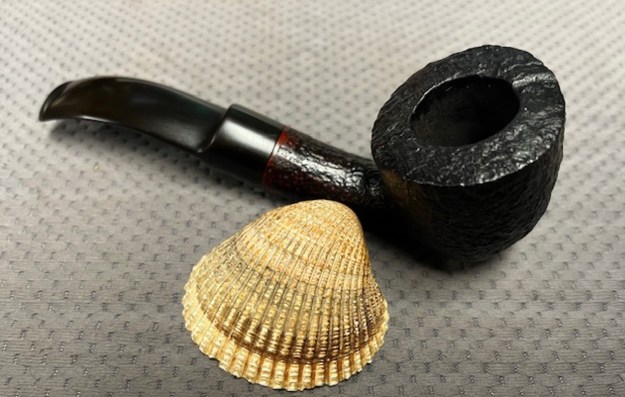
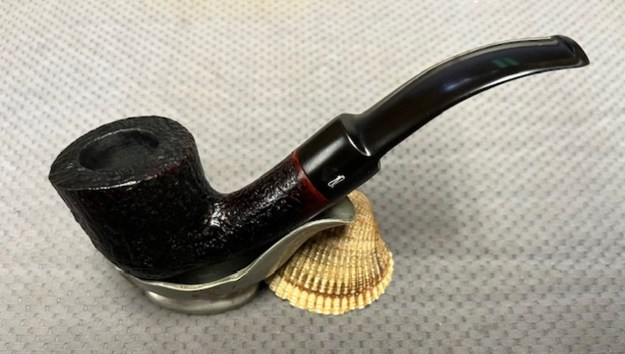
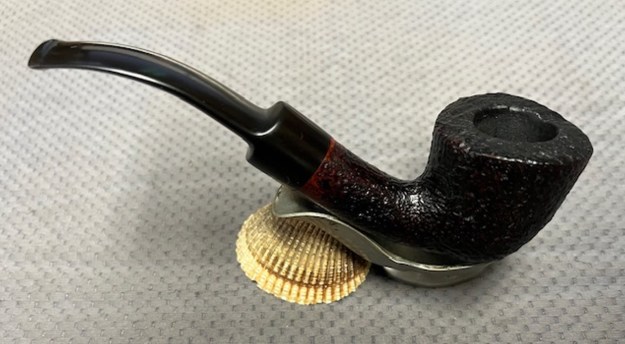
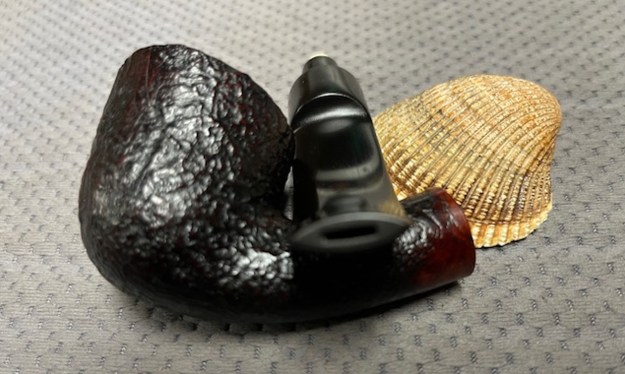
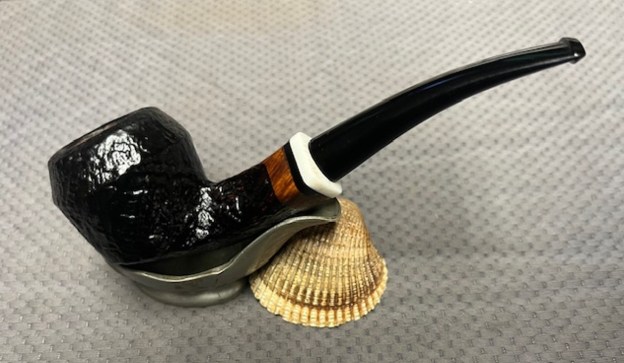
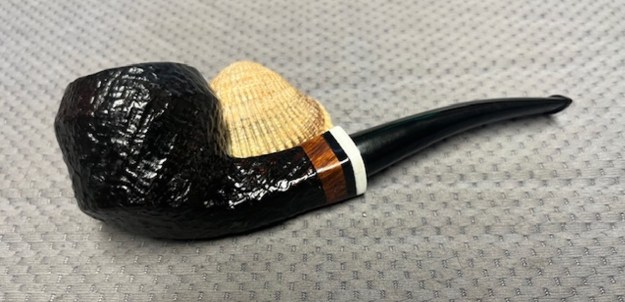
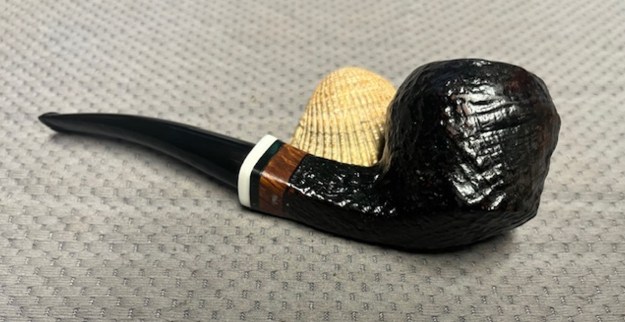
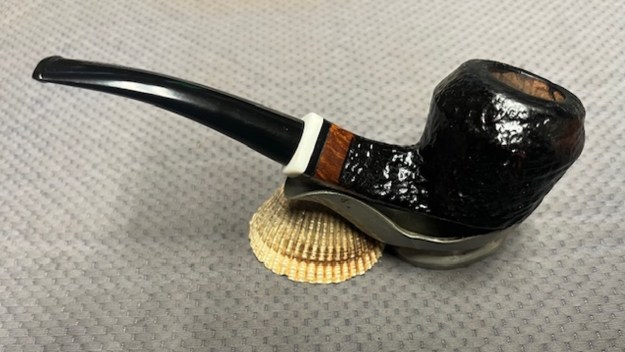
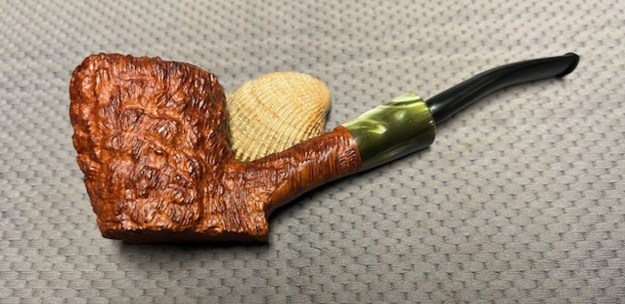
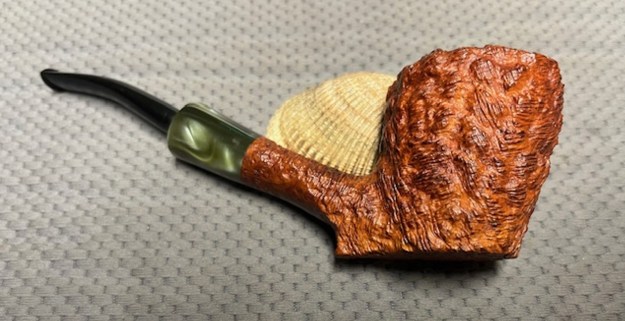
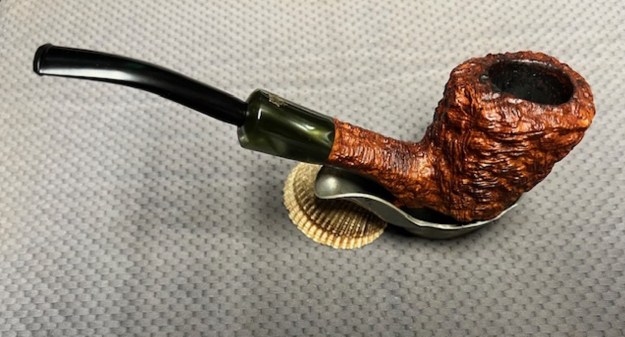
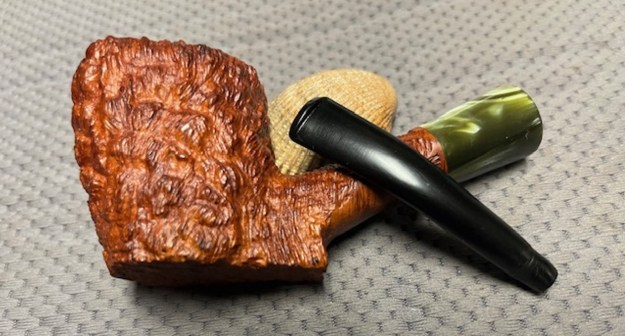
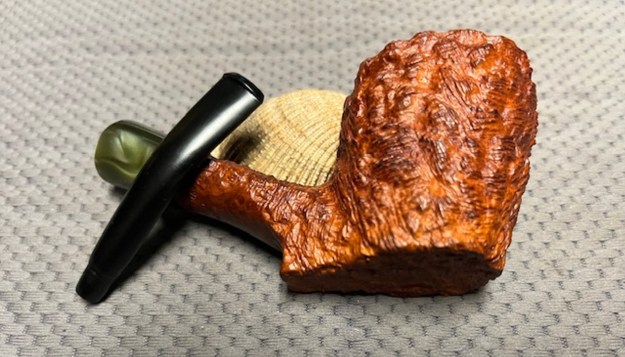
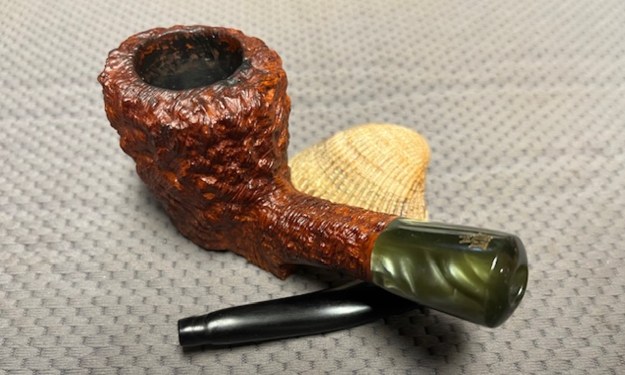
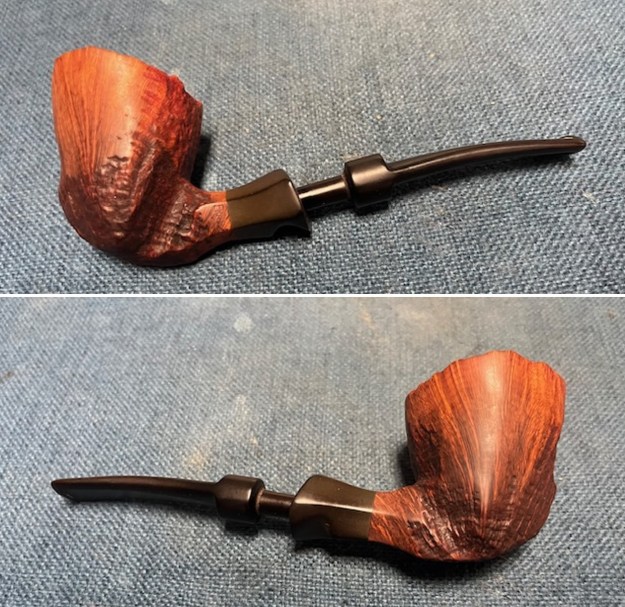
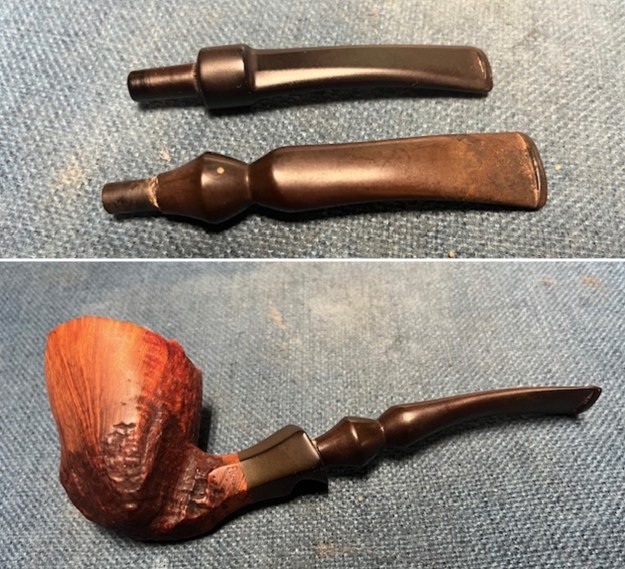
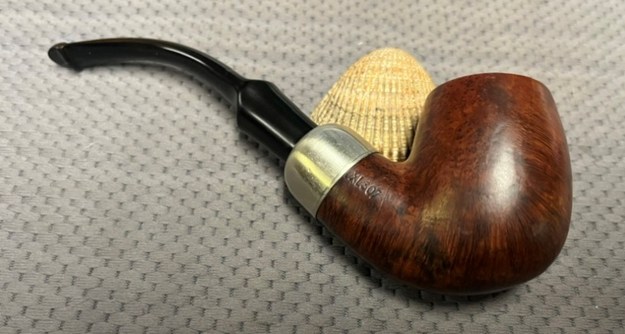
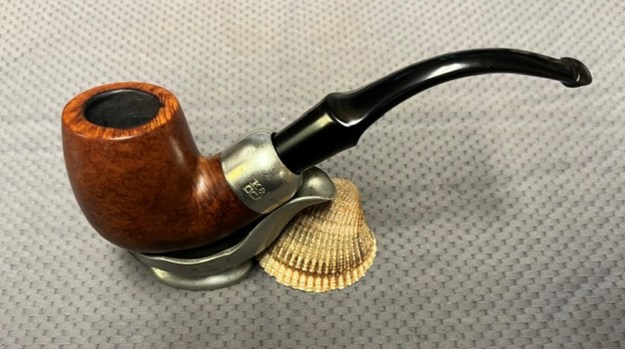
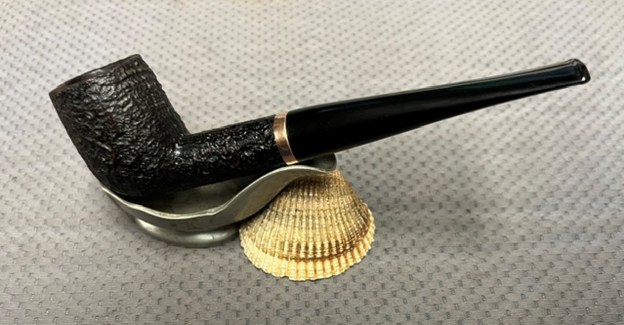
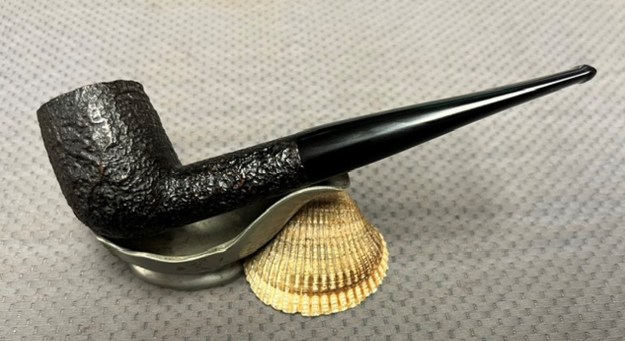
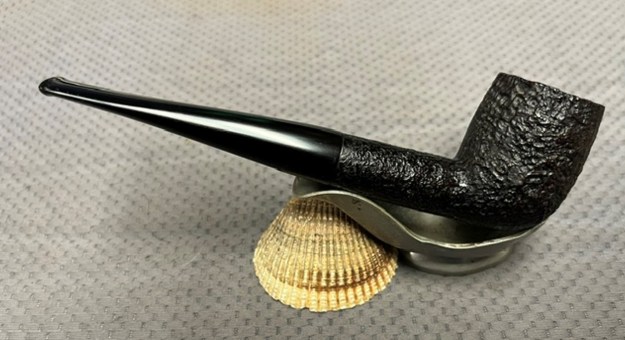
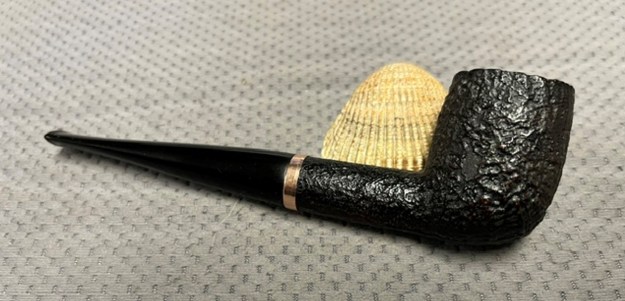
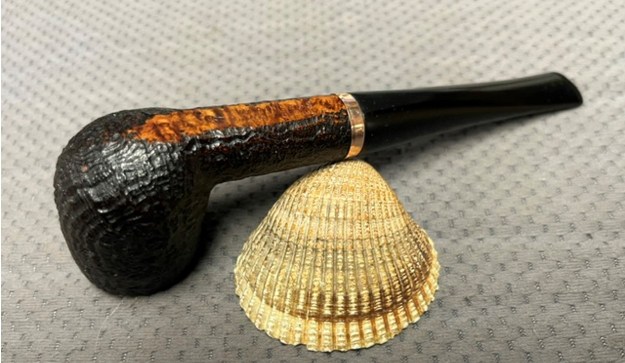
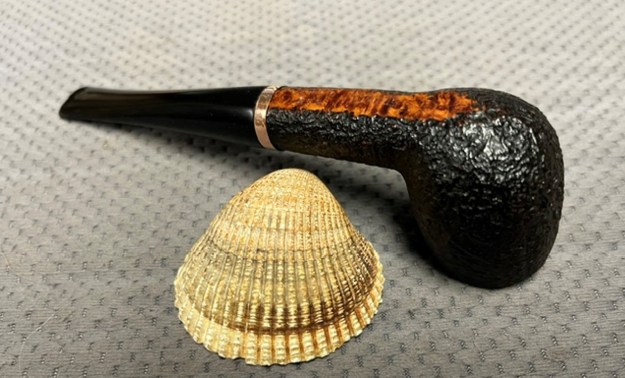
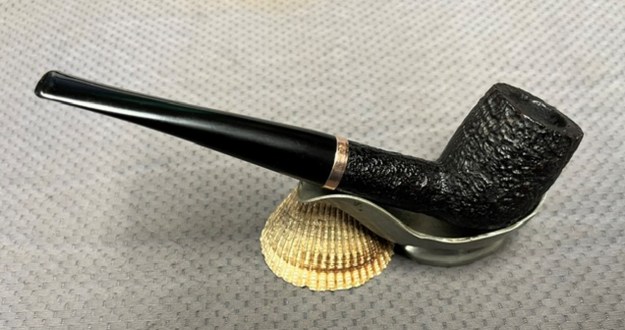
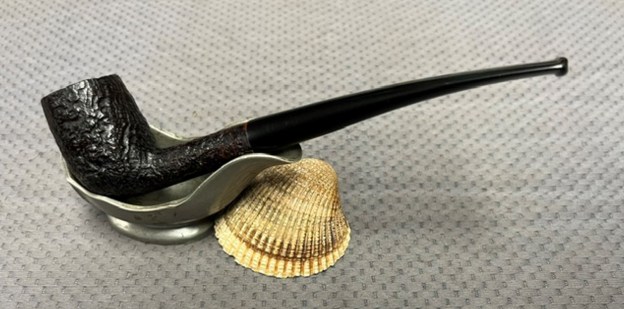
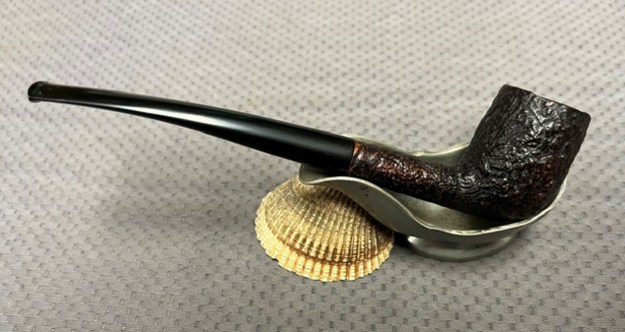
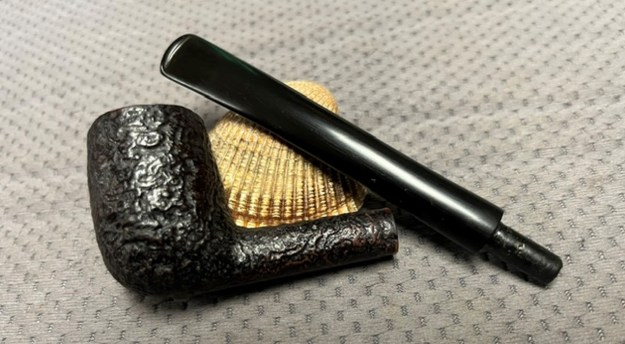
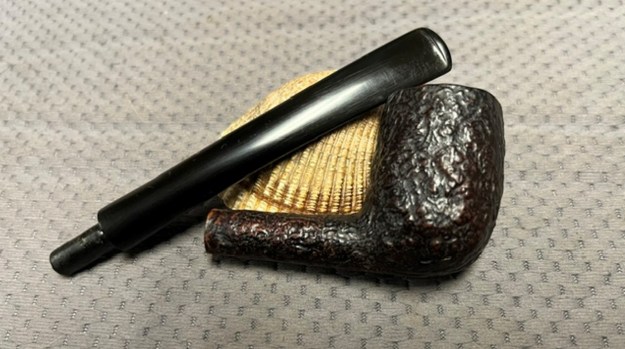
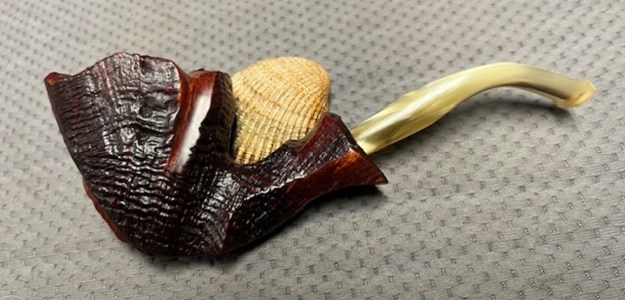
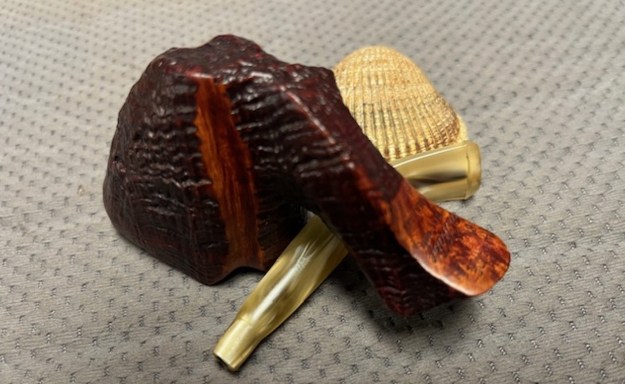
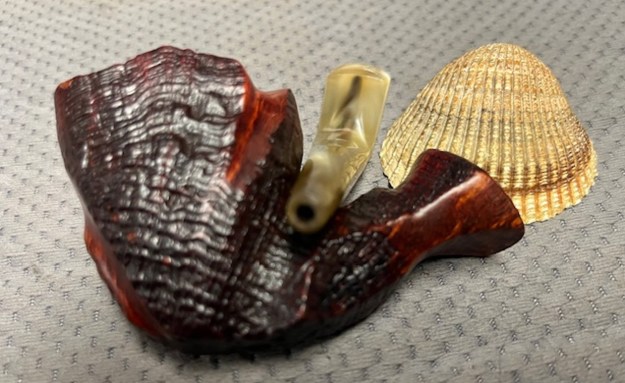
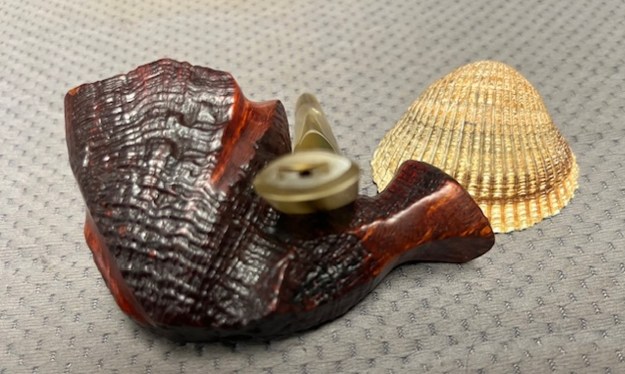
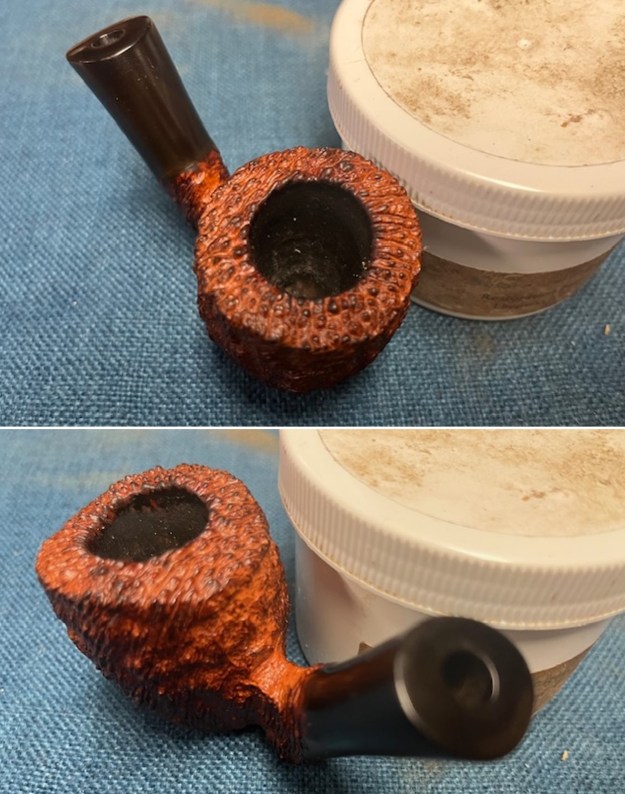
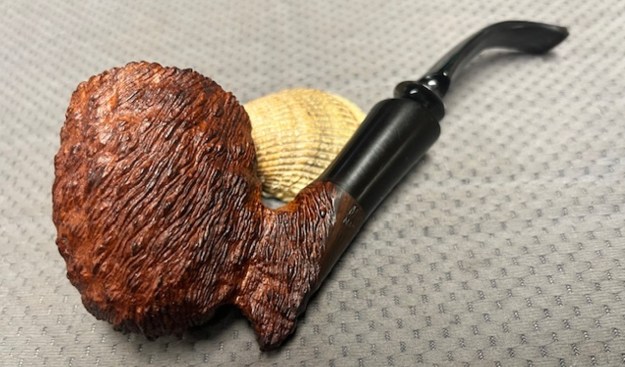
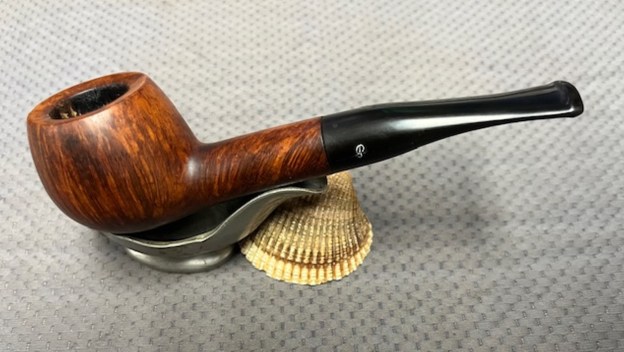
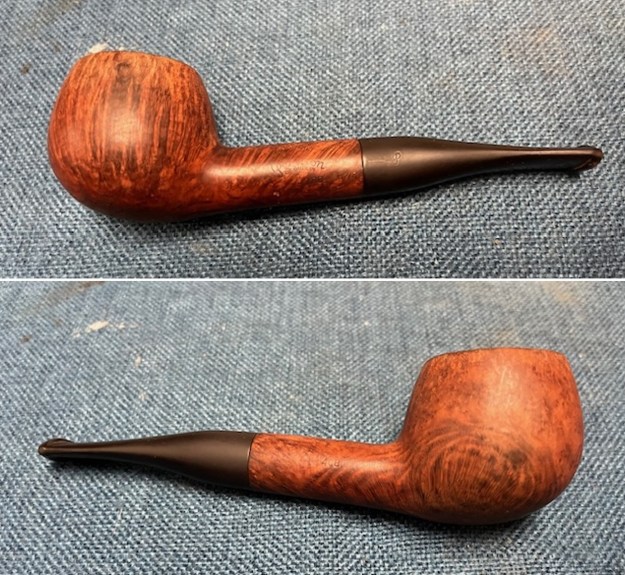
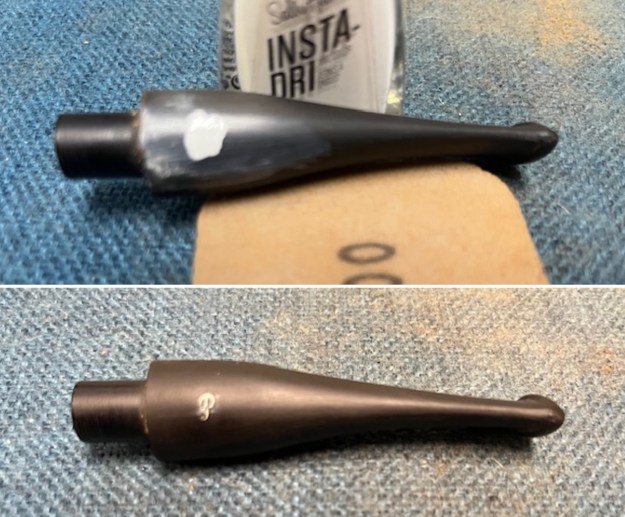
 Once again at this point in the restoration process I am excited to be on the homestretch. I look forward to the final look when the Republic Era Peterson System XL307 is put back together, polished and waxed. I put the bowl and the new stem back together. I polished the bowl and stem with Blue Diamond to polish out the scratches in the briar and the vulcanite. I gave the bowl and the stem multiple coats of carnauba wax. I buffed the pipe with a clean buffing pad to raise the shine. I hand buffed it with a microfiber cloth to deepen the shine. The pipe polished up pretty nicely. The shiny black vulcanite stem is a beautiful contrast to the browns of the bowl and nickel ferrule. This Peterson’s System Standard XL307 Bent Billiard was fun pipe to work on. It is a stunning piece of briar whose shape follows the flow of the briar. The finished pipe is shown in the photos below. The dimensions of the pipe are Length: 6 inches, Height: 2 inches, Outside diameter of the bowl: 1 ¼ inches, Chamber diameter: ¾ of an inch. The weight of the pipe is 2.12 ounces/59 grams. I will be putting it on the rebornpipes store in the Irish Pipemakers Section if you would like to add it to your rack and carry on the previous pipeman’s legacy. This is an interesting estate to bring back to life.
As always, I encourage your questions and comments as you read the blog. Thanks to each of you who are reading this blog. Remember we are not pipe owners; we are pipe men and women who hold our pipes in trust until they pass on into the trust of those who follow us.


 I
I