Blog by Steve Laug
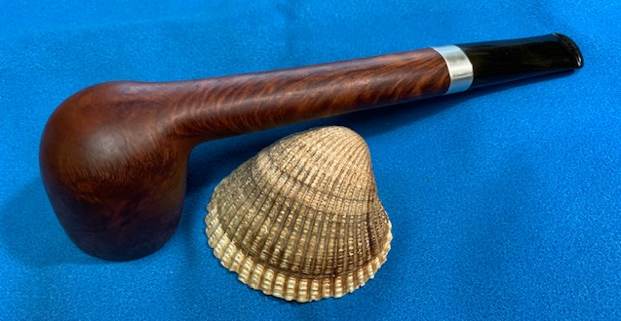
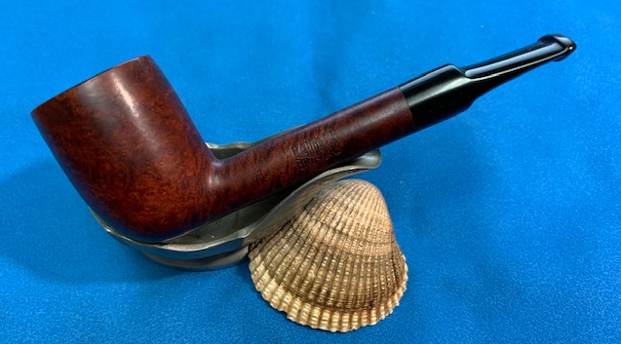
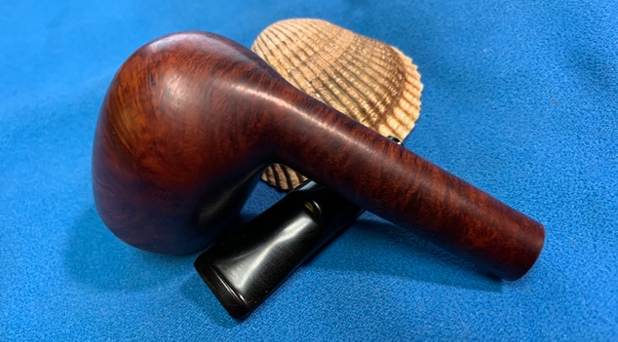
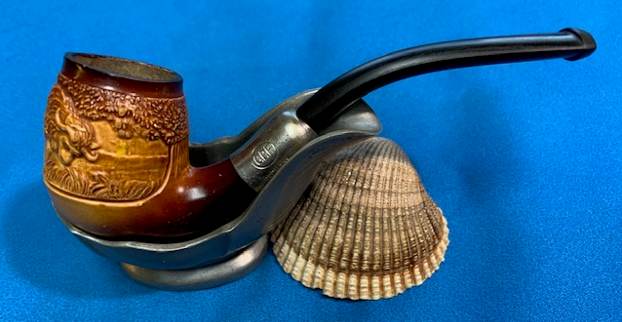
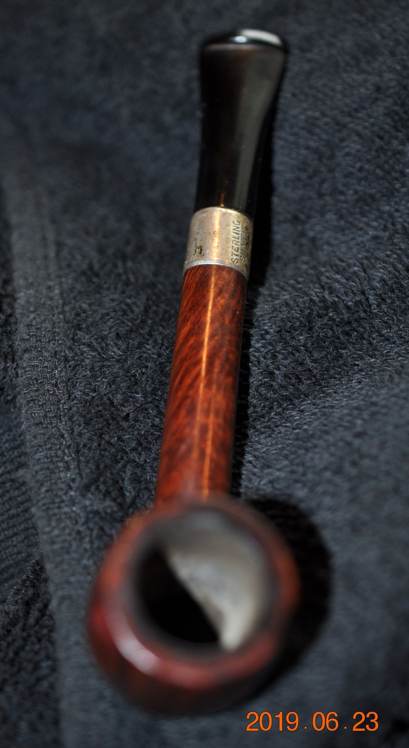
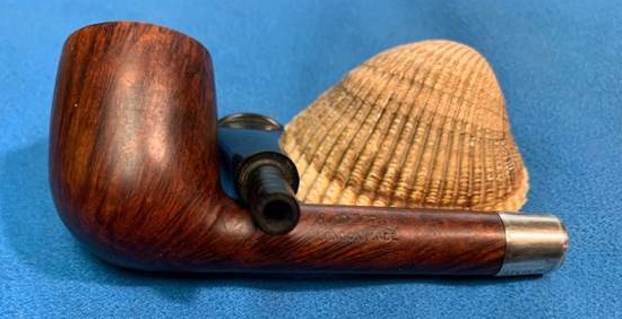
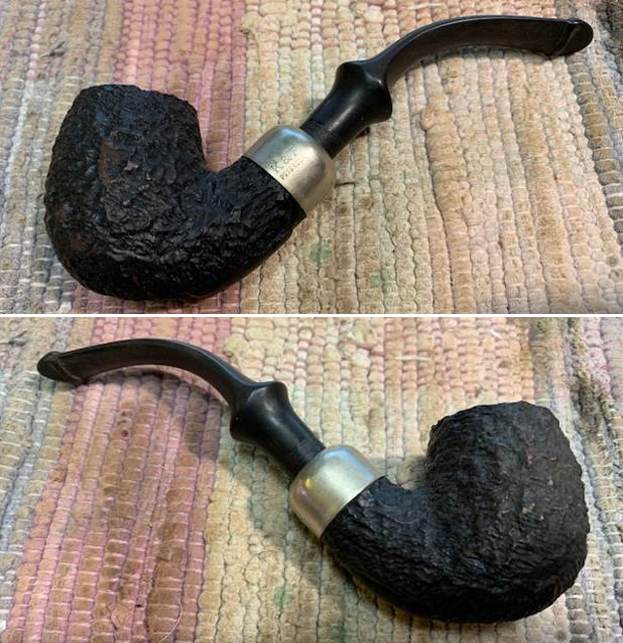
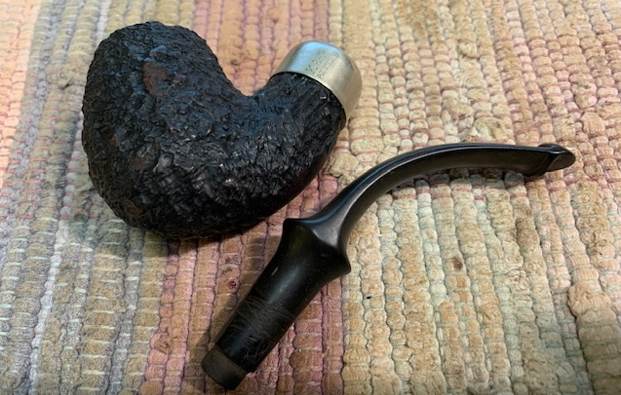
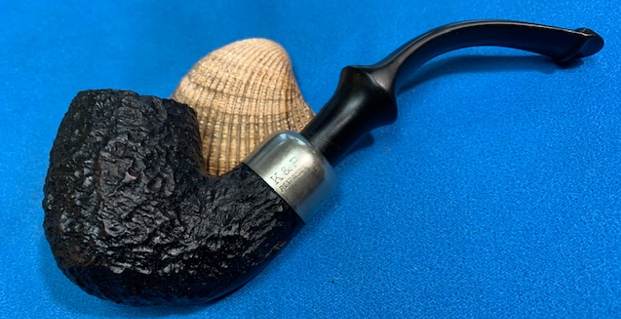
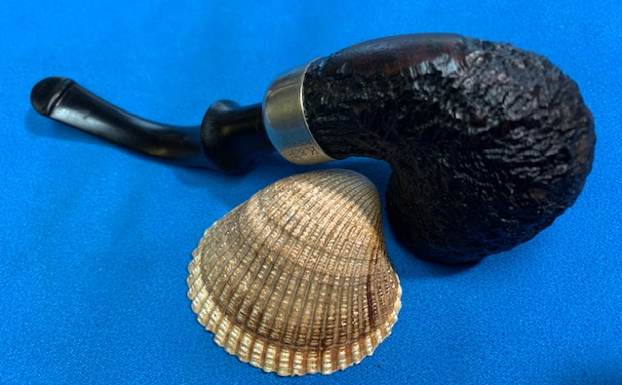
This pipe was bought from an online auction on 04/04/19 in Wilkes Barre, Pennsylvania, USA. It is a nicely grained Canadian with a Sterling Silver shank band and a vulcanite taper stem. The bowl had a thick cake in the bowl and burn damage all around the inner edge of the bowl. There is also a burn mark on the outer edge on the front top and left edge of the bowl. There are some nicks in the left side toward the front of the bowl. The finish is very dirty with a lot of debris and grime ground into all the way around. The Sterling Silver band is oxidized and tarnished. The stamping on the pipe is on the top of the shank and reads Royal Saxon. There is no other stamping on the briar. The band is stamped Sterling Silver on the top side. There does not appear to be any cracks in the shank so it is solely for cosmetic purposes. The stem is oxidized and has tooth marks on the top and underside ahead of the button. Jeff took some photo of the pipe before he started his work on it.
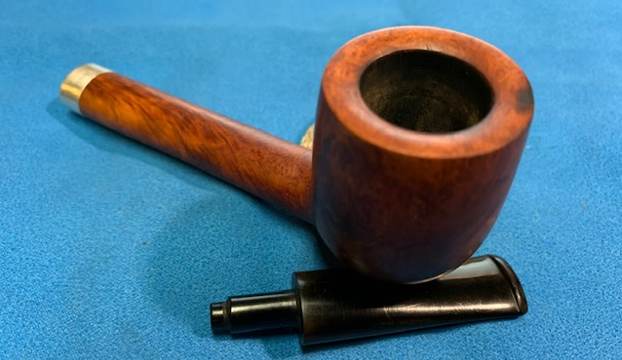
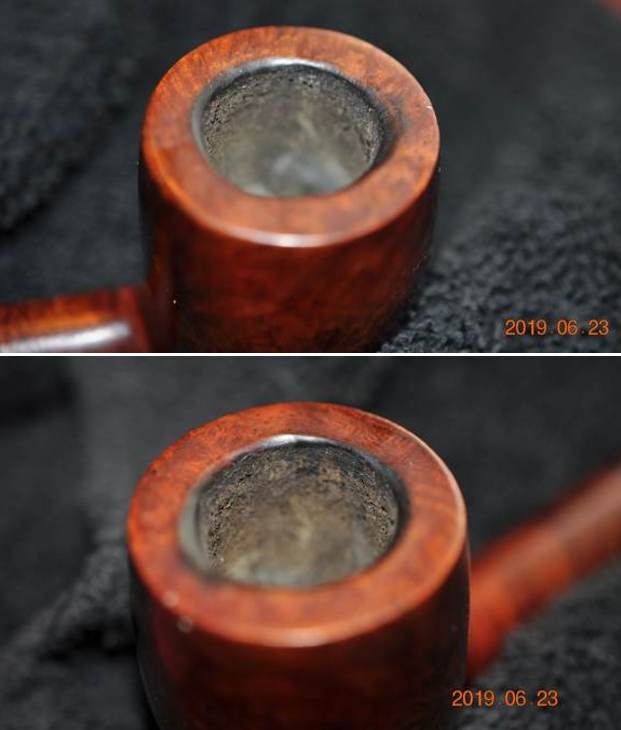
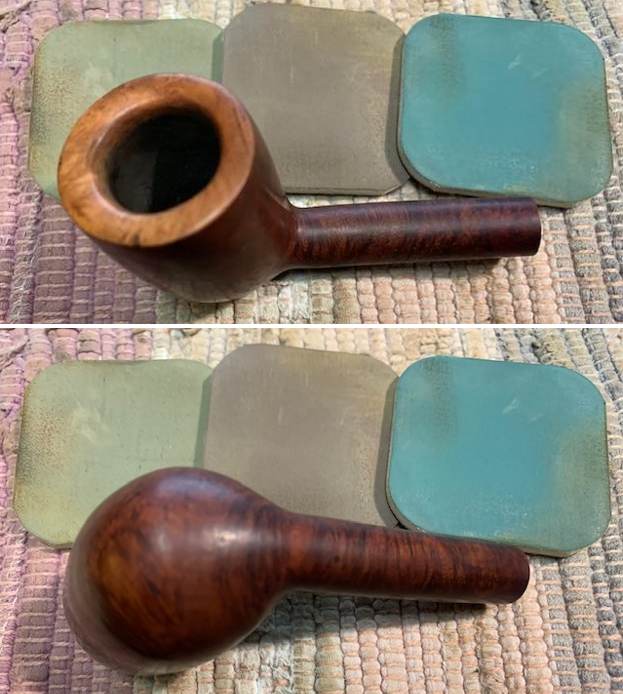
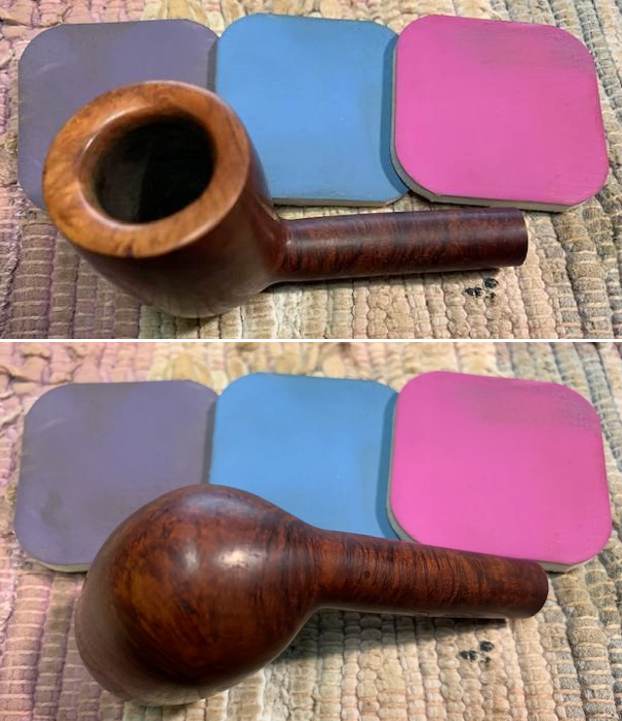
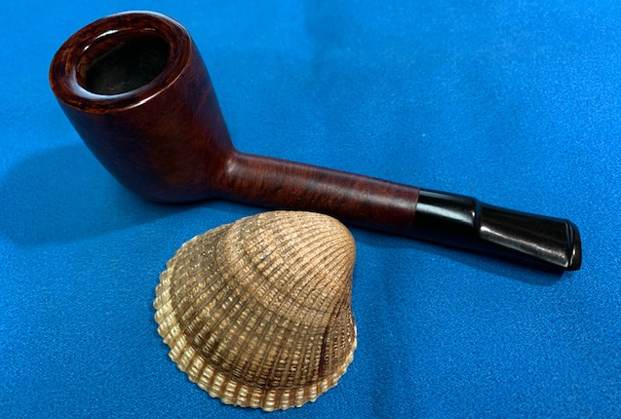
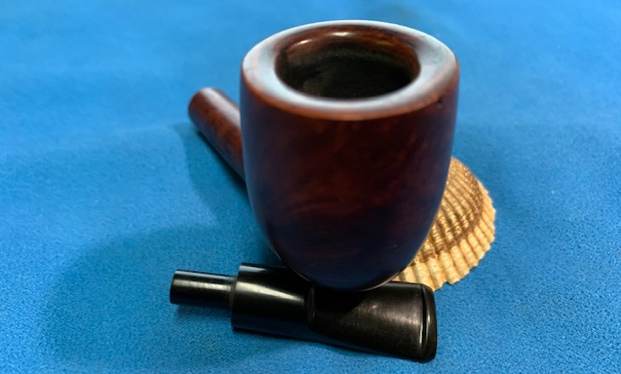
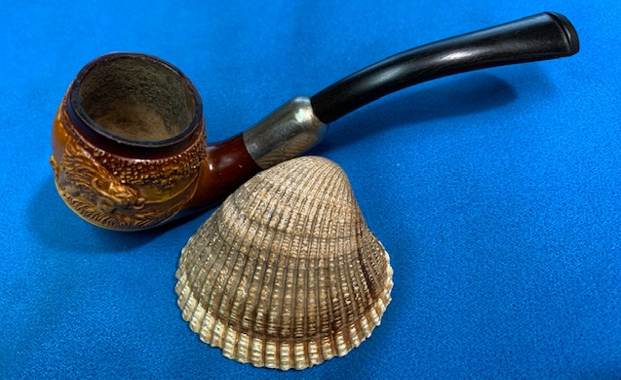
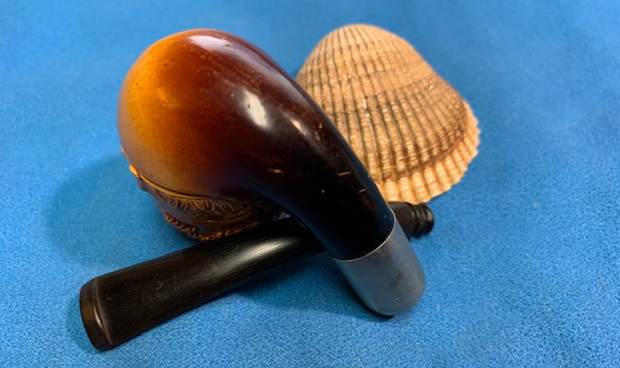
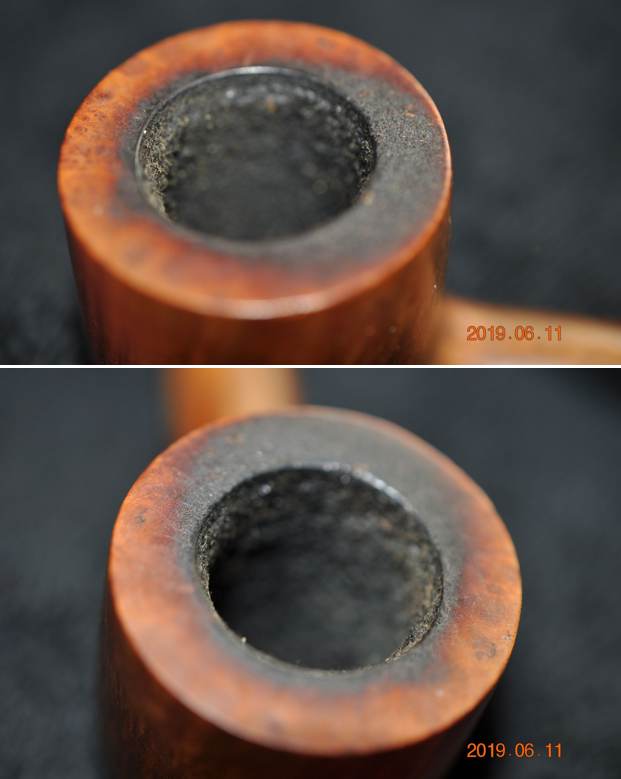
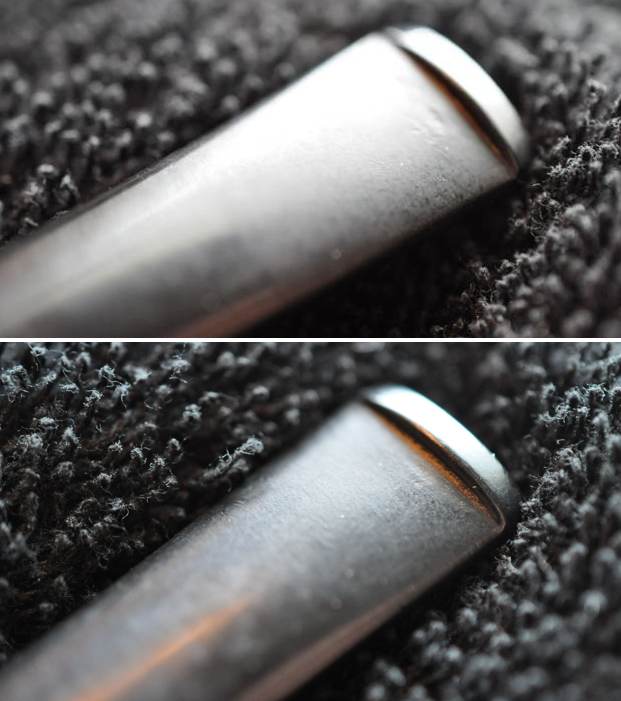
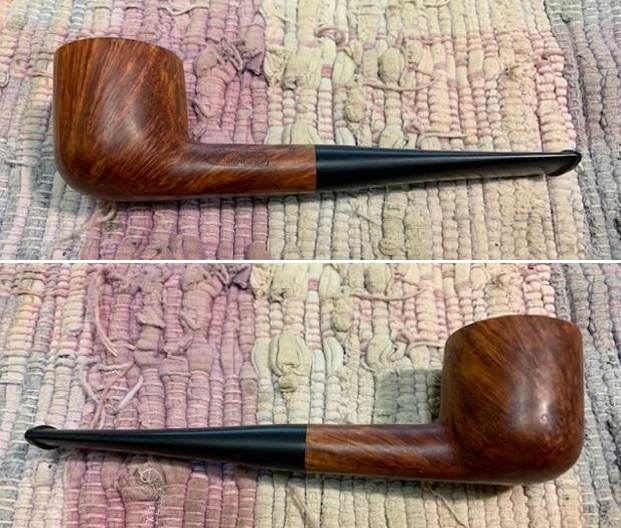
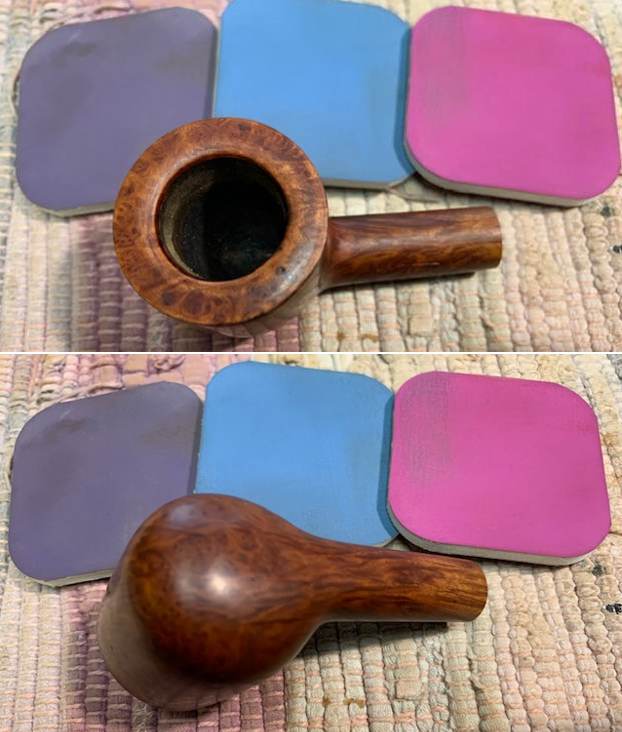
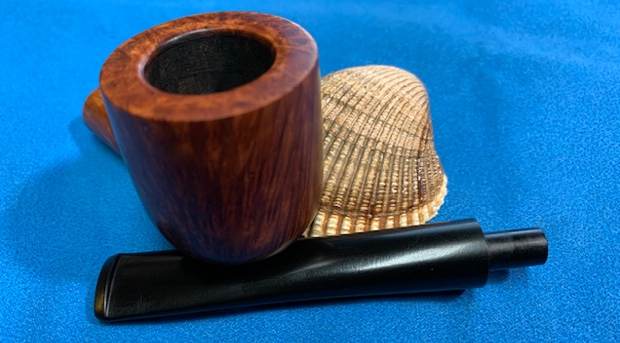
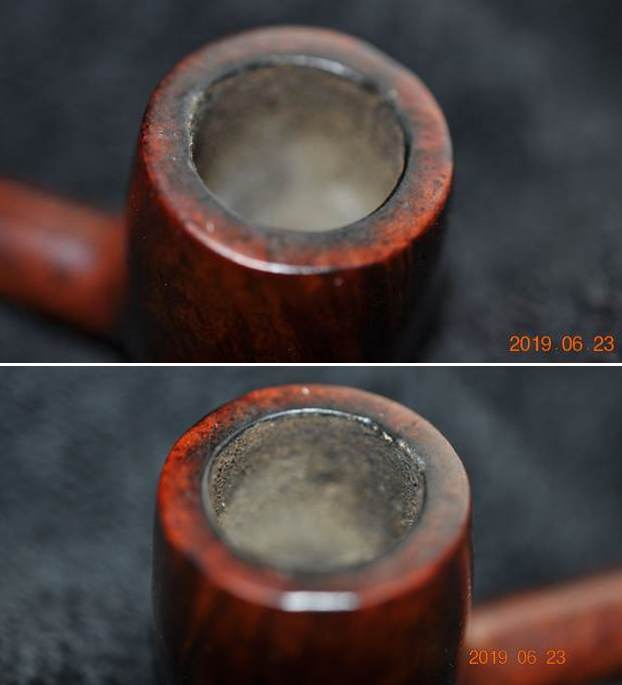
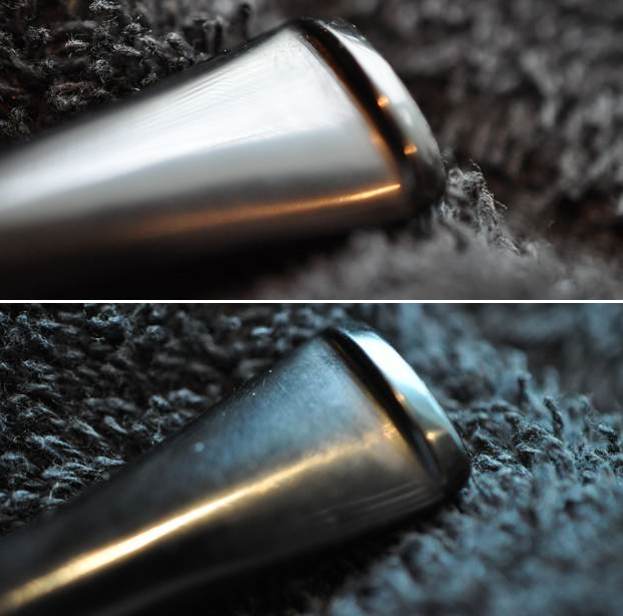
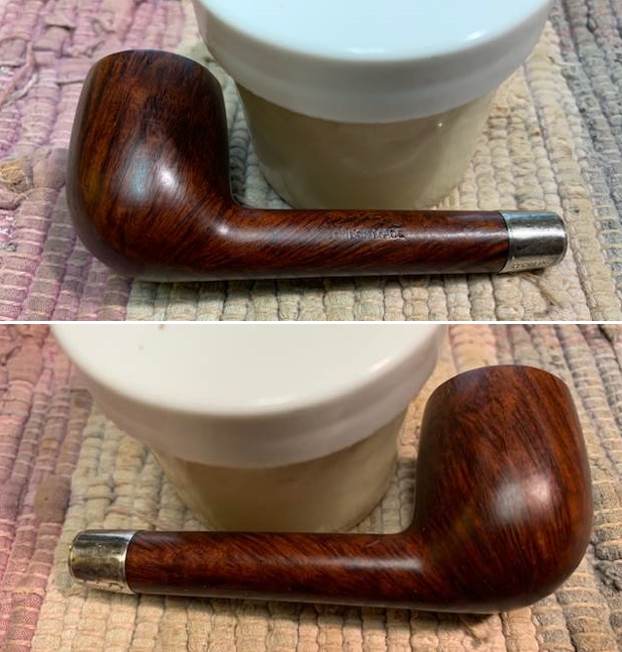
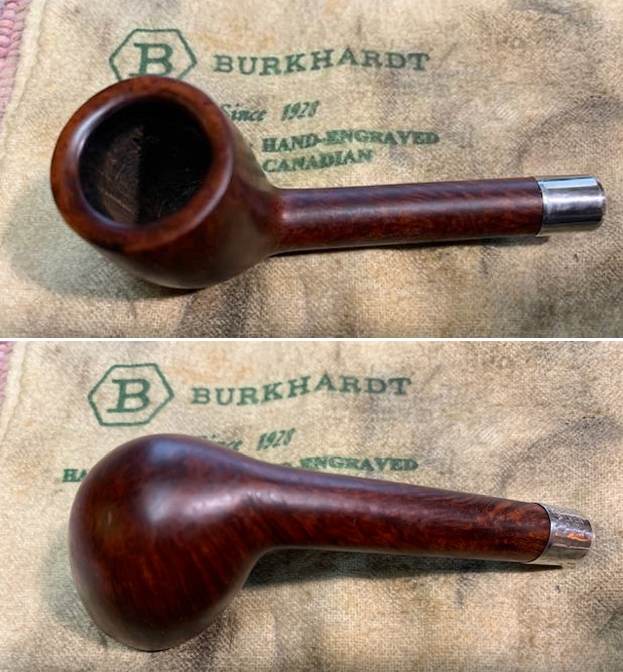
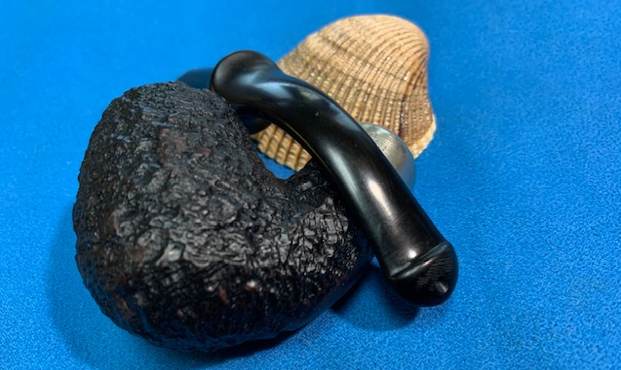
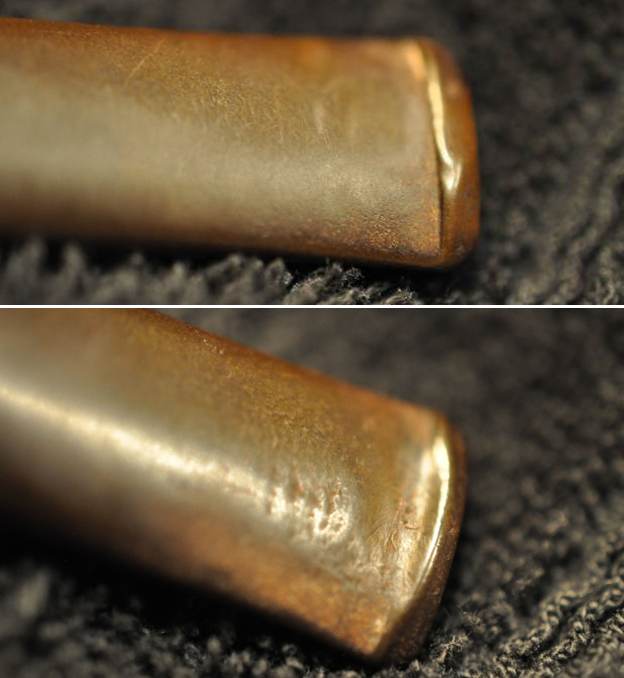
 Jeff took photos of the bowl and rim top to show the cake in the bowl and the burn damage on the top and on the beveled inner edge of the bowl. He also took photos of the stem to show the tooth marks and chatter on the oxidized stem.
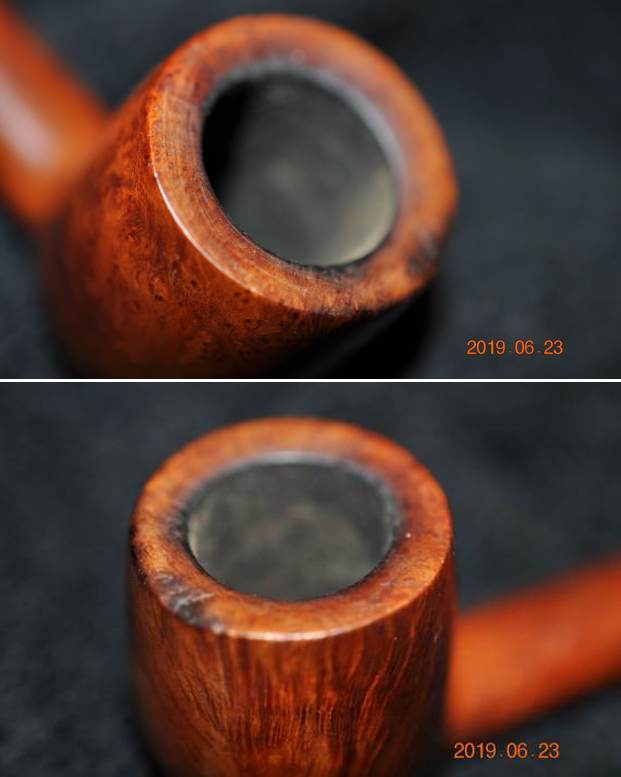
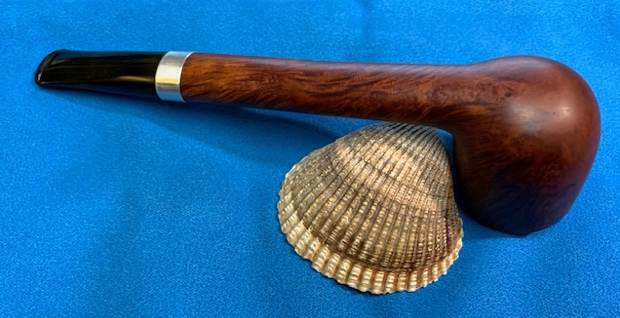
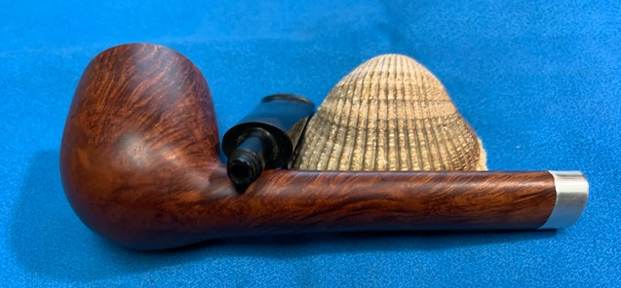
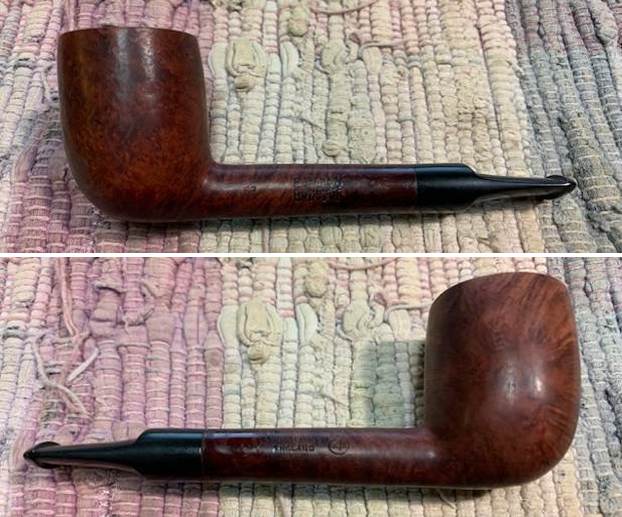
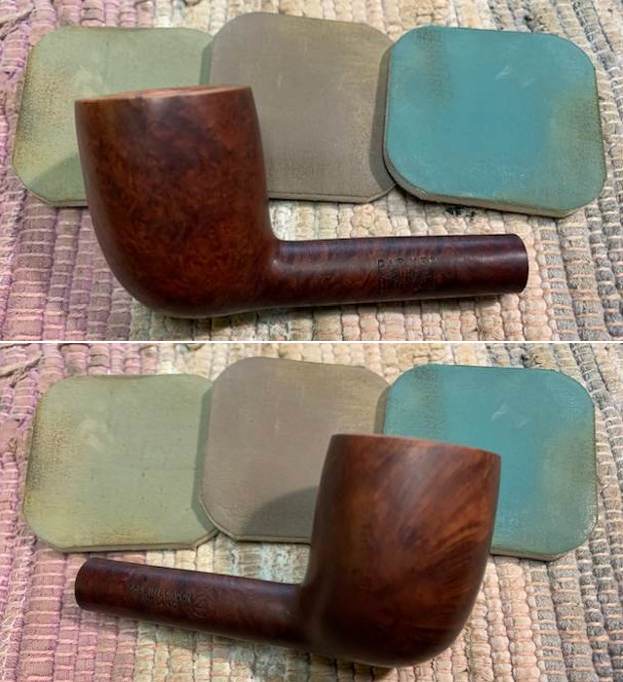
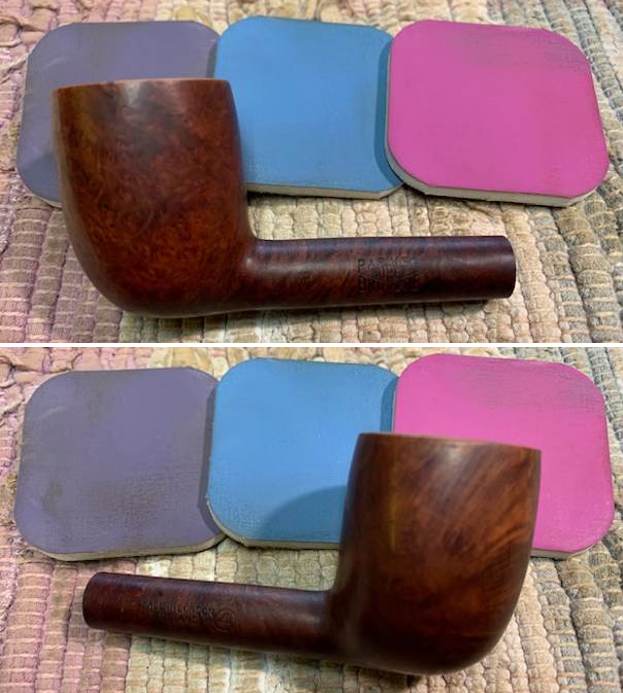
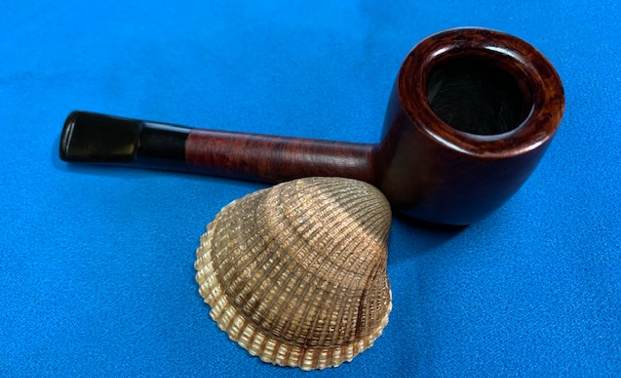
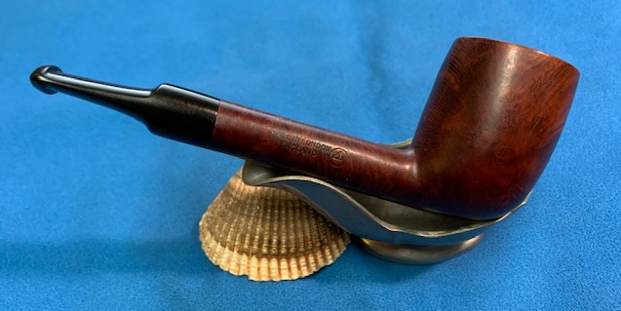
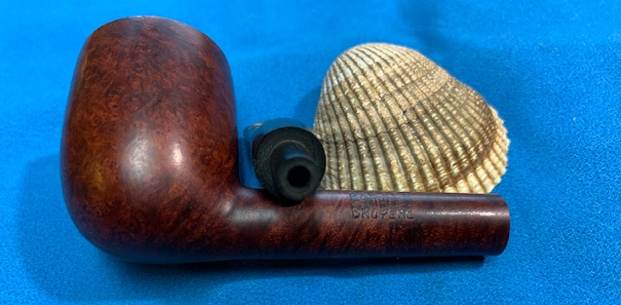
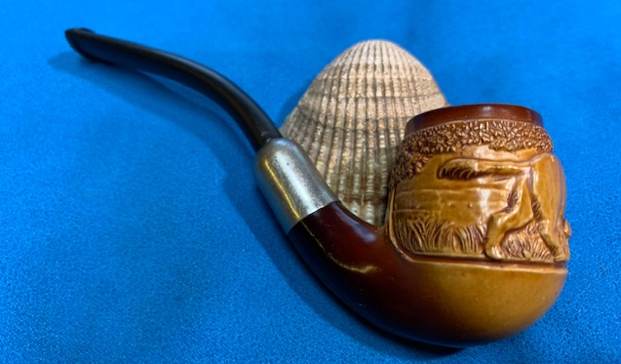
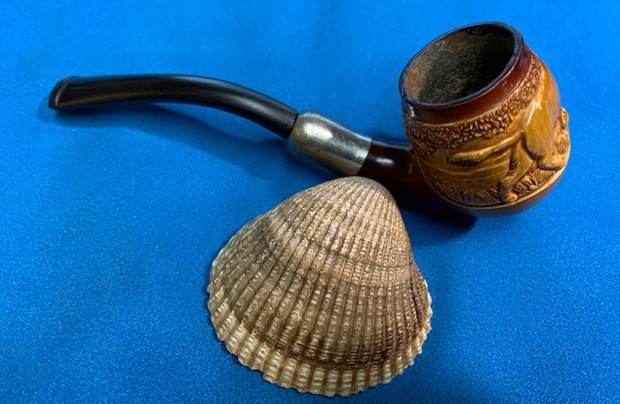
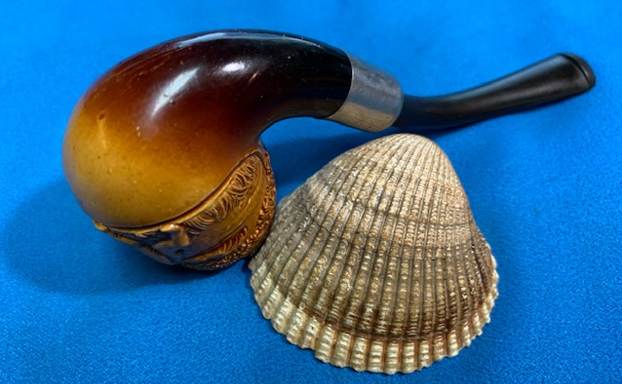
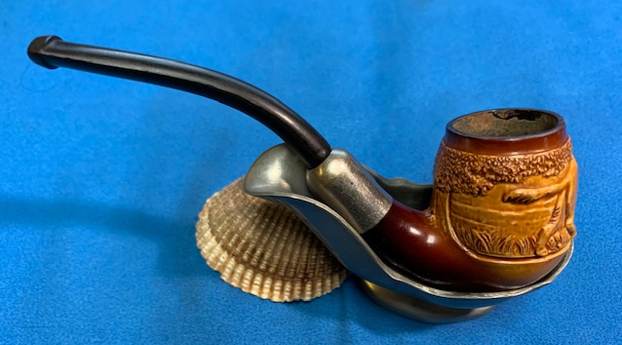
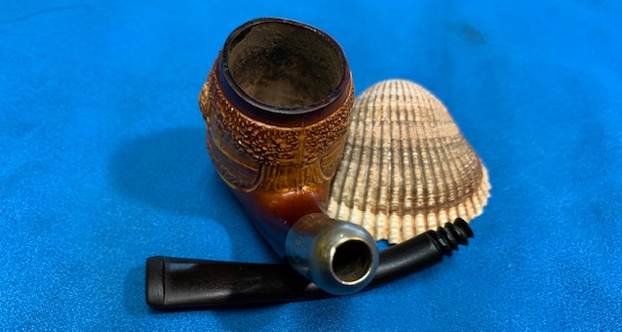
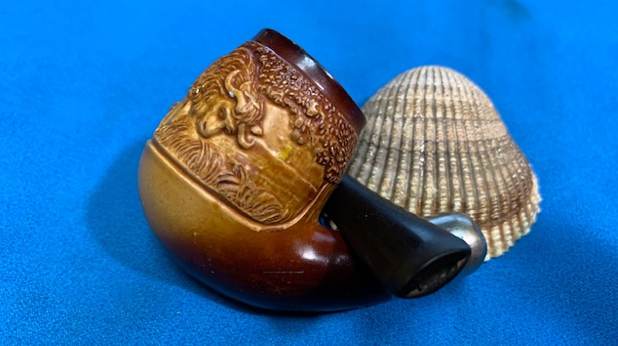
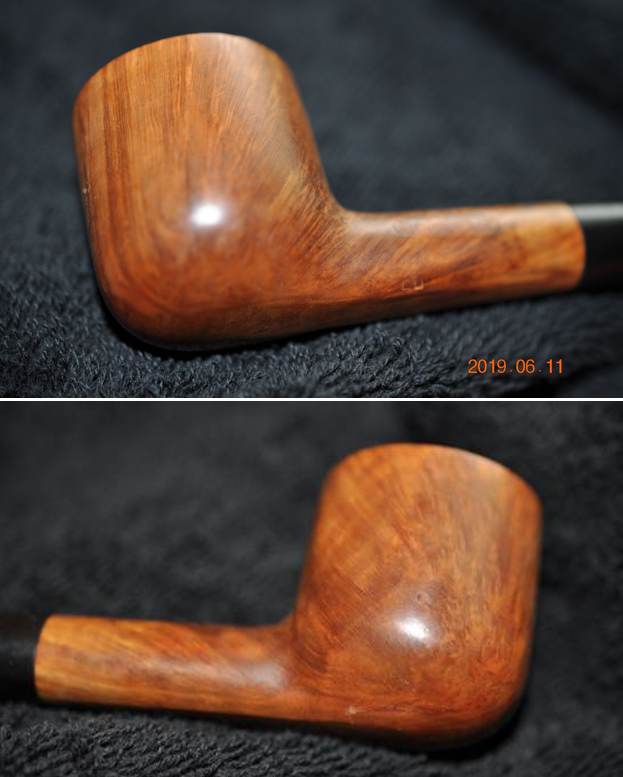
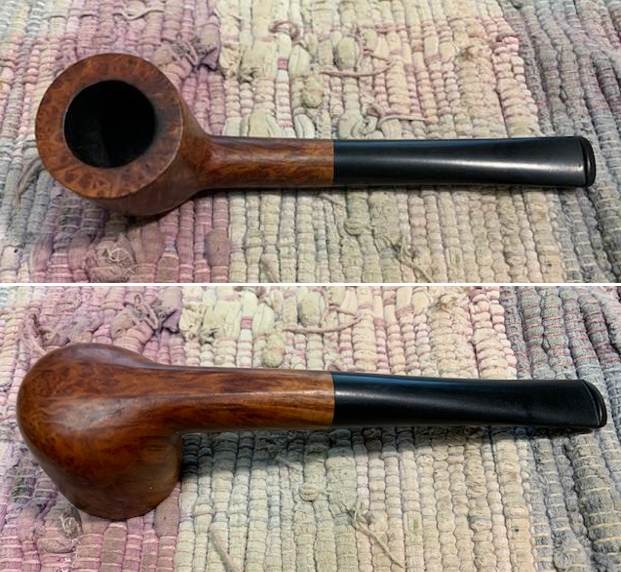
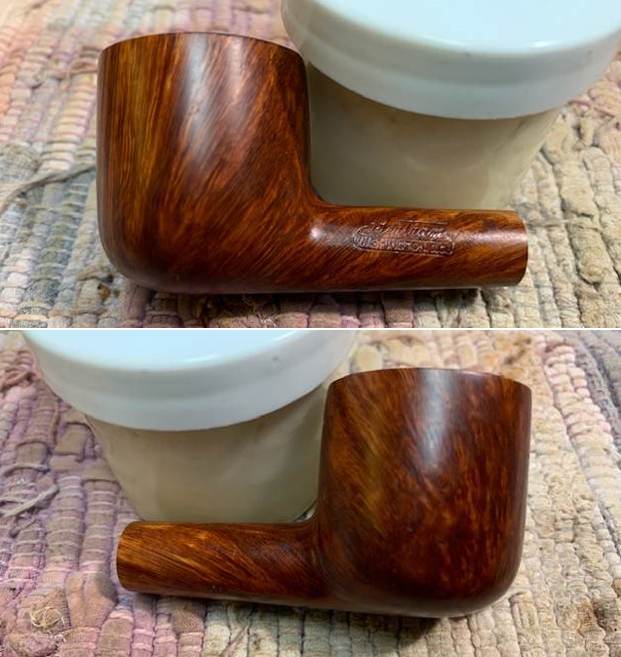
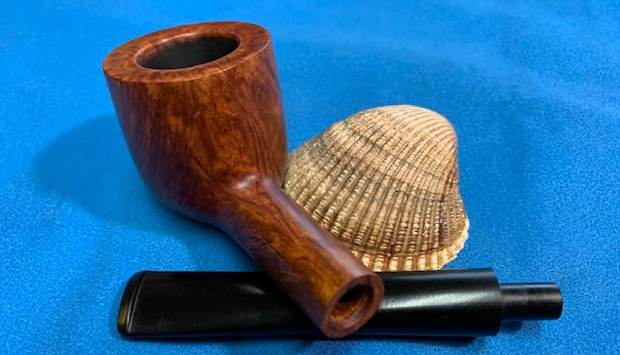
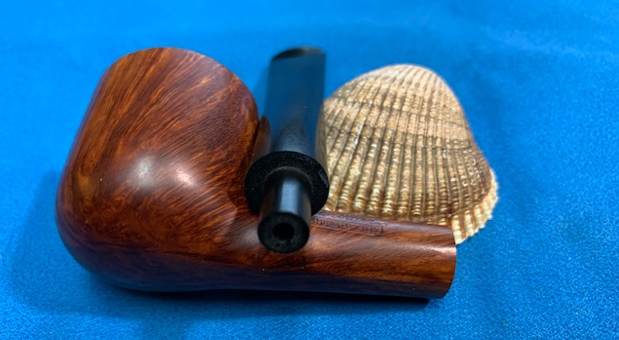
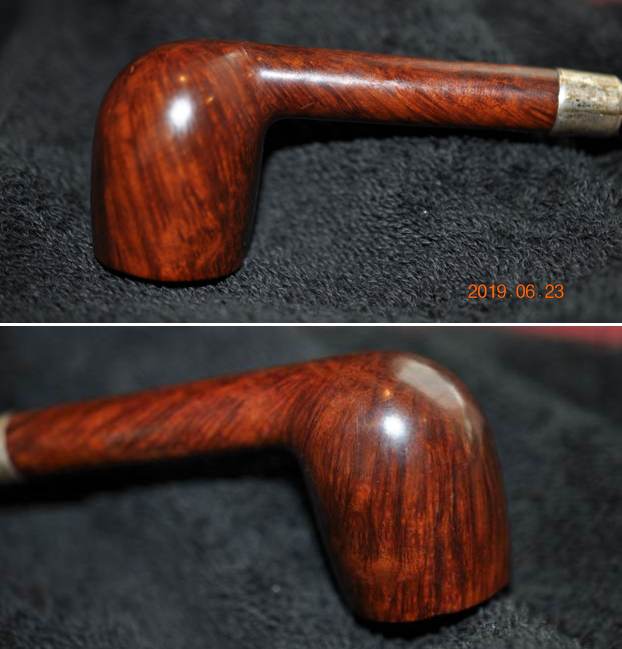
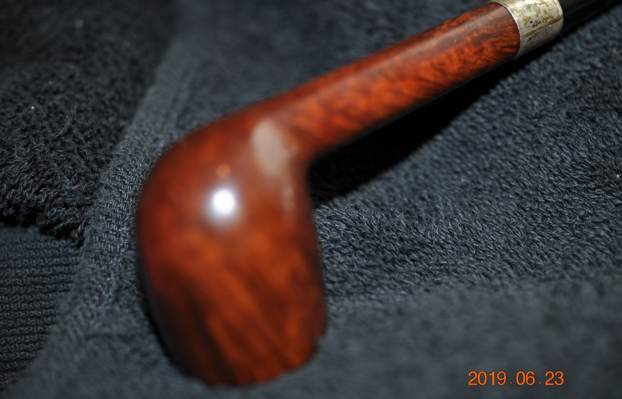
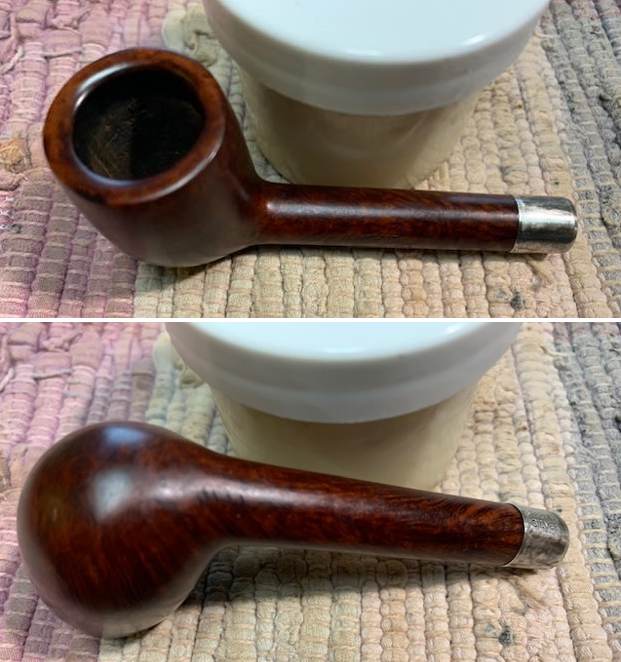
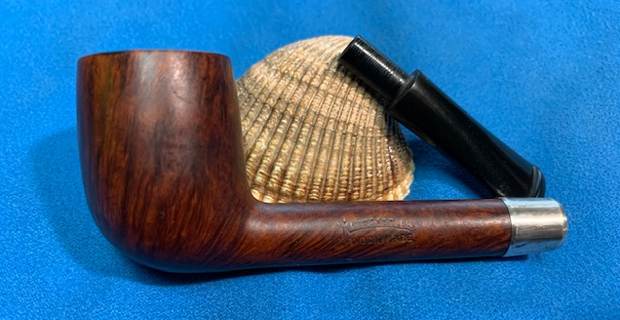
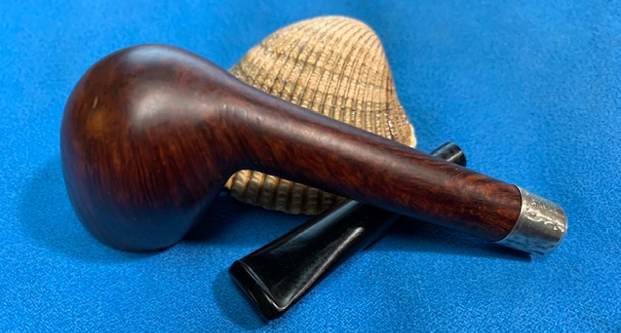
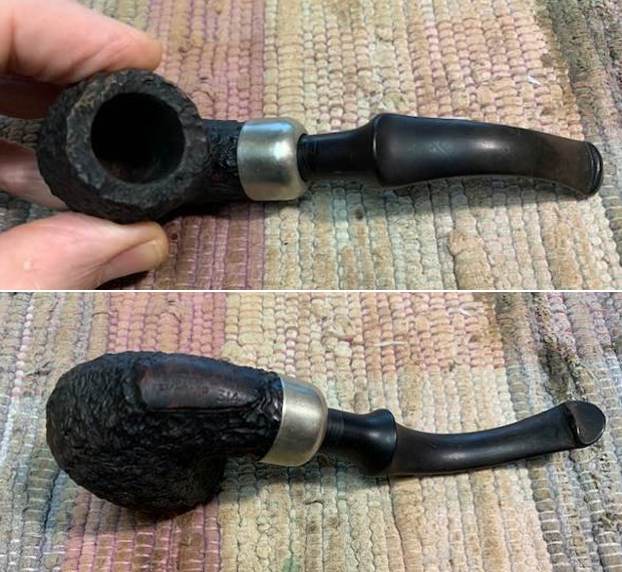
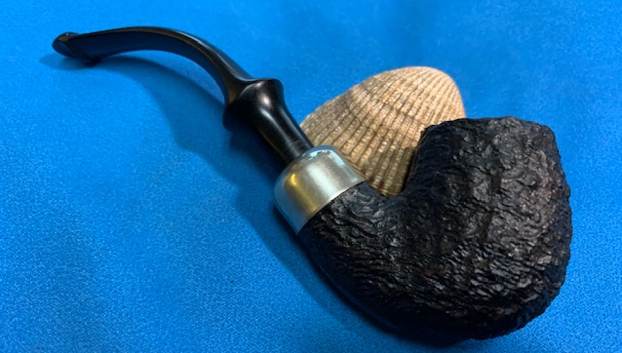
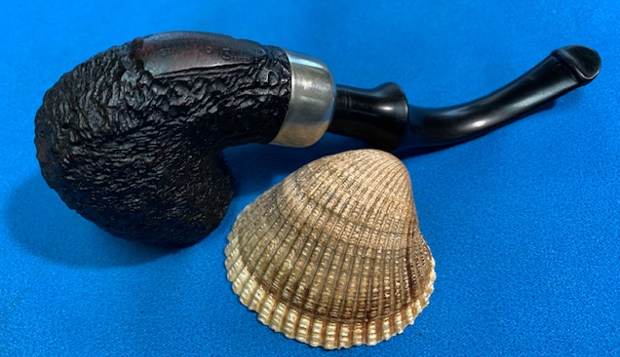
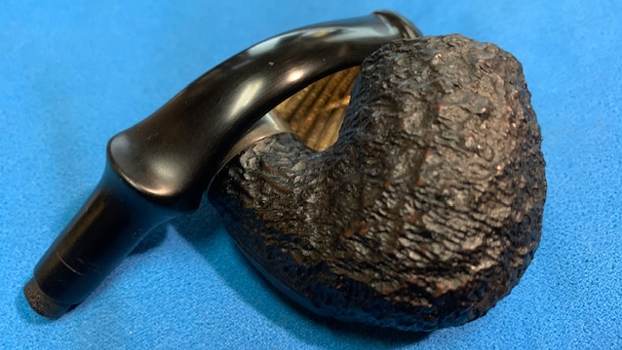
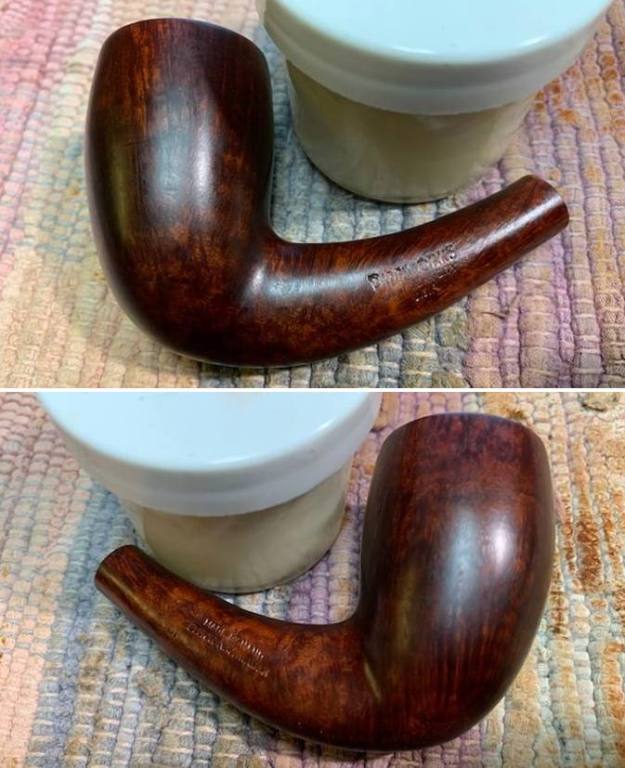
 He took photos of the bowl and heel to show the condition of the finish. You can see the small chip/nick on the front middle of the bowl on left side. It is solid but it is visible at this point.
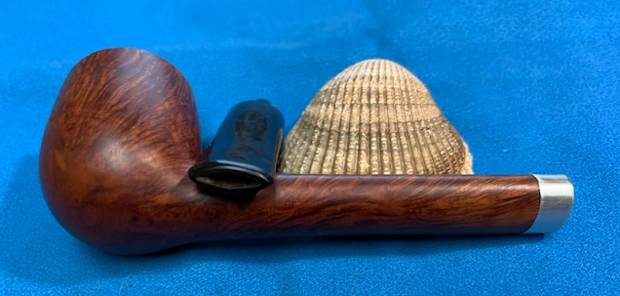
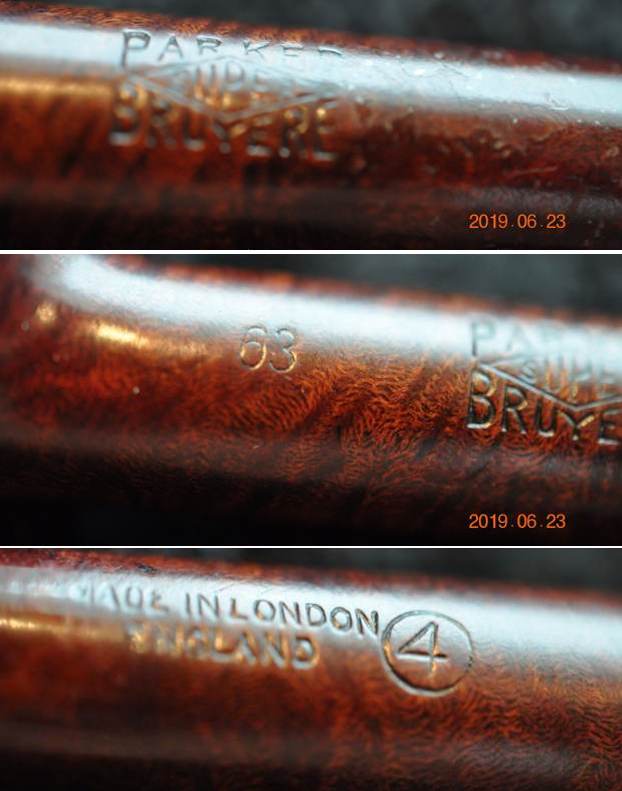
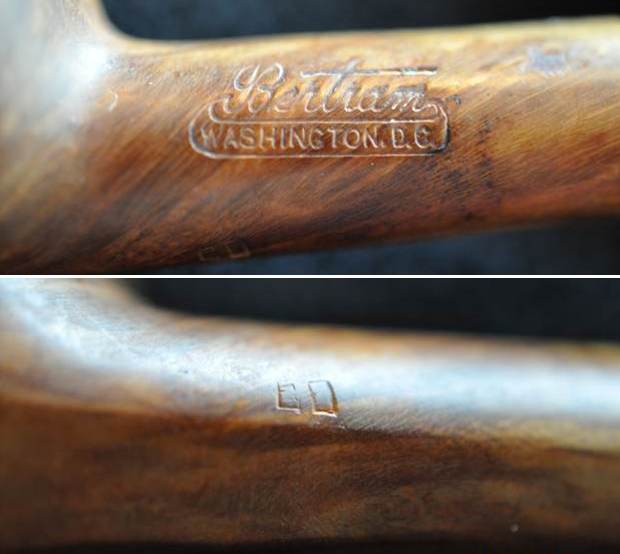
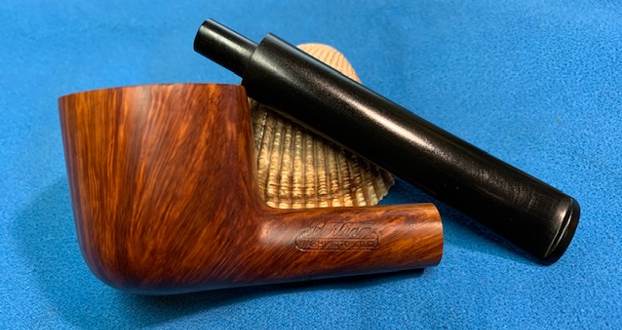
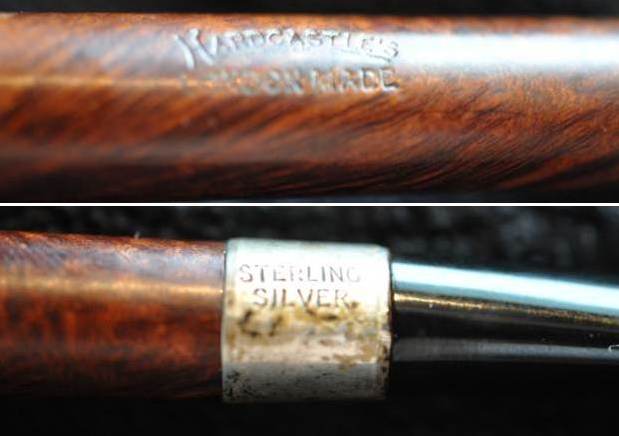
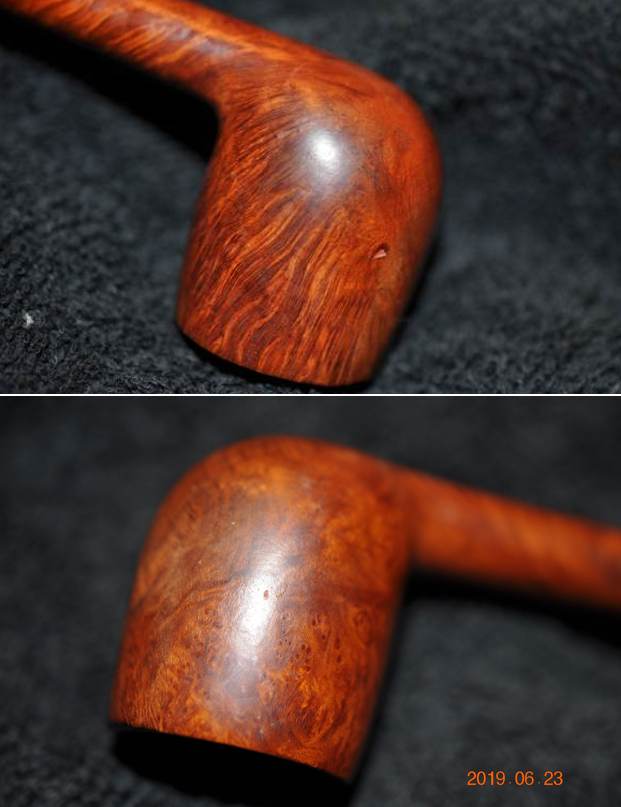 Jeff took photos of the stamping on the top of the shank and the silver band. They read as noted above and were in excellent condition.
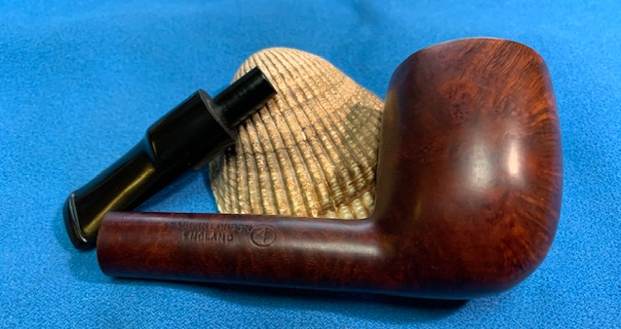
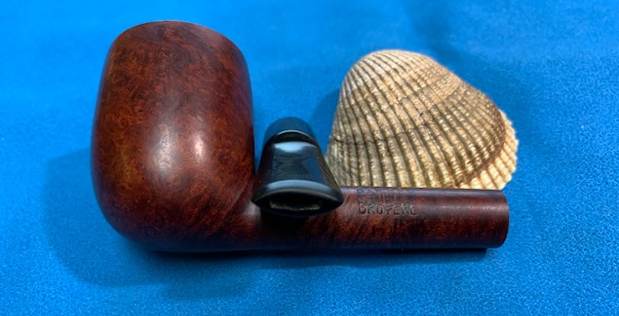
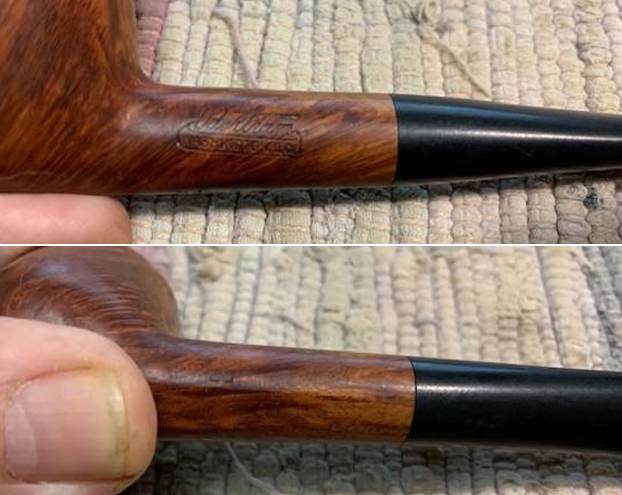
 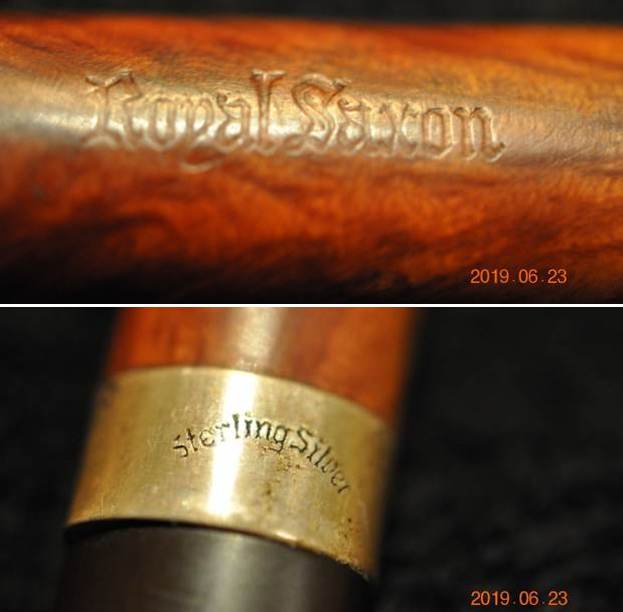 I checked on both Pipephil’s site and Pipedia for information on the Royal Saxon brand and neither site had any information. I checked on Who Made That Pipe and again found no information. So I Googled Royal Saxon Smoking Pipes and found information on Worthpoint and on Smokingpipes.com that said the pipe was an Italian Made pipe. They showed a variety of shapes – smooth, rusticated and blasted that all were stamped exactly like the one I am working on. Thus I know that the pipe is an Italian Made pipe but I have no idea who made it.
I did a bit of digging on Savinelli seconds but no Royal Saxon was listed as made by them. I also checked with Lorenzo as they made a lot of seconds lines and there was no listing for the Royal Saxon so I was at a dead end. Oh well – now it was time to work on the pipe.
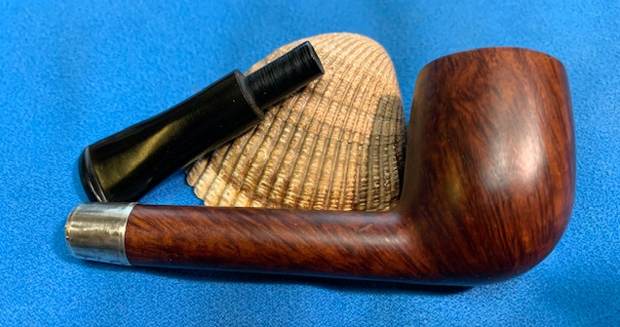
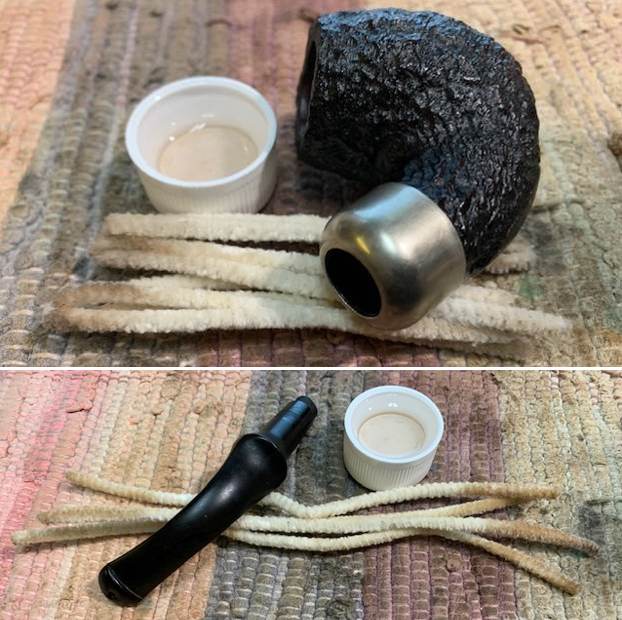
Jeff had cleaned up this nicely grained Royal Saxon with his usual pattern. He reamed the bowl with a PipNet pipe reamer and then cleaned up the inside of the bowl with a Savinelli Fitsall Pipe Knife. He scrubbed the exterior of the bowl and shank with Murphy’s Oil Soap and a tooth brush to remove the grime on the rim top and bowl. He cleaned the internals of the shank and stem with pipe cleaners, cotton swabs and alcohol until the airways were clean and the pipe smelled fresh. The pipe looked much better once the bowl and stem were clean. He scrubbed the stem with Soft Scrub to remove the oxidation and then let it soak in Before & After Pipe Stem Deoxidizer. He rinsed it with warm water when he took out of the soak. Before I started my part of the work I took photos of the pipe.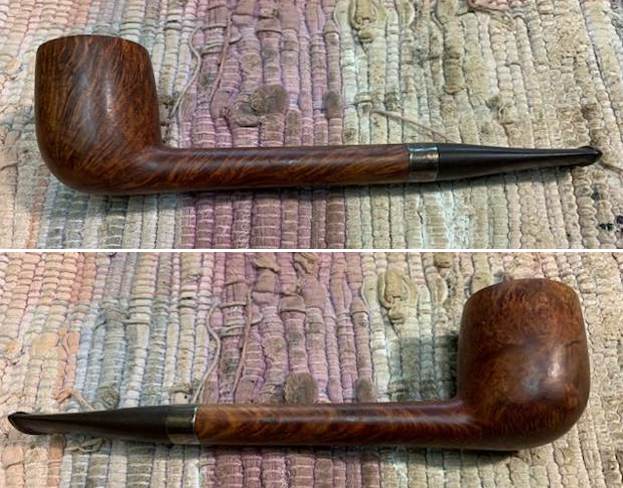
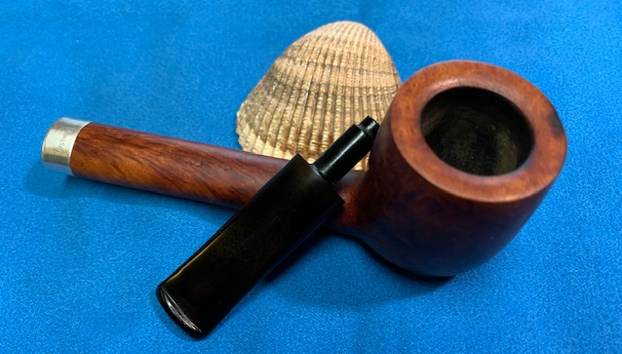
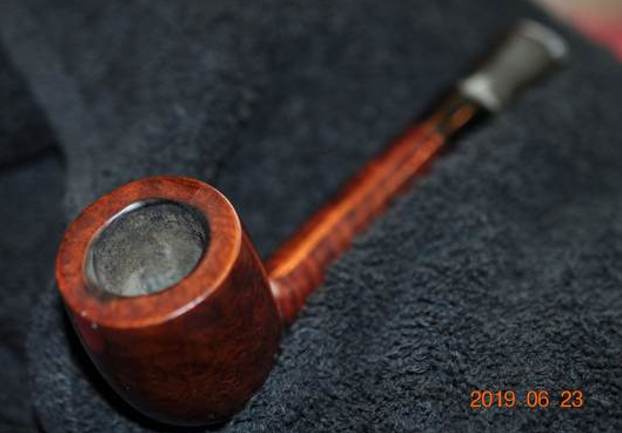
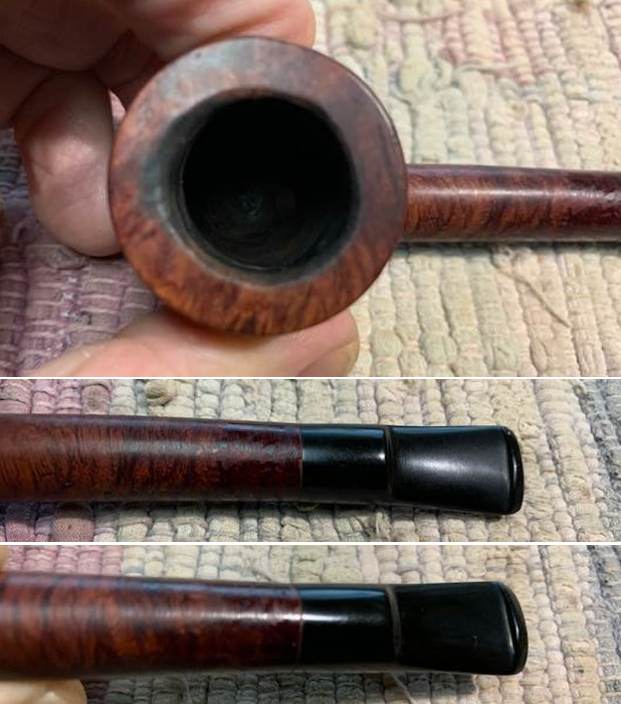
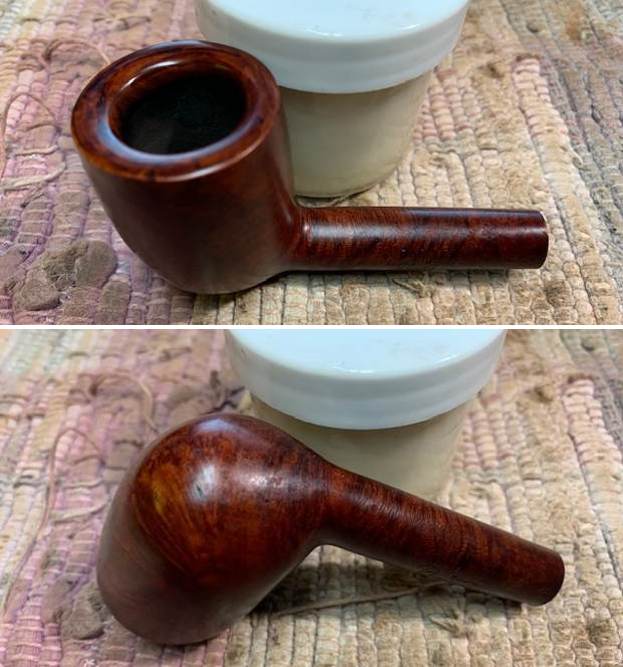
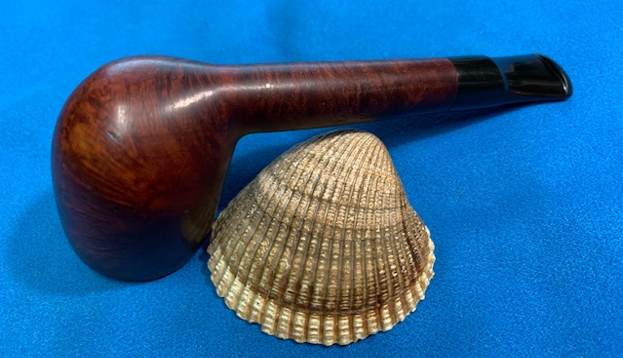
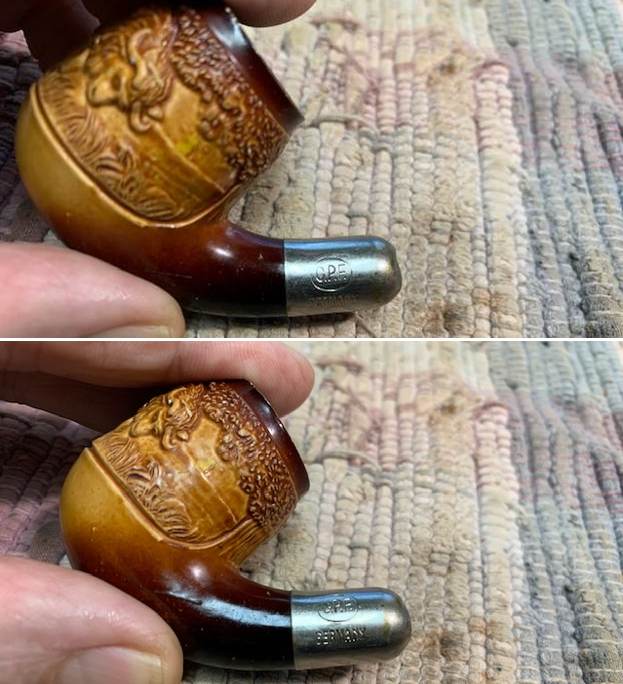
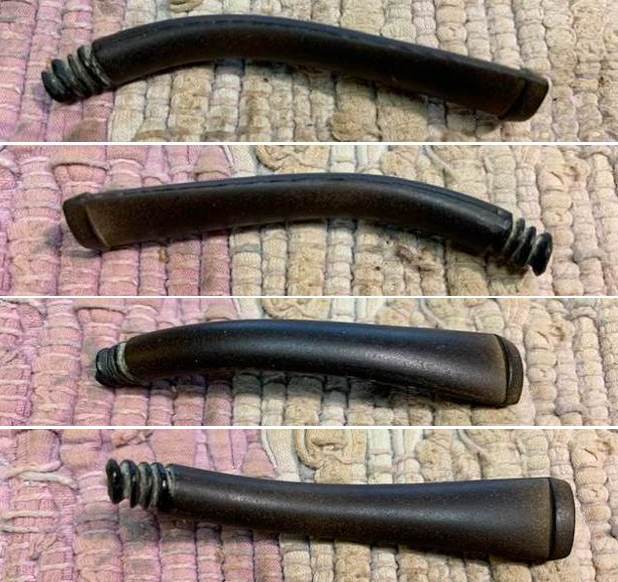
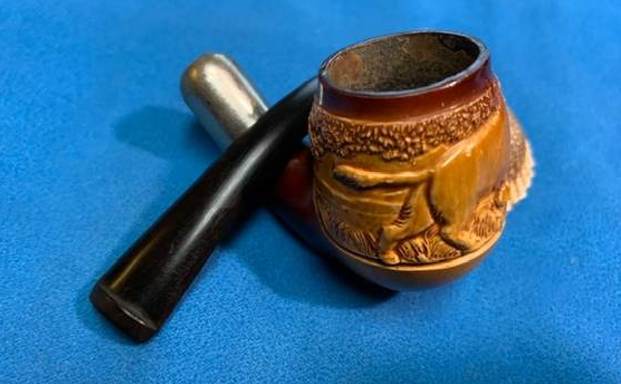
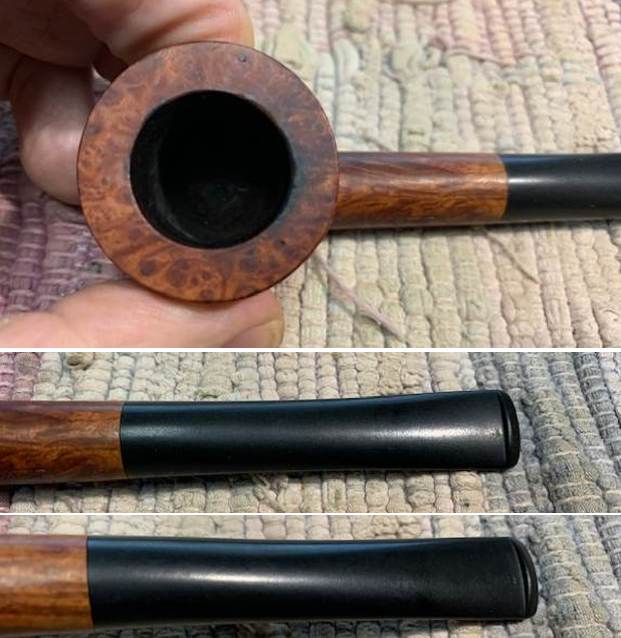
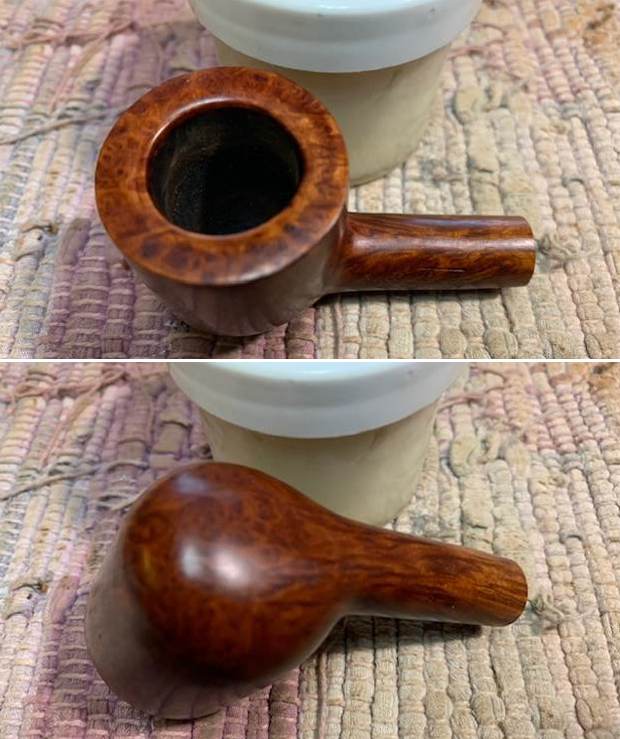
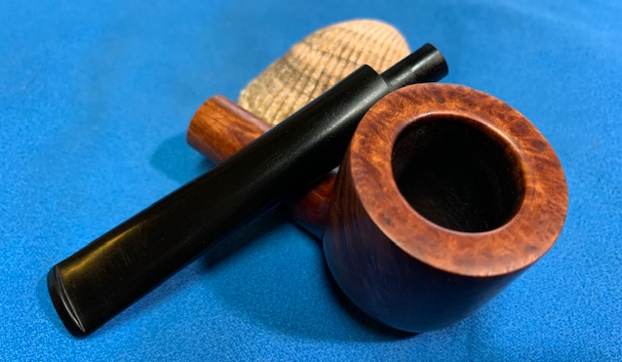
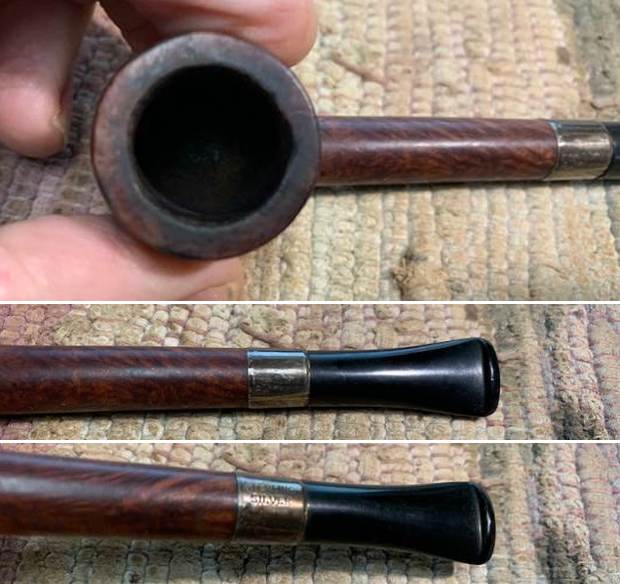
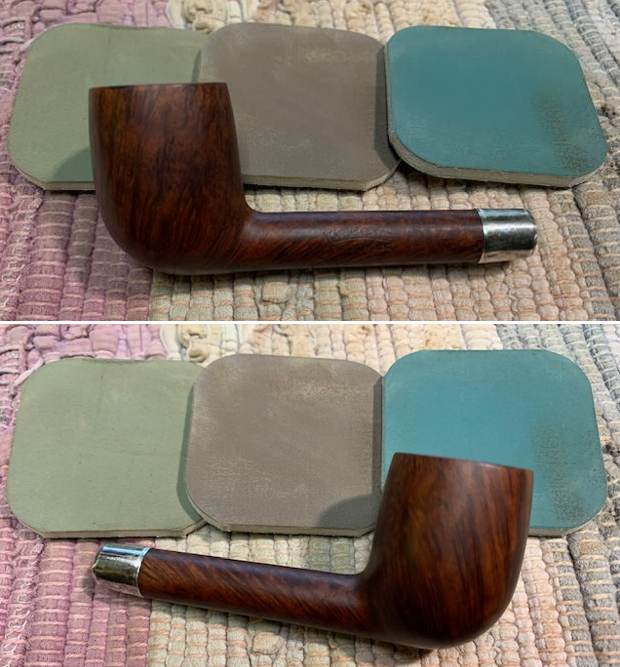
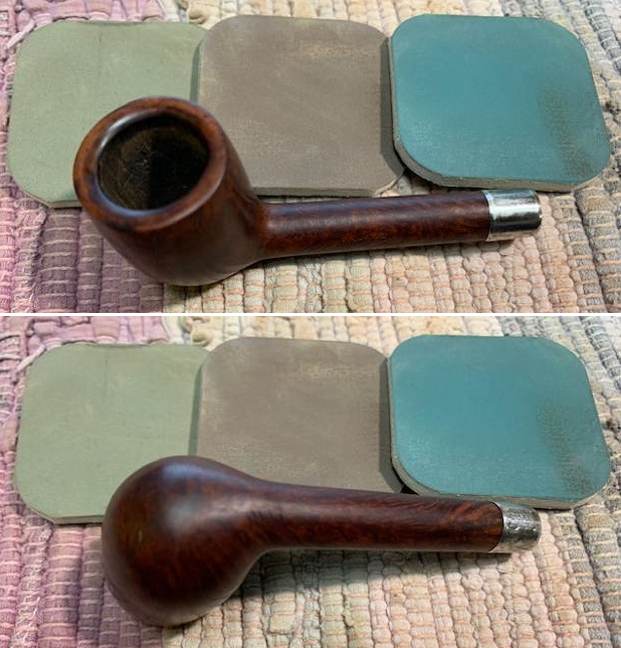
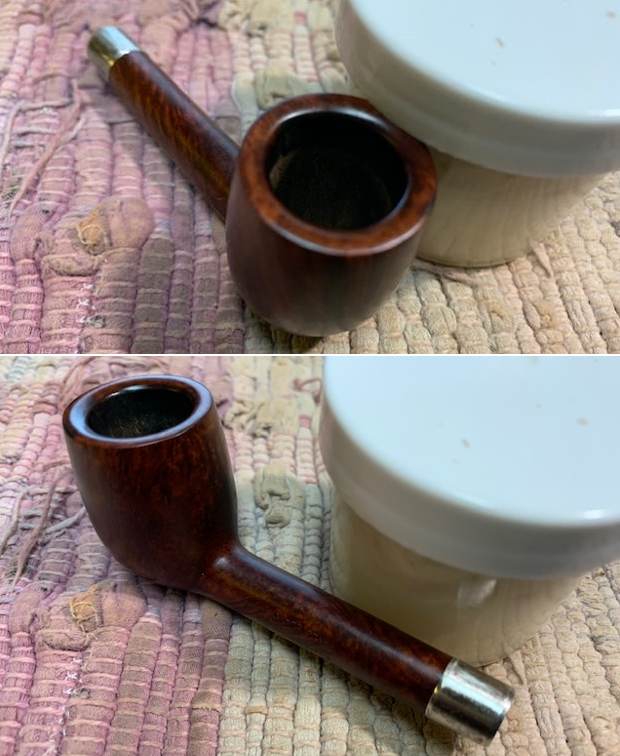
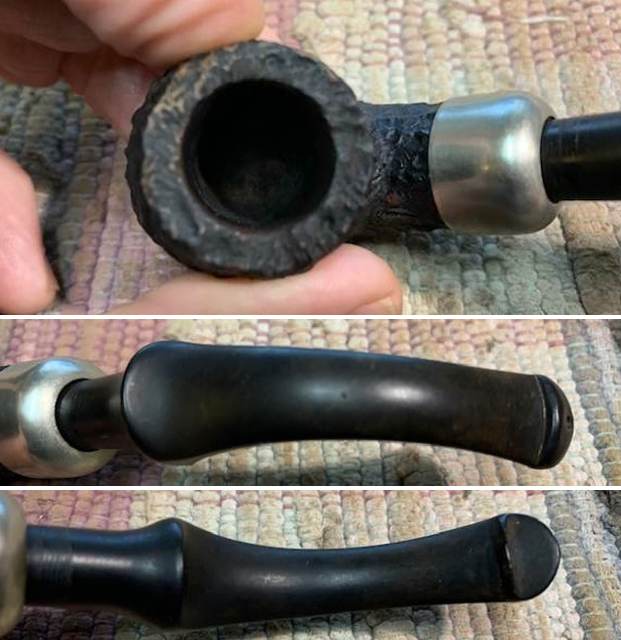
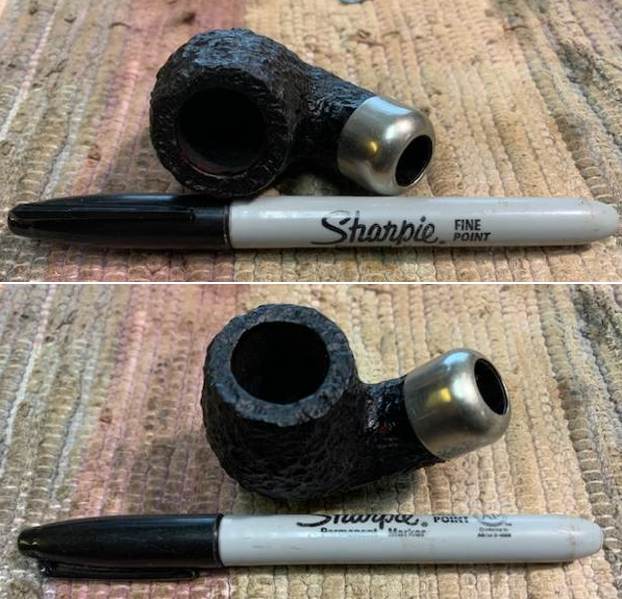
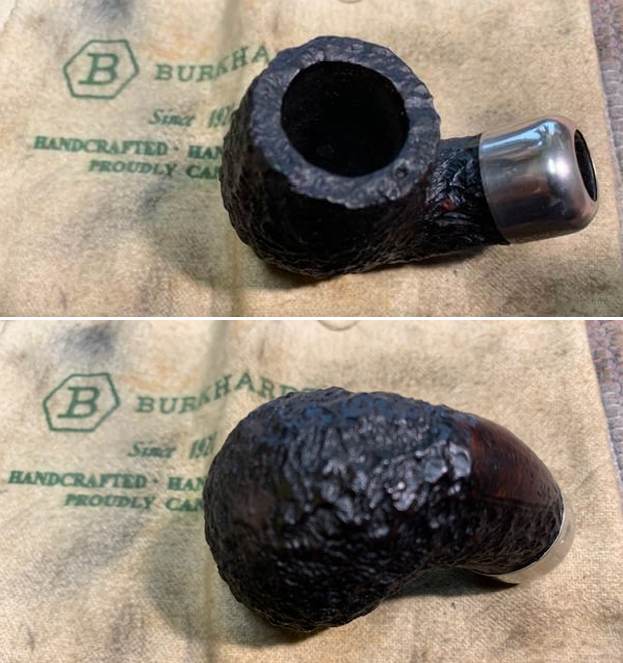
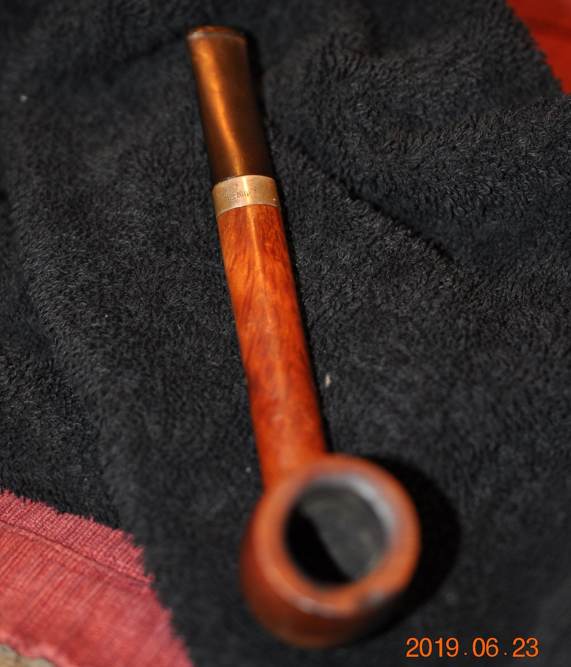
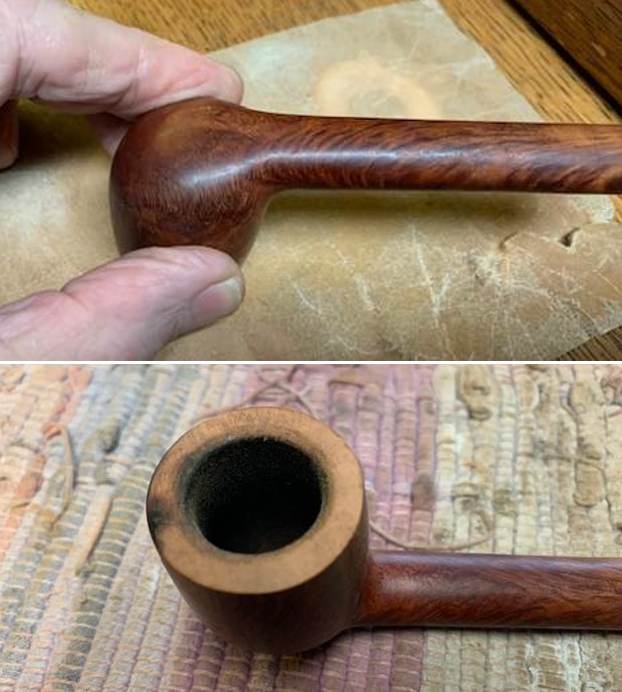
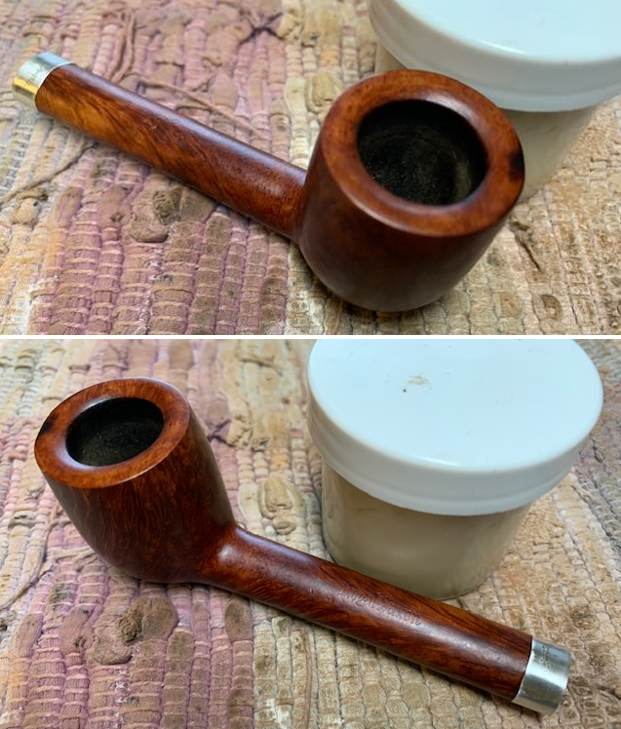
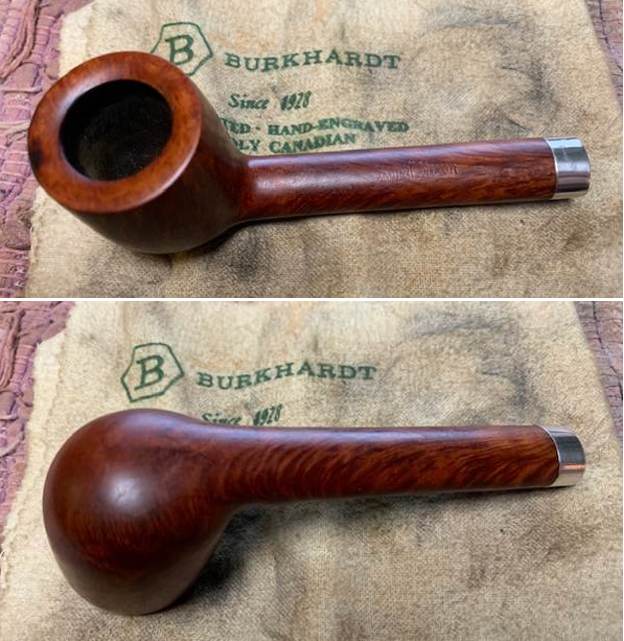
 I took close up photos of the bowl and the rim top to show the condition. The photo clearly shows the burn damage to the inner and outer edge of the bowl at the front. You can also see the roughening of the rest of the inner edge and rim top. It was going to take some work to bring it back. I also took photos of both sides of the stem to give a sense of the condition of both sides at the button. There is tooth marking and damage on the top of the button on both sides as well as ahead of the button. The silver band is shown in the photos and is clearly tarnished.
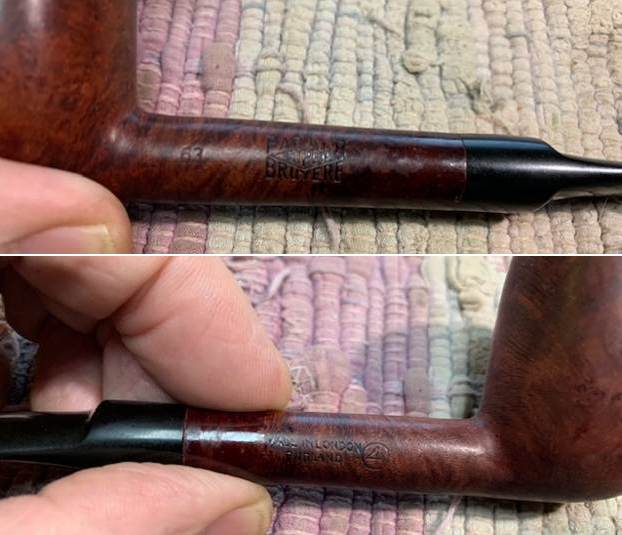
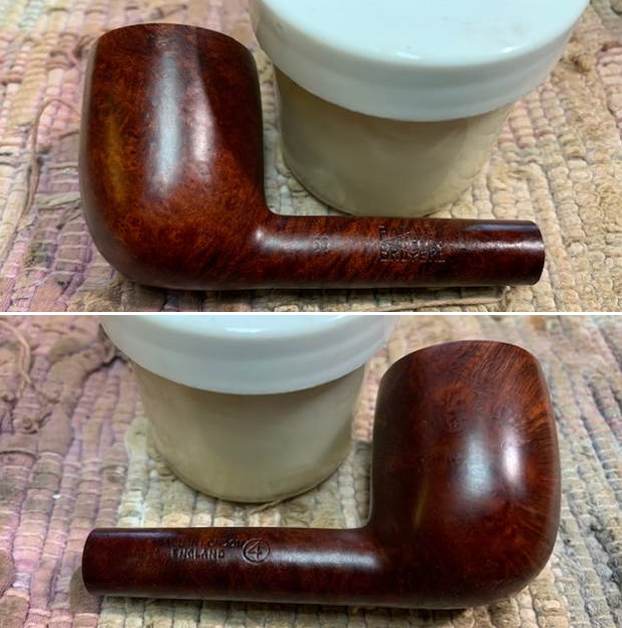
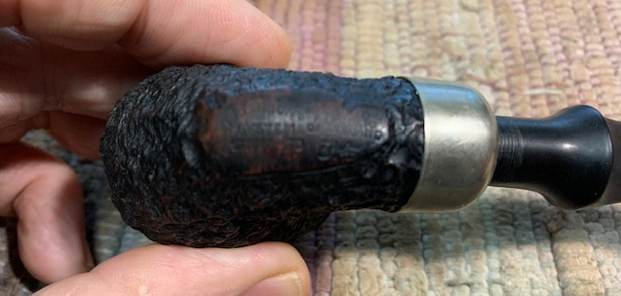
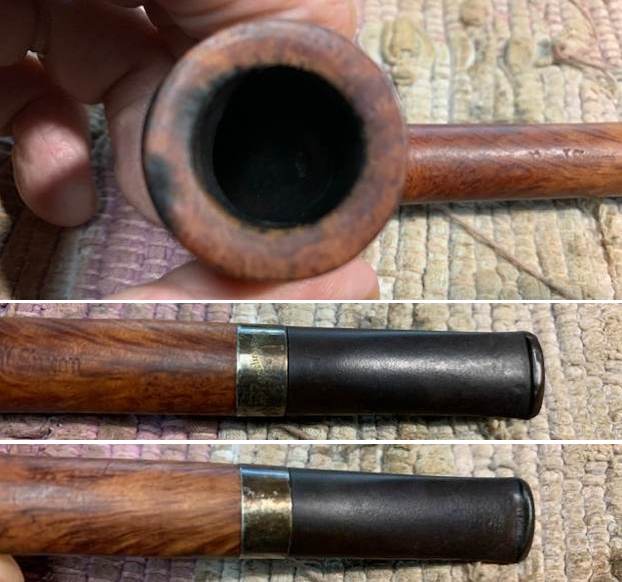 I took a photo of the stamping on the shank and silver band. It was readable but had some faint spots. What was interesting to me is that in the first photo there is also a stamp that shows up on the top side of the stem that I had not seen before. It is almost like a Old English “C” but I am not sure.
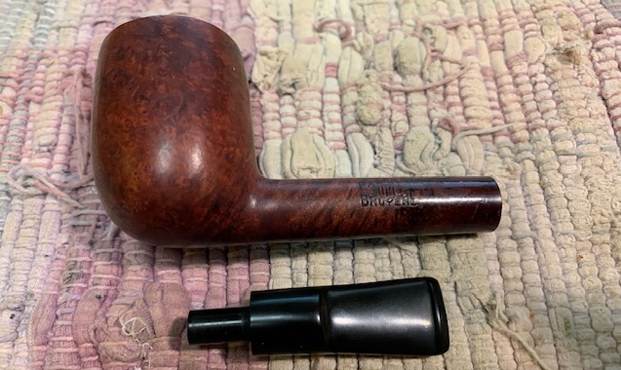
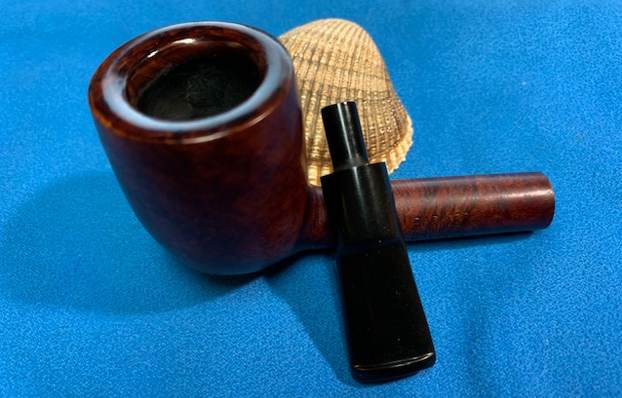
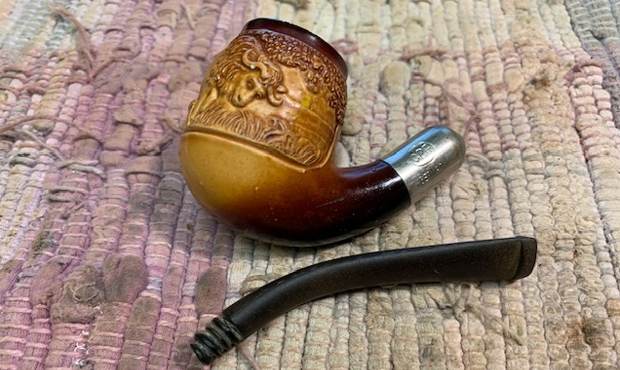
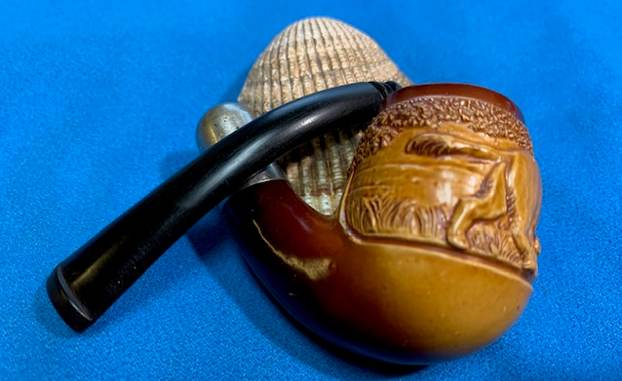
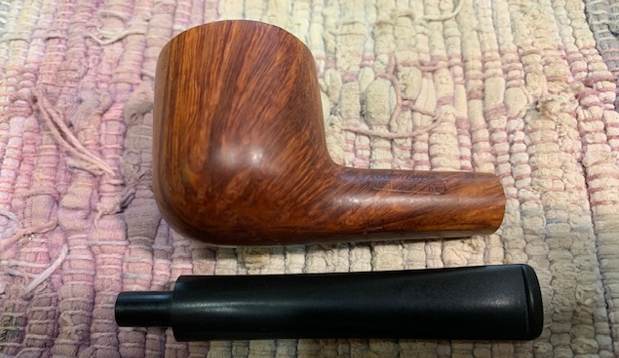
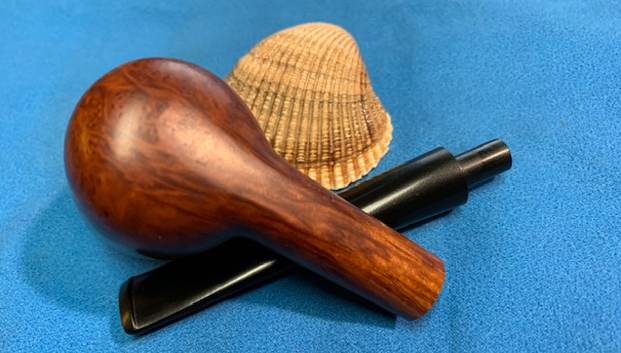
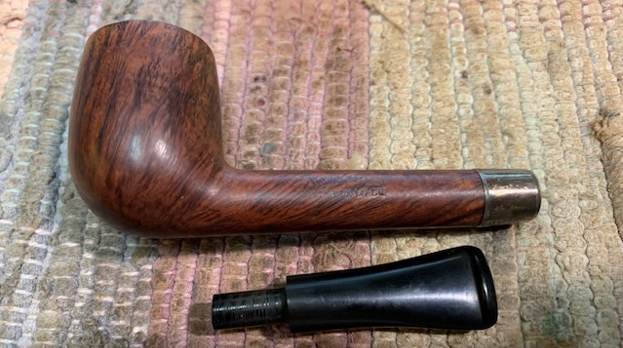
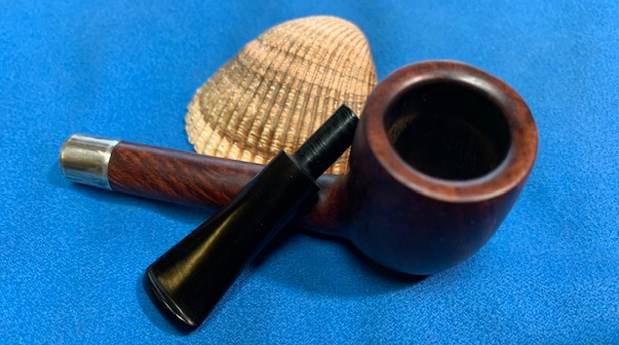
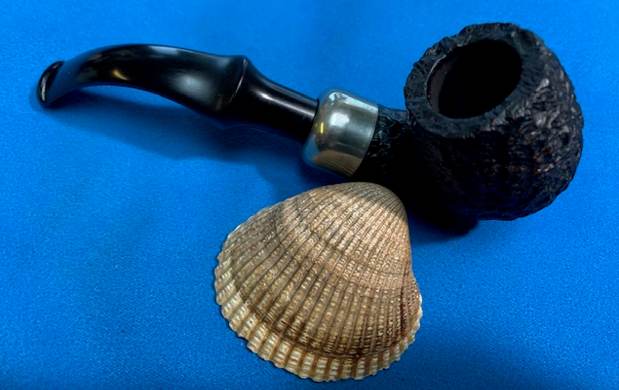
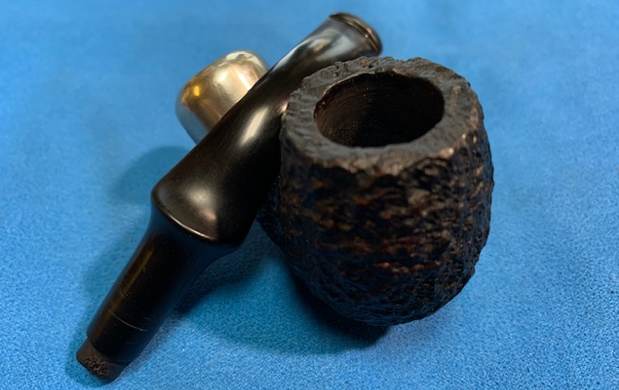
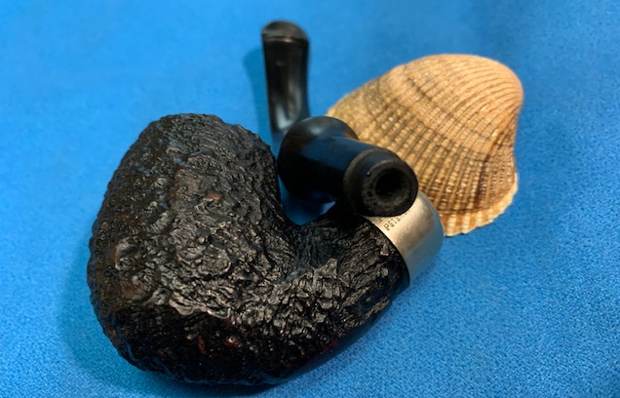
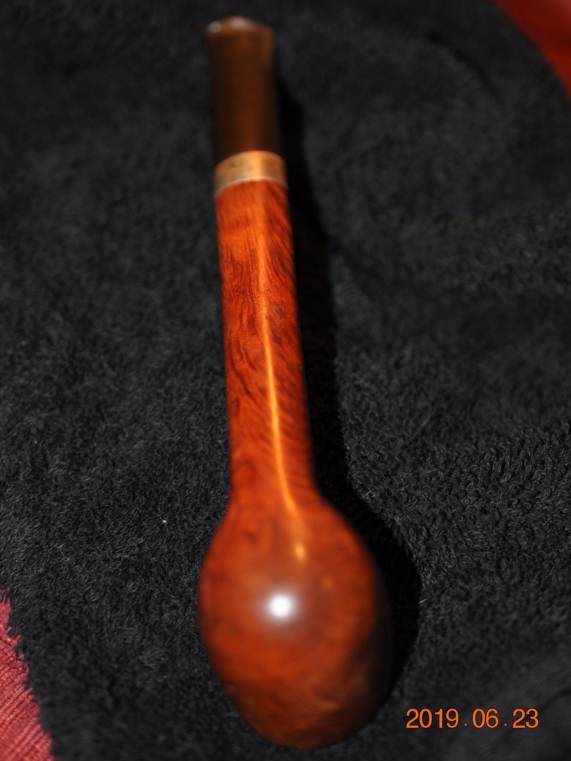
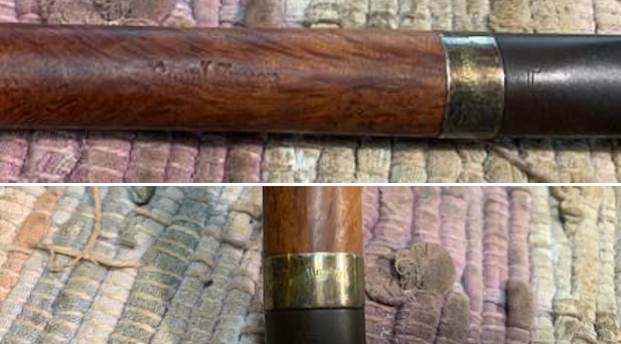 I removed the stem from the shank and took a photo of the pipe to give a sense of the proportions of the whole.
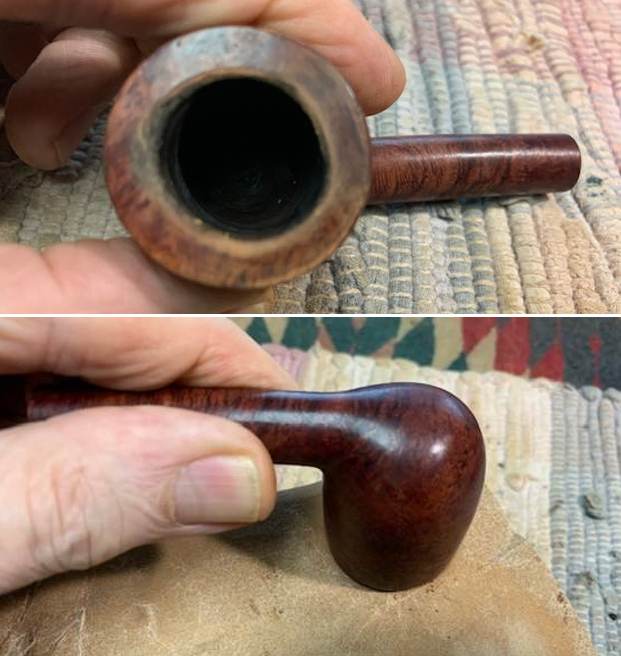
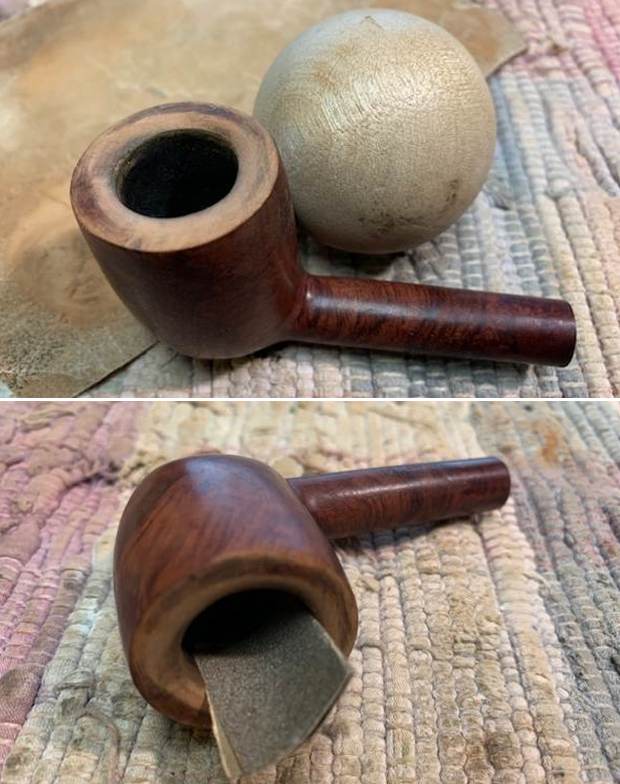
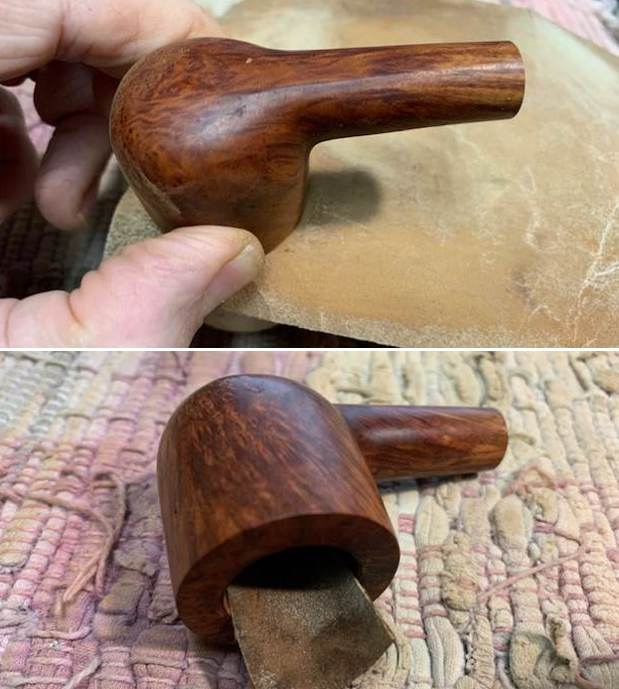
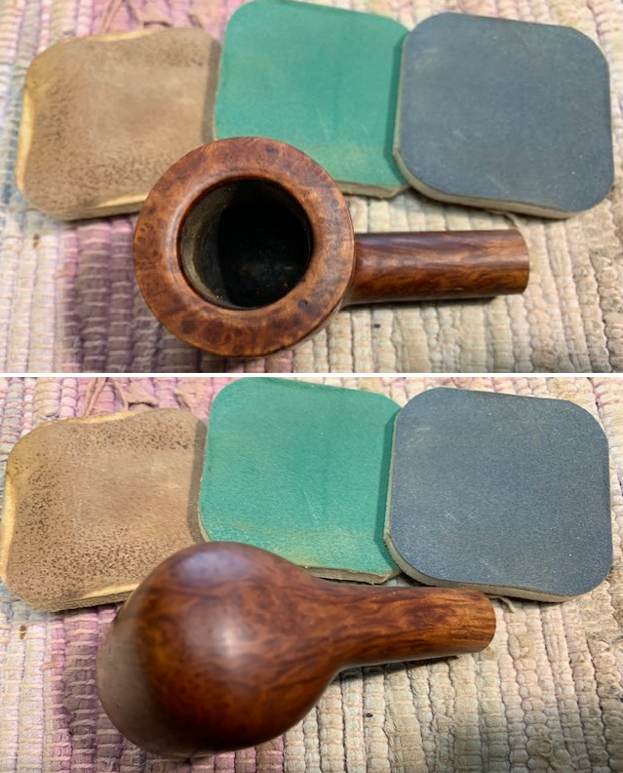
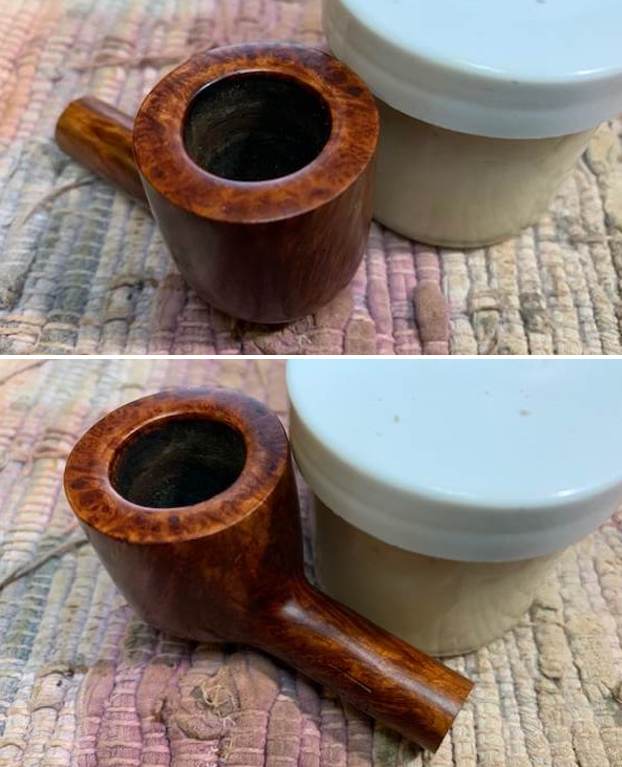
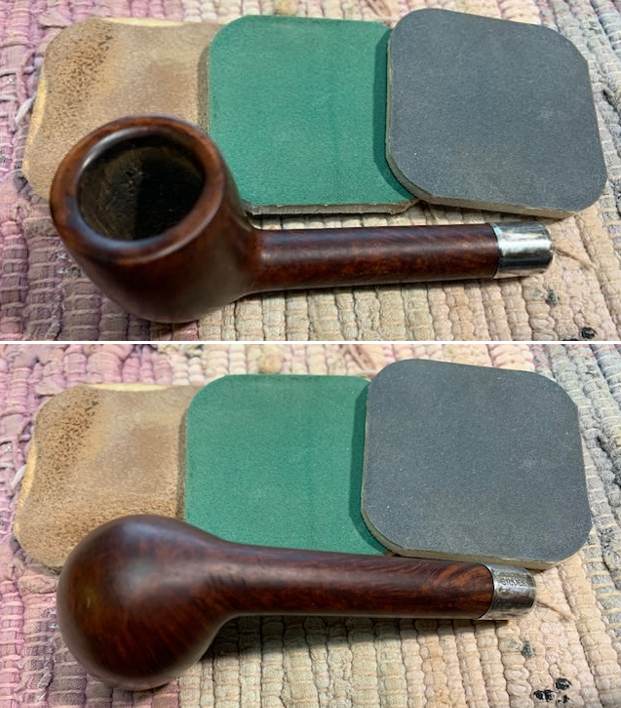
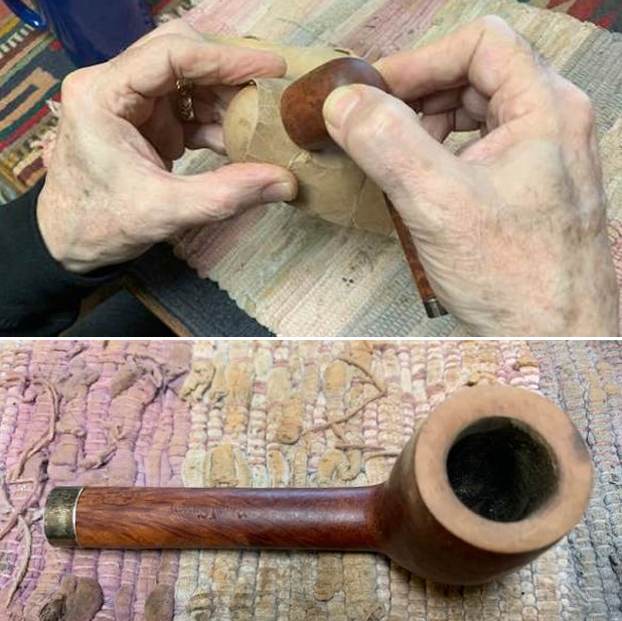
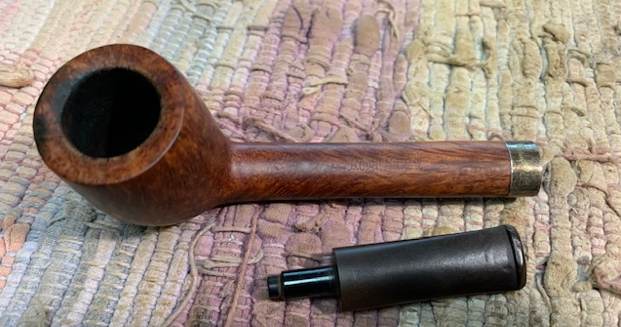 The first photo below shows the condition on the rim top, outer and inner edge before I started reworking it. I took a photo of the wooden ball that Kenneth gave me that I use in beveling a rim edge. I started work on this one by topping the bowl to take care of the deep burn marks on the top at the front of the bowl. I then reshaped the top and the bowl edges with a piece of sandpaper on a wooden ball. The ball and sandpaper helped clean up the beveled edge and blended in the burn and cuts in the briar as well as bring the bowl back into round. I used a folded piece of 220 grit sandpaper to further shape the bowl.
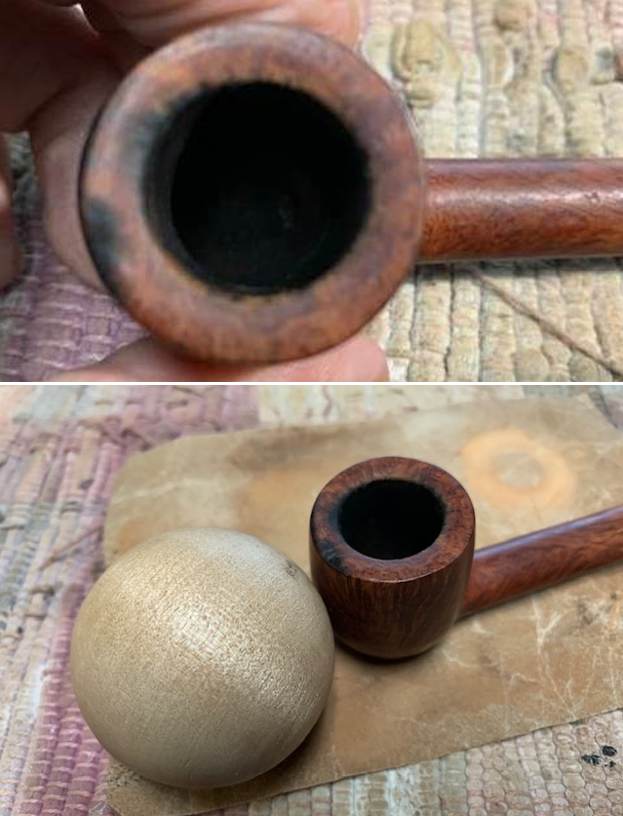
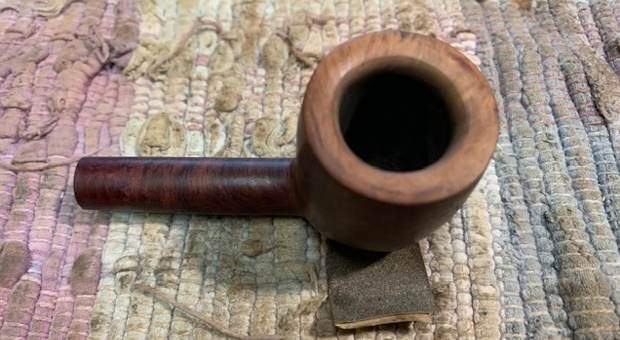
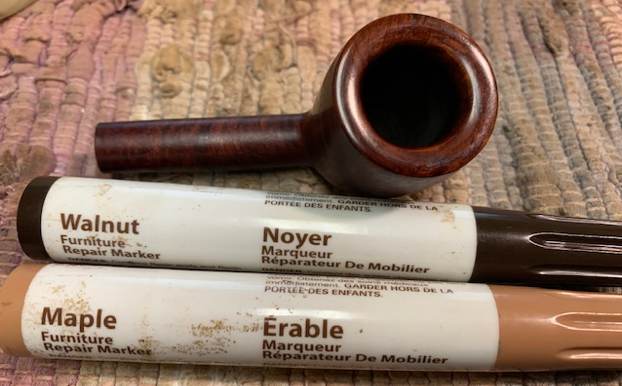
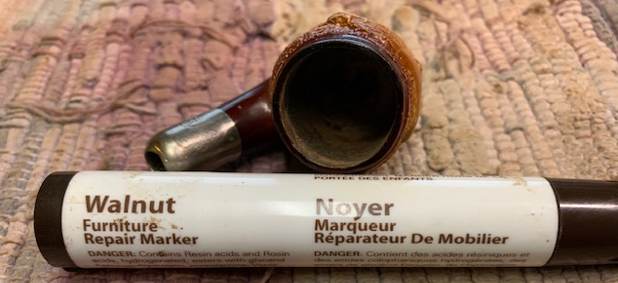
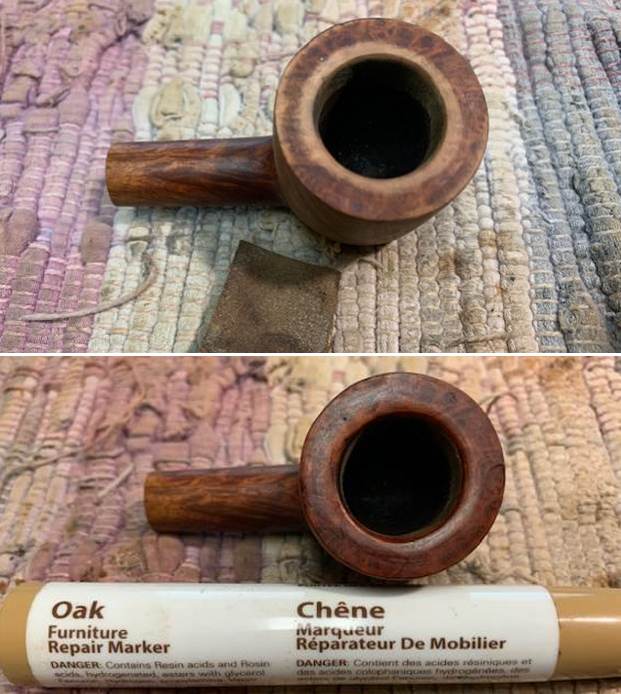
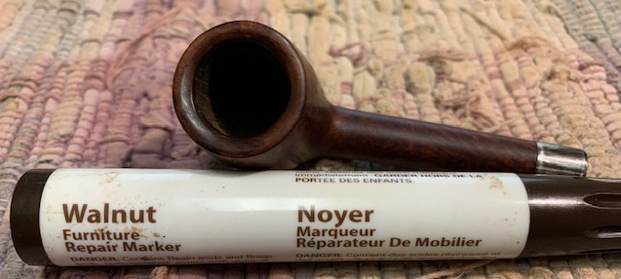
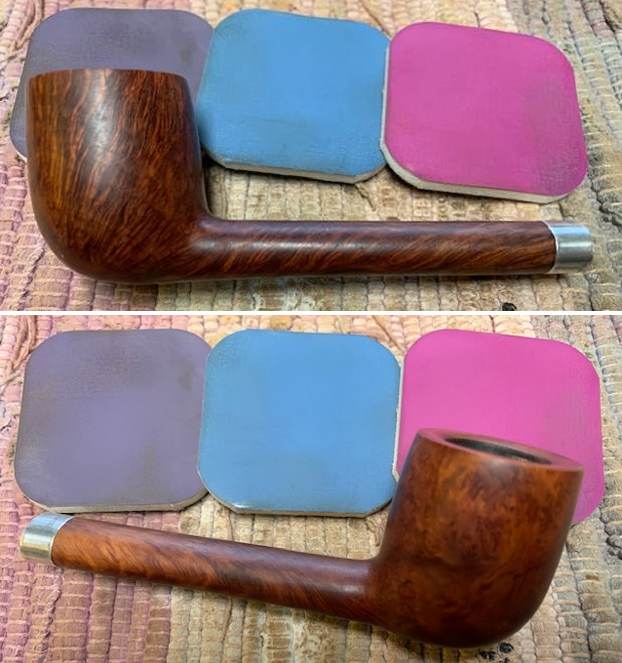
 Once I had it smoothed out and shaped I gave it an initial coat of stain with an Oak Stain Pen to match the stain colour around the bowl and shank. Lots of polishing yet to do but it is looking better. The burn mark on the top could not be totally removed without changing the profile of the pipe so I minimized it and it is significantly better. It will just be a permanent part of the pipe’s story.
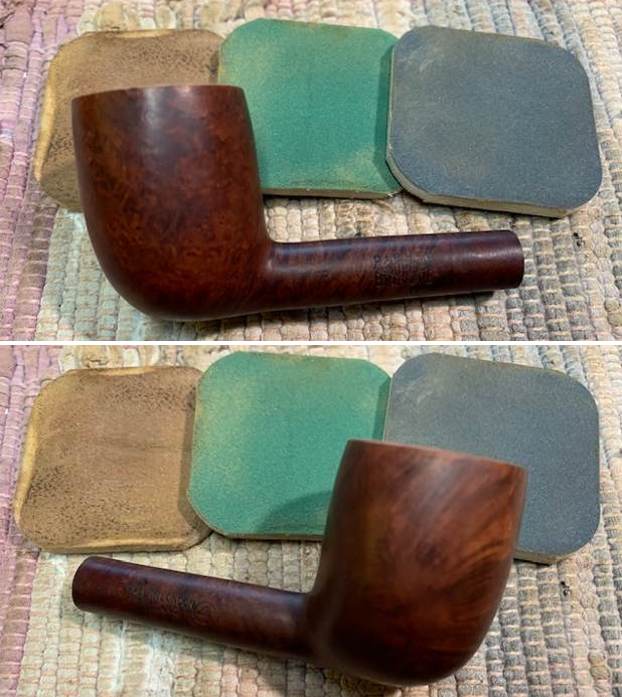
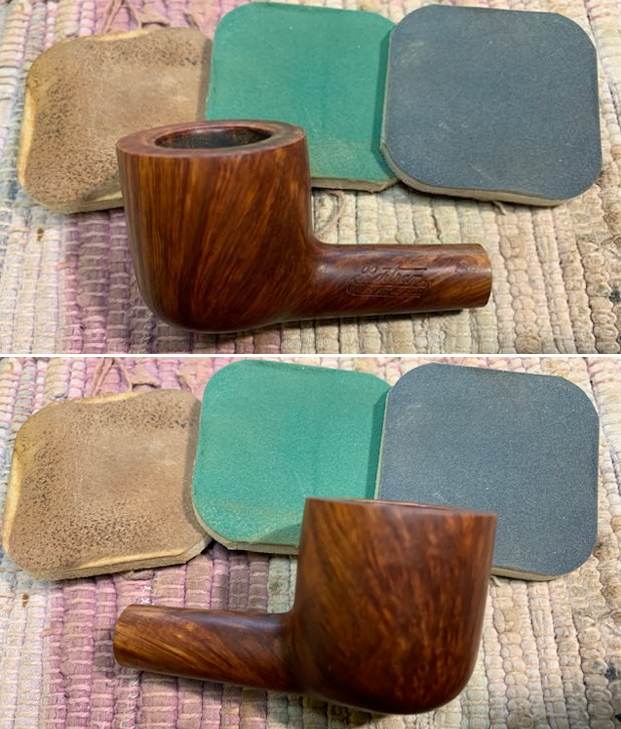
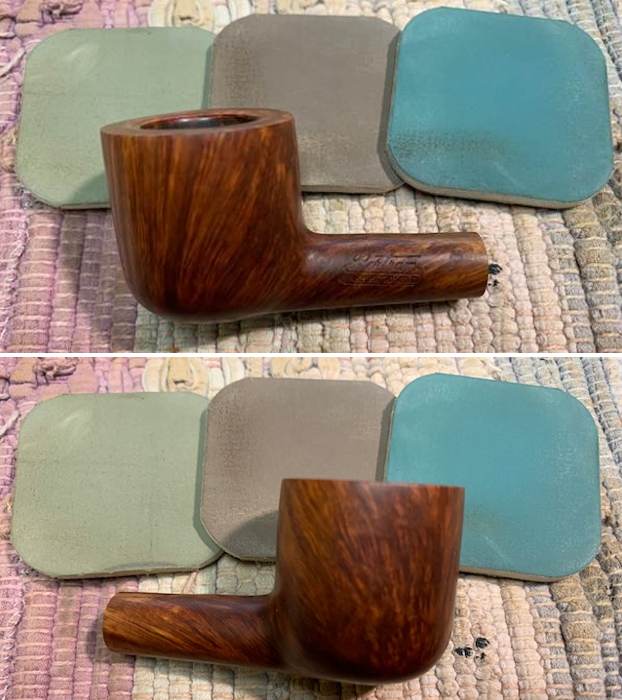
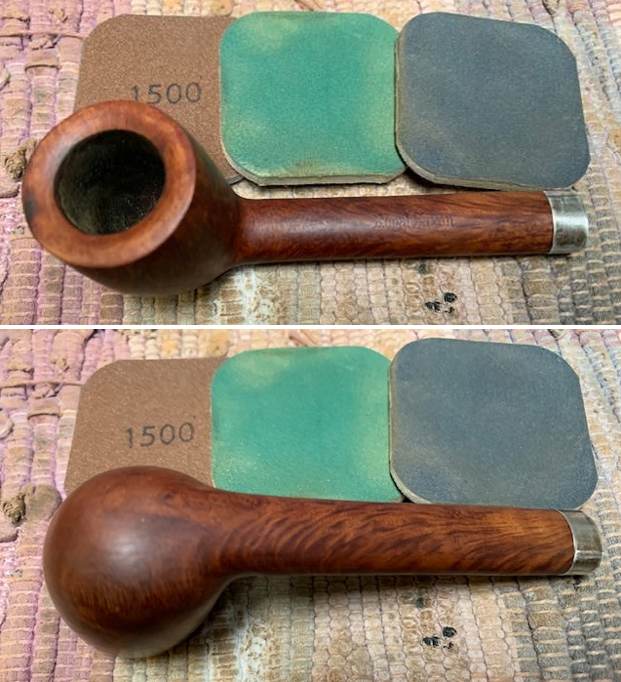
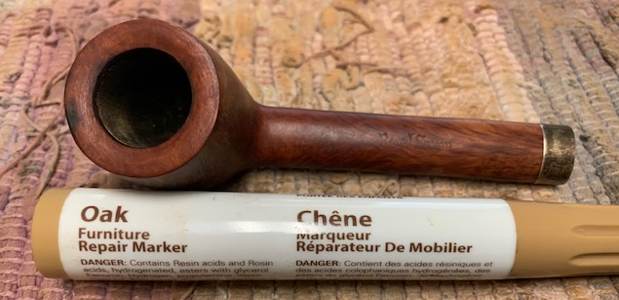 I polished the bowl and rim top with micromesh sanding pads – dry sanding with 1500-12000 grit pads and wiped down the bowl after each sanding pad.
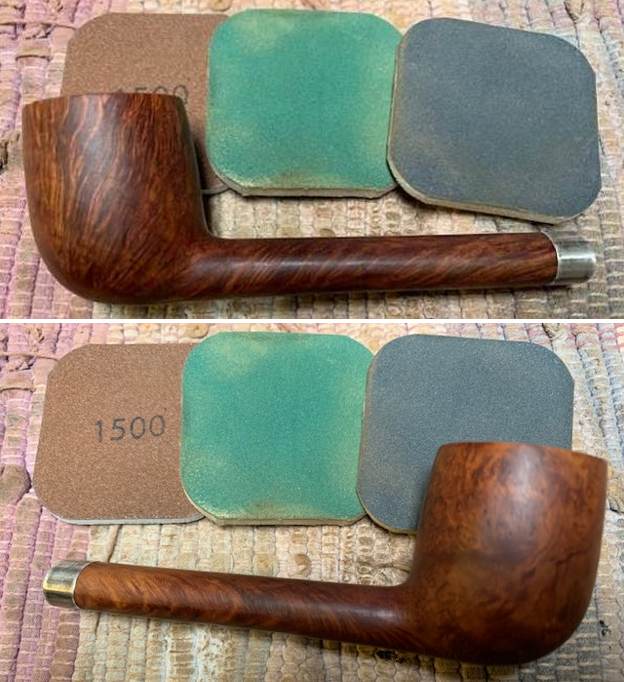
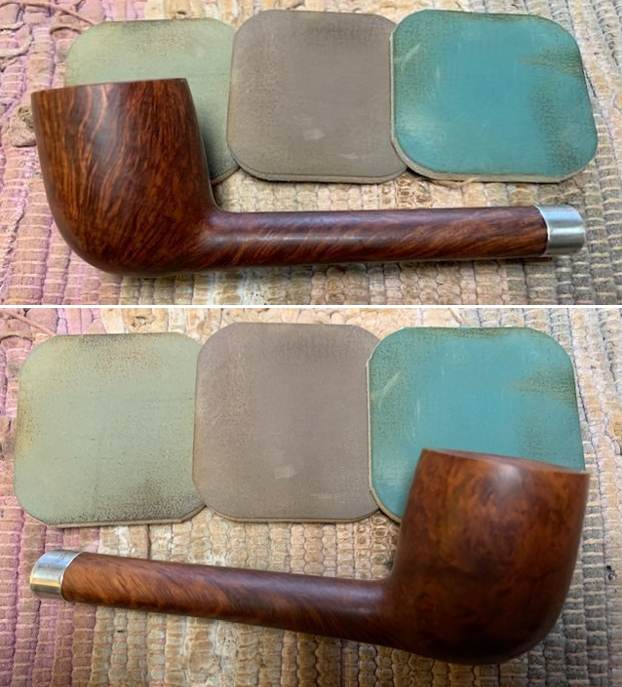
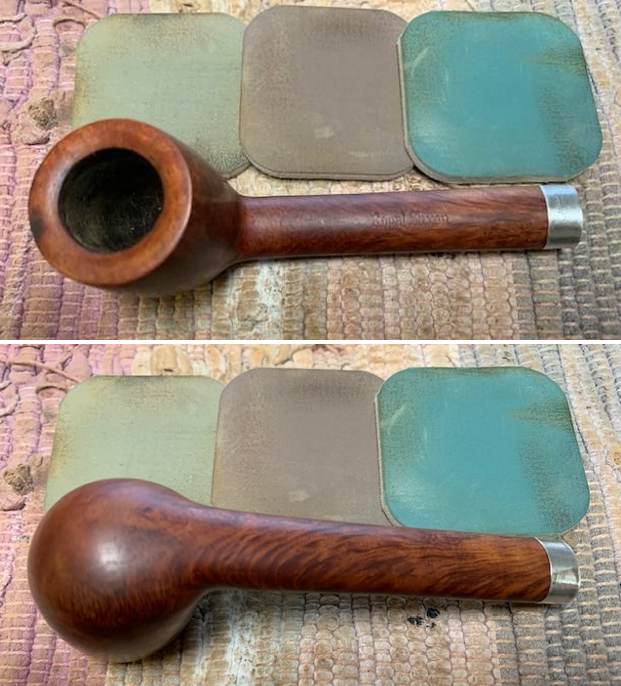
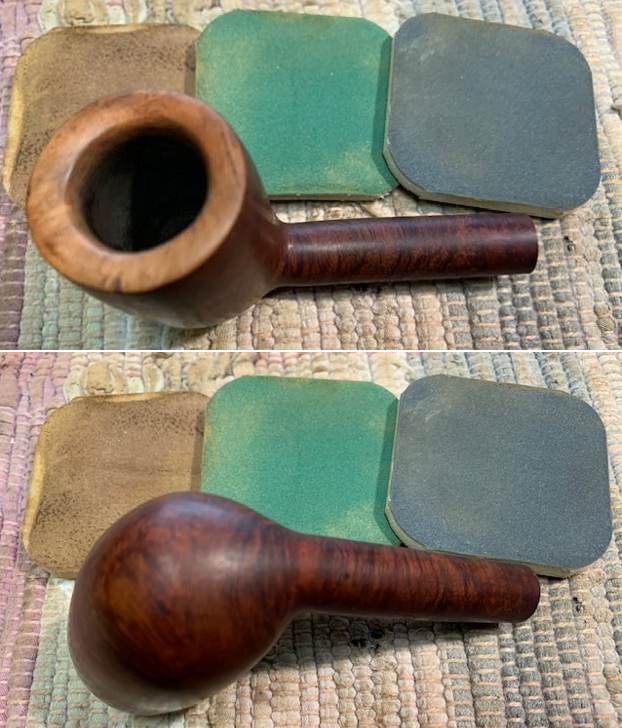
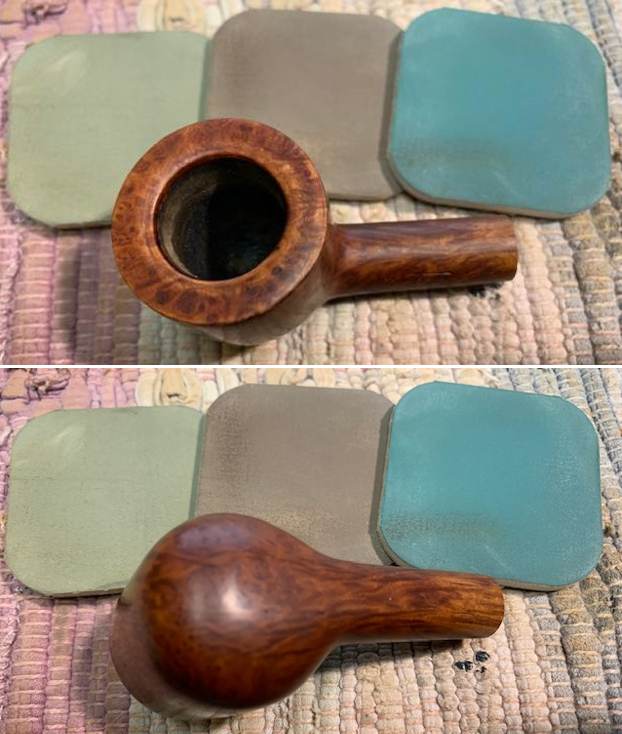
 I rubbed the bowl and shank down with Before & After Restoration Balm. I worked it into the surface of the bowl sides and shank with my fingertips to clean, enliven and protect the briar. I let the balm sit for a little while and then buffed with a cotton cloth to raise the shine. The Balm did its magic and the grain stood out.
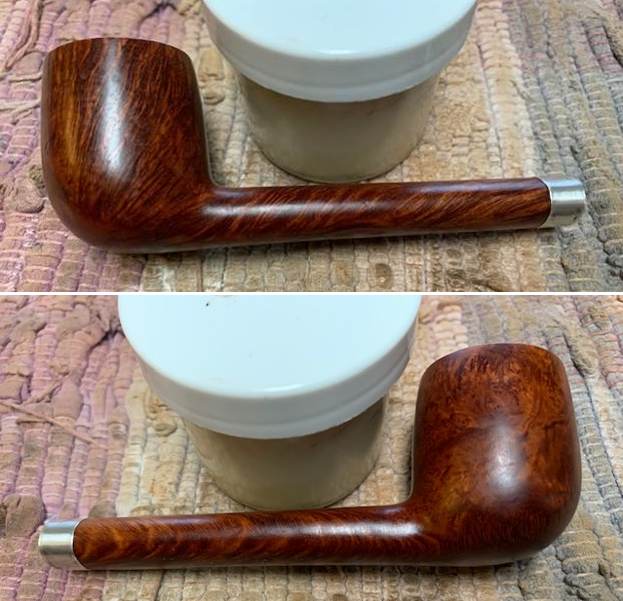

 I polished the Sterling Silver band with a jewelers cloth to remove the tarnish and protect it from further tarnish.
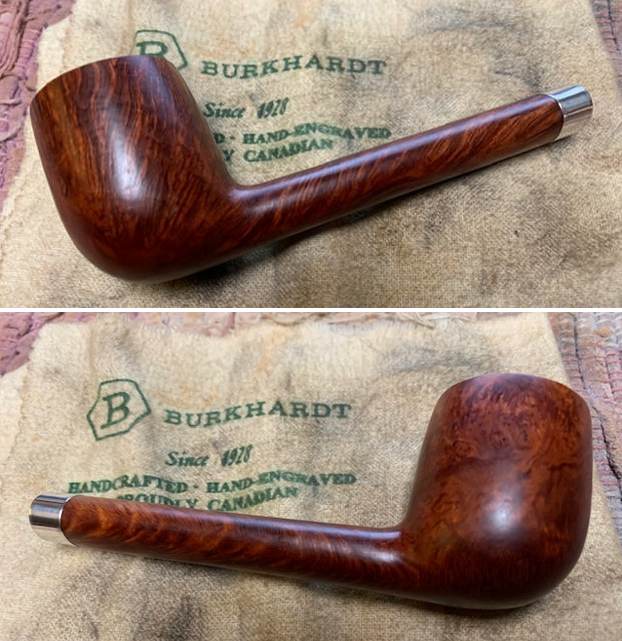
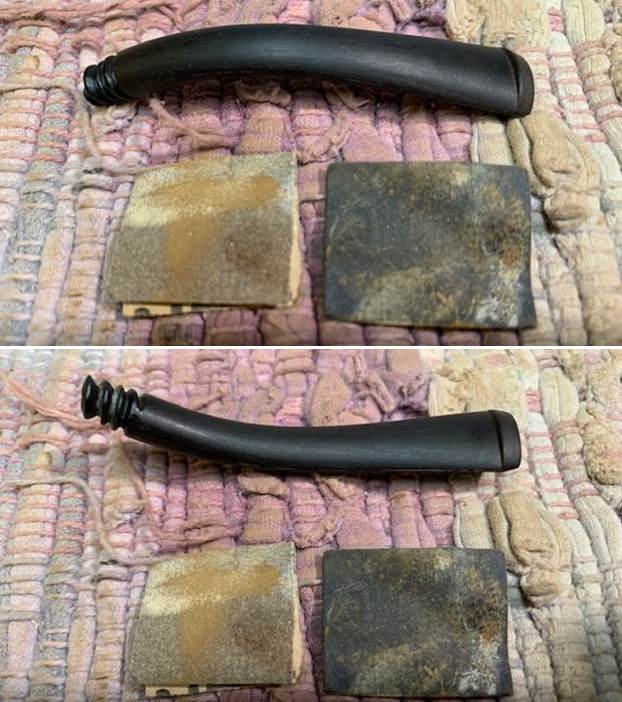
 I set the bowl aside and turned my attention to the stem. I wanted to see if I could use some acrylic white fingernail polish to bring back the stamp to readability on the top of the stem. I applied the acrylic and let it cure. I scraped it away and it was a little readable but not clear enough.
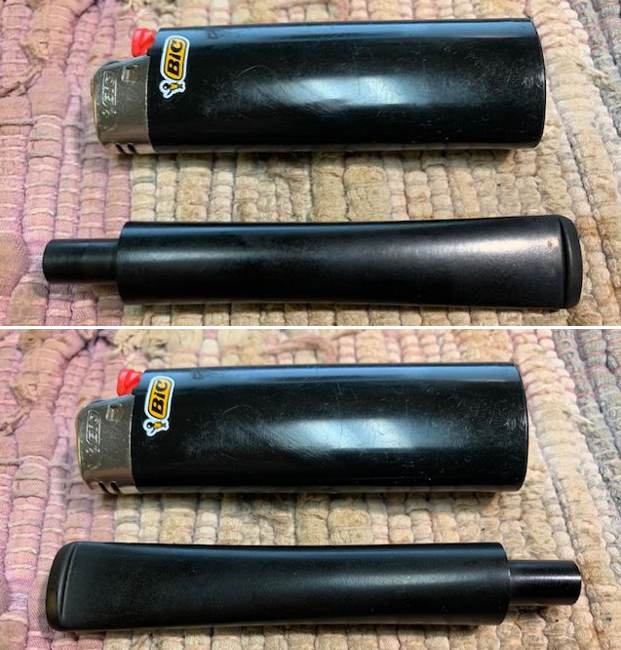
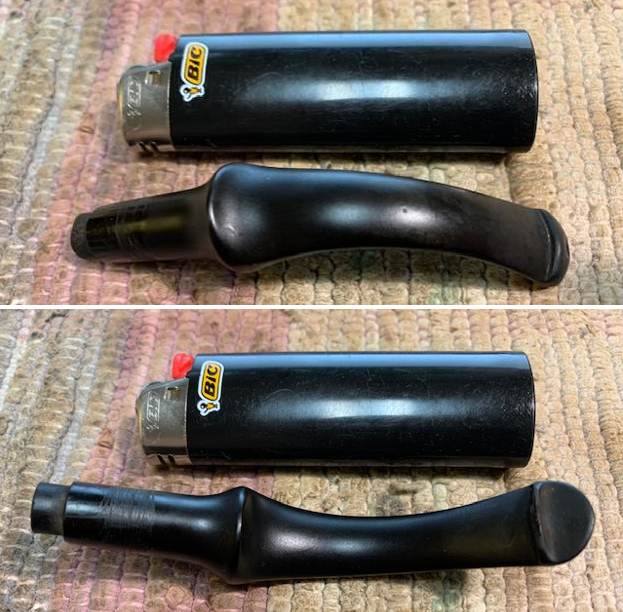
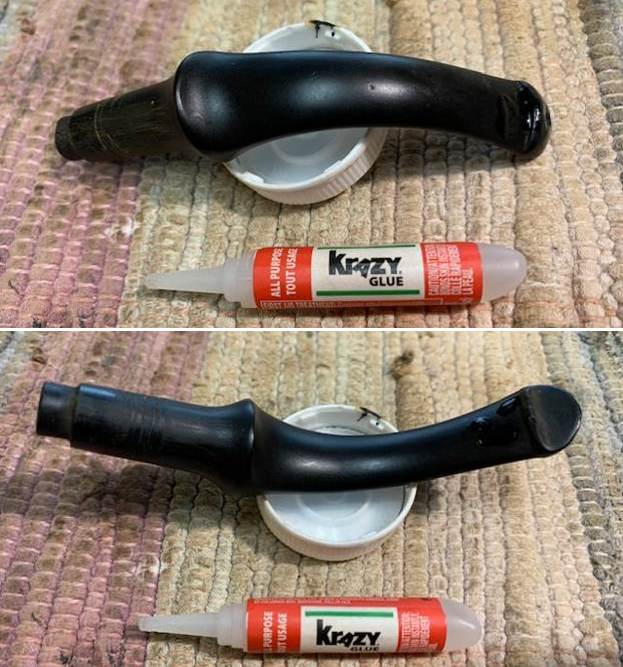
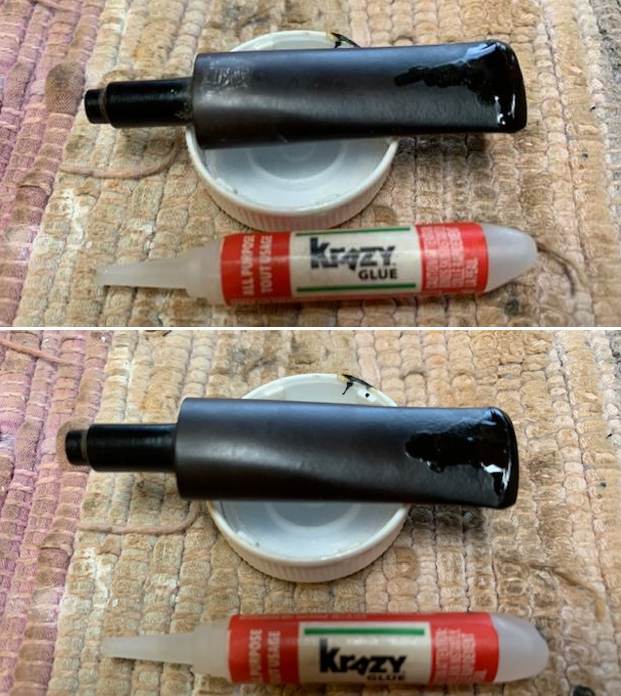
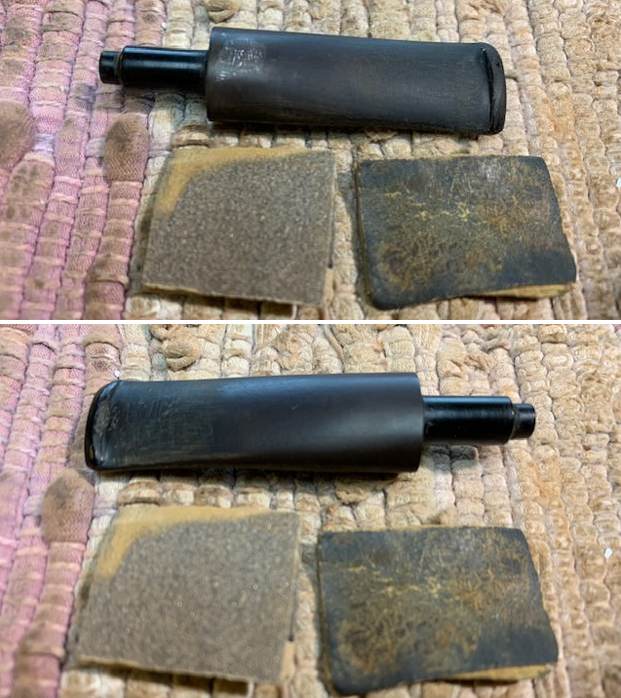
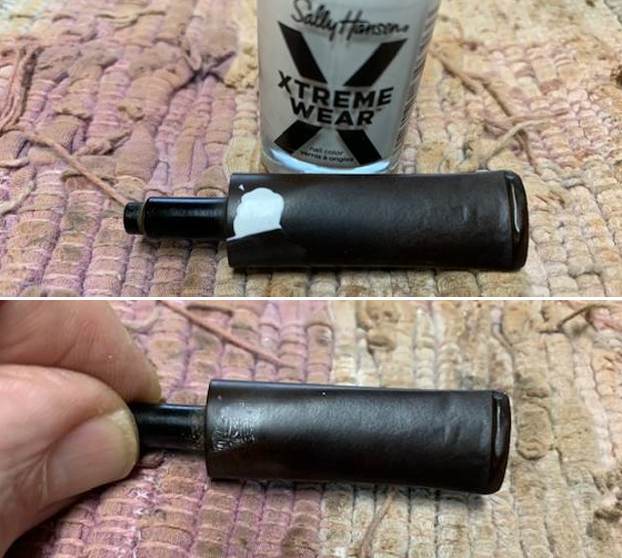 I “painted” the stem with the flame of a lighter to try and lift the tooth marks on the stem and button surface. While it did some lifting there were some deeper ones that remained. I filled them in with clear CA glue and set it aside to cure. Once it cured I flattened them out with a small file and recut the button edge. I sanded them with 220 grit sandpaper and started the polishing with 400 grit wet dry sandpaper.
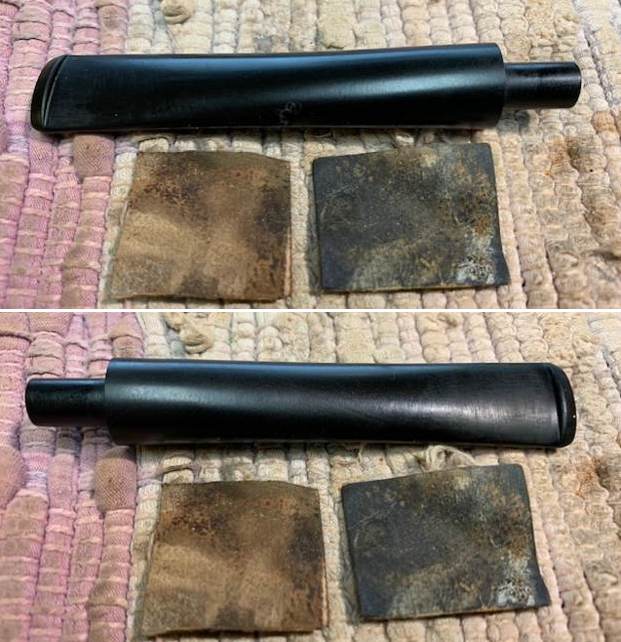
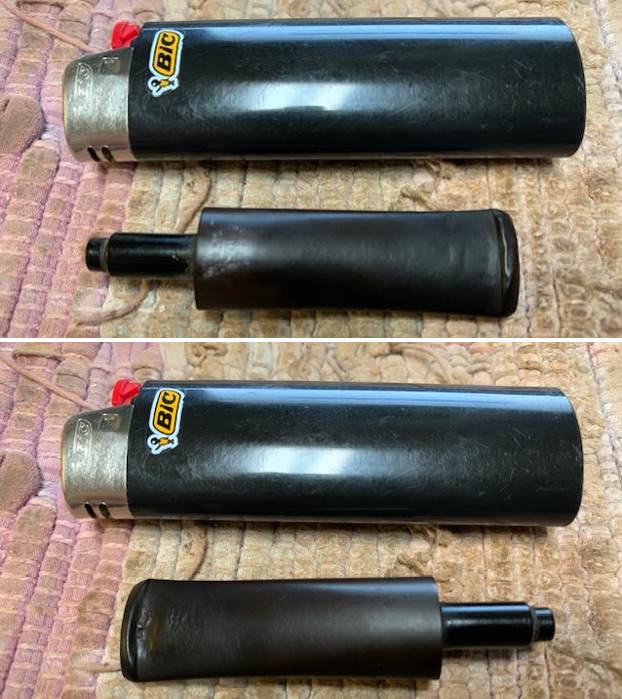

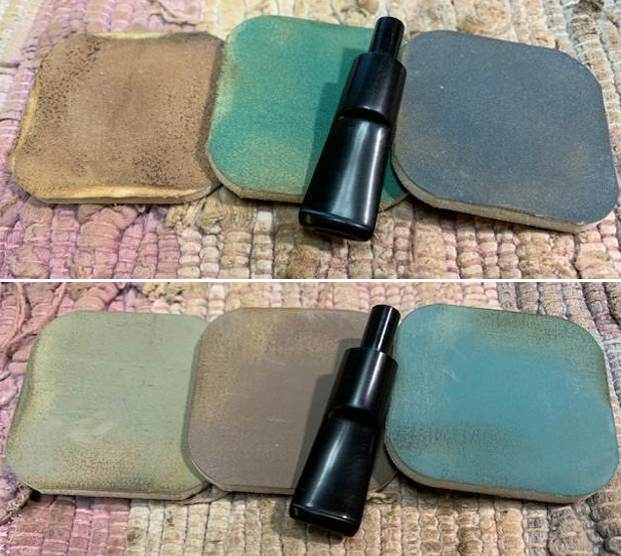
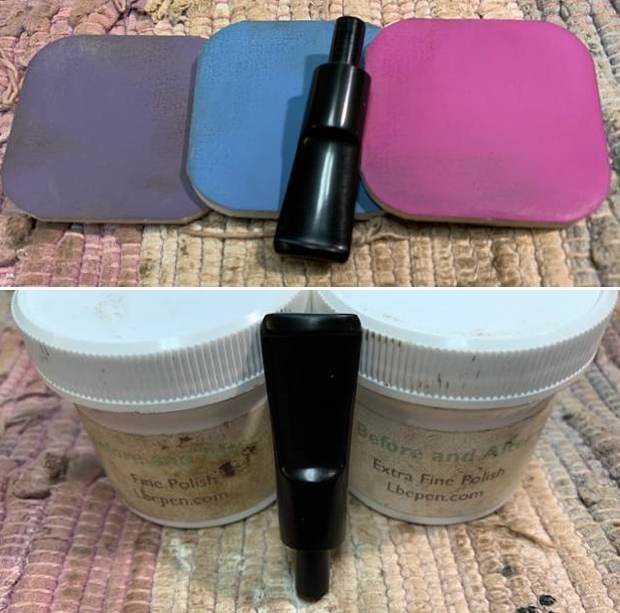
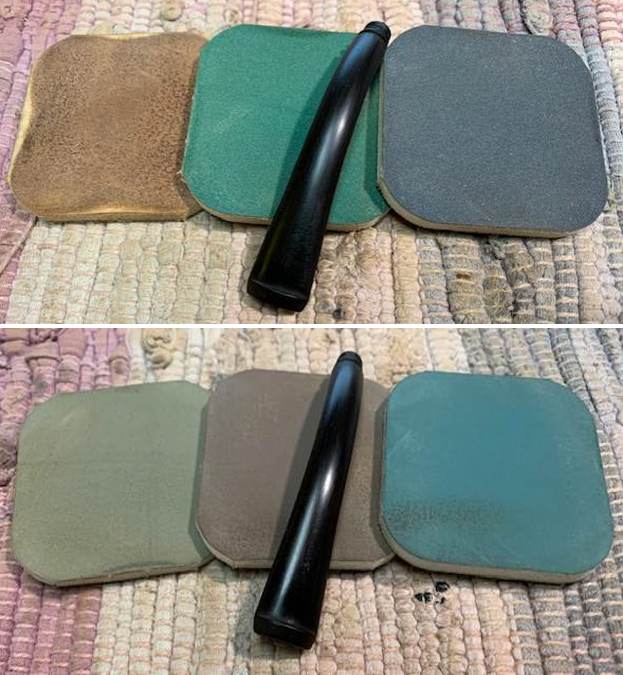
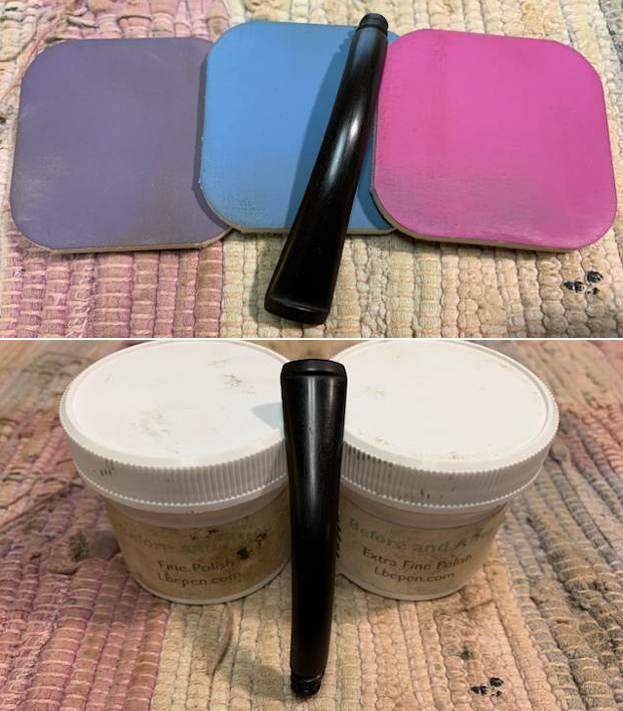
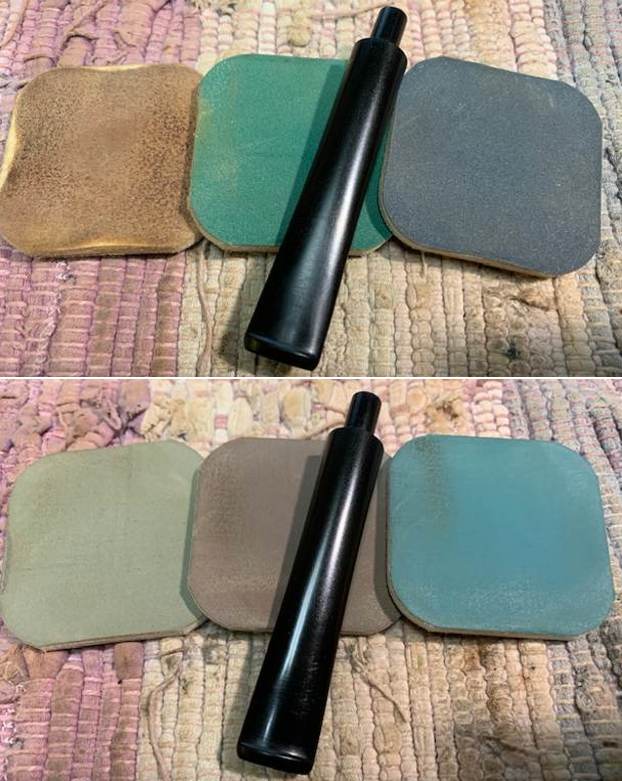
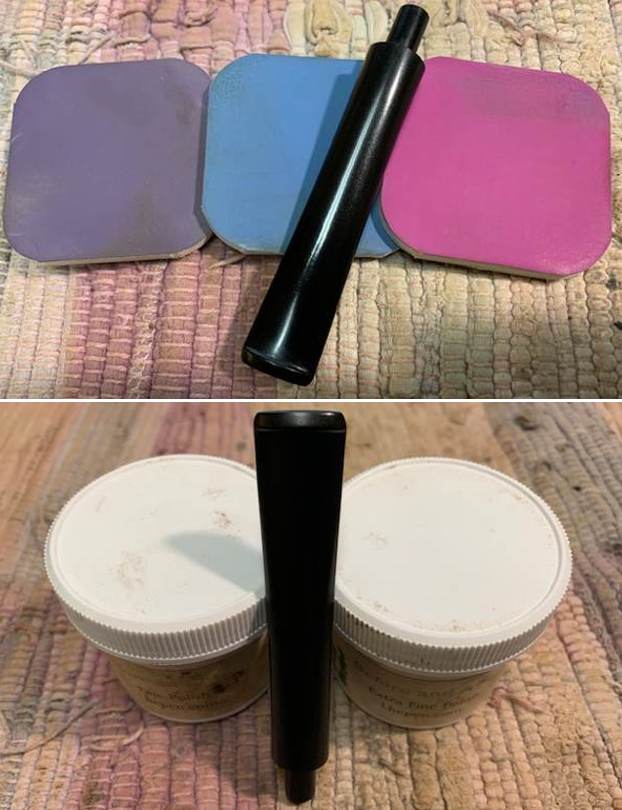
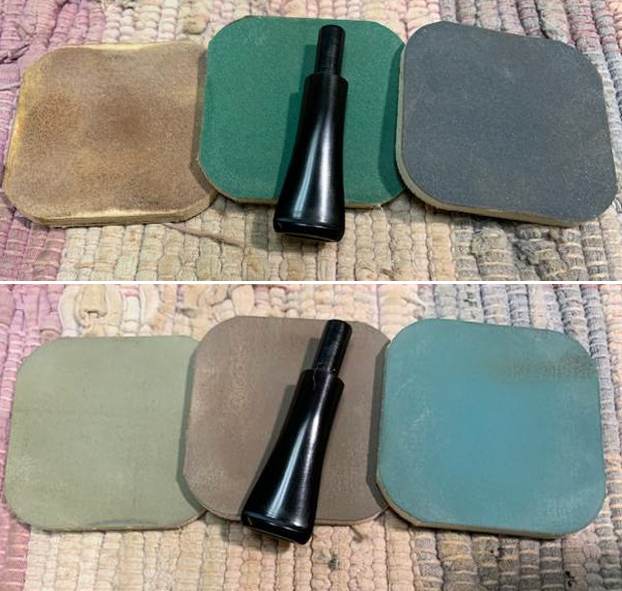
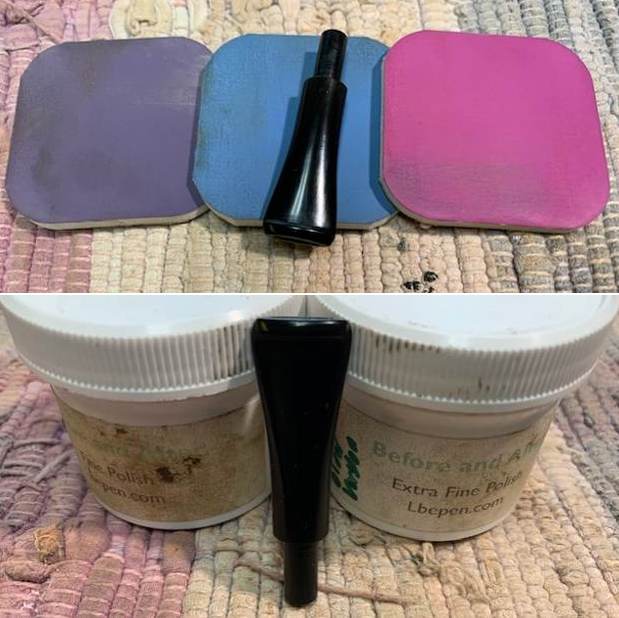
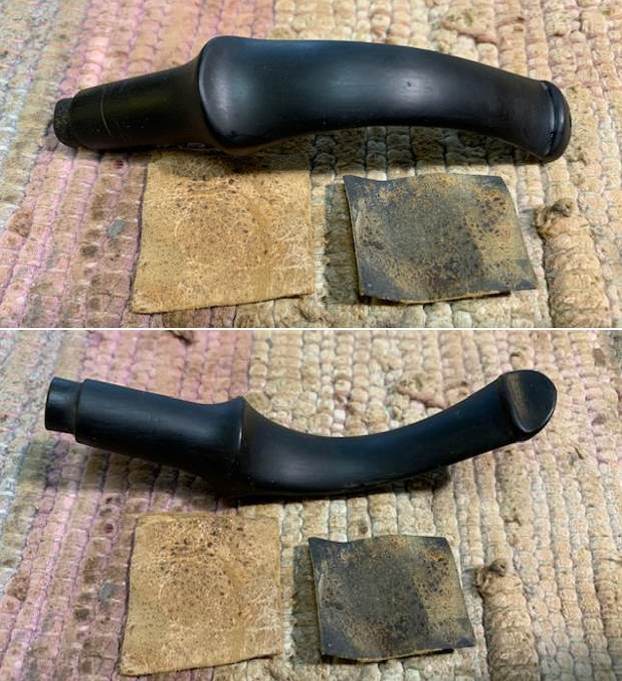
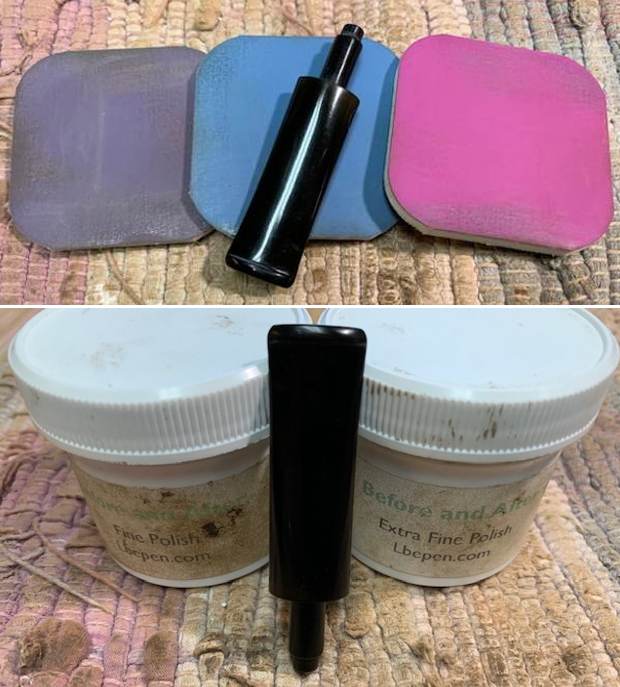
 I polished the stem with micromesh sanding pads – 1500-12000 grit pads. I wiped it down with Obsidian Oil after each sanding pad. I used Before & After Pipe Polish – both Fine and Extra Fine to further polish the stem. I gave it a final coat of Obsidian Oil and set it aside to dry.
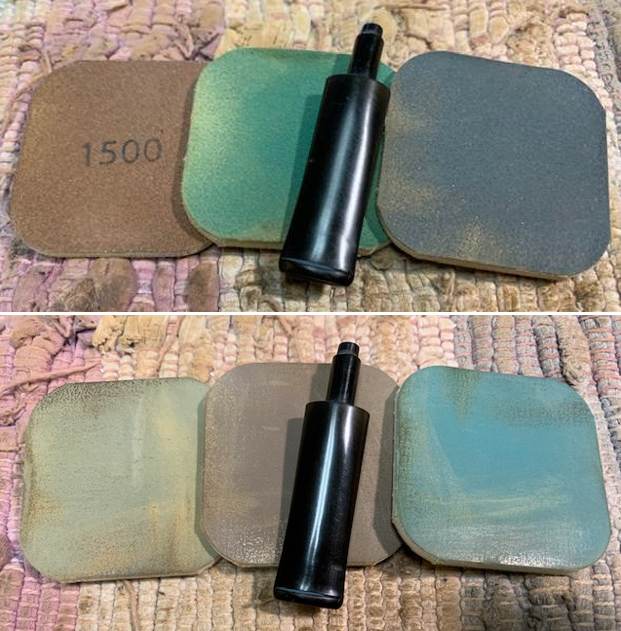
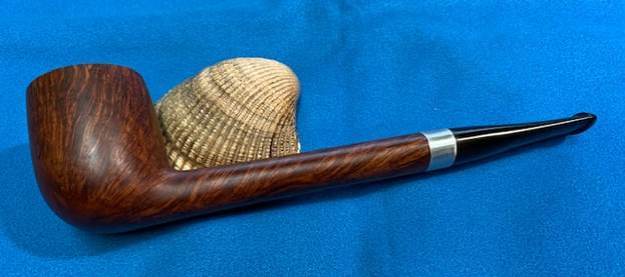
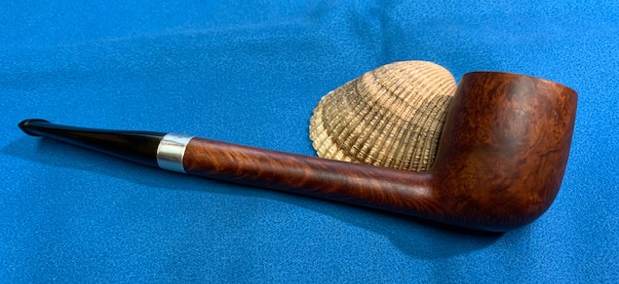
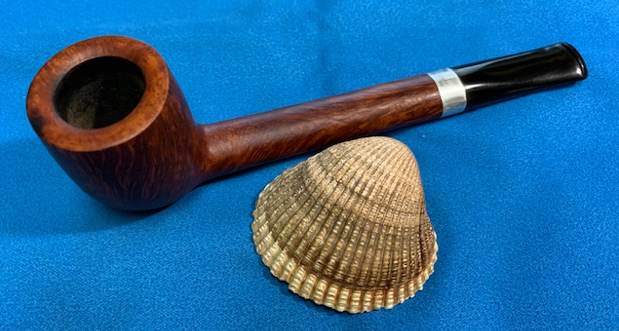
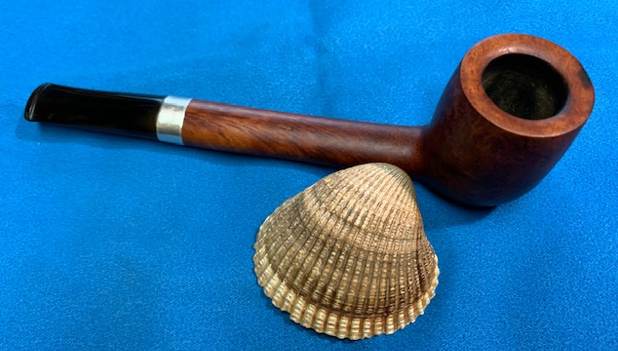
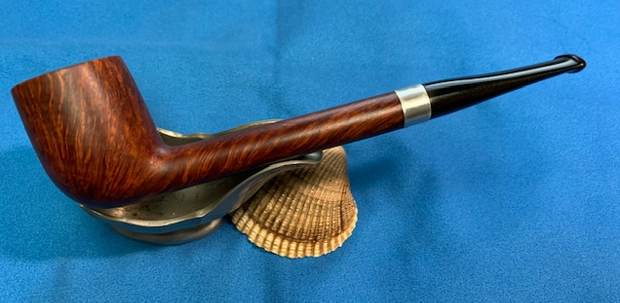
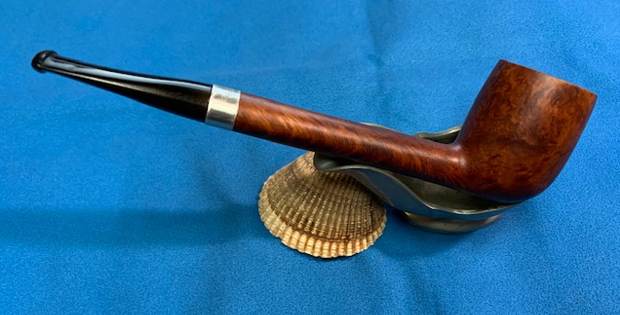
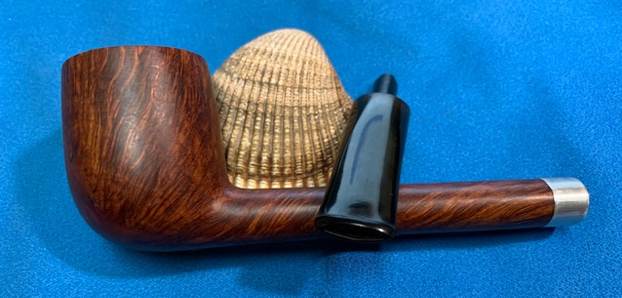
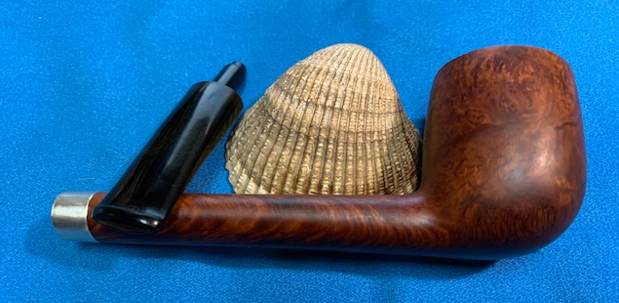
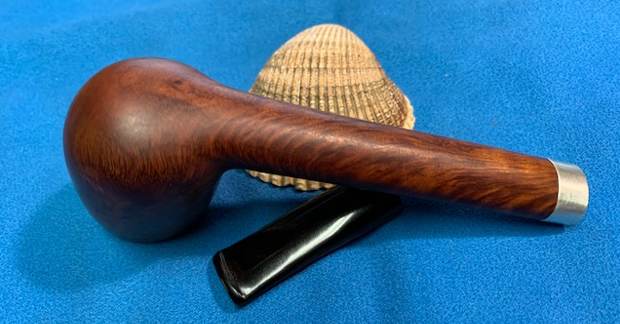
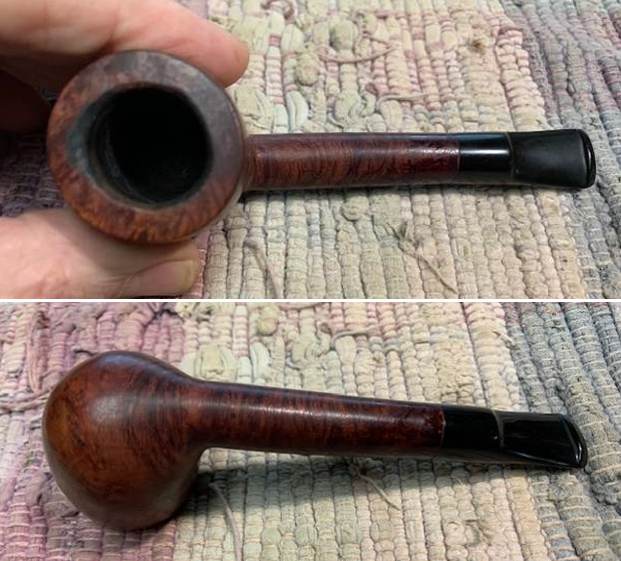
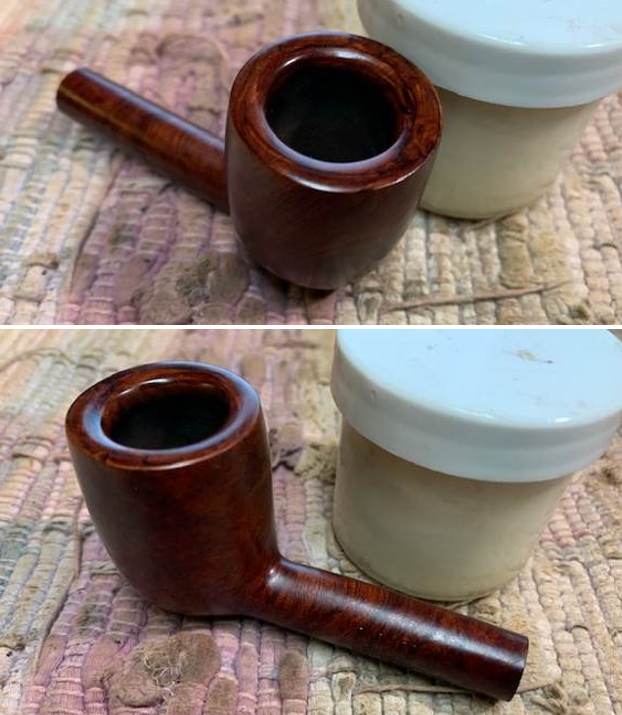
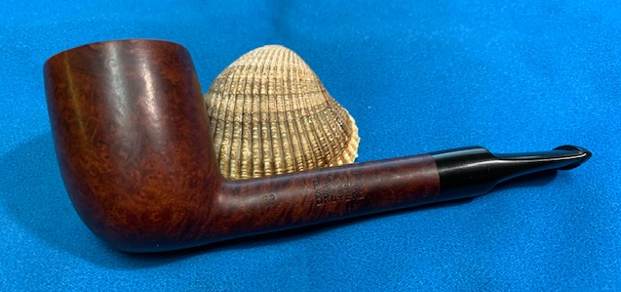
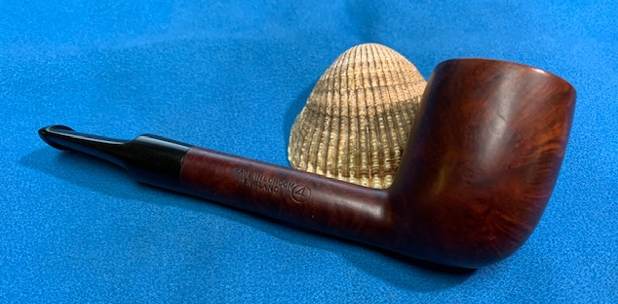
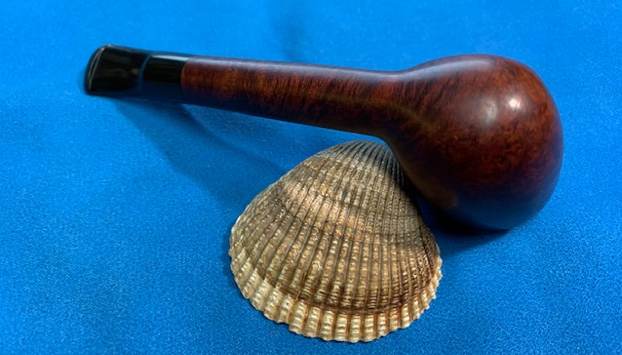
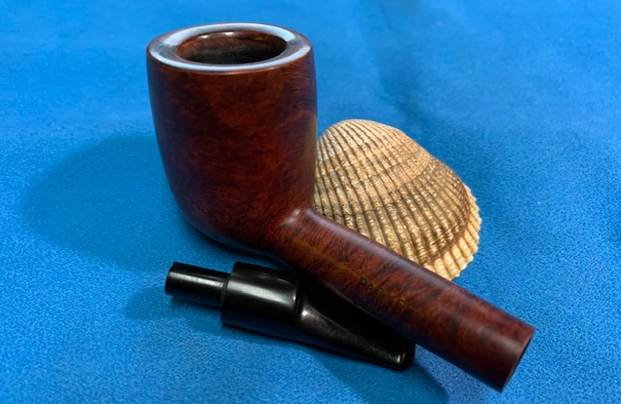
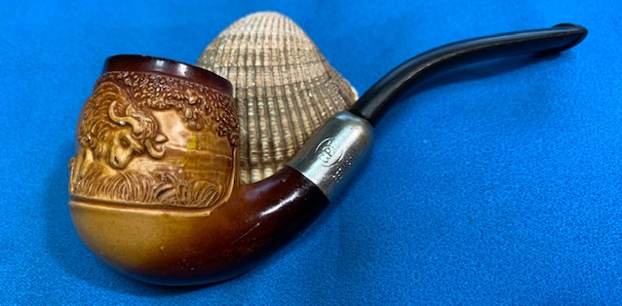
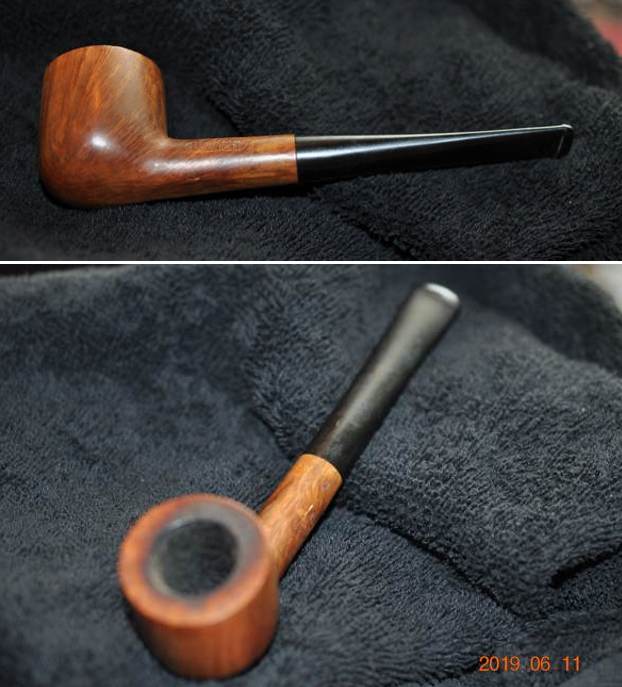
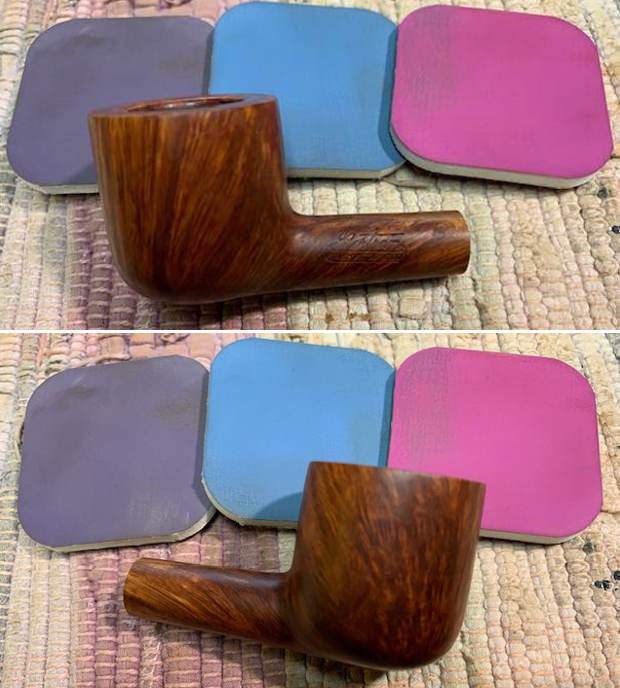
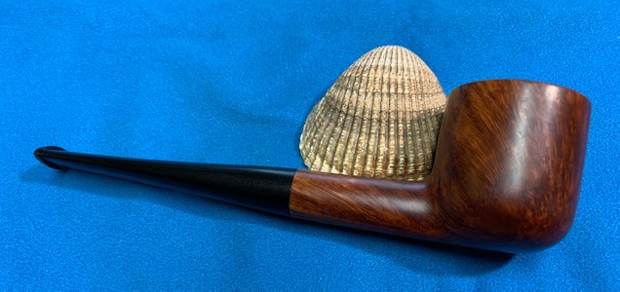
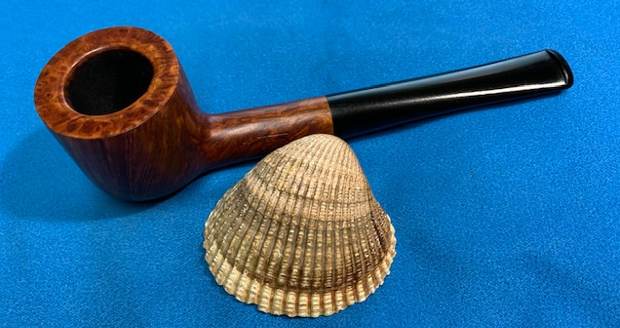
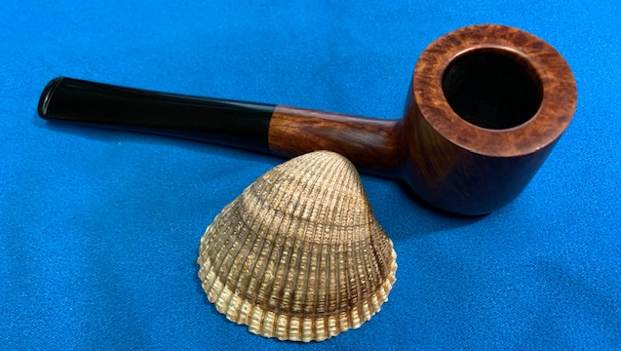
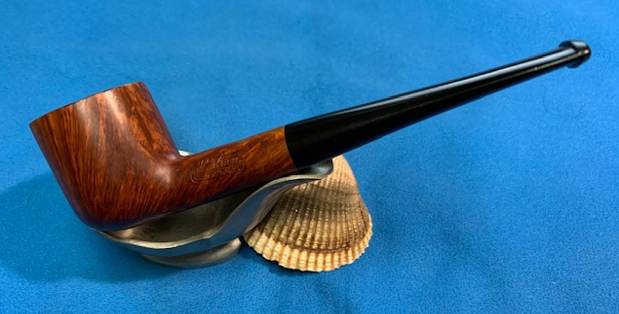
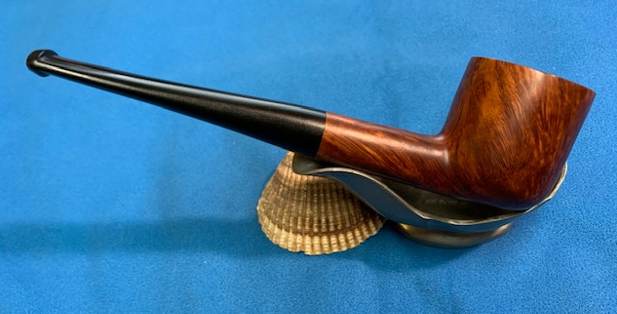
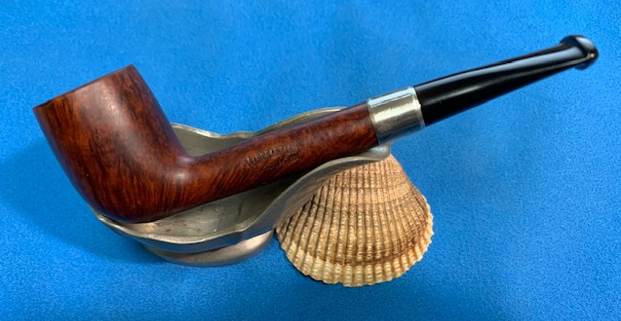
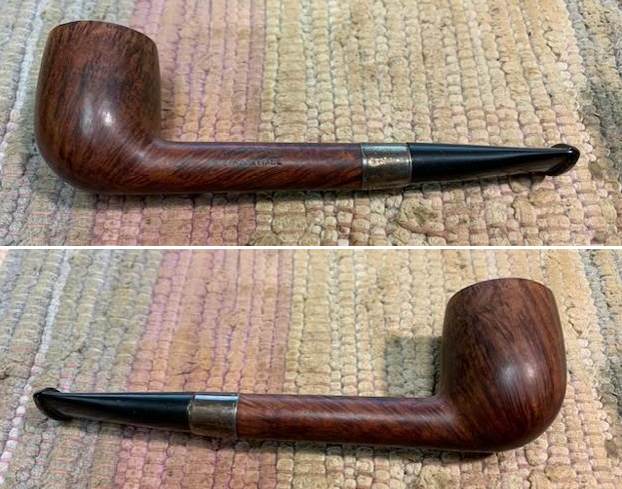
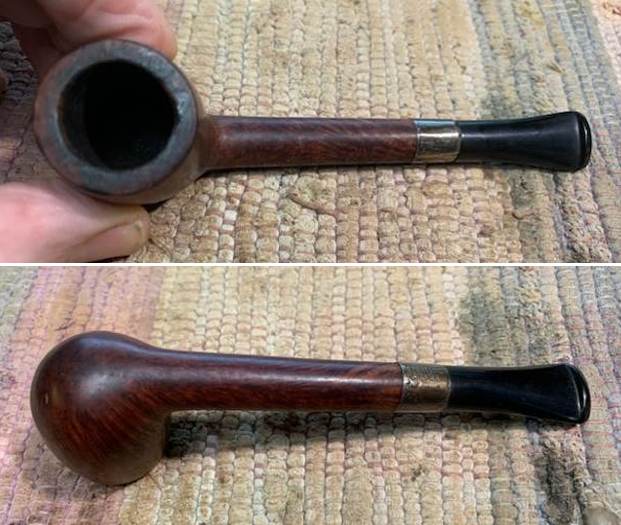
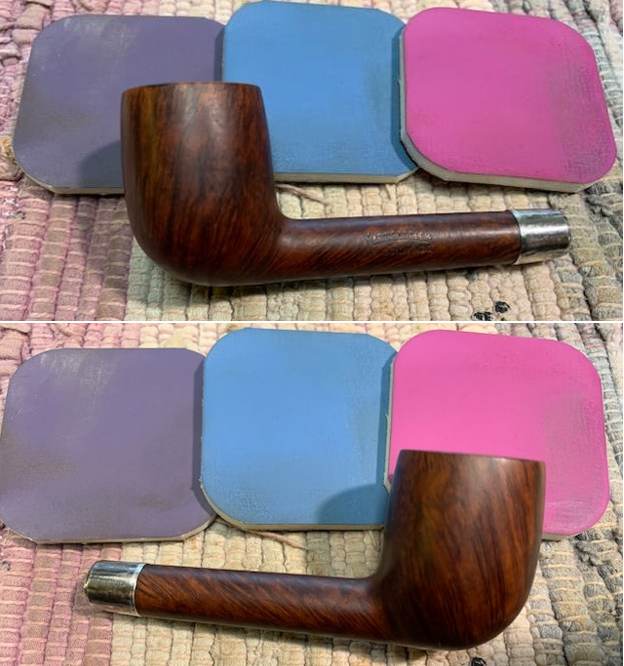
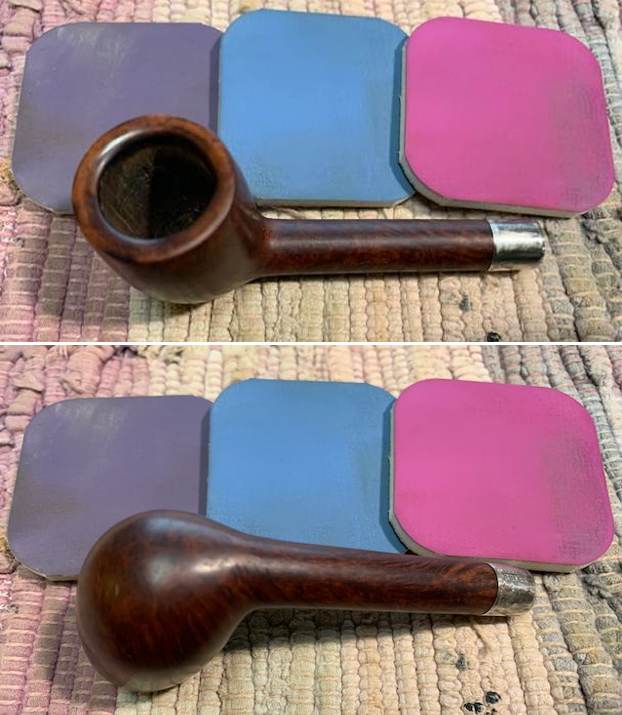
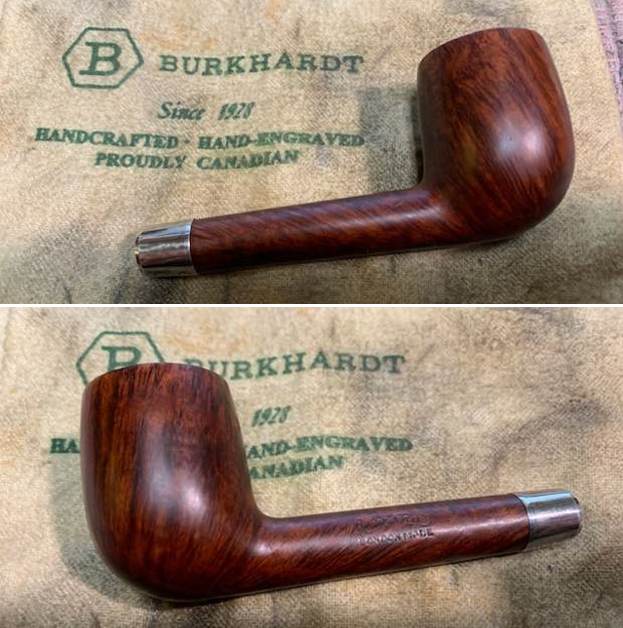
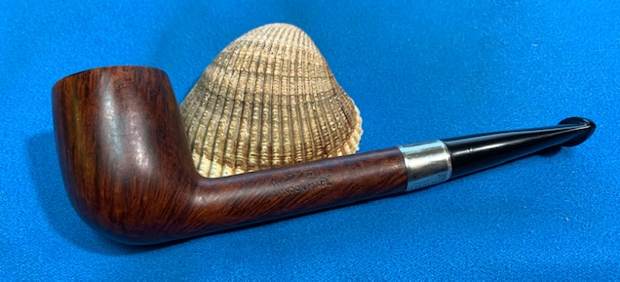
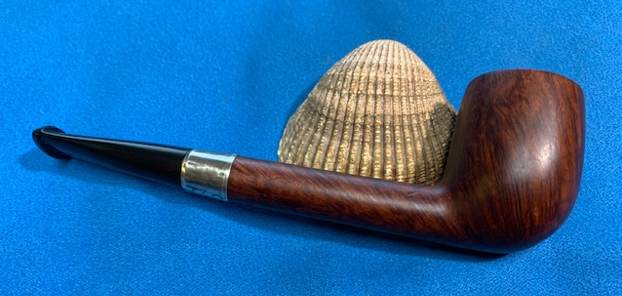
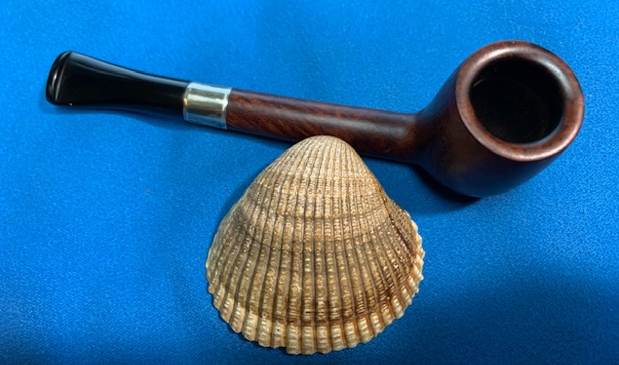
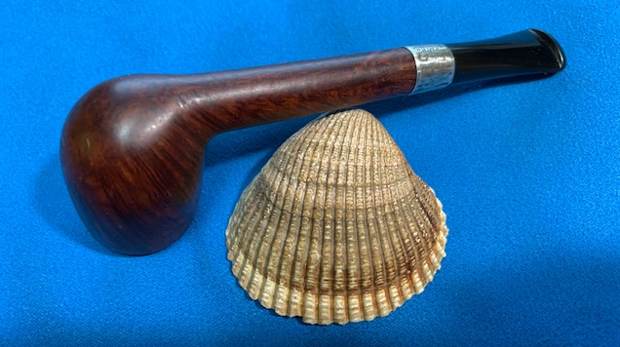
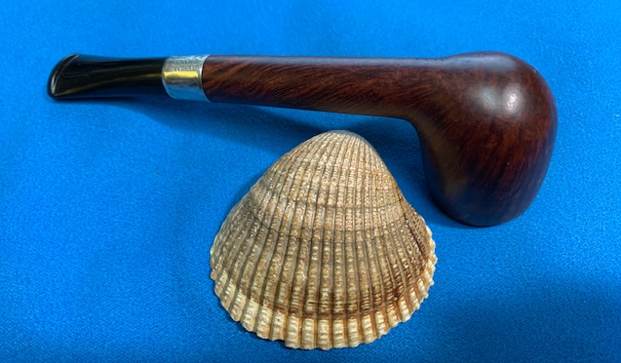
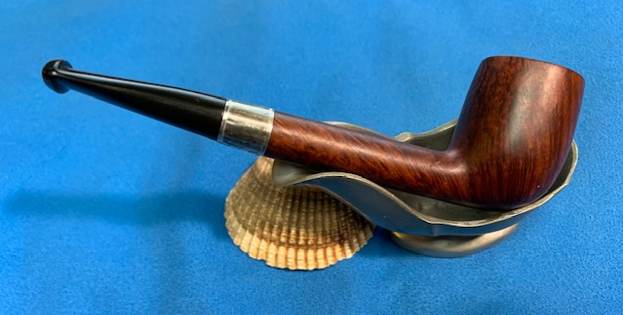
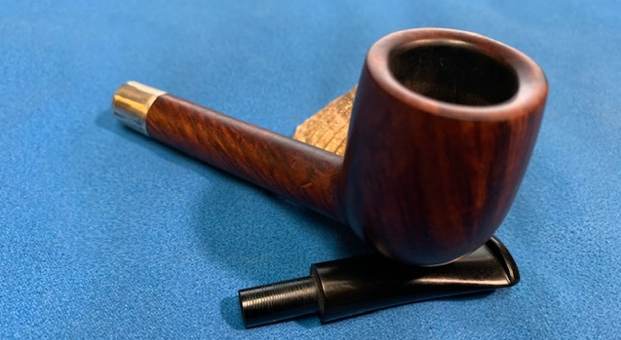
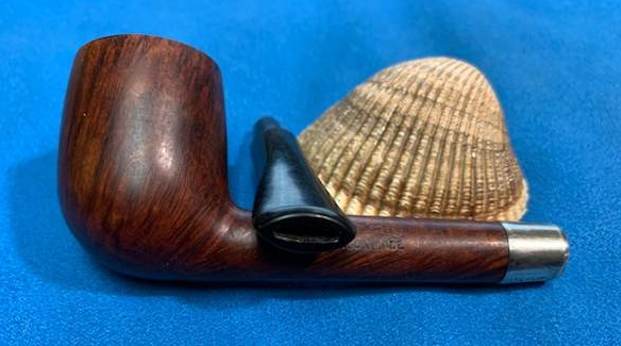
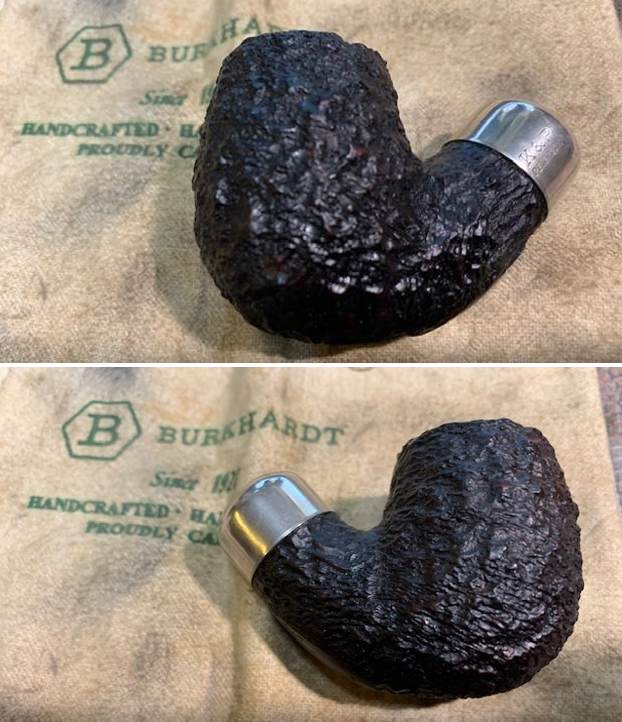
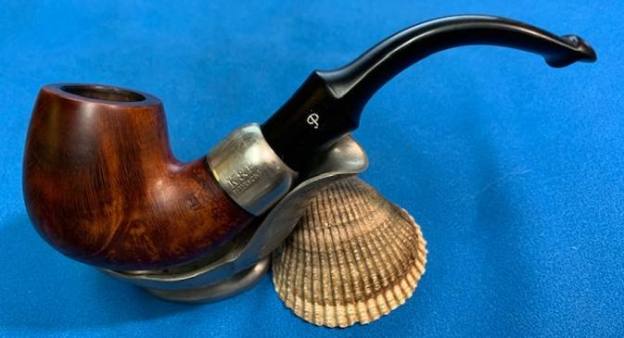
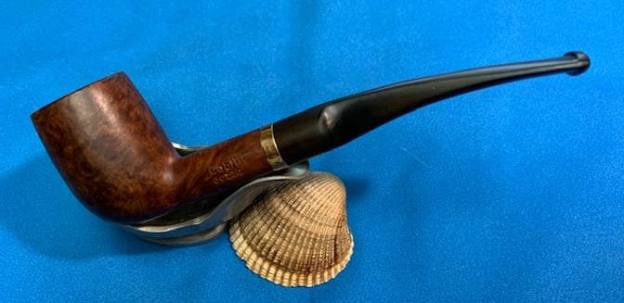
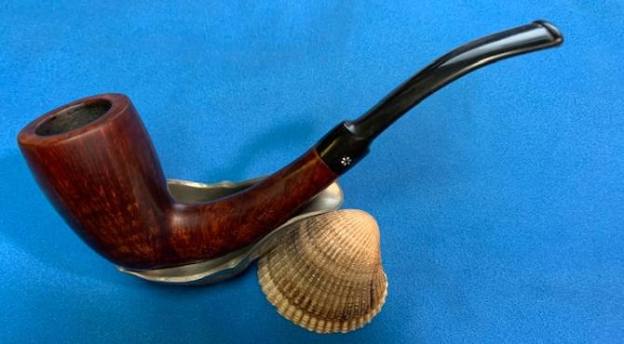
 This nicely grained Royal Saxon Canadian with a Sterling Silver Band and a vulcanite taper stem is a great looking pipe now that it has been restored. The briar around the bowl is clean and really came alive. The rim top looks much better than when I began. The rich brown stains gave the grain a sense of depth with the polishing and waxing. The grain really popped. I put the vulcanite stem back on the bowl and carefully buffed the pipe with Blue Diamond on the buffing wheel using a light touch on the briar. I gave the bowl and the stem multiple coats of carnauba wax on the buffing wheel. I buffed the pipe with a clean buffing pad to raise the shine. I hand buffed the pipe with a microfiber cloth to deepen the shine. The finished Royal Saxon Canadian is a beauty and feels great in the hand and looks very good. Give the finished pipe a look in the photos below. The dimensions of the pipe are Length: 6 inches, Height: 1 ½ inches, Outside diameter of the bowl: 1 1/8 inches, Chamber diameter: ¾ of an inch. The weight of pipe is 1.13 ounces /32 grams. It is much more beautiful in person than these photos can capture. I will be putting it on the rebornpipes store soon. Look for it in the Italian Pipe Makers section. If you would like to add it to your collection let me know. This is another pipe that has the possibility of transporting the pipe man or woman back to a slower paced time in history where you can enjoy a respite. Thanks for walking through the restoration with me.