Blog by Steve Laug
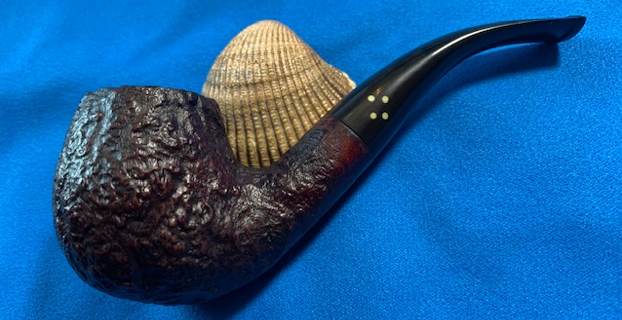
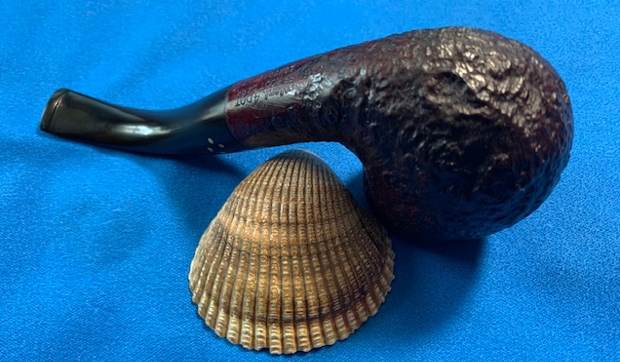
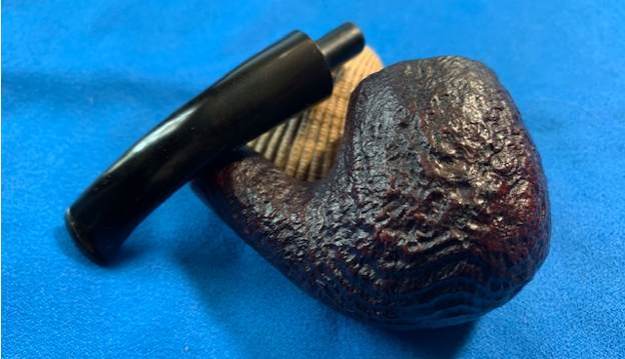
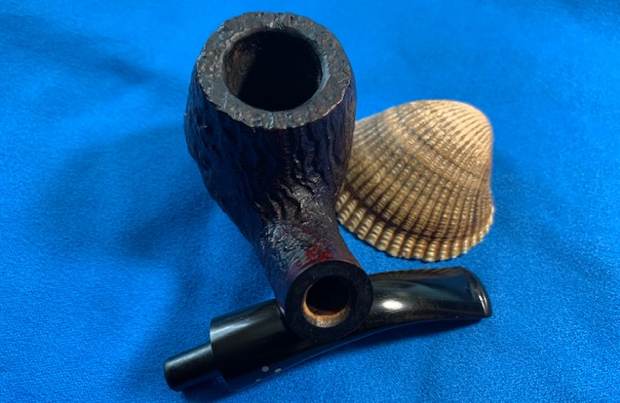
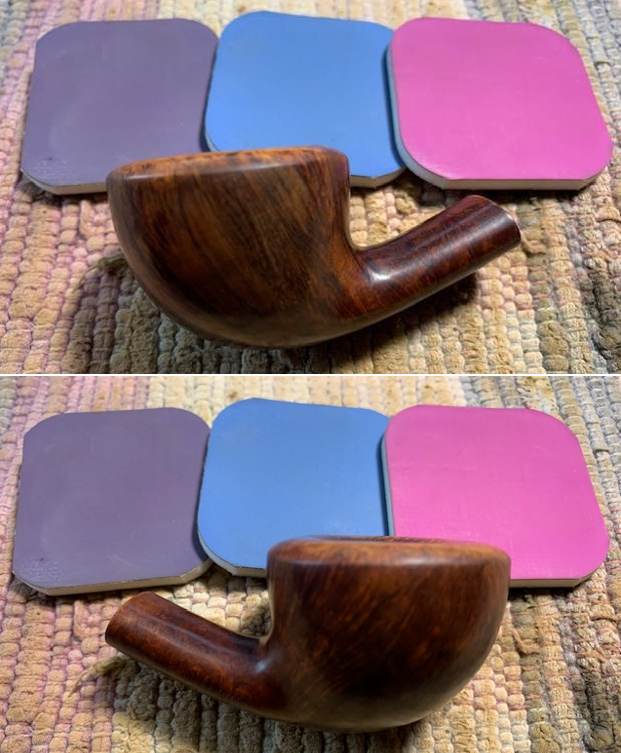
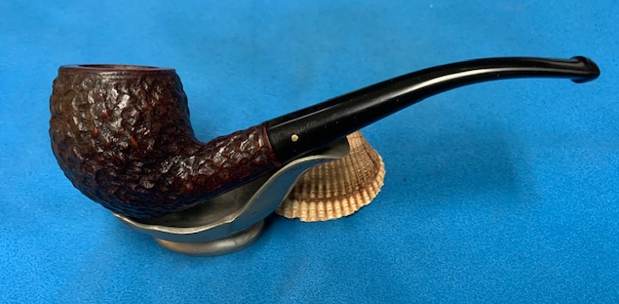
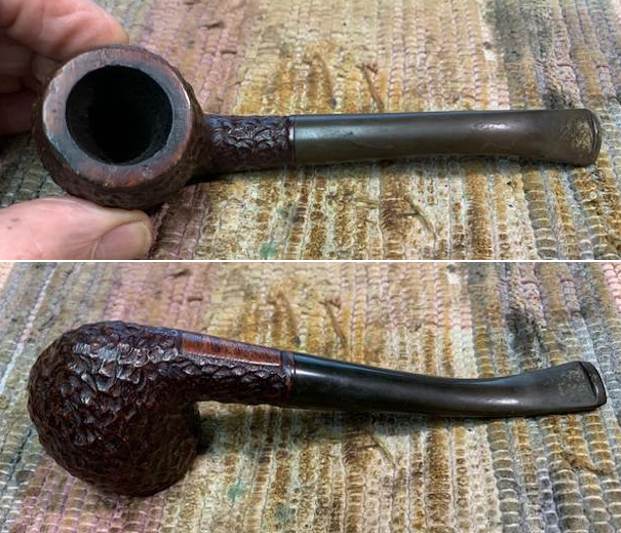
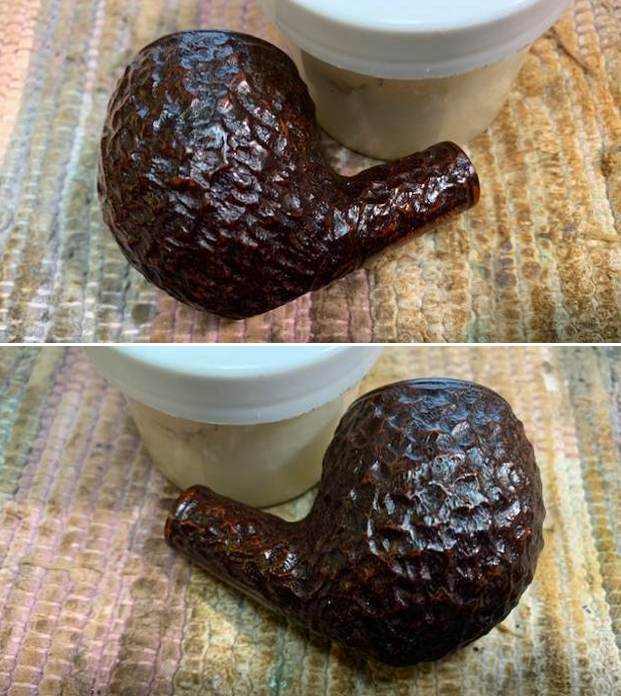
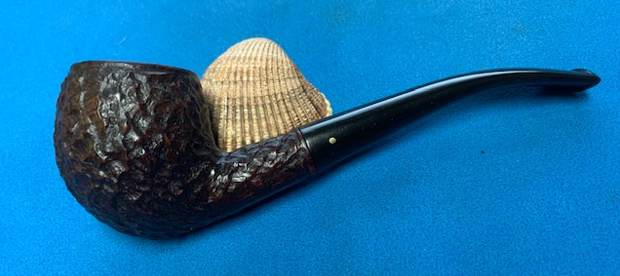
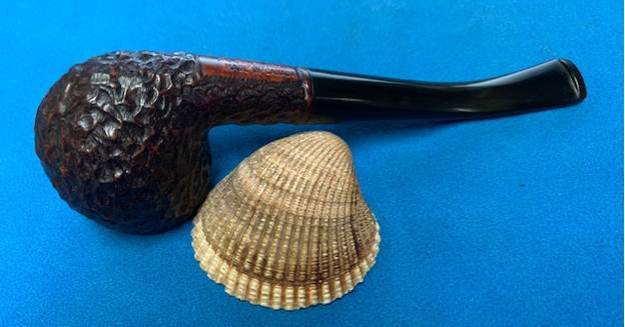
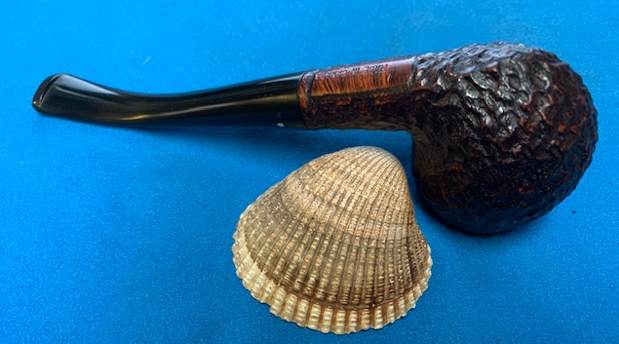
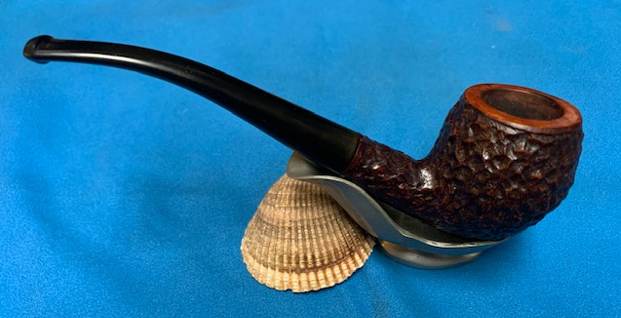
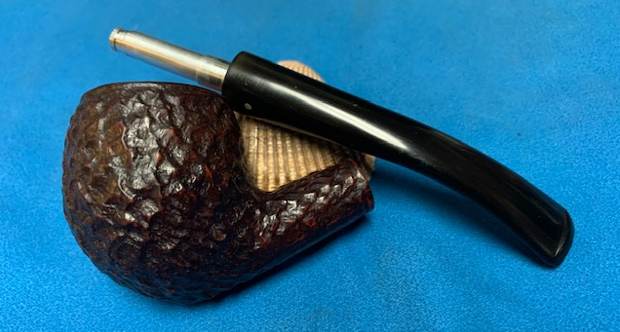
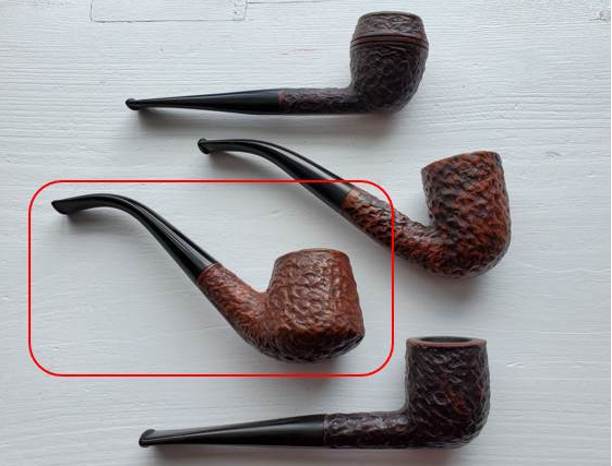
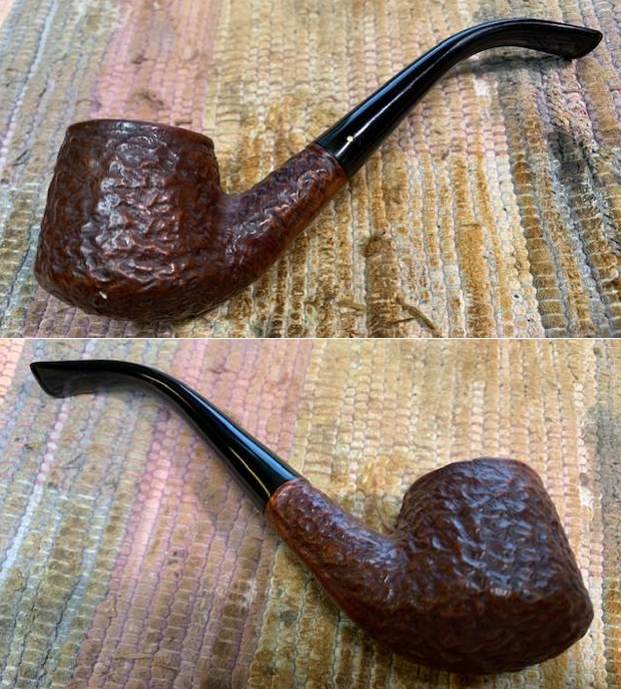
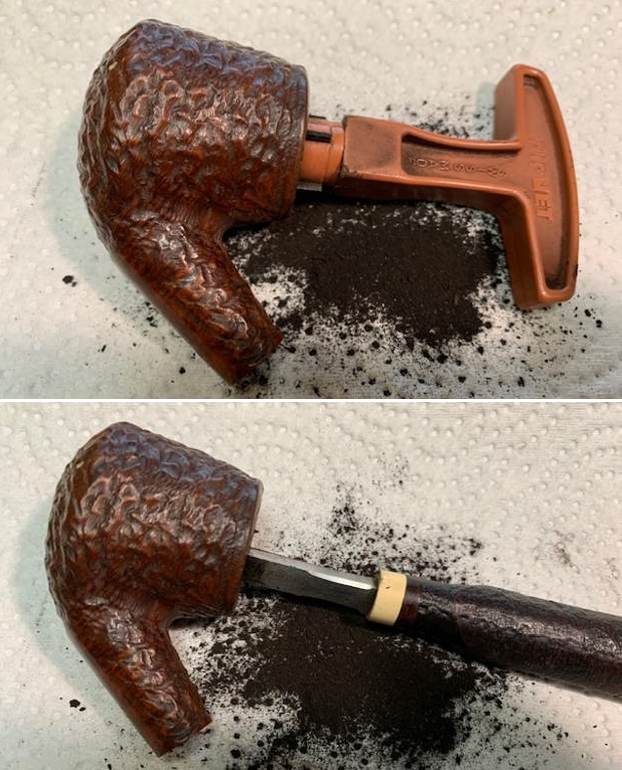
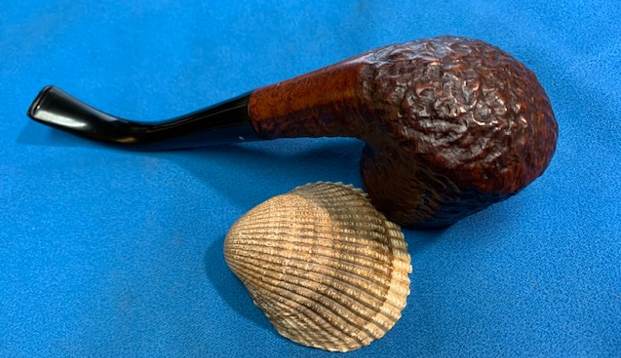
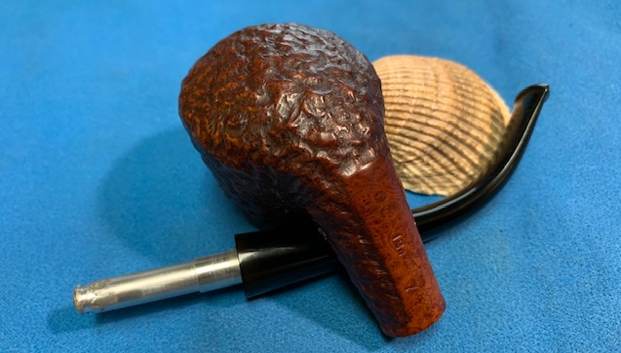
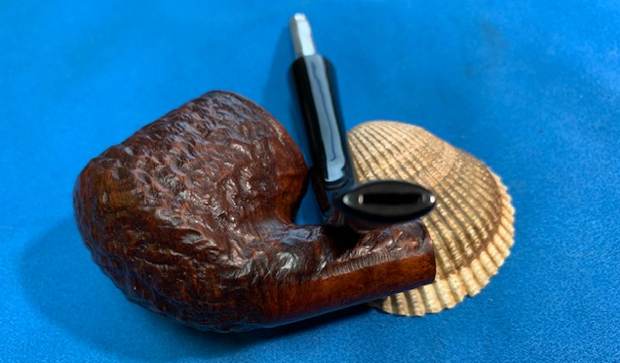
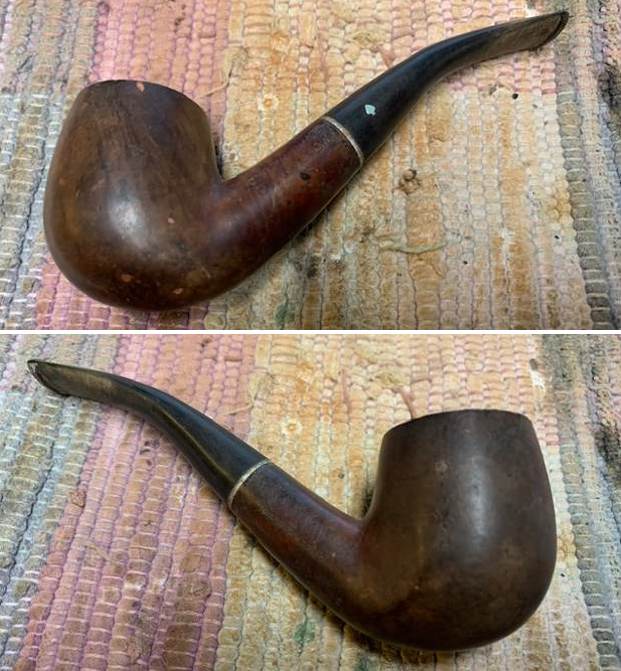
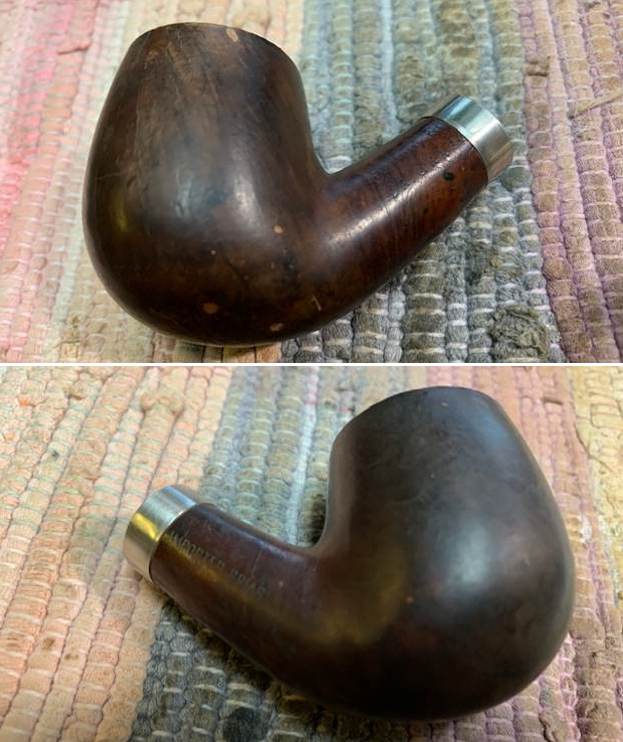
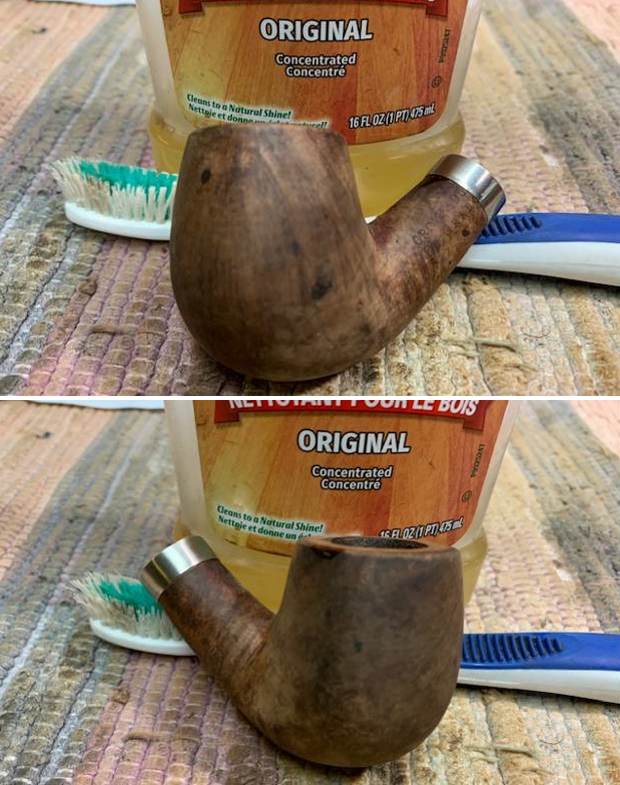
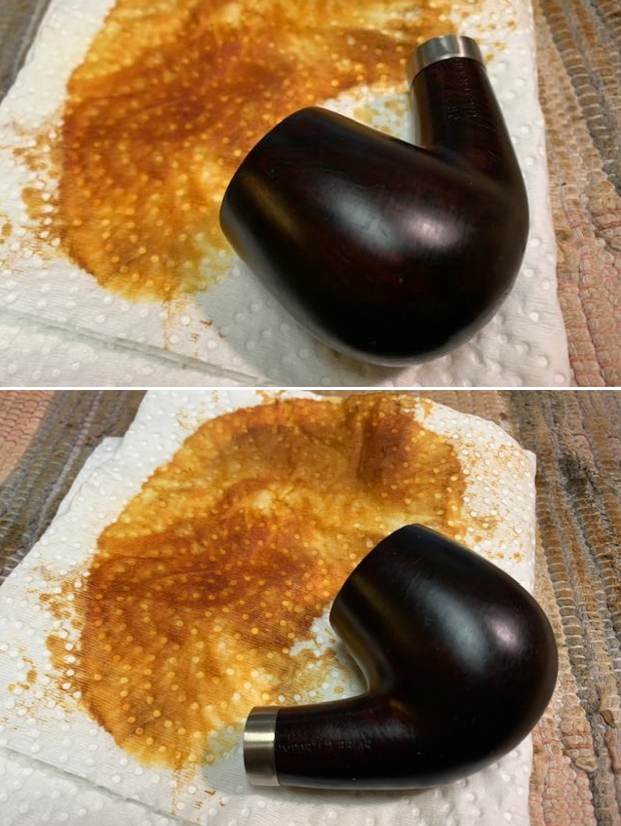
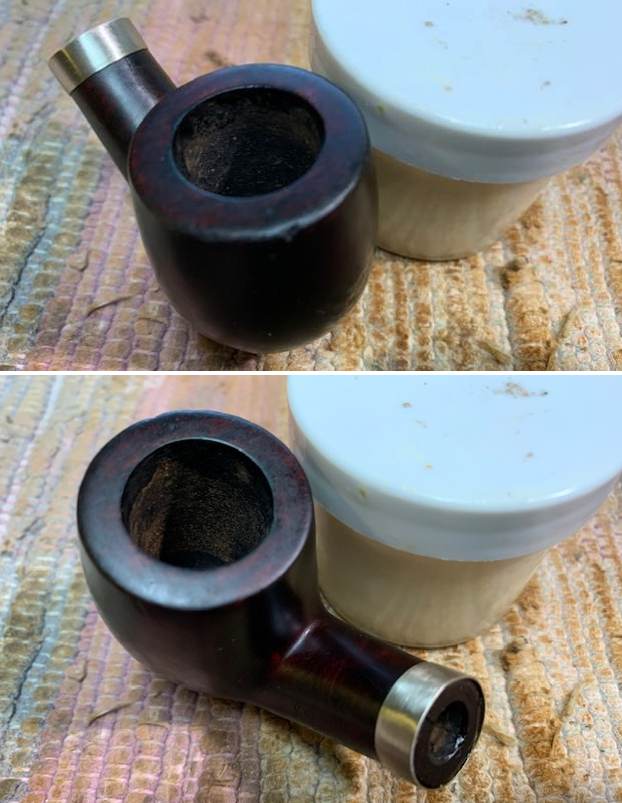
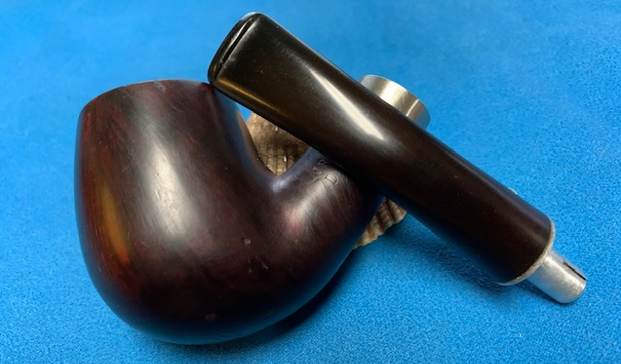
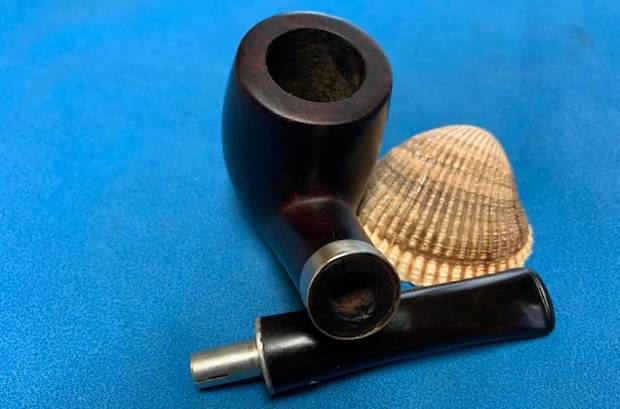
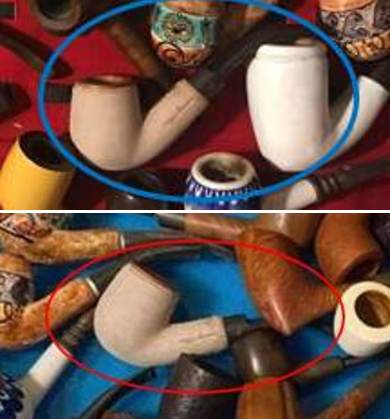
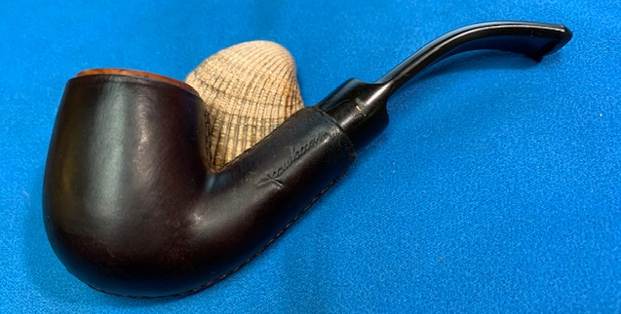
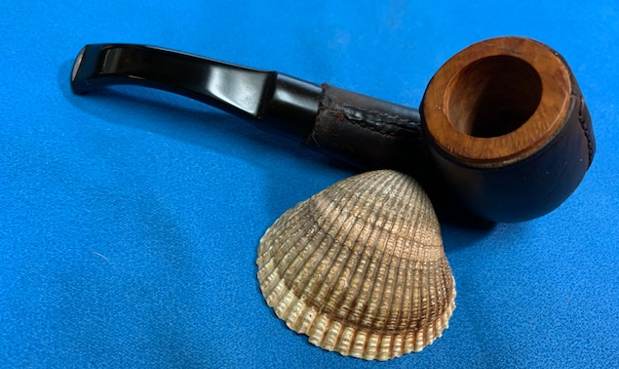
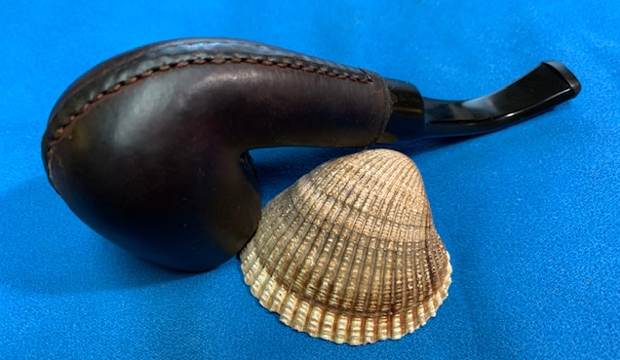
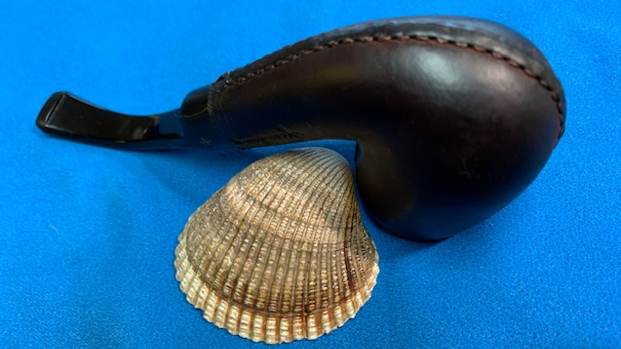
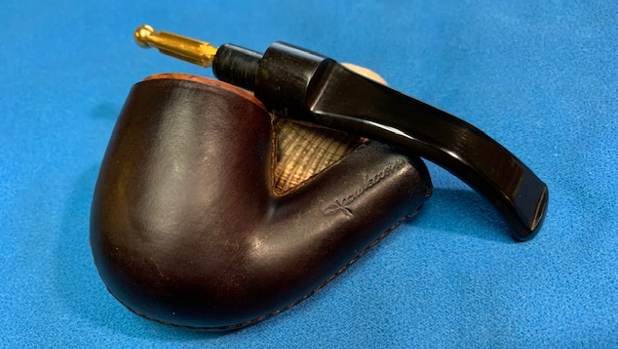
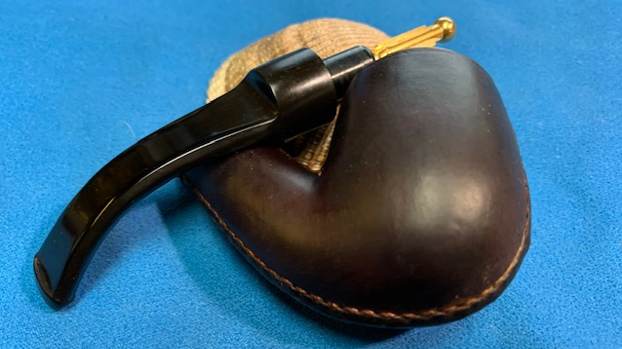
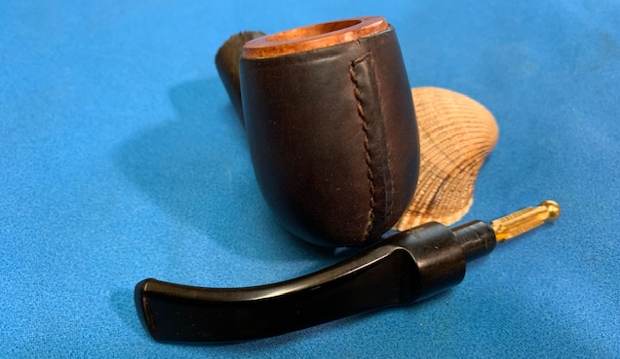
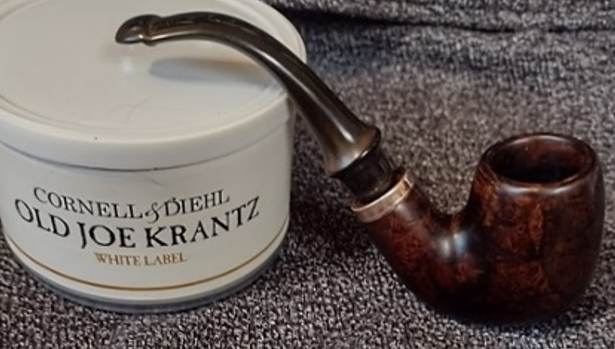
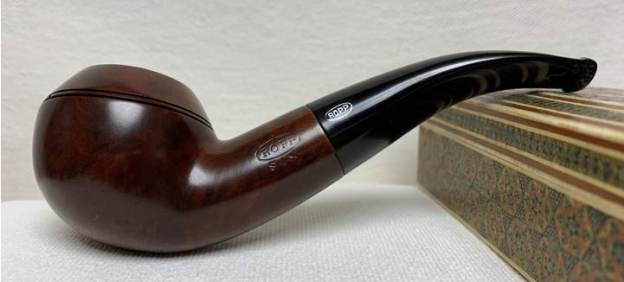
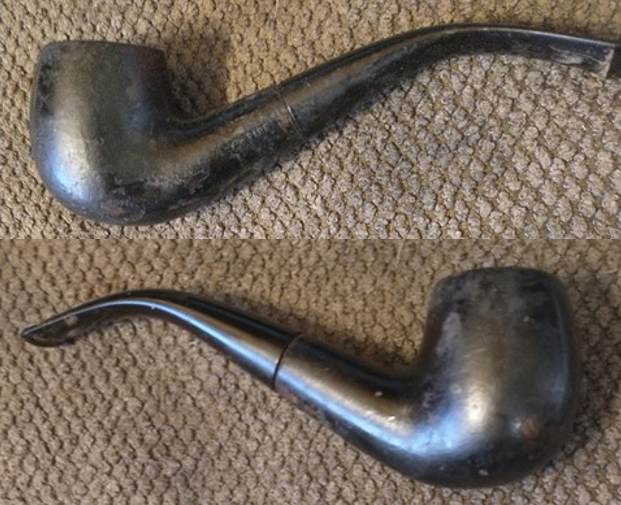
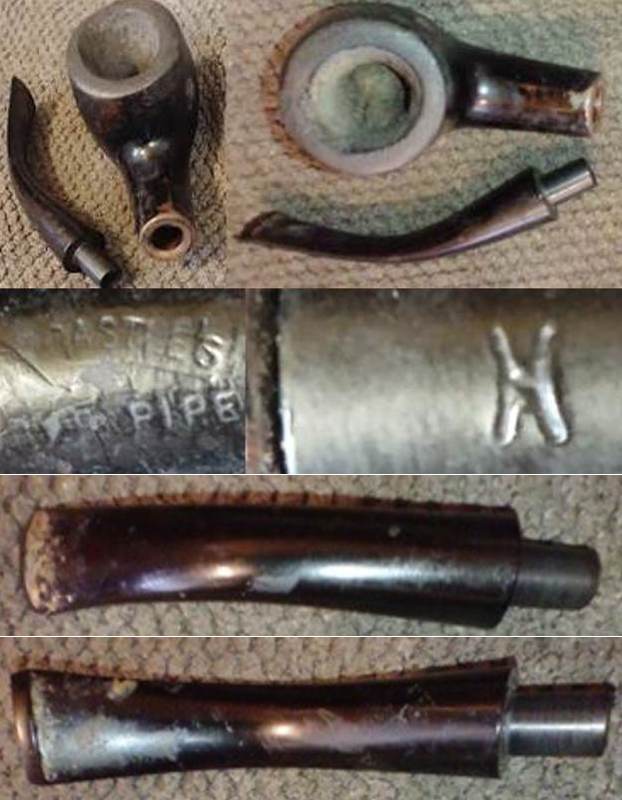
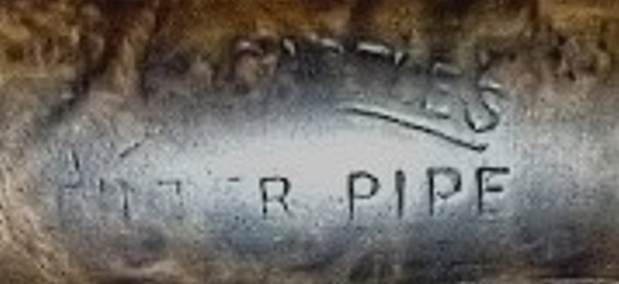
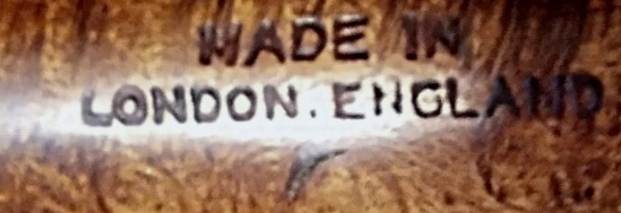
The next pipe on the work table has been here for over four years. Sad that there are some that have sat this long or longer before I got to them. But on the other hand I get to look through my boxes and pick out what turns my crank at the moment. This one was a nice sandblast bent apple. We picked it up back in January of 2018 from a seller on EBay from Los Fresnos, Texas, USA. It is stamped on the underside of the shank and reads Sasieni 4 Dot [over] Ruff Root Dark [over] London Briar followed by the number 8 which appears to be the shape number. The poor pipe had obviously been someone’s favourite and must have been a grand smoker. The finish appears to be light brown but the grime and debris in the sandblast lend to that thought. The bowl is heavily caked with a thick lava overflow on the rim top filling in the sandblast. The stem fits with a gap showing that the shank is also heavily tarred. The stem has some oxidation and deep tooth marks on the top and underside near the button. It really was a mess and a stinky one at that! Jeff took pictures of the pipe before he did his clean up work.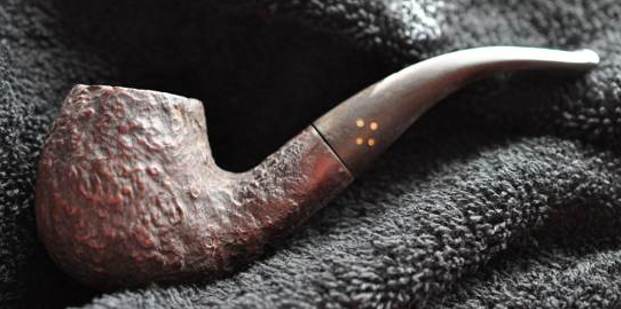
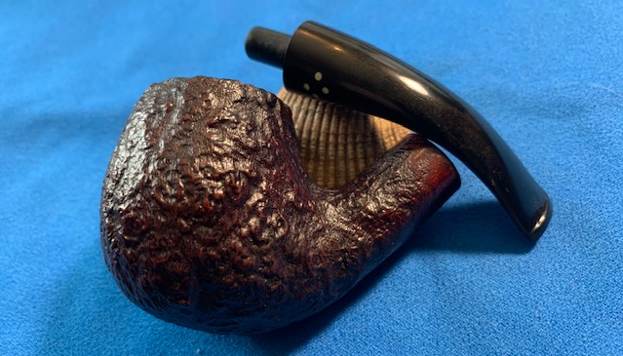
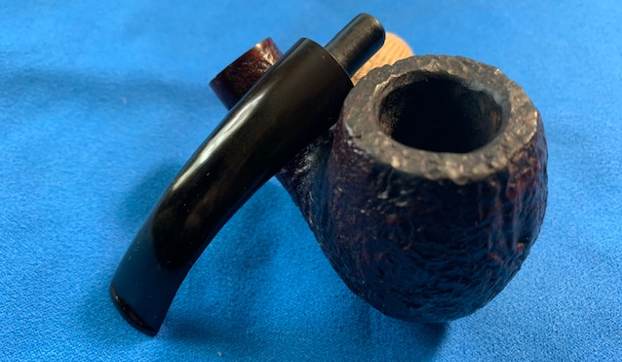
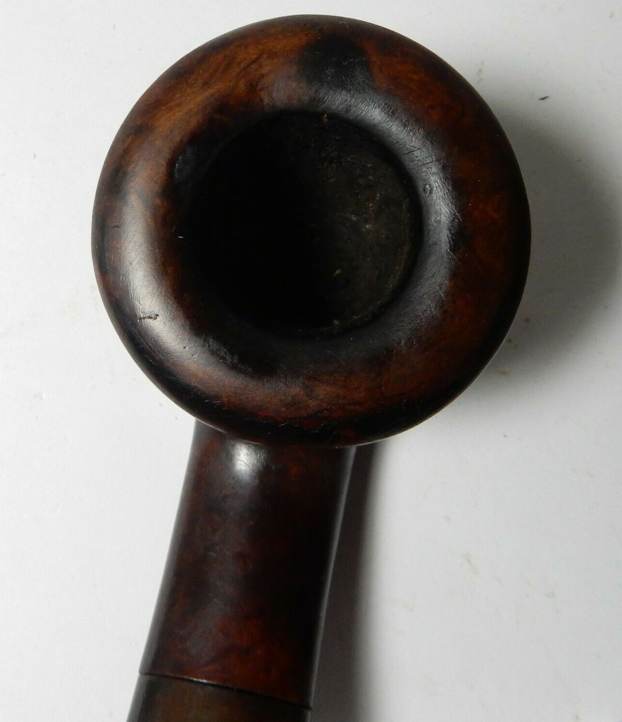
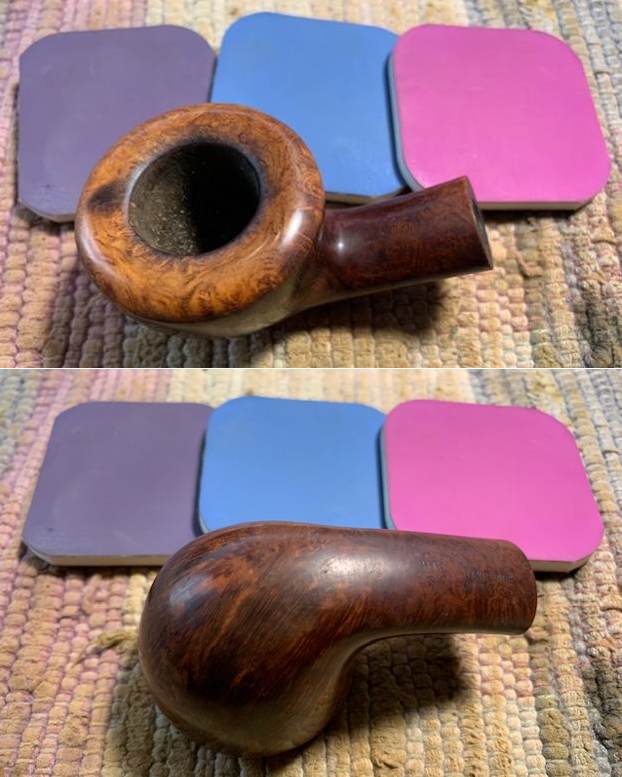
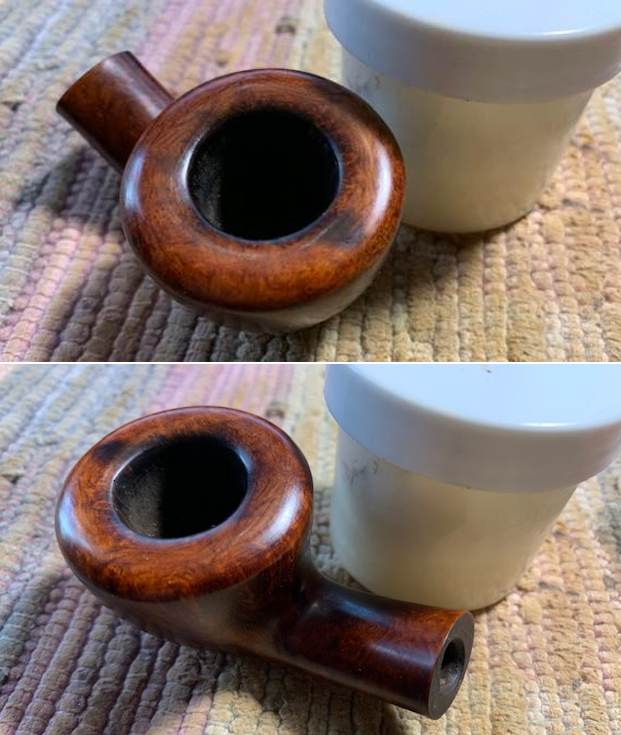
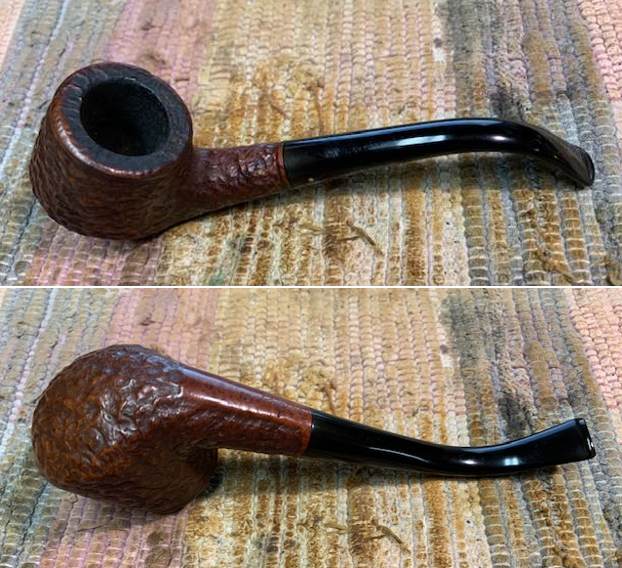
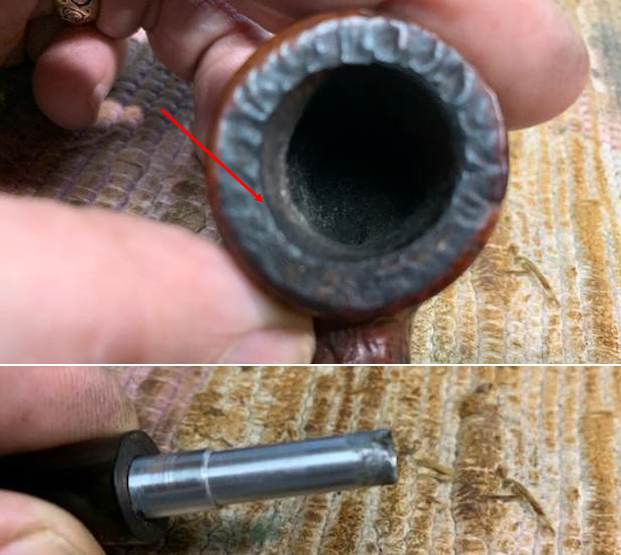
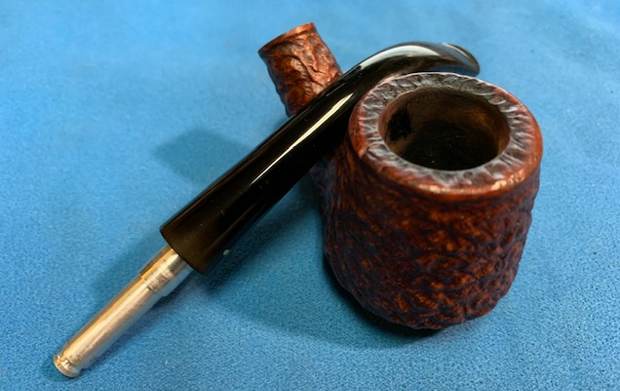
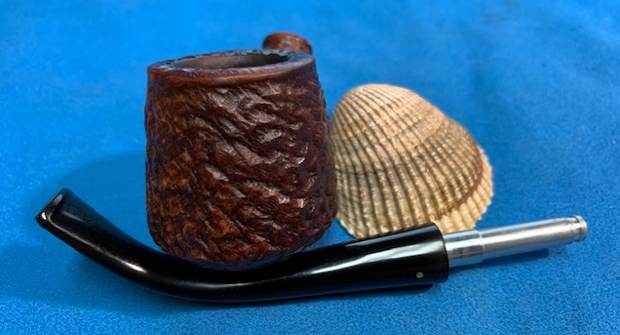
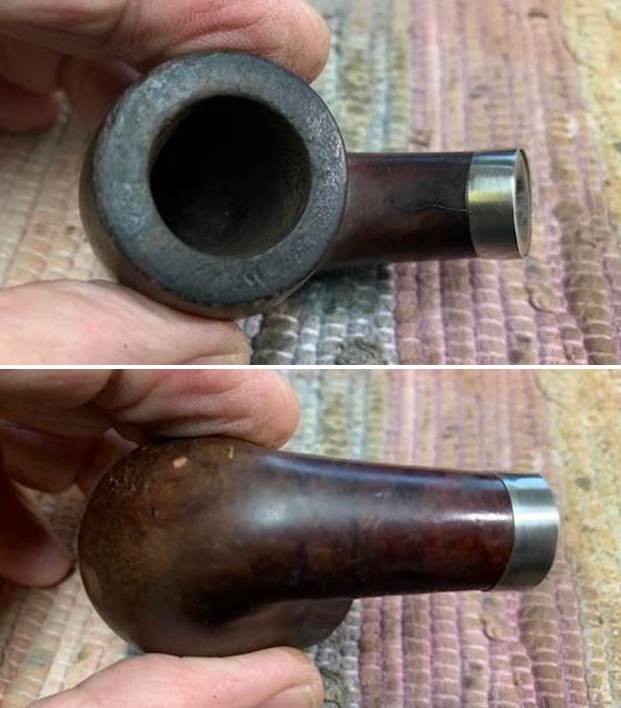
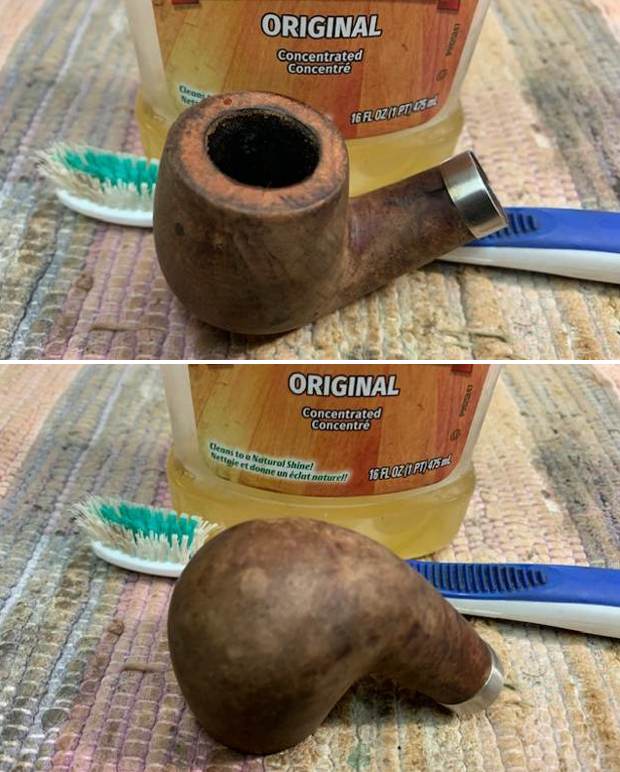
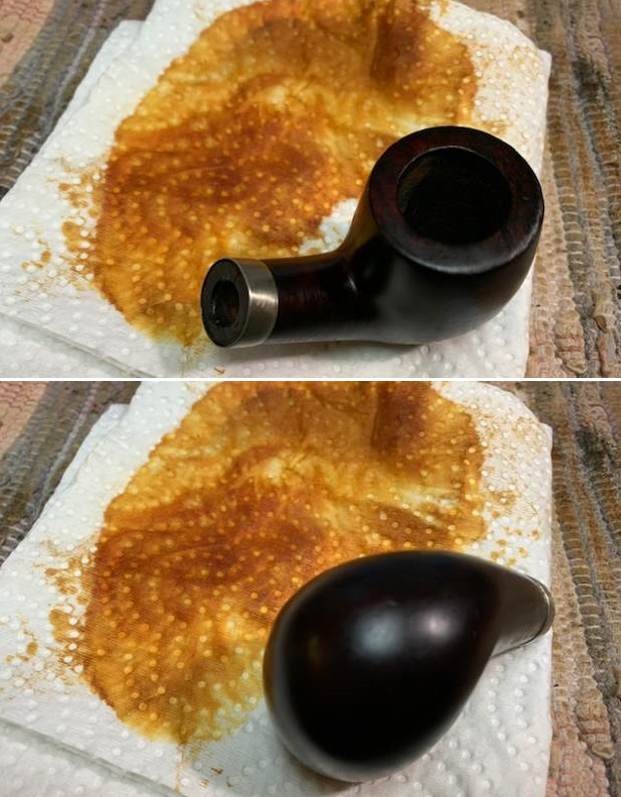
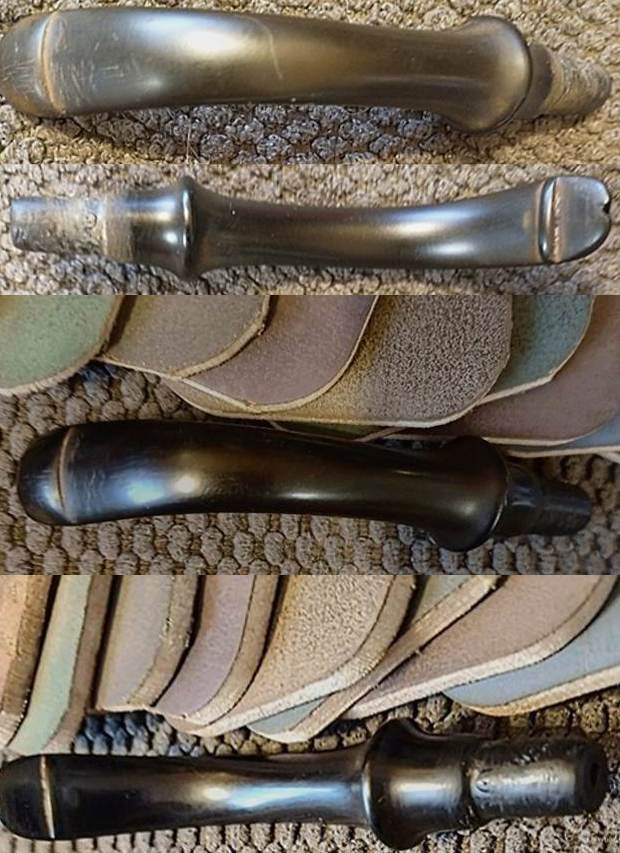
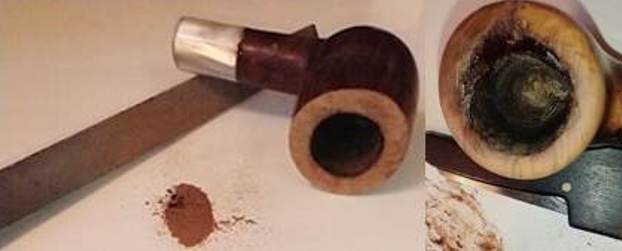
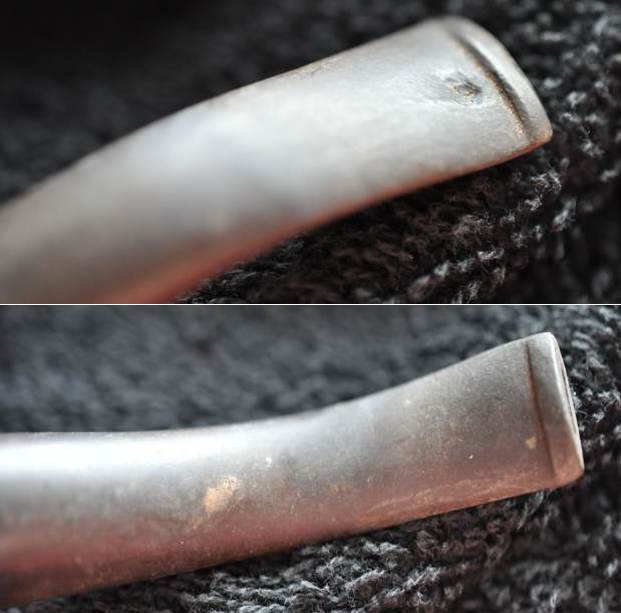
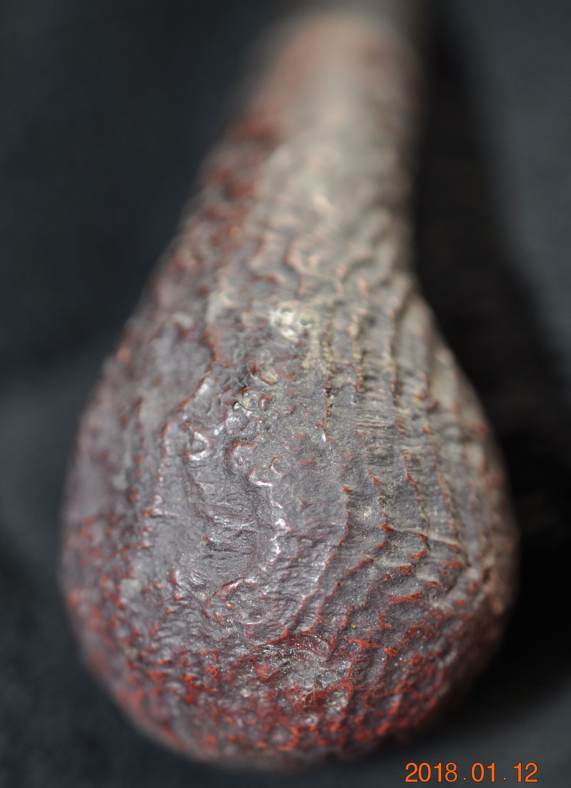
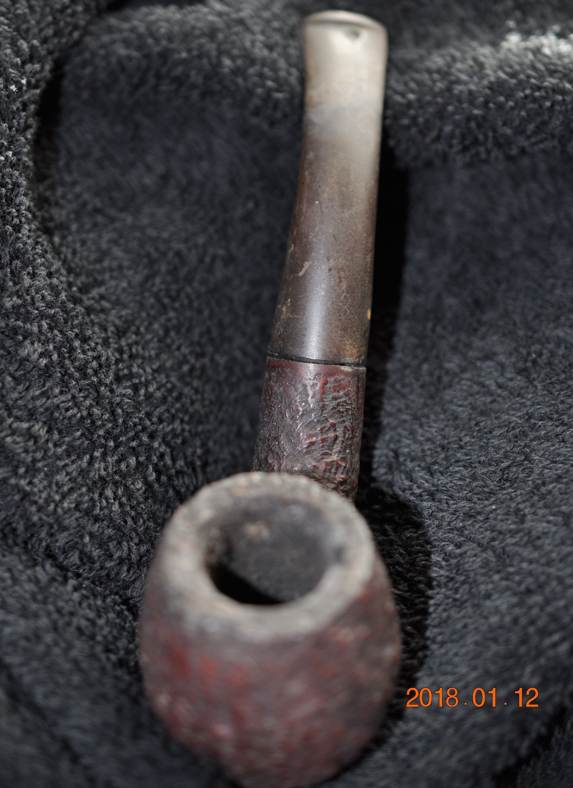 He took photos of the bowl and rim top to give an idea of the thickness of the cake and the lava on the top. It was quite thick and hard. He took photos of the stem surface to show the oxidation and the tooth marks on them. There was a deep tooth mark on the top of the stem near the button.
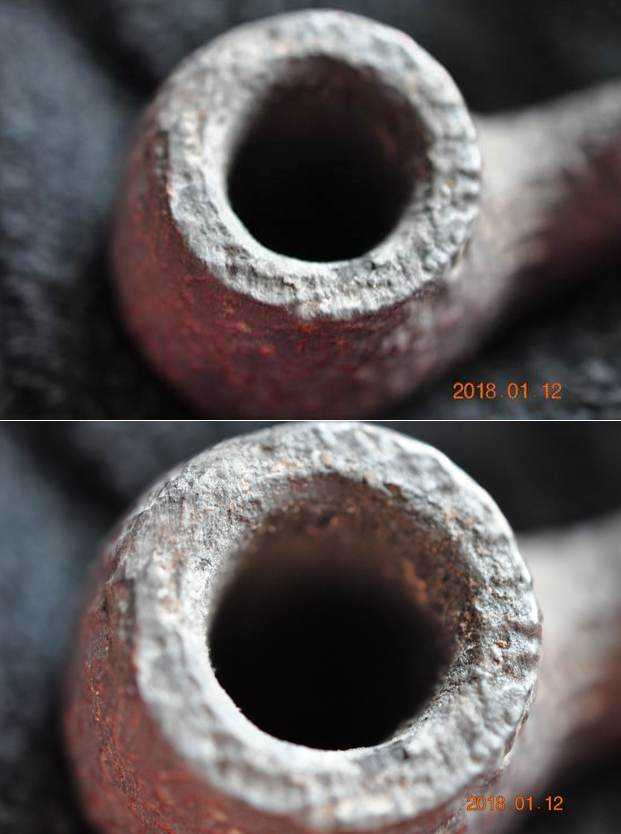
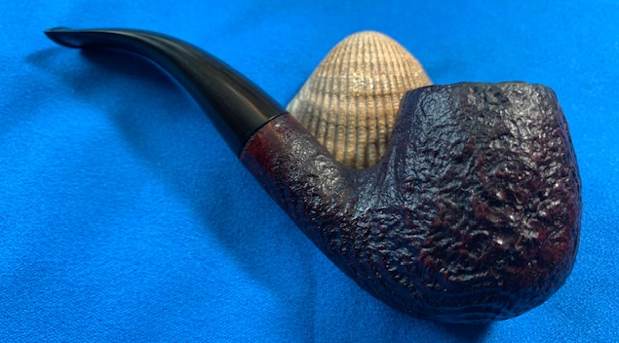
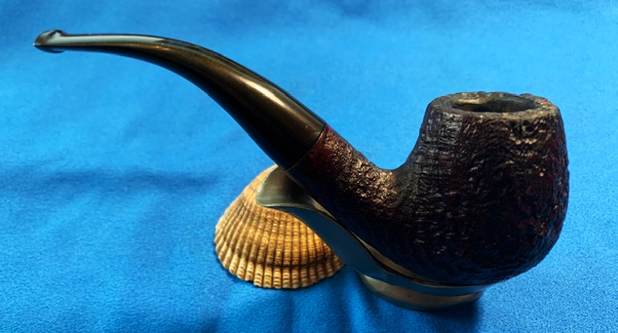
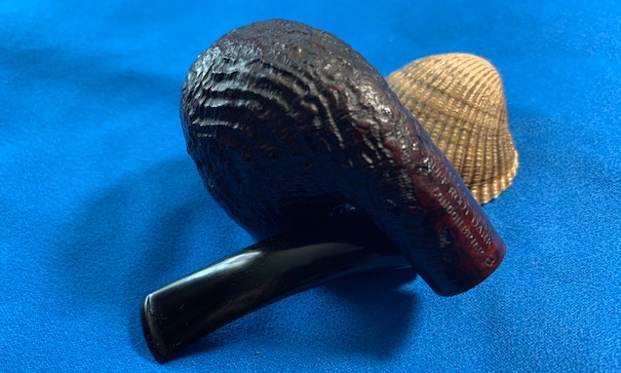
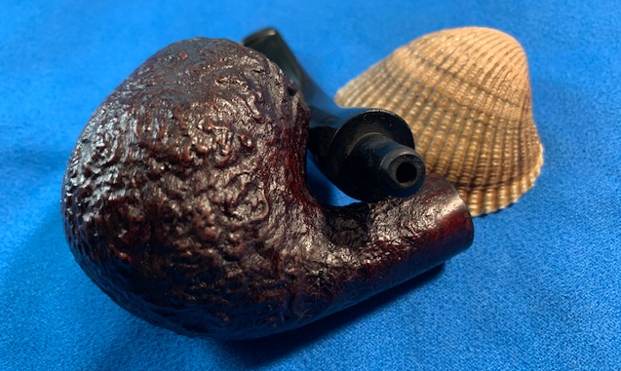
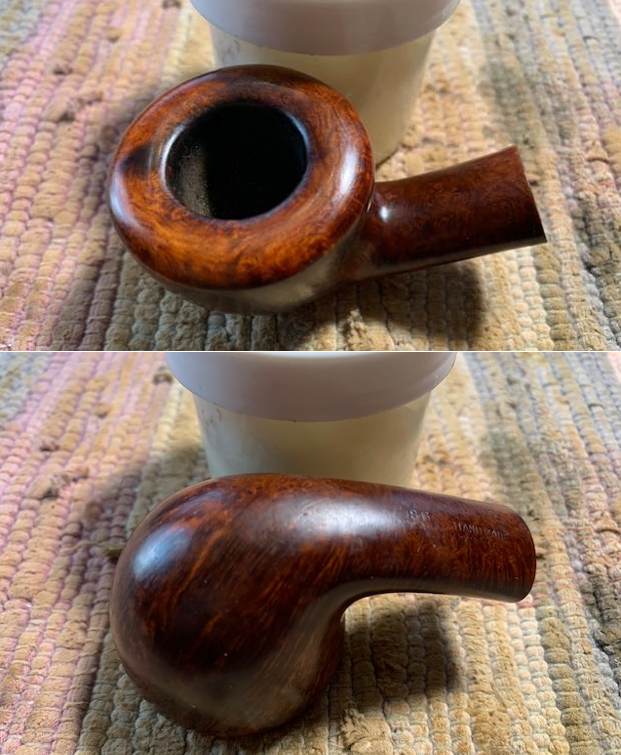
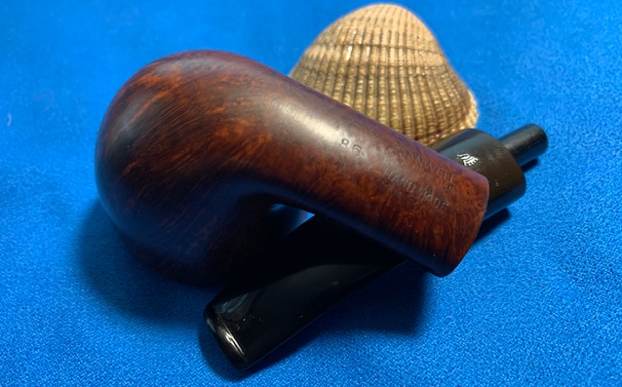
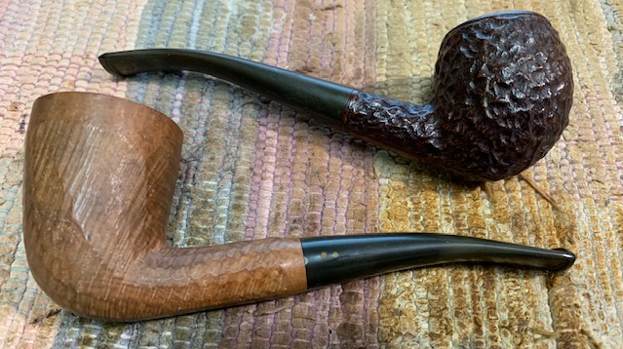
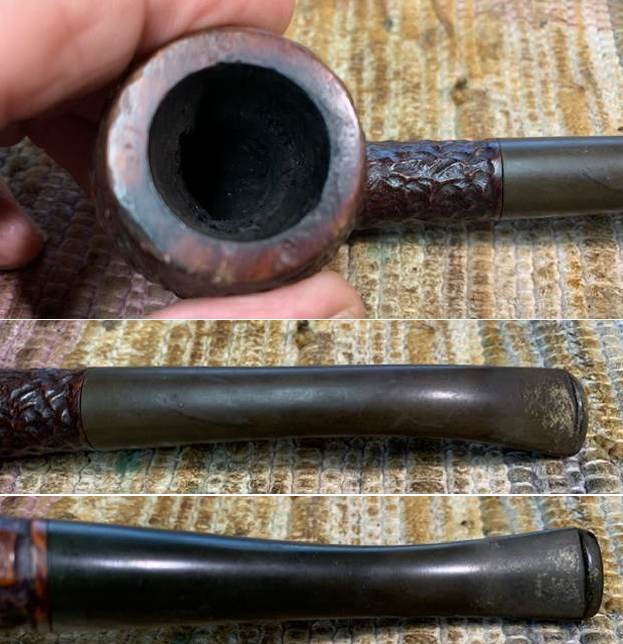
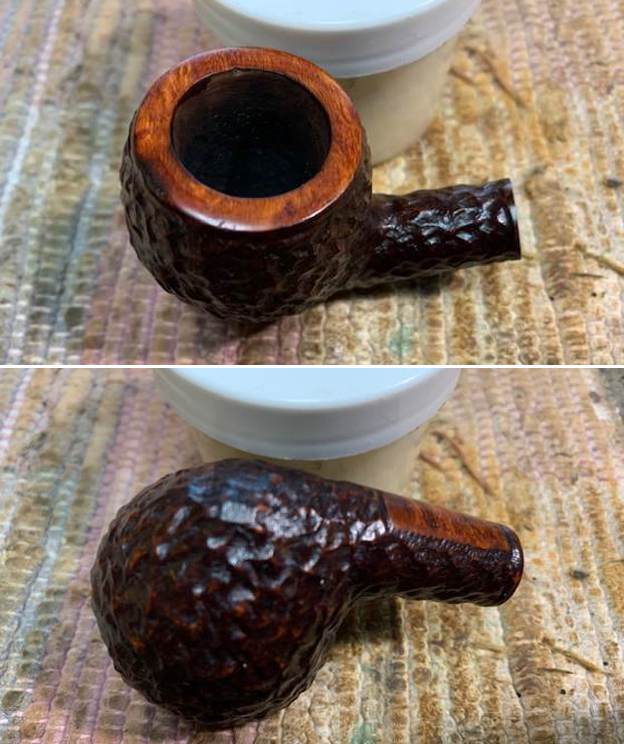
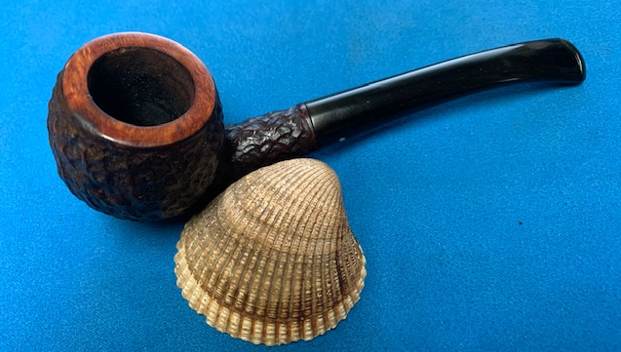
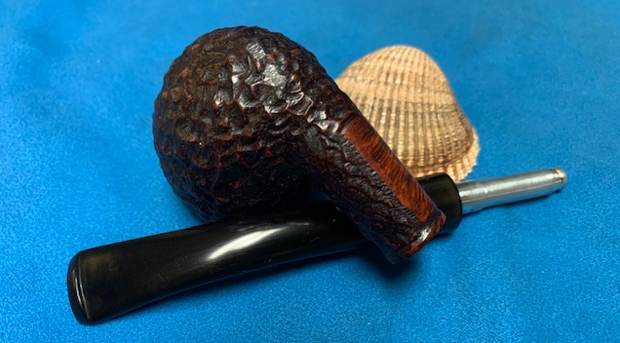
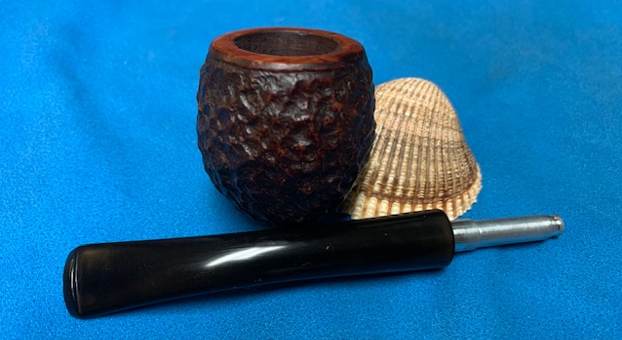
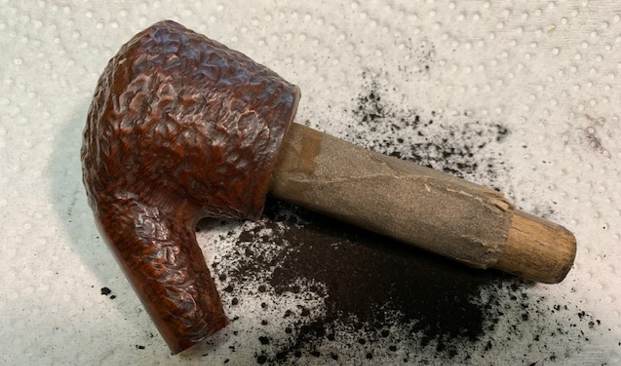
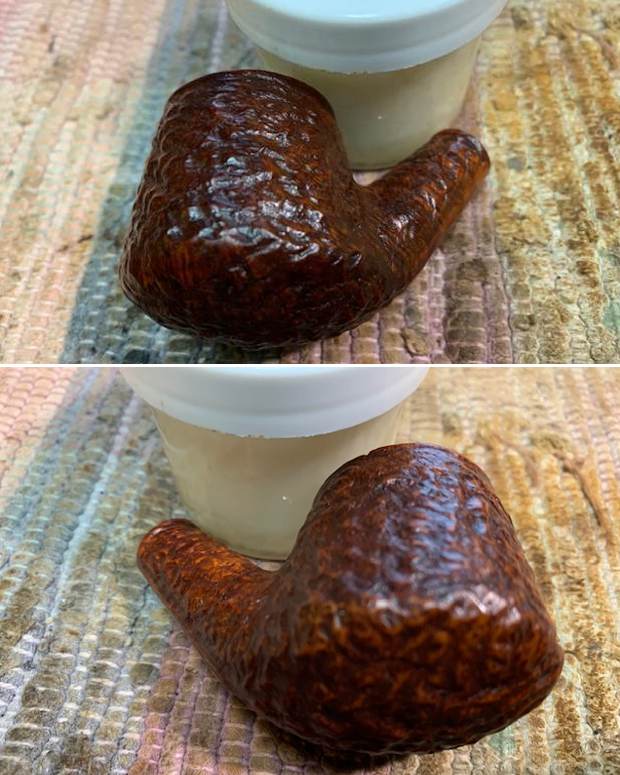
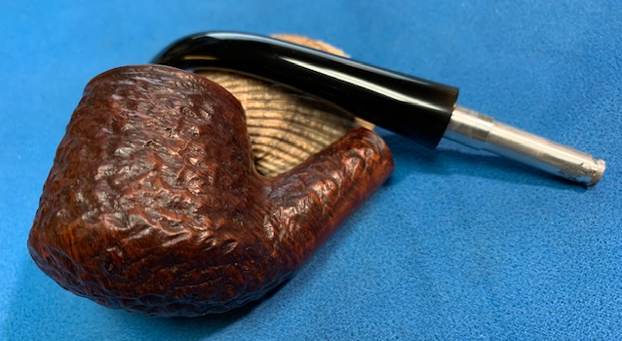
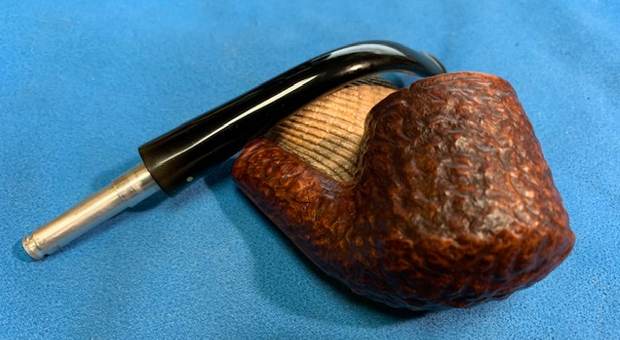
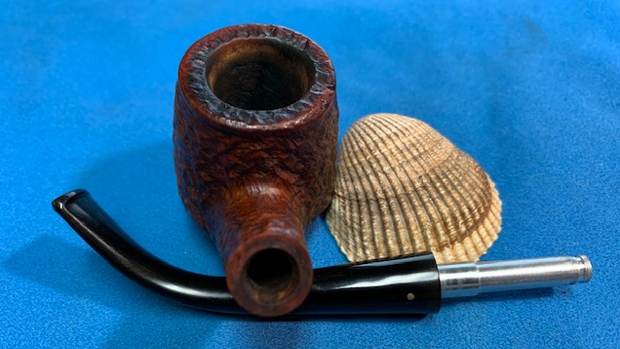
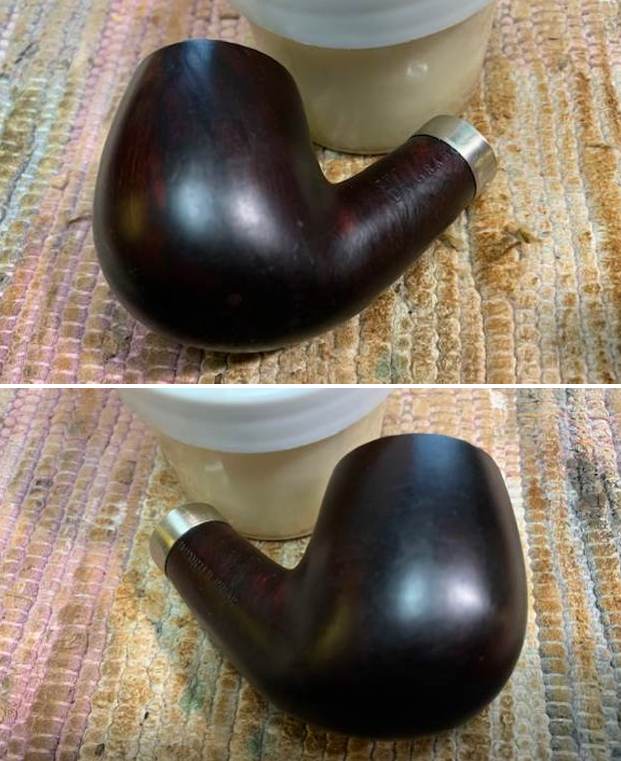
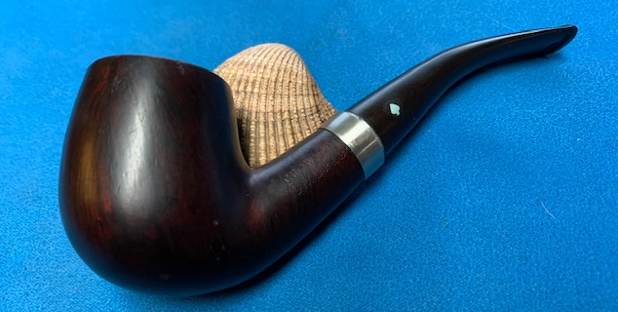
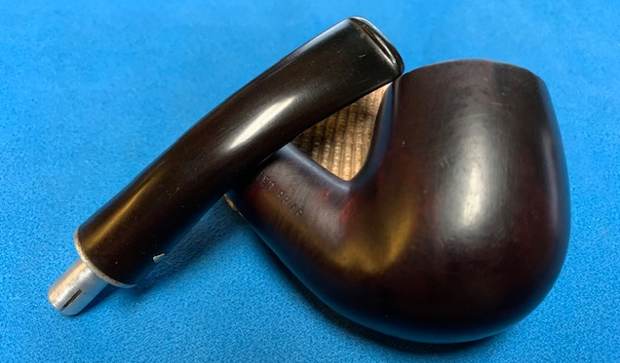
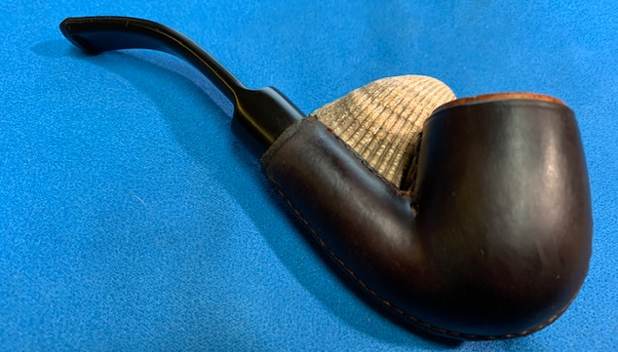
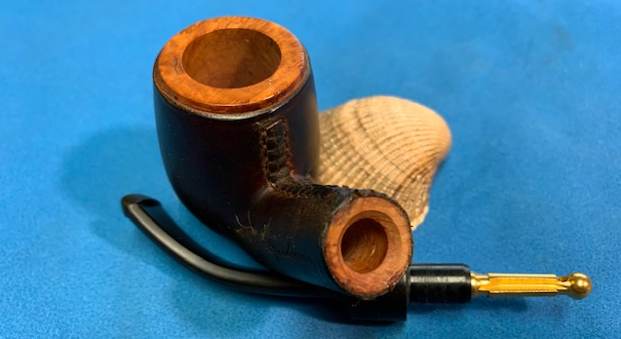
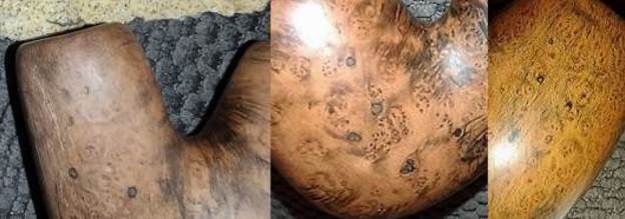
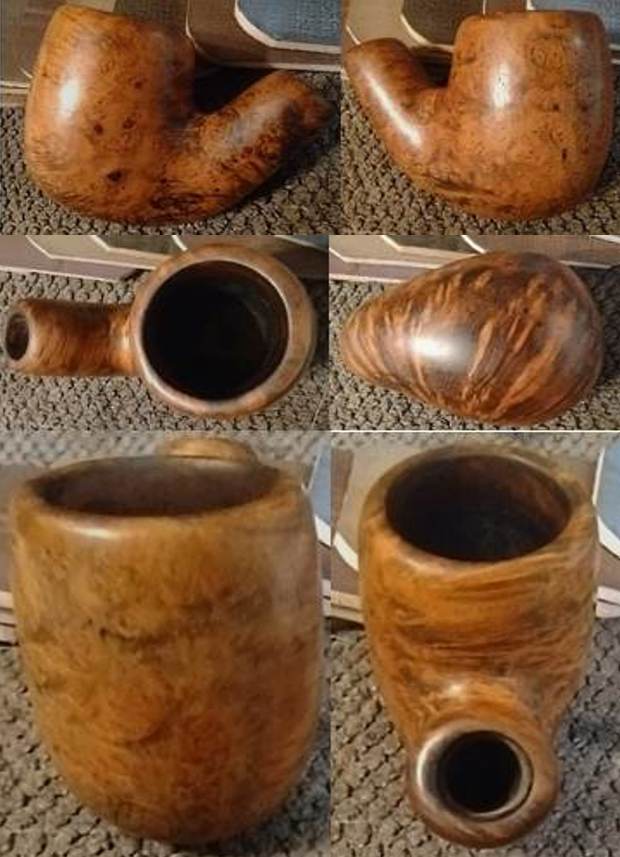
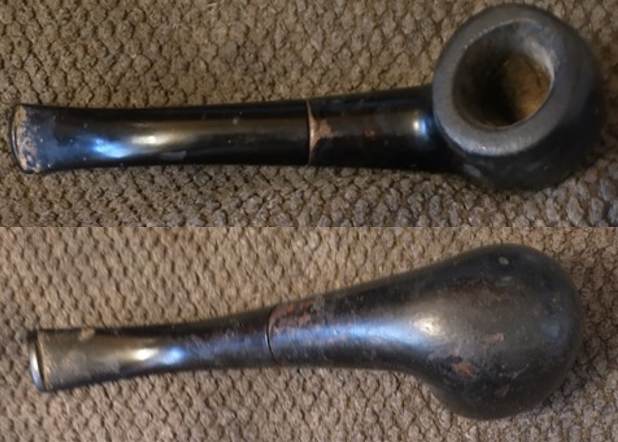
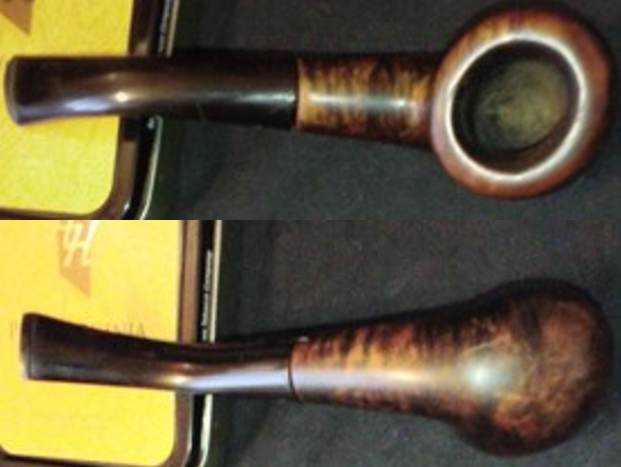
 He took photos of the sandblasted grain around the bowl sides and heel of the bowl. It is a very nice looking blast.
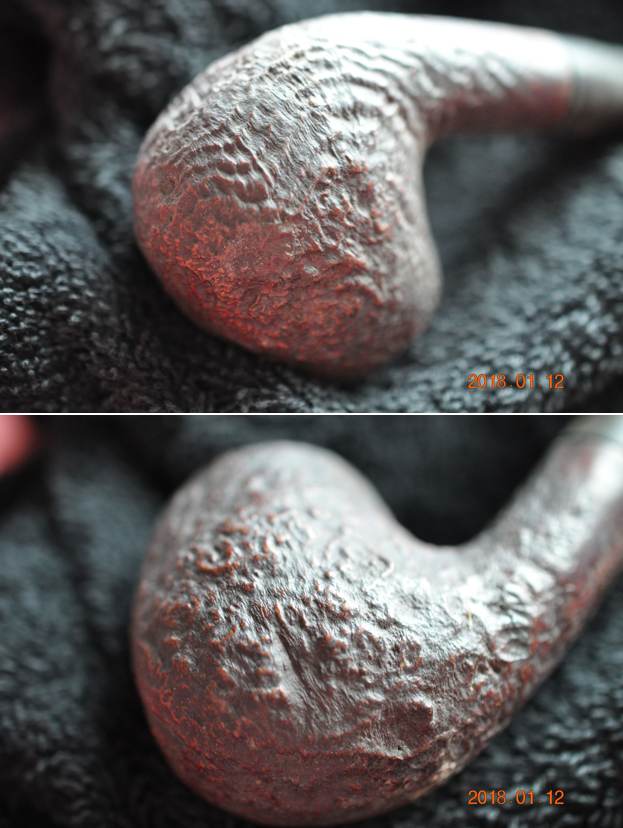
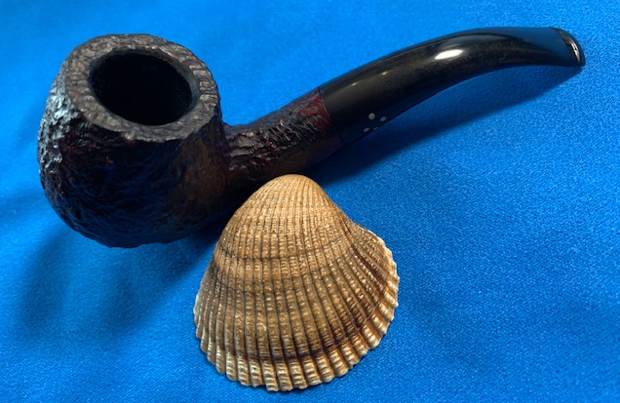
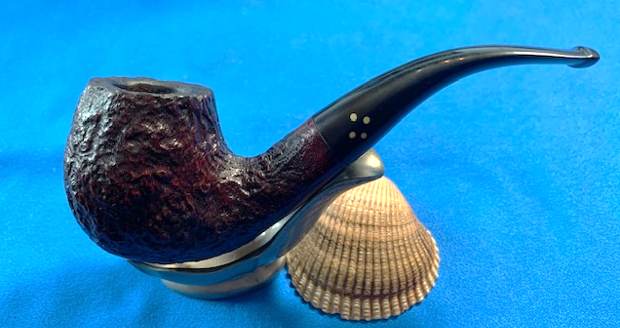
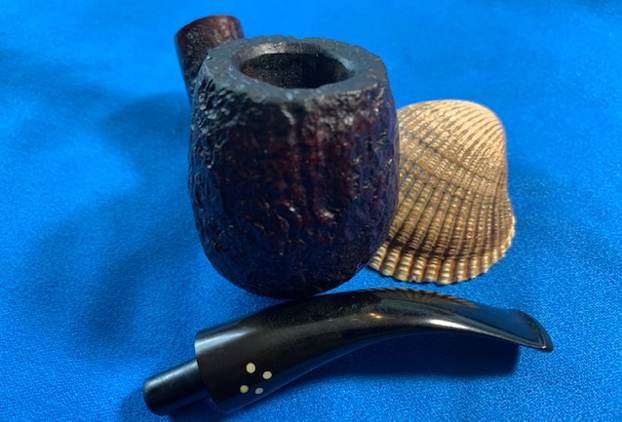
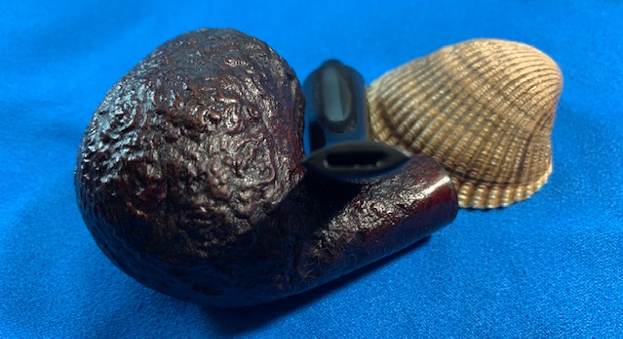
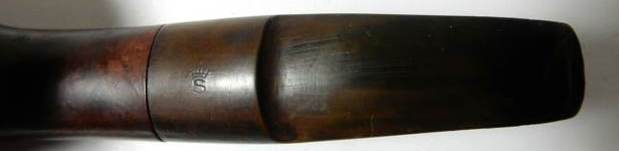
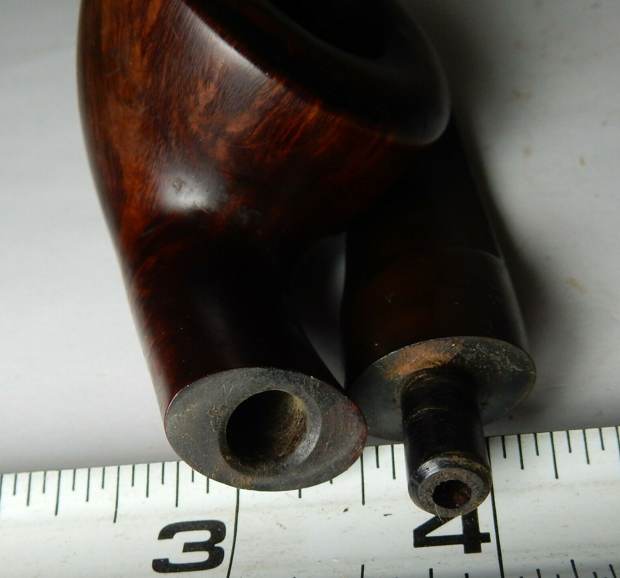
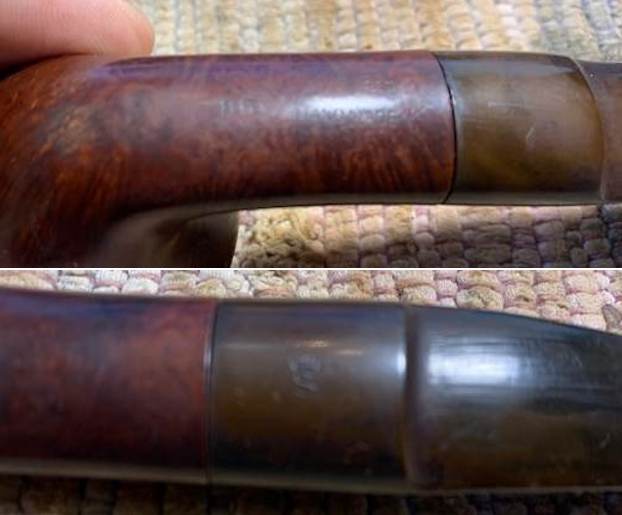
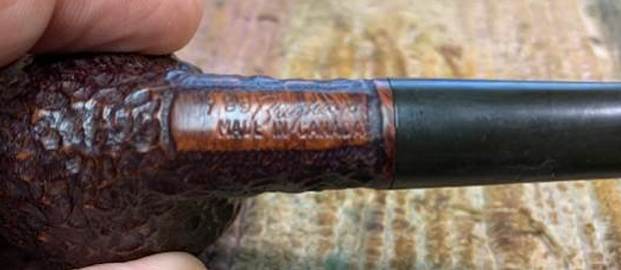
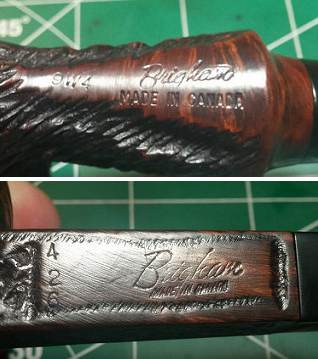
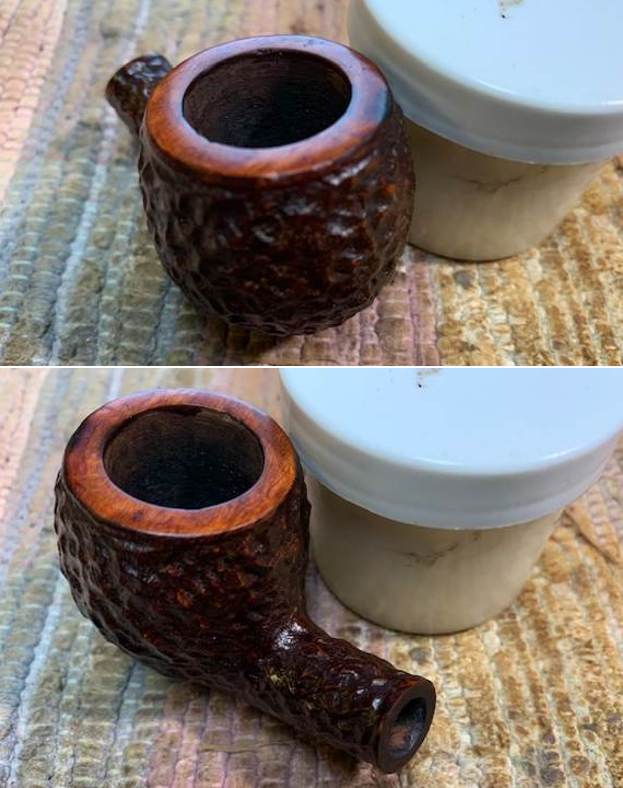
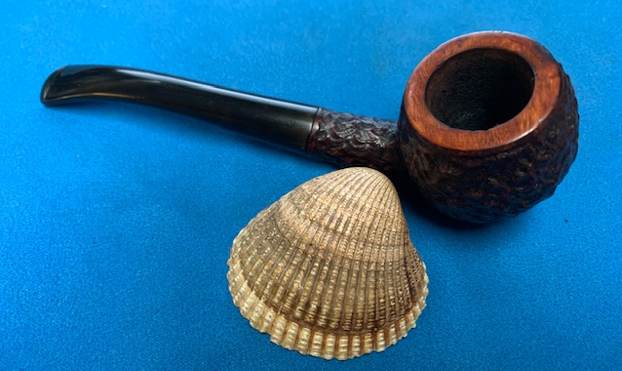
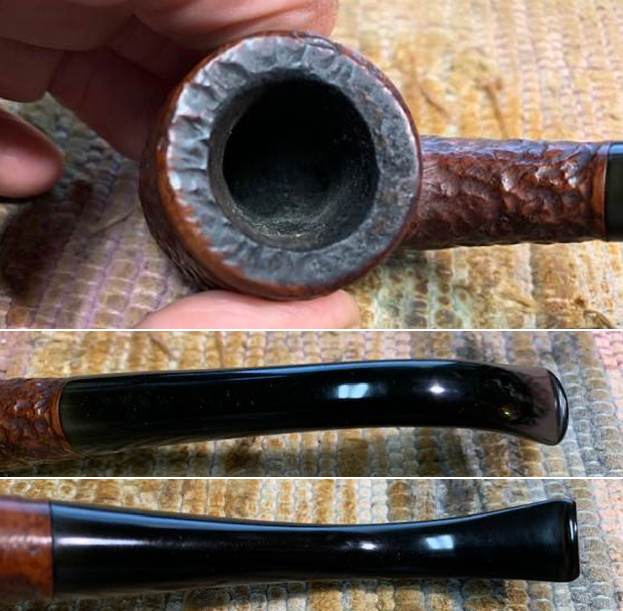
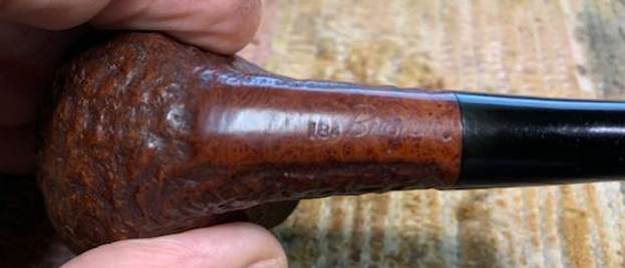
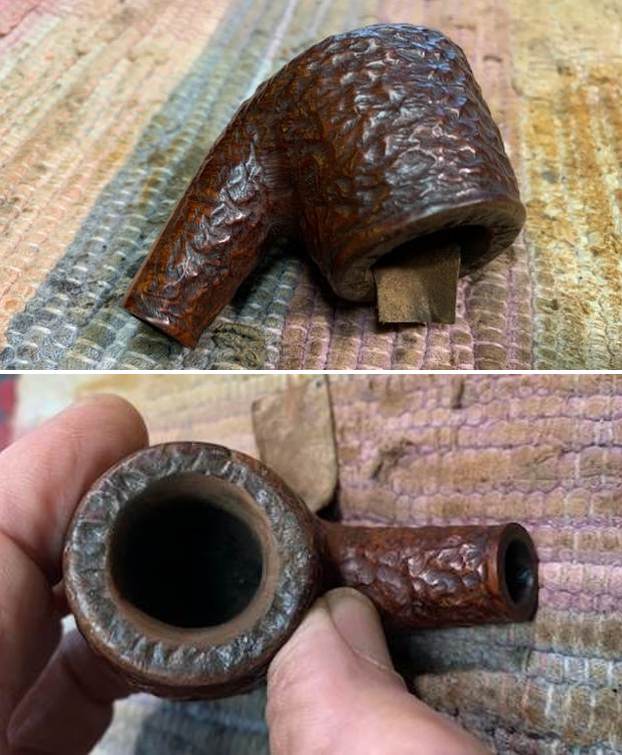
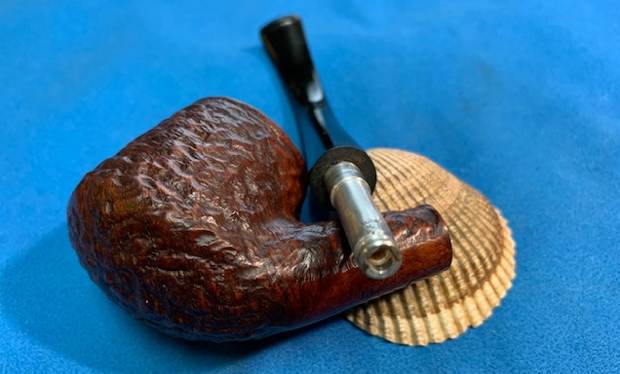
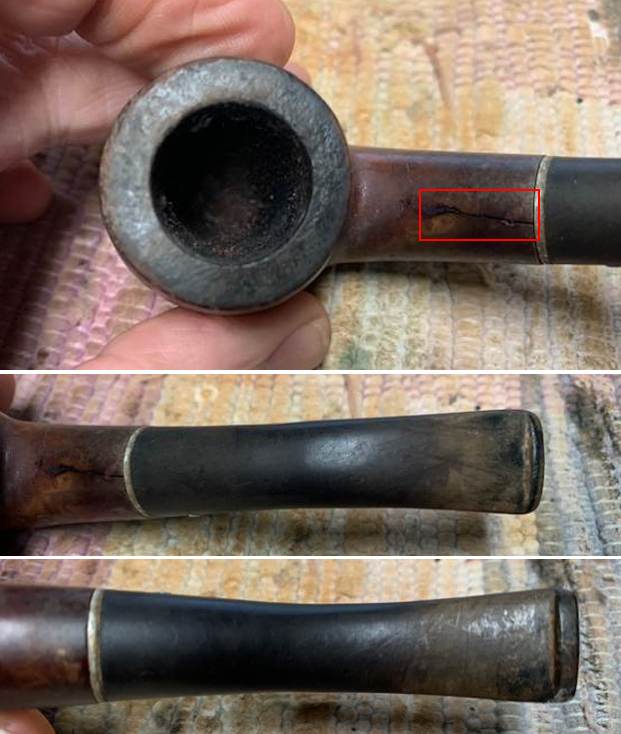
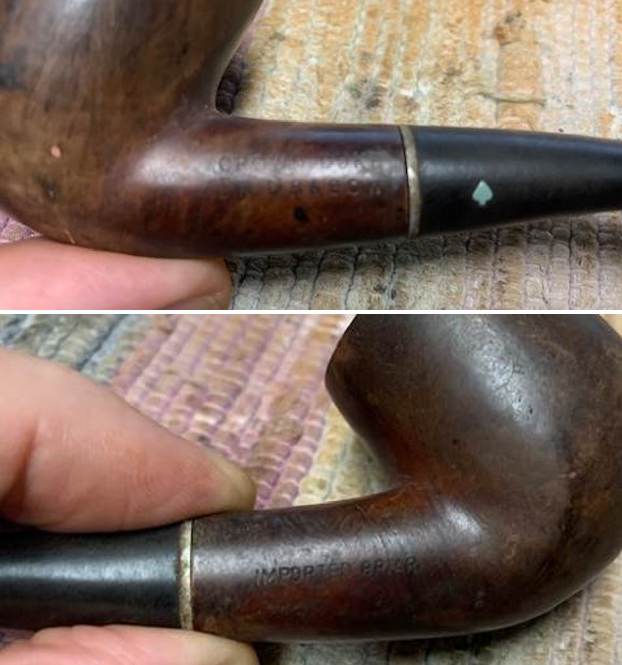
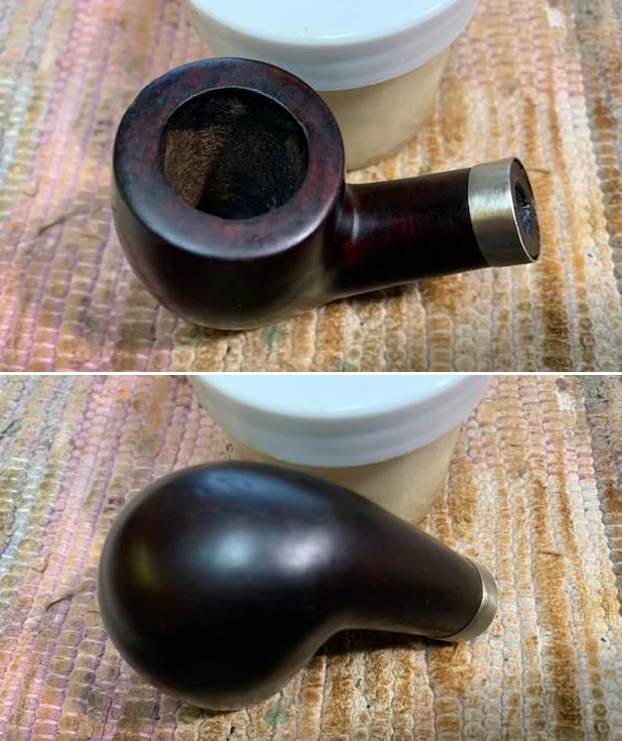
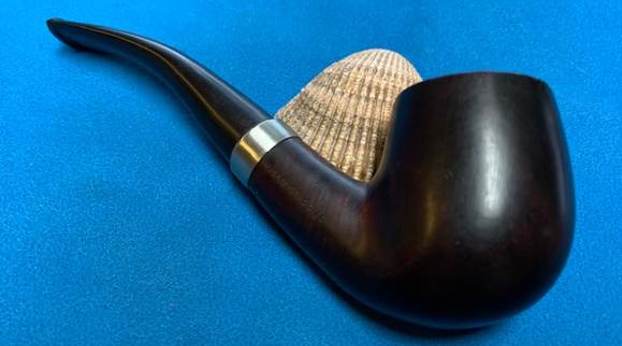
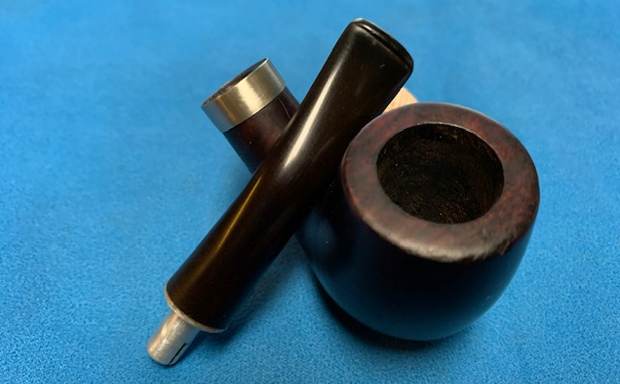
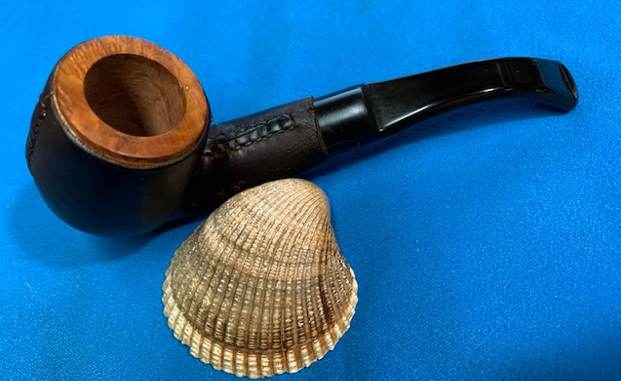
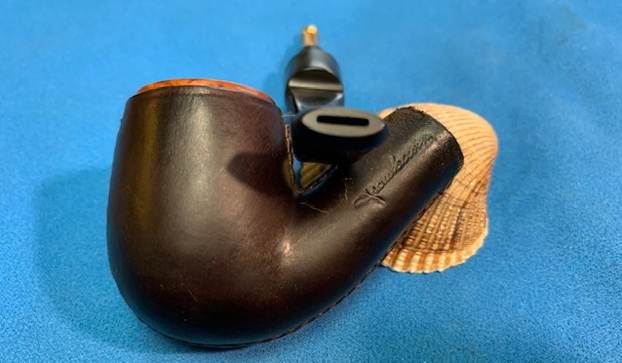
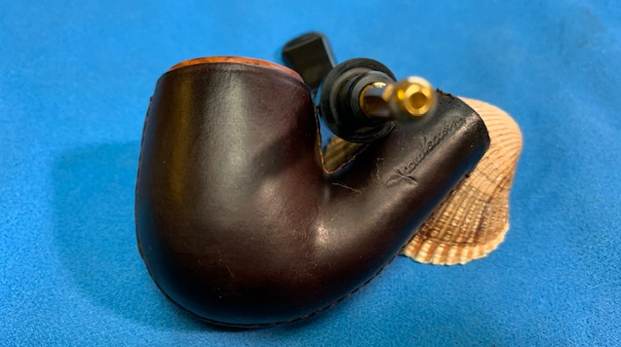
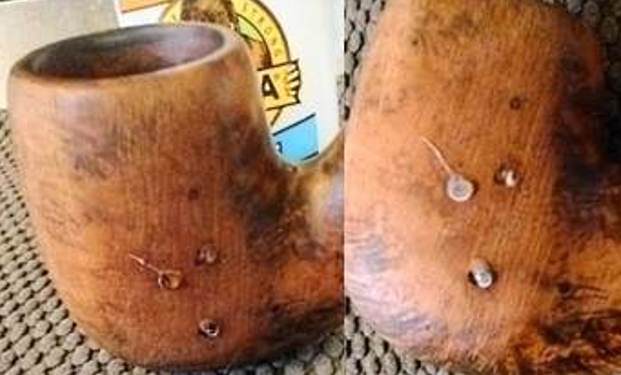
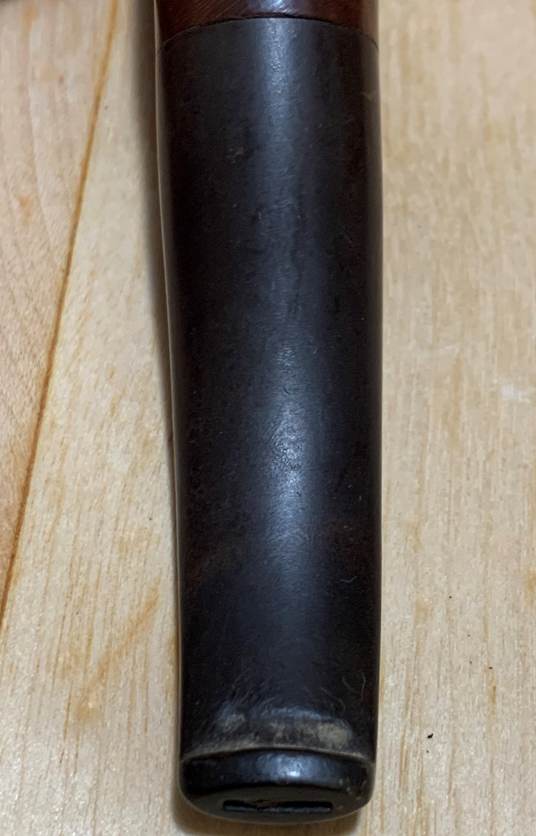
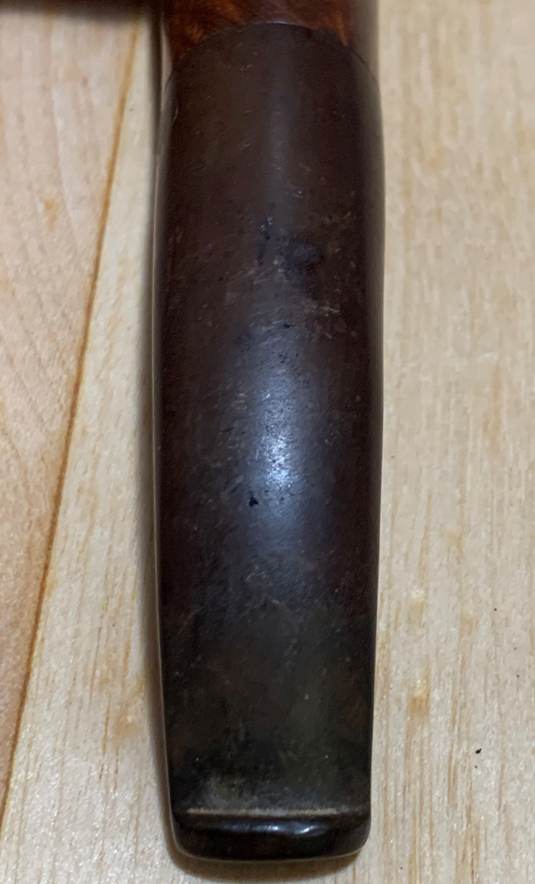
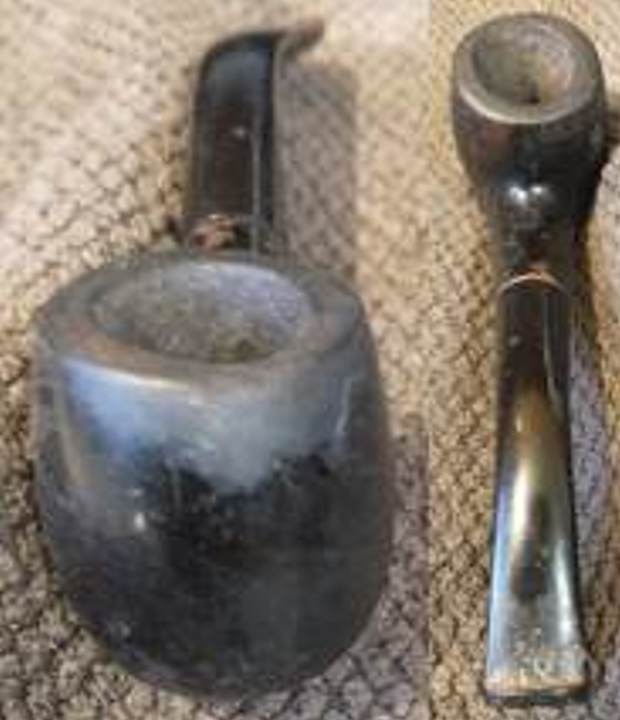
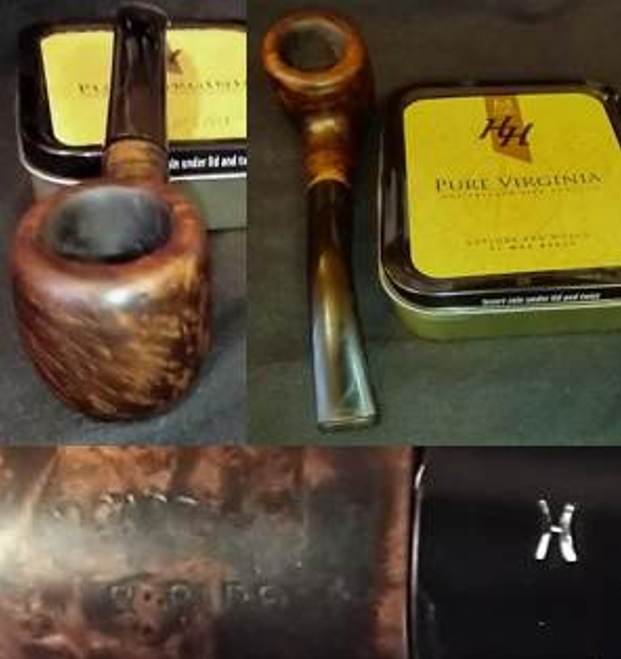
 Jeff captured the stamping and the placement of the four dots on the stem side. The stamping is clear and readable. You can also see several issues with the pipe in these photos. First, to the left of the stamping (next to Ruff) there is a flaw in the briar. It looks like a crack but it follows the grain of the blast. Second, the fit of the stem to the shank is off which says to me that the tenon is crooked not allowing a fit to the shank end.
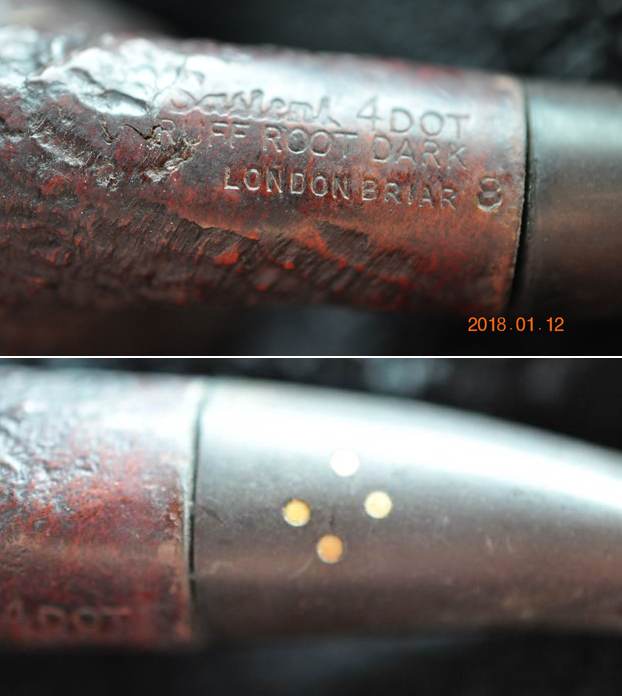 I remembered that I had worked on a Sasieni Ruff Root Dark in the past – a Canadian if my memory served me right. I did a quick search on rebornpipes and found the Canadian I was remembering and the blog I had written (https://rebornpipes.com/2020/04/19/an-easy-restoration-of-a-sasieni-4-dot-ruff-root-dark-13-canadian/). I had done some research on the stamping and brand for that blog and I am including it below.
When the pipe arrived I turned to Pipephil (http://www.pipephil.eu/logos/en/logo-sasieni.html) to see if he included not only information on this Sasieni 4 Dot Ruff Root Dark Canadian. Sure enough there was some quick information that identified the time frame of this pipe. He dates it as a Post Transition piece 1986-today. The Ruff Root name is what they call a sandblasted finish. He points out that the 4 Dot has replaced the Four Dot from 1986. I turned to Pipedia for more information on 4 Dot line of Sasieni pipes and any information that was added there (https://pipedia.org/wiki/Sasieni). I quote a pertinent paragraph:
…The nomenclature changed again in 1986, with the sale of the company to the Post-Transition firm. The three line nomenclature was changed to two lines, with the first reading “Sasieni 4 Dot” and the second identifying the finish, e.g. Natural, Walnut, or Ruff Root. Note how 4 Dot is spelled, using an Arabic numeral 4, as opposed to spelling out the word “four”. This is the easiest way to spot a Post-Transition Sasieni, as the new company has used both script and block lettering to spell the word “Sasieni” on the shank…
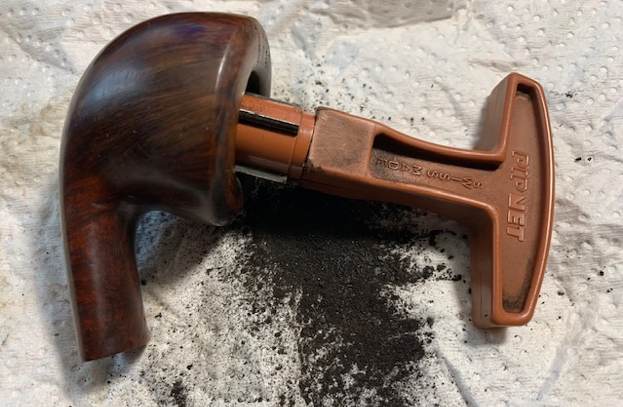
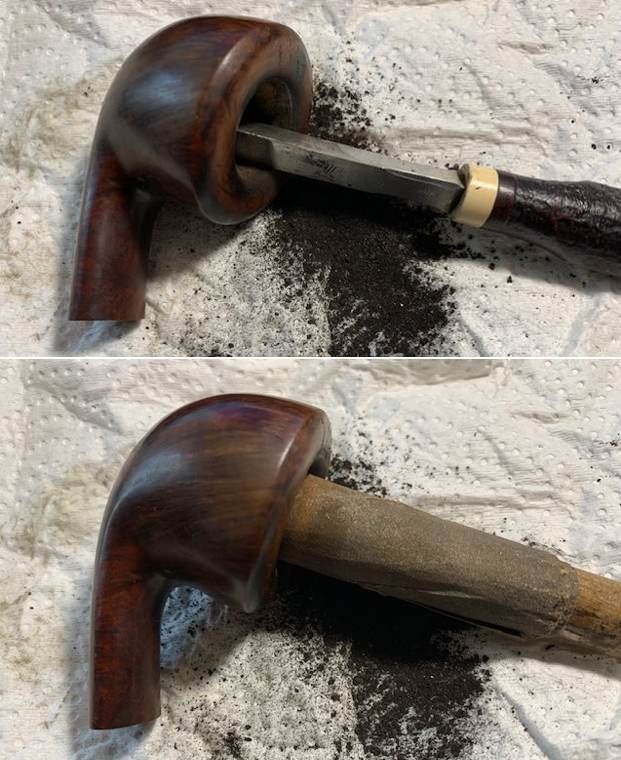
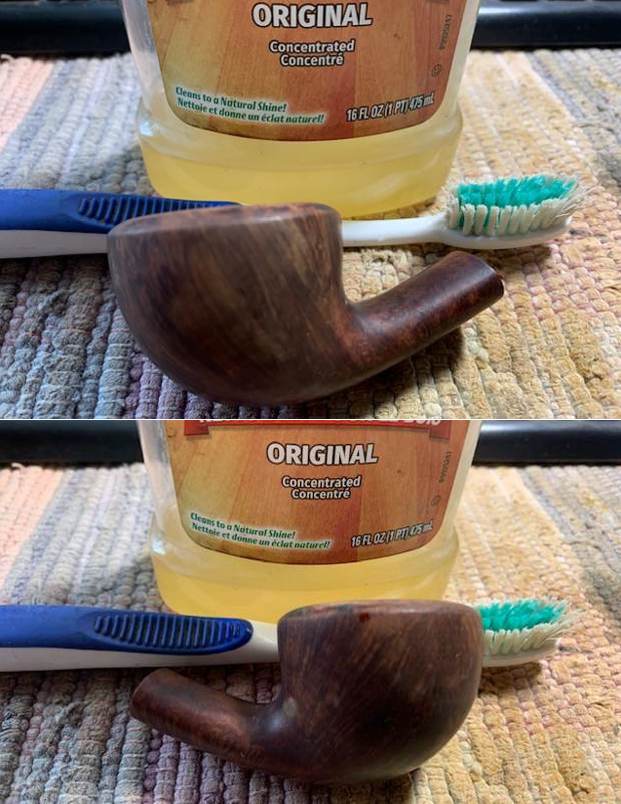
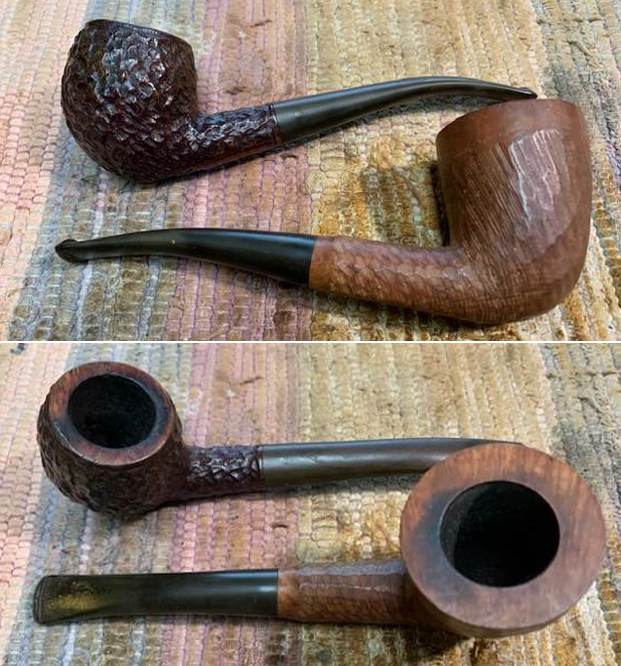
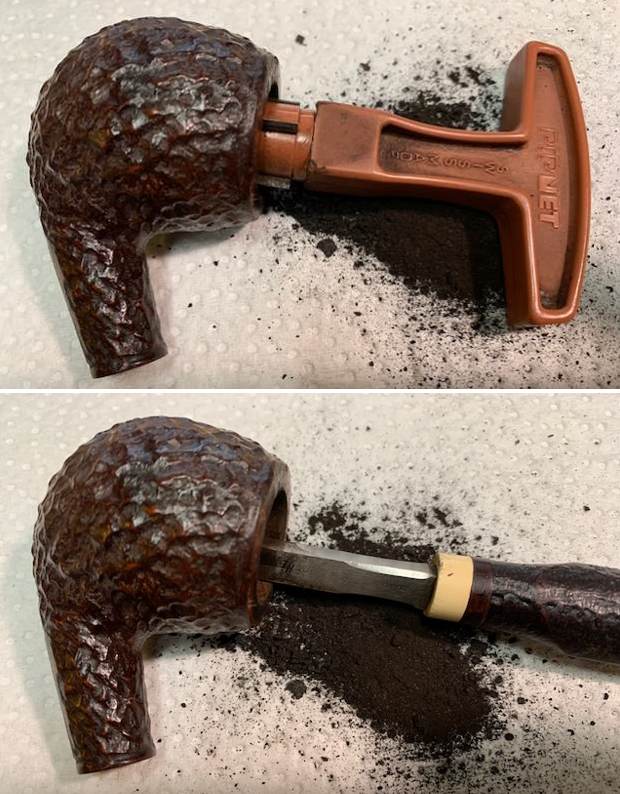
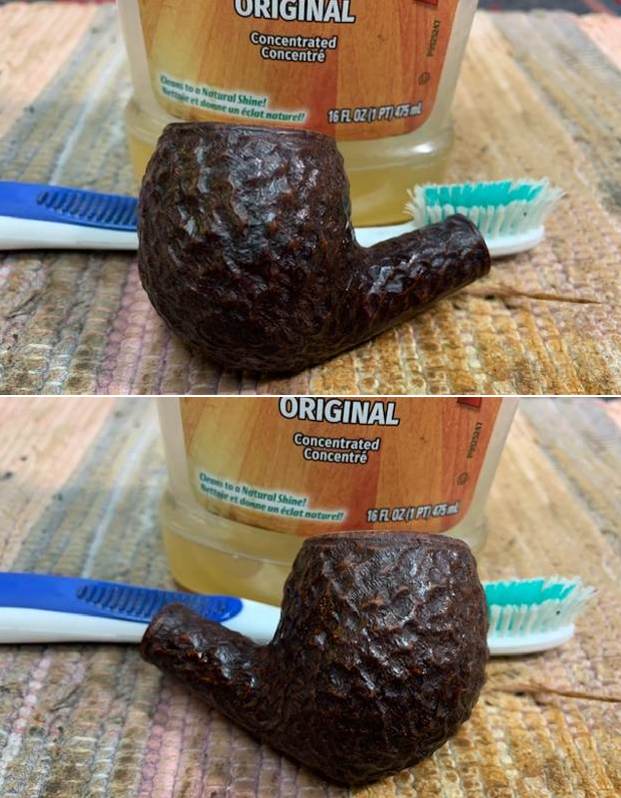
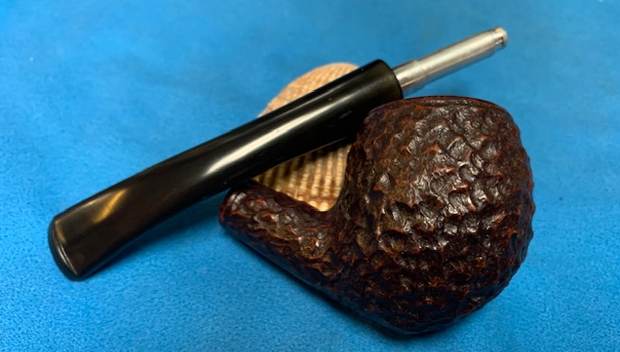
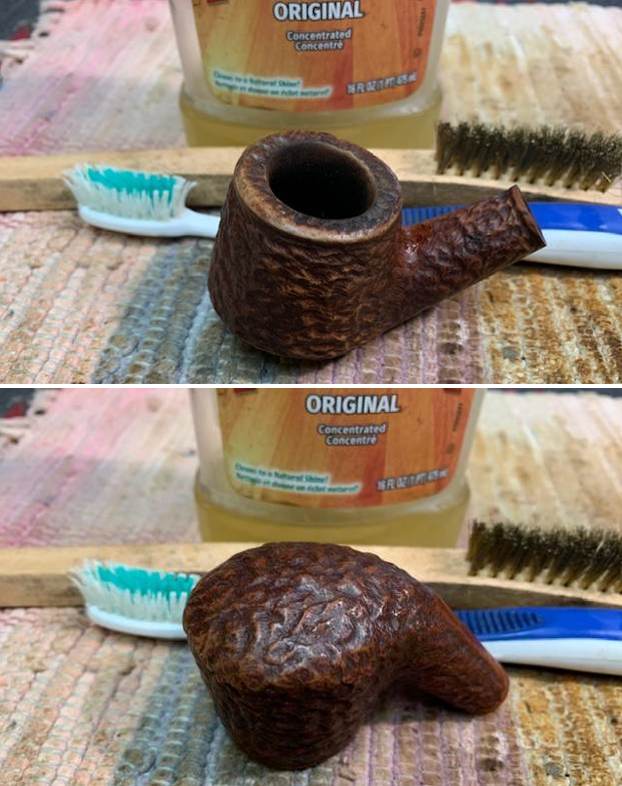
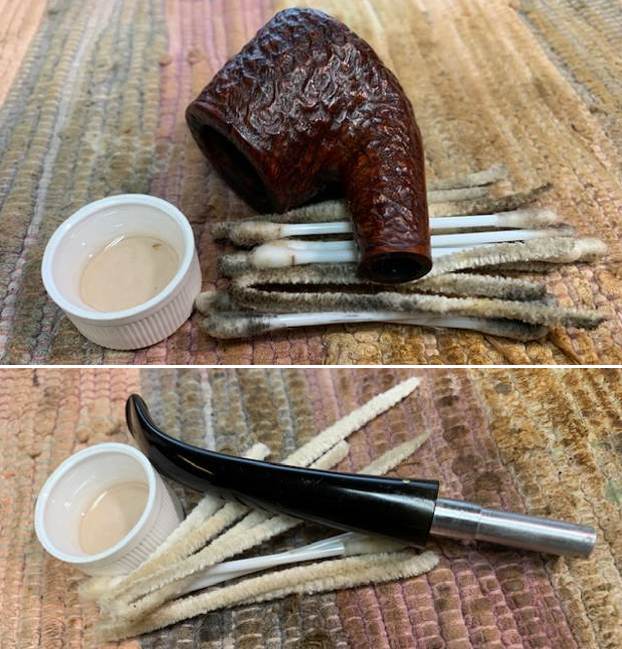
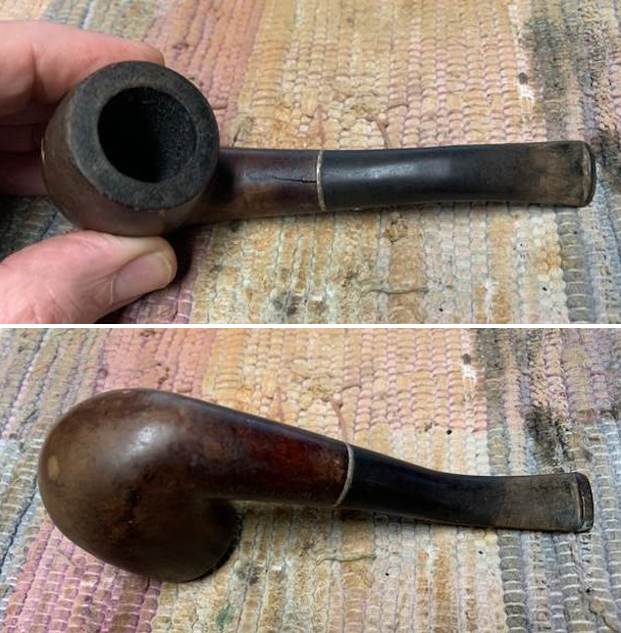
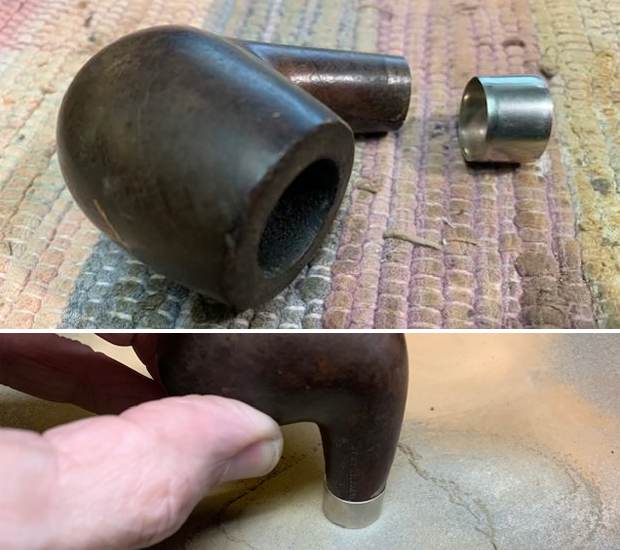
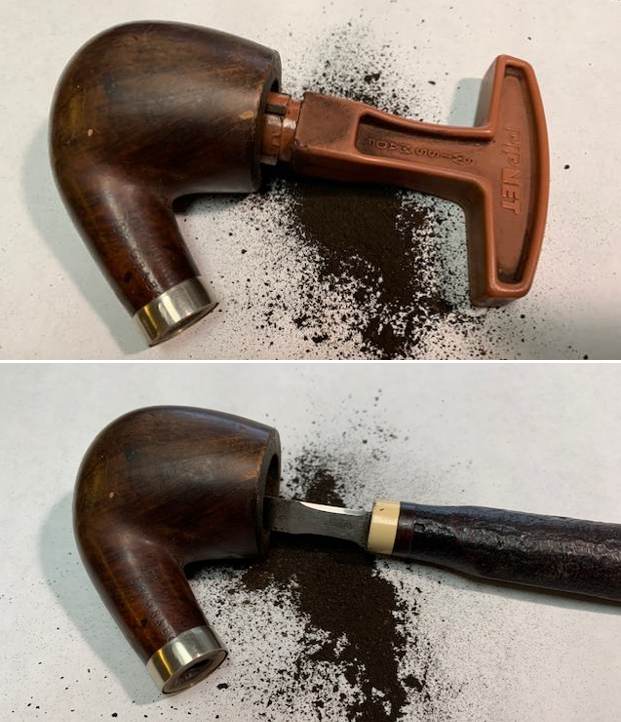
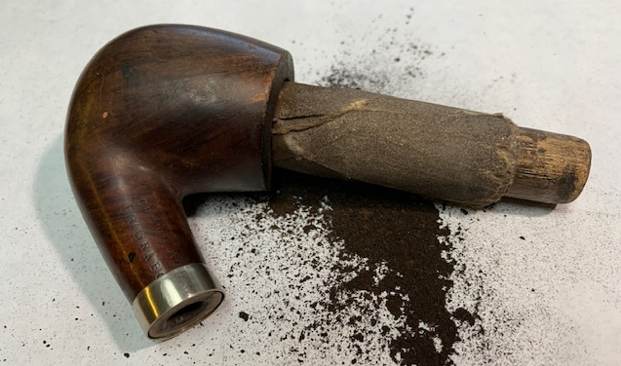
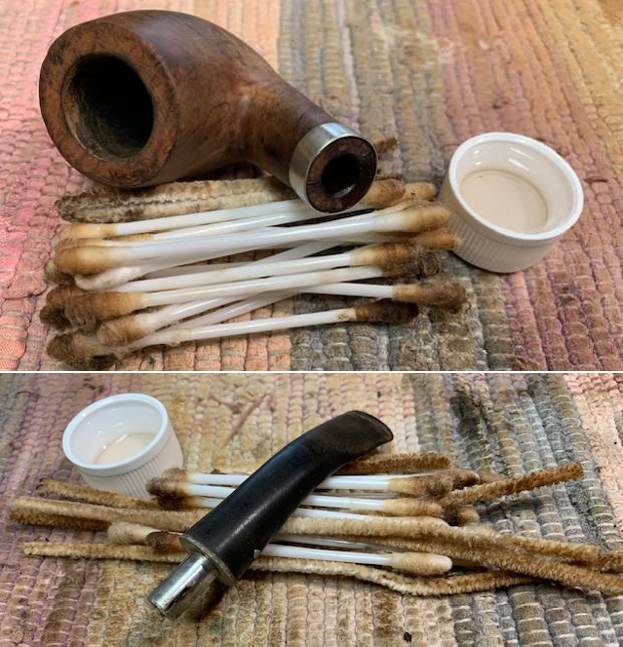
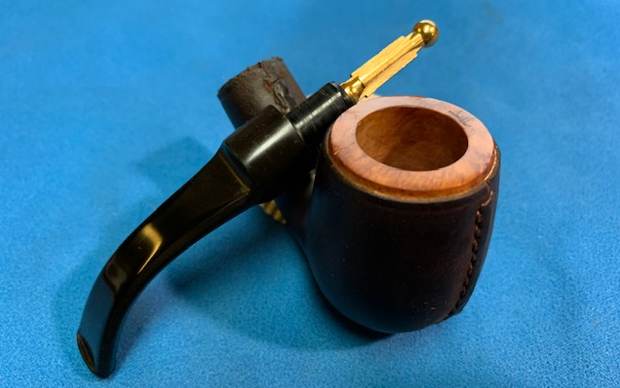
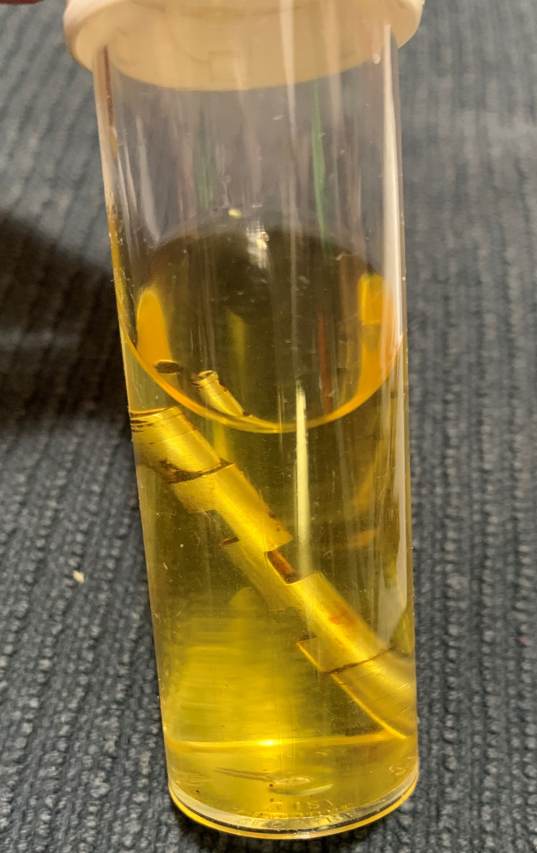
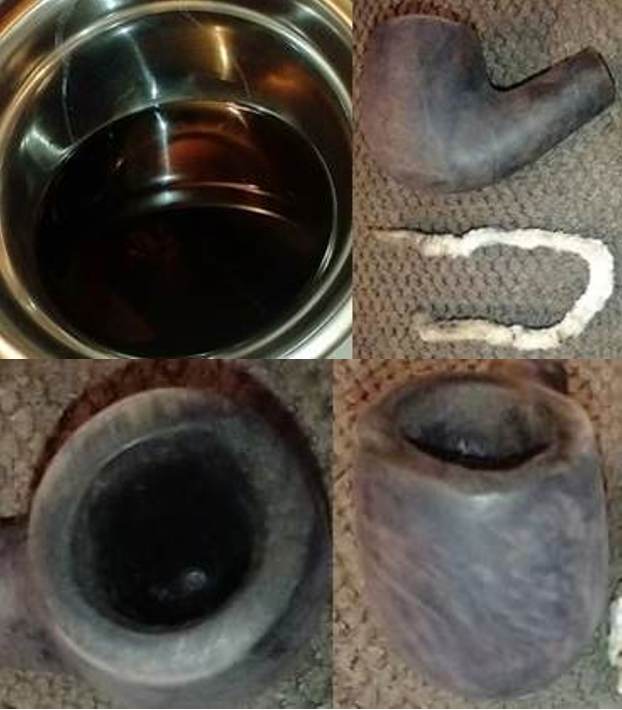
So I knew that I was dealing with a Post Transition 4 Dot Sasieni that was made after 1986. Now it was time to look at it up close and personal. Jeff had done an amazing job in removing all of the cake and the lava on the rim top. He had reamed the bowl with a PipNet Pipe Reamer and cleaned up the remnants with a Savinelli Fitsall Pipe Knife. He took the cake back to bare briar so we could check the walls for damage. He scrubbed the exterior of the bowl with Murphy’s Oil Soap and a tooth brush to remove the grime on the bowl and rim and was able to remove the lava and dirt. He cleaned out the interior of the bowl and shank with pipe cleaners, cotton swabs and alcohol until they came out clean. He cleaned the stem with Soft Scrub to remove the grime on the exterior. He soaked it in Before & After Pipe Stem Deoxidizer and rinsed it with warm water. He cleaned out the airway with alcohol, cotton swabs and pipe cleaners. I took some photos of the pipe before I started my work on it today.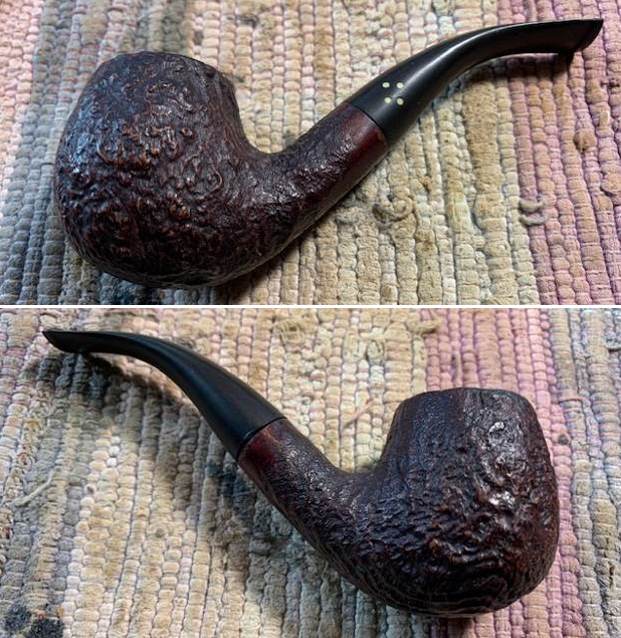
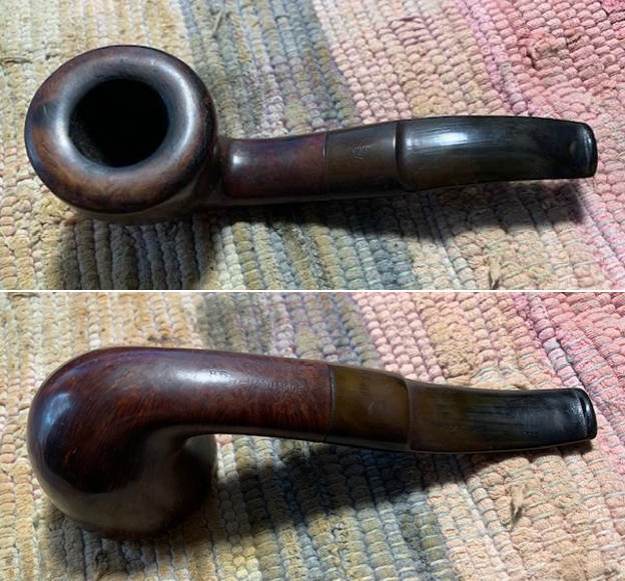
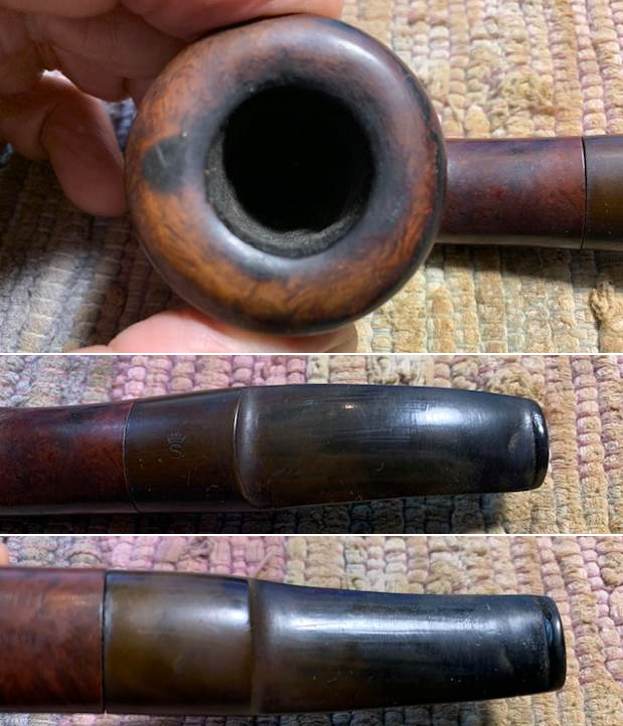
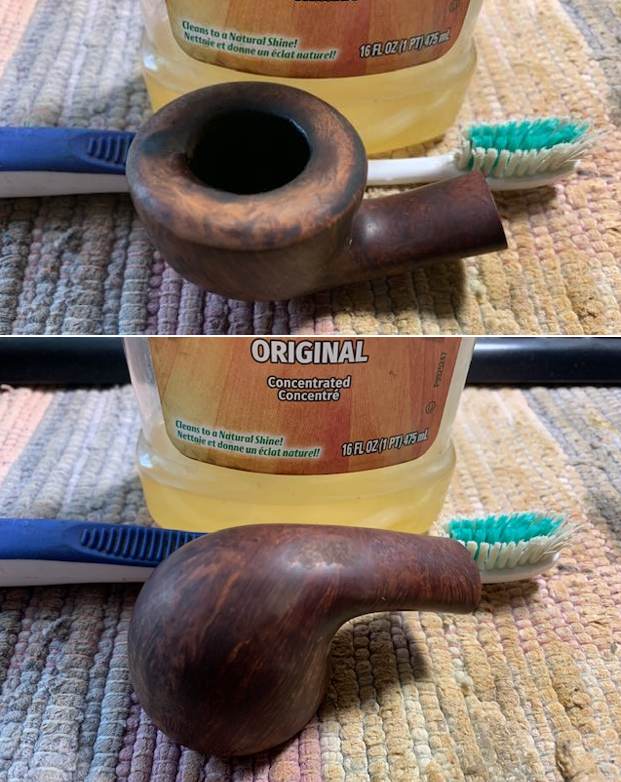
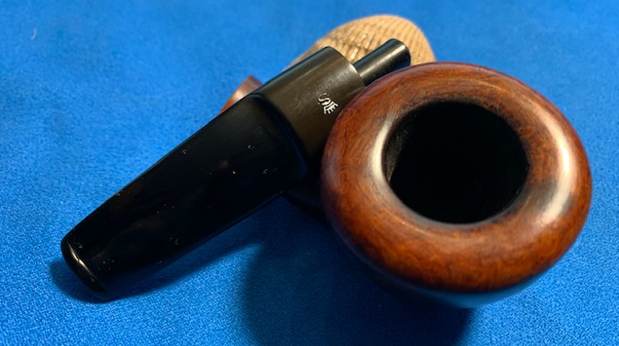
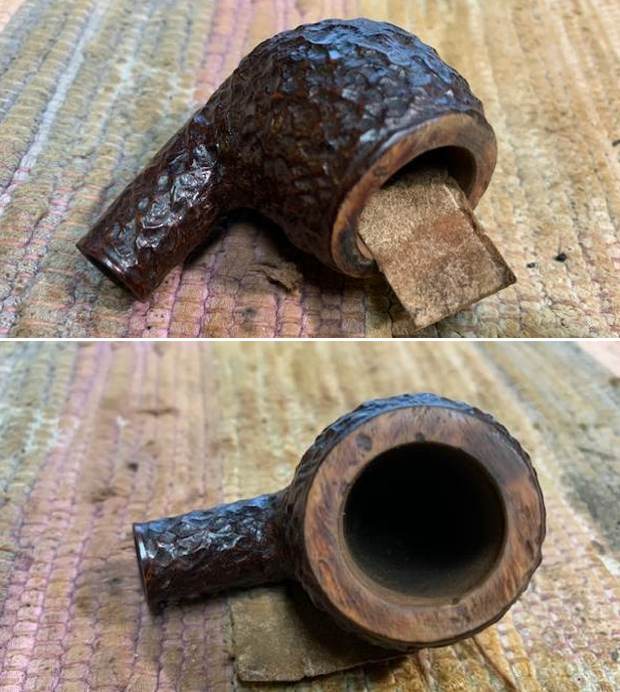
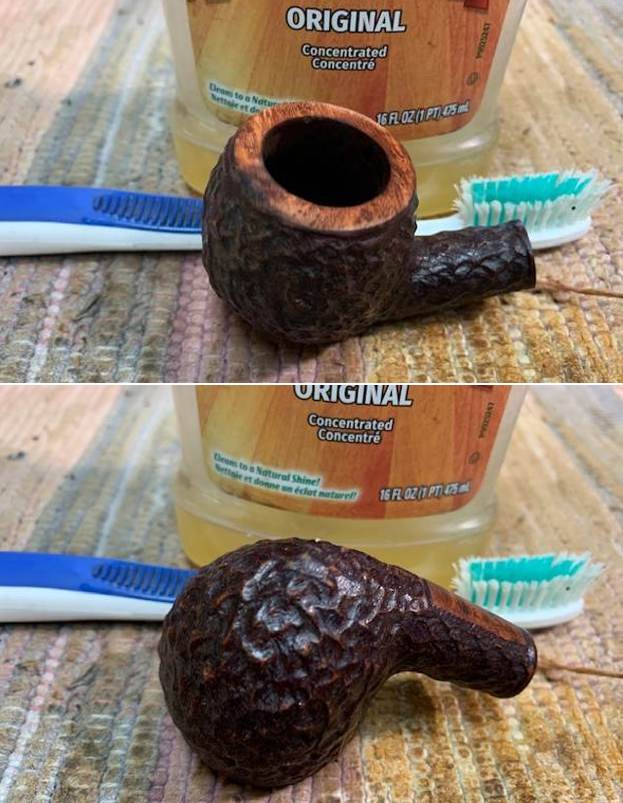
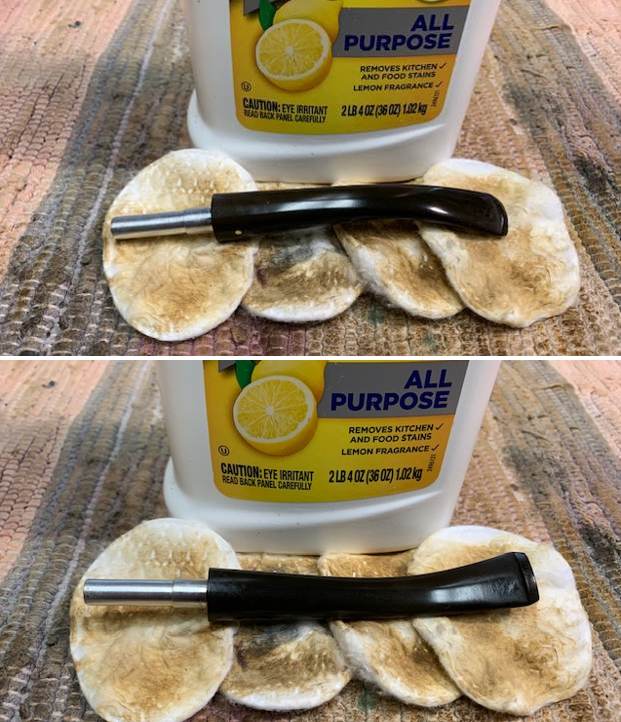
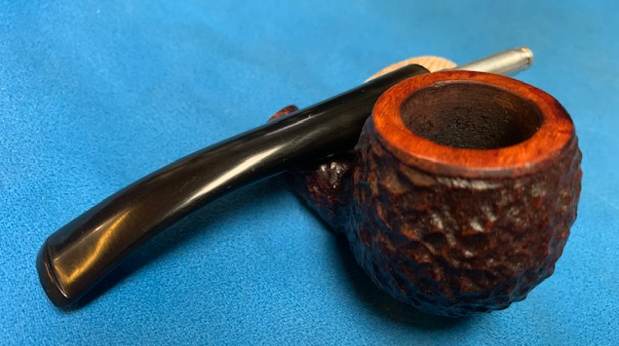
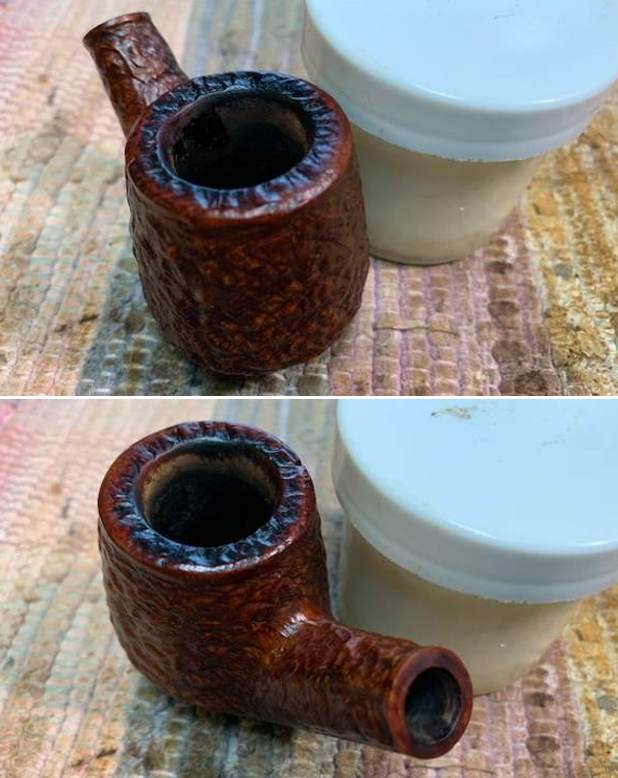
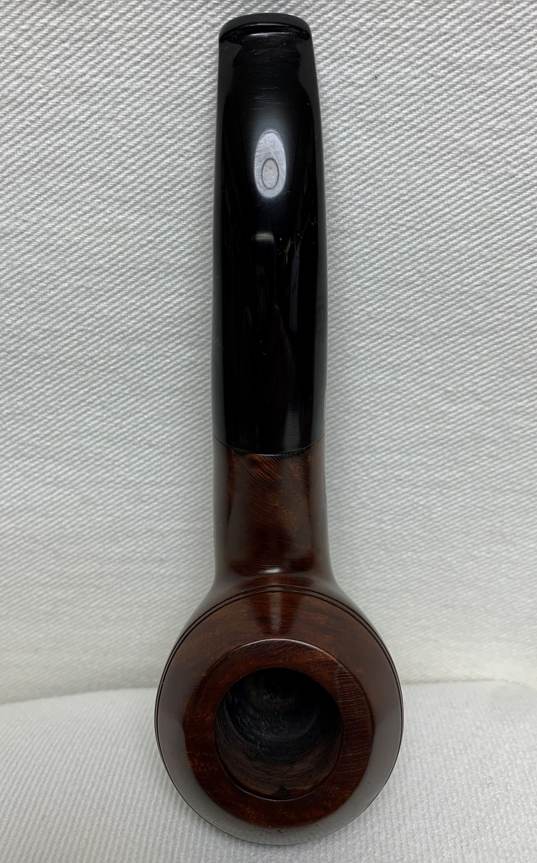
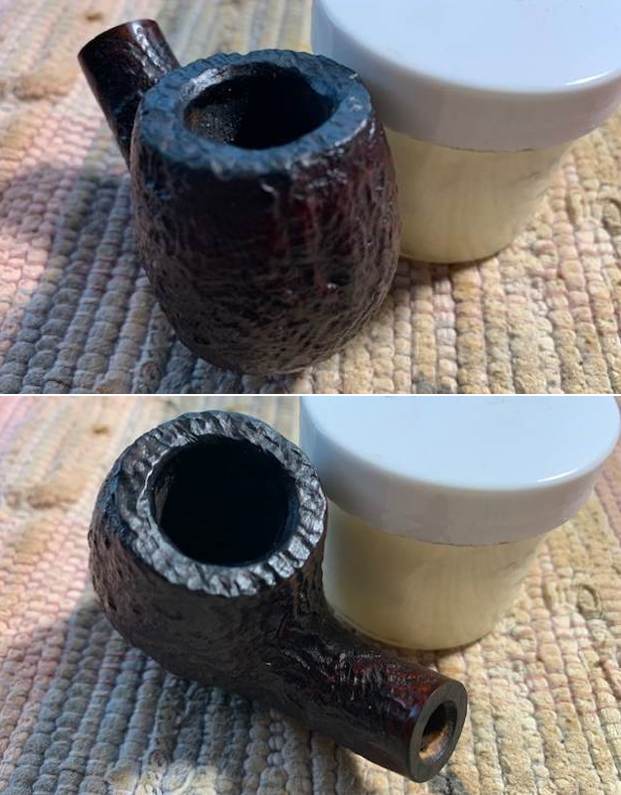
 I took a close up photo of the cleaned up rim top. You can see the smoothing out of the top on the right front and the left rear of the bowl. The rest of the rim top has some great sandblast. The inner edge has a slight bevel that should clean up well. The stain is faded on the top. The bowl is spotless. The stem is clean and you can see the tooth marks on both sides ahead of the button. After Jeff had cleaned it the stem fit more snug against the shank end.
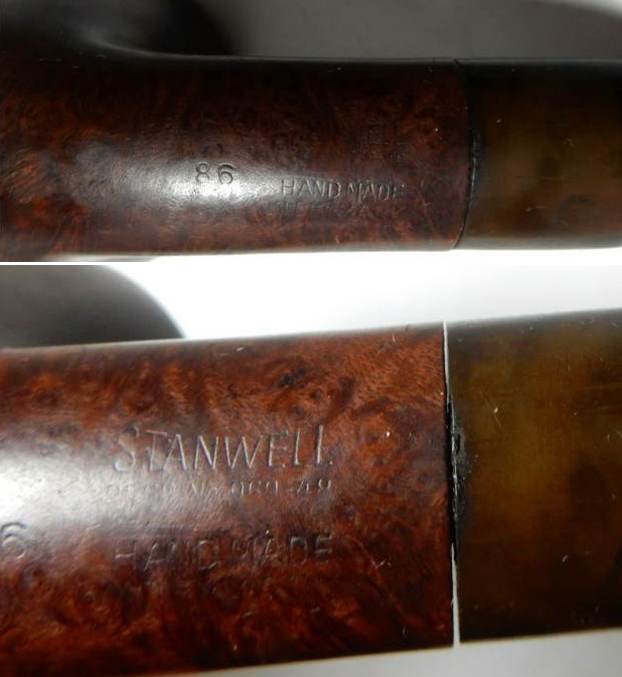
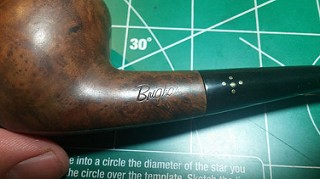
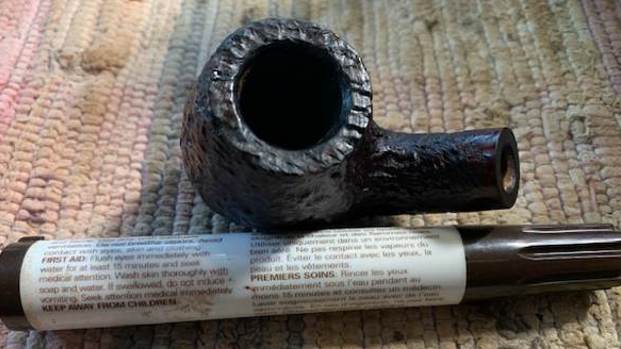
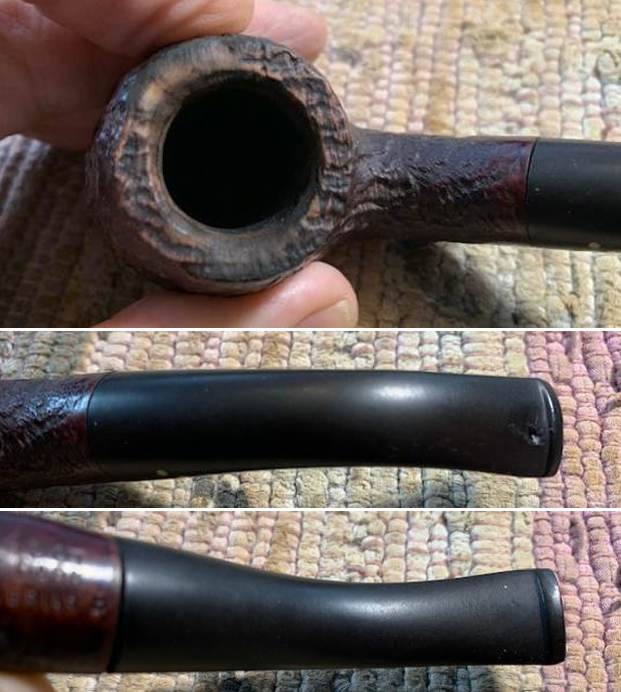 I took a photo of the stamping on the underside of the shank. It is clear and readable as noted above.
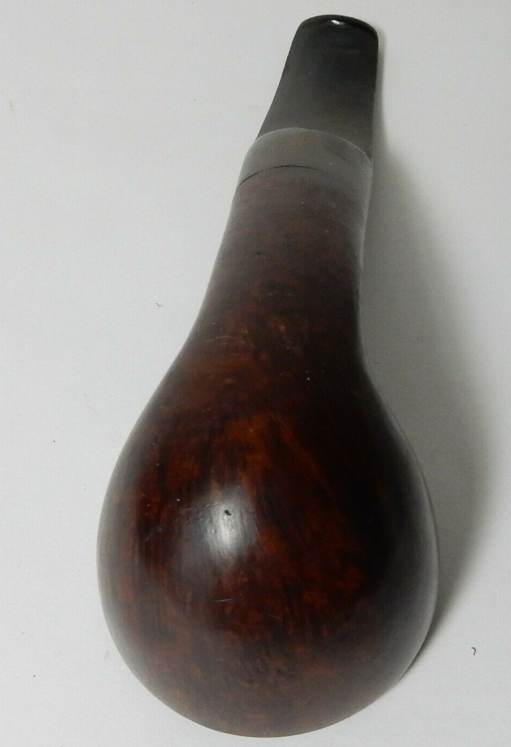
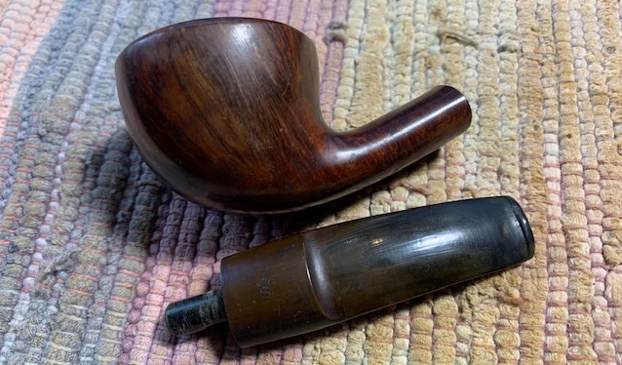
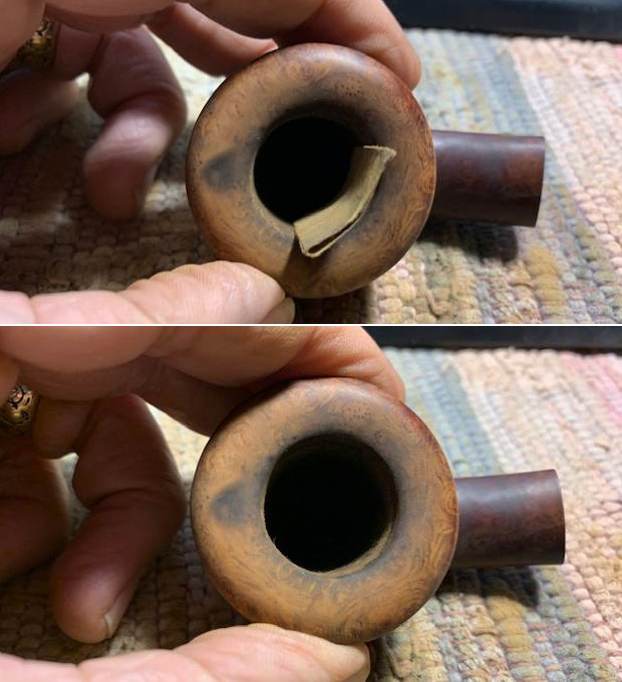
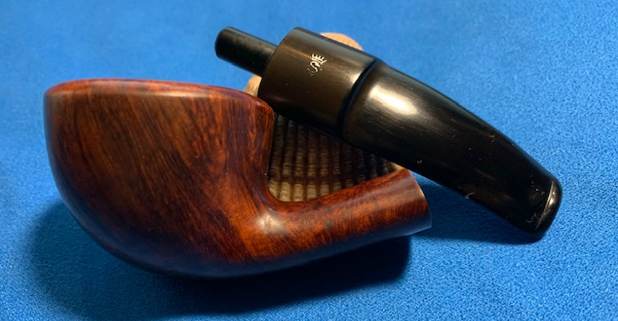
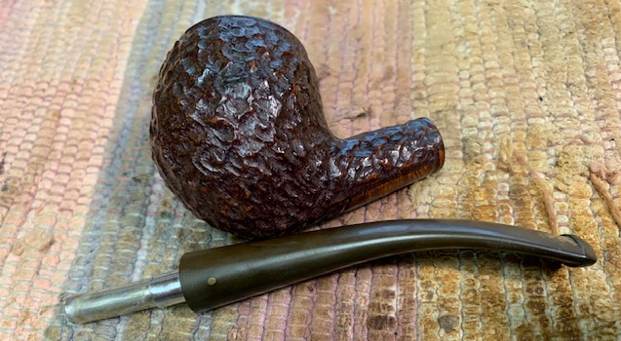
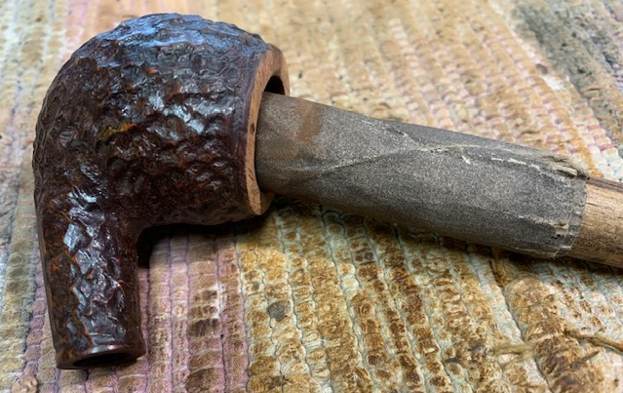
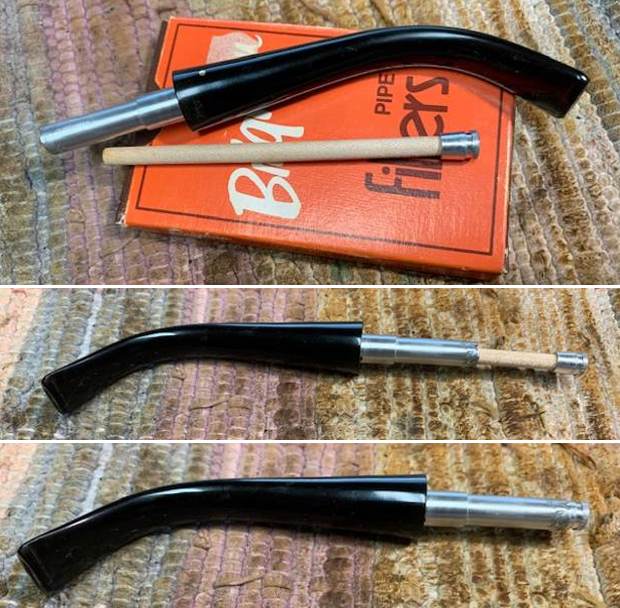
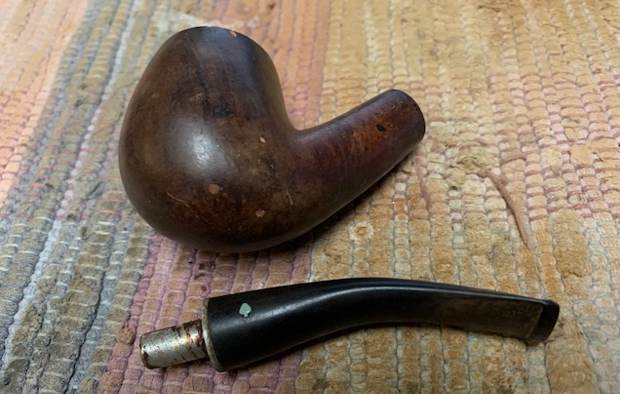
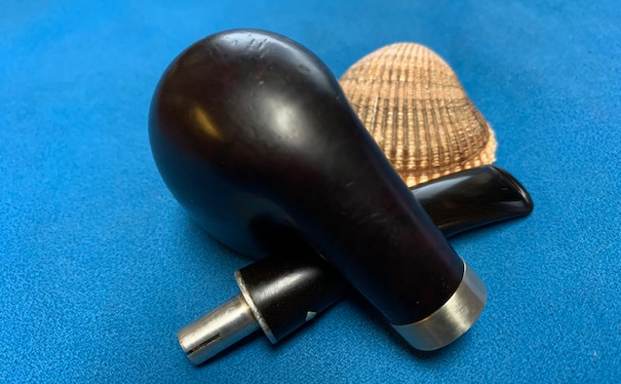
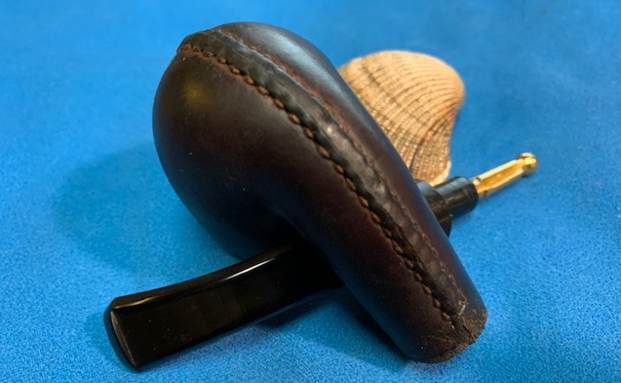
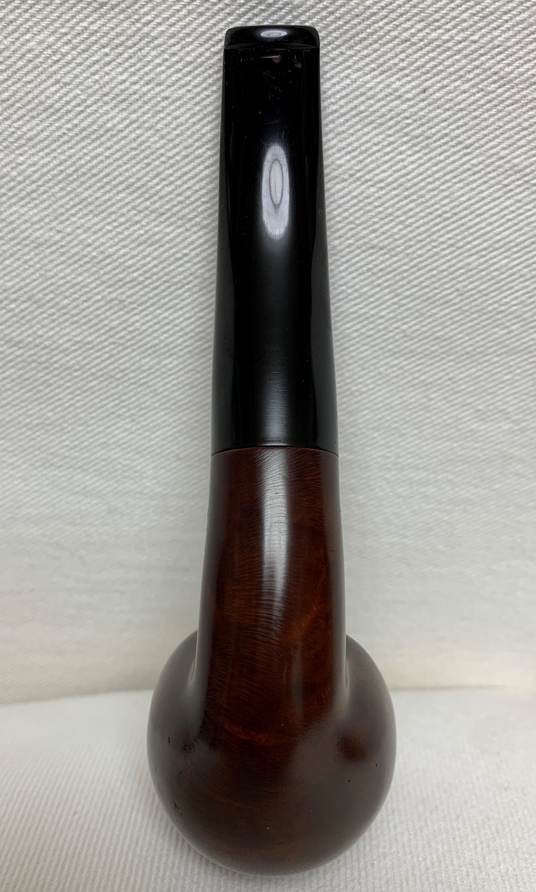
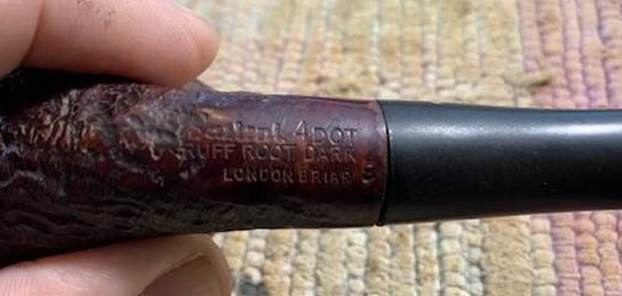 I removed the stem from the shank and took a photo to give a sense of the part of this pipe. I think it is going to be a beauty.
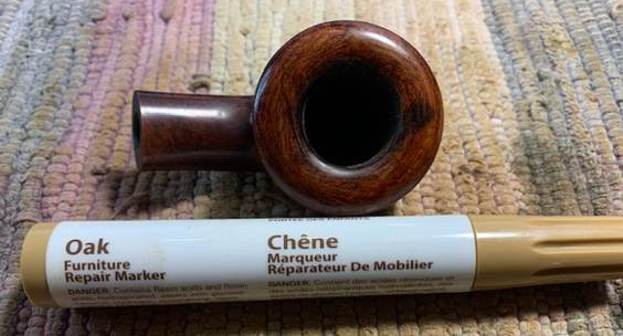
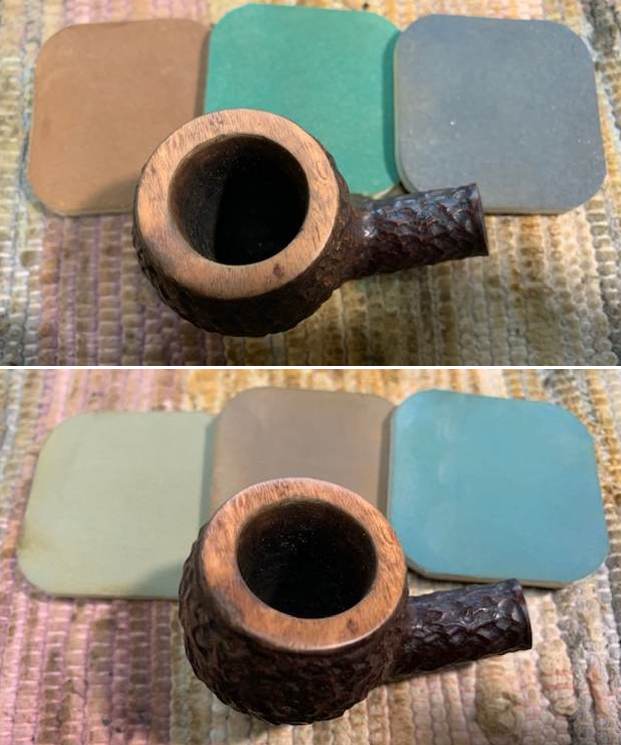
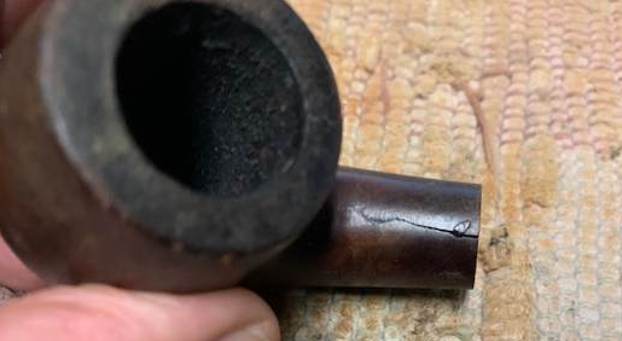
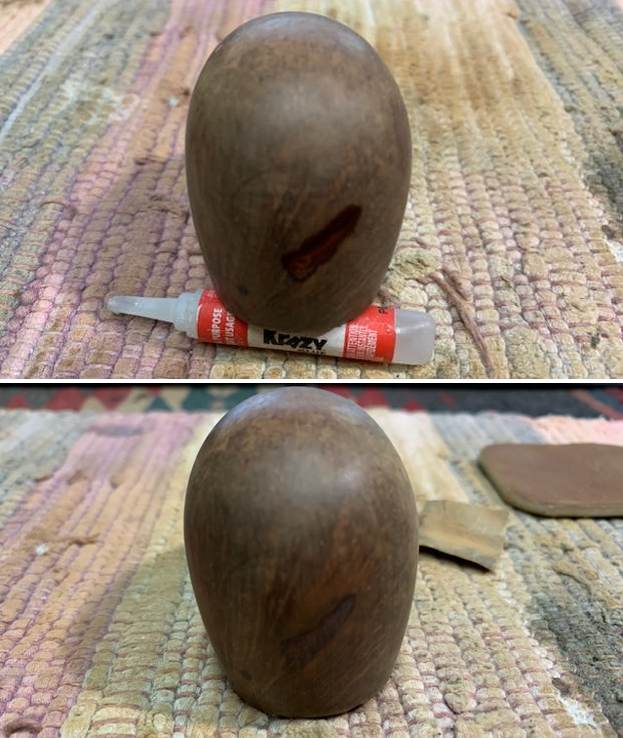
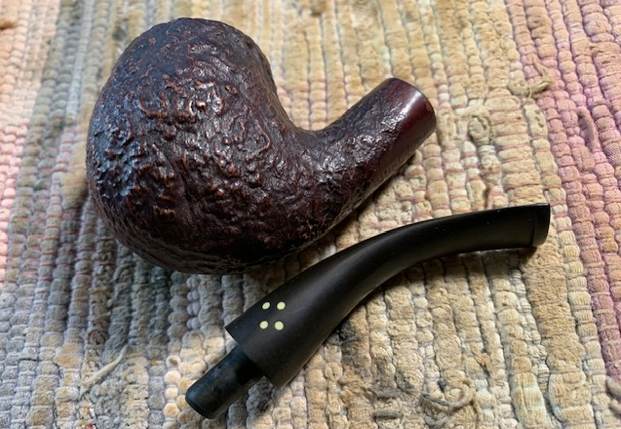 I put on a magnifying headlamp and traced the flaw in the briar from the edge of the Ruff stamp on the underside of the shank. I filled it in with a thin line of clear CA glue. It was more of a cosmetic fix than a concern about a crack. Once it cured I used several brass bristle brushes I have to blend in the repair to the rest of the sandblast finish.
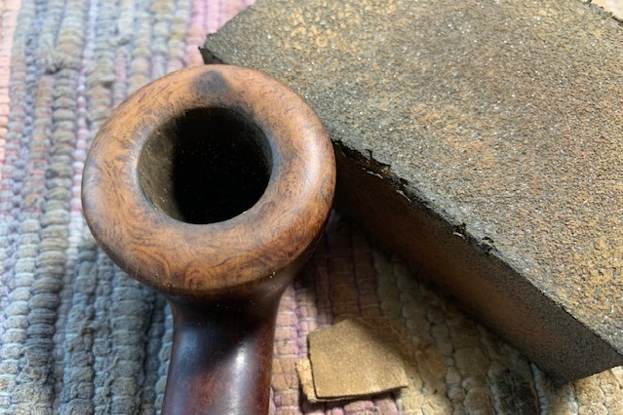
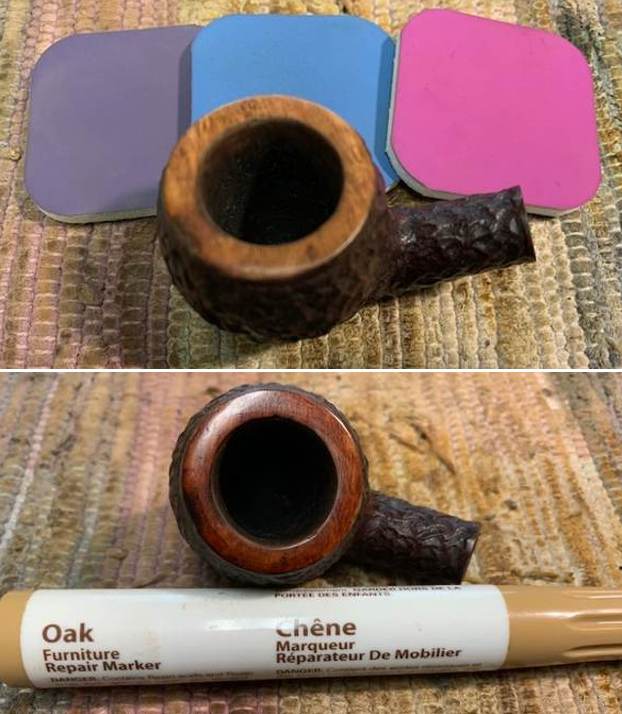
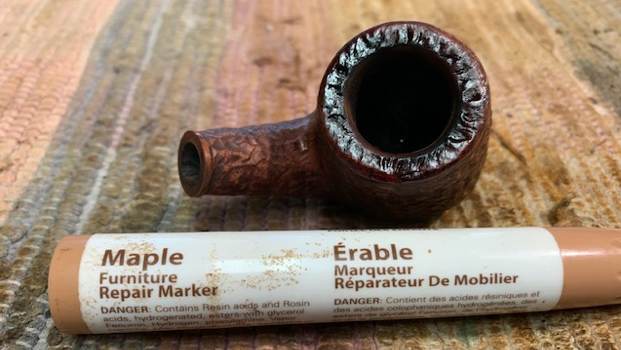
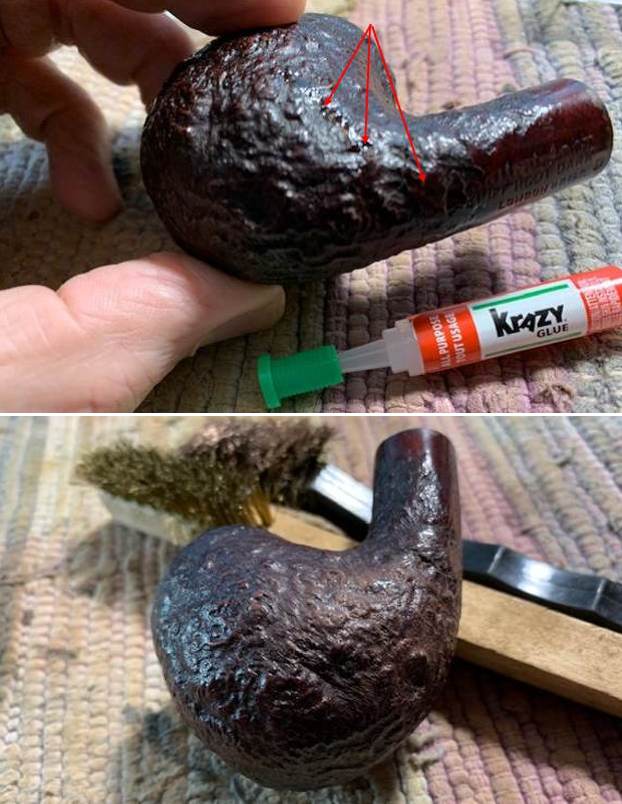 With that cosmetic fix done I decided to address the smooth portions of the rim top. The first photo shows what I am referring to. I have used a series of burrs on my Dremel in the past to rusticate the smooth portions of the damaged top and match the sandblast pattern as much as possible. I have found that it works very well. Once I finished I used a brass bristle brush to knock off the debris and some of the roughness. I stained it with a Walnut stain pen to match the rest of the bowl colour. What do you think? Did it work?
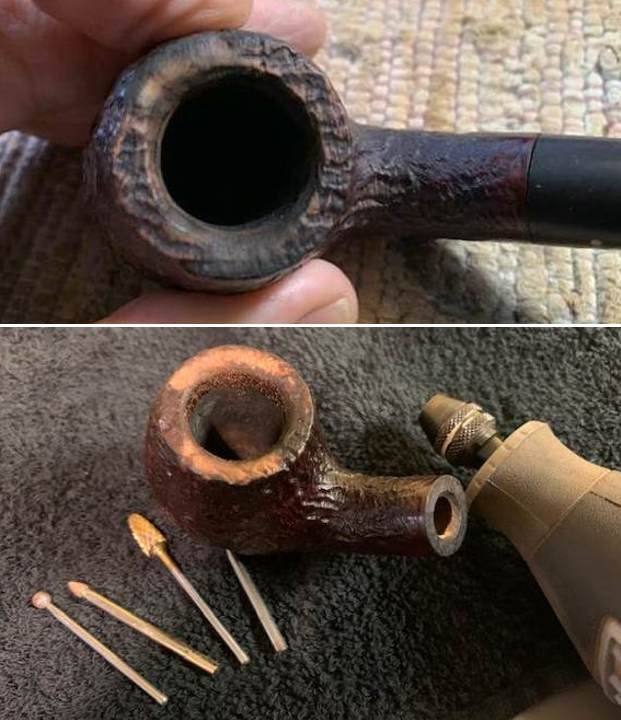
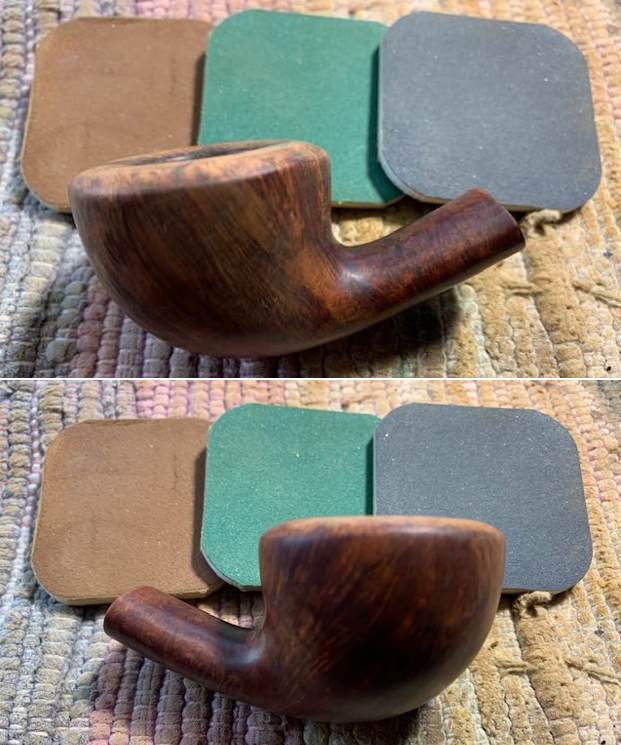
 I rubbed the bowl down with Before & After Restoration Balm. I worked it into the surface of the briar with my finger tips and a horsehair shoe brush. The product works to clean, restore and preserve the briar. I let it do its magic for 15 minutes then buffed it off with a cotton cloth. The pipe looks incredibly good at this point in the process.
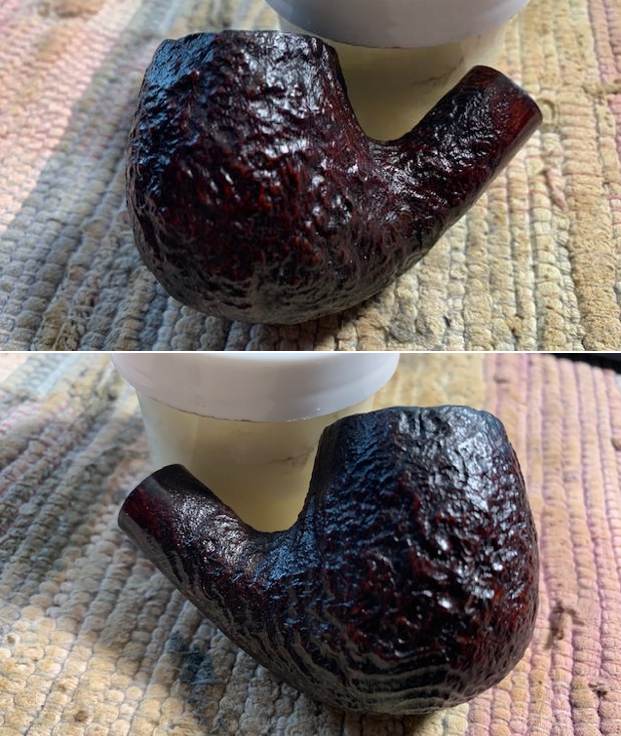
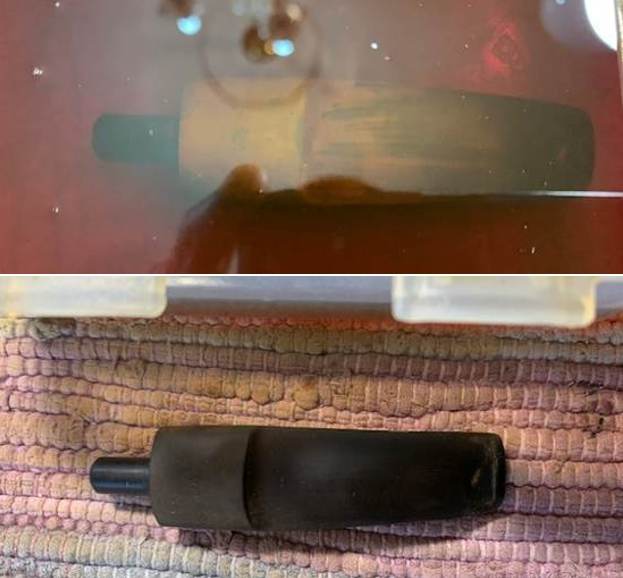
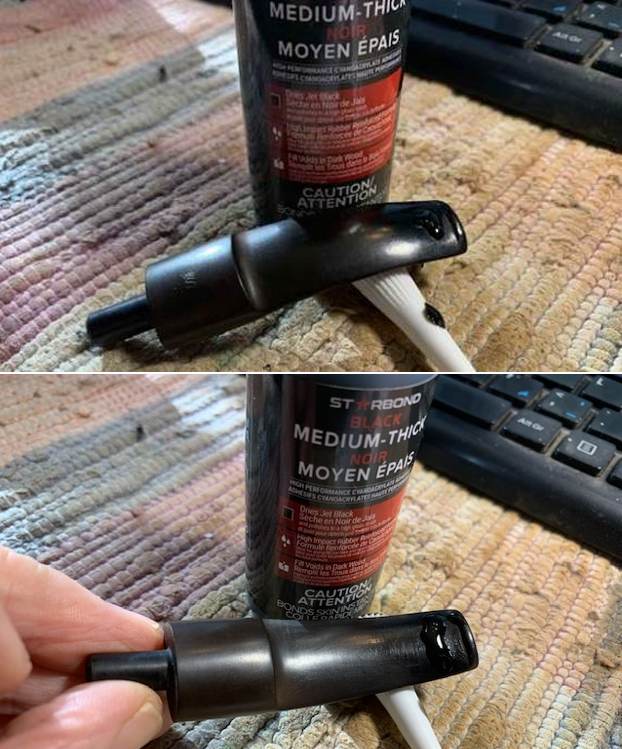
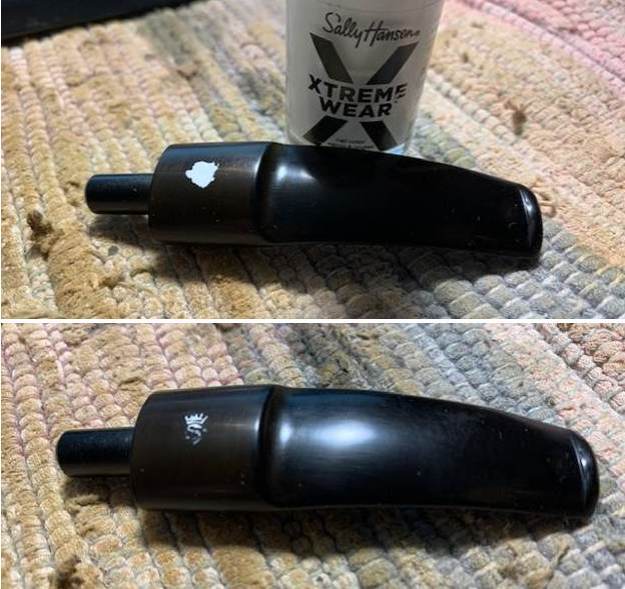
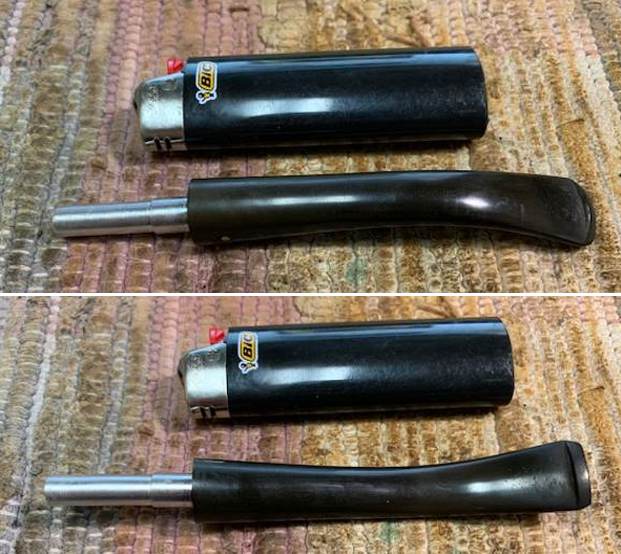
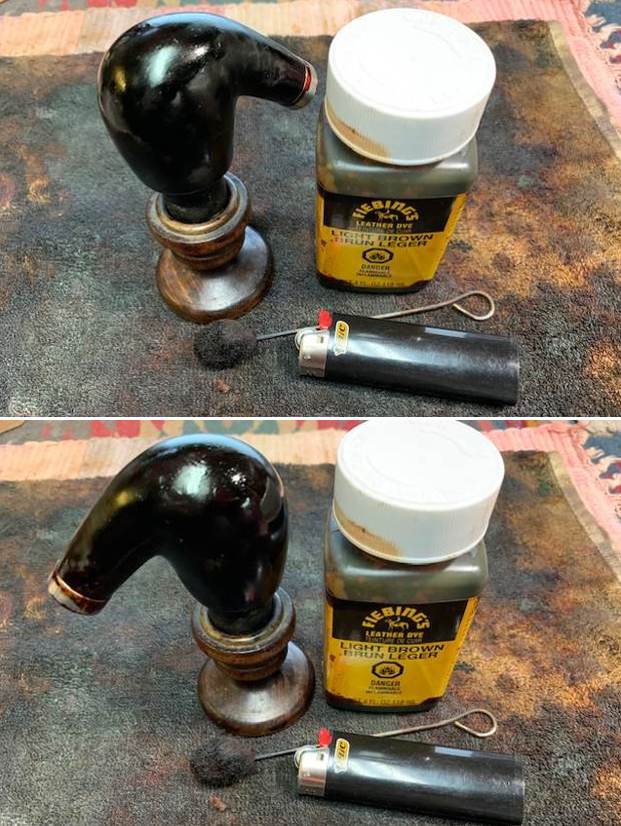
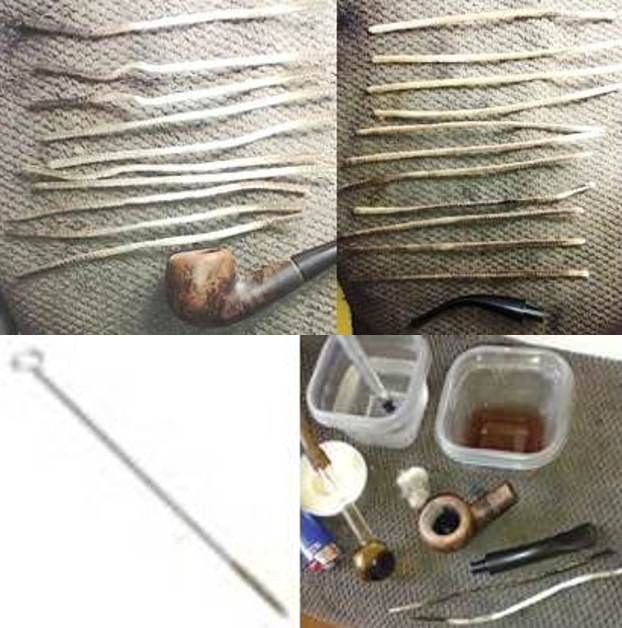
 With that finished I set the bowl aside and turned to work on the stem. I “painted” the surface of the stem with the flame of a Bic lighter to lift the tooth marks on both sides. I was able to lift them significantly but deep marks still remained on each side. I filled those in with black CA glue and set the stem aside to cure.
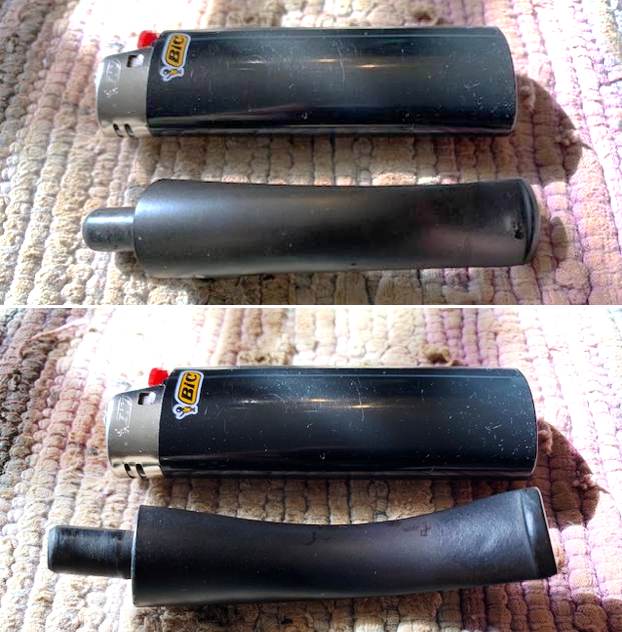
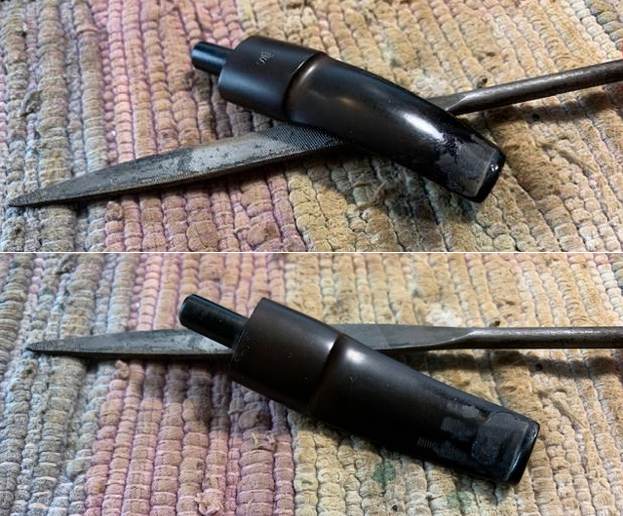
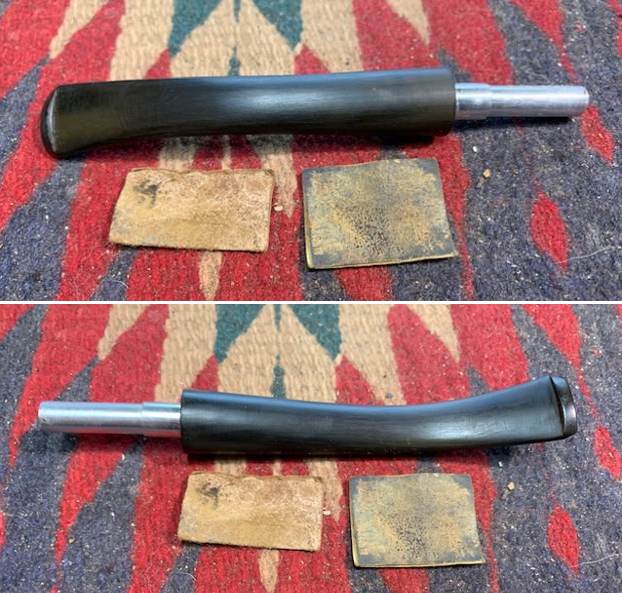
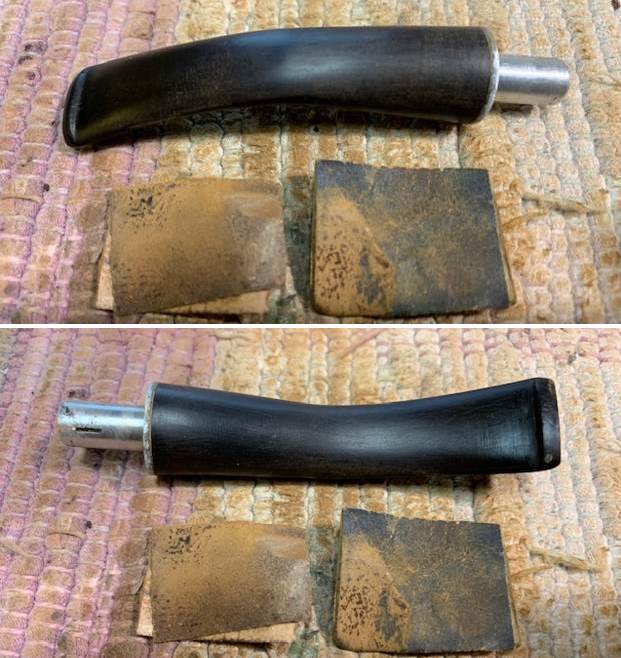
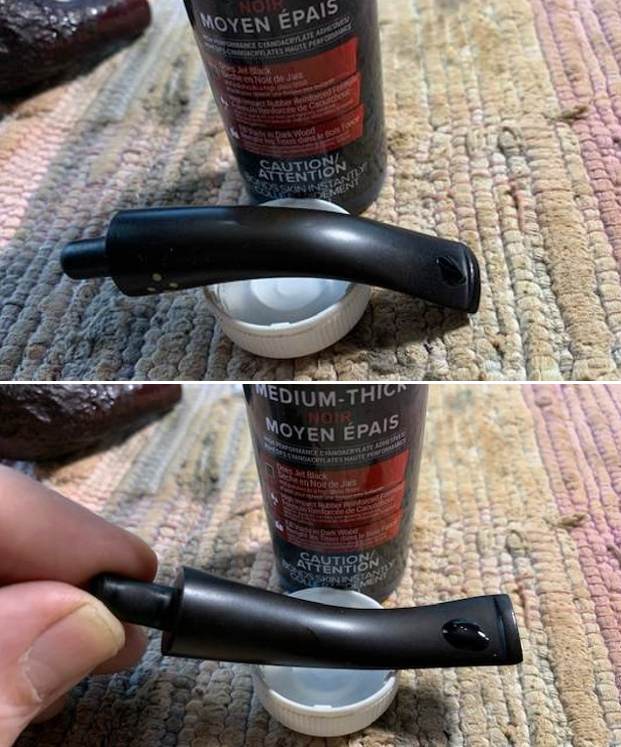 Once the repair cured I flattened the repair with a small file to start the process of smoothing it out and blending it into the surrounding vulcanite. I sanded the file marks and repairs with 220 grit sandpaper and started polishing the stem with 400 grit wet dry sandpaper. It is starting to look very good.
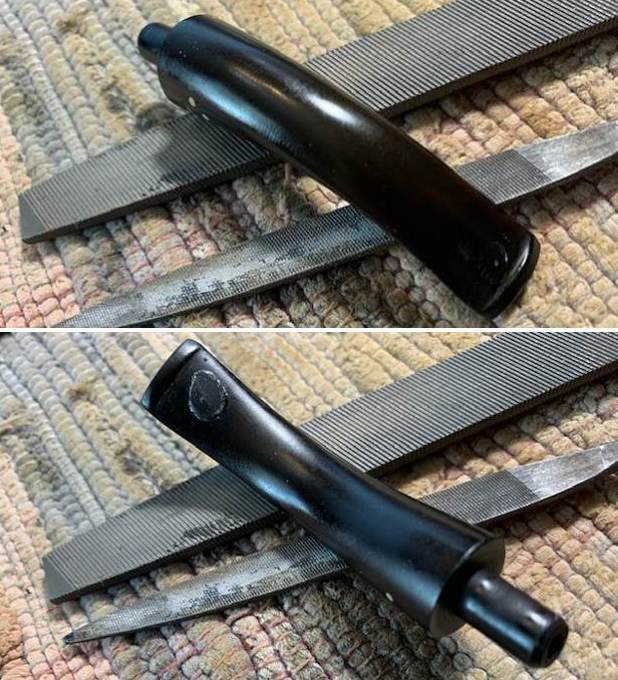
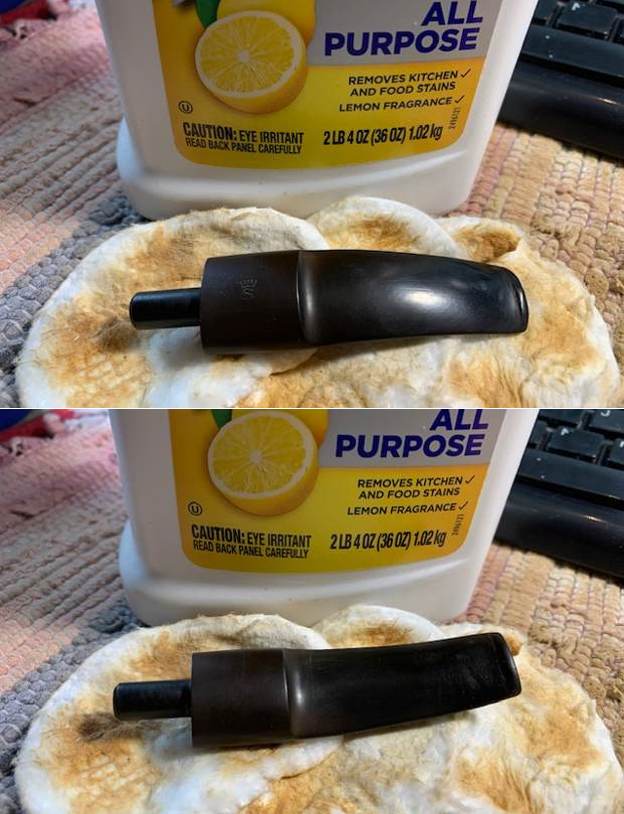
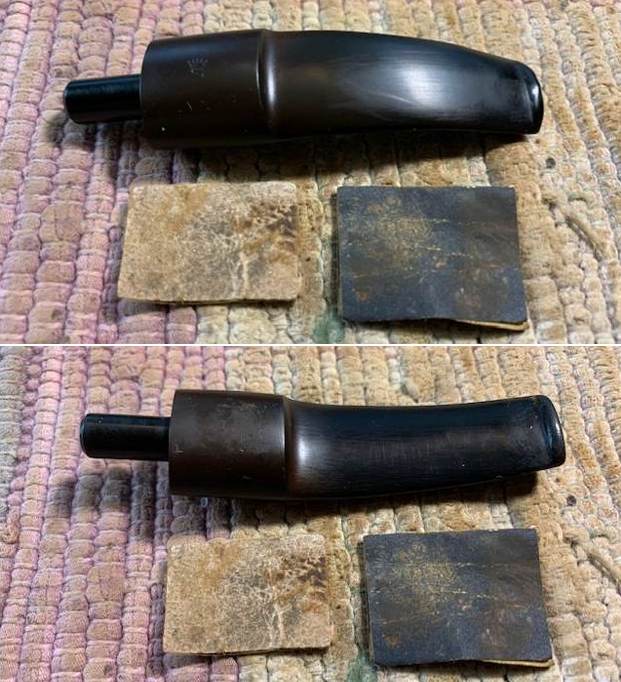
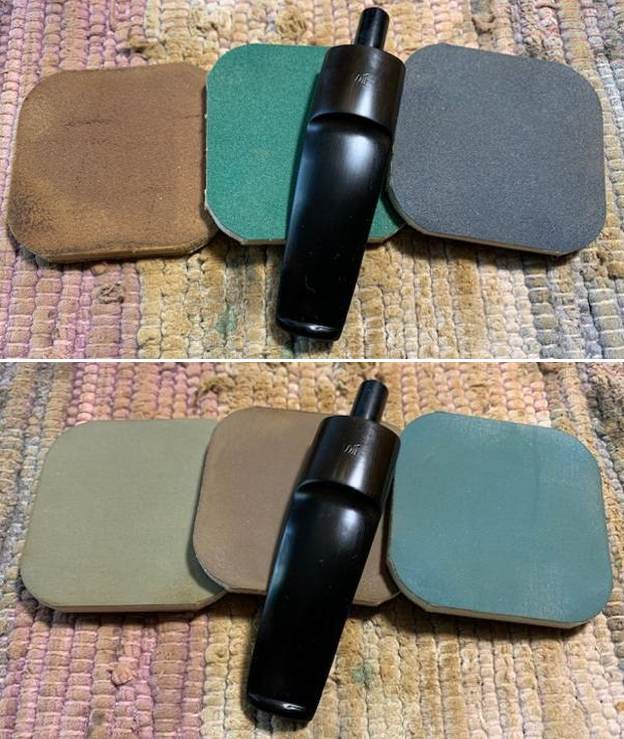
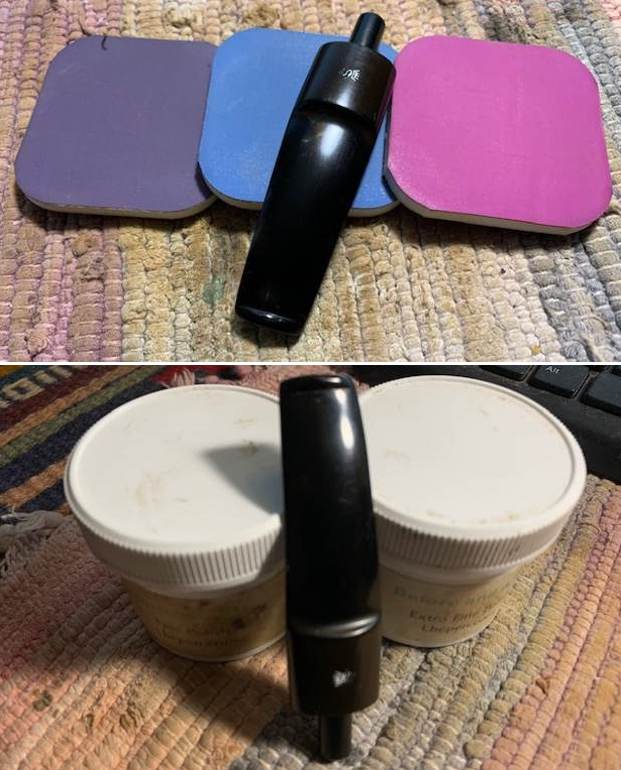
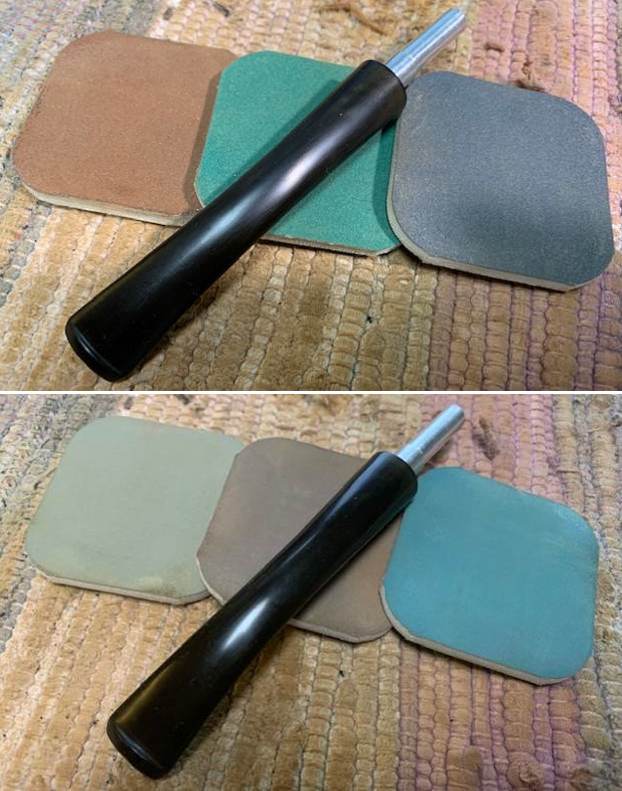
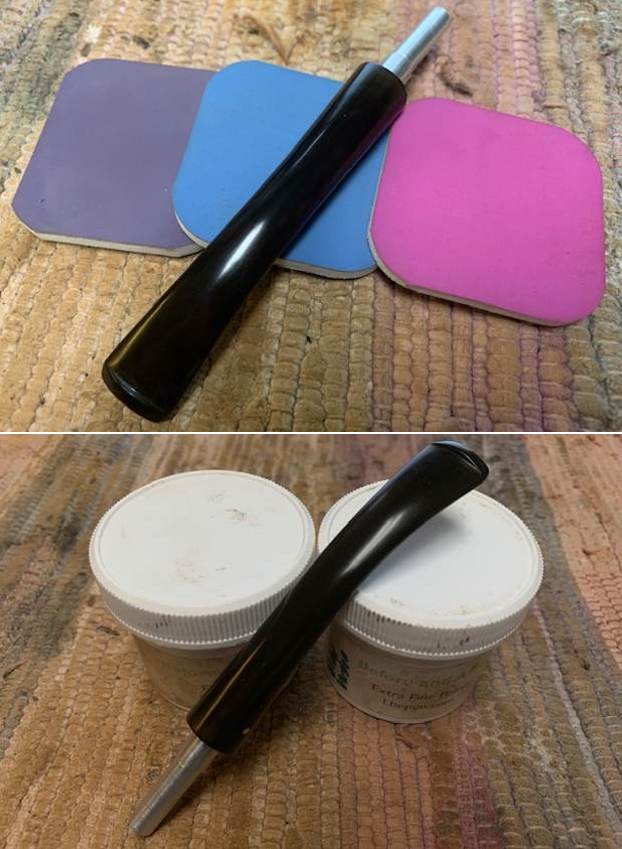
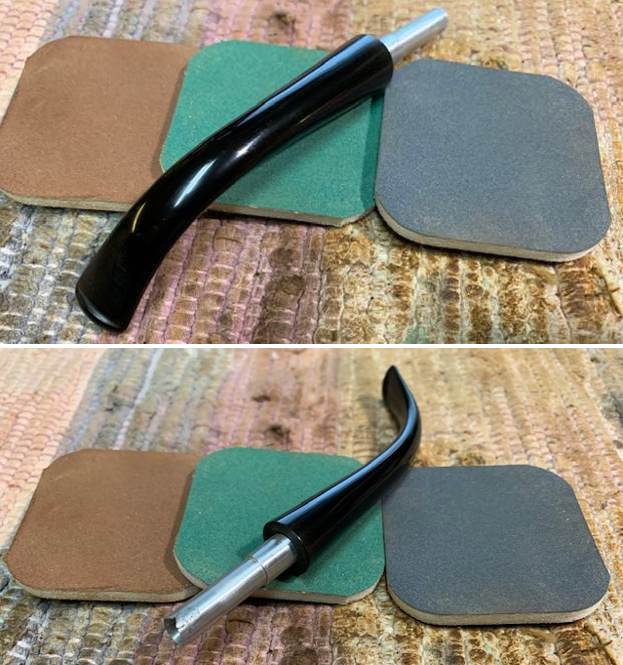
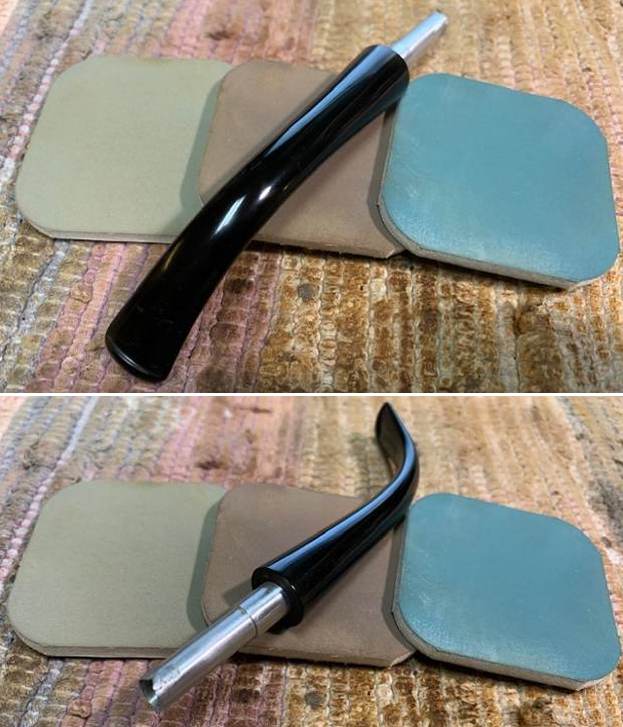
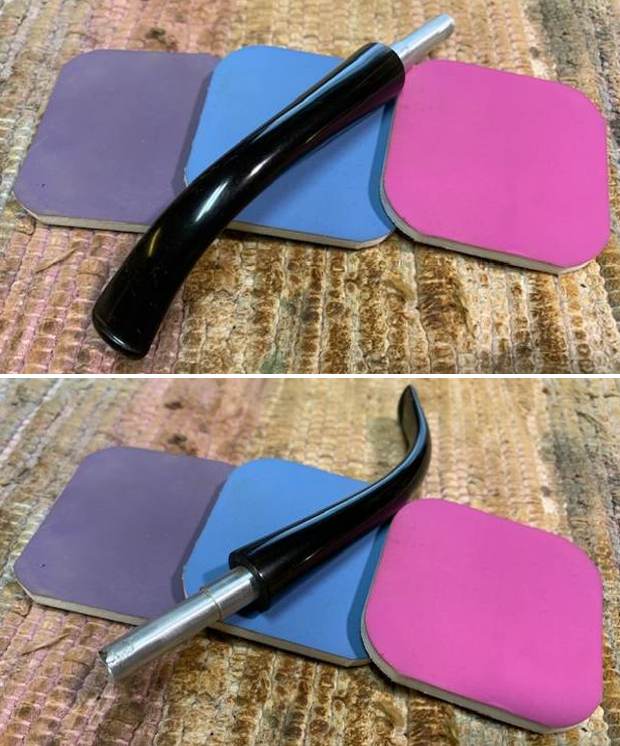
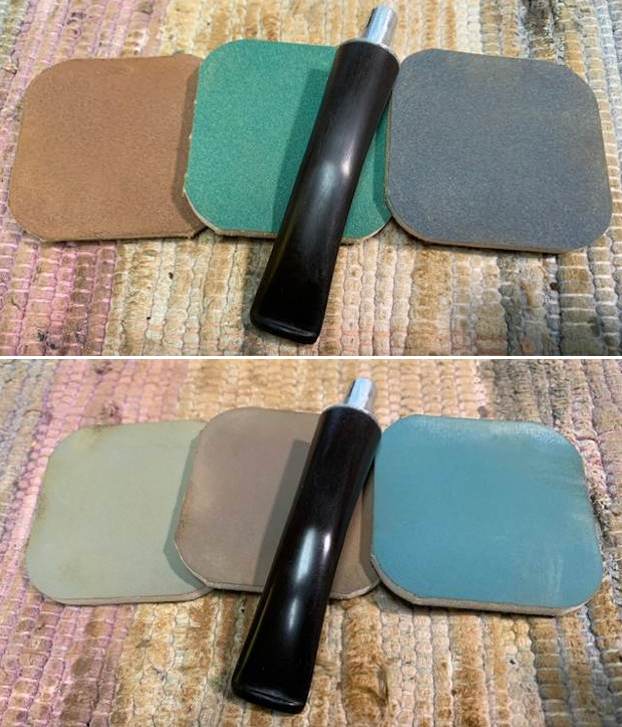
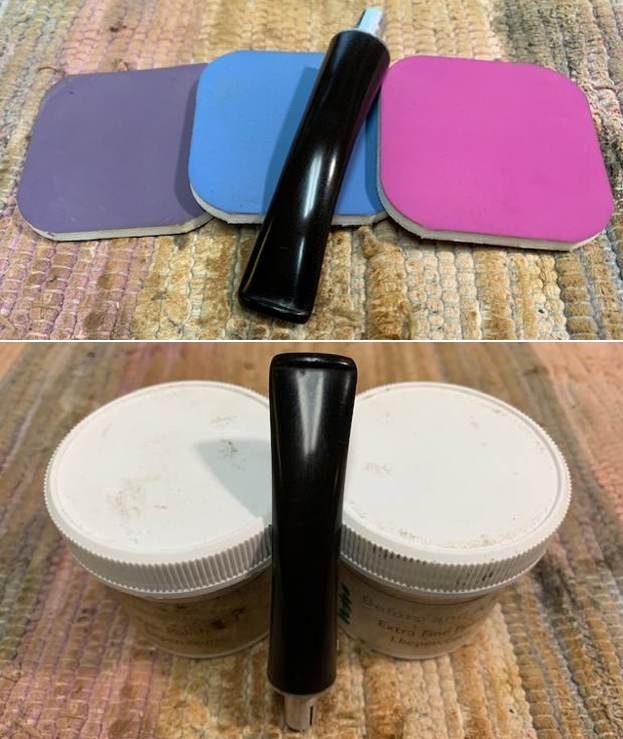
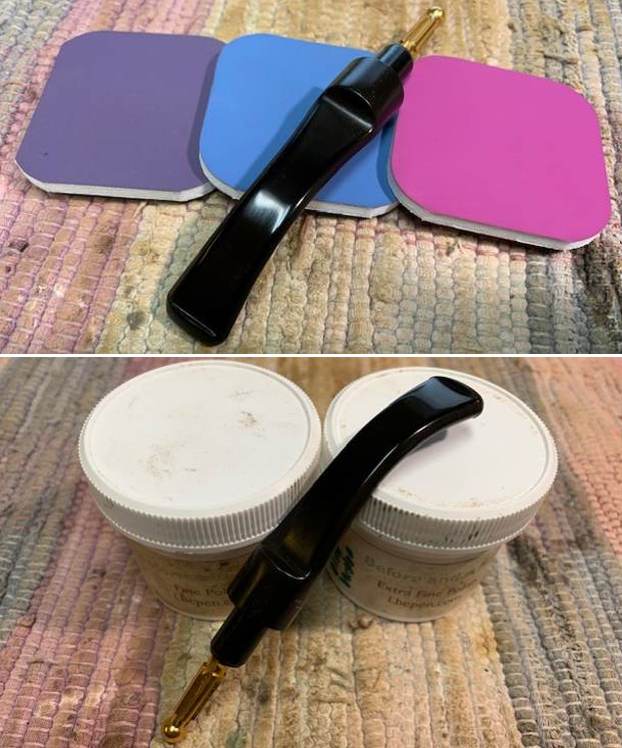
 I continued to polish the stem with micromesh sanding pads – wet sanding with 1500-12000 grit sanding pads. I wiped it down after each sanding pad with Obsidian Oil. I polished it with Before & After Pipe Stem Polish – both Fine and Extra Fine. I gave it a final coat of Obsidian Oil and set it aside to cure.
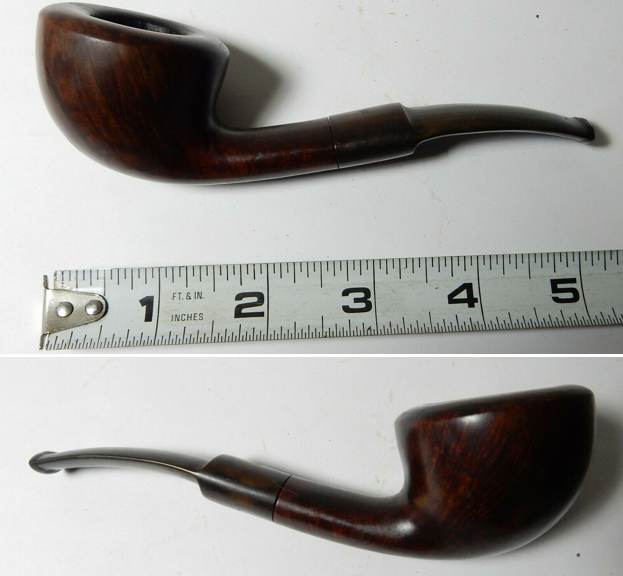
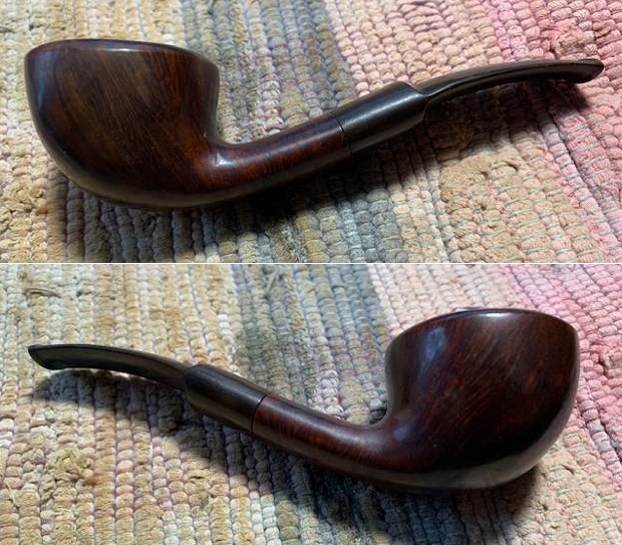
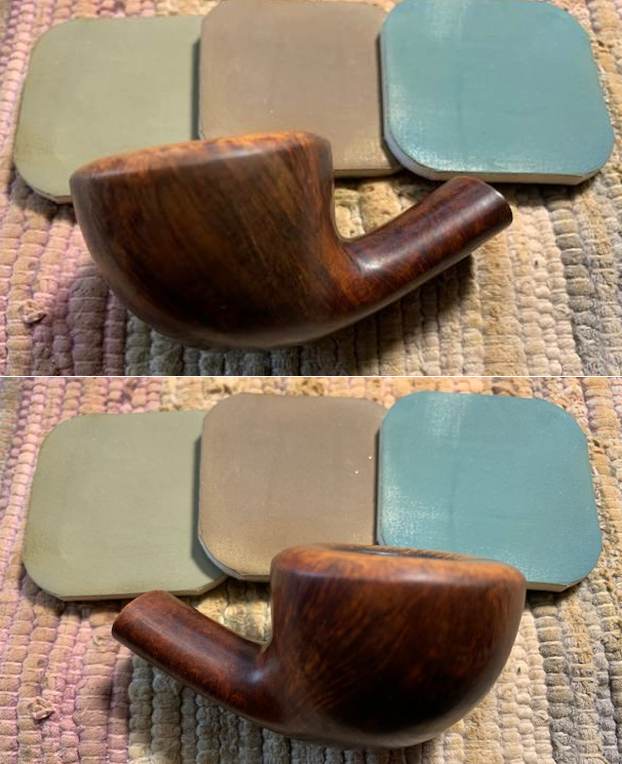
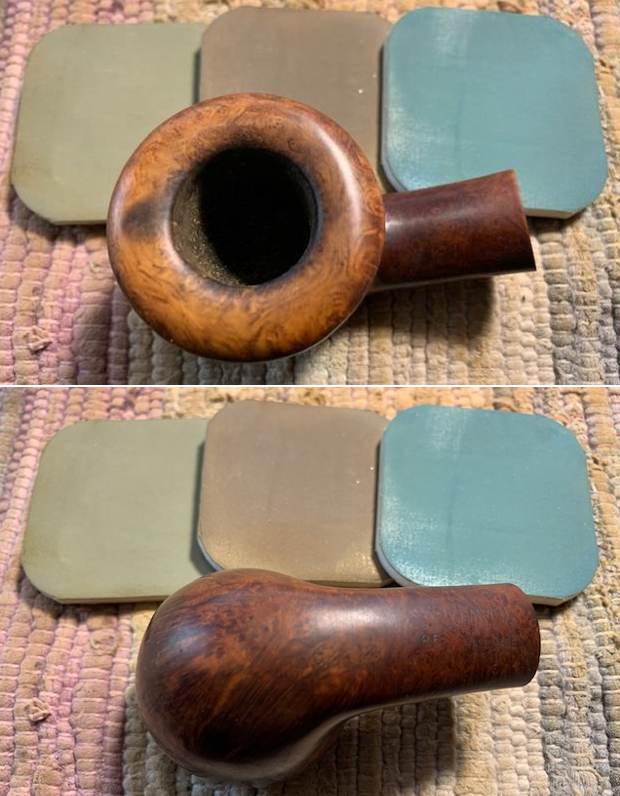
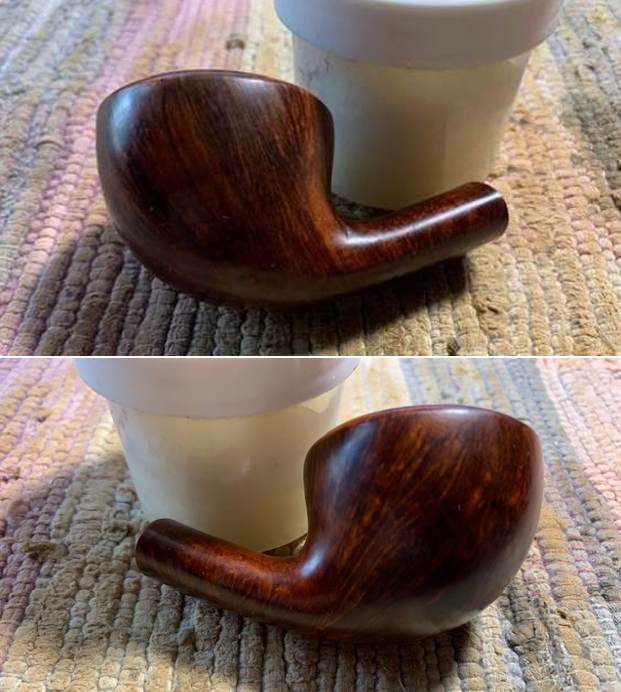
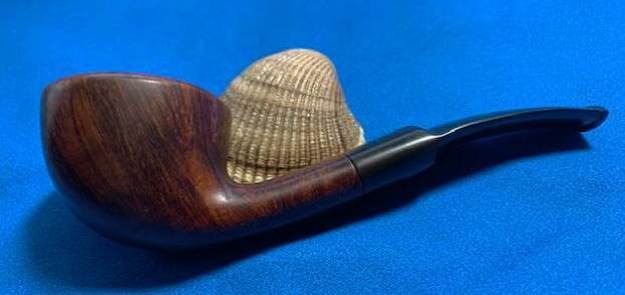
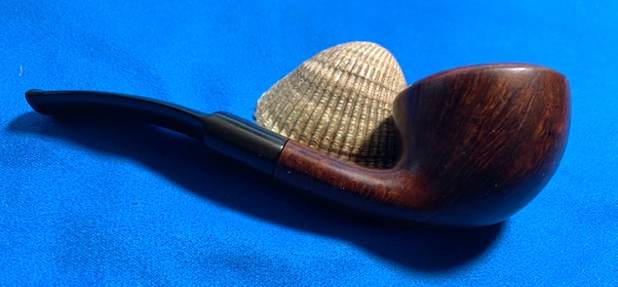
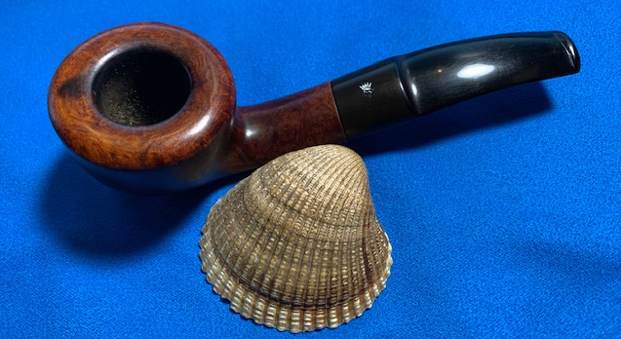
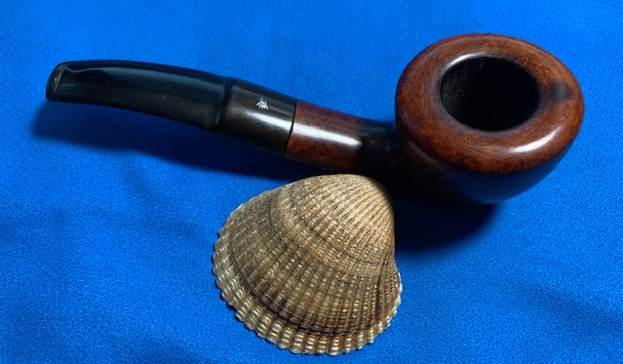
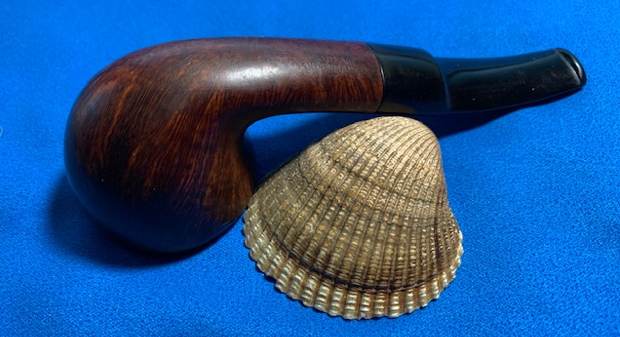
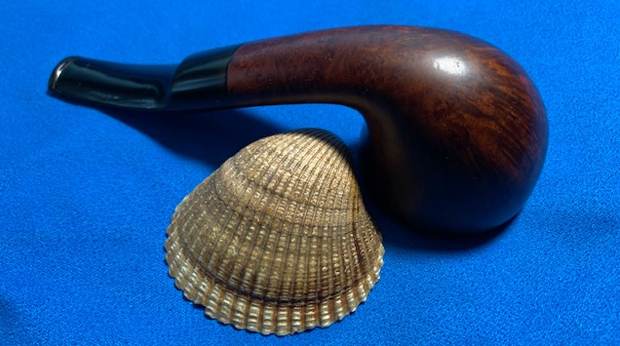
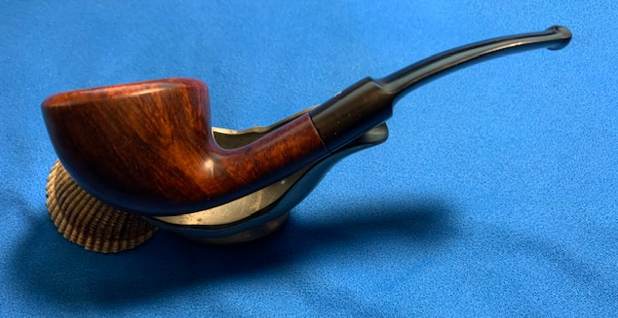
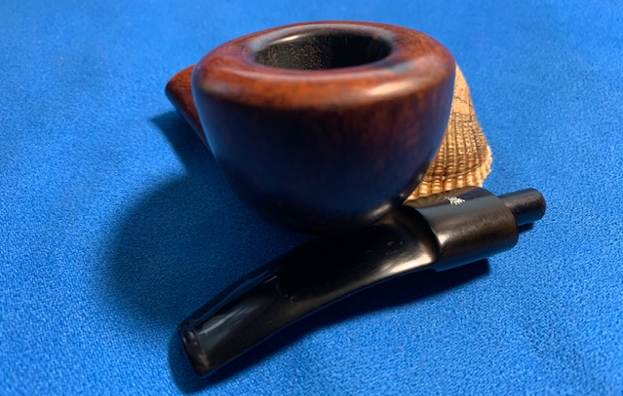
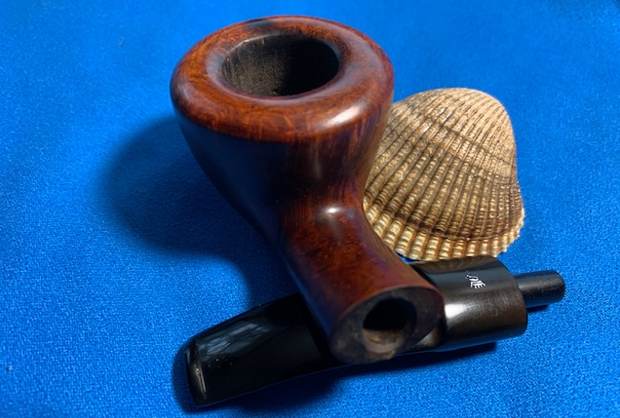
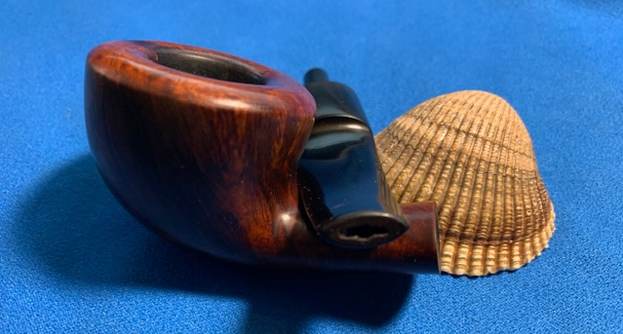
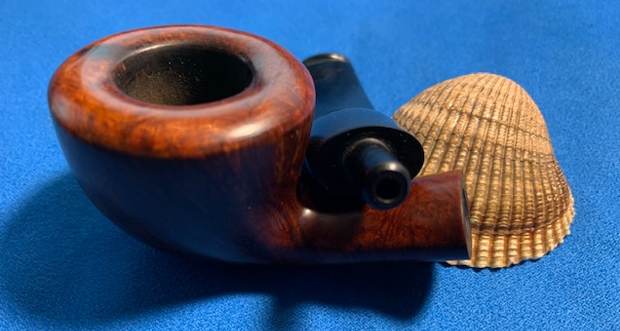
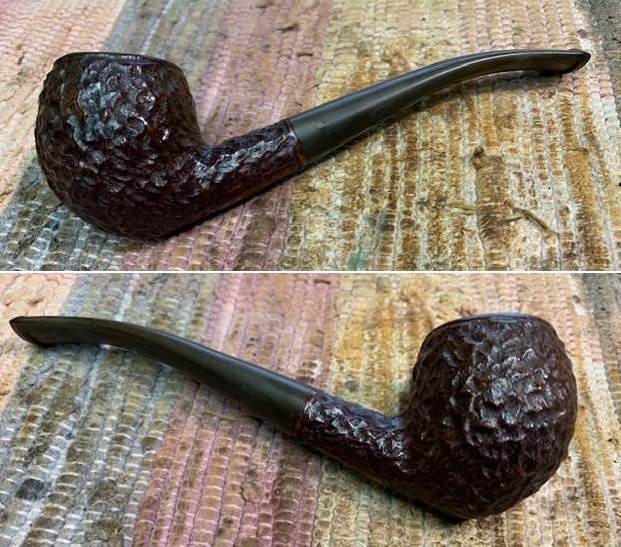
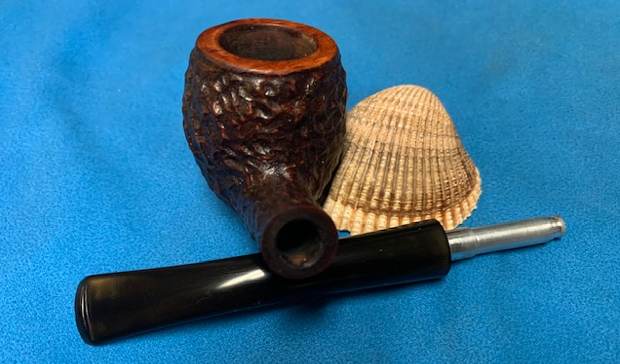
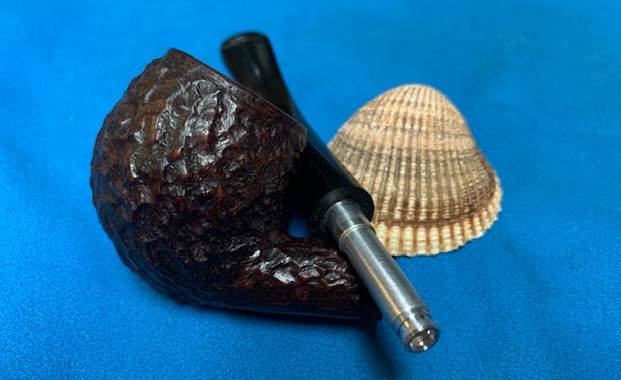
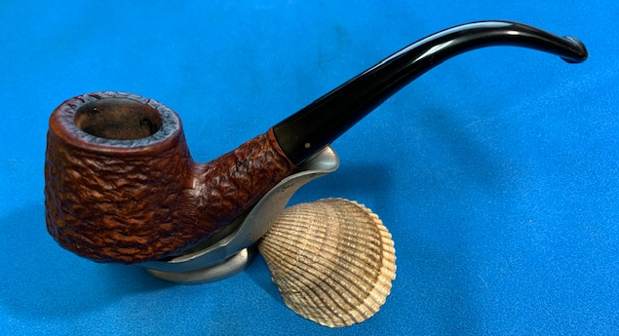
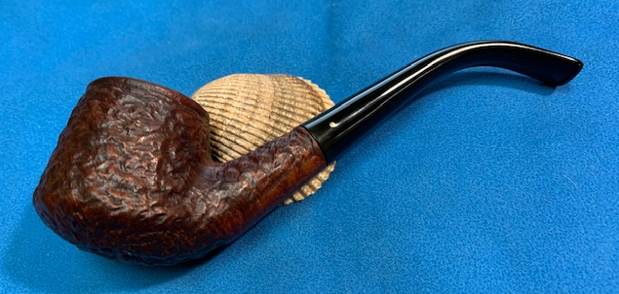
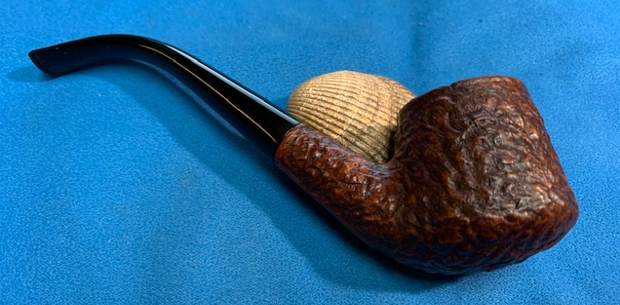
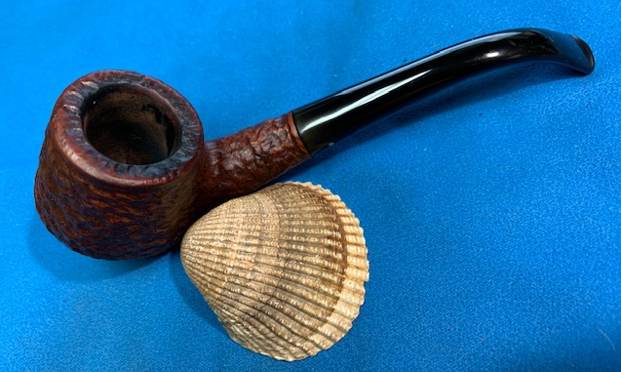
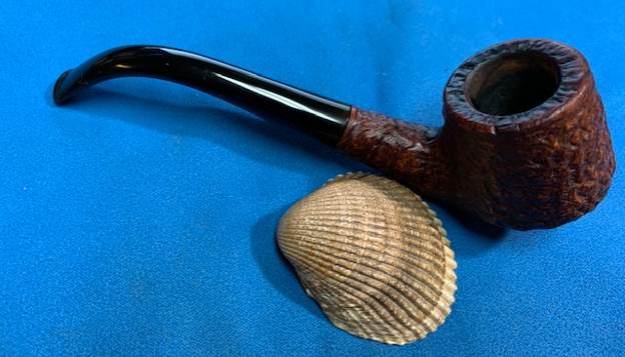
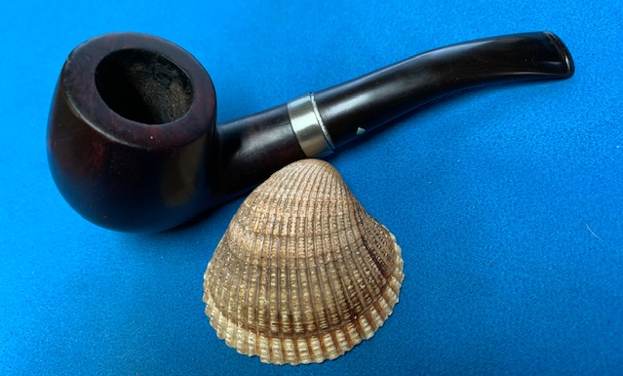
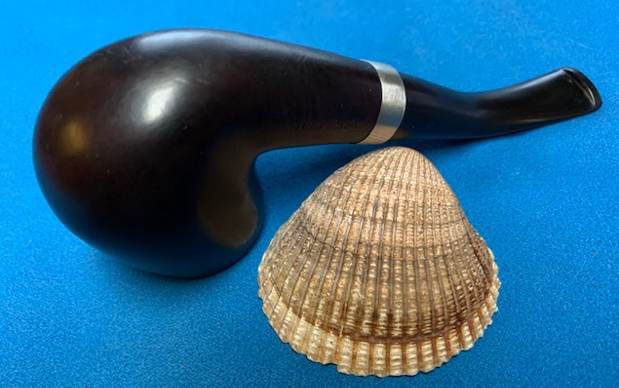
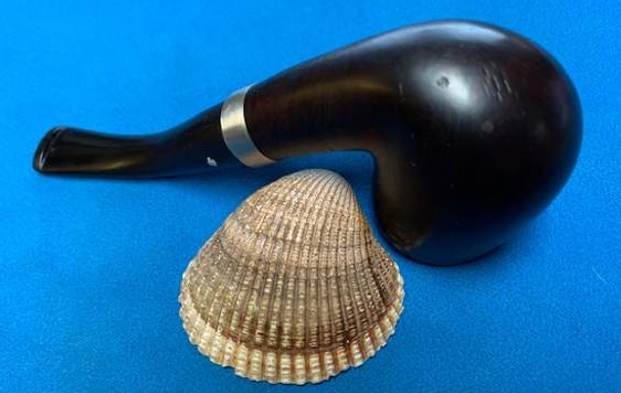
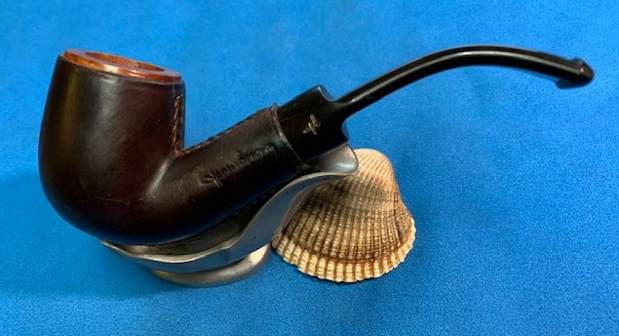
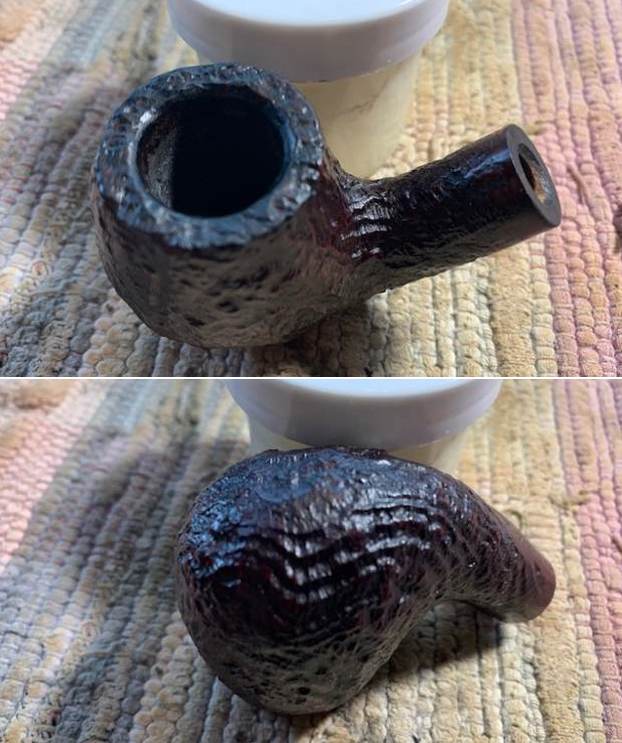
 This Sasieni Ruff Root Dark 8 Bent Apple is a beauty. I put the pipe back together and lightly buffed it with Blue Diamond on the buffing wheel. I gave the bowl multiple coats of Conservator’s Wax and the stem multiple coats of carnauba wax. I hand buffed the pipe with a clean buffing pad to raise the shine. It is fun to see what the polished bowl looks like with beautiful mixed grain all around it. The polished dark Walnut coloured sandblast has depth and lends to a variation in colour as the bowl is turned. It looks great with the black vulcanite stem. This smooth Sasieni Ruff Root Dark Bent Apple is great looking and the pipe feels great in my hand. It is light and well balanced. Have a look at it with the photos below. The dimensions are Length: 5 inches, Height: 1 ¾ inches, Outside diameter of the bowl: 1 ¼ inches, Chamber diameter: ¾ of an inch. The weight of the pipe is 46 grams/1.59 ounces. It turned out to be a beautiful pipe. I will be putting this pipe on the rebornpipes store in the British Pipe Makers Section. Let me know if you are interested in adding it to your rack and carrying on the trust of this well traveled pipe. Thanks for your time reading this blog and as Paresh says each time – Stay Safe.