by Steve Laug
A couple of weeks ago I received a message on Facebook from Shannon about cleaning up a pipe for him. It was one of his favourite pipes so he wanted it spiffed up. I have included several of his messages below along with photos of the pipe in question.
Hello! I saw the beautiful work you did on a Peterson Shannon 80S recently and not only would I like to purchase that but I would also like to see if you could give my Shannon Billiard a glow-up. I purchased it with some minor wear and teeth marks but it has been faithful for a good while. would like to get it a sibling and pair them together as fresh if possible. Please let me know…
…I’ve only been smoking for a little over a year so when I saw that Peterson had a whole line in my own name, I’ve kinda been drawn to it. They’re just not that common and usually in a sad state when I see them.
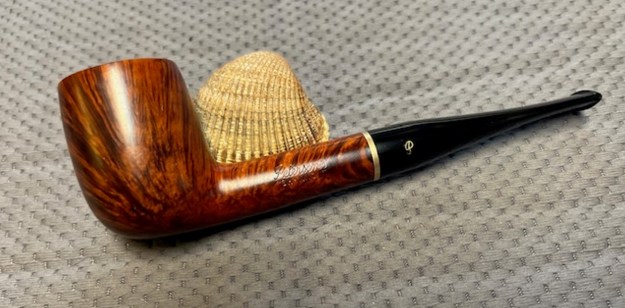
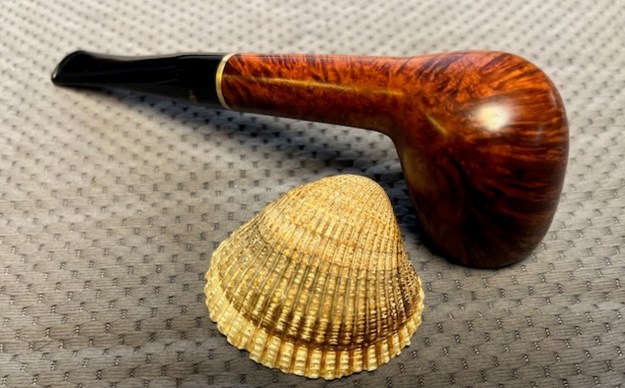
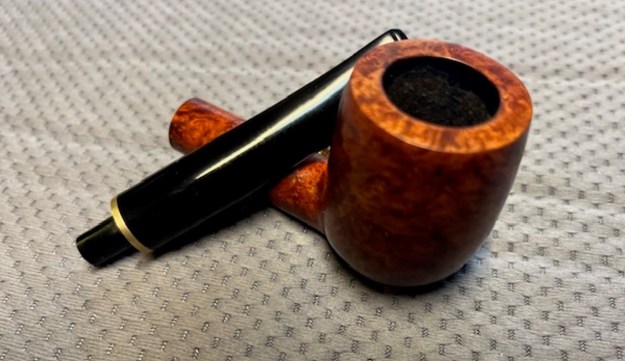
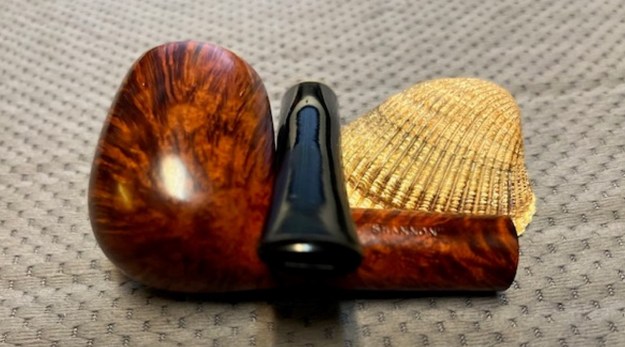
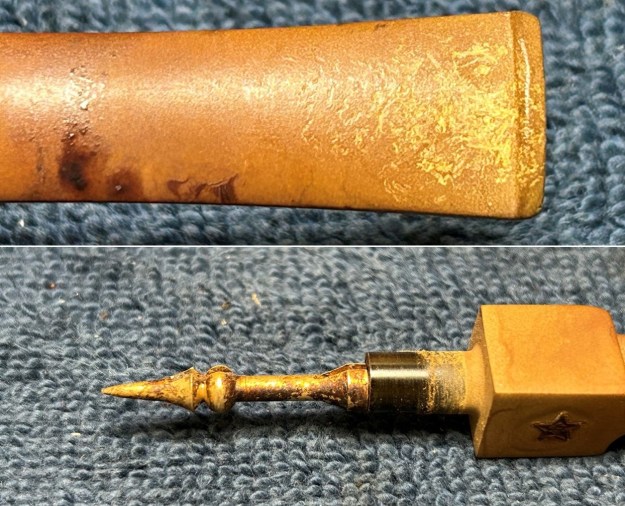
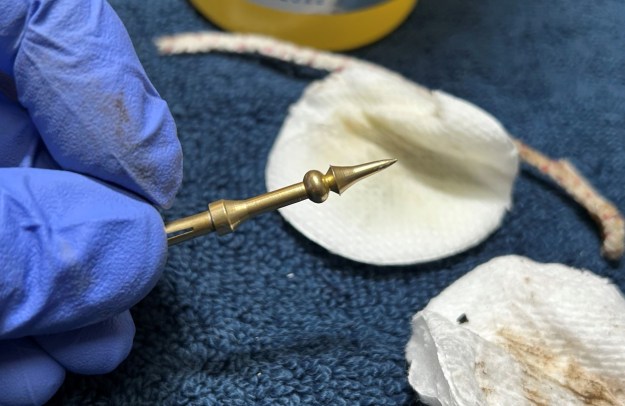
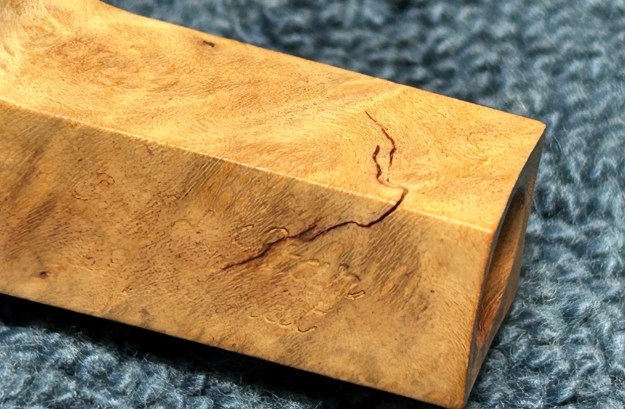
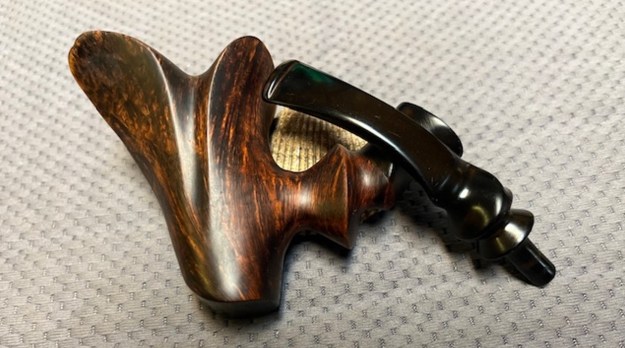
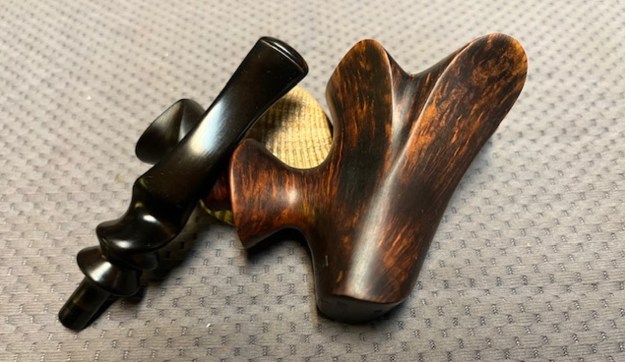
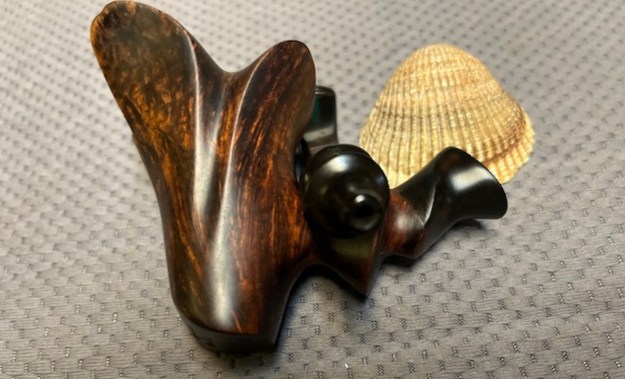
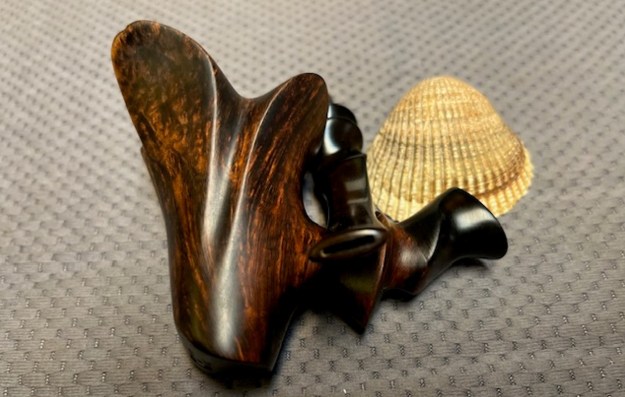
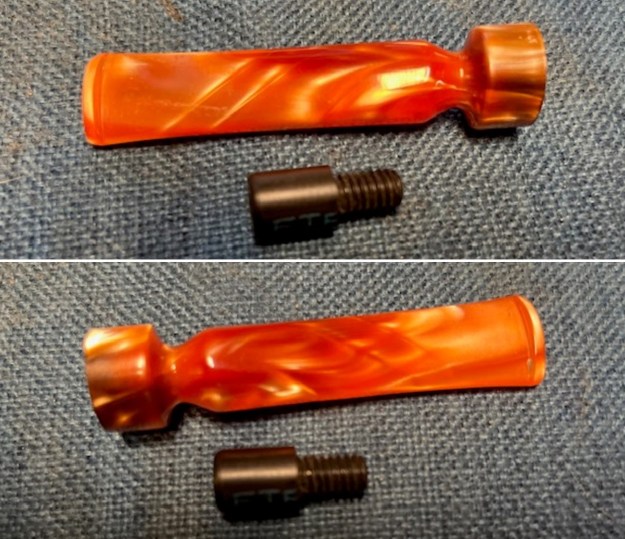
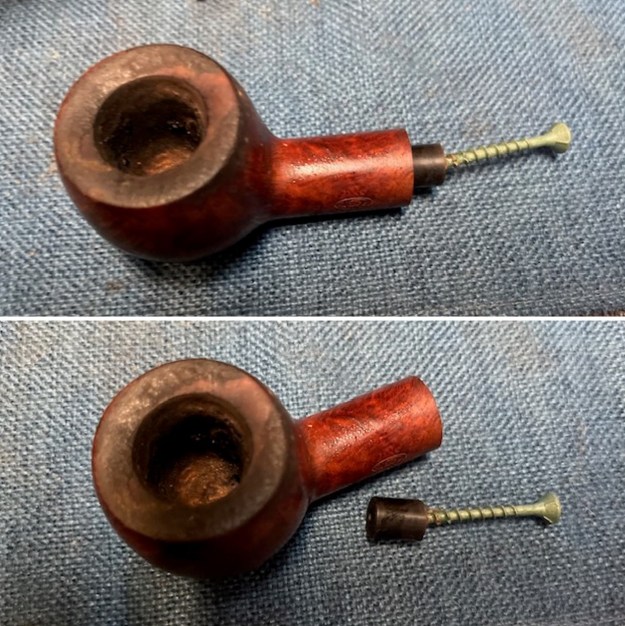
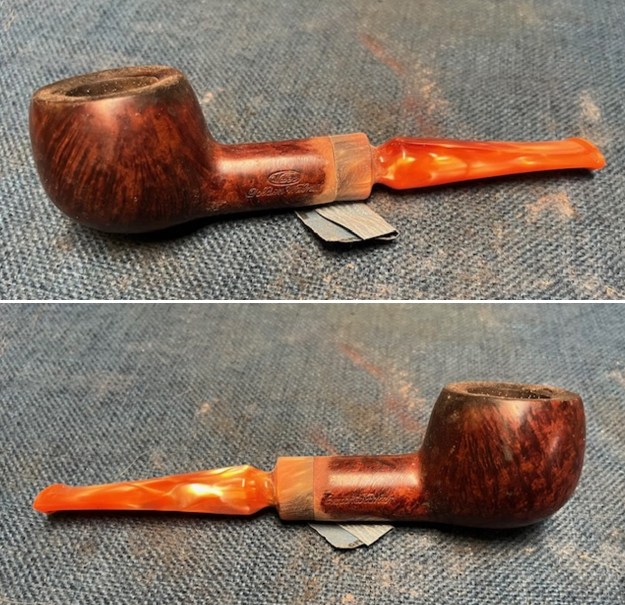
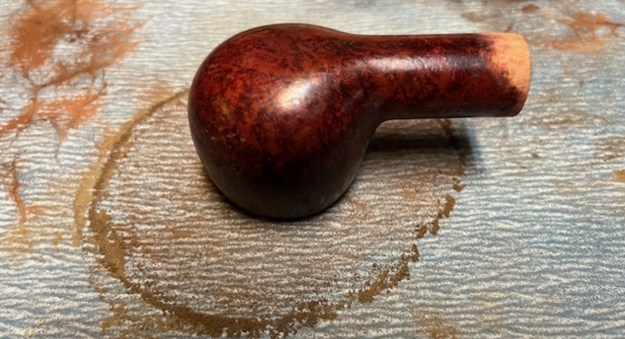
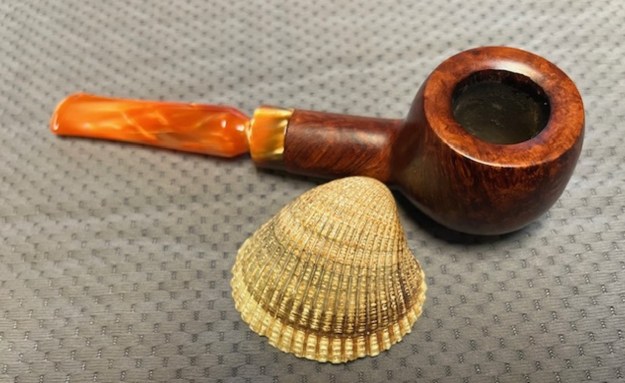
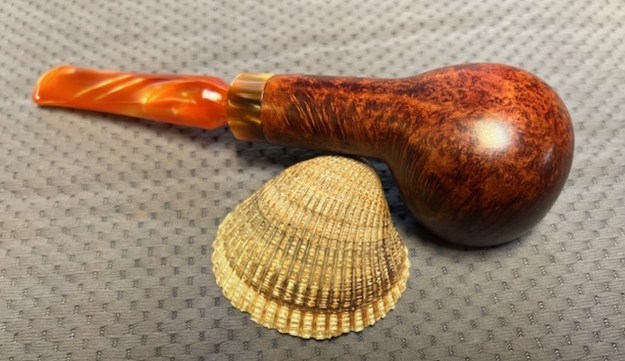
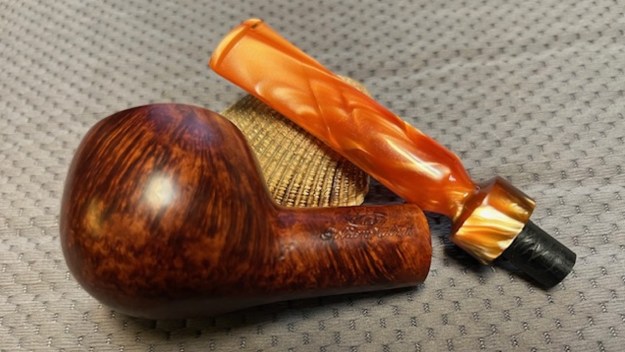
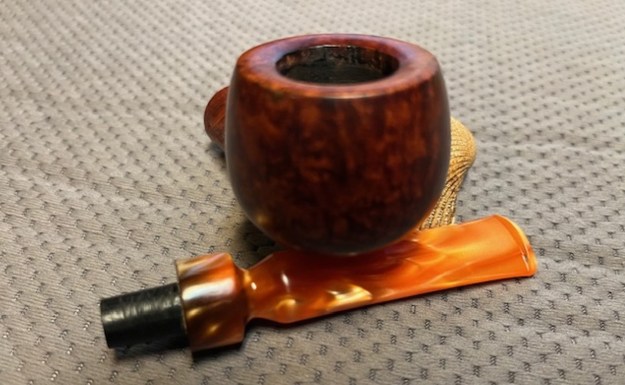
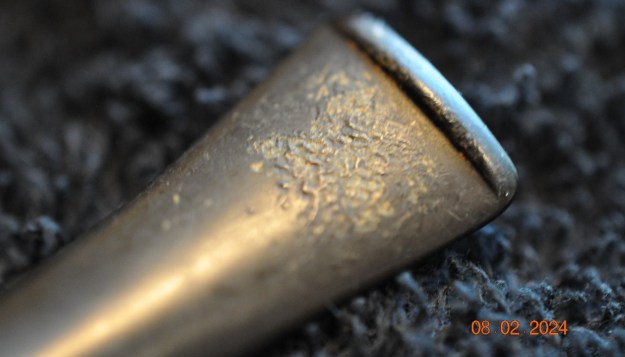
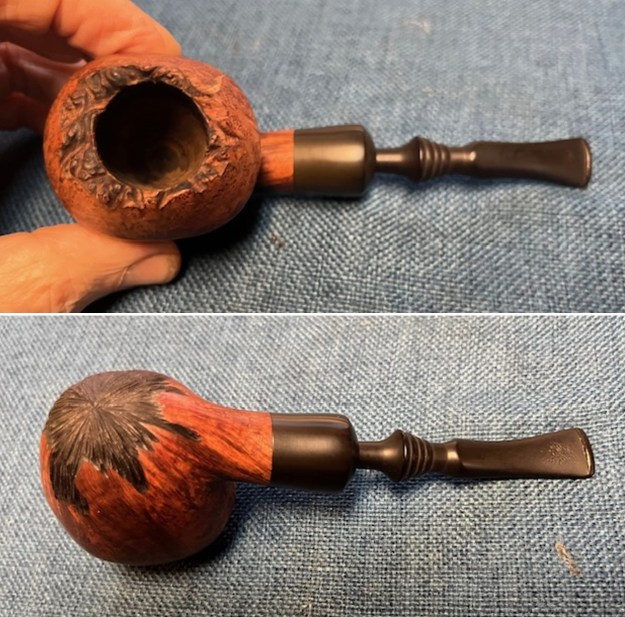
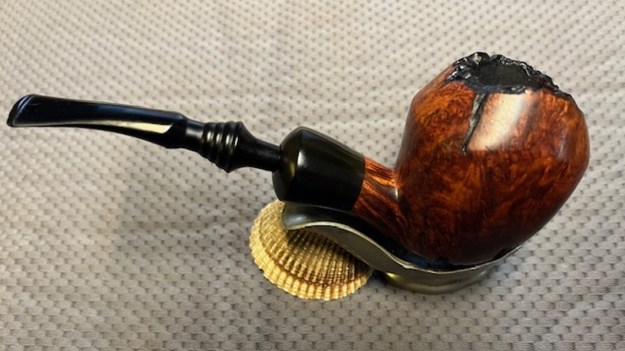
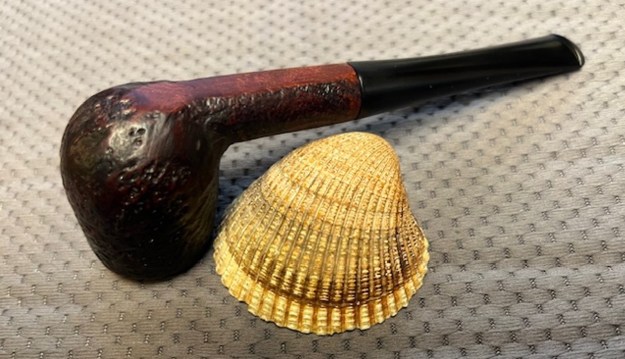
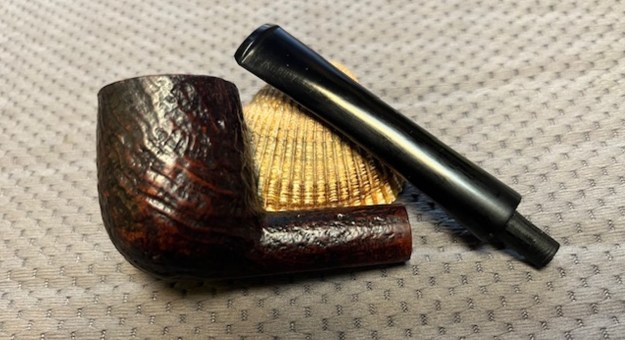
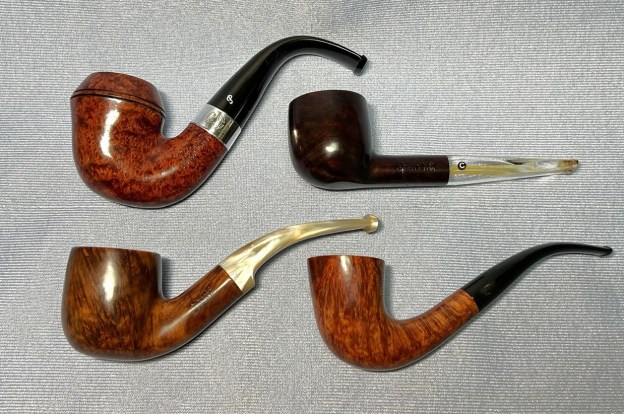
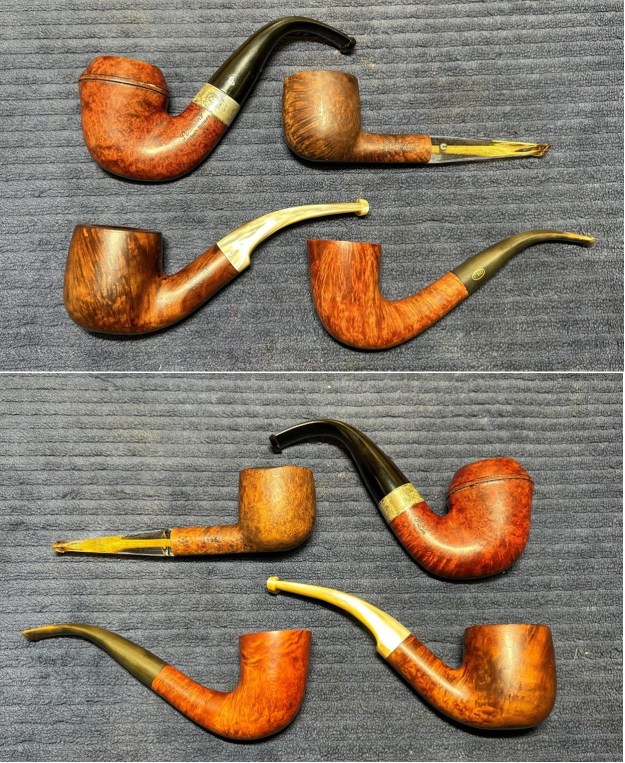
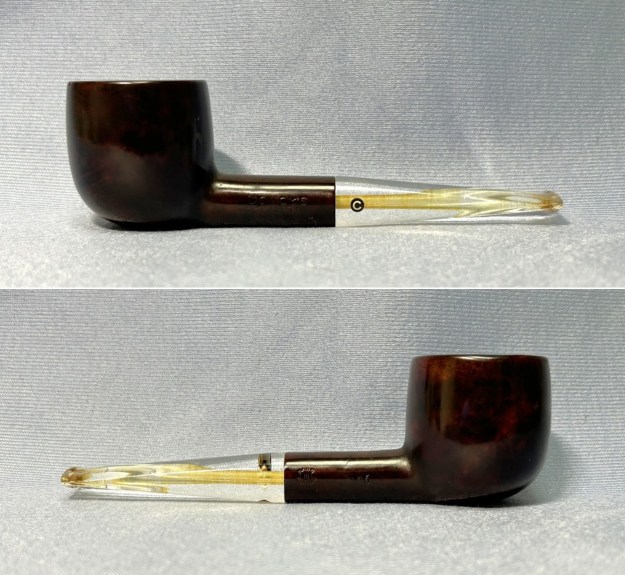
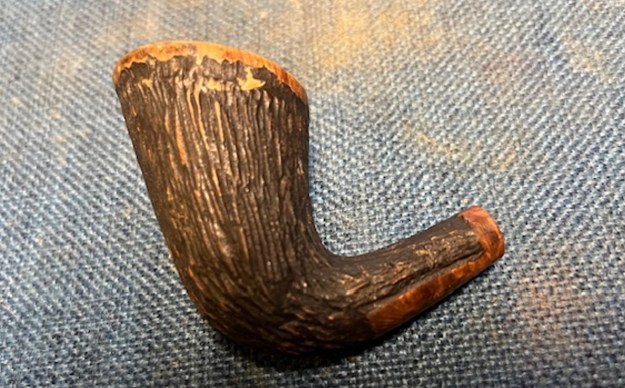
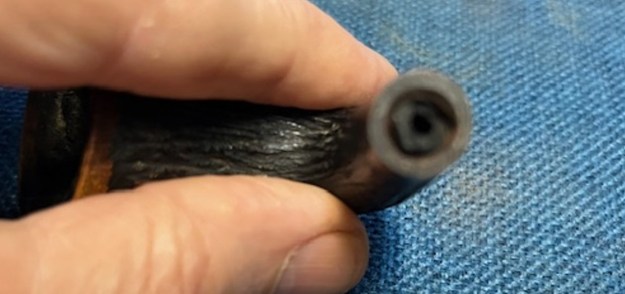
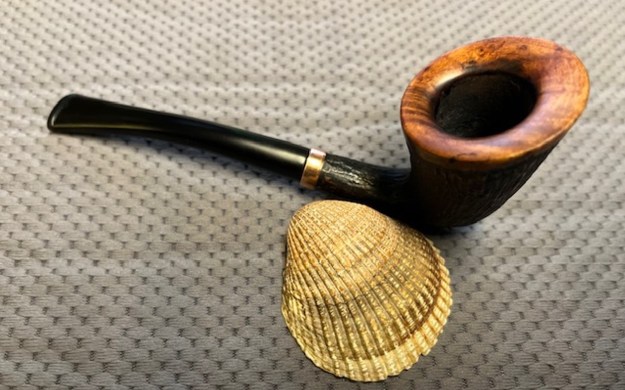
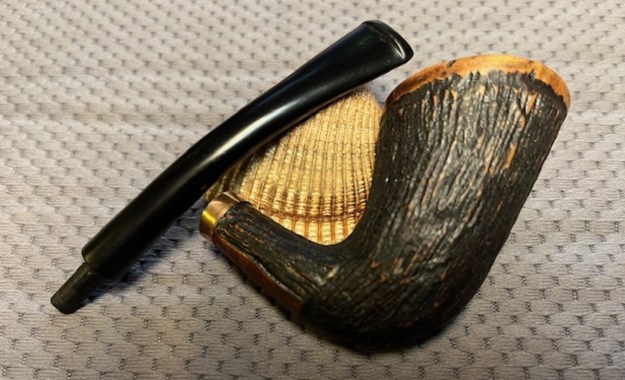
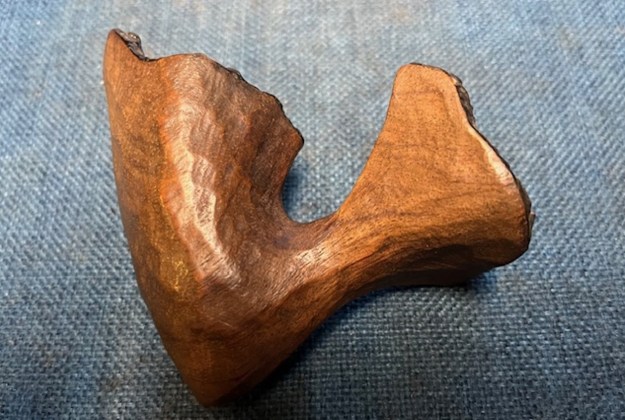
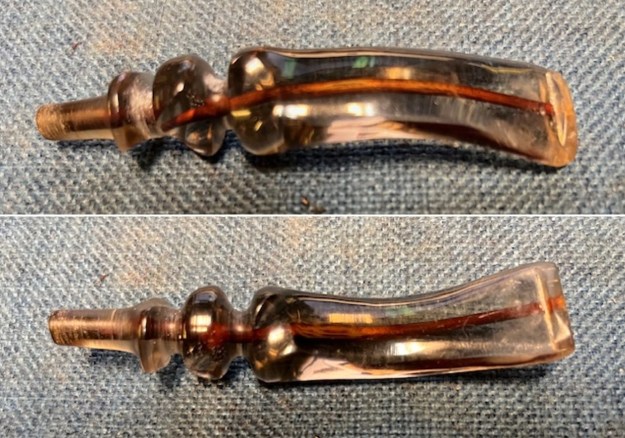
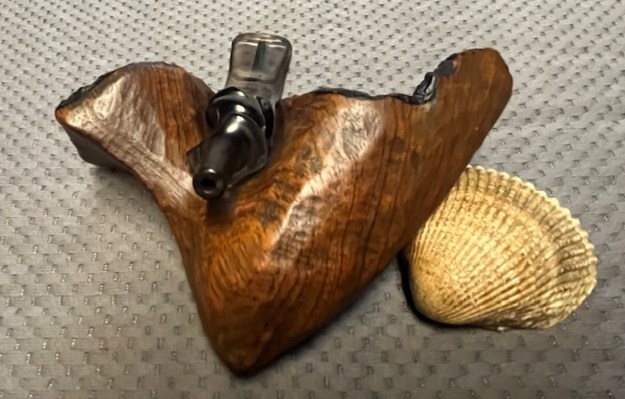
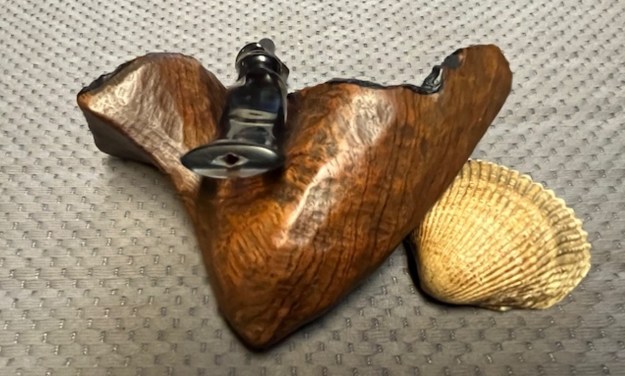
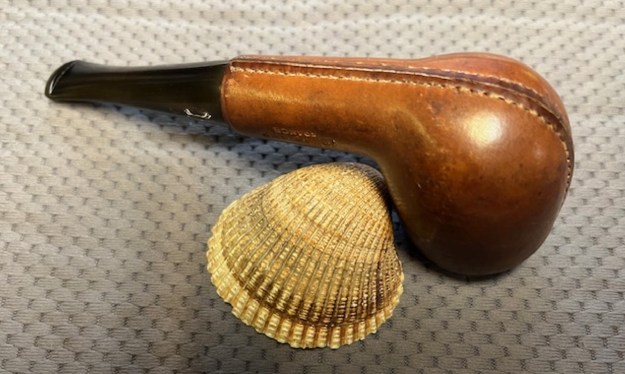
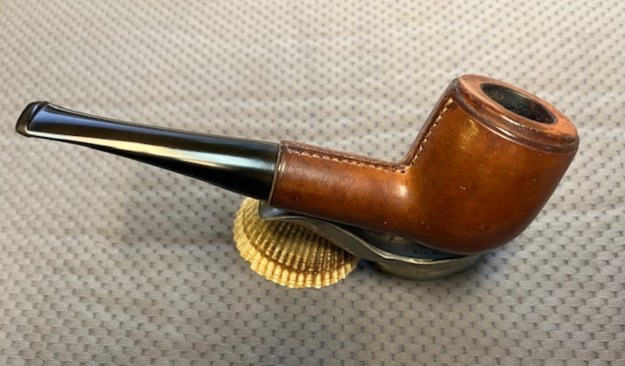
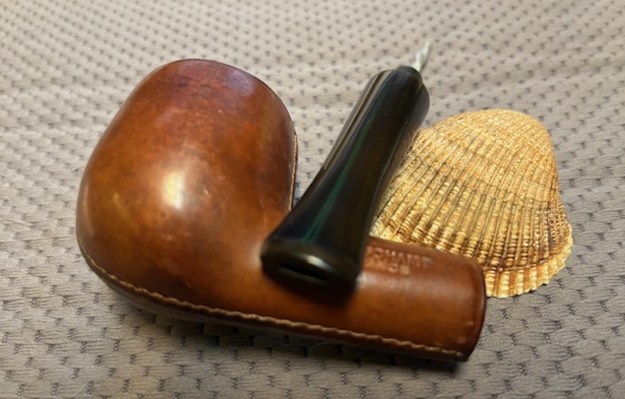
…Here’s the pipe in question. I covered the teeth marks with a pipe bit but as you can see, it’s still in pretty good shape overall.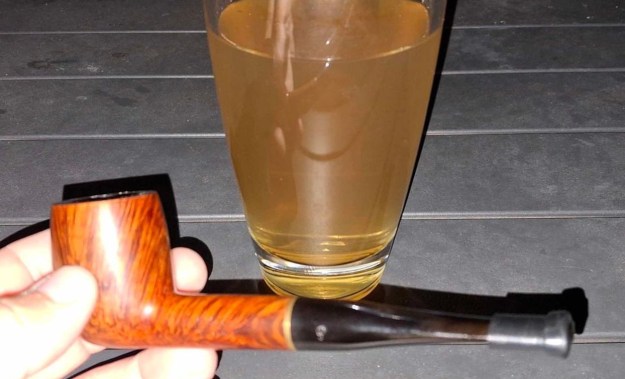 Probably THE best smoking pipe I own, especially for when I don’t feel like fully rubbing out flakes. It handles folded tobacco better than the rest of the ones I have. Here’s a couple more photos I just took of the minor issues…
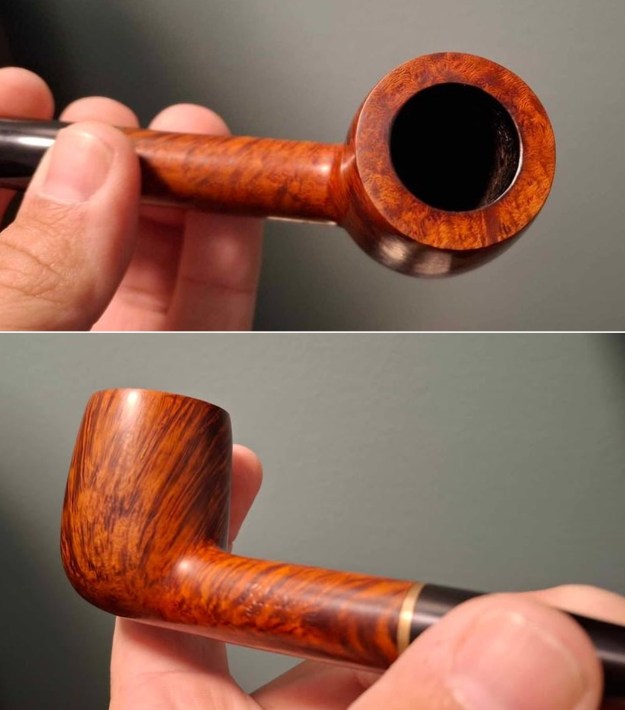
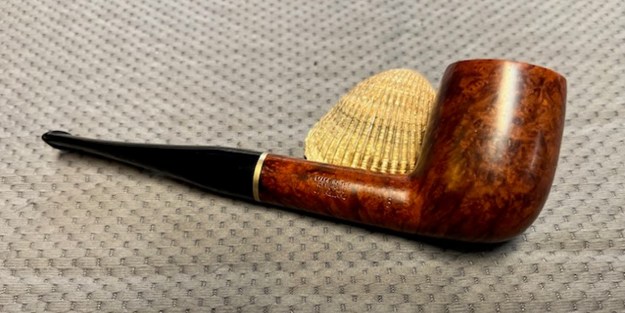
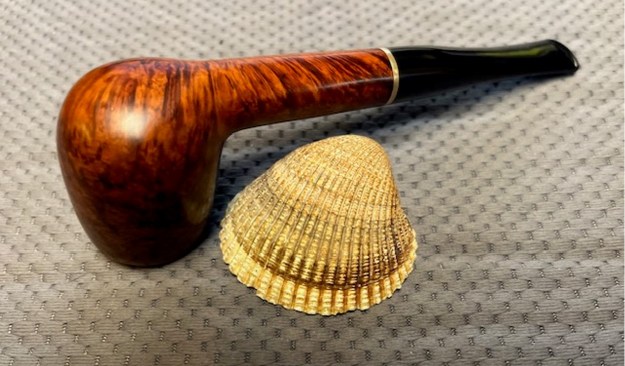
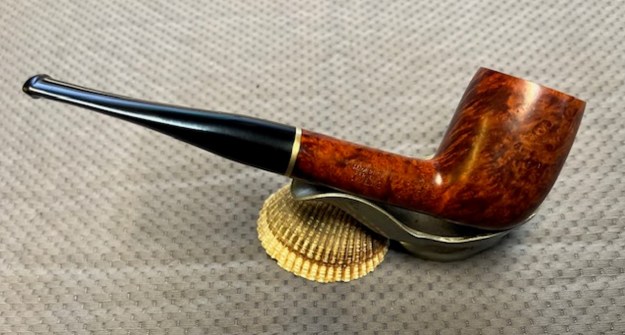
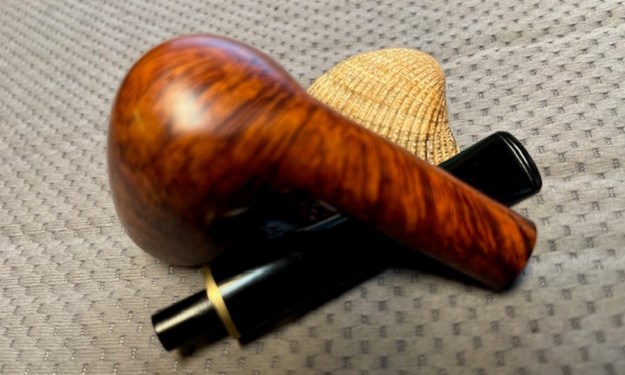
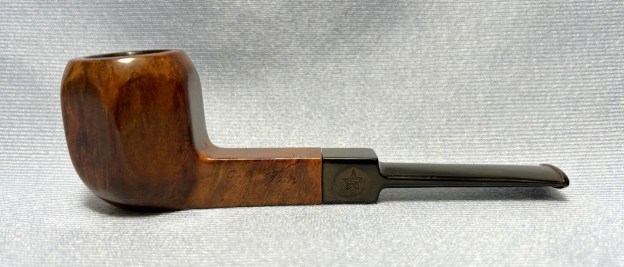
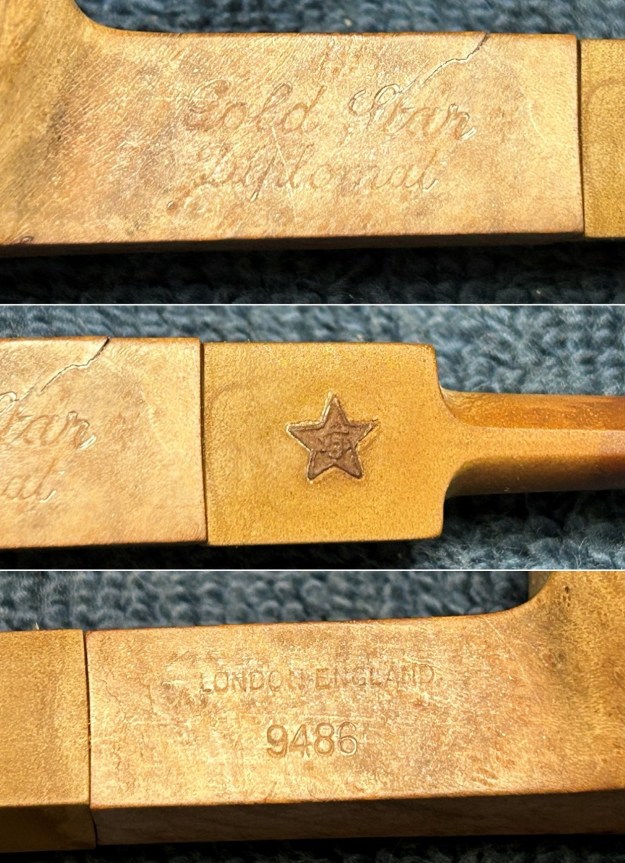
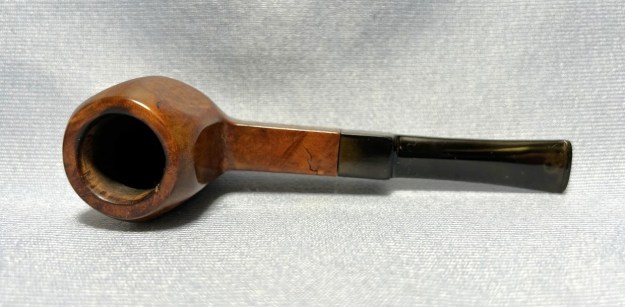
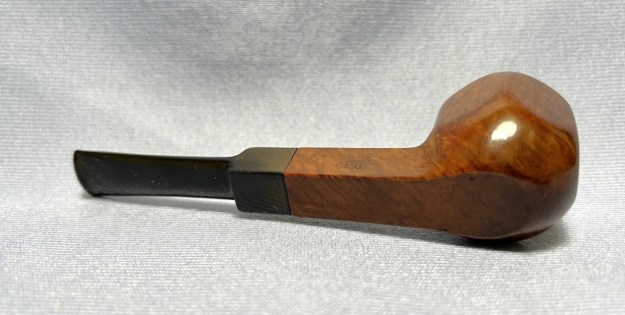
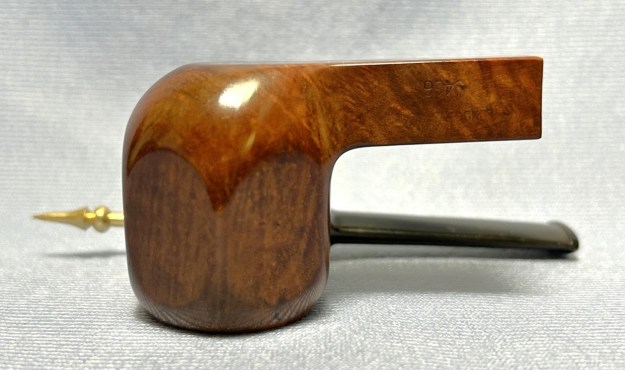
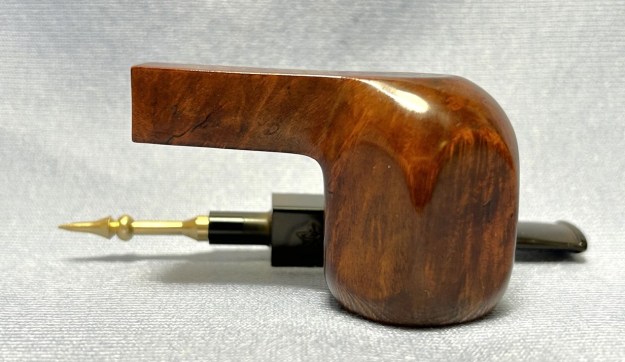
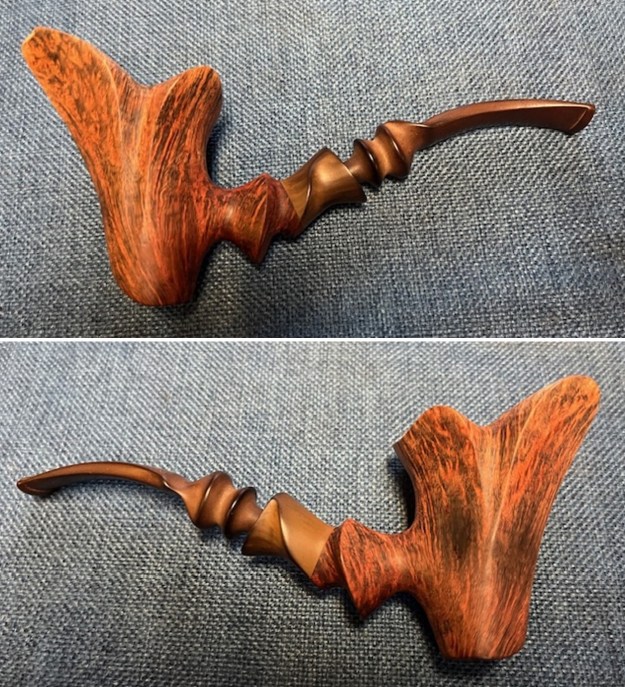
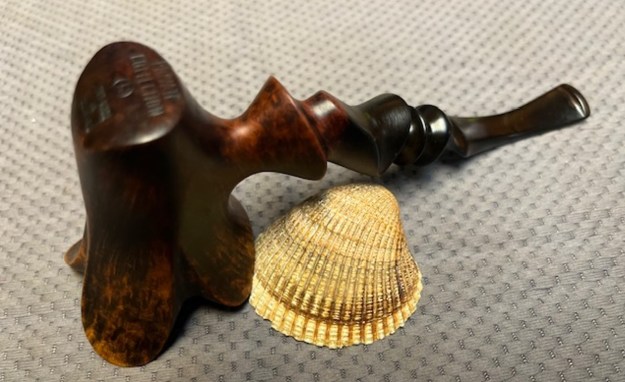
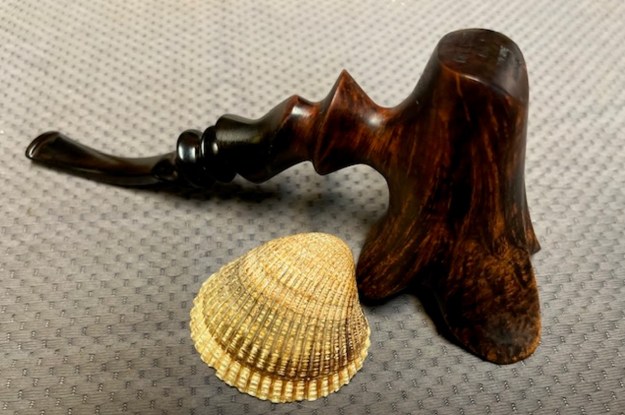
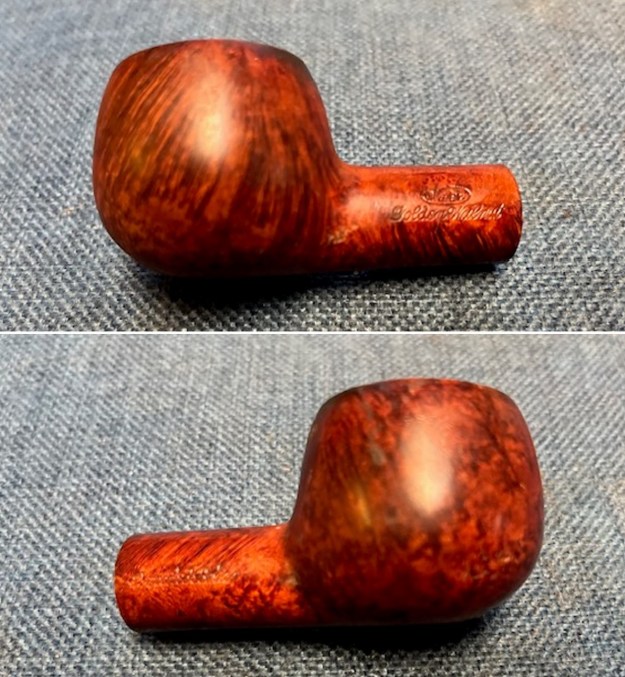
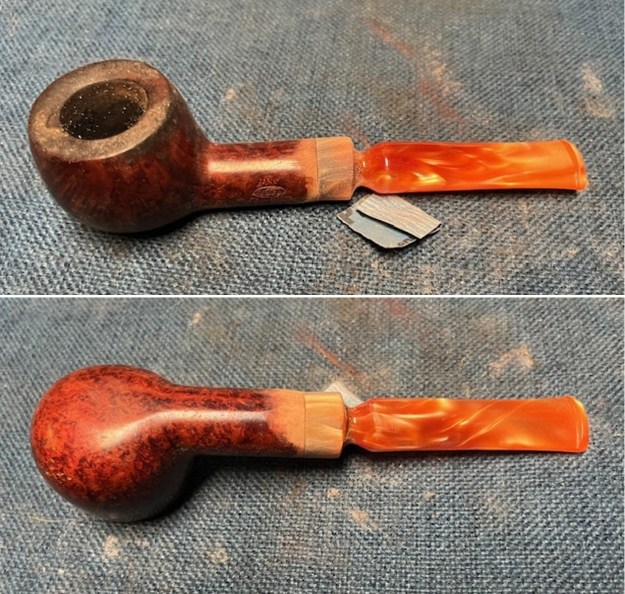
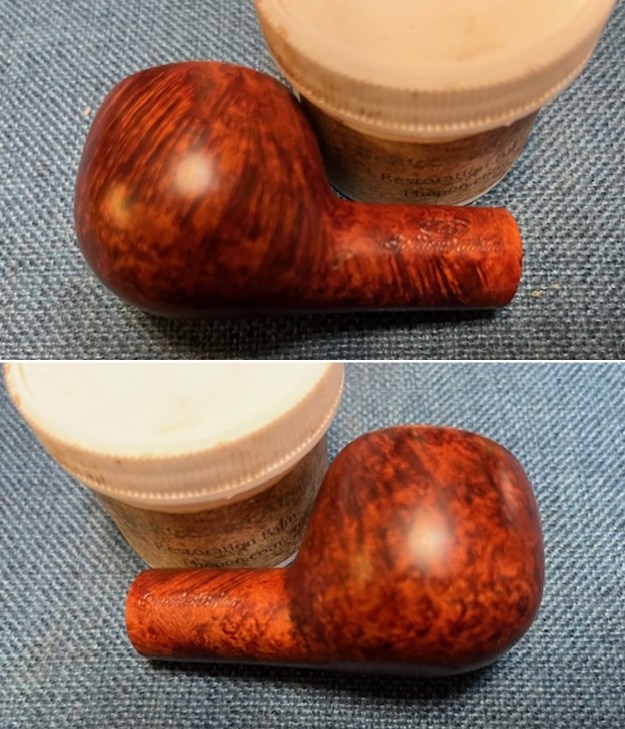
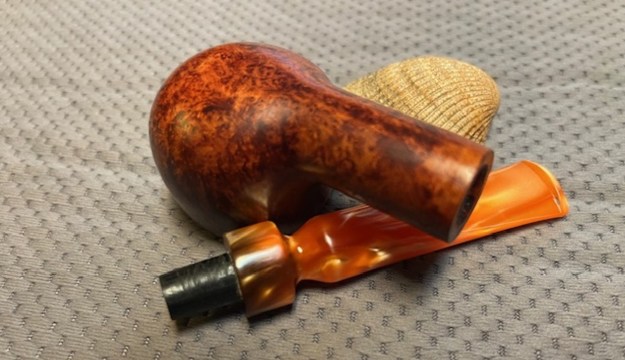
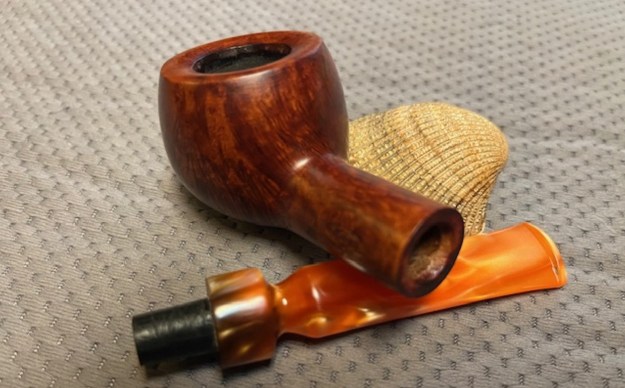
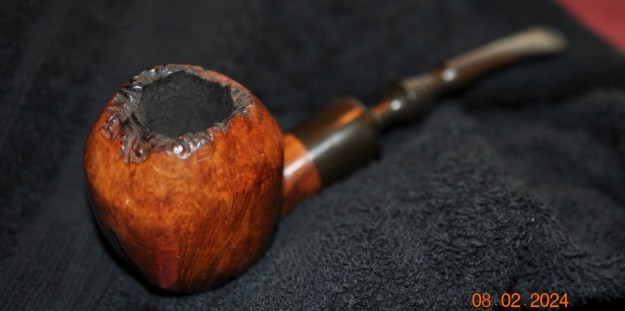
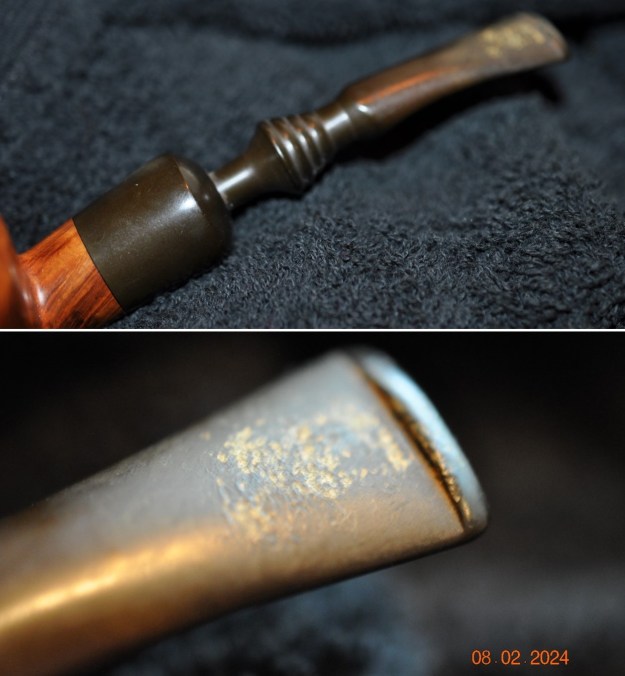
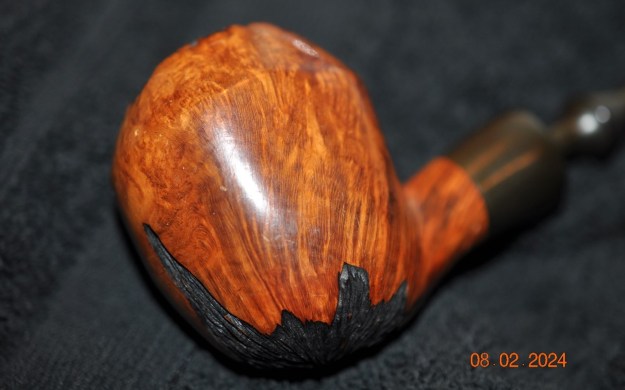
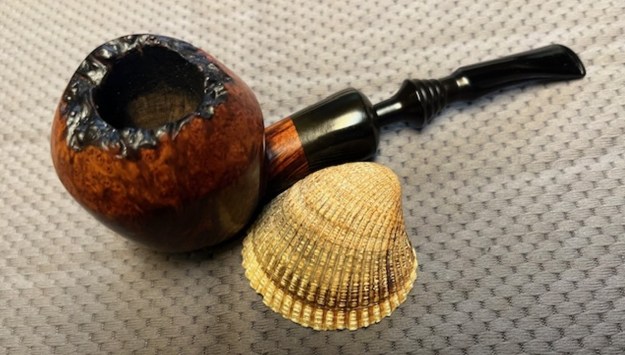
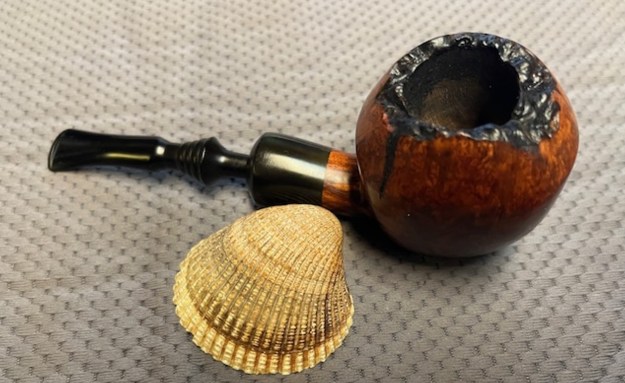
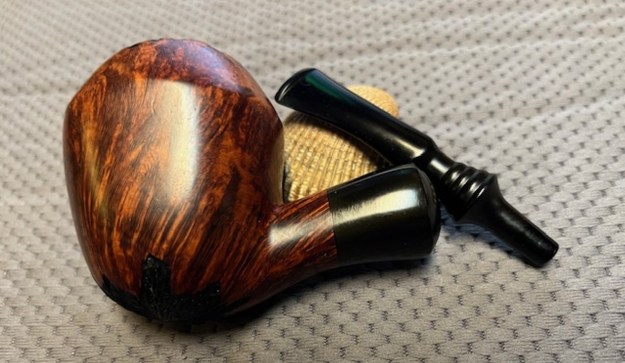
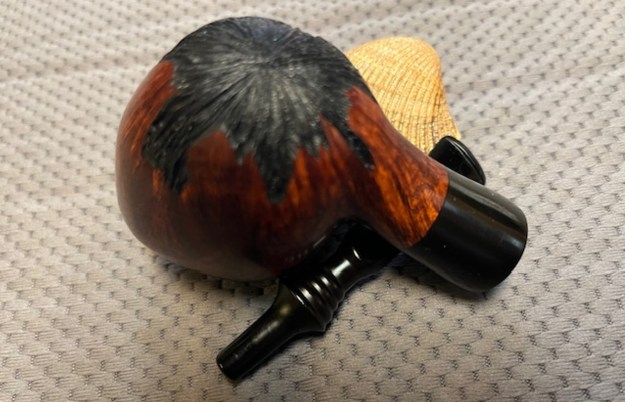
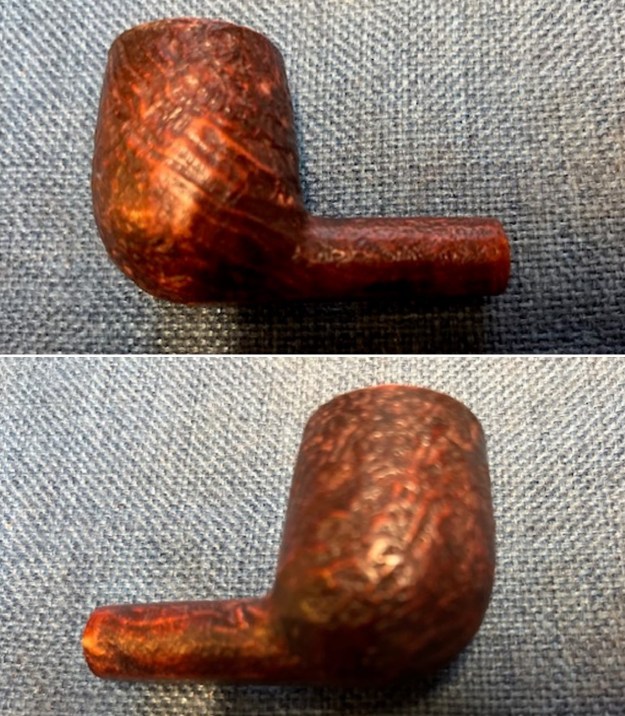
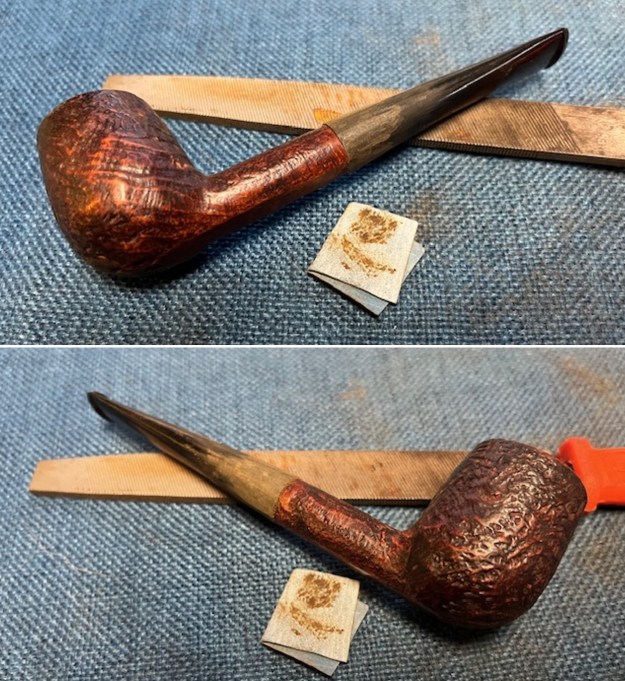
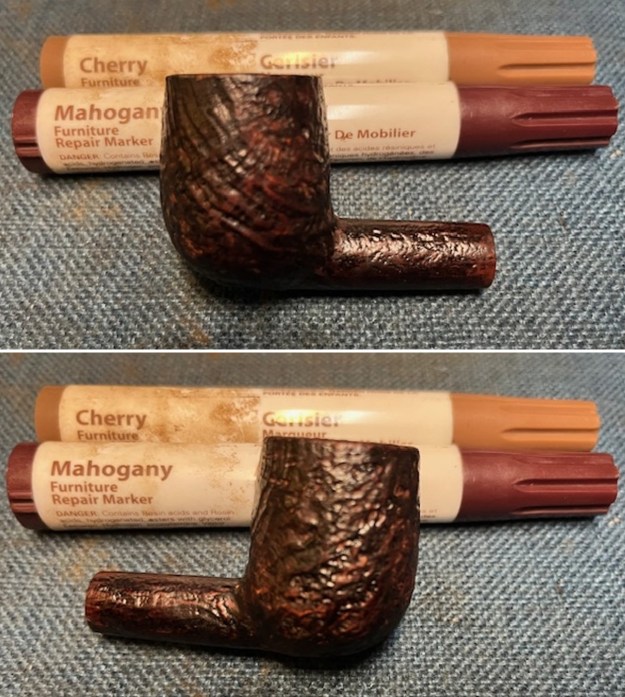
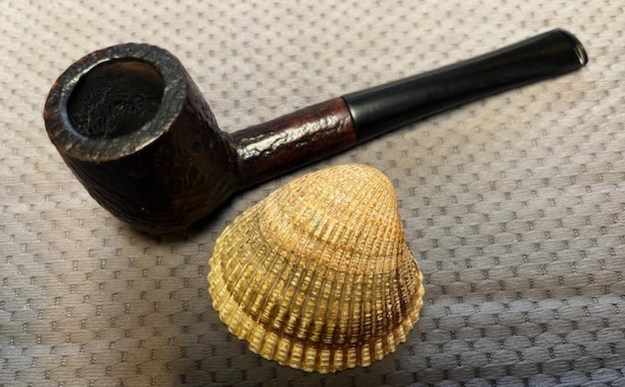
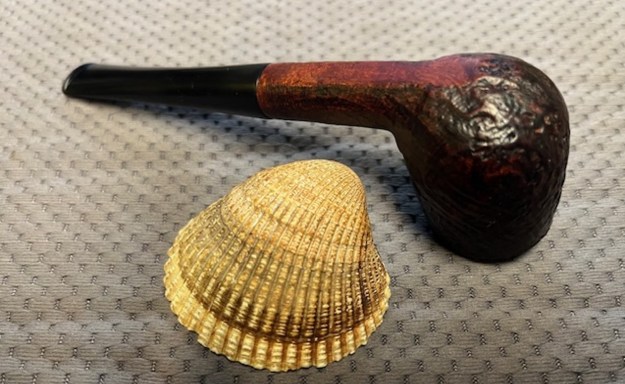
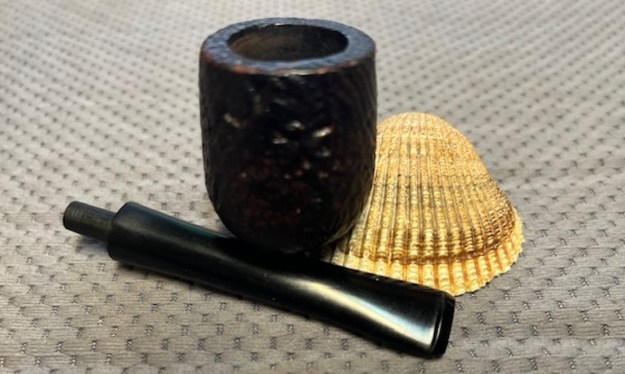
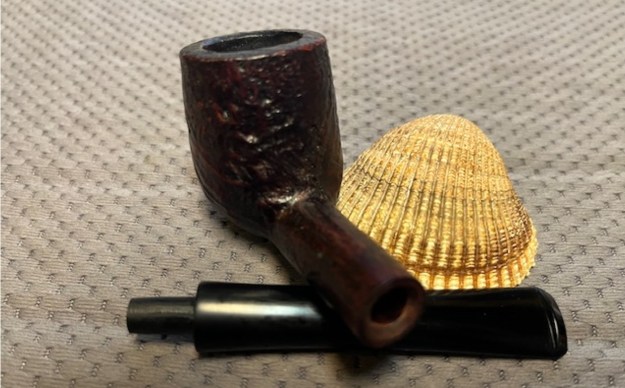
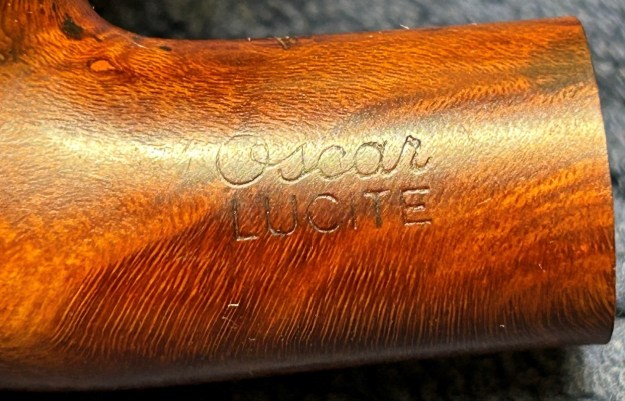
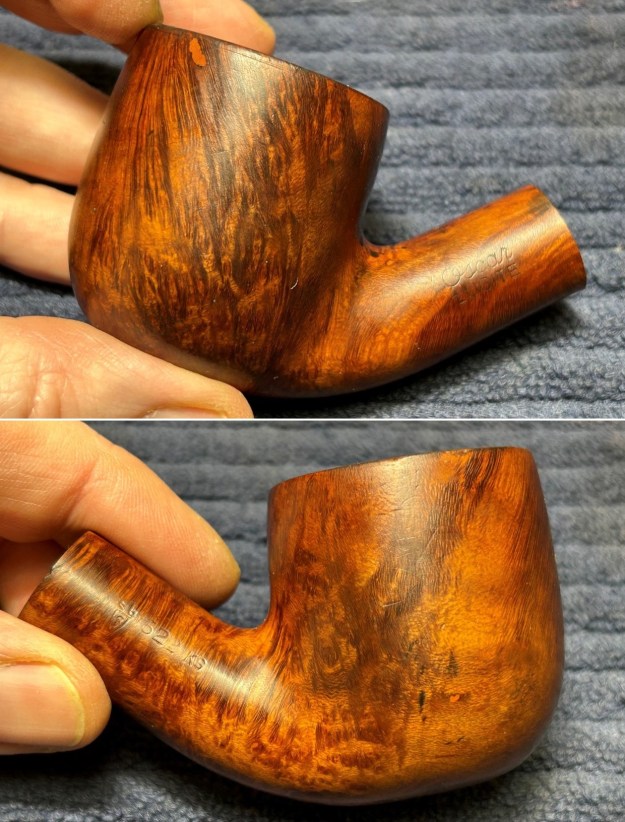
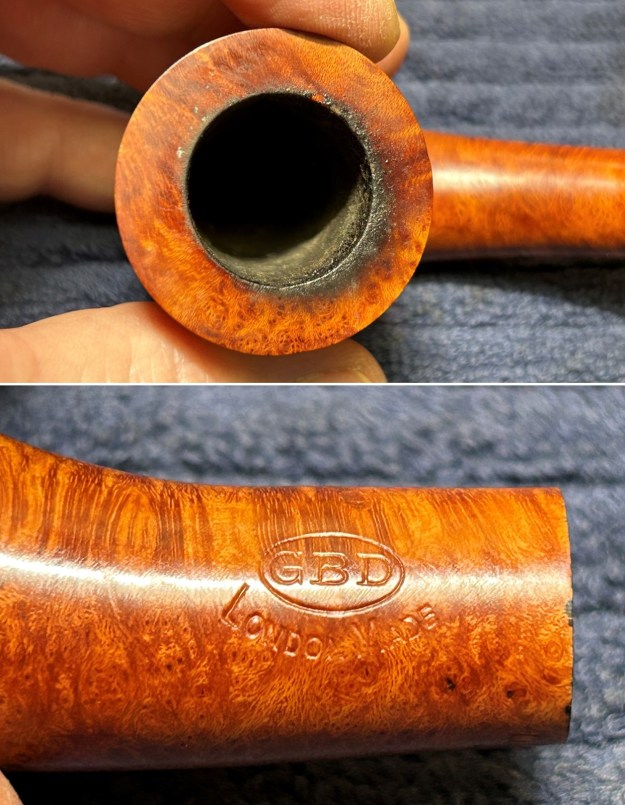
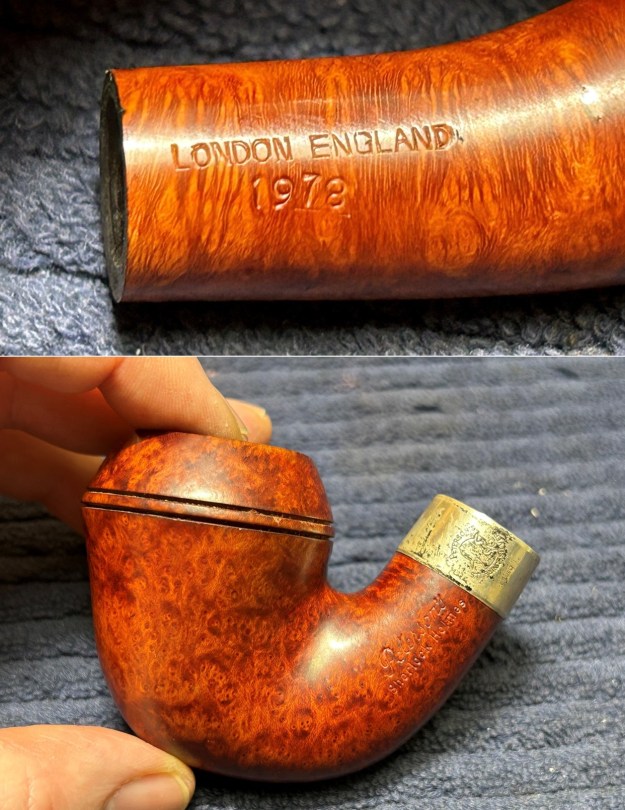
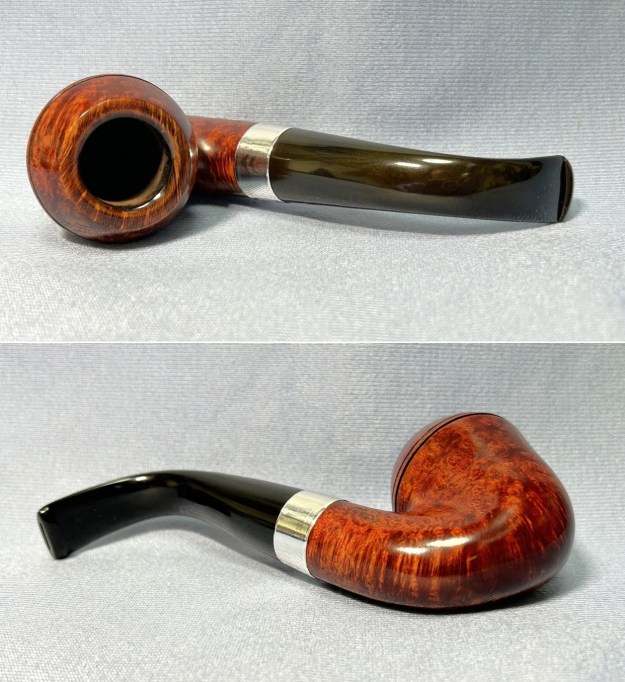
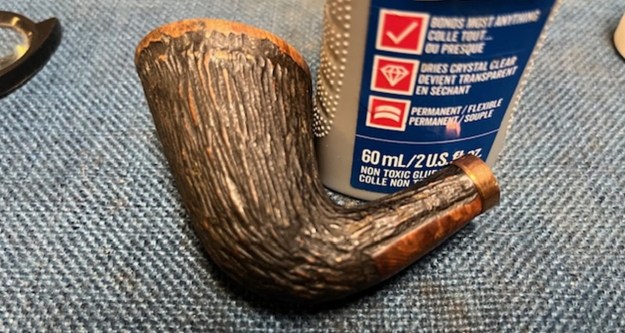
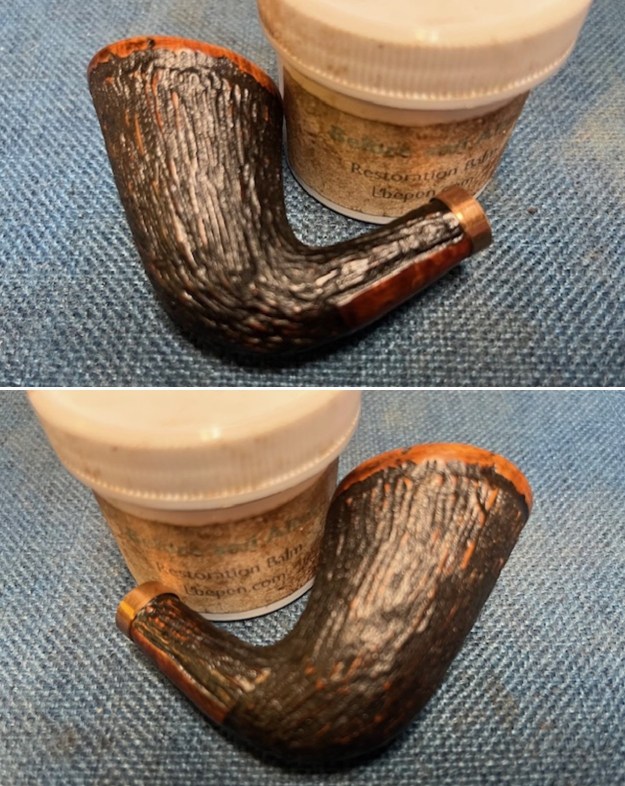
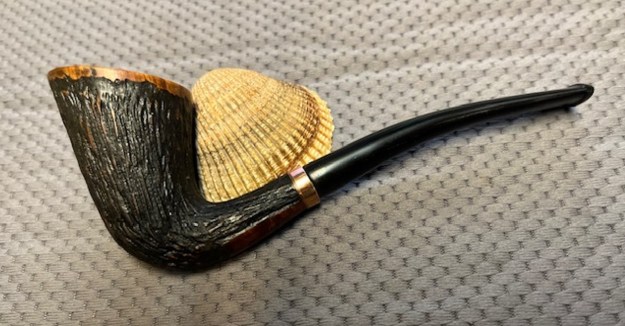
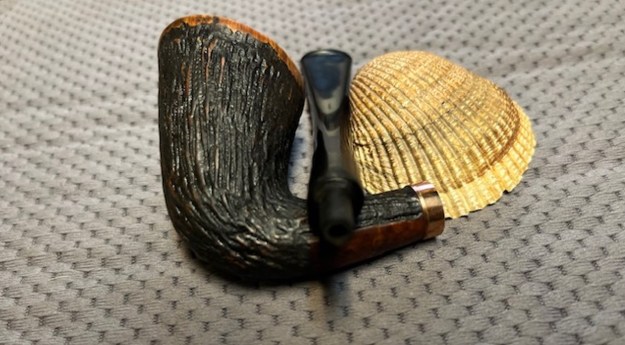
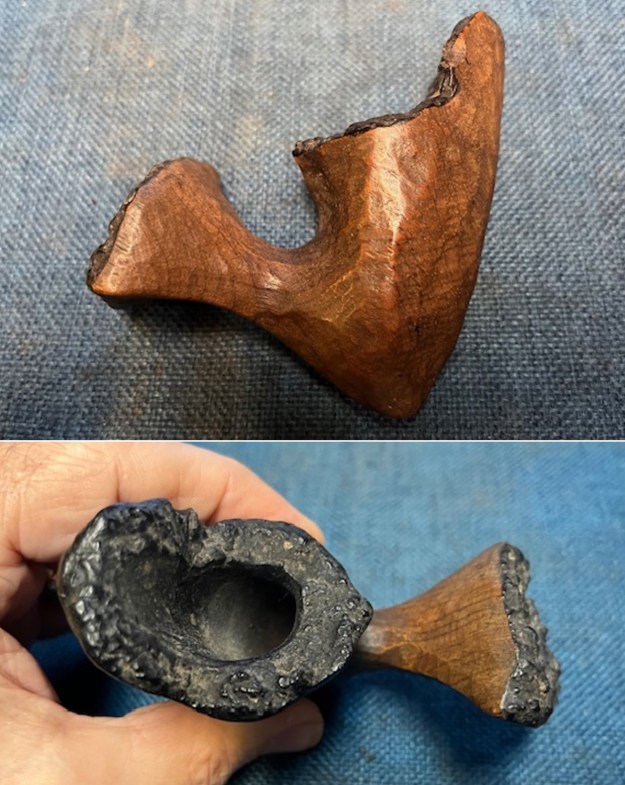
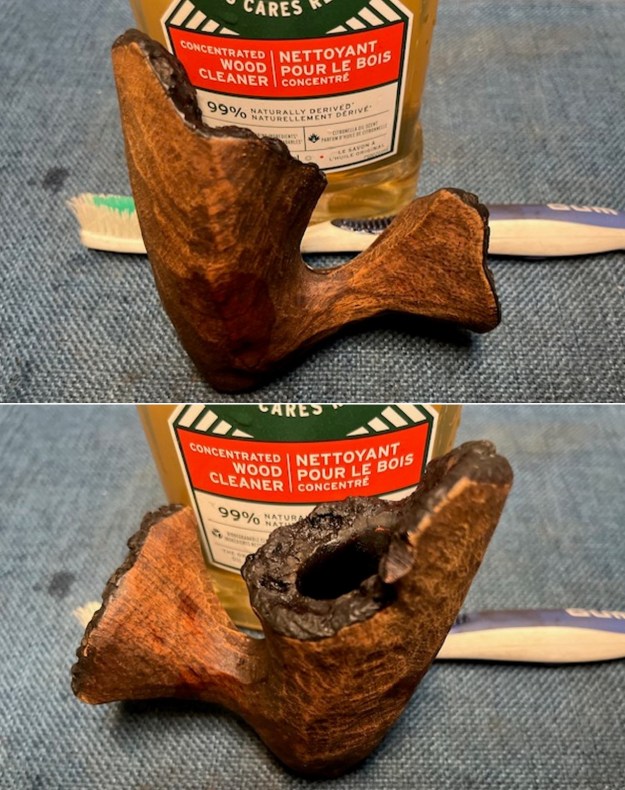
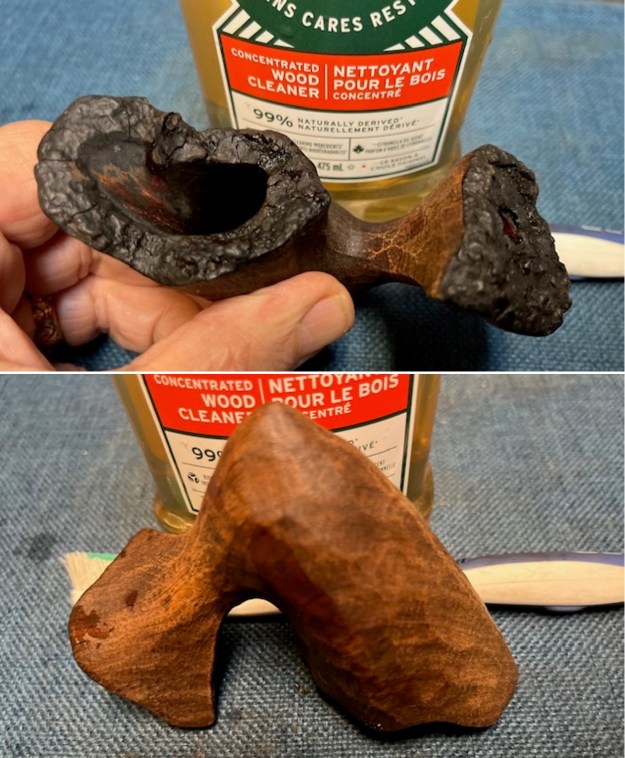
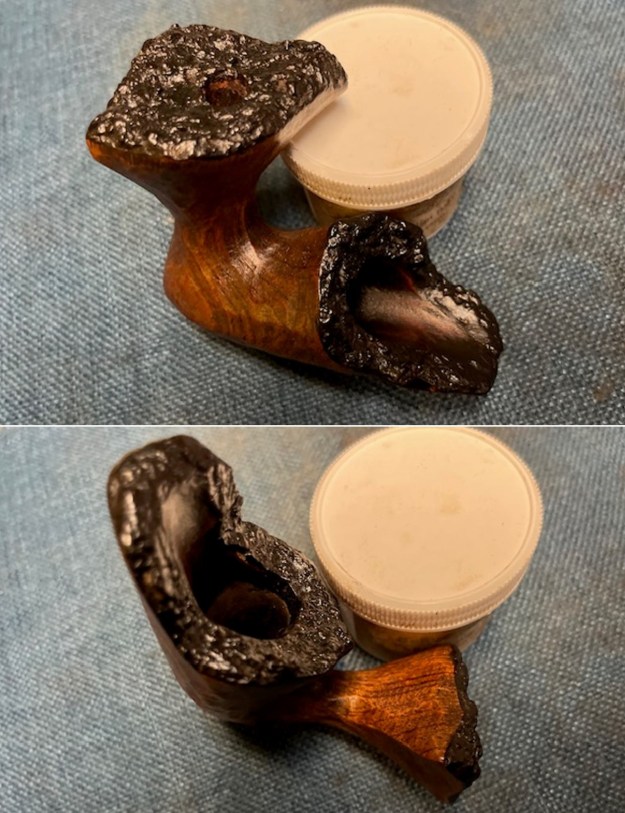
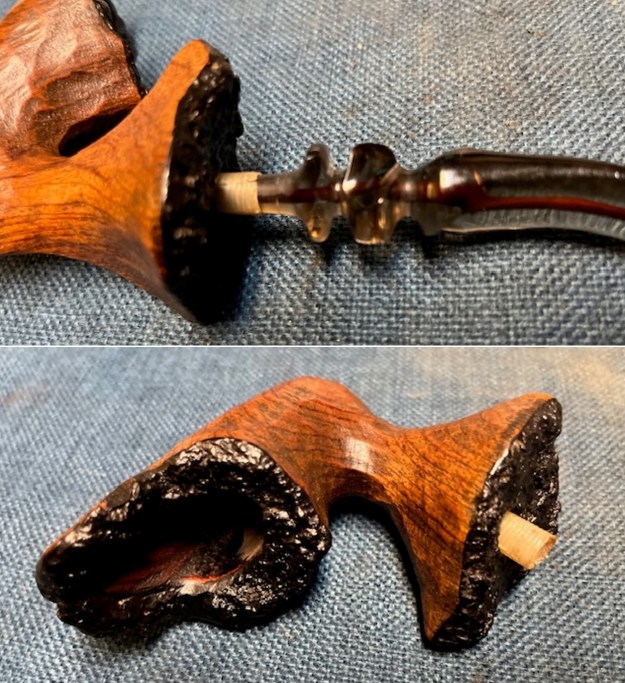
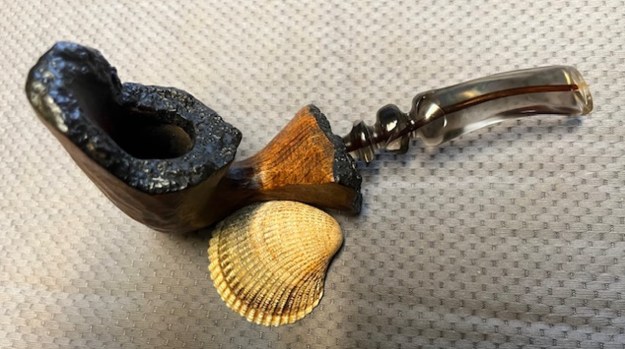
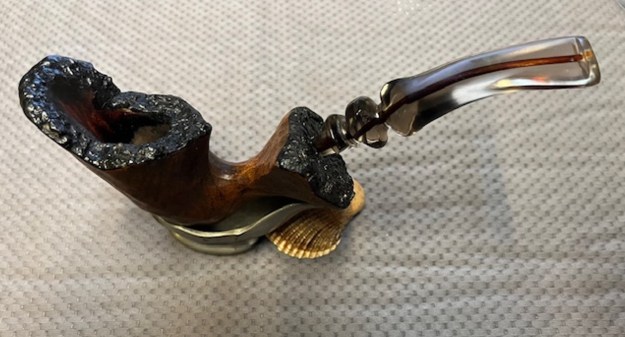
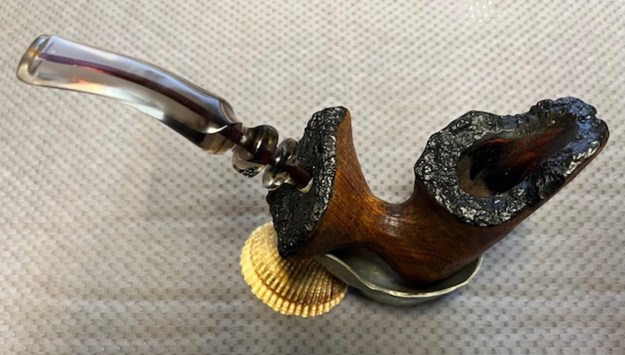
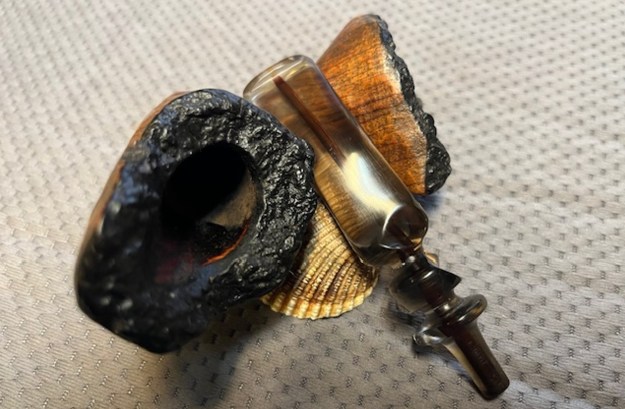
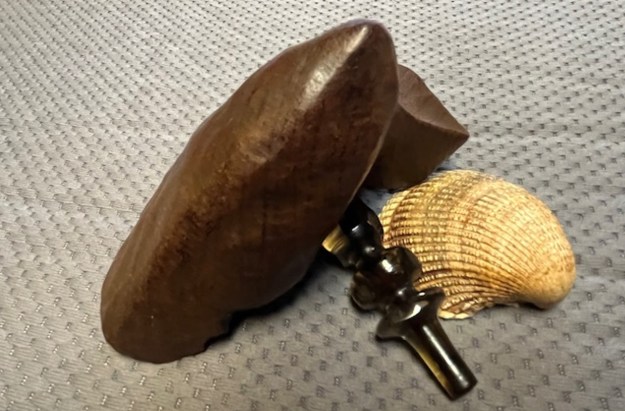
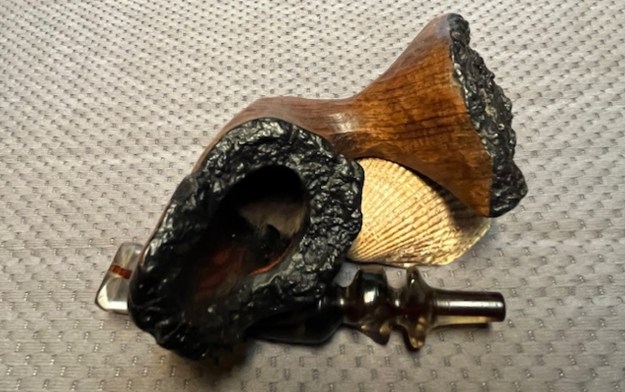
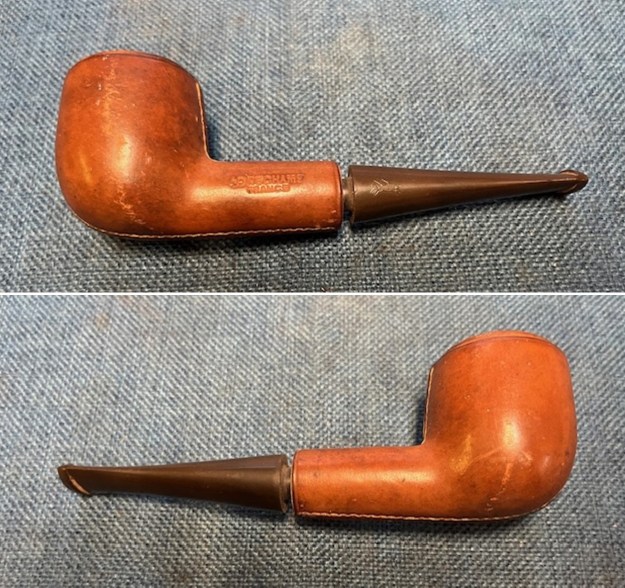
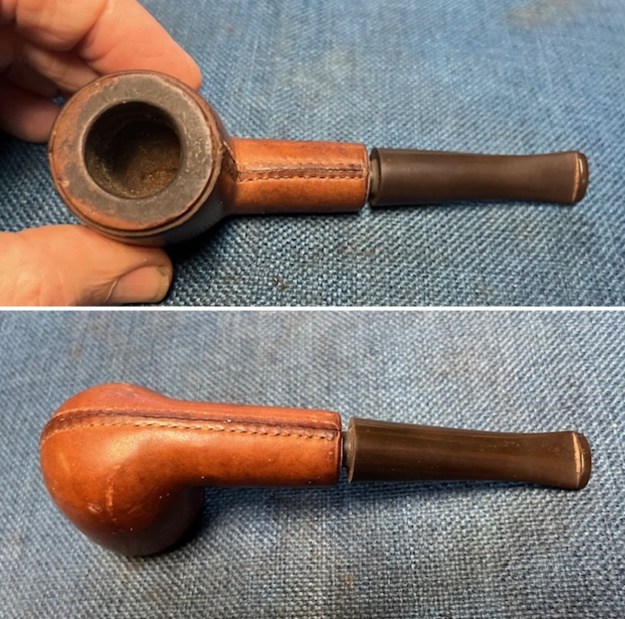
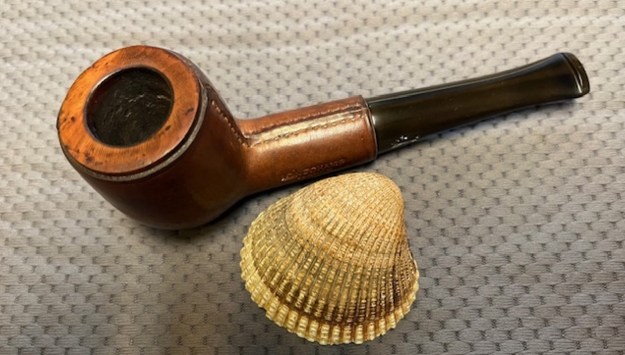
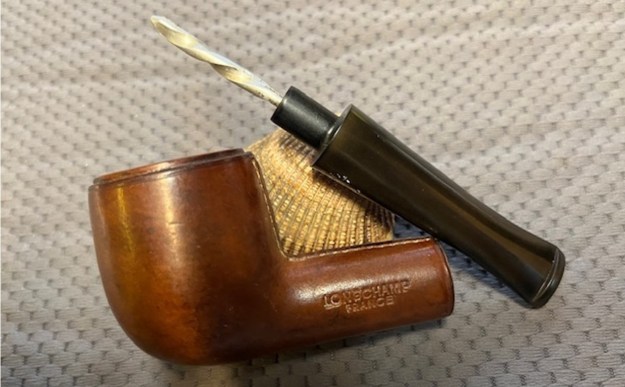
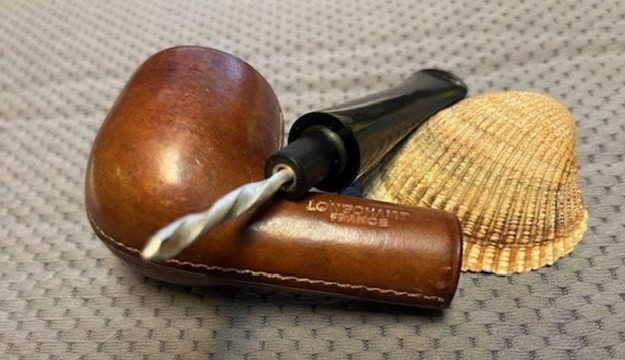
 We chatted back and forth a bit about his pipe and I agreed to work on it for him. He boxed it up and sent it to me to work on. It arrived this week thanks to UPS and I opened the box and took the pipe out. I examined it and took photos of the pipe. It was well smoked and well cared for. The bowl has a light cake on the top 2/3rds and the bottom 1/3 is raw briar – not darkened by smoking. The rim top had some darkening in spots and the inner edge also had some darkening. The finish was shiny like it had a light varnish coat. There were some oils and grime in the finish. The stem was in good condition other than the tooth marks and chatter on both sides ahead of the button. The brass spacer on the stem was lightly oxidized. The Peterson’s P logo stamped on the left side of the stem was faint but had remnants of gold in it. The pipe was stamped on the left side of the shank and read Peterson’s [over] Shannon. On the right side it bore the number 6 next to the bowl/shank junction which is the shape number for a Peterson’s Billiard. That is followed by Made in The [over] Republic [over] of Ireland in three lines. This tells me that the pipe was a Republic Era pipe which dates it between 1948 and present date. I took photos of the pipe before I started my work on it. It really is a beautiful piece of briar.
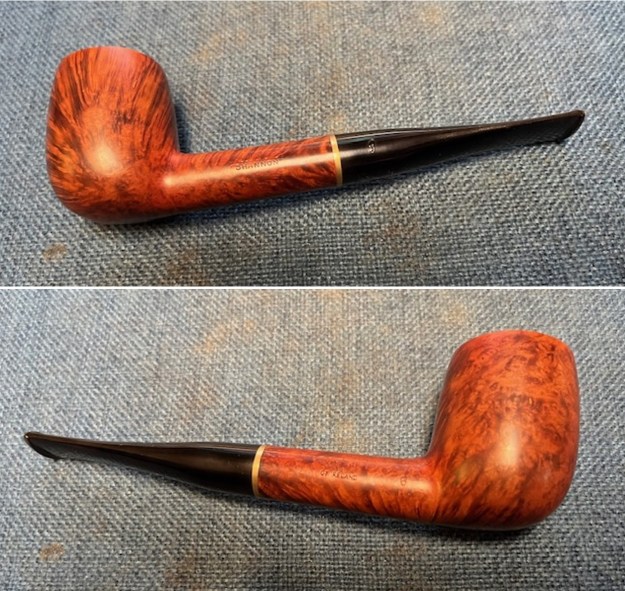
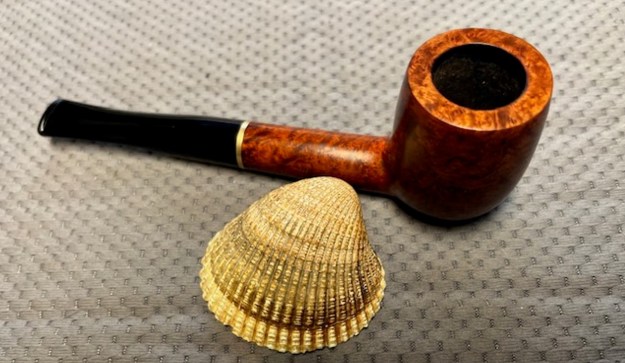
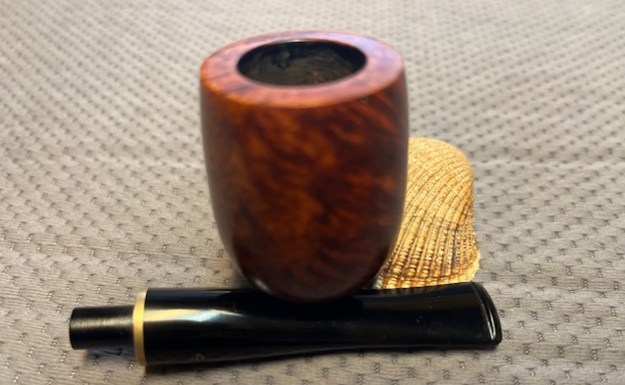
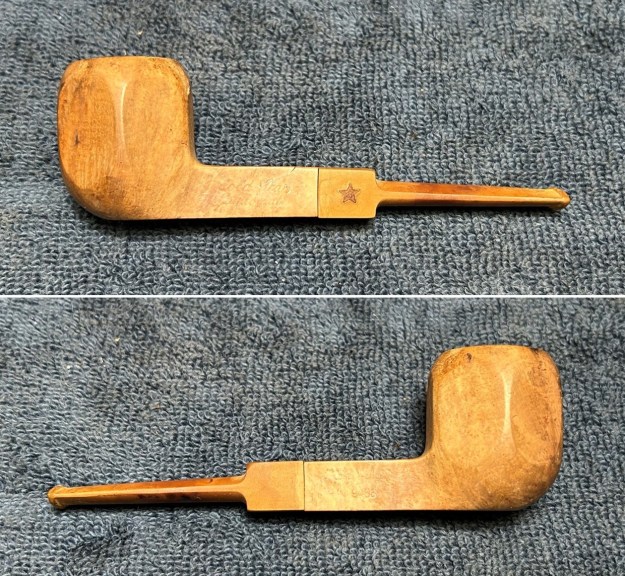
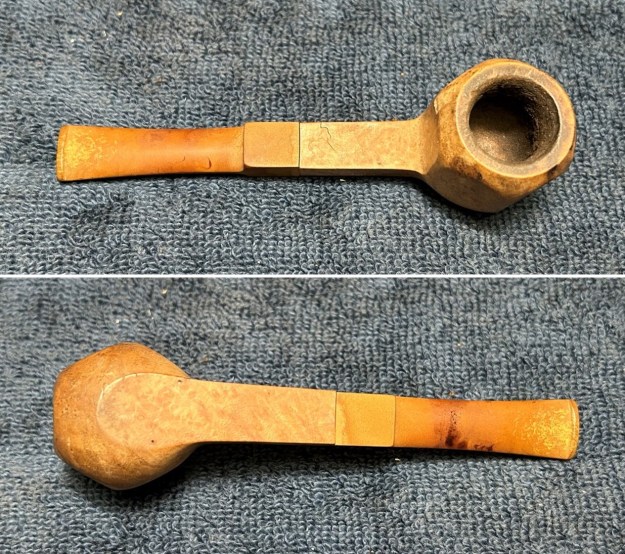
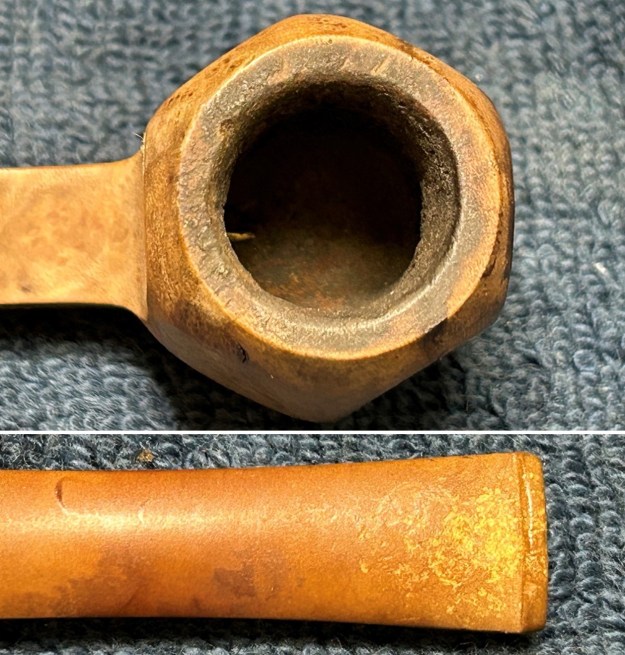
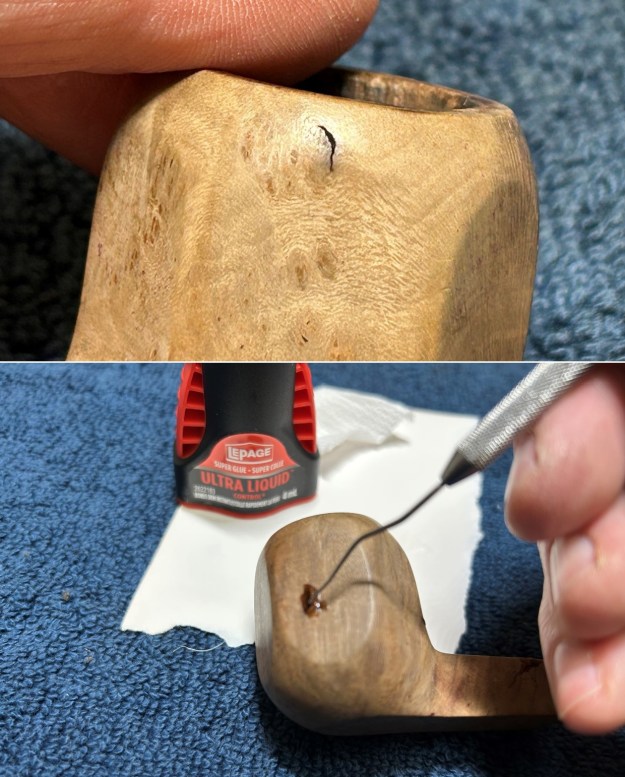
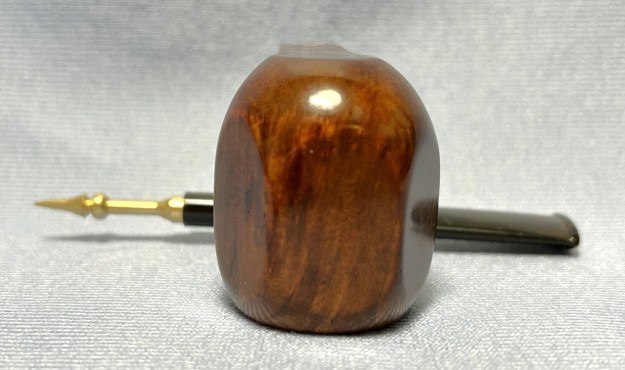
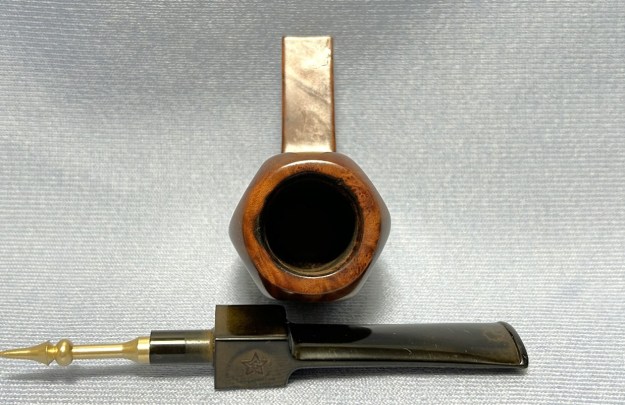
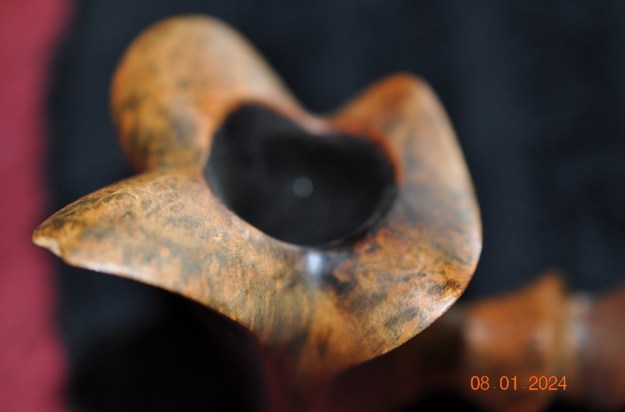
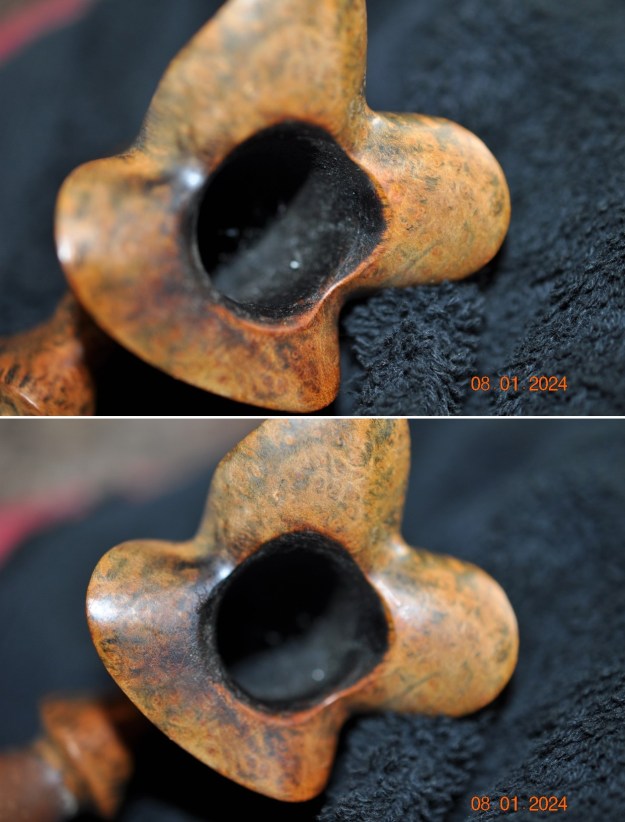
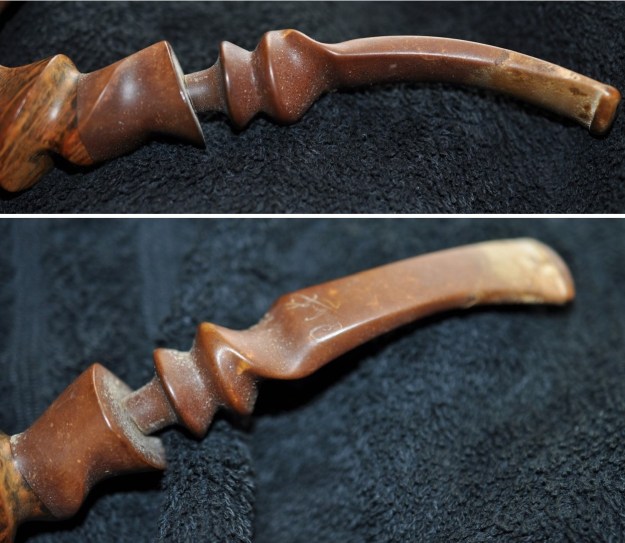
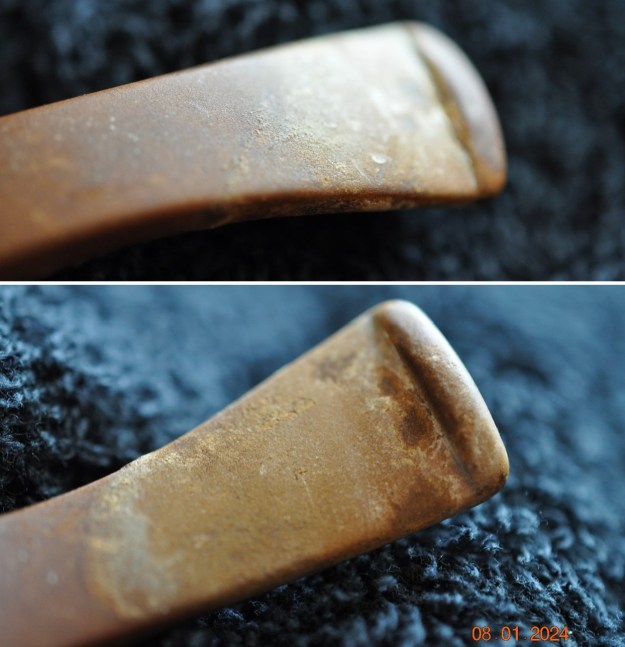
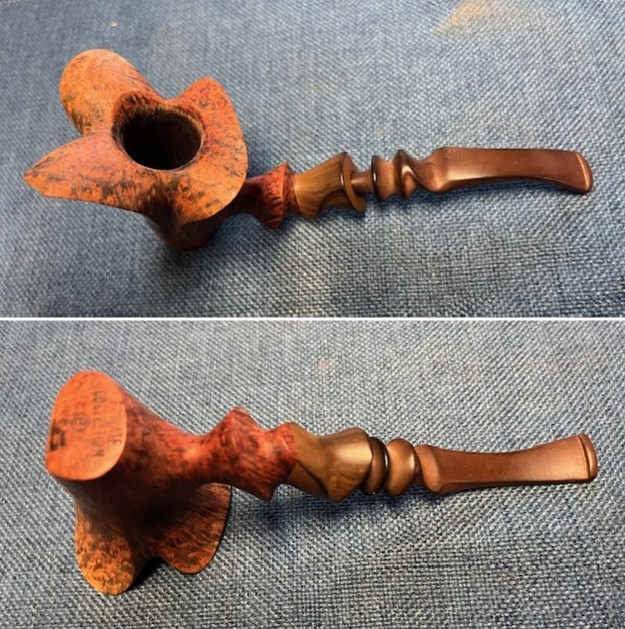
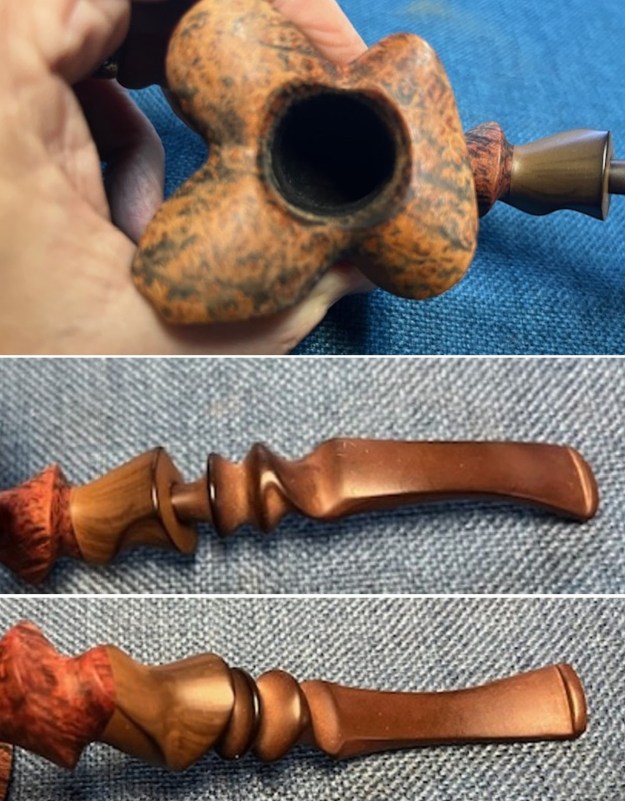
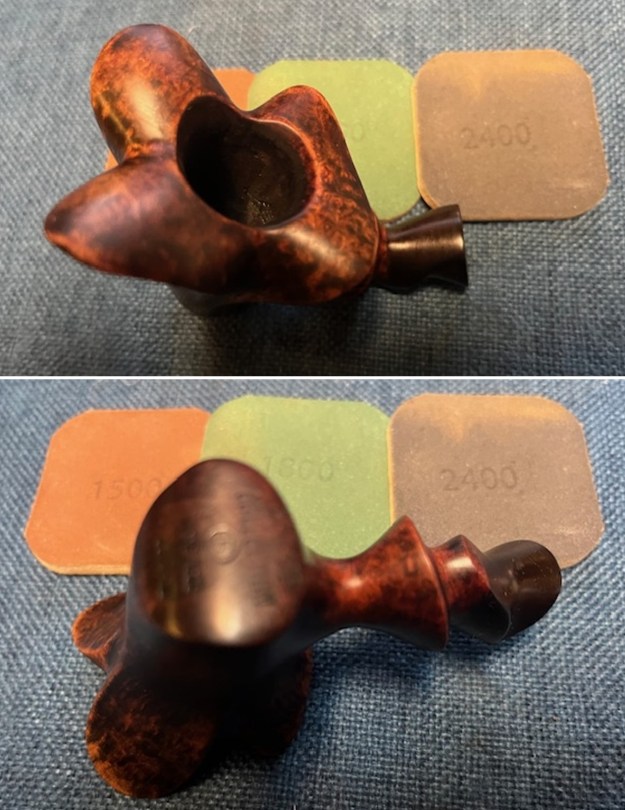
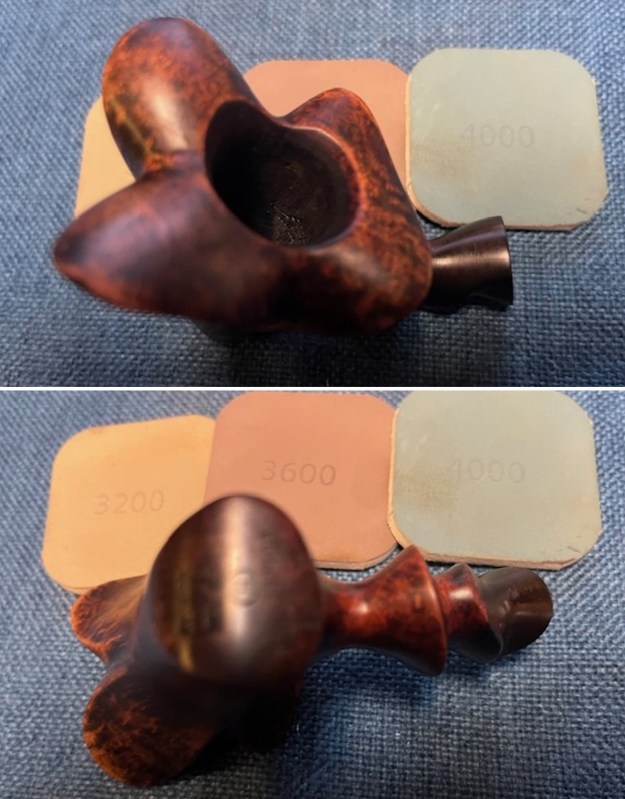
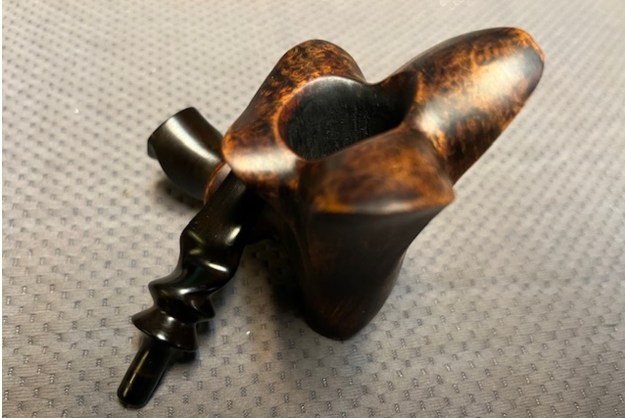
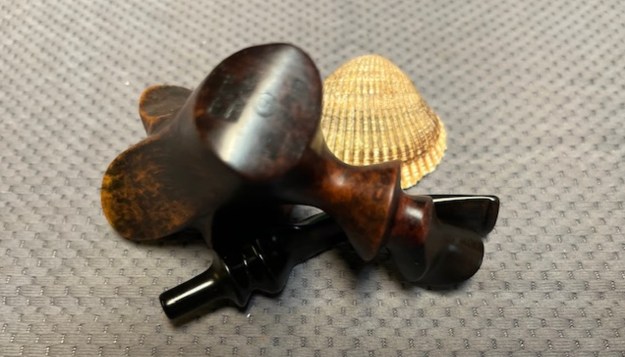
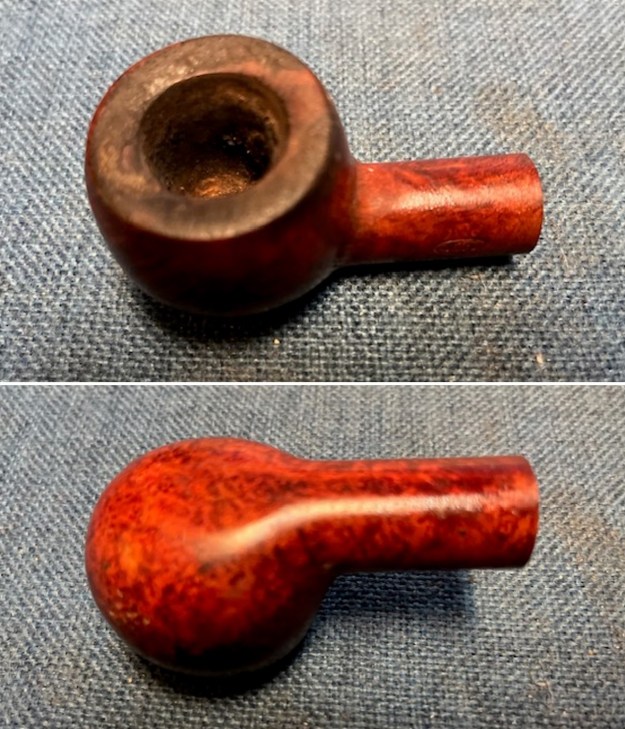
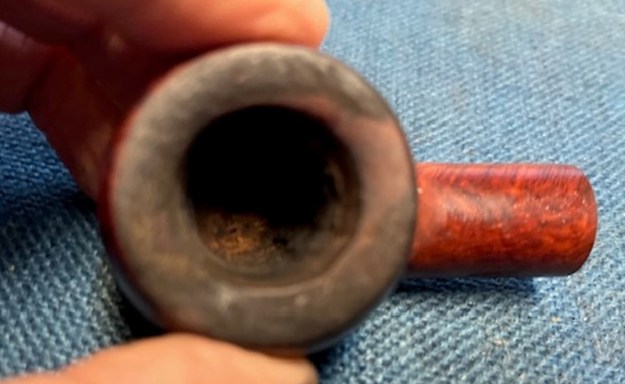
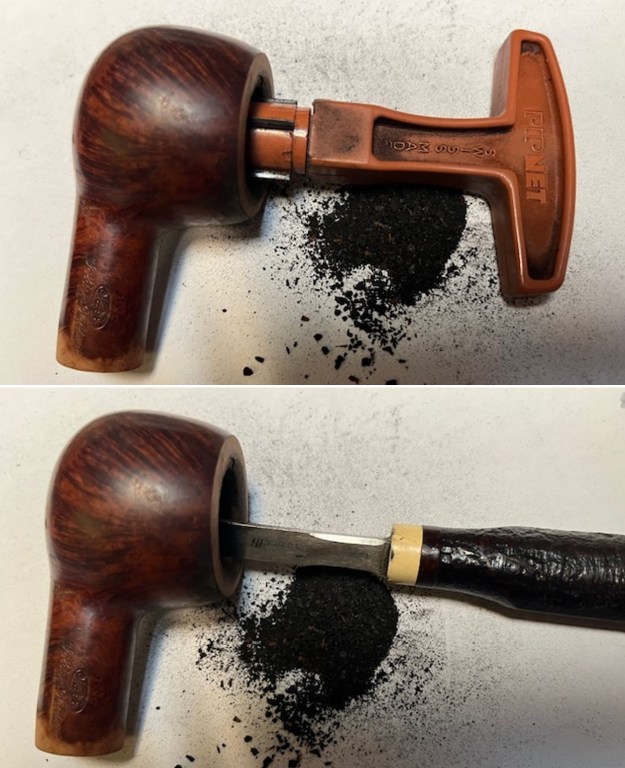
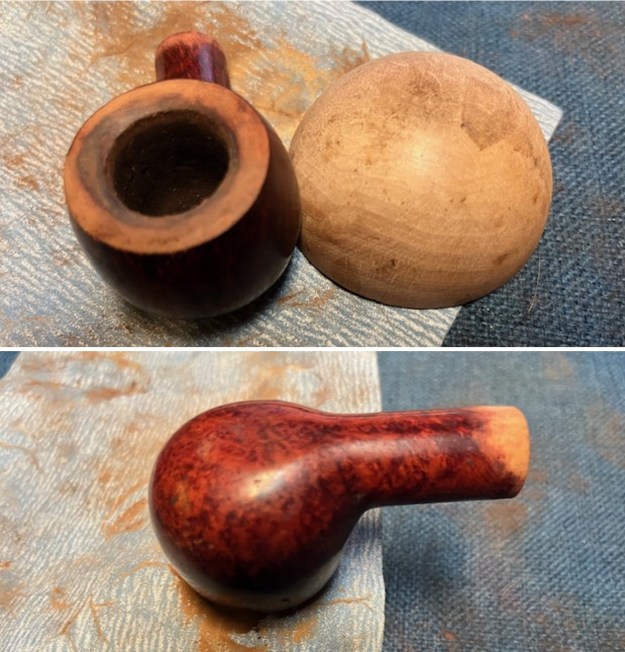
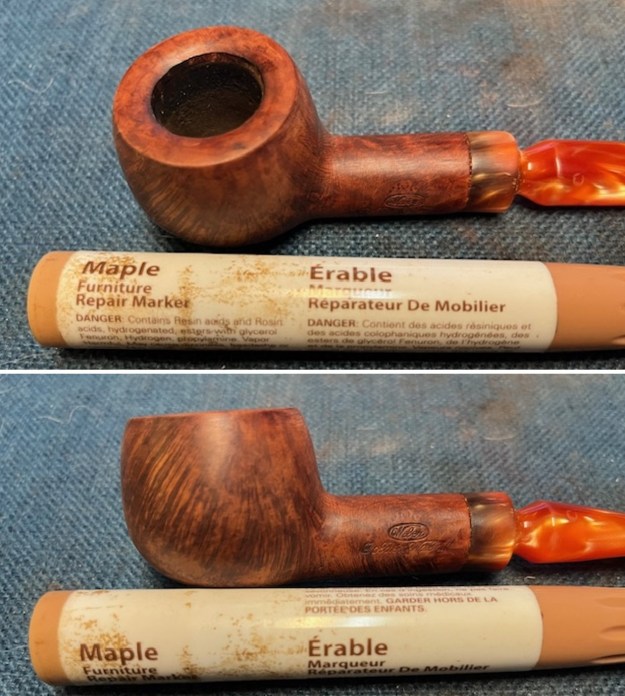
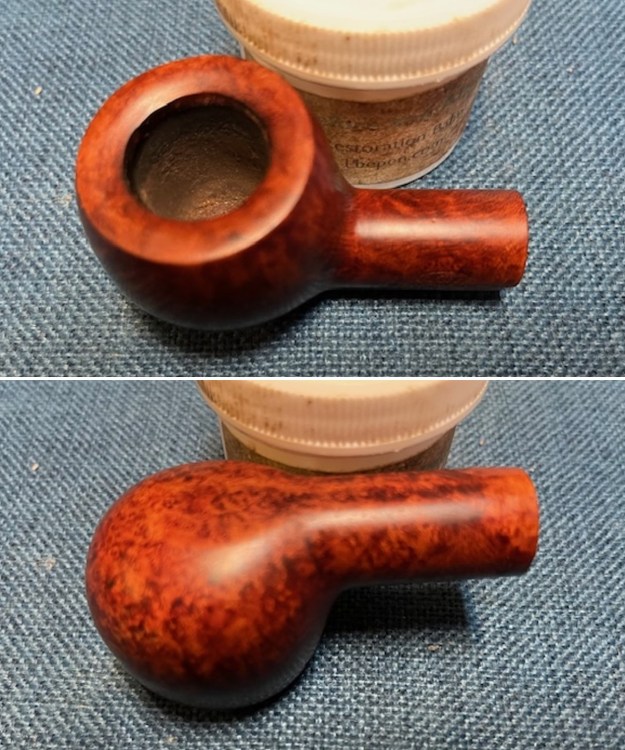
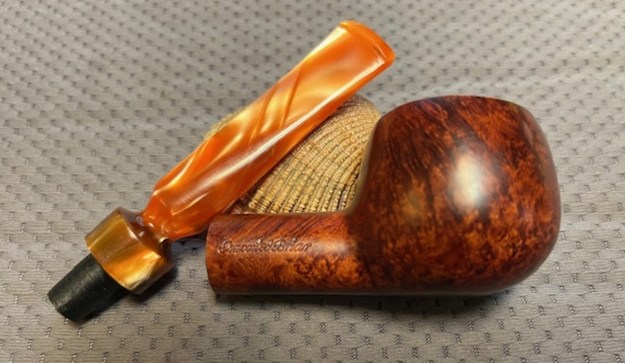
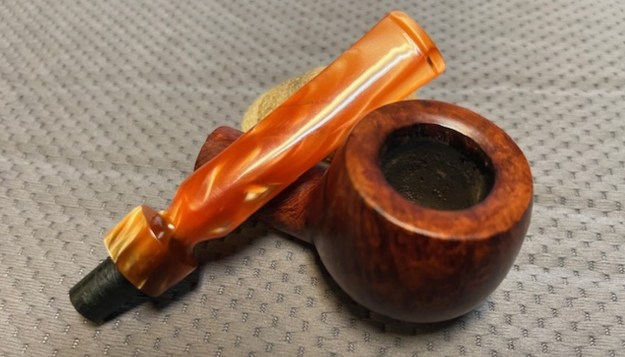
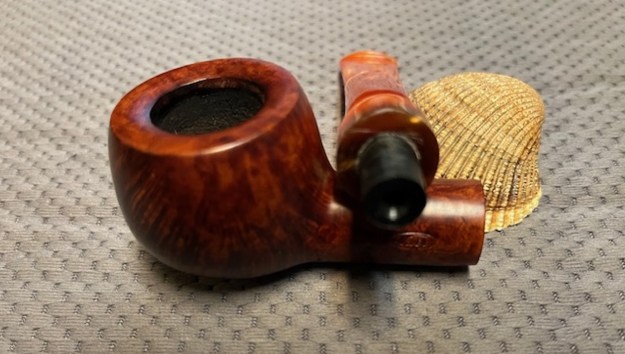
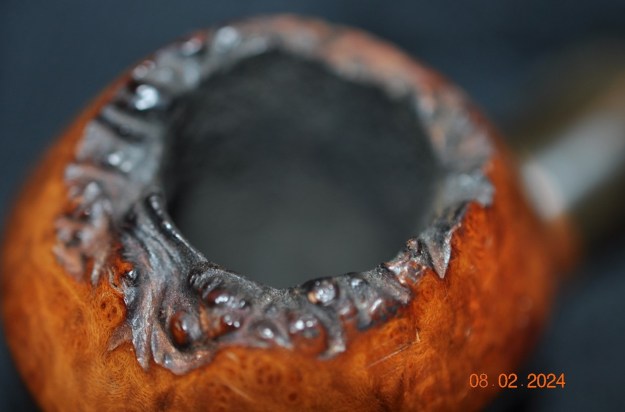
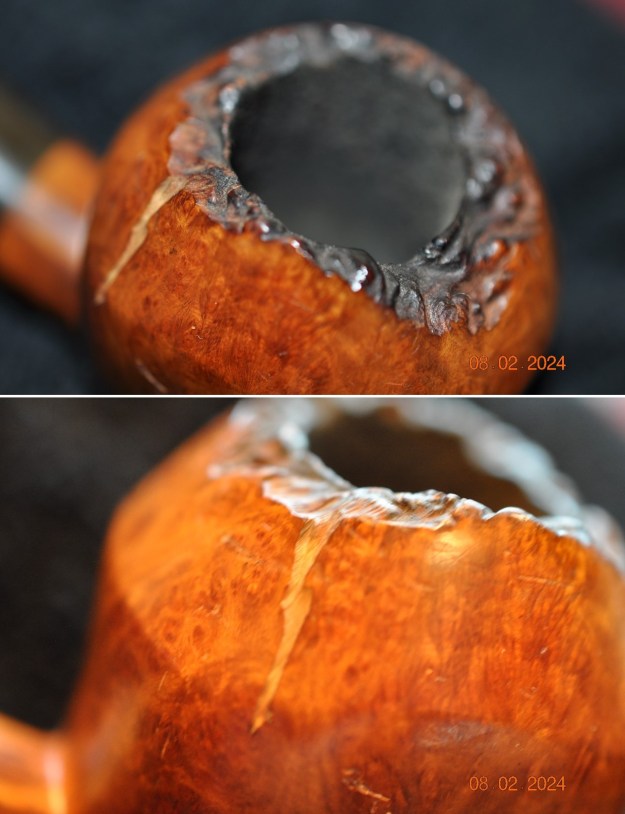
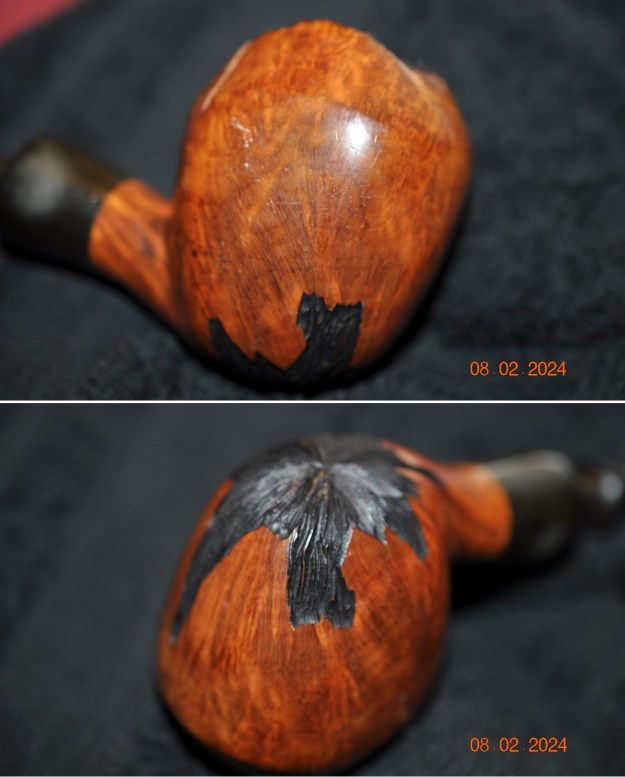
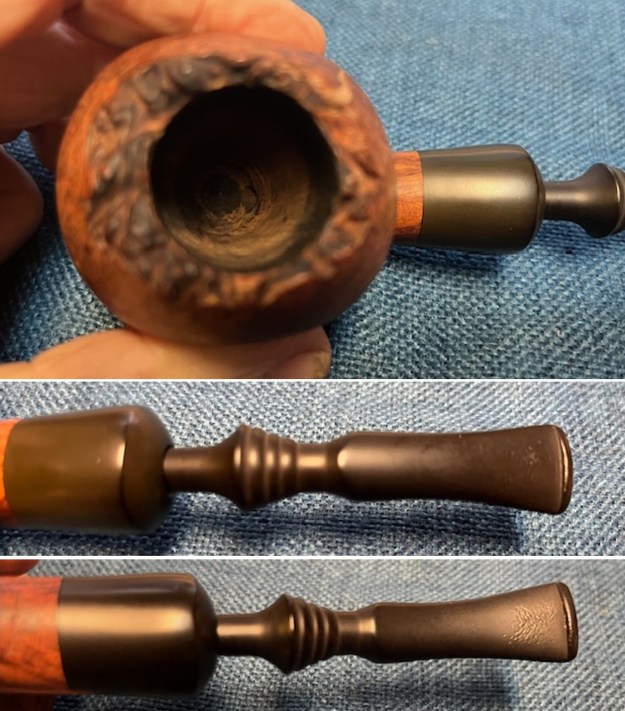
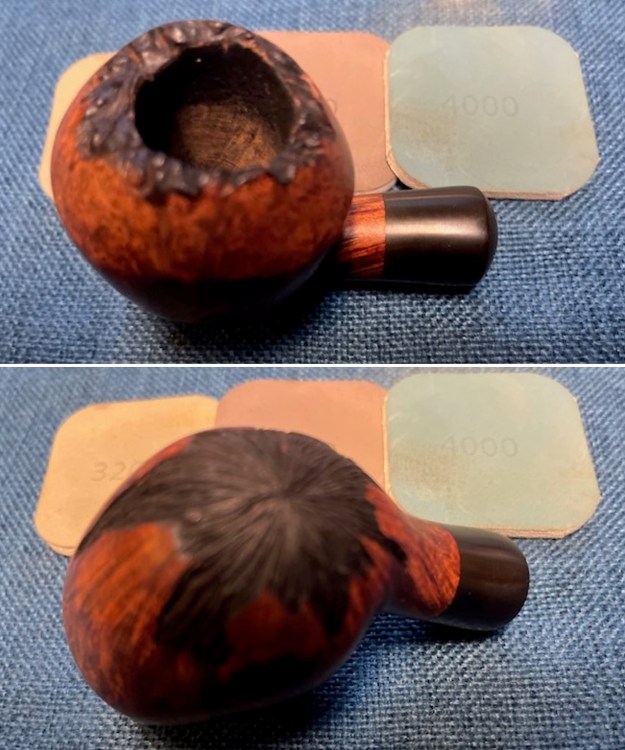
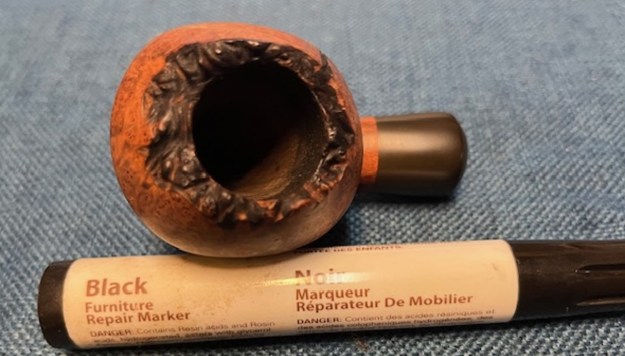
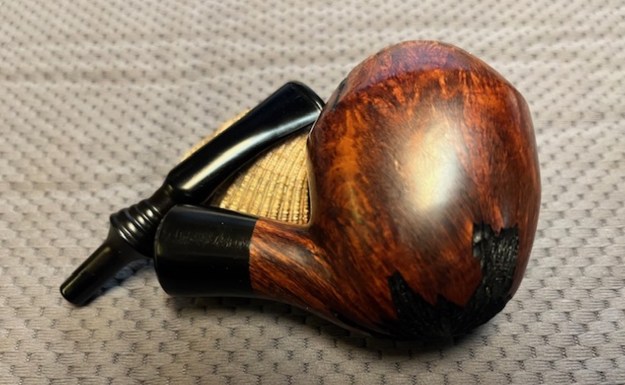
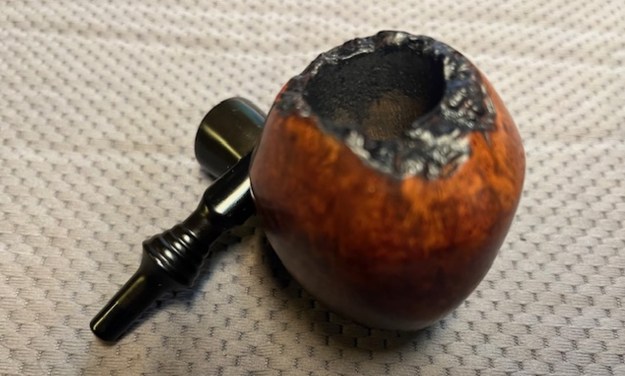
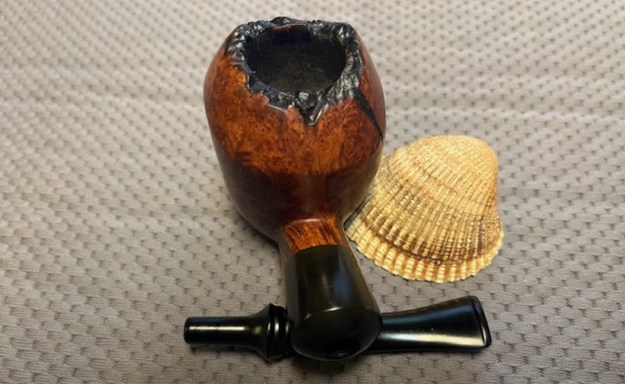
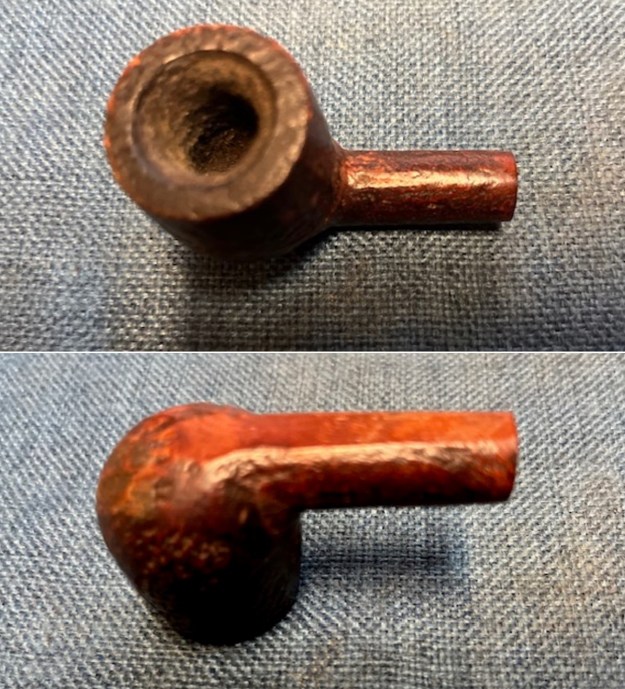
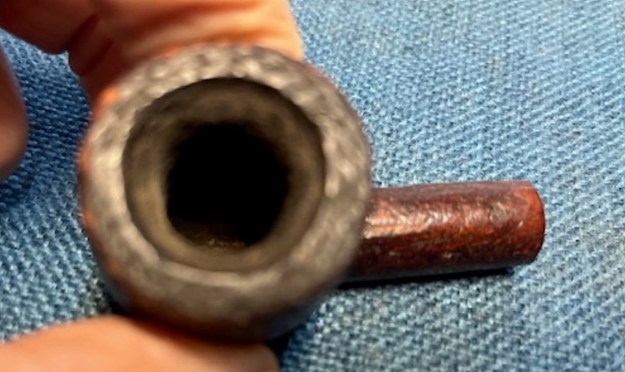
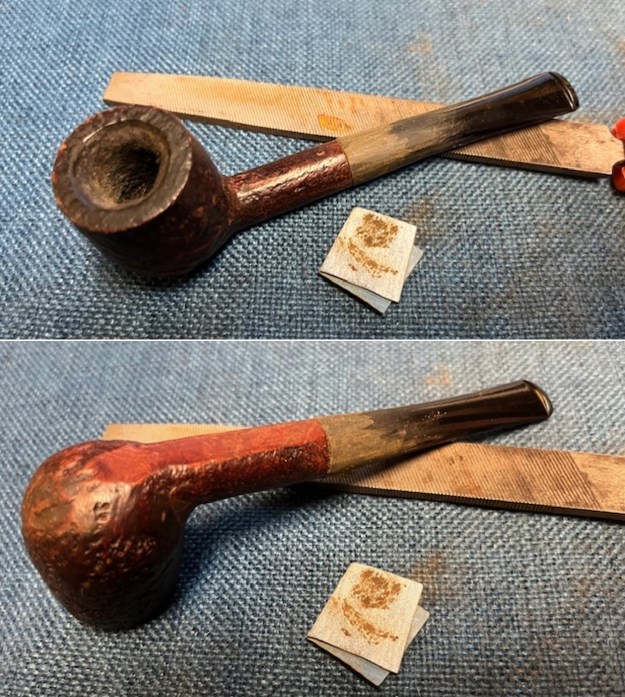
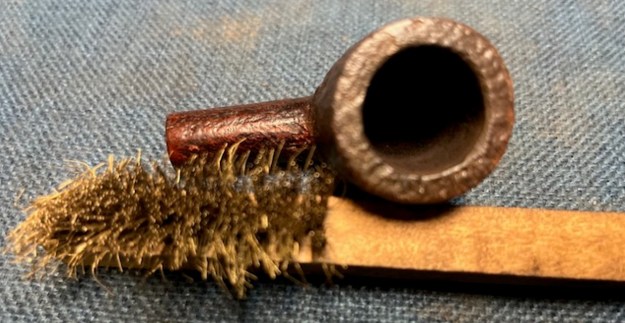
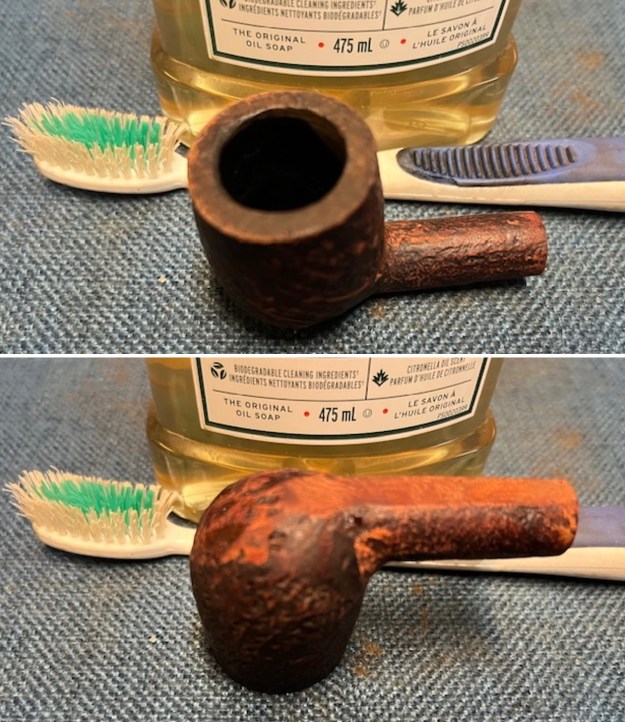
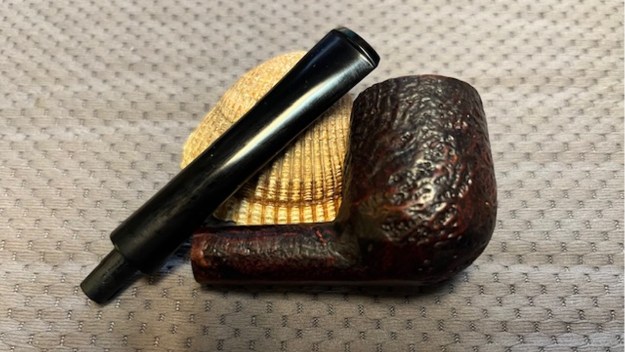
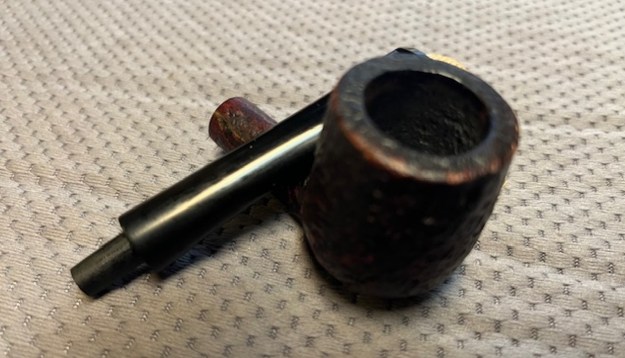
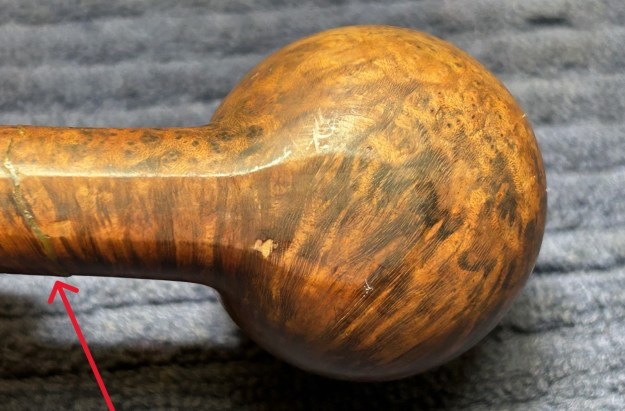
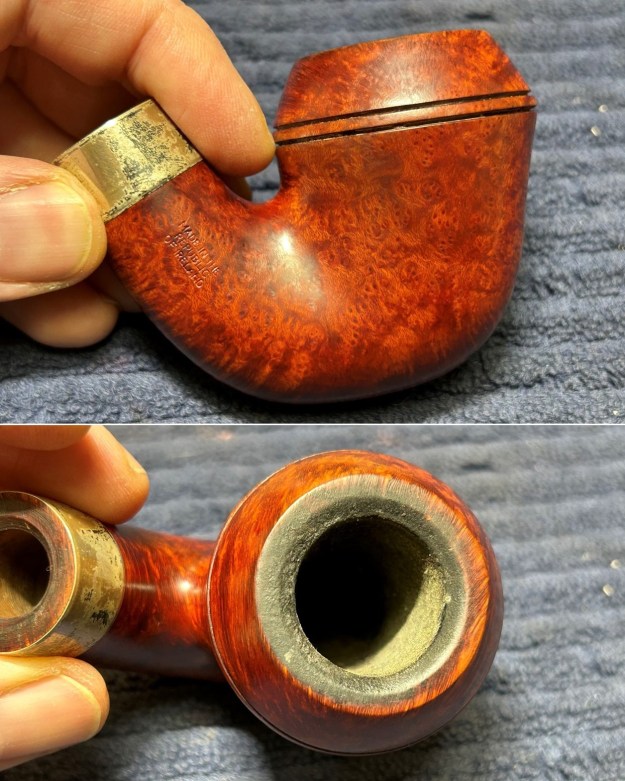
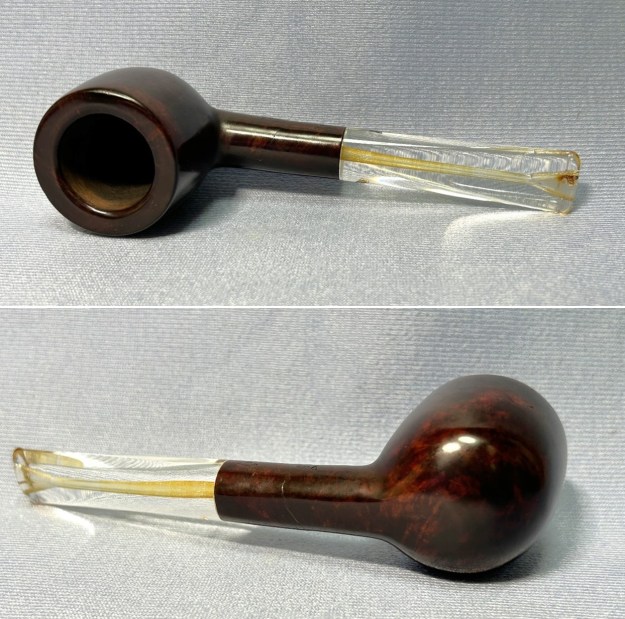
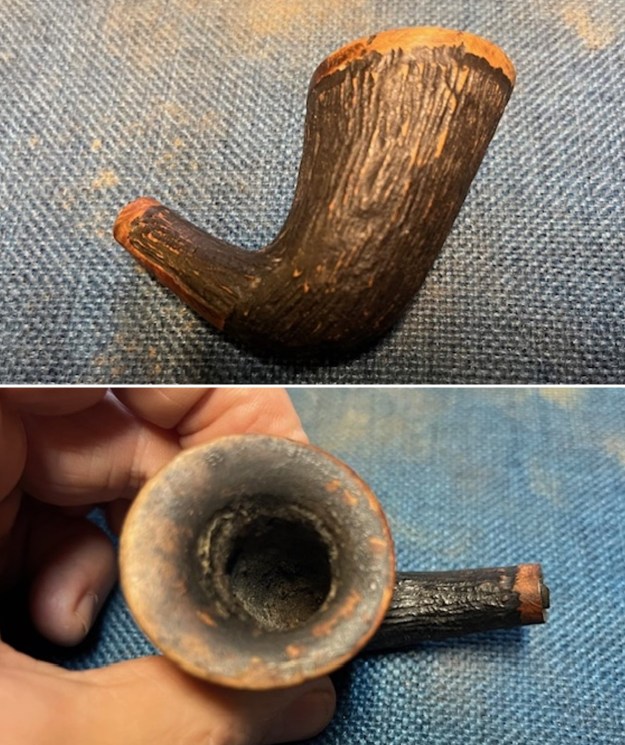
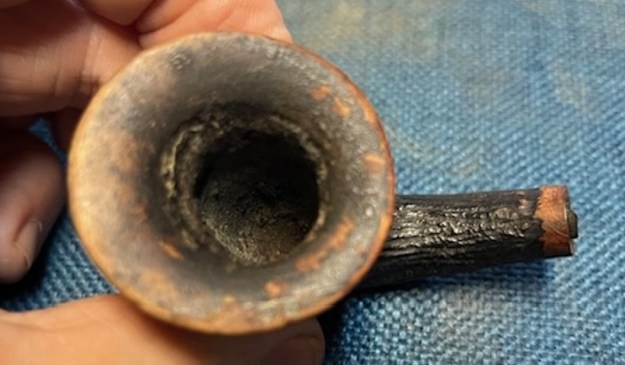
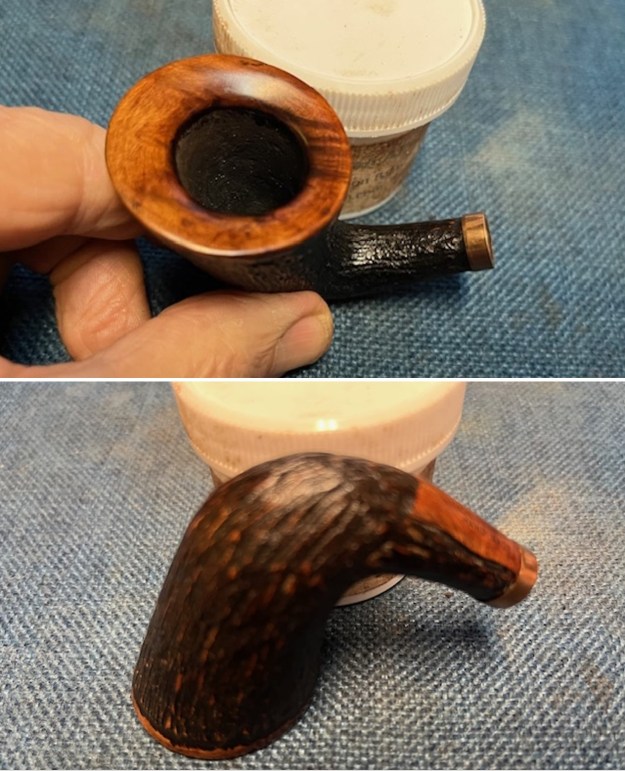
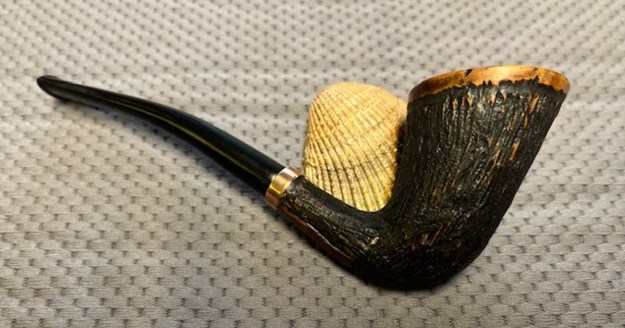
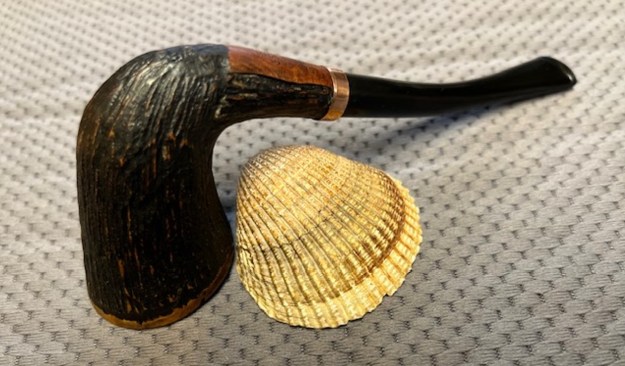
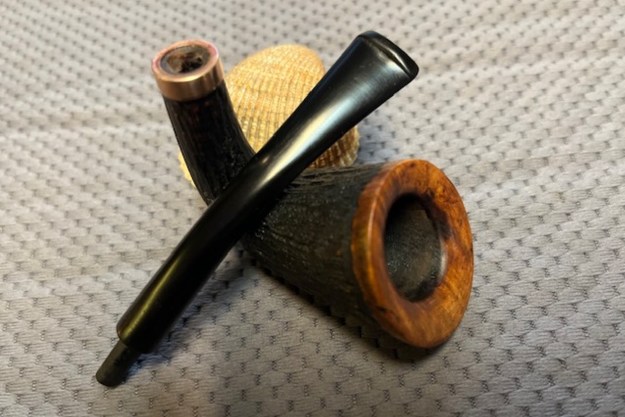
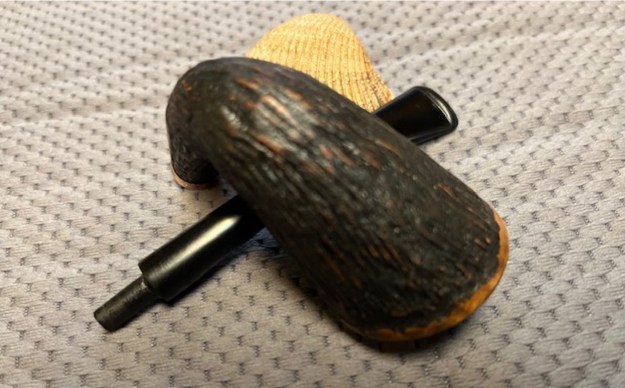
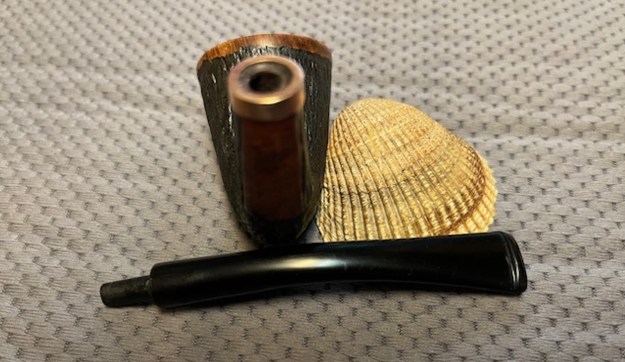
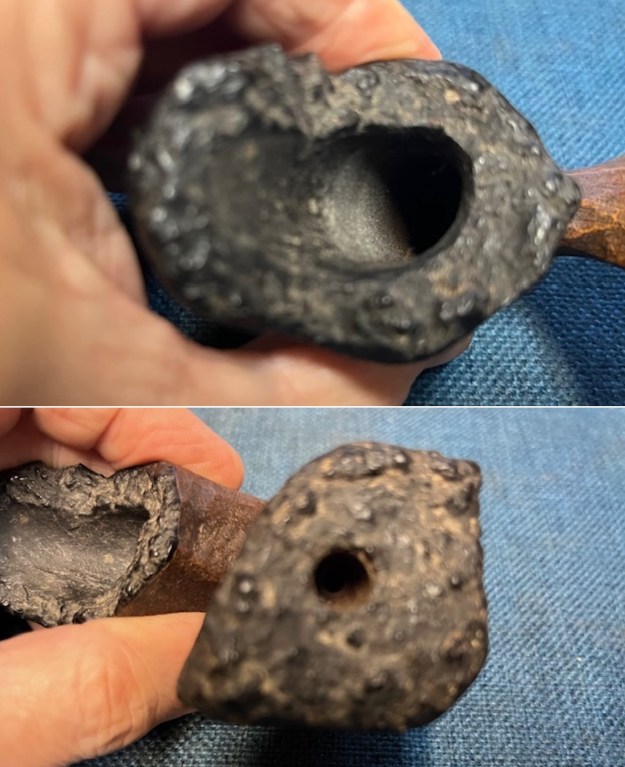
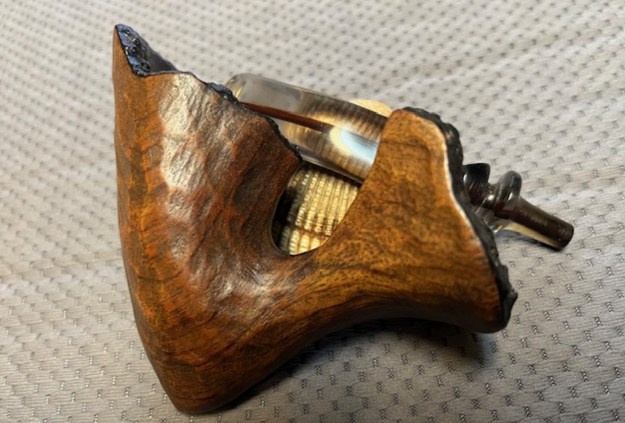
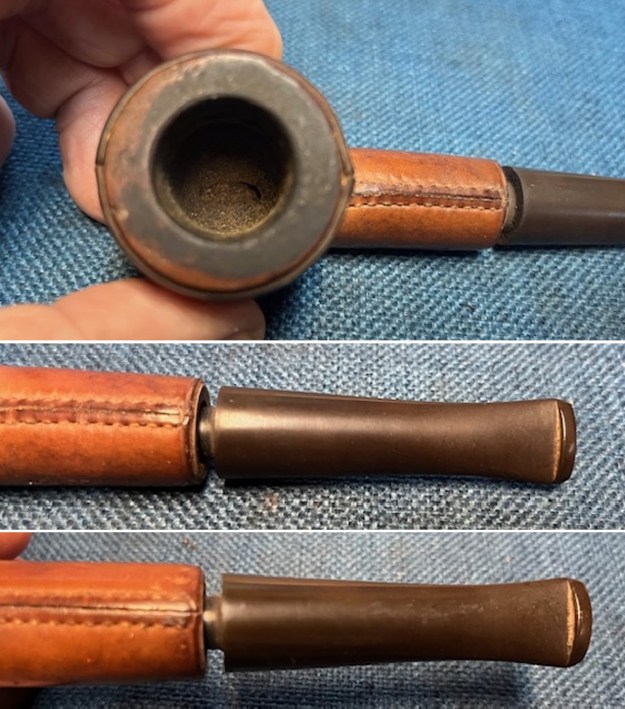
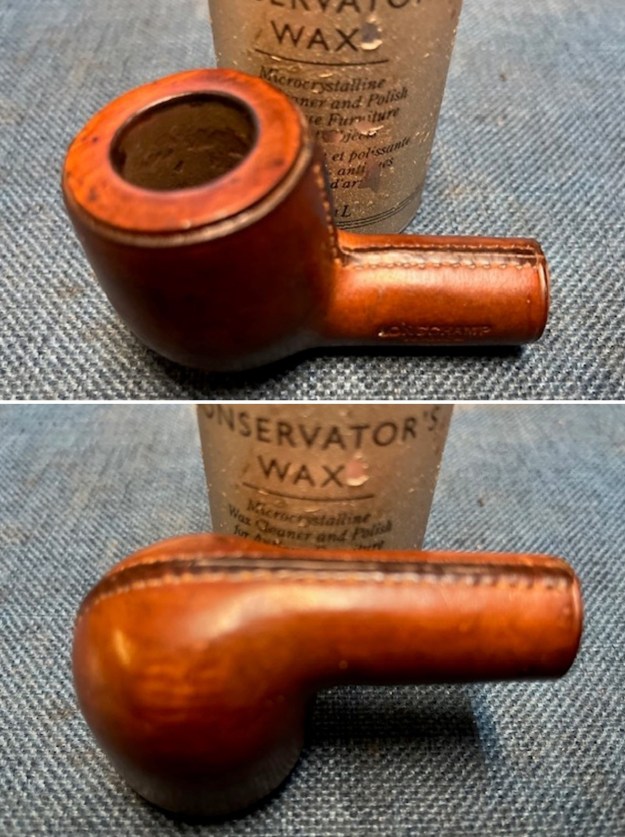
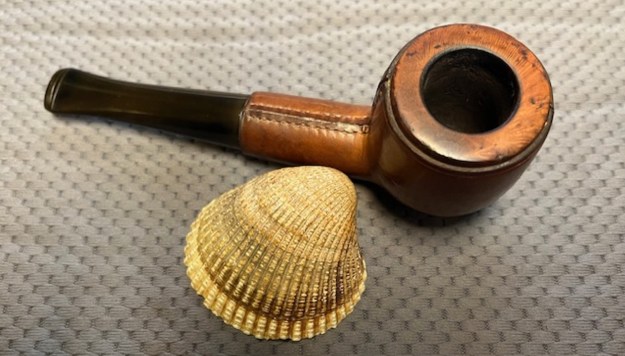
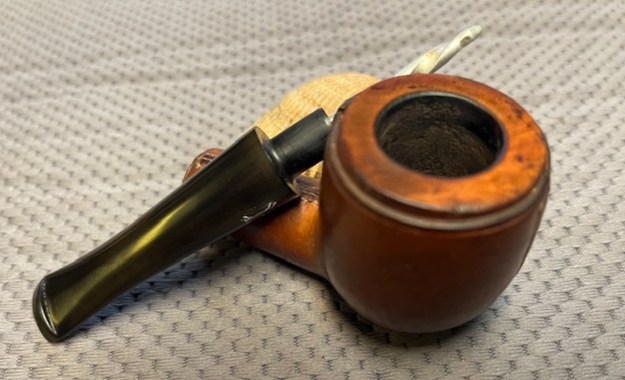
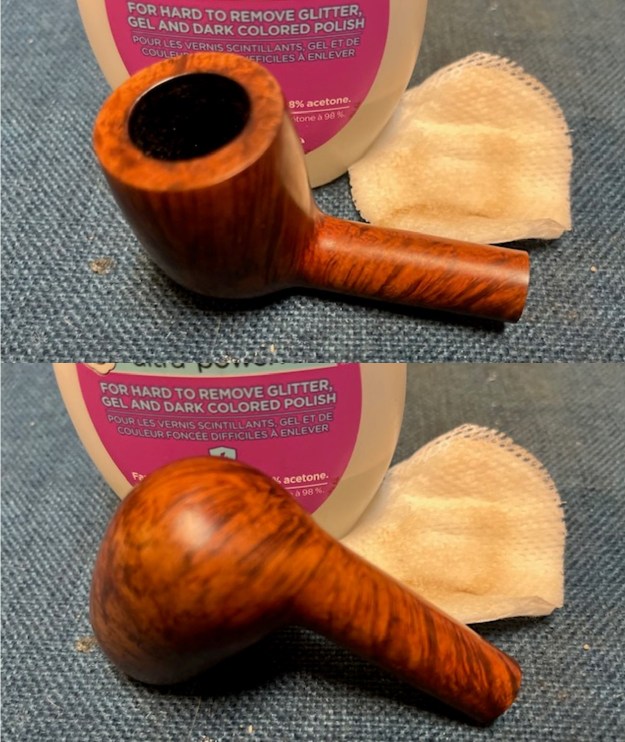
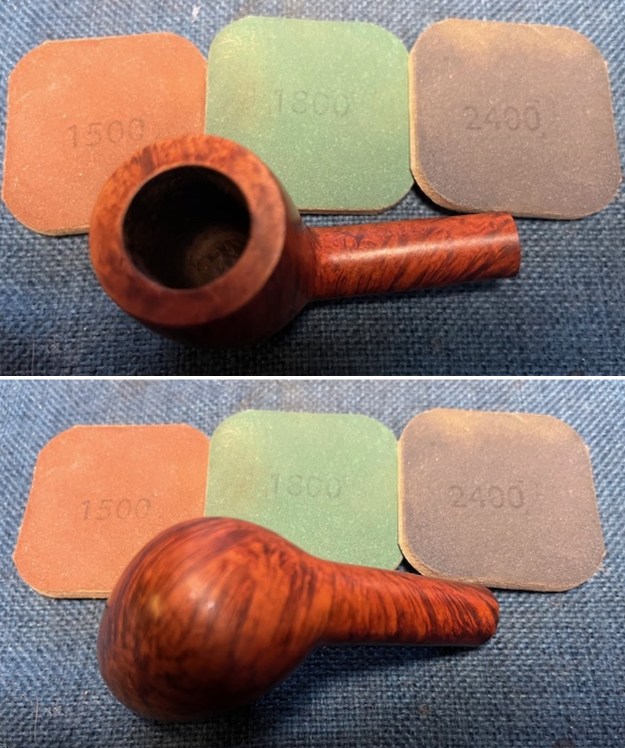
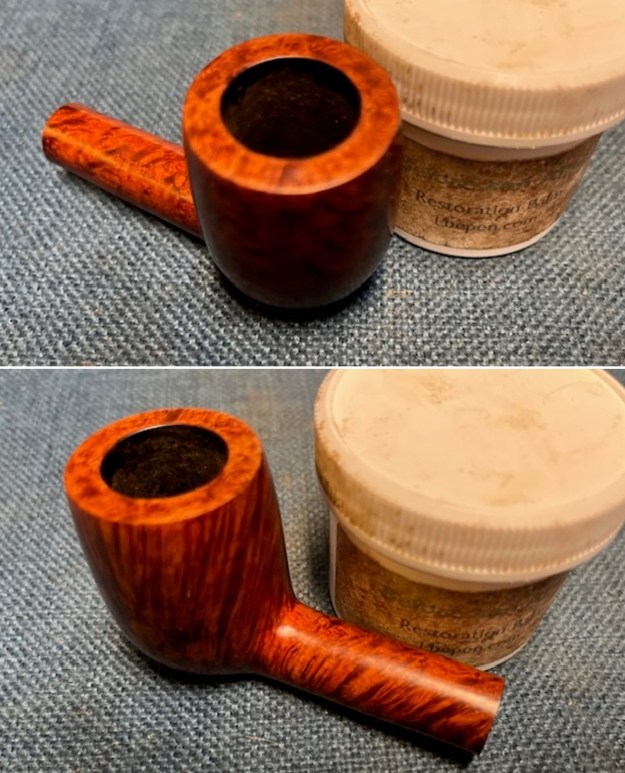
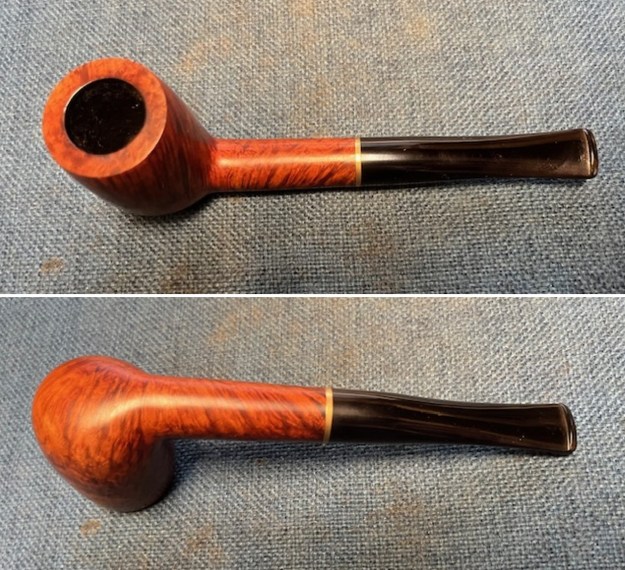 I took photos of the bowl and rim top to show the condition. You can see that my assessment in the above photos is correct. The rim top shows some darkening toward the back and around the inner edge of the rim. The cake is the bowl is quite light. The photos of the stem show the tooth chatter and marks (which are light but still present) from the previous owner Shannon bought the pipe from. Otherwise the stem looks very good.
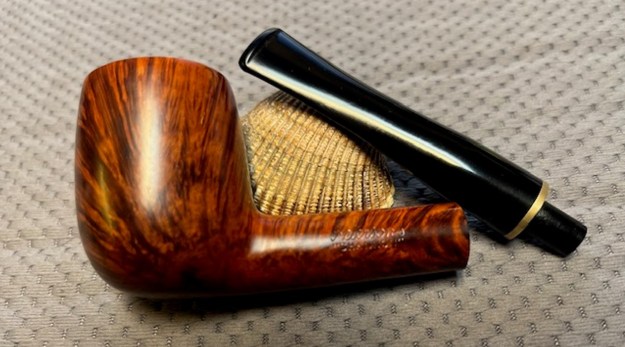
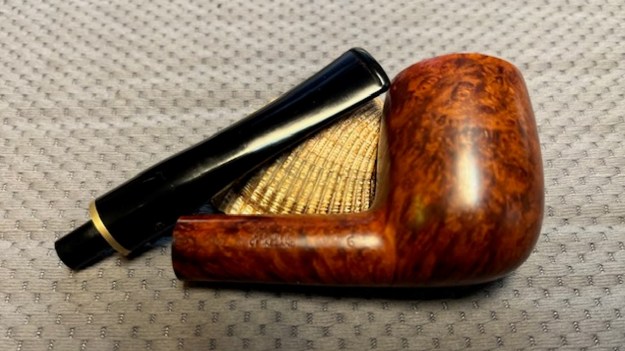
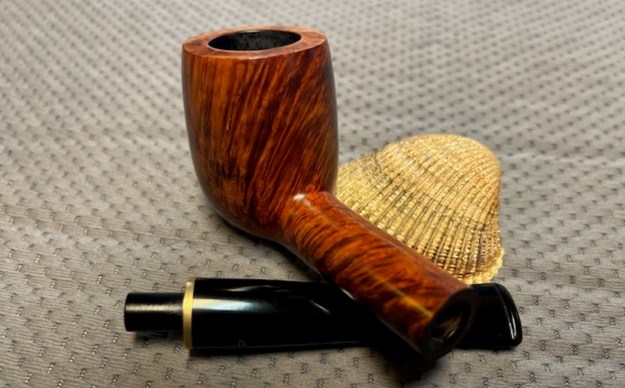
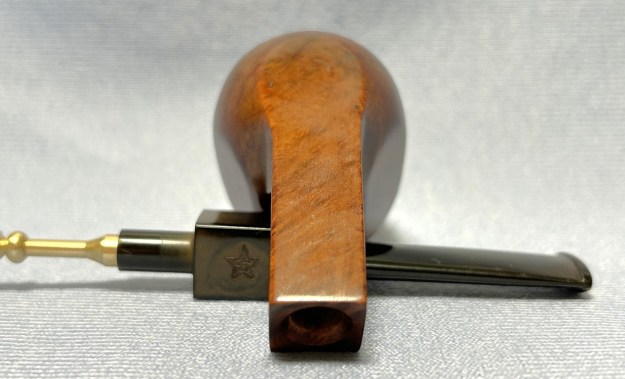
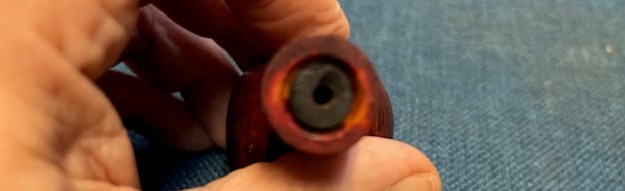
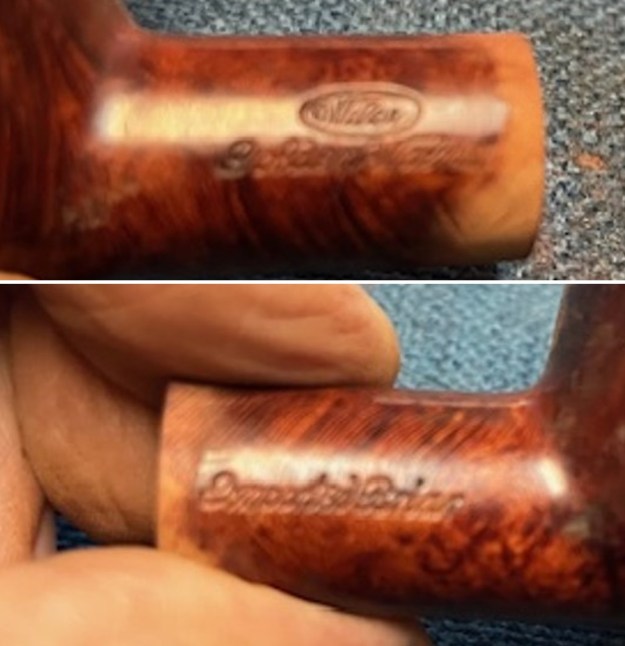
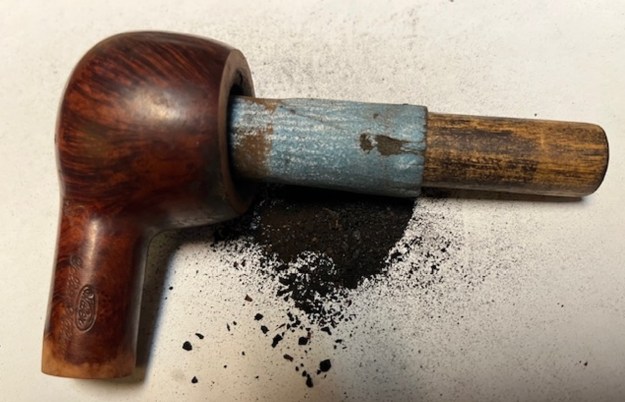
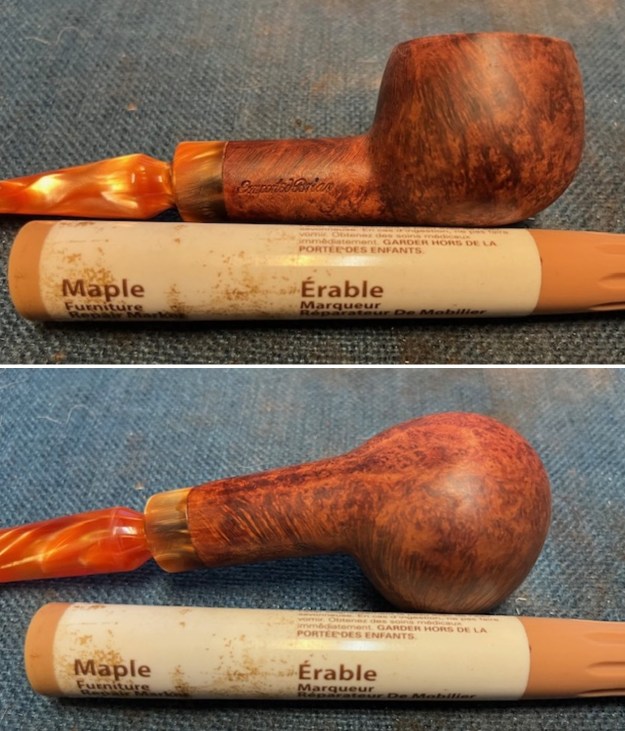
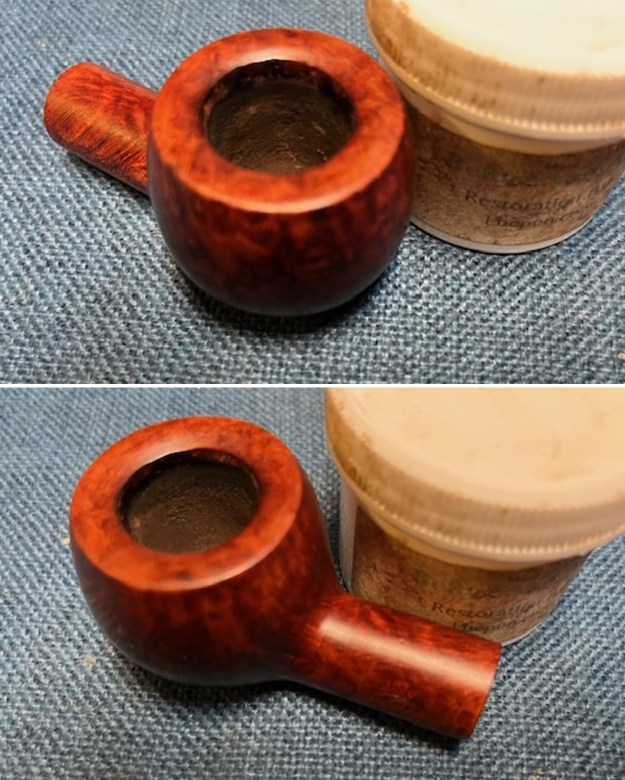
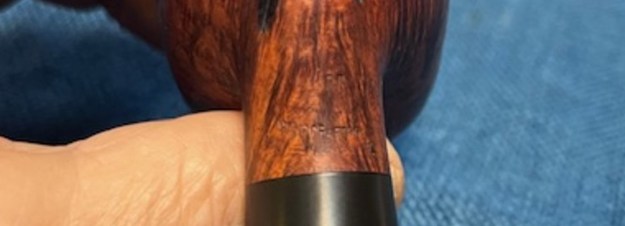
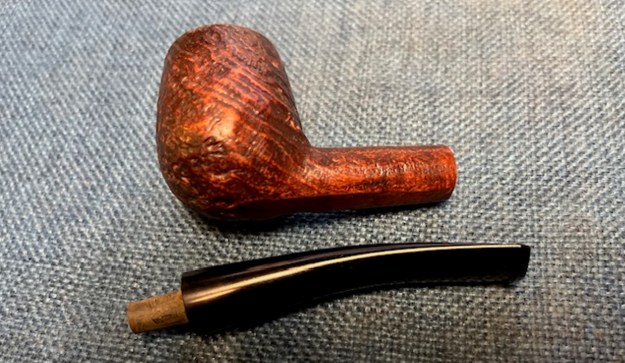
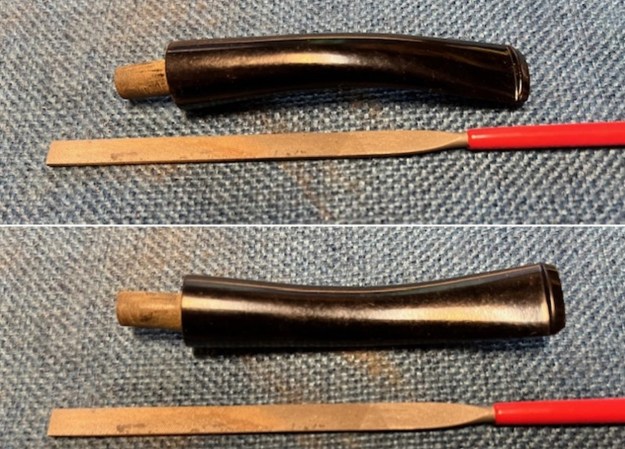
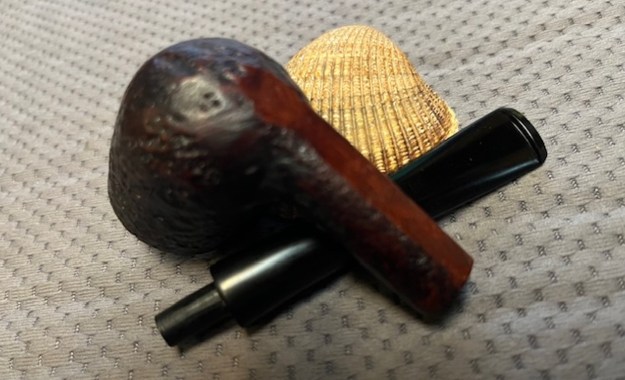
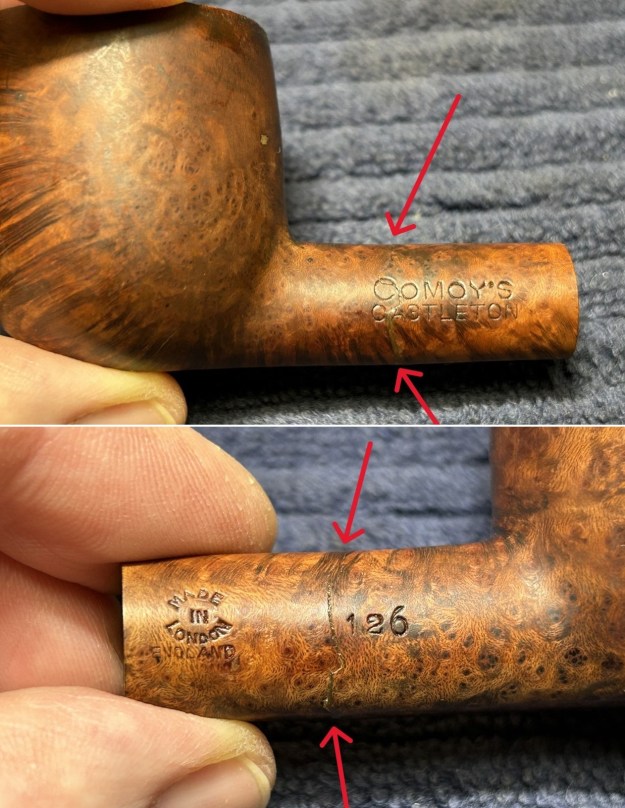
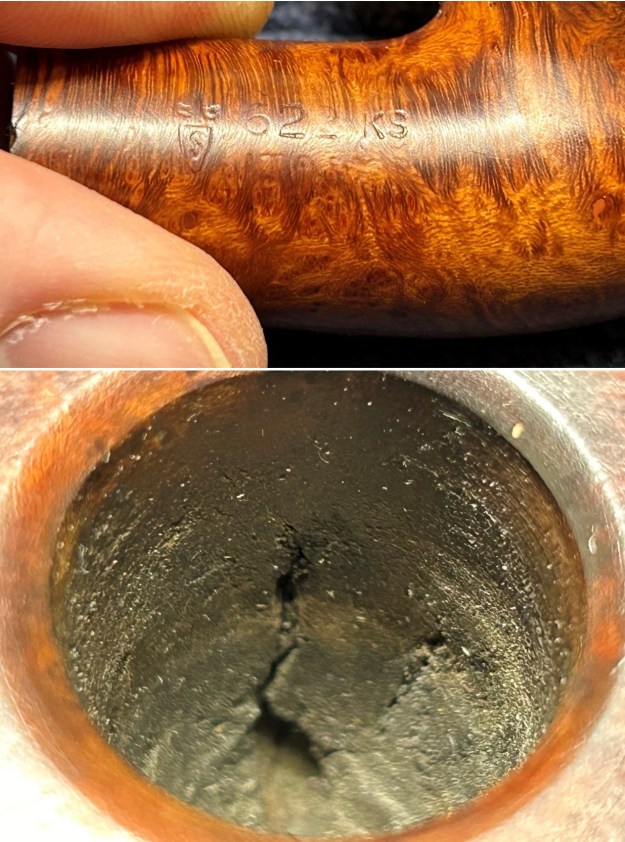
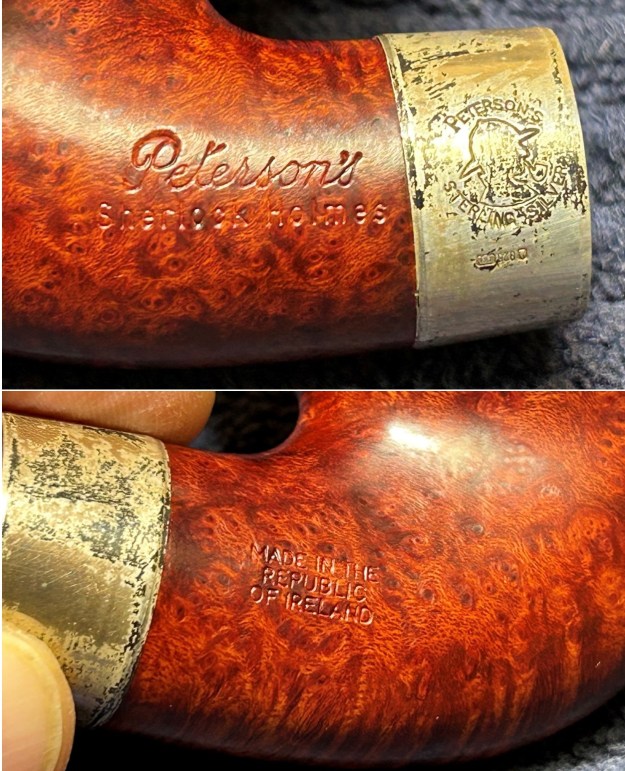
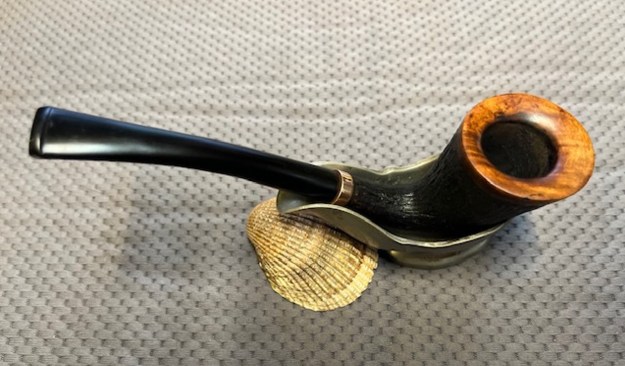
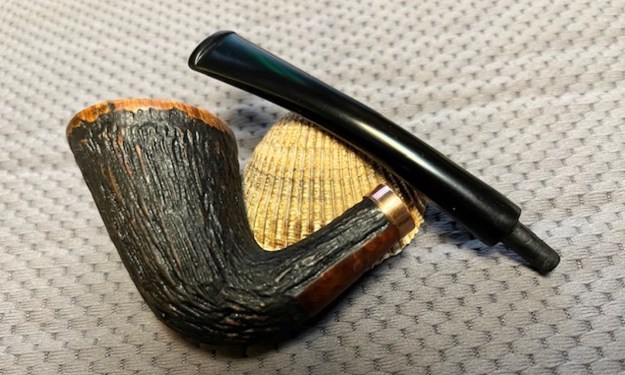
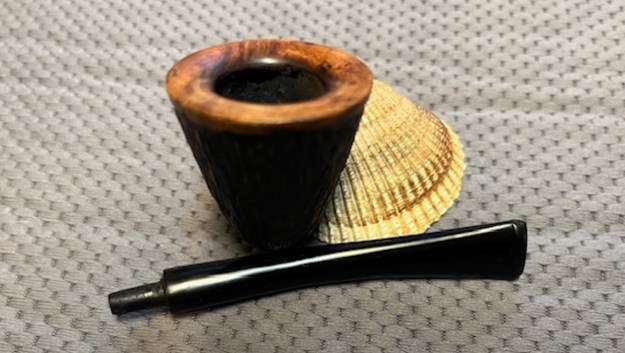
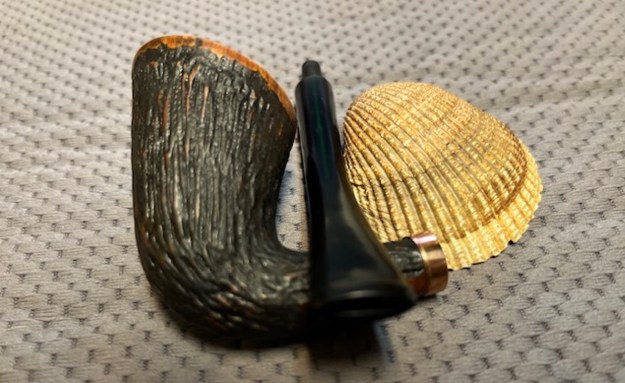
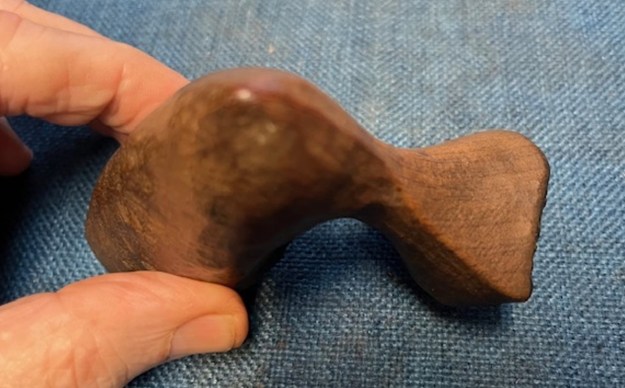
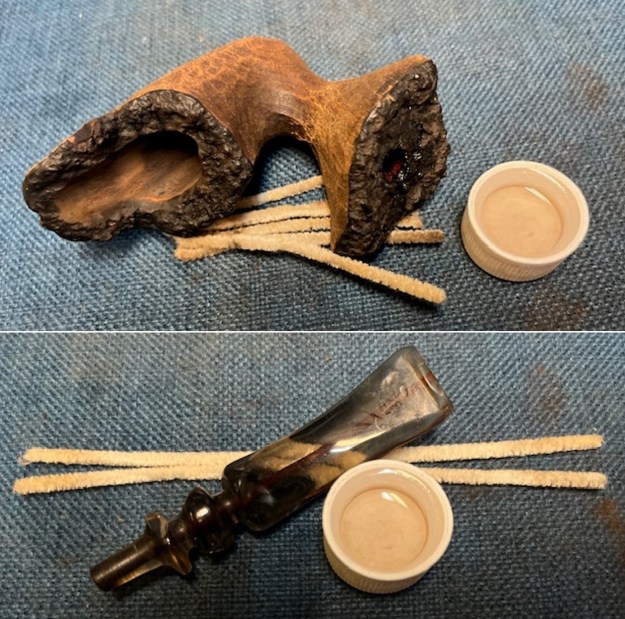
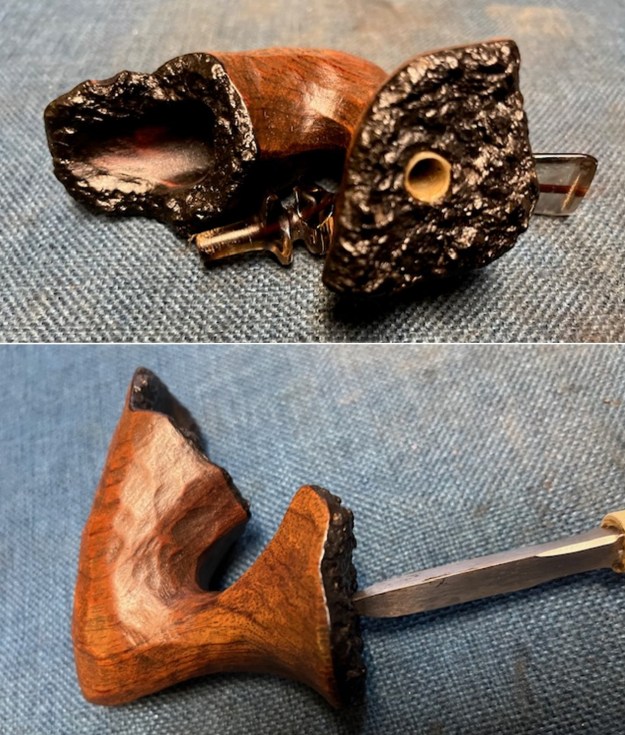
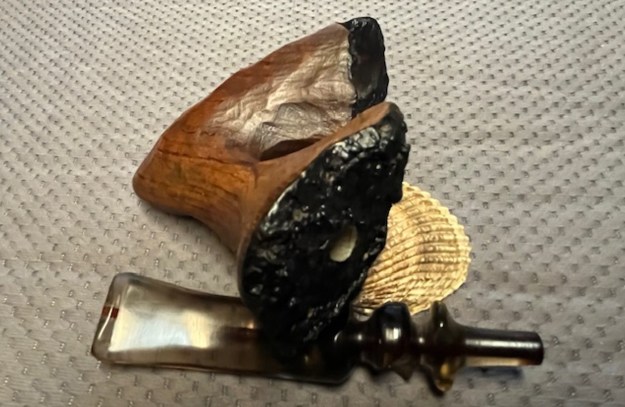
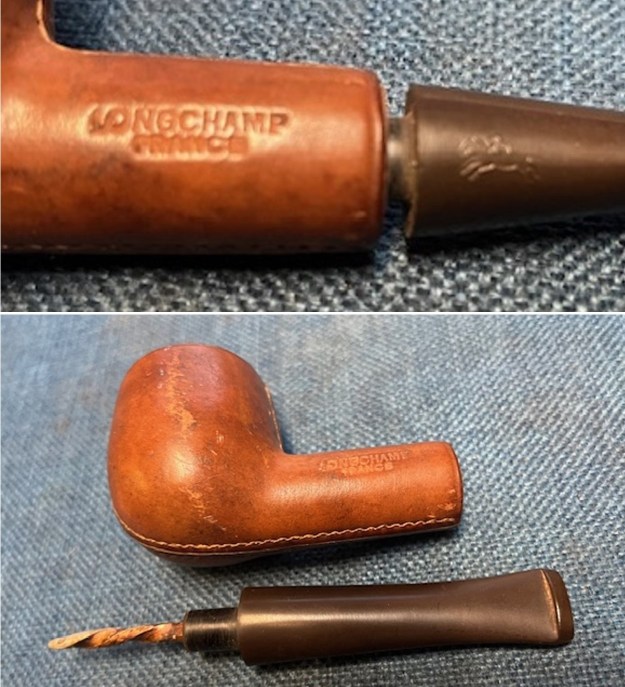
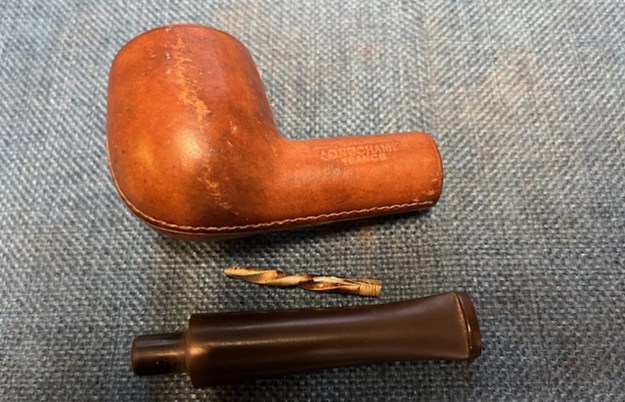
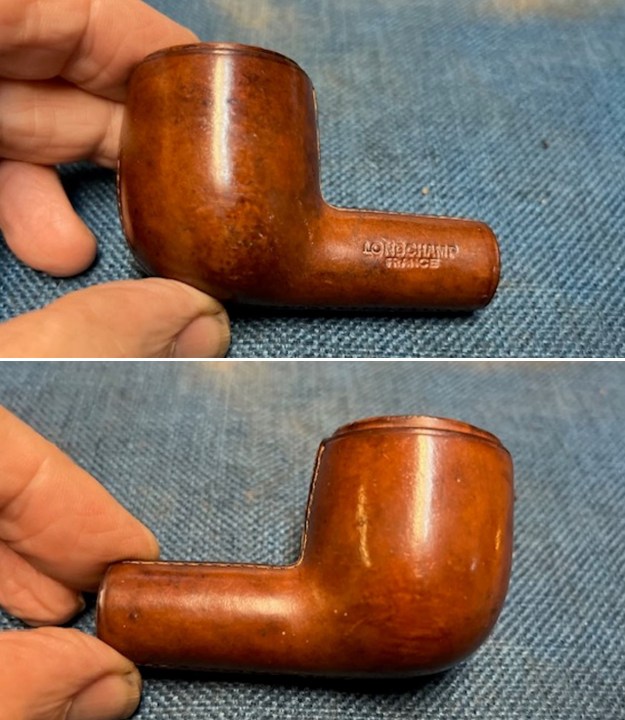
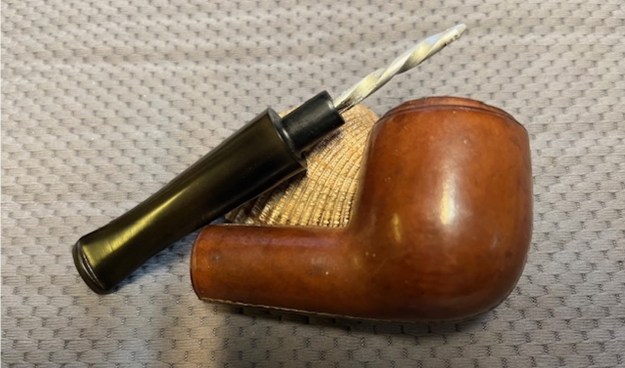
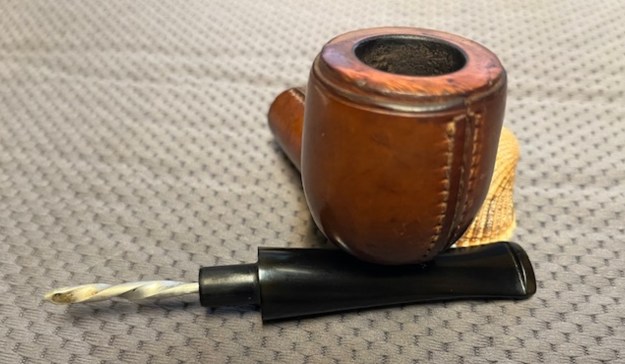
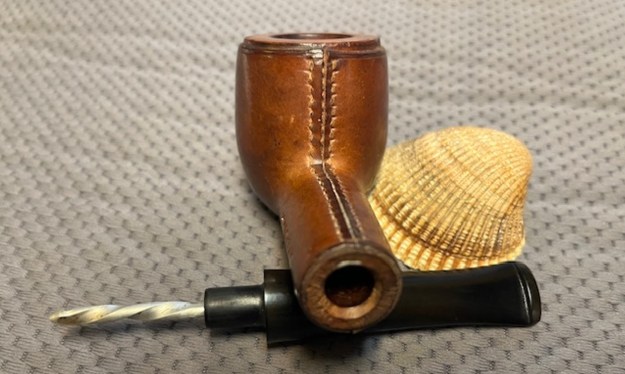
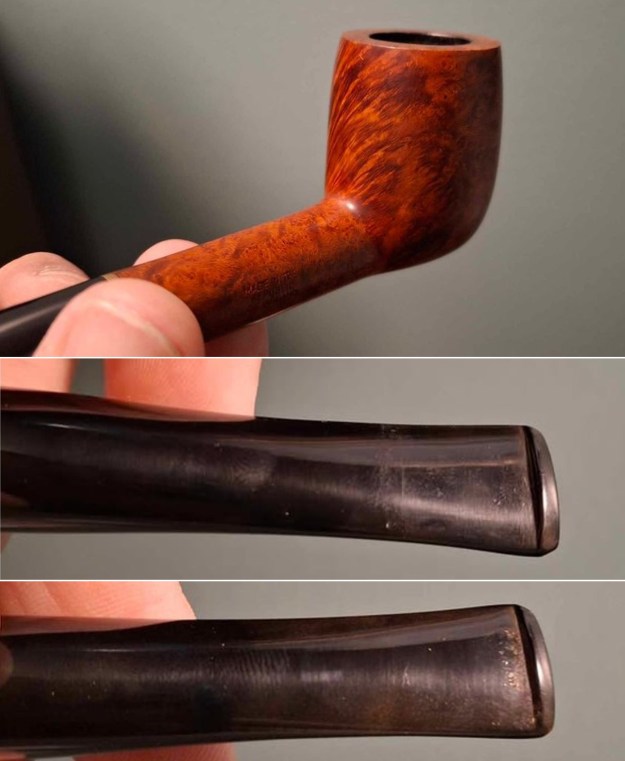
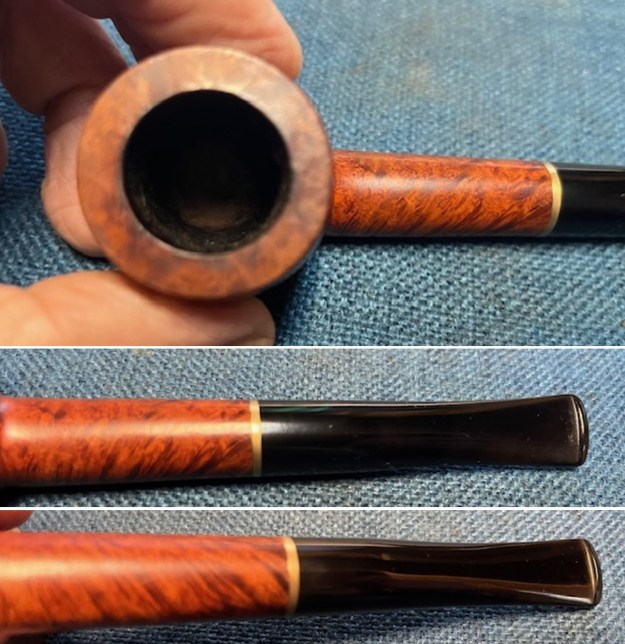 I took photos of the stamping on the shank sides. It is clear and readable as noted above. The P logo on the stem side is deep but the colour in it is faint. I removed the stem and took a photo of the pipe to show the proportions of the stem to the bowl. The stem is a classic Peterson style taper stem.
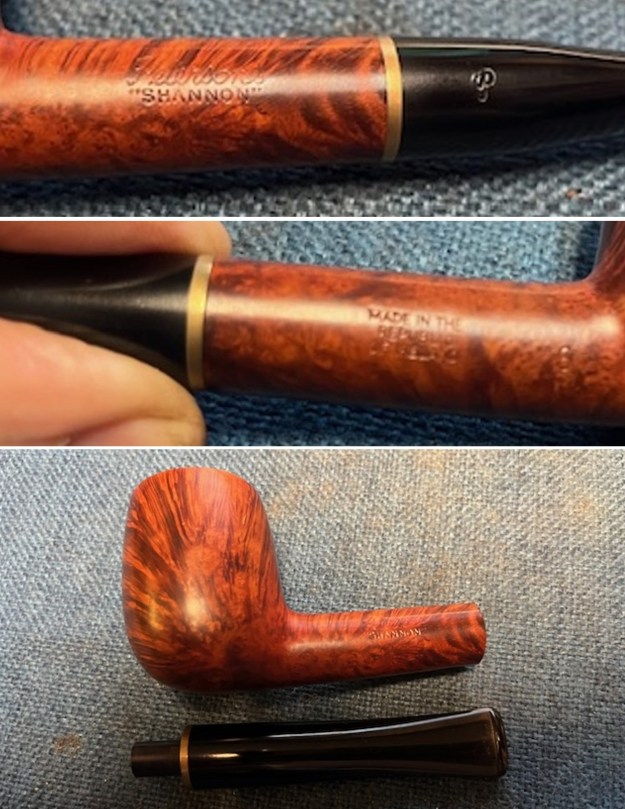 Before I started working on the pipe I turned to “The Peterson’s Pipe” by Mark Irwin and Gary Malmberg to see what it had to say on the “Kildare” line. On page 313 it says:
Shannon (19695-c.1987) First offered as entry-grade walnut or black sandblast, P-lip mouthpiece and a nickel band. In 1969-c.1970 offered through Iwan Ries as Shannon Meerschaum lined, middle grade black sandblast and higher-grade brown sandblast finish, P-lip mouthpiece. From 2005 as polished tan and black stain, unmounted, P-lip or fishtail mouthpiece with stamped gold P on the vulcanite mouthpiece.
I believe that the pipe I am working on is from the 2005 line. It has a polished tan and black stain and a fishtail mouthpiece. It has a classic shape and the information would make the pipe one issued after 2005. It has a bit of age on it and it is in excellent condition. Now it was time to work on the pipe.
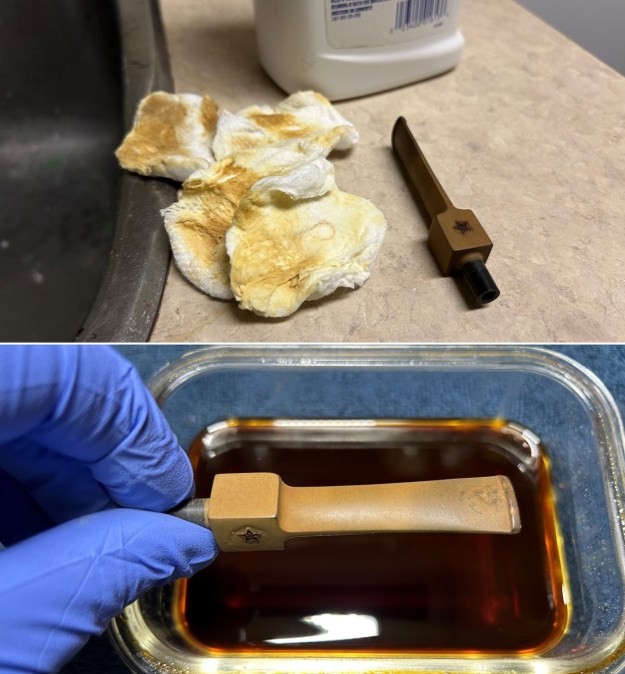
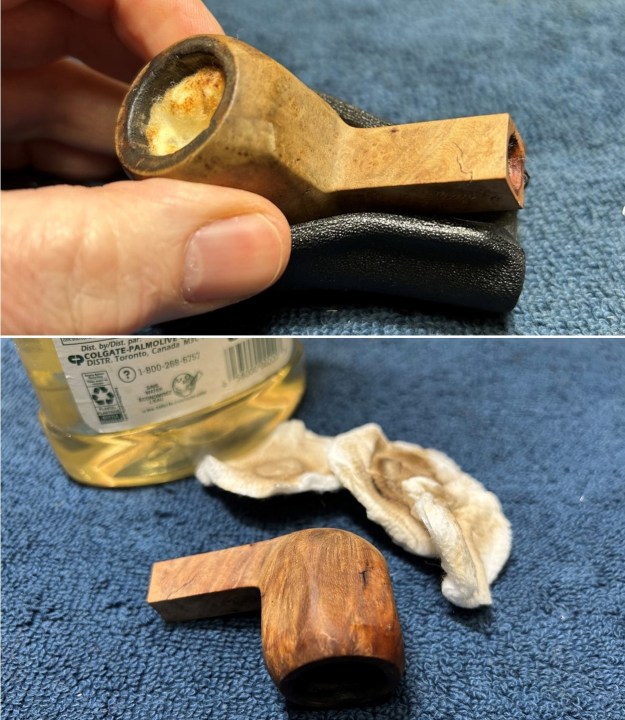
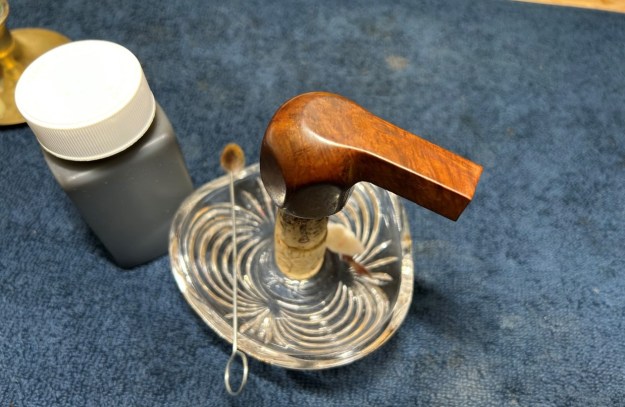
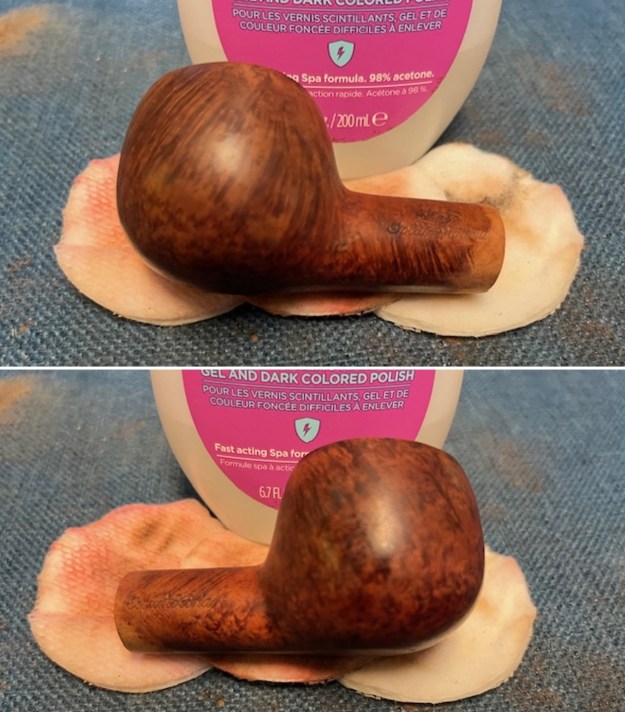
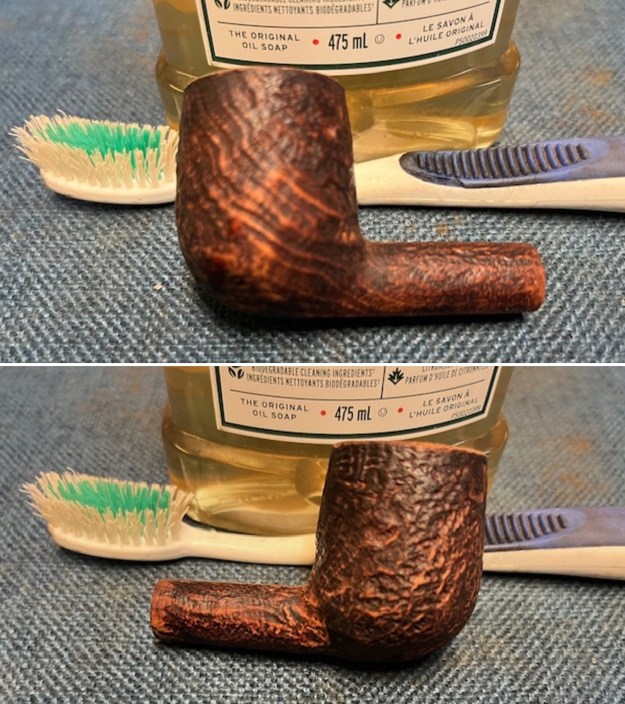
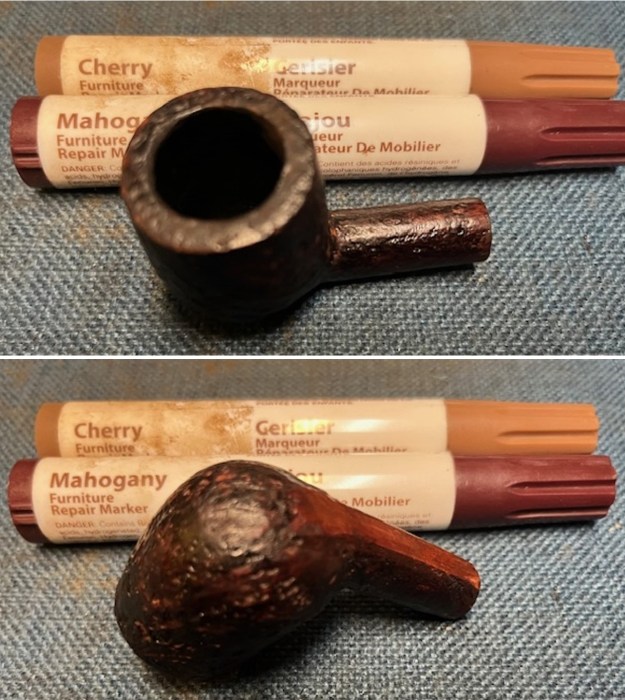
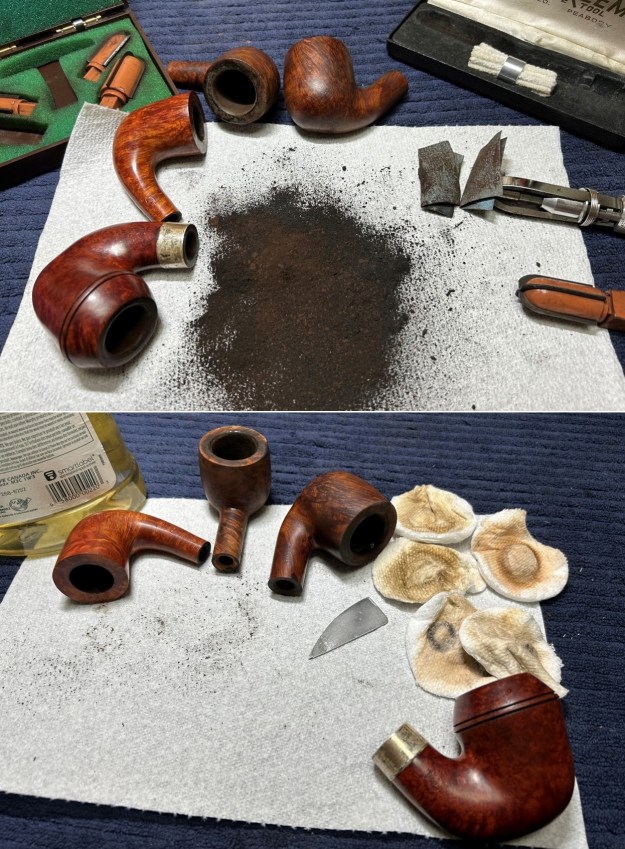
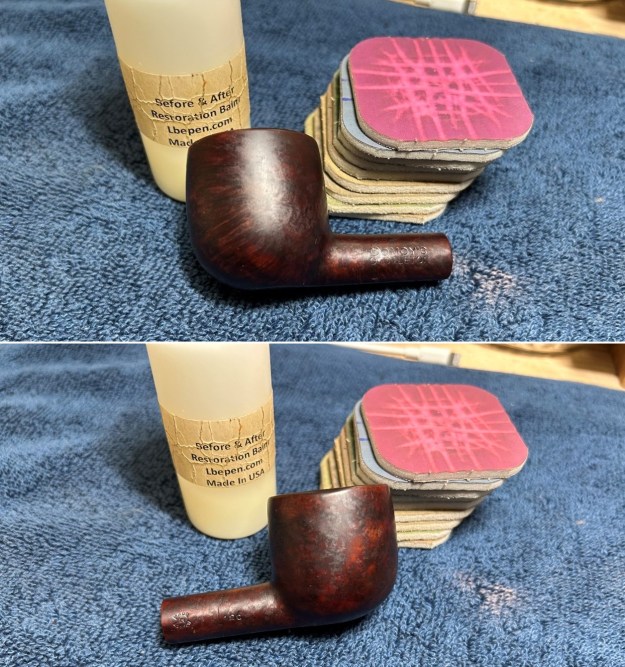
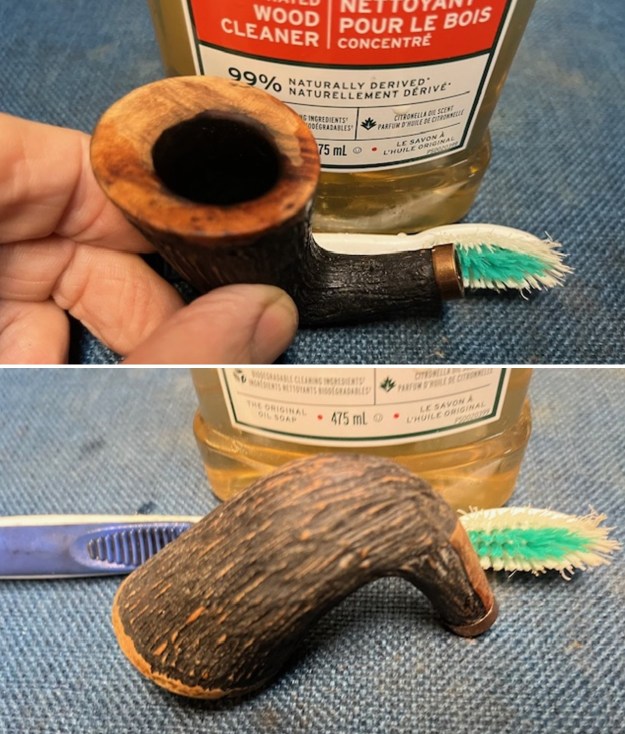
I started my work on the pipe by dealing with the shiny top coat on the bowl. I wanted to remove that and clean up the finish. I wiped down the bowl with acetone on a cotton pad to remove the varnish (possibly shellac). It worked very well to get rid of the top coat without harming the stain coat on the bowl. It also looked much better after the wash with the acetone. 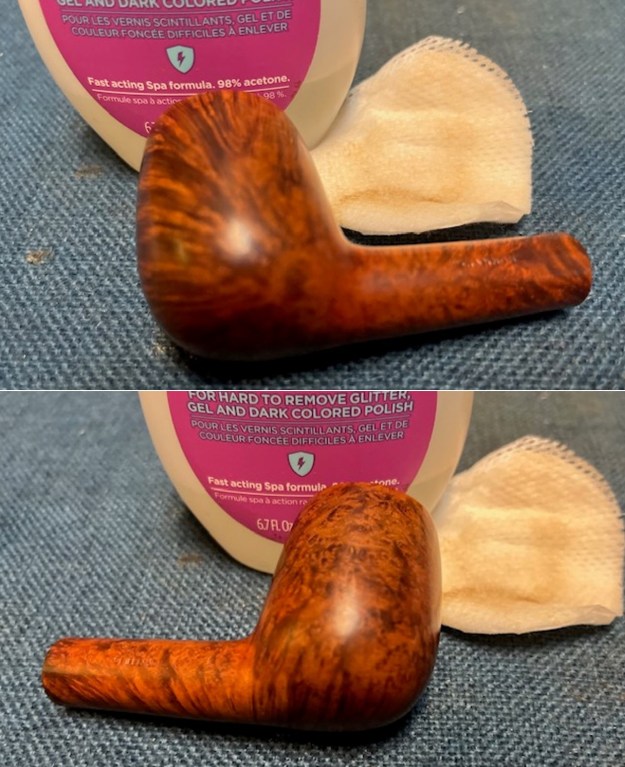
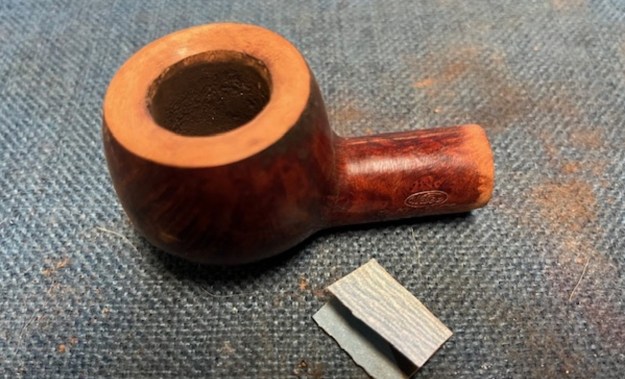
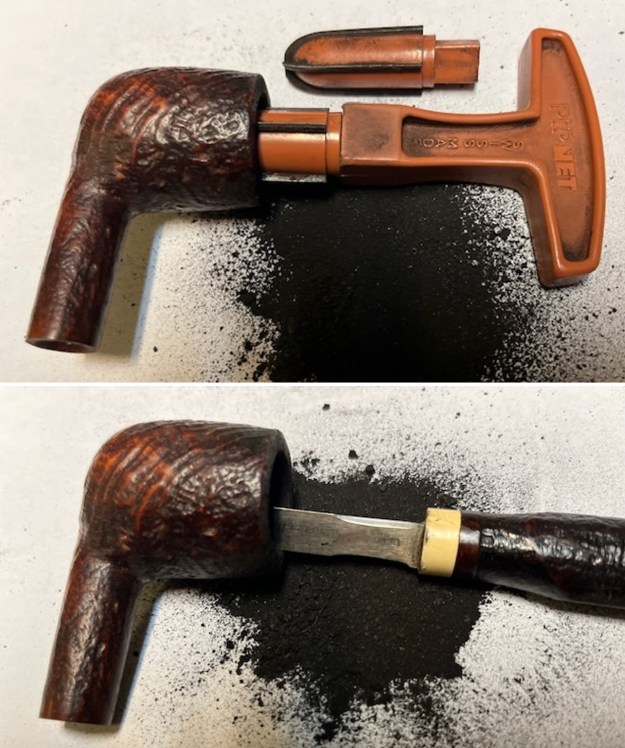
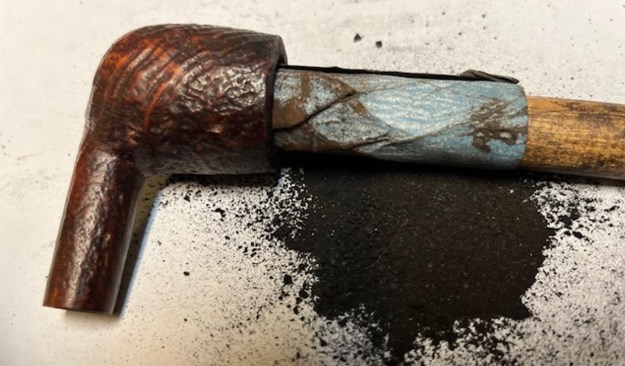
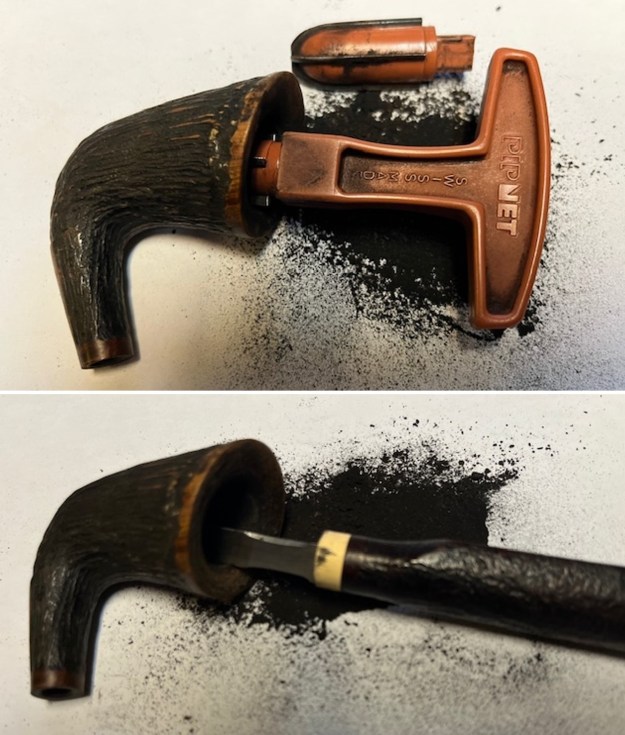
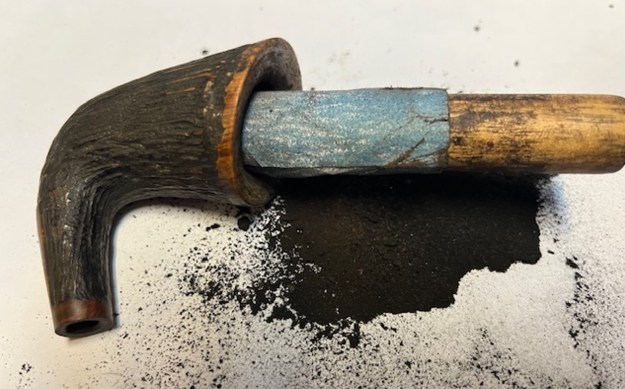
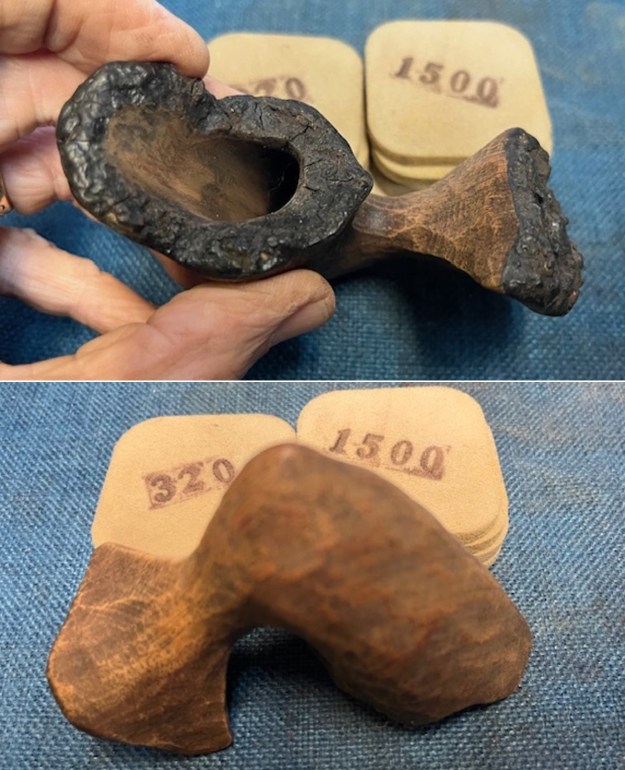
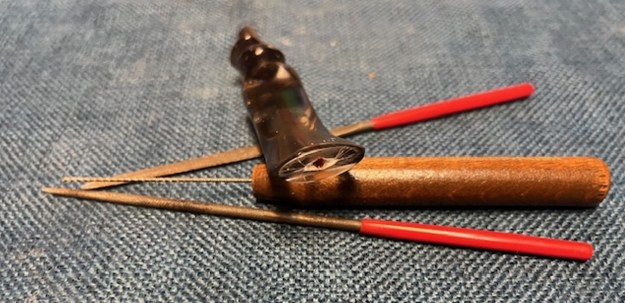
 I used a dowel wrapped with 220 grit sandpaper to smooth out the thin cake in the bowl. It was a bit rough and uneven before I sanded it. Once finished it was smooth to touch from the top to the bottom of the bowl.
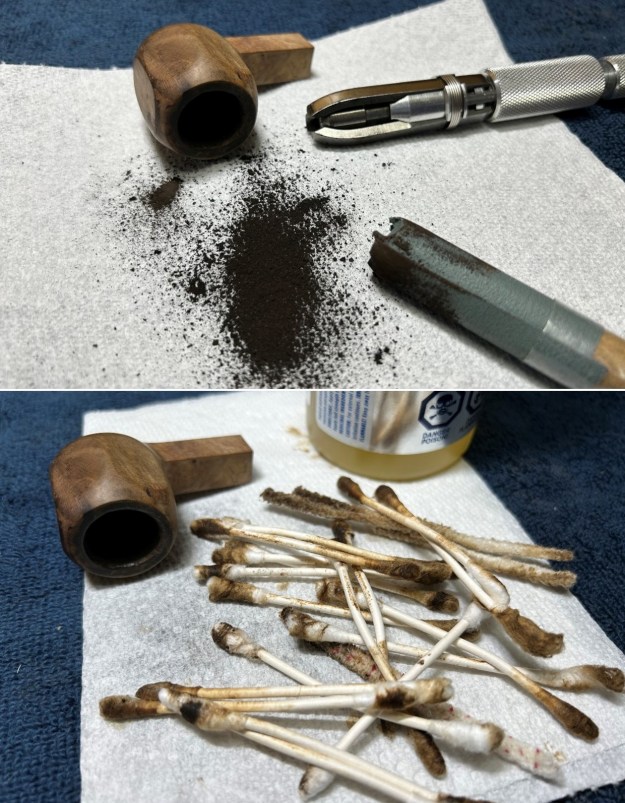
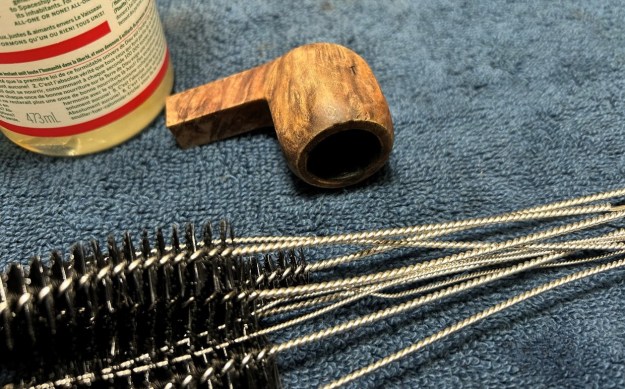
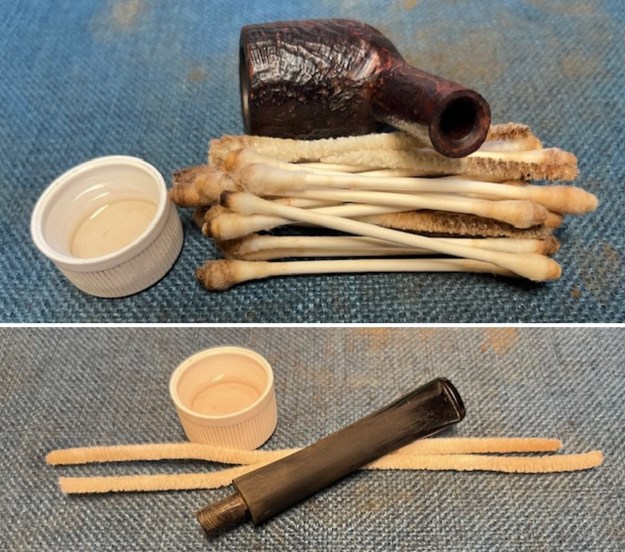
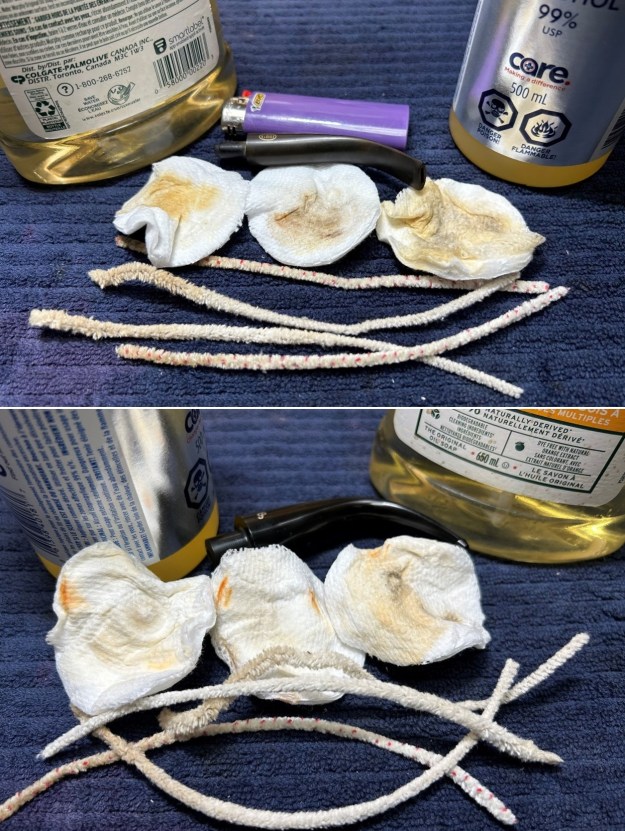
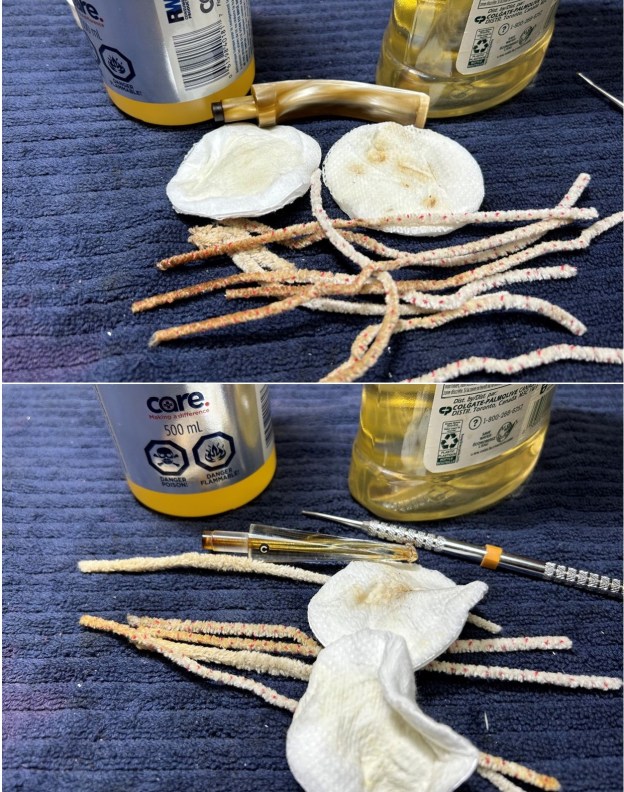
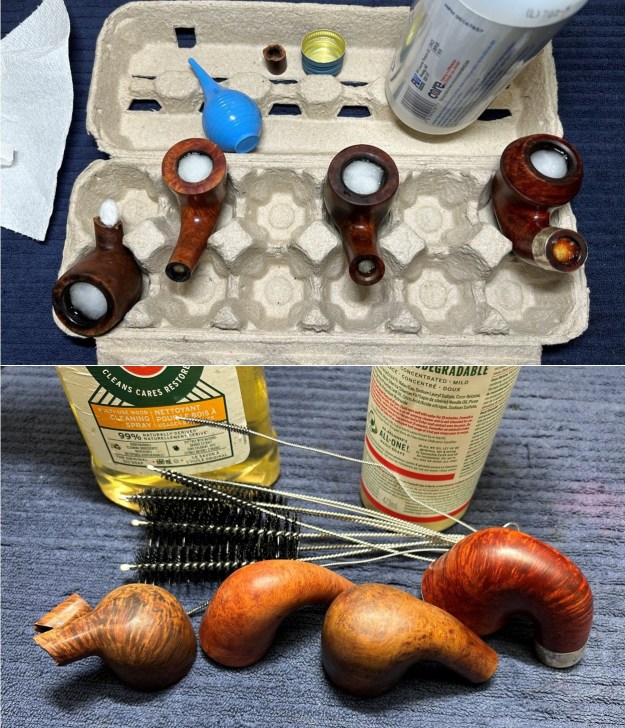
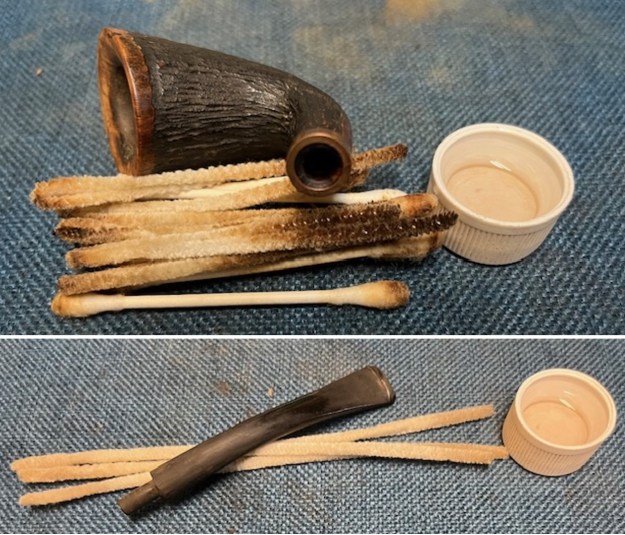
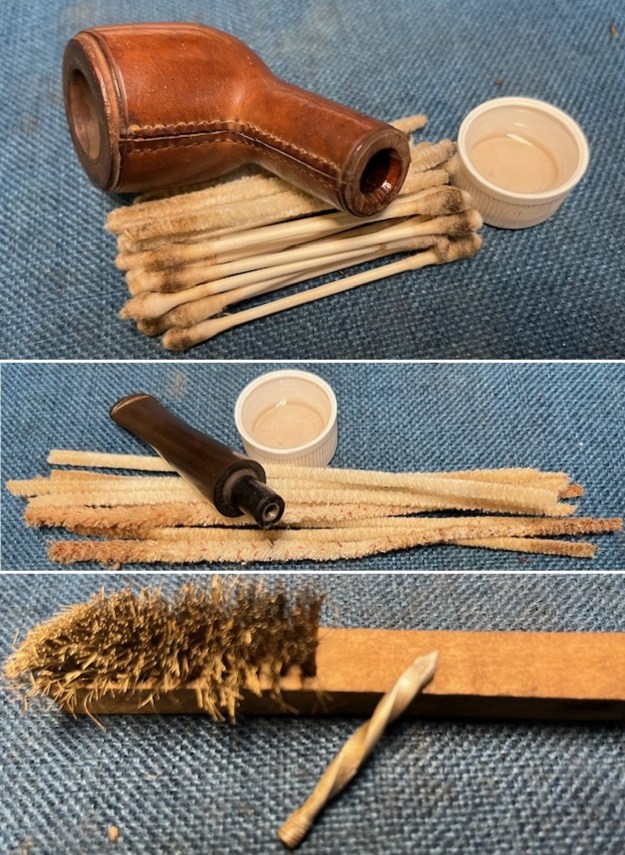
 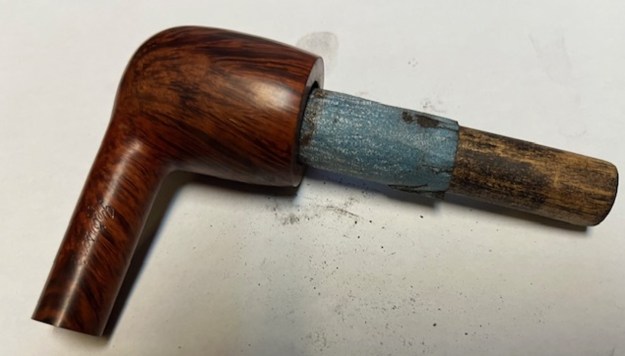 I cleaned out the internals of the pipe with pipe cleaners, cotton swabs and isopropyl alcohol. It was quite clean which is a tribute to Shannon’s care of his pipes. I cleaned out the remnants of tars and oils in the shank and the pipe is clean. There is a smoky smell of tobacco but it is clean.
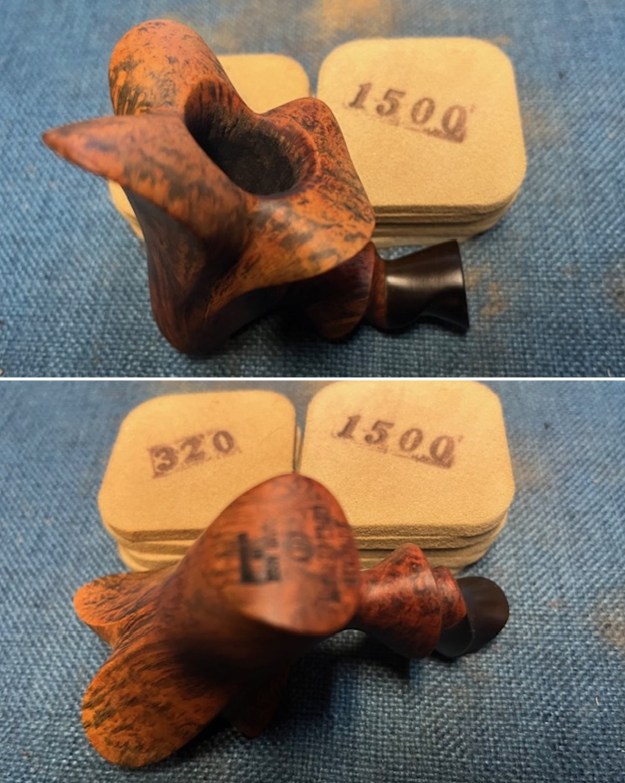
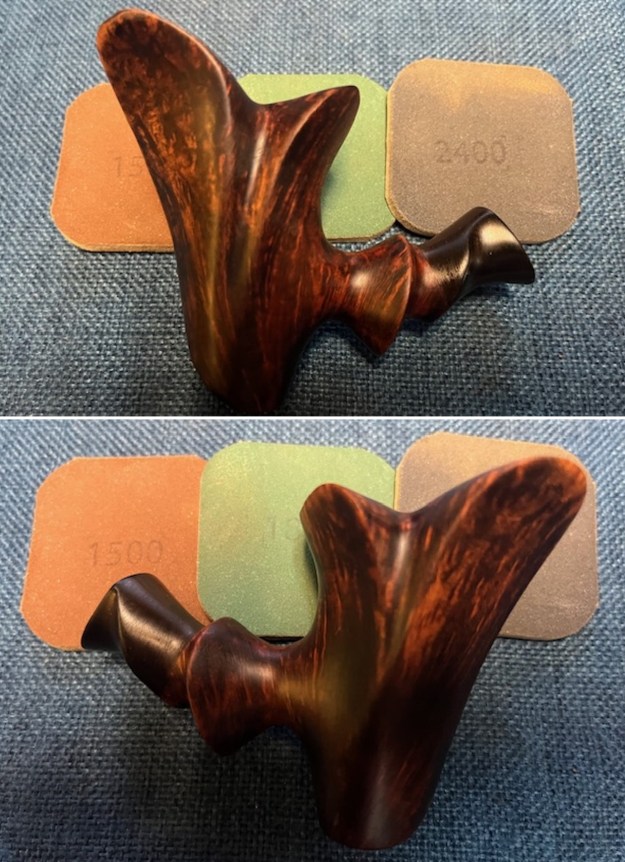
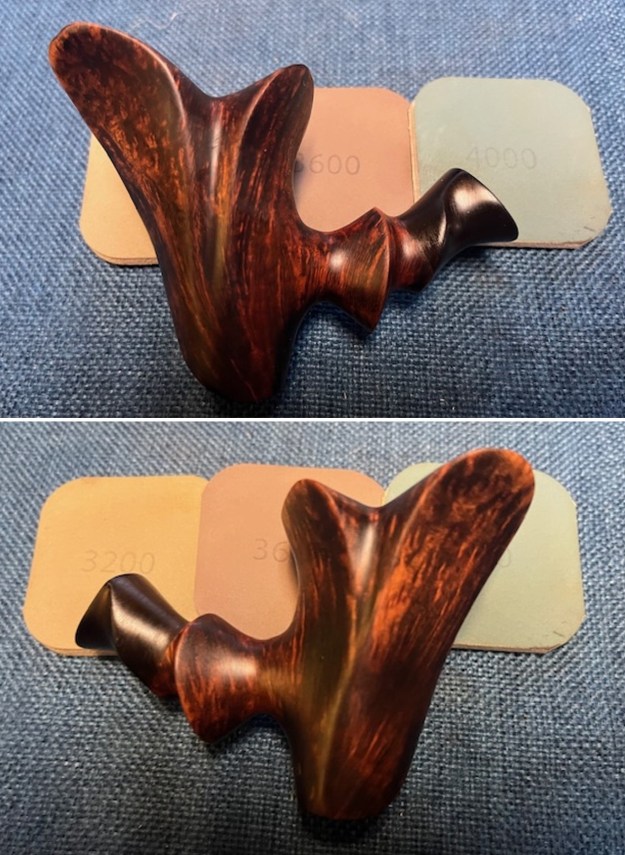
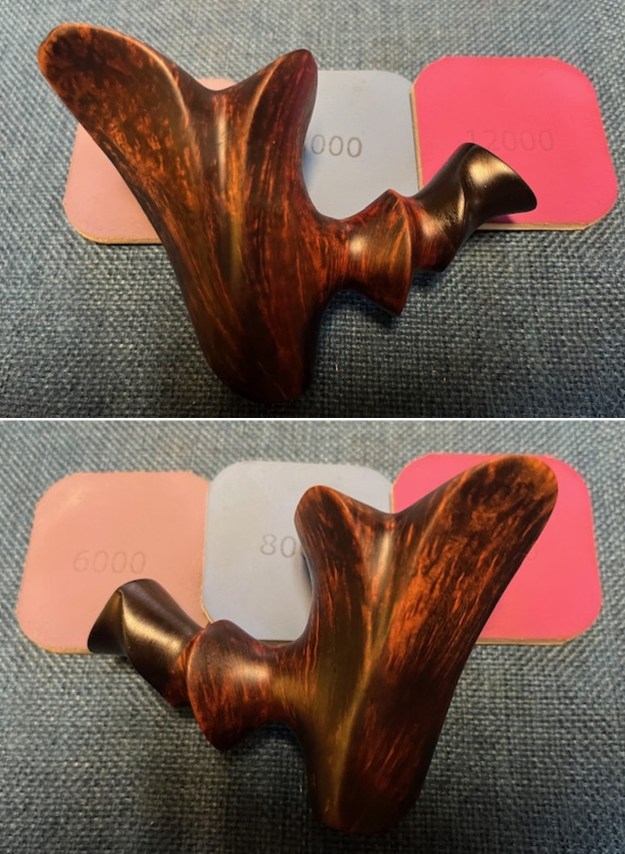
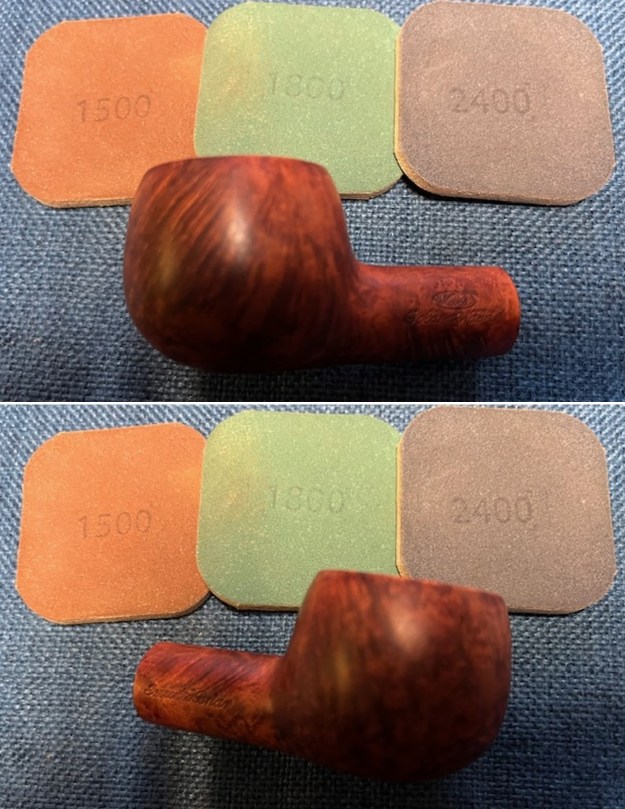
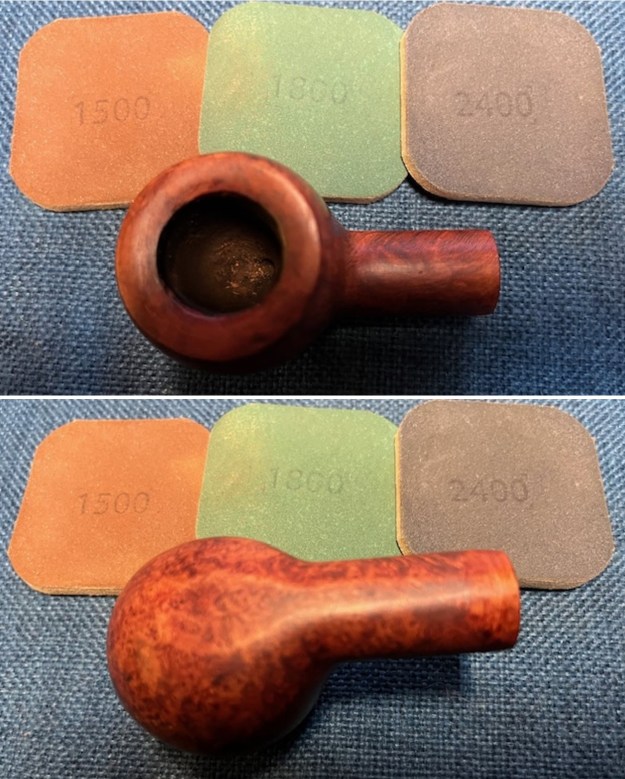
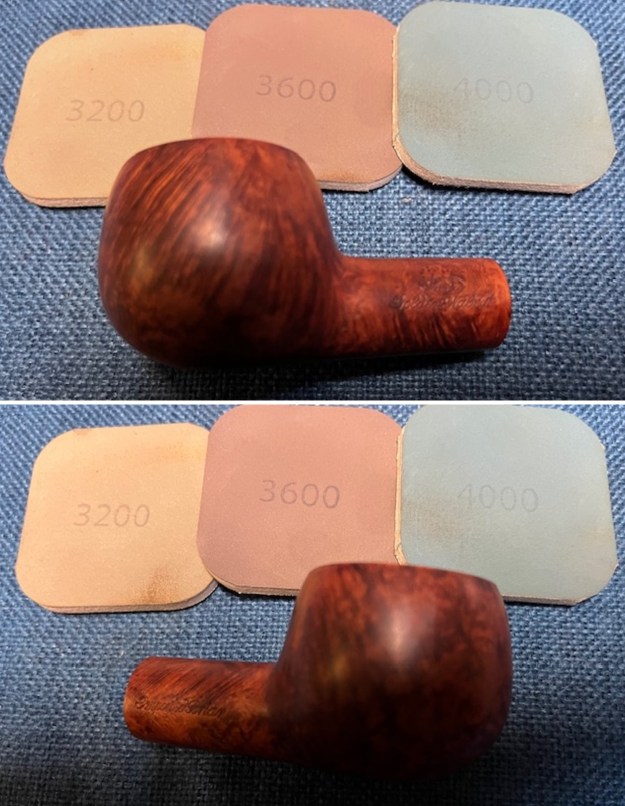
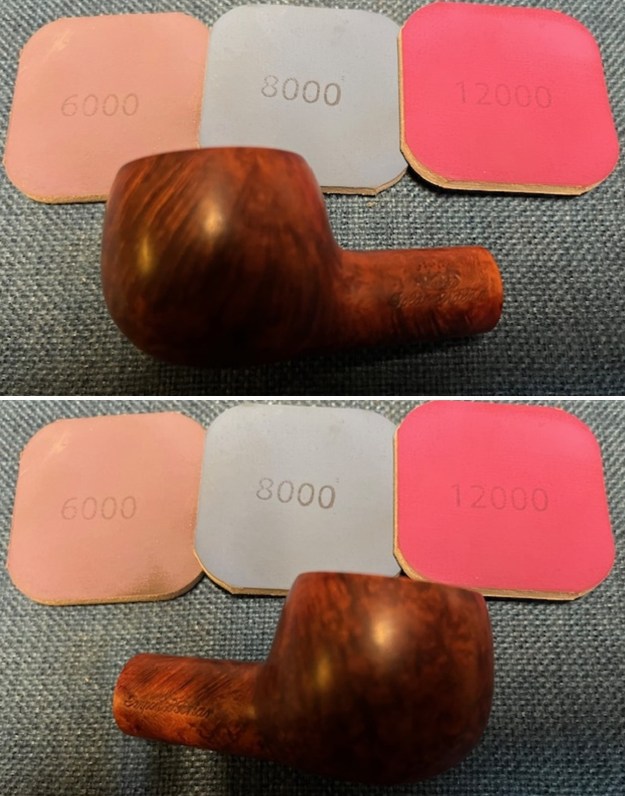
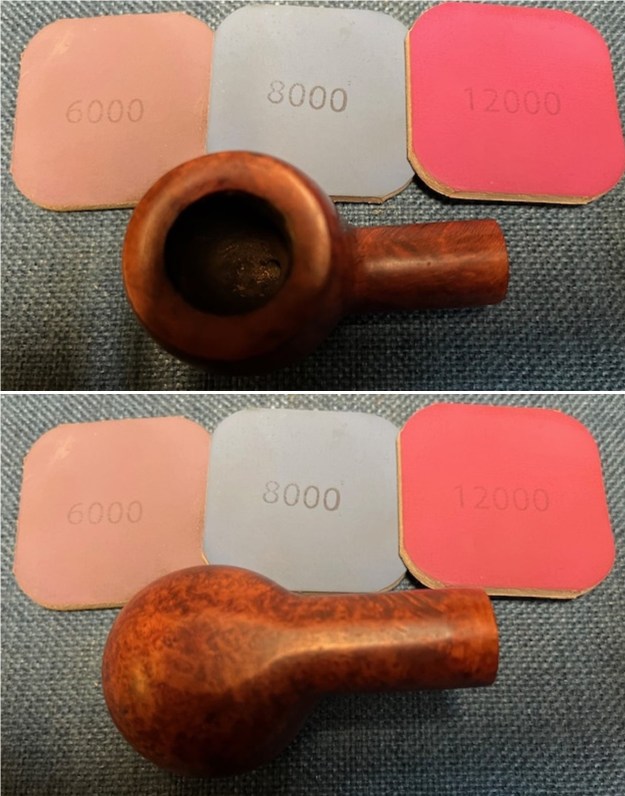
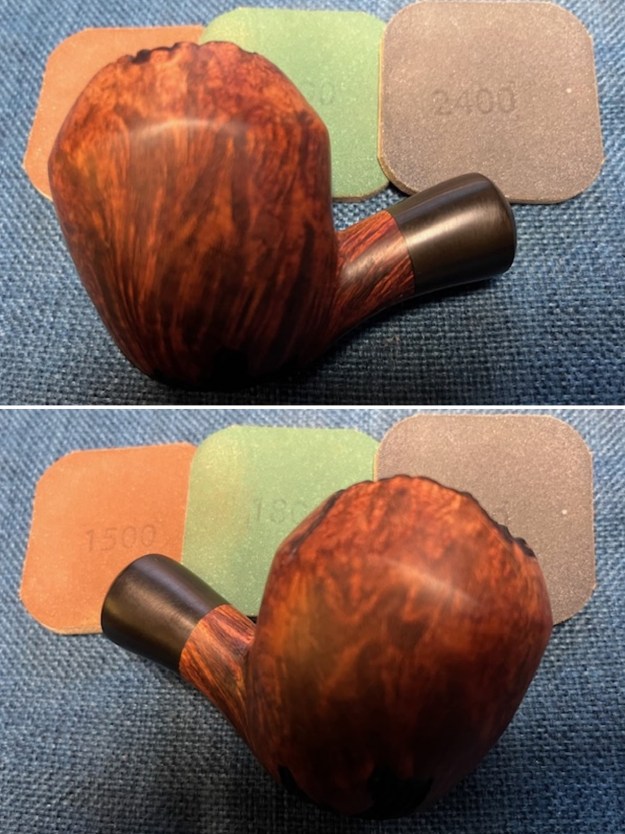
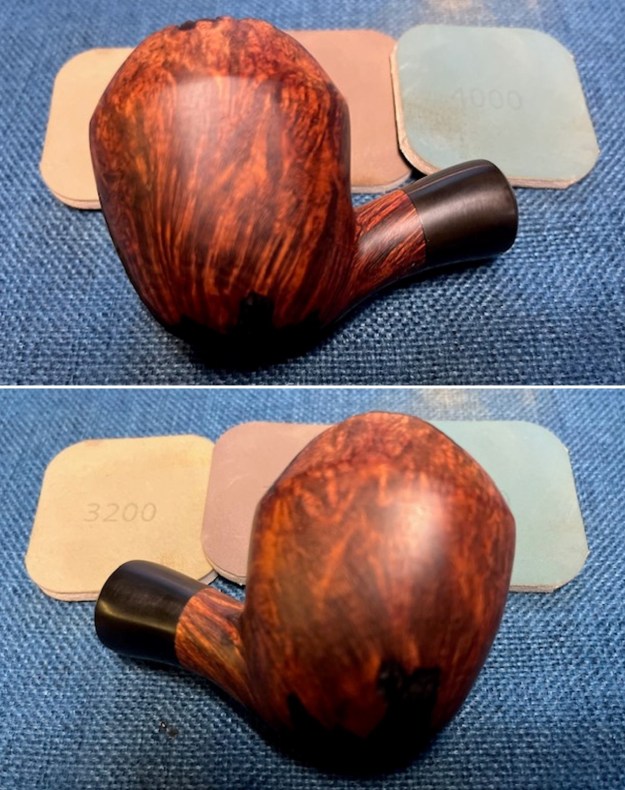
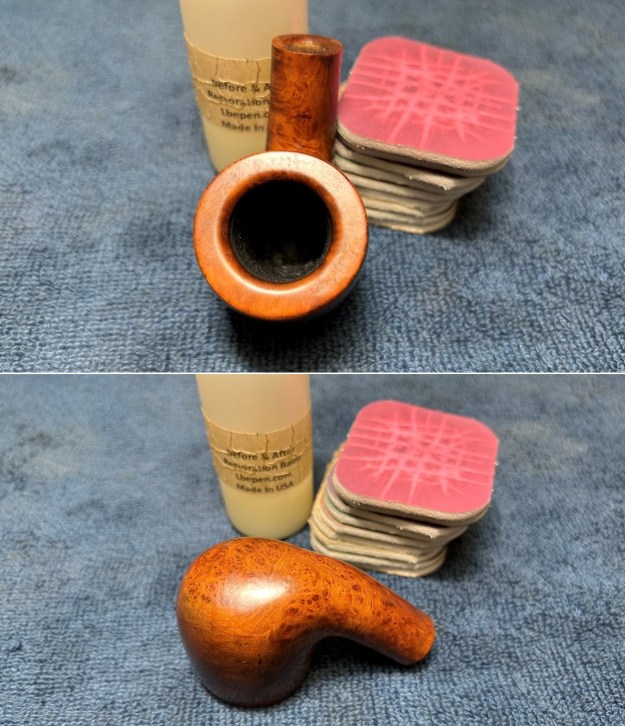
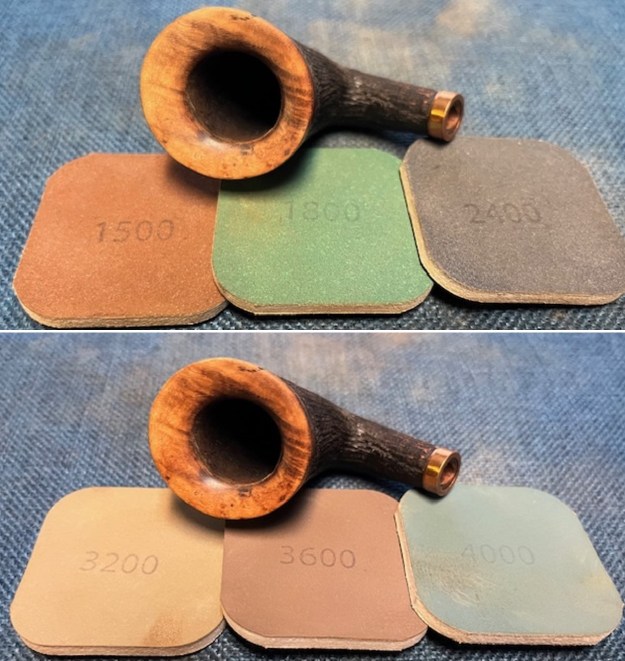
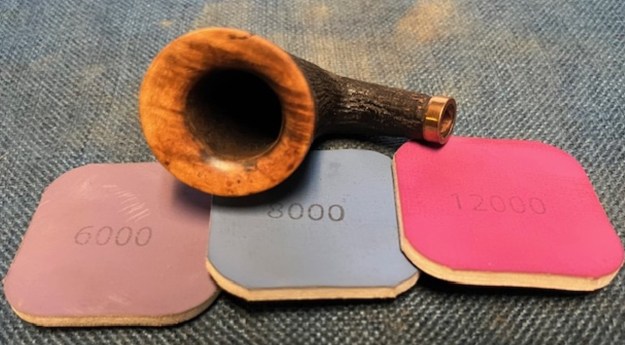
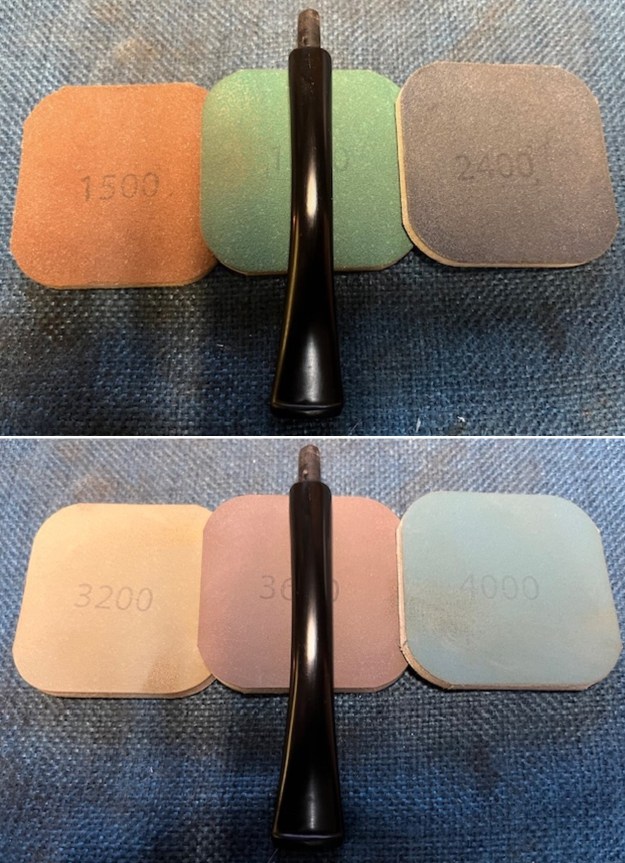
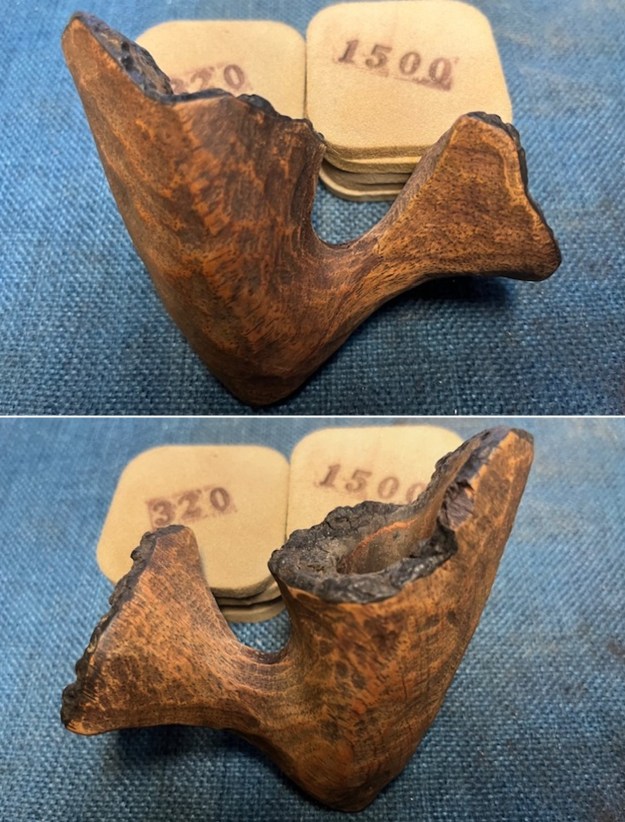
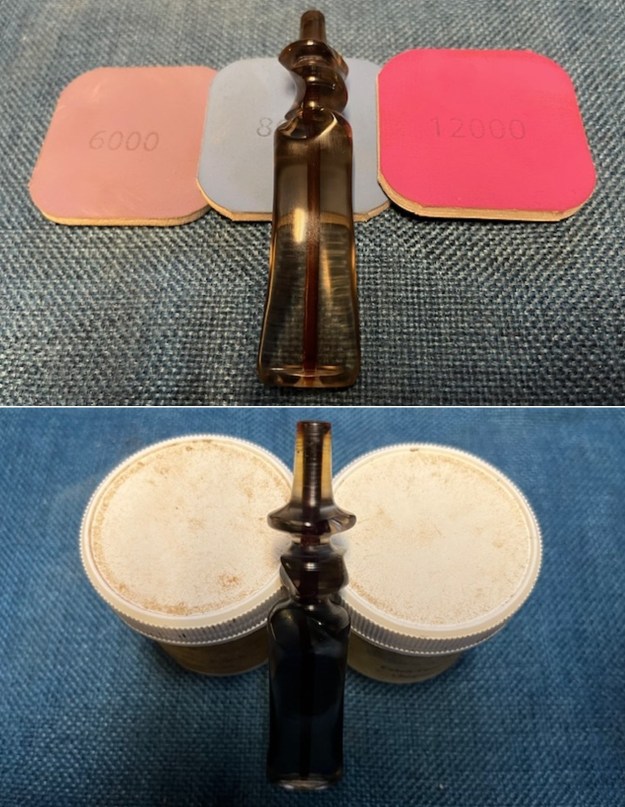
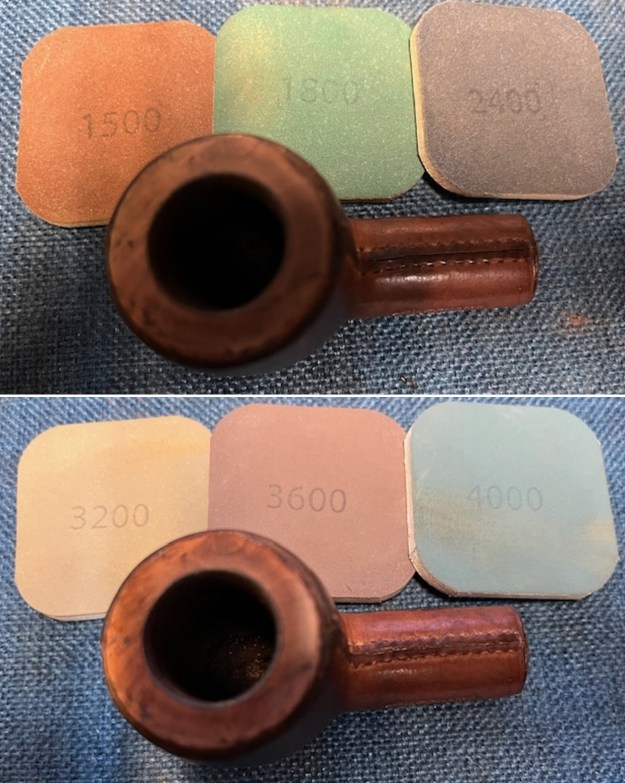
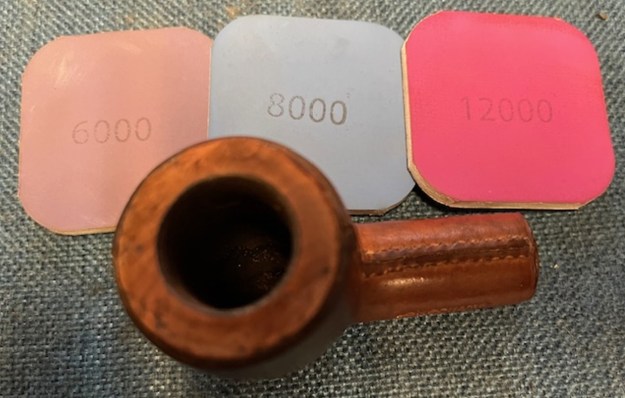
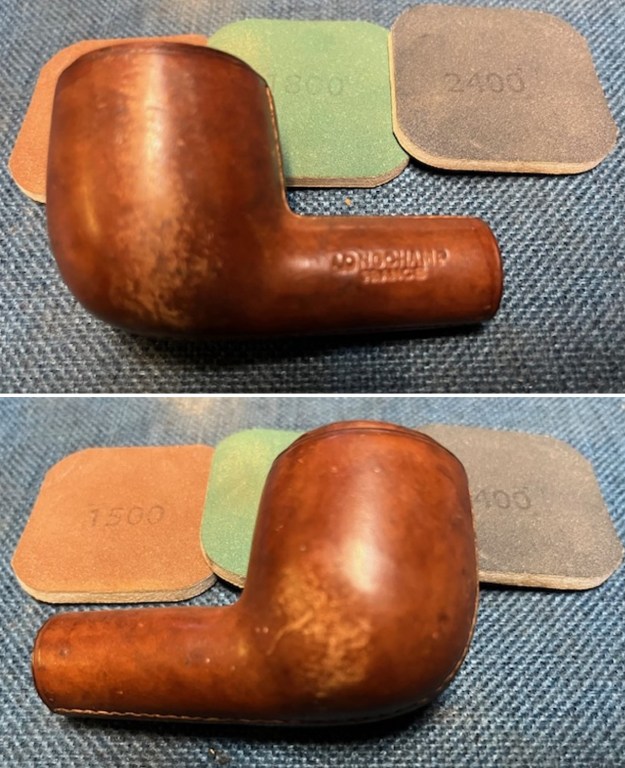
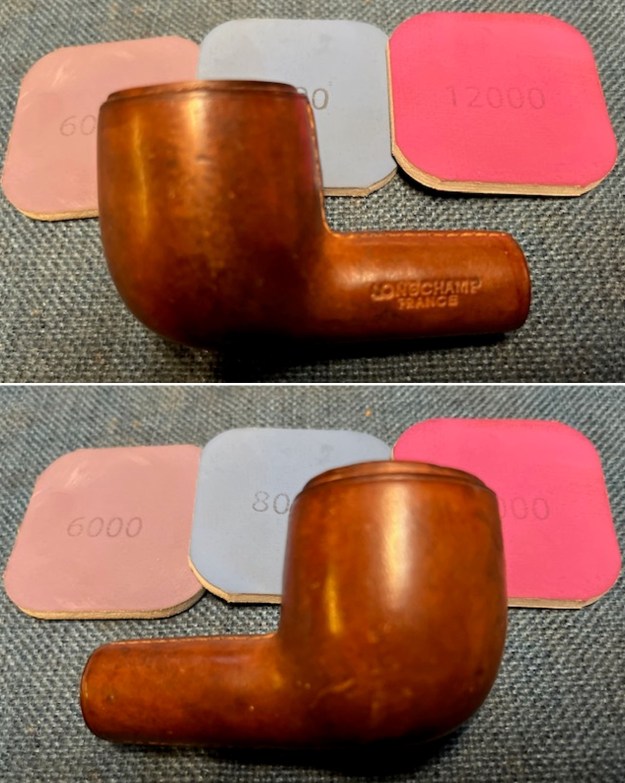
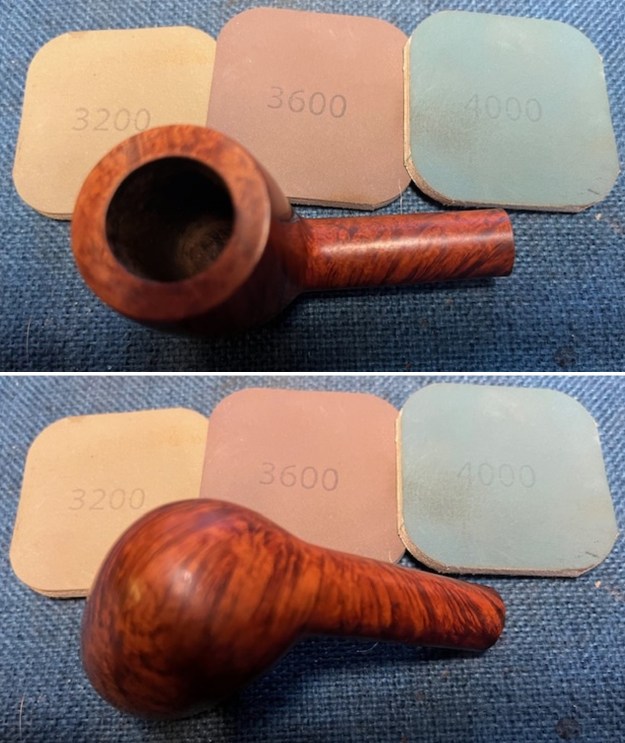
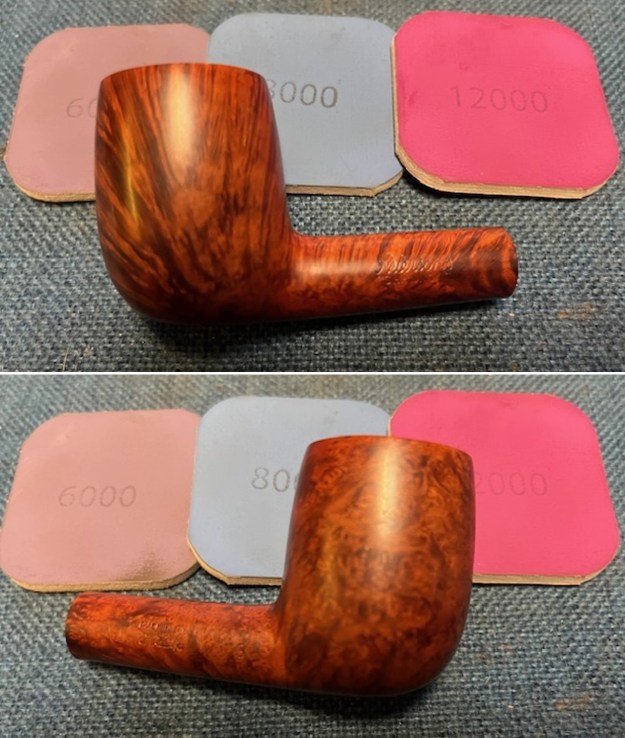
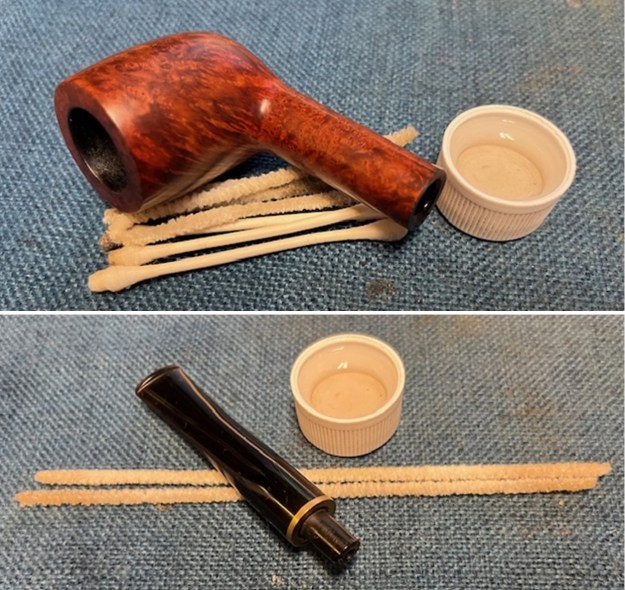 I polished the briar with micromesh sanding pads – dry sanding it with 1500-12000 grit sanding pads. I wiped it down with a damp cloth after each sanding pad to remove the dust. The rim top, edges and bowl were really shining by the final pad.
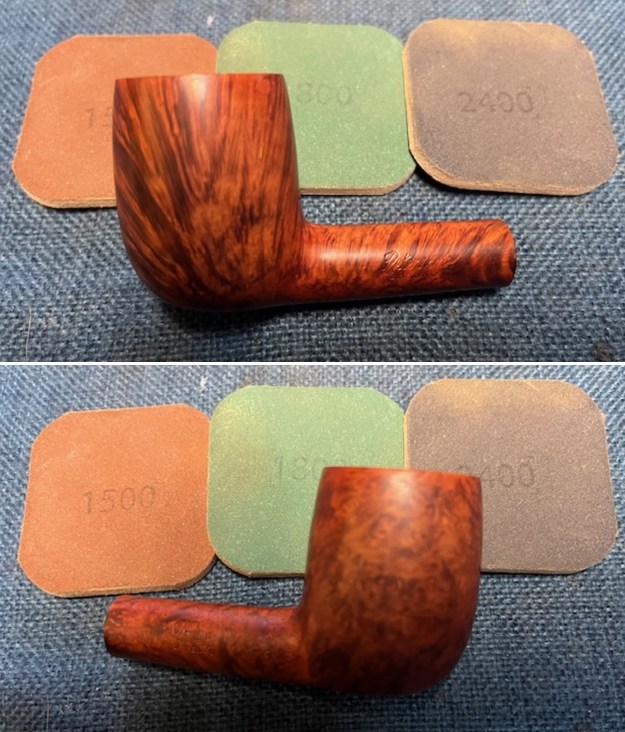
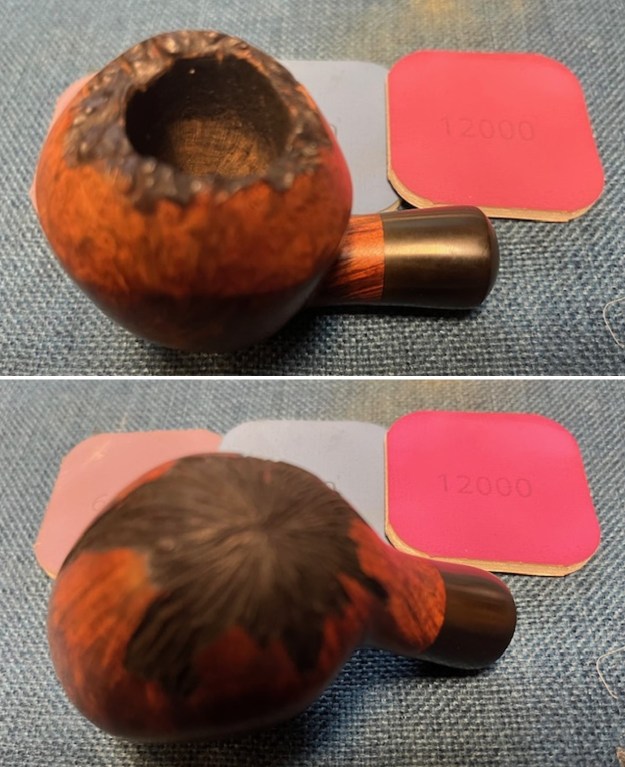
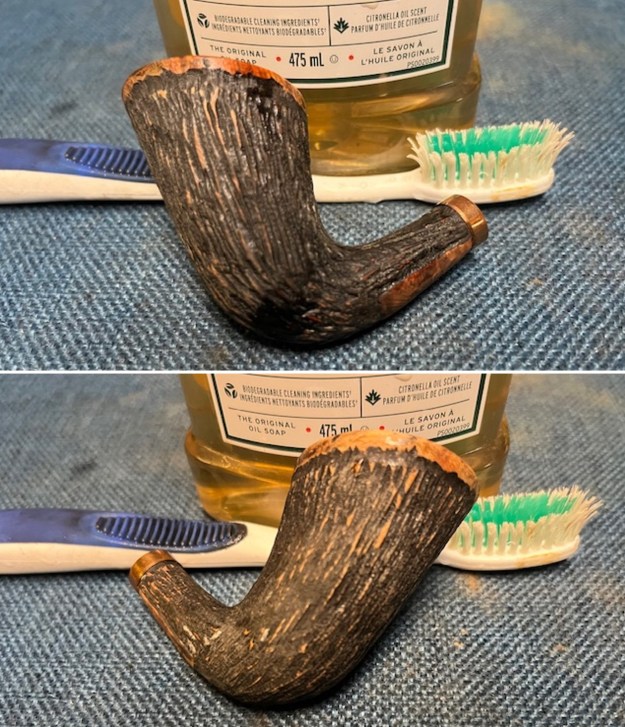
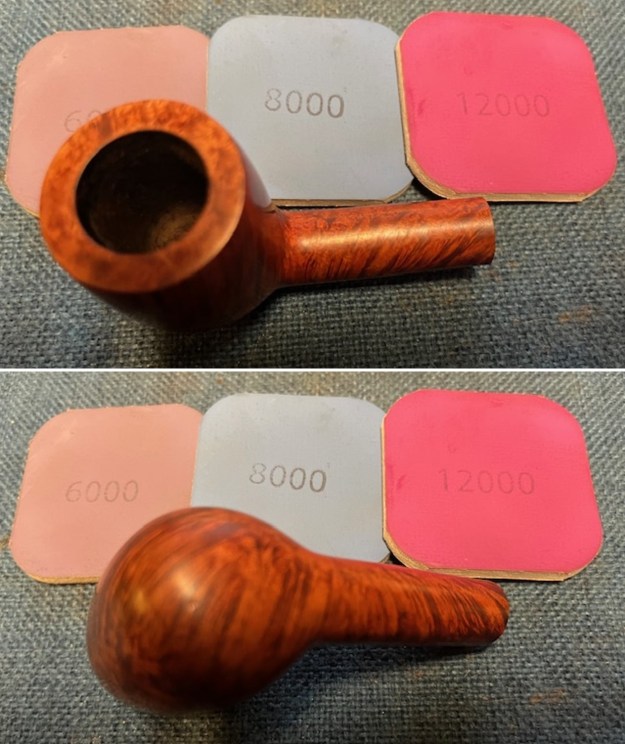
 I paused the polishing to clean up the top of the rim a bit. I used a folded piece of 220 grit sandpaper to remove the darkening on the rim top. It looked better at this point. Afterwards, I repeated the 1500-2400 grit pads and then continued to work through the rest of the pads. It looked much better.
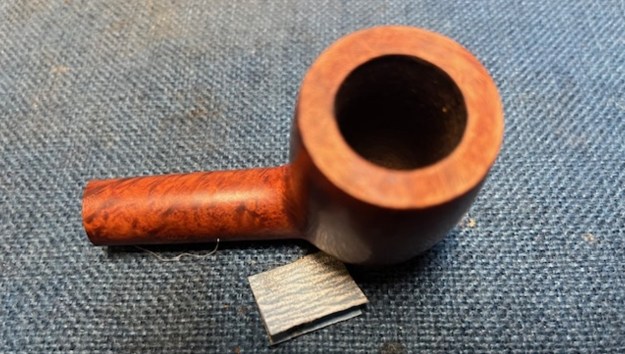
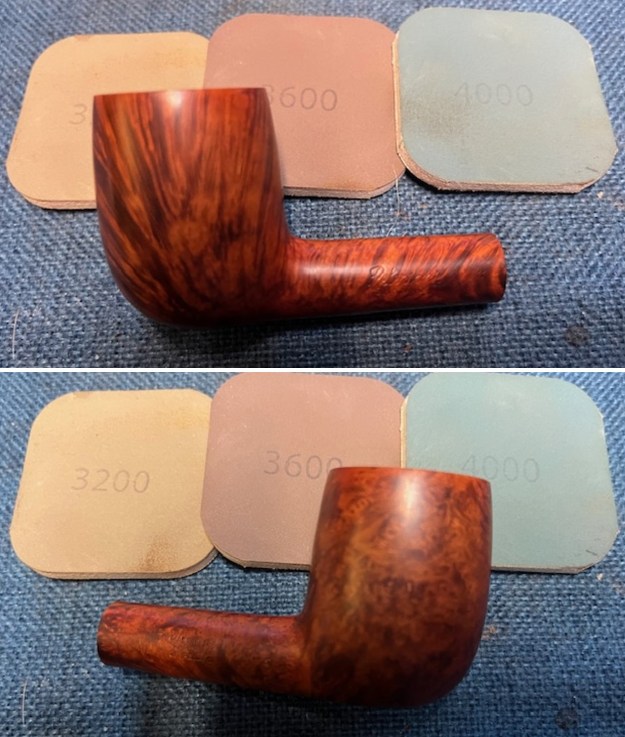
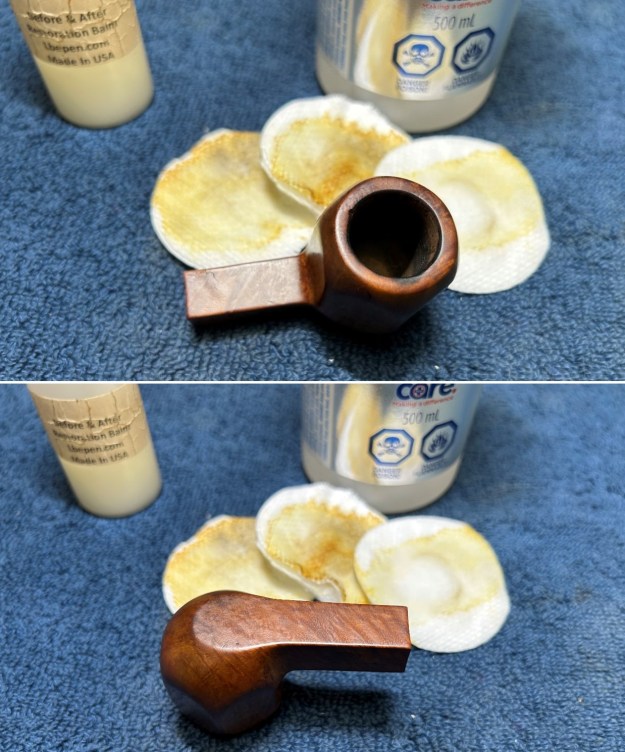
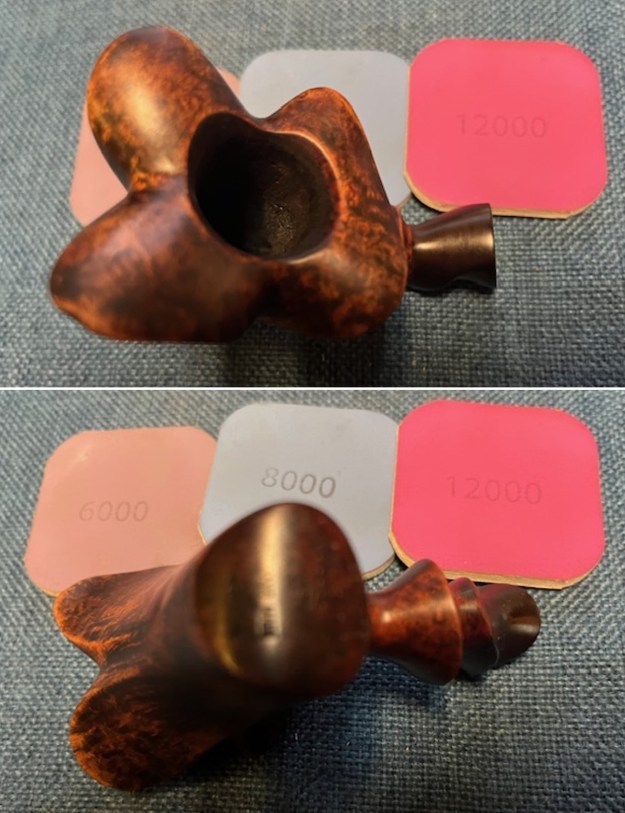
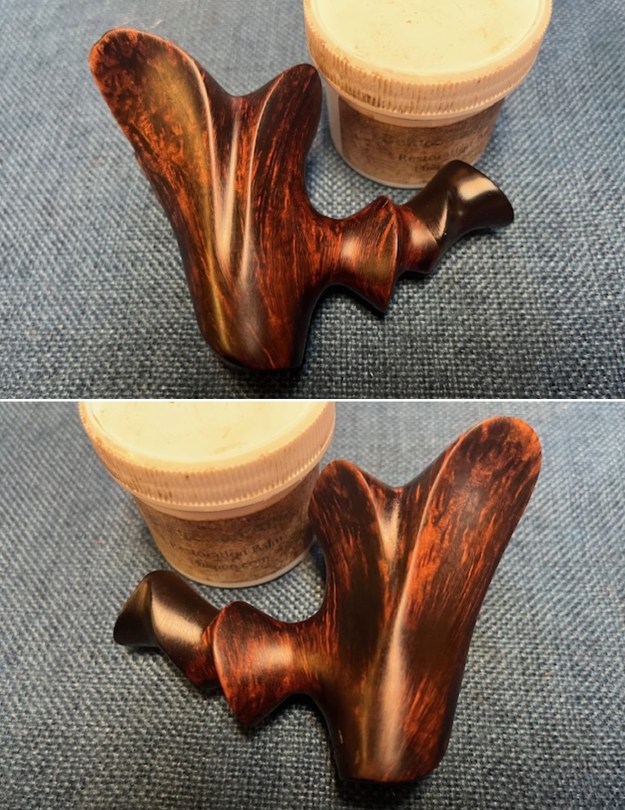
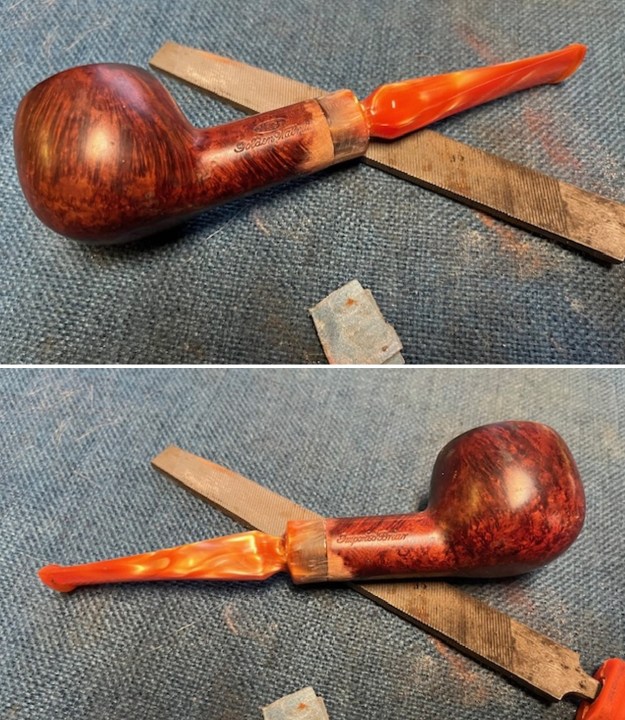
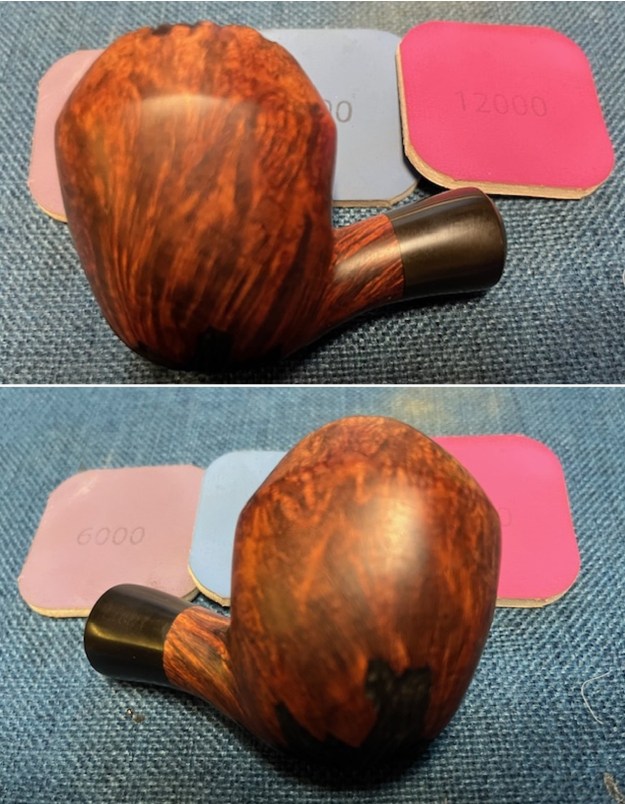
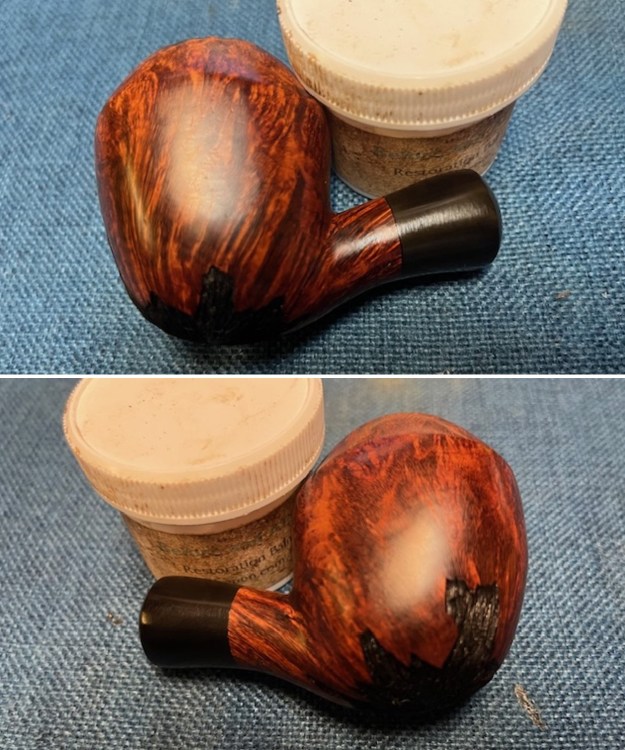
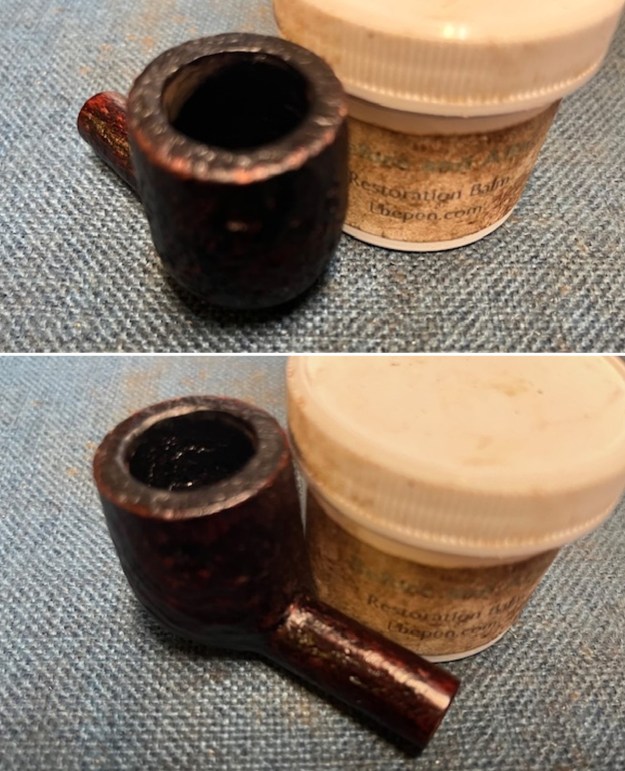
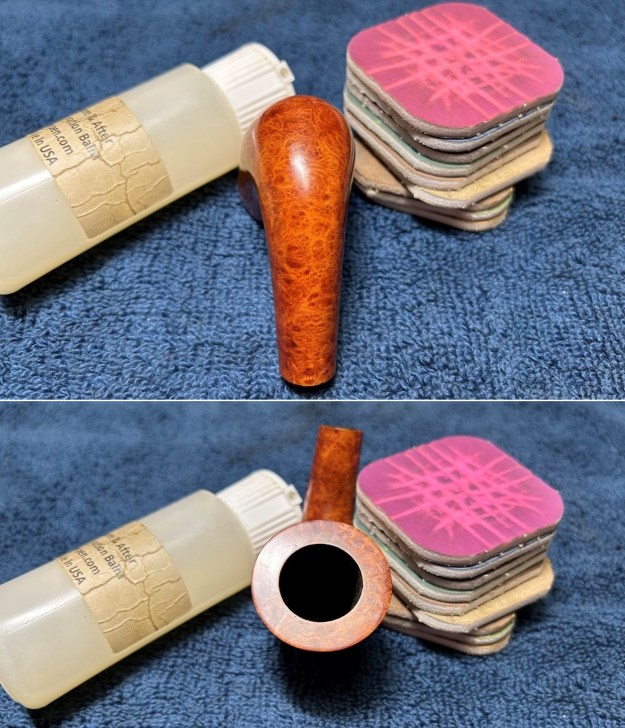
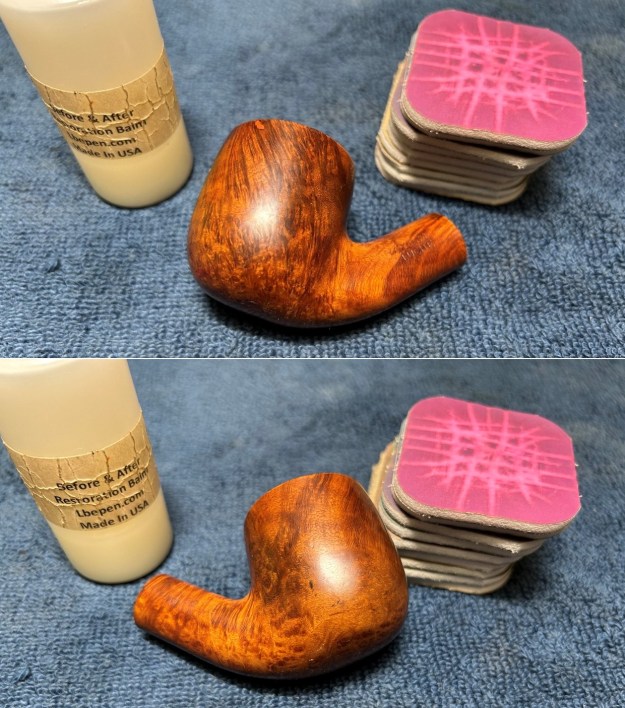
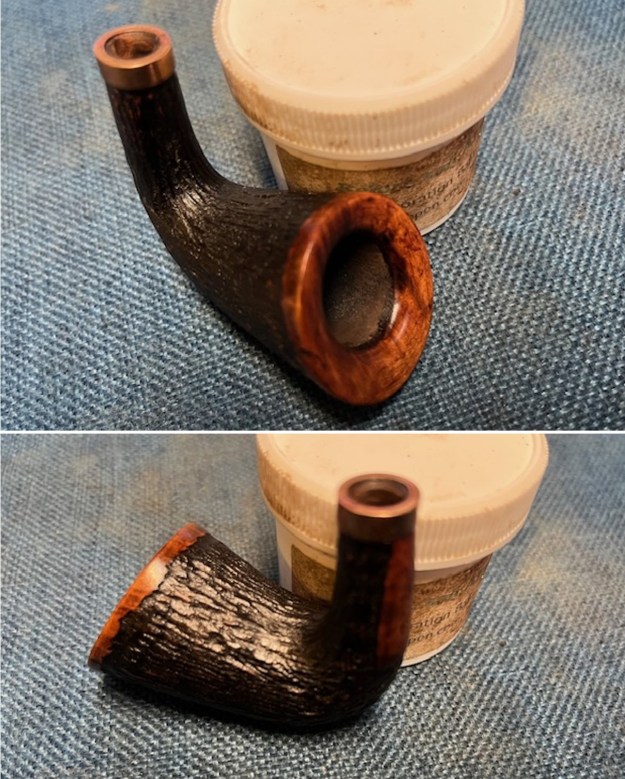
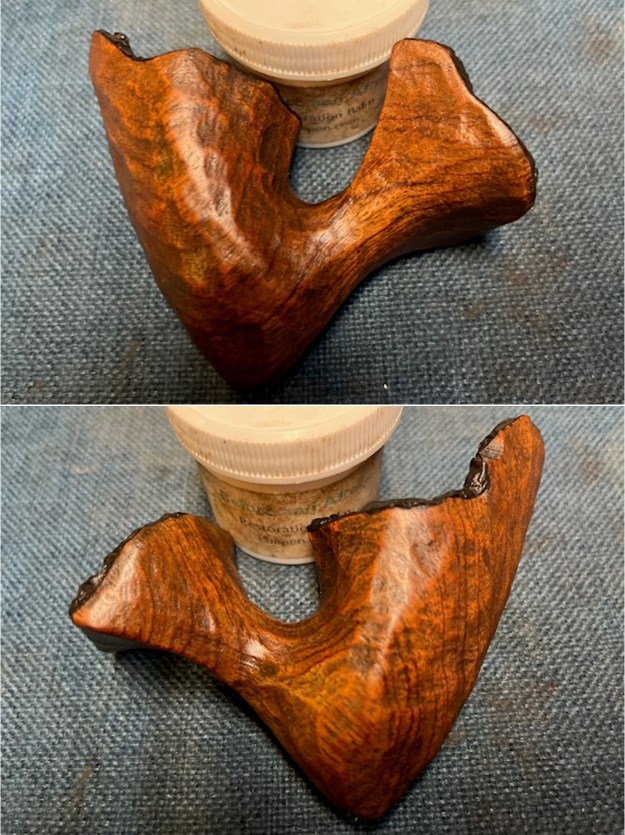
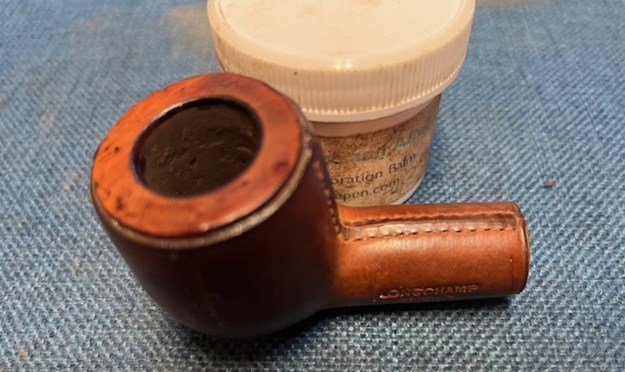
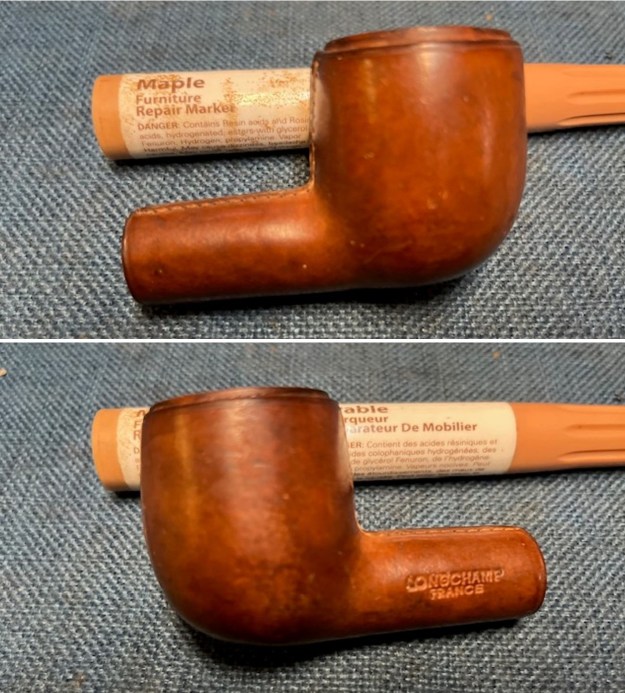
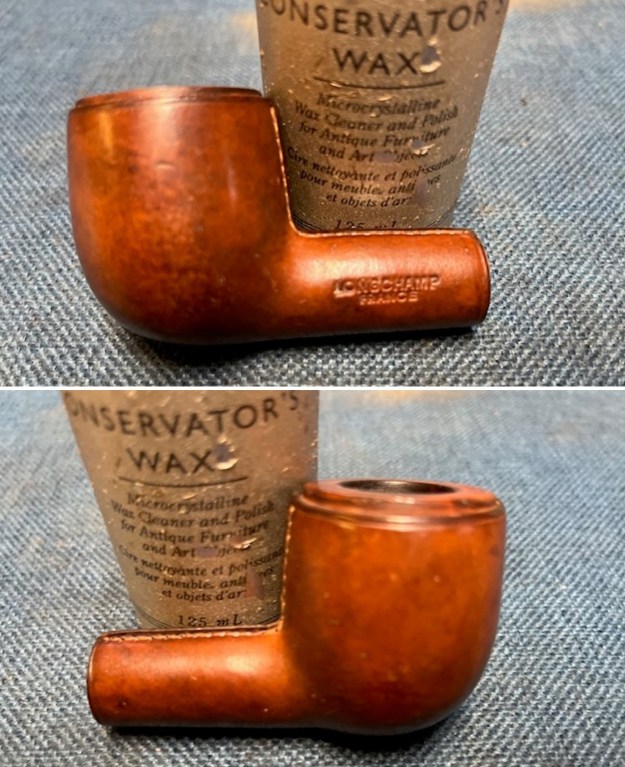
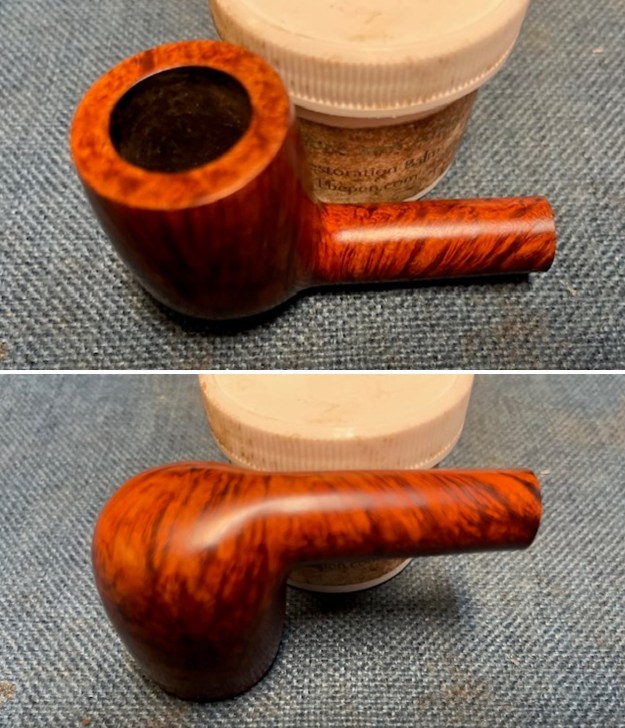
 I rubbed the bowl and rim down with Before & After Restoration Balm. I worked it into the surface of the briar with my fingertips to clean, enliven and protect it. I let the balm sit for 15 minutes and then buffed with a cotton cloth to raise the shine. I really like watching the Balm do its magic and bring the briar alive.
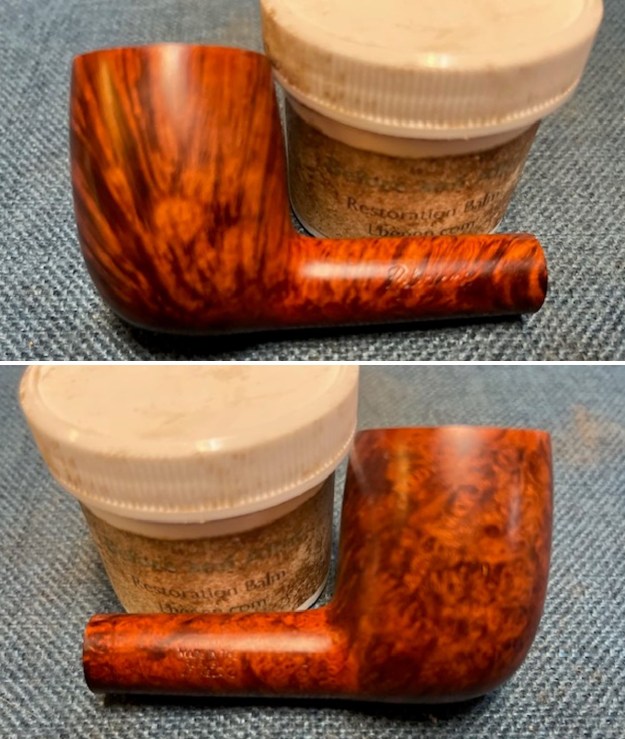
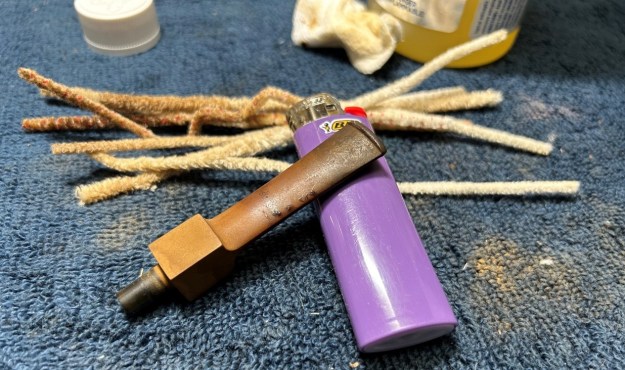
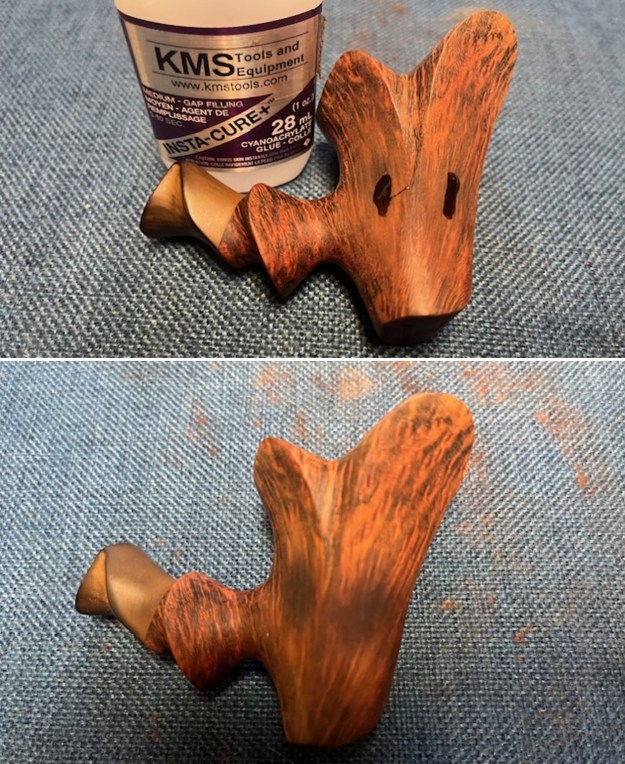
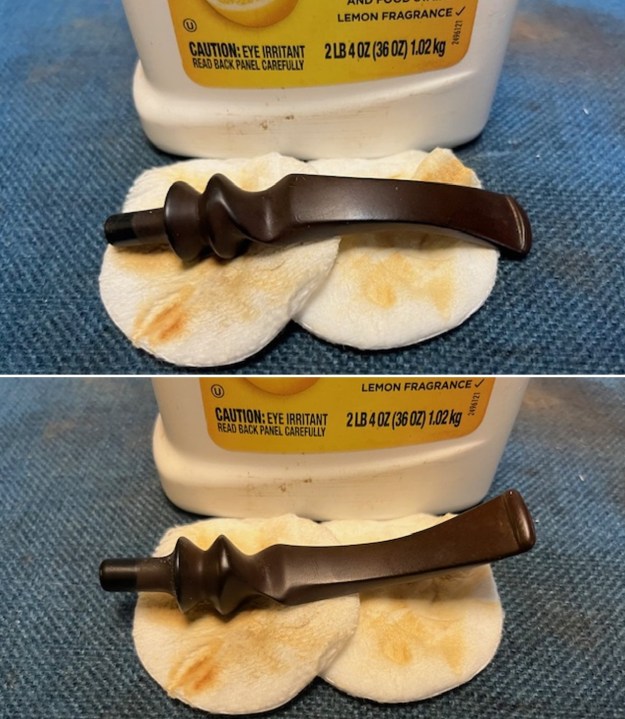
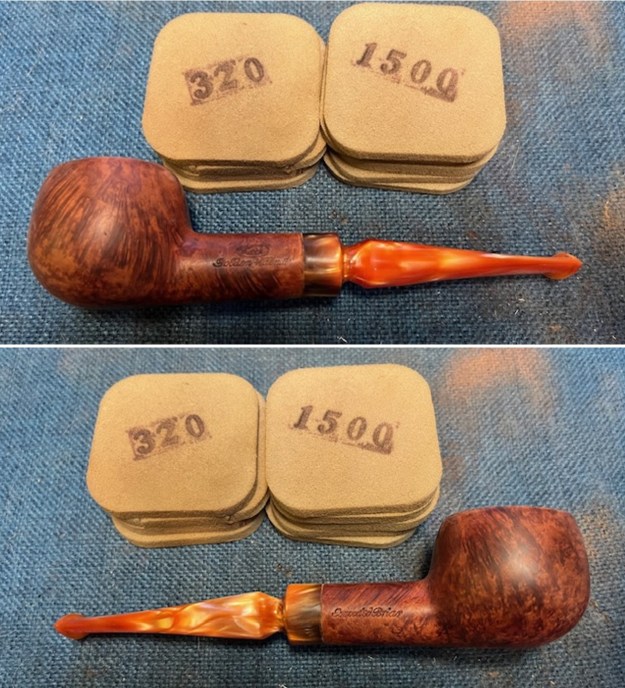
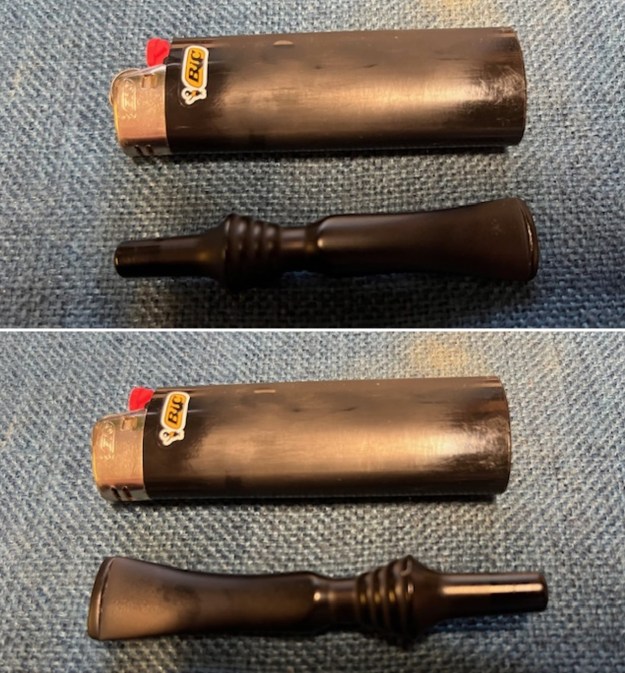
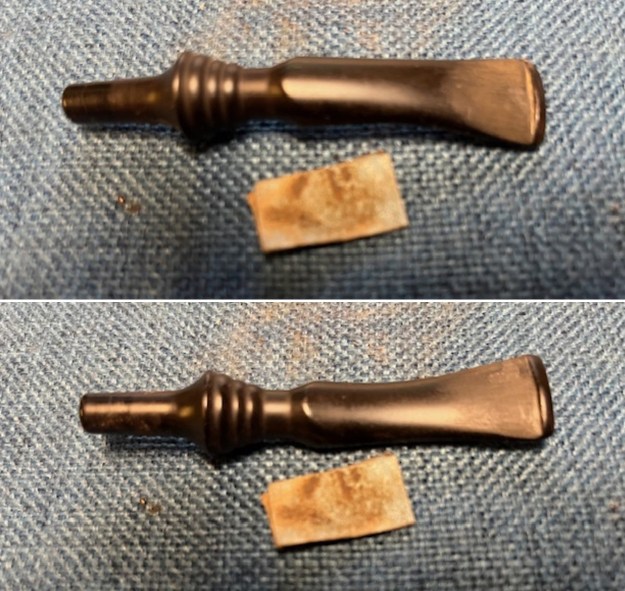
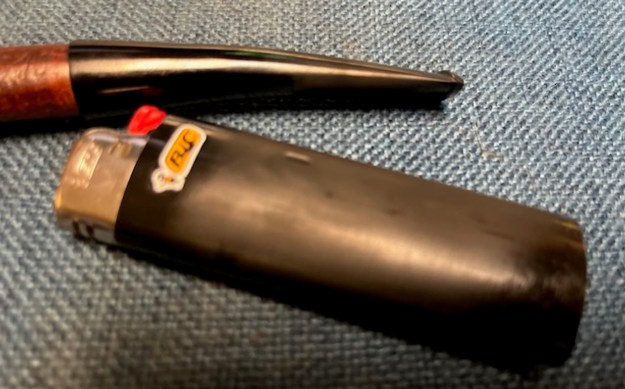
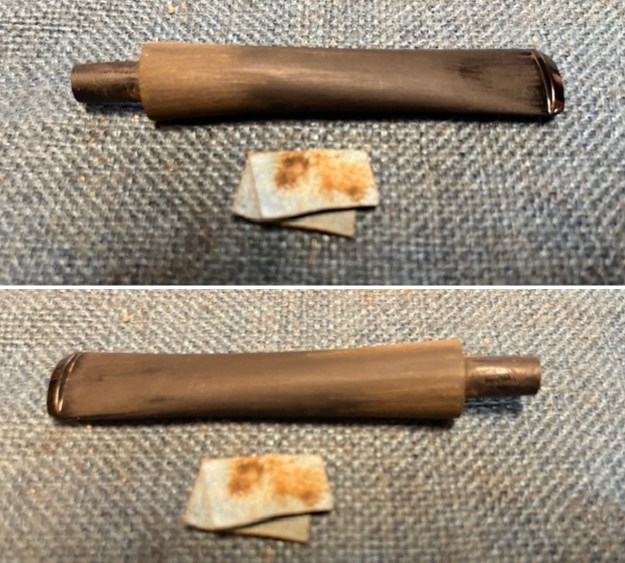
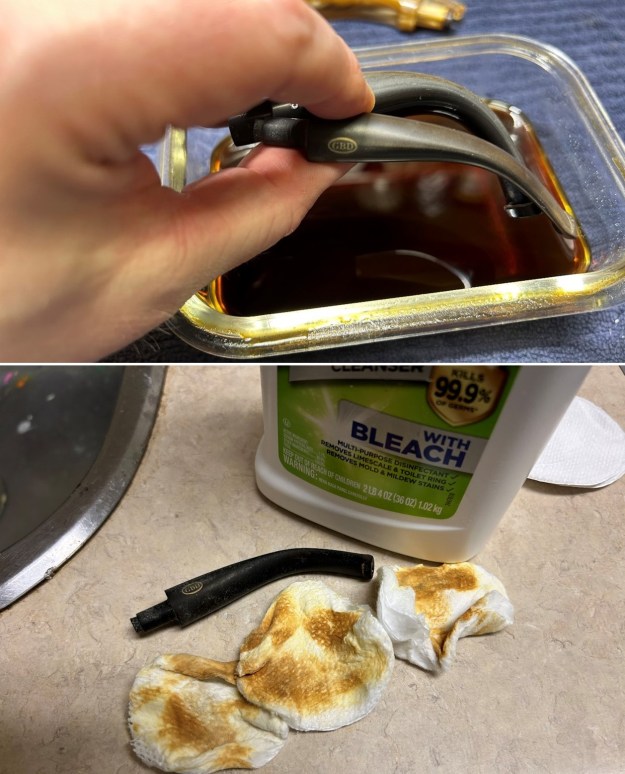
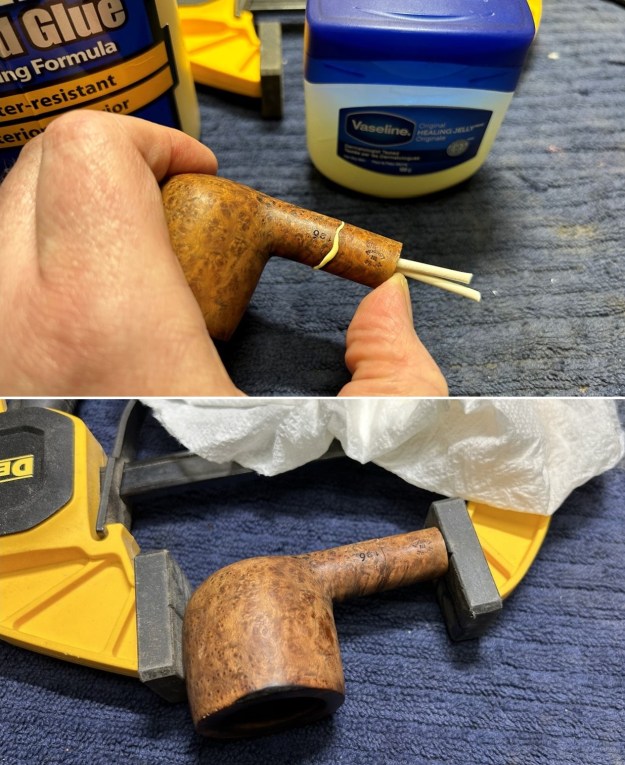
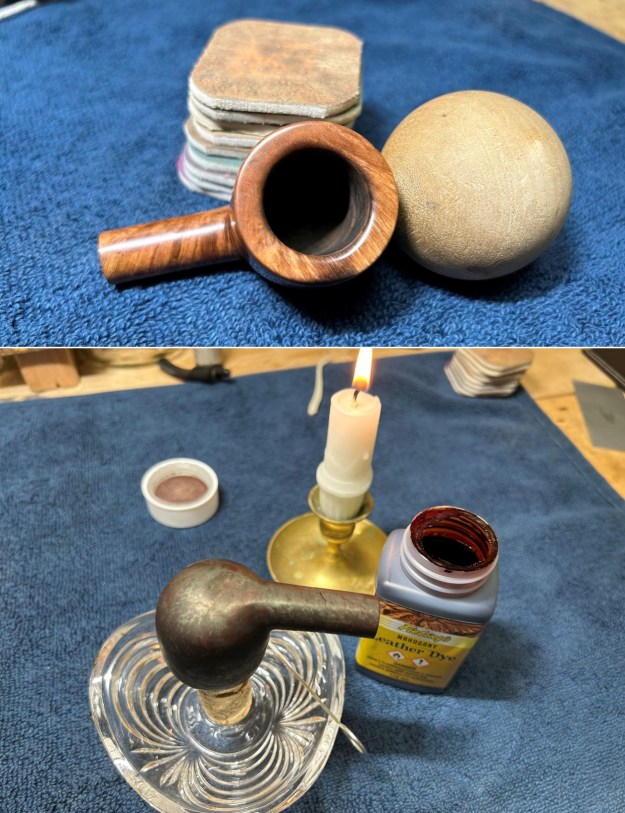
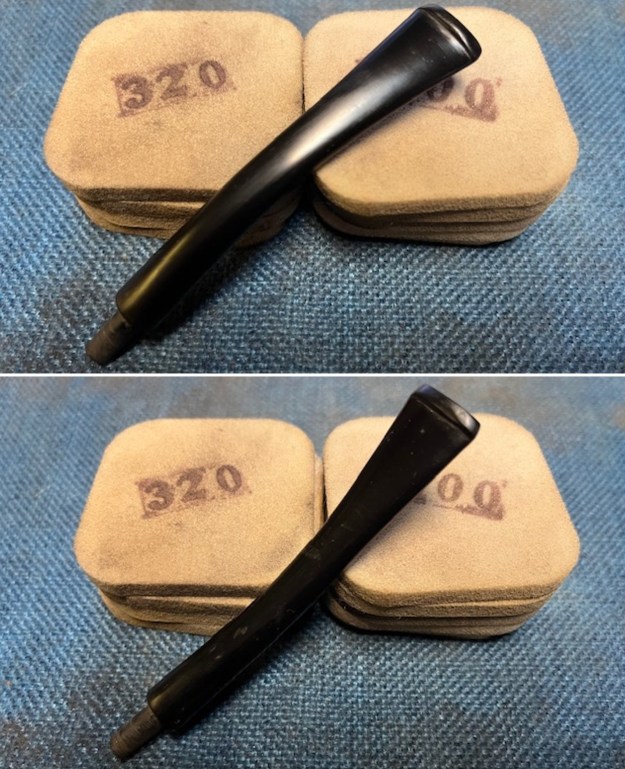
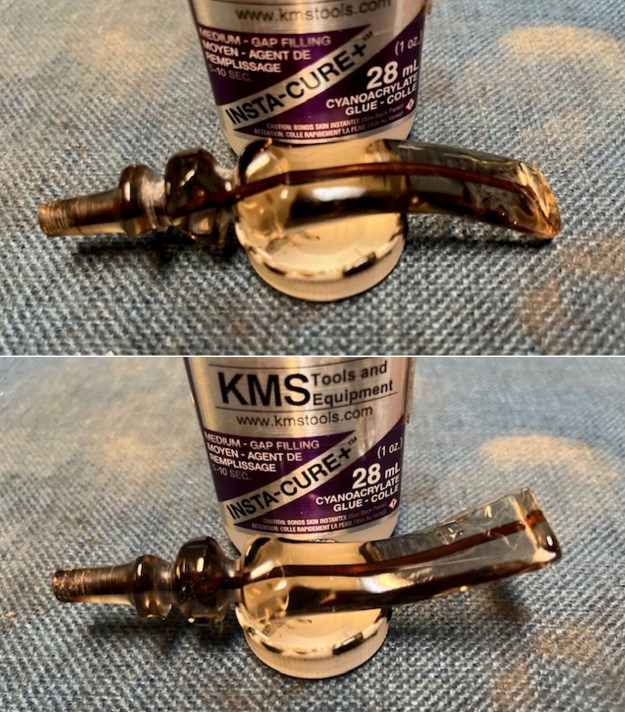
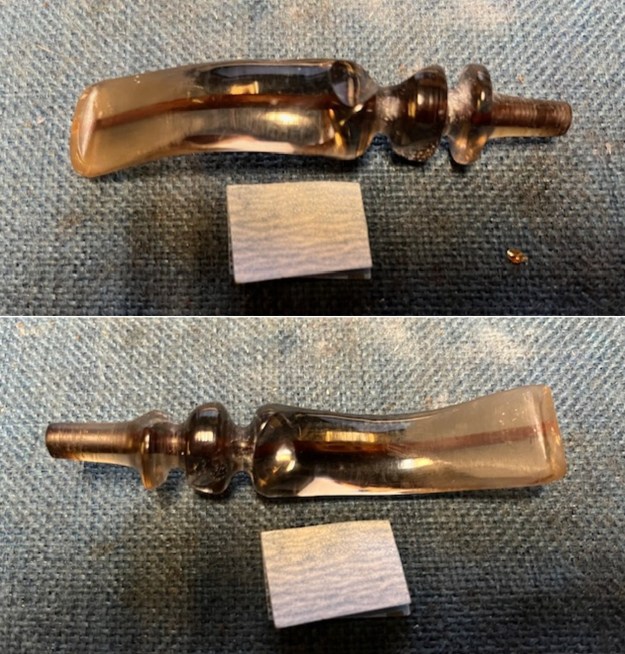
 I set the bowl aside and turned my attention to the stem. I set the bowl aside and turned my attention to the stem. I “painted” the vulcanite surface with the flame of a lighter – constantly moving the flame over the tooth marks and was able to lift many of them. I was able to lift them significantly enough that sanding them with 320-3500 grit sanding pads.
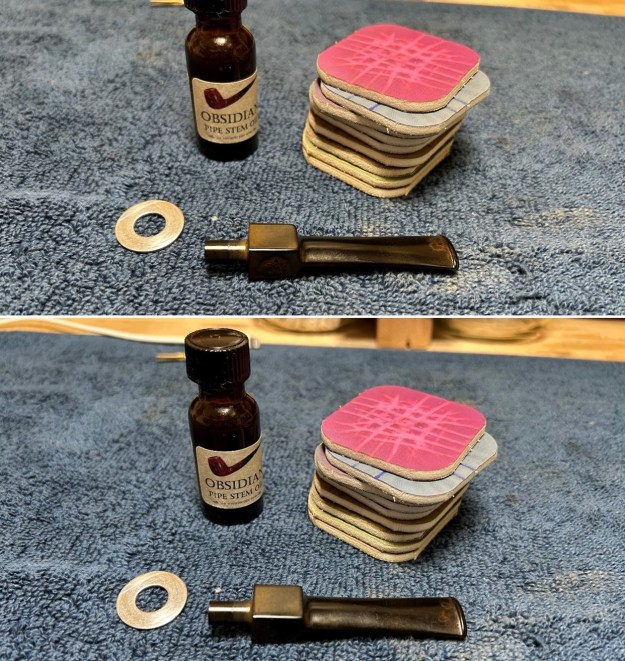
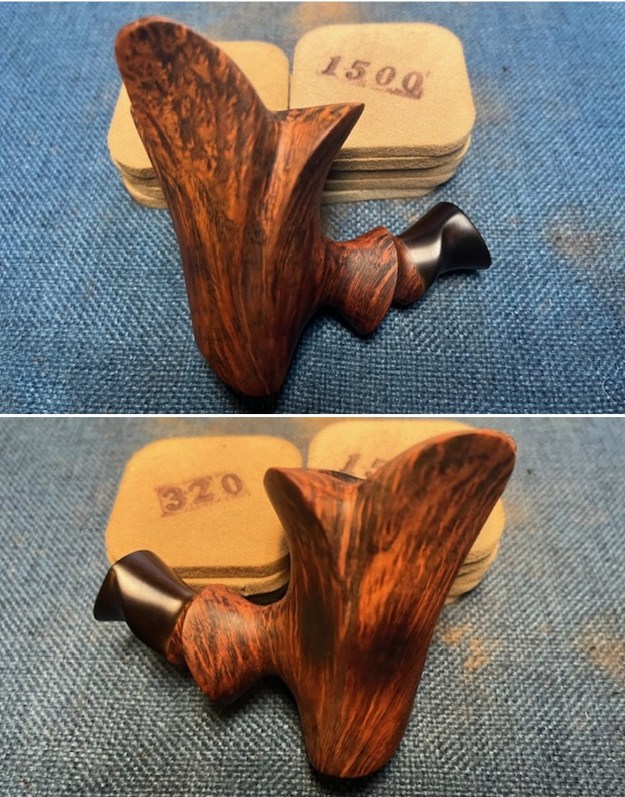
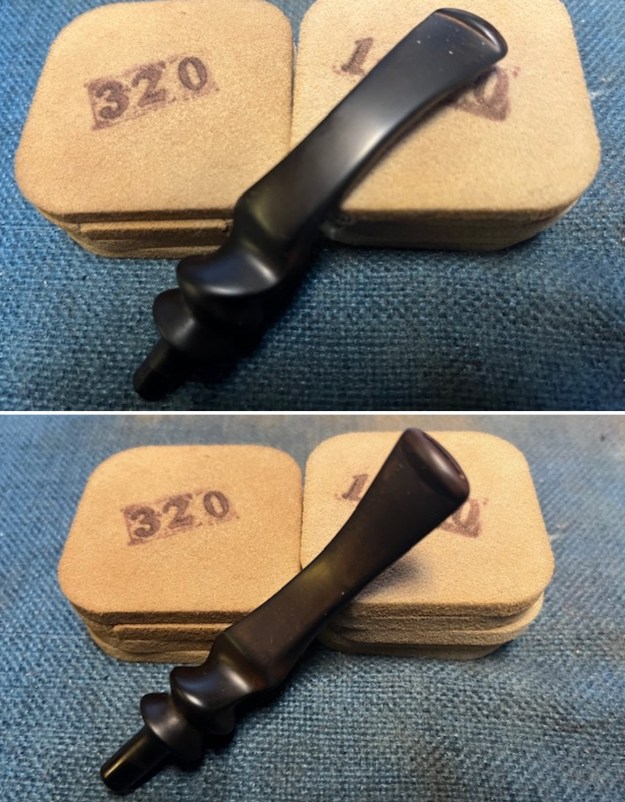
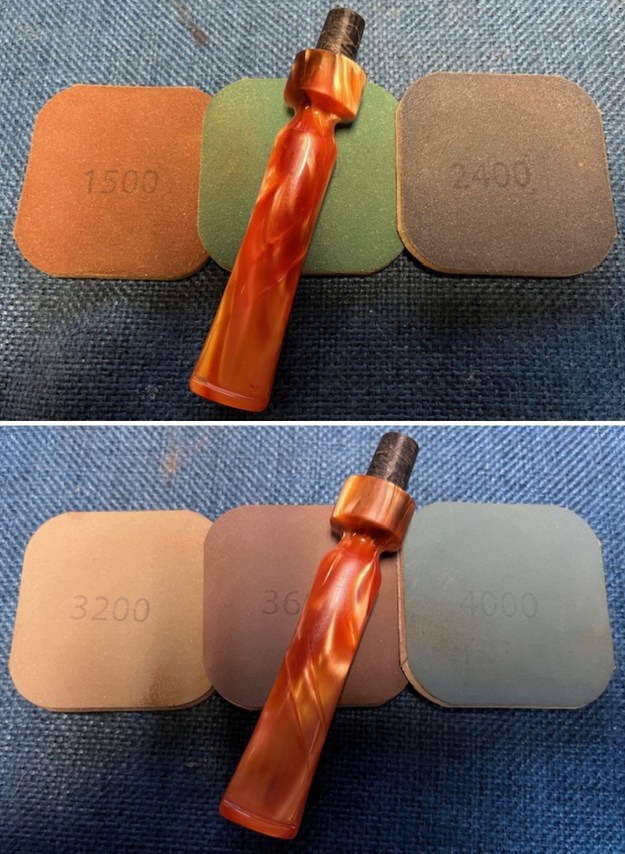
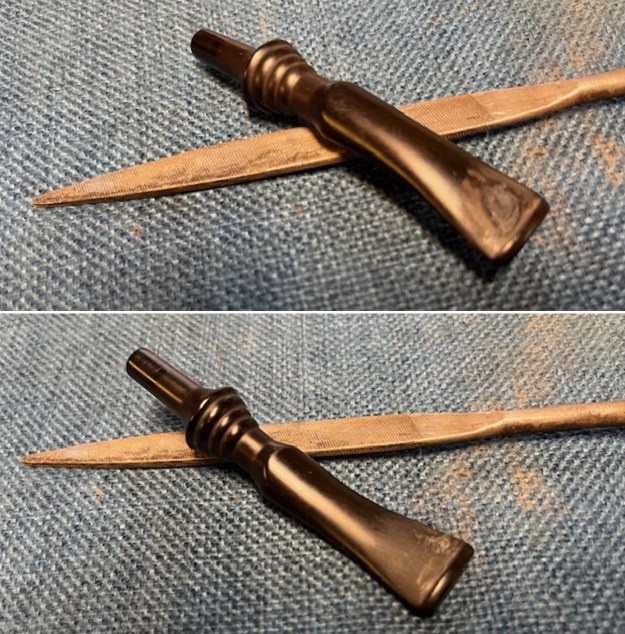
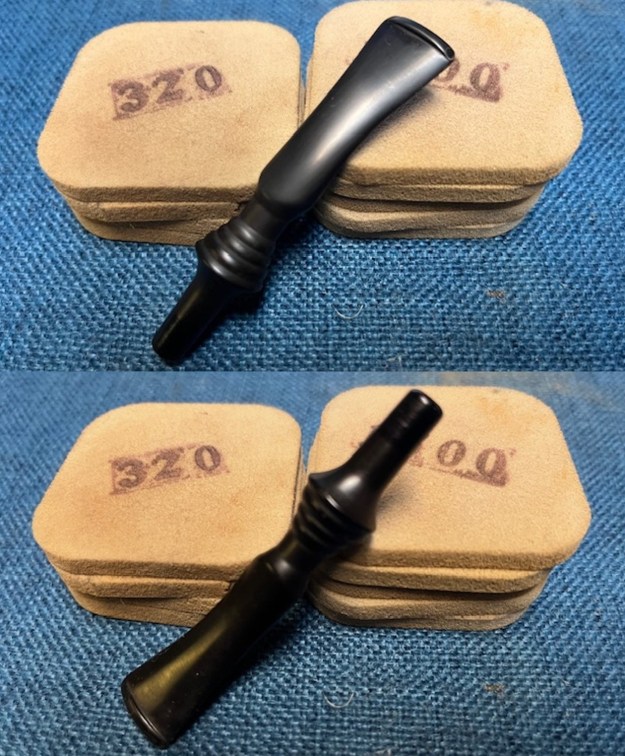
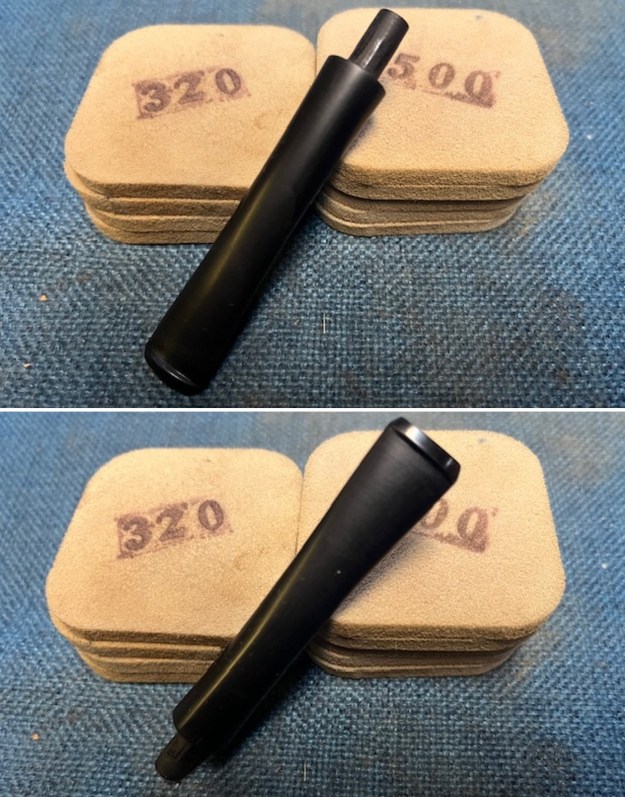
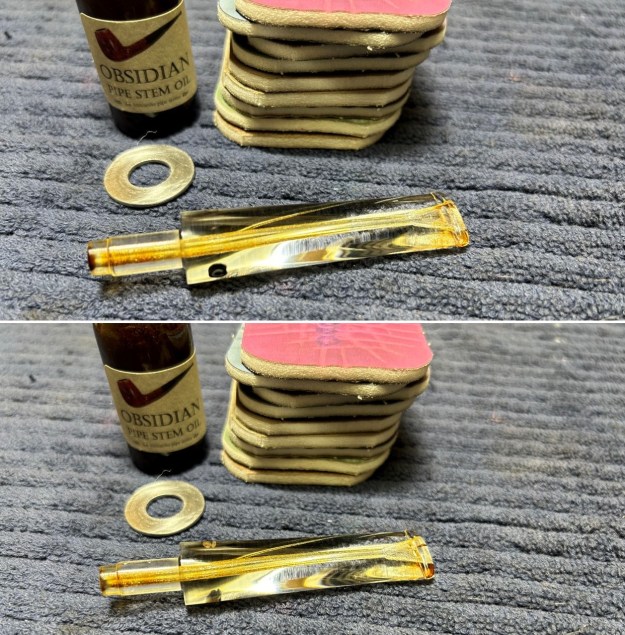
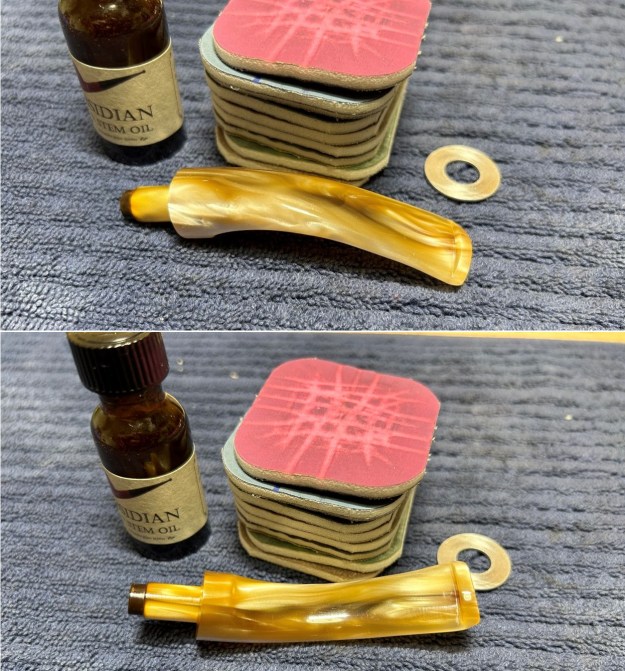
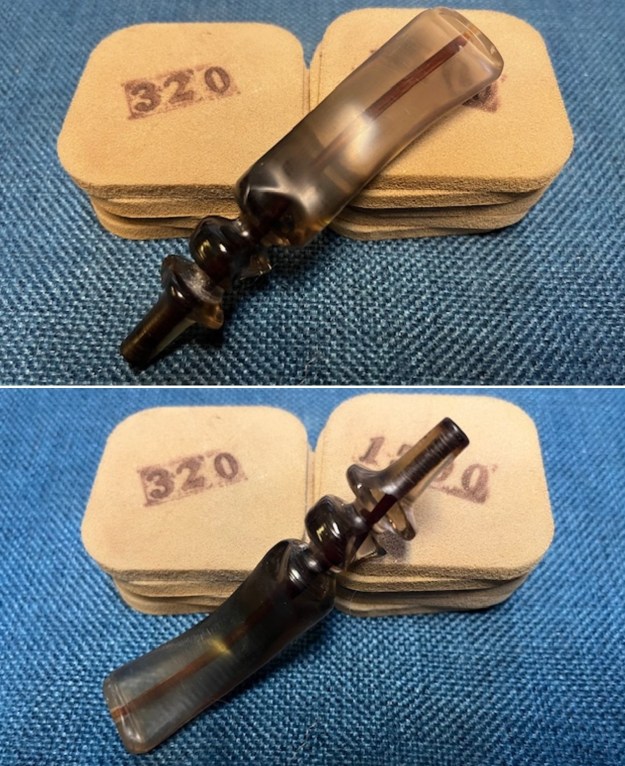
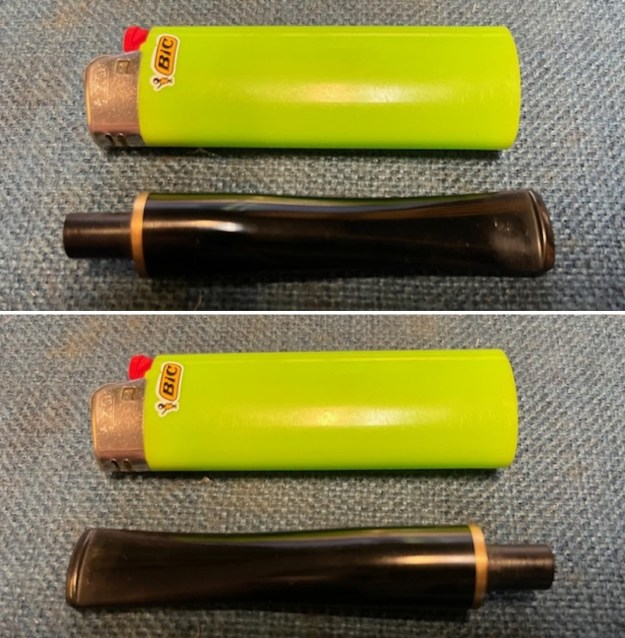 I sanded the stem with the 2 inch square 320-3500 grit sanding pads and easily removed the tooth marks and chatter. I wiped down the stem after each sanding pad with Obsidian Oil. I polished out the scratch marks left behind by the sandpaper. The stem looked very good.
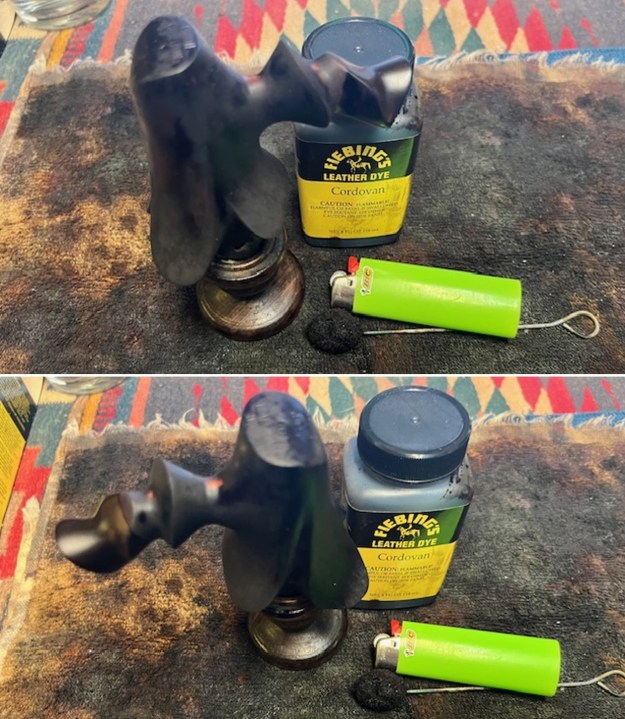
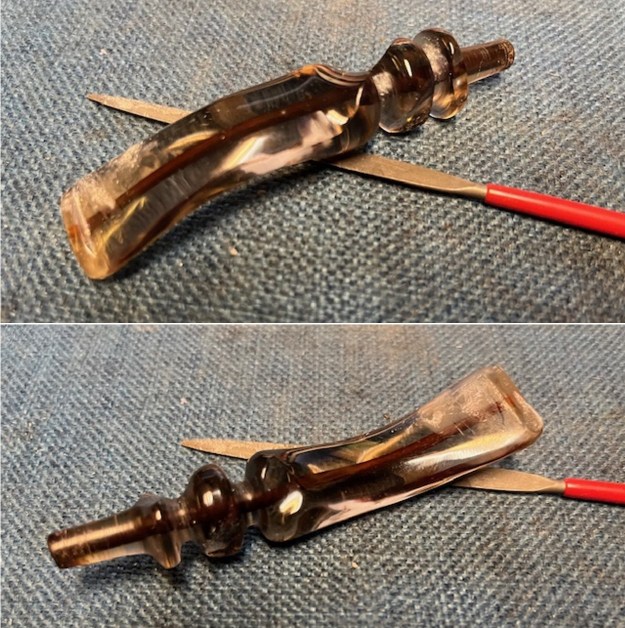
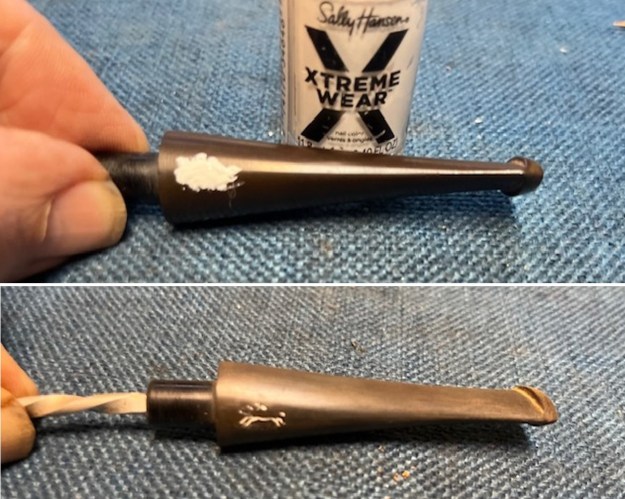
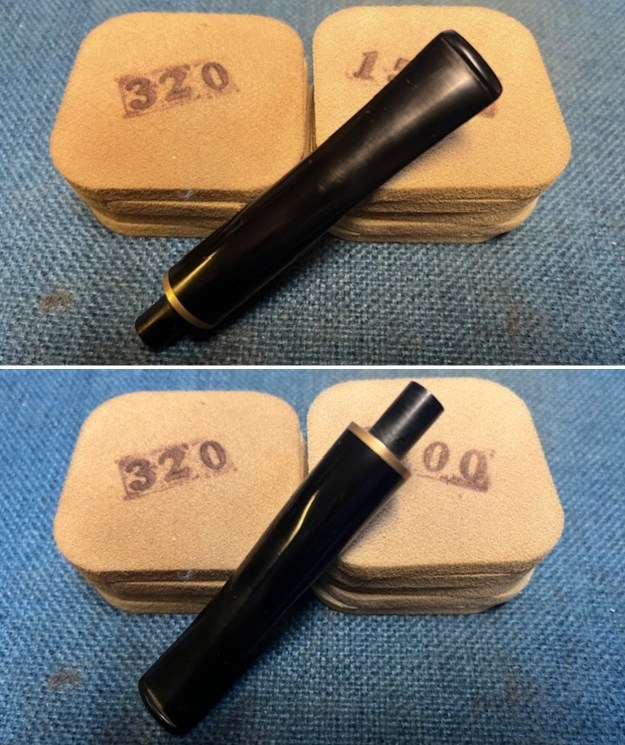 The stem was in such good condition that I decided to just do some preliminary work on it before polishing it. I touched up the “P” logo on the left side of the stem with Rub’n Buff Antique Gold. I let it dry then polished off the excess with a worn 1500 grit micromesh sanding pad. Once the excess was removed the stamp looked much better. There were some weak spots on the curve of the “P” stamp but overall it looked very good.
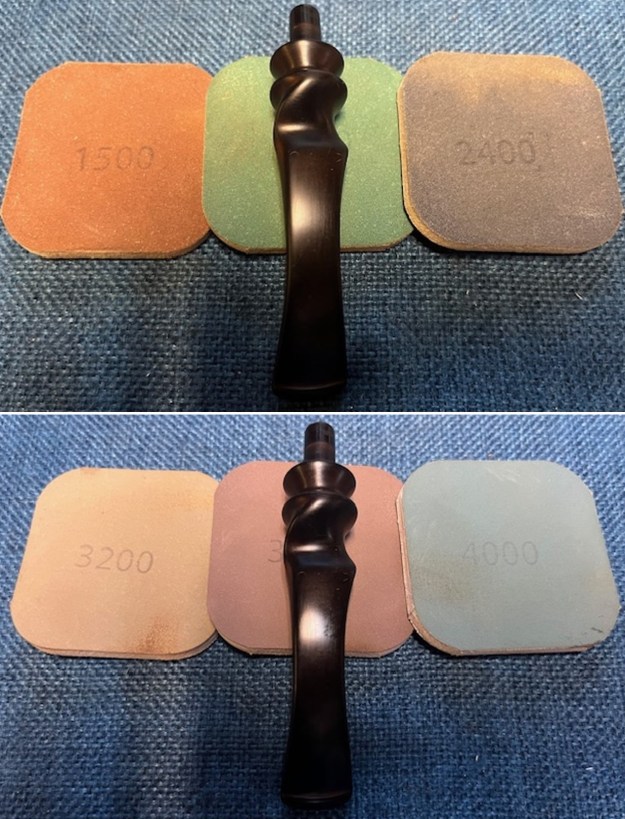
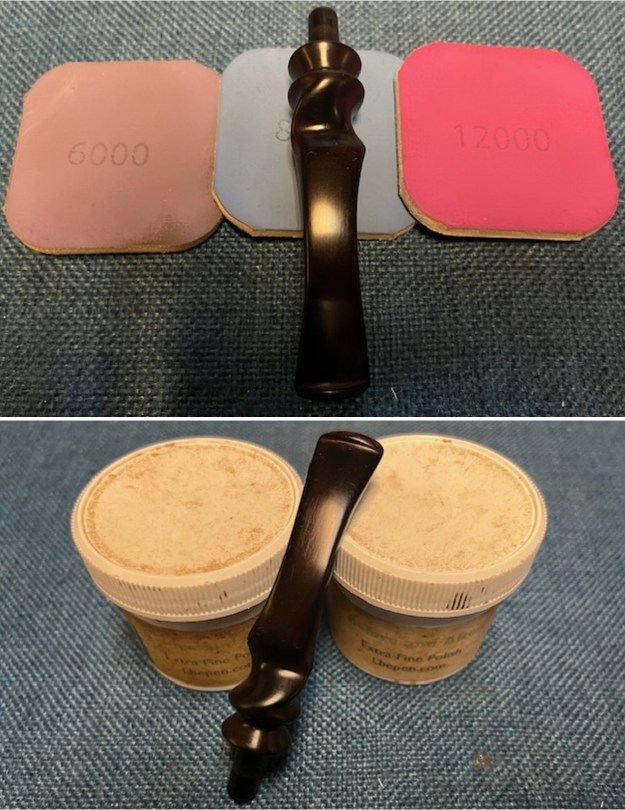
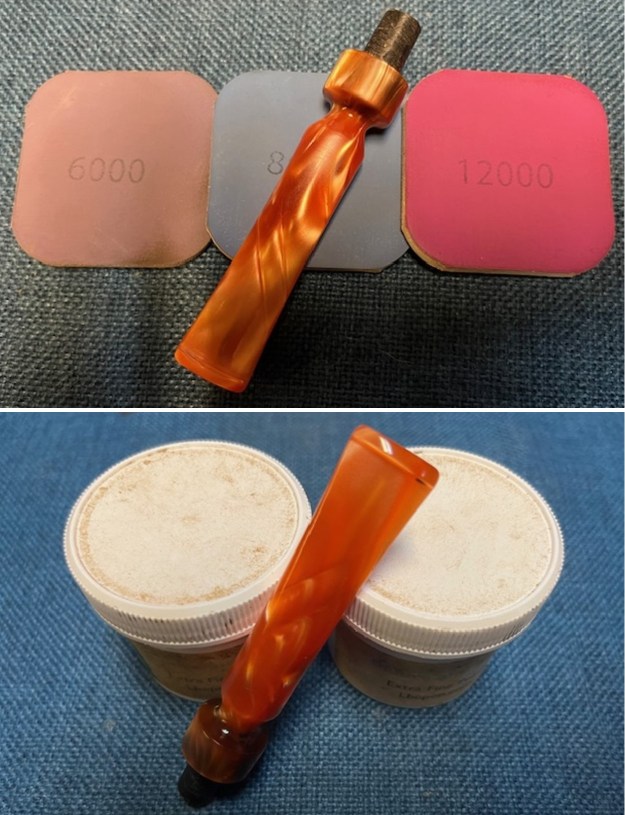
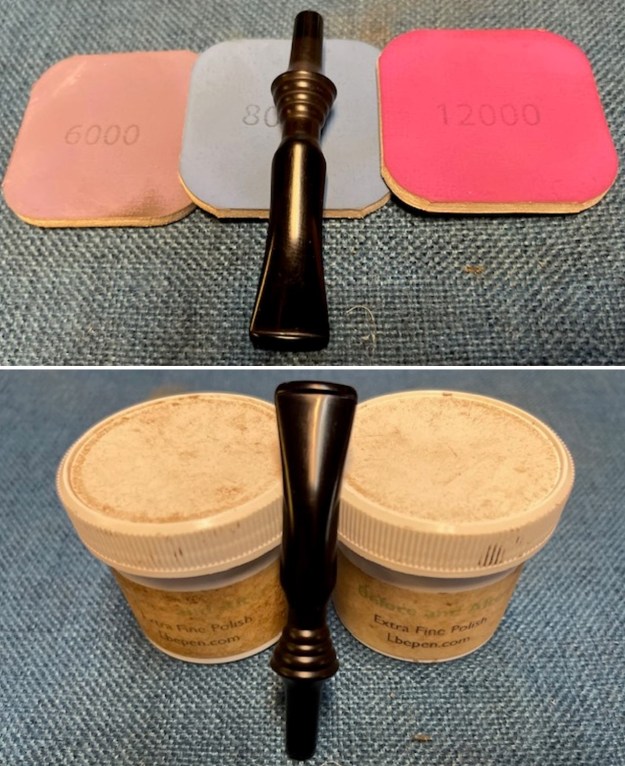
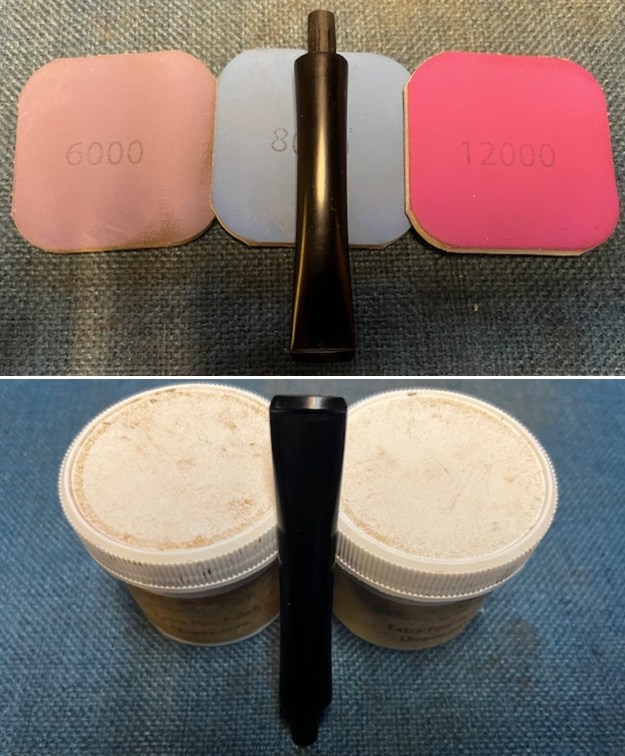
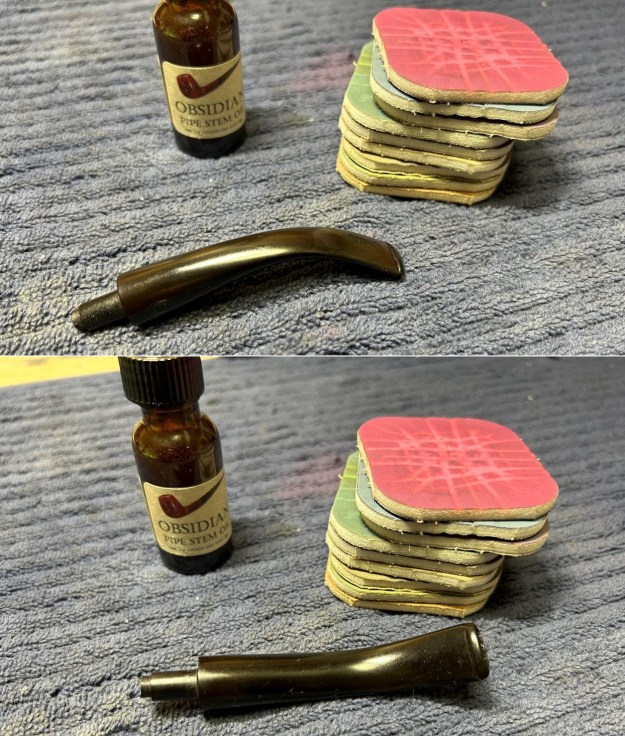
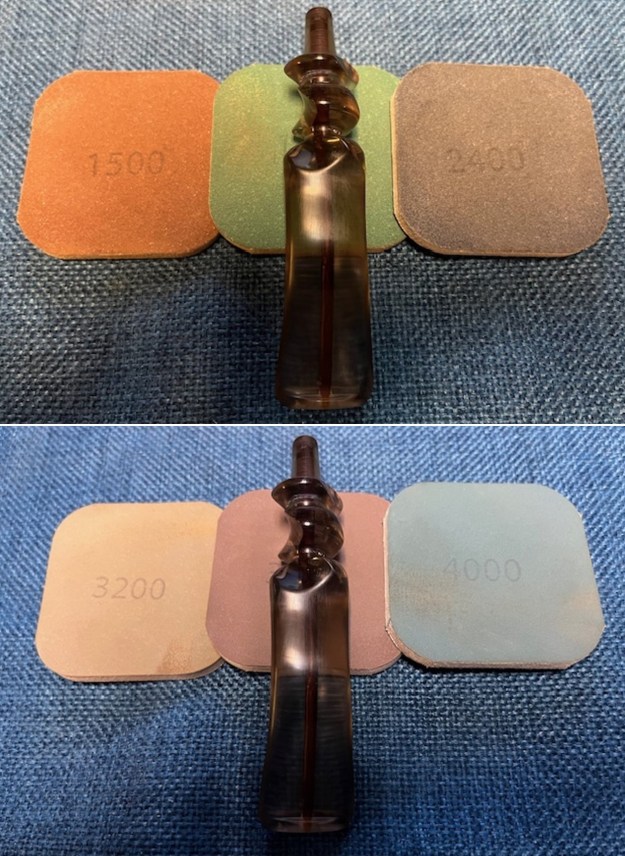
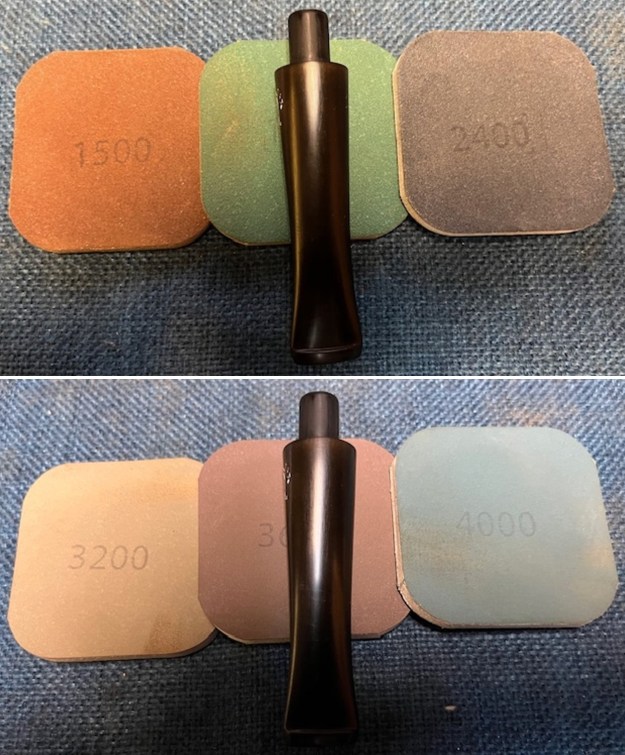
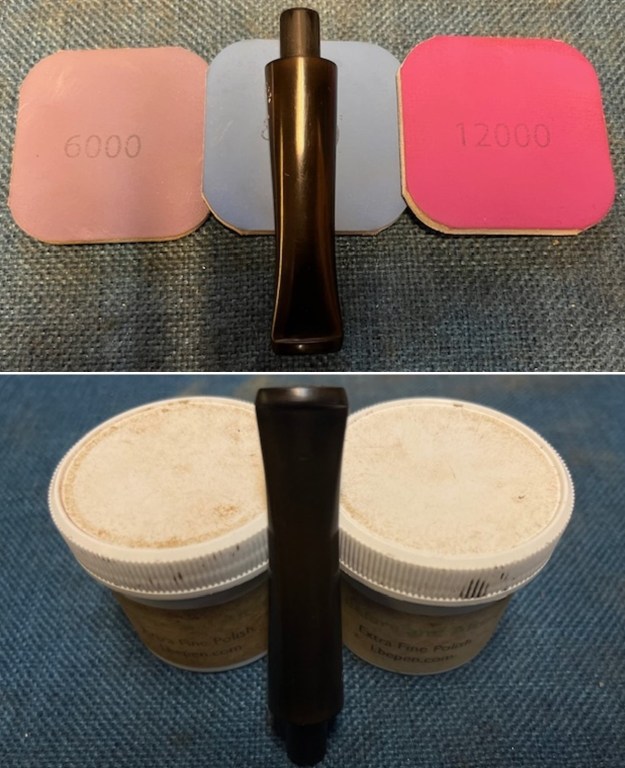
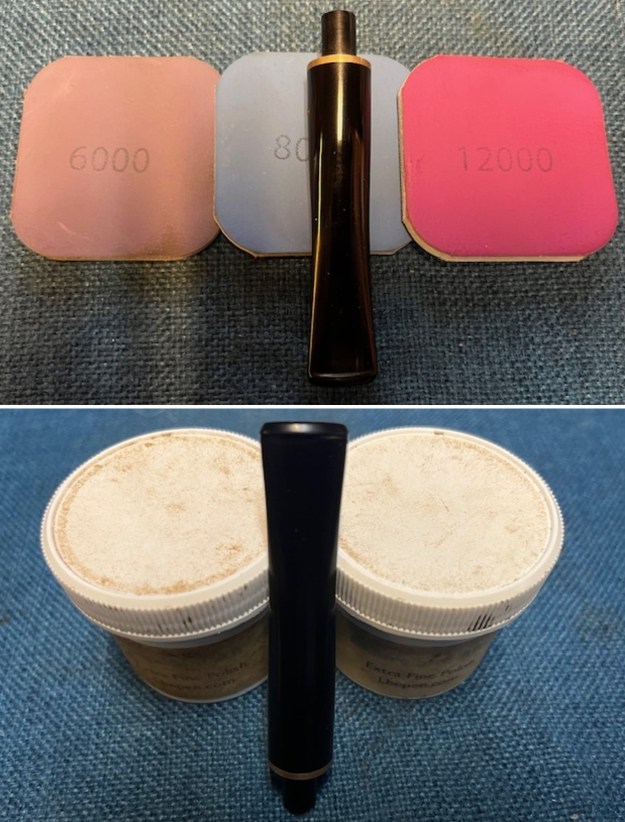
 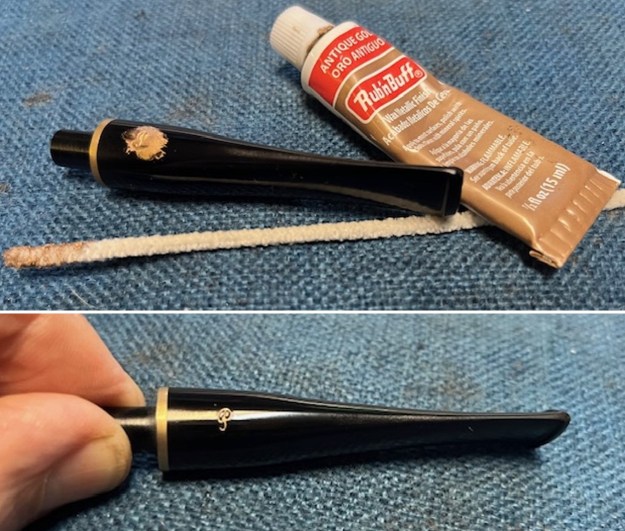 I polished the stem with micromesh sanding pads – dry sanding with 1500-12000 grit pads. I wiped the stem down after each sanding pad with Obsidian Oil. I polished it further with Before & After Pipe Stem Polish – both Fine and Extra Fine, I rubbed it on with my finger and buffed it off with a cloth. I gave the stem a final coat of Obsidian Oil and set it aside to let the oil be absorbed.
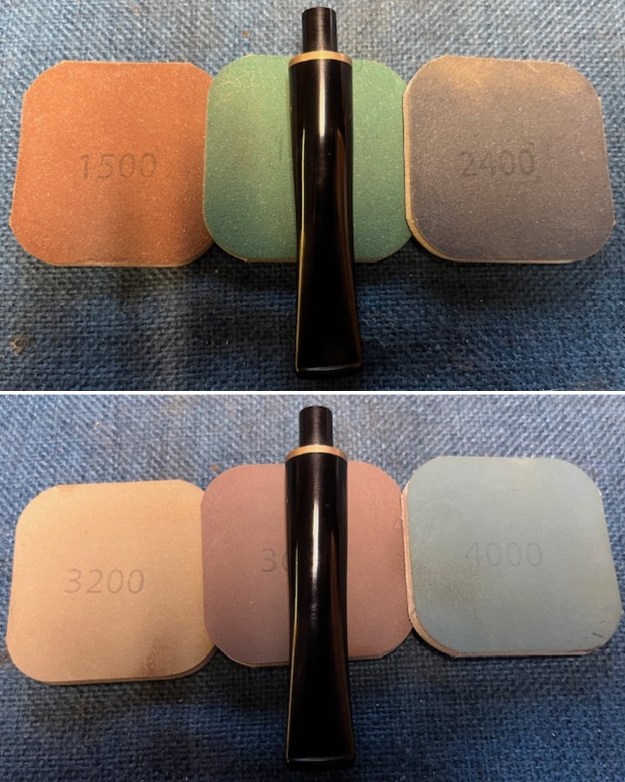
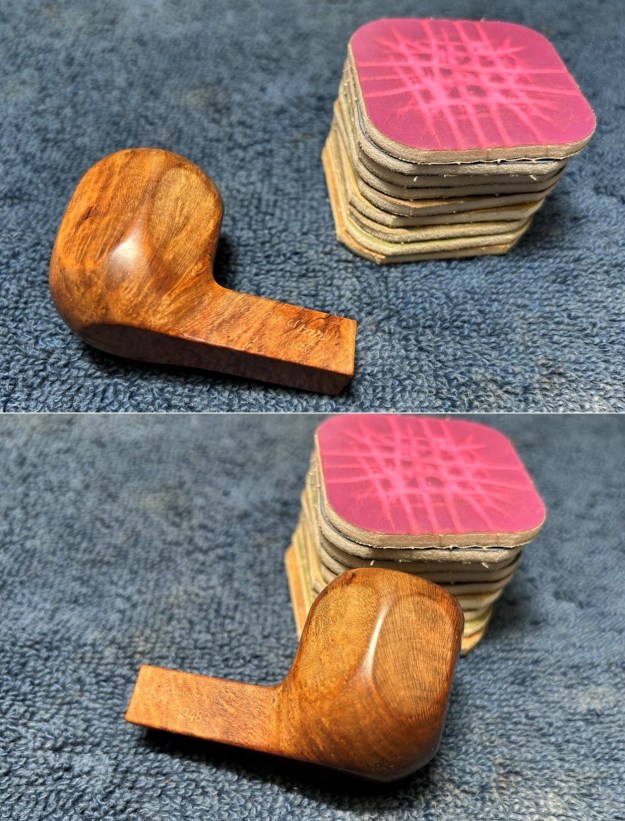
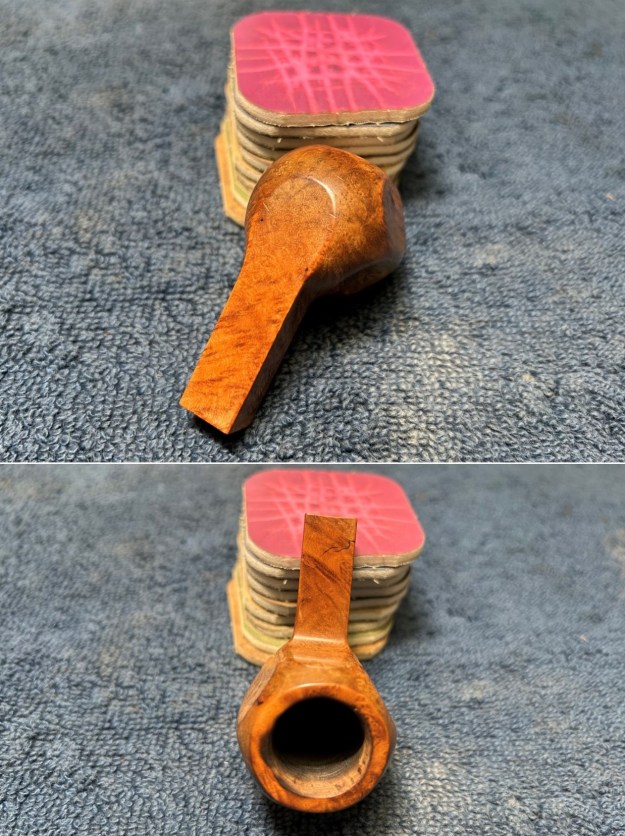
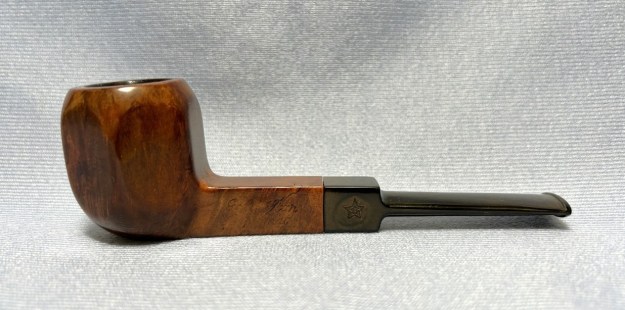
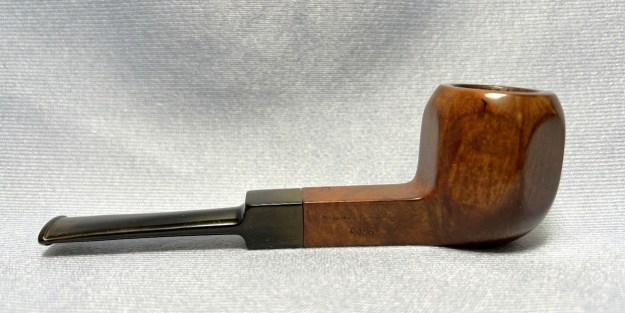
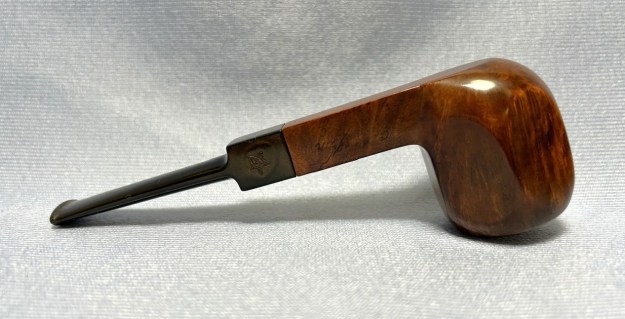
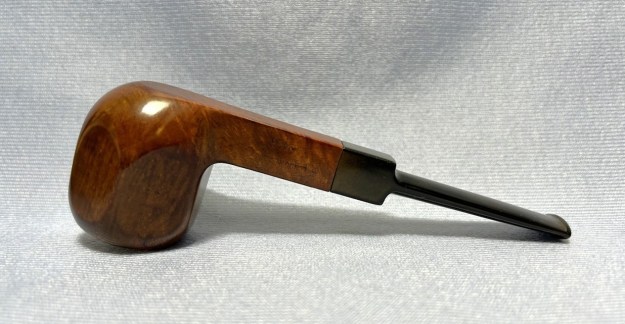
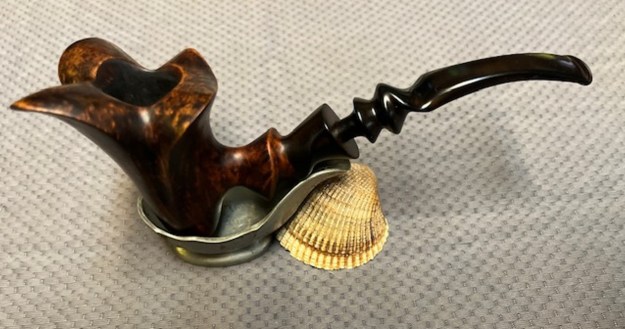
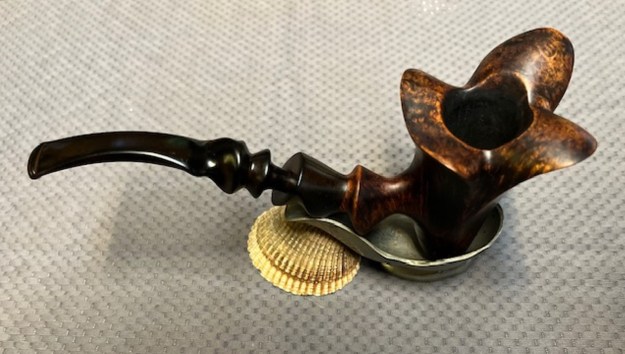
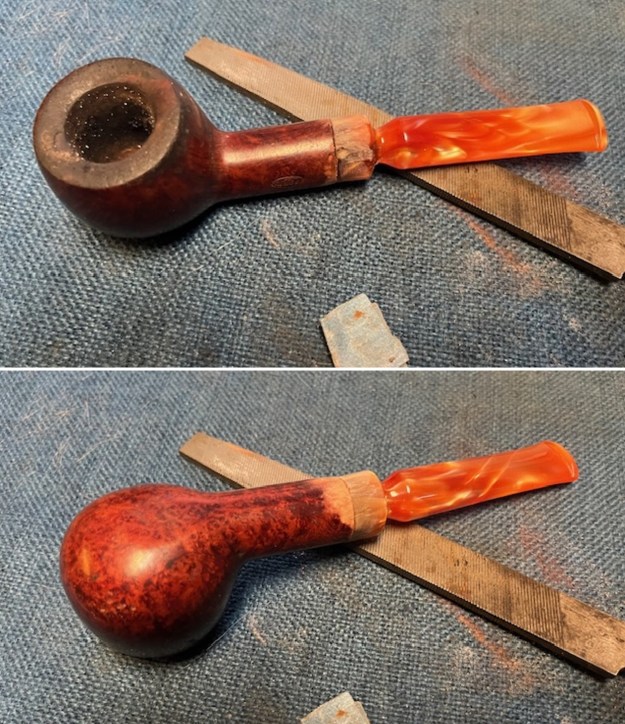
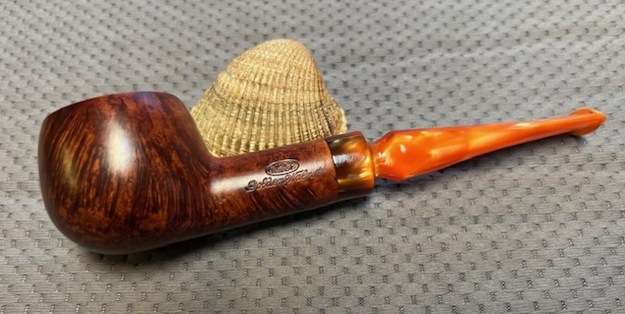
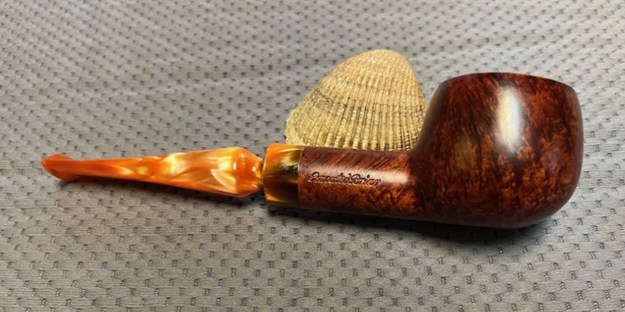
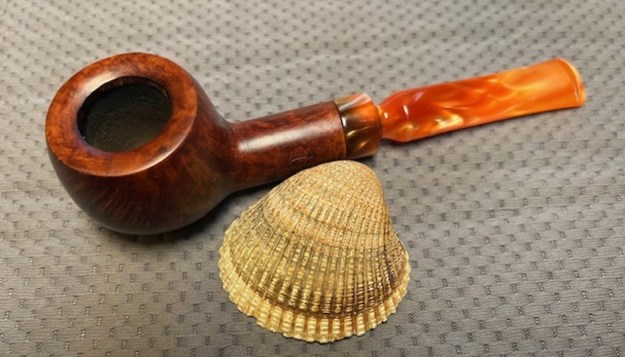
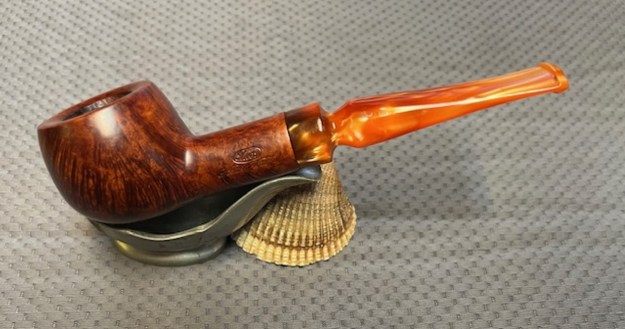
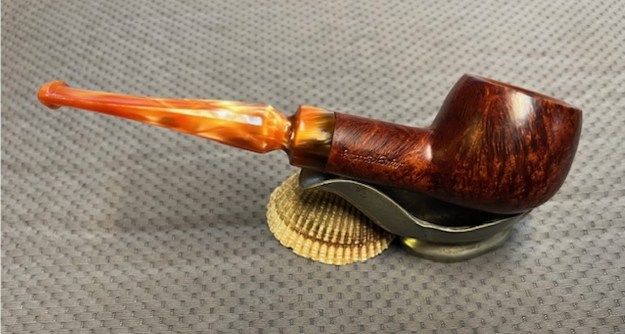
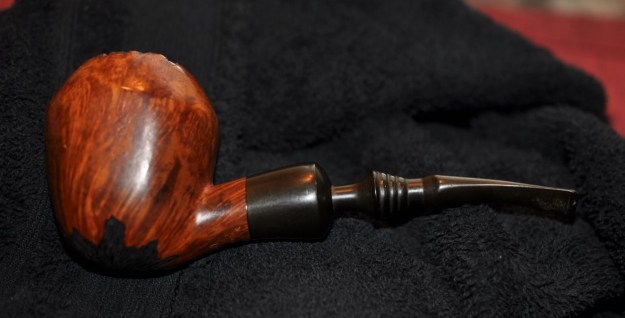
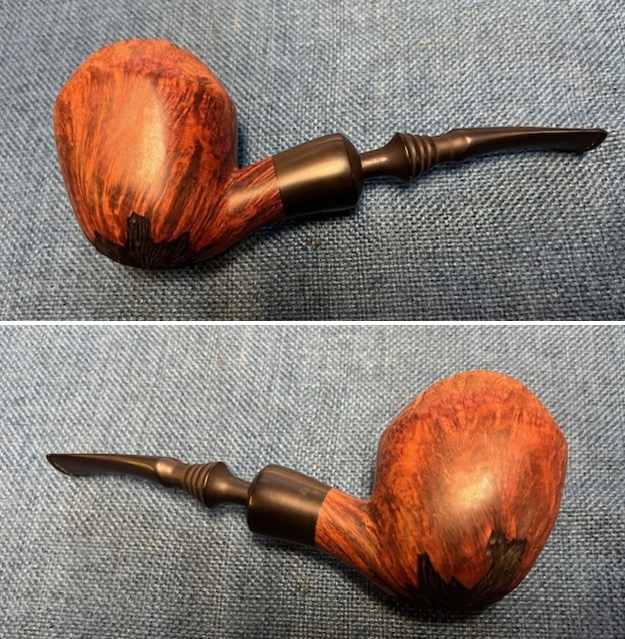
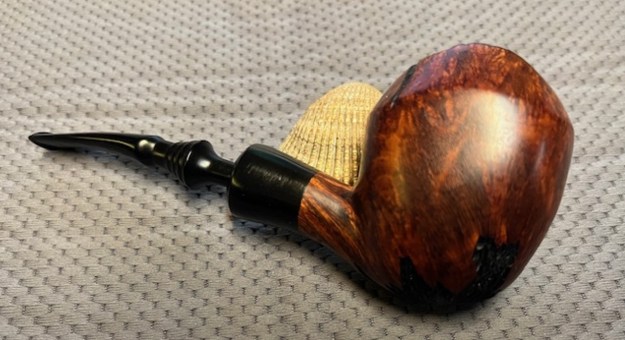
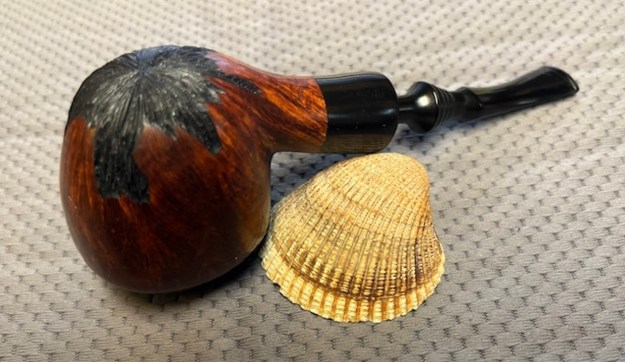
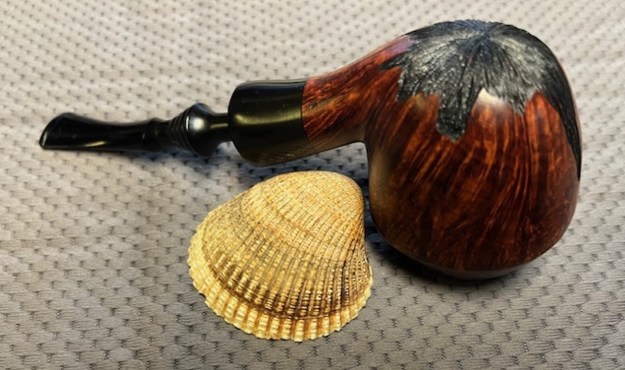
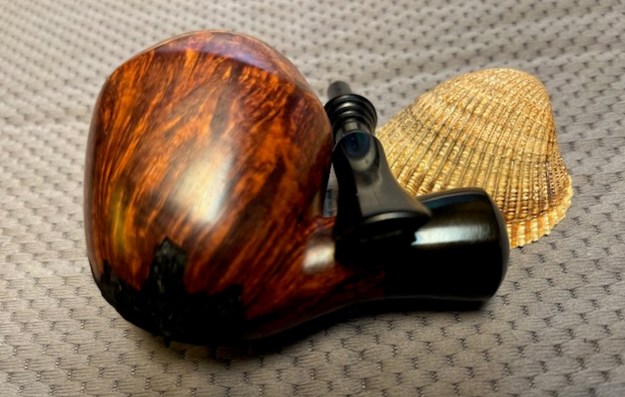
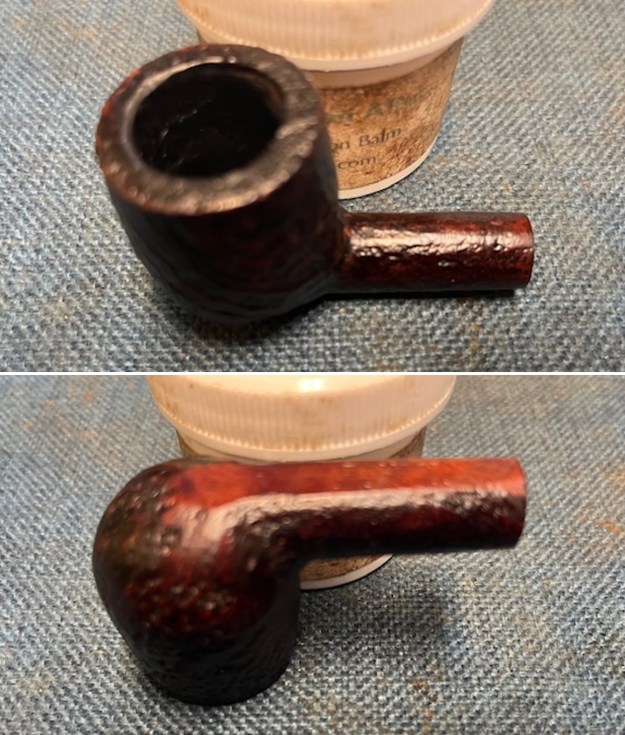
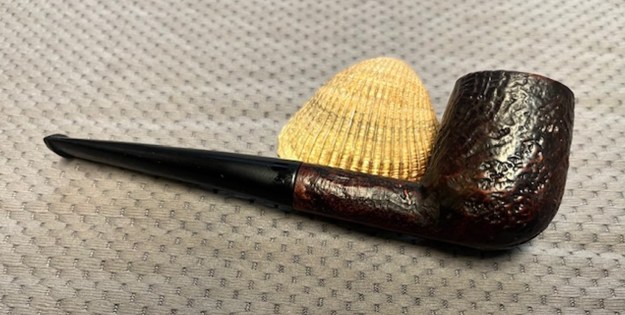
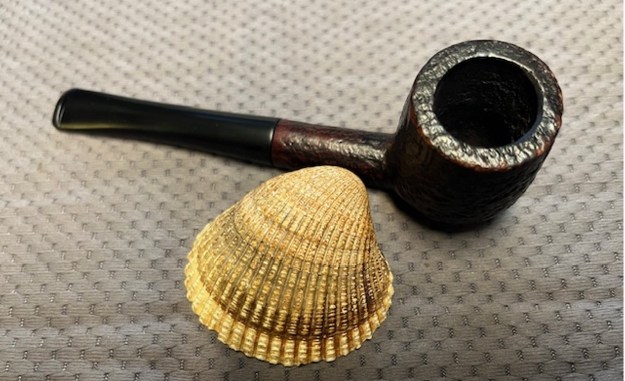
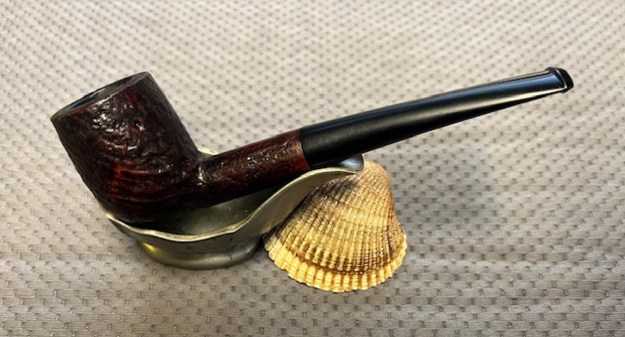
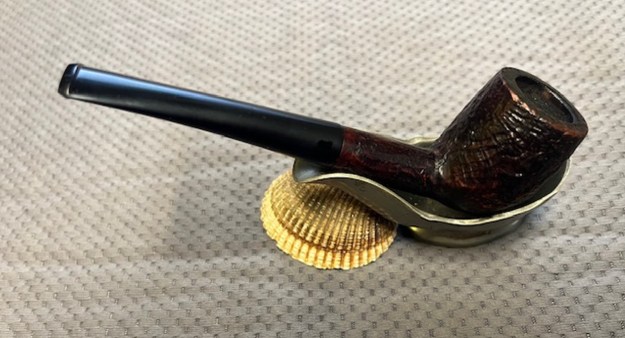
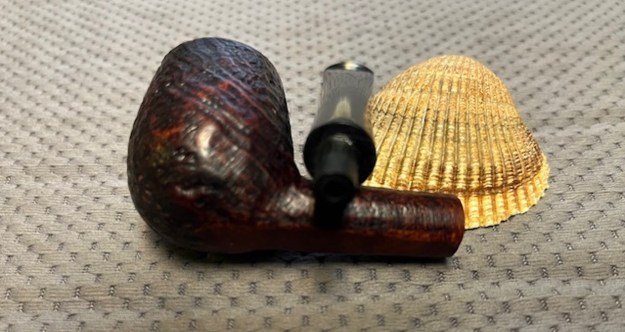
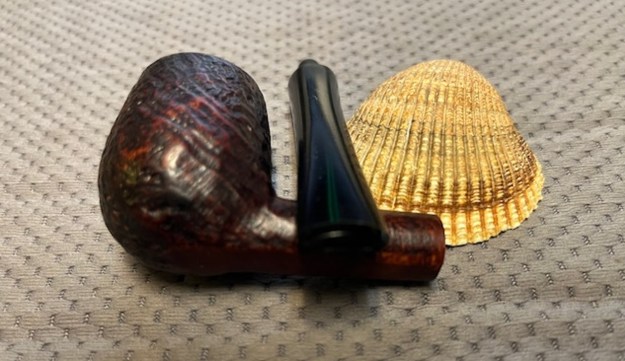
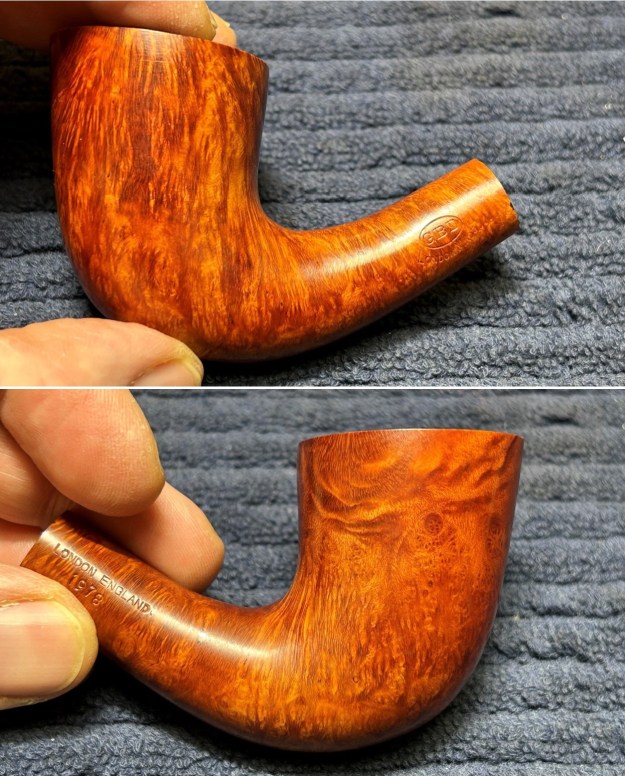
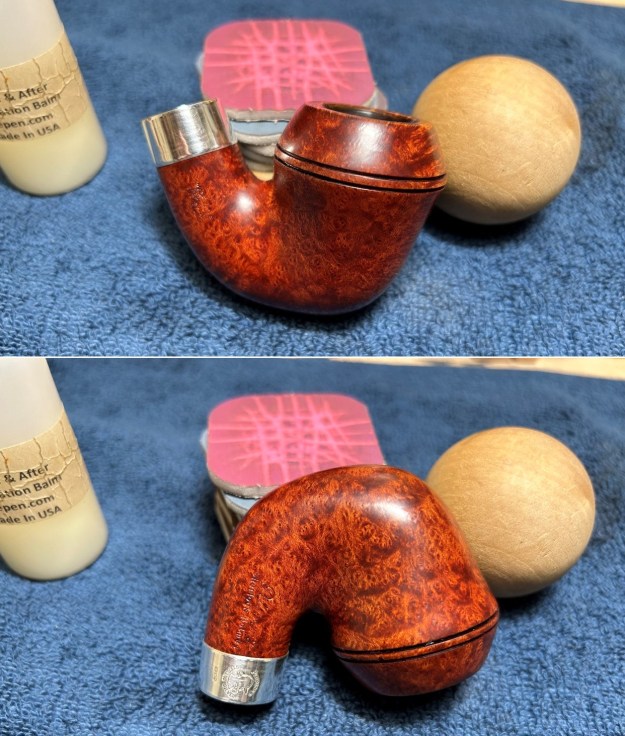
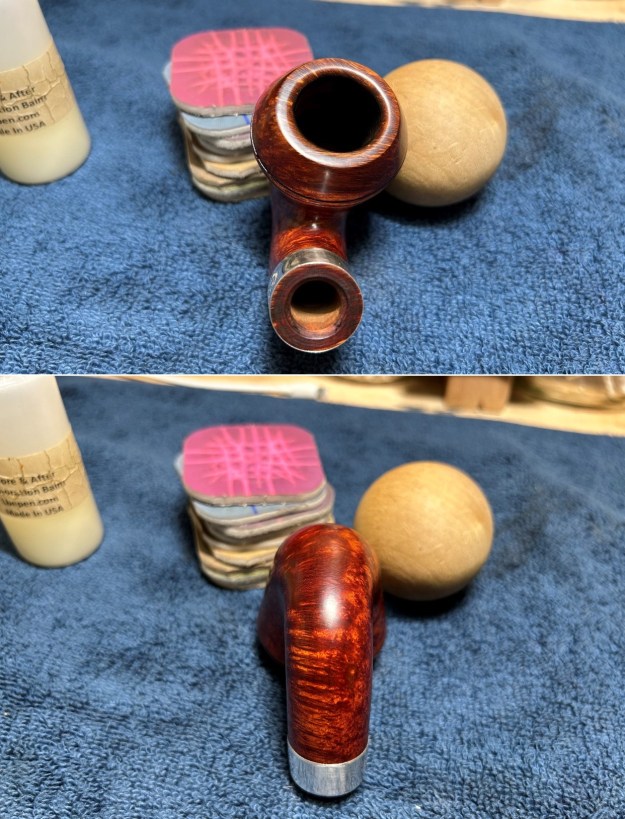
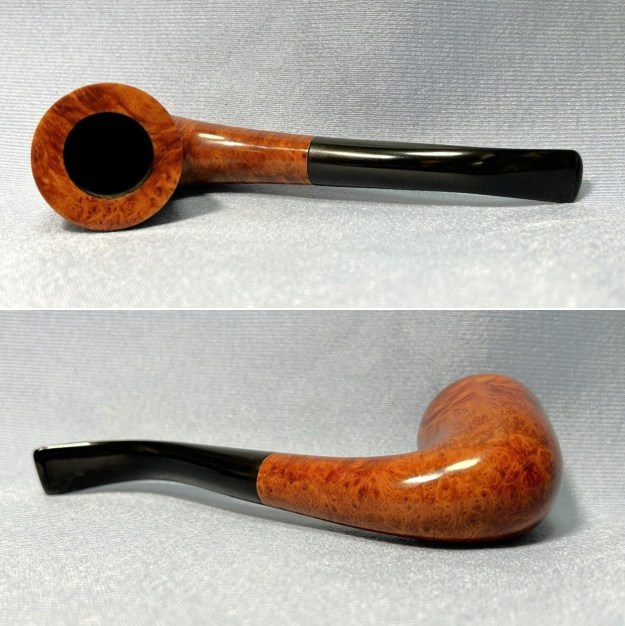
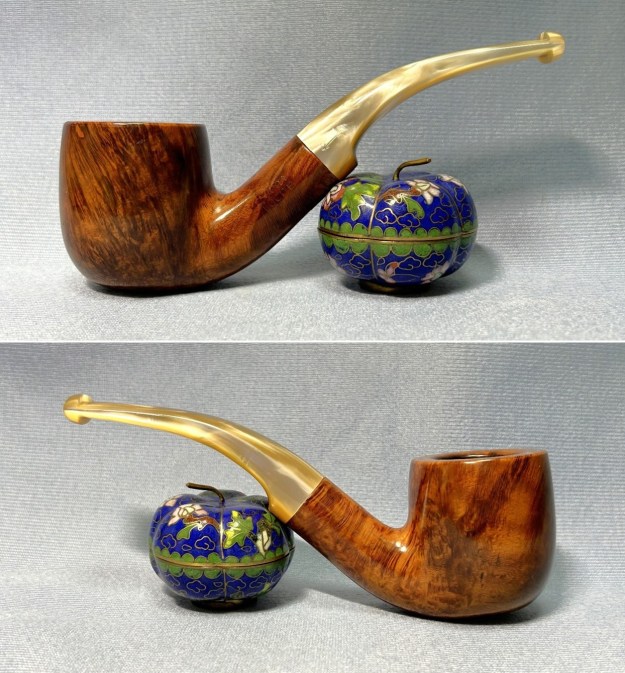
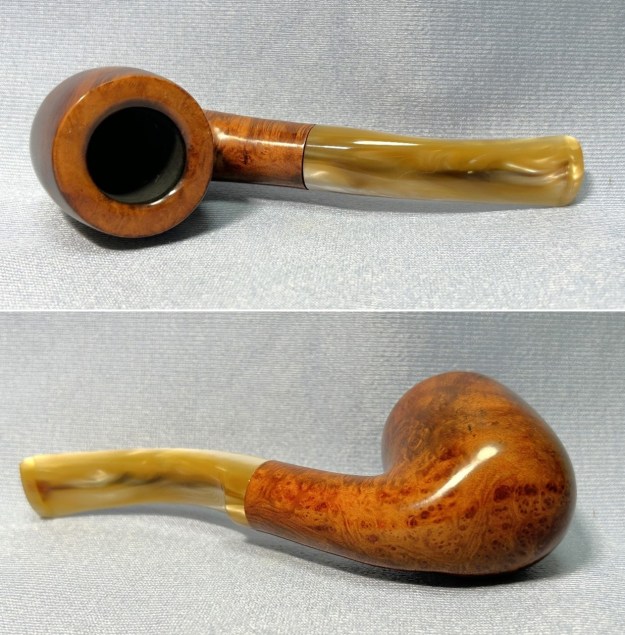
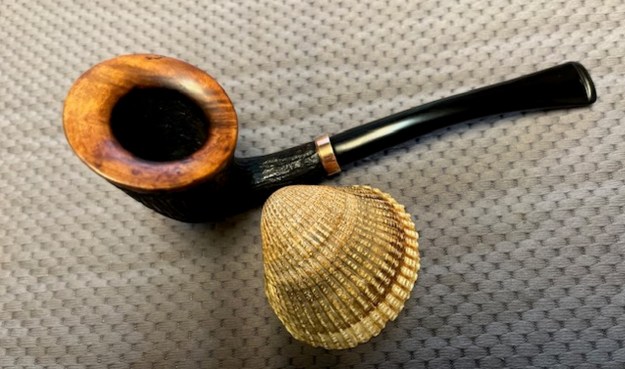
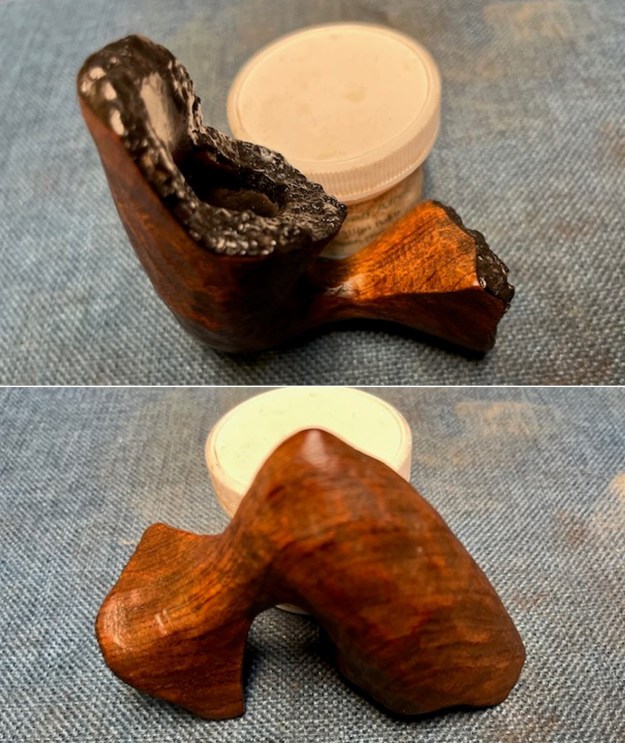
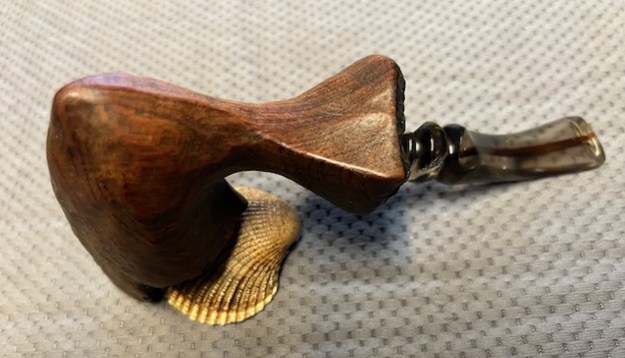
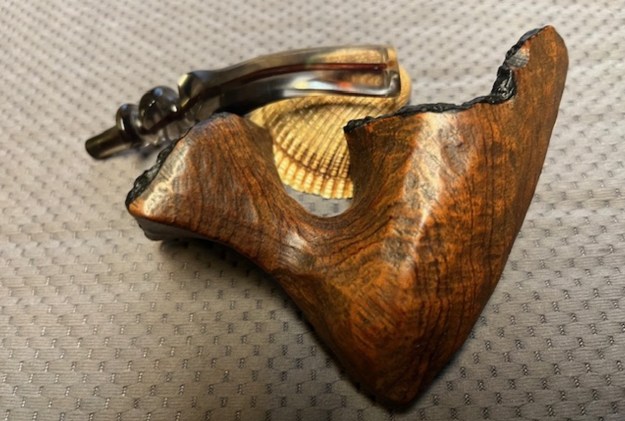
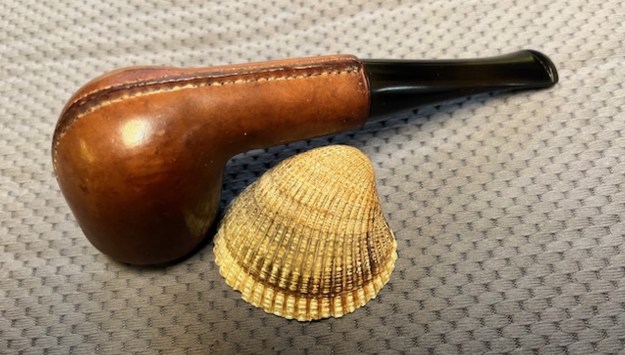
 Once again at this point in the restoration process I am excited to be on the homestretch. I look forward to the final look when the Peterson’s “Shannon” 6 Billiard with a fishtail stem is put back together, polished and waxed. I put the bowl and stem back together. I lightly polished the bowl and stem with Blue Diamond to polish out the scratches in the briar and the vulcanite. I gave the bowl and the stem multiple coats of carnauba wax. I buffed the pipe with a clean buffing pad to raise the shine. I hand buffed it with a microfiber cloth to deepen the shine. The pipe polished up pretty nicely and the beautiful grain really popped with the wax and polish. The shiny black vulcanite stem is a beautiful contrast to the browns of the bowl and thick shank. This Republic Era Peterson’s “Shannon” 6 Straight Billiard was another fun pipe to work on. It really is a quite stunning piece of briar whose shape follows the flow of the briar. The pipe feels great in the hand will be better when warmed up while smoking. The finished pipe is shown in the photos below. The dimensions of the pipe are Length: 6 inches, Height: 1 ¾ inches, Outside diameter of the bowl: 1 ¼ inches, Chamber diameter: ¾ of an inch. The weight of the pipe is 1.48 ounces/42 grams. I will be sending it back to Shannon shortly. This is an interesting estate to bring back to life.
As always, I encourage your questions and comments as you read the blog. Thanks to each of you who are reading this blog. Remember we are not pipe owners; we are pipe men and women who hold our pipes in trust until they pass on into the trust of those who follow us.