Blog by Steve Laug
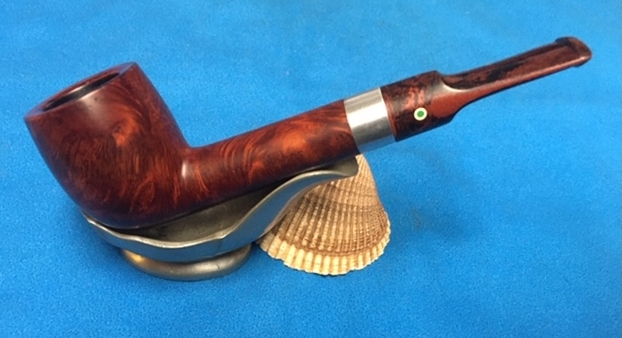
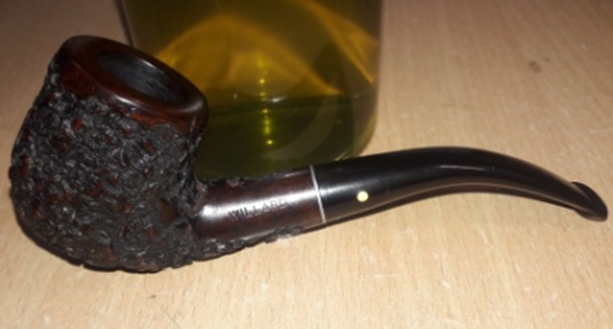
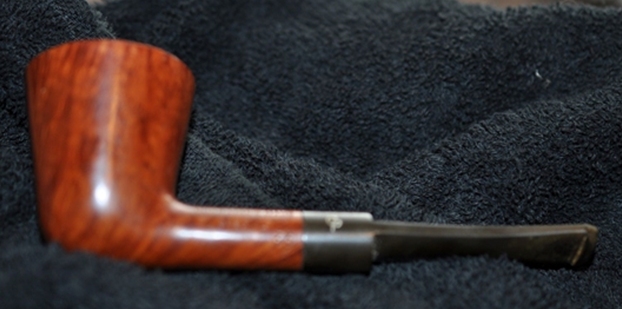
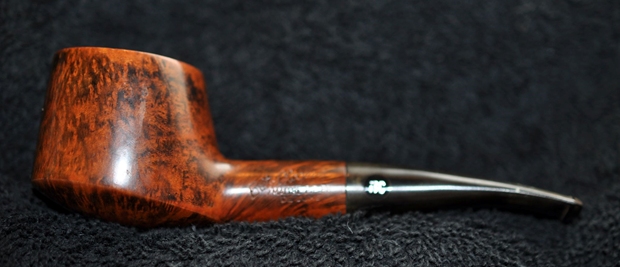
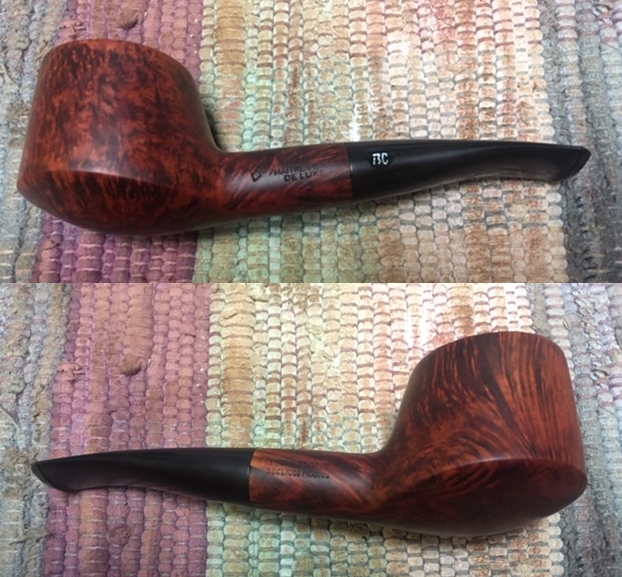
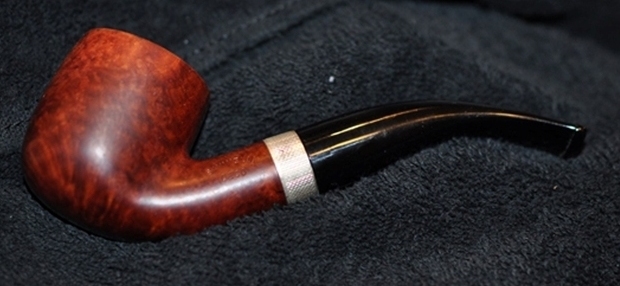
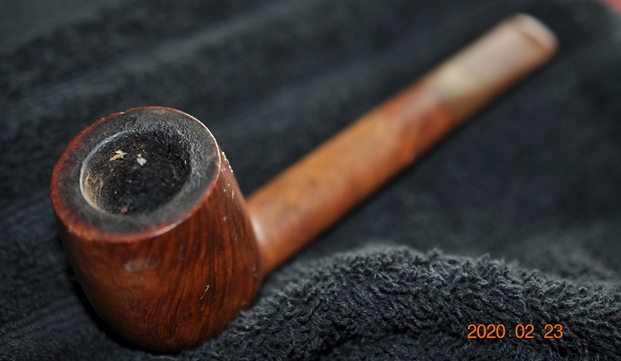
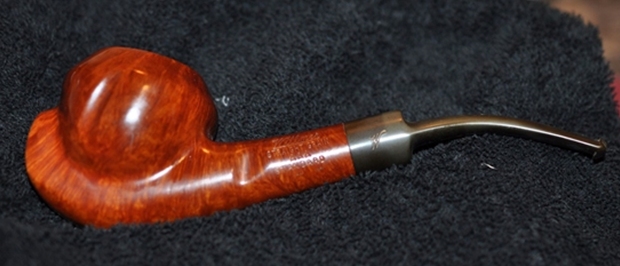
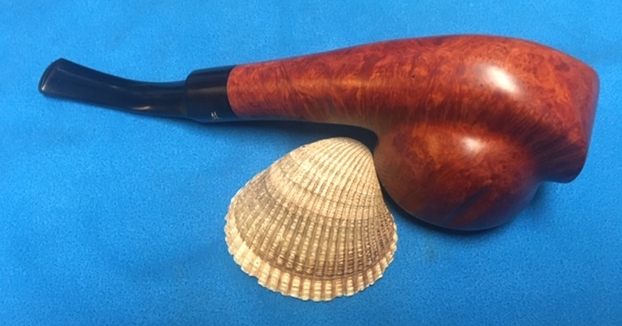
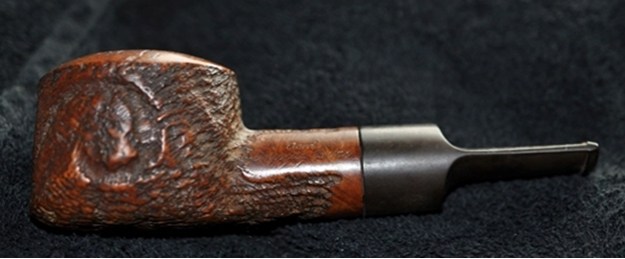
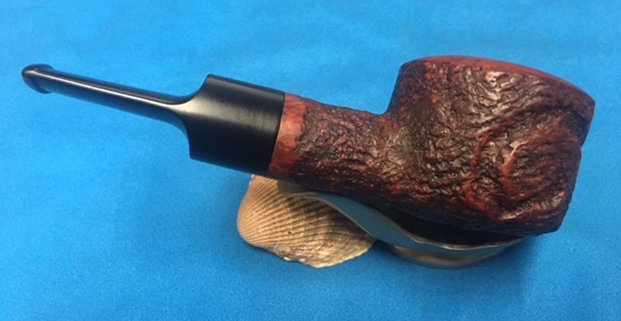
This past January Jeff and his wife Sherry and Irene and I made a pipe hunting trip down the Oregon Coast. At least that is what Jeff and I called it. We stopped in a lot of the small towns up and down the northern part of the coast and picked up some nice pipes. This little pipe was obviously Danish and I think both Jeff and I thought it was a Kriswill. We were hooked so we picked it up and added it to the finds of the trip. This pipe is stamped on the left side of the shank and on the underside at the shank/stem union. On the left side it is stamped with Prince Amled over Danish Hand Made. On the underside it is stamped with the shape number 4. Next to the 4 there was a chip in the shank end. It was a very dirty pipe with a dull and lifeless finish but it was the shape that caught our eye. We were hoping for some nice grain around the bowl. There was a very thick cake in the bowl and a thick lava coat on the rim top and the inner edge. It was hard to see what the condition of either the inner or outer edges with the lava and grime. It did appear that there was a burned area on the right side of the outer edge. The pipe had a rich medium brown stain with a reddish tint that was meant to highlight the grain on the bowl sides. A lot would be revealed once Jeff had worked his magic on it. The pencil shank and pencil flared saddle stem was heavily oxidized and calcified. There was light tooth chatter and marks on both sides ahead of the button and on the button surface itself. Jeff took photos of the pipe before he started his cleanup work.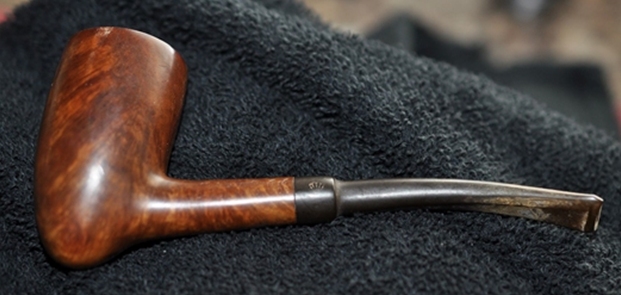
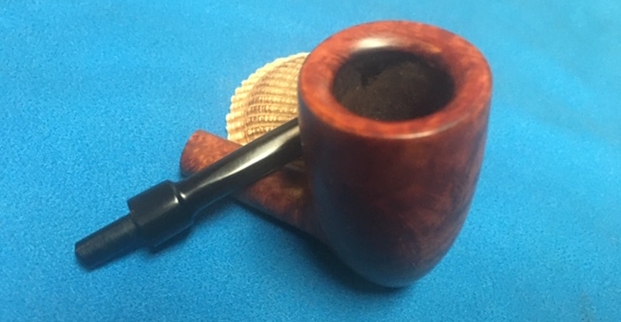
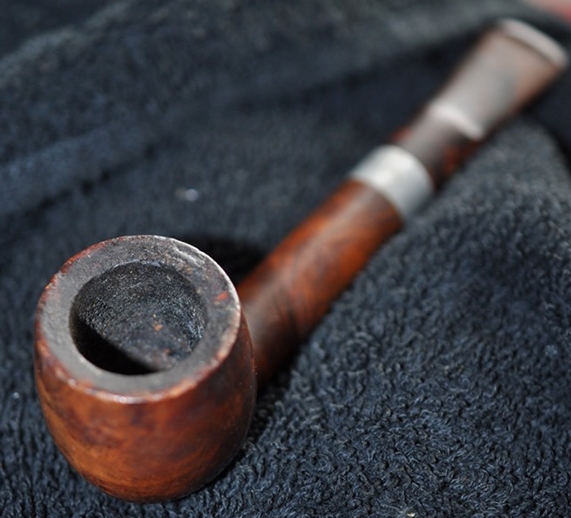
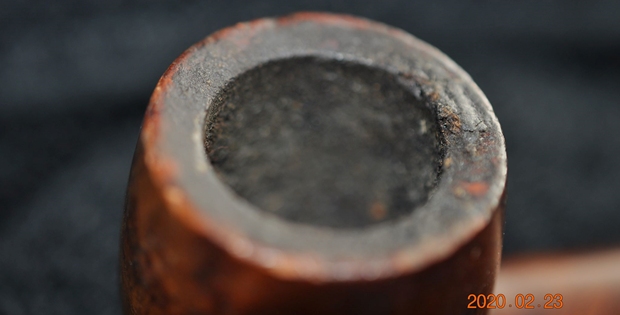
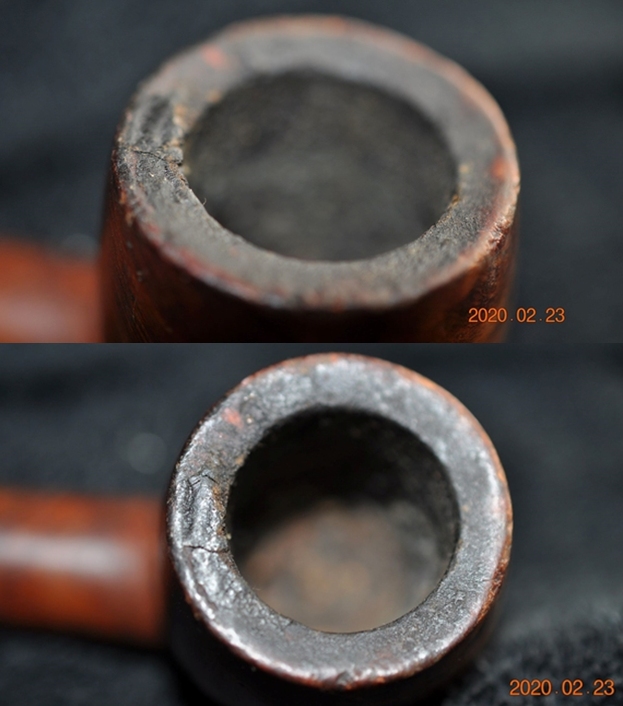
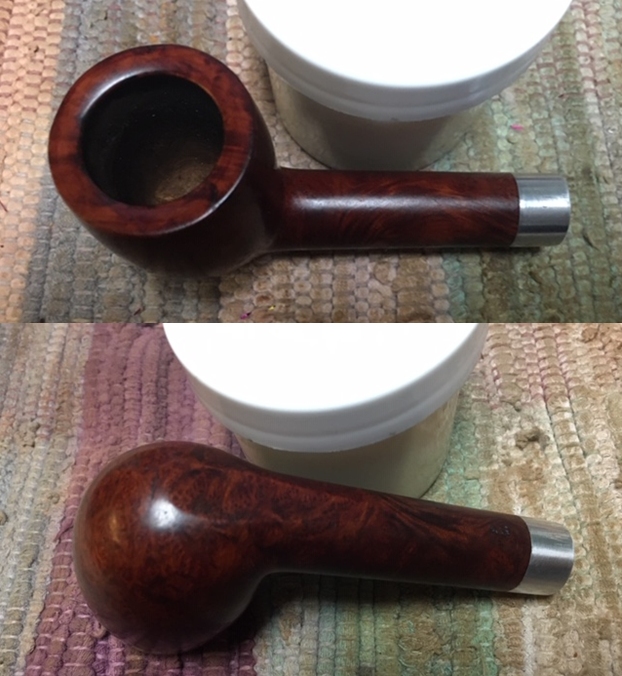
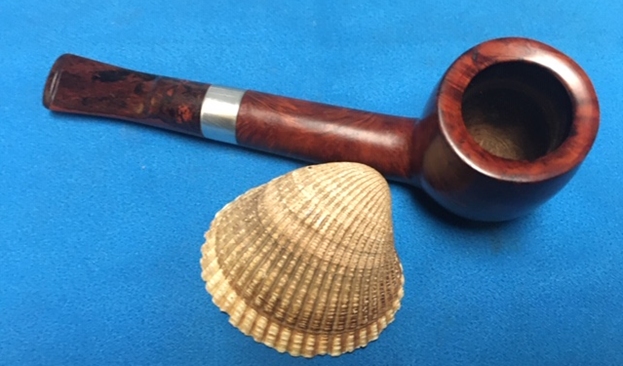
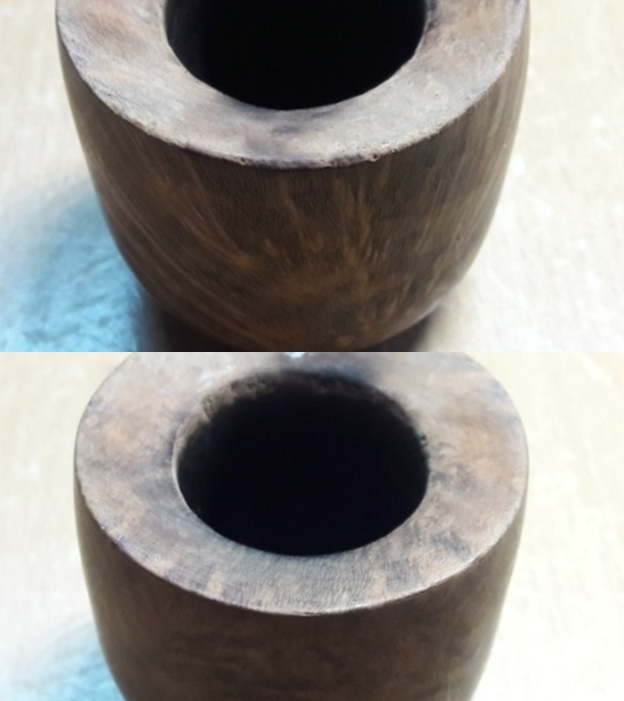
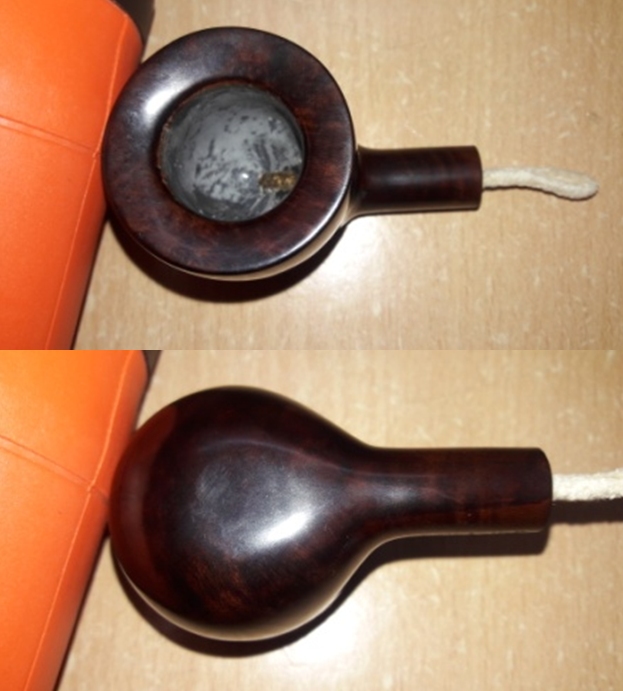
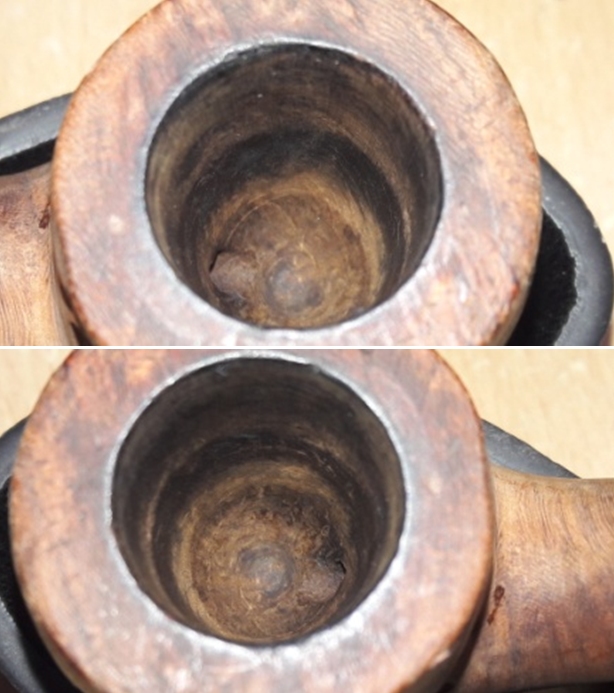
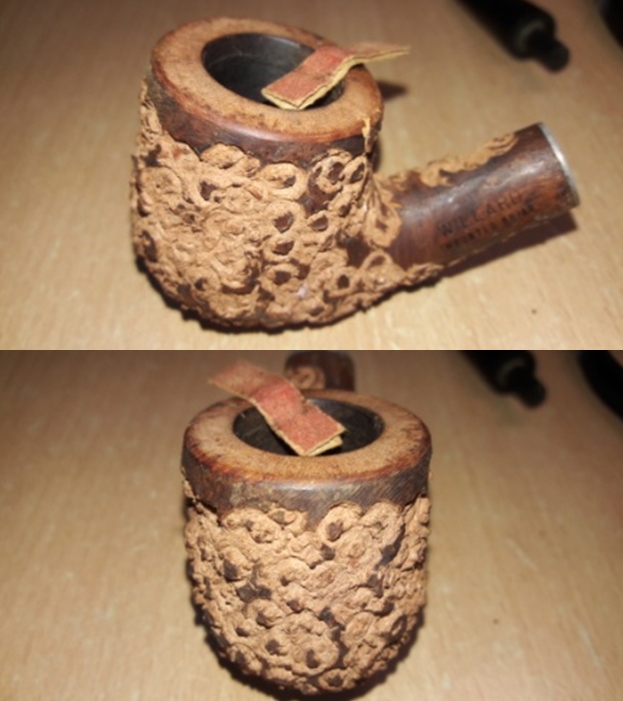
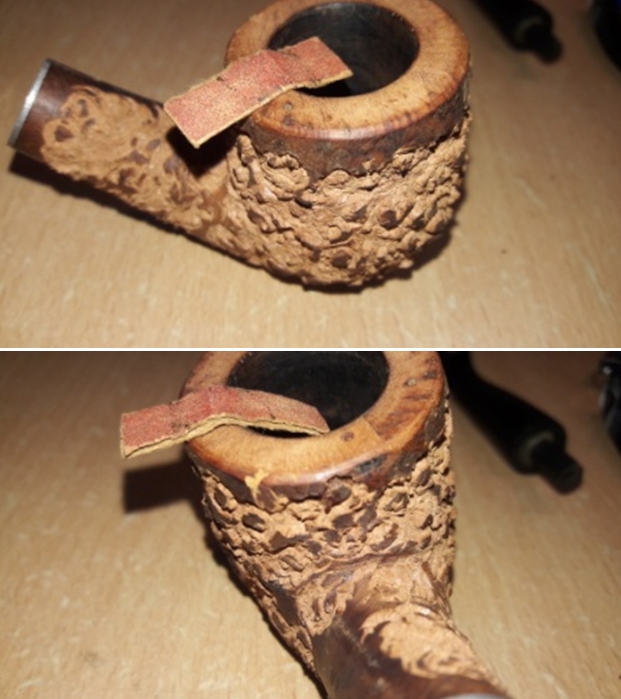
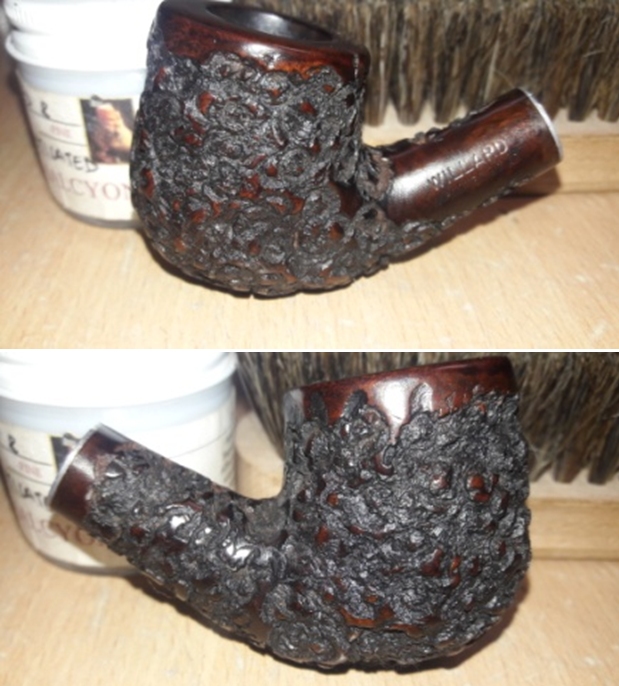
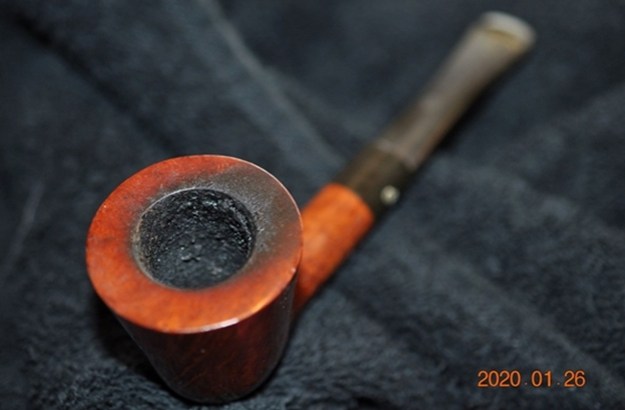
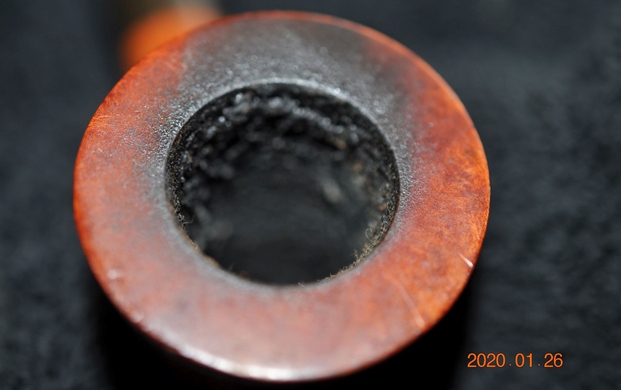
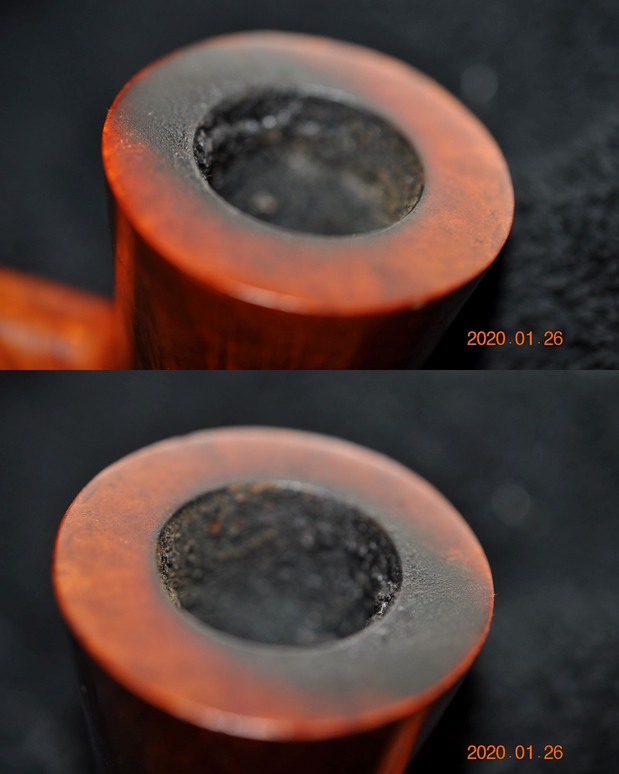
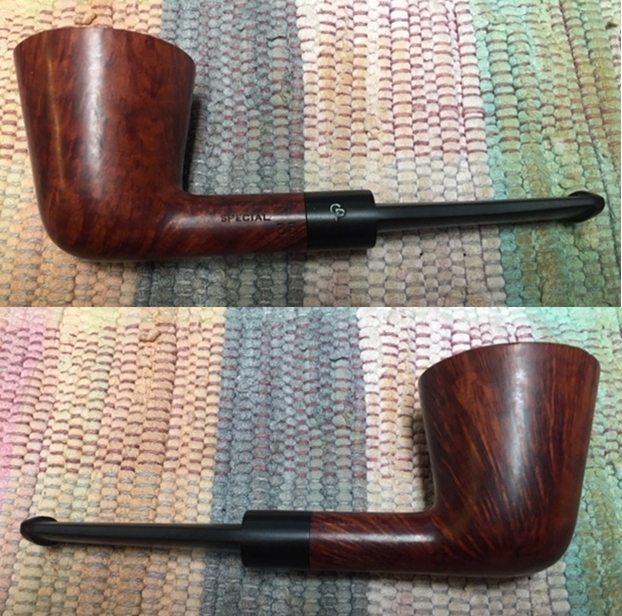
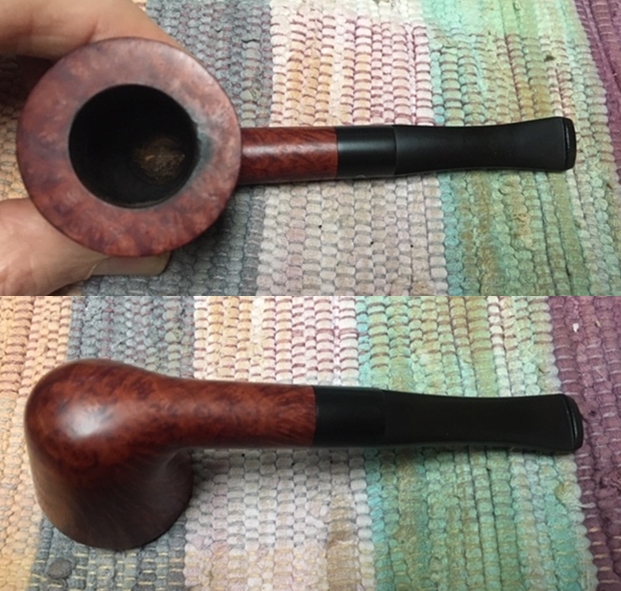
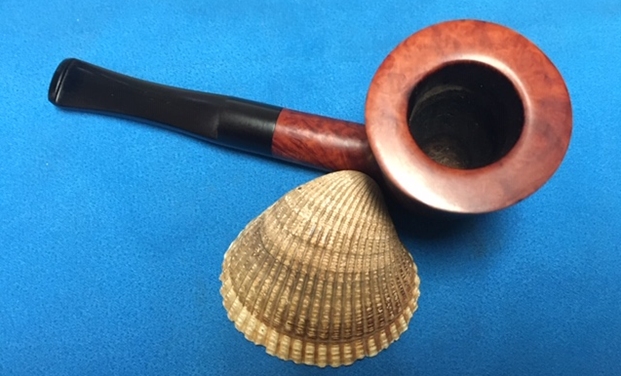
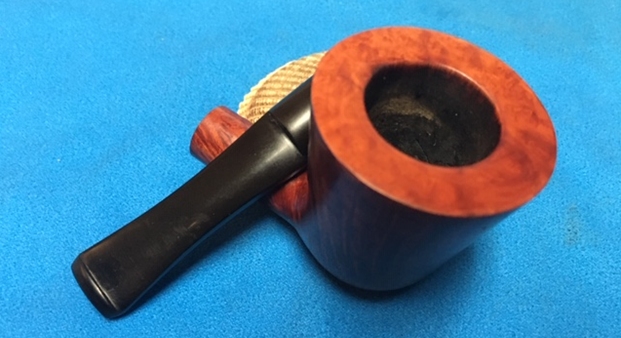
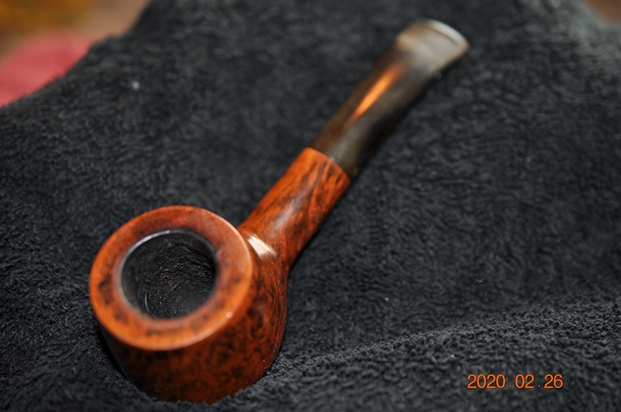
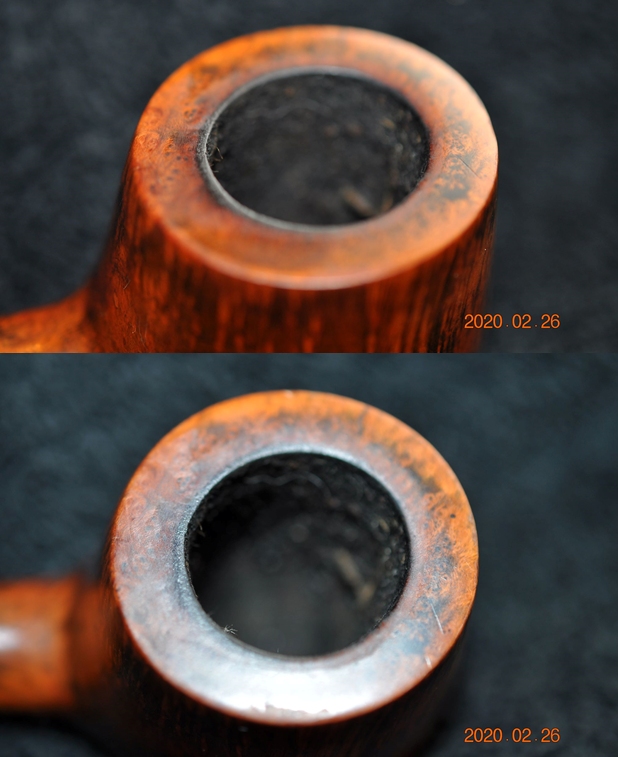
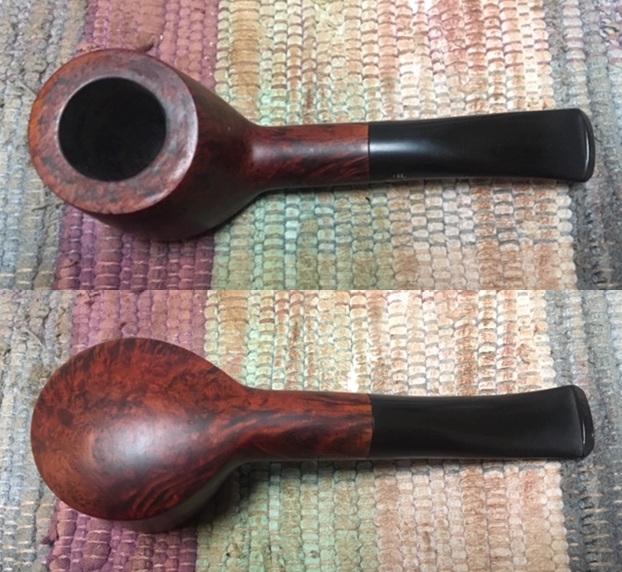
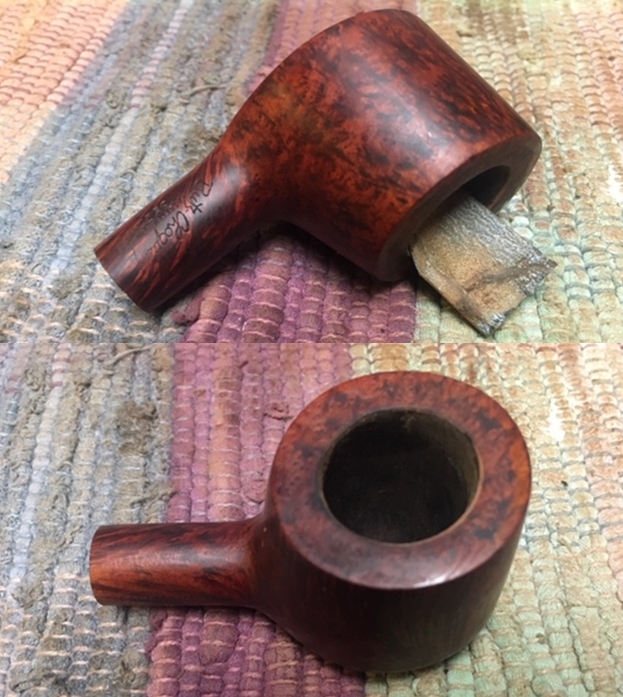
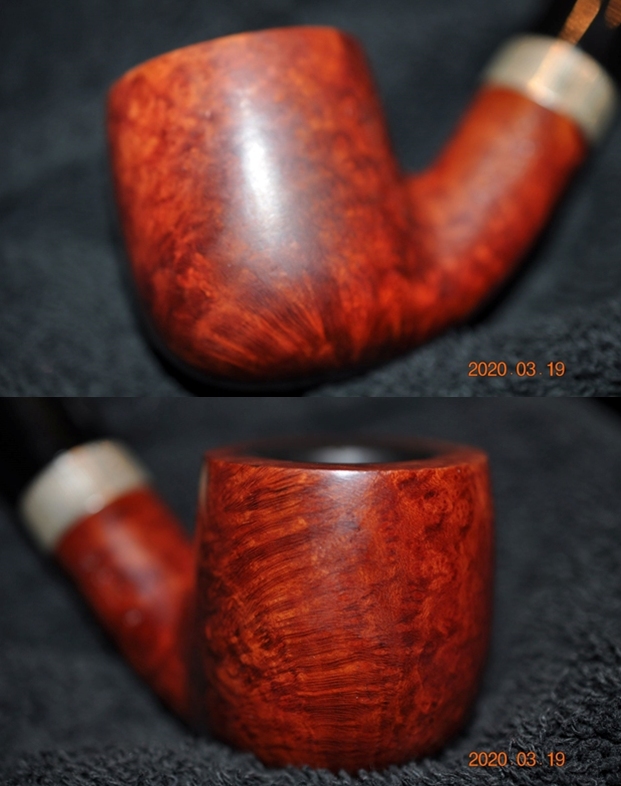
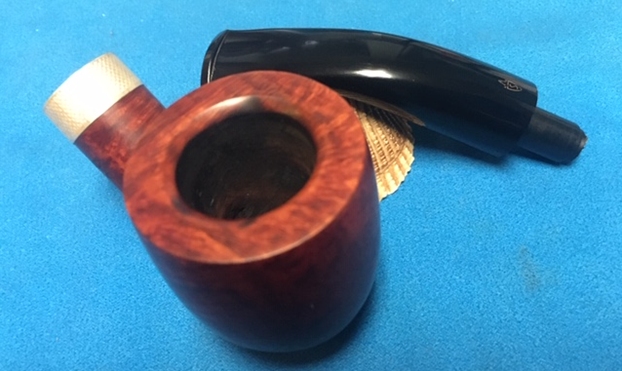
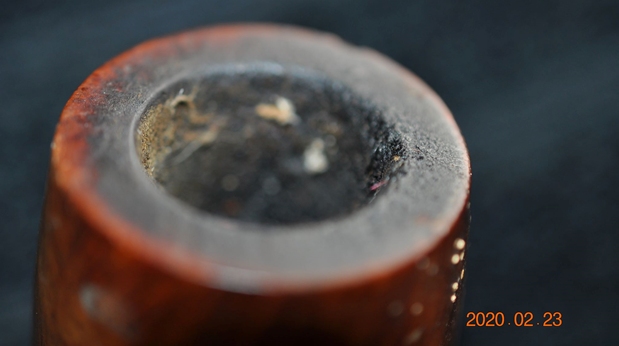
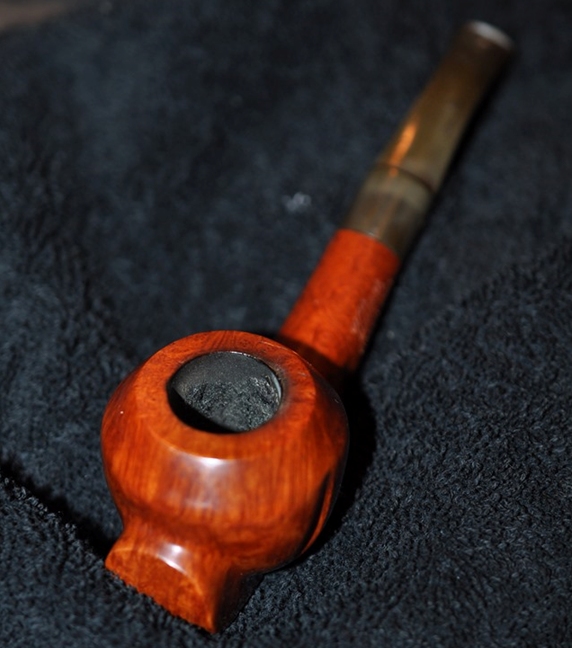
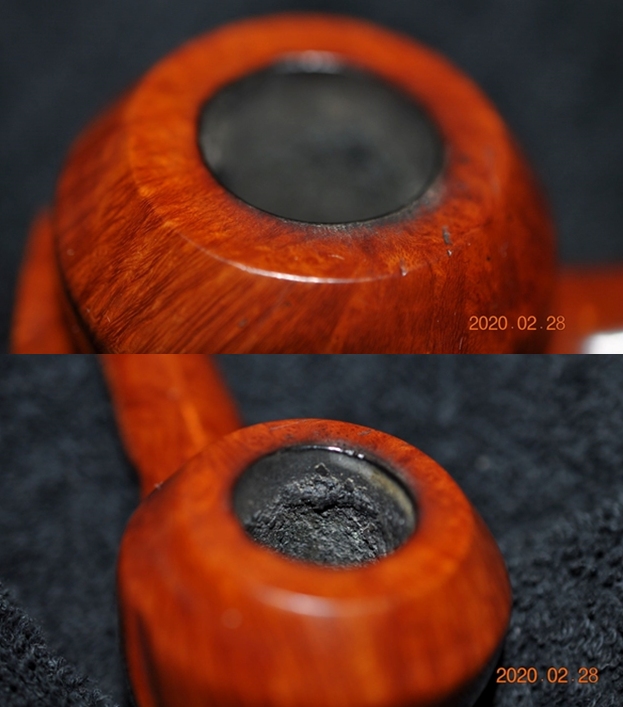
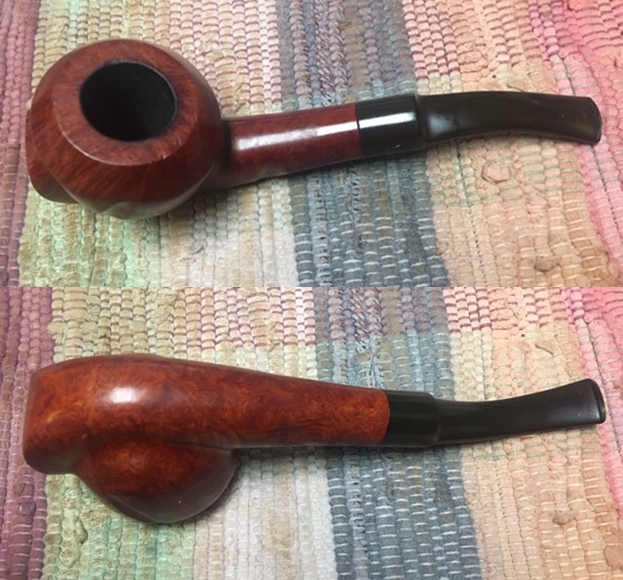
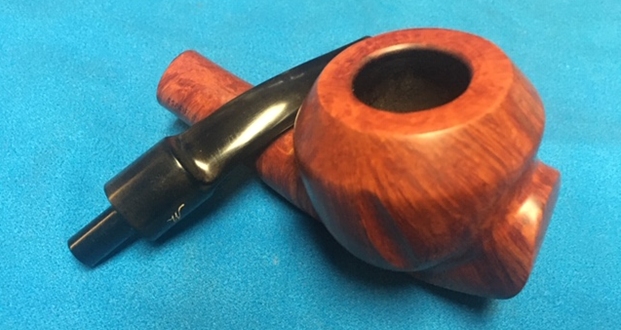
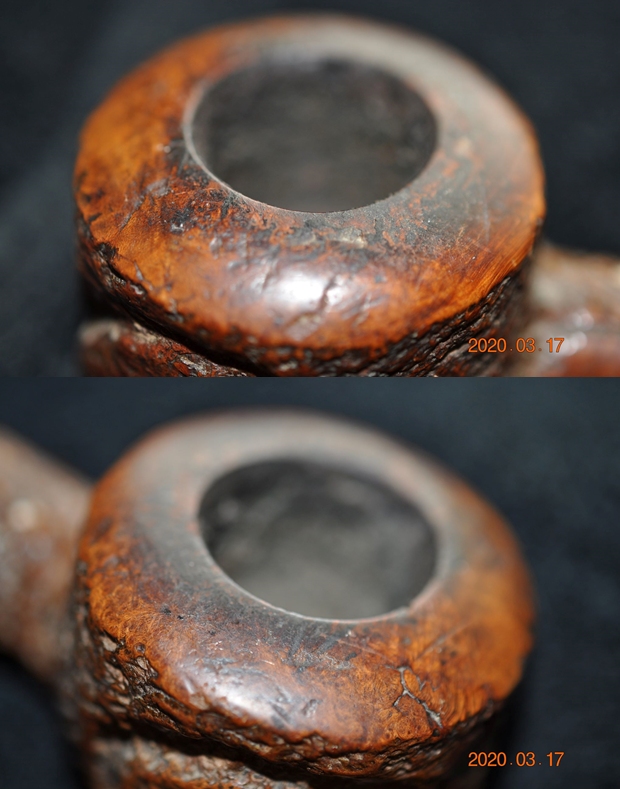
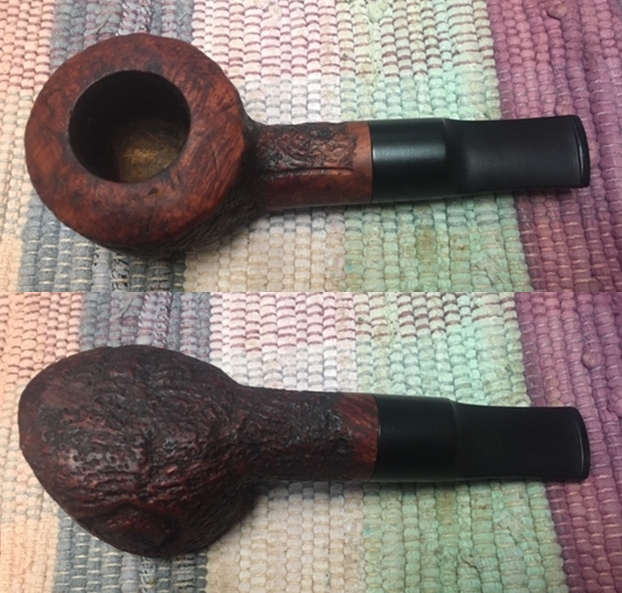
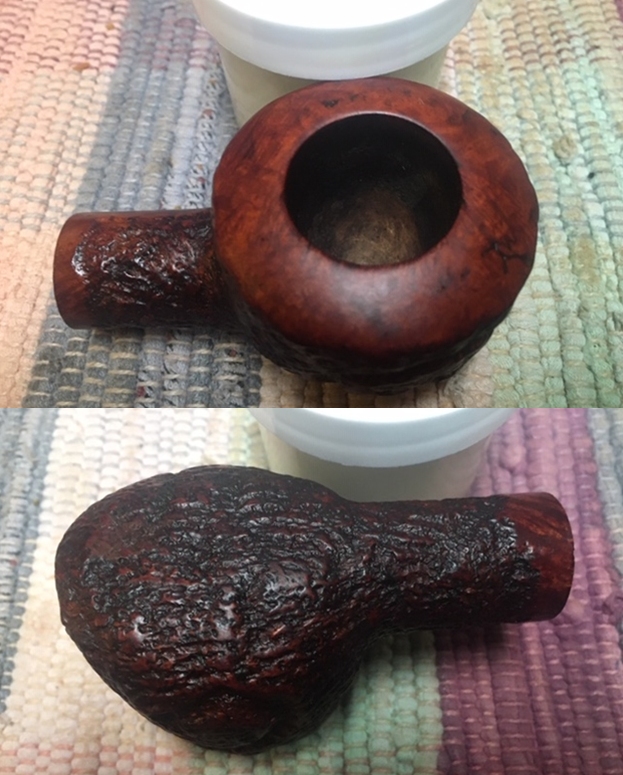
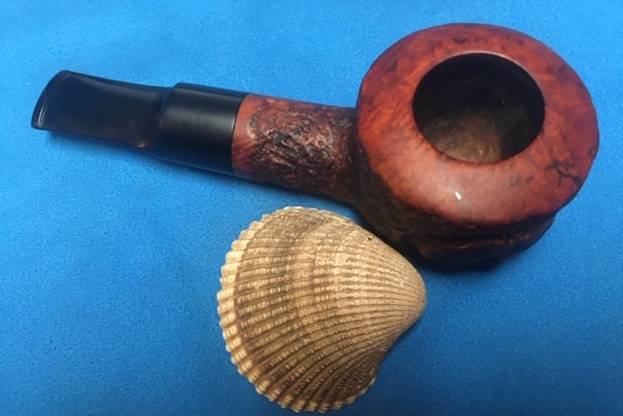
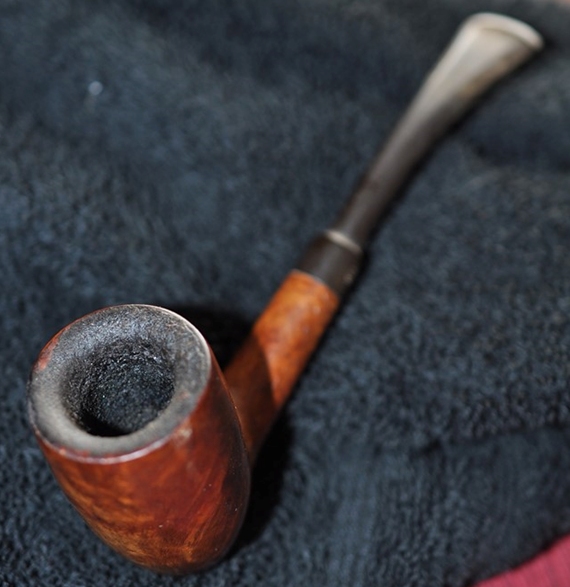 Jeff has gotten very good at capturing the condition of the bowl and rim top with his photos. You can see the work that is ahead of us in terms of the lava and grime on the rim and the thick cake in the bowl. This pipe is a real mess.
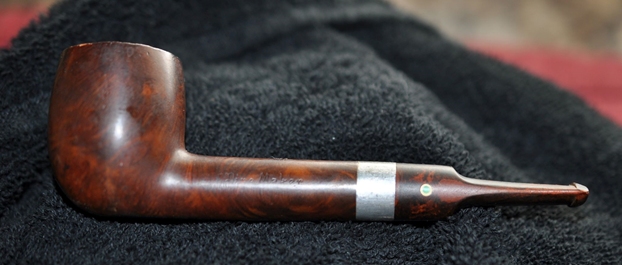
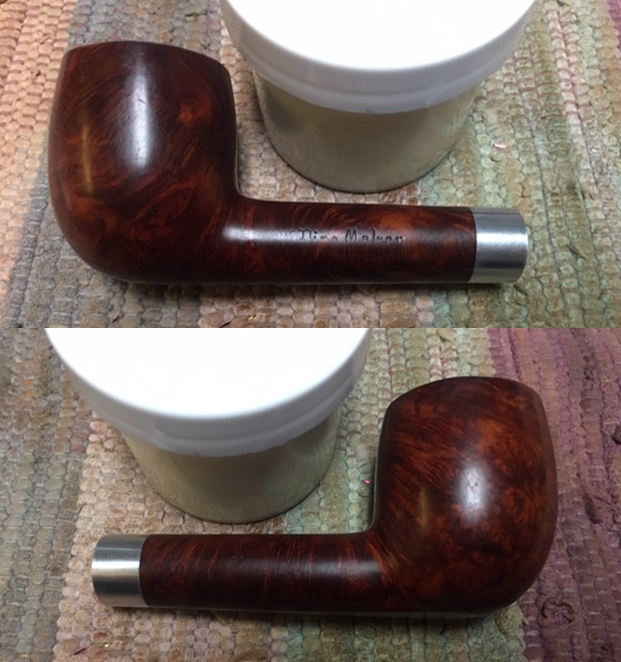
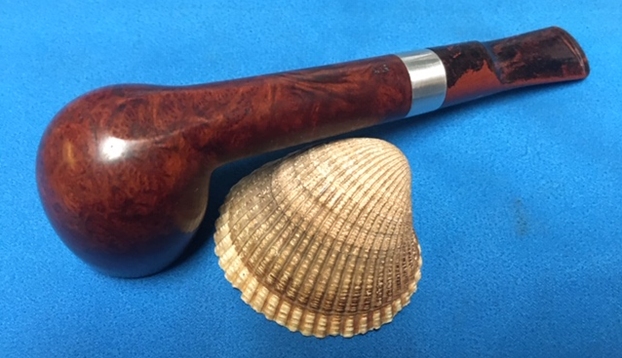
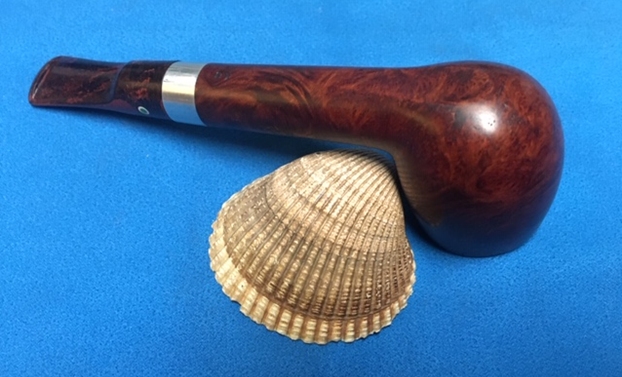
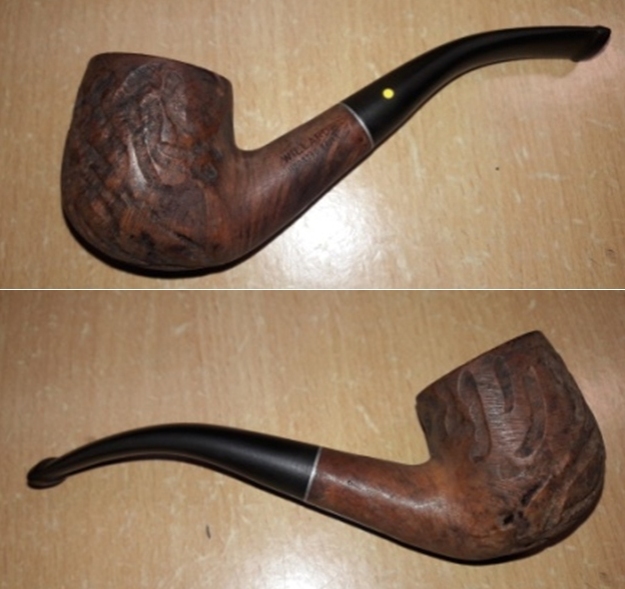
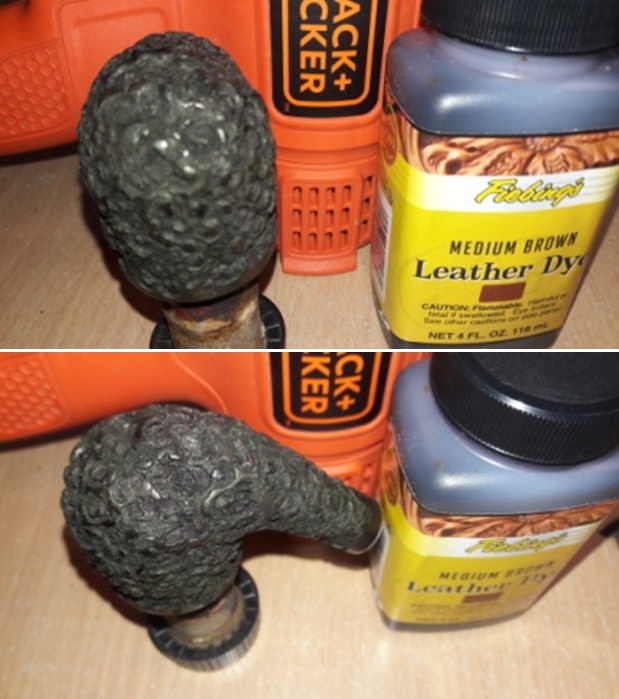
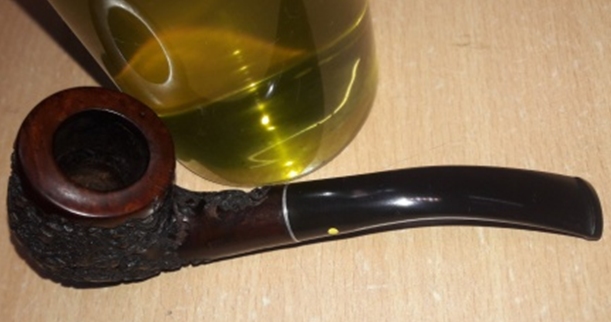
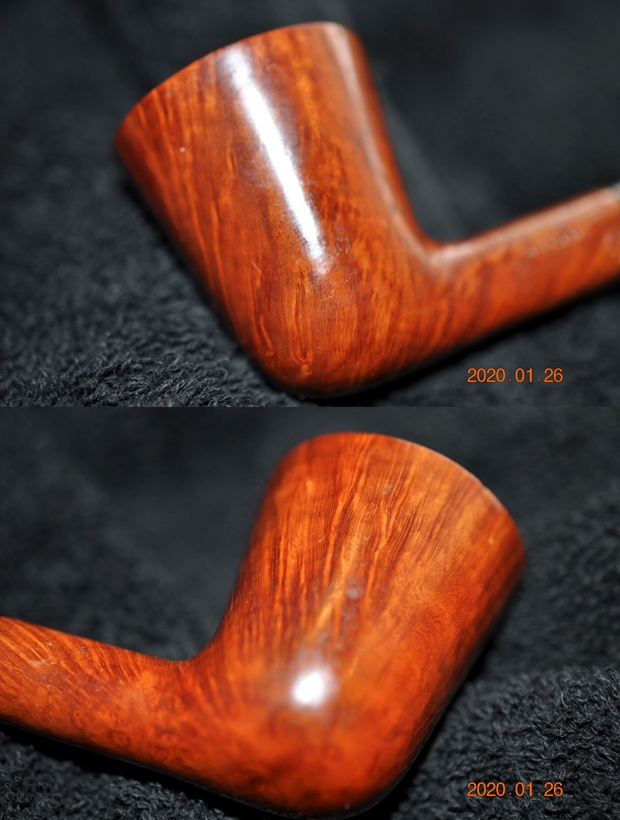
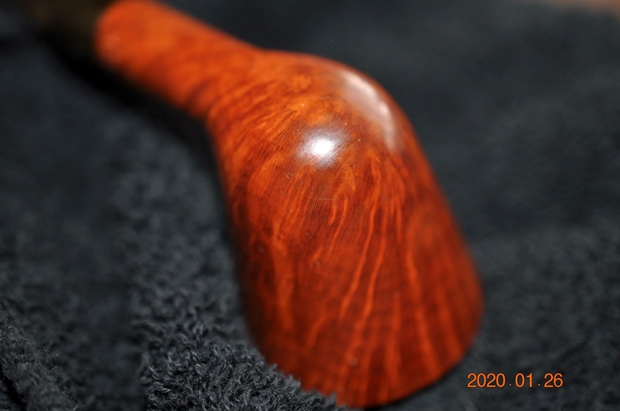
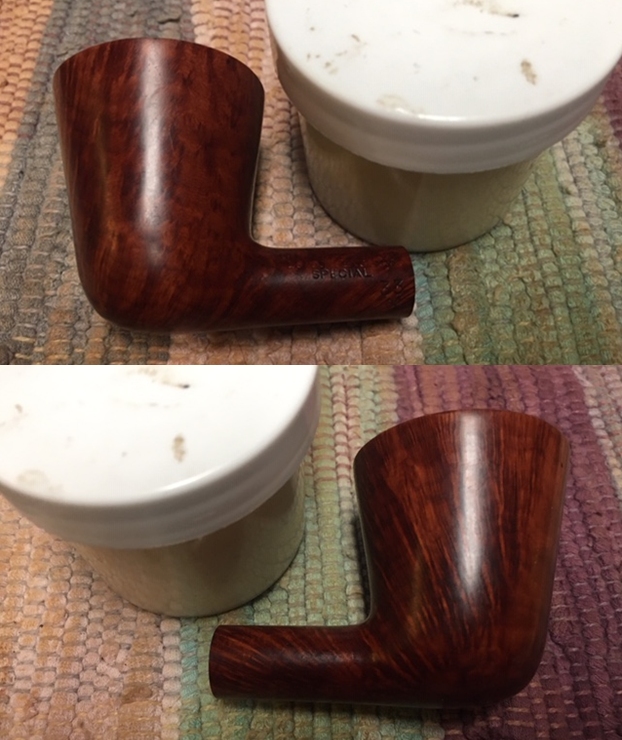
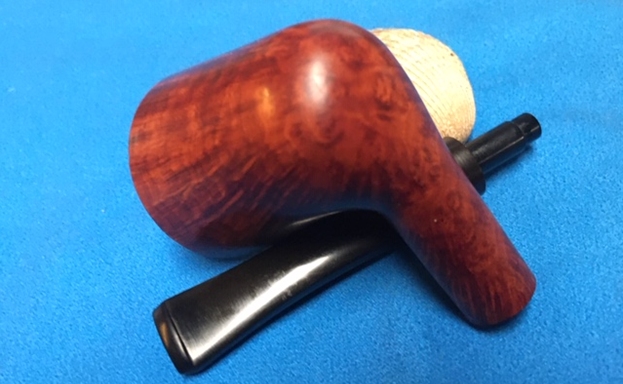
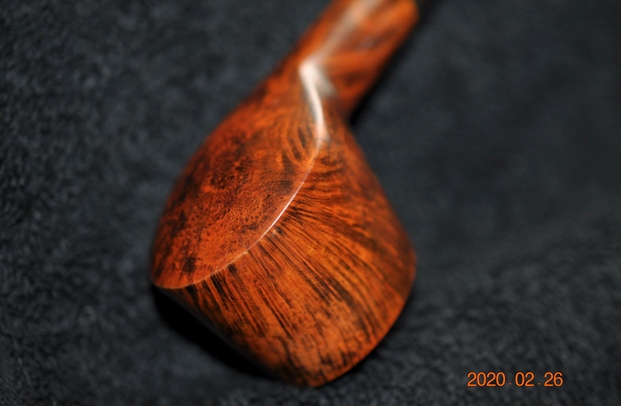
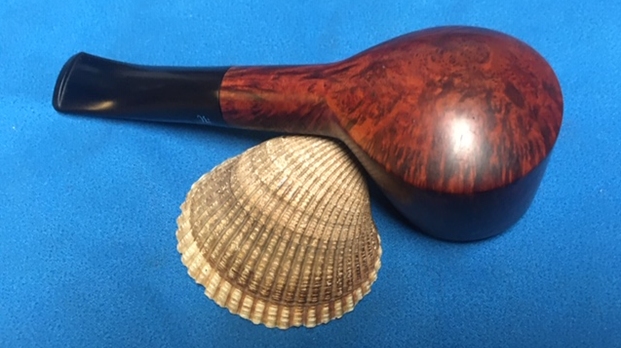
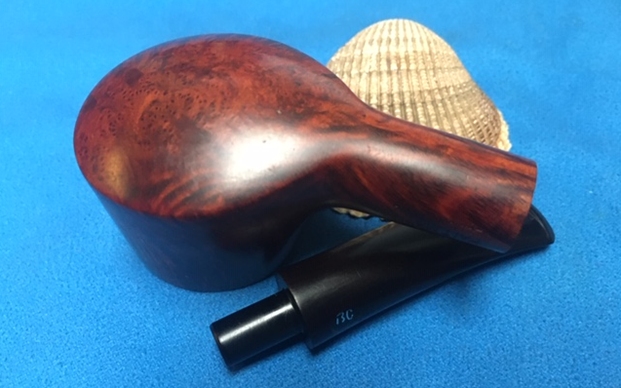
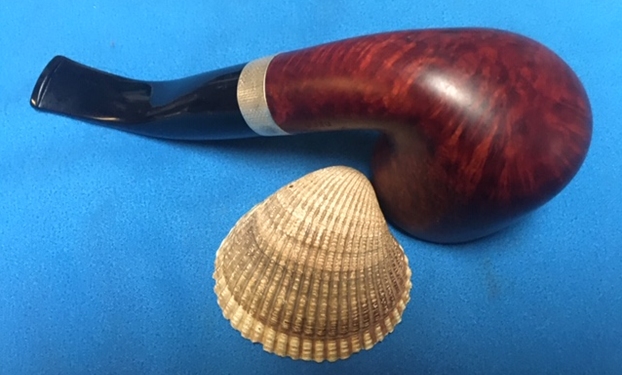
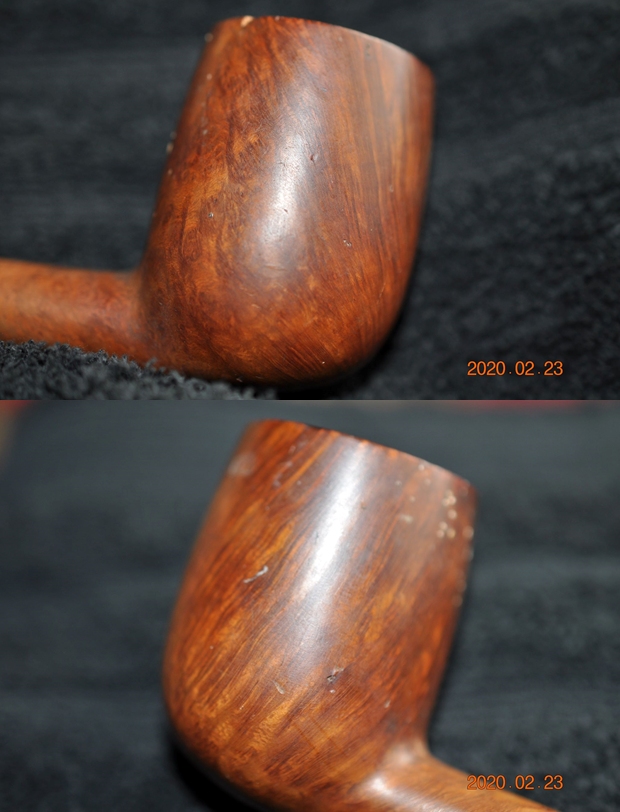
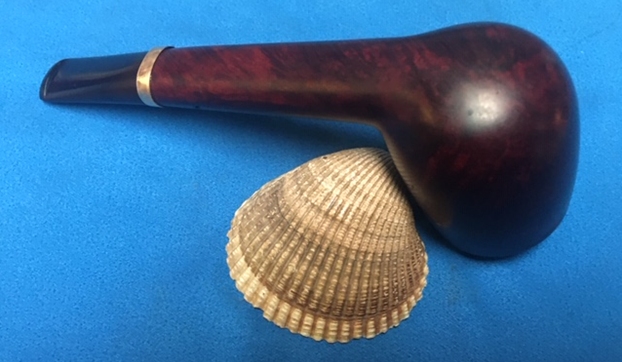
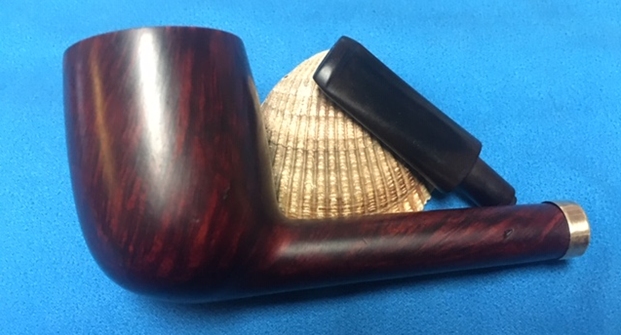
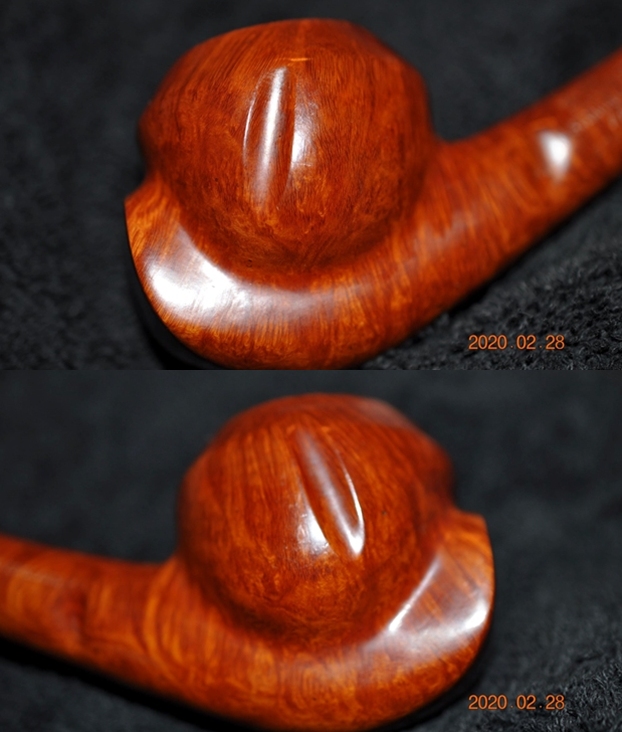
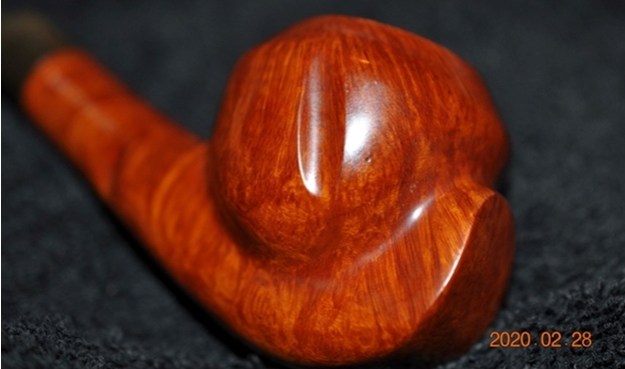
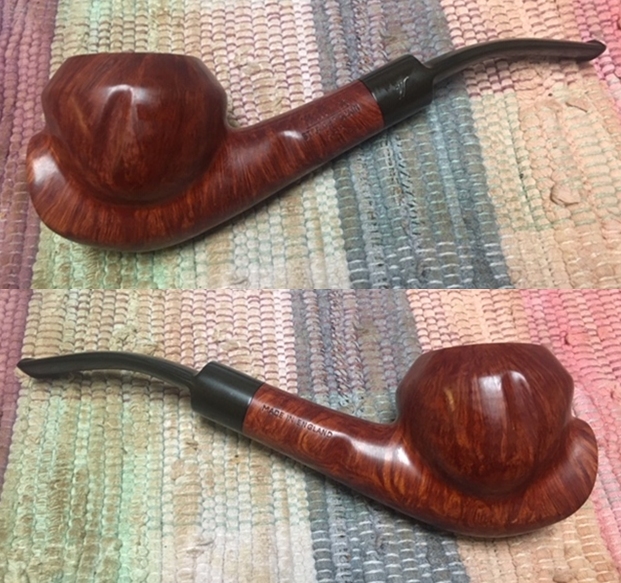
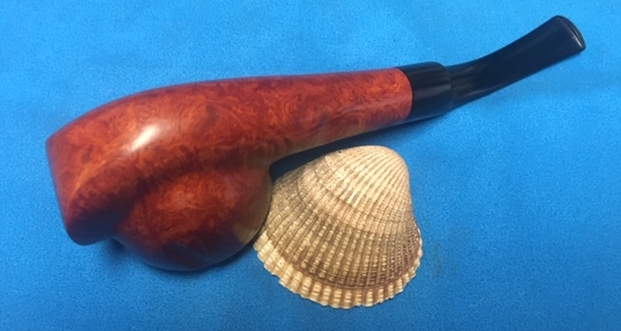
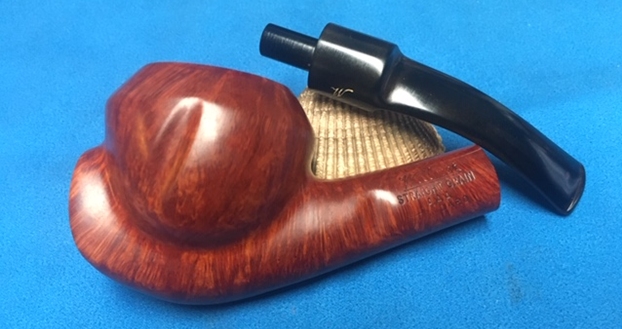
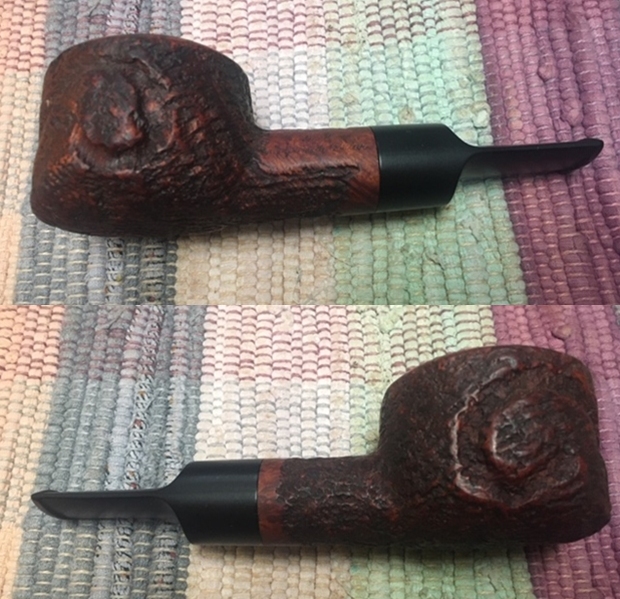
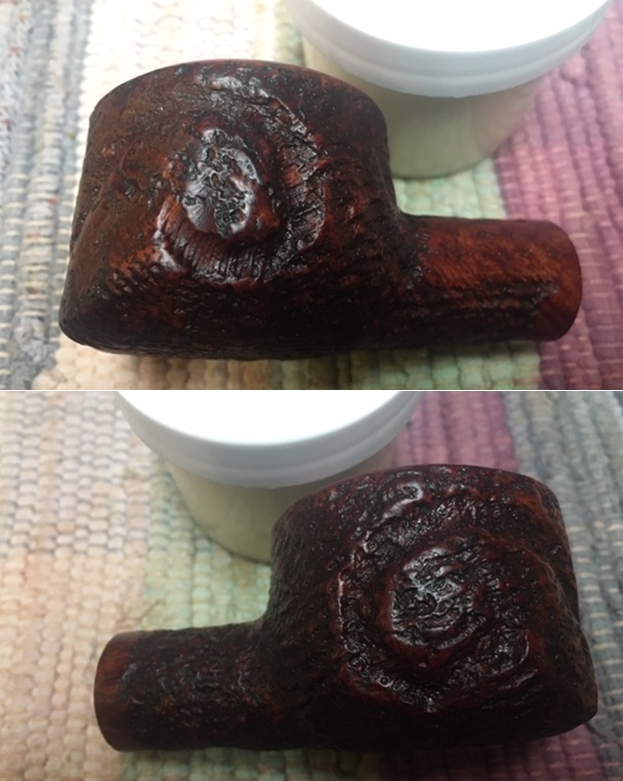
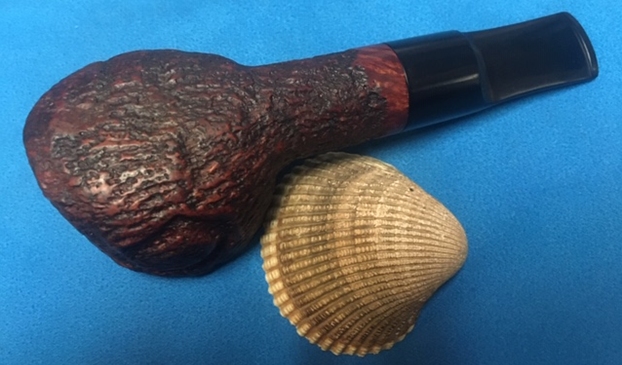
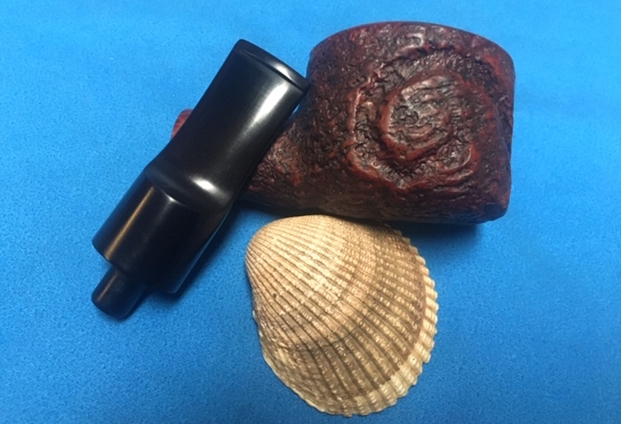
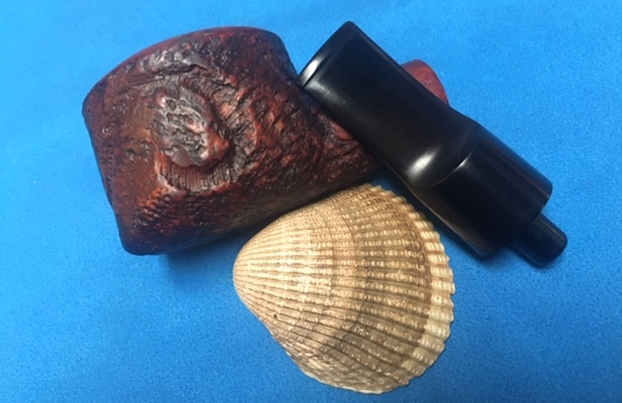
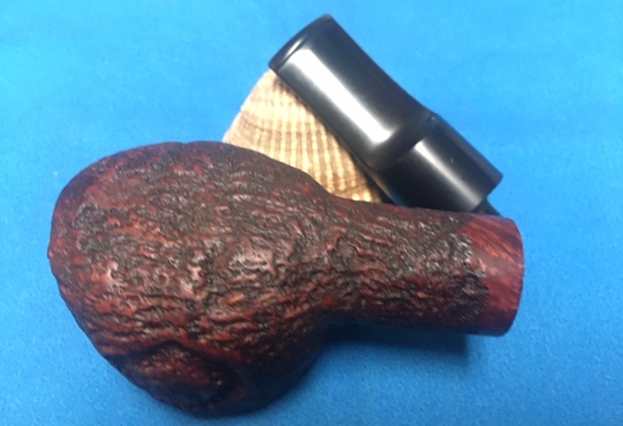
 The next set of photos show the grain on the sides and heel of the bowl. It is an interesting combination of grain – cross grain, swirls and birdseye predominate. I look forward to seeing what this one looks like once it is clean and restored.
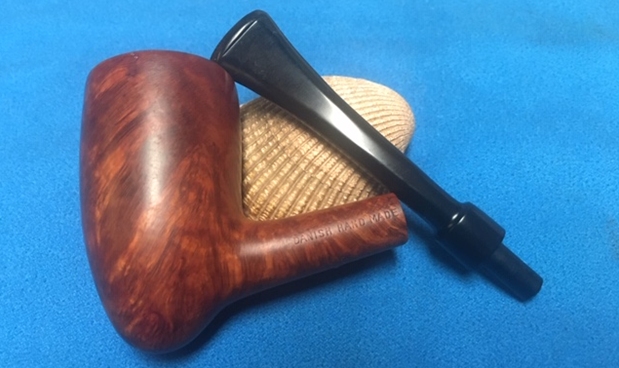
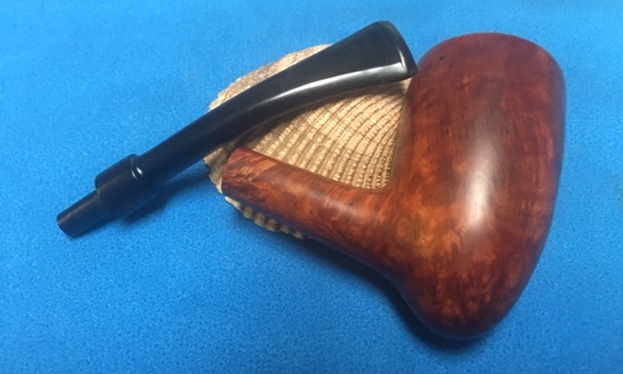
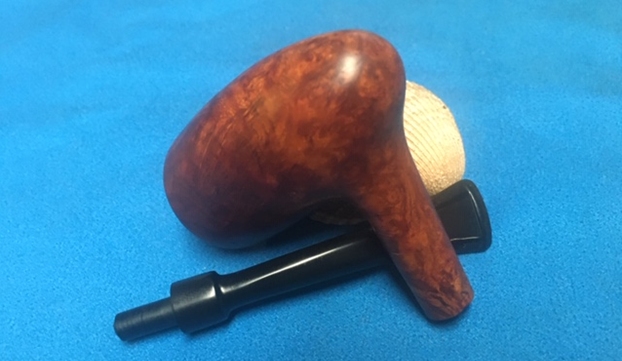
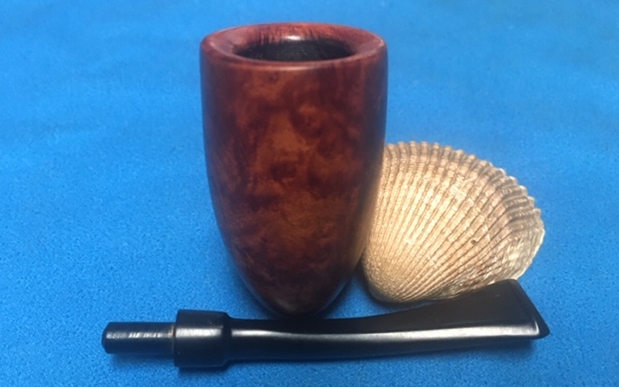
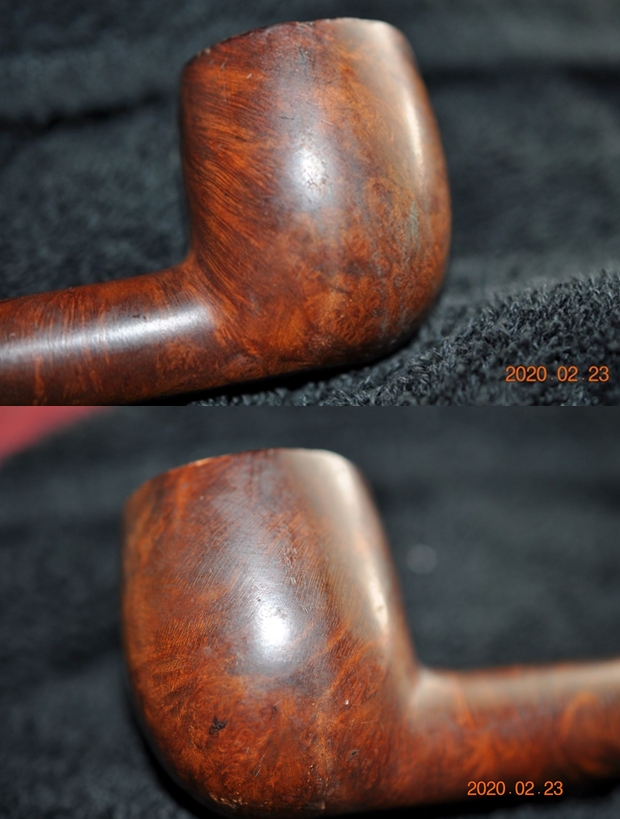
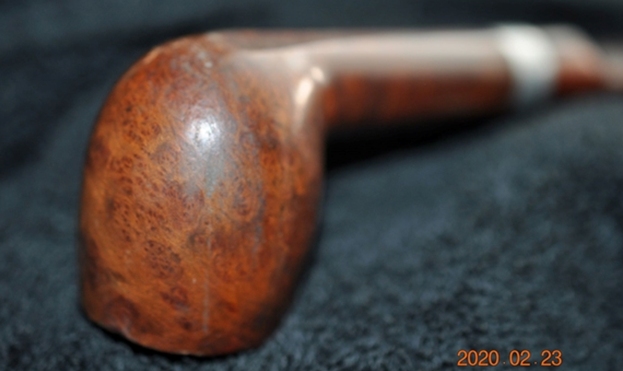
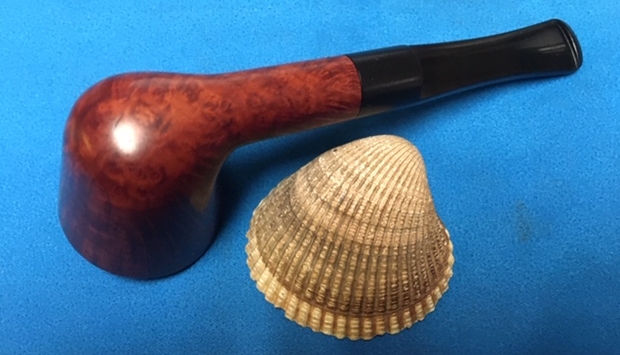
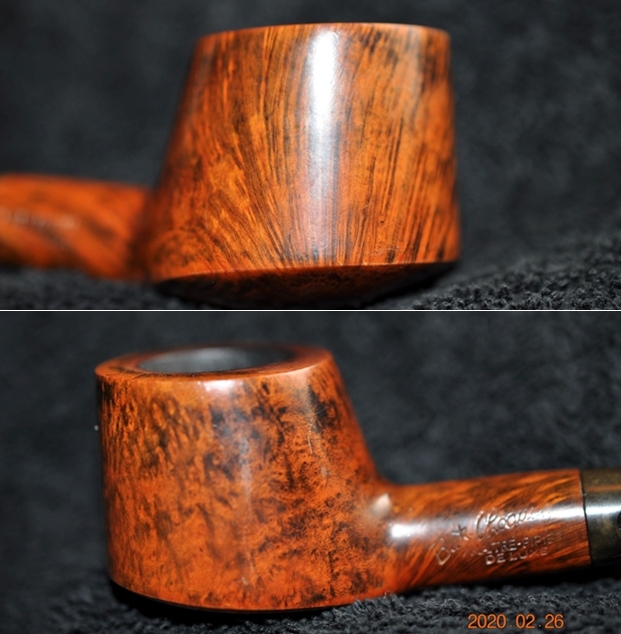
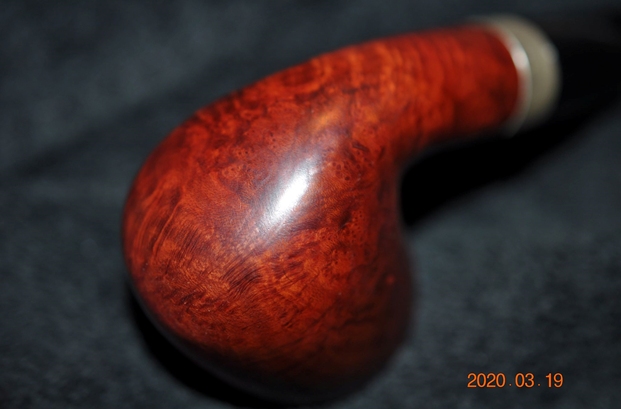
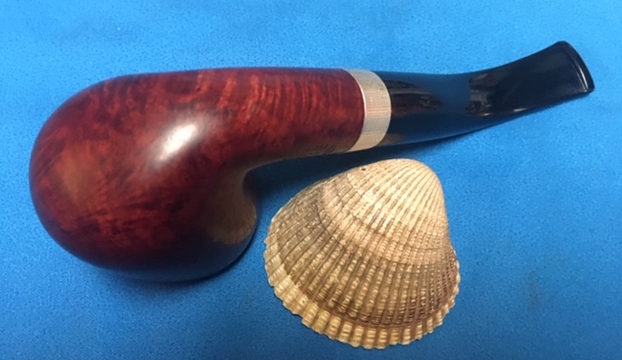
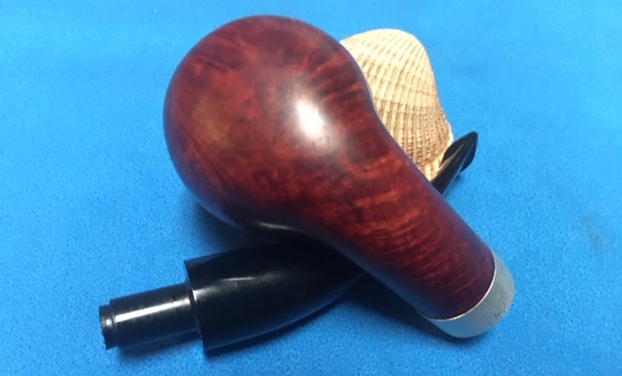
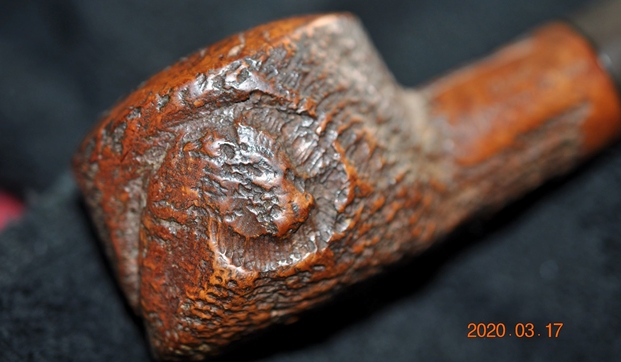
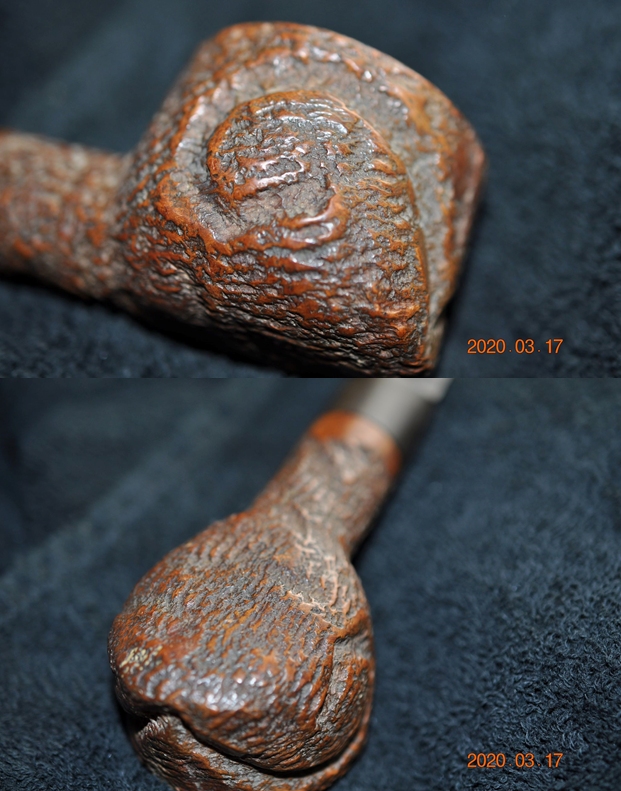
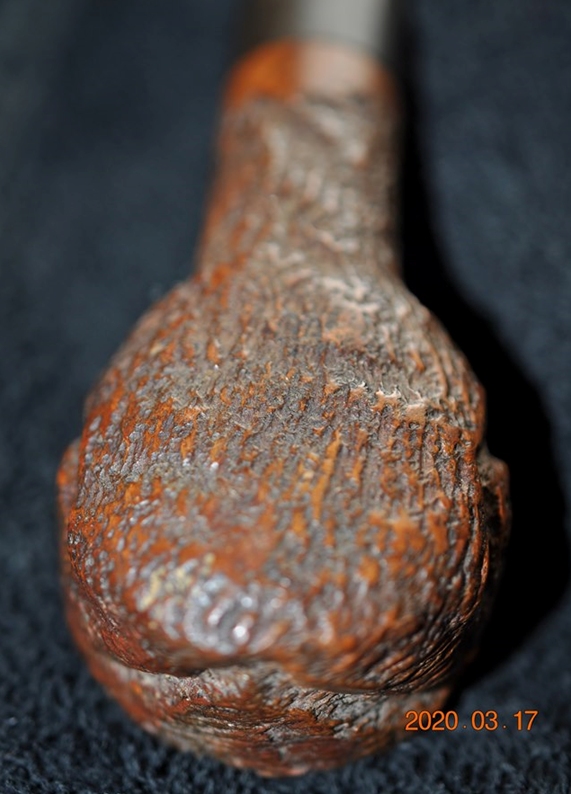
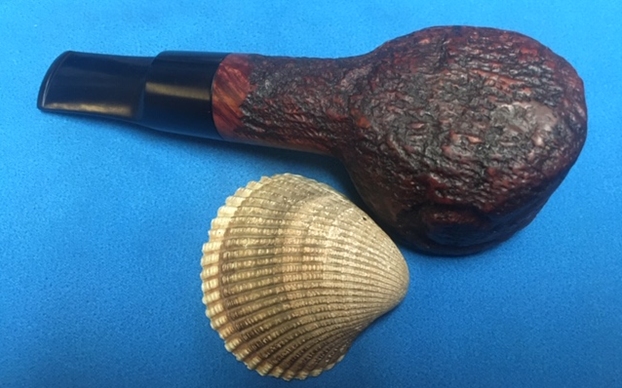
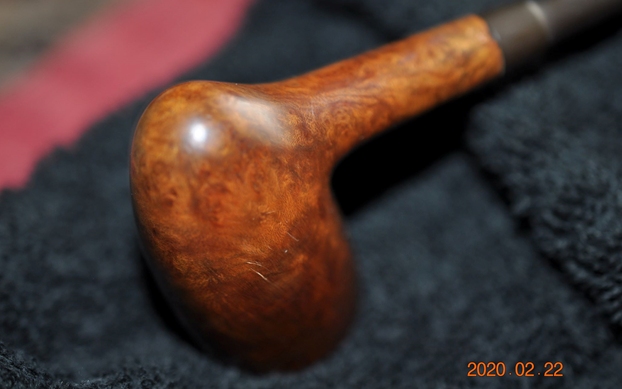
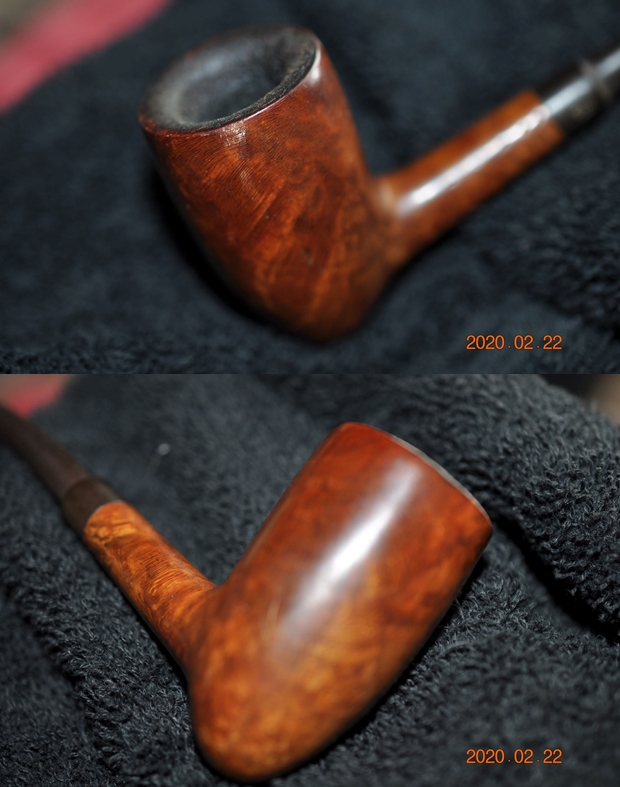
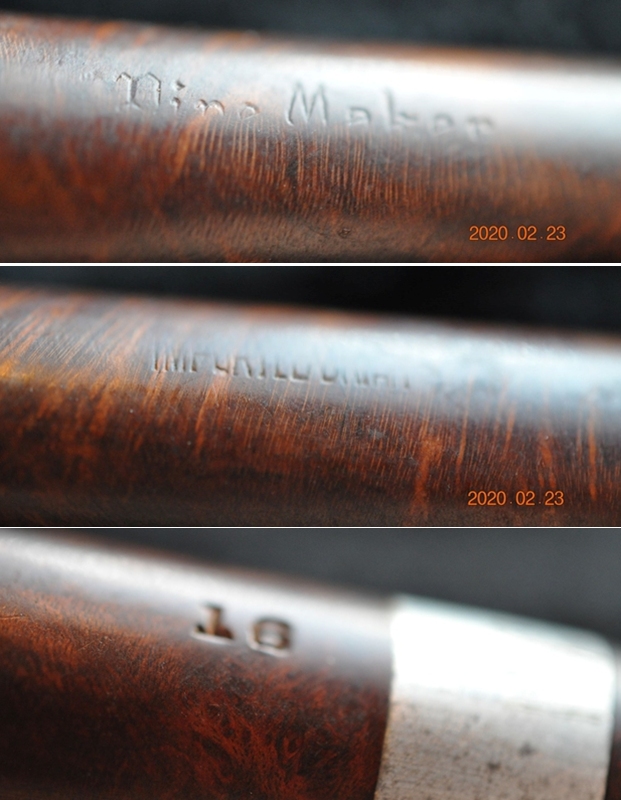
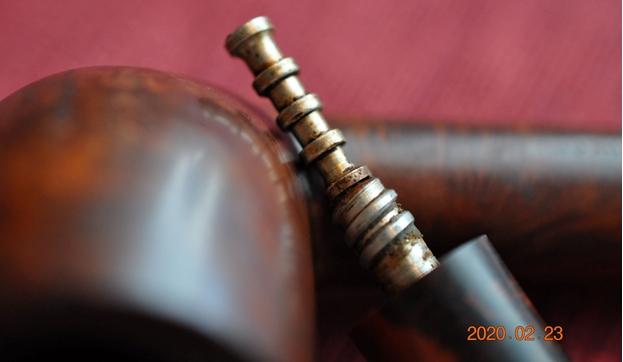
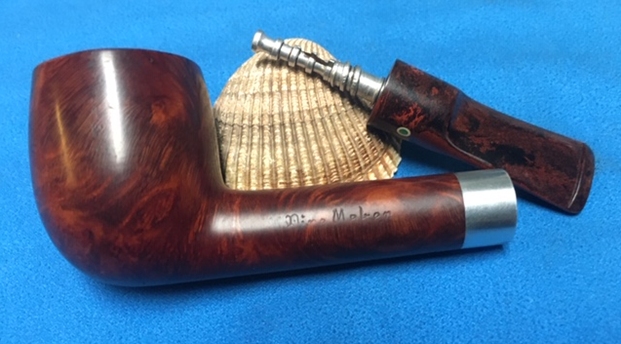
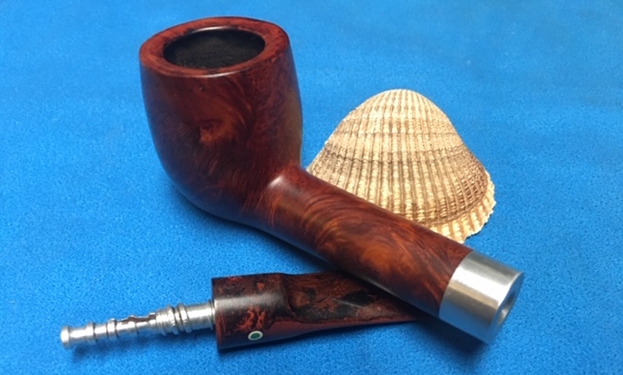
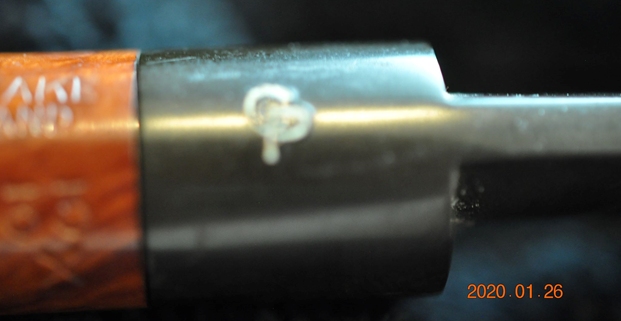
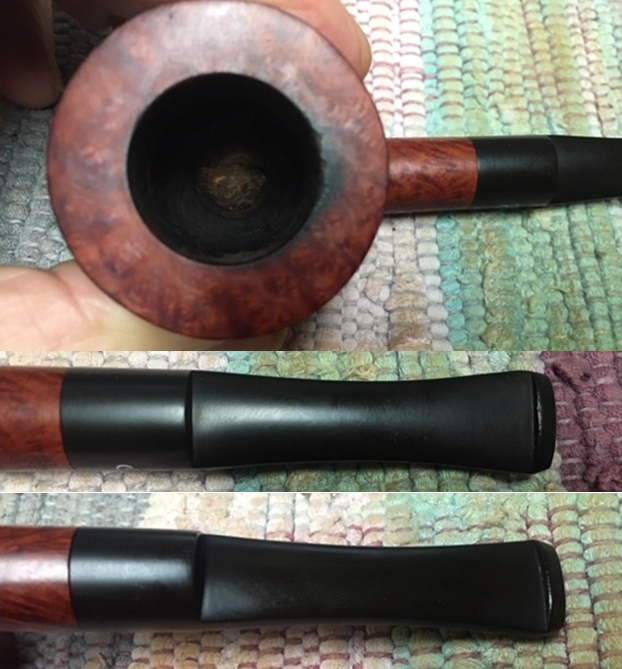
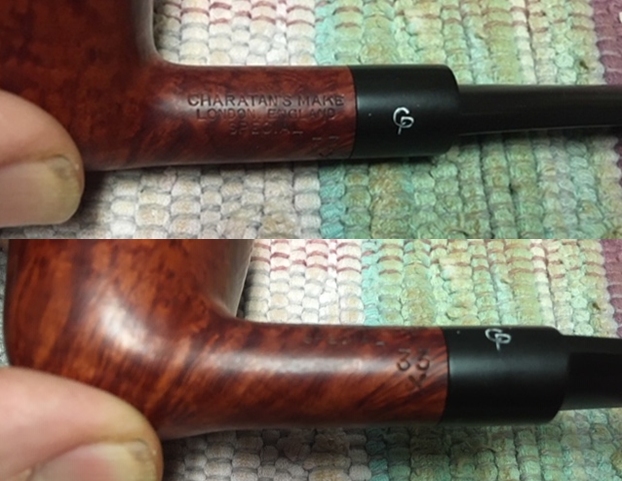
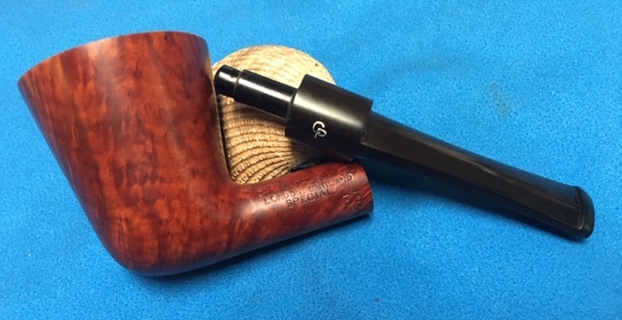
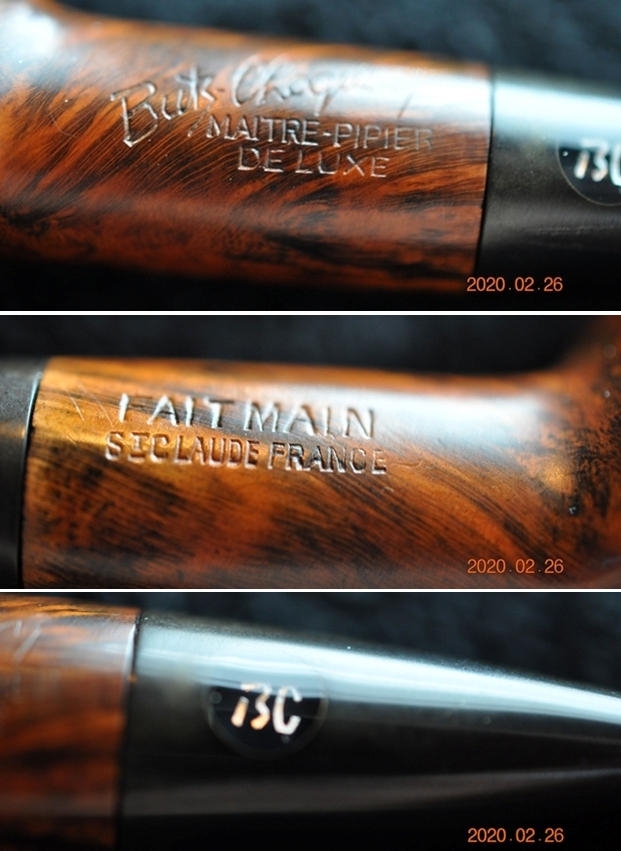
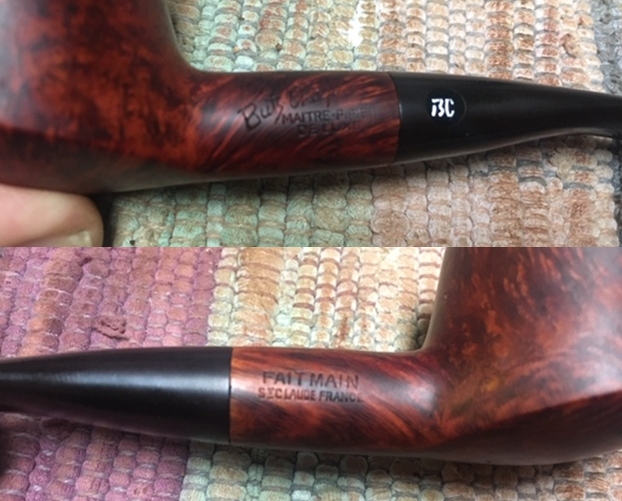
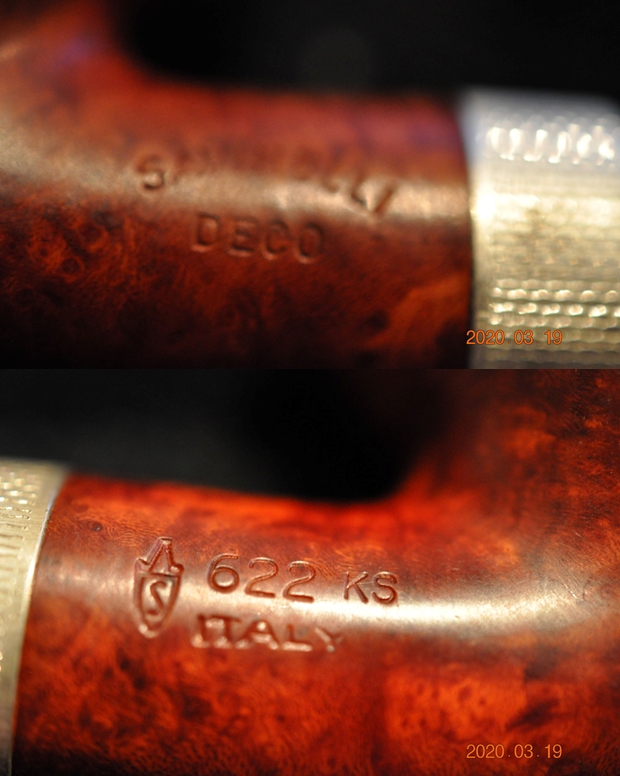
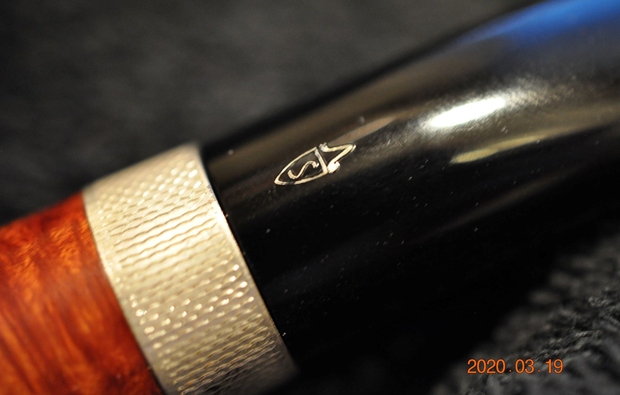
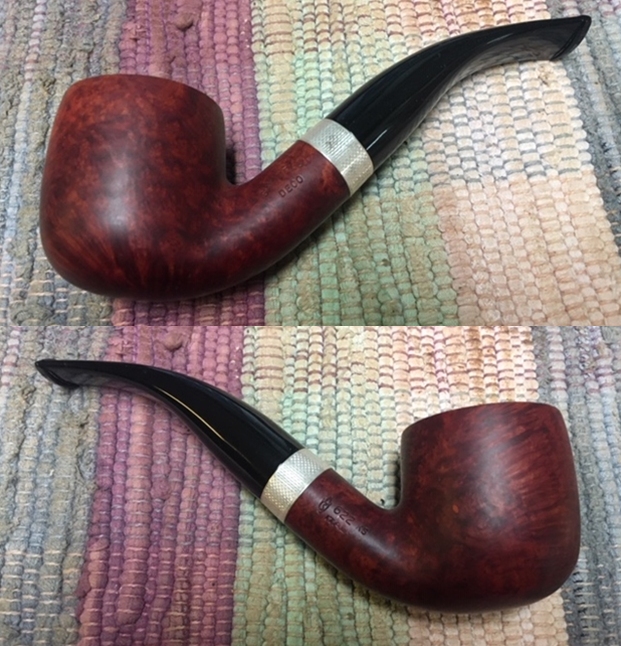
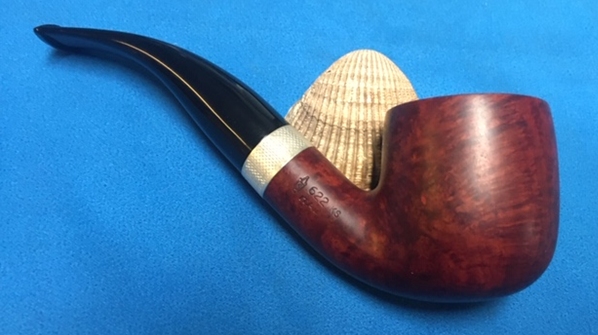
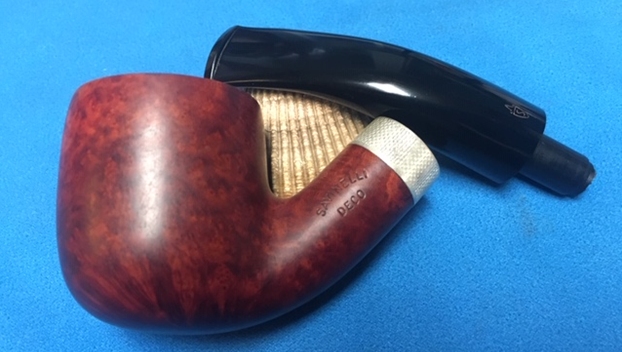
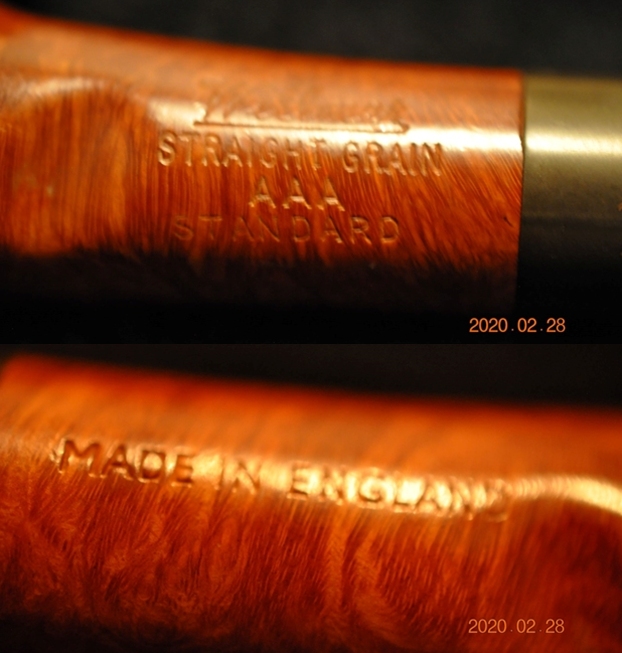
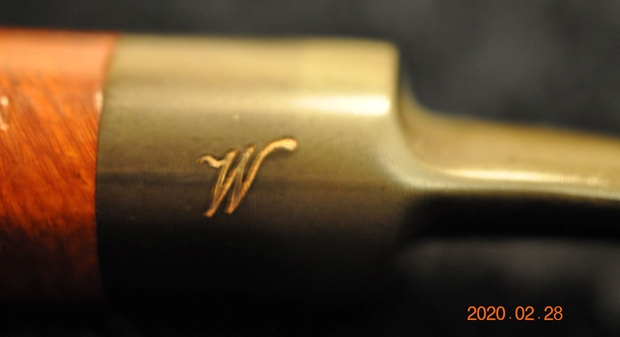
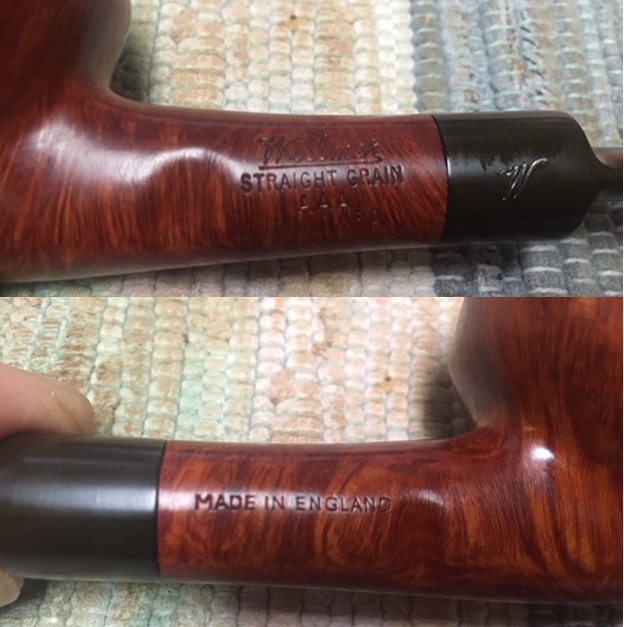
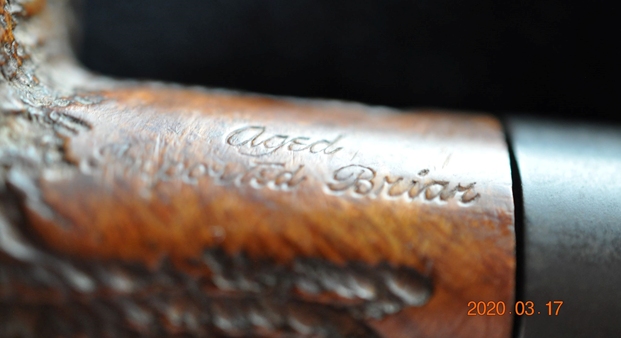
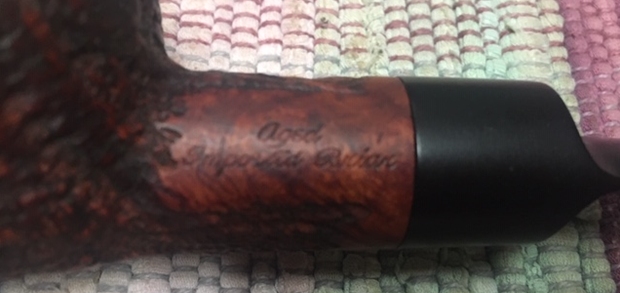
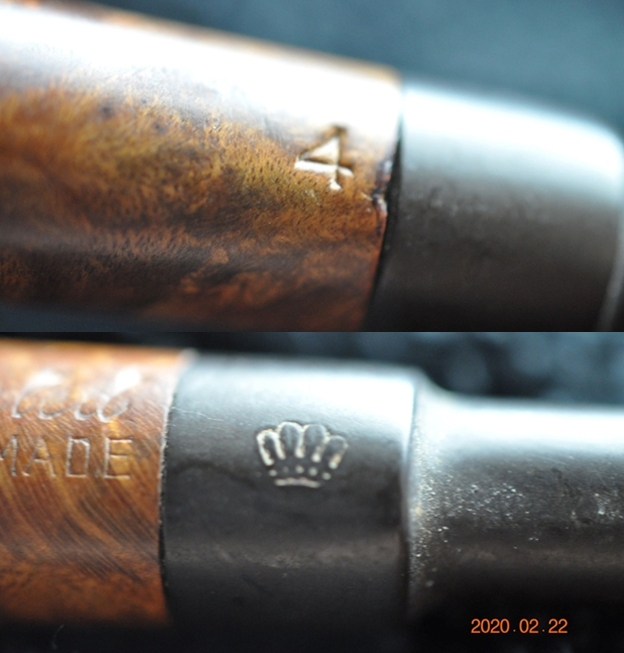
 He took photos of the faint stamping on the sides of the shank. The Prince Amled stamp on the left side is readable. On the underside is the shape stamp 4 which is very clear readable. The third photo below shows the crown logon on the left side of the saddle stem.
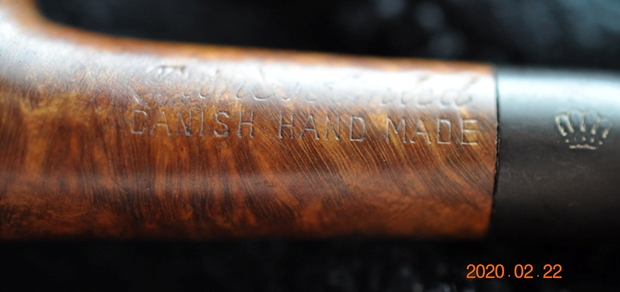
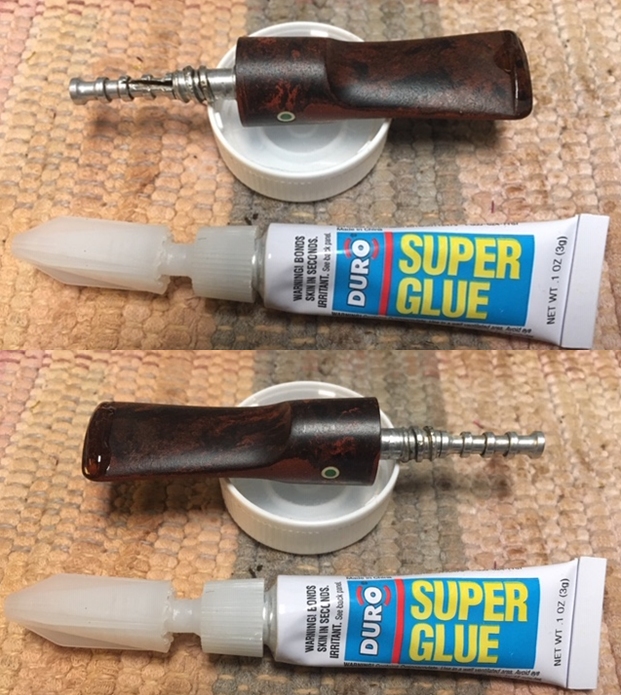
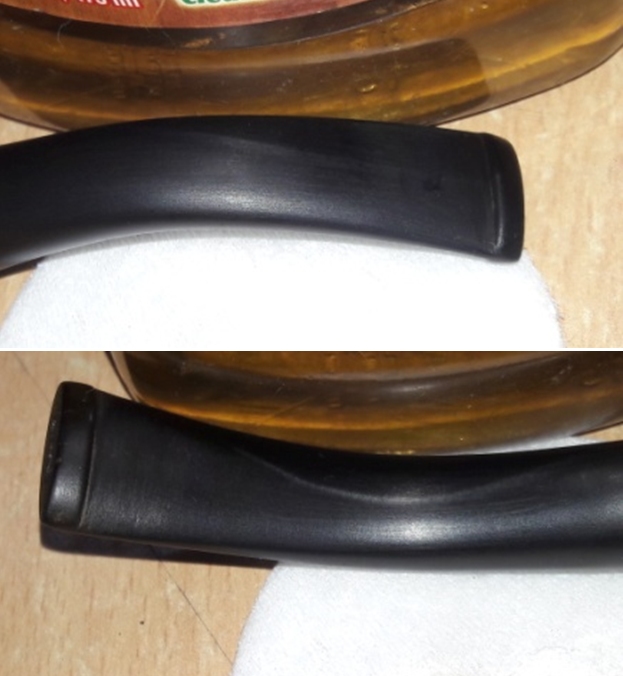
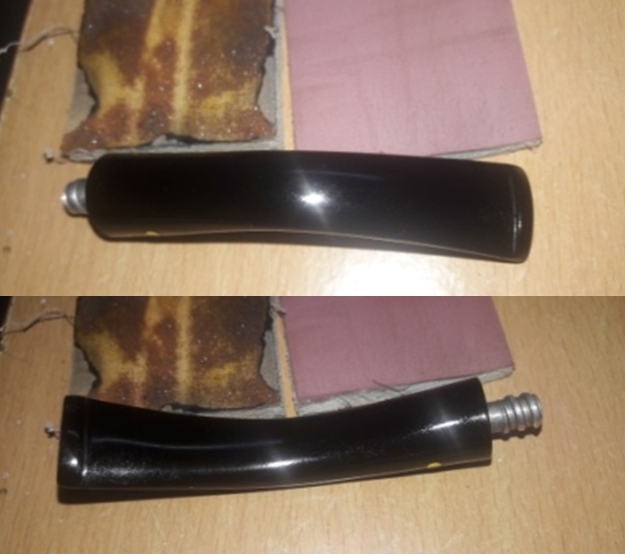
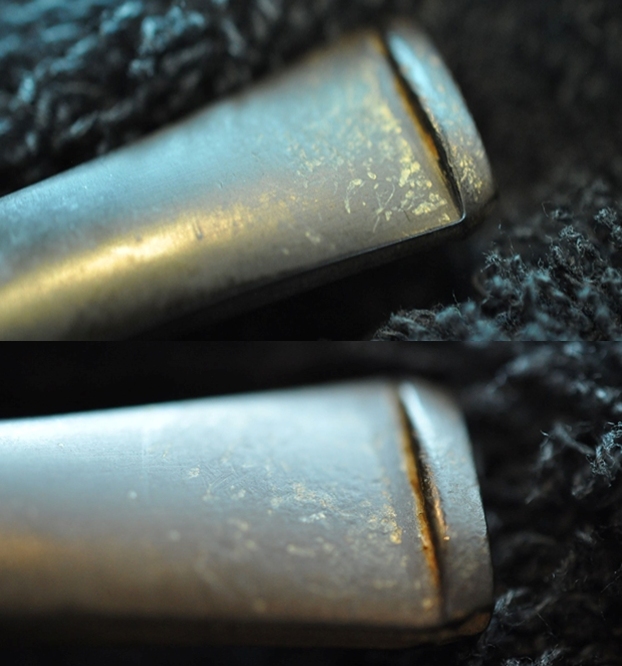
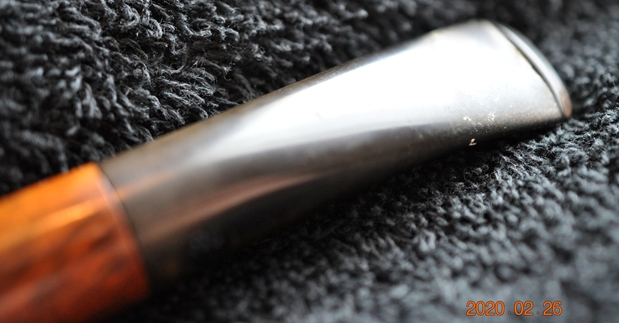
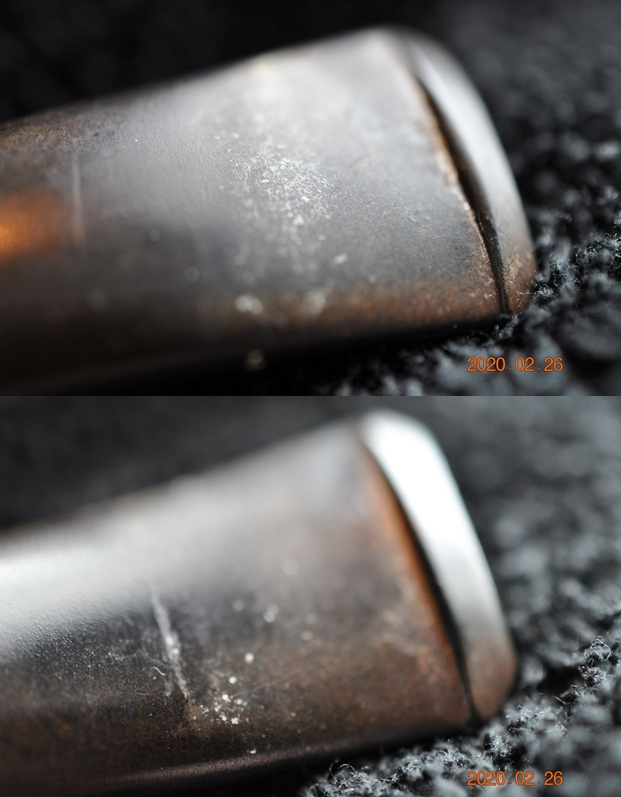
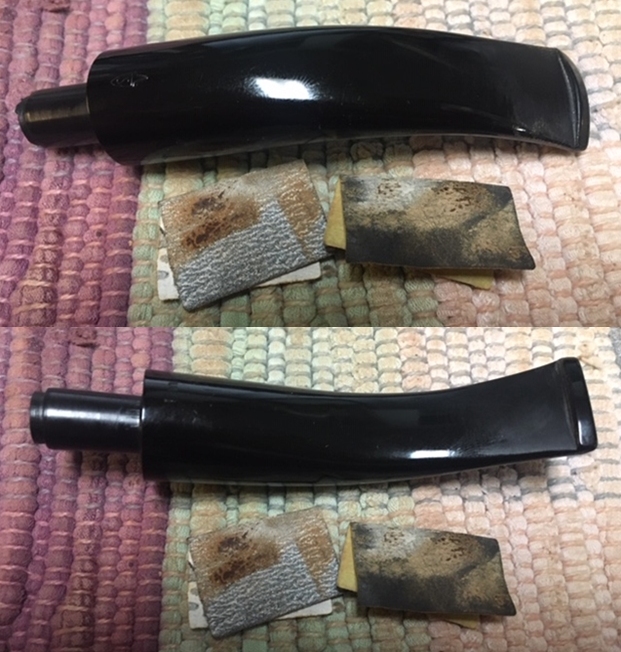
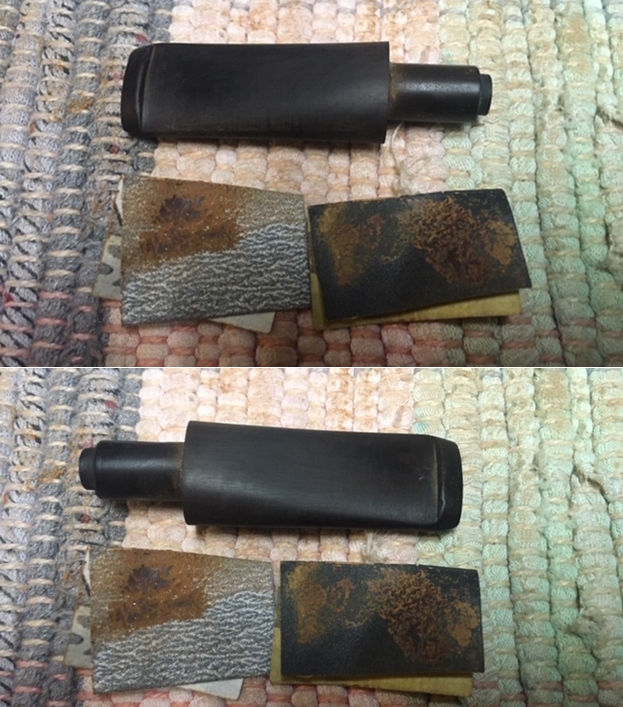
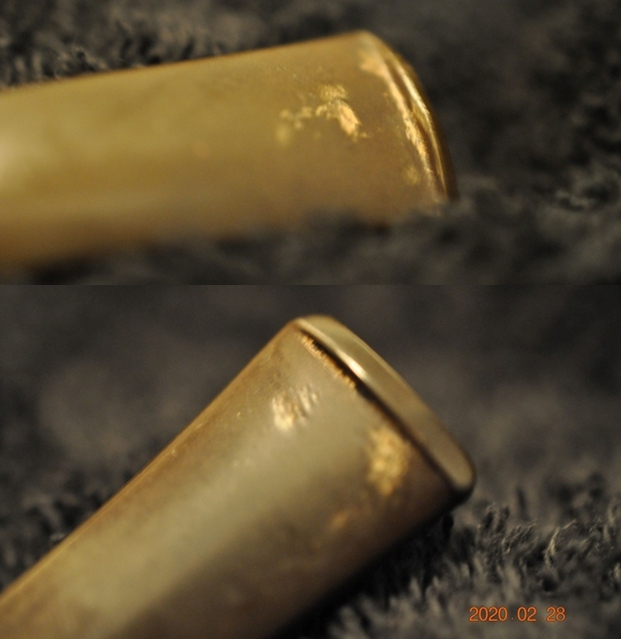
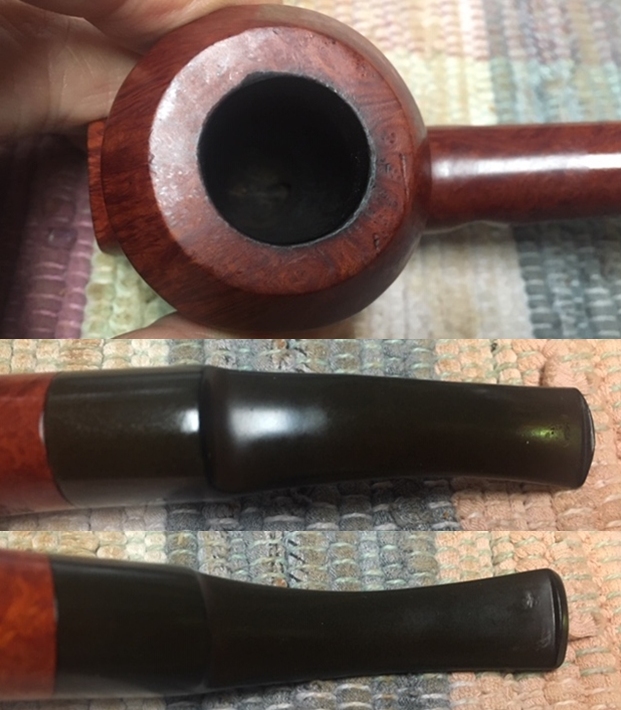
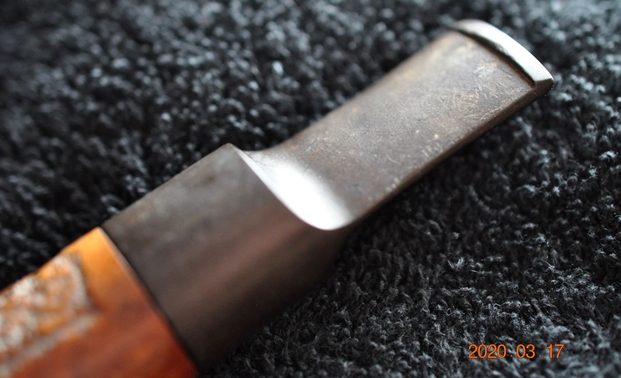
 The next photos show the stem surface. It was very dirty, oxidized and calcified. It had pitting, light tooth marks and chatter on both sides ahead of the button.
 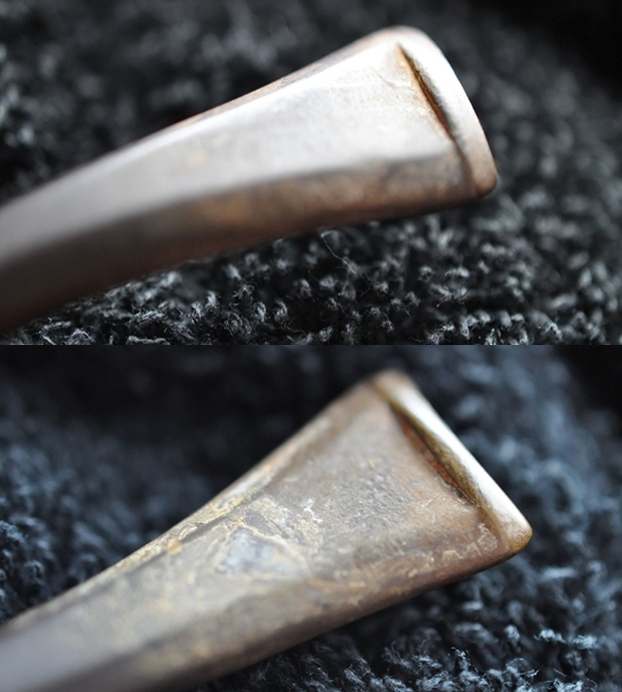 Before I started to work on the pipe I wanted to learn about the brand. I turned first to Pipephils site to see if there was any information on the Danish Made Prince Amled brand (http://www.pipephil.eu/logos/en/logo-p5.html). I did a screen capture of what was on the site and I include that below. It was another of those pipes with little information included.
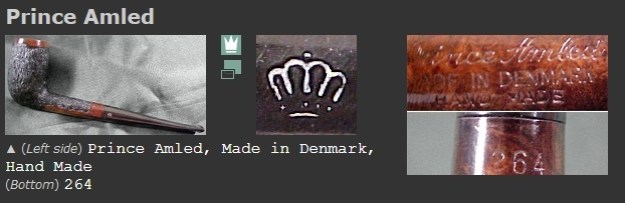 I turned to Pipedia see if there was any further information to help me with hunt for this pipe manufacturer. The listing for that pipe company had some great photos but also an appeal for information on the brand. It looks like I had as much information as I could find online.
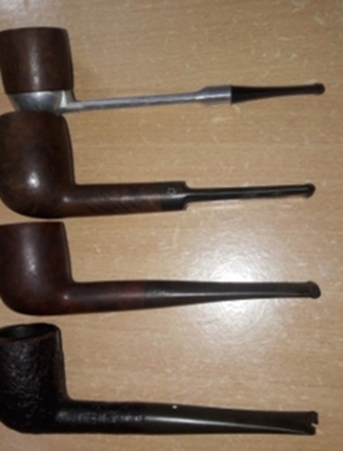
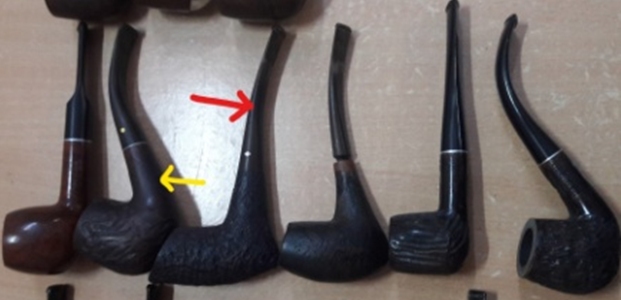
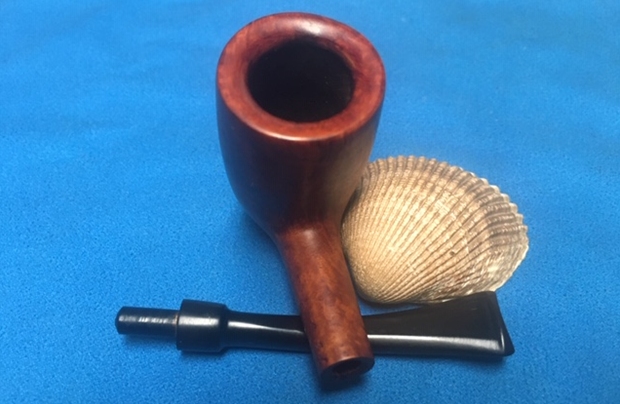
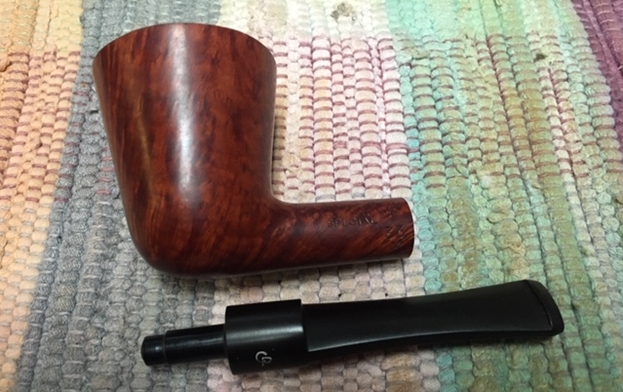
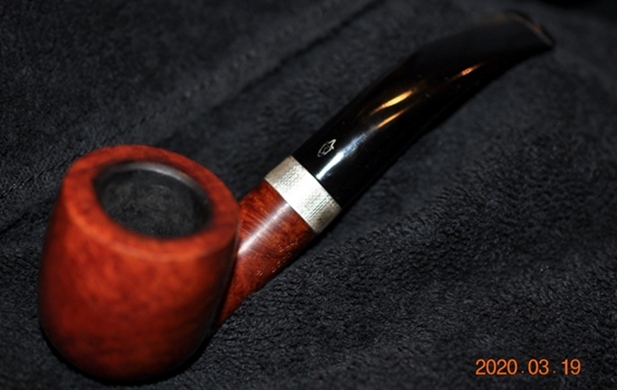
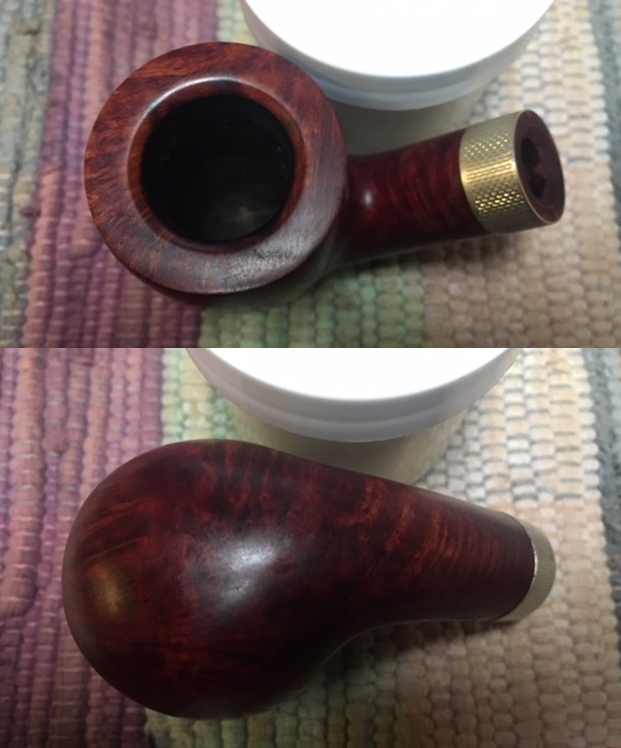
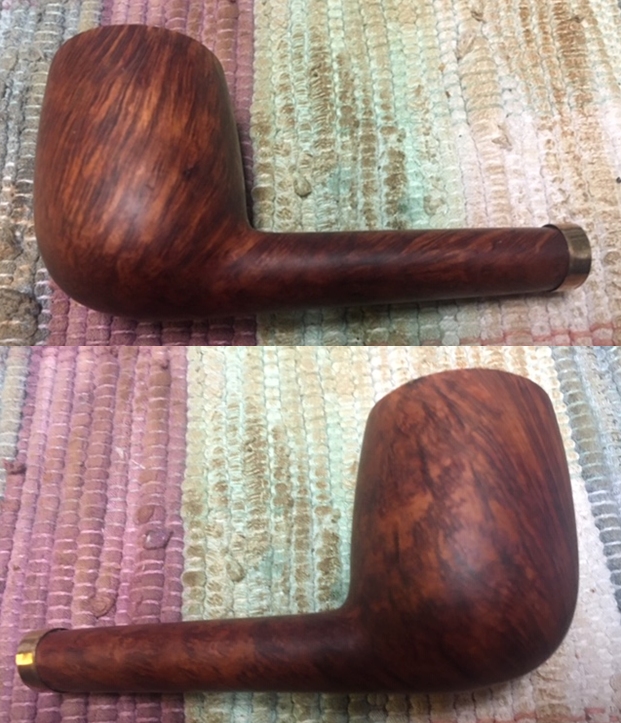
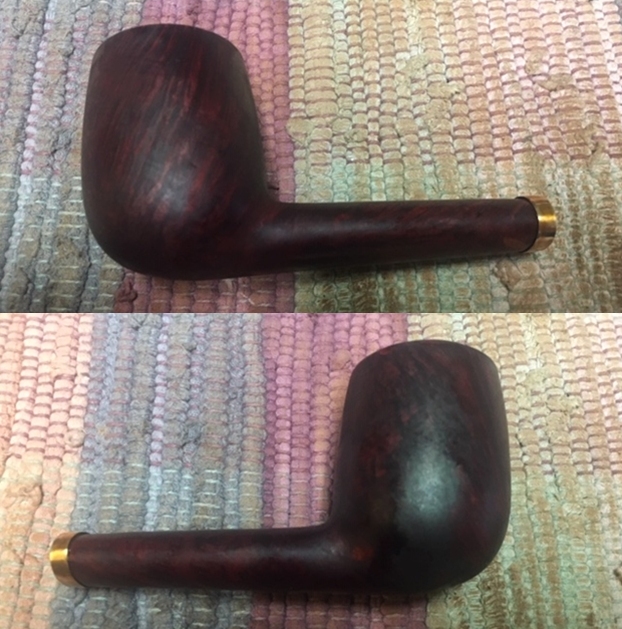
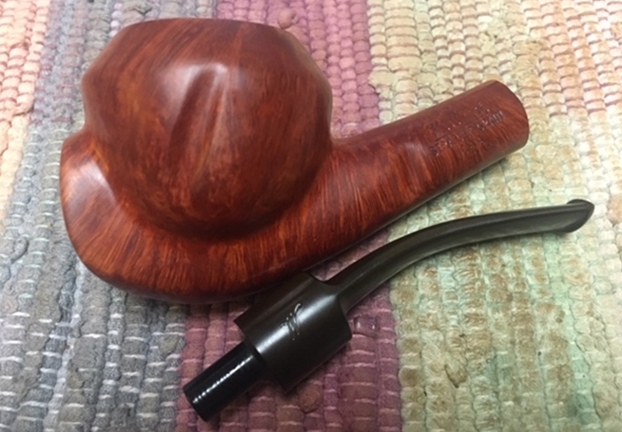
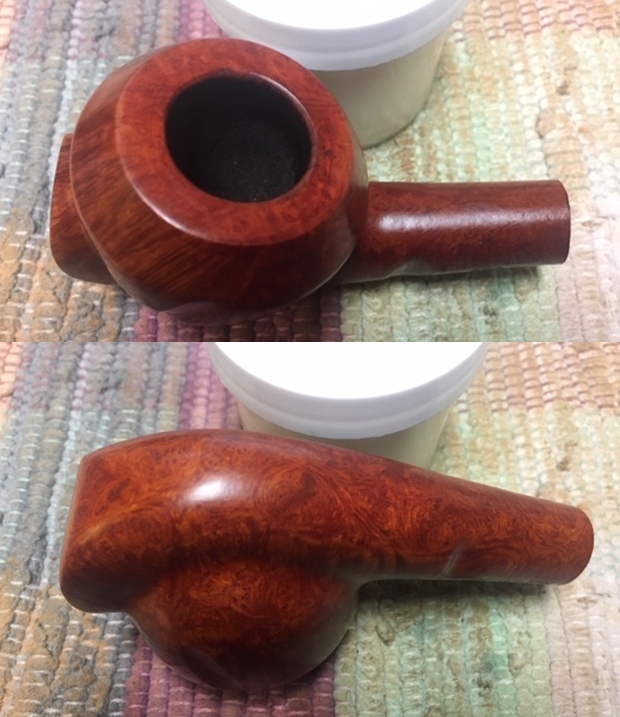
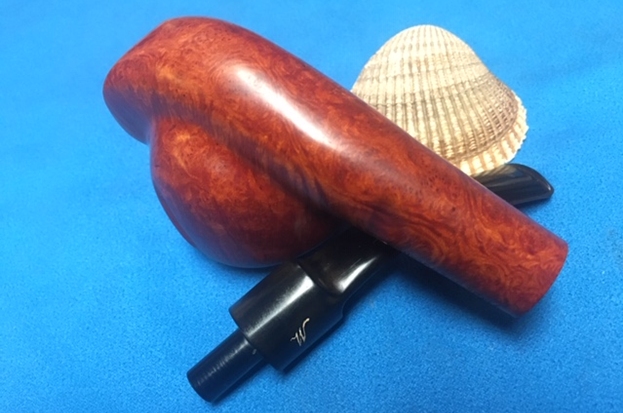
Now it was time to work on the pipe itself. Jeff had once again outdone himself on this pipe. It looked far better than what it was like when we found it. We were right in our assumption of nice grain under the grime. He reamed the bowl with a PipNet Pipe reamer and took the cake back to bare briar. He cleaned up the bowl walls with a Savinelli Fitsall Pipe Knife. He scrubbed out the internals with alcohol, pipe cleaners and cotton swabs until the pipe was clean. He scrubbed the exterior of the bowl with Murphy’s Oil Soap and a tooth brush to remove the grime and grit on the briar and the lava on the beveled rim top. The finish looks very good with good looking grain around the bowl and shank. Jeff scrubbed the stem with Soft Scrub and then soaked it in Before & After Deoxidizer to remove the oxidation on the vulcanite. When the pipe arrived here in Vancouver for the second stop of its restoration tour it looked very good. I took photos before I started my part of the work.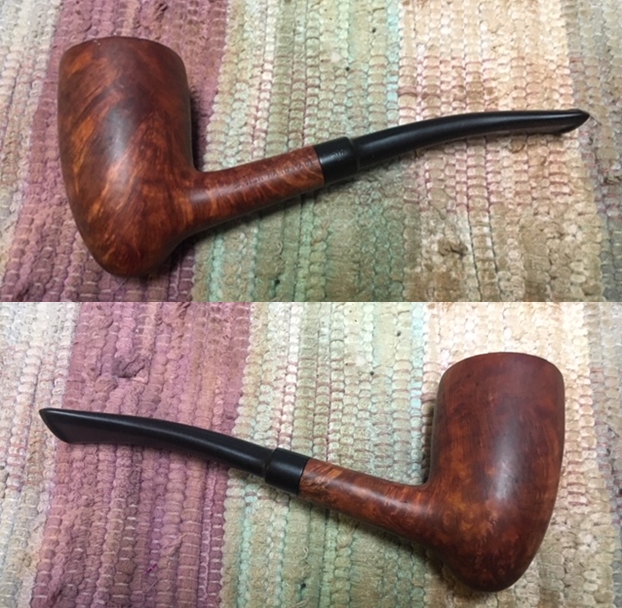
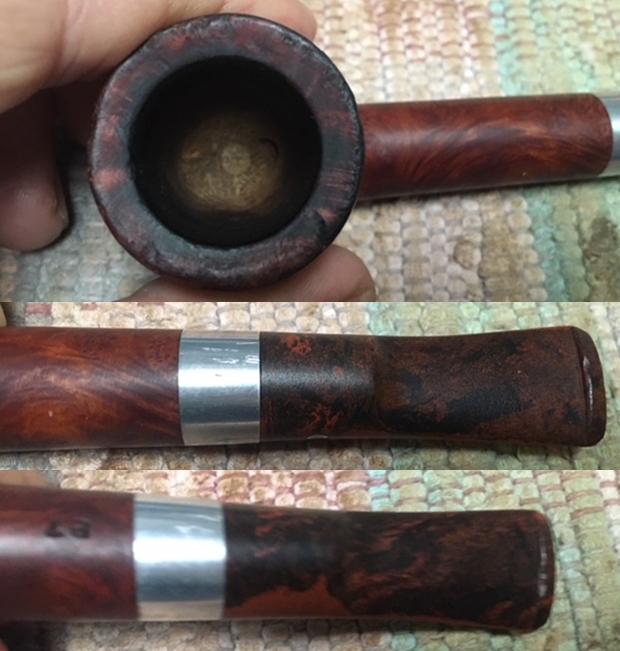
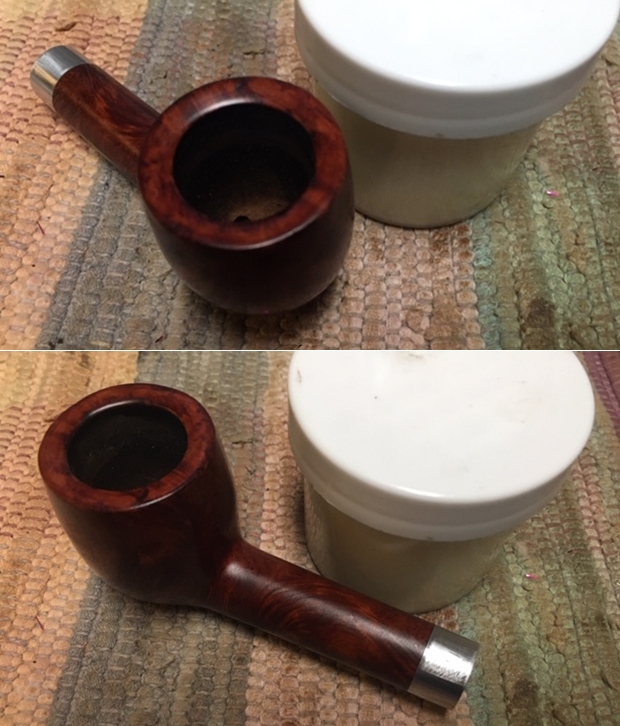
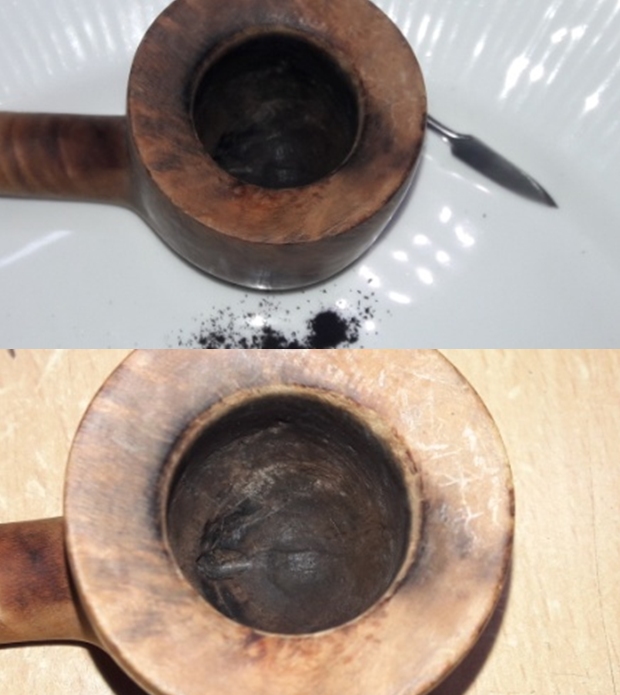
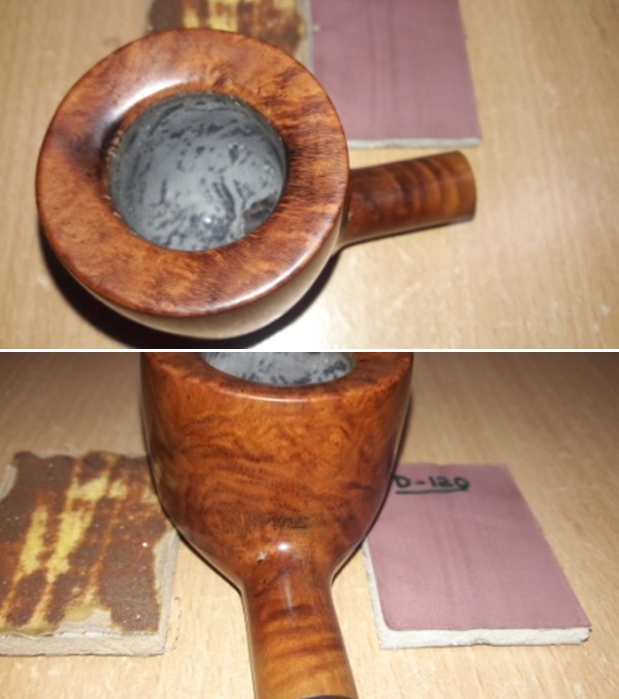
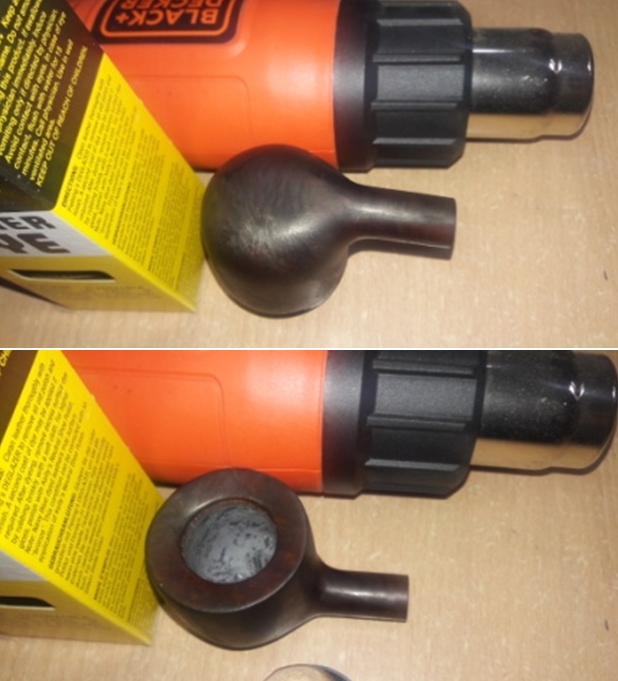
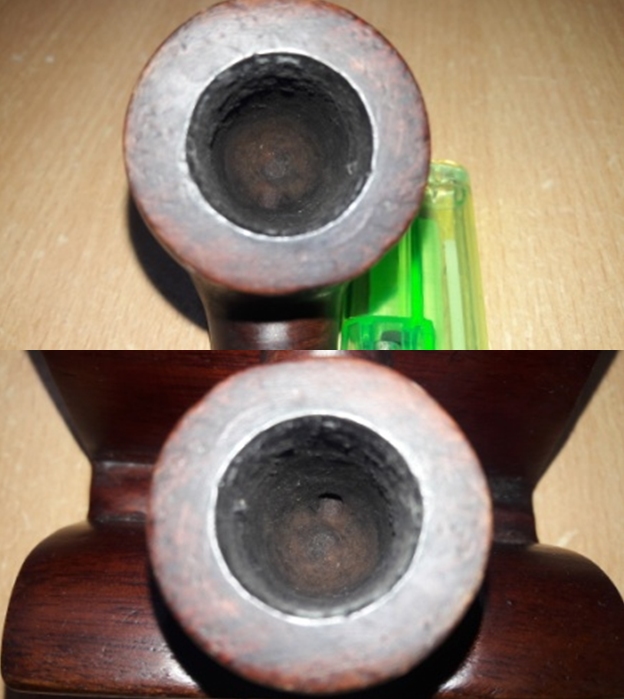
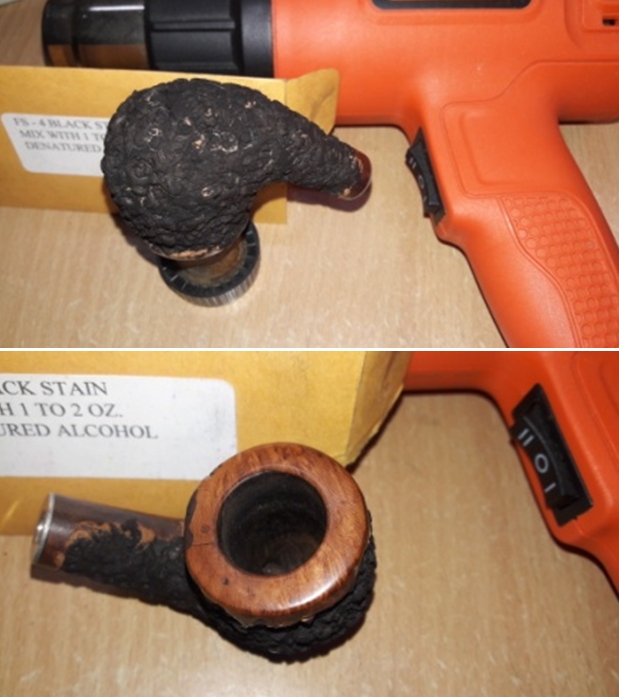
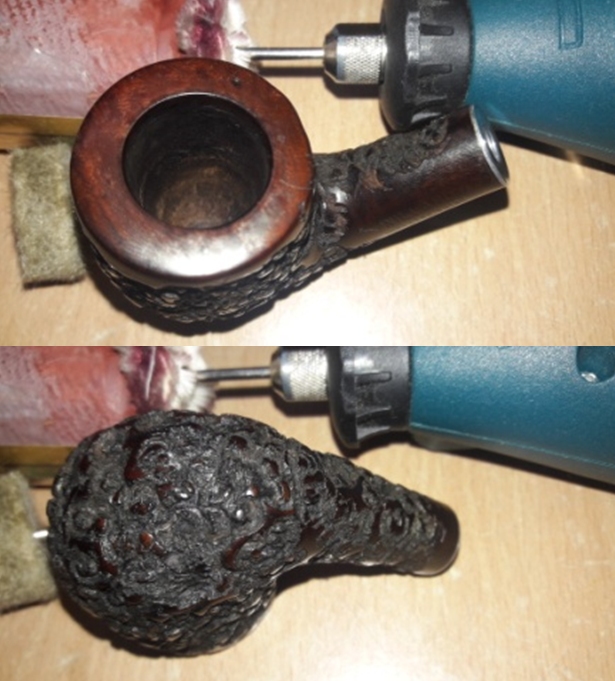
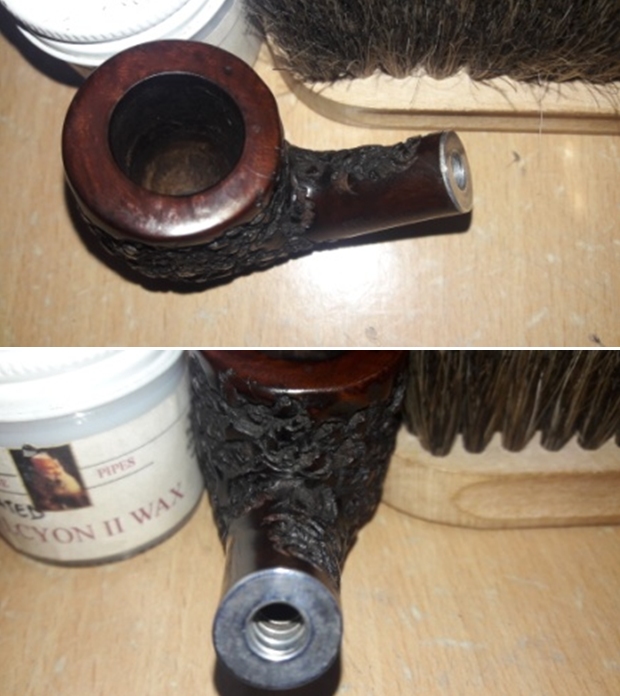
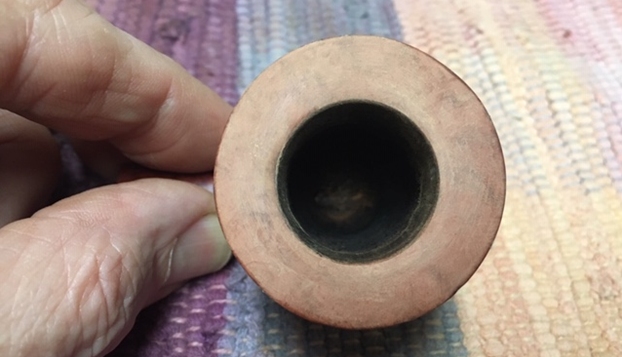
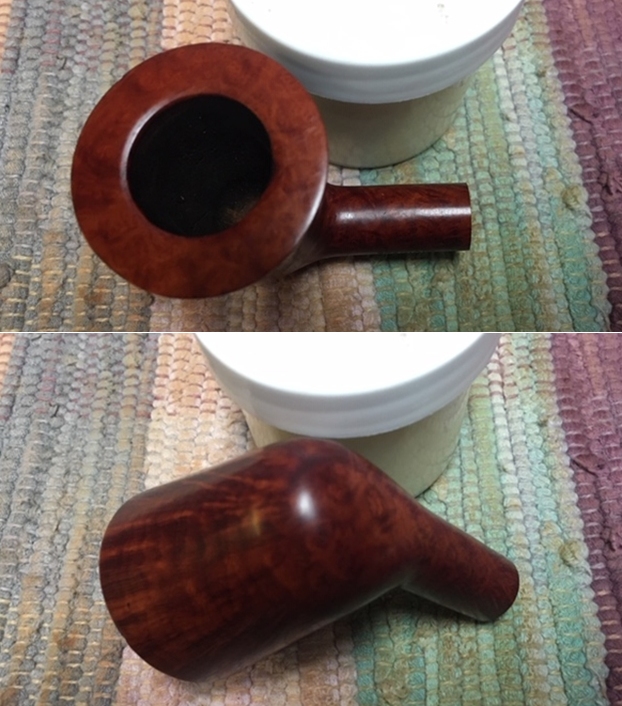
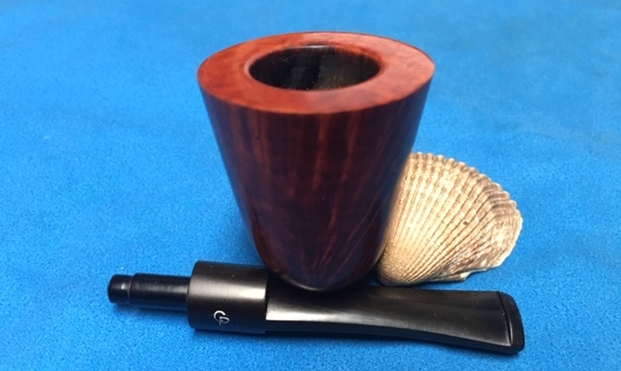
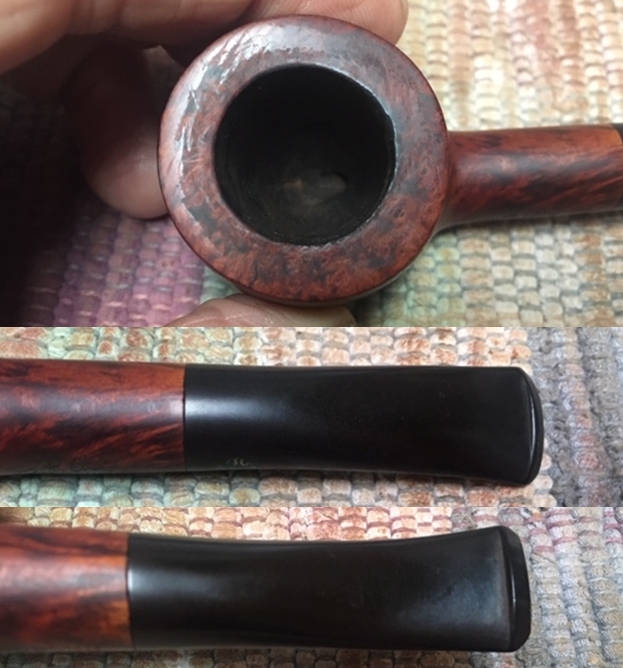
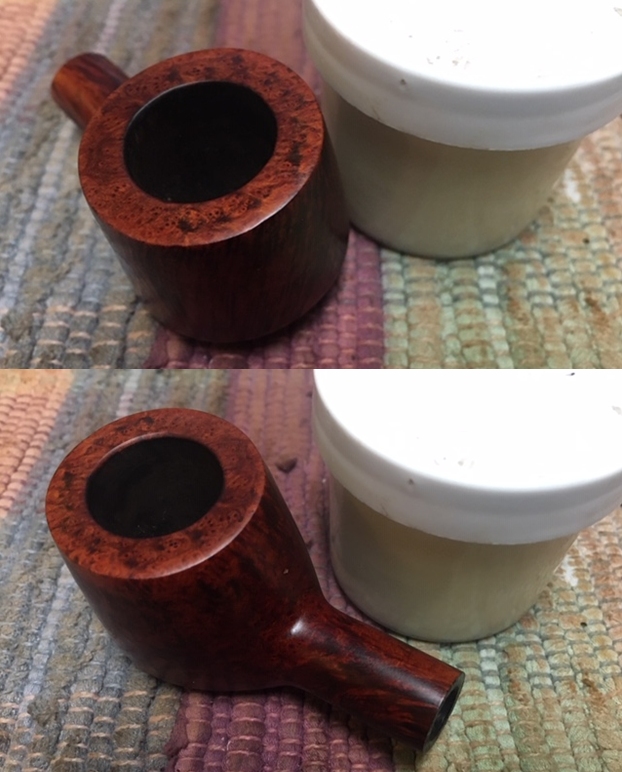
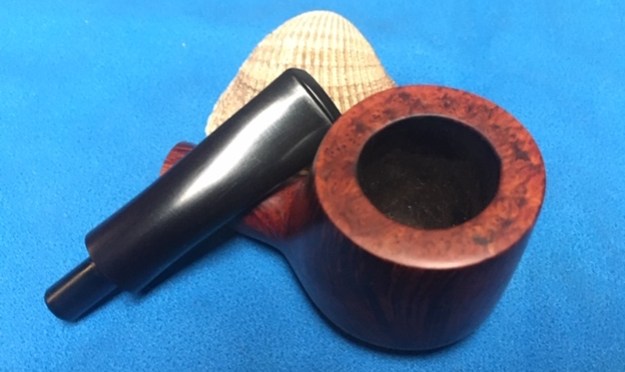
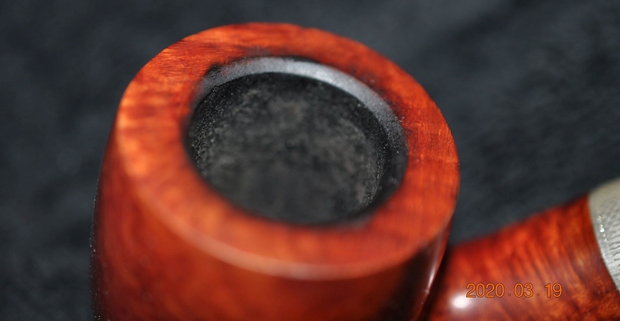
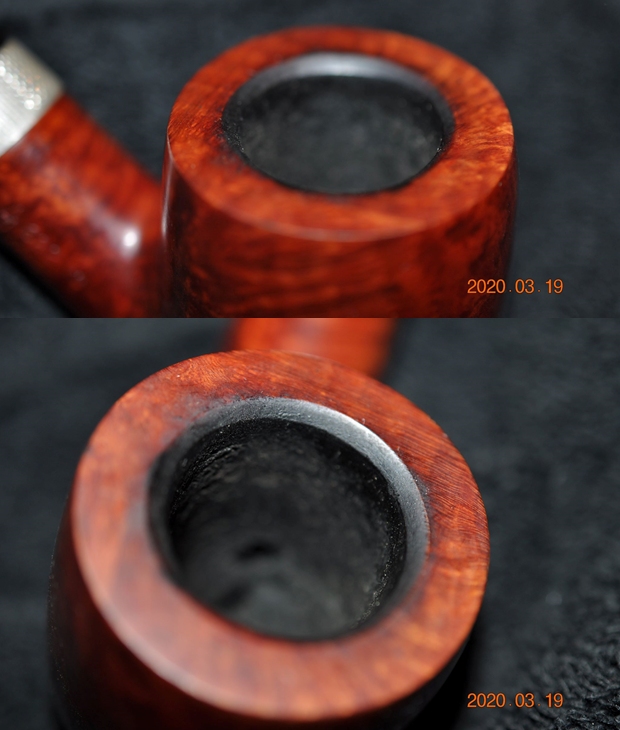
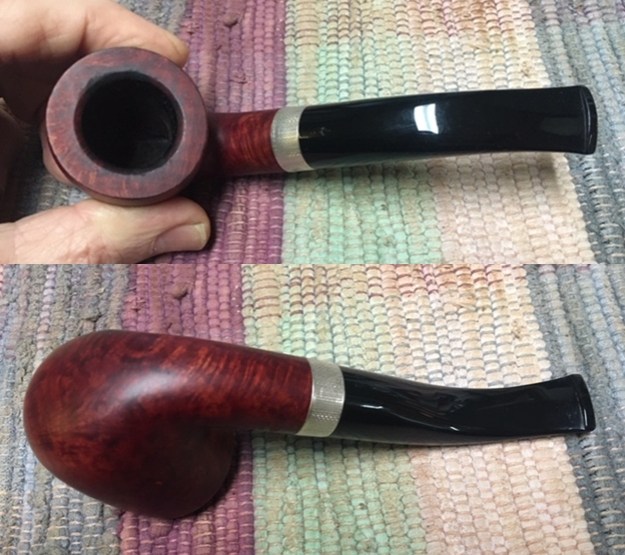
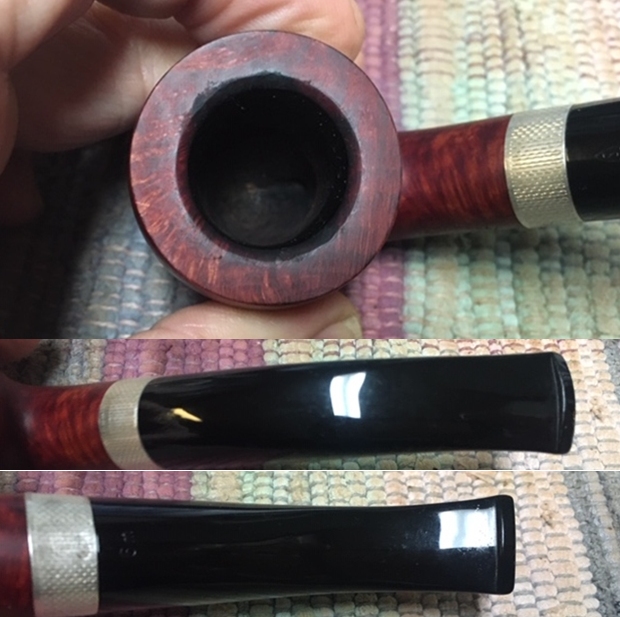
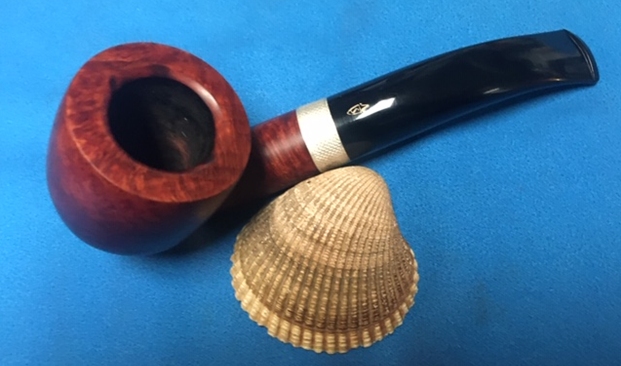
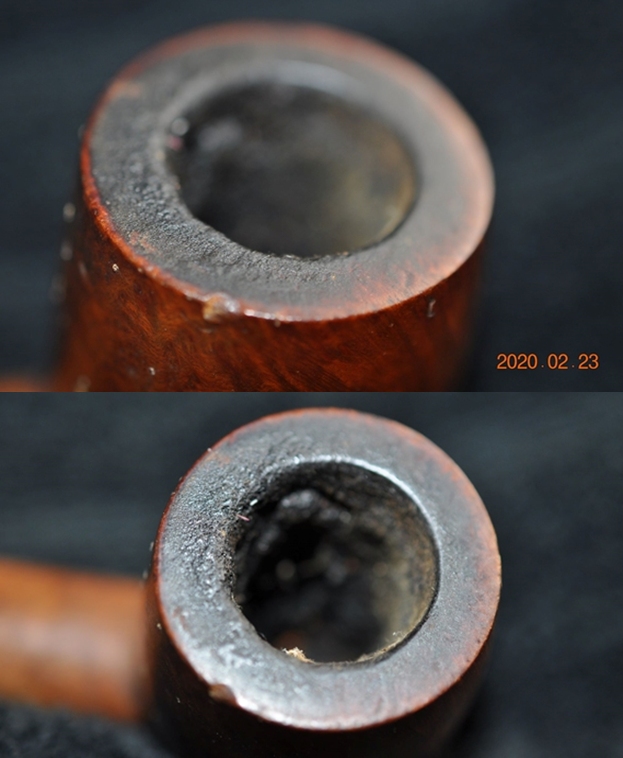
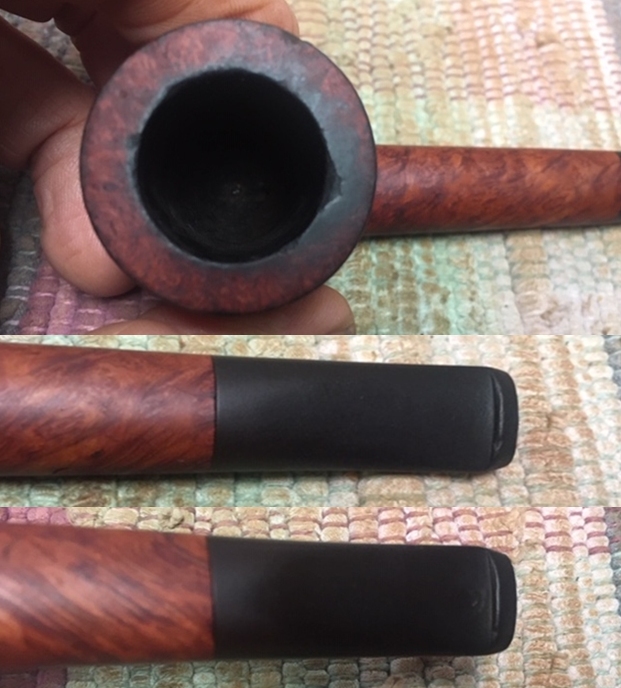
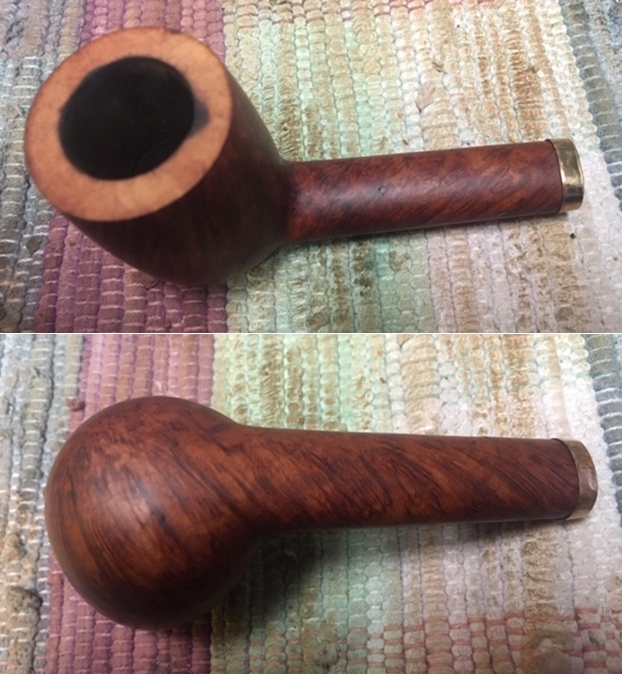
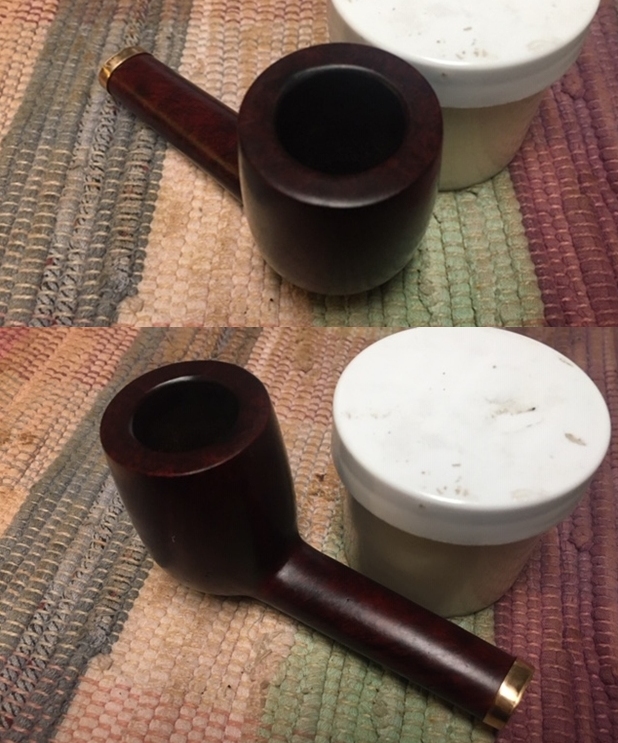
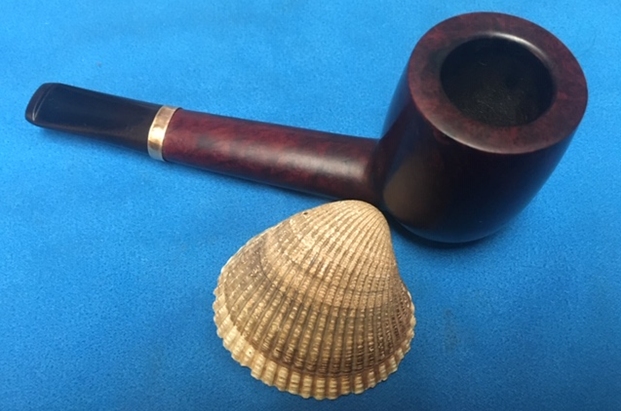
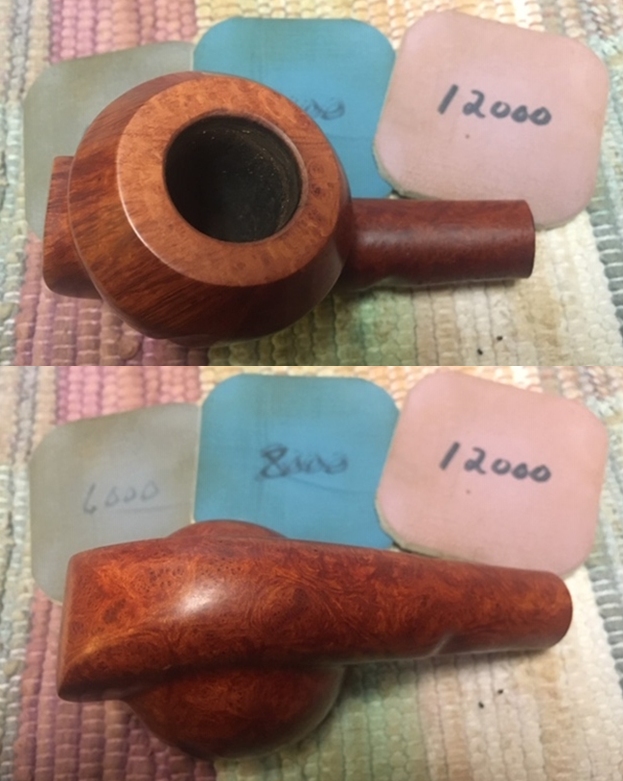
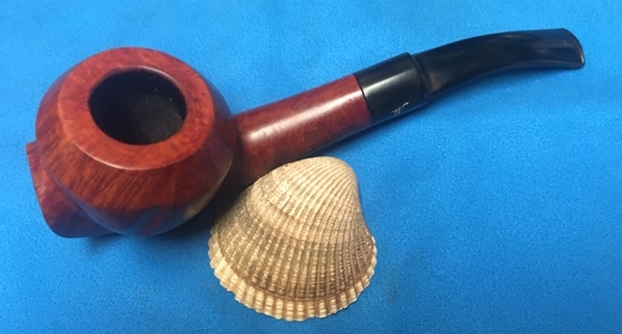
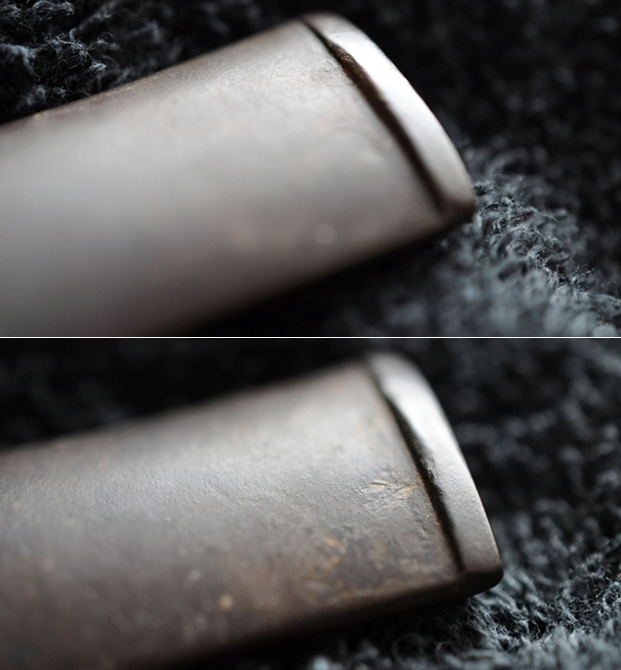
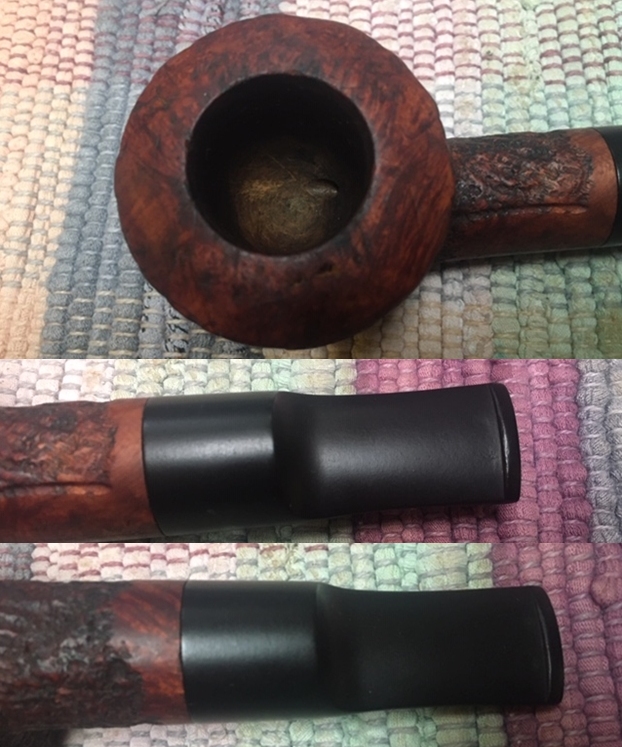
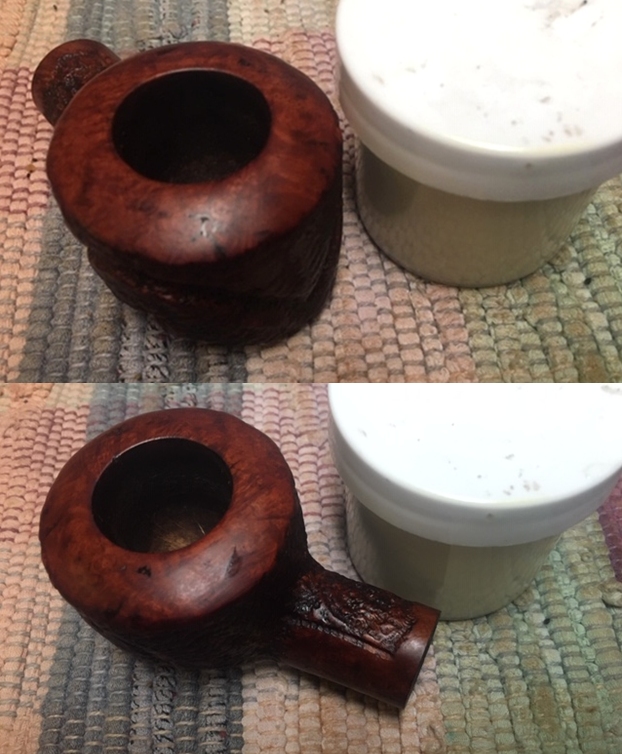
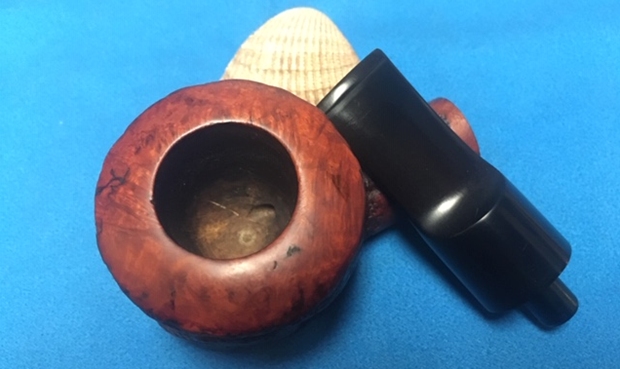
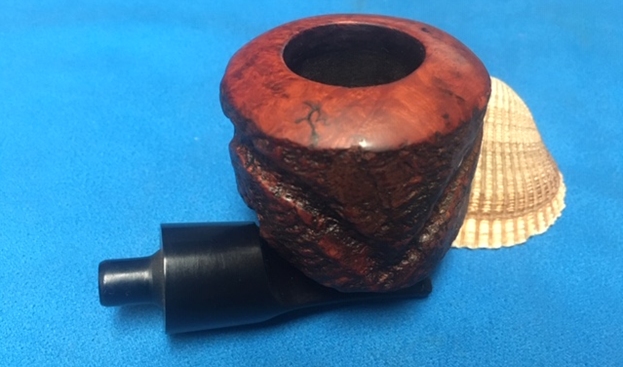
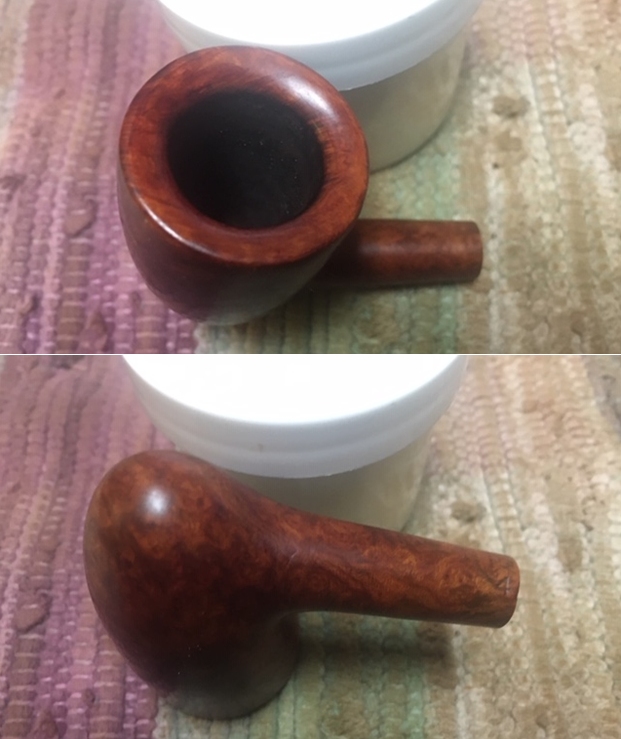
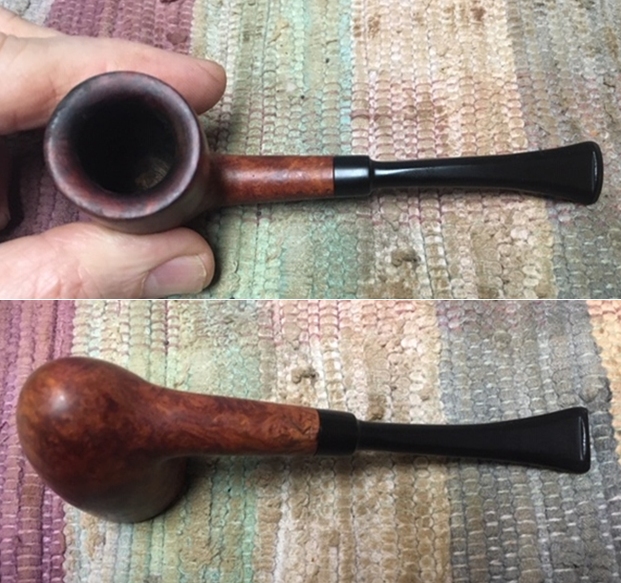 I took some photos of the inwardly beveled rim top and stem. Once Jeff removed the lava on the top and inside of the rim top was rough. Both the inner and the outer edge of the bowl showed damage. There a lot of darkening on the inside edge and burn damage on the top right outer edge. The close up photos of the stem shows that is it very clean and there is some tooth chatter and marks on the button surface and just ahead of the button.
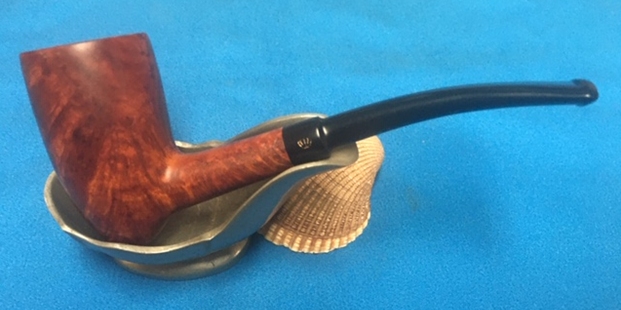
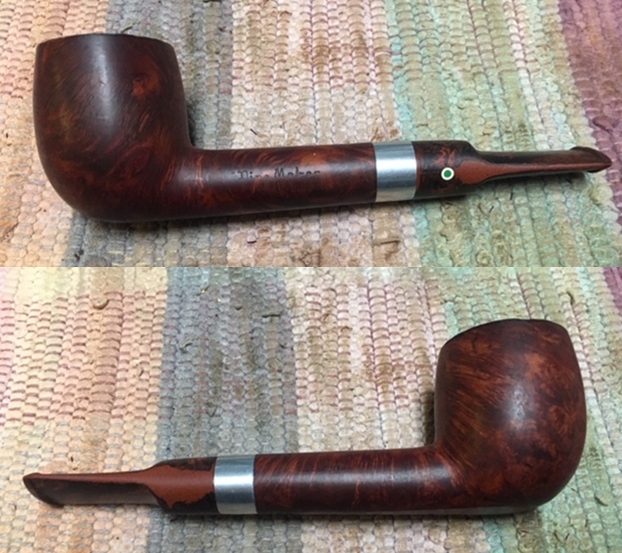
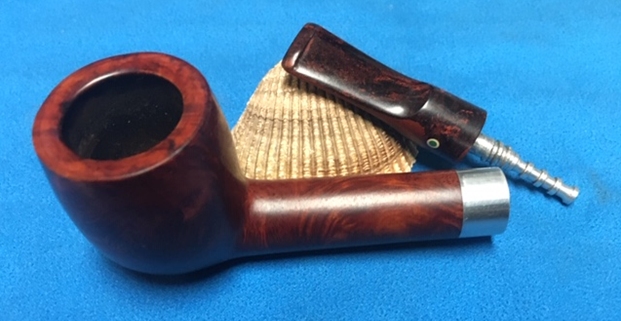
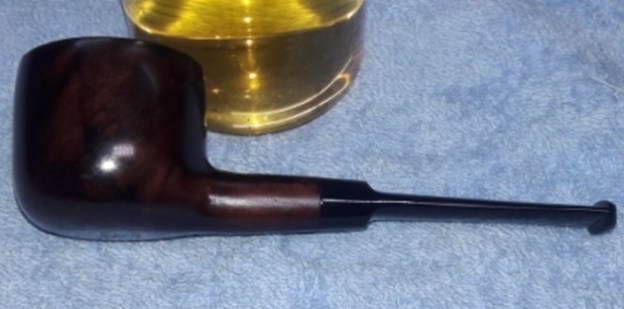
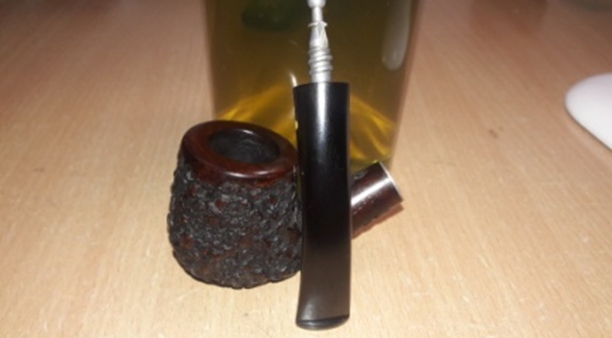
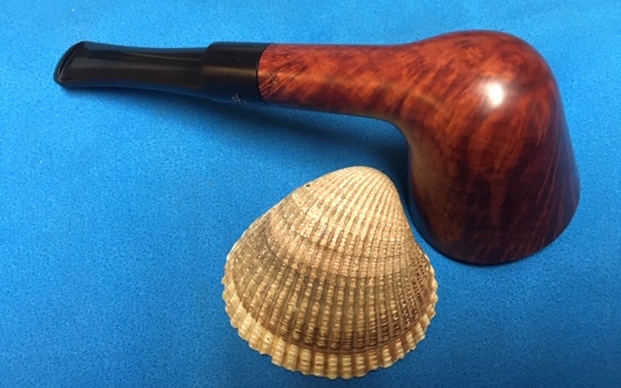
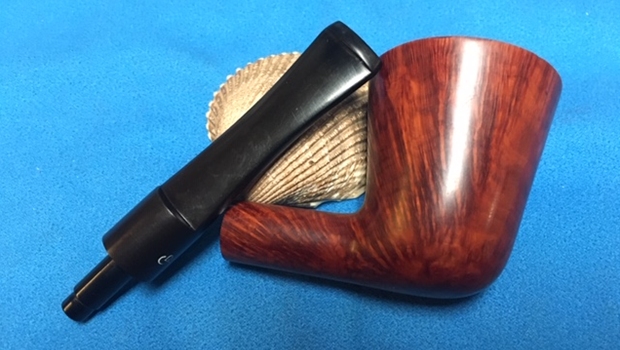
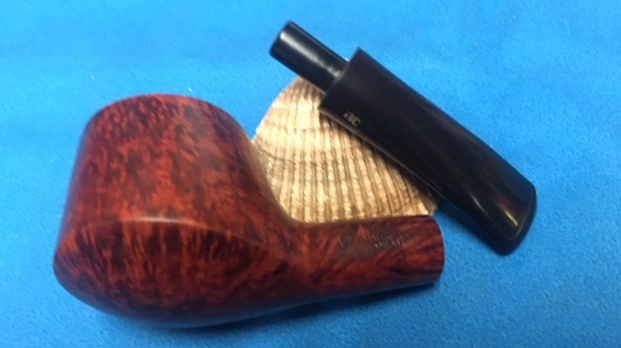
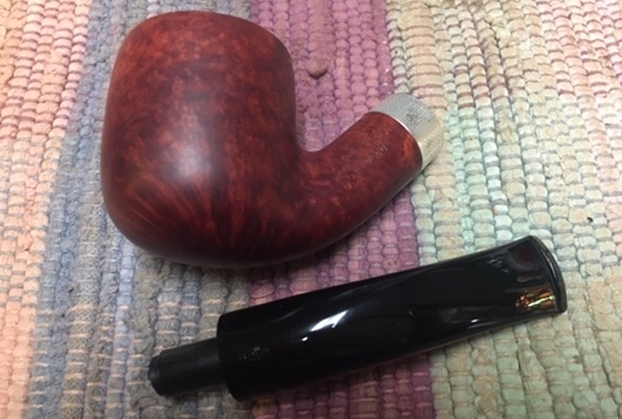
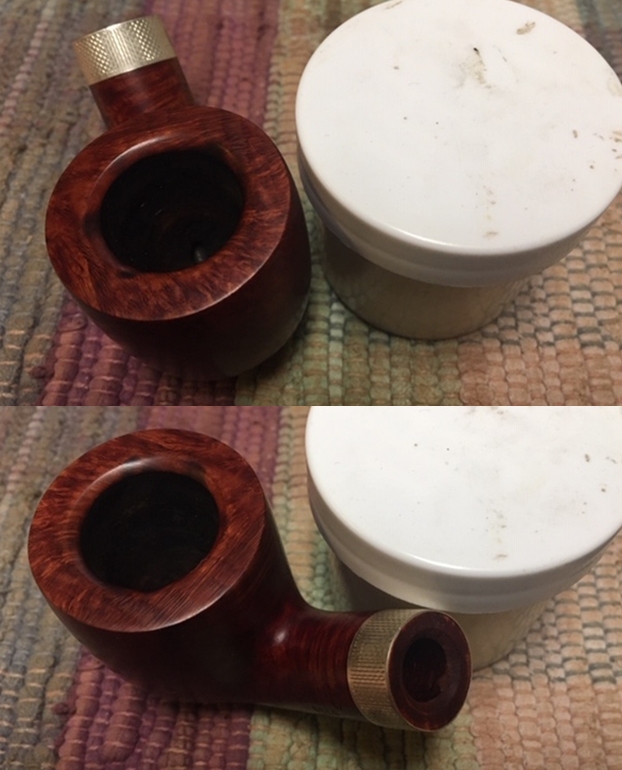
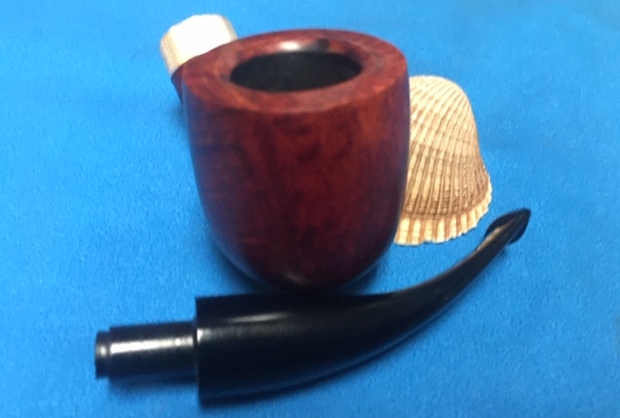
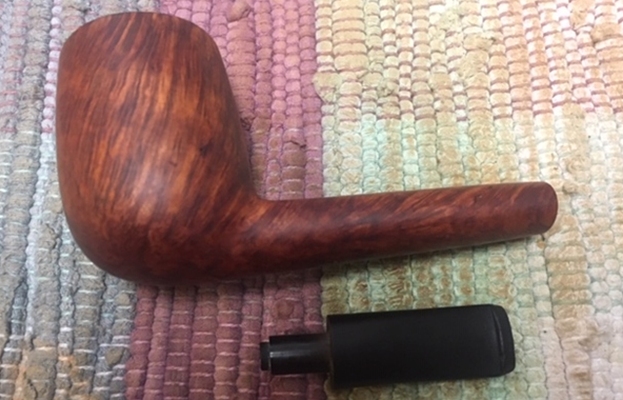
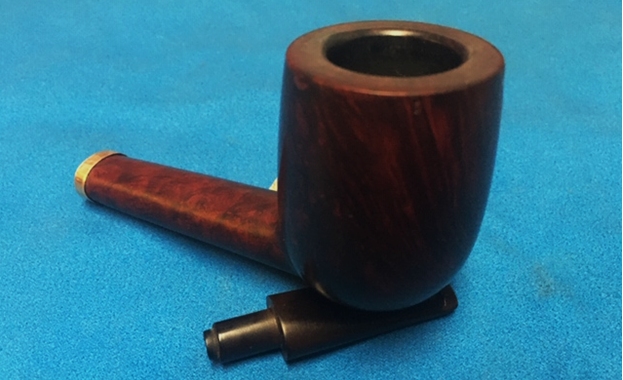
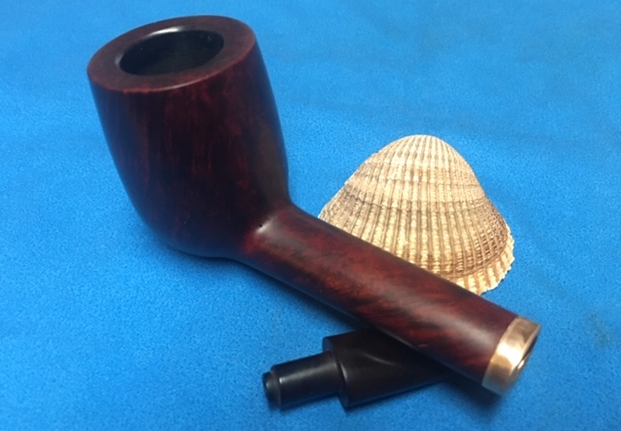
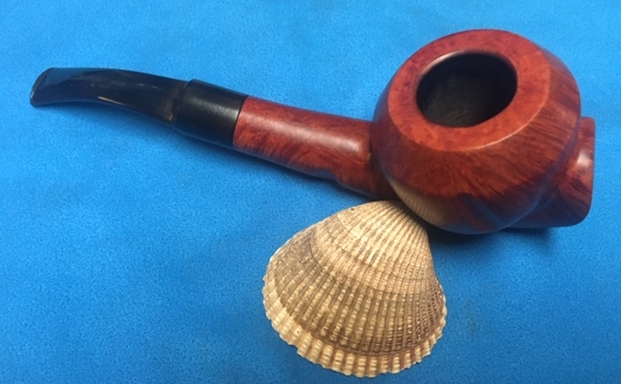
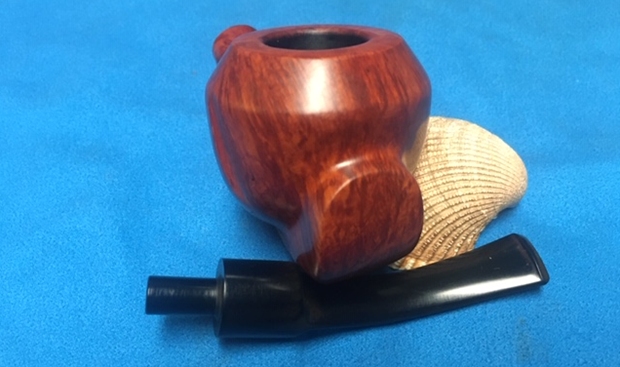
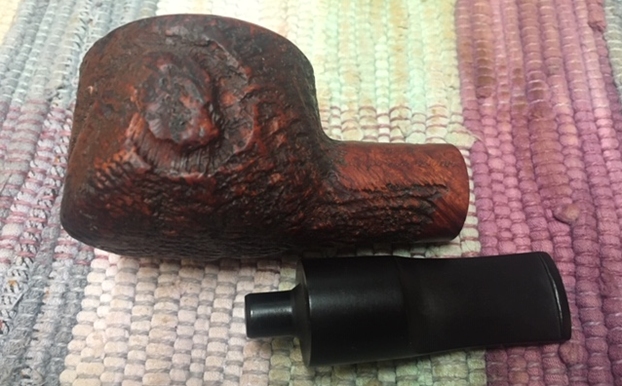
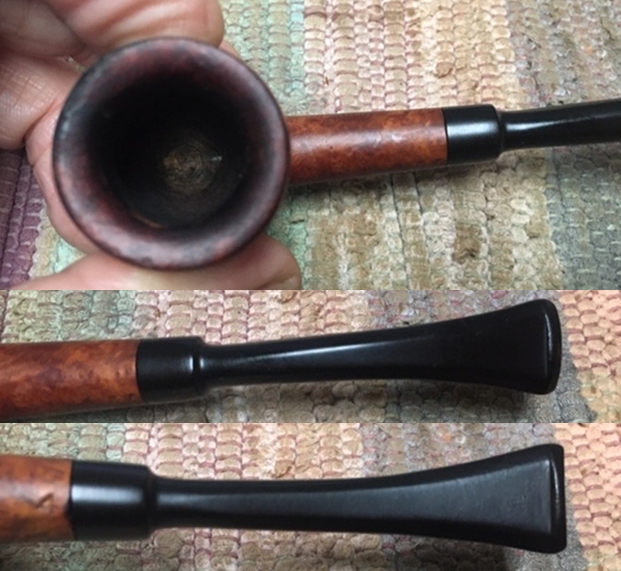 I took the stem off the bowl and took a picture of the pipe. It really is a pretty little pipe with a classic Danish look to it.
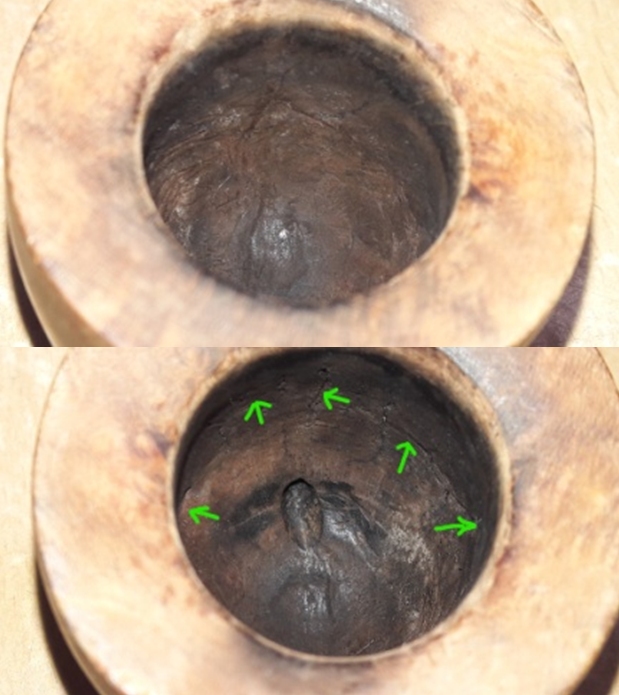
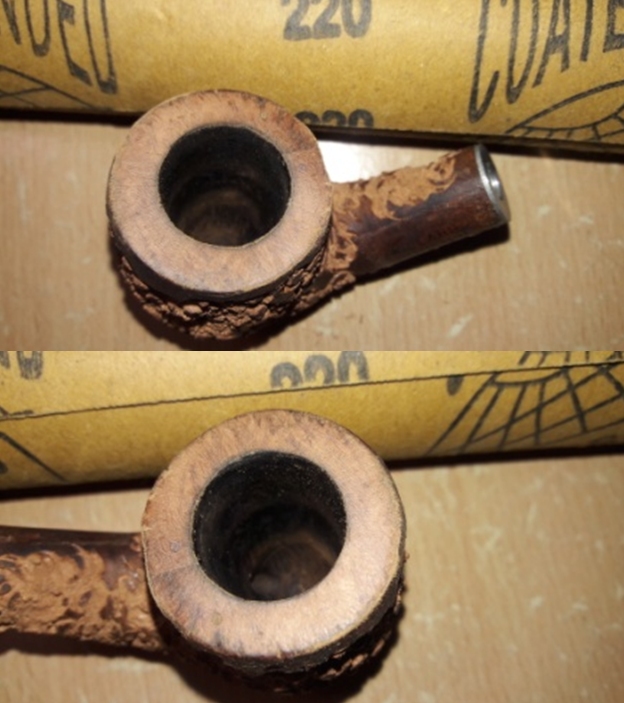
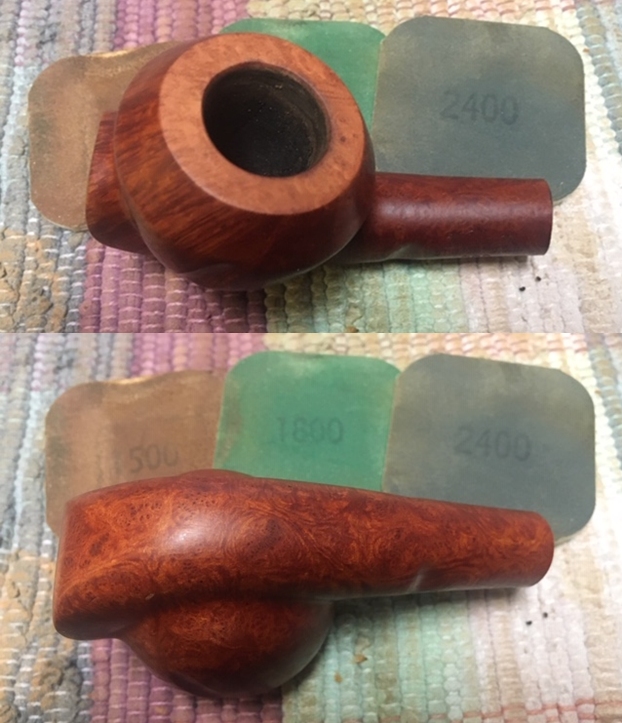
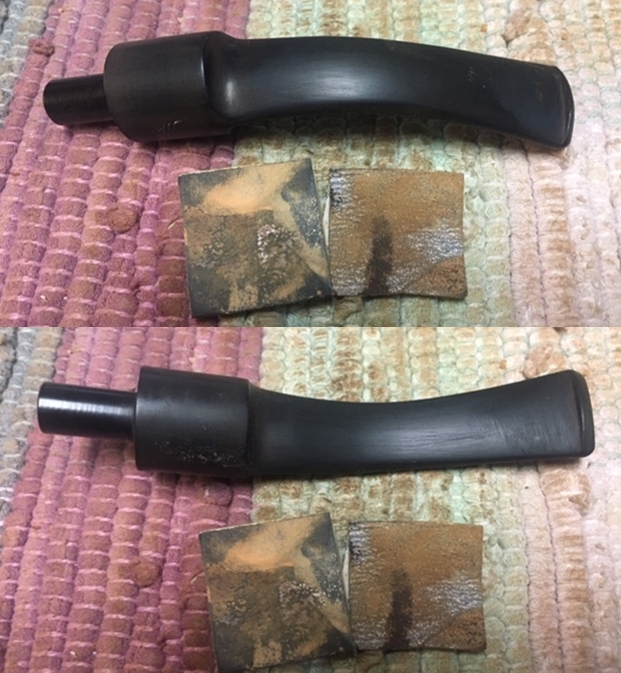
 I decided to begin my work on the pipe by addressing the damage on the rim top and edges. The rim was beveled inward so topping it on a topping board was out of the question. I used a folded piece of 220 grit sandpaper to smooth out the inner and outer edges of the bowl. I also used it to smooth out the rim top to remove the damage.
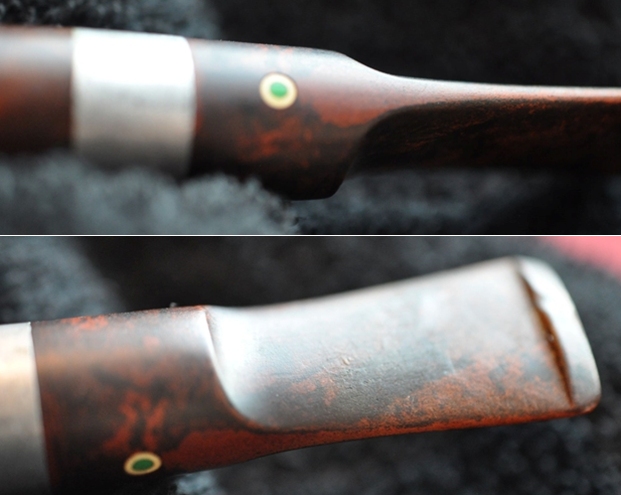
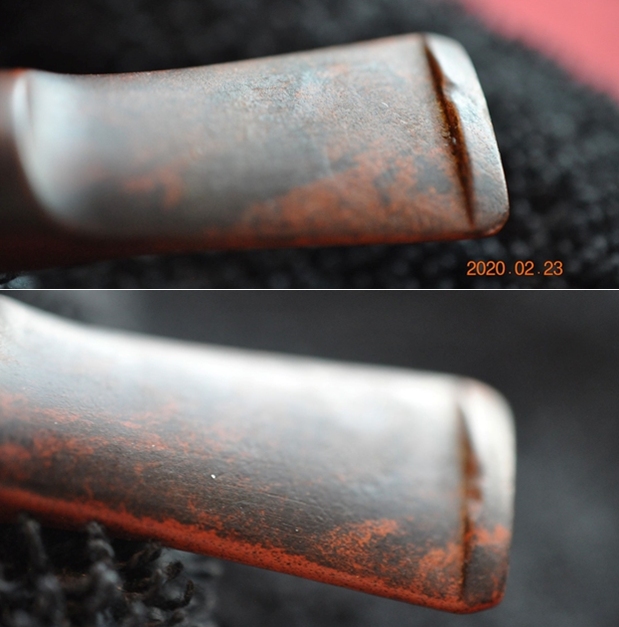
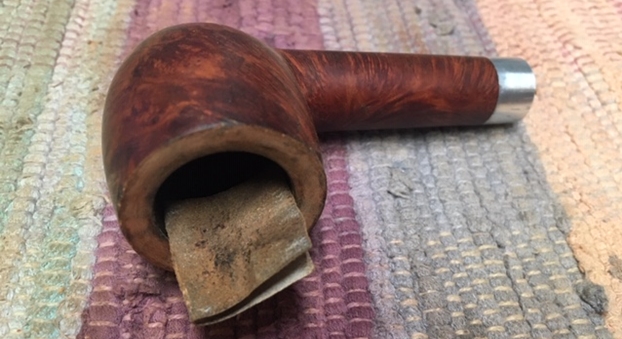
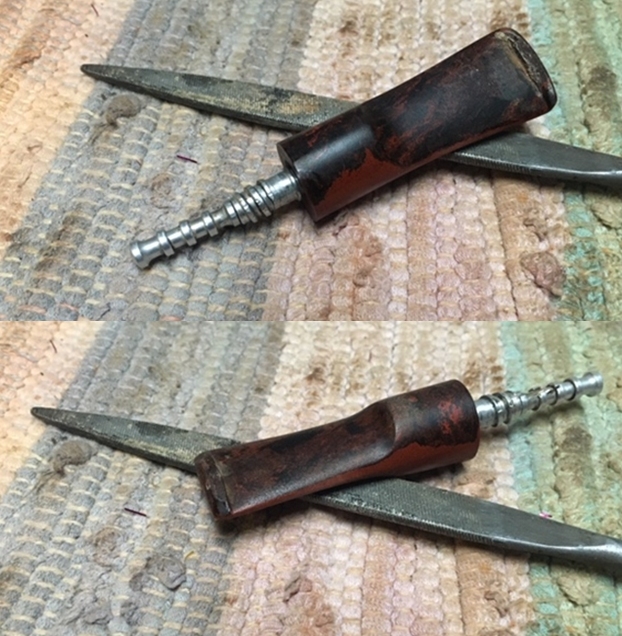
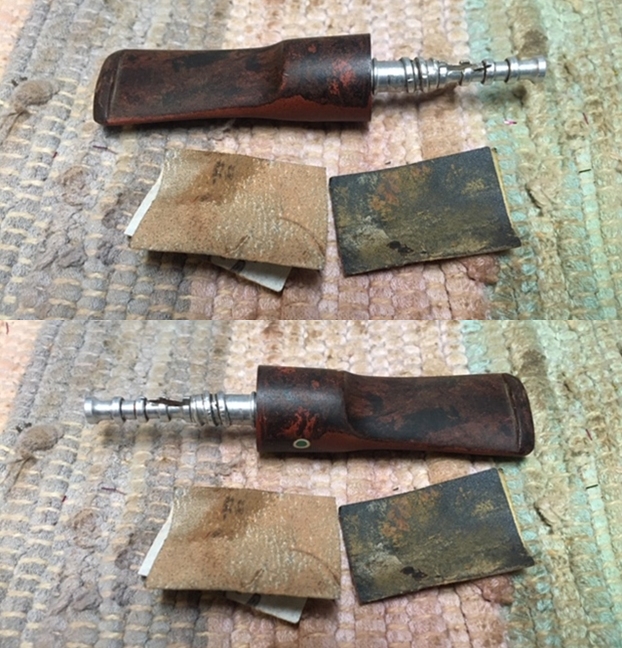
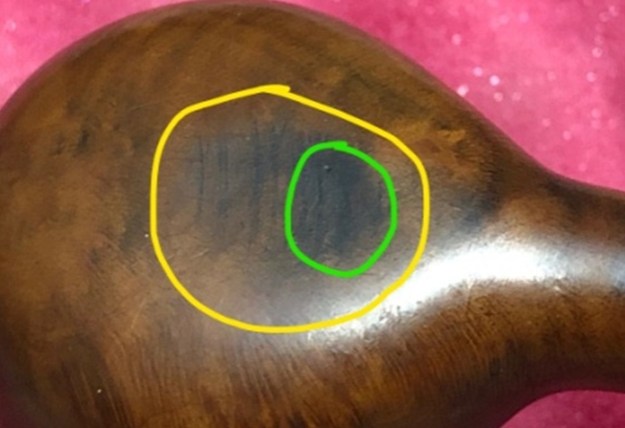
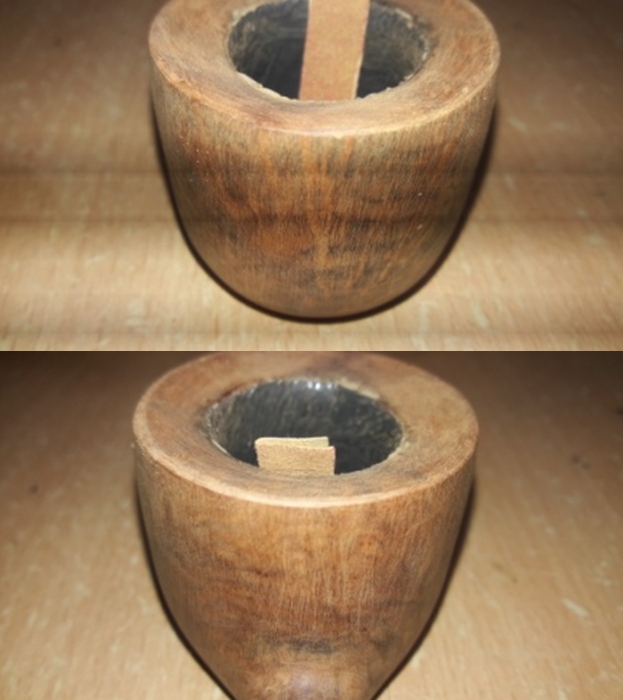
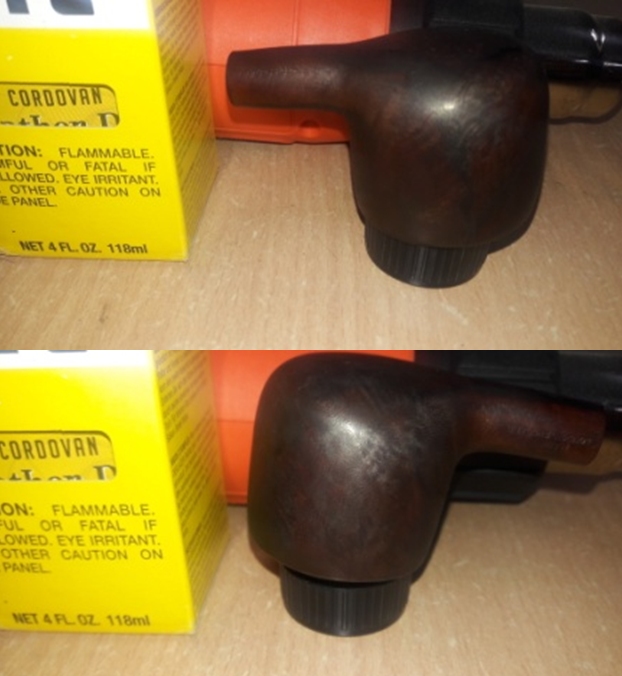
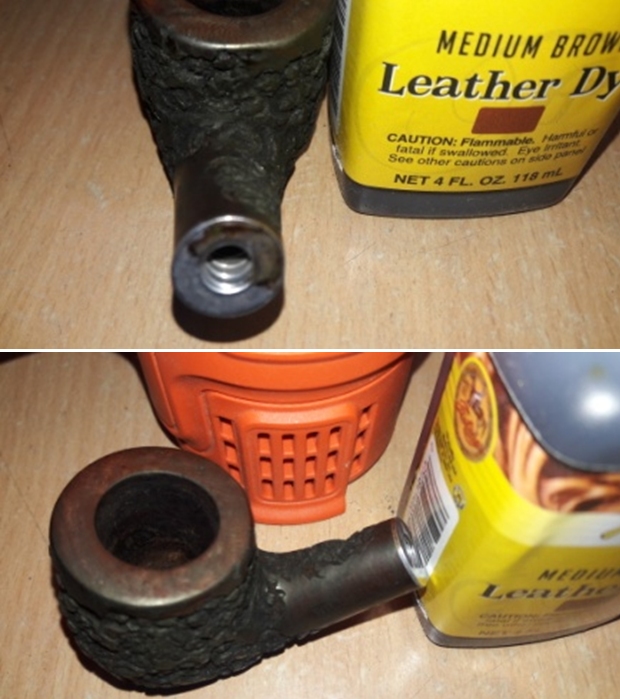
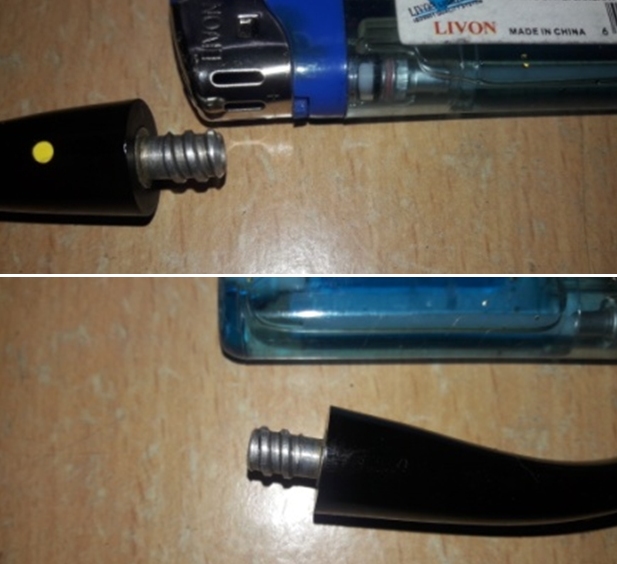
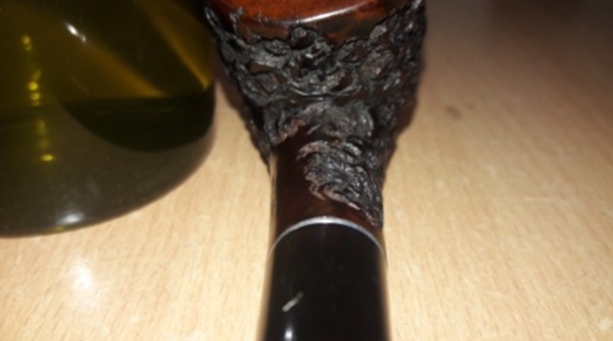
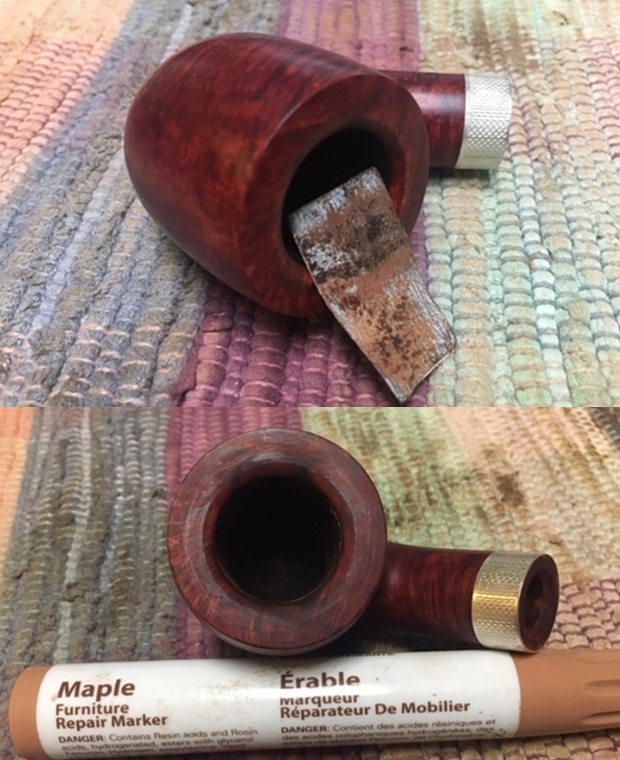
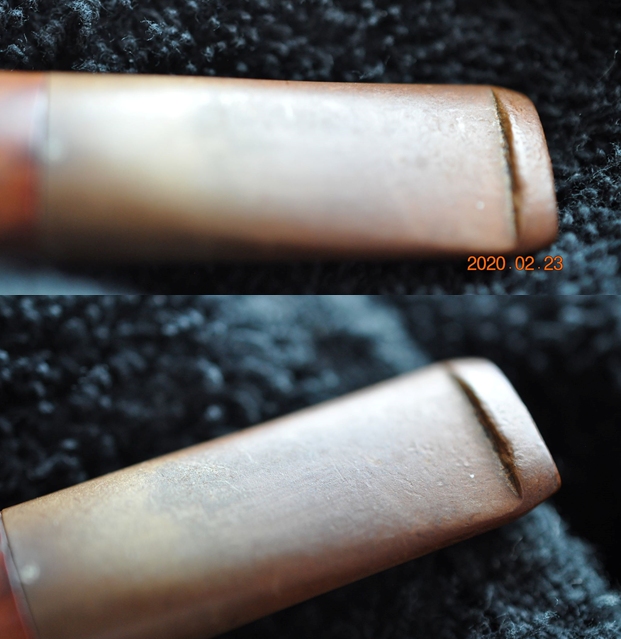
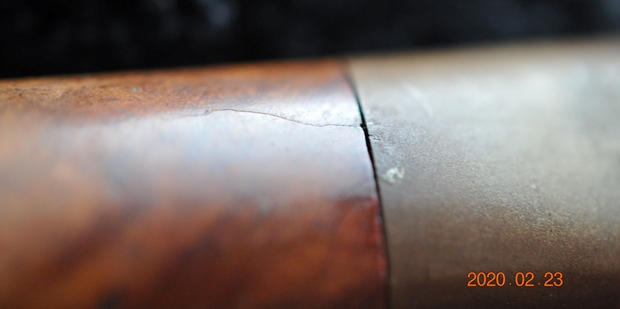
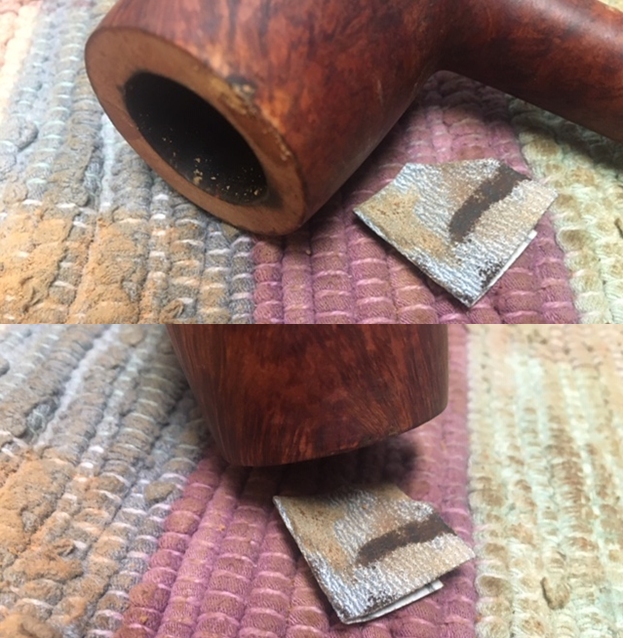
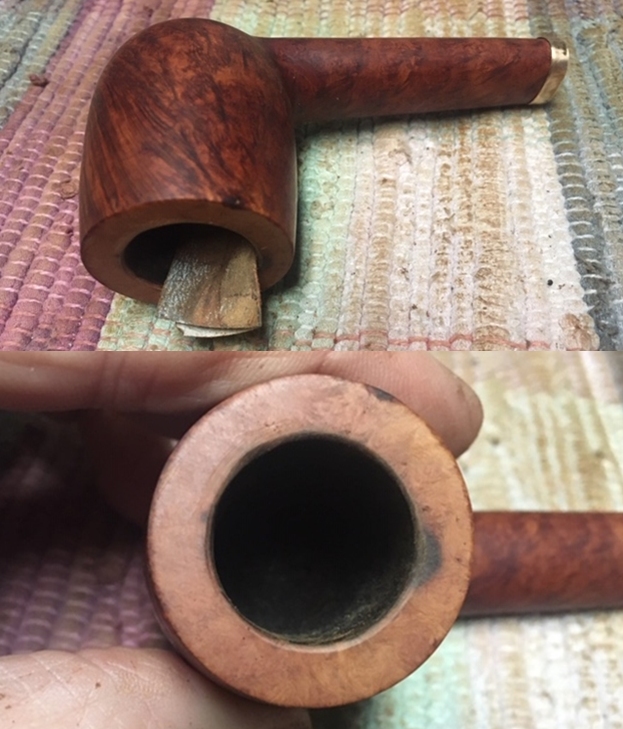
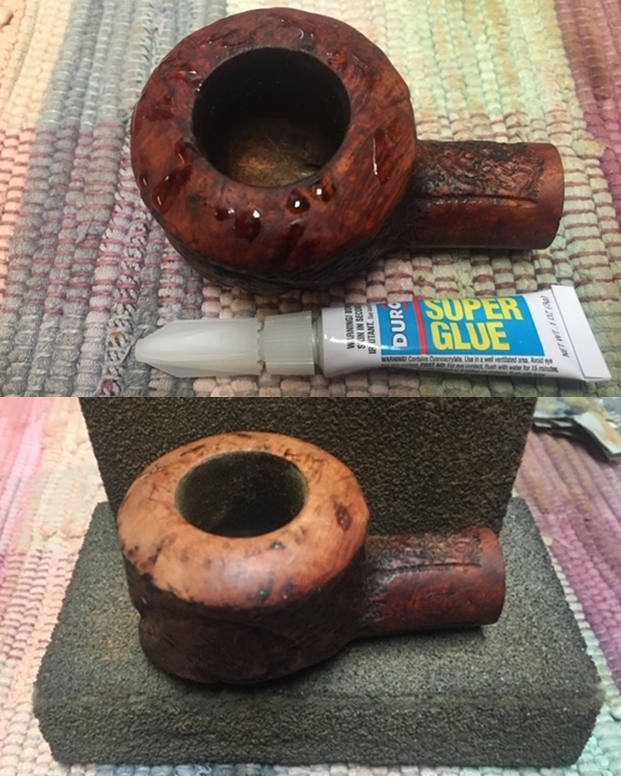
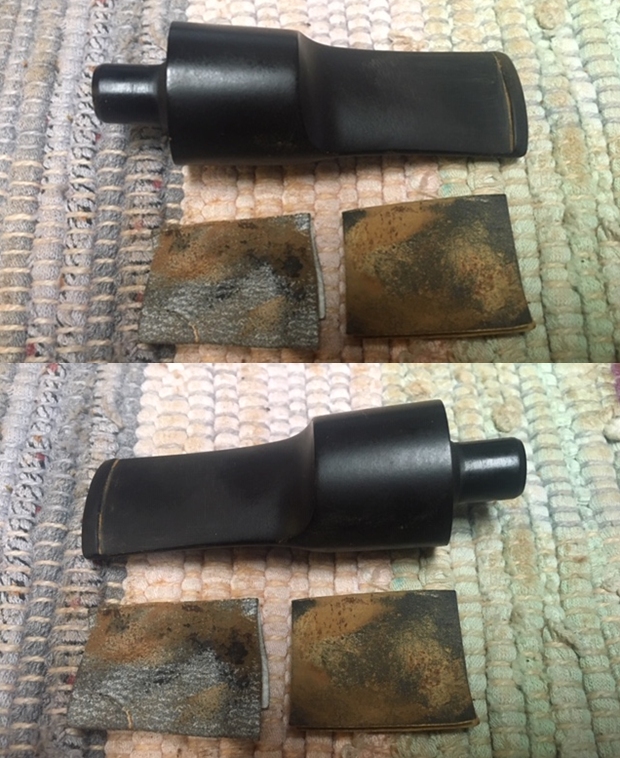
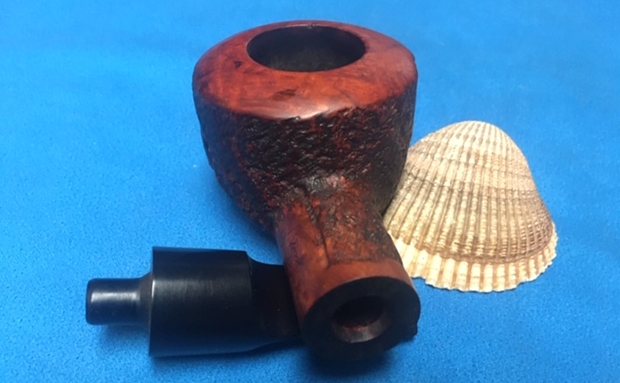
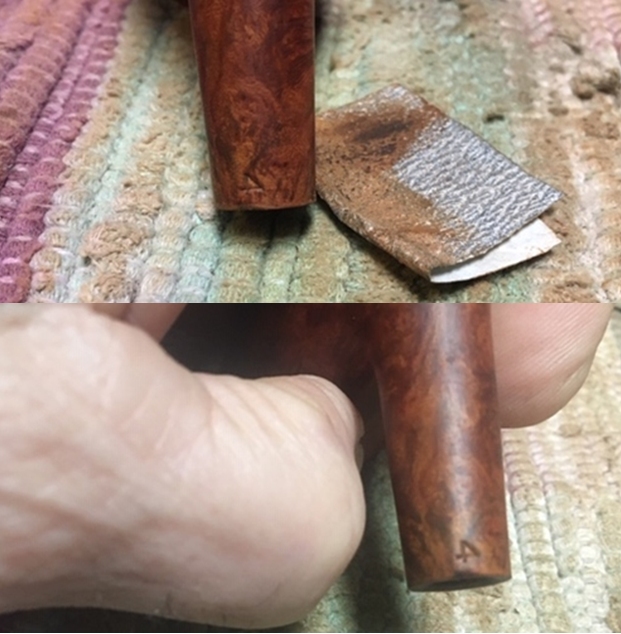
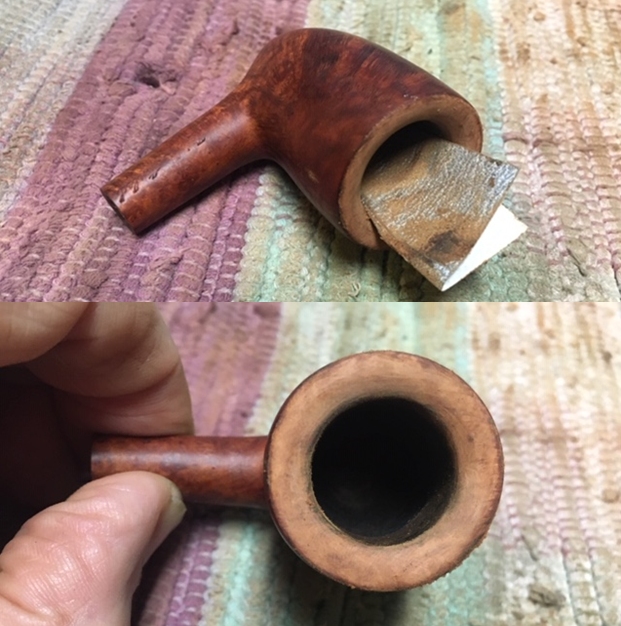 In the photos that Jeff took of the underside of the shank you can see a chip or large nick on the shank. It is almost like someone tried to pry off the stem. It needed to be cleaned up and repaired. I have included that photo as the first one below. One of the perks that I have found from Jeff’s cleanup methods as nicks like this will often swell and either disappear or be greatly reduced. The second photo shows the same area after his cleanup work. I used a folded piece of 220 grit sandpaper to smooth out the remaining damage on the shank (picture 3) and then took a photo of the clean shank end (picture 4).
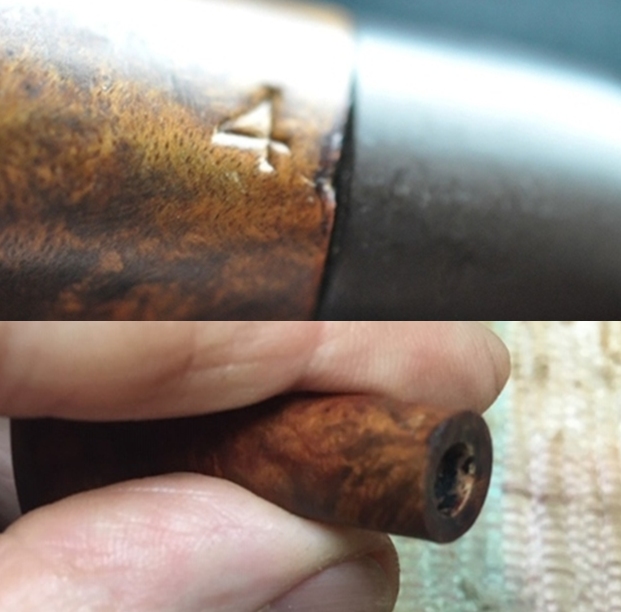
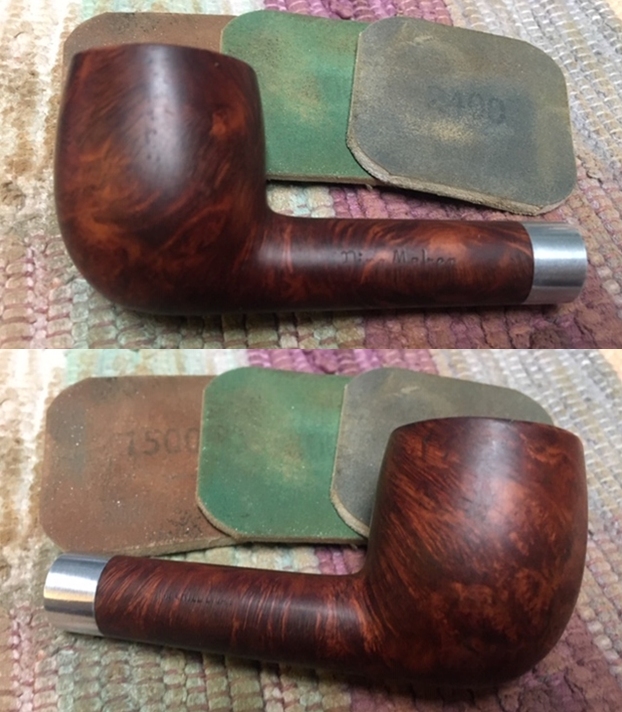
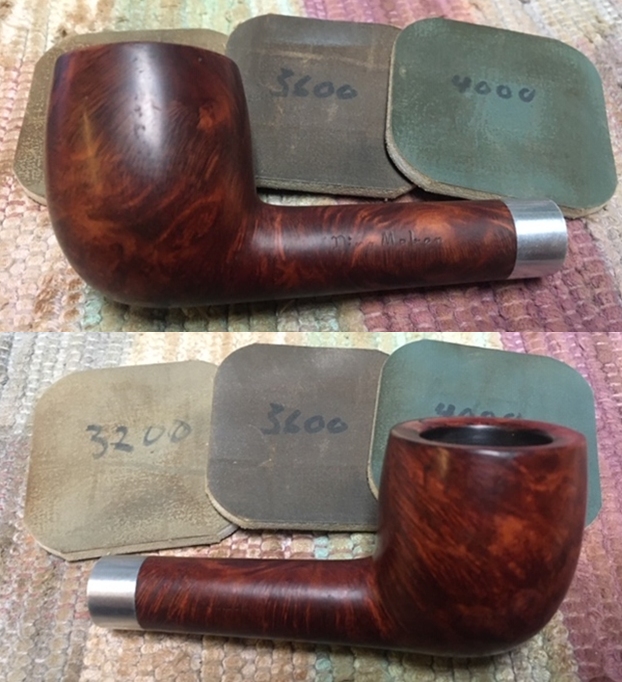
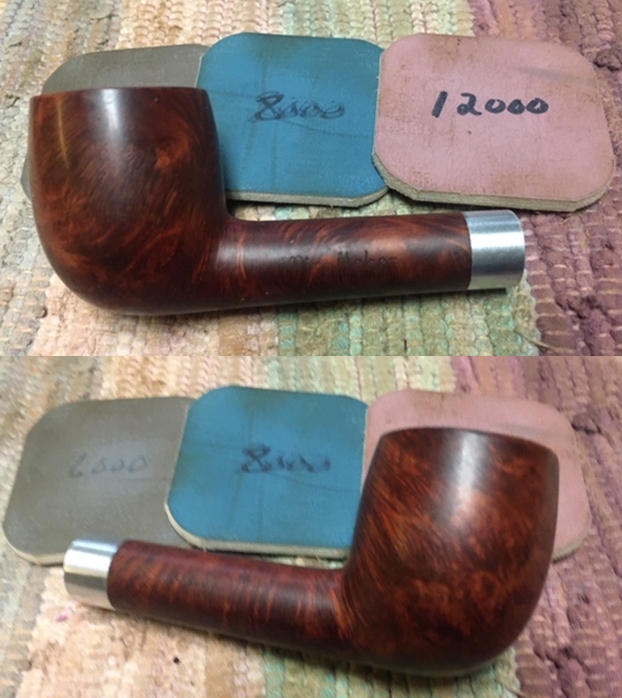
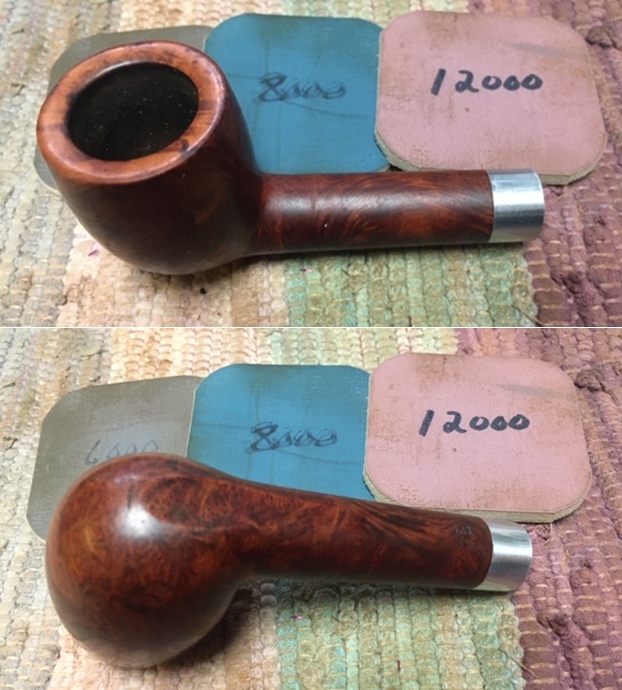
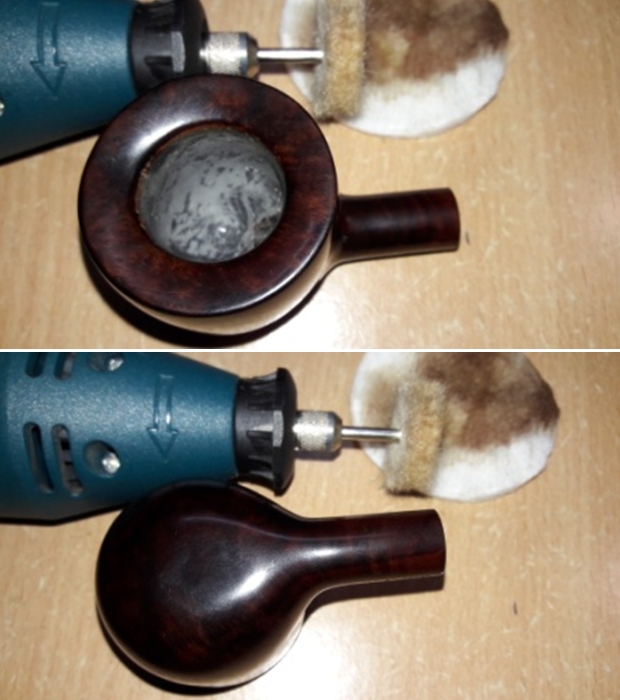
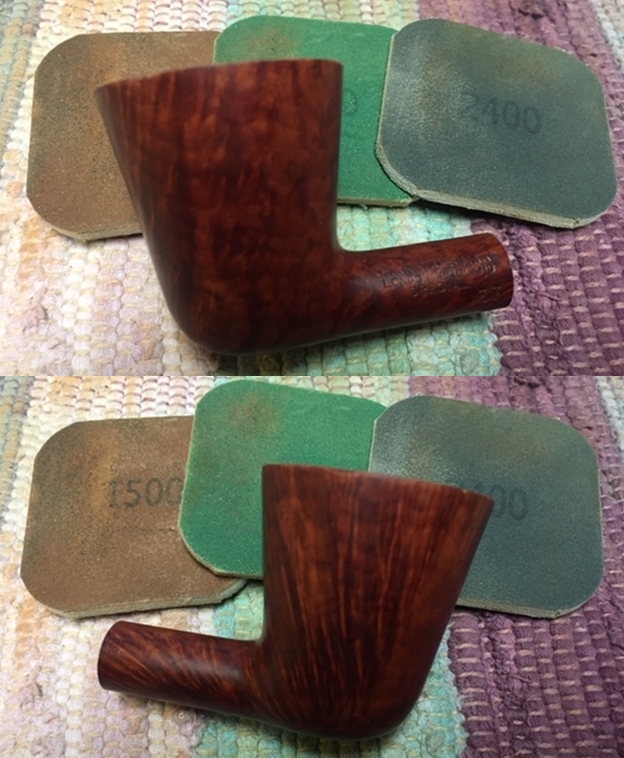
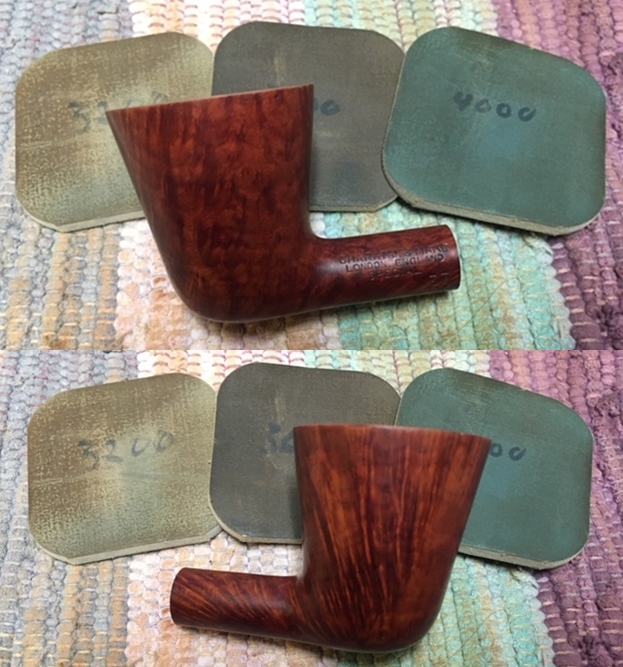
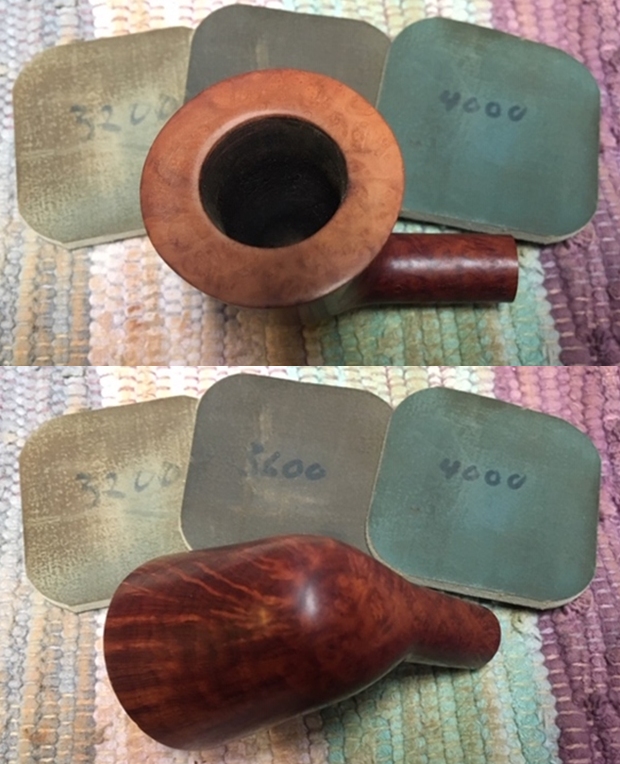
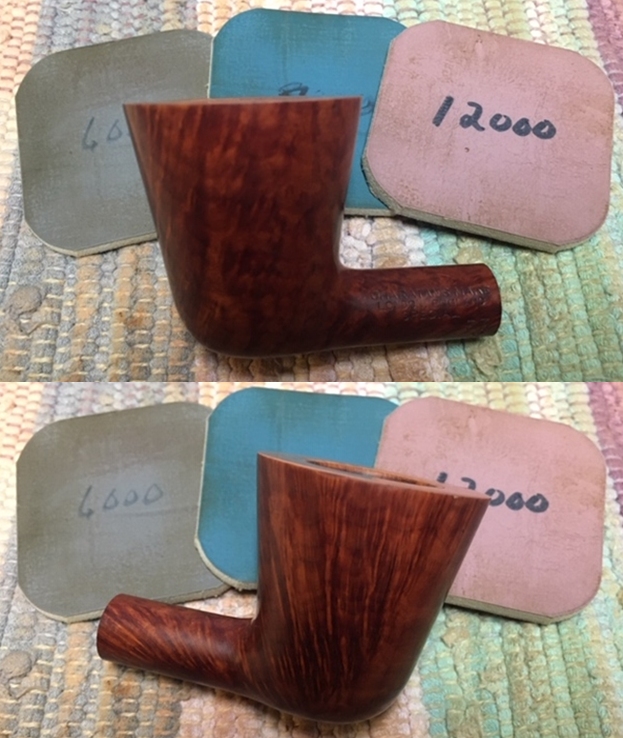
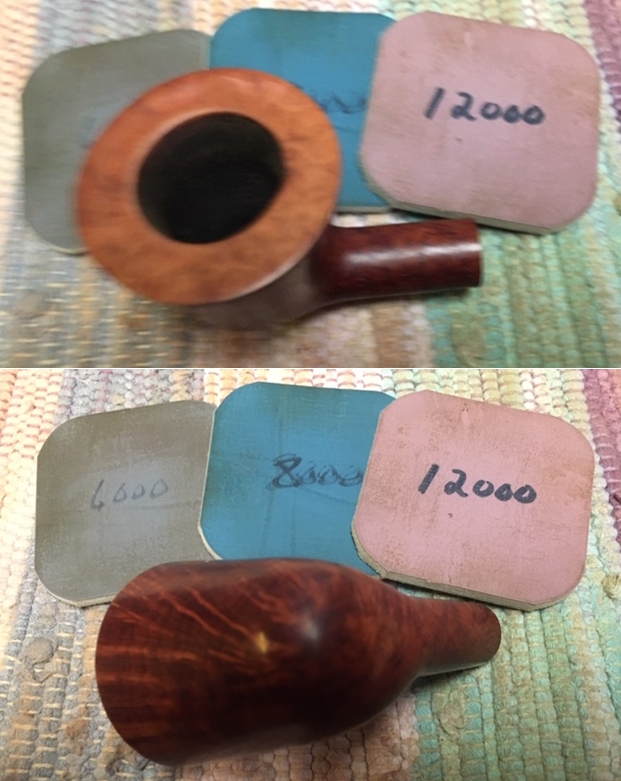
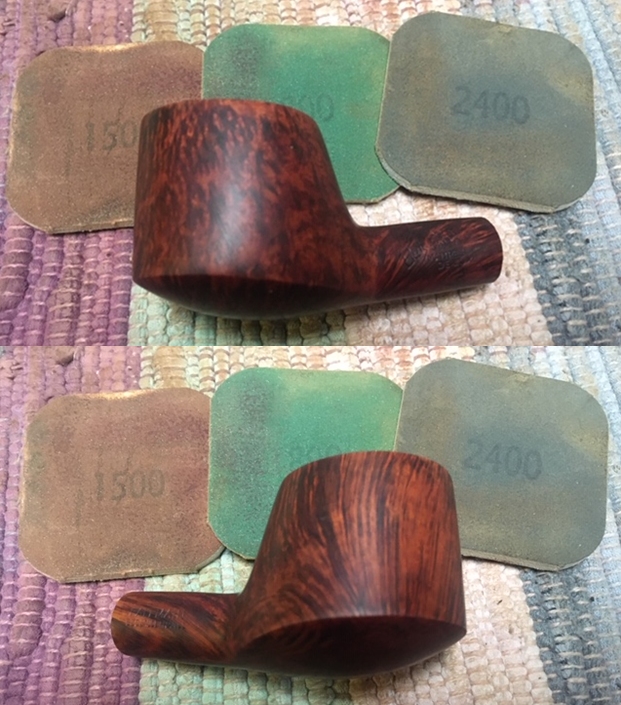
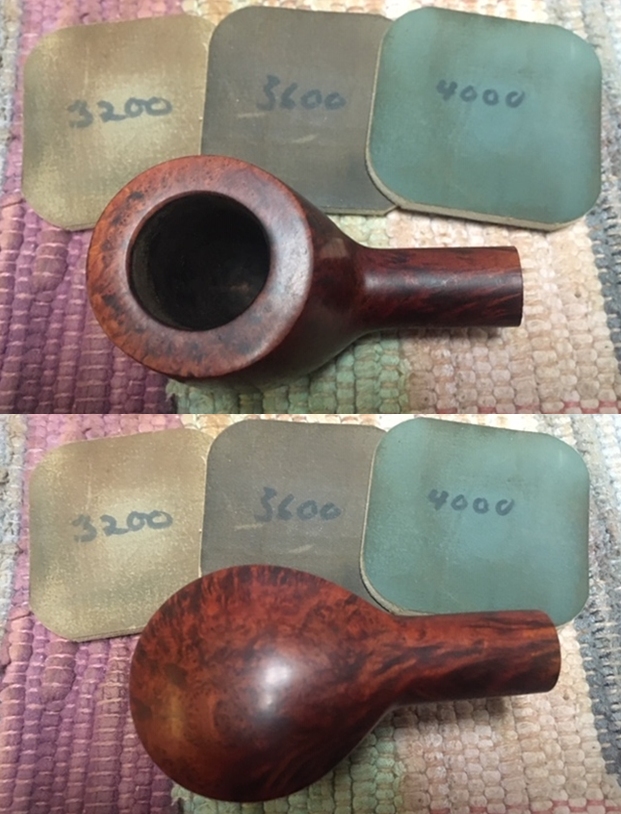
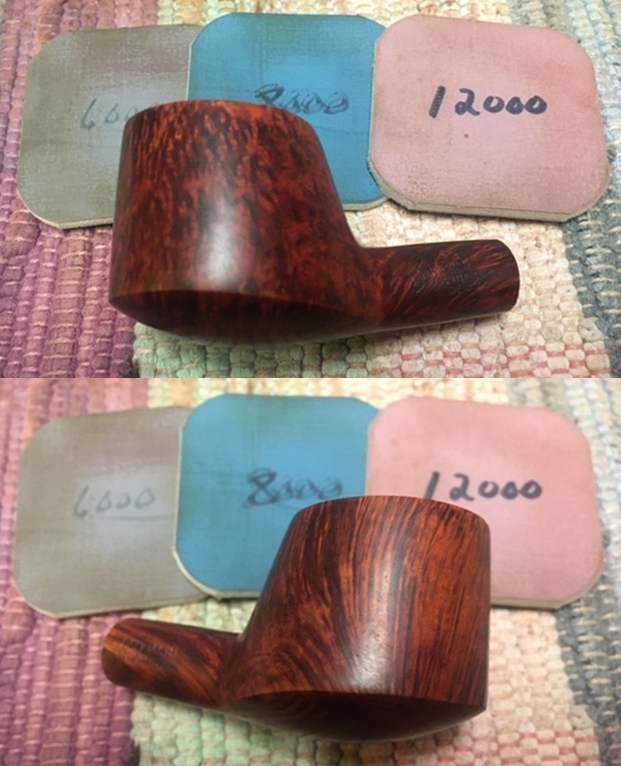
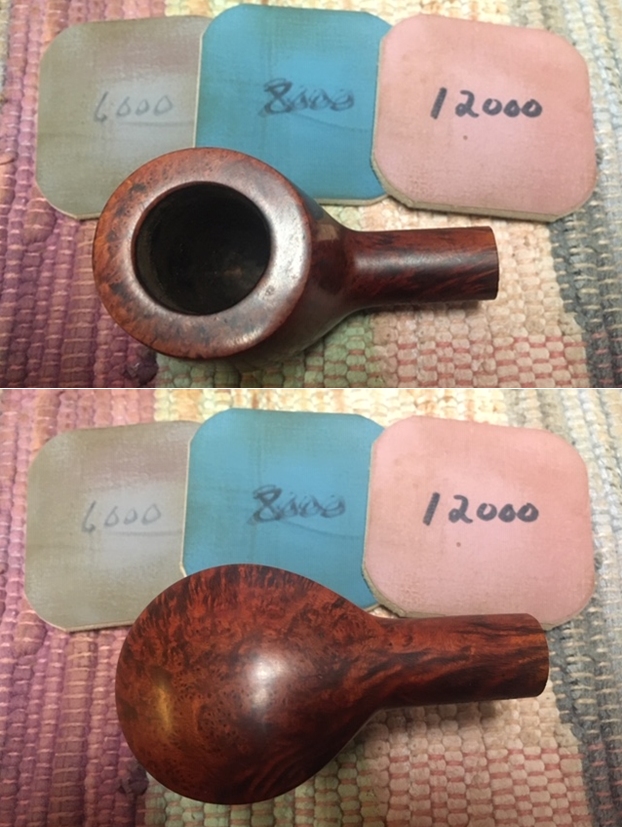
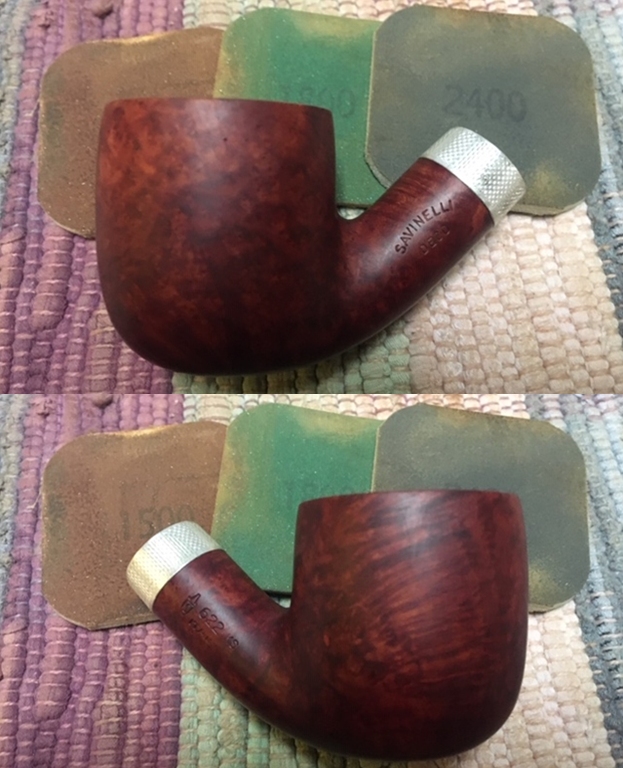
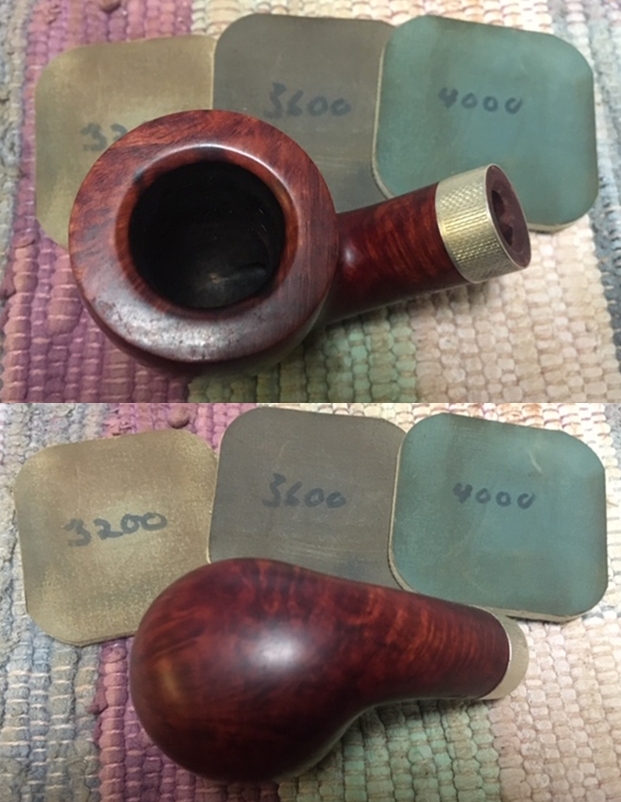
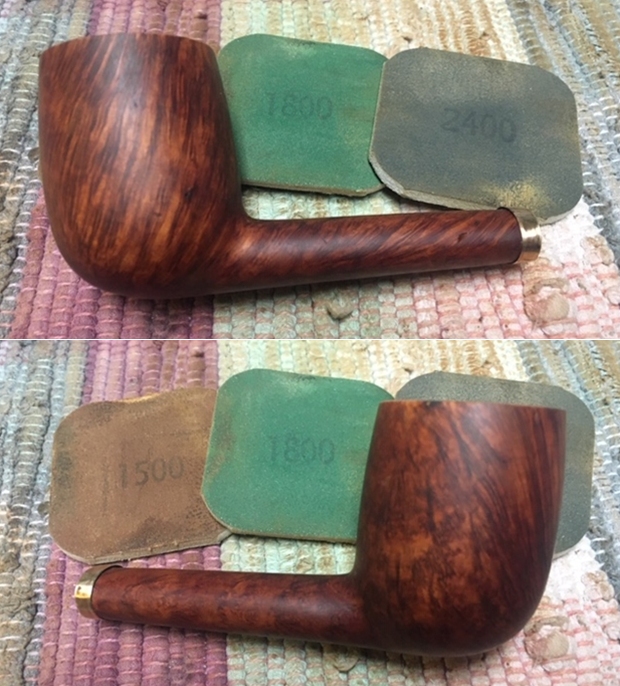
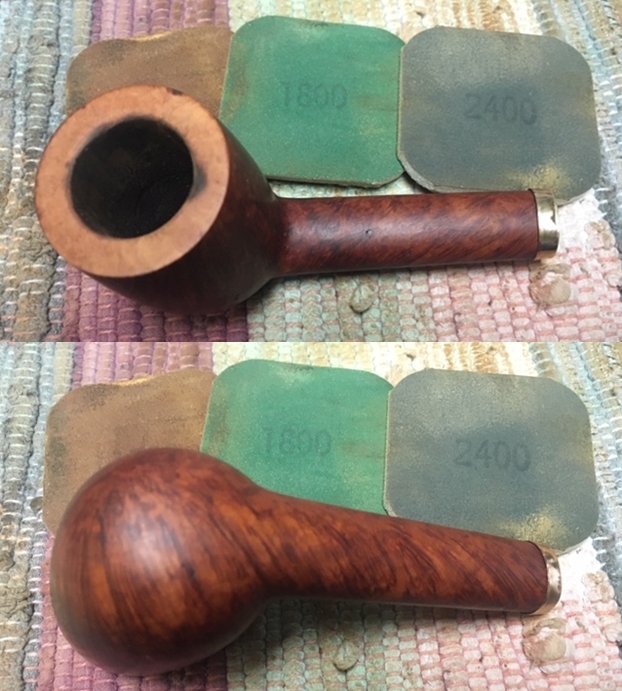
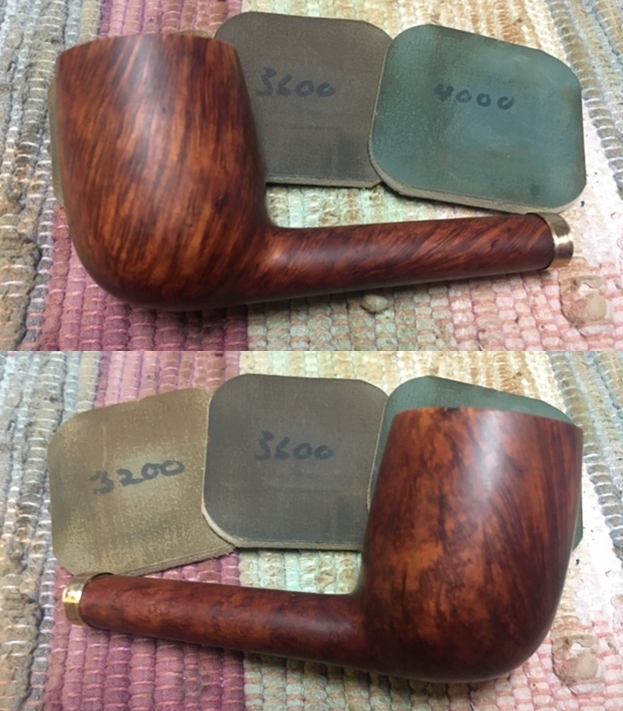
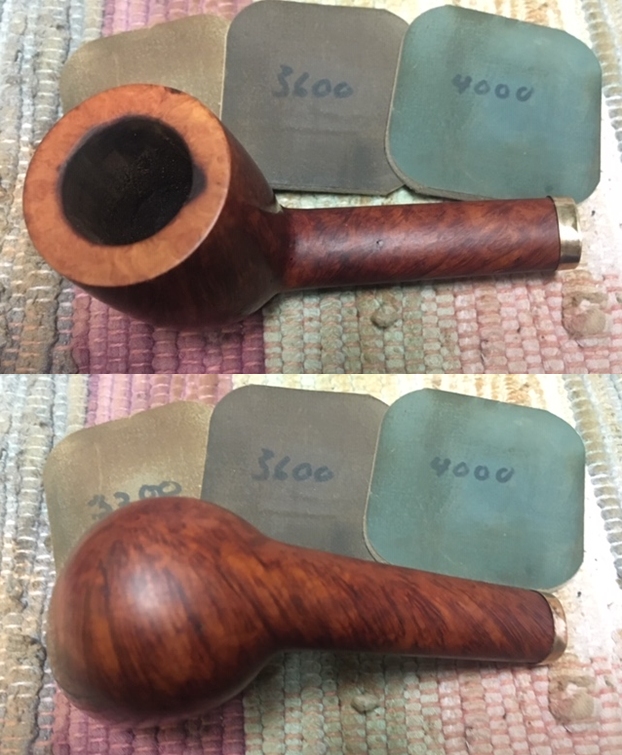
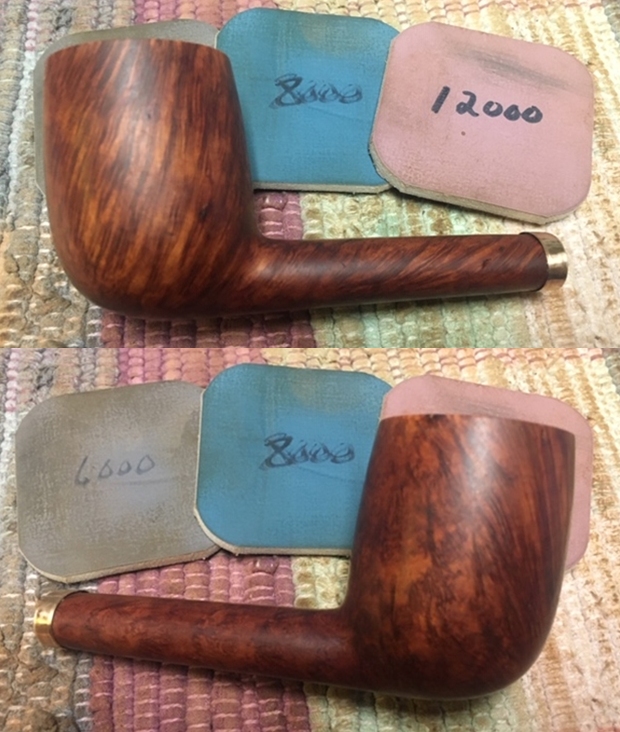
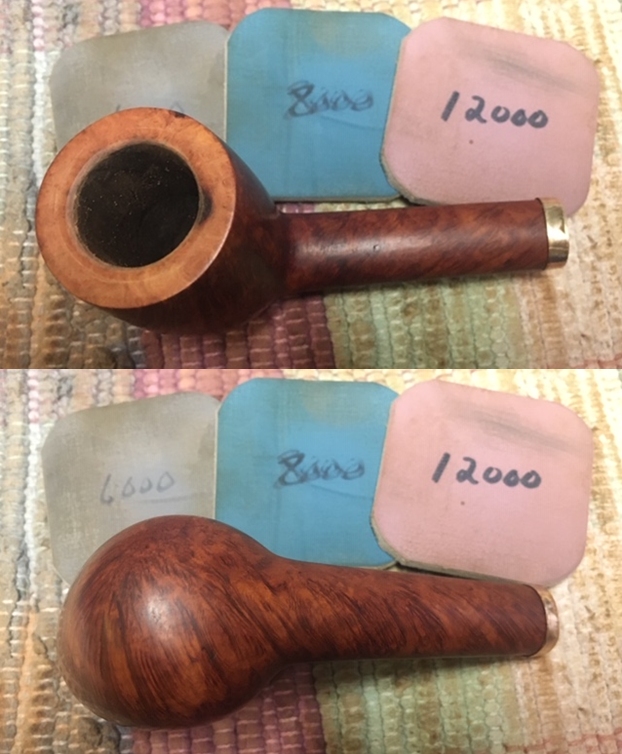
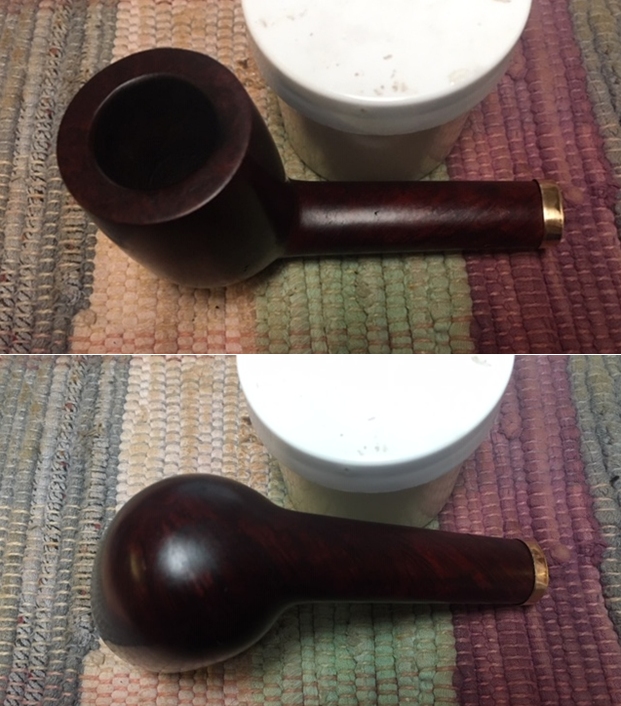
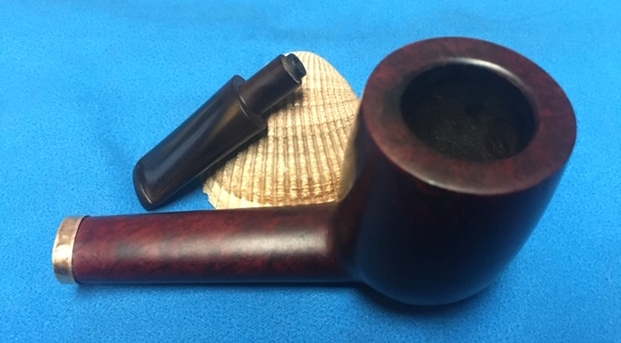
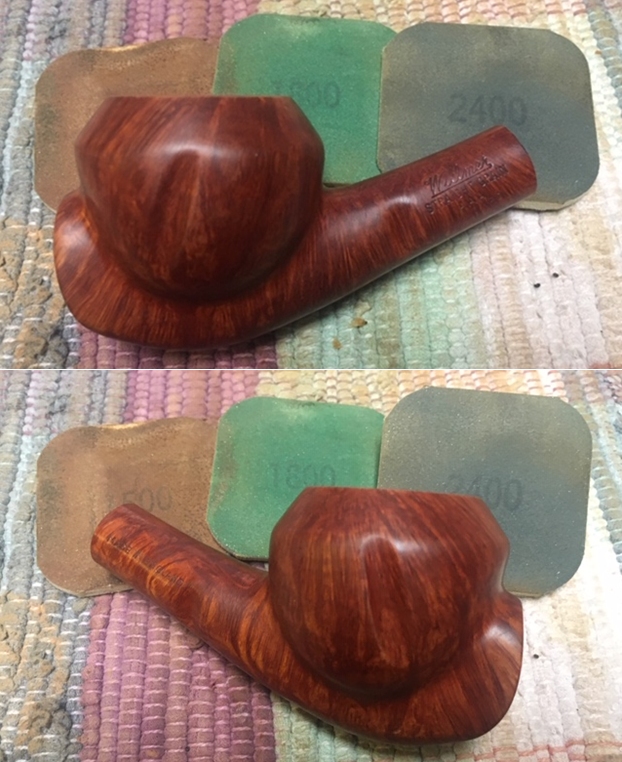
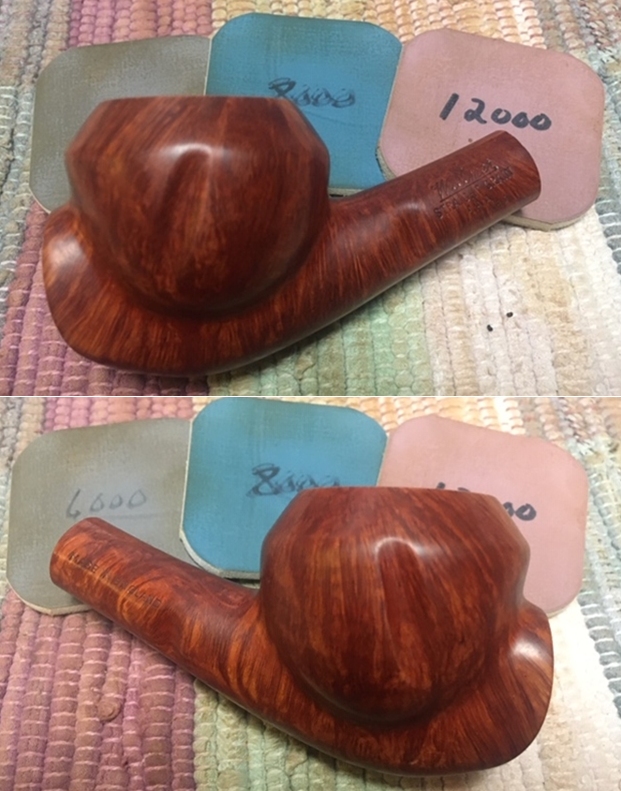
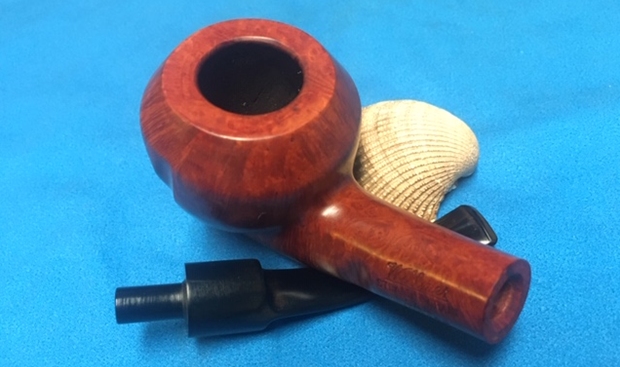
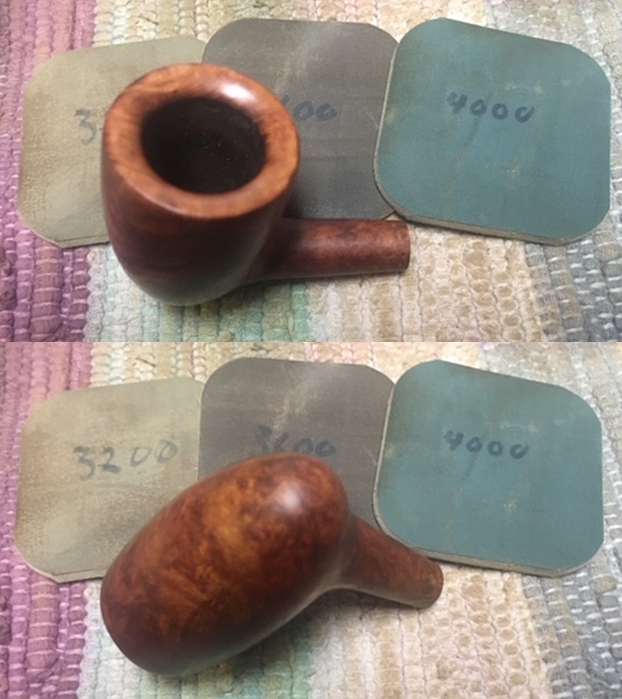
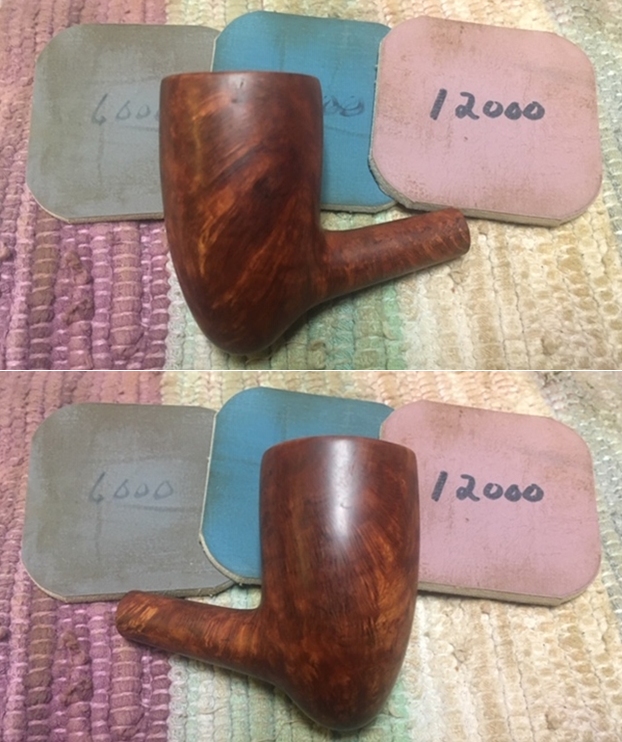
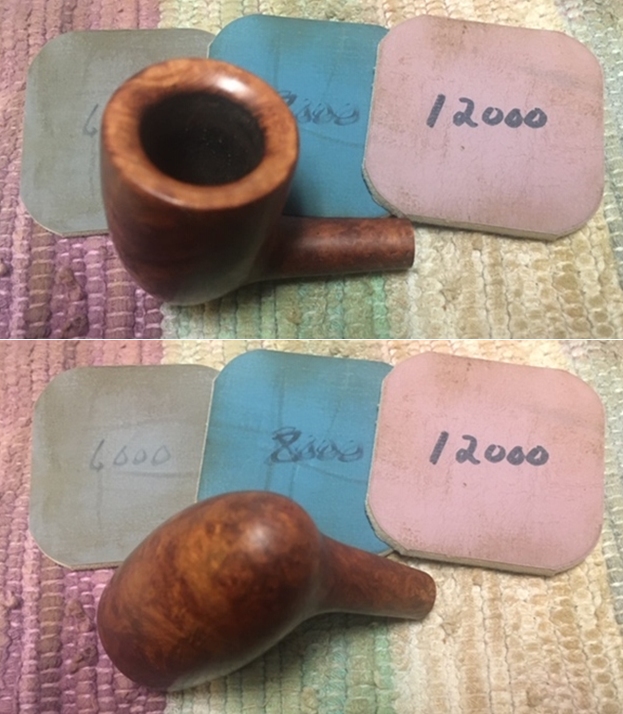
 I was happy with the way the rim top and edges looked so I did not need to do anymore except to polish them. I polished the briar with micromesh sanding pads – dry sanding with 1500-12000 grit pads. I wiped the bowl down after each pad with a damp cloth. The grain really began to stand out and the finish took on a shine by the last sanding pad. The photos tell the story!
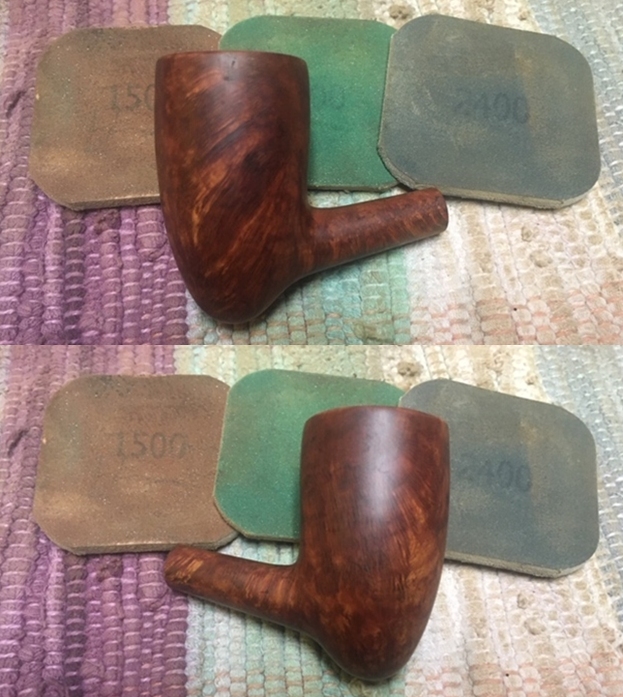
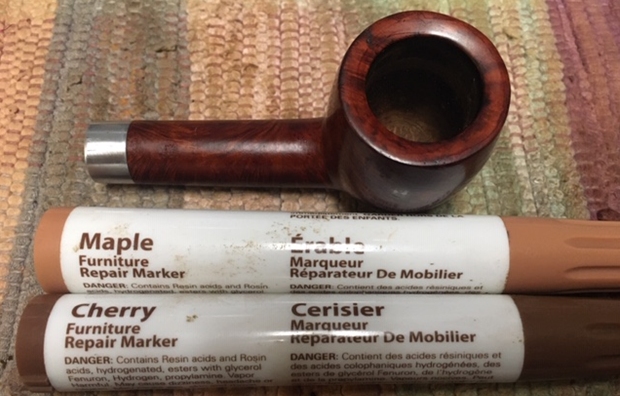
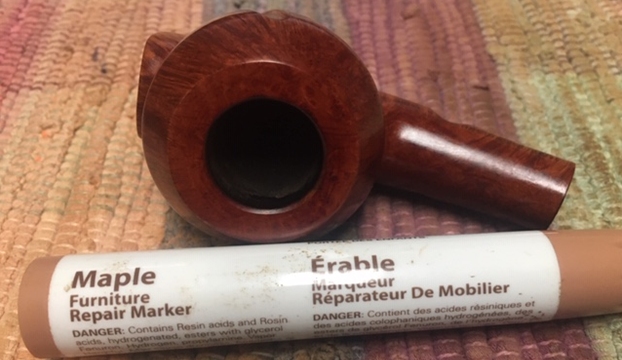
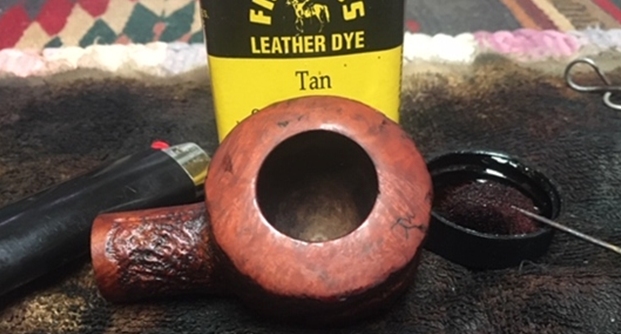
 I touched up the rim top to match the rest of the bowl with a blend of Oak and Maple stain pens. The blend works really well with this colour of bowl. I am happy with the work so it is time to move on.
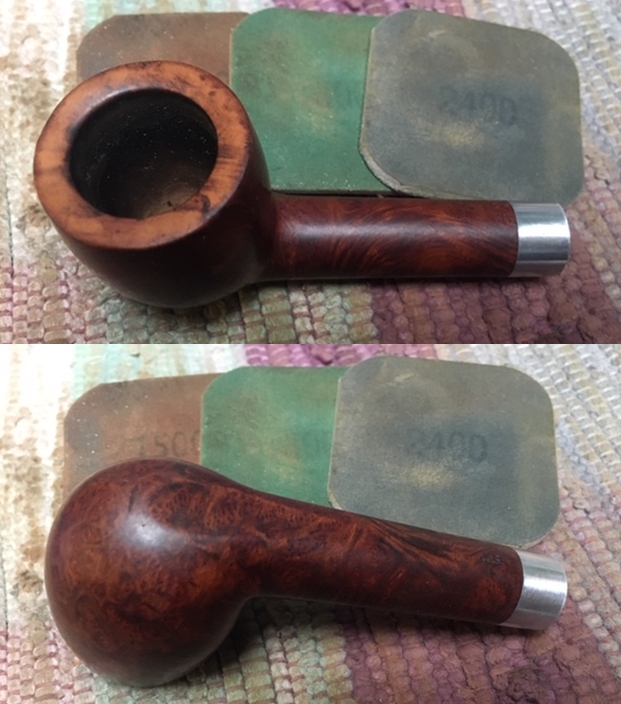
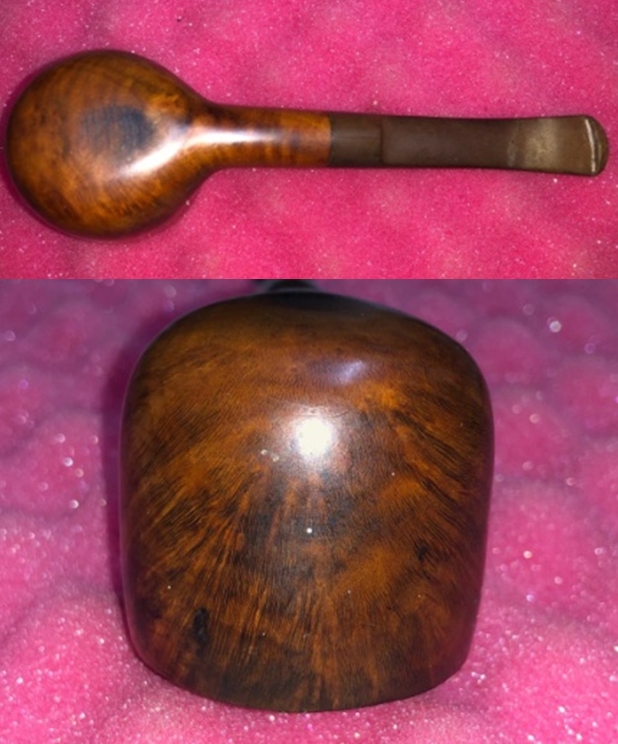
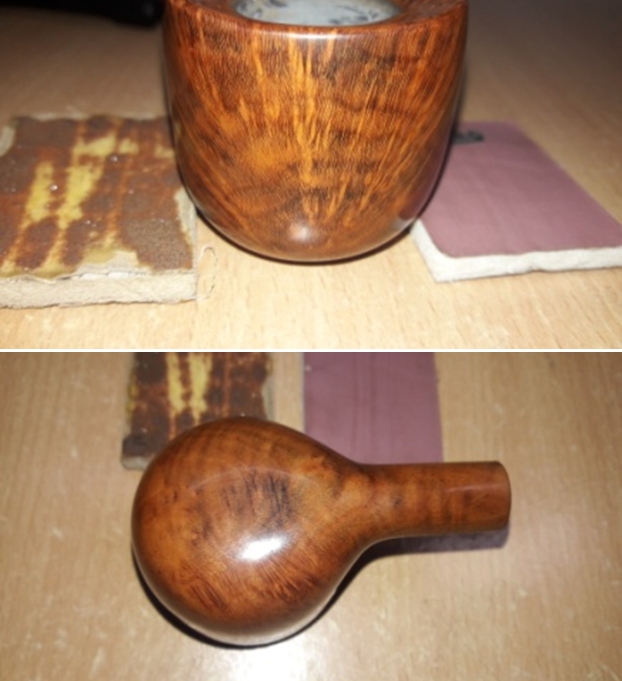
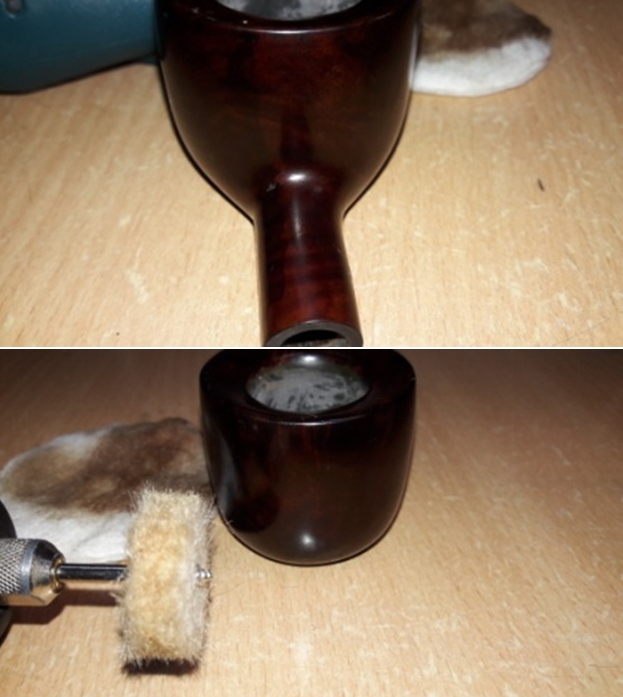
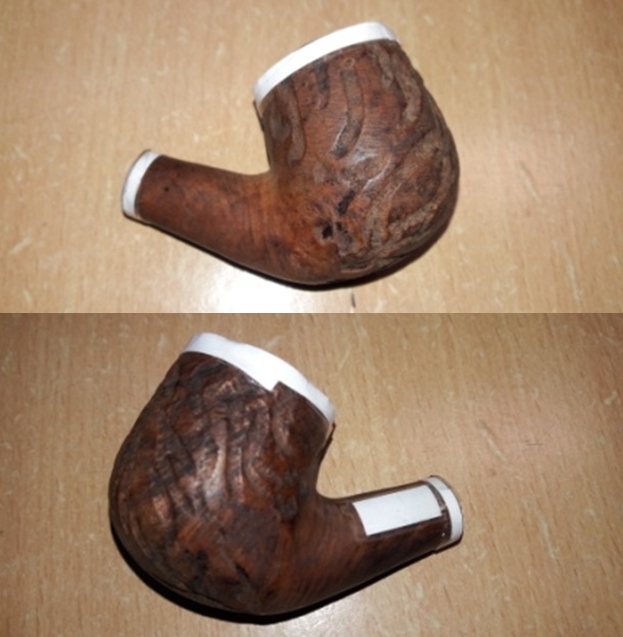
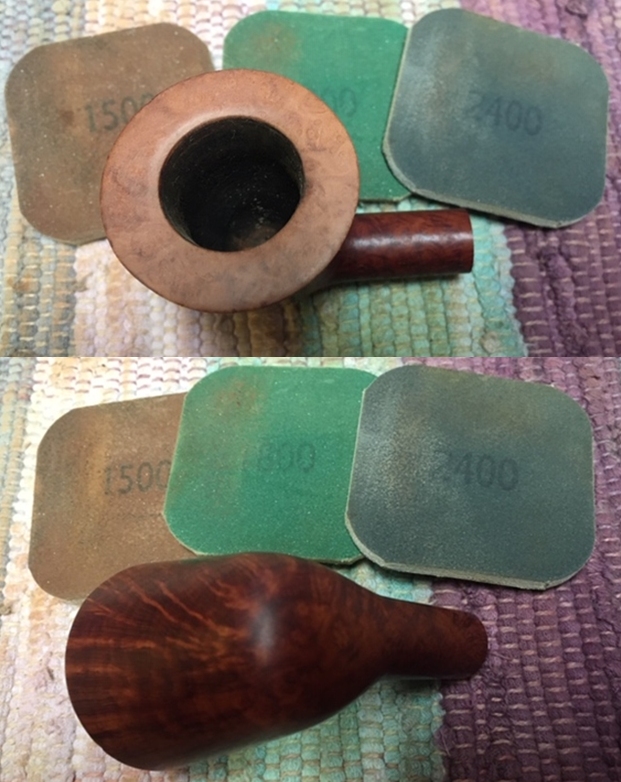
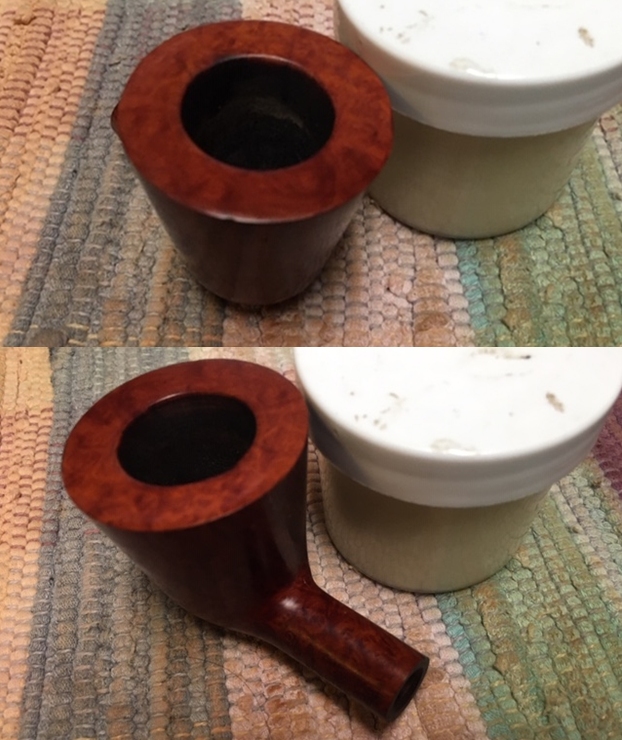
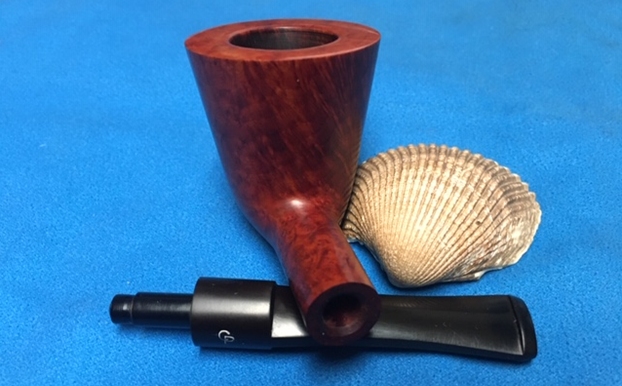
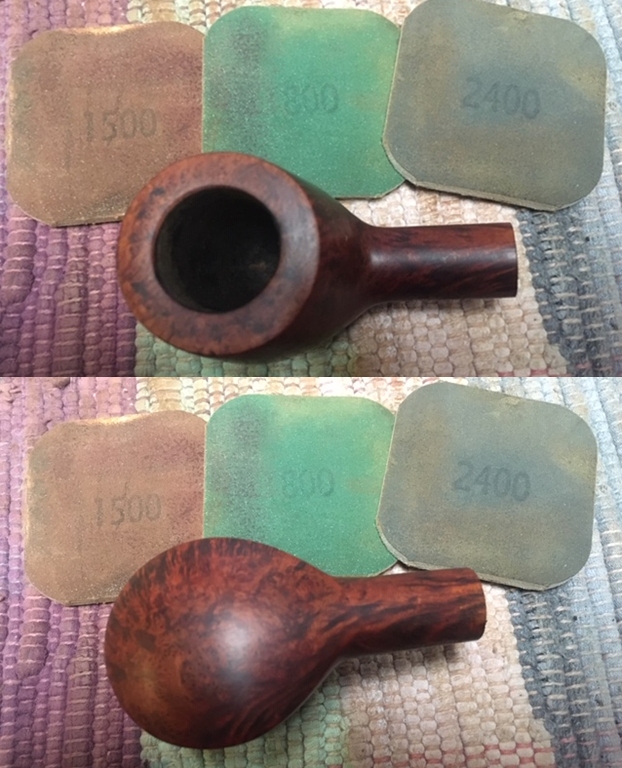
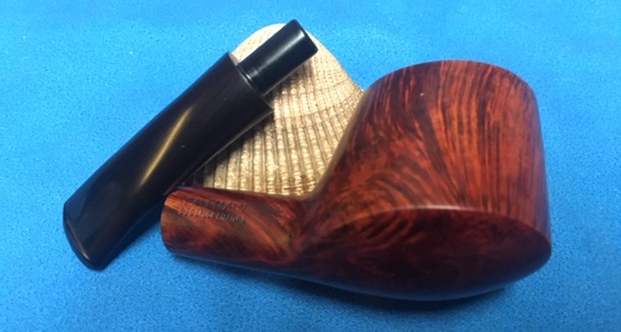
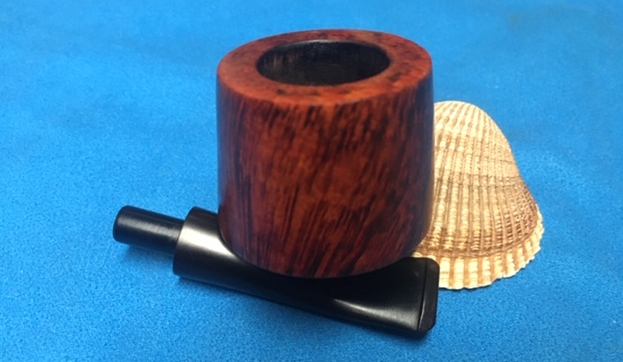
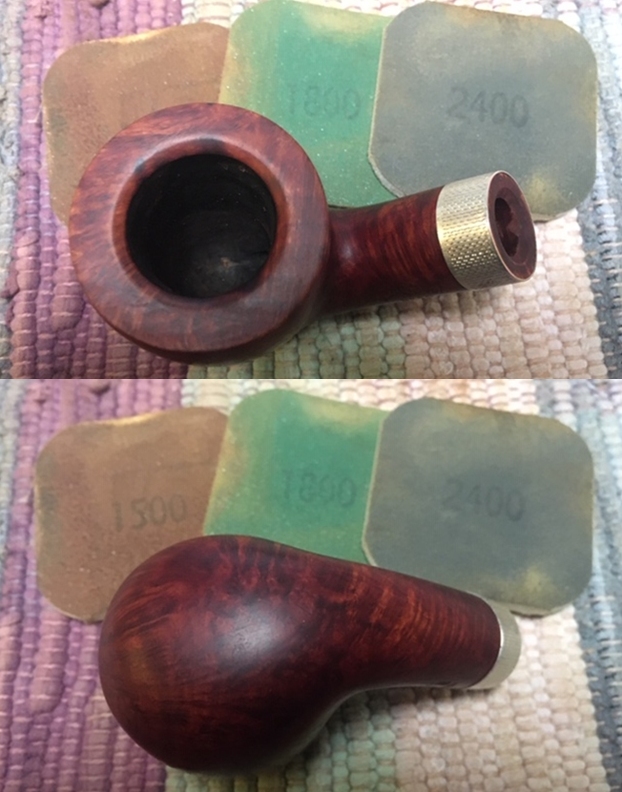
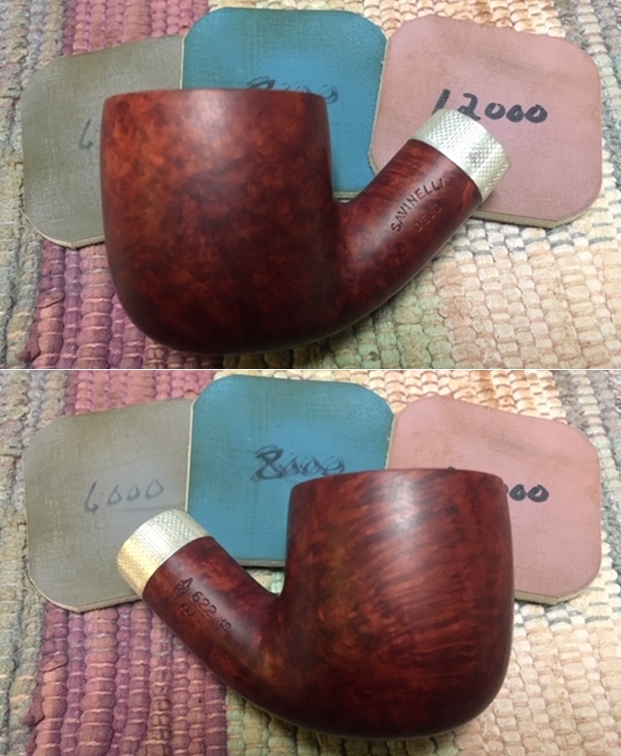
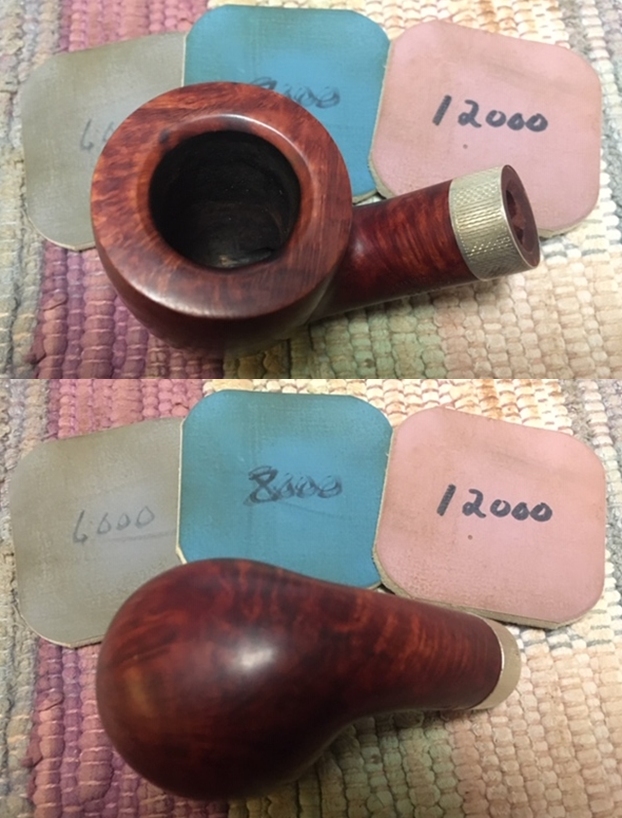
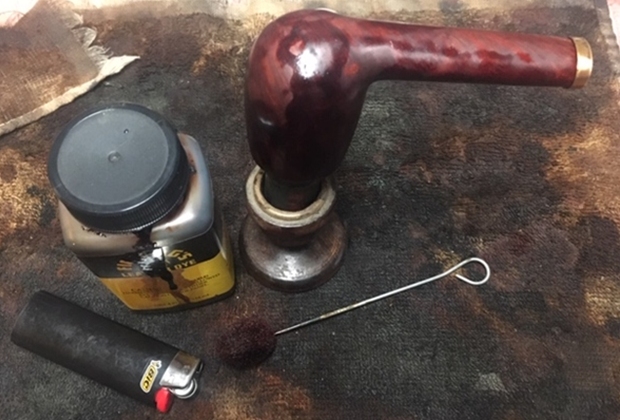
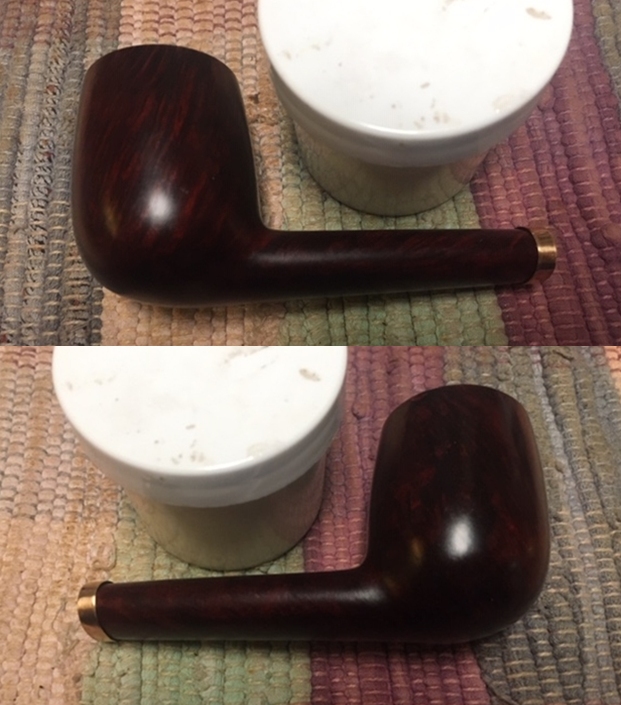
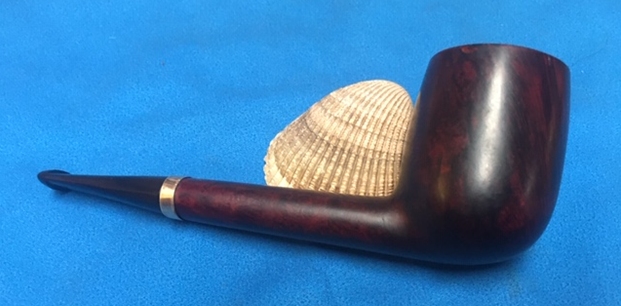
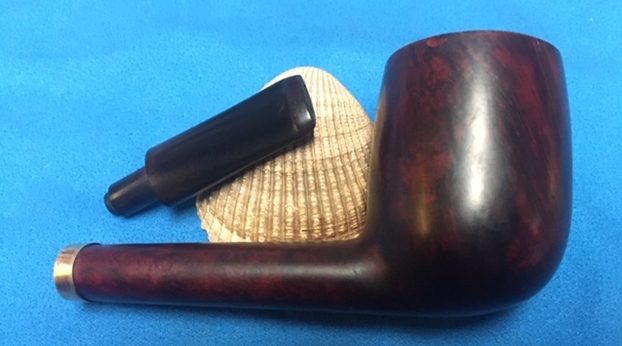
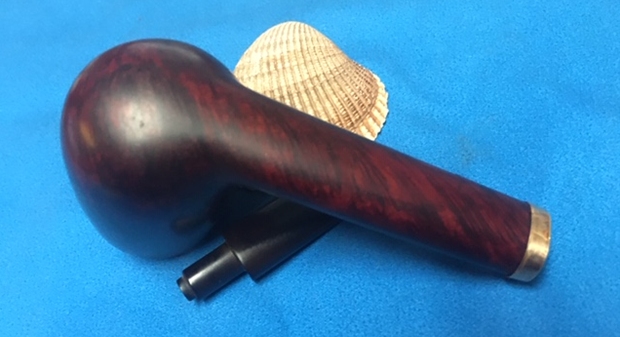
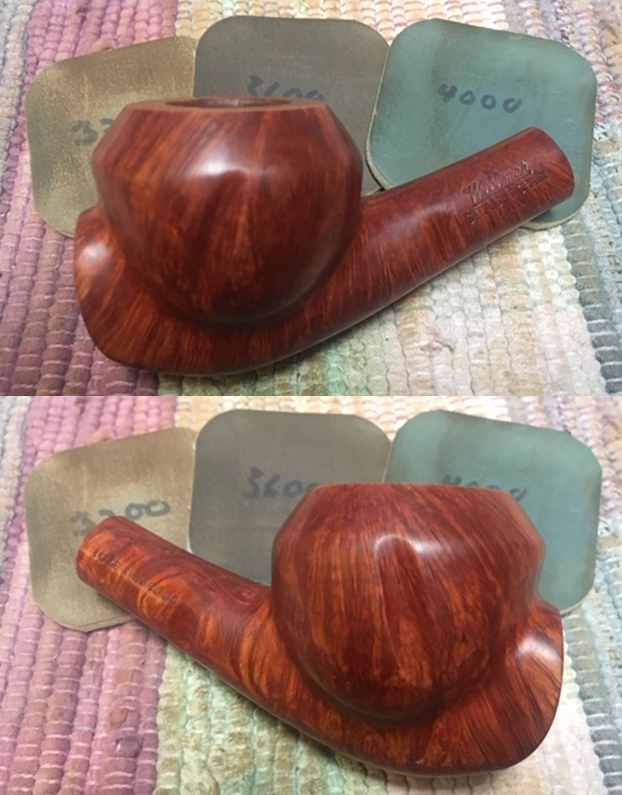
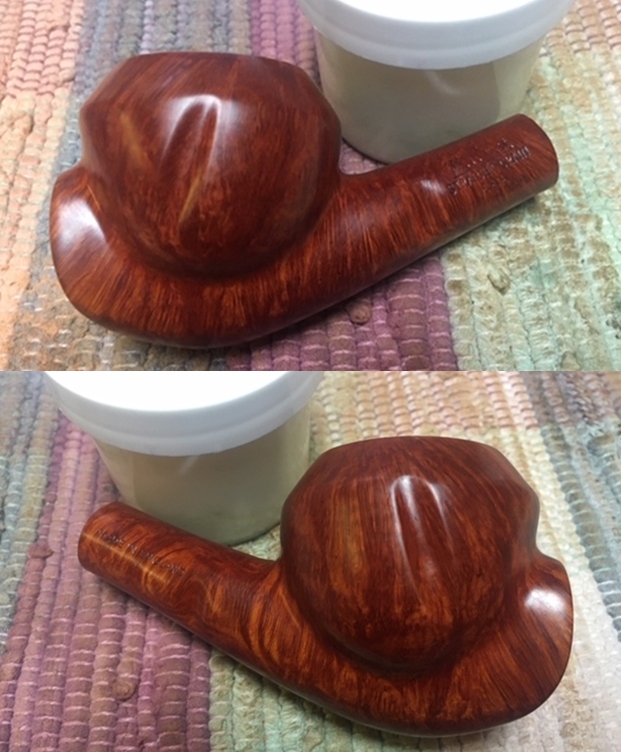
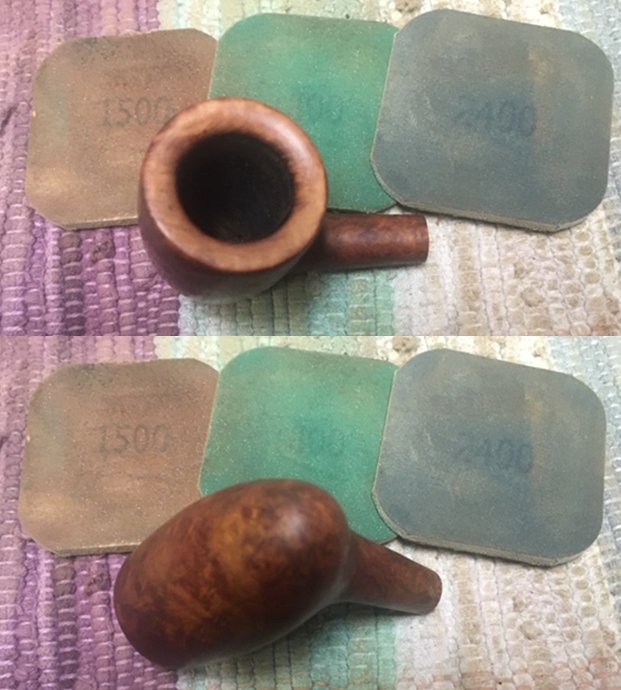
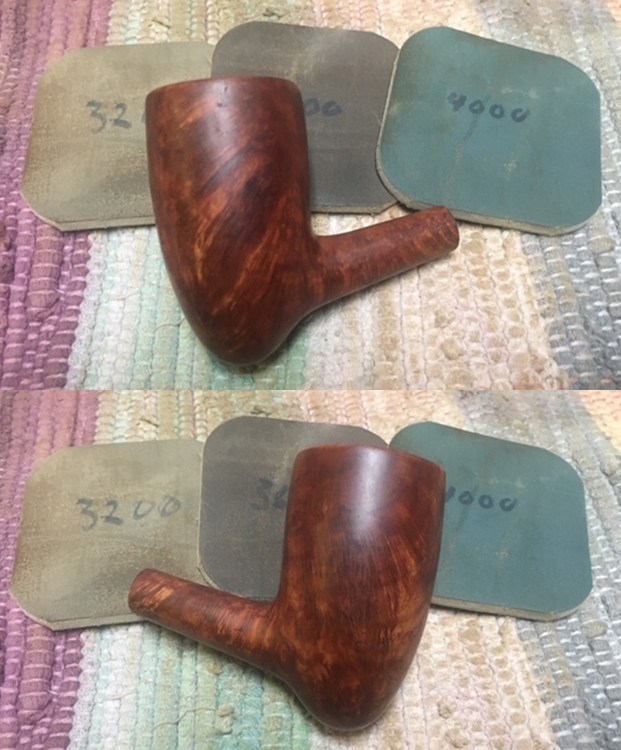
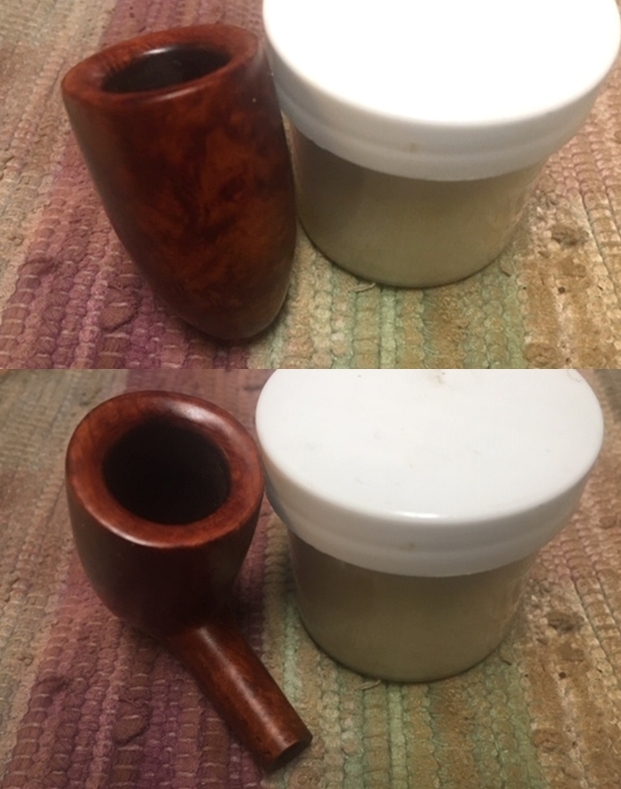
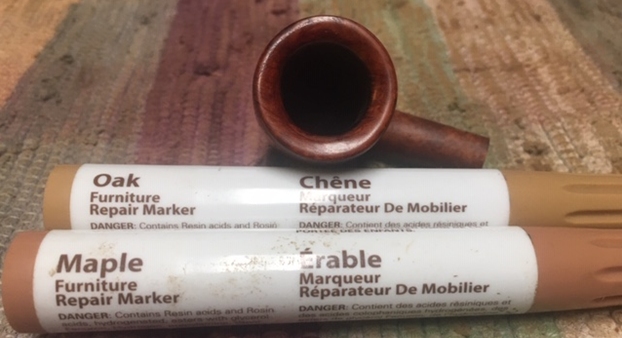 I worked some Before & After Restoration Balm into the surface of the briar with my fingertips. The product works to clean, enliven and protect the briar. I let the balm sit for about ten minutes and then buffed with a cotton cloth to raise the shine. The photos show the bowl at this point in the restoration process.
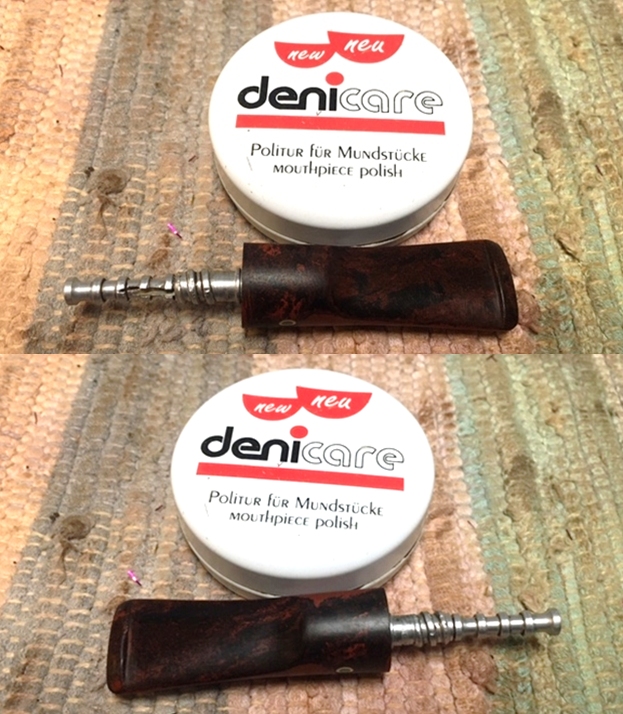
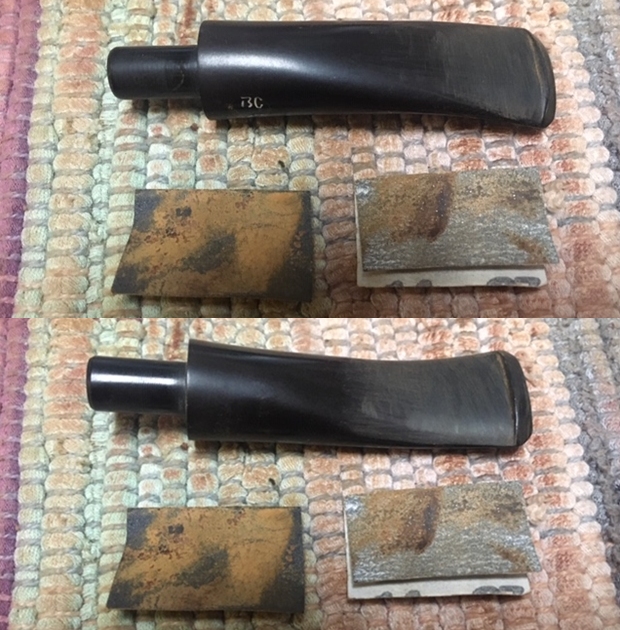
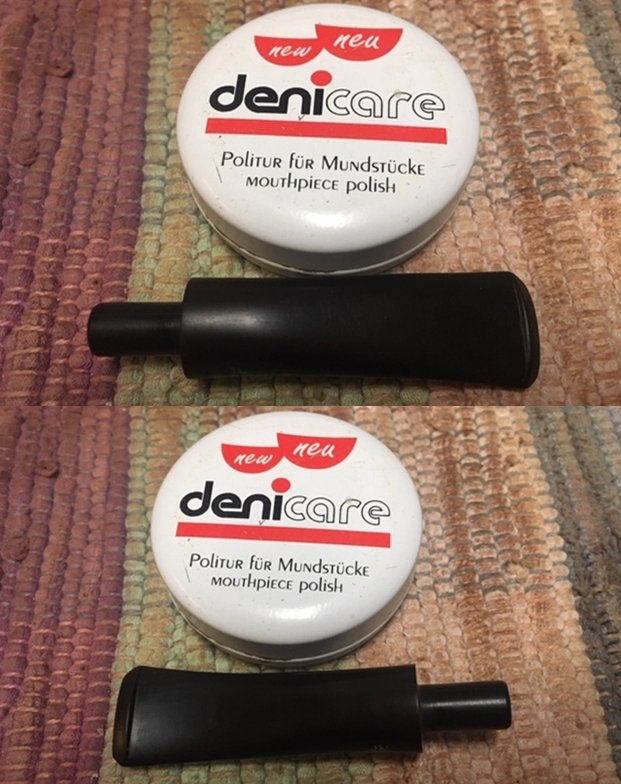
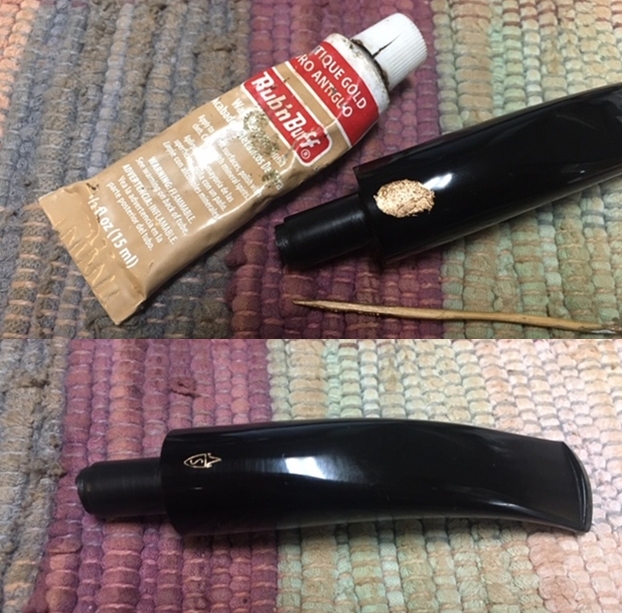
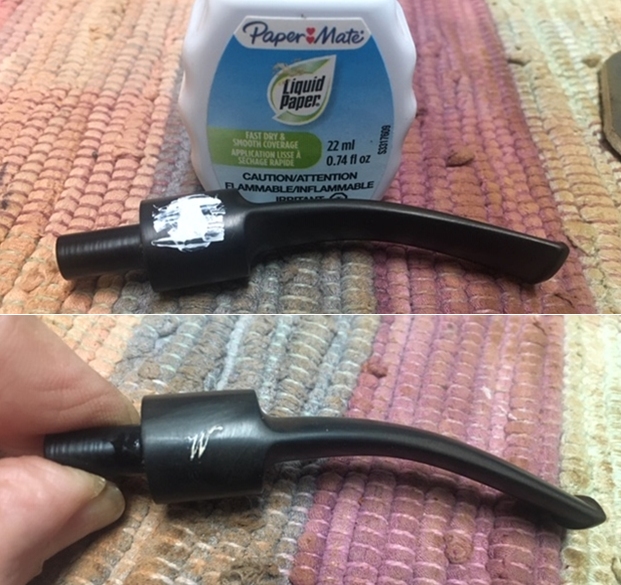
 I set the bowl aside at this point and turned my attention to the stem. The stem was in very good condition. I decided to apply some Antique Gold Rub’n Buff to the logo on the side of the saddle stem. I rubbed it on and buffed it off and it looks good.
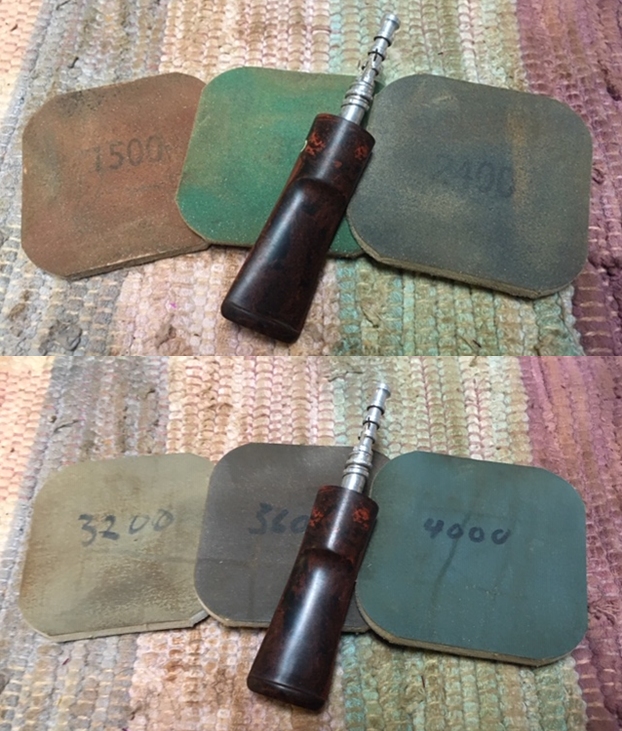
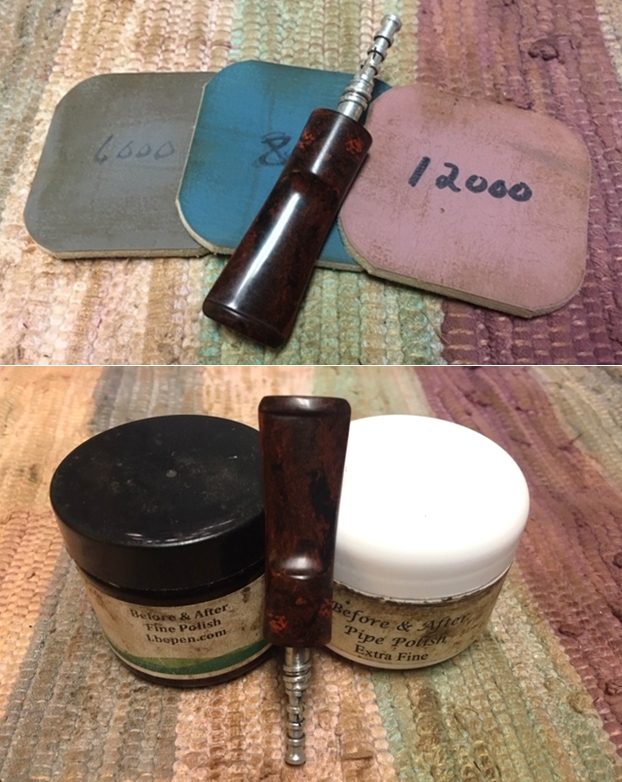
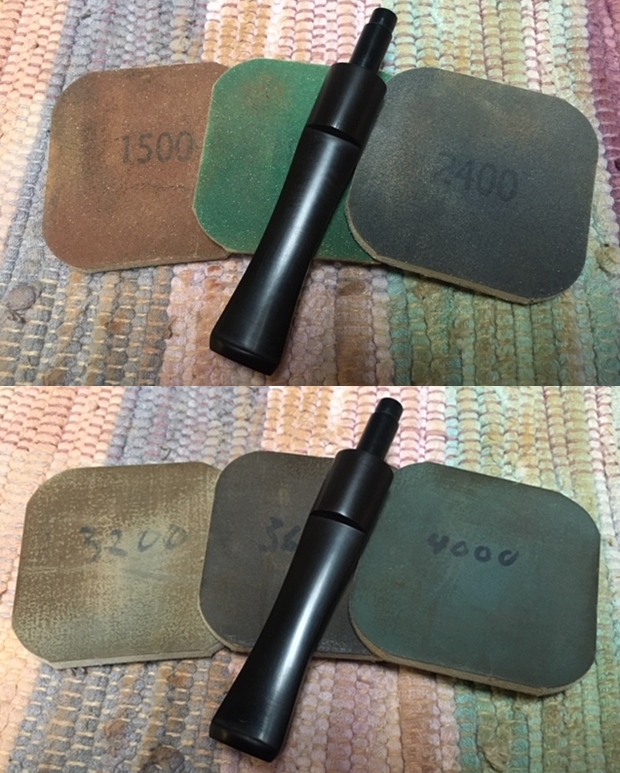
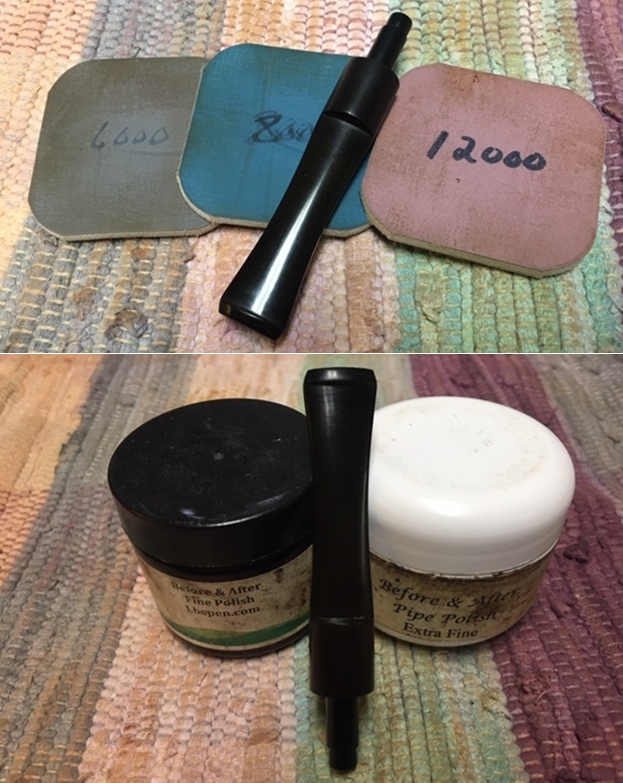
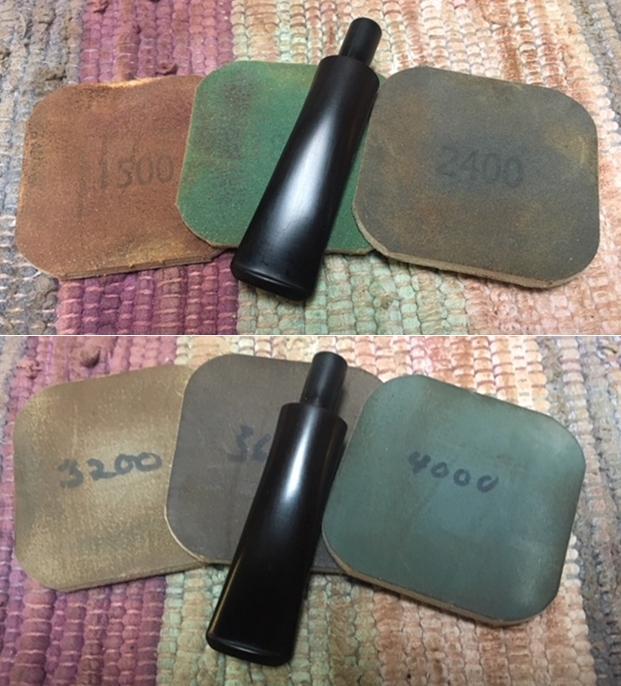
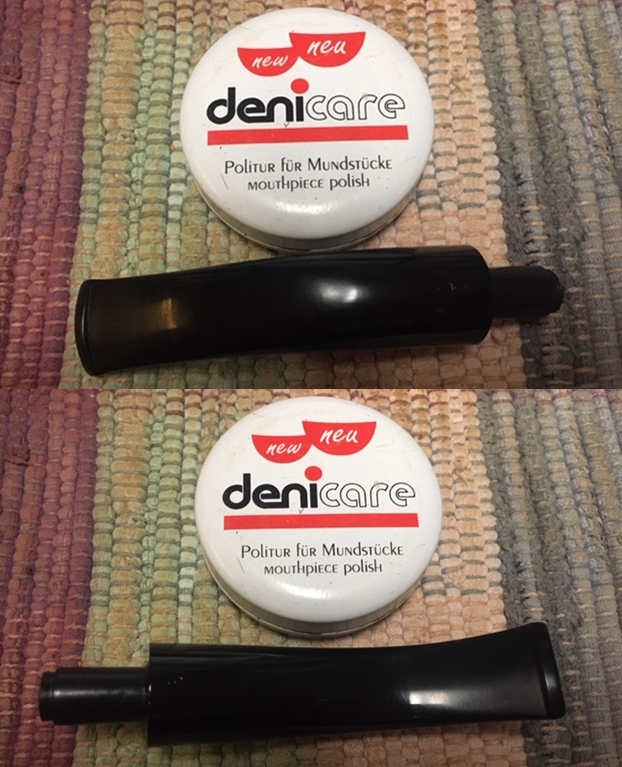
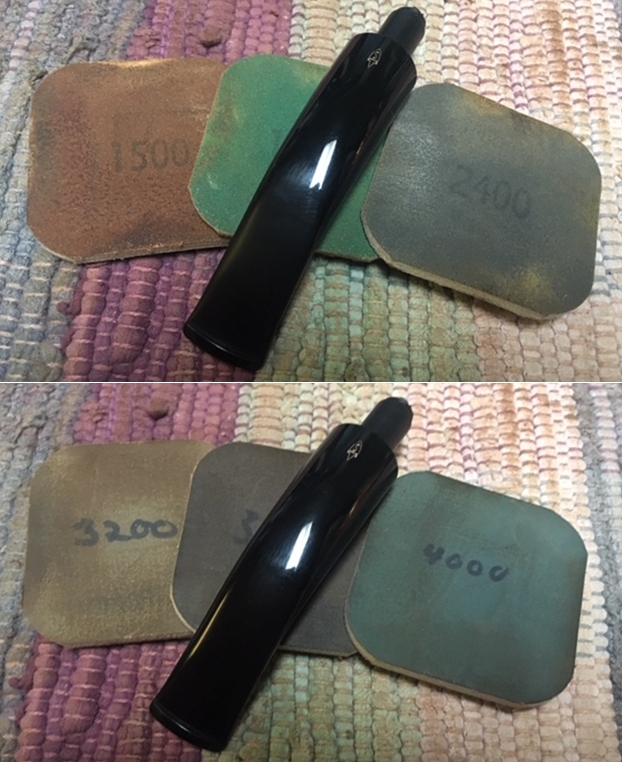
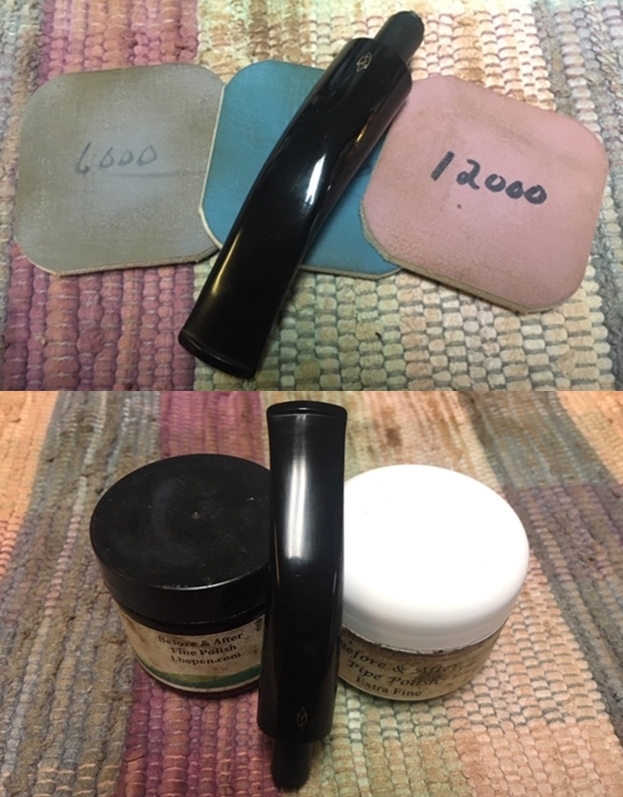
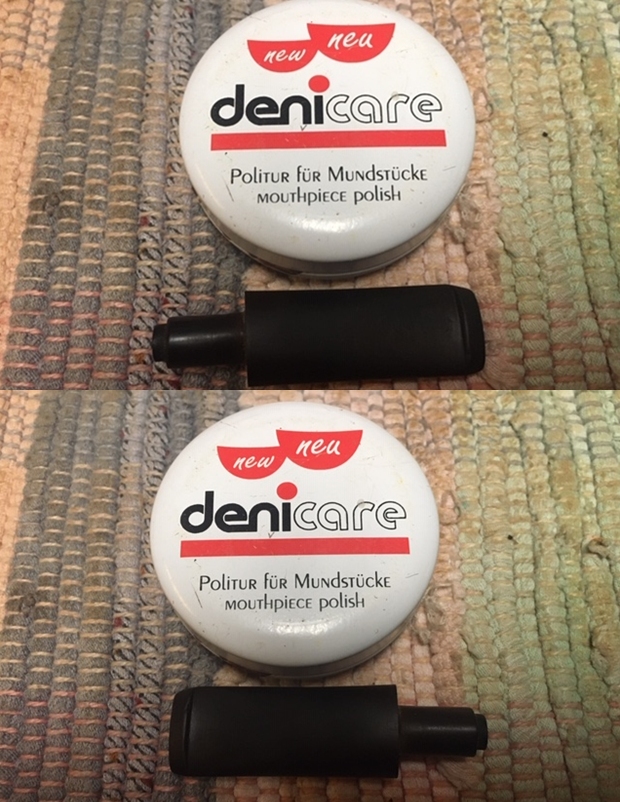
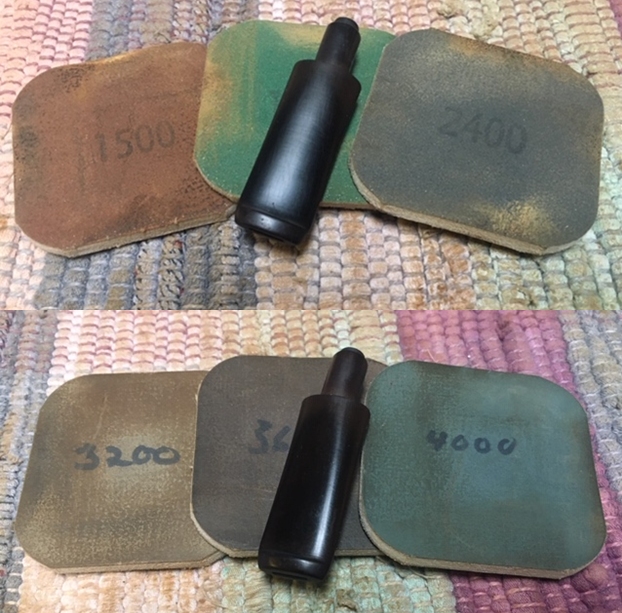
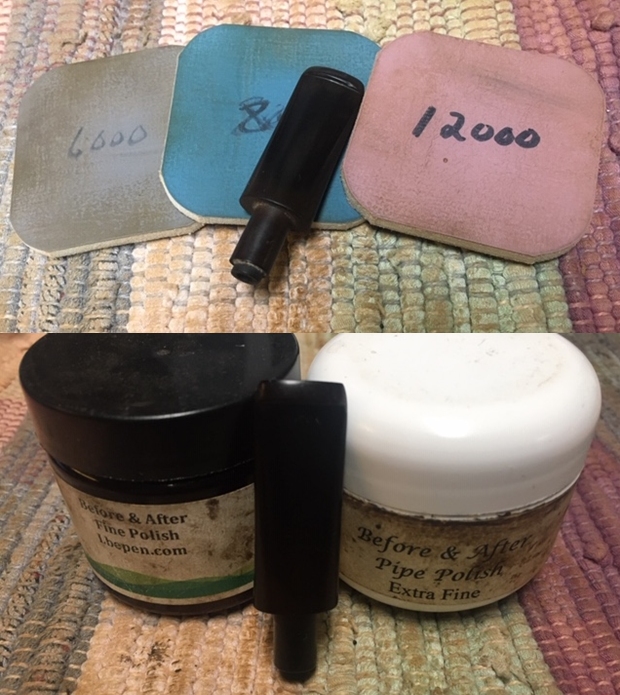
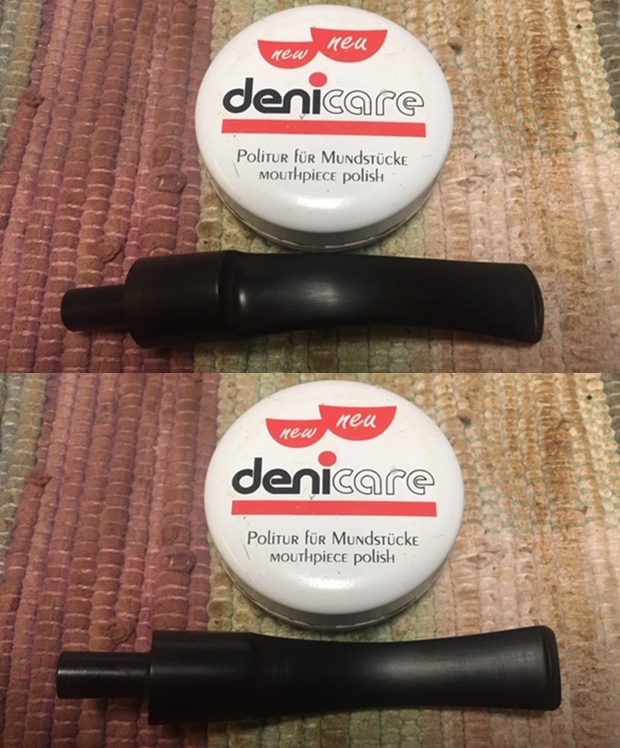
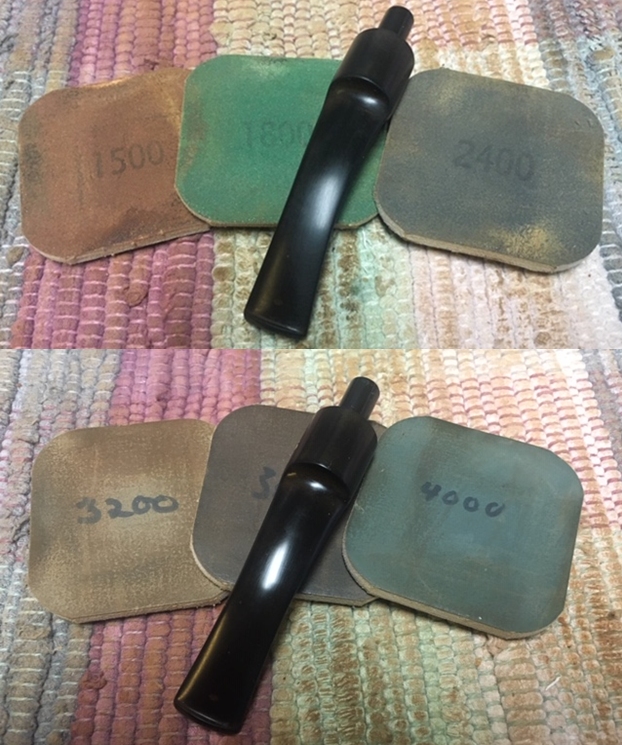
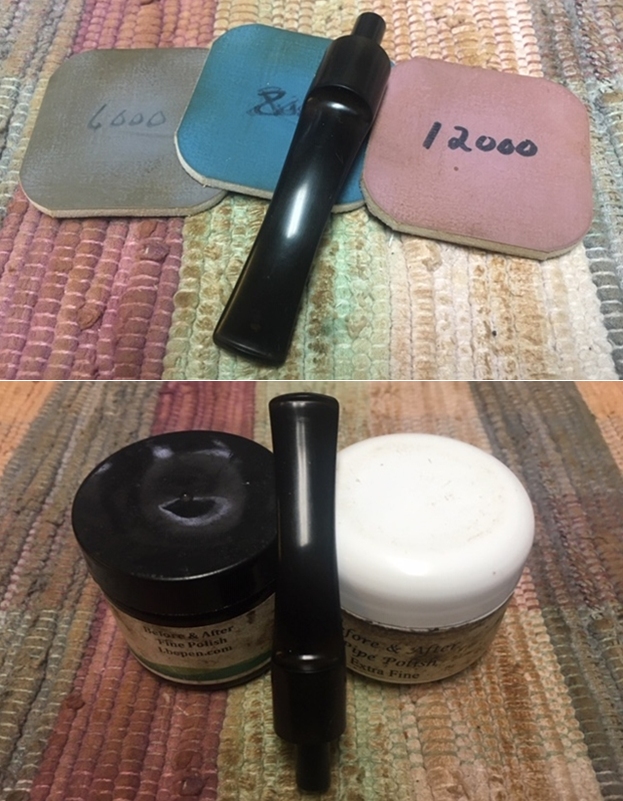
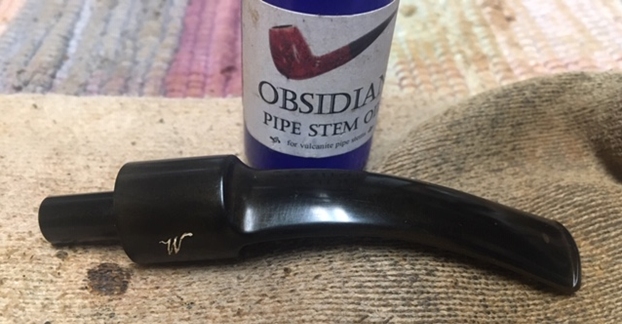
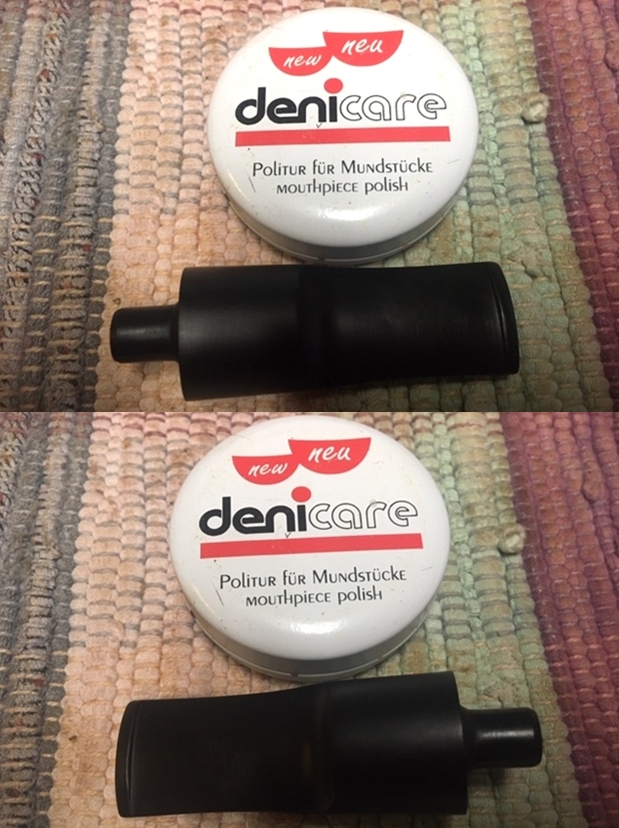
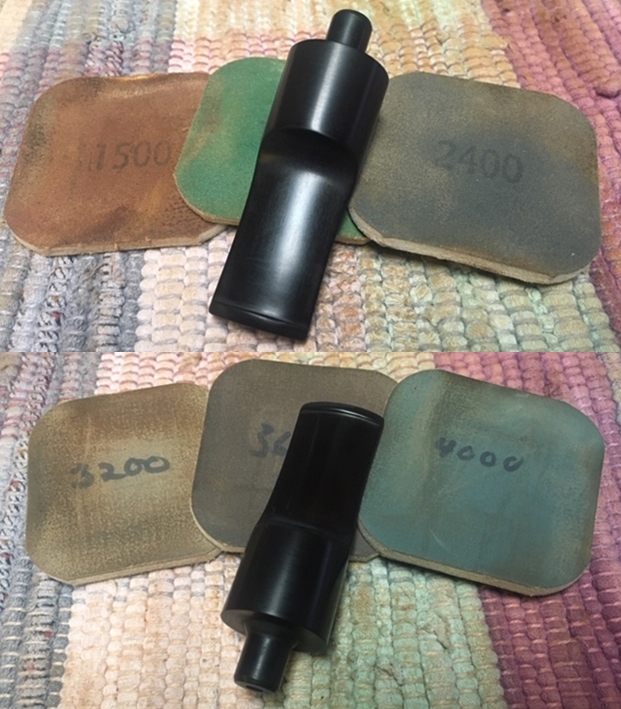
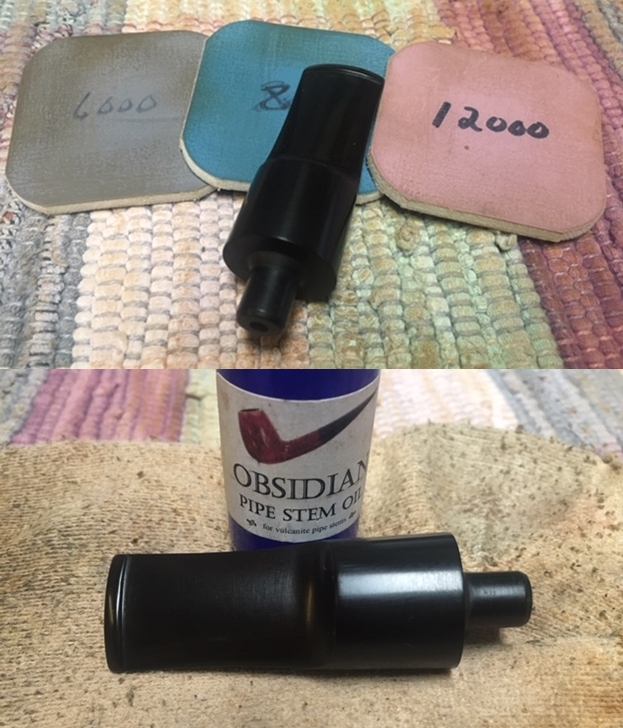
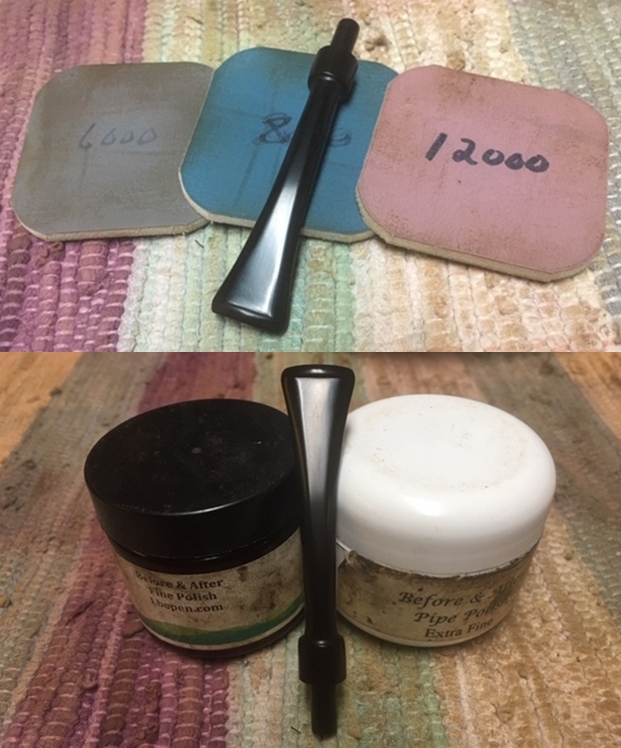
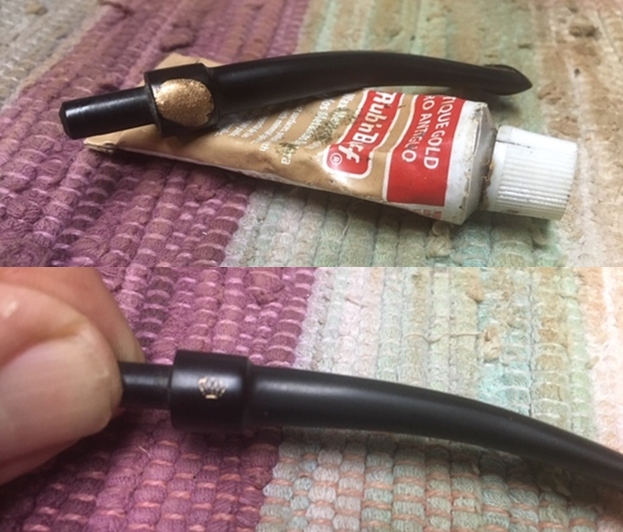 I polished the stem with micromesh sanding pads – dry sanding with 1500-12000 grit sanding pads. I wiped it down after each sanding pad with a cloth containing some Obsidian Oil. I finished polishing it with Before & After Pipe Stem Polish – both Fine and Extra Fine and buffed it off with a cotton cloth.
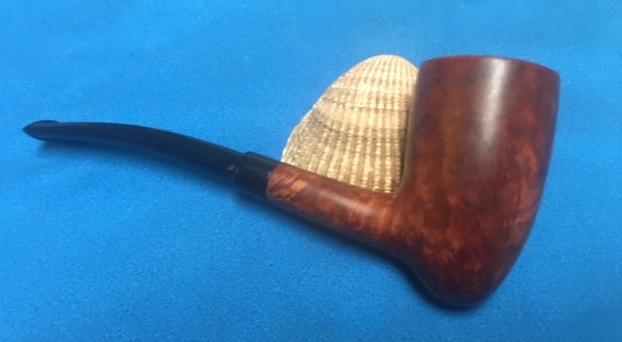
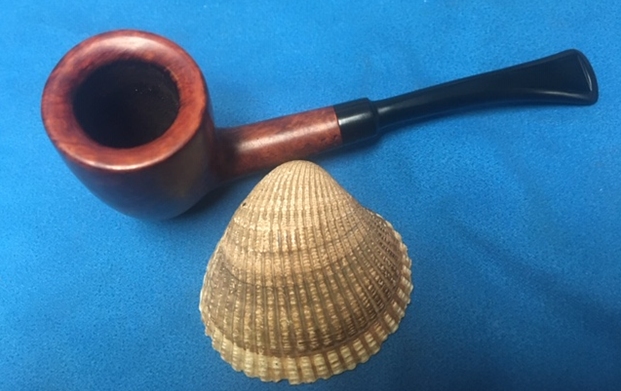
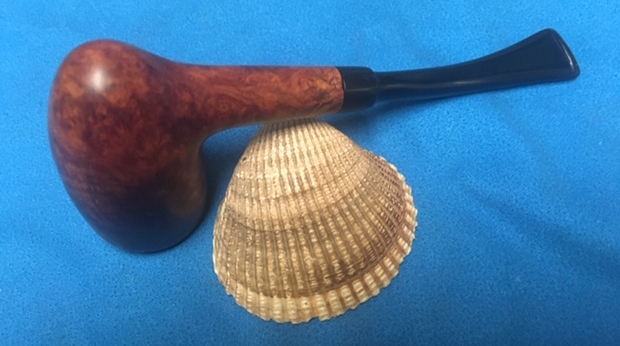
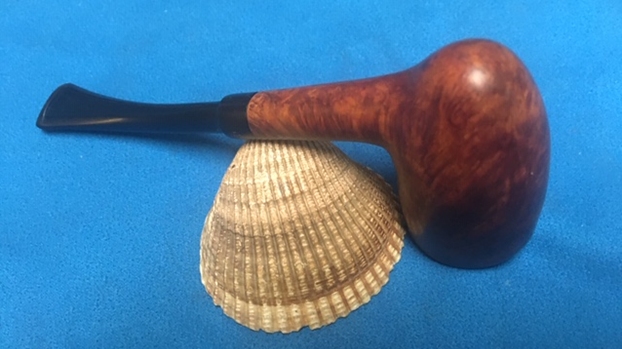
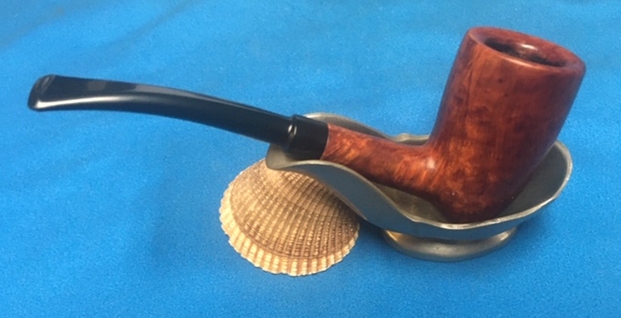
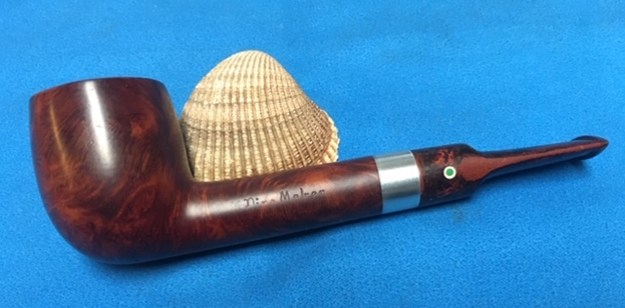
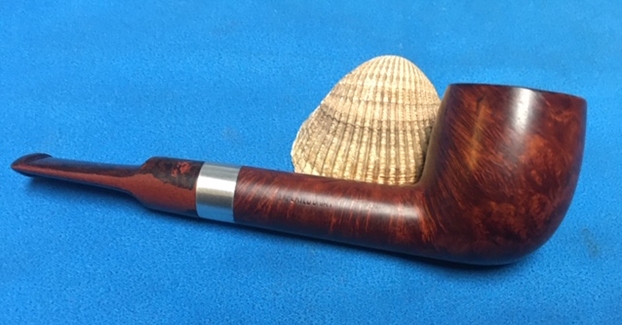
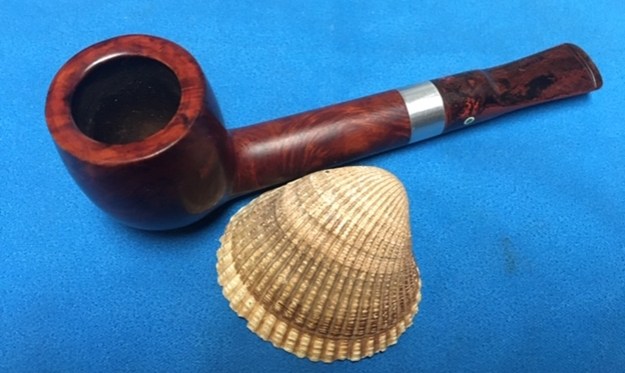
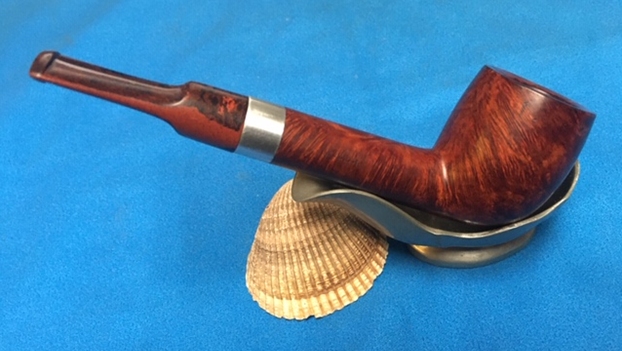
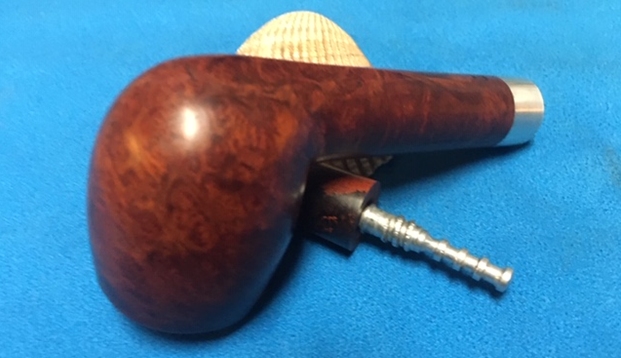
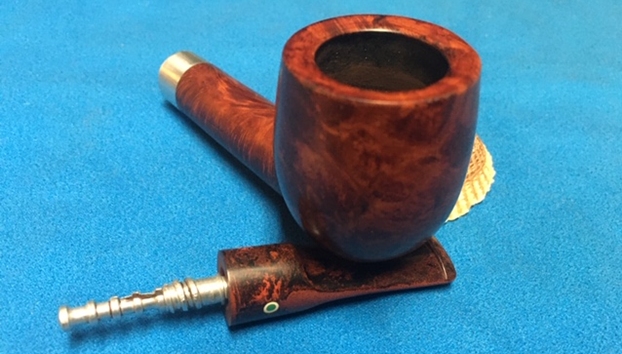
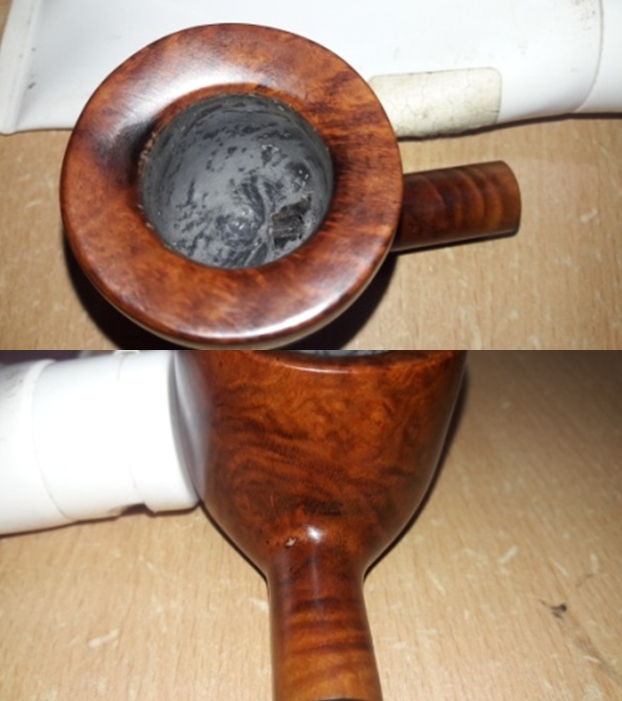
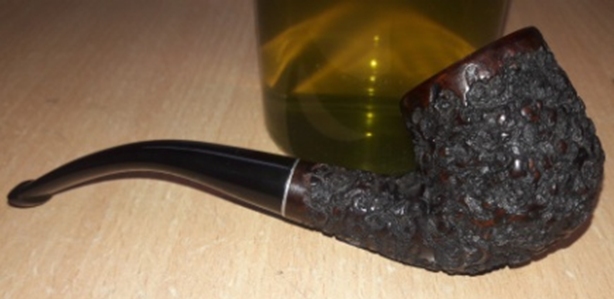
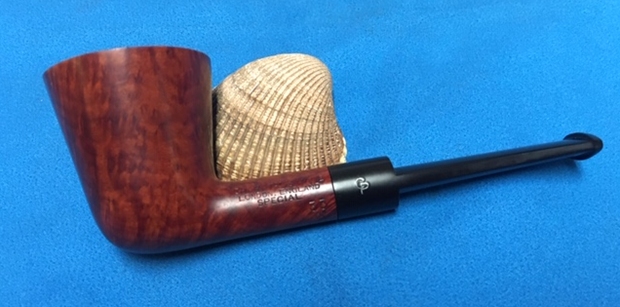
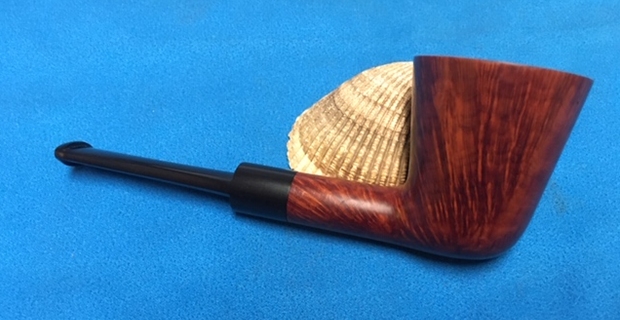
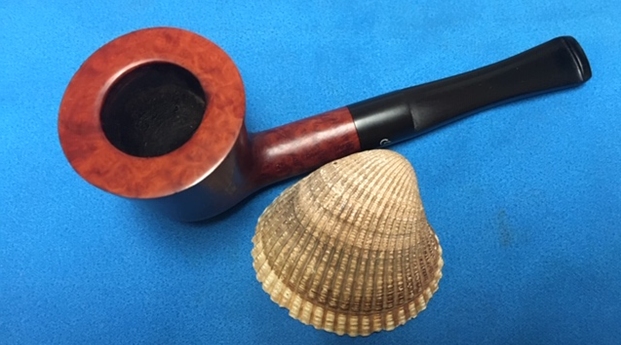
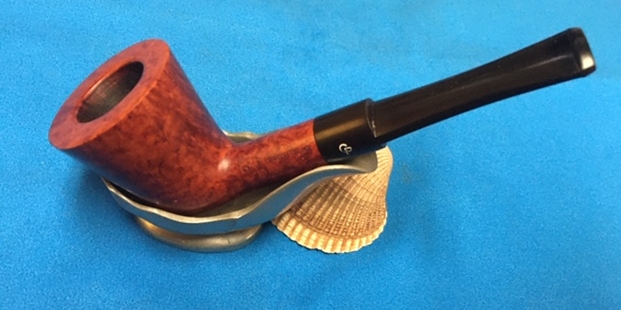
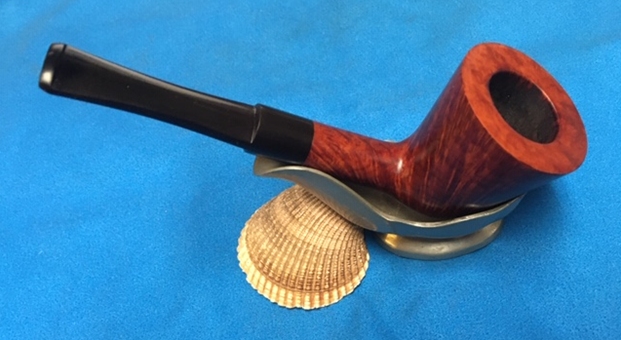
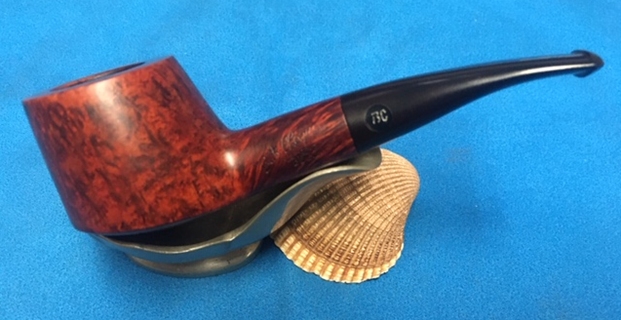
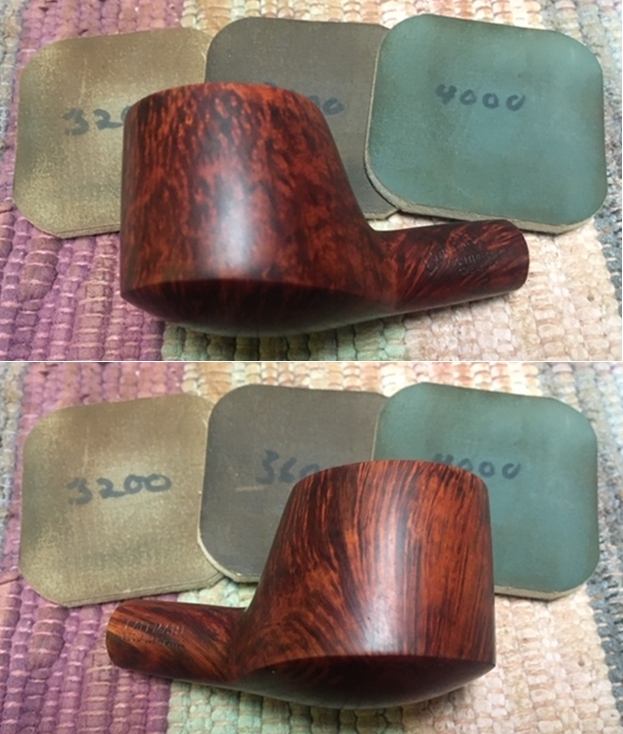
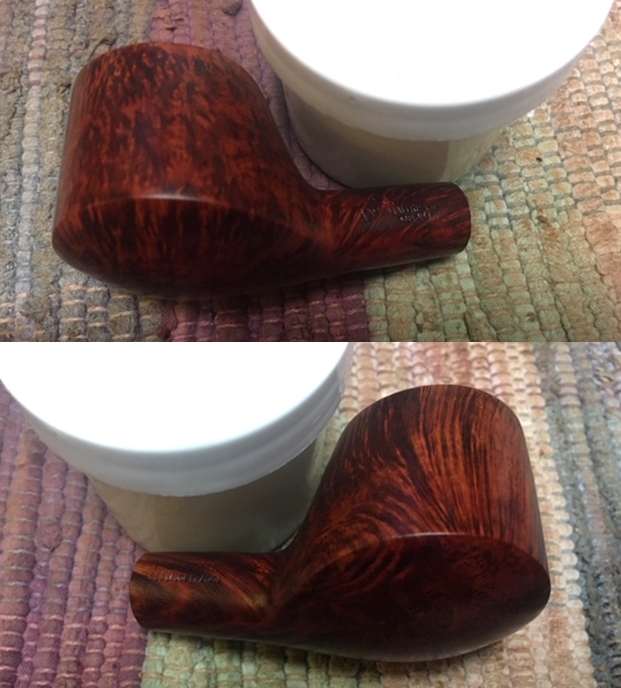
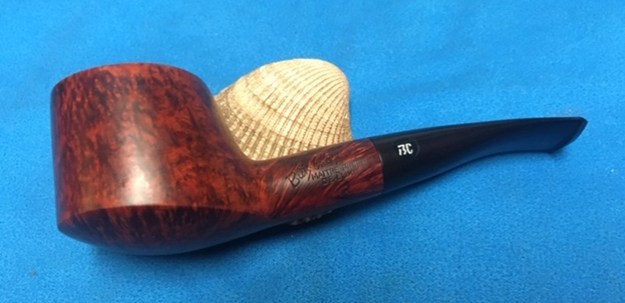
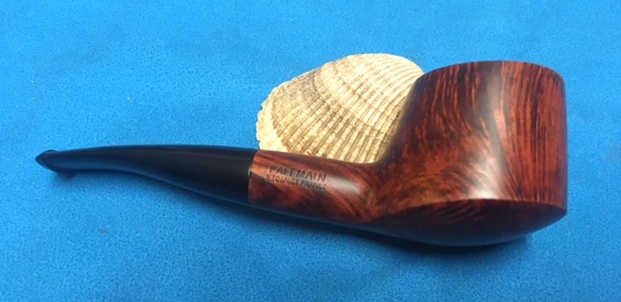
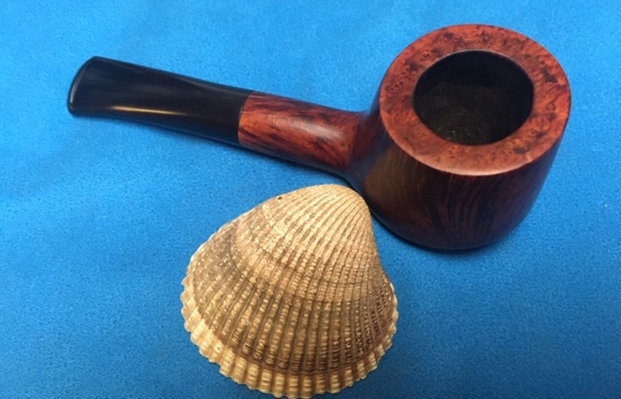
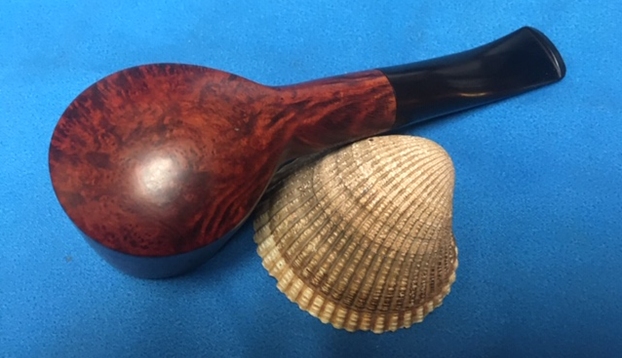
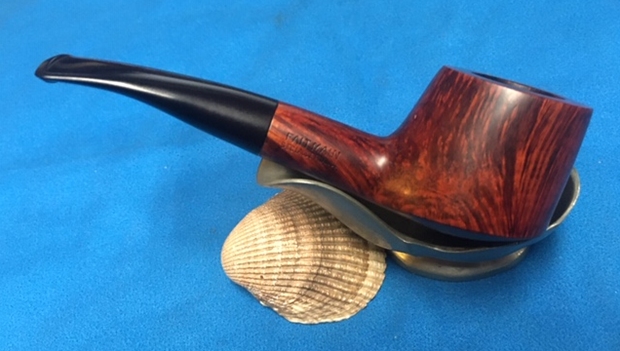
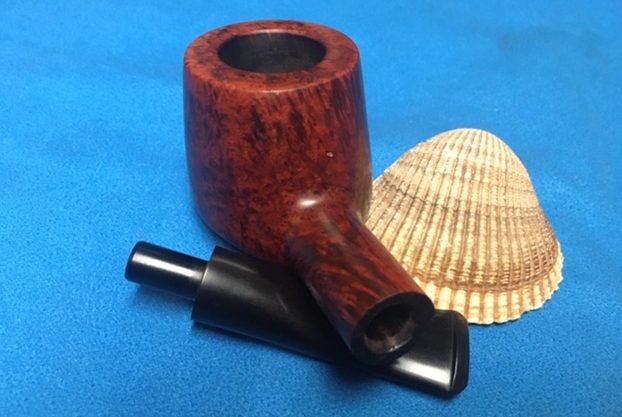
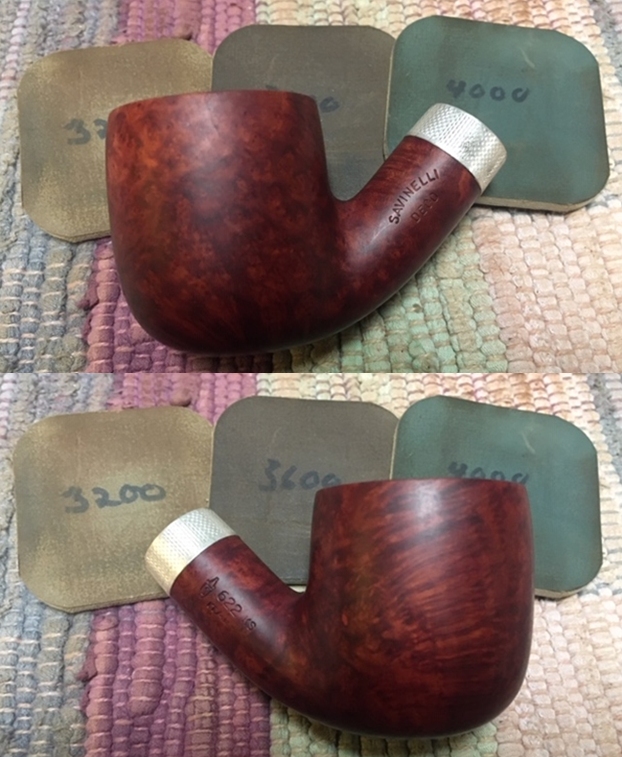
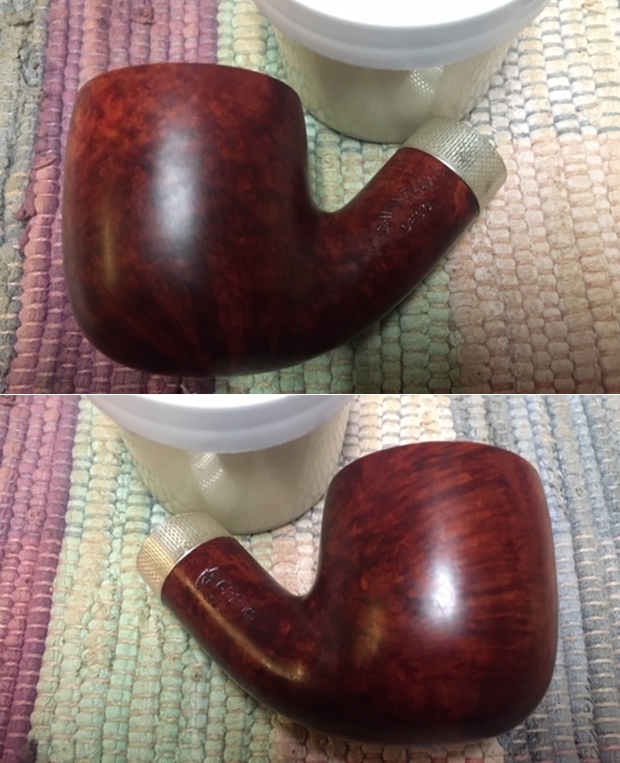
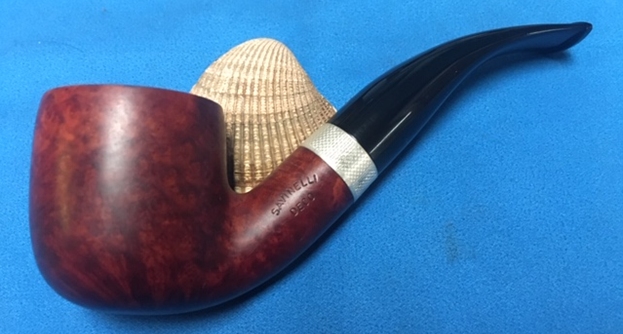
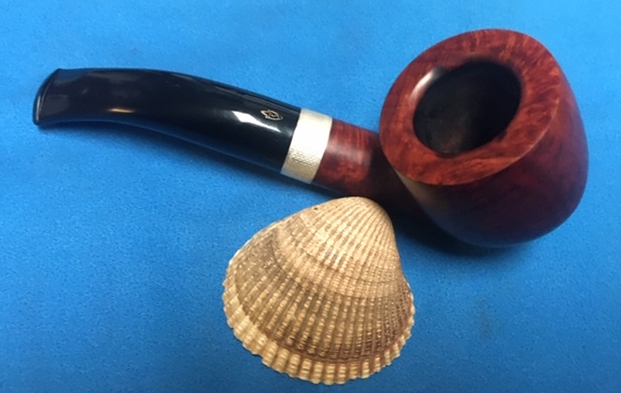
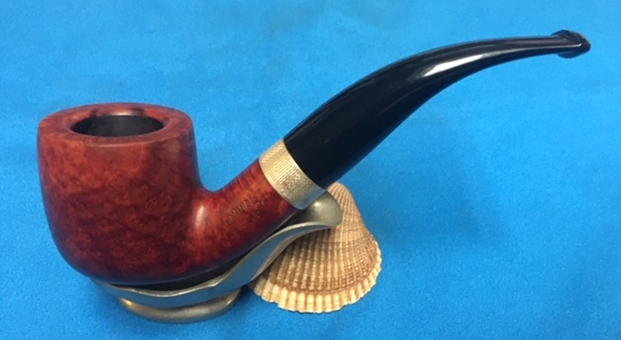
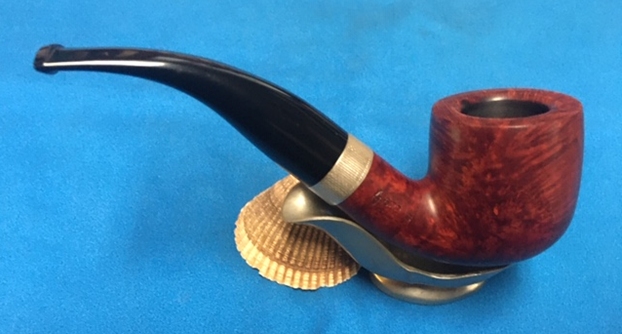
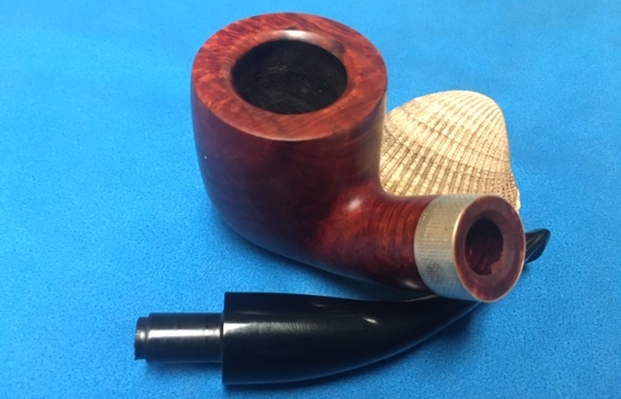
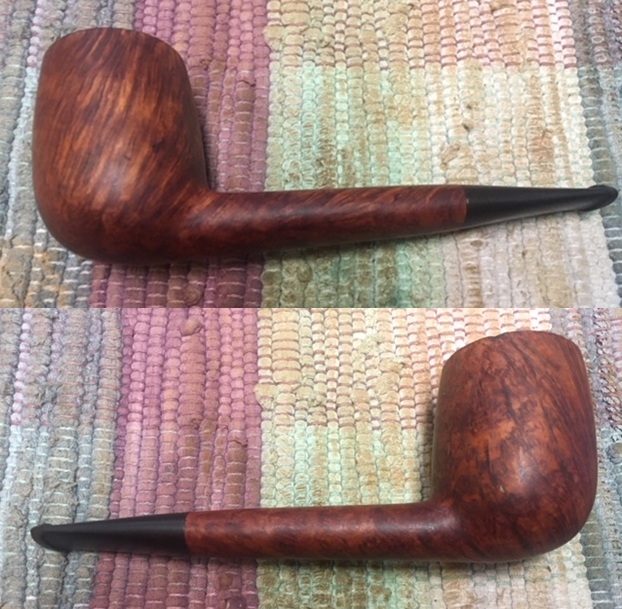
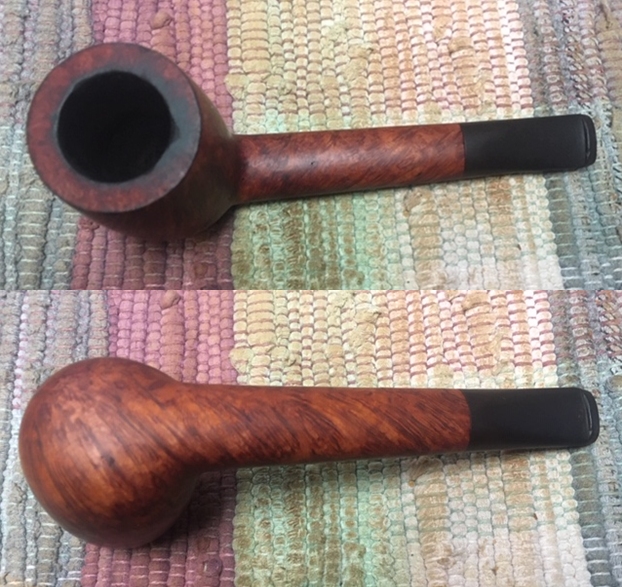
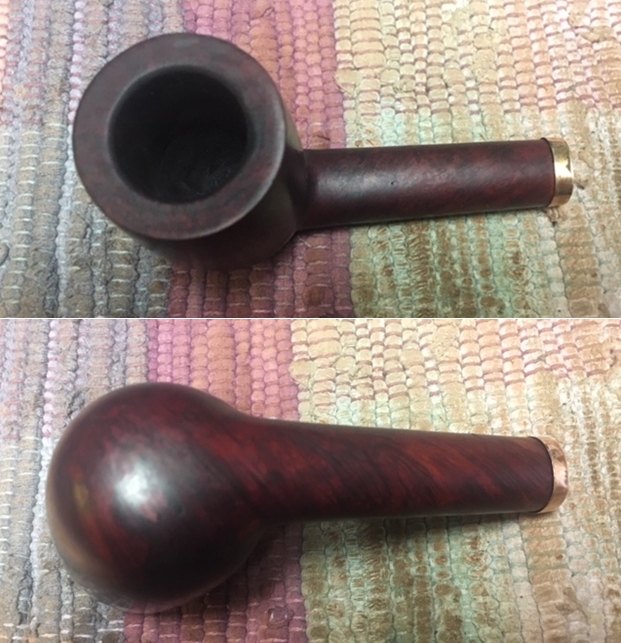
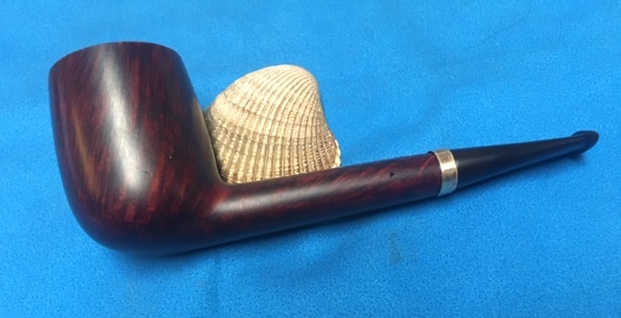
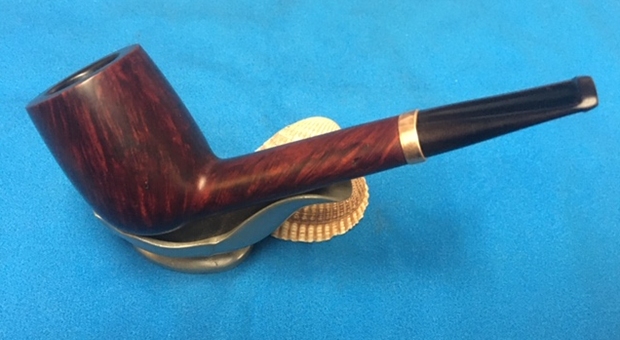
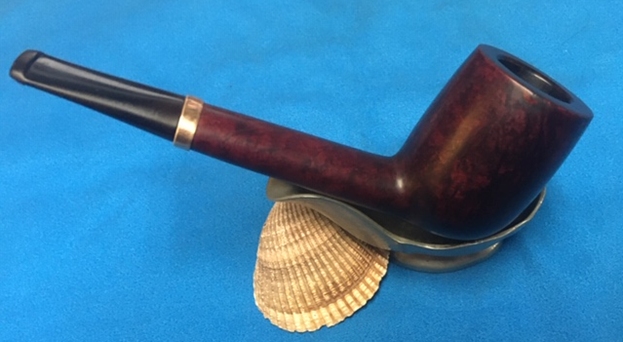
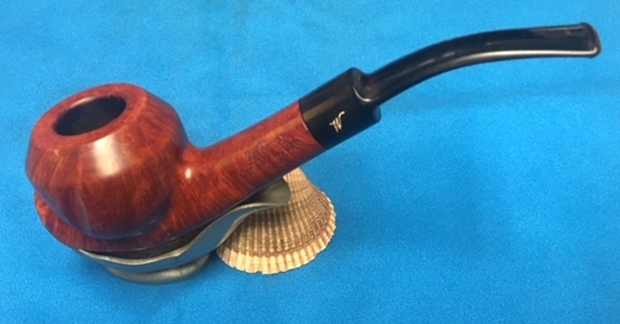
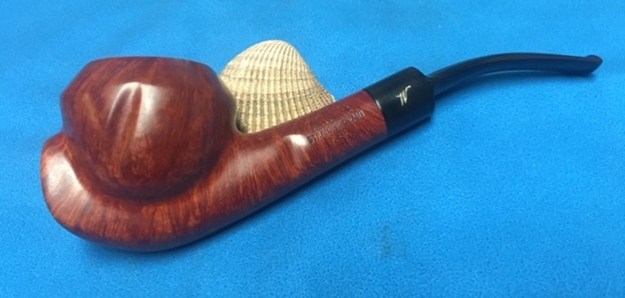
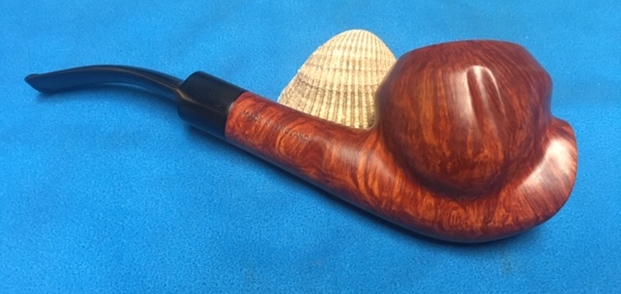
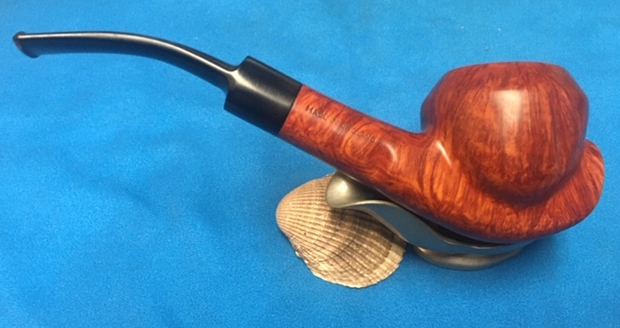
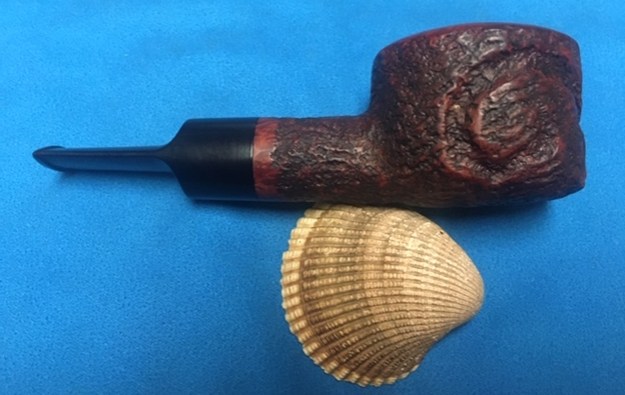
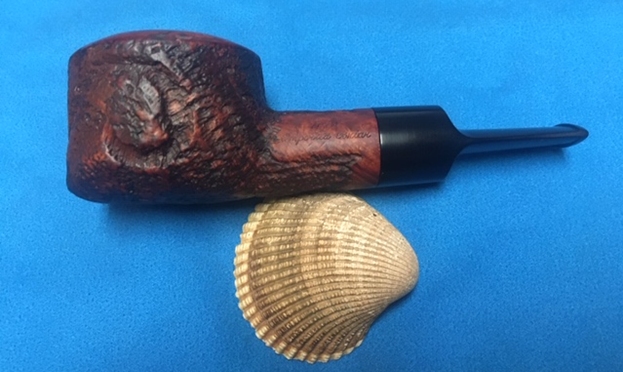
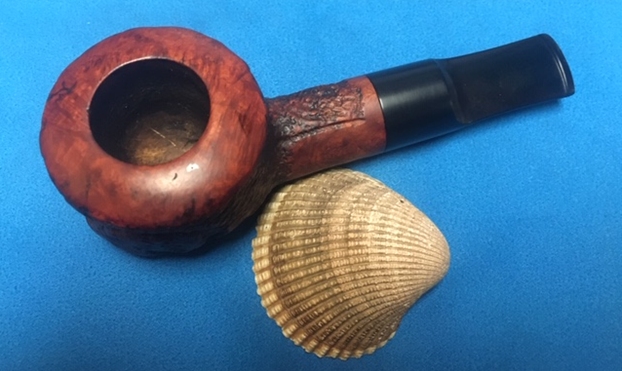
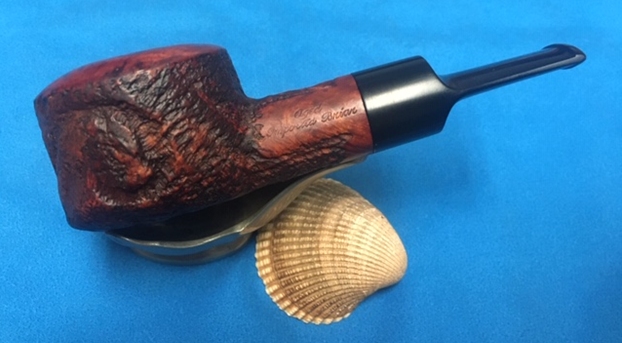
 This delicate and petite Prince Amled Hand Made Danish pipe is a real beauty. I know it is hand made in Denmark but that is the extent of the information available on the brand. The shaping and carving follows the grain and highlights the mix of grains around the bowl. The finish on the pipe is in excellent condition and the contrasting stains work well to highlight the stunning grain on the pipe. The thin vulcanite pencil saddle stem adds to the mix. With the grime and debris gone from the finish and the bowl it was a beauty and the grain just pops at this point. The rim top looks really good now. I put the stem back on the bowl and buffed the pipe with Blue Diamond on the buffing wheel. I carefully avoided the stamping on the shank and stem during the process. I gave the bowl and the stem multiple coats of carnauba wax on the buffing wheel and followed that by buffing it with a clean buffing pad on the buffer. I hand buffed the pipe with a microfiber cloth to deepen the shine. The finished “Peewit” shape (at least that is what I am calling it) is quite nice and feels great in the hand. Give the finished pipe a look in the photos below. I can only tell you that like the other pipes I am working that it is much prettier in person than the photos capture. The dimensions of the pipe are Length: 5 inches, Height: 2 ¼ inches, Outside diameter of the bowl: 1 ¼ inches, Chamber diameter: 5/8 of an inch. Thanks for walking through the restoration with me as I worked over another interesting pipe. This pipe will be added to the Danish Pipe Makers section of the rebornpipes store soon. If you want to add it to your collection send me an email or a message! Thanks for your time.