
Blog by Steve Laug
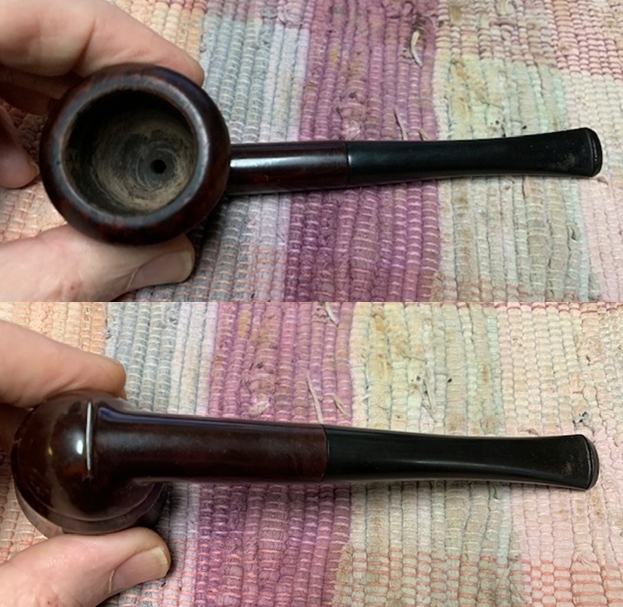
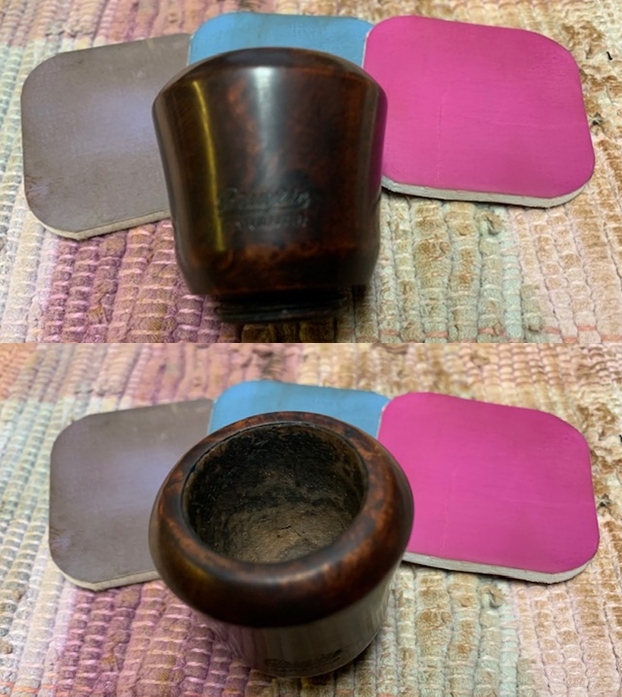
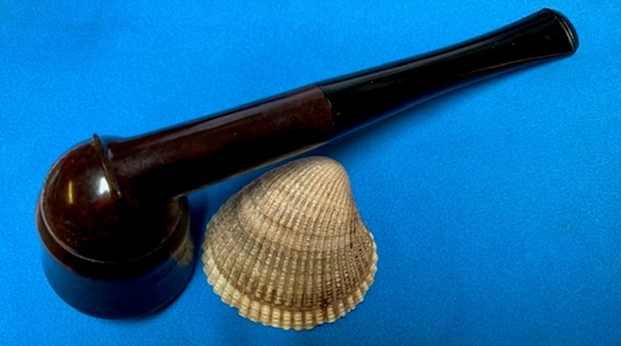
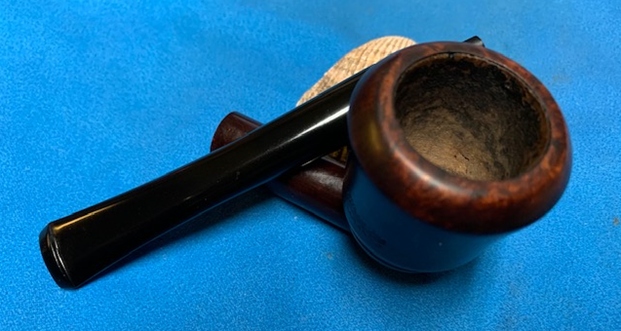
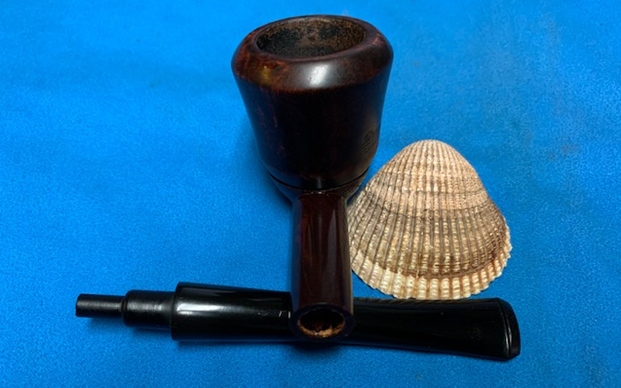
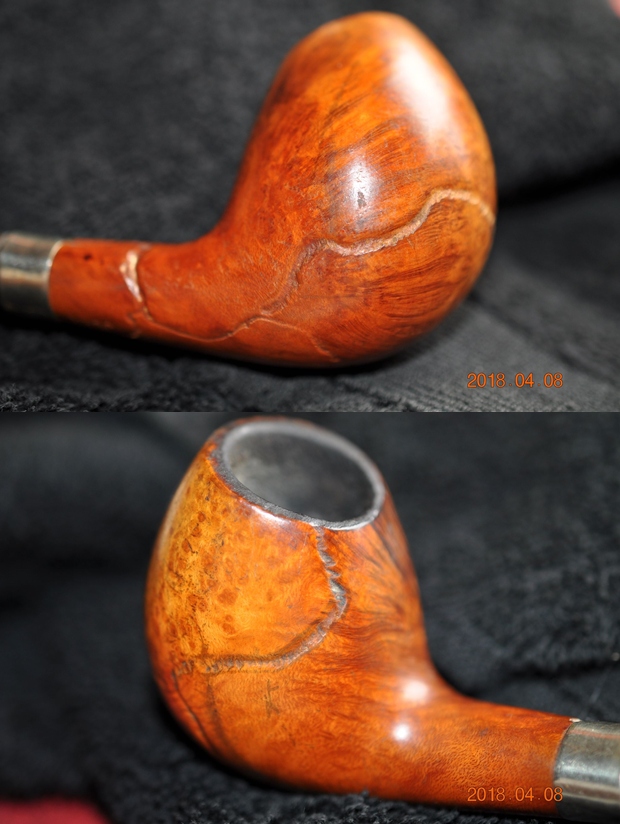
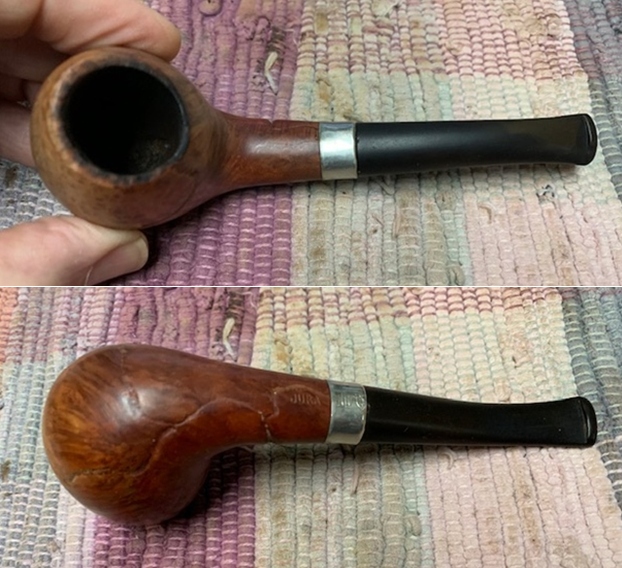
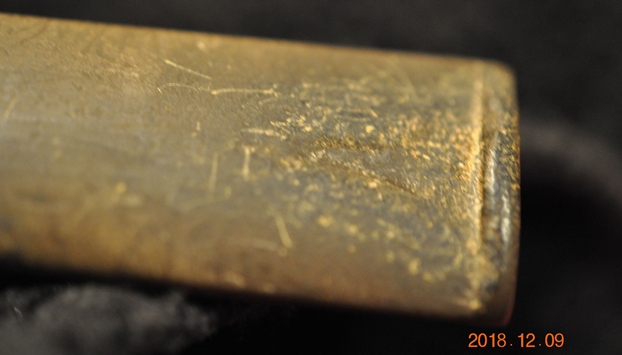
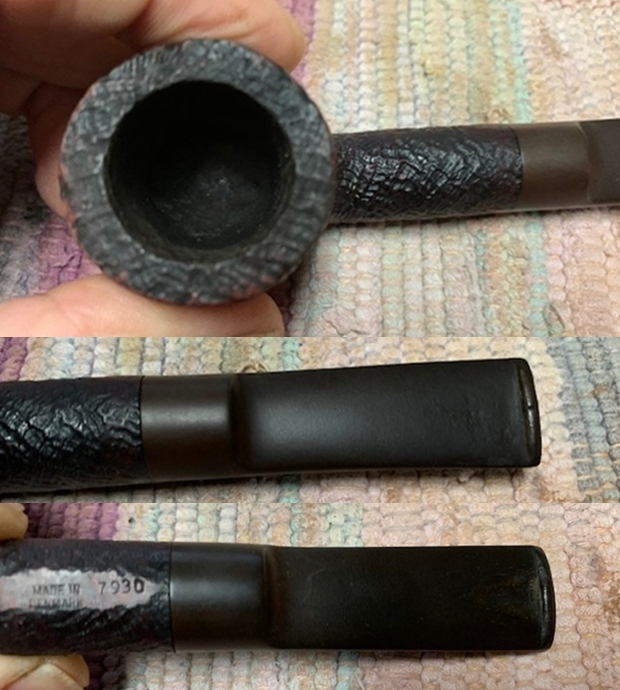
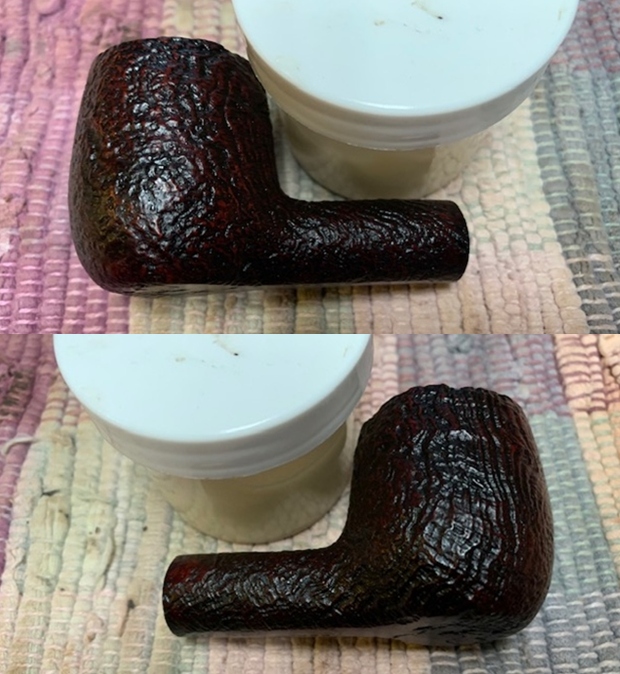
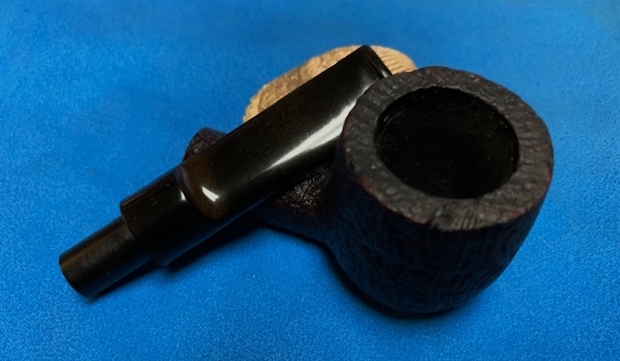
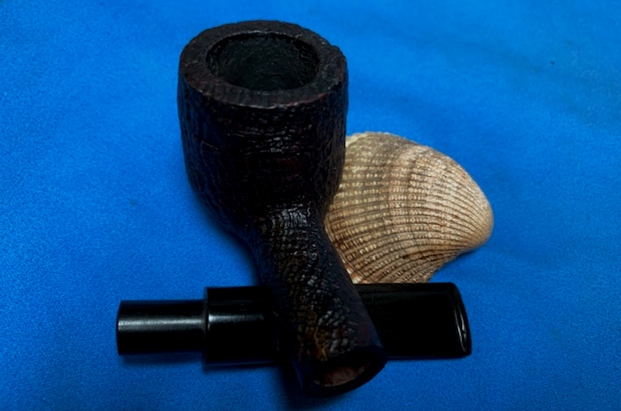
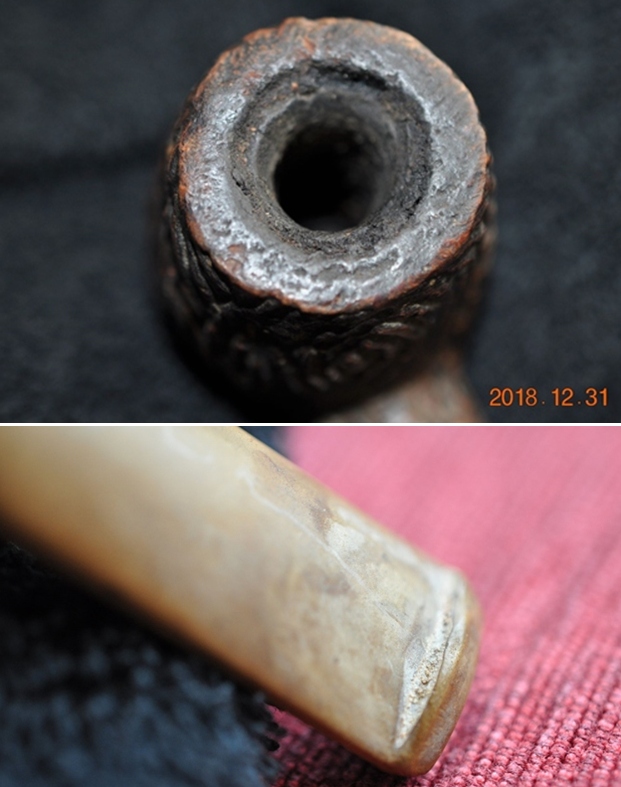
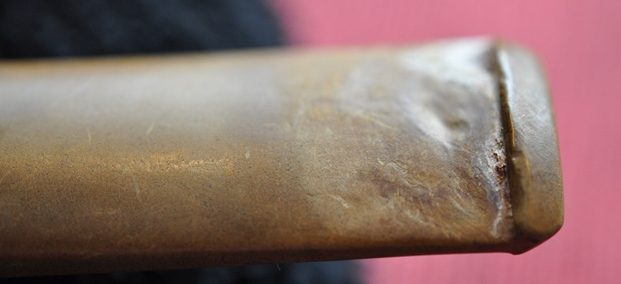
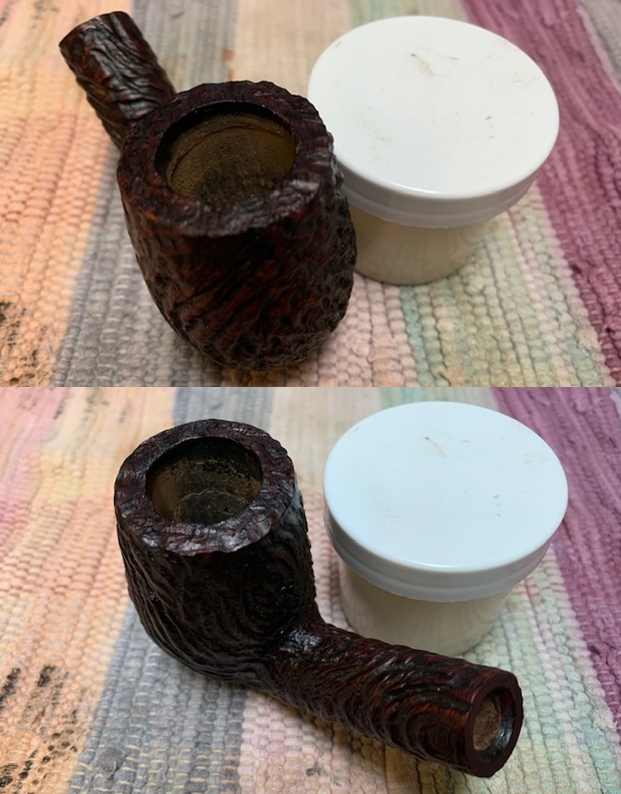
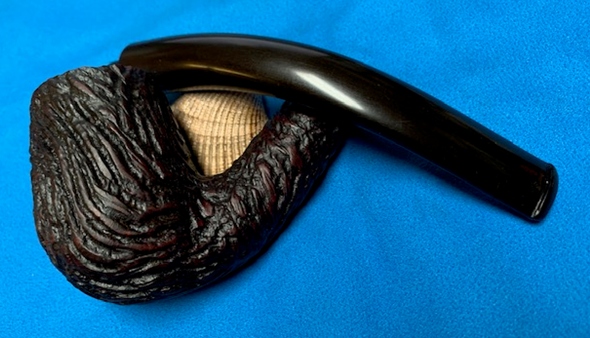
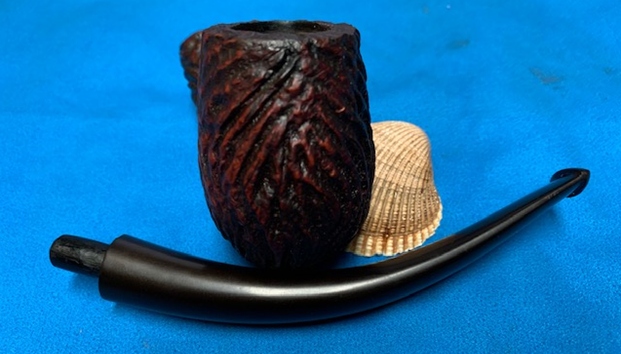
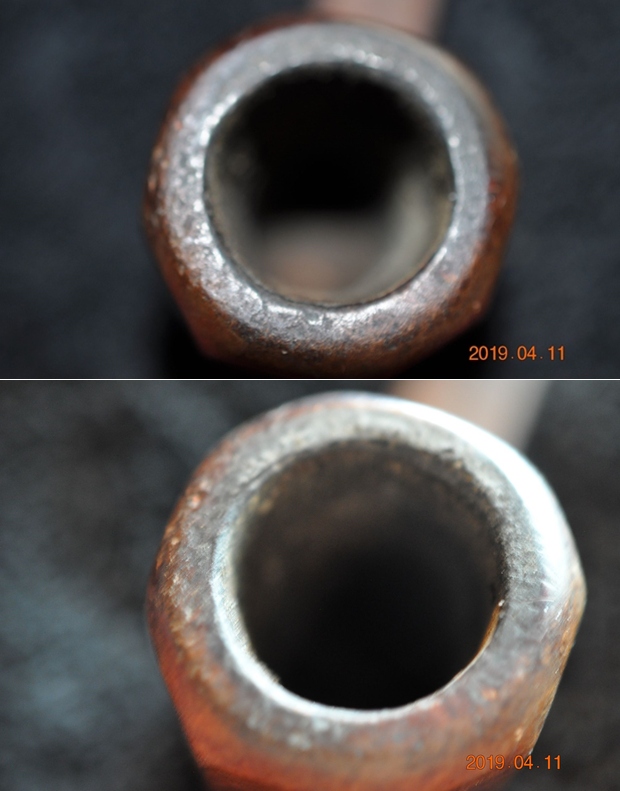
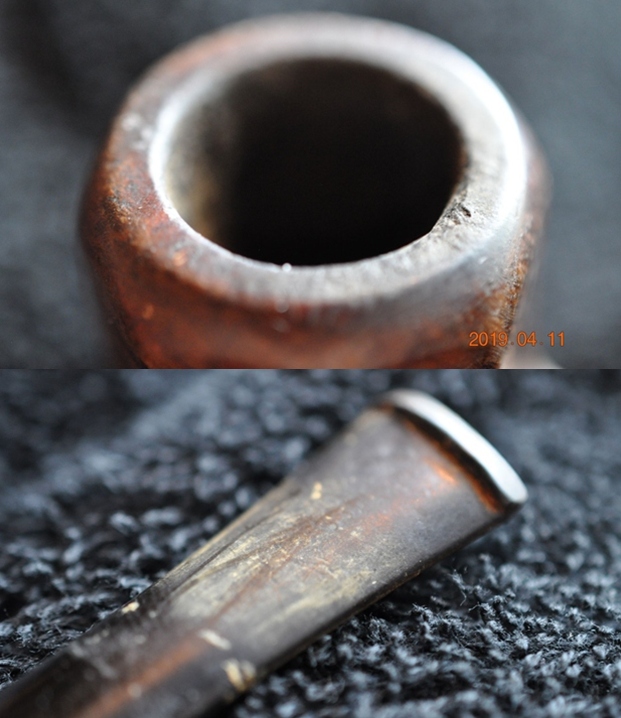
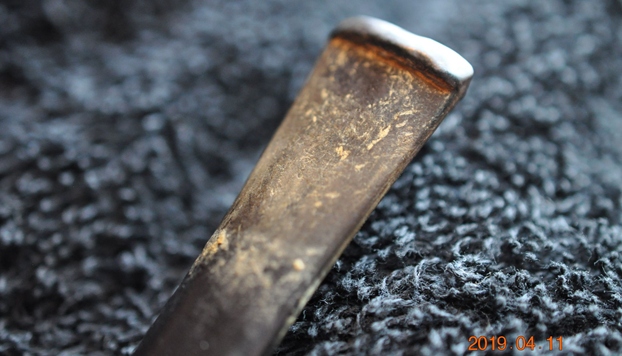
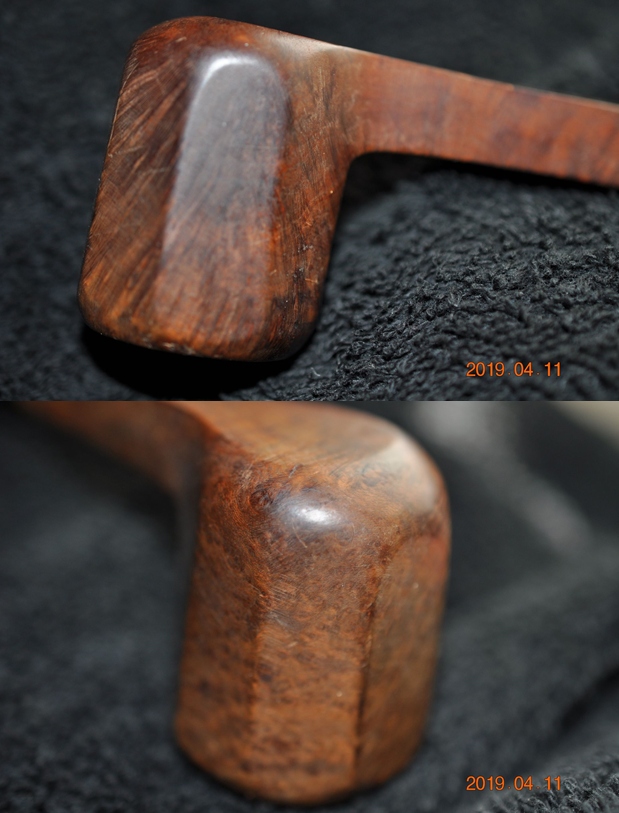
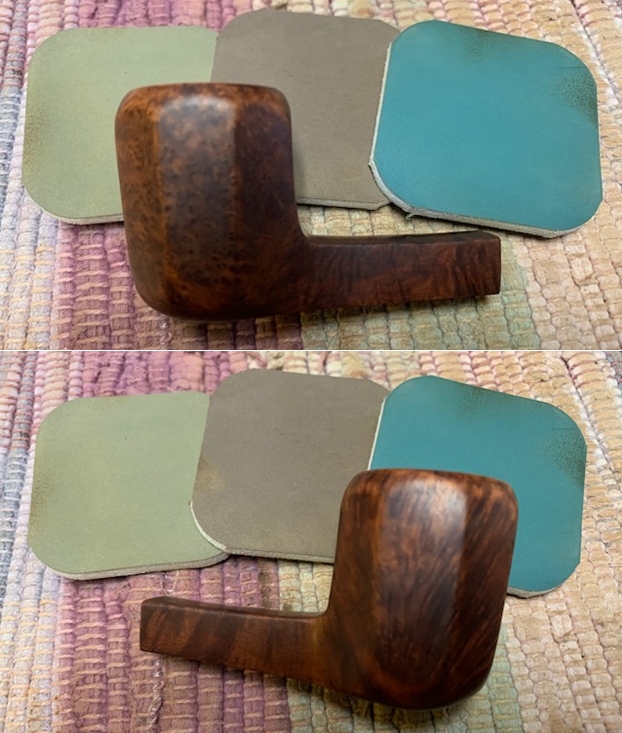
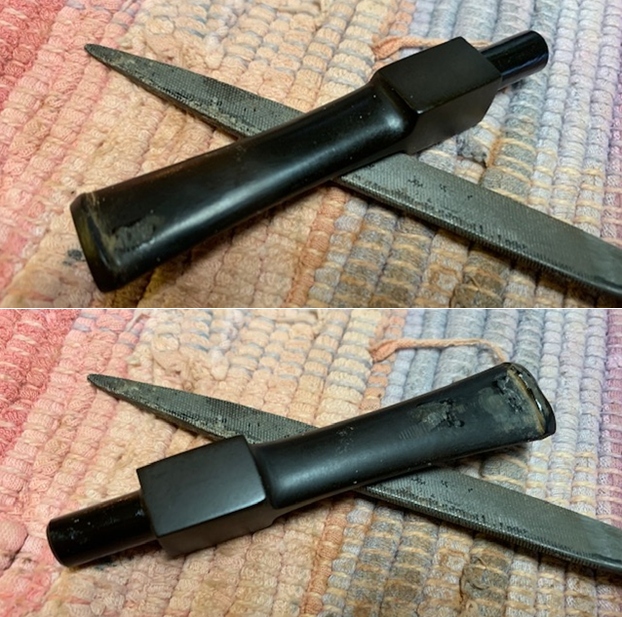
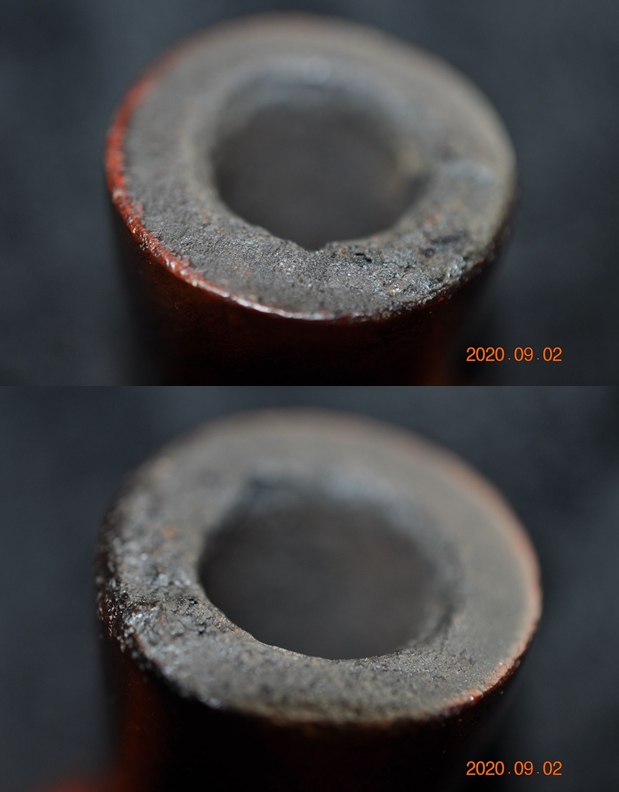
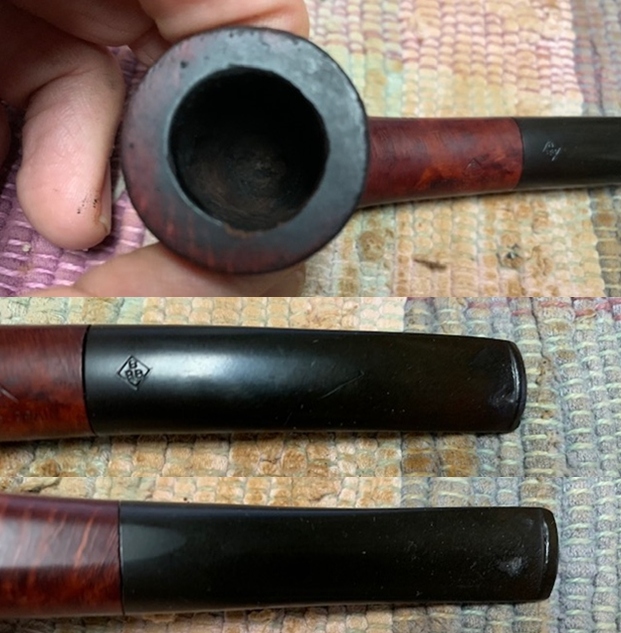
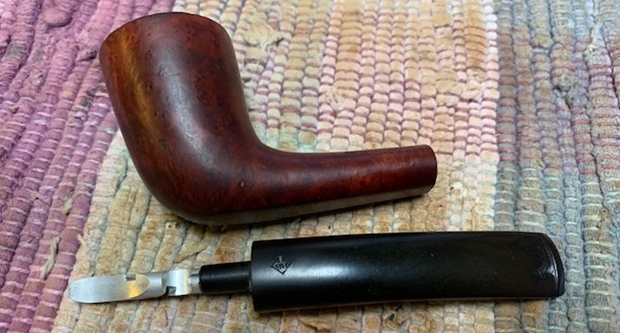
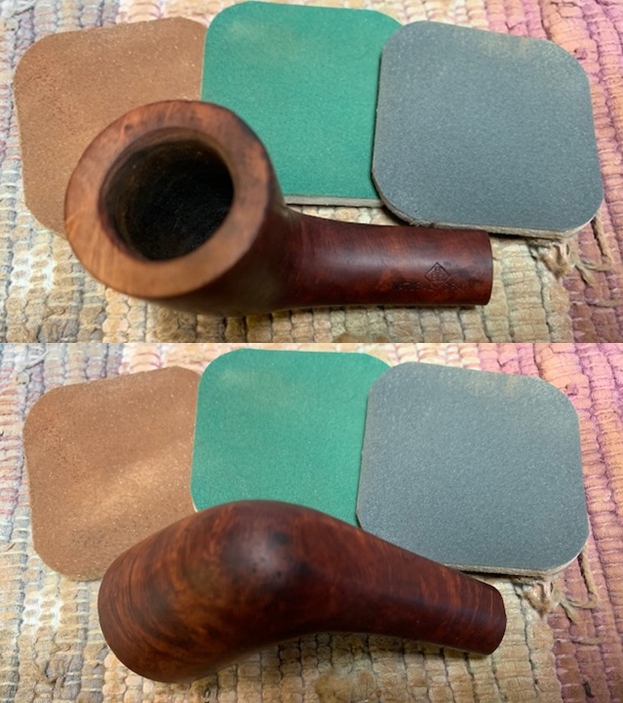
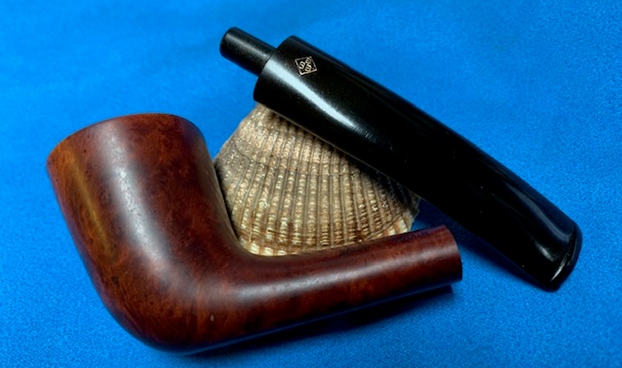
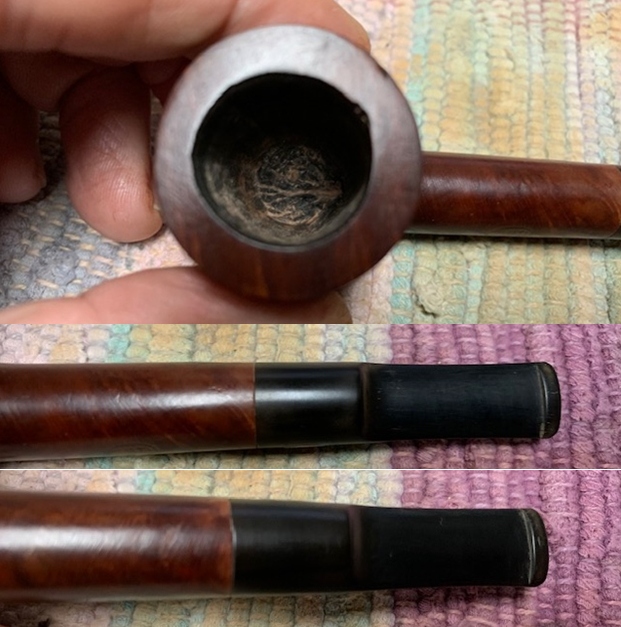
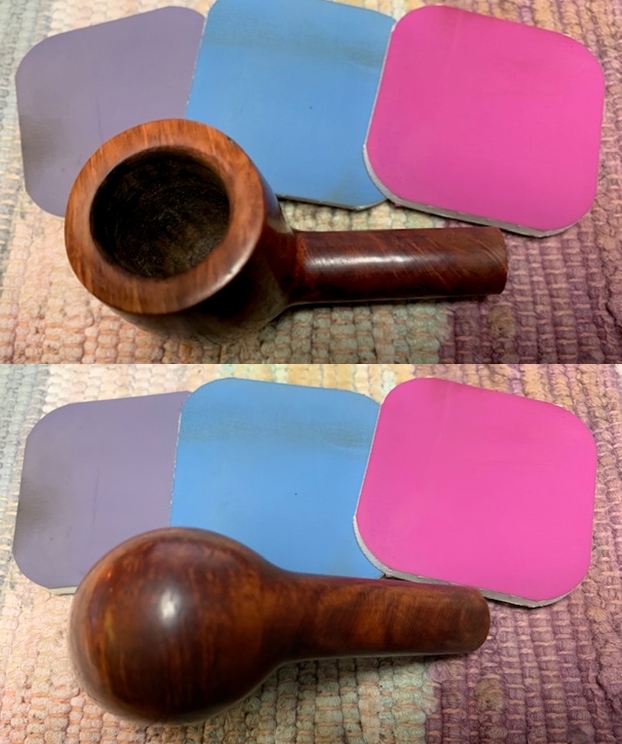
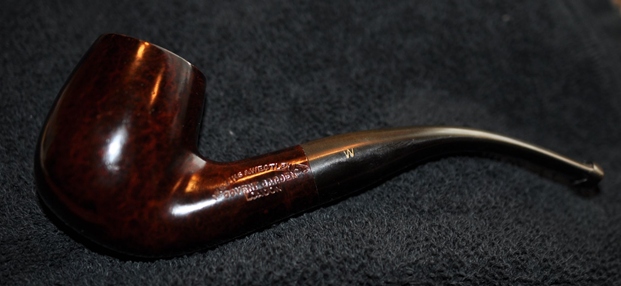
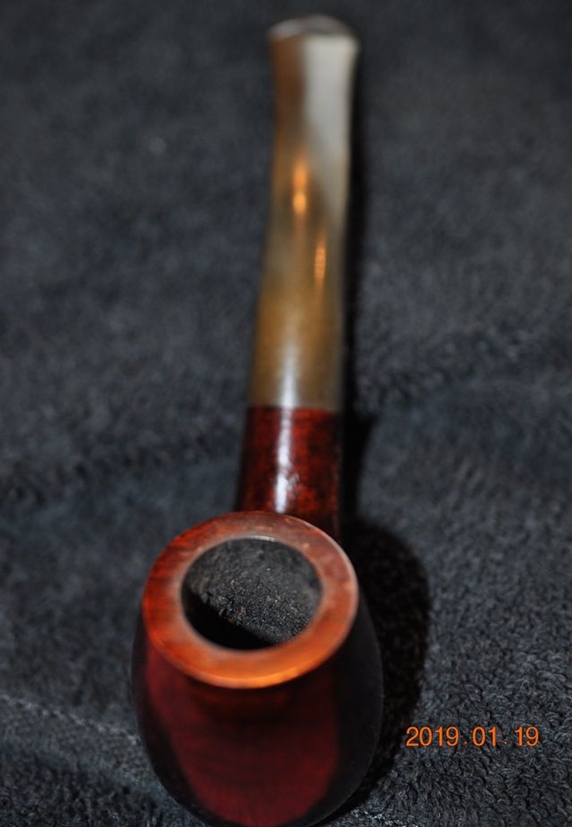
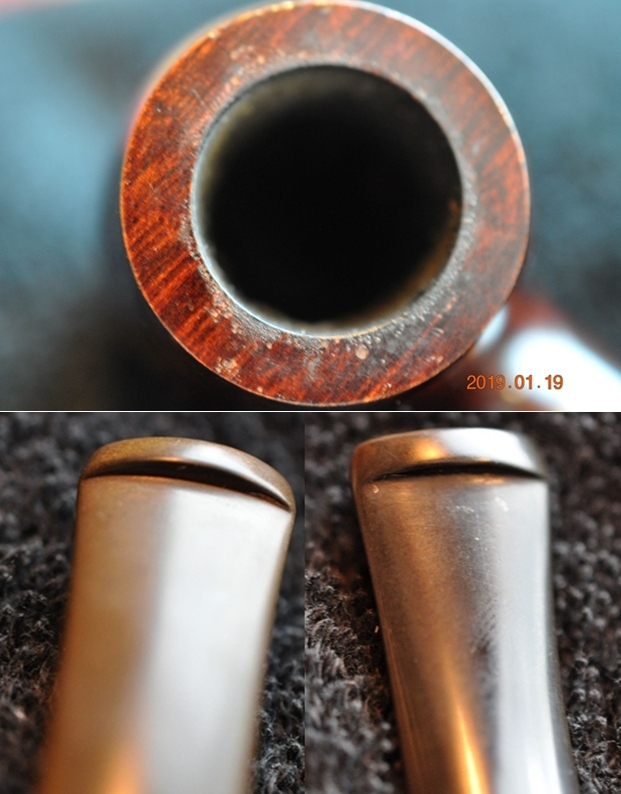
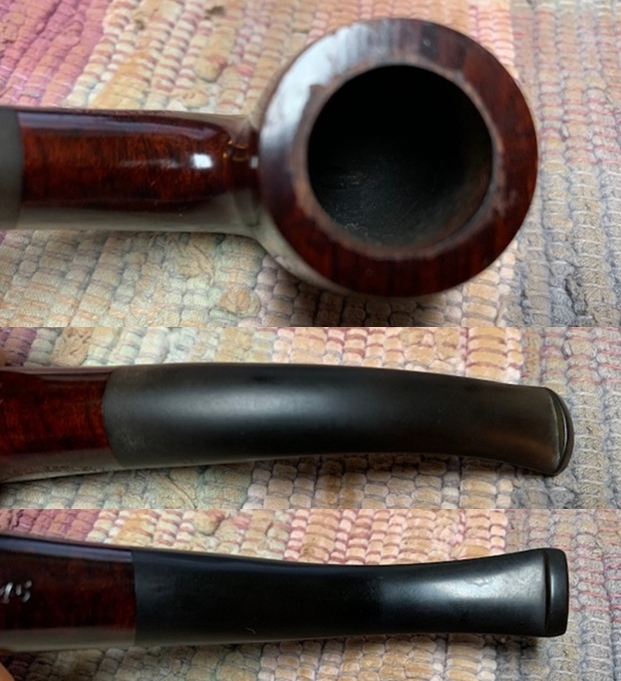
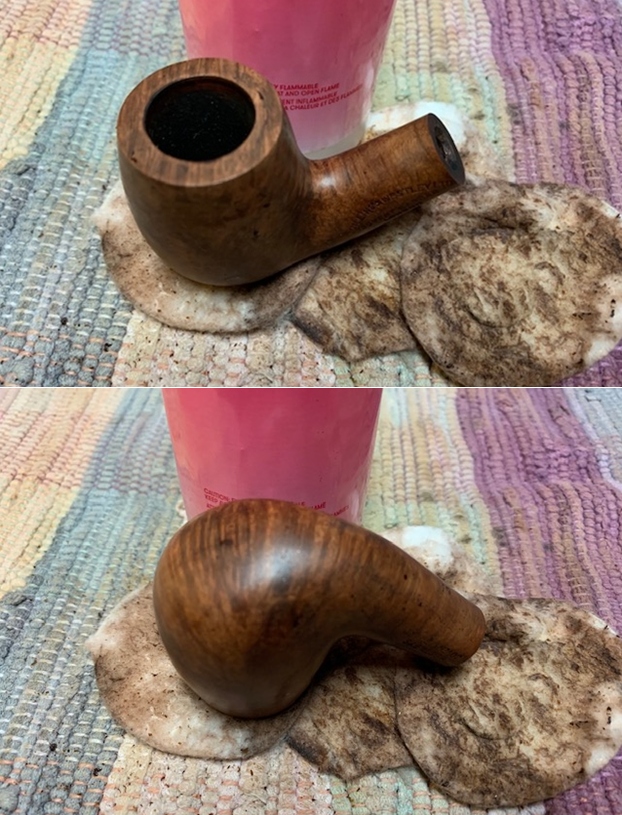
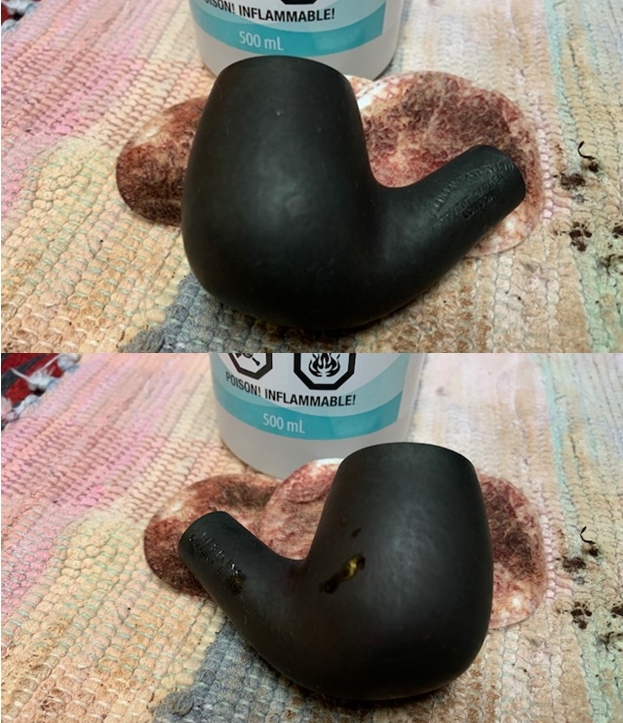
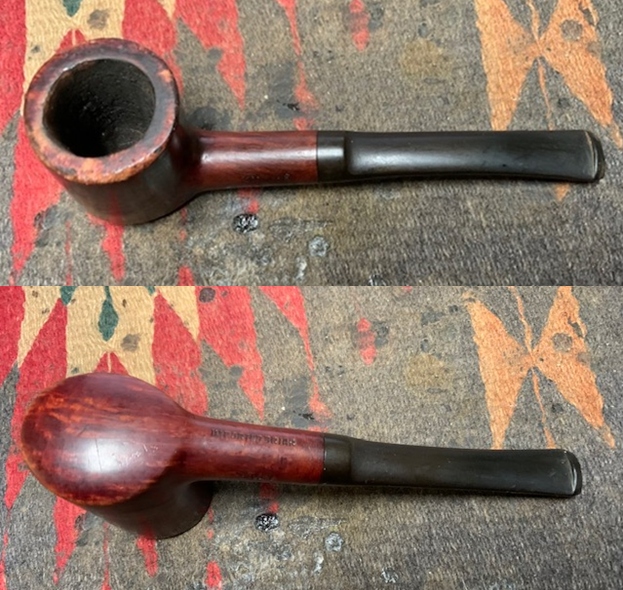
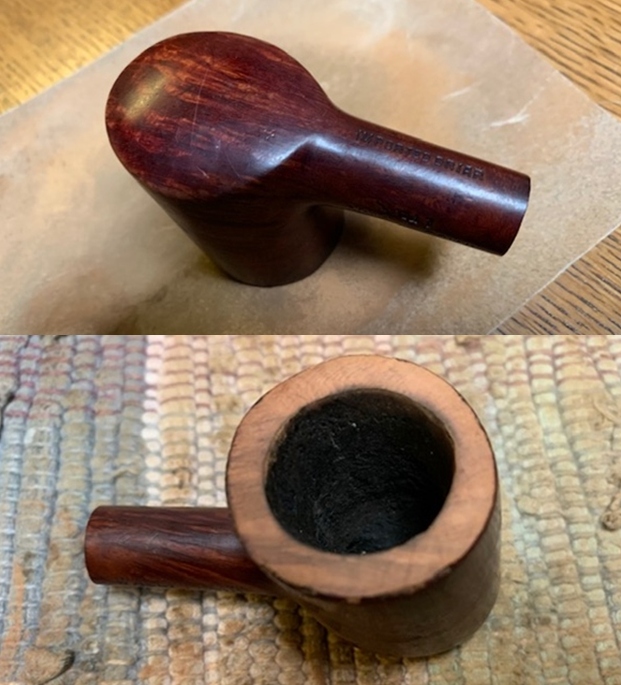
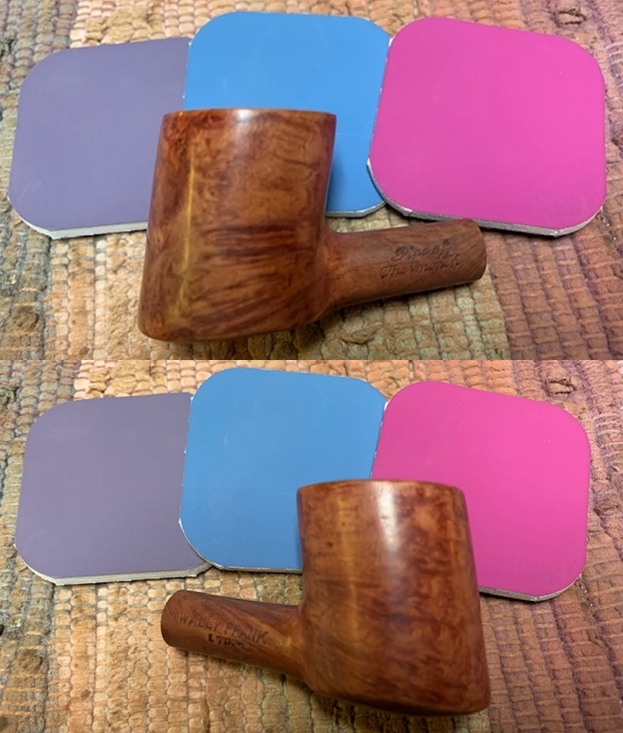
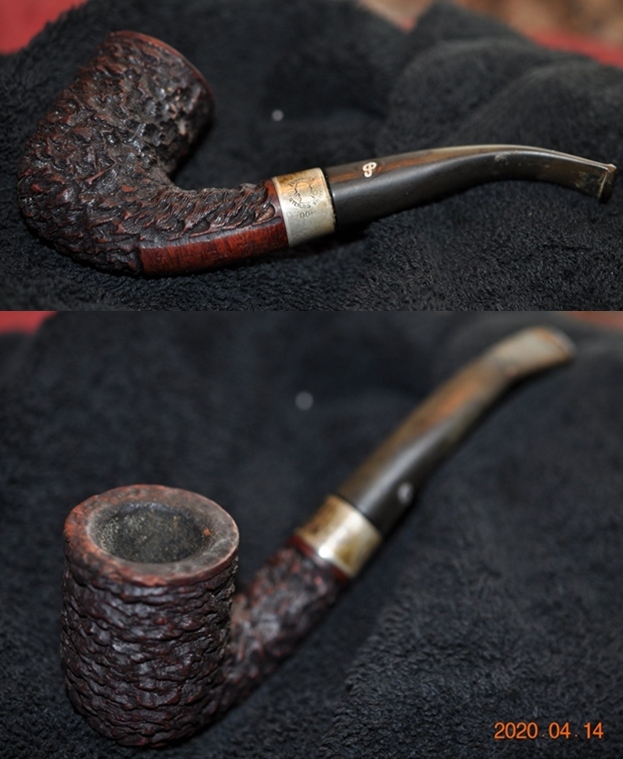
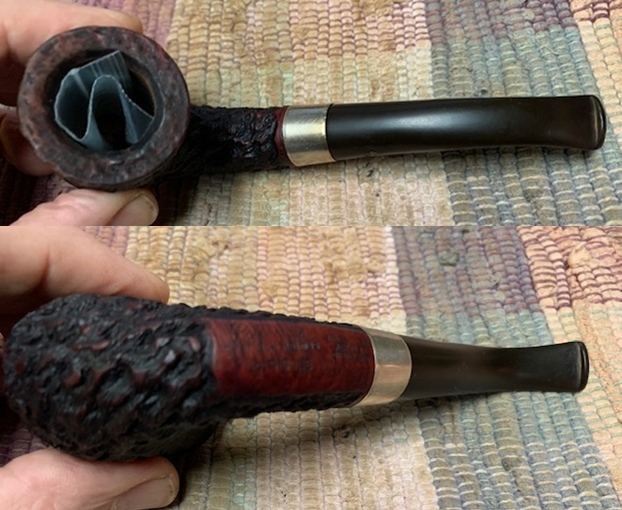
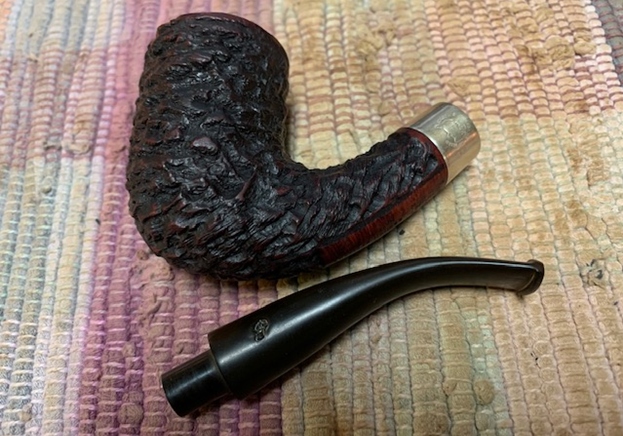
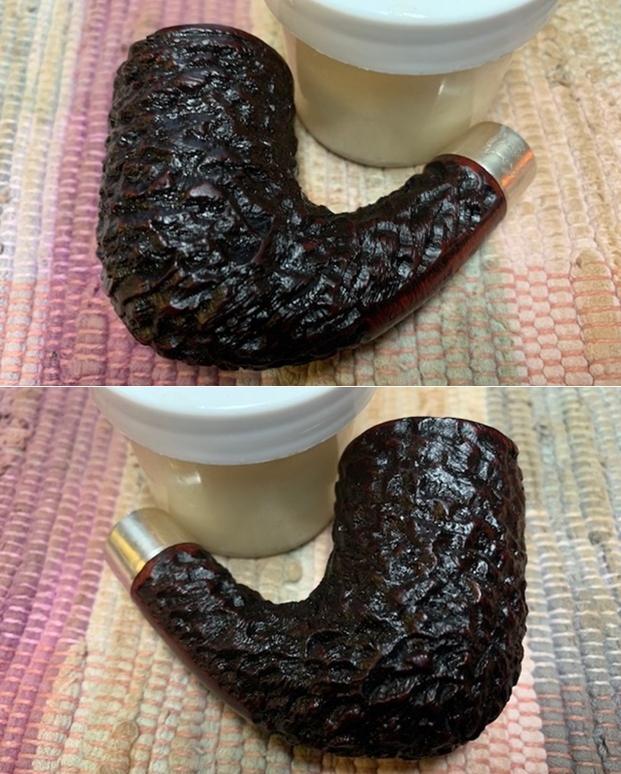
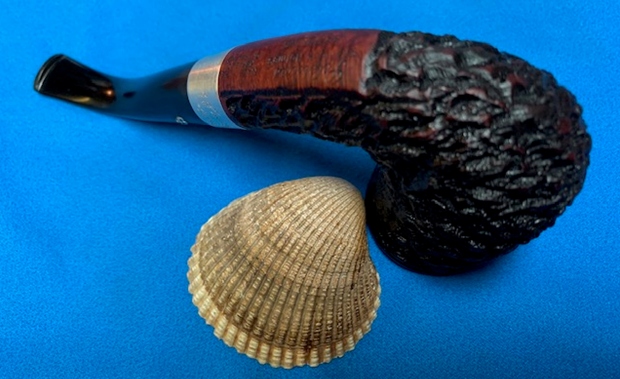
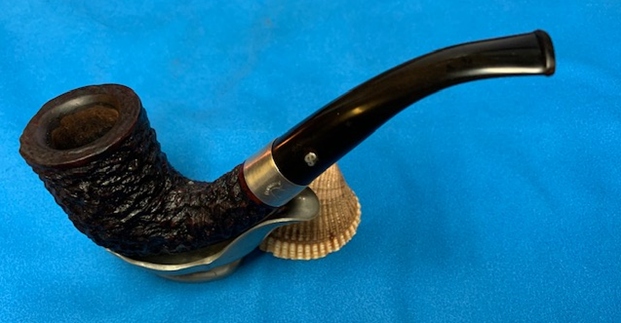
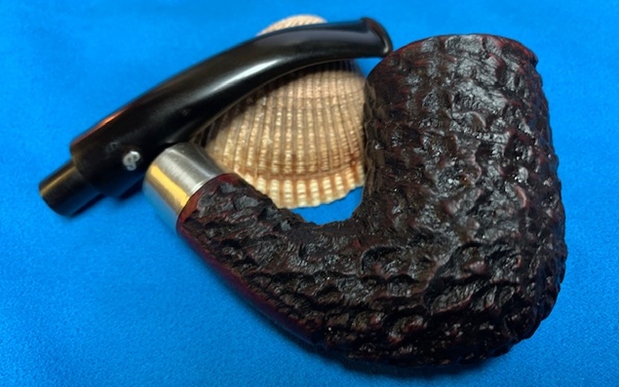
The next pipe on the work table came to us from an antique dealer on the Oregon Coast, USA back in 2019. It has been sitting here for a year. Jeff took photos in in February of this year. Now I am finally getting a chance to work on it. The pipe is a system pipe with a Briar Bowl, a Bakelite base and a vulcanite stem. The pipe was an absolute mess. On the backside of the briar bowl it is stamped with Bruyere [over] Garantie. The Bakelite base is embossed and reads Kuhl Record across the front of the base. The mix of stains were worn and spotty around the bowl but still showed the original orange and brown look even with the grime ground into the finish. It was very dirty with dust and debris ground into the finish. There was a thick cake in the bowl and an overflow of lava on the rim top. The inner edge looks good but we will know for certain once the bowl is reamed and cleaned. The stem was oxidized, calcified and there were light tooth marks and chatter on both sides near the button. Jeff took photos of the pipe before he started working on it. I include those below. 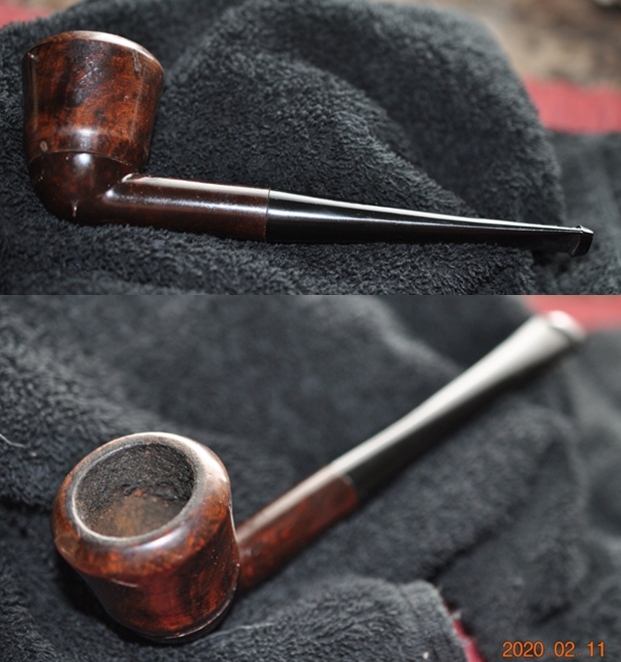 Jeff took photos of the bowl and rim top to show the cake in the bowl and the condition of both. It was heavily caked with a lava overflow on the rim top. He took photos of the top and underside of the stem showing the calcification, oxidation and tooth marks on the stem surface and button.
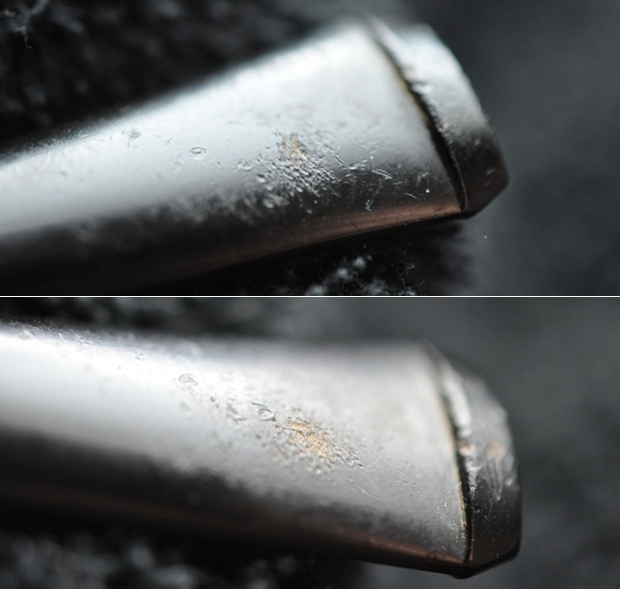
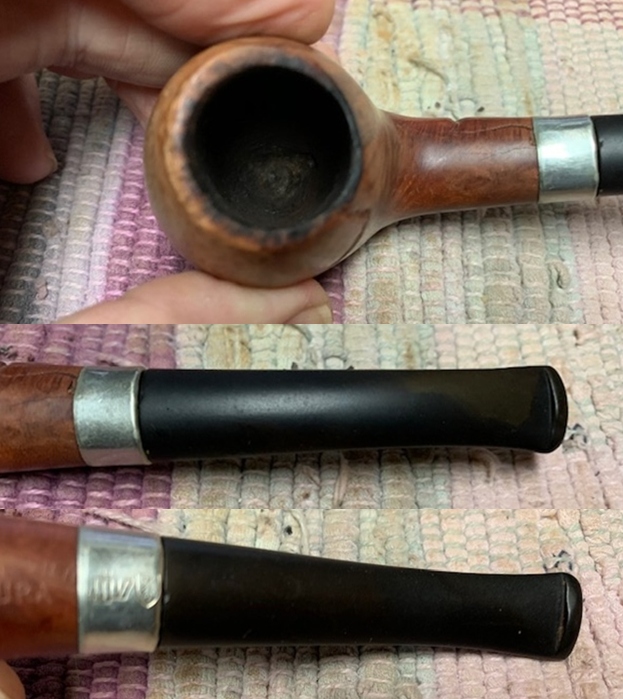
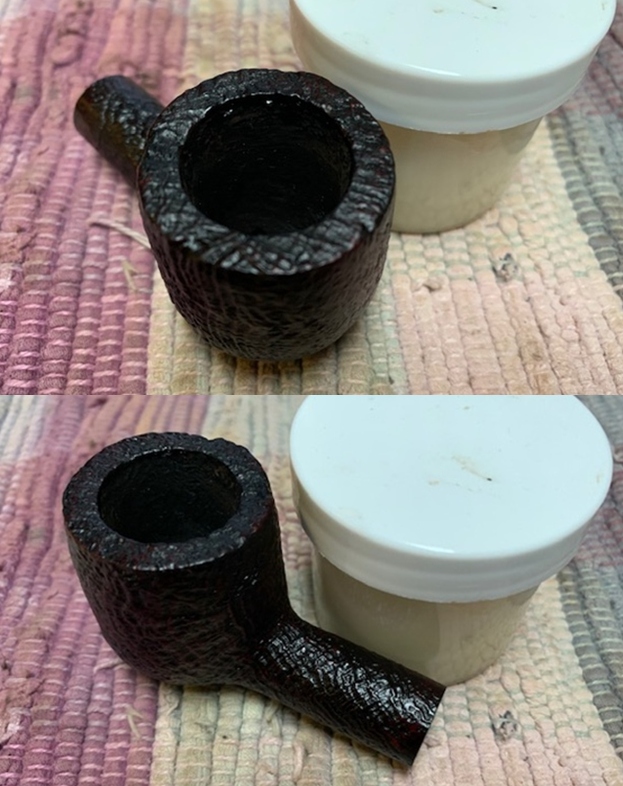
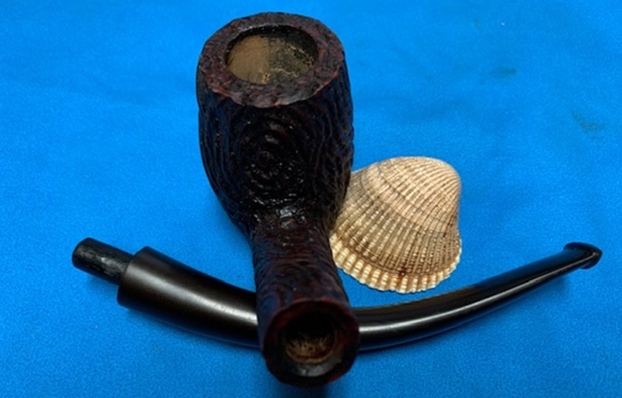
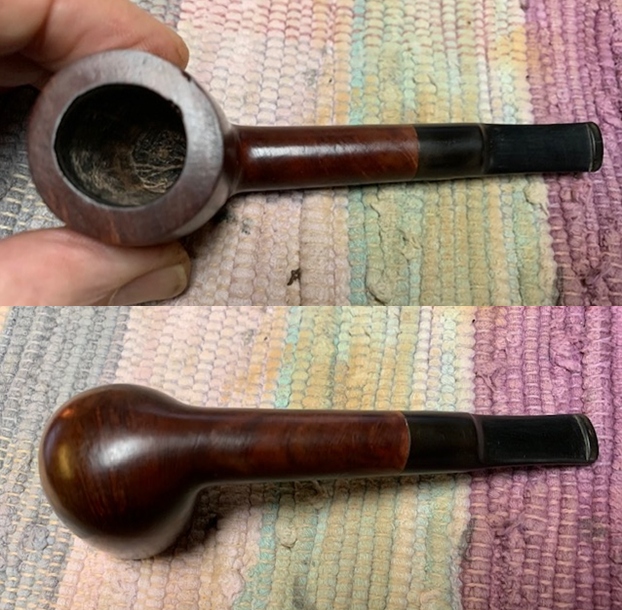
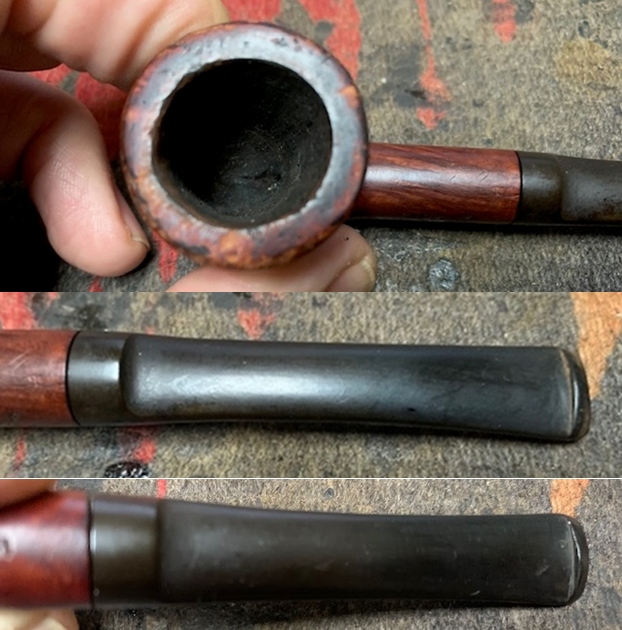
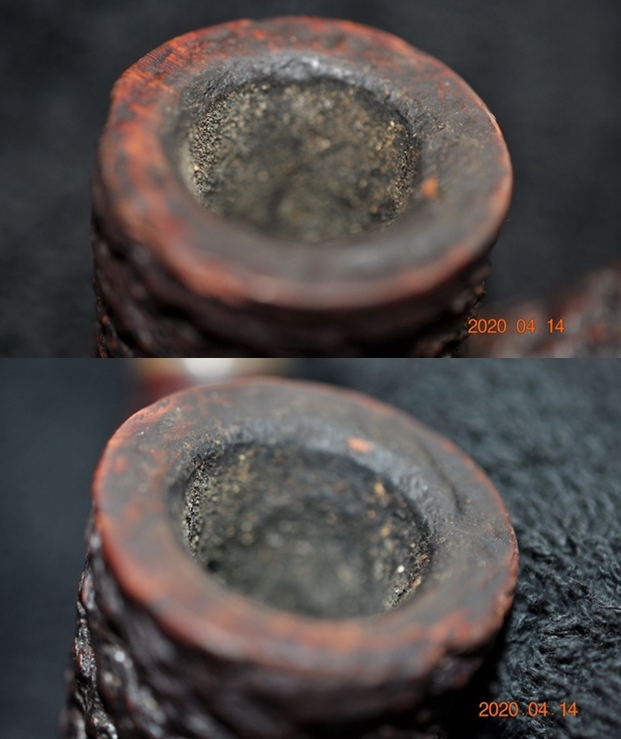
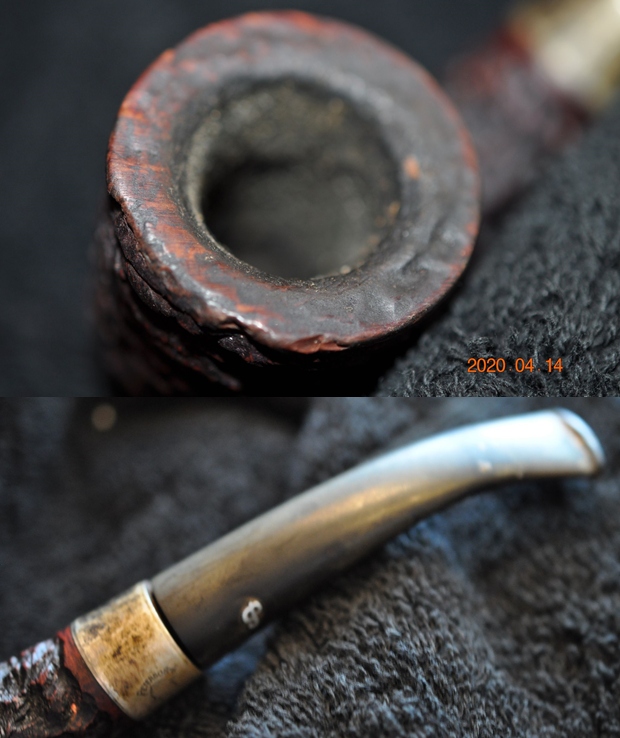
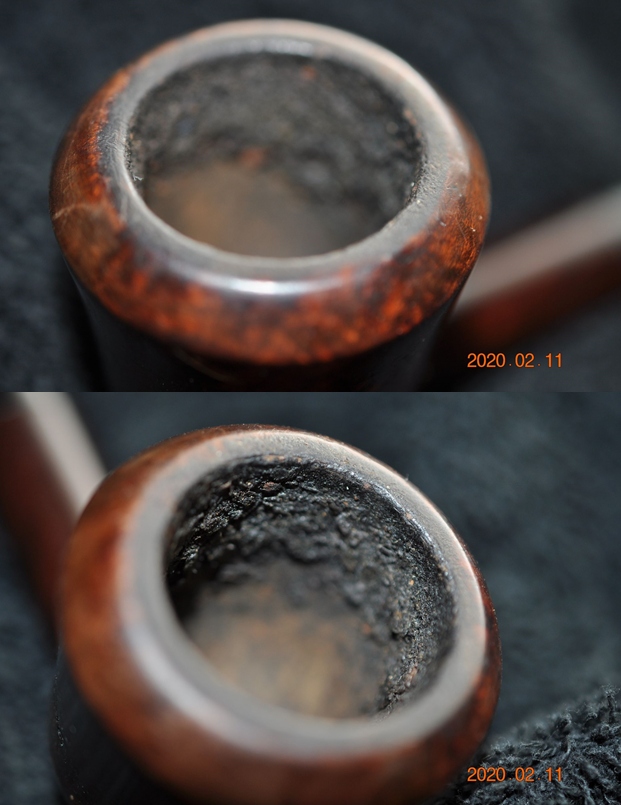
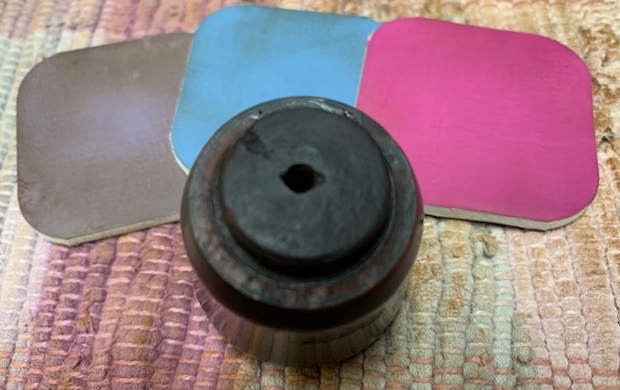
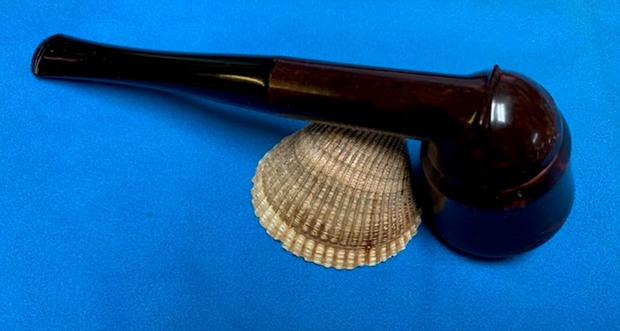
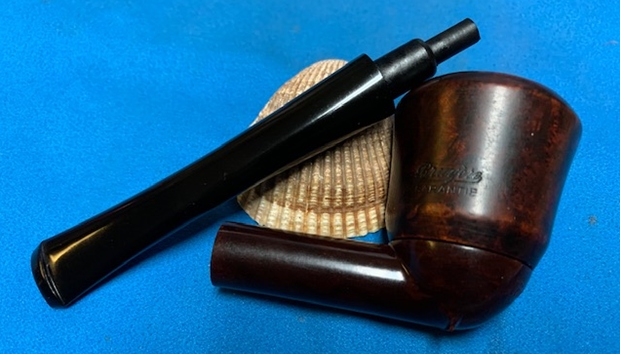
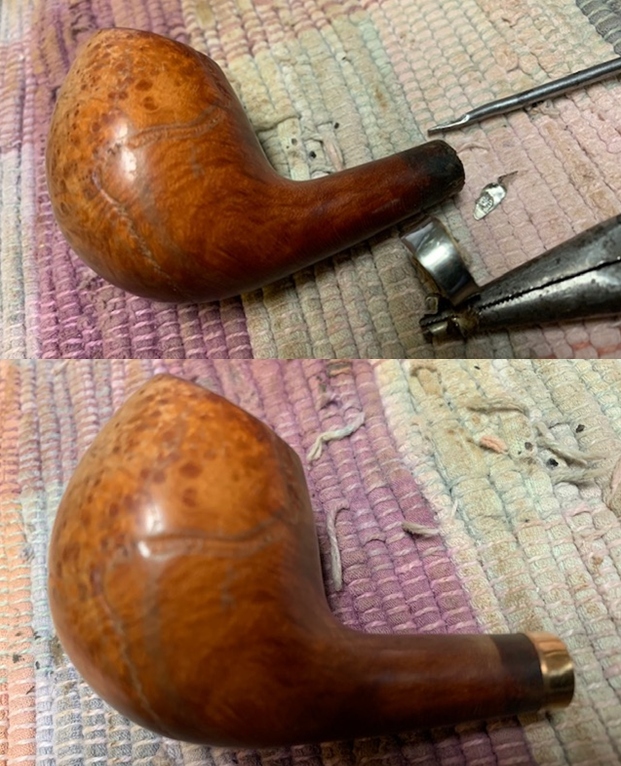
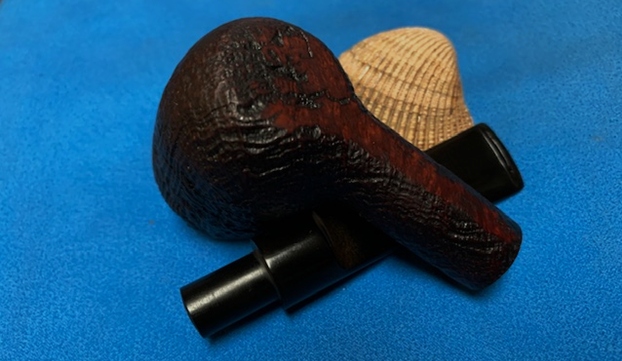
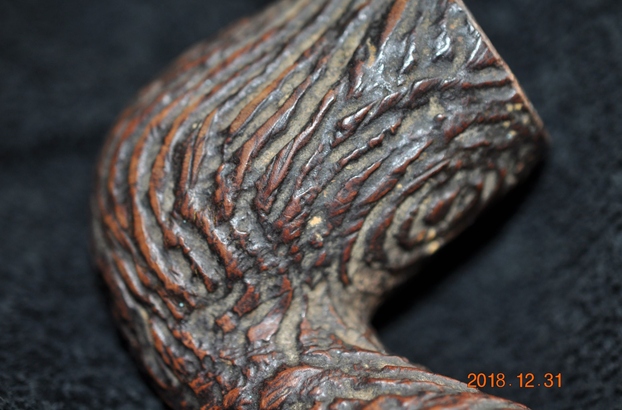
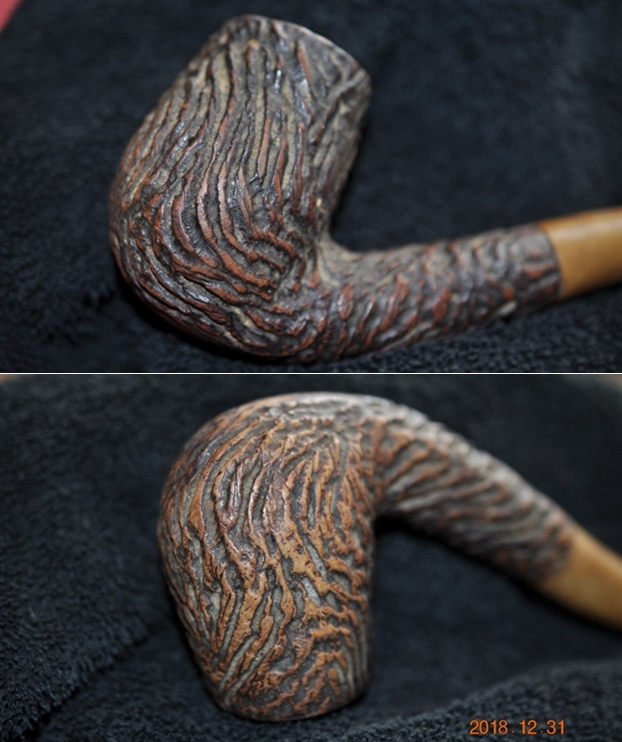
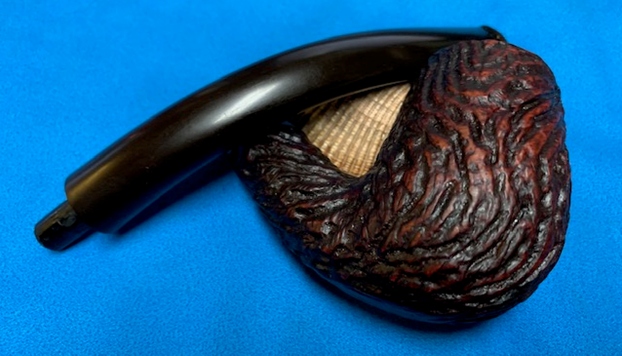
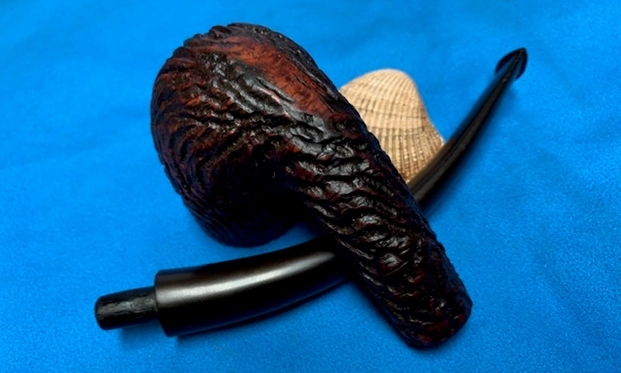
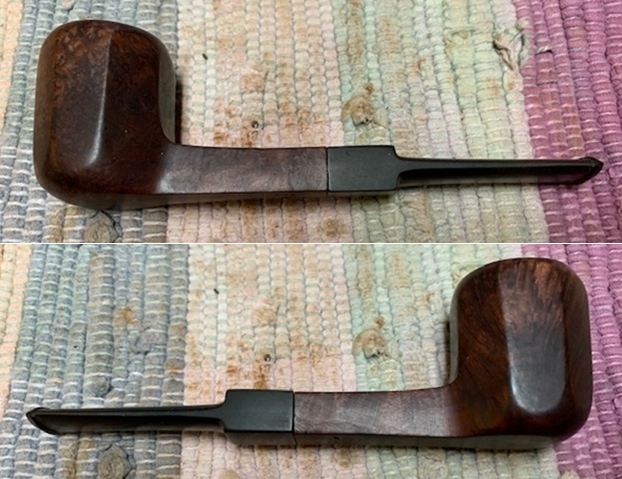
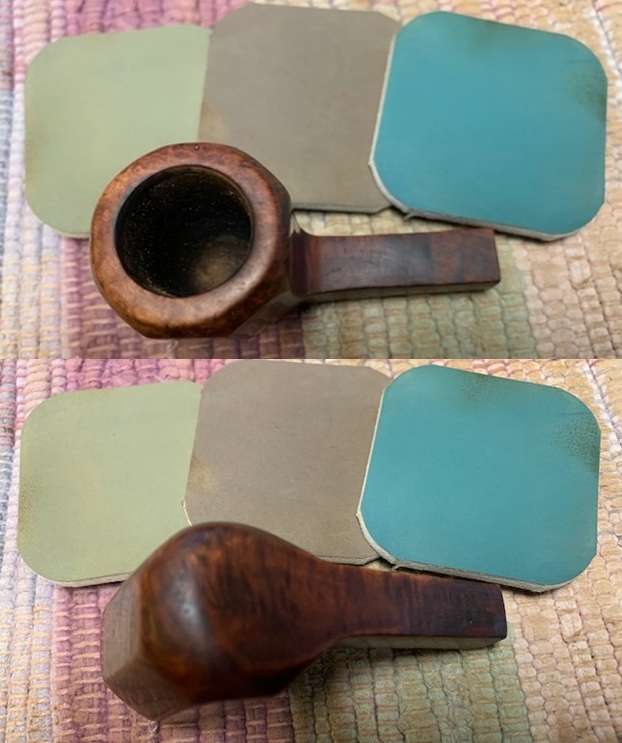
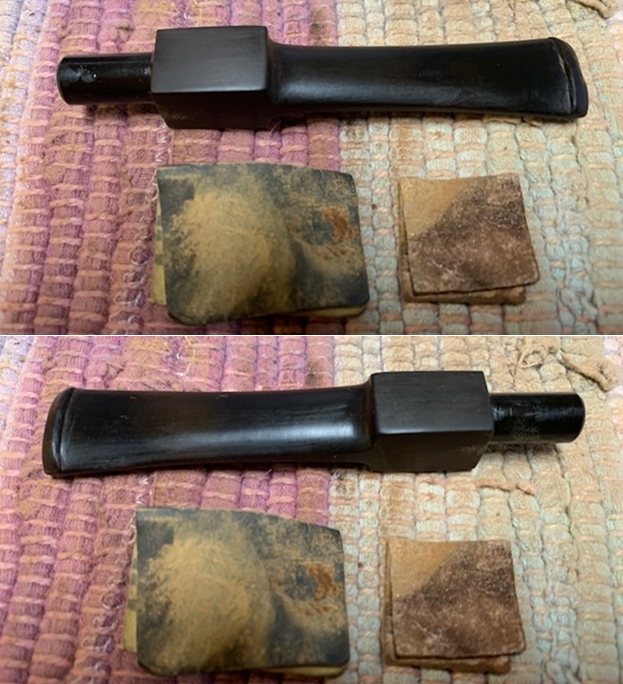
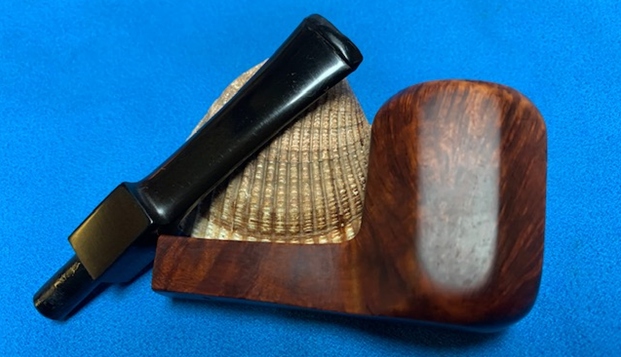
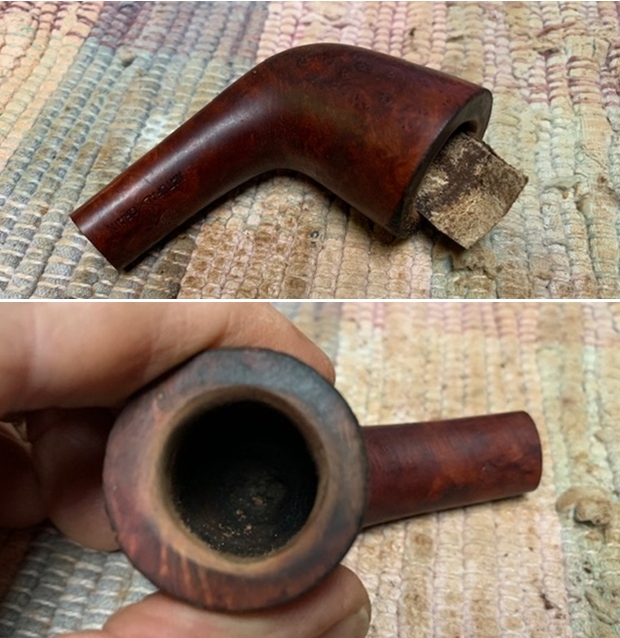
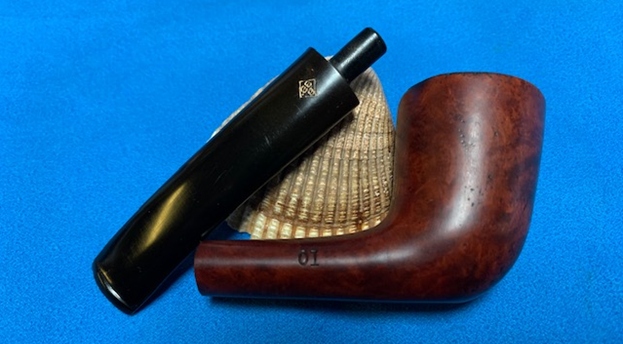
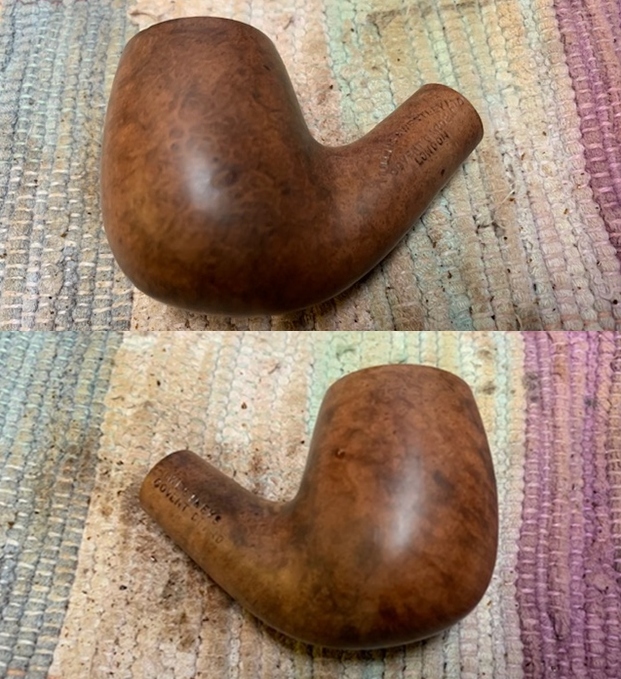
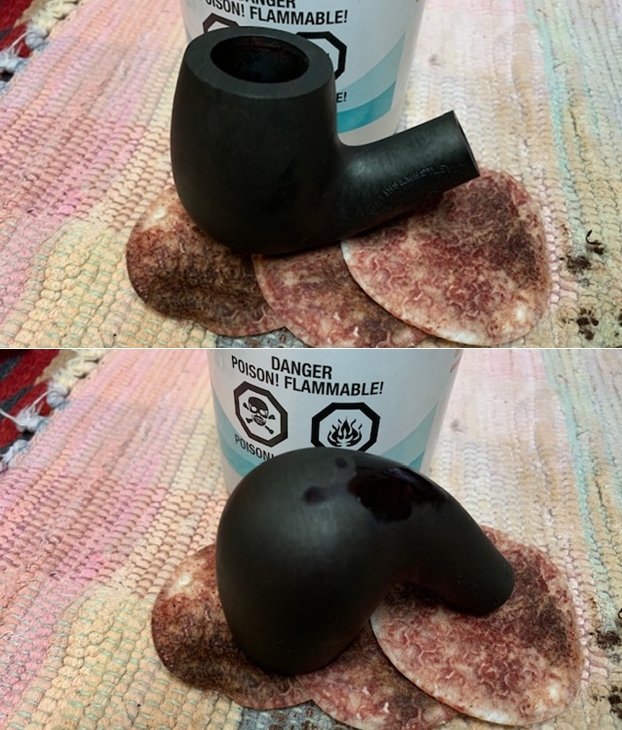
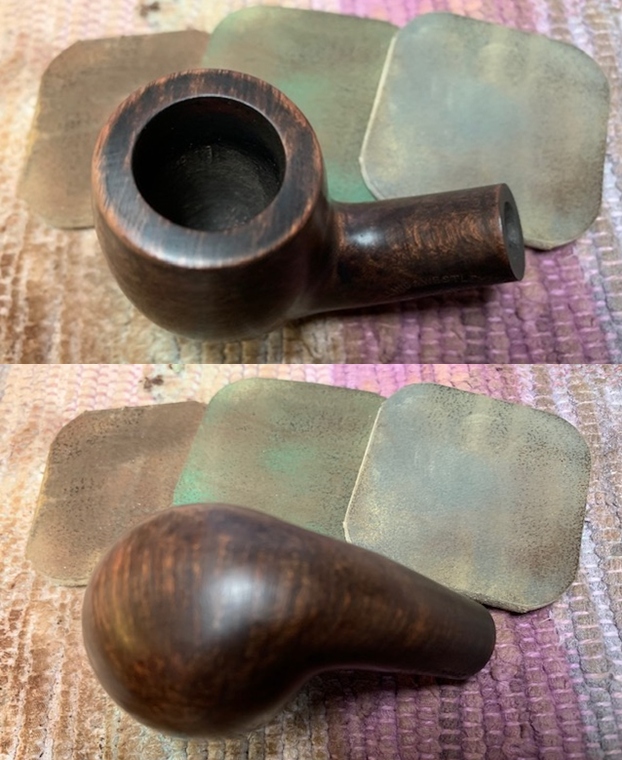
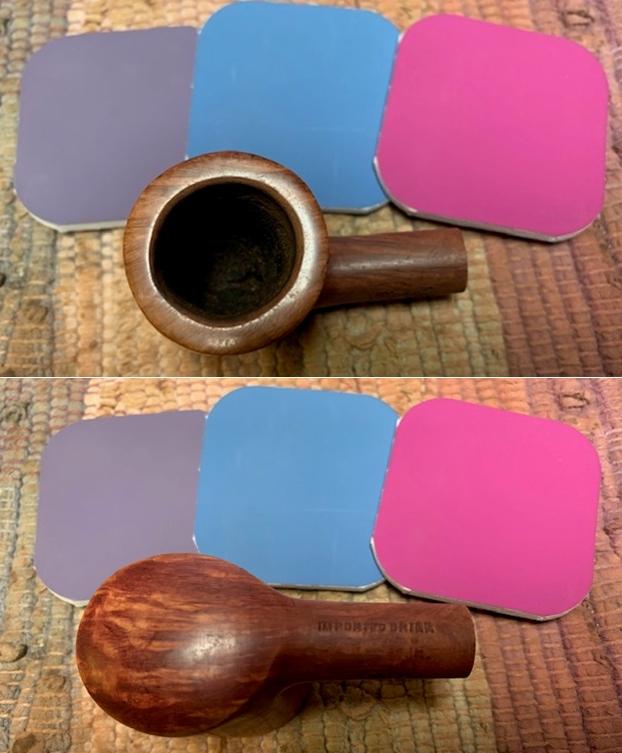
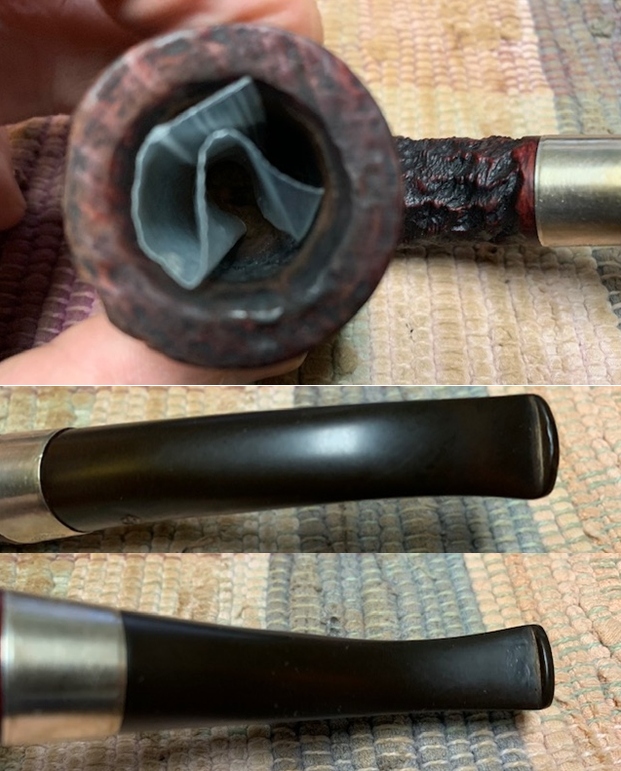
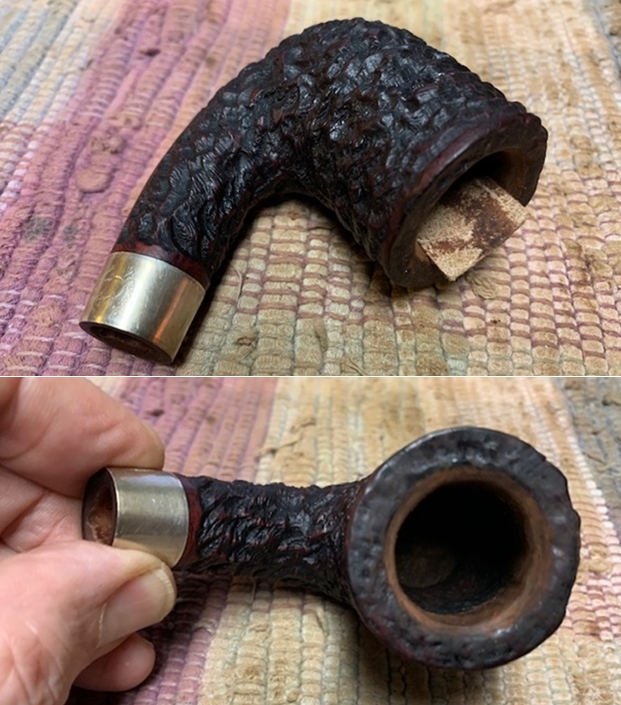
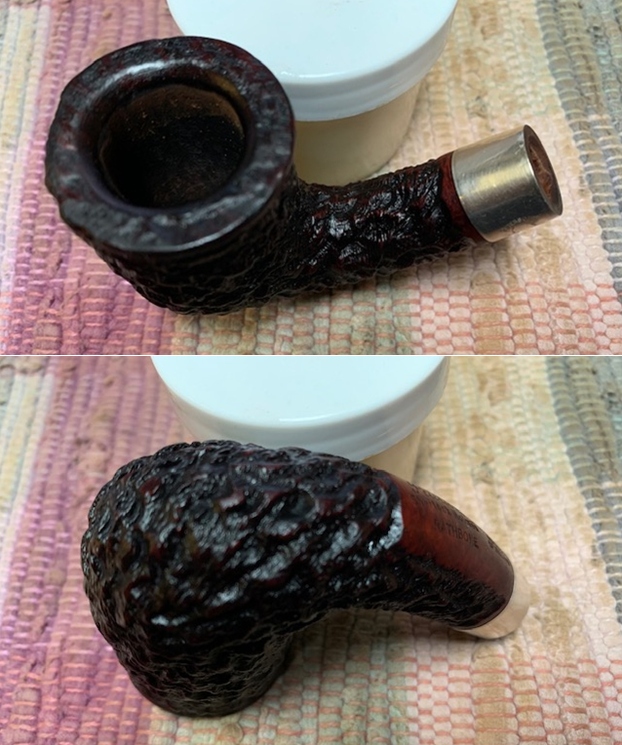
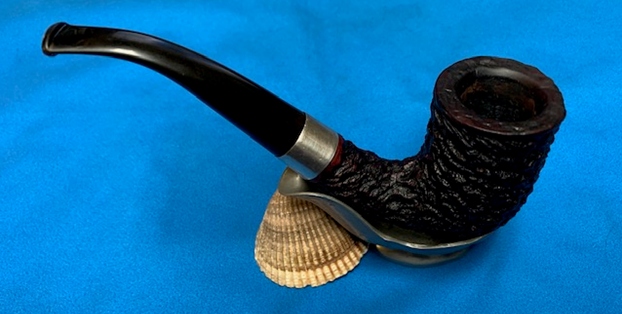
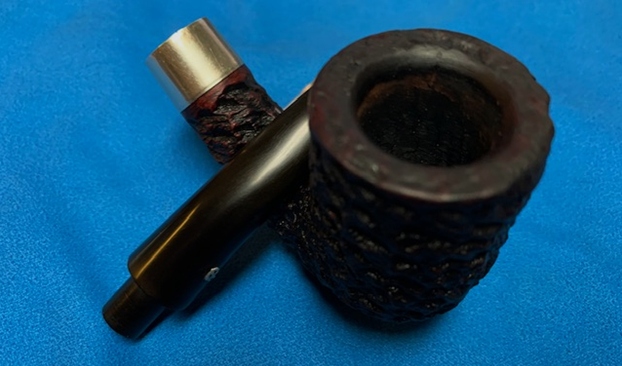
 He took photos of the sides and heel to show the fit of the bowl to the Bakelite Base as well as the condition of the pipe under the grime. There were some large fills around the bowl sides that are visible in the photos below.
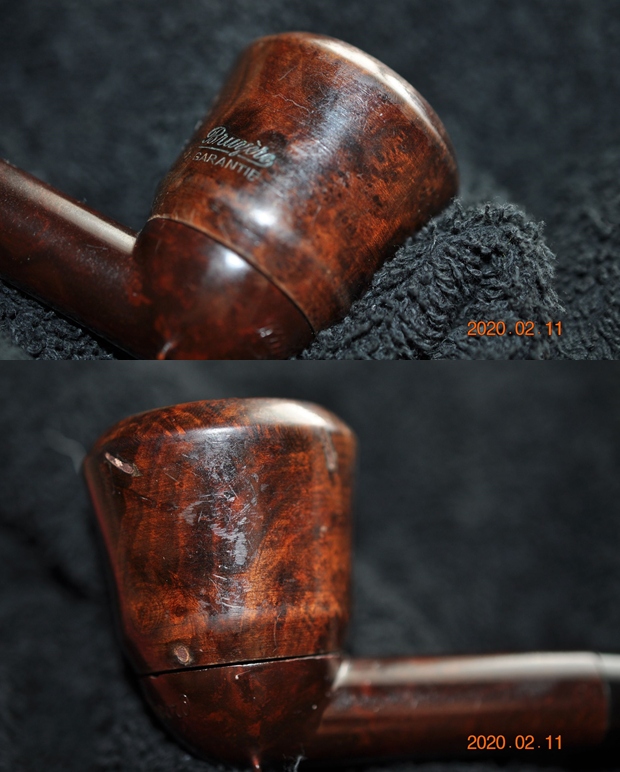
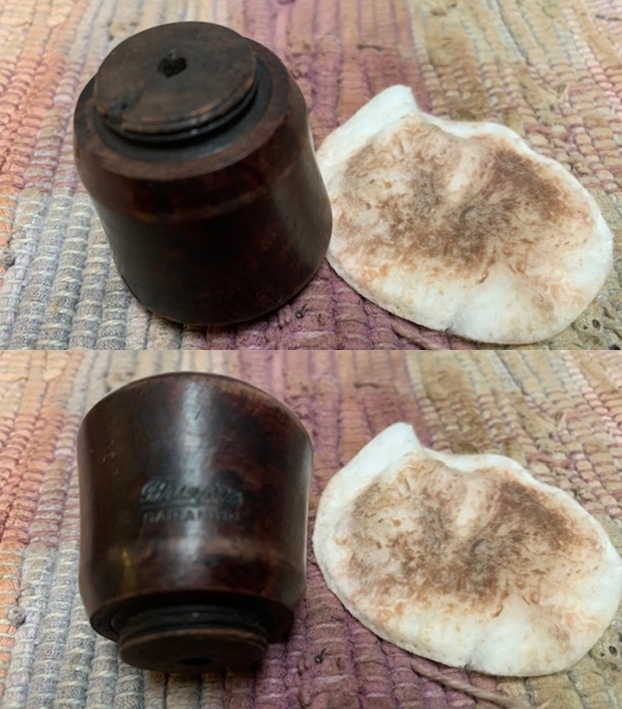
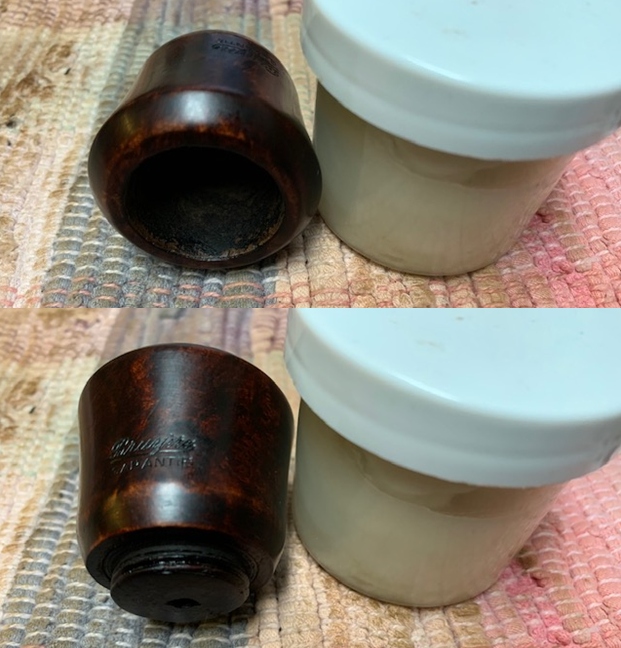
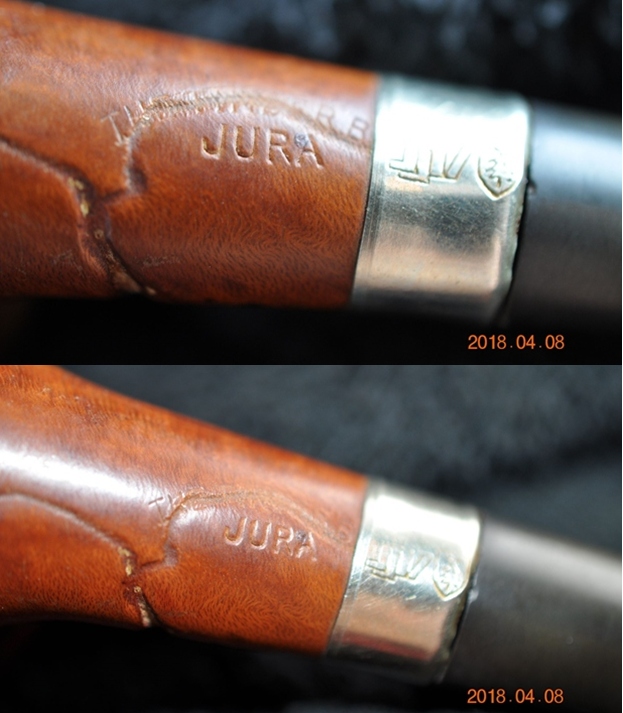
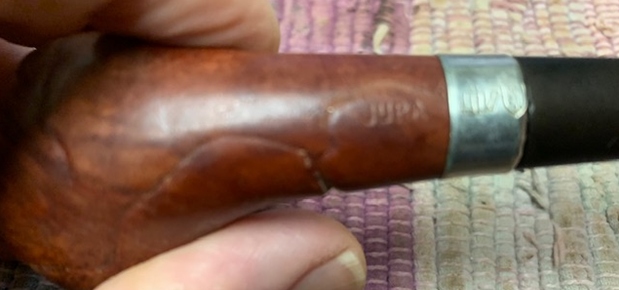
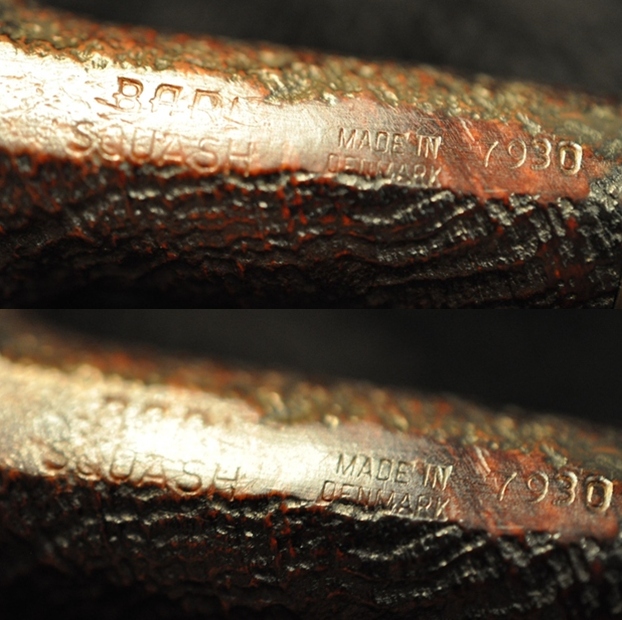
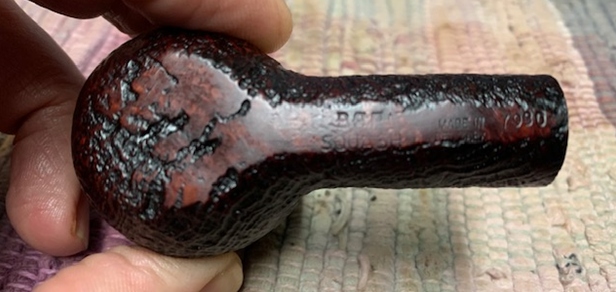
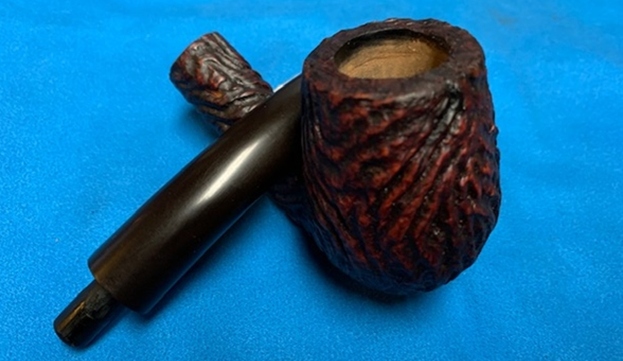
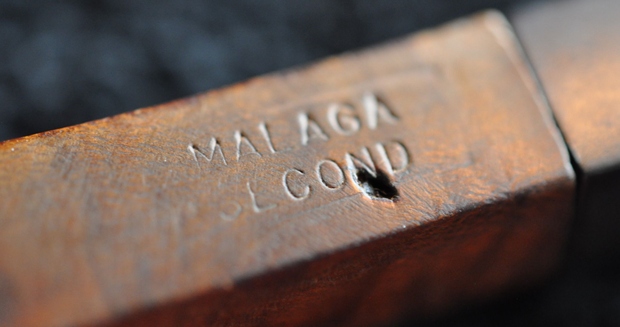
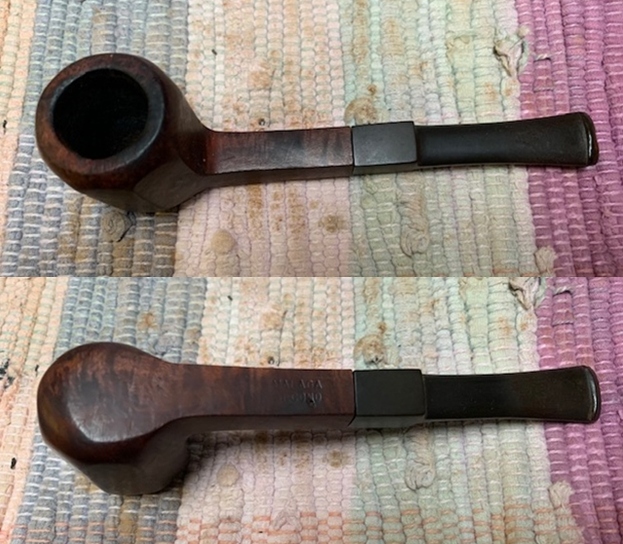
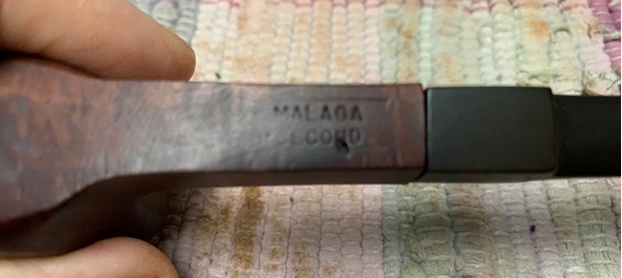
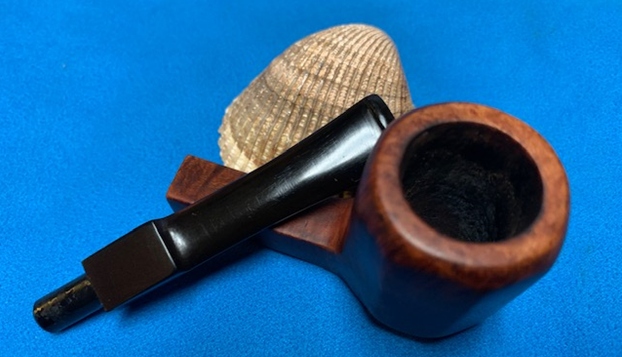
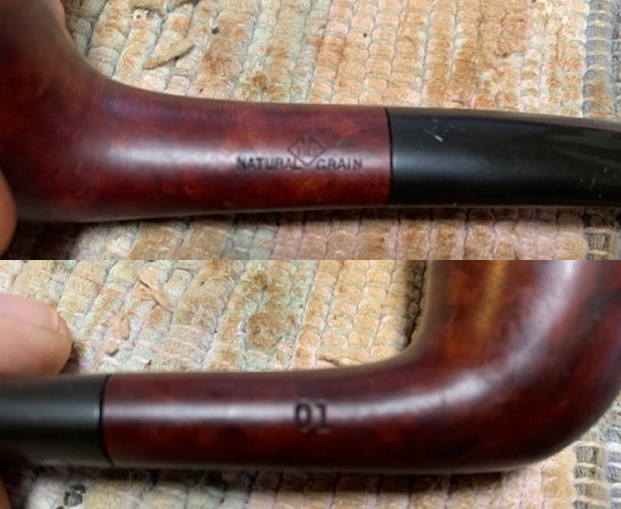
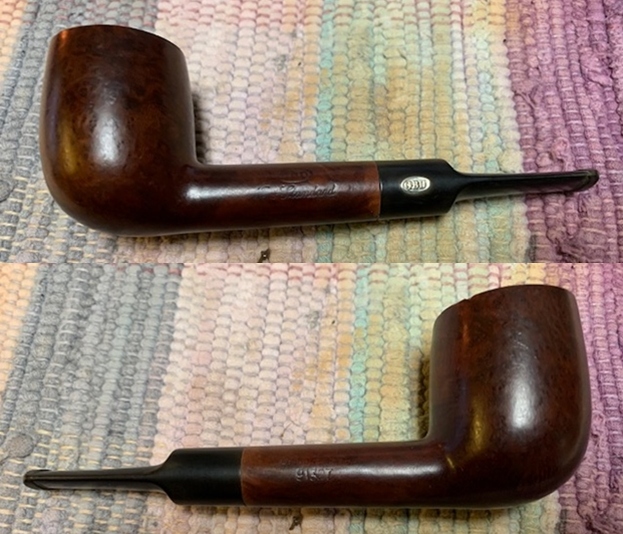
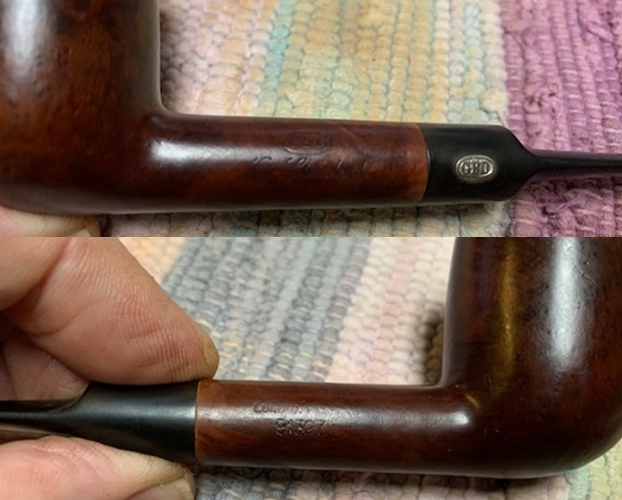
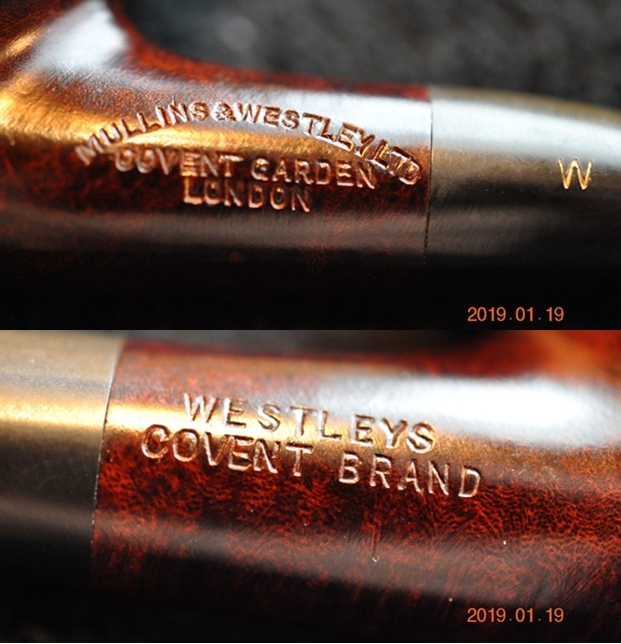
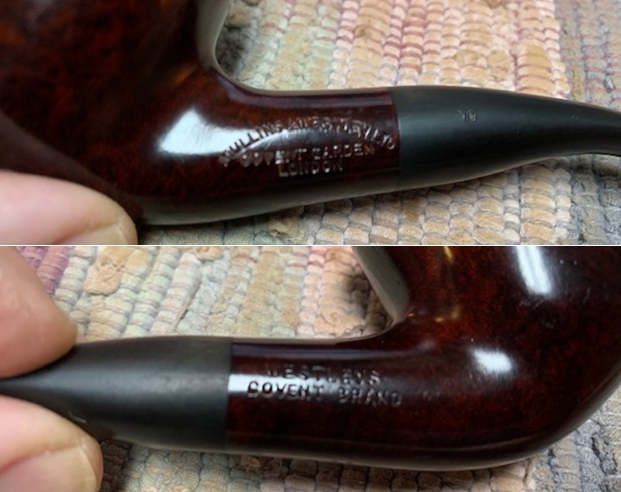
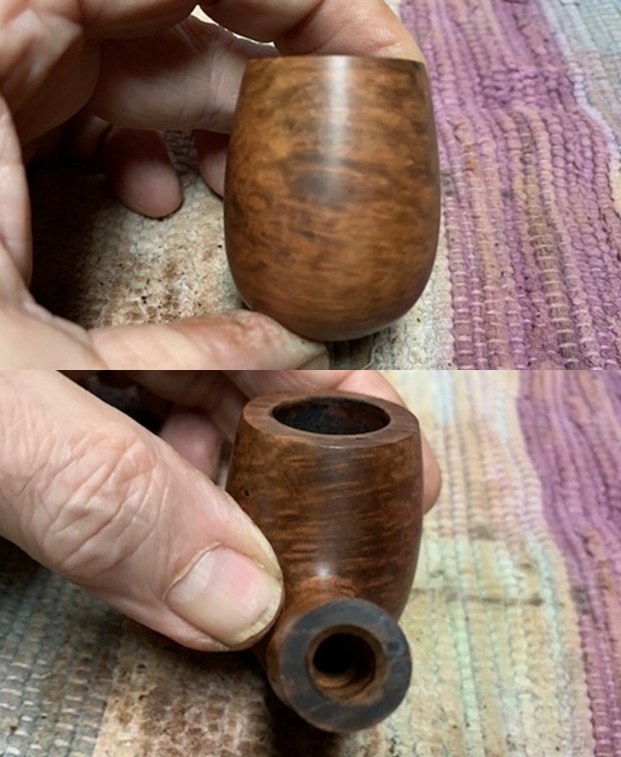
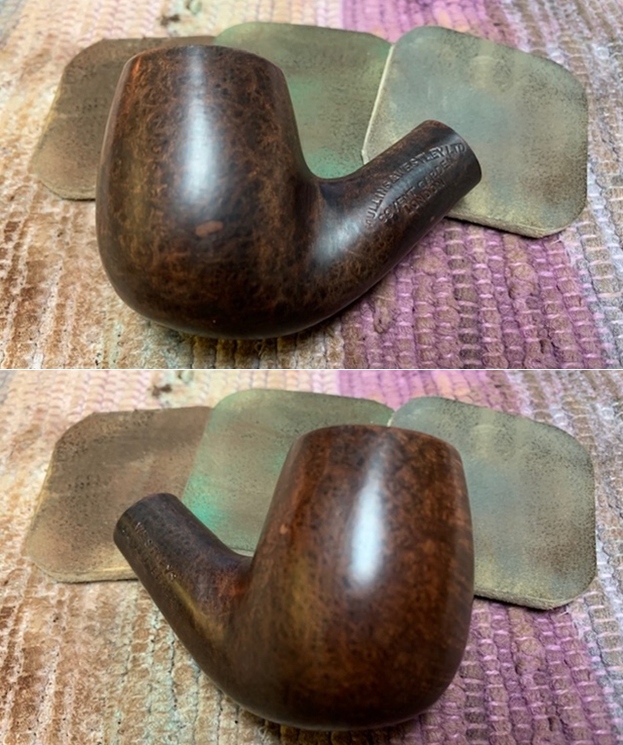
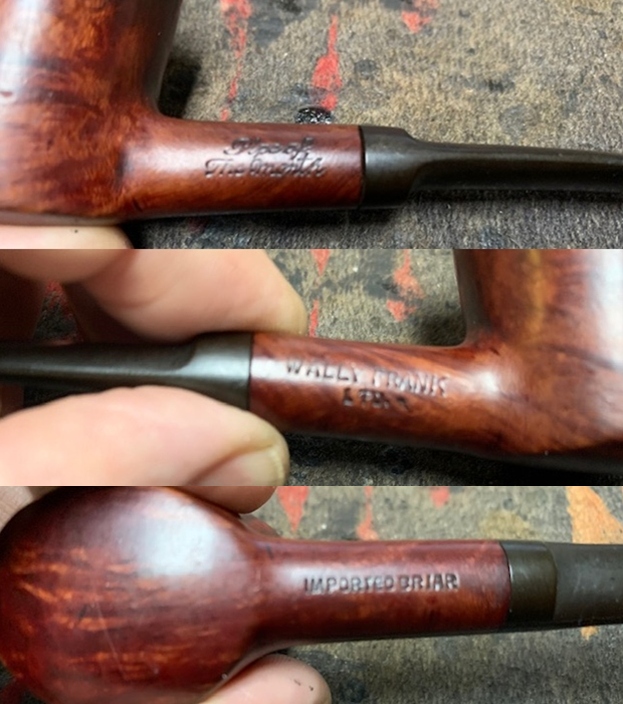
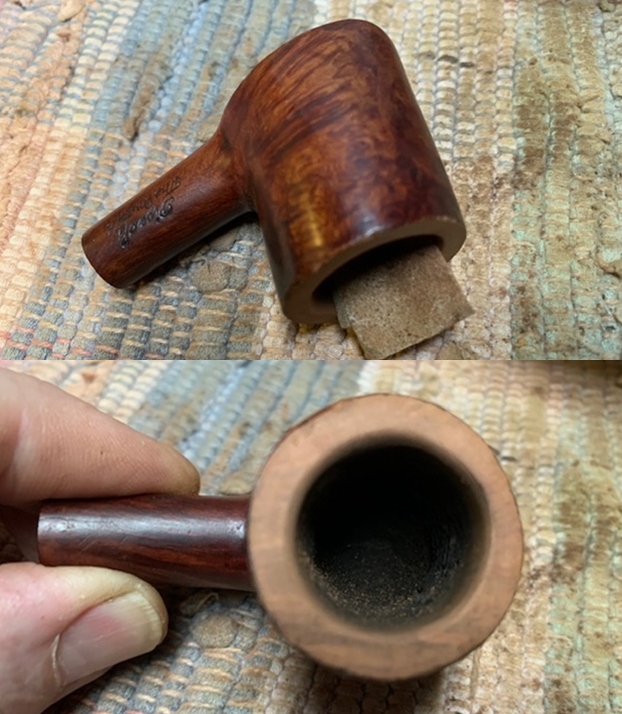
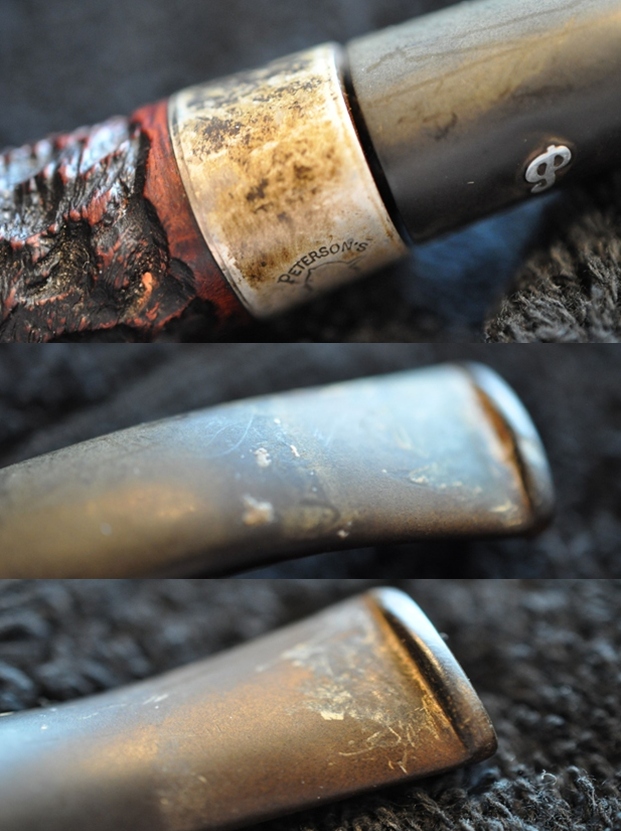
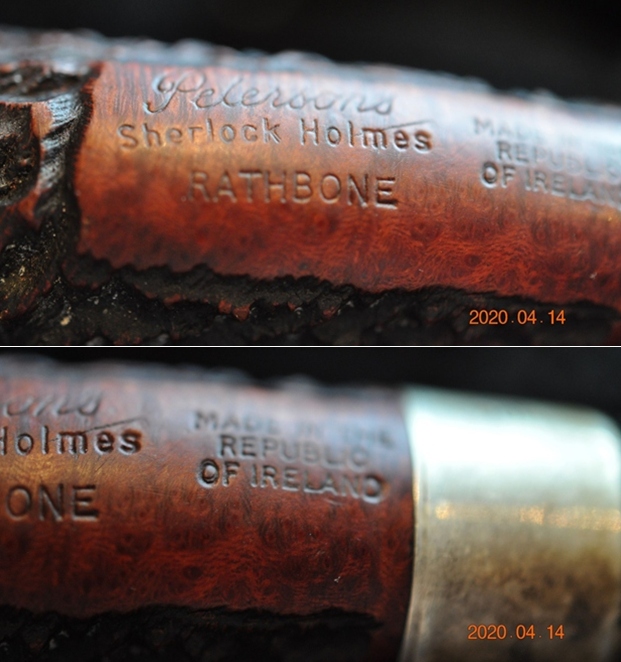
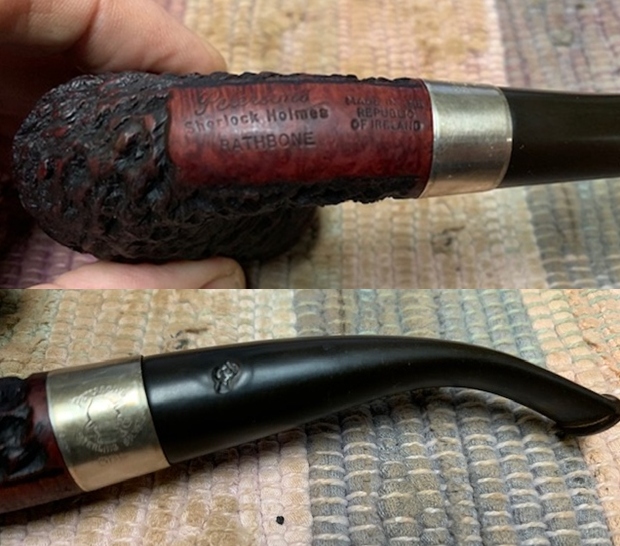
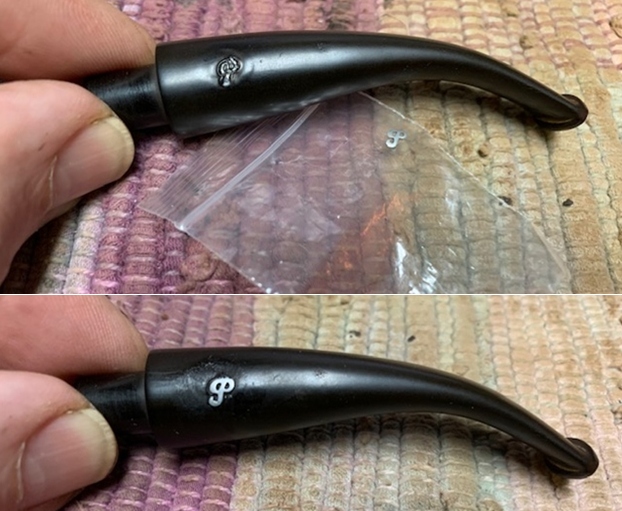
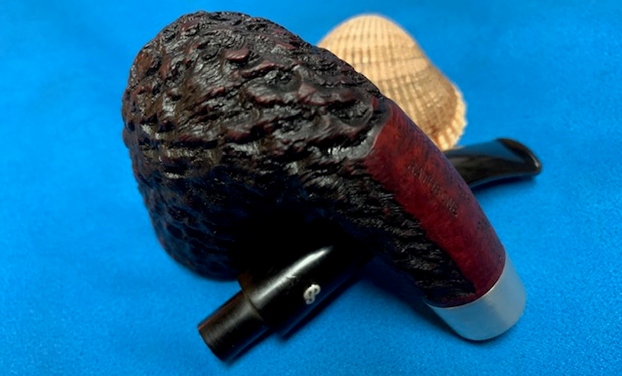
 Jeff took two photos to capture the stamping on the backside of the bowl and the front of the Bakelite base. It is clear and readable as noted above.
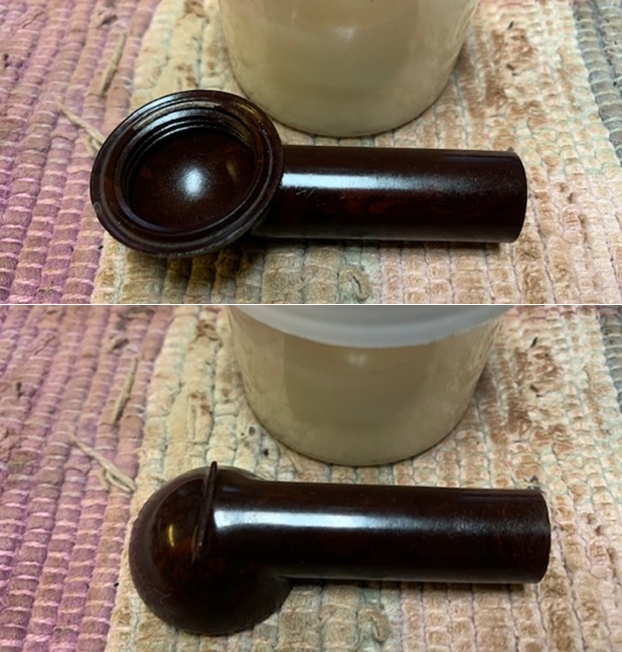
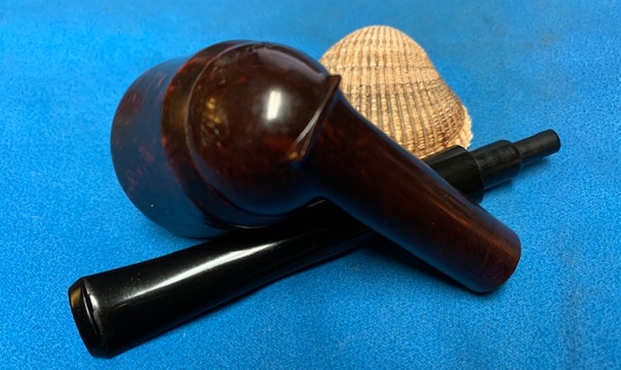
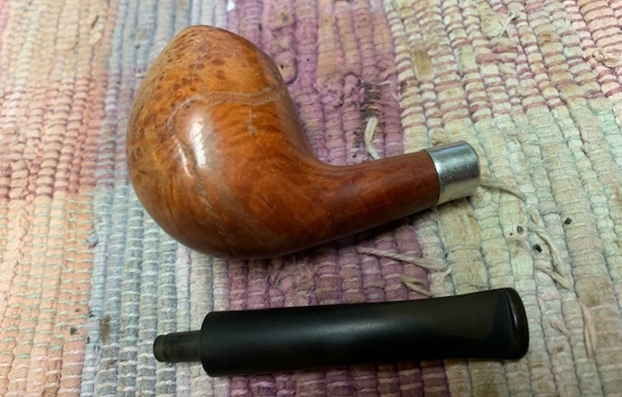
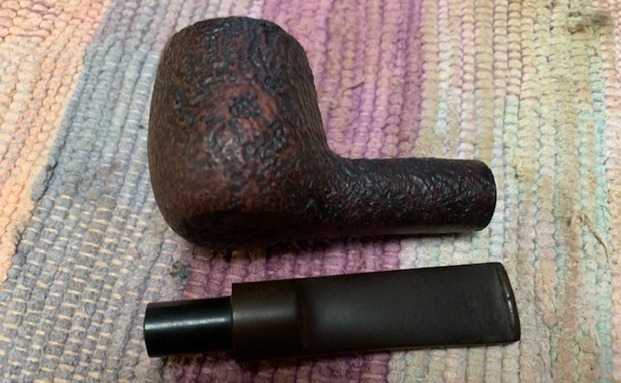
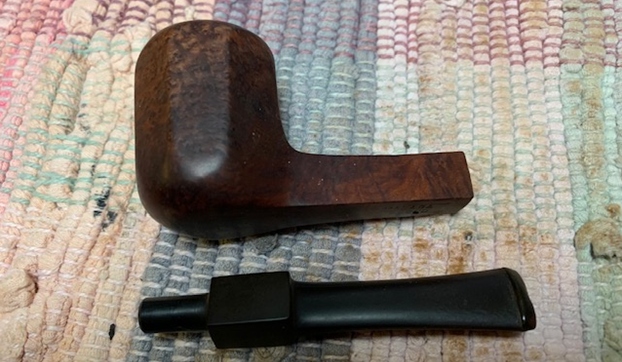
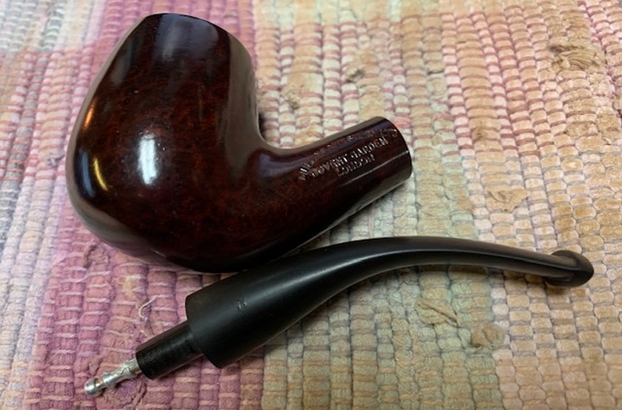
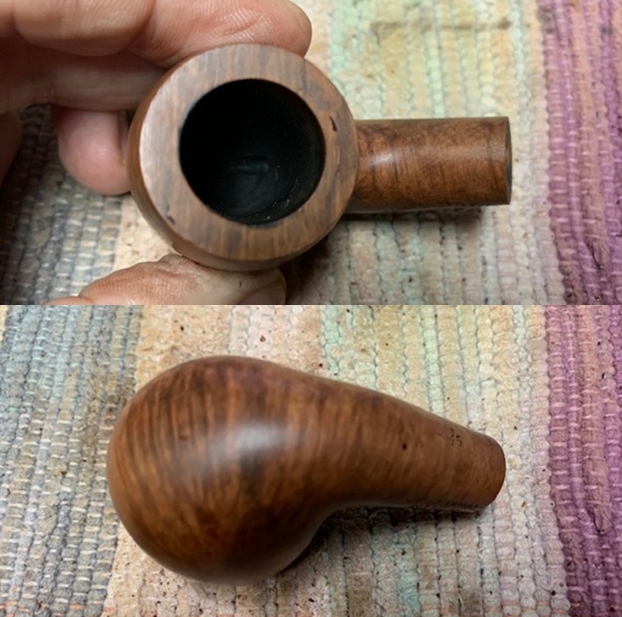
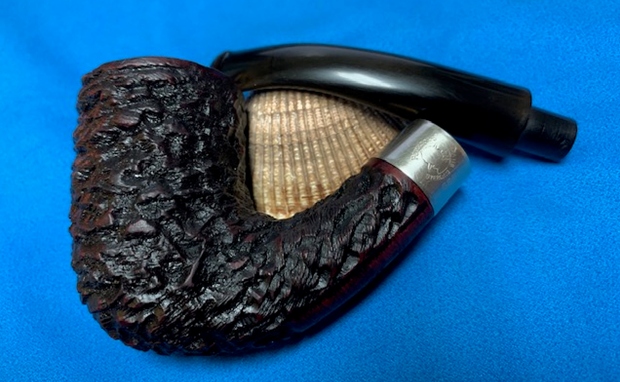
 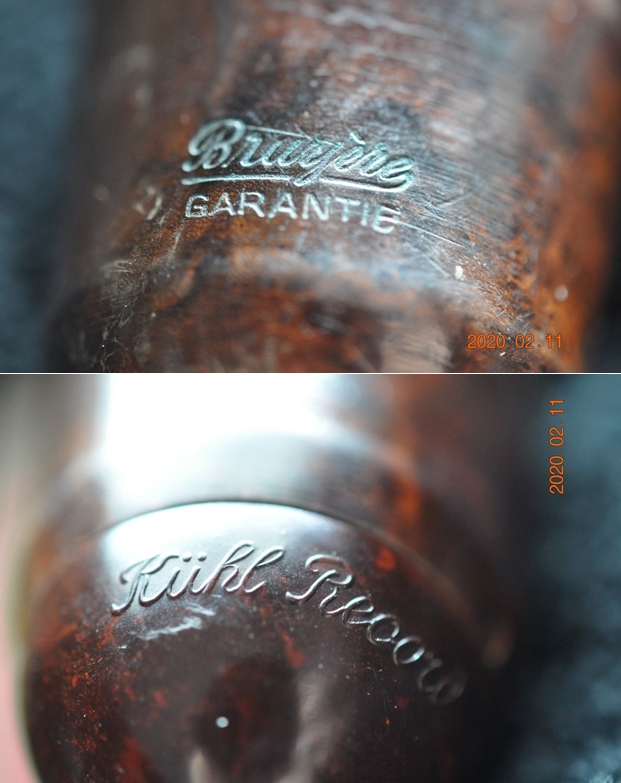 He removed the stem from the shank and the bowl from the base and took photos of the parts of the pipe. The shank is lined with cork that needs to be rejuvenated but is in good condition.
 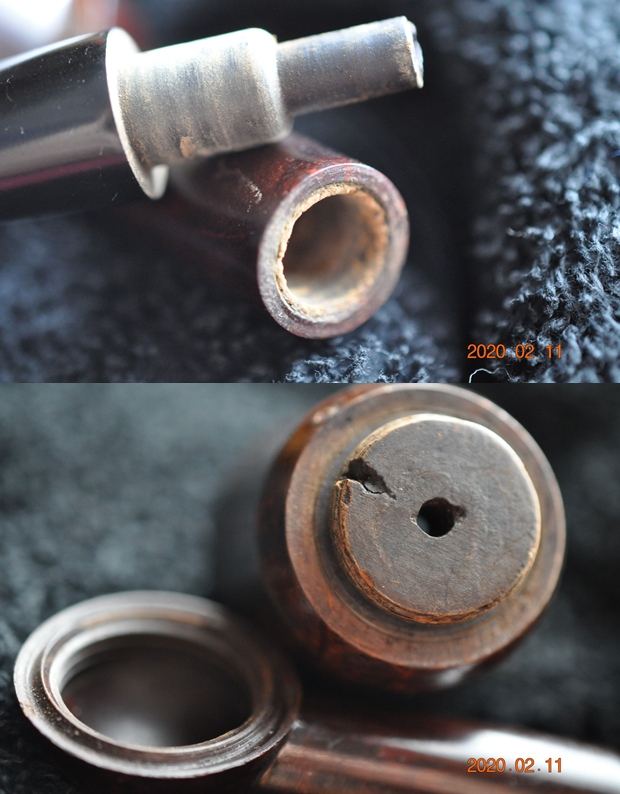 The brand was not listed on either Pipephil’s site or Pipedia. So I googled the name on the web and also found no links.
I turned to the Smoking Metal.co website as I have found it to be very helpful on these mixed material pipes (http://www.smokingmetal.co.uk/pipe.php?page=509). I checked the index page and found the Kuhl Record listed. It gave the following description as well as some photos of the pipe. I have included that below.
KUHL Record Bakelite shank, vulcanite stem, briar bowl. Length: 5 5/8″ height 1 3/4″ diameter of bowl 1 5/8″ 
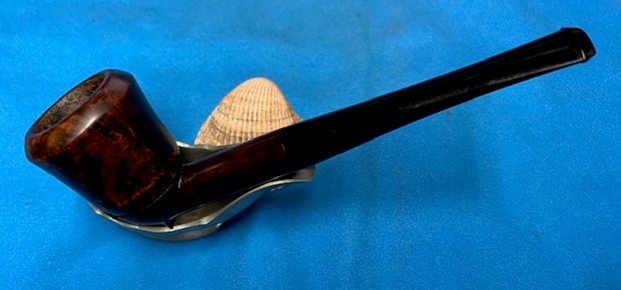
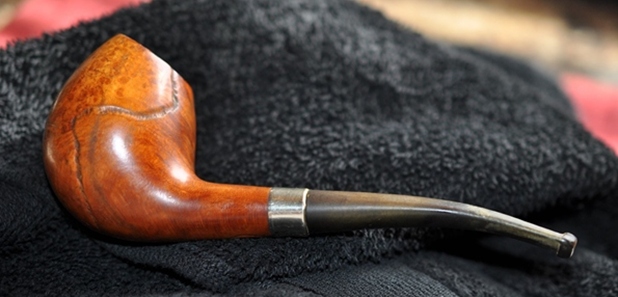
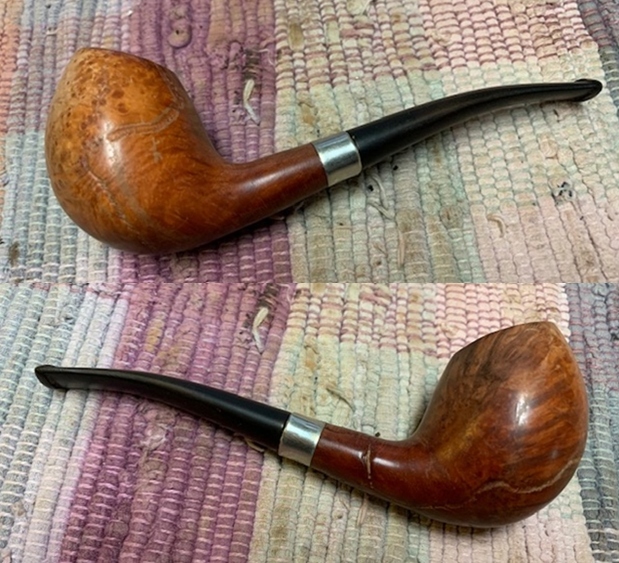
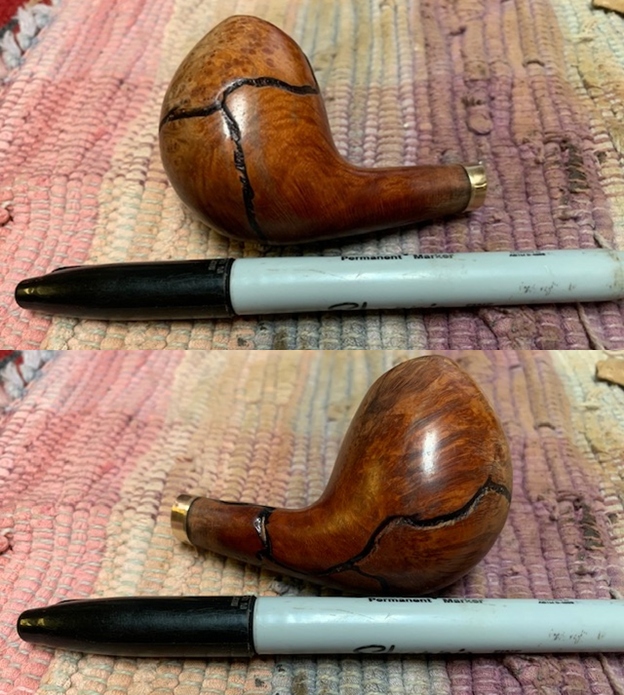
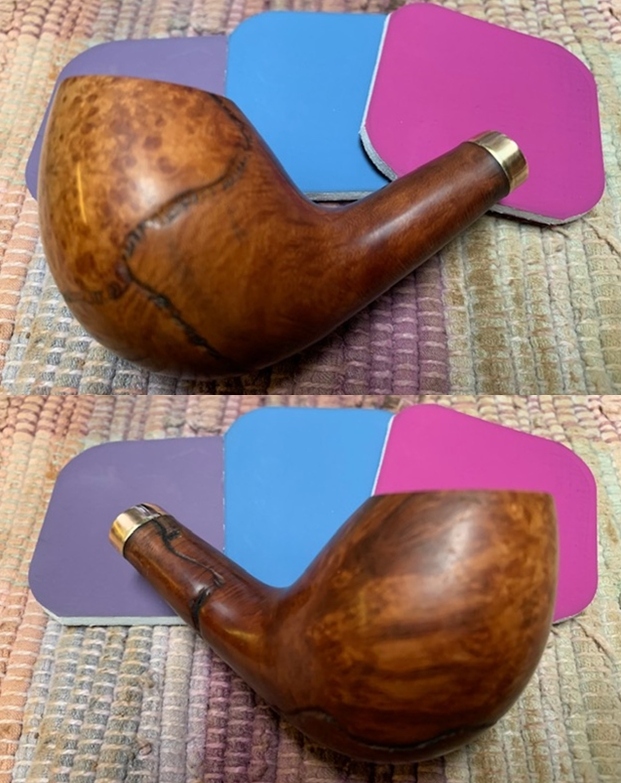
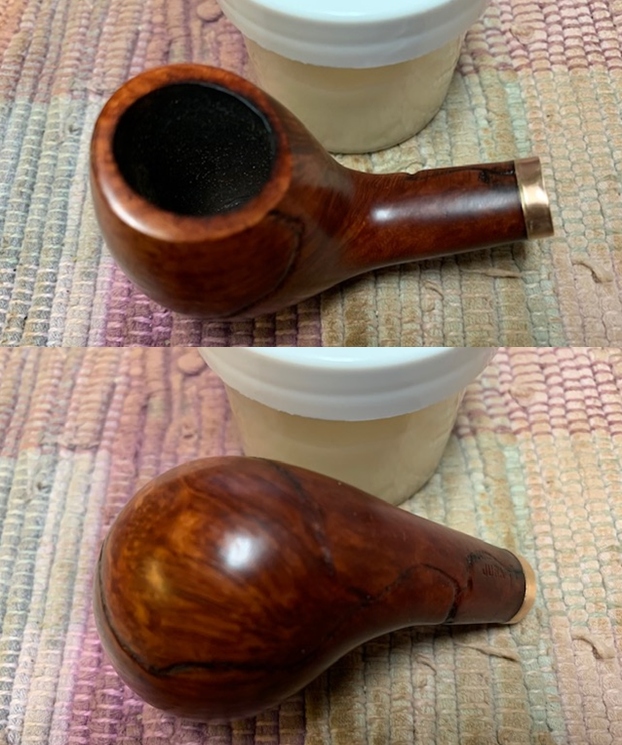
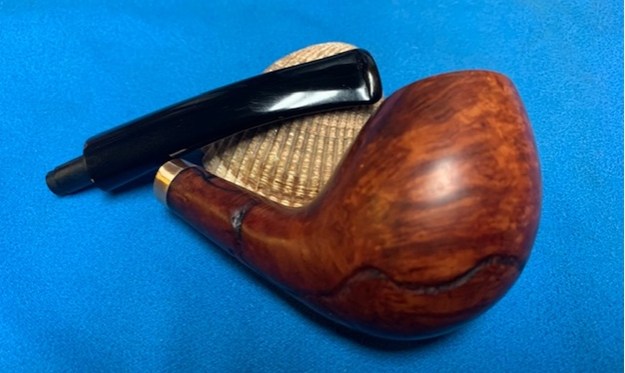
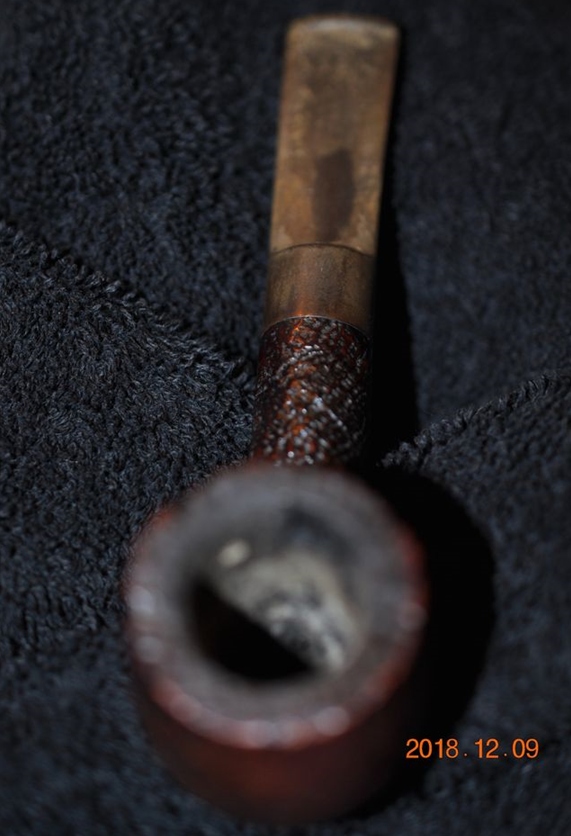
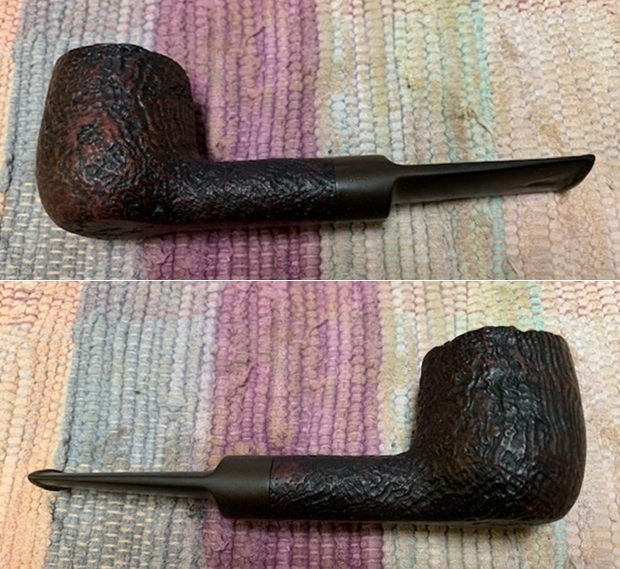
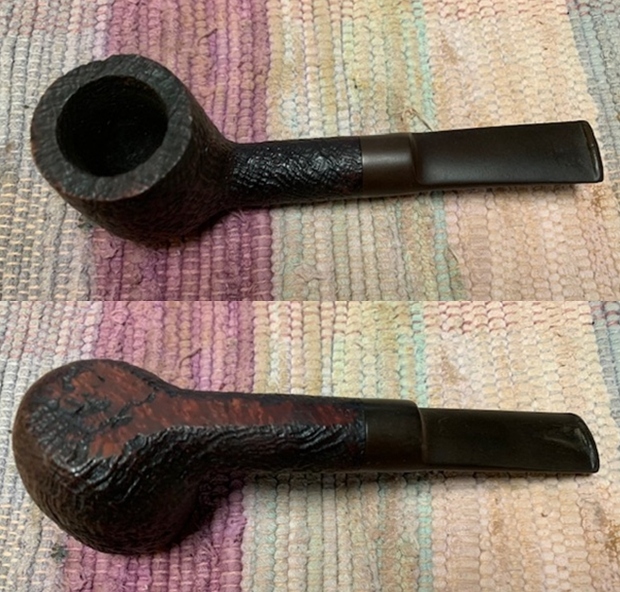
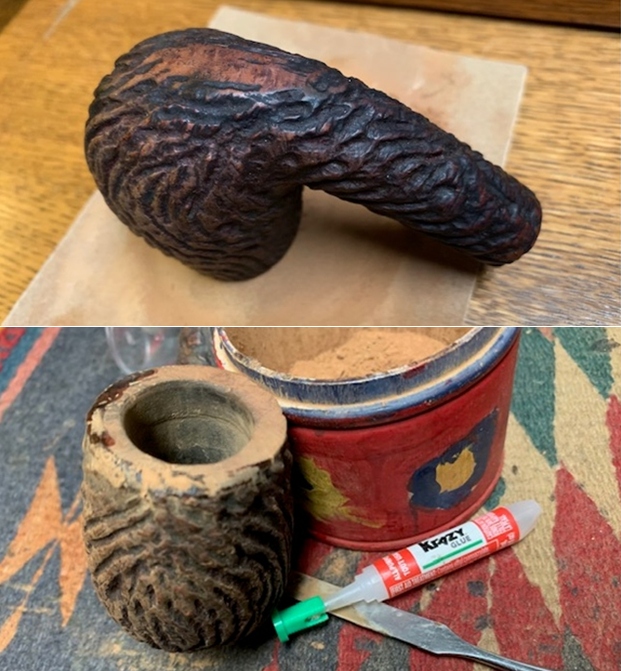
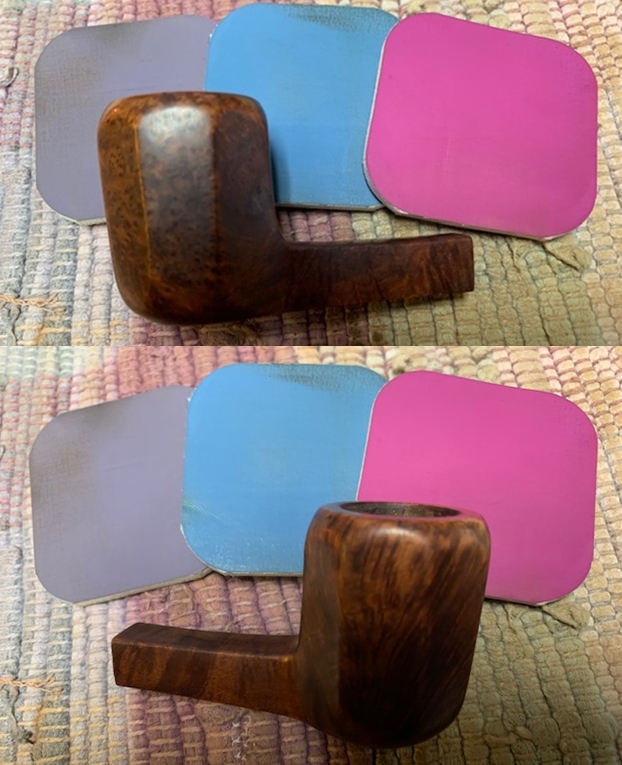
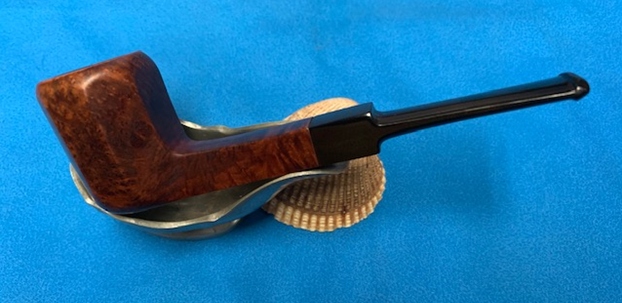
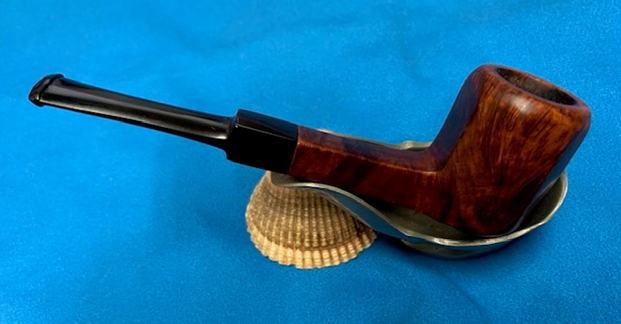
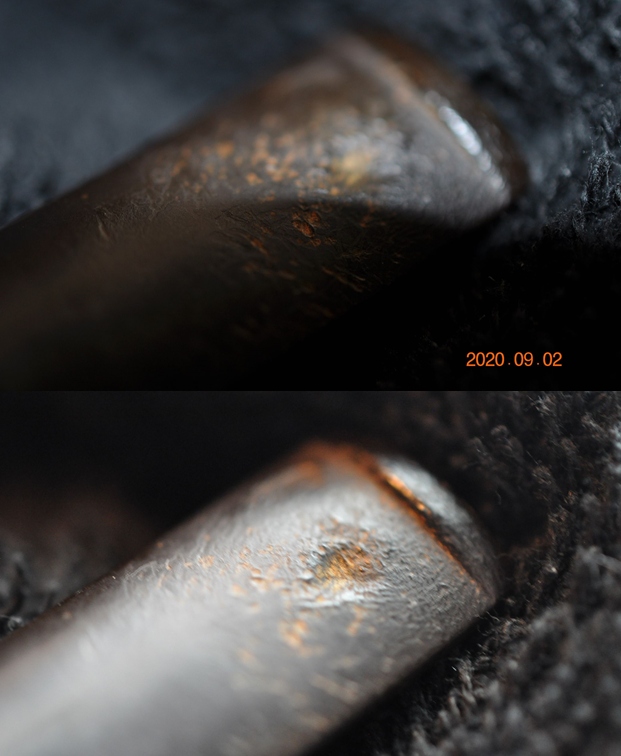
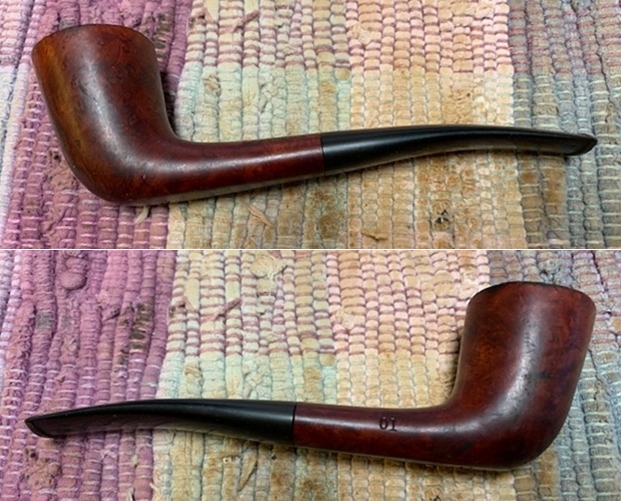
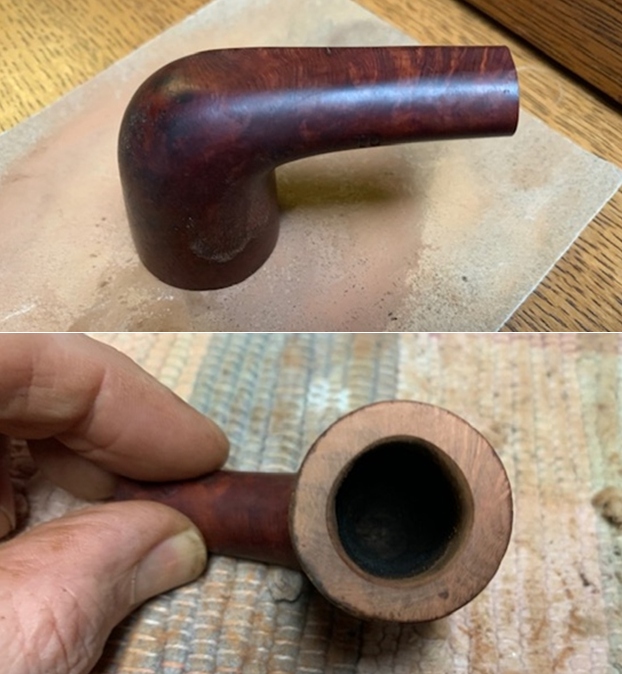
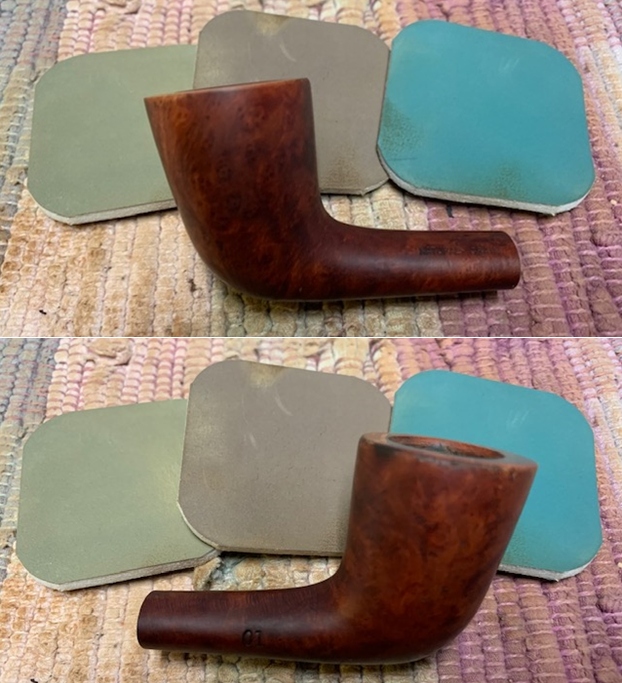
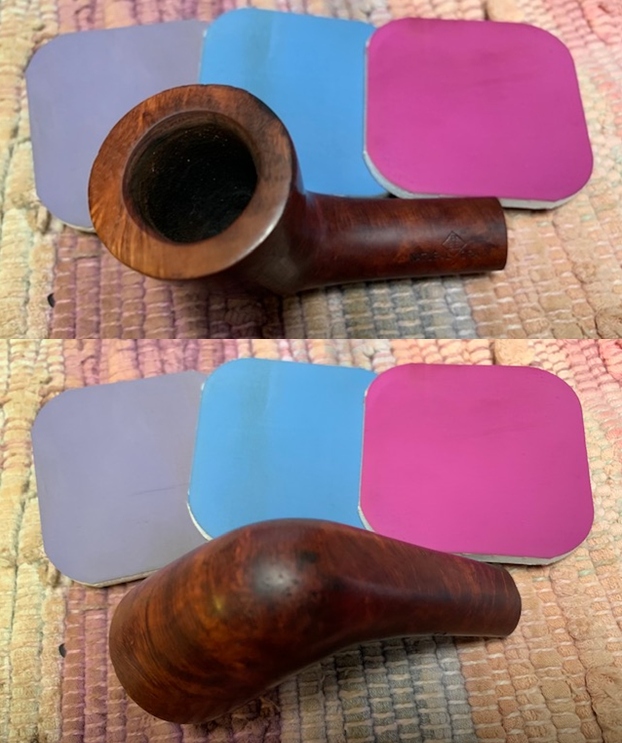
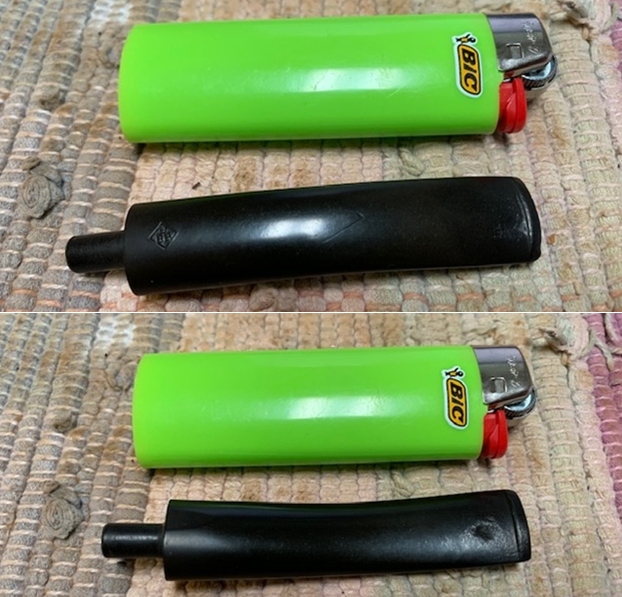
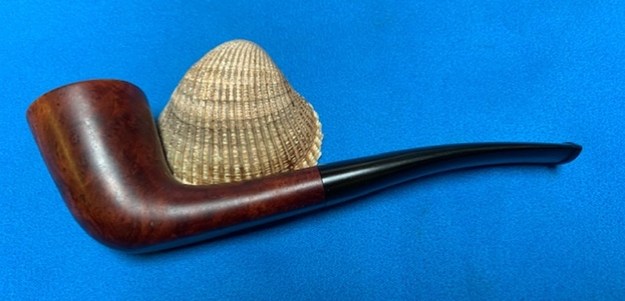
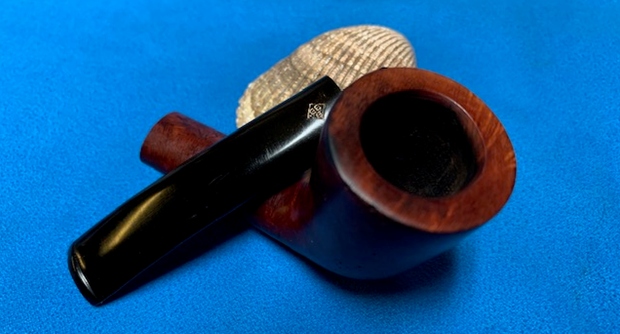
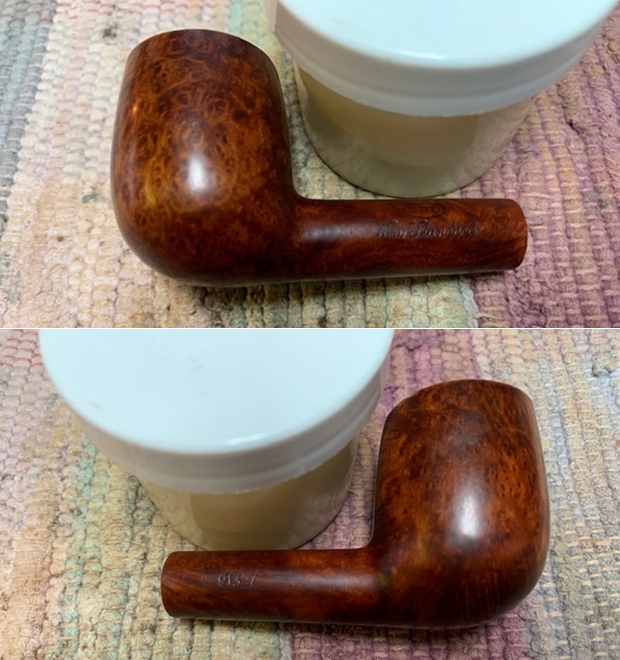
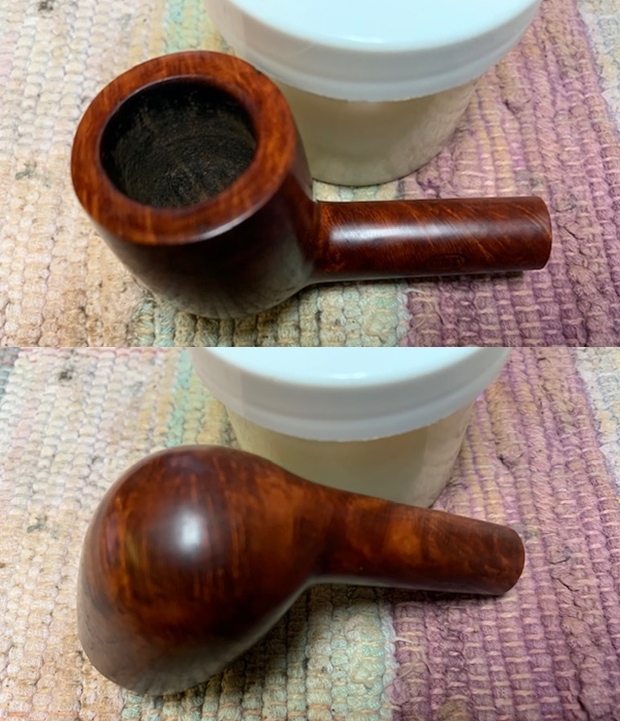
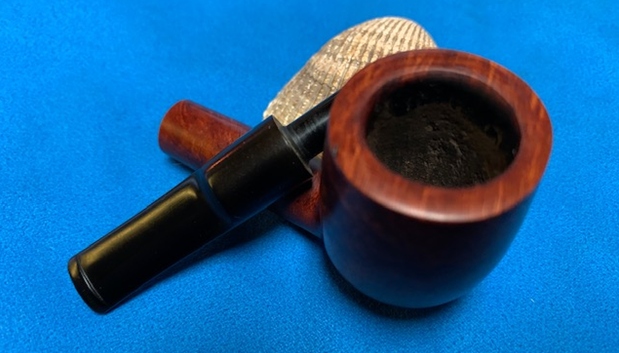
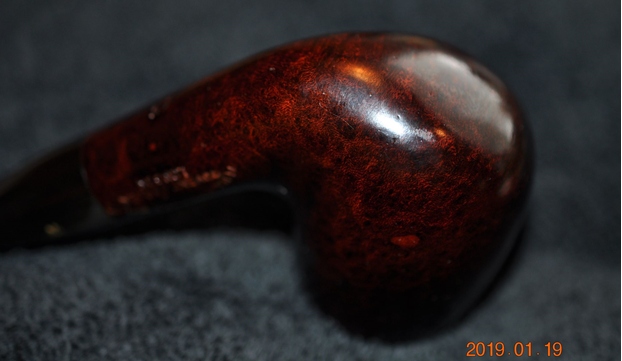
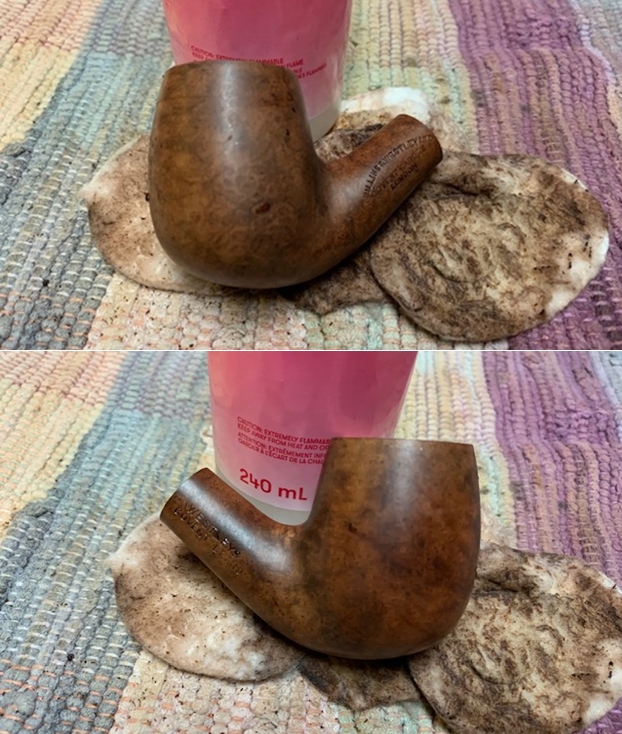
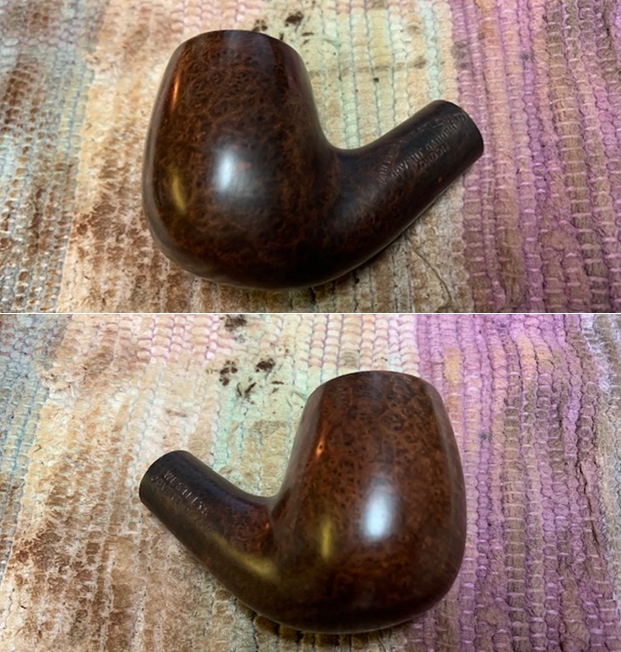
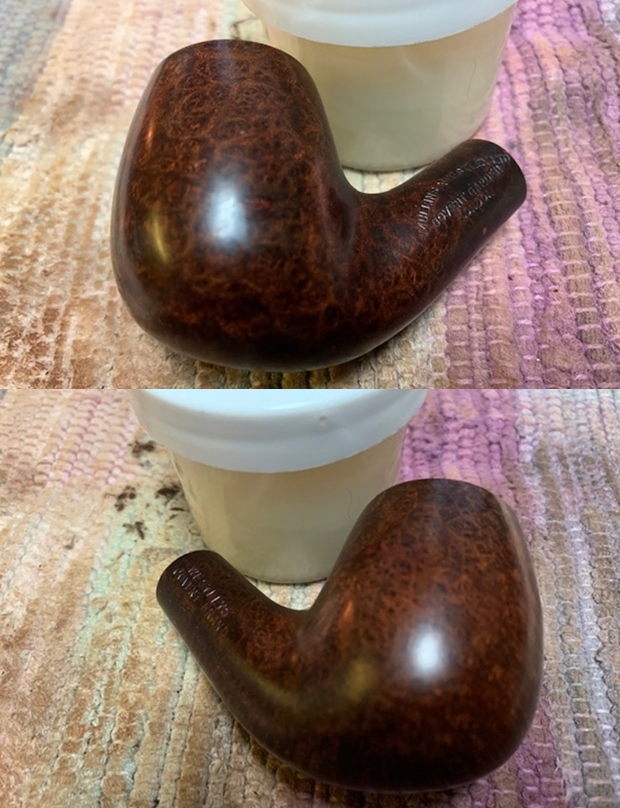
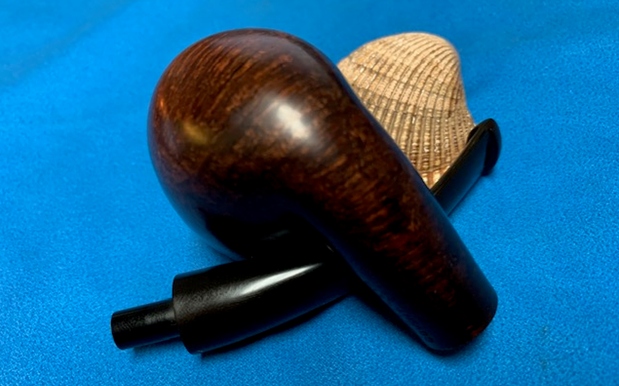
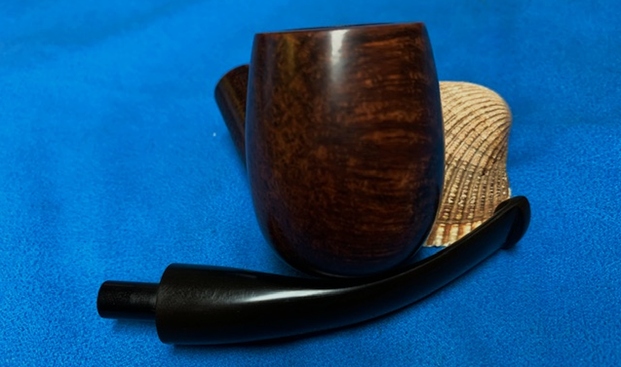
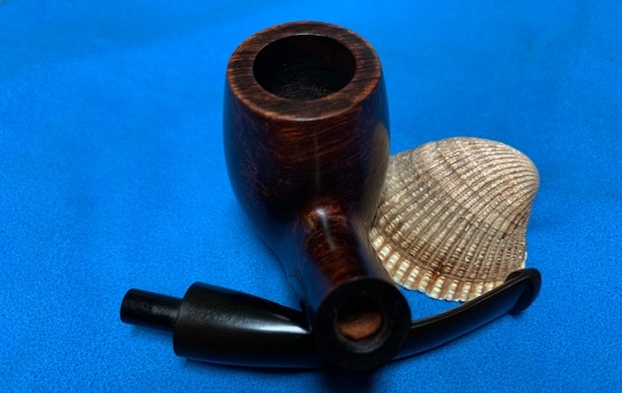
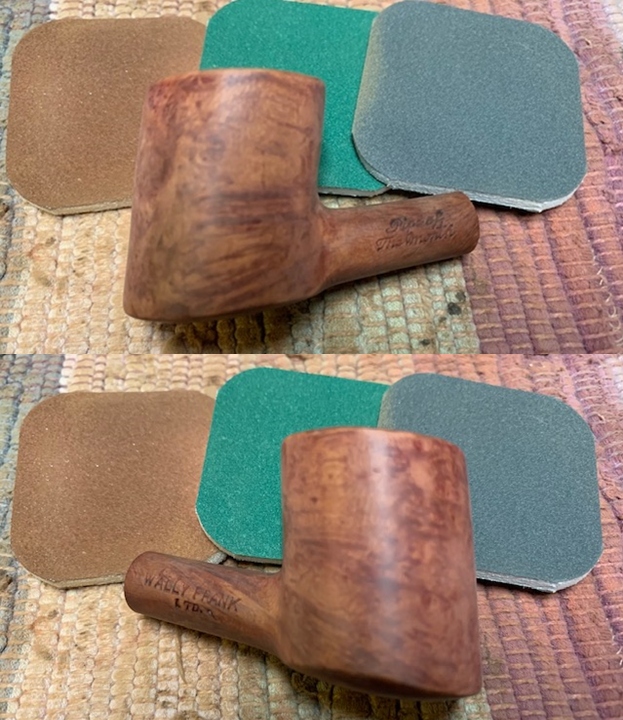
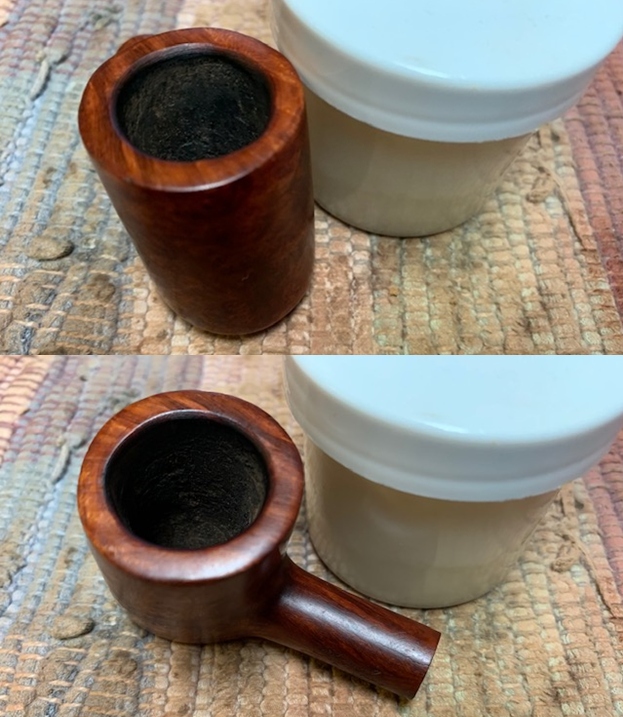
This pipe was a bit of a mess like many of the pipes we work on. I was curious to see what it would look like when I unpacked it. I was surprised at how good it looked. Jeff reamed it with a PipNet pipe reamer and cleaned up the reaming with a Savinelli Fitsall Pipe Knife. He scrubbed out the internals of the shank and stem with alcohol, pipe cleaners and cotton swabs until the pipe was clean. He scrubbed the exterior of the bowl with Murphy’s Oil Soap and a tooth brush to remove the grime and grit on the briar and the lava on the rim top. The finish on the bowl looked really good when I got it. The rim top looked better. The inner edge showed damage at the back side of the bowl. He soaked the stem in Before & After Deoxidizer bath to remove the oxidation. The stem looked better other than the light oxidation that remained and some light tooth marks and chatter on the surface. When the pipe arrived here in Vancouver for the second stop of its restoration tour it looked much better than when he found it. I took photos of the pipe before I started my work on it. 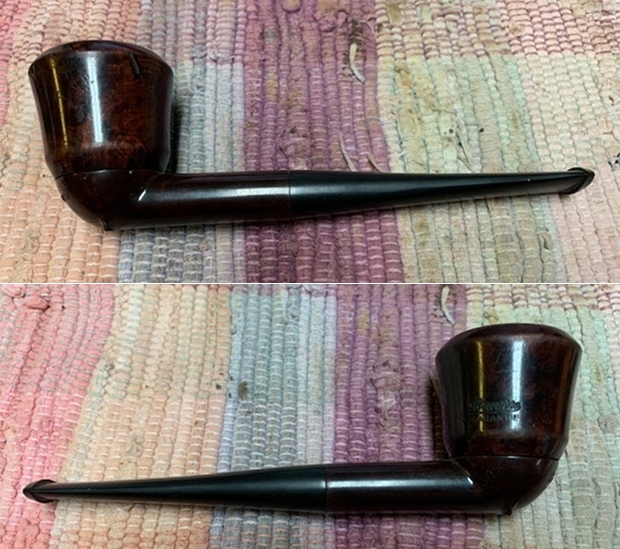
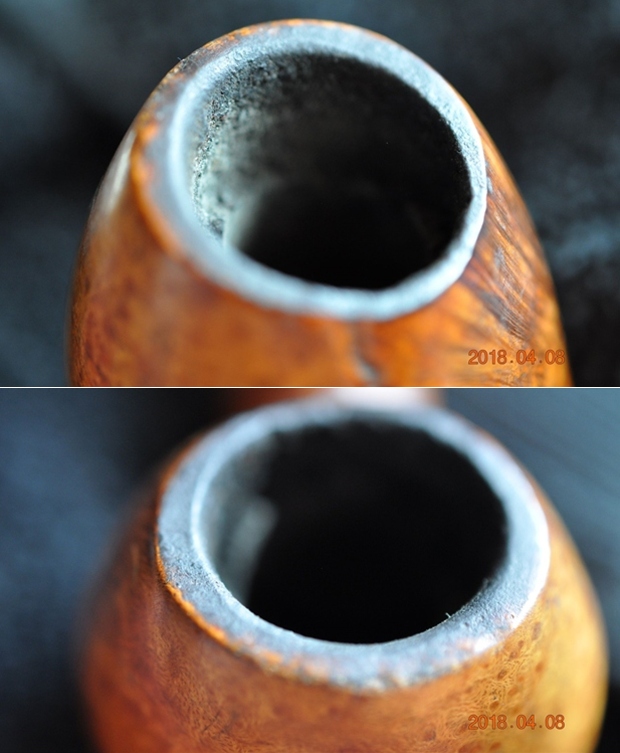
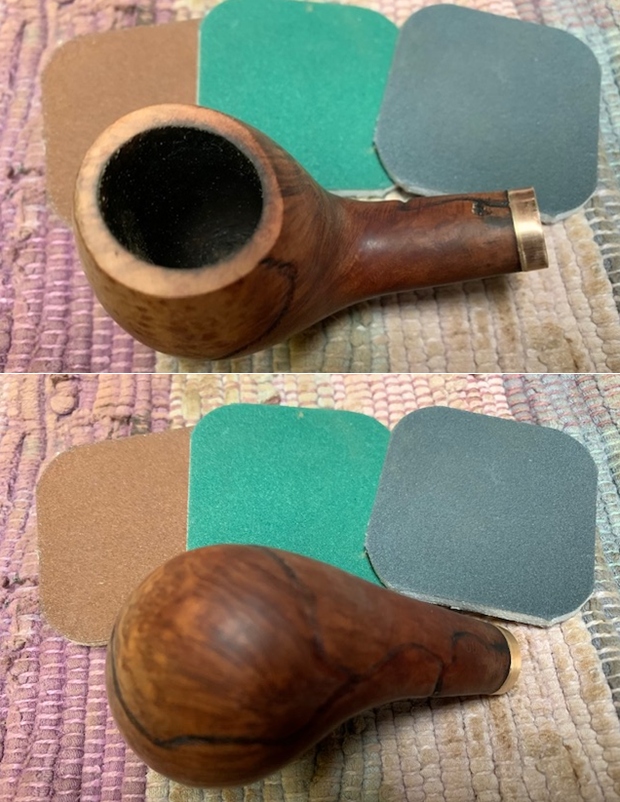
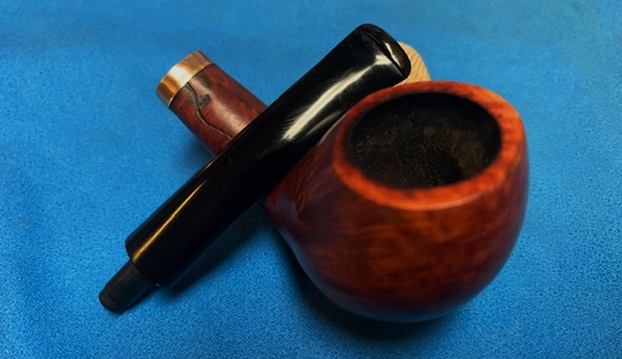
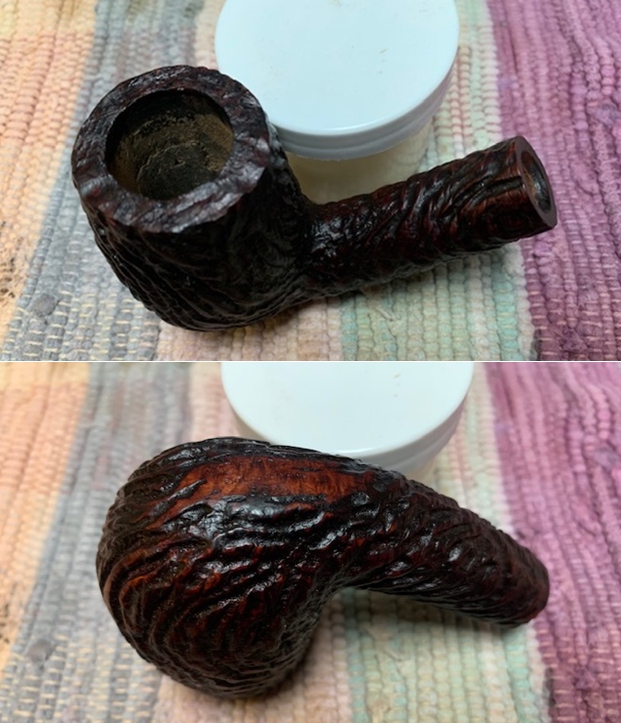
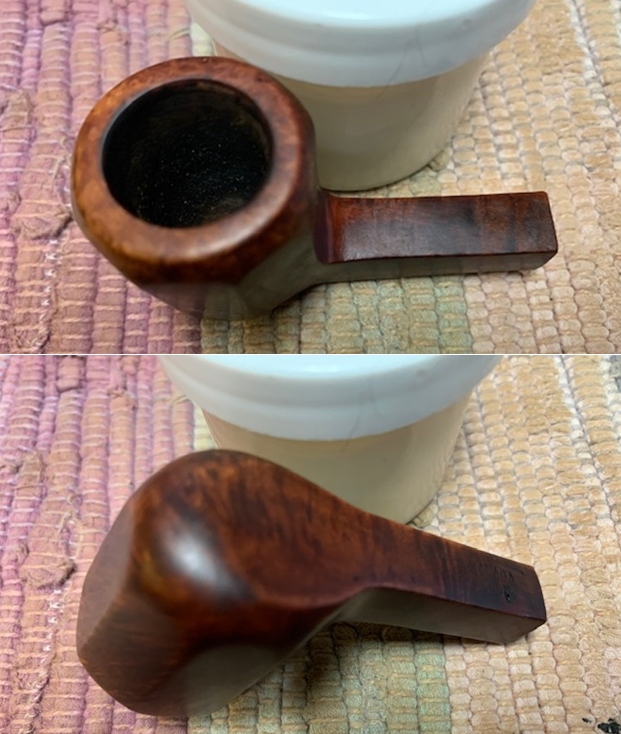
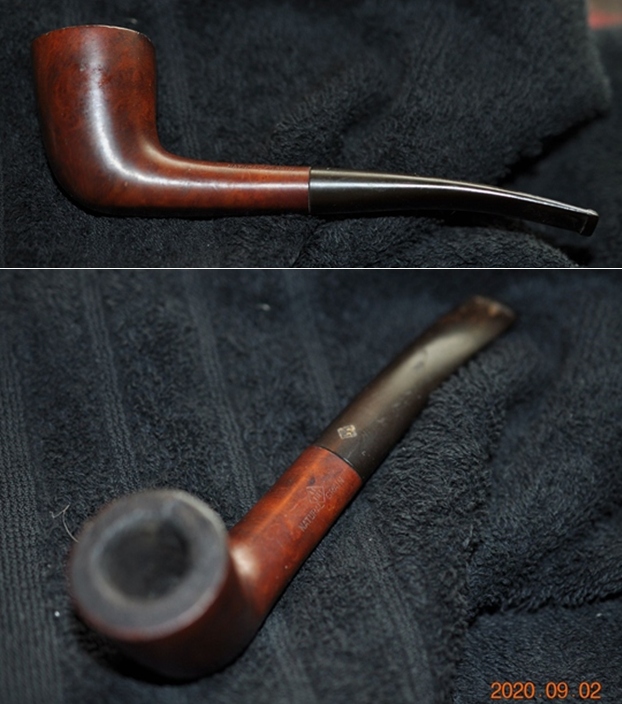
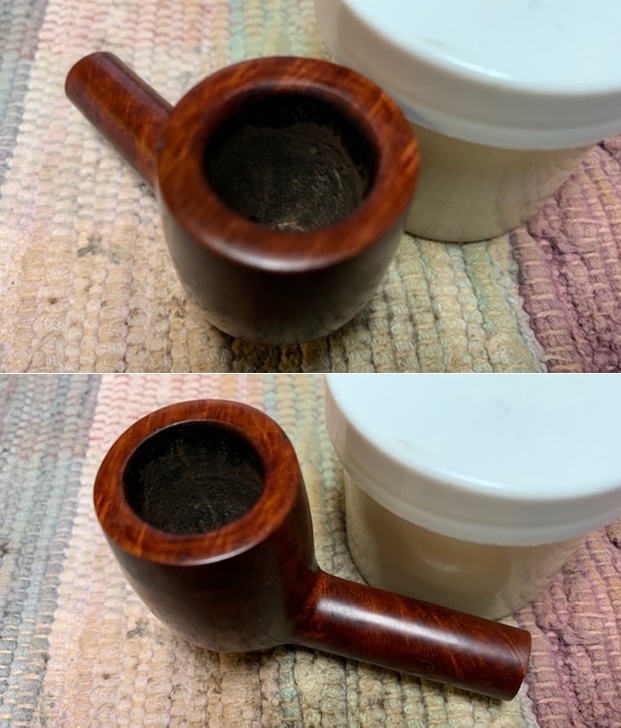
 I took photos of the condition of the rim top and stem before I started working. The rim top looks better but the burn damage is very evident at the back of the bowl. The stem has light oxidation remaining and some tooth chatter and marks on both sides near the button.
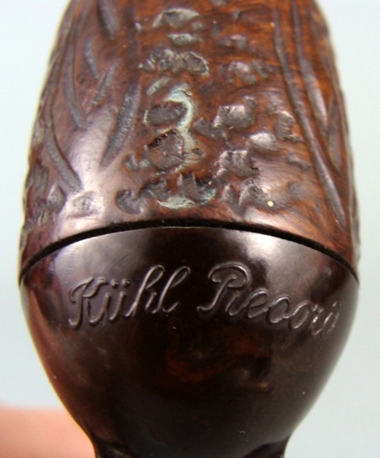
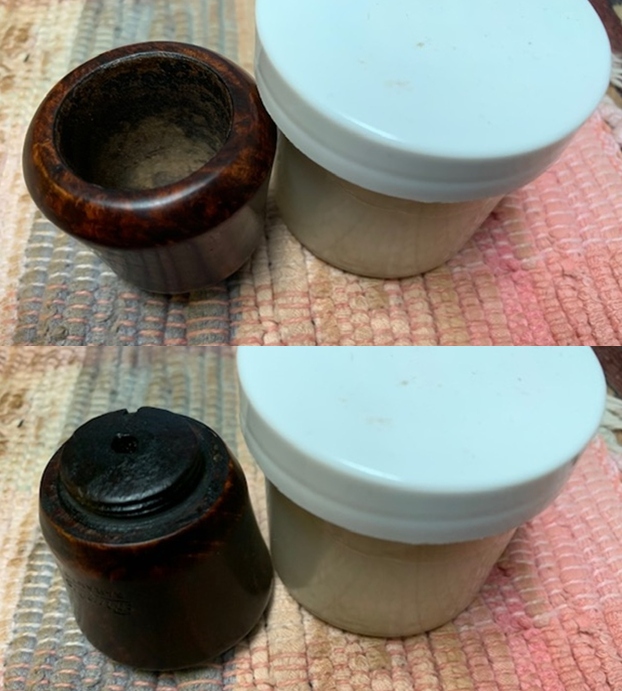
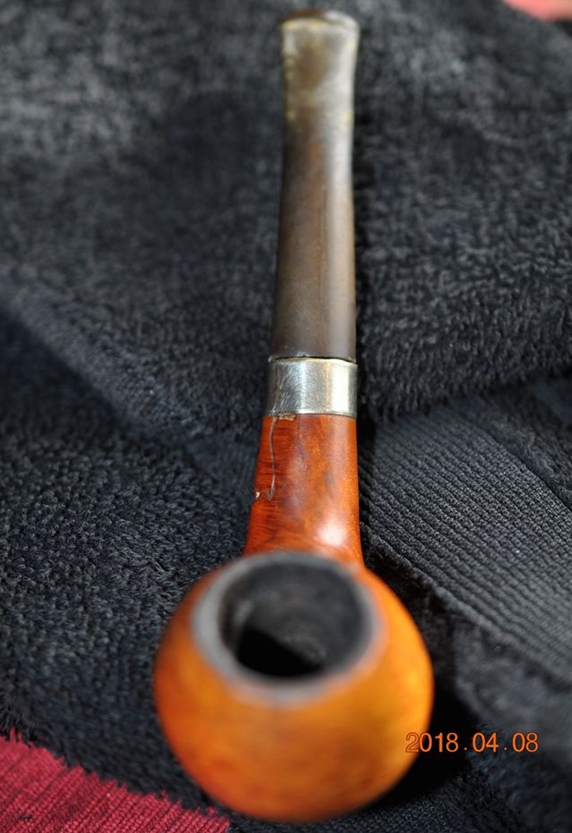
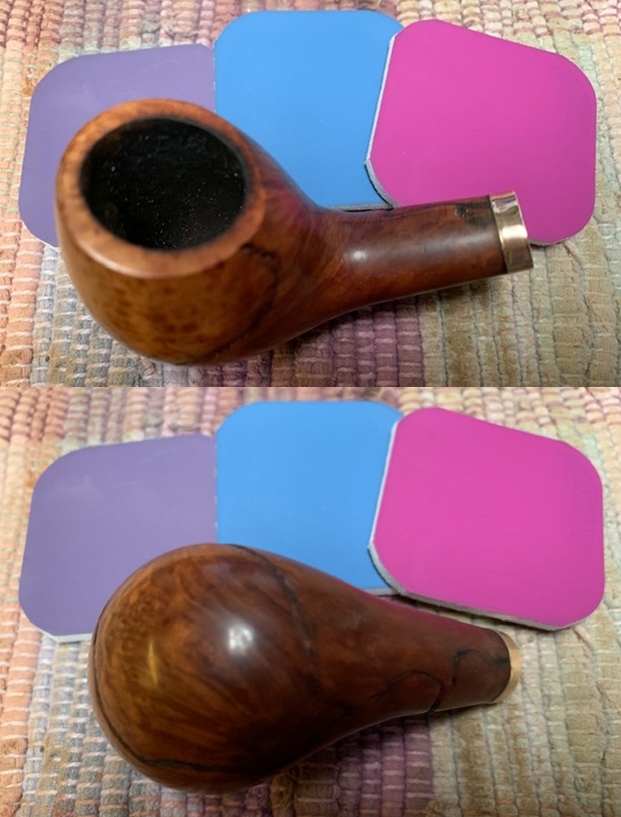
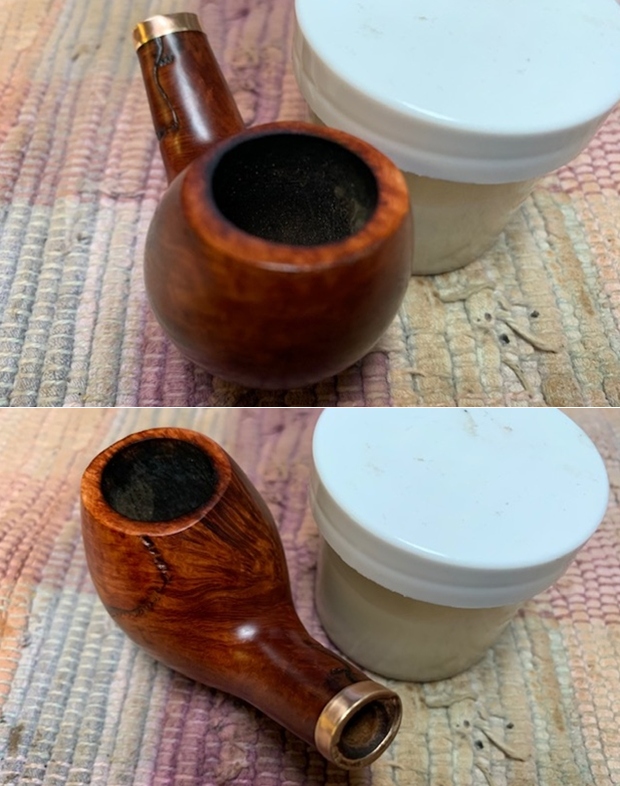
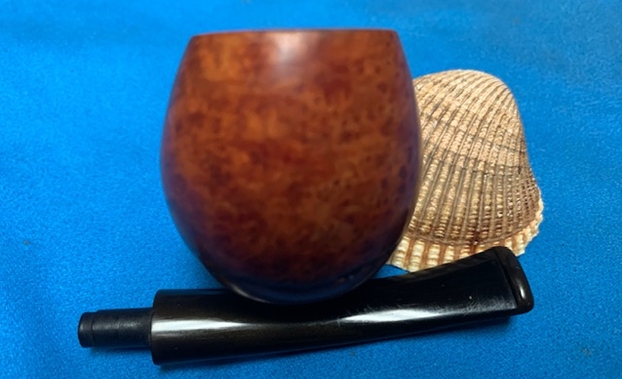
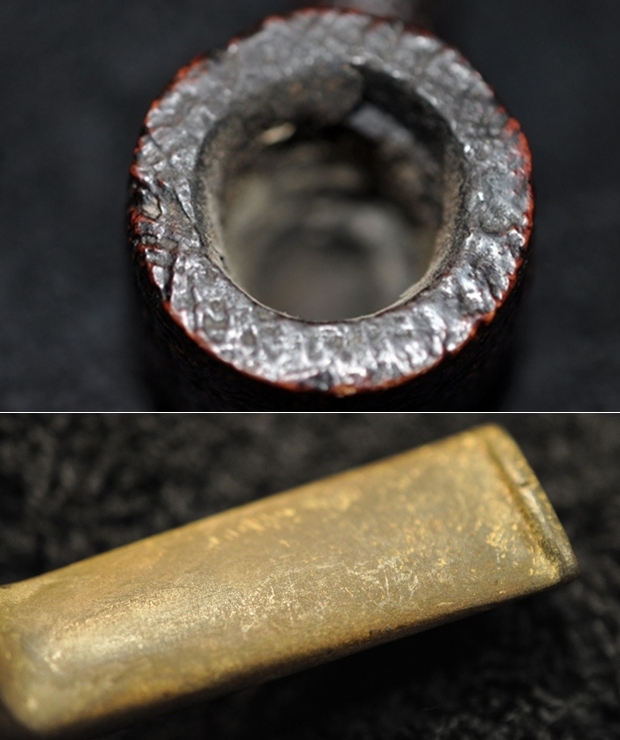
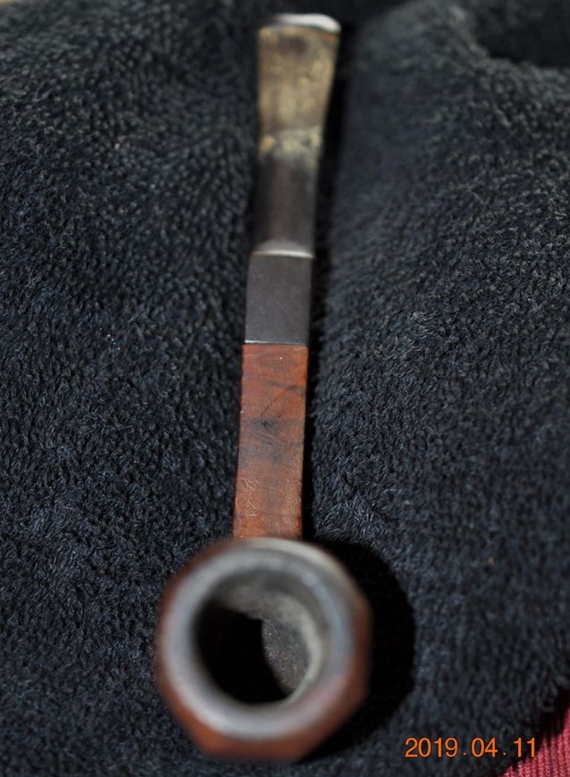
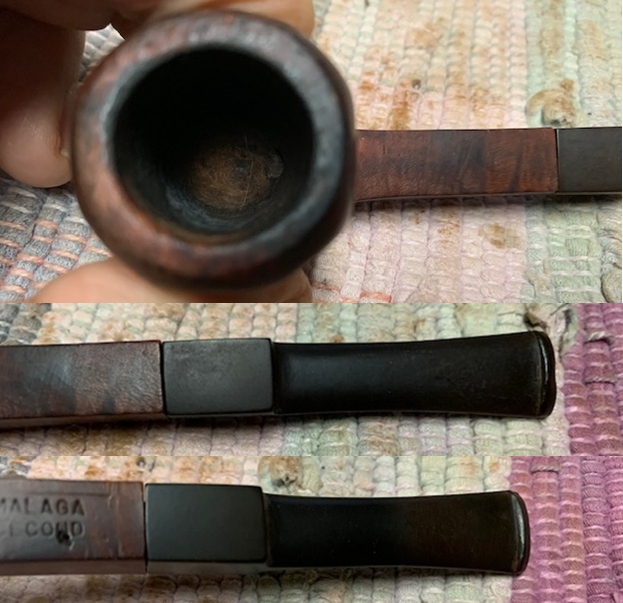
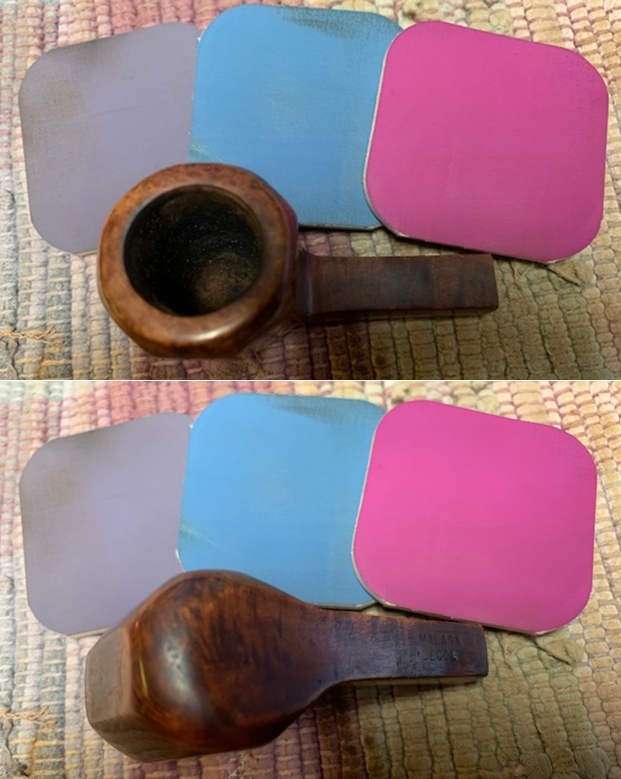
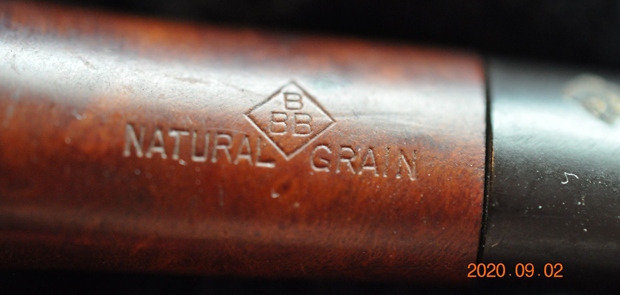
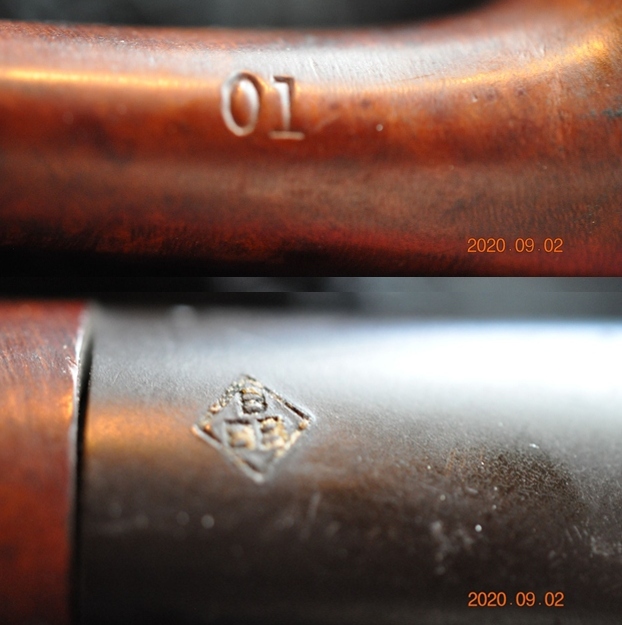
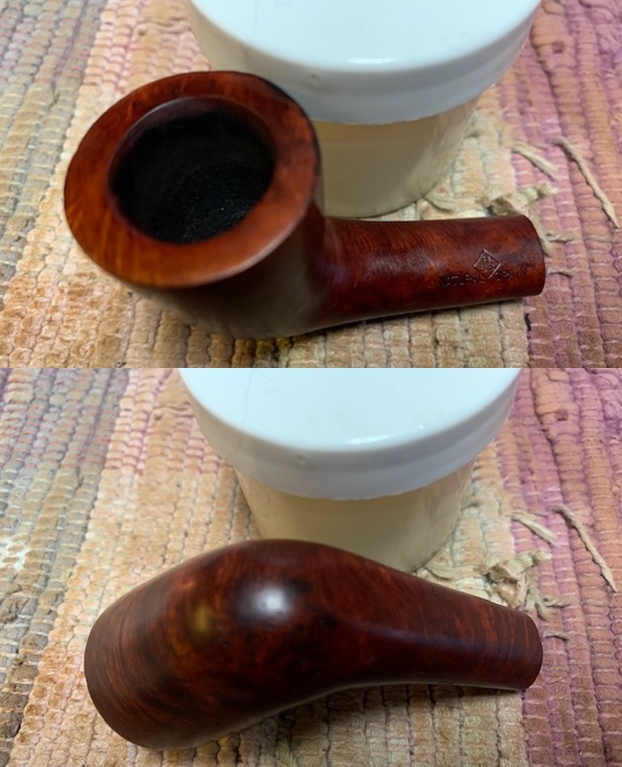
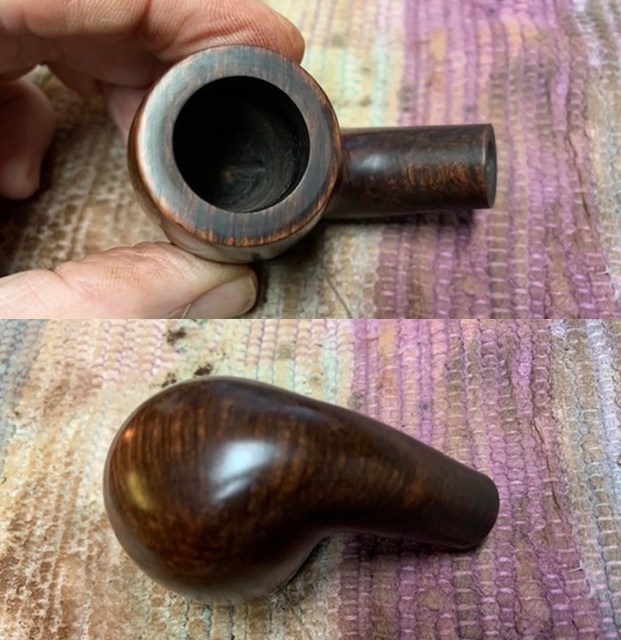
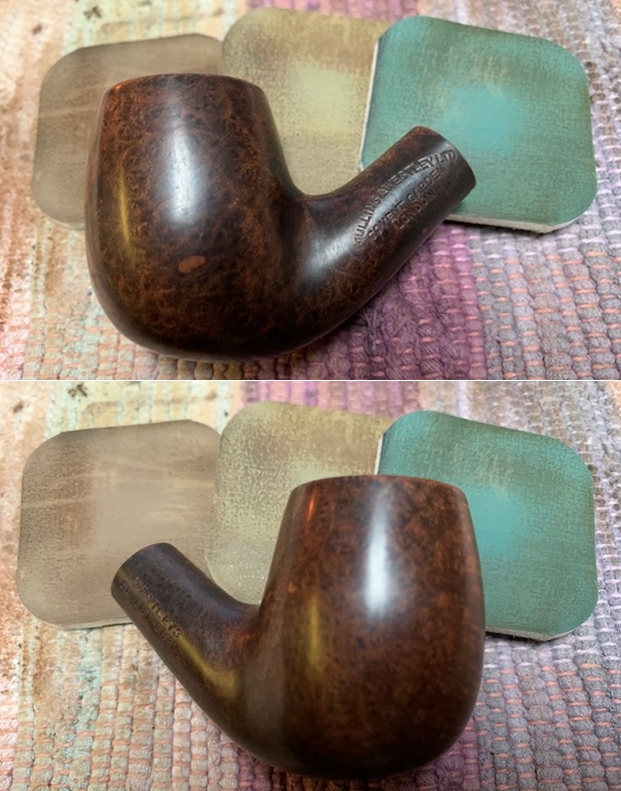
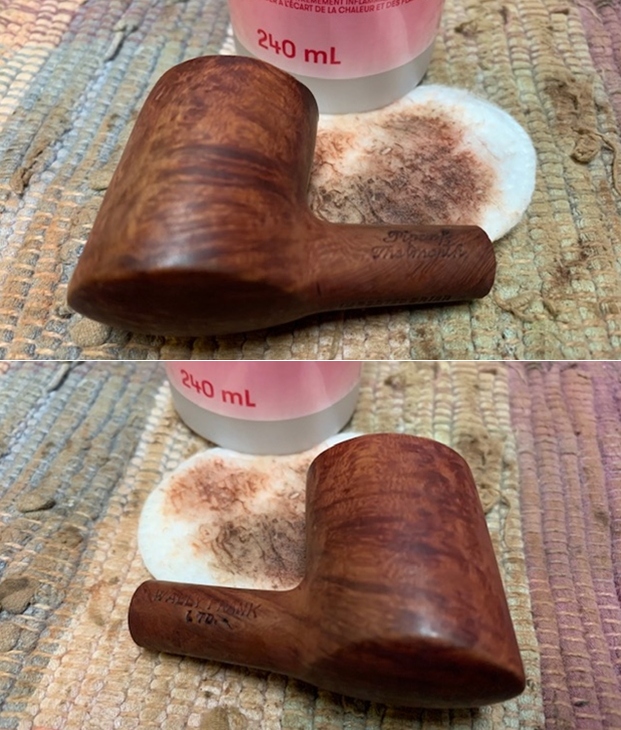
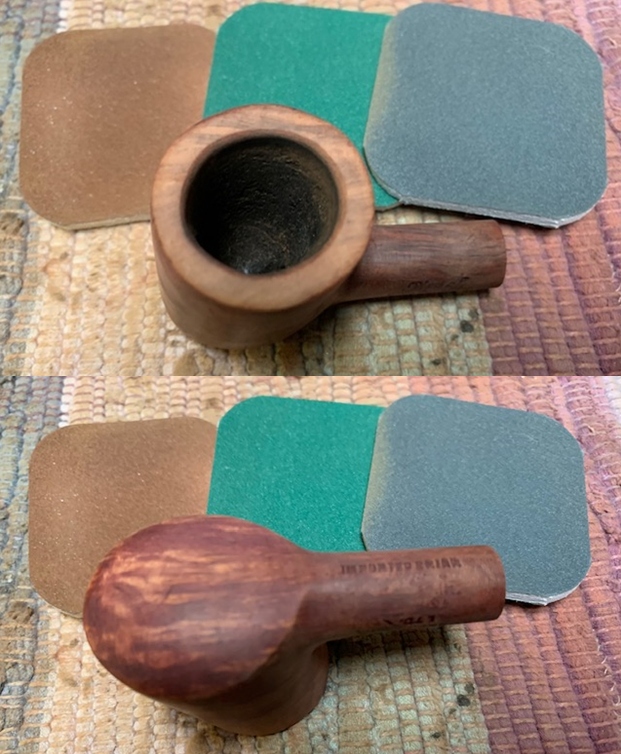
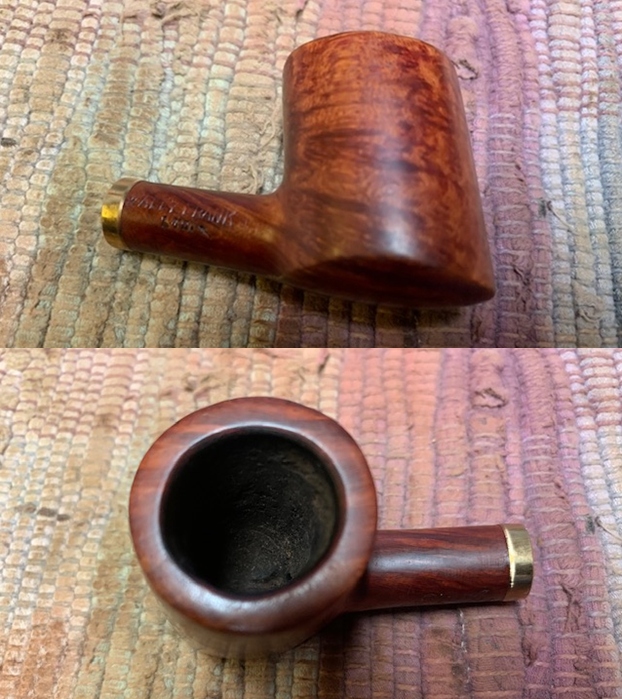
 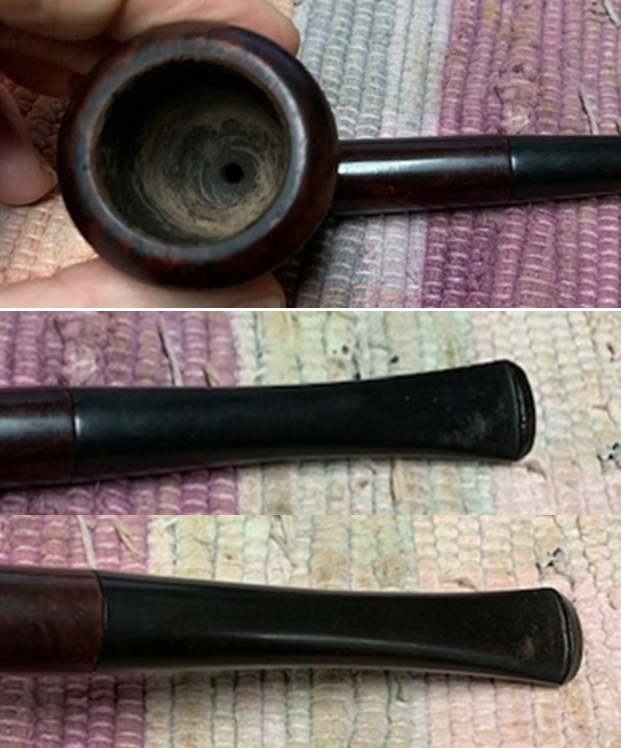 I took a photo of the stamping on the front underside of the Bakelite base and on the back of the briar bowl. They read as noted above.
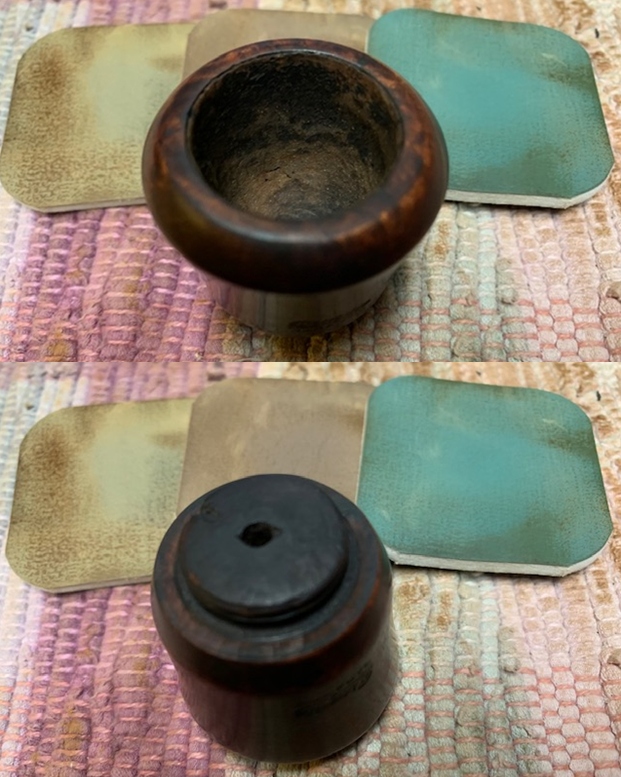
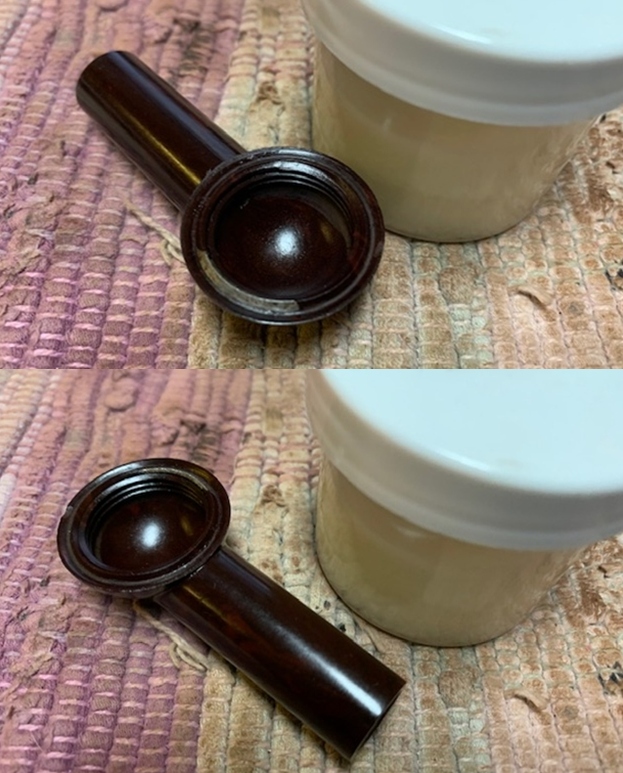
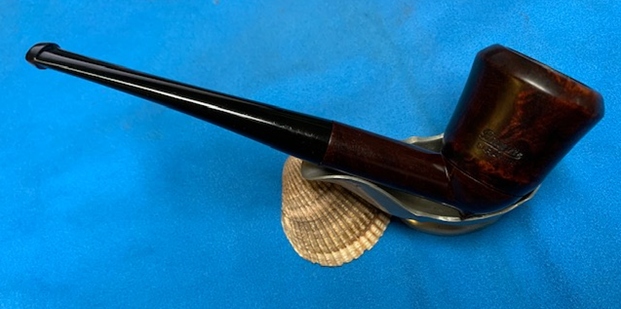
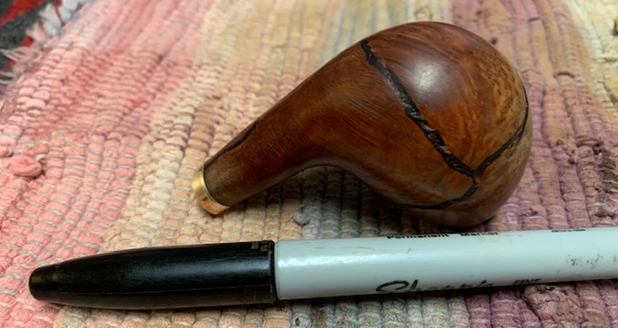
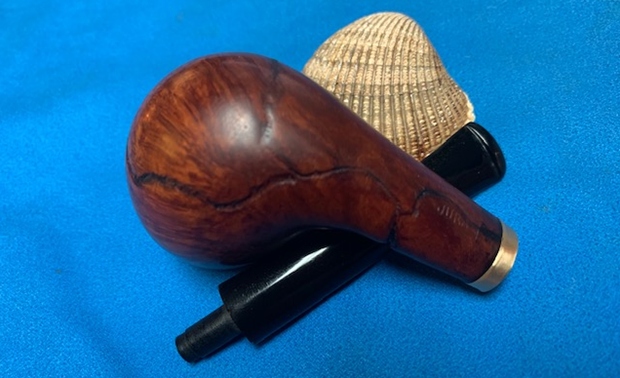
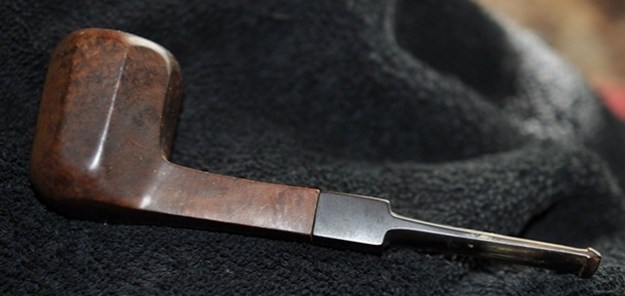
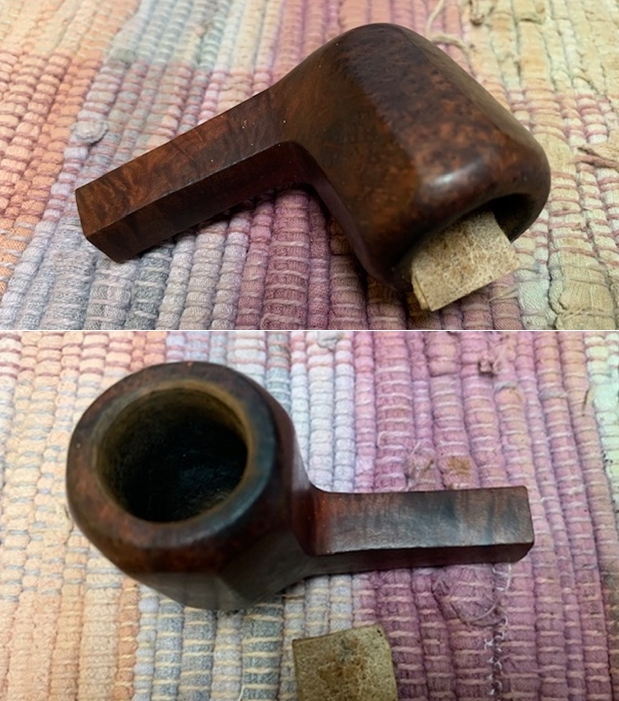
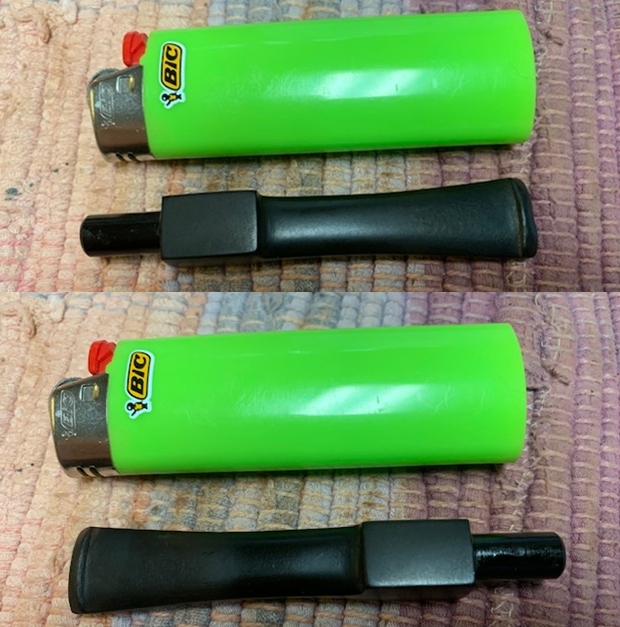
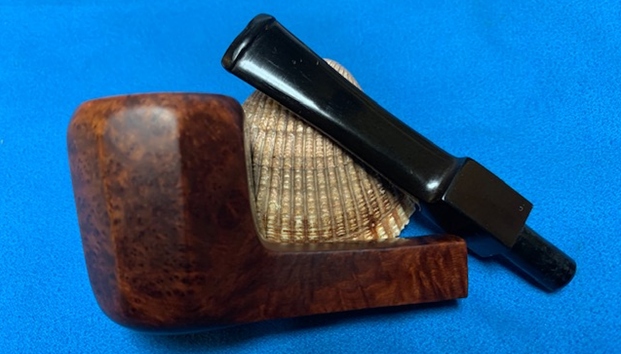
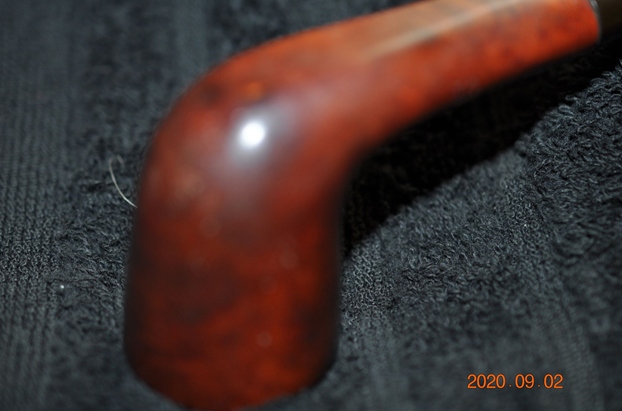
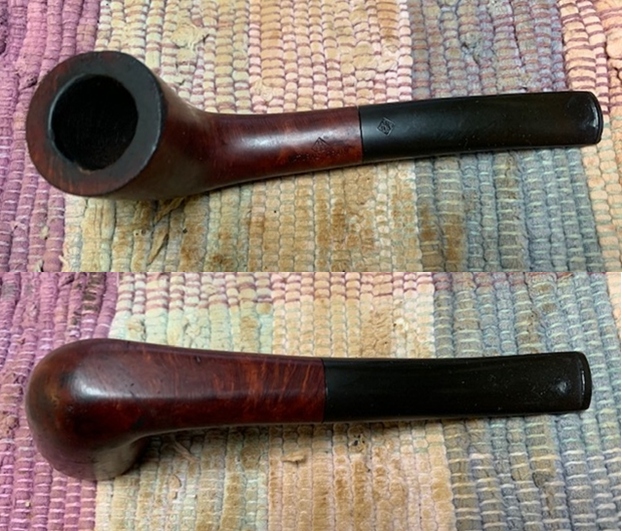
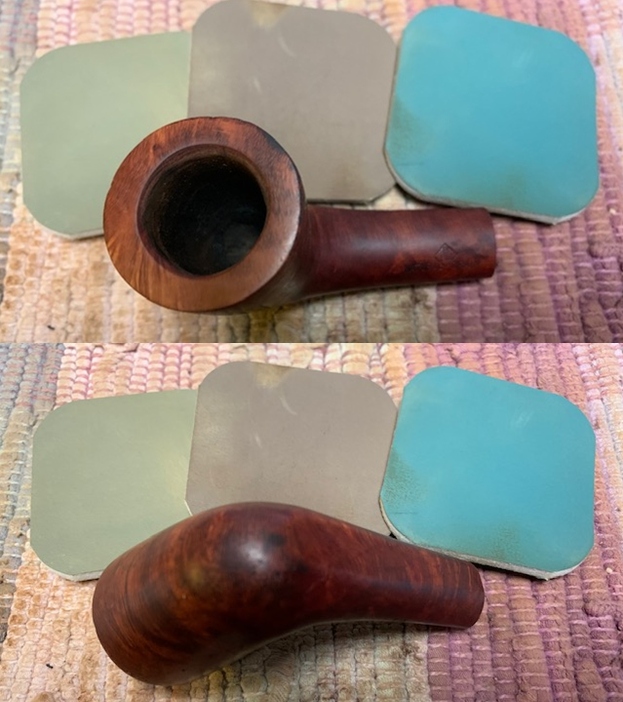
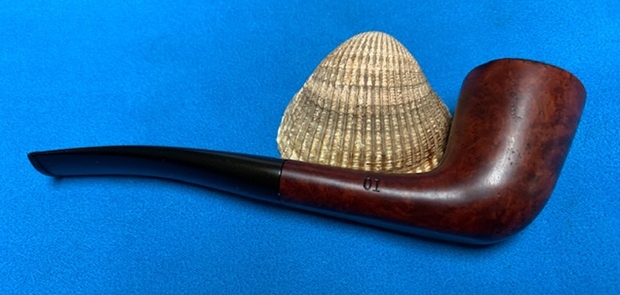
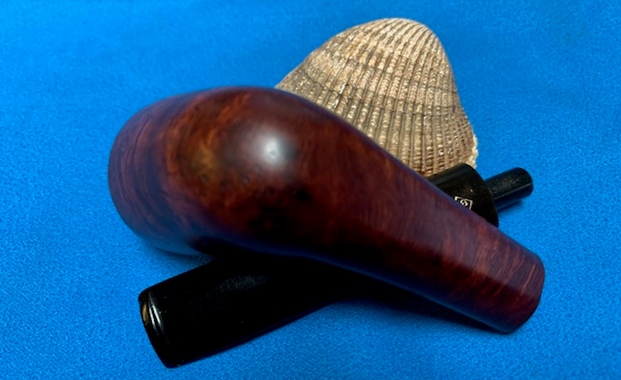
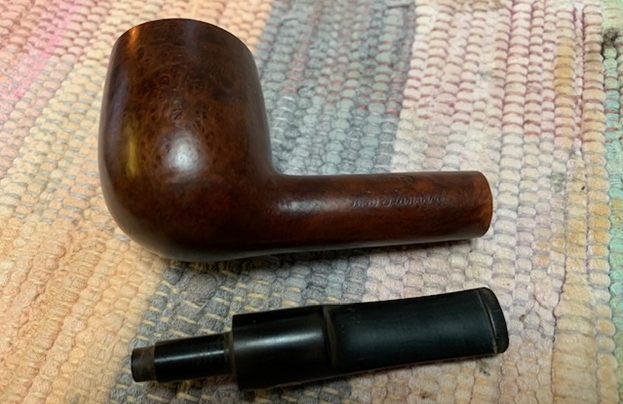
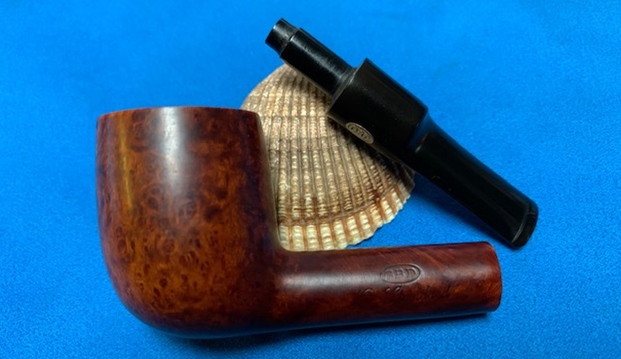
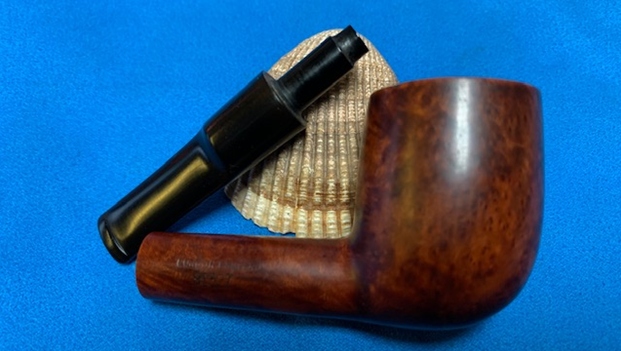
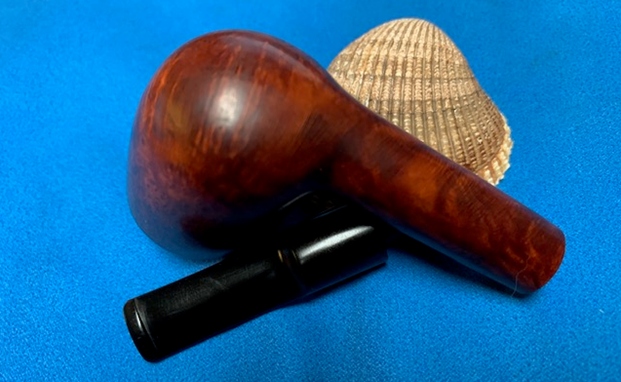
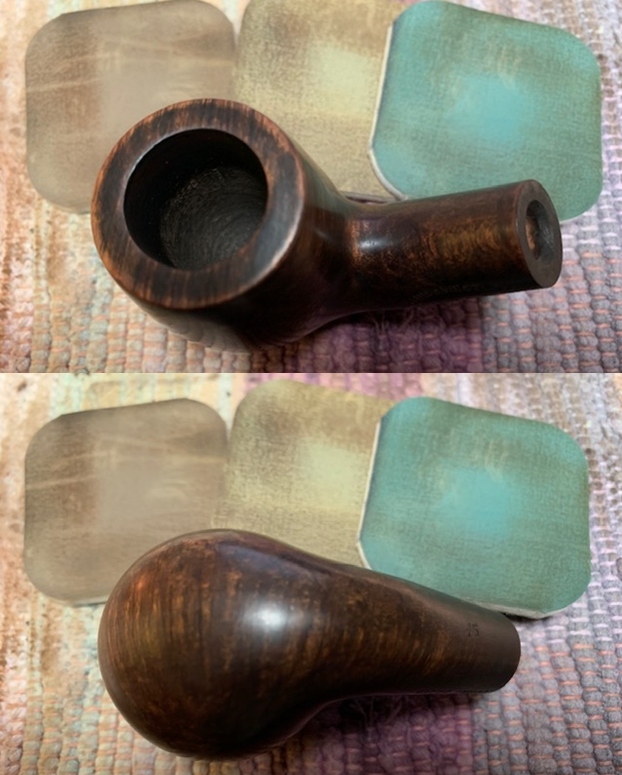
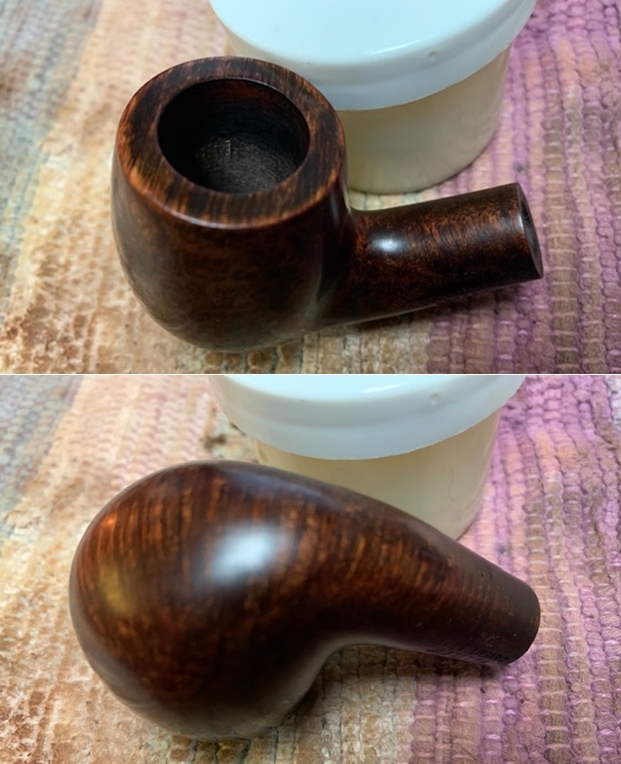
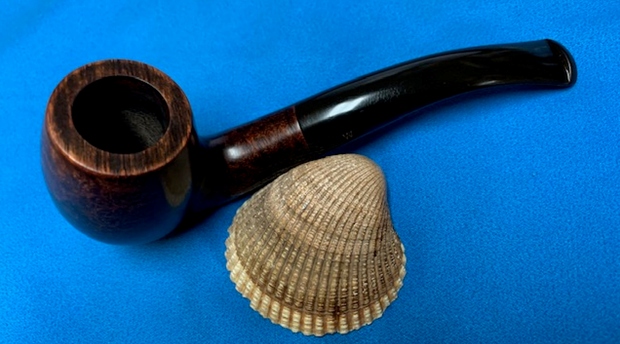
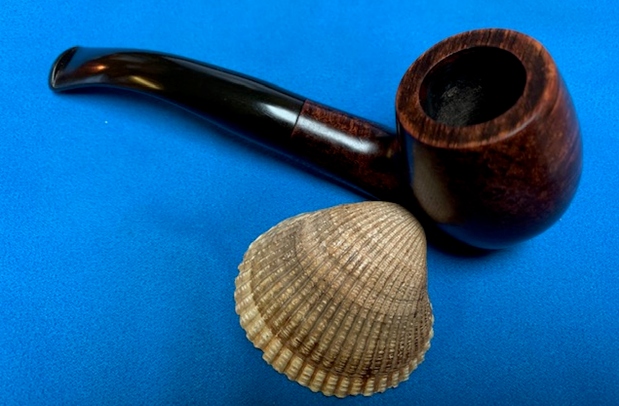
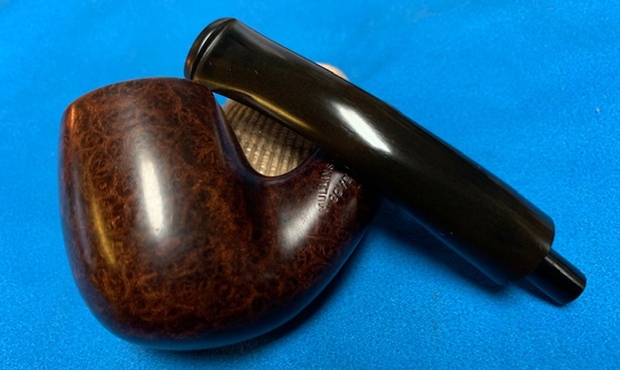
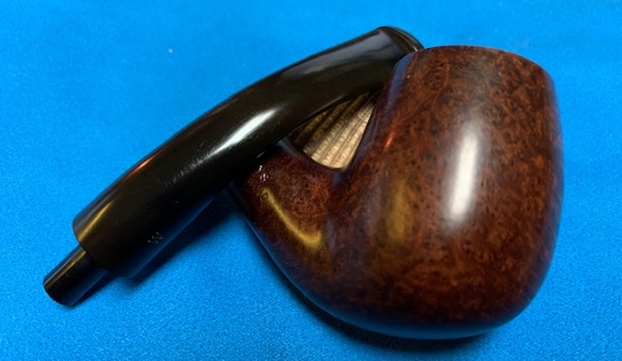
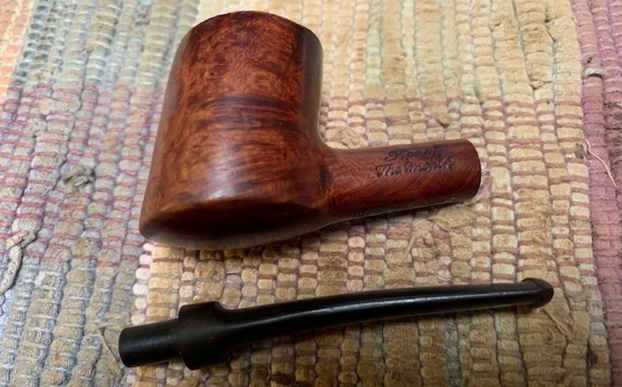
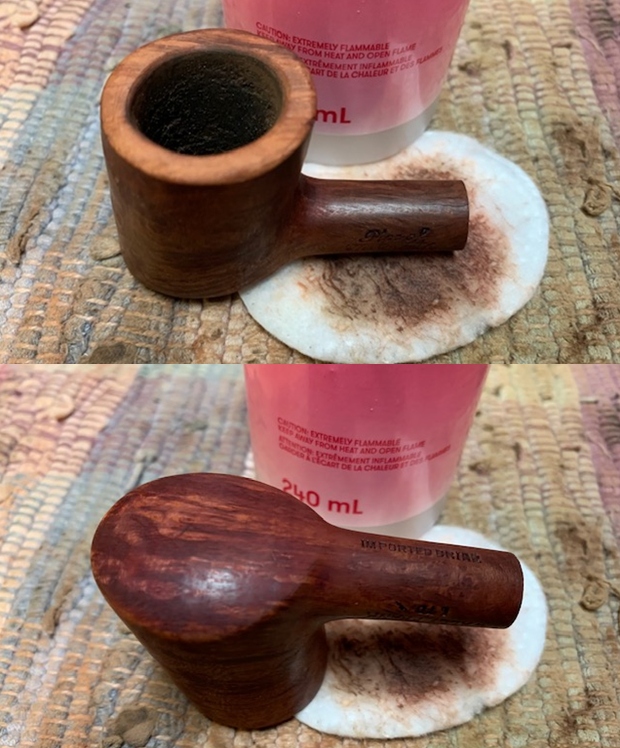
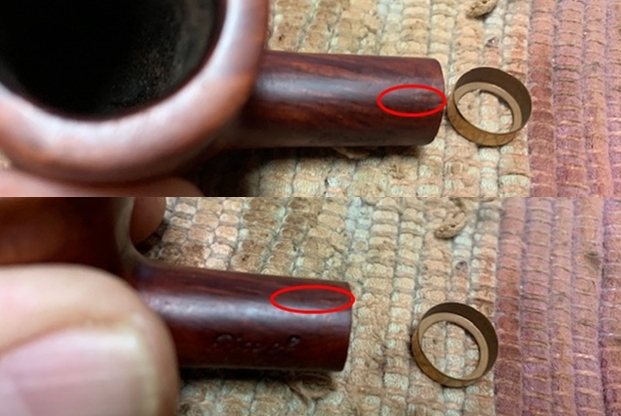
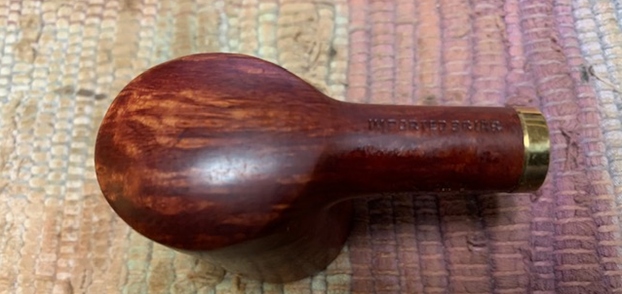
  I took the bowl and stem apart and took a photo of the pipe to show the look of the pipe. The threads on the right side of the Bakelite base are chipped but they do not affect the fit of the bowl to the base.
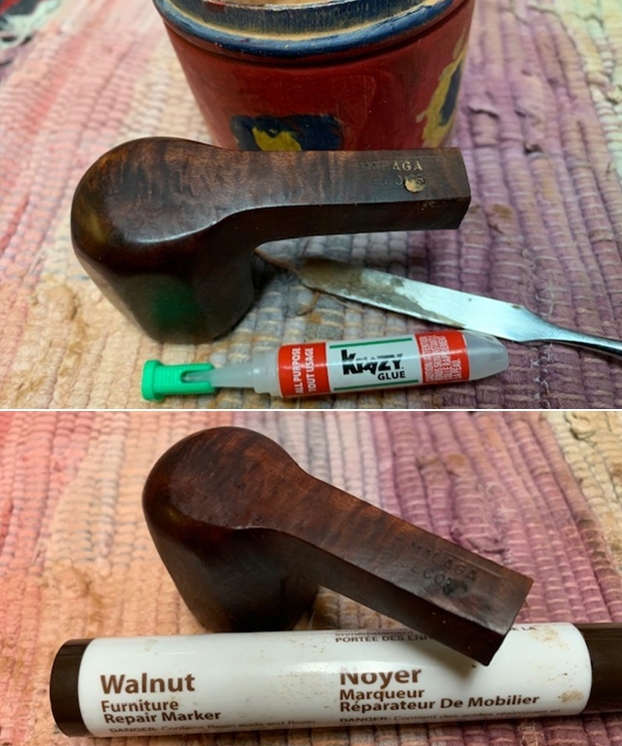
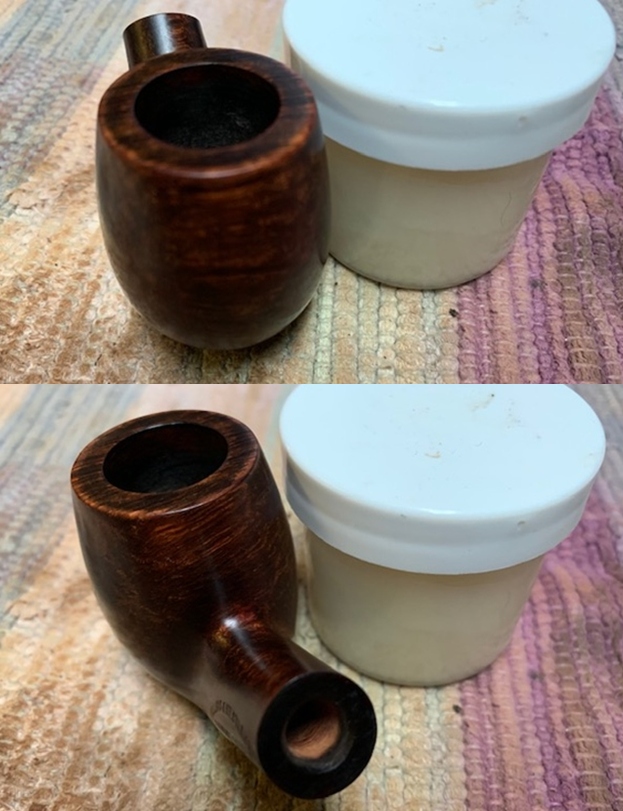
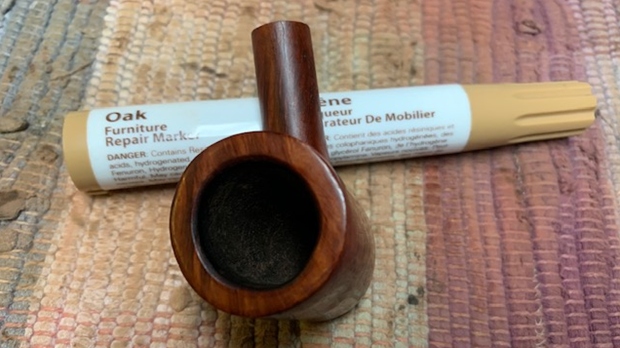
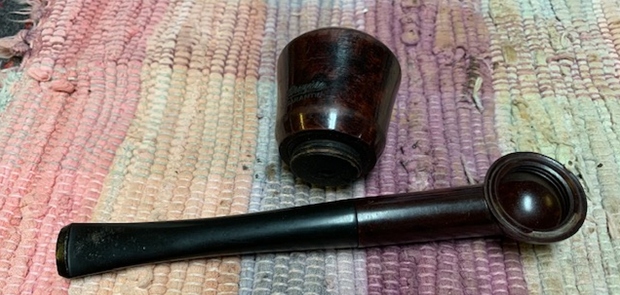 I started my work on the pipe but addressing the cracking varnish finish on the briar bowl. I wiped it down with acetone and was able break down much of it.
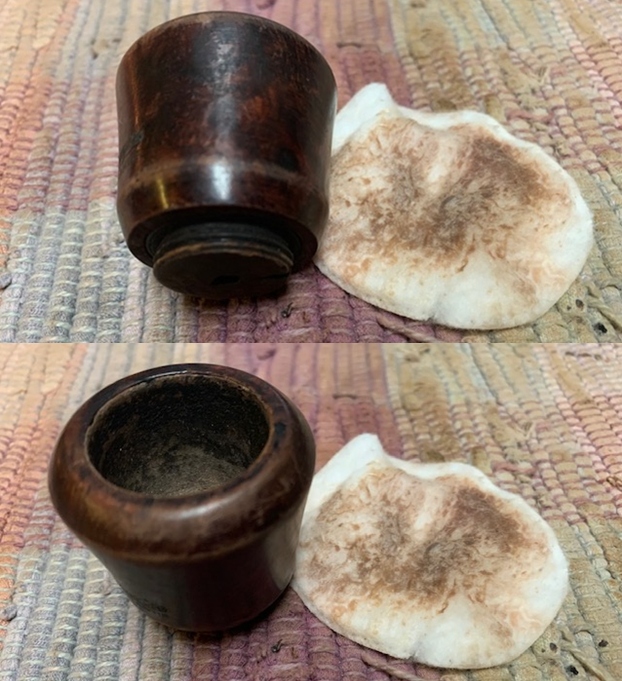
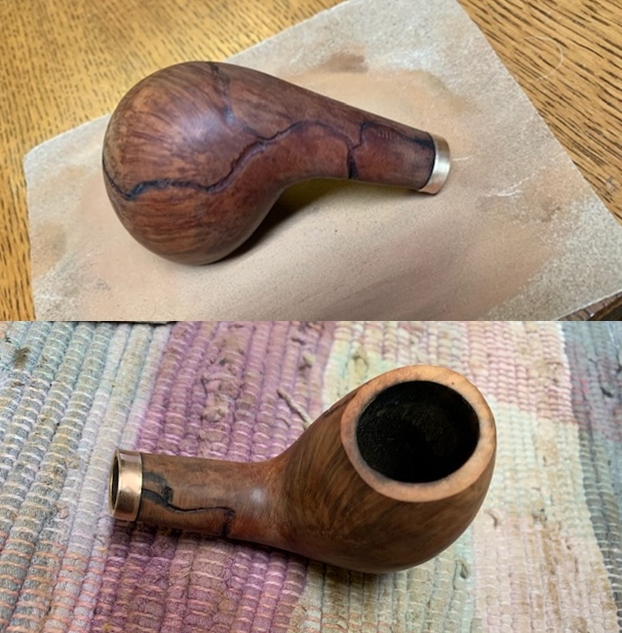
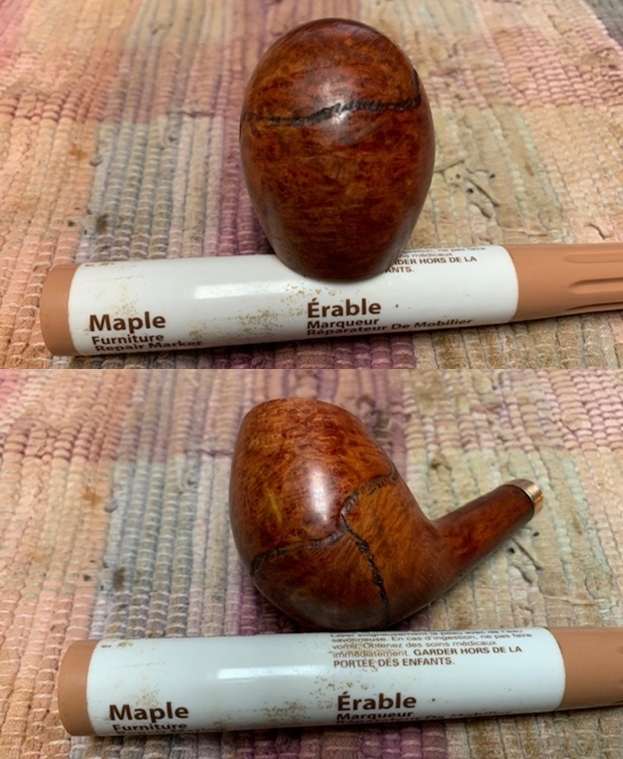
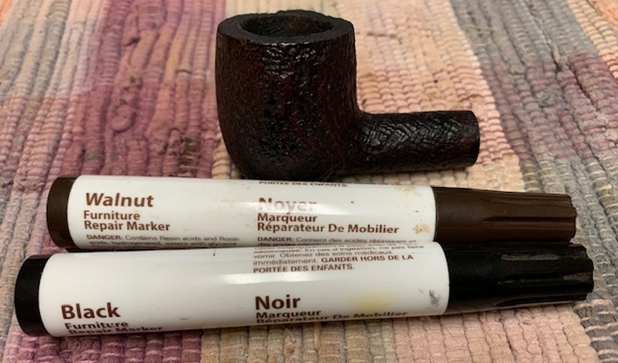
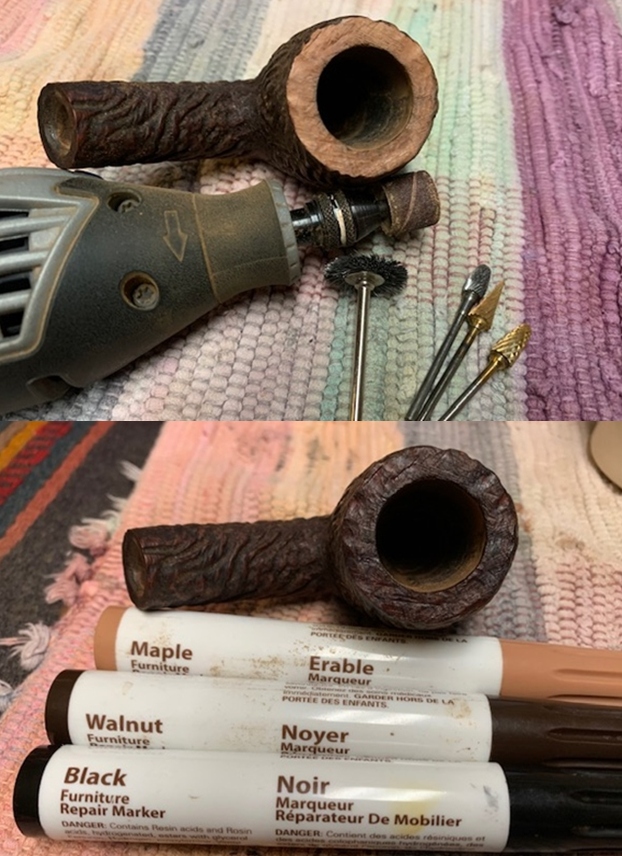
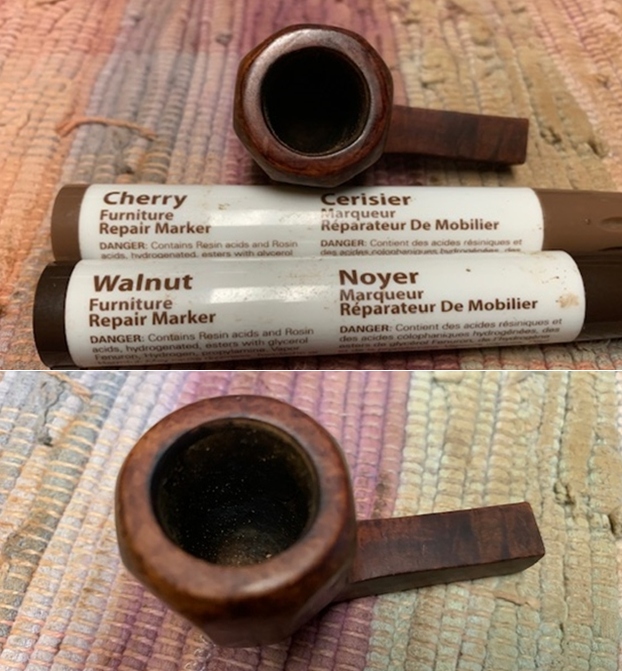
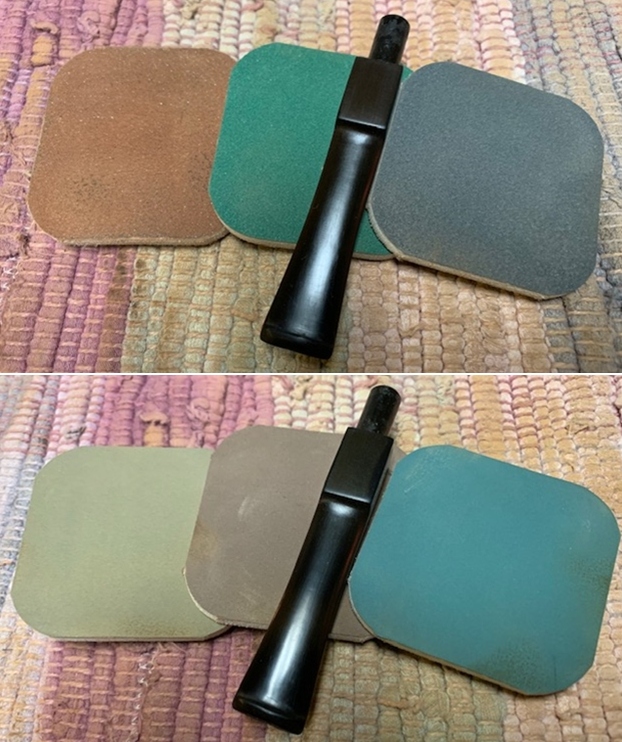
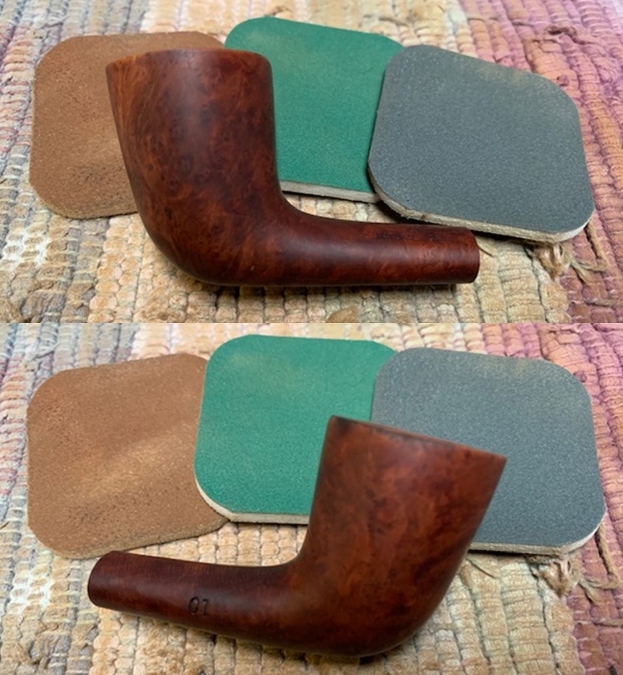
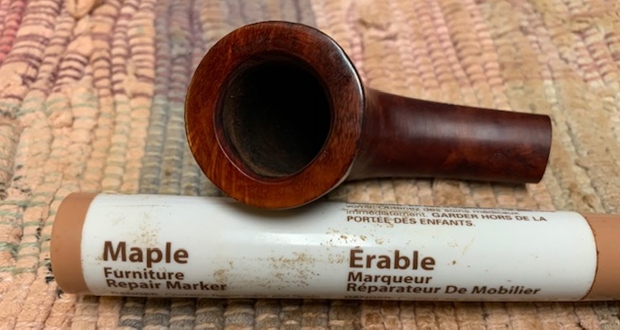
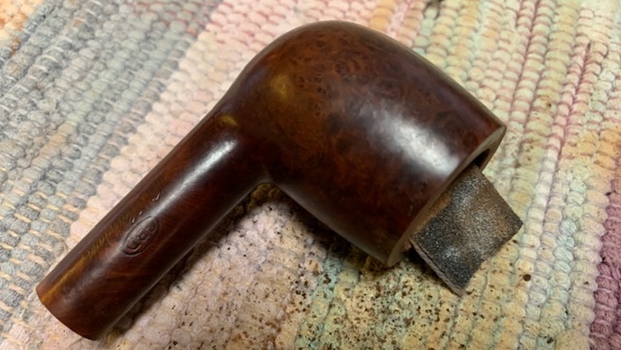
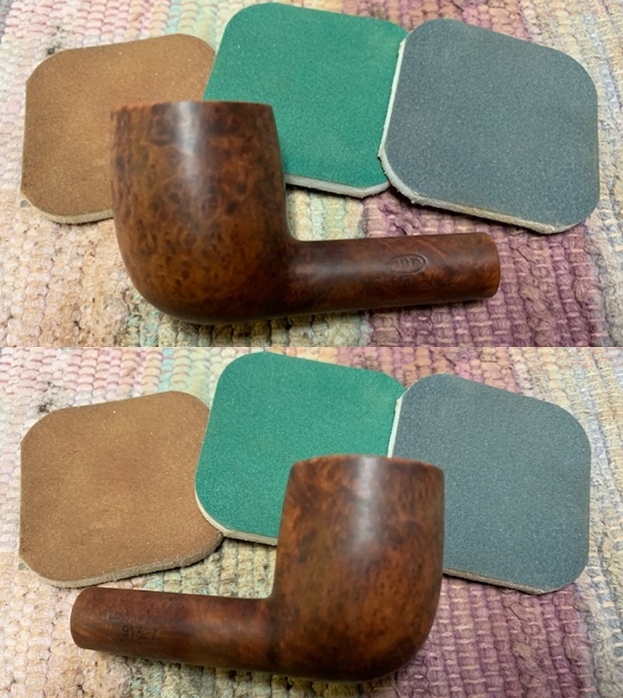
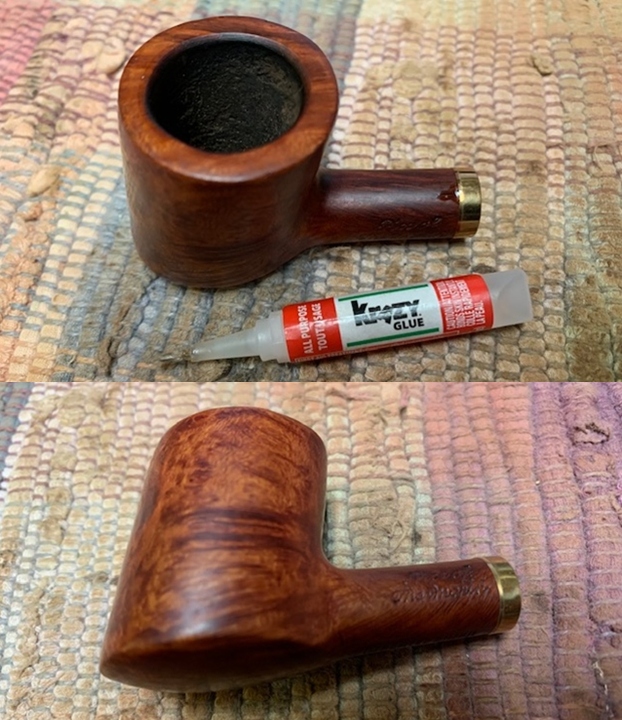
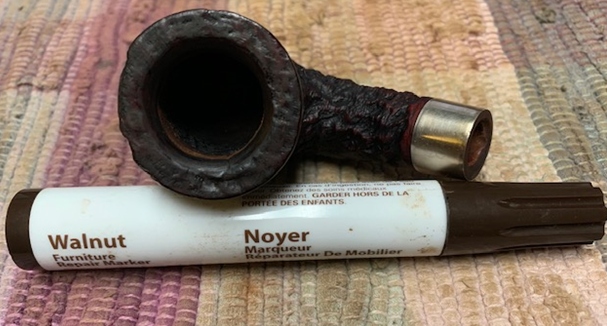
 I filled in the damaged fills with super glue and sanded the surface smooth with 220 grit sandpaper to smooth out the repair. I sanded the rest of the bowl at the same time and evened out the finish. I forgot to take photos of the bowl before I stained it but that is the process. Once it was smoothed out I stained it with a dark brown aniline stain and flamed it to set it in the briar.
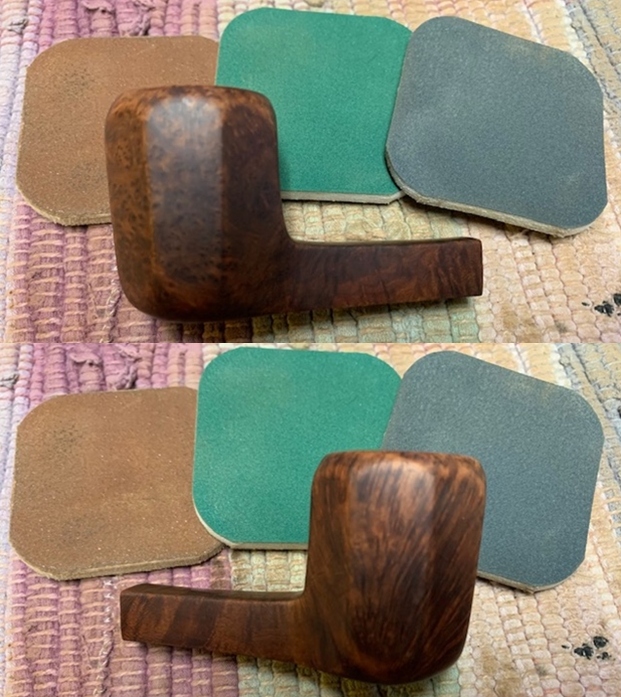
 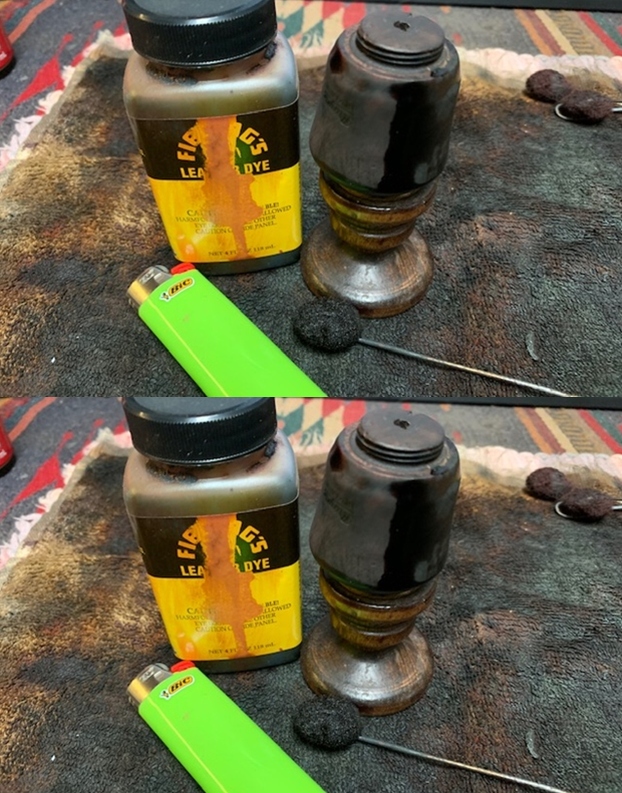 Once the stain had set in the briar I polished the bowl with micromesh sanding pads – dry sanding with 1500-12000 grit pads to make the stain more transparent an to raise a shine on the briar. I wiped it down with a damp cloth after each pad.
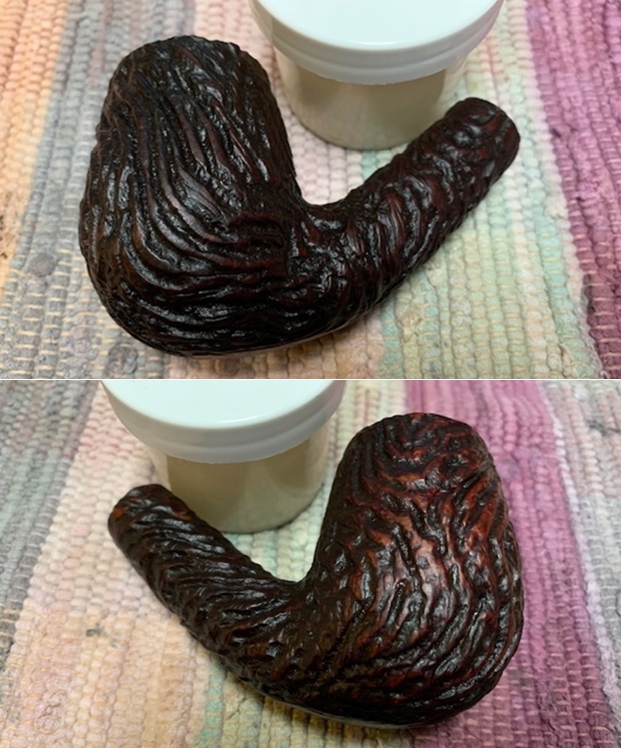
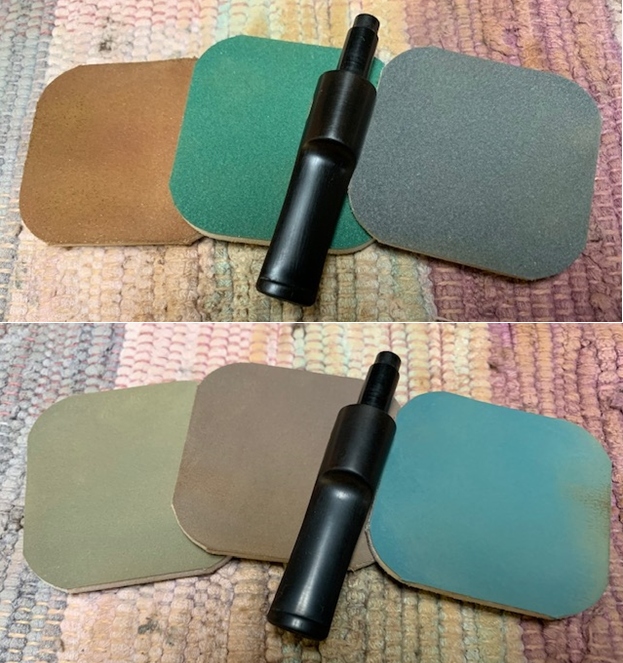
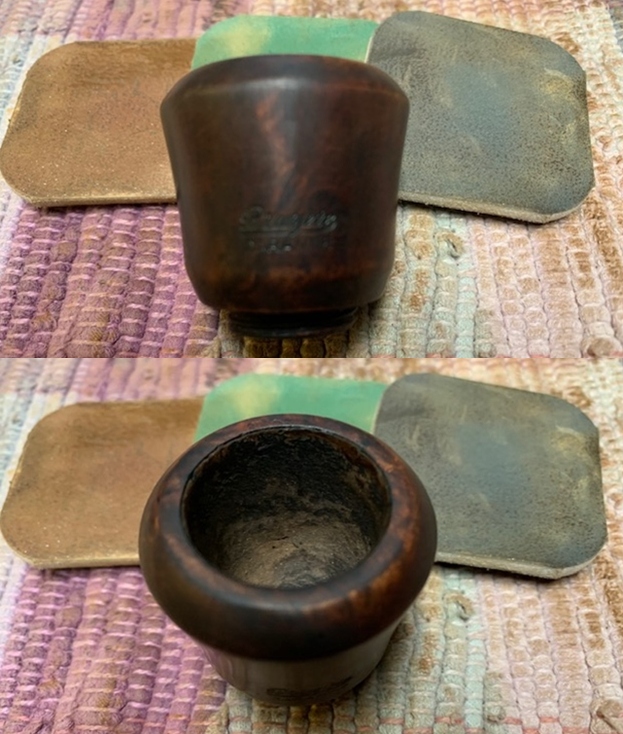

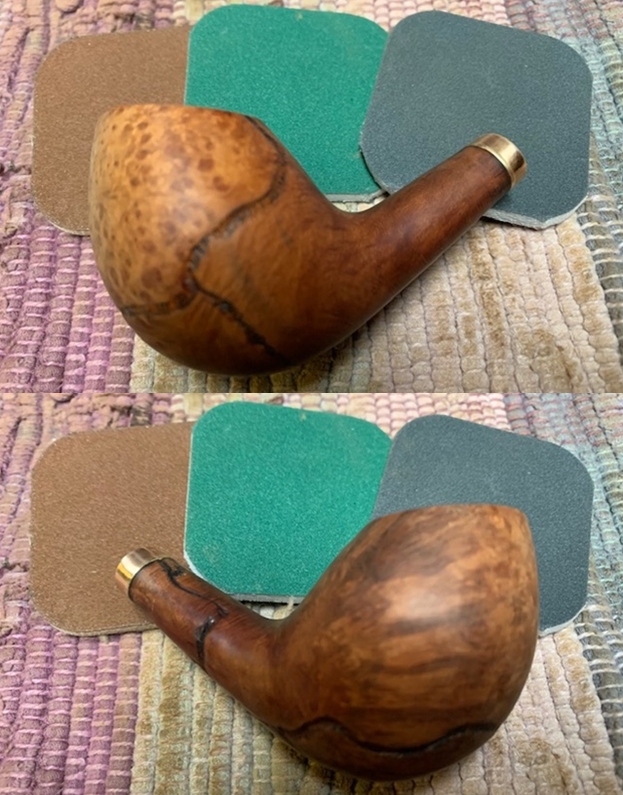
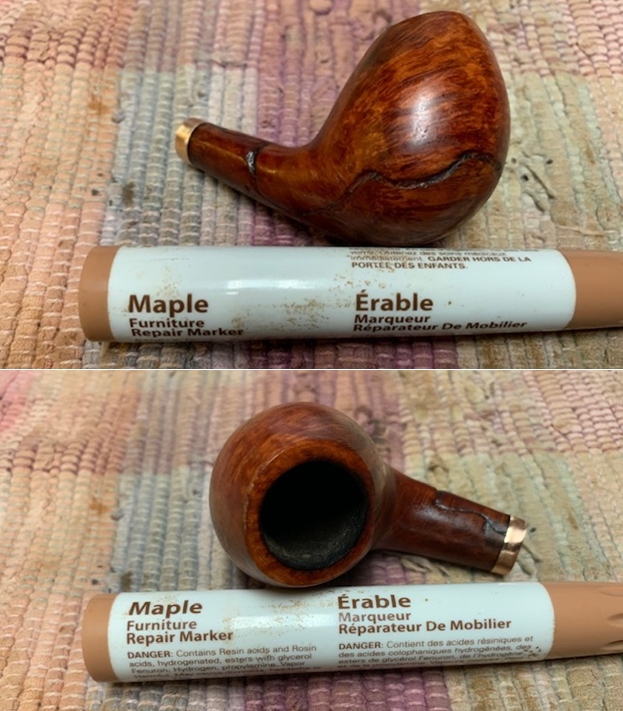
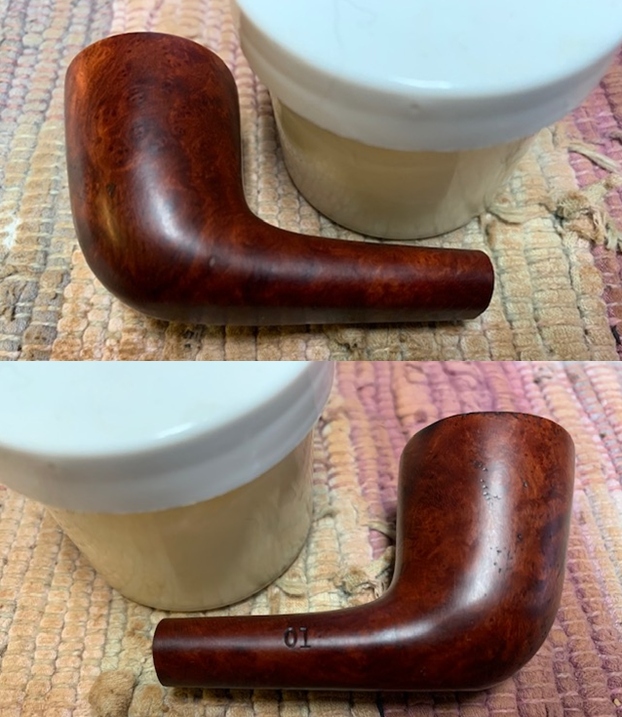
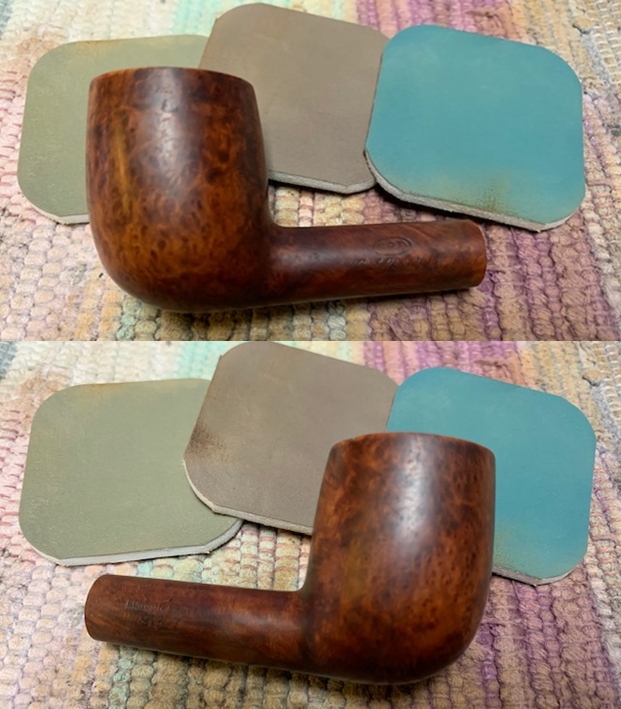
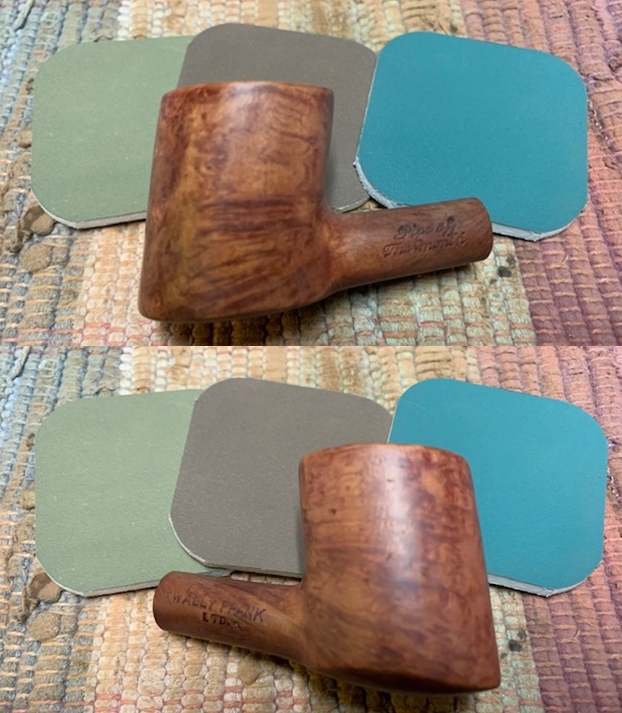
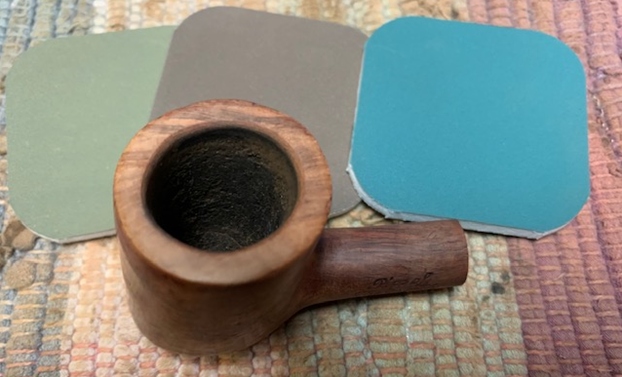
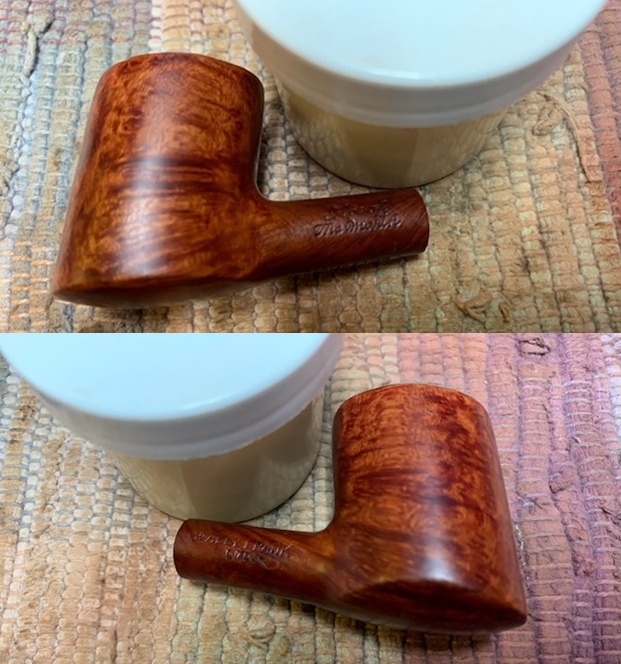
 I worked some Before & After Restoration Balm into the finish of the bowl, rim top and shank with my fingertips to clean, enliven and protect it. I find that the balm really makes the briar come alive again. The contrasts in the layers of stain and the separate finishes really made the grain stand out. I let the balm sit for 15 minutes and then buffed with a cotton cloth to raise the shine. The bowl really looks good at this point.
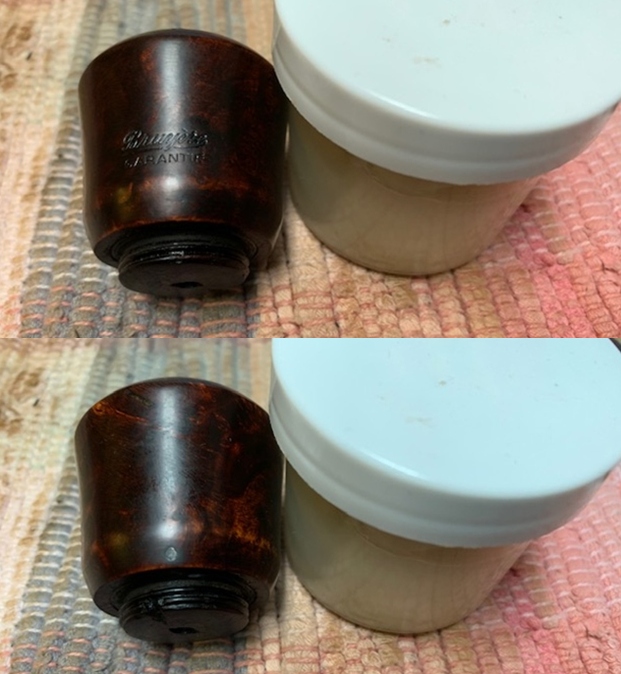
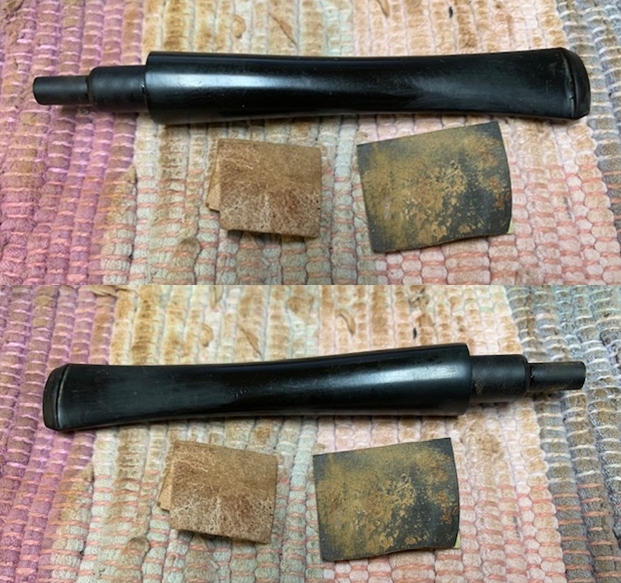
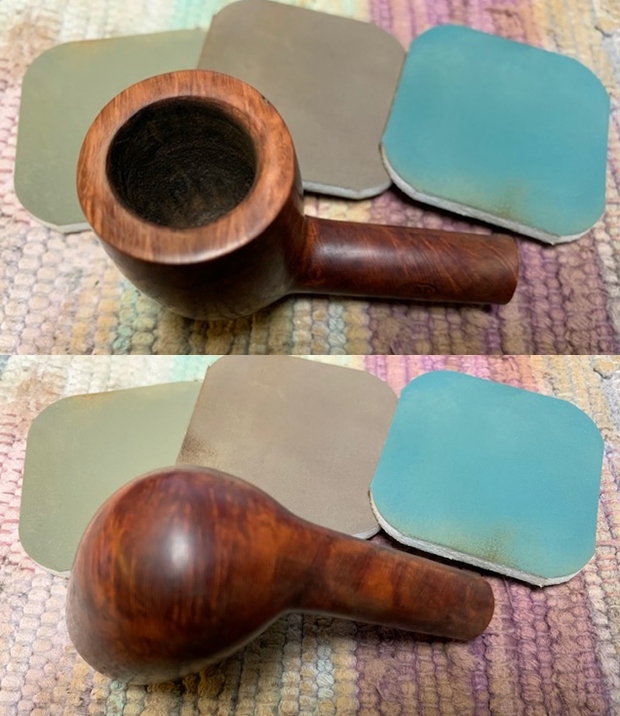
 I set aside the bowl and turned my attention to the Bakelite Base. I greased the cork in the shank with Vaseline Petroleum Jelly to enliven and give it back its flexibility. I rubbed the Bakelite down with Before and After Restoration Balm to rejuvenate it as well as clean and protect it.
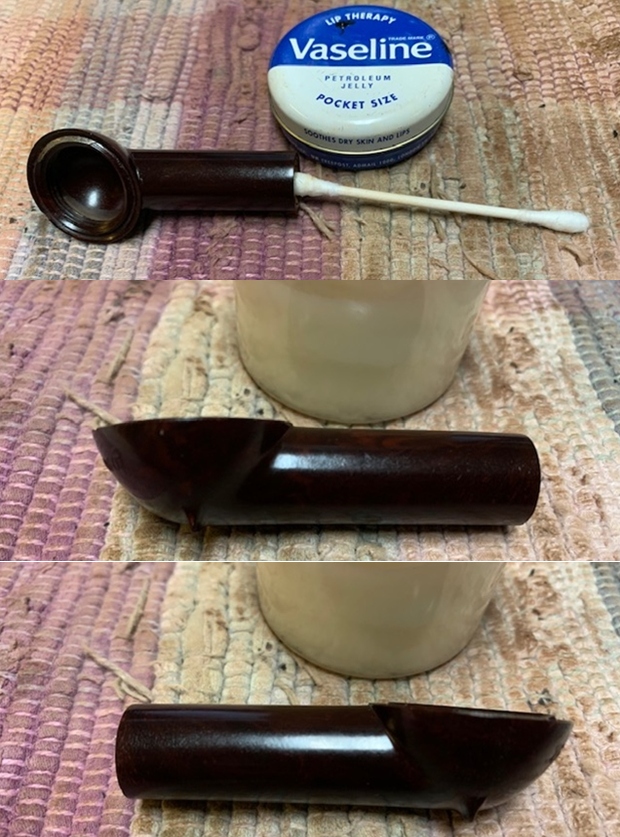
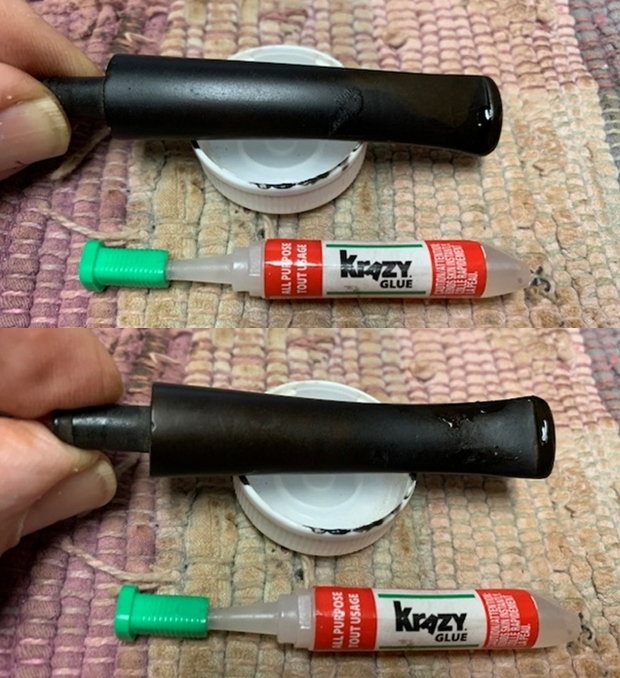
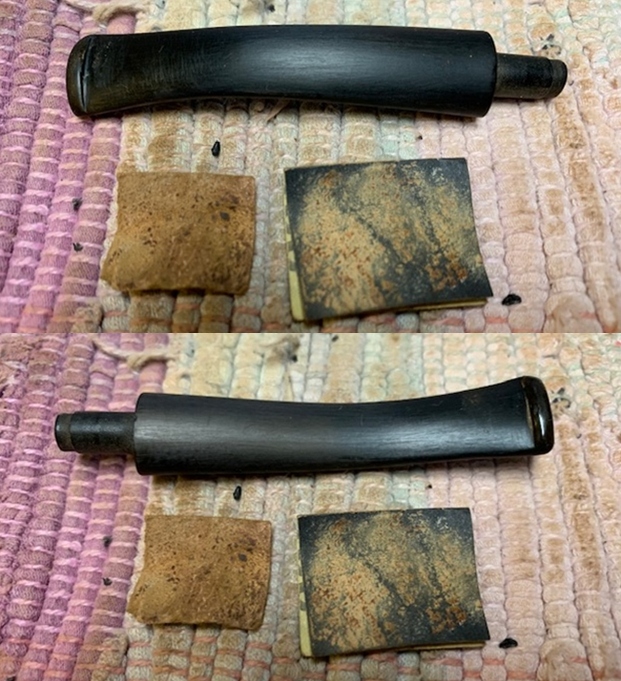
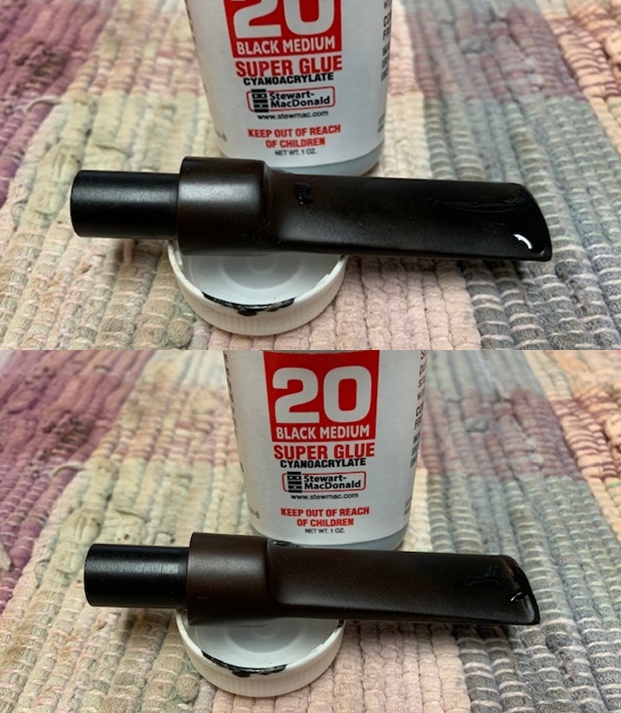
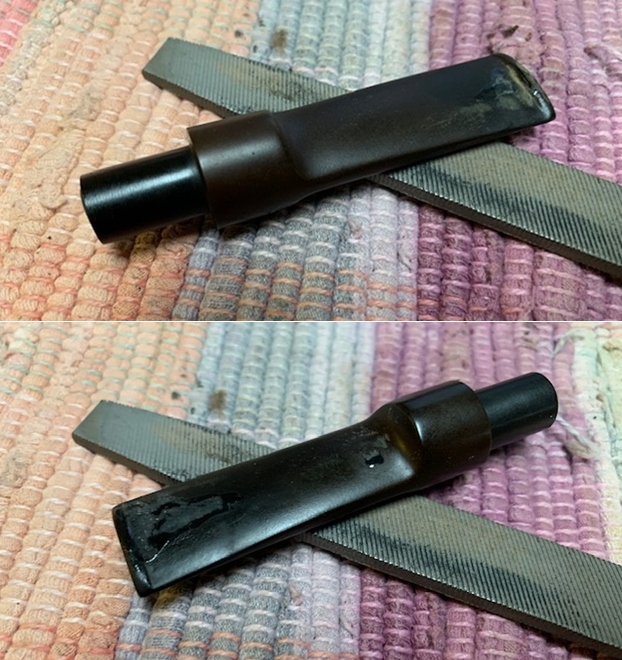
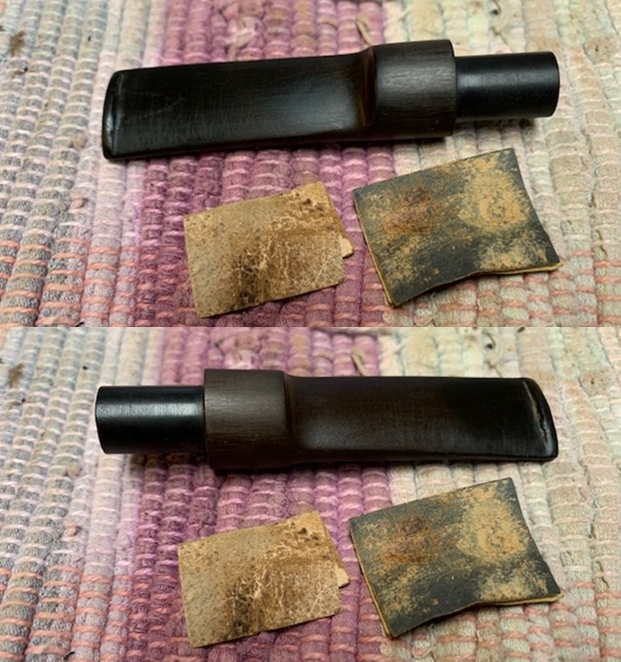
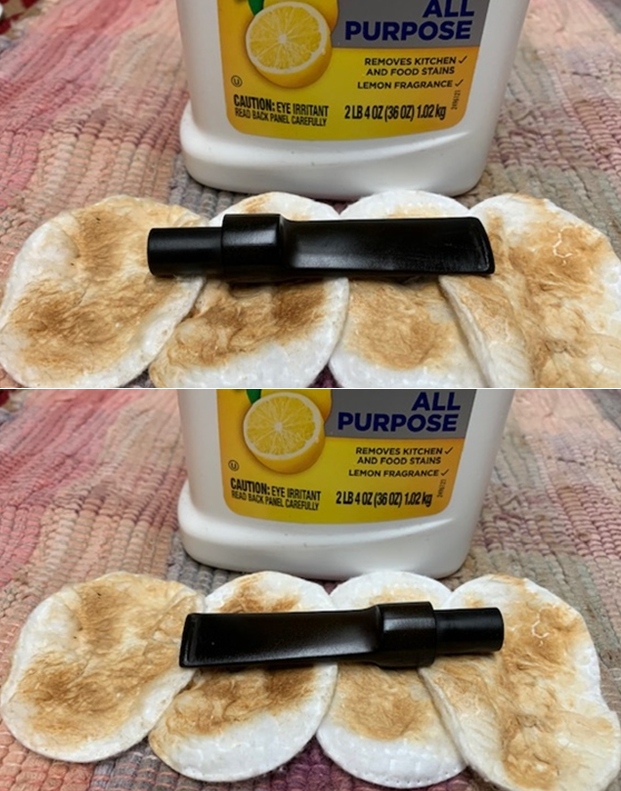
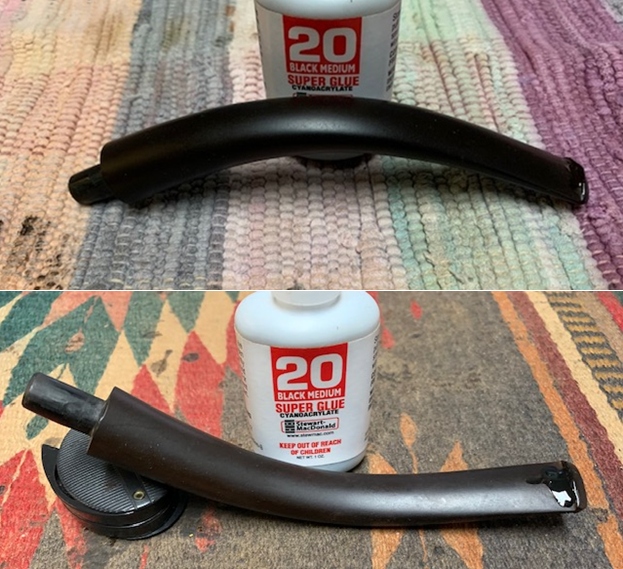
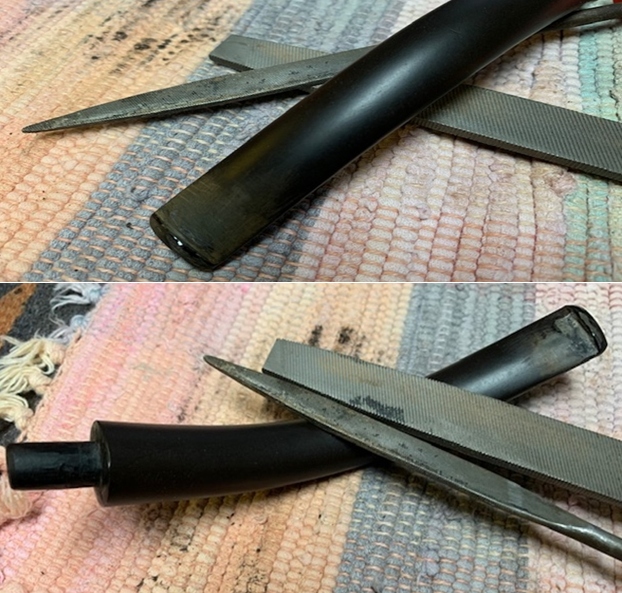
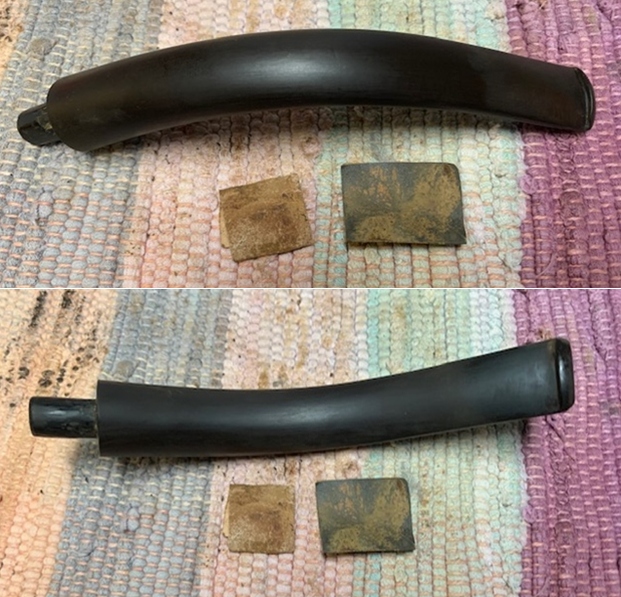
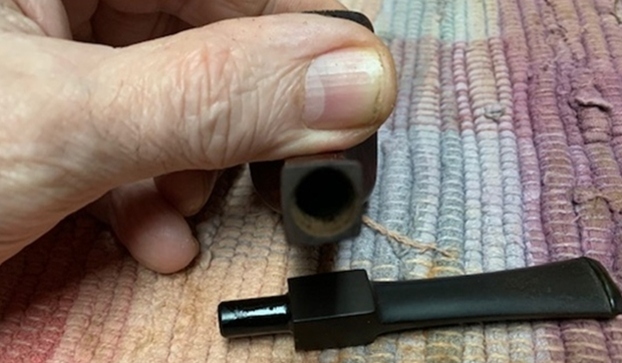
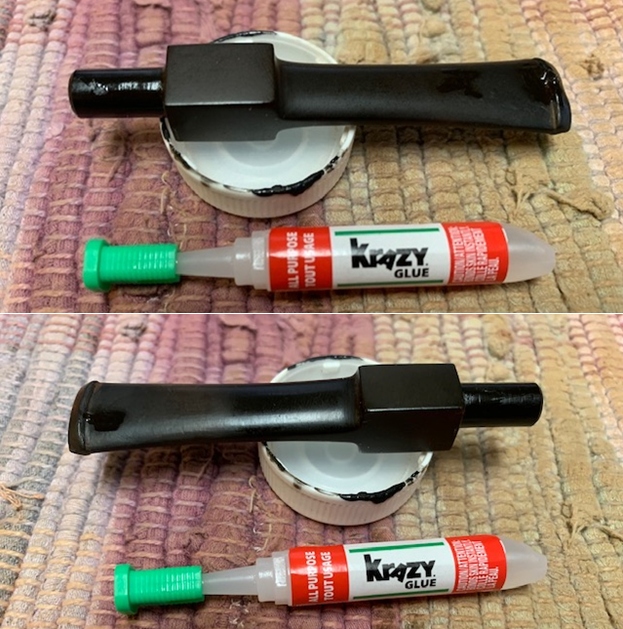
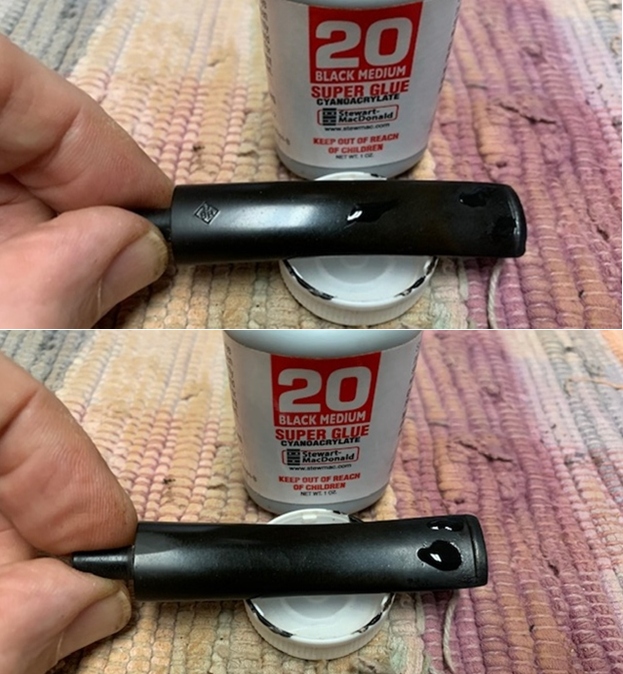
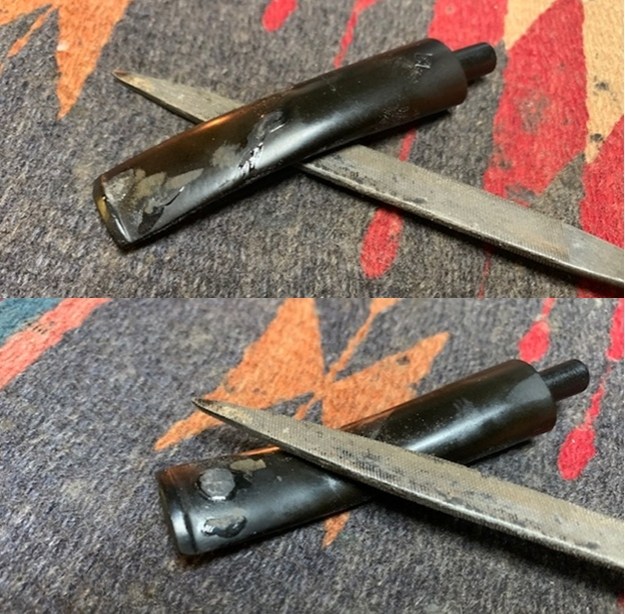
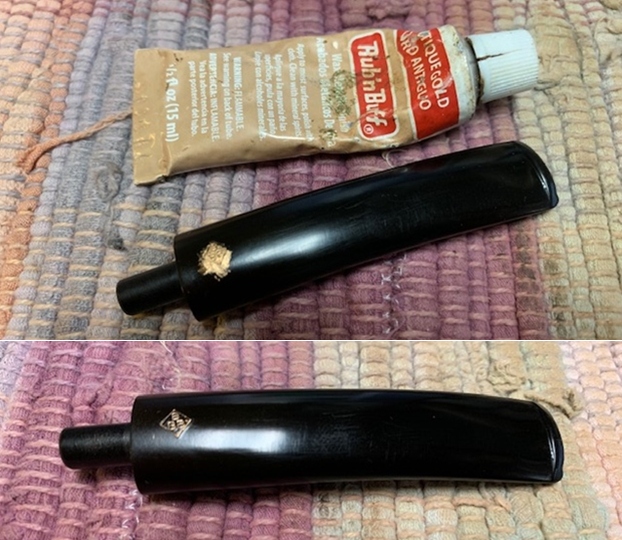
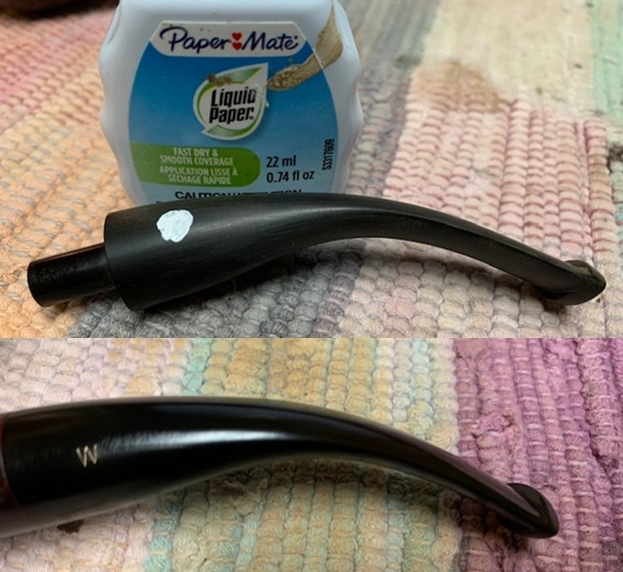
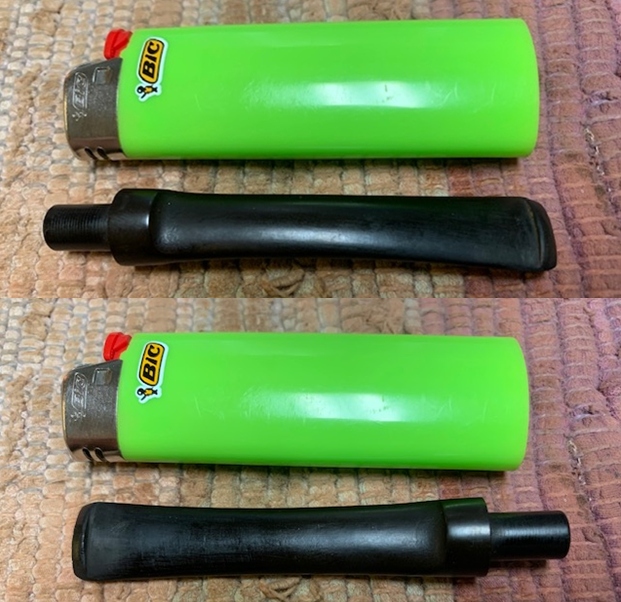
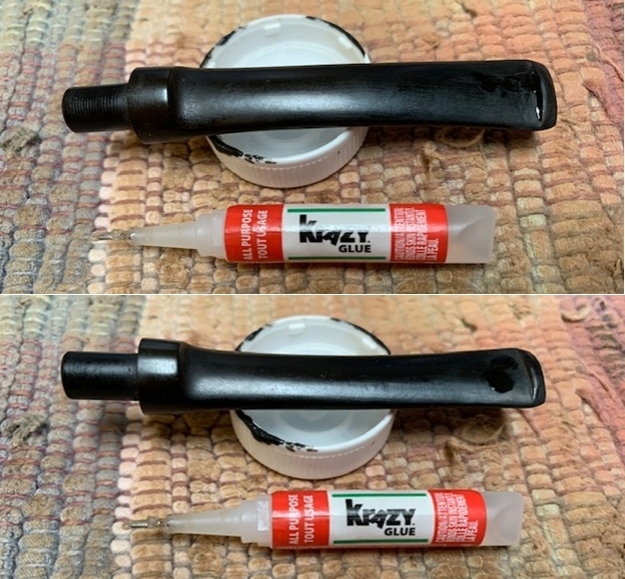
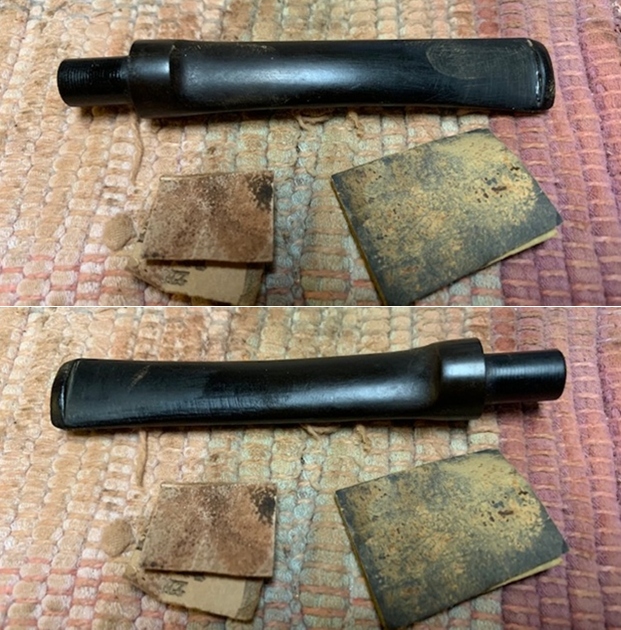
 I put the base aside with the bowl and turned my attention to the stem. I built up the damage to the stem surface with clear super glue. Once the repairs cured I smoothed them out with 220 sandpaper to blend them in and started polishing with 400 grit wet dry sandpaper.
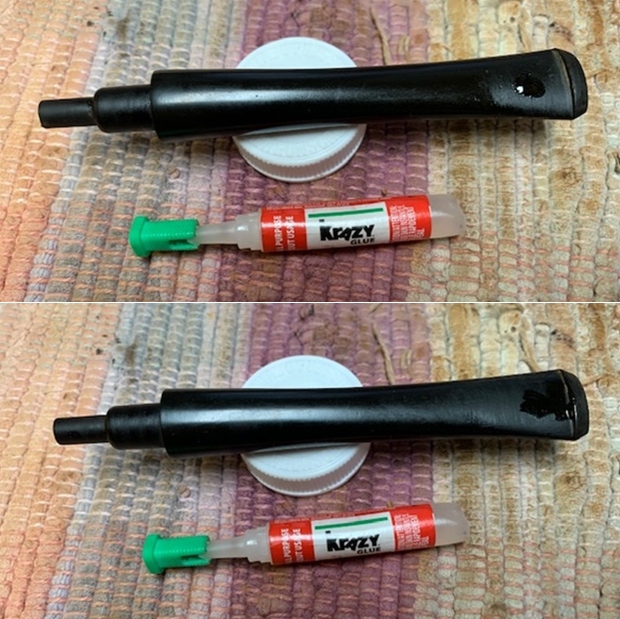
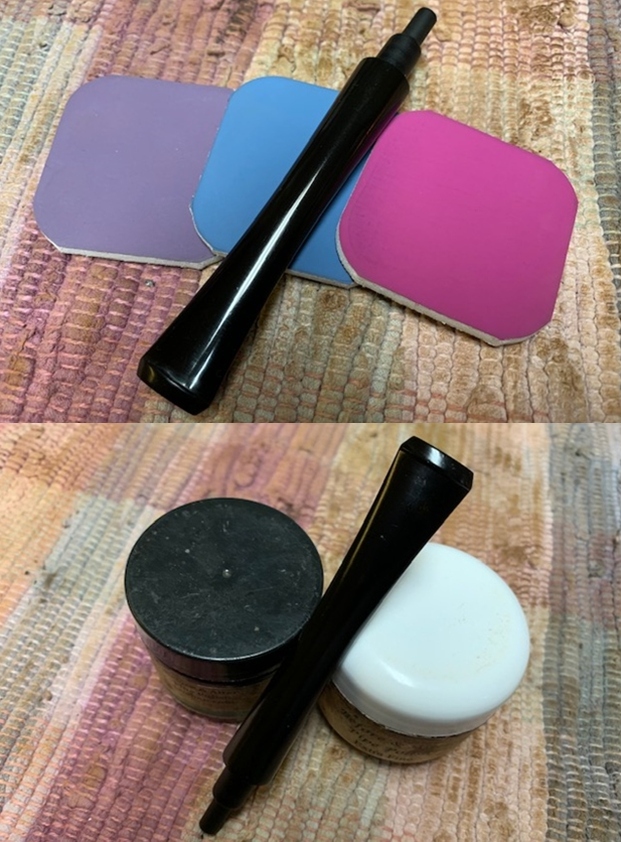
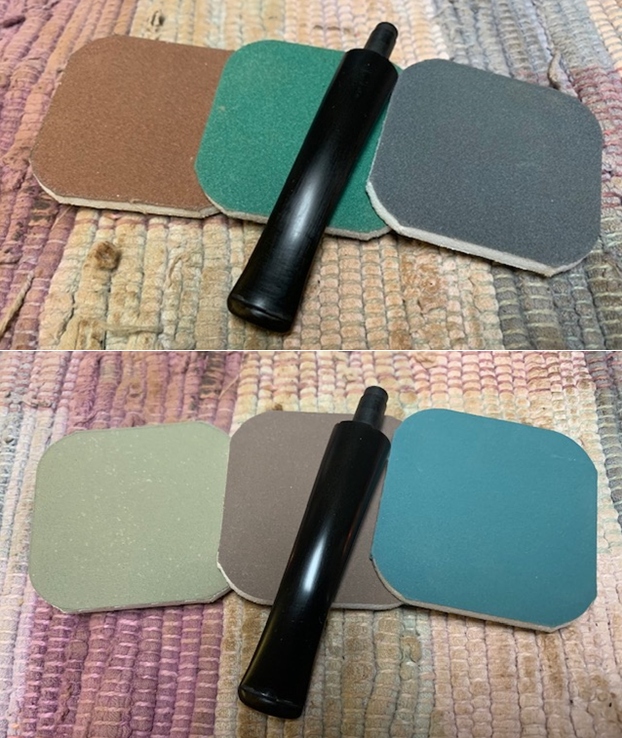
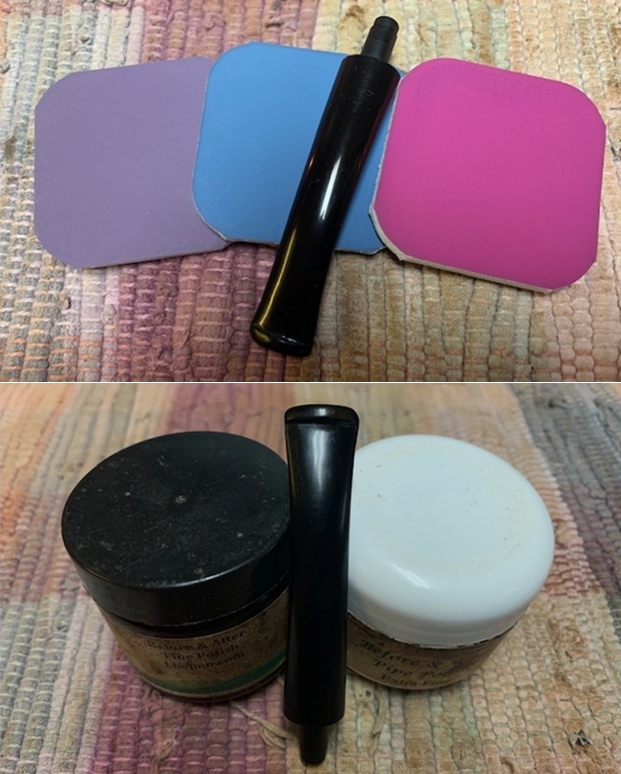
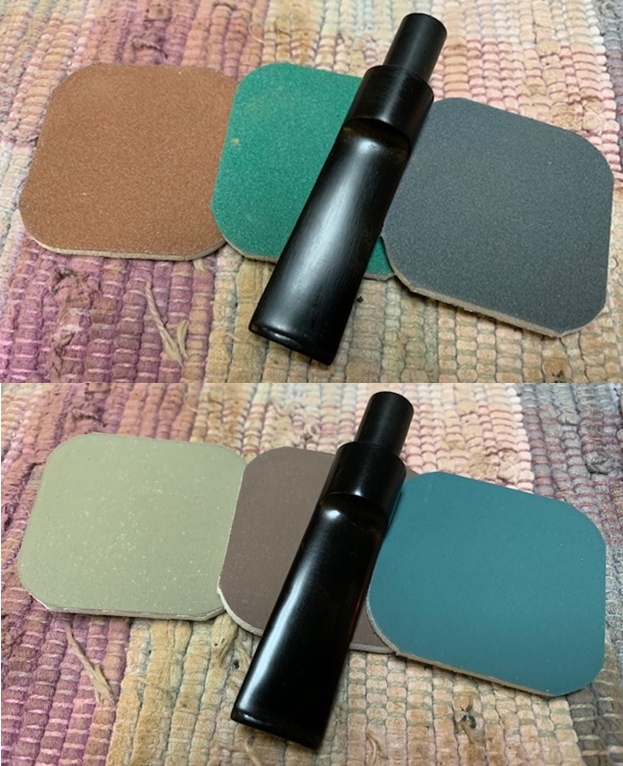
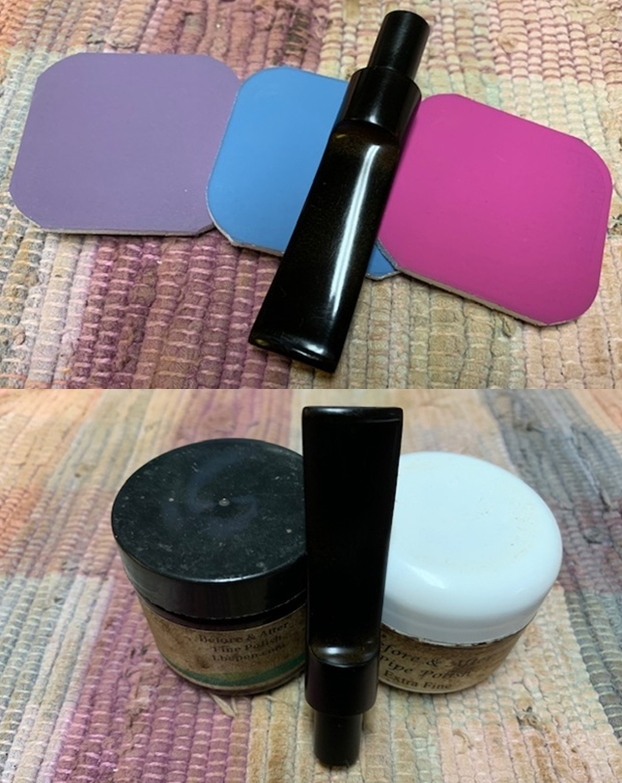
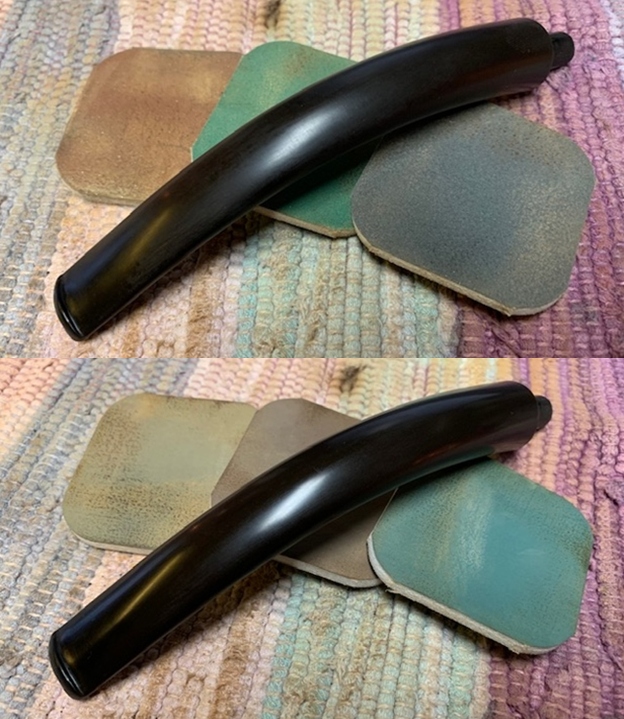
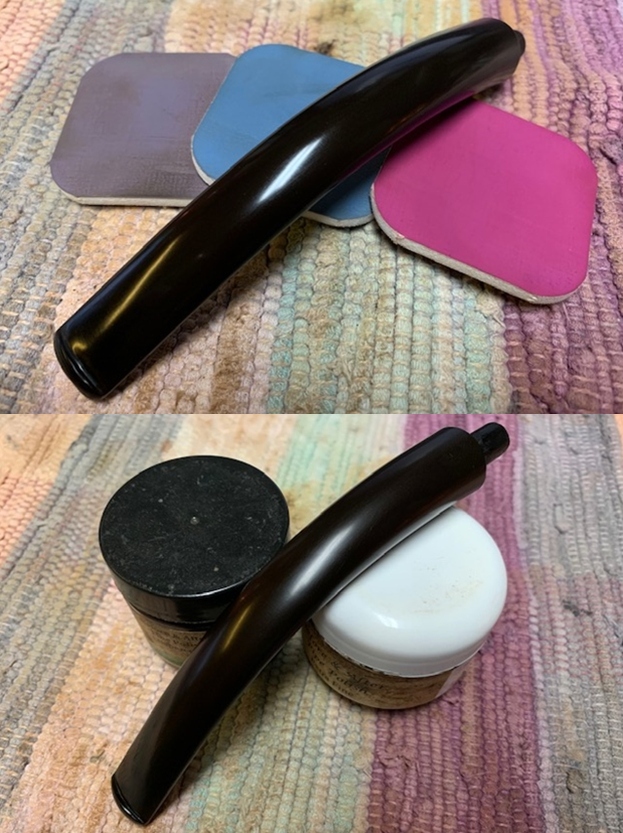
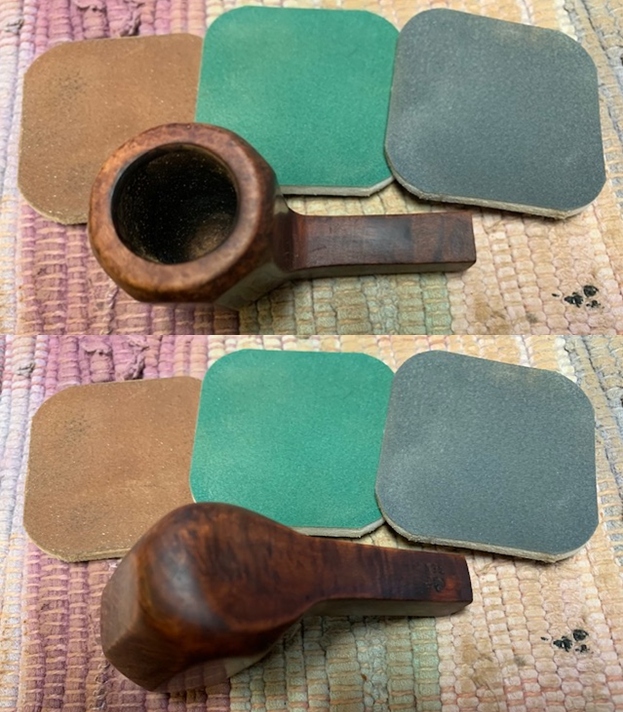
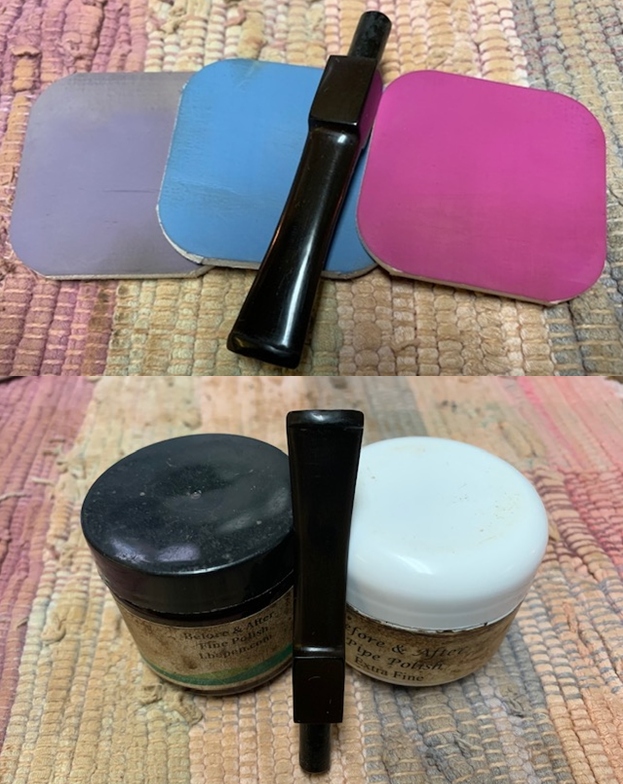
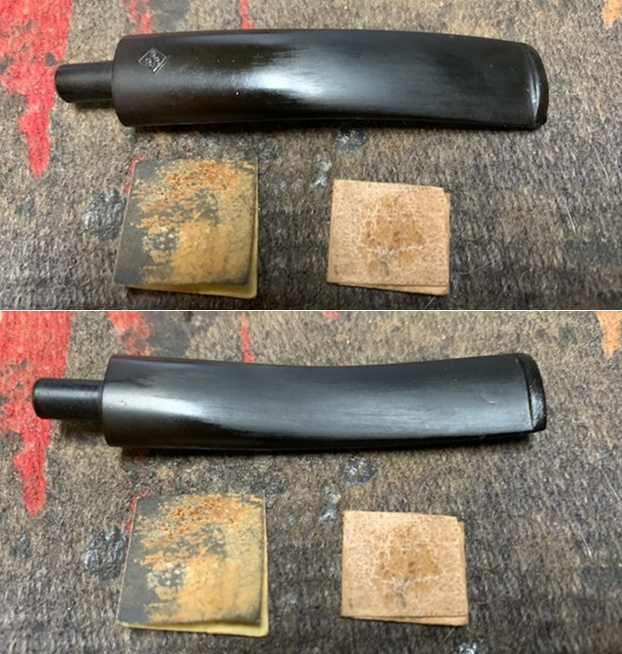
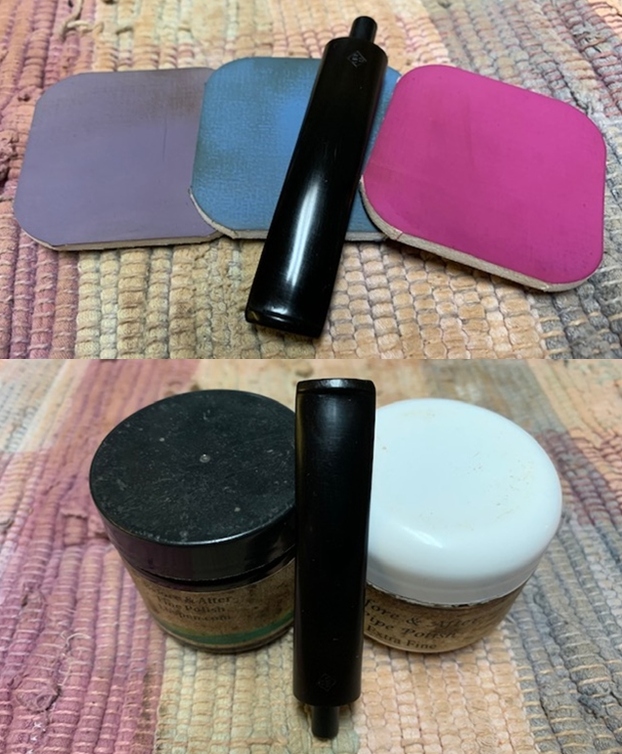
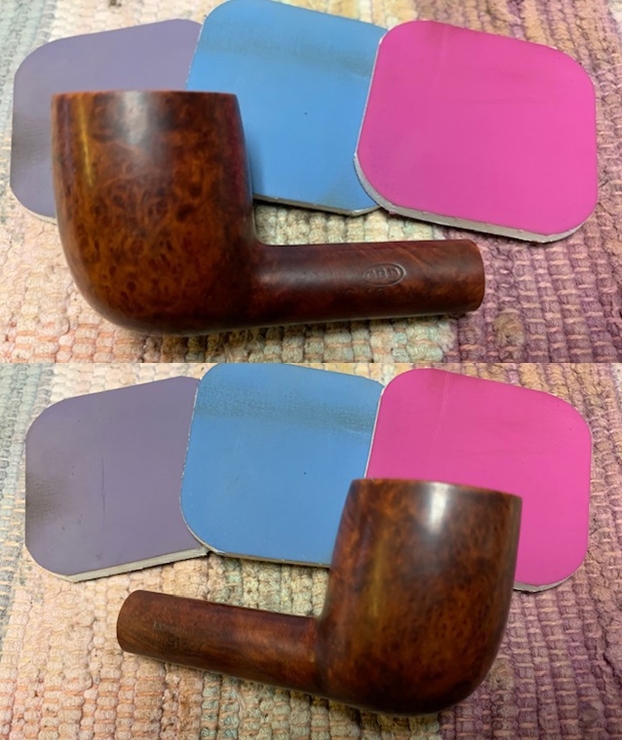
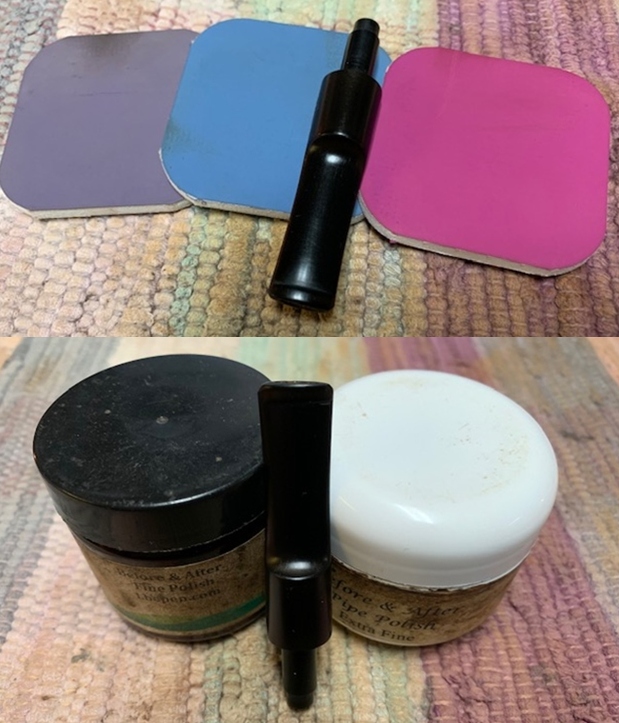
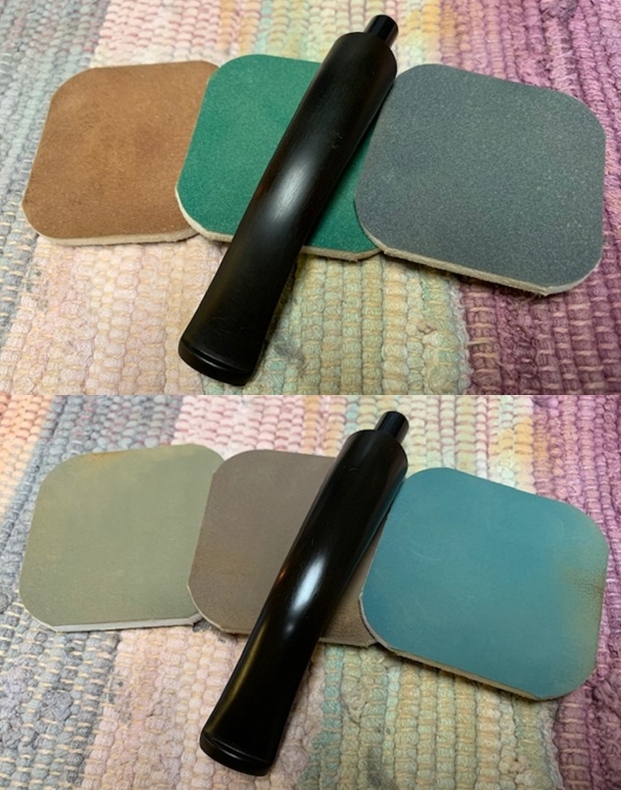
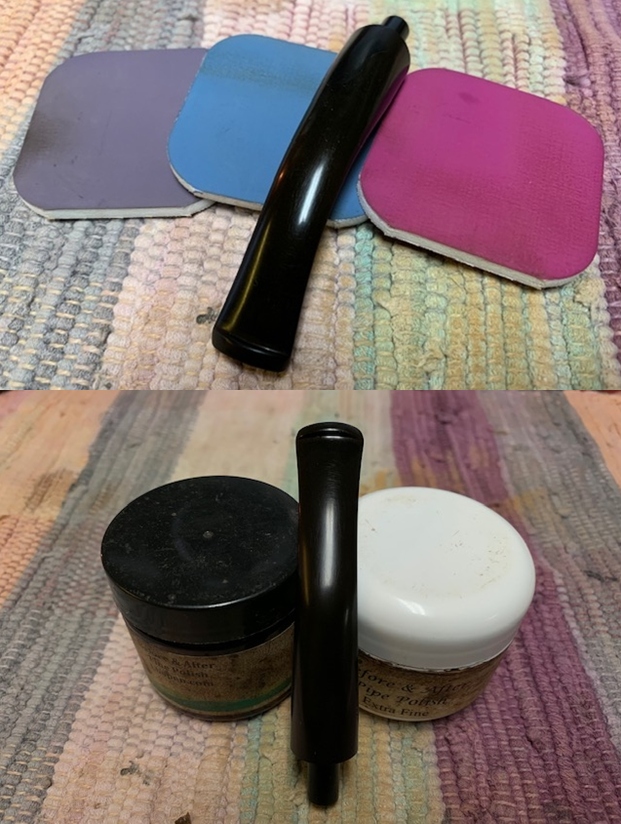
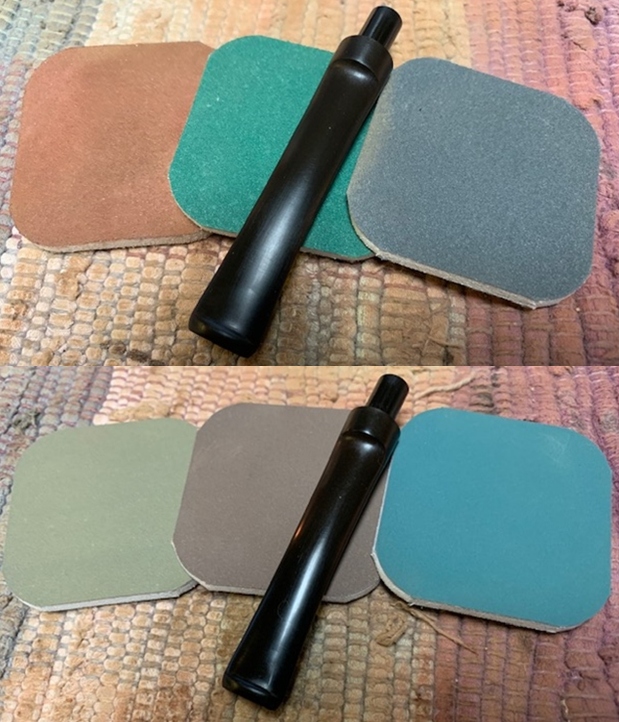
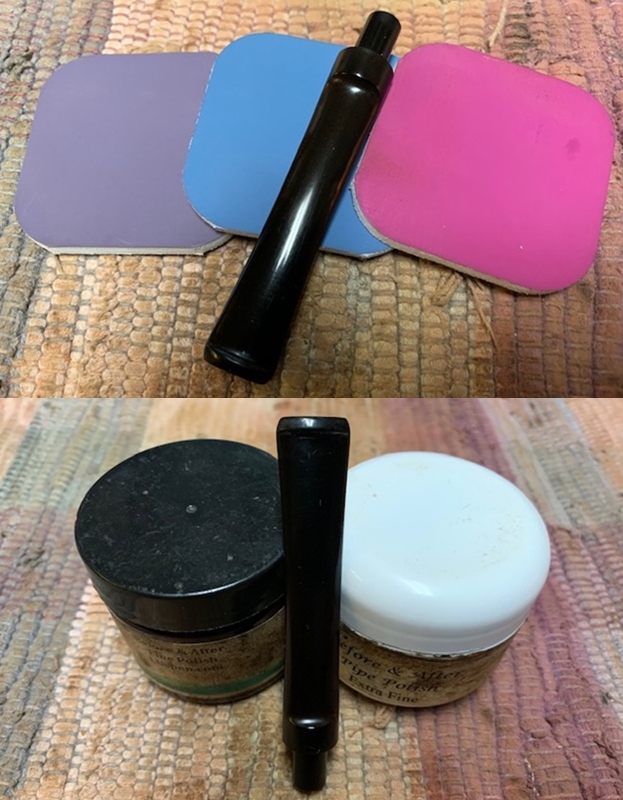
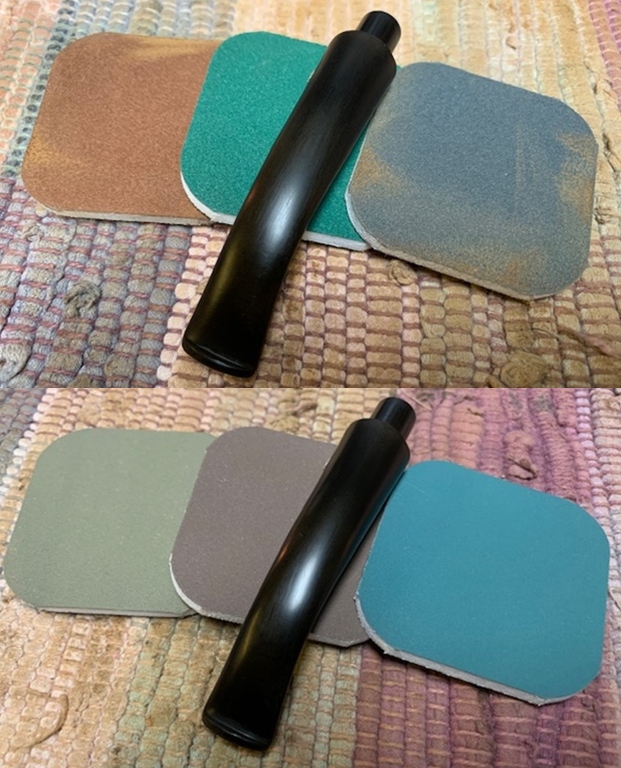
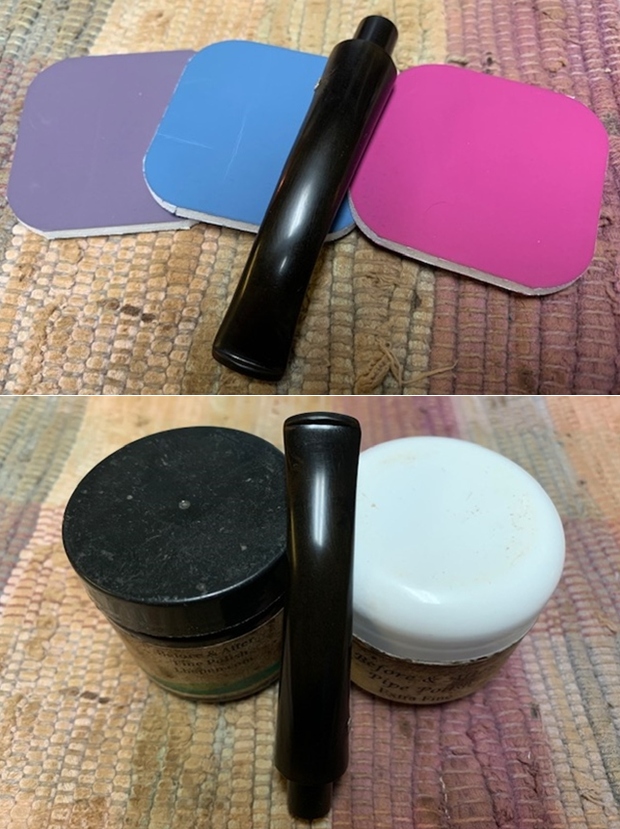
 I polished the stem with micromesh sanding pads – wet sanding it with 1500-12000 grit pads. I polished it further with Before & After Pipe Stem Polish – both fine and extra fine.
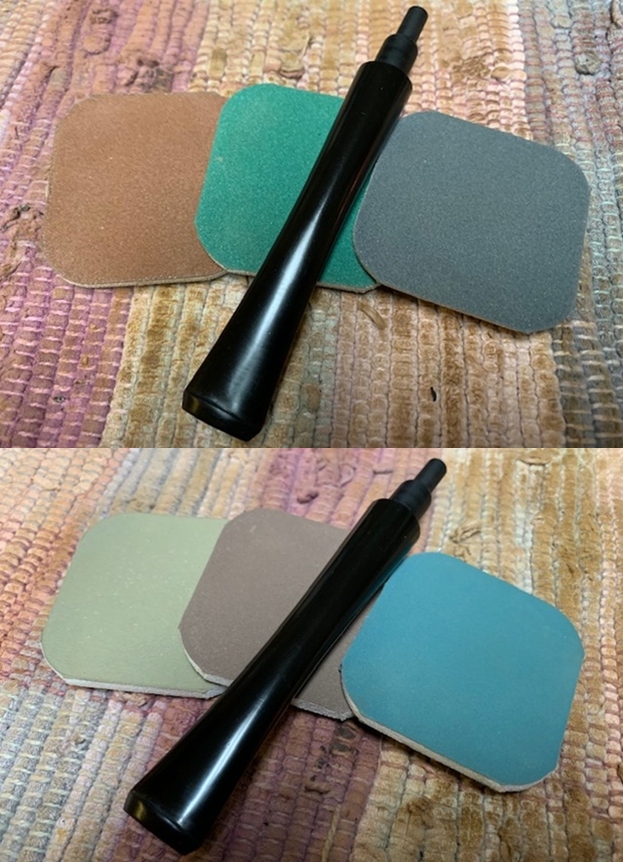
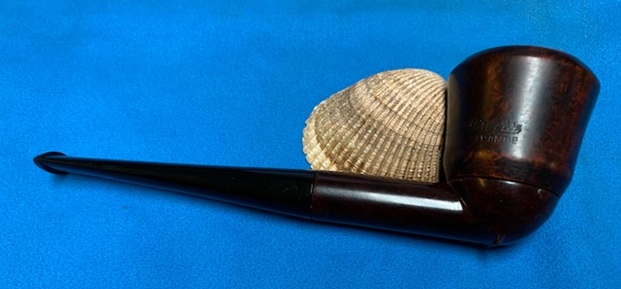
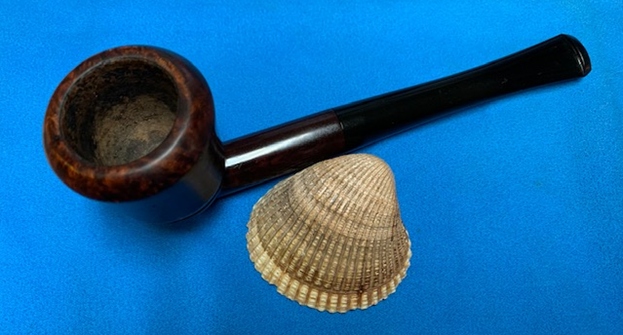
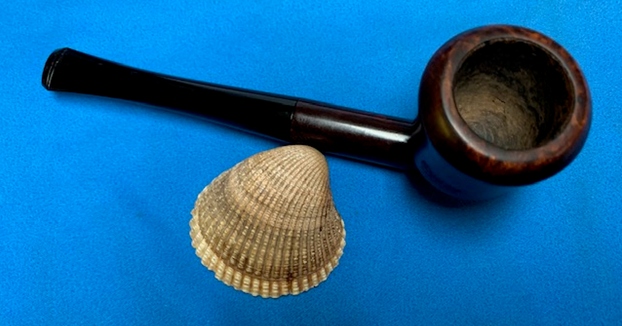
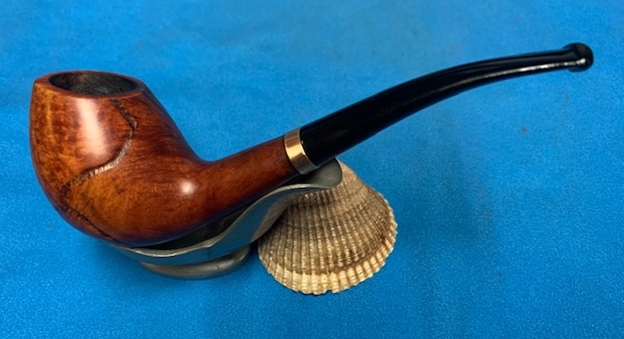
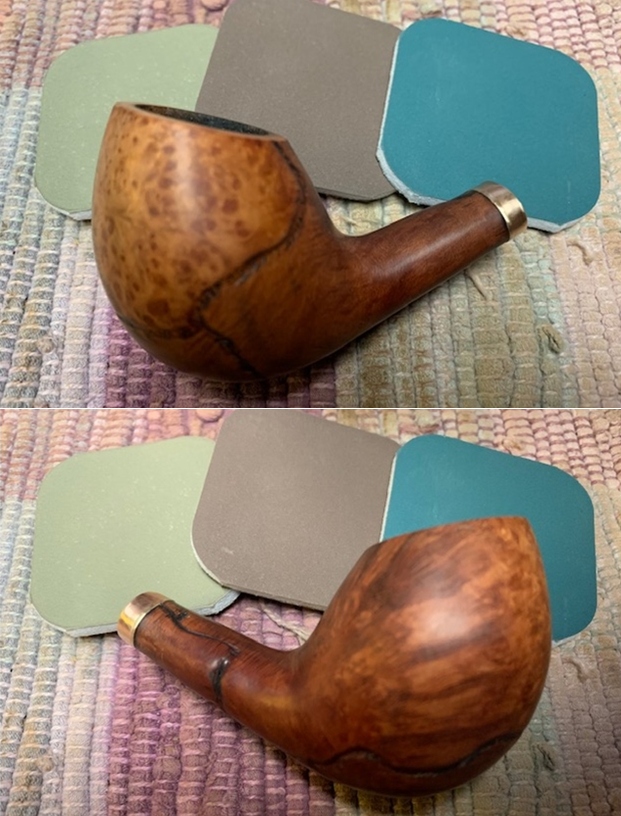
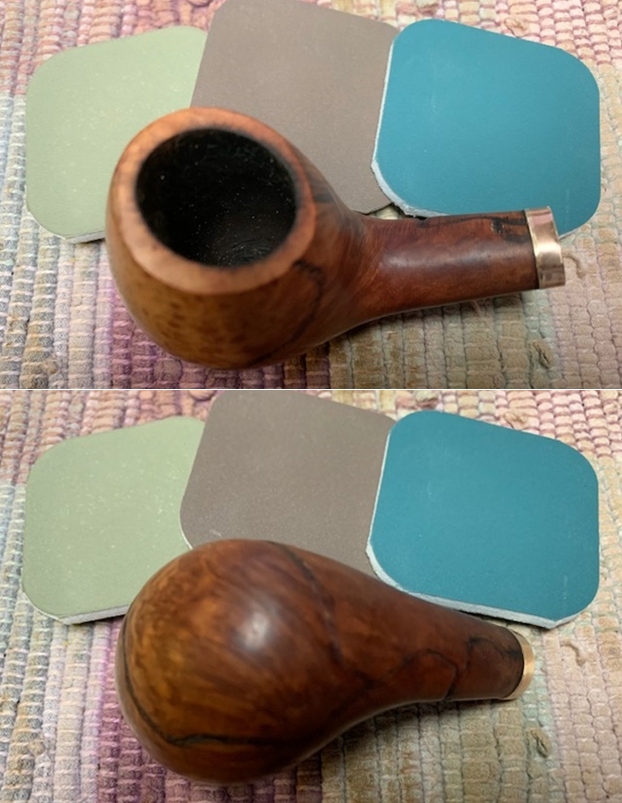
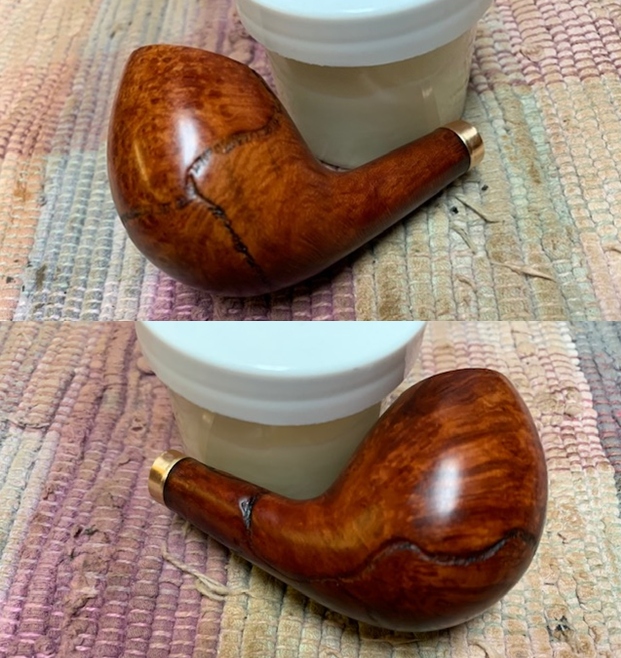
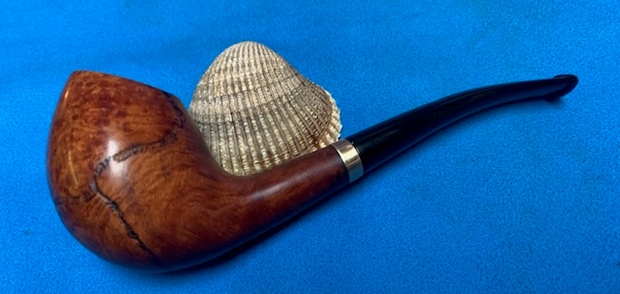
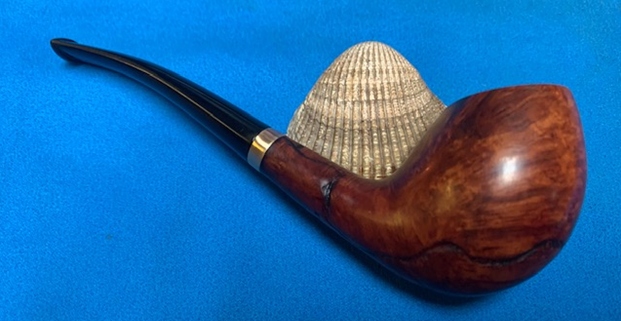
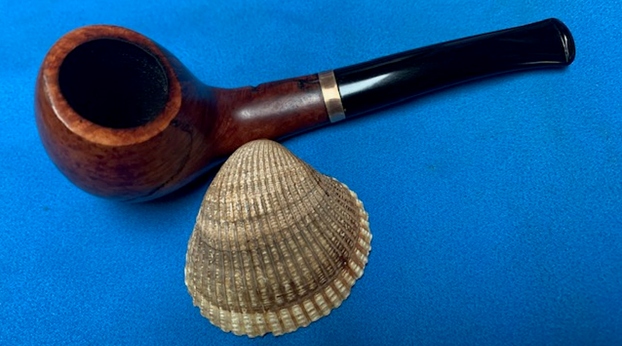
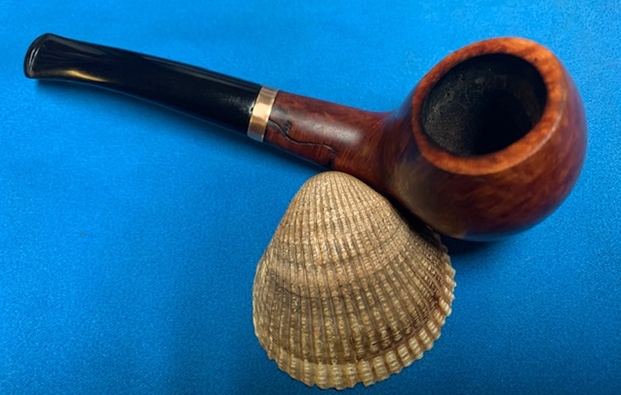
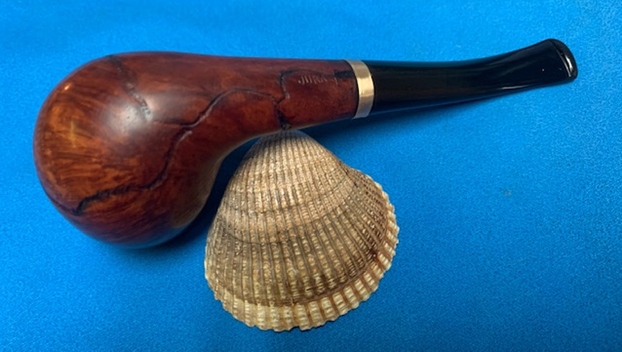
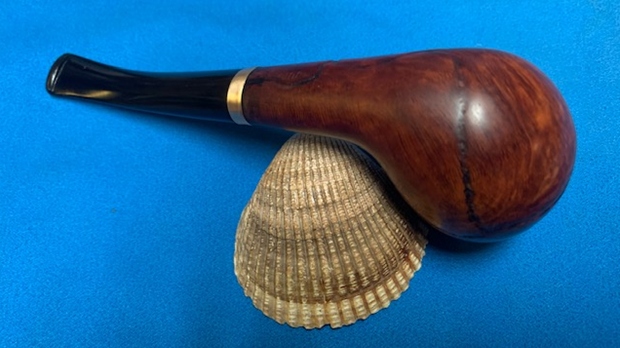
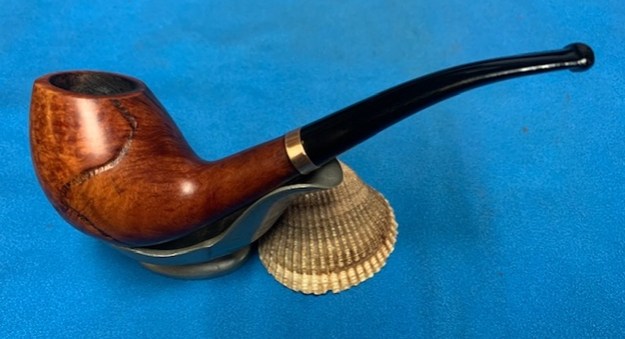
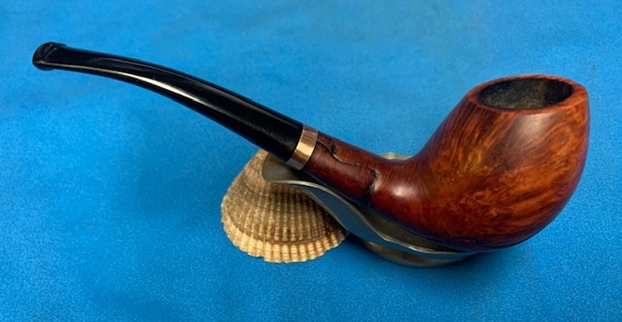
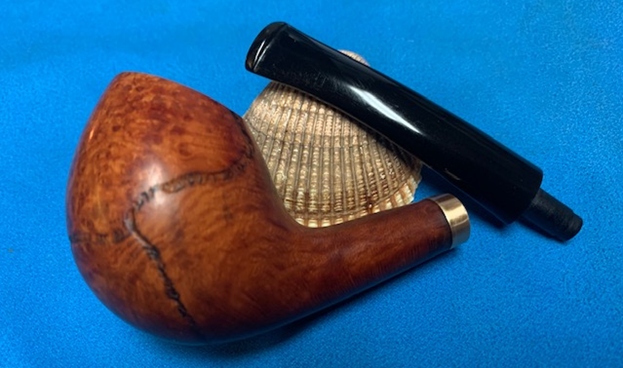
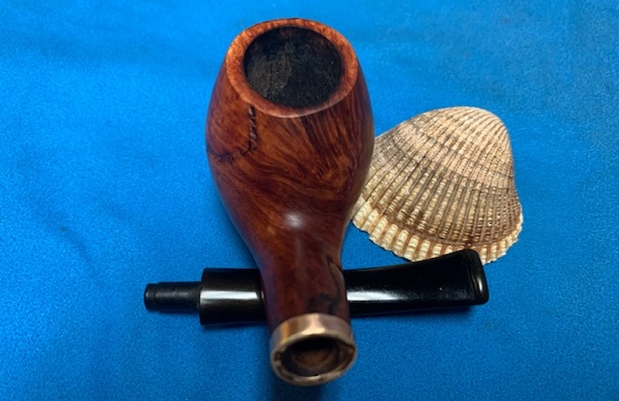
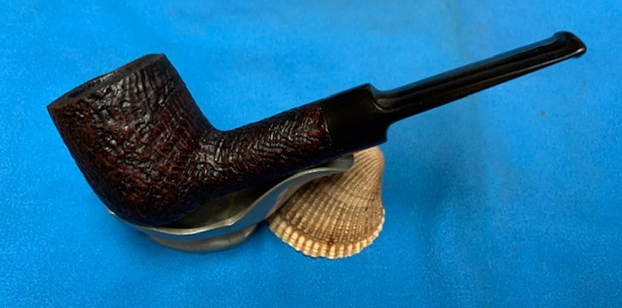
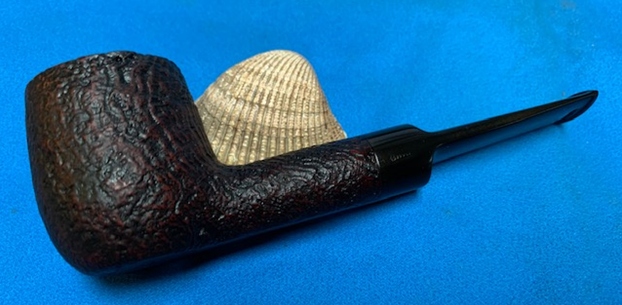
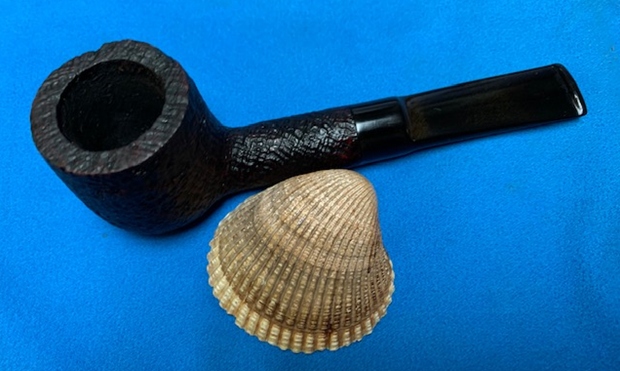
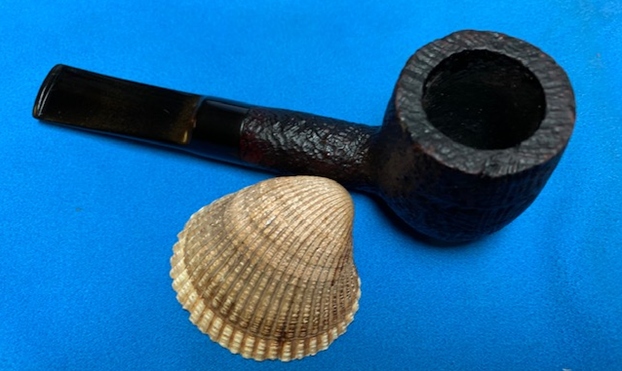
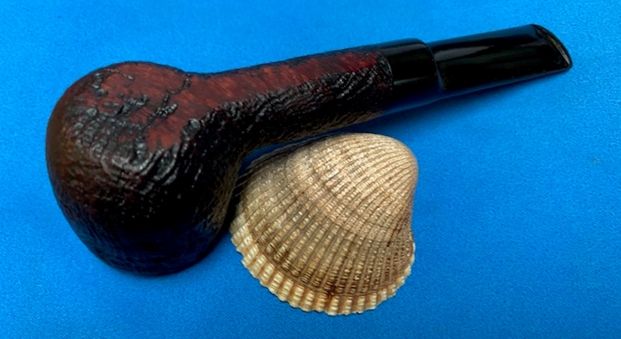
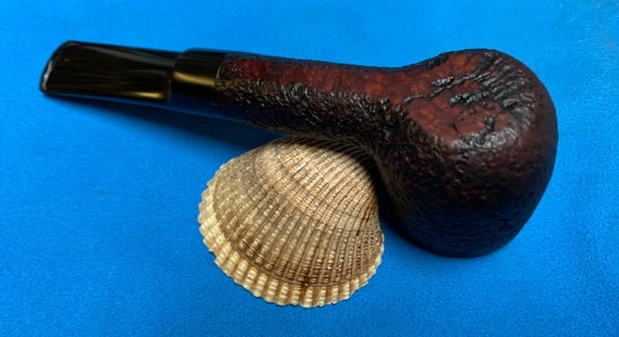
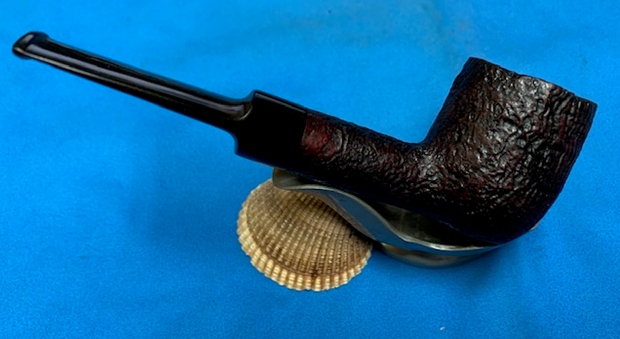
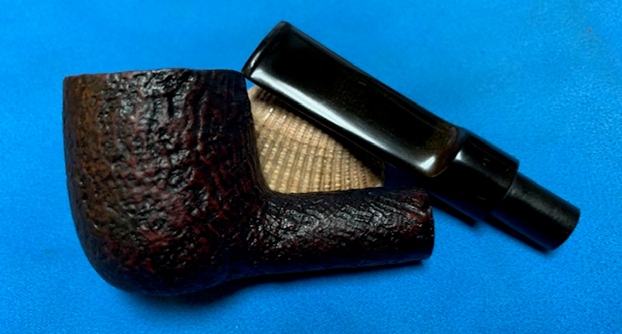
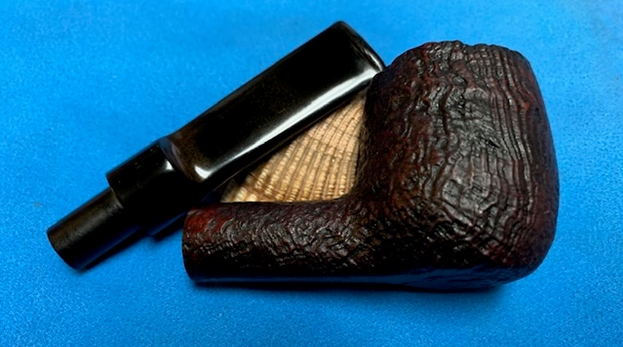
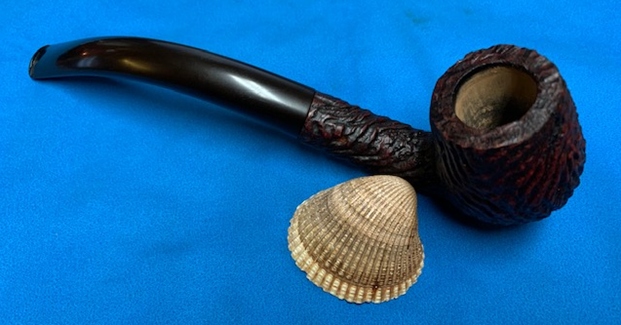
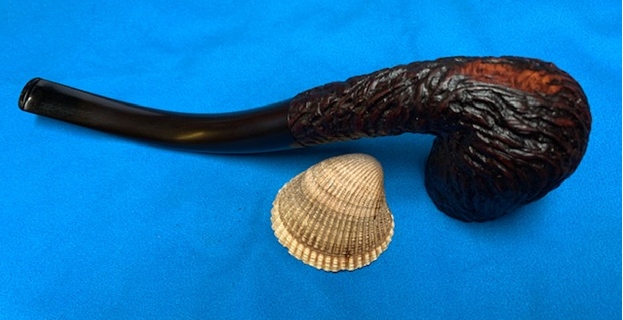
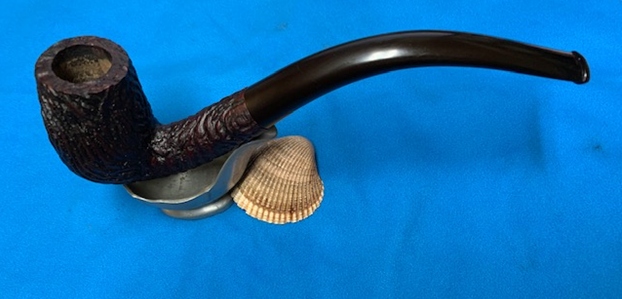
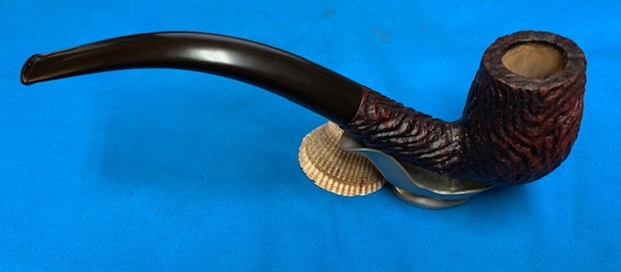
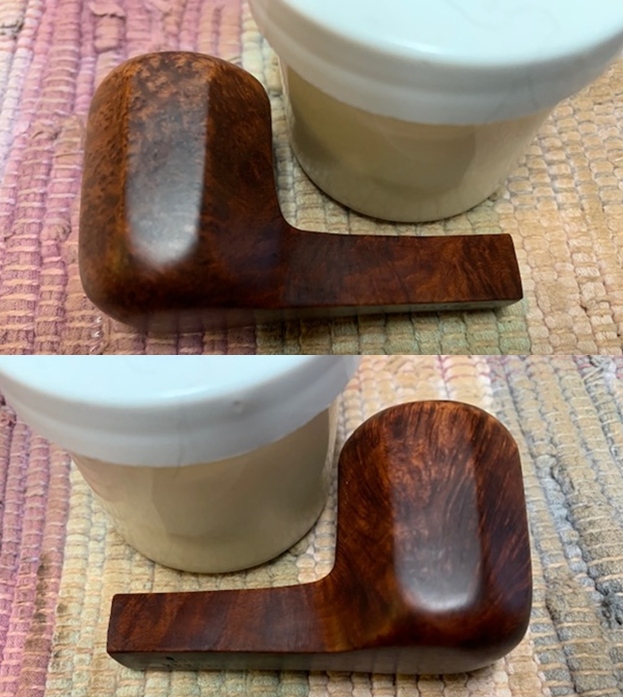
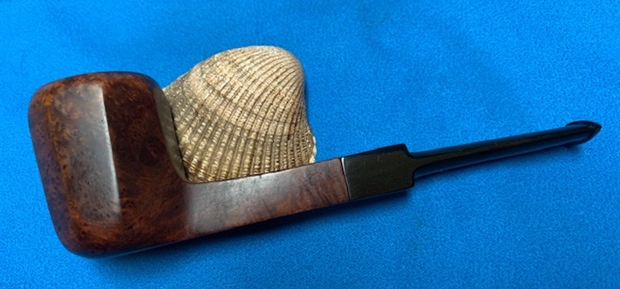
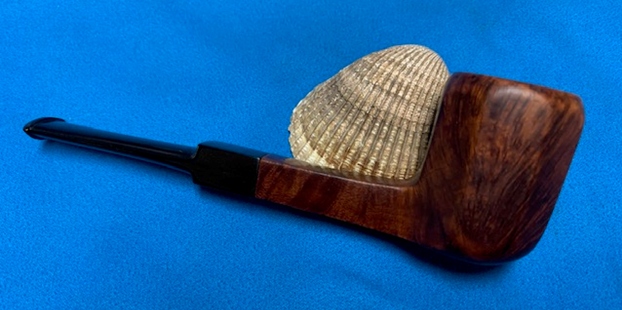
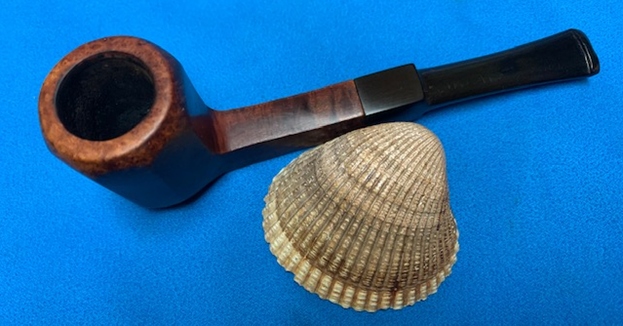
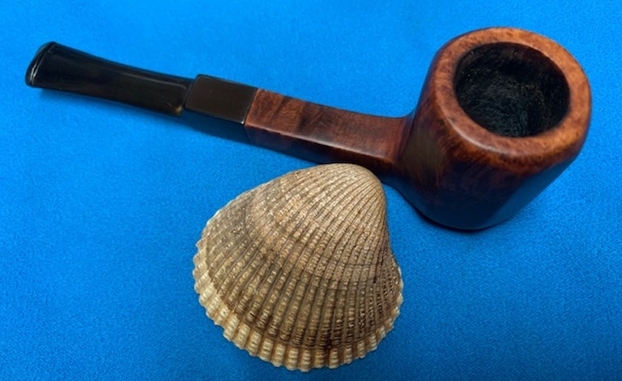
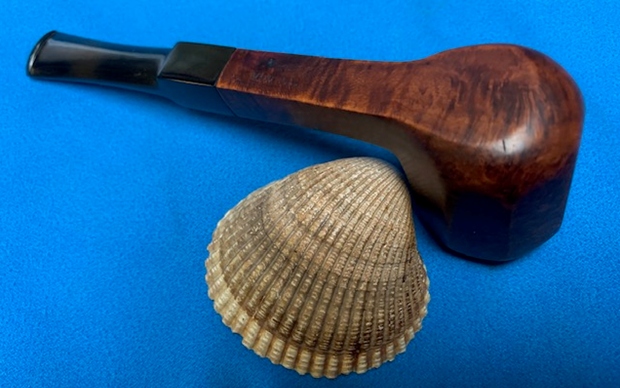
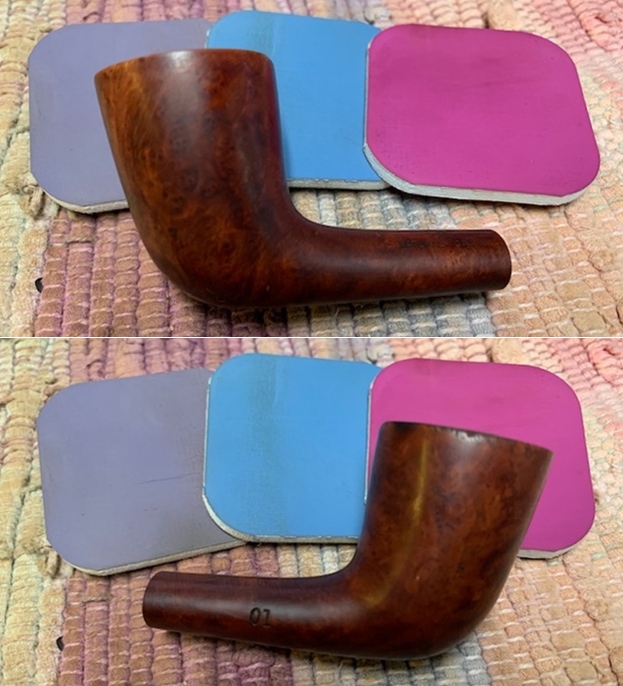
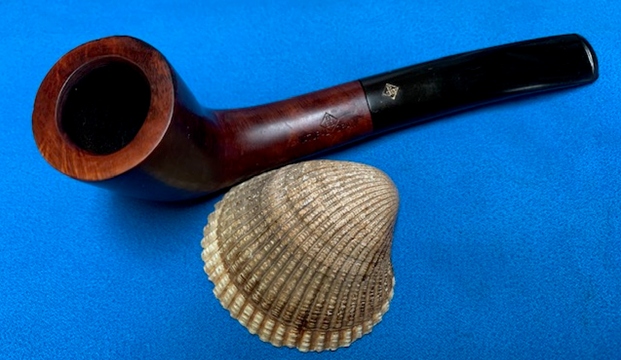
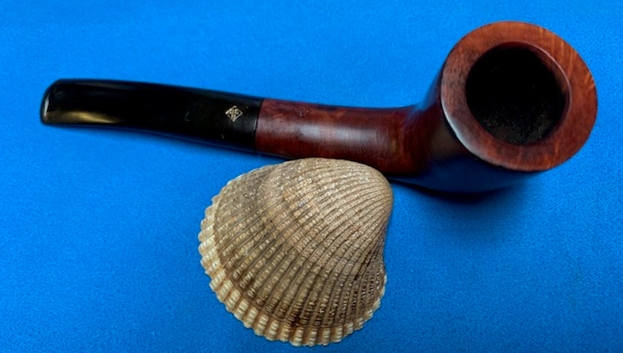
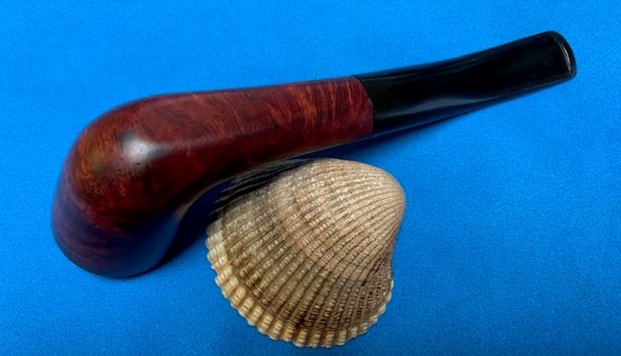
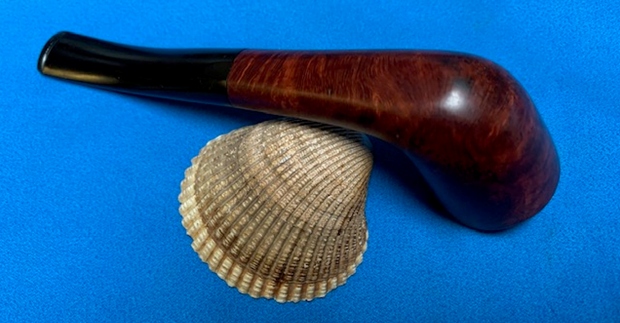
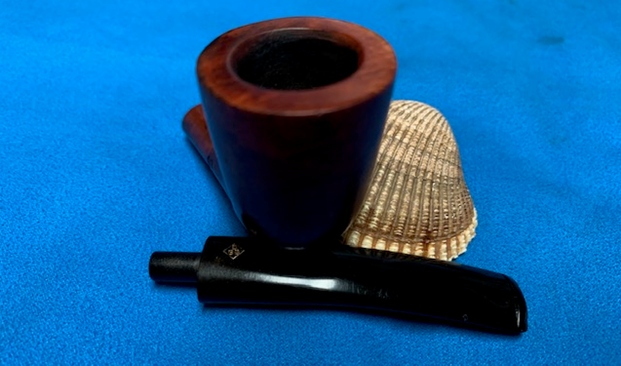
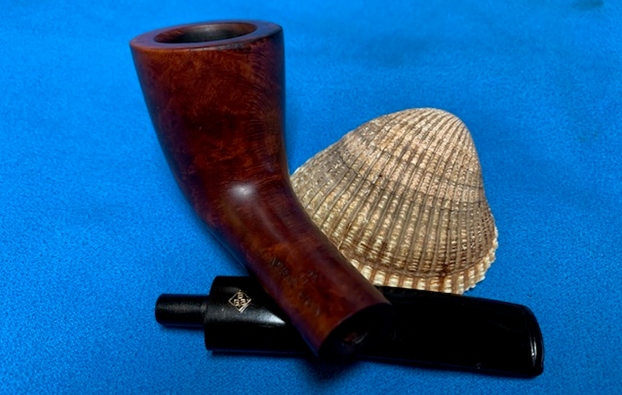
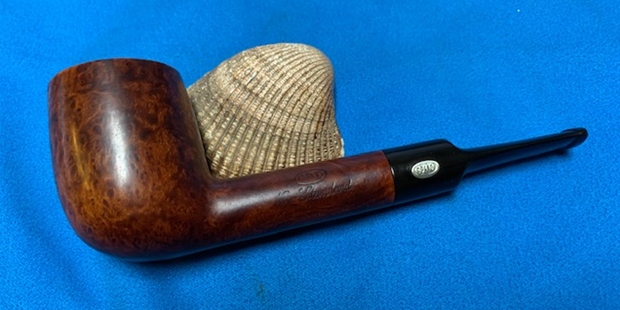
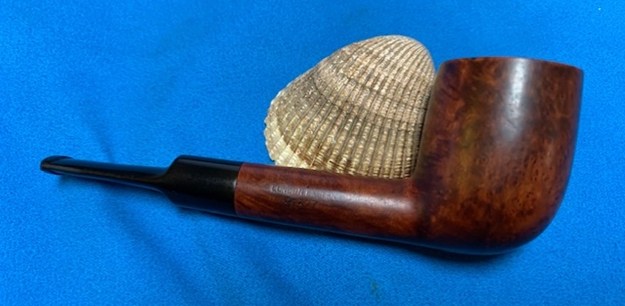
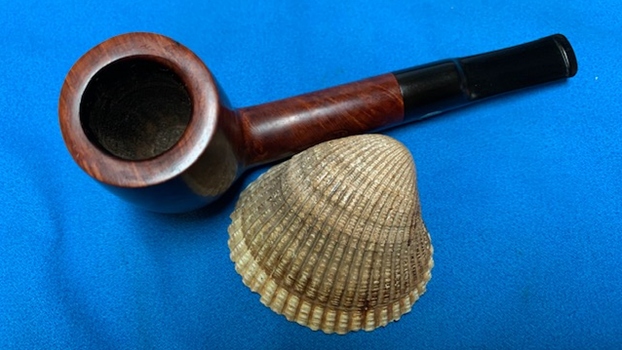
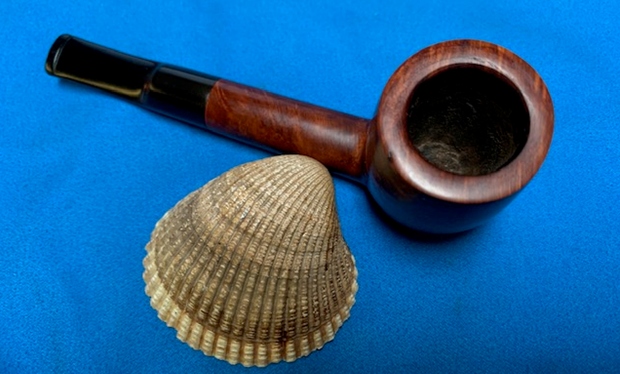
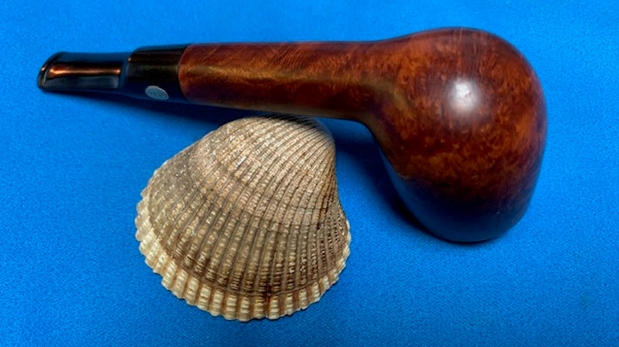
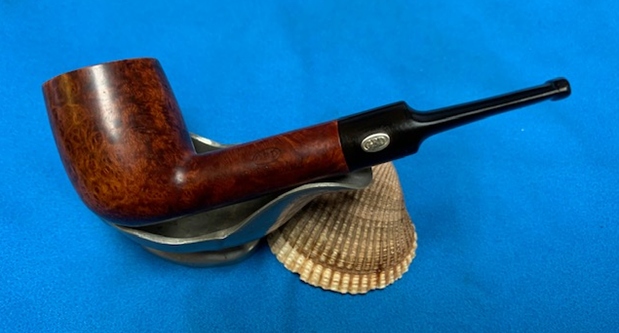
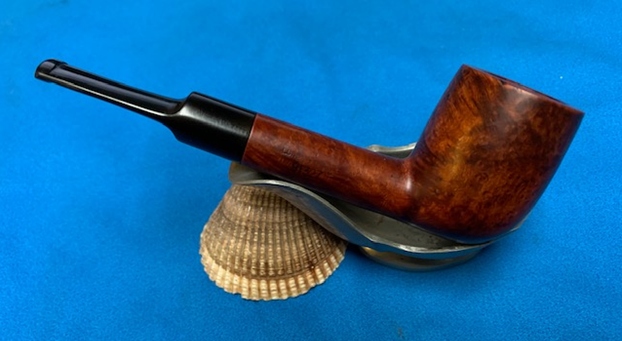
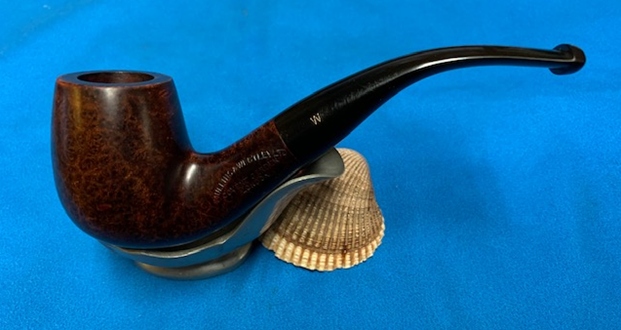
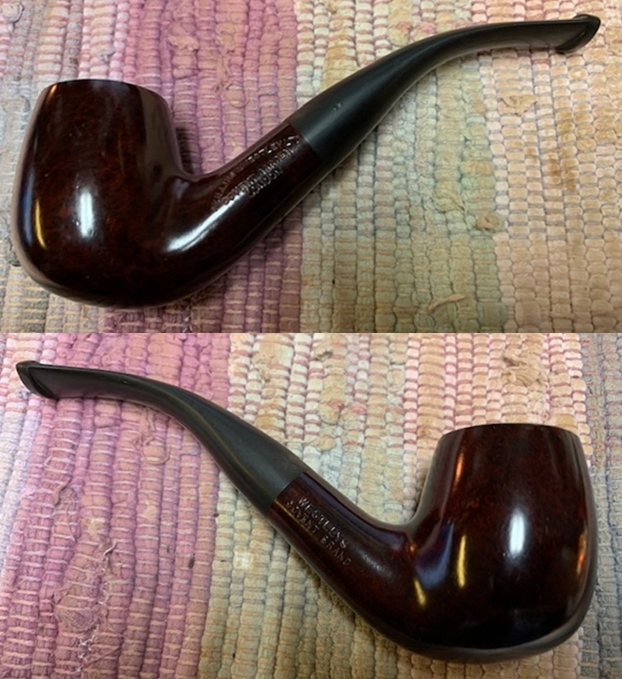
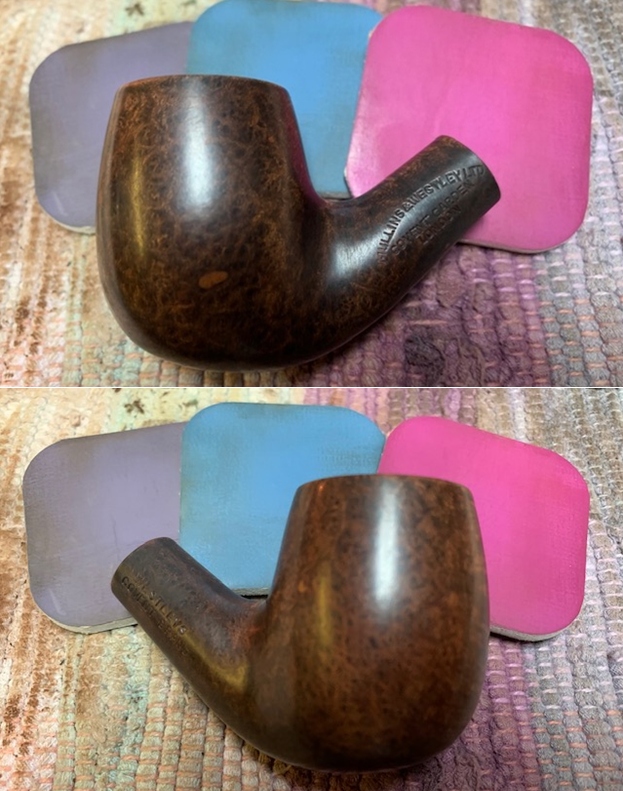
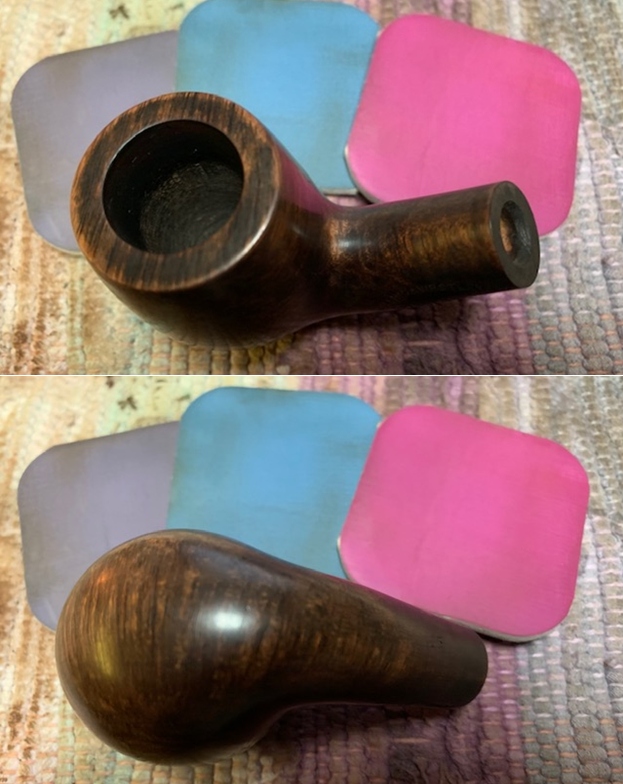
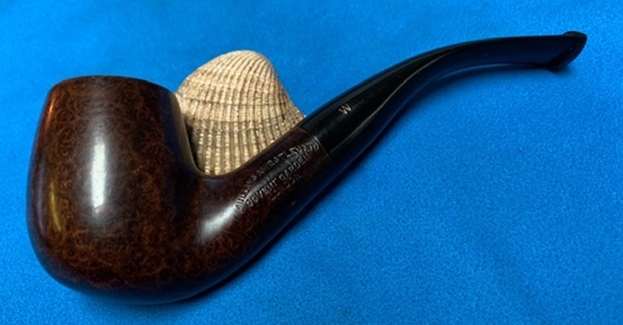
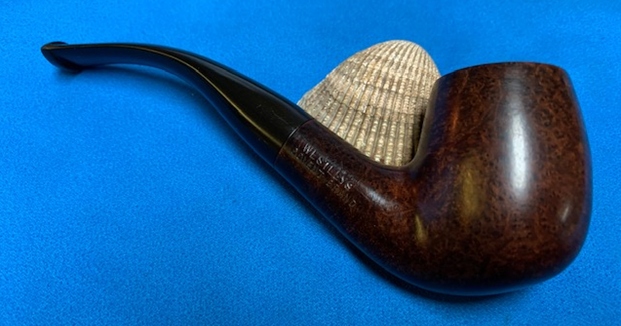
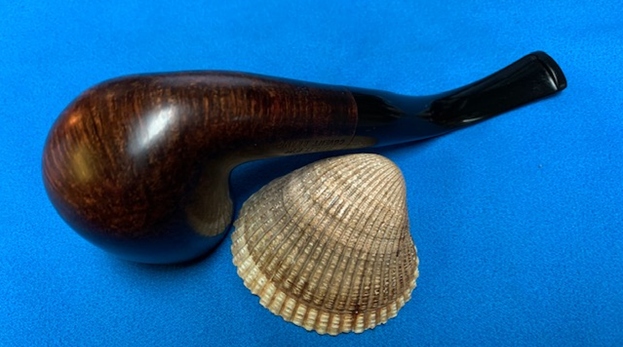
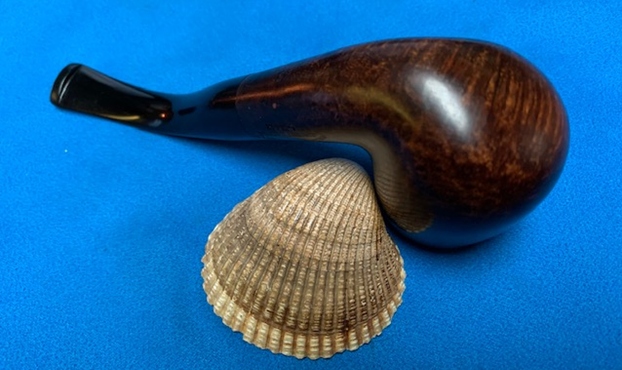
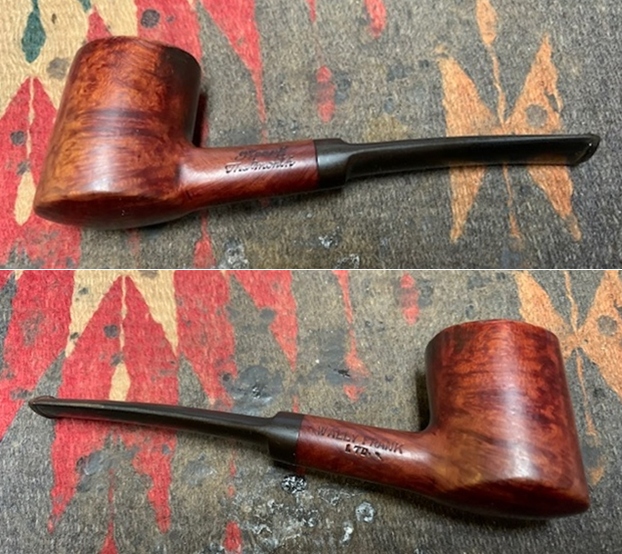
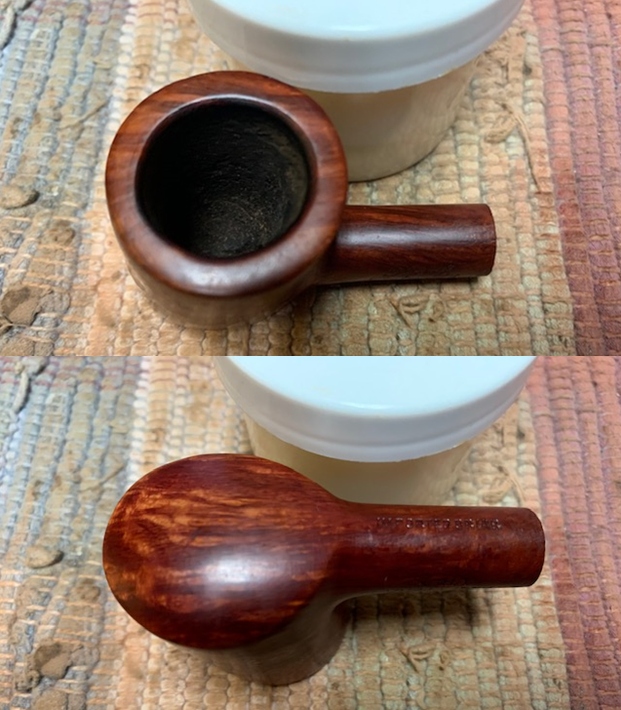
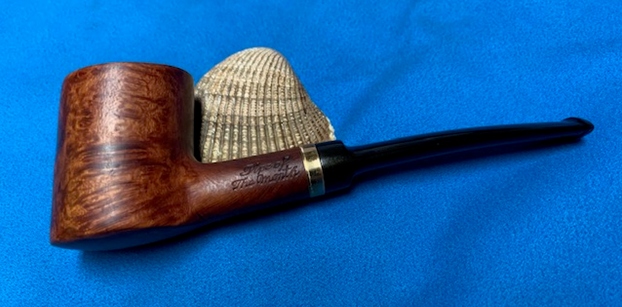
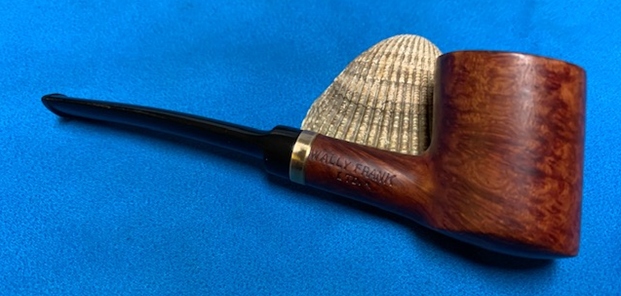
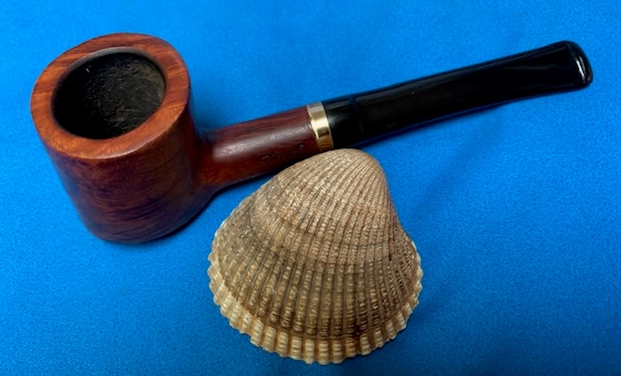
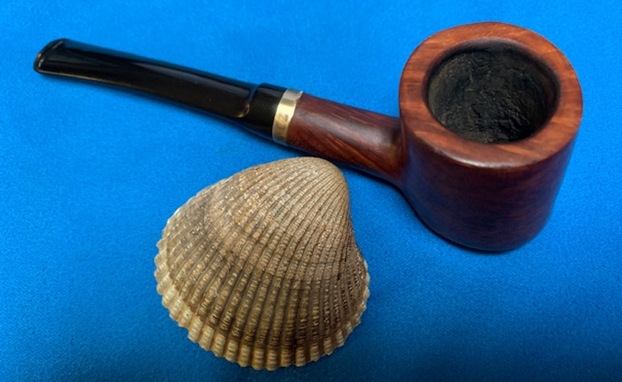
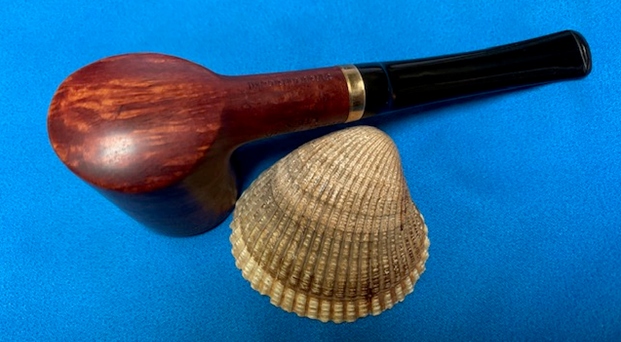
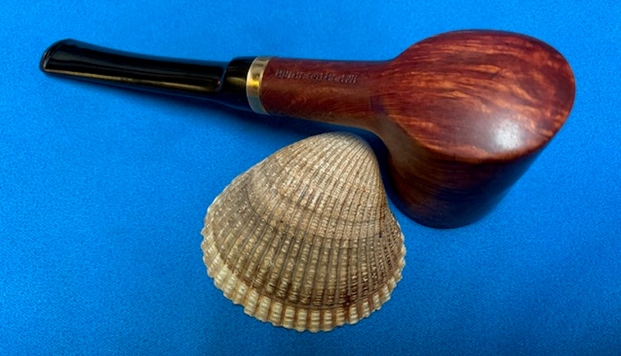
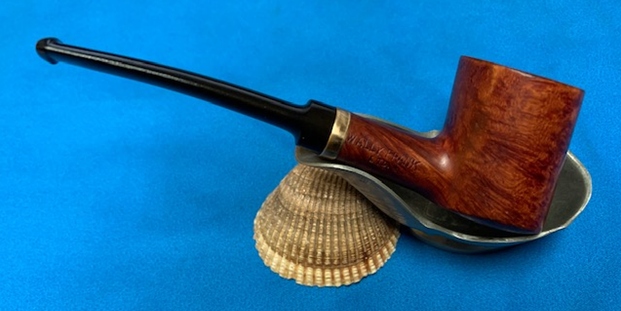
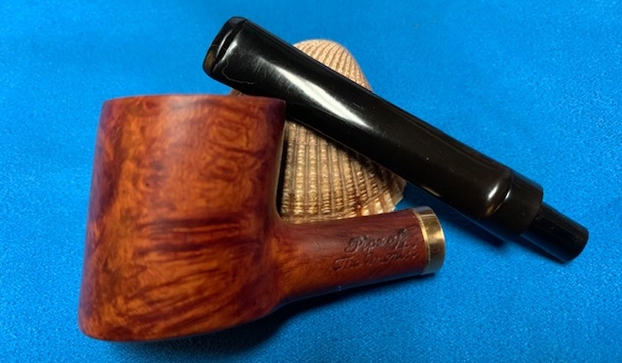
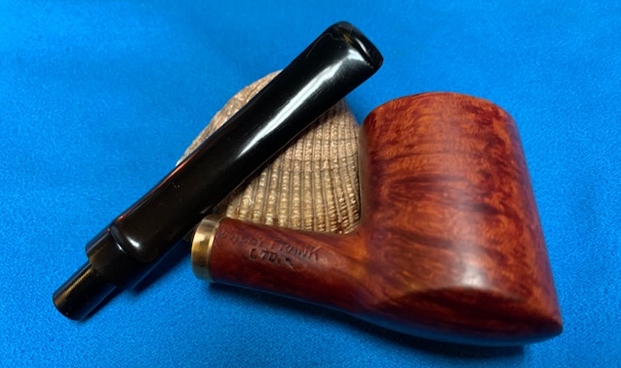
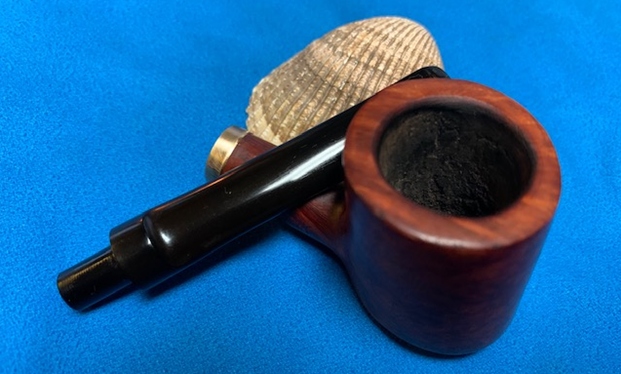
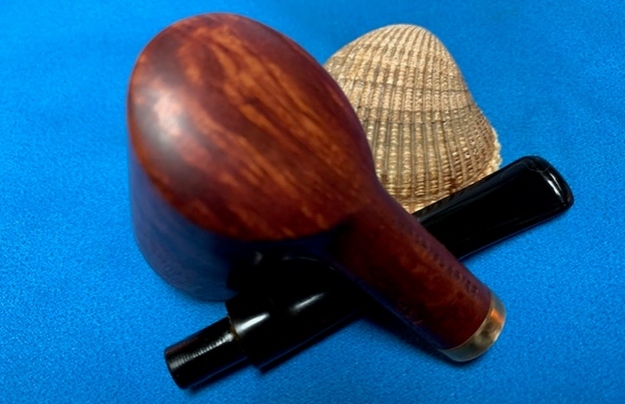
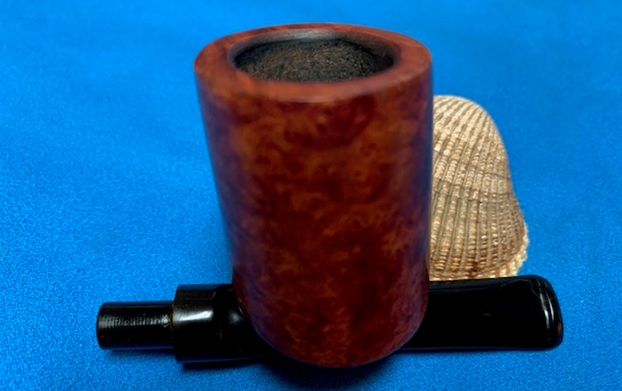
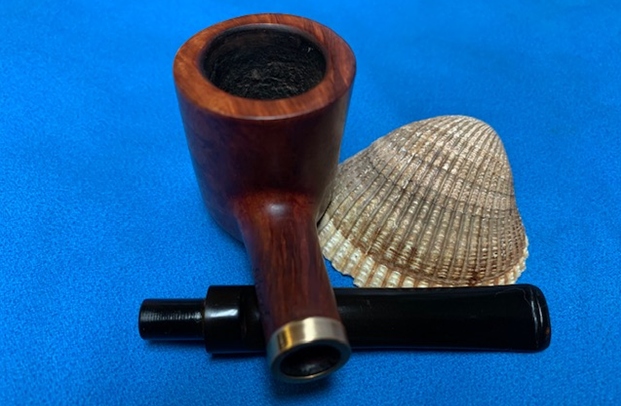
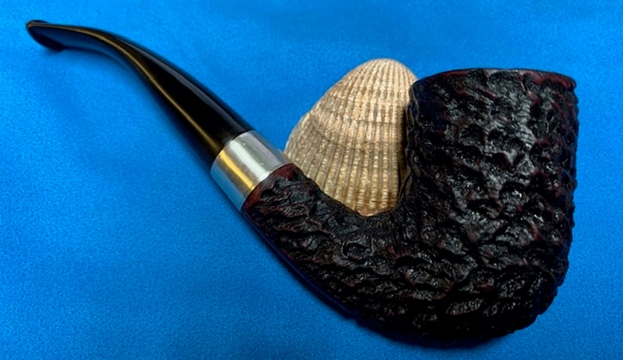
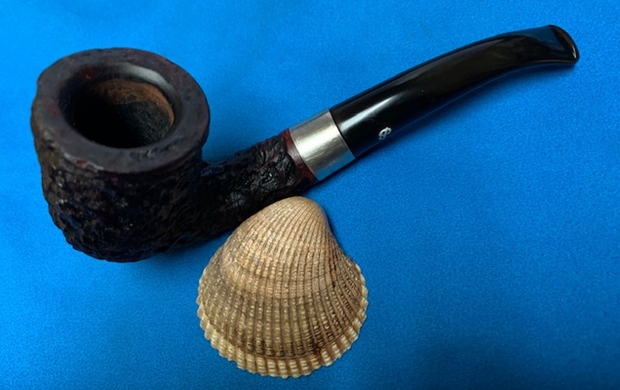
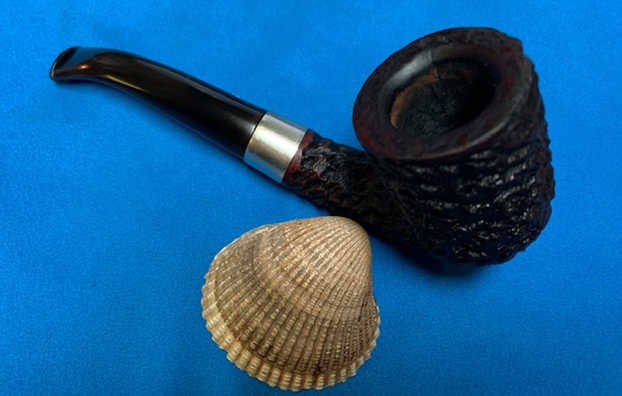
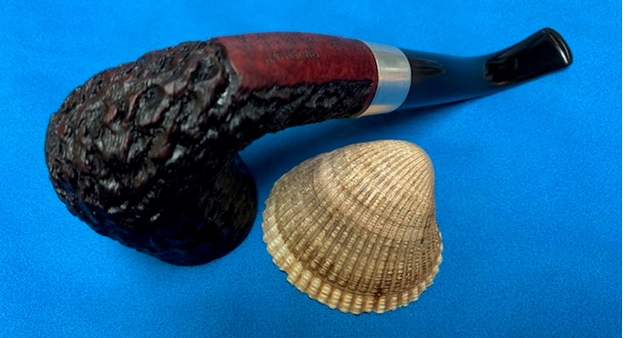
 Once again I am the part of the restoration that I always look forward to – the moment when all the pieces are put back together. I put the pipe back together and carefully buffed it with Blue Diamond. I gave the bowl and the stem multiple coats of carnauba wax. I buffed the pipe with a clean buffing pad to raise the shine. I hand buffed it with a microfiber cloth to deepen the shine. It is fun to see what the polished bowl, Bakelite base and vulcanite stem look like with the wax and buff. This richly stained Kuhl Record Bruyere Garantie is light weight and ready for you to load up a tobacco of preference and enjoy it. Have a look at it in the photos below. The dimensions are Length: 6 ¼ inches, Height: 2 inches, Outside diameter of the bowl: 1 ½ inches, Chamber diameter: 1 inch. The weight of the pipe is 46 grams/1.62 oz. This is one that will go on the rebornpipes online store shortly. Thanks to each of you who are reading this blog. Remember we are not pipe owners; we are pipemen and women who hold our pipes in trust until they pass on into the trust of the next generation.
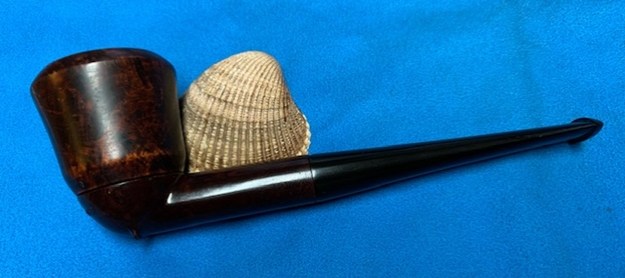


.#)