Blog by Steve Laug
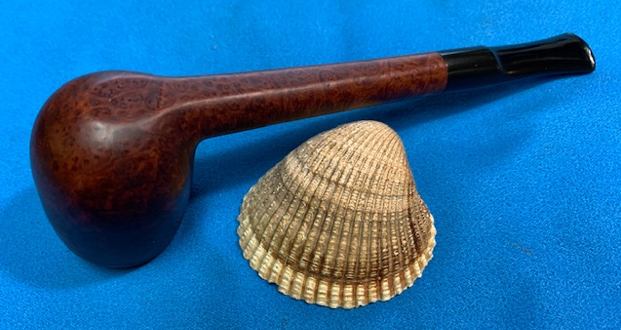
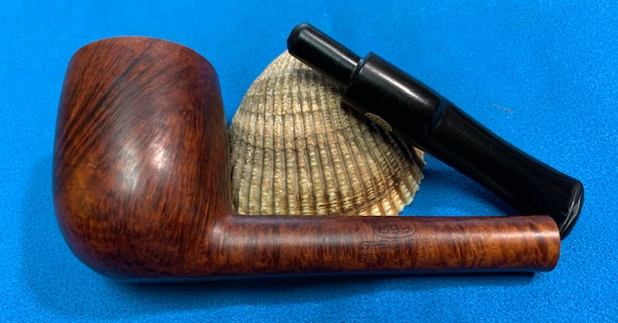
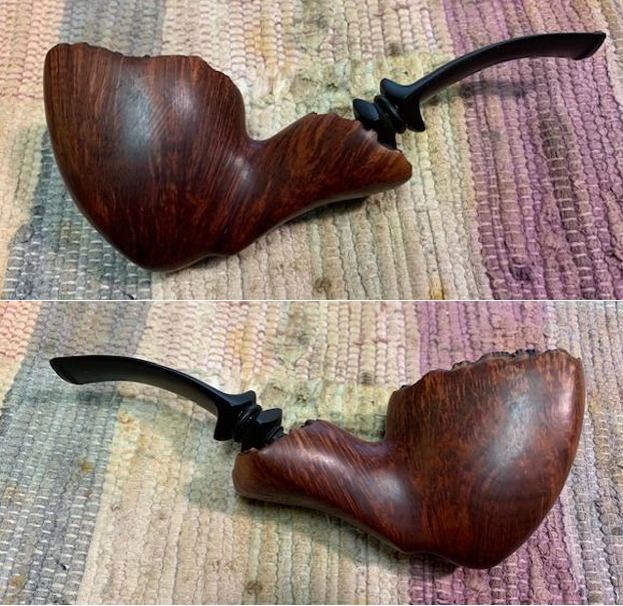
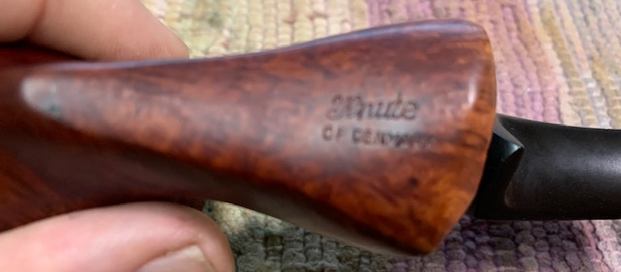
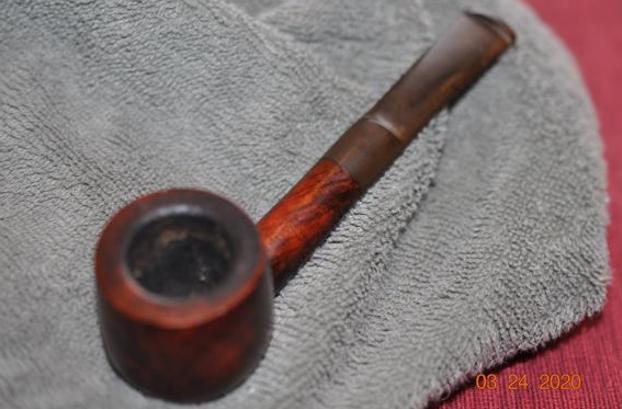
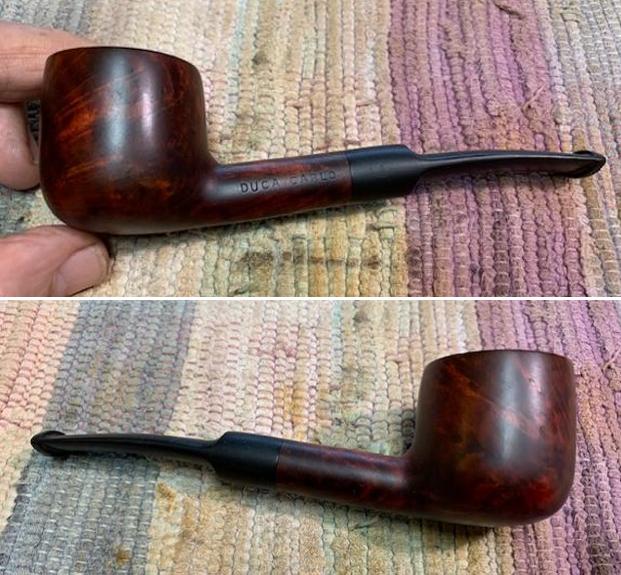
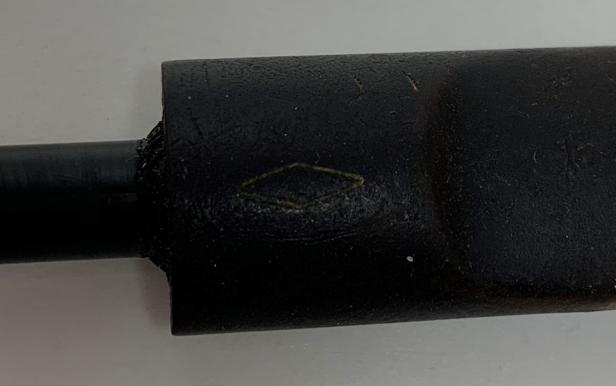
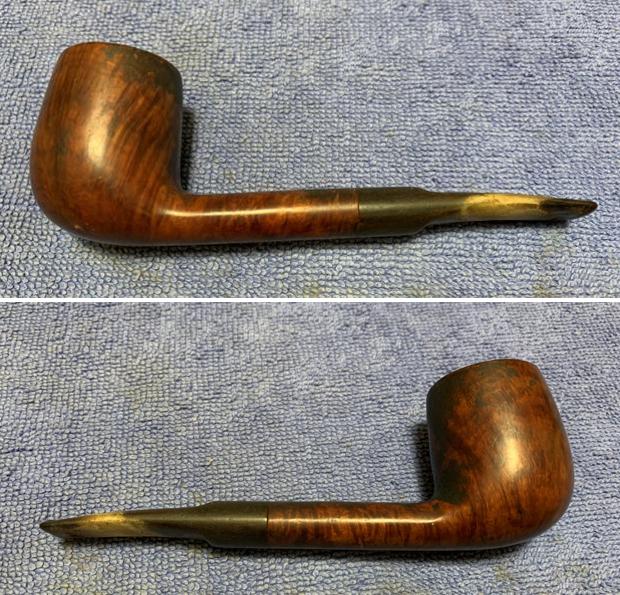
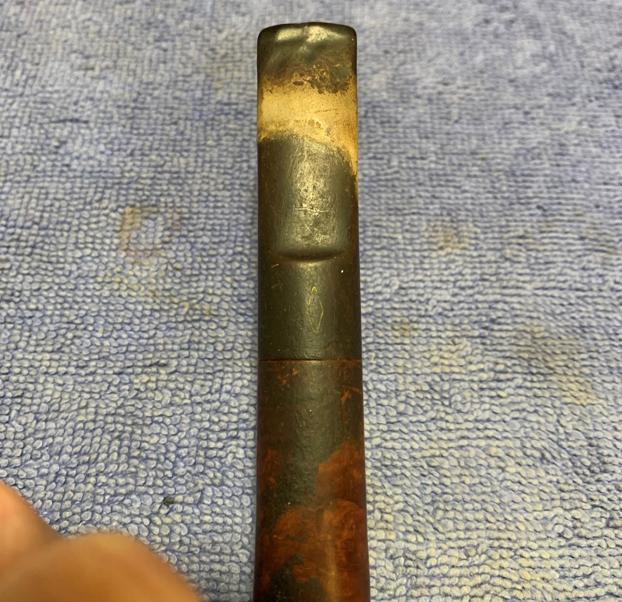
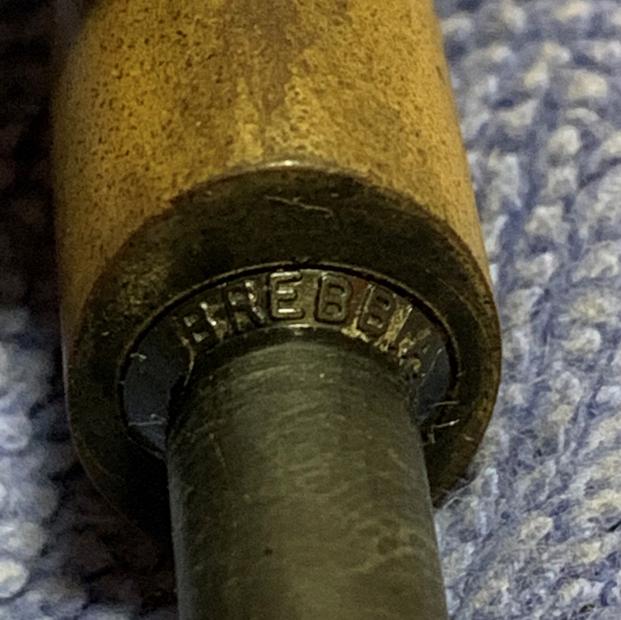
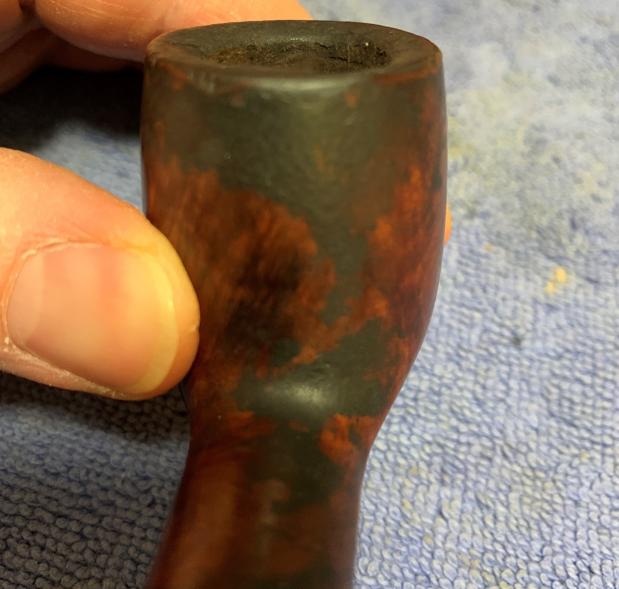
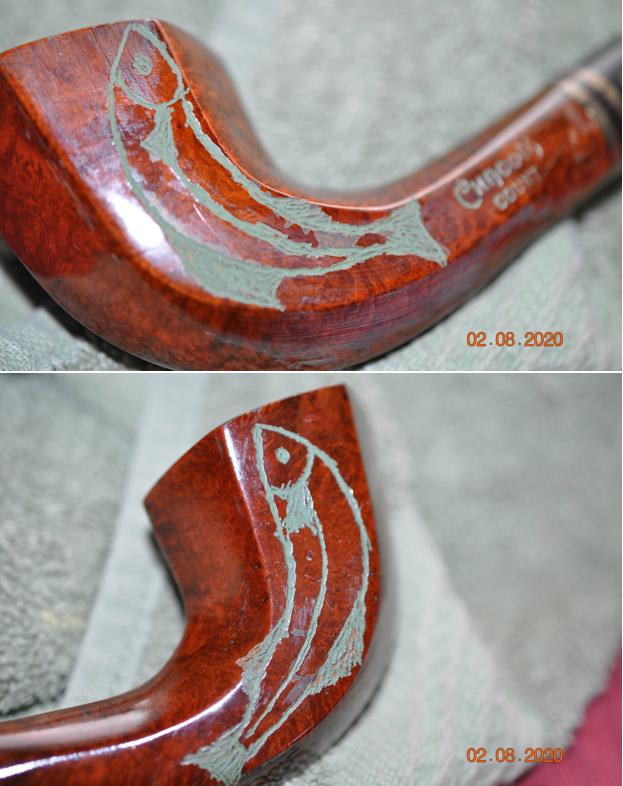
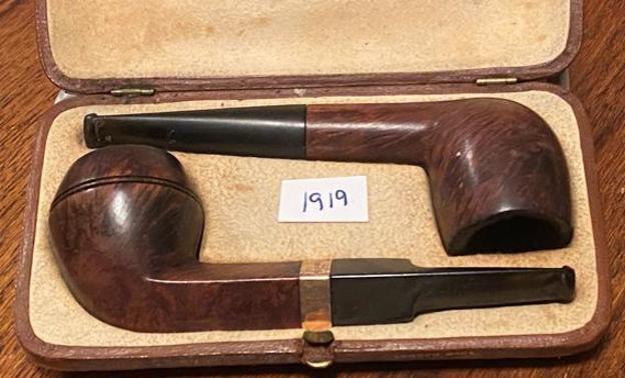
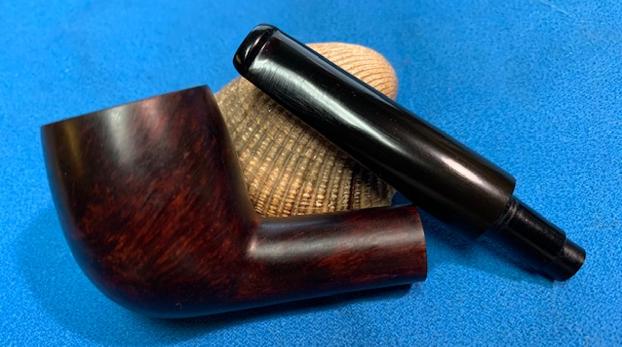
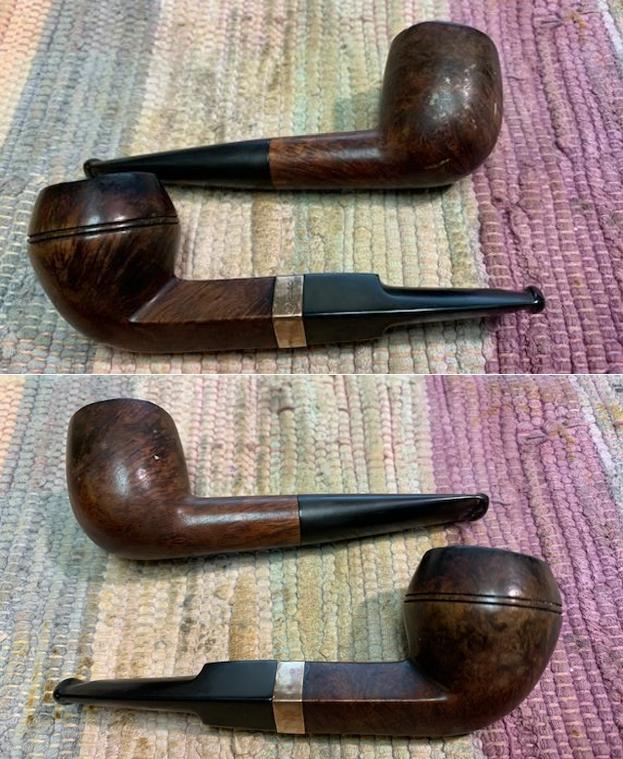
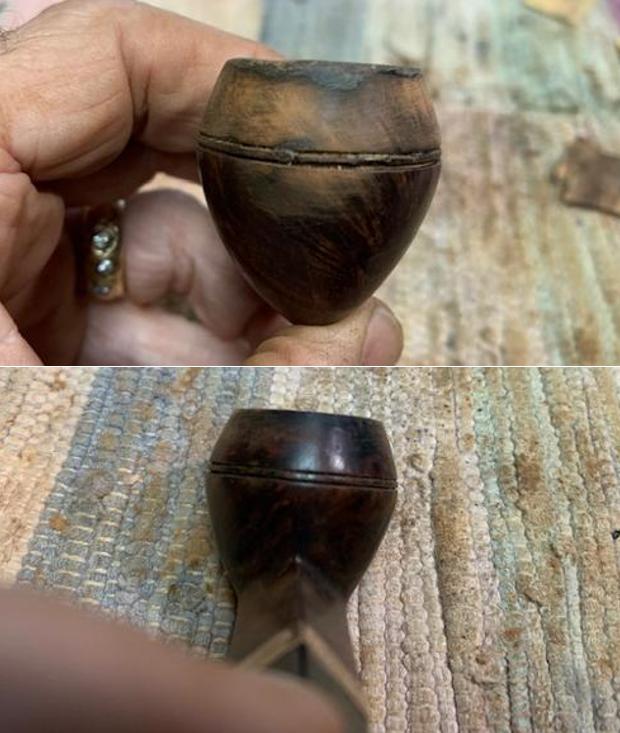
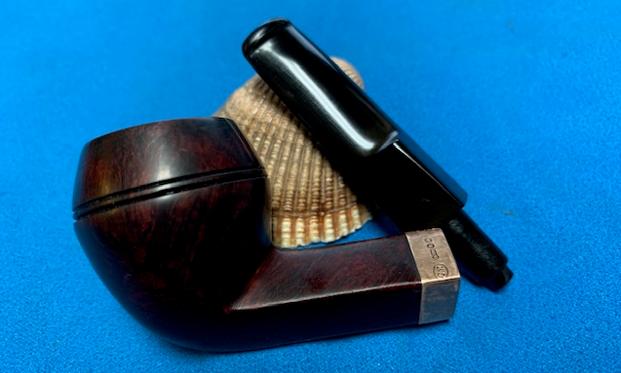
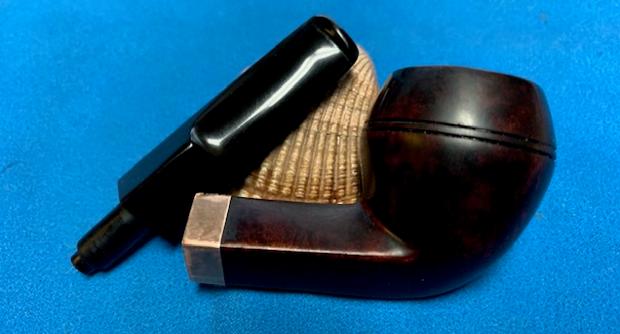
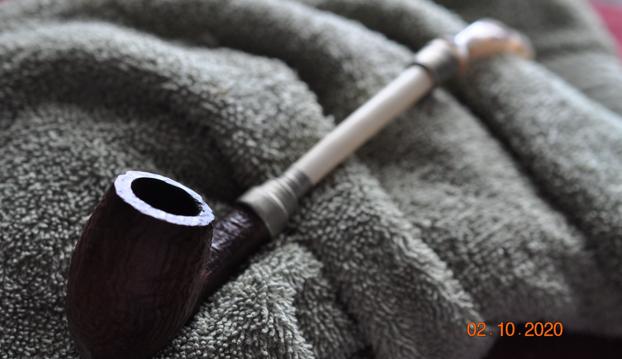
Jeff and I purchased the lovely long shank GBD Liverpool from a fellow in Brazil, Indiana, USA. The grain on the pipe is a nice mix of flame, swirled and birdseye that works well with the brown stains of the briar and the black of the saddle stem. The rim top is crowned with a bevel inward and has some significant damage on the front right outer edge and top. The repeated burning of that area with a lighter flame has left behind a deep dip and burn that will need to be dealt with. It was hard to see with the thick cake in the bowl and the veritable eruption of lava over the top of the rim but it was very present. The finish was quite dirty with grit, grime and oils ground into the surface of the bowl and shank. The shank is stamped on both sides and on the left it reads GBD in an oval [over] Speciale [over] Standard. On the right side it reads France [over] the shape number 9465. The vulcanite stem was lightly oxidized and well dented with tooth marks and chatter on both sides near the button. The button area was worn as well. There is a GBD brass oval roundel on the left side of the saddle stem. Jeff took photos of the pipe to capture its condition when it arrived at his place. It was going to take some work to bring this one back to life. But both of us thought that it would be worth it.
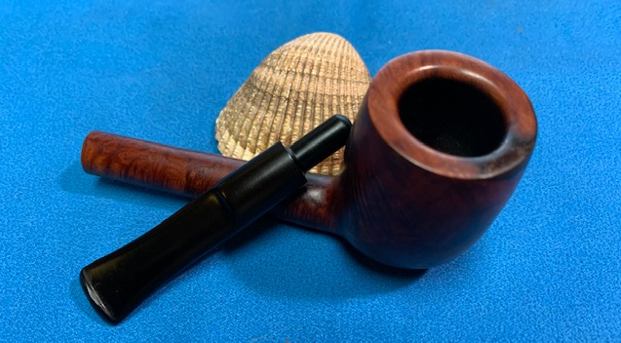
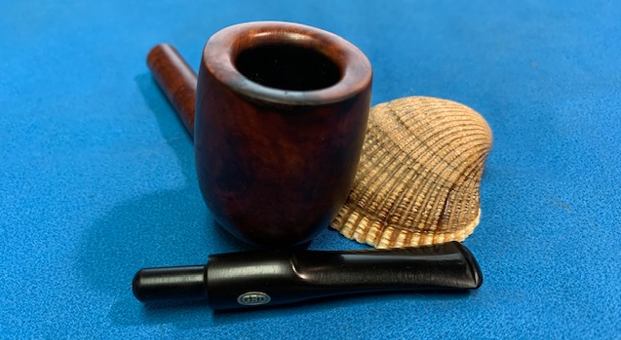
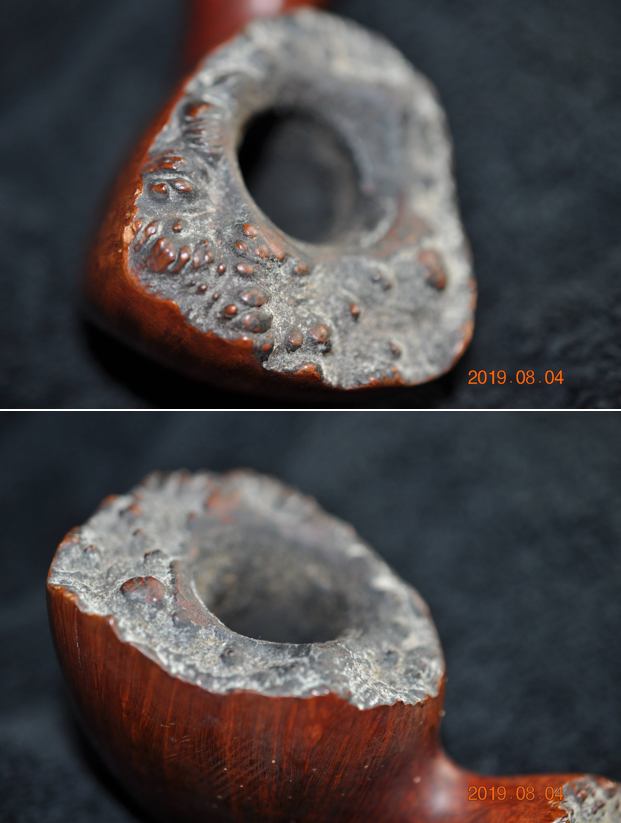
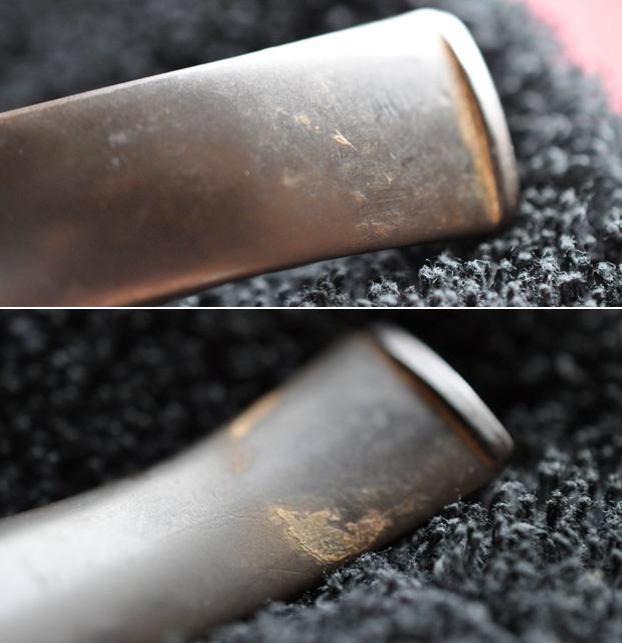
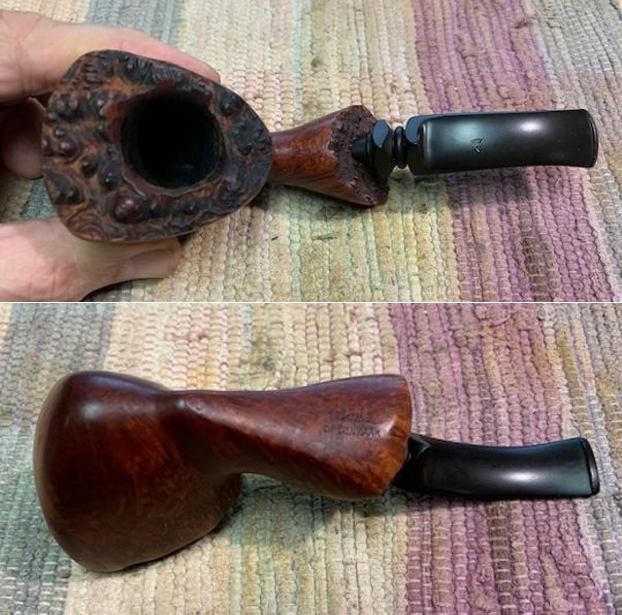
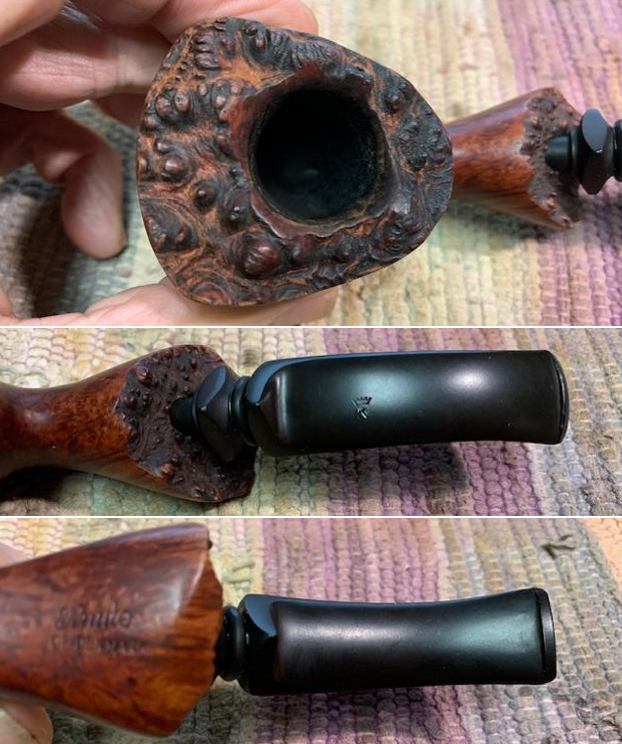
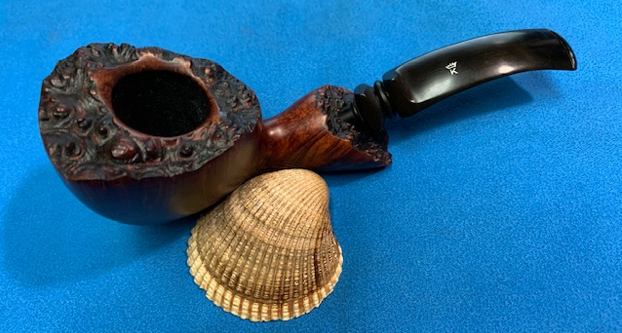
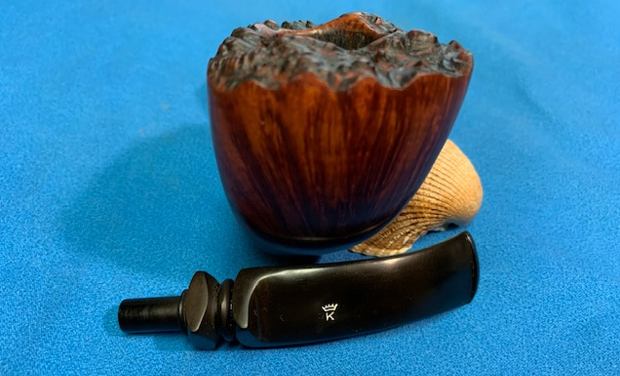
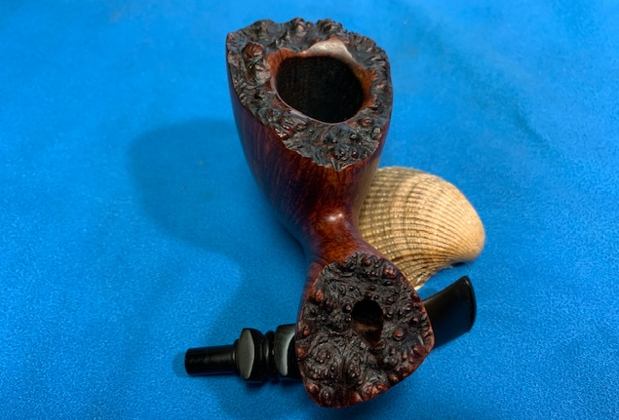
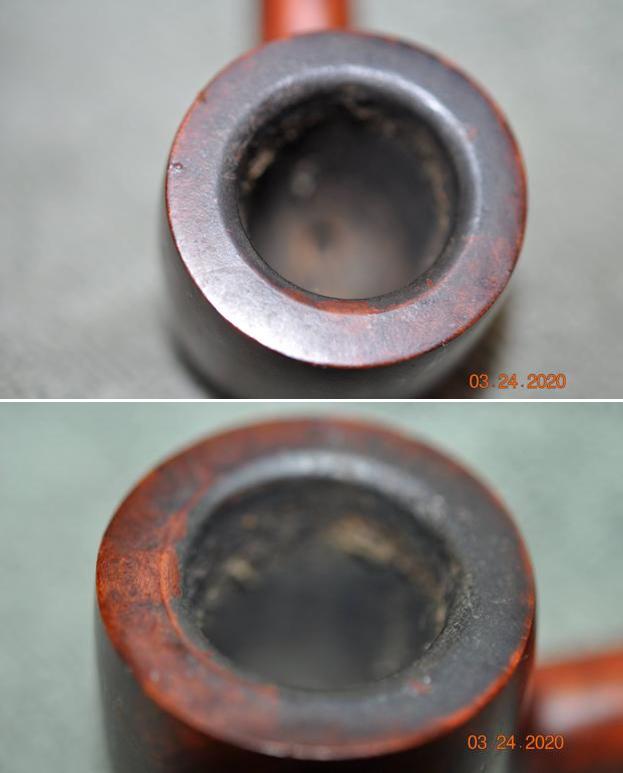
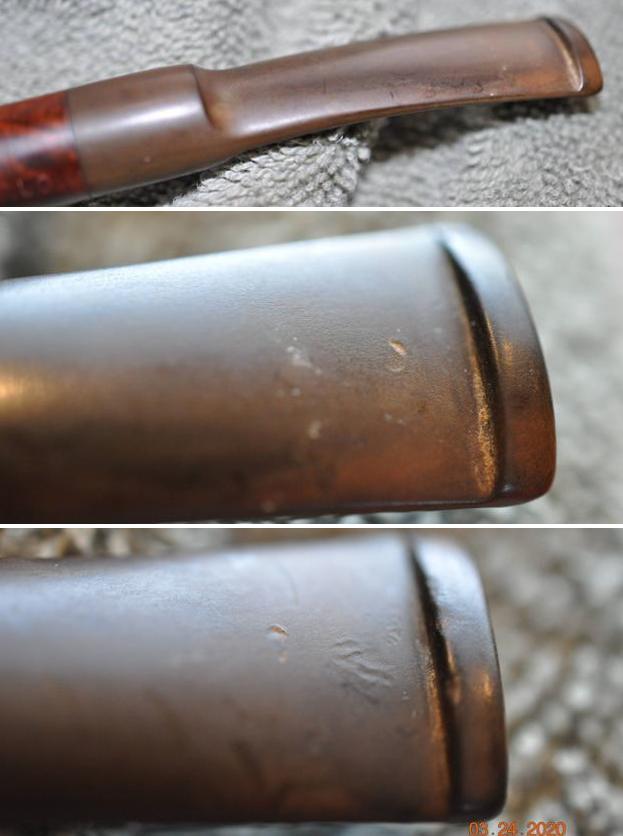
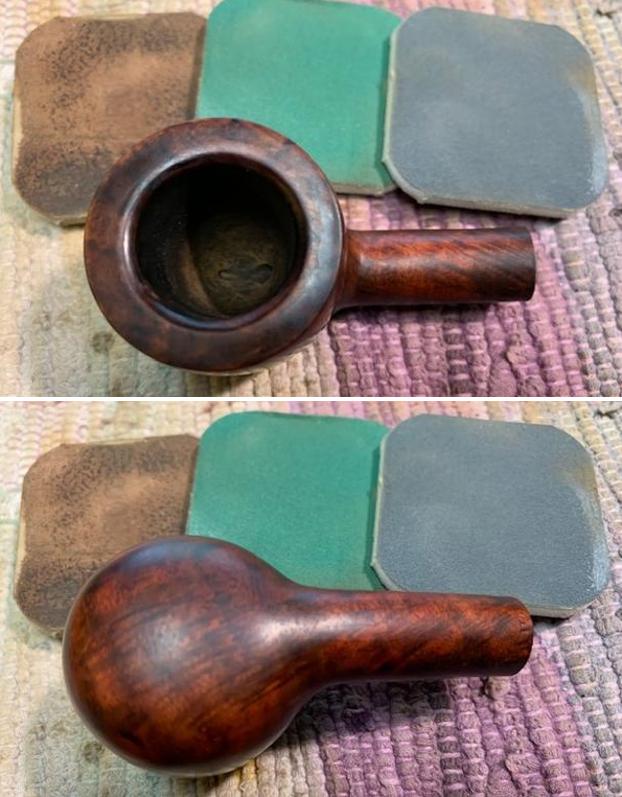
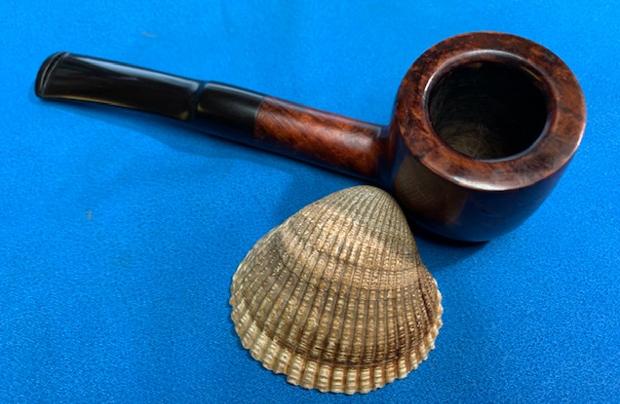
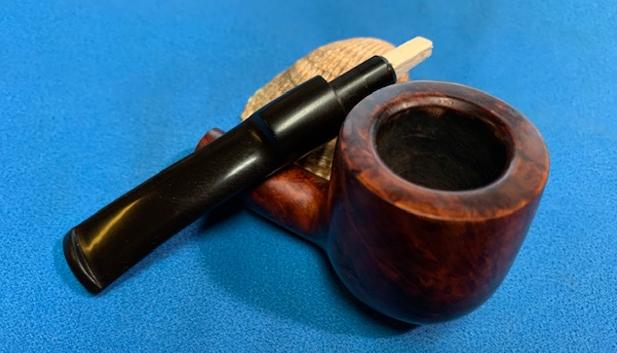
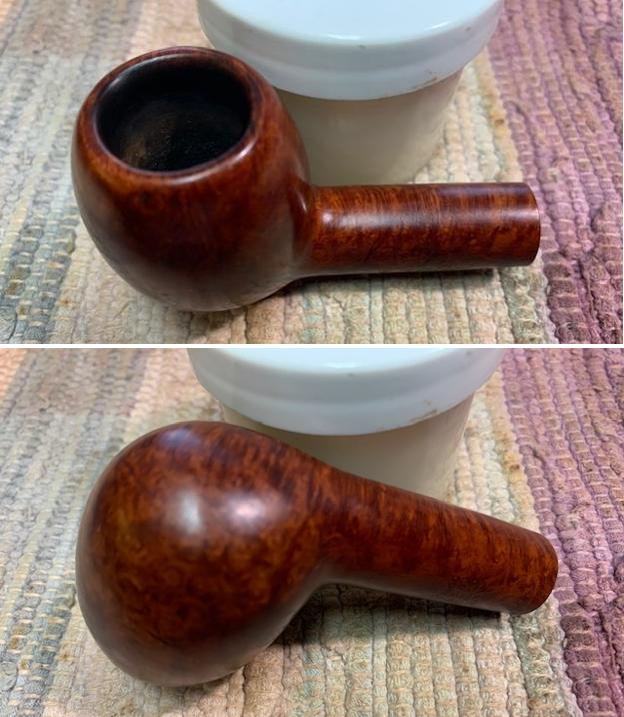
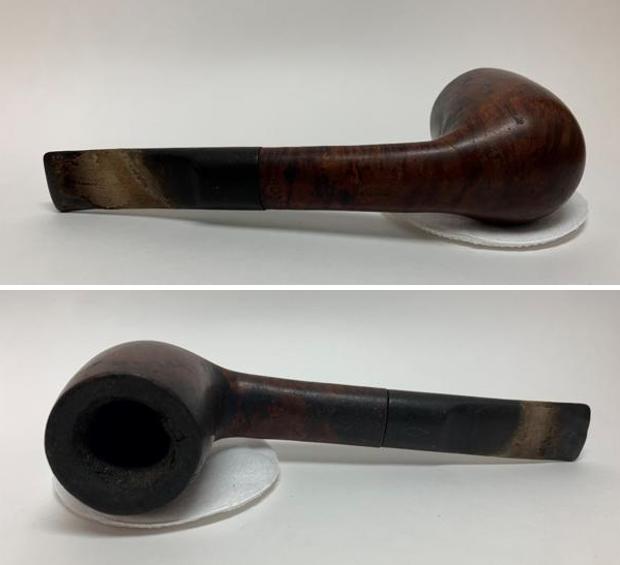
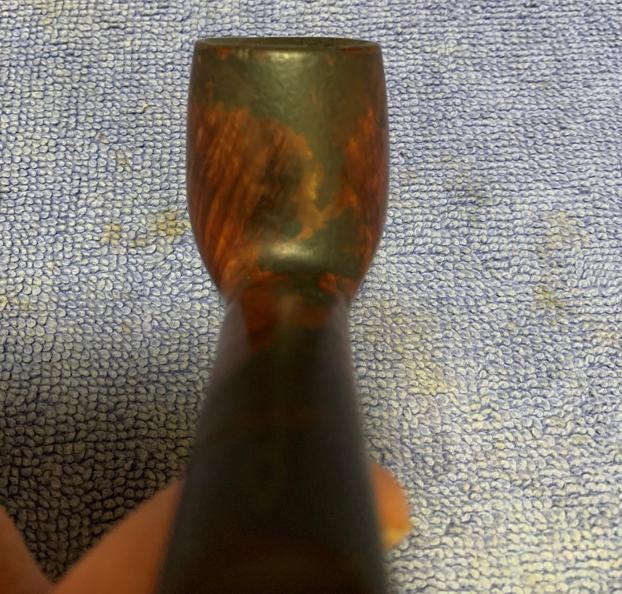
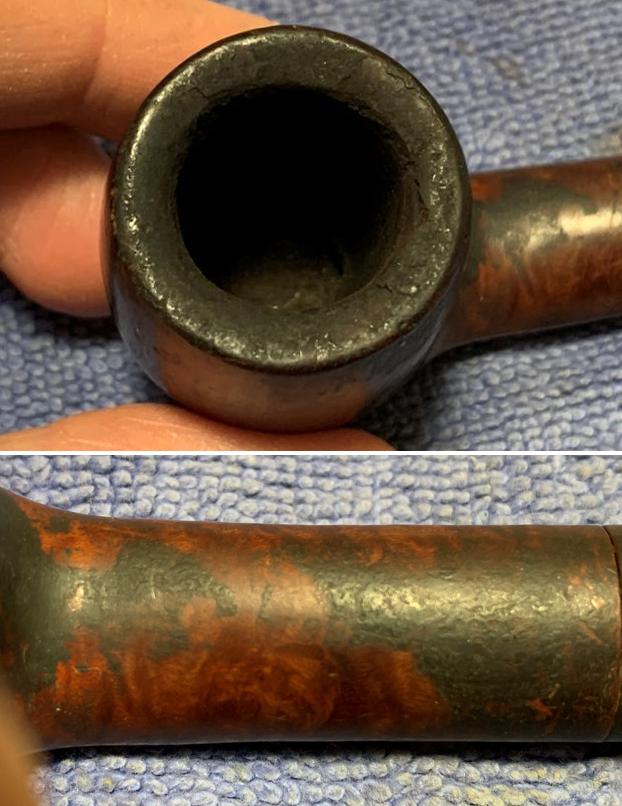
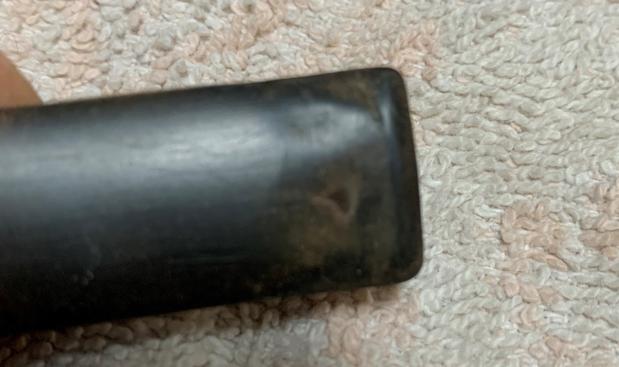
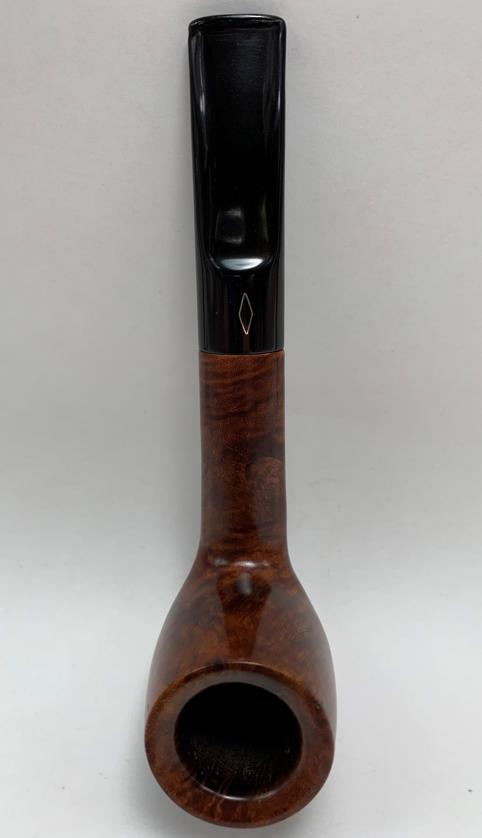
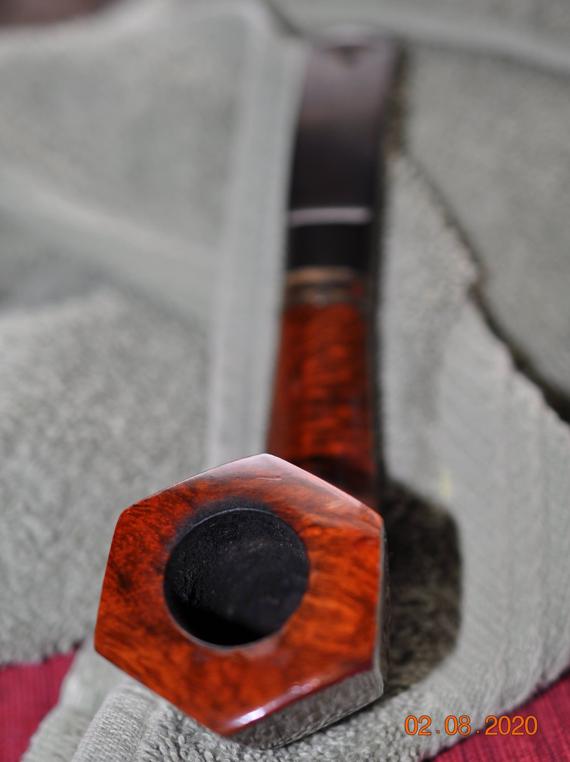
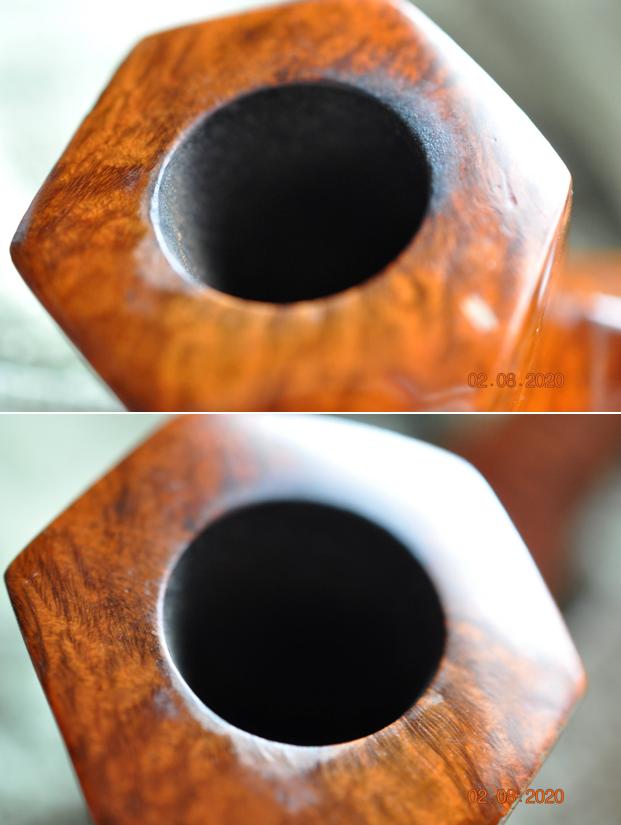
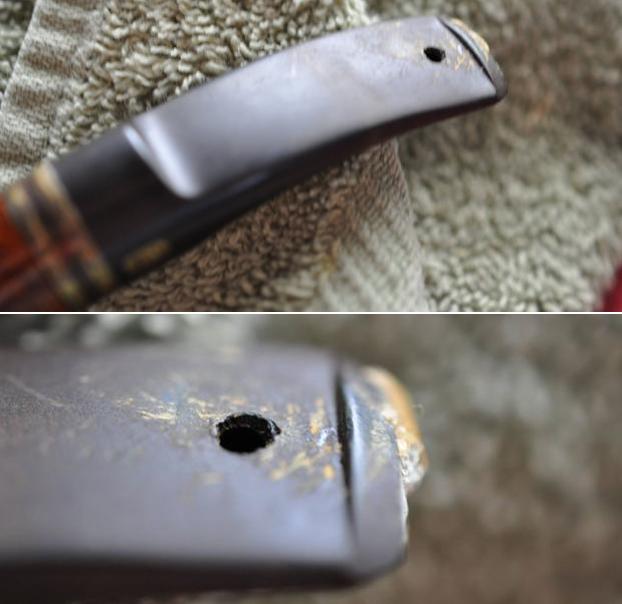
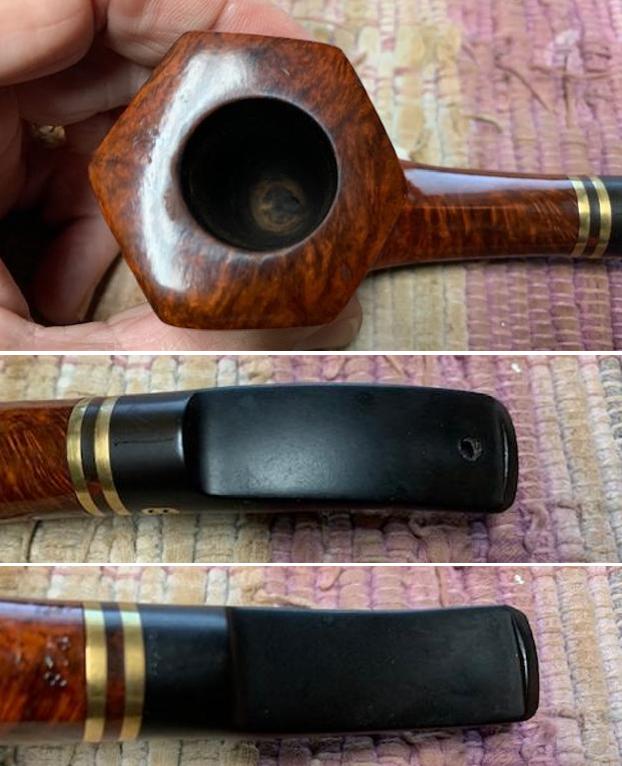
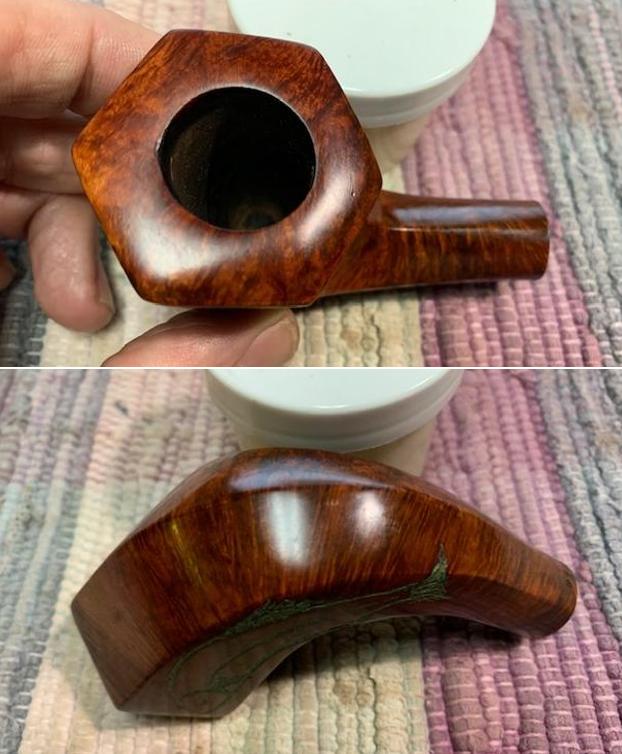
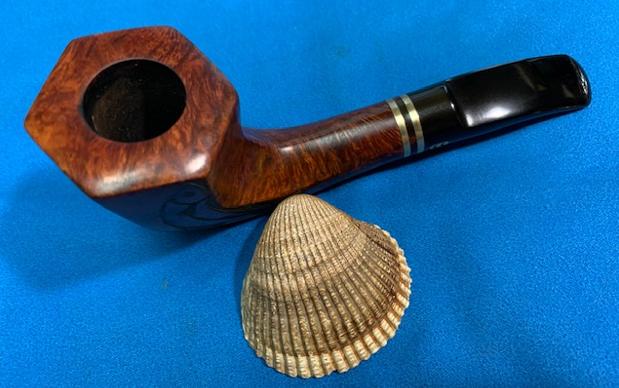
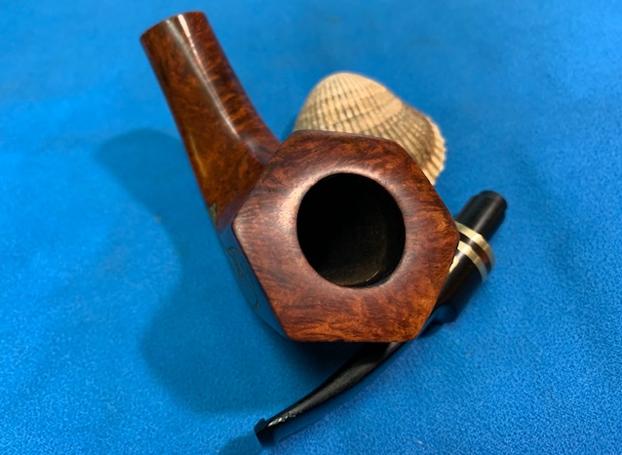
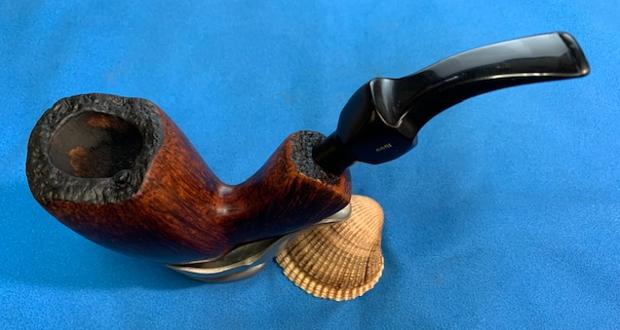
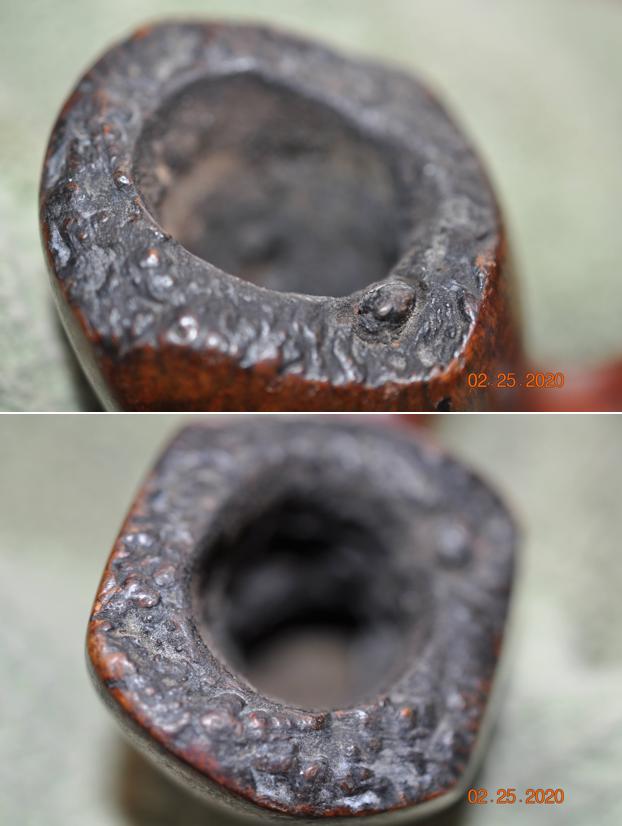
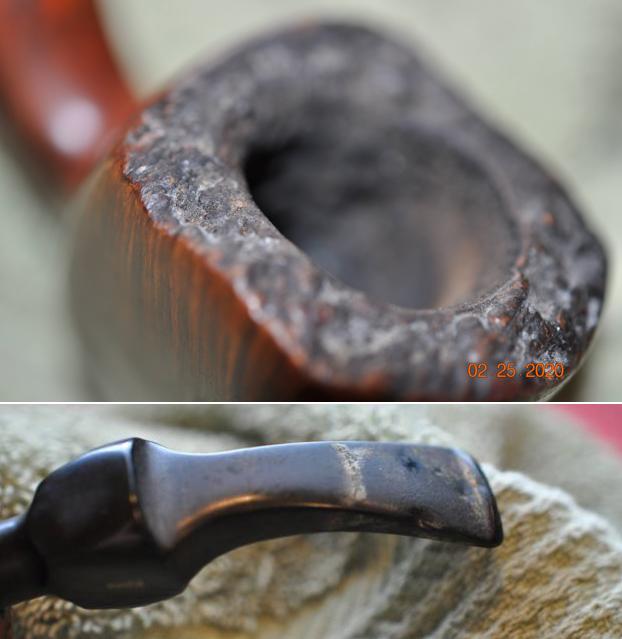
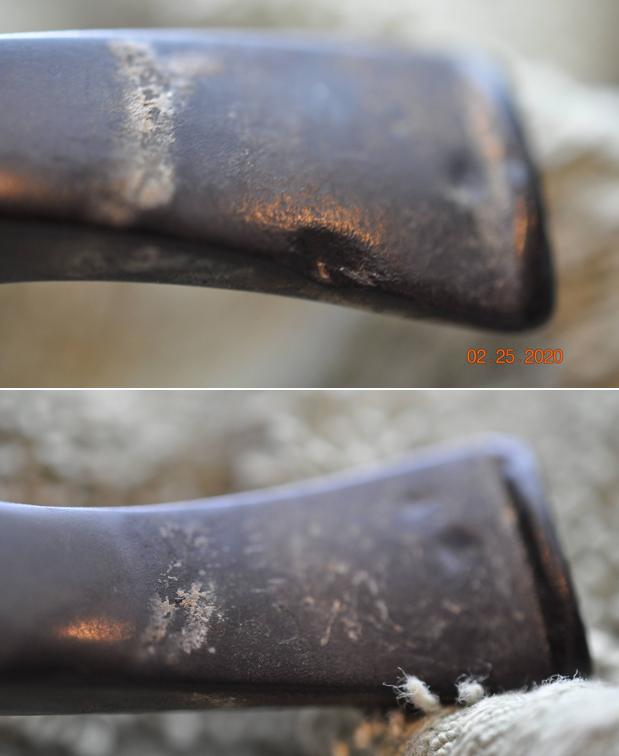
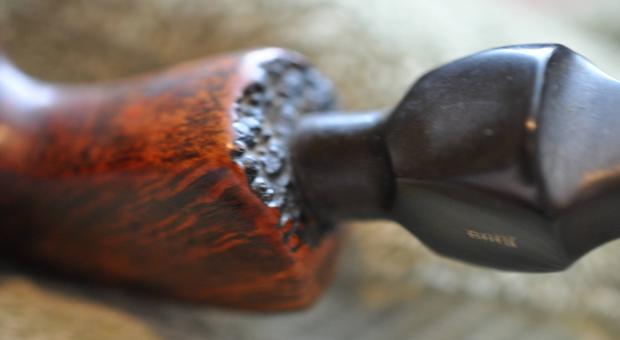
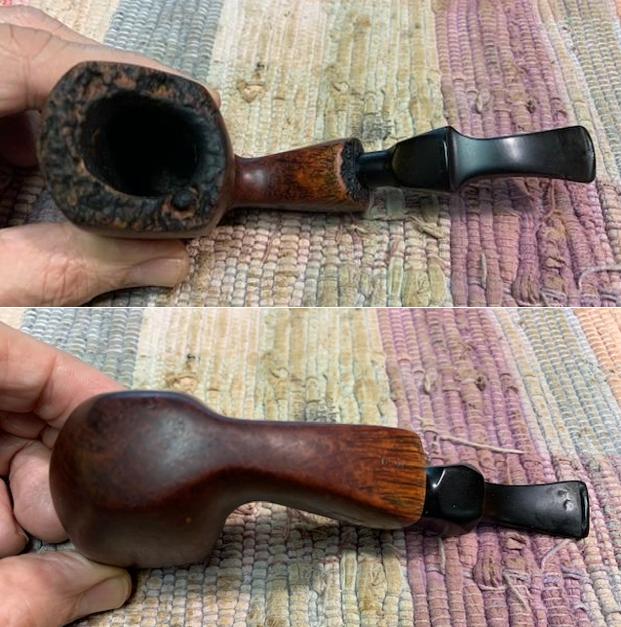
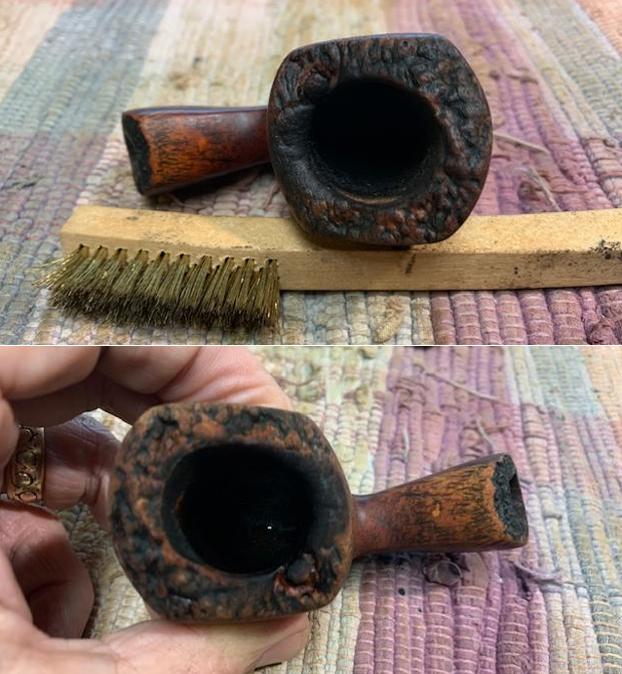
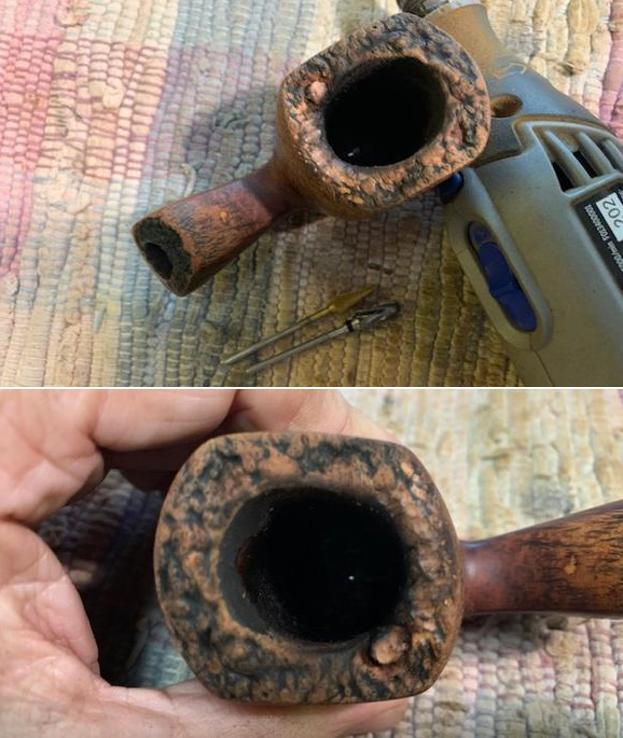
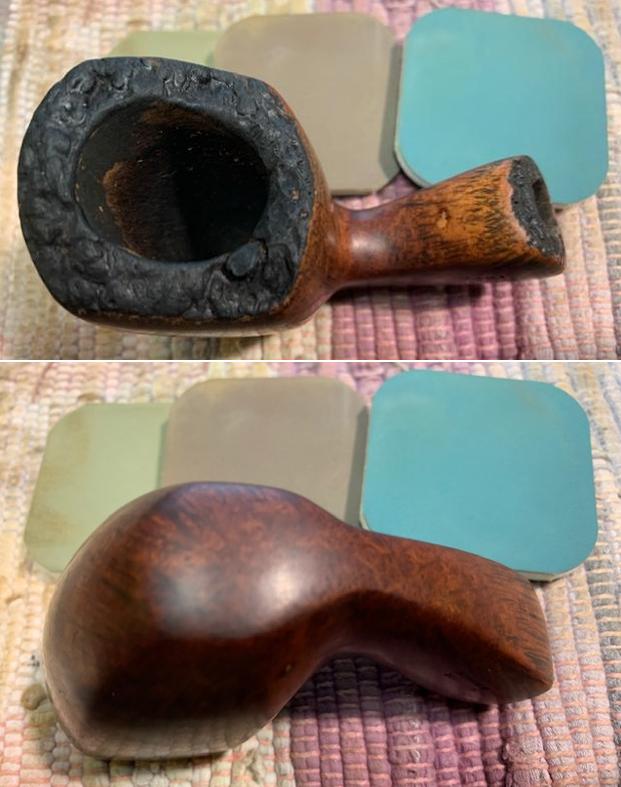
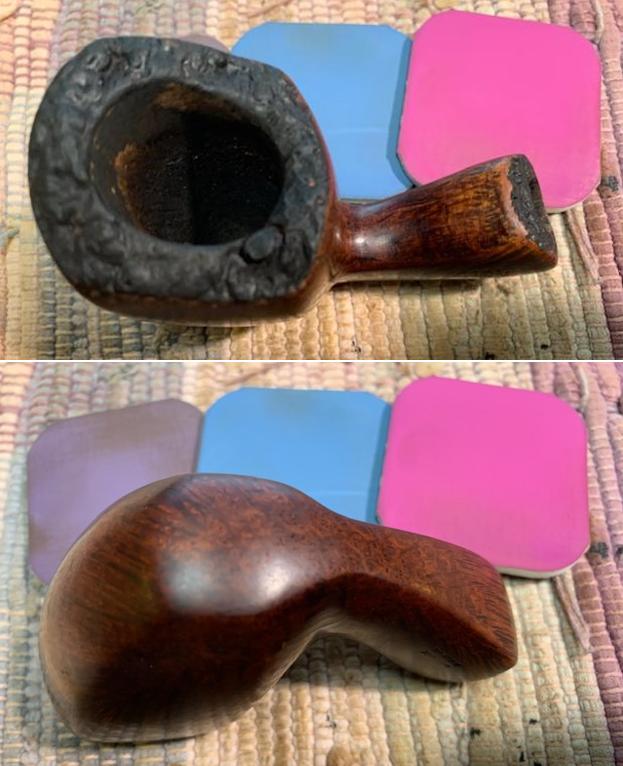
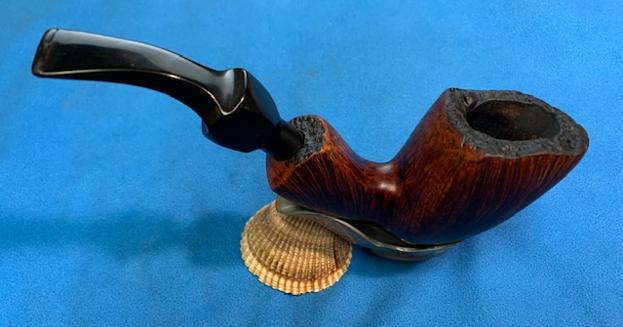
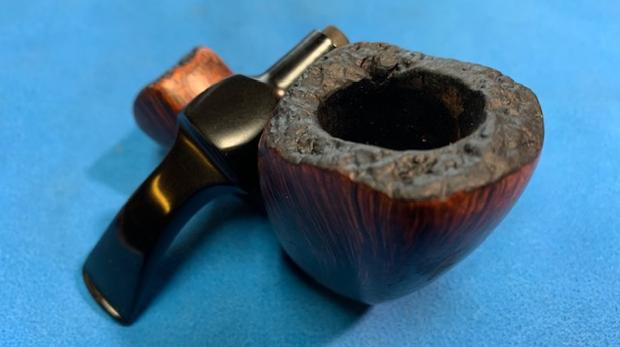
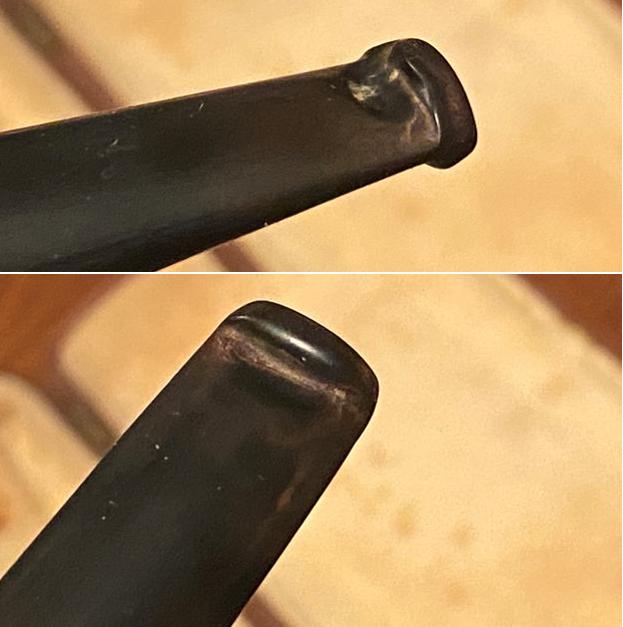
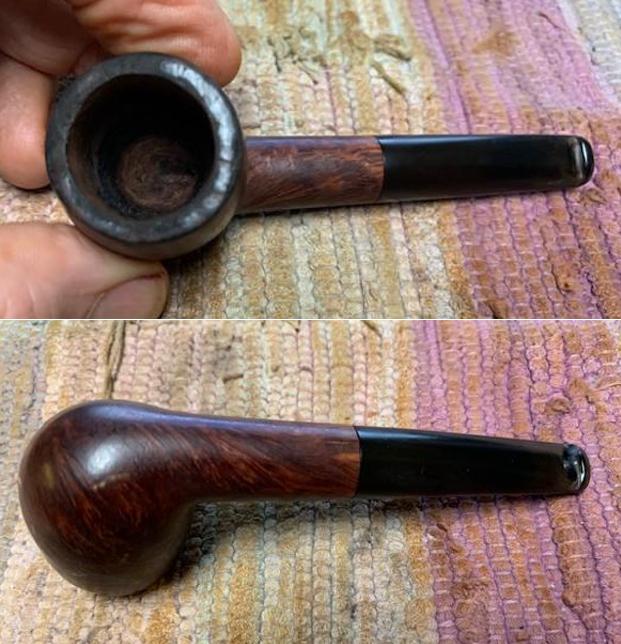
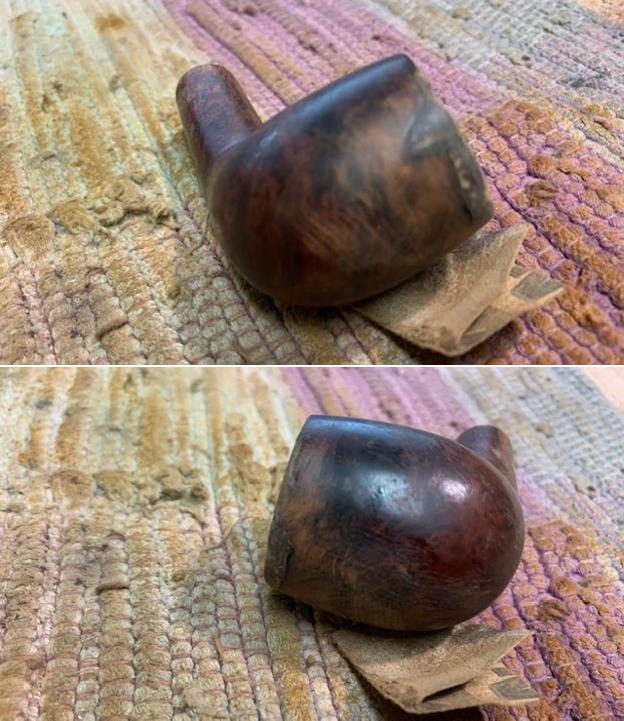
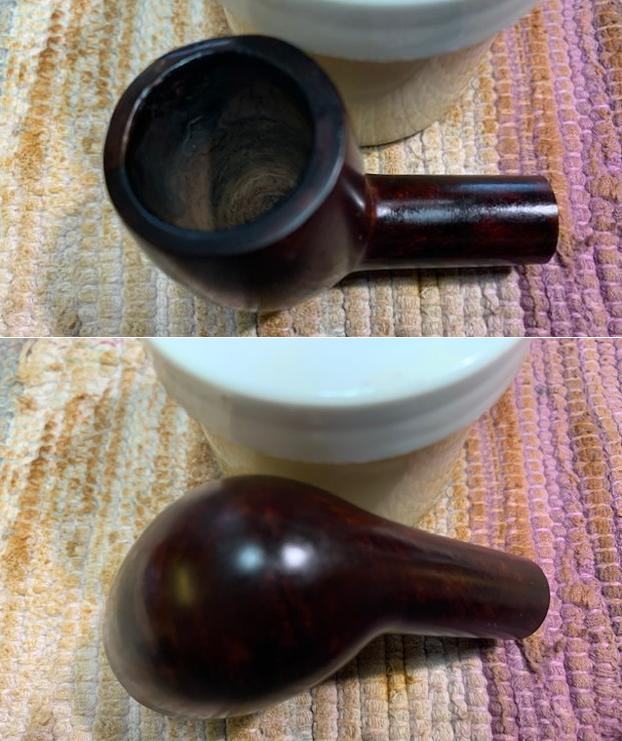
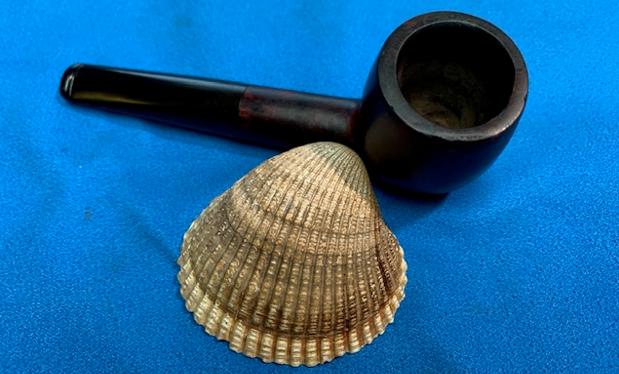
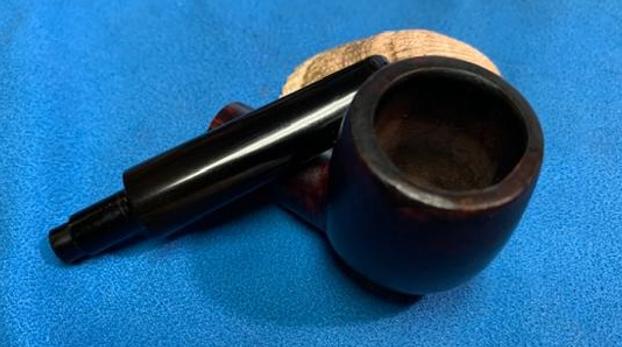
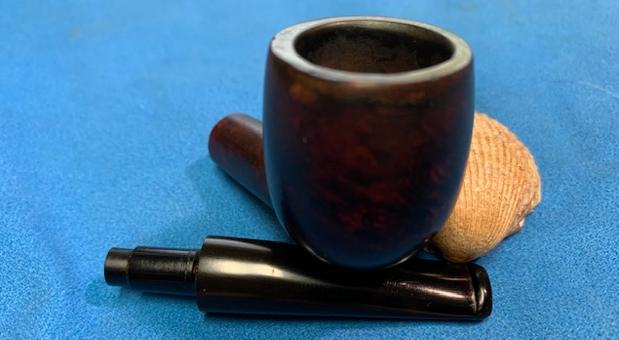
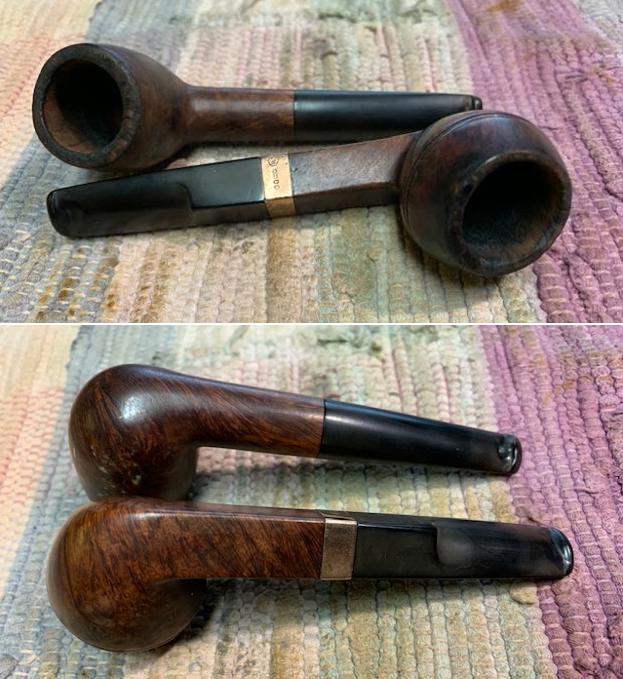
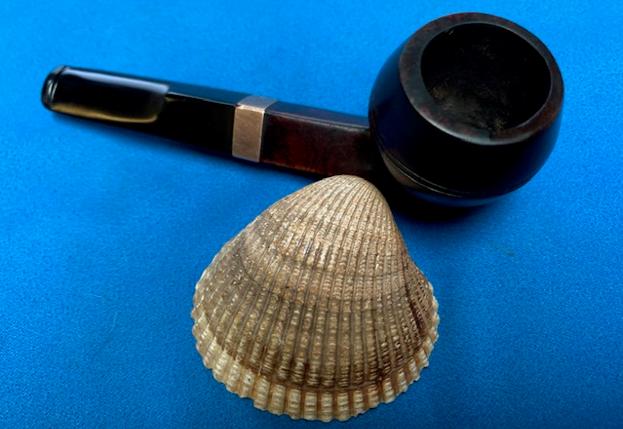
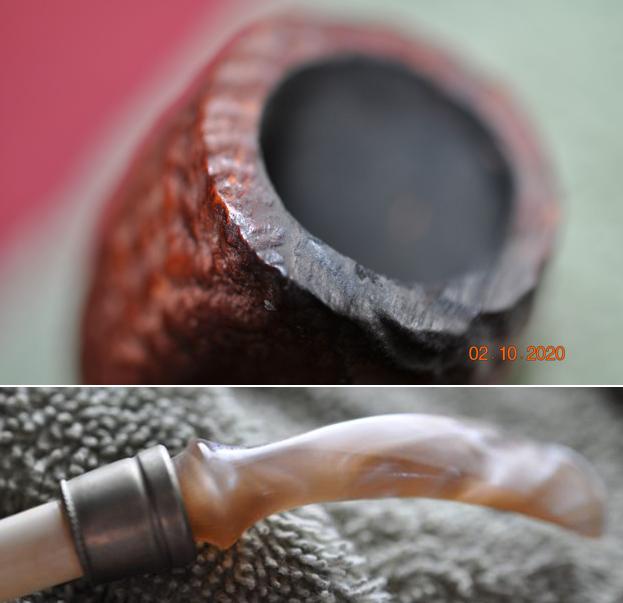
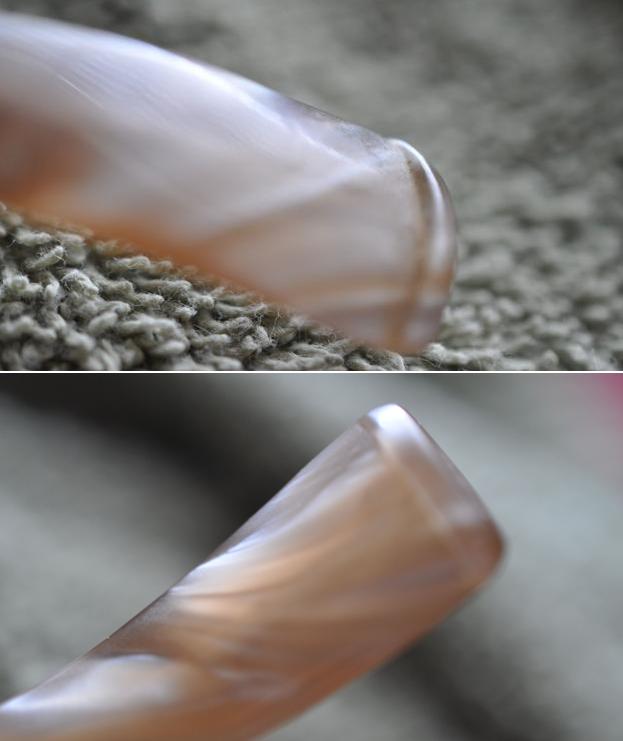
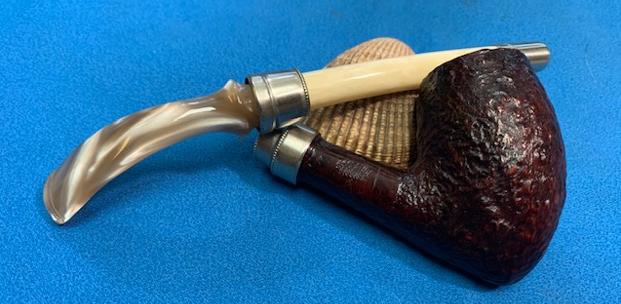
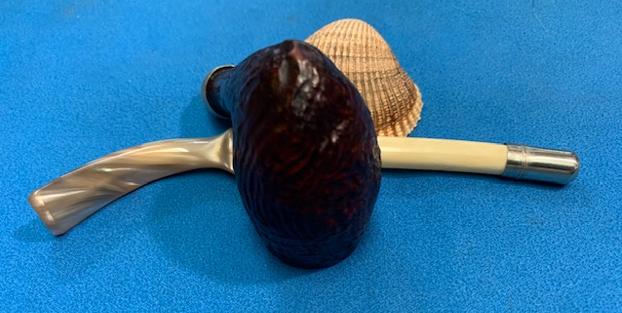
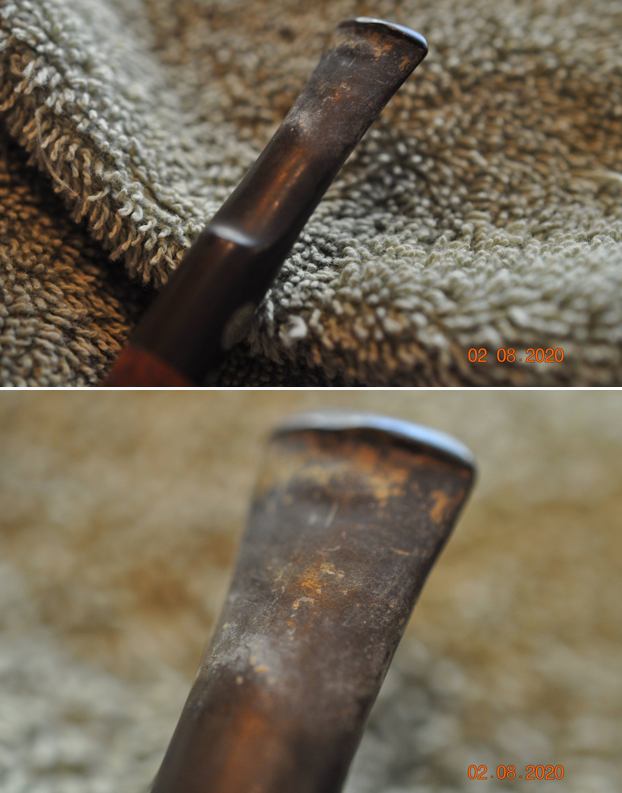
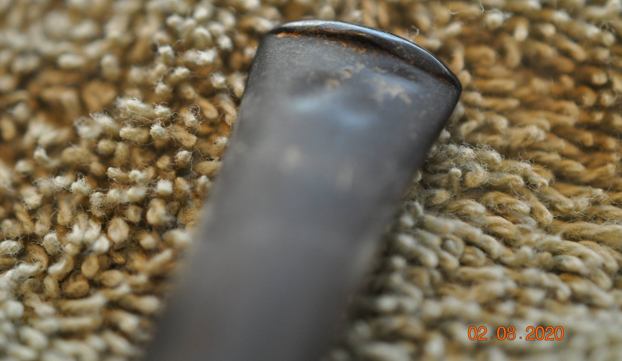
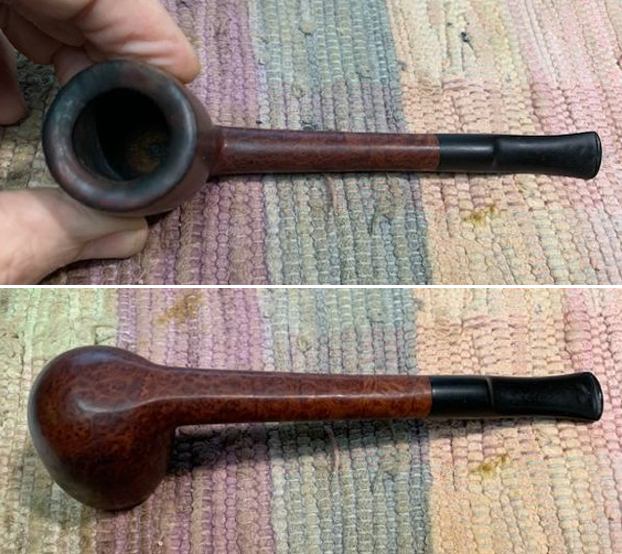
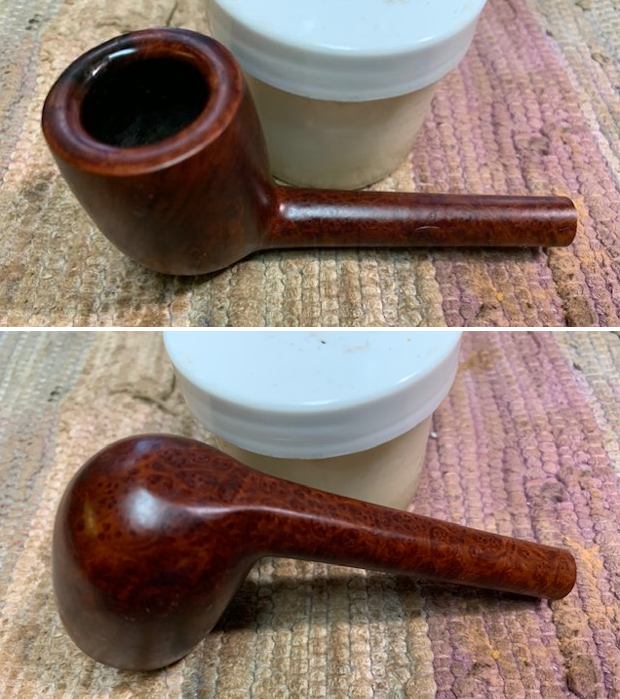
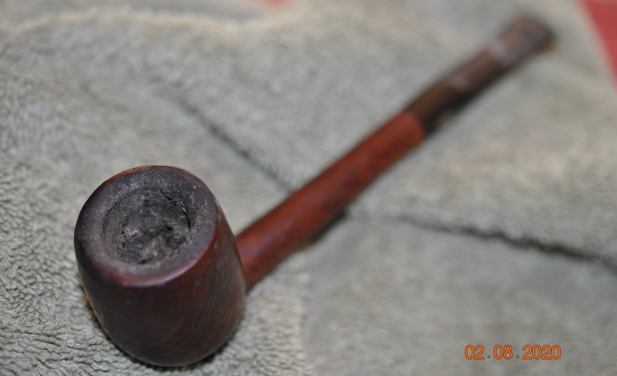 Jeff took photos of the rim top and bowl that show the cake and overflowing lava on the top and edges of the bowl. It is really hard to know what it looks like under all of that. We have learned that it with either be badly damaged or it will have been well protected. Only cleaning it off would reveal which result was on this pipe. You can also see the burn damage on the right front outer edge. The stem had a lot of tooth chatter and marks that are clear in the photos that follow. There is some oxidation and the calcification on the stem surface.
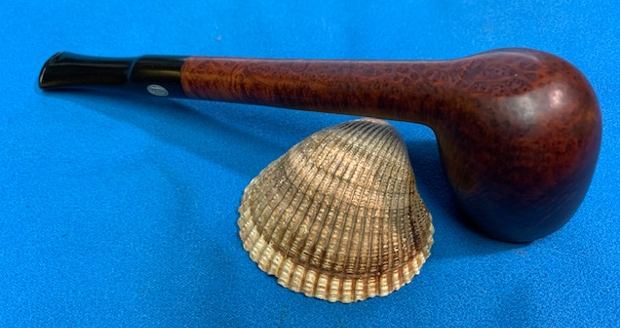
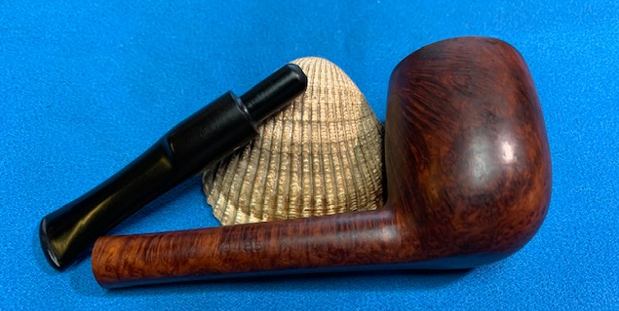
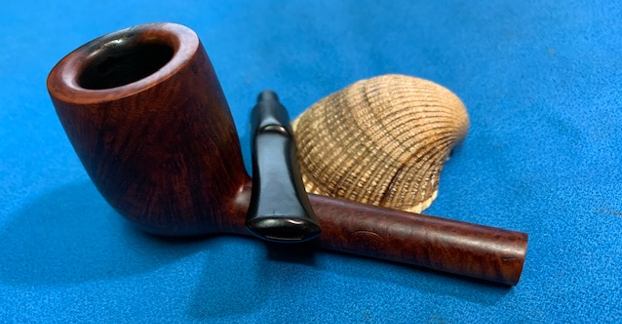
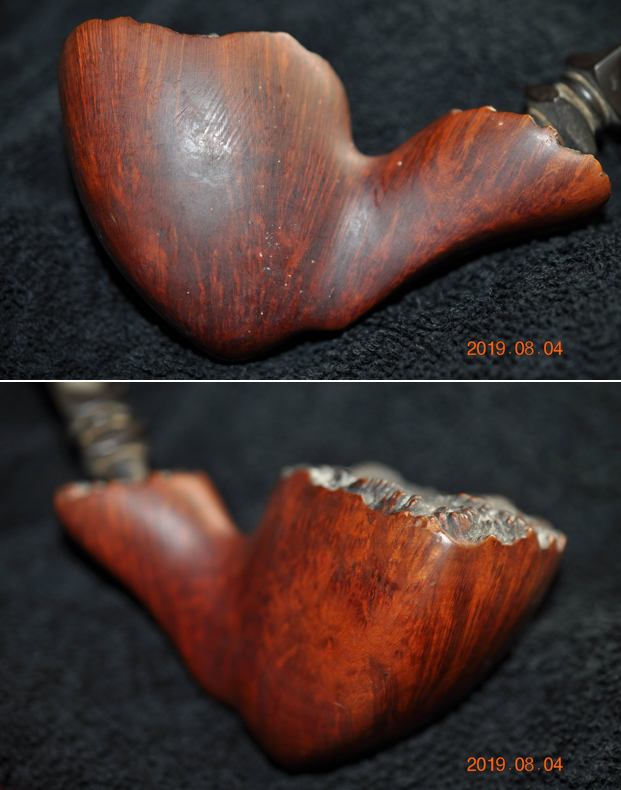
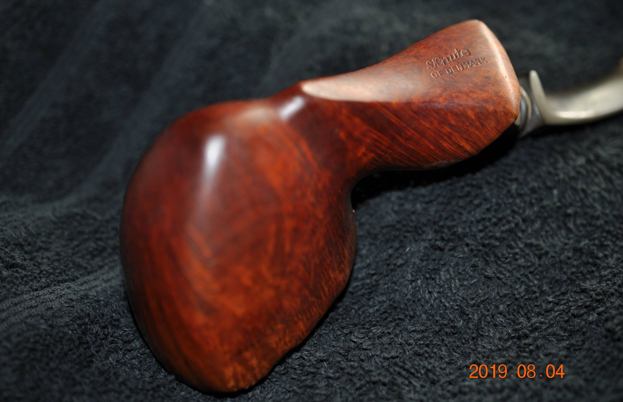
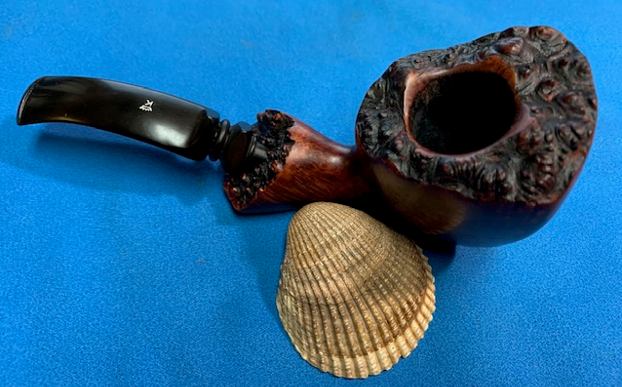
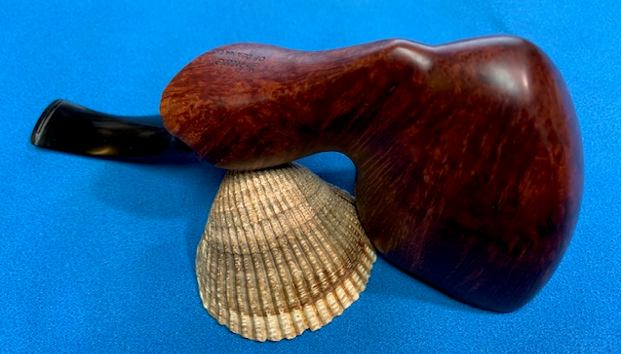
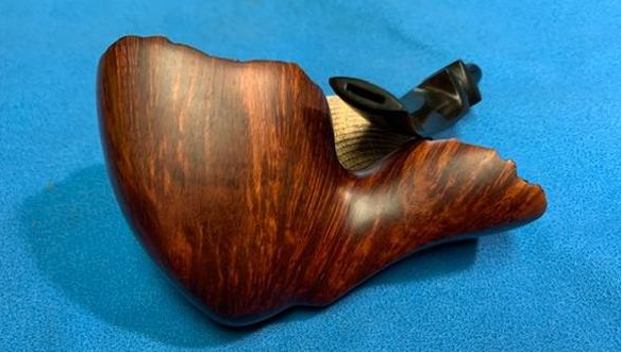
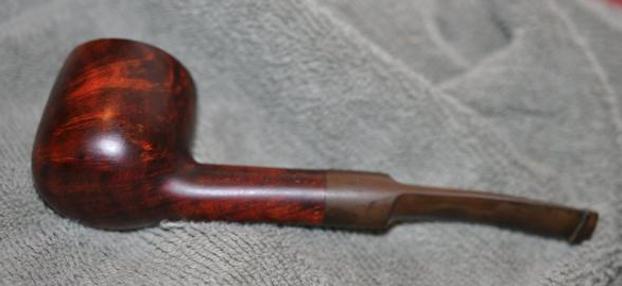
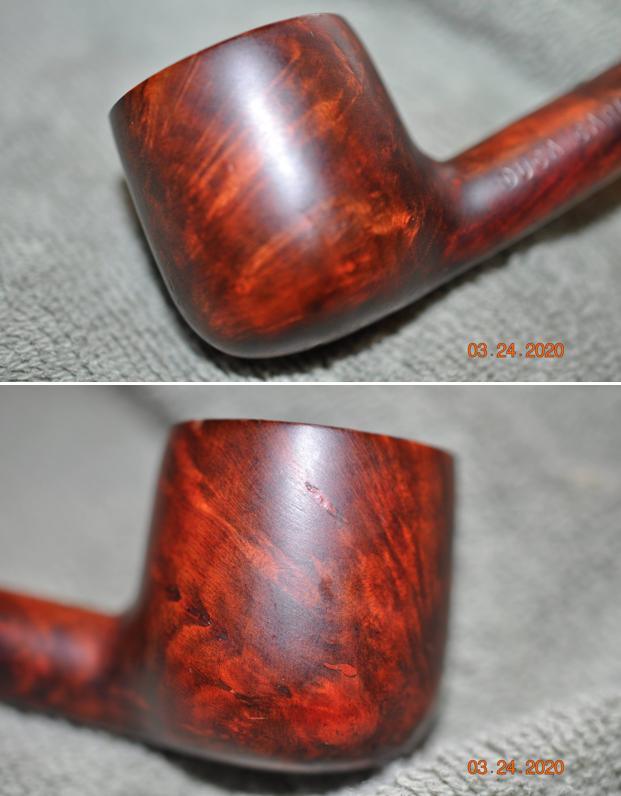
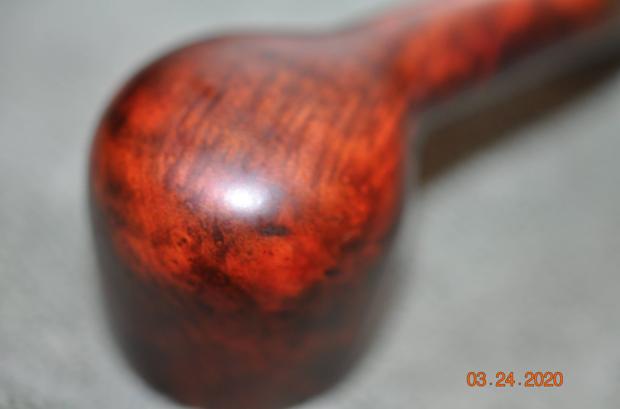
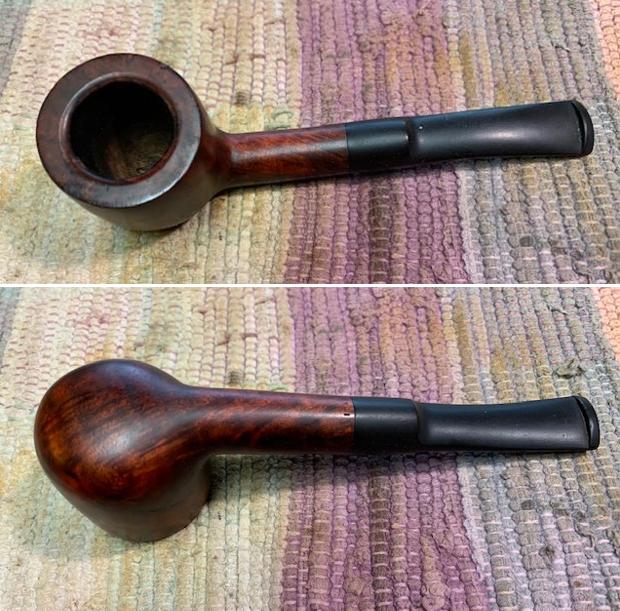
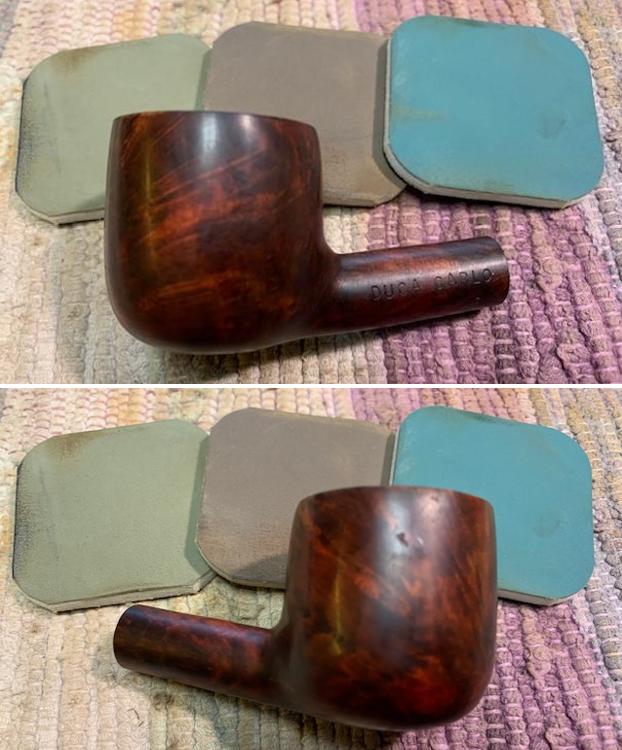
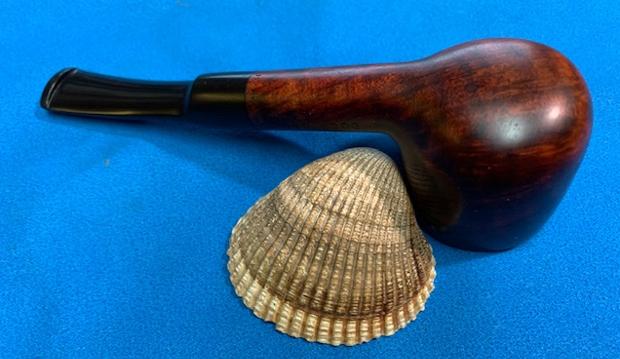
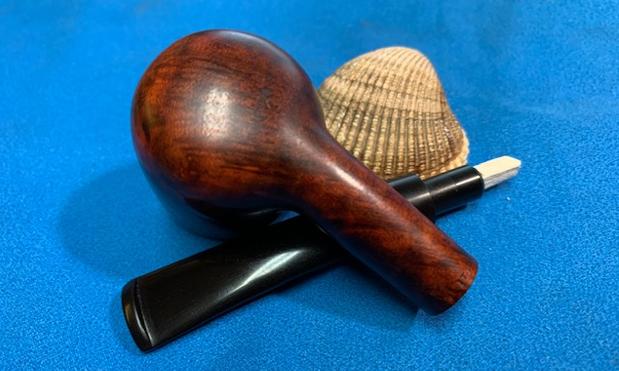
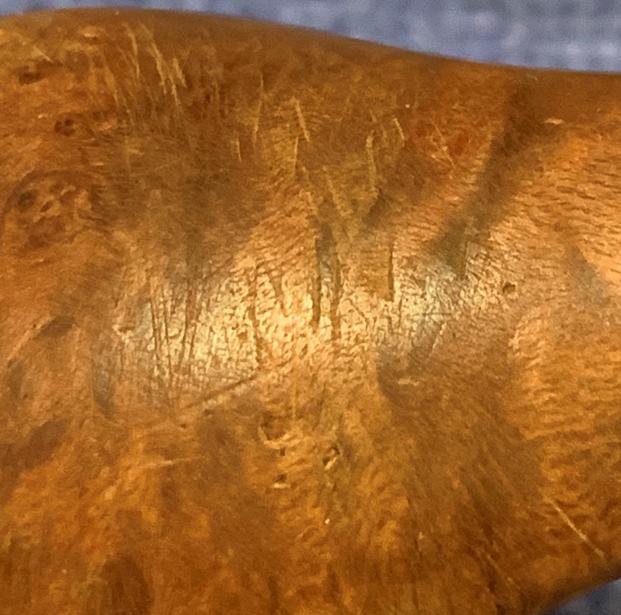
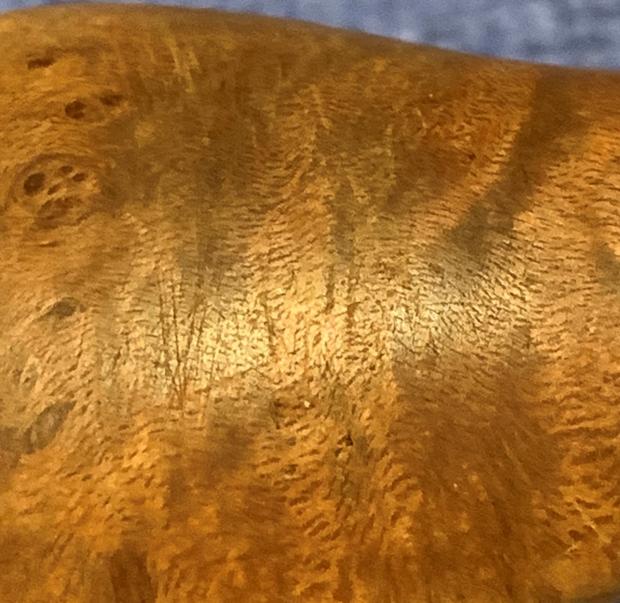
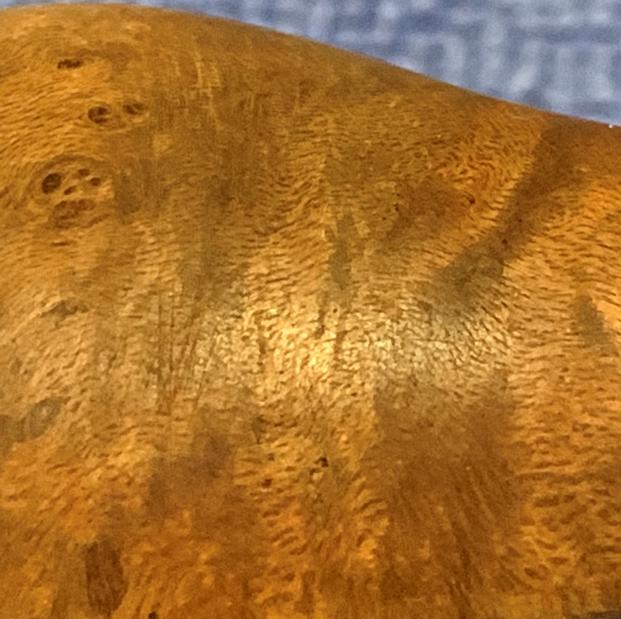
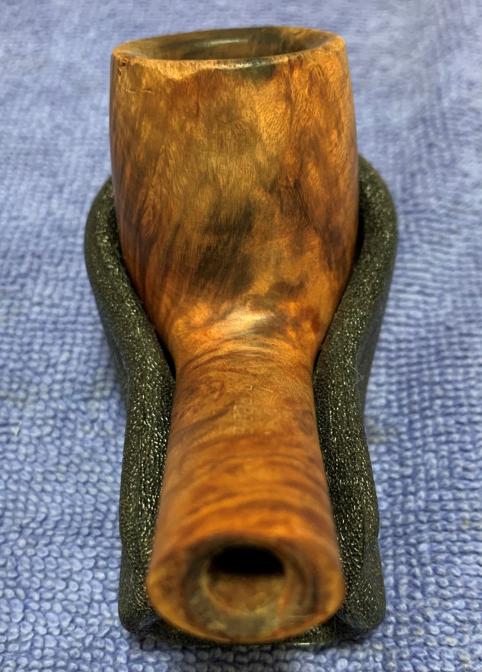
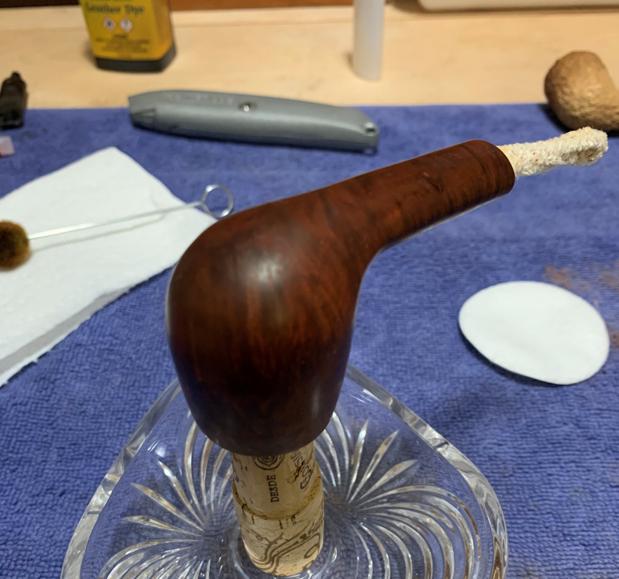
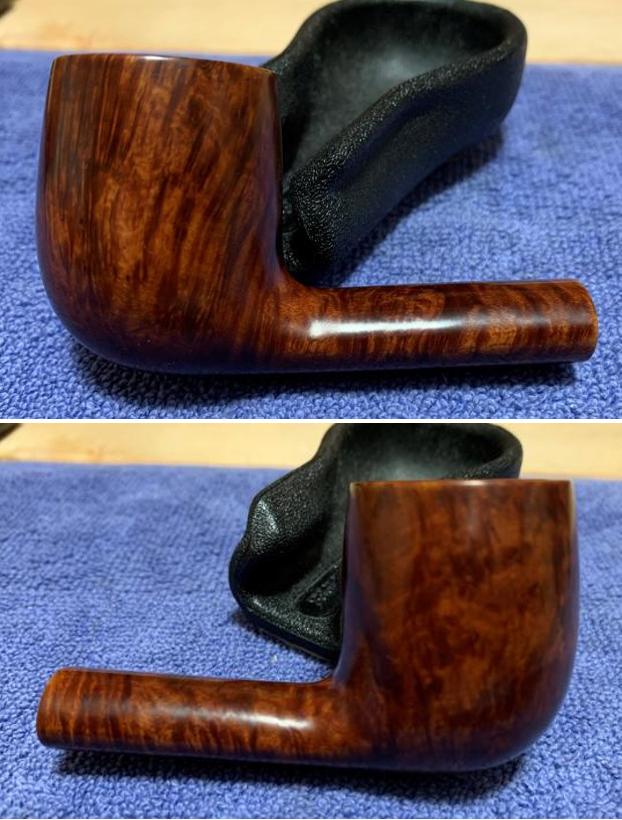
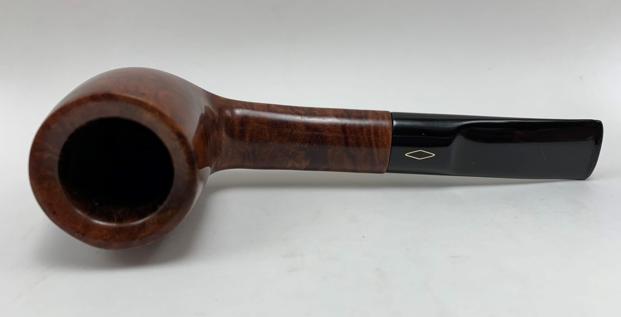
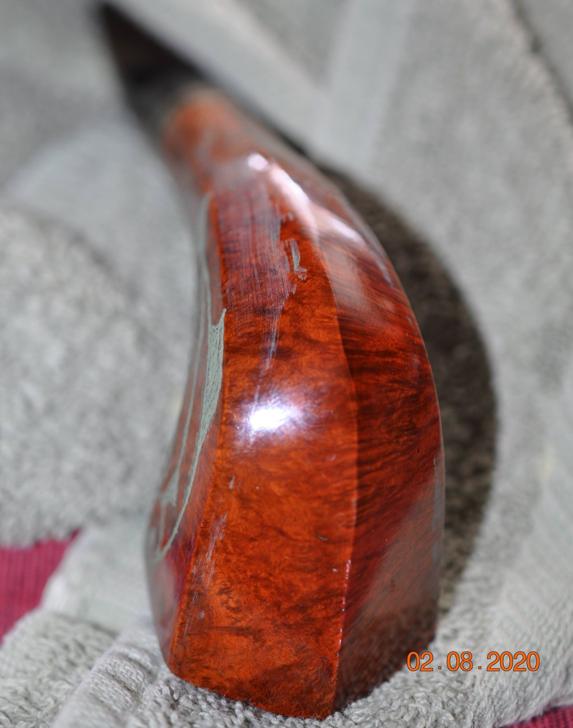
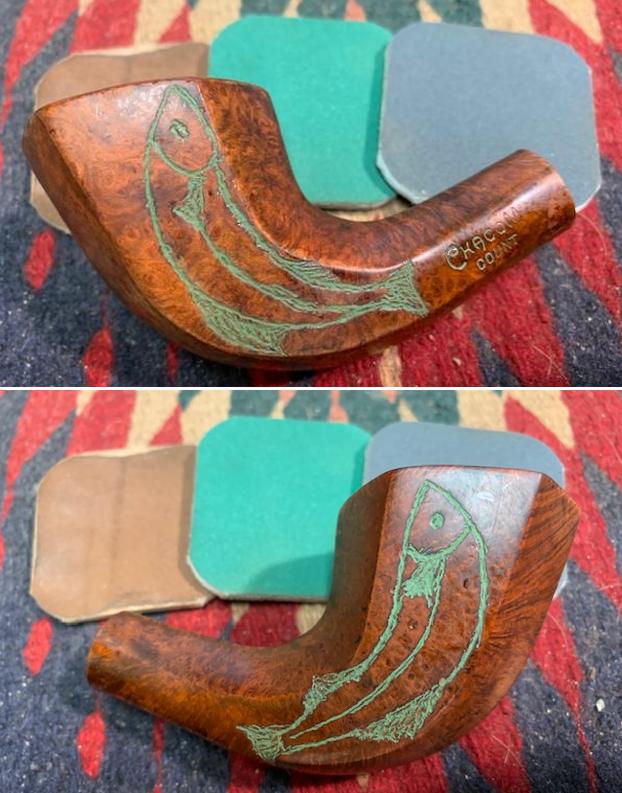
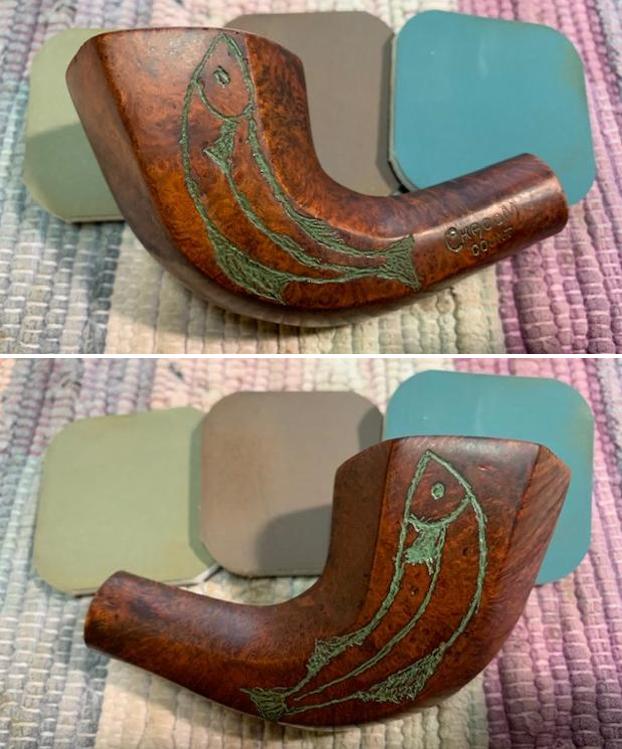
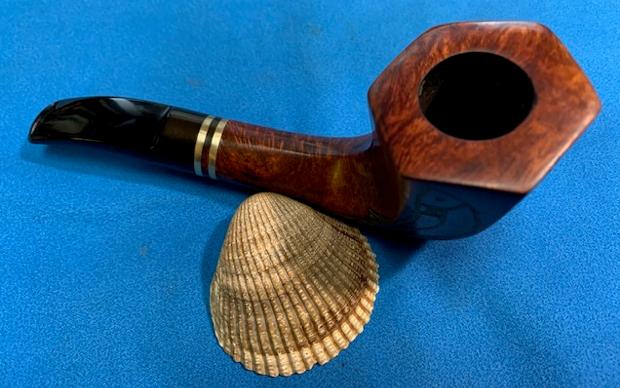
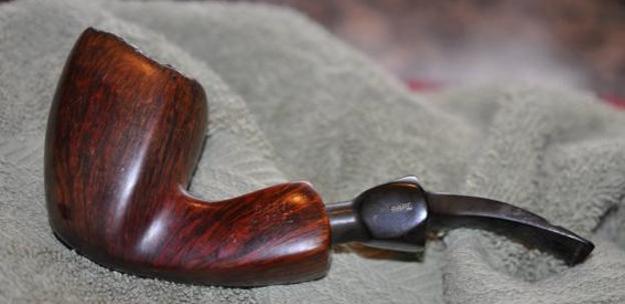
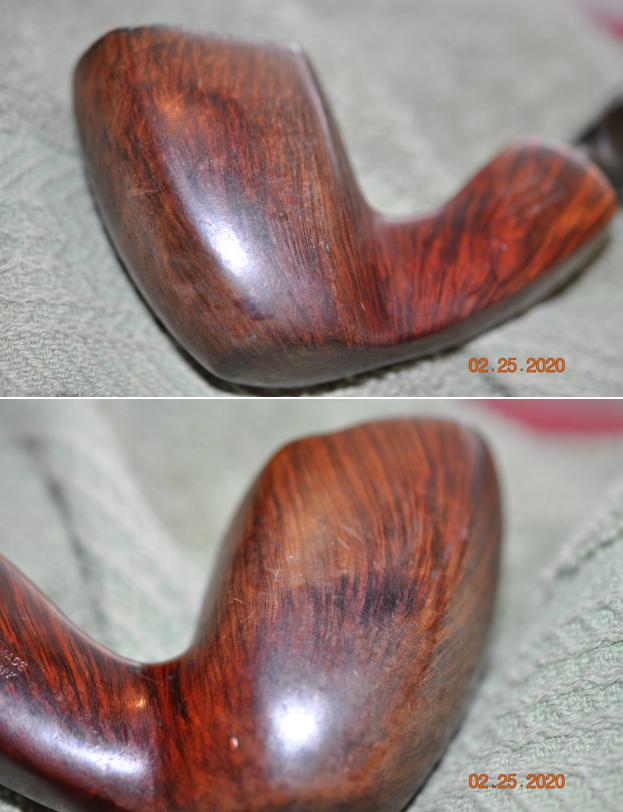
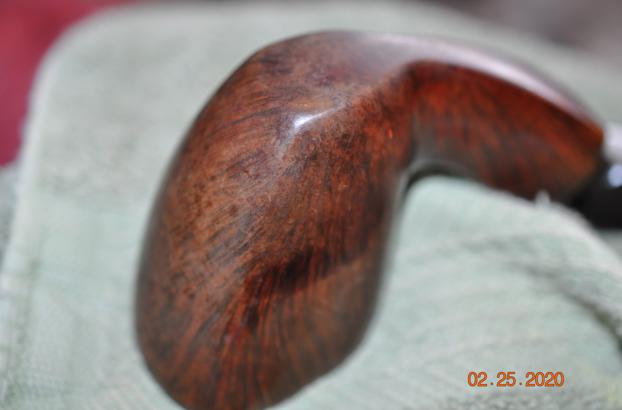
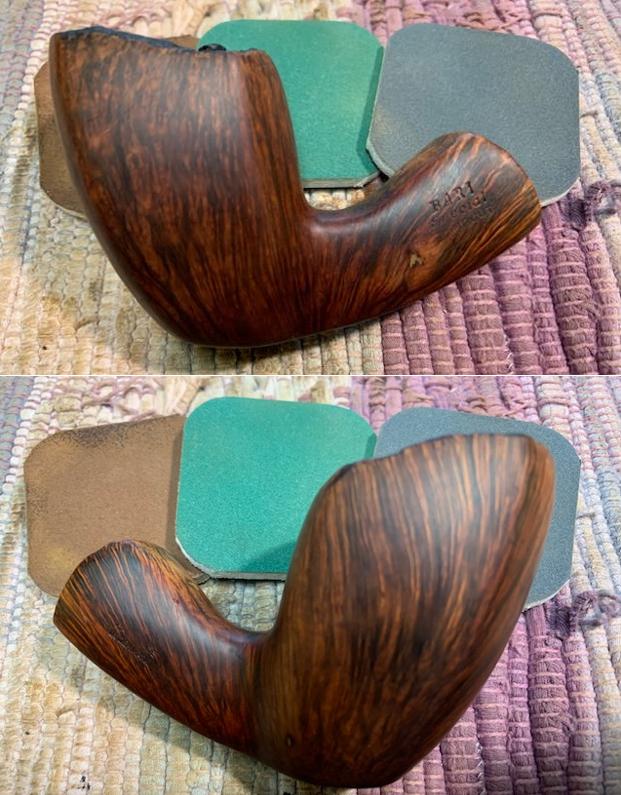
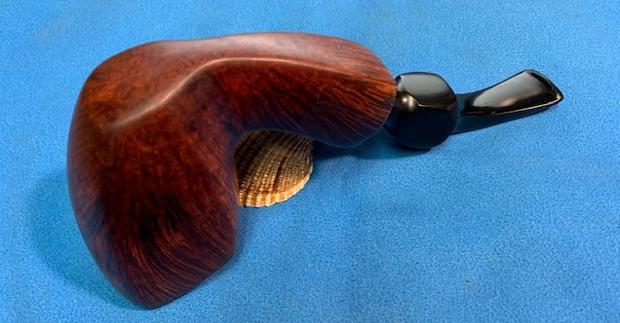
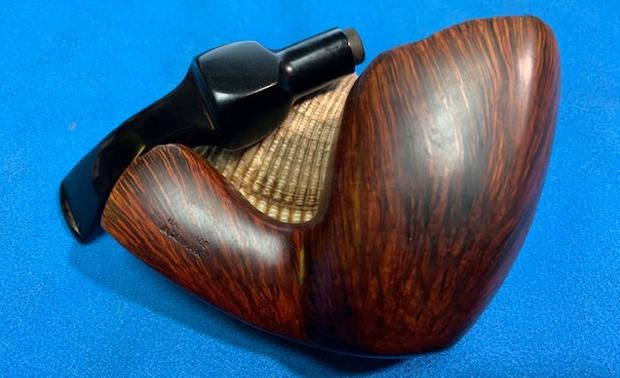
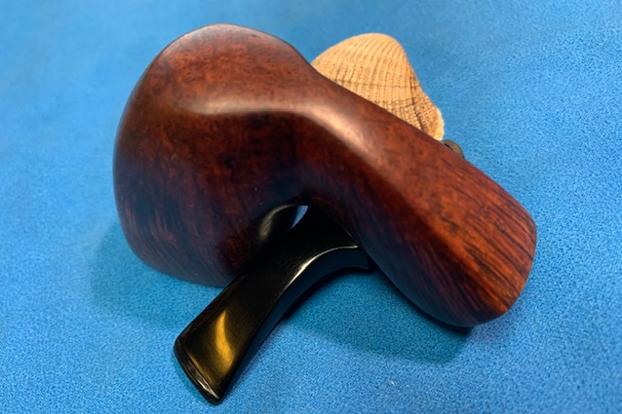
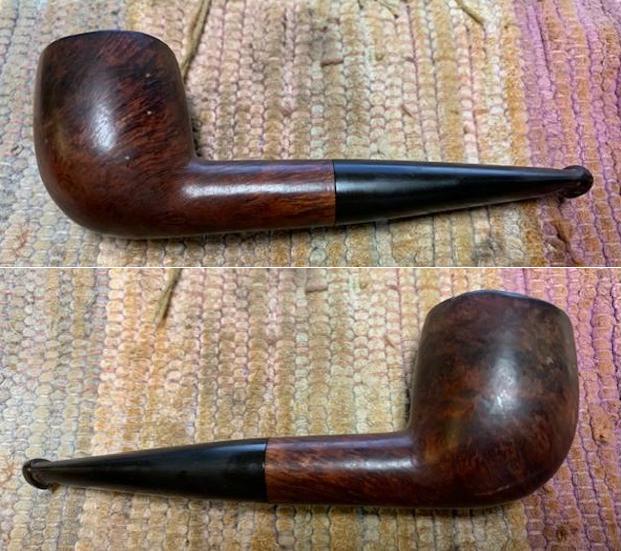
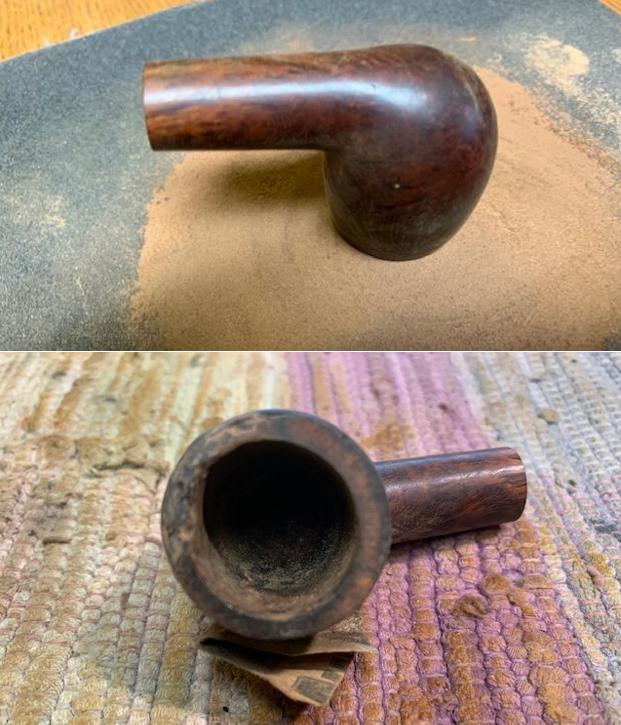
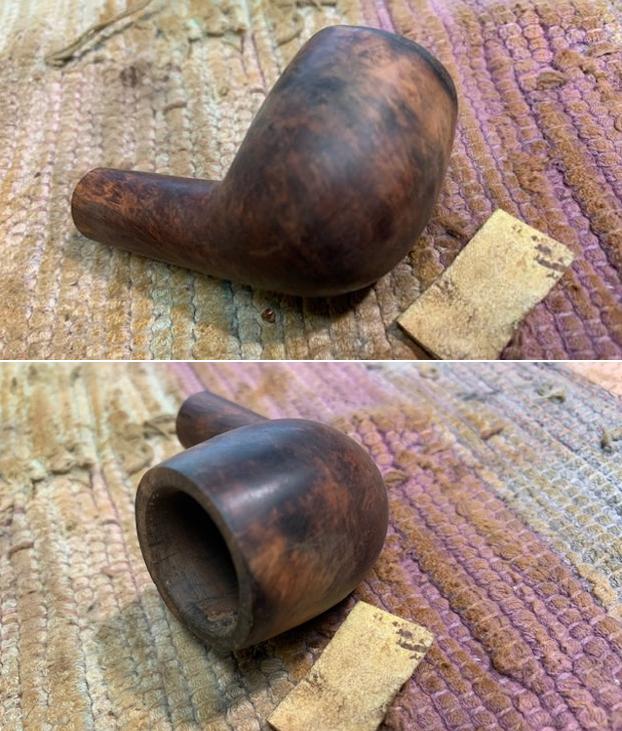
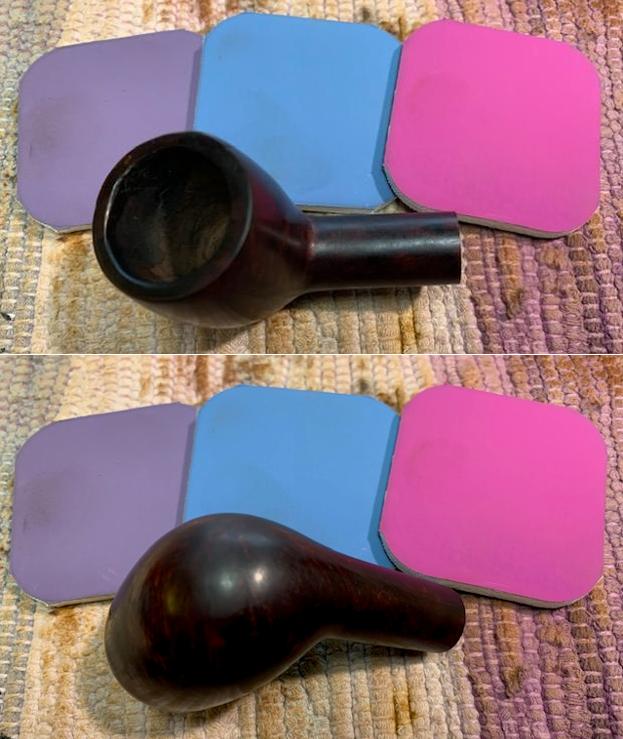
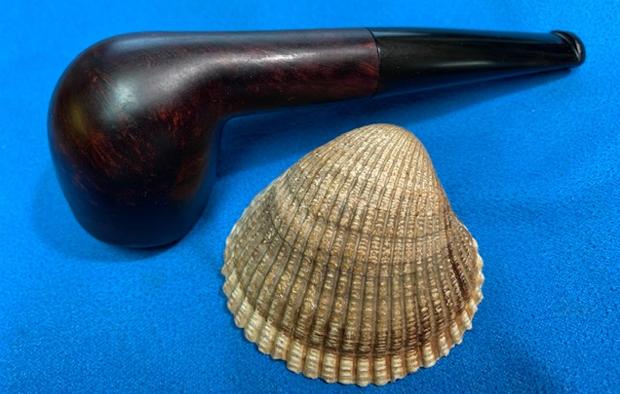
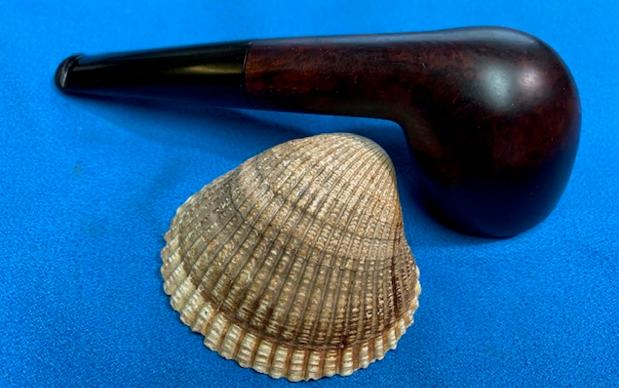
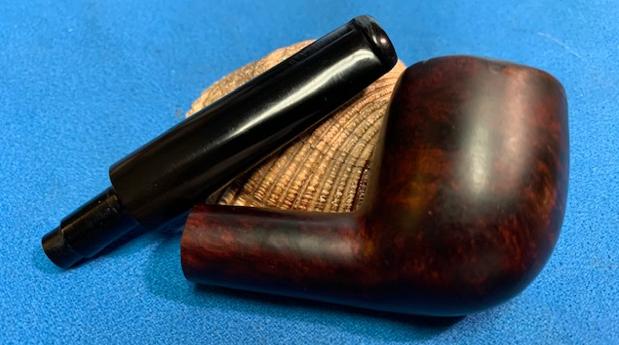
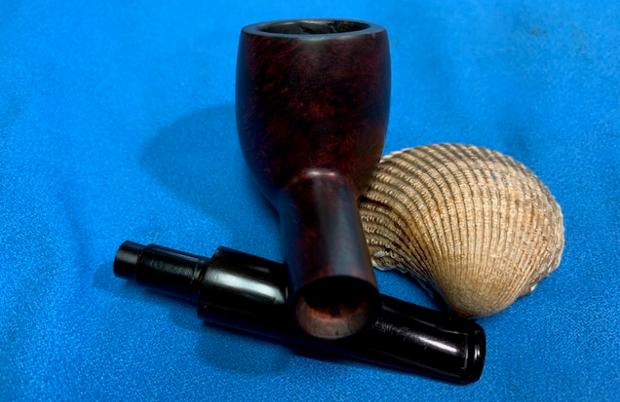
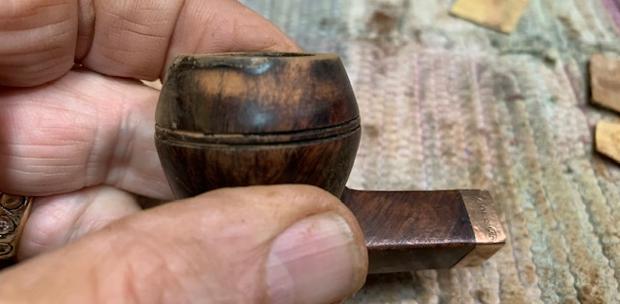
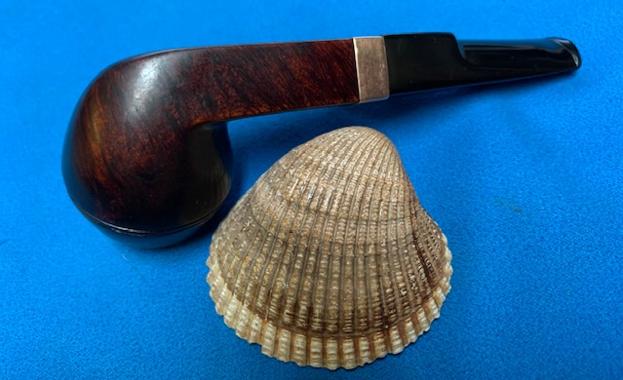
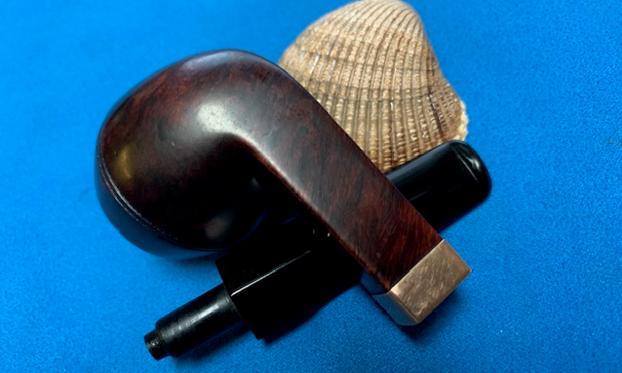
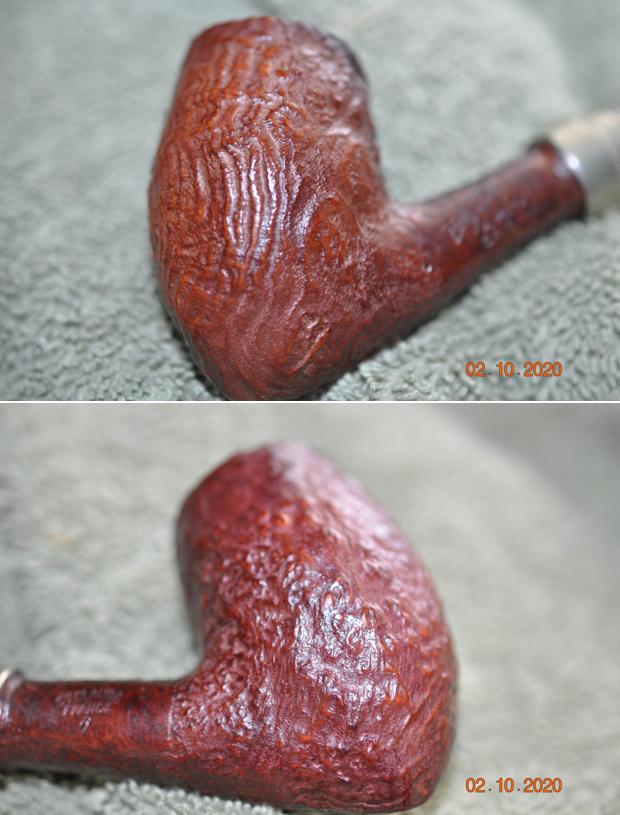
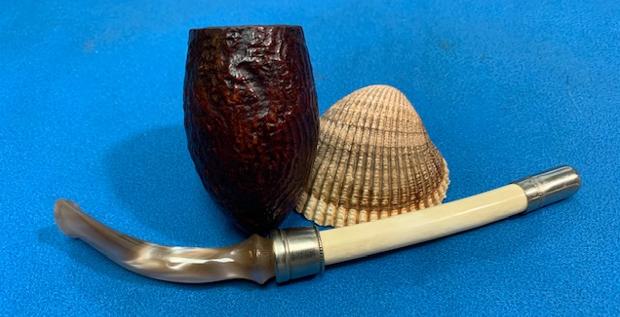
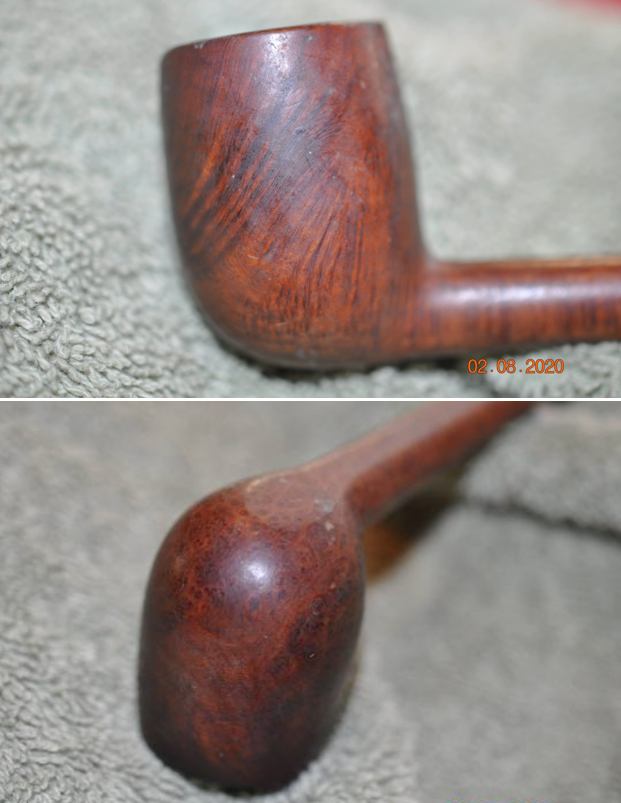
 He took photos of the sides and heel of the bowl to show condition of the briar. You can see the dust and debris ground into the bowl. The burn damage on the outer rim edge of the right front is more apparent from the side view in the first photo. The grain is still quite nice.
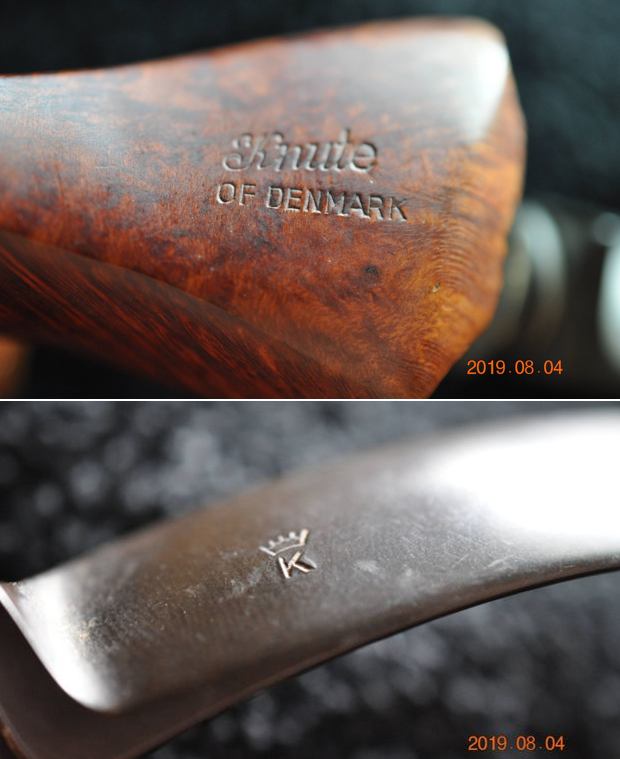
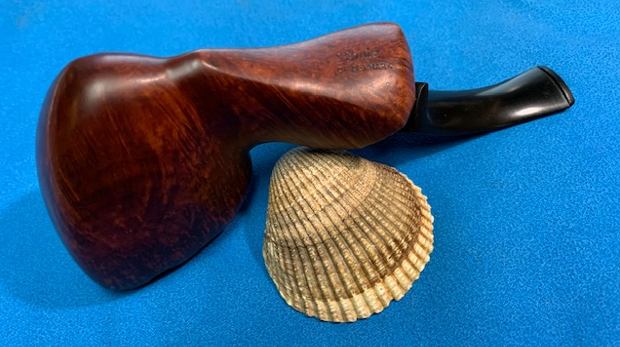
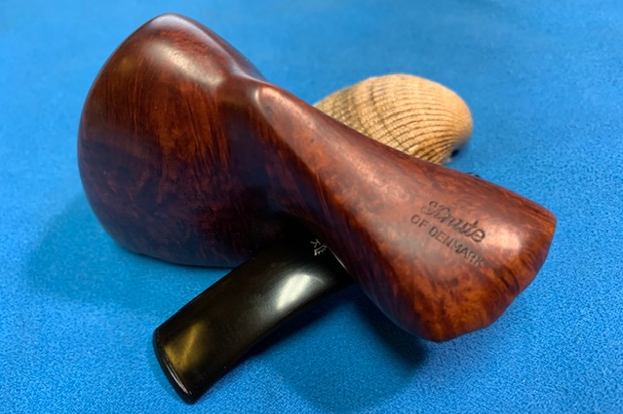
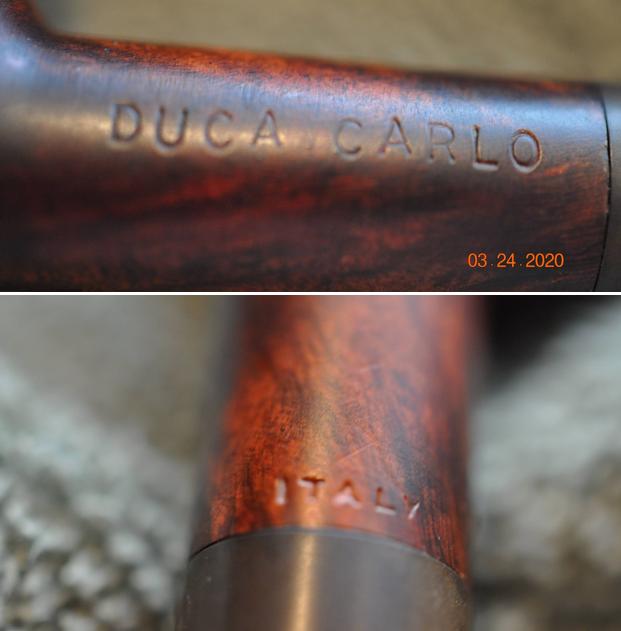
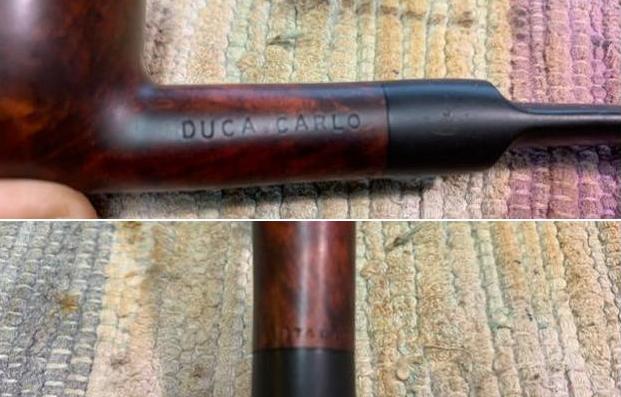
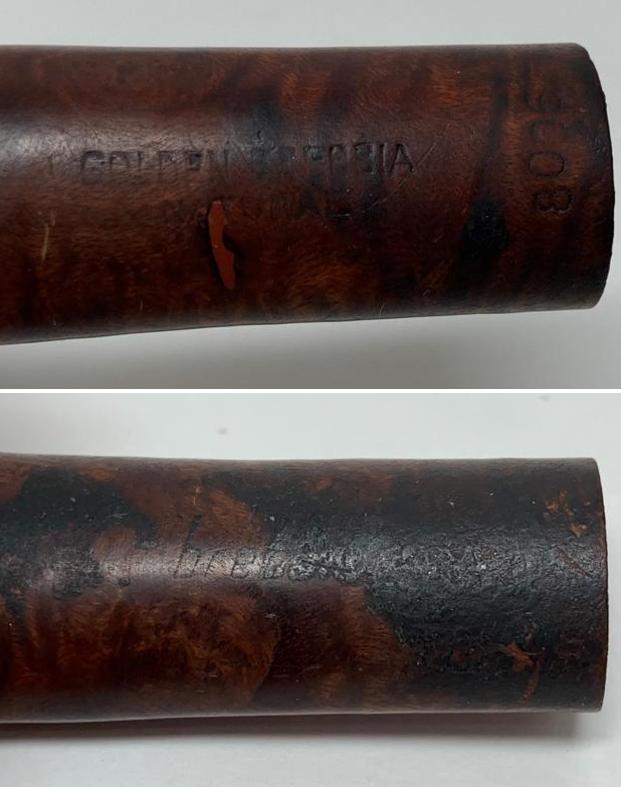
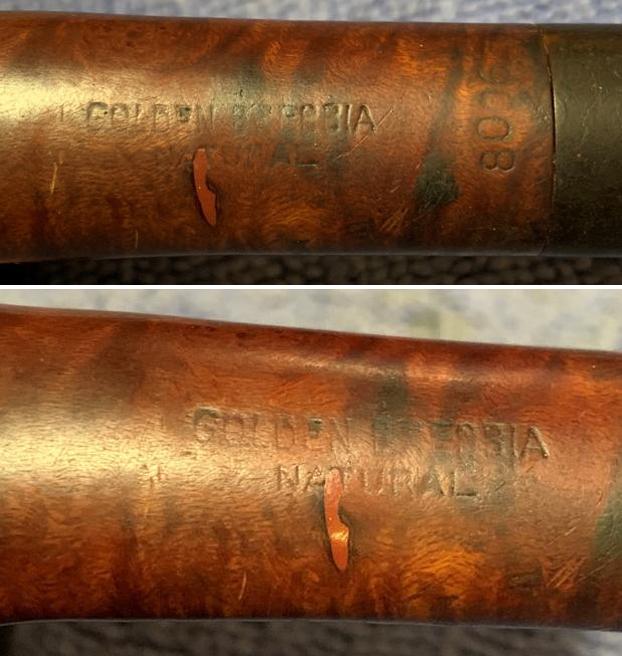
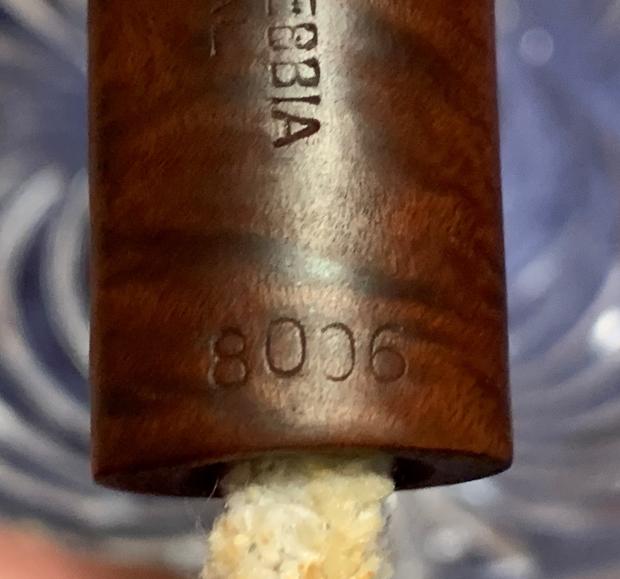
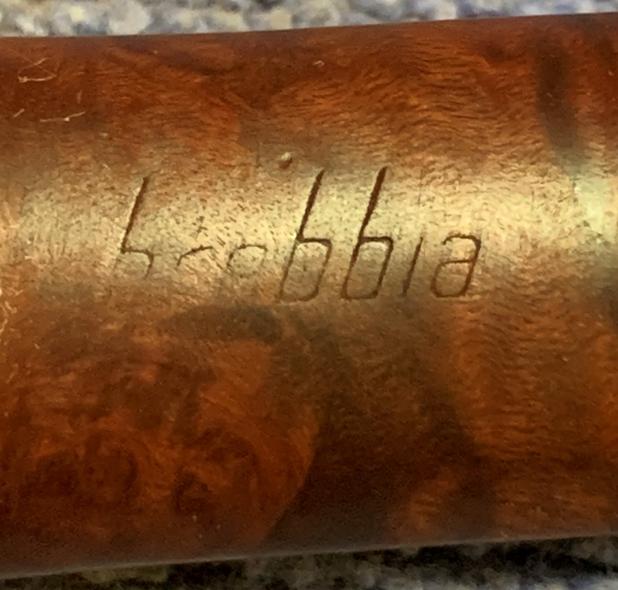
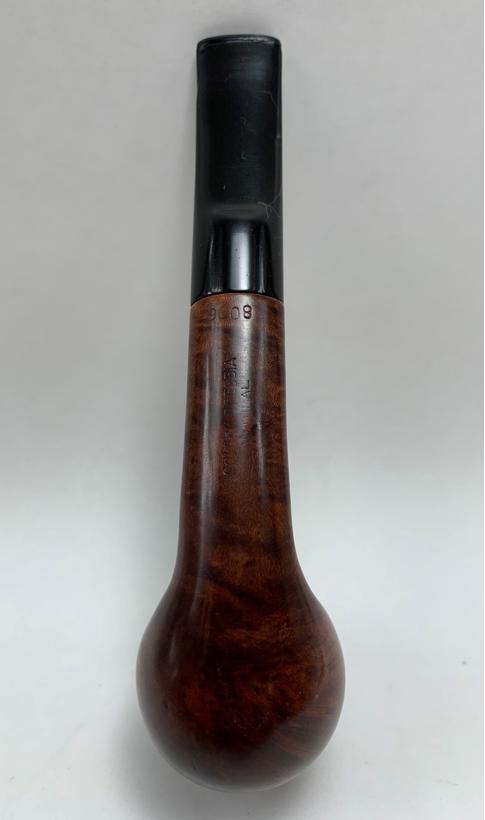
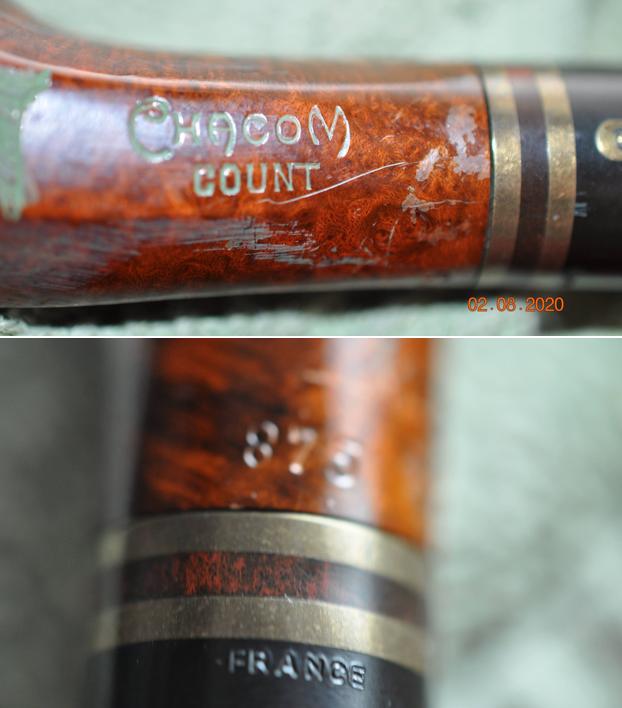
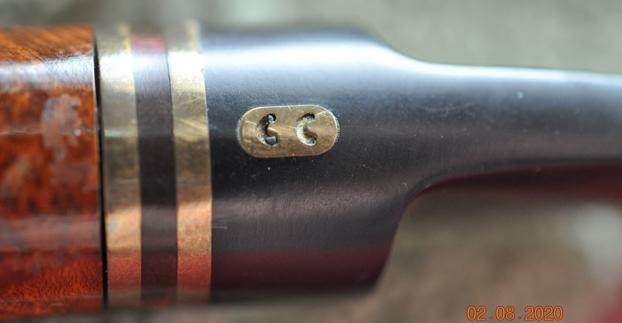
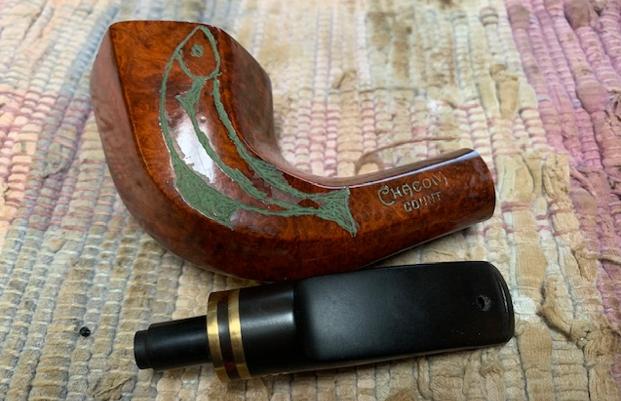
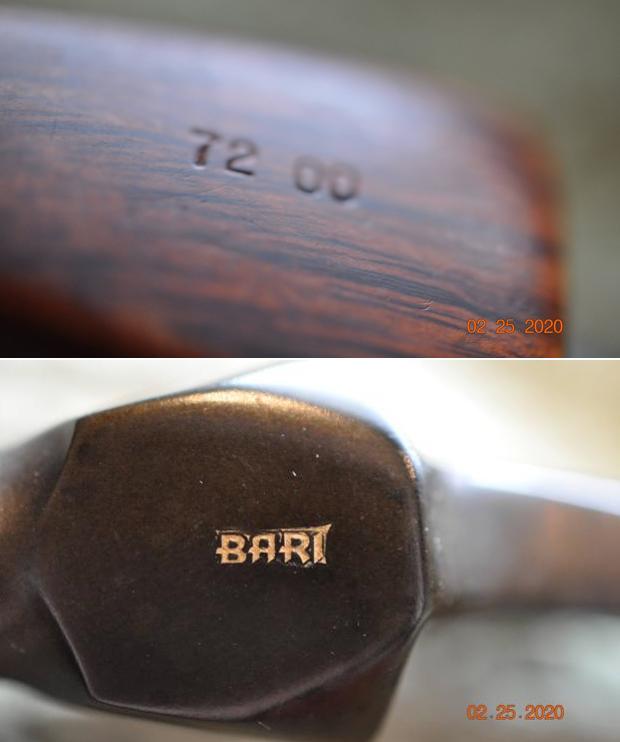
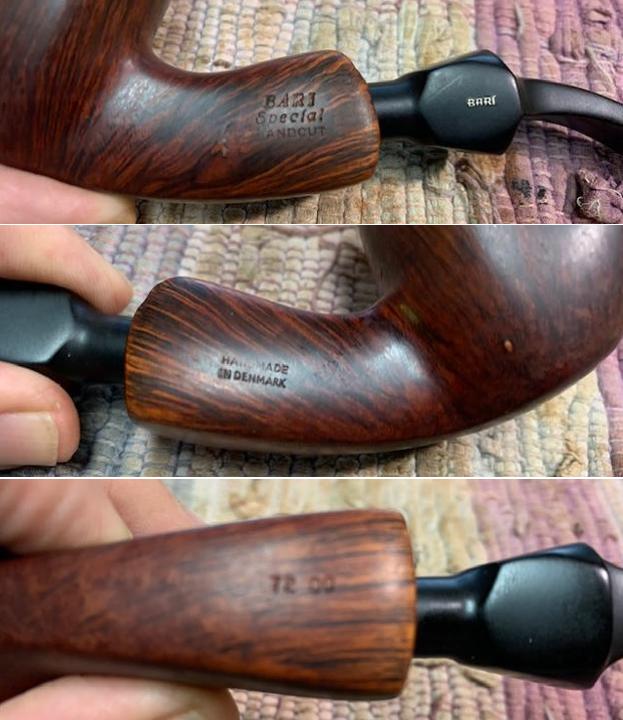
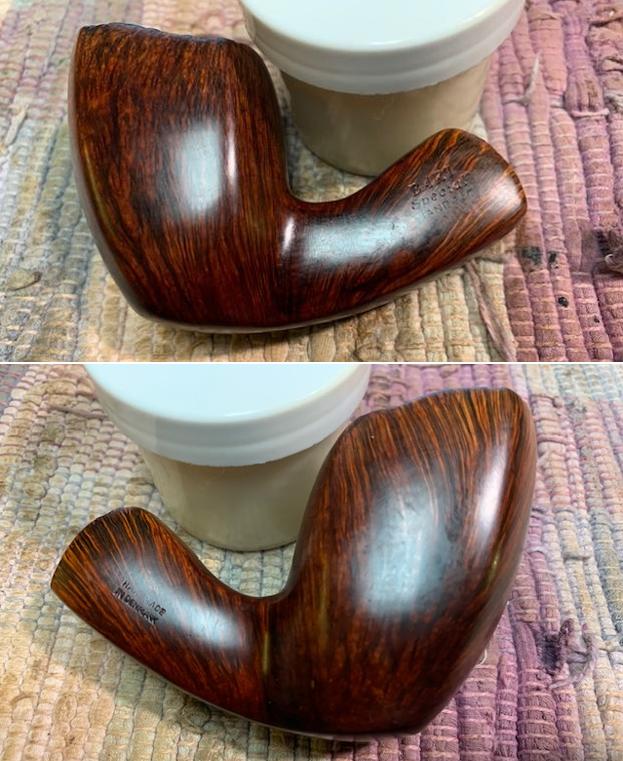
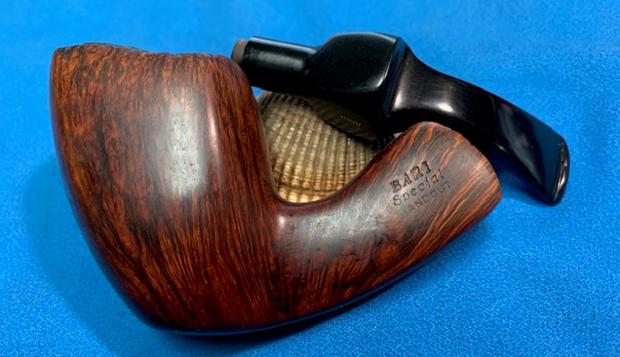
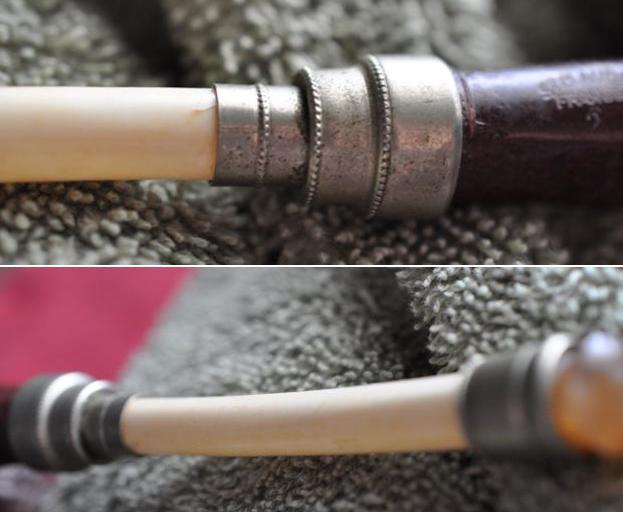
 He took photos of the stamping on the sides of the shank. It was faint but was still was clear and readable as noted above. The brass GBD roundel looked good as well.
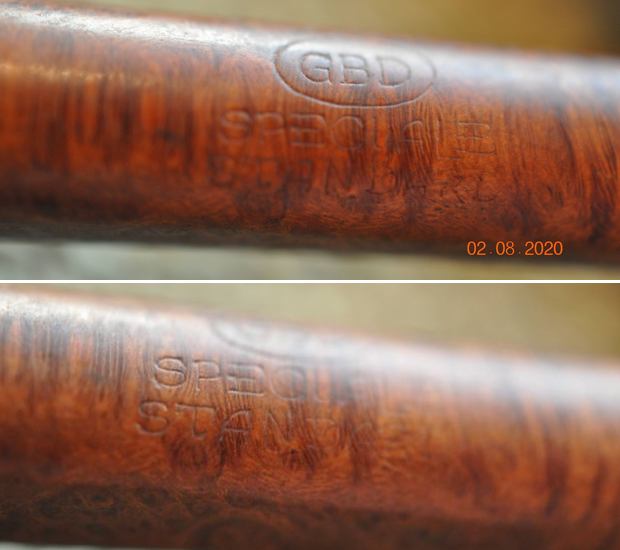
 I always like to be able to set the pipe I am working on in its historical setting so I turn to Pipedia (https://pipedia.org/wiki/GBD) and read through the brand history. Toward the middle of the article I found what I was looking for. I quote below:
The Paris factory moved to Saint-Claude in 1952. Since 1981 the majority of GBD pipes come from the English factory.
The premium lines of GBD offered very good values, and are considered amongst the most affordable high end pipe of the 1960’s and earlier and a rival in quality, design, and price to Dunhill. Smokers’ Haven was the main retail supplier for GBD’s in the US until the early 1980’s.
GBD produced consistently well made pipes, almost entirely of Algerian or Grecian briar. In the late 1960’s to late 1970’s, they introduced the “Collector” and “Unique” lines, made primarily by Horry Jamieson, who had carved for Barling for many years, and was skilled in freehand design. Older GBD pieces are excellent smokers and unique in design. They did an excellent executions of classic pipe shapes, as well as some beautiful freehands in the “Unique” line. [2]
The following list comprises the better grades in descending order:
Pedigree, Pedigree I, Pedigree II, Straight Grain, Prodigy, Bronze Velvet, Virgin, Varichrome, Prestige, Jubilee, New Era, Prehistoric, International, Universe, Speciale Standard, Ebony, Tapestry, New Standard, Granitan, Sauvage, Sierra, Penthouse, Legacy, Concorde.
Since the pipe I was working on was made in France I knew that it was made either in Paris before 1952 or in St. Claude after that date and before 1981 when production moved to England. I also new that I was dealing with one of the better grade pipes with the Speciale Standard stamp.
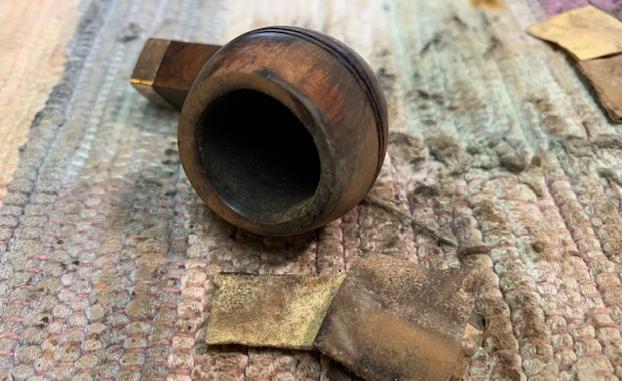
I then followed the links included to a listing of the shapes and numbers on the GBD pipes (https://pipedia.org/wiki/GBD_Shapes/Numbers). The pipe I was working on was labeled by GBD as a 9465 which is a Liverpool with a round shank.  Now it was time to work on the pipe itself. Jeff had cleaned up the pipe with his usual focus on detail. He reamed the pipe with a PipNet pipe reamer and removed the rest of the cake with a Savinelli Fitsall Pipe Knife. He scrubbed the exterior of the bowl with undiluted Murphy’s Oil Soap with a tooth brush and was able to remove the thick lava build up on the rim top. He rinsed it under running warm water to remove the soap and grime. He cleaned out the inside of the shank and the airway in the stem with alcohol, cotton swabs and pipe cleaners. He soaked the stem in Briarville’s Stem Deoxidizer and rinsed it off with warm water. I took photos of the pipe once I received it.
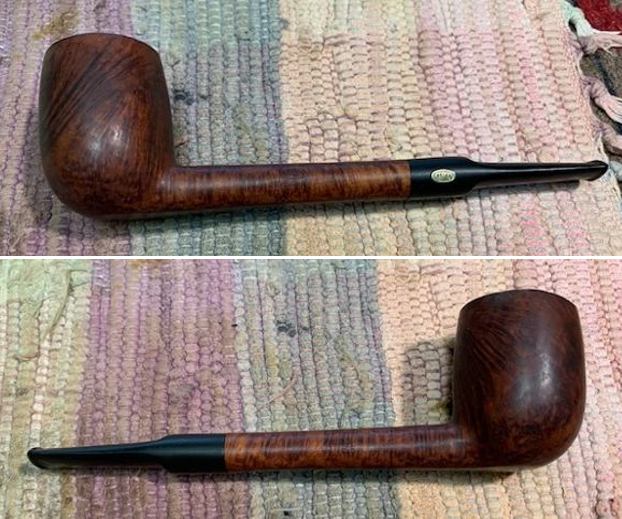
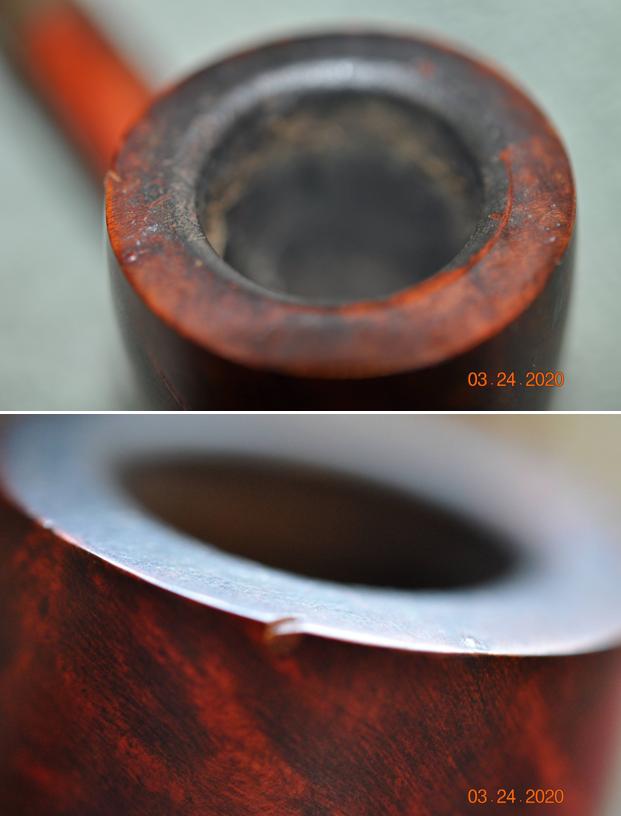
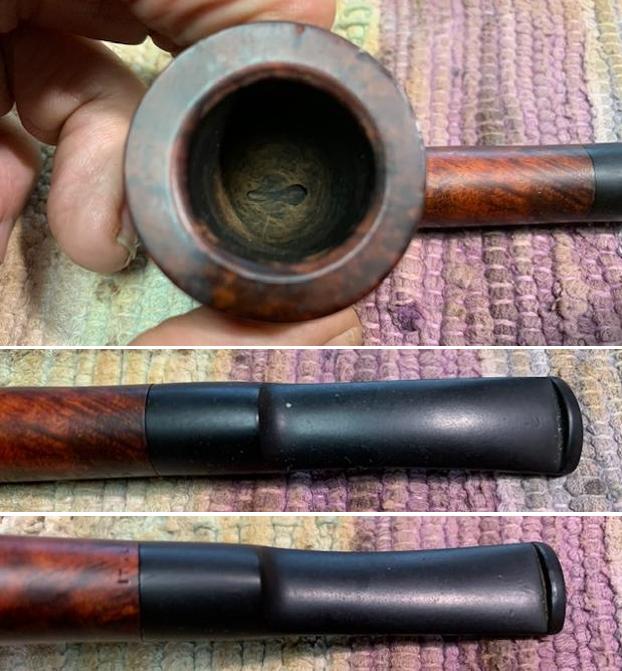
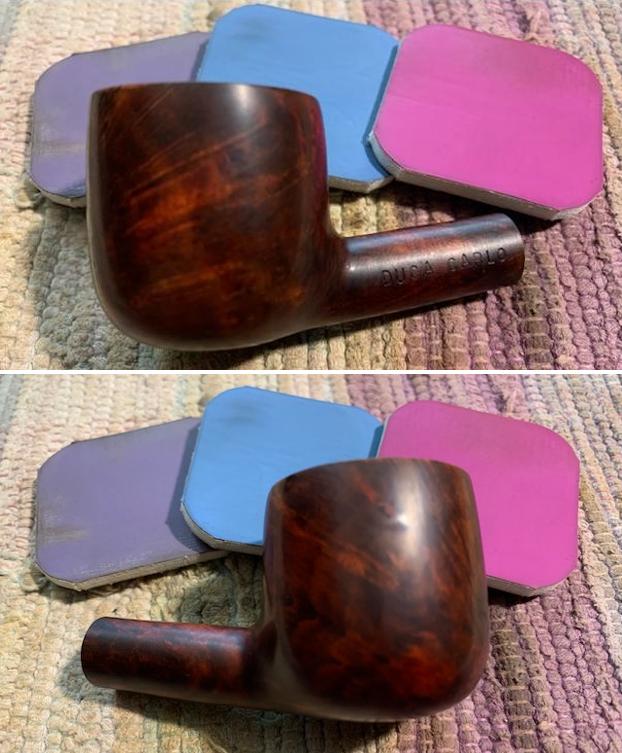
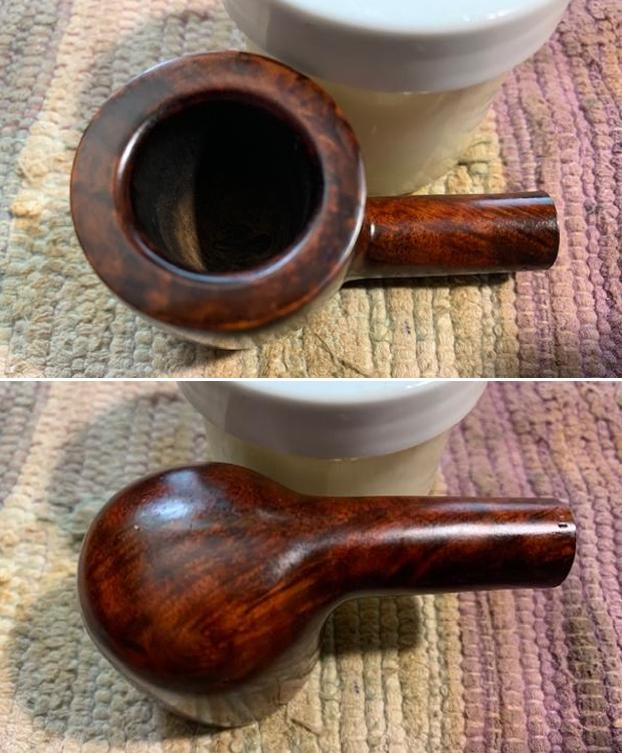
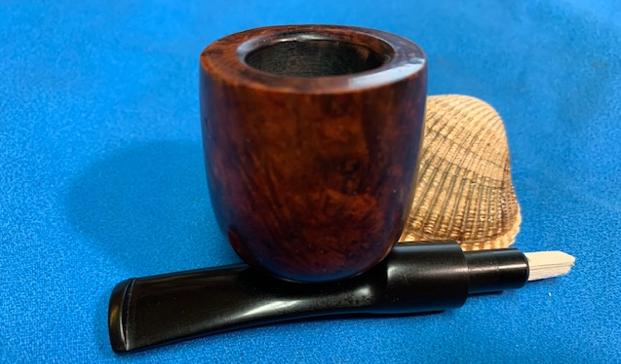
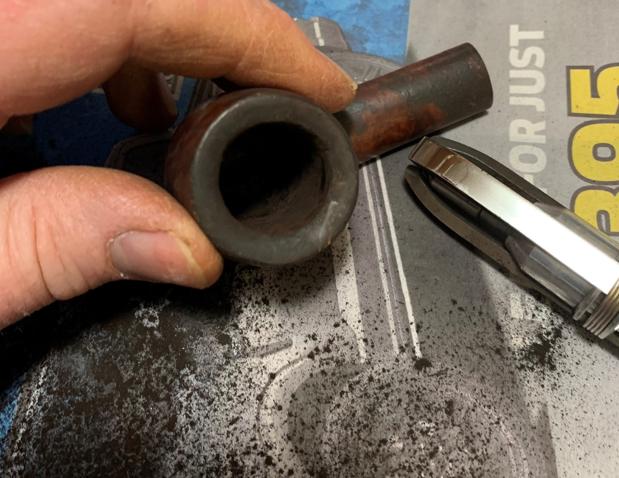
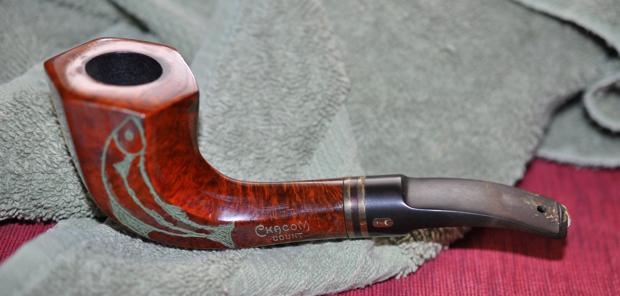
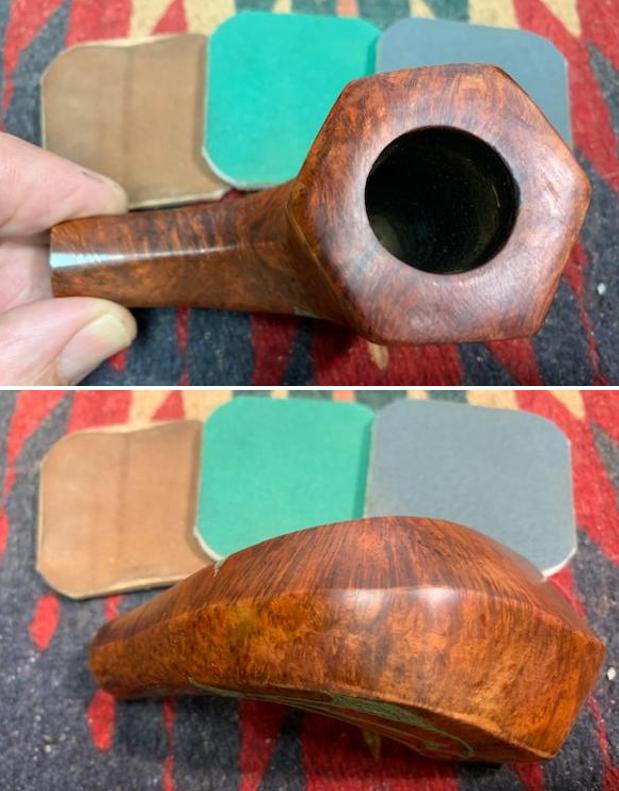
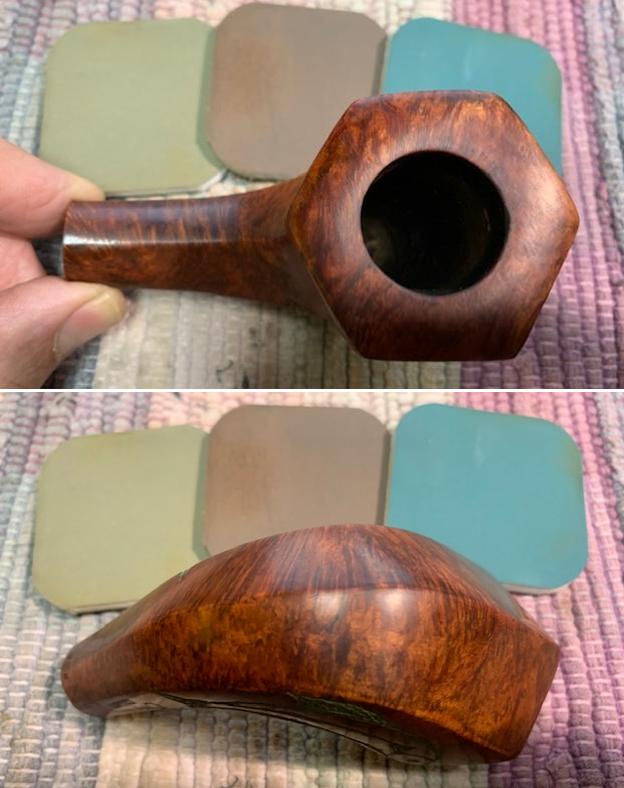
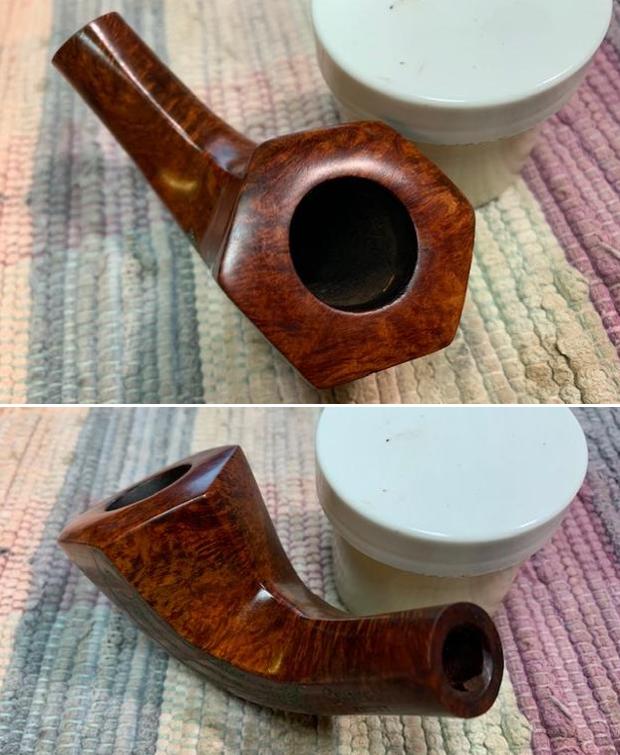
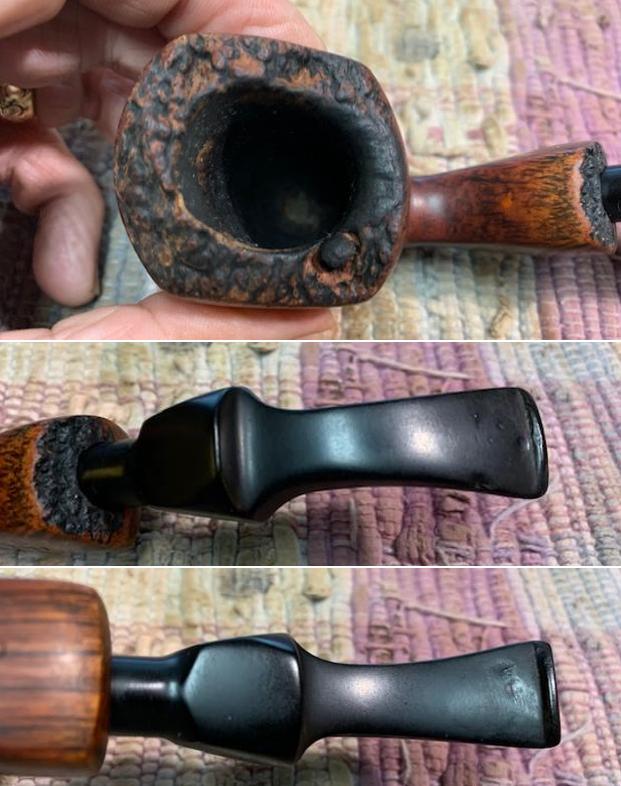
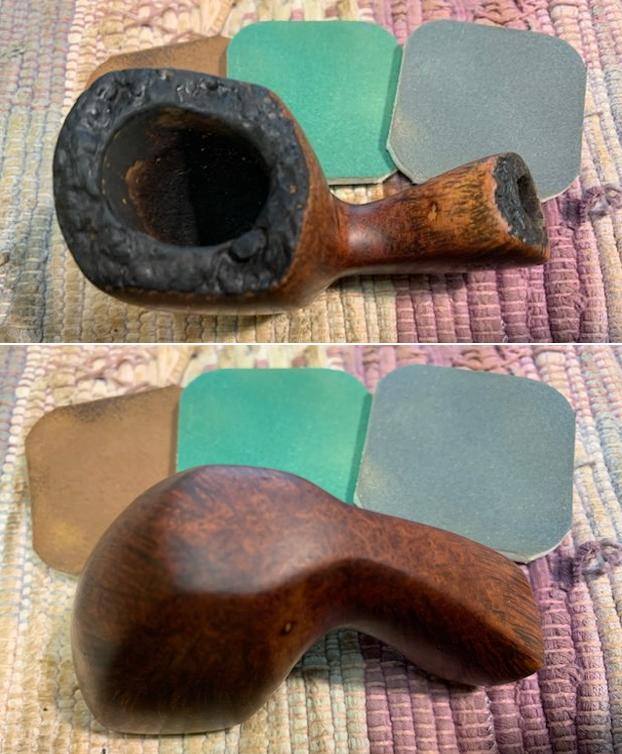
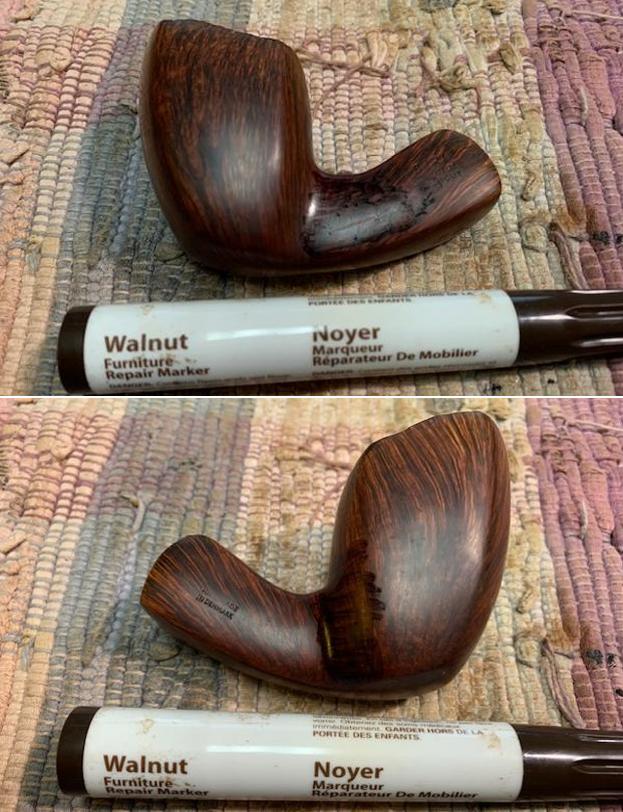
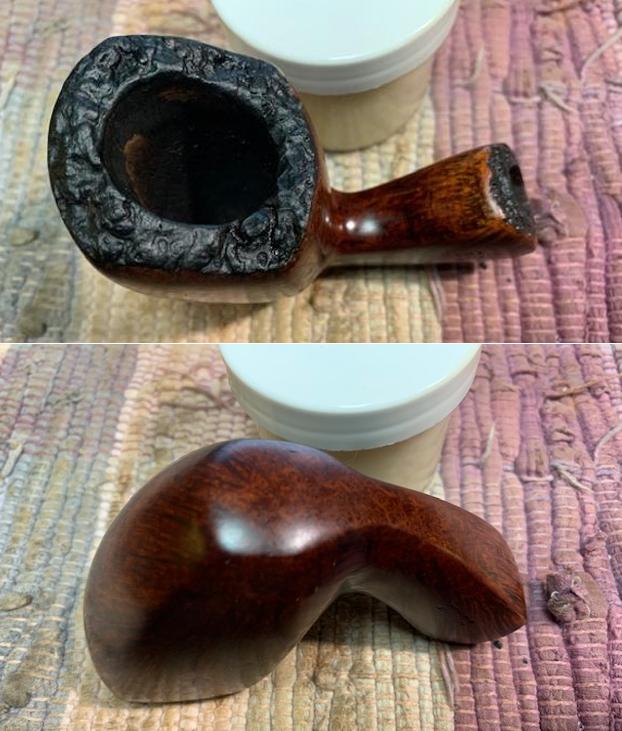
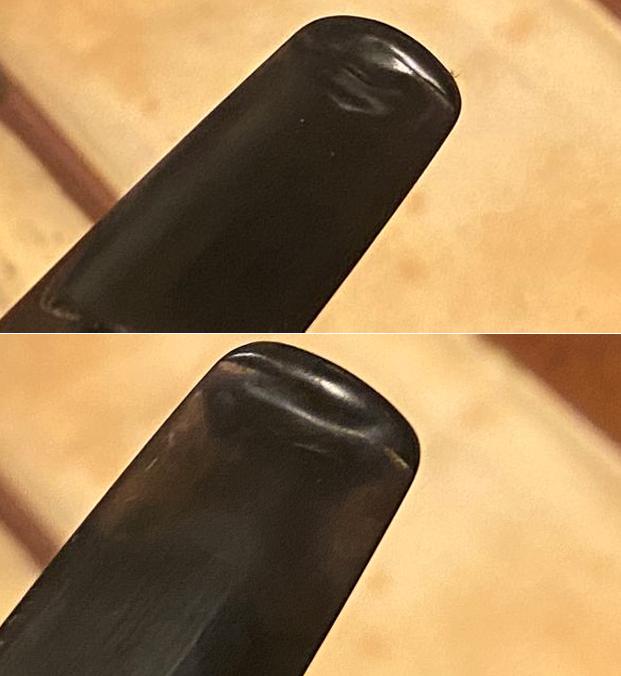
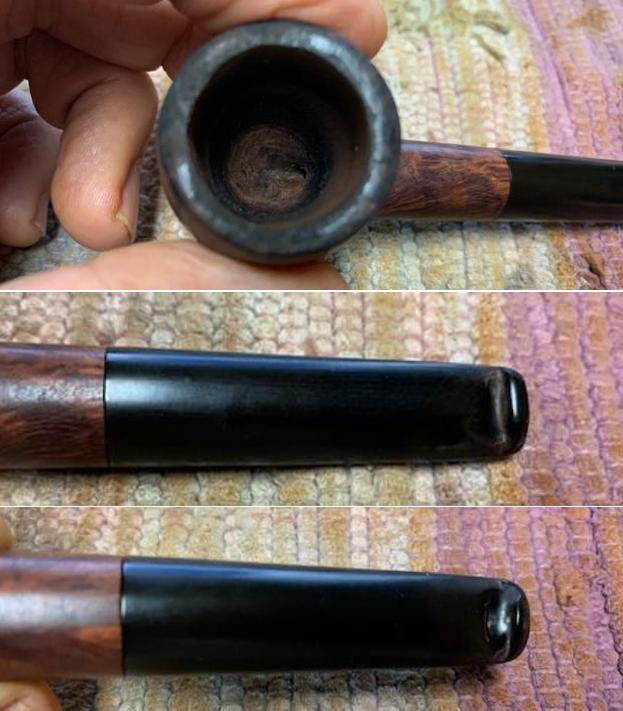
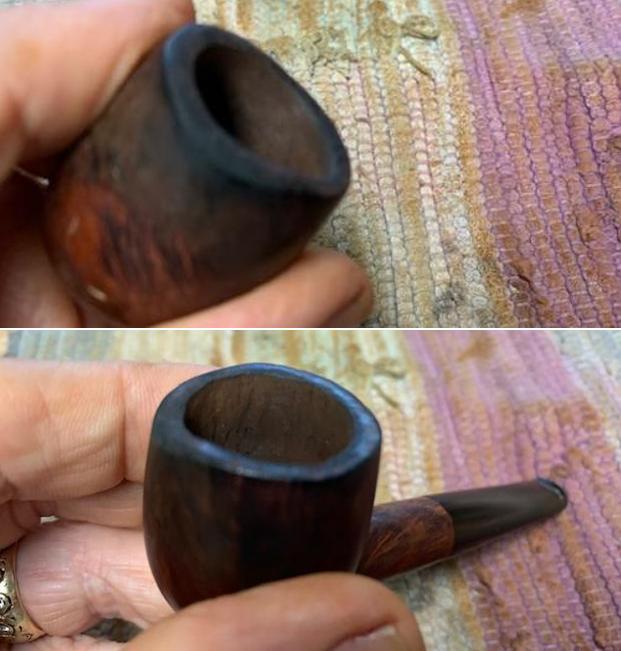
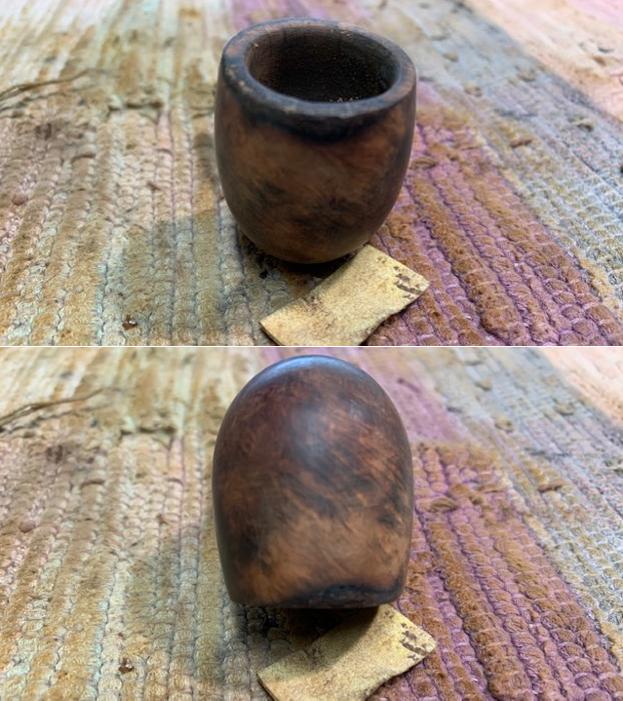
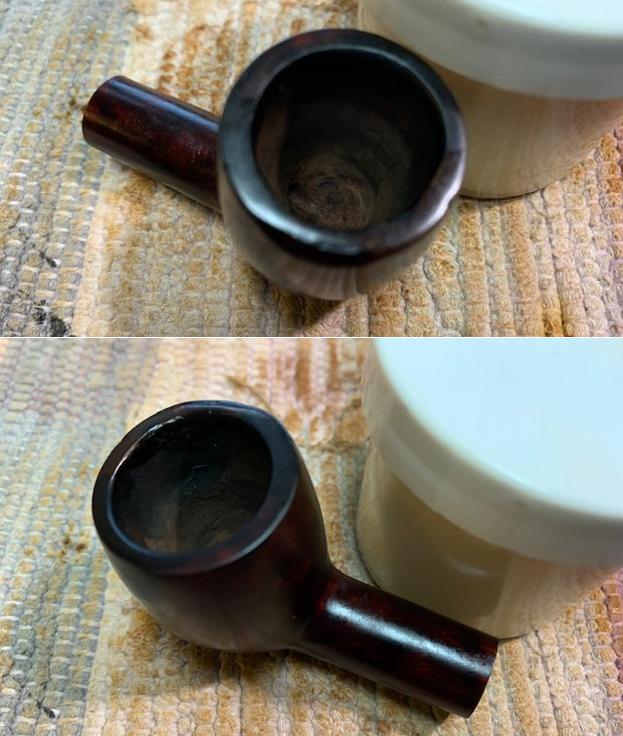
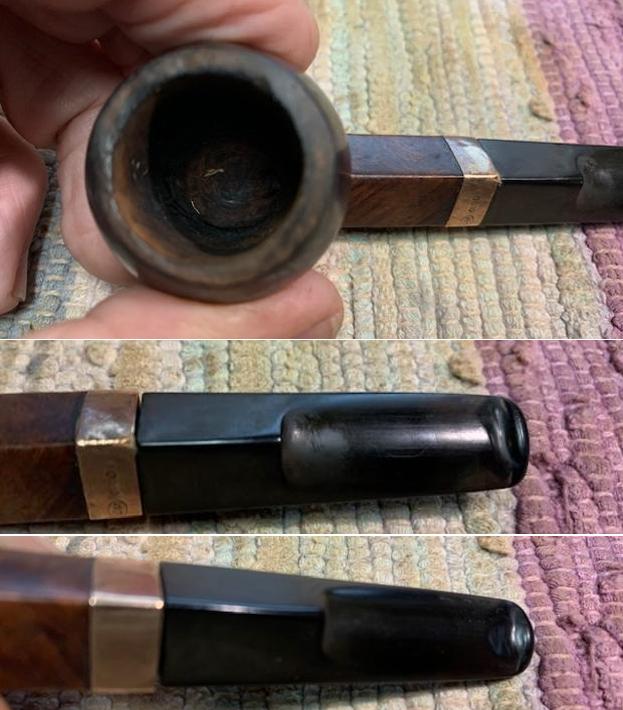
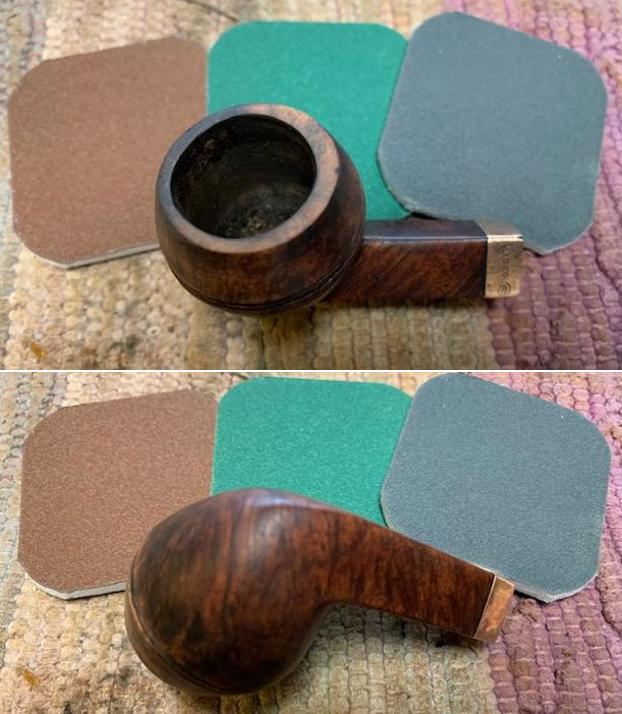
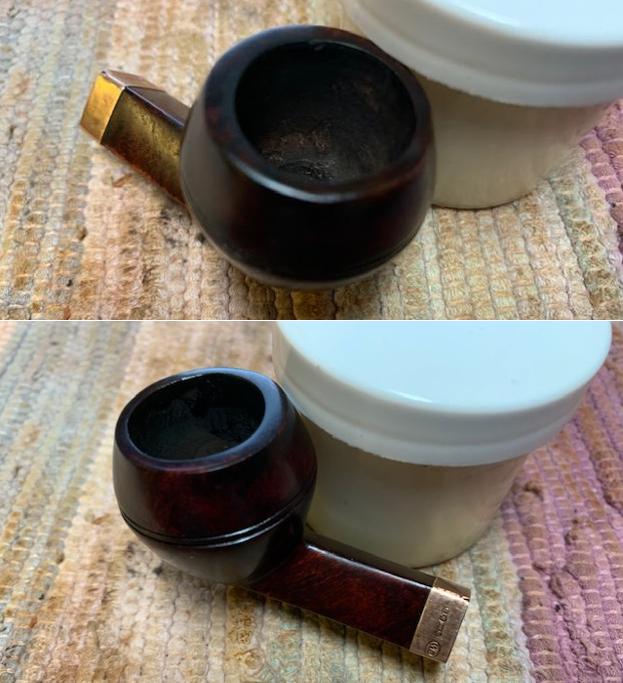
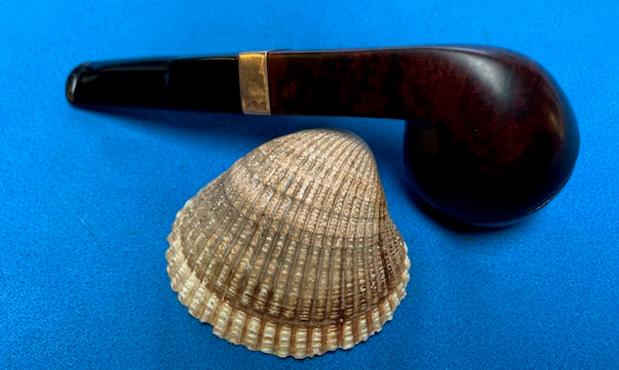
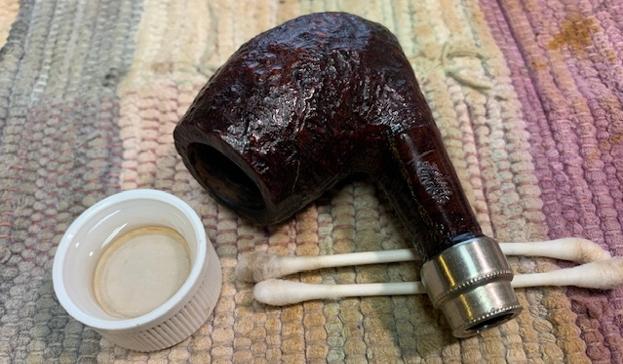
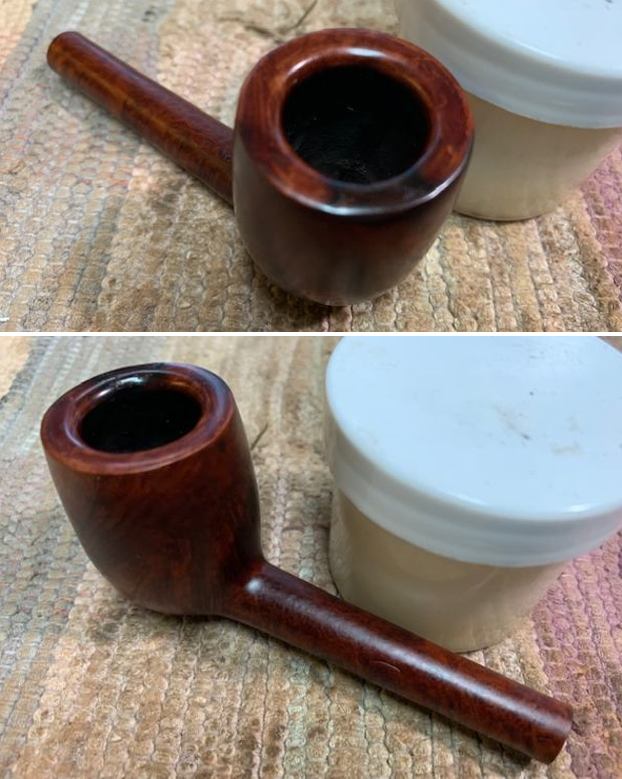
 The rim top cleaned up really well. The rim top, inner and outer edges of the bowl other than the burn damage on the front right were in good condition. The crowned inner edge also has some rim darkening and burn damage on the front right as well. The stem surface looked good with some large and deep tooth marks and chatter on both sides near the button.
 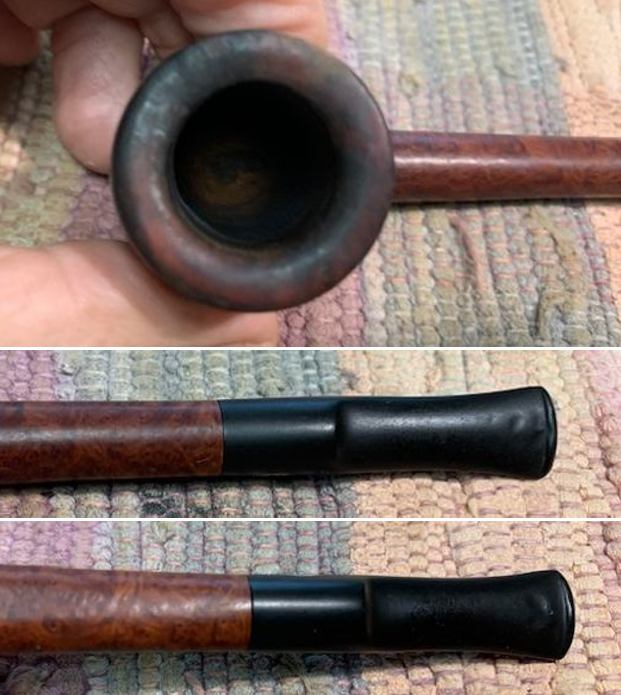 He took photos of the stamping on the sides of the shank. It was faint but readable as noted above.
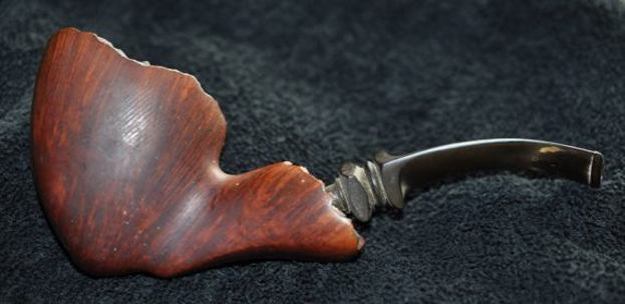
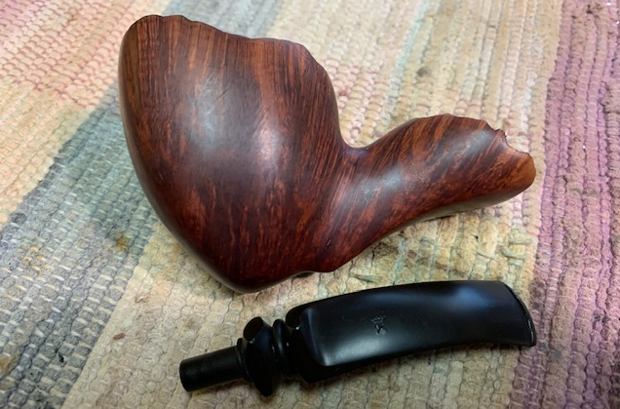
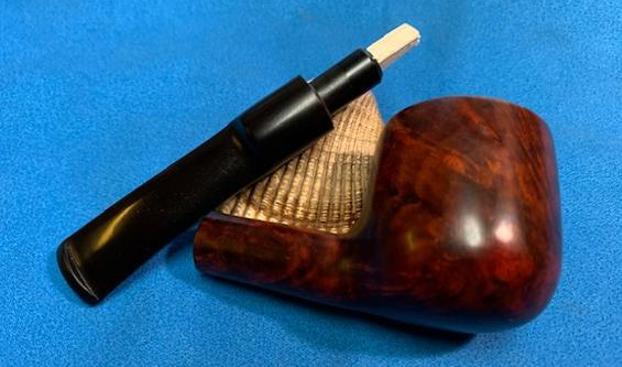
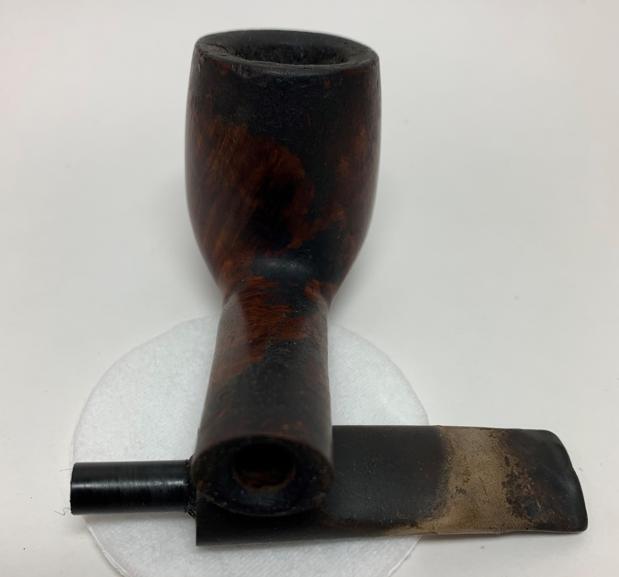
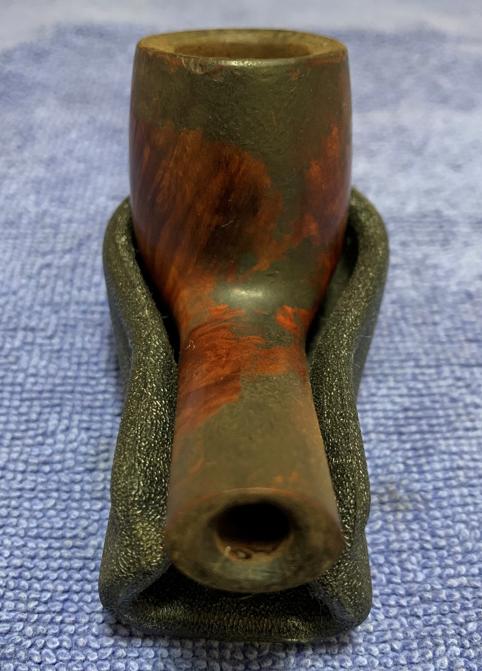
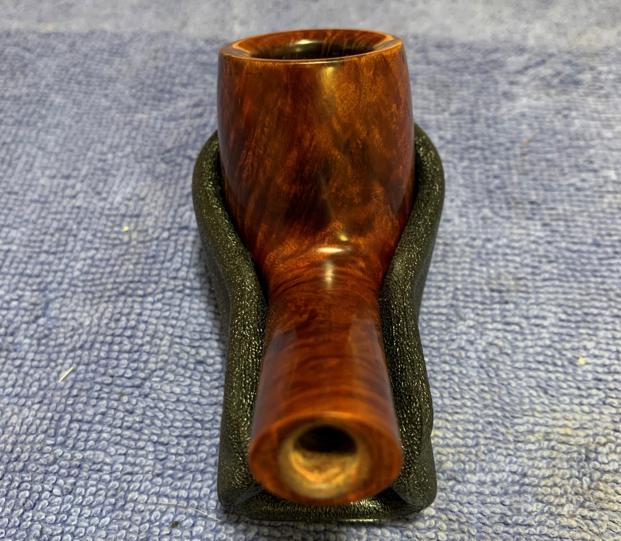
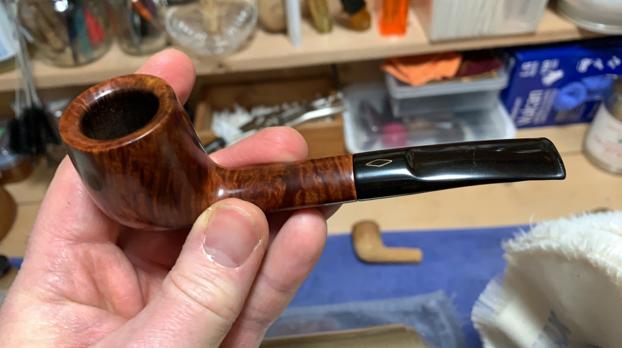
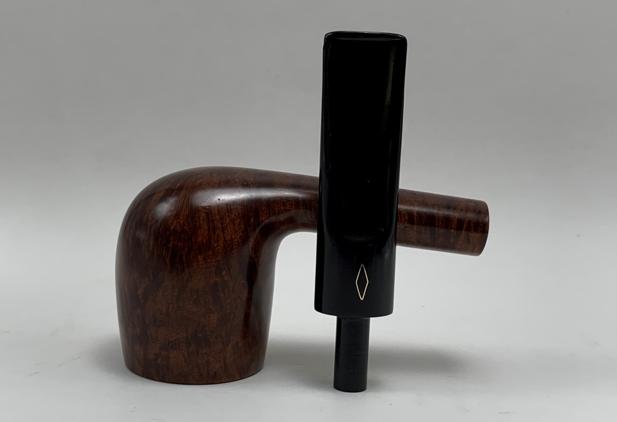
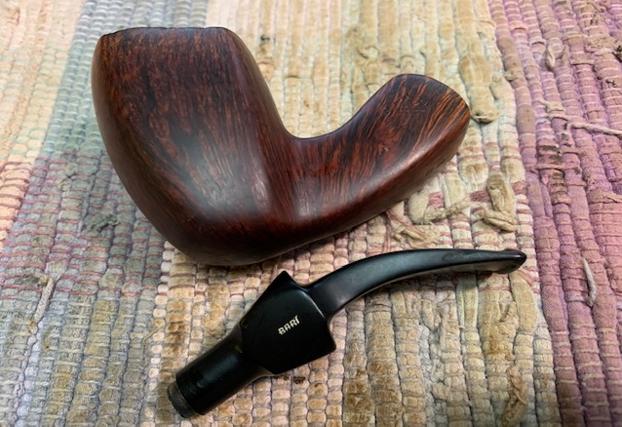
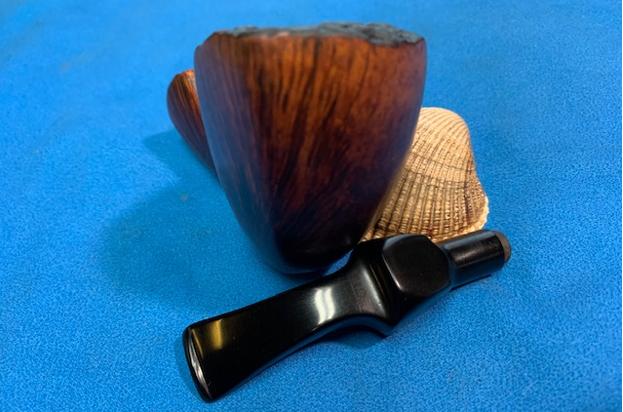
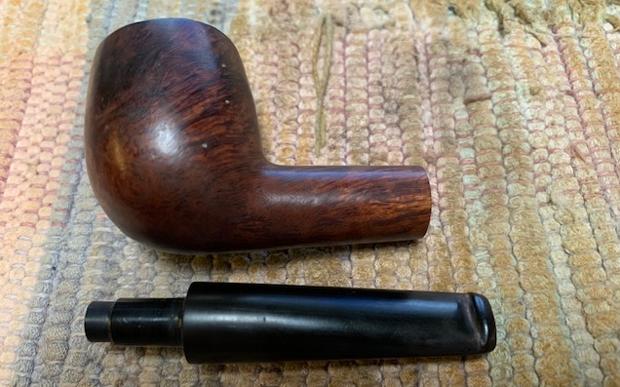
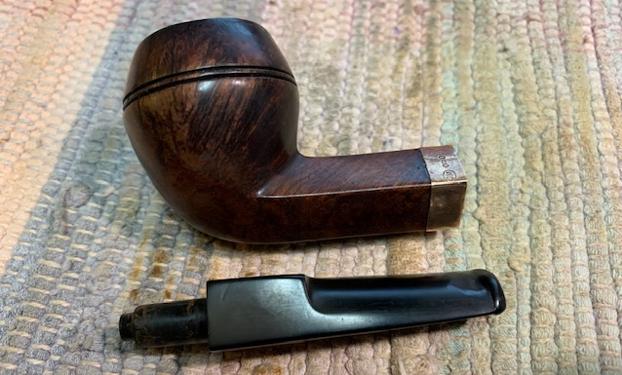
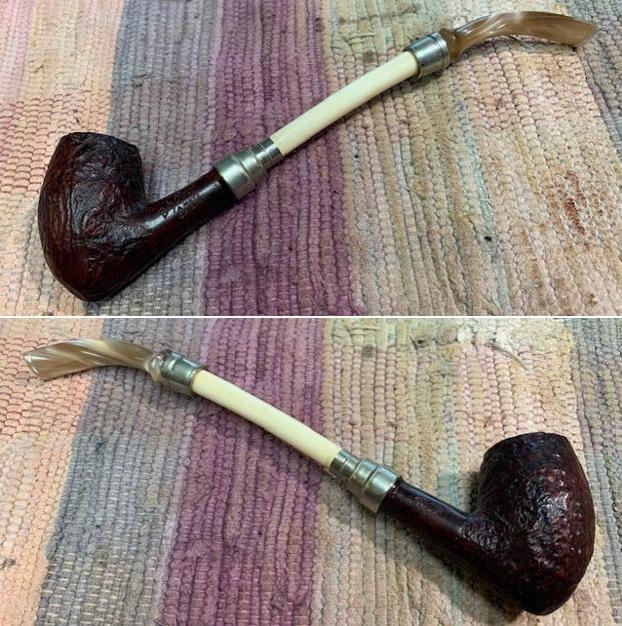
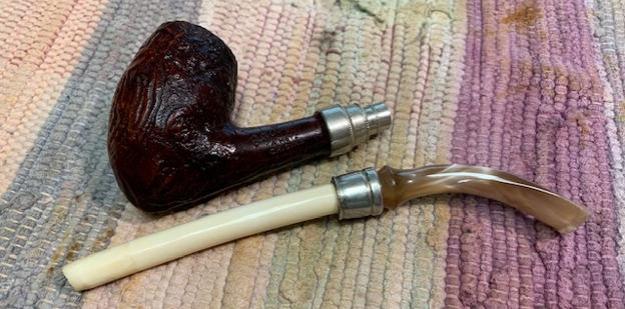
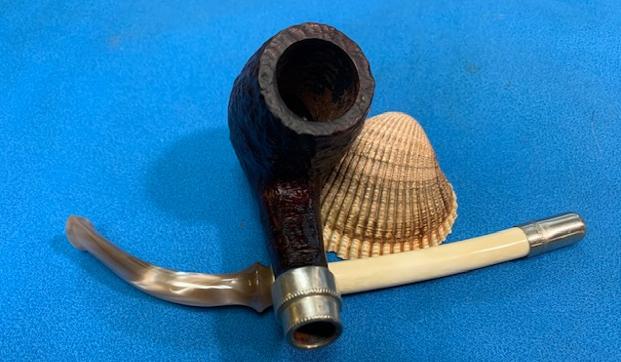
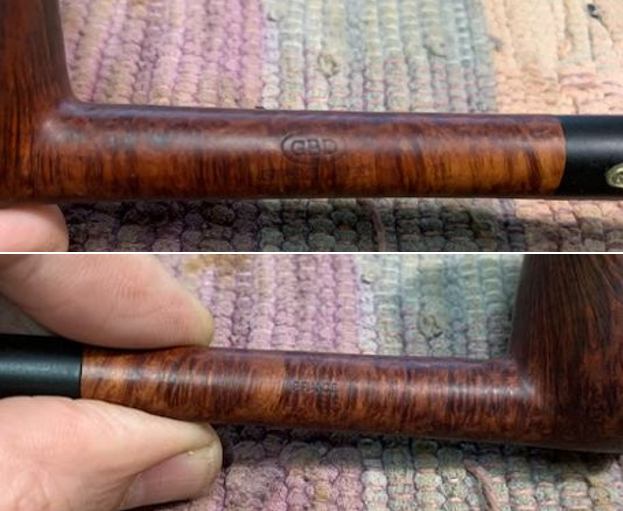 I removed the stem and took a photo of the pipe to give a sense of the whole.
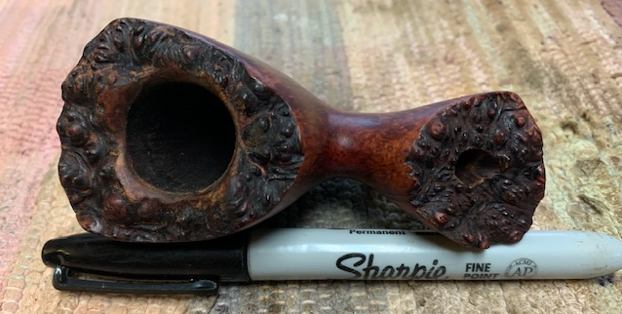
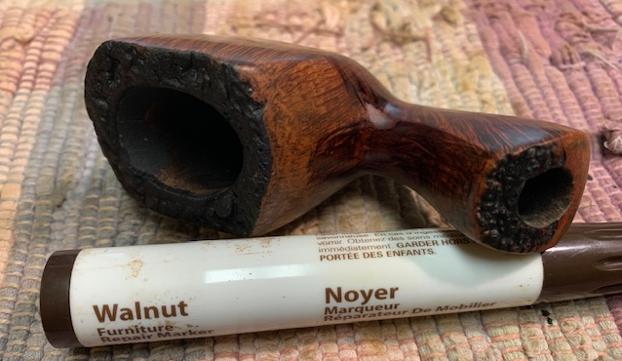
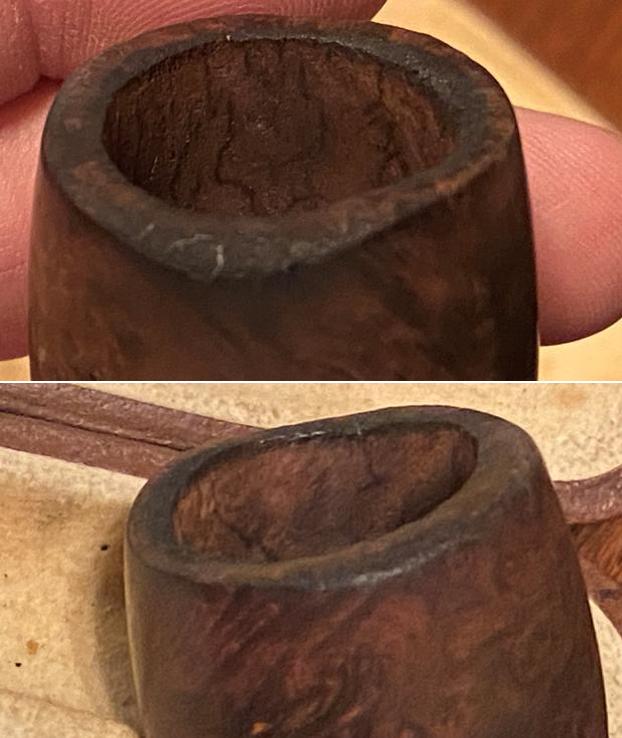
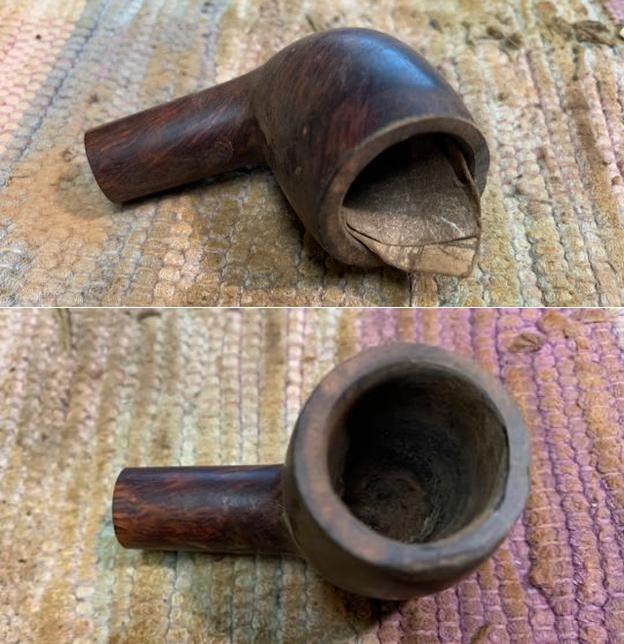
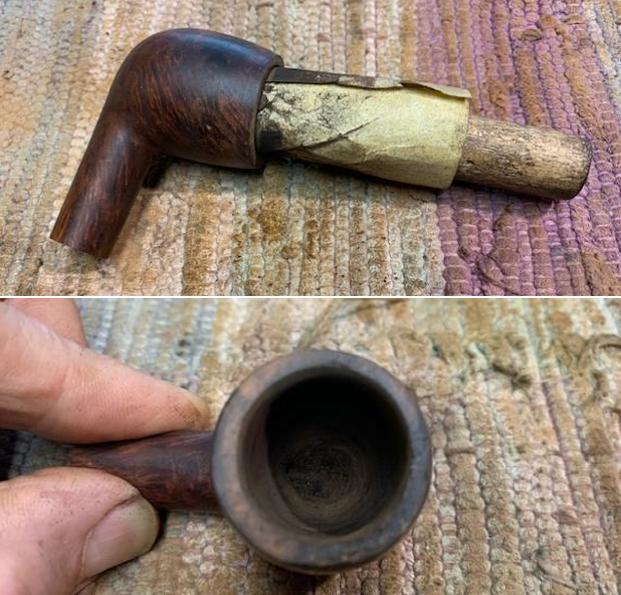
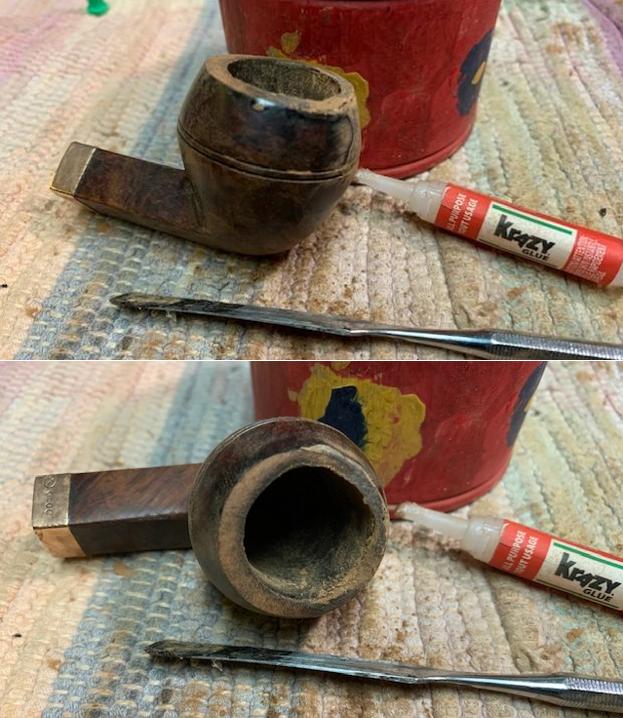
 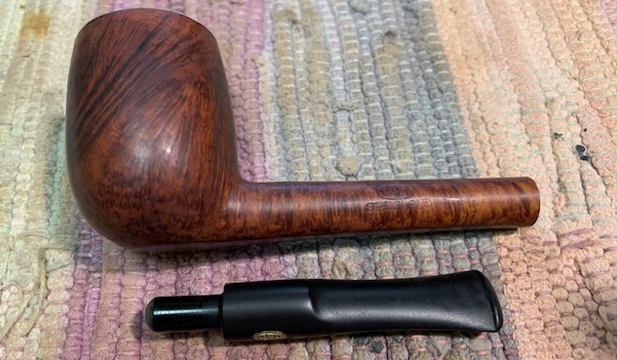 Now it was time to do my work on the pipe. I decided to begin by dealing with the damage on the front of the rim top and bowl. I sanded it slightly to give a clear picture of the damage in the photo below. I have marked it in red to help identify the damaged area.
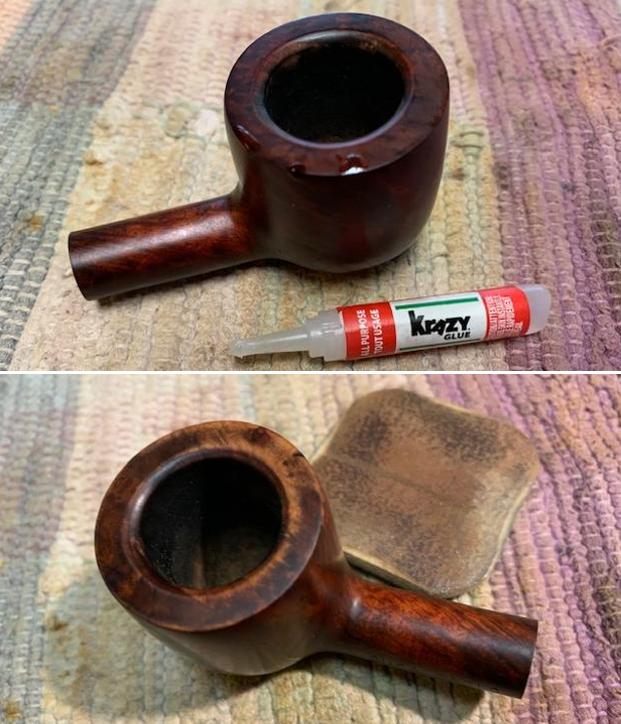
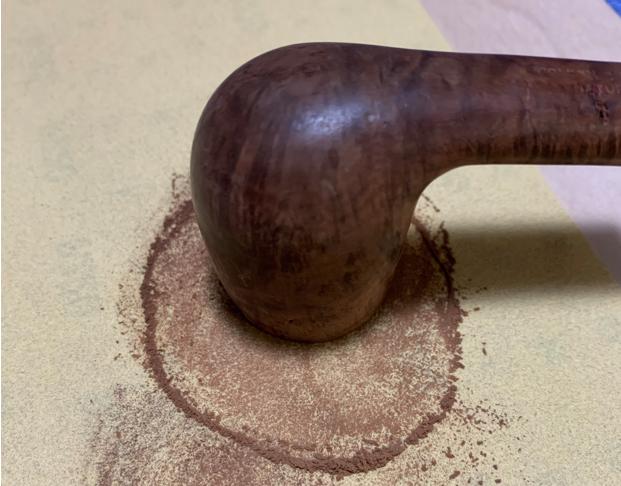
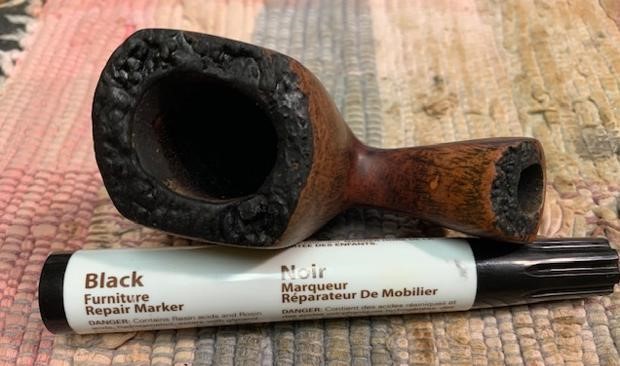
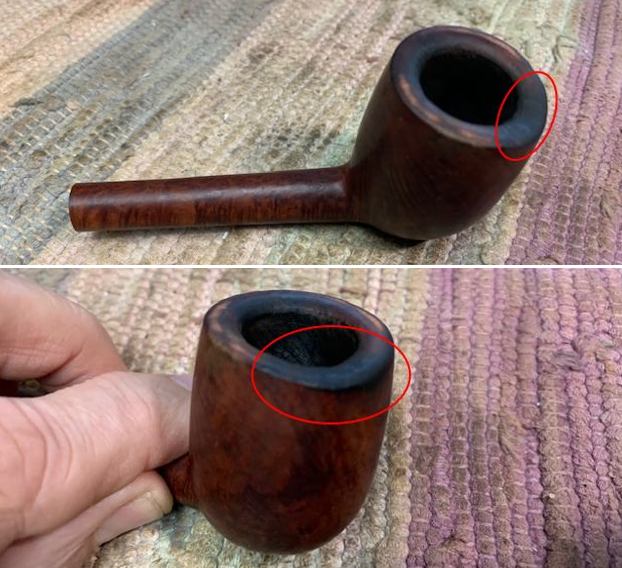 Now I had a decision to make on this repair. I could top the bowl and shorten the height of the entire bowl to accommodate the damage on the front of the rim. To me this would look awkward as the dip is quite deep. The other option to me was to build up the dip in the rim top and edge with briar dust and clear CA glue (super glue) to the same height as the rest of the bowl. I decided to build up the bowl top. To begin the process I topped the bowl to give me a flat surface and to remove the other damage to the rim top.
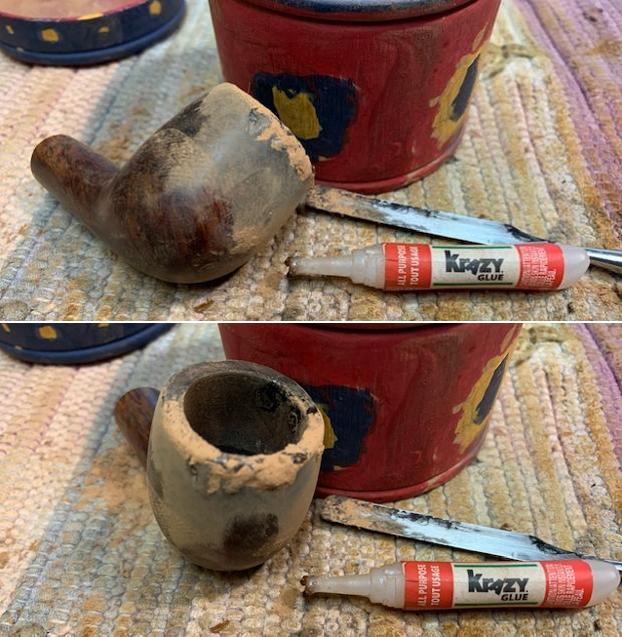
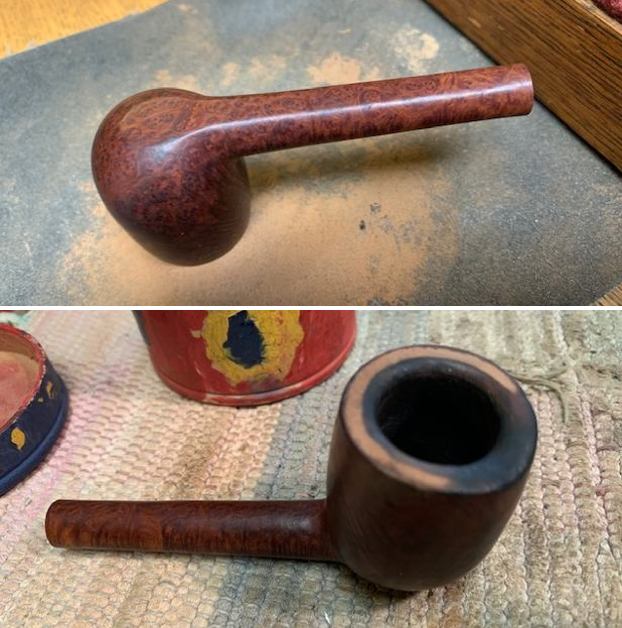 I wiped off the burned area with alcohol on a cotton pad to clean off any debris. I layered on the first batch of CA glue and then used a dental spatula to put briar dust on top of the glue. I repeated the process until I had the rim top level. Once the repair cured I topped it once again to make sure that the repaired area matched the rest of the rim top. I used a topping board and 220 grit sandpaper.
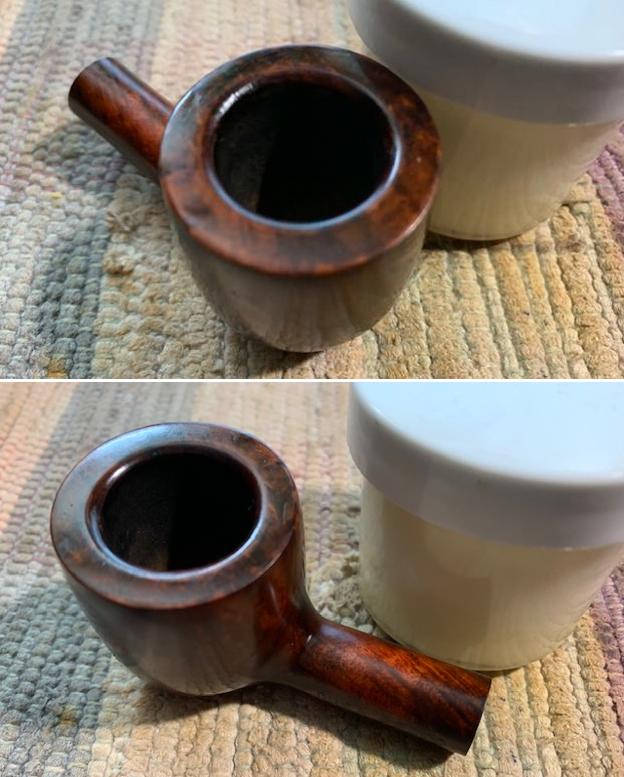
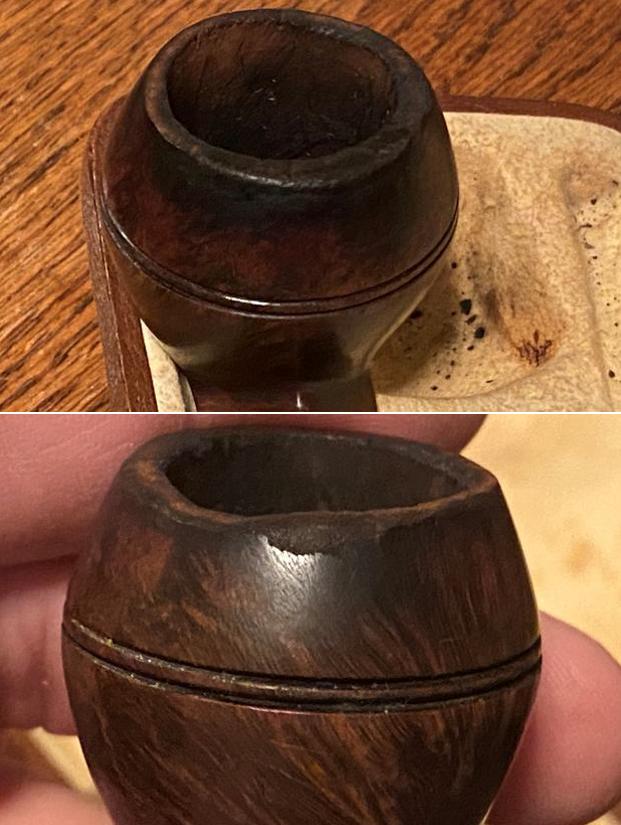
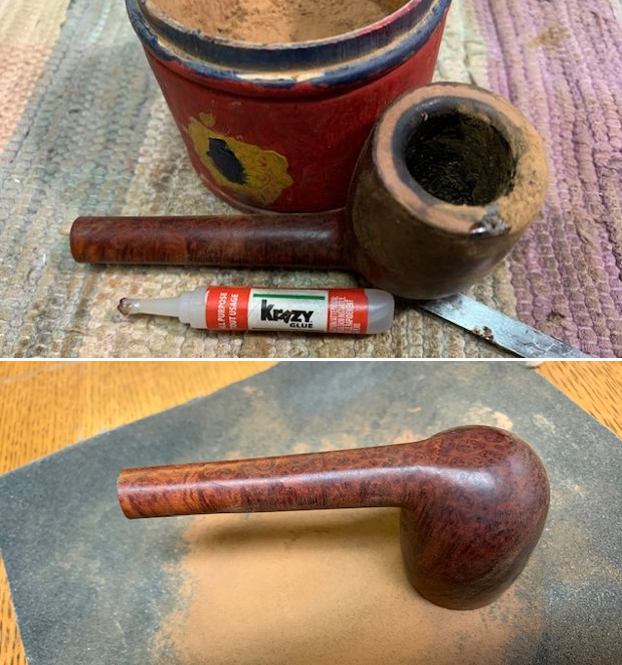 I took photos of the rim top and bowl front to show the repair. It is dark and still needs a lot of work but it is at least the right height and is smooth. You can also see the slight bevel that was on the inner edge of the rim on the rest of the bowl. I would need to continue that on the repaired area to match.
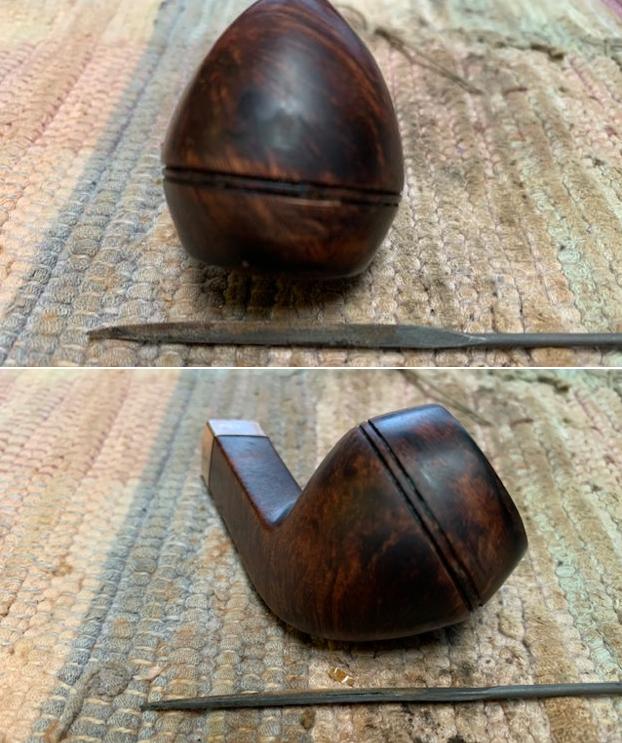
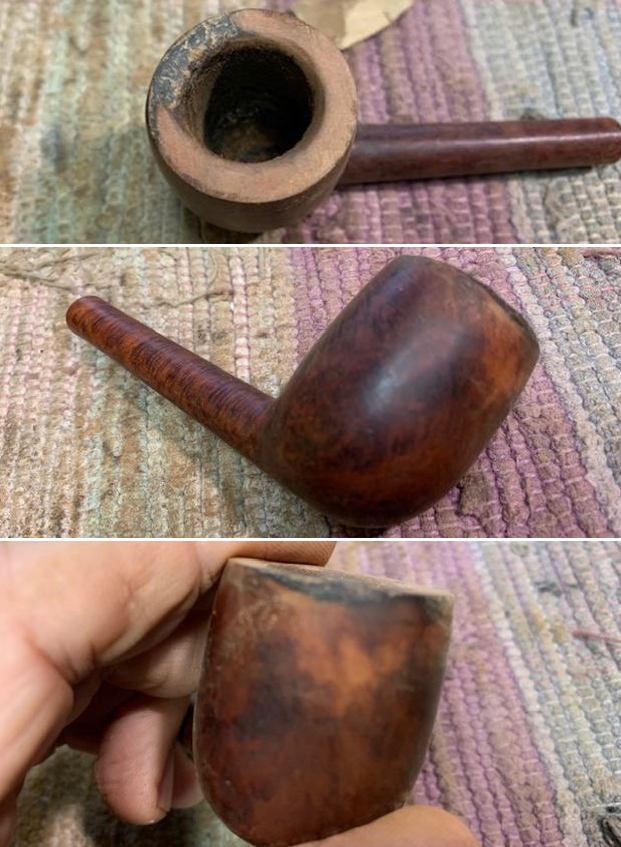 I worked on the inner beveled edge with a folded piece of 220 grit sandpaper to give it a deep bevel. I also sanded the rim top repair to further smooth it out. The repair is starting to look good at this point.
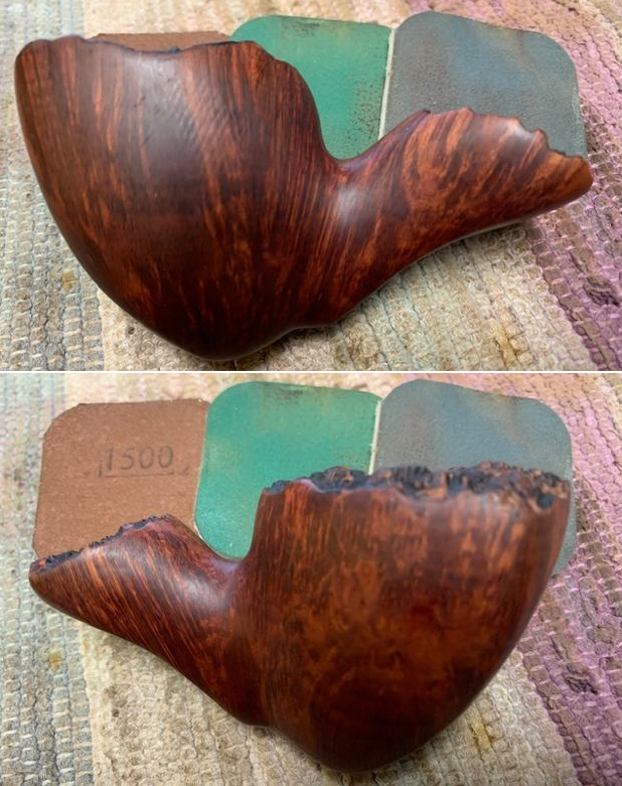
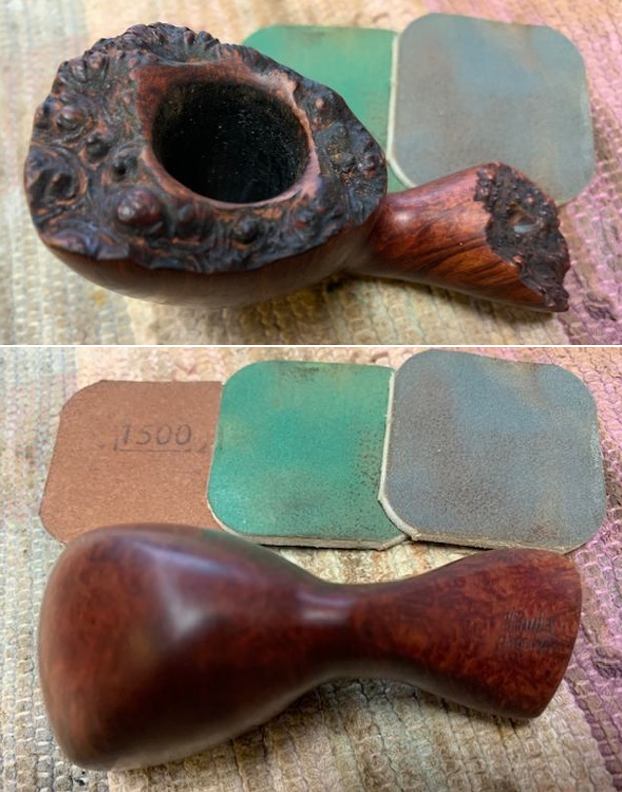
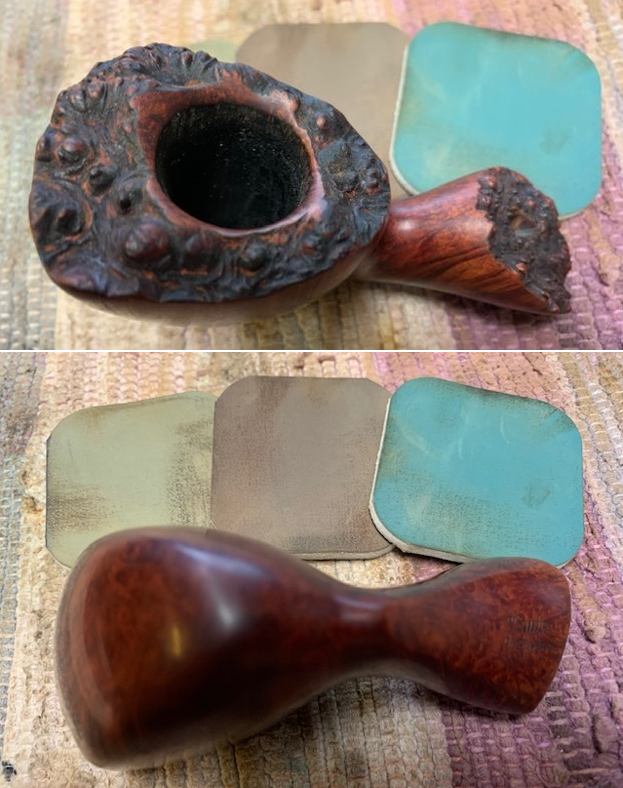
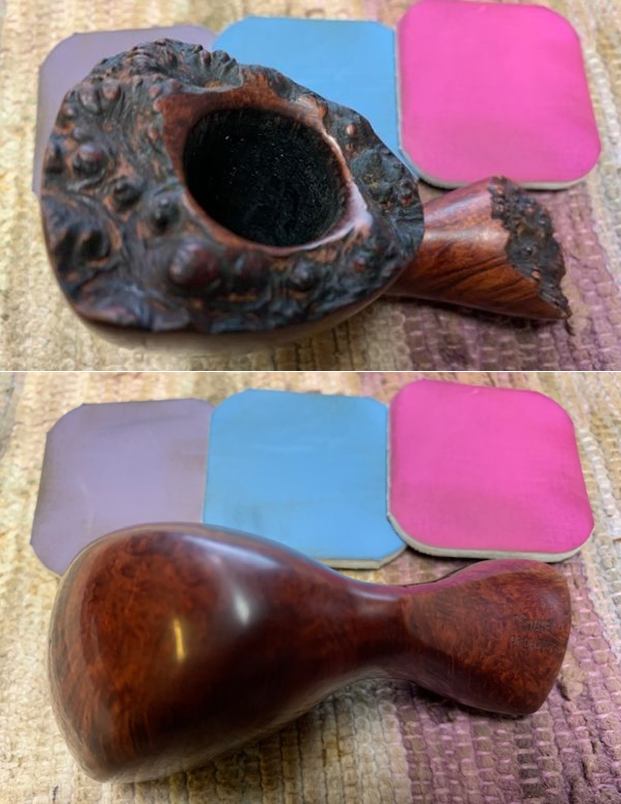
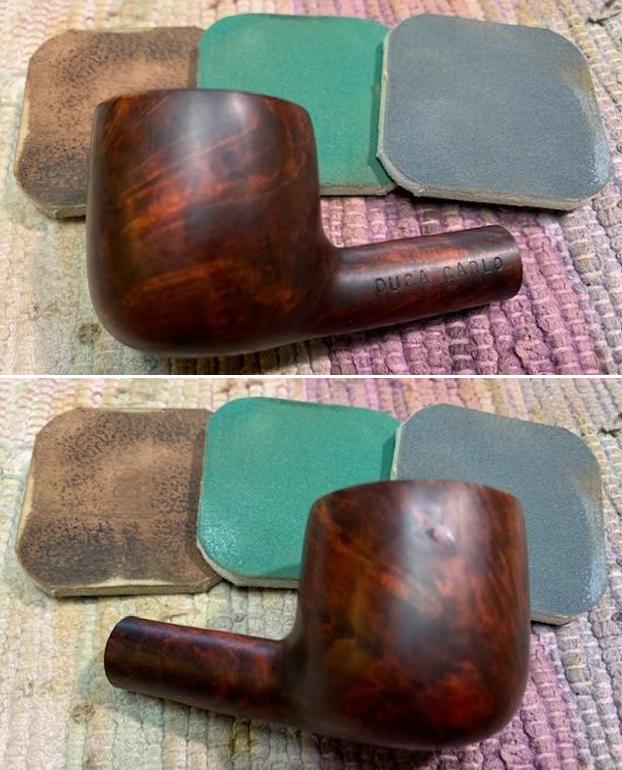
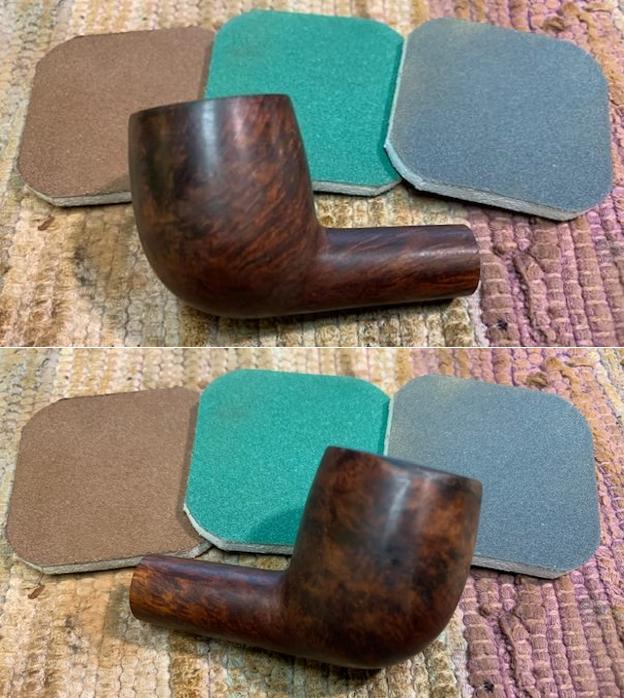
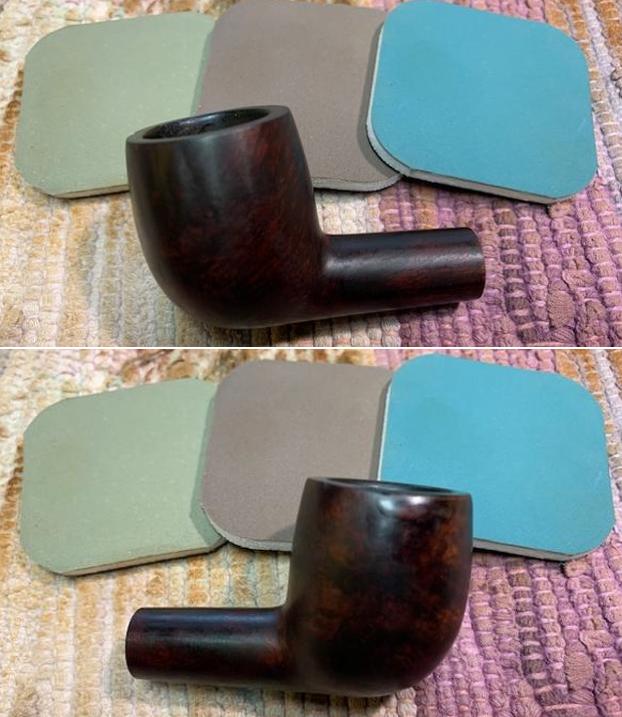
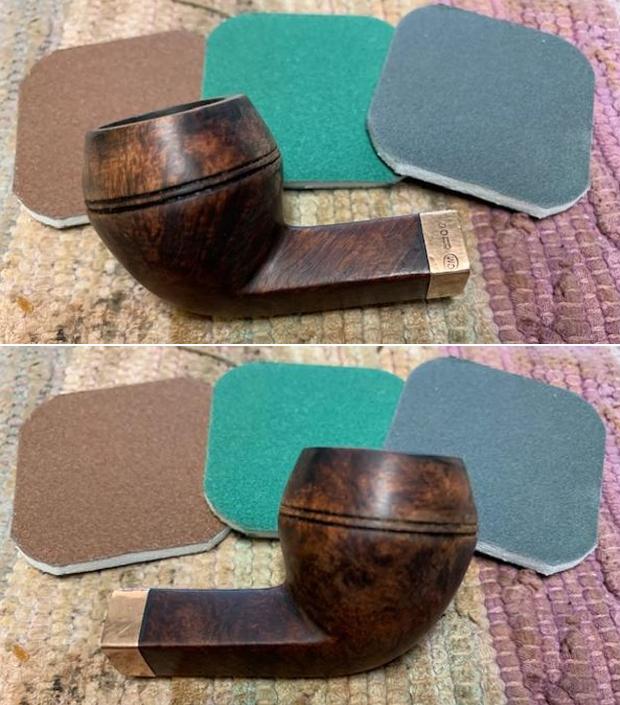
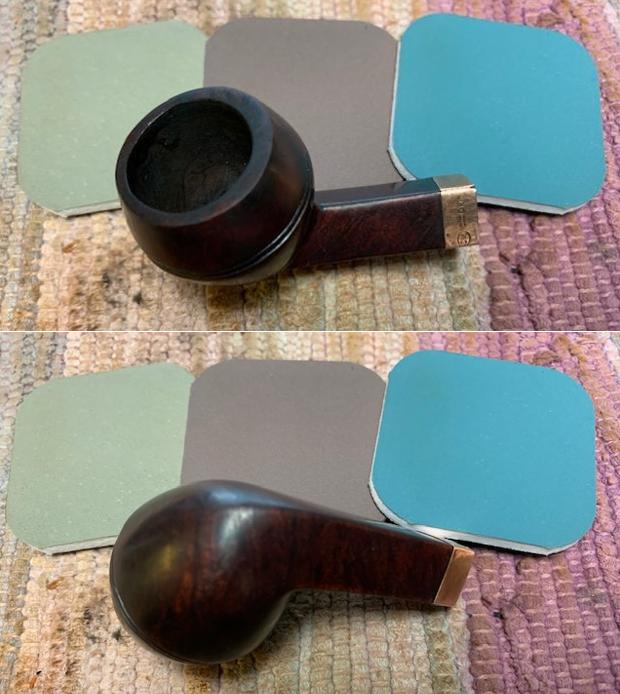
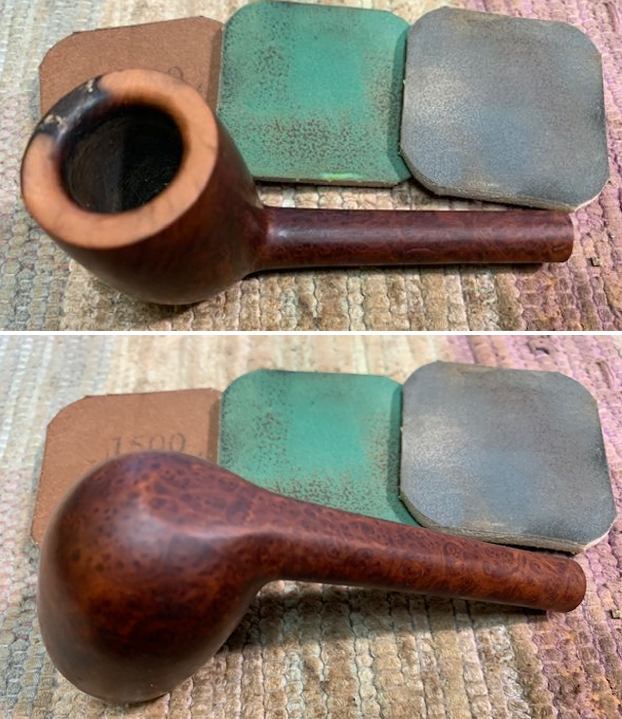
 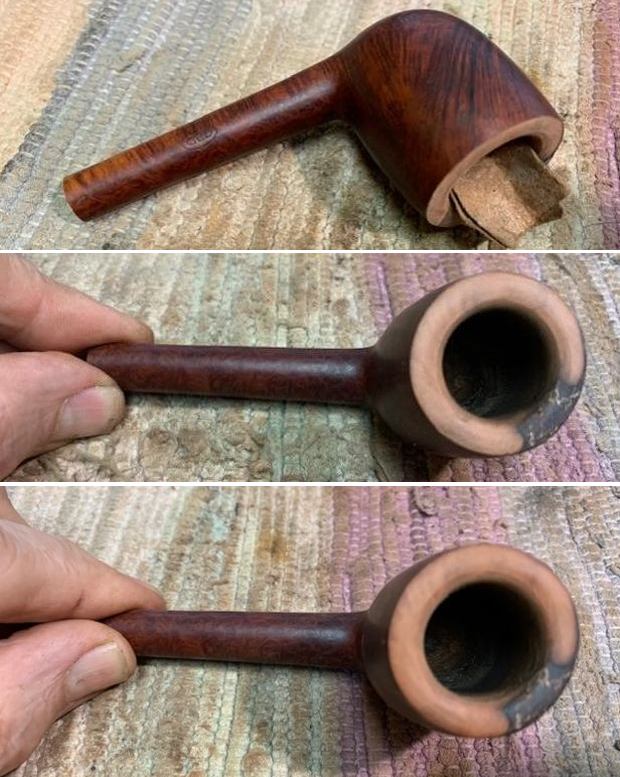 I polished the briar with micromesh sanding pads – dry sanding with 1500-12000 grit sanding pads. I wiped it down after each pad with a damp cloth to remove the sanding debris and dust.
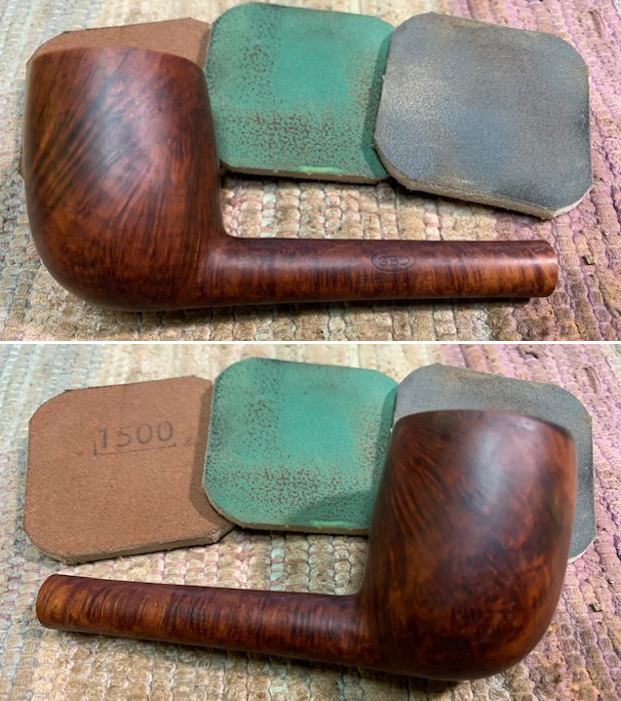

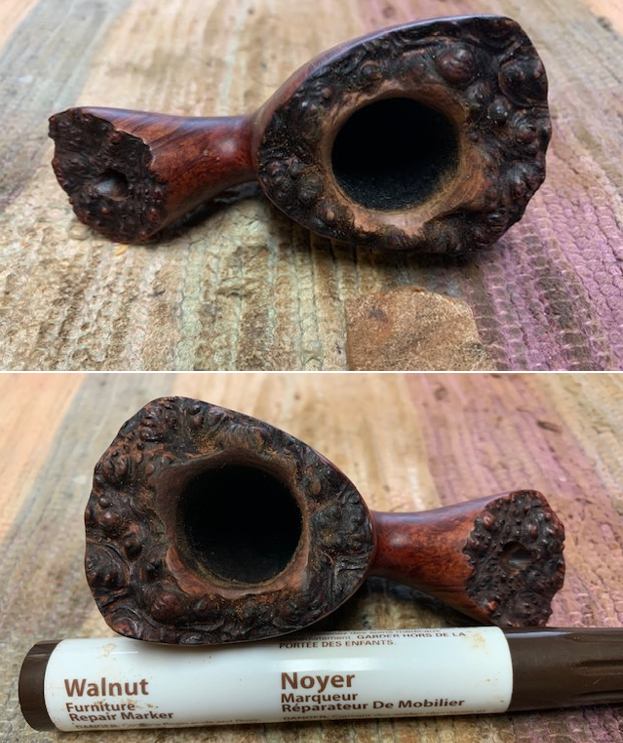
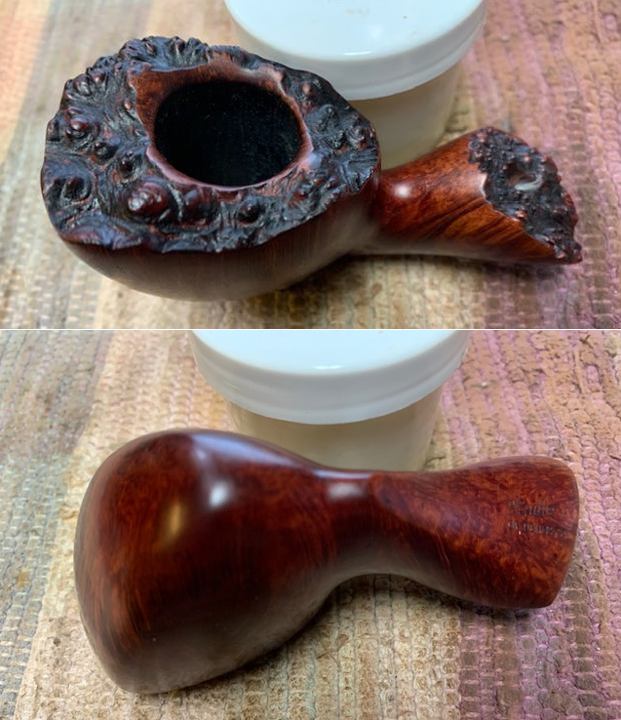
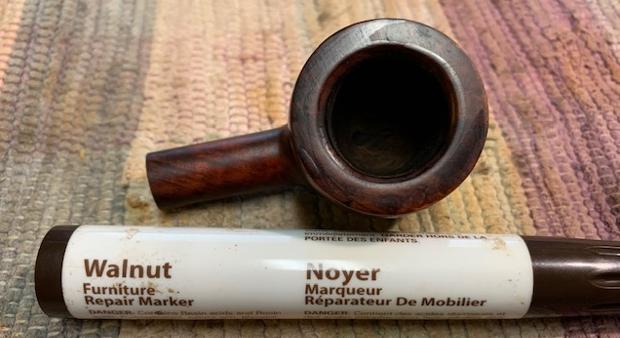
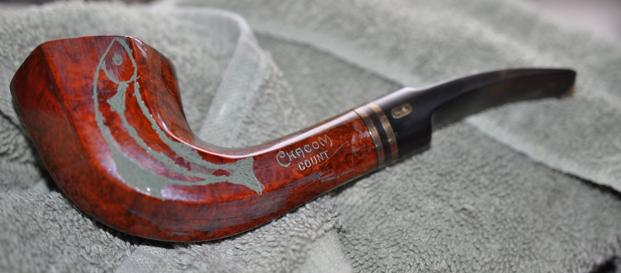
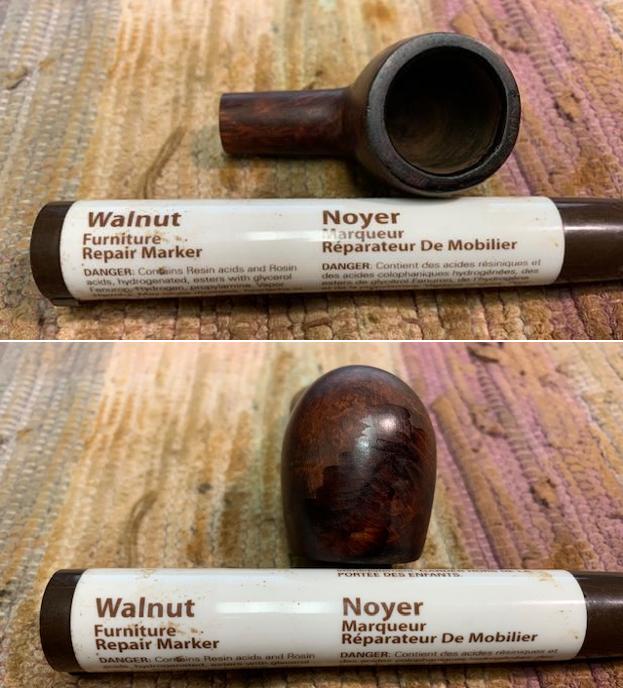
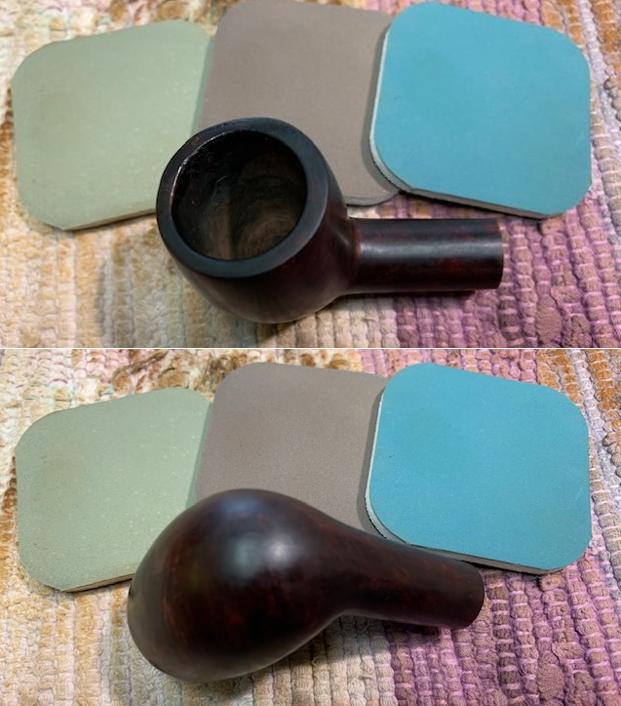
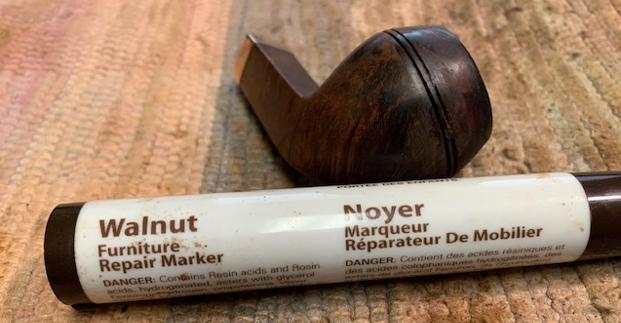
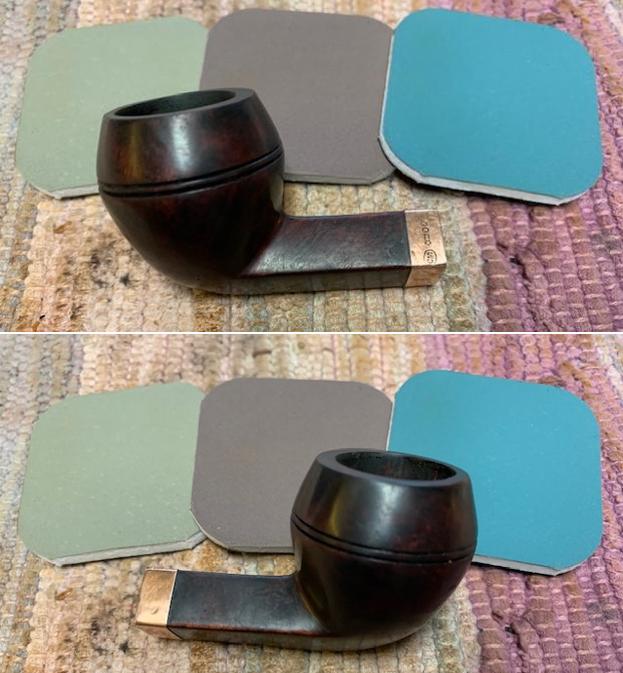
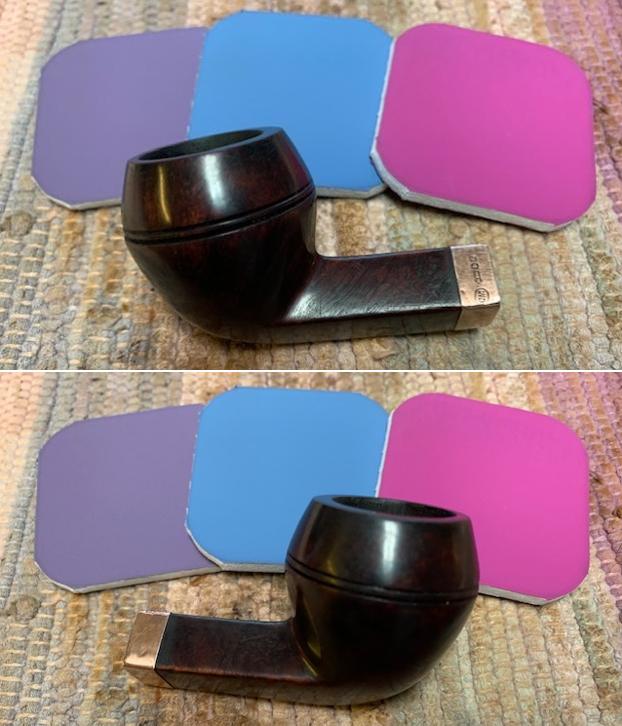
 I restained the rim edge and top with a combination of Maple and Walnut stain pens to blend the colour to the rest of the bowl. The rim top looked darker but it looked much better than when I started the repair.
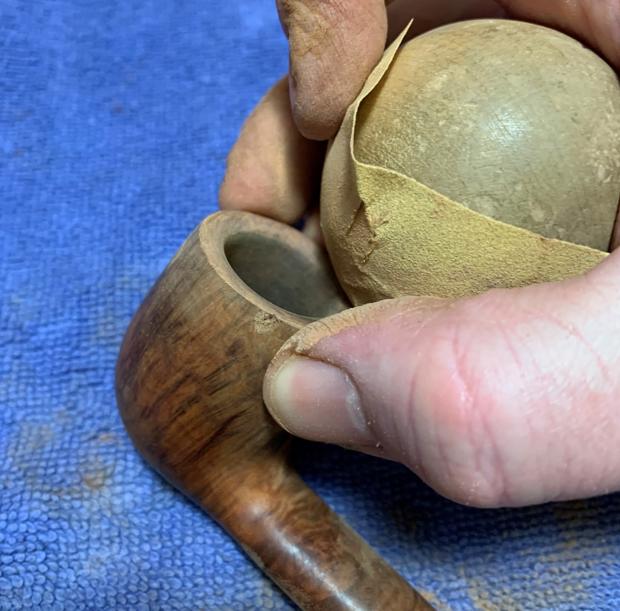
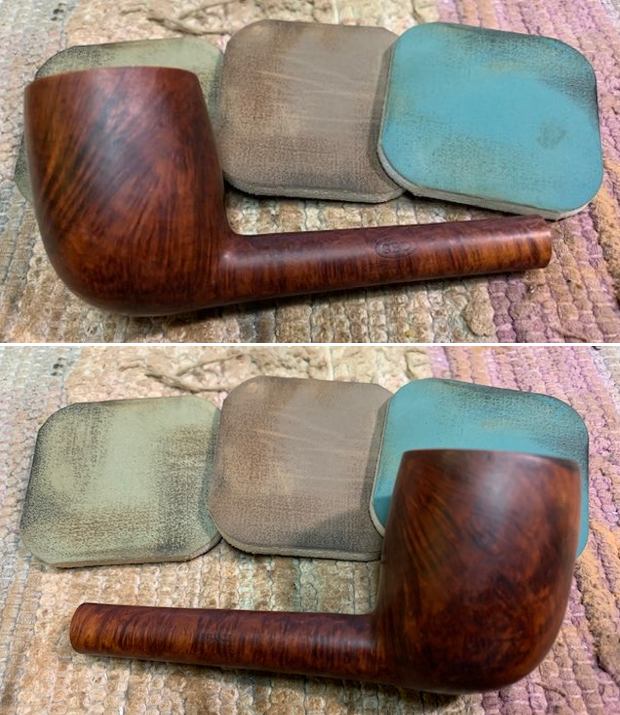
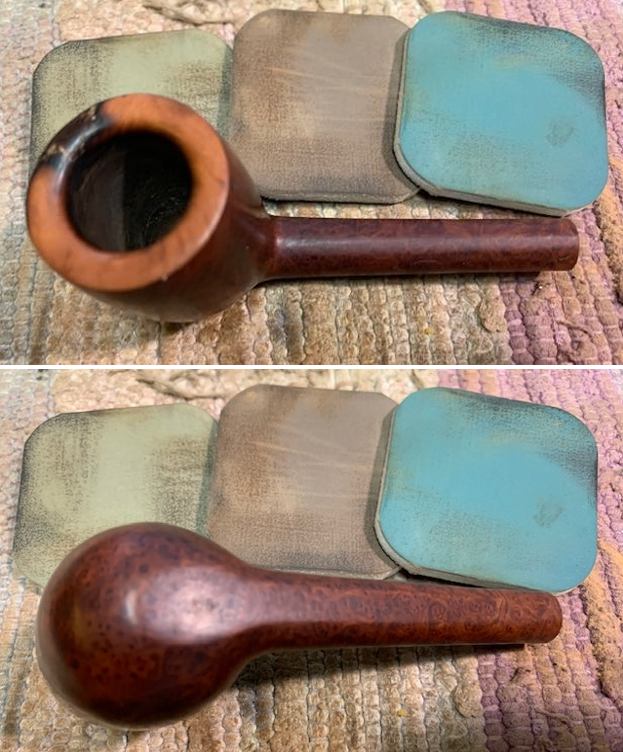
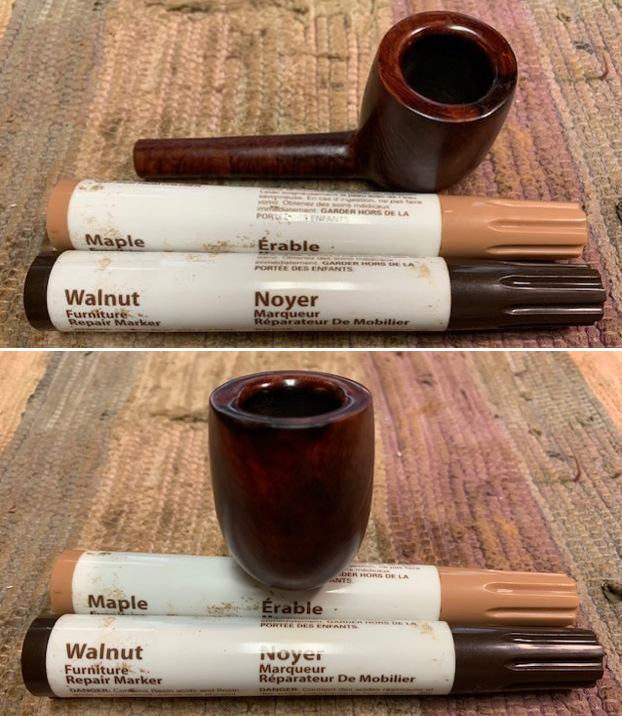 I rubbed the bowl and shank down with Before & After Restoration Balm. I worked it into the surface of the bowl sides and shank with my fingertips to clean, enliven and protect the briar. I let the balm sit for a little while and then buffed with a cotton cloth to raise the shine.
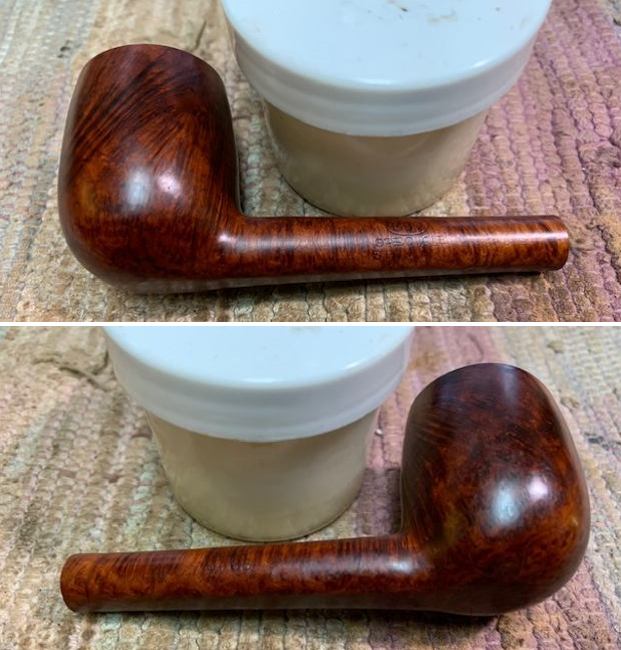
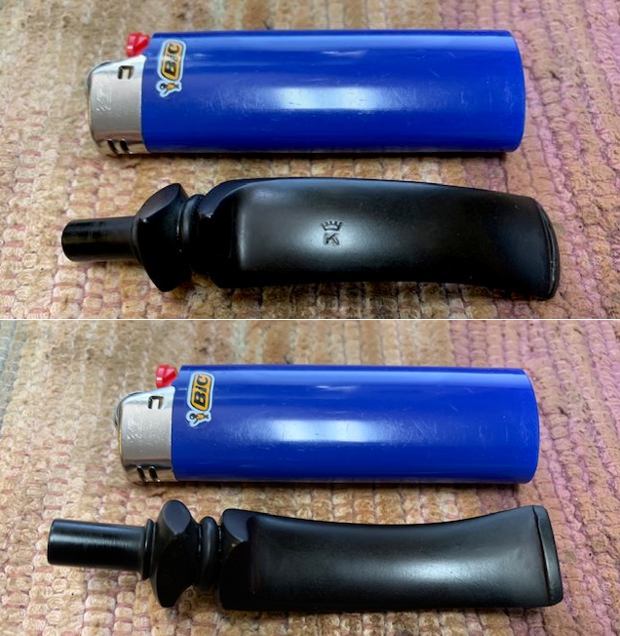
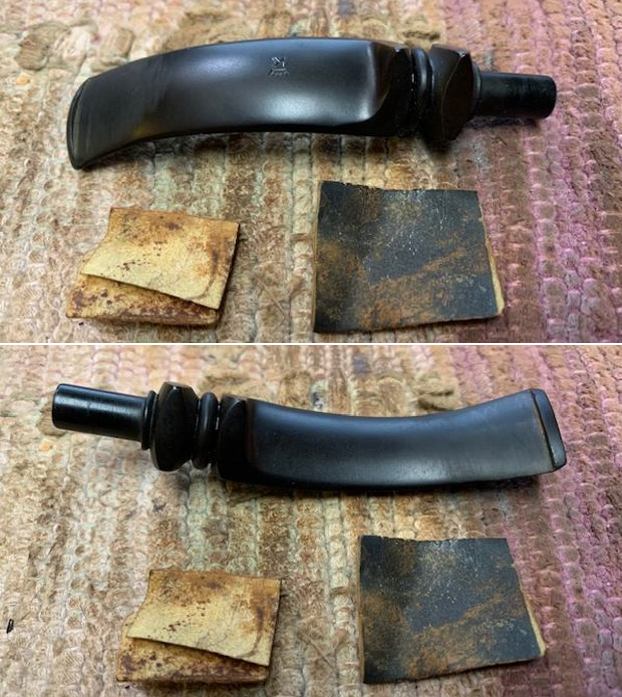
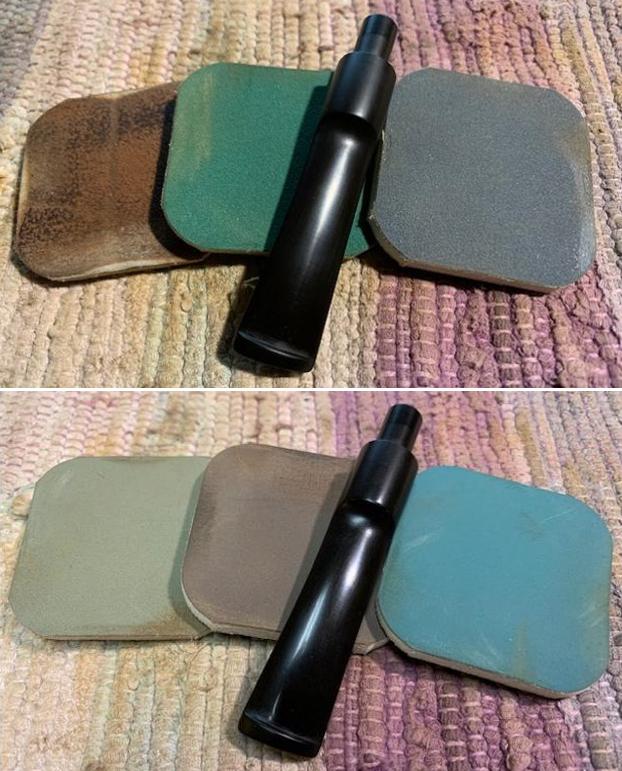
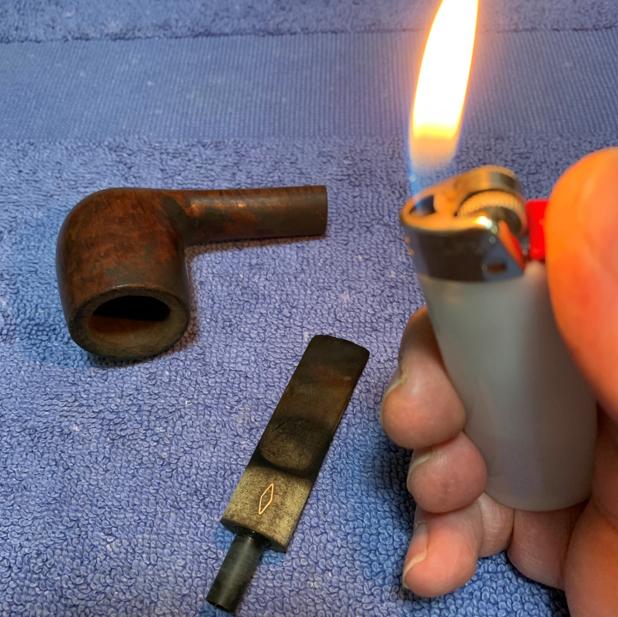
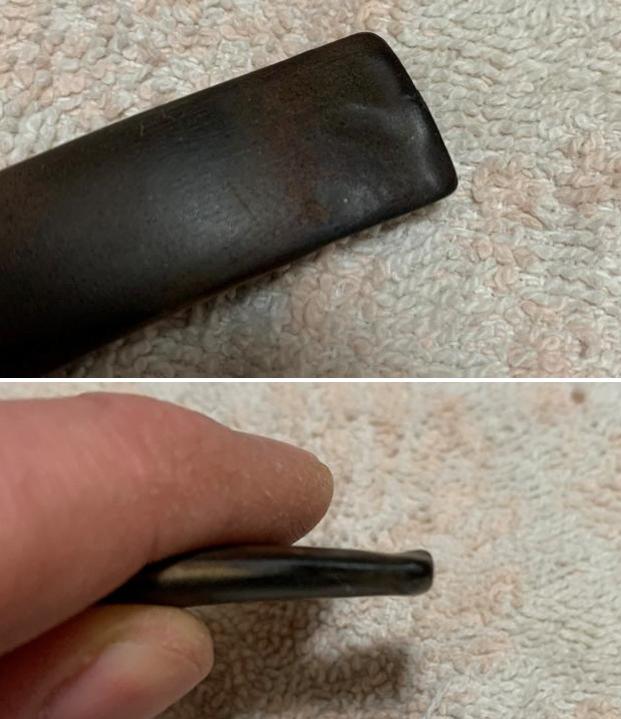
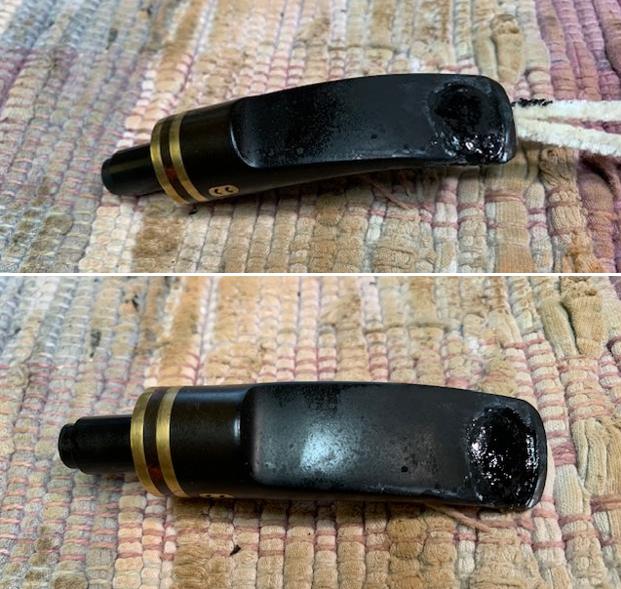
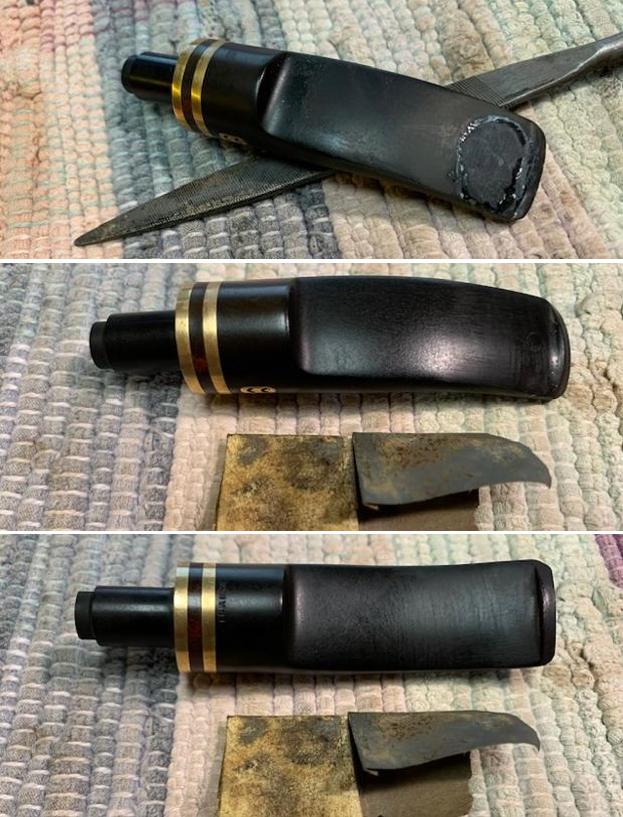
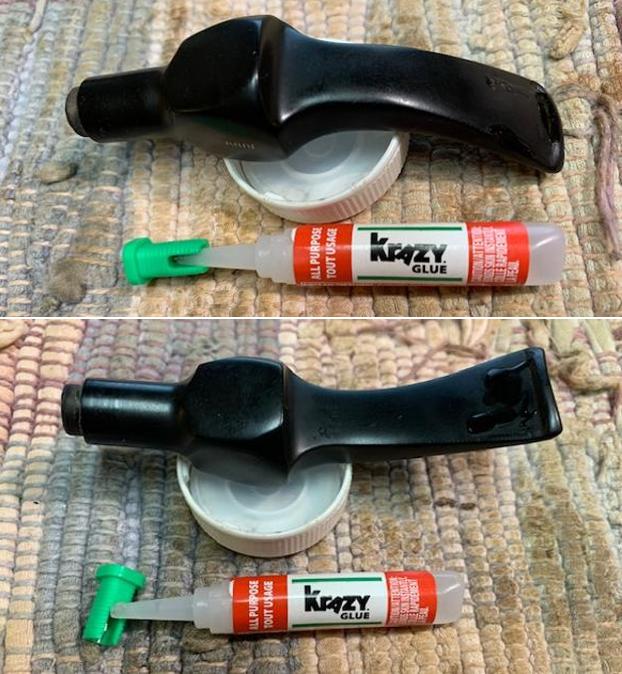
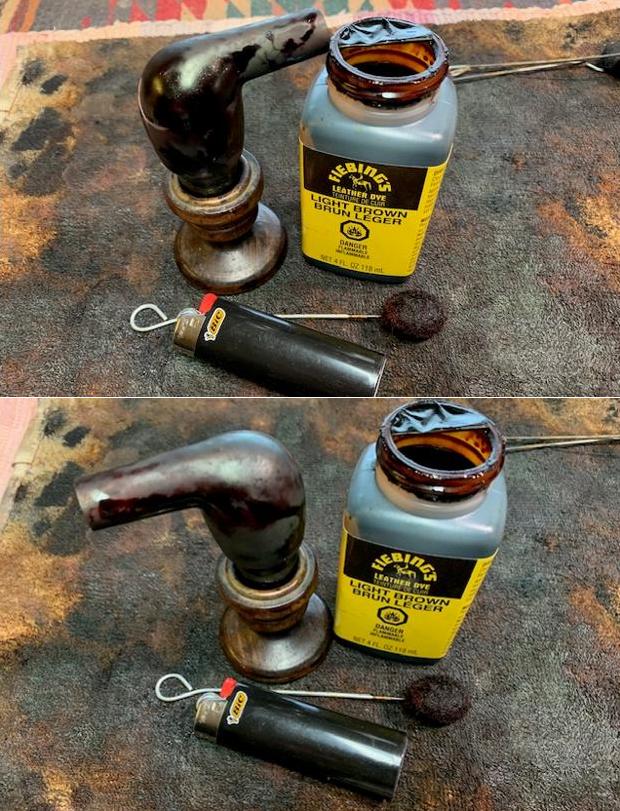
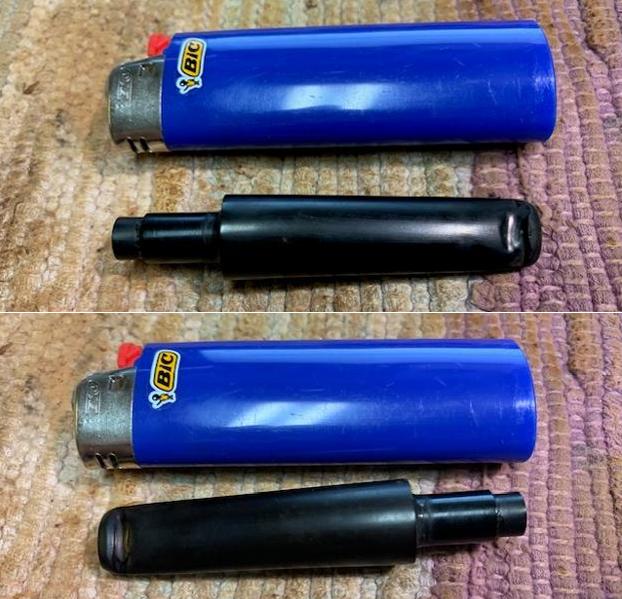
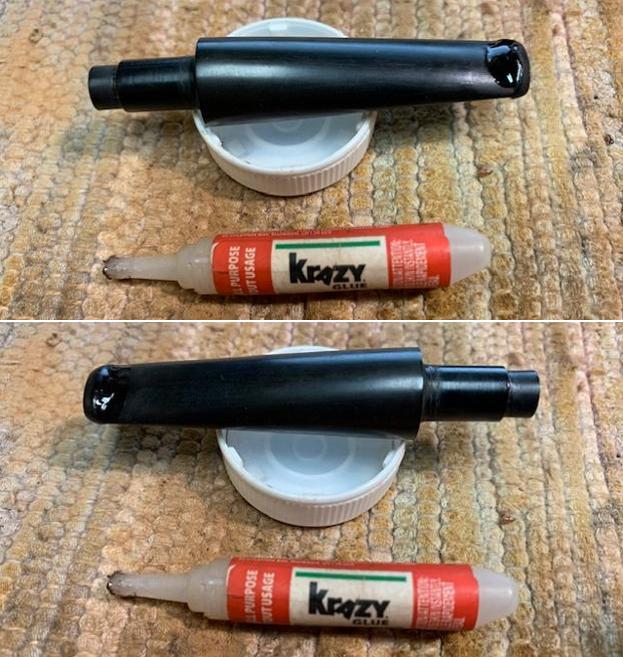
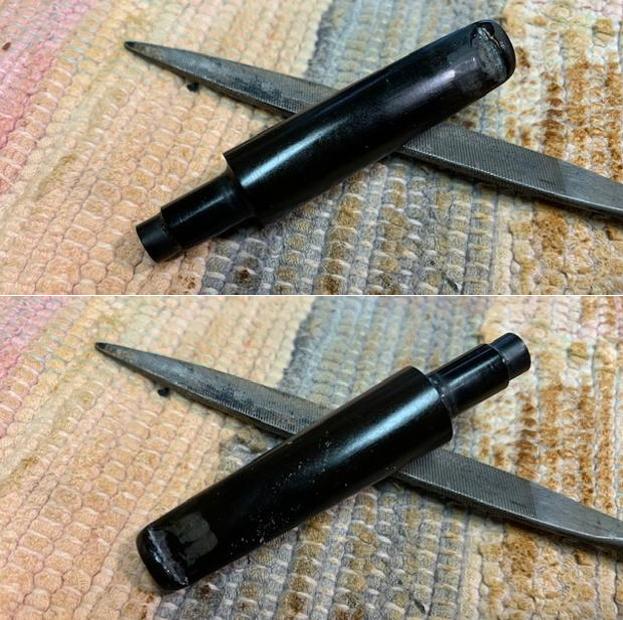
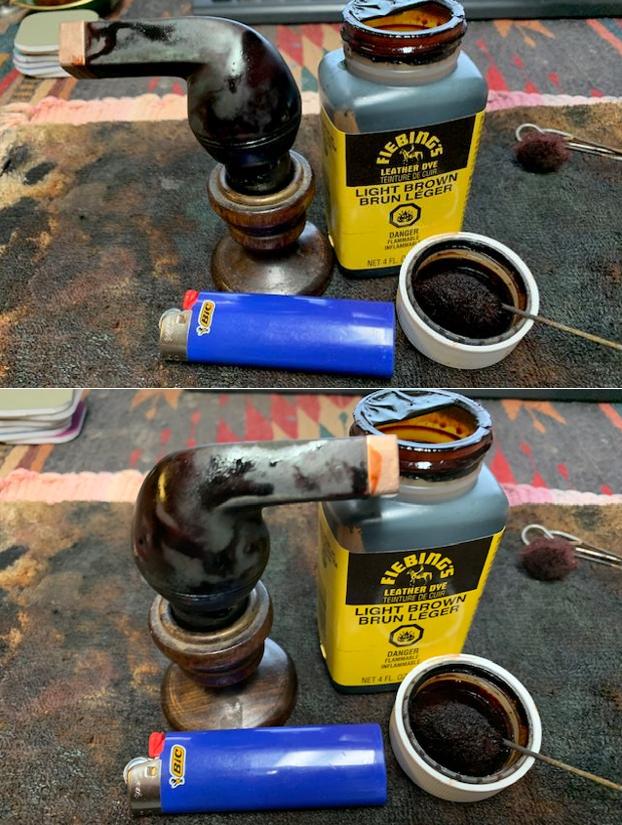
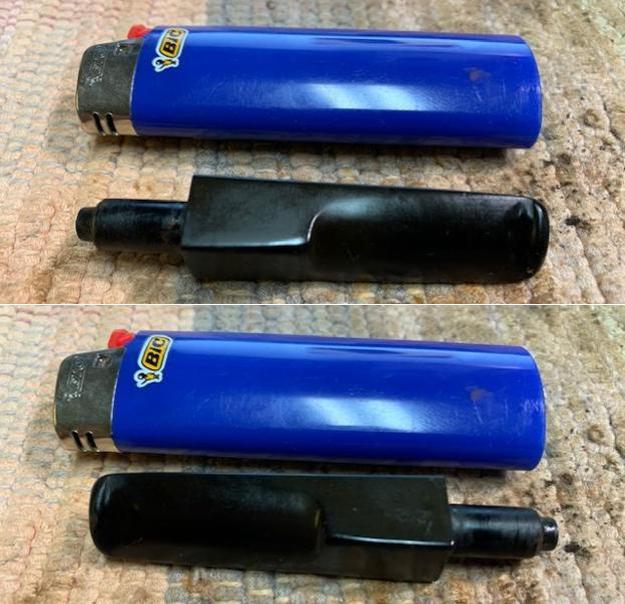
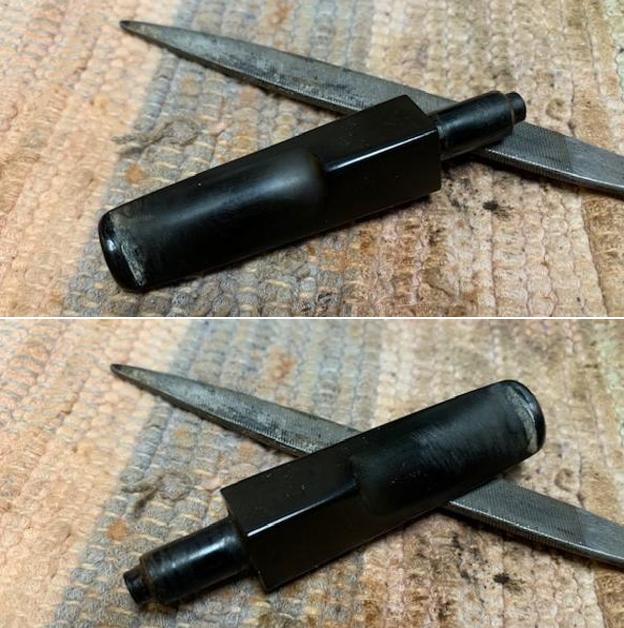
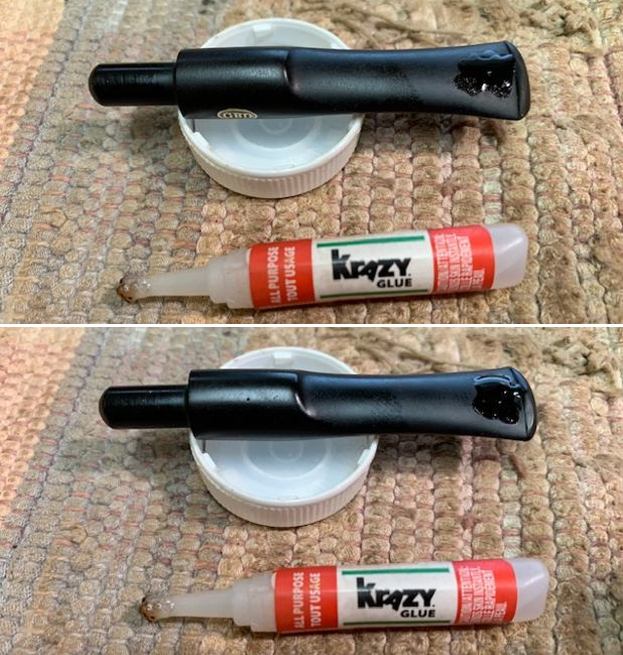
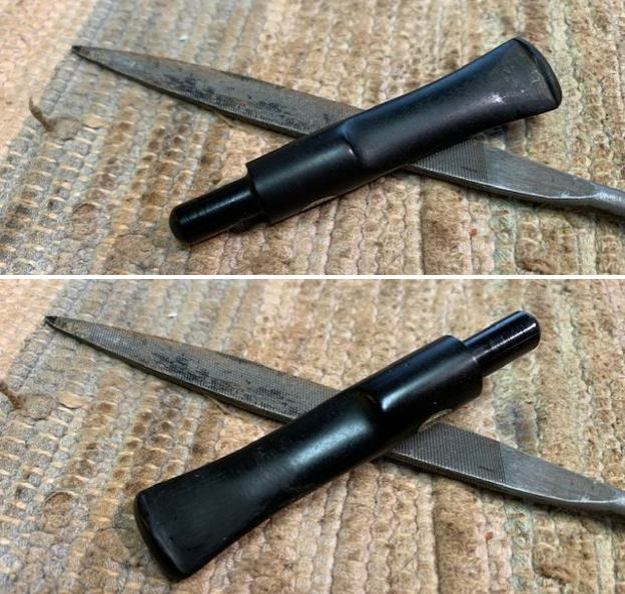
 I set the bowl aside and turned my attention to the stem. I “painted” the surface of the stem with the flame of a lighter to lift the tooth marks. It worked very well and many of the marks lifted. I filled in the remaining marks with clear CA glue and let the repairs cure. I used a small file to flatten out the repairs. I sanded the stem with 220 grit sandpaper to blend the repairs into the stem surface. I started the polishing with 400 grit sandpaper.
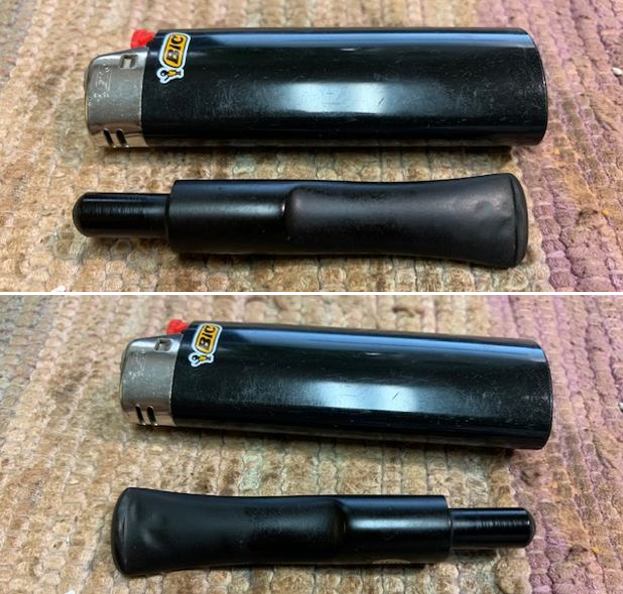
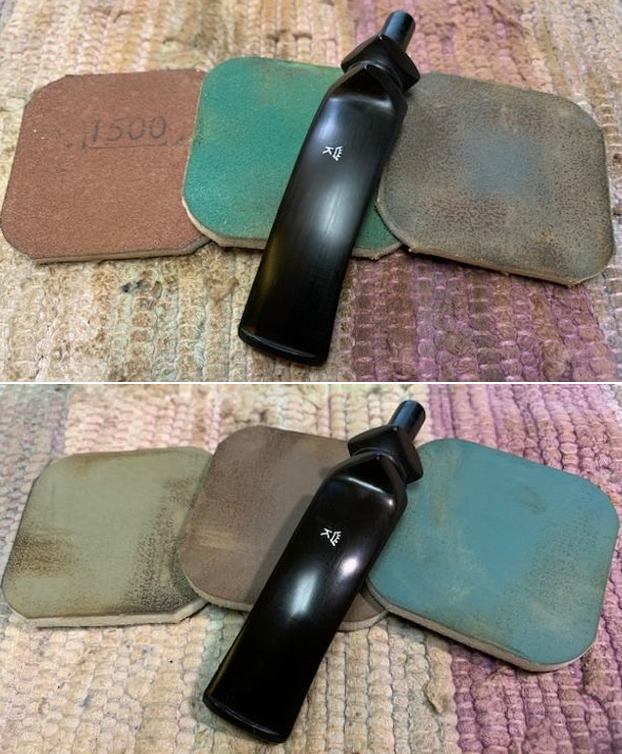
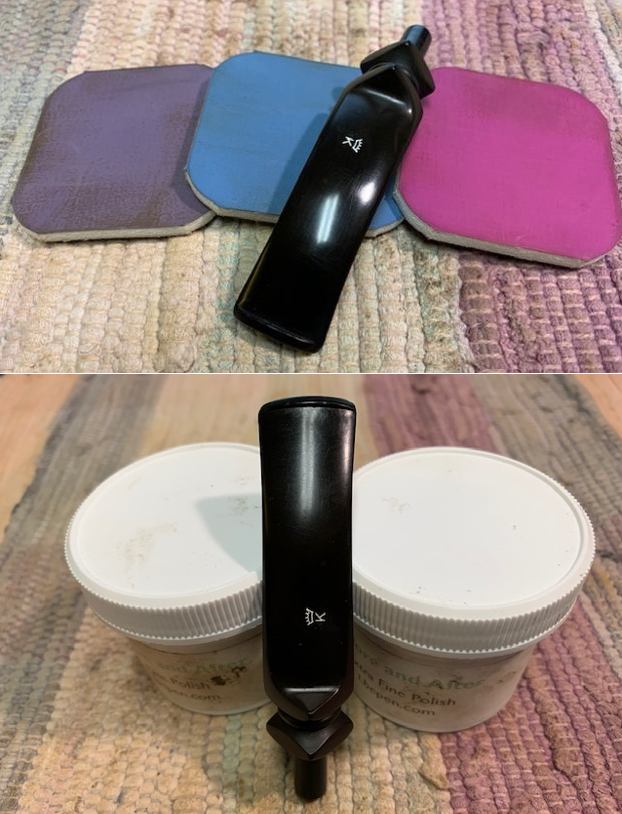
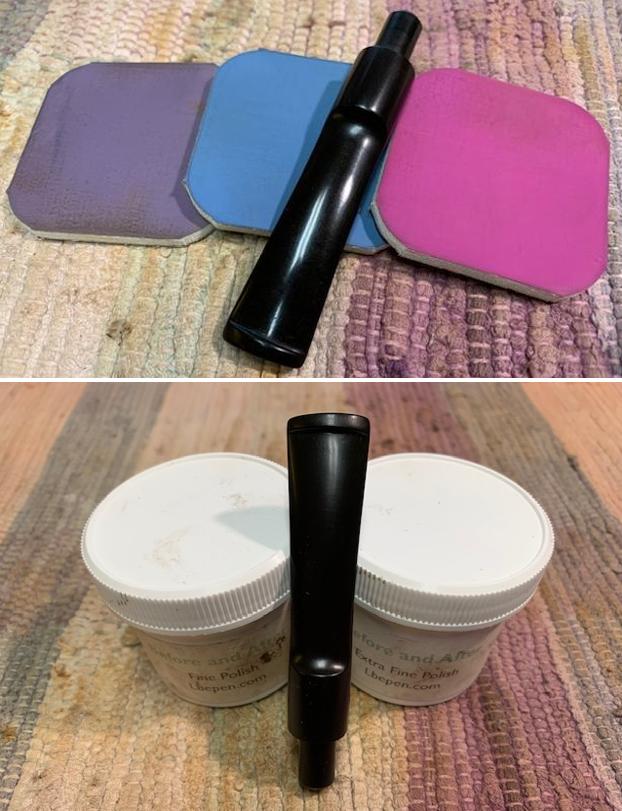
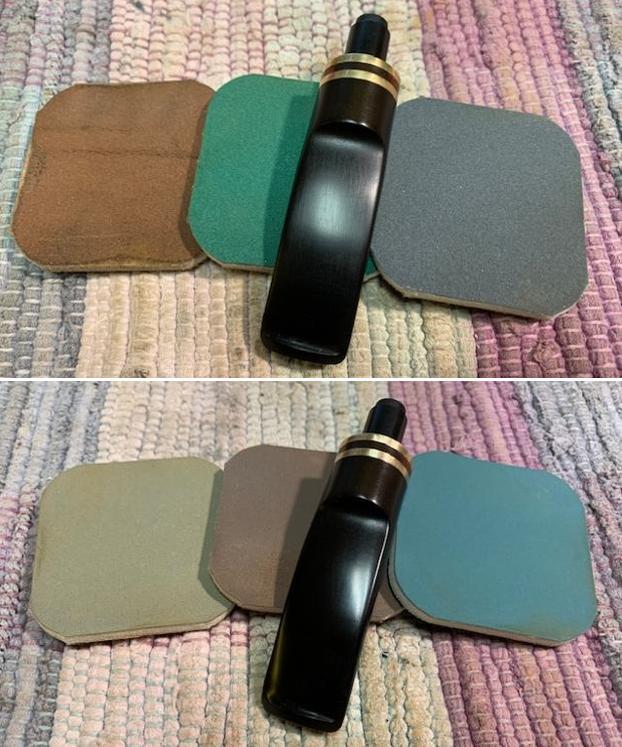
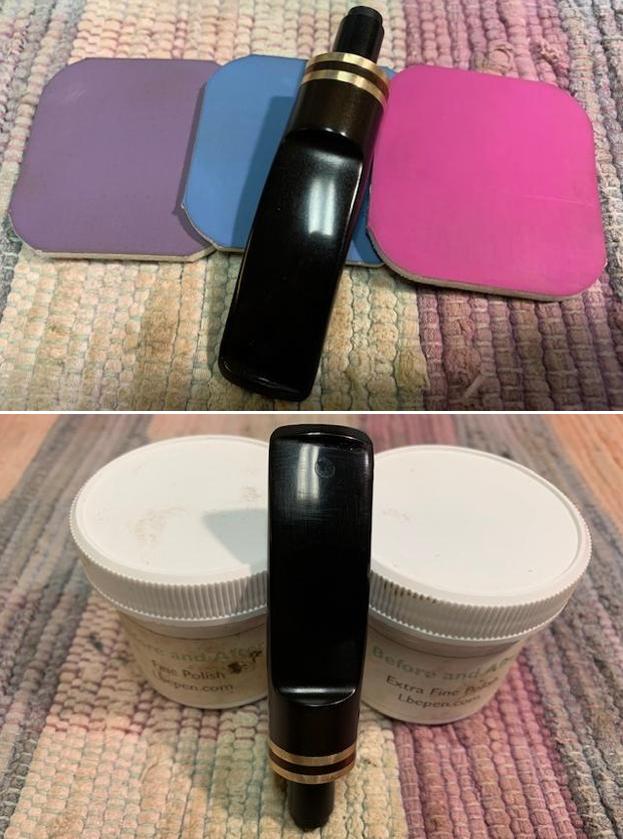
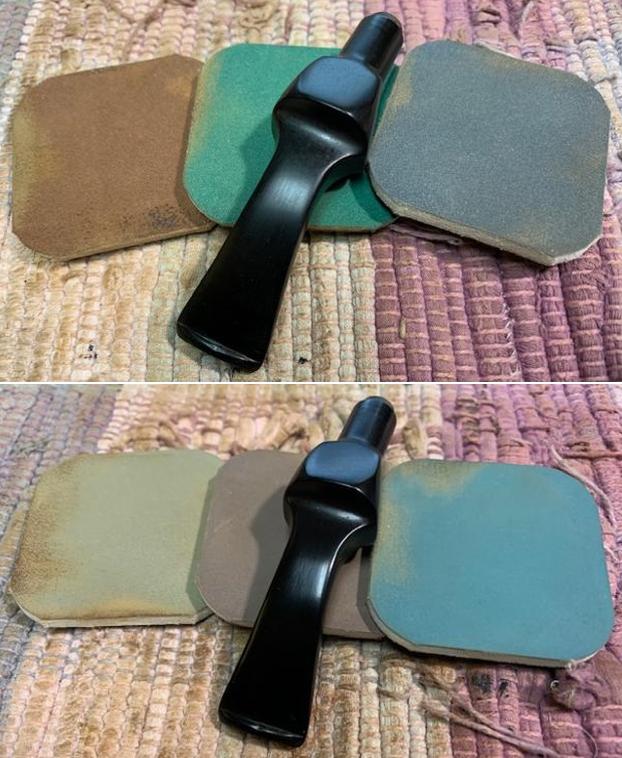
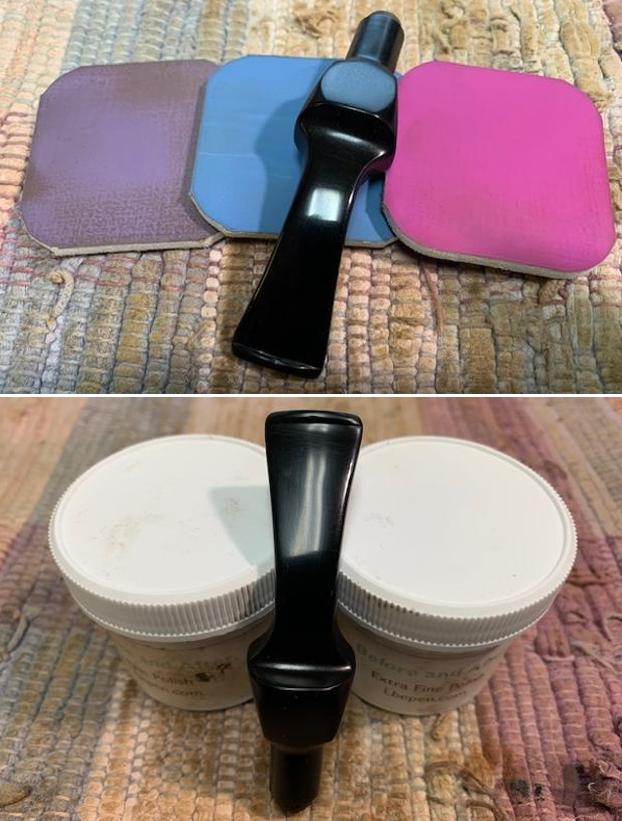
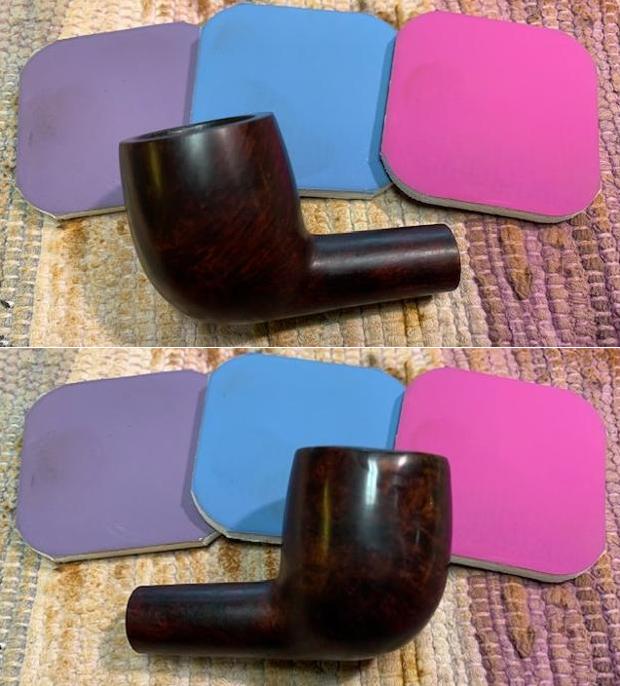
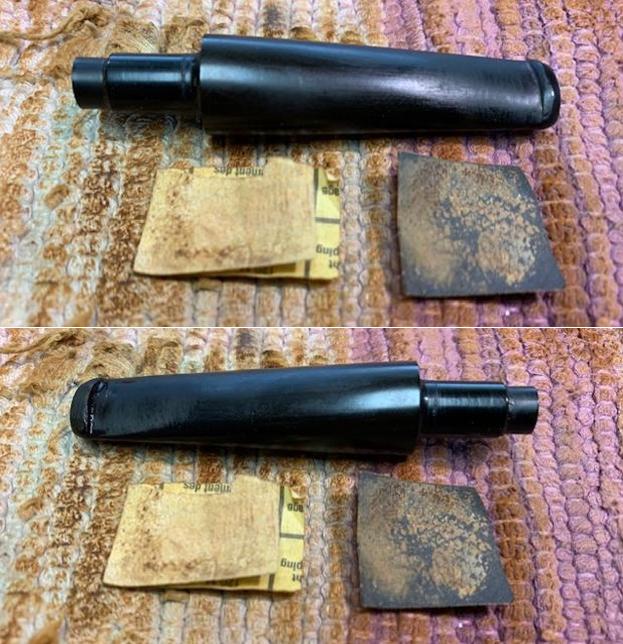
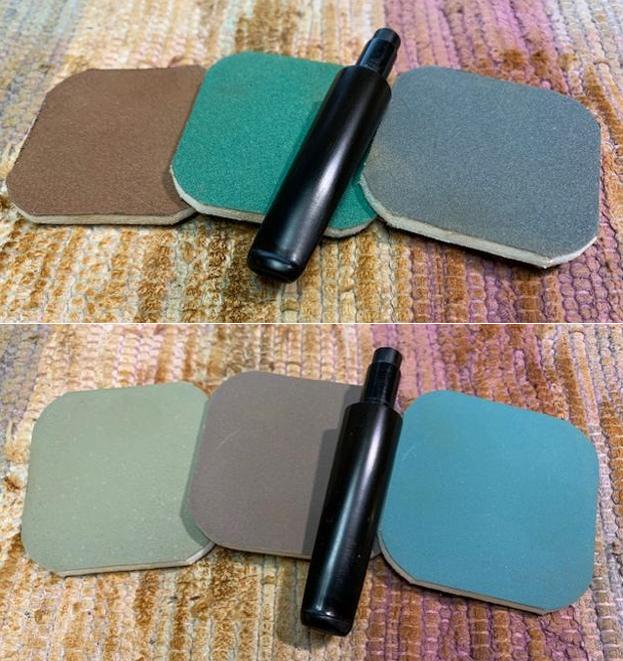
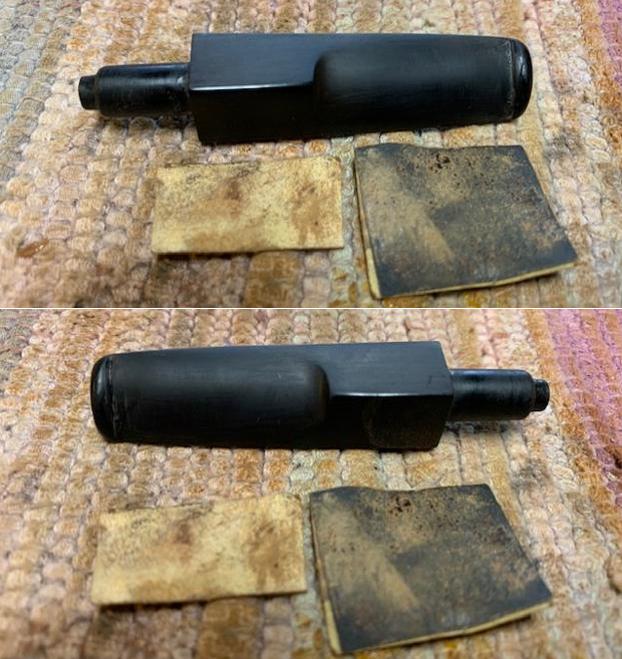
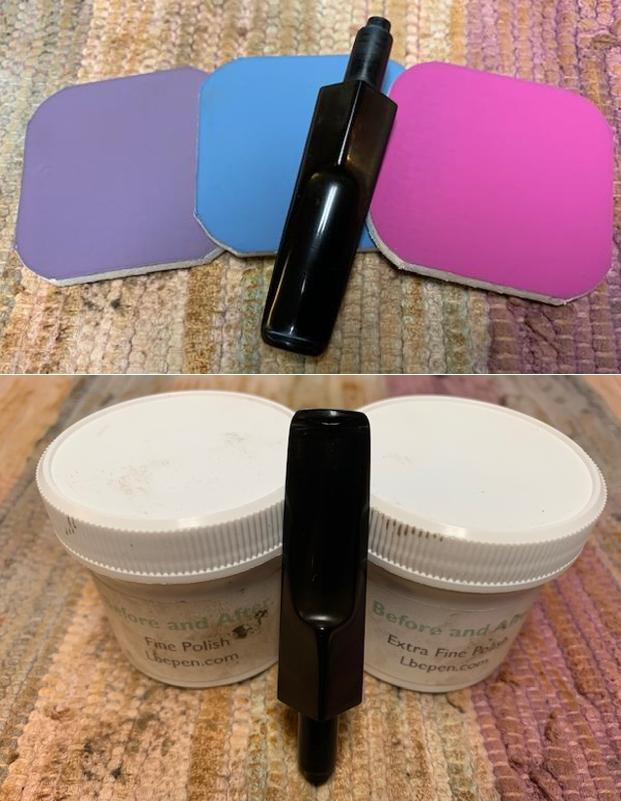
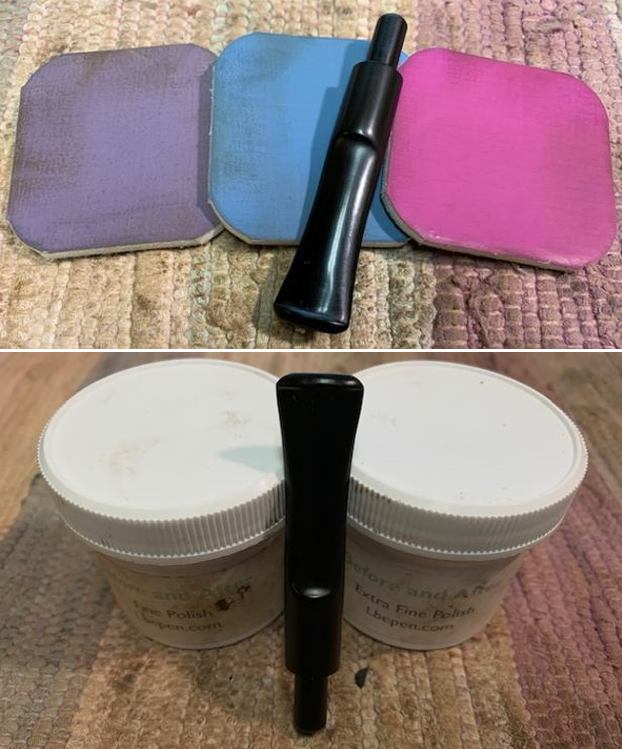
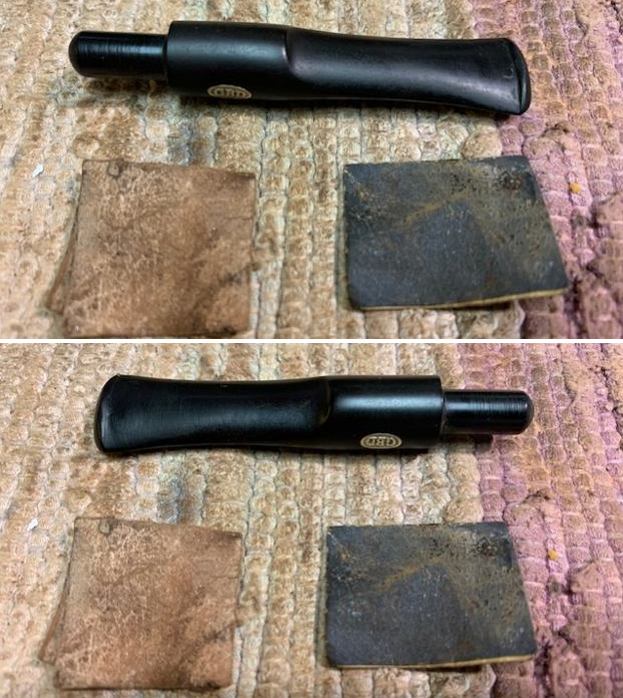 I polished the vulcanite stem with micromesh sanding pads – 1500-12000 grit pads. I wiped it down with Obsidian Oil after each sanding pad. I used Before & After Pipe Polish – both Fine and Extra Fine to further polish the stem.
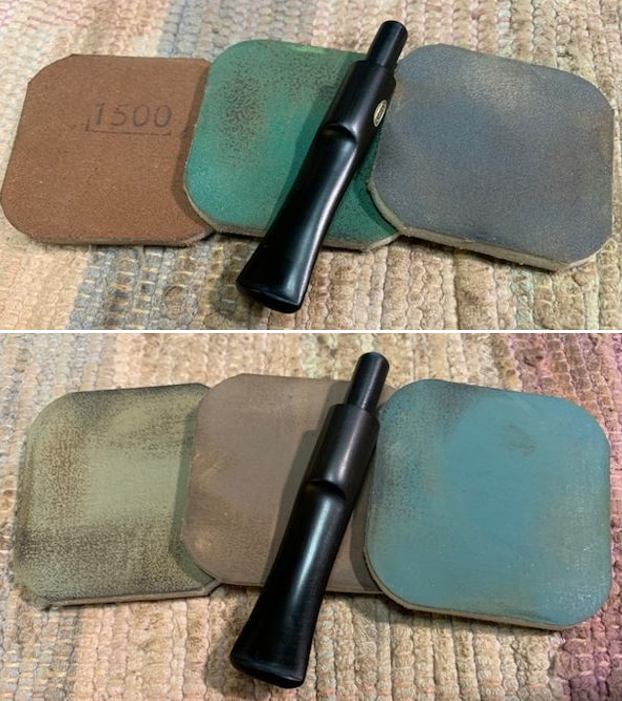
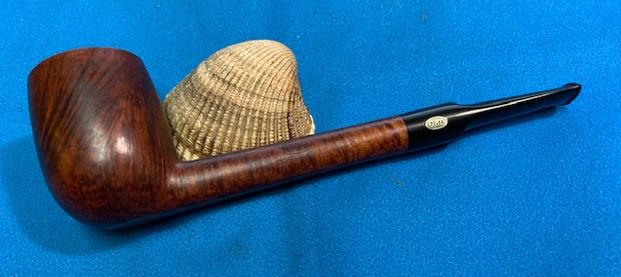
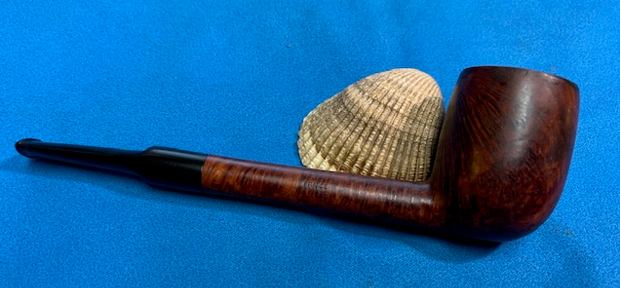
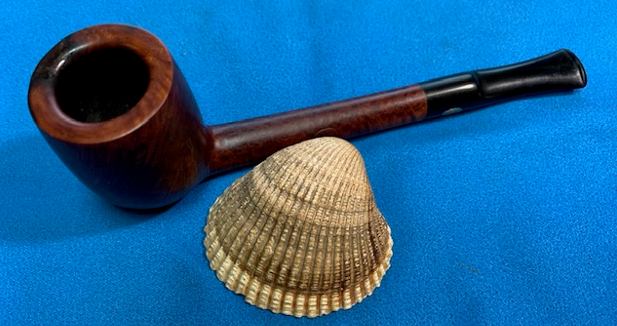
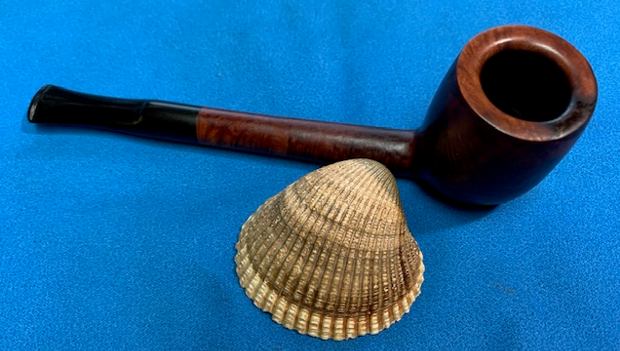
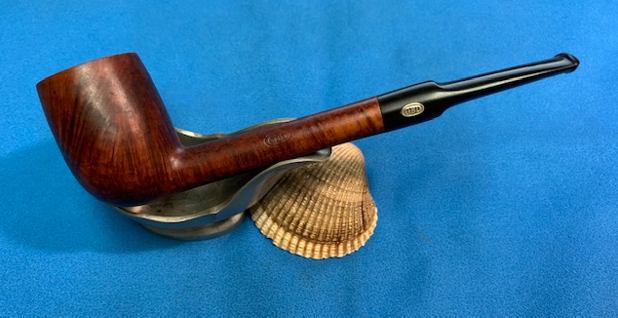
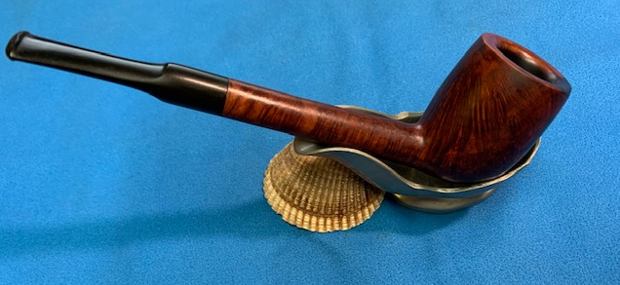
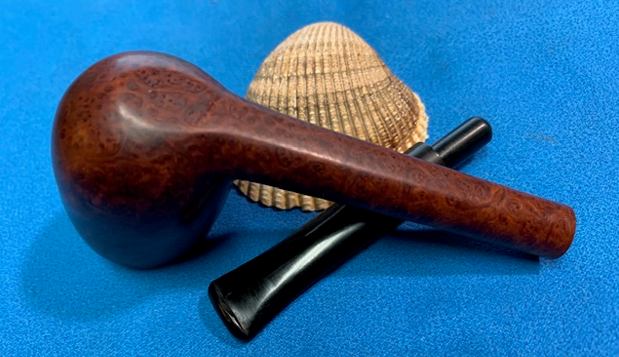
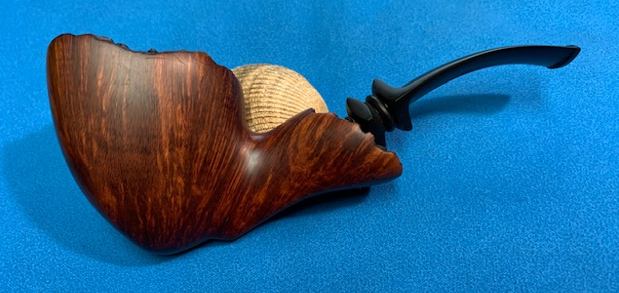
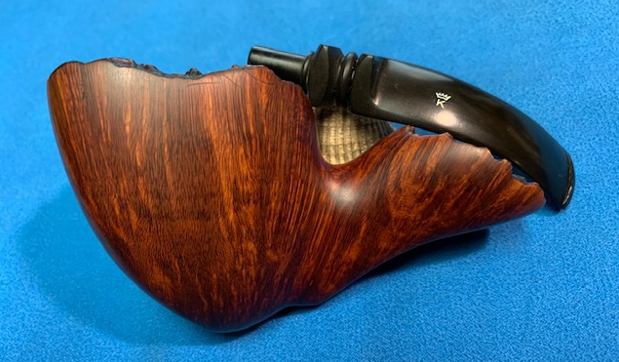
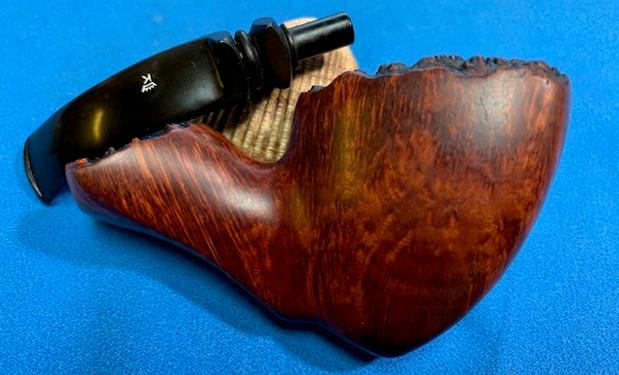
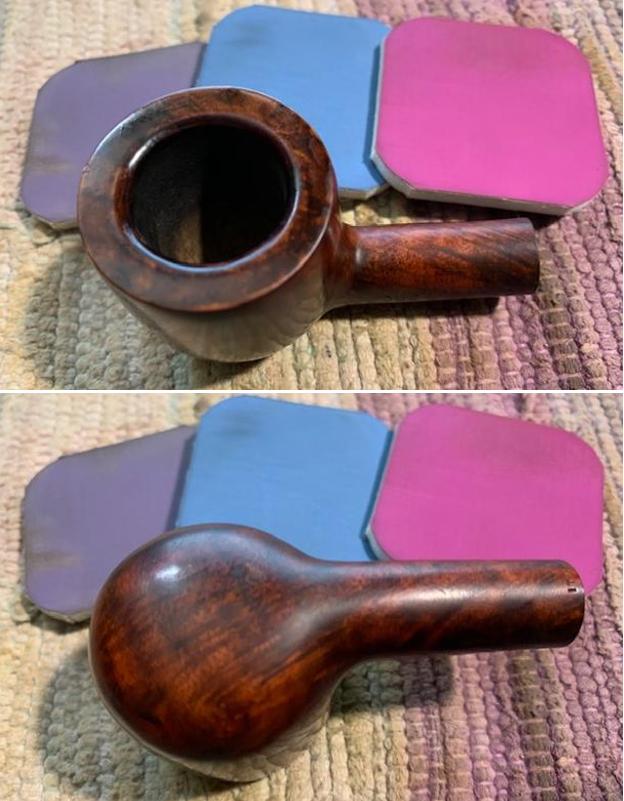
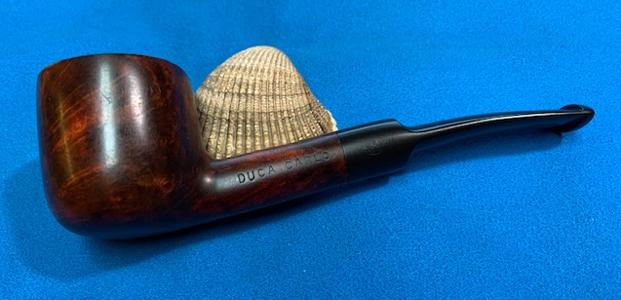
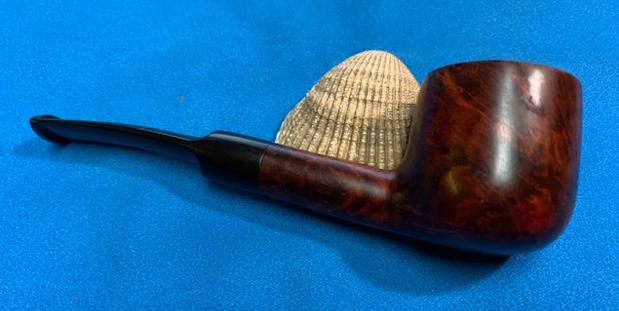
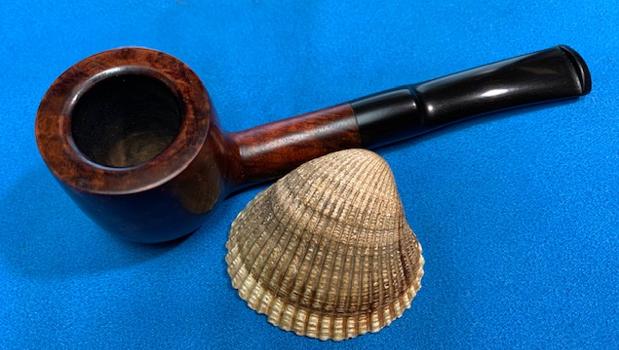
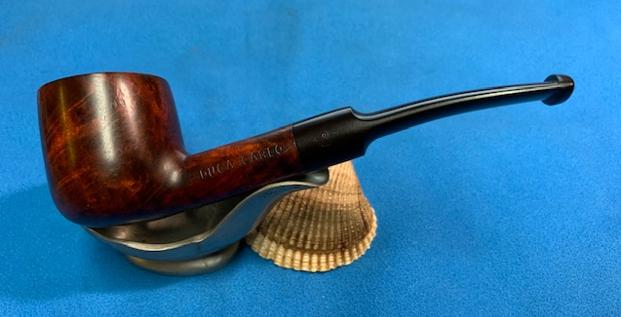
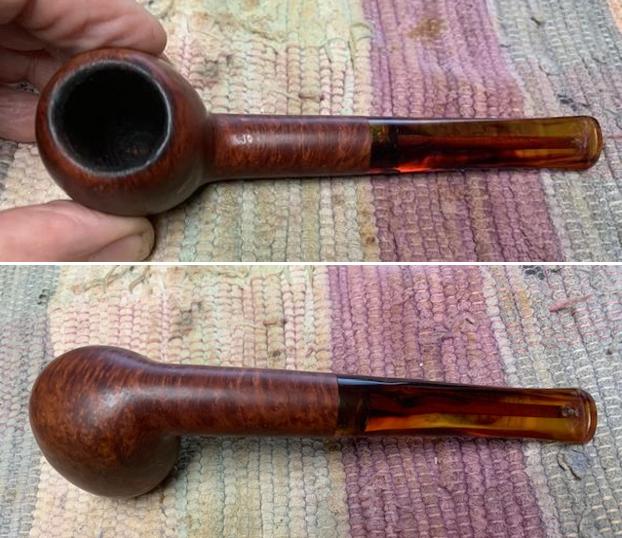
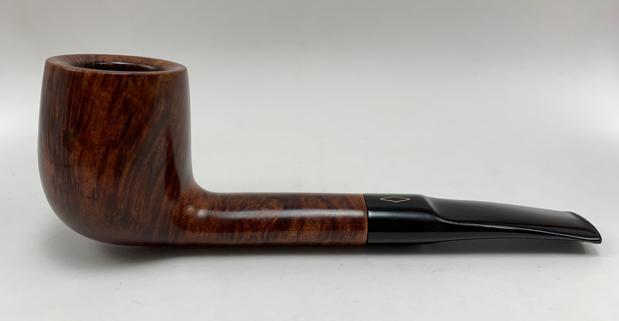
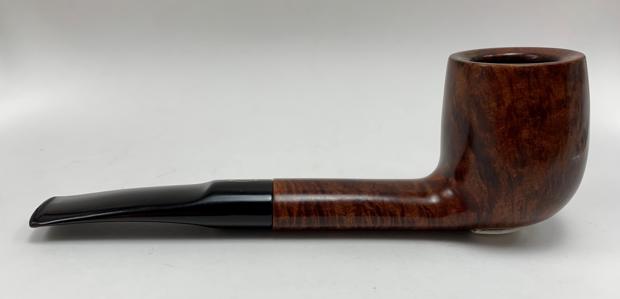
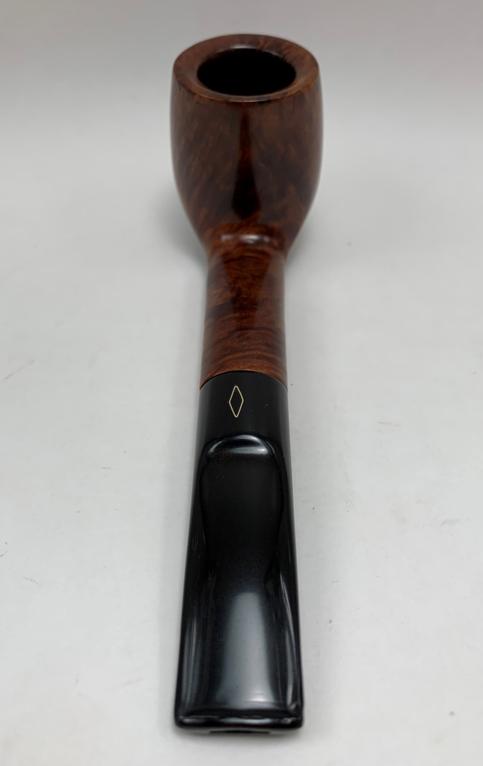
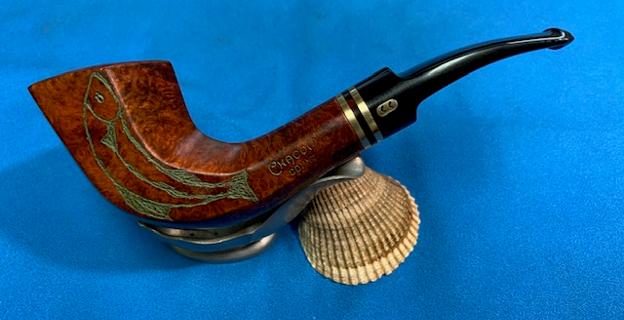
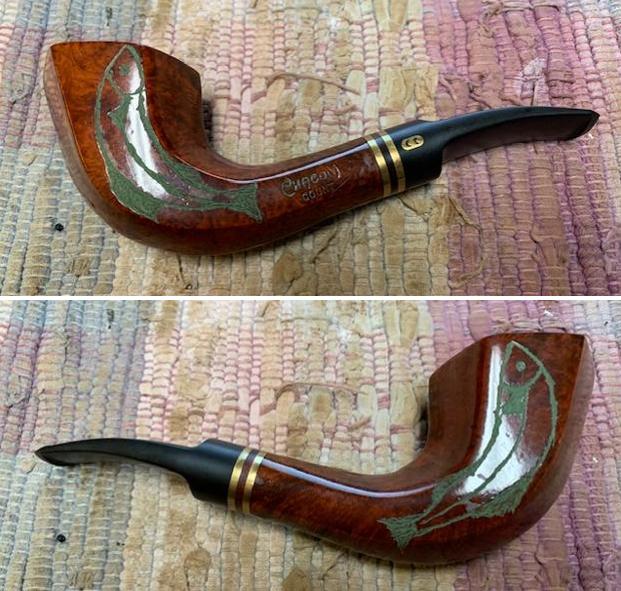
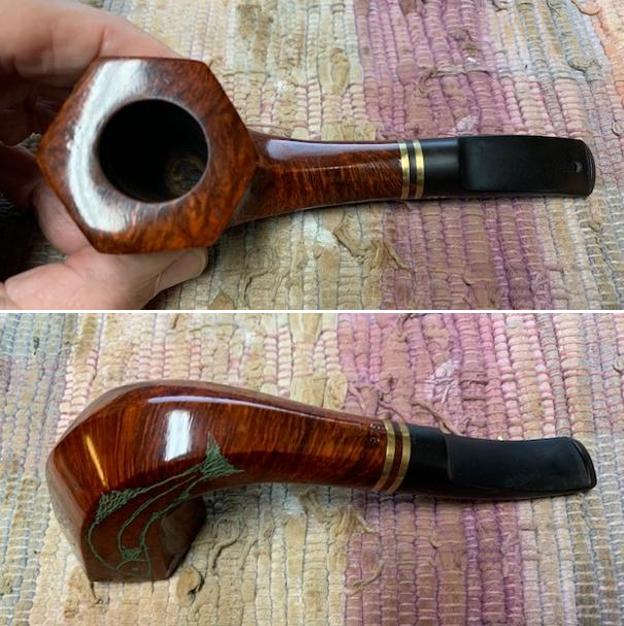
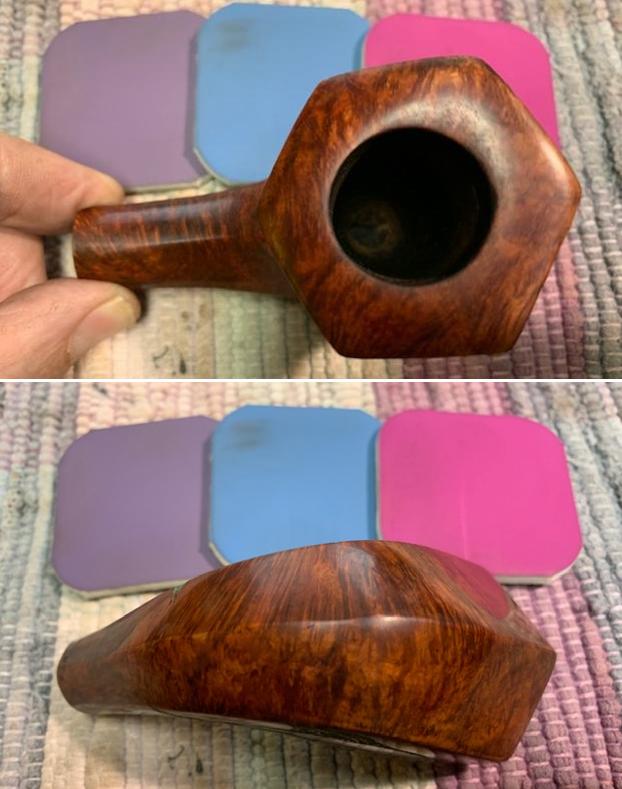
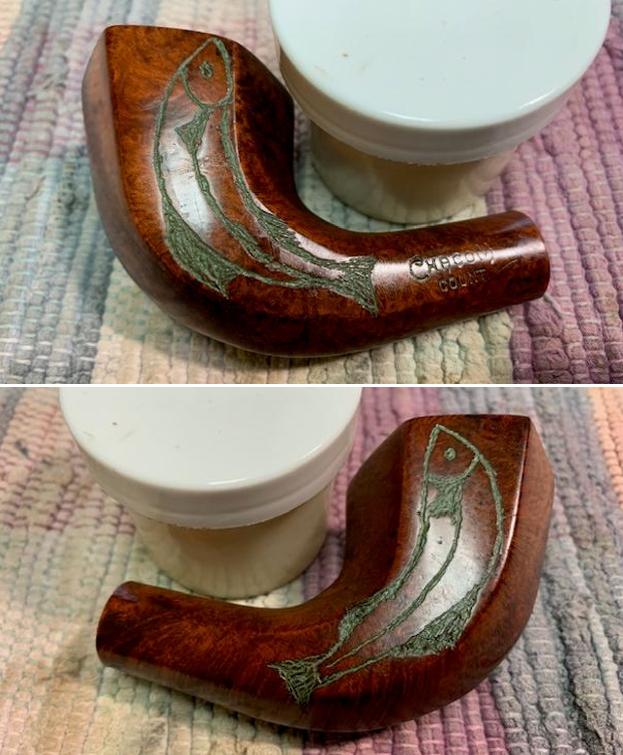
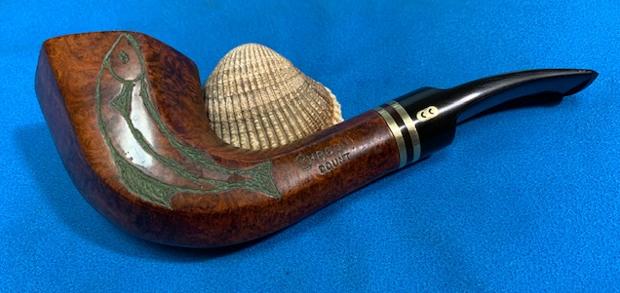
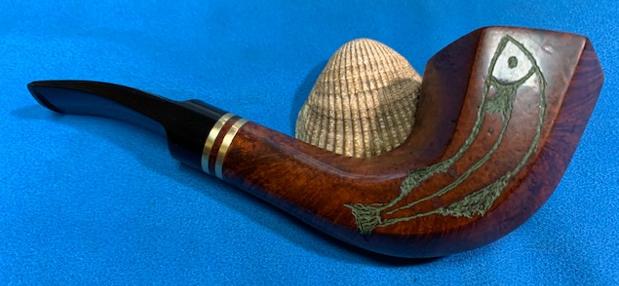
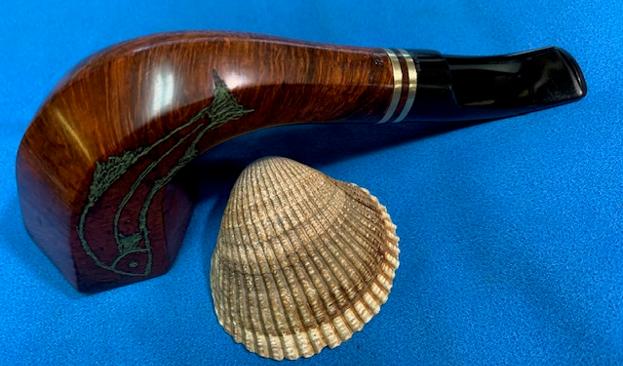
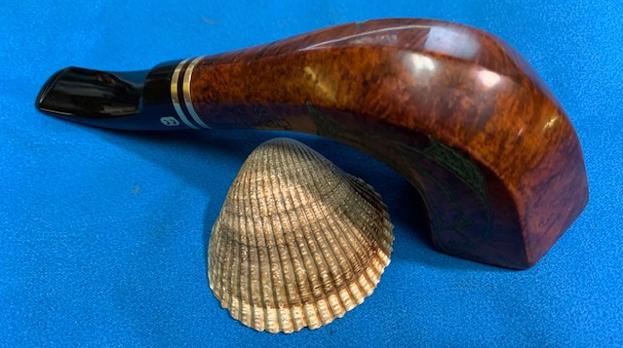
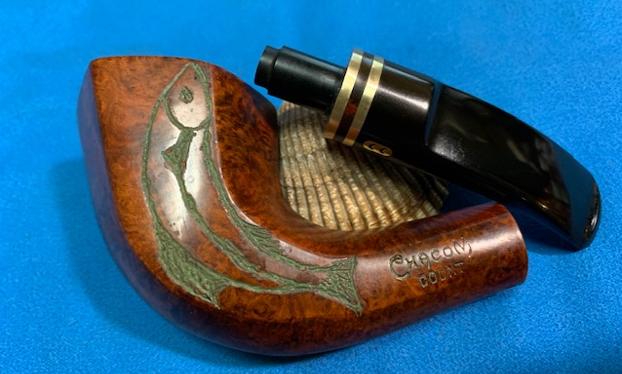
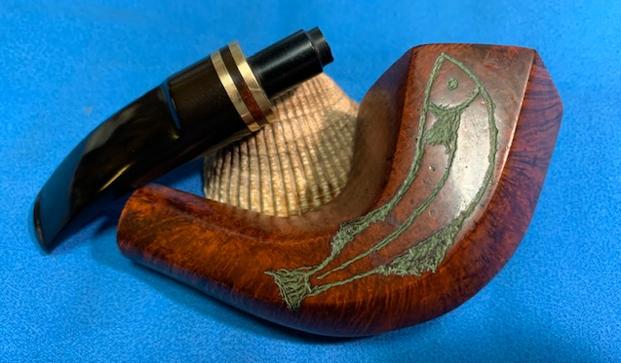
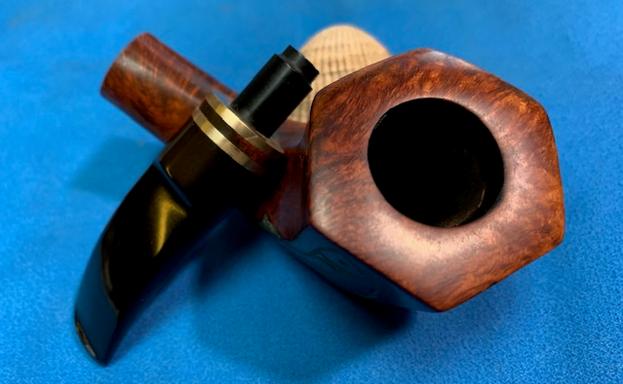
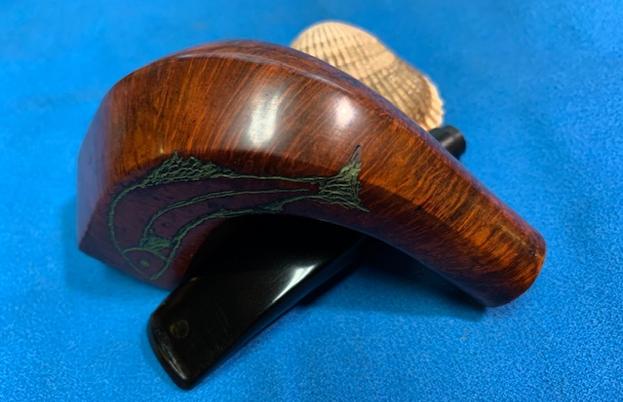
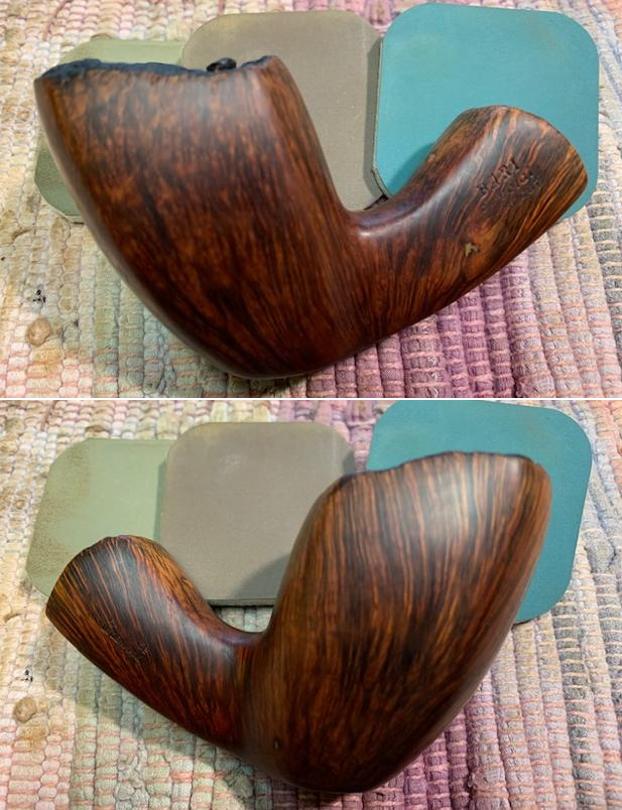
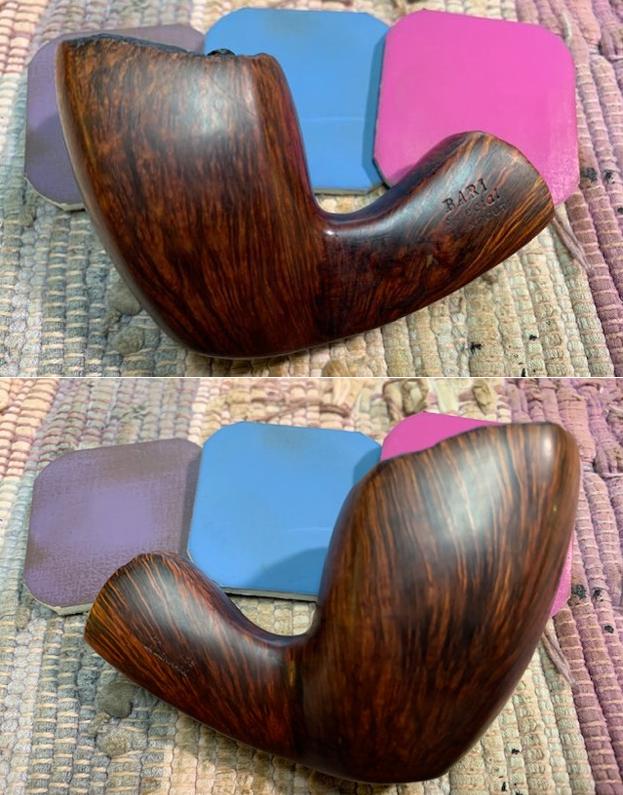
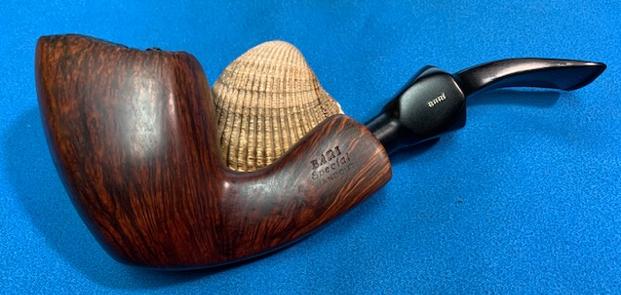
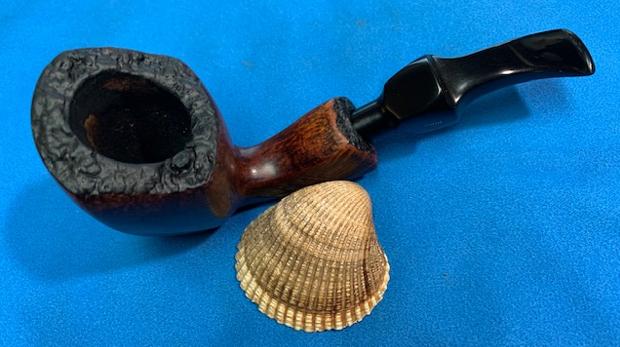
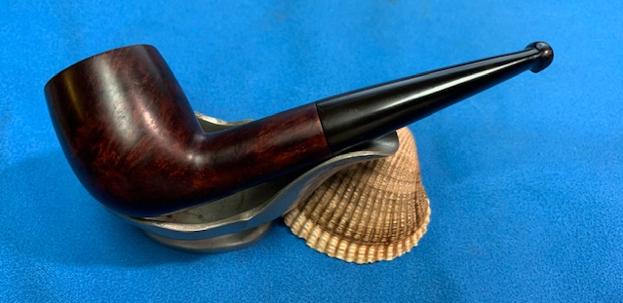
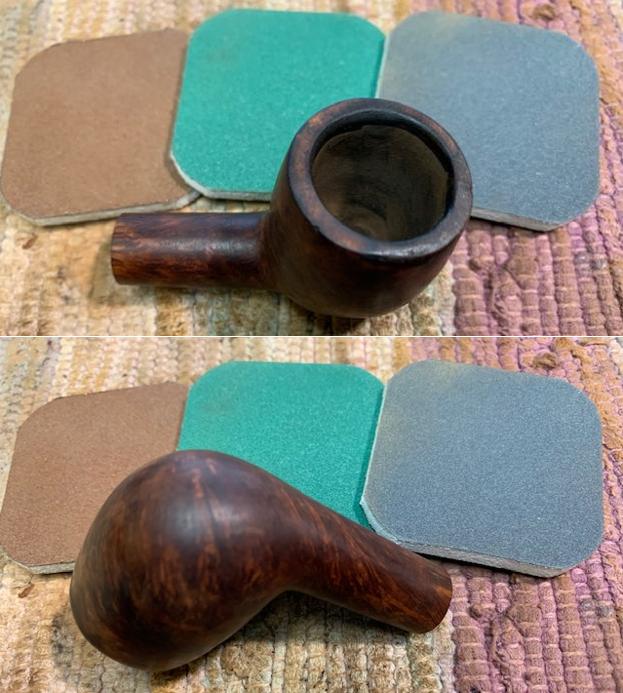
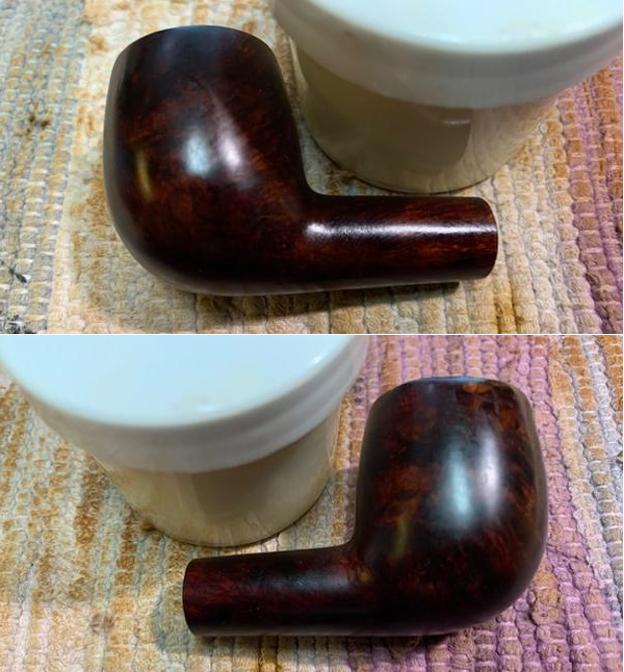
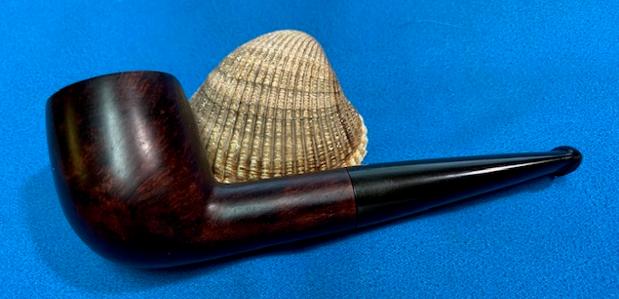
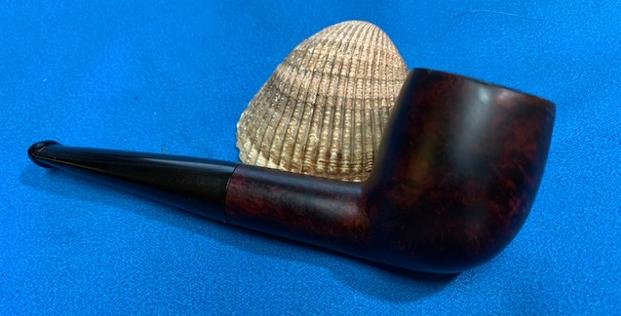
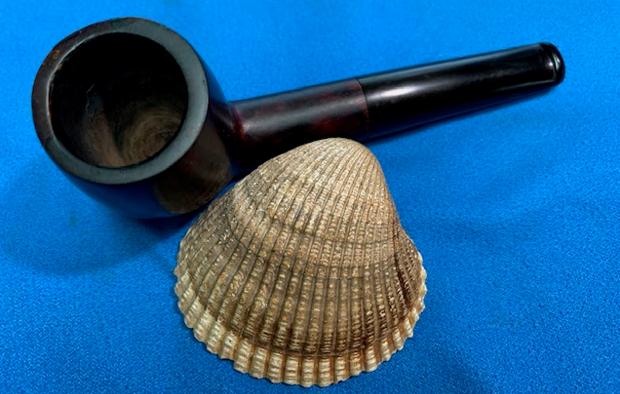
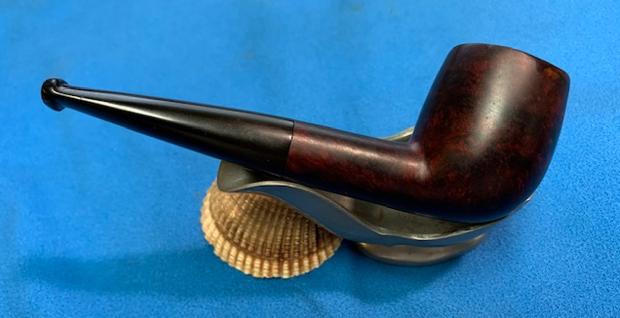
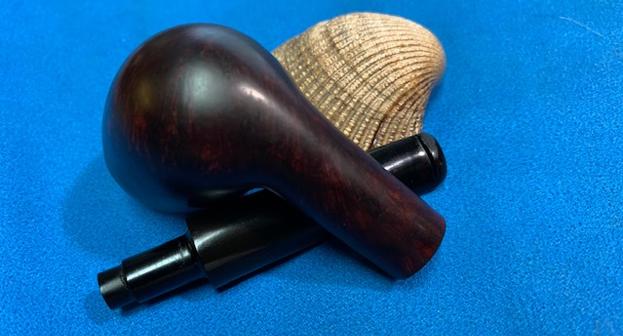
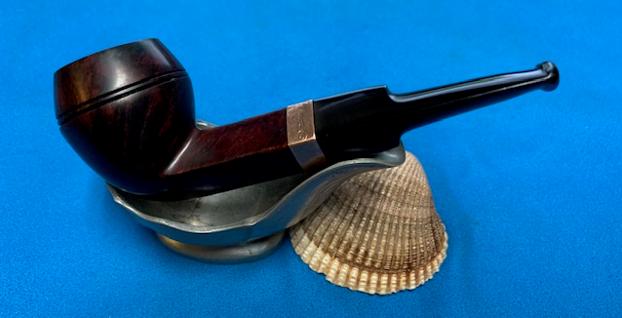
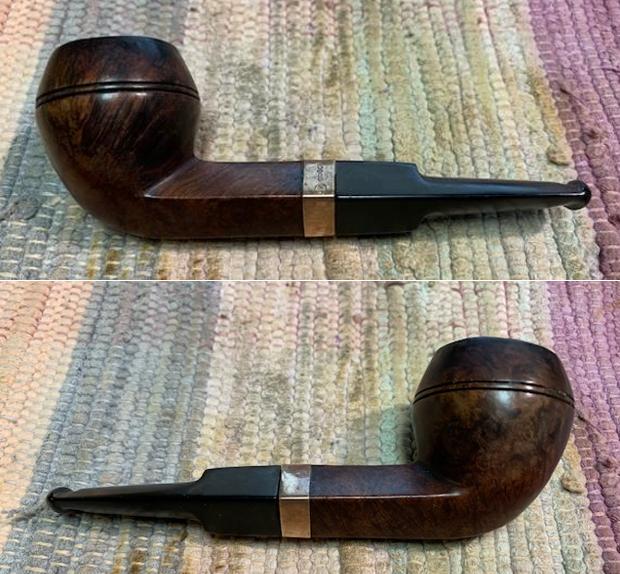
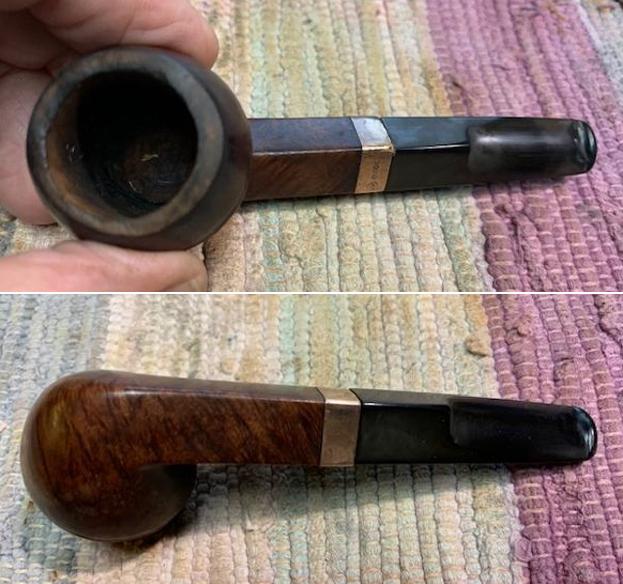
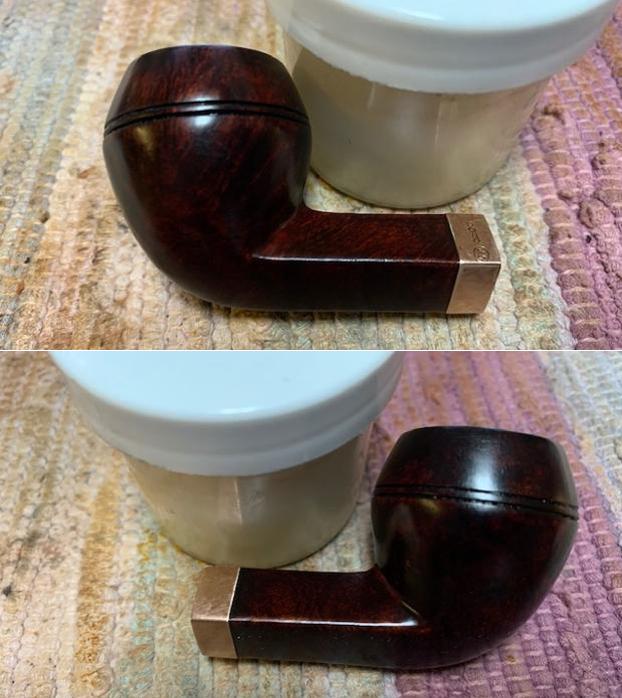
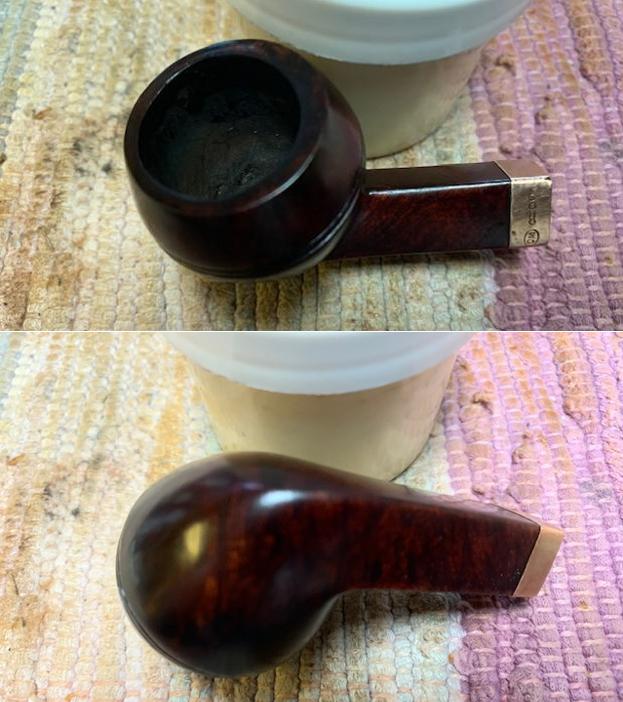
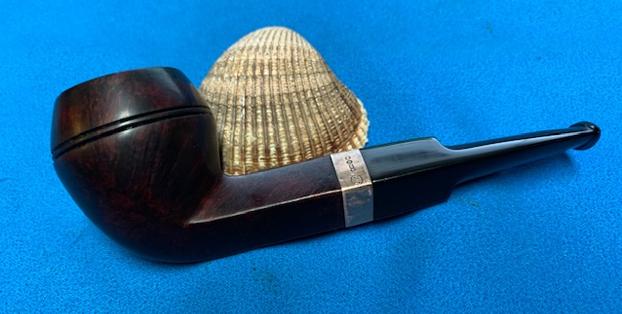
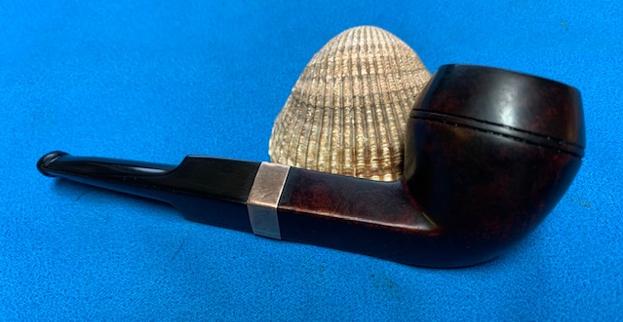
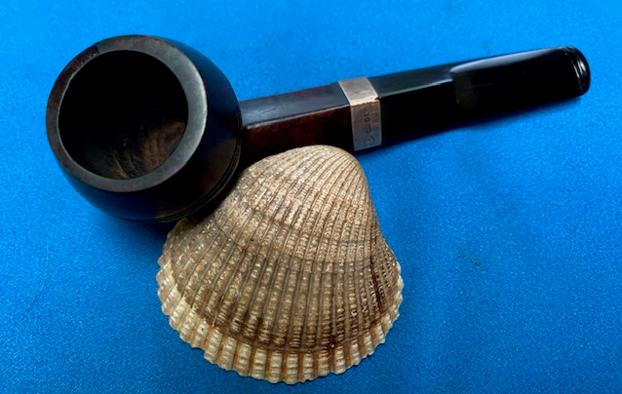
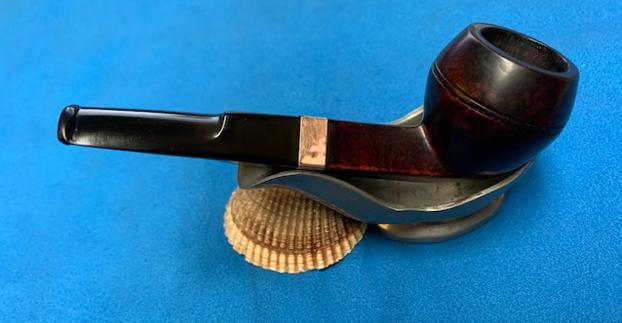
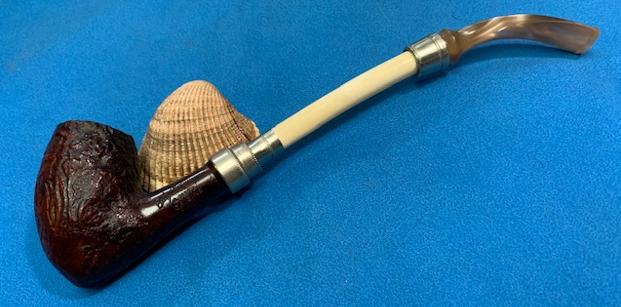
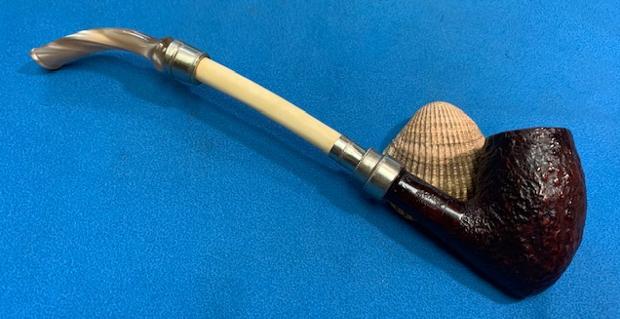
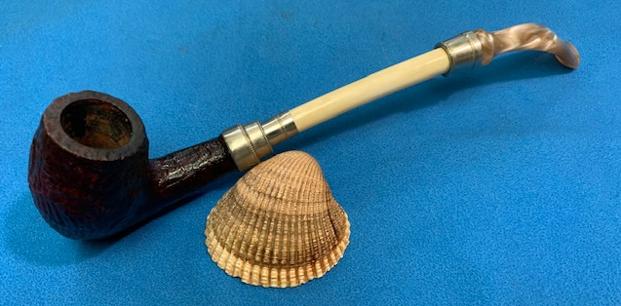
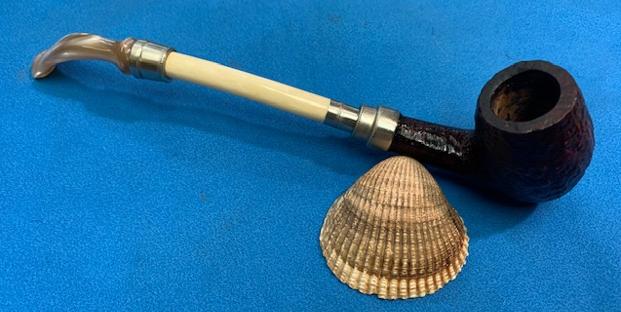
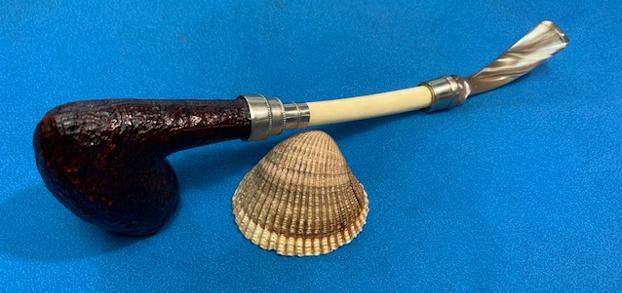
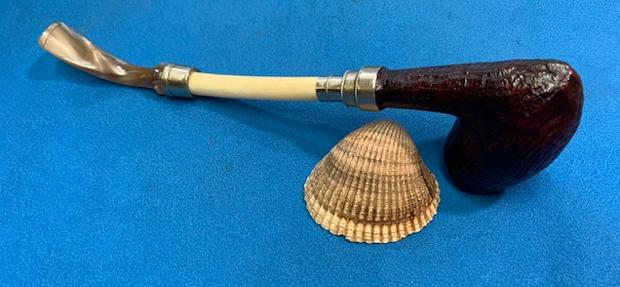
 This French Made GBD Speciale Standard 9465 Liverpool is a great looking pipe now that it has been restored. The rich contrasting brown stained finish around the bowl is quite beautiful and highlights the a finish that works well with the polished vulcanite stem. I put the stem back on the bowl and carefully buffed the pipe with Blue Diamond on the buffing wheel using a light touch on the briar. I gave the bowl and the stem multiple coats of Conservator’s Wax and buffed the entire pipe with a clean buffing pad. I hand buffed the pipe with a microfiber cloth to deepen the shine. The finished GBD Speciale Standard Liverpool sits nicely on the desk top and in the hand. Give the finished pipe a look in the photos below. The dimensions of the pipe are Length: 6 inches, Height: 1 ¾ of an inch, Outside diameter of the bowl: 1 ¼ inch, Chamber diameter: ¾ of an inch. The weight of the pipe is 35 grams/1.23 ounces. I will be putting it on the French Pipe Maker section of the rebornpipes store shortly. If you are interested in adding this pipe to your collection send me a message or an email. Thanks for reading this blog and my reflections on the pipe while I worked on it. There are many more to come!