Guest Blog by Robert M. Boughton
Member, North American Society of Pipe Collectors
http://www.naspc.org
http://www.roadrunnerpipes.com
http://about.me/boughtonrobert
Photos © the Author
“Smoke your pipe and be silent; there’s only wind and smoke in the world.” – Irish Proverb
INTRODUCTION
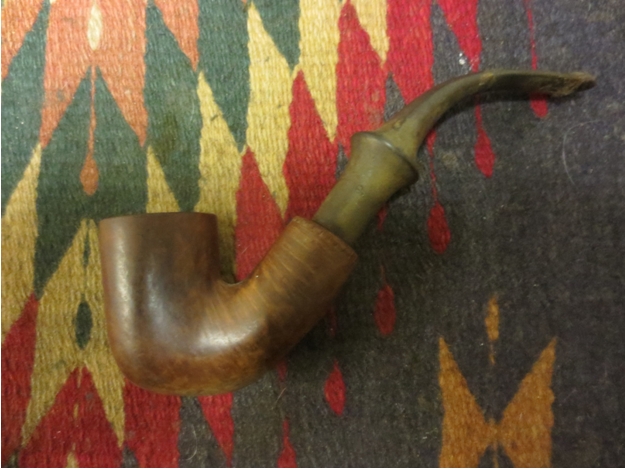
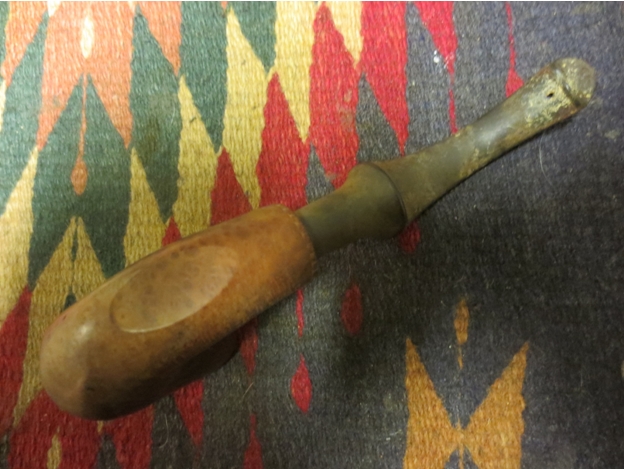
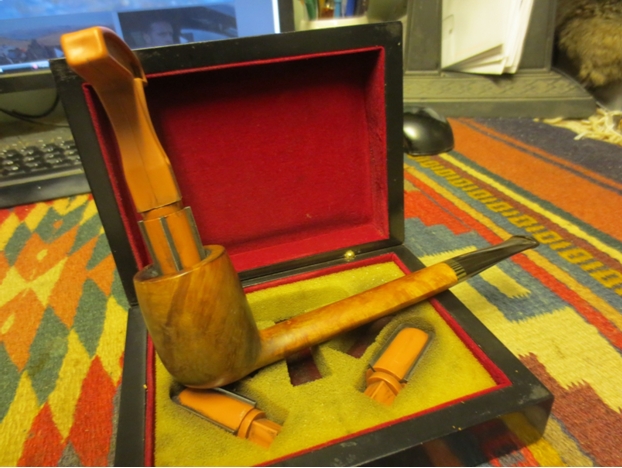
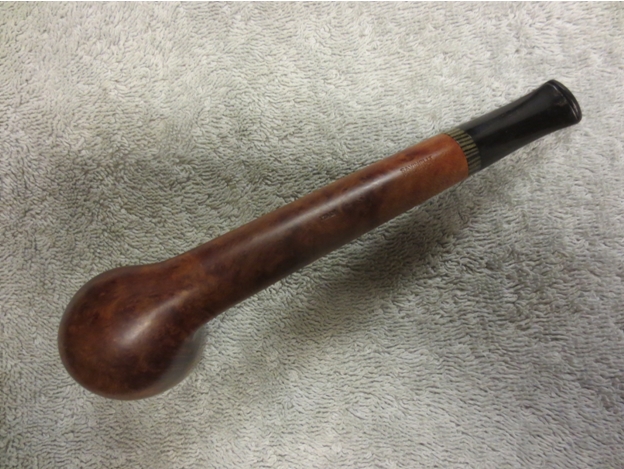
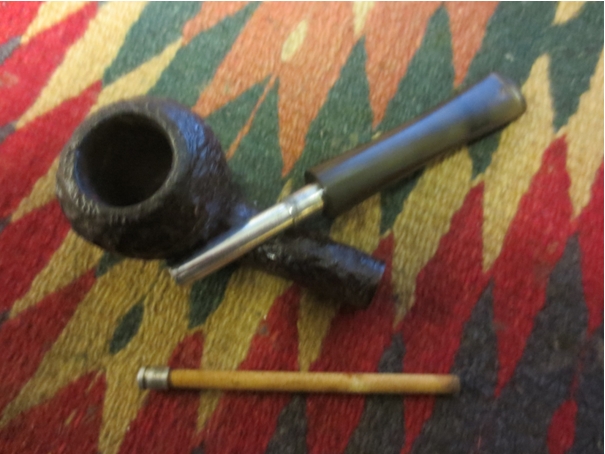
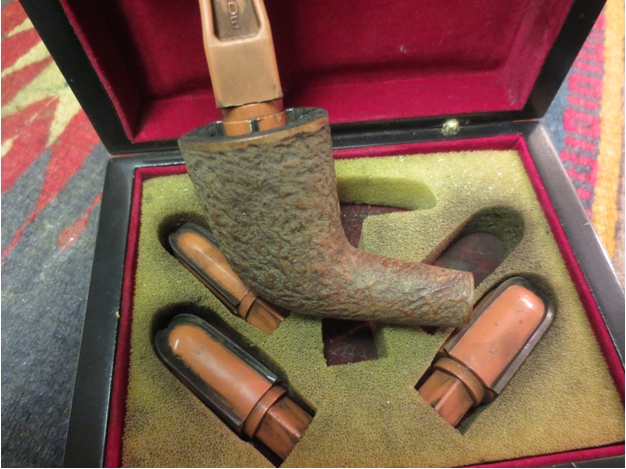
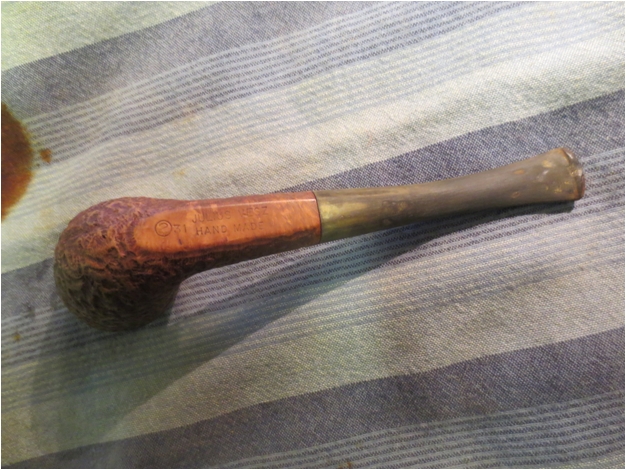
Many of the pipe lots I purchased during the past few months were to spruce up and sell at my online restored pipe site, although I admit to liberating a few of the choicer finds here and there for my own collection. However,this fine example of a vintage classic Peterson and a number of other brands I bought as singles in more recent weeks were intended with lust a forethought for my own ultimate and lifelong use. As far as the Pete I just received is concerned, my decision to keep it was not based on the Peterson brand name, 22 of which I already owned.
In fact, I expected to add one of the Pete’s I ordered near the end of November to the trove, which seems to increase at an exponential rate and counts 23 now of this brand alone.I chose instead to list the fine pipe for sale for disparate reasons even I find difficult to explain. My penchant for anything Peterson is so well known that my announcement on the Smokers Forums of my plan to sell the K&P System Standard brought a humorous reply: “I thought you’d never say ‘Enough Petersons.’ ”
My decision to sell the basic K&P System Standard full bent which, when I at last held it in my hands, was similar to some I already have, was based in part on that factor but, more to the point, it somehow lacked the certain element of instant overwhelming attraction which is too complicated to describe in this forum, and besides, I am sure anyone who reads this already knows the butterfly effect all too well. I am also adding higher-end pipes to my site and concluded a shiny new-looking Peterson would provide a nice incentive to someone out there in Cyberland who possess the essential sense of captivation to give it the loving home it deserves and not enjoy it once or twice only to put it in the rack and almost never again give it a serious thought.
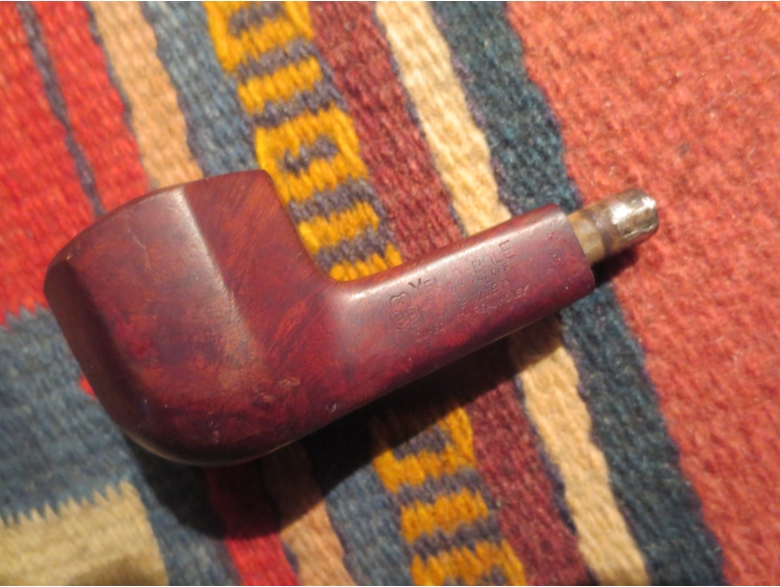
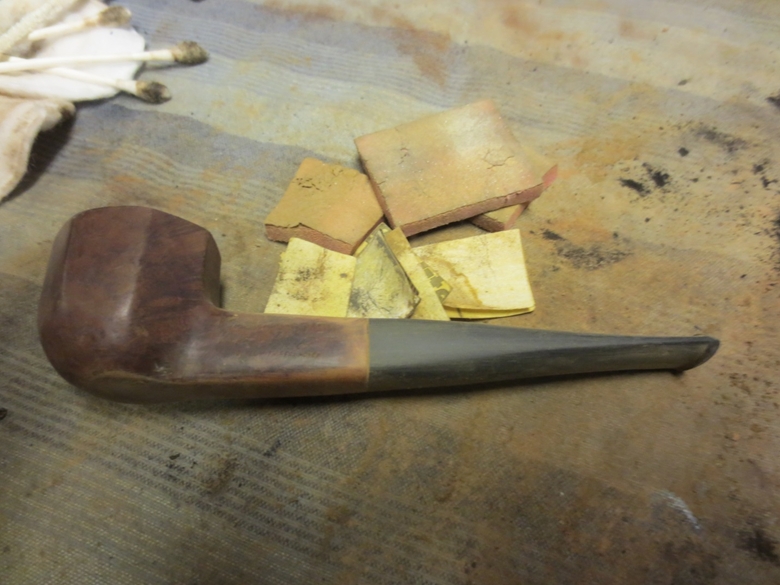
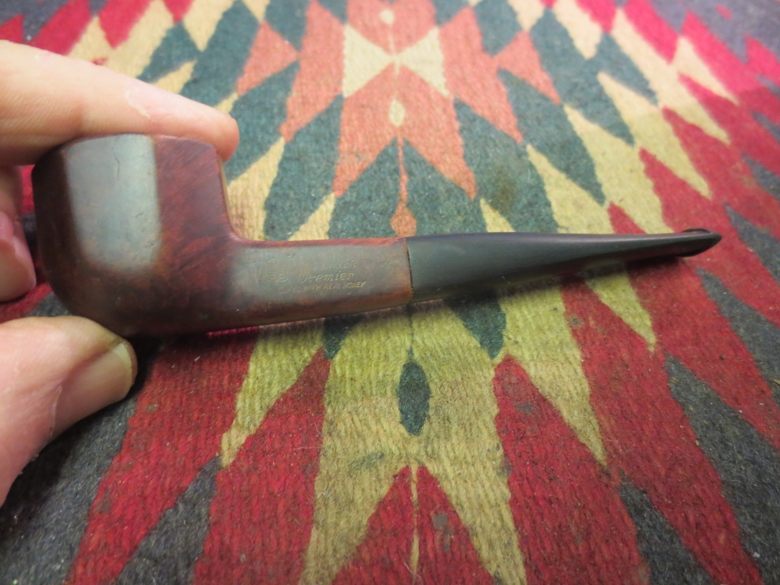
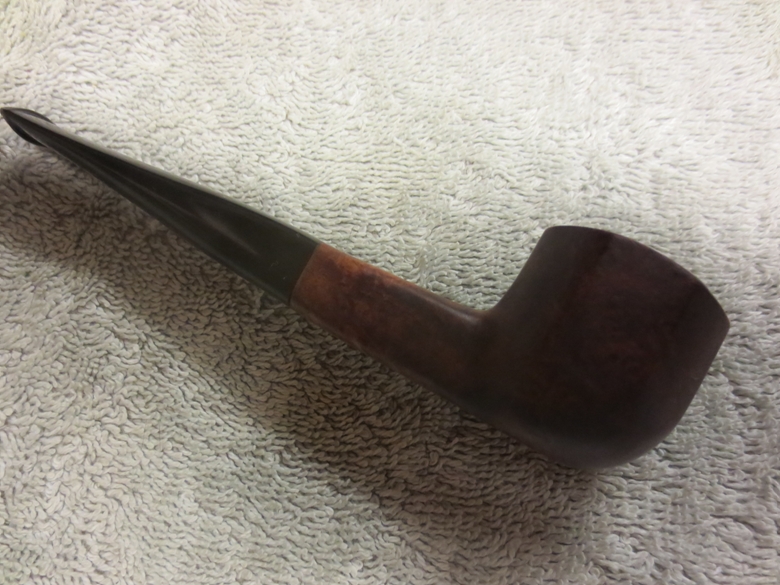
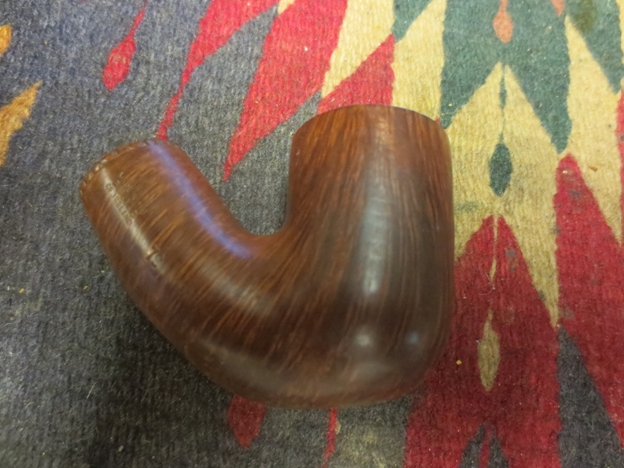
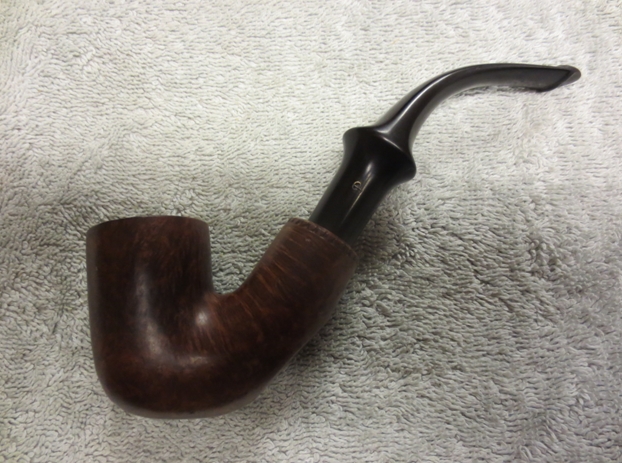
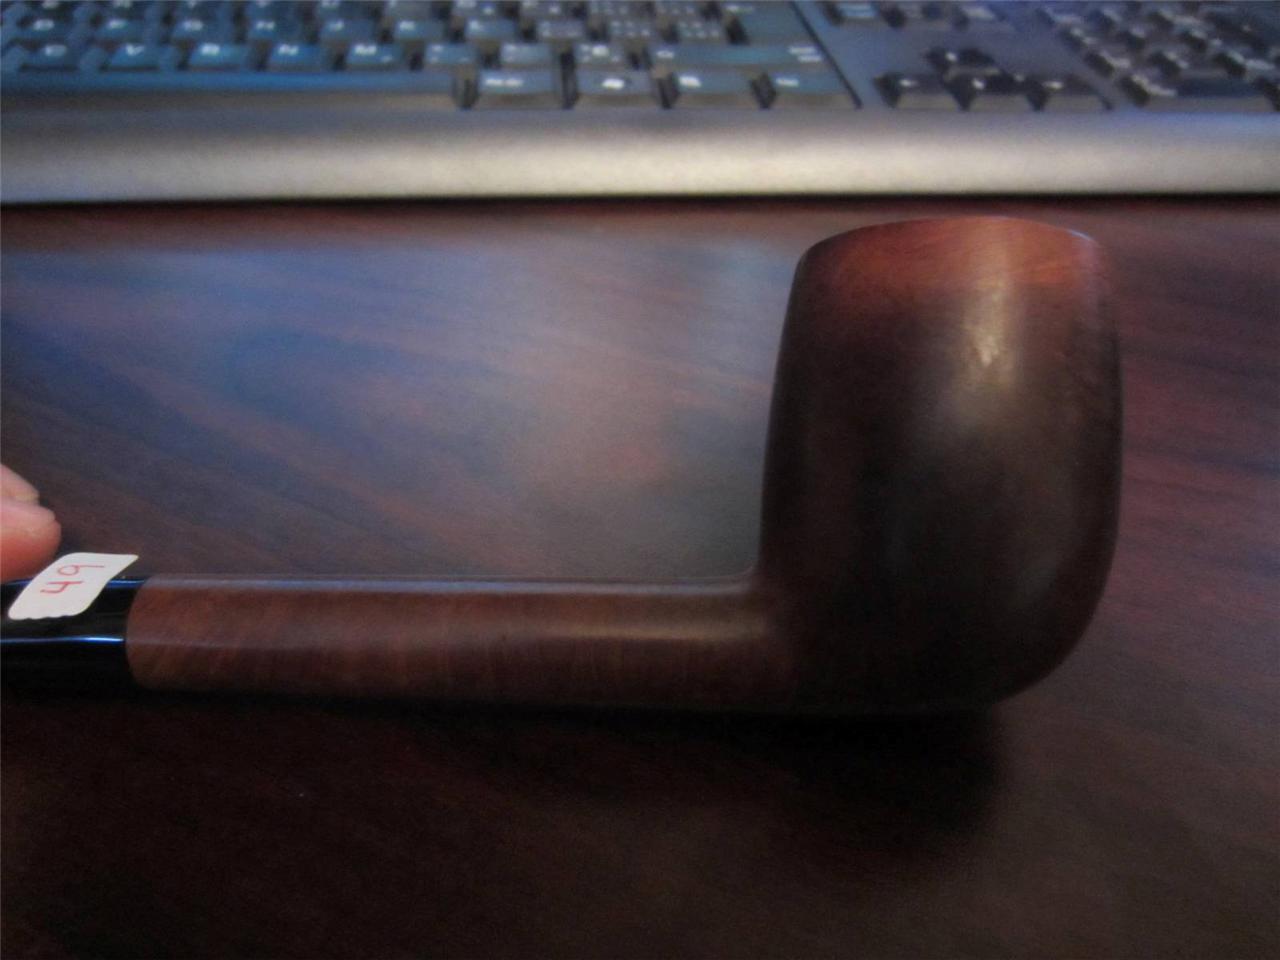
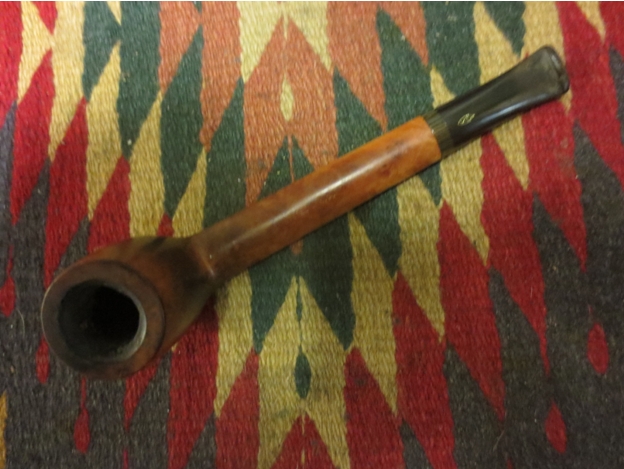
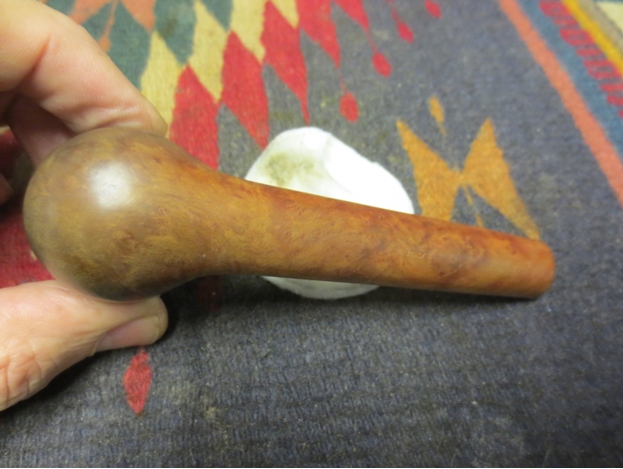
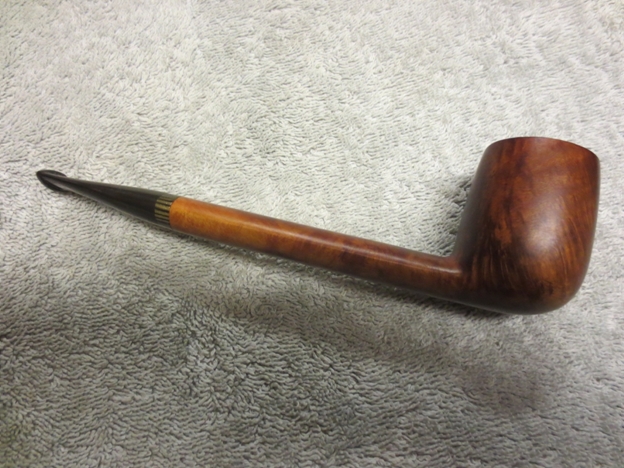
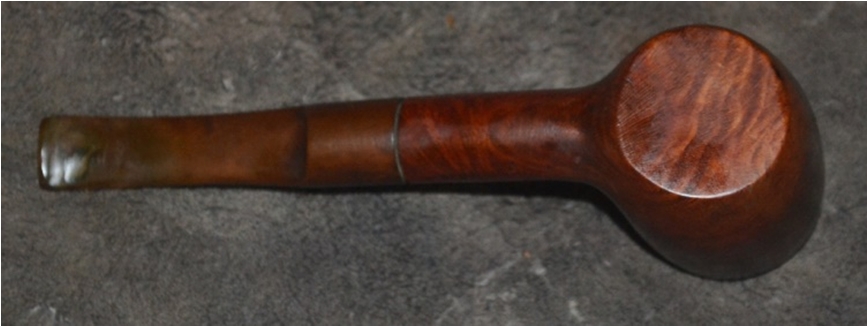
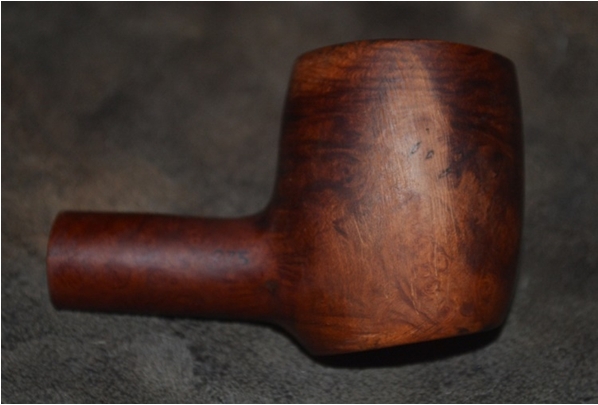
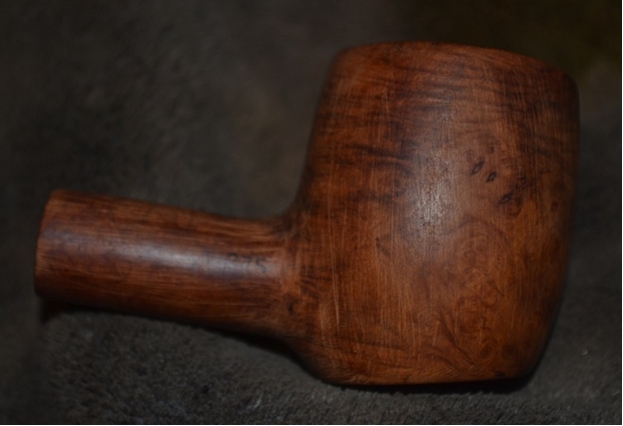
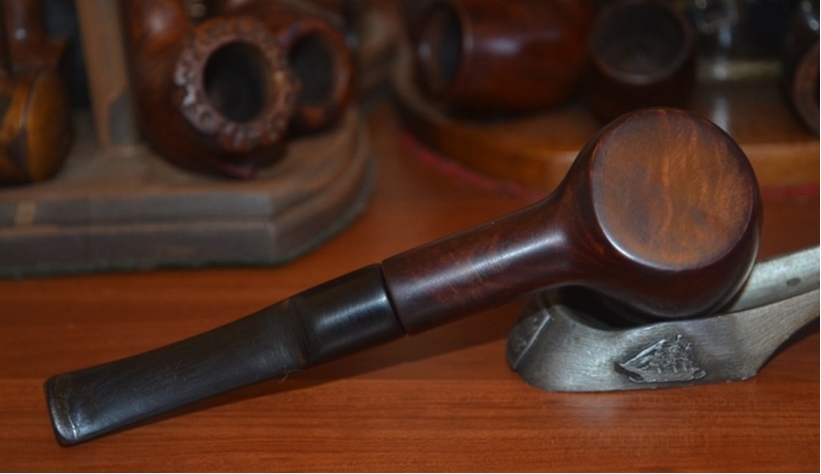
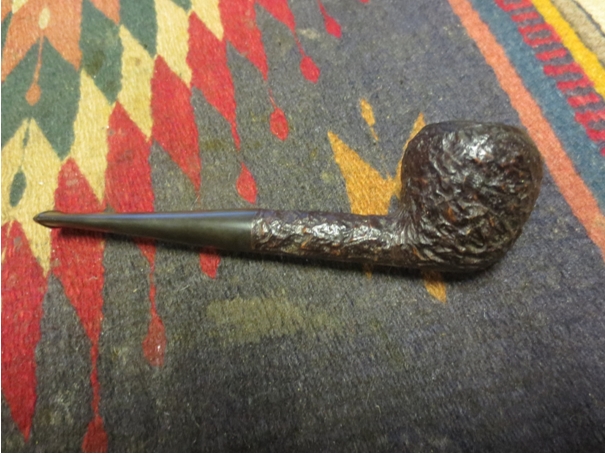
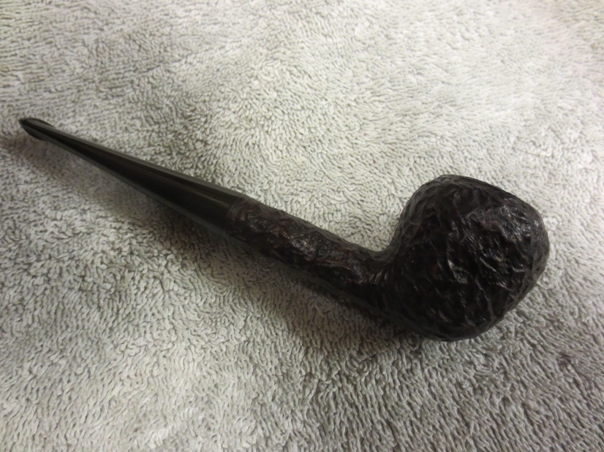
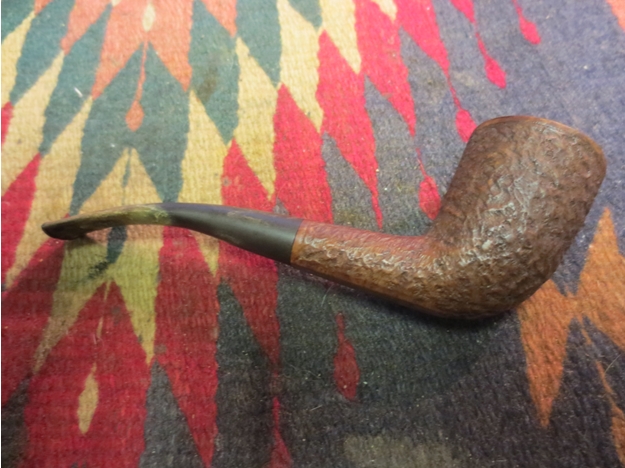
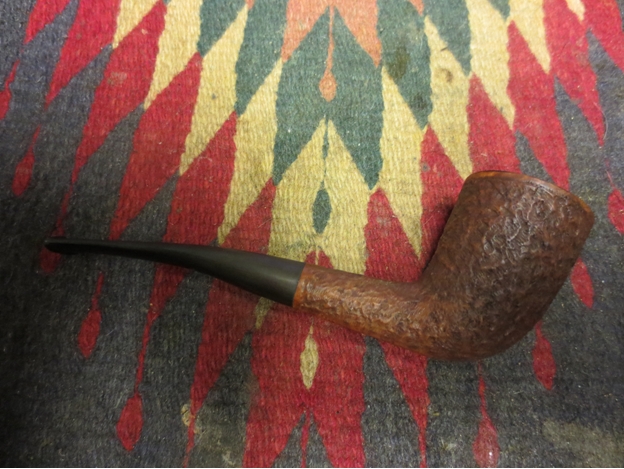
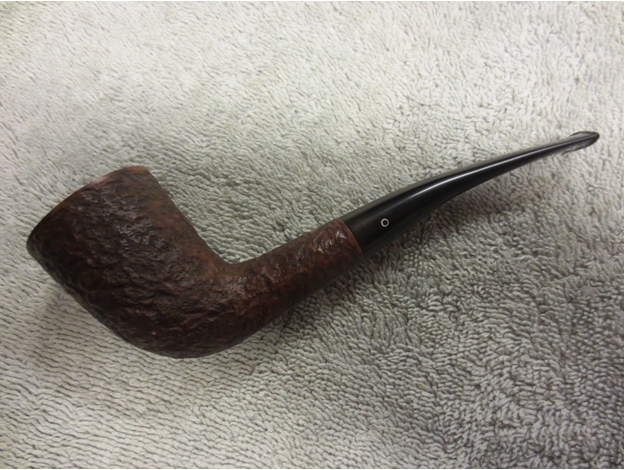
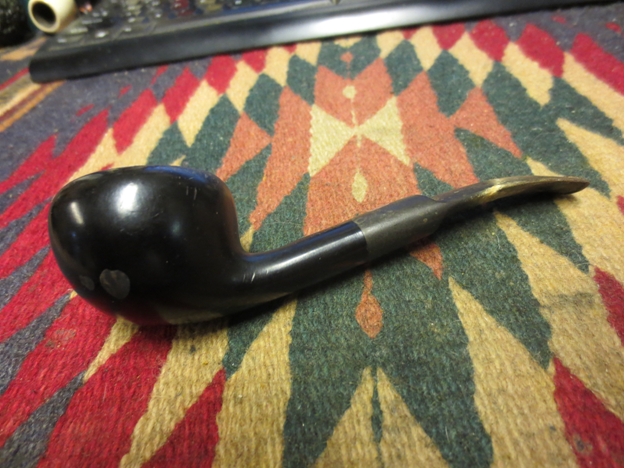
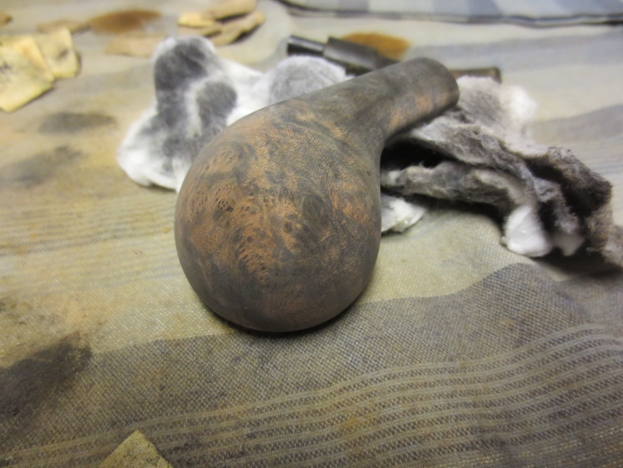
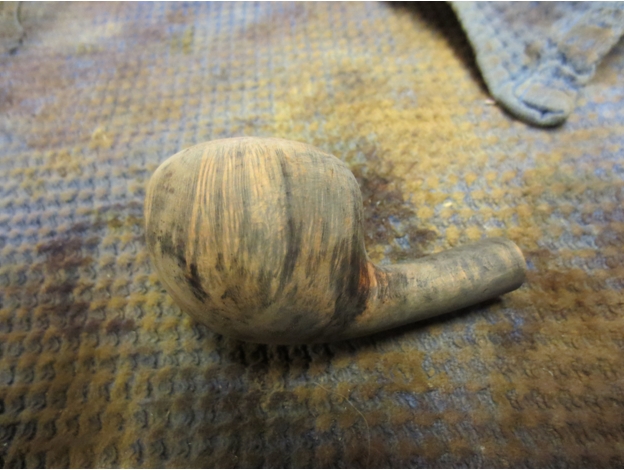
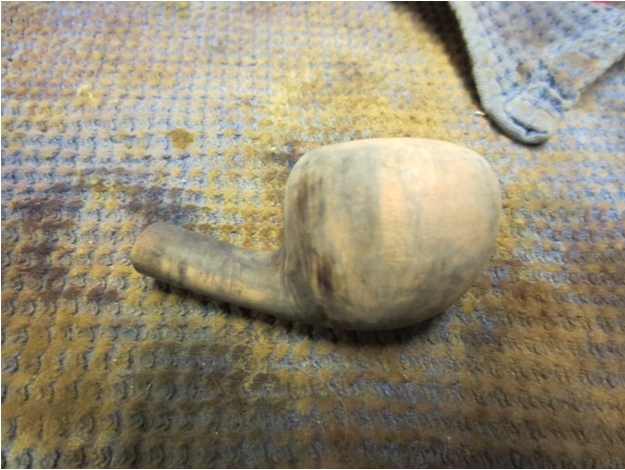
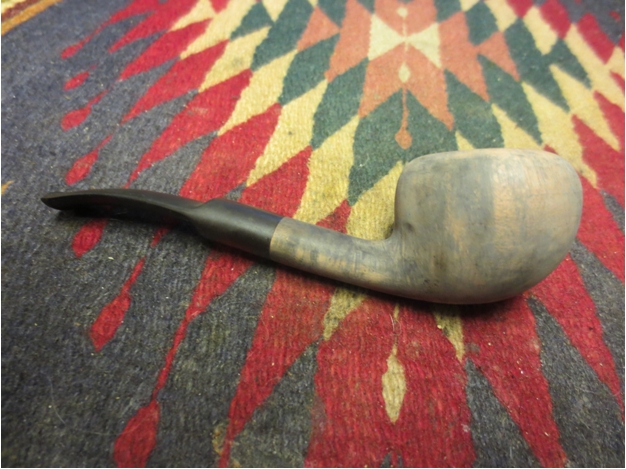
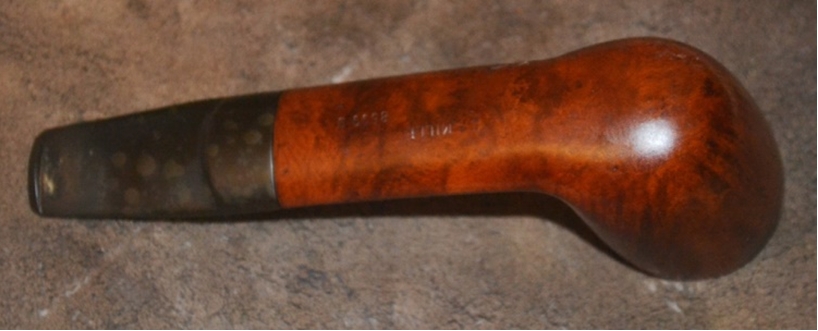
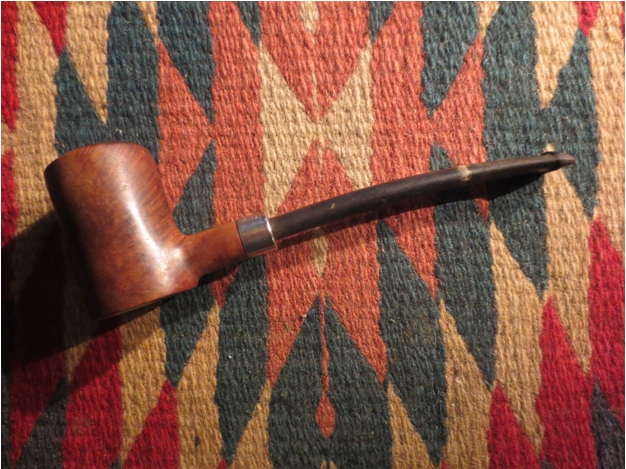
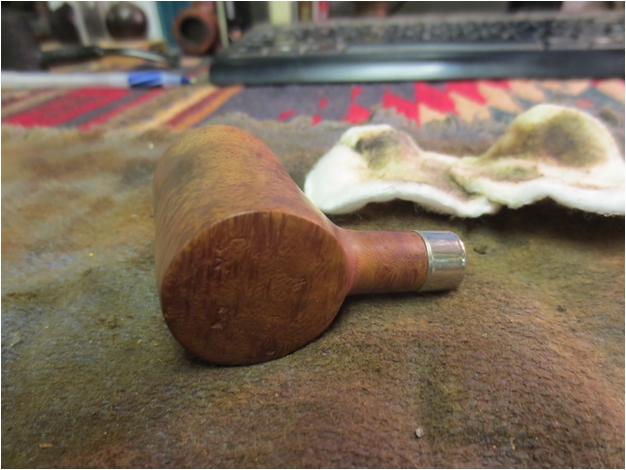
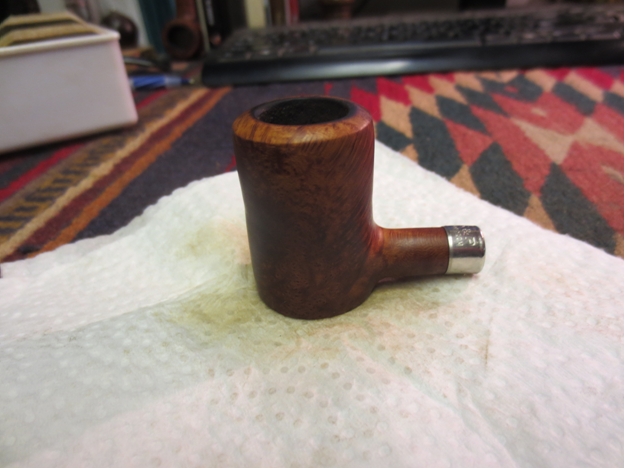
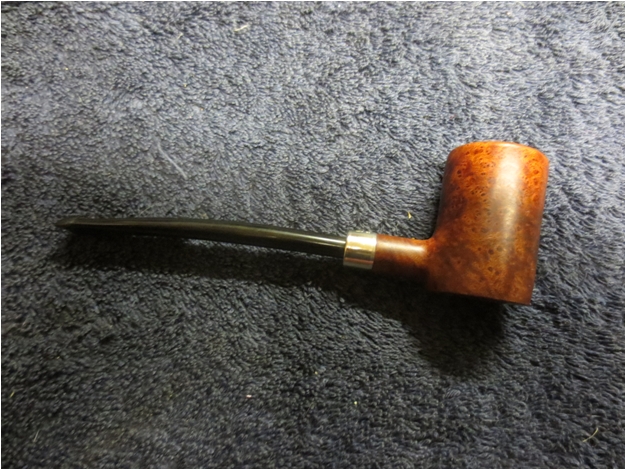
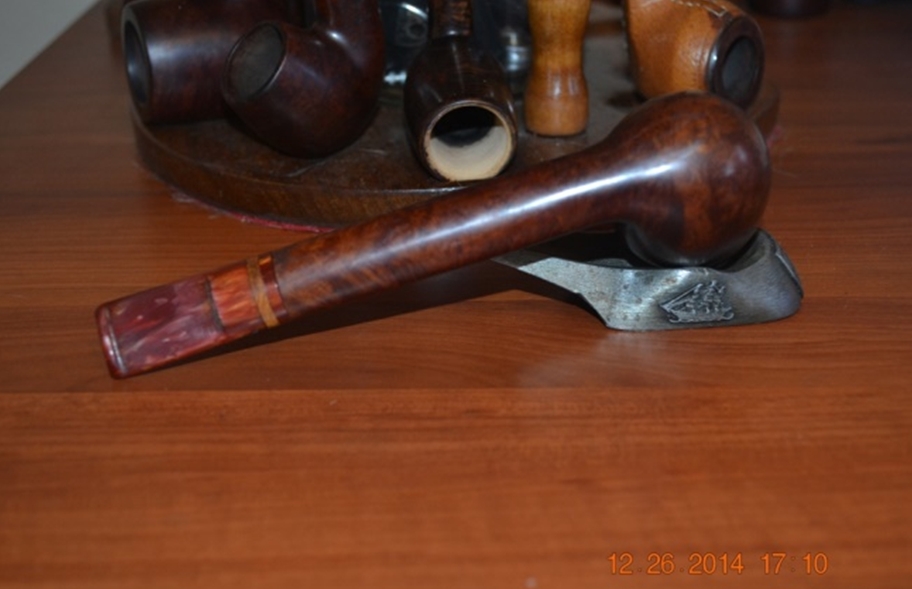
 And I should add how any potential rarity or value of the engaging pipe shown here pre-restored is irrelevant to my sentiments for it. No, I reserved the Peterson Dublin Republic Era straight billiard for my own caring use even despite its mixed grain because it, well, possesses the right stuff as defined by my personal sensibilities. Who knows? Maybe the System Standard full bent is an extraordinary find. I just don’t have eyes for every pipe that comes my way as I do for the subject of this blog.
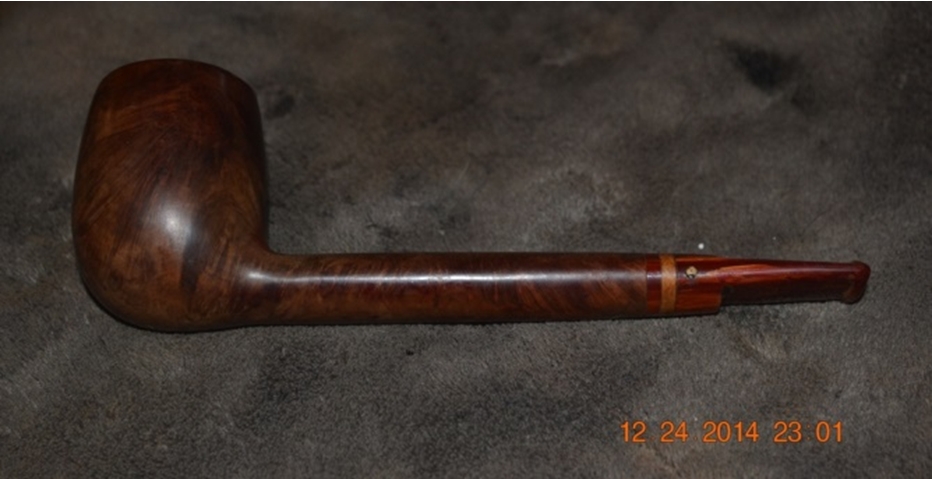
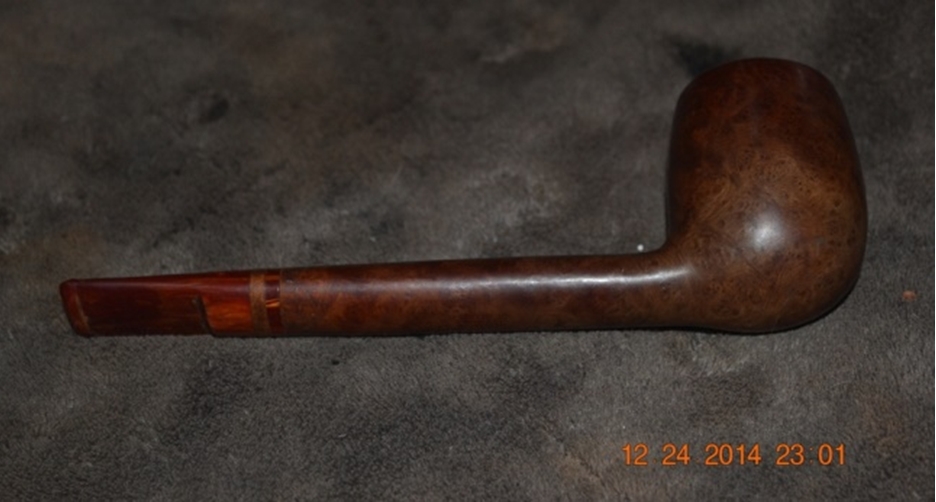
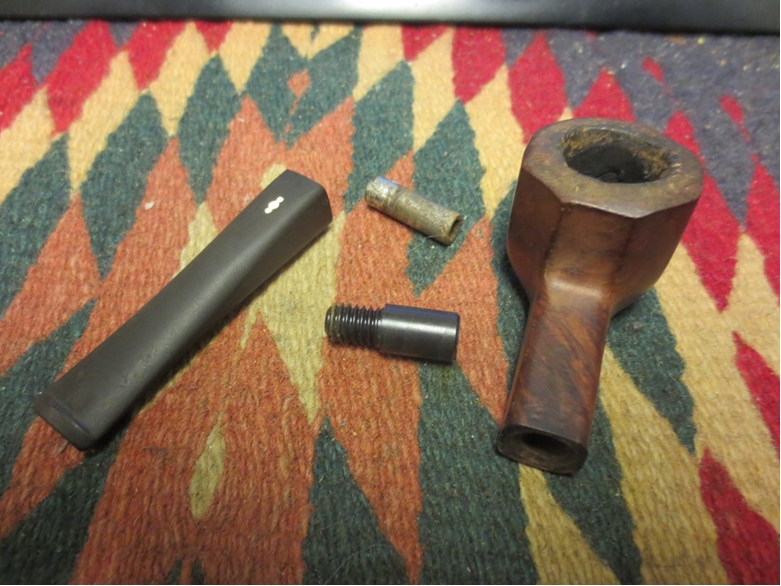
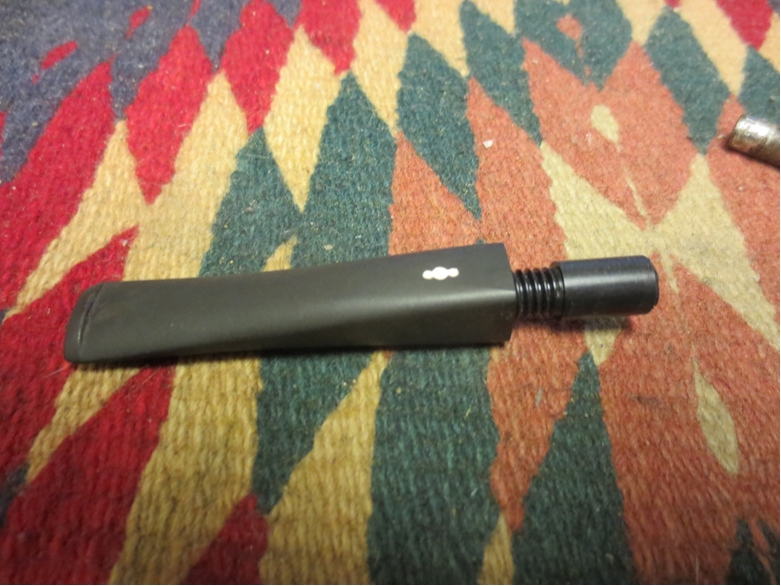
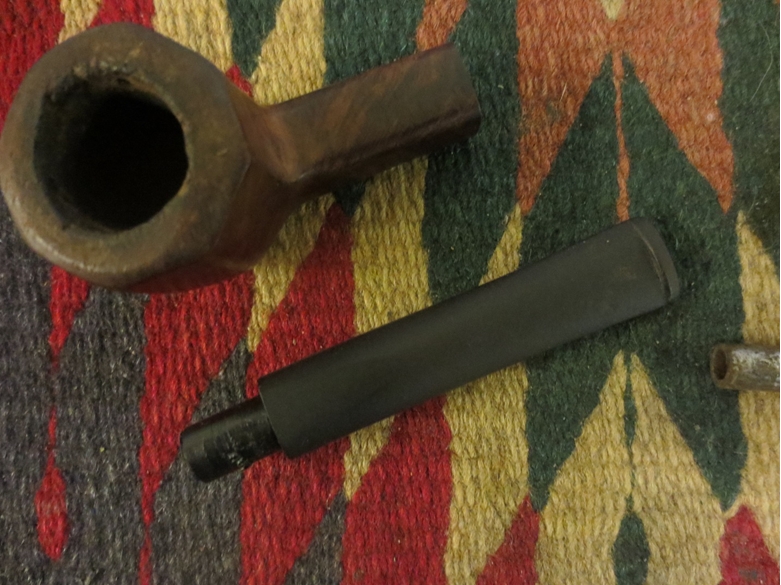
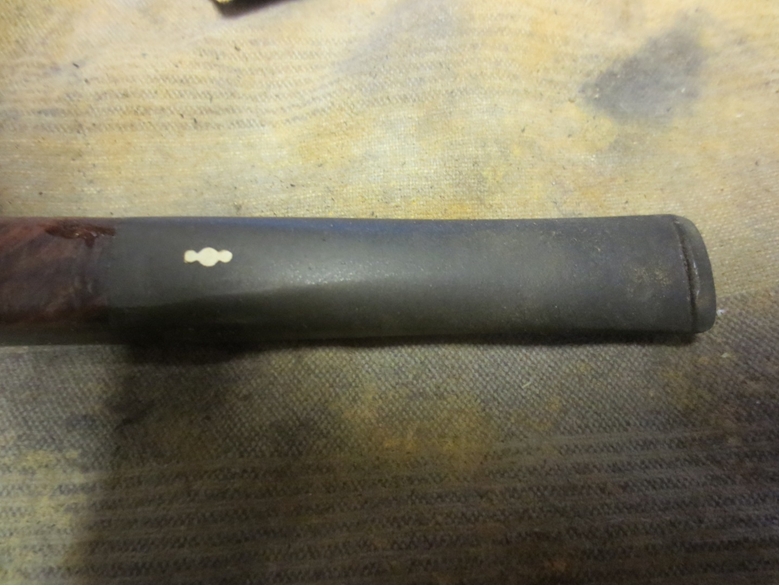
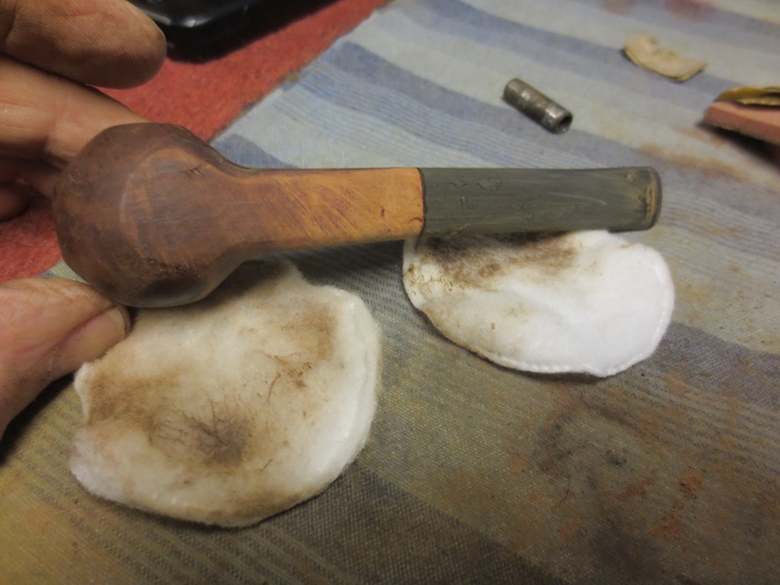
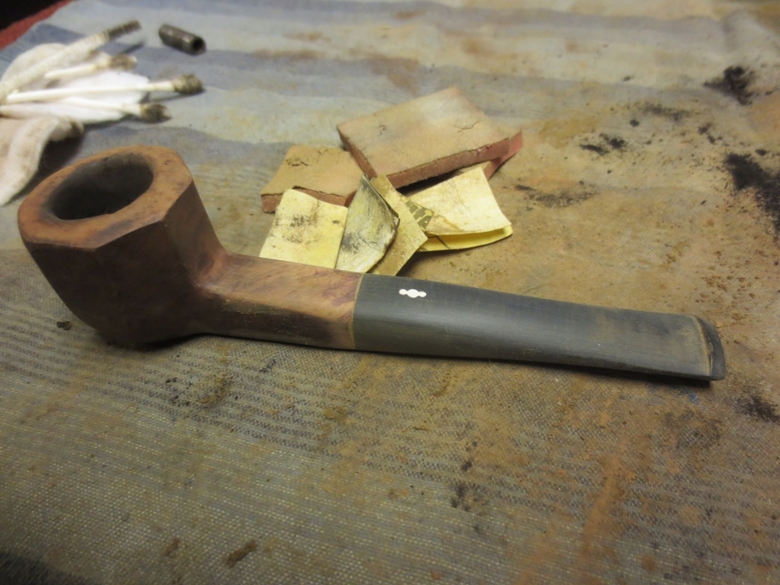
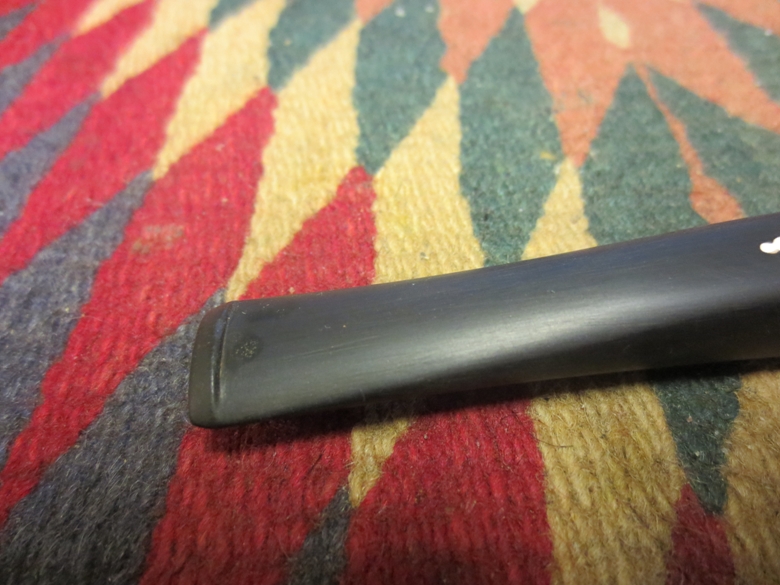
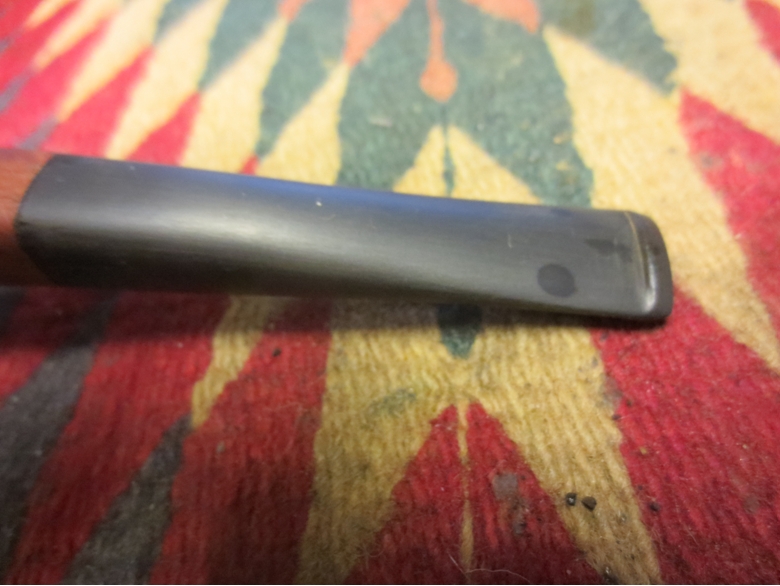
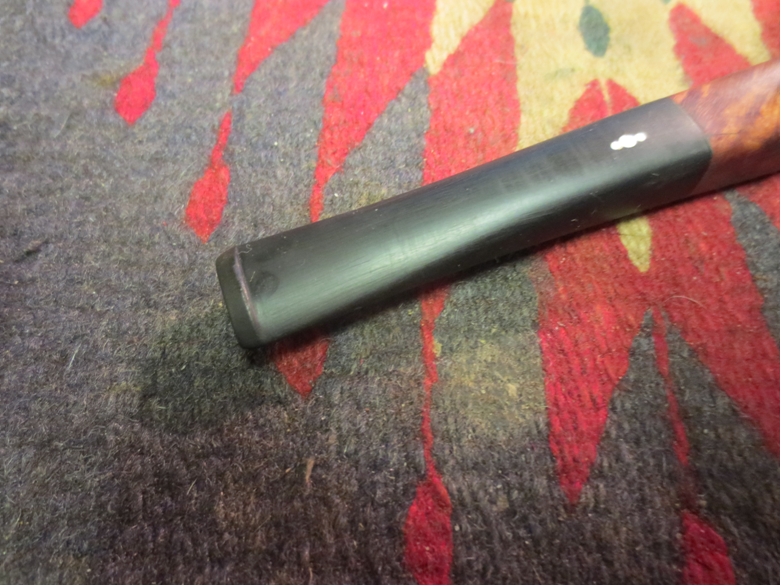
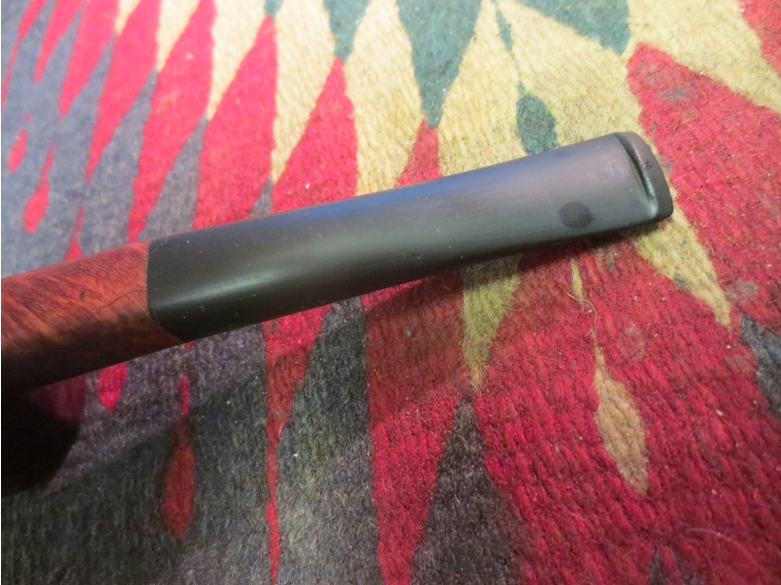
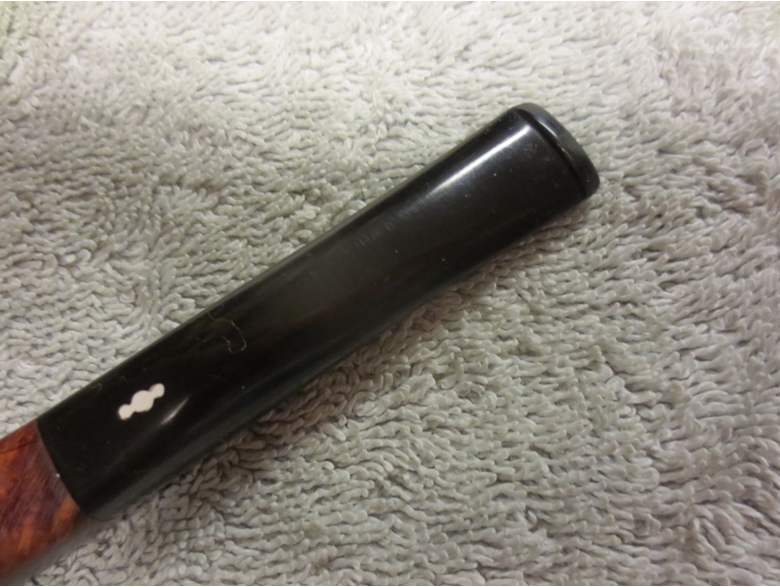
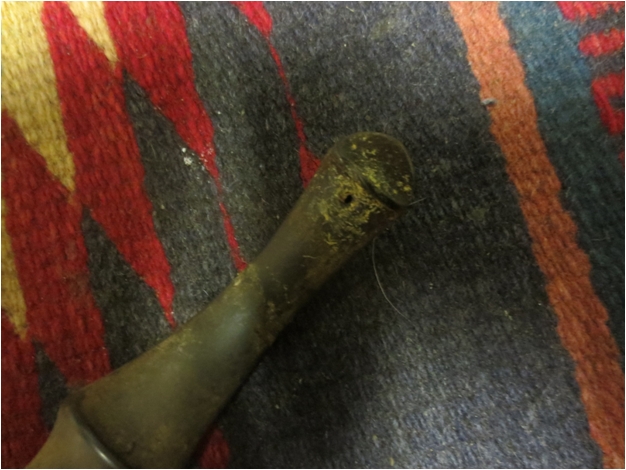
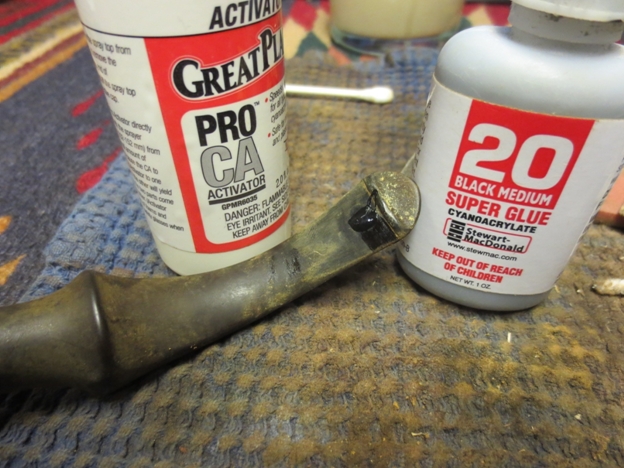
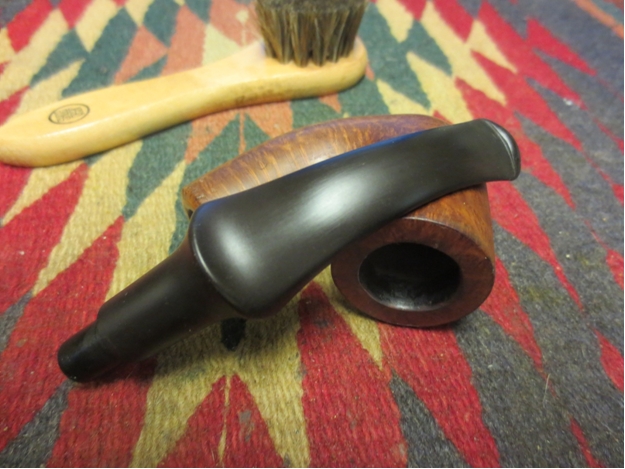
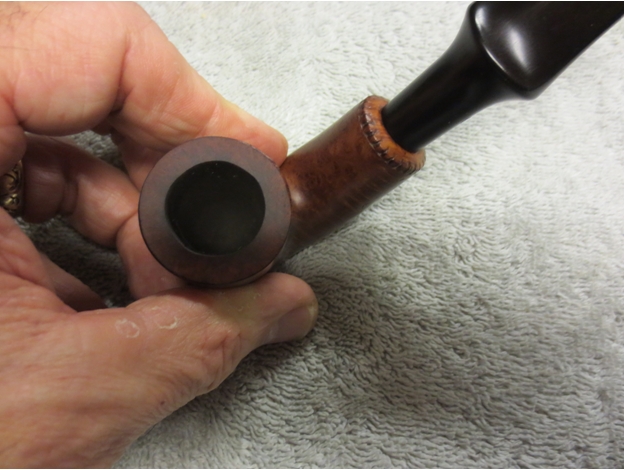
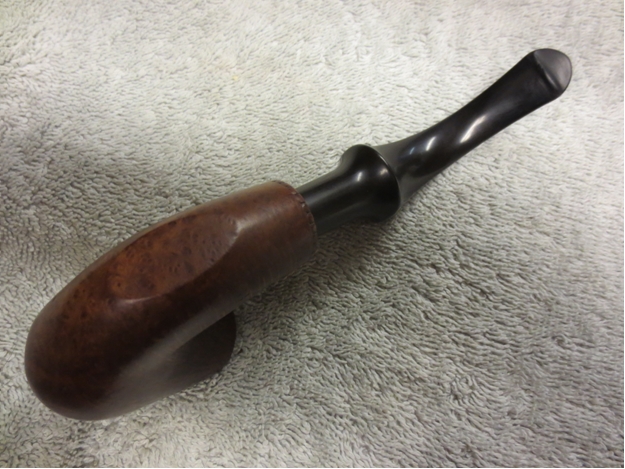
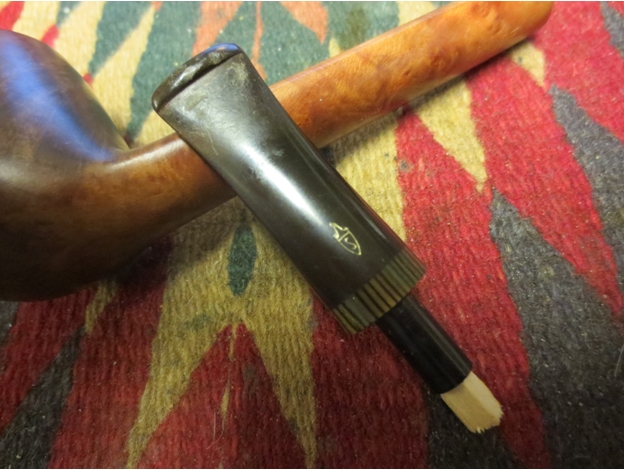
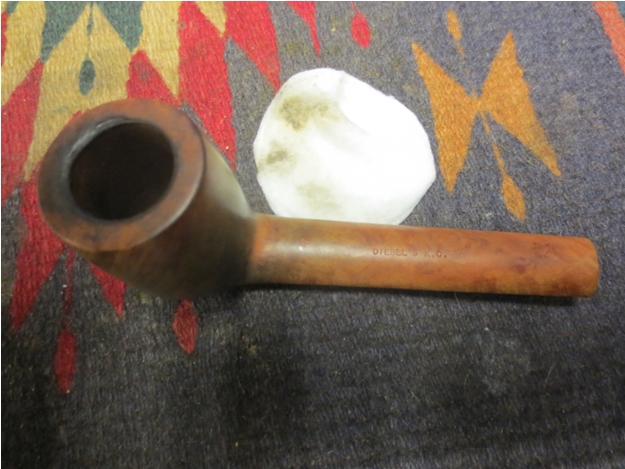
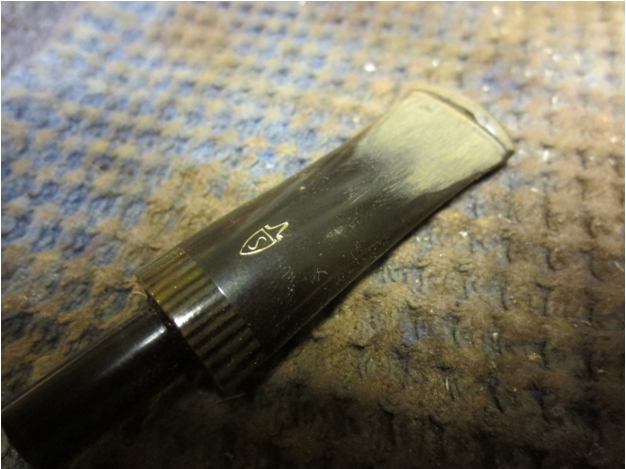
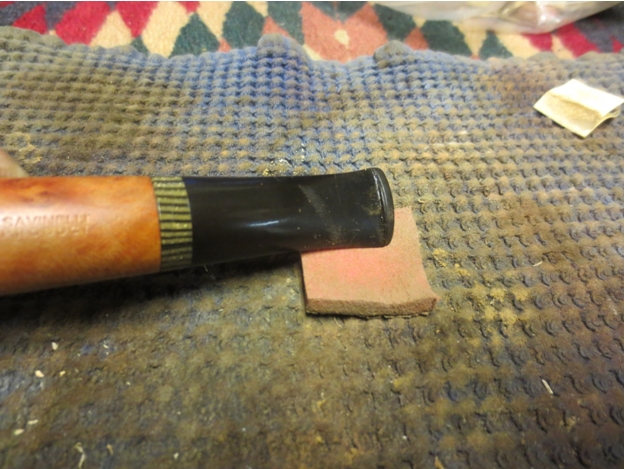
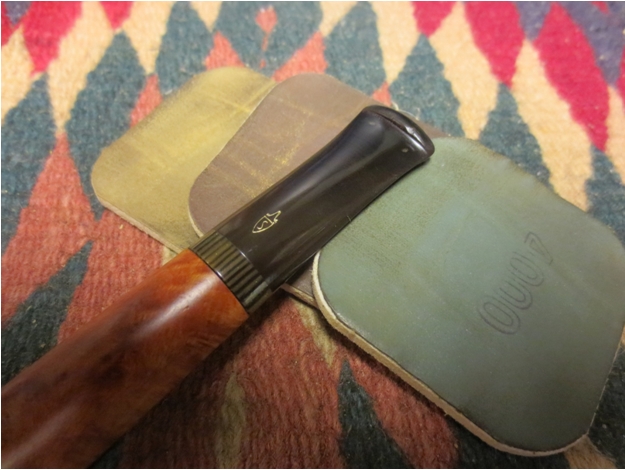
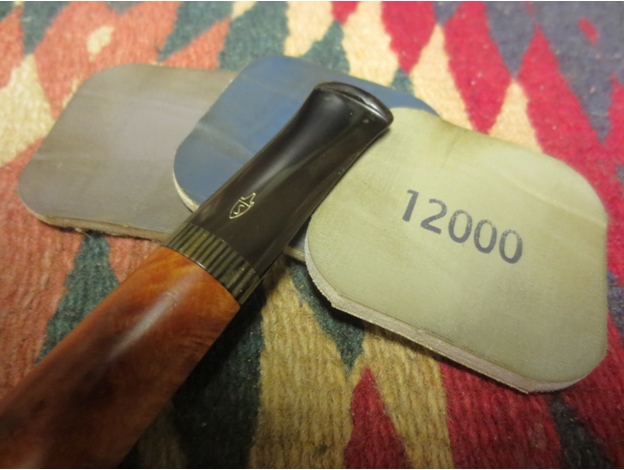
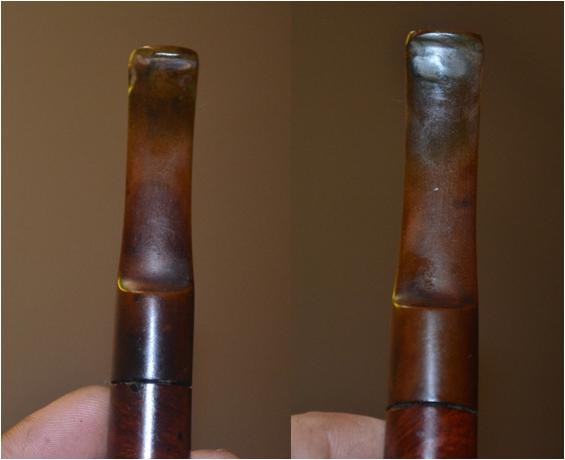
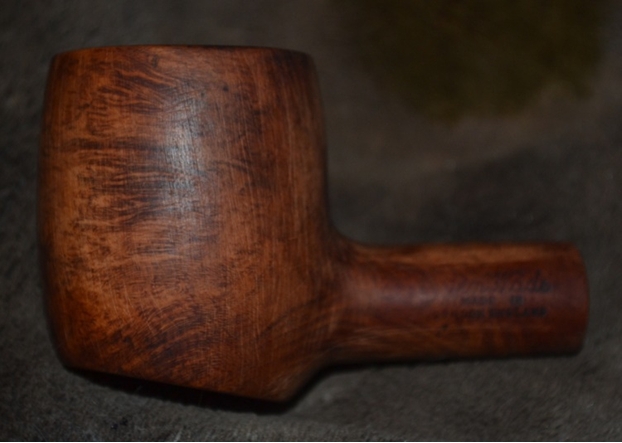
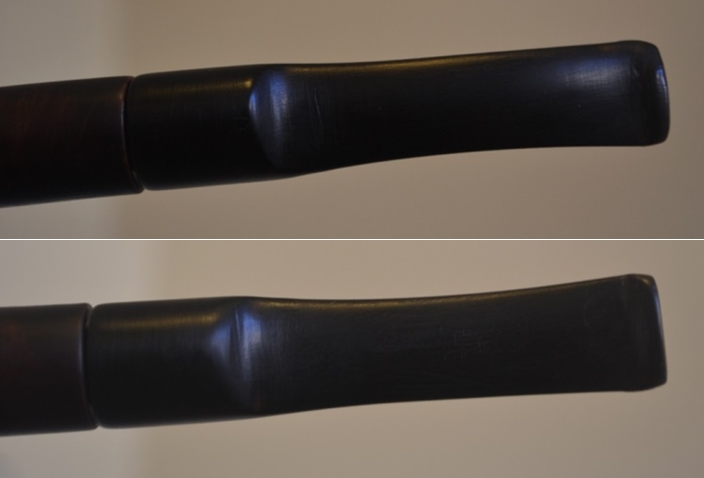
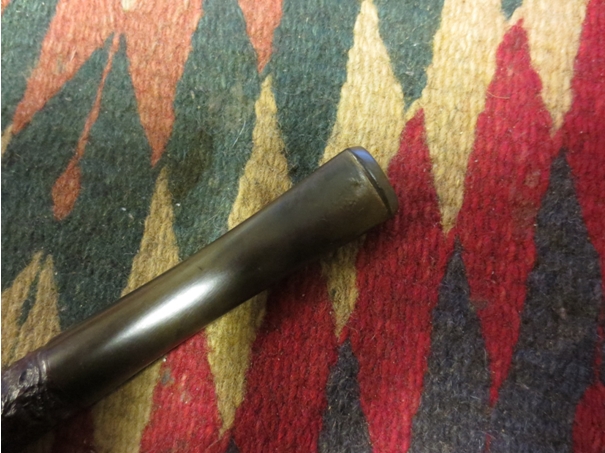
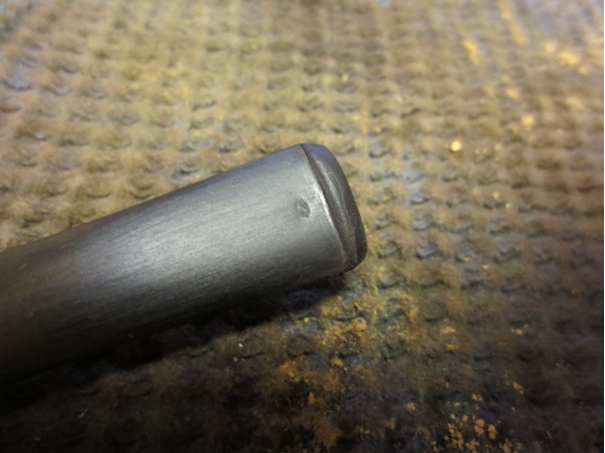
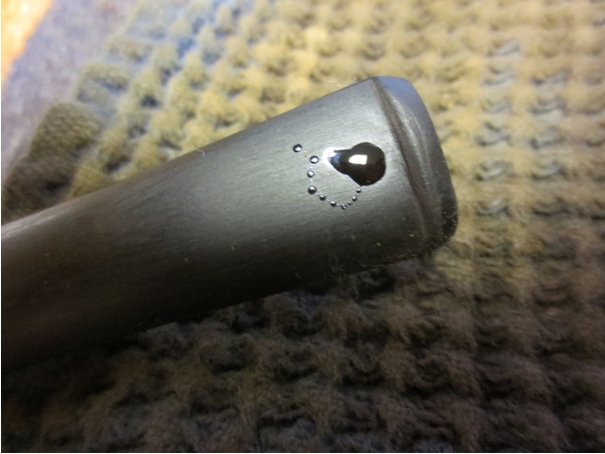
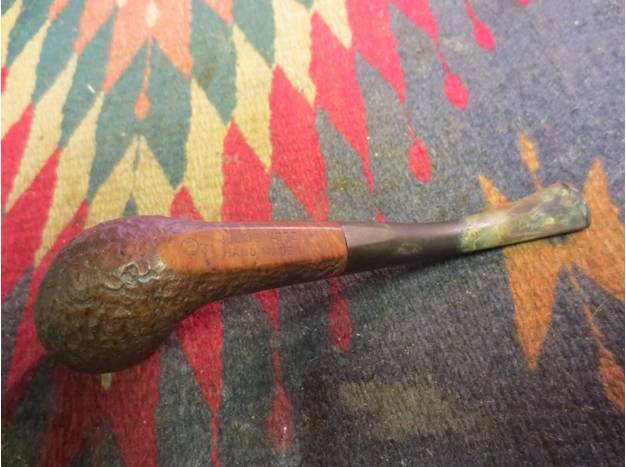
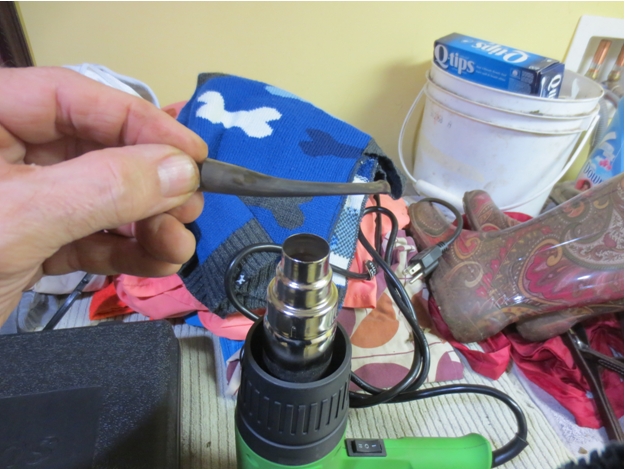
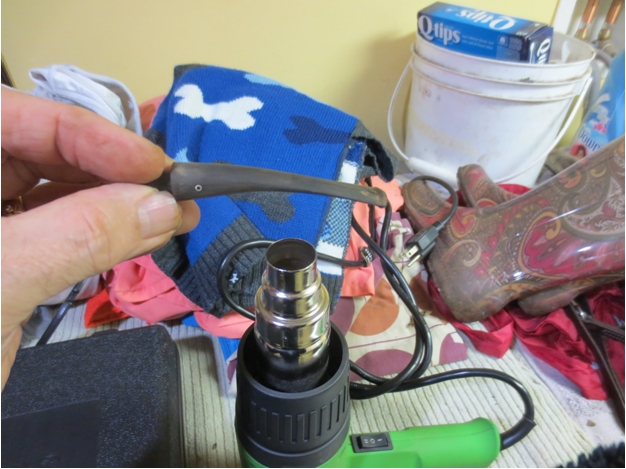
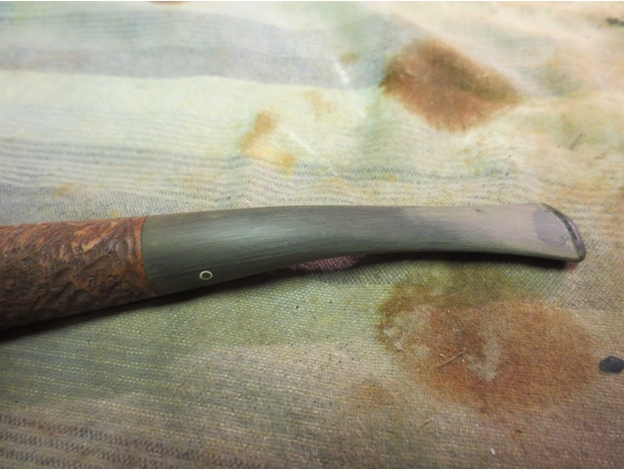
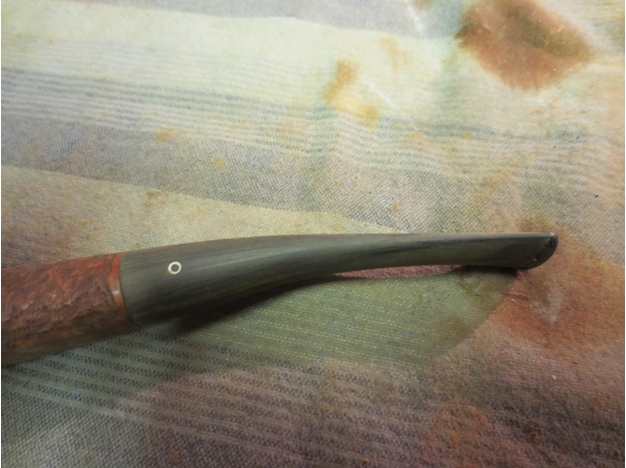
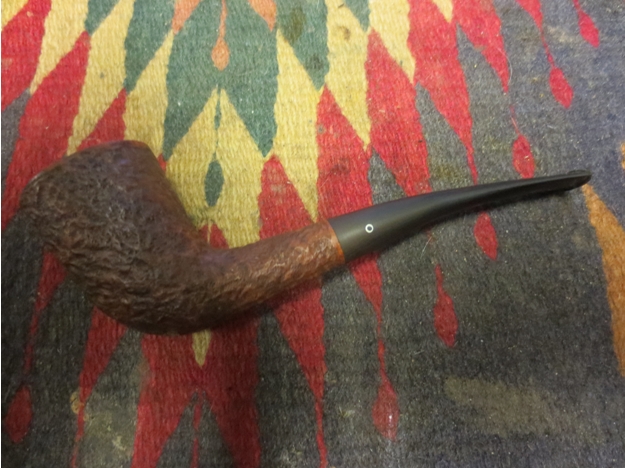
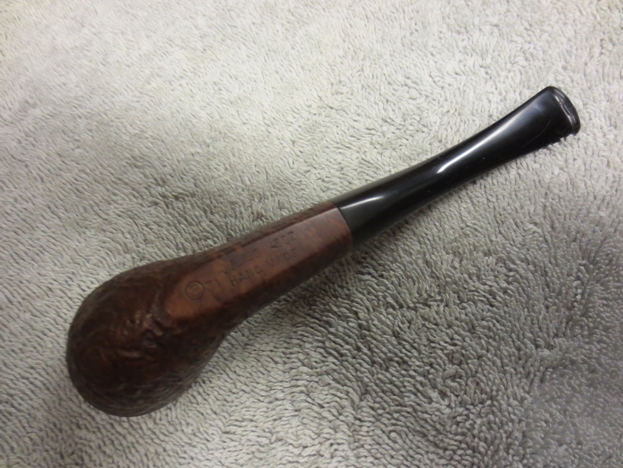
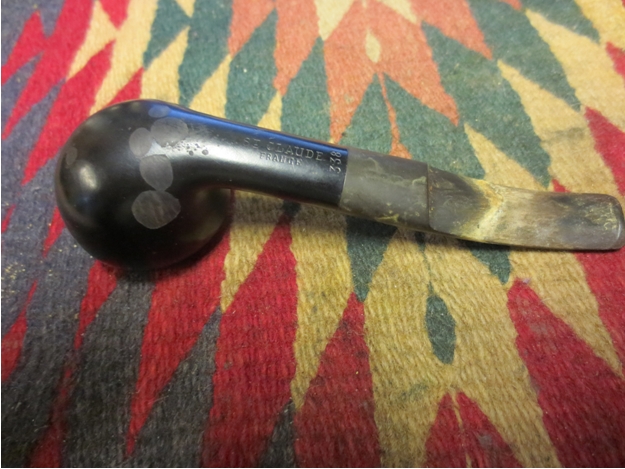
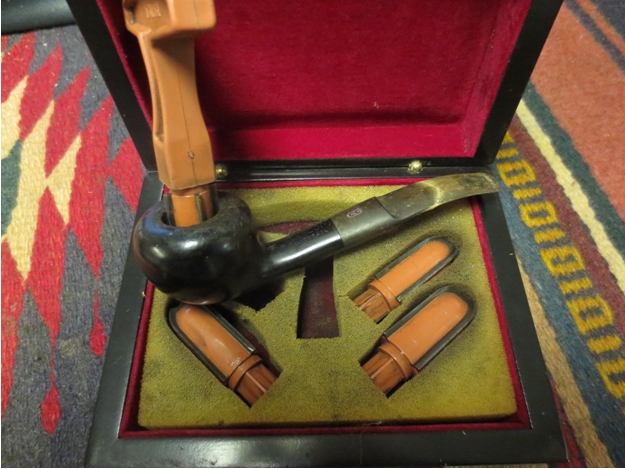
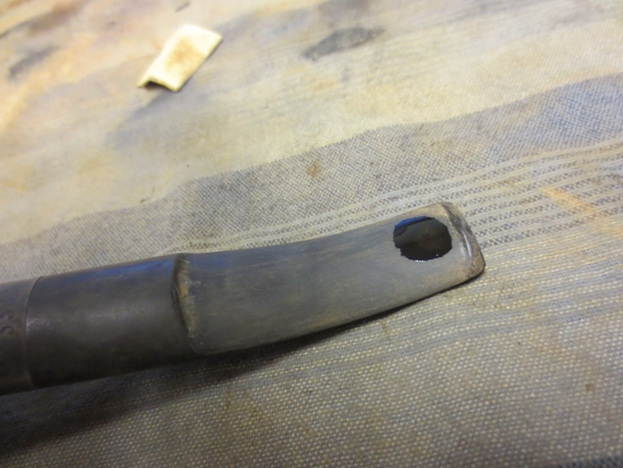
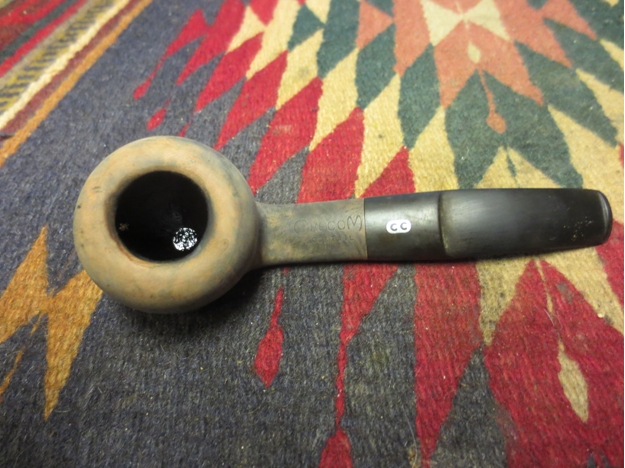
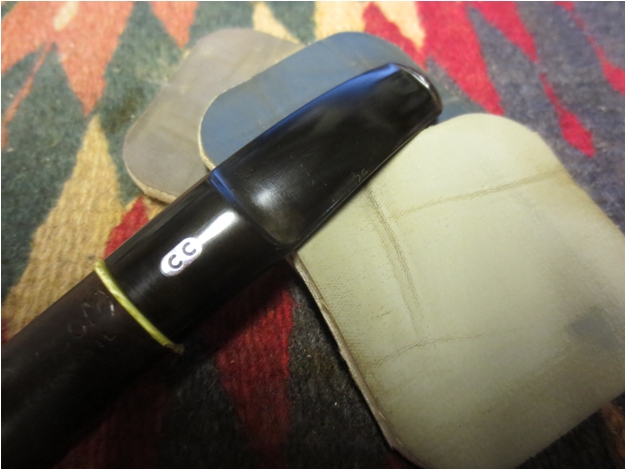
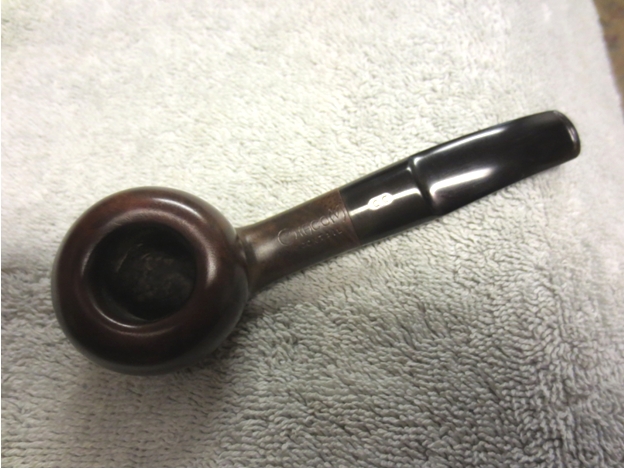
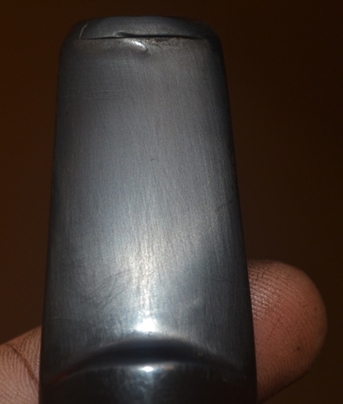
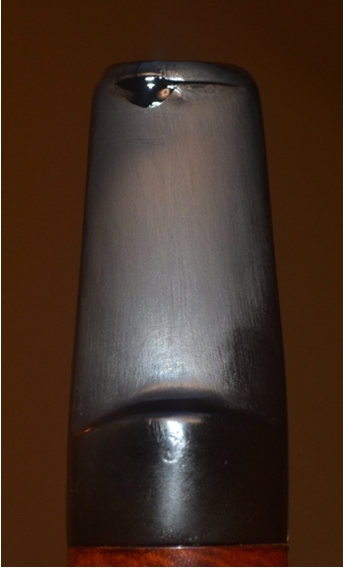
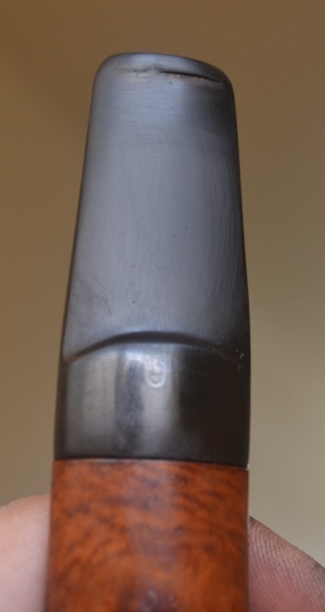
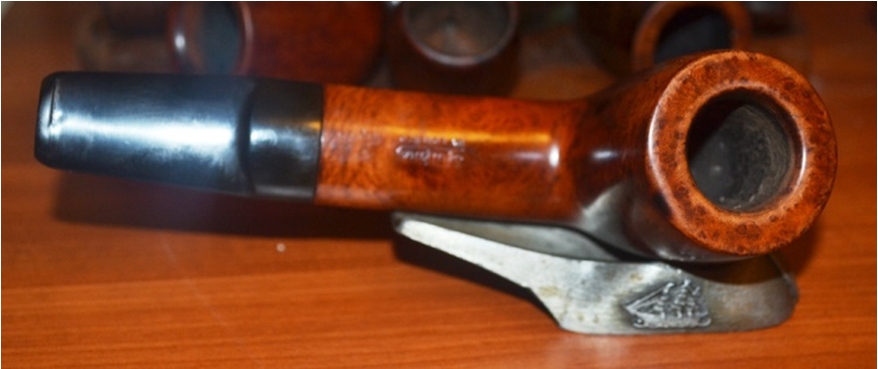
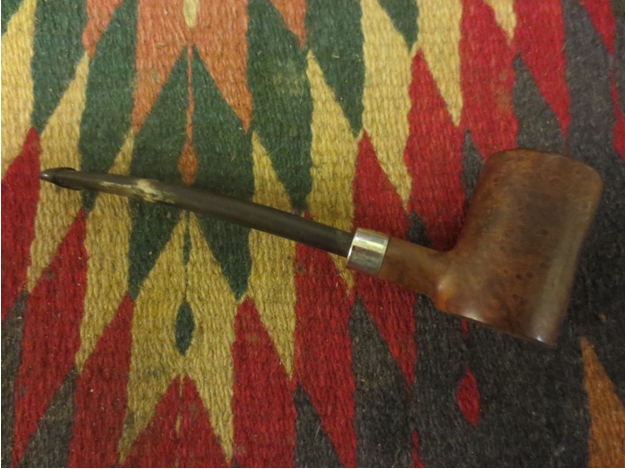
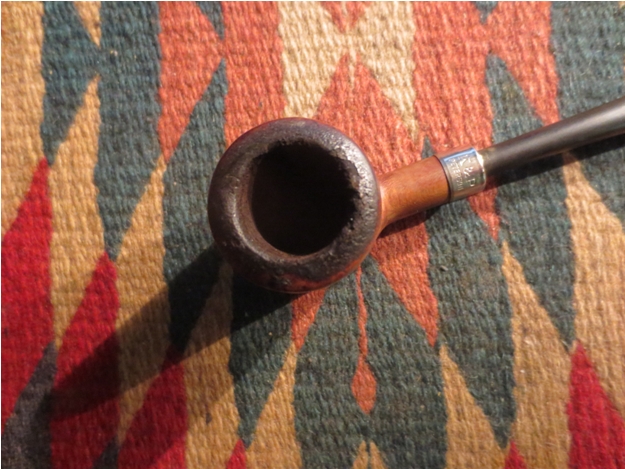
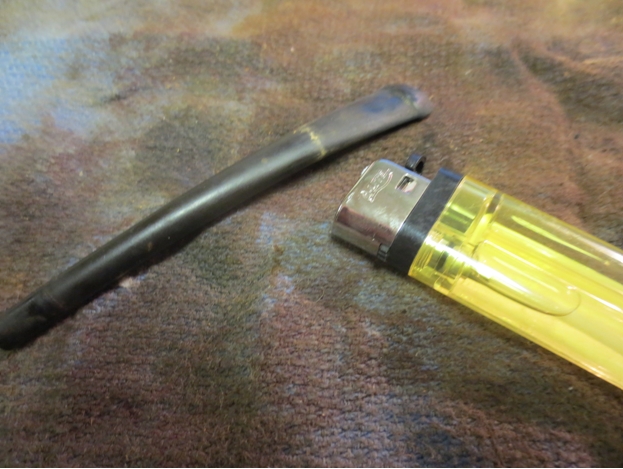
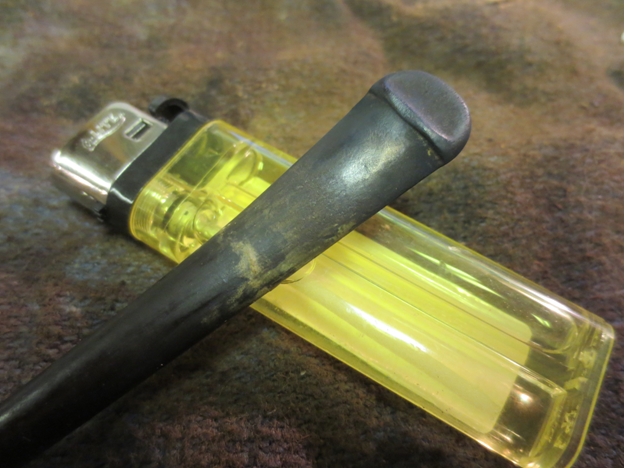
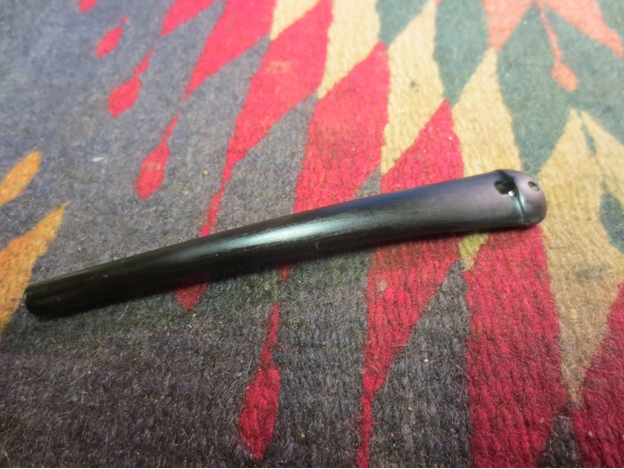
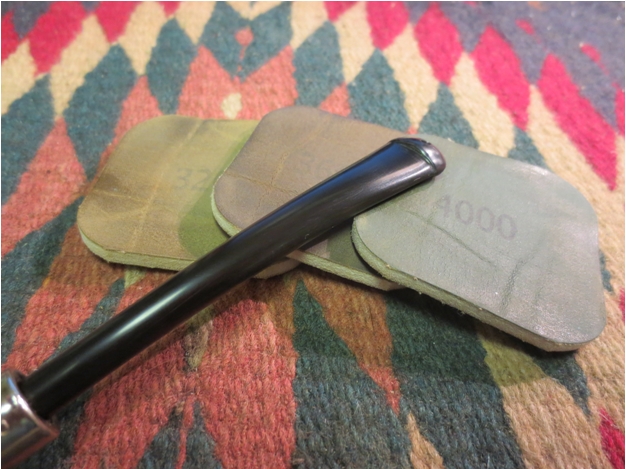
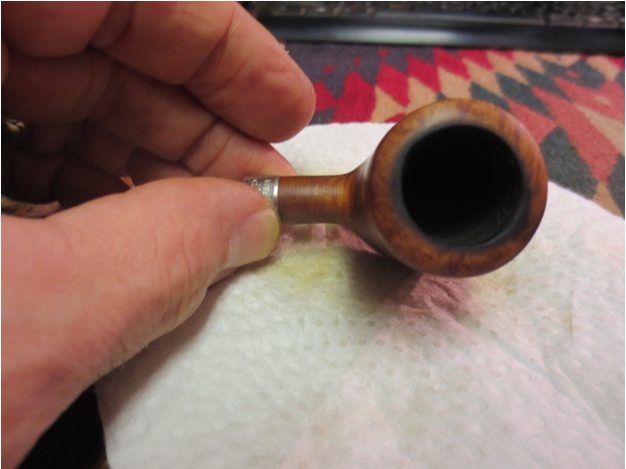
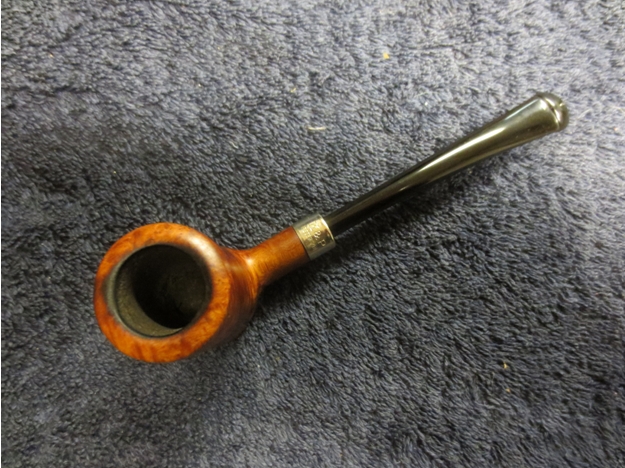
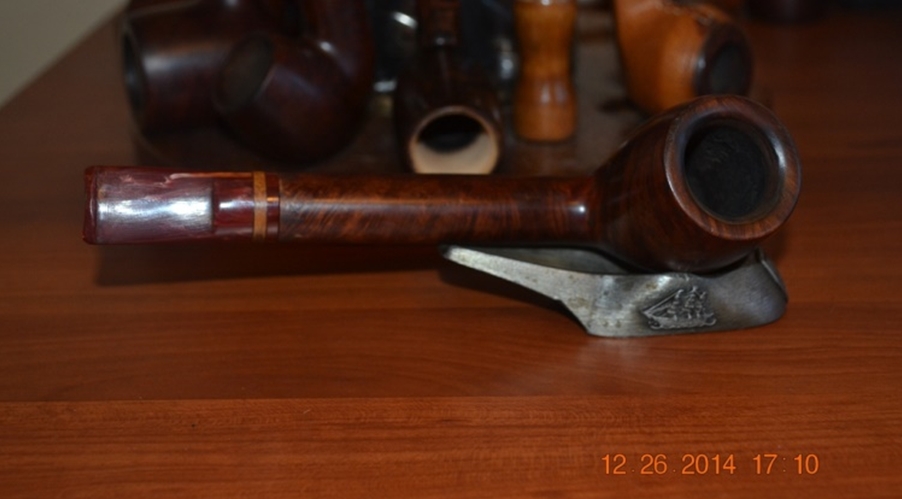
Perhaps the strongest tug at the curious side of me was the stem, which is perfect except for one tell-tale sign that it is not the original for this Made in the Republic of Ireland Peterson. Clear as day on the left side is the symbol that identifies it as a Peterson stem made for a pipe manufactured in France: 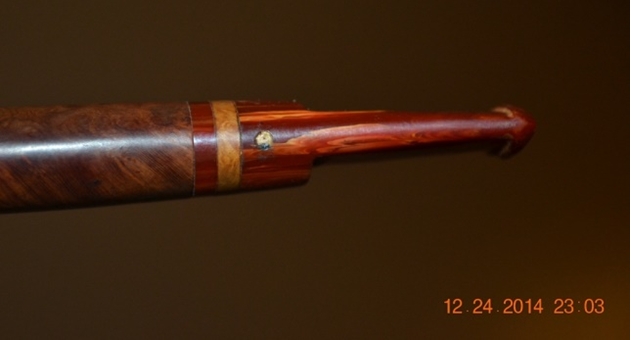
Now that’s one kind of oddity that always endears a pipe to me on first sight.
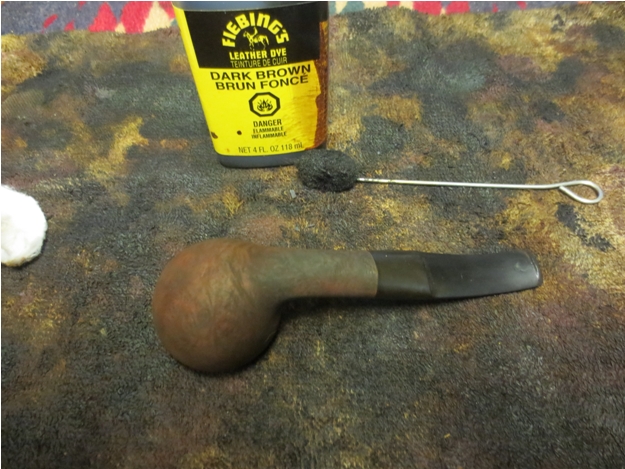
REFURBISH
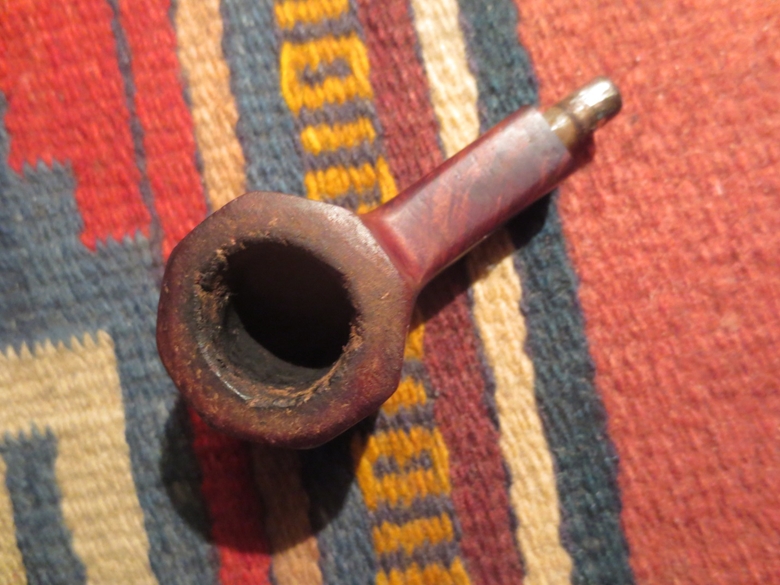
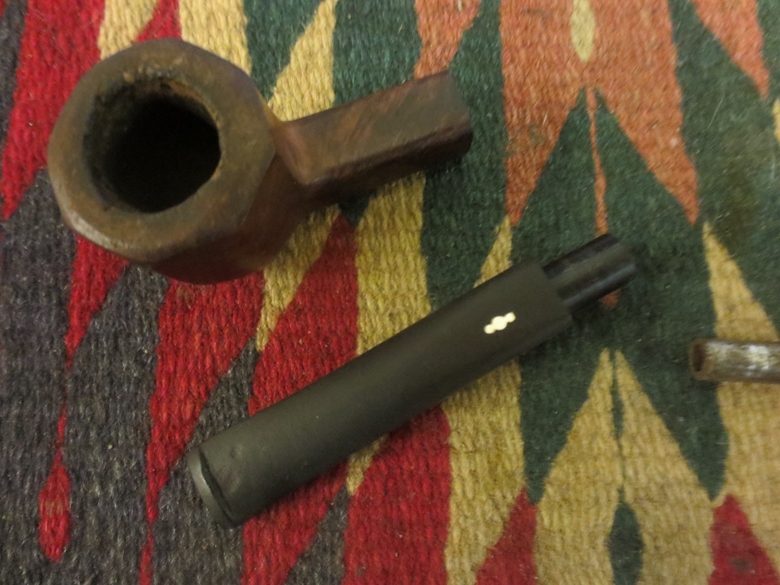
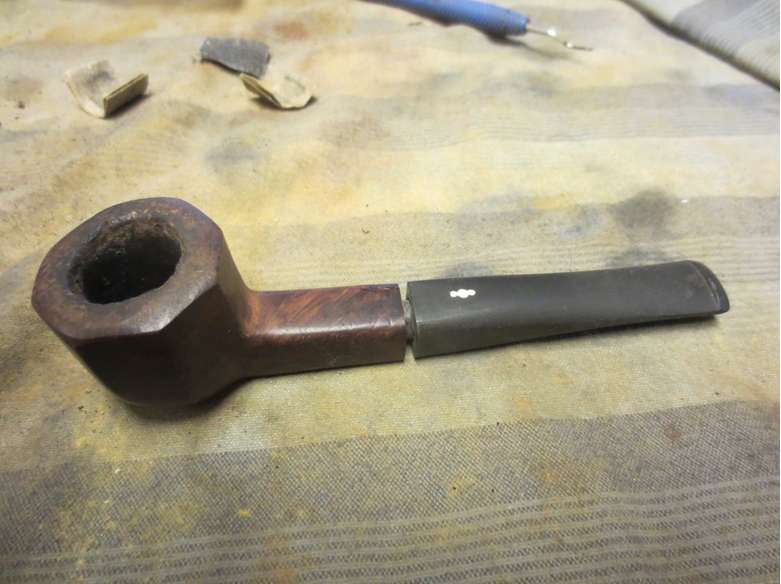
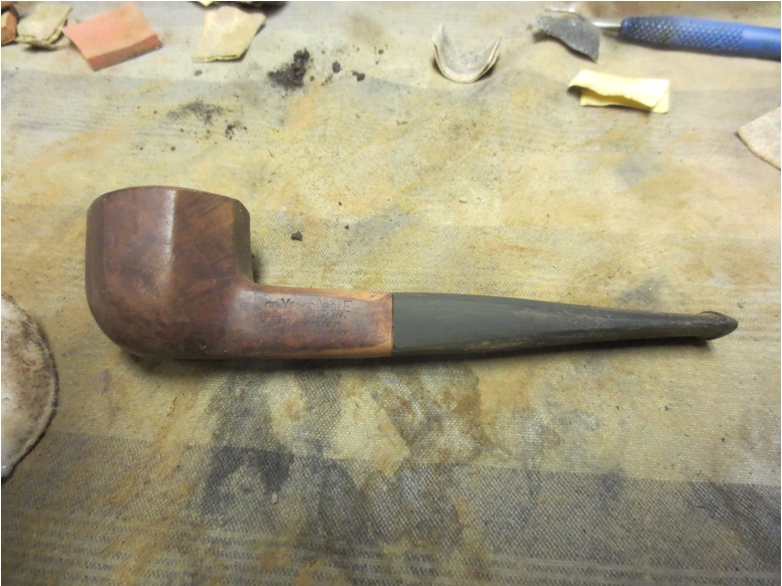
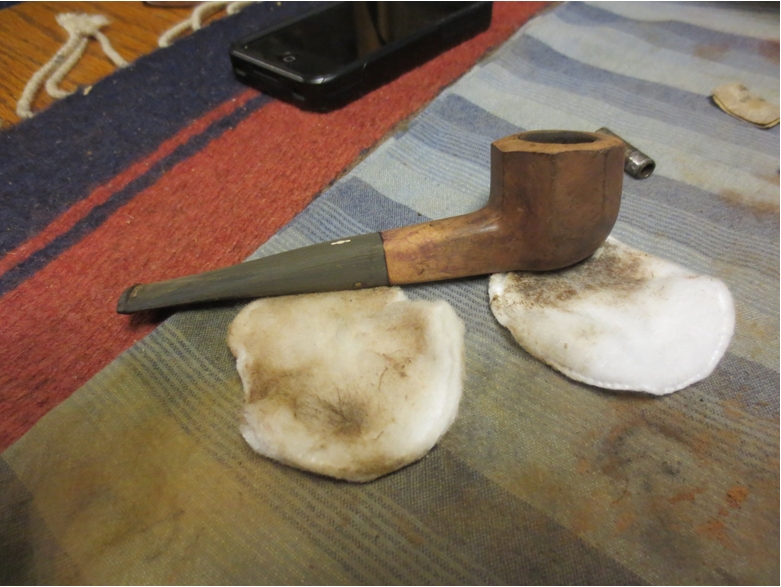
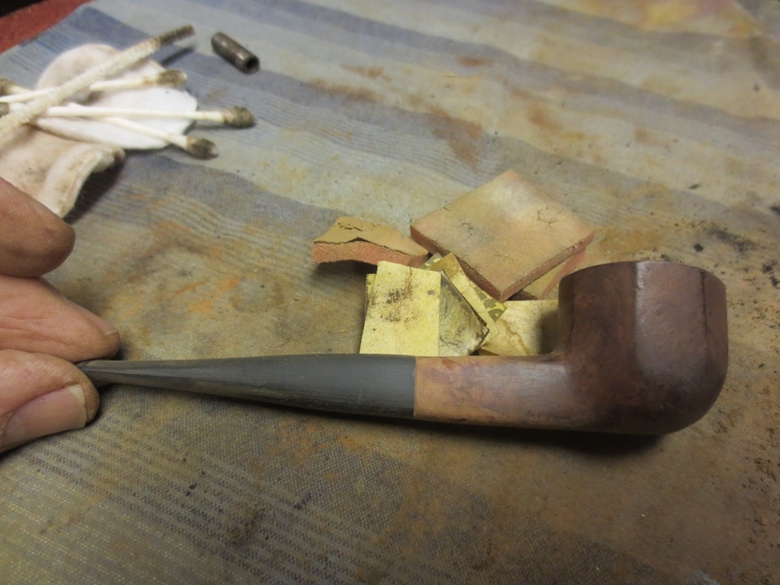
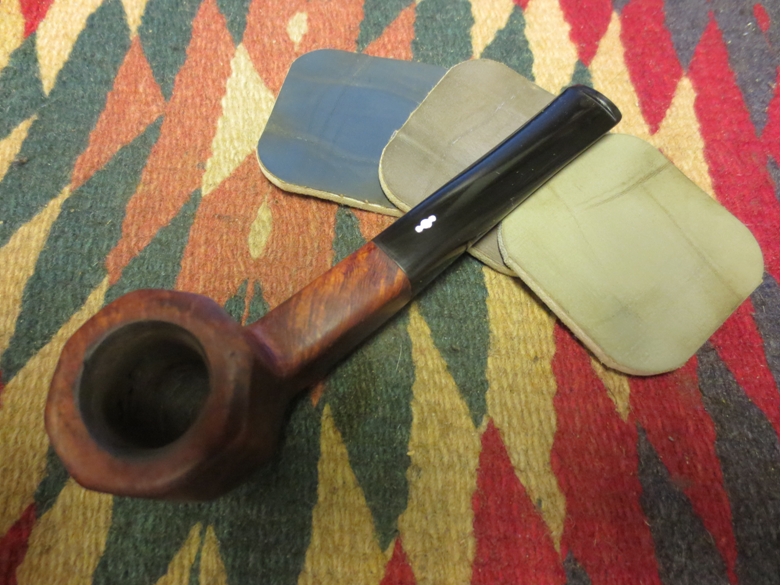
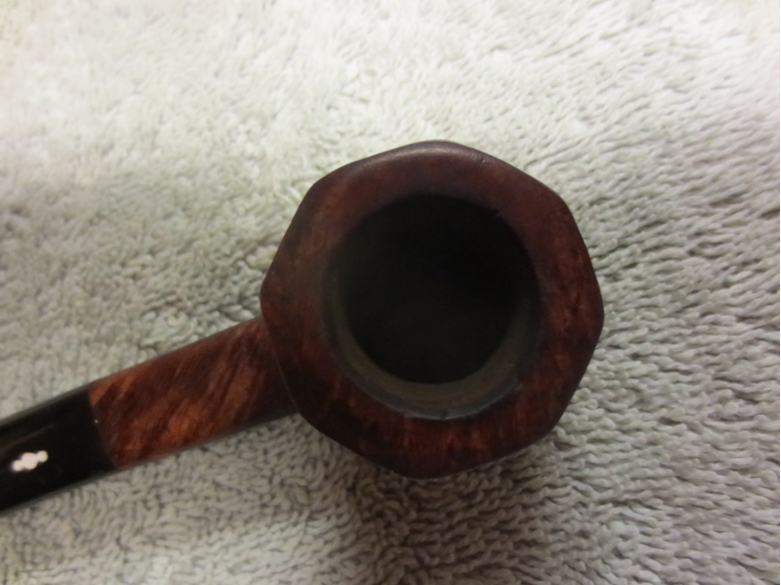
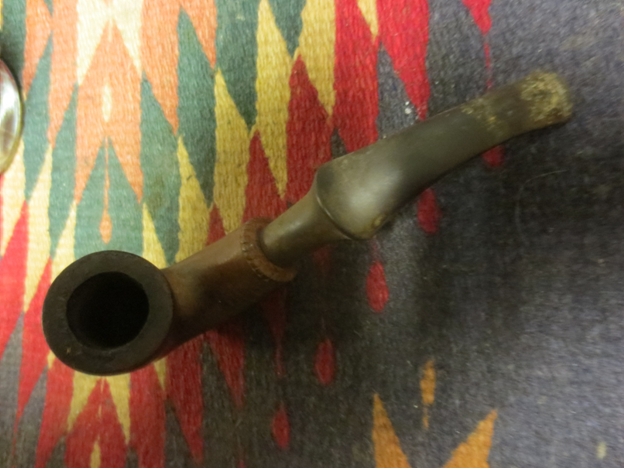
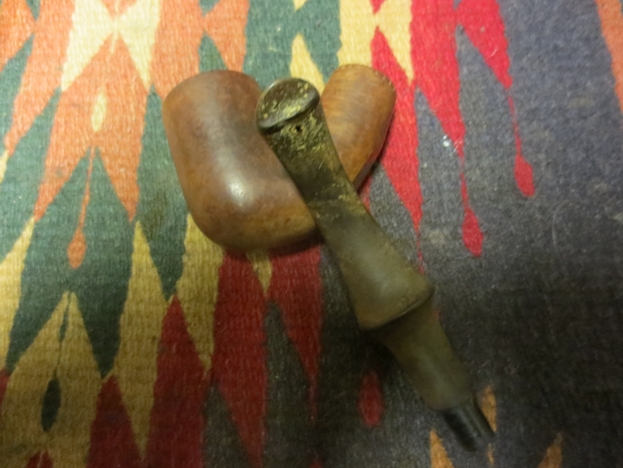
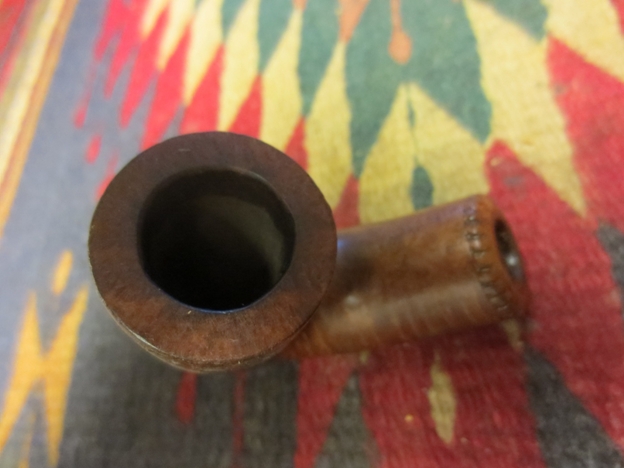
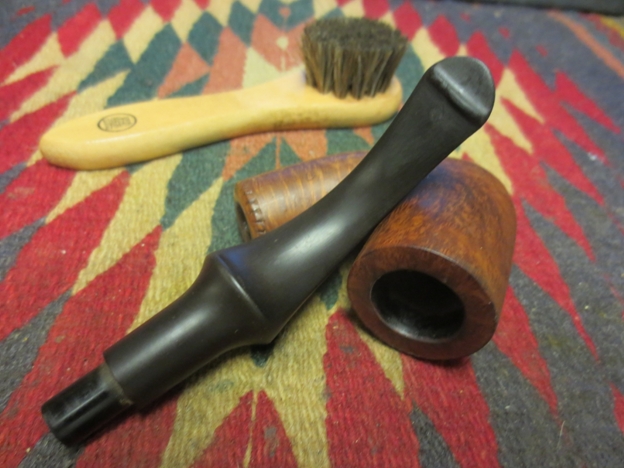
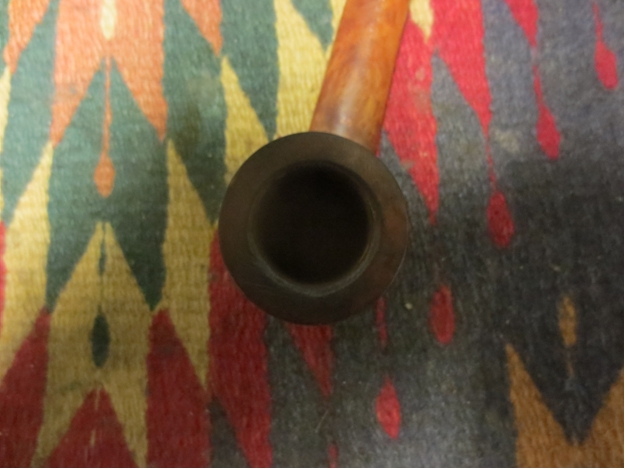
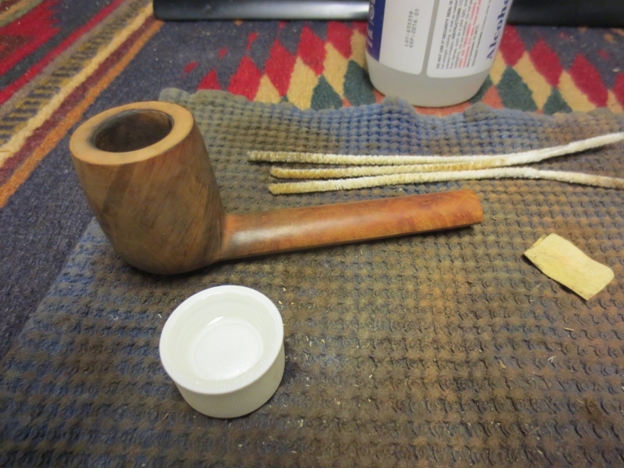
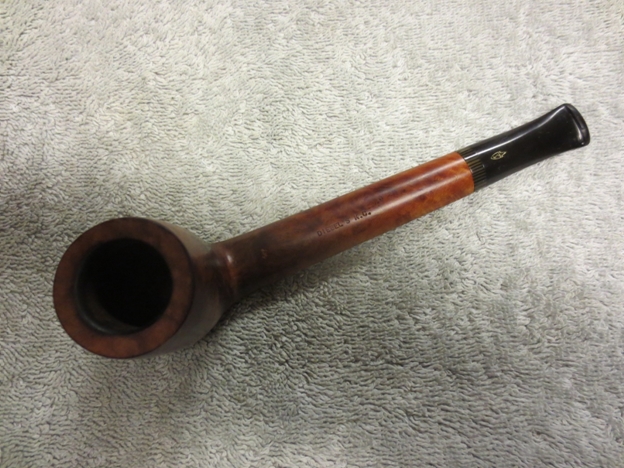
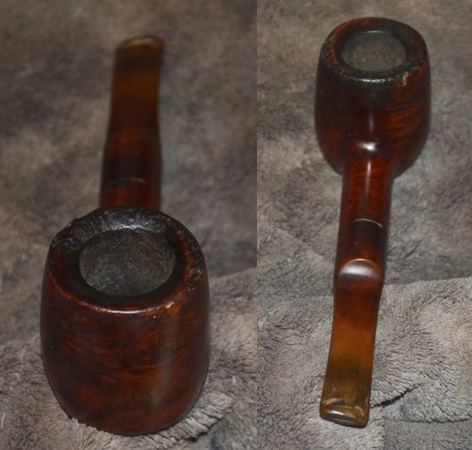
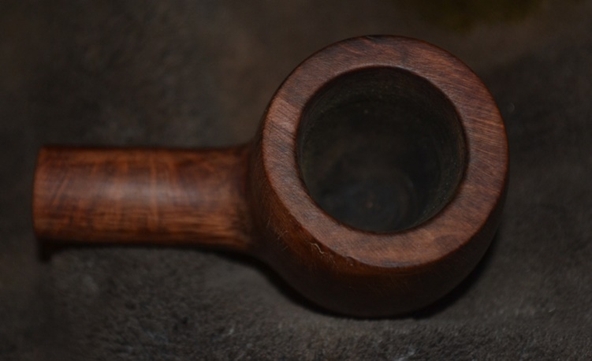
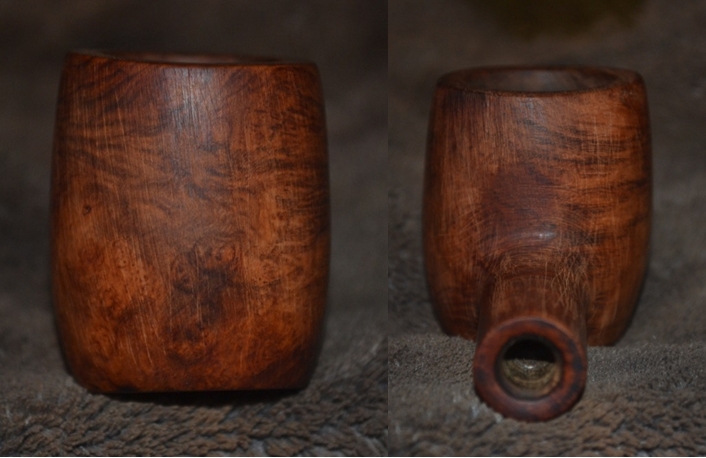
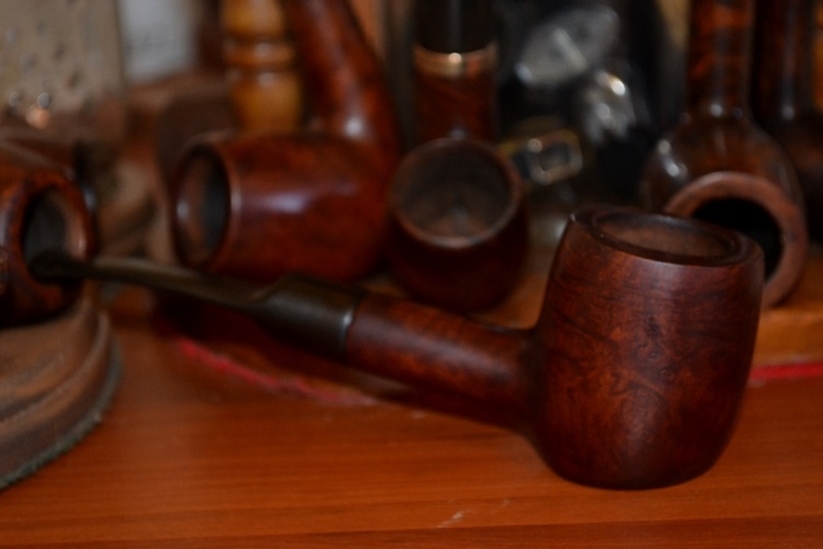
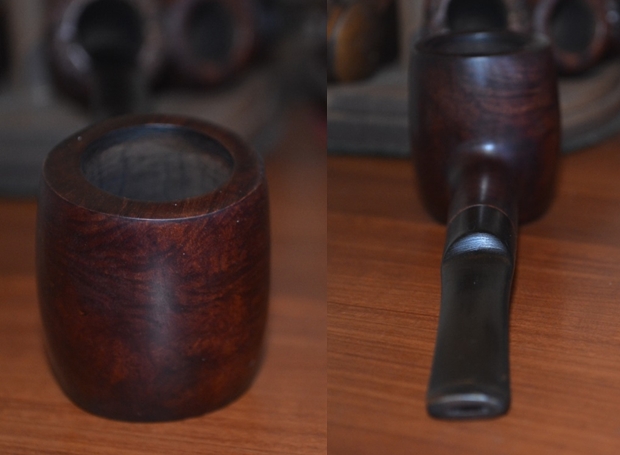
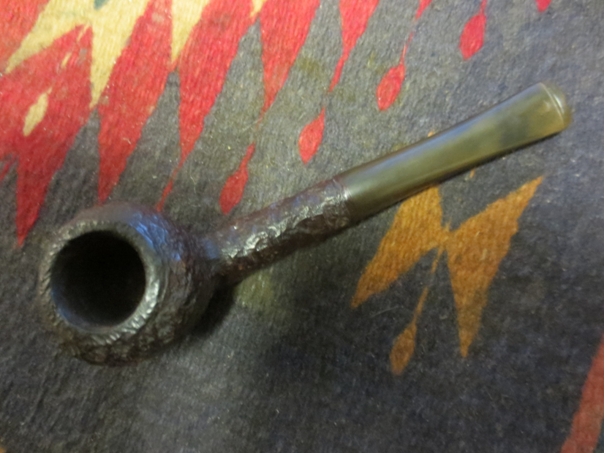
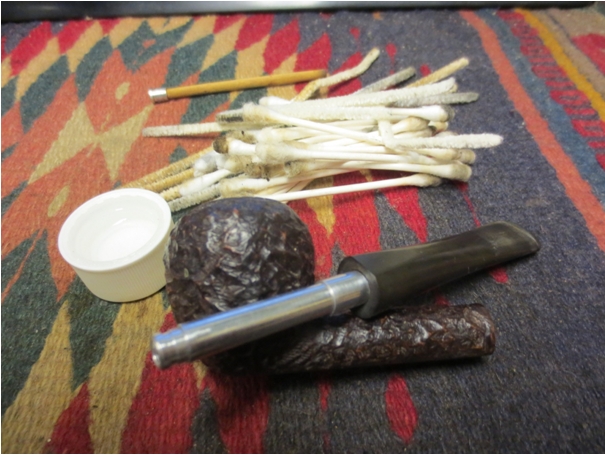
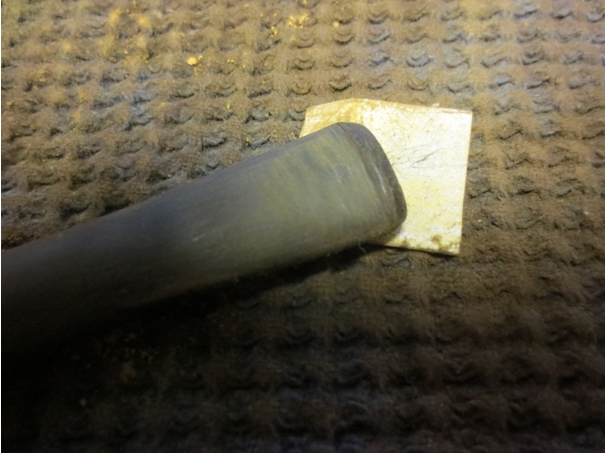
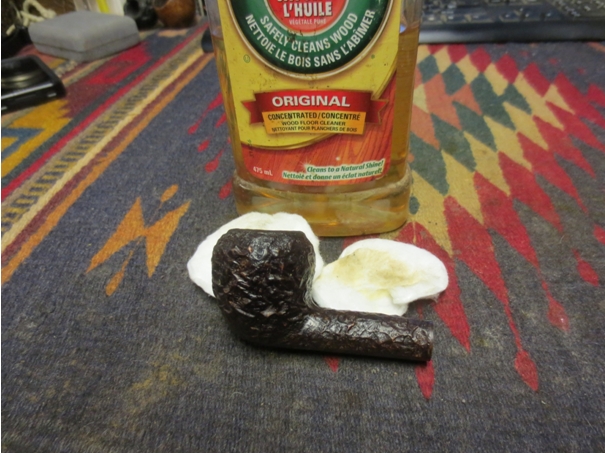
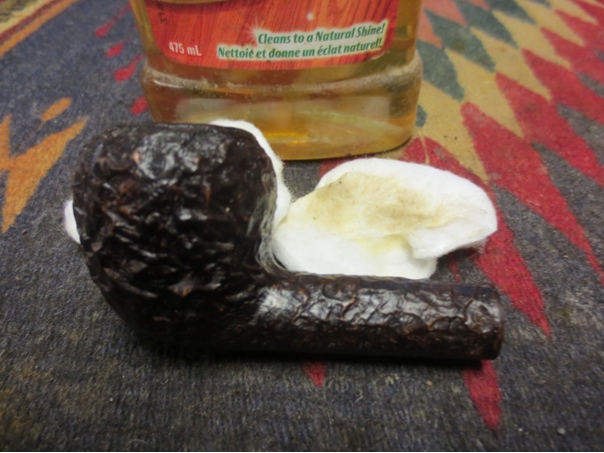
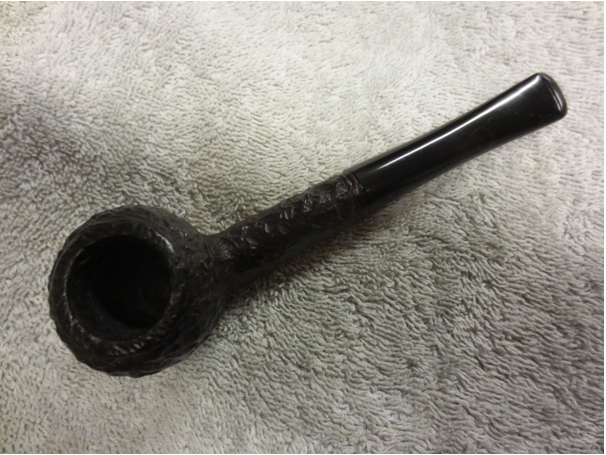
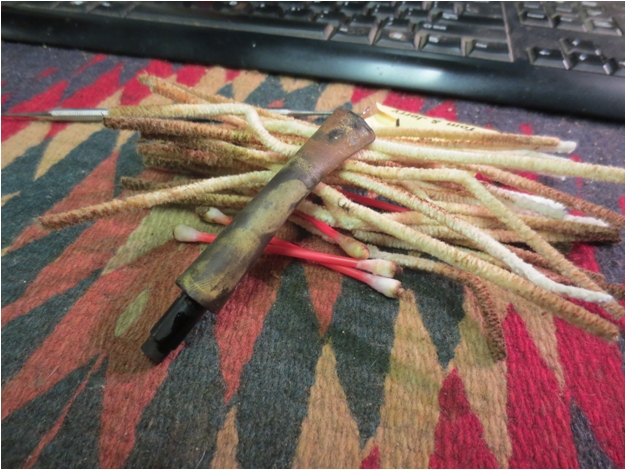
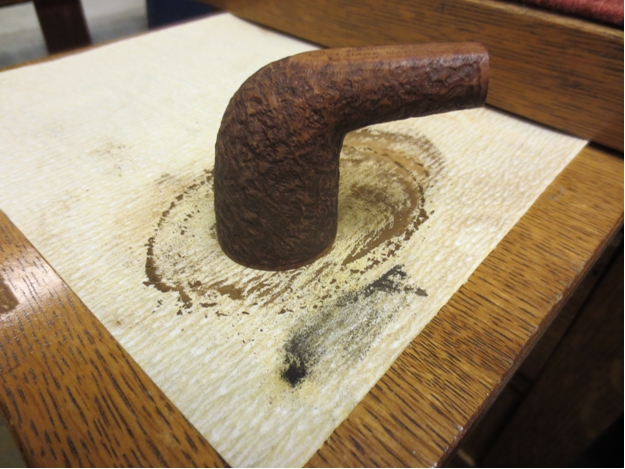
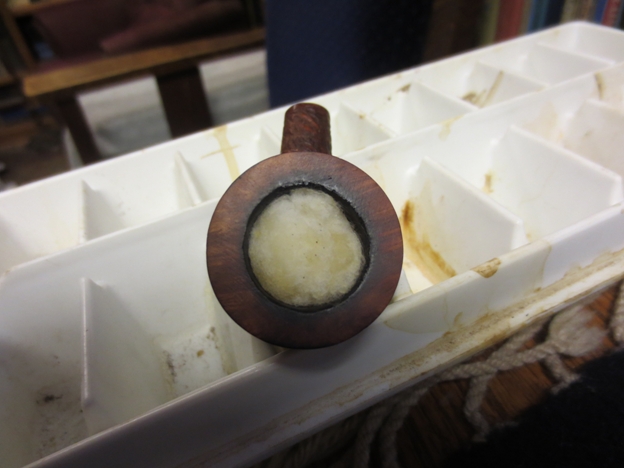
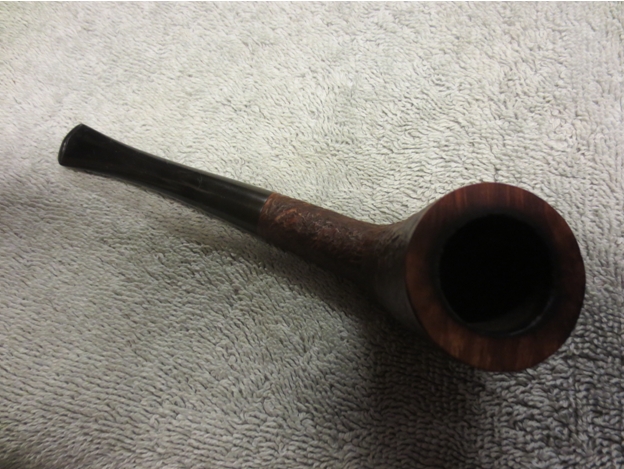
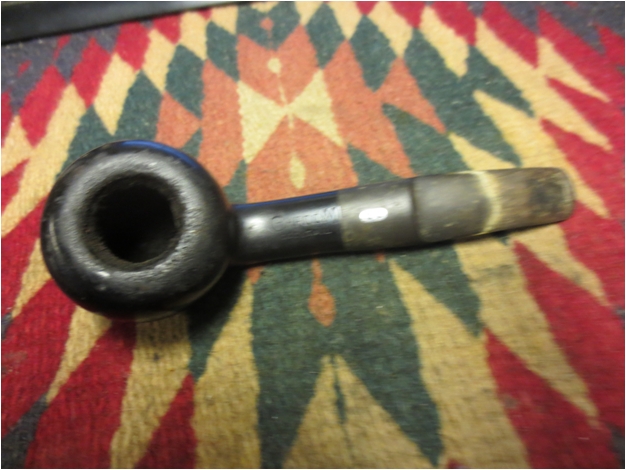
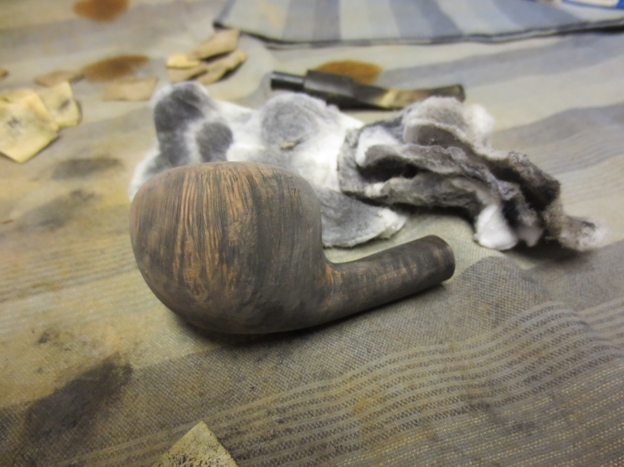
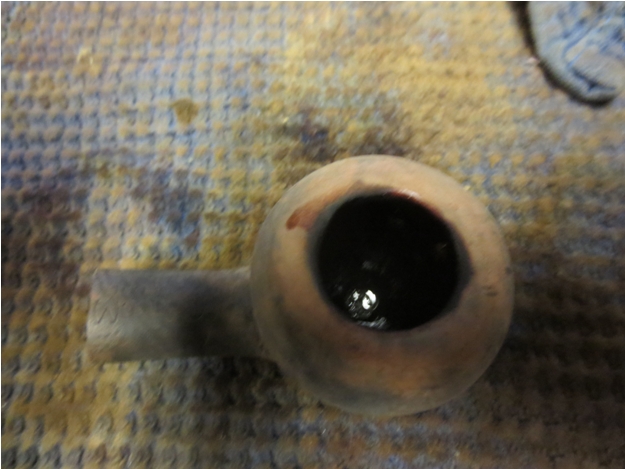
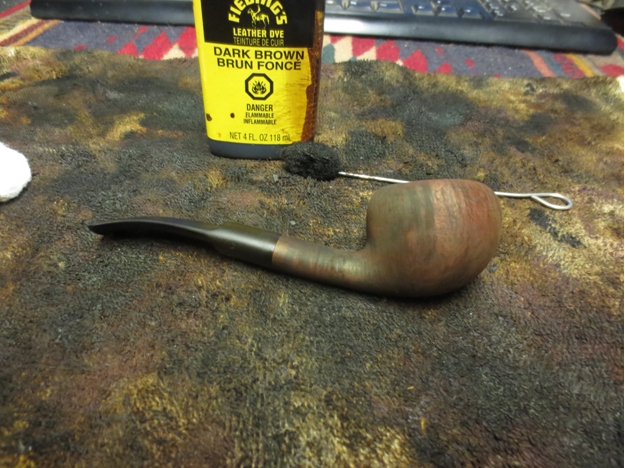
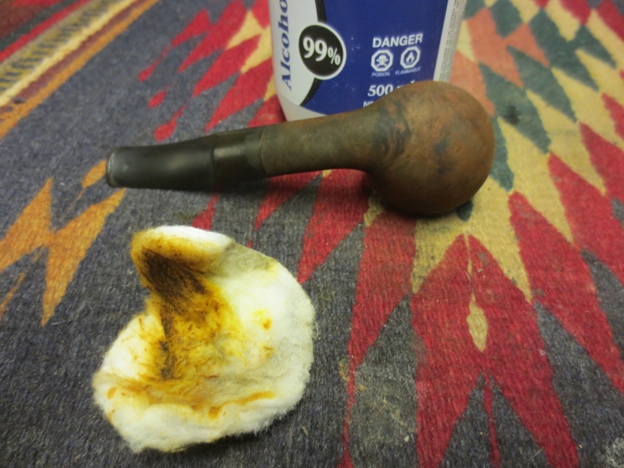
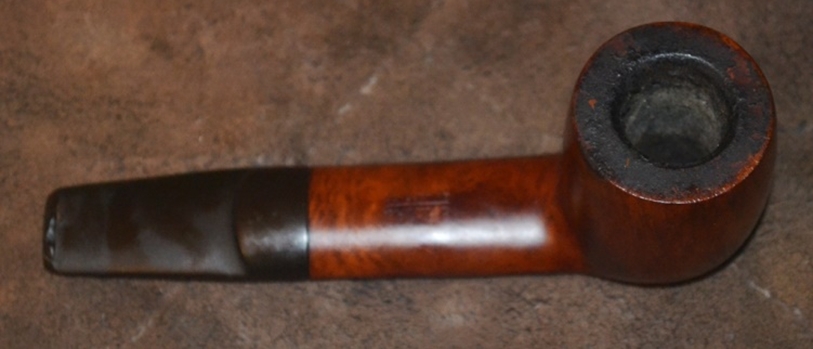
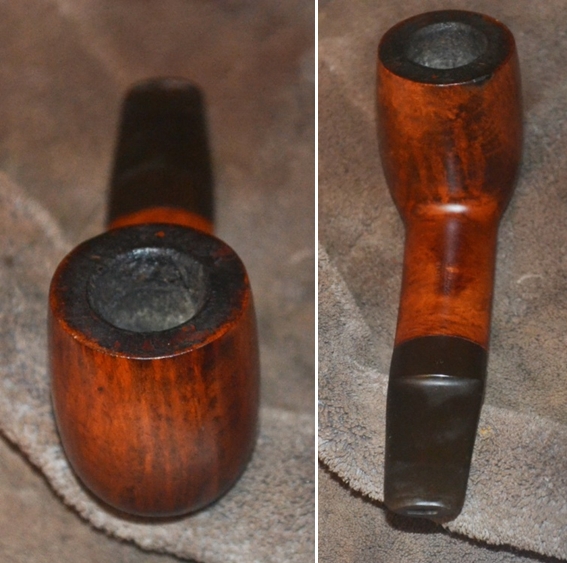
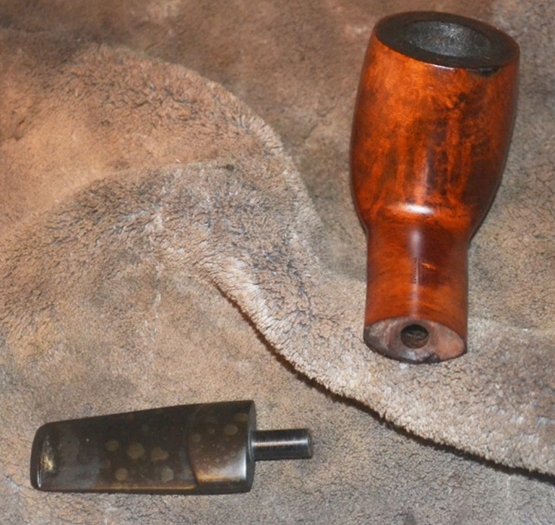
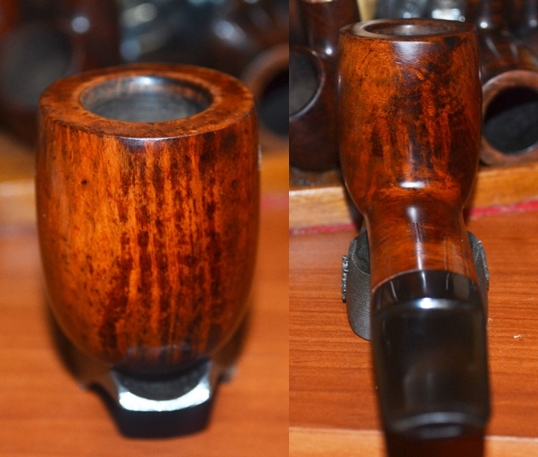
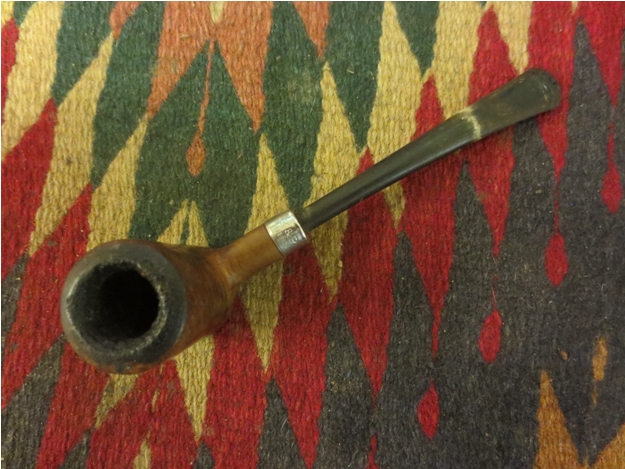
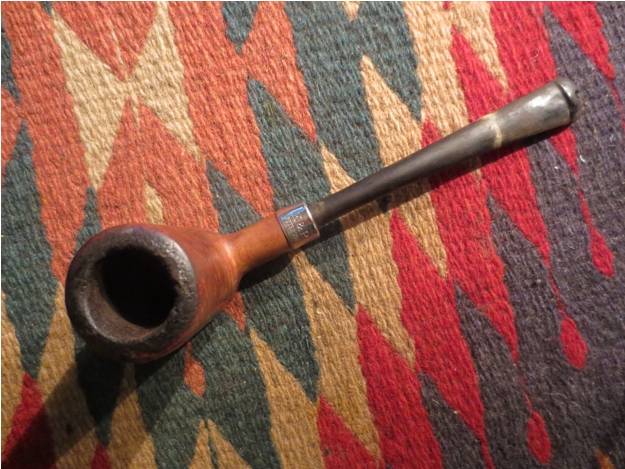
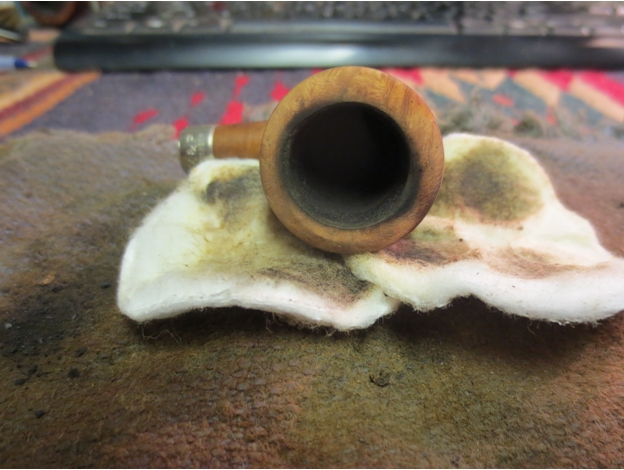
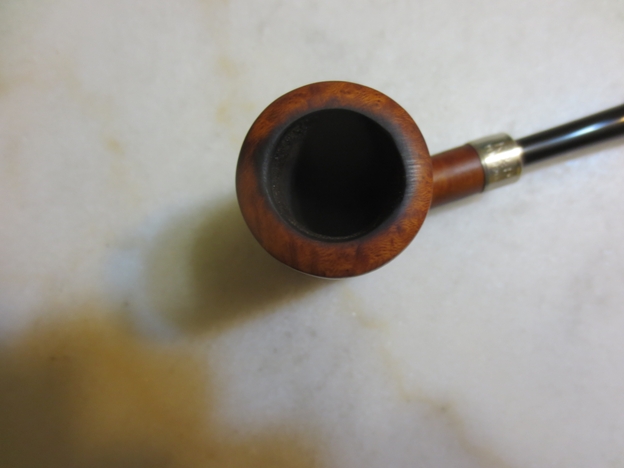
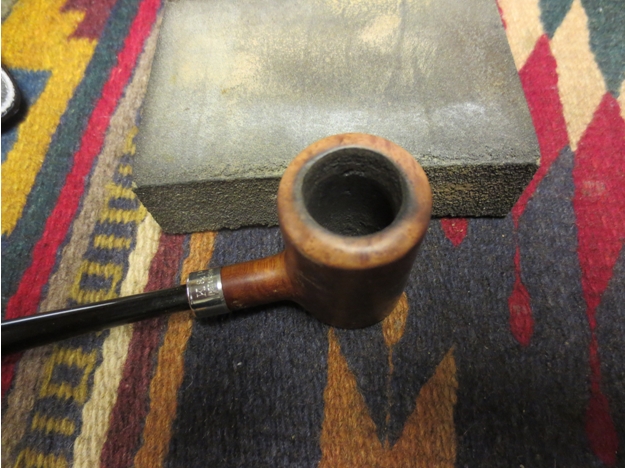
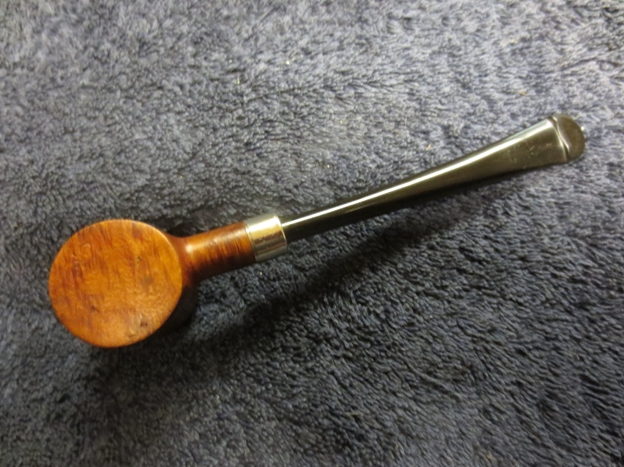
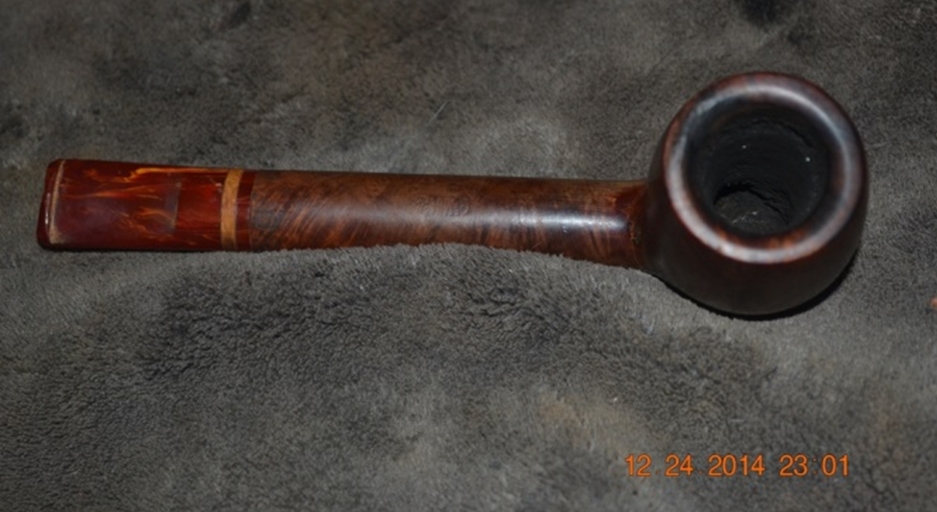
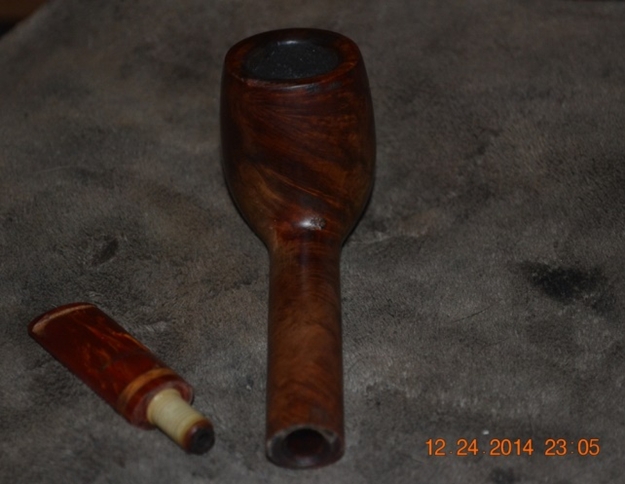
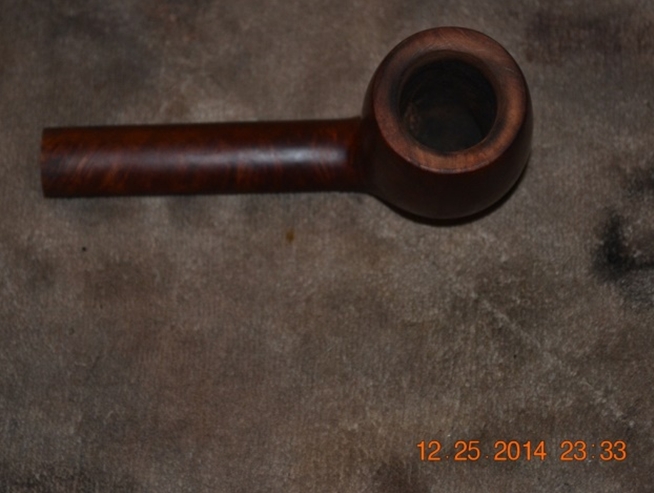
First, as the word refurbish suggests, this was, for the most part, not a difficult task. The only actual problem was removing the cake buildup from the chamber, where I started.
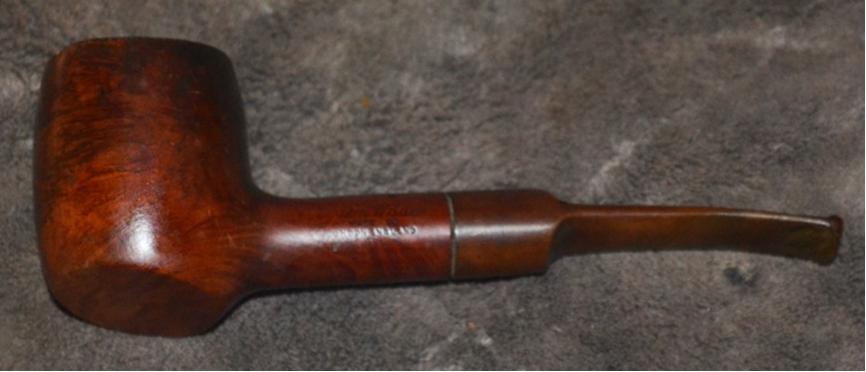
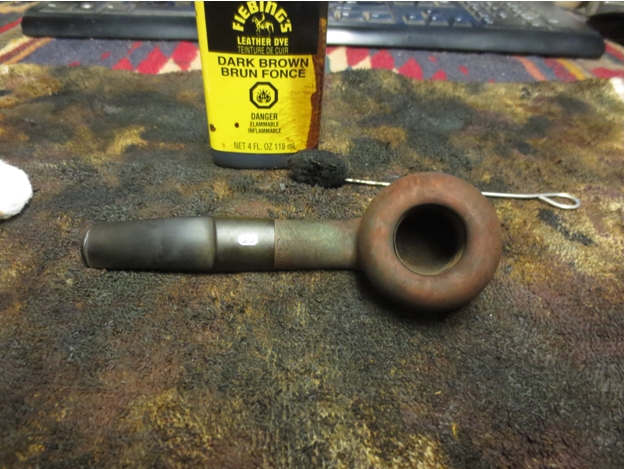
For the most part, in my experience at least, even cake this bad comes free without a fight and leaves the chamber relatively smooth. The third photo above does not do service to the way the cake tapered downward from more to less. This turned out to be one of the ordeal varieties, not a piece of cake at all. (I know, and tender my apology now.) I started with the 19mm reamer since most of the carbon mess was at the top, and it fit about halfway down with snugness. Several laborious full turns later, applying just enough force to see the reamer moving a bit lower, I paused to dump the carbon dust. Seeing the huge amount that fell out, I took another close look into the chamber and was amazed to see not only that the upper bowl needed much more work, but that the bottom was unfazed.
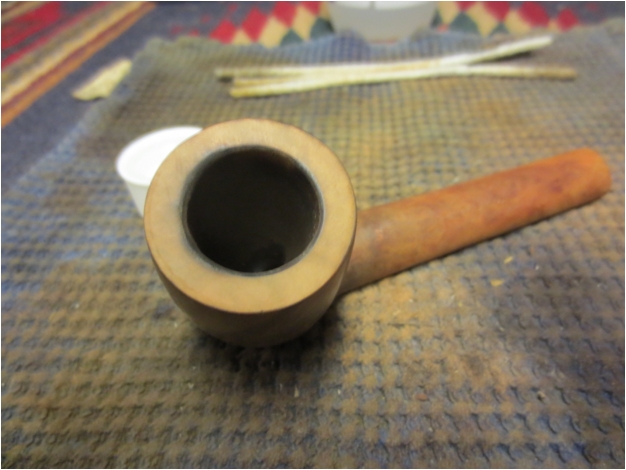
And so I switched to the 21mm reamer that was barely able to clear the inner diameter and gave the entire area a go with several more intense turns, using pressure again to reach the real bottom. Another massive amount of carbon fled the chamber as I turned it upside-down over a proper receptacle. Then, sticking with the bigger reamer, I engaged the entire enemy for the first time. The biggest load of carbon so far emptied out, and after I blew through the shank, a thick dark cloud of dust flew through the air, reminiscent of Victorian Era London skies as described by Charles Dickens with much greater skill.
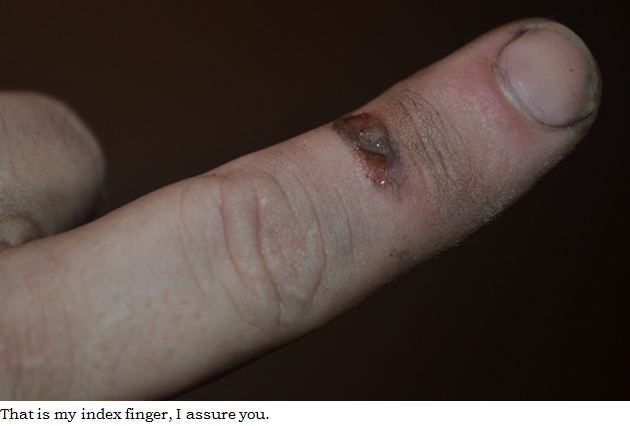
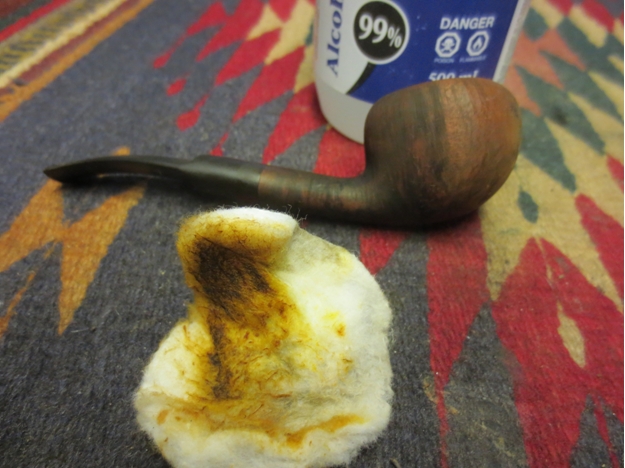
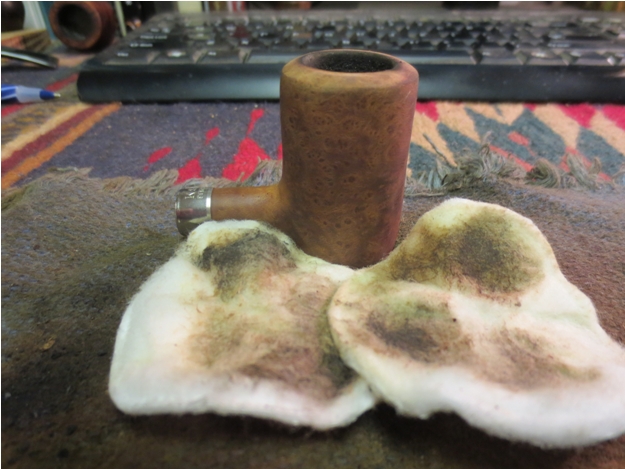
I soaked a couple of small squares of cotton cloth with Everclear and folded them around my middle finger to insert into the chamber and scrub away much of the residual grime. I did this with both sides of the cloths. Waste not, want not and all that. Of course the wet cotton came out soaked solid black along with part of my finger, but I allowed the alcohol to dry a little as I halfway cleaned my begrimed digit before sticking my clean index finger all the way in and feeling the walls. They were pocked all over.
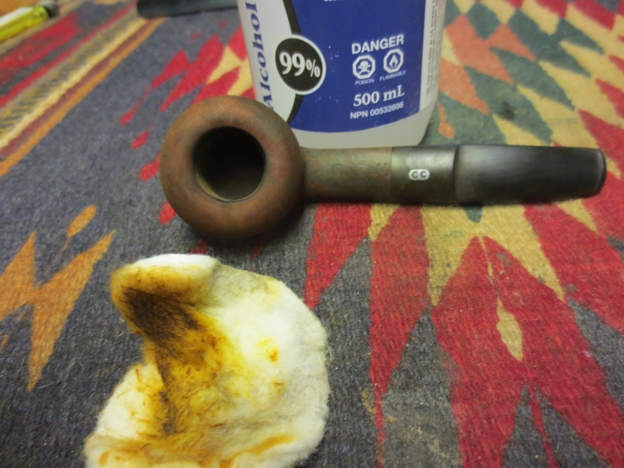
Reattaching the 19mm blades, I angled them first against the upper half of the chamber before adjusting them to favor the lower half. Much more carbon was loosened, and more alcohol-soaked cotton cloths wiped away the excess. Again I inserted a clean finger and used it to dig out little chunks of carbon. The chamber was better but still needed work.
I turned to a small piece of 200-grit sandpaper long enough to reach the bottom of the chamber with a little above the rim and wide enough to cover half of the wall. With whatever finger fit inside the chamber leaving enough room to press down against the paper and turn it with roughness 360 degrees a few times, I heard that old familiar fingers-on-chalkboard screech the entire time. But I felt the wall smoothing. The paper came out black, and I wiped it over a rag to remove the dust. Still again, a small mountain of carbon fell from the inverted chamber. Feeling the wall with a bare finger, I knew I had to get rough at last.
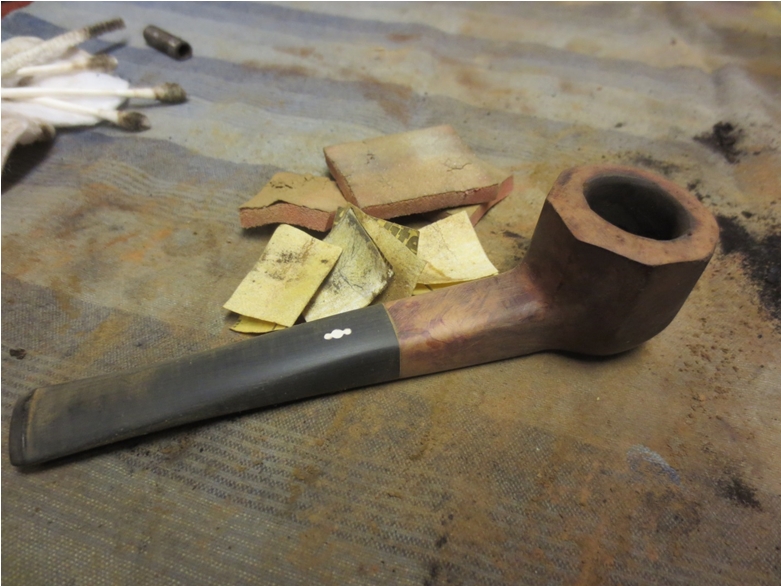
A perfect old piece of 150-grit paper presented itself for my use, and I went at the chamber again with real gusto. The fact that another pile of carbon was removed dismayed and discouraged me. I repeated the process several times, cleaned the chamber with cotton cloths and Everclear, and believe it or not, got the reward I had awaited with a clean, smooth finger inspection. So that’s my page and a half on fixing the dang chamber.
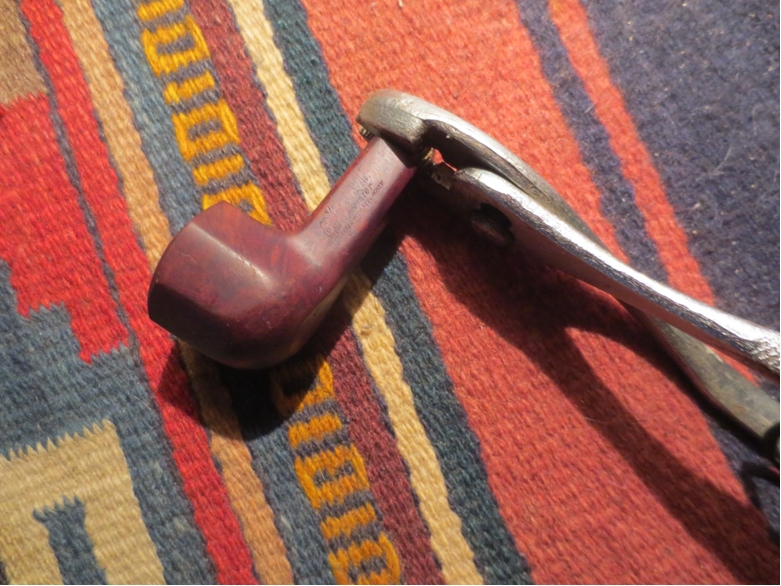
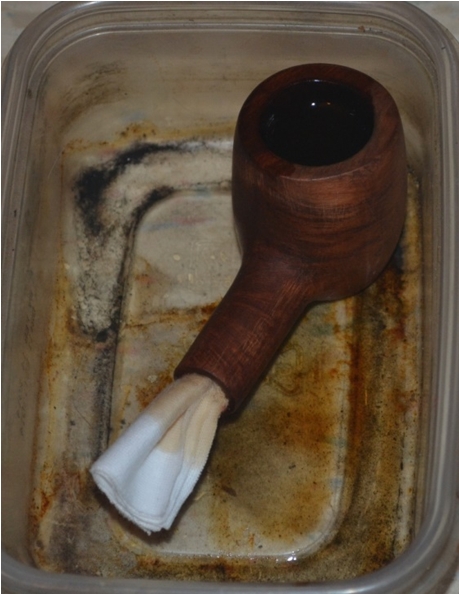
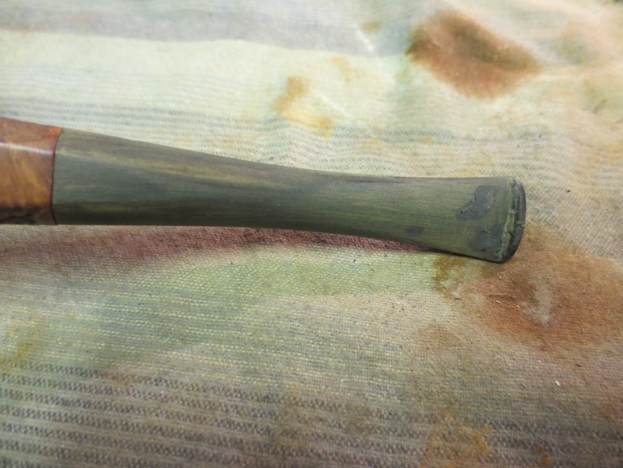
Next up on my itinerary was beginning the cleaning process of the shank. After about ten minutes of running a wire-handled bristle cleaner dipped in alcohol over and over through the inner shank, I saw it was having an effect and stopped to prepare for the retort.
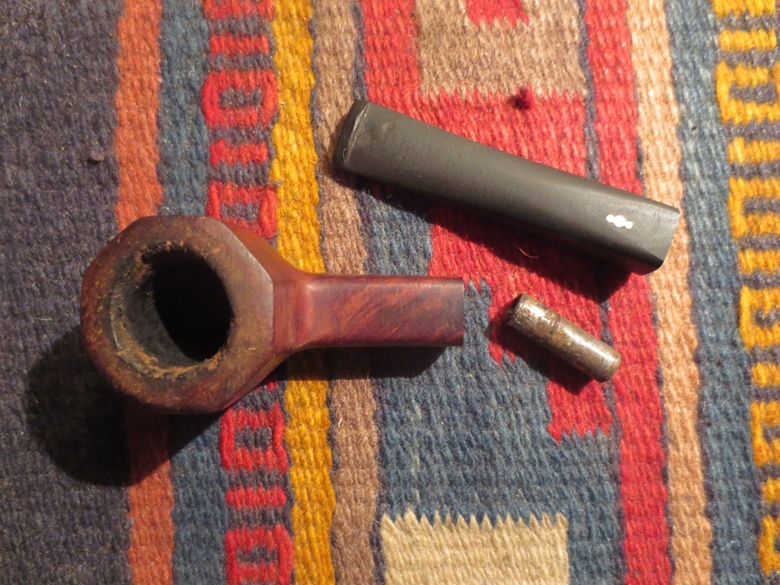
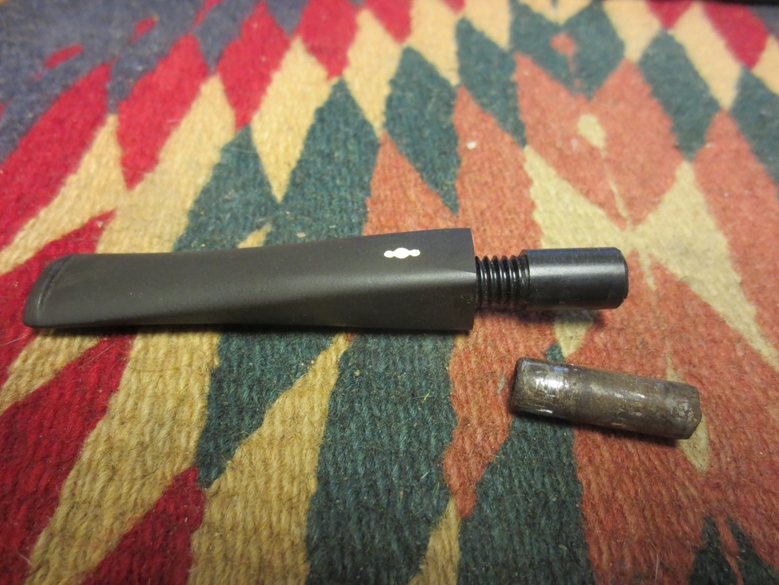
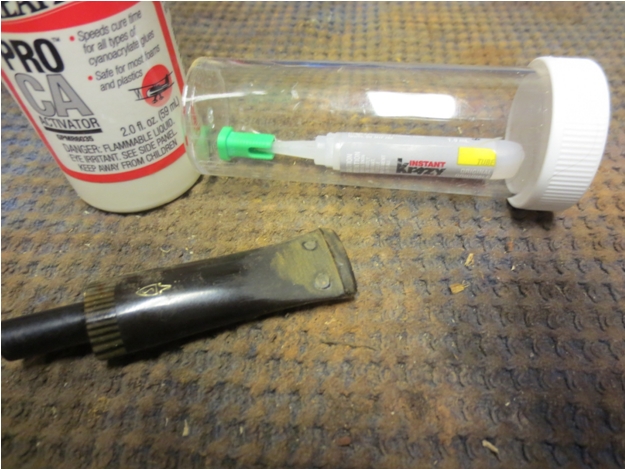
At this point I remembered the small stem was Lucite, which can be warped and ruined by alcohol. However, finding the task of attaching the rubber tube of the retort kit directly over the wide shank opening, and also locating no suitable temporary stem, I saw no choice but to take a chance. And so I connected the rubber over the lip of the stem and commenced the retort process.
Several test tubes of Everclear later, the shank at last came clean. Removing the stem as fast as I could and inserting a stem cleaner into it, where I let it stay long enough to dry, I found that it was intact. I completed the retort by removing the cotton balls from the chamber and using more cotton cloth to scour the chamber clean and dry and doing the same to the shank with a soft cleaner.
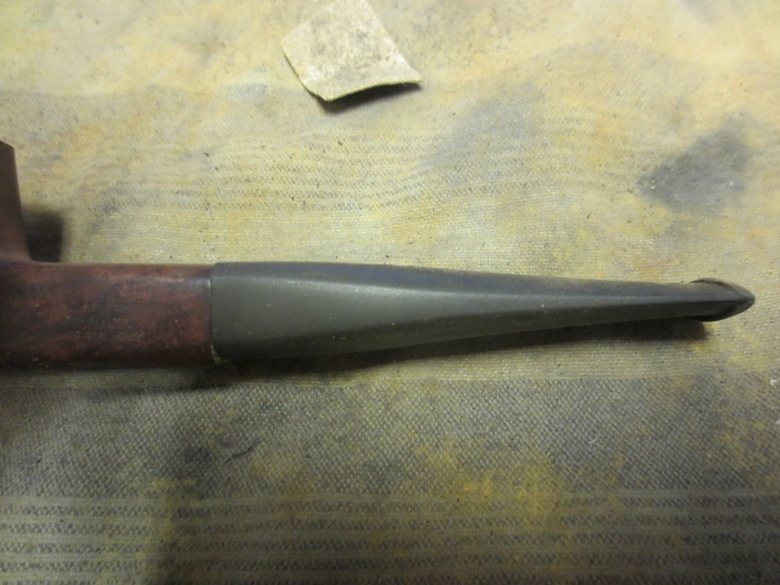
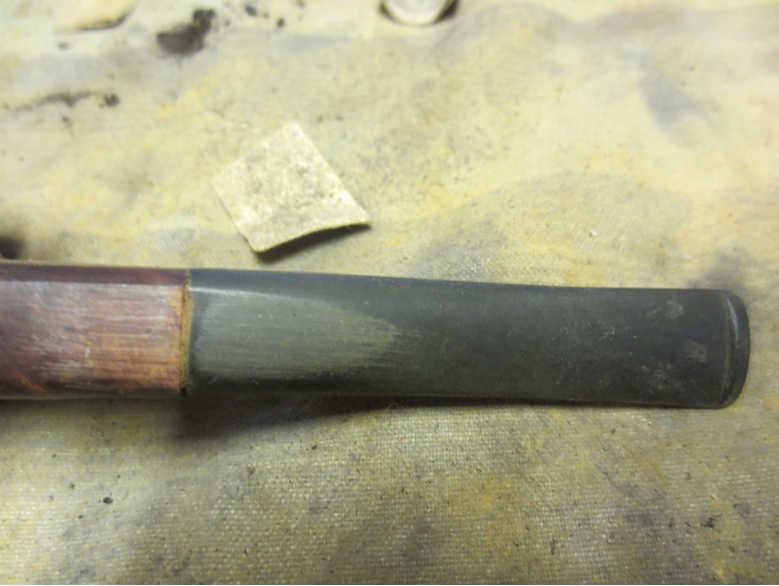
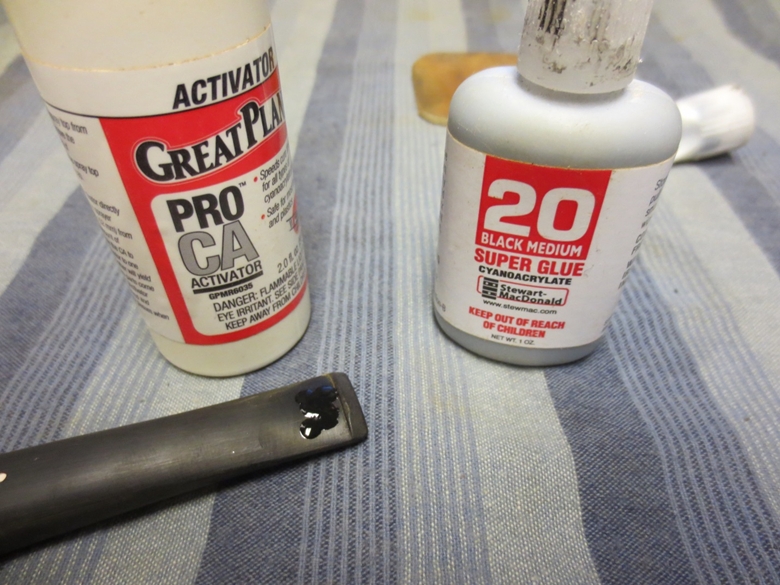
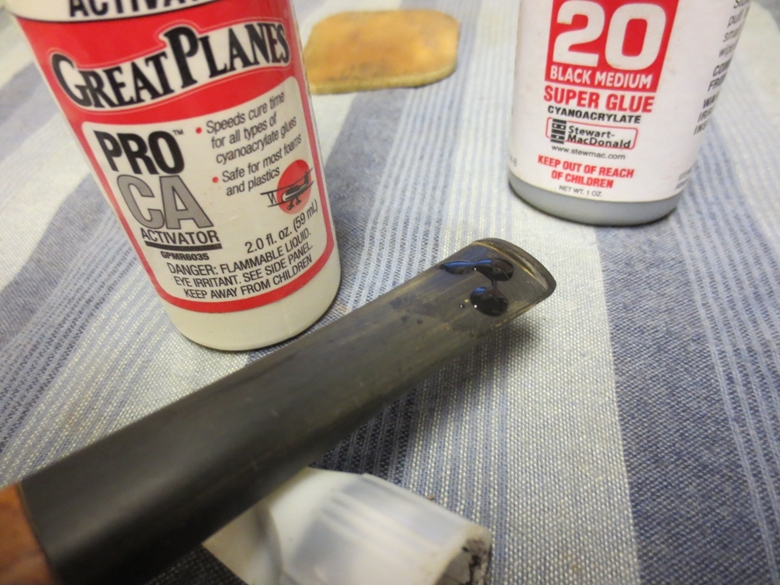
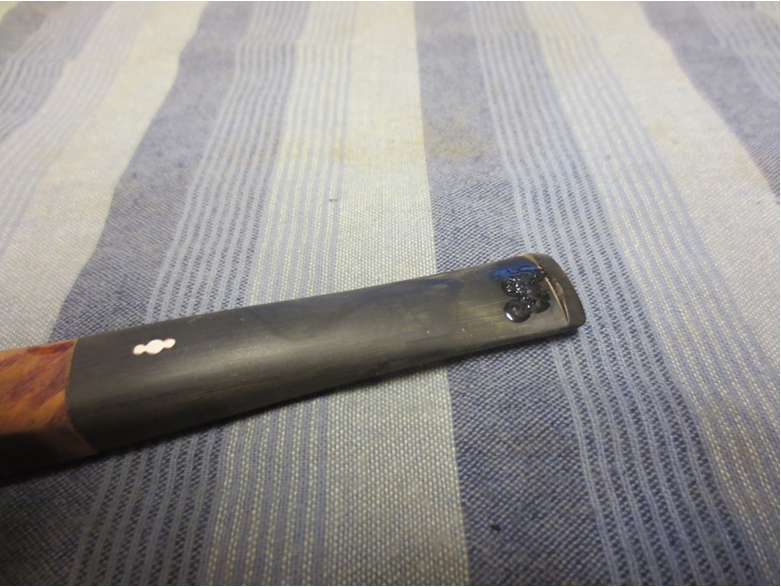
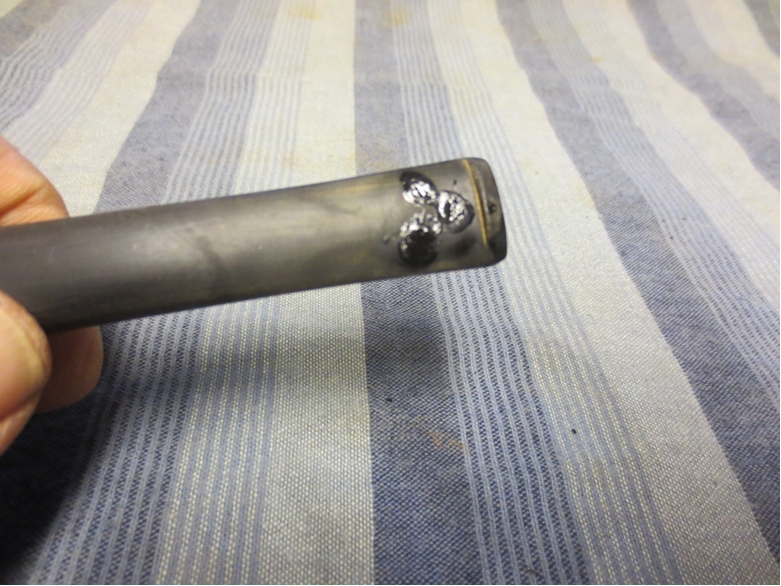
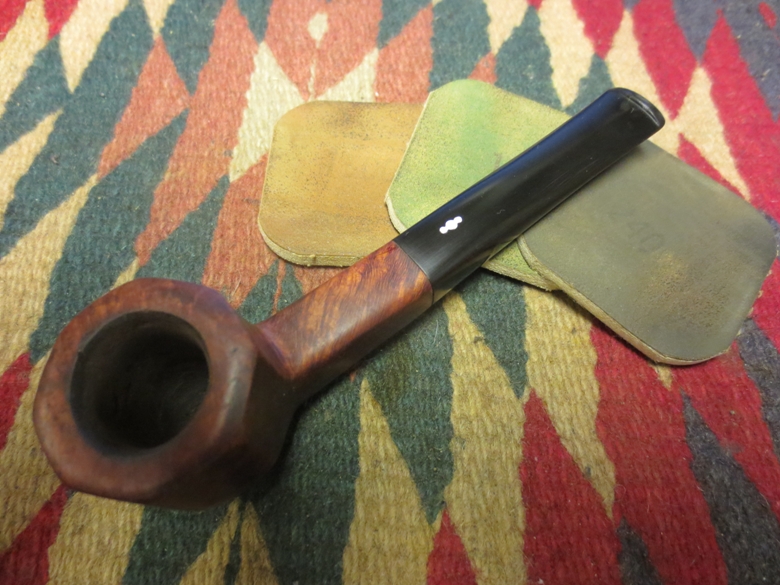
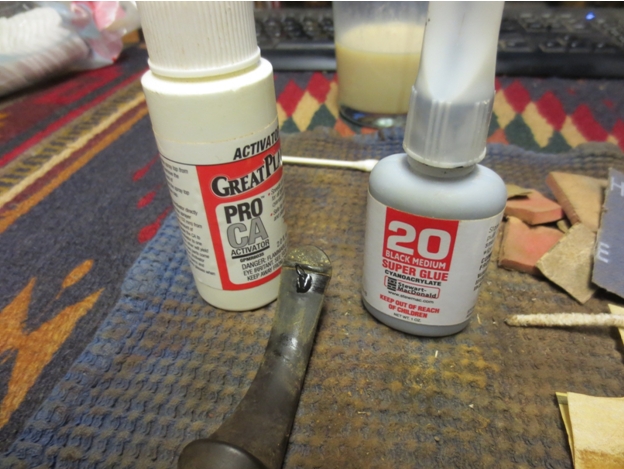
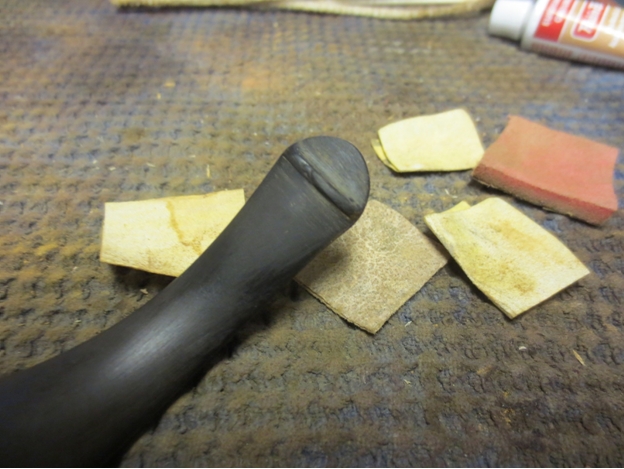
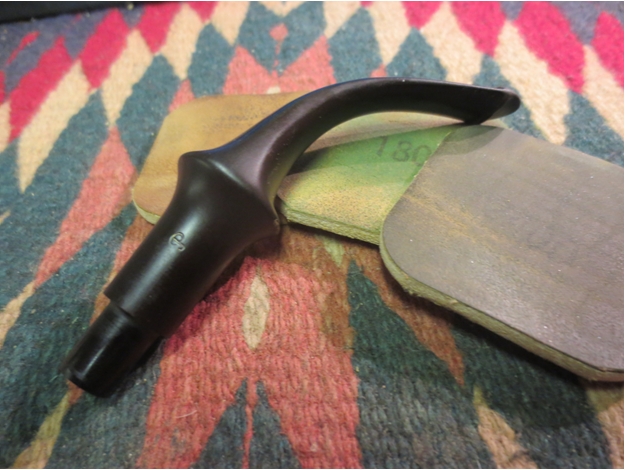
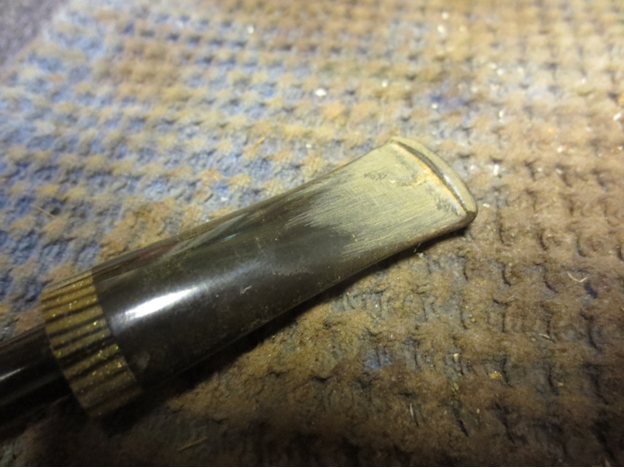
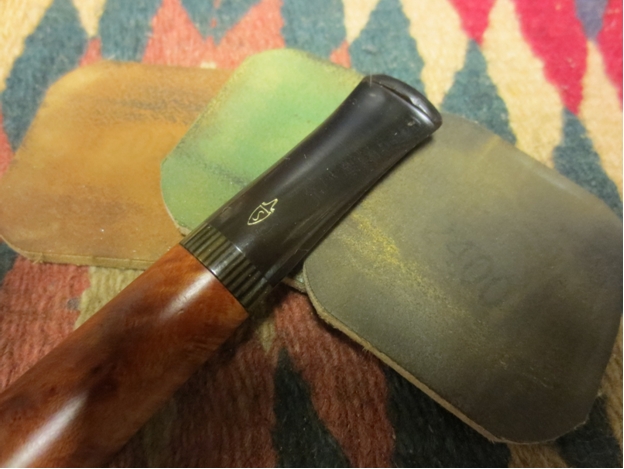
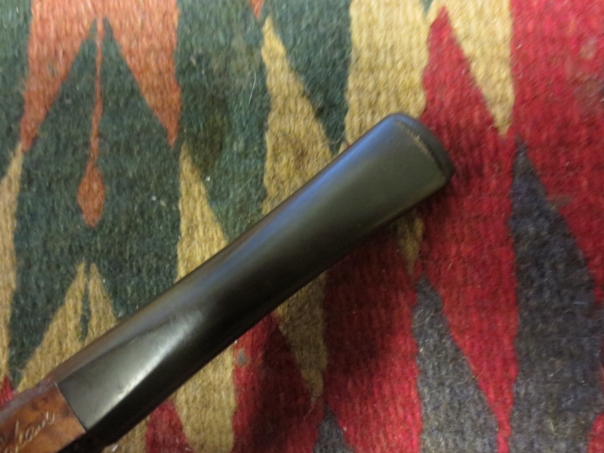
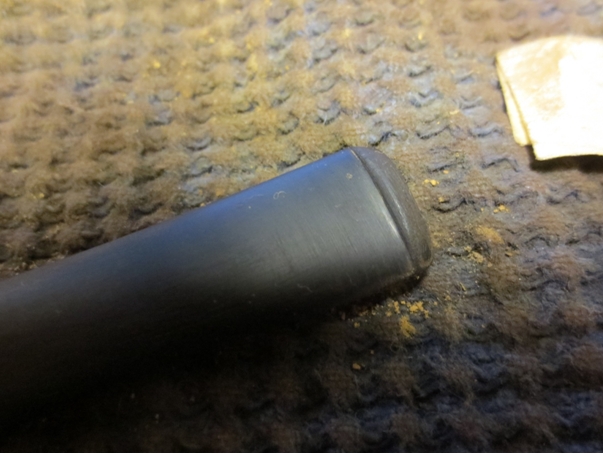
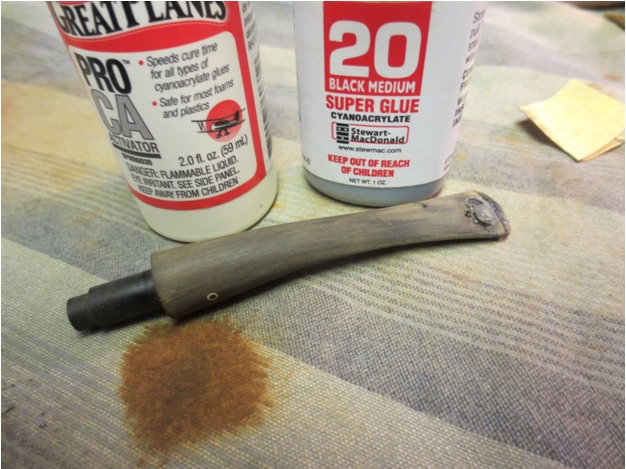
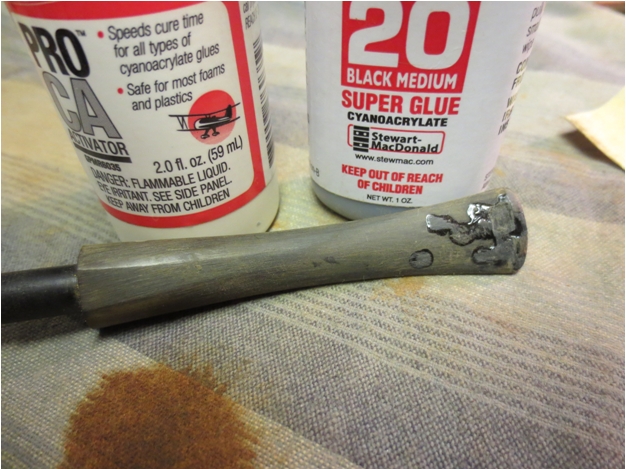
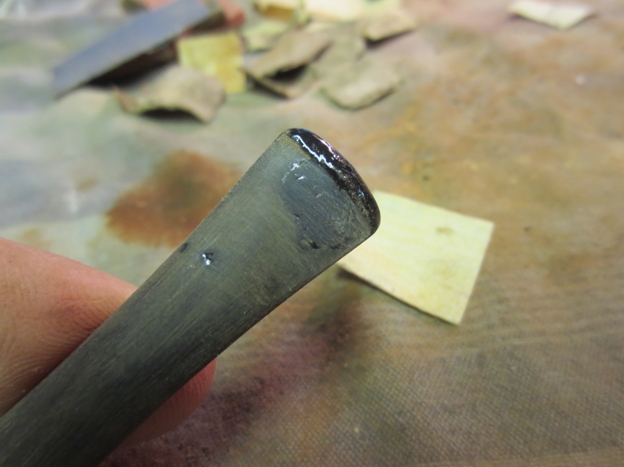
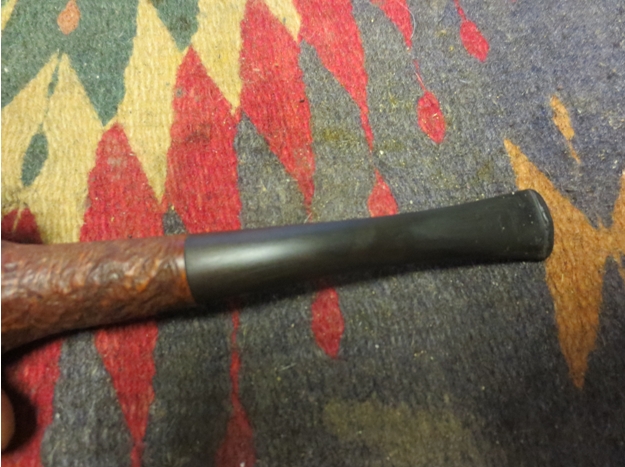
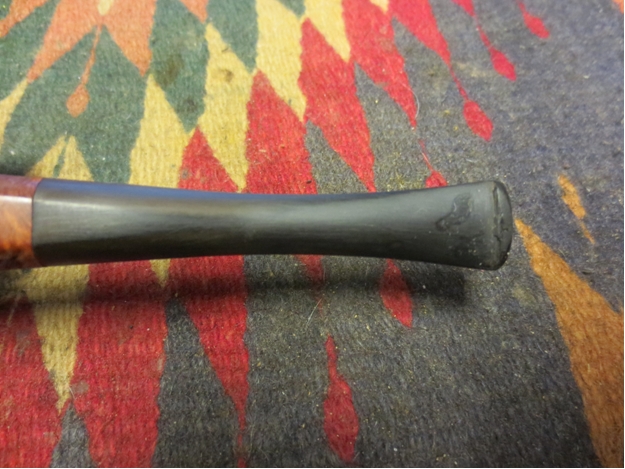
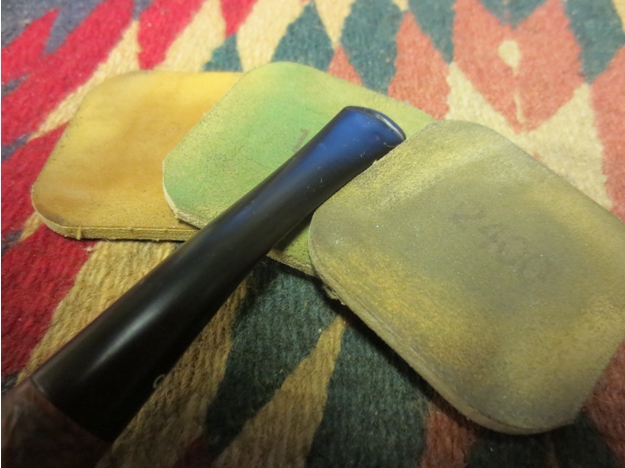
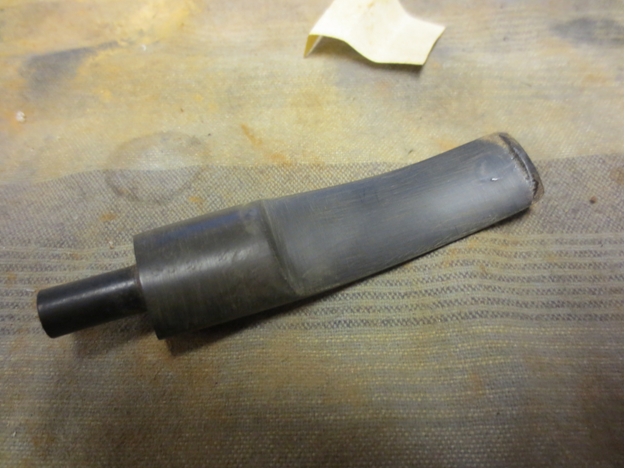
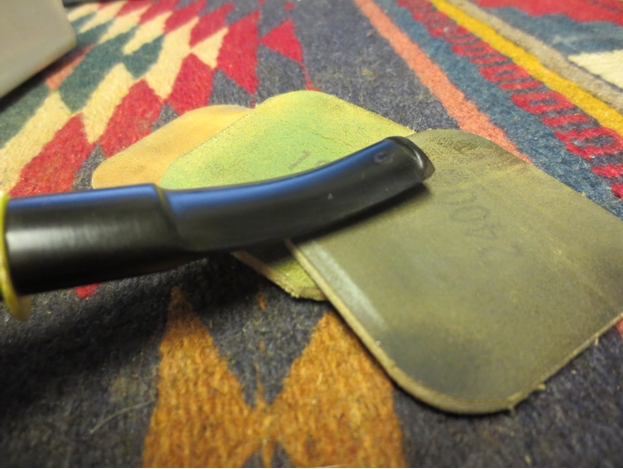
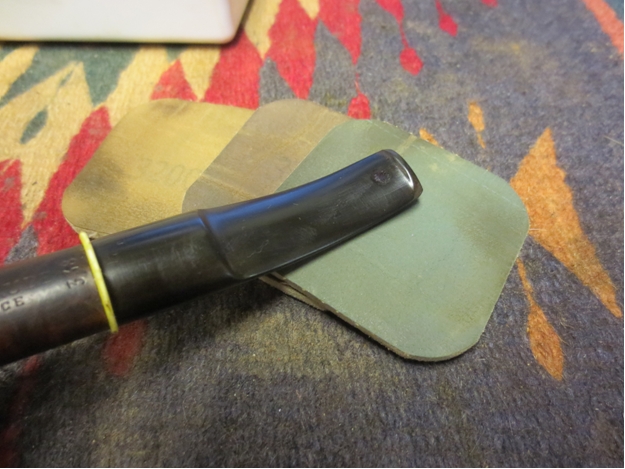
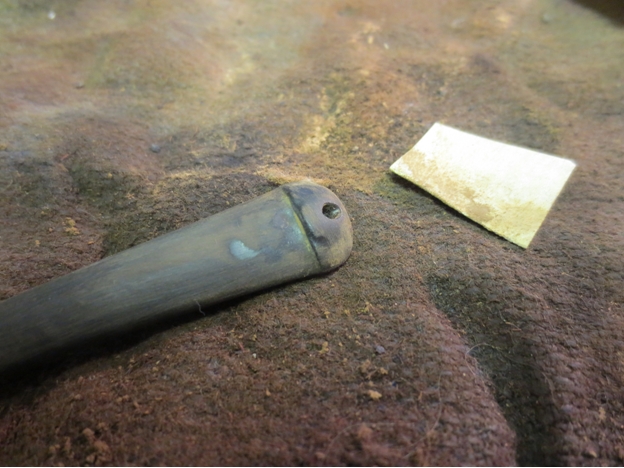
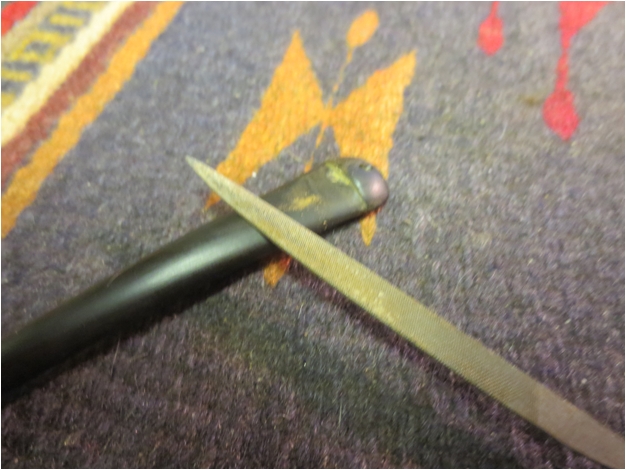
The stem, as nice as it was, still had a couple of minor bite marks and other blemishes I might have ignored with a pipe I was keeping, but I couldn’t do it.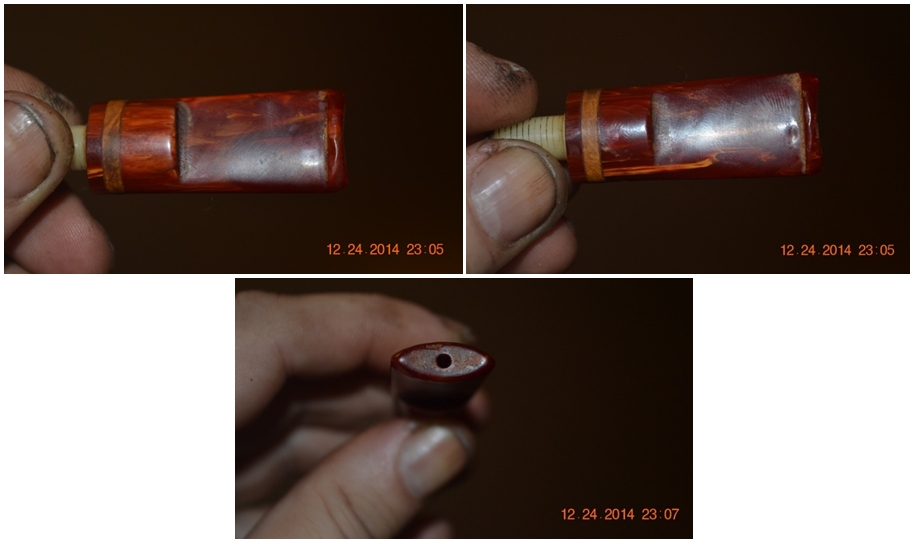 The ease of removing the bitemarks and other marks with 400-grit paper came as a happy surprise. While the sandpaper was handy, I cleaned the shank opening, as you will see below. After that all I needed to do was micromesh the bowl and shank with 1500, 2400 and 3200.
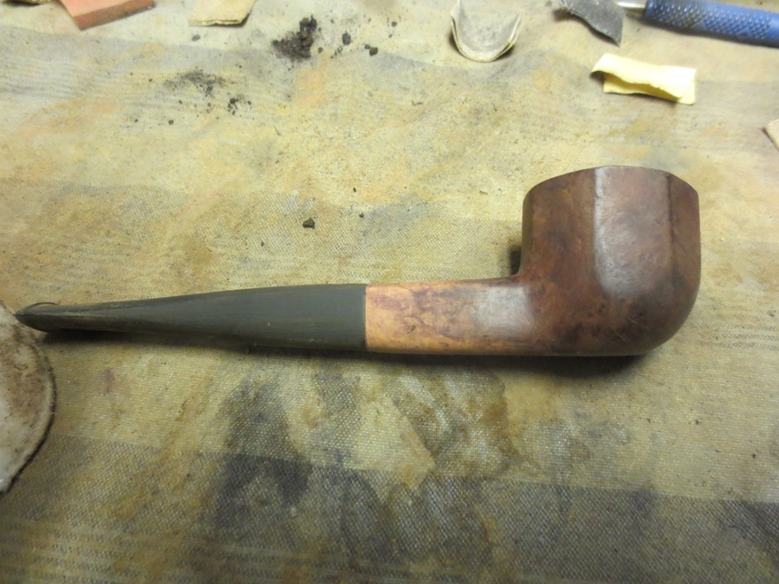
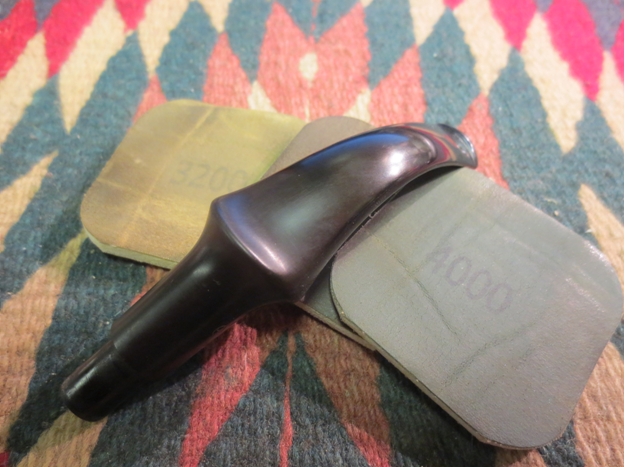
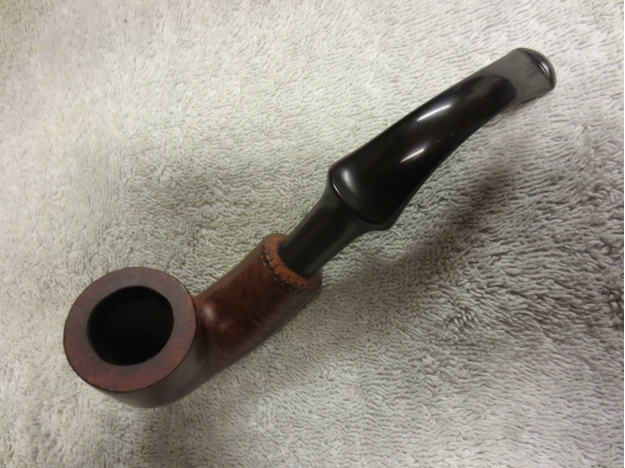
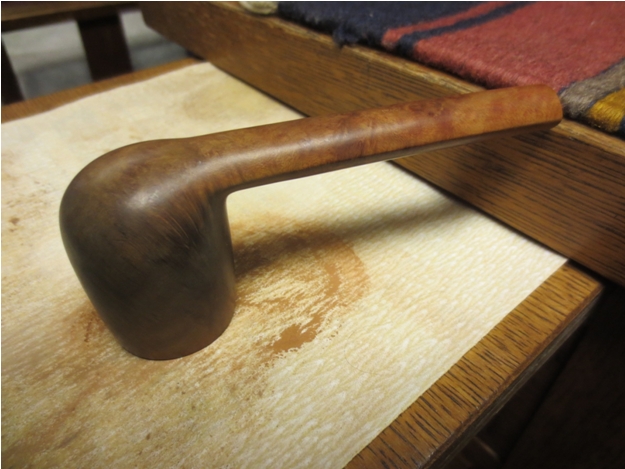
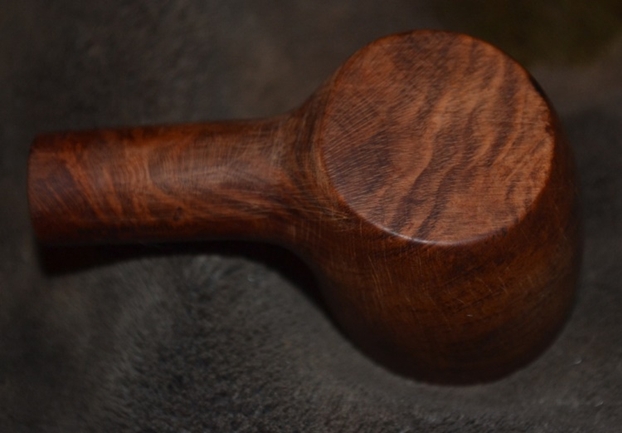
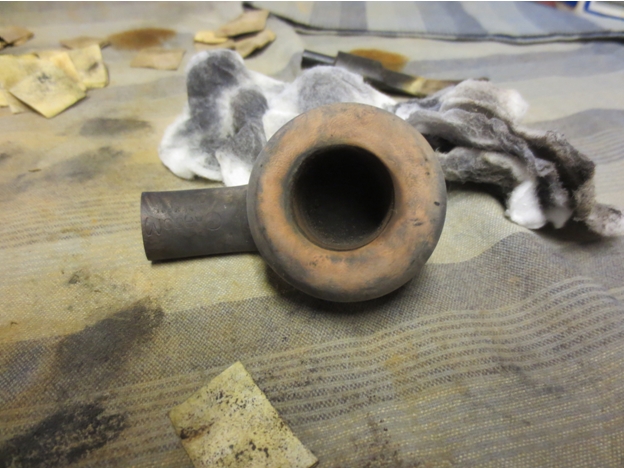
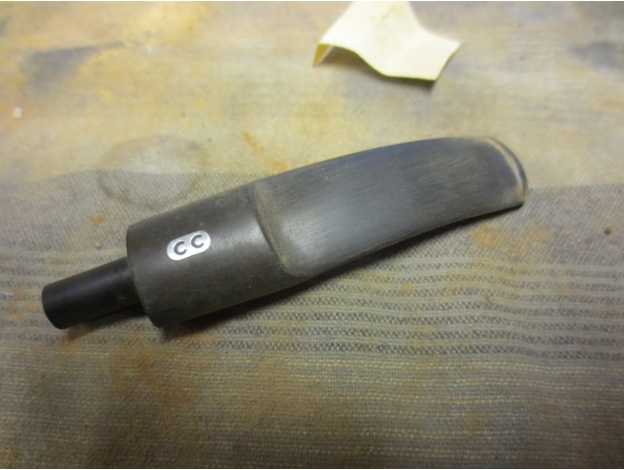
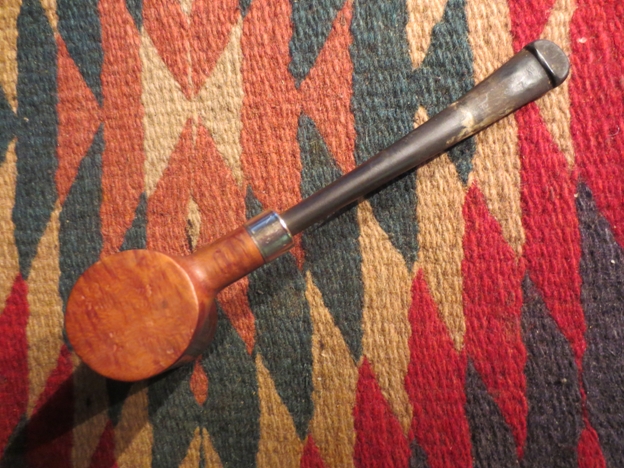
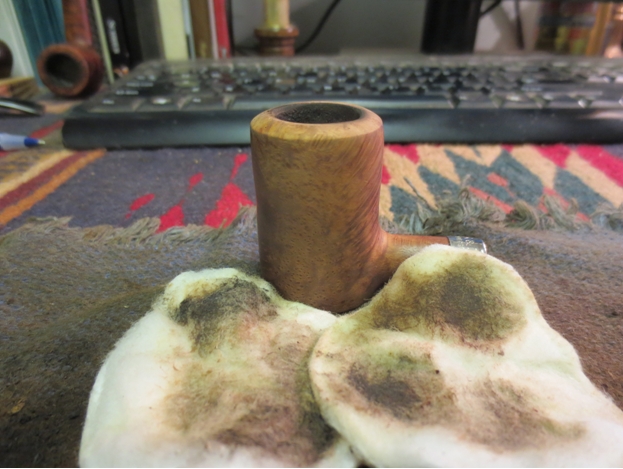
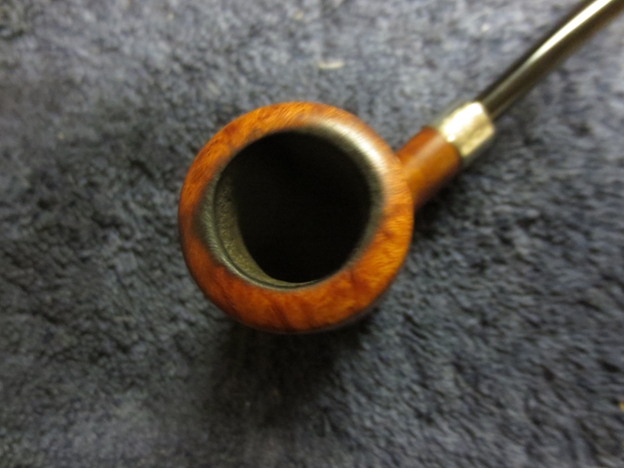
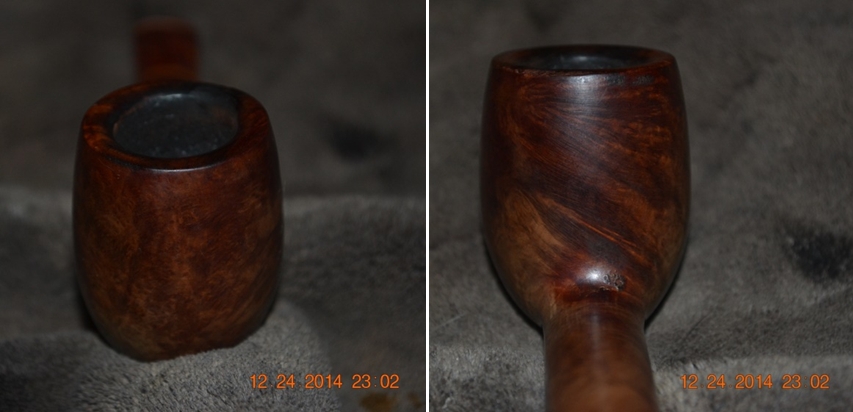
I was more reluctant than ever before to remove any of the original stain, but had no choice with the rim, which was blackened beyond the help of purified water, steel wool or micromesh. I chose 400-grit paper, which eliminated the blackening, before a three-step micromesh using 1500, 2400 and 3200. That done, I considered which of my modern day stains would best approximate the original, and decided to go with the medium brown. I flamed it and set it aside to cool. After a few minutes, I took out my 2400 micromesh pad and gently rubbed away the ash, followed by a quick wipe with a soft rag.
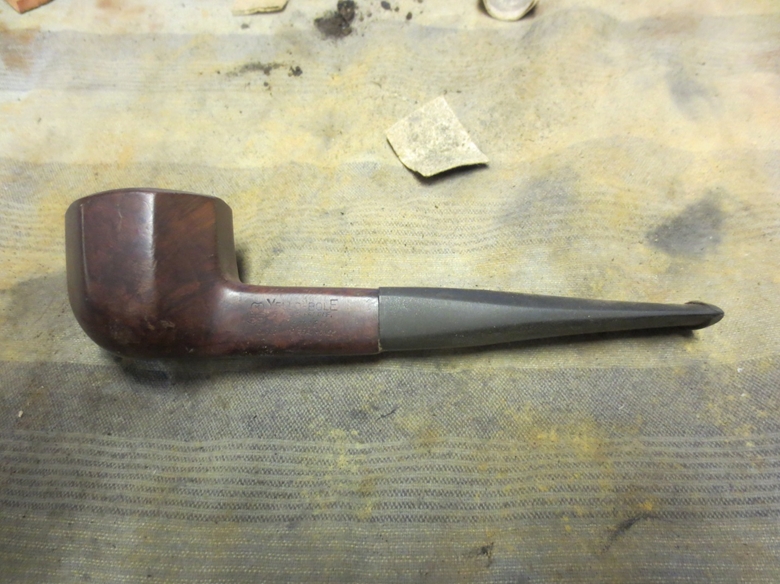
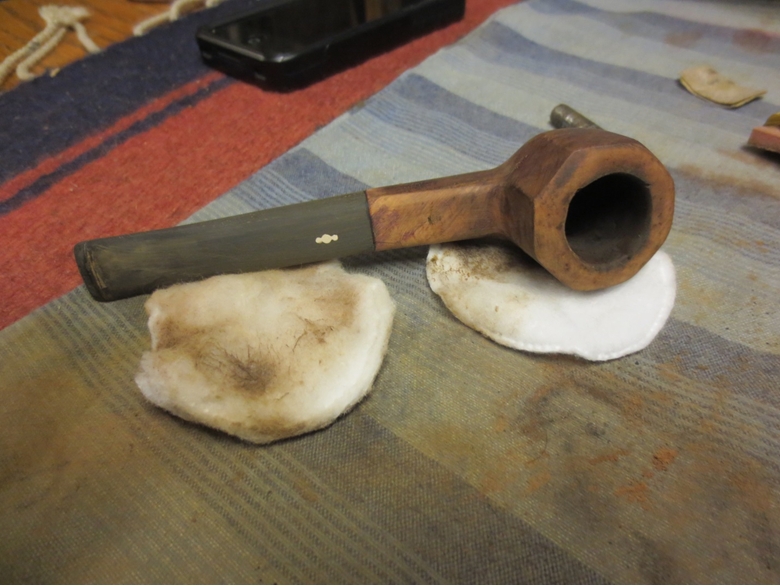
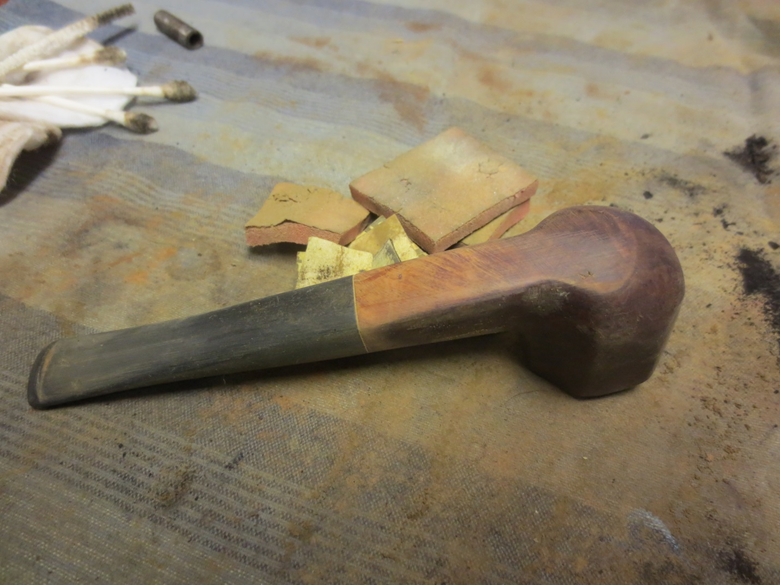
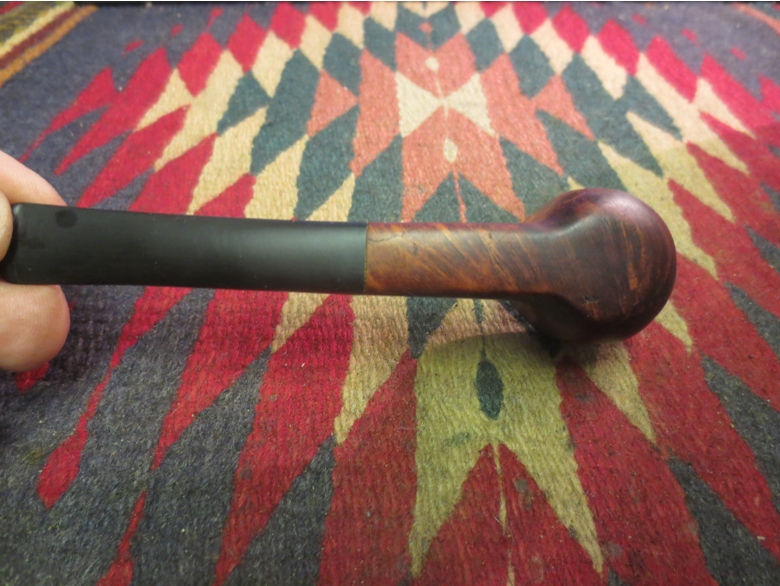
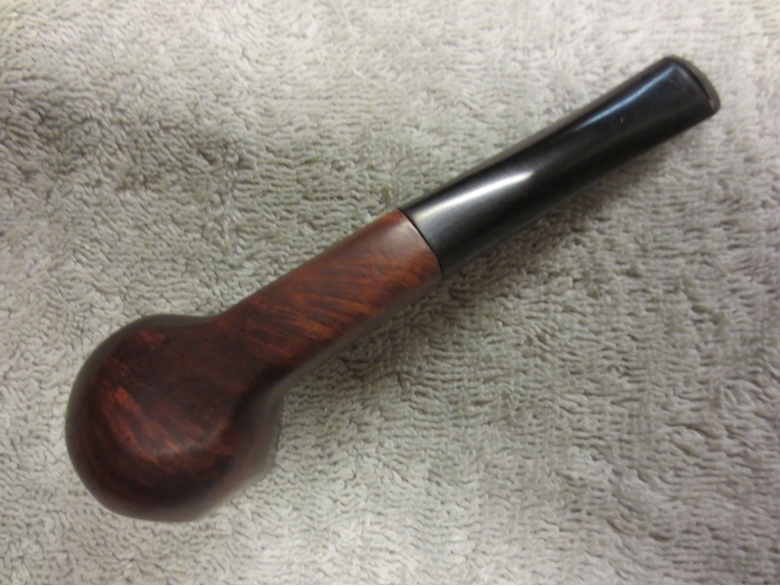
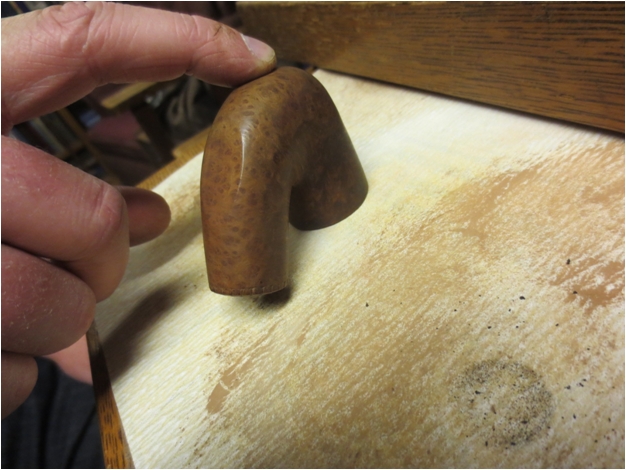
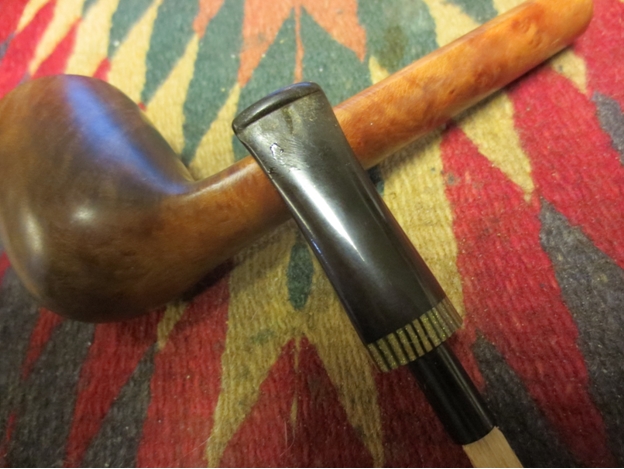
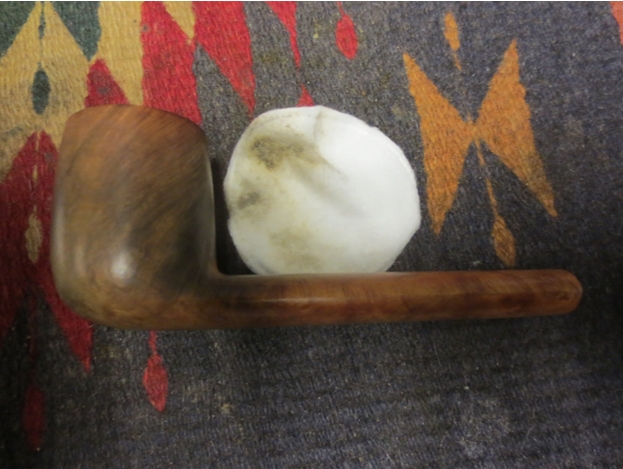
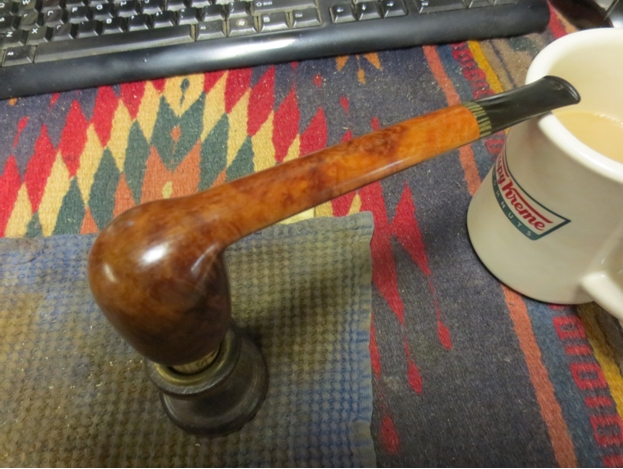
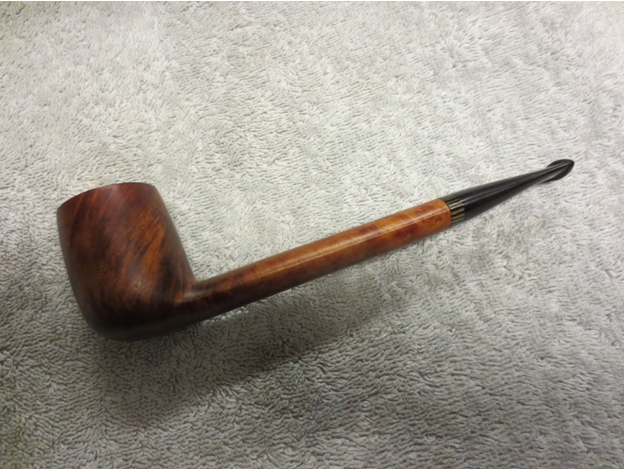
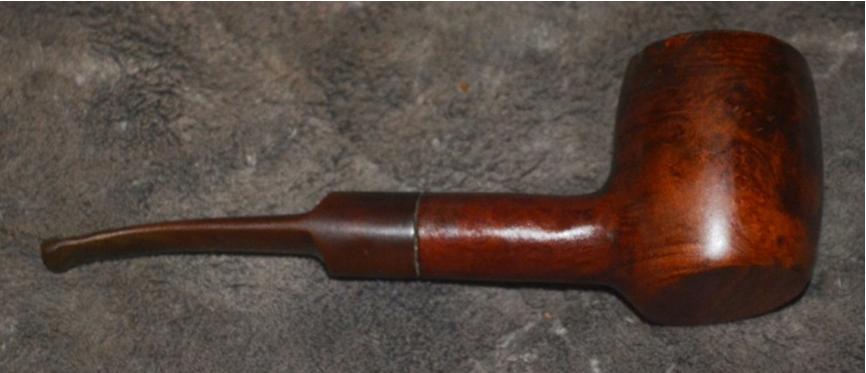
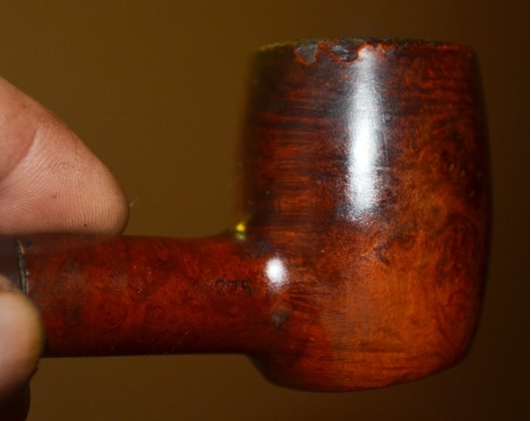
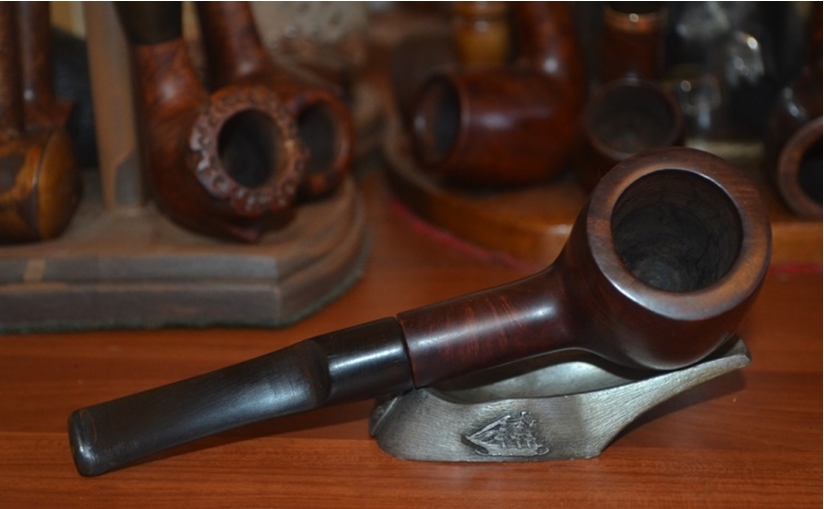
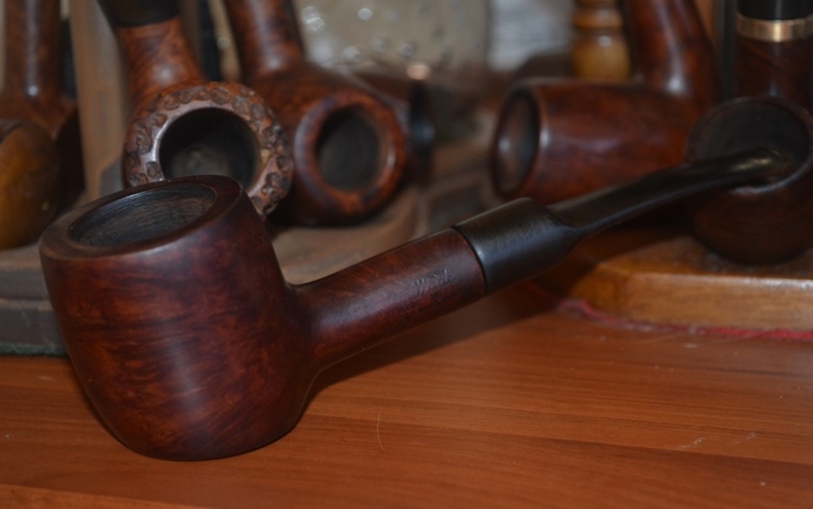
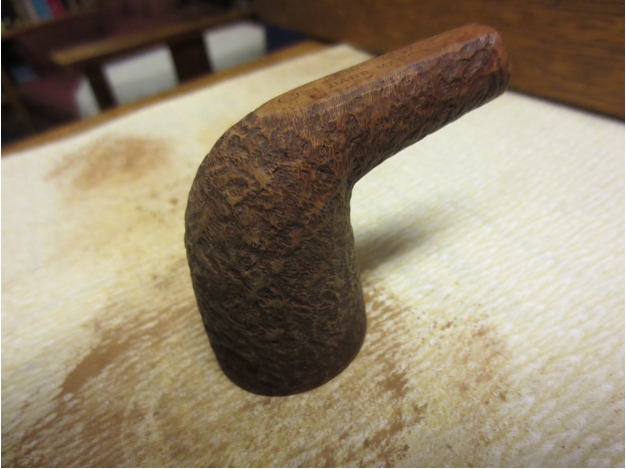
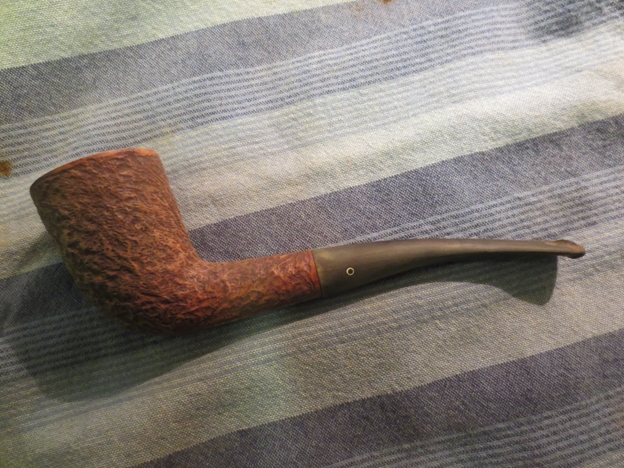
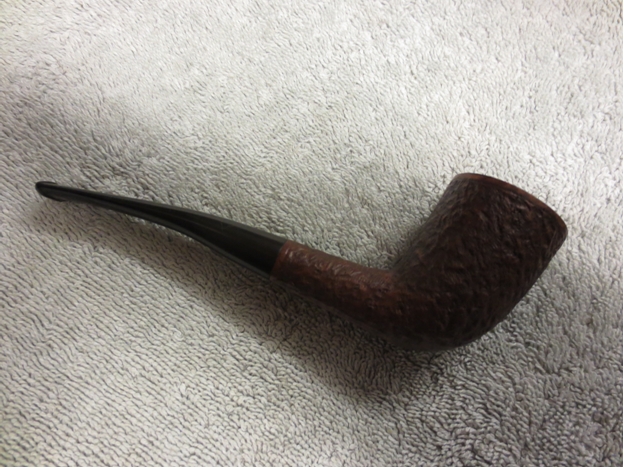
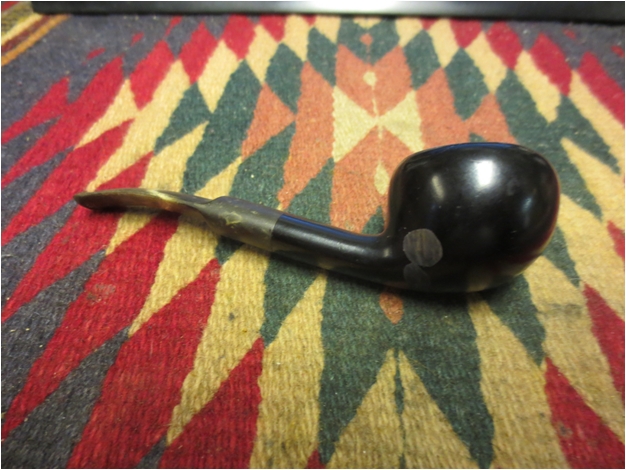
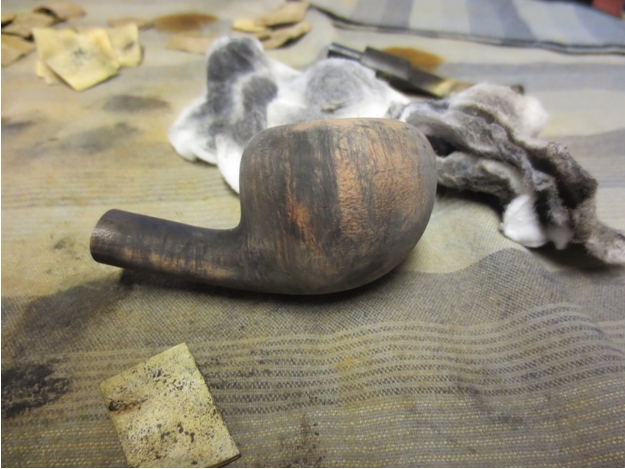
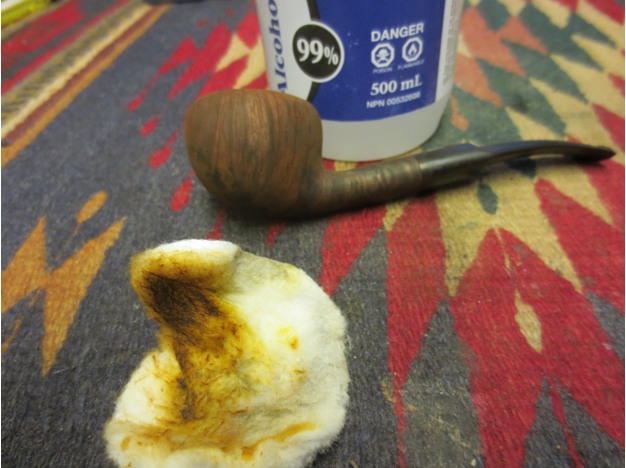
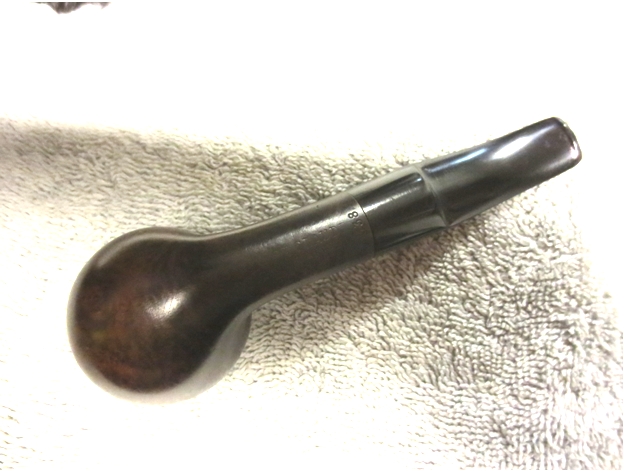
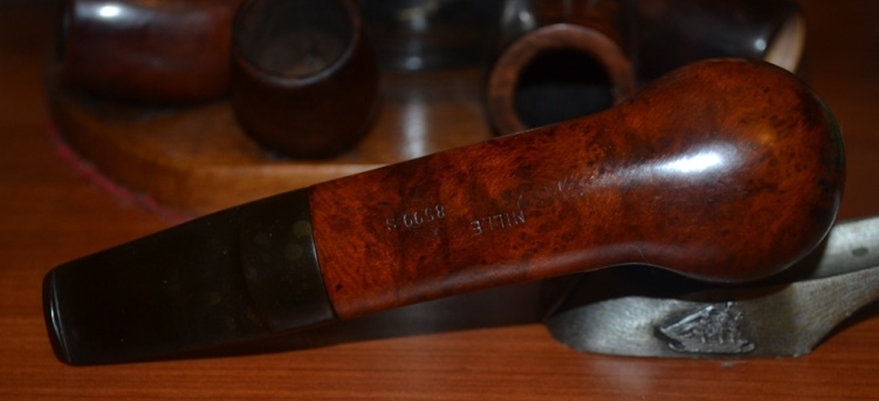
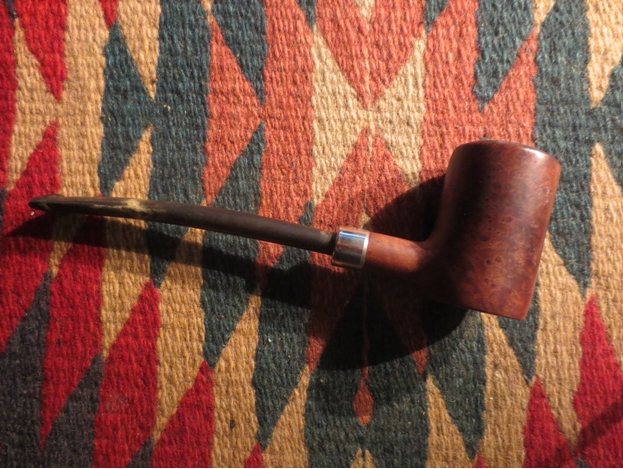
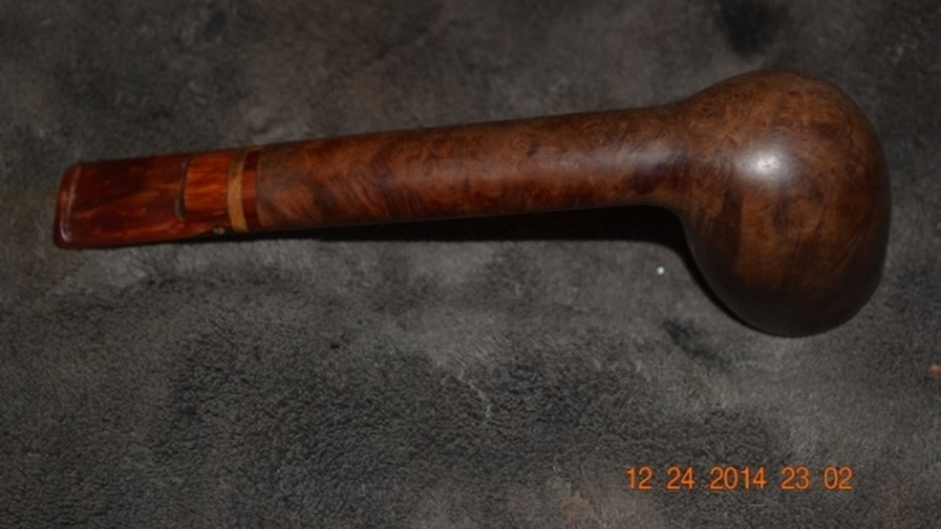
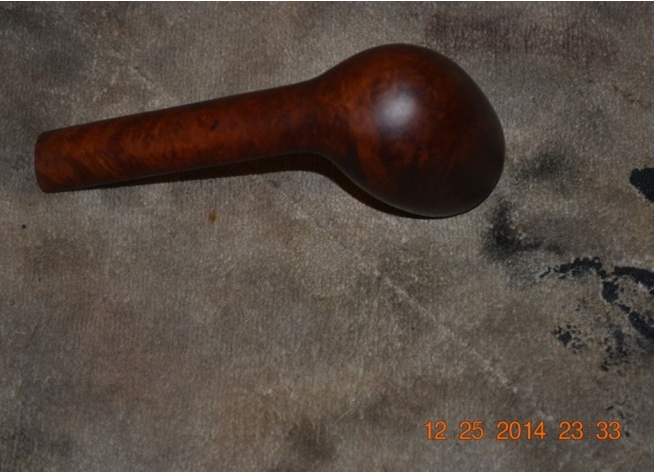
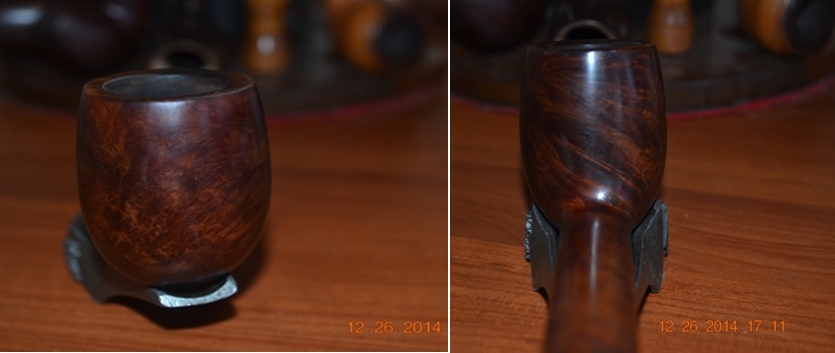
I’d have to say the greatest surprise with this old pipe was the flawless condition of the bowl and shank, with the exception of the rim as described. Based on the general design, the less familiar shade of brown and the grain that is not as uniform as pipe enjoyers today expect, I estimate that this pipe dates to the 1940s or 1950s. At first I believed the pipe was never waxed until I gave it a good wash with purified water and cotton cloth and was able to make out a couple of thin, shiny streaks on the top of the shank, where it appears its long-time previous owner seldom if ever touched the faithful companion.
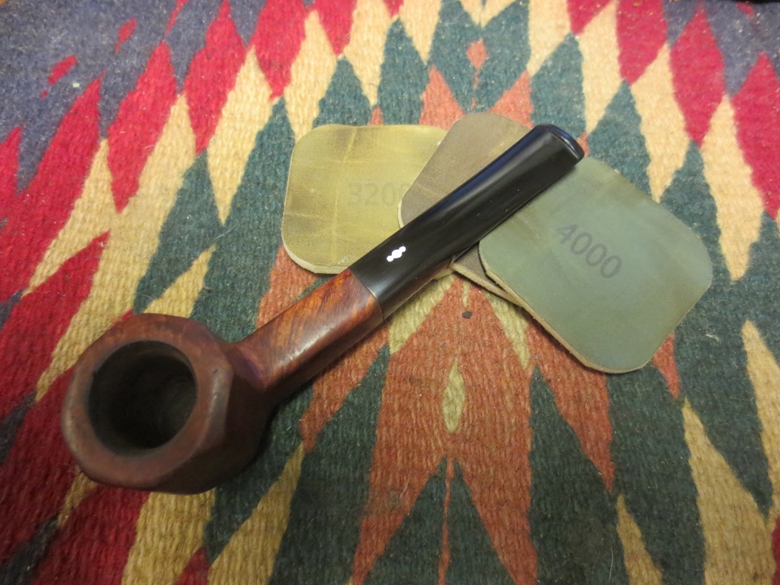
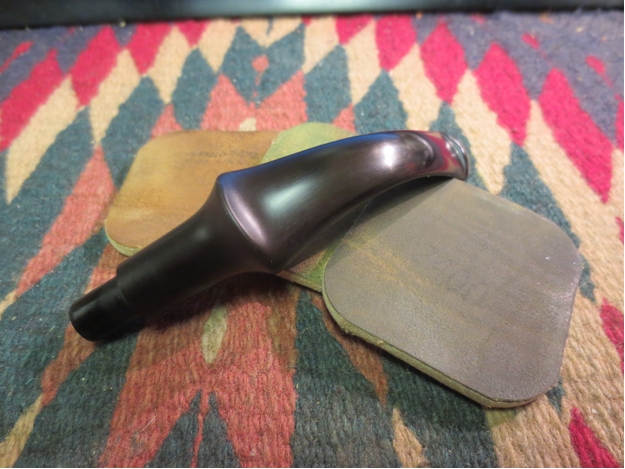
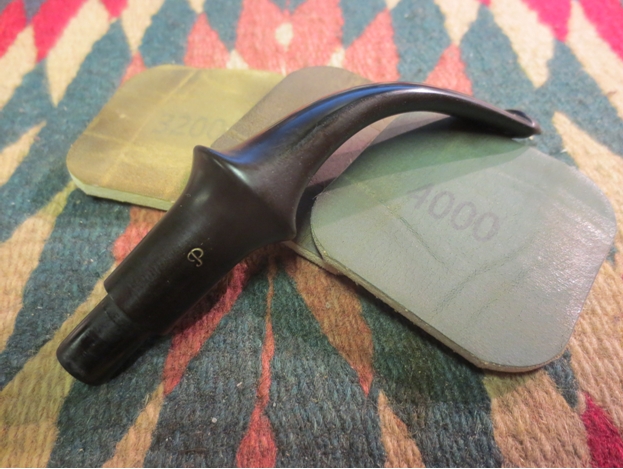
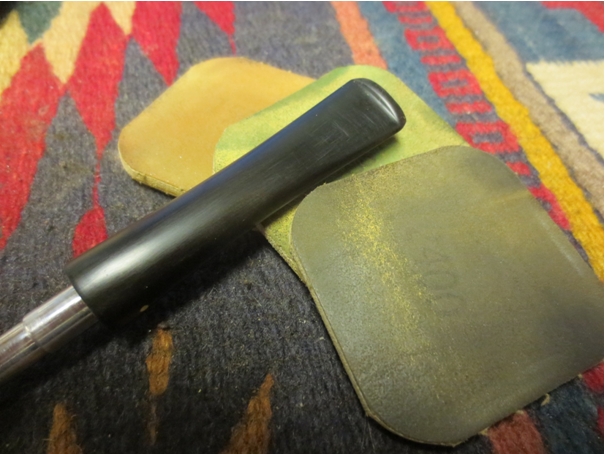
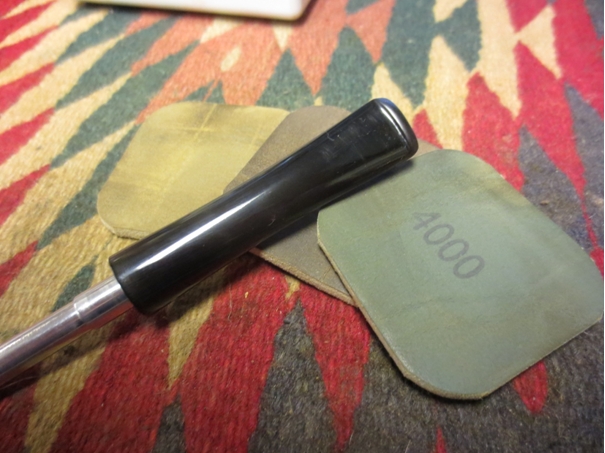
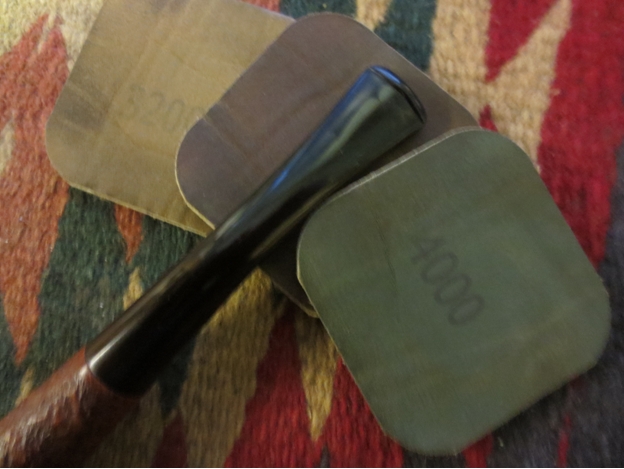
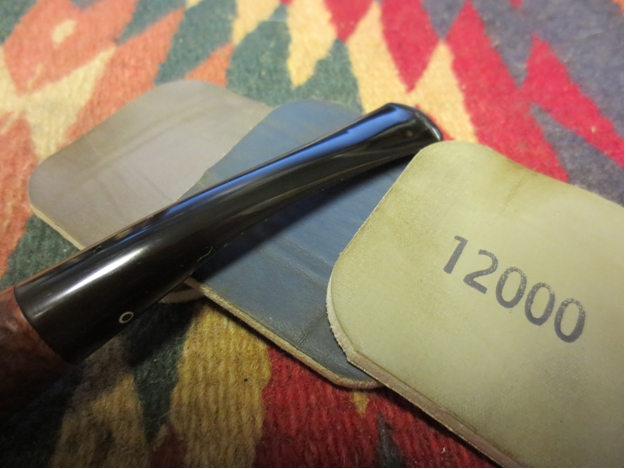
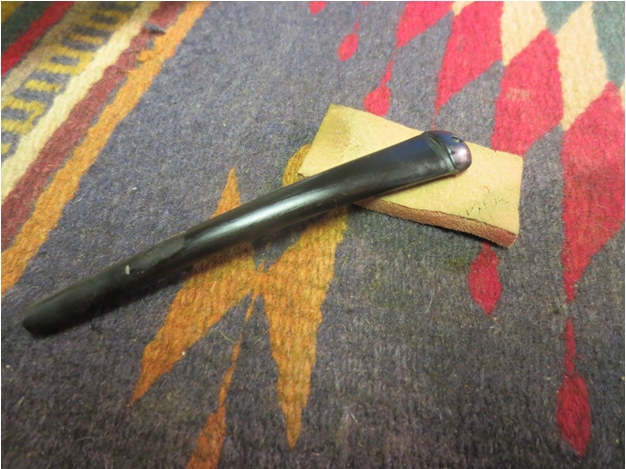
Still, to assure its readiness for a smooth buffing, I prepared the wood with micromesh progressing from 1500 to 2400 to 3200 and at last 4000.
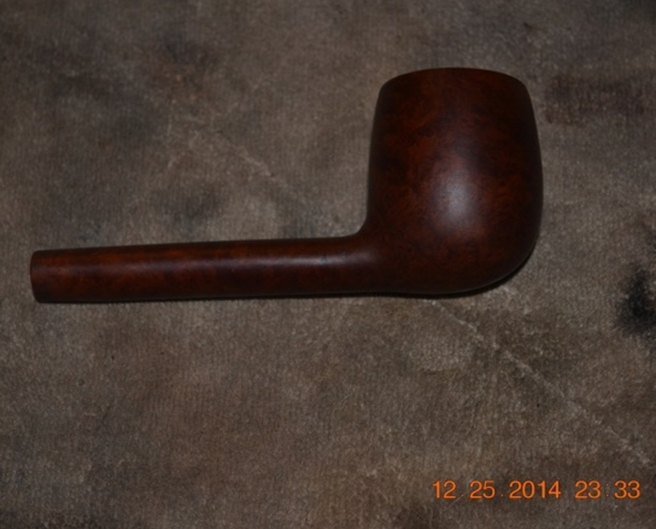
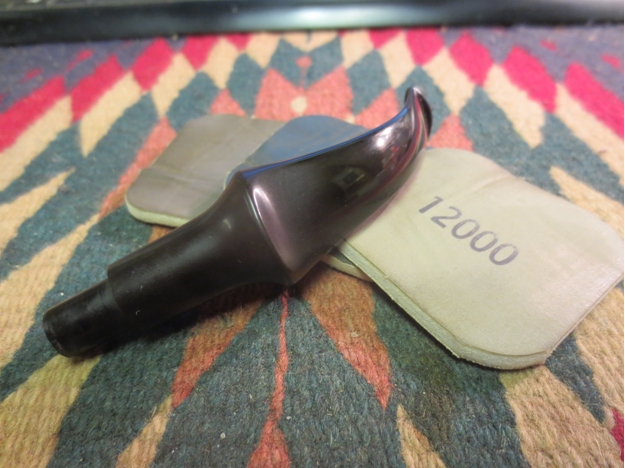
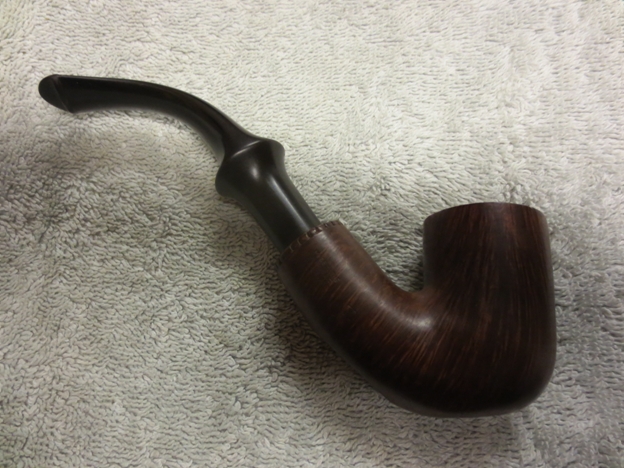
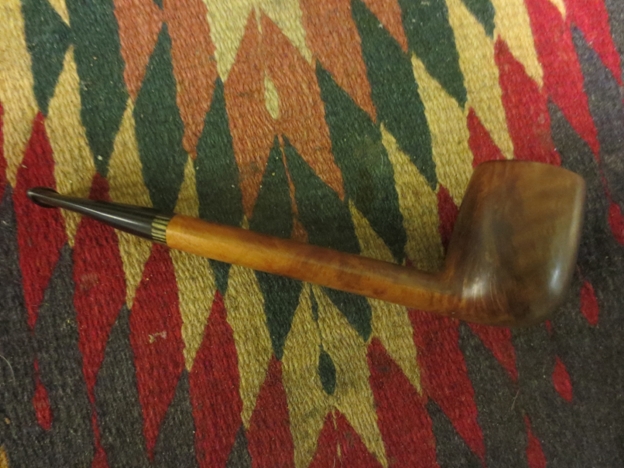
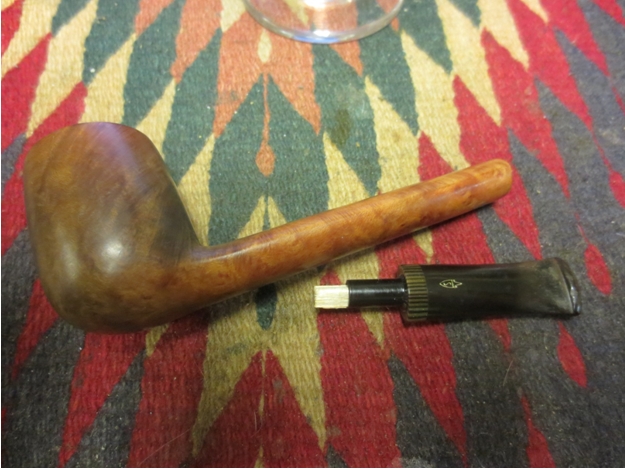
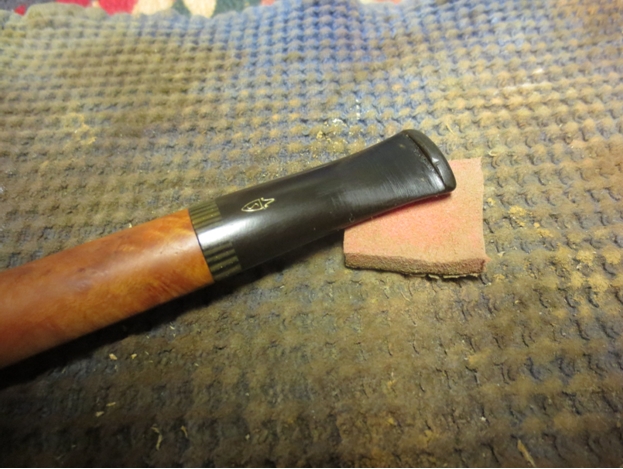
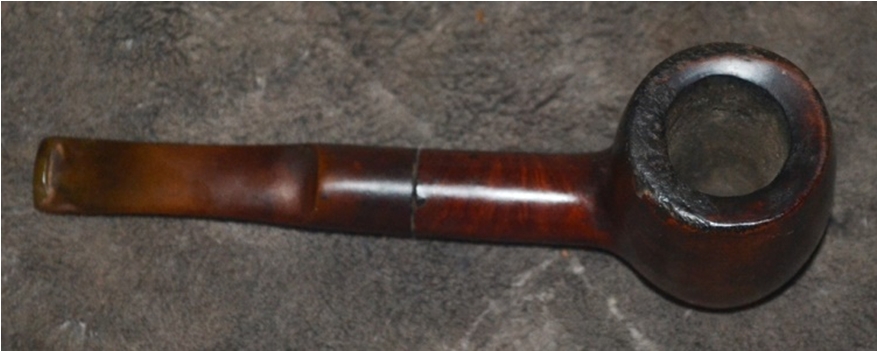
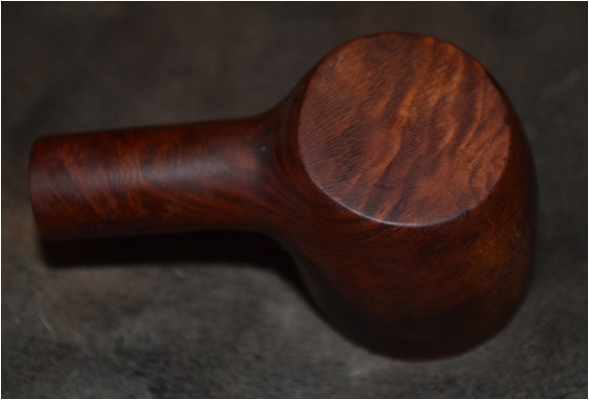
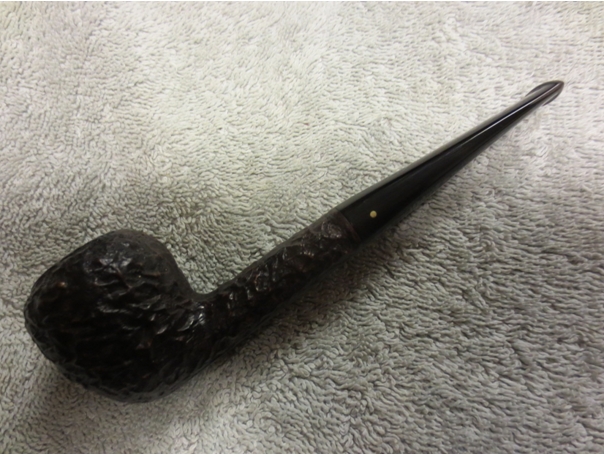
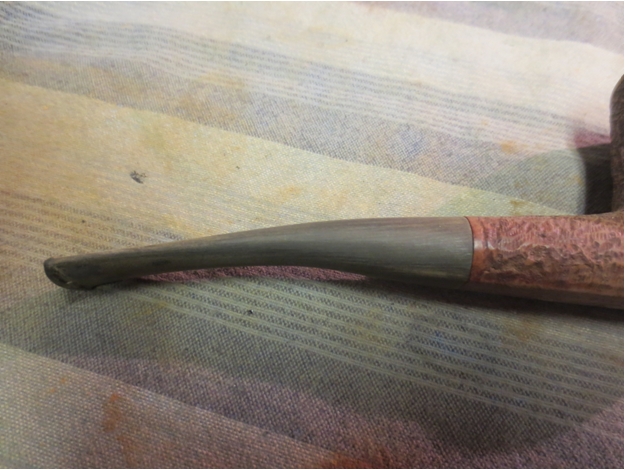
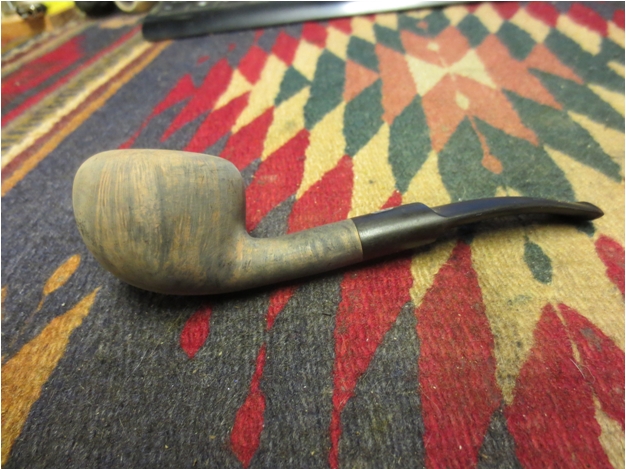
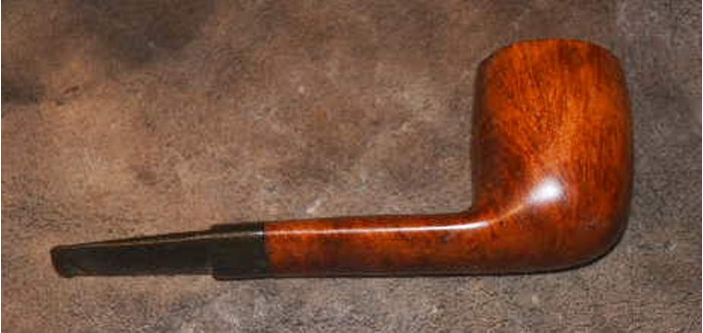
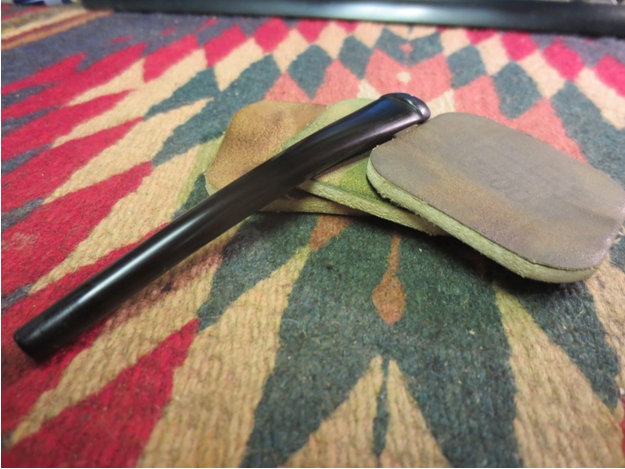
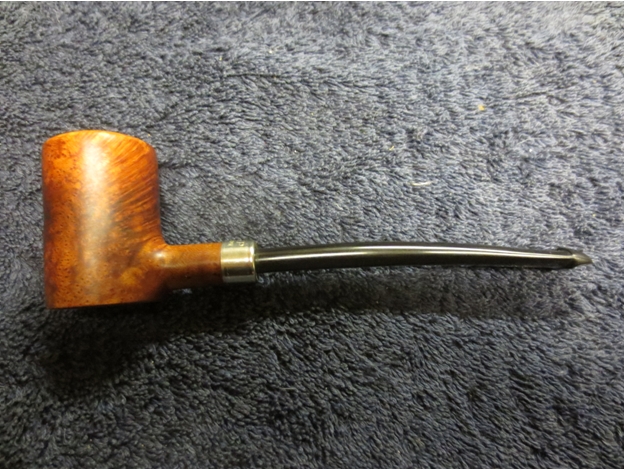
 Eager to try out this wondrous pipe that, as I noted, was created before I was, I found myself filled with more excitement than usual as the moment to buff the beauty with waxes arrived. Leaving the stem behind, having waxed it with red and white Tripoli followed by White Diamond while the new rim stain dried, I carried the smooth piece of old briar into my workroom. Wanting to bring out as much of the varied grain as possible, I decided to use the whole ball of wax. (I know, I know! Again, I apologize.) Starting with the red Tripoli wheel, I coated it with an easy, light touch before moving to the white Tripoli, followed by White Diamond, and to finish it off, carnauba.
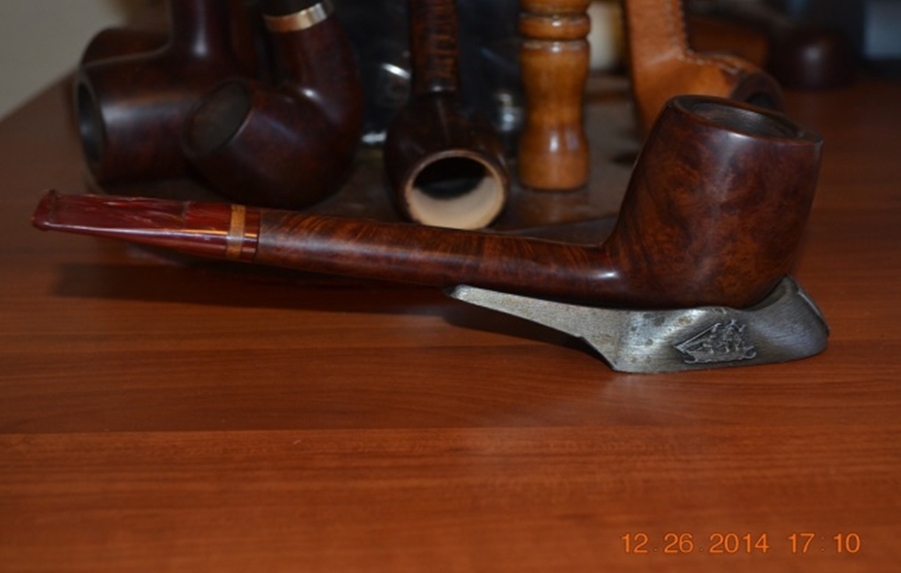
 CONCLUSION
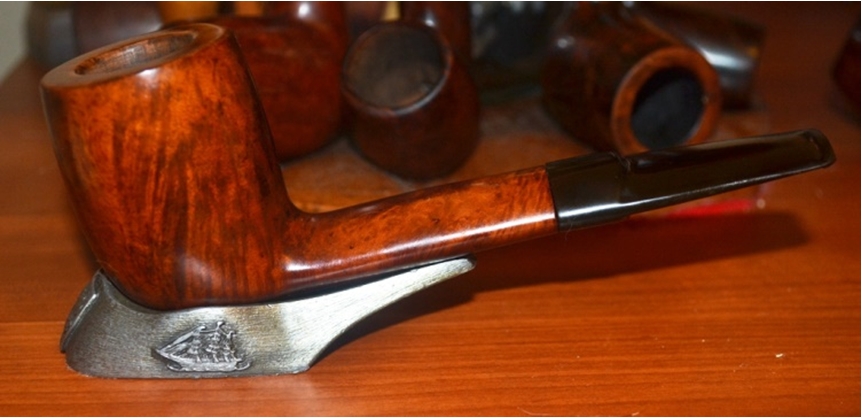
I could never describe what it is about a pipe that attracts me to it. My tastes are too eclectic. But when I see it, it is always like love at first sight. I mean that in the literal sense, as with two or three times in my life when I took one look at someone and was instantly light-headed with my stomach full of butterflies and found myself tongue-twisted. Alas, none of those relationships worked out in the end. With pipes, at least, love is forever – and perhaps a bit lecherously, I have quite the stable of mistresses.

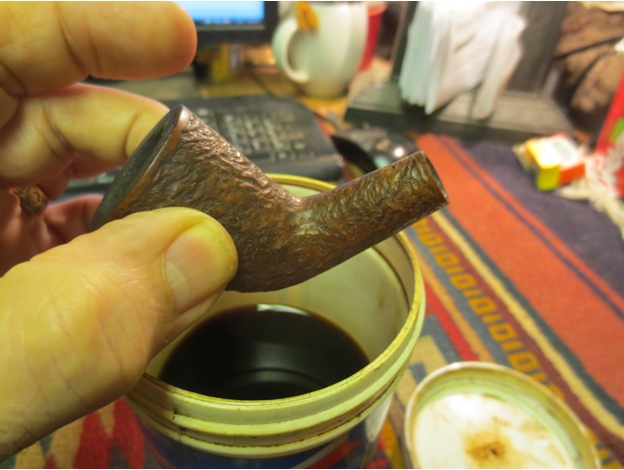
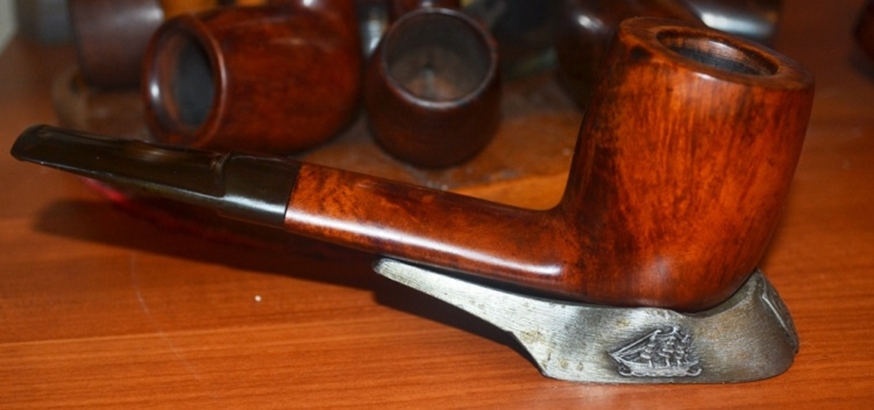
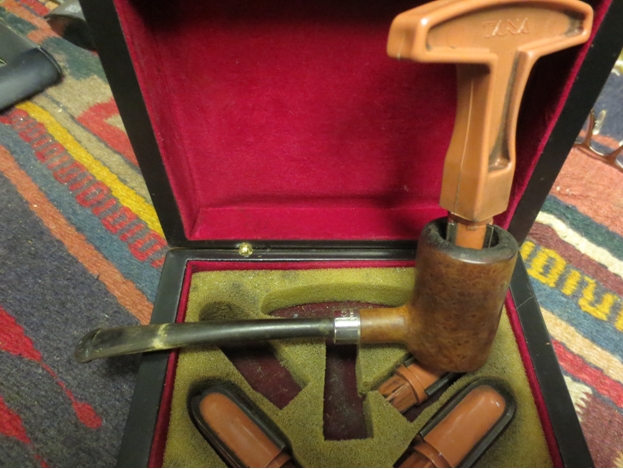
The author enjoying the pipe.