Tag Archives: repairing tooth marks

Restoring a Beautiful Parker Super Bruyere Cherrywood 287


Blog by Steve Laug

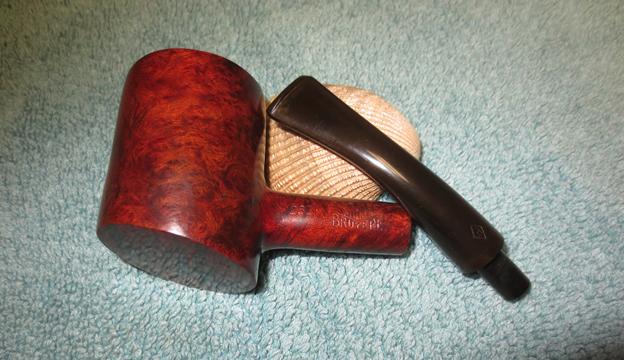
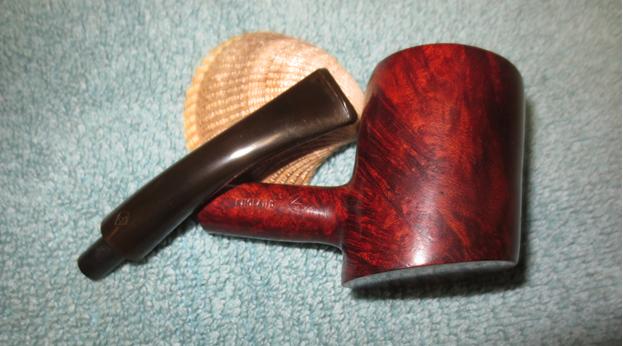
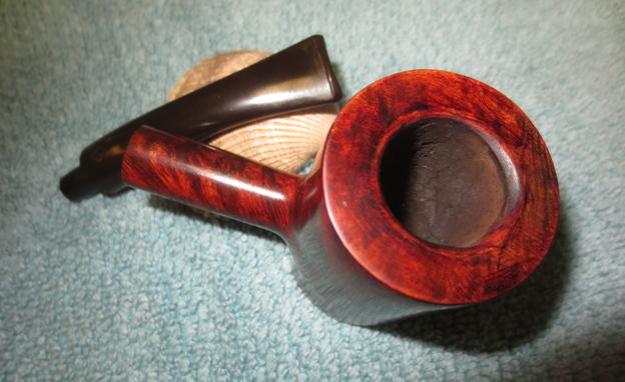
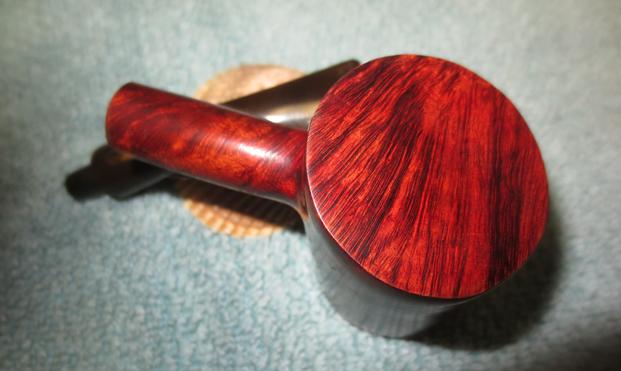
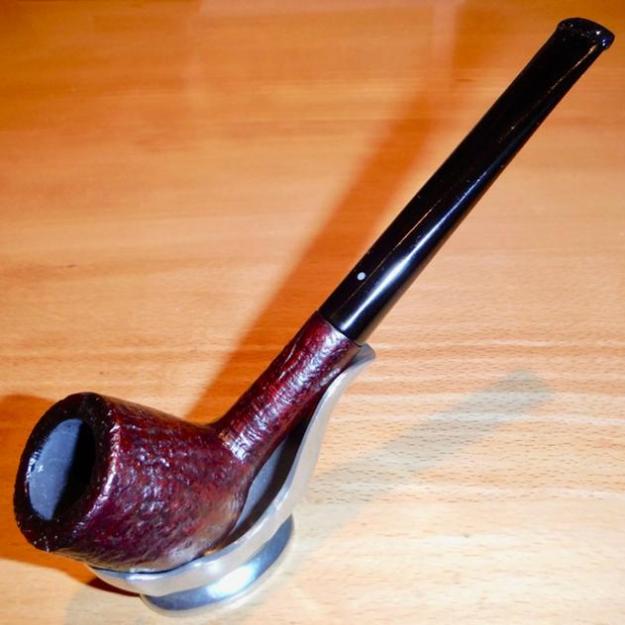
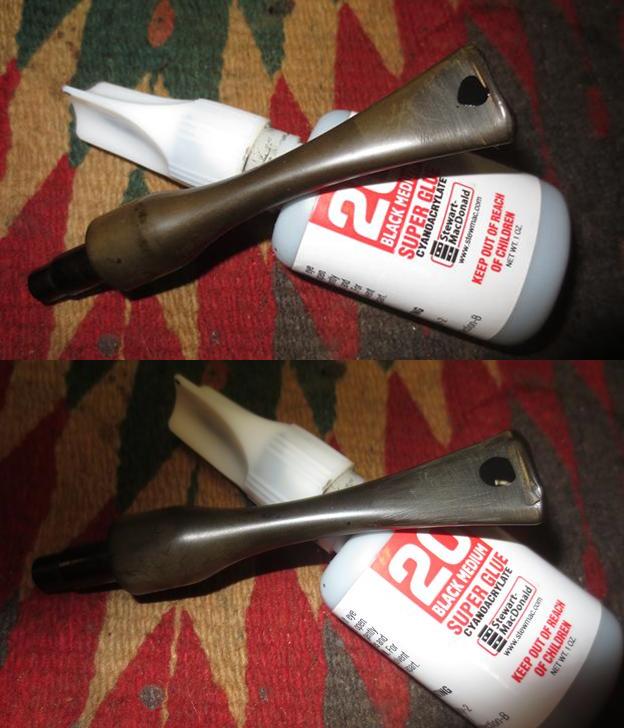
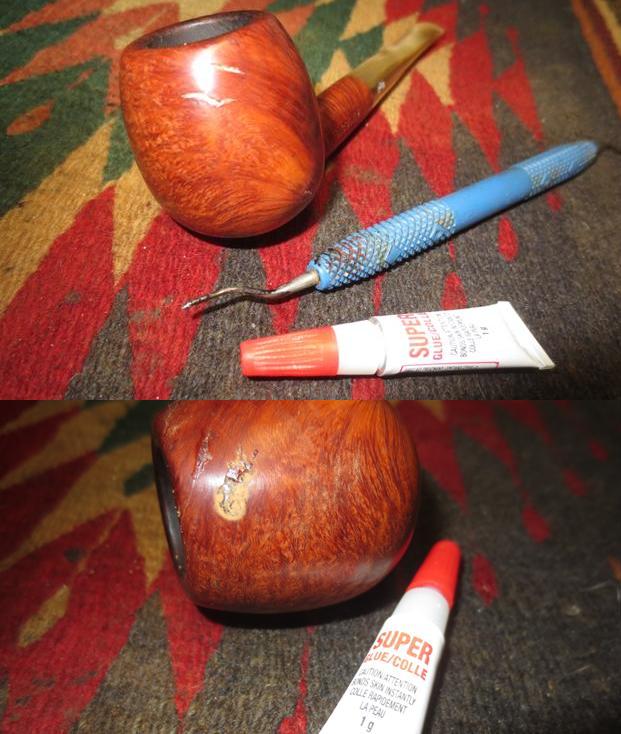
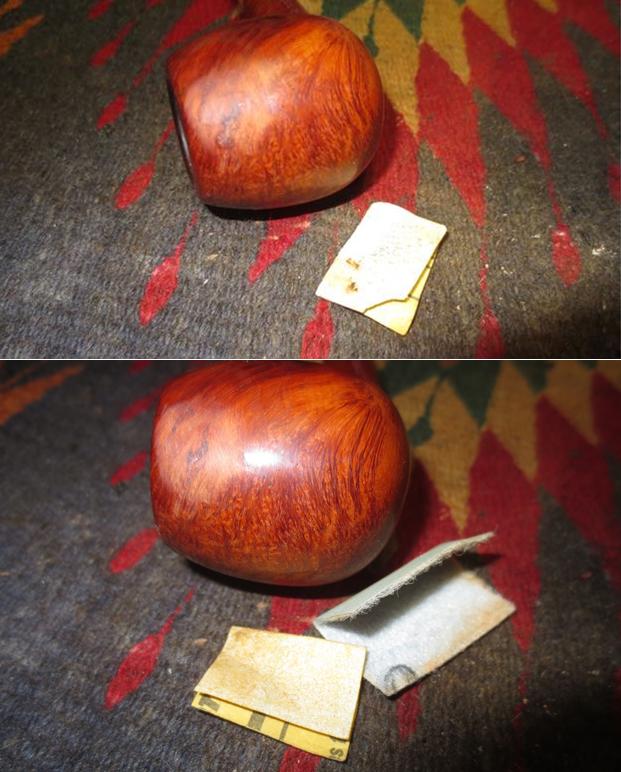
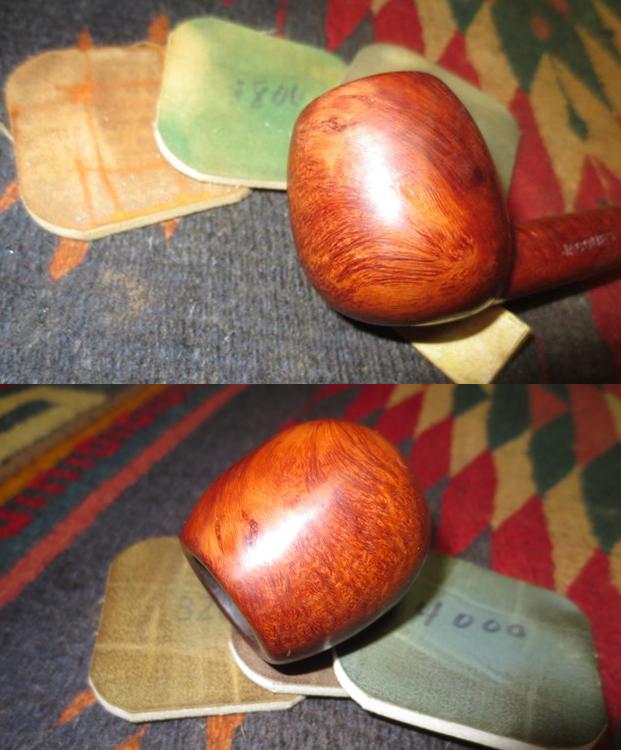
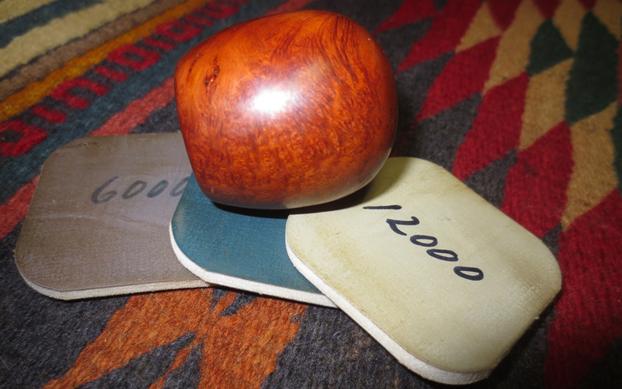
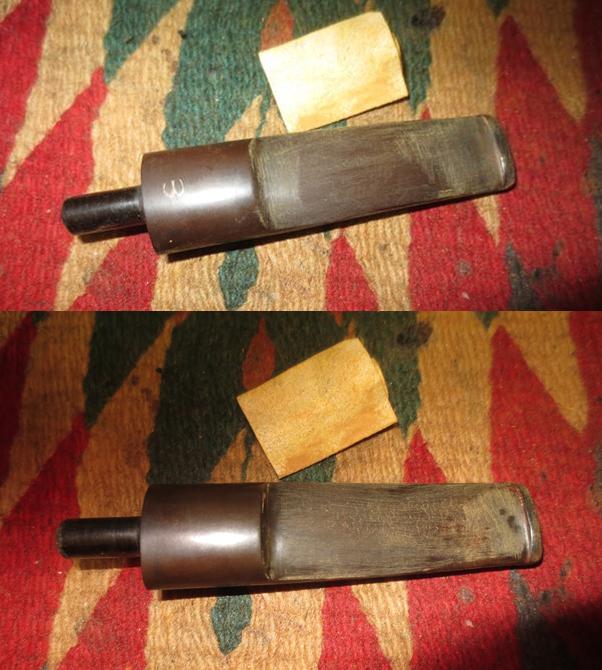
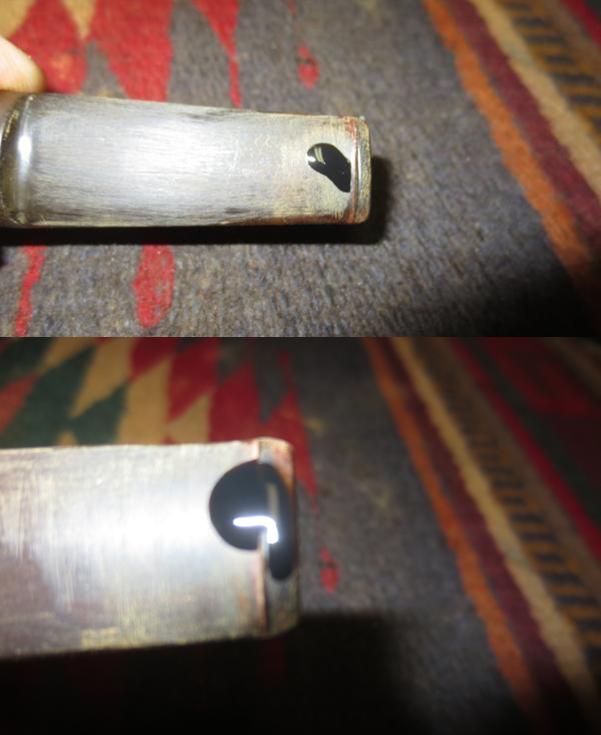
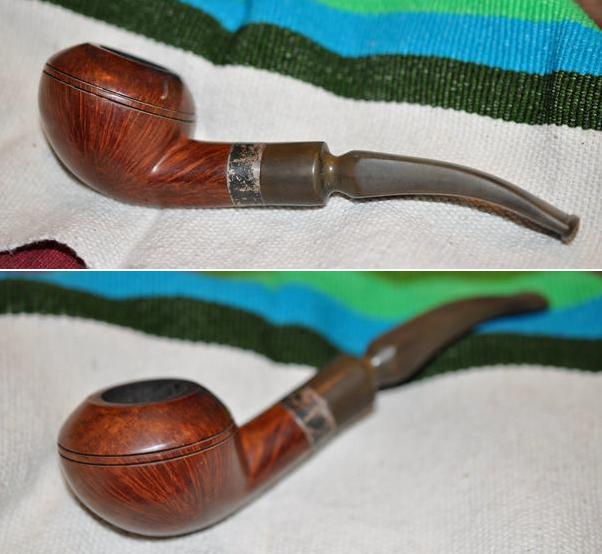
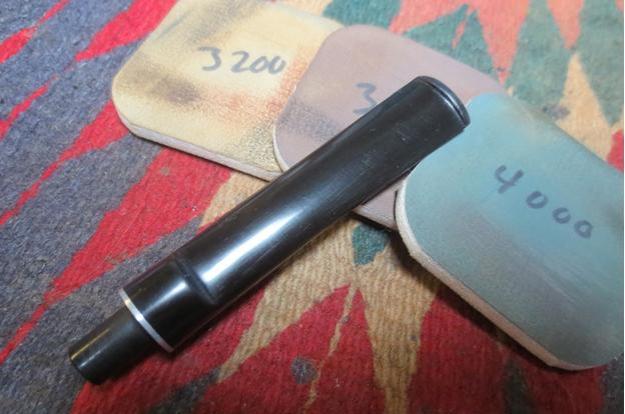
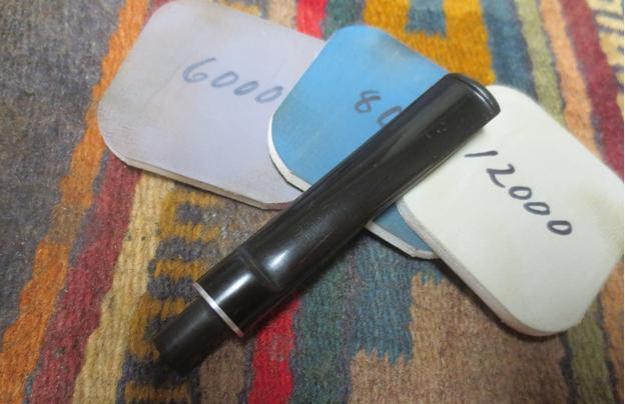
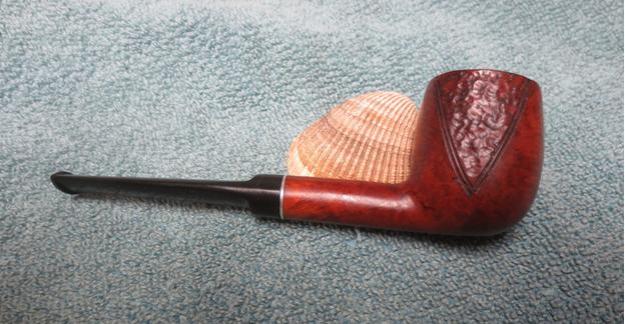
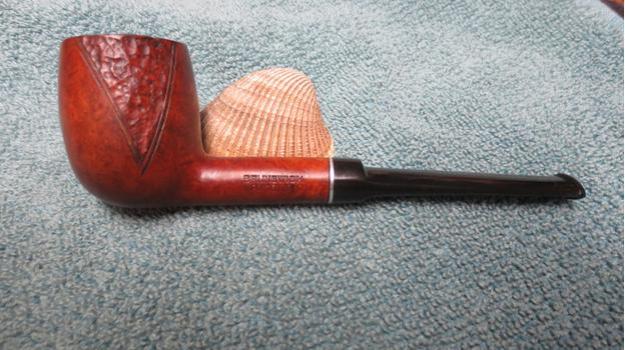
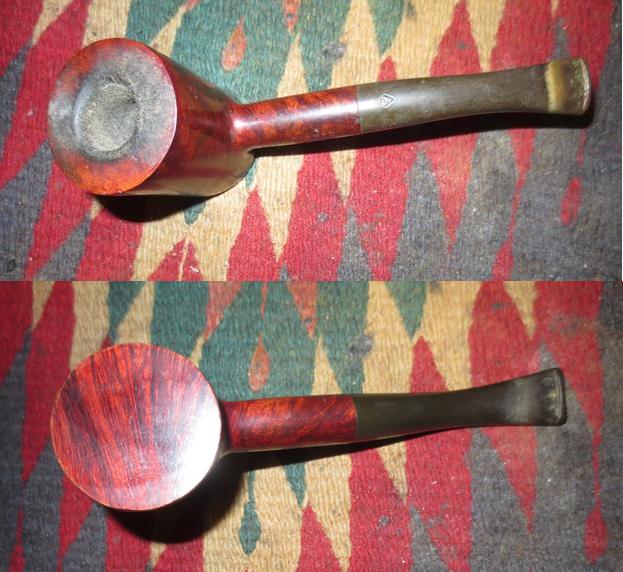
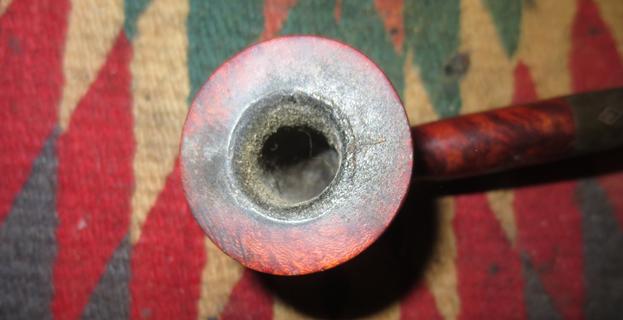
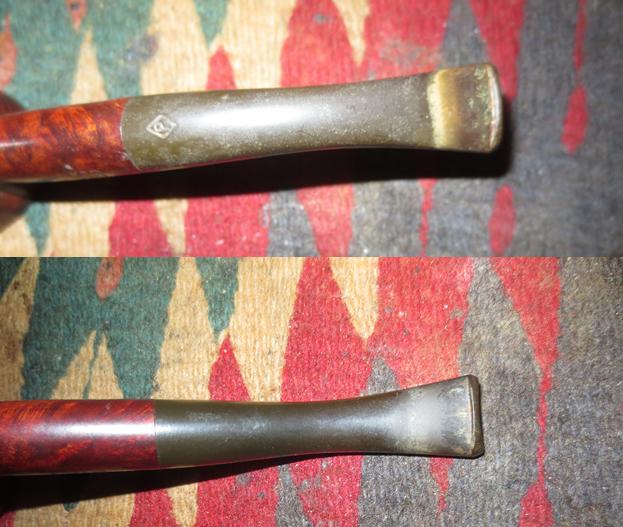
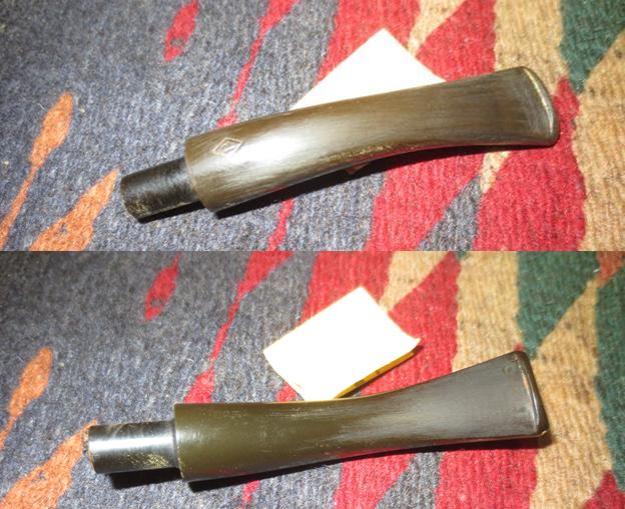
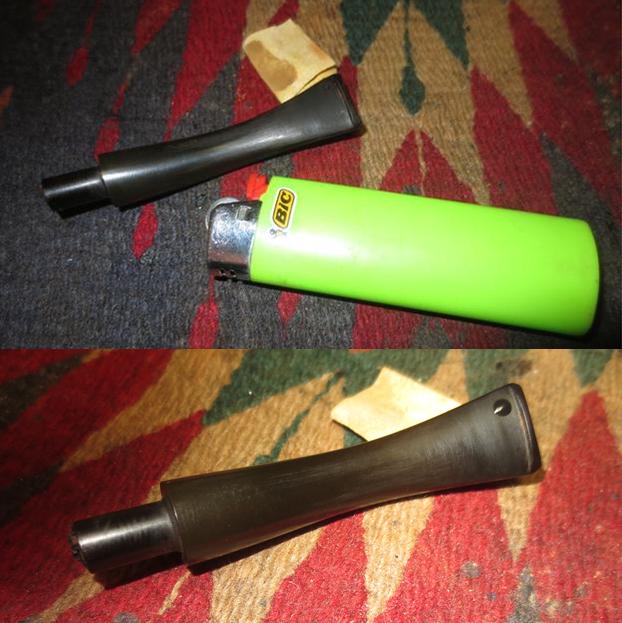
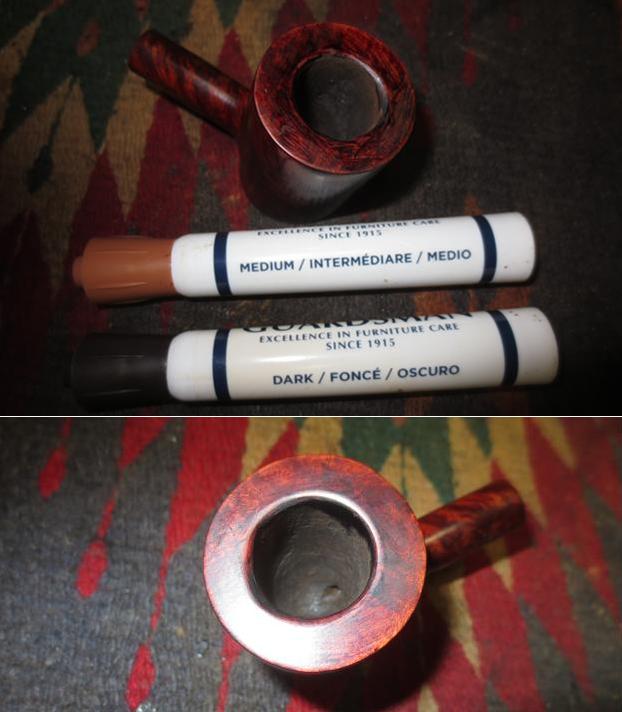
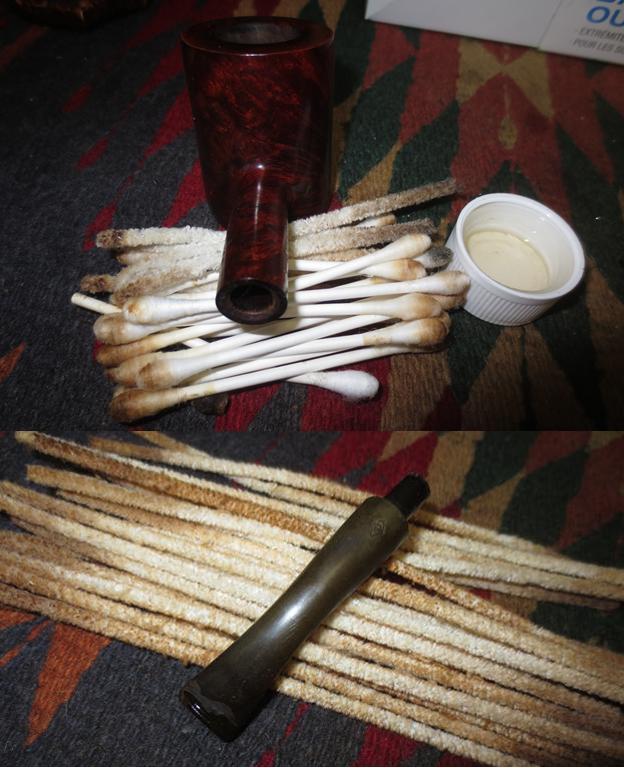
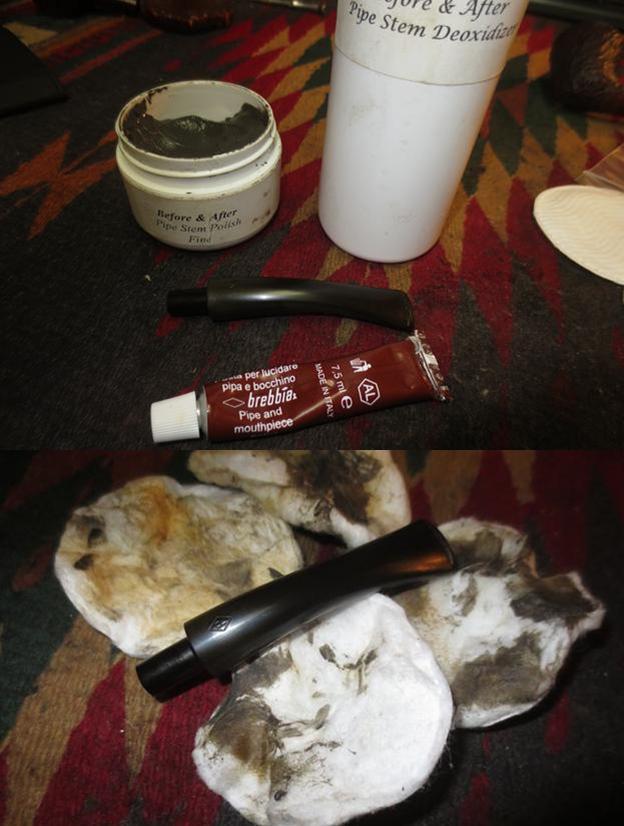
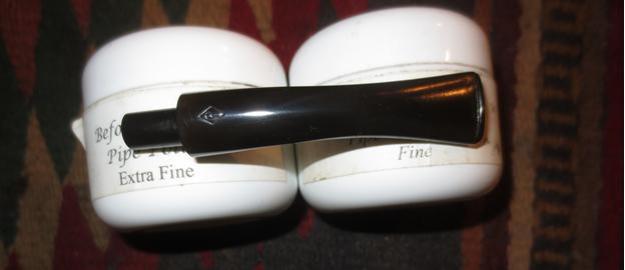
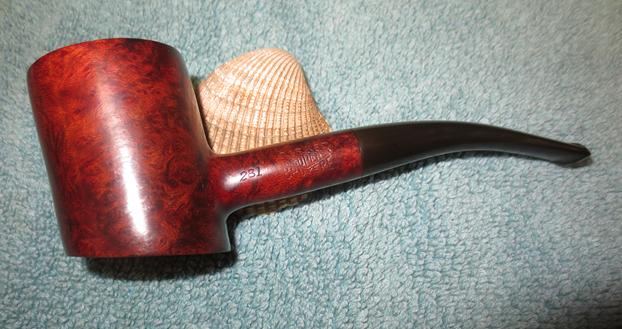
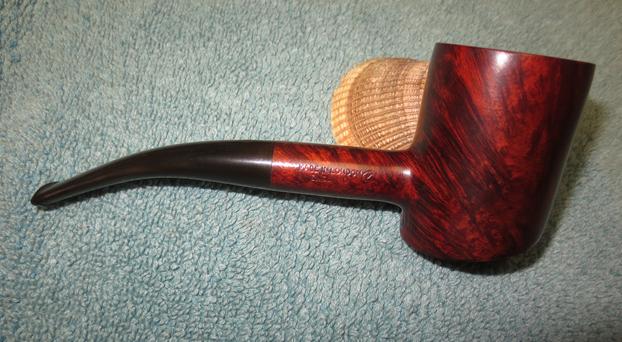
The next pipe on the work table comes from the estate lot that I received from a local pipe shop. It originally belonged to an old customer whose wife brought them back to the shop after his death. I am cleaning them up and selling them for the shop. This one is a beautiful little Parker Cherrywood. It is significantly more petite than the sandblast version that I restored earlier (https://rebornpipes.com/2017/06/17/parker-super-briarbark-cherrywood-809/). The stamping on the left side of the shank reads Parker over Super in a diamond over Bruyere.To the left of that is the shape number 287. On the right side of the shank the stamping reads Made in London over England and the number 4 in a circle denoting the group size.There is no date stamp next to the D in England.When I brought the pipe to the table it was obviously one of the old pipeman’s favourite smokers. The finish was dull and dirty and the stem oxidized with some calcification and buildup around the button area forward and a few minor tooth marks.I took a close up photo of the rim top and bowl to show the lava overflow onto the rim top and the thickness of the cake in the bowl. I find that the cake in these older pipes is like concrete. It is very hard and takes a lot of effort to break it down when reaming the bowl. I also took some photos of the stem to show the condition of the end near the button before my work began. The hard cake in the bowl demanded a bit different reaming strategy. I needed to use multiple pipe reamers to remove it. I started the reaming process with a PipNet reamer using the smallest head and working my way up to the largest one that could take the cake back to bare briar walls. I finished the reaming with a Savinelli Fitsall pipe knife and a KleenReem pipe reamer. I used the drill bit from the end of the KleenReem reamer to clear out the airway between the mortise and the bowl. It was almost clogged with a buildup of tars and oils that had hardened there. The pipe had been smoked to a point where it must have been like sucking on a coffee stirrer and having a thimble of tobacco in the chamber. It was definitely a favourite and obviously a good smoking pipe.With the bowl reamed, I turned my attention to working on the stem. I sanded the stem to remove the calcification around the button and smooth out some of the tooth marks. I also broke up some of the oxidation on the rest of the stem with the 220 grit sandpaper.I “painted” the stem end with a Bic lighter to raise the tooth dents on the surface of the stem. It did not take too much work to raise all but one of them. What remained of the sole dent was a small divot. I wiped down the stem with alcohol and filled in the divot with a drop of black super glue. I set the stem aside so that the glue would cure.I scrubbed the rim top with cotton pads and saliva to remove the tarry buildup there. It took a lot of elbow grease but I was able to remove all of it. There was some burn damage to the front inner rim edge from consistently lighting it in the same place. I remove the damage by blending it into the rest of the rim bevel with a folded piece of 220 grit sandpaper. I restained the edge and the rim top to blend in with the rest of the bowl using a medium and a dark brown stain pen. I mixed the stains on the rim surface and rubbed it in with a soft cloth. I gave it a light coat of Conservator’s Wax to further blend in the stain on the rim. The photos below show the rim top after the stain and after the waxing.With the pipe’s externals cleaned and polished I turned my attention to the internals of the mortise and airway in the shank and the stem. I scrubbed them with alcohol, cotton swabs and pipe cleaners until they were clean.I decided to work on the oxidation on the stem using a combination of the Before & After Stem Deoxidizer and Polish and Brebbia Mouthpiece Polish. I applied the Deoxidizer and Polishes with cotton pads to scrub the surface of the stem. I was able to remove the oxidation without doing any damage to the Parker Diamond stamp on the top of the stem. I buffed the pipe and stem with Blue Diamond on the buffing wheel and then gave the entire pipe multiple coats of carnauba wax. I buffed it with a clean buffing pad to raise the shine and hand buffed it with a microfibre cloth to deepen the shine. The finished pipe is shown in the photos below. It is a beautiful pipe that fits well in the hand. The dimensions of the pipe are; Length: 5 ½ inches, Height: 1 ¾ inches, Outer diameter of the bowl: 1 ½ inches, Chamber diameter: ¾ inches. It will soon be available on the rebornpipes store. If you are interested in adding it to your collection email me at slaug@uniserve.com or send me a private message on Facebook. Thanks for looking.
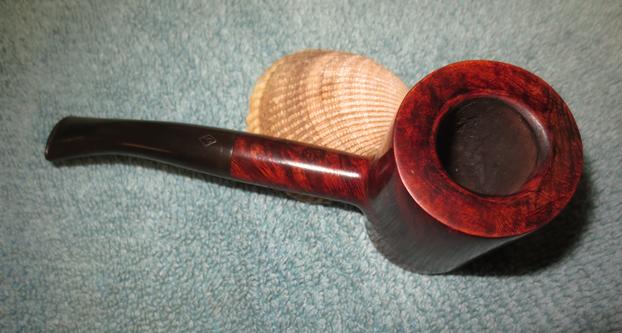
1967 DUNHILL 197 SHELL BRIAR Clean-up


Blog by Henry Ramirez

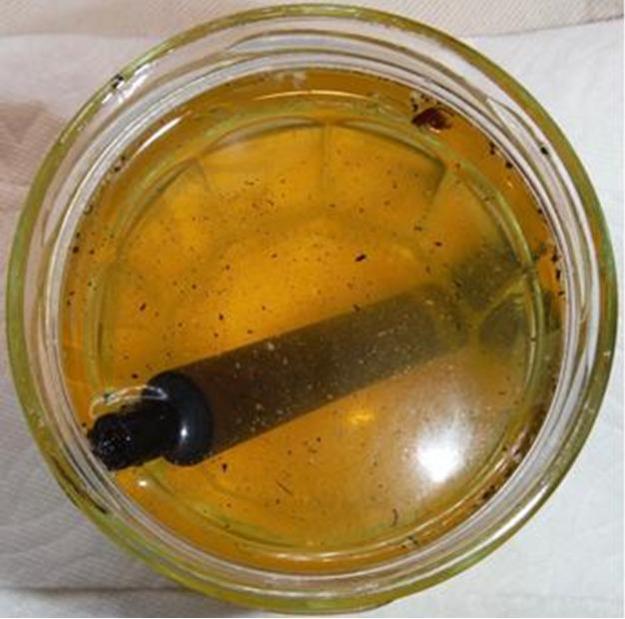
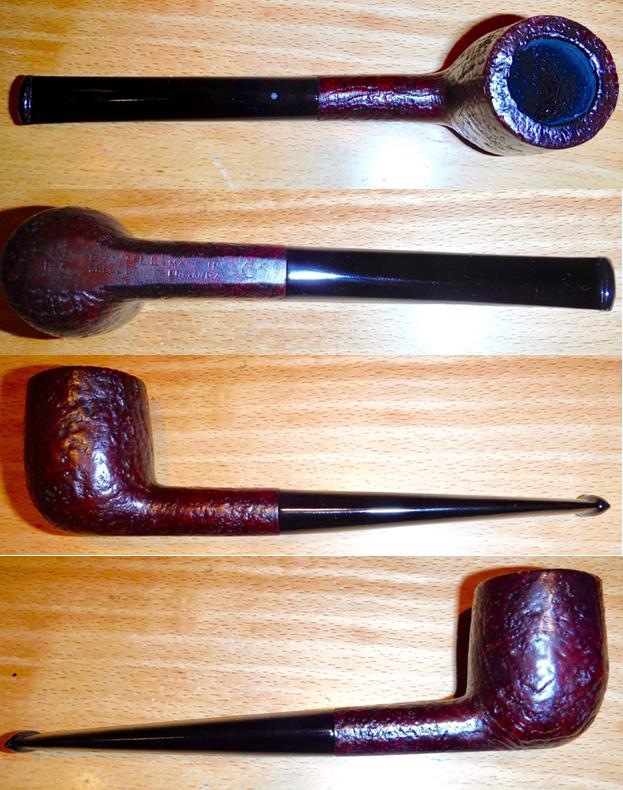
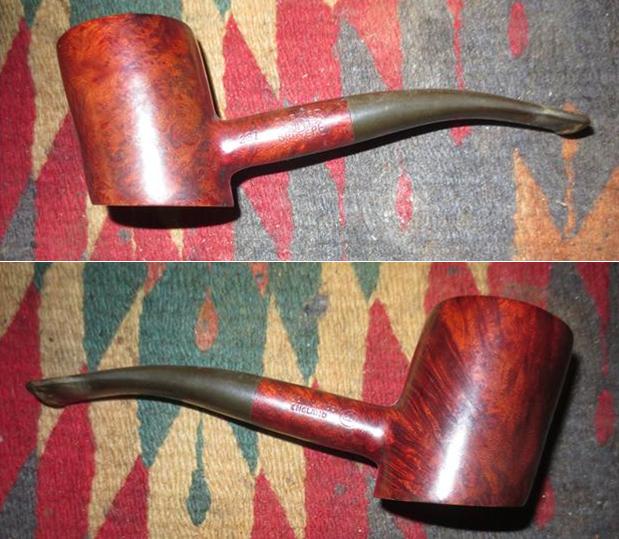
When surfing Ebay I noticed a very well smoked Shell billiard whose stem had lost its White Dot. It looked like it could be cleaned up to present an elegant addition to my collection. I anxiously awaited its arrival and immediately dunked the stem in an Oxyclean bath for a nite.

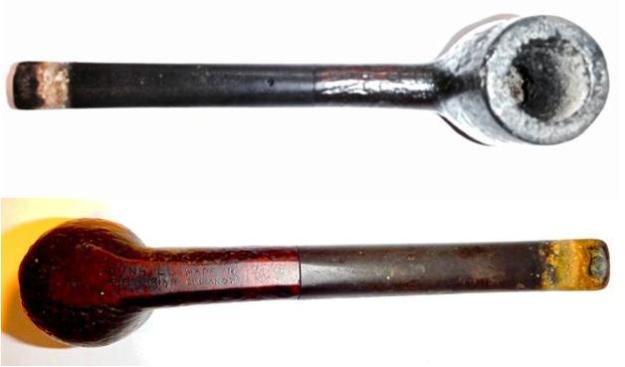
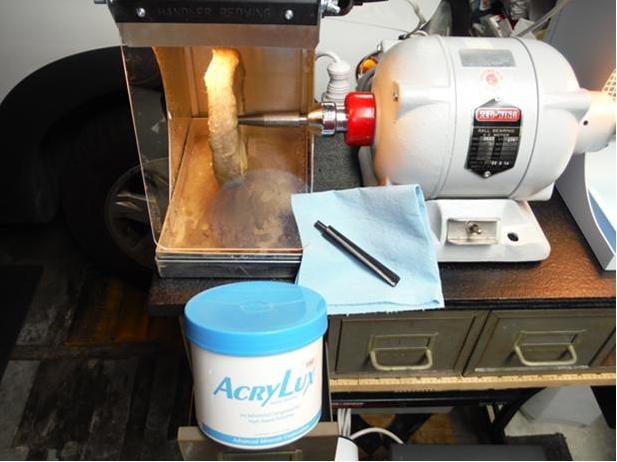
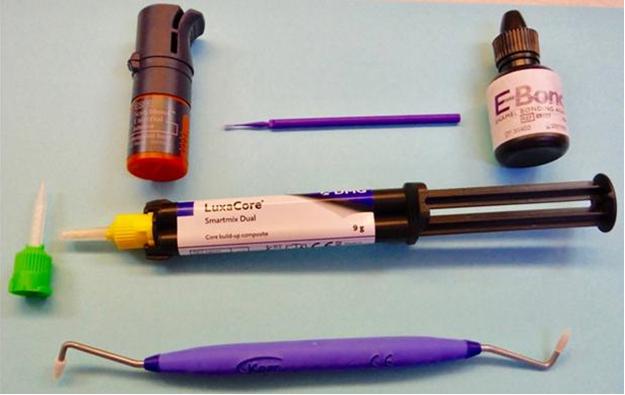
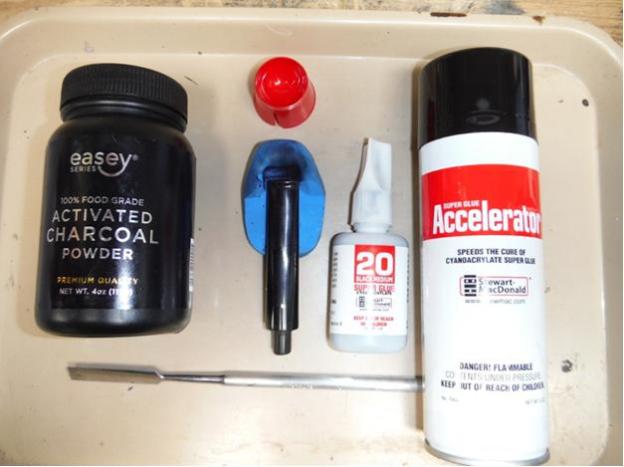
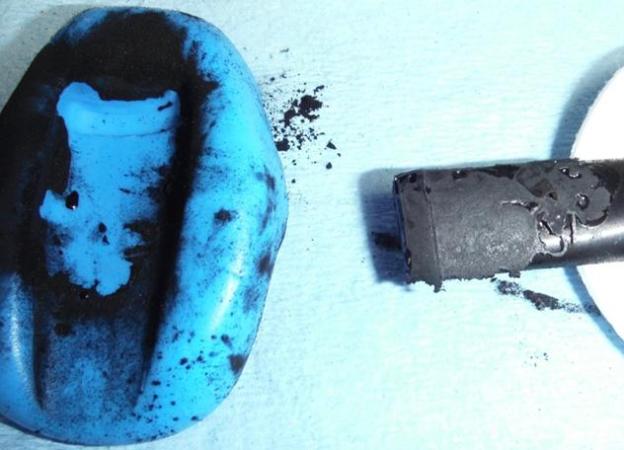
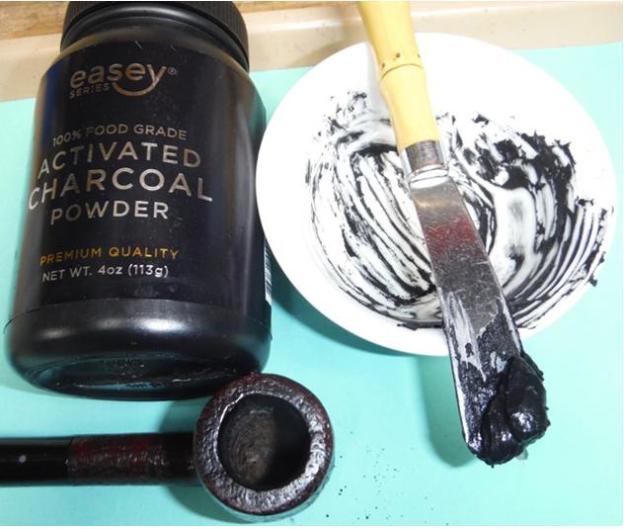
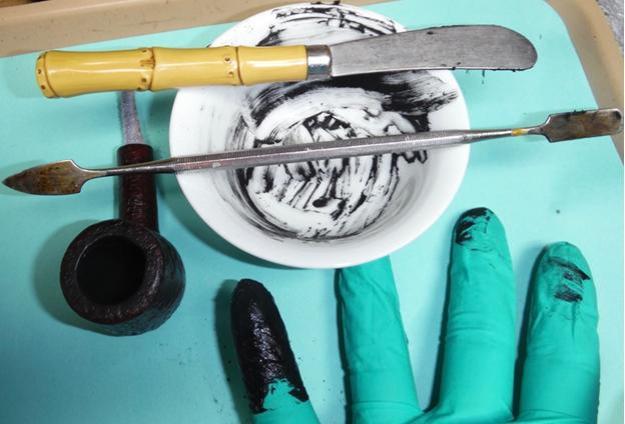
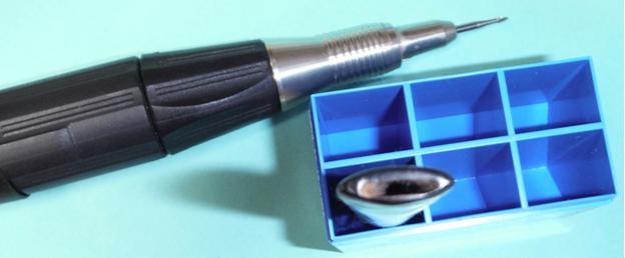
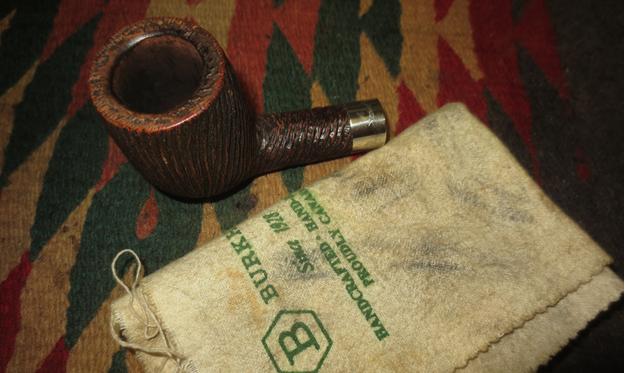
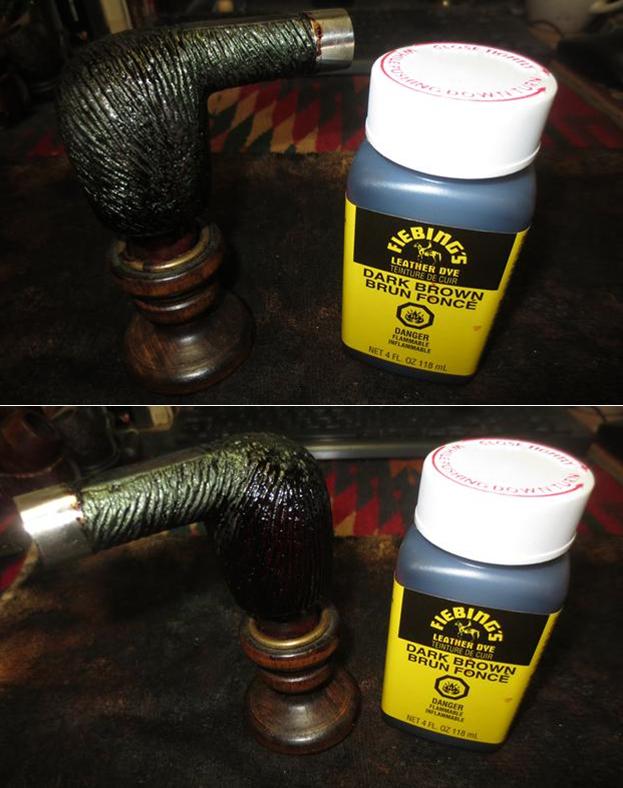
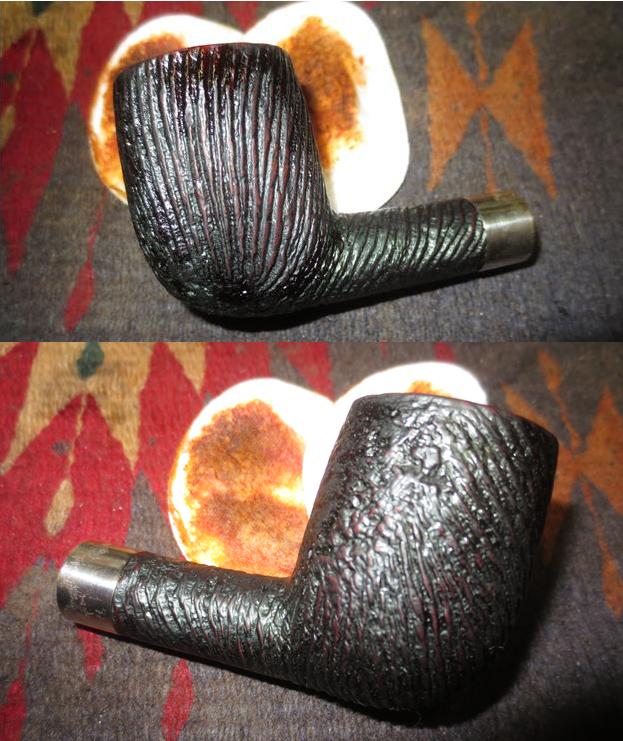
The next morning I pulled it out of the bath and wiped off the smegma for my first real look at the stem. The divots reminded me of a deflated balloon. Just what I was hoping for! Off to the buffer I went to buff off the sulfur discoloration with a wet rag wheel and pumice. Knowing what I know now, I should have popped this baby in the oven to raise the dents but instead I got to cleaning the stem’s airway and tenon. I bonded some shade A2 dental composite in the hole for the White Spot and was dismayed that it refracted the surrounding black vulcanite. Note to self, next time place a layer of opaque before the bulk fill. Luckily, when researching the earlier White Spots I came across examples of dots so dark they were black. I had made a silicone impression of a new pipe’s stem and used that as a mold to create a refurbishment of the button. What a mess! Next time I’ll mix the charcoal in with the composite resin rather than CA. I ended up recreating the button the way Steve has posted here on Reborn Pipes. OK, so now it’s the bowl’s turn. My armamentarium and procedure is pretty routine for cake and gunk removal. The rim’s blast was scorched but luckily, the rest of the pipe’s blast was vestigial. This was an opportunity to try out emulating a blast through rustication. Plus, since the pipe was stained rather darkly, it would help hide a myriad of sins. When polishing the chamber I noticed some alligatoring of the briar. Today I would probably schmeer some JB Weld into the cracks but what I did was a coating of Structural Sour Cream and charcoal. I played around with the button’s internals, polished with the usual green, red and white compounds (thanks Tim West), threw on some wax and called it a day! Thanks for looking, regards, Henry

Sasieni Fantail Wire Rusticated Patent Billiard


Blog by Steve Laug

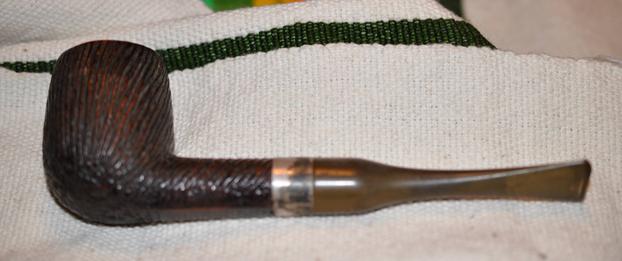
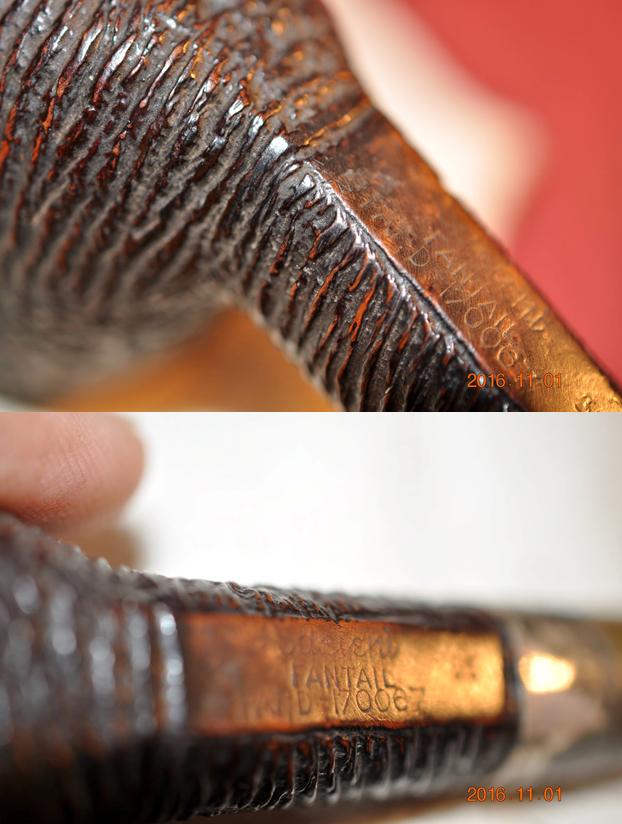
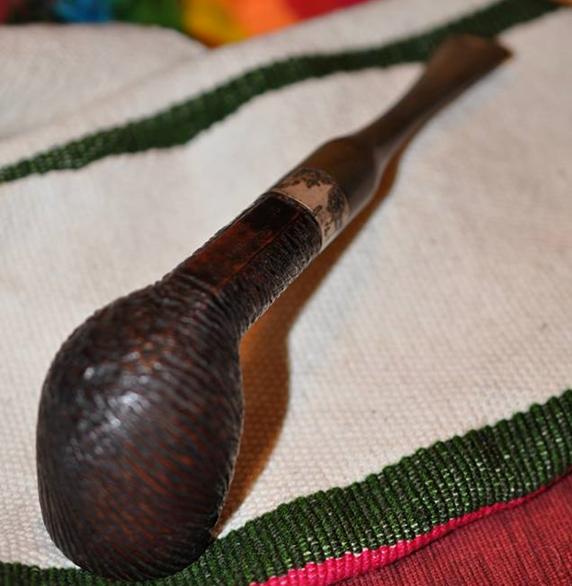
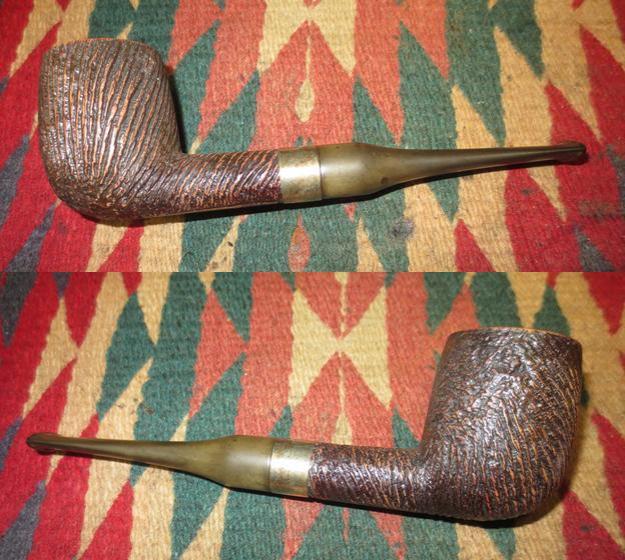
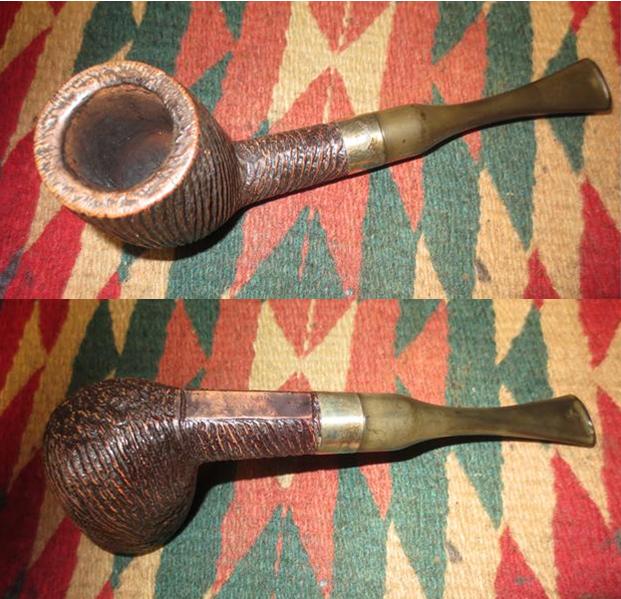
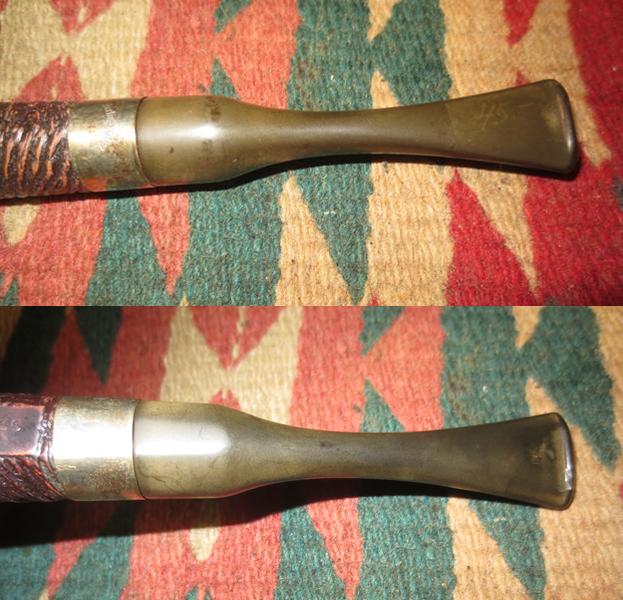
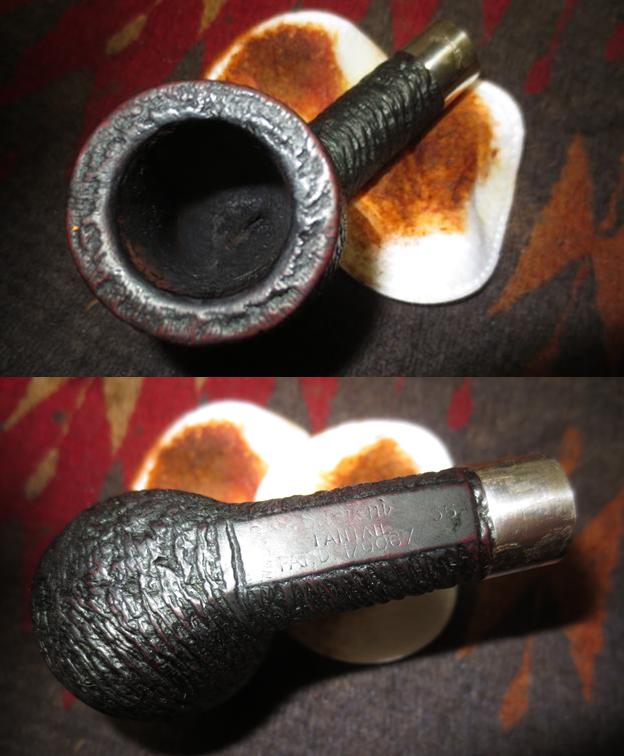
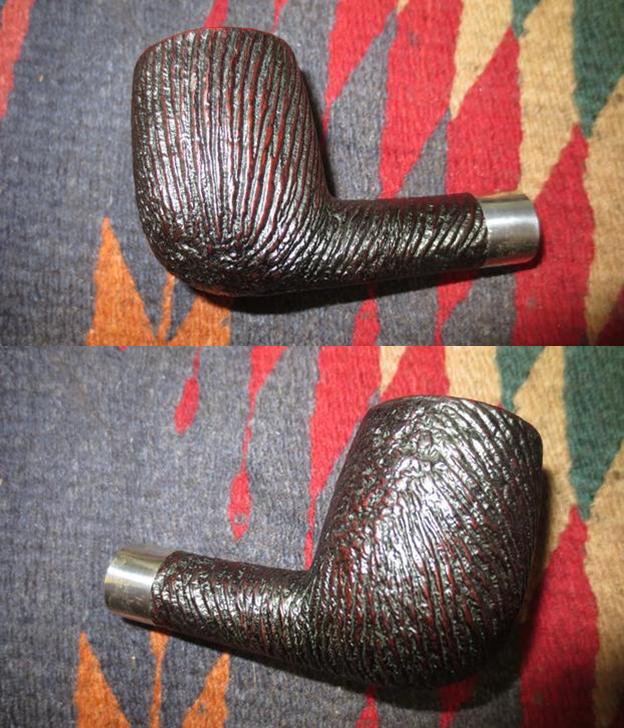
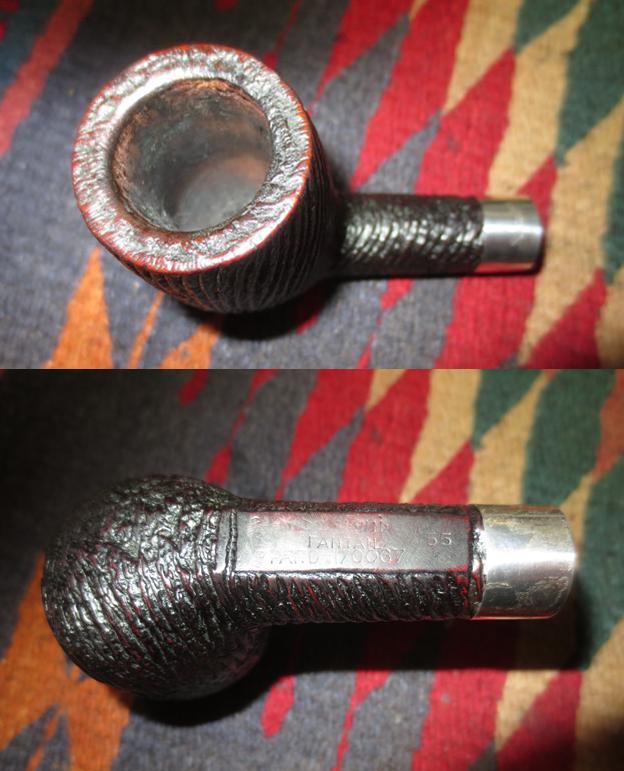
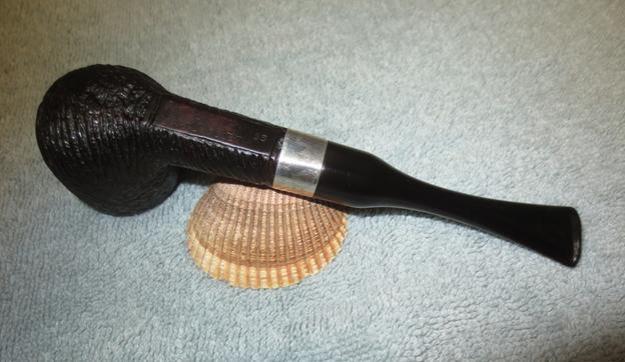
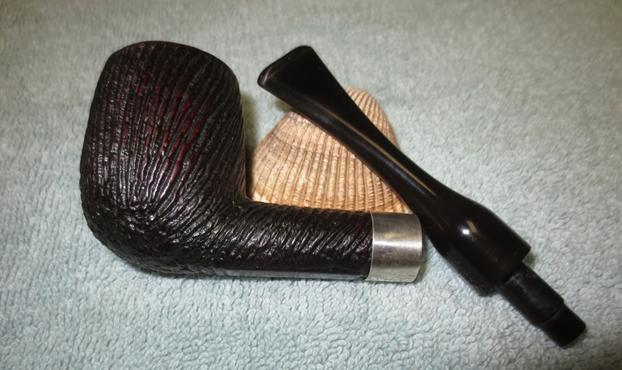
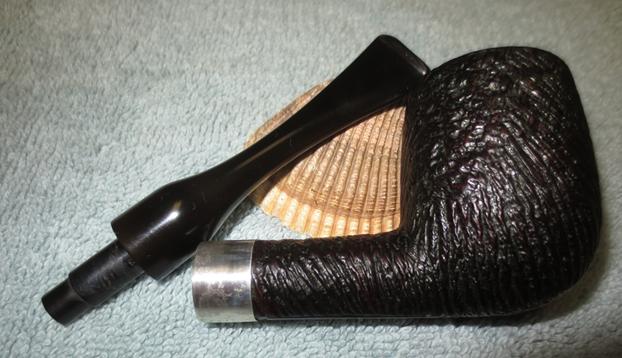
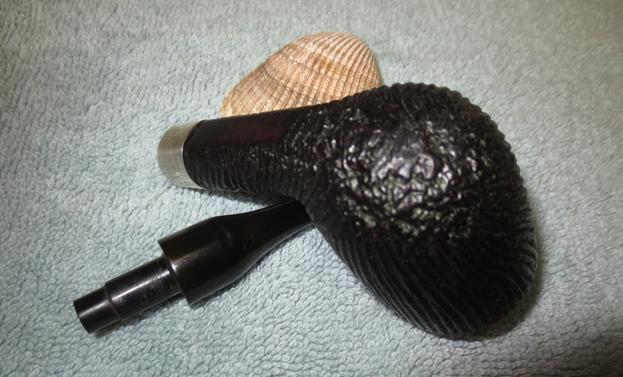
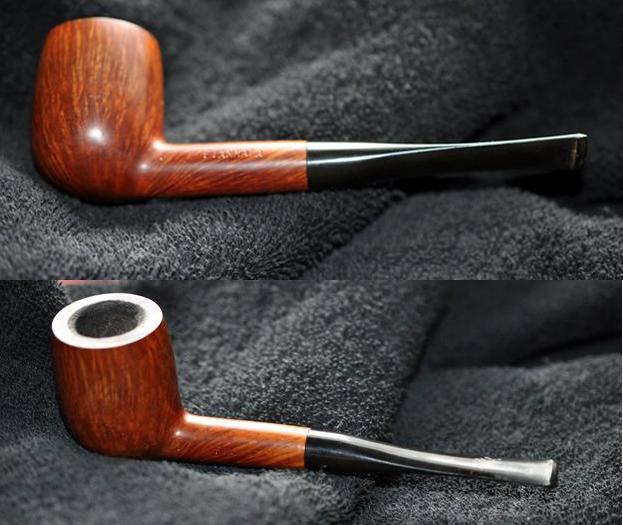
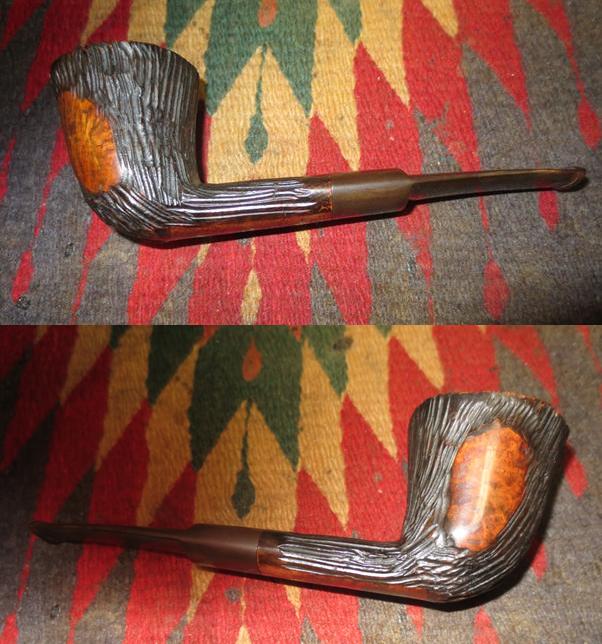
My brother Jeff found this old Sasieni on one of his gallivants to the Oregon Coast. He stopped by an antique shop and picked up a few nice ones. This wire rusticated Sasieni billiard with a Sterling Silver band is unique to my eyes. I have not cleaned one up before or repaired one for someone else. It has a Fantail or Fish Tail stem that is unique. It is stamped on the underside of the shank and the stamping is faint but readable. In bright light I can read that at the bowl end it is stamped England in an arch. Flowing from the arched England it reads Sasieni in the newer script over FANTAIL over Pat. D-170067. The last stamping is the shape number 55. I am pretty certain that this is a Family Era pipe made somewhere between 1946 – 1979. The change of “Sasieni” script without the fish-tail initiated by Alfred Sasieni occurred after second world war. This puts the date of the pipe between 1946 and 1979 – a large spread.The Sterling Silver band looks like it could have been original with the pipe when it left the factory but I am not certain. Sasieni is a brand that I am not as familiar with so I do not know all of the ins and outs of the shapes and finishes.

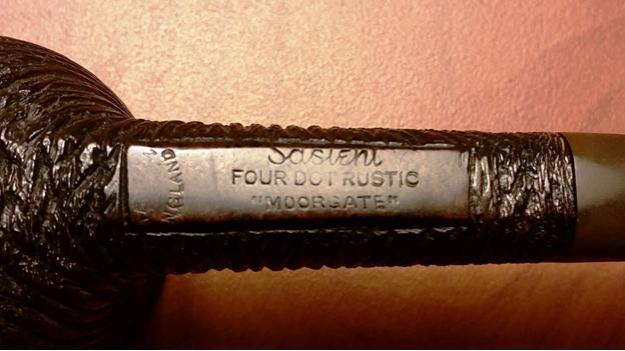
I remembered that Al Jones had worked on a Sasieni pipe with a similar finish and stamping. His was a Moorgate Pot. Here is the link: https://rebornpipes.com/2015/02/28/sasieni-moorgate-rustic-restored/ I quote a section of Al’s blog regarding this pipe, “This Sasieni “Moorgate” shape in Rustic finish is the second pipe from the shop in Albany and part of the General Electric executives estate. The nomenclature shows that the pipe is from the “Family Era” and made between 1946 and 1979. The “Rustic” finish is a hand carved, rusticated finish done completely by hand. This work must have been painstakingly slow with the carving following the briar grain lines.”

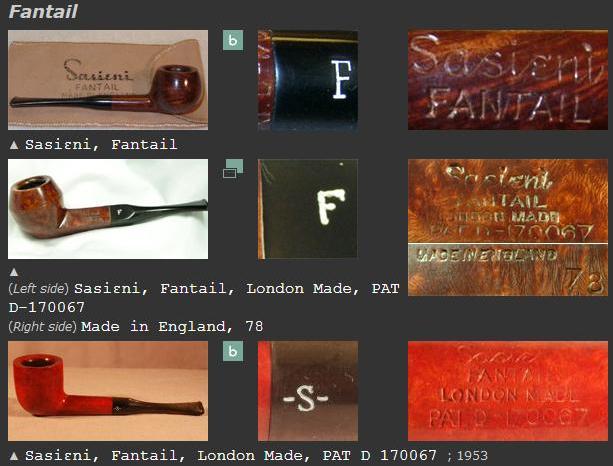
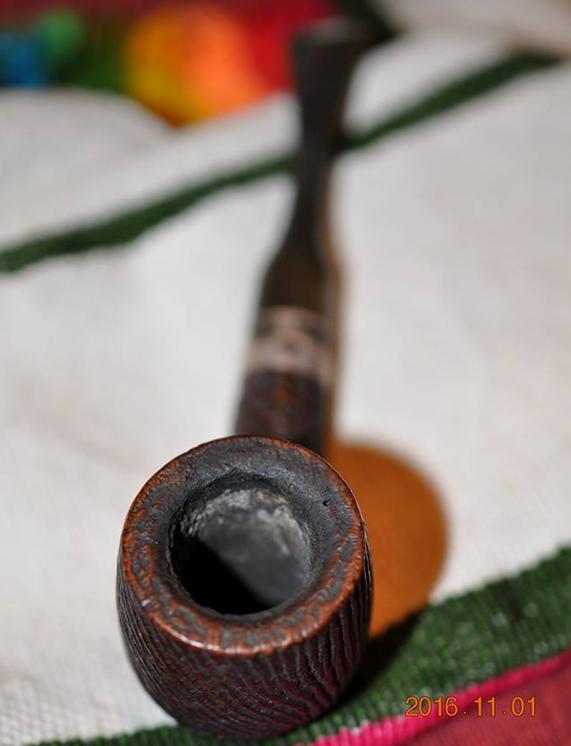
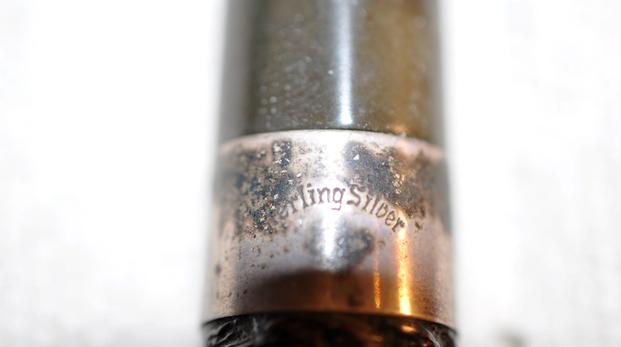
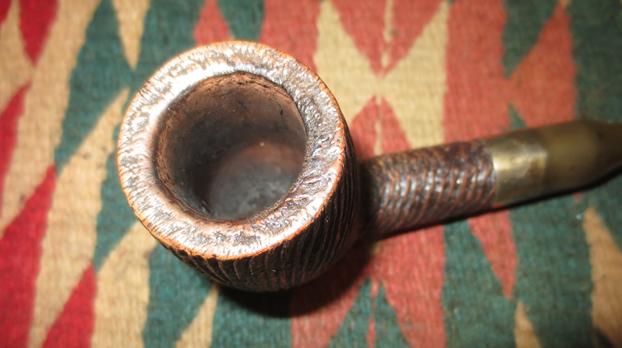
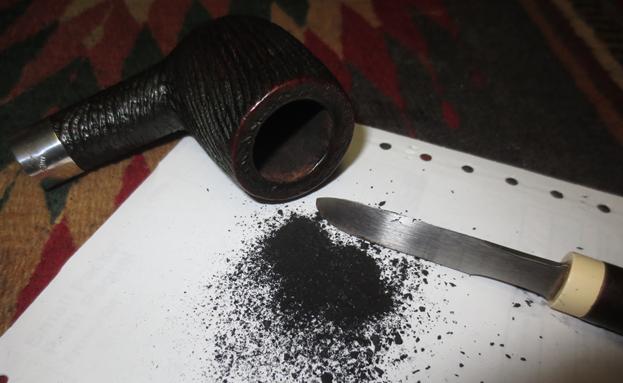
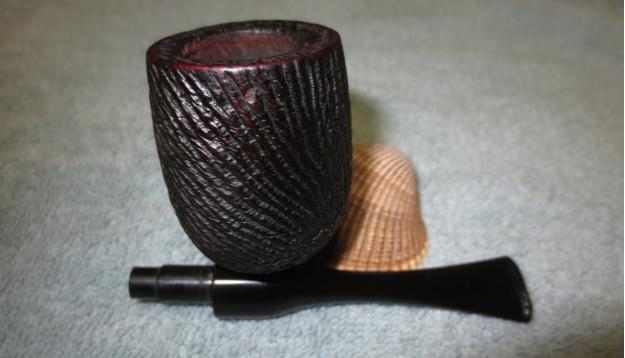
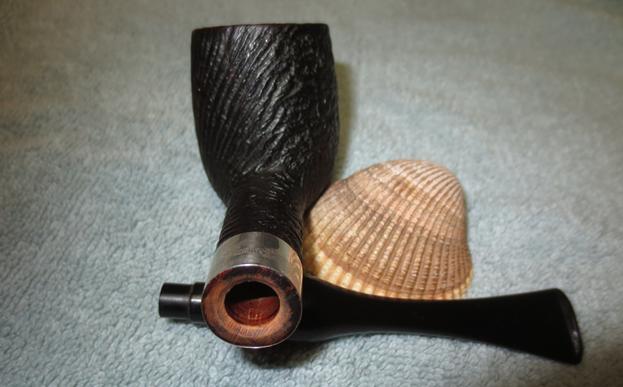
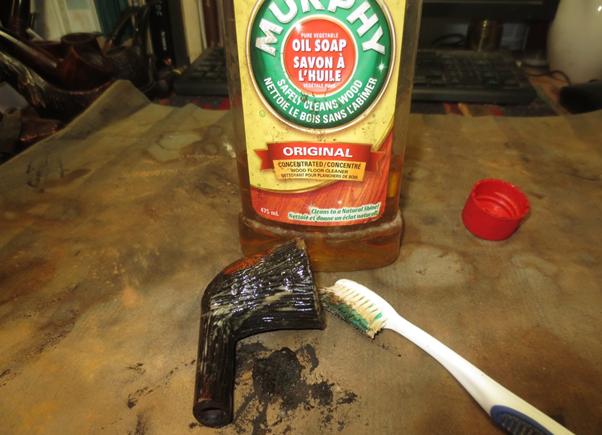
I have included a photo of the stamping on the underside of the Moorgate shank from Al’s blog post as it is very close to the stamping on the one I am working on. Mine is not stamped Four Dot Rustic over “Moorgate” but rather FANTAIL where the Rustic stamp is and where Moorgate is mine has a Patent number. The finish on Al’s was more horizontal than the one I am working on. The striations run vertically on the bowl sides but the shank is the same style. I have included the photos of the bottom of the shank on the one I am working on below. I also included a screen capture of the pertinent section of PipePhil’s Logos and Stamping website and included the link should you want to look at on the site. http://www.pipephil.eu/logos/en/logo-sasieni2.html From what I can see through the oxidation on the stem there may well be a letter “F” on the left side of the stem. Jeff included photos of the pipe from a variety of angles to show the condition of the bowl, rim and finish on the pipe. It was worn and tired. Fortunately there were no chips or cracks in the briar and other than just being dirty and worn it was in good shape. Jeff sent along a photo of the cake in the bowl and the lava that had flowed over the top of the rim. The outer edges of the rim looked pretty decent with no wear or tear from tapping it out against hard objects. The cake in the bowl was hard and quite this. The lava on the top filled in most of the grooves in the rustication on the back half of the bowl.The Sterling Silver band was heavily tarnished but it appeared to be sound underneath the tarnish. It had an arched Sterling Silver stamped into the topside of the band.The stem had deep tooth marks and the button was worn away from use. There were no bite throughs or cracks in the stem. The middle portion on both sides of the stem near the button was in the worst condition with the edges being quite clean. The stem was oxidized. The photos below show the tooth marks and chatter on the stem surfaces.Jeff reamed the bowl with the PipNet reamer and took out all of the cake. It was then clear that the inner edge was also undamaged. He scrubbed out the inside of the mortise and the airway in the shank and the stem with alcohol, pipe cleaners and cotton swabs until it was spotless. He scrubbed the exterior of the bowl and the lava on the rim with a tooth brush and Murphy’s Oil Soap and was able to remove all of the grim and build up in the grooves of the finish. The stain lightened considerably with the cleaning but it would not be hard to restain it to match the colour of the original. I took the next photos to show the condition of the pipe when it arrived in Vancouver. The cleanup on the rim was stellar in my opinion. The grime and lava are gone and the grooves of the rustication are clean and visible.I took photos of both sides of the stem to document the oxidation and the tooth marks located on the top and underside.I sanded the tooth chatter out of the vulcanite and cleaned up the area with a cotton swab and alcohol. I used black super glue to fill in the tooth dents that were too large to raise by applying heat to the stem. I set the stem aside while the glue dried. After the photo I used a little more glue to build up the area around the sharp edge of the button. Once it is dried I will recut that area with a needle file.I cleaned and polished the tarnished Sterling Silver band with a jeweler’s cloth. The tarnish came off quite easily and I buffed it with the cloth to make it shine.I restained the bowl with a dark brown aniline stain cut by 50% with isopropyl alcohol. I applied it and flamed it with a lighter. I repeated the process until the coverage was good on the briar. Once it was dry I wiped down the bowl with cotton pads and alcohol to lighten it even more and bring it closer to the finish that had originally been on the bowl. I buffed the pipe with Blue Diamond on the buffing wheel carefully avoiding the stamping on the underside of the shank. It was light enough already and I did not want to damage it further. I hand buffed the area with a microfibre cloth. The bowl was looking very good at this point. I took the following photos to show where what the pipe looked like at this point. I decided to clean up a bit of extra cake that clung to the bowl walls toward the bottom of the bowl with the Savinelli Fitsall Reamer. It did not take too much to knock off the small remnants of cake toward the bottom of the bowl.Once the repair had cured I used a needle file to recut the sharp edge of the button. I also used the file on the flat surface of the repairs to blend them into the rest of the stem. I sanded the stem with 220 grit sandpaper to remove the oxidation and blend in the repairs with the surface of the stem. I sanded it so as to remove the oxidation but not change the profile of the stem. I examined the left side of the stem for the “F” stamp and all that was present was a very faint mark. If you did not know it was supposed to be there you would not see it. I polished the stem with micromesh sanding pads – wet sanding it with 1500-2400 grit pads and rubbing it down with Obsidian Oil. I dry sanded it with 3200-4000 grit pads. I buffed it with red Tripoli and gave it another coat of oil. I dry sanded it with 6000-12000 grit pads and rubbed it down between each pad with a coat of oil. I set aside the stem to let the oil dry. I put the stem back in place in the shank and buffed the bowl and stem lightly with Blue Diamond on the buffing wheel. I gave the stem multiple coats of carnauba wax and the bowl several coats of Conservator’s Wax. I buffed the pipe and stem with a clean buffing pad to raise the shine. I hand buffed the bowl with a shoe brush and then with a microfibre cloth to deepen the shine. The finished pipe is shown in the photos below. The dimensions of the pipe are Length: 6 inches, Height: 2 inches, Outer diameter of the bowl: 1 3/8 inches, Chamber diameter: 7/8 inches. The contrast of the dark brown and a medium brown that shines through give the finish a rich patina. The bowl has been cleaned and the entire pipe is ready to smoke. The stem is in great shape. The tooth marks have been removed though there is slight scratching on the vulcanite. It is a beautiful pipe, just a little big for my liking or I would hang on to it. I will be putting it on the rebornpipes store soon. If you are interested in adding it to your collection email me at slaug@uniserve.com or send me a message on Facebook. Thanks for looking.

Dunhill 1949 Patent 120 FrankenStem


Blog by Henry Ramirez

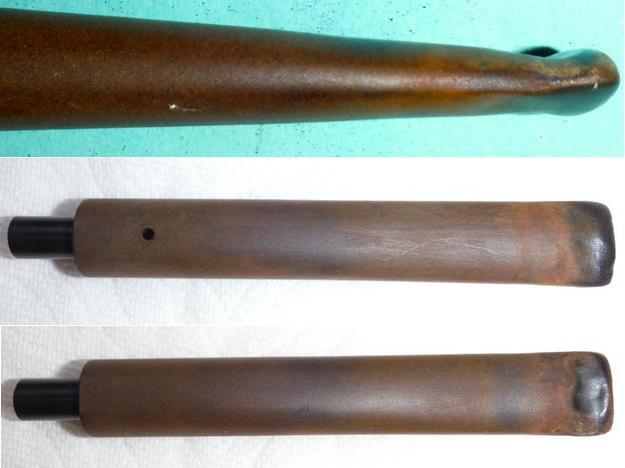
Cruising Ebay for a pipe to play with I came across a Shell bent which, as stated in the listing, had the stem bit completely chewed off. I’d been trying a mold technique to reconstruct the stem button with limited success, very limited. Anyway, this pipe’s stem had been chewed to the point where no pipe cleaner could negotiate the airway and tobacco dottle was packed in tight. Here is a photo of the listing.Dang me, the previous owner had a heck of an oral fixation!  This stem was exactly what I was looking for.While the stem soaked in the Oxyclean bath, I evaluated the briar. The cake in the chamber was so thick you could shake a stick at it but after removal proved to be the protection connection because the inner bowl was pristine. I don’t know what it is about old tobaccos but the cake is dry and pumice-like with a delightfully transporting aroma to another time. The bowl’s rim was likewise protected by the lava of cake and tar. When I use my augers and drill bits, it’s either by holding the bit by hand or using an electric drill to hold the spade bit and turning the pipe itself. I’m listening for the crunching sound of cake being cleaved rather than the squeaky sound of metal on briar. Full rotations are usually not possible until the very end.

The stain and finish on the briar had that great oxblood highlight color that I love but was tarnished with a river of muck. I decided to try using my micro etcher to preserve the blast on the rim but knowing that I would later have to re-stain. I didn’t want to use Murphy’s Oil Soap because it diminishes the intensity of the stain somewhat.  Regarding the River o” Muck, I tried using my steamer which has a gun for accurate aiming and a boiler which keeps up the psi.  This muck was visible in the blast’s valleys as a white deposit. I fished out the stem from the Oxyclean bath, scrubbed it with blue shop paper towels to remove the slimy coating and polished it with flour of pumice, green, red, white diamond and Bendix on the lathe with individual rag wheels.

When the stem airway is too congested or crimped to allow passage of even a bristle pipe cleaner, I use a base “E” guitar string. It has a stiff central core wire which is later wound with another thicker resilient wire to poke on through.  My intent is not to mechanically open the airway but to remove any remaining tobacco chattel that the steamer couldn’t dislodge.

Next, I want to straighten the stem in my Wife’s oven. Of course I do this when she’s not around and so far she has turned a blind eye towards this practice.  But if there is residual tobacco burnt in her oven, I don’t want to be around to explain! The vulcanite has a memory of its initial pre-bent and pre-chewed state which will allow ease of cleaning and repair. The only bugaboo is that tenon-mortise margin can open. I was fortunate to have that happen because I have an adjustment technique to fix that which I want to try out. Importantly, don’t forget to trace the initial outline of the bent stem on a piece of paper for a reference when re-bending.

The pipe stem is positioned on a sheet of aluminum foil on the middle shelf where it is easy access and can be well illuminated by the oven’s light, I have tried to use an aluminum pie plate but the higher sides obscure my viewing the stem. I set the temperature to 247 degrees using the Bake Convection mode. This oven is electric and if yours is gas, you may want to let it get up to temperature first before placing your stem. Gadzooks!  The tenon on the stem opened like a blunderbuss barrel and the stem won’t fully seat. More fun!

The cross section on either side of the air way seemed meaty enough for some pins and channeling to create a ferrule of composite resin. I made a silicone putty impression of an unsmoked stem which approximated the same size and shape of this pipe. I made sure to capture the airway’s interior.I then plugged the stem’s airway with wax; micro etched the exterior surface and bonded the composite. I’d gotten a black resin colorant online but found that it either accelerated the mix to a very short working time or inhibited the mix to not fully curing. To blacken my next mix I’m going back to activated charcoal. But although this bit is ivory colored, it is very strong and decently shaped so I decided to simply slather it with a coating of black CA.

When I placed the pipe back in the oven to re-bend it, I found that some of the CA had over heated and was bubbled up like road tar. Note to self, keep CA out of the oven. I had seen this happen with an infrared light in a previous experiment but thought the temp was sufficiently lower to prevent a recurrence. Oh well, just more fussin’.

By the way, when re-bending the stem I never seem to be able to wait long enough and go through several attempts before getting it right. If it doesn’t fully bend to the proper contour, you have to wait until it re-straightens itself and then some. If you get greedy you can snap stem in half. I’m looking forward to my next stem bending because I plan to chronicle the ideal temperature using my laser thermometer.Returning to the bowl’s rim, I stained it with a light brown, got the stem to fit better but haven’t yet dialed it in and polished the pipe.I noticed that the preliminary outline of the stem displayed the additional length that the new bit added.Here’s the semi-final result and I wonder if any of these projects are truly ended because to aspire to the superb craftsmanship of these old Dunhill artisans is a journey rather than an endpoint.


Why is it a Second? A Fiammata 128 Billiard


Blog by Steve Laug

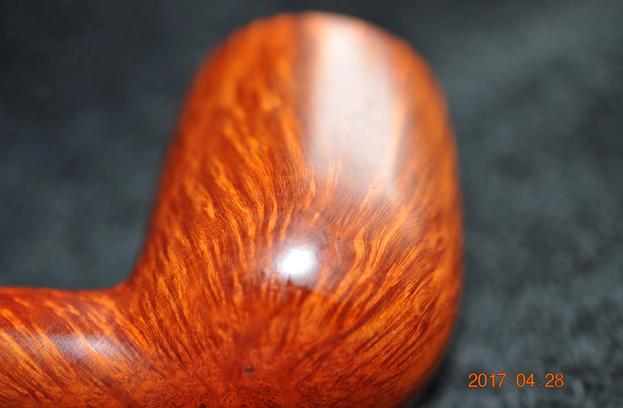
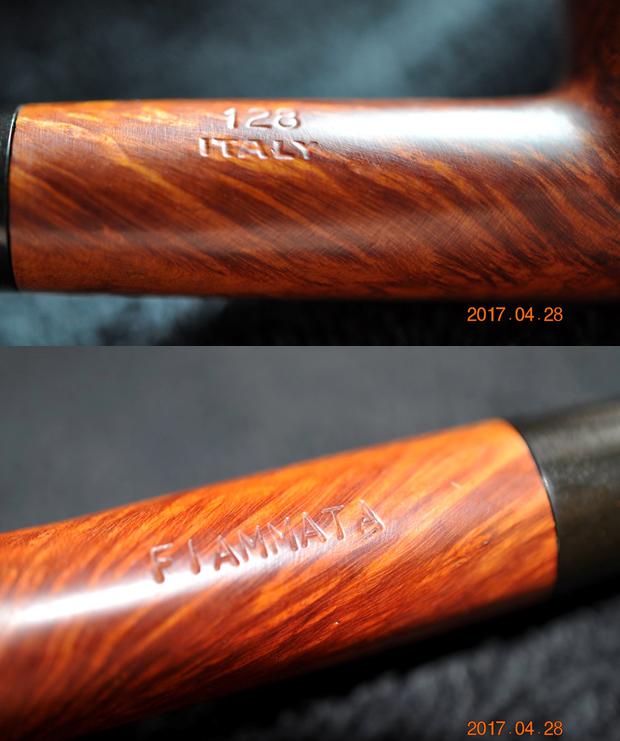
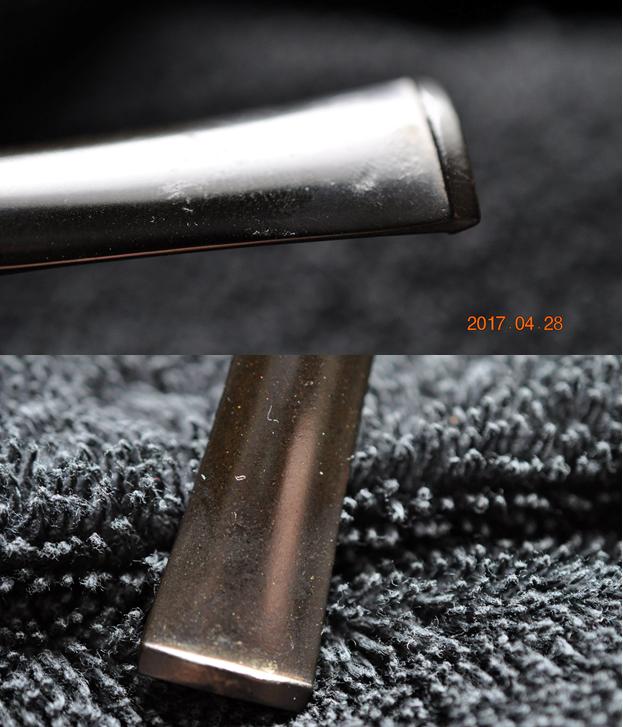
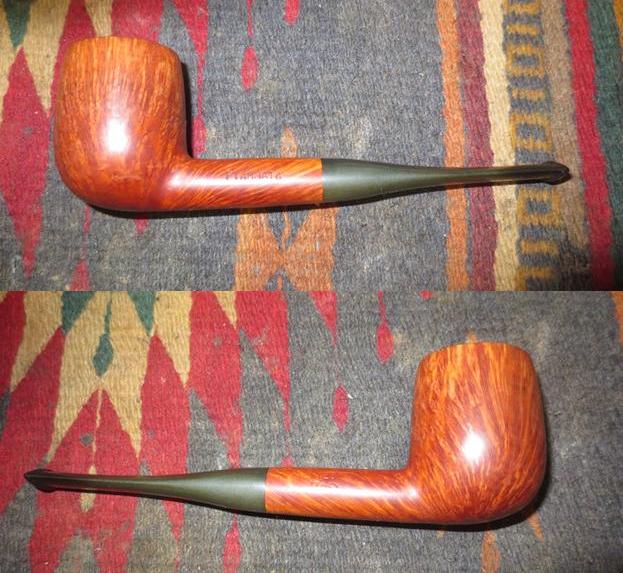
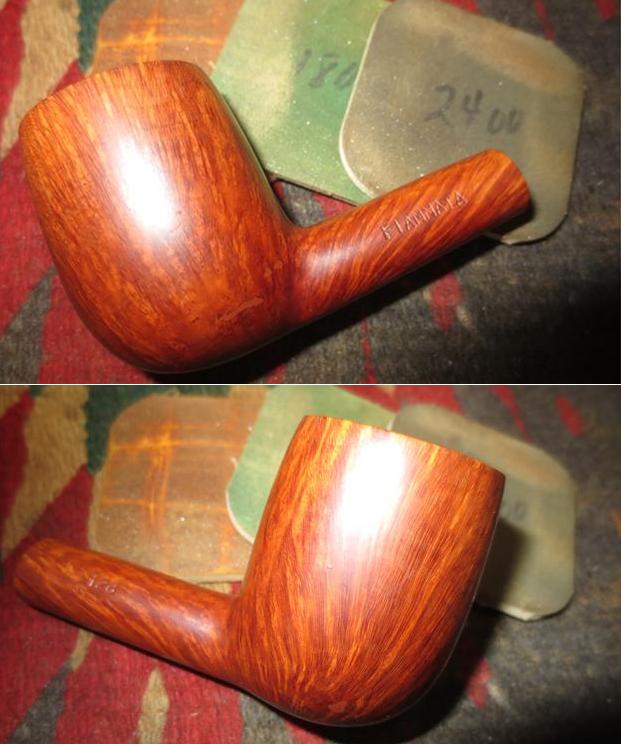
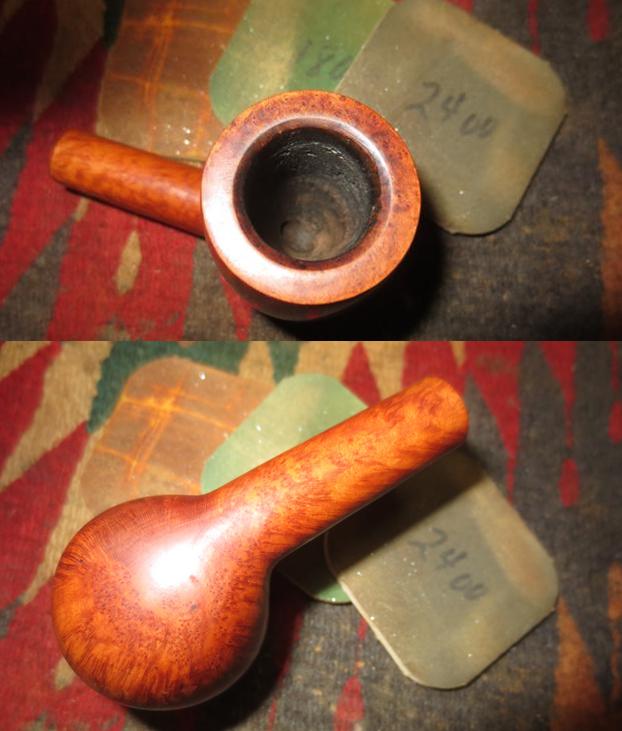
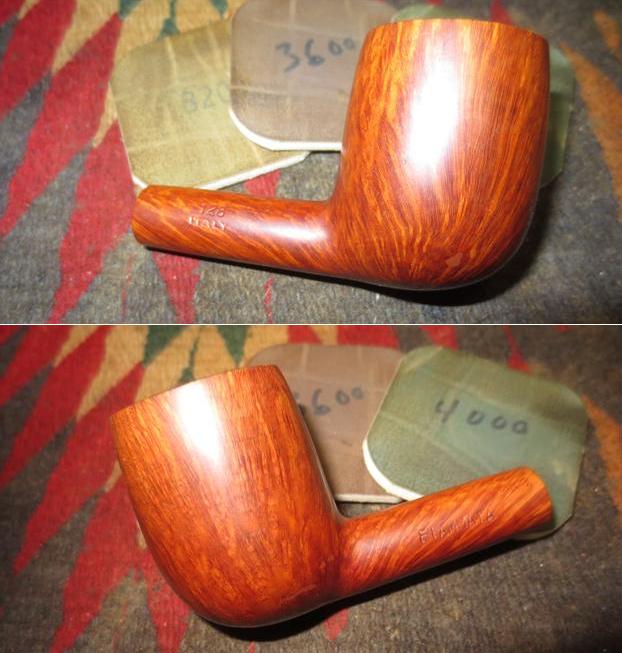
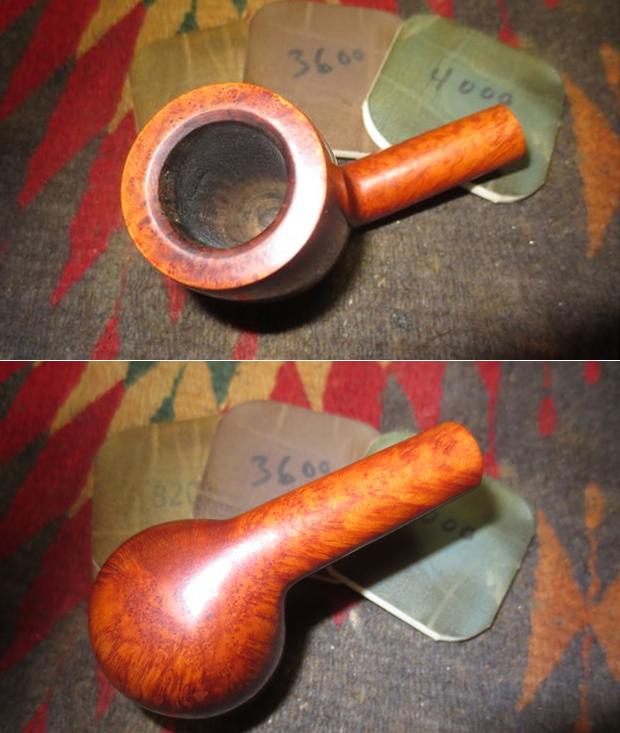
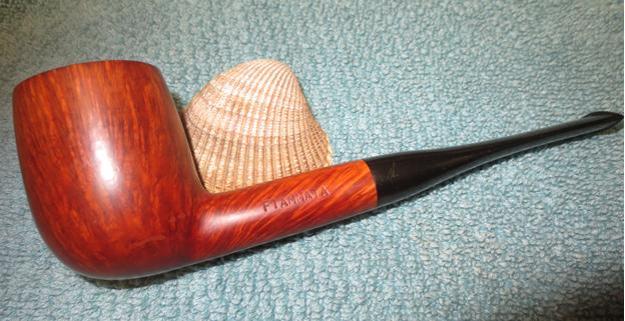
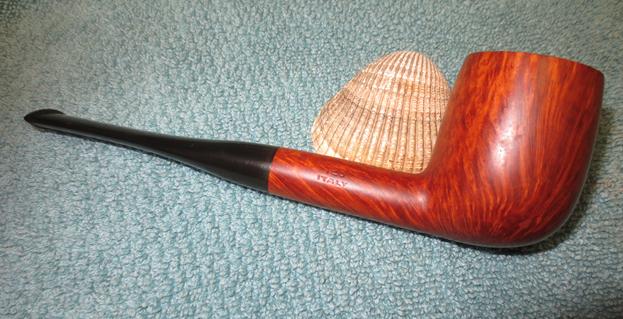
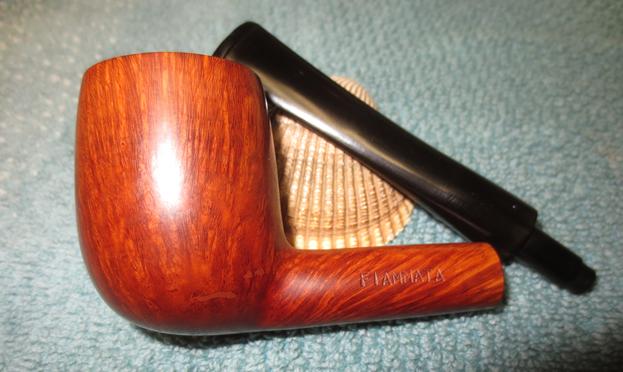
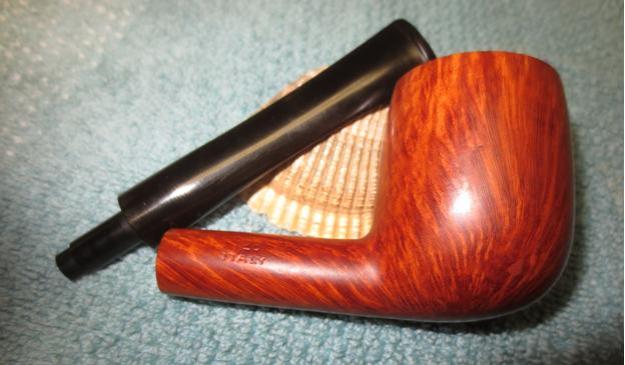
The next pipe on the work table came from the recent estate sale my brother attended. The pipeman whose pipes were being sold had good taste as can be seen from the pipes I have posted recently from my workbench. This one is no exception. It has stunning straight grain around the bowl and a few small well-hidden fills. The pipe is stamped on the left side of the shank with the name FIAMMATA and on the right side it is stamped 128 over Italy. There are no other markings on the pipe. The stem is lightly oxidized and has the now familiar tooth marks as the other pipes in this estate.The shape number, the Italy stamp and the overall look of the pipe told me that it was a Savinelli pipe but I was not sure. You know how when you are handling a pipe of unknown make you just have a feeling about its origin? That is what happened as I turned this one over in my hands to examine it. I did some digging on Pipedia and found the information to confirm my suspicions about the pipe being a Savinelli made produce. Here is the link to the section of the Pipedia article on Savinelli Sub-brands: https://pipedia.org/wiki/Savinelli#Savinelli_made_sub-brands.2C_seconds_.26_order_productions

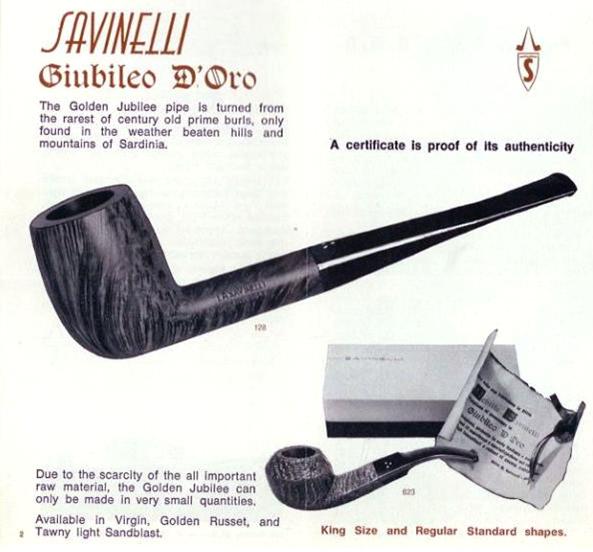
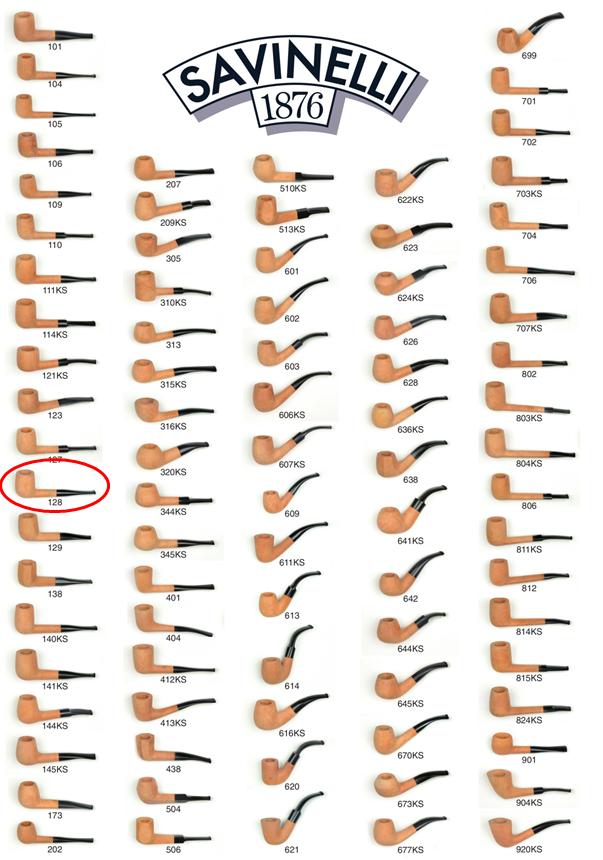
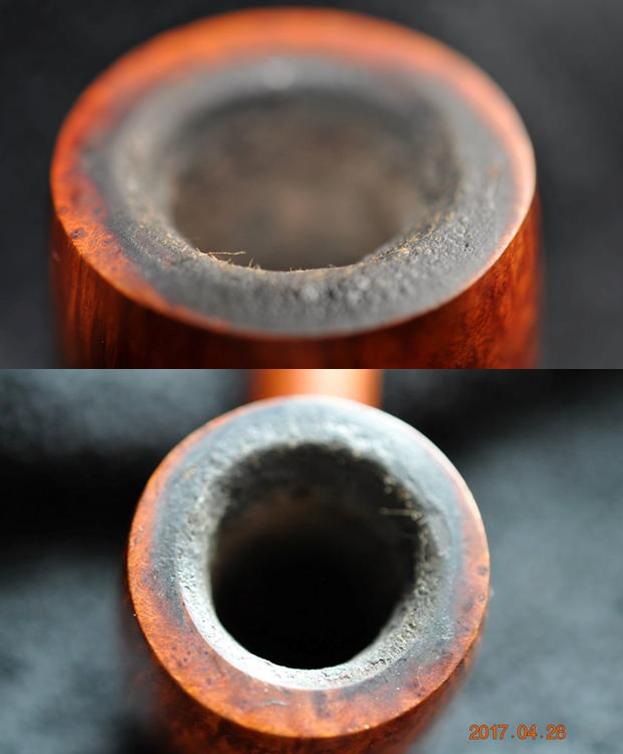
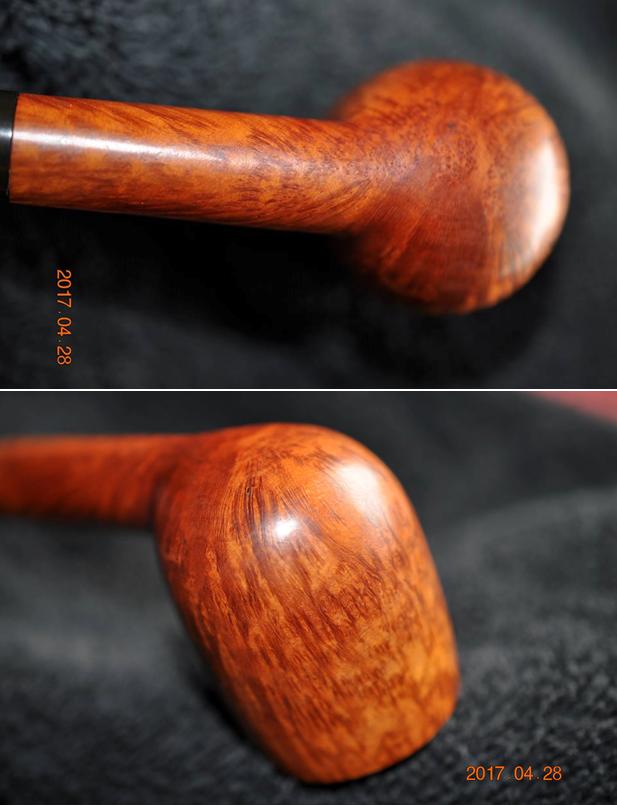
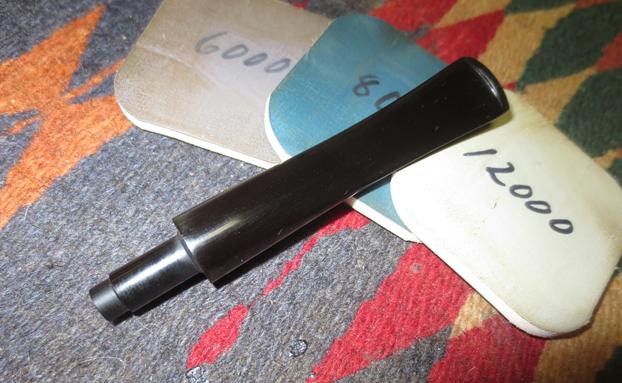
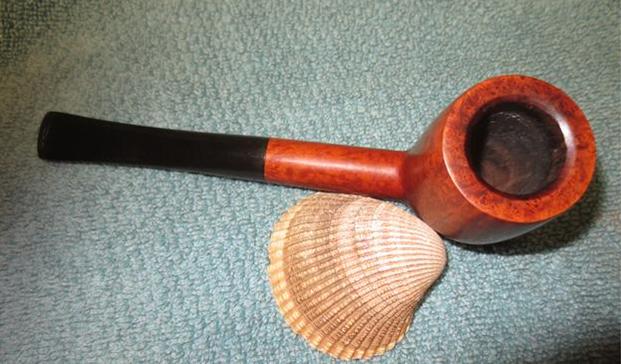
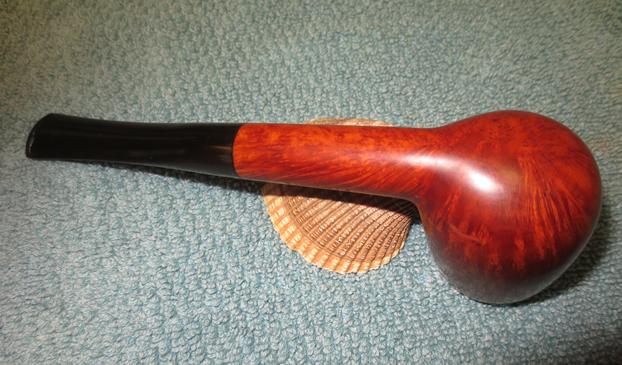
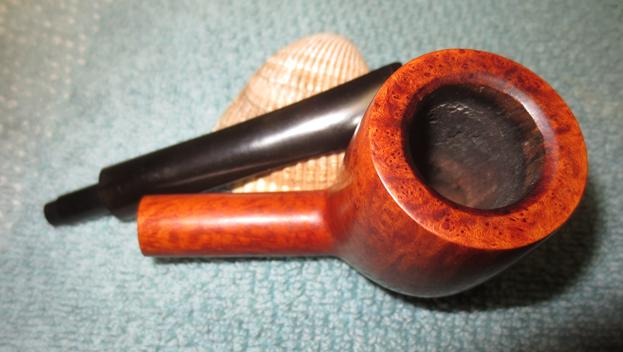
On the Sub-brands list you will see the name Fiammata. Next to the name it says that the sub-brand is a “Rejected “Giubileo D’Oro” – Straight Grain”. That matches the look of this pipe. I have to say though that the quality control people were very good on the day this pipe was made as the tiny sandpits and fills that I can see on the bowl were hard to identify as they followed the grain on the pipe so well. I thought it might be interesting to check out the Giubileo D’Oro pipes to see what I could learn about the destiny of this pipe before the flaws were noted and the pipe was rejected. The next photo of an advertisement for the brand gives information that I found extremely helpful when looking at this pipe in terms of shape, colour and finish. The top pipe in the photo is the 128 which is the same shape I am working on at the moment. The grain on my pipe is far better than the one in the photo.I have included a copy of the Savinelli Shape Chart so that you can see the shape of the pipe in hand. It is stamped 128 and can be seen on the first column of the chart. It is a tapered stem billiard. I circled the shape in red on the chart below.Jeff took some close up photos of the rim top to show the condition of the cake in the bowl and the overflow of lava on the top of the rim. From the photos it is hard to know if the inner rim edge is damaged because of the buildup of lava.Jeff took the next series of photos to show the grain on the bottom and both sides of the bowl. It is really quite beautiful grain. Look closely and see if you can see the small fills. The next two photos show the stamping on the shank of the pipe. The first photo is the right side of the shank and the second is the left side.The final two photos that Jeff sent to me show the familiar tooth marks on the top and the underside of the stem at the button.My brother did his usual amazing clean up of the pipe. He reamed the bowl and scrubbed the lava off the rim. He scrubbed the finish with Murphy’s Oil Soap and rinsed it with water. He cleaned out the mortise and the airway in the shank with alcohol, cotton swabs and pipe cleaners. The next four photos show the condition of the pipe when it arrived in Vancouver. Jeff was able to get the lava off the rim and leave the rim looking almost new. The inner beveled edge of the rim is flawless as well. It looks undamaged and there are no burn marks on the bevel or on the rim top. There is slight darkening on the back of the top but it is minimal.He soaked the stem in Oxyclean for a few hours and scrubbed it clean. The oxidation came to the surface and looked speckled in the next two photos. The photos also show the tooth marks and chatter clearly.I sanded the stem with 320 grit sandpaper to remove the surface oxidation and smooth out the tooth chatter and tooth marks.I cleaned the top and bottom edge of the button with alcohol and used black super glue to fill in the deeper spots on both sides of the button. I filled them in and set the stem aside to dry.I sanded the bowl rim and sides with micromesh sanding pads – wet sanding with 1500-2400 grit sanding pads. I wiped the bowl down with a damp cotton pad to remove the dust. I dry sanded it with 3200-12000 grit pads and repeated wiping down the bowl with the damp cotton pad. The photos below tell the story of the polishing. Look closely and see if you can see some of the small fills. I sanded the repaired area on the stem with 320 grit sandpaper to remove the excess hardened super glue and blend it into the surface of the button. I ran a pipe cleaner through the shank and the airway in the stem to remove any of the sanding debris from the airways. They came out very clean.I polished the stem with micromesh sanding pads – wet sanding with 1500-2400 grit sanding pads. I wiped down the stem with Obsidian Oil and dry sanded it with 3200-12000 grit pads. I repeated wiping down the stem with the oil. After sanding it with the 12000 grit pad I wiped it down a final time with Obsidian Oil and set it aside to dry. I put the stem on the shank and buffed it with red Tripoli to work out the rest of the oxidation that still remained on the stem near the shank end. It took some careful buffing to work it out but it finally came out. I buffed the stem with Blue Diamond to polish the stem even more. I buffed the entire pipe with the Blue Diamond on the wheel to polish out the minute scratches in the rubber and the briar. I gave the bowl and stem multiple coats of carnauba wax with the wax buffing pad. I polished it with a clean buffing pad to raise the shine. I hand buffed it with a microfibre cloth to deepen the shine. The shape and condition of the pipe is very nice and the grain stands out much like it would have if the pipe had made the grade for a Giubileo D’Oro pipe. There is a faint stamp of triangles on the side of the stem. The dimensions of the pipe are as follows Length: 6 inches, Height: 1 7/8 inches, Outer bowl diameter: 1 3/8 inches, Chamber diameter: ¾ inches. The finished pipe is shown in the photos below. The pipe is a made in such a way that it follows the stunningly grained piece of briar perfectly. The shape of the stem works with the flow of the pipe. The black of the stem and natural finish of the briar work well together. This pipe will soon be available on the rebornpipes store. If you want to add it to your collection email me at slaug@uniserve.com or send me a private message on Facebook. Thanks for looking.
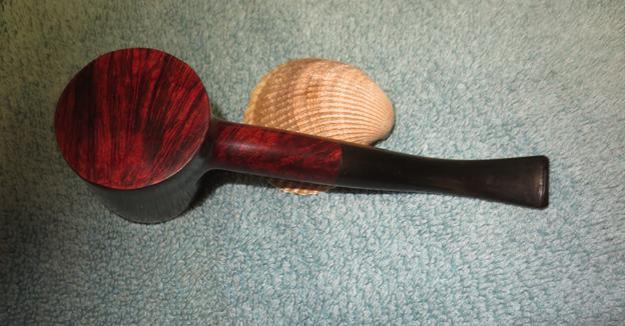
 

Breathing New Life into an Iwan Ries Jacques 169 Apple


Blog by Steve Laug

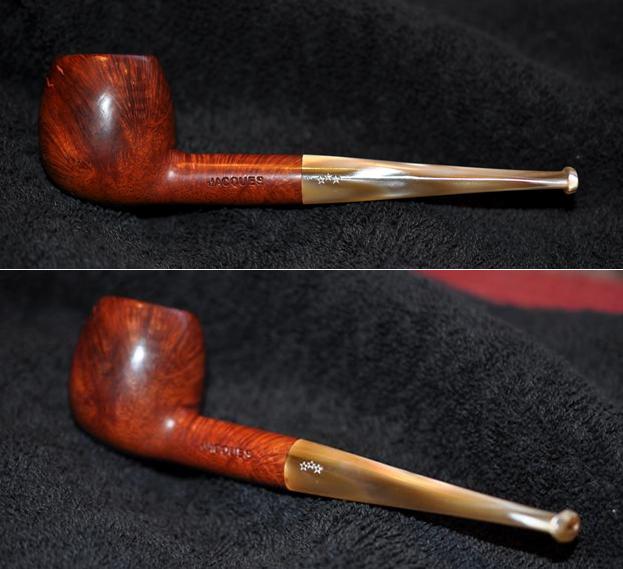
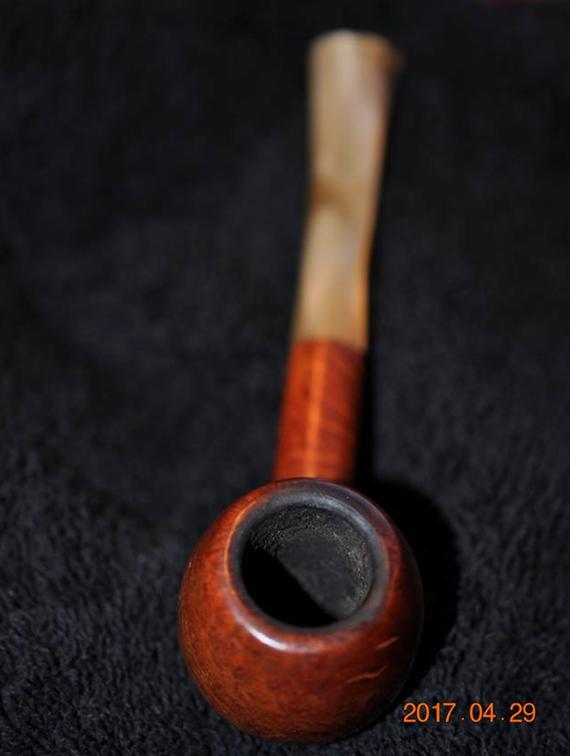
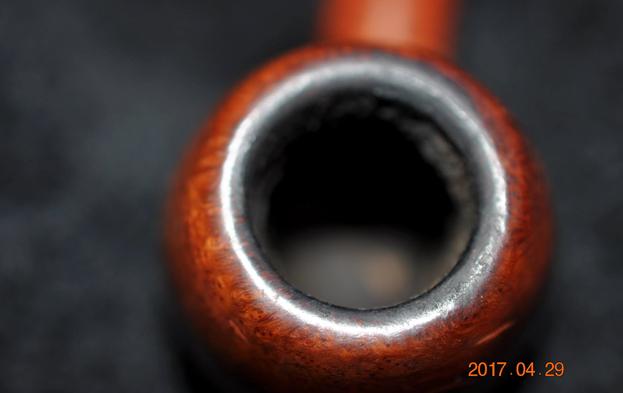
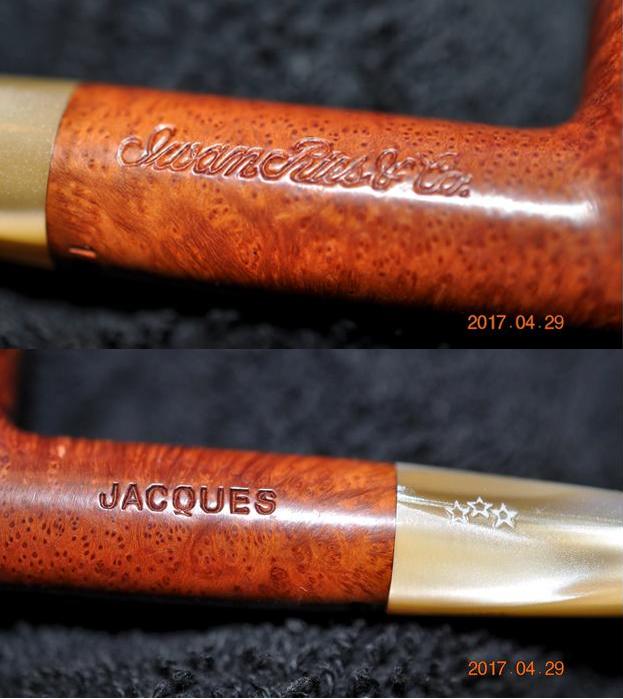
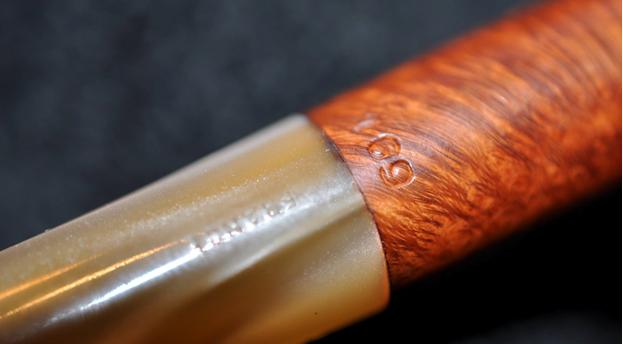
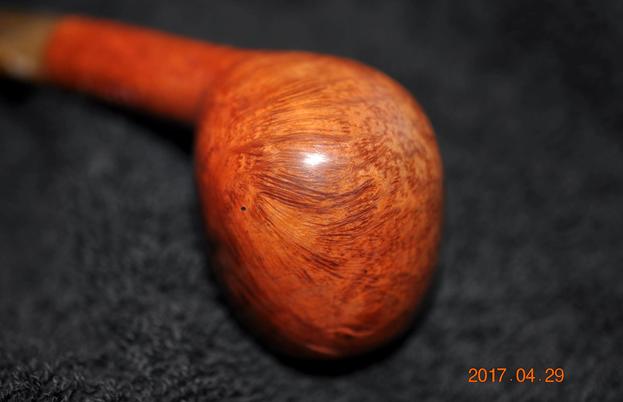
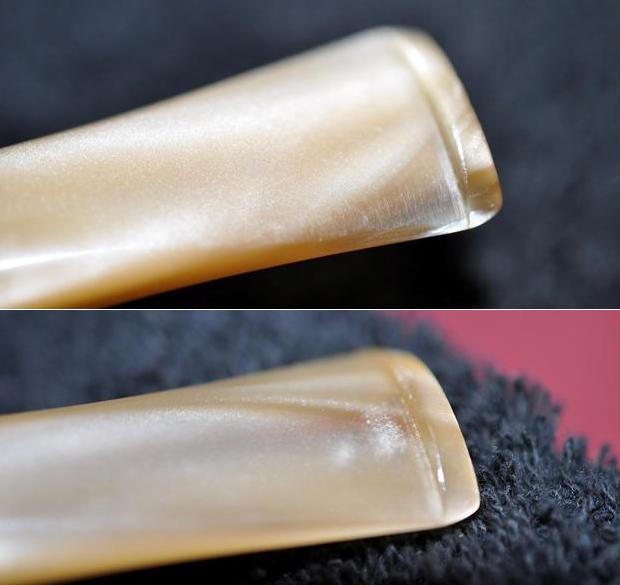
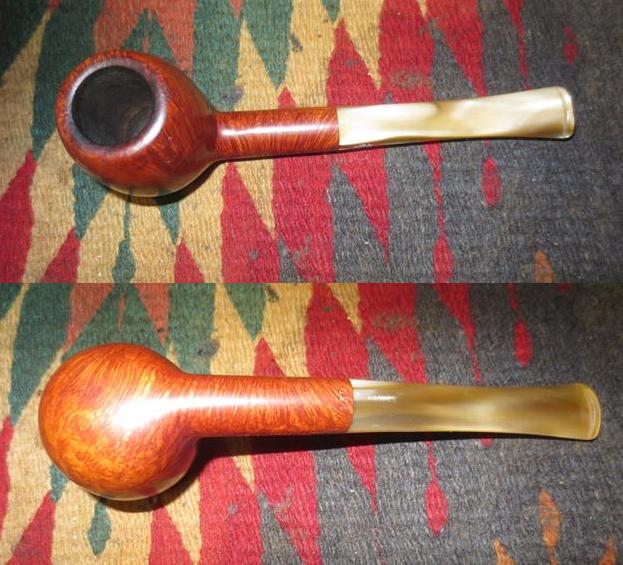
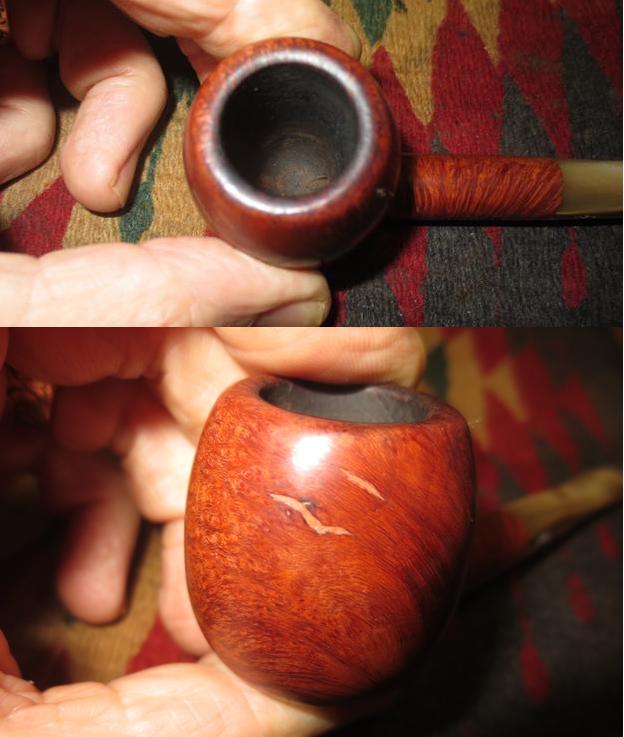
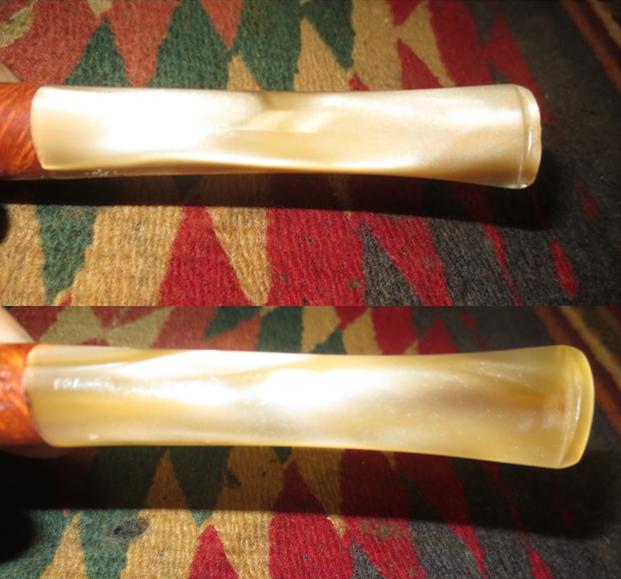
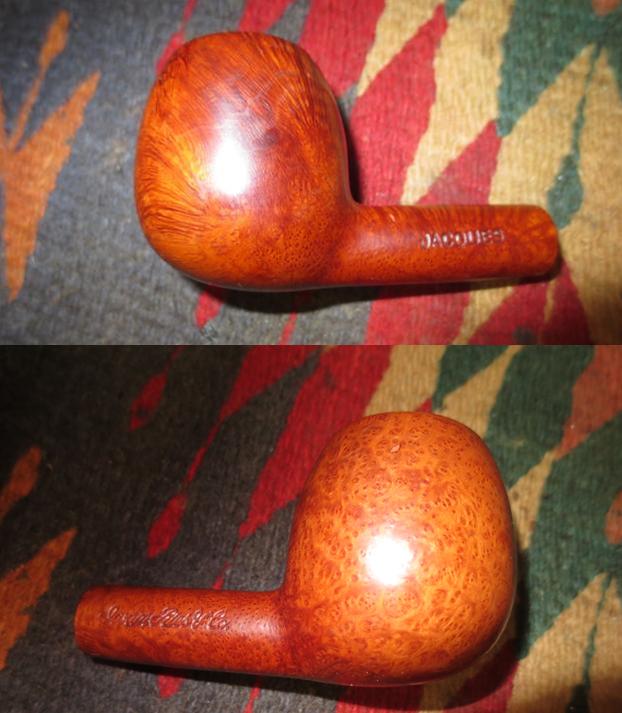
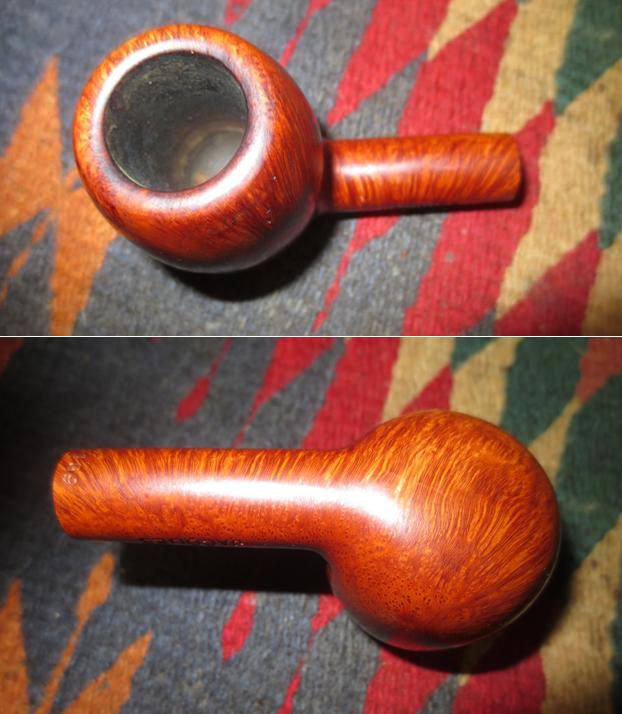
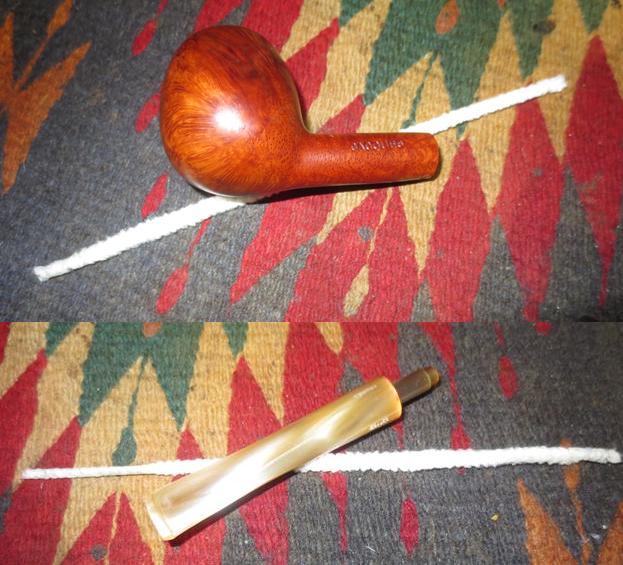
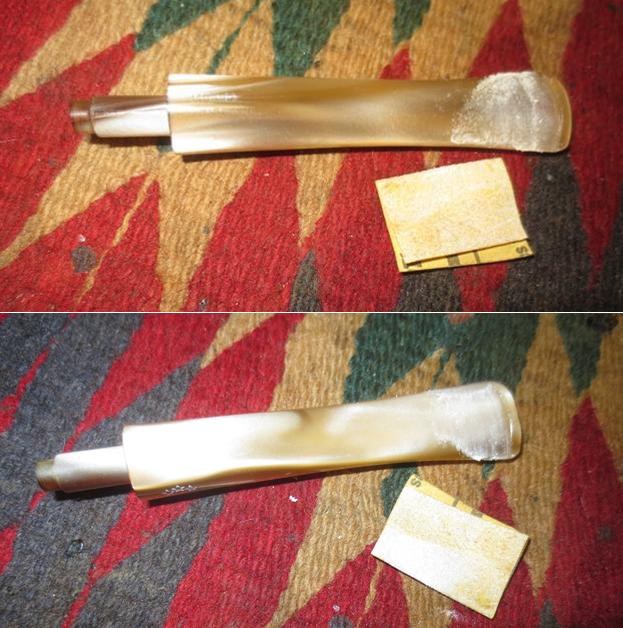
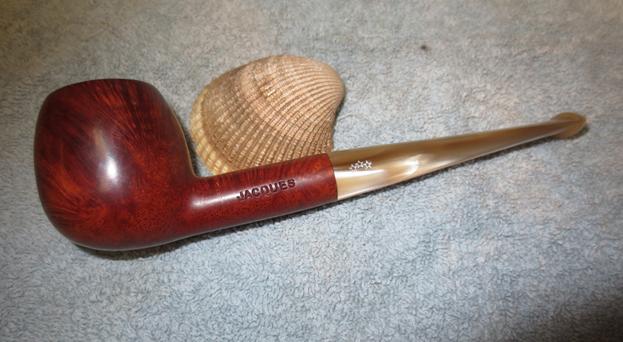
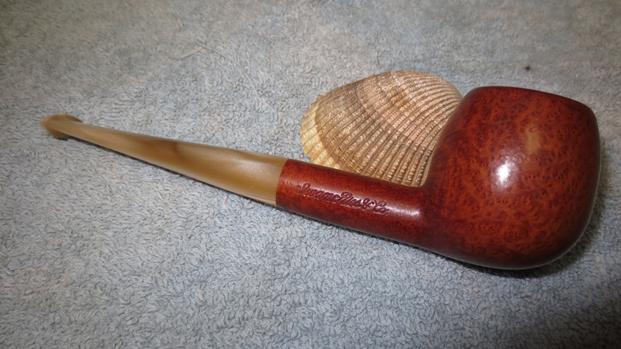
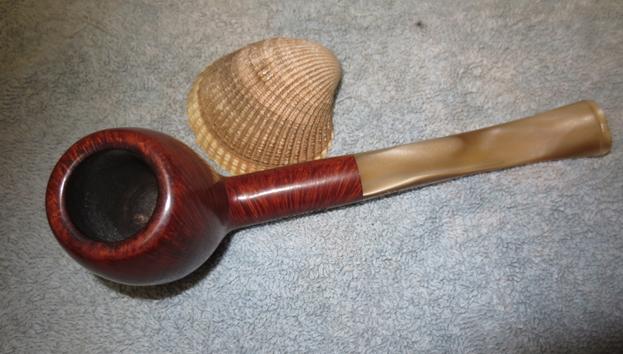
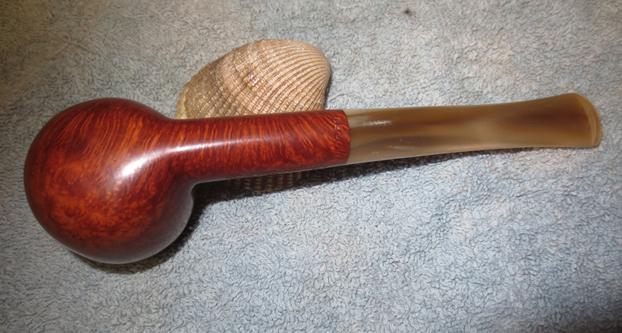
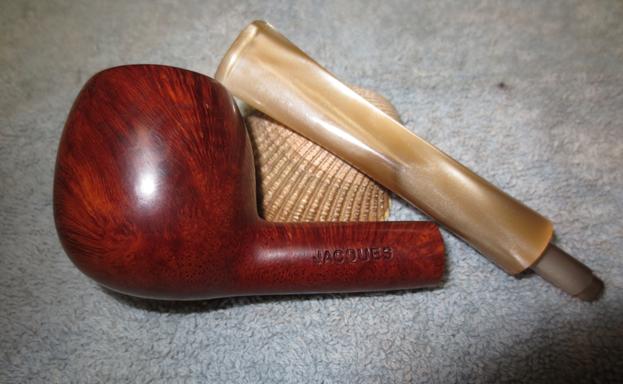
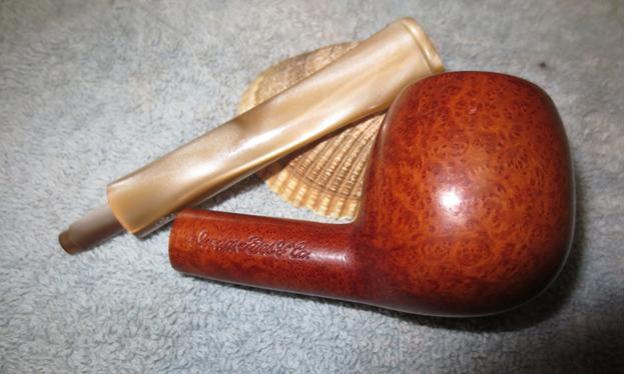
The next pipe on the table from the estate sale to be refurbished is a small apple that is stamped JACQUES on the left side of the shank and Iwan Ries & Co on the right side. It is also stamped 169 (Shape Number) on the underside of the shank at the stem/shank junction. The piece of briar is really a beauty with a mix of grains. The right side of the bowl has some beautiful birdseye grain that just pops. The combination of the yellow, cream coloured Lucite stem with the medium brown stain on the bowl works well and brings out the reds in the briar. Jeff took some photos of the pipe when he brought it home and before he worked his magic cleaning it up. He took some photos of the pipe to show the condition. The first of these shows the cake in the bowl and the lava overflow on the rim top. The rounded rim top looked like it was also darkened but I would know for sure once he had cleaned the top of the bowl.The next three photos show the stamping on the bowl. It is sharp and readable. There are also three stars on the left side of the taper stem as well. On the underside of the stem it is also stamped France. I am not sure if that is in reference to the entire pipe or just the stem being made in France. The next series of close up photos of the bowl show the overall condition of the pipe. The first photo shows the damaged fills on the left front of the bowl. These will need to be picked out and repaired to take care of the crumbling putty. The following photos show the now familiar tooth marks on the top and underside of the stem near the button. Unfortunately they are a bit hard to see as the colour of the Lucite obscures them. The top has tooth chatter and the underside has both chatter and a few deeper tooth marks.My brother worked his cleanup magic on the pipe and when it came to me the bowl had been reamed and cleaned. The airway in the shank and stem had been scrubbed with alcohol and pipe cleaners and the mortise cleaned with cotton swabs and alcohol. The pipe was in pristine condition internally. All I had to do was rework the fills and sand out the tooth marks on the stem. The next four photos show the pipe upon arrival in Vancouver. Jeff had been able to remove the cake in the bowl and all of the lava from the rim top. There was indeed some rim darkening that would need to be taken care of but it was very clean.  The second photo shows the ugly, damaged fills on the left front of the bowl.The stem looked really good and the tooth marks and chatter are even harder to see than in the previous photos but they are there.I picked out the damaged putty fills with a dental pick until they were clean. I wiped down the area with an alcohol dampened cloth to remove any remaining debris. I filled the areas with briar dust and clear super glue. It dries dark but that will work in these fills that follow the grain pattern of the bowl.Once the patch had dried I sanded it with 220 grit sandpaper to remove the excess fill and then with 320 sandpaper to smooth that out a bit. I polished the repair with micromesh sanding pads – 1500-12000 grit sanding pads to smooth out all the scratches. I touched up the repaired area with a dark brown stain pen. The colour of the stain matched the bowl perfectly and the fills blended in better than they were before.I hand buffed the bowl with a microfibre cloth to have a look at the rest of it and get a feel for the finished look. I ran a pipe cleaner through the mortise and the airway in the shank and the stem to check for any debris that might have collected from my sanding. They were still very clean.Now it was time to take care of the tooth marks on the stem. I sanded them out with 220 grit sandpaper and smooth that out with 320 grit paper. I polished the stem with micromesh sanding pads – wet sanding with 1500-2400 grit pads and dry sanding with 3200-12000 grit pads. I wiped the stem down between each pad with a water dampened cotton pad to remove the sanding debris. I put the stem back on the pipe and buffed it with Blue Diamond on the buffing wheel. I am skittish about buffing Lucite as it can heat up quickly and then make a mess of the work that has been done. I used a gentle touch to buff the stem and powered through buffing the bowl and shank. I took care not to damage the stamping on the shank. I gave the bowl and stem multiple coats of carnauba wax and buffed it with a clean buffing pad to raise a shine. I hand buffed it with a microfibre cloth to deepen the shine. The dimensions are Length: 5 ¾ inches, Height: 1 5/8 inches, Outer diameter of the bowl: 1 ¼ inches, Chamber diameter: ¾ inches. The finished pipe is shown in the photos below. It turned out to be a beautiful pipe and the repaired fills look better than when it left the factory. This one is available if you want to add it to your rack. Email me at slaug@uniserve.com or send a private message via Facebook if you are interested. Thanks for looking.
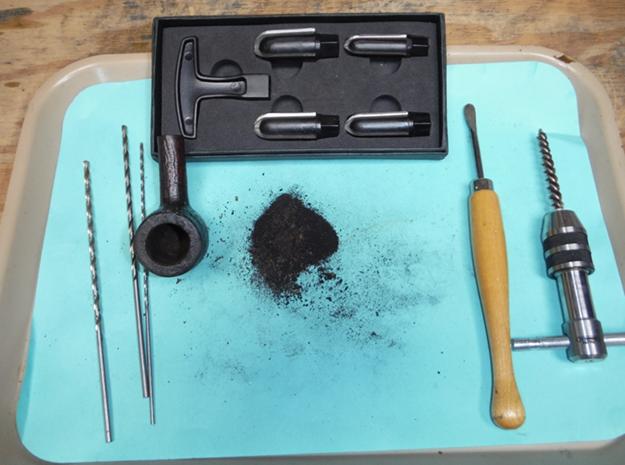
Breathing Life into an Antique Imported Briar Bull Moose


Blog by Steve Laug

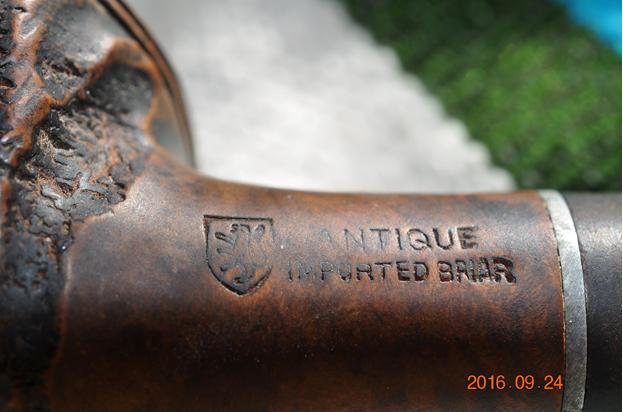
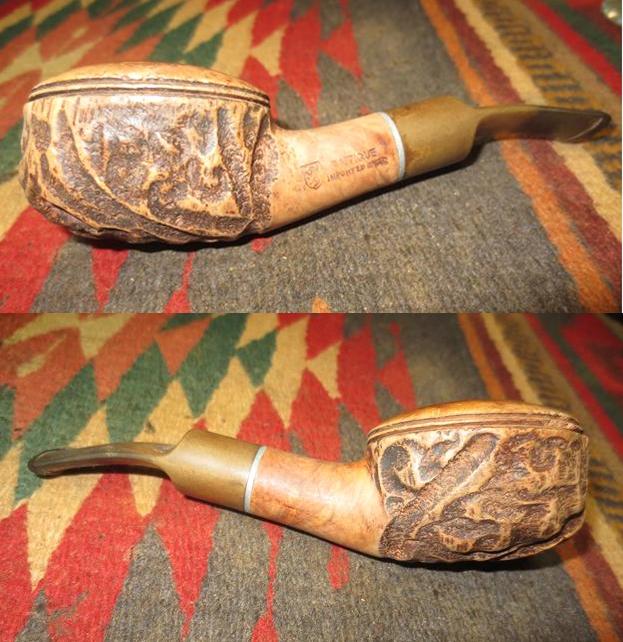
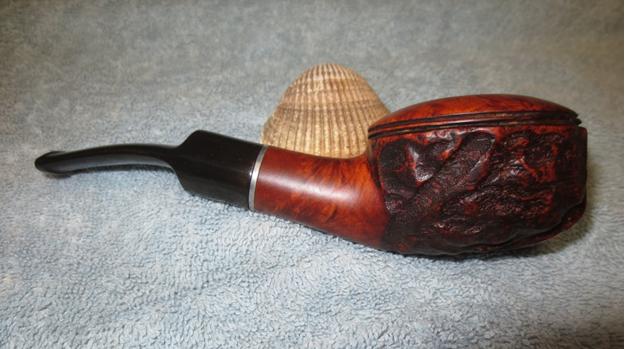
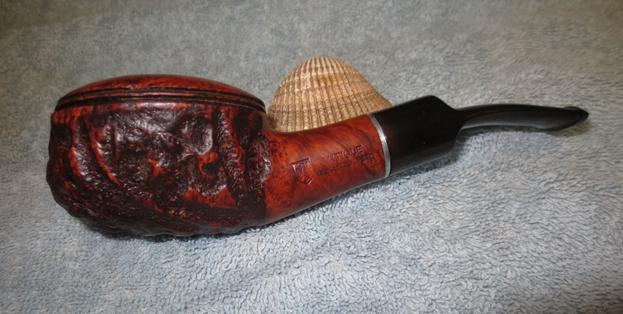
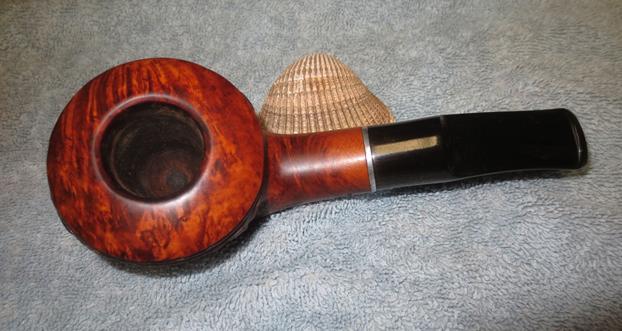
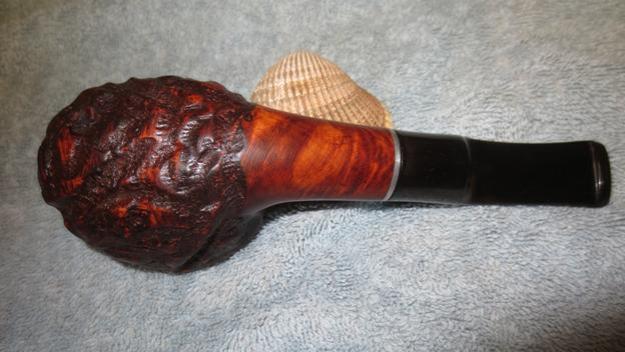
There is something about these older Mincer style pipes that grabs my attention. I am drawn to their rustic appearance and feel in the hand. This one was a Bullmoose shape – though the “nose” on it is much more conservative than many of these that I have seen. The stamping on the left side of the shank is a standing lion inside of a shield and next to that ANTIQUE over Imported Briar. I have searched on the web and in my books for this logo and cannot find it but I did find a listing for the ANTIQUE in Who Made That Pipe for a company called Heritage Pipes Inc. NYC. The company is to be distinguished from the Heritage line made by Kaywoodie as a high end alternative to Dunhill pipes. I have looked for information on the company online but so far have not found any. Anyone have any information on the brand?

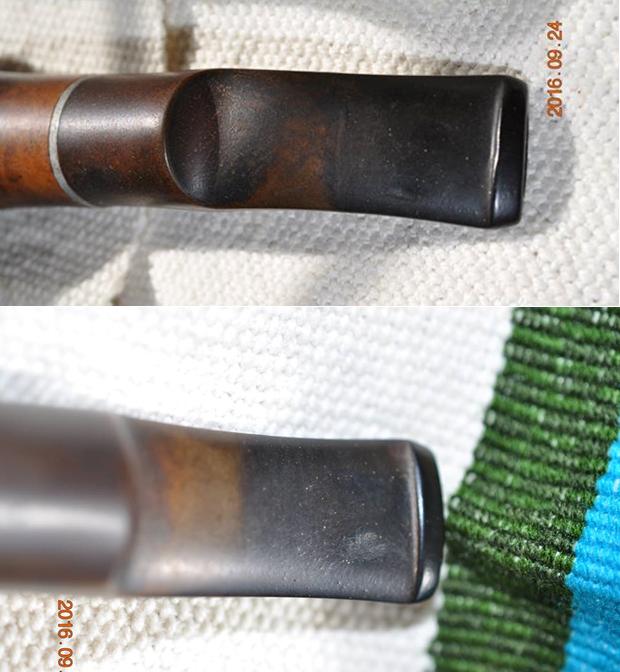
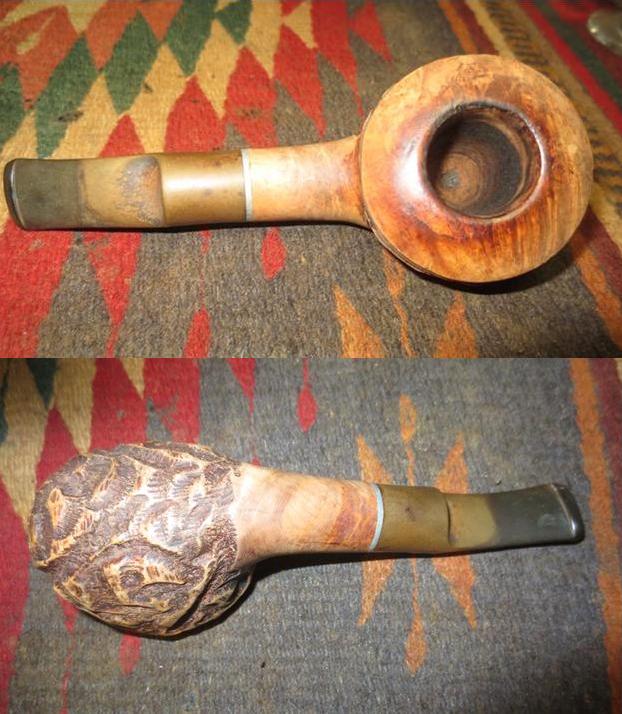
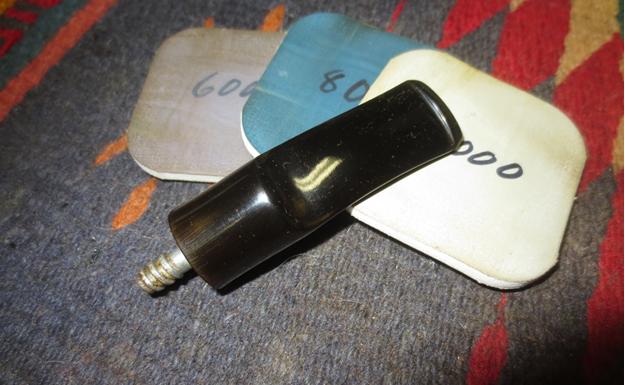
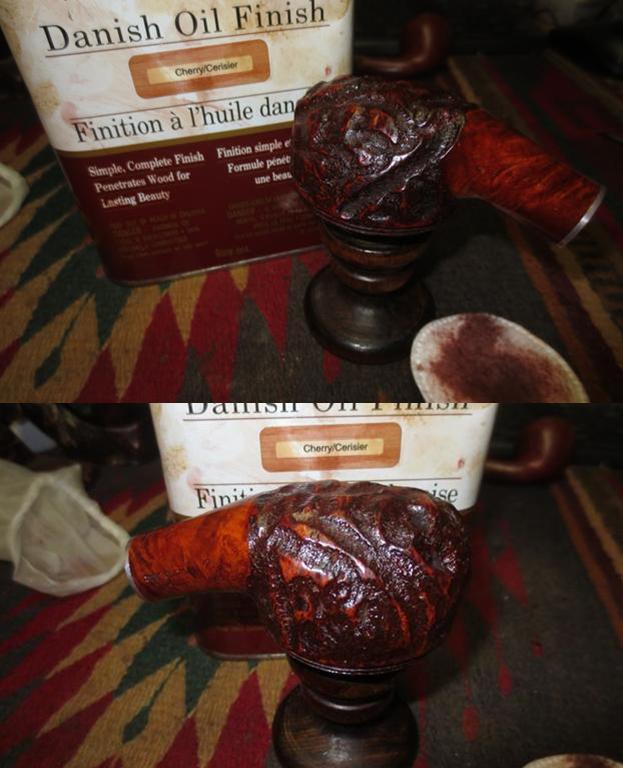
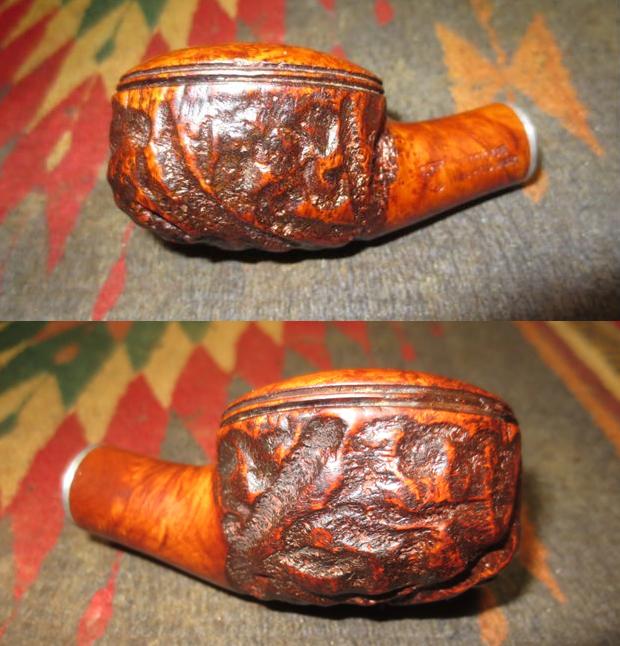
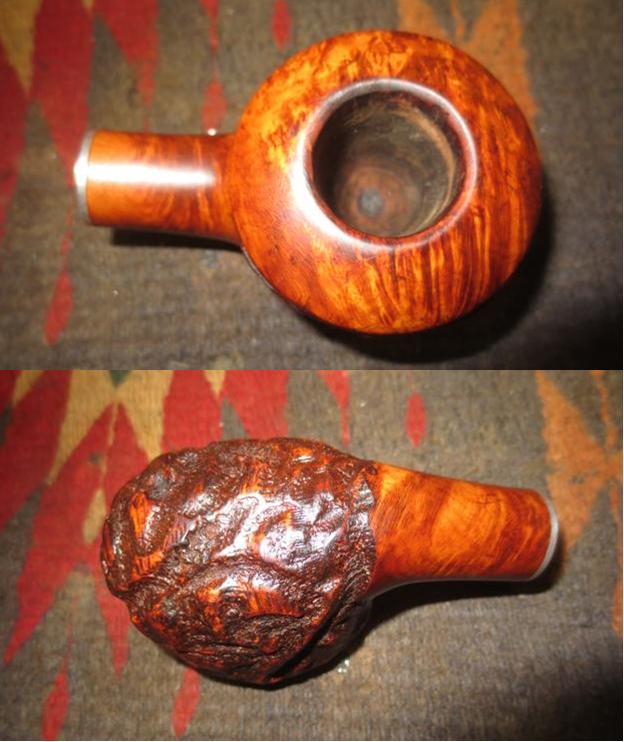
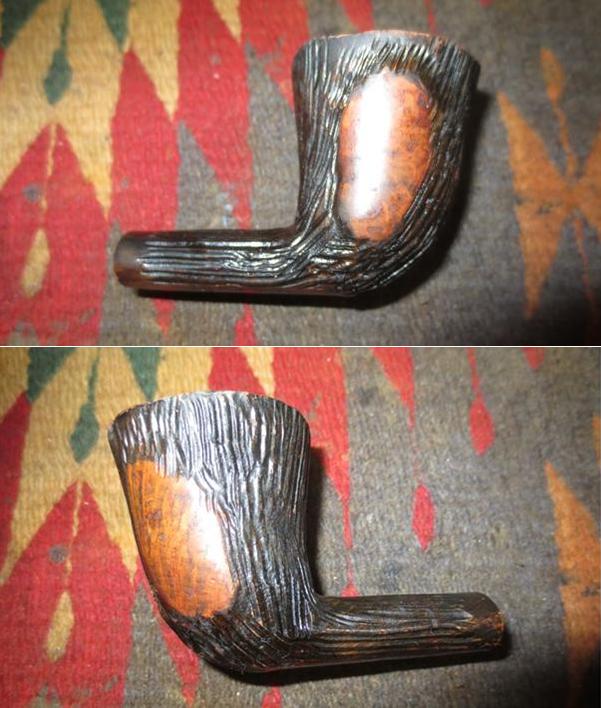
My brother took photos of the pipe before he cleaned it up. I have included those photos below. It is an interesting pipe.The next photos of the pipe show the damage on the rim top. The three different photos show the damaged areas from different angles. The rim top looked like it was damaged on the inner and outer edges of the bowl. The top looked like the finish was peeling but I would know more about it once I had it in hand. He took photos of the rusticated bowl sides. The smooth portions show grain. The double rings around the bowl cap have nicks and chips out of the top and bottom edges of the rims as well as the centre spacer. The next photo shows the stamping on the left hand side of the shank. Metal shank insert that separates the stem from the shank is oxidized.The stem is oxidized and has tooth chatter and tooth marks on both sides near the button. It is also overclocked making the stem sit crooked in the shank.My brother reamed the bowl with a PipNet reamer and cleaned out the insides. Pipes with the threaded metal mortise hold a lot of grime and tars so I will need to clean it further. The exterior was scrubbed with Murphy’s Oil Soap and a tooth brush and the grime and deteriorating finish was removed completely. The stem oxidation came to the surface in the cleaning. The next four photos show the condition of the pipe when I received it. I took a close up photo of the rim to show what it looked like when it arrived. Fortunately the areas on the rim that looked like flaking in the early photos was only lava buildup and it was gone. I breathed a sigh of relief when I saw that.The next two photos show the stem. The tooth chatter was lighter on the top of the stem than the underside. There were two deep tooth marks on the underside. The button edge on the topside was dented from teeth as well.I took the stem off the shank and was surprised that the conical stinger apparatus was gone. I heated the metal tenon with a lighter until the glue softened and twisted the stem around in the mortise until it lined up straight on the shank.I sanded the rim top and the inner beveled edge of the bowl with 220 grit sandpaper to remove the damage and the darkening. It did not take too much work to smooth out the dents and nicks and clean out the darkened inner edge of the bowl.To repair the chip out of the ring around the cap on the bowl on the right side I filled in the gap with briar dust and put drops of clear super glue on top of the dust. I used a dental spatula and a knife to recut the twin rings around the cap. Once it dried I sanded the repaired area on the ring and the rim top with a medium and fine grit sanding sponge and with 1500-6000 grit micromesh sanding pads to smooth out the scratches left behind by the paper.I cleaned out the inside of the mortise and the airway in the shank and stem with pipe cleaners, cotton swabs and alcohol until the cleaners came out white.I sanded the stem with 220 grit sandpaper to remove the oxidation and then used black super glue to fill in the tooth marks on the top edge of the button and the underside of the stem.When the glue dried I sanded the stem with 320 grit sand paper and polished it with micromesh sanding pads. I wet sanded it with 1500-2400 and dry sanded it with 3200-12000 grit pads. I rubbed the stem down after each pad with Obsidian Oil. After sanding it with the 4000 grit pad I buffed it with red Tripoli on the buffing wheel then finished polishing it with the final three grits of micromesh. I gave it a final coat of oil and set it aside to dry. I stained the bowl with Cherry Danish Oil and wiped it down to give it a shine. I wanted to highlight the red colours in the briar. The colour came out really well and the grain shines through on the rim and the smooth portions of the bowl and shank. I buffed it lightly with a shoe brush. The photos below show the staining and the finished bowl. I buffed the stem some more with red Tripoli and with Blue Diamond on the buffing wheel to polish out the oxidation that still remained at the junction of the stem and shank. I gave the stem multiple coats of carnauba wax and gave the bowl several coats of Conservator’s Wax. I buffed the bowl with a clean buffing pad to raise the shine and hand buffed it with a microfibre cloth to deepen the shine. The dimensions on the pipe are Length: 5 1/2 inches, Height: 1 1/2 inches, Outer diameter: 2 inches, Chamber diameter: 7/8 inches. The finished pipe is shown in the photos below. It really is a nice looking older piece of pipe history and should make a great addition to someone’s pipe rack. It will go on the rebornpipes store shortly. If you would like to purchase it contact me via private message on Facebook or through my email at slaug@uniserve.com. Thanks for looking.
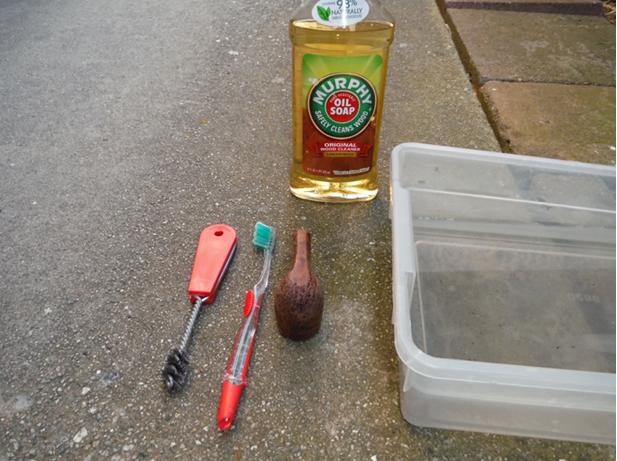
 

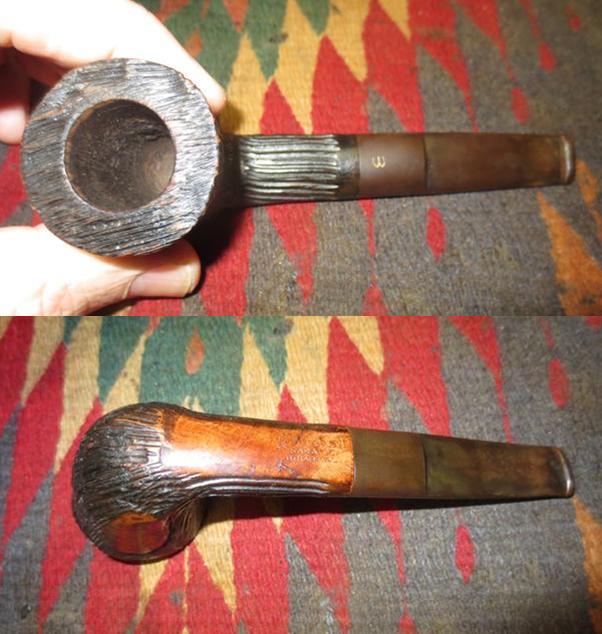
New Life or an Oval Shank Whitehall Saratoga Dublin


Blog by Steve Laug

Not long ago I received and email from Dave, a reader of the blog, asking about a couple of pipes that he had picked up. This is the second of the two pipes – the Whitehall Saratoga. I have included part of his email below. He gives his assessment regarding the pipes and what he wanted done.

Steve… I have recently been gifted 2 estate pipes that I would love to have reincarnated by your hands? I am not sure of the cost and wanted to speak with you first… The 2 pipes in question are not in bad shape, just have some age, cake and minimal wear; one is a Whitehall rusticated with saddle stem and the other a Pear shaped Dr. Grabow Westbrook… I have attached some images with this email so that you have some idea of how they look. If you need additional images please let me know. Thank you for your time and consideration.

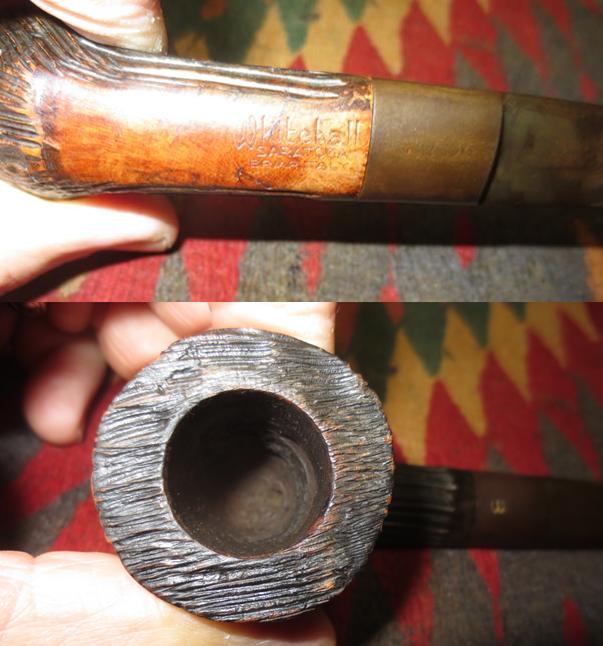
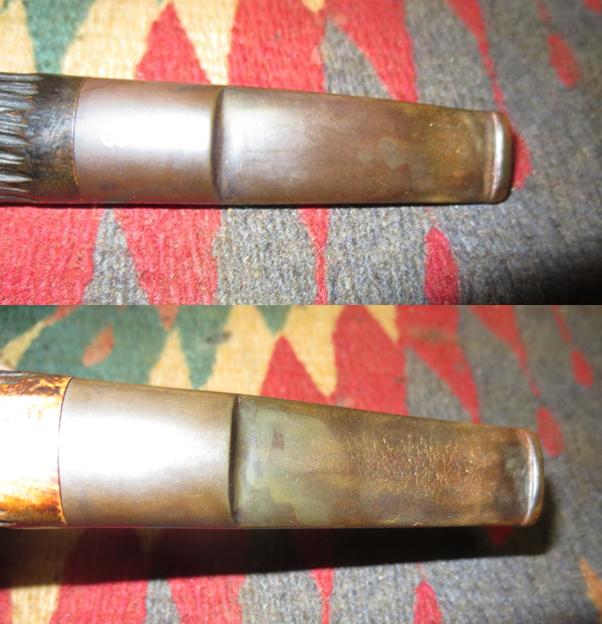
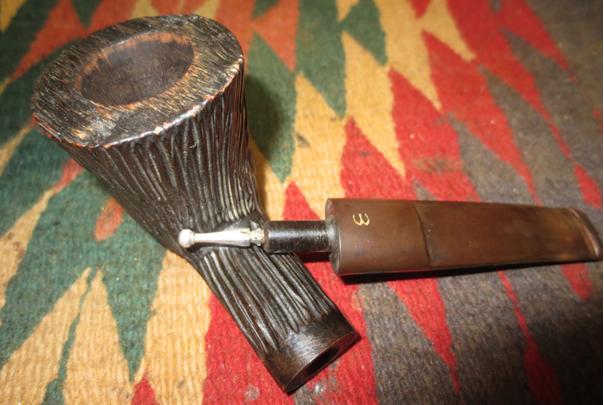
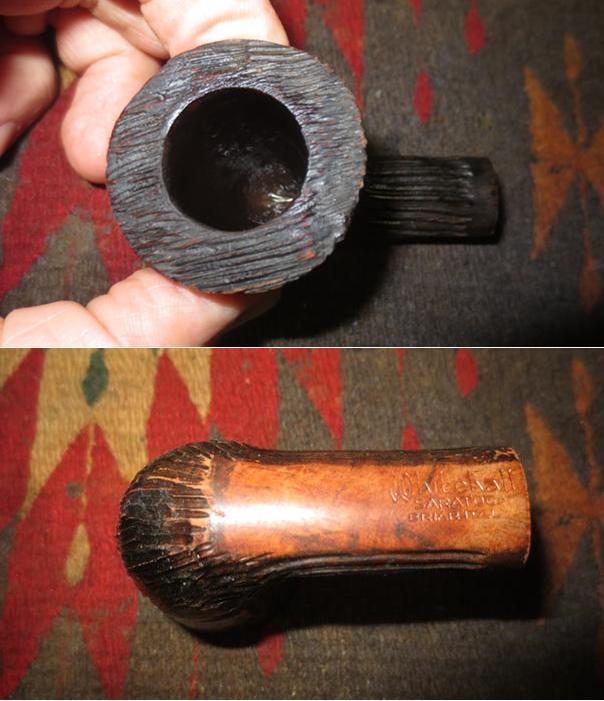
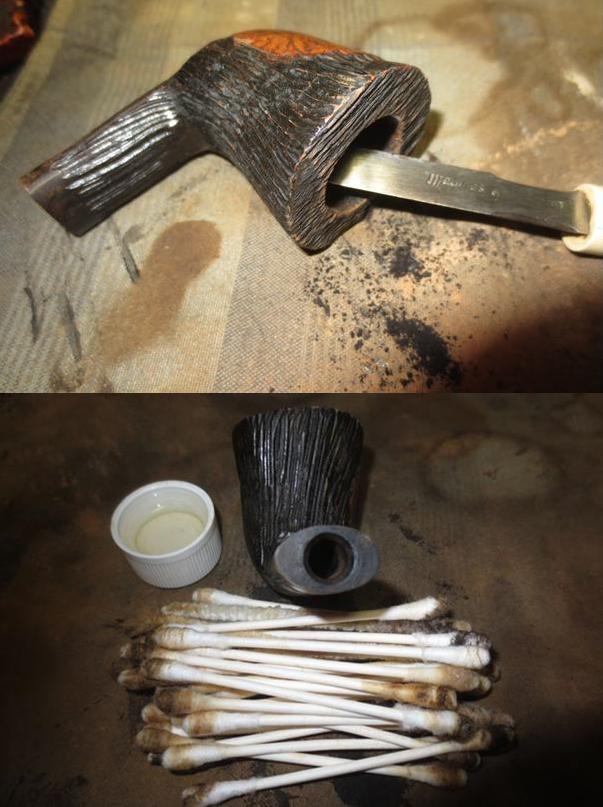
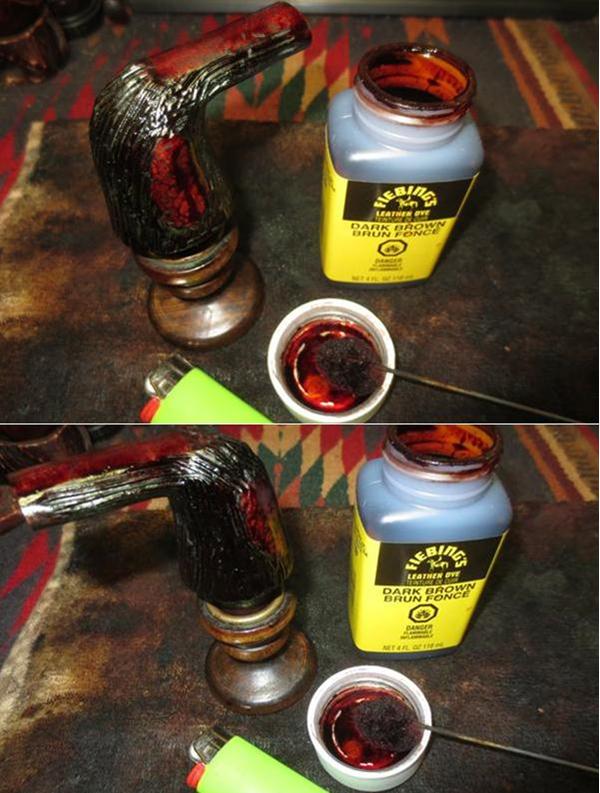
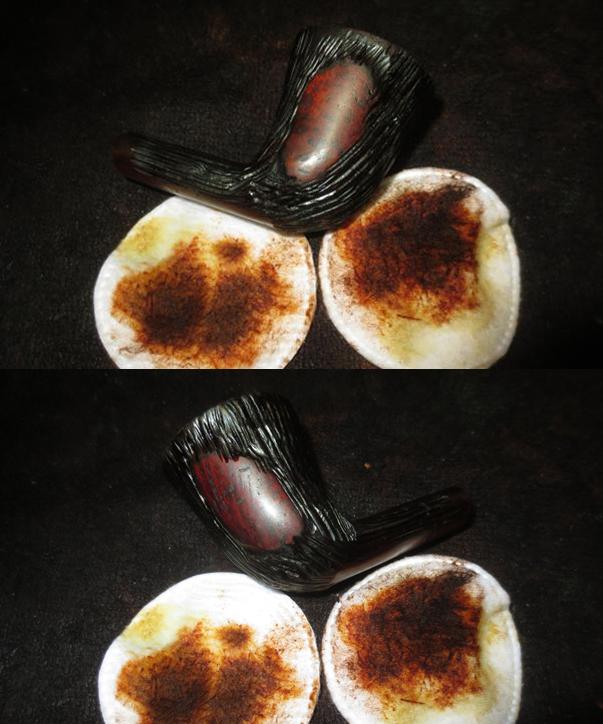
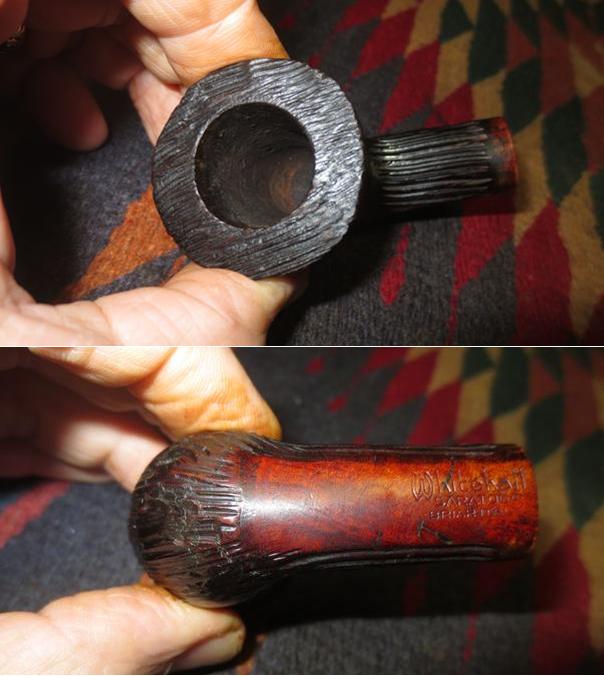
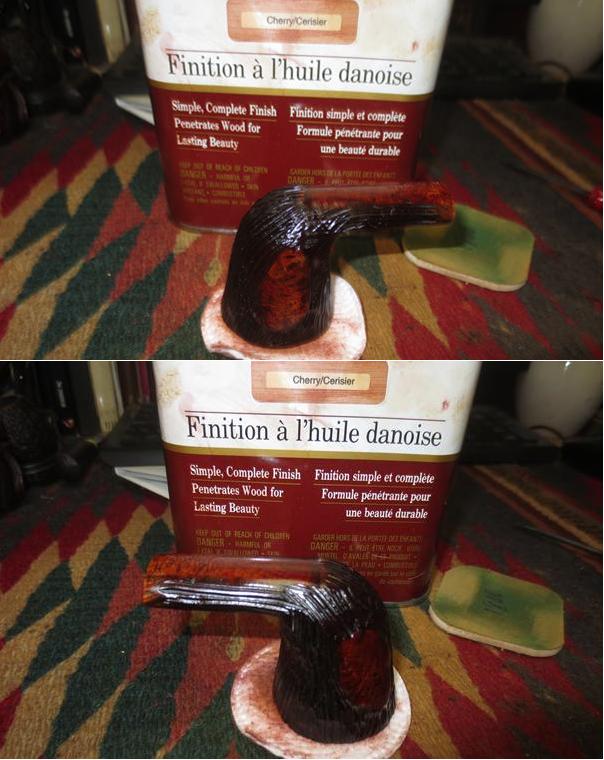
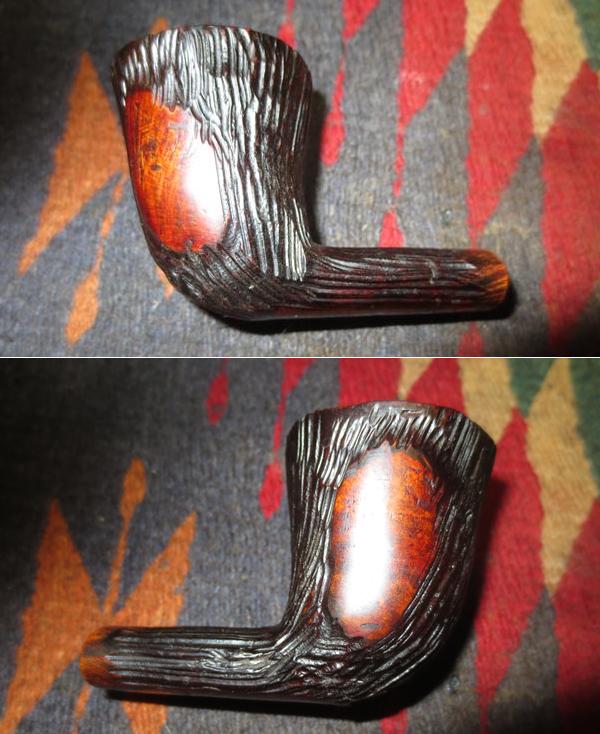
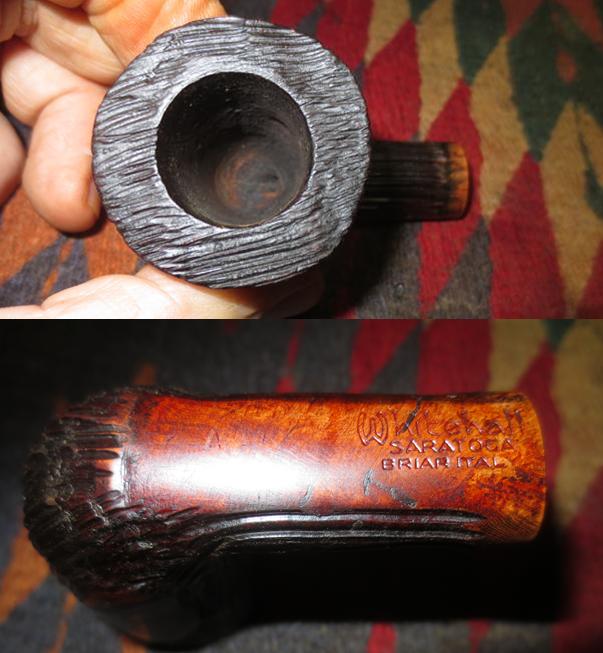
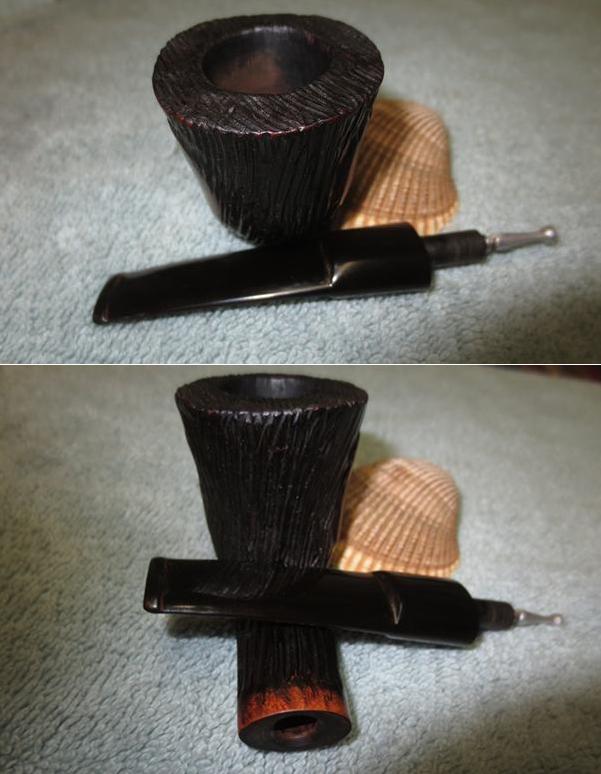
Regards, Dave The pipe was in pretty decent shape over all. The rim was dirty but the inner and outer edges were in good shape. The finish was worn and dirty but the carved striations looked good. The smooth patches around the shank, the underside and the two panels on the bowl sides were scratched but otherwise clean. The stem was oxidized and had some deep tooth marks on both the top and underside near the button. The W stamp on the top of the saddle was faint and worn. I would need to be careful in cleaning the oxidation not to damage the logo stamp. The photos below show the condition of the pipe when I received it. I took a close up photo of the stamping on the shank. The stamp is clearly legible and reads Whitehall over Saratoga over Briar Italy. The second photo shows the rim and bowl condition. There was still a light cake that would need to be scraped out but it was really quite nice.I took photos of the stem. It is hard to see the tooth dents in the photos below but they are present. There was a W on the top of the saddle stem that was a decal and it was coming off. The button is worn from use. The oxidation is quite deep.When I took the stem out there was a small stinger in the tenon. It was dirty but was easily removed and would be polished and put back in place.I sanded the stem with 220 grit sandpaper to break up the oxidation on the stem and reshape the button. I sanded out the shallower tooth marks to remove them. I wiped down the stem and repaired the deeper marks with black super glue. I set the stem aside to let the repairs cure. I turned my attention to the bowl. I scrubbed it with a tooth brush and Murphy’s Oil Soap to remove the grime from the grooves in the briar on the bowl and rim. I rinsed the bowl down with warm water and dried it off with a towel. The freshened pipe is shown in the photos below. I reamed out the bowl to remove the last of the cake with a Savinelli Fitsall Pipe Knife. It did not take too long to smooth out the remnants of the cake in the bowl. I scrubbed out the mortise and the airway in the shank and stem with pipe cleaners, cotton swabs and alcohol to remove the tars and oils. I went through a lot of pipe cleaners and cotton swabs before they came out clean.I restained the bowl with a dark brown aniline stain and flamed it with a lighter. I repeated the process until the coverage was even and I was happy with the results. I wiped down the bowl with alcohol on cotton pads to lighten the stain and make the contrast between the rusticated part and the smooth ones more obvious. I gave the pipe a coat of Conservator’s Wax and buffed it with a shoe brush to give it a shine and check out what the colour looked like. I took some photos of the polished bowl to show how it looked at this point in the process. The pipe is beginning to look really good. I sanded the top of the shank to remove the dark colour and make it more transparent at the stem shank junction. Note the nicks in the smooth portions of the bowl and shank. They are deep so I will not be able to sand them out. They actually act like marks of history of the journey of this pipe. It was not quite right. I wanted a little more red in the finished briar. I wiped the bowl down with alcohol on a cotton pad to remove the wax so I could do a bit of a contrast stain. For the second coat I rubbed down the bowl with a coat of Cherry Danish Oil to highlight the red colour in the briar. The combination of stains gives a nice contrast look to the pipe. I polished it with a soft cloth and took photos of the finished bowl. I set the bowl aside and turned my attention to the stem. I talked with Dave regarding the W decal on the saddle and we decided to remove it as it was worn and kept me from removing the oxidaiton on the saddle while trying to protect it. I resanded the with 220 grit sandpaper to remove the oxidation and the remnants of the decal. I polished it with micromesh sanding pads. I wet sanded it with 1500-2400 grit pads and rubbed it down with Obsidian Oil between each pad. I dry sanded it with 3200-12000 grit pads and repeated the oil treatments. I buffed the stem with red Tripoli on the buffing wheel and followed that with Blue Diamond polish. I gave the stem several coats of carnauba wax and polished it by hand. I buffed the stem with Blue Diamond to polish out some of the minute scratches in the surface. I gave the stem several coats of carnauba wax to protect and give it a shine. I hand waxed the bowl with Conservators Wax and buffed the bowl and stem with a clean buffing pad to raise the shine. I hand buffed it with a microfibre cloth to deepen the shine. The finished pipe is shown in the photos below. I will be packing it up soon and sending it back to Dave so he can fire up a bowl and give this beauty a smoke. Thanks for looking.
Restoring an Unstamped Rhodesian Handmade


Blog by Steve Laug

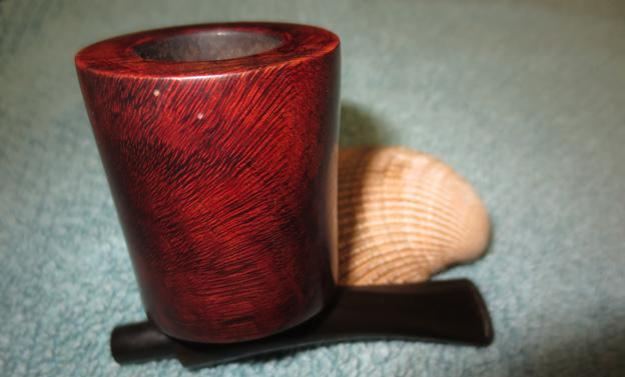
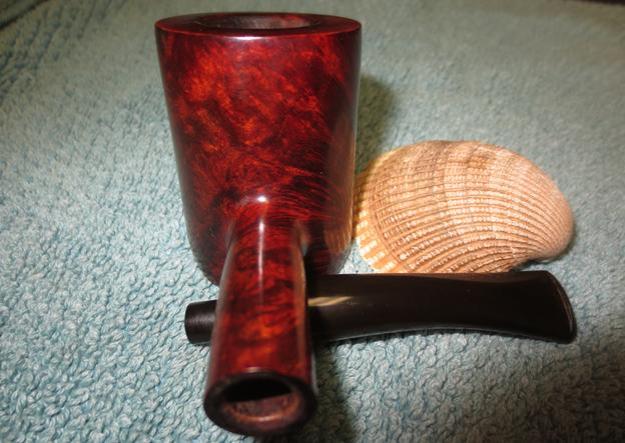
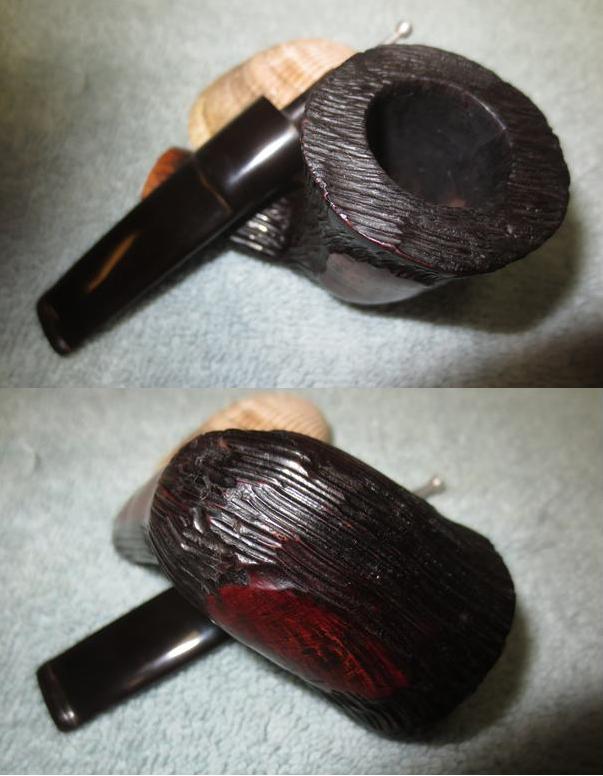
When I saw this pipe that my brother picked up I was captivated by the grain. The unknown maker had done an amazing job of laying the shape out with the grain. The sides of the bowl and shank have stunning flame grain radiating from the point at the heel of the bowl. The heel and the cap on the bowl, as well as the top and the pointed bottom edge of the shank have beautiful birdseye grain. He sent me the following pictures to whet my appetite for this pipe. I like the Rhodesian shape and I like the combination of nice grain, a sterling silver band and a black vulcanite stem. This one had them all. The only oddities to me were the shape of the shank – it was an egg shape, pointed at the bottom and the freehand style panel stem. The bowl had a thick cake in it and it was scratched at about 11 o’clock in the photo below. It looked as if it could have been cracked but it was not once he had reamed it free of the cake. The finish was dirty and there was some darkening/burn marks on the back side of the cap. It appeared to me that it was originally a virgin finish but I would know more once I had it in Vancouver and had cleaned up the finish.The next two photos show the grain on the sides of the bowl and the bottom. There is birdseye toward the left side of the bottom of the bowl curving up to meet the grain on the sides.Underneath the oxidation and tarnish on the band it was stamped Sterling Silver in an arch. The stamping was centred on the top side of the shank.The stem was heavily oxidized and had tooth chatter on both sides near the button. On the underside of the button there were deep tooth marks and one of them was on the button. The chair leg style stem would be a challenge to clean up.My brother did his usual comprehensive clean up on the pipe. He was able to remove all of the cake in the bowl and on the rim. He cleaned up the dirty finish on the bowl and cleaned out the mortise and the airway in the shank and the stem. The stem was more oxidized from his cleanup but the oxidation was on the surface so it would be a bit simpler to work on. The next four photos show what the pipe looked like when I brought it to the work table. There was some rim damage on the back side of the bowl. You can see it in the photo below. There was some burn damage as well as some bad nicks in the burned area. The outer edge had been flattened at that point and would need to be reworked. I took close up photos of both sides of the stem to highlight the tooth marks and chatter on them. There were three sandpits on the bottom of the bowl. The first was on the right side and was the largest of the three. The second and third were on the opposite side and were mere pin prick flaws. I filled in the holes with clear super glue. When it dried I sanded it with a piece of 220 grit sandpaper and then with a medium and fine grit sanding sponge to blend it into the surrounding briar.I topped the bowl on a topping board with 220 grit sandpaper to smooth out the damaged rim and ready the back side for a repair. I was pretty sure that if I topped it most of the damage would be remedied and the burn mark would disappear. Fortunately it was not deep in the briar so the sanding took care of it. Once I had it smooth I sanded it with the medium and fine grit sanding sponge.I wiped the bowl down with alcohol on a cotton pad to remove any remaining oils and dirt on the on surface of the briar. The next set of four photos show the cleaned surface of the briar. I polished the briar with micromesh sanding pads – wet sanding it with 1500-2400 grit pads and dry sanding with 3200-12000 grit pads. The photos below tell the story of the polishing and interestingly the ring grain in the briar begins to show through by the polishing with the three final pads. I rubbed the polished briar down with a light coat of olive oil to highlight the grain and make it stand out. A little olive oil brings new life to the dry briar. This pipe truly  has some stunning grain as is evident in the following photos. I sanded out the tooth marks and chatter on the stem along with the oxidation with 220 grit sandpaper. The photo below shows the stem after the sanding. I rebuilt the dent in the button with black super glue. Once it was dry I sanded it to match the rest of the button.The stem had a very interesting tenon. It was short and it had what looked like threads on it. I decided to leave these in place rather than change the original shape of the tenon. I worked over the stem itself. I polished the vulcanite with micromesh sanding pads. I wet sanded it with 1500-2400 grit pads. I rubbed it down with Obsidian Oil repeatedly during the sanding. The photo below shows the stem after being sanded with the first three pads. There is still evidence of oxidation in the rubber so it will take a lot more sanding and polishing before it is black again. I buffed it after this with red Tripoli on the buffing wheel and was able to remove more of it. I dry sanded it with 3200-12000 grit pads (the second and third photos below) and again rubbed it down repeatedly with Obsidian Oil. Once it was finished I gave it a final coat of oil and let it dry. I buffed the bowl and stem with Blue Diamond a final time and worked to remove any remaining oxidation on the stem. The Blue Diamond is a plastic polish and it really brings a shine to the vulcanite. I gave the bowl and the stem multiple coats of carnauba wax. I buffed the pipe with a clean buffing pad to raise the shine. I finished buffing by hand to deepen the shine. I polished the silver band with a jeweler’s polishing cloth and removed the remaining tarnish. The finished pipe is shown in the photos below. I wish I knew who the unknown maker was. He or she did a great job making this pipe. The shape, the layout with the grain and the craftsmanship make this a pipe that will outlive me that is for certain. It is truly a beautiful pipe. Thanks for walking with me through the process of the restoration.

Refreshing a Family Heirloom – a Brunswick Imported Briar Saddle Billiard


Blog by Steve Laug

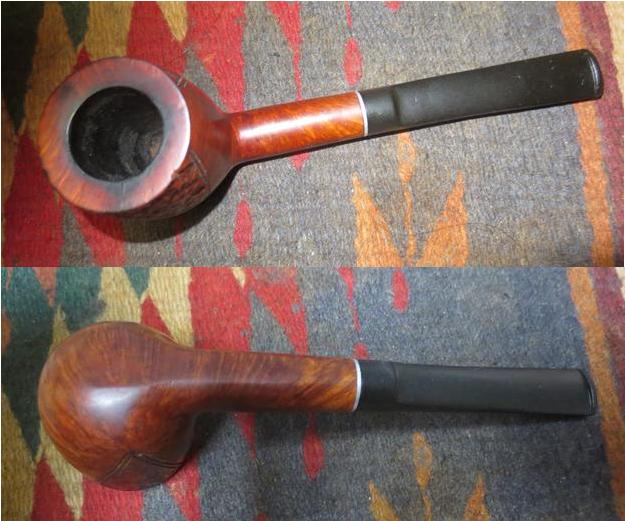
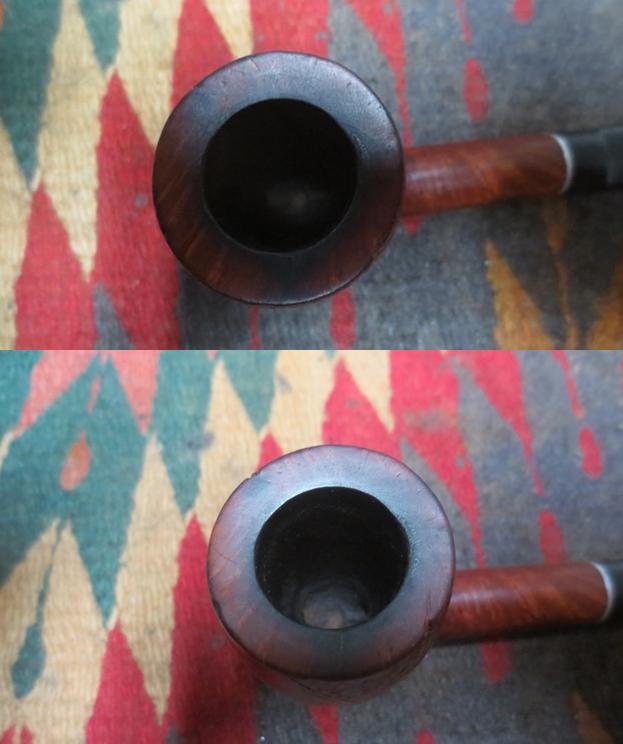
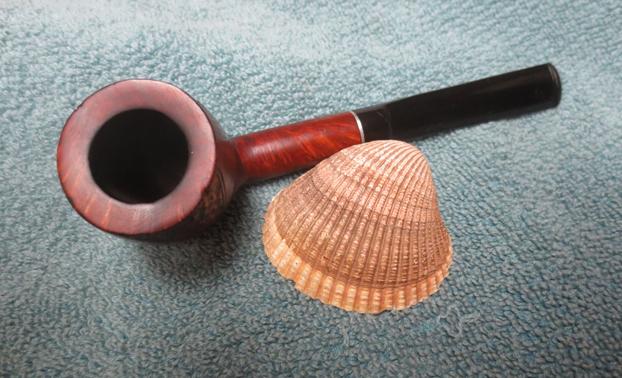
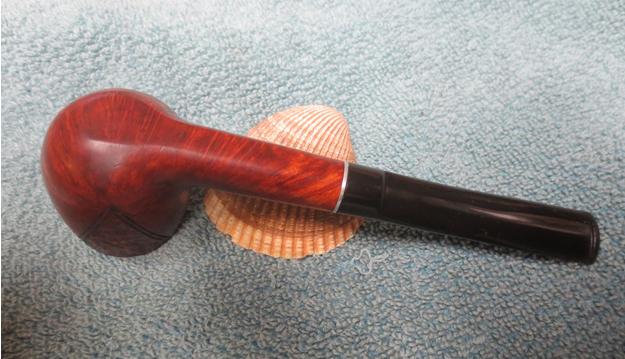
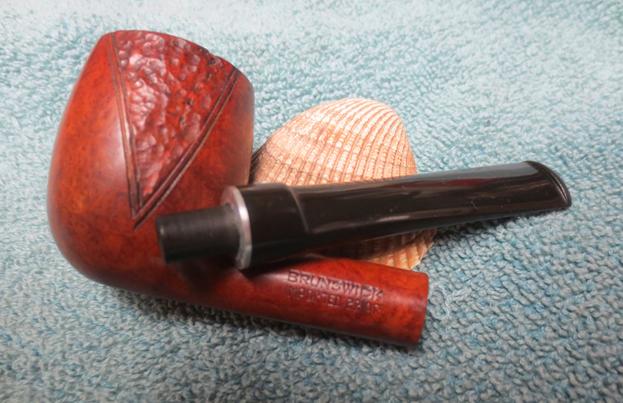
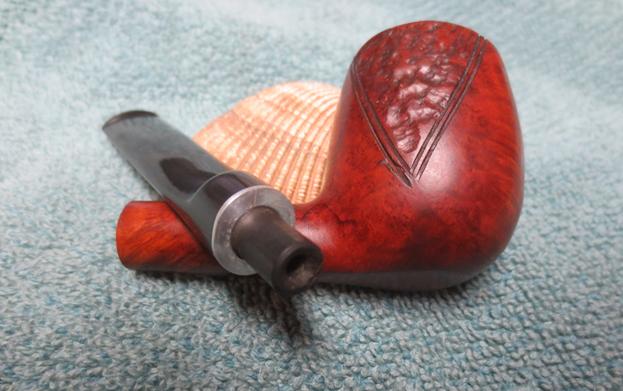
I had an email conversation with a pipe smoker over in Eastern Canada about a pipe that had been in his family for quite a while. He had inherited it and though he loved it, the pipe smoked wet. We talked about how to clean the mortise and the airway in the stem and shank. He did the cleanup but the pipe still smoked wet. He wrote back and asked if I would have a look at it for him and see what I could do with it. When it arrived I could see why he liked it. The pipe is extremely light weight and the saddle stem and flow of the bowl is perfect. The brand is one that I had not heard of before. The pipe is stamped Brunswick over Import Briar on the left side. There is a nice rusticated wedge on each side of the bowl otherwise the finish is smooth. The photos below show what the pipe looked like when it arrived in Vancouver.The pipe was in decent shape. The finish was a little dirty and there were burn marks on the front outer edge and the left and rear inner edge of the rim top. The rim top also had some dents and nicks in it and some general darkening from being lit with a lighter in the same place each time.I took a close up photo of the rim and bowl to show the uneven cake and the rim top damage. The rim was slightly beveled and the inner edge was undamaged.I took some photos of the stem to try to capture the damage on the underside. It was hard to capture but there were four divots out of the vulcanite on the underside. I have circled their location in red in the photo below. The quality of the vulcanite was very good and the stem was not oxidized. There were a lot of small pits and scratches in the stem surface but it would polish up nicely and have a deep shine. The aluminum spacer was set on the tenon and acted as a thin ring around the shank and stem junction. It was lightly oxidized but also would polish up well.Before I started the clean up of the pipe I decided to do a bit of digging to see if I could learn anything about the brand. I looked on Pipedia and Pipephil’s Stampings and Logos site and neither one listed the brand. I also did a pretty thorough Google search of the brand using different combinations of words around the brand name. That turned up a pipe starter kit that included a new pipe, tobacco and tamper combination. The pipe bore the Brunswick name but it just did not look anything like the pipe or the stamping on the one I had in hand. It was available through the Pipeguys back in 2013 but the link no longer works. Looking at the pipe I do not think that the brand is related.

I turned to a copy of Who Made that Pipe that resides on my desk next to the computer. I looked through the listings and found two different possible makers of the brand – one in France and one in the USA. I have attached a screen capture of the listing from the book.

The American Company is listed as Adrien Brunschwig 1942. I think this is the maker of this particular pipe. The Imported Briar stamp under the Brunswick name leads me that conclusion as it was used in the US after WW2 when briar was once again available for import. I did some more searching for that brand and maker. The only thing I could find was an American wholesaler and manufacturer of household items called Brunschwig & Fils. I suspect that it is possible that like many other post war manufacturers the company had pipes made by an American Manufacturer (or maybe a European one) to sell or distribute to clients. Quite a few companies did that during this era.

The other company, Ruchon & Verguet 1933 is French and is a predecessor to the company that later was became GBD. I looked on Pipedia and found a link to the history of the company that later became Marechal Ruchon & Cie: https://pipedia.org/wiki/Marechal_Ruchon_%26_Cie. The link gave me the following info and certified the link to GBD. Marechal Ruchon & Cie. was a company owned by Auguste Marechal and Ferdinand Ruchon (“& Cie” is the french equivalent of “& Co”) which owned the GBD brand from the end of the 19th century until 1902 when they sold Marechal, Ruchon & Cie. to Oppenheimer Pipe, which in turn changed the name of the company to Marechal, Ruchon & Co., Ltd.. Upon the creation of Cadogan, however, the brand was no more, remembered only in the name of the GBD Marcee pipes made until just after the Second World War.

To me the connection to the French company is unlikely because of the Imported Briar stamp. The rustication on the pipe also would place it in the post WW2 years as that style was pretty prevalent in US made pipes.  I had a passing thought that can in no way be confirmed, perhaps the Brunschwig name has been bastardised into Brunswick. It has happened to a lot of Germanic names over time so I would not be surprised. That tie also makes the connection to the American maker very probably.

I think I can say with a good measure of confidence that the pipe is American made in the late 1940s by Brunschwig (Brunswick). I wrote to the owner and asked him if he could give me any information on where his father in law may have picked up the pipe. He wrote back as follows:

Hi Steve,

…As far as I know it was my wife’s father’s pipe, she grew up in Toronto and so as far as I can gather I believe it was made around that area. I am pretty certain that he bought it in Canada though he was in the army and may even picked it up somewhere along wherever he was stationed, but I do think he bought it here. She remembers him as a child smoking it (before he stopped smoking a pipe and switched to cigarettes) so the age is roughly 50+ years old, perhaps a bit older…I couldn’t find any information on it either on any sites I visited, so I don’t think that the Brunswick company is still in operation. I would love to know more about it myself so at the next family get-together I’ll ask around with the few of the old-timers that are still around and see if they can recall anything about it and I’ll pass on any info I come across. I haven’t heard of the brand either, they seem to be very obscure.

She did tell me when I inherited the pipe that she found it in his drawer after he had passed so I don’t think he even smoked it all that often.

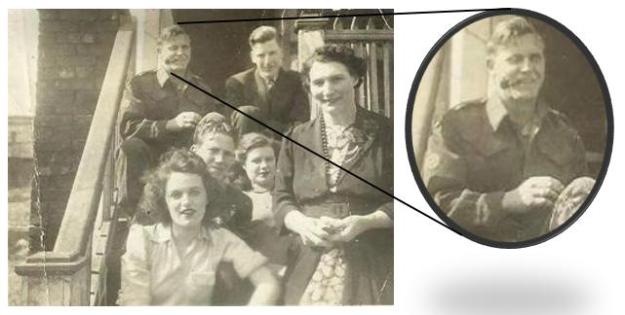
He also included a photo of his father in law with this pipe in his mouth. It looks to me like he is wearing a Canadian Army uniform.Now I had the back story on the pipe and a good lead on the name and the maker of the pipe. Those details are things I love to have in hand when working on a pipe. It adds another dimension to the restoration and repair process. The pipe will soon go back to the family and the next generation will carry on the tradition of pipe smoking. It is a reminder to me that we truly do hold our pipes as a trust that can be passed on when we depart. They certainly are made to outlast the sturdiest of us.
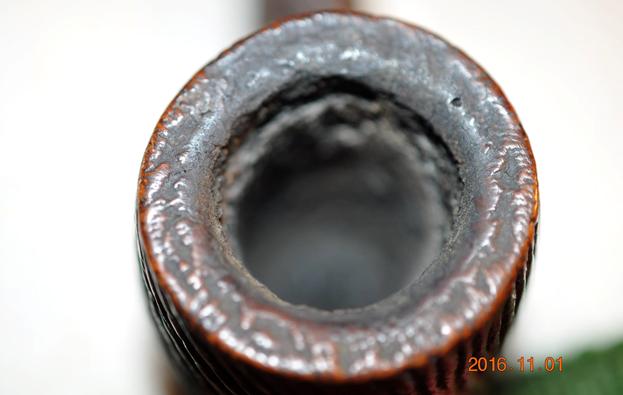
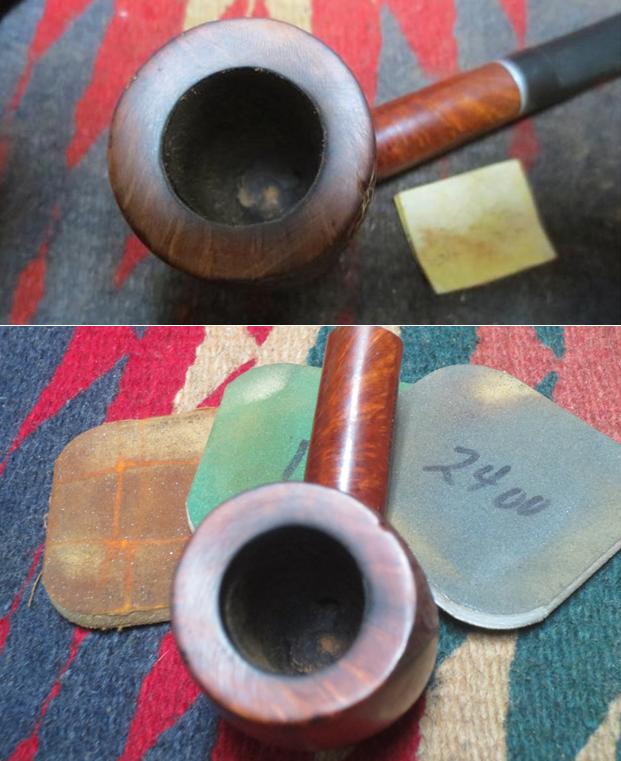
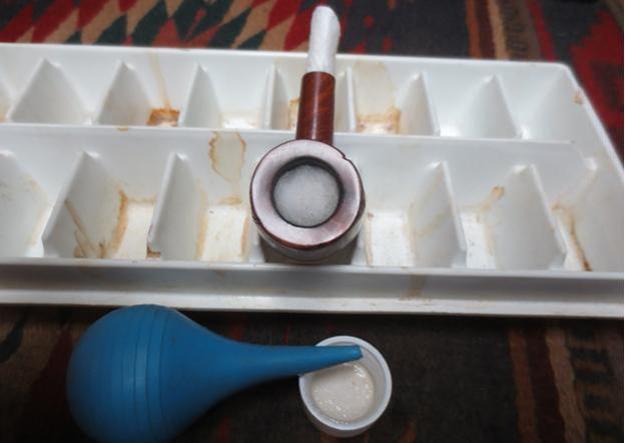
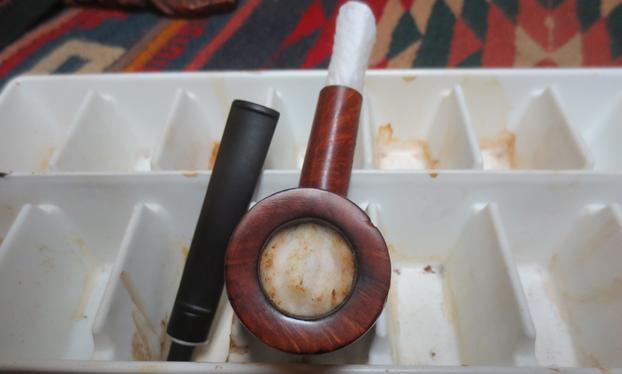
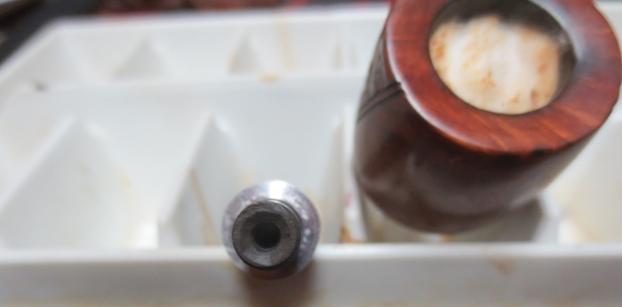
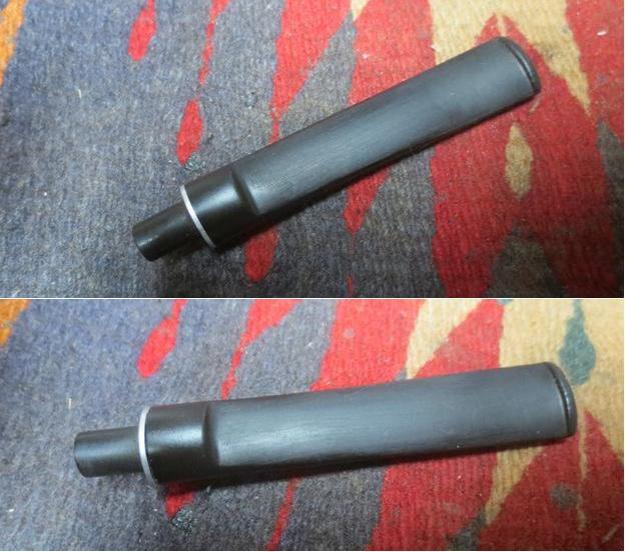
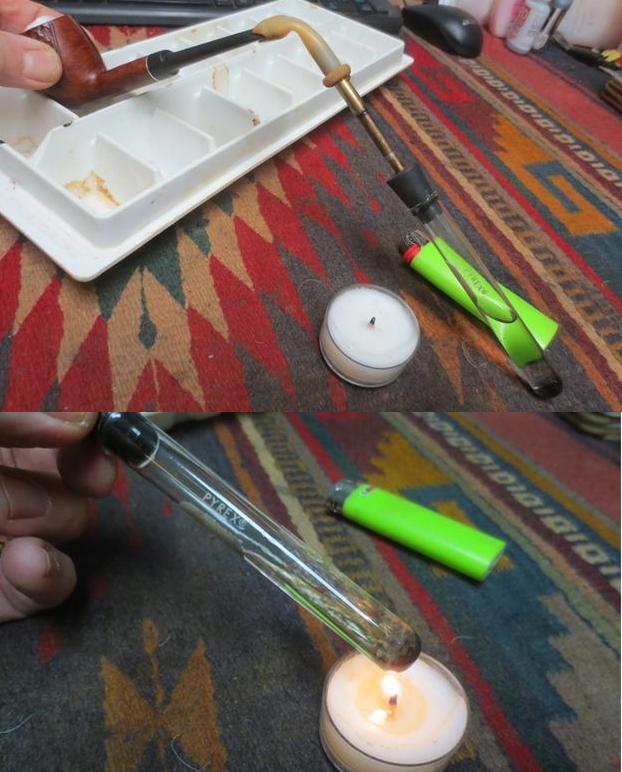
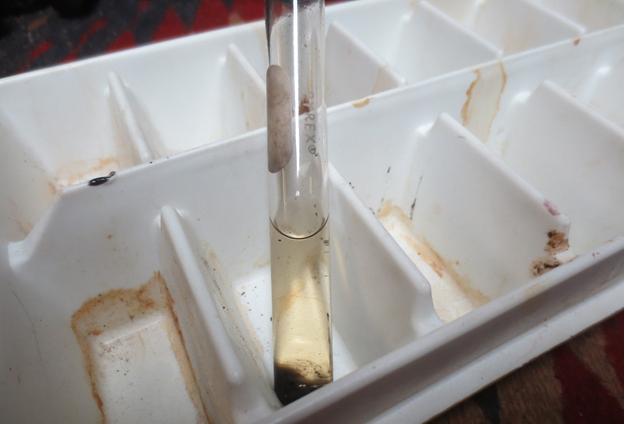
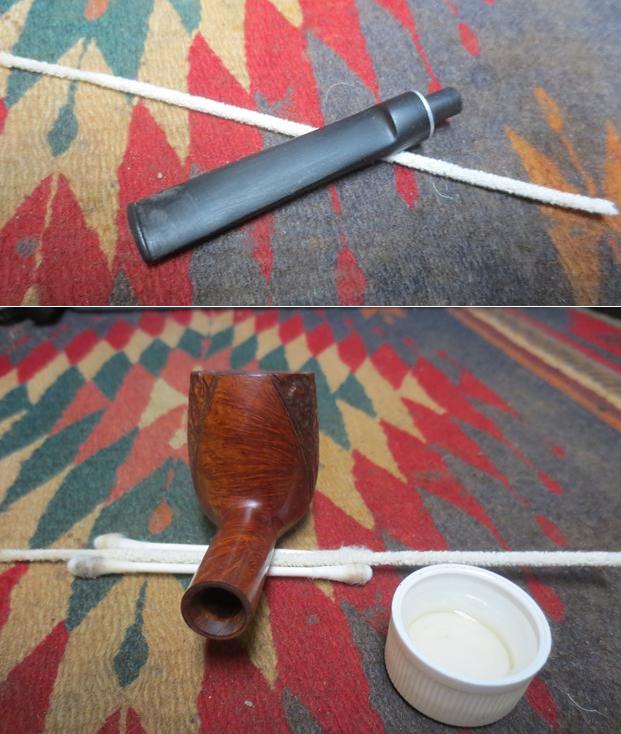
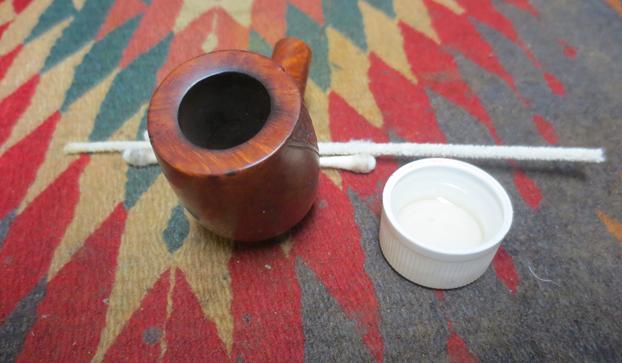
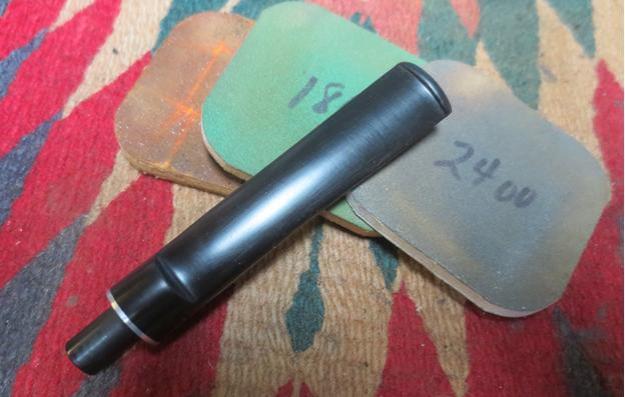
I started the cleanup on this one by addressing the issues on the rim top. I decided not to top the bowl but rather just lightly sand out the scratches and nicks. Sanding the top would also minimize the darkening and burn marks on the rim top and edges. There were also some burn marks on the front of the bowl that extended from the rim top down about ¼ inch. I sanded those at the same time and was able to remove much of the damage. I lightly sanded out the tooth chatter on the stem surface and wiped the stem down with alcohol on a cotton pad to remove the dust. I filled in the three remaining divots with black super glue. Once the glue cured I sanded the stem with 220 grit sandpaper to blend the repairs into the surface of the stem.I reamed out the uneven cake with a PipNet reamer and cleaned up the remains with a Savinelli Fitsall Pipe Knife. I took the cake back to bare briar.I rolled a cotton pad and inserted it in the shank to plug the mortise and wick the alcohol back into the shank. I pushed a cotton ball into the bowl and used an ear syringe to fill the bowl with alcohol. I used an old ice-cube tray to hold the pipe upright and left it overnight to draw out the oils and tars in the briar.In the morning I woke to find the cotton ball darkened with tars. It was not the worst I have seen but it drew out a lot.I left the bowl sitting a little while longer and countersunk the end of the tenon to funnel it. I find that the funneled tenon draws the air into the stem and can work to reduce moisture by facilitating air movement. The photo below shows the tenon end after I had cut the funnel. I still needed to sand it but it was ready. I remove the cotton ball from the bowl and ran a pipe cleaner and cotton swabs through the shank.I let the bowl dry and turned my attention to sanding out the patches and repairs on the stem. I wanted to do a bit more blending and smoothing work. I was not ready for the micromesh pads yet as I wanted to use the retort on the pipe before polishing the stem.I finished the stem and put the pipe back together. I set up the retort. I pulled the rubber tube over the end of the mouth piece. I put a cotton ball in the bowl. I filled the test tube 1/3 full with alcohol and lit a candle to heat the alcohol. Once the alcohol gets hot it boils through the stem and the shank cleaning and loosening any remaining oils and tars.I boiled the alcohol through the pipe for quite a while and then stood the pipe up and let the alcohol cool and run back into the test tube. I was amazed at how little grime came out of the shank. I boiled it through a second time and repeated the cooling. This pipe was very clean now.I cleaned up the retort and put it away. I ran a pipe cleaner through the stem and also through the shank to dry out any remaining alcohol. It came out very clean.I touched up the rim and the front of the bowl with a medium brown stain pen to match the colour of the rest of the bowl and hand waxed it with Conservator’s Wax. The rim is looking really good and the burn mark on the front edge is minimized though still showing. I look at those kind of marks as battle scars that tell a story.I polished the stem with micromesh sanding pads – wet sanding it with 1500-2400 grit pads and dry sanding it with 3200-12000 grit pads. I rubbed the stem down with Obsidian Oil after each set of three pads. After the final polishing with the 12000 grit pad I gave it a final coat of oil and set it aside to dry. I put the stem back on the shank and took the pipe to the buffing wheel. I buffed the pipe with Blue Diamond to remove any remaining scratches in the bowl, rim and stem. I gave the pipe multiple coats of carnauba wax focusing on the smooth portions. I buffed it with a clean buffing pad to raise the shine. I took the pipe back to the work table and waxed the rusticated areas with Conservator’s Wax. I buffed those areas with a shoe brush. I hand buffed the pipe with a microfibre cloth to deepen the shine. The pipe is finished and ready to go back to its owner to carry on the family connection. I am looking forward to hear how it smokes for him now. Thanks for looking.