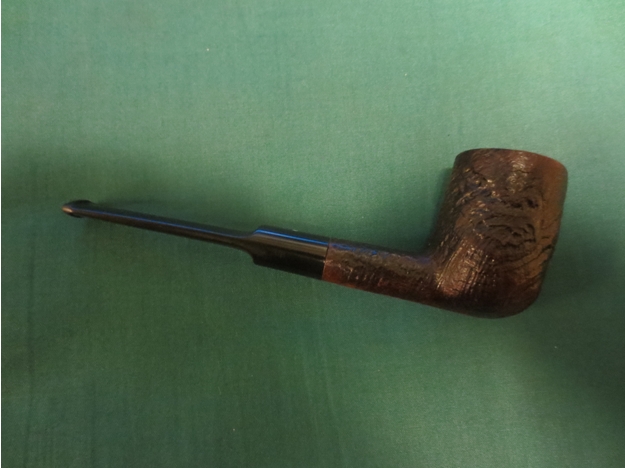
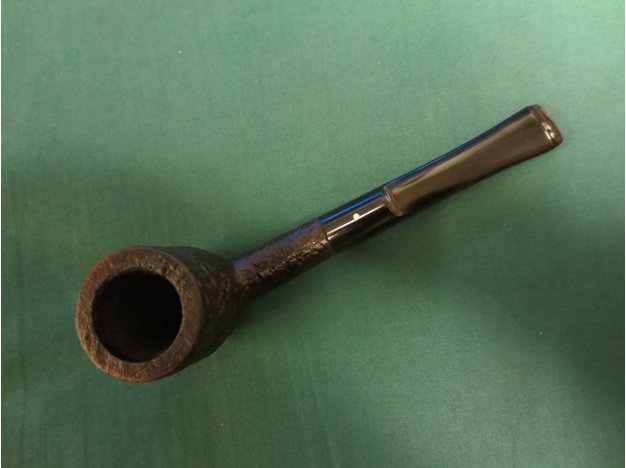
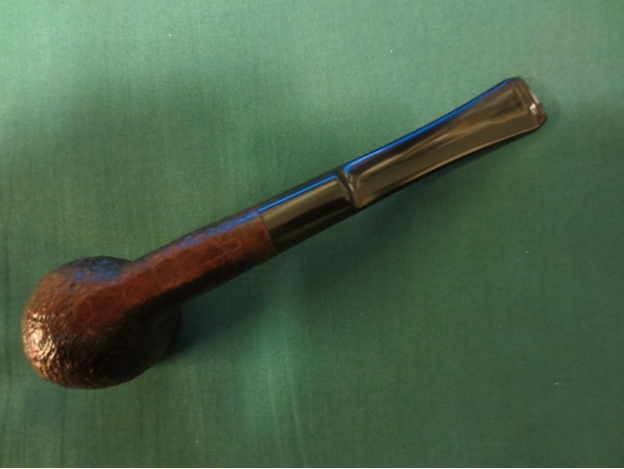
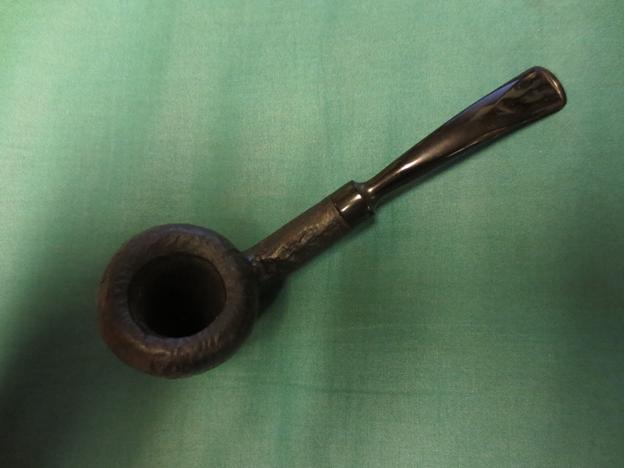
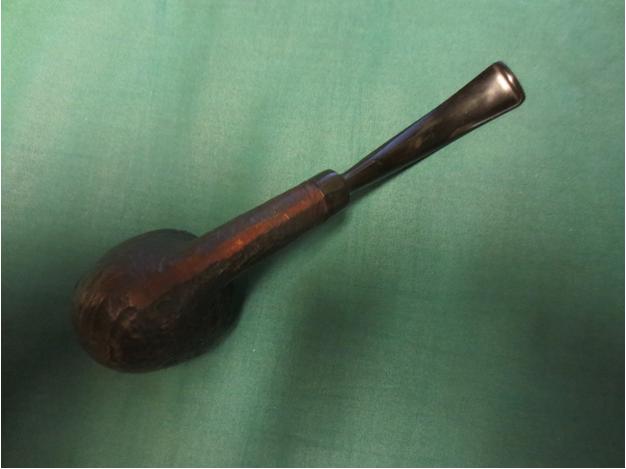
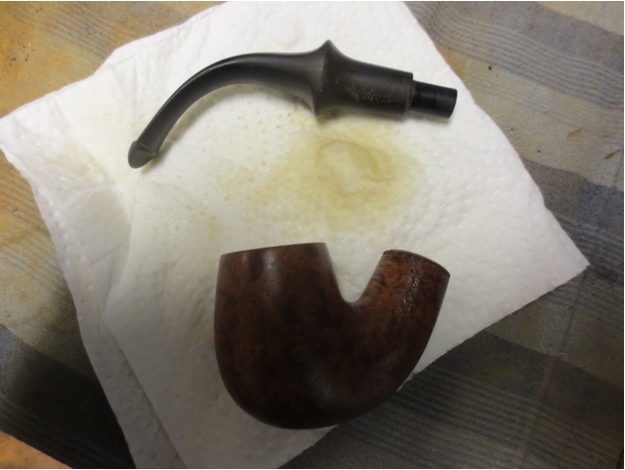
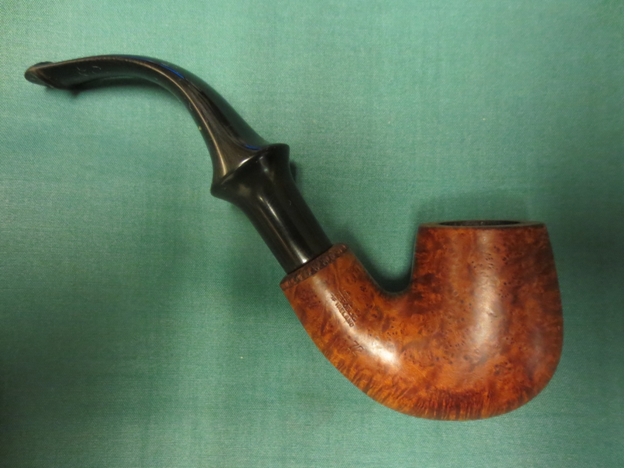
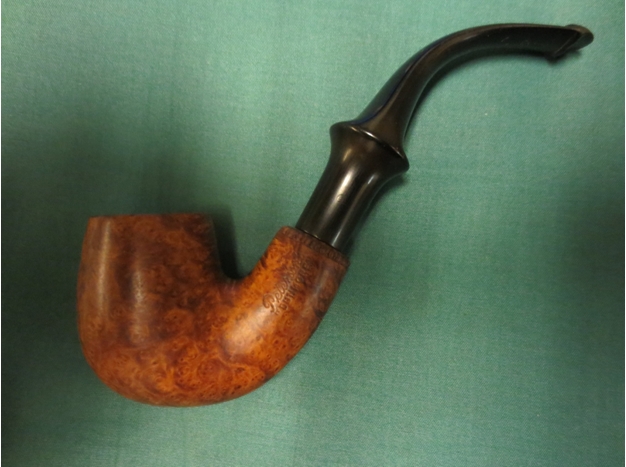
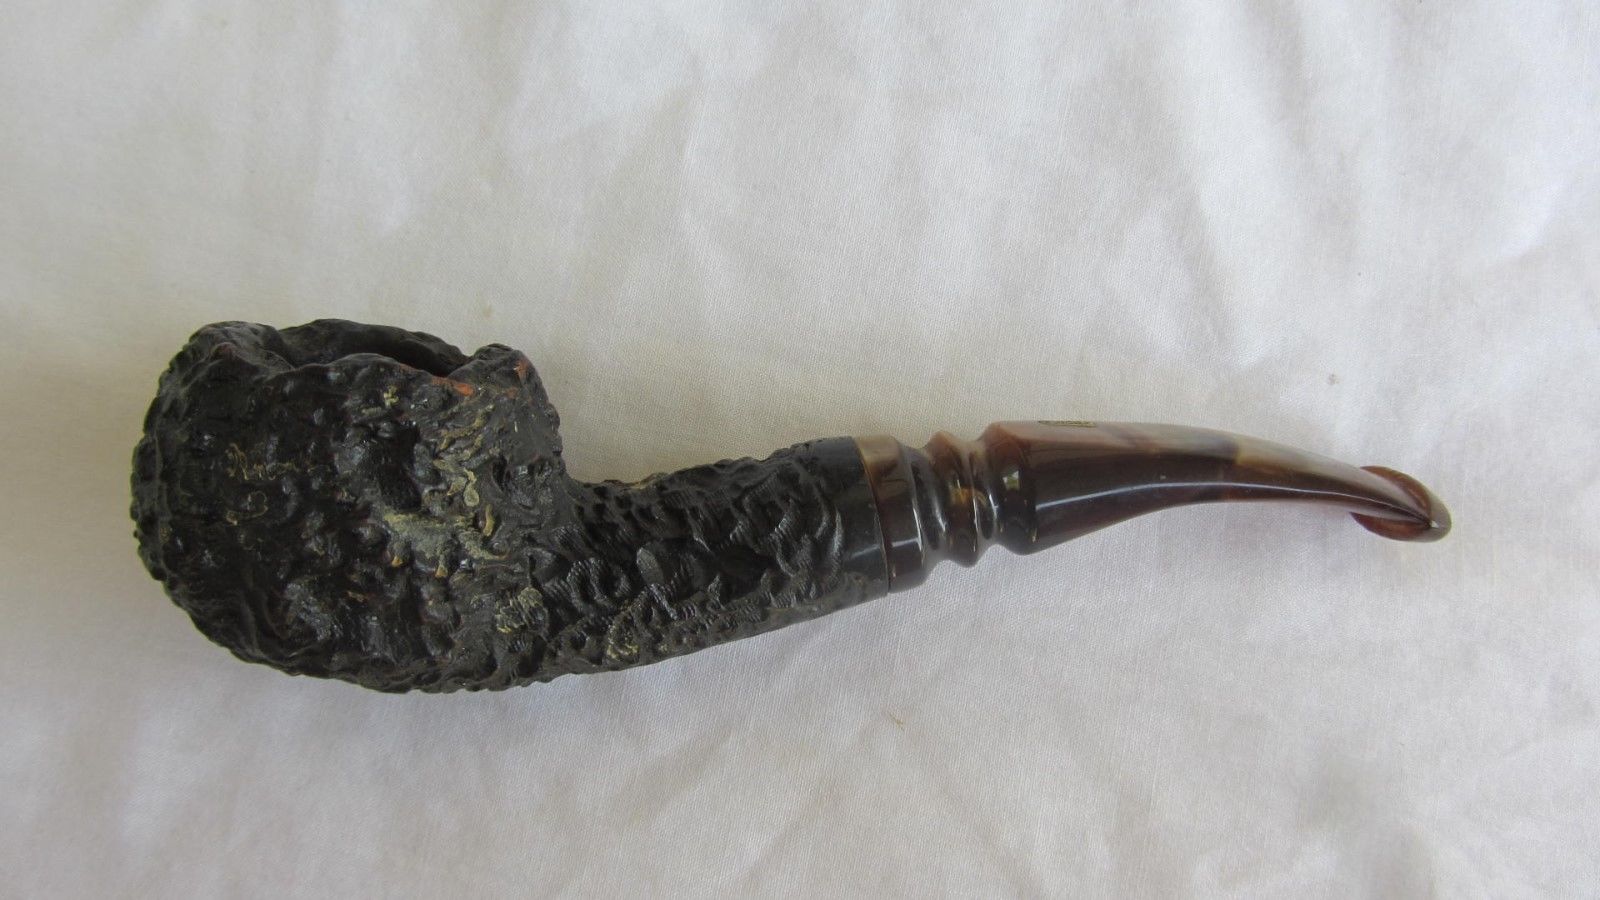
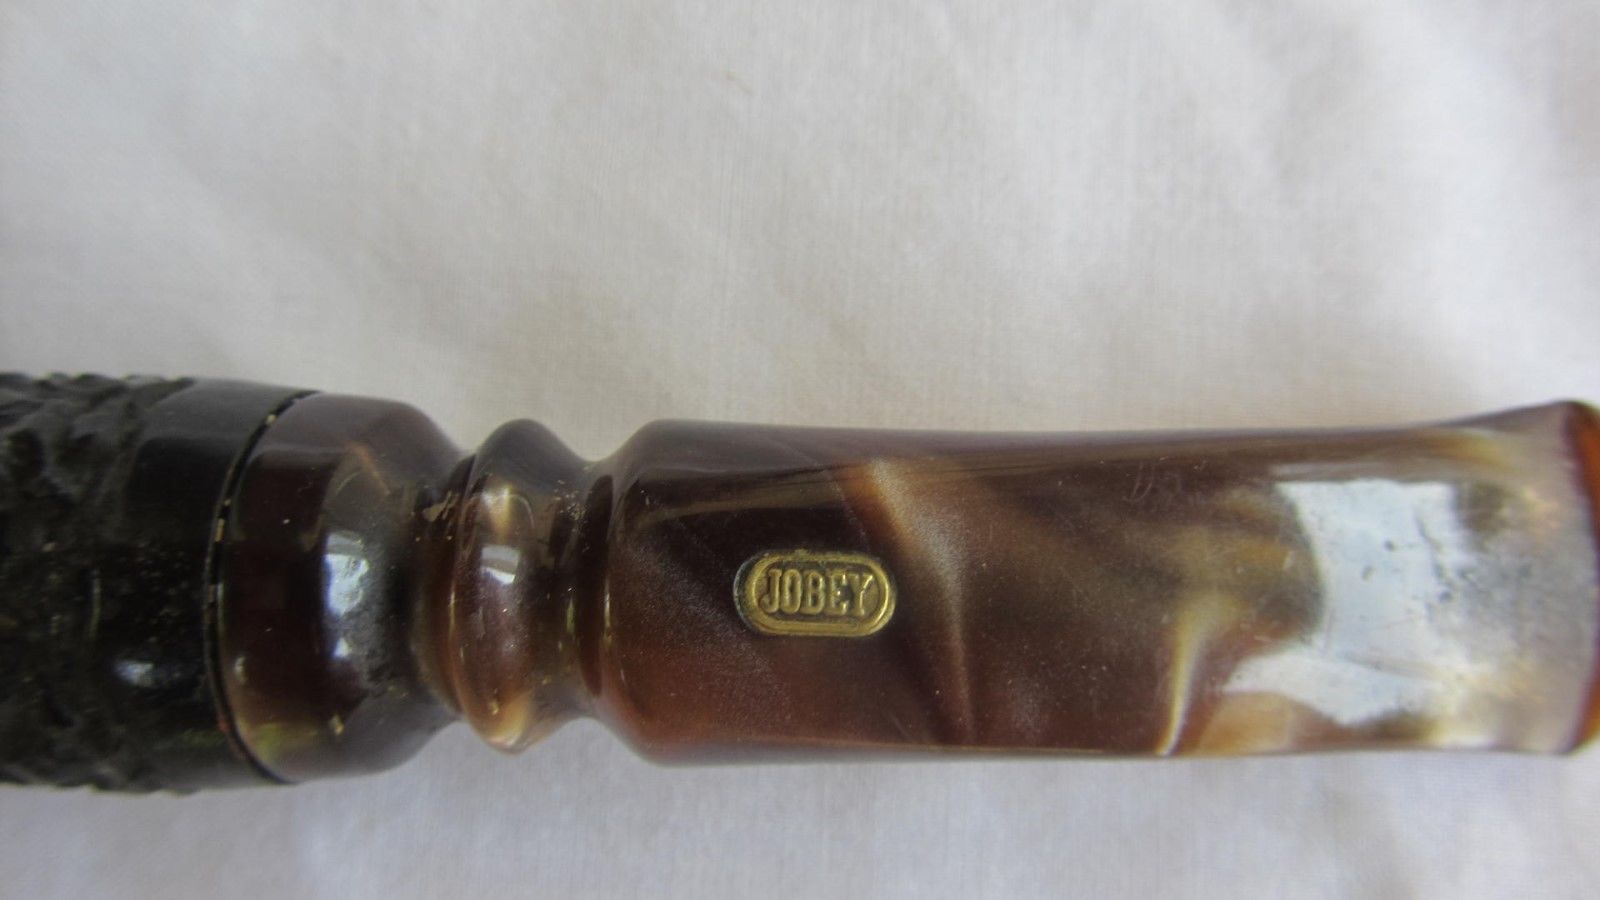
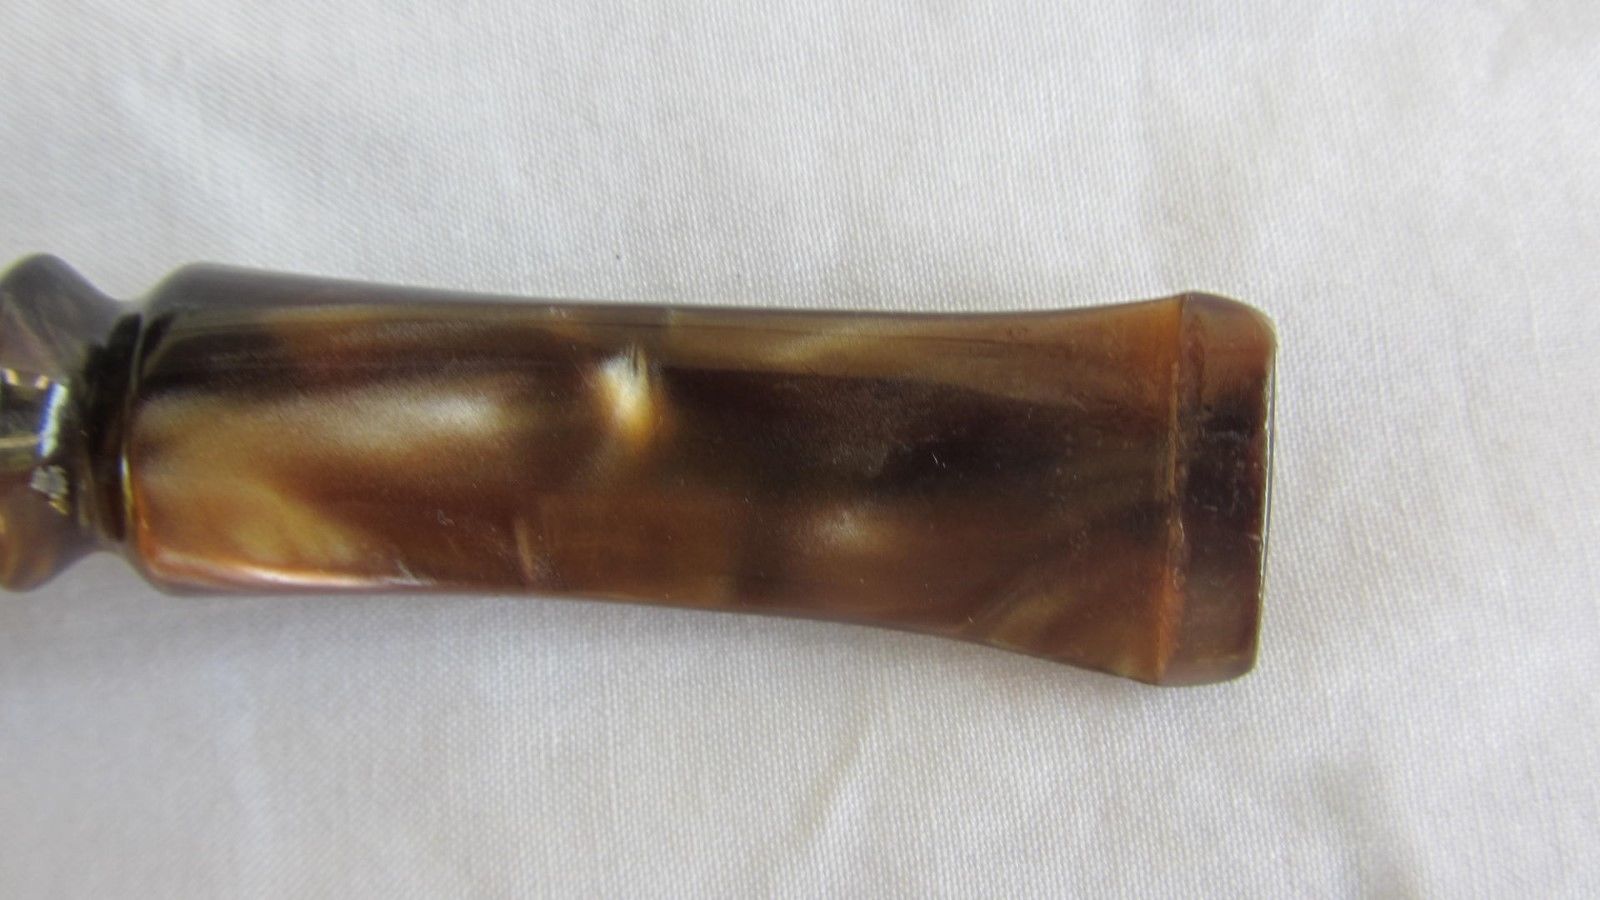
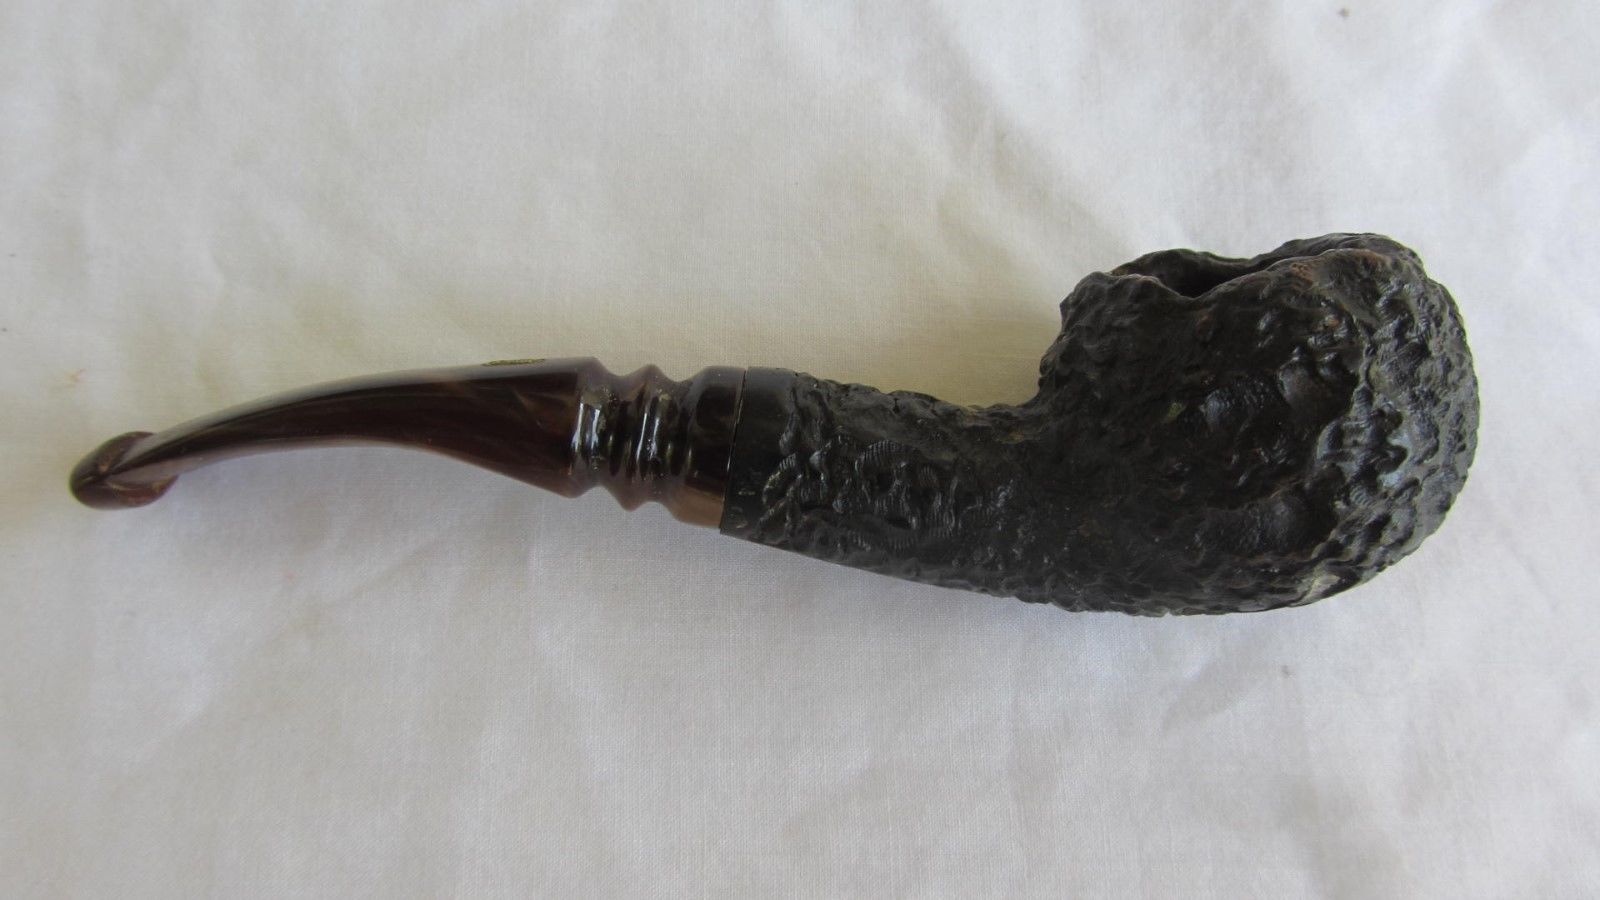
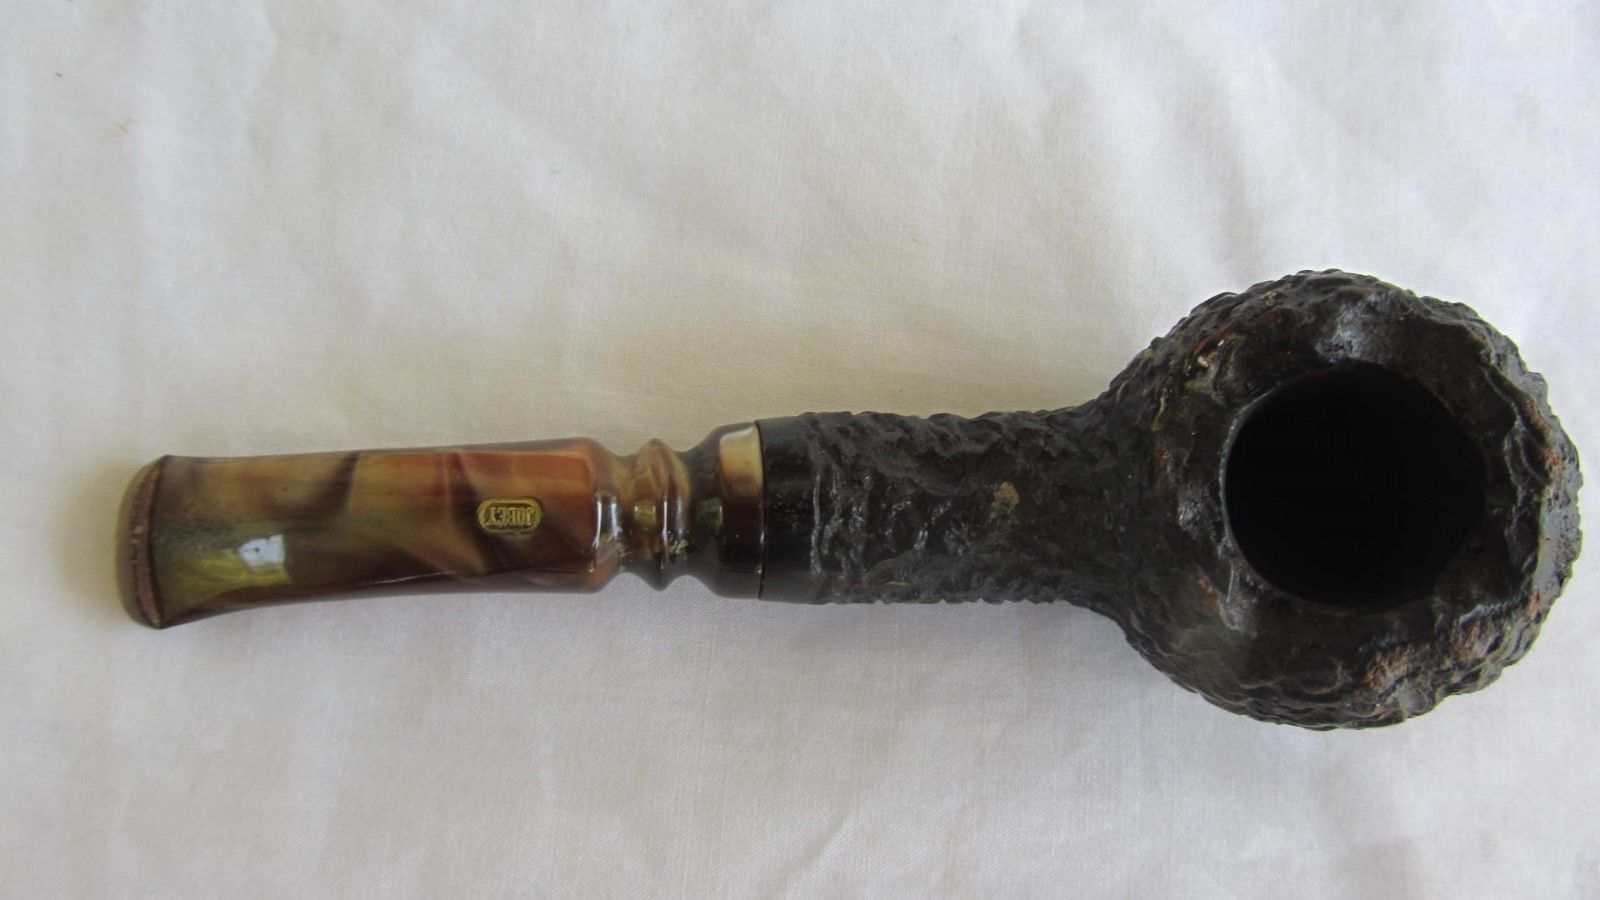
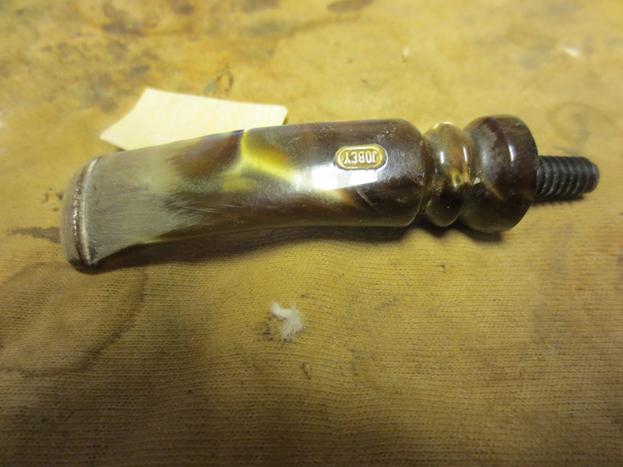
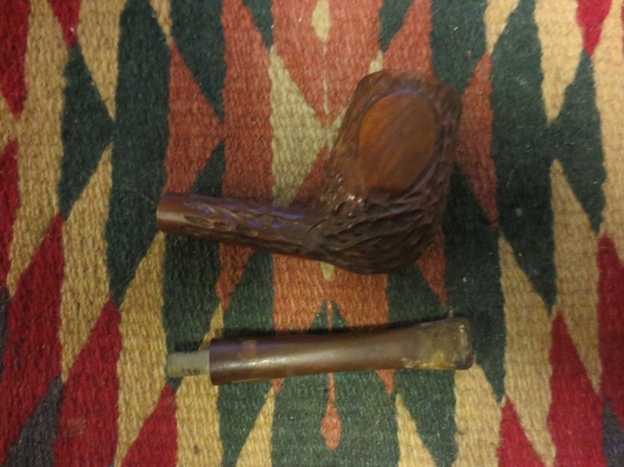
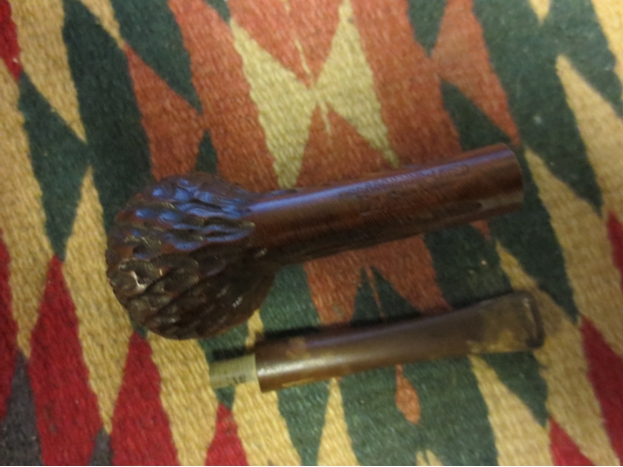
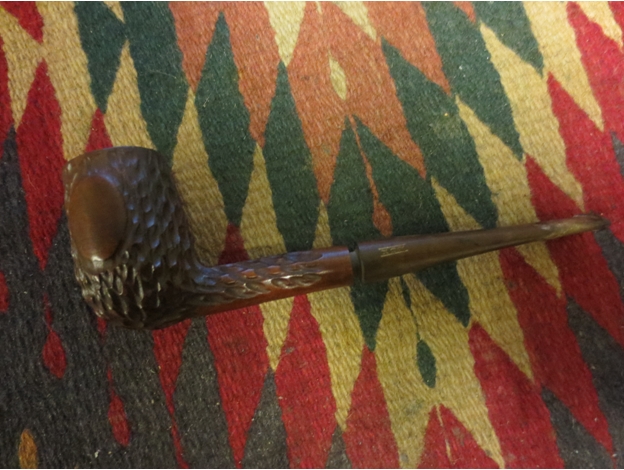
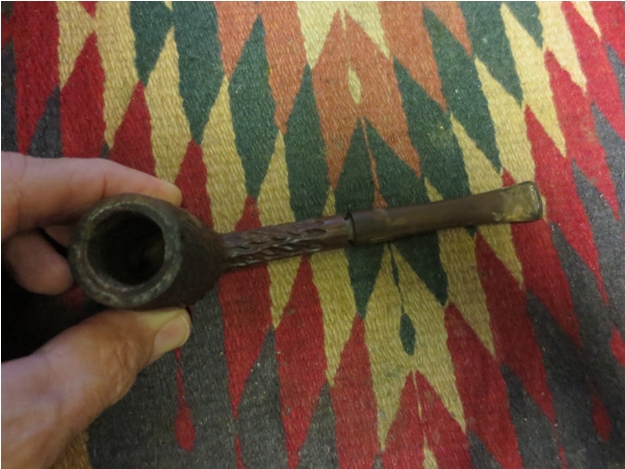
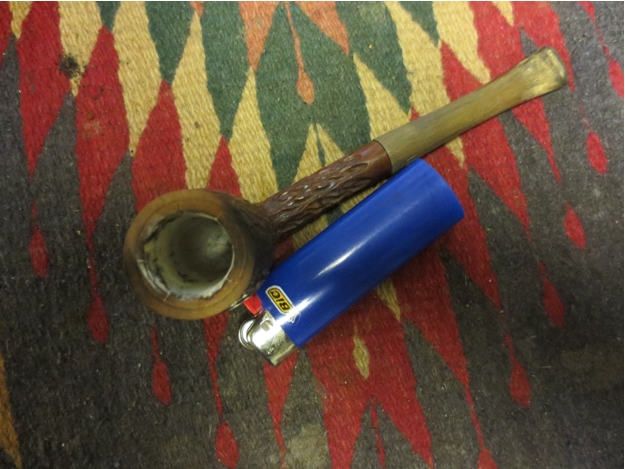
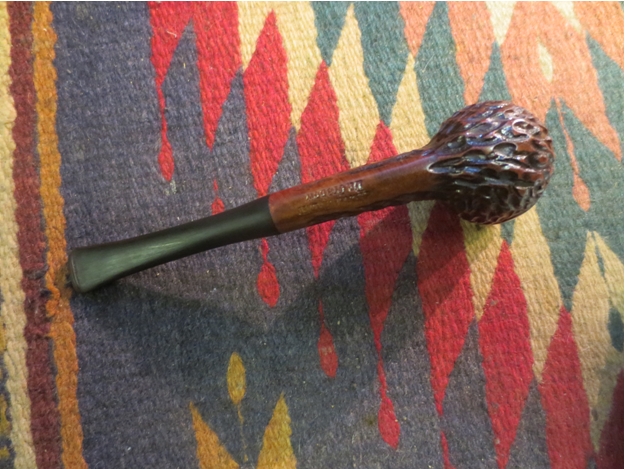
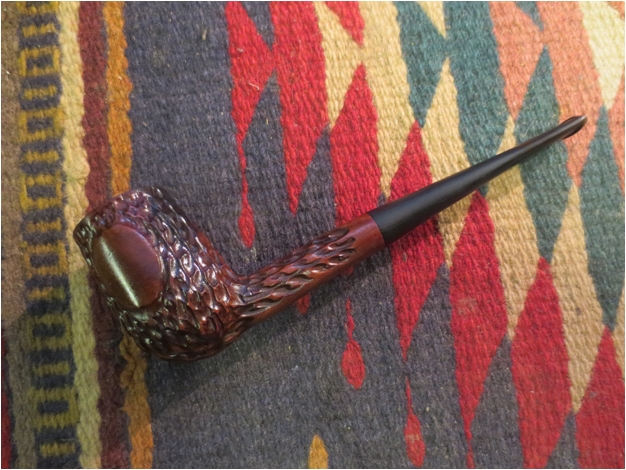
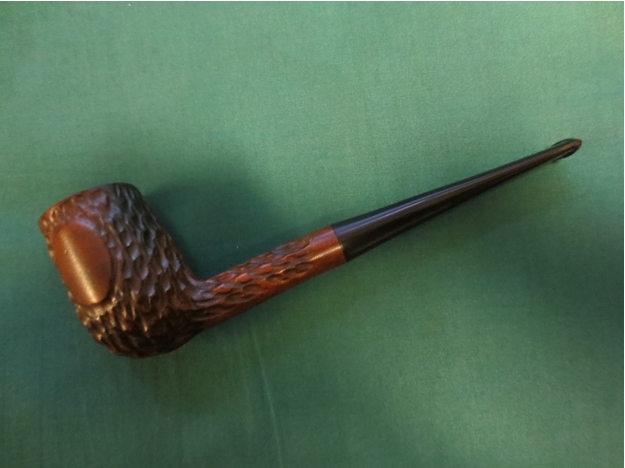
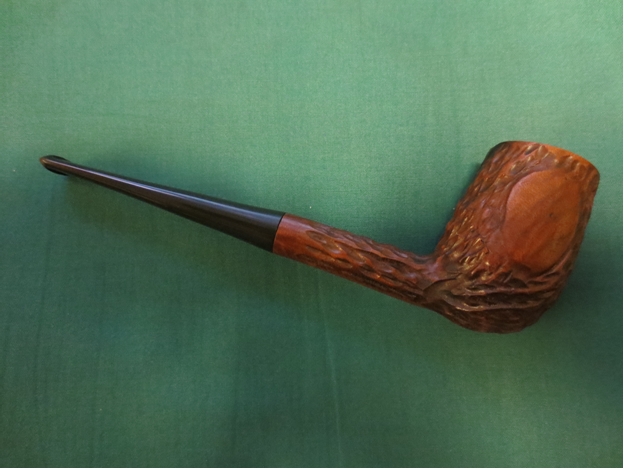
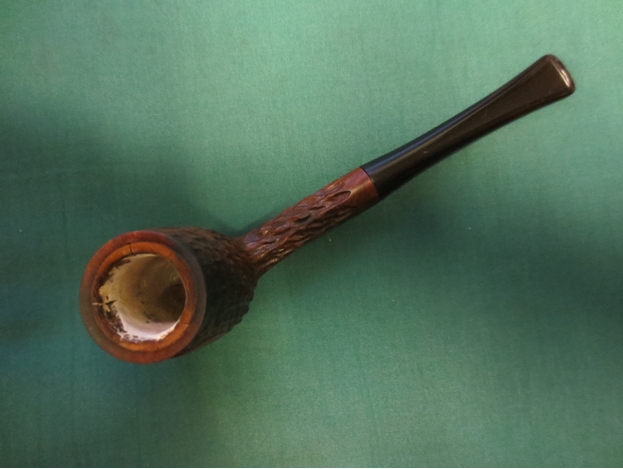
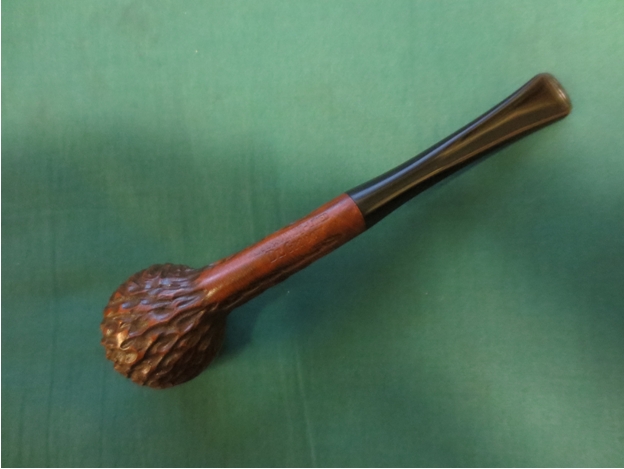
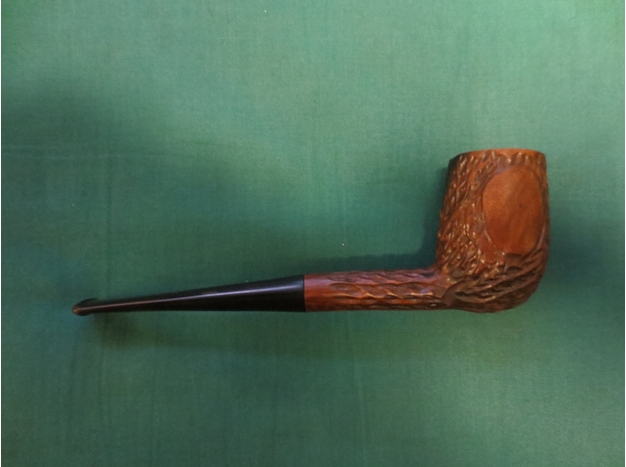
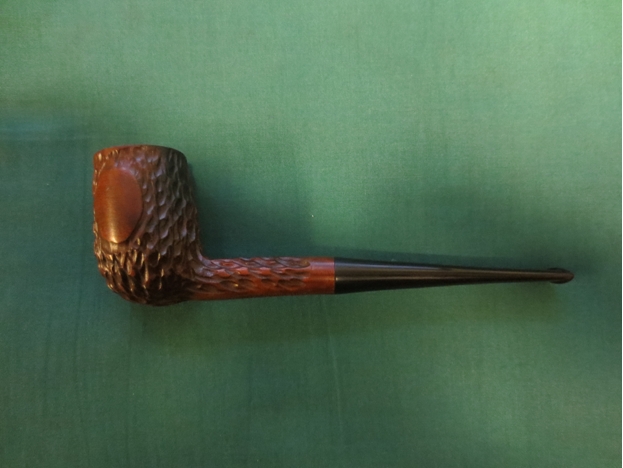
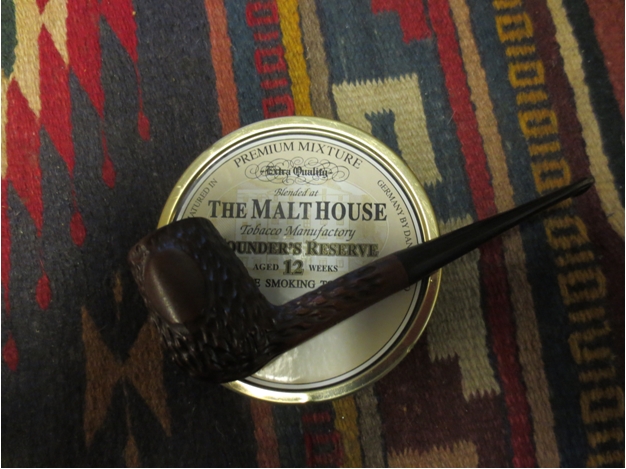
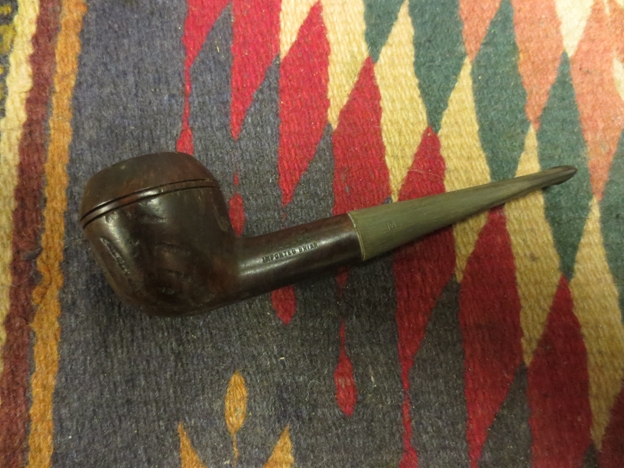
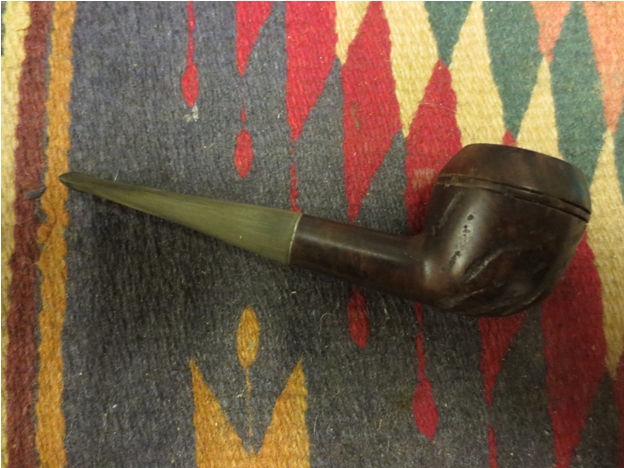
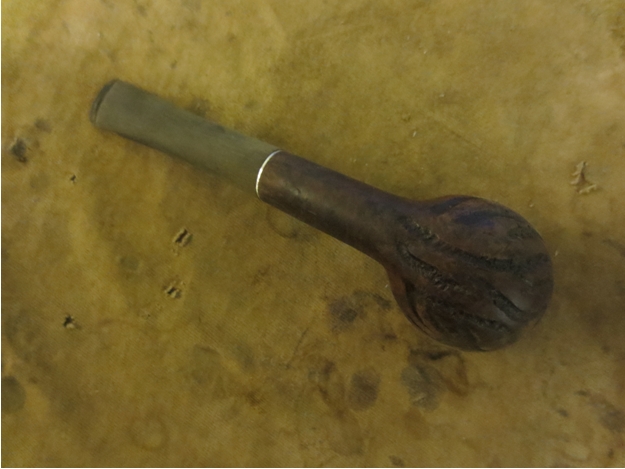
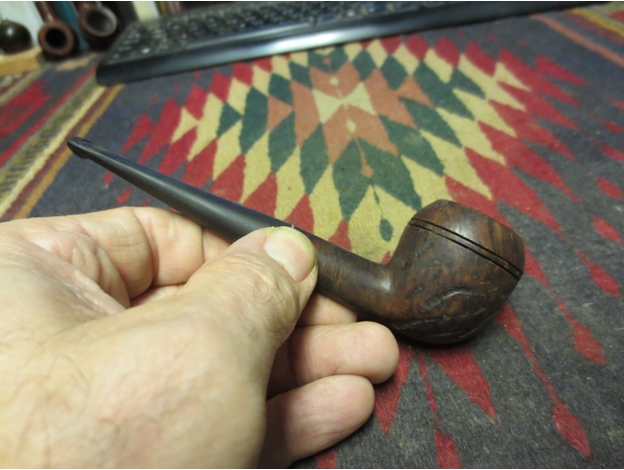
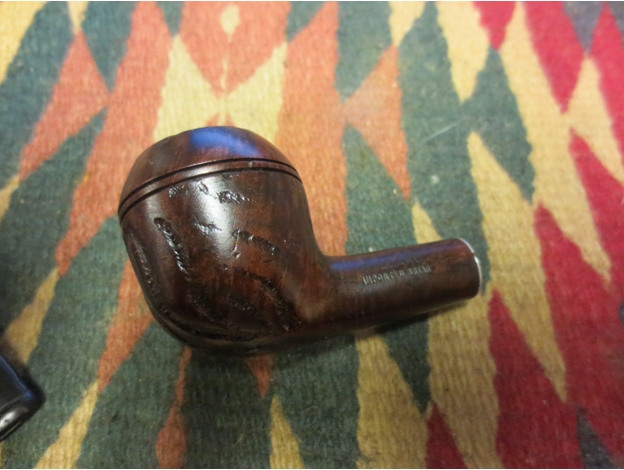
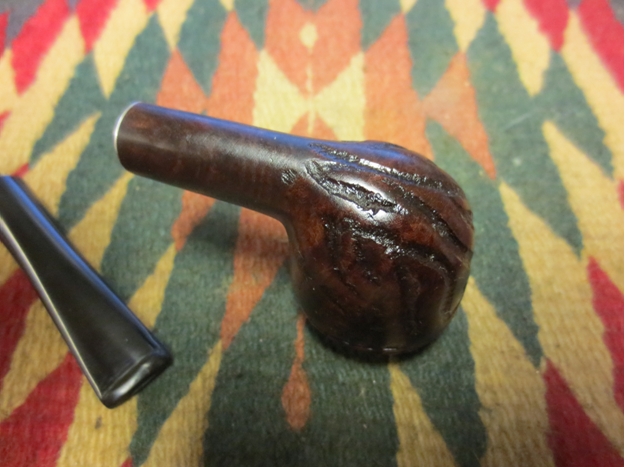
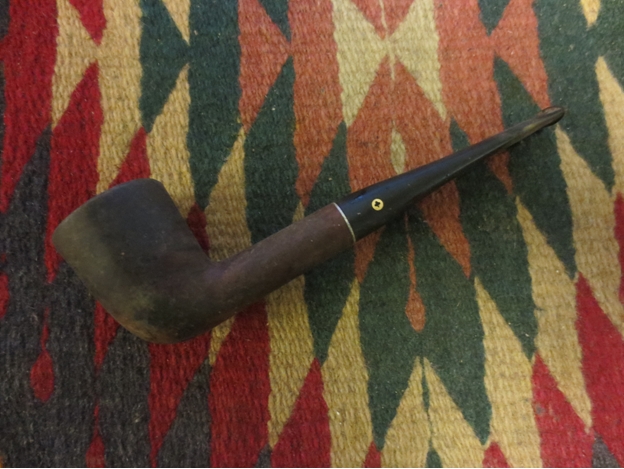
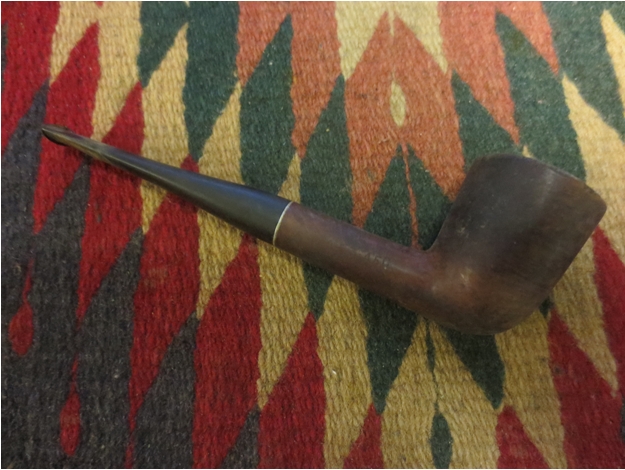
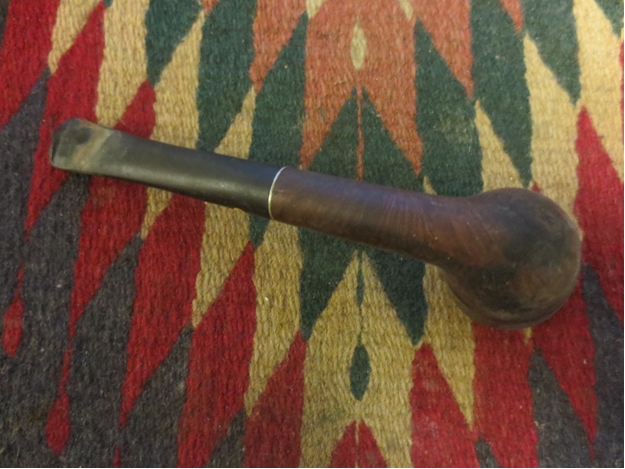
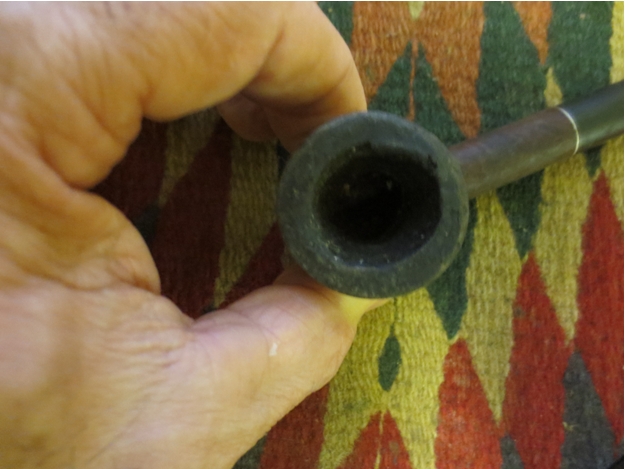
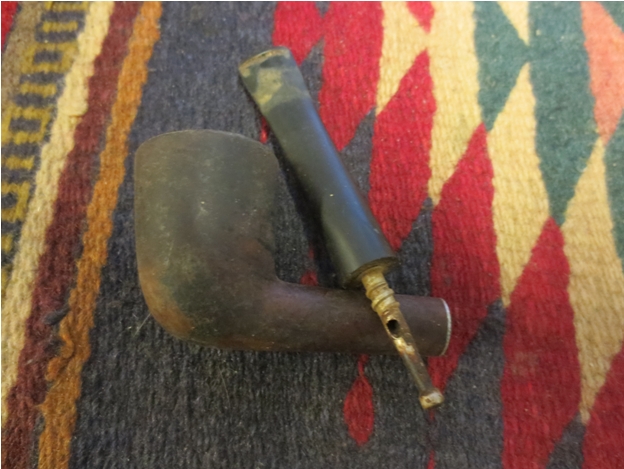
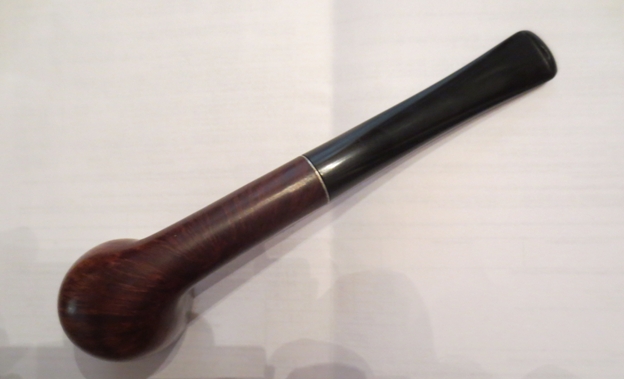
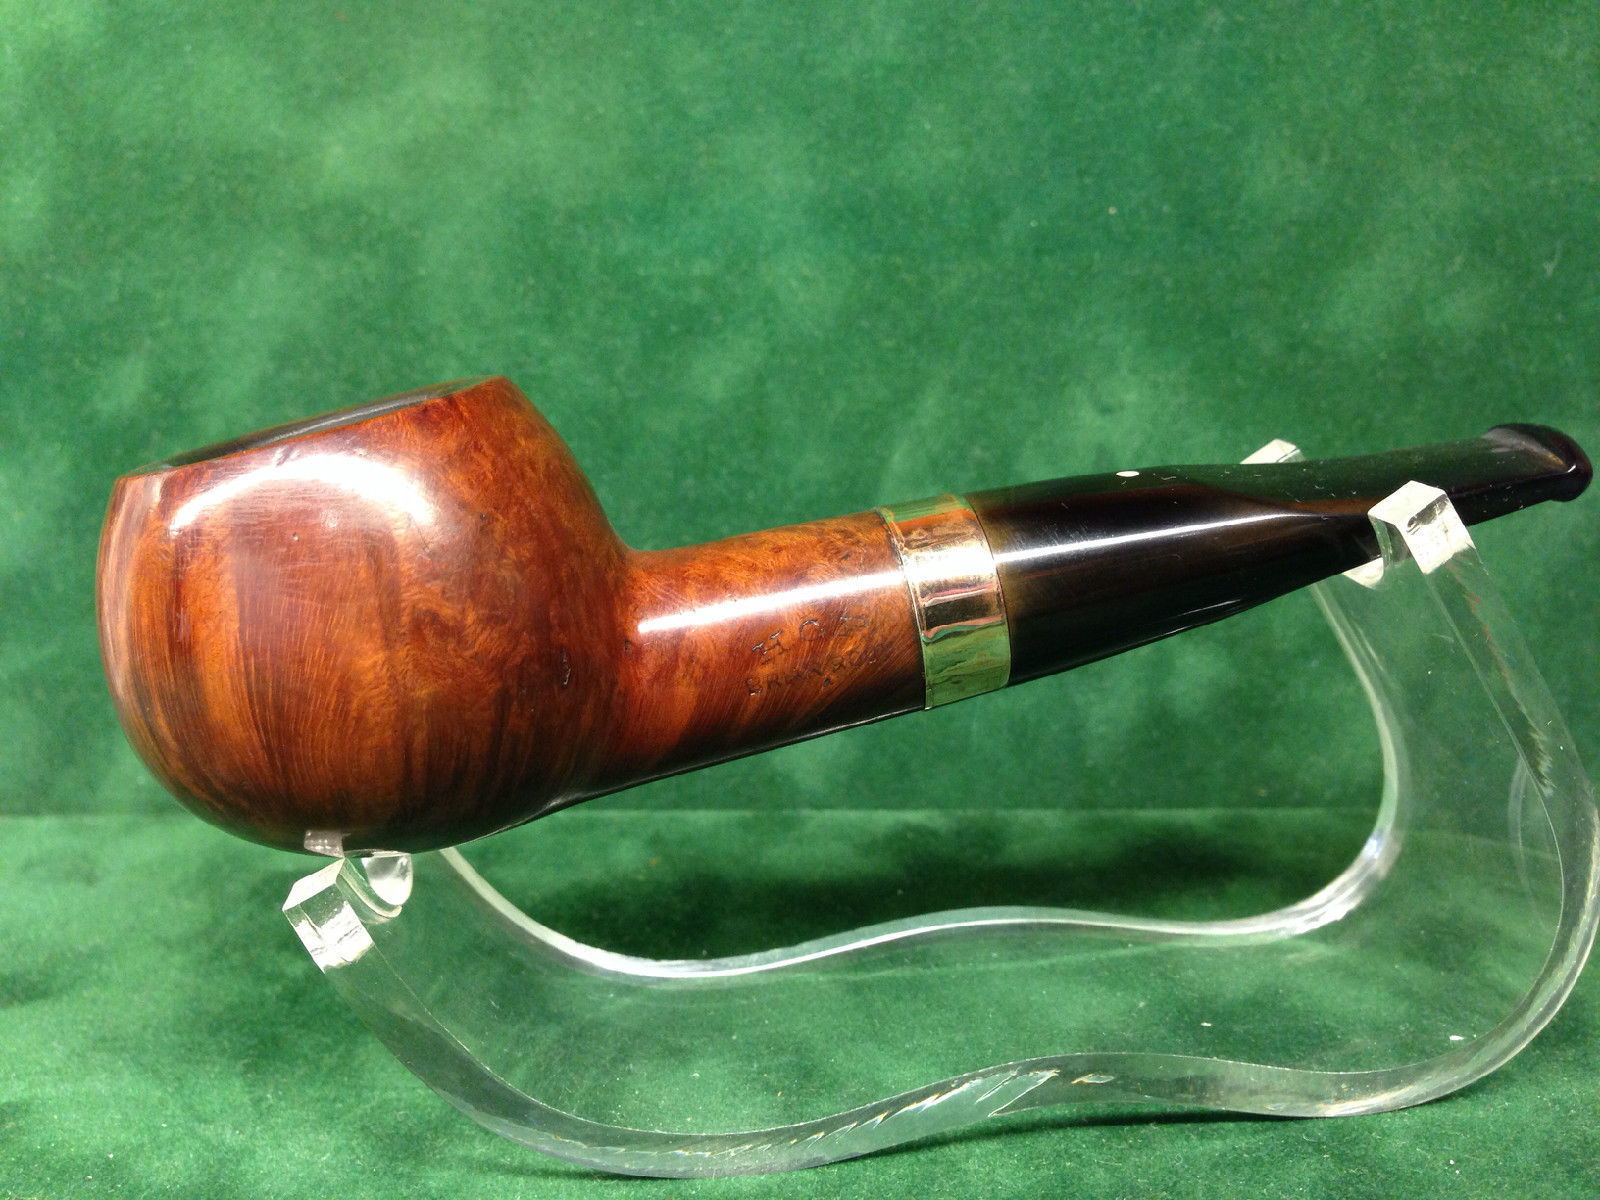
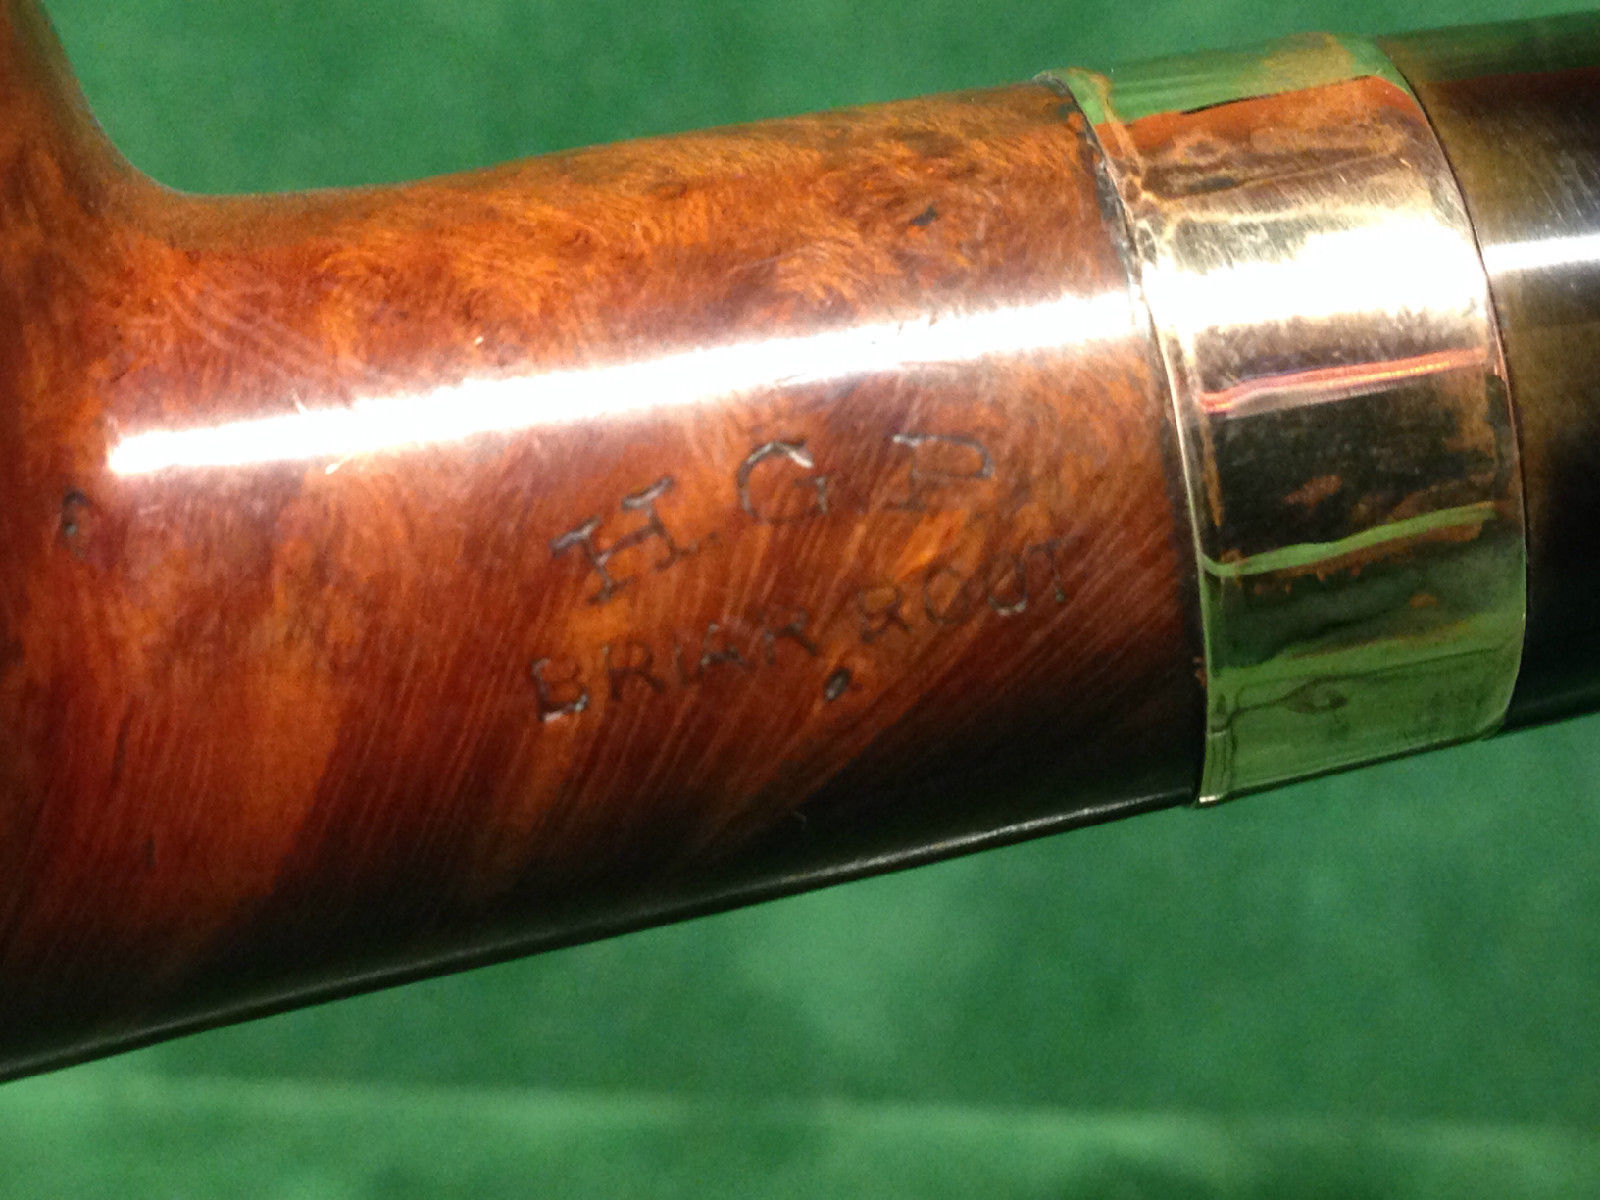
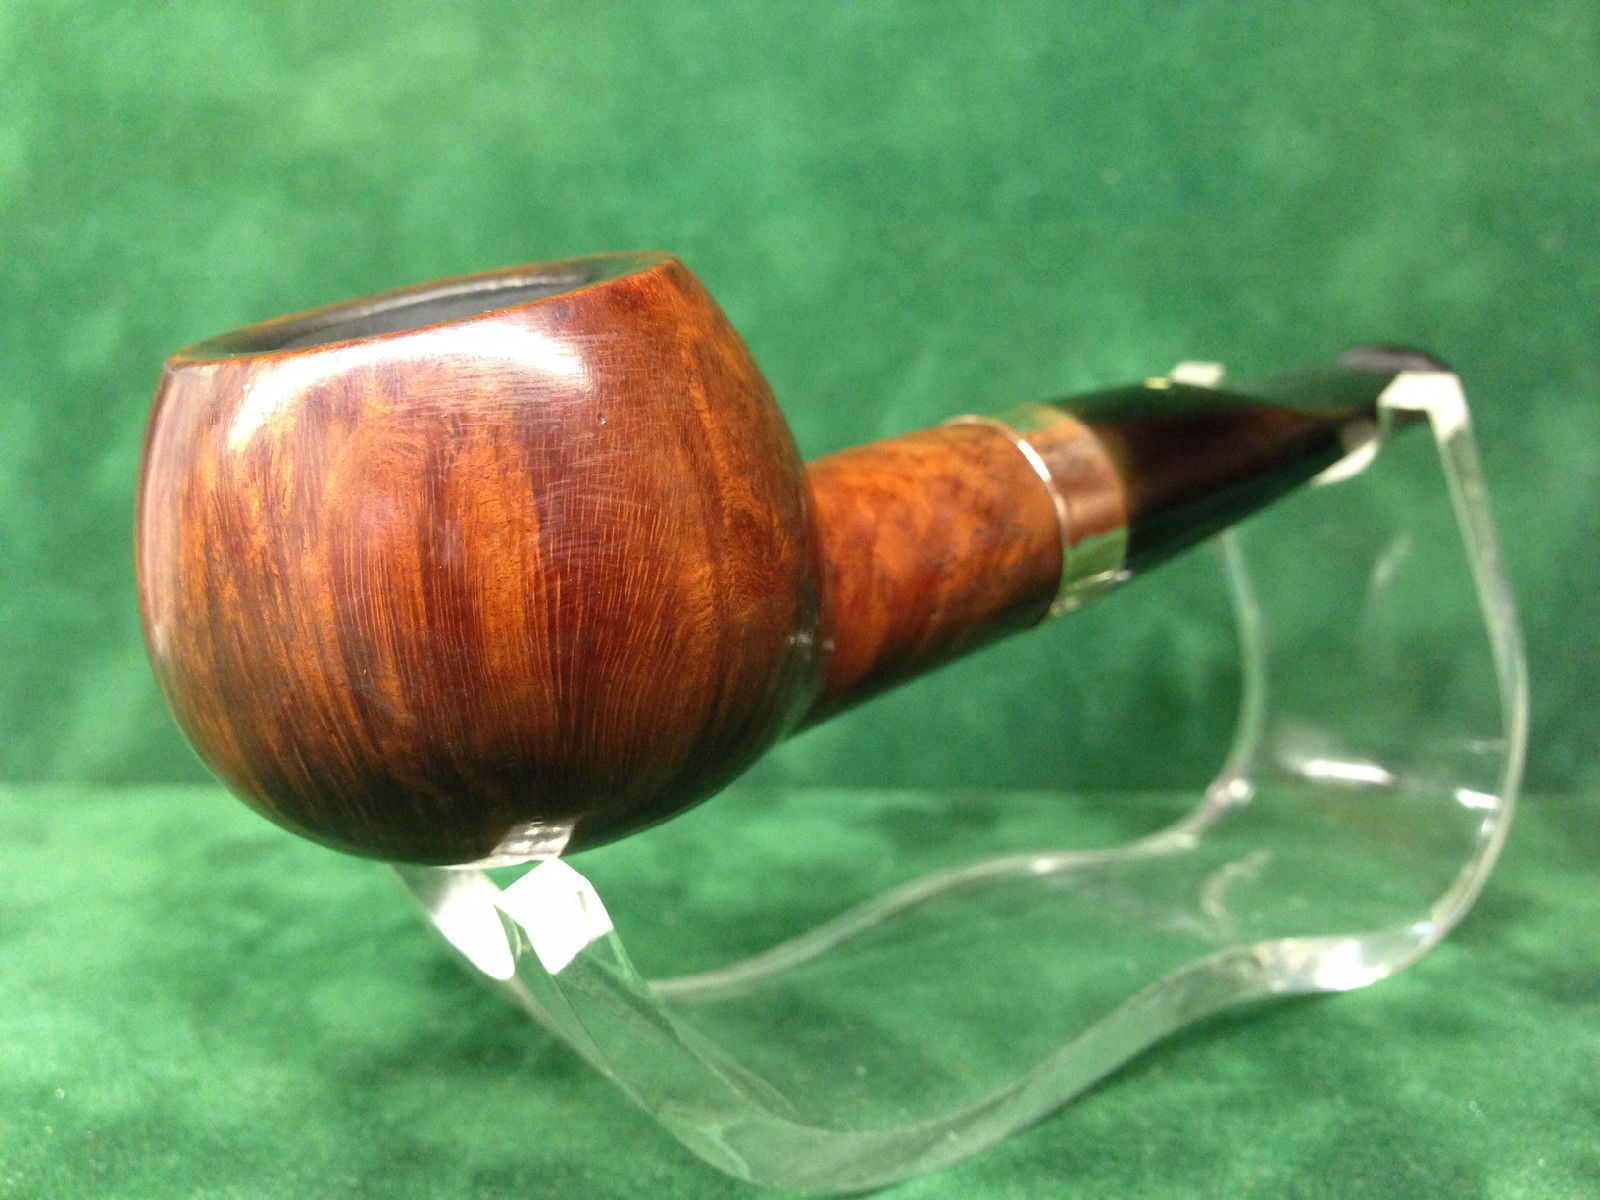
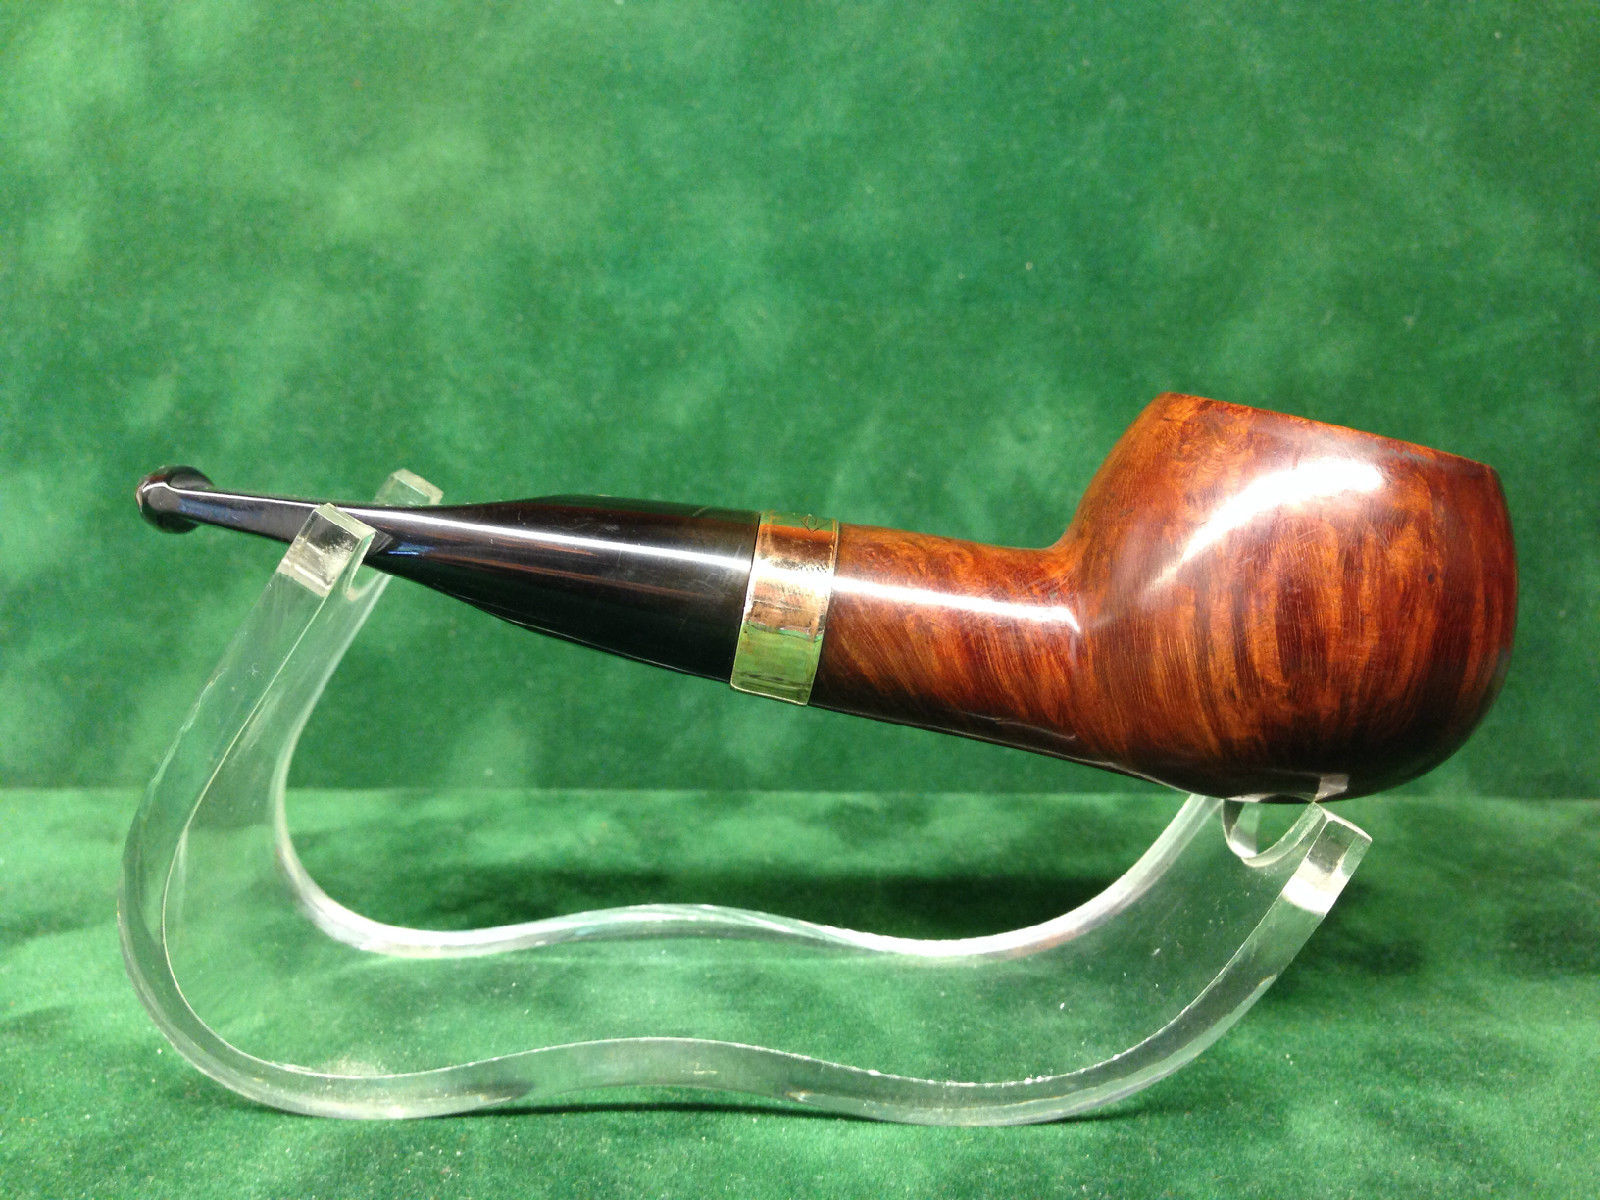
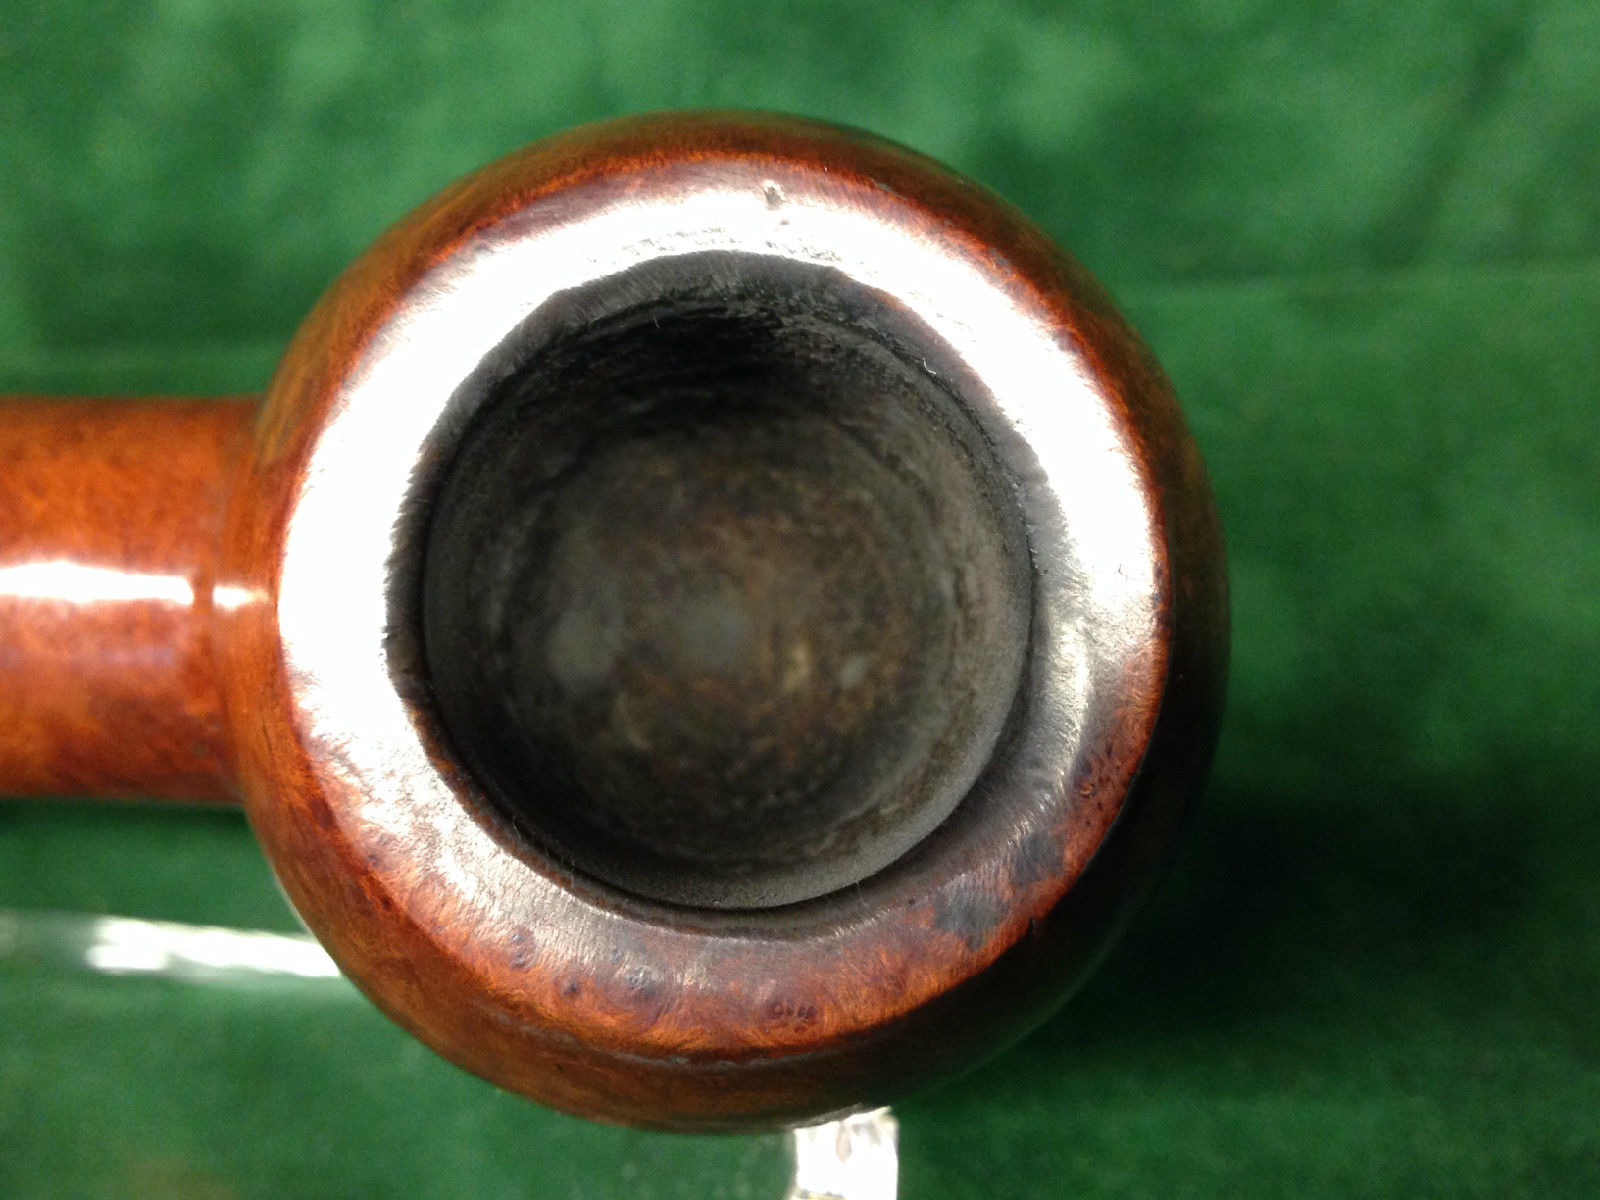
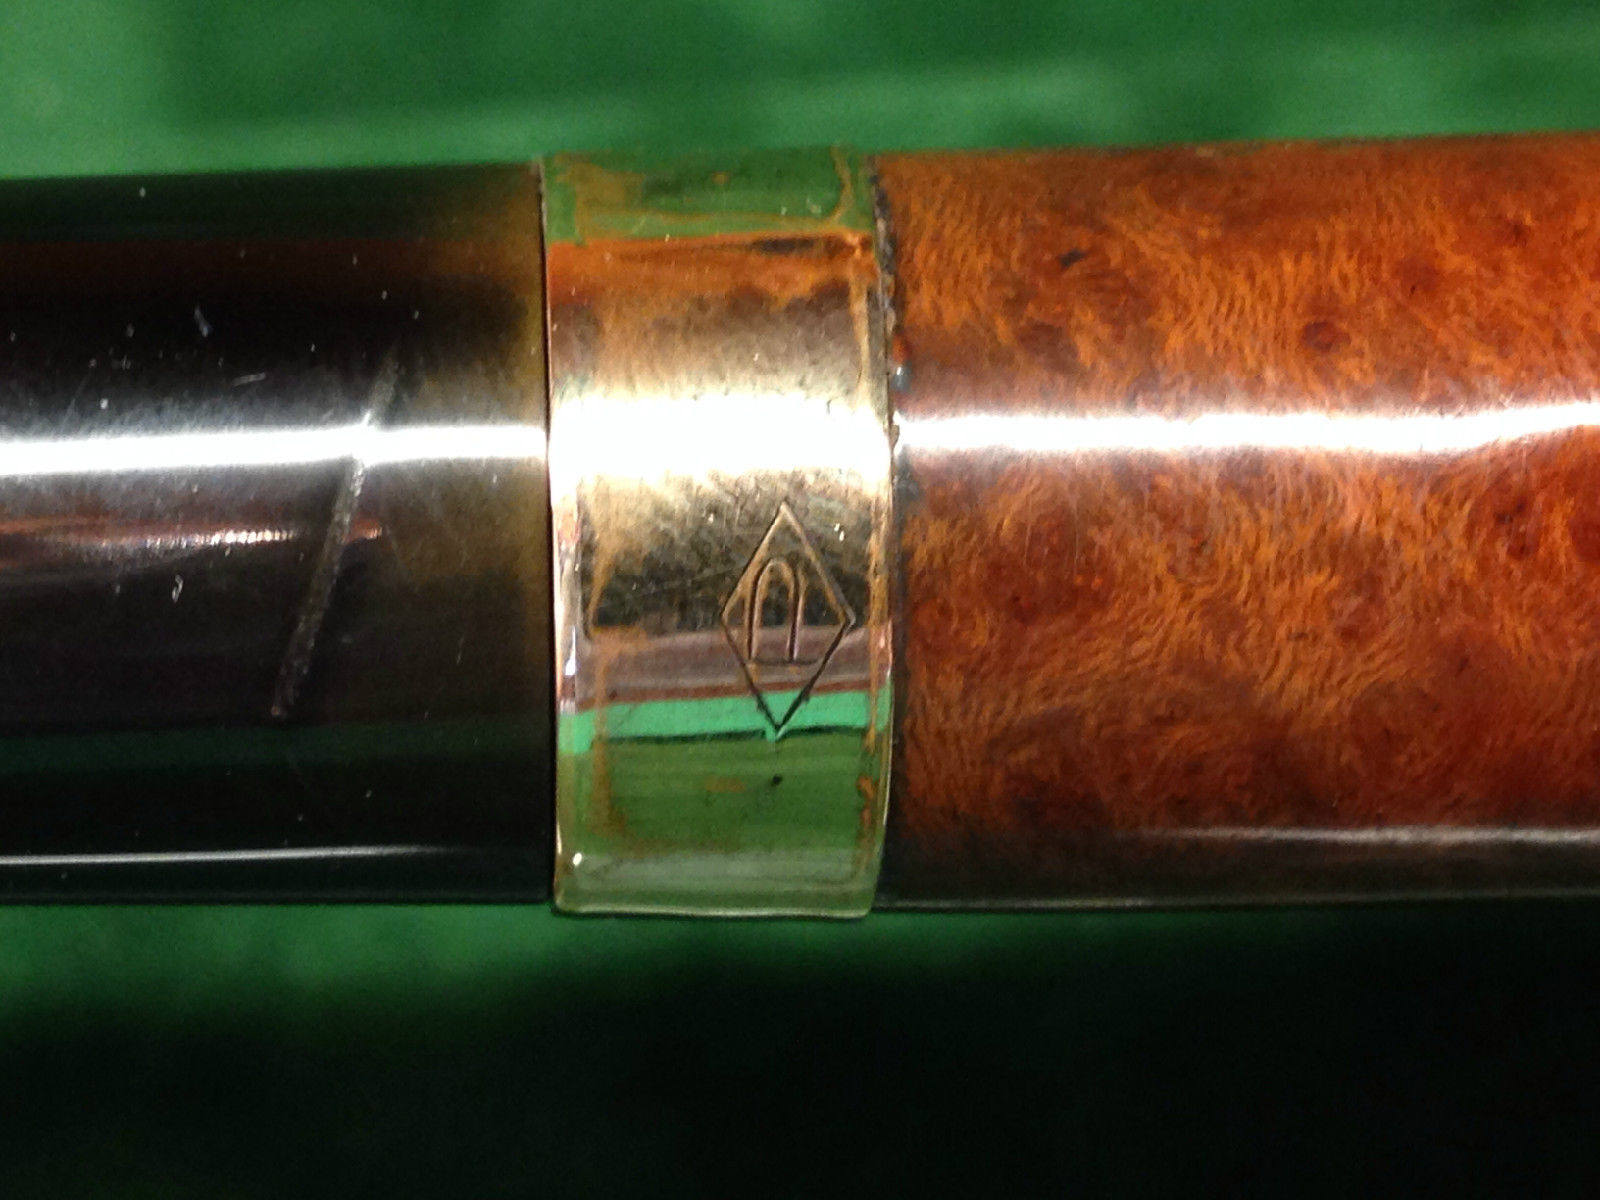
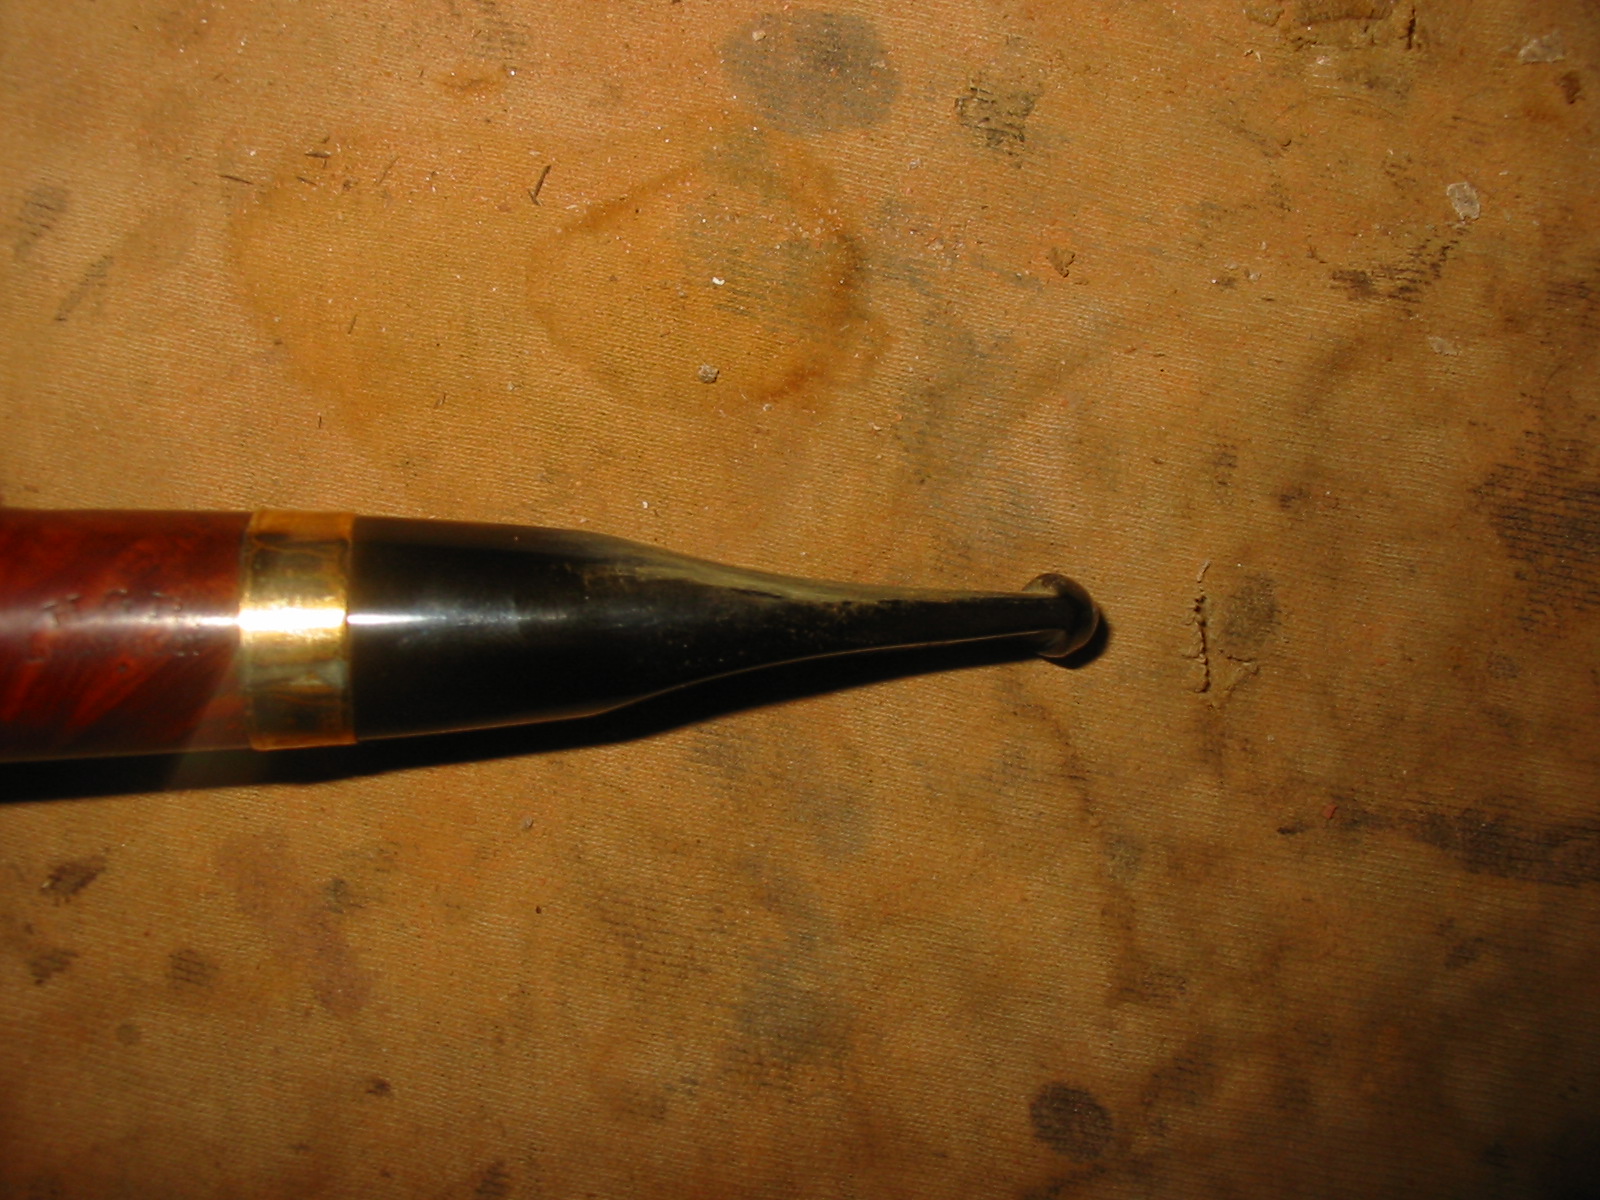
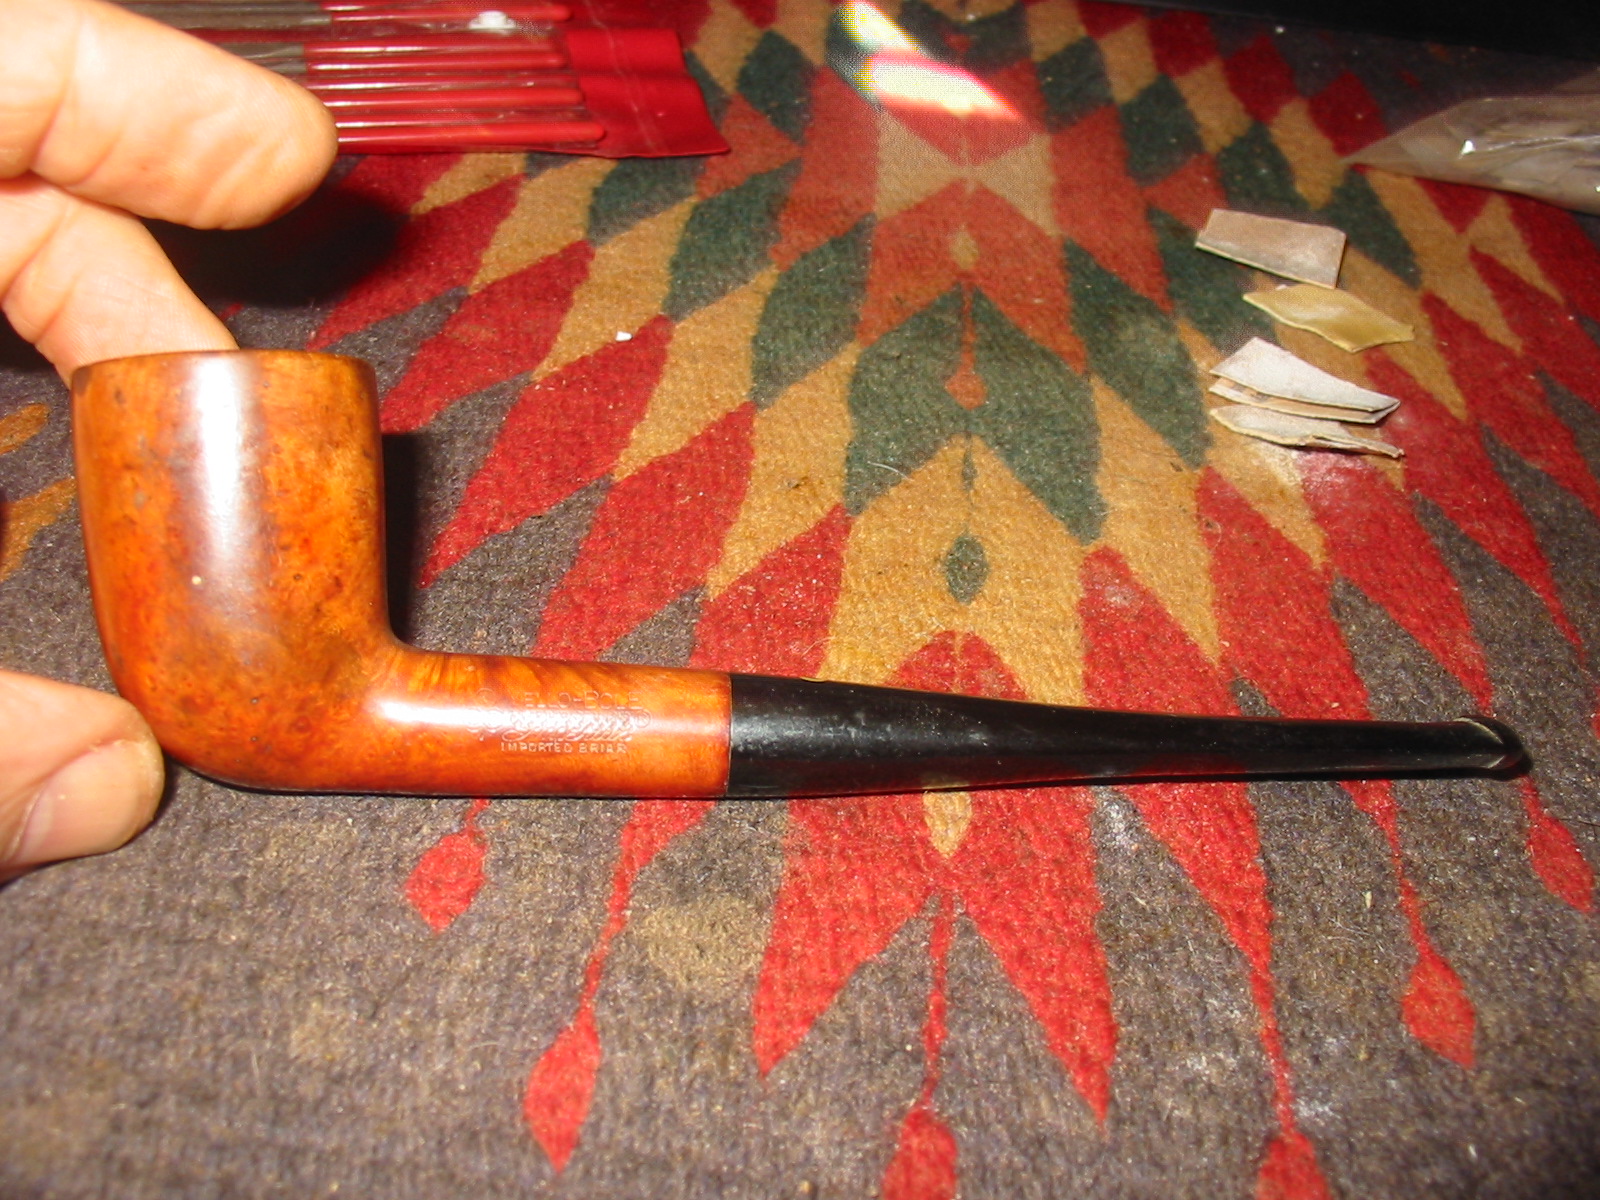
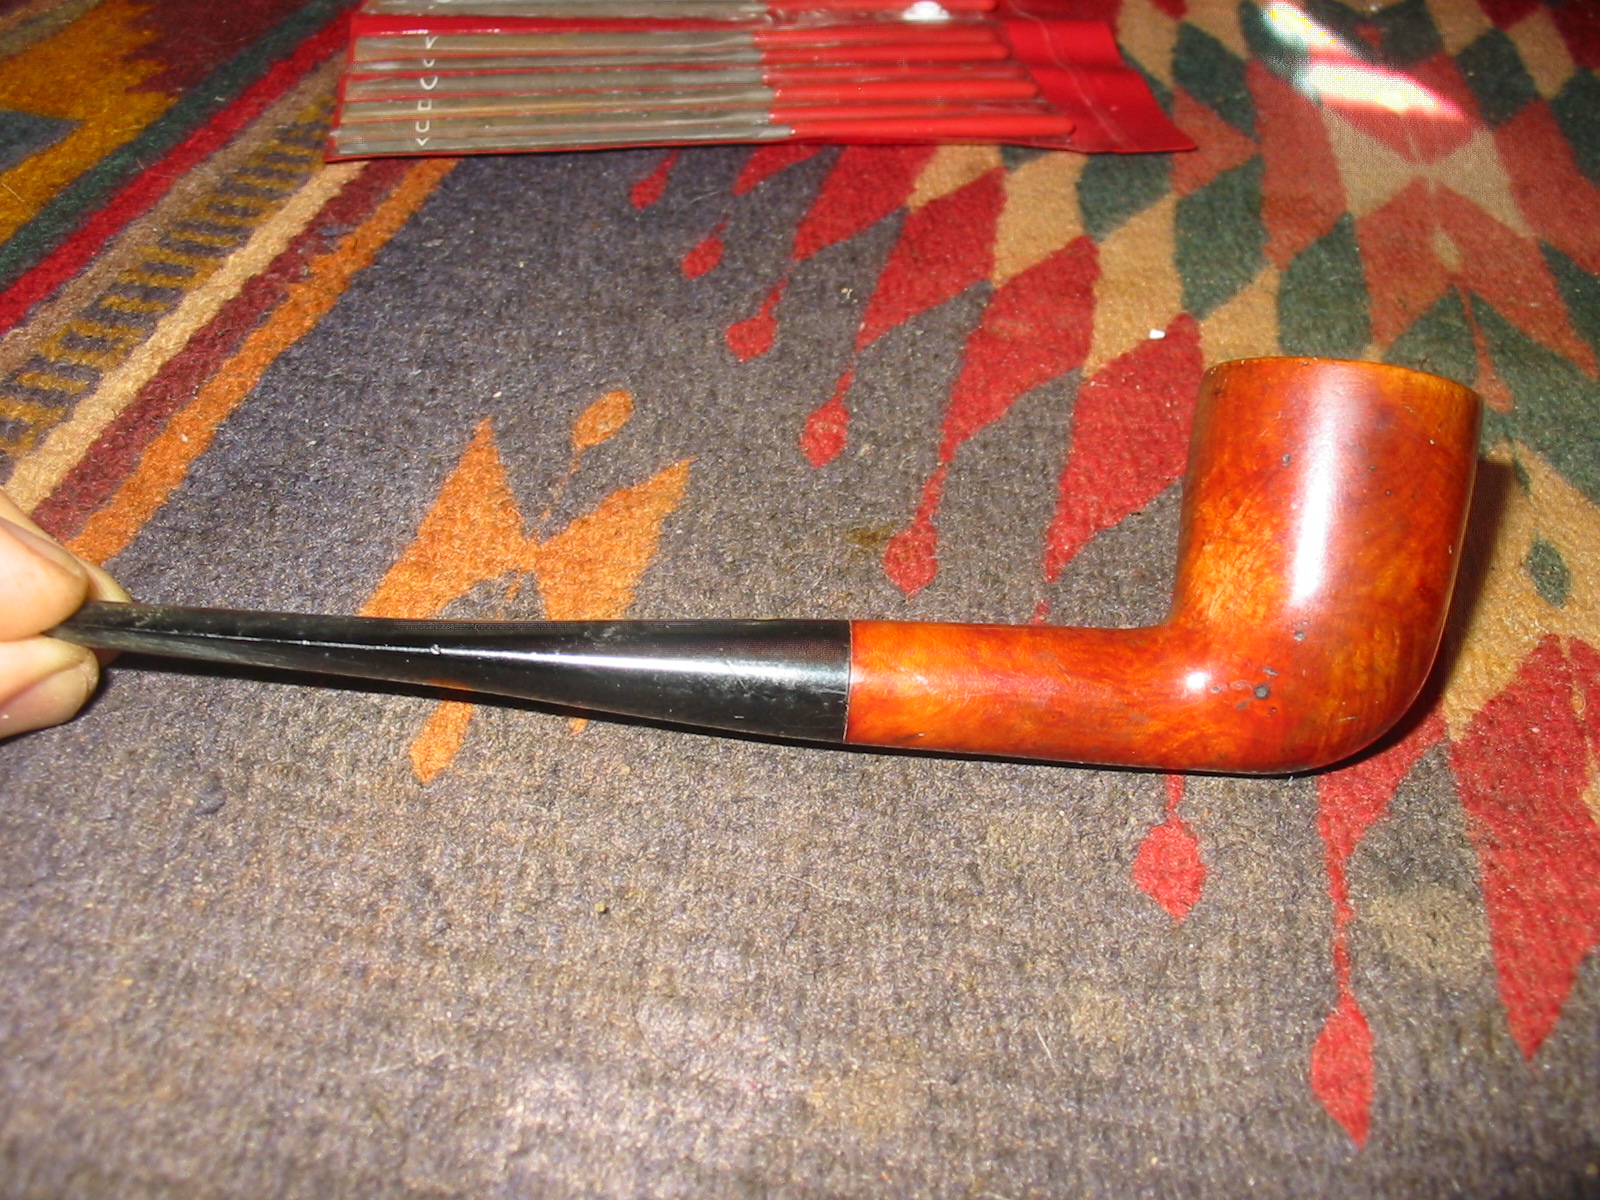
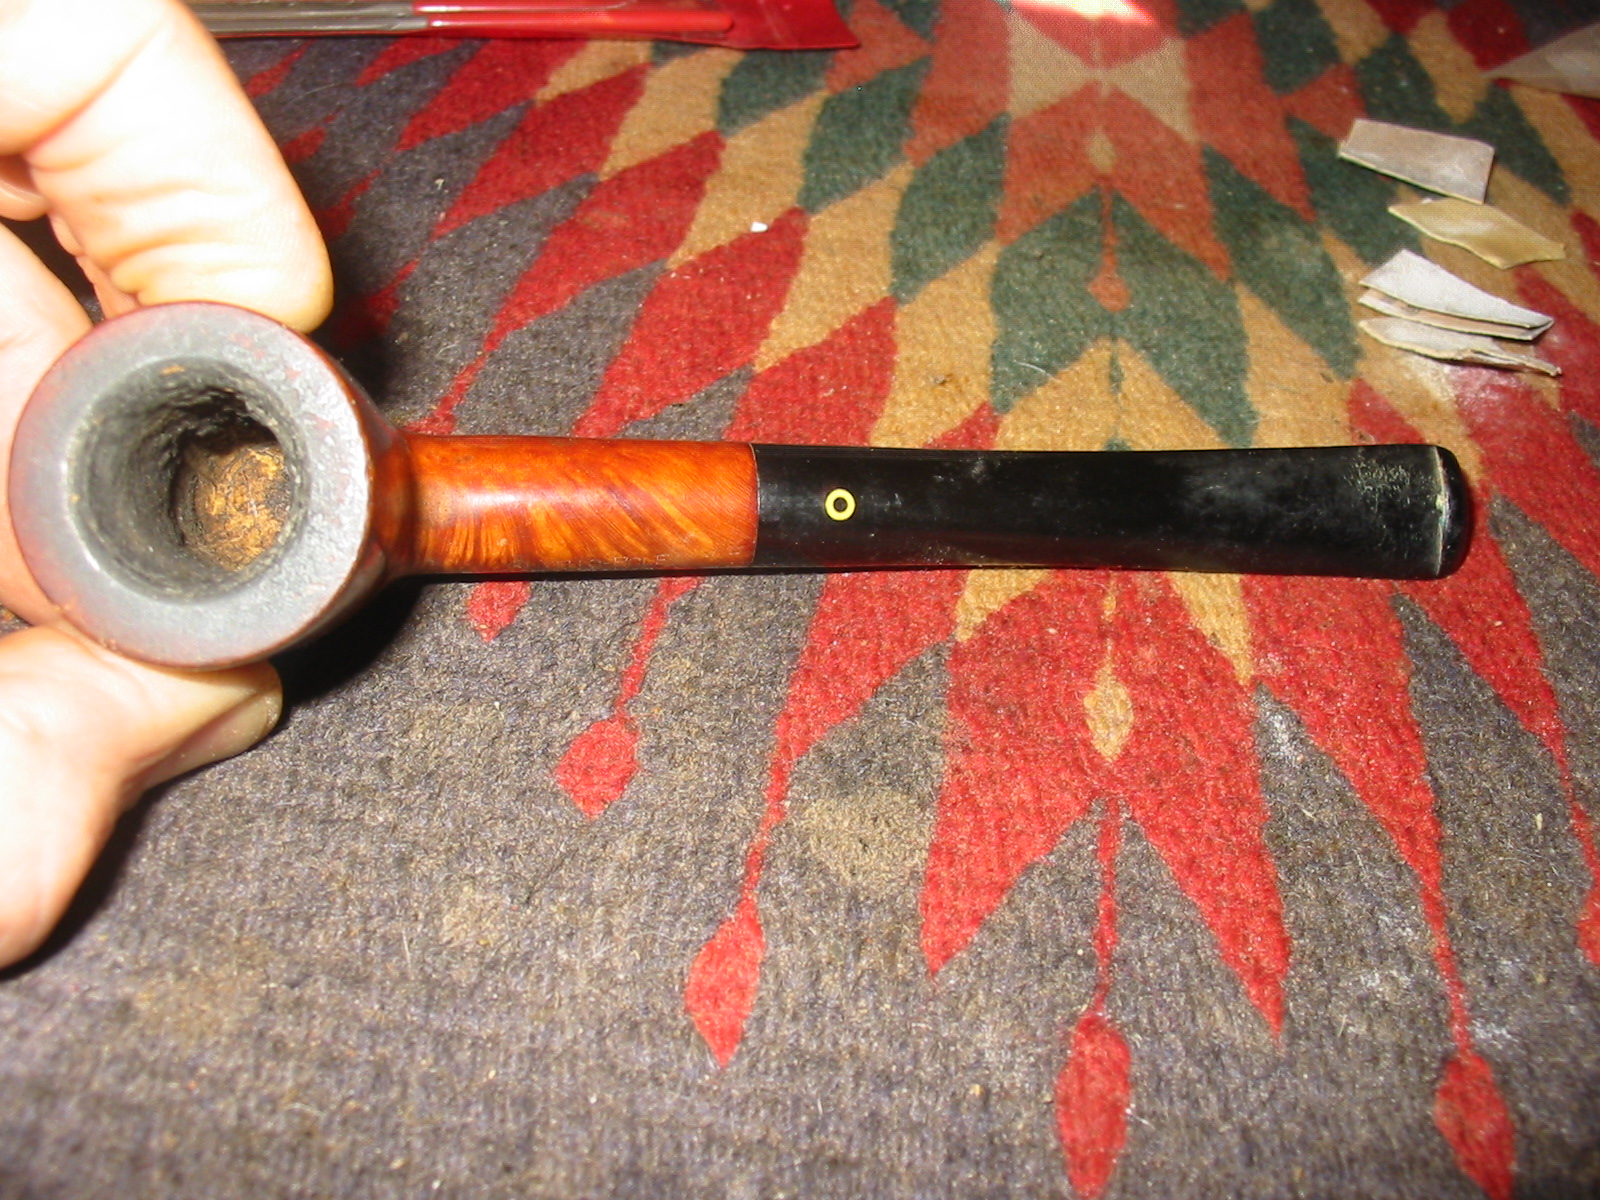
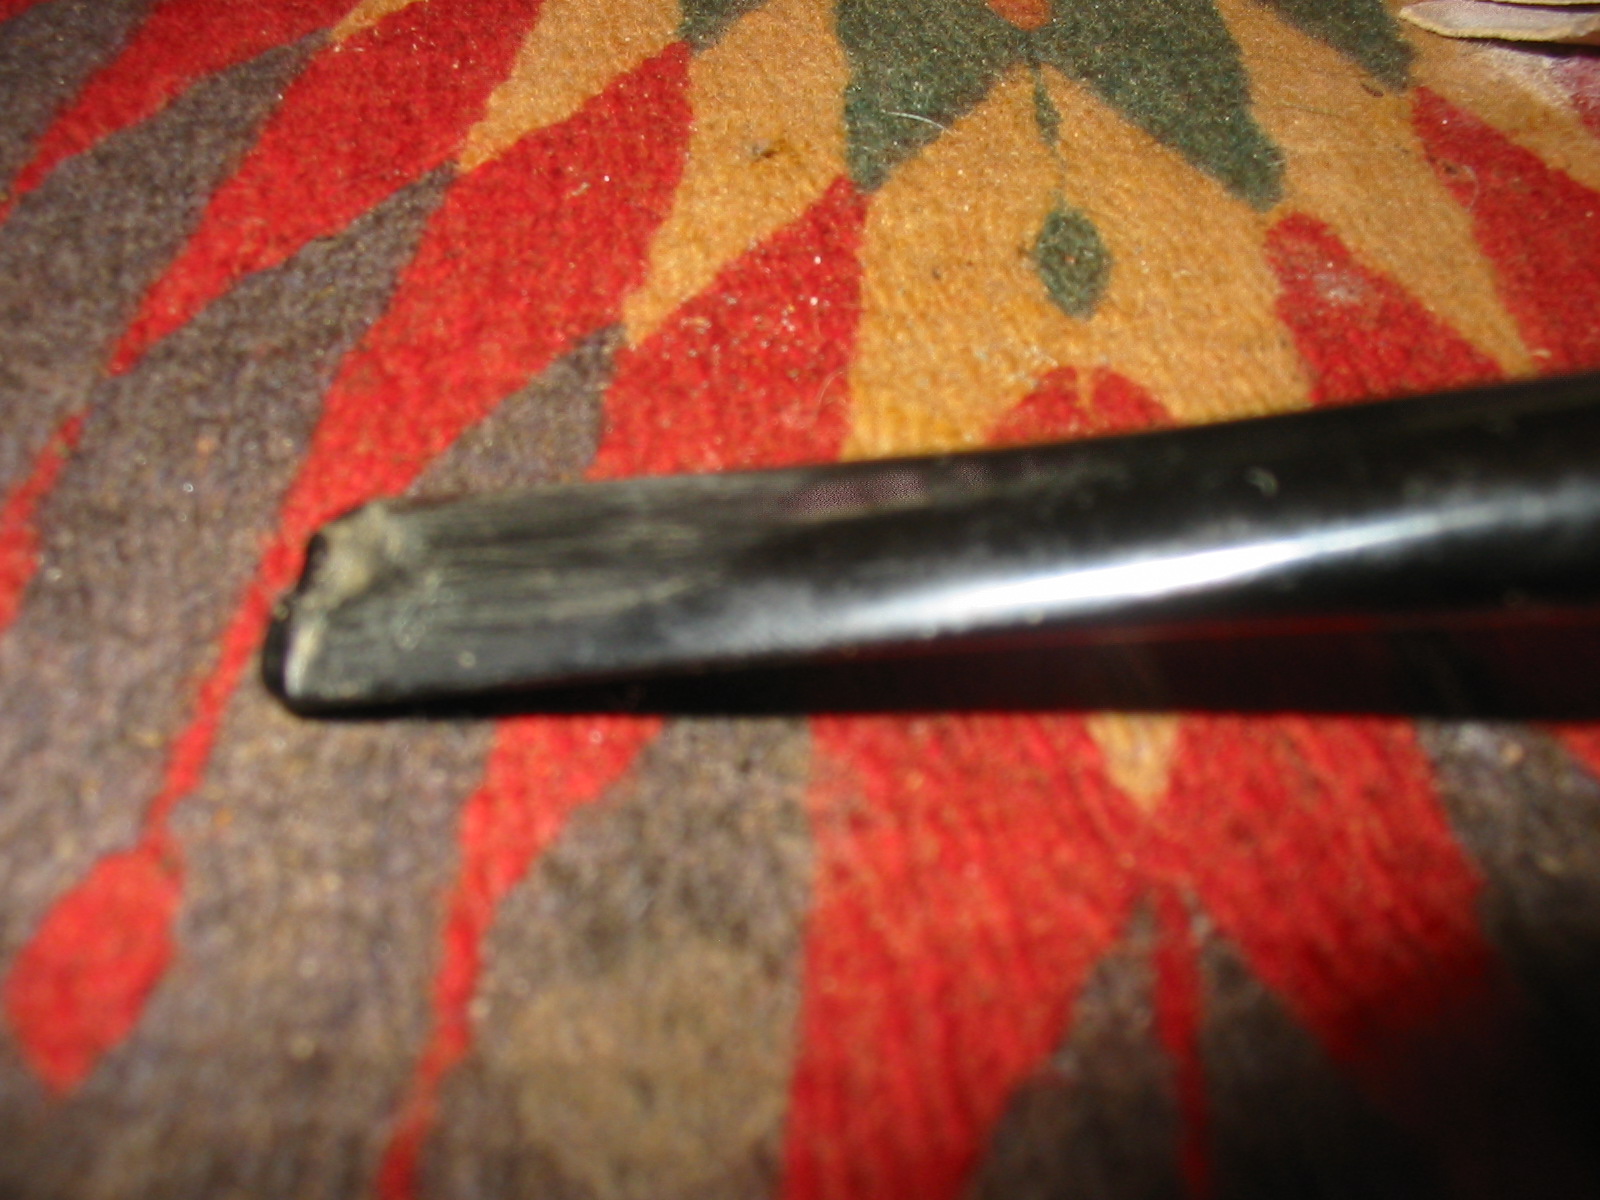
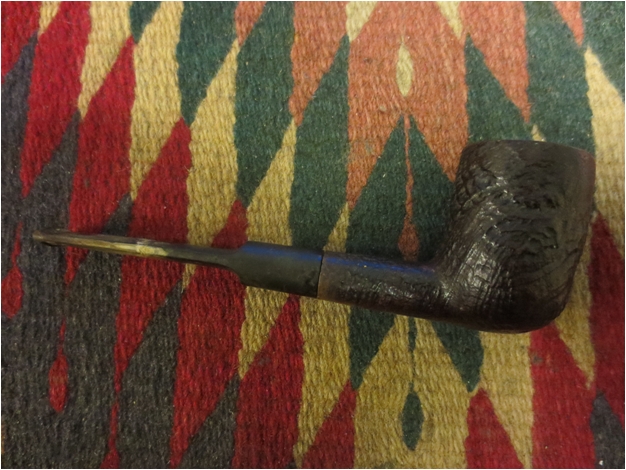
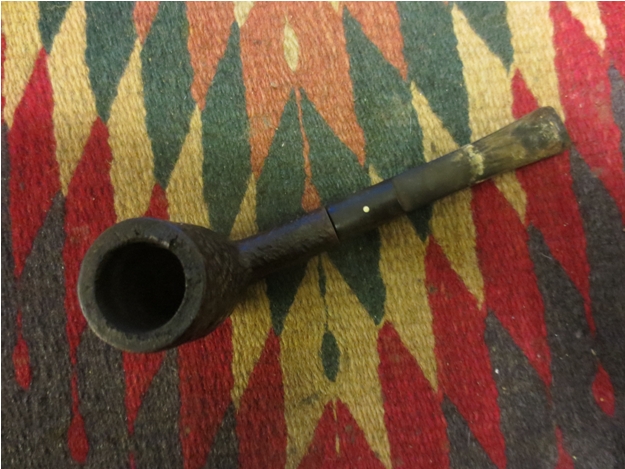
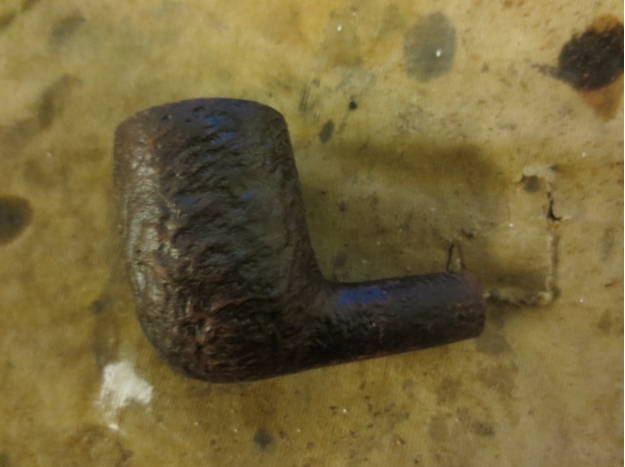
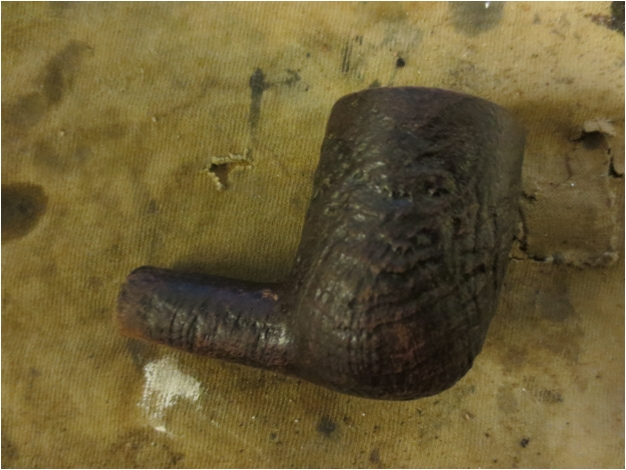
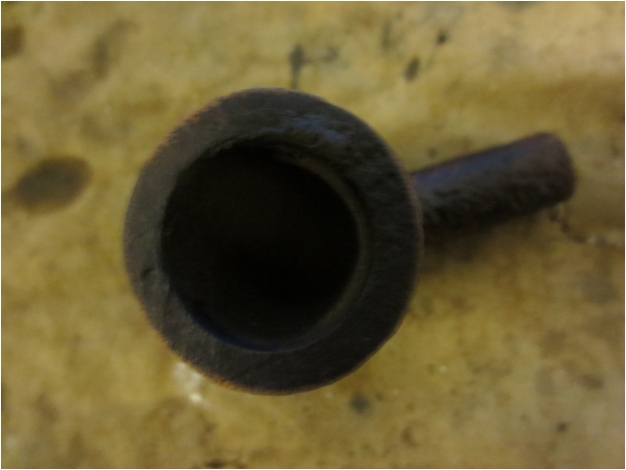
I have been looking for a Jobey Stromboli for quite a while now but never found the shape I wanted. I love the rustic almost Sea Rock look of the Stromboli finish and the Jobey link system has intrigued me. So when I saw this one on EBay it only took a minute to make a bid and lock in the end price I was willing to pay for the pipe. The shape, the wavy rim surface and the flow of the stem attracted me. The Lucite stems on many of these pipes was quite thick and cumbersome looking but this one is nice and streamlined looking and reminds me of the GBD chairleg stems on some of their pipes. The seller says that it was in good shape and that the stem was a green colour. The bowl exterior looks odd to me and definitely the finish has taken a bit of a beating. The rusticated finish is quite forgiving however so I am hopeful that a good scrub and restain will do the trick. The stem appears to be in good shape with minimal tooth chatter on the top and bottom sides near the button. The six photos below were included by the seller in the EBay listing.


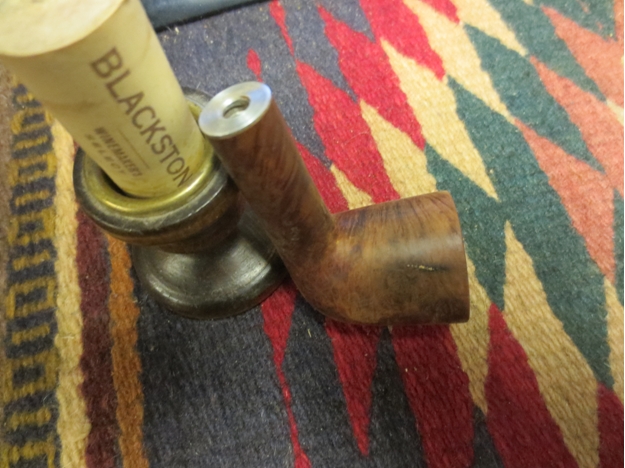
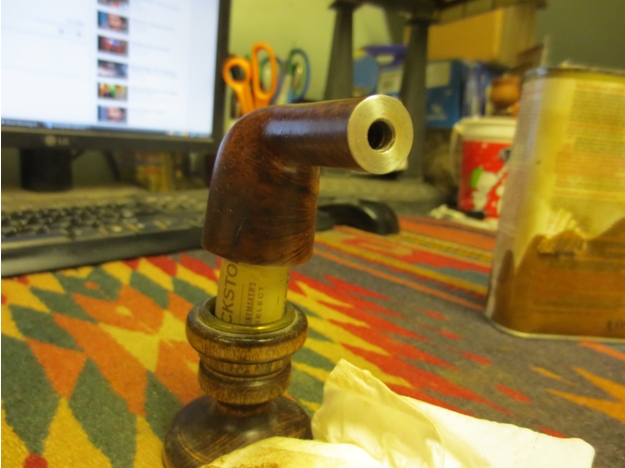
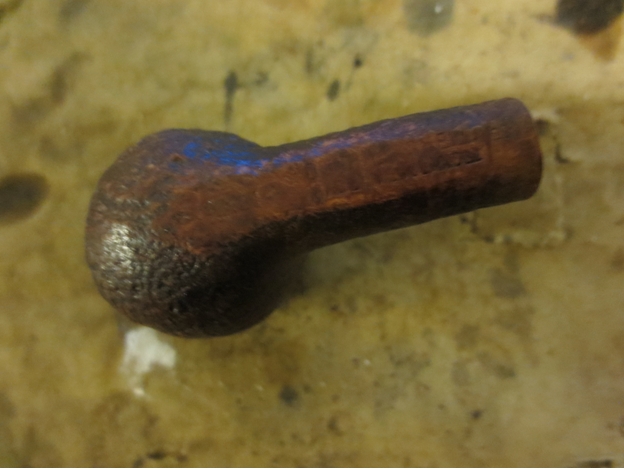
 Since I know next to nothing about Jobeys in general and more specifically about their claim to fame Link System I decided to do a bit of digging on the web. I have included a picture of the link taken from the web to give an idea of what the actual part looks like.
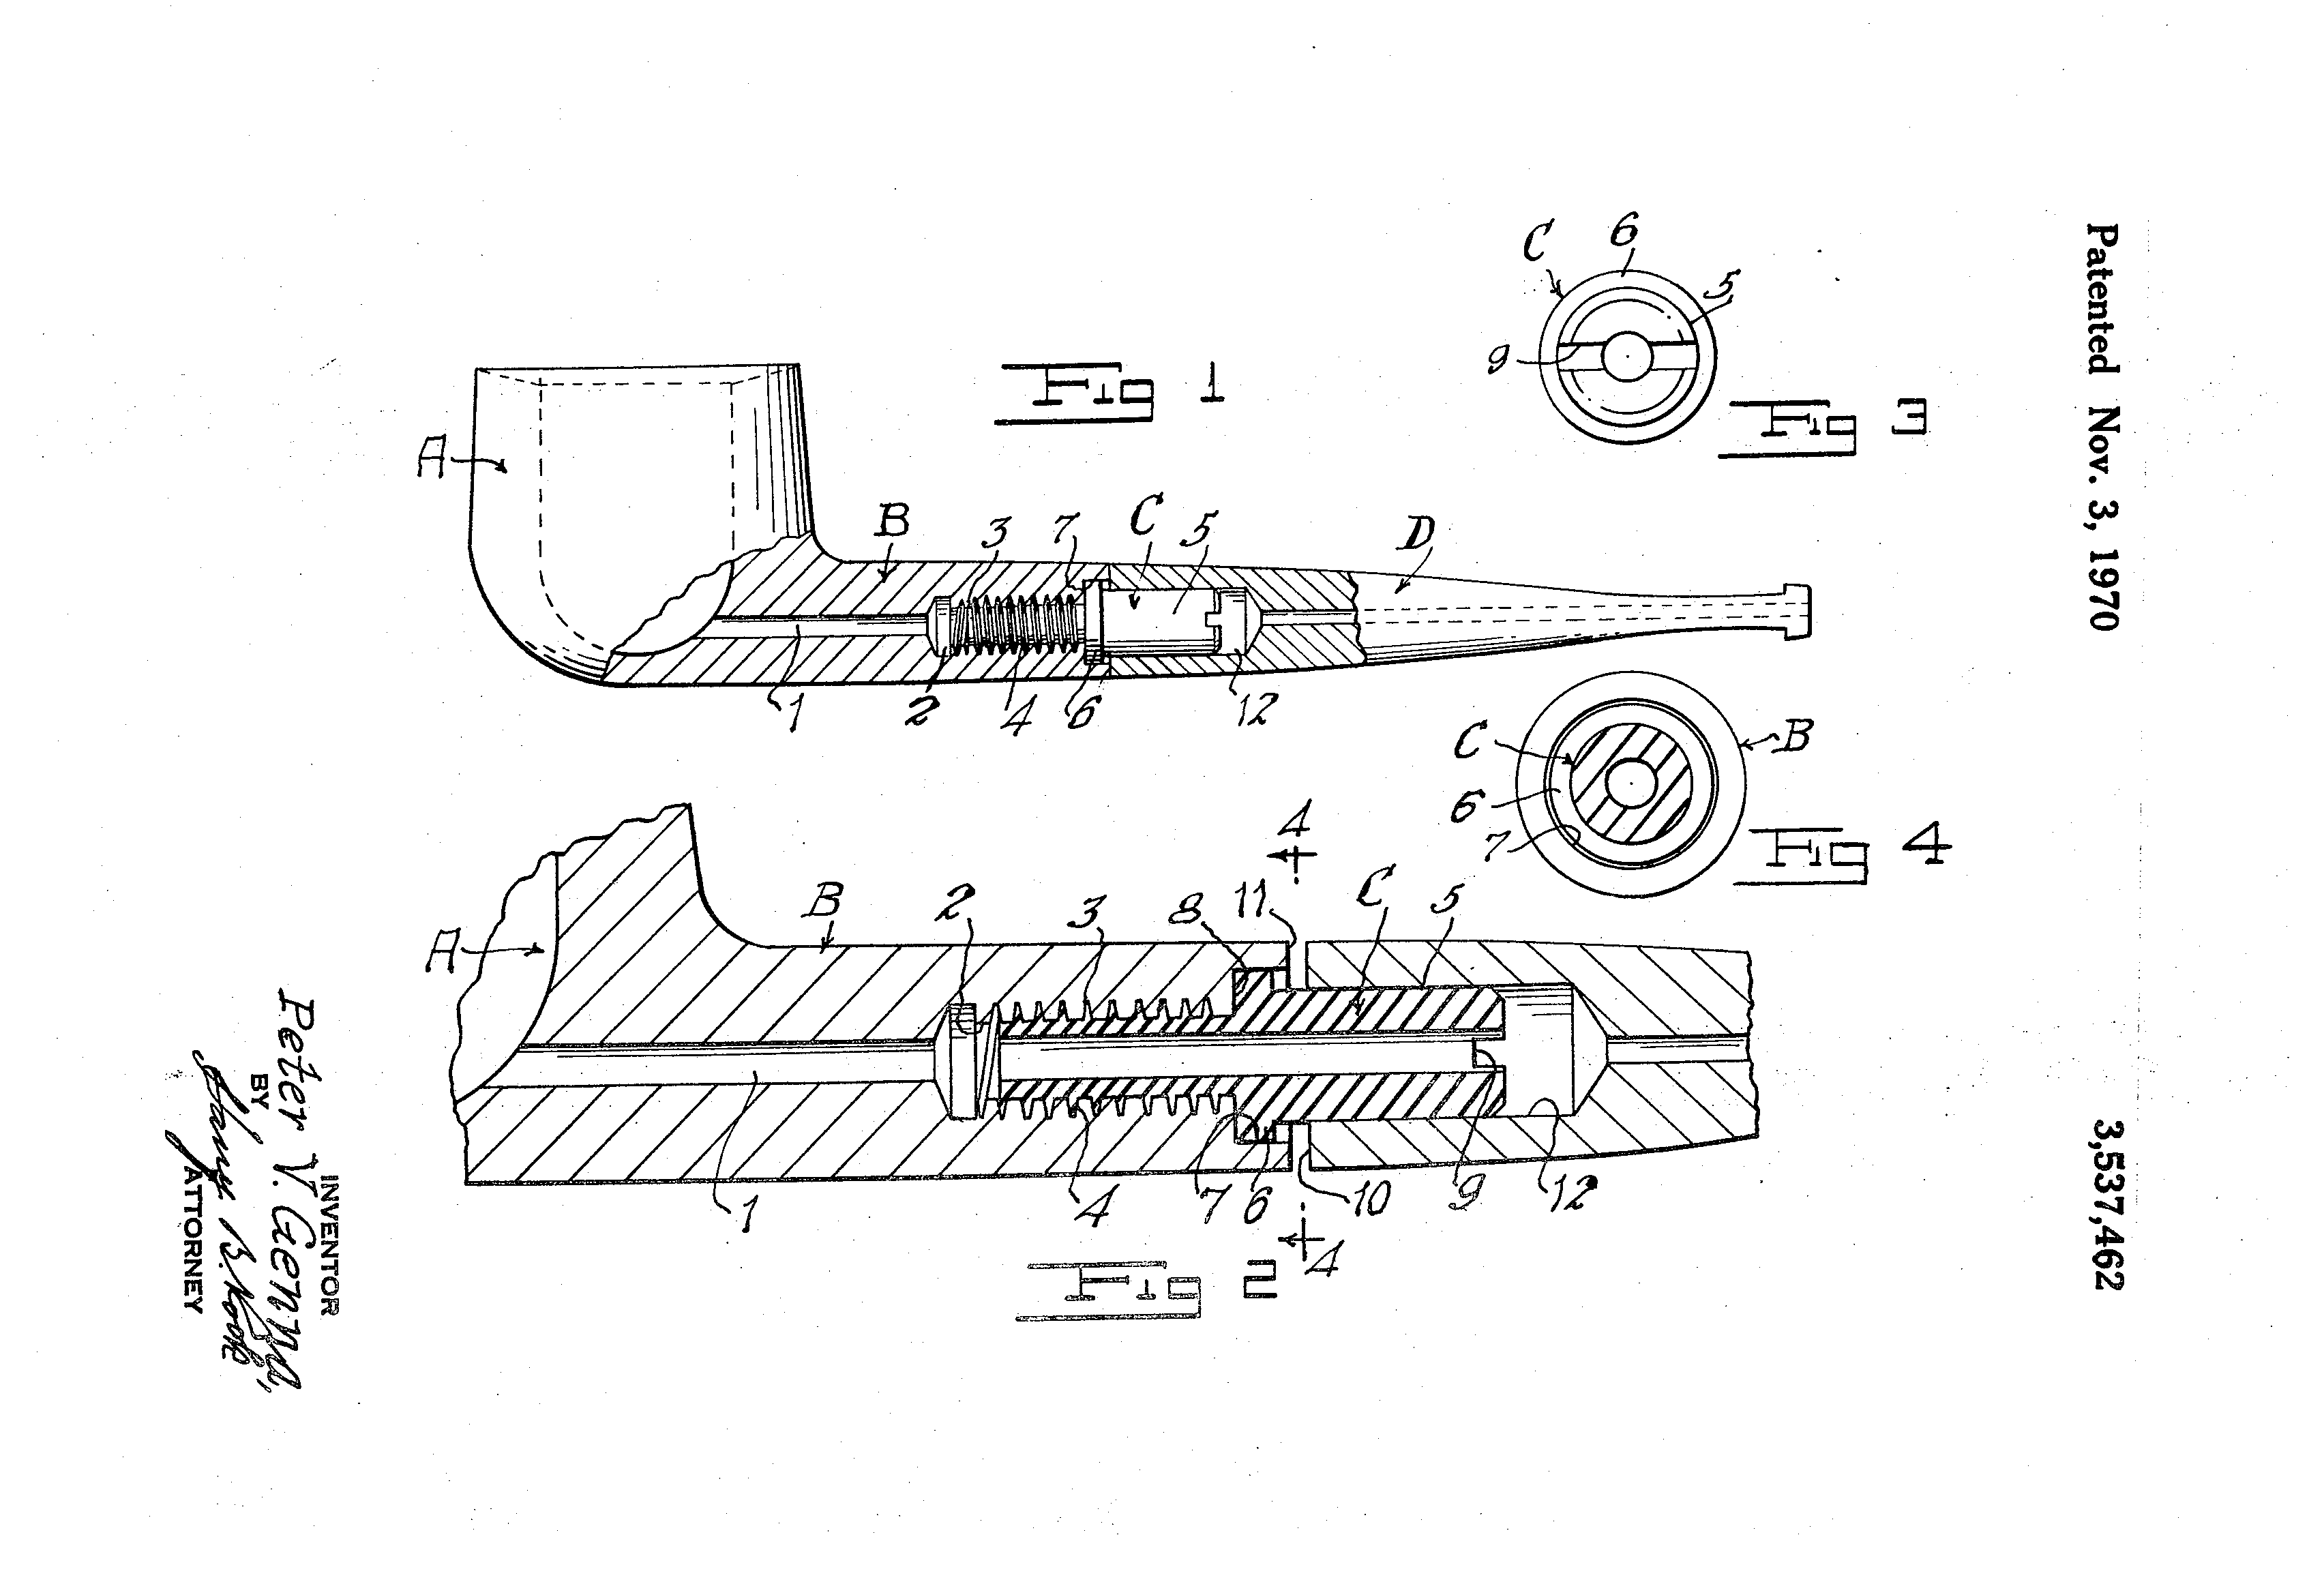
 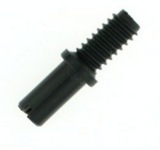 Chris beat me to it and posted this patent applied for and issued for the bowl and shank connection I have included the entire patent document in the text of this article because it is fascinating to me to read how the designer worded his application and how the cutaway pictures show the connector both in terms of side views and end views.
Smoking pipe bowl shank and stem connection
US 3537462 A
Images(1)  Description (OCR text may contain errors)
United States Patent Peter V. Genna Inventor Brooklyn, New York Appl. No. 802,170 Filed Feb. 25, 1969 Patented Nov. 3, 1970 Assignee Wally Frank, Ltd. New York, New York a corporation of New York SMOKING PIPE BOWL SHANK AND STEM CONNECTION 1 Claim, 4 Drawing Figs. US. Cl 131/225 Int. Cl A24f 1/00, A24f 7/02 Field of Search 131/225 [56] References Cited V UNITED STATES PATENTS 1,168,481 l/1916 Combs 131/225 2,461,905 2/1949 Lavietes 131/225 3,044,472 7/1962 Keyser 131/225 FOREIGN PATENTS 274,743 7/1927 Great Britain 131/225 Primary ExaminerJoseph S. Reich Attorney-Harry B. Rook ABSTRACT: A coupler to separately connect the bowl shank and the stem of a smoking pipe, has one end threaded to screw into the shank bore. The other end portion is cylindrically smooth and the stem is frictionally longitudinally and rotatablyslidable thereon. Between said end portions the coupler has a circumferential flange that is disposed wholly in a counterbore of said shank and firmly seats on the bottom wall of the counterbore.
SMOKING PIPE BOWL SHANK AND STEM CONNECTION BACKGROUND OF THE INVENTION
In one type of shank and stem connection, the stem has a cylindrical tenon at one end which is longitudinally slidable and rotatable in a bore in the shank.
Another type of shank and stem connection comprises a screw threaded tenon on the stem and a complementary screw-threaded bore in the shank.
The first-mentioned type of connection has the objection that it is difficult to obtain a tight nonseeping joint between this shank and the stern, and it is practically impossible to maintain a snug connection between the parts because of the wear incident to frequent removal and replacement of the stem.
The second-mentioned connection has the objection that due to wear of the screw threads looseness in the connection of the parts occurs and results in seepage of moisture through the connection. Also attempts to tighten the connection by screwing the stern more firmly into the shank results in a displacement of the bit or mouthpiece of the stem with respect to the bowl and sometimes causes a stripping or damaging of the threads in either or both of the shank and tenon.
SUMMARY
One object of the present invention is to provide a connection between a bowl shank and a stem which shall overcome the above-mentioned objections to the prior art.
More particularly the invention contemplates a construction and a combination of a bowl shank, stem and coupler wherein the coupler has one end screw threaded into the bore, and the stem is frictionally longitudinally and rotatably slidable on the other end portion of the coupling; and said coupler has a circumferential flange between said end portion that is disposed wholly in a counterbore of the shank and firmly seats on the bottom wall of the counterbore, whereby the stem can slide longitudinally and rotate on the coupler and the coupler can be tightly screwed into the shank bore without danger of stripping the threads and with practical insurance of a seepage-proof joint between the coupler and the shank.
A BRIEF DESCRIPTION OF THE DRAWINGS
For a complete understanding of the invention, reference should be had to the following description in conjunction with the accompanying drawings in which:
FIG. 1 is a central vertical longitudinal sectional view through portions of the bowl shank and stem and showing the coupler in side elevation;
FIG. 2 is an enlarged central, vertical longitudinal sectional view with portions of the bowl and the stem omitted;
FIG. 3 is an end view of the coupler; and
FIG. 4 is a similar view on the plane of the line 4-4 of FIG. 2.
BRIEF DESCRIPTION OF THE PREFERRED EMBODIMENTS OF THE INVENTION
The reference character A designates the smoking pipe bowl which has a shank B provided with a smoke duct 1 and a bore 2 to receive the coupler C which serves to separately connect the shank B to the stem D.
The shank bore 2 is entirely screw threaded at 3-to receive the threads 4 on one end portion of the coupler C the other end portion of which is smoothly cylindrical as indicated at 5 and on which is longitudinally slidable and rotatable the stem D. Preferably the coupler is formed of a moldable plastic material, for example hard rubber or Bakelite, and the stem is preferably formed of the same material. Between its said end portions, the coupler has a circumferential flange 6 which is adapted to be wholly disposed within a counterbore 7 at the end of the bore in the shank. The depth of the counterbore is greater than the thickness of the flan e. When the screwthreaded end of the coupler IS screwed into the bore of the shank, the flange 6 firmly or tightly abuts the bottom wall 8 of the counterbore. For convenience in screwing the coupler into the shank and unscrewing it from the shank, the coupler is provided with a diametrical kerf 9 in the stem-receiving end thereof.
However, in accordance with the invention the stem has a sufficiently tight frictional fit on the coupler so that the coupler can be screwed into and out of the shank bore by simple rotation of the stem. The stem has at one end a cylindrical smooth-walled socket 12 which receives the cylindrical end 5 of the coupler and the stem and is frictionally rotatable on the coupler so that the stem can be easily adjusted into the proper relation to the bowl, and the stem is also longitudinally slidable on the coupler so that the inner end 10 of the stem can be kept in neat and tight abutment with the end surface 11 of the shank. FIG. 2 shows the stem slid away from the end of the shank while FIG. 1 shows the stern and shank in their normal relation to each other.
It will be seen readily that the flange-limits the screwing of the coupler into the shank and thus protects against stripping of the threads. At the same time, the flange abutting the bottom wall of the counterbore provides a seepage-proof joint between the coupler and the shank. To compensate for wear of the threads or of the abutting surfaces of the flange and the counterbore, the coupler can be screwed farther into the bore, and the stem can be slid on the coupler to maintain the neat and tight joint between the end 10 of the stem and the end 11 of the shank.
Claim:
l. A smoking pipe comprising a bowl having a shank which has an internally screw-threaded bore at the outer end of which is a counterbore, a stem having at one end a cylindrical smooth walled socket providing a bottom wall therein, and a coupler having a cylindrical smooth end portion frictionally received in said socket for relative longitudinal movement and rotation, said coupler having its other end portion screwthreaded to mate with said screw-threaded bore and having a flange between said end portions wholly disposed in said counterbore and in firm abutting contact with the bottom wall of said counterbore, the depth of the counterbore being greater than the thickness of the flange.
Classifications
U.S. Classification 131/225
International Classification A24F7/00, A24F7/02
Cooperative Classification A24F7/02
European Classification A24F7/02
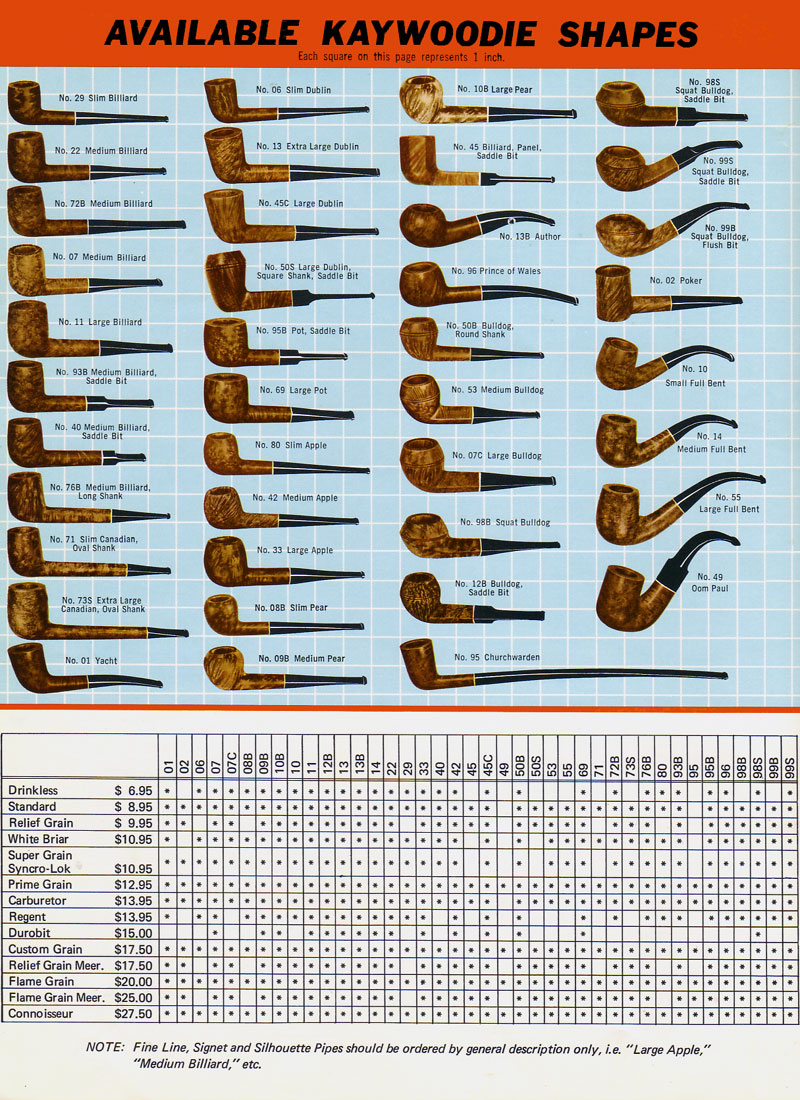
Further digging led me to learn that Jobey has had three homes throughout its existence. The pipes were originally made in England circa 1920 and then the company moved to the US. The Jobey Dansk version of the pipes was made in Denmark. Now the pipes are produced in Saint-Claude, France by Butz-Choquin since 1987. Under these broad time lines I was able to find a listing of the owner/distributor and manufacture of the brand during the time period that the brand was in the US.The list below was what I was able to find in several spots on the web. Each time I read the list it was cited that the dates are/were approximate.(The majority of the information below comes from Pipedia.)
Owners/Distributors/Manufacturers of Jobey Pipes from 1942-the late 80s
George Yale Pipes & Tobacco, New York (1942)
Norwalk Pipe Co., New York (1949)
Arlington Briar Pipes Corporation, Brooklyn (when?)
Hollco International, New York (1969).
Weber Pipe Co., Jersey City, NJ (1970’s)
The Tinderbox (1970’s – 80’s).
“Throughout decades Jobey pipes were mainly sold in the USA, Canada and England but remained almost unknown in continental Europe. The bulk of Jobeys was predominantly made according to classical patterns and mainly in the lower to middle price range. The predominant judgment of the pipe smokers reads: “A well made pipe for the price.” So there is hardly anything very special or exciting about Jobey pipes although a flyer from ca. 1970 assures: “The briar root Jobey insists upon for its peer of pipes is left untouched to grow, harden and sweeten for 100 years. […] Jobey uses only the heart of this century old briar and only one out of 500 bowls turned measures up to the rigid Jobey specifications.”99.80% of cull… that makes the layman marveling!”
“Yet then there are partially really exciting Freehands mainly in the seventies, that Jobey – Weber owned back then – bought from Danish pipe genius Karl Erik (Ottendahl). These pipes were offered as Jobey Dansk – ’70’s pure! (BTW waning sales caused Ottendahl to discontinue exports to the United States in 1987.)”
In the very same year – obviously only as a ghost brand – Jobey was transferred to Saint-Claude, France to be manufactured by Butz-Choquin.
There must have been an abandonment of the fabrication, because in 2002 the message was spread, the current proprietor of the brand F&K Cigar Co. from St. Louis, MO had recently re-introduced the Jobey very successfully again…”
I thought that the information might give me some idea as to when the pipe I had was made. However there was no information on the stamping distinctives of the various makers. Judging from the style of the stem and the thick, coloured Lucite it is made from my assessment would be that the pipe came from the period of the late 60s or 70s. It is not a Danish style Dansk so it is not from the period that Ottendahl carved the pipes so that would preclude it being Danish made. I am thinking it was American made. That is about as certain as I can be on the dating of this pipe.
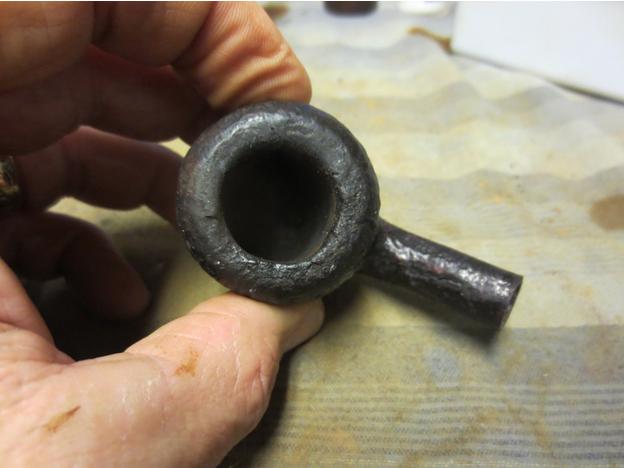
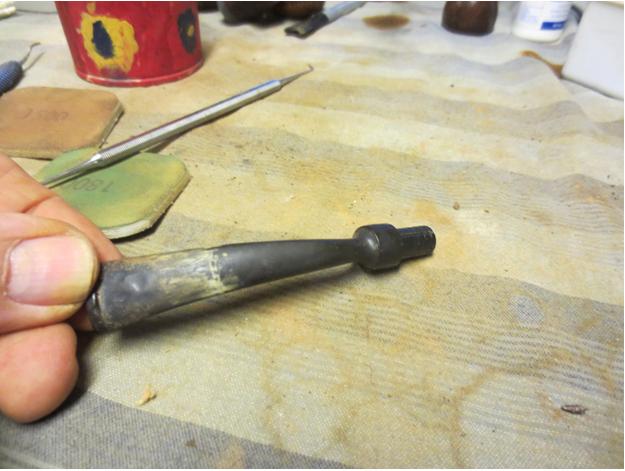
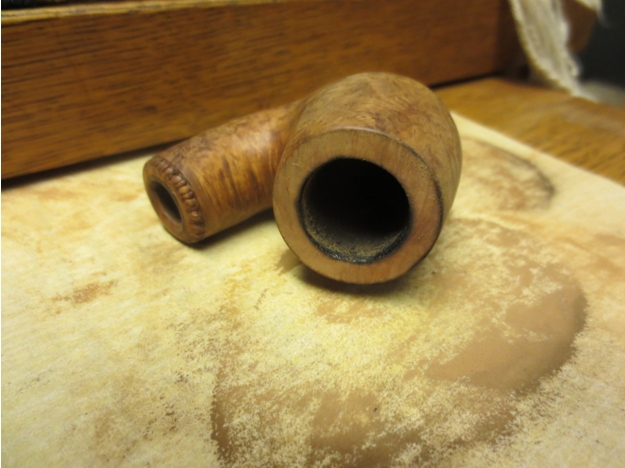
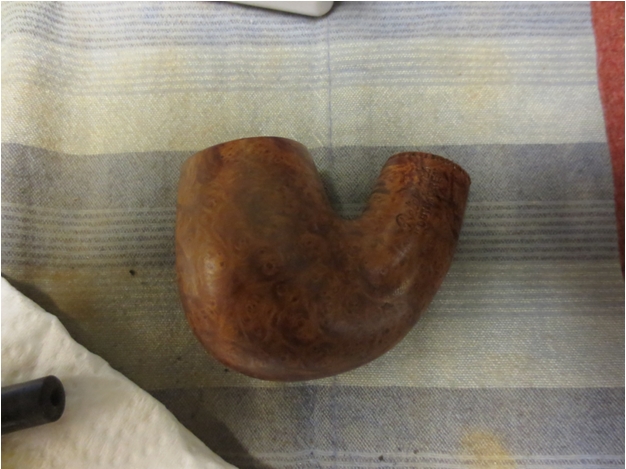
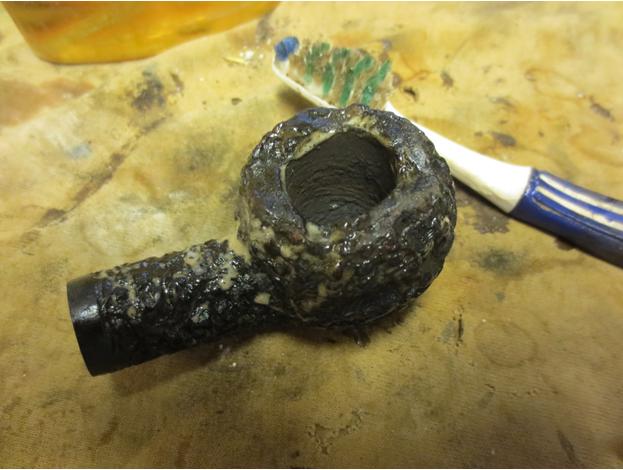
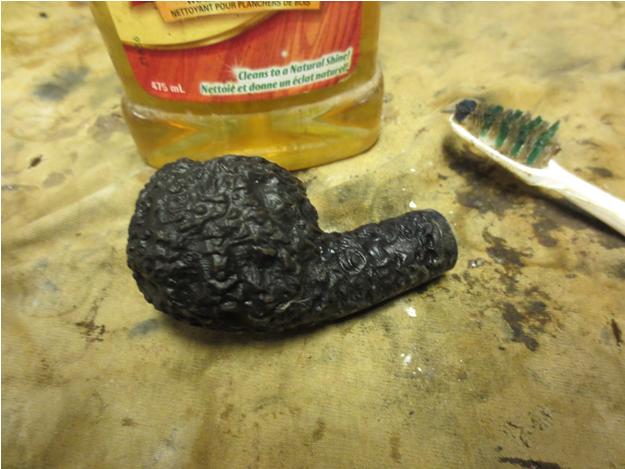
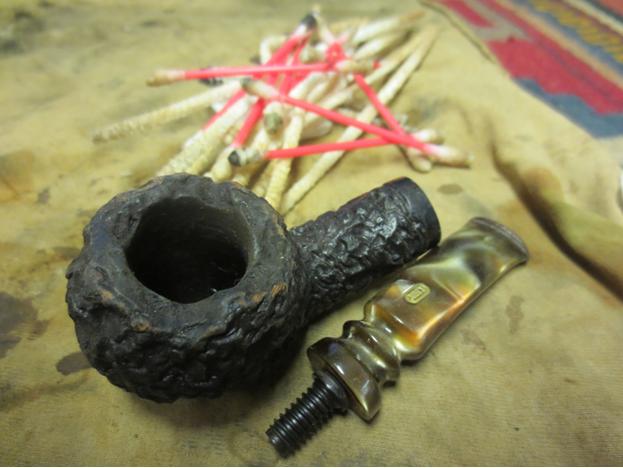
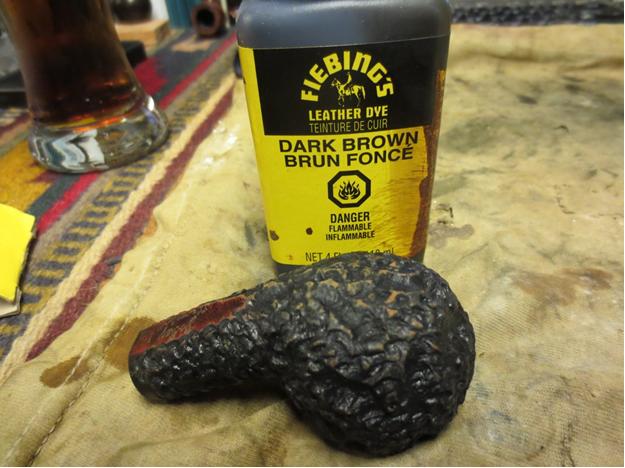
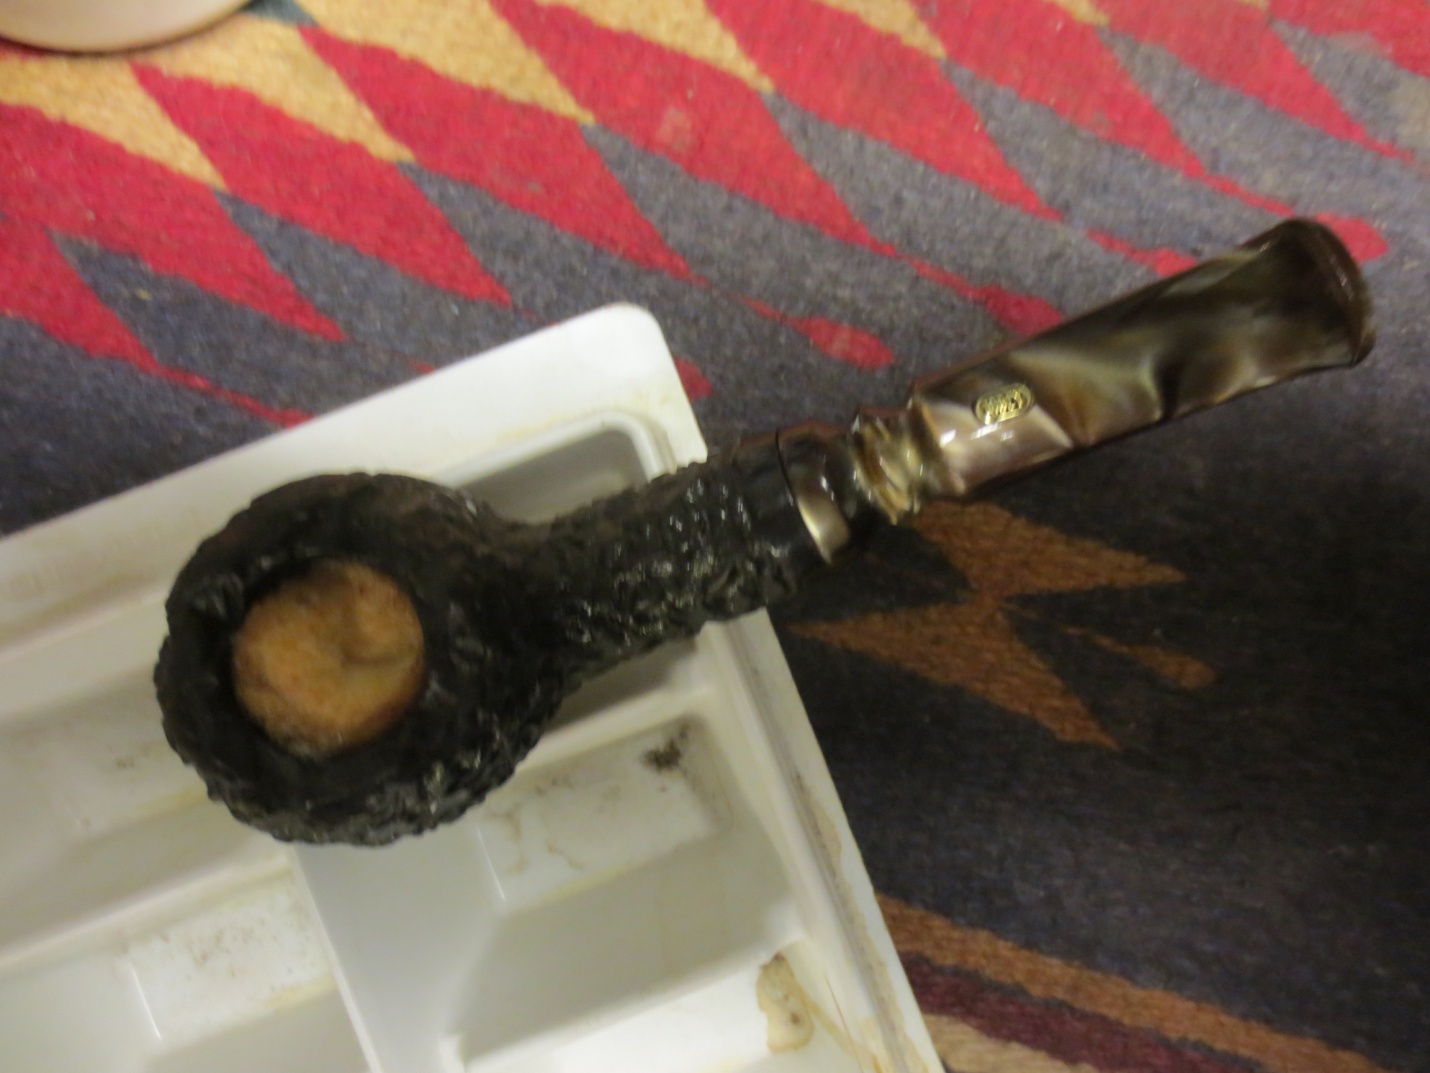
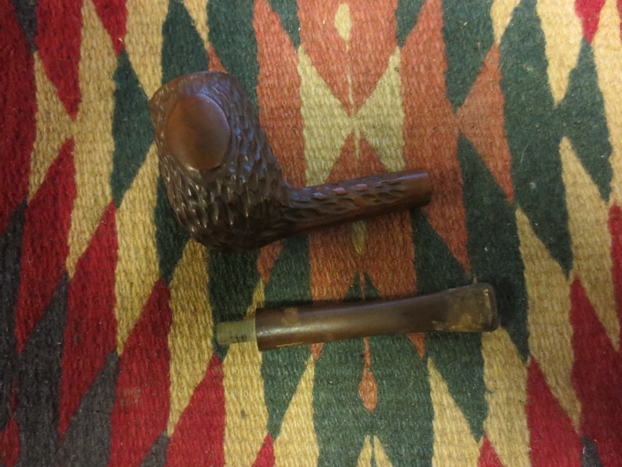
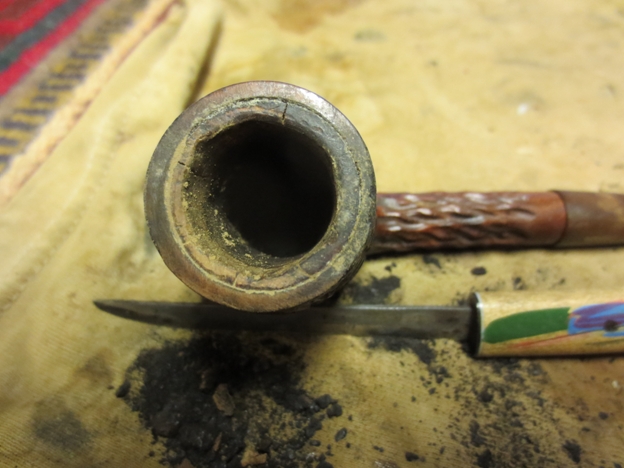
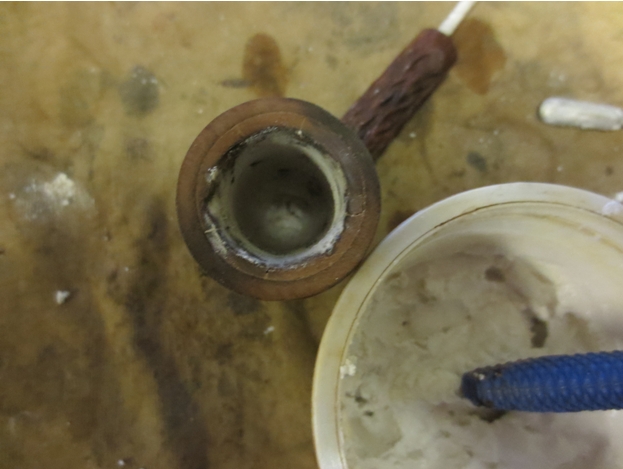
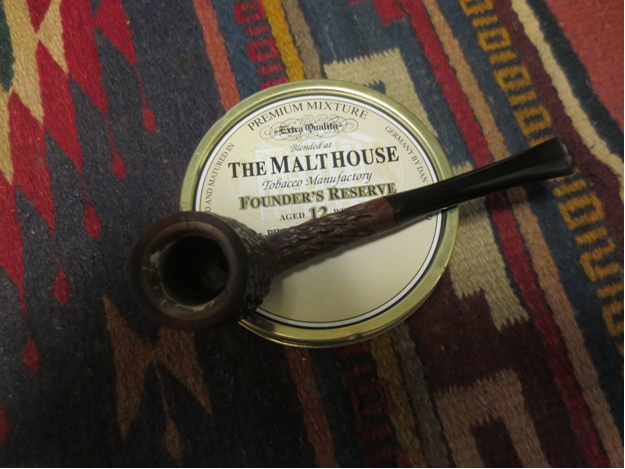
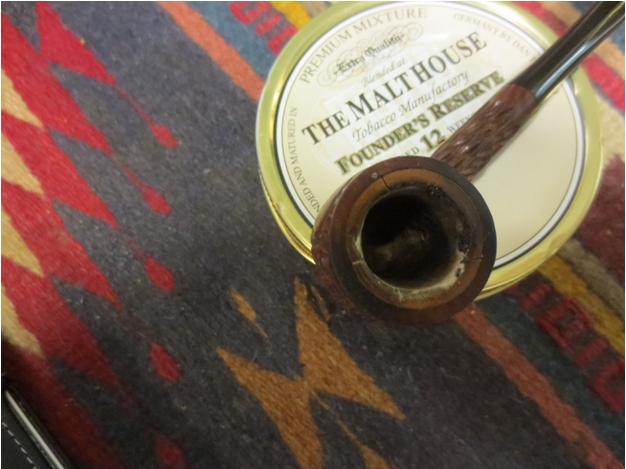
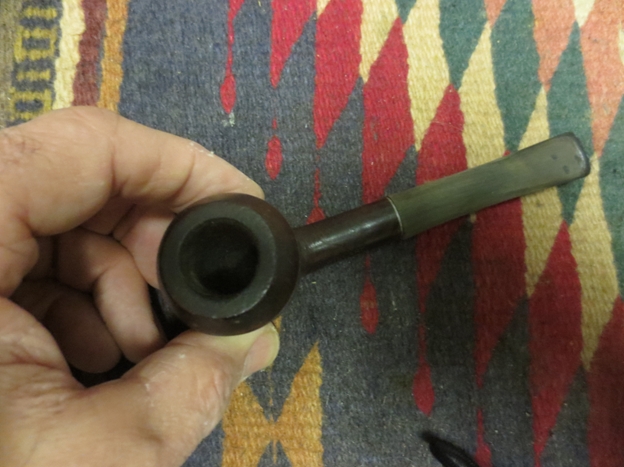
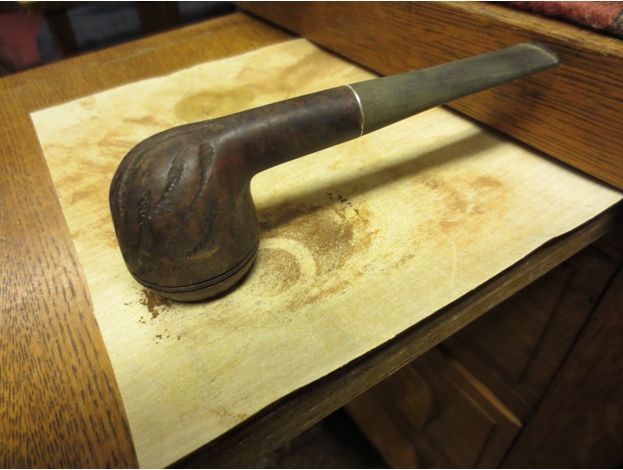
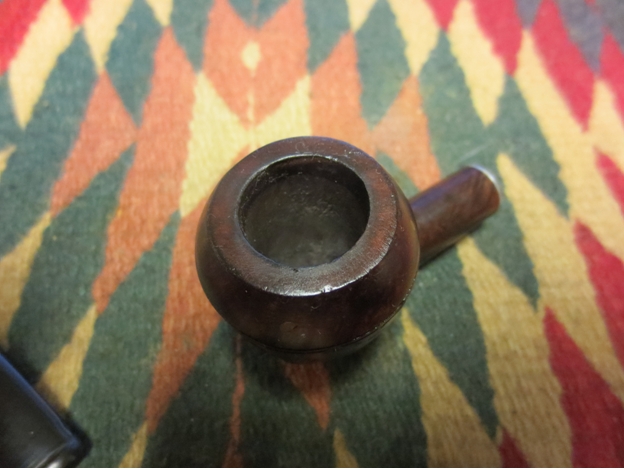
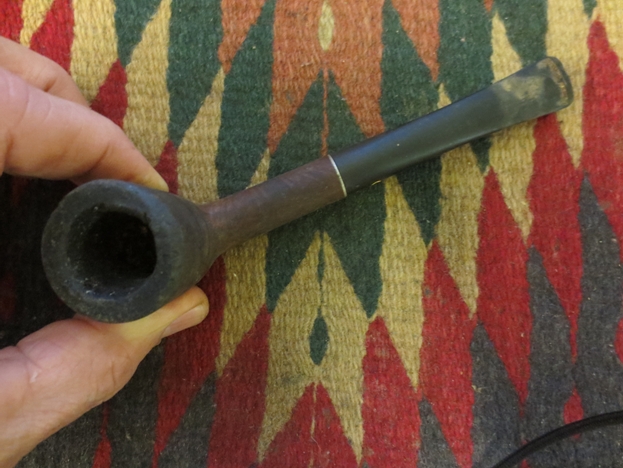
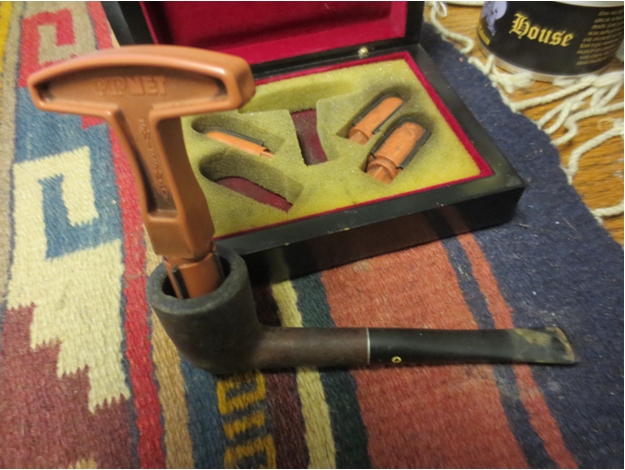
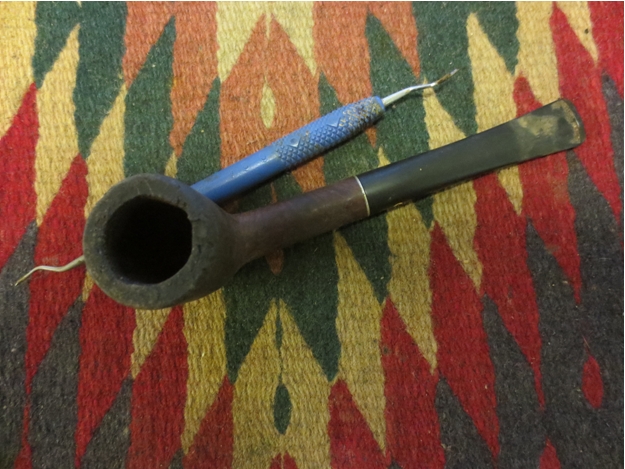
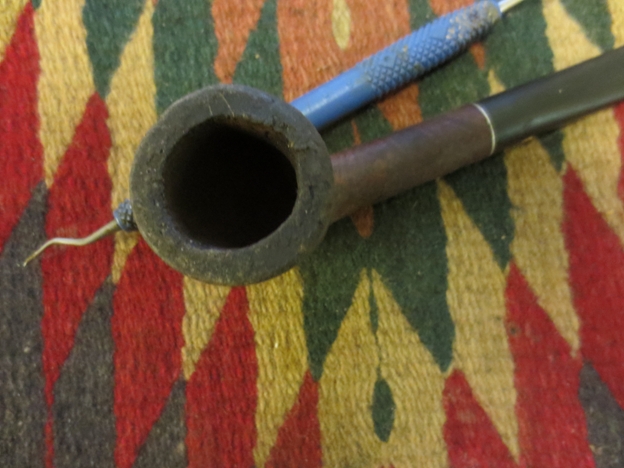
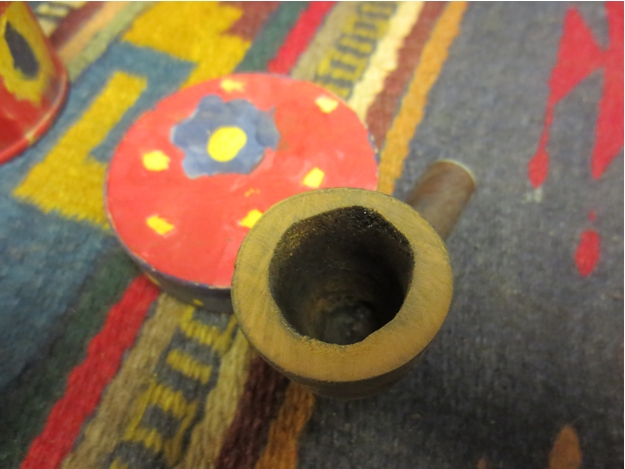
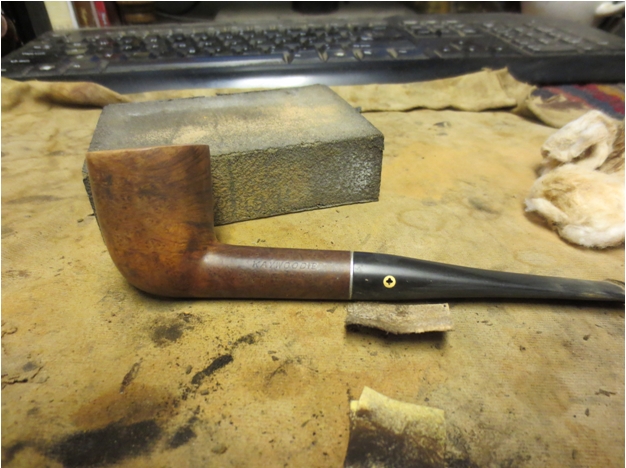
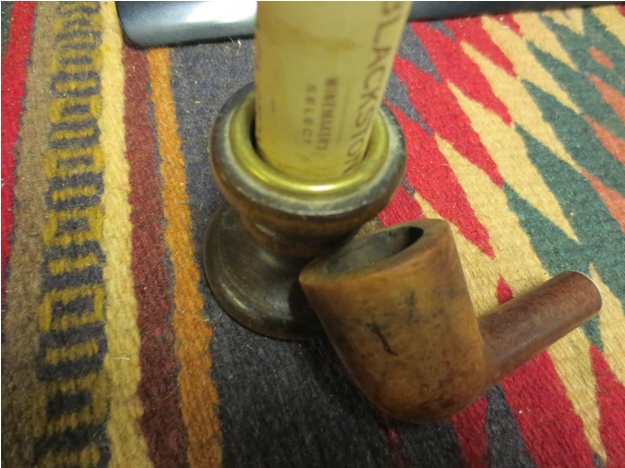
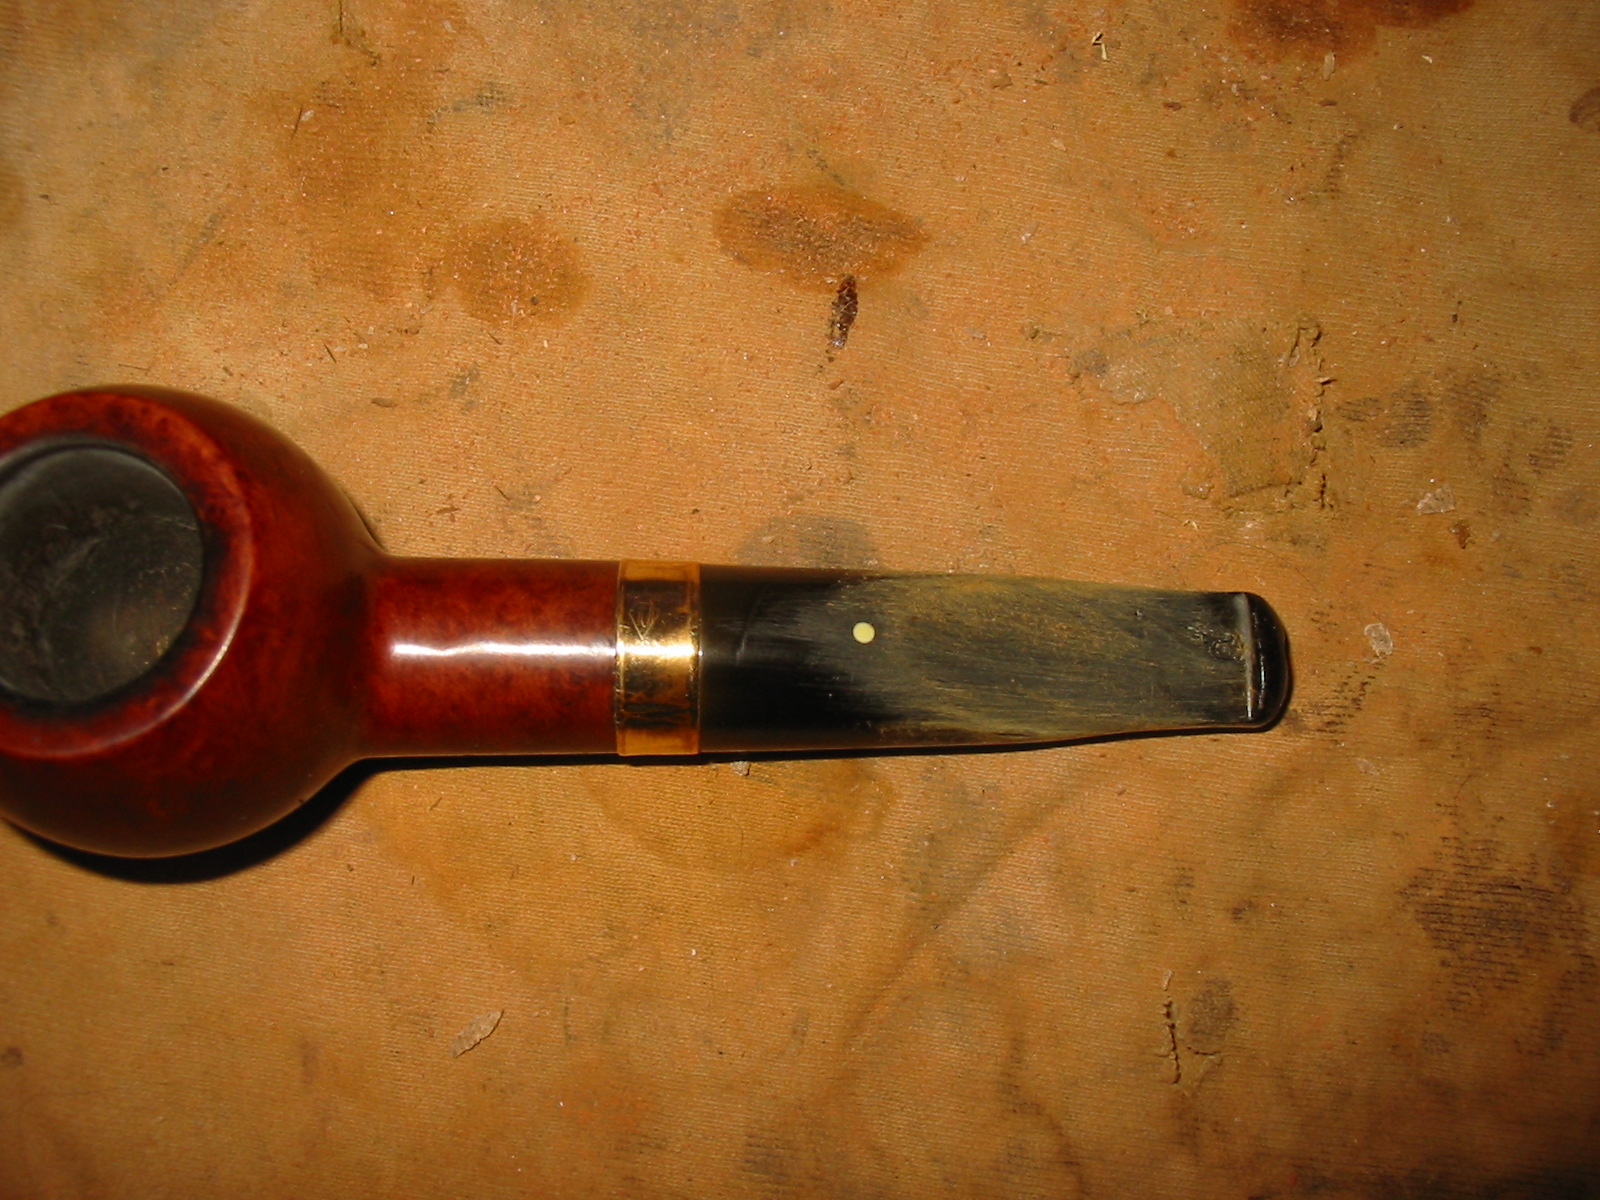
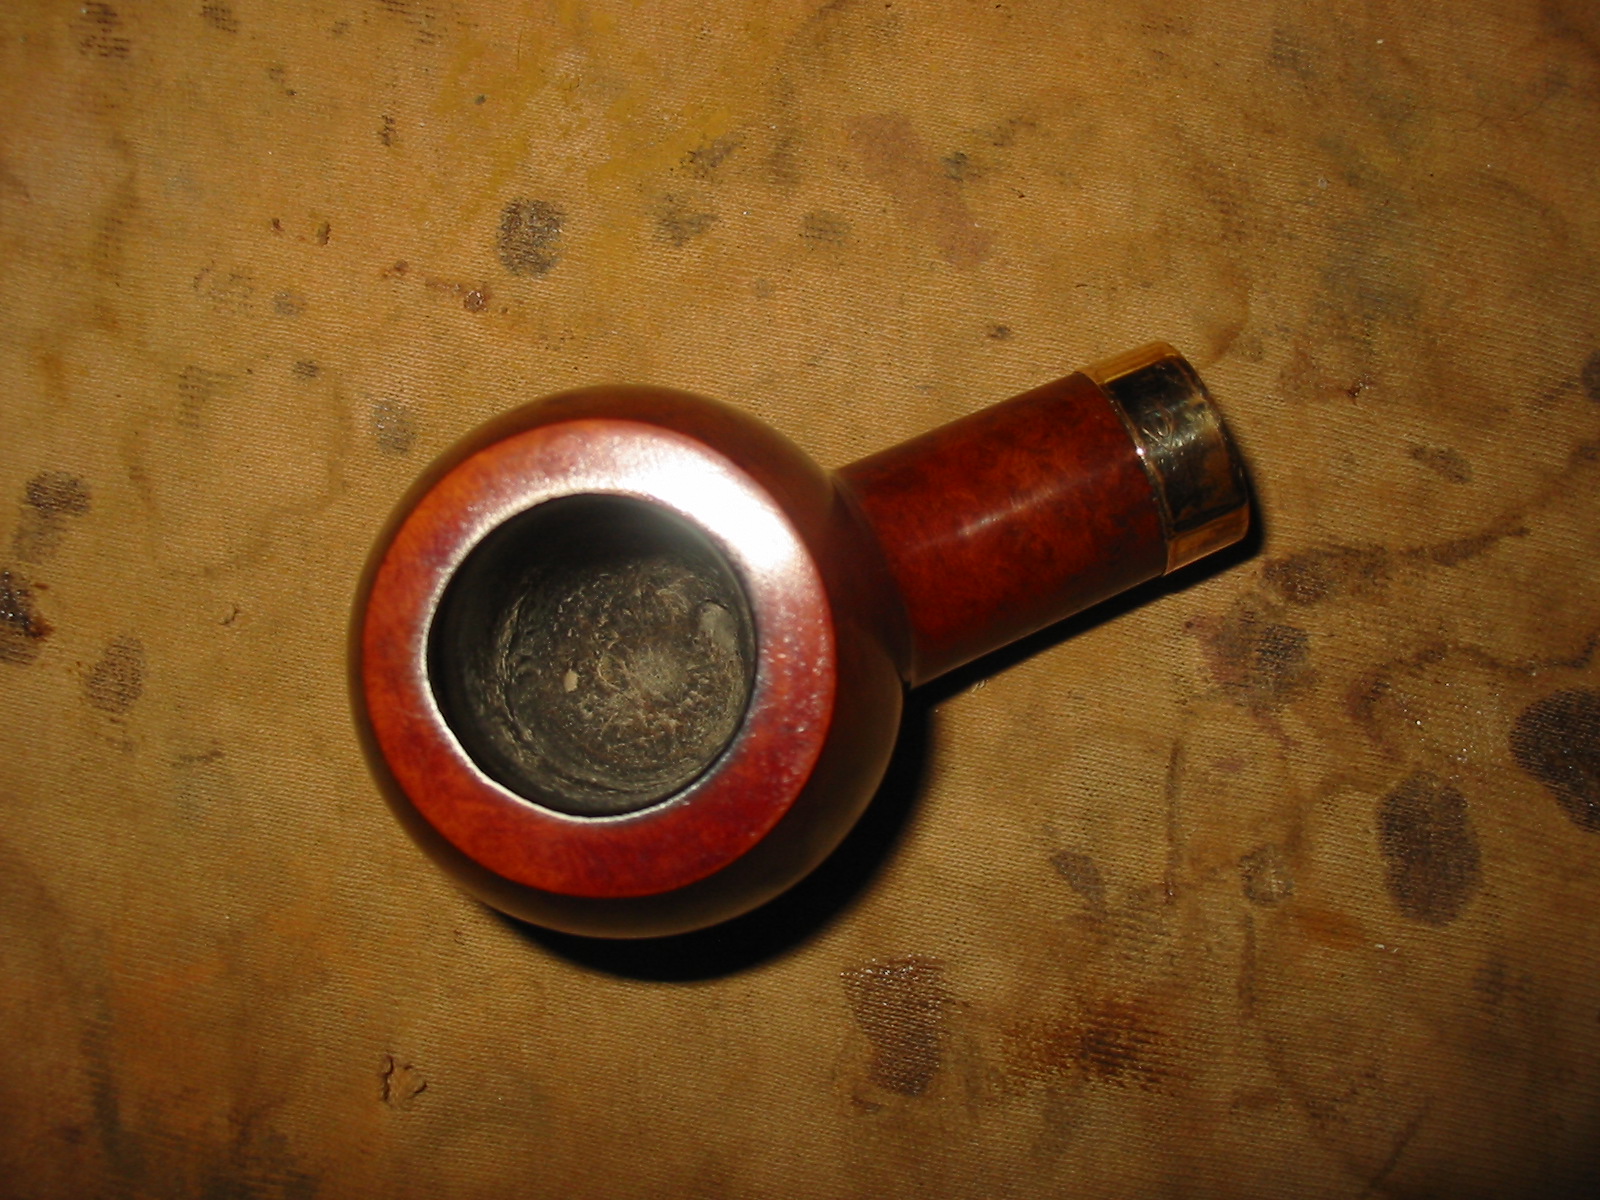
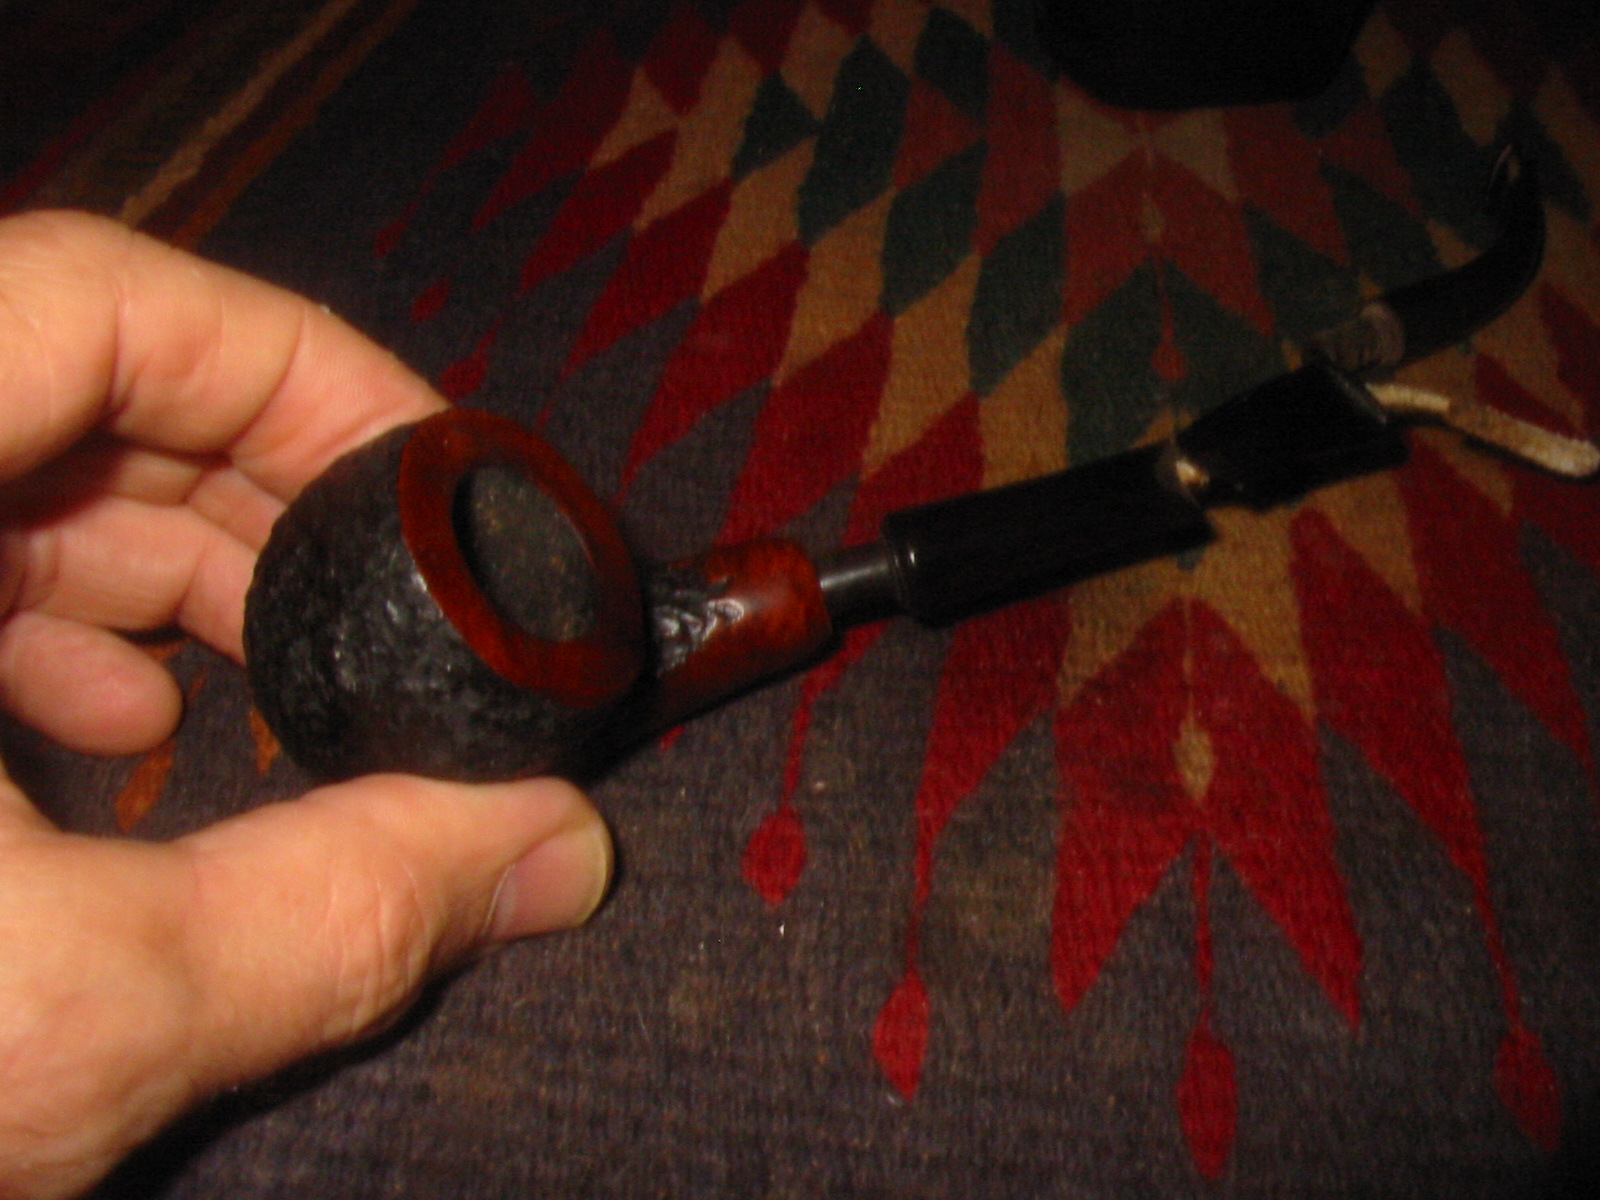
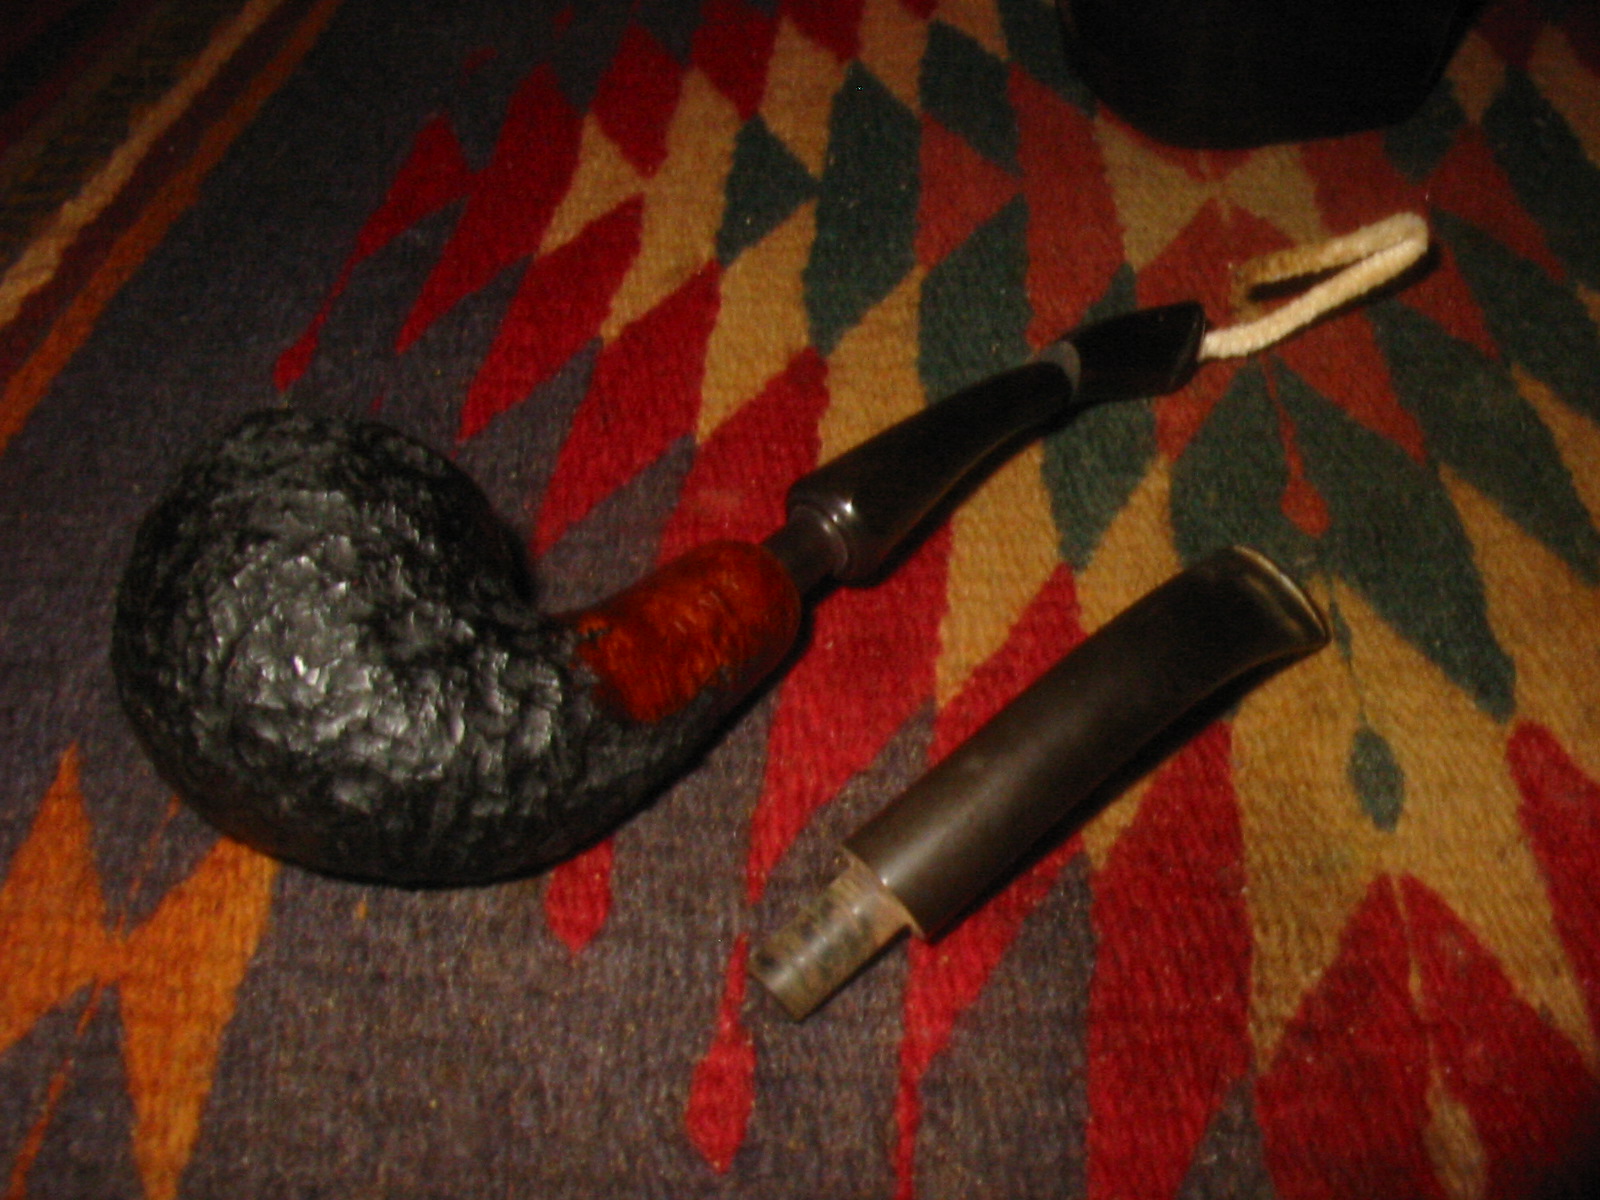
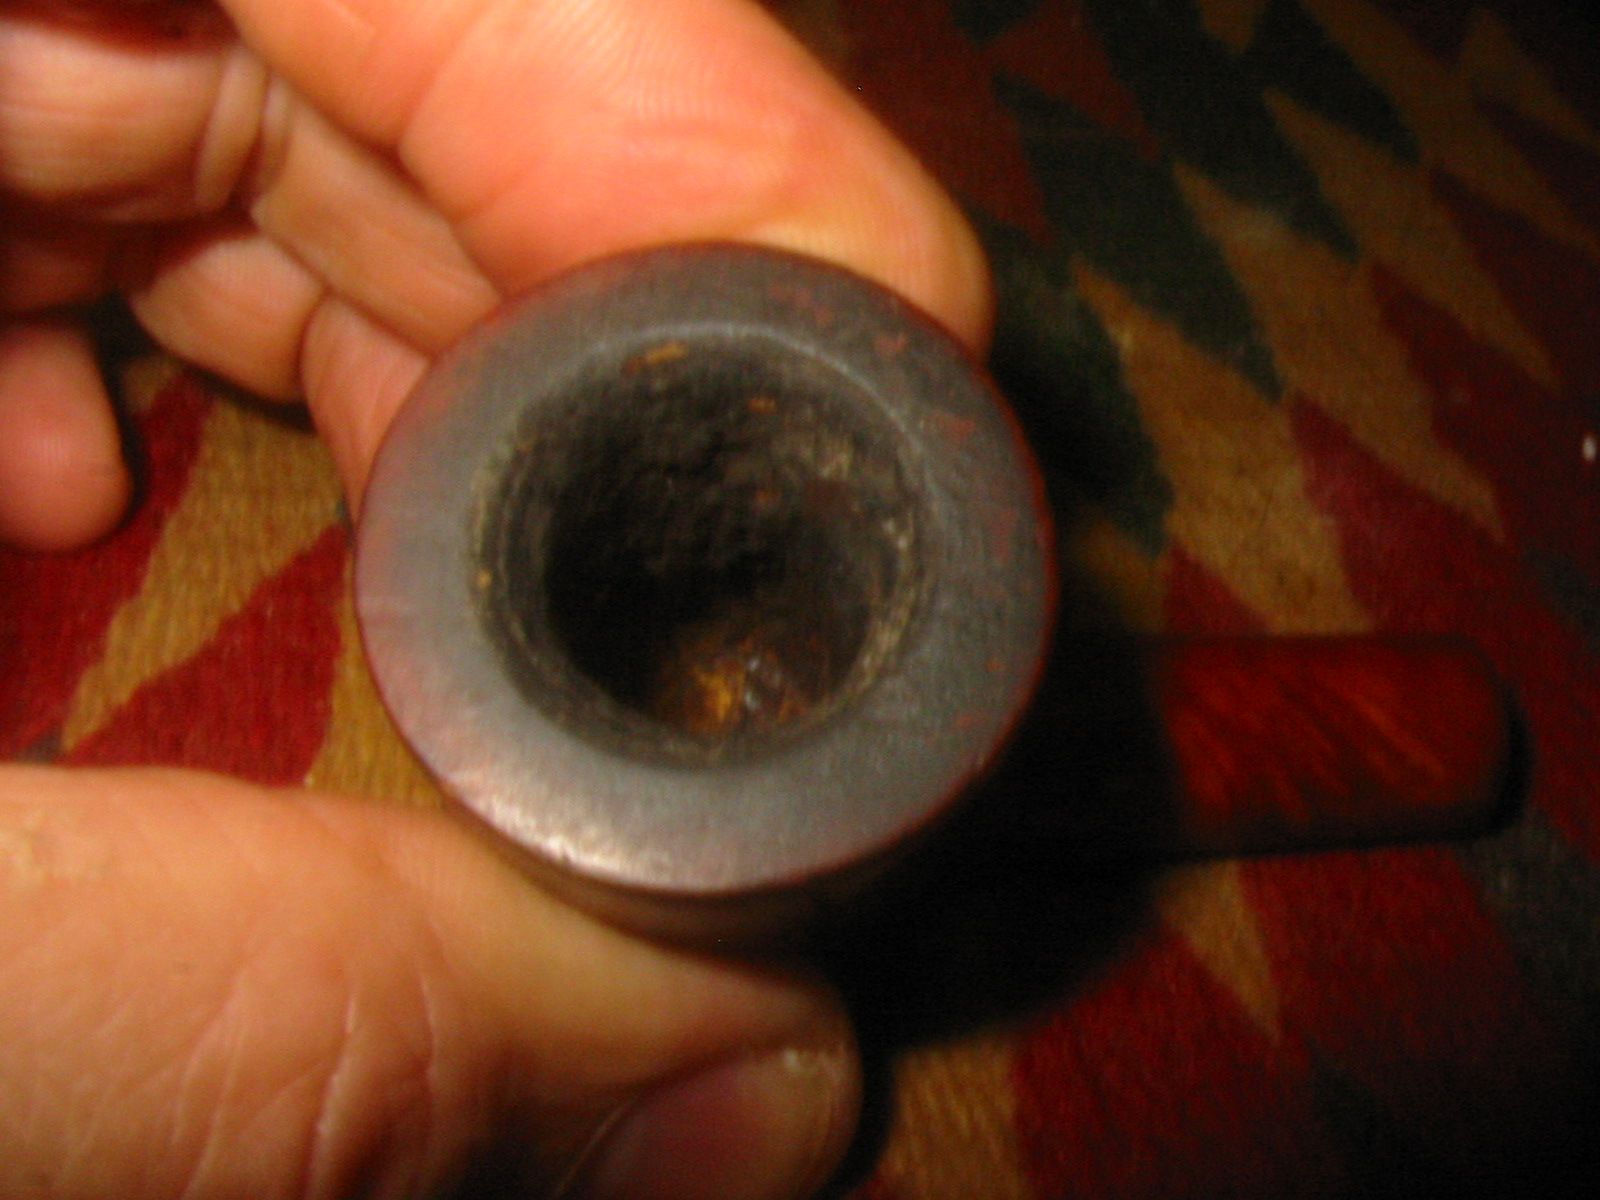
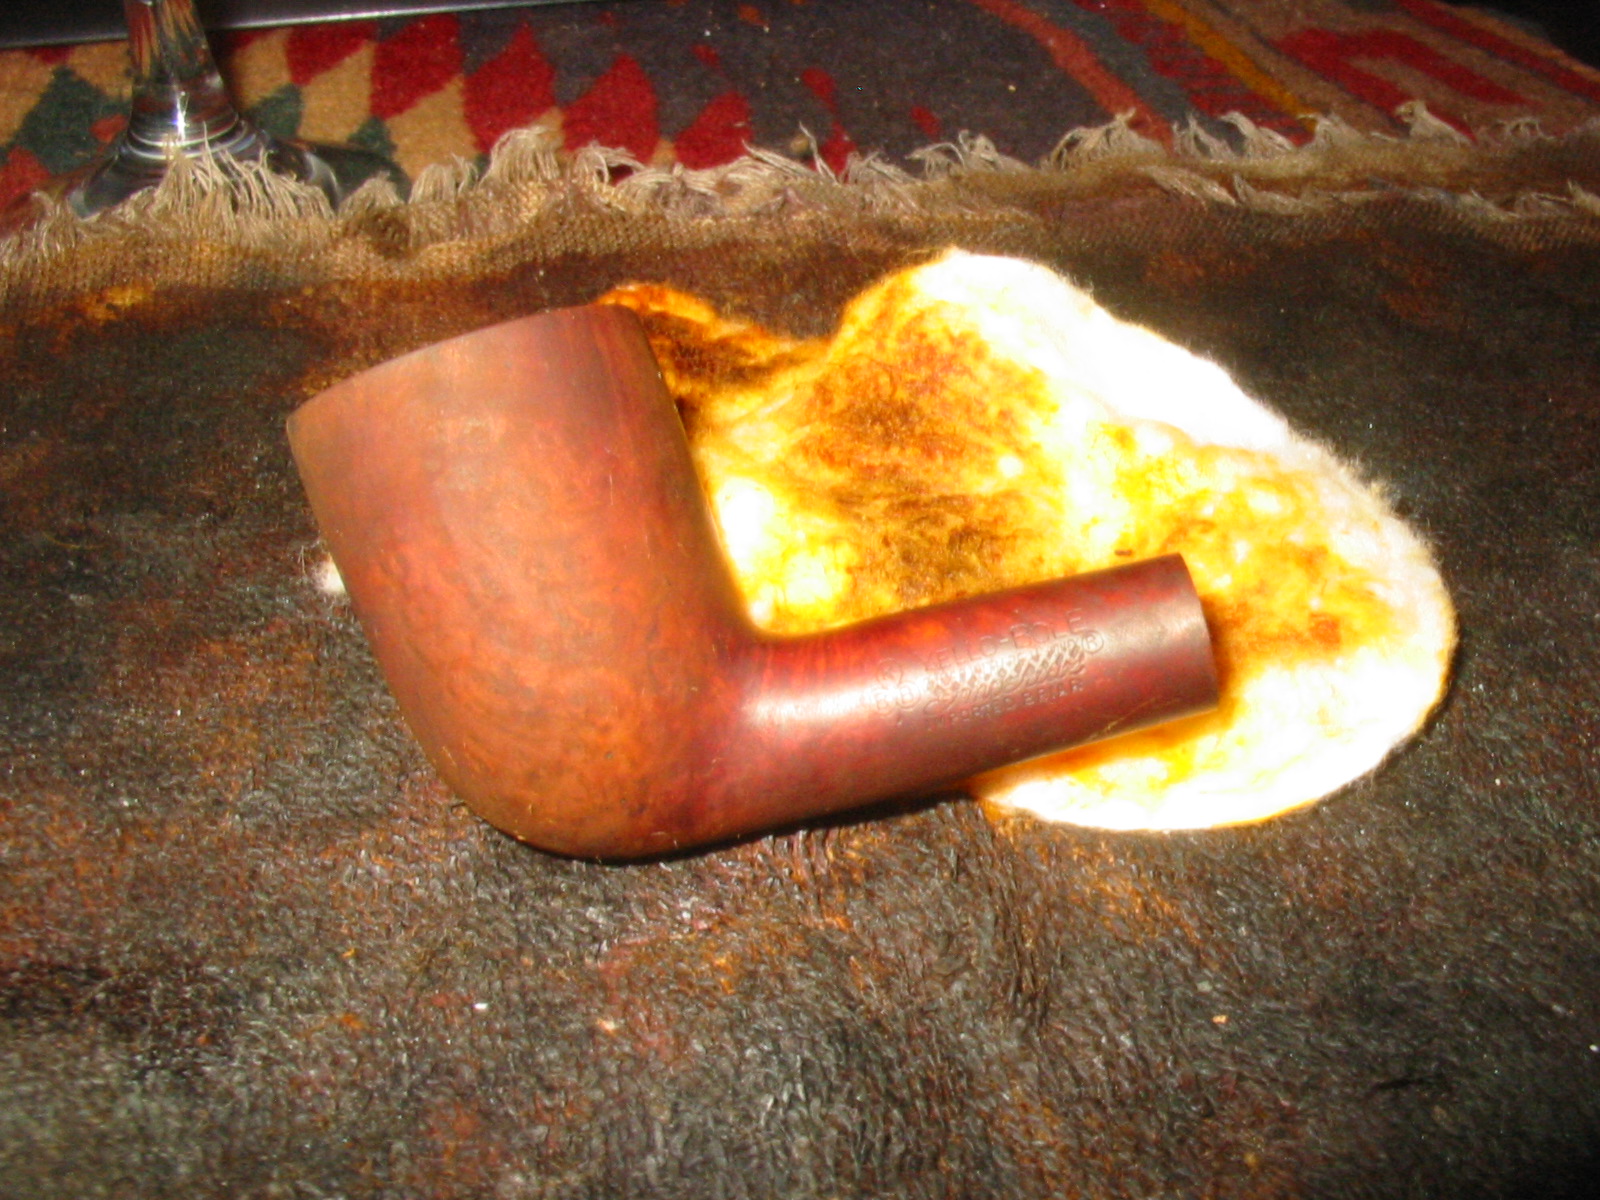
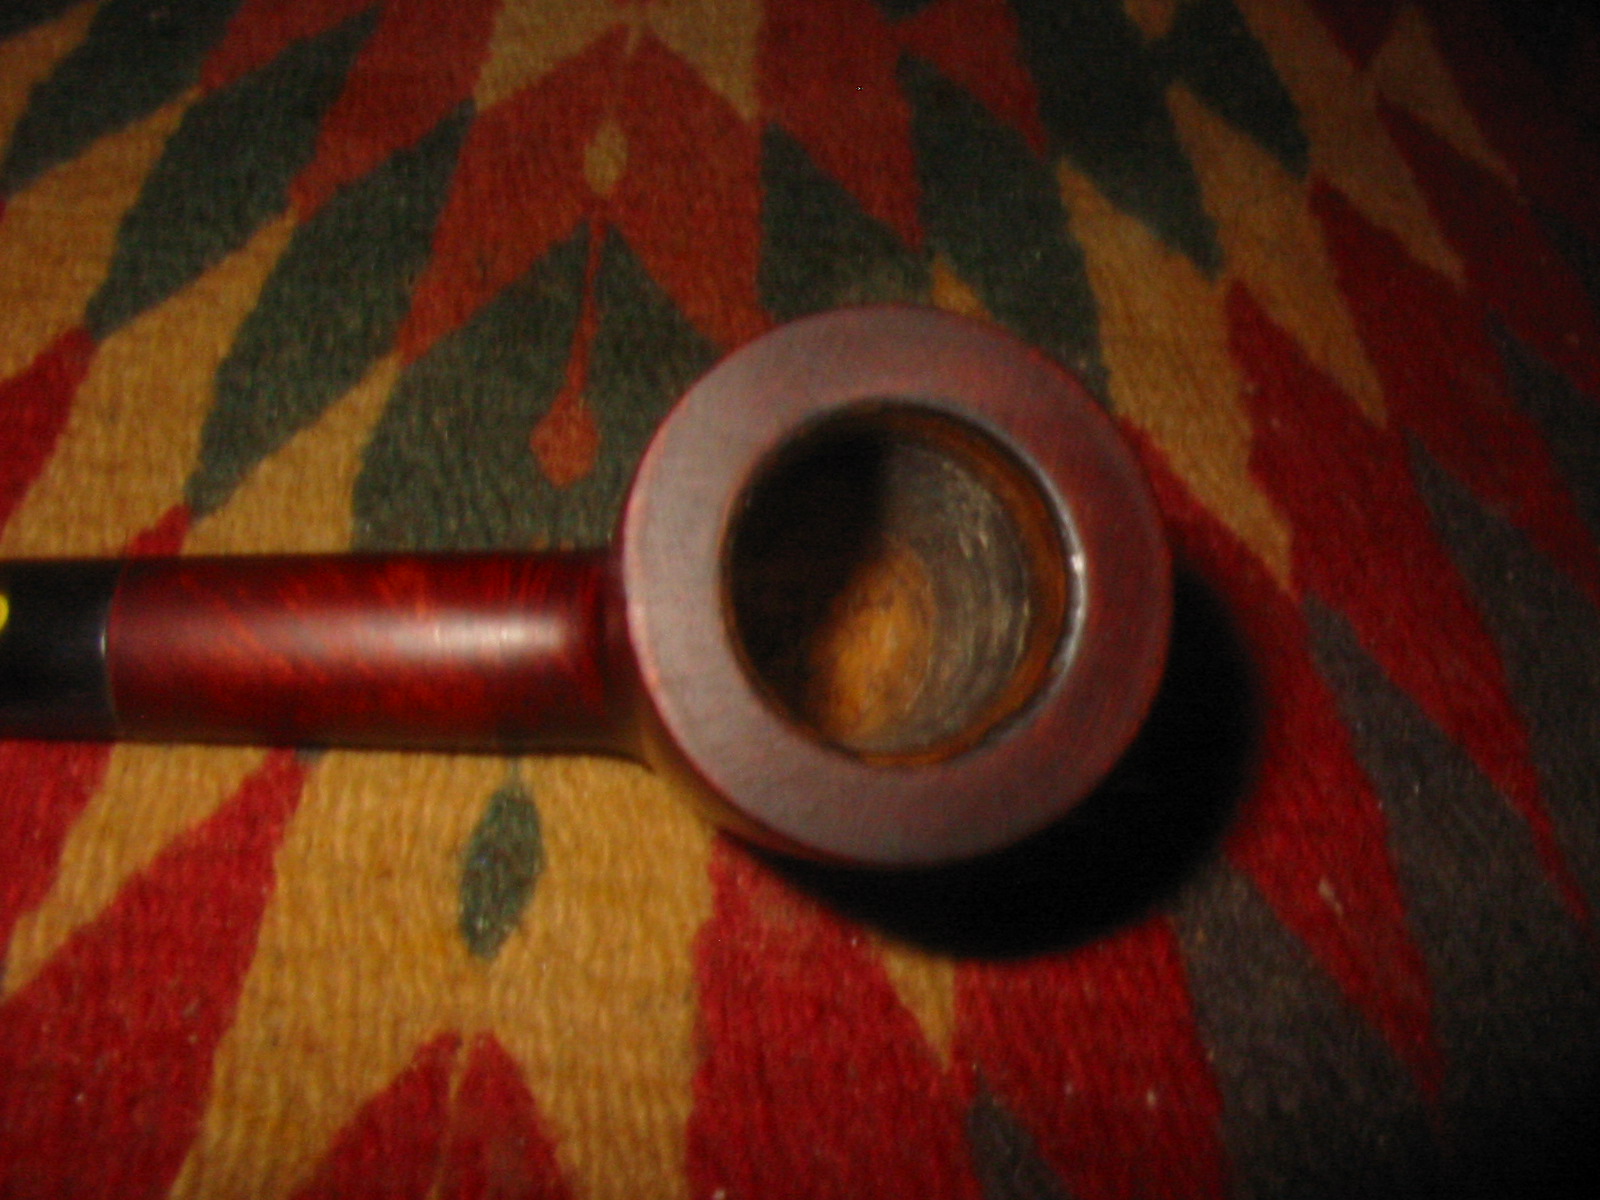
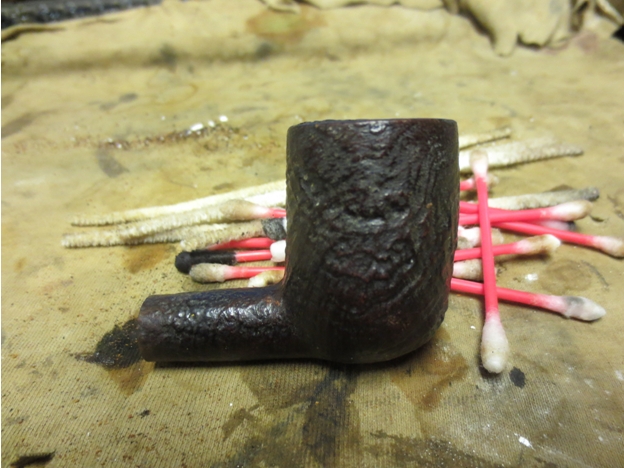
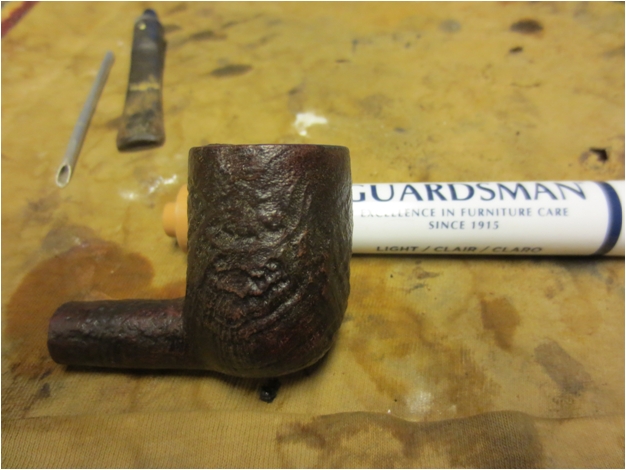
When it arrived I was pleased with the overall look of the pipe. The deep rustication reminded me of Castello Sea Rocks. The finish was worn and the stain was missing on some of the high spots on the rustication. The rustication on the rim was filled in with a buildup of tars and oils. The bowl had been reamed and was clean. The photos from the seller had an almost green tint in some portions of the bowl. I was glad to see that the finish did not have any mold problems. The interior of the shank was quite dirty. The threaded mortise was filled with black tars and oils. The stem had tooth chatter on the top and bottom near the button but there were no tooth marks or dents that were deep in the surface. The fit of the stem to the shank was clean and tight. I am not sure whether the threaded tenon actually is to remain in the shank or the stem. I was unable to remove it from the stem so it acts like a threaded tenon fixed to the stem. The tenon had the same black buildup around the base of the piece and the threads had the same. The pipe was in fair shape and needed a thorough cleanup. The pipe smelled strongly of aromatic tobaccos.
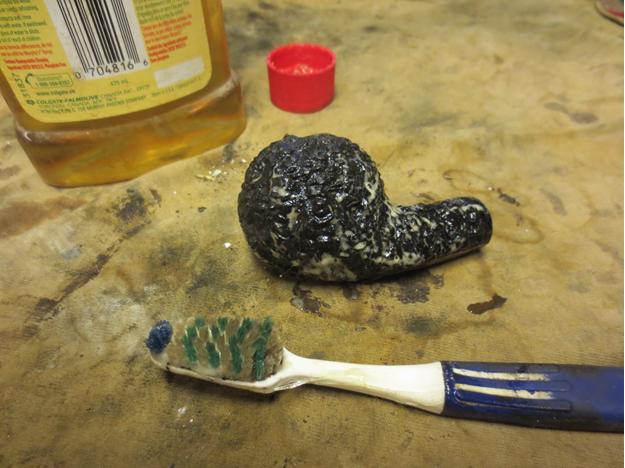
I began the cleanup by scrubbing the exterior of the pipe with a tooth-brush and Murphy’s Oil Soap. I used it undiluted and scrubbed until the soap was dark. I picked the buildup on the rim with a dental pick and cleaned out the grooves there. I rinsed it with lukewarm running water to remove it from the nooks and crannies of the finish. 
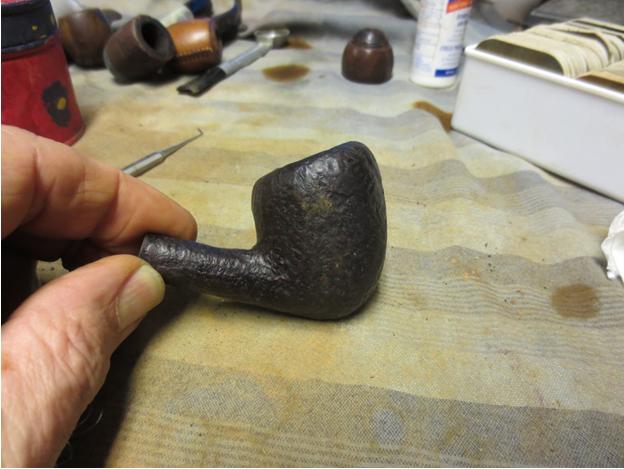
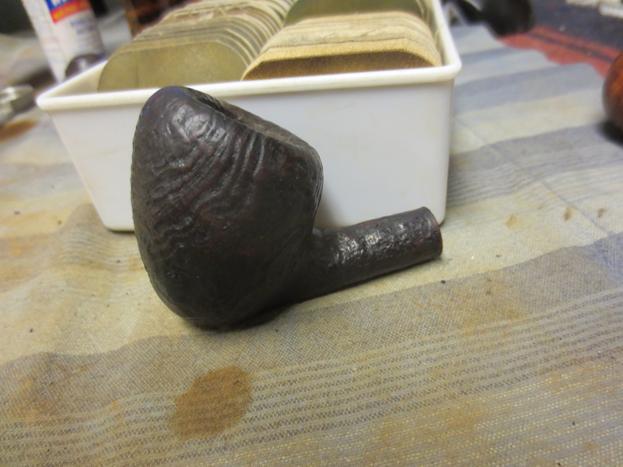
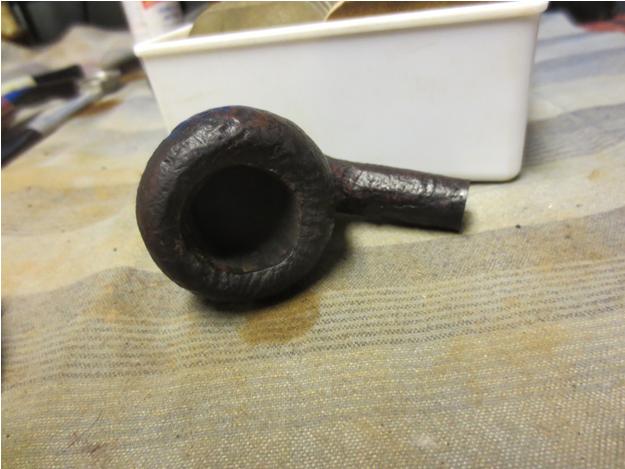
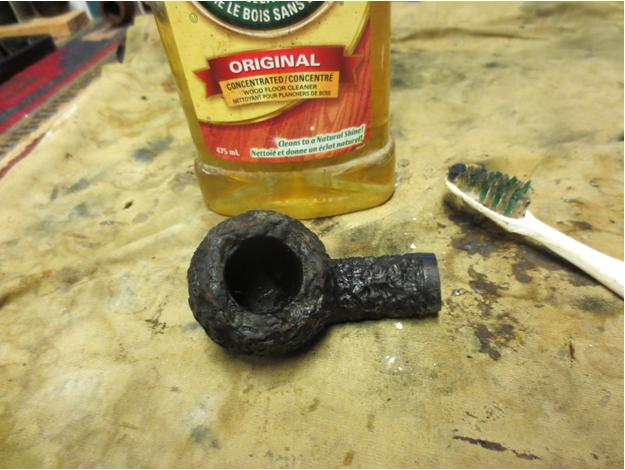
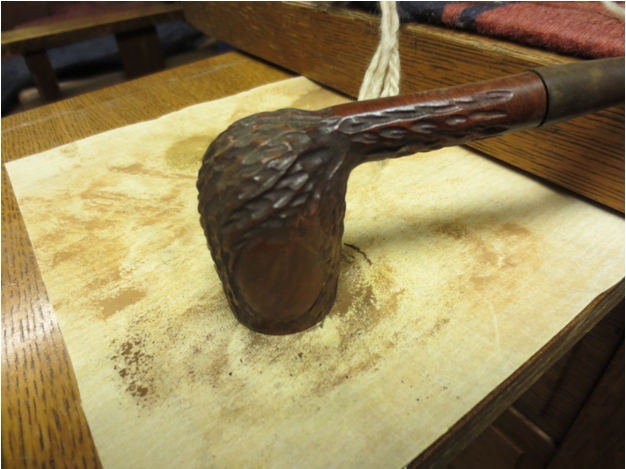
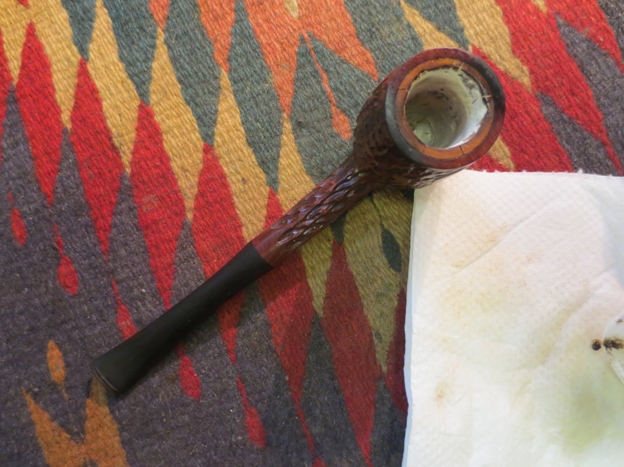
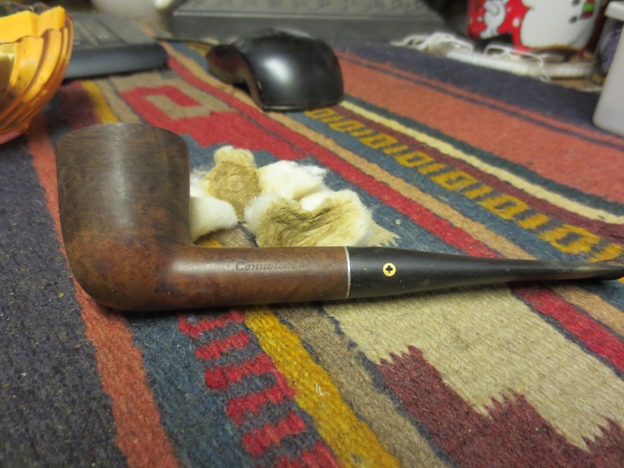
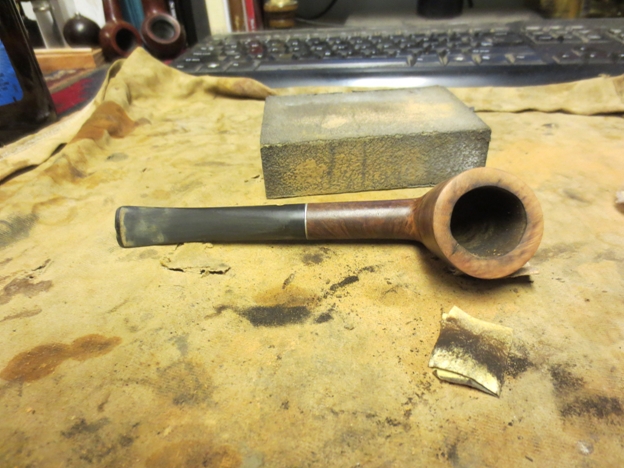
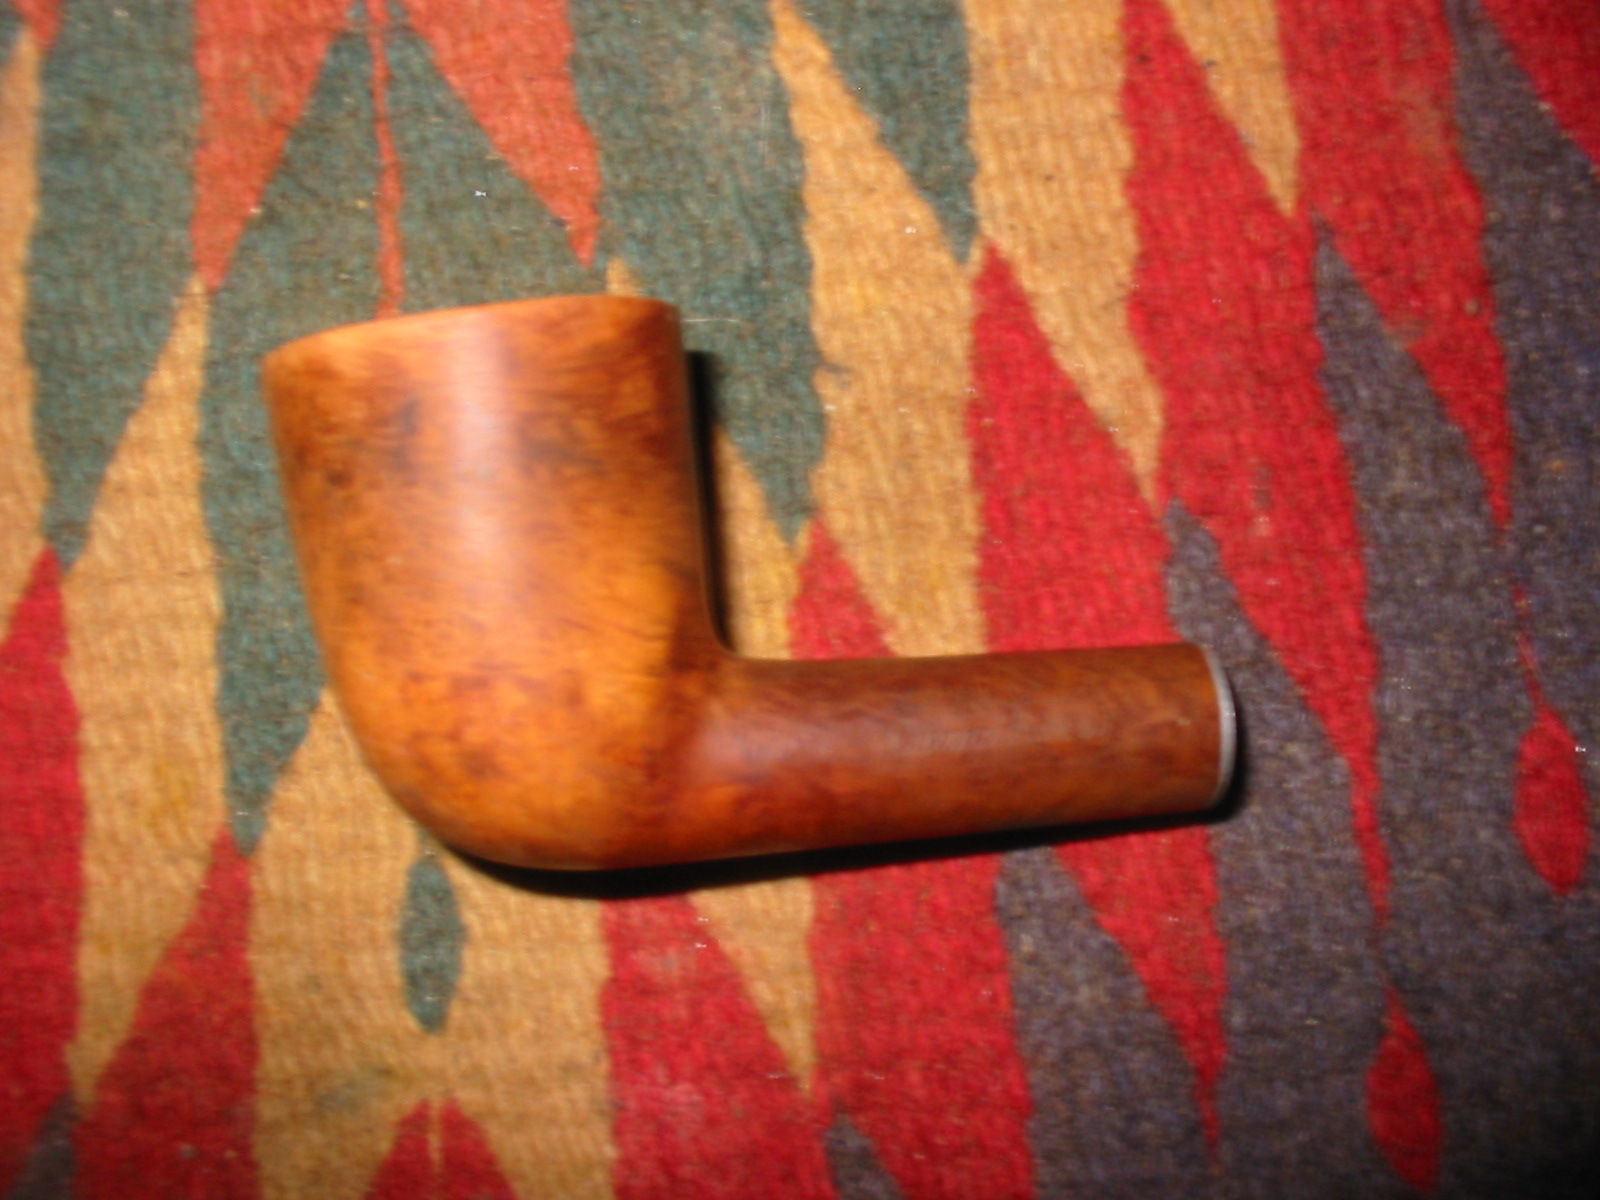
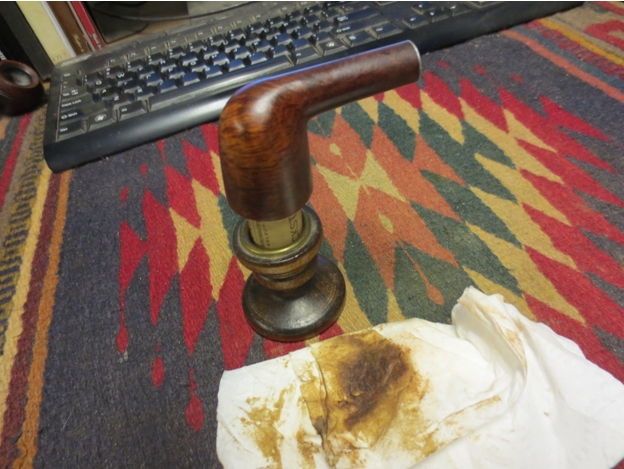
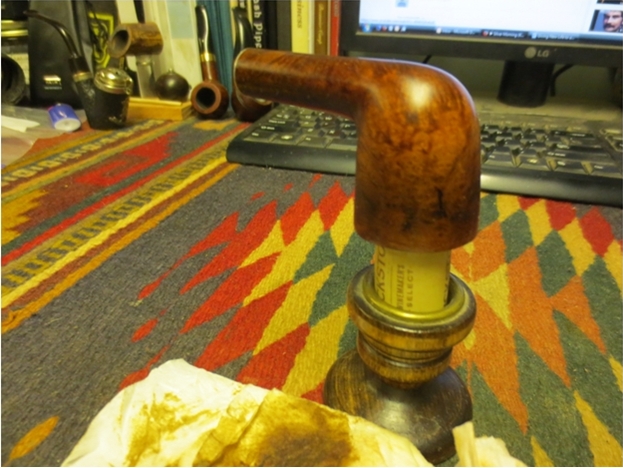
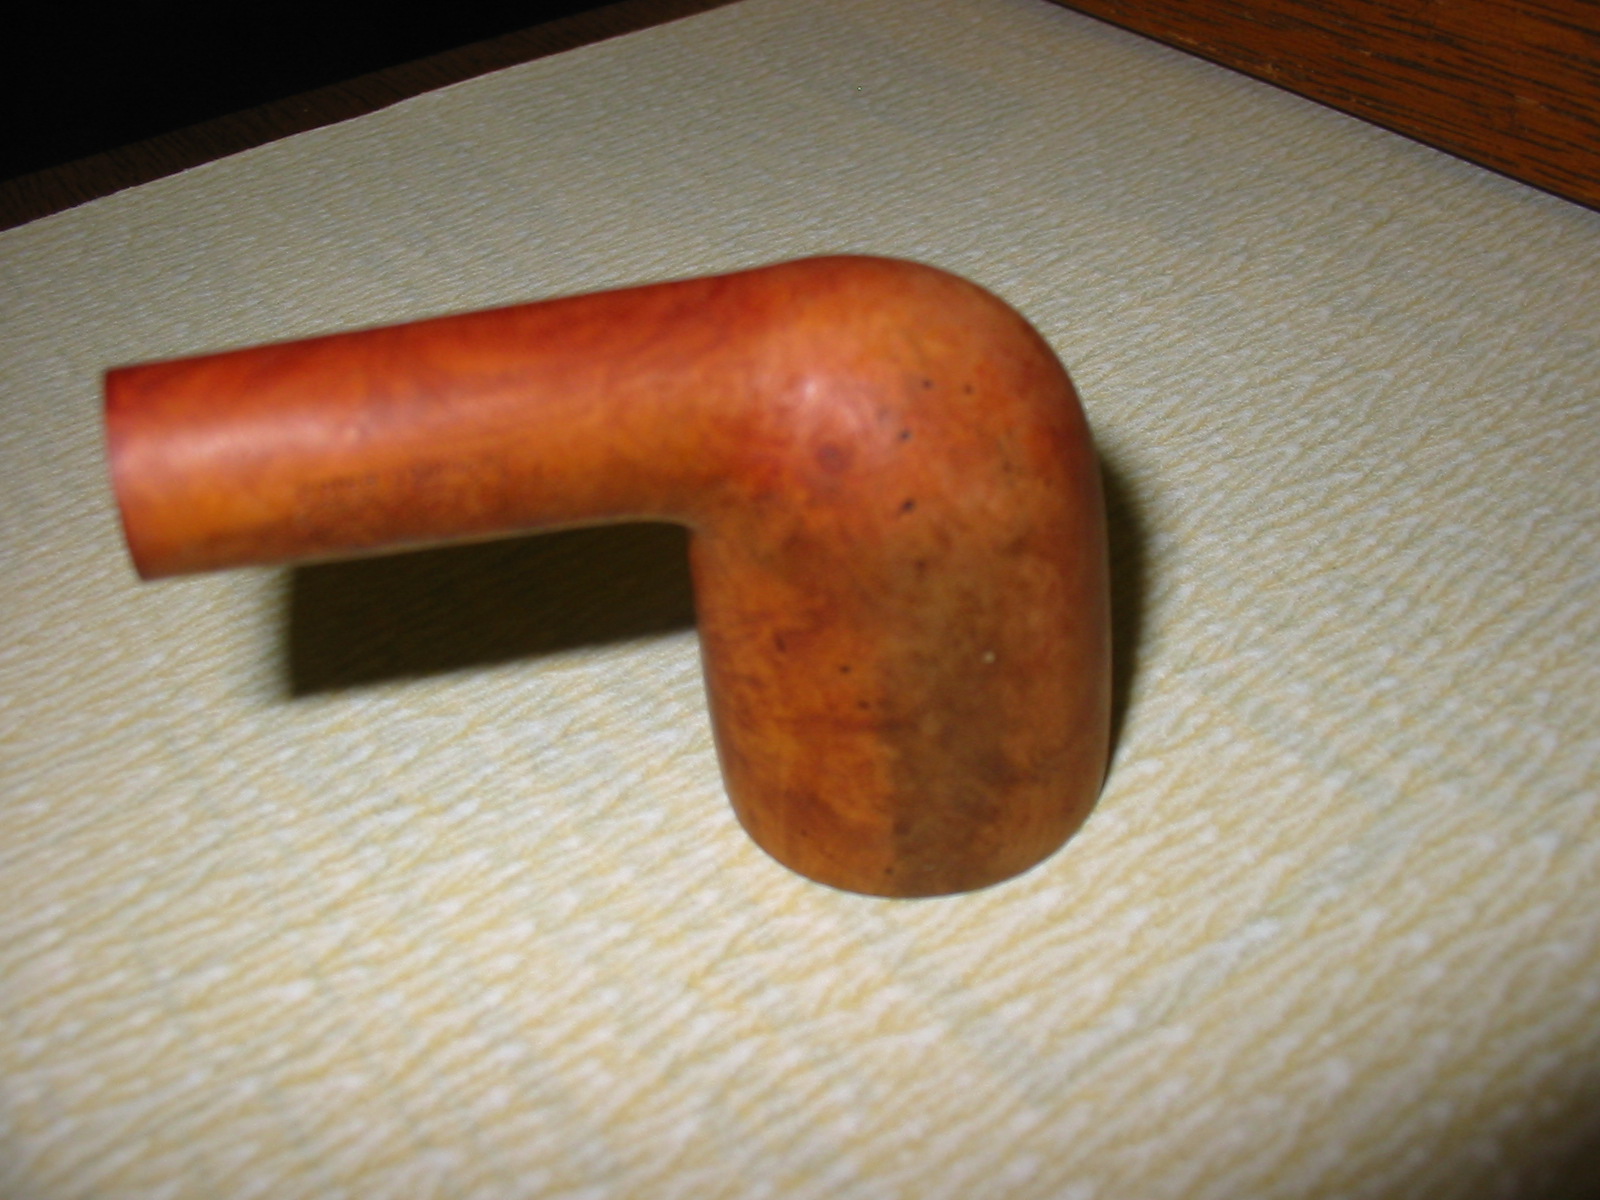
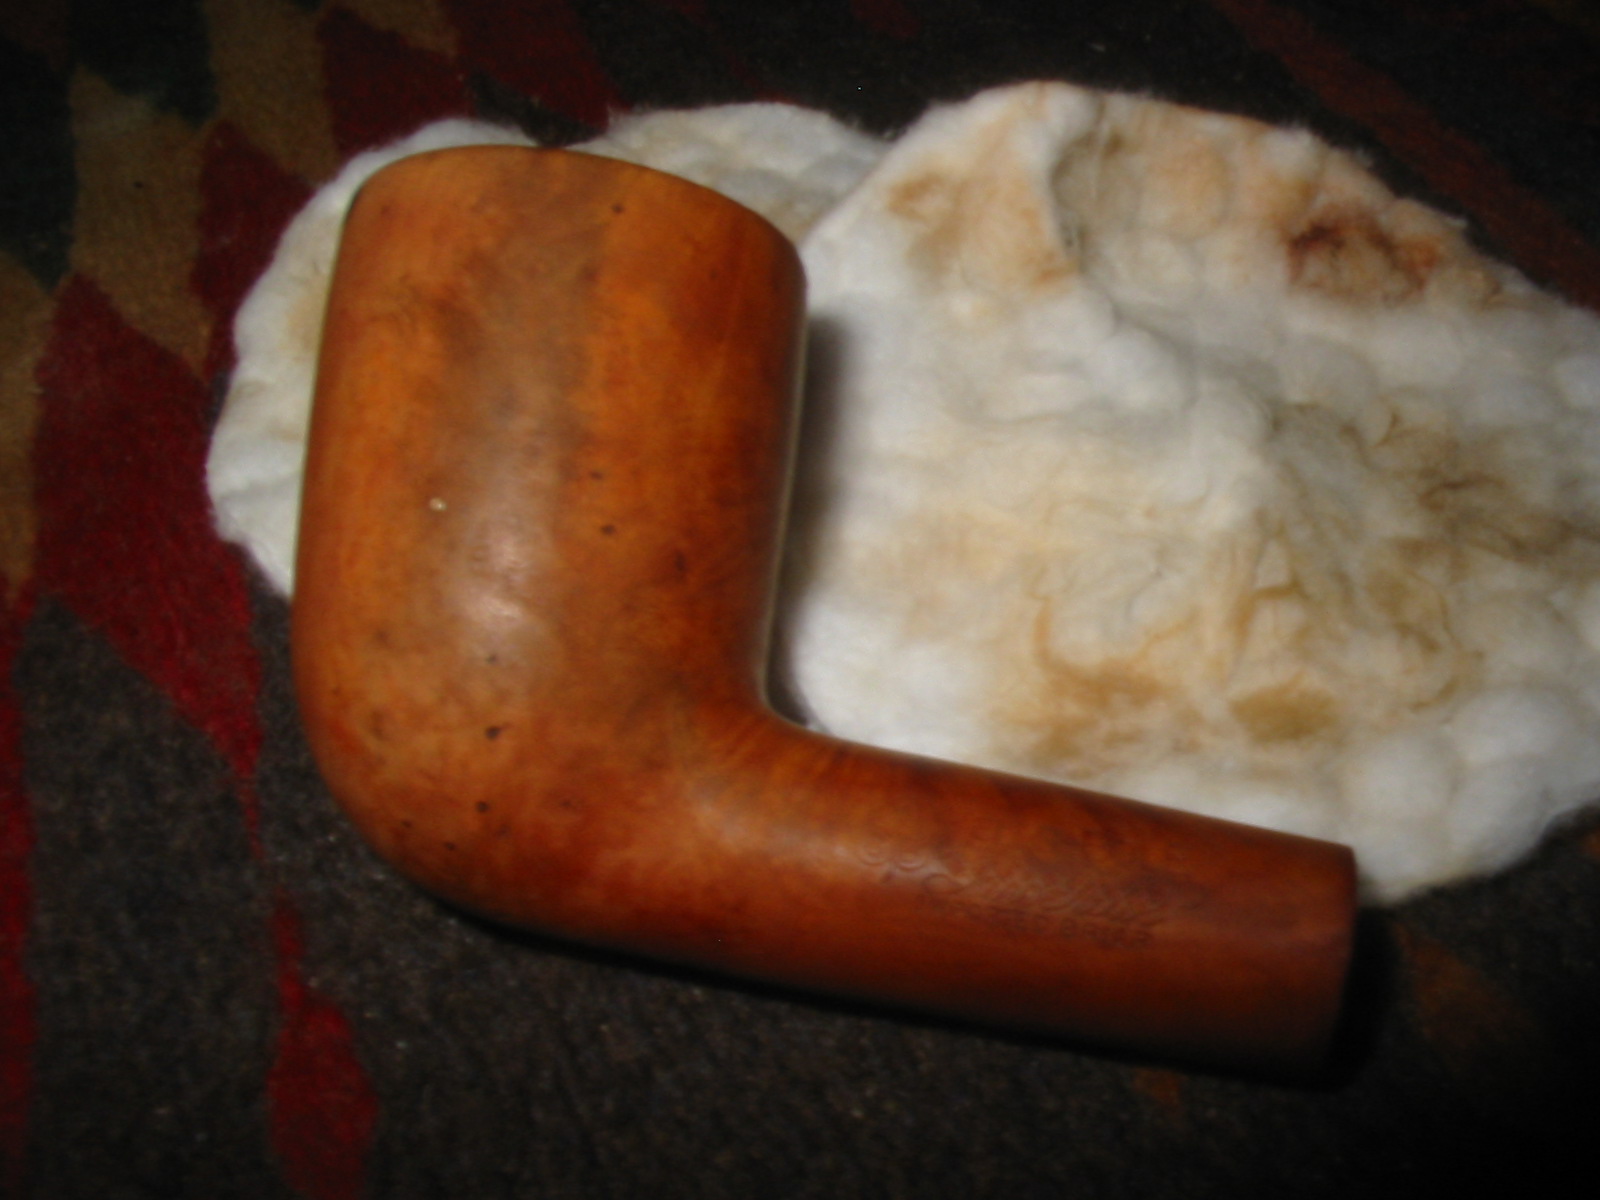
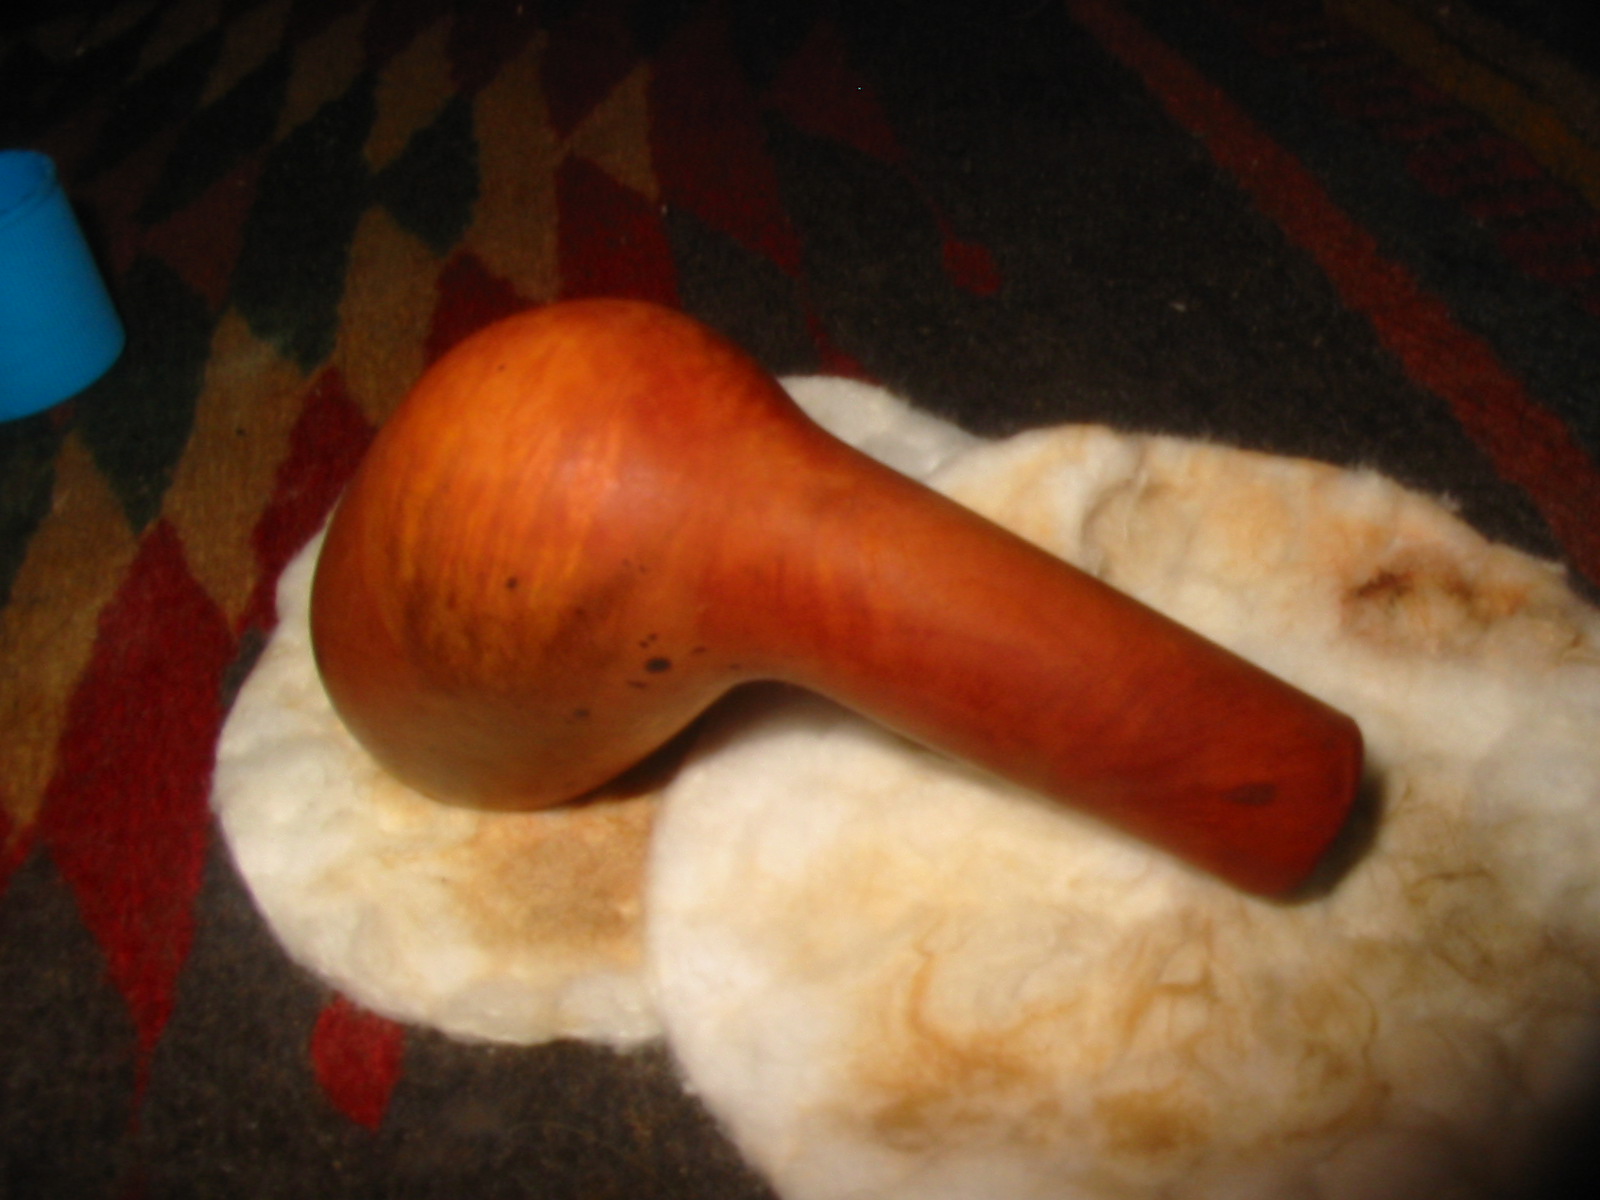
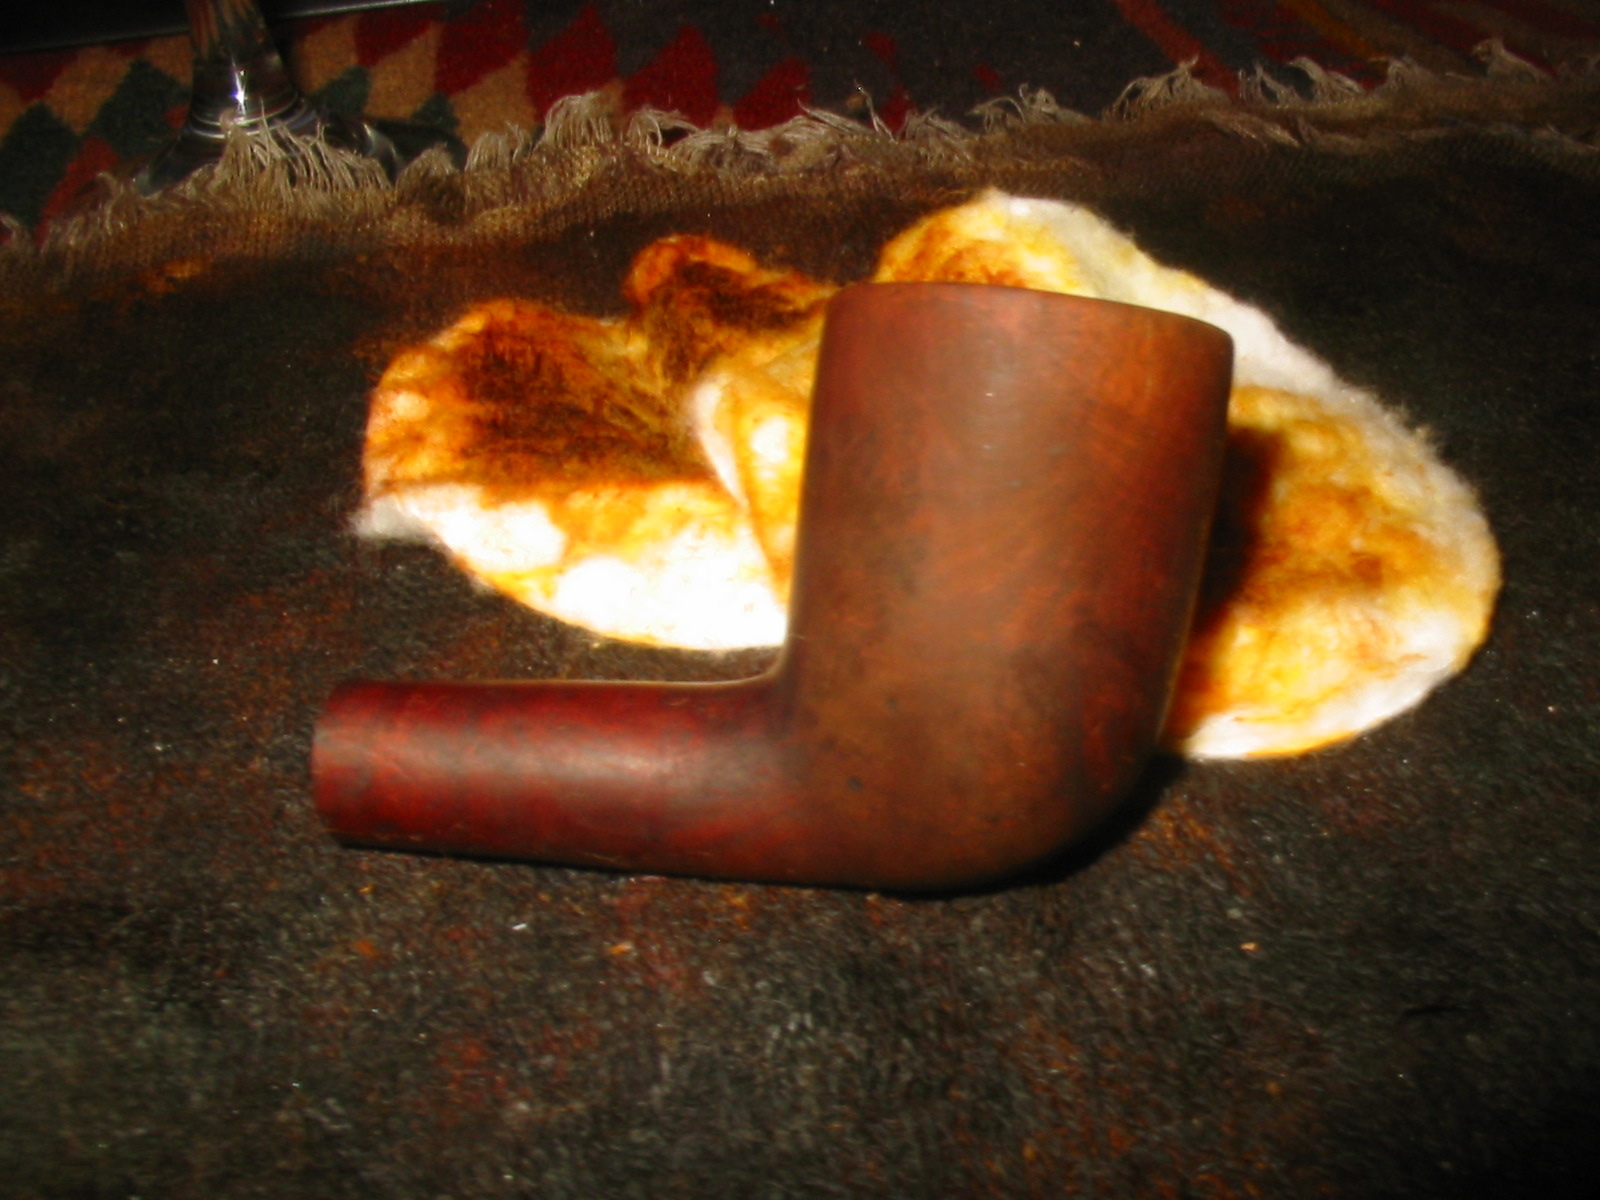
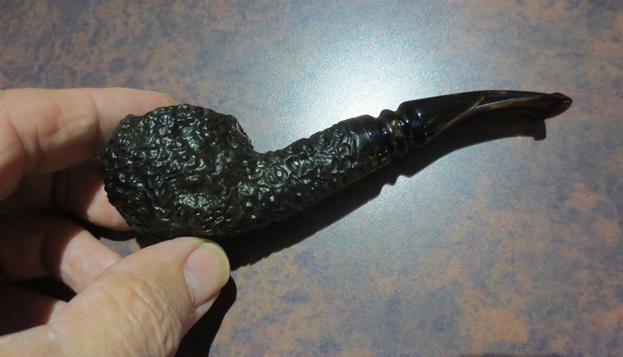
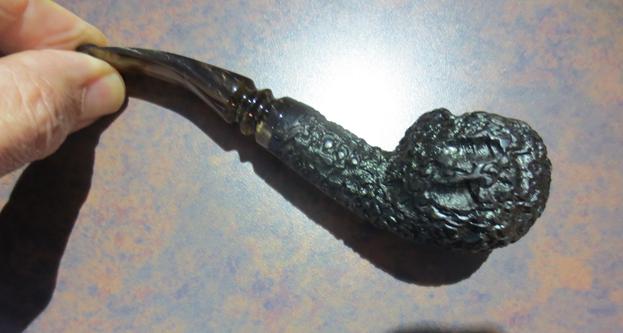
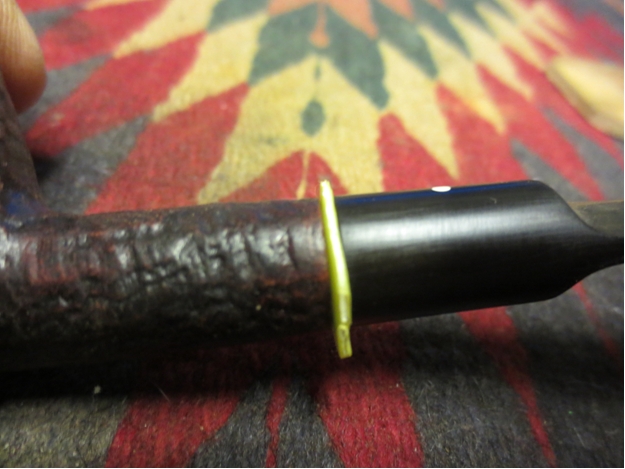
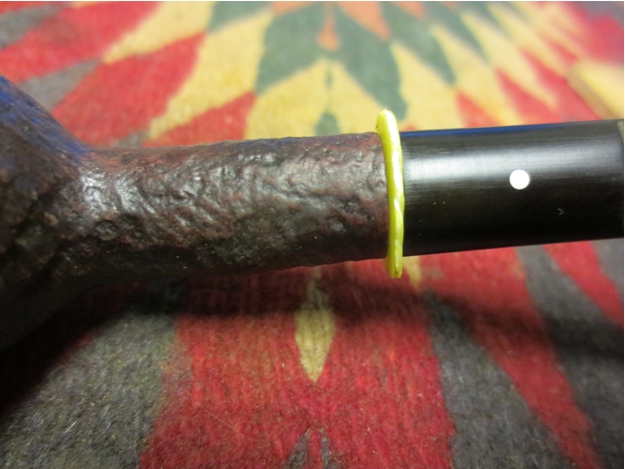
 Once it was rinsed off I dried it with a cotton towel. The state of the finish is shown in the next three photos. There are spots where the stain is gone but the finish is very clean and ready to be stained.

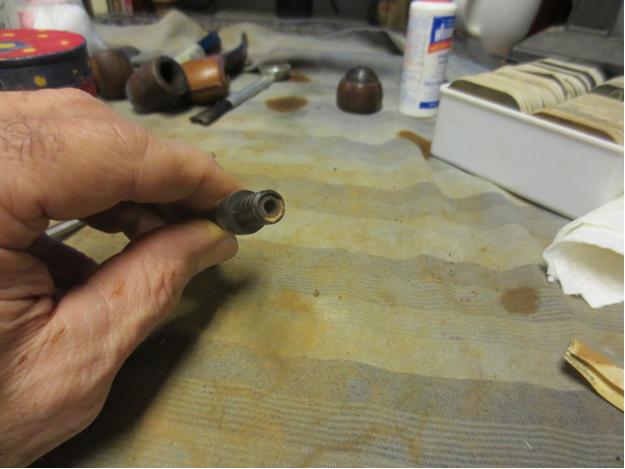
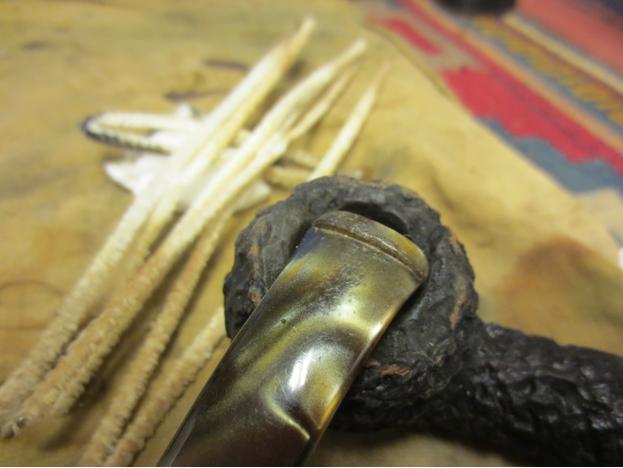
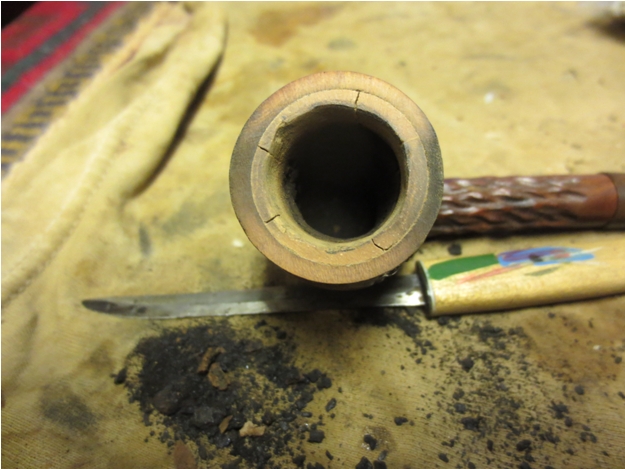
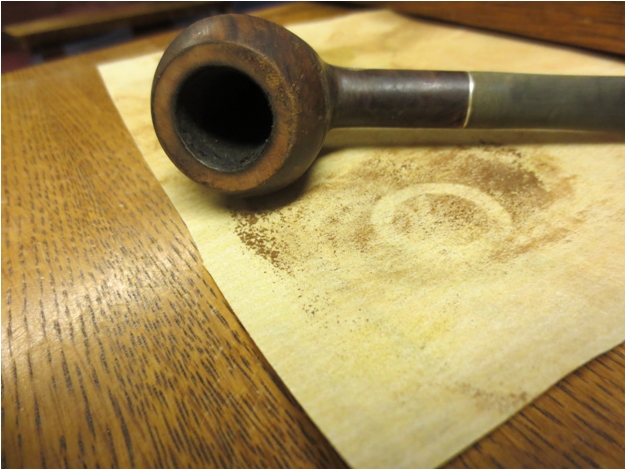
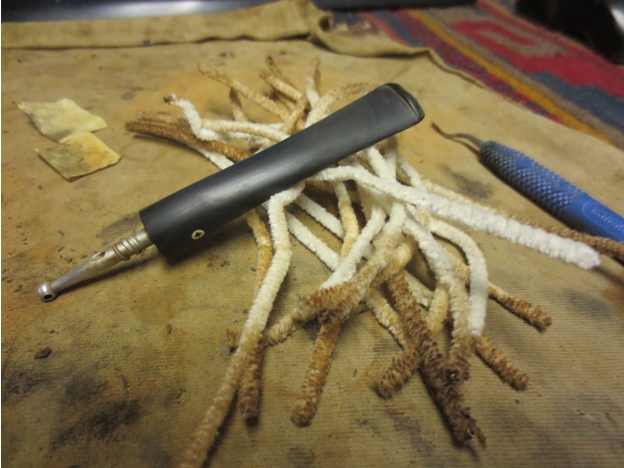
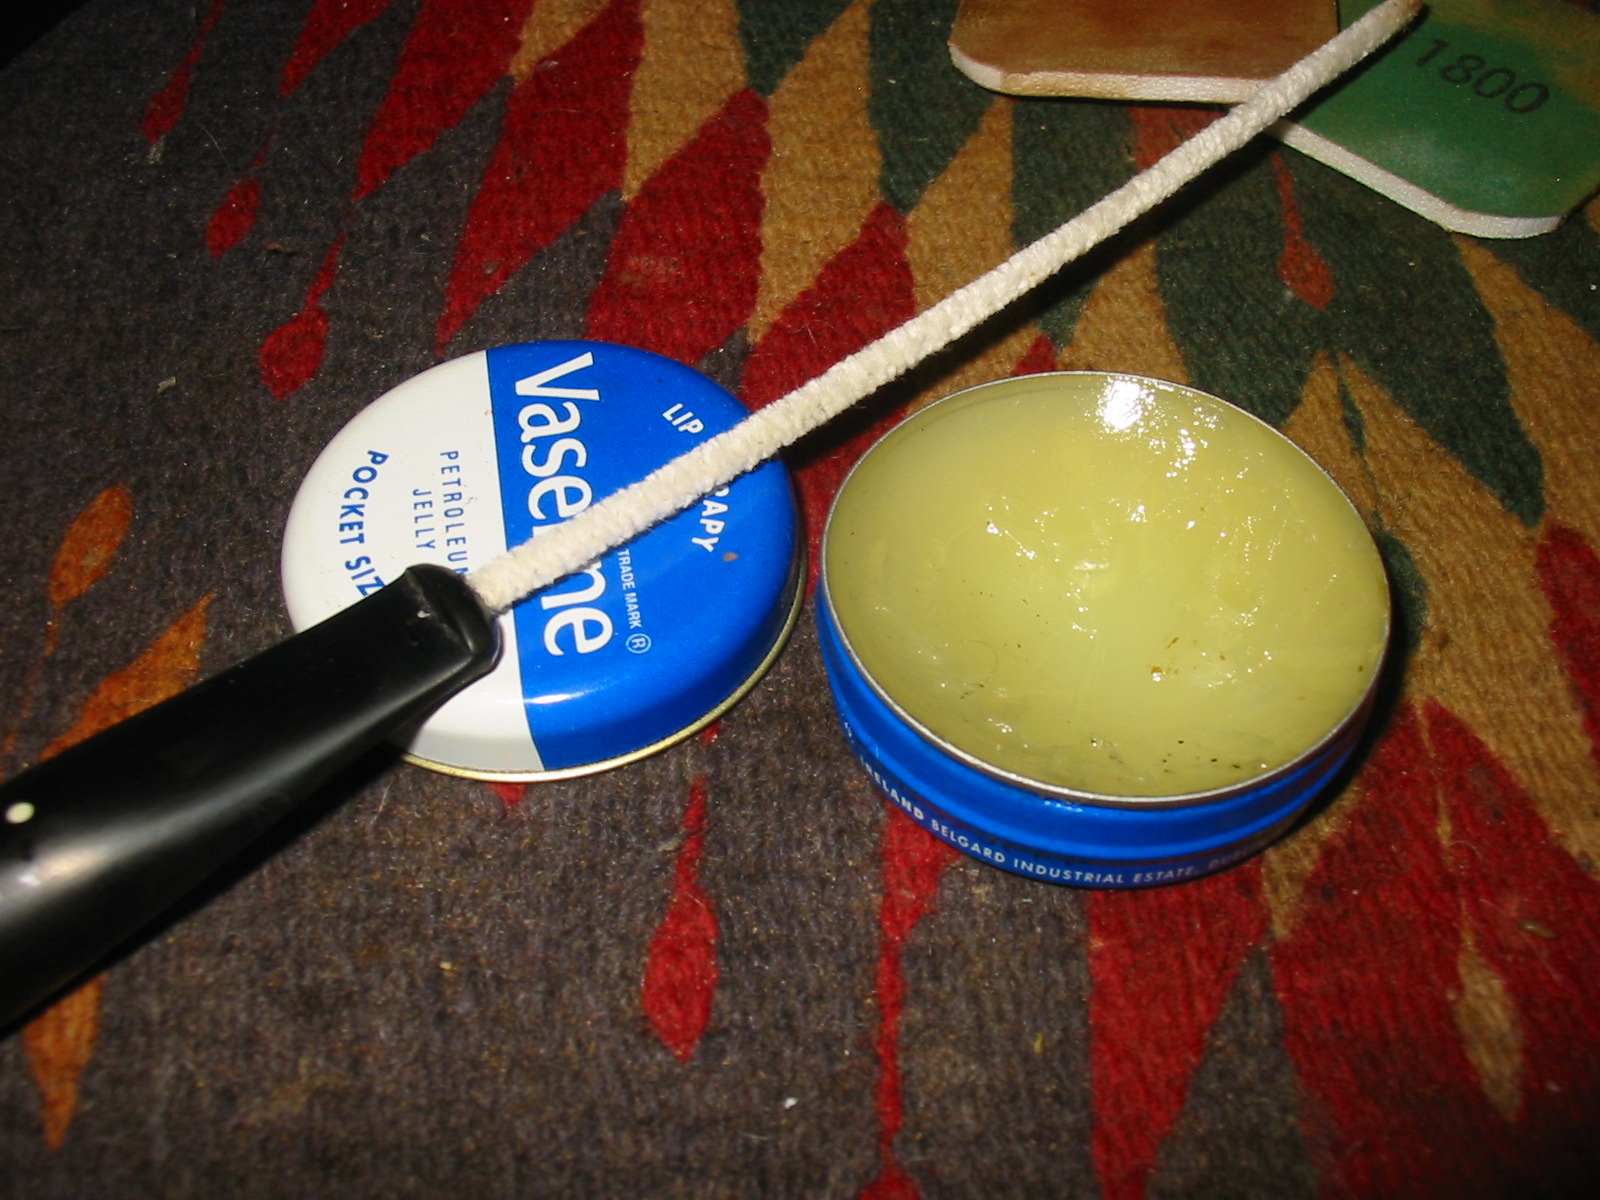
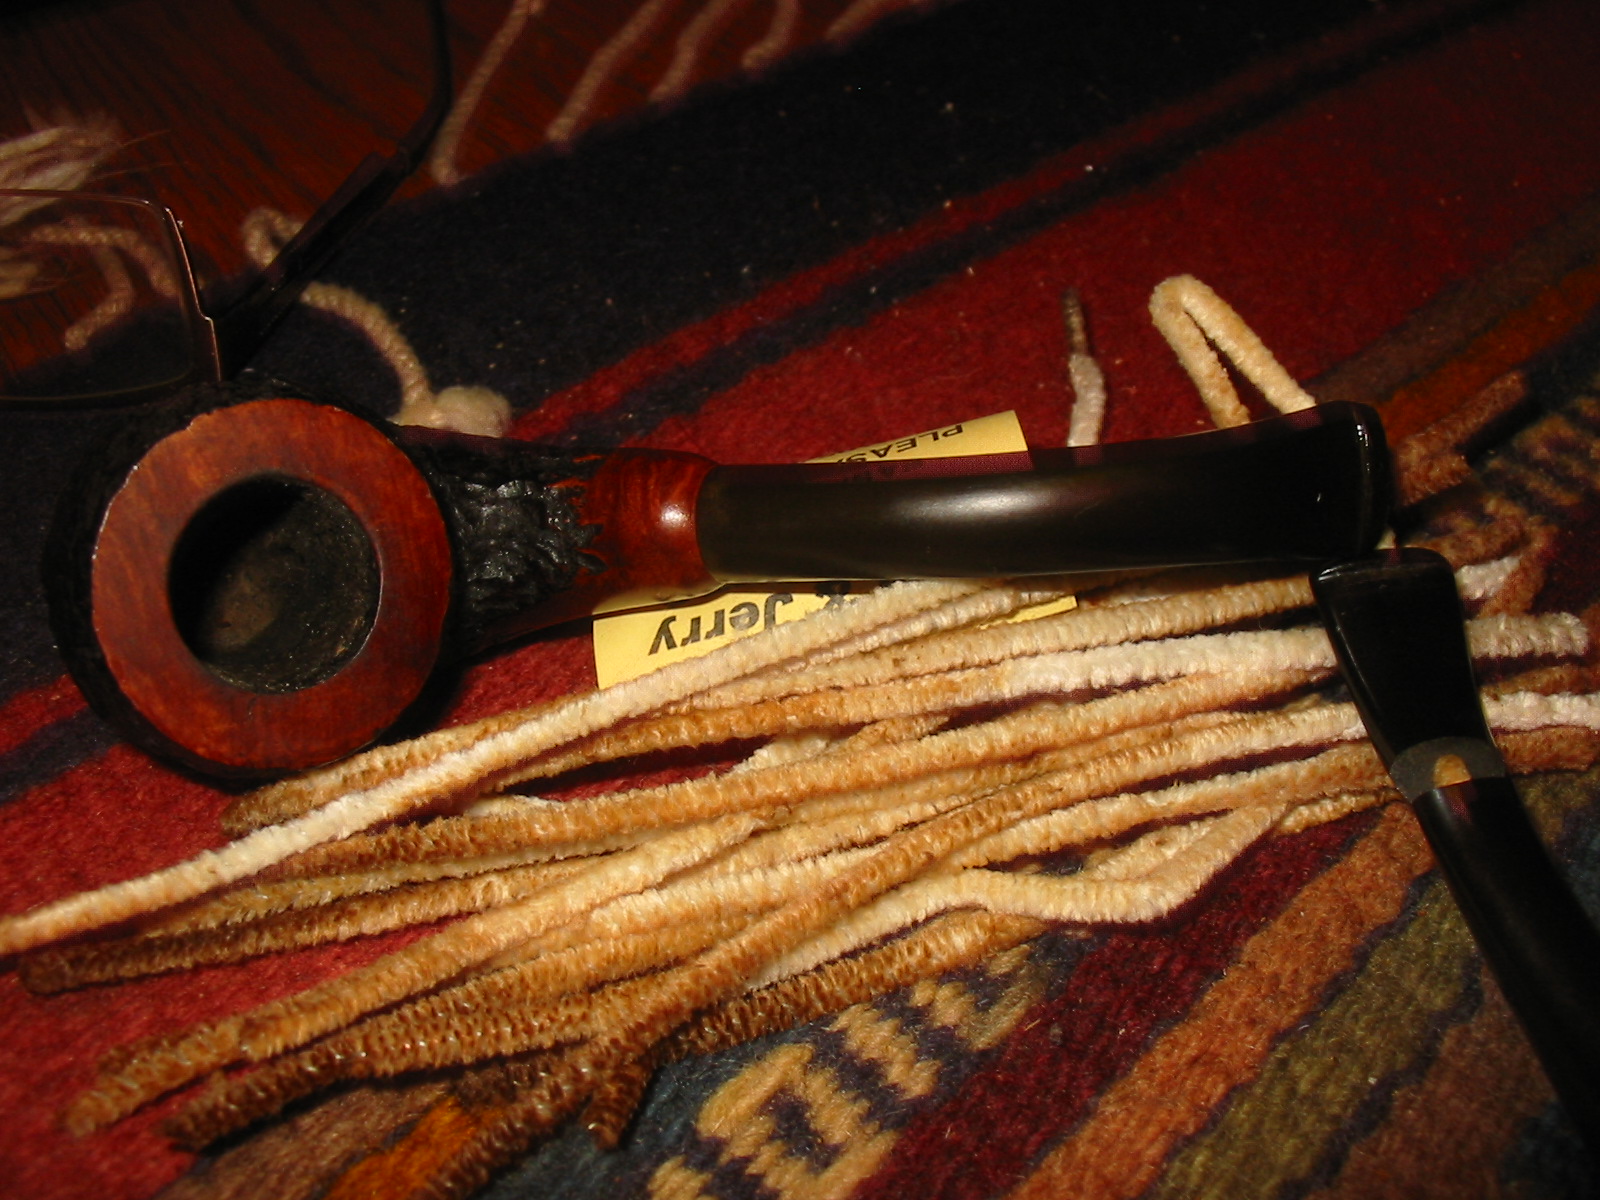
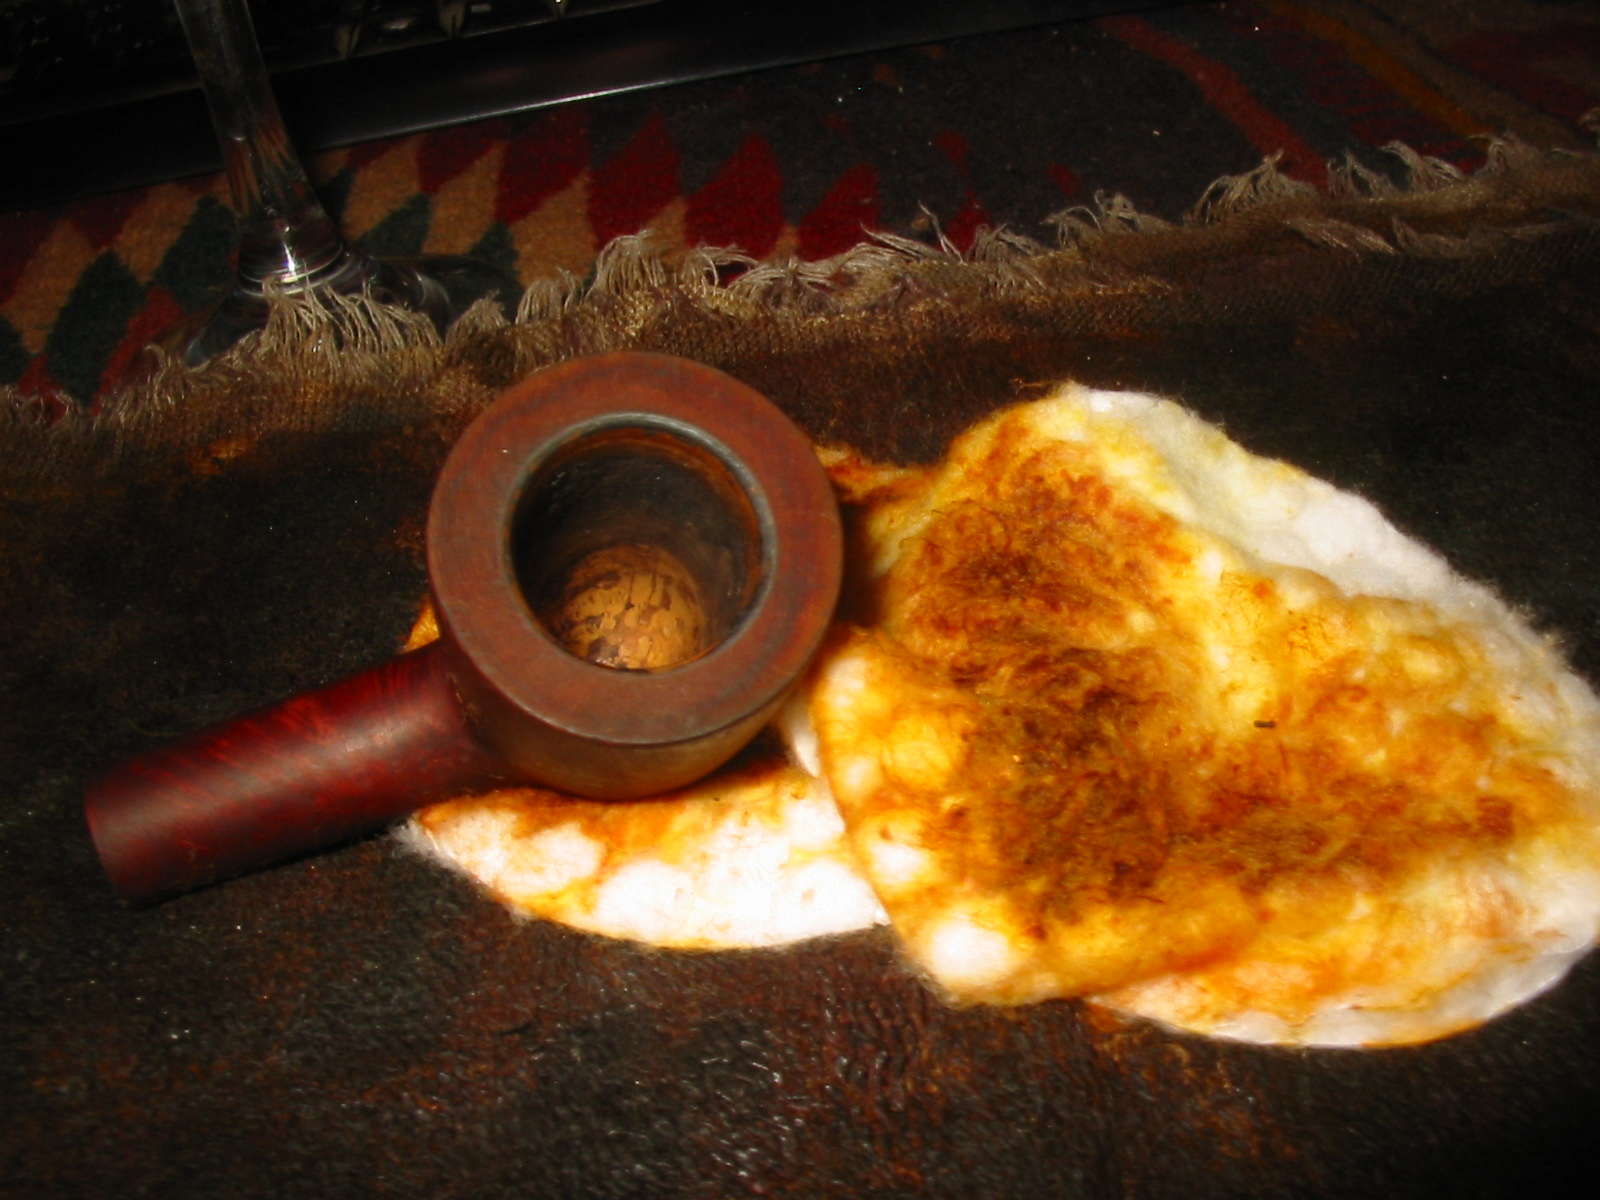
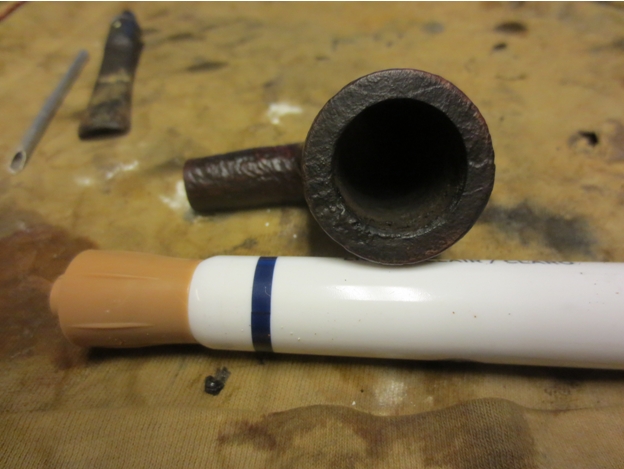
 I cleaned out the internals of the bowl and shank with pipe cleaners, cotton swabs and isopropyl alcohol. I scrubbed out the threaded mortise with the cotton swabs and alcohol until they came out clean. The airway ahead of the threaded mortise was scrubbed with pipe cleaners. I also gave the stem an initial cleaning.
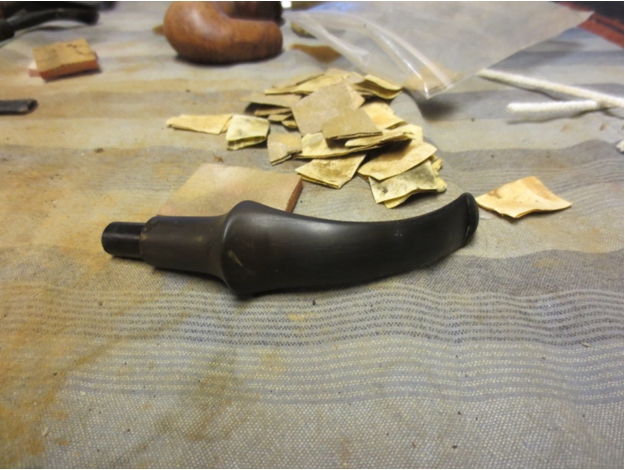
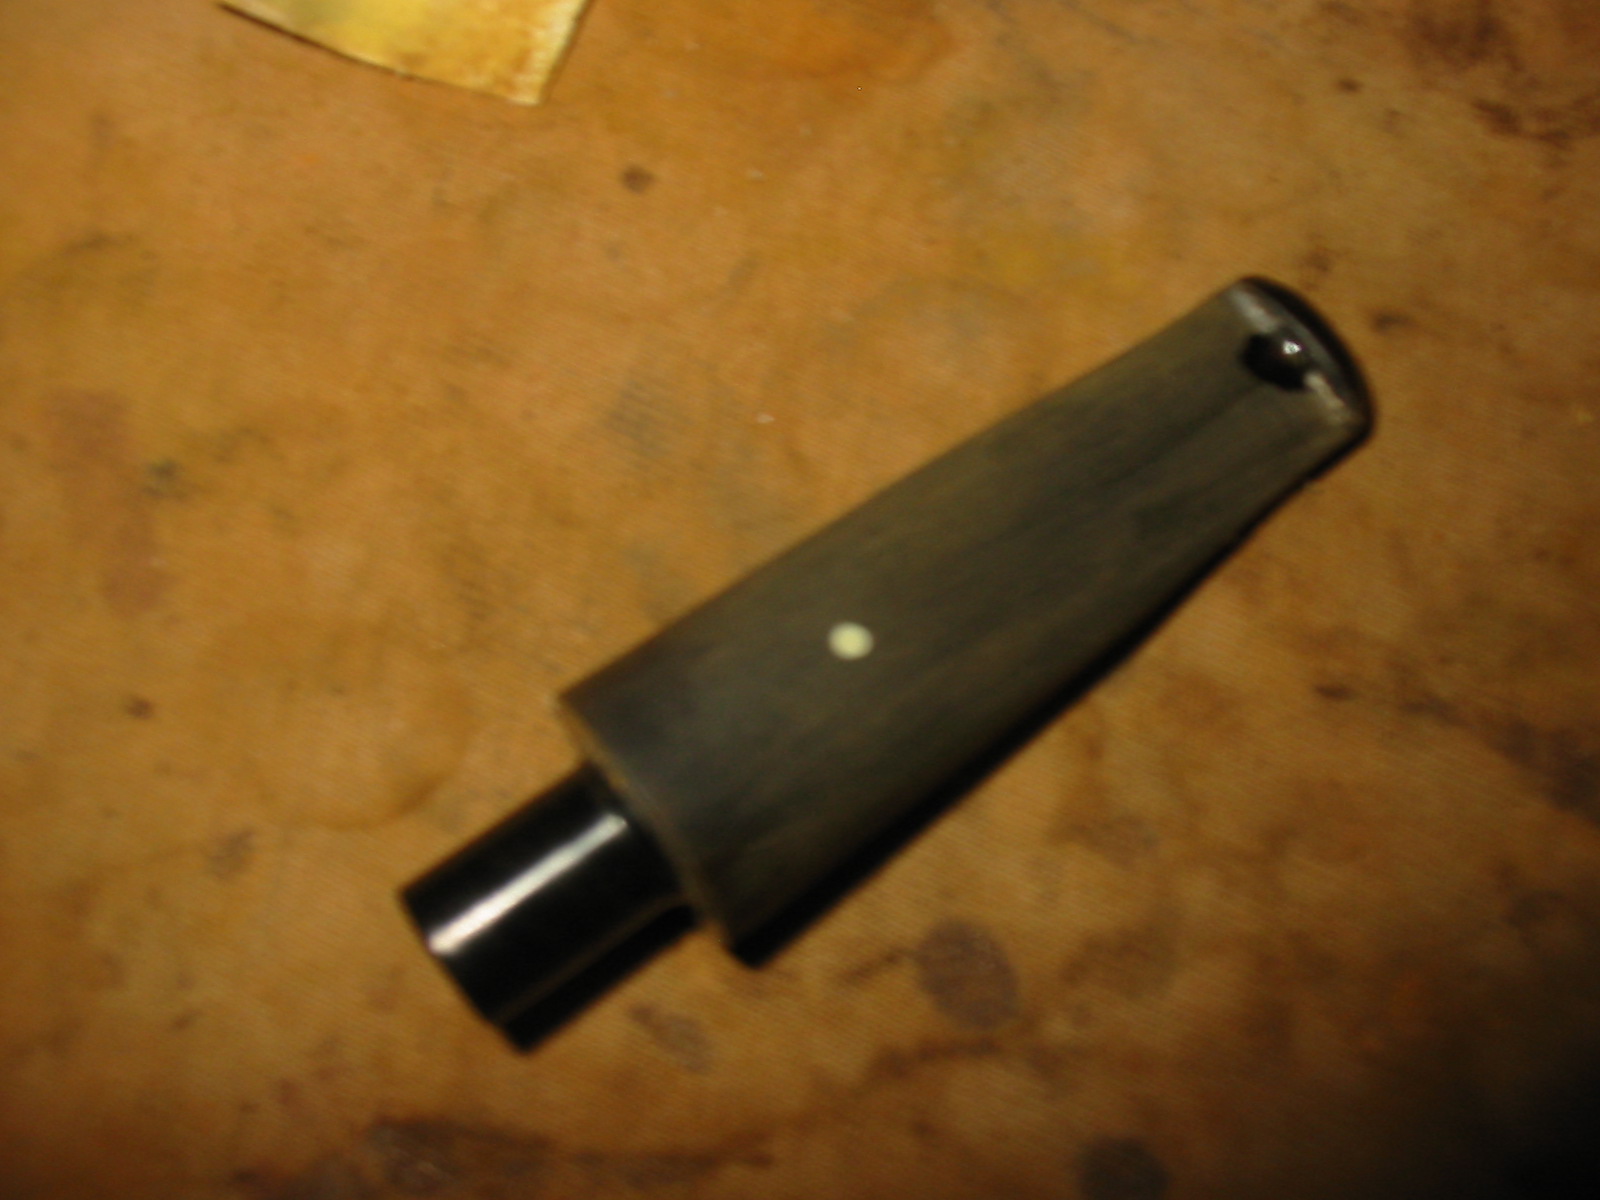
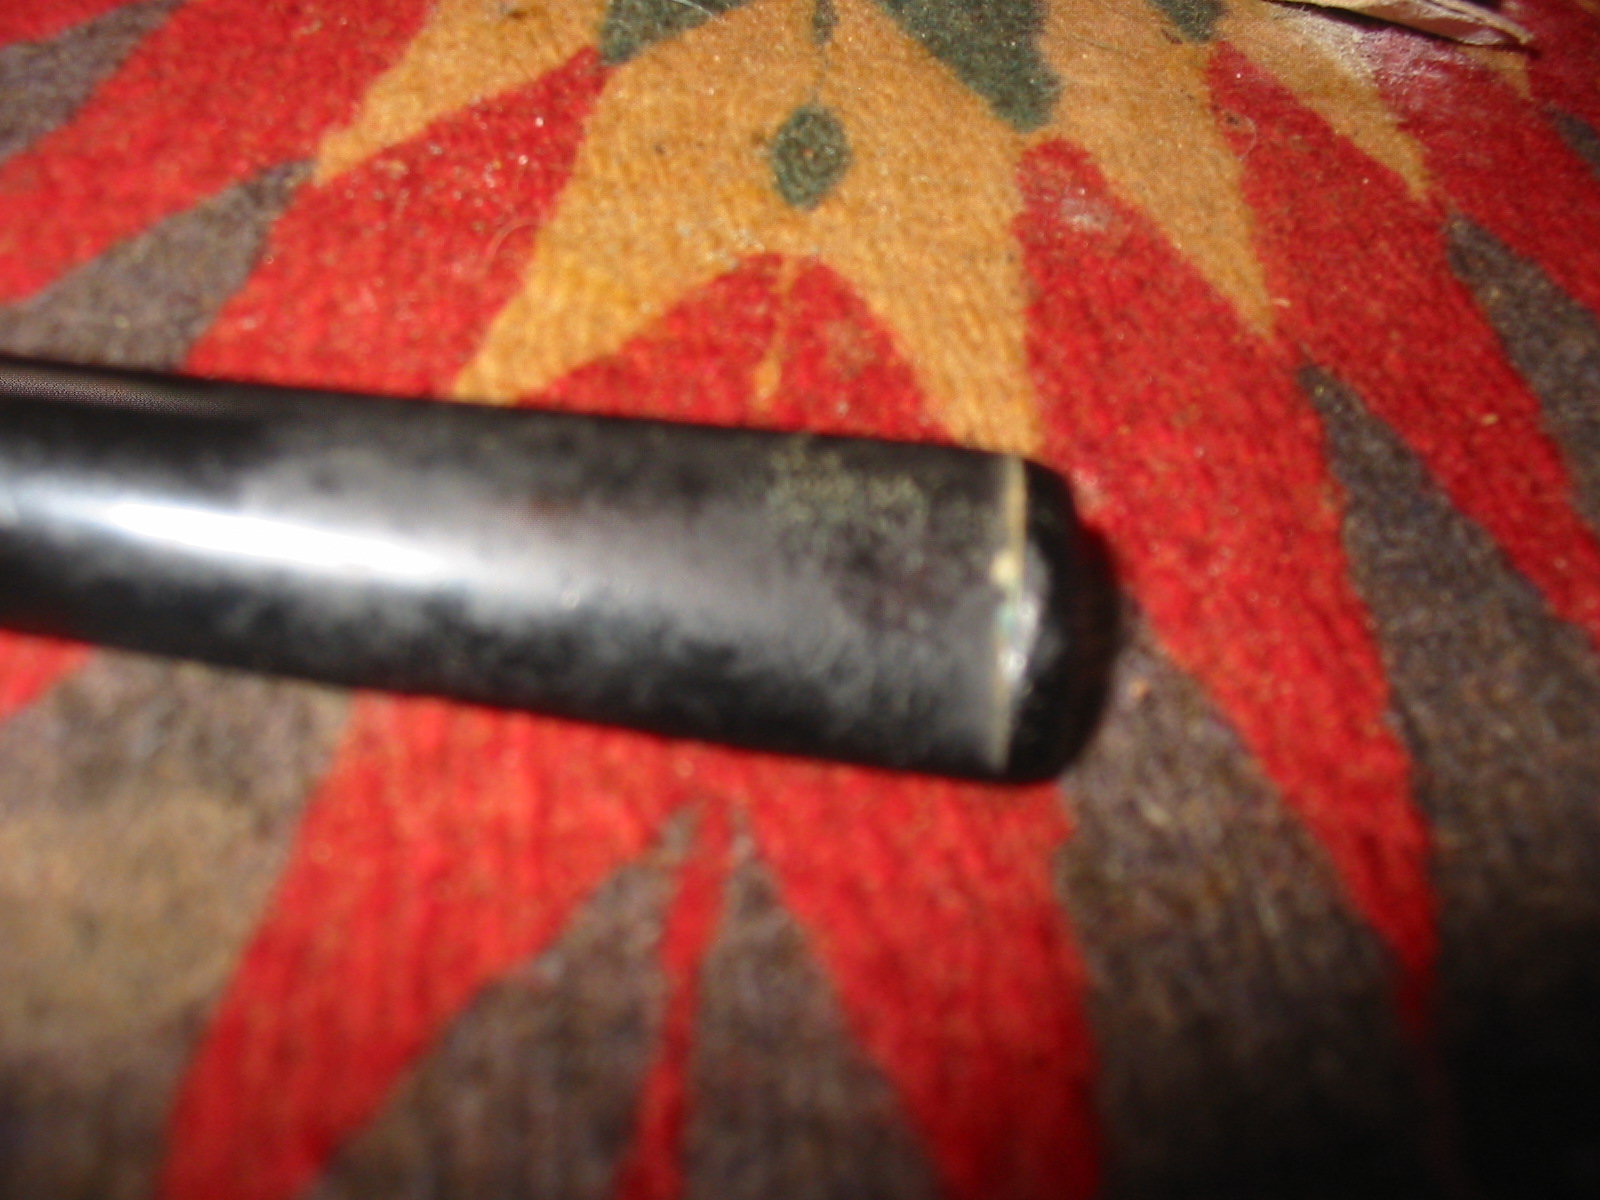
 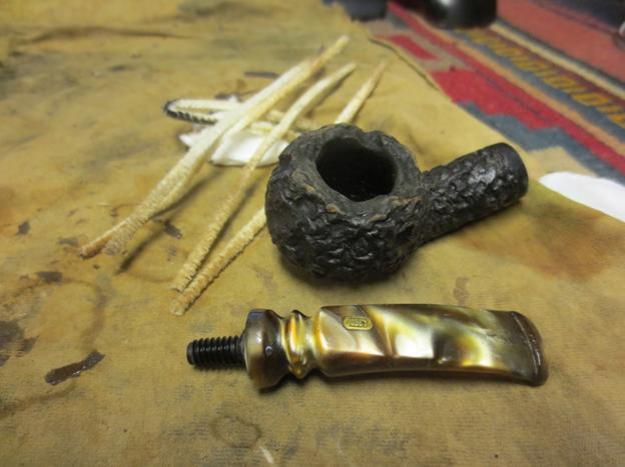 Once the grime was off the stem the tooth chatter was very evident on the top and bottom sides of the stem. I would need to sand the stem to remove the tooth chatter and restore the shine to the stem. The airway would also need to be cleaned out thoroughly as when I held it to the light it was still black on the inside.

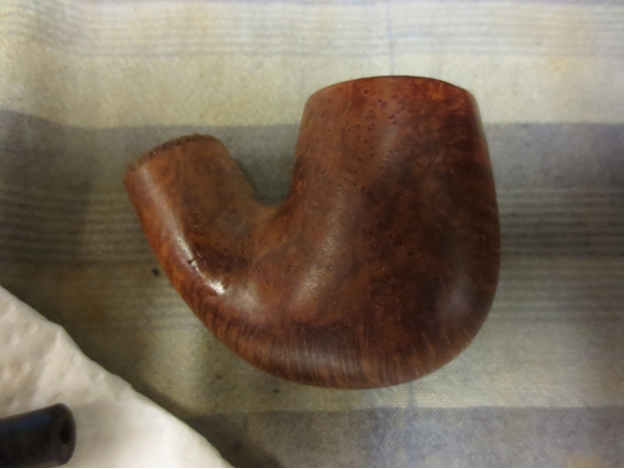
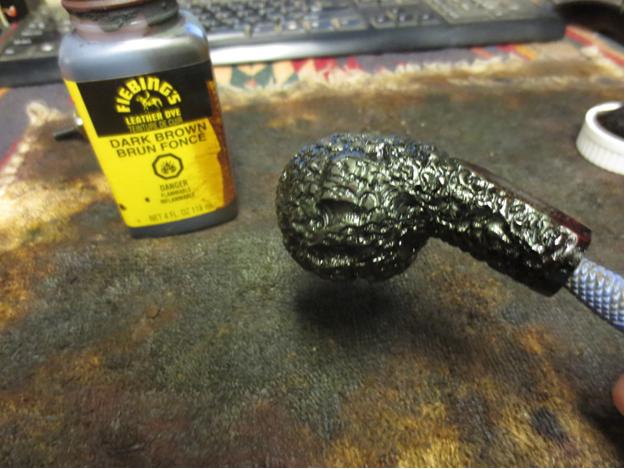
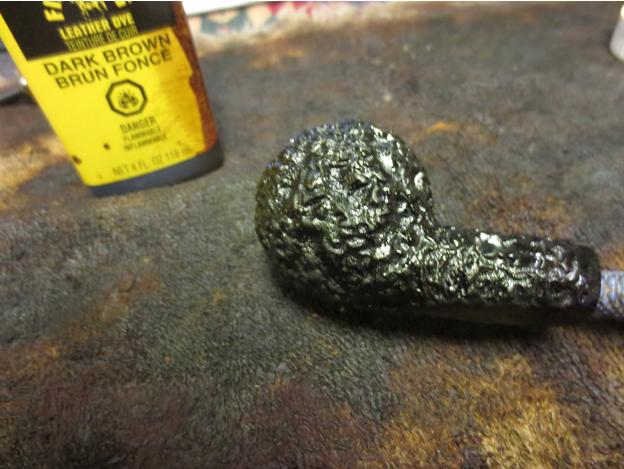
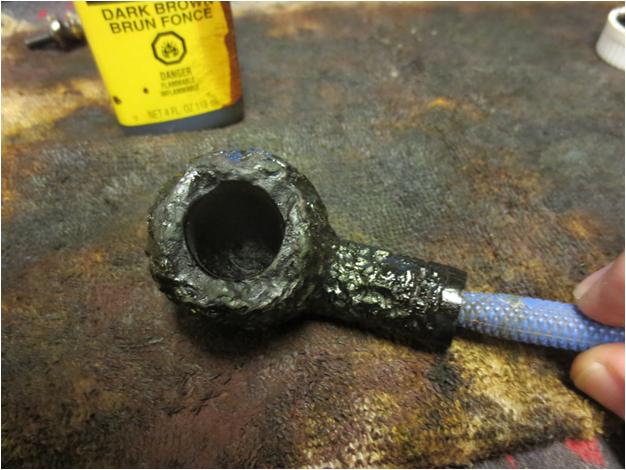
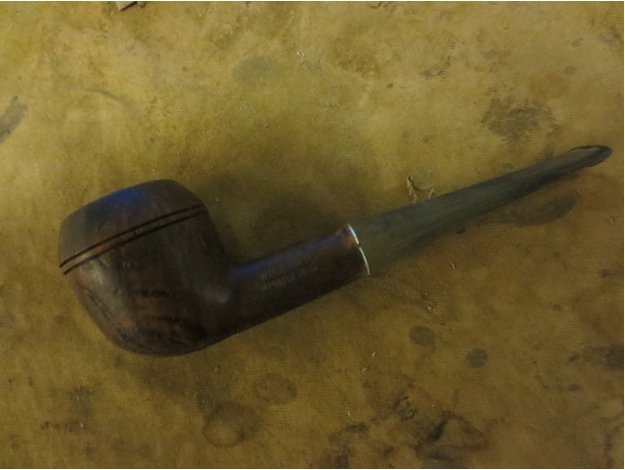
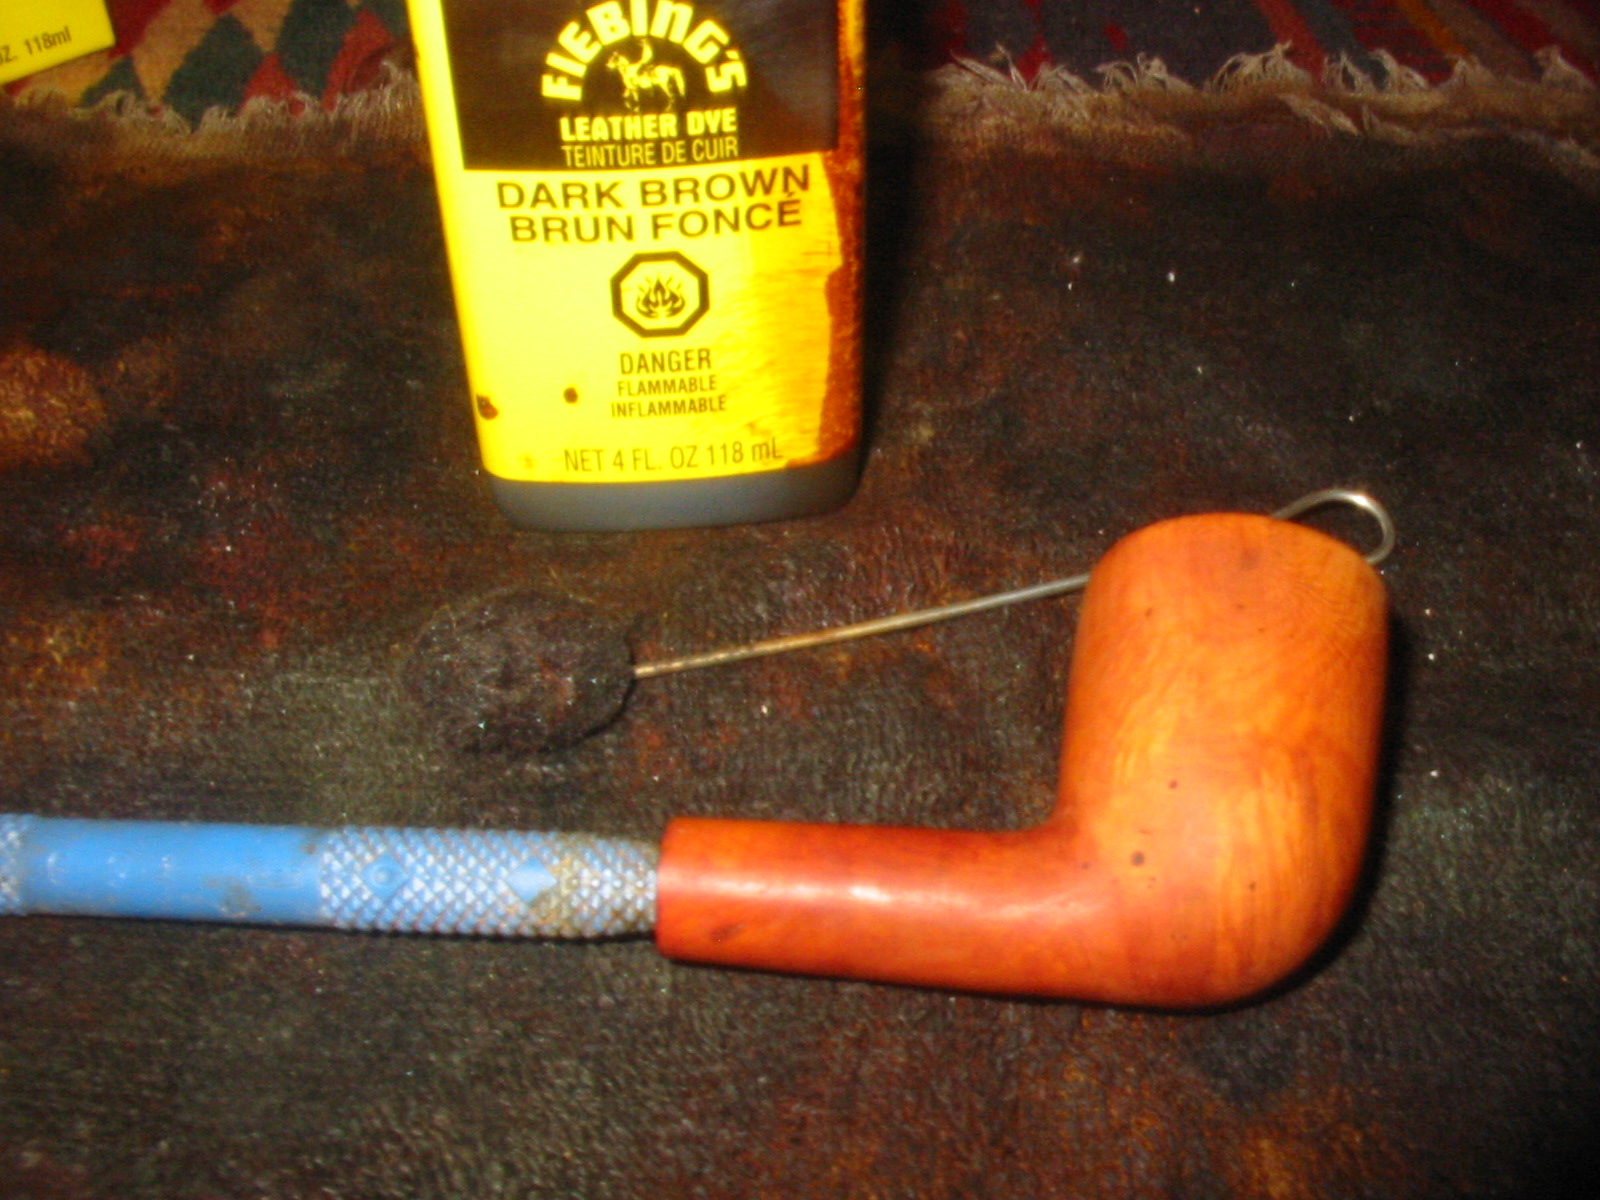
 I wiped the bowl down with alcohol to prepare it for staining. I used a Dark Brown Aniline stain and applied it with the provided wool dauber. I flamed the stain and repeated the process until the coverage was even across the bowl.


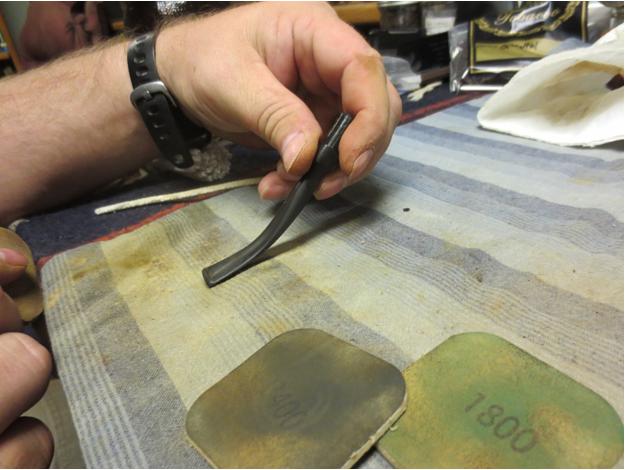
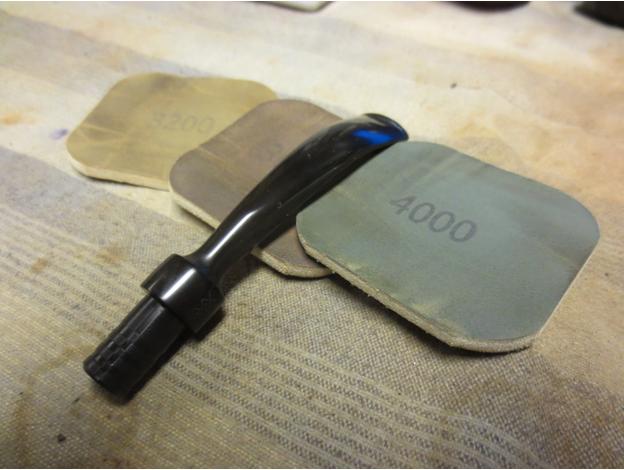
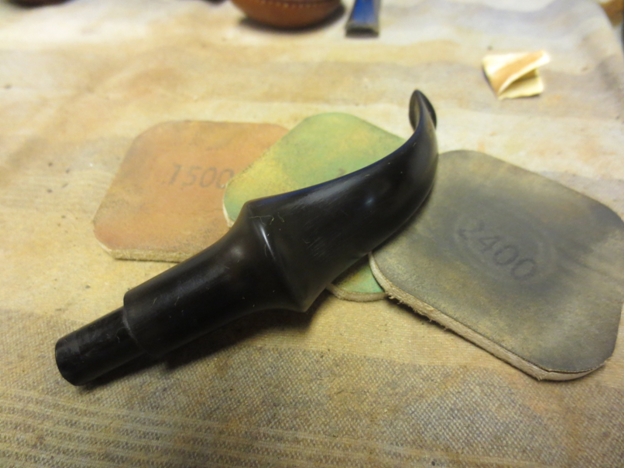
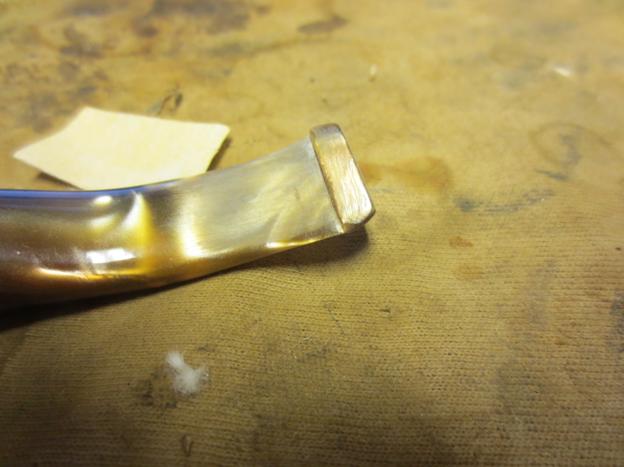
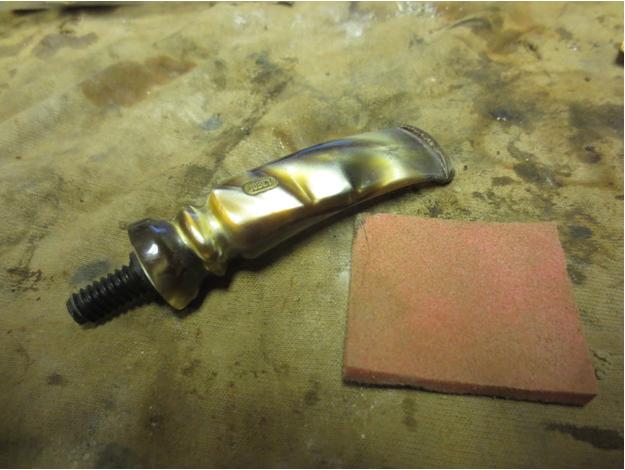
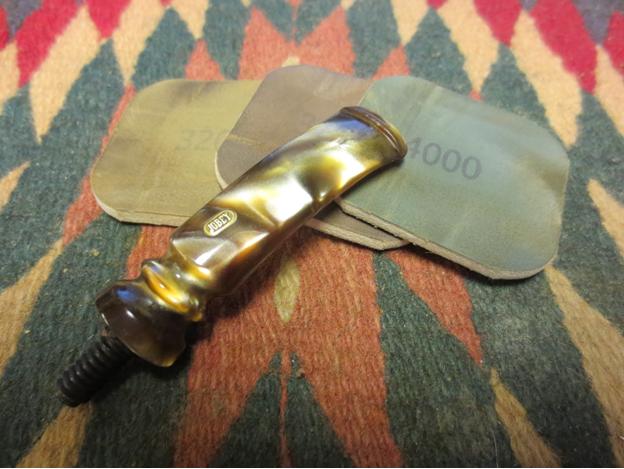
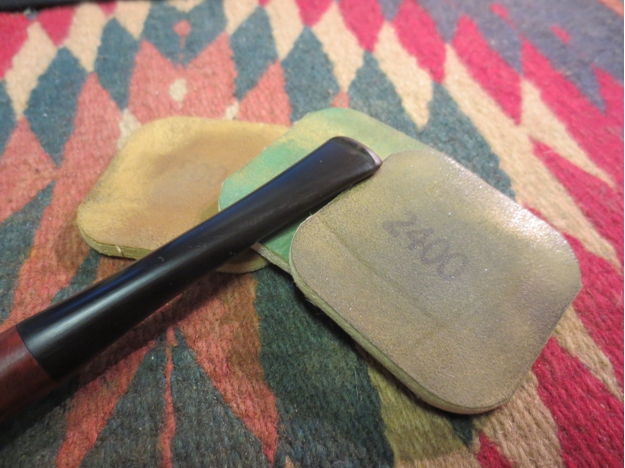
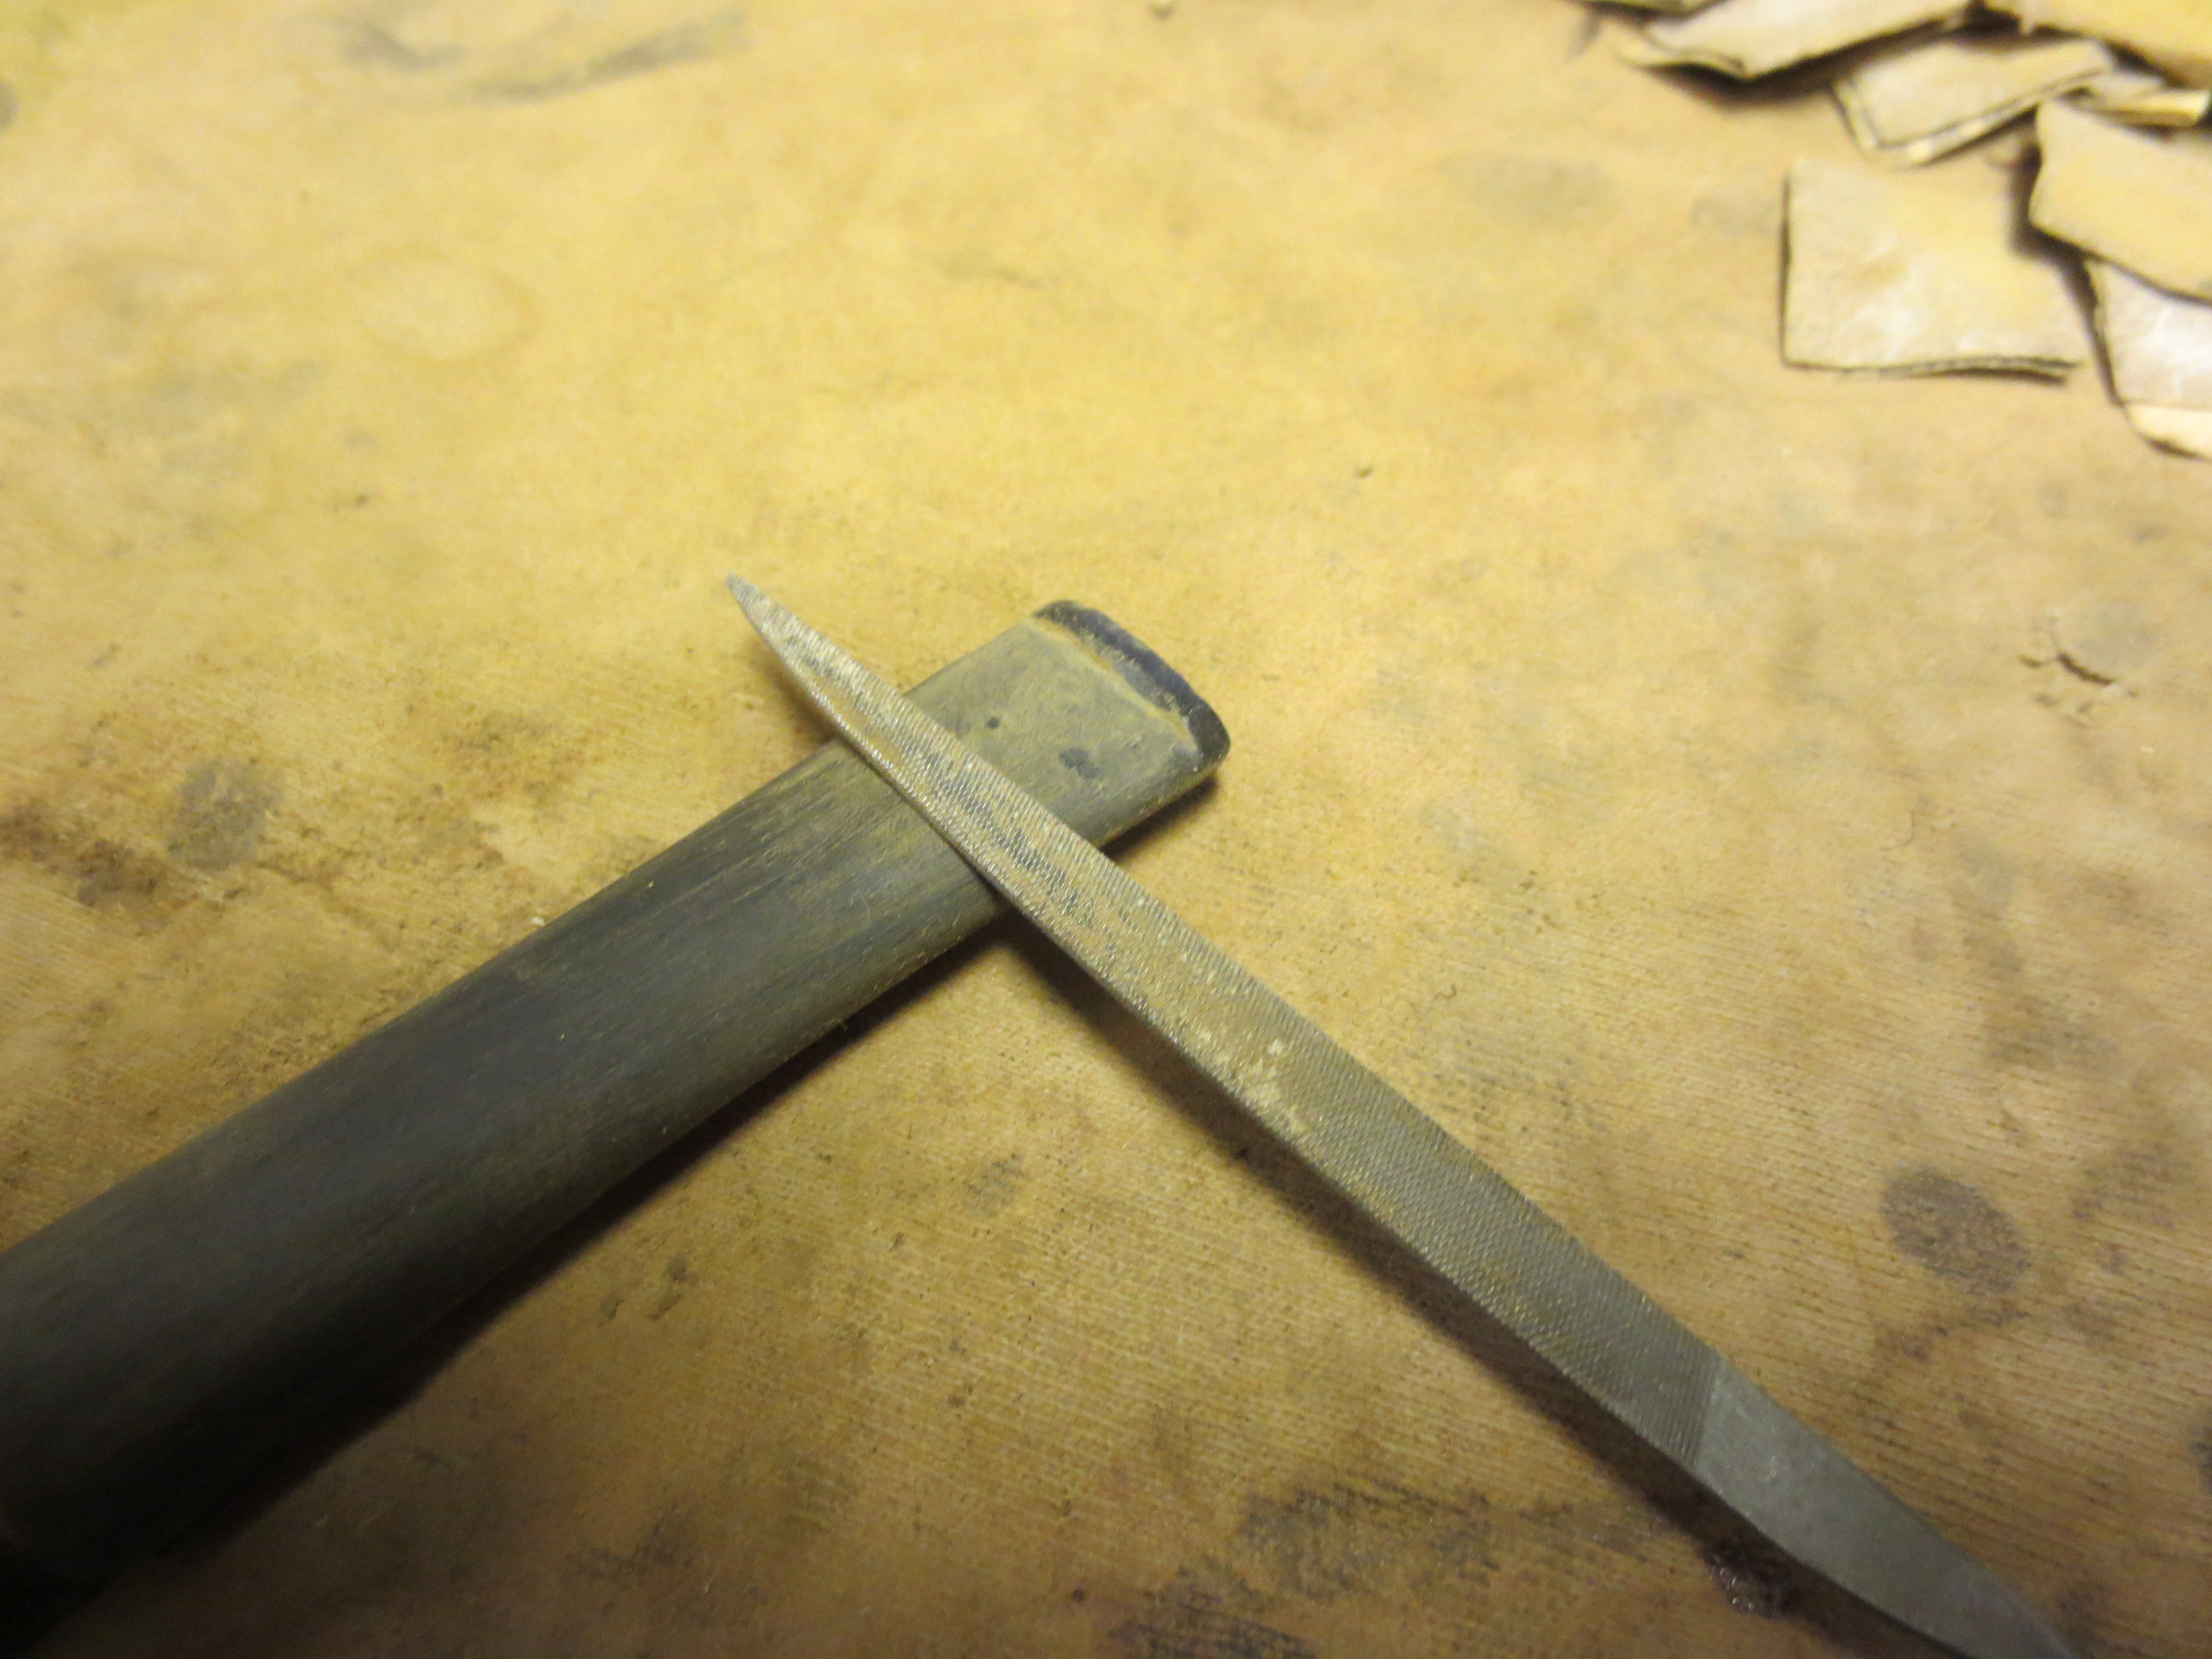
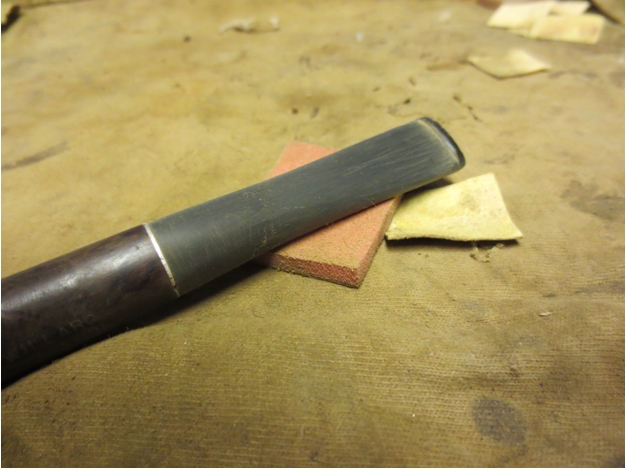
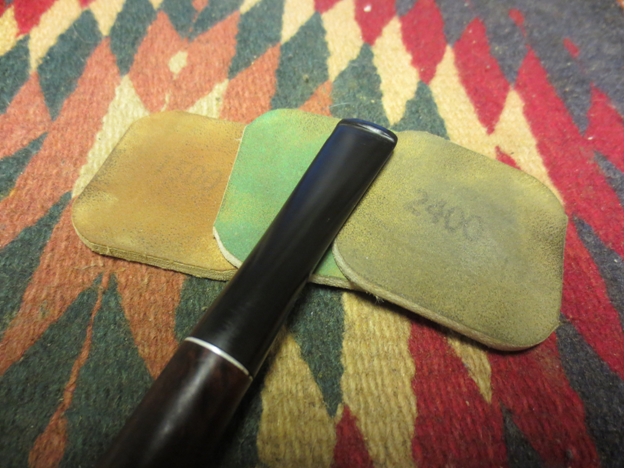
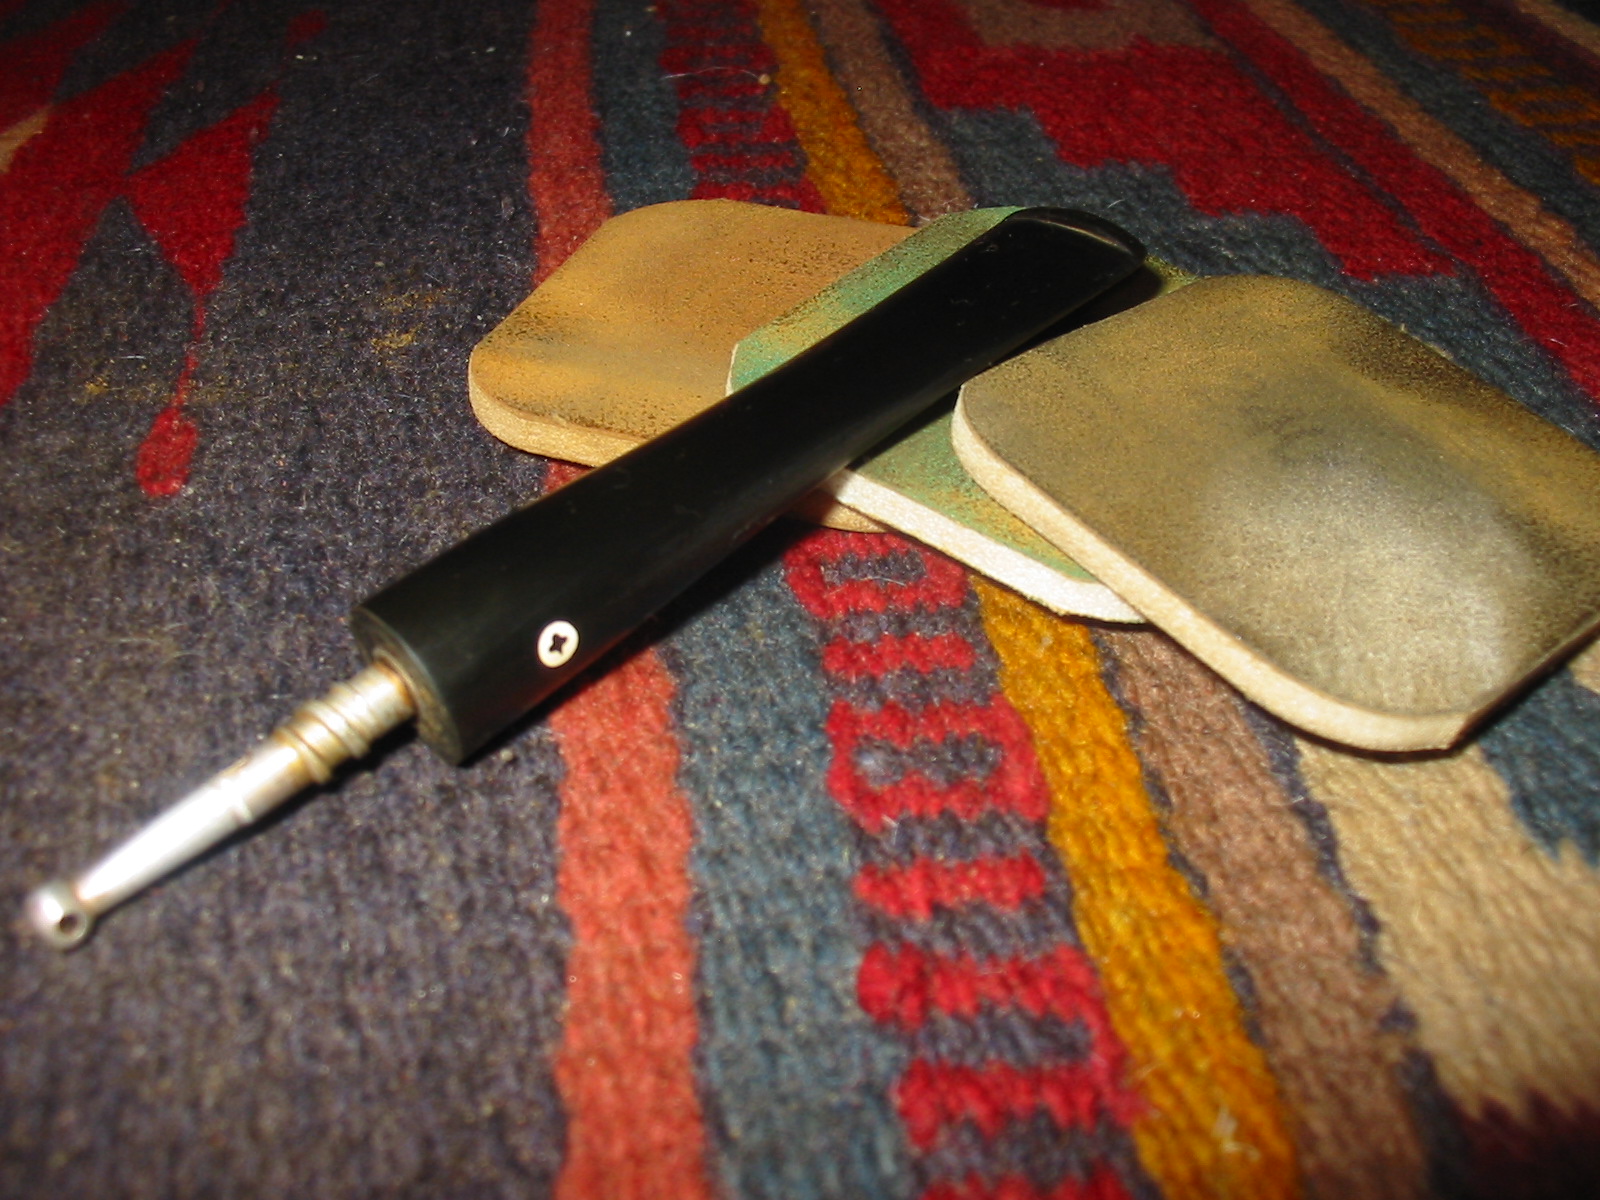
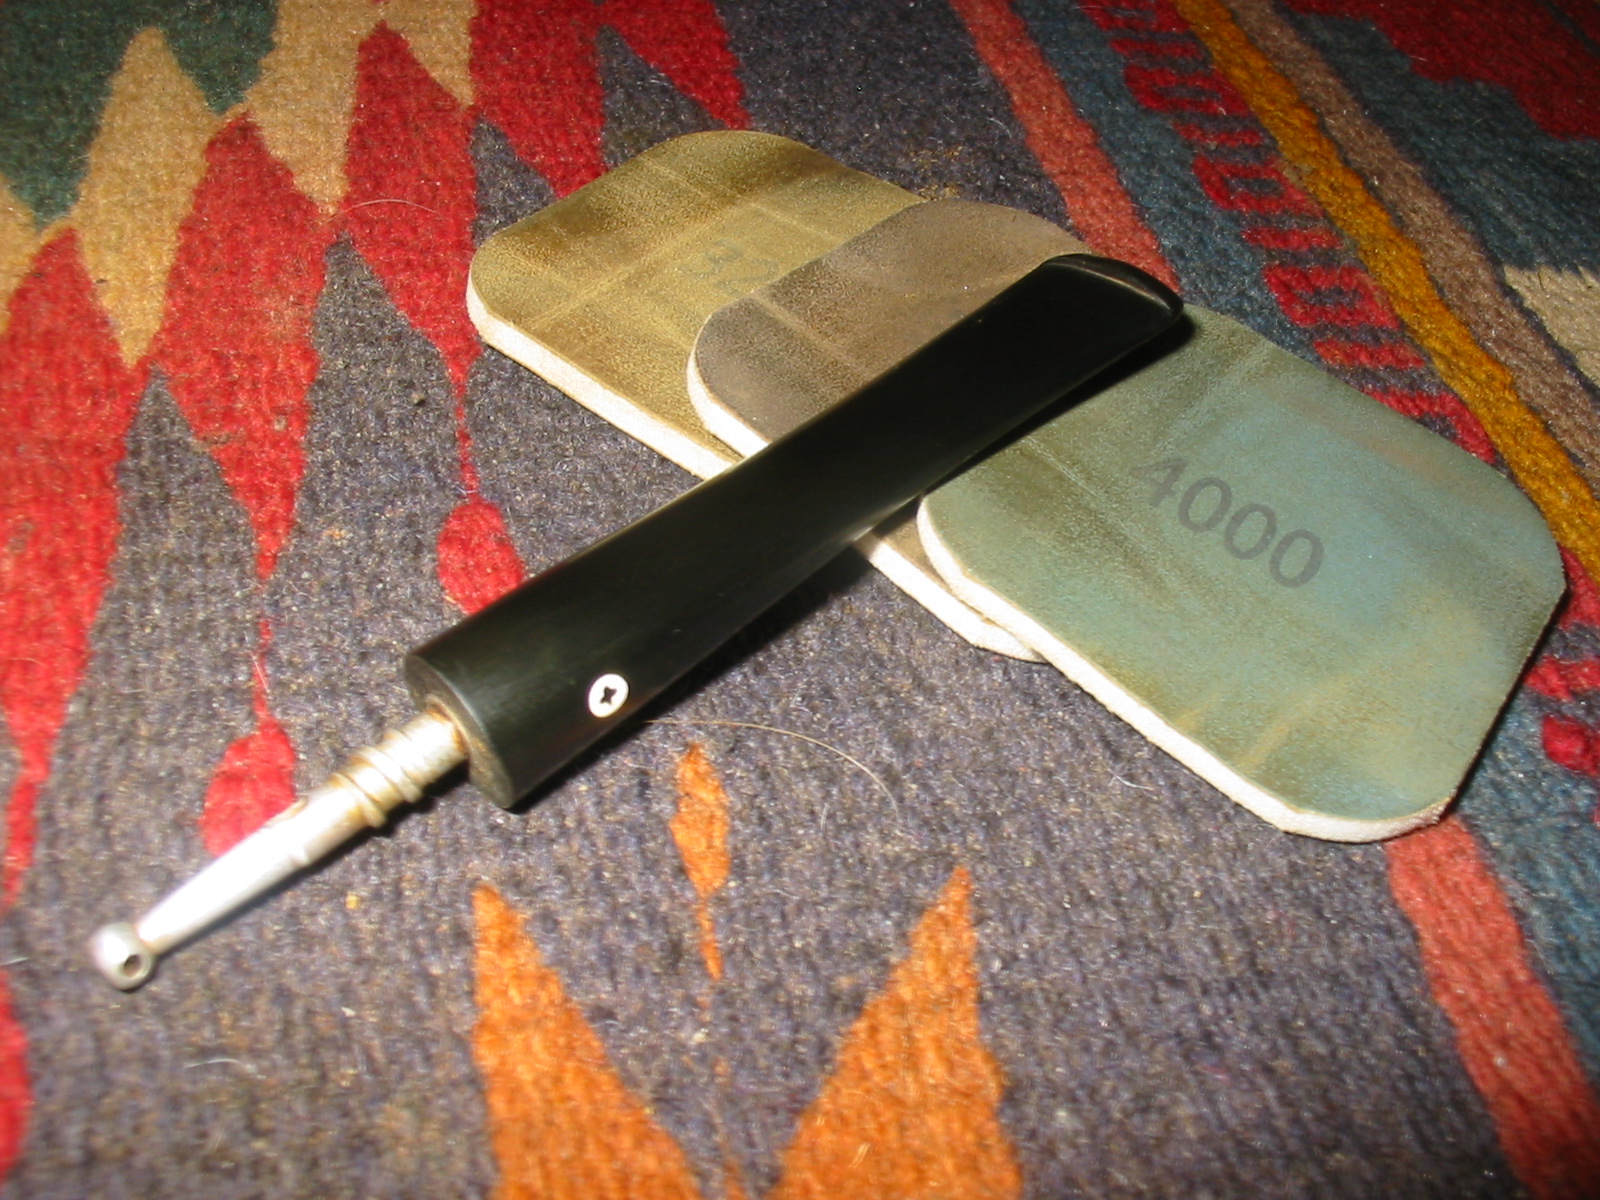
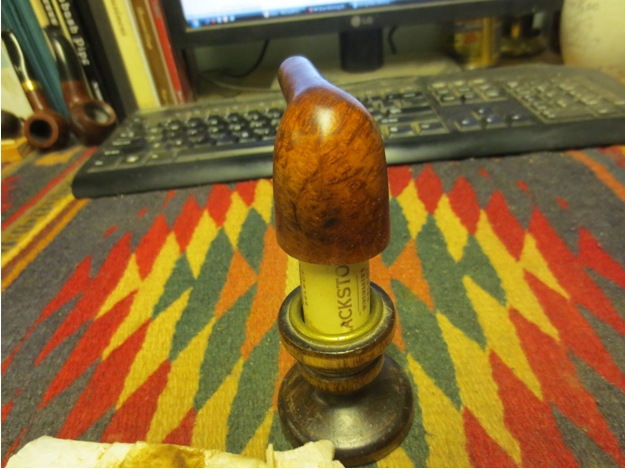
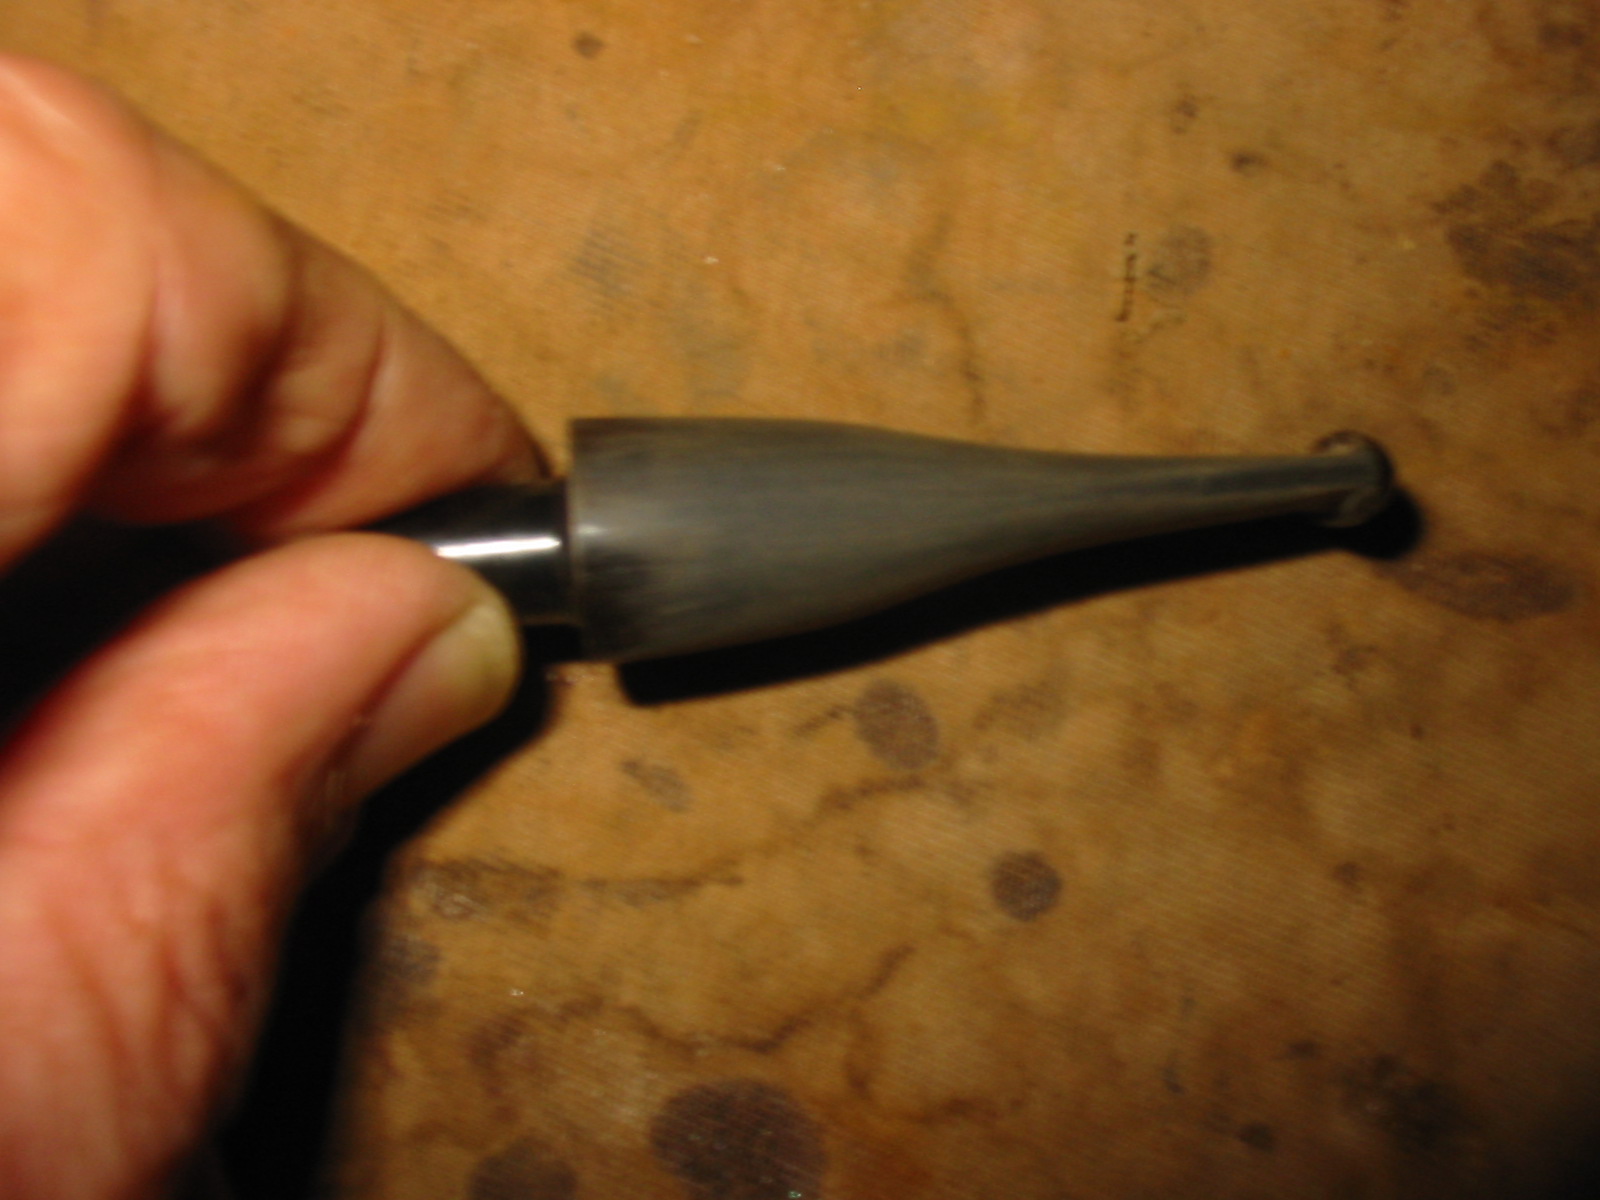
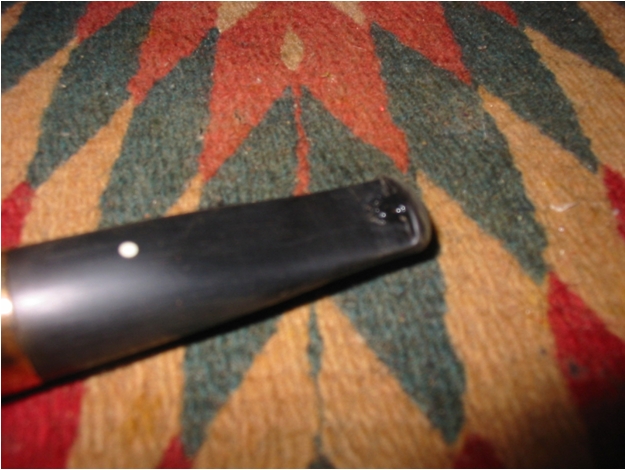
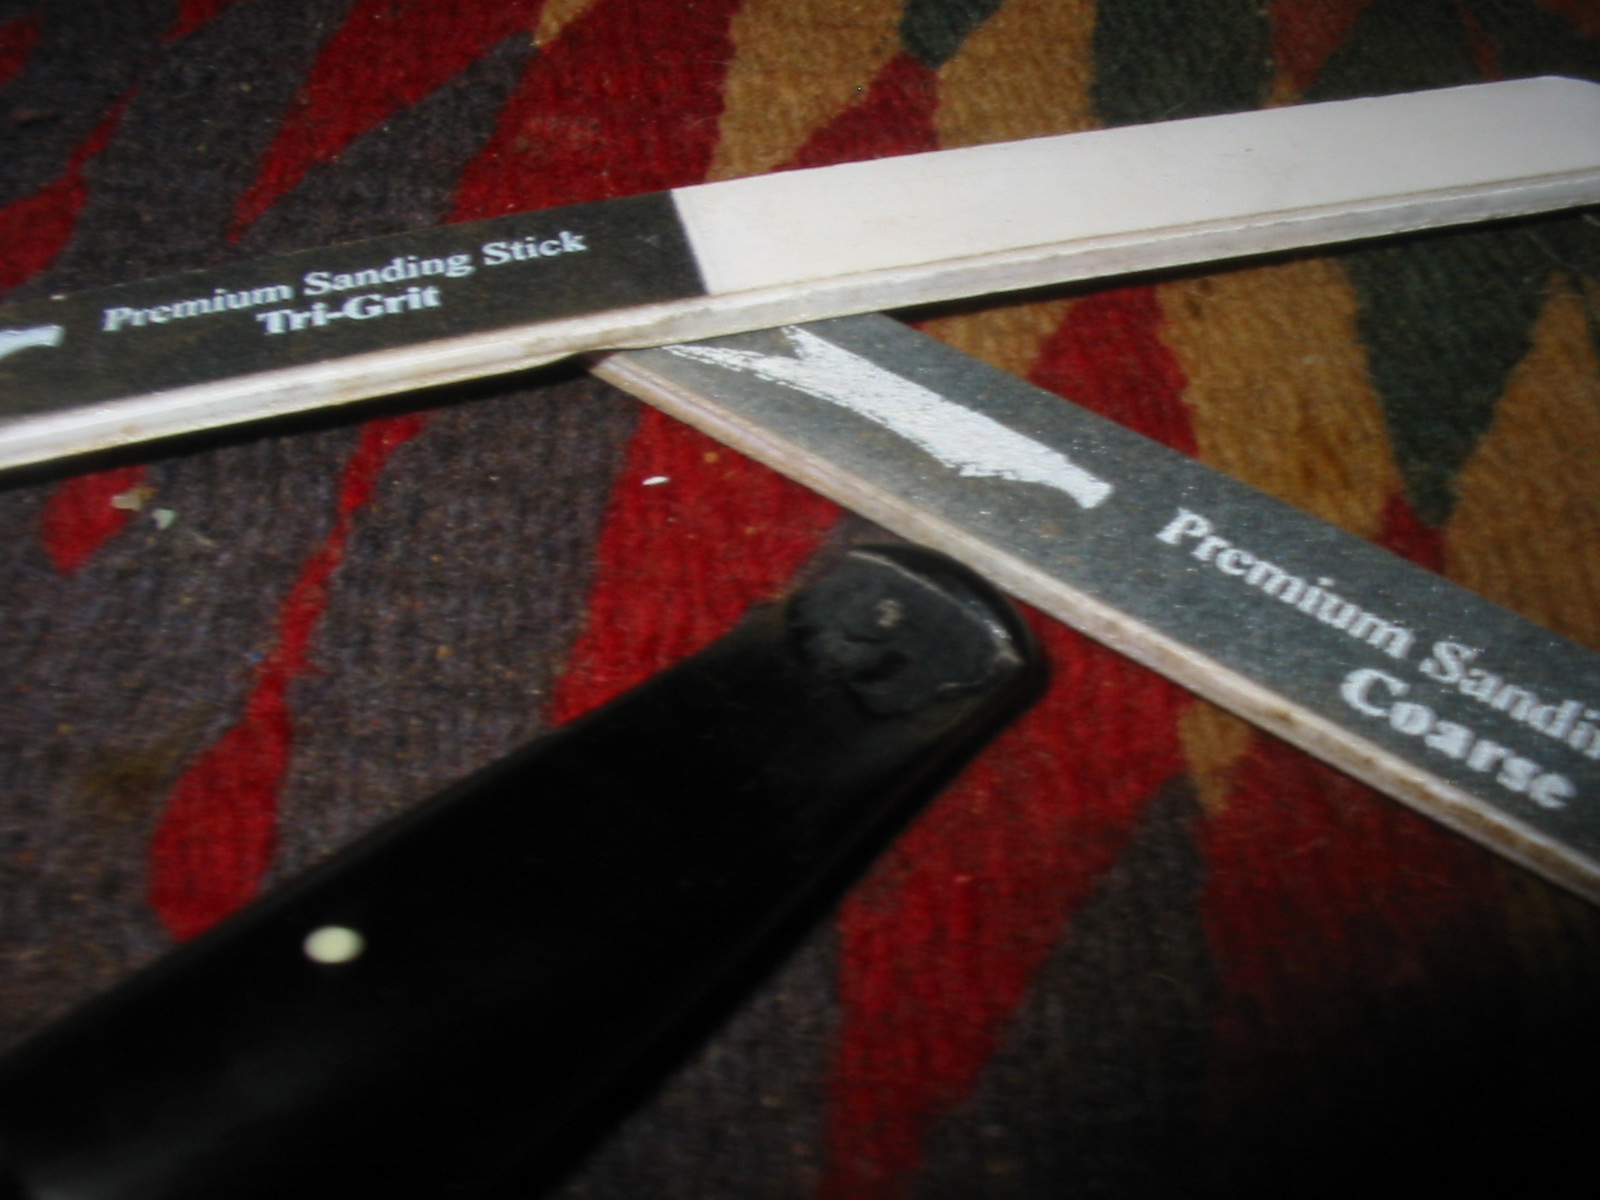
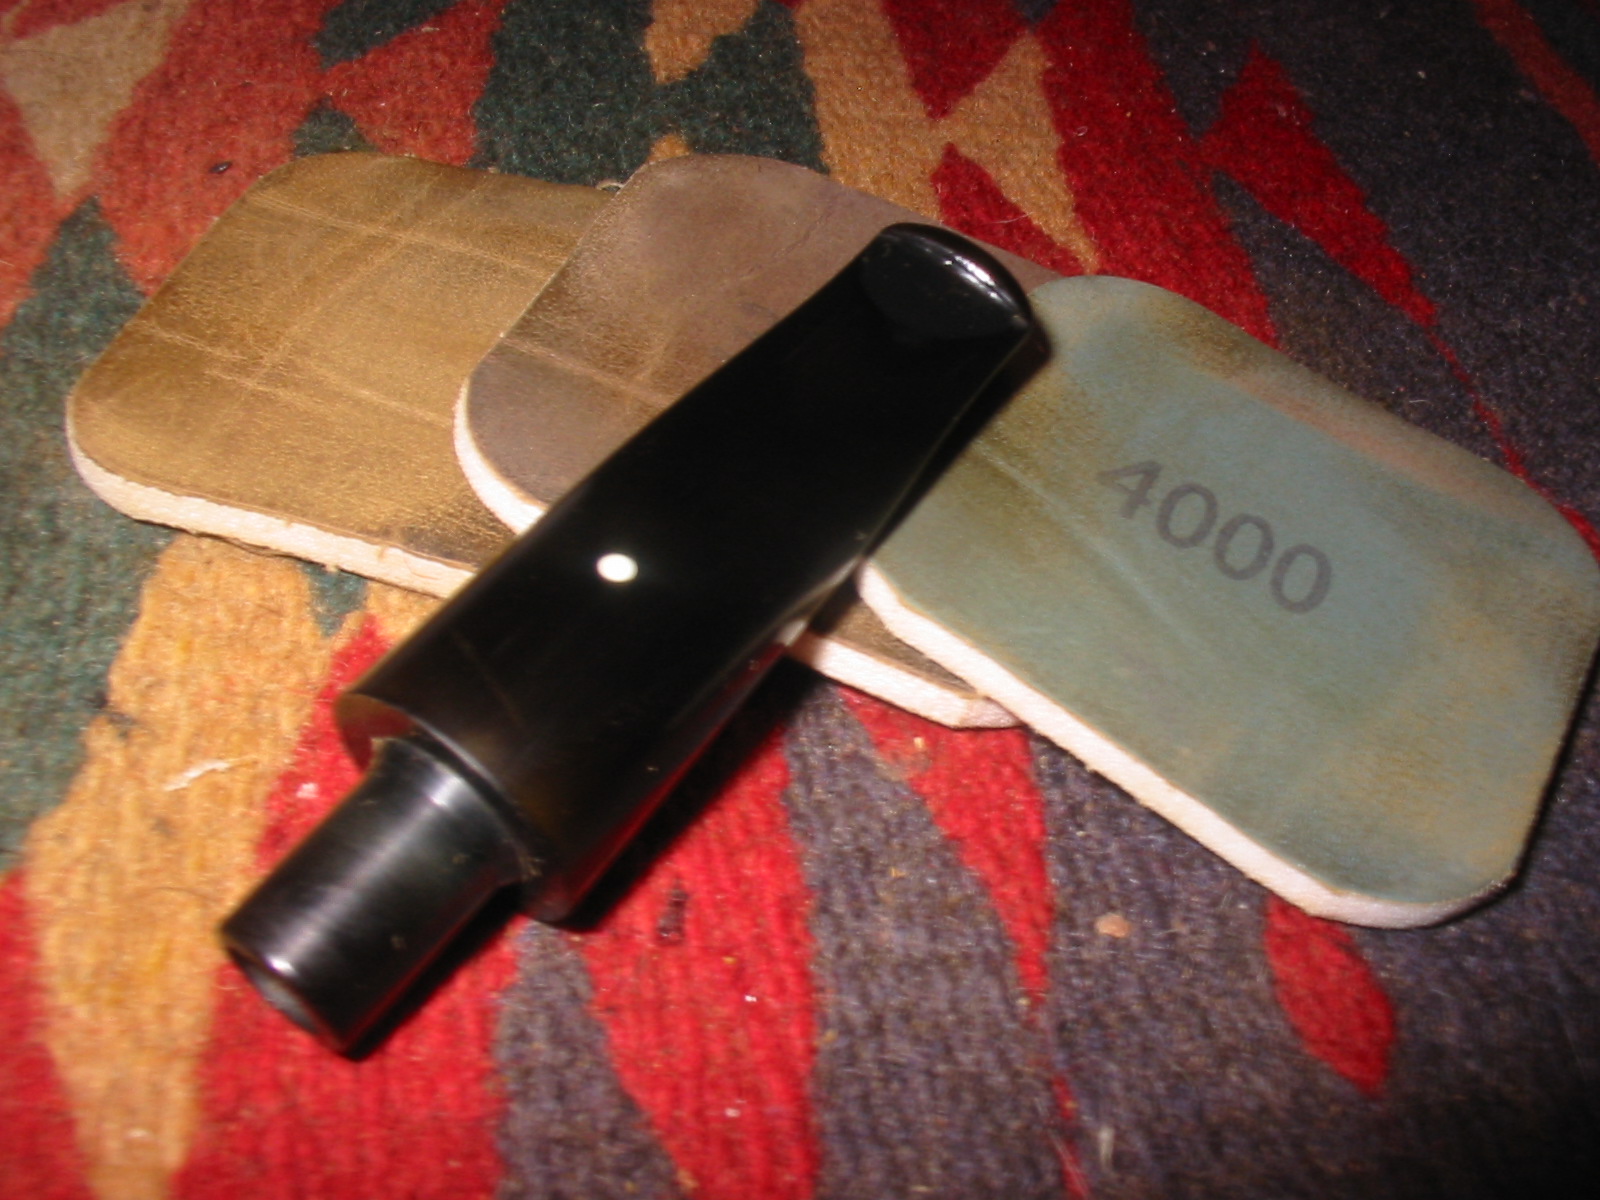
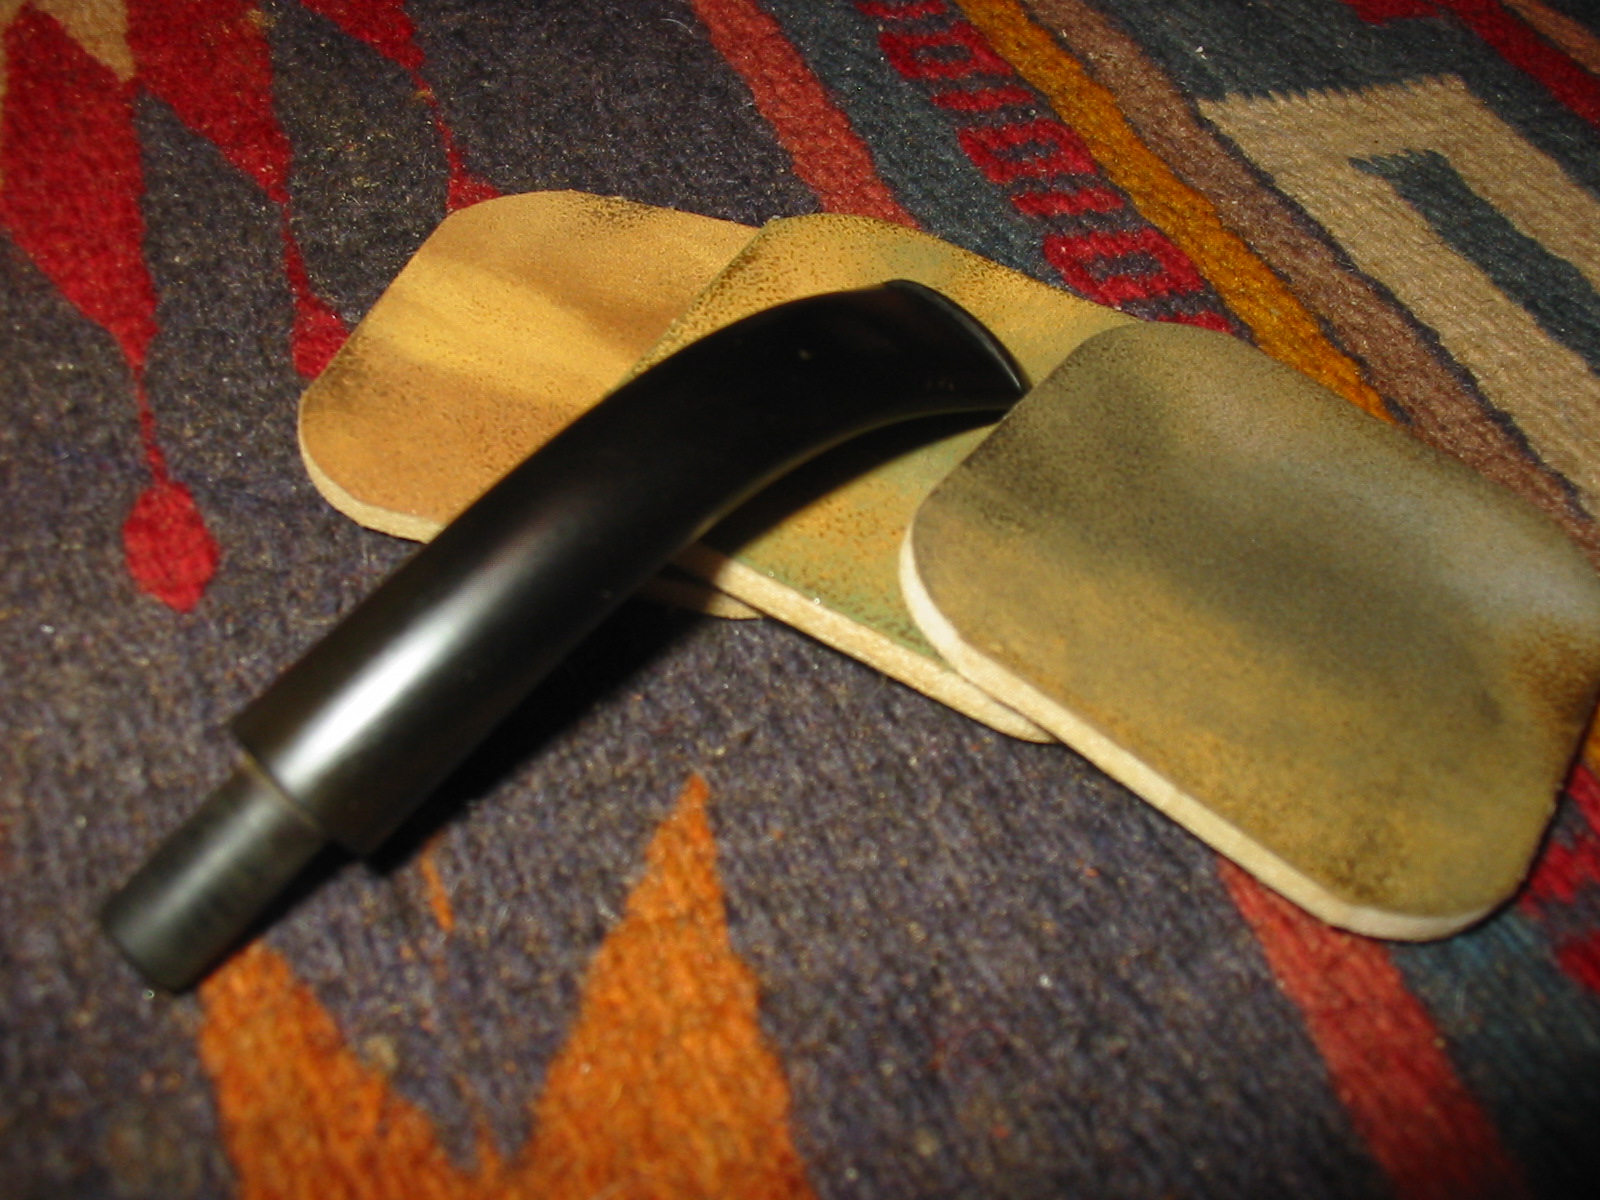
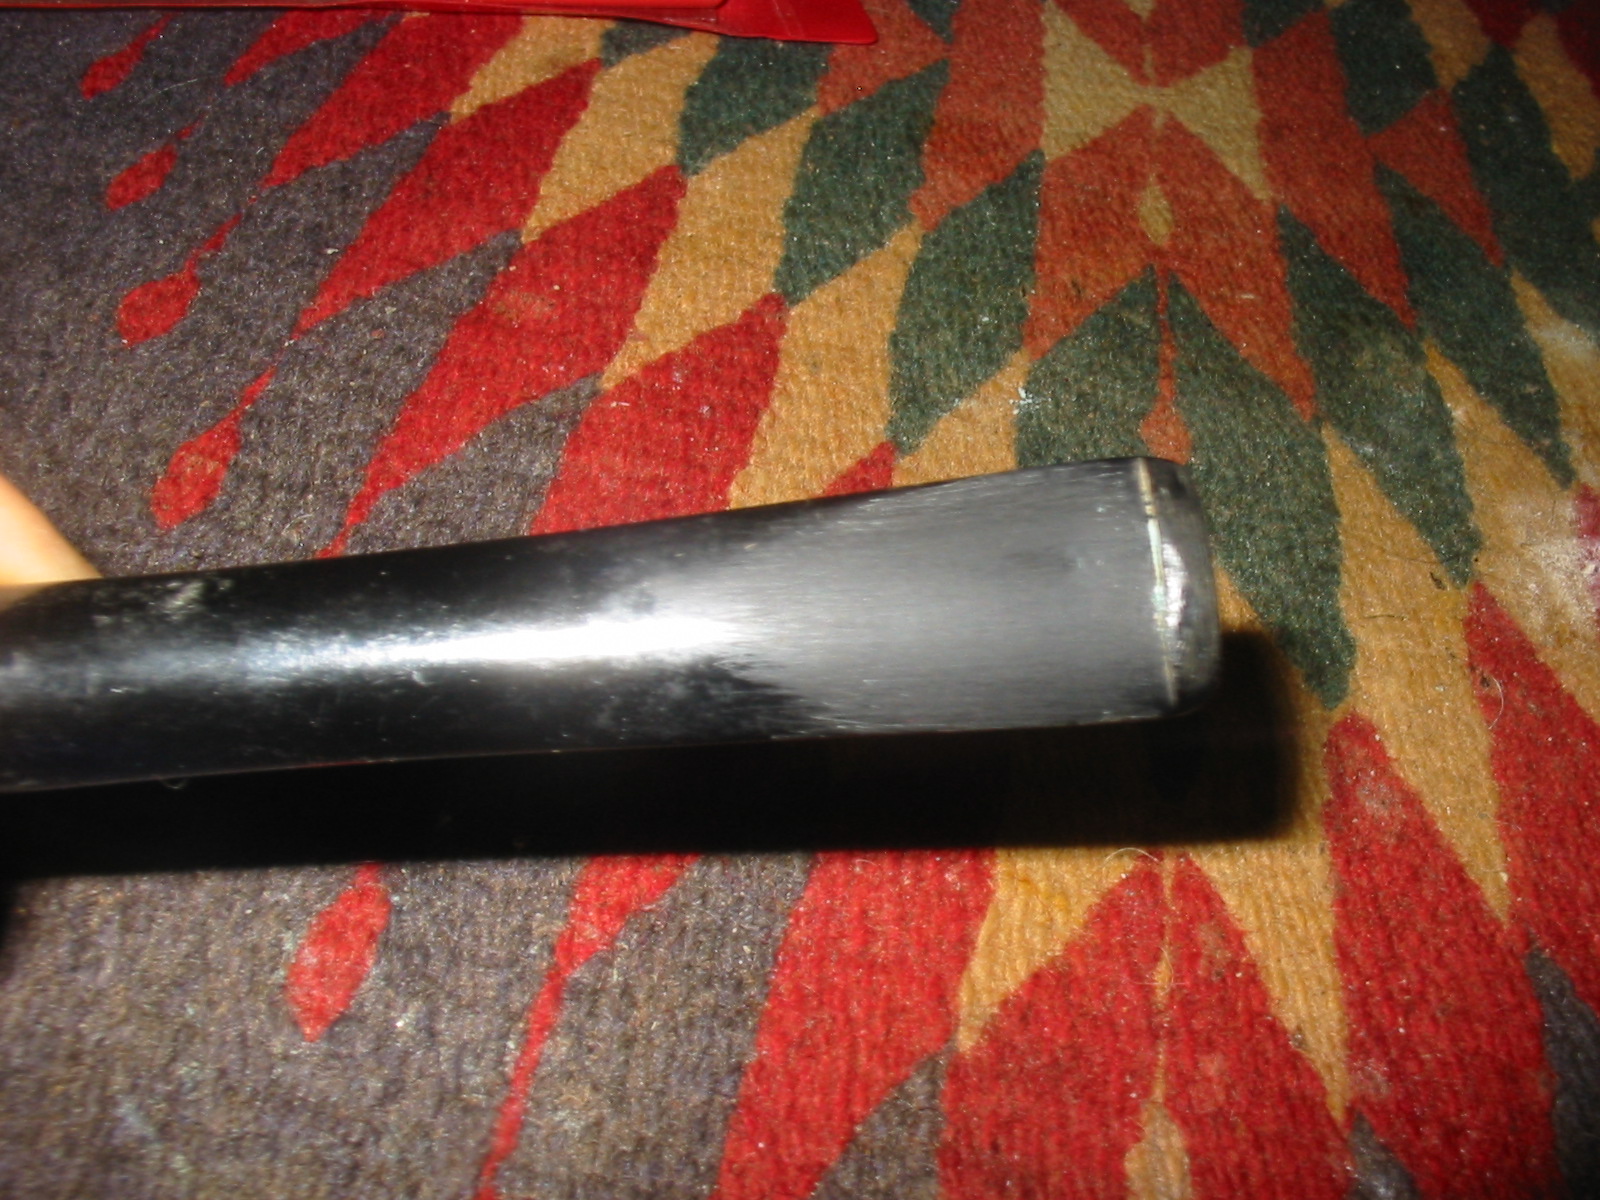
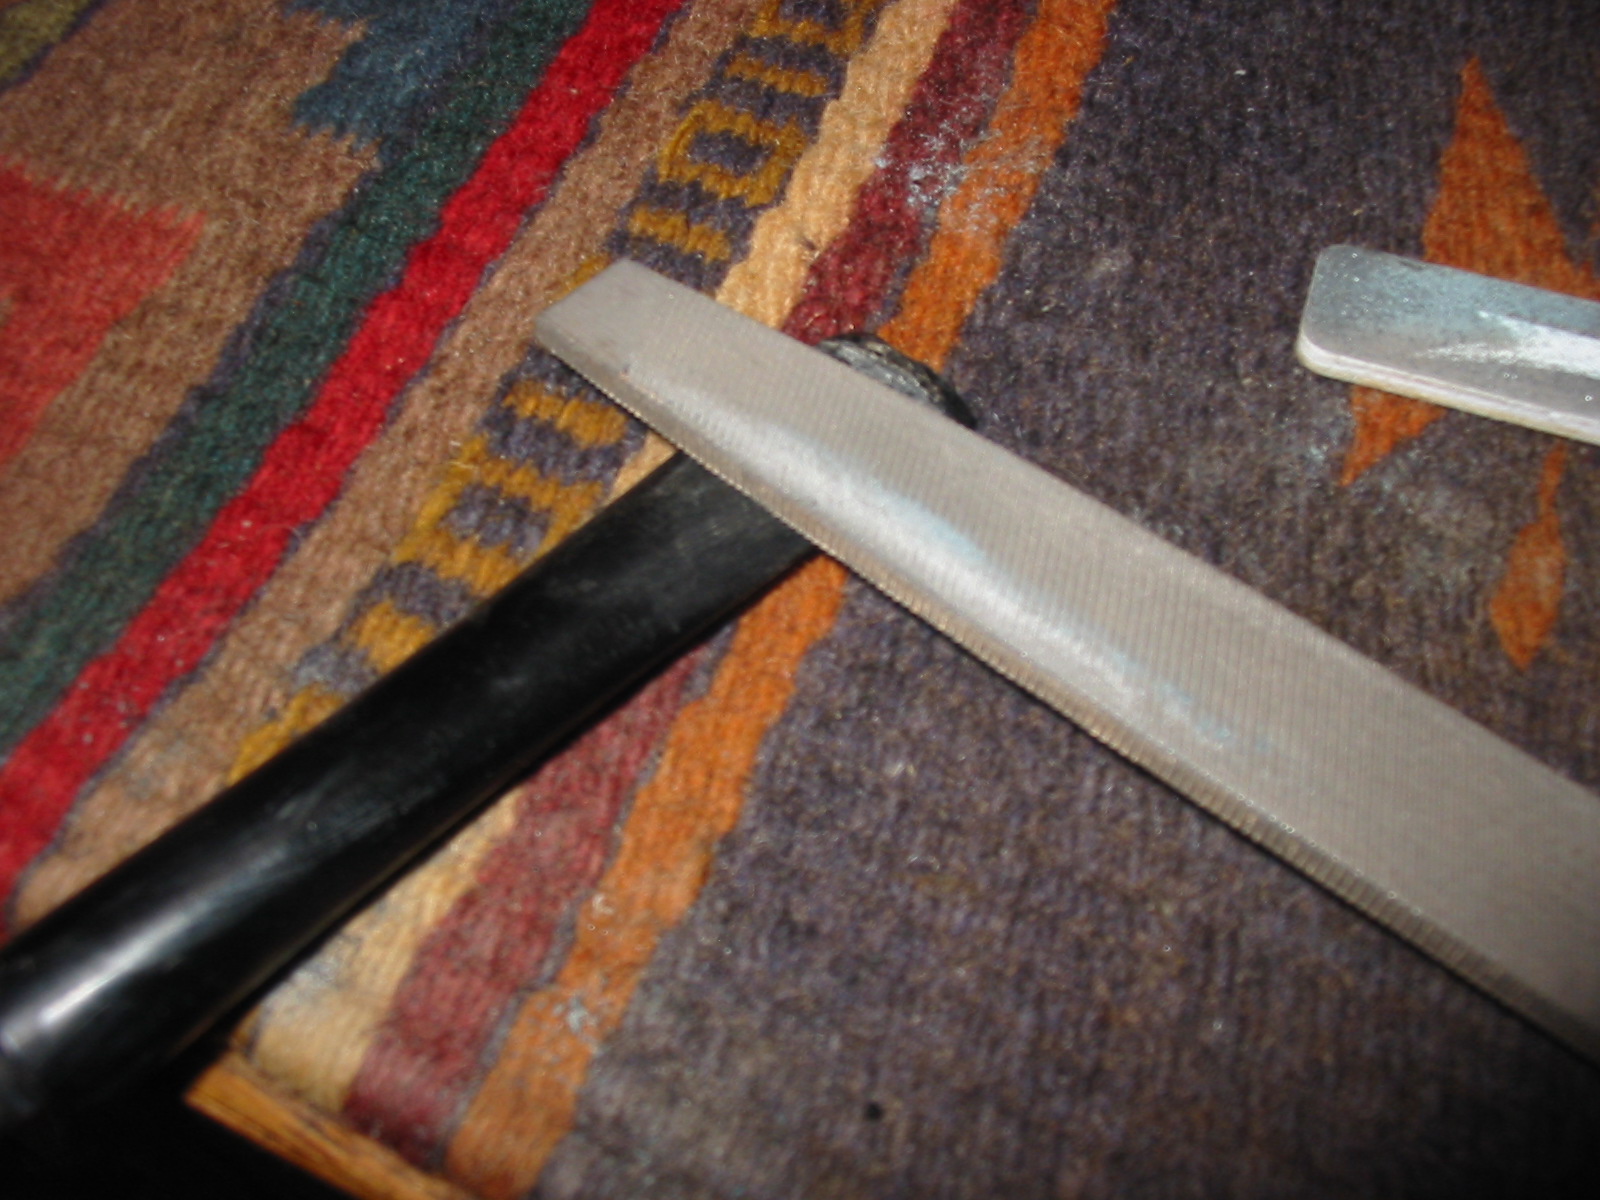
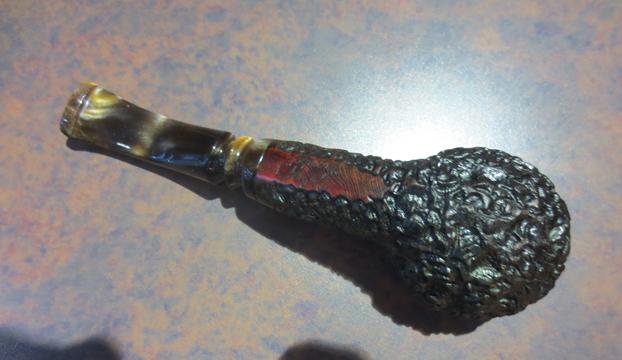
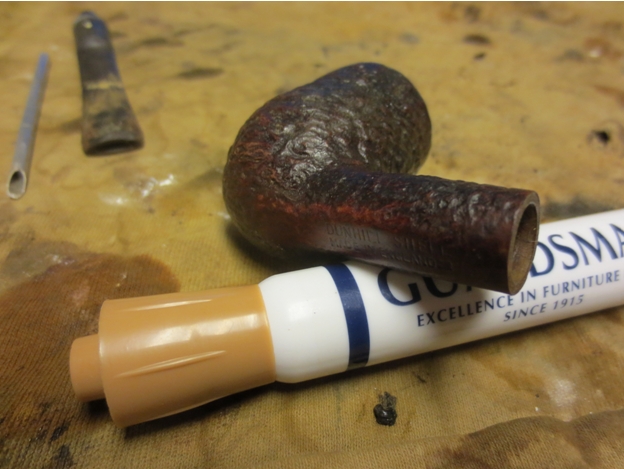
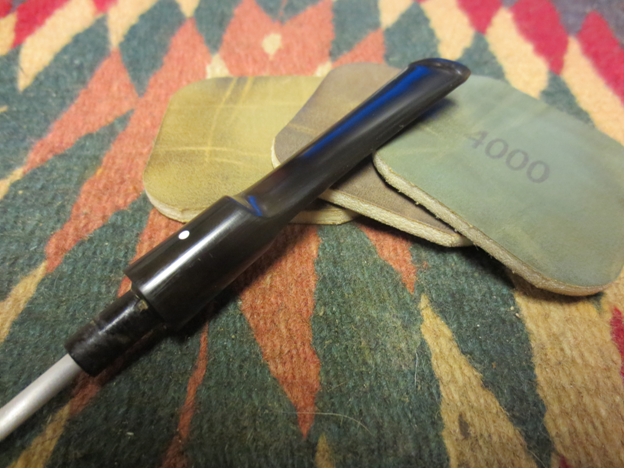
 While the bowl was drying I sanded the tooth chatter on the stem with 220 grit sandpaper to remove the marks from the surface of the Lucite. Once the tooth chatter marks were removed I sanded it with a medium and a fine grit sanding sponge to remove the scratching left behind by the sandpaper. The third photo below shows the stem after the sanding sponge has been used.

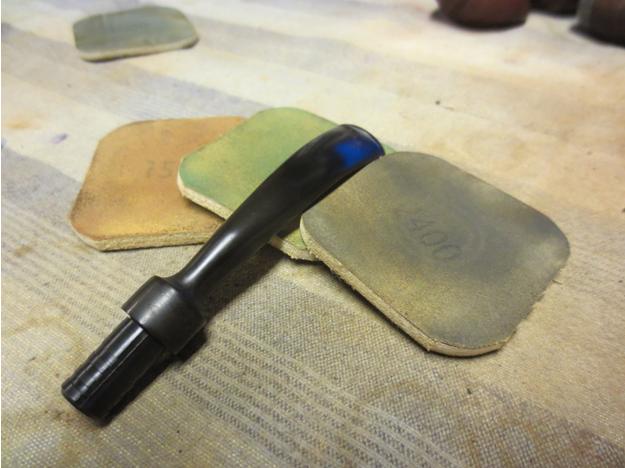
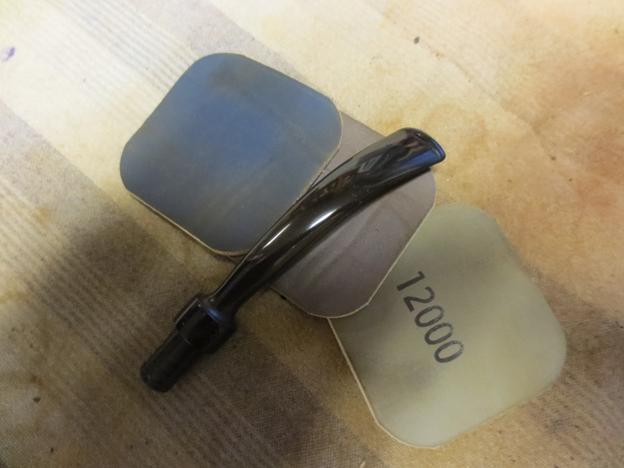
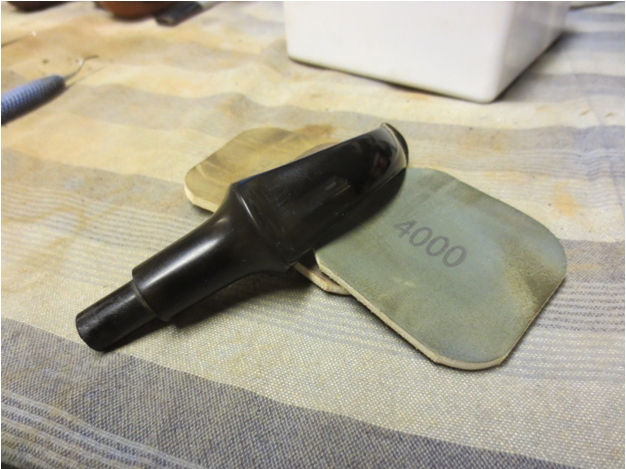
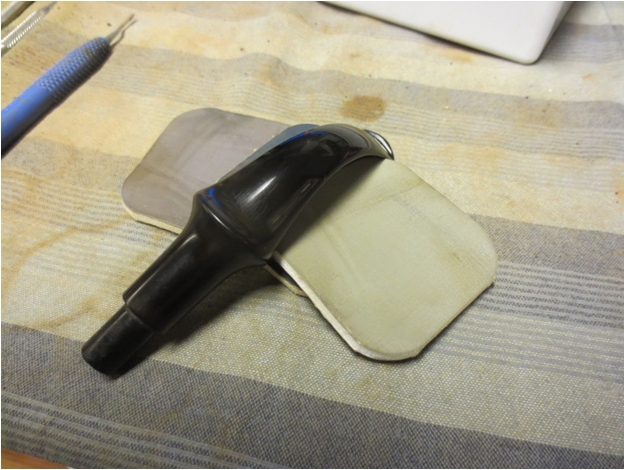
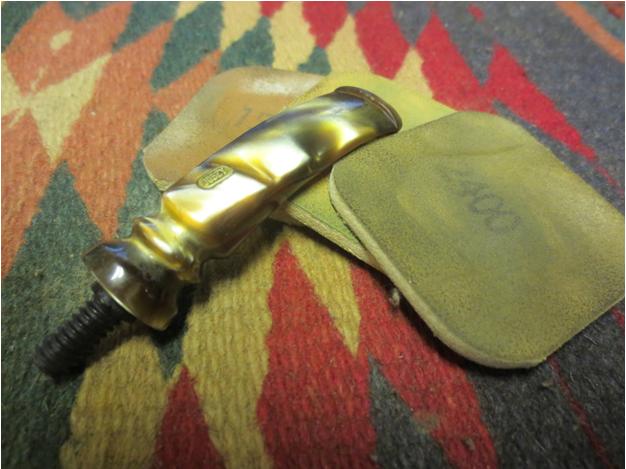
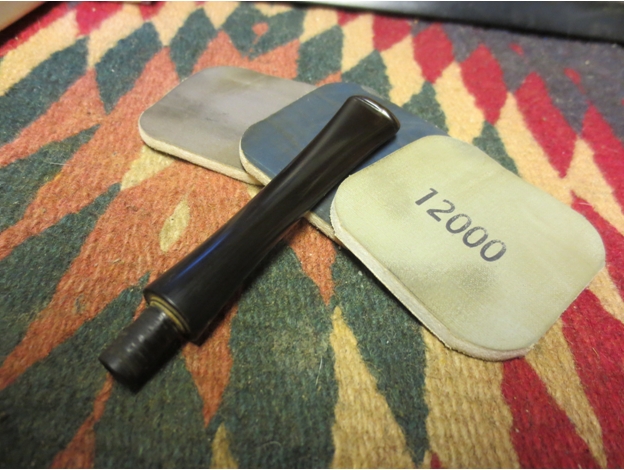
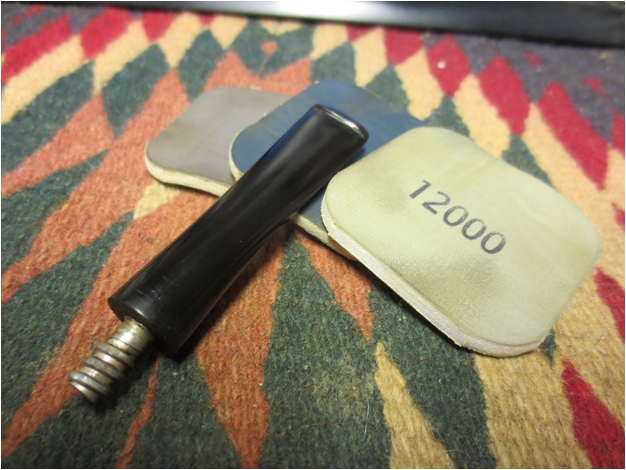
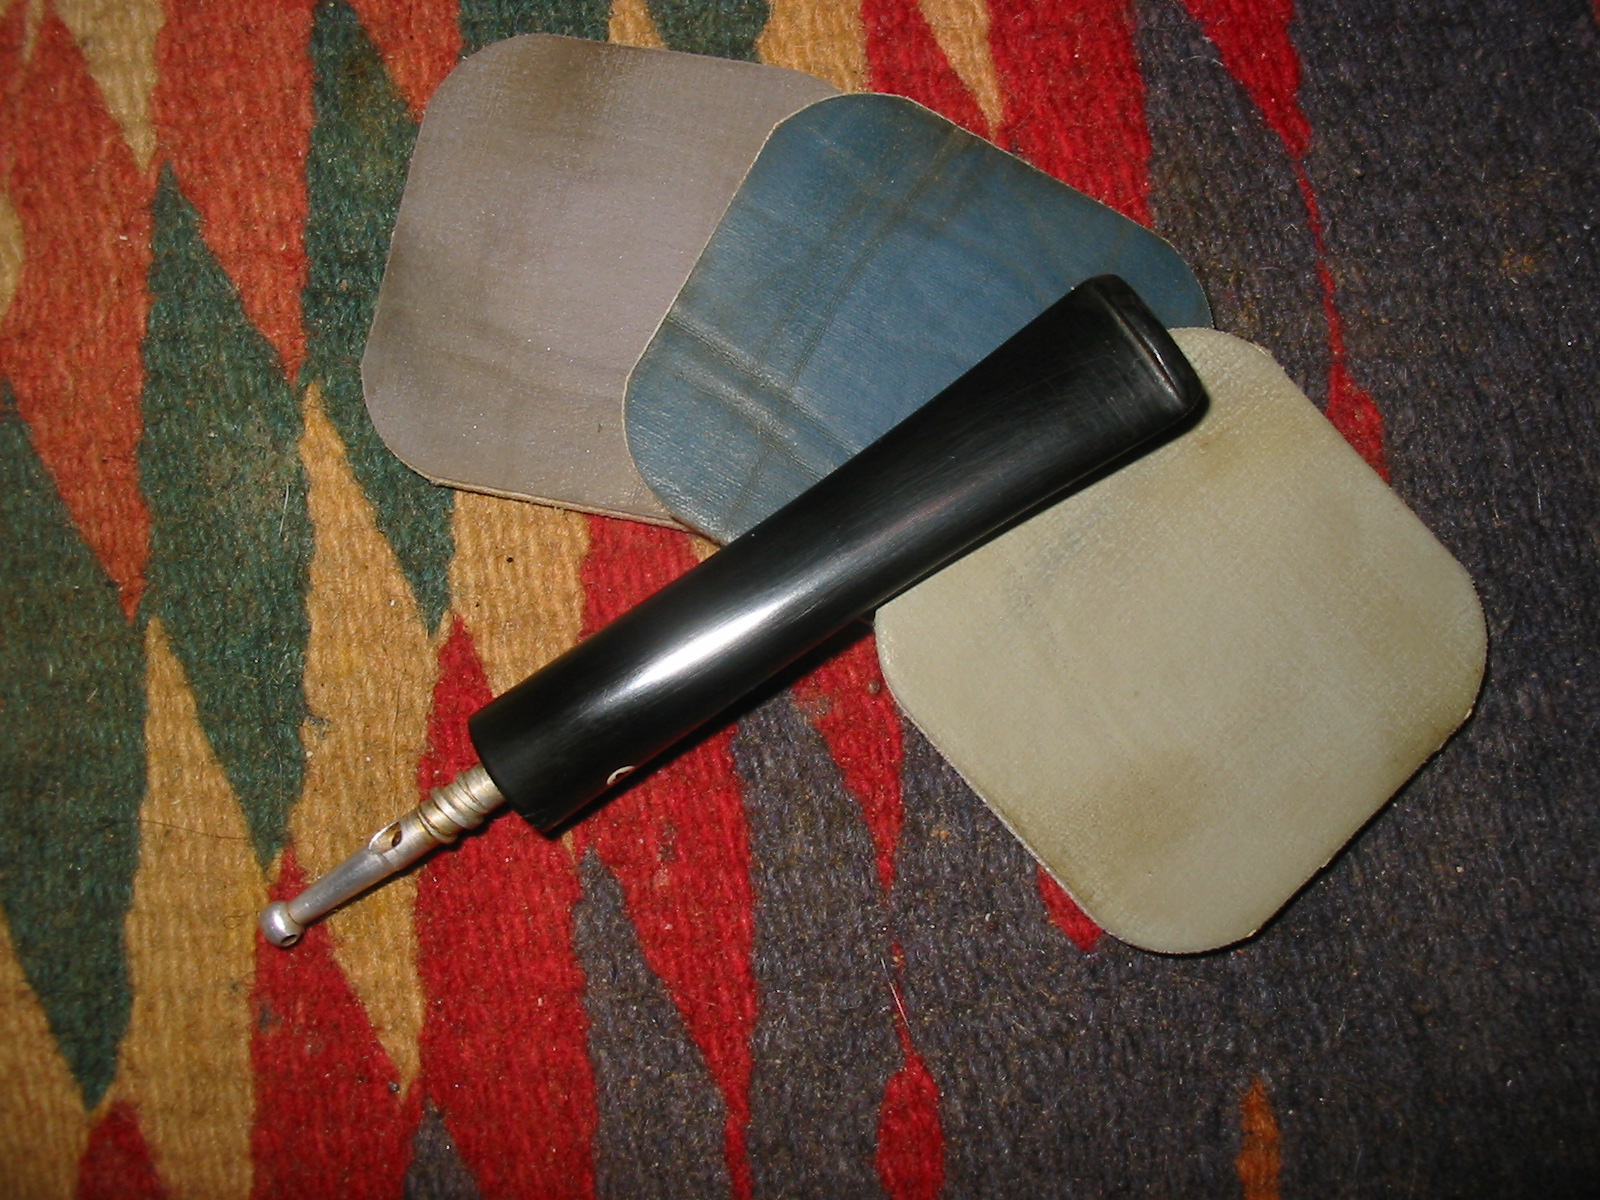
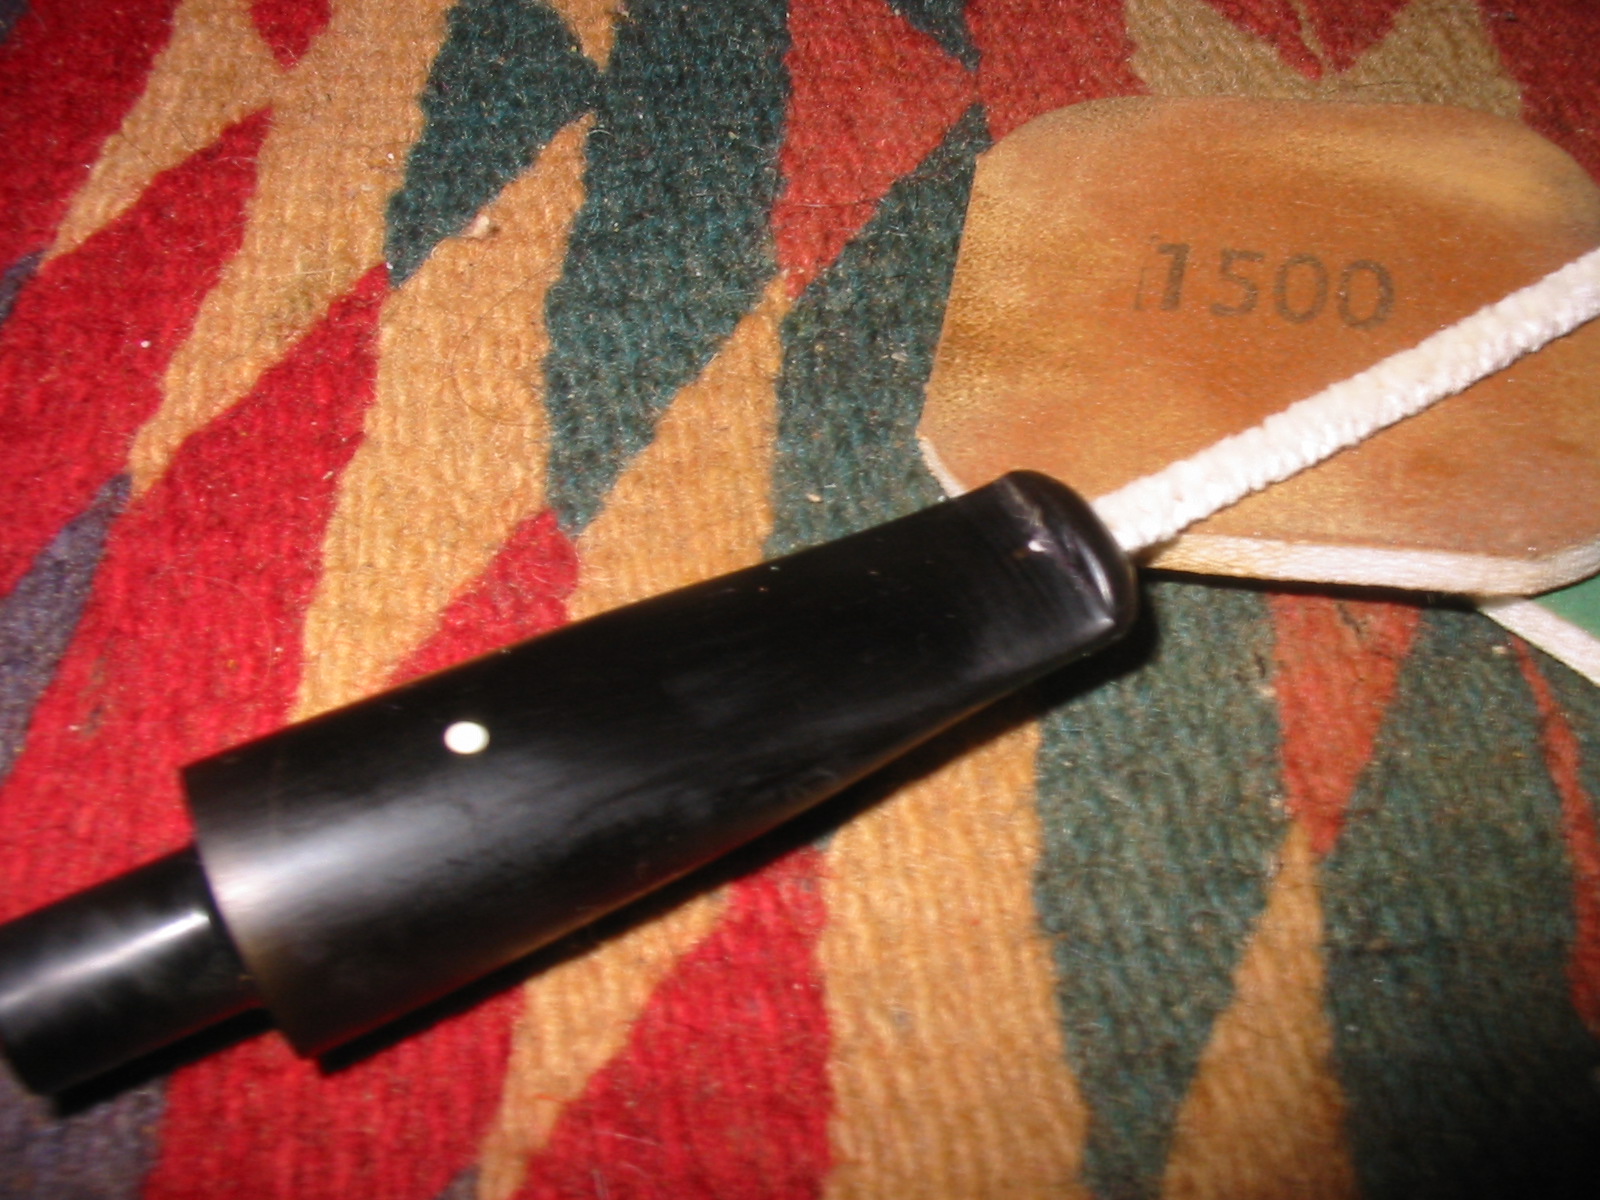
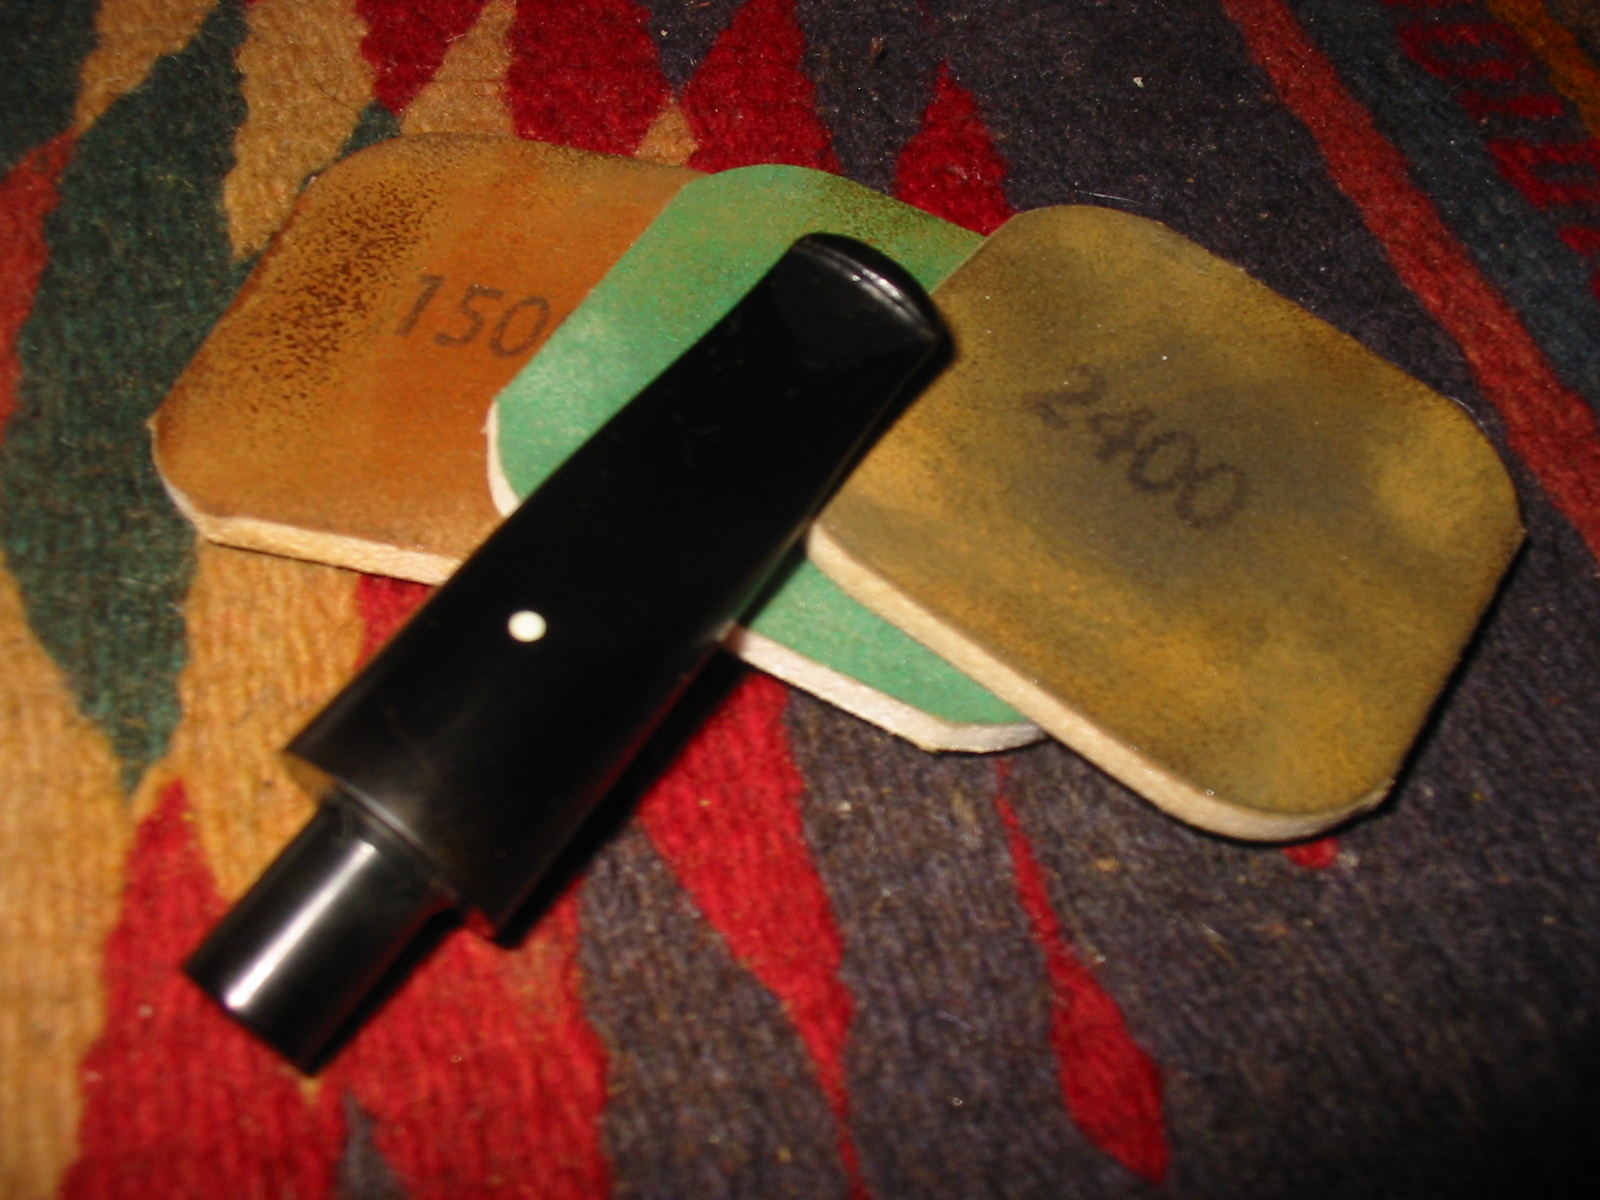
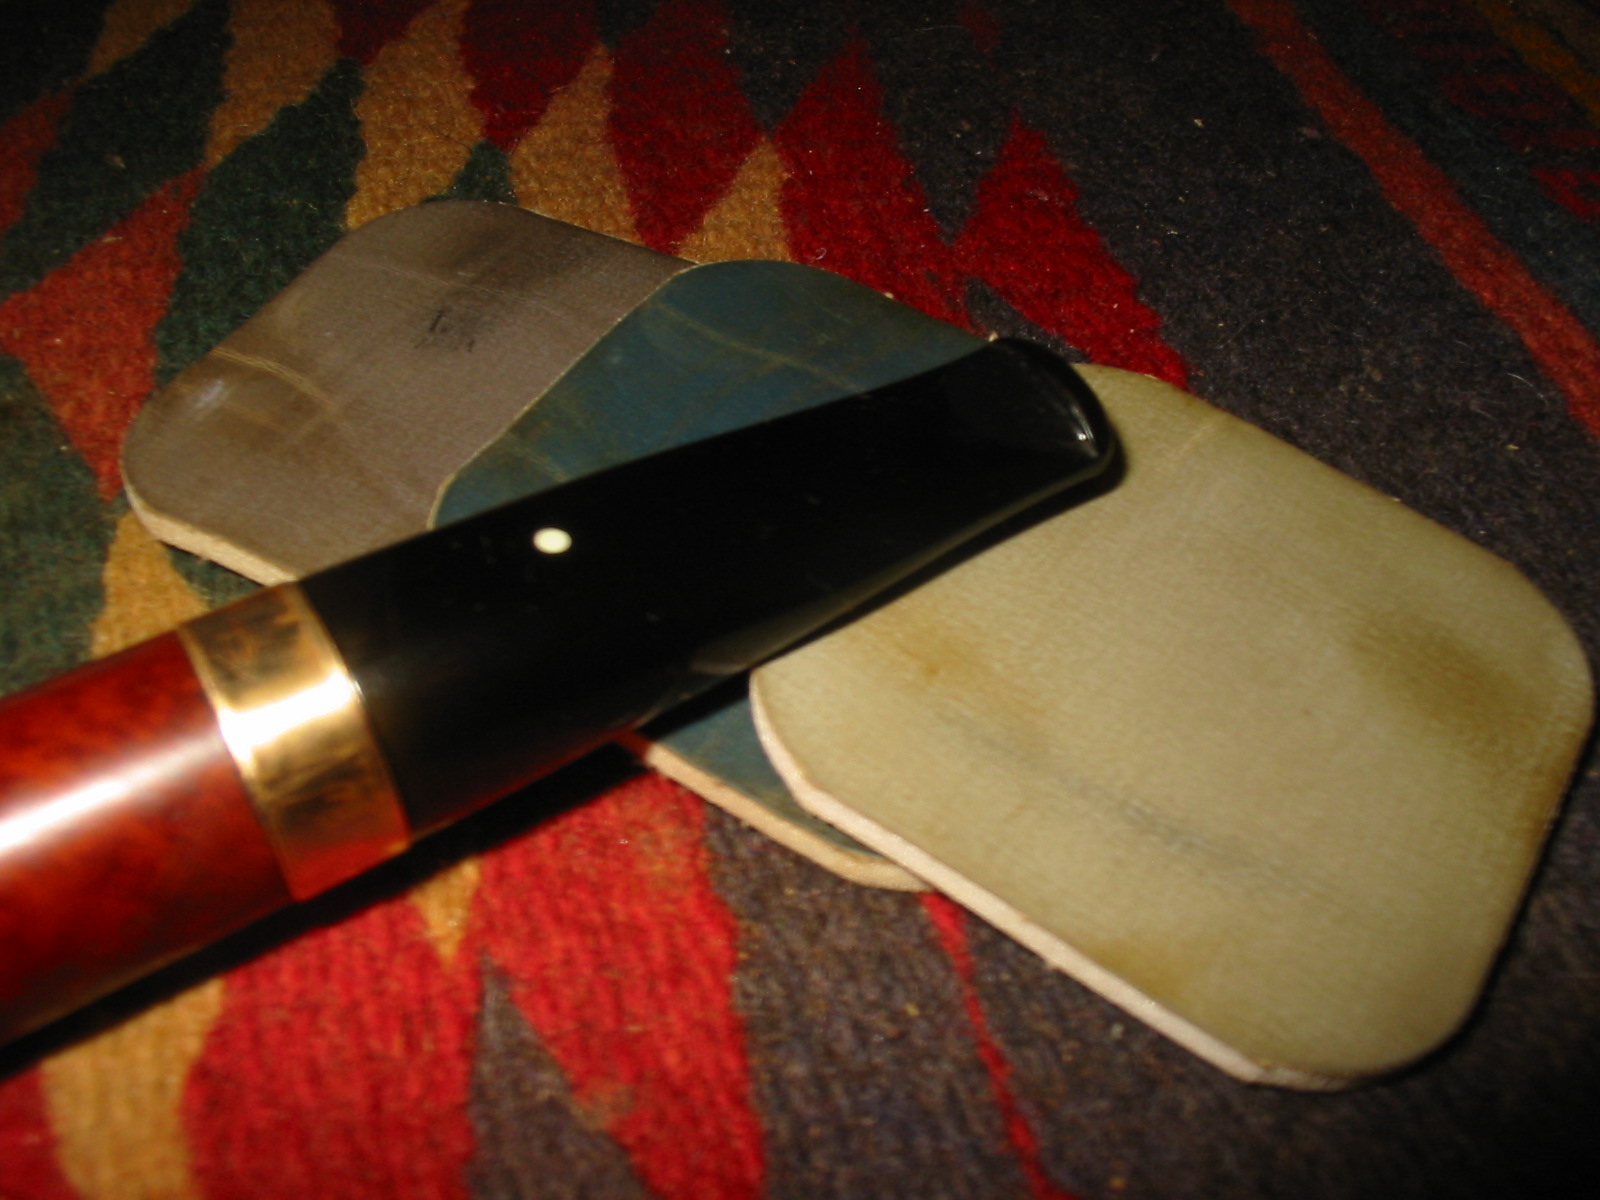
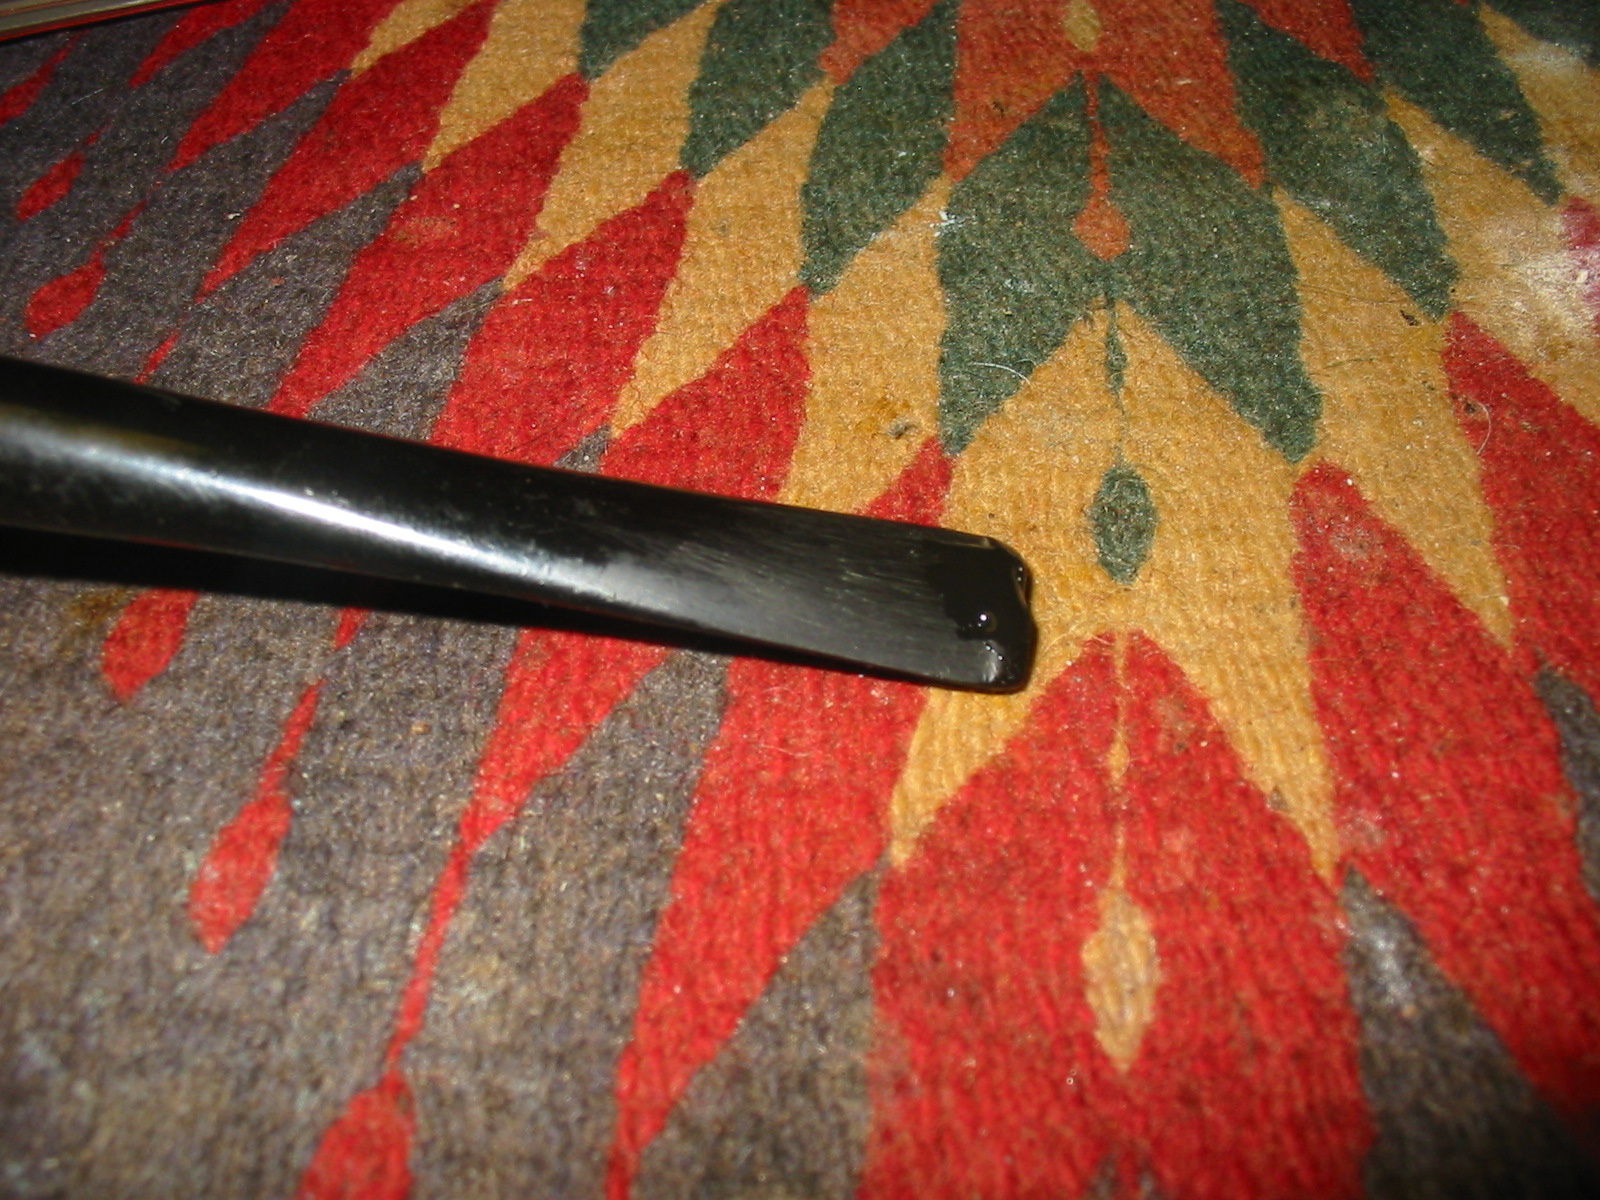
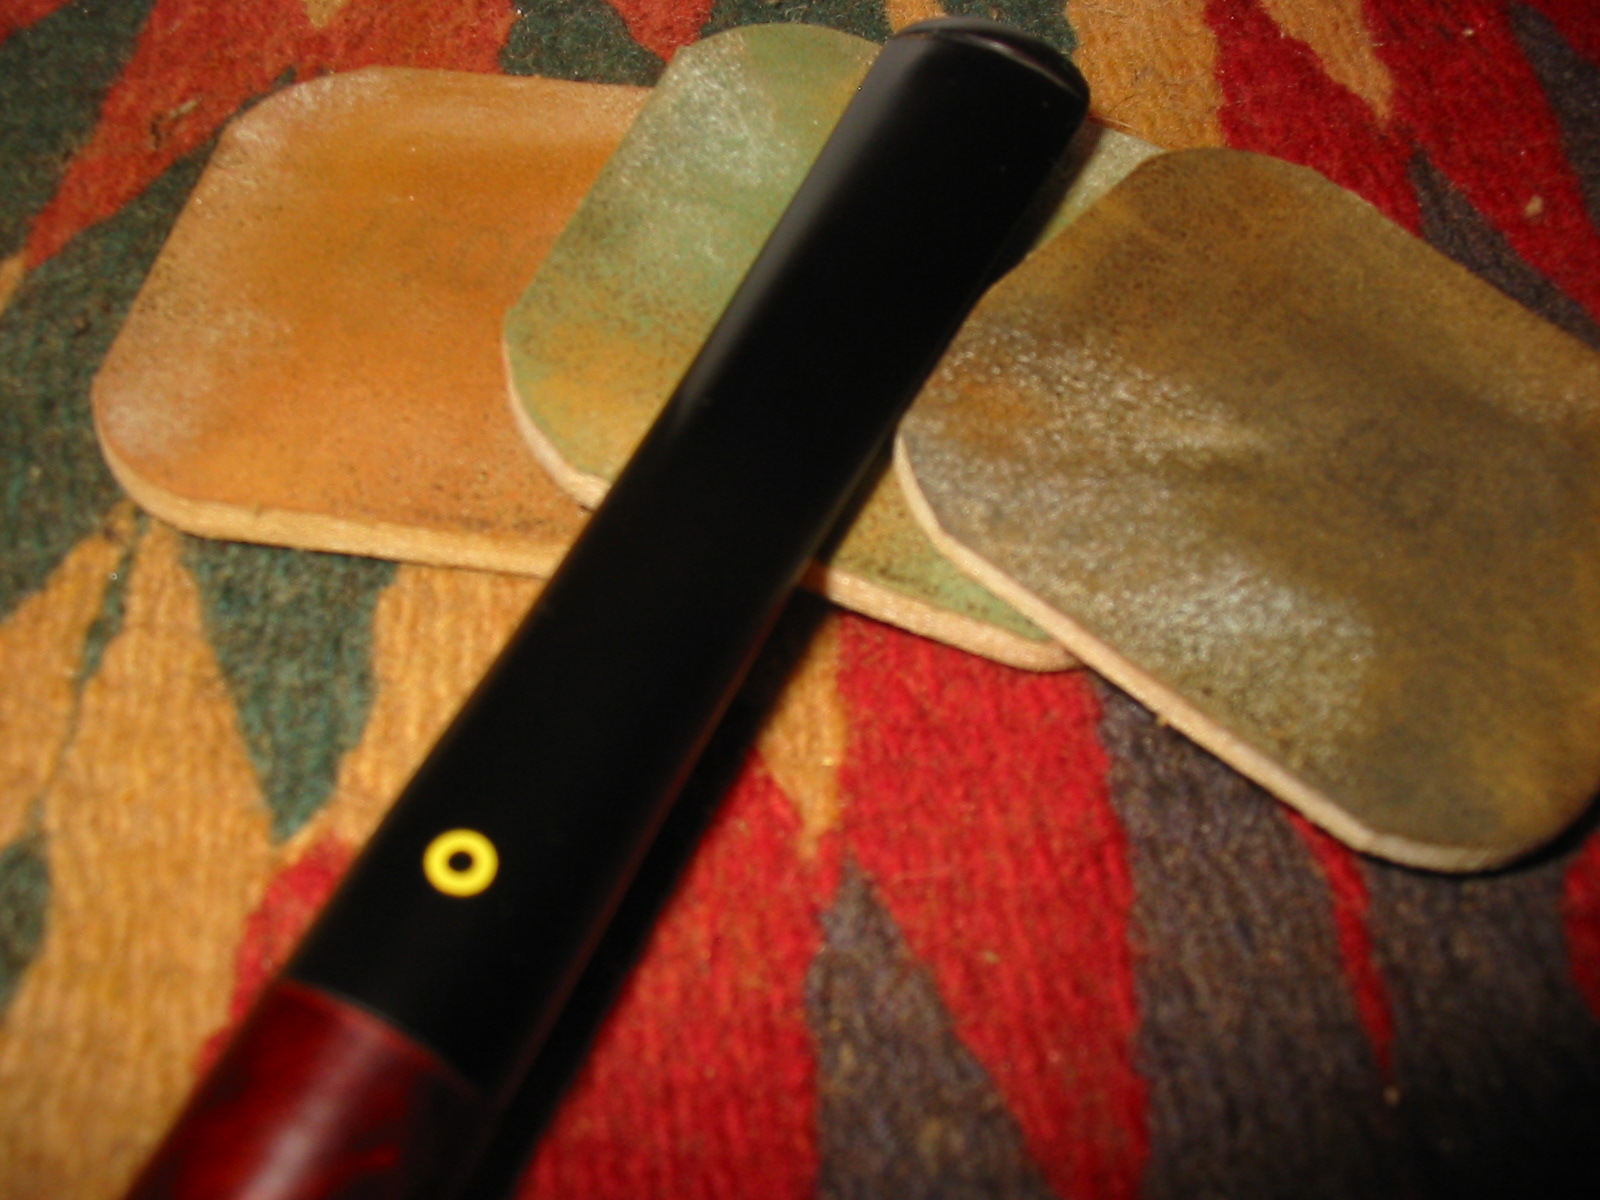
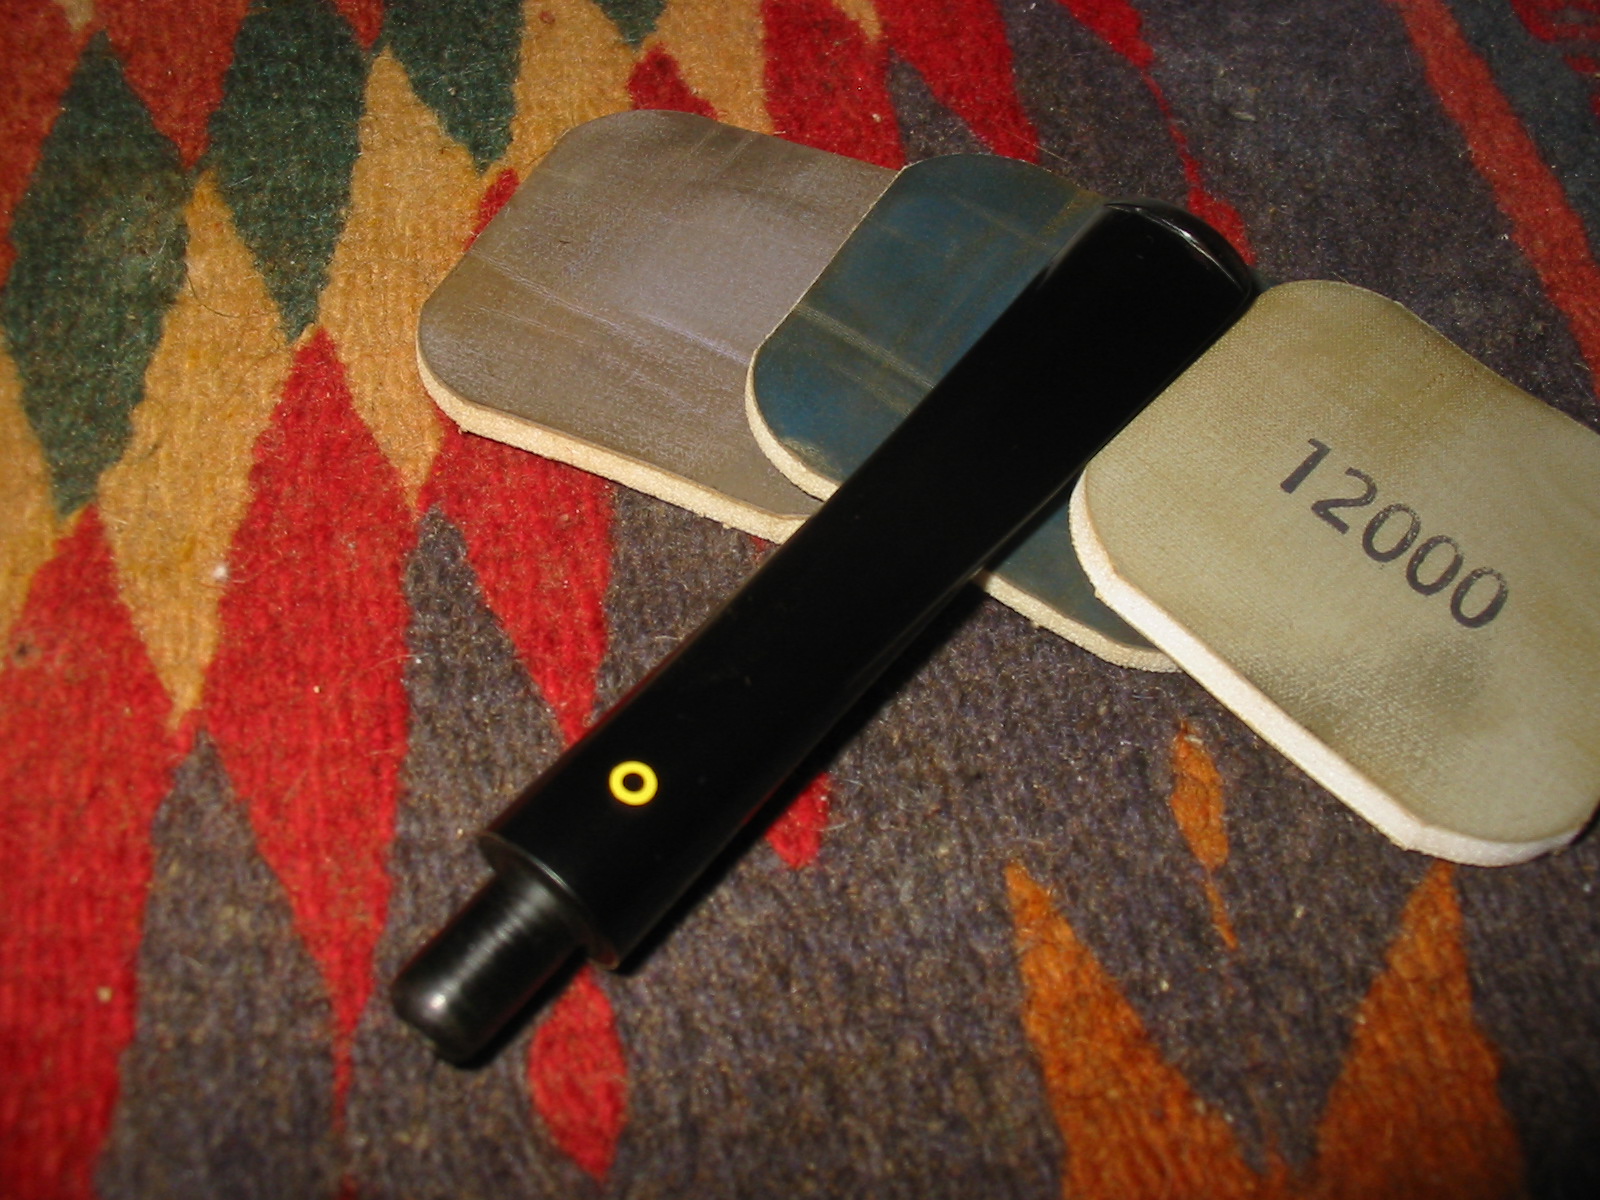
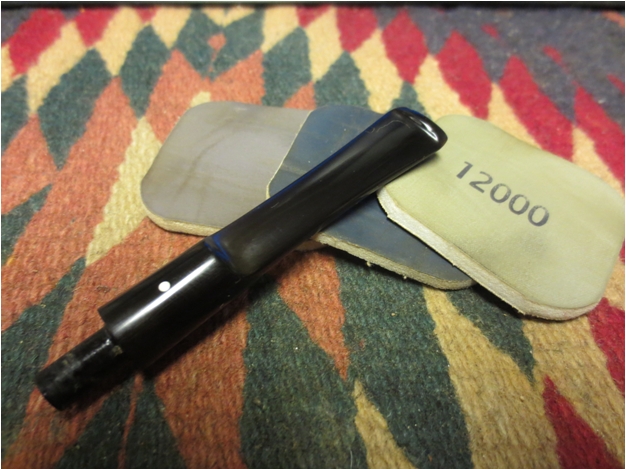
 The next step in the sanding process for me has always been to sand with the micromesh sanding pads. I wet sanded with the 1500-2400 grit pads and dry sanded with 3200-12,000 grit pads. Each successive grit of micromesh brought a deeper shine to the auburn/hazel coloured Lucite.

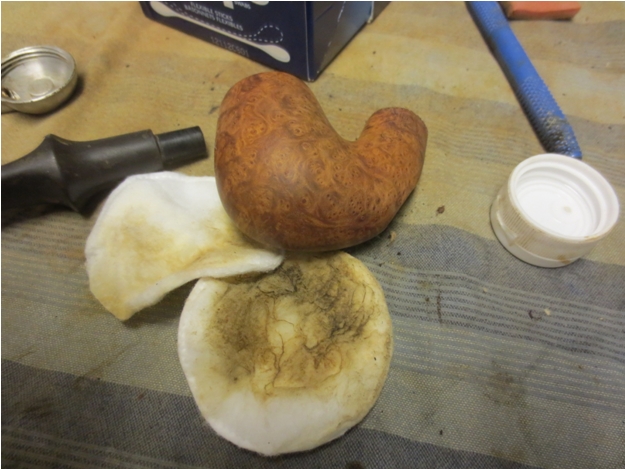
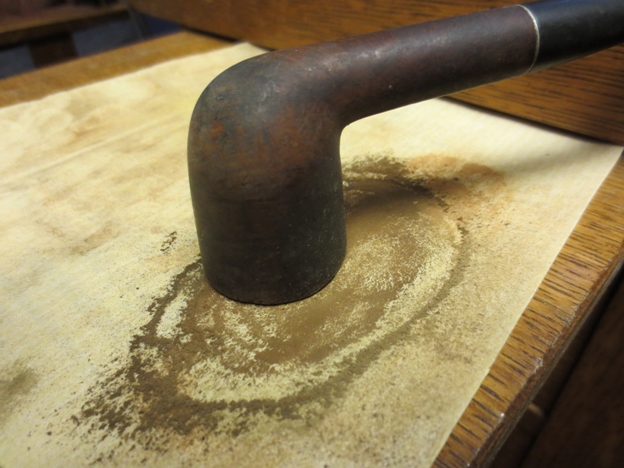
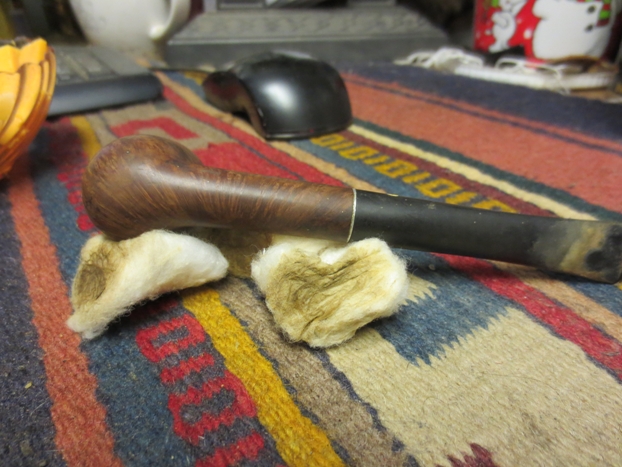
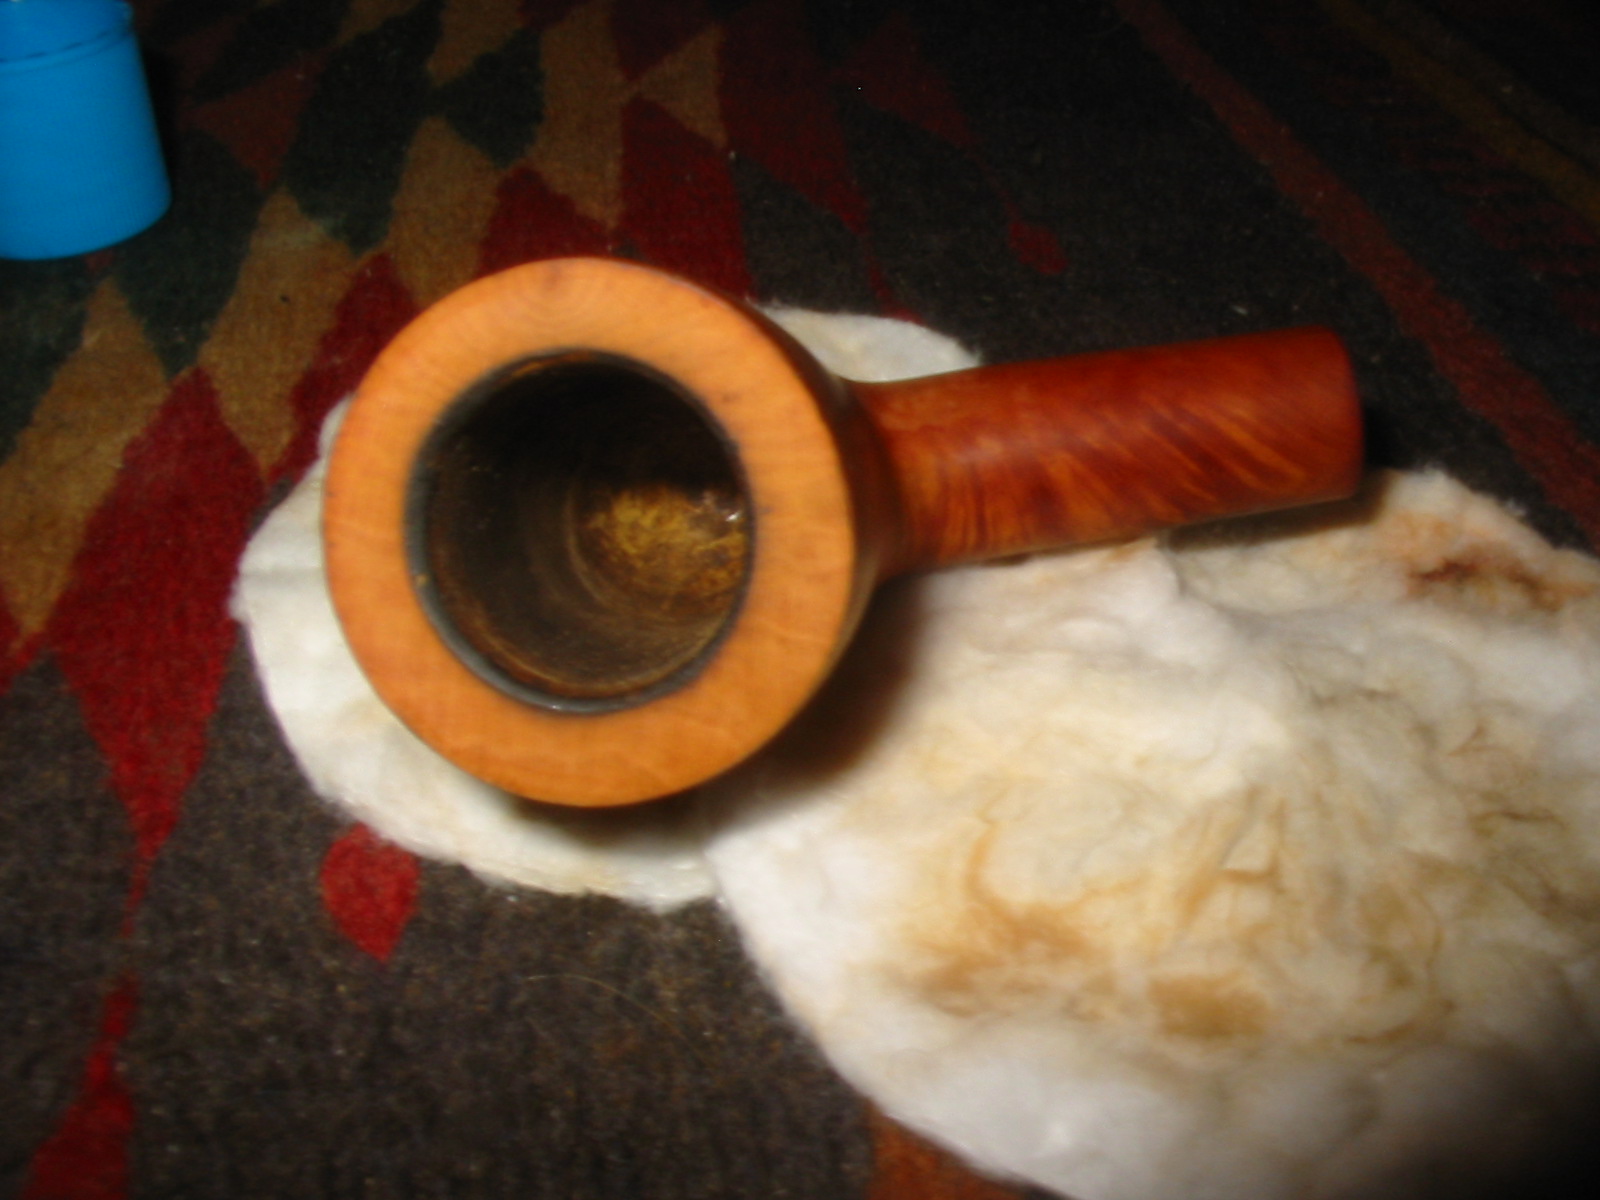
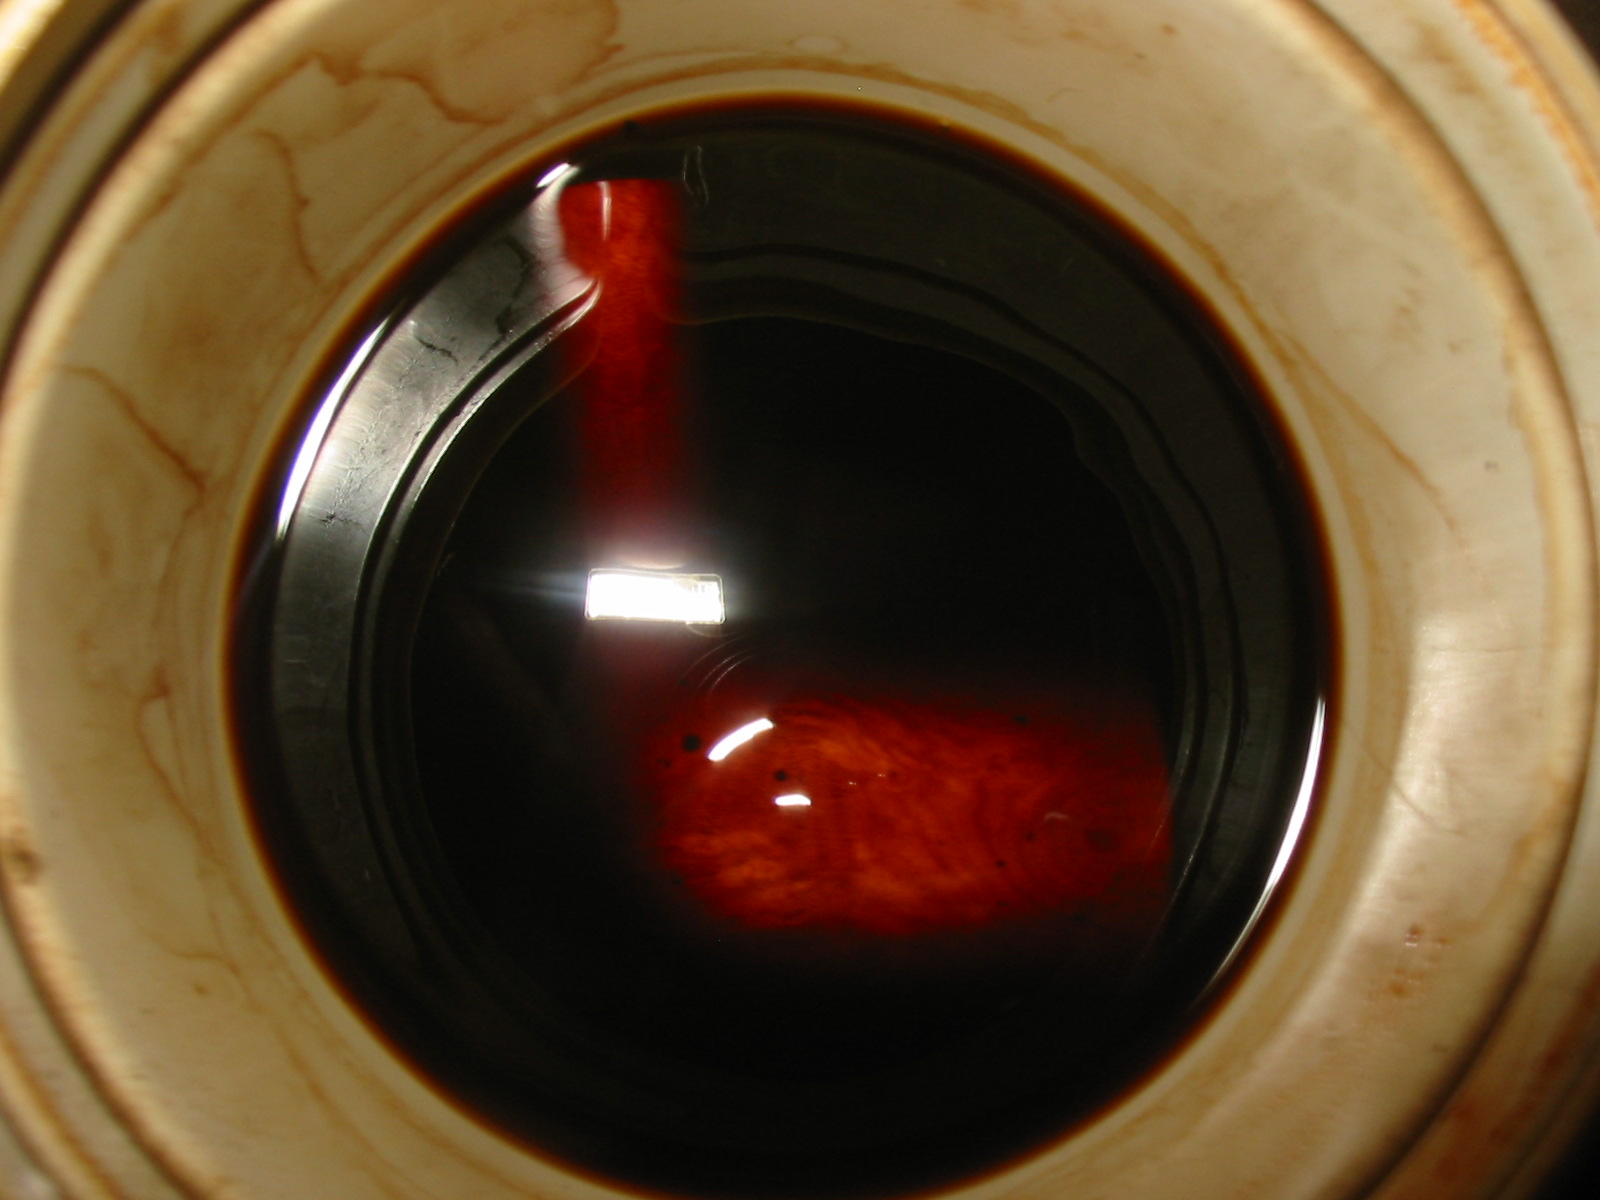
 Once the stain was dry on the exterior of the pipe I wiped it down with a cotton pad wetted with alcohol to lighten the finish slightly. I then gave the pipe a light buff with White Diamond and a shoe brush to raise the shine. I rubbed on some Halcyon II wax to protect the finish from my next step in the process. No matter how much I cleaned the pipe it still smelled of heavy “caramel like” aromatic tobacco. I decided to give it the cotton ball and alcohol treatment. I pressed two cotton balls into the bowl making sure they were not touching the rim and used an ear syringe to fill the bowl with isopropyl alcohol. I wanted to leach out the tars and oils that were in the briar and eradicate the smell. I filled the bowl and set it in an old ice-cube tray overnight.
 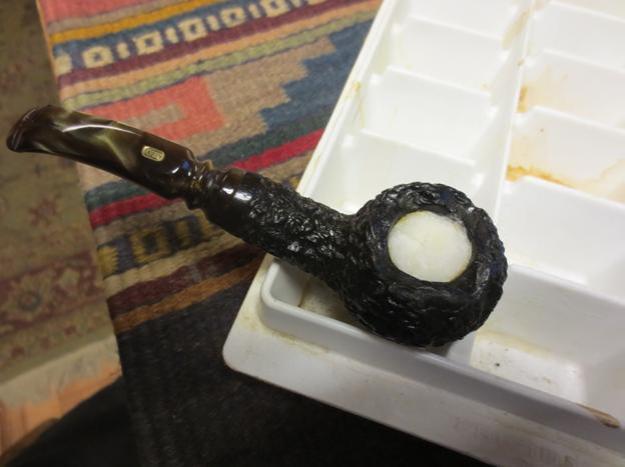 Within the first 30 minutes the cotton was already turning brown along the edges. This told me that the process was working.
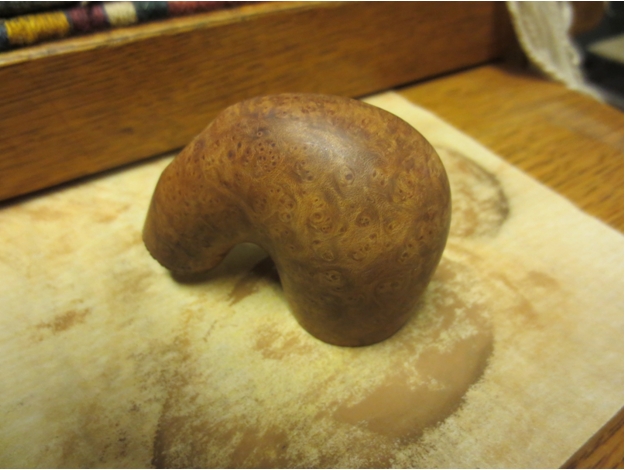
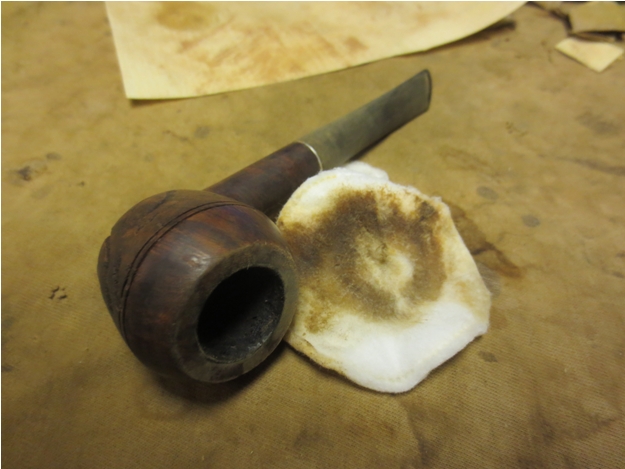
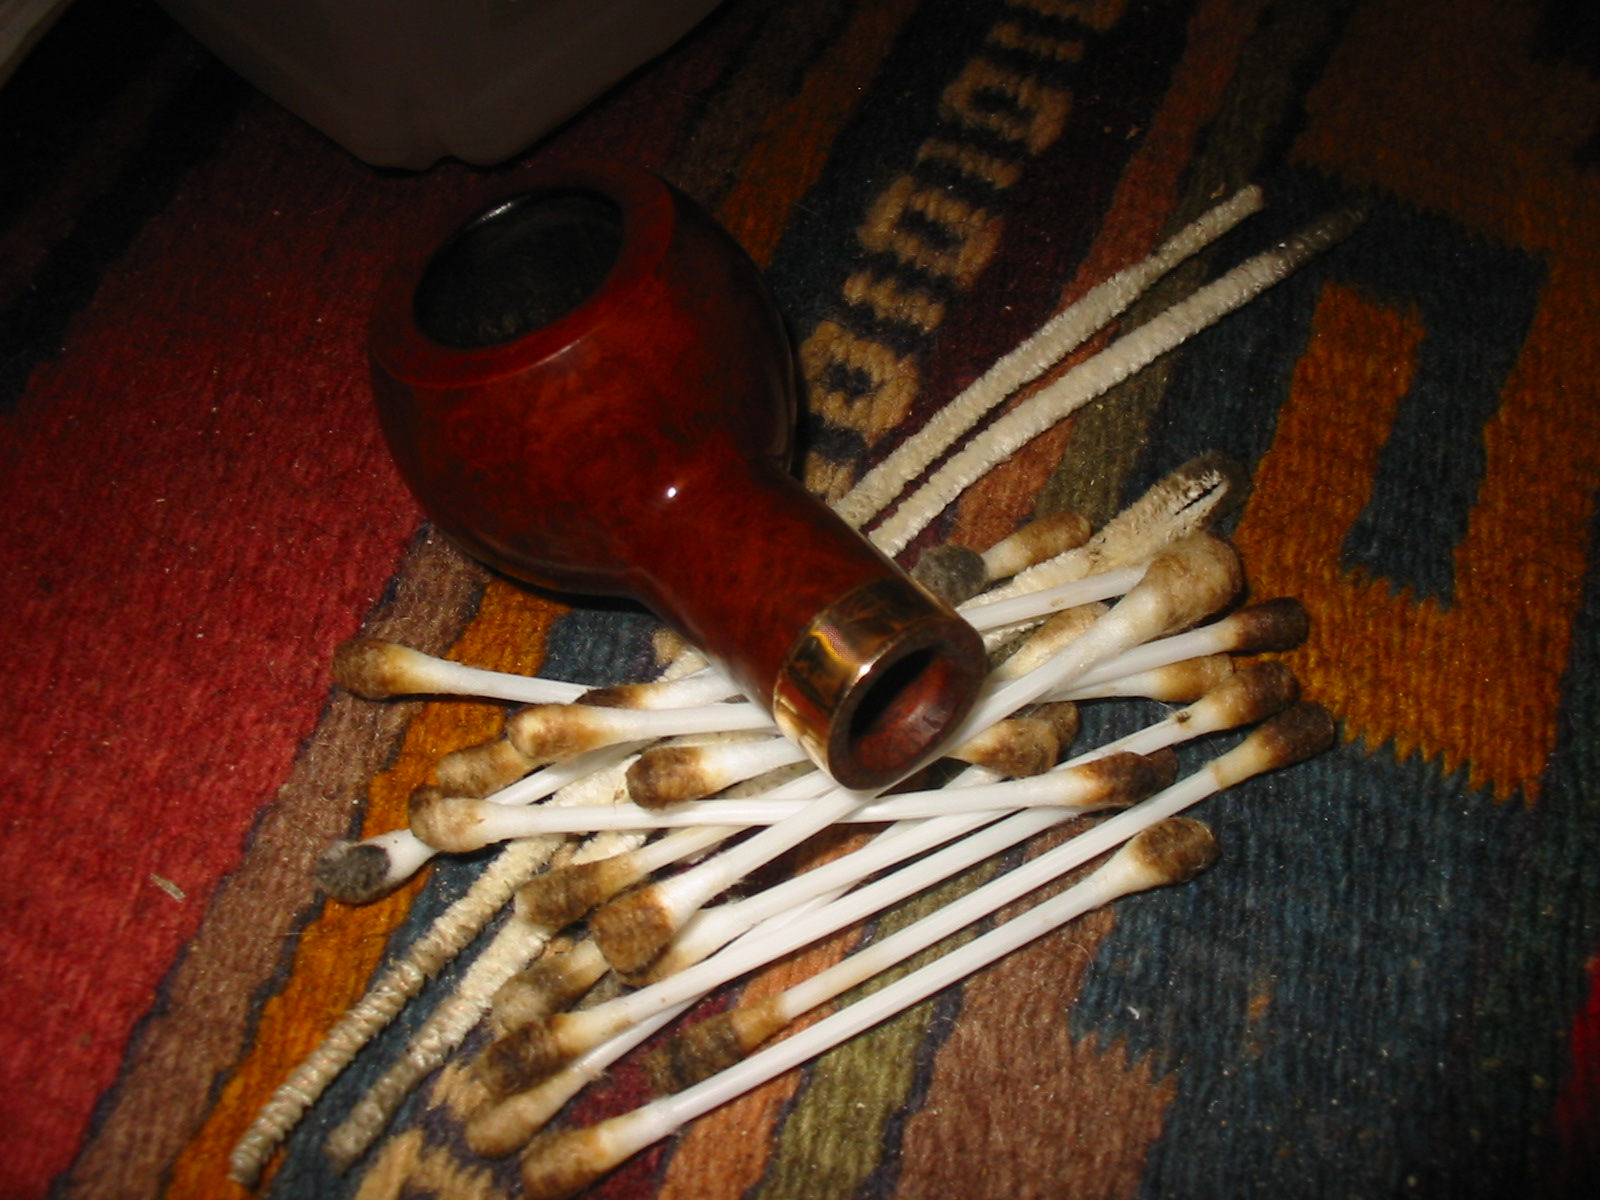
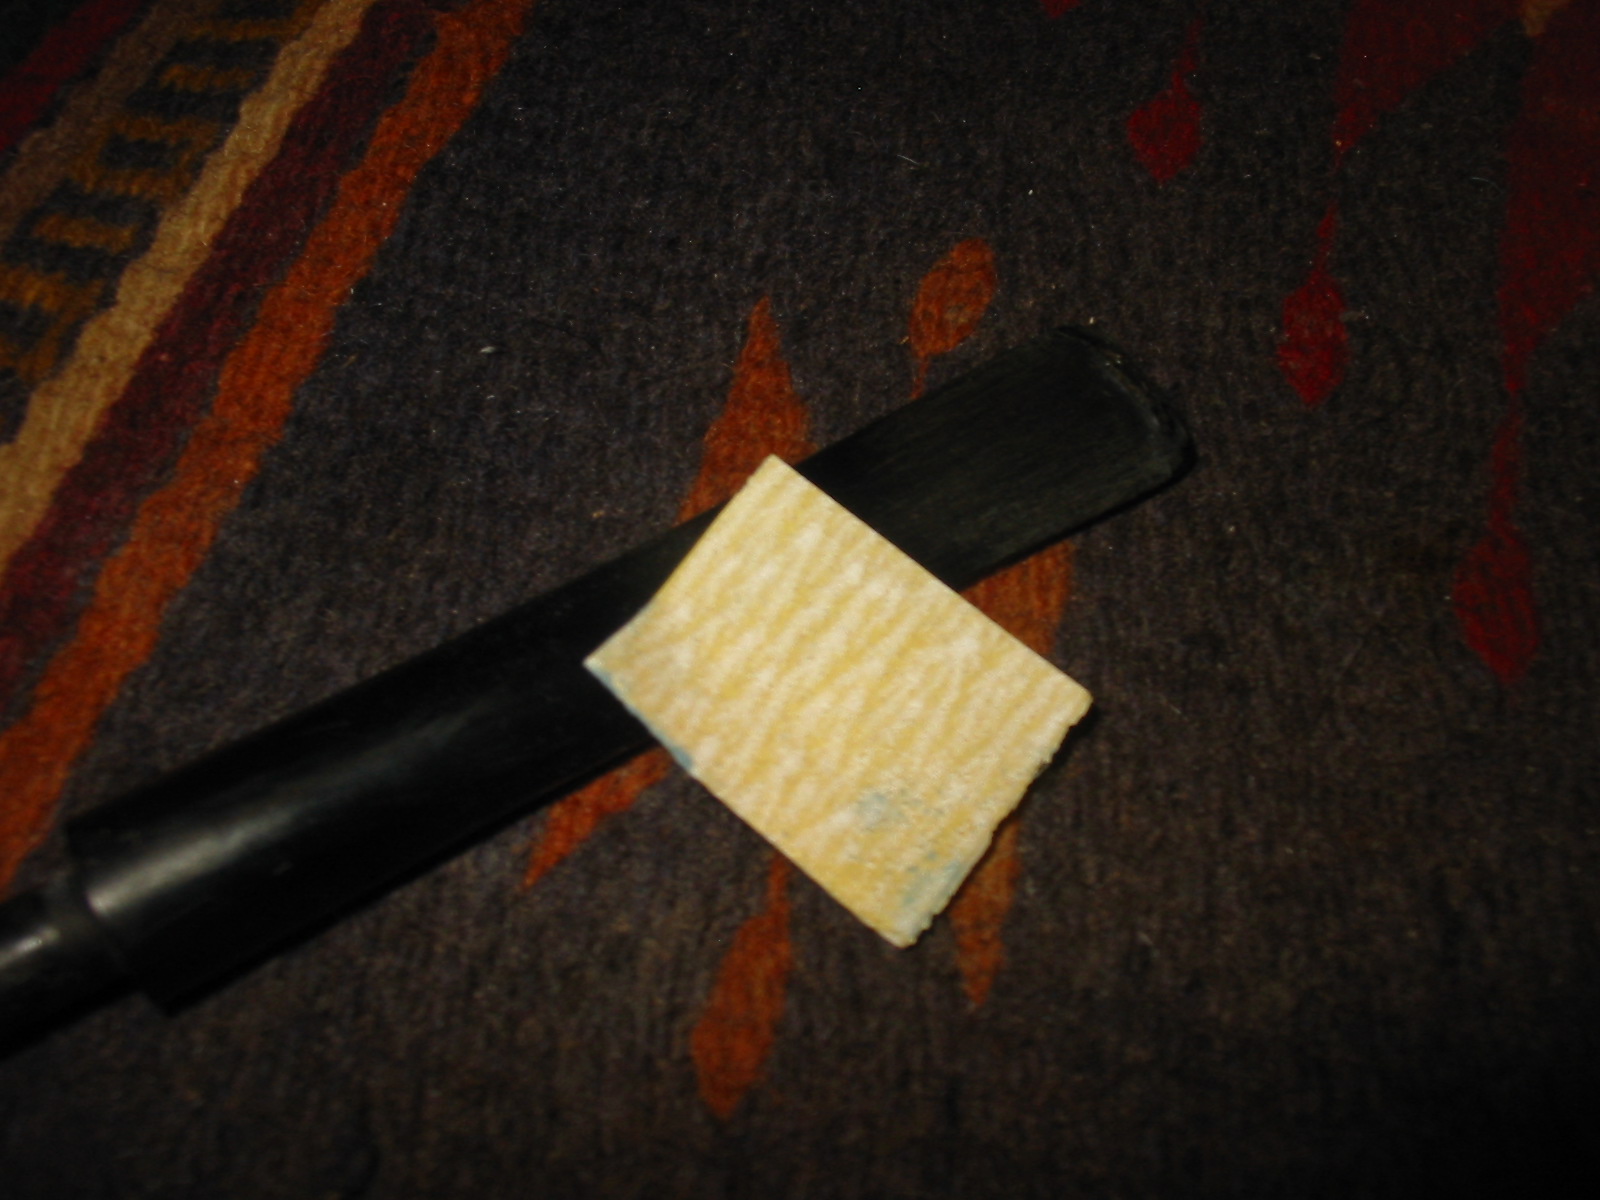
 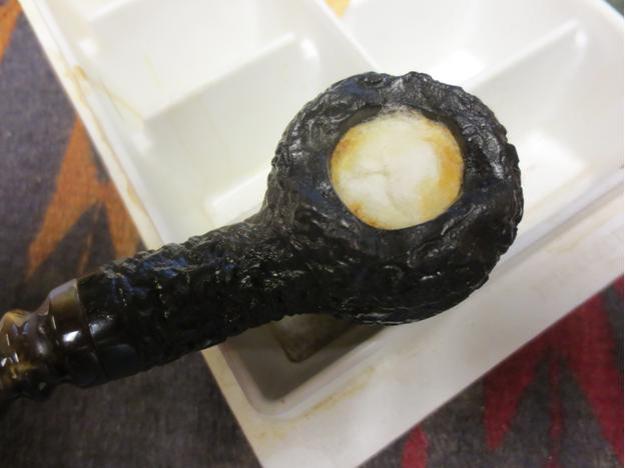 In the morning when I got up the cotton was a medium to dark brown as shown in the photo below. I picked it out carefully with a dental pick. The alcohol had evaporated so the cotton was not soggy, just damp. I wiped out the bowl with cotton swabs and cleaned out the shank once again with pipe cleaners to remove any of the remaining oils and tars from the surface. I lightly buffed it once more with a soft flannel buffing pad to polish the briar and stem.
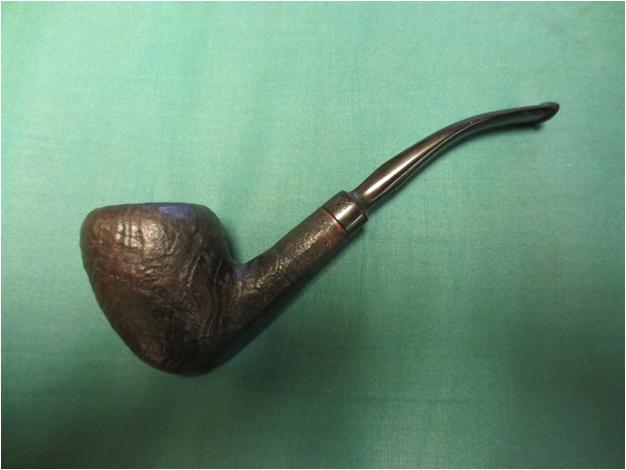
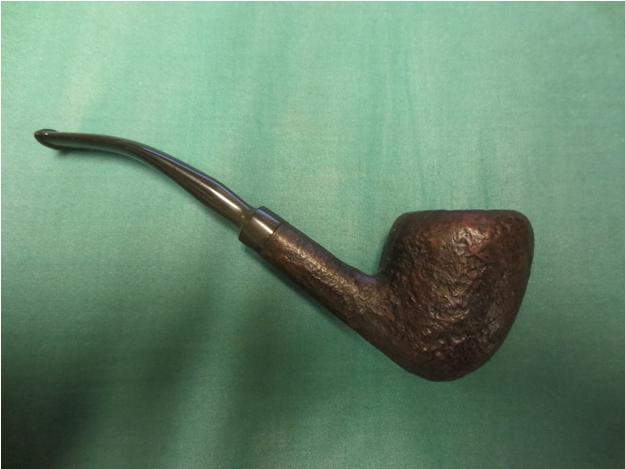
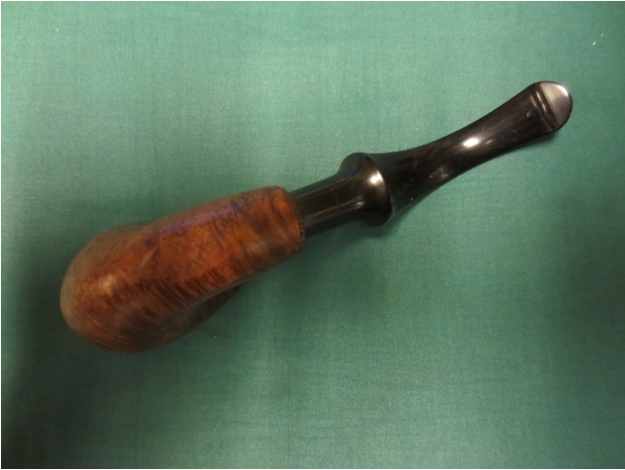
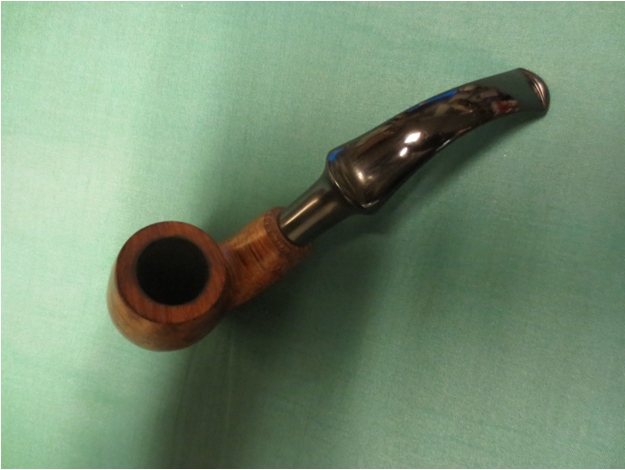
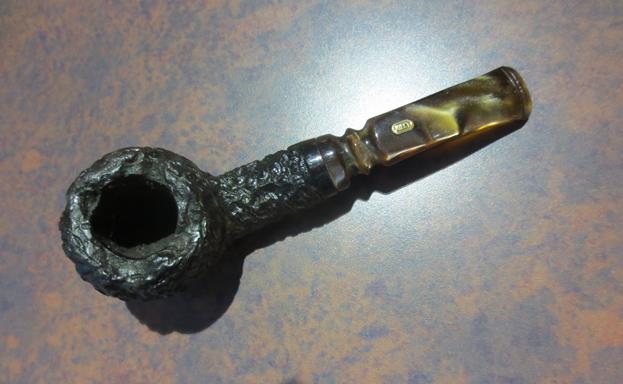
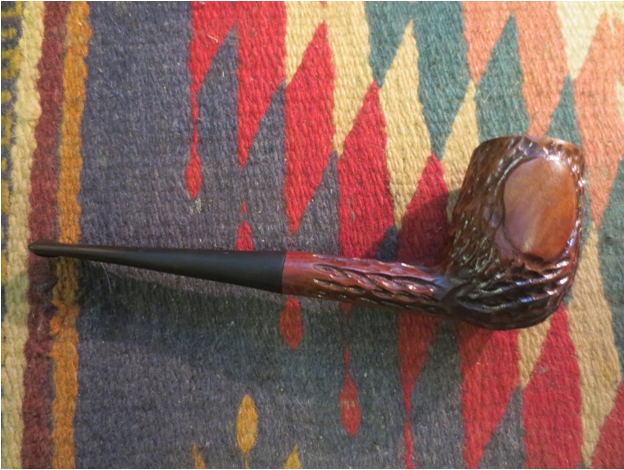
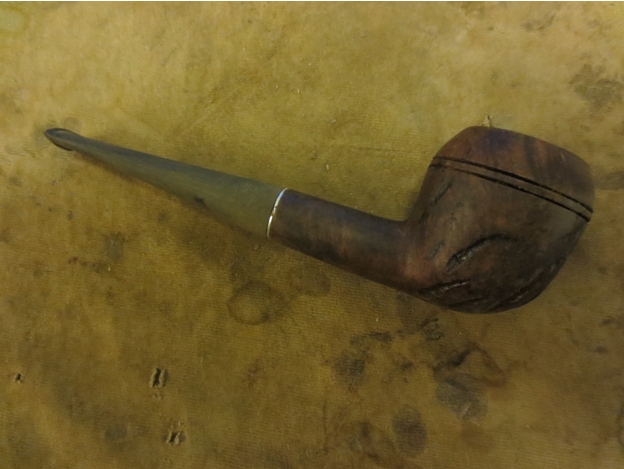
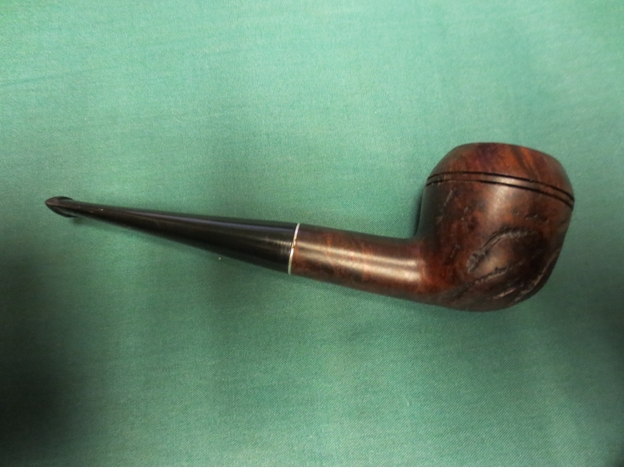
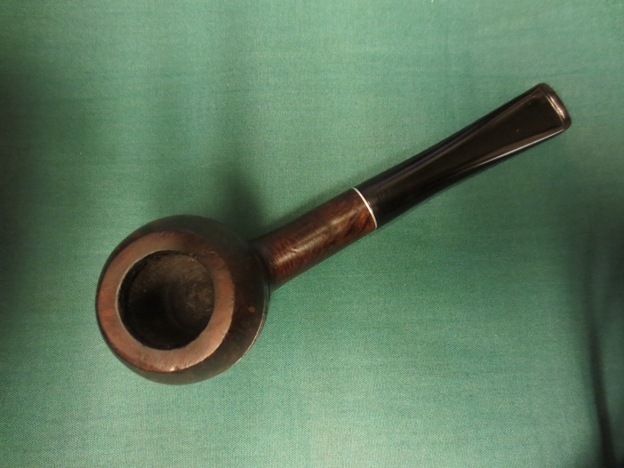
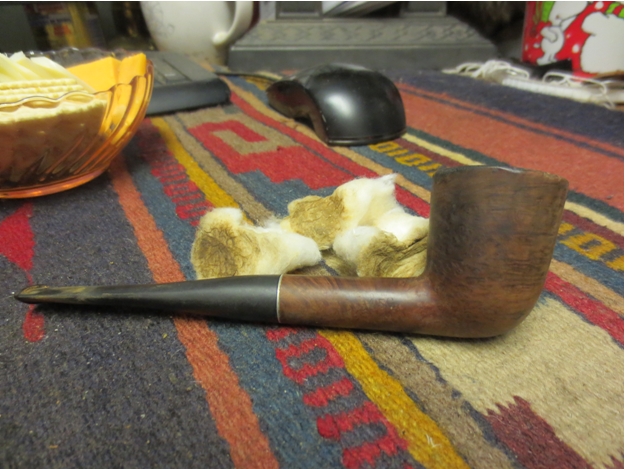
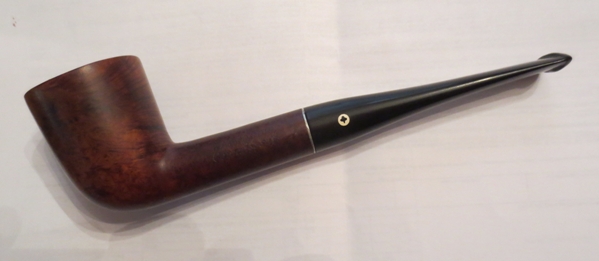
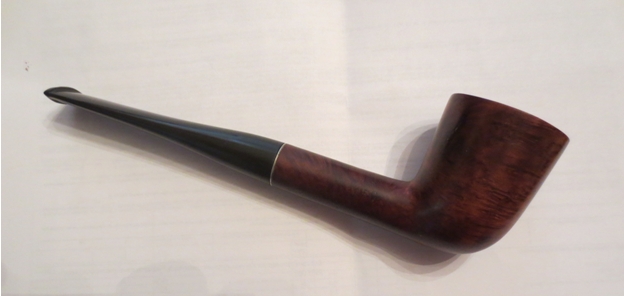
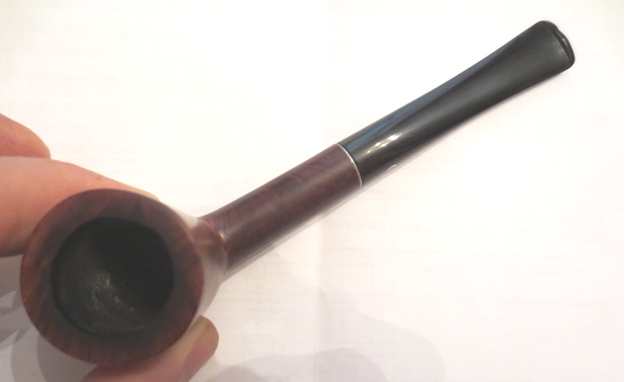
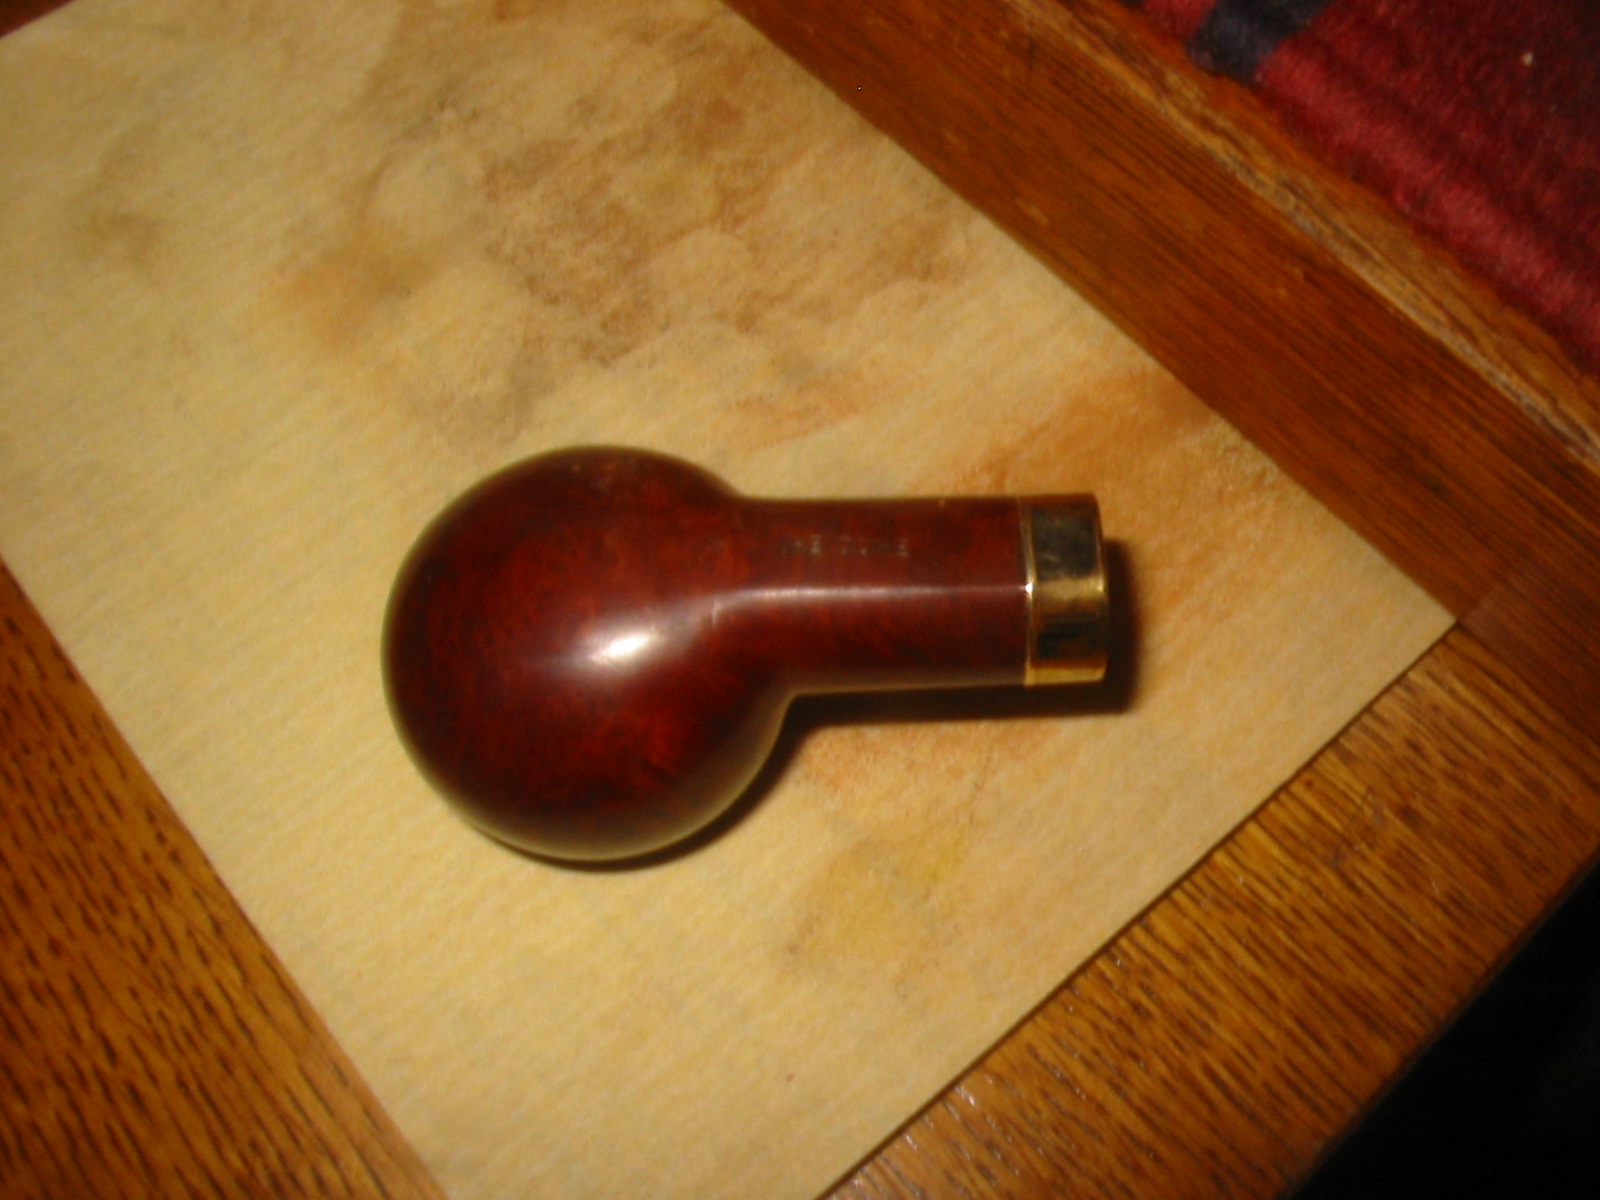
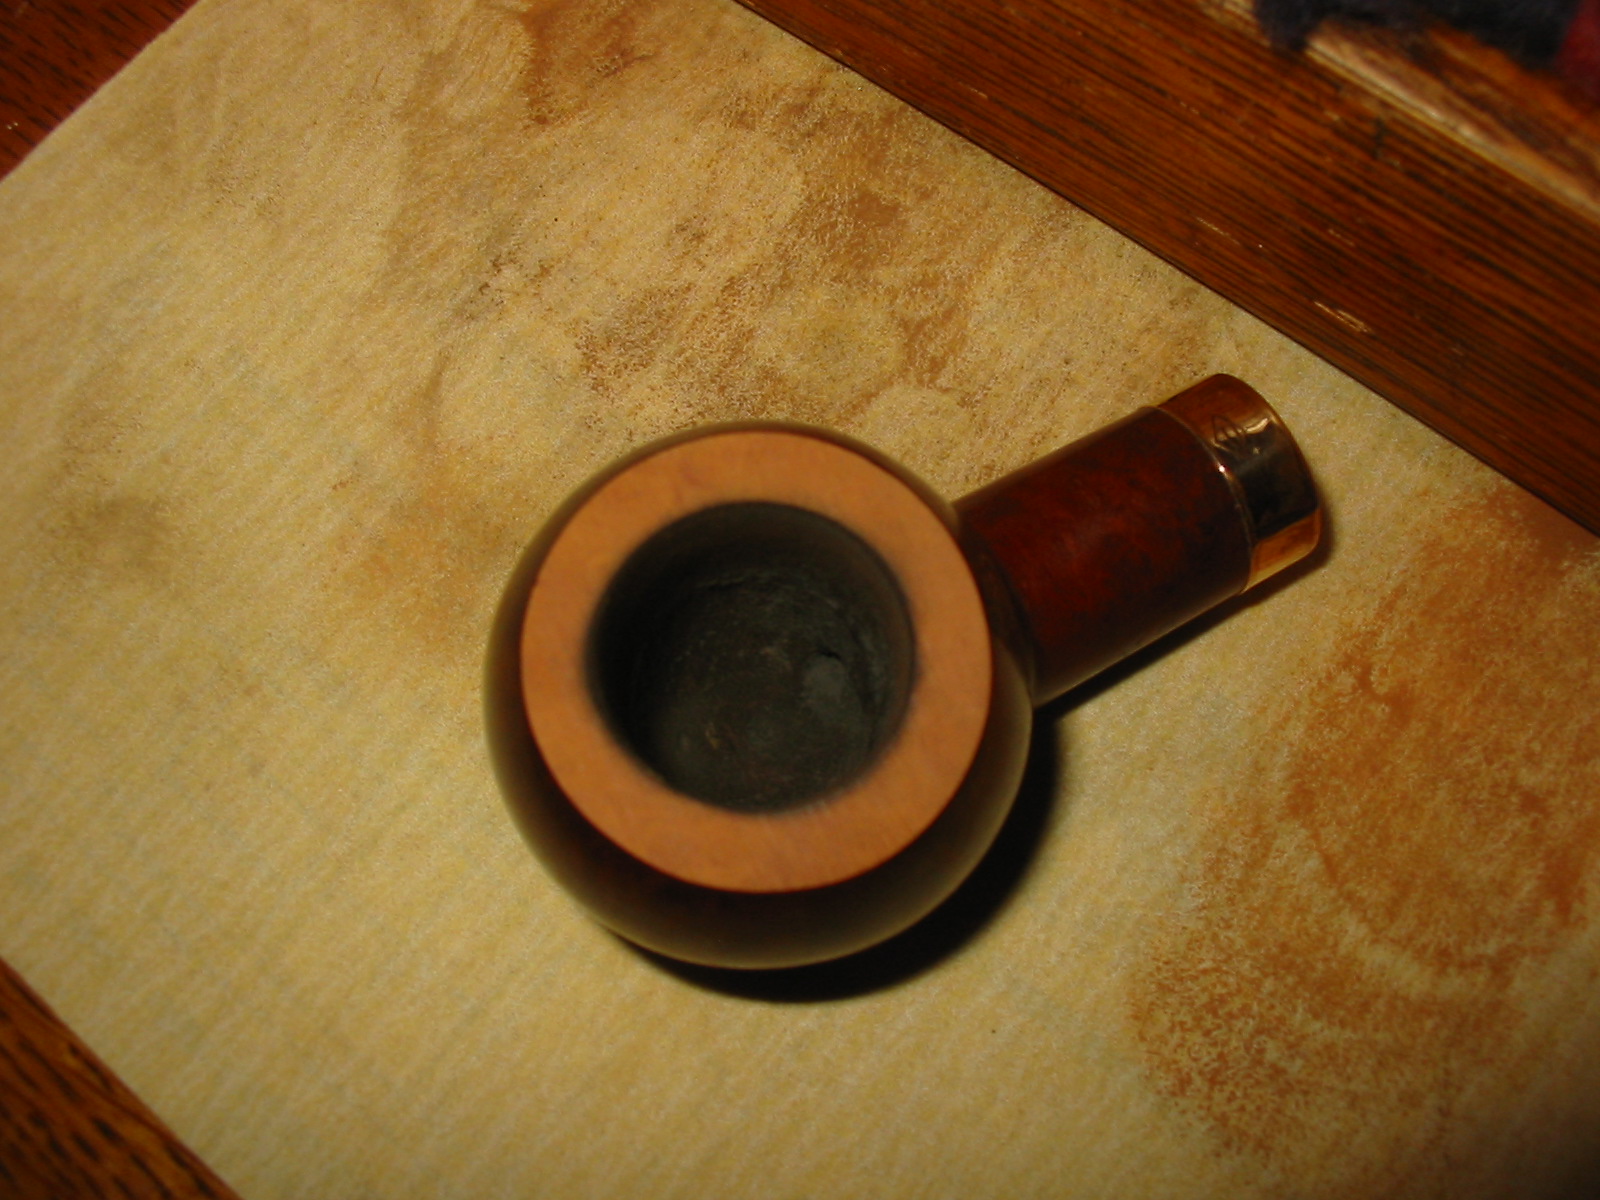
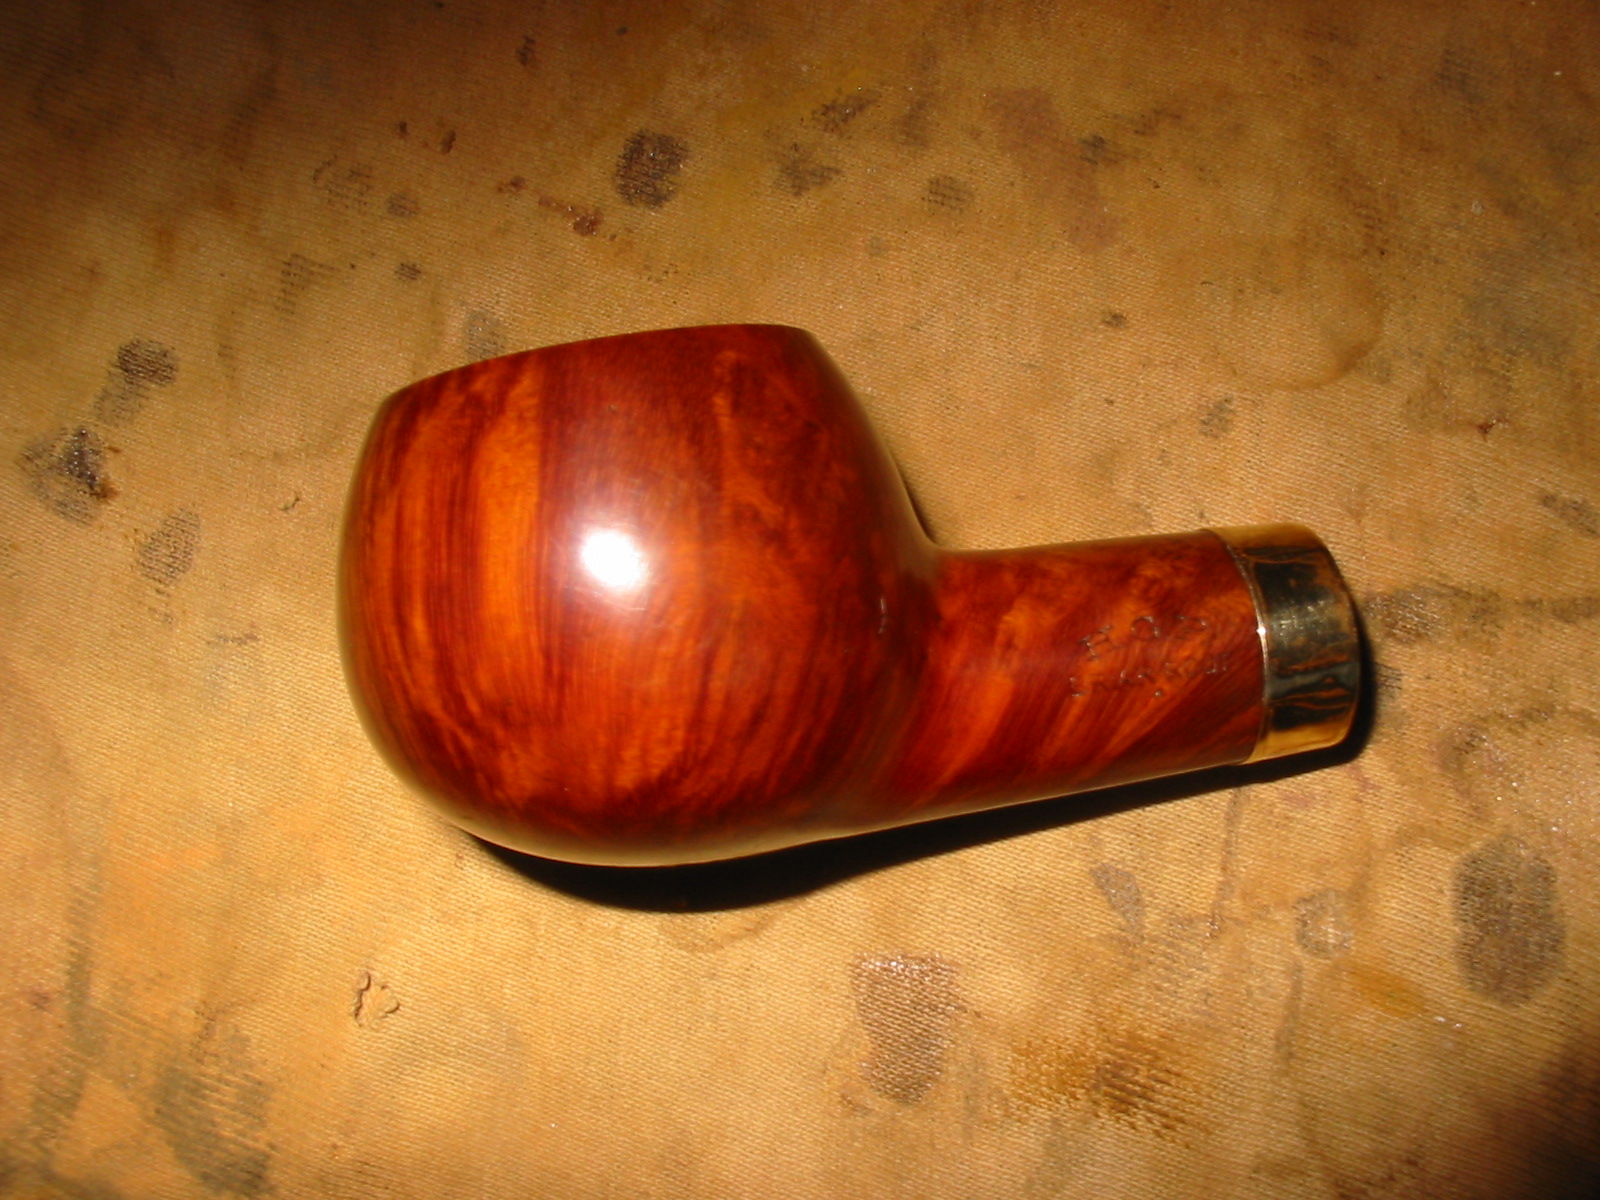
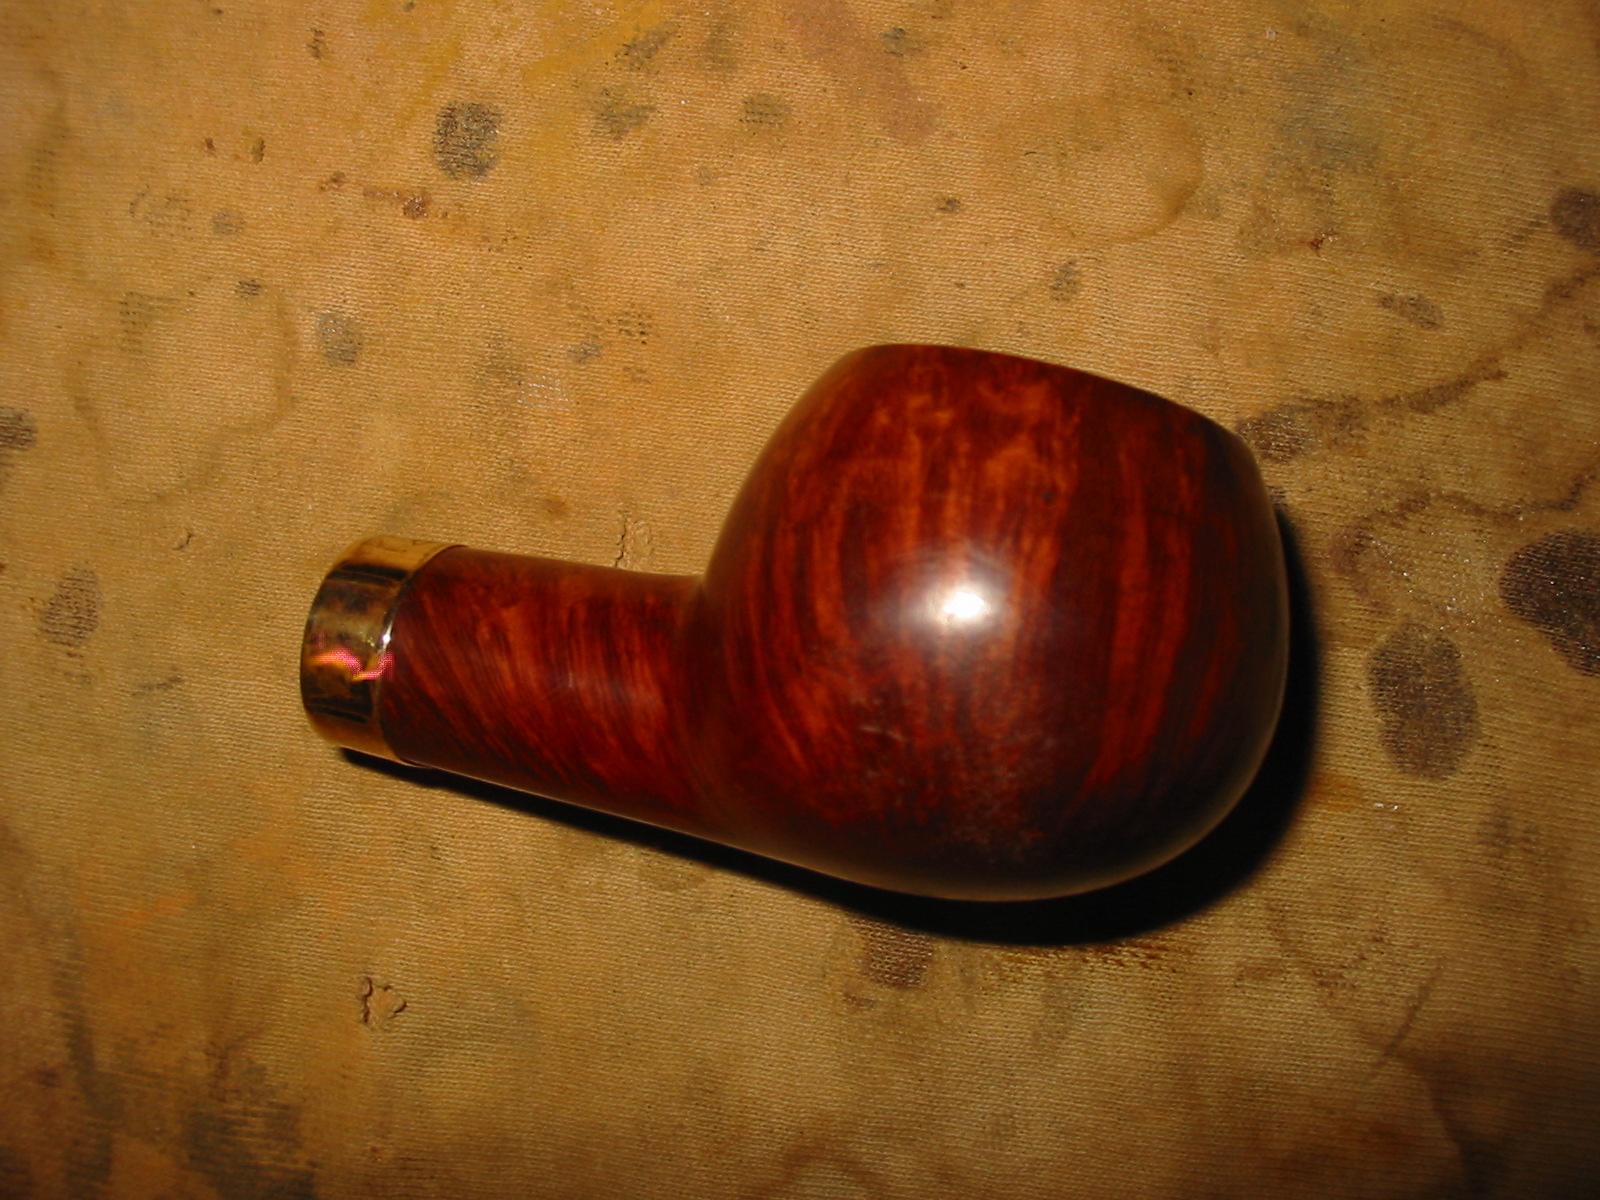
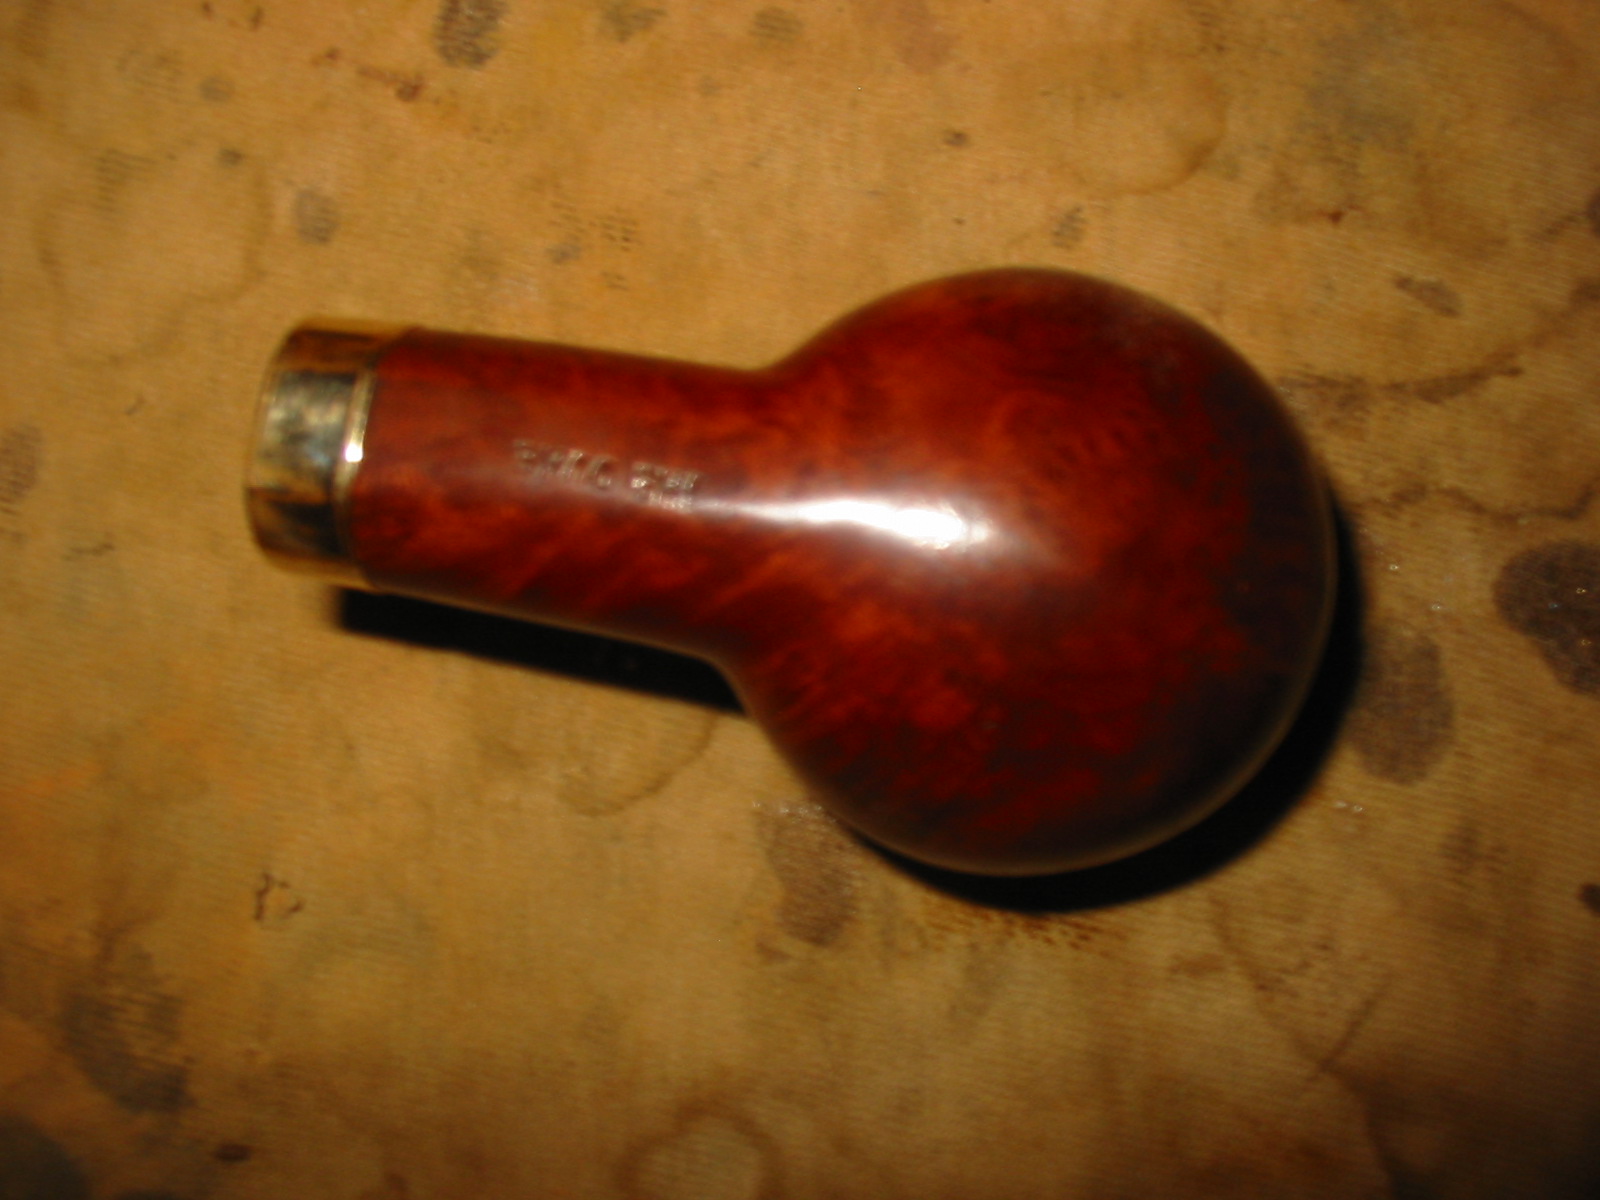
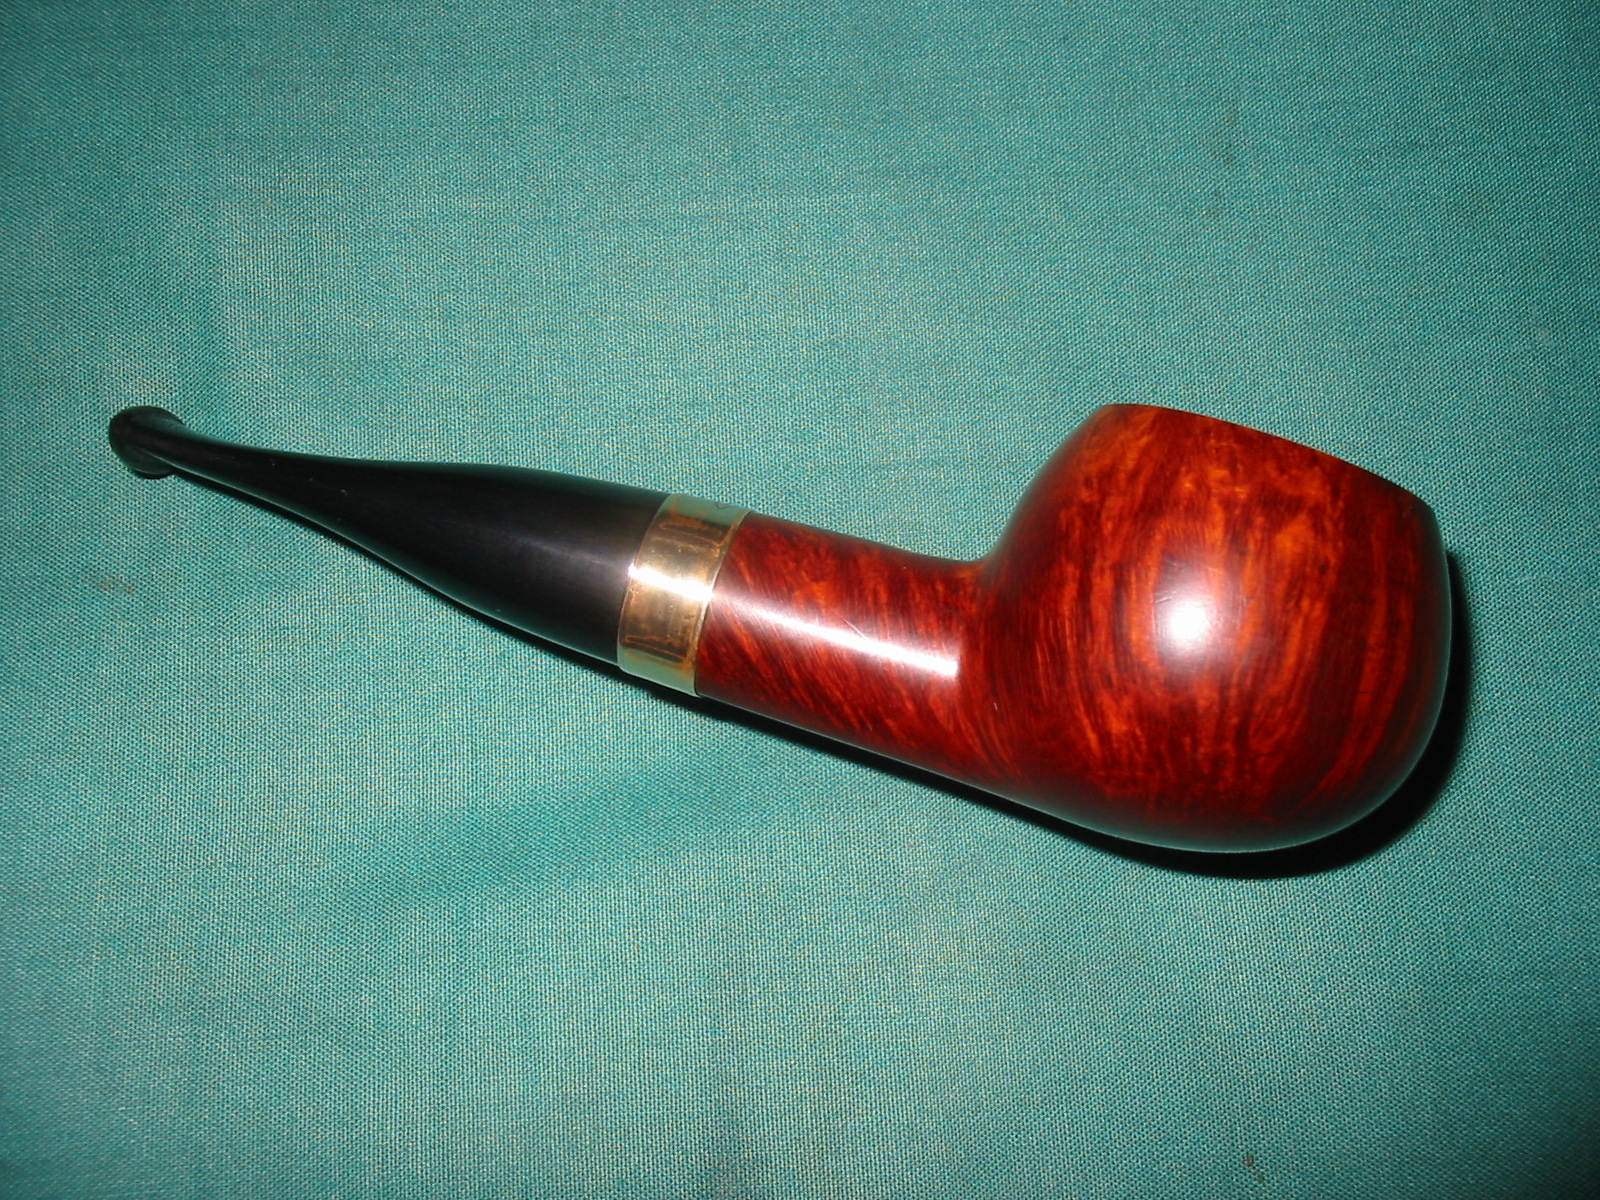
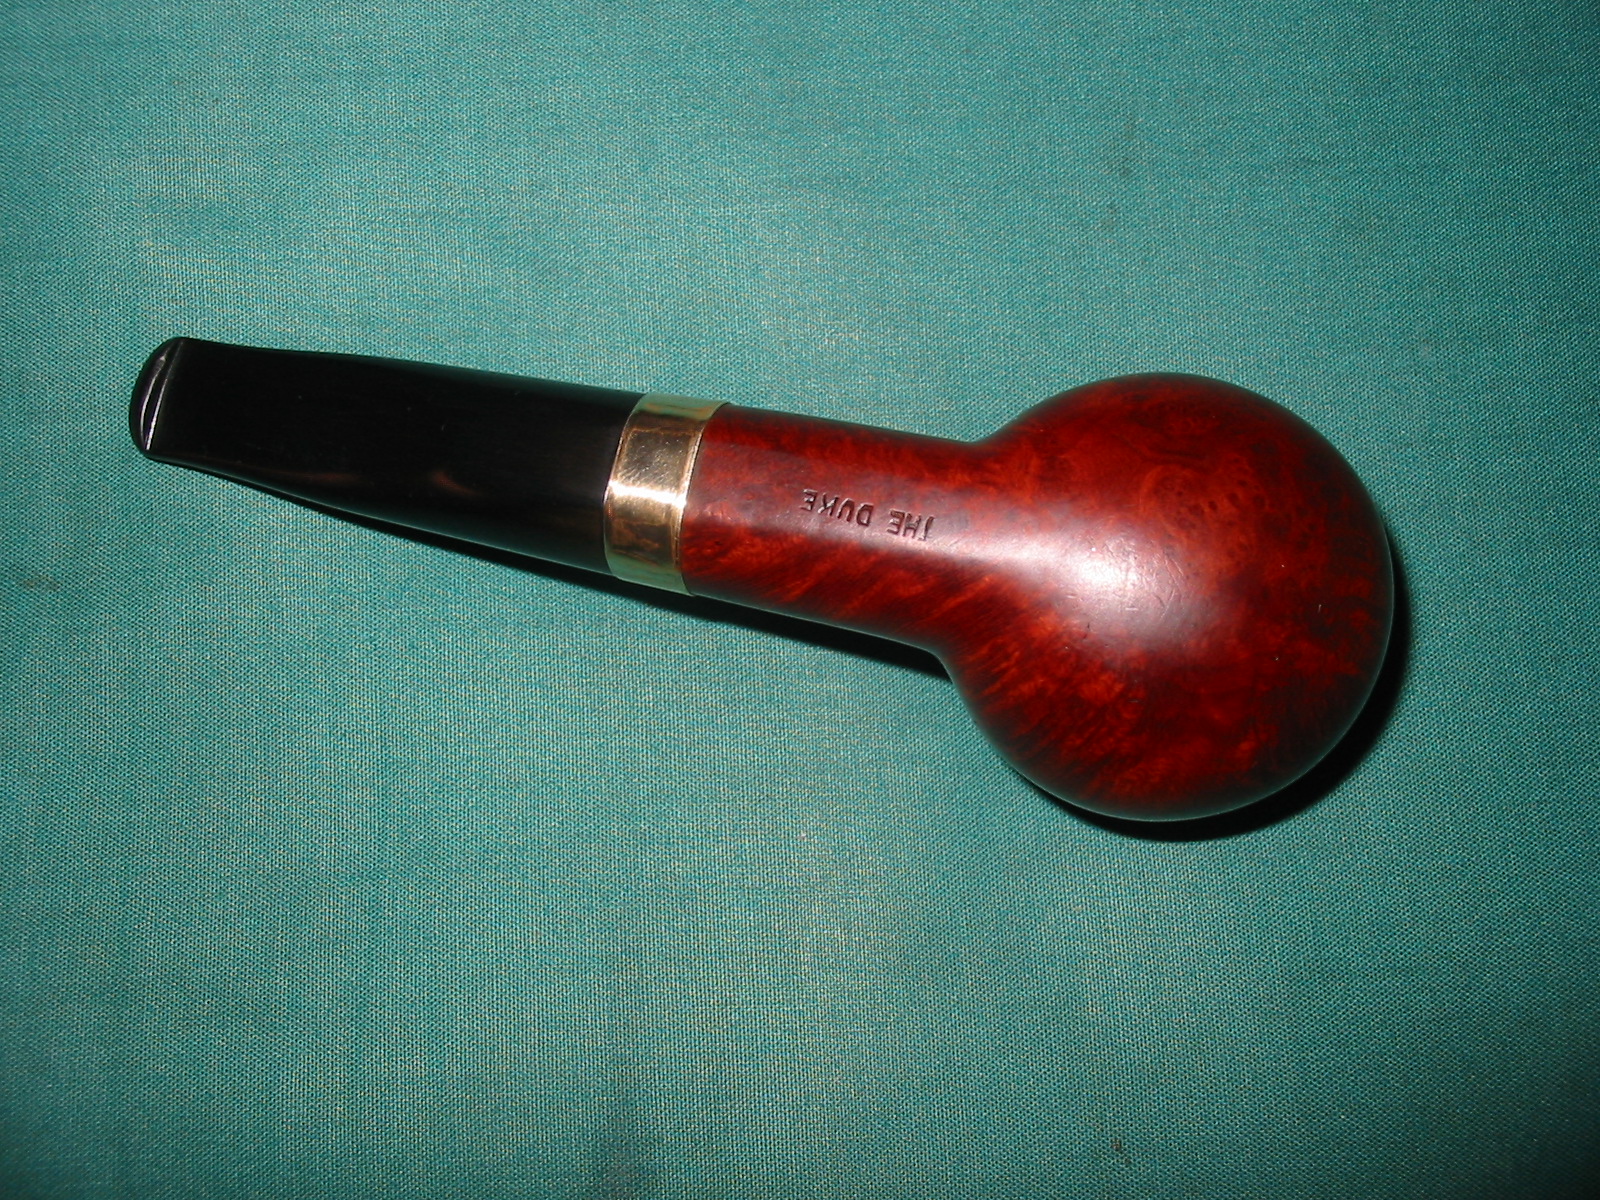
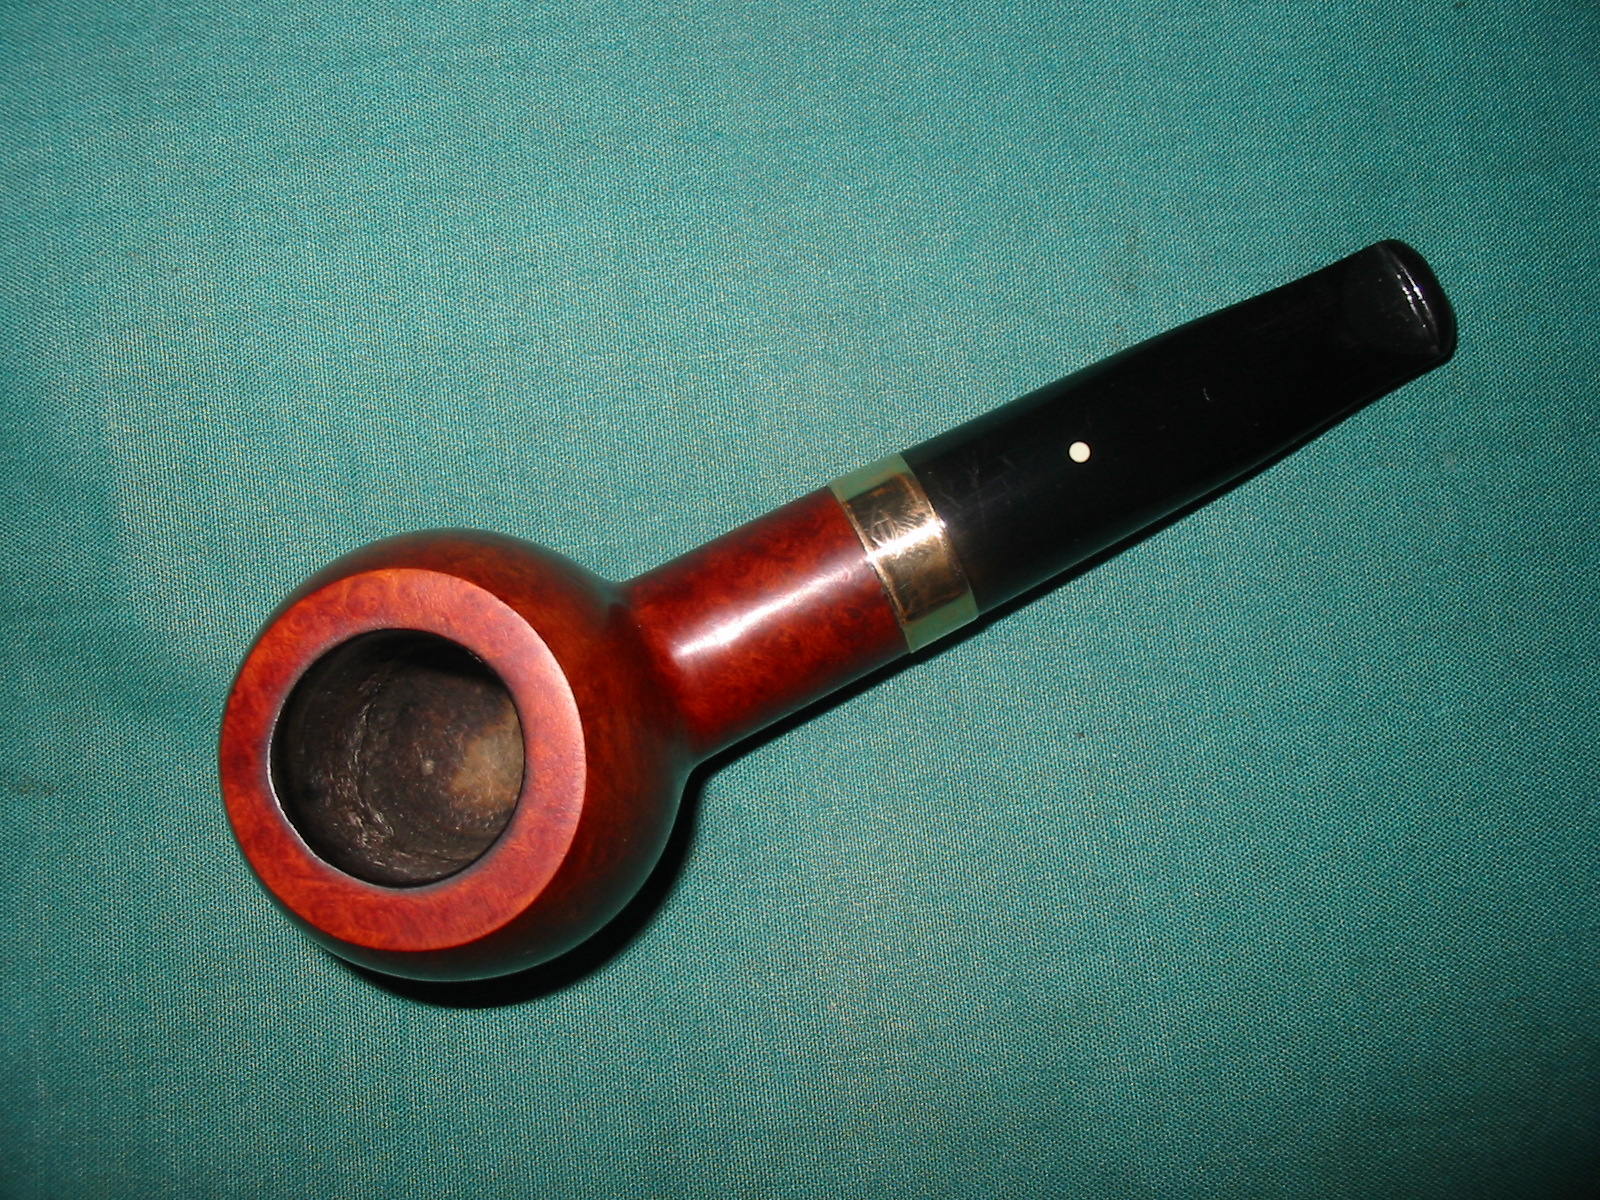
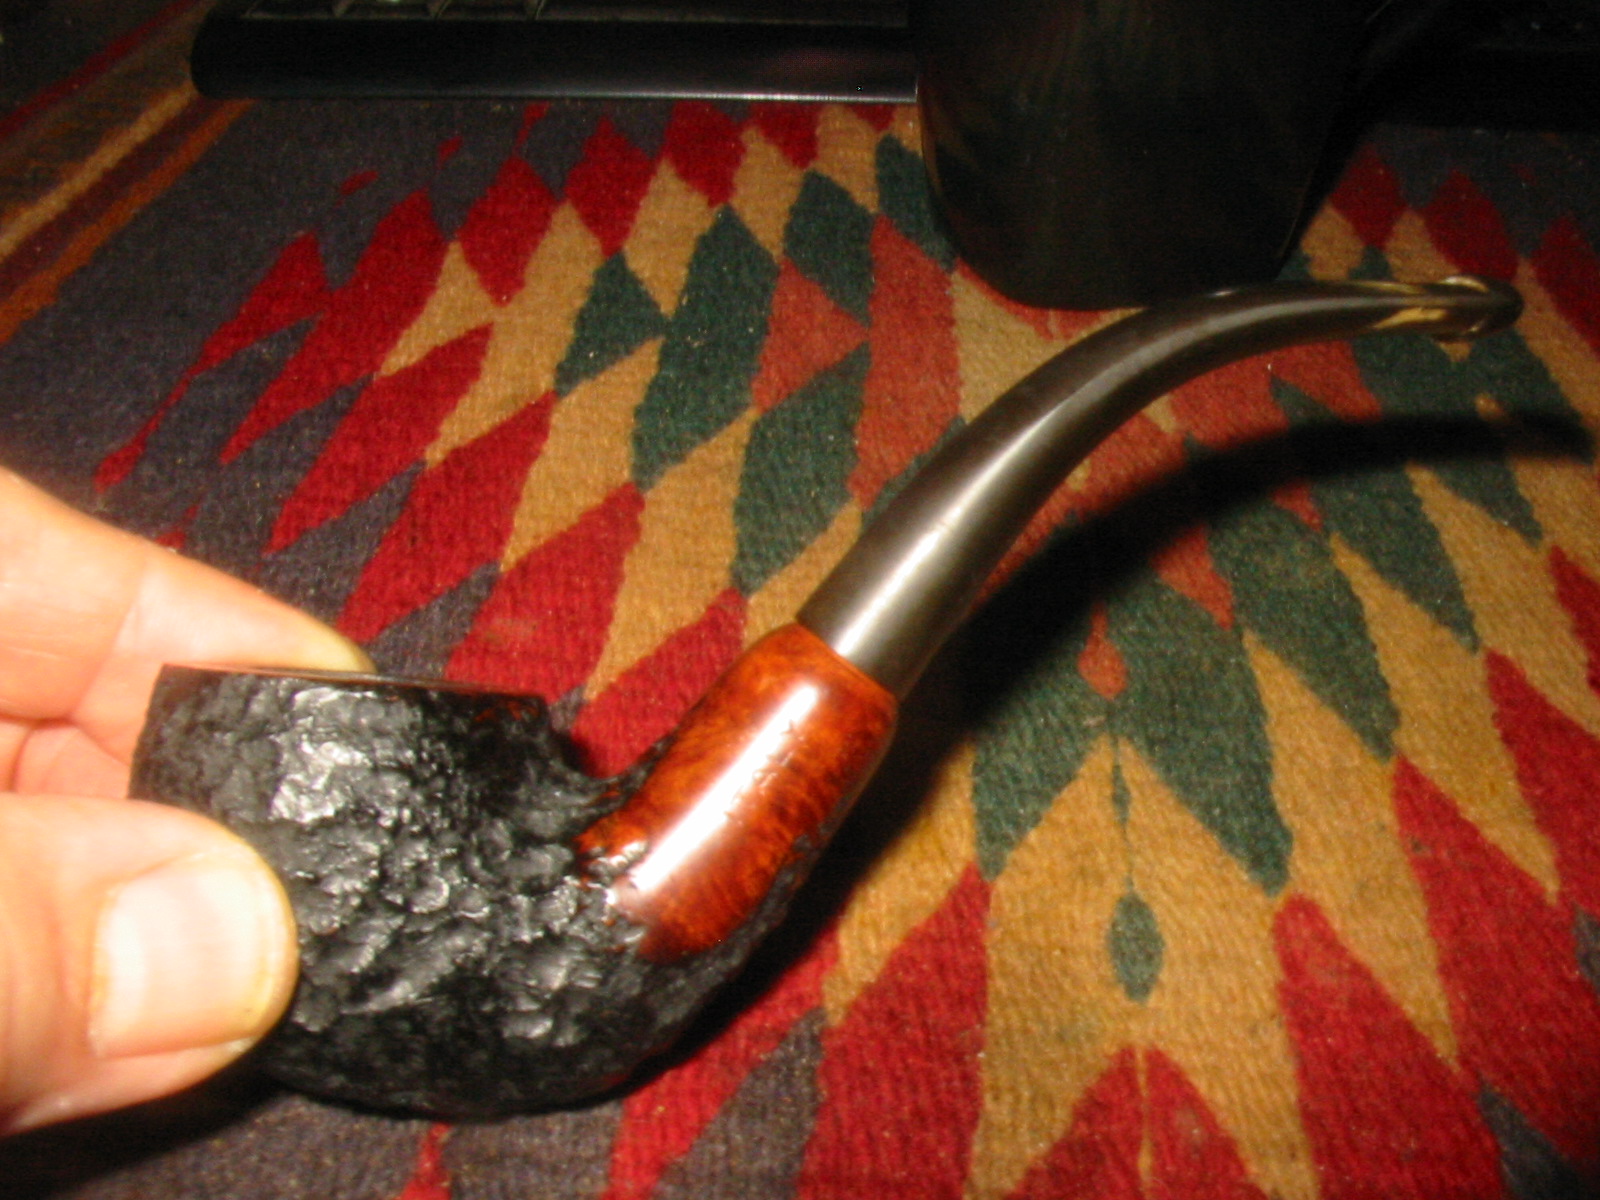
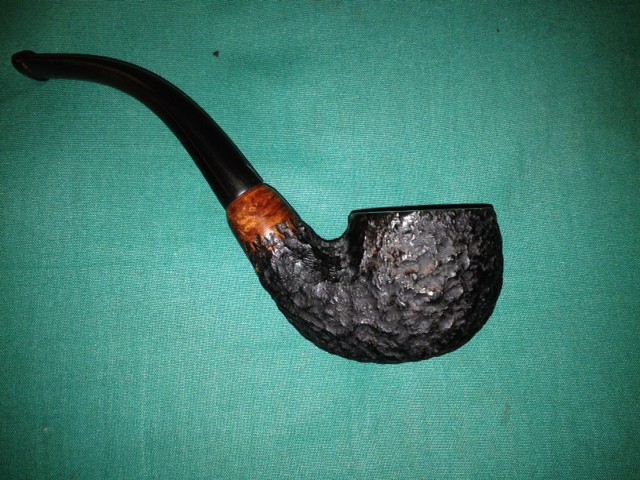
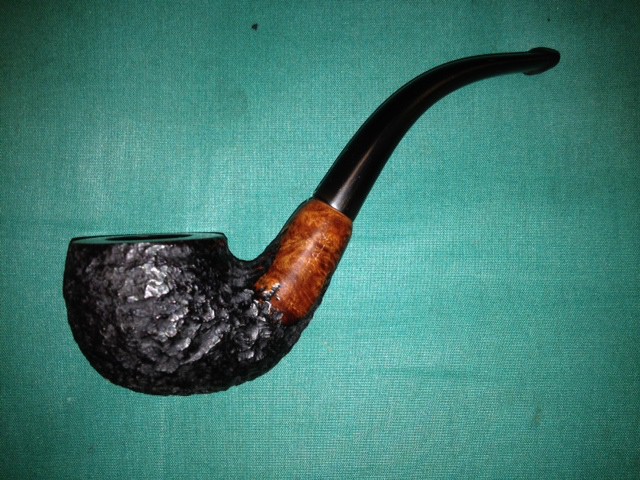
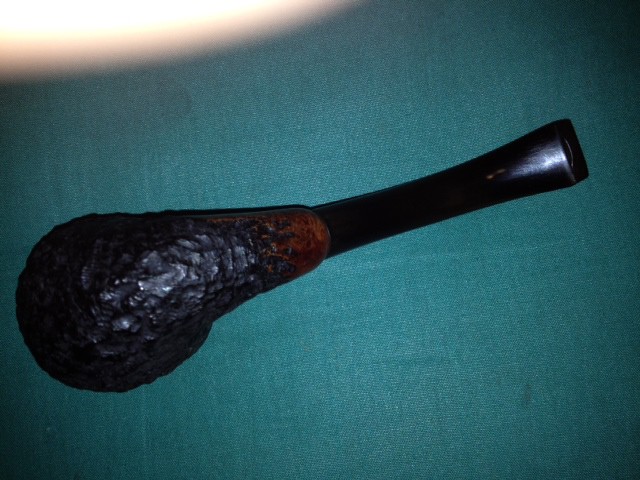
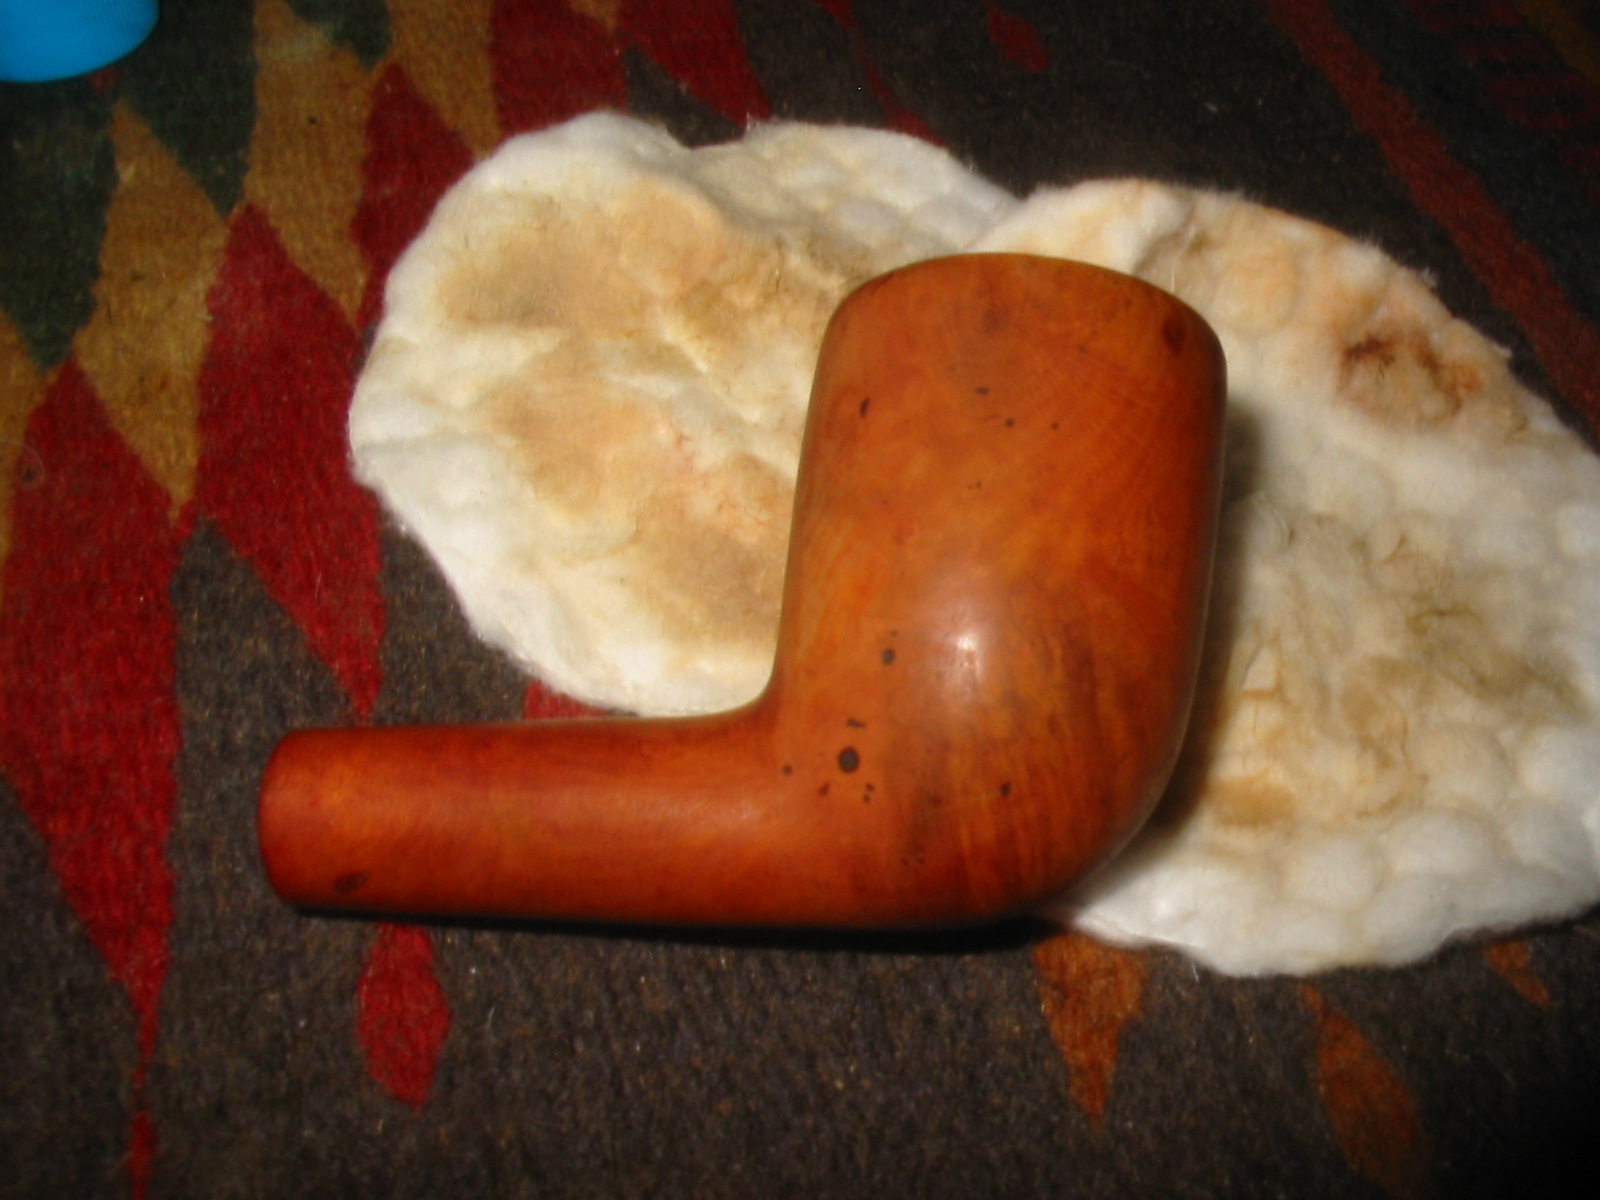
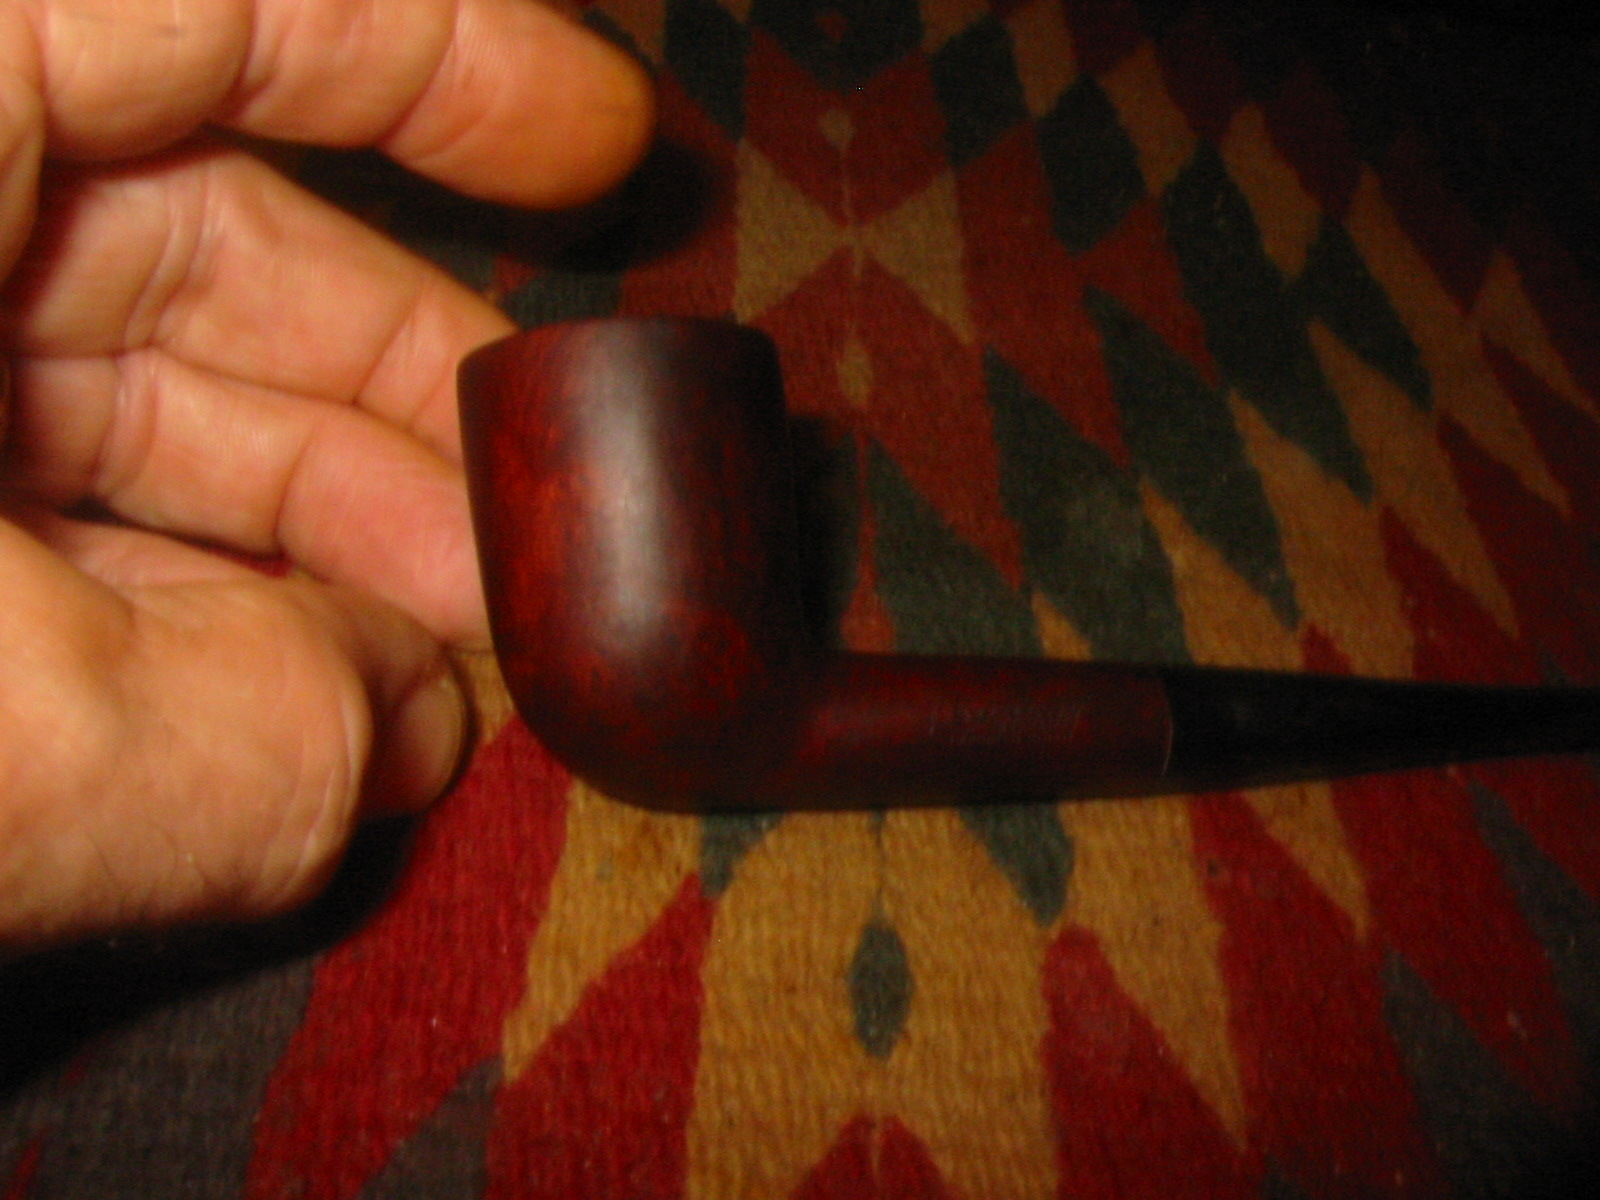
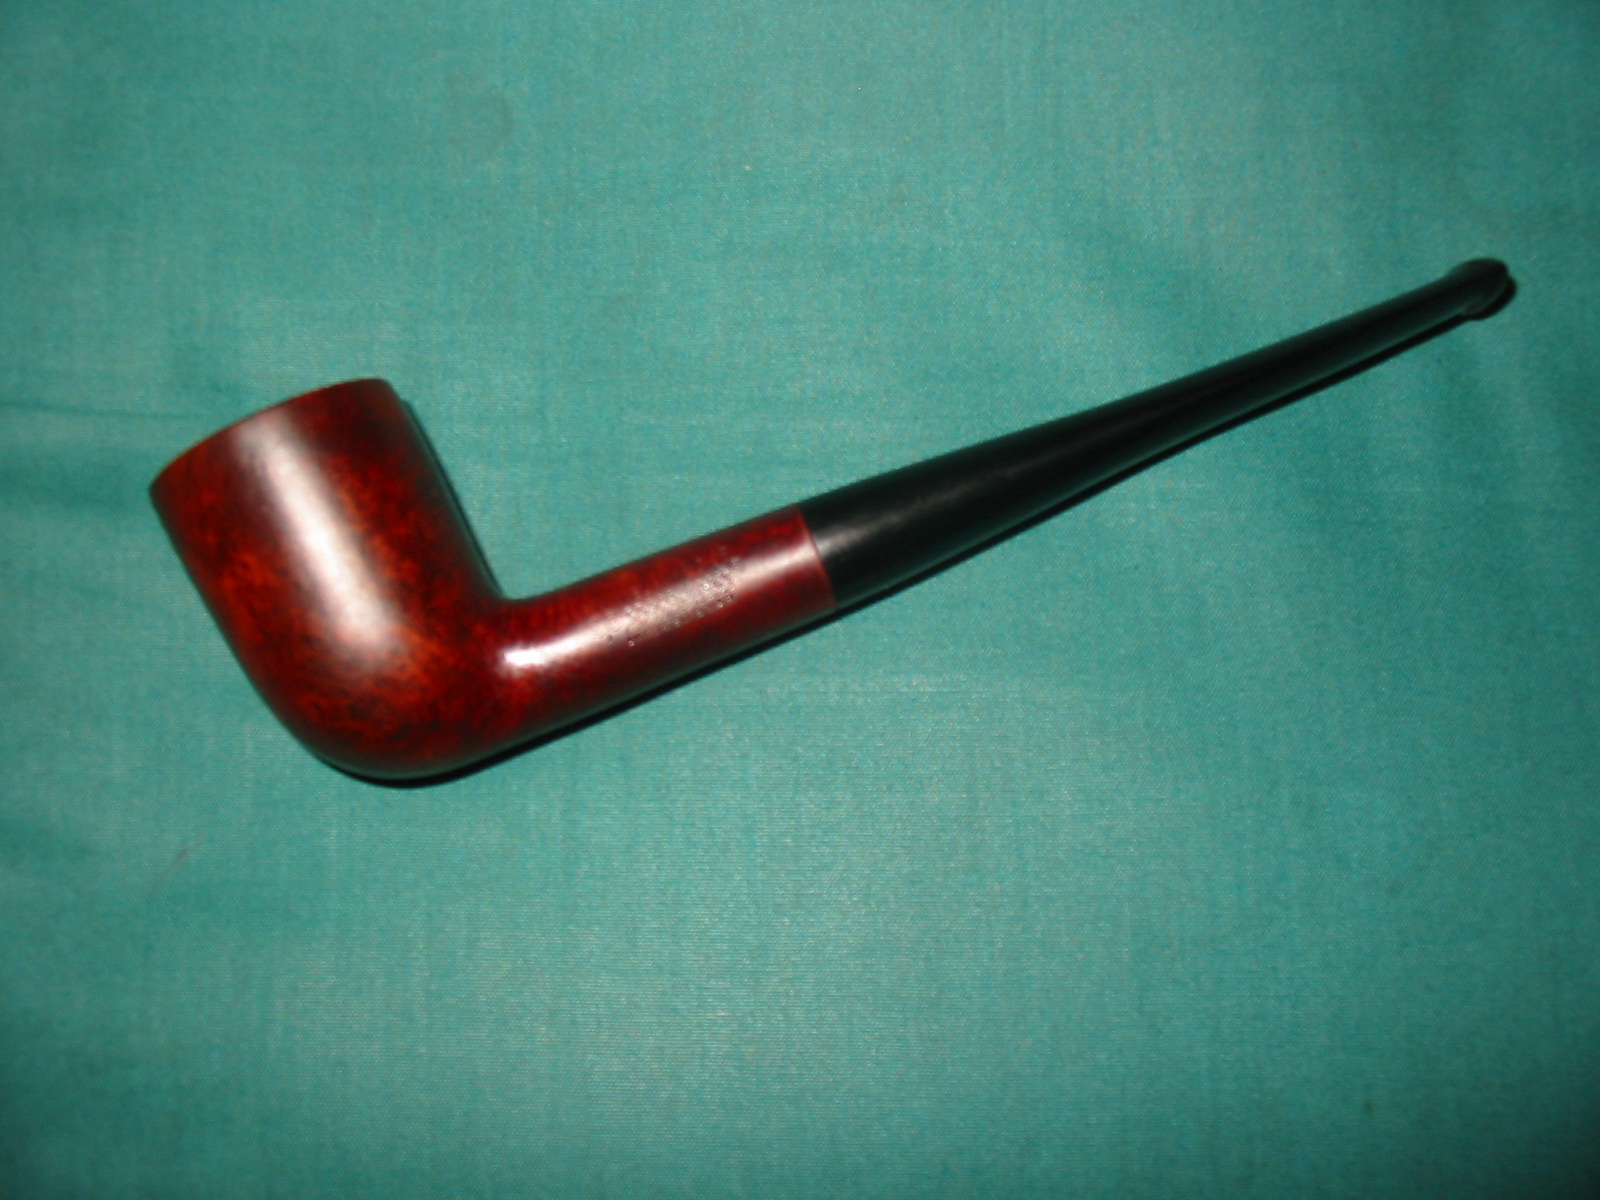
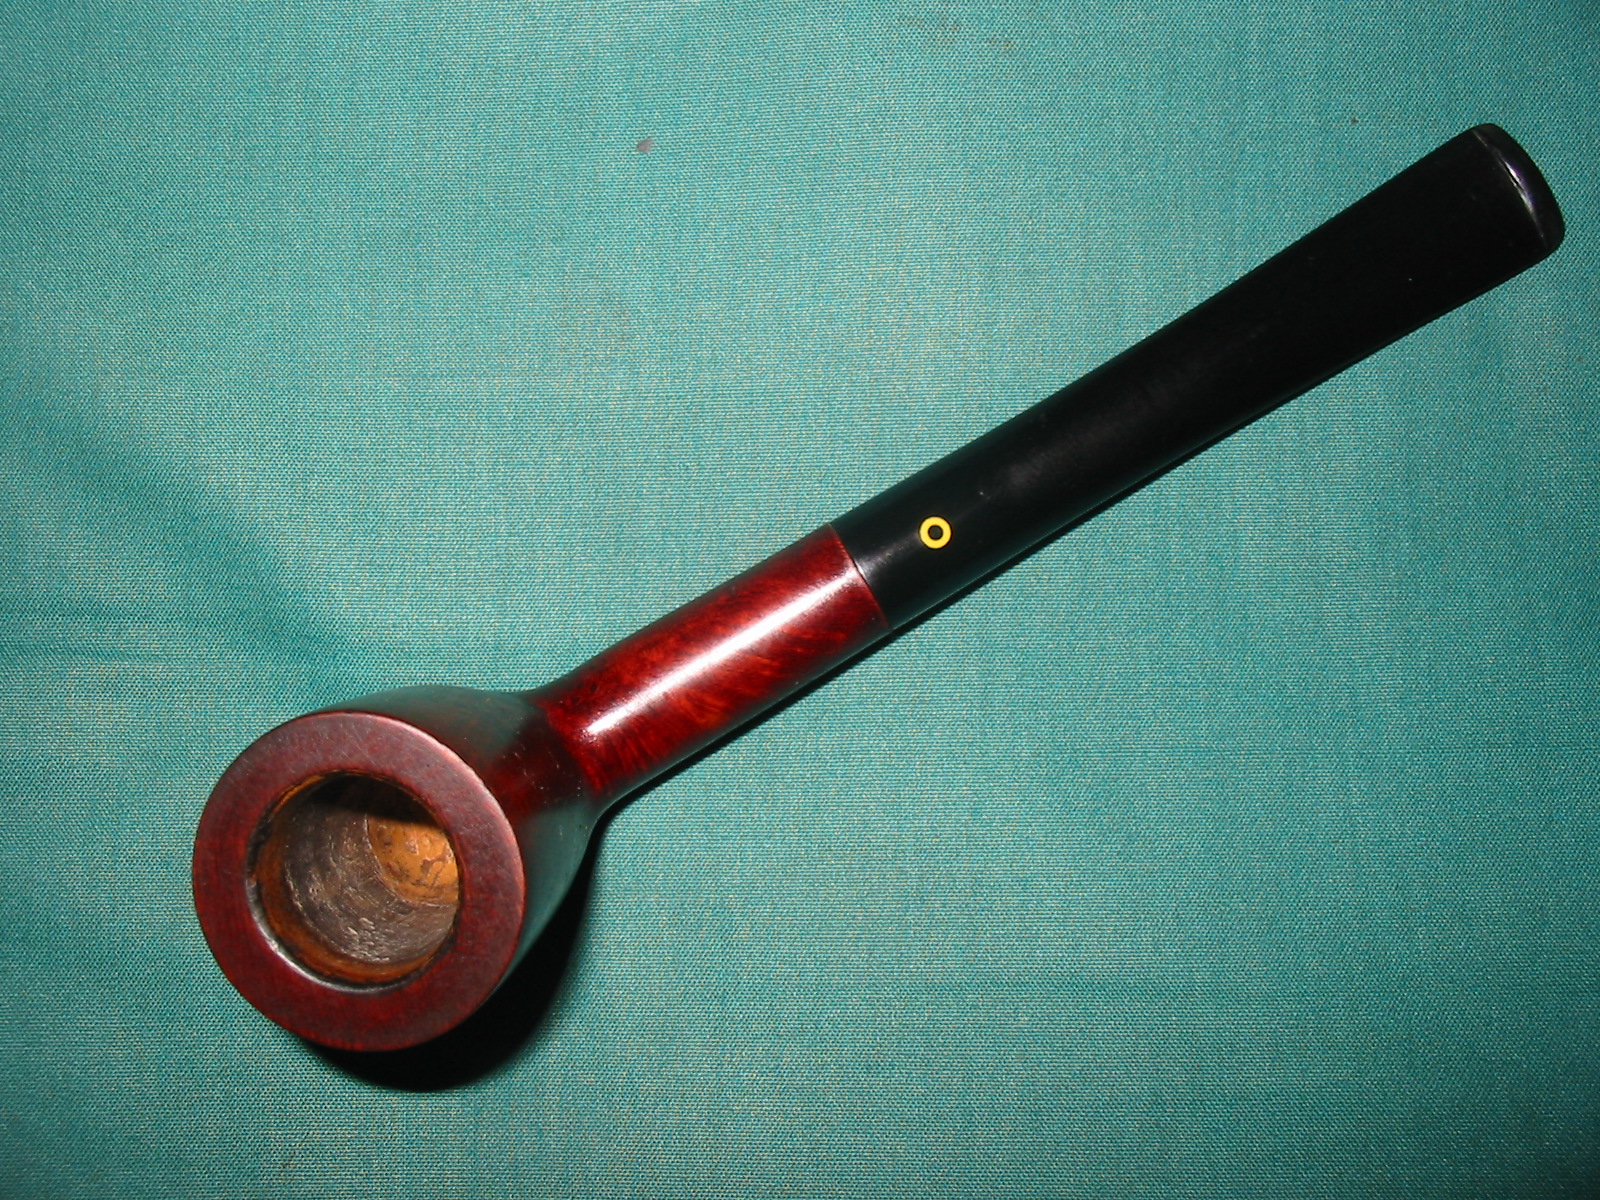
  The finished pipe is shown in the final four photos. It has been waxed with Halcyon II Wax and buffed with a shoe brush and lightly with a soft flannel buffing pad. The stem has multiple coats of carnauba wax and also was buffed with a soft flannel buffing pad. I generally let a bowl that I have given the cotton ball and alcohol or salt and alcohol treatment dry for several days before loading it up and giving it an inaugural smoke.

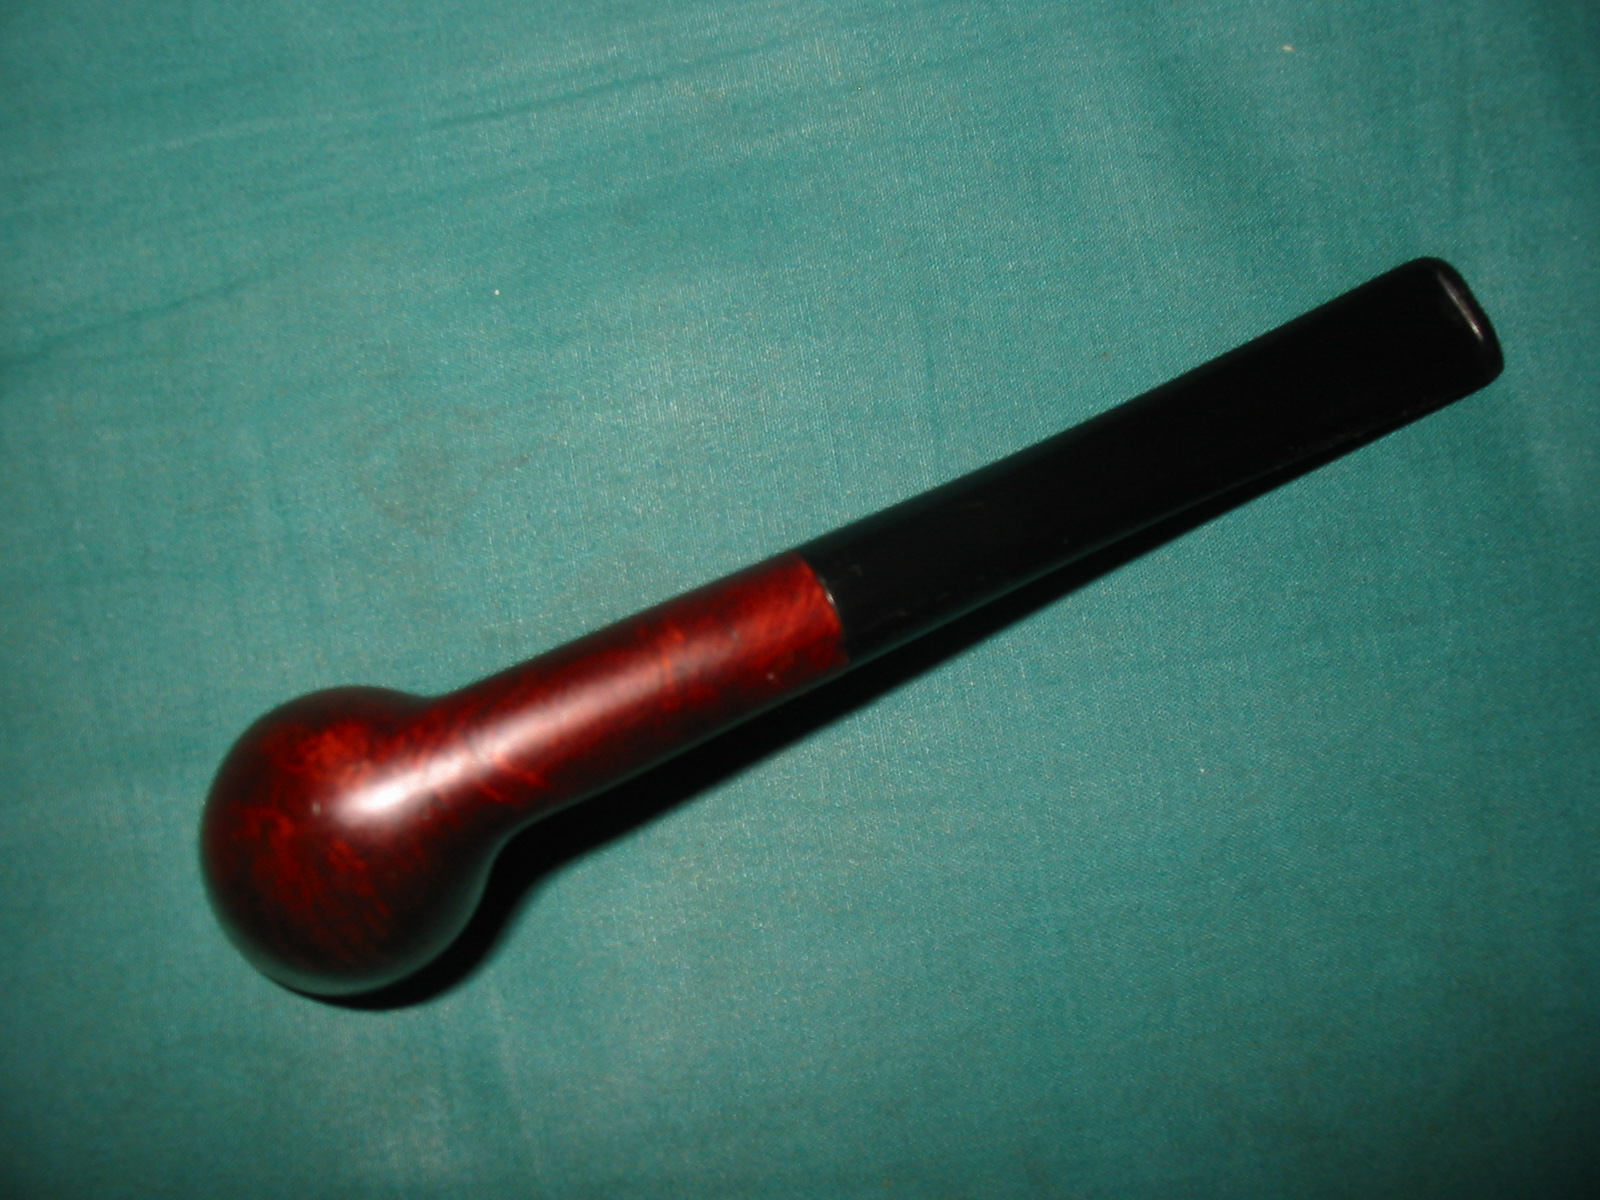
 It is stamped on the underside of the shank with 42121 Dunhill Shell over Made In England and next to the D of England was an underlined and superscript 20 next to that was an underlined 23. Using John Loring’s Dunhill Briar Pipe book the dating is 1980 as seen by the underlined 20 slightly elevated and following the D. The underlined 23 indicate that it was sold in 1983, due to the one year guarantee.
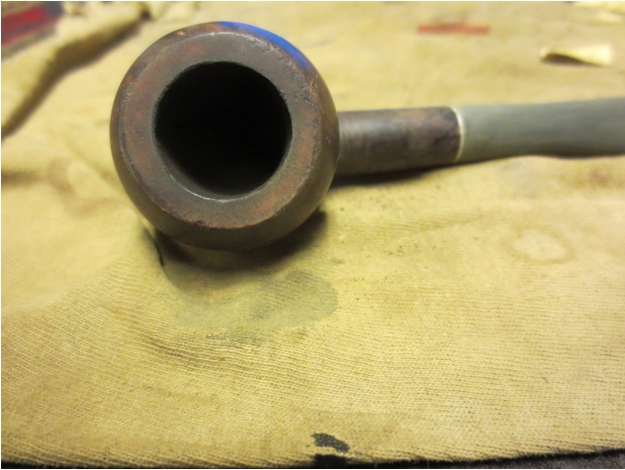
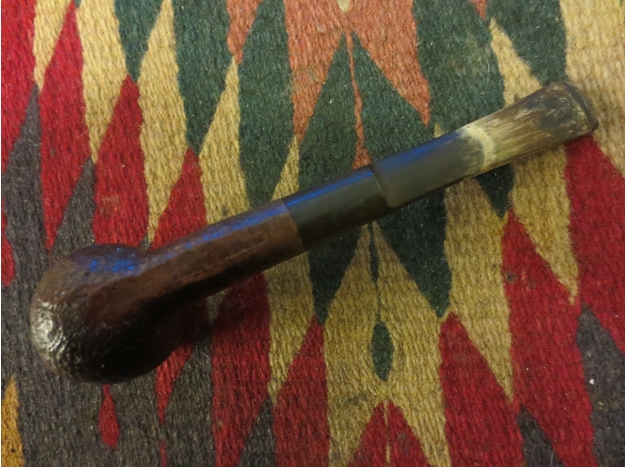 The next photo shows the buildup on the rim that needed to be dealt with in a cleanup and restoration of the pipe.
 I cleaned out the shank and the stem with pipe cleaners, cotton swabs and 99% isopropyl alcohol until the cotton swabs and pipe cleaners came out clean.
 I scrubbed down the bowl with undiluted Murphy’s Oil Soap on cotton pads and then rinsed it off with running water. I dried it with a cotton towel.
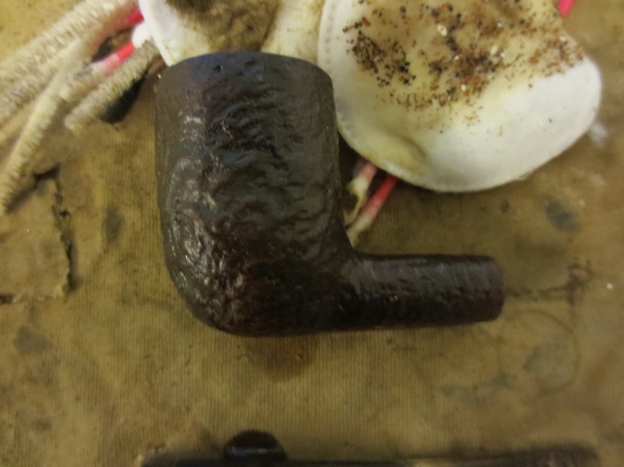
 I scrubbed the rim with a soft bristle brass tire brush to clean off the tars and oils and open up the sandblast on the rim. I scrubbed it with a soft cotton pad and alcohol to remove the pieces left behind by the wire brush.
 I touched up the finish around the edges of the bowl rim and the end of the shank. I also touched up spots on the sides of the bowl and the bottom of the shank. I used the Guardsman Stain pens that Greg sent me to do the touch up work. I chose to use the lightest stain pen as it matched the colour of the bowl precisely. When I use these pens I always start with the lightest stain and work toward the darkest until I get a match.
 I sanded the stem with 220 grit sandpaper and then with medium and fine grit sanding sponges to remove the oxidation and the calcium deposits. I “painted” the tooth marks with the flame of a Bic lighter to lift them closer to the surface and then sanded what remained with 220 grit sandpaper and the sanding sponges.
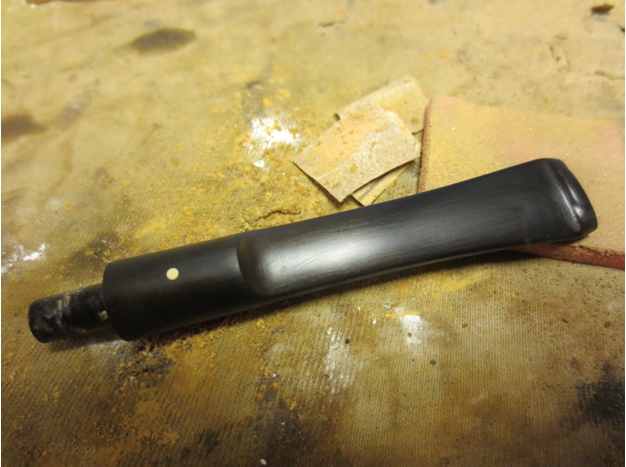 Taking a cue from Al Jones I made a plastic washer to put between the shank and the stem to make the sanding of the saddle simpler. I could sand right up to the edge without damaging the end of the stem and rounding the edges.
 I sanded the stem with my usual array of micromesh sanding pads – wet sanding with 1500-2400 grit pads and dry sanding with 3200-12,000 grit pads. Between each set of three pads I rubbed down the stem with Obsidian Oil before moving on to the next set of three. When I had finished with the 12,000 grit pad I took the pipe to the buffer and buffed the stem with White Diamond.
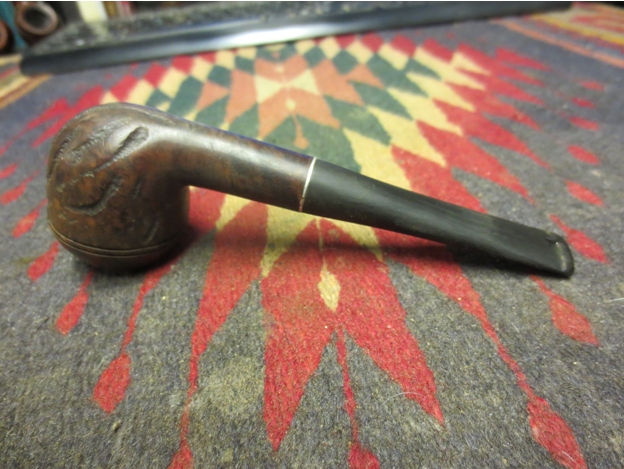
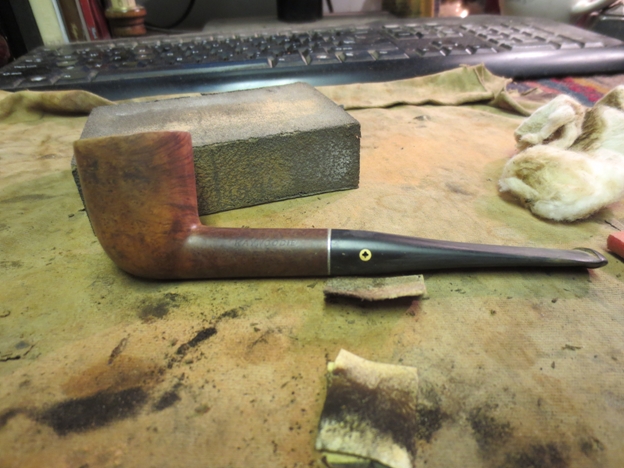
 I lightly buffed the bowl and the stem once again with the White Diamond and then used Halcyon II wax on the bowl and carnauba on the stem. I hand buffed the pipe with a shoe brush and raised the shine. The finished pipe is shown below. I am looking forward to loading an aged bowl of McClellands 5100 and having the inaugural smoke in this beauty.