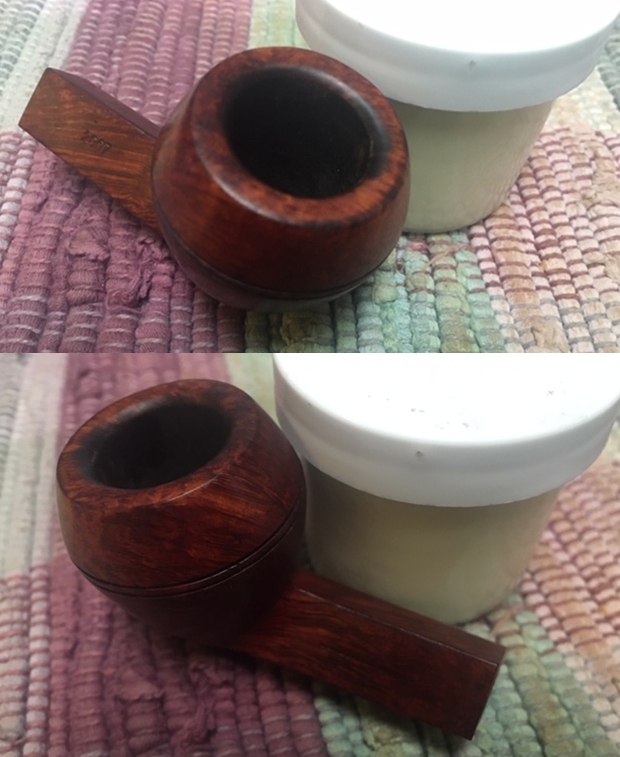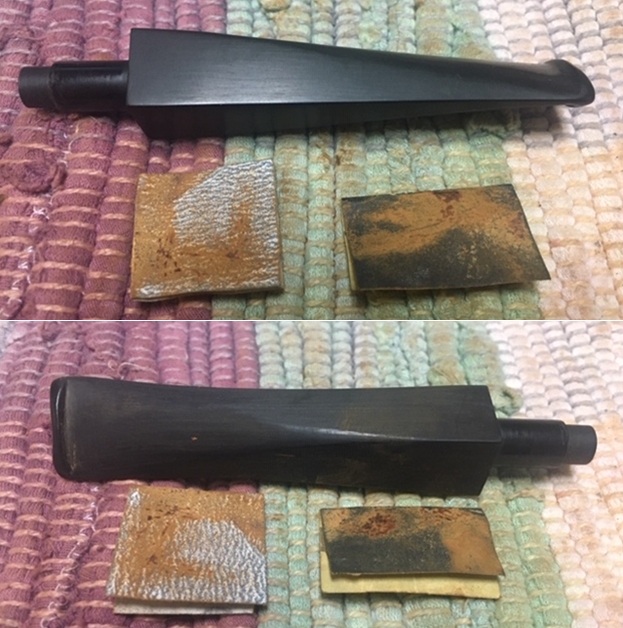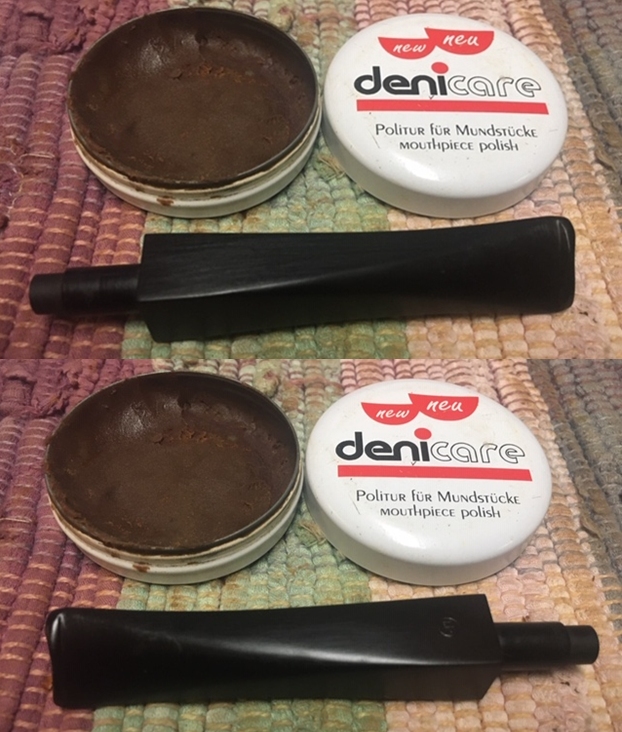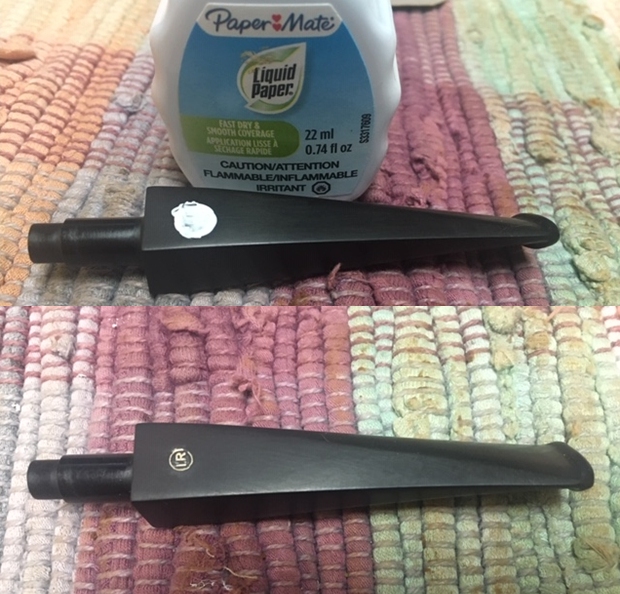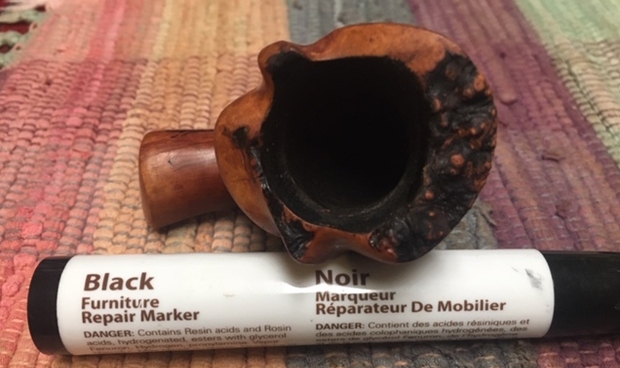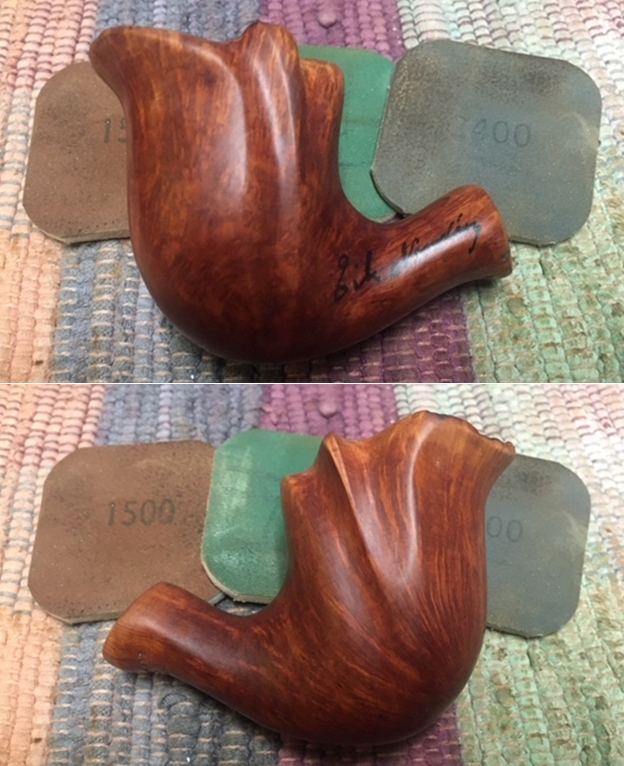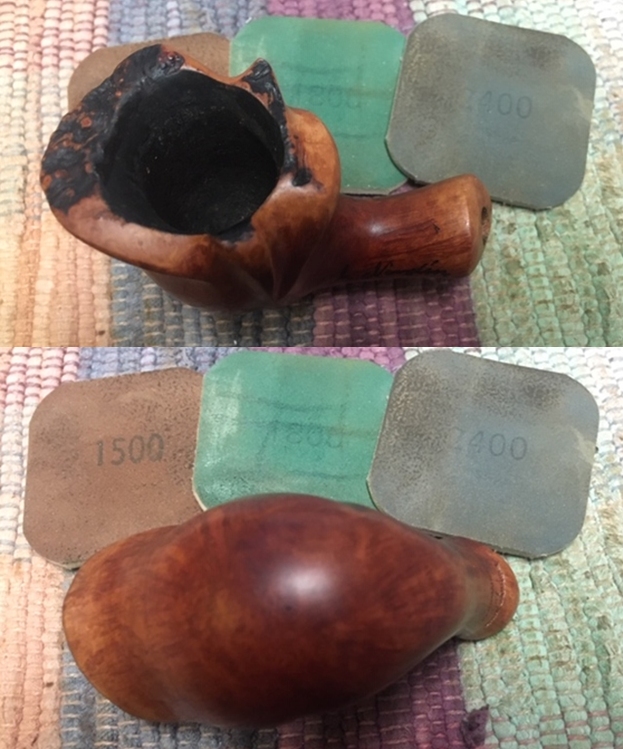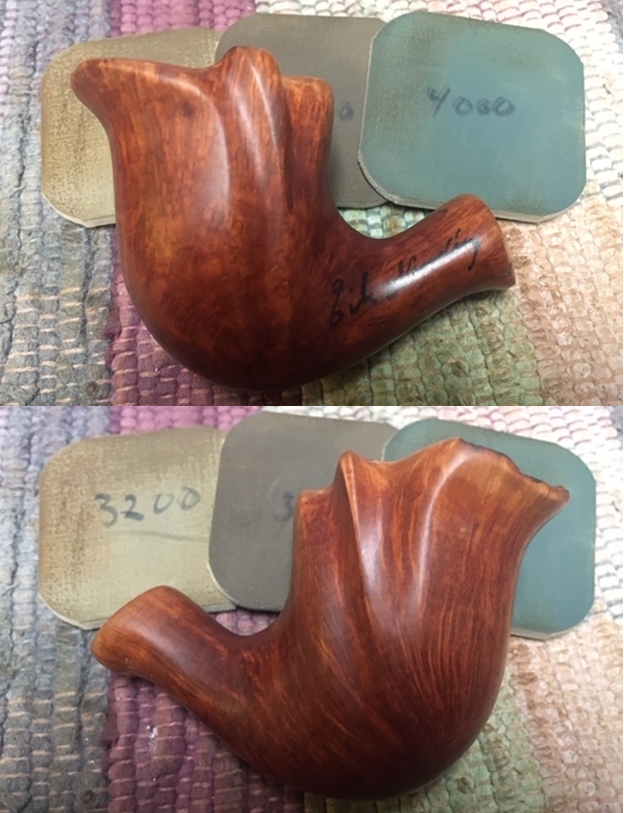
Tag Archives: removing tooth marks

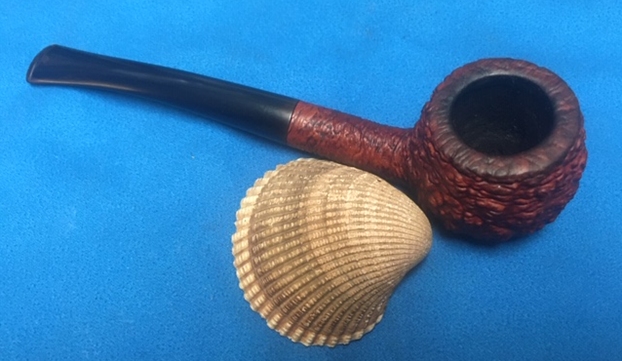
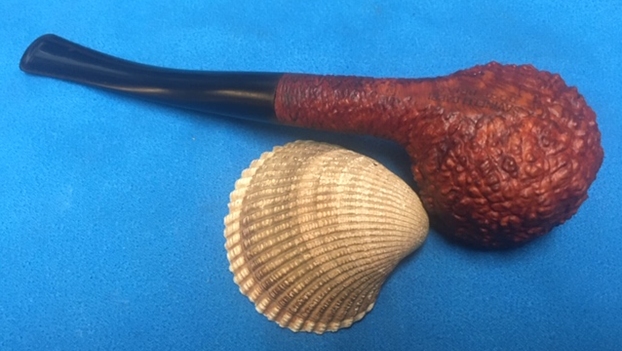
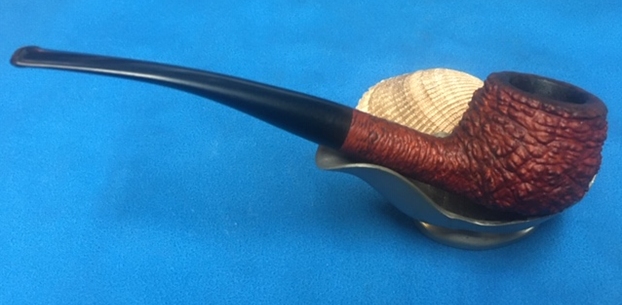
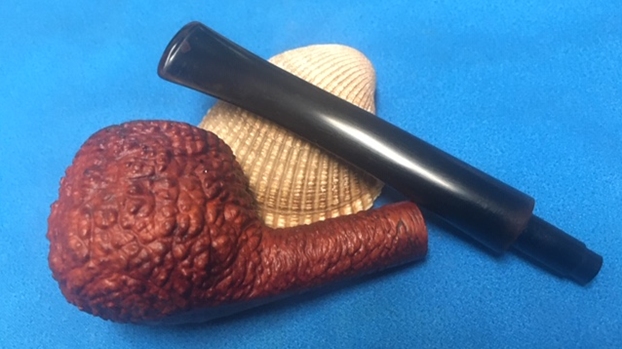
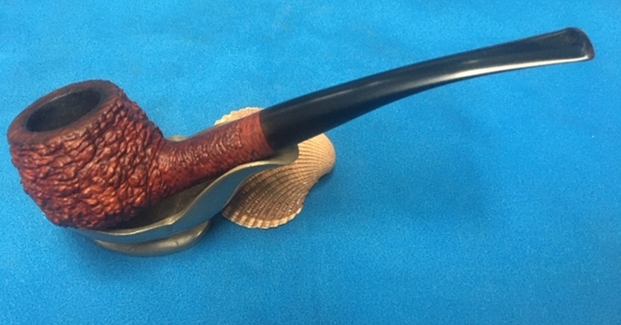
Restoring Jennifer’s Dad’s Savinelli Capri 313KS Root Briar Prince


Blog by Steve Laug

I decided to work on another of Jennifer’s Dad’s pipes. For the next pipe from the estate of George Rex Leghorn I have chosen a Savinelli Prince shaped pipe. You may not have read about this estate before, so I will retell the story. I received an email from Jennifer who is a little older than I am about whether I would be interested in her Dad’s pipes. My brother Jeff and I have been picking up a few estates here and there, so I was interested. Here is the catch – she did not want to sell them to me but to give them to me to clean up, restore and resell. The only requirement she had was that we give a portion of the sales of the pipes to a charity serving women and children. We talked about the organization I work for that deals with trafficking and sexual exploitation of women and their children and she decided that would be a great way to carry on the charitable aspect of her Dad’s character. With some great conversation back and forth she sent the pipes to Jeff and he started the cleanup process on them. Once he had finished cleaning them all he sent them to me to do my work on them.

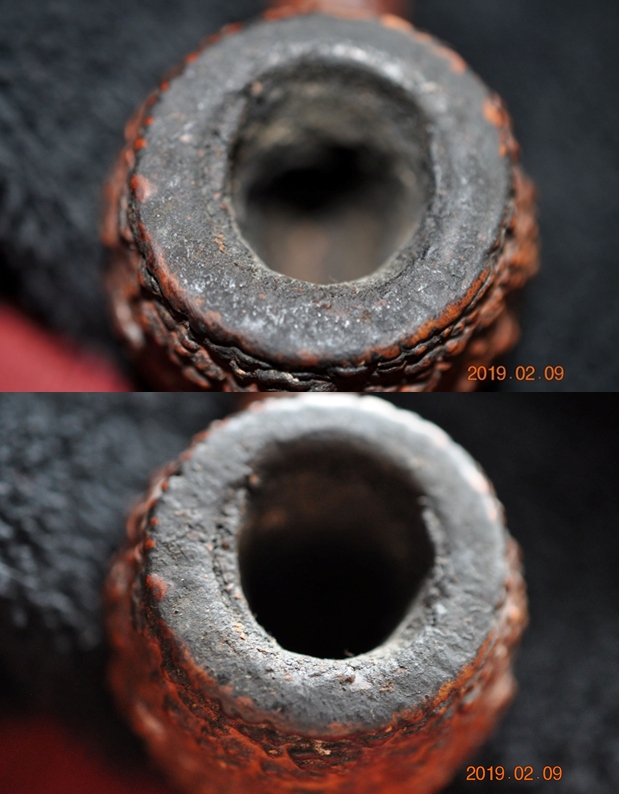
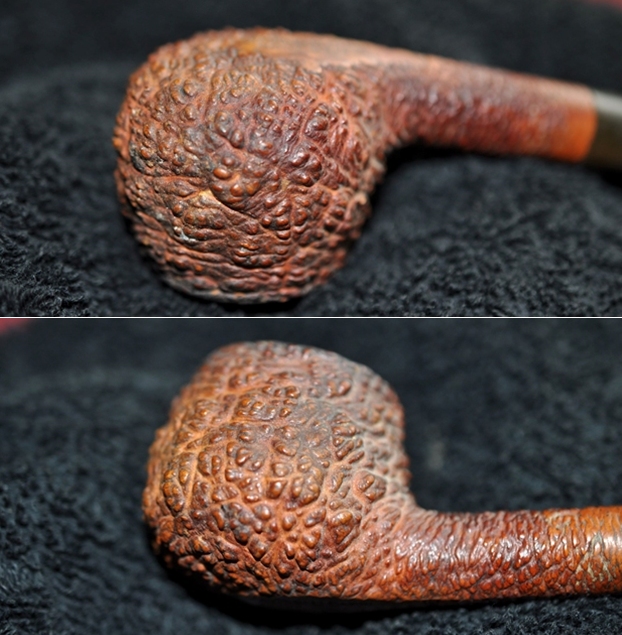
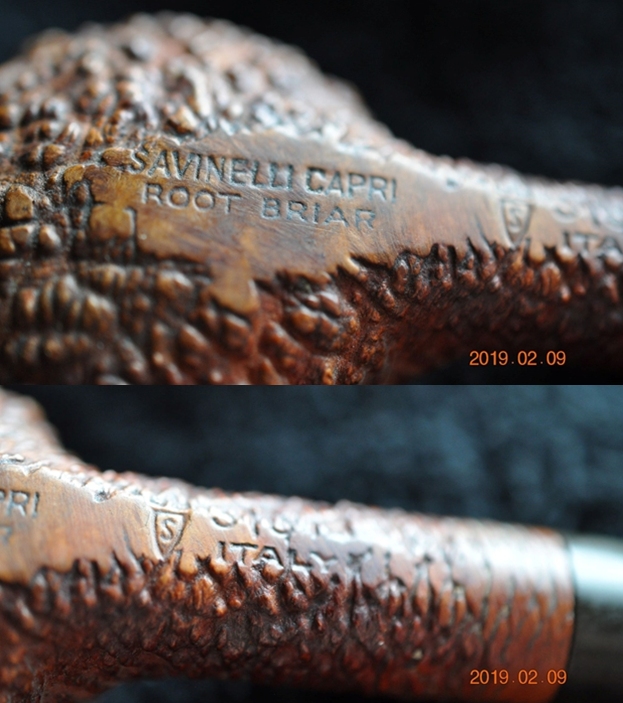
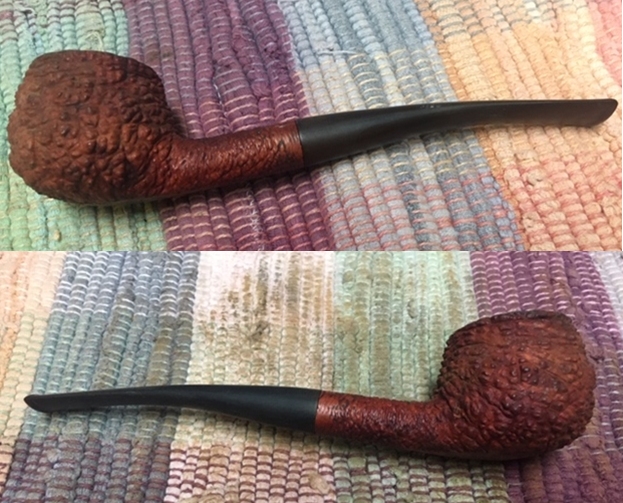
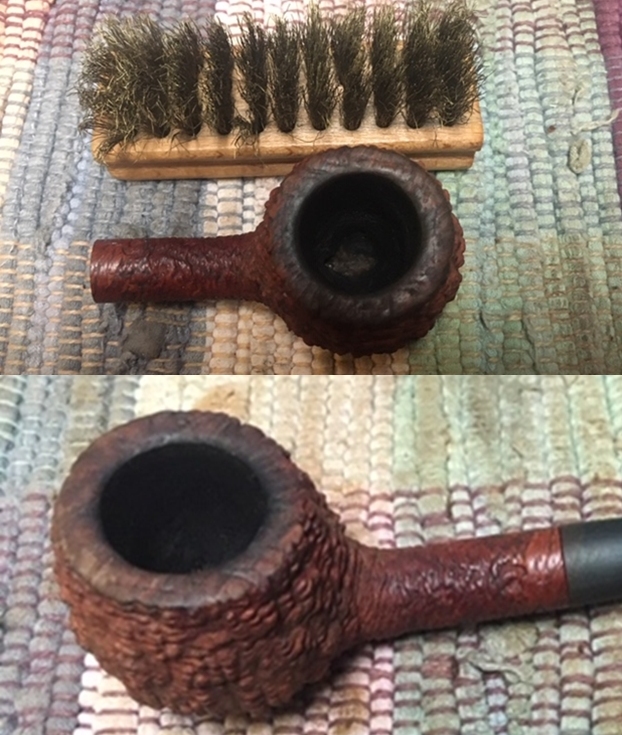
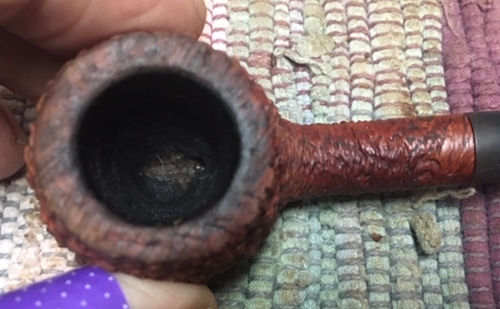
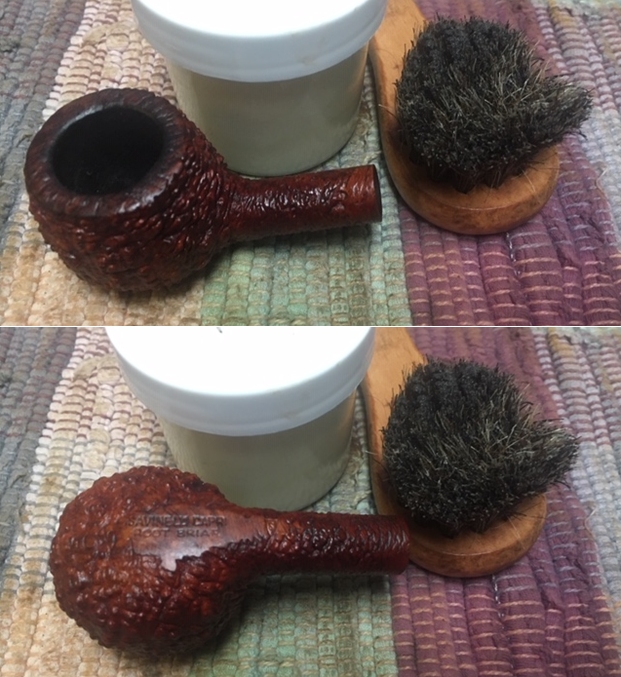
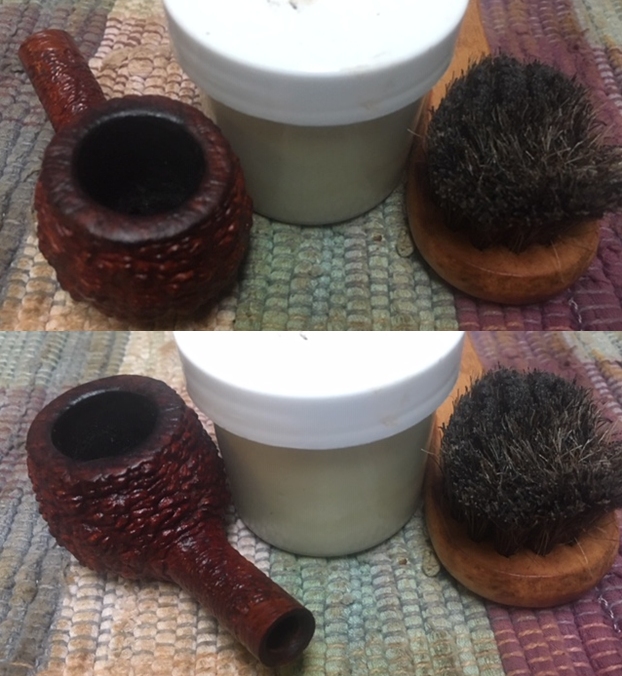
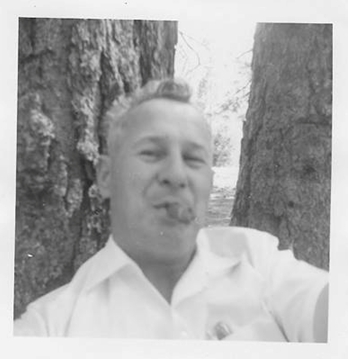
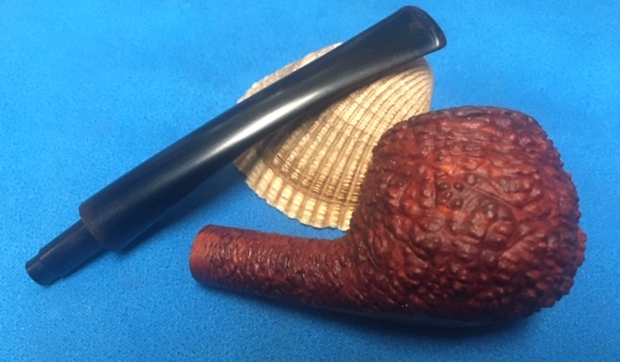
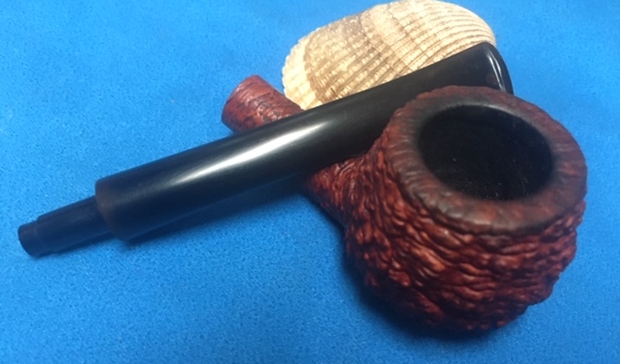
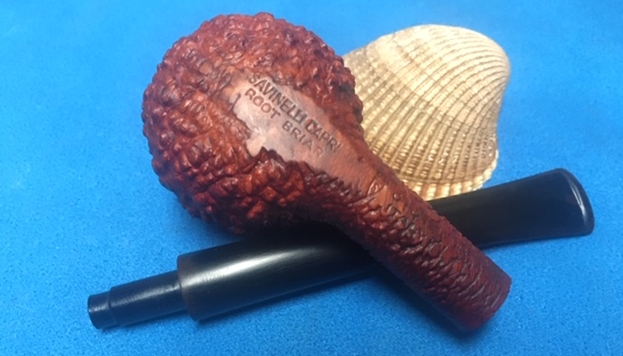
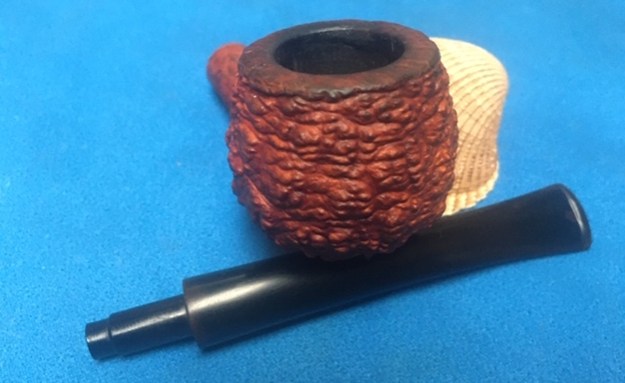
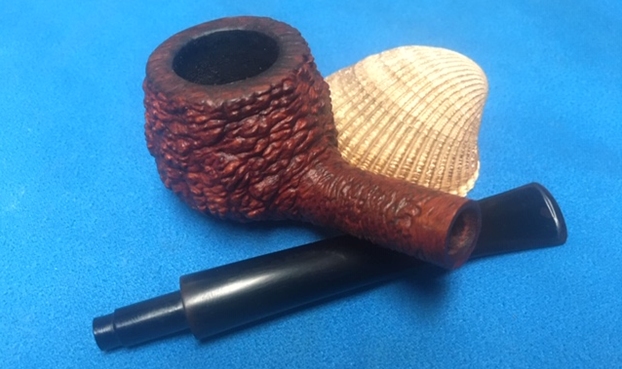
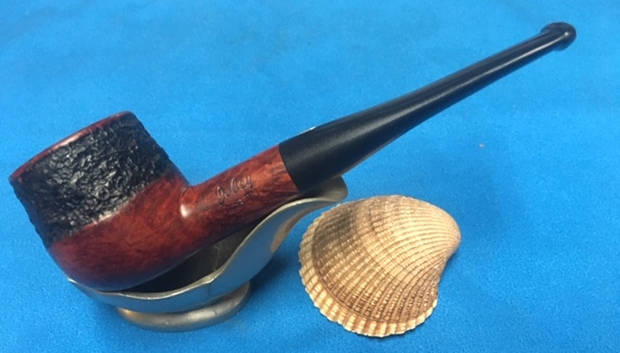
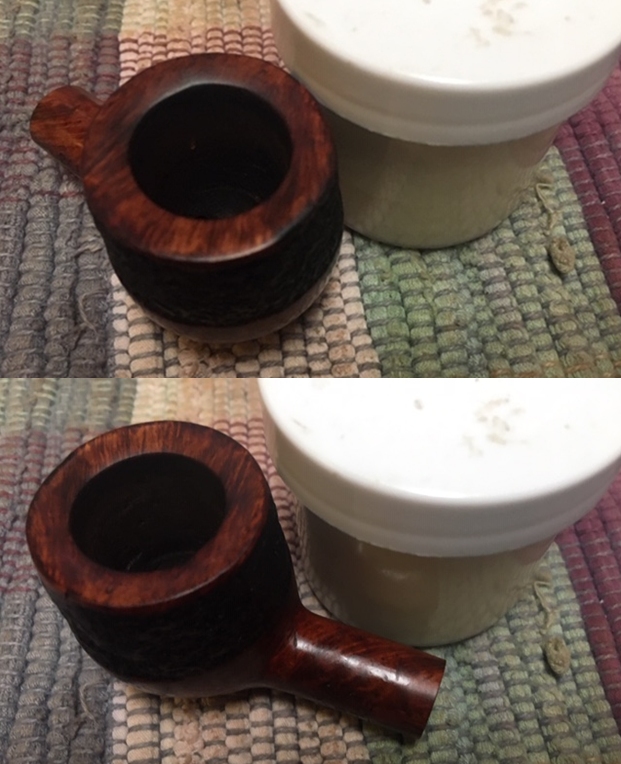
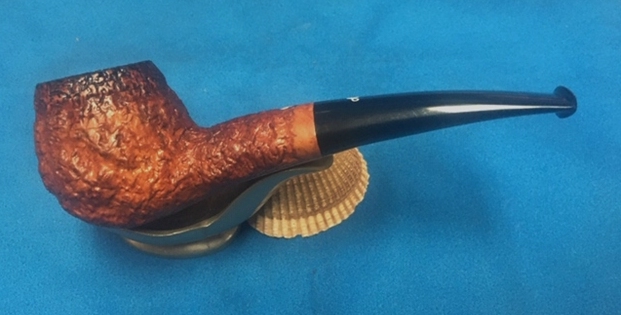
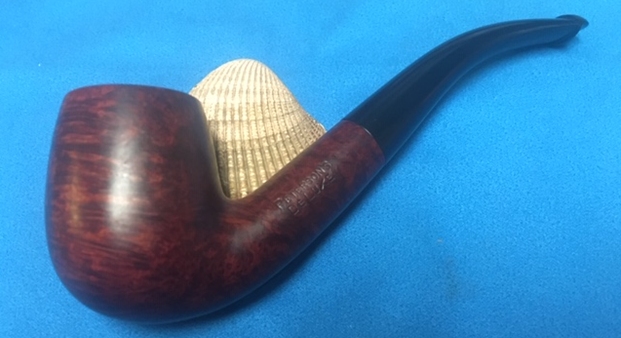
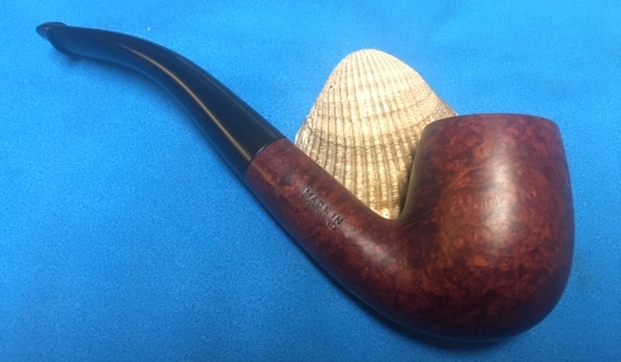
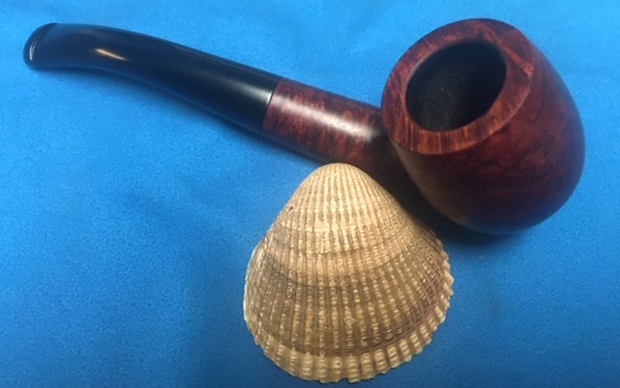
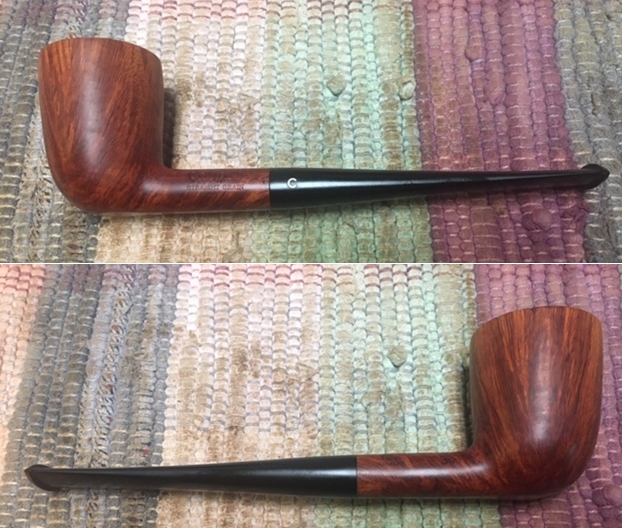
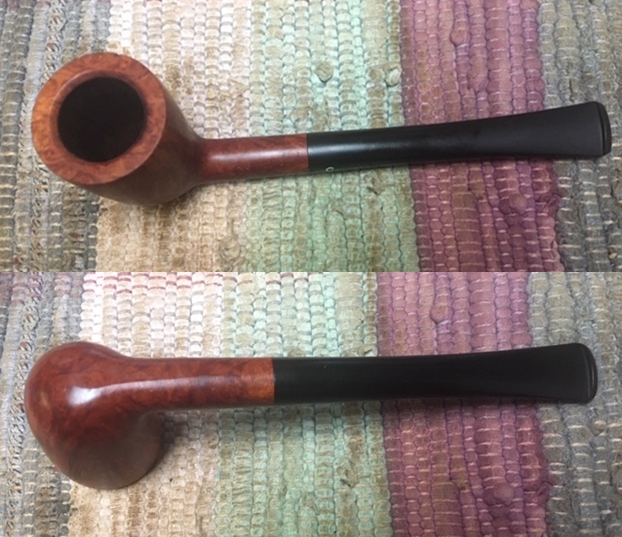
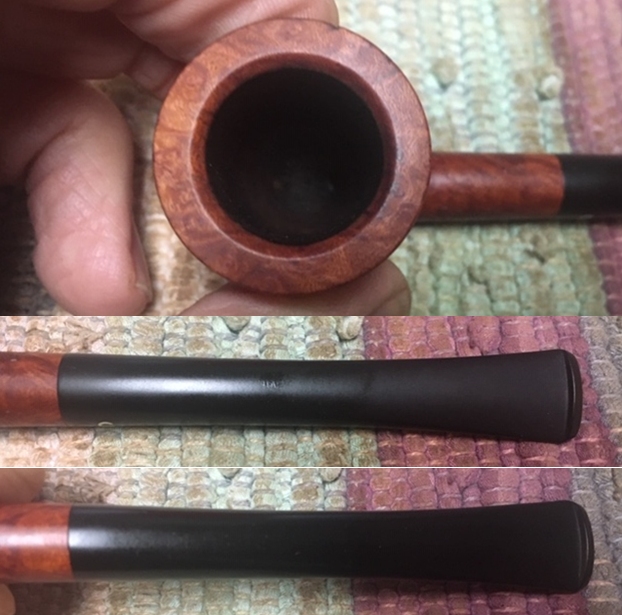
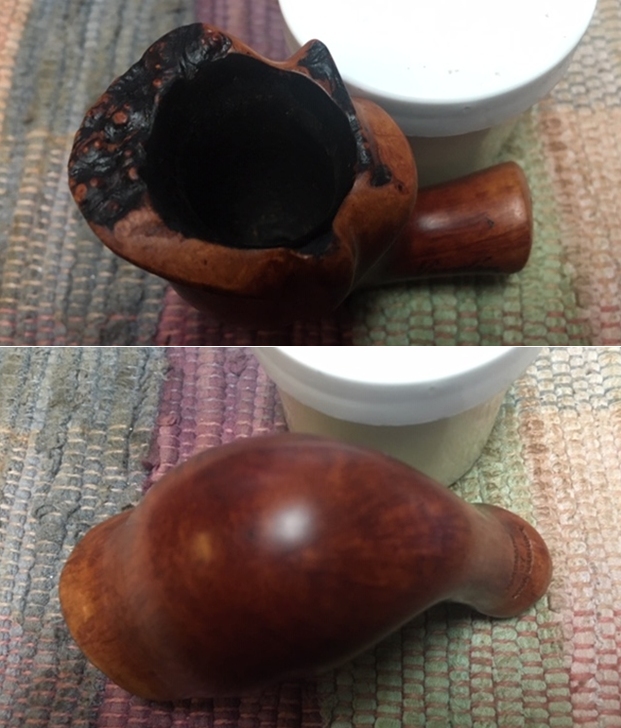
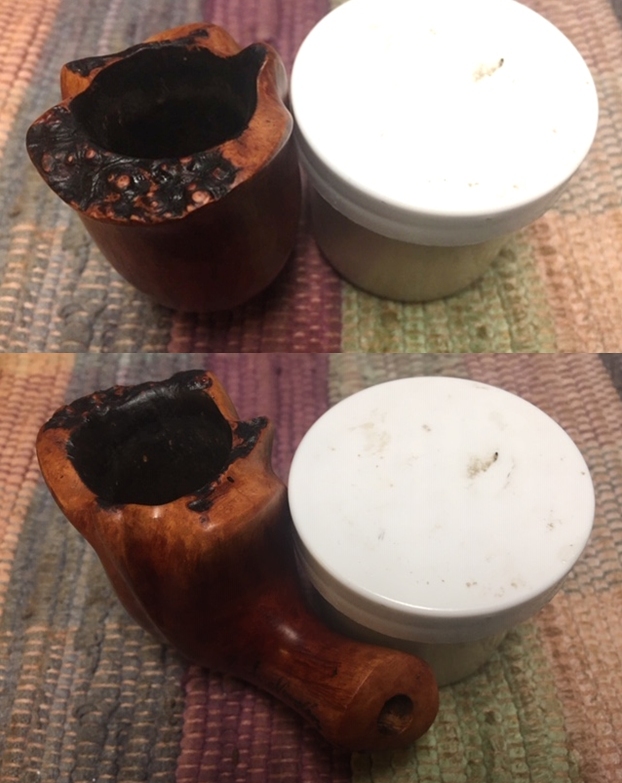
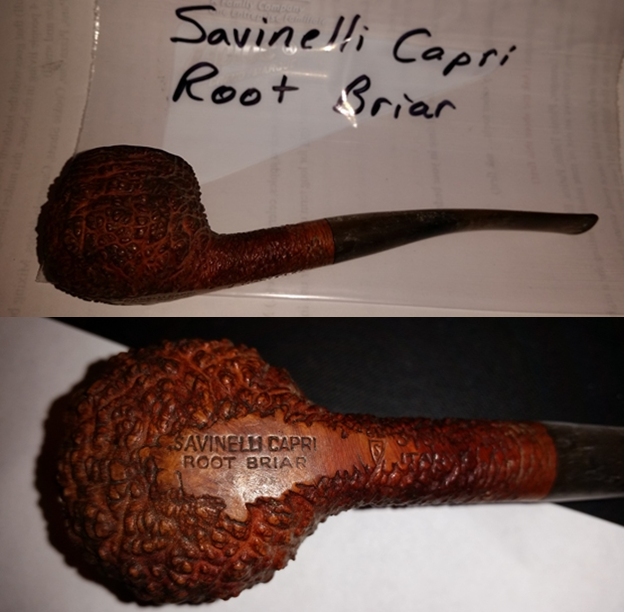
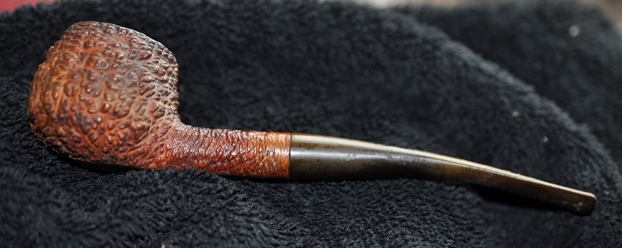
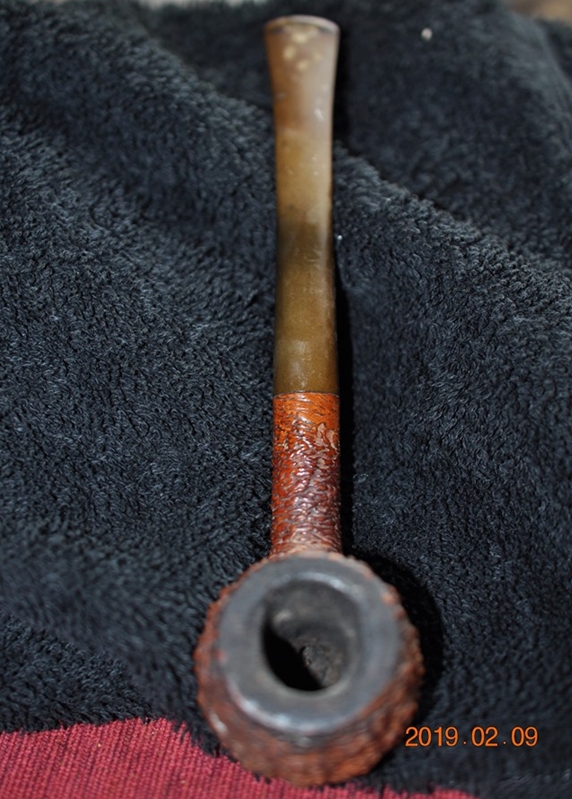
The pipe on the table is stamped on the underside of the bowl and shank on a smooth panel. On the heel of the bowl it is stamped Savinelli Capri over Root Briar. That is followed by The Savinelli “S” shield and Italy and the shape number that looks like 313KS but it hard to read as it is stamped in the rustication. The pipe has a Sea Rock or coral style rustication that I really like. The finish was very dirty, making it hard to see beyond that to the nice grain underneath that. There was a thick cake in the bowl and it had overflowed with lava onto the rim top. It was hard to know at this point the condition of the rim edges. The pipe was a dirty and tired looking old pipe. The stem was badly oxidized and there were George’s usual tooth marks and chatter on both sides just ahead of the button. It had been sitting in boxes for a lot of years and it was time to move ahead with the restoration. Jennifer took photos of the pipes she was sending. I have included the photos of this pipe below. When the box arrived from Jennifer, Jeff opened it and took photos of each pipe before he started his cleanup work on them. This pipe was another real mess but since it bore a coral finish which I like I could see some promise under all of the grime of the years. The shape was a Prince with the normal slightly bent stem. The briar appeared to be in good condition underneath the grime. The pipe really was covered with the grime and oils on the bowl sides from George’s hands. It left the finish looking mottled and dark on the high points. The bowl had a thick cake that had hardened with time. The lava overflow on the rim top filled in the rustication on the rim top. It was very thick but it could very well have protected the edges of the rim from damage. We won’t know what is under it until Jeff had cleaned it off. The stem was oxidized and there were deep tooth marks on both sides just ahead of the button. Jeff took photos of the pipe before he started working on it. I include those below.  Jeff took photos of the bowl and rim top to show the cake in the bowl and the lava build up on the rim top and dust and grime on the bowl. It was thick and hard but hopefully it had protected the rim and edges from damage. The lava coat looks horrible but it points to a well-used, favourite smoking pipe. Judging from the condition of George’s pipe I think it can be assumed that he was rarely without a pipe and that he seriously enjoyed smoking them. This was no exception. Jeff took a photo of the sides and heel of the bowl to show the condition of the finish – the grime and grit all over the sides and bottom of the bowl. The rustication is deep and dirty but it is interesting. This is a very tactile finish and one that I enjoy. Jeff took two photos of the stamping on the underside of the shank to capture all of it. It is very clear and readable other than the shape number 313KS which is in the rustication itself.    Jeff took photos of the top and underside of the stem showing the scratching, oxidation and tooth marks on the stem surface and button. The tooth marks are quite deep on both sides of the stem. Before I get on to cleaning up the pipe I thought I would once again include the tribute that Jennifer wrote to her Dad for the blog. She also sent some photos and an article that her Dad wrote for Jeff and me to be able to get a feel for him. I have included those below. Note in each of them that he is holding a pipe in his left hand. I asked her to also send me an email with a brief tribute to her Dad. Here is her tribute from an email to me.
Steve, I want to thank you again for accepting my dad’s pipes.  They were so much a part of my dad’s life that I could not simply discard them. But as his daughter, I was not about to take up smoking them either. *laughing* I think my dad would like knowing that they will bring pleasure to others.  I know that I do.

I’m not sure what to say about his pipes. I always remember Daddy smoking pipes and cigars.

First a bit about my dad. Though my father, George Rex Leghorn, was American (growing up in Alaska), he managed to join the Canadian Army at the beginning of WWII, but in doing so lost his American citizenship.  He was fortunate to meet a Canadian recruiting officer who told him the alphabet began with “A” and ended with “Zed” not “Zee”, and also told him to say that he was born in a specific town that had all its records destroyed in a fire.  When the US joined the war my dad, and thousands of other Americans who had made the same choice*(see the link below for the article), were given the opportunity to transfer to the US military, and regain their citizenship.

After WWII, my dad, earned his degree at the University of California Berkeley and became a metallurgist. There is even a bit about him on the internet.

He loved taking the family out for a drive, and he smoked his cigars on those trips. (As a child, those were troubling times for my stomach.)

I most remember my father relaxing in his favorite chair with a science fiction book in one hand and a pipe in the other… Sir Walter Raleigh being his favorite tobacco… and the pipes themselves remind me of him in that contented way.  If I interrupted his repose, he’d look up, with a smile on his face, to answer me.

It seemed he smoked his Briarwood pipes the most, though he had others.  At the time, it was only the Briarwood I knew by name because of its distinctive rough shaped bowl.  And it was the Anderson Free Hand Burl Briar, made in Israel, which I chose for his birthday one year, because I thought he might like that particular texture in his hand.

At least two of his pipes, he inherited from his son-in-law, Joe Marino, a retired medical laboratory researcher (my sister Lesley’s late husband)… the long stemmed Jarl (made in Denmark), and the large, white-bowled, Sherlock Holmes style pipe.  I believe Joe had others that went to my dad, but Lesley was only sure about those two.

The Buescher, corncob pipe my older sister Lesley bought for Daddy while on one of her travels around the States.

A note on the spelling of my sister’s name…

My dad met my mother, Regina, during WWII and they married in Omagh, Ireland.  My mother was English and in the military herself.  The English spelling of Lesley is feminine, and Leslie masculine, in the UK… just the opposite of here in the United States.  I guess my mom won out when it came to the spelling of the name…

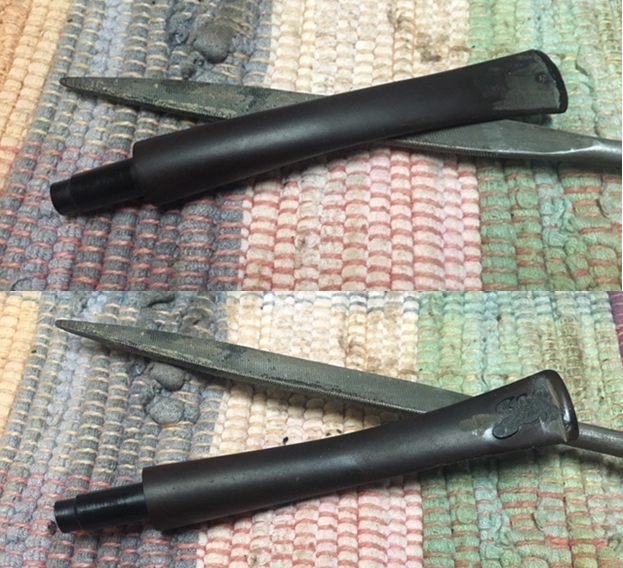
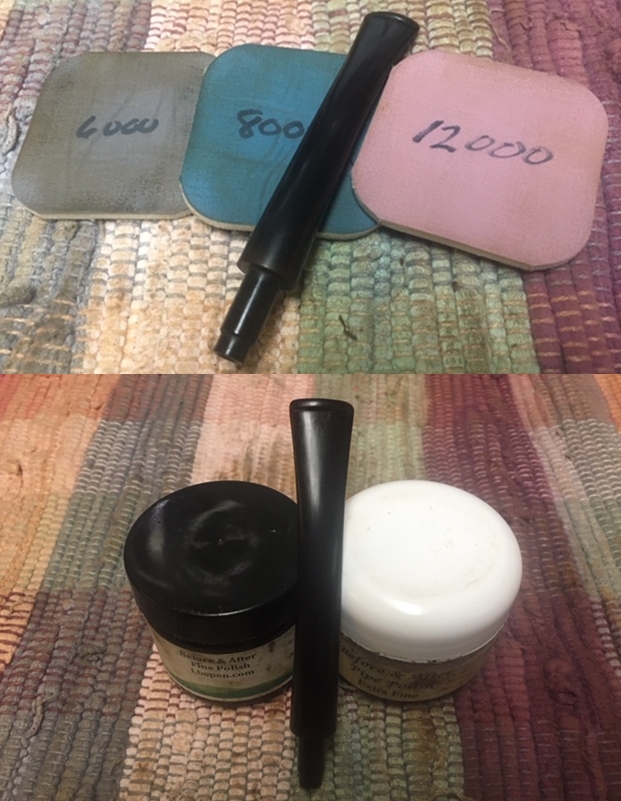
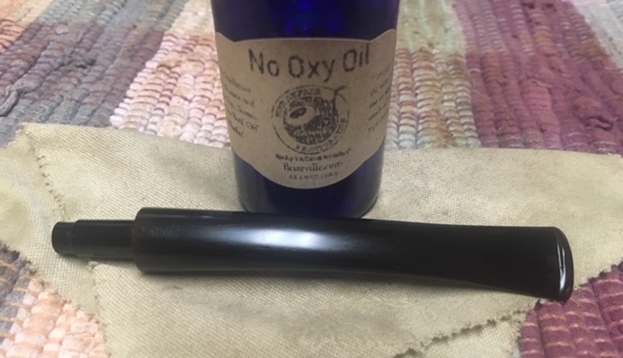
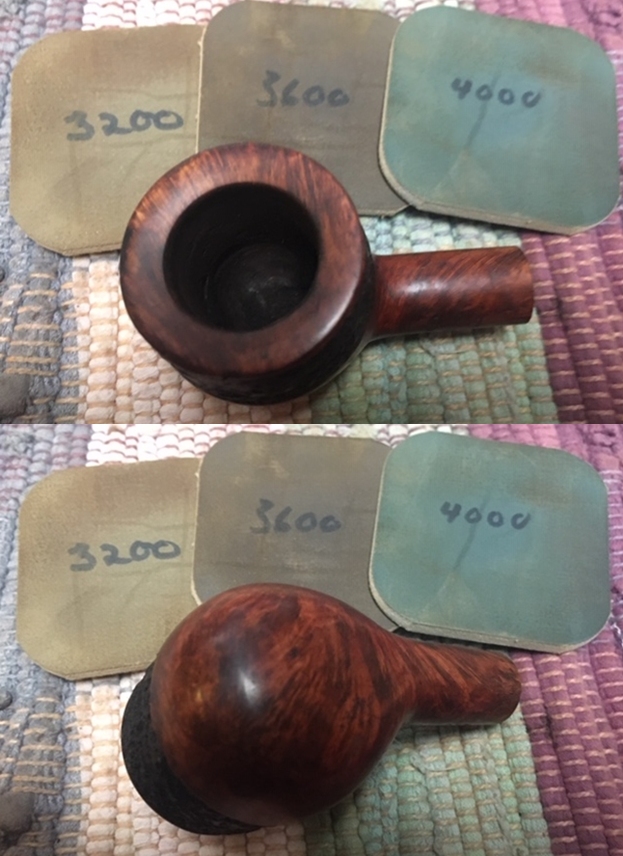
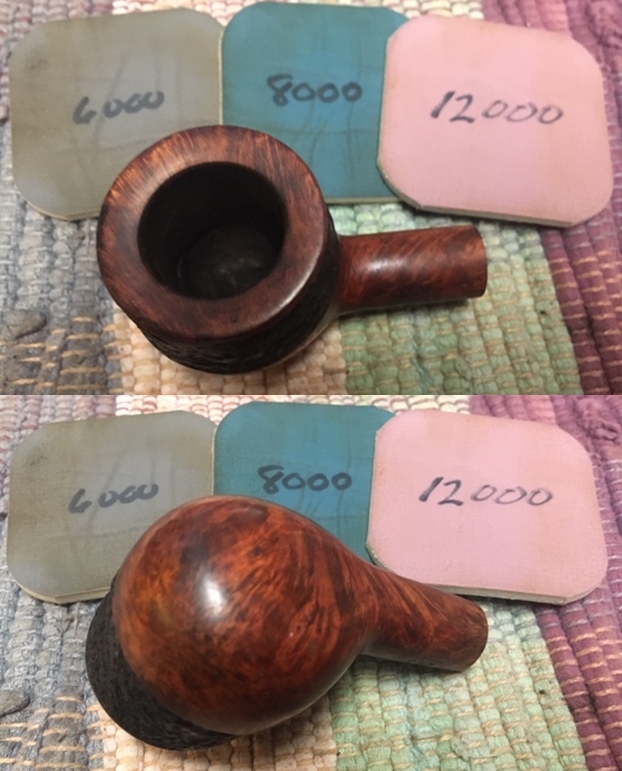
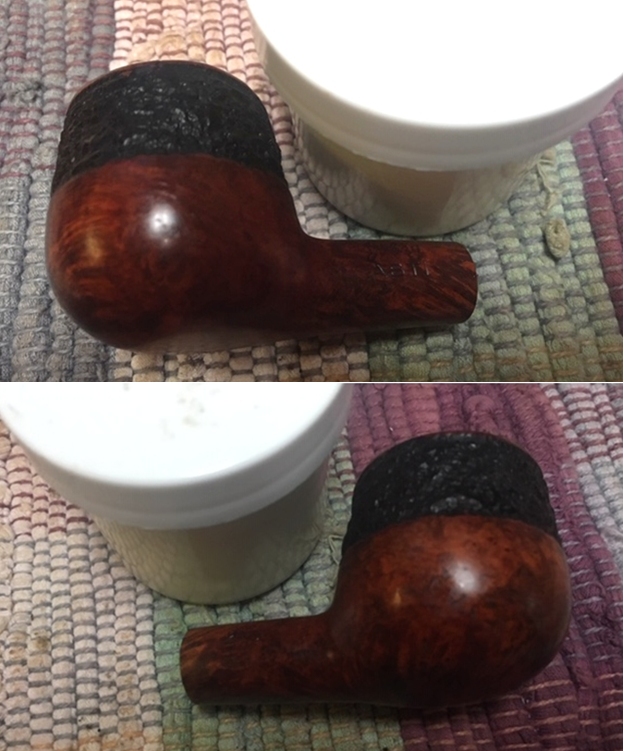
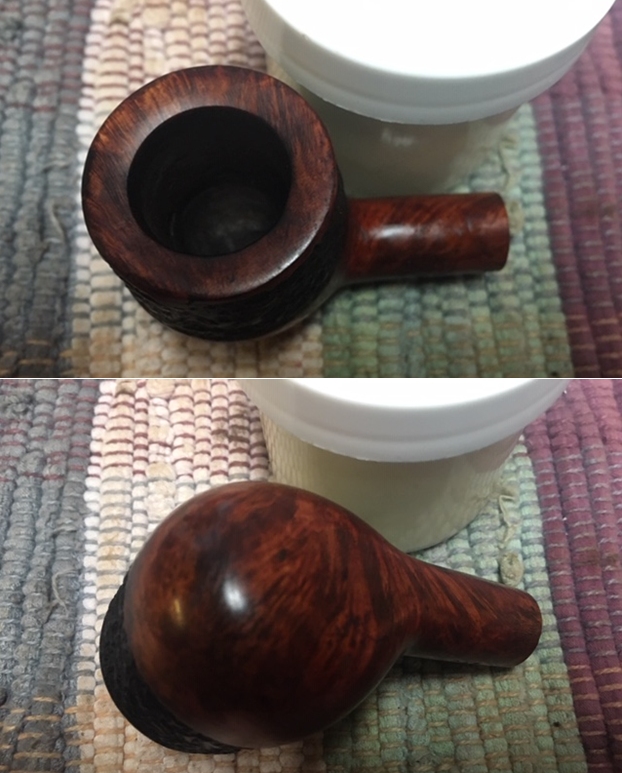
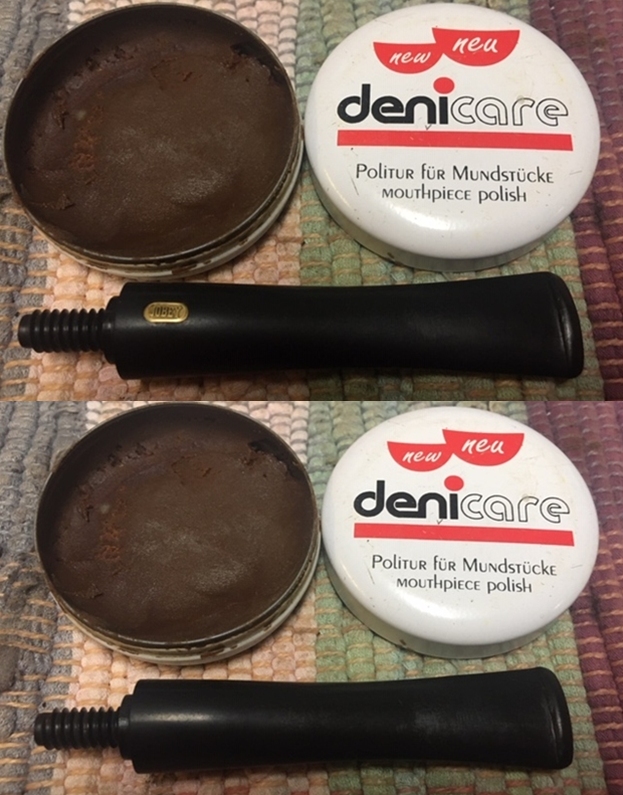
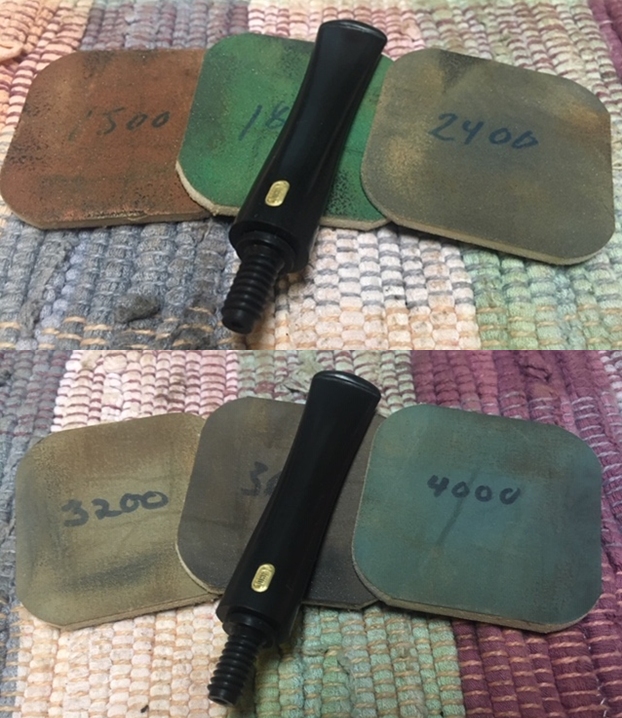
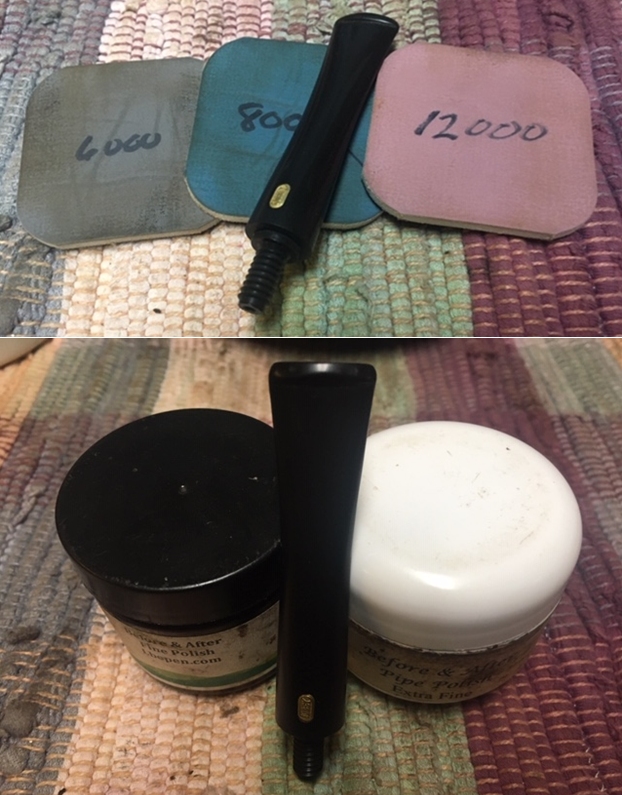
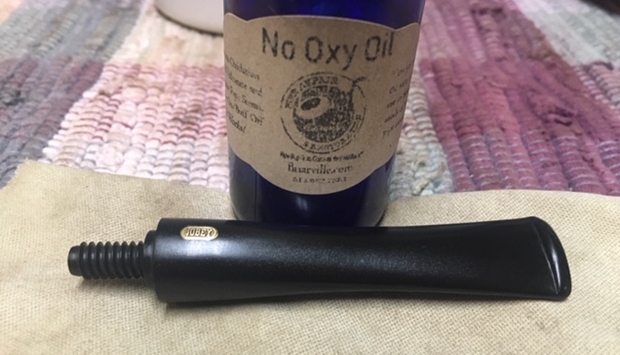
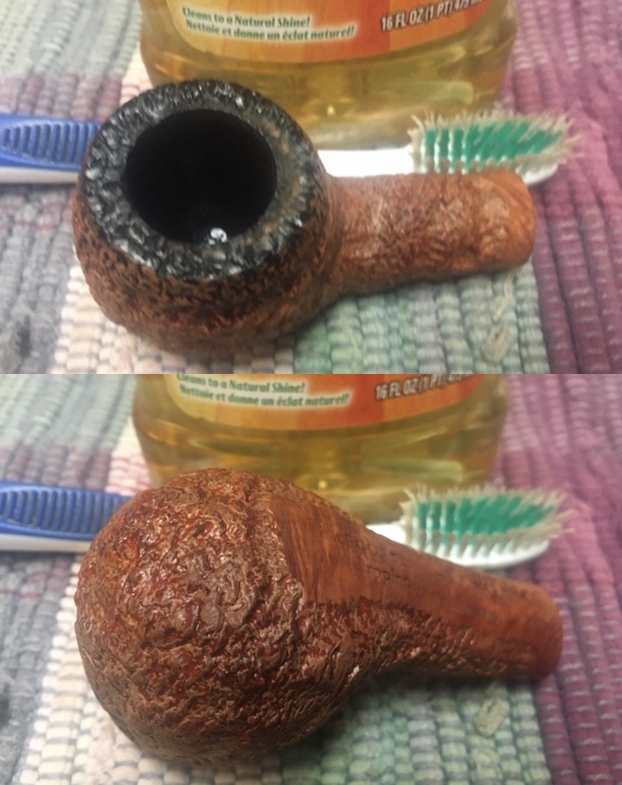
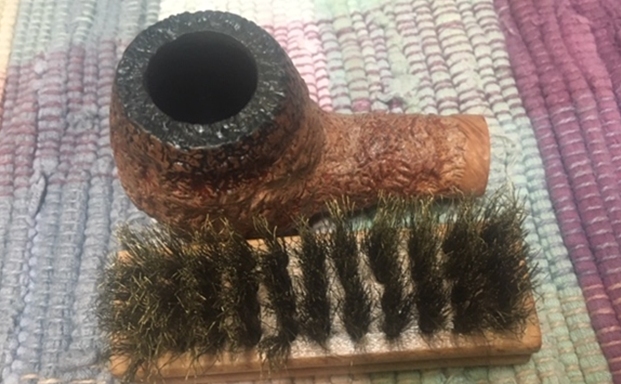
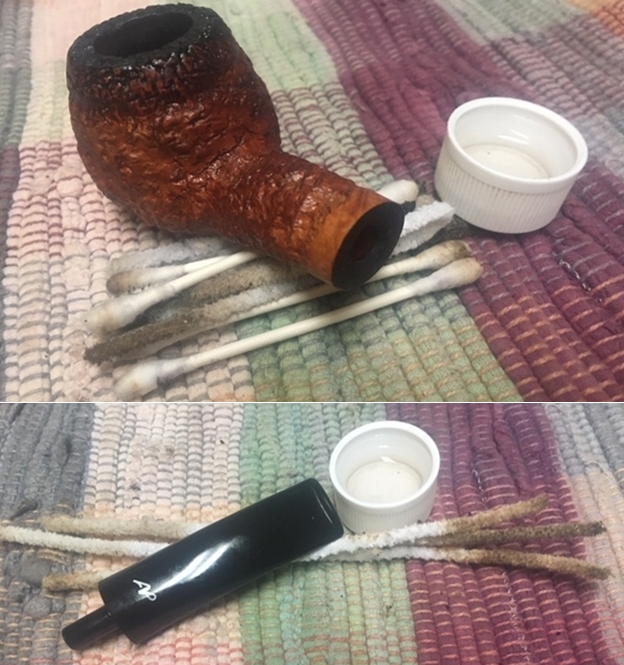
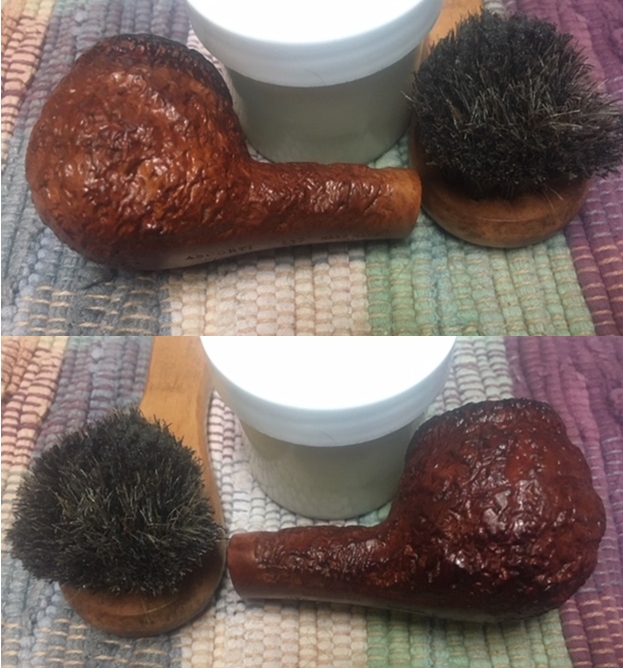
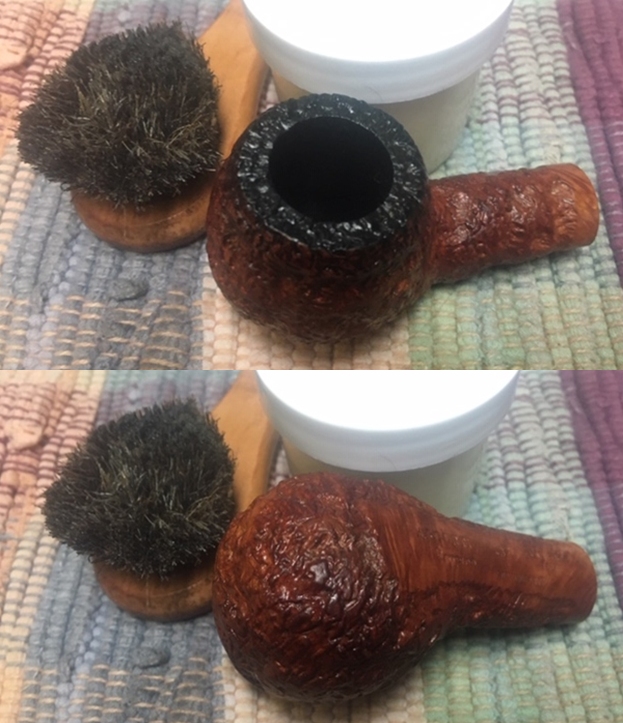
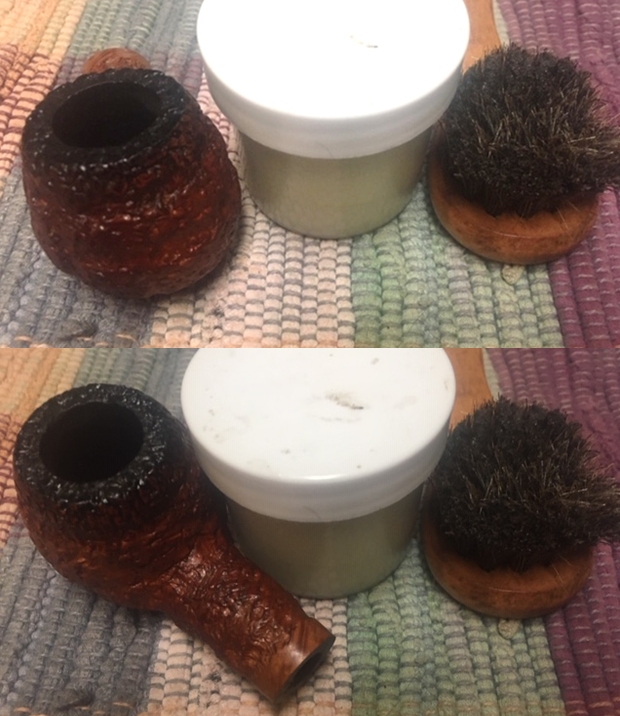
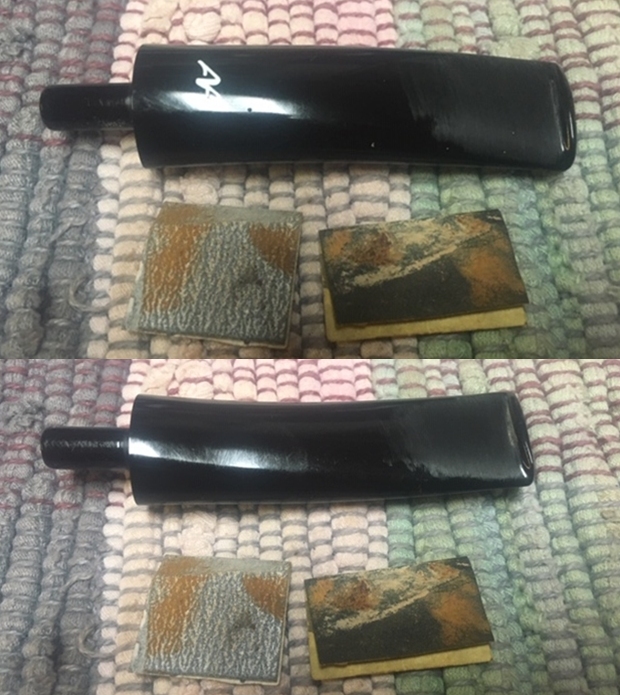
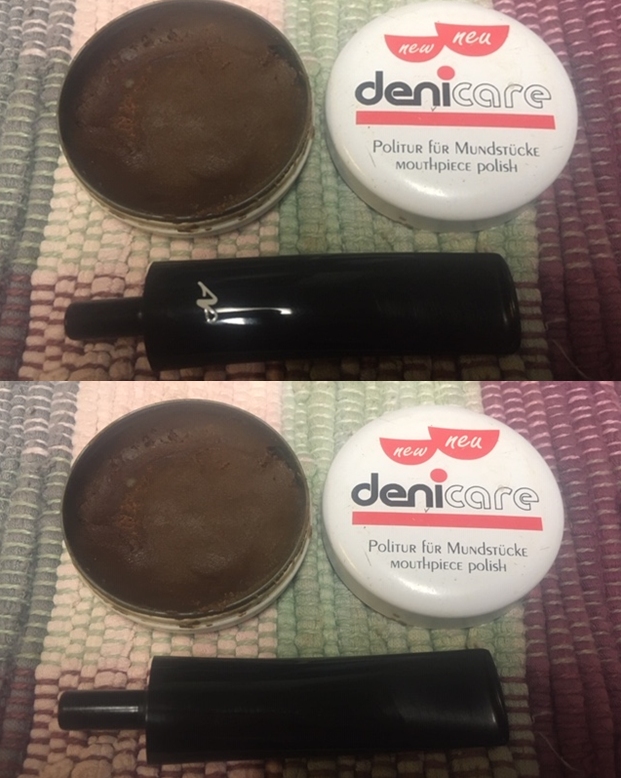
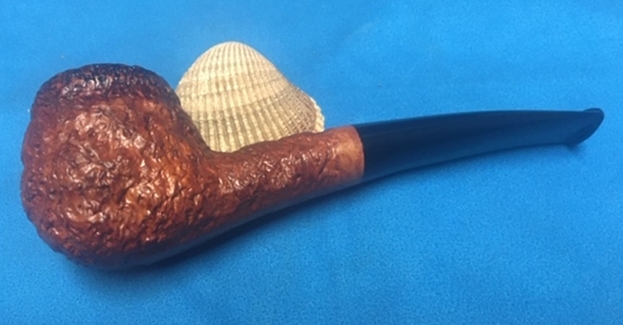
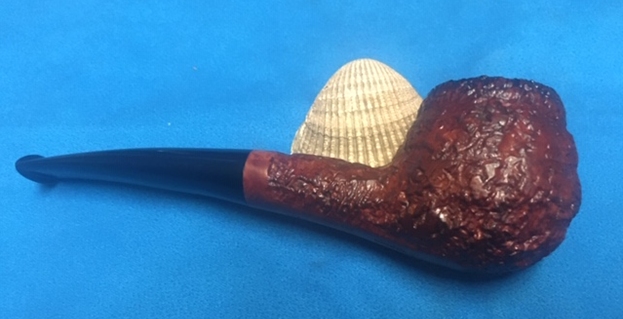
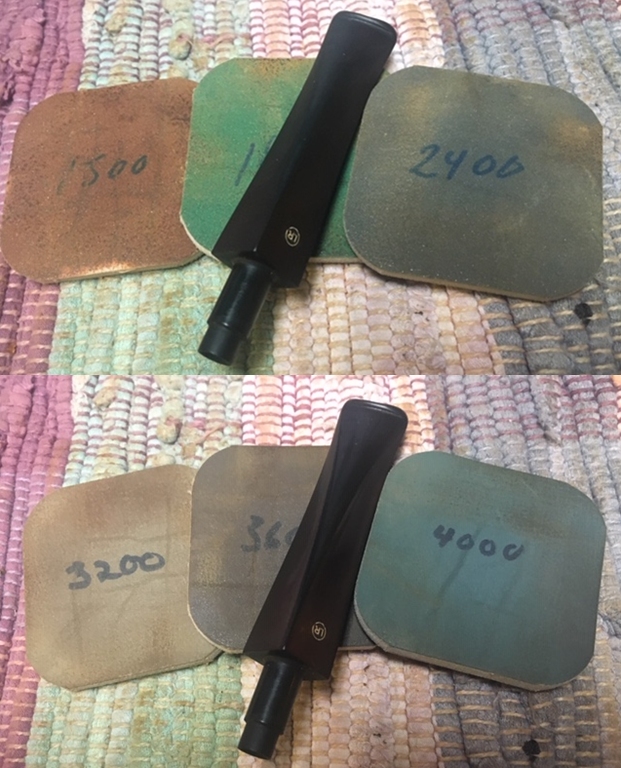
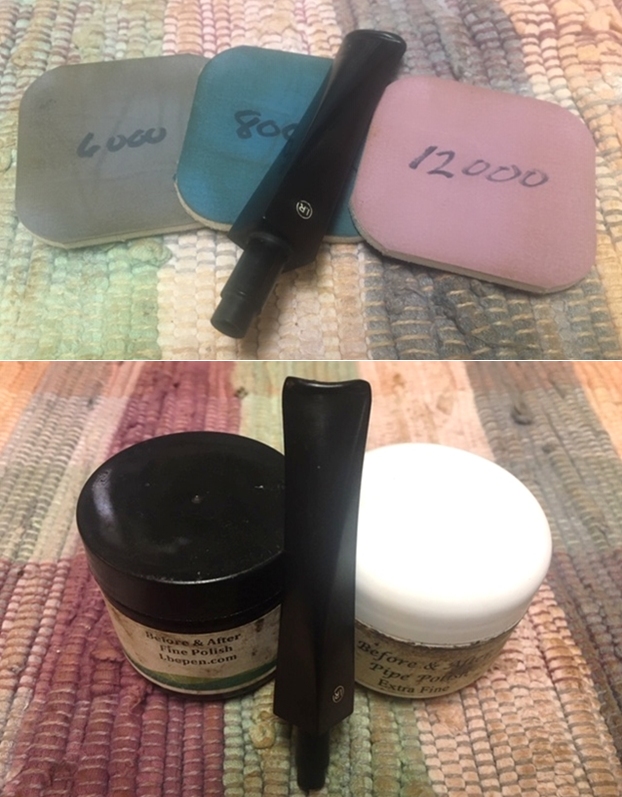
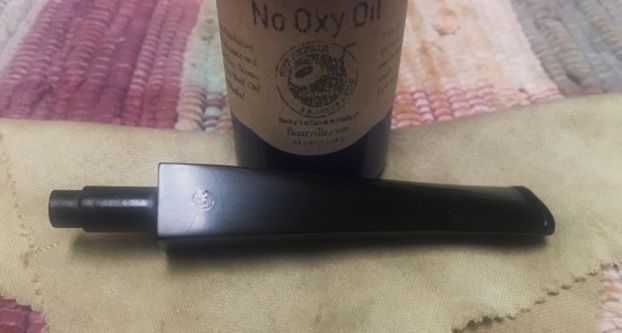
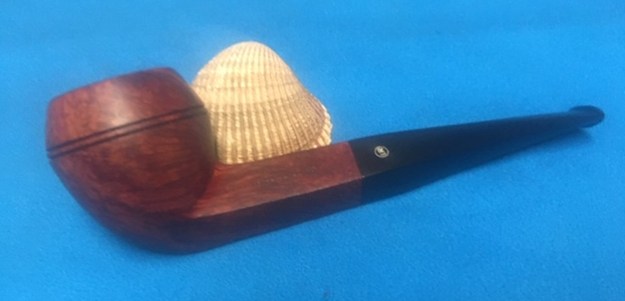
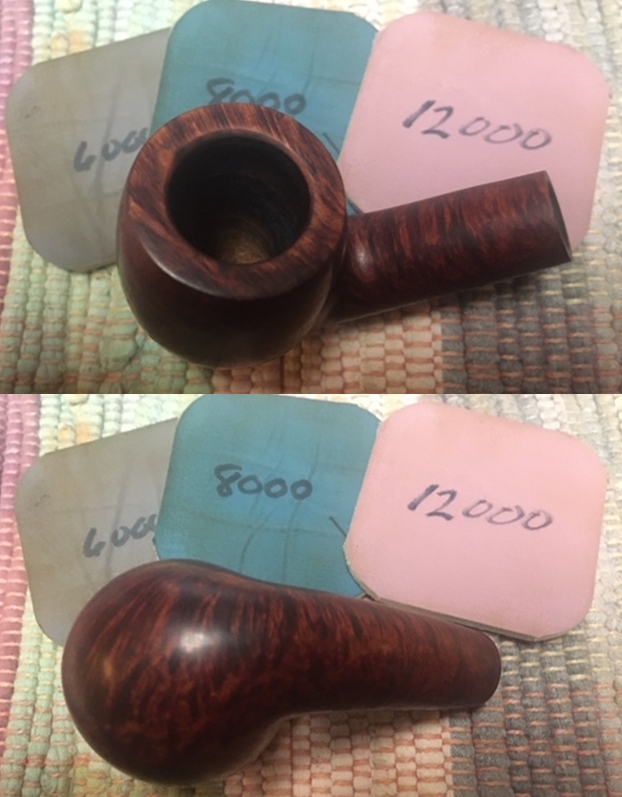
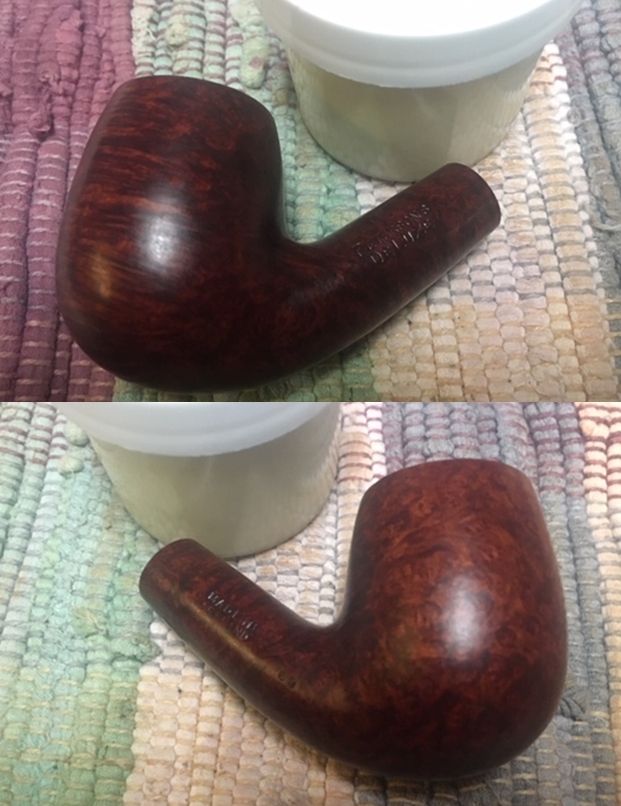
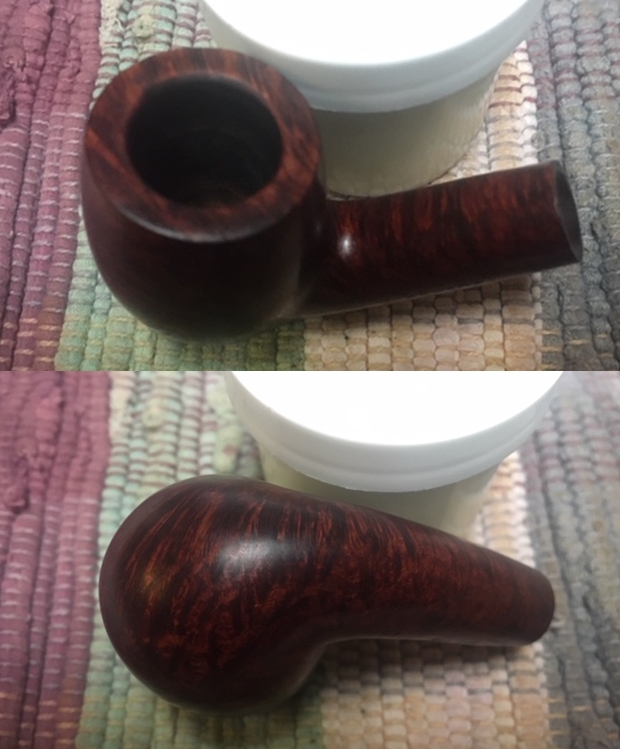
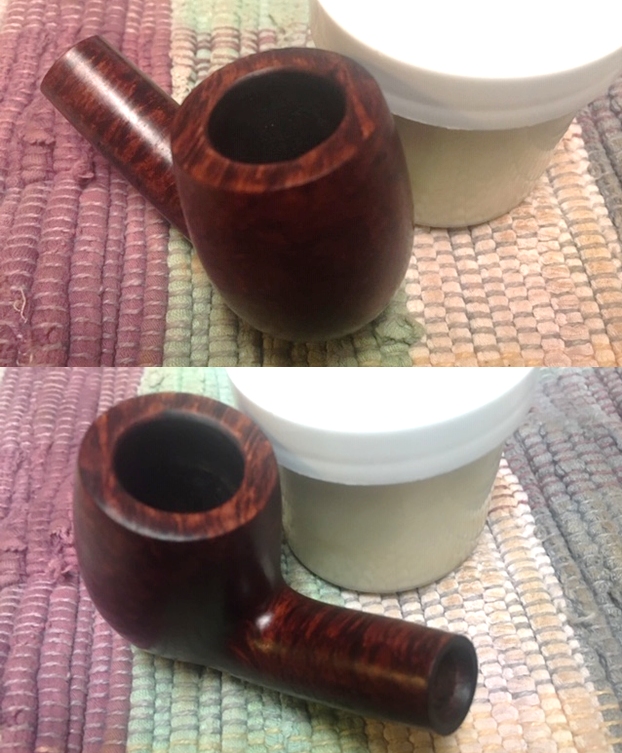
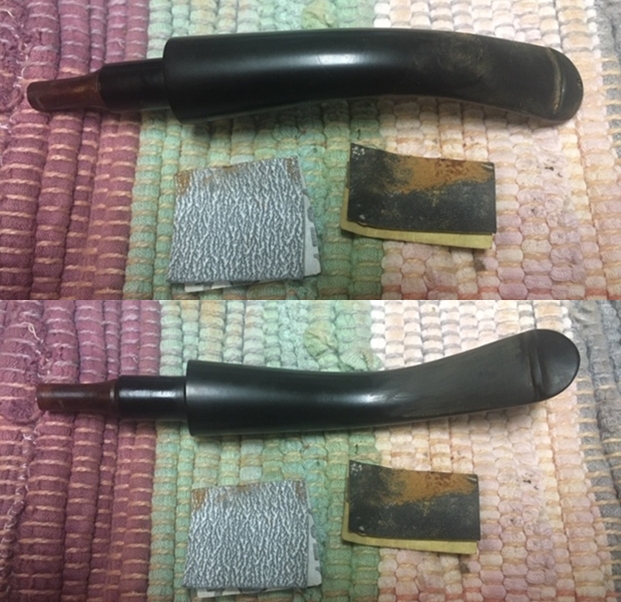
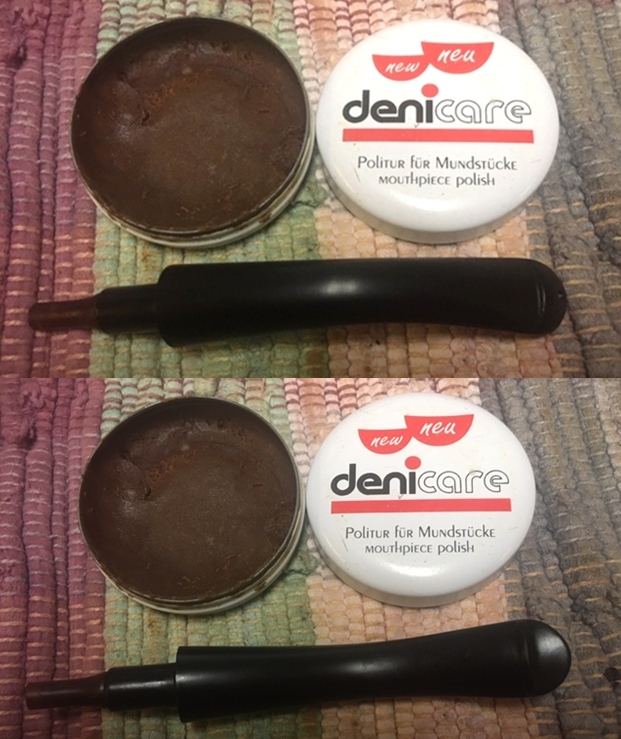
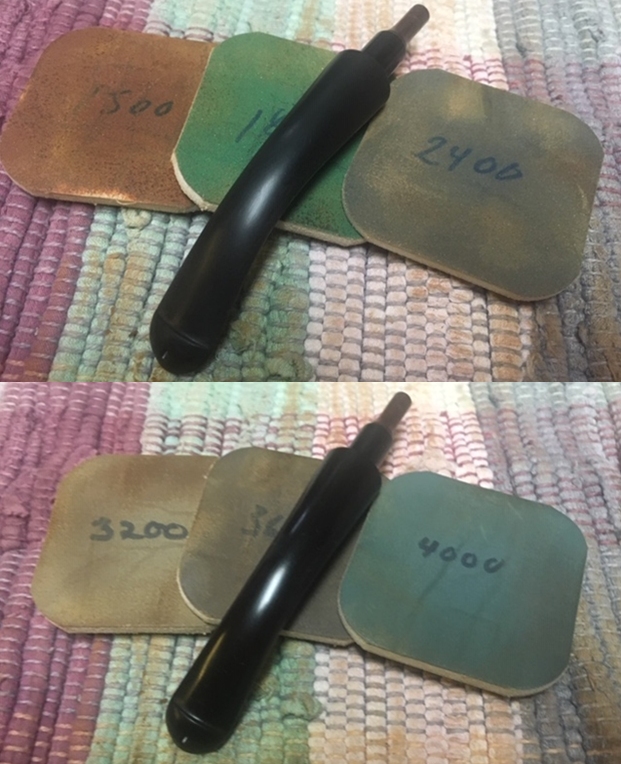
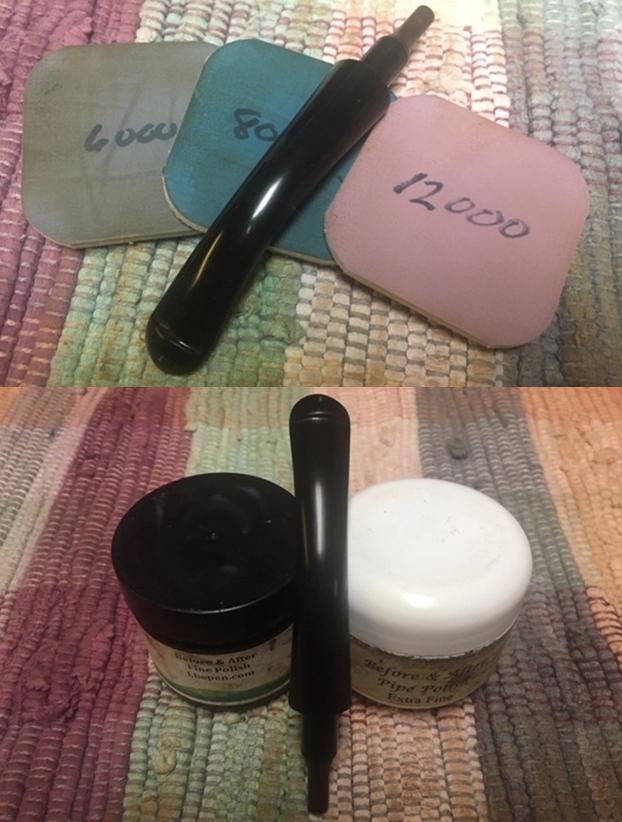
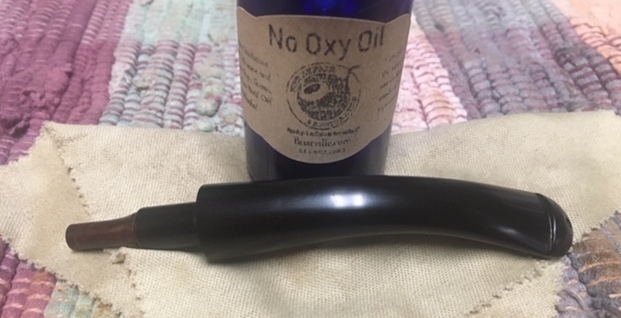
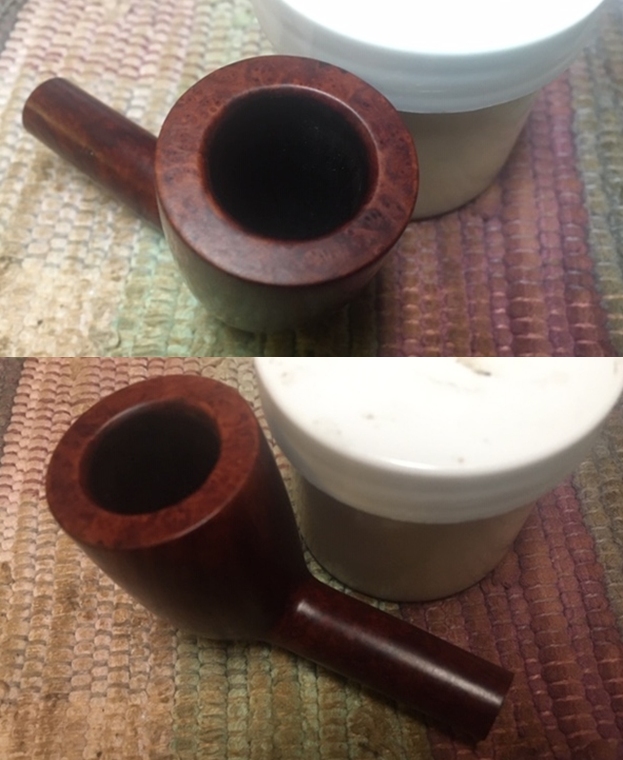
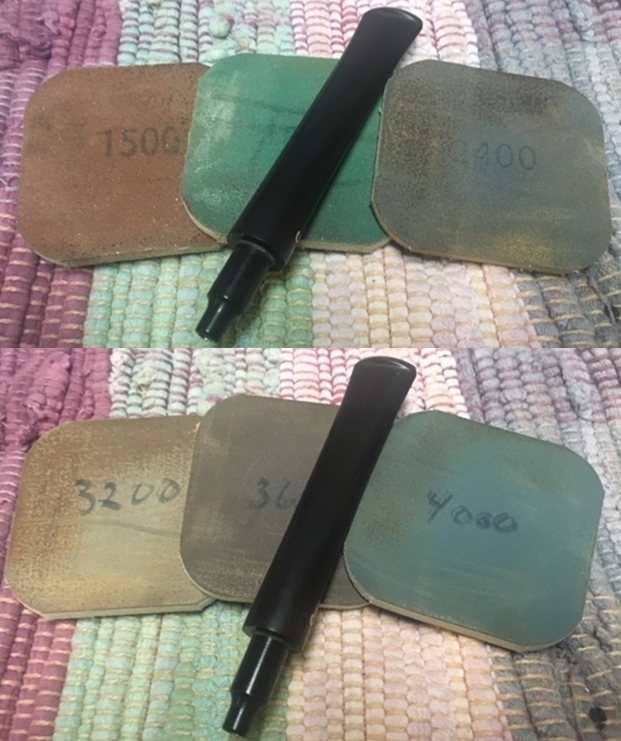
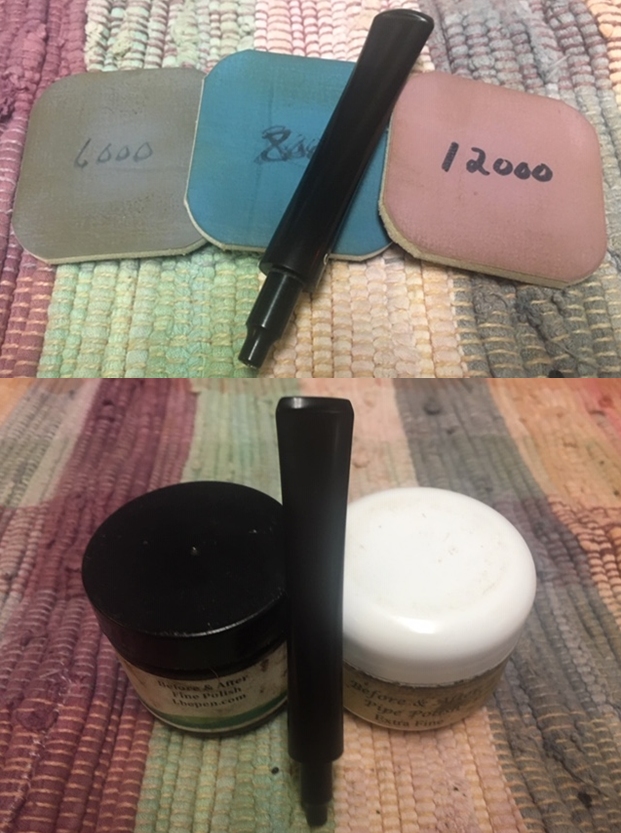
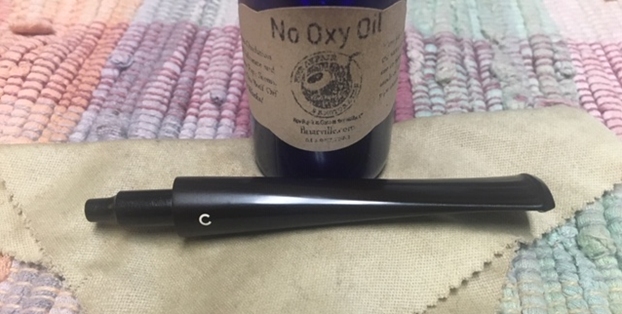
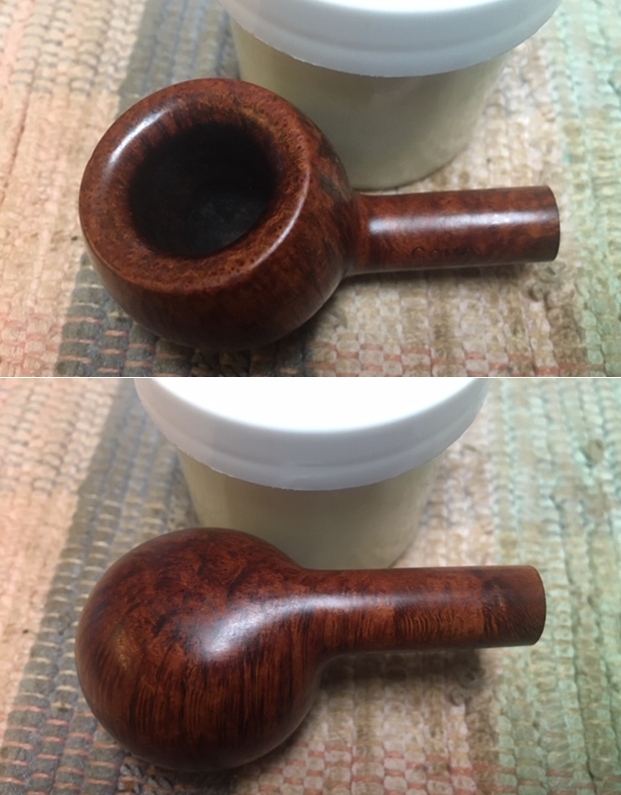
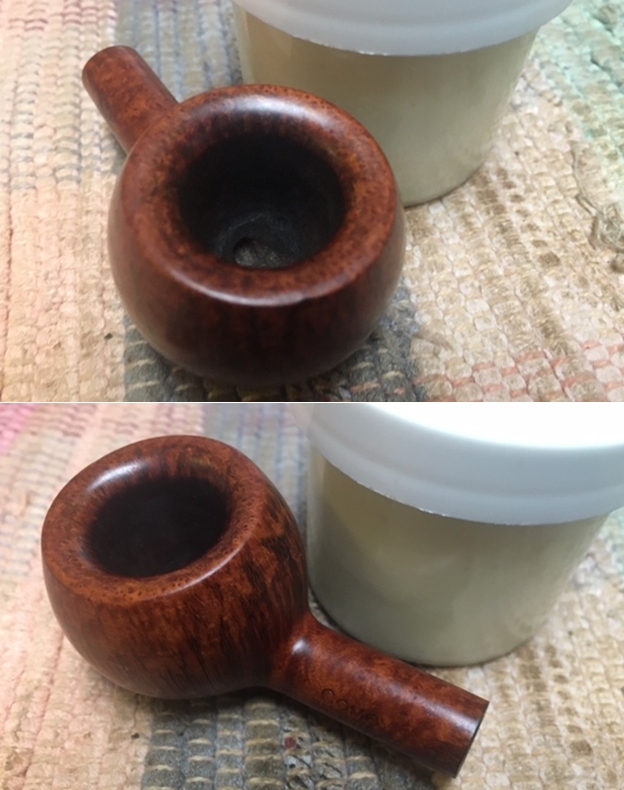
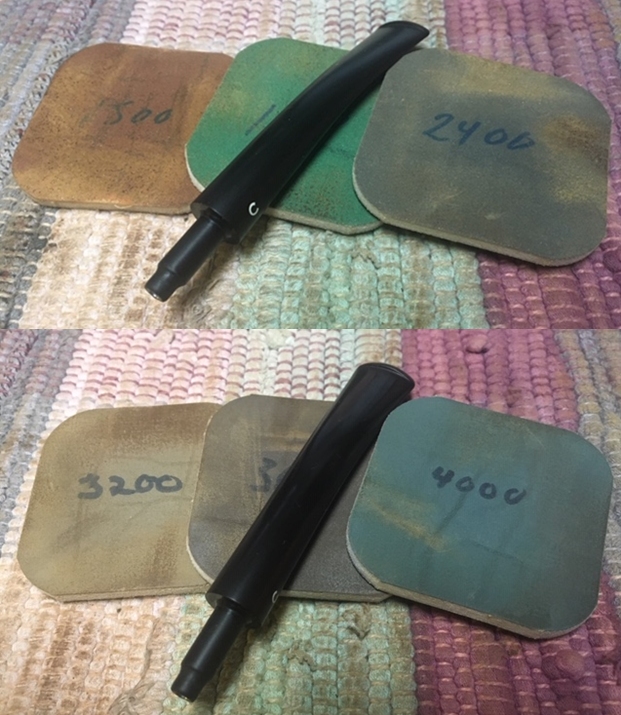
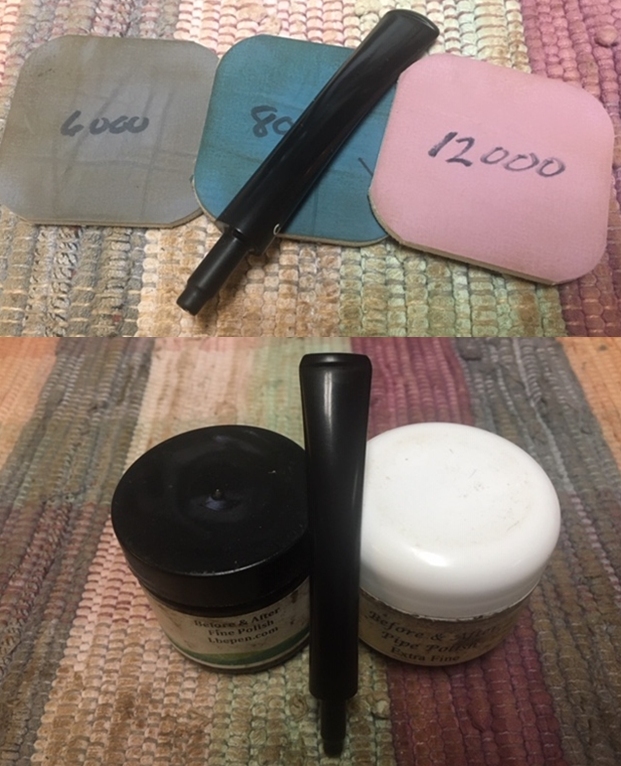
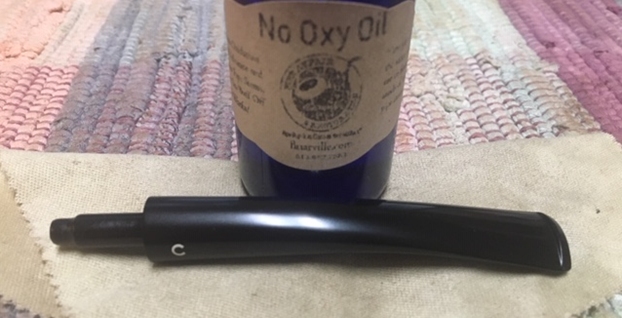
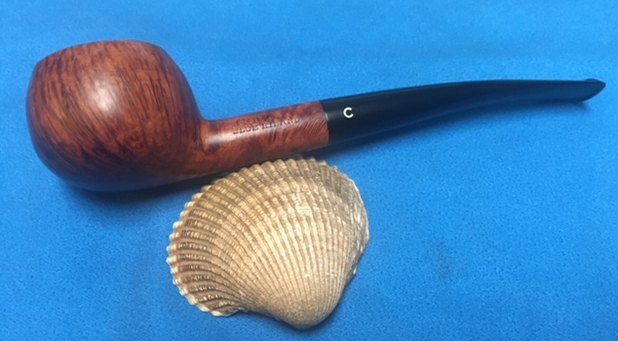
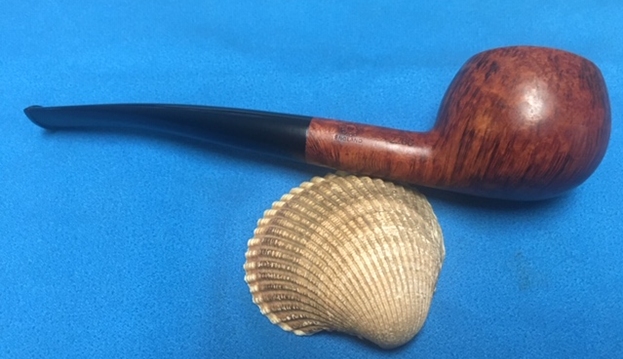
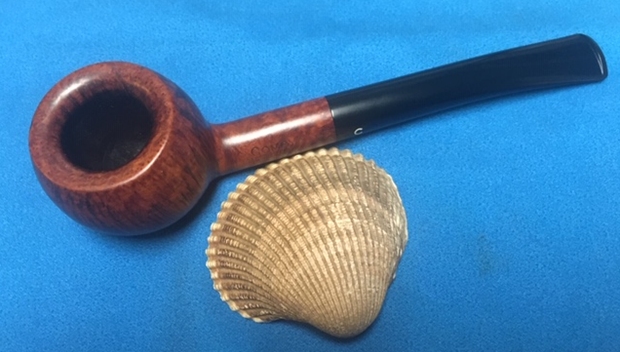
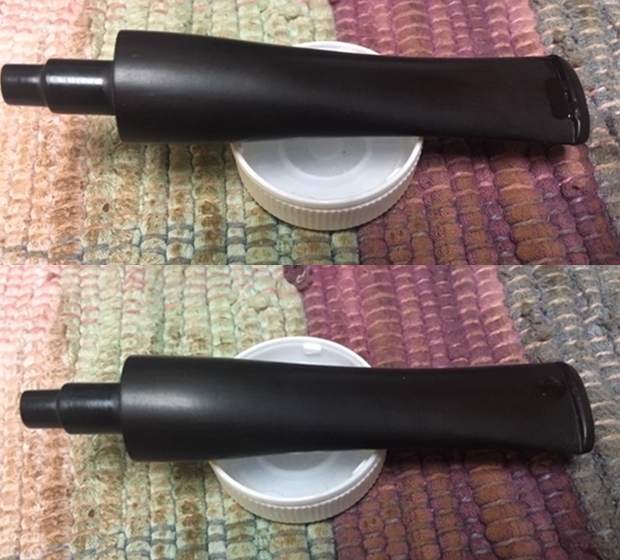
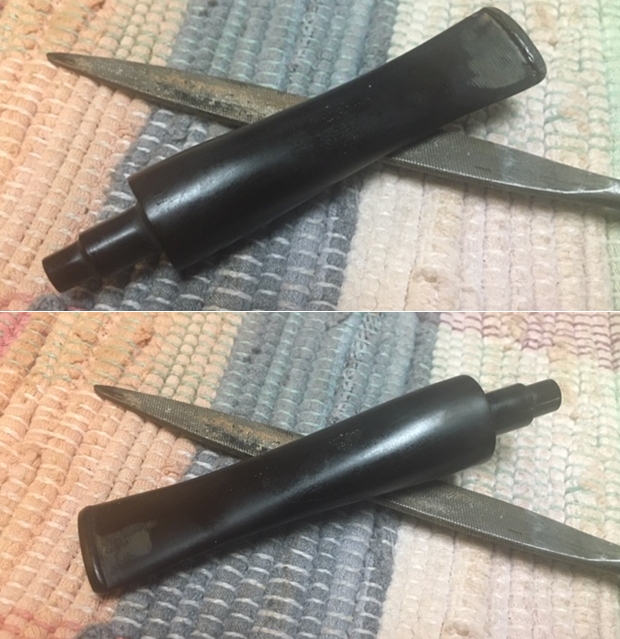
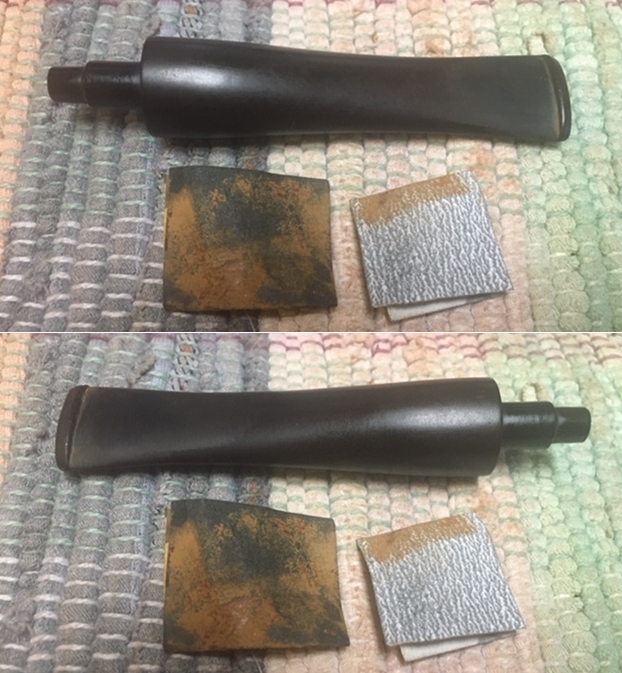
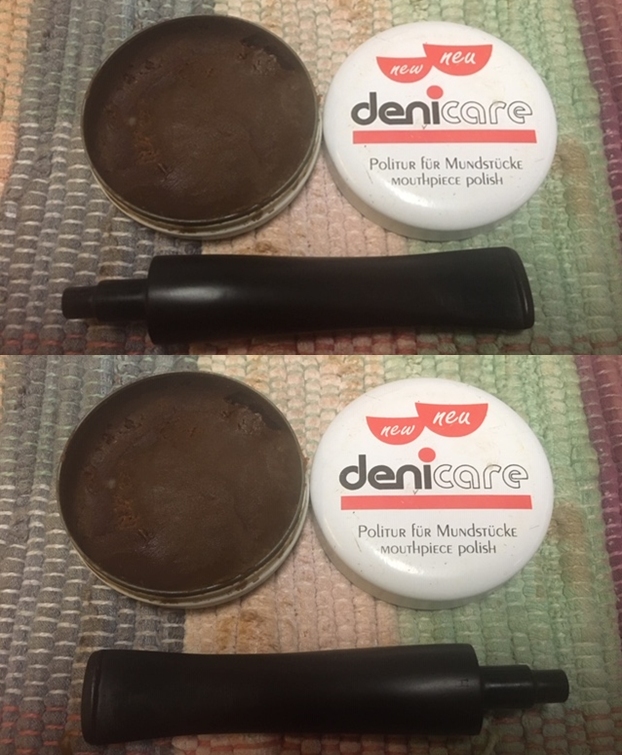
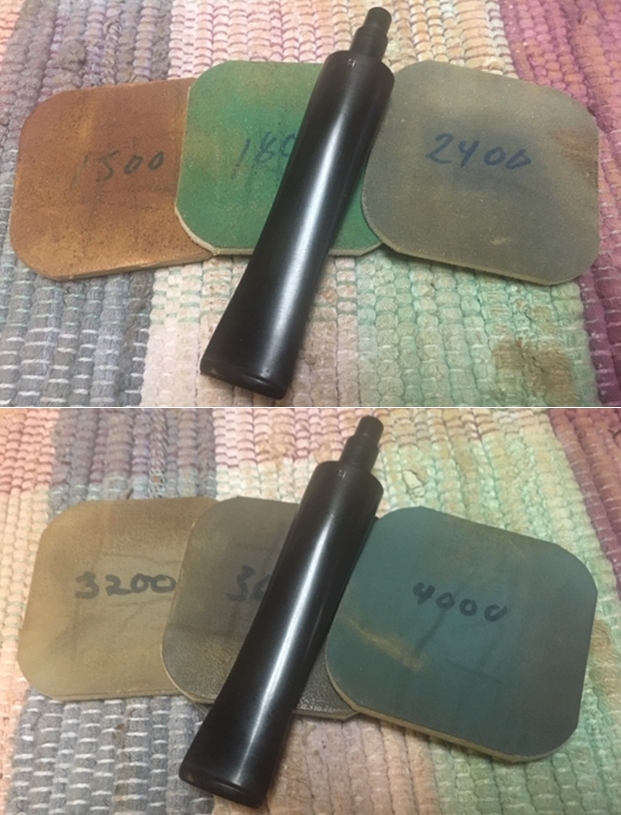
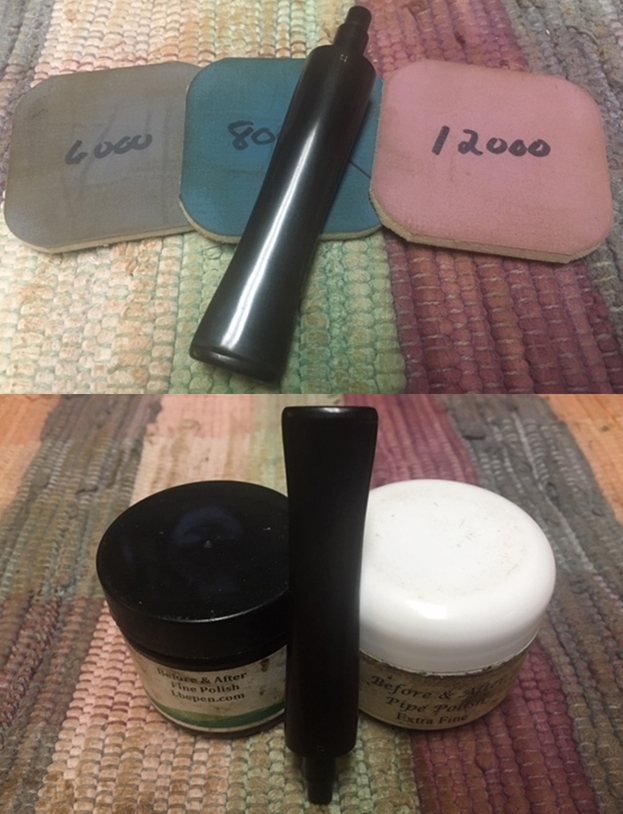
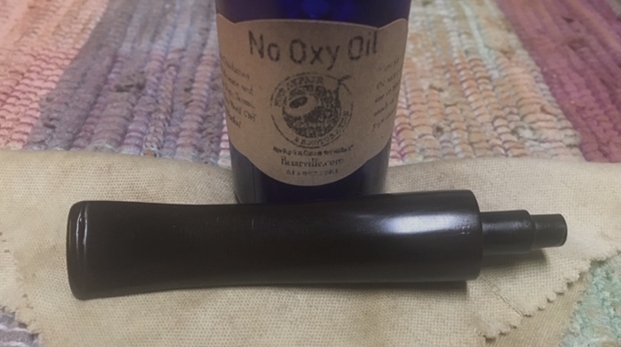
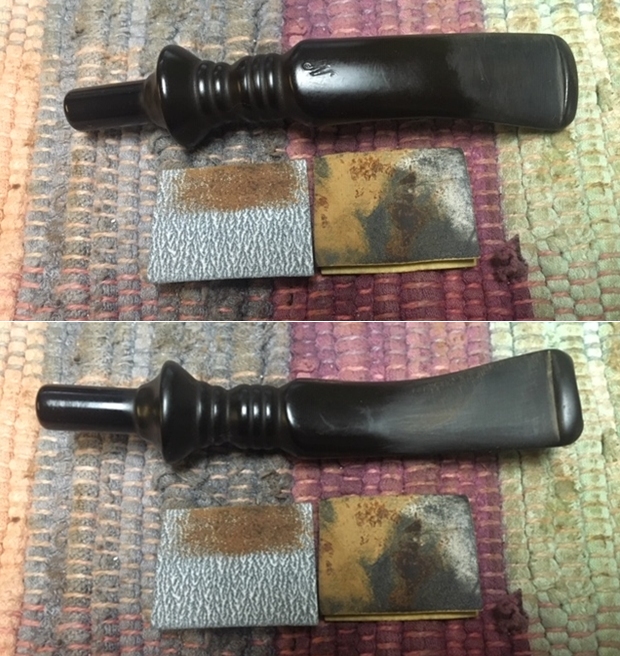
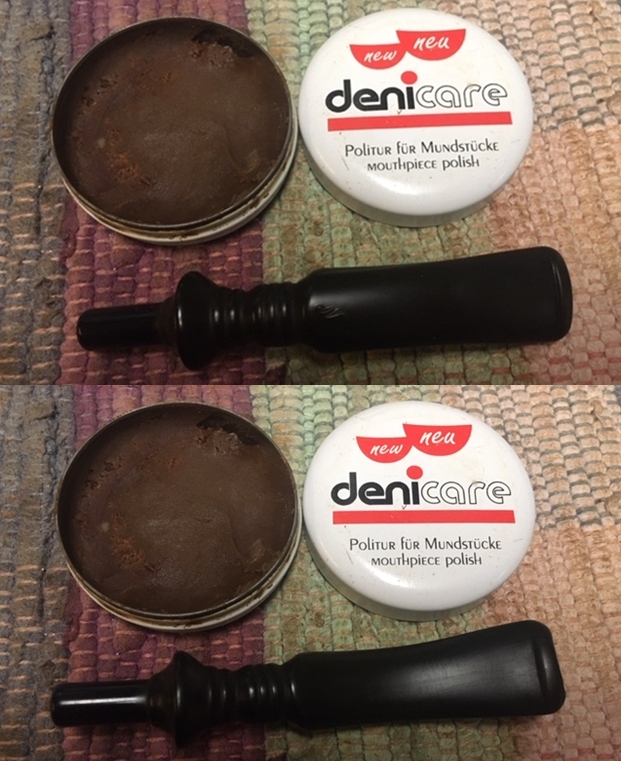
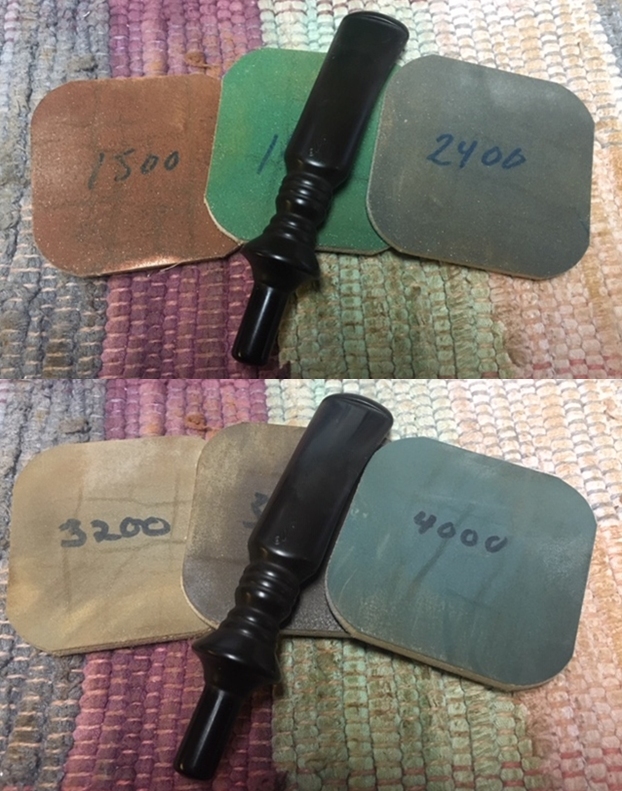
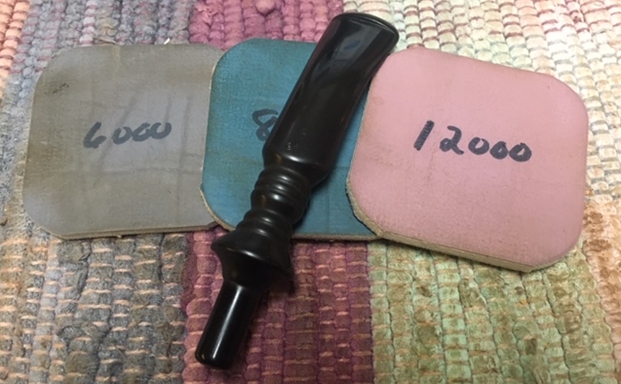
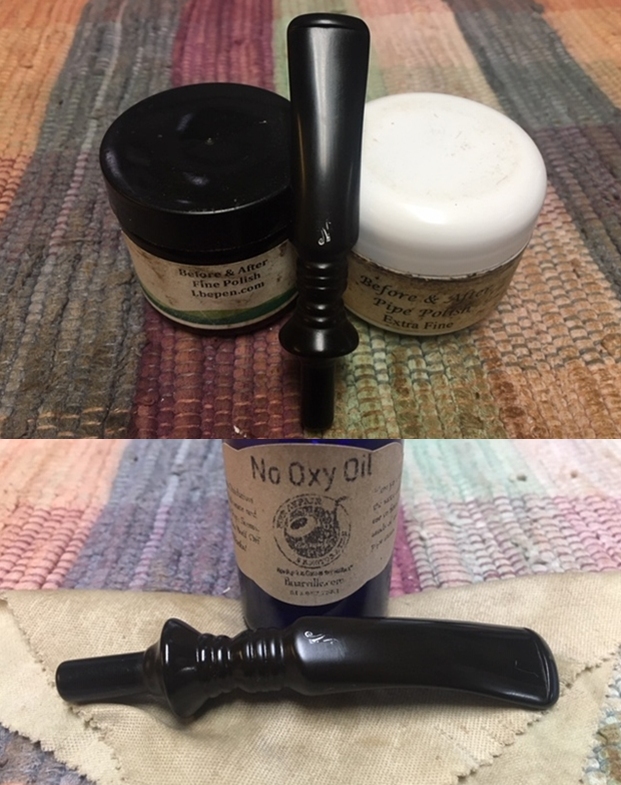
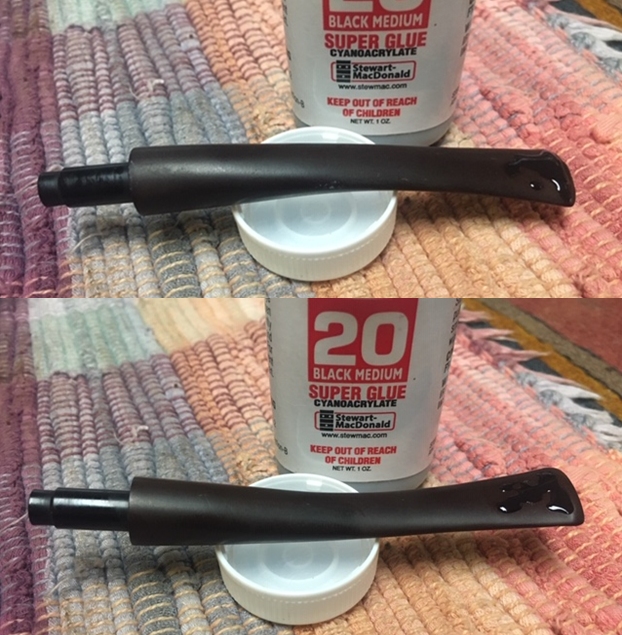
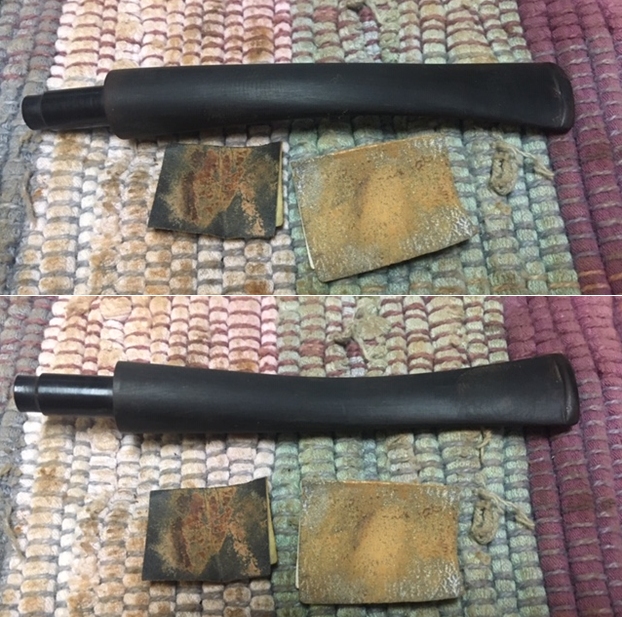
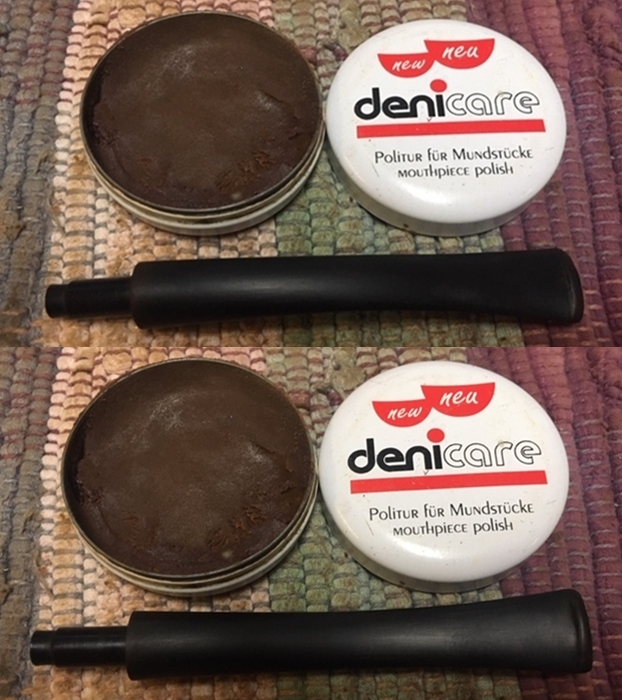
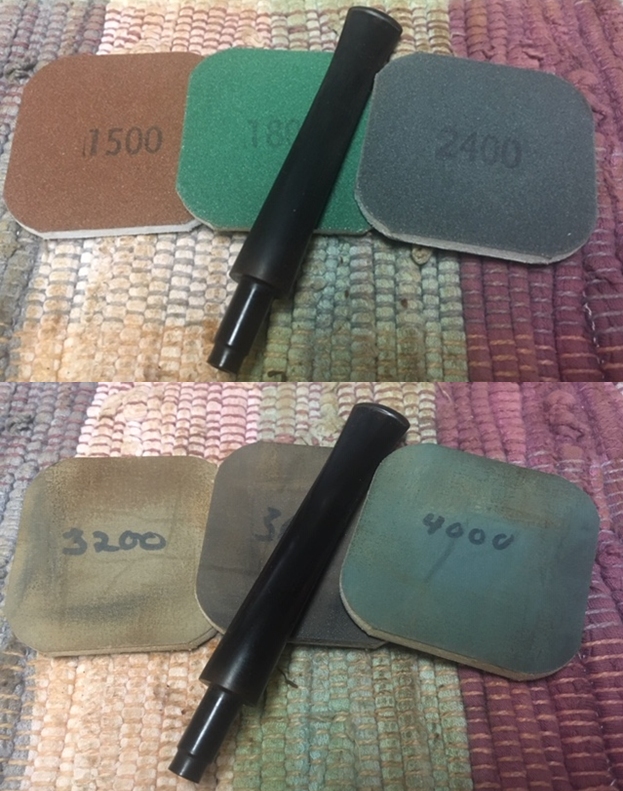
This pipe was a real mess just like the other ones in the collection. I was curious to see what it would look like when I unpack it. I was surprised at how good it looked. He reamed it with a PipNet pipe reamer and cleaned up the reaming with a Savinelli Fitsall Pipe Knife. He scrubbed out the internals with alcohol, pipe cleaners and cotton swabs until the pipe was clean. He scrubbed the exterior of the bowl with Murphy’s Oil Soap and a tooth brush to remove the grime and grit on the briar and the lava on the rim top. The finish on the bowl looked really good when I got it. The rim top looked much better and the inner and outer edges were looking good. Jeff had cleaned the internals and scrubbed the exterior of the stem and soaked them in Before & After Deoxidizer bath to remove the oxidation. The stem looked very good other than the deep tooth marks and chatter in the surface. When the pipe arrived here in Vancouver for the second stop of its restoration tour it looked very good. I took several photos of the pipe from the side and then got called away and did not finish taking photos. Here is what I have.   I forgot to take photos of the condition of the rim top and stem and when I came back to work on the pipe I just jumped in to do the restoration. I decided to clean up the darkening and smoothing of the rim top first. I used a brass bristle brush to work over the surface of the briar. When I was finished it looked better.     I worked some Before & After Restoration Balm into the finish of the bowl and the rim top and shank with my fingertips and a horsehair shoebrush to clean, enliven and protect it. I find that the balm really makes the briar come alive again. The contrasts in the layers of stain and the separate finishes really made the grain stand out. I let the balm sit for a little while and then buffed with a cotton cloth to raise the shine. The bowl really looks good at this point. I set the bowl aside and turned to the stem. I filled in the deep tooth marks with black super glue. I built up the edge of the button at the same time. I set it aside to dry. Once the repairs had cured I used a needle file to re-cut a sharp edge on the button on both sides and to flatten the repaired areas.  I sanded the stem to remove the oxidation that was on the surface and to smooth out the repaired areas. I used a folded piece of 220 grit sandpaper and a piece of 400 grit wet dry sandpaper. At this point the stem is looking better and the tooth marks are gone.  I rubbed the stem down with Denicare Mouthpiece Polish and a cotton pad to remove remnants of oxidation and to further blend in the sanding. The stem was showing some promise at this point in the process. I polished the stem with micromesh sanding pads – wet sanding it with 1500-12000 grit pads. I polished it further with Before & After Pipe Stem Polish – both fine and extra fine. I finished by wiping it down with Briarville’s No Oxy Oil and buffing it to a shine. Once again I am the part of the restoration that I always look forward to – the moment when all the pieces are put back together. I put the pipe back together and lightly buffed the bowl with Blue Diamond. I buffed the stem with a heavier touch with Blue Diamond on the buffing wheel. I gave the bowl multiple coats of Conservator’s Wax and the stem multiple coats of carnauba wax. I buffed the pipe with a clean buffing pad to raise the shine. I hand buffed it with a microfiber cloth to deepen the shine. It is fun to see what the polished bowl looks like with the combination of rustication and smooth finishes. The black vulcanite stem stands out as a shiny black contrast to the colours of the bowl. This little Capri Prince must have been a fine smoking pipe judging from the condition it was when we received it from Jennifer. Have a look at it with the photos below. The dimensions are Length: 6 inches, Height: 1 ¼ inches, Outside diameter of the bowl: 1 ¼ inches, Chamber diameter: ¾ of an inch. This is one that will go on the rebornpipes online store shortly. If you want to carry on the pipe trust of George Rex Leghorn let me know. Thank you Jennifer for trusting us with his pipes. Thanks to each of you who are reading this blog. Remember we are not pipe owners; we are pipemen and women who hold our pipes in trust until they pass on into the trust of the next generation.

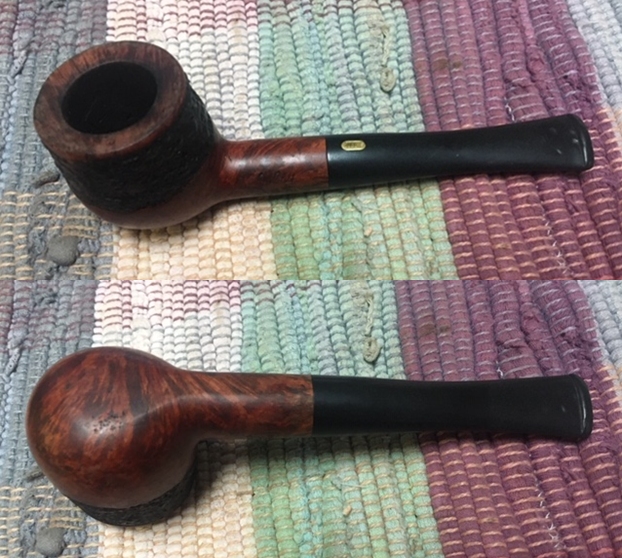
Restoring Jennifer’s Dad’s Jobey Asti 245 Pot


Blog by Steve Laug

I decided to change things up a bit and work on another of Jennifer’s Dad’s pipes. For the next pipe from the estate of George Rex Leghorn I have chosen a Pot shaped pipe. You may not have read about this estate before, so I will retell the story. I received an email from Jennifer who is a little older than my 64+ (65 now – sheesh, I forget how old I am) years about whether I would be interested in her Dad’s pipes. My brother Jeff and I have been picking up a few estates here and there, so I was interested. Here is the catch – she did not want to sell them to me but to give them to me to clean up, restore and resell. The only requirement she had was that we give a portion of the sales of the pipes to a charity serving women and children. We talked about the organization I work for that deals with trafficking and sexual exploitation of women and their children and she decided that would be a great way to carry on the charitable aspect of her Dad’s character. With some great conversation back and forth she sent the pipes to Jeff and he started the cleanup process on them. Once he had finished cleaning them all he sent them to me to do my work on them.

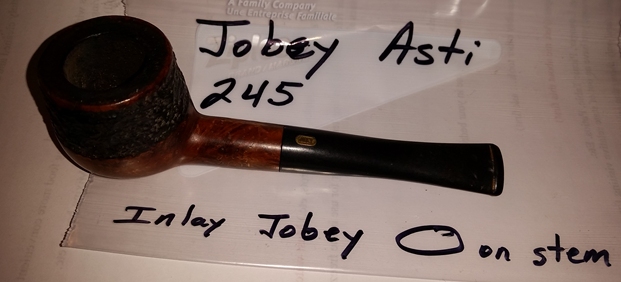
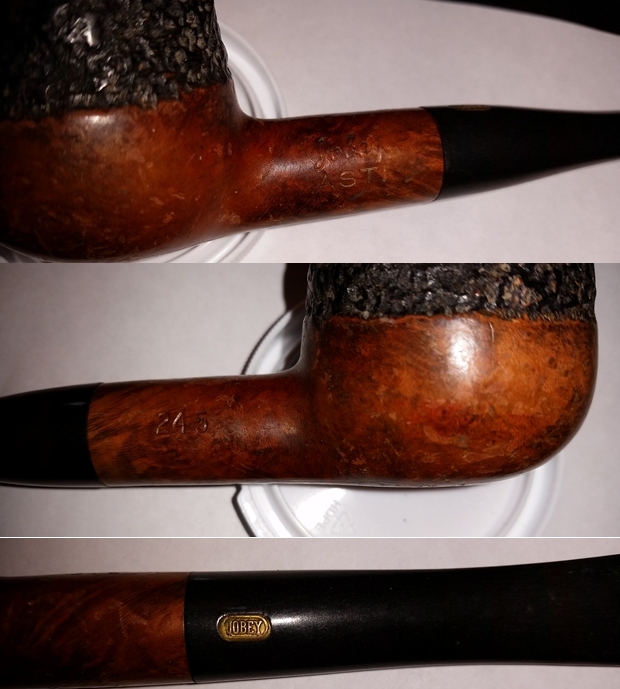
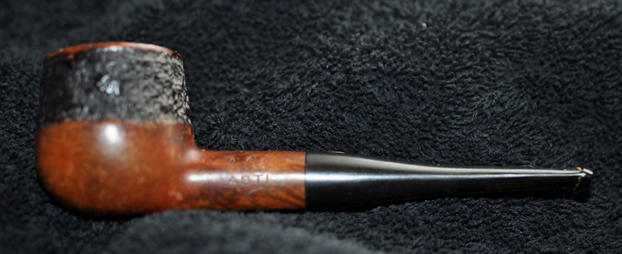
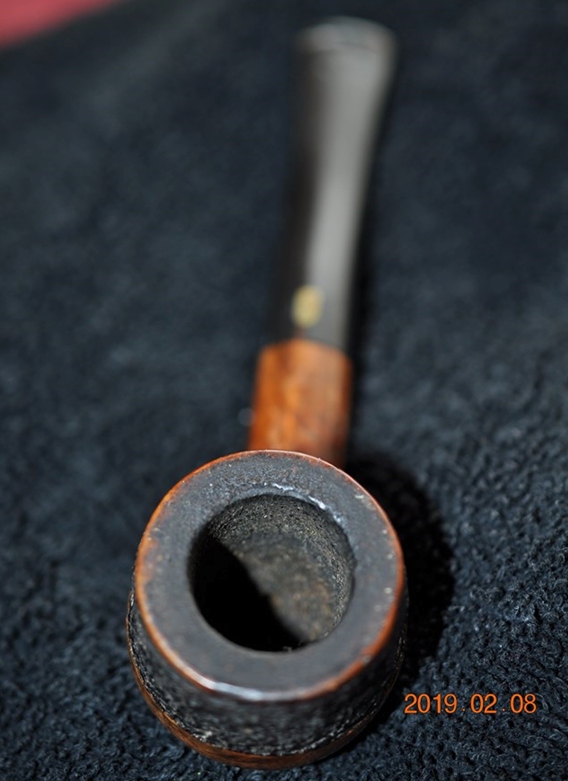
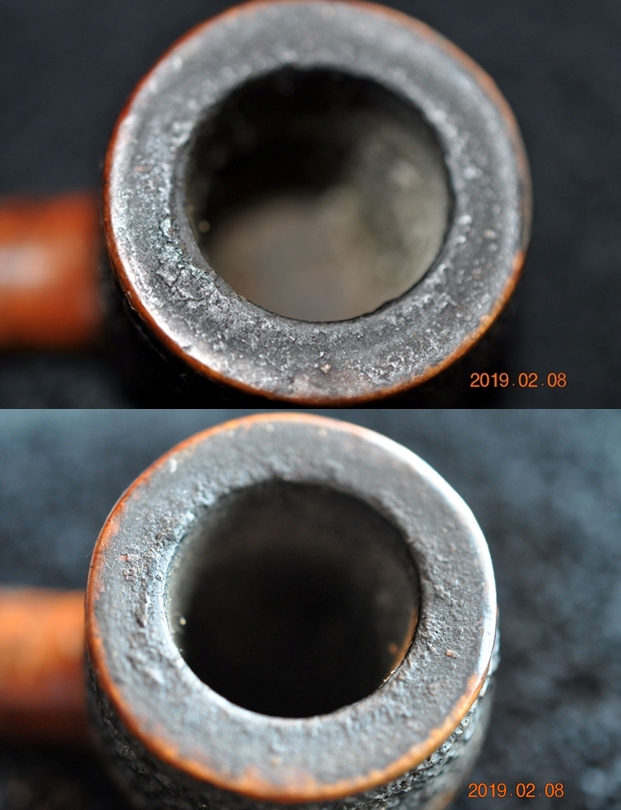
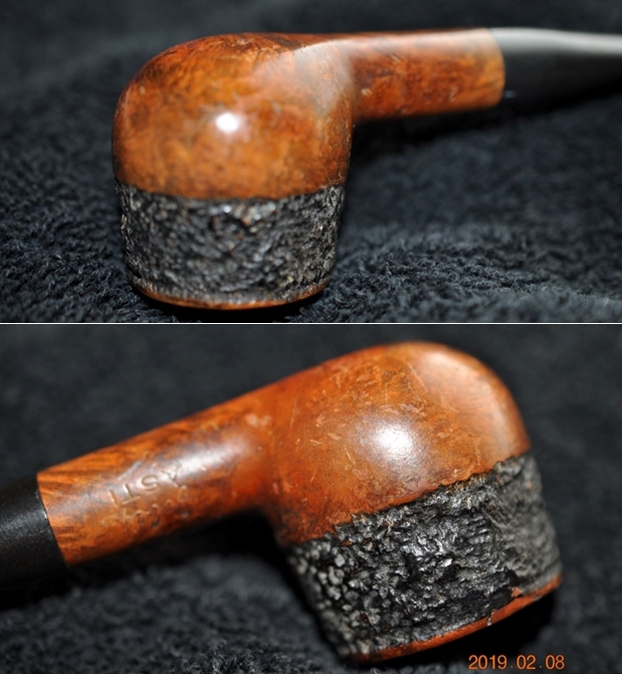
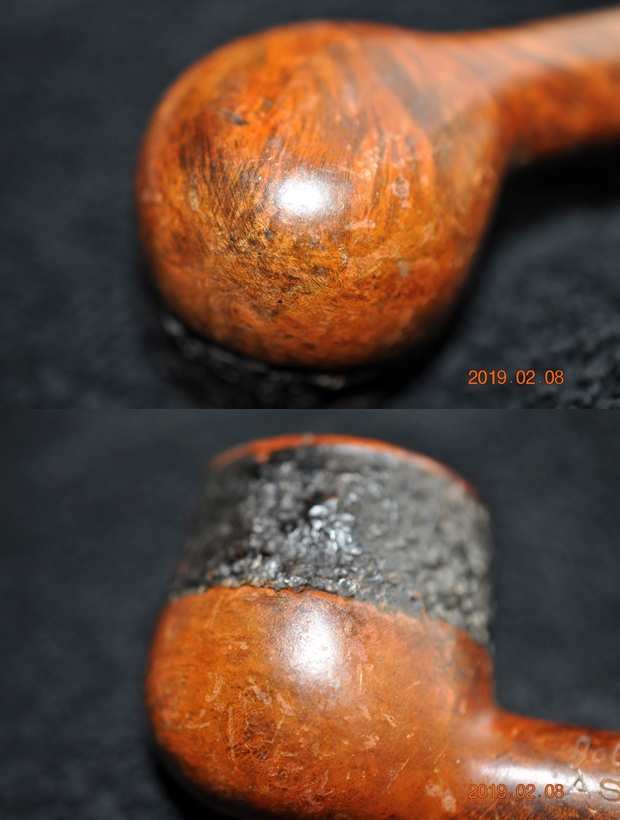
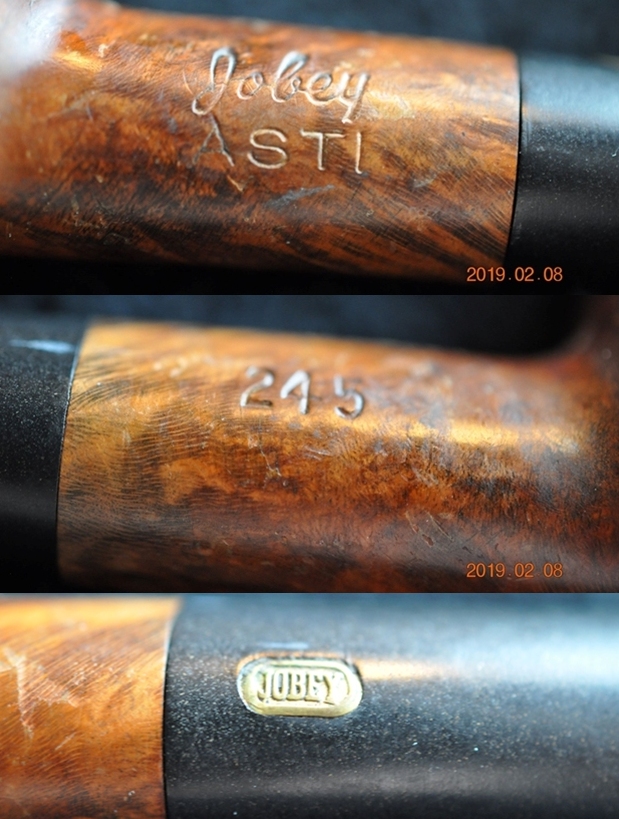
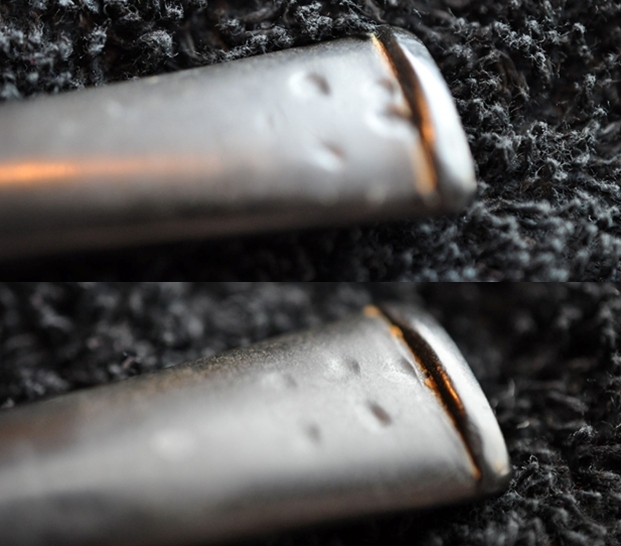
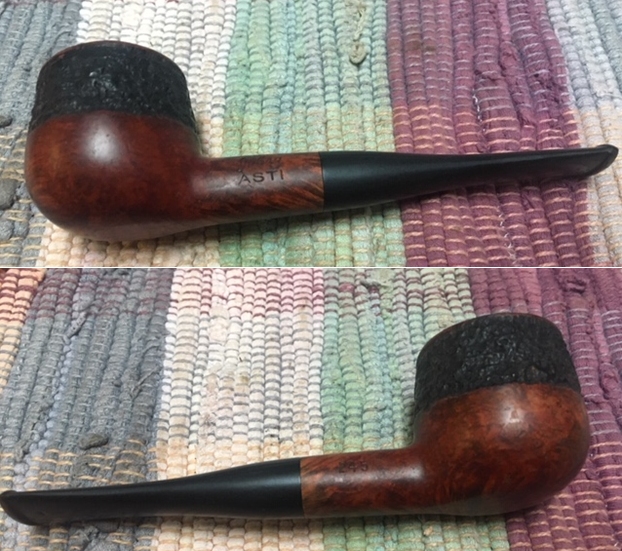
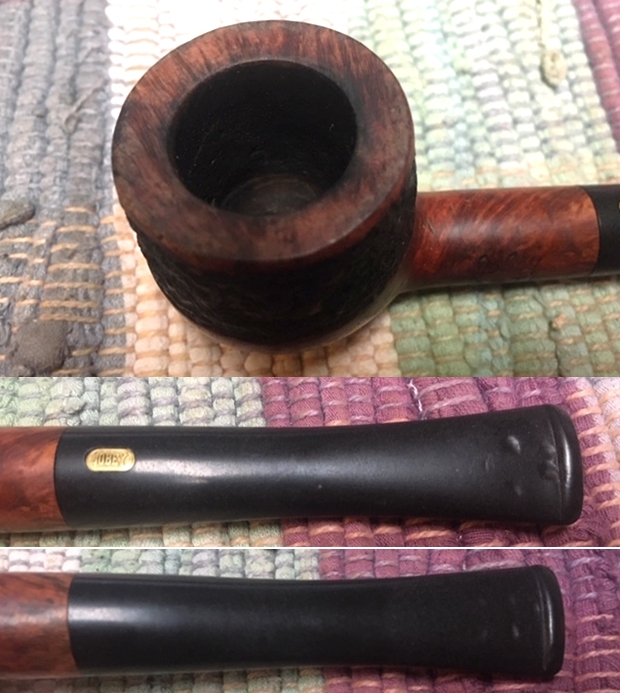
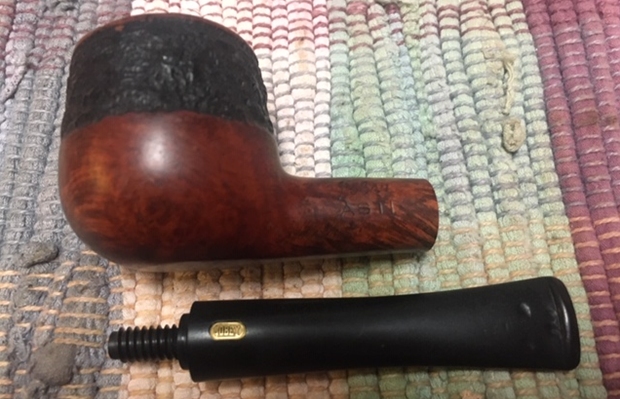
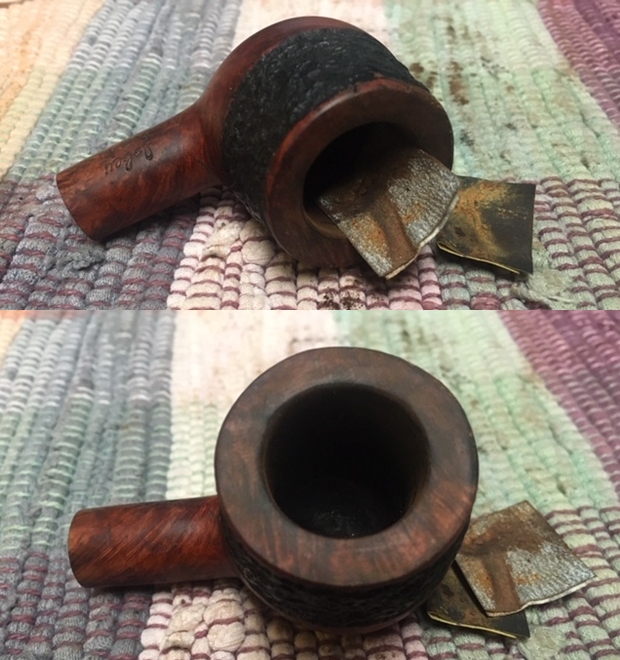
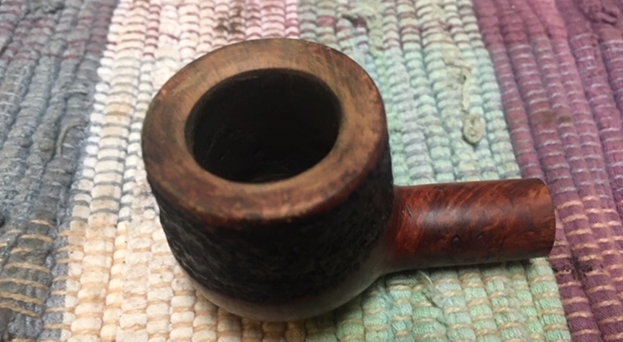
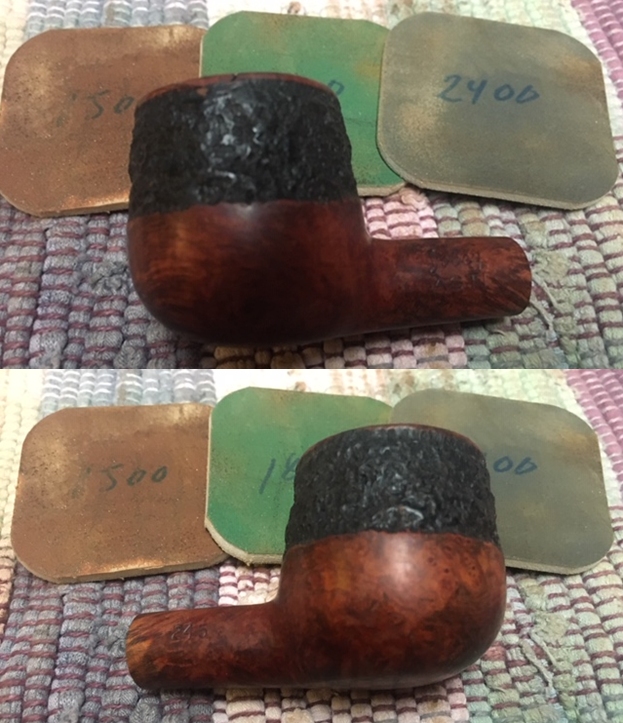
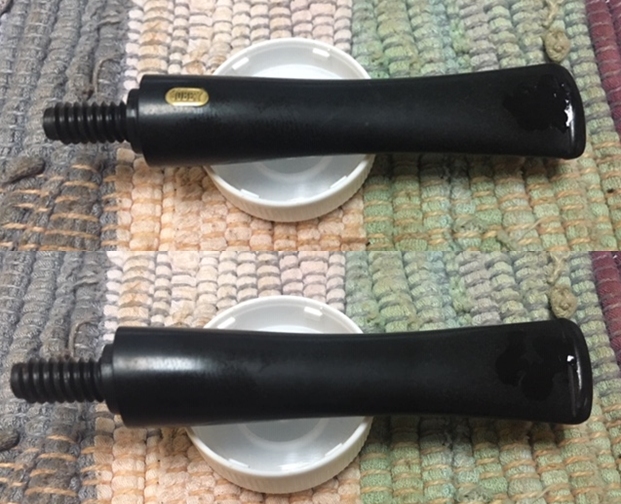
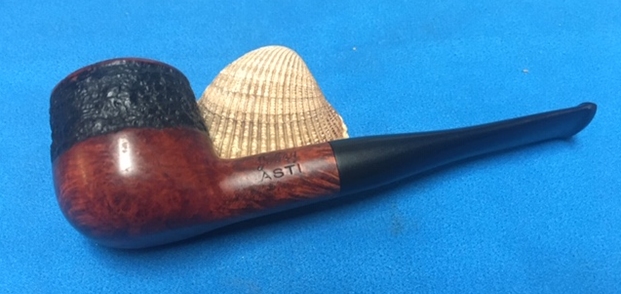
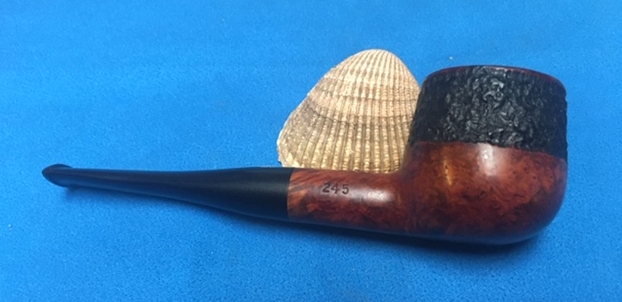
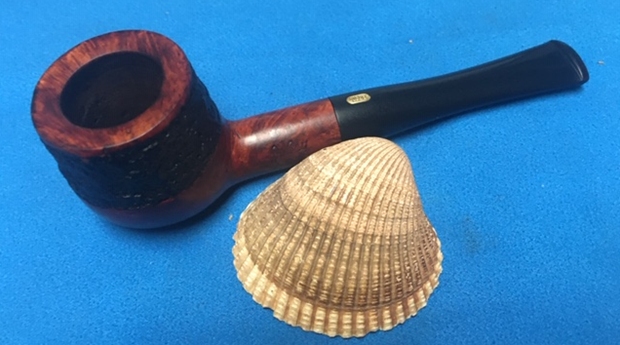
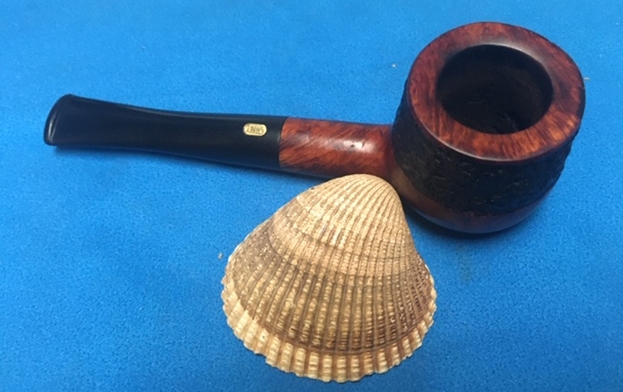
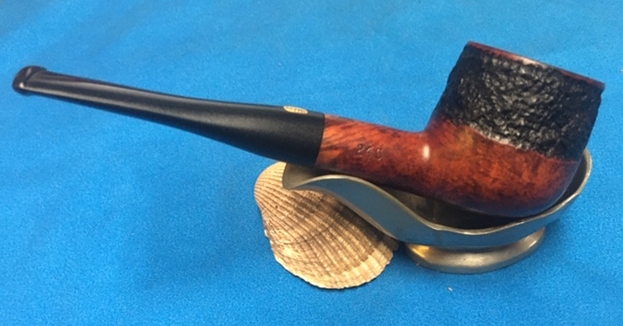
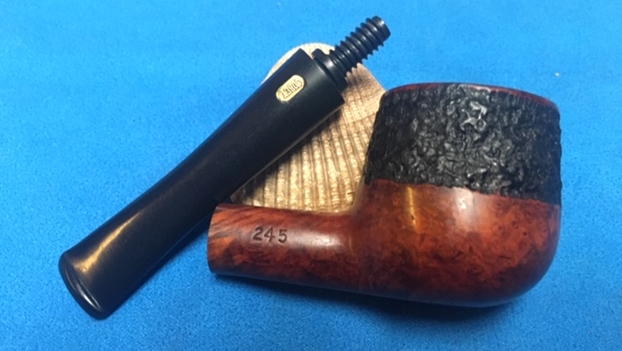
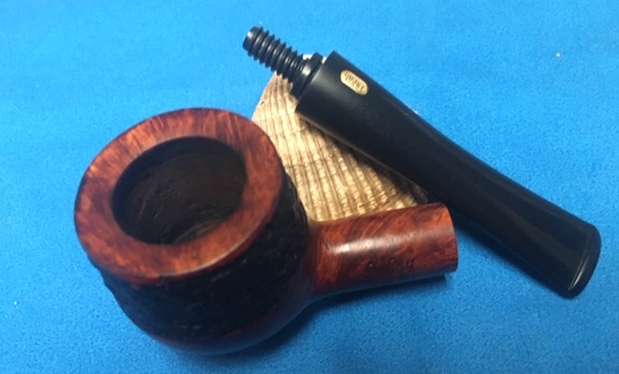
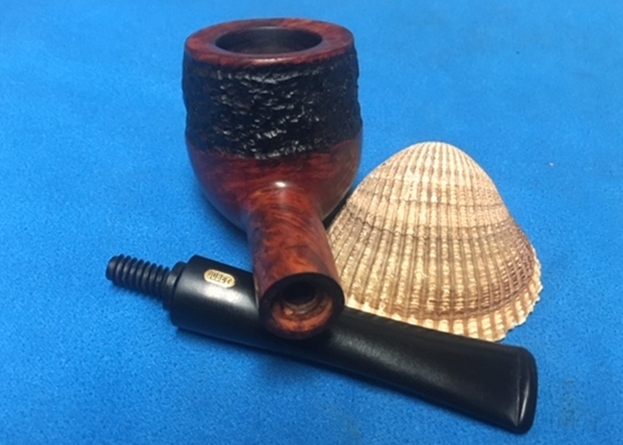
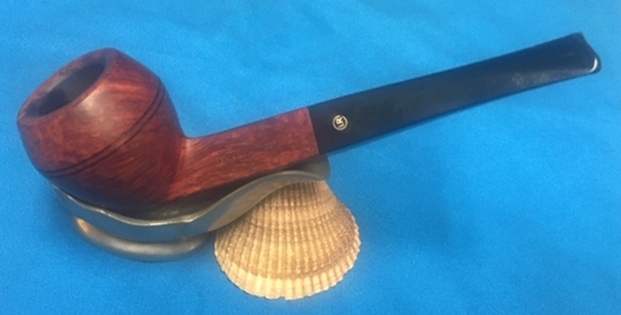
The pipe on the table is stamped on the left side of the shank Jobey over Asti. On the right side is the shape number 245. The tapered stem bears an inlaid brass Jobey oval. The pipe has an interesting mixed finish – smooth lower bowl and shank with a band of rustication and a smooth inwardly beveled rim top. The finish was very dirty, making it hard to see beyond that to the nice grain underneath that. There was a thick cake in the bowl and it had overflowed with lava onto the rim top. It was hard to know at this point the condition of the rim edges. The pipe was a dirty and tired looking old pipe. The stem was badly oxidized and there were George’s usual tooth marks and chatter on both sides just ahead of the button. It had been sitting in boxes for a lot of years and it was time to move ahead with the restoration. Jennifer took photos of the pipes she was sending. I have included the photos of this pipe below. When the box arrived from Jennifer, Jeff opened it and took photos of each pipe before he started his cleanup work on them. This pipe was a real mess but showed some promise under all of the grime of the years. The shape was a pot with the mixed finish as noted above and visible in the photo below. The briar appeared to be in good condition underneath the grime. The finish was spotty and seemed to be peeling which indicated to me that there was some sort of varnish or shellac coat on top of the finish. The pipe really was covered with the grime and oils on the bowl sides from George’s hands. The bowl had a thick cake that had hardened with time. The lava overflow on the rim top filled in much of the beveled rim top. It was very thick but it could very well have protected the rim from damage. We won’t know what is under it until Jeff had cleaned it off. The stem was oxidized and there were deep tooth marks on both sides just ahead of the button. Jeff took photos of the pipe before he started working on it. I include those below.  Jeff took photos of the bowl and rim top to show the cake in the bowl and the lava build up on the rim top and dust and grime on the bowl. It was thick and hard but hopefully it had protected the rim and edges from damage. The lava coat looks horrible but it points to a well-used, favourite smoking pipe. George must have enjoyed this old timer a lot judging from the condition of the pipe.   Jeff took a photo of the side and heel of the bowl to show the condition of the finish – the grime and grit all over the sides and bottom of the bowl. The rustication around the midbowl is deep and dirty but it is interesting.  The peeling varnish/shellac coat is also visible in the photos. Jeff took a photo of the stamping on the left and right sides of the shank. It is very clear and readable. On the left it reads Jobey Asti and on the right it reads 245. The top of the tapered stem has a brass inlaid Jobey oval logo.Jeff took photos of the top and underside of the stem showing the scratching, oxidation and tooth marks on the stem surface and button. The tooth marks are quite deep on both sides of the stem. I turned to Pipephil’s site for a quick review of the brand (http://www.pipephil.eu/logos/en/logo-j3.html). I quote a section of the post on the Jobey brand: These pipes are made in St Claude (France) by Butz-Choquin (Berrod-Regad group) since 1987. Before this date some were manufactured in England and Denmark (Jobey Dansk).
I turned then to Pipedia to gather further information regarding the brand and quote the first part of the article (https://pipedia.org/wiki/Jobey).

English – American – Danish – French… Sadly, solid information about Jobey is scant…

Probably established in England around 1920(?) the brand hiked into the USA later. In the course of time owner, distributor and manufacturer changed repeatedly. As far as is known the following companies have been involved with the brand:

George Yale Pipes & Tobacco, New York (1942)

Norwalk Pipe Co., New York (1949)

Arlington Briar Pipes Corp., Brooklyn (when?)

Hollco International, New York (1969).

Weber Pipe Co., Jersey City, NJ (1970’s)

The Tinder Box, (1970’s – 80’s).

Throughout decades Jobey pipes were mainly sold in the USA, Canada and England but remained almost unknown in continental Europe. The bulk of Jobeys was predominantly made according to classical patterns and mainly in the lower to middle price range. The predominant judgment of the pipe smokers reads: “A well-made pipe for the price.” So there is hardly anything very special or exciting about Jobey pipes although a flyer from ca. 1970 assures: “The briar root Jobey insists upon for its peer of pipes is left untouched to grow, harden and sweeten for 100 years. […] Jobey uses only the heart of this century old briar and only one out of 500 bowls turned measures up to the rigid Jobey specifications.” 99.80% of cull… that makes the layman marveling!

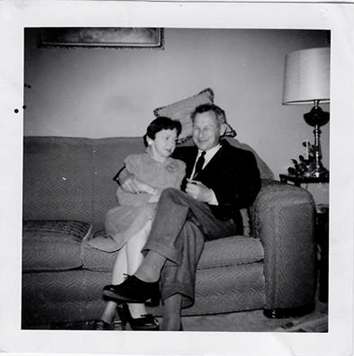
Before I get on to cleaning up the pipe I thought I would once again include the tribute that Jennifer wrote to her Dad for the blog. She also sent some photos and an article that her Dad wrote for Jeff and me to be able to get a feel for him. I have included those below. Note in each of them that he is holding a pipe in his left hand. I asked her to also send me an email with a brief tribute to her Dad. Here is her tribute from an email to me.
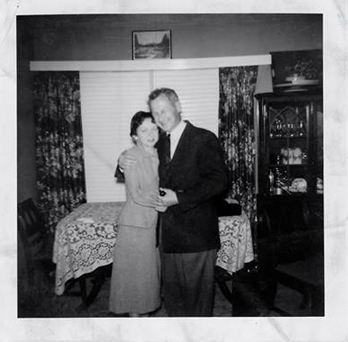
Steve, I want to thank you again for accepting my dad’s pipes.  They were so much a part of my dad’s life that I could not simply discard them. But as his daughter, I was not about to take up smoking them either. *laughing* I think my dad would like knowing that they will bring pleasure to others.  I know that I do.

I’m not sure what to say about his pipes. I always remember Daddy smoking pipes and cigars.

First a bit about my dad. Though my father, George Rex Leghorn, was American (growing up in Alaska), he managed to join the Canadian Army at the beginning of WWII, but in doing so lost his American citizenship.  He was fortunate to meet a Canadian recruiting officer who told him the alphabet began with “A” and ended with “Zed” not “Zee”, and also told him to say that he was born in a specific town that had all its records destroyed in a fire.  When the US joined the war my dad, and thousands of other Americans who had made the same choice*(see the link below for the article), were given the opportunity to transfer to the US military, and regain their citizenship.

After WWII, my dad, earned his degree at the University of California Berkeley and became a metallurgist. There is even a bit about him on the internet.

He loved taking the family out for a drive, and he smoked his cigars on those trips. (As a child, those were troubling times for my stomach.)

I most remember my father relaxing in his favorite chair with a science fiction book in one hand and a pipe in the other… Sir Walter Raleigh being his favorite tobacco… and the pipes themselves remind me of him in that contented way.  If I interrupted his repose, he’d look up, with a smile on his face, to answer me.

It seemed he smoked his Briarwood pipes the most, though he had others.  At the time, it was only the Briarwood I knew by name because of its distinctive rough shaped bowl.  And it was the Anderson Free Hand Burl Briar, made in Israel, which I chose for his birthday one year, because I thought he might like that particular texture in his hand.
At least two of his pipes, he inherited from his son-in-law, Joe Marino, a retired medical laboratory researcher (my sister Lesley’s late husband)… the long stemmed Jarl (made in Denmark), and the large, white-bowled, Sherlock Holmes style pipe.  I believe Joe had others that went to my dad, but Lesley was only sure about those two.

The Buescher, corncob pipe my older sister Lesley bought for Daddy while on one of her travels around the States.

A note on the spelling of my sister’s name…

My dad met my mother, Regina, during WWII and they married in Omagh, Ireland.  My mother was English and in the military herself.  The English spelling of Lesley is feminine, and Leslie masculine, in the UK… just the opposite of here in the United States.  I guess my mom won out when it came to the spelling of the name…

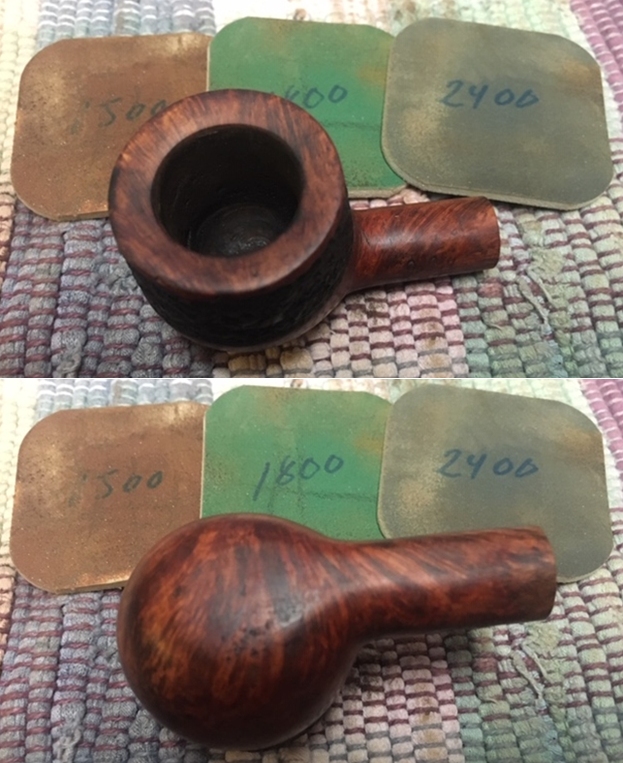
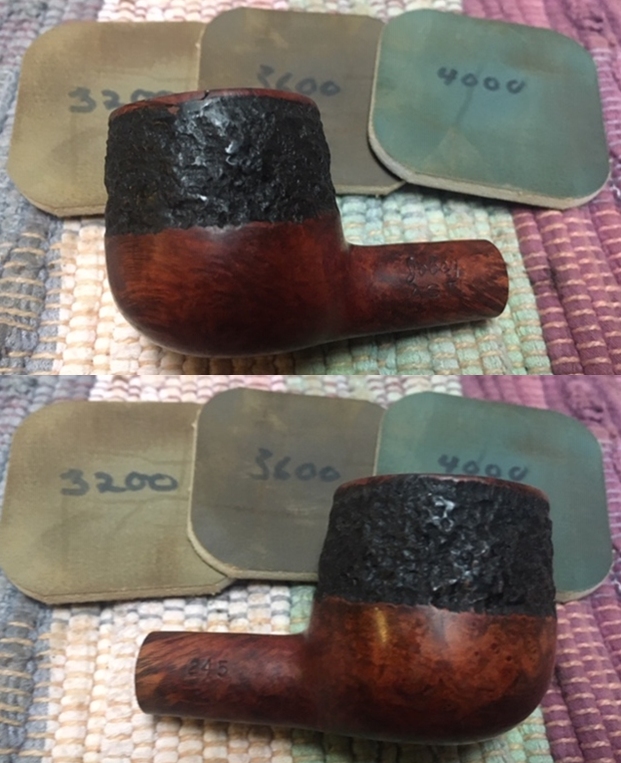
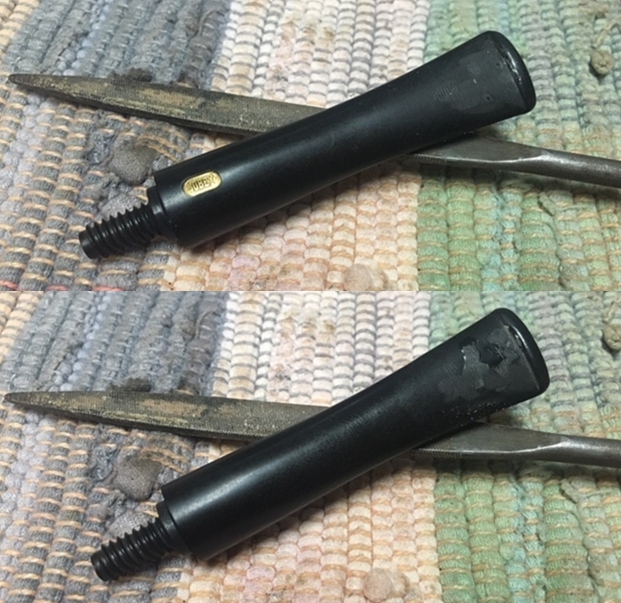
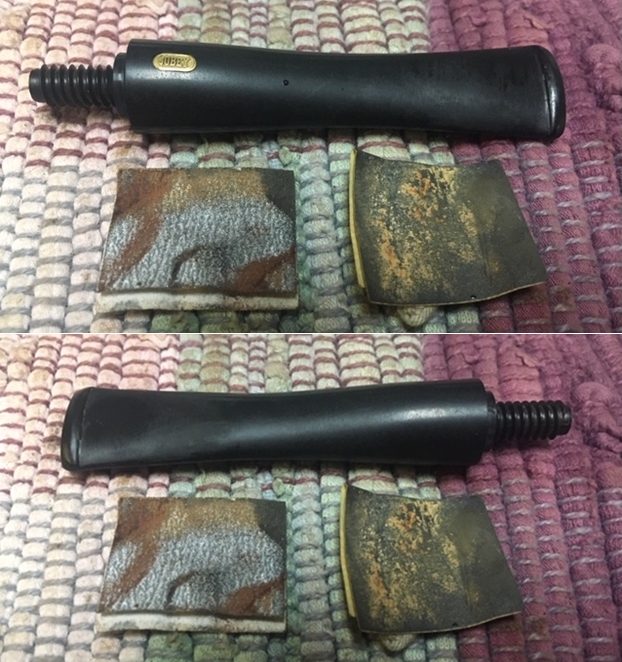
This pipe was a real mess just like the other ones in the collection. I was curious to see what it would look like when I unpack it. I was surprised at how good it looked. He reamed it with a PipNet pipe reamer and cleaned up the reaming with a Savinelli Fitsall Pipe Knife. He scrubbed out the internals with alcohol, pipe cleaners and cotton swabs until the pipe was clean. He scrubbed the exterior of the bowl with Murphy’s Oil Soap and a tooth brush to remove the grime and grit on the briar and the lava on the rim top. The finish on the bowl looked really good when I got it. The rim top looked much better and the inner and outer edges were looking good. Jeff had cleaned the internals and scrubbed the exterior of the stem and soaked them in Before & After Deoxidizer bath to remove the oxidation. The stem looked very good other than the deep tooth marks and chatter in the surface. When the pipe arrived here in Vancouver for the second stop of its restoration tour it looked very good. I took photos of the pipe before I started my part of the restoration. I took photos of the bowl and rim top to show how well it had cleaned up. The edges and top were very clean and in excellent condition. There was some darkening on the inner edge but it was still round. The rim top had some light nicks and dents. The stem had some deep tooth marks just ahead of the button.The stem was held in the shank with the Jobey link connector. I is pressed into the stem and threads into the shank. It makes it easily replaceable and also easy to align.I decided to clean up the darkening on the inner edge of the rim top and the dents and nicks on the top itself. I used a folded piece of 220 grit sandpaper to remove the damage and 400 grit wet dry sandpaper to smooth out the sanding. I was happy with the overall look. The finish will show as I polish the pipe with micromesh pad shortly.  I polished the briar with micromesh sanding pads – wetsanding it with 1500-12000 grit sanding pads. I wiped it down with a damp cloth after each sanding pad. It looked better after each pad and the top blended into the colour of the rest of the bowl without staining. I worked some Before & After Restoration Balm into the finish of the bowl and the rim top and shank with my fingertips and a horsehair shoebrush to clean, enliven and protect it. I find that the balm really makes the briar come alive again. The contrasts in the layers of stain and the separate finishes really made the grain stand out. I let the balm sit for a little while and then buffed with a cotton cloth to raise the shine. The bowl really looks good at this point.   I set the bowl aside and turned to the stem. I filled in the deep tooth marks with clear super glue. I built up the edge of the button at the same time. I set it aside to dry. Once the repairs had cured I used a needle file to cut a sharp edge on the button on both sides and to flatten the repaired areas. I sanded the stem to remove the oxidation that was on the surface and to smooth out the repaired areas. I used a folded piece of 220 grit sandpaper and a piece of 400 grit wet dry sandpaper. At this point the stem is looking better and the tooth marks are gone.  I rubbed the stem down with Denicare Mouthpiece Polish and a cotton pad to remove remnants of oxidation and to further blend in the sanding. The stem was showing some promise at this point in the process. I polished the stem with micromesh sanding pads – wet sanding it with 1500-12000 grit pads. I polished it further with Before & After Pipe Stem Polish – both fine and extra fine. I finished by wiping it down with Briarville’s No Oxy Oil and buffing it to a shine. Once again I am the part of the restoration that I always look forward to – the moment when all the pieces are put back together. I put the pipe back together and buffed the bowl and stem with Blue Diamond on the buffing wheel. I gave the bowl multiple coats of Conservator’s Wax and the stem multiple coats of carnauba wax. I buffed the pipe with a clean buffing pad to raise the shine. I hand buffed it with a microfiber cloth to deepen the shine. It is fun to see what the polished bowl looks like with the combination of rustication and smooth finishes. The black vulcanite stem stands out as a shiny black contrast to the colours of the bowl. While this is not one of my favourite finishes as it seems busy to me, it came out looking good. It is a light weight pipe that could be clenched and smoked while doing other things. It must have been a fine smoking pipe judging from the condition it was when we received it from Jennifer. Have a look at it with the photos below. The dimensions are Length: 5 ¼ inches, Height: 1 ½ inches, Outside diameter of the bowl: 1 ½ inches, Chamber diameter: ¾ of an inch. This is one that will go on the rebornpipes online store shortly. If you want to carry on the pipe trust of George Rex Leghorn let me know. Thank you Jennifer for trusting us with his pipes. Thanks to each of you who are reading this blog. Remember we are not pipe owners; we are pipemen and women who hold our pipes in trust until they pass on into the trust of the next generation.
 

New Life for an Ascorti Peppino 137 Handmade Brandy


Blog by Steve Laug

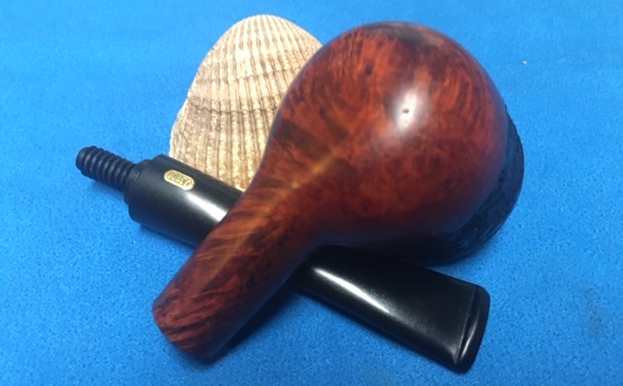
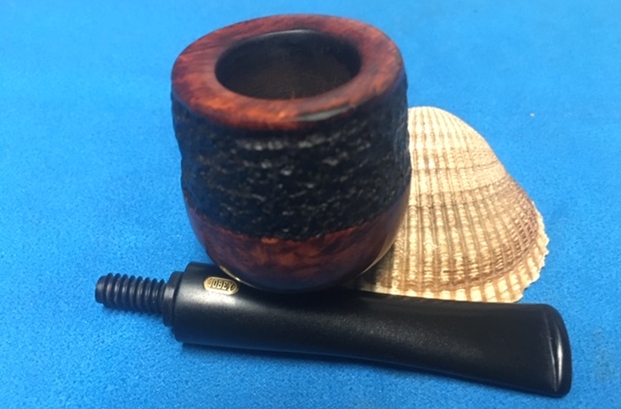
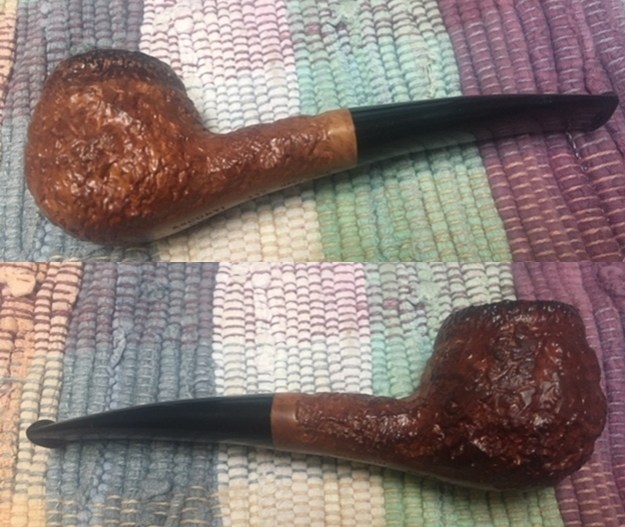
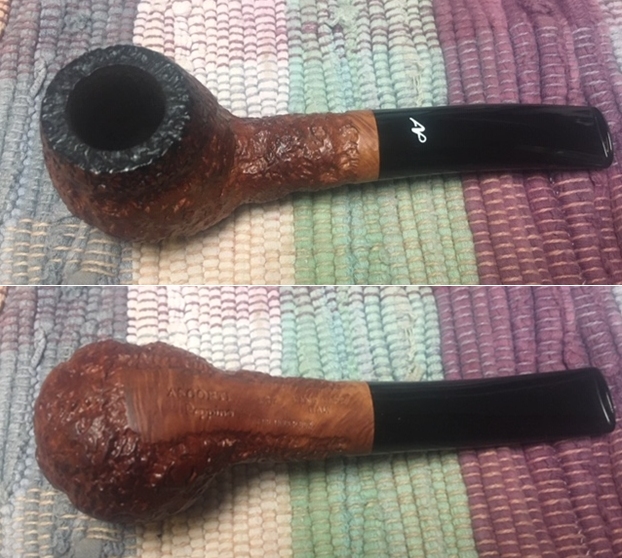
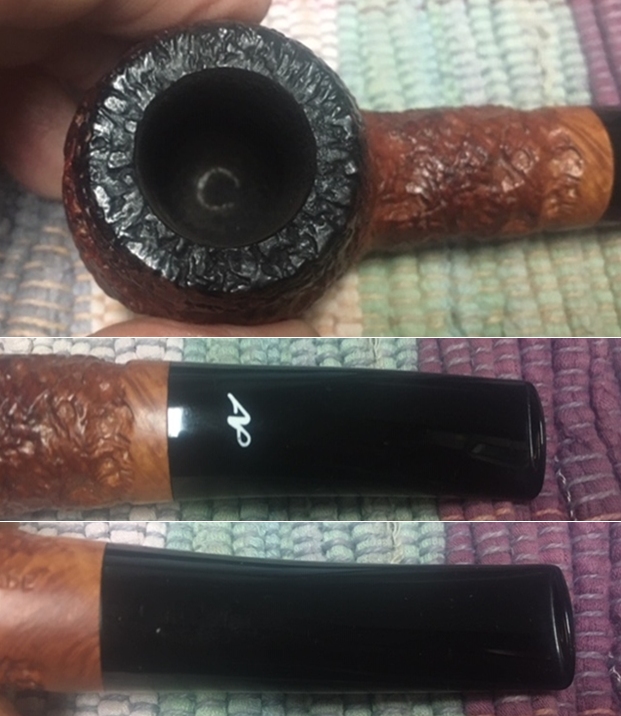
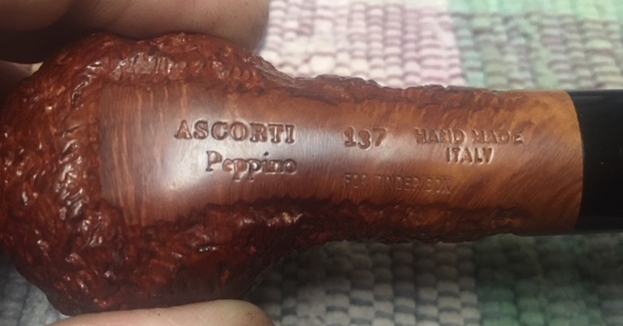
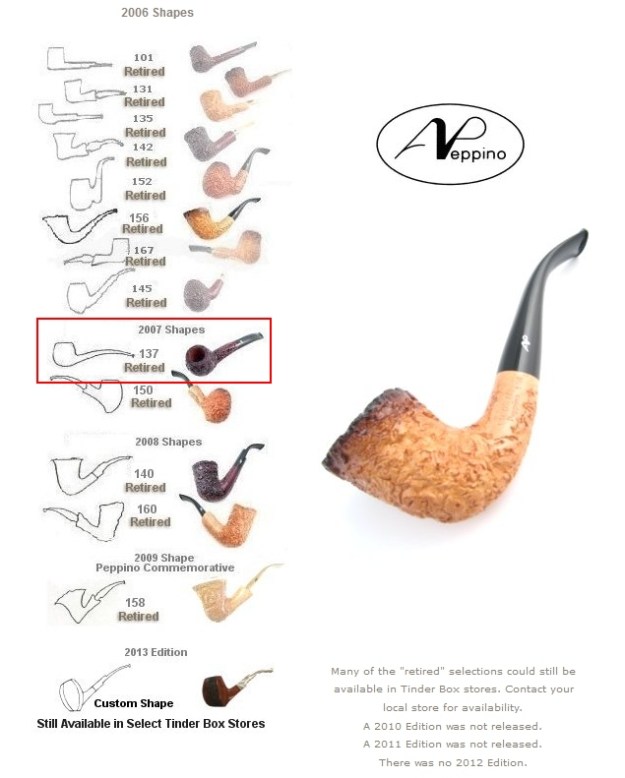
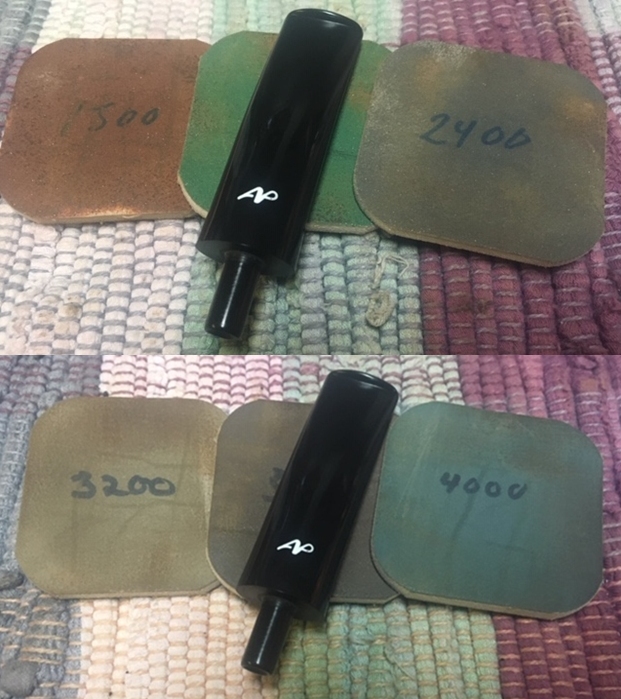
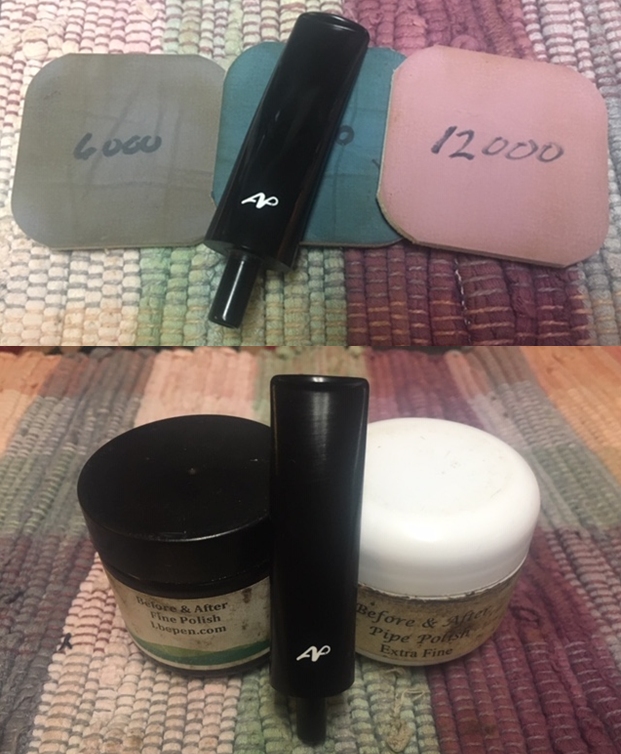
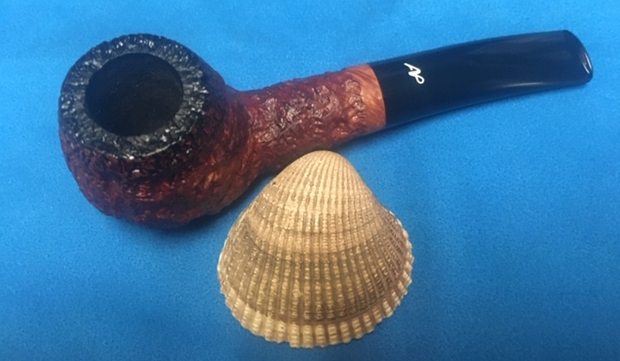
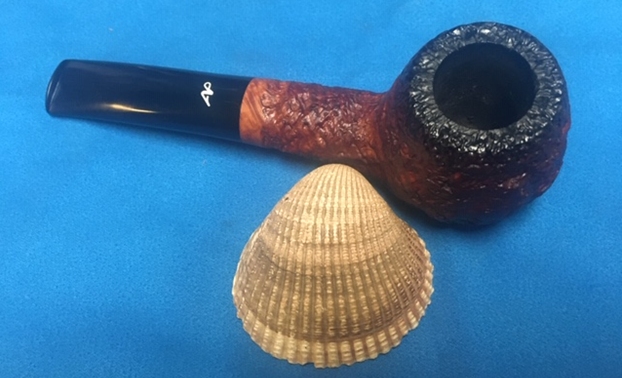
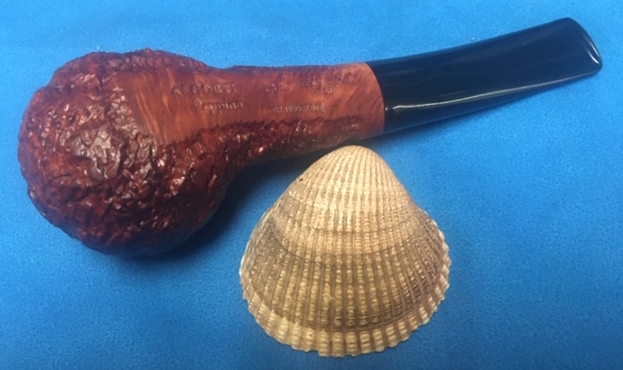
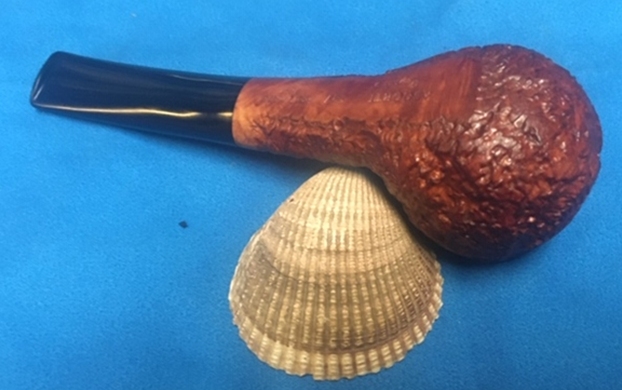
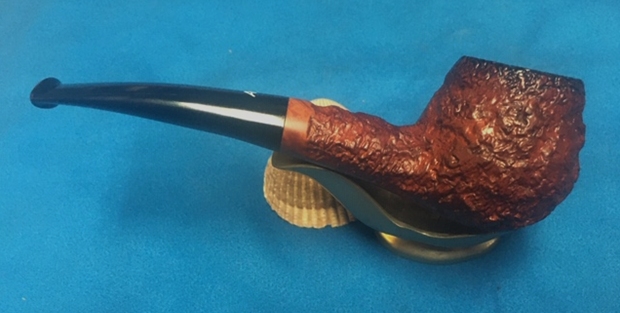
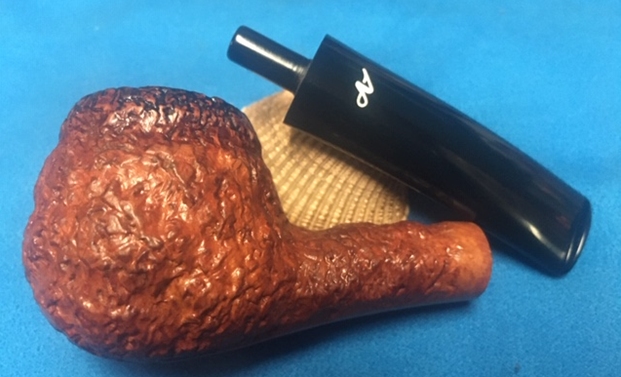
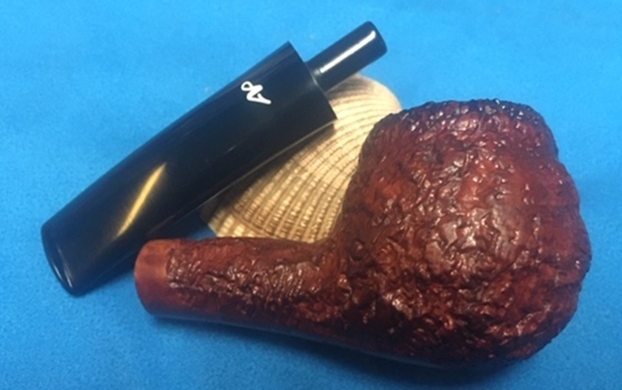
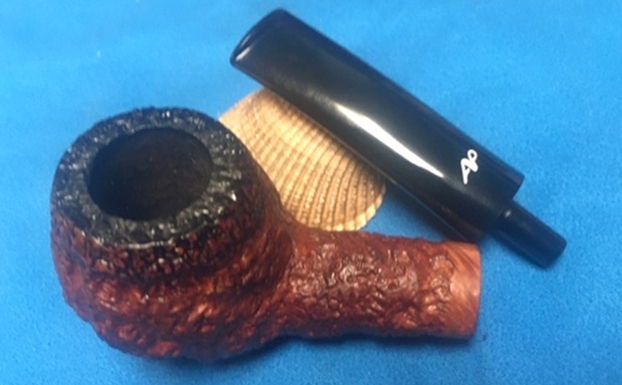
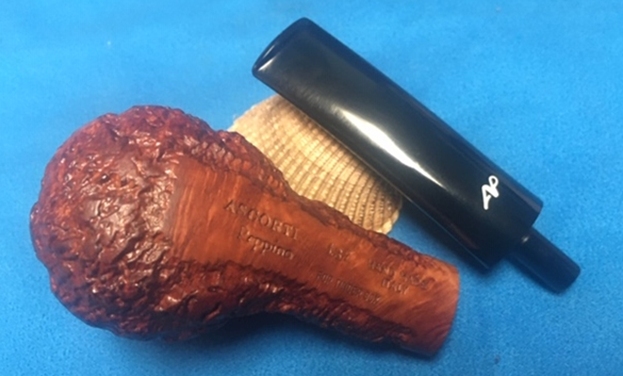
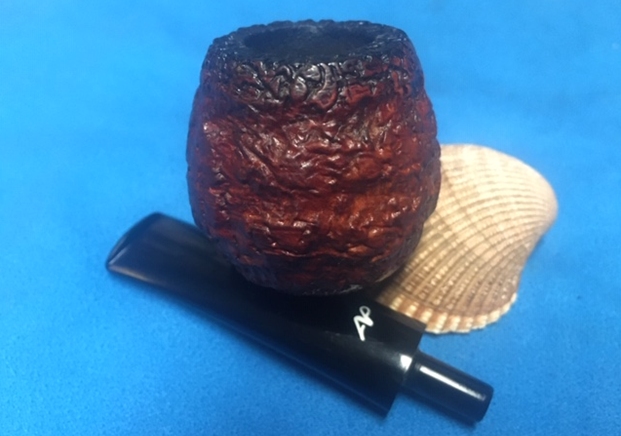
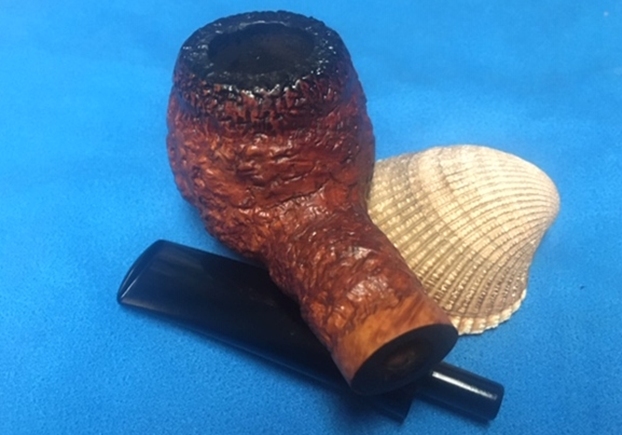
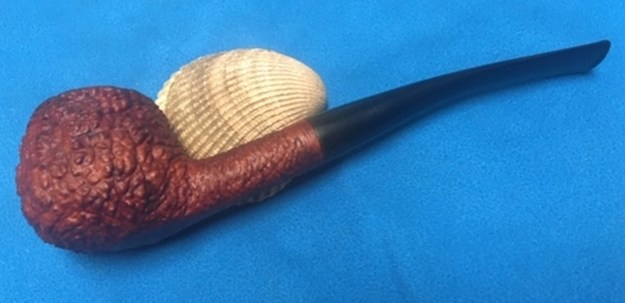
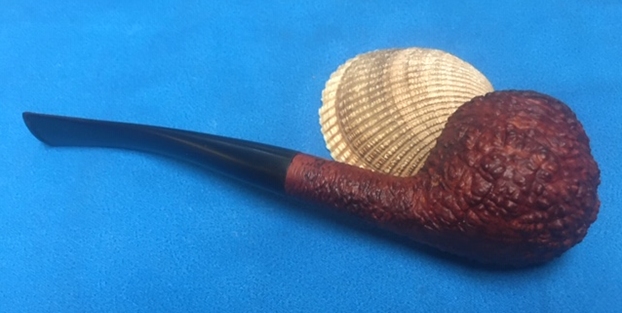
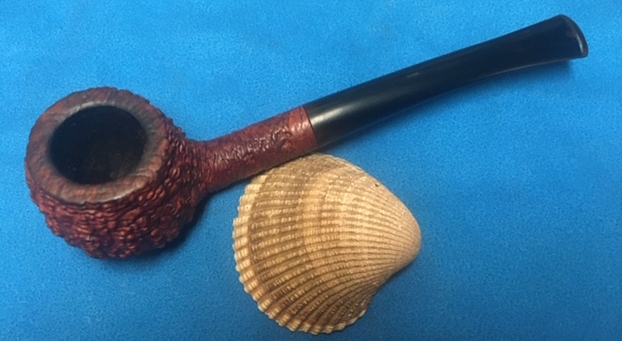
The next pipe on the table is an interesting Ascorti that I picked up somewhere along the way in a trade. Jeff and I picked this one up on a pipe hunt in Utah. It is a rusticated bowl and rim with a smooth panel on the underside and a band around the shank end. The pipe is stamped on the smooth panel and reads Ascorti over Peppino on the heel of the bowl followed by the shape number 137 then Hand Made over Italy. Along the bottom of the panel it also is stamped For Tinder Box. The finish was mottled and dirty with some flume around the rim and rim top that darkened it. There was a thick cake in the bowl and some lava overflow in the grooves of the rustication on the rim top. The acrylic oval stem is in good condition with some small tooth marks and chatter on both sides near the button edges. I took photos of the pipe before I started my work on it. I took a close up photo of the rim top. It is hard to see the cake in the bowl. The cake was much thicker than it appears in the photo. The top of the bowl looks dirty with lava overflow. The inner edges of the bowl look very good. The stem has some light tooth marks on both sides that do not show up well in the photos. Overall the tooth marks are light and should be able to be sanded smooth. The stem bears an AP logo that I will need to look into in the cleanup and research.I took a photo of the stamping on the underside of the shank. The stamping is clear and reads Ascorti over Peppino followed by the shape number 137 and Hand Made Italy. Underneath all of it is stamped For Tinder Box.I was intrigued by the FOR TINDER BOX stamp on the pipe so I did some searching on the internet and came to the Tinder Box site where there was a page on the Peppino line. Here is the link (http://www.tinderboxinternational.com/ascorti_peppino.htm). I am including that article in full below as well as a picture that was included on the site.

Ascorti Peppino Series Pipes

He was very young boy, when Giuseppe Ascorti, “Peppino” to all his friends began his career working as a joiner in a small furniture factory for his father. When he was about 30 years old, his passion for design and his great desire to create, he began to make pipes. In a very short time he became a great master with his revolutionary ideas to create new pipe shapes while still maintaining the classic lines of Italian pipe design. In the 1970’s, a chain of upstart pipe shops named Tinder Box while traveling in Italy, immediately realized his talent, and together collaborated in bringing the Ascorti Pipe to pipe smokers around the world. Peppino taught all his pipe making secrets to his son Roberto, who also had a natural talent as well. Today, after 25 years since Peppino’s disappearance, Roberto Ascorti and Tinder Box has a pleasure to produce a great once in a life time series of smoking pipes to be treasured forever.

Inspired from the original pipe designs, handcrafted in the 1970’s and 1980’s by his father Peppino, Roberto has remade the original designs, with the same hand making process used in those years, the same seasoned and selected briar, and the same care in working that his father was able to do. The pipes are also fitted with the same acrylic mouthpieces that are being specially remade from 30 years ago. Each design will include a certificate that shows the original copy of the old Peppino design drawings. These pipes have a special logo with “A.P.” and stamp with the Peppino name in honor of him and thanking him for the teachings of his passion to his son Roberto.

Roberto now has retired all shapes that were introduced as part of the original set in 2006. These shapes are never to be made again as part of the Peppino Serie. There is still availability but quantities are limited. Contact your local Tinder Box to see what finishes and shapes are available. In 2008…Roberto carved two new shapes from the old shape chart to be part of this marvelous series of pipes. 2009 was a very special year in the history of Ascorti Pipes. Roberto reintroduced and carved one shape for the Peppino Series. This shape is in remembrance of the passing of his father, Peppino in 1984…From the reading I knew that the pipe I was working on was made and released as one of the 2007 shapes. The shape has since been retired. All were carved by Roberto from shapes done by his father Peppino. They were done to honour his memory. All of them were released with the unique AP logo on the top of the stem. Now I had the background information in hand it was time to work on the pipe.

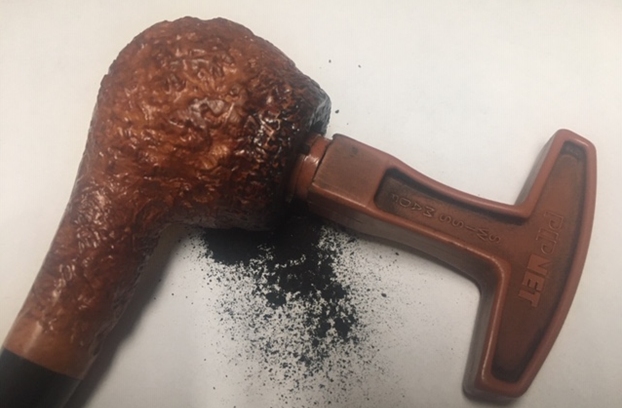
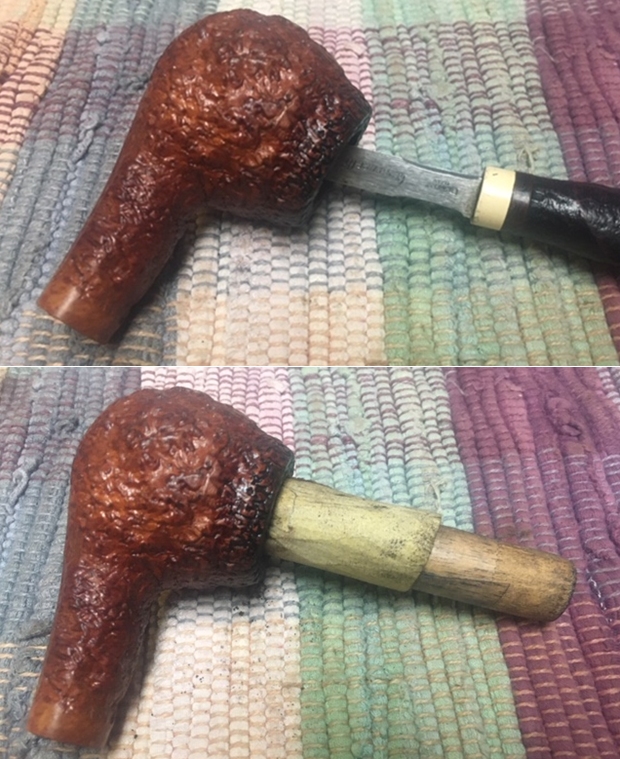
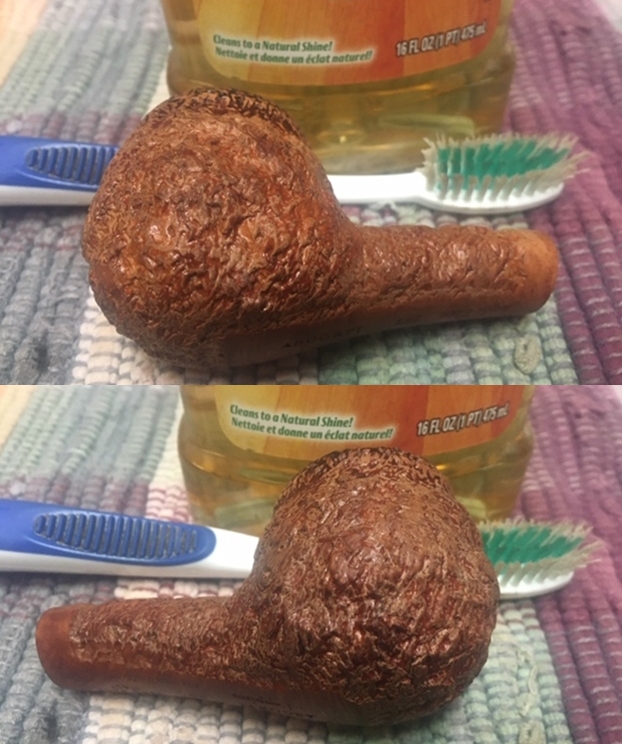
This morning I started by reaming the pipe. It had a thick cake but it was quite soft. I reamed it with a PipNet reamer and worked my way through two of the four cutting heads. I cleaned up the rest of the cake with a Savinelli Fitsall Pipe Knife. I sanded the walls of the bowl with a piece of dowel wrapped in 220 grit sandpaper. I removed the cake from the walls and they are smooth and clean. I scrubbed the bowl and rim with Murphy’s Oil Soap and a tooth brush. I was able to remove much of the grime from the rim top and the grooves and valleys of the sandblast finish. I rinsed it under warm running water to flush away the grime and dust in the soap. The following photos show the cleaned rim and bowl sides. I worked on the remaining debris and darkening on the rim top with a brass bristle wire brush. I was able to remove all of it and leave behind a clean rim top.I scrubbed out the airway in the shank and stem with alcohol, cotton swabs and pipe cleaners. I cleaned out the mortise area so that all of the oils have been removed.I rubbed the bowl and rim down with Before & After Restoration Balm. I worked it into the surface of the rim top and rusticated briar with my fingertips and with a horsehair shoebrush to clean, enliven and protect it. I let the balm sit for a little while and then buffed the pipe with a cotton cloth to raise the shine. I really like watching the Balm do its magic and bring the briar alive.  With the bowl done it was time to address the stem. I sanded the stem surface with a folded piece of 220 grit sandpaper and was able to remove the dents in the surface. I followed that up with 400 grit wet dry sandpaper to start polishing out the sanding marks.I rubbed the stem down with Denicare Mouthpiece Polish. I have found it is a great pre-polish for my use as it shows me areas that I need to work on with the micromesh sanding pads. I polished the stem with micromesh sanding pads – wet sanding with 1500-12000 grit sanding pads. I wiped it down after each pad with a damp cloth to remove the sanding dust. I polished it further with Before & After Pipe Polish – both Fine and Extra Fine. I buffed it with a soft cloth to raise a shine. I put the bowl and stem back together again and buffed it lightly with Blue Diamond on the buffing wheel to raise the shine on the briar and the acrylic stem. The buffing also removes minute scratches in the two materials and adds depth to the shine. I gave the stem several coats of carnauba wax and the bowl multiple coats of Conservator’s Wax. I buffed the pipe with a clean buffing wheel and then by hand with a microfibre cloth to deepen the shine. The pipe was alive now and look great to me. It has a great feel in the hand that is very tactile and should really pop when smoked. The bowl will also develop a deeper colour with smoking. The finished pipe is shown in the photos below. The dimensions of the pipe are Length: 5 ¾ inches, Height: 1 ¾ inches, Outside diameter of the bowl: 1 ¼ inches, Chamber diameter: ¾ of an inch. This rusticated Ascorti Peppino 137 Italian Hand Made Brandy is a beauty should make someone a great pipe. It is one that will be on the rebornpipes store very soon. If you are interested let me know. Thanks for reading this blog and my reflections on the pipe while I worked on it.

Restoration of an Irwin’s 2007 London Made Bulldog


Blog by Steve Laug

Even with the COVID-19 warnings rolling in incessantly I am still working on pipes! It keeps my mind busy and focused. There is no reason to not enjoy the time alone at the work table bringing these old-timers back to life. After brief foray restoring pipes from several other estates I am back to Bob Kerr’s estate (his photo is to the left). If you have not “met” the man and would like to read a bit of the history of the pipeman, his daughter has written a great tribute that is worth a read. Because I have included it in over 65 restorations to date I thought that I would leave it out this time. Be sure to check out some of the recent Dunhill restoration blog (https://rebornpipes.com/2020/01/01/restoring-the-last-of-bob-kerrs-dunhills-a-1962-dunhill-bruyere-656-f-t-bent-billiard/).

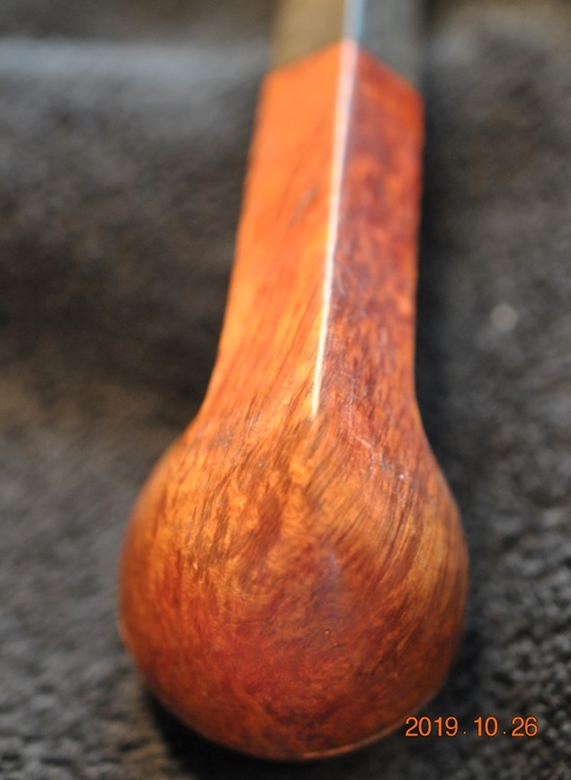
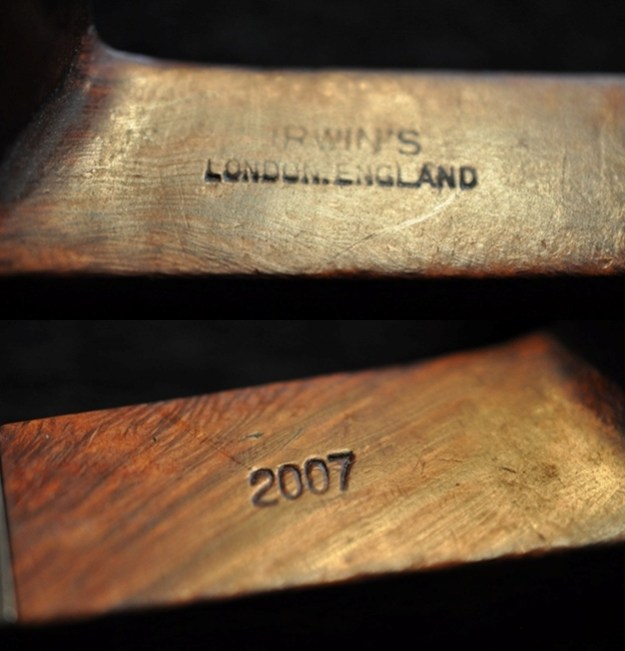
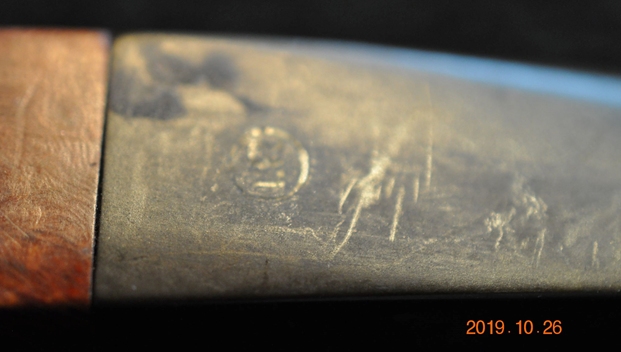
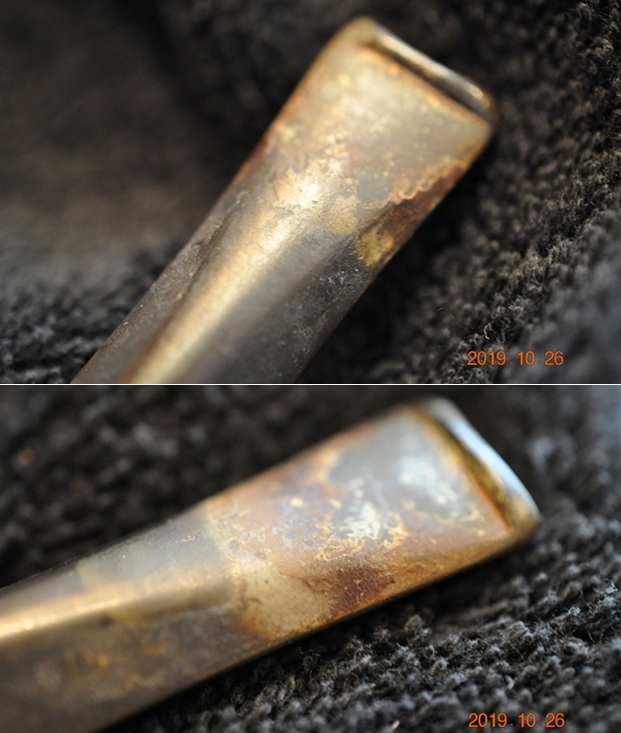
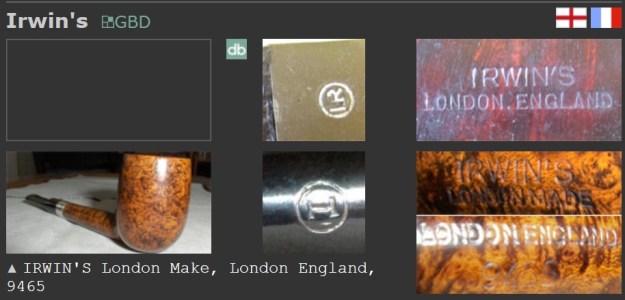
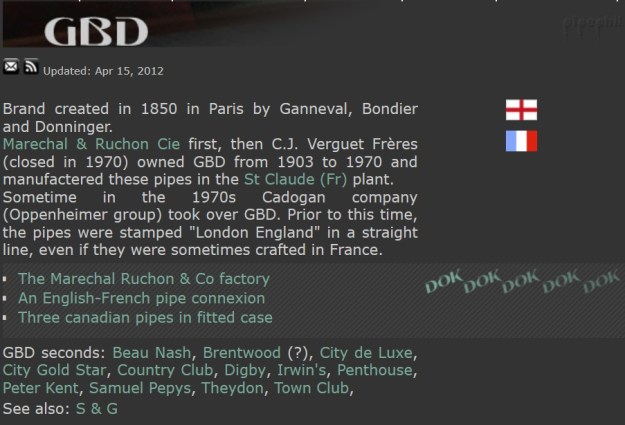
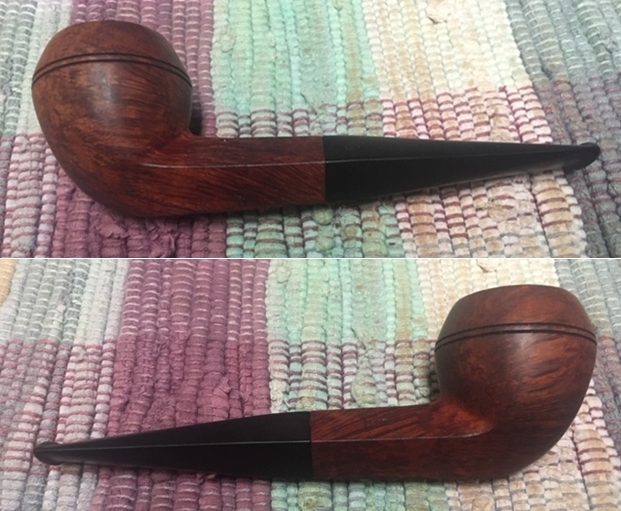
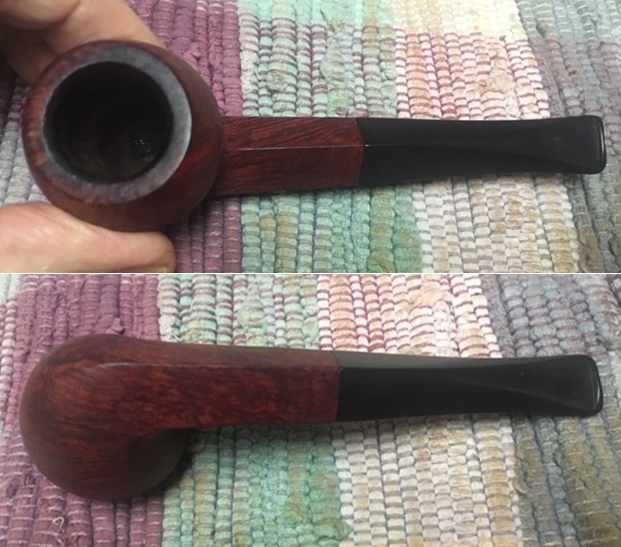
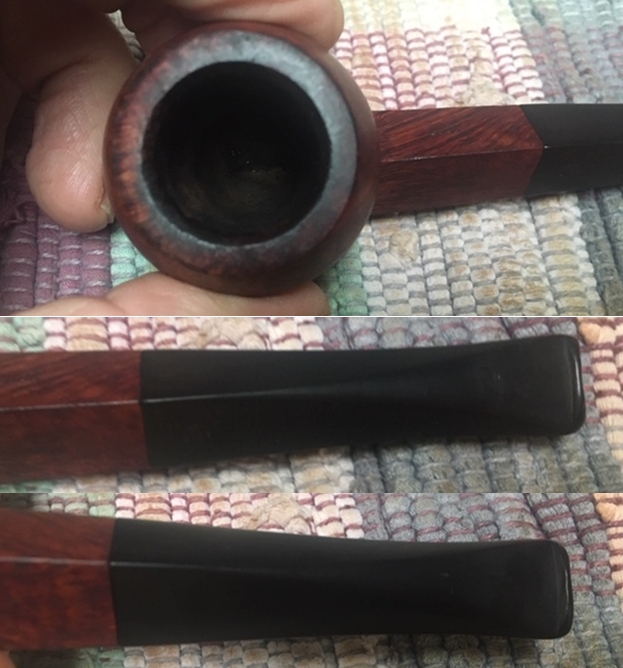
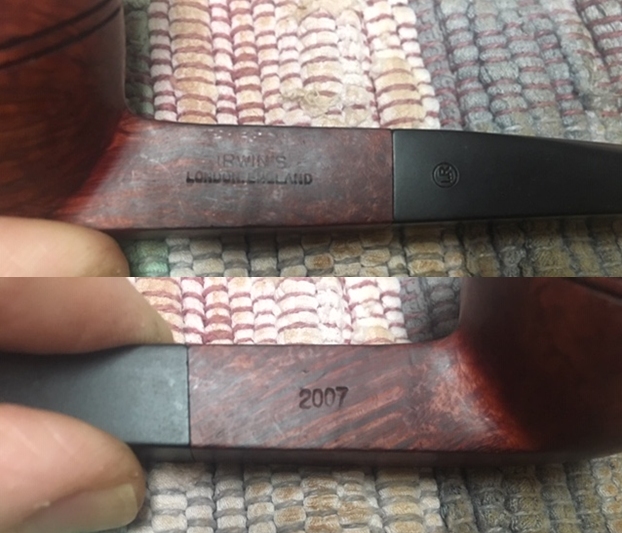
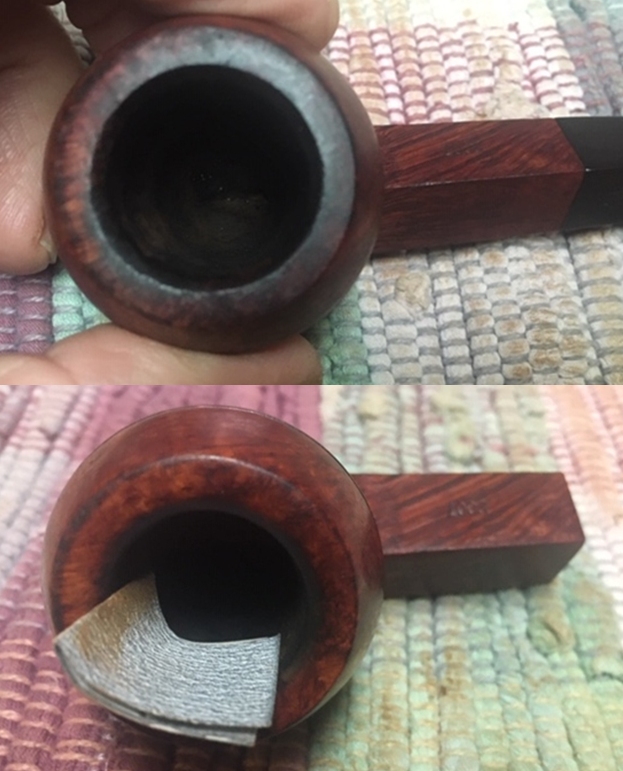
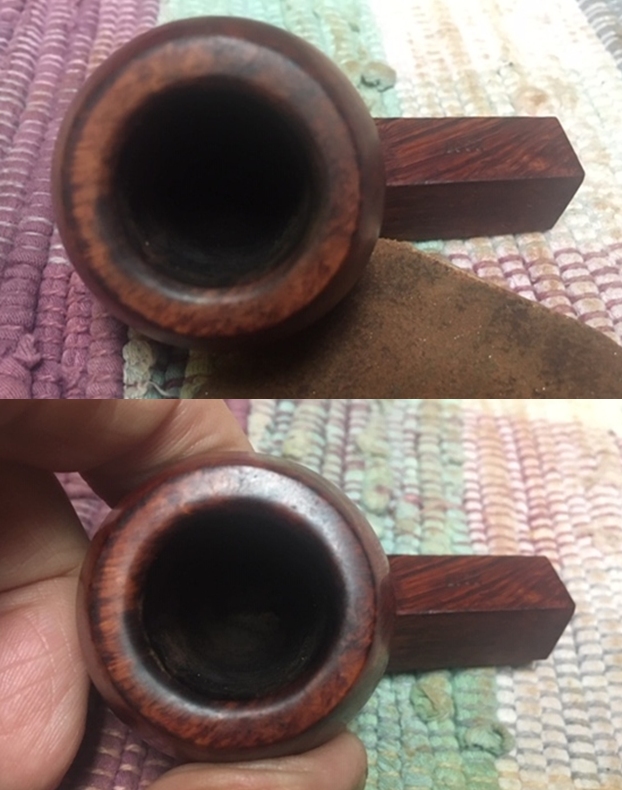
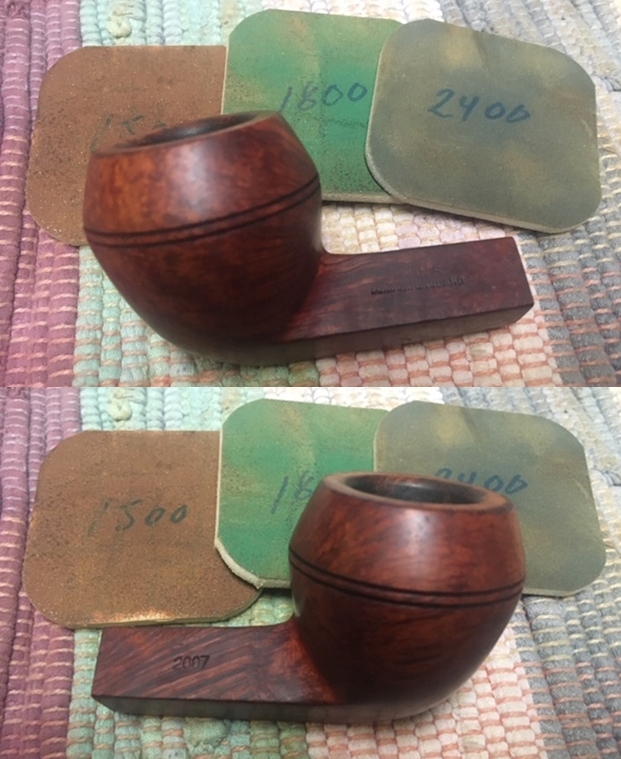
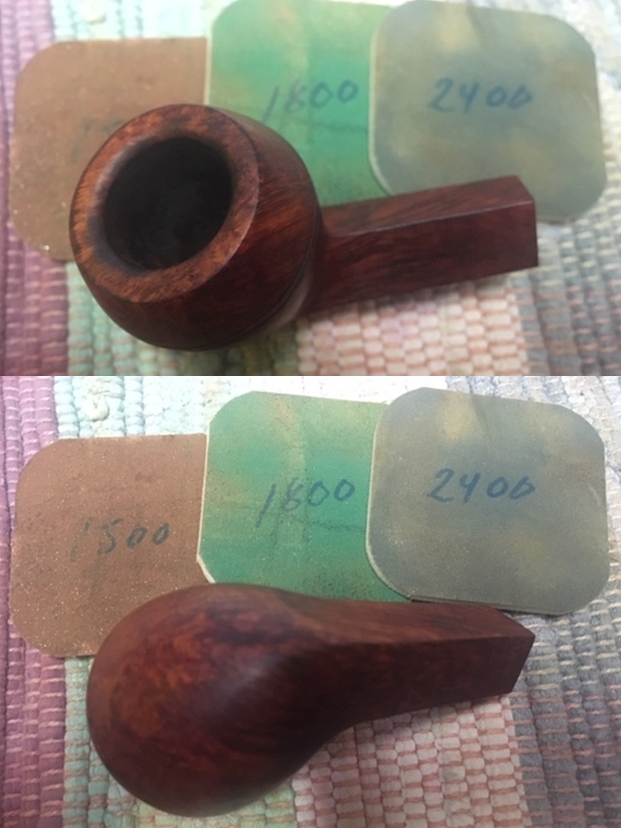
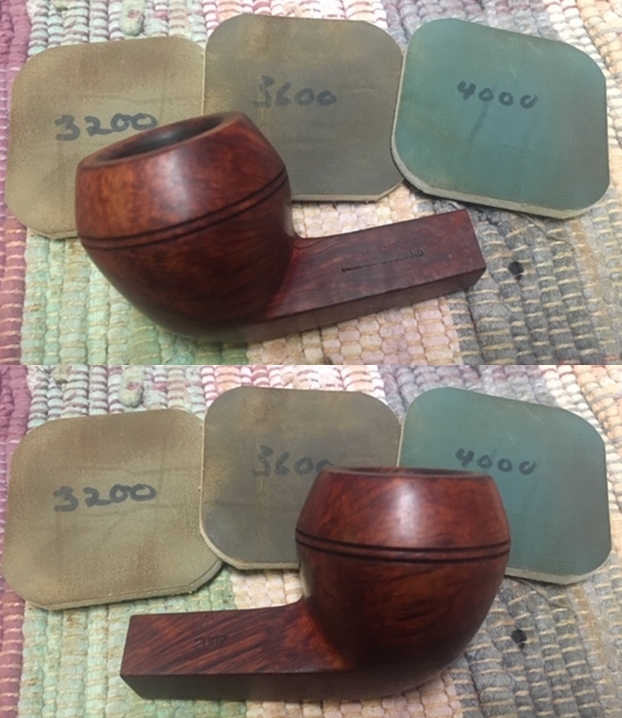
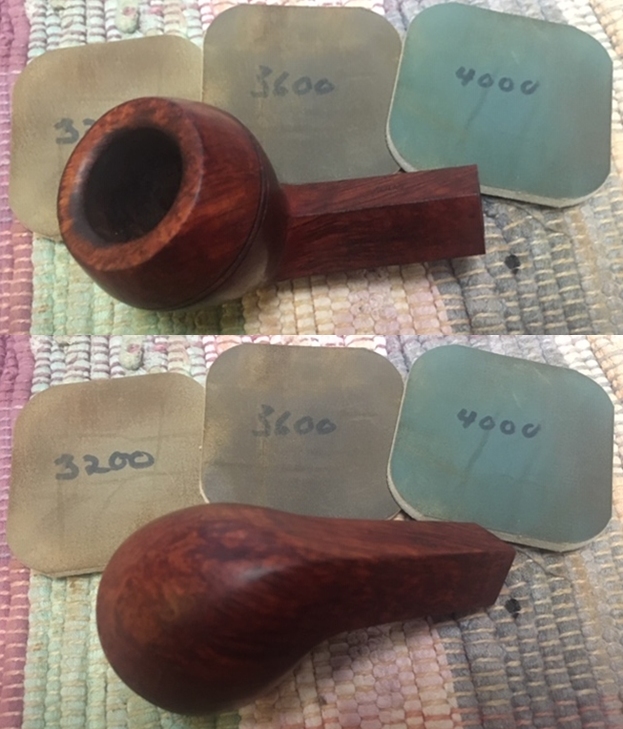
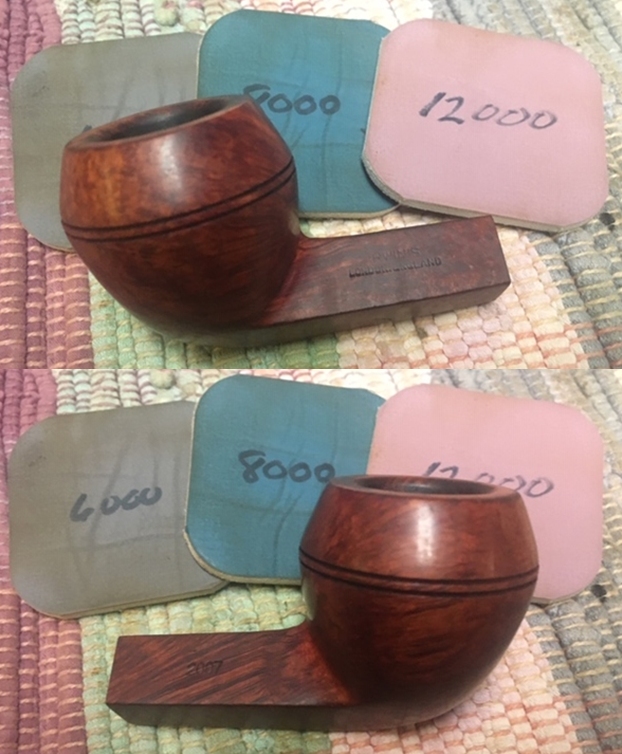
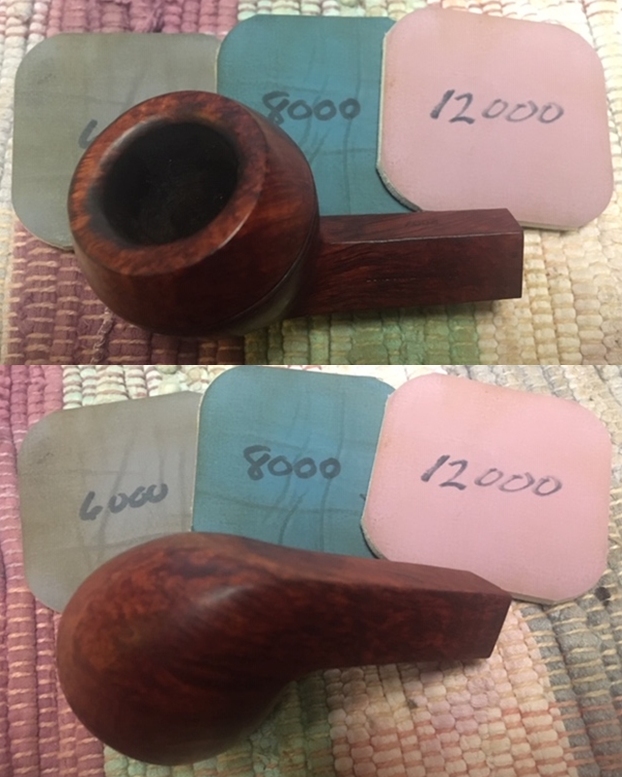
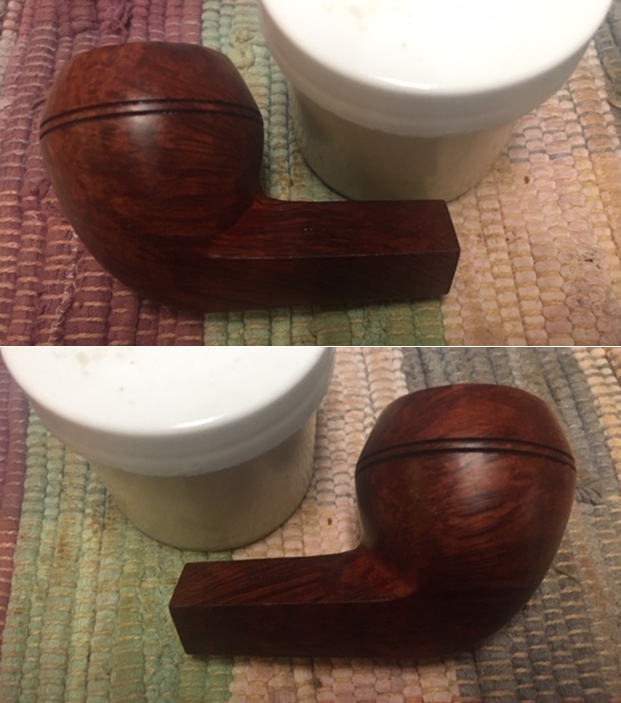
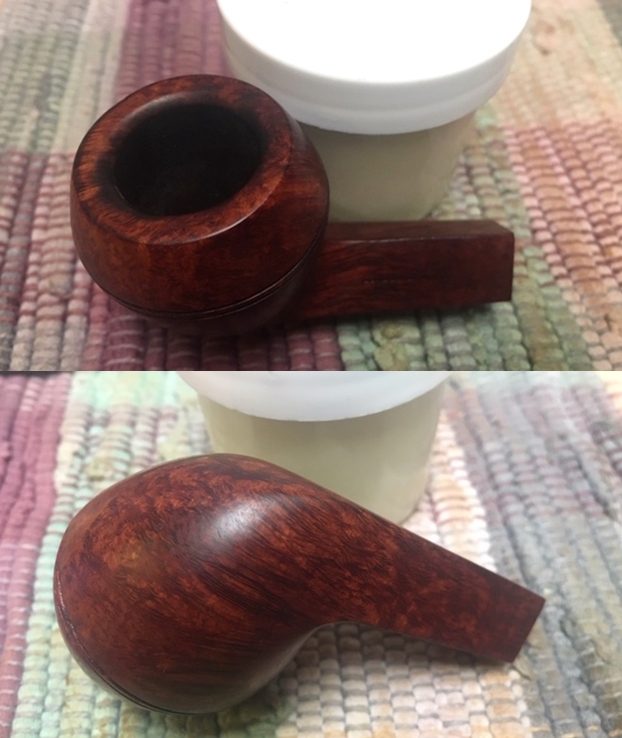
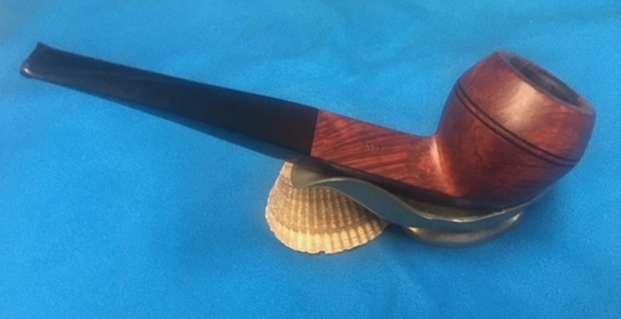
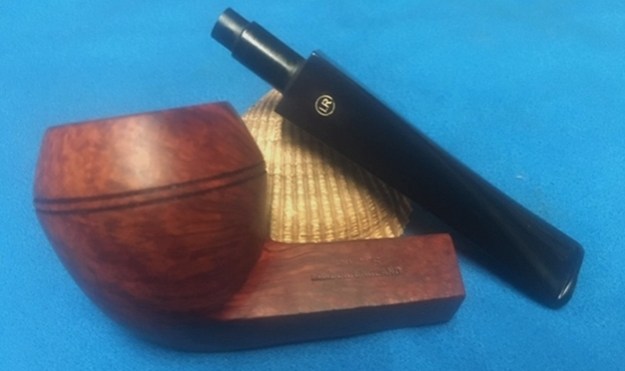
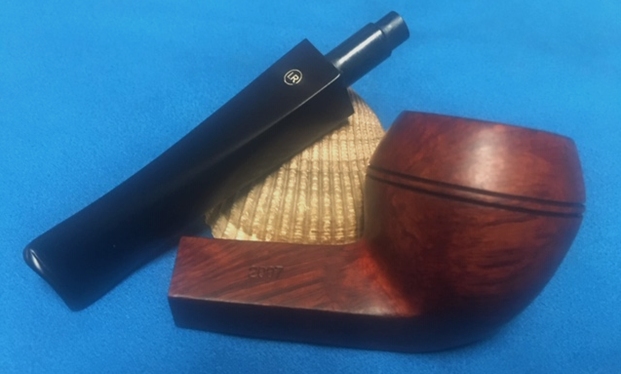
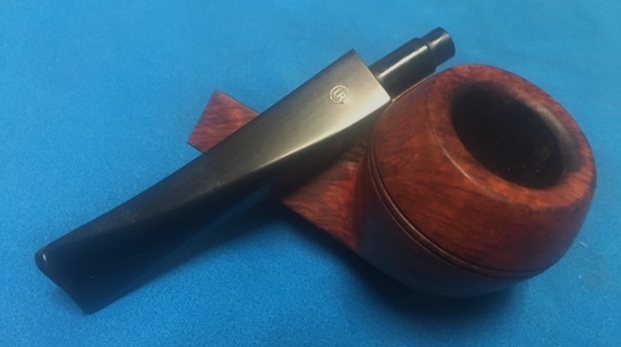
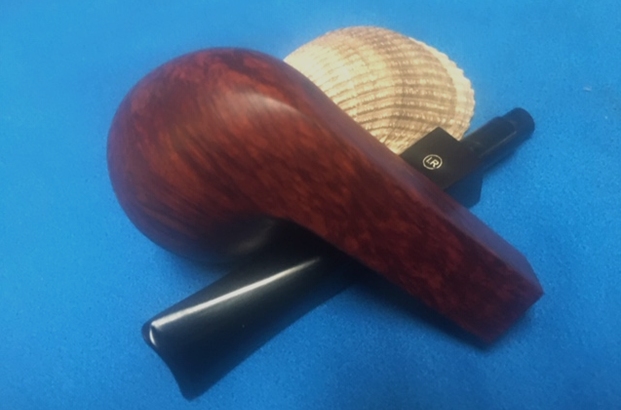
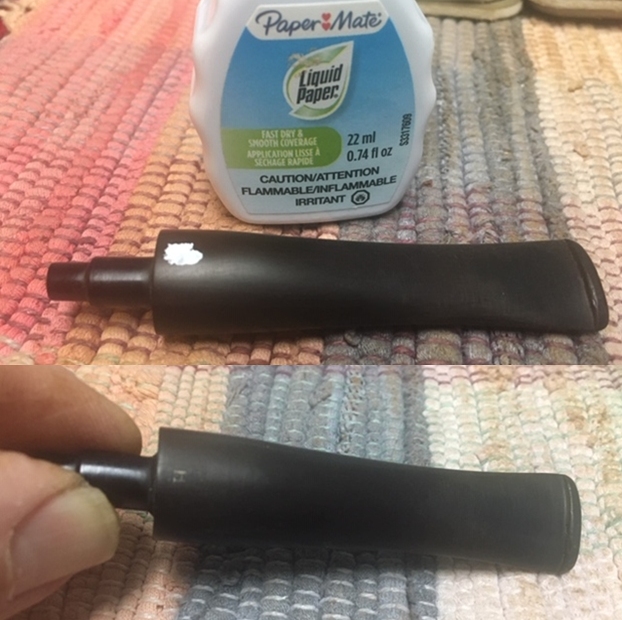
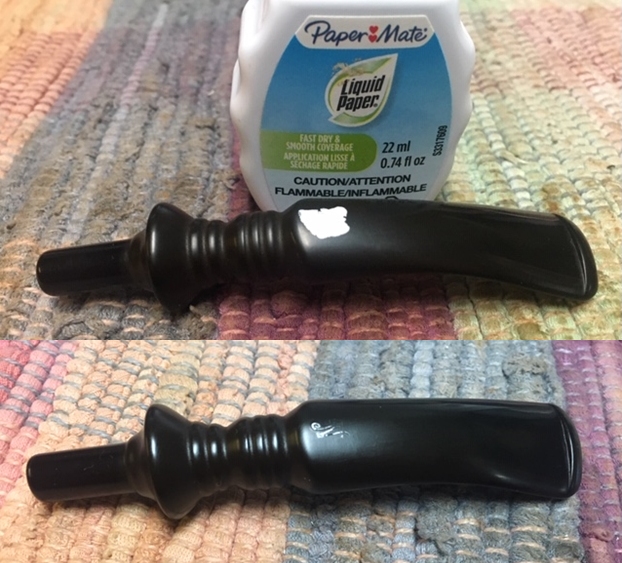
The next pipe I have chosen from his estate is a classic Bulldog. Irwin’s London England 2007 Bulldog. The stamping on the shank is faint. On the left side of the shank it is stamped Irwin’s over London, England. On the right side of the shank it is stamped 2007 – which I am unclear of whether that was a date or shape number! Irwin’s was a seconds line of GBD. The finish is worn and dirty. Underneath the grime the finish looks to be good. There also did not appear to be any fills in the bowl or shank. There is a thick cake and lava overflow on the rim top.  There is damage on the top and edges of the rim and the bowl is out of round. The stem is oxidized with a faint IR logo on the left. There are tooth marks and chatter near the button, some calcification with damage to the button.  Jeff took photos of the pipe to show its general condition before he did his cleanup work.some photos of the pipe before he started his cleanup work. He took photos of the bowl and rim top to show their general condition. You can see the thick cake in the bowl with the lava overflowing on to the rim top. The inner edge of the bowl is beveled inward and thickly lava coated. It is not clear if there is damage to the bowl but it does appear to be slightly out of round.Jeff took some photos of the sides and heel of the bowl to give an idea of the grain on this particular piece of briar. It is amazing and I cannot wait to see what it looks like once it is polished and waxed. He took photos of the stamping on both sides of the shank to capture it for me. The first photo shows the left side of the shank and the stamping as noted above. The second shows the right side of the shank with the 2007 stamp. The final photo of the set shows the faint LR in a circle stamping on the left side of the diamond taper stem. This pipe has a diamond tapered stem that is heavily oxidizes and has some calcification on the button end. There seems to be some tooth marks and chatter on the top and underside.I turned to Pipephil’s site to get a quick overview of Irwin’s pipes. I remembered that they were a seconds of GBD pipes and this confirmed that (http://www.pipephil.eu/logos/en/logo-i.html). I have included a screen capture of the pertinent section from the site.I clicked on the link on the site to the section on GBD (http://www.pipephil.eu/logos/en/logo-gbd.html). There was a brief history as well as a list of GBD seconds. You will note that the Irwin’s brand is listed there. I turned to Pipedia and reread the history of the brand there. I also turned to the link on the shape numbers to see if I could clear up the question whether 2007 was a date or shape number. (https://pipedia.org/wiki/GBD_Shapes/Numbers). I found the section listing the 2007 as a straight bulldog with a diamond shank. I did a screen capture of that section and included it below: So now I knew with certainty that I was working on a GBD made Bulldog – straight, diamond stem. The 2007 was the shape number. The one thing I am not clear about is what mad this pipe a second and not a GBD regular. That information would not be forthcoming. I moved forward to work on the pipe itself and see what I had to do with it. It had come back looking far better than I expected. Even the stem looked remarkably good with most of the tooth chatter gone. I was impressed. Jeff had done his normal thorough clean up – reaming, scrubbing, soaking and the result was evident in the pipe when I unpacked it. I took photos of the pipe before I started my work on it. Just look at the grain on this pipe. Stunning! I took some photos of the rim top and stem. The rim top and bowl looked very good. The cake and lava overflow were gone. Jeff had been able to get rid of the darkening and lava and tars. The rim top had nicks and marks and the inner edge of the bowl was damaged and out of round. The close up photos of the stem shows that it is a much cleaner and better looking stem. The light tooth chatter was gone and the stem looked really good.I took some photos of the stamping on the shank sides to show the condition after the cleanup. Often the stamping takes a hit with the cleaning and is lessened in it clarity. Jeff does a great job in leaving the stamping looking very good.I started my restoration work on this pipe by addressing the out of round inner edge of the bowl and the damage to the rim top. I used a folded piece of 220 grit sandpaper to clean up the edge and clean up the bevel. The next series of photos tell the story of the work on the rim. The first photo shows the rim as it was when I started. The second shows the folded sandpaper when I worked it over. I smoothed out the sanding with a 1500 grit micromesh sanding pad (photo 3). The final photo in the series shows the rim top after the work. With the rim in order I started my polishing regimen on the bowl. I used nine worn micromesh sanding pads and dry sanded the bowl with 1500-12000 grit pads. I wiped the bowl down with a damp cloth after each pad. The bowl really shines by the final three pads. I worked some Before & After Restoration Balm into the surface of the briar with my fingertips to clean, enliven and protect it. I let the balm sit for a little while and then buffed with a cotton cloth to raise the shine. The photos show the bowl at this point in the restoration process. I set the bowl aside and turned my attention to the stem. I sanded out the tooth chatter and blended in the repairs with 220 grit sandpaper and started to polish it with a folded piece of 400 wet dry sandpaper. Once it was finished it was smooth.I used some Denicare Mouthpiece Polish that I have in my kit to start polishing out some of the scratches and remaining oxidation on the stem. I rubbed it in with a cotton pad and my finger tip and buffed it off with a cotton pad.I used some liquid paper to touch up the LR stamp on the left topside of the diamond stem. Once it dried I scraped the excess off with a tooth pick to show the renewed stamp on the stem.I polished the stem with micromesh sanding pads – dry sanding with 1500-12000 grit sanding pads. I wiped it down after each sanding pad with a cloth containing some Obsidian Oil. I finished polishing it with Before & After Pipe Stem Polish – both Fine and Extra Fine and buffed it off with a cotton cloth. I gave it a coat of Briarville’s No Oxy Oil to preserve and protect the stem. I don’t know how many times I have said this but I have to say it again with this pipe. I love it when I come to the end of a restoration and all of the parts come together and the pipe looks better than when we started the cleanup process. I put the stem back on the bowl and buffed the pipe with Blue Diamond on the buffing wheel. I carefully avoided the stamping on the shank sides during the process. I gave the bowl and stem multiple coats of carnauba wax on the buffing wheel and followed that by buffing it with a clean buffing pad on the buffer. I hand buffed the pipe with a microfiber cloth to deepen the shine. The finished pipe is a great looking British Bulldog made by GBD and sold as second – an Irwin’s 2007 shaped Bulldog. Once again the grain and the way the shape follows the grain is amazing. Give the finished pipe a look in the photos below. I can only tell you that it is much prettier in person than the photos capture. The dimensions of the pipe are Length: 5 ½ inches, Height: 1 ¾ inches, Outside diameter of the bowl: 1 ¼ inches, Chamber diameter: ¾ of an inch. This GBD made Irwin’s Bulldog is a great addition to someone’s rack that price will be very reasonable. Thanks for walking through the restoration with me as I worked over another beautiful pipe. This one will be will be going on the rebornpipes store shortly if you are interested in adding it to your collection. Thanks for your time.

Restoration of a Made in Ireland Peterson’s Deluxe 69 Bent Billiard


Blog by Steve Laug

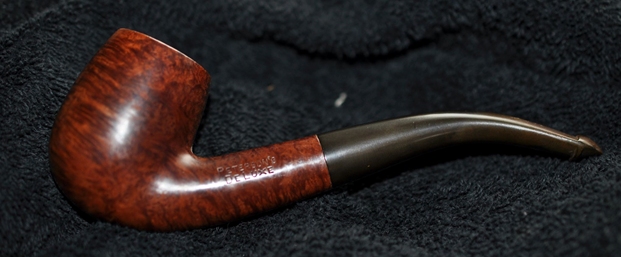
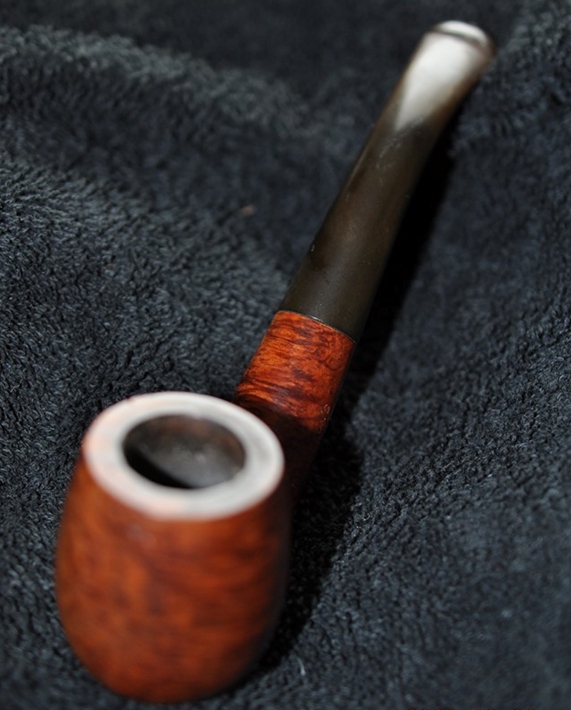
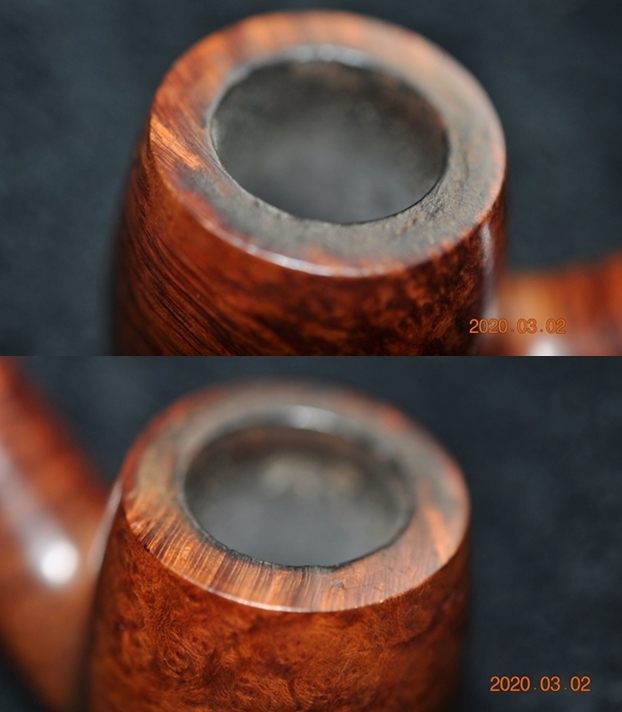
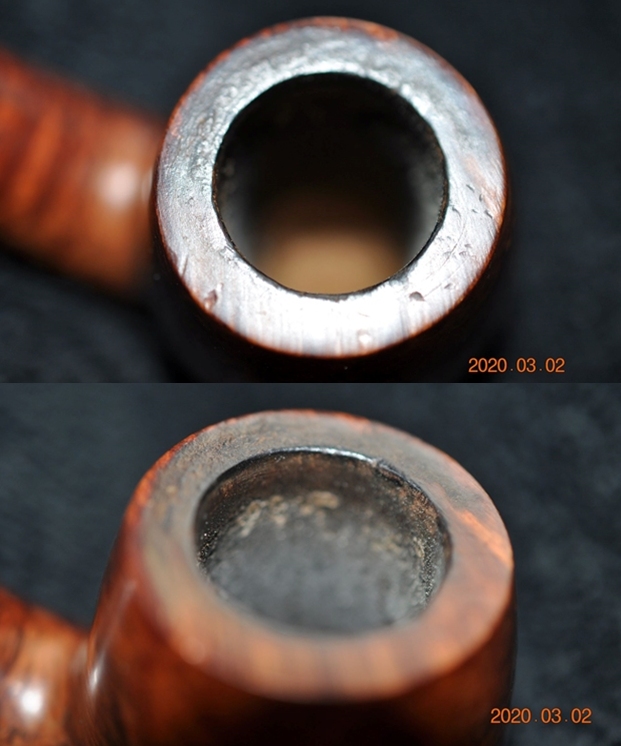
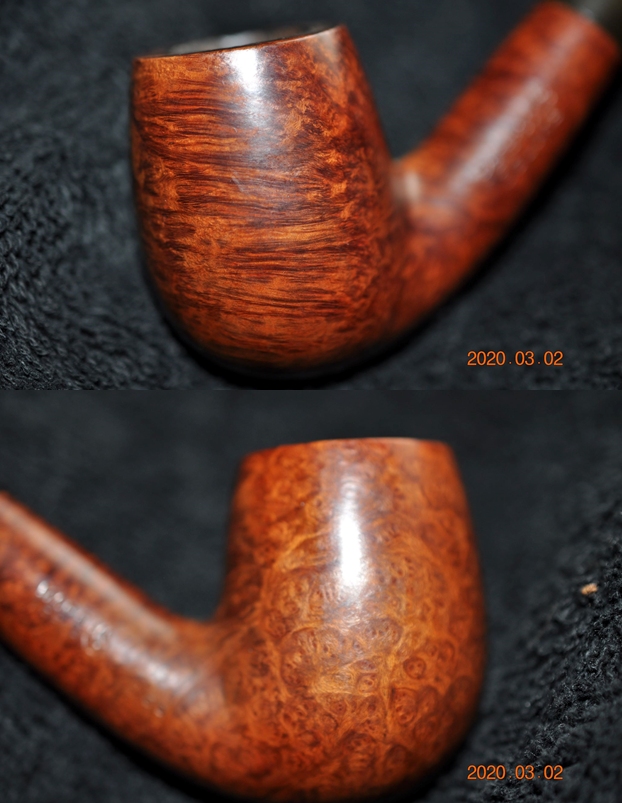
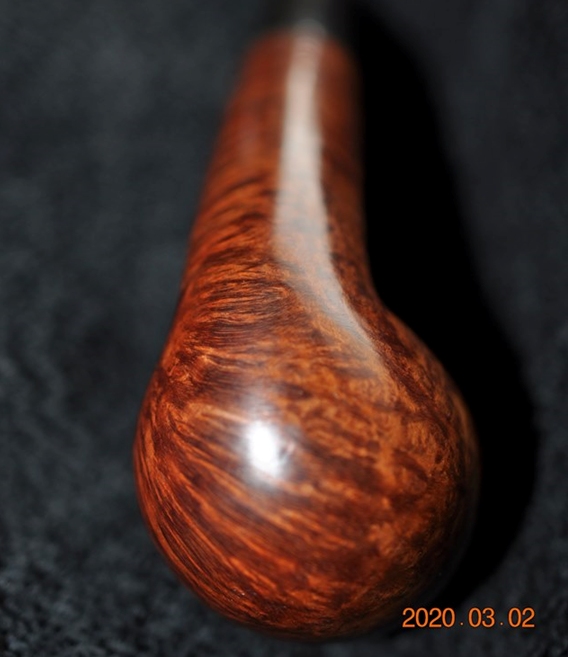
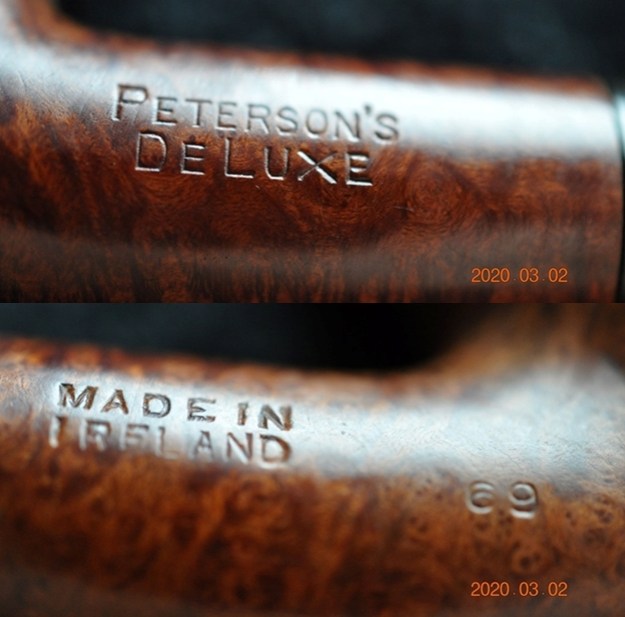
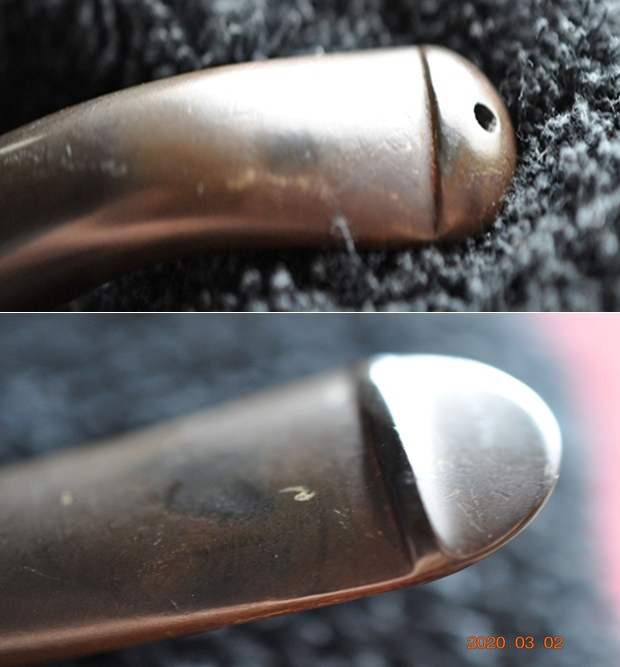
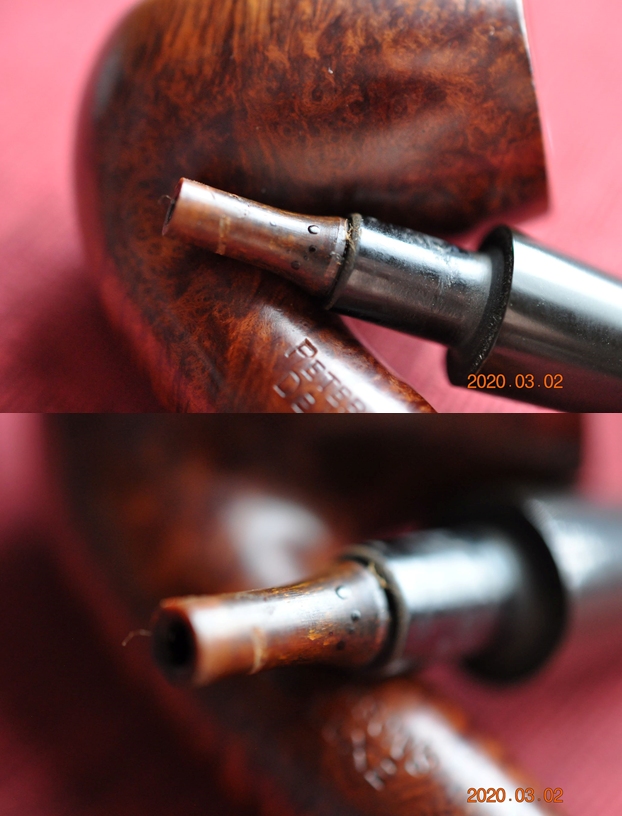
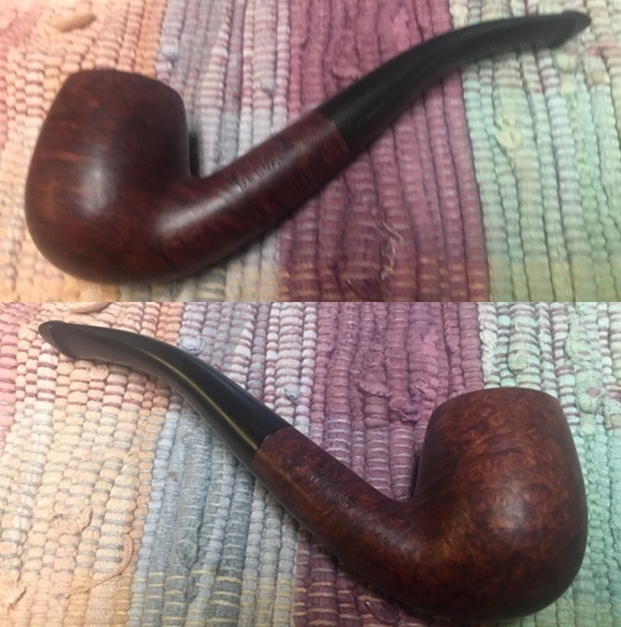
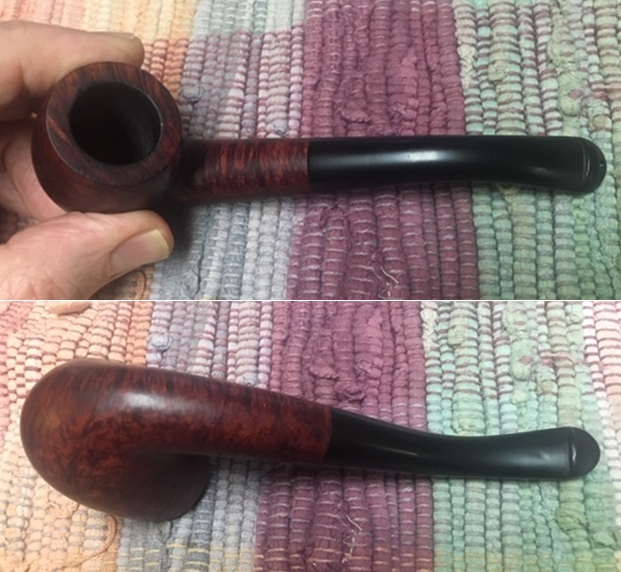
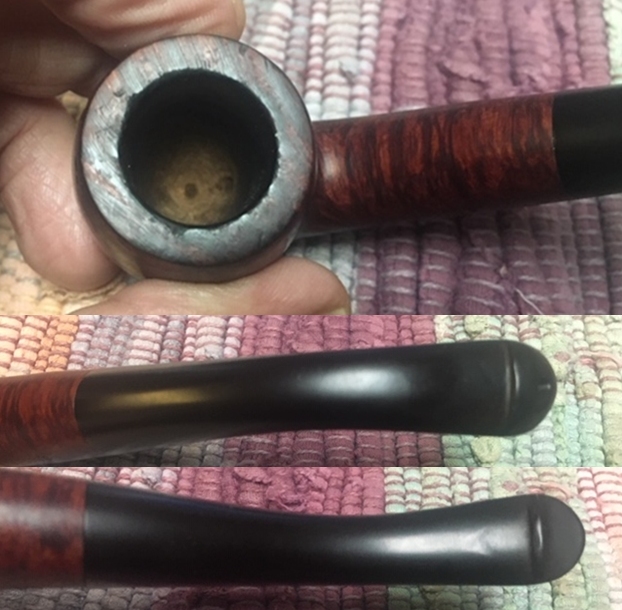
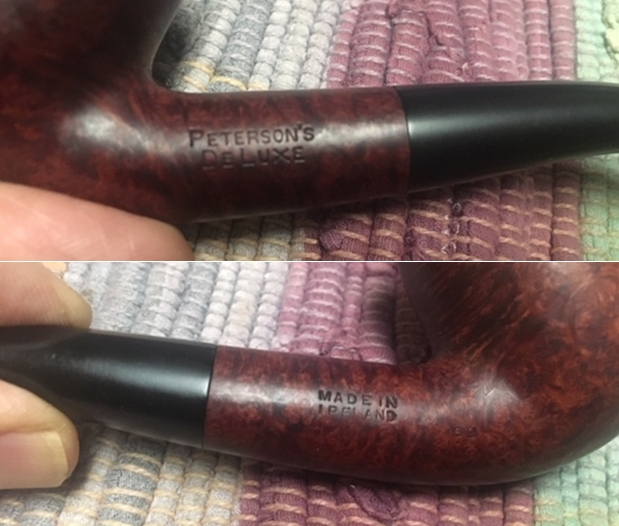
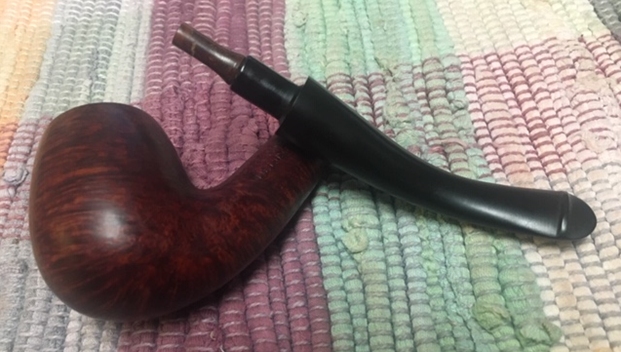
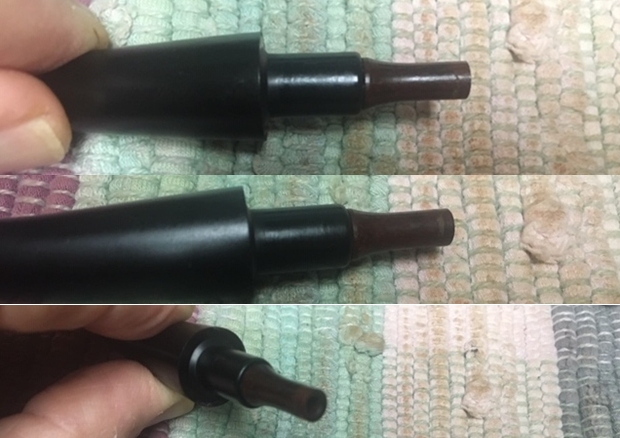
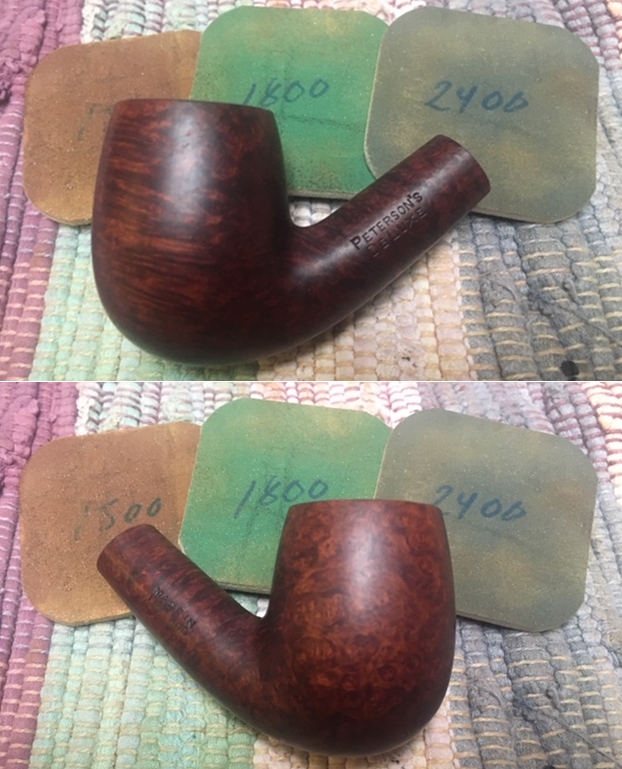
In the last box of pipes Jeff sent me there was one final pipe that was left to restore. This one is a Peterson’s 69 Bent Billiard. It is stamped on the left side of the shank Peterson’s Deluxe and on the right side it bears the 69 shape number near the bowl shank junction and Made in Ireland. It was a dirty pipe when we received it. There was a thick coat of lava on the rim top and some damage on the inner edge of the rim. The rim top had some nicks and dents in it that were quite deep. There was a thick cake in the bowl that had remnants of tobacco stuck in it. The finish was dirty and there were spots of grime and oils. The stem was oxidized and there were tooth marks on the top and underside ahead of the button. There was tooth chatter on both sides of the stem. Jeff took some photos of the pipe before he started his cleanup work. He took photos of the bowl and rim top to show their general condition. You can see the tars on the inner edge of damaged rim top. The cake in the bowl is quite thick and there is tobacco debris on the walls of the bowl. The finish on the bowl is dull but still very stunning. Jeff took some photos of the sides and heel of the bowl to give an idea of the grain on this particular piece of briar. It is amazing and I cannot wait to see what it looks like once it is polished and waxed. He took photos of the stamping on both sides of the shank to capture it for me. The first photo shows the left side of the shank and the stamping as noted above. The second shows the right side of the shank with the Made in Ireland stamp and shape number 69.This pipe has a classic Peterson’s P-lip stem that has some oxidation on the surface of the vulcanite that is quite deep. There seems to be some tooth marks and chatter on the top and underside.He removed the stem from the shank and took photos of the bone chimney screwed into the end of the tenon.I turned to Pipephil’s site to get a quick overview of the Peterson’s Made in Ireland pipes. (http://www.pipephil.eu/logos/en/logo-peterson.html).  I have included a screen capture of the pertinent section from the site. The summary to the right of the photos is always succinct and quite pointed. In this case it says that the Made in Ireland stamp refers to a Pipe of the Pre-Republic era (Before 1949). Notice the Country of Manufacture stamp in two lines and block letters.I turned to Pipedia and reread the history of the Peterson’s brand and focused on the Pre Republic Era (1915-1949). I quote from that article below:

…Around 1916, Peterson began stamping their pipes “Made in Ireland” in what is referred to as a block format…

… Prior to 1920 it was rare for a country of origin to be stamped on the pipe, just Peterson’s Dublin on the band. After 1921/22, if it is stamped “MADE IN IRELAND” and the “Made in” is stacked over “Ireland” or “MADE IN EIRE” or several other forms, it was made between 1922 and 1938…

…Peterson initially graded their mass -produced System pipes, i.e., regular catalogue pipes (in descending order) “Deluxe,” “First Quality,” “0” grade, “2nd grade,” and “3rd grade.”

I moved forward to work on the pipe itself and see what I had to do with it. It had come back looking amazingly clean. Even the stem looked like new, with most of the tooth chatter gone. I was impressed. Jeff had done his normal thorough clean up – reaming, scrubbing, soaking and the result was evident in the pipe when I unpacked it. I took photos of the pipe before I started my work on it. Just look at the grain on this delicate pipe. Stunning! I took some photos of the rim top and stem. The rim top and bowl looked very good. The cake and lava overflow were gone and the inward beveled rim was very clean. Jeff had been able to get rid of the darkening and lava and tars. The rim top had nicks and marks and the inner edge of the bowl was damaged and out of round. The close up photos of the stem shows that it is a much cleaner and better looking stem. The light tooth chatter was gone and the stem looked really good.I took some photos of the stamping on the shank sides to show the condition after the cleanup. Often the stamping takes a hit with the cleaning and is lessened in it clarity. Jeff does a great job in leaving the stamping looking very good.I removed the stem from the shank and took a photo of the pipe at this point. Like other Peterson’s Deluxe pipes that I have worked on this stem had a bone chimney threaded into the tenon to extend into the lower part of the mortise and provides a funnel for drawing the smoke into the mouth of the smoker.I took photos of the bone extension and did some research into the design and purpose. I googled and found the following information:

I turned to the blog Peterson Pipe Notes (http://petersonpipenotes.org/tag/peterson-chimney/). There I came on an article on the chimney. I quote a part of that below and you can read more by going to the site.

I’ve seen a lot of old De Luxe Systems from Peterson, spanning most of the 20th century. I’ve seen a lot fewer Standard Systems. I understand from the book that the Standard Systems never had the bone (later aluminum) chimney. Were those System Standard stems just tapered all the way down? The current version has that little stepped tenon, and for the life of me, I can’t understand what that really achieves. If it’s just about increasing the length of the stem, wouldn’t a natural taper all the way down look better? I’m just wondering if you know when Standard Systems developed that tenon thing.

I then continued to read through the links that were shown. The next one was a discussion on the Pipesmagaizine about the bone tenon extension or chimney. It was a fascinating discussion and I am including pertinent portions here (https://pipesmagazine.com/forums/threads/need-help-bone-extension-on-a-pre-republic-peterson-straight-dublin-120f-delux.68650/).

…The extension was detailed in the patent application in 1894 (US519135A), although it doesn’t detail the material used or the fixture type. I read somewhere (unverified I’m afraid) that the chimney changed from bone to aluminum late 60s but, as with most things ‘Pete’, I don’t think this change happened overnight since I had a 1971 Deluxe with a bone chimney (it may have been scavenged from a different pipe, I guess). As others have said, trying to remove it if it is stuck will almost certainly break it. If you’re desperate, you can put a micro-screwdriver through two of the holes in the side and gently turn, but personally, I wouldn’t risk it…

…The third thing I want to call your attention to is the tenon extension. Traditionally (if not during the Dublin Era), tenons and mouthpieces have been of great importance to Peterson. This one, while molded and not a bone screw-in, features the extended “chimney” so crucial to correct tenon-mortise airflow for the P-Lip mouthpiece. The graduated bore of the P-Lip as well as this extension makes the pipe a “sub-System” (as we call it in the book), which means that it will perform considerably better than a traditional fishtail. This type of molded extension goes all the way back to the original molded-stem Patent mouthpieces, incidentally, and doesn’t seem to have disappeared (alas!) from the Peterson workshop until the 1950s. This may have been due in part to the fashion of implanting stingers, and not merely to brand amnesia, but whatever the reason, it is unfortunate…

…Here’s what the patent app says: (extension 10 is chimney, pocket 5 is sump) the stem and mouth-piece may be made round, oval or of any other desired shape. It will be seen that the tubular extension 10 extending into the pocket 5, not only serves to deflect the nicotine and other obstructions into the said pocket as well as to conduct the saliva into the latter, but that it will also serve effectually to prevent any obnoxious matter from the said pocket to return into the stem, even if the pipe be inverted; the annular space around said flange serving to receive the contents of the pocket in case the pipe should be tilted.

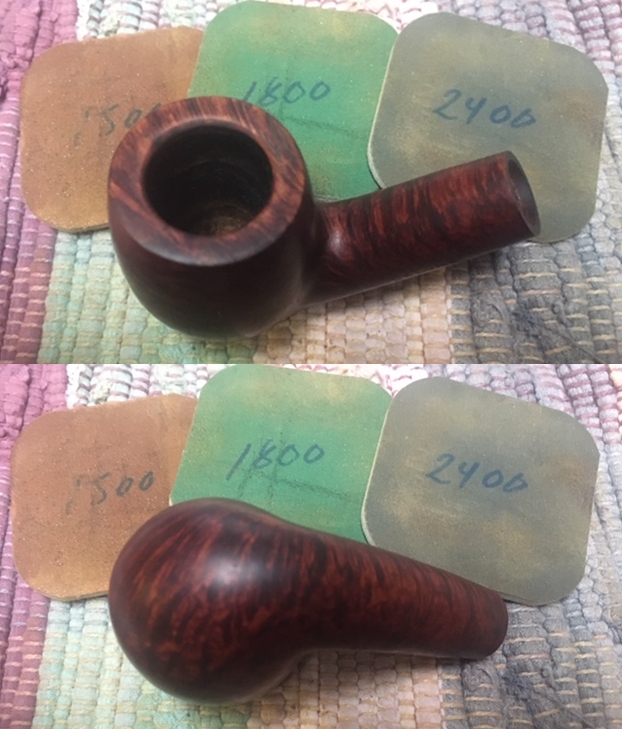
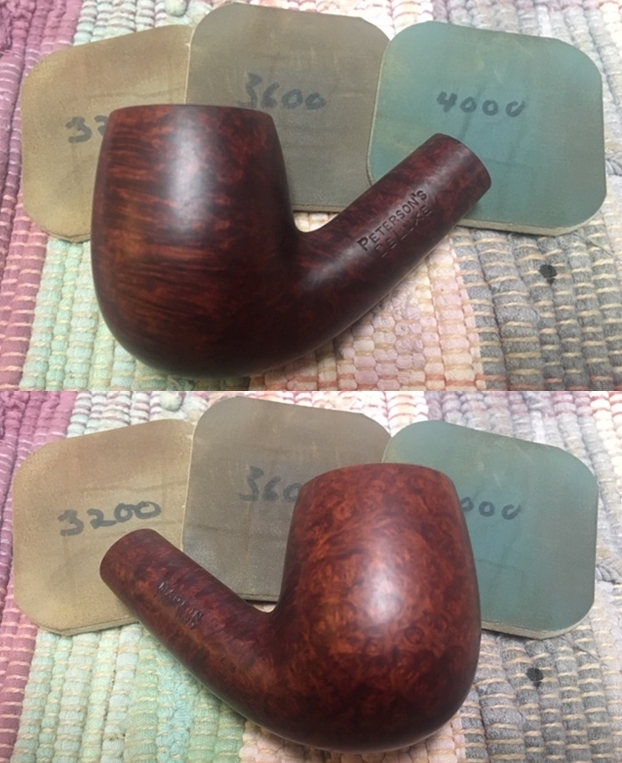
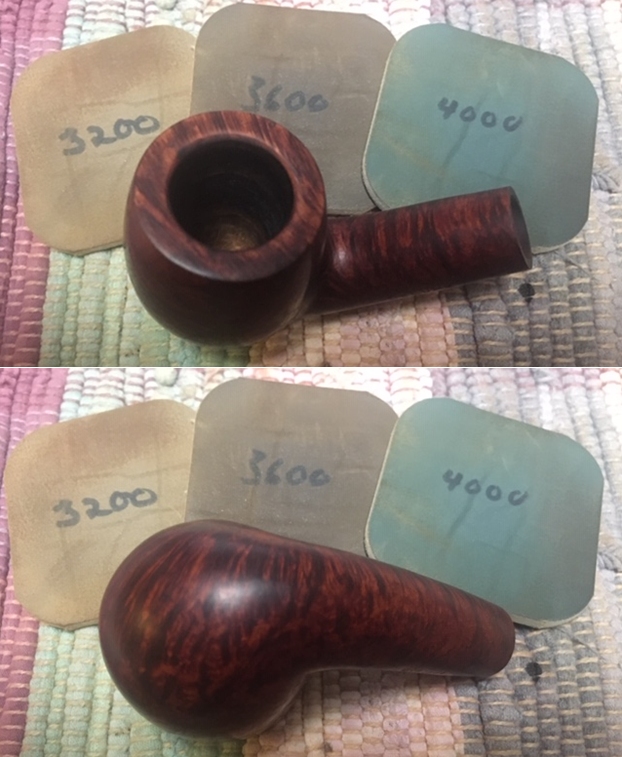
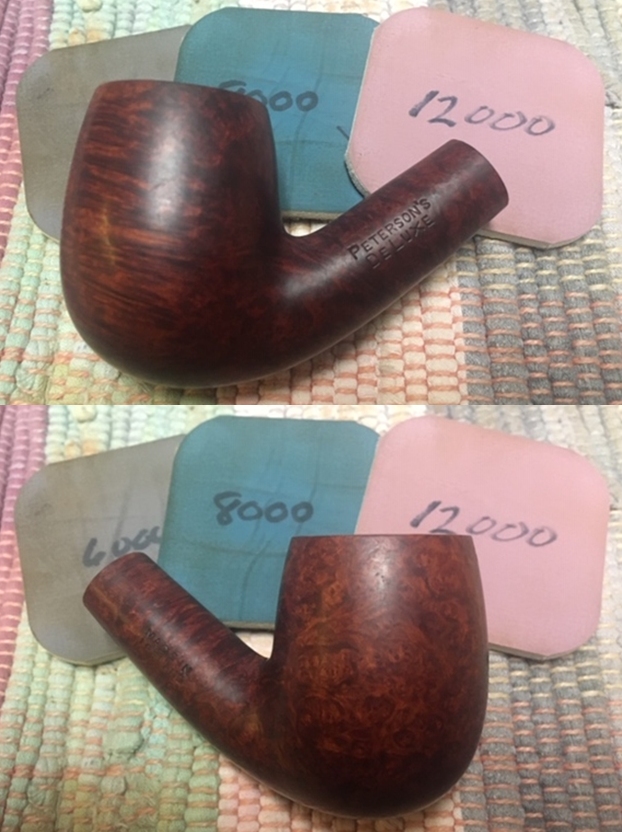
I found this a fascinating read. The chimney was an integral part of the airflow of a P-lip system.I started my restoration work on this pipe by addressing the out of round inner edge of the bowl and the damage to the rim top. I used a folded piece of 220 grit sandpaper to clean up the edge and give it a slight bevel and worked over the rough areas on the rim top with the same sandpaper. The finish rim top looked very good. All that remained was to polish it with micromesh.I started my polishing regimen on the bowl. I used nine worn micromesh sanding pads and dry sanded the bowl with 1500-12000 grit pads. I wiped the bowl down with a damp cloth after each pad. The bowl really shines by the final three pads. I worked some Before & After Restoration Balm into the surface of the briar with my fingertips to clean, enliven and protect it. I let the balm sit for a little while and then buffed with a cotton cloth to raise the shine. The photos show the bowl at this point in the restoration process. I set the bowl aside and turned my attention to the stem. I sanded out the tooth chatter and blended in the repairs with 220 grit sandpaper and started to polish it with a folded piece of 400 wet dry sandpaper. Once it was finished it was smooth.I used some Denicare Mouthpiece Polish that I have in my kit to start polishing out some of the scratches and remaining oxidation on the stem. I rubbed it in with a cotton pad and my finger tip and buffed it off with a cotton pad.I polished the stem with micromesh sanding pads – dry sanding with 1500-12000 grit sanding pads. I wiped it down after each sanding pad with a cloth containing some Obsidian Oil. I finished polishing it with Before & After Pipe Stem Polish – both Fine and Extra Fine and buffed it off with a cotton cloth. I gave it a coat of Briarville’s No Oxy Oil to preserve and protect the stem. I don’t know how many times I have said this but I love it when I come to the end of a restoration and all of the parts come together and the pipe looks better than when we started the cleanup process. I put the stem back on the bowl and buffed the pipe with Blue Diamond on the buffing wheel. I carefully avoided the stamping on the shank sides during the process. I gave the bowl and stem multiple coats of carnauba wax on the buffing wheel and followed that by buffing it with a clean buffing pad on the buffer. I hand buffed the pipe with a microfiber cloth to deepen the shine. The finished pipe is a real stunning example of an Irish Made Pre-Republic Deluxe 69. Once again the grain and the way the shape follows the grain is amazing. Give the finish pipe a look in the photos below. I can only tell you that it is much prettier in person than the photos capture. The dimensions of the pipe are Length: 6 inches, Height: 2 inches, Outside diameter of the bowl: 1 ¼ inches, Chamber diameter: ¾ of an inch. This Made In Ireland Pre-Republic shape 69 Peterson’s Deluxe is a great piece of pipe history that is in exceptional condition. Thanks for walking through the restoration with me as I worked over another beautiful pipe. This one will be staying in my collection for now while I think about what to do with it. Thanks for your time.


More stunning grain – Cleaning up a Second Comoy’s Specimen Straight Grain


Blog by Steve Laug

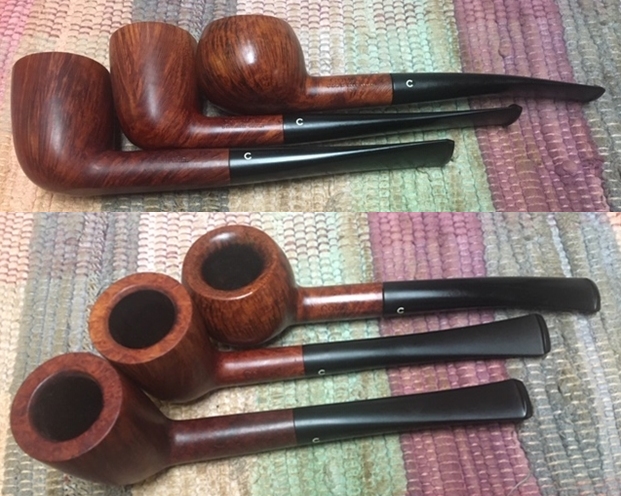
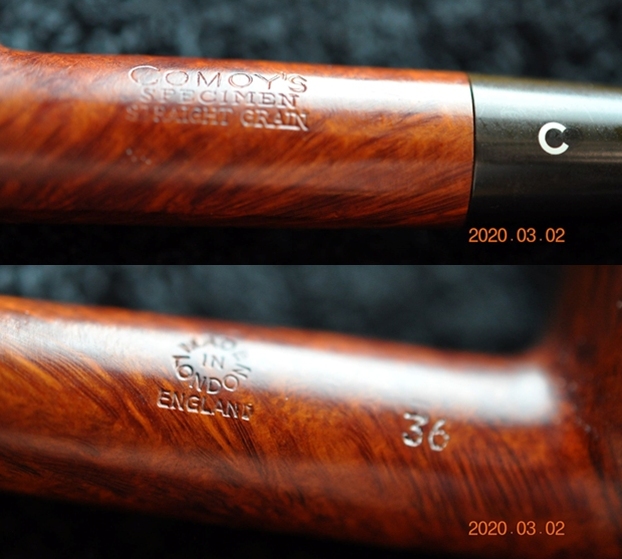
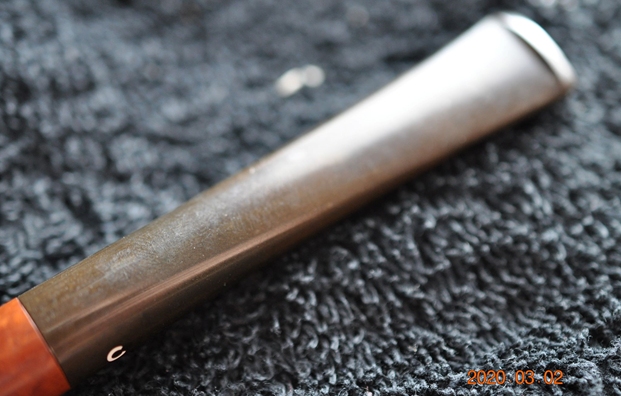
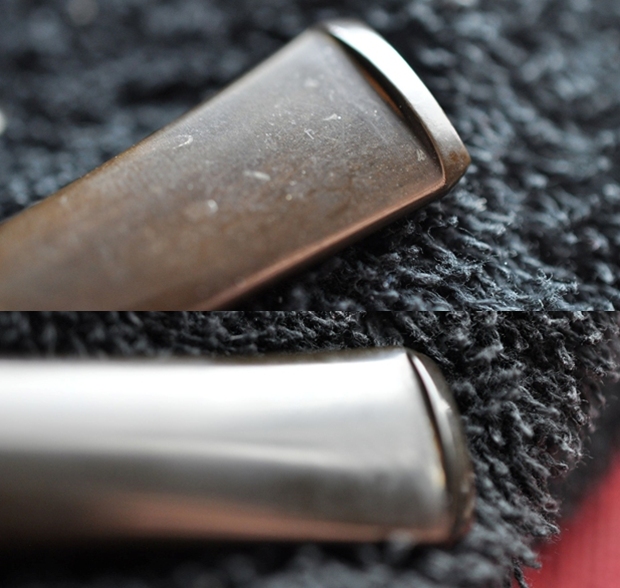
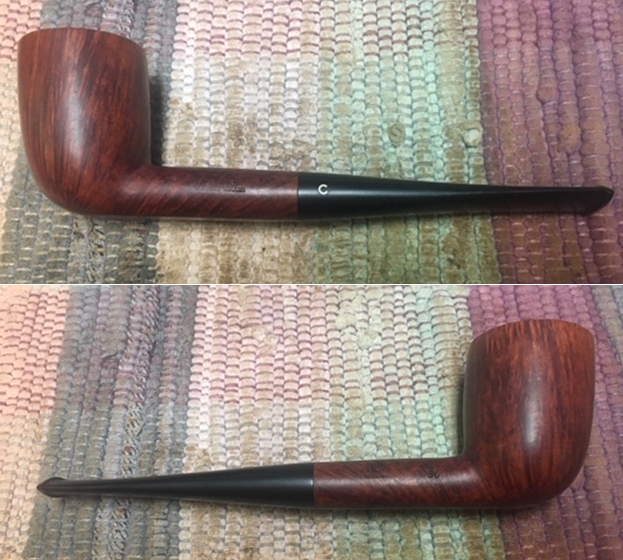
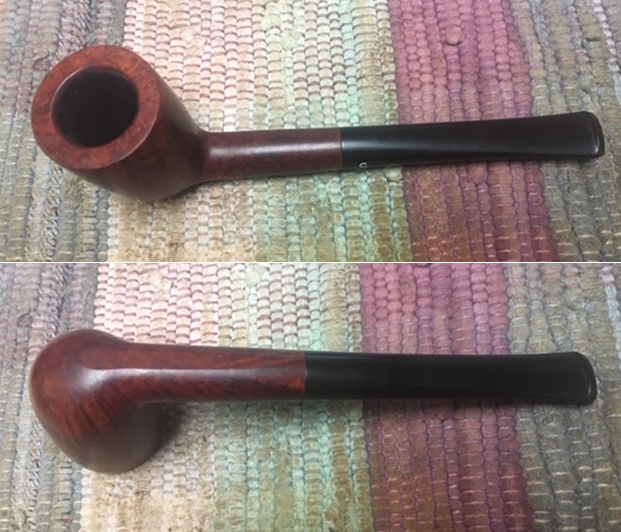
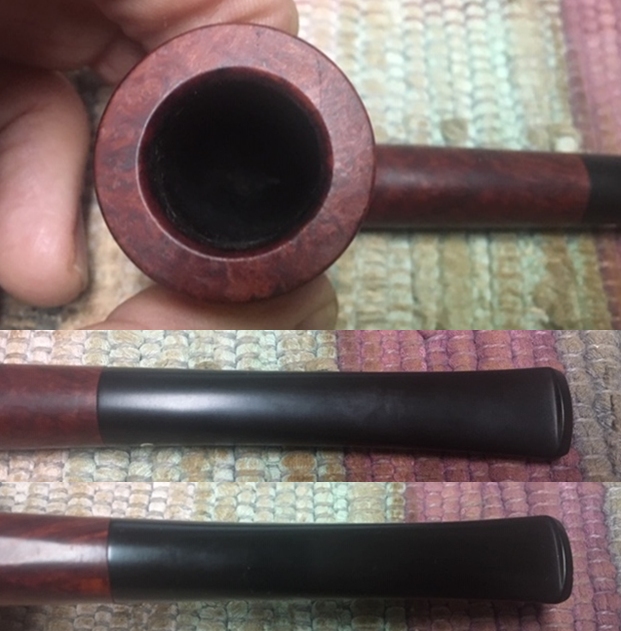
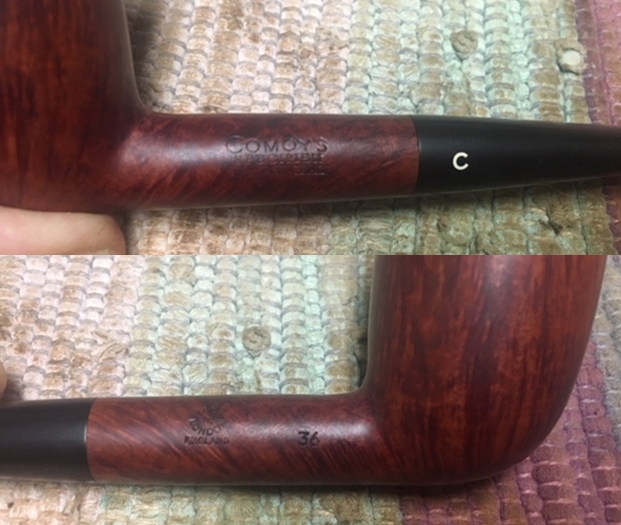
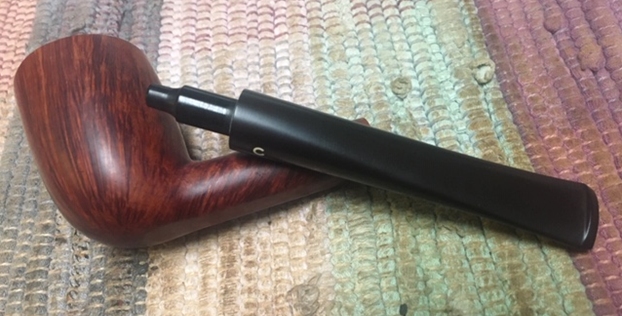
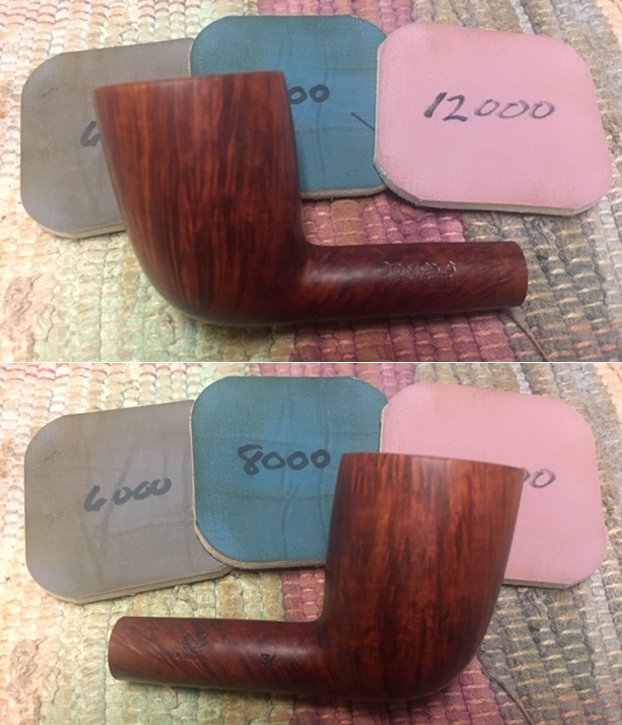
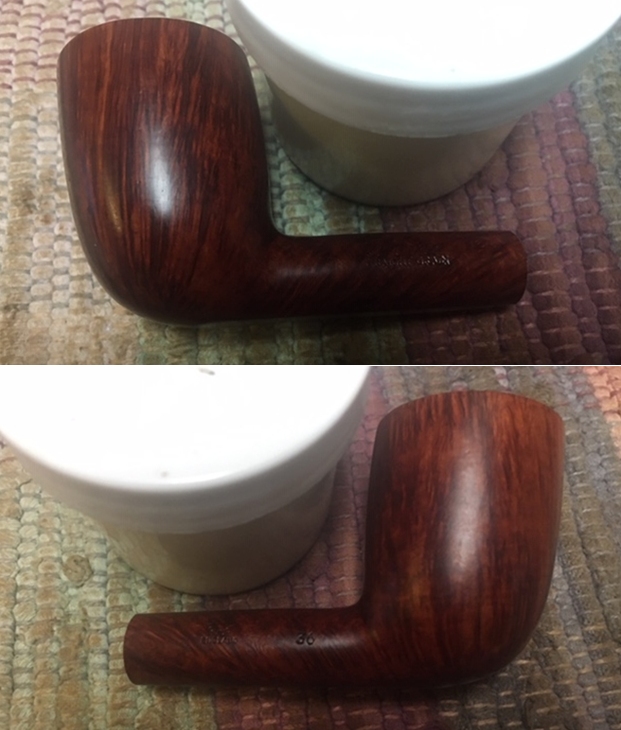
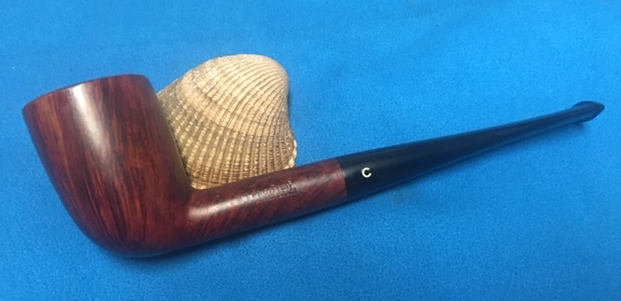
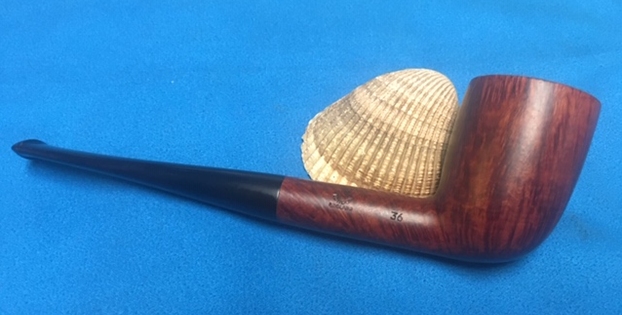
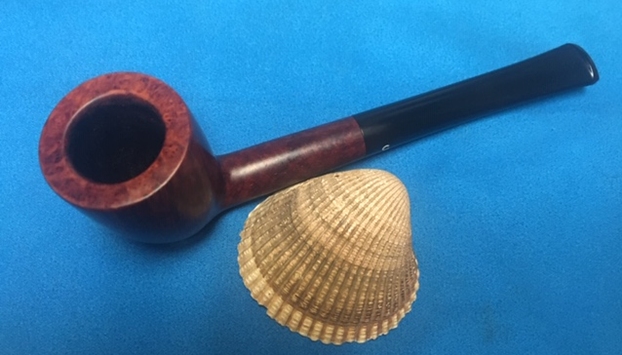
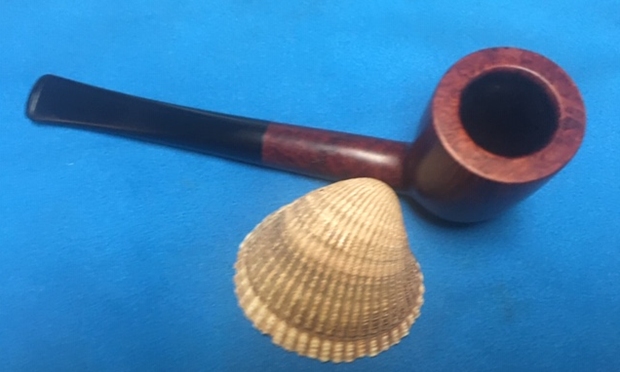
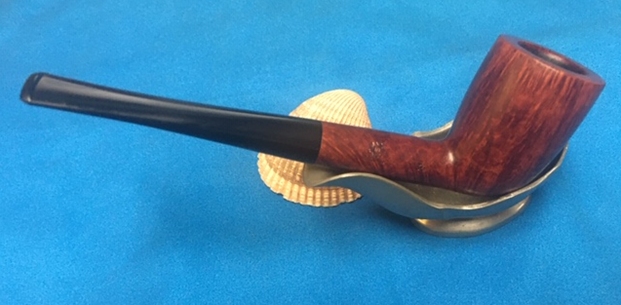
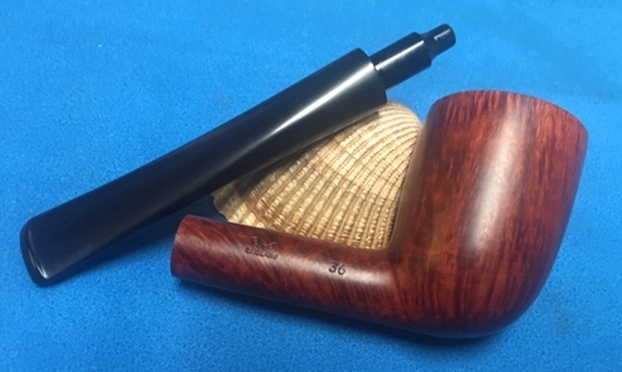
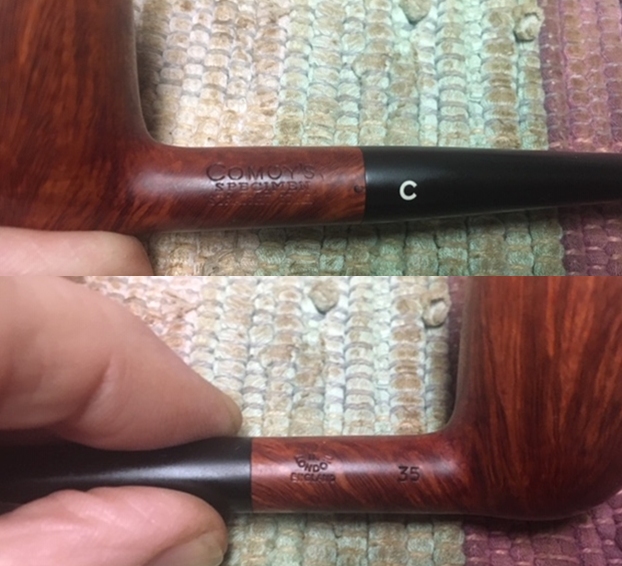
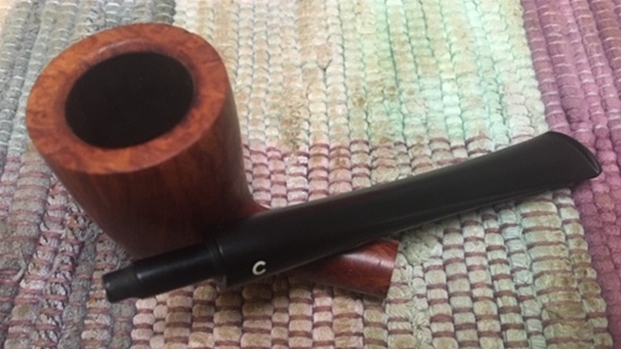
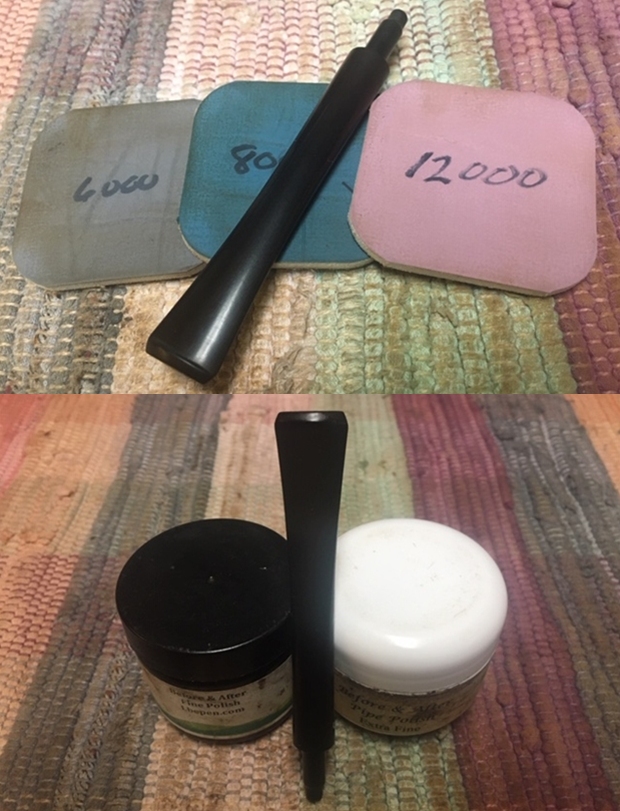
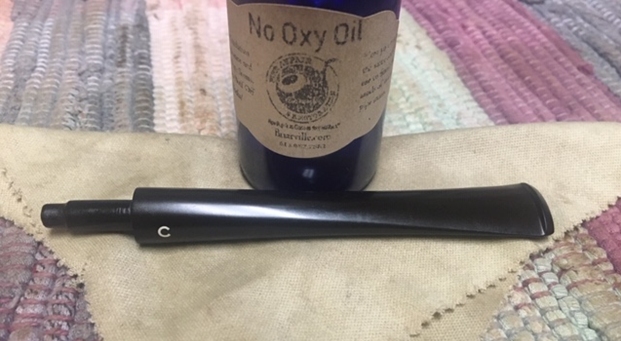
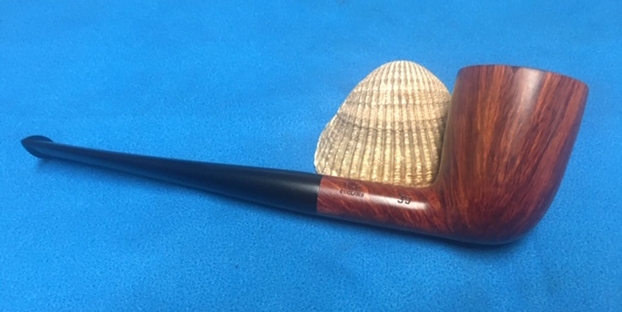
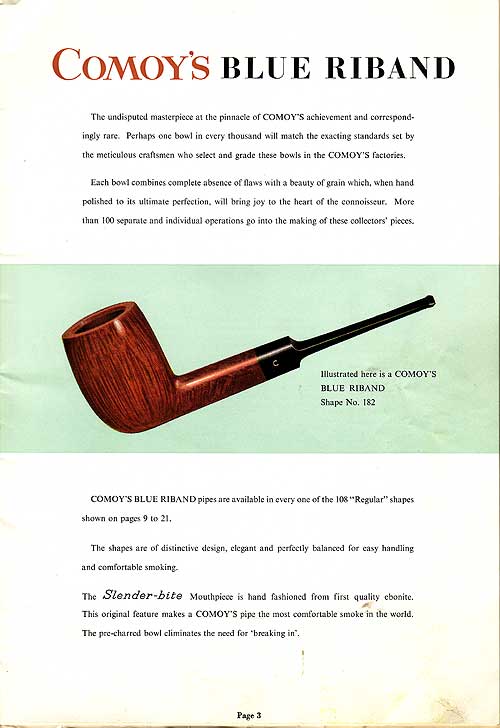
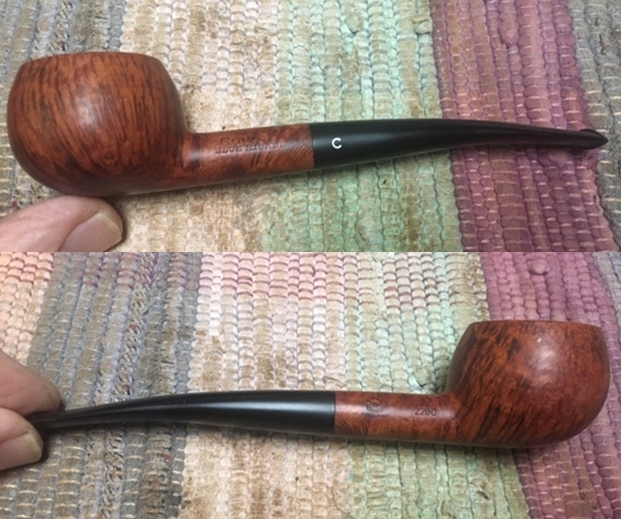
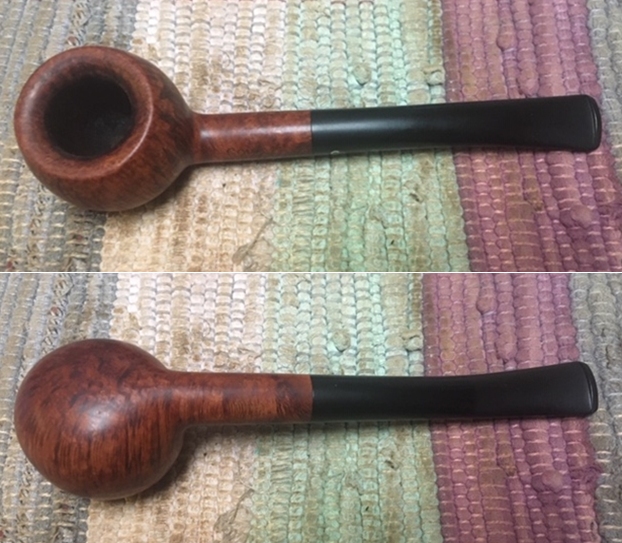
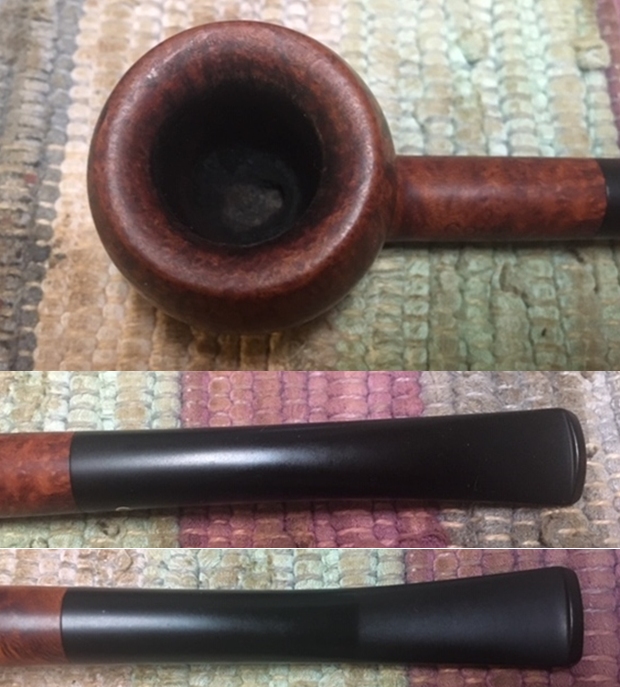
In the last box of pipes Jeff sent me there were three pipes that I left to the end to give my attention too. These were all Comoy’s pipes. The first is the one on the table now – a Comoy’s Blue Riband Prince 228C with stunning grain. The second and third were both Comoy’s Specimen Straight Grain Dublins – the second was a 35 and the third was a little larger, a 36. All of these pipes were drop dead gorgeous.  I have them all on the desk top now looking them over and I am quite honestly stunned by their beauty.The final one of those stunning pipes I chose to work on is the pipe at the bottom of the two photos above. It is 36 Specimen Straight Grain. Comoy’s Specimen Straight Grain pipes are really a special grade of pipe. This is another beautiful piece of pipe maker craftsmanship and in my mind have Comoy’s has never been surpassed. It is stamped on the left side of the shank Comoy’s Specimen Straight Grain and on the right side it bears the 36 shape number near the bowl shank junction and the circular COM stamp that reads Made In London in a circle over England. The “In” is in the centre of the circle. Jeff took some photos of the pipe before he started his cleanup work.He took photos of the bowl and rim top to show their general condition. You can see the tars on the inner edge of the beveled top. The cake in the bowl is quite thick and there is tobacco debris on the walls of the bowl. The finish on the bowl is dull but still very stunning. Jeff took some photos of the sides and heel of the bowl to give an idea of the grain on this particular piece of briar. It is amazing and I cannot wait to see what it looks like once it is polished and waxed. He took photos of the stamping on both sides of the shank to capture it for me. The first photo shows the left side of the shank and the stamping as noted above it shows the inset three part C inlaid on the side of the stem. The second shows the right side of the shank with the COM stamp and shape number. This pipe also has a slender stem but it is straight and has a great fishtail blade. Once again the surface of the top and underside of the stem is oxidized and dirty but it is quite free of tooth marks and only has a minimum of chatter. I turned to Pipephil’s site to get a quick overview of the Comoy’s Specimen Straight Grain line (http://www.pipephil.eu/logos/en/logo-comoy.html). I have included a screen capture of the pertinent section from the site. The summary to the right of the photos is always succinct and quite pointed. In this case it quotes the Comoy’s 1965 catalogue in saying the Specimen Straight Grain grade: “The rarest and finest of all Comoy pipes.”I turned to Pipedia and reread the history of the Comoy’s brand and focused on the Specimen Straight Grain. Here is the link to the article by the late Derek Green. It is worth a read. (https://pipedia.org/wiki/A_History_Of_Comoy%27s_and_A_Guide_Toward_Dating_the_Pipes). I quote from that article below:

Specimen Straight Grain. I am not sure when this grade was first produced, but it probably appeared just before the Second World War. This certainly was the top grade from its introduction. It is described in my 1965 catalogue as “The rarest and finest of all Comoy pipes. It is so unusual to find a completely perfect straight grain that shapes and quantities are strictly limited.” It was priced at $50 in 1943 and 1965. Jacques Cole recalls that, in the 1950s, there was a very large bent that was reckoned to be about the “perfect” Straight Grain. It was not for sale but used as an exhibition piece and valued then at £500.

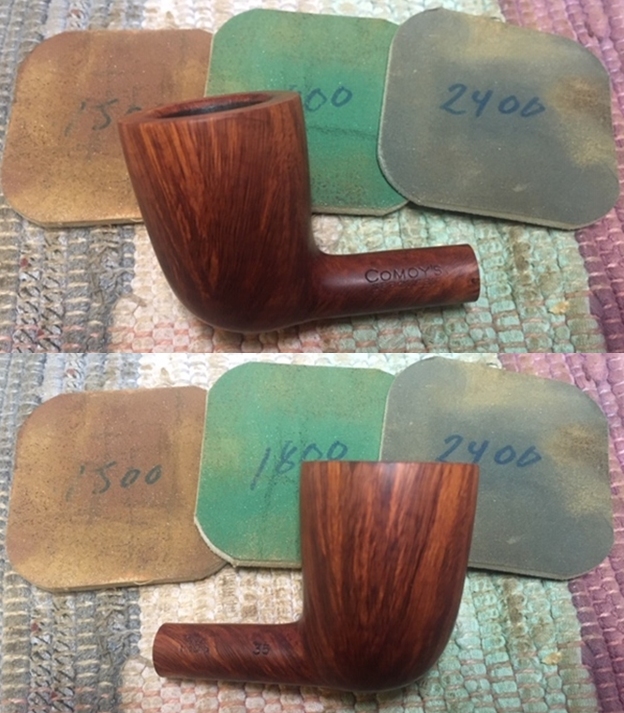
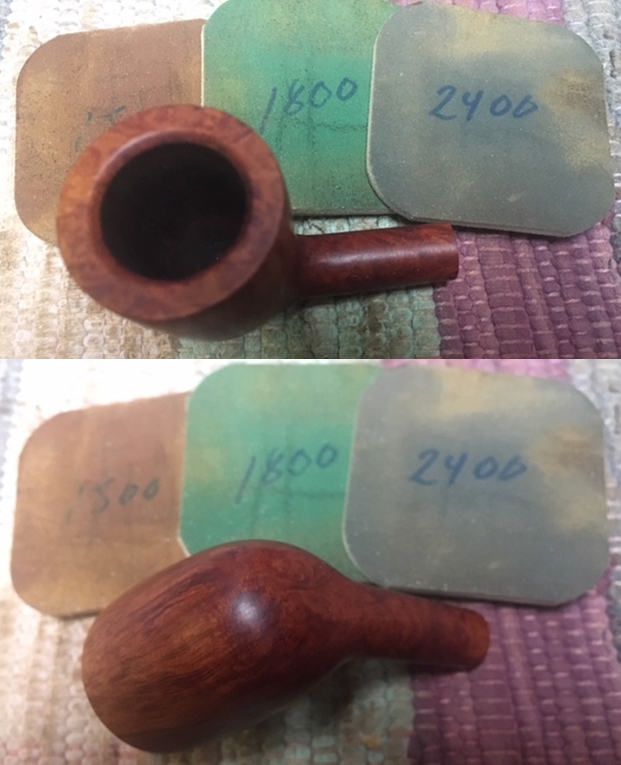
I moved forward to work on the pipe itself and see what I had to do with it. It had come back looking amazingly clean. Even the stem looked like new, with most of the tooth chatter gone. I was impressed. Jeff had done his normal thorough clean up – reaming, scrubbing, soaking and the result was evident in the pipe when I unpacked it. I took photos of the pipe before I started my work on it. Just look at the grain on this delicate pipe. Stunning! I took some photos of the rim top and stem. The rim top and bowl looked very good. The cake and lava overflow were gone and the inward beveled rim was very clean. Jeff had been able to get rid of the darkening, lava and tars and left behind a smooth rim top. Even the slight nick on the outside right edge of the rim top looked better. The close up photos of the stem shows that it is a much cleaner and better looking stem. The light tooth chatter was gone and the stem looked really good.I took some photos of the stamping on the shank sides to show the condition after the cleanup. Often the stamping takes a hit with the cleaning and is lessened in it clarity. Jeff does a great job in leaving the stamping looking very good.I removed the stem from the shank and took a photo of the pipe at this point. Like other Comoy’s I have worked on this stem had a metal tube in the tenon to strengthen it in what is often a weak point on a pipe.Since the pipe was also in such great condition at this point I started my polishing regimen. I used nine worn micromesh sanding pads and dry sanded the bowl with 1500-12000 grit pads. I wiped the bowl down with a damp cloth after each pad. The bowl really shines by the final three pads. I worked some Before & After Restoration Balm into the surface of the briar with my fingertips to clean, enliven and protect it. I let the balm sit for a little while and then buffed with a cotton cloth to raise the shine. The photos show the bowl at this point in the restoration process. Because the stem was in such great condition I moved direct to polishing it with micromesh sanding pads – dry sanding with 1500-12000 grit sanding pads. I wiped it down after each sanding pad with a cloth containing some Obsidian Oil. I finished polishing it with Before & After Pipe Stem Polish – both Fine and Extra Fine and buffed it off with a cotton cloth. I gave it a coat of Briarville’s No Oxy Oil to preserve and protect the stem. I don’t know how many times I have said this but I love it when I come to the end of a restoration and all of the parts come together and the pipe looks better than when we started the cleanup process. I put the stem back on the bowl and buffed the pipe with Blue Diamond on the buffing wheel. I carefully avoided the stamping on the shank sides during the process. I gave the bowl and stem multiple coats of carnauba wax on the buffing wheel and followed that by buffing it with a clean buffing pad on the buffer. I hand buffed the pipe with a microfiber cloth to deepen the shine. The finished pipe is a real stunning example of Comoy’s Dublin shape. Once again the grain and the way the shape follows the grain is amazing. Give the finish pipe a look in the photos below. I can only tell you that it is much prettier in person than the photos capture. The dimensions of the pipe are Length: 5 ¾ inches, Height: 1 ¾ inches, Outside diameter of the bowl: 1 ¼ inches, Chamber diameter: ¾ of an inch. This English made Comoy’s Specimen Straight Grain Dublin 36 pipe is the pipe of the amazing threesome I have been working on today. Thanks for walking through the restoration with me as I worked over another beautiful pipe. This one will be staying in my collection for now while I think about what to do with it. Thanks for your time.

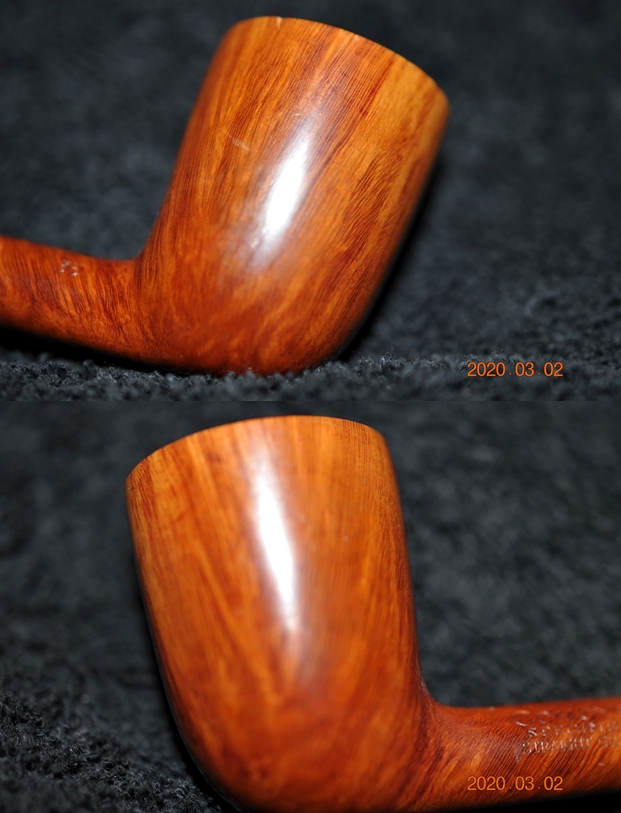
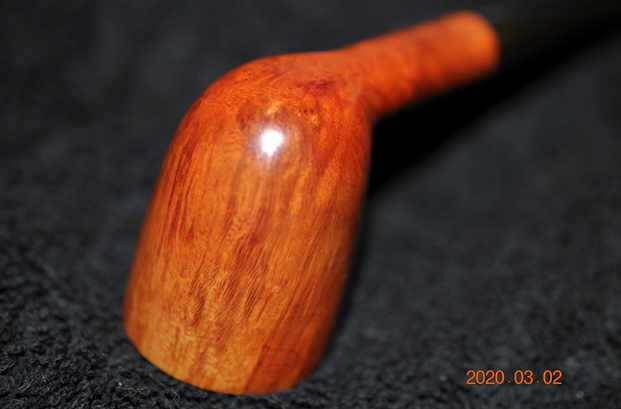
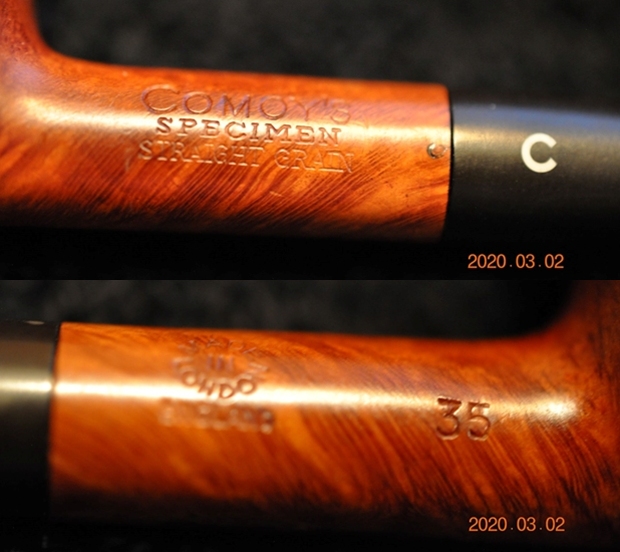
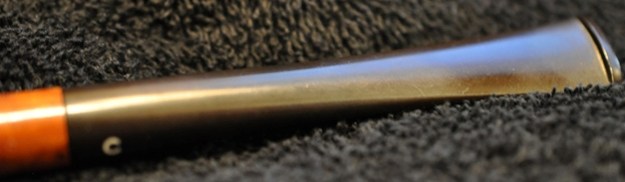
More stunning grain – Cleaning up a Comoy’s Specimen Straight Grain 35 Dublin


Blog by Steve Laug

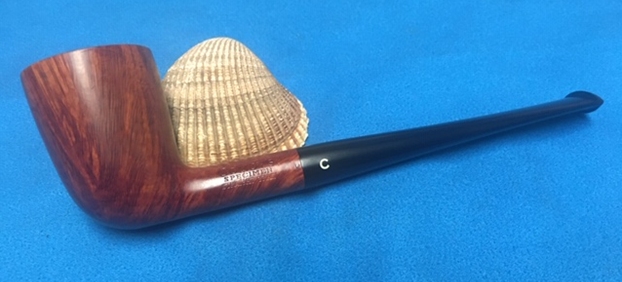
In the last box of pipes Jeff sent me there were three pipes that I left to the end to give my attention too. These were all Comoy’s pipes. The first is the one on the table now – a Comoy’s Blue Riband Prince 228C with stunning grain. The second and third were both Comoy’s Specimen Straight Grain Dublins – the second was a 35 and the third was a little larger, a 36. All of these pipes were drop dead gorgeous.  I have them all on the desk top now looking them over and I am quite honestly stunned by their beauty.The next of those stunning pipe I chose to work on is the pipe in the center of the two photos above. It is 35 Specimen Straight Grain. Comoy’s Specimen Straight Grain pipes are really a special grade of pipe. This is another beautiful piece of pipe maker craftsmanship and in my mind have Comoy’s has never been surpassed. It is stamped on the left side of the shank Comoy’s Specimen Straight Grain and on the right side it bears the 35 shape number near the bowl shank junction and the circular COM stamp that reads Made In London in a circle over England. The “In” is in the centre of the circle. Jeff took some photos of the pipe before he started his cleanup work.He took photos of the bowl and rim top to show their general condition. You can see the tars on the inner edge of the beveled top and a small nick in the outer rim on the right side toward the back. The cake in the bowl is quite thick and there is tobacco debris on the walls of the bowl. The finish on the bowl is dull but still very stunning. Jeff took some photos of the sides and heel of the bowl to give an idea of the grain on this particular piece of briar. It is amazing and I cannot wait to see what it looks like once it is polished and waxed. He took photos of the stamping on both sides of the shank to capture it for me. The first photo shows the left side of the shank and the stamping as noted above it shows the inset three part C inlaid on the side of the stem. The second shows the right side of the shank with the COM stamp and shape number.This pipe also has a slender stem but it is straight and has a great fishtail blade. Once again the surface of the top and underside of the stem is oxidized and dirty but it is quite free of tooth marks and only has a minimum of chatter. I turned to Pipephil’s site to get a quick overview of the Comoy’s Specimen Straight Grain line (http://www.pipephil.eu/logos/en/logo-comoy.html). I have included a screen capture of the pertinent section from the site. The summary to the right of the photos is always succinct and quite pointed. In this case it quotes the Comoy’s 1965 catalogue in saying the Specimen Straight Grain grade: “The rarest and finest of all Comoy pipes.”I turned to Pipedia and reread the history of the Comoy’s brand and focused on the Specimen Straight Grain. Here is the link to the article by the late Derek Green. It is worth a read. (https://pipedia.org/wiki/A_History_Of_Comoy%27s_and_A_Guide_Toward_Dating_the_Pipes). I quote from that article below:

Specimen Straight Grain. I am not sure when this grade was first produced, but it probably appeared just before the Second World War. This certainly was the top grade from its introduction. It is described in my 1965 catalogue as “The rarest and finest of all Comoy pipes. It is so unusual to find a completely perfect straight grain that shapes and quantities are strictly limited.” It was priced at $50 in 1943 and 1965. Jacques Cole recalls that, in the 1950s, there was a very large bent that was reckoned to be about the “perfect” Straight Grain. It was not for sale but used as an exhibition piece and valued then at £500.

I moved forward to work on the pipe itself and see what I had to do with it. It had come back looking amazingly clean. Even the stem looked like new, with most of the tooth chatter gone. I was impressed. Jeff had done his normal thorough clean up – reaming, scrubbing, soaking and the result was evident in the pipe when I unpacked it. I took photos of the pipe before I started my work on it. Just look at the grain on this delicate pipe. Stunning! I took some photos of the rim top and stem. The rim top and bowl looked very good. The cake and lava overflow were gone and the inward beveled rim was very clean. Jeff had been able to get rid of the darkening, lava and tars and left behind a smooth rim top. Even the slight nick on the outside right edge of the rim top looked better. The close up photos of the stem shows that it is a much cleaner and better looking stem. The light tooth chatter was gone and the stem looked really good.I took photos of the stamping on the shank sides to show the condition after the cleanup. Often the stamping takes a hit with the cleaning and is lessened in it clarity. Jeff does a great job in leaving the stamping looking very good.I removed the stem from the shank and took a photo of the pipe at this point. Like other Comoy’s I have worked on this stem had a metal tube in the tenon to strengthen it in what is often a weak point on a pipe.Since the pipe was also in such great condition at this point I started my polishing regimen. I used nine worn micromesh sanding pads and dry sanded the bowl with 1500-12000 grit pads. I wiped the bowl down with a damp cloth after each pad. The bowl really shines by the final three pads. I worked some Before & After Restoration Balm into the surface of the briar with my fingertips to clean, enliven and protect it. I let the balm sit for a little while and then buffed with a cotton cloth to raise the shine. The photos show the bowl at this point in the restoration process. Because the stem was in such great condition I moved direct to polishing it with micromesh sanding pads – dry sanding with 1500-12000 grit sanding pads. I wiped it down after each sanding pad with a cloth containing some Obsidian Oil. I finished polishing it with Before & After Pipe Stem Polish – both Fine and Extra Fine and buffed it off with a cotton cloth. I gave it a coat of Briarville’s No Oxy Oil to preserve and protect the stem. I don’t know how many times I have said this but I love it when I come to the end of a restoration and all of the parts come together and the pipe looks better than when we started the cleanup process. I put the stem back on the bowl and buffed the pipe with Blue Diamond on the buffing wheel. I carefully avoided the stamping on the shank sides during the process. I gave the bowl and stem multiple coats of carnauba wax on the buffing wheel and followed that by buffing it with a clean buffing pad on the buffer. I hand buffed the pipe with a microfiber cloth to deepen the shine. The finished pipe is a real stunning example of Comoy’s Dublin shape. Once again the grain and the way the shape follows the grain is amazing. Give the finish pipe a look in the photos below. I can only tell you that it is much prettier in person than the photos capture. The dimensions of the pipe are Length: 5 ½ inches, Height: 1 ¾ inches, Outside diameter of the bowl: 1 ¼ inches, Chamber diameter: ¾ of an inch. This English made Comoy’s Specimen Straight Grain Dublin 35 pipe is another unique piece of pipe history. Thanks for walking through the restoration with me as I worked over another beautiful pipe. This one will be staying in my collection for now while I think about what to do with it. Thanks for your time.

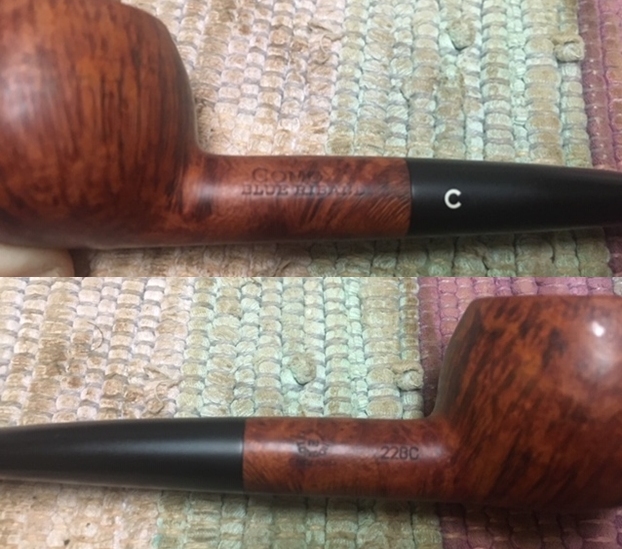
Wow just look at that grain – Cleaning up a Comoy’s Blue Riband 228C Prince


Blog by Steve Laug

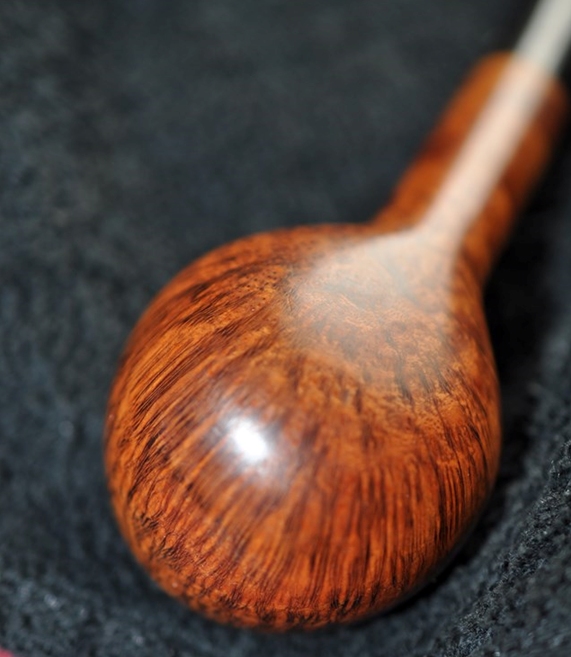
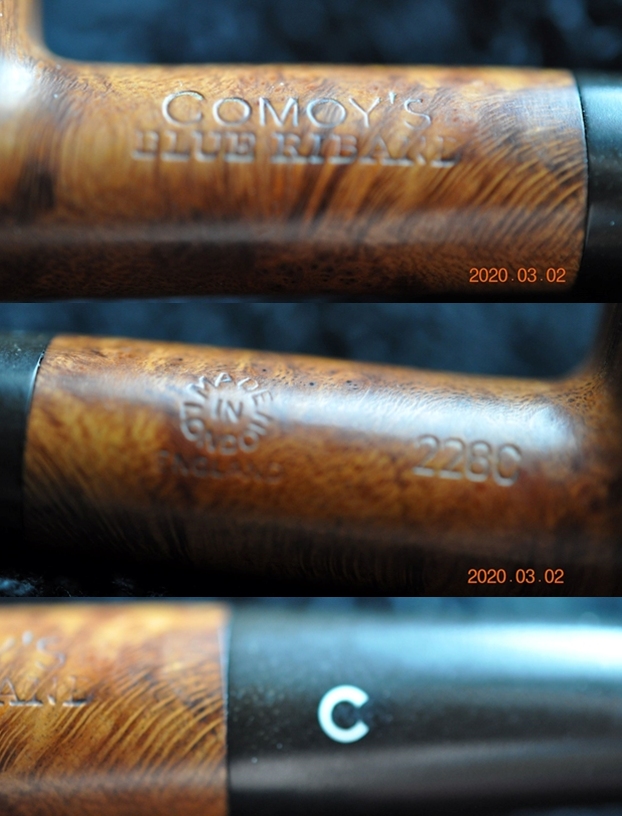
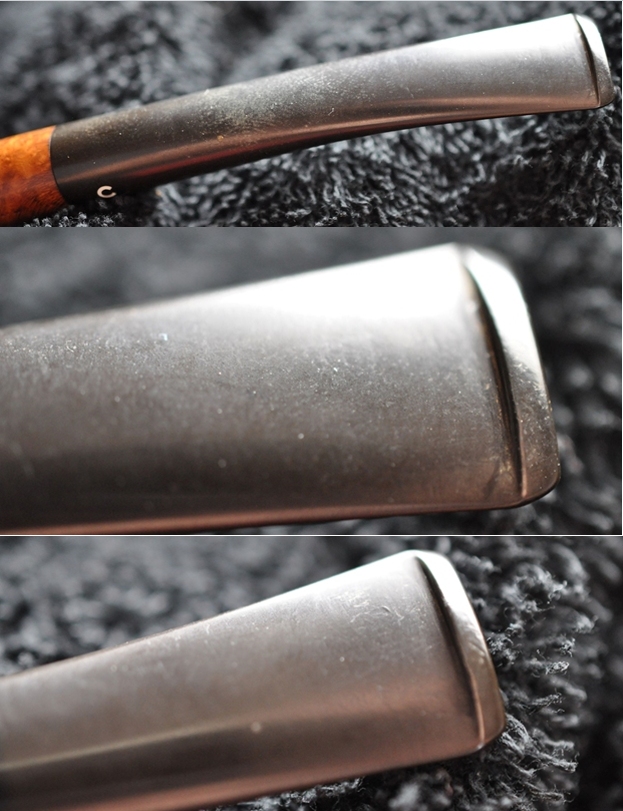
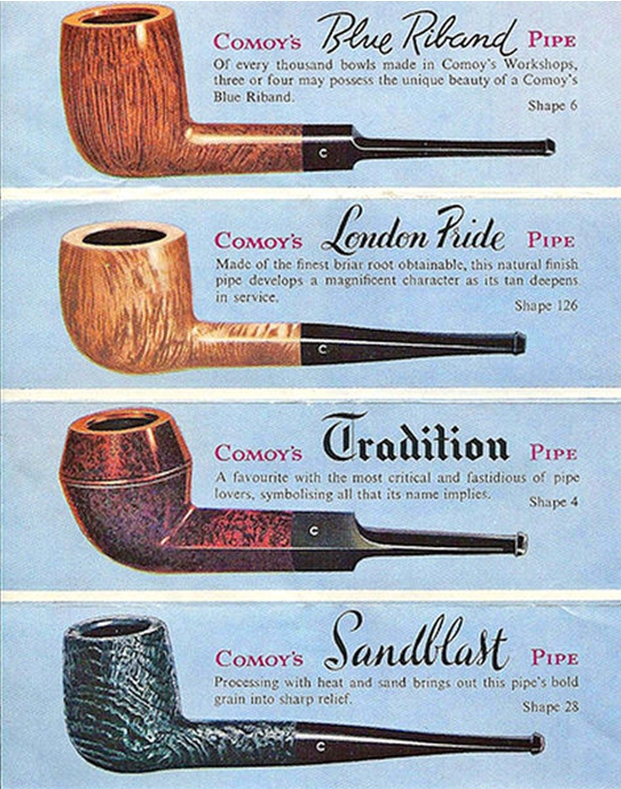
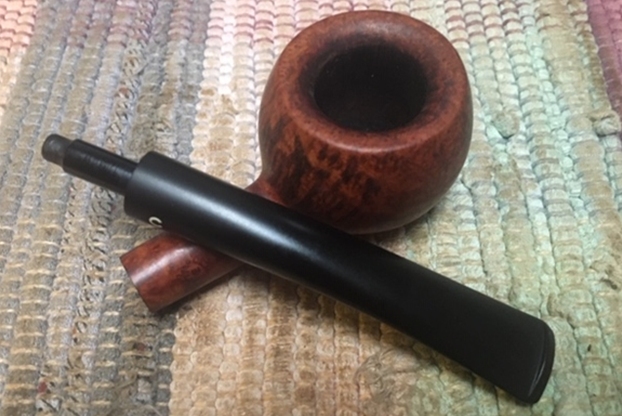
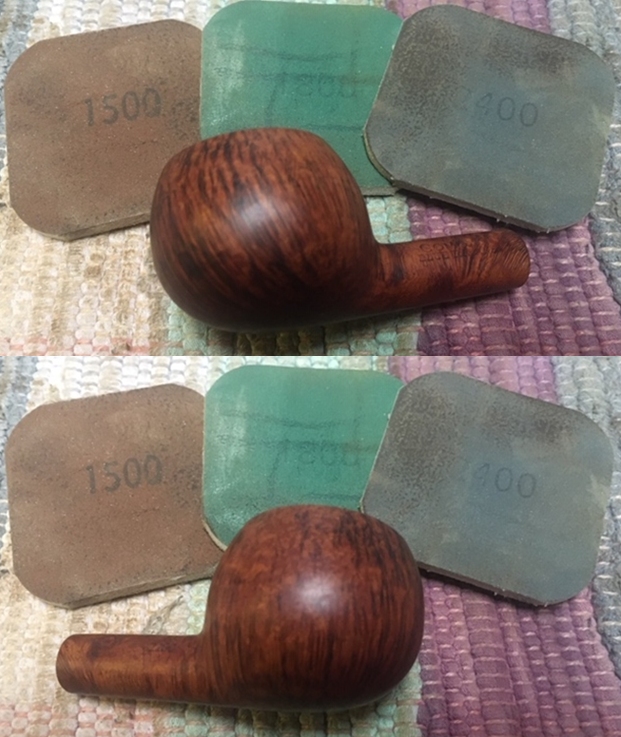
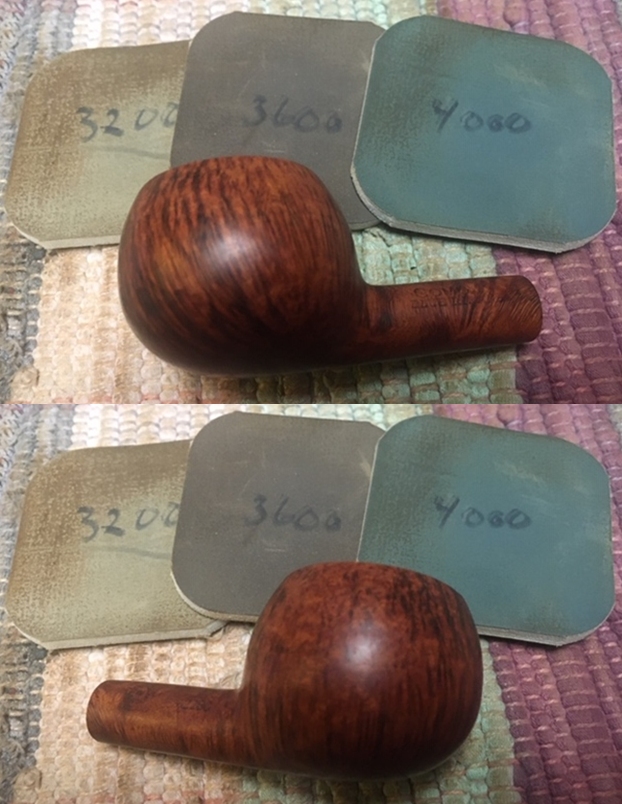
In the last box of pipes Jeff sent me there were three pipes that I left to the end to give my attention too. These were all Comoy’s pipes. The first is the one on the table now – a Comoy’s Blue Riband Prince 228C with stunning grain. The second and third were both Comoy’s Specimen Straight Grain Dublins – the second was a 35 and the third was a little larger, a 36. All of these pipes were drop dead gorgeous.  I have them all on the desk top now looking them over and I am quite honestly stunned by their beauty.Finally I made a decision and chose to work on the 228C Blue Riband Prince first. Comoy’s Blue Riband pipes are really beautiful piece of pipe maker craftsmanship and in my mind have never been surpassed. Neill Archer Roan did a great book of photos on the Comoy’s Blue Riband pipes in his large collection and since that time I am always on the lookout for nice specimens of the brand. I believe that this Prince is just such a pipe. It is stamped on the left side of the shank Comoy’s over Blue Riband and on the right side it bears the 228C shape number near the bowl shank junction and the circular COM stamp that reads Made In London in a circle over England. The “In” is in the centre of the circle. Jeff took some photos of the pipe before he started his cleanup work.He took photos of the bowl and rim top to show their general condition. You can see the tars on the inner edge of the beveled top and a light bit of lava higher up on the right front bevel. The cake in the bowl is quite thick and there is tobacco debris on the walls of the bowl. The finish on the bowl is dull but still very stunning. Jeff took some photos of the sides and heel of the bowl to give an idea of the grain on this particular piece of briar. It is amazing and I cannot wait to see what it looks like once it is polished and waxed. He took photos of the stamping on both sides of the shank to capture it for me. The first photo shows the left side of the shank and the stamping as noted above. The second shows the right side of the shank with the COM stamp and shape number. The final photo in this set shows the three part inlaid C on the left side of the taper stem.The slender stem sets a jaunty profile for the pipe with its slight bend. The surface of the top and underside of the stem is oxidized and dirty but it is quite free of tooth marks and only has a minimum of chatter.I turned to Pipephil’s site to get a quick overview of the Comoy’s Blue Riband line (http://www.pipephil.eu/logos/en/logo-comoy.html). I have included a screen capture of the pertinent section from the site. The summary to the right of the photos is always succinct and quite pointed. In this case also talking about the 3 part inlaid logo on the stem.I turned to Pipedia and reread the history of the Comoy’s brand and a bit about the various lines of the brand (https://pipedia.org/wiki/Comoy%27s). I have included two catalogue pages from the site for easy reference on the Blue Riband line. The information given in both of them is quite interesting to note. I moved forward to work on the pipe itself and see what I had to do with it. It had come back looking amazingly clean. Even the stem looked like new, with most of the tooth chatter gone. I was impressed. Jeff had done his normal thorough clean up – reaming, scrubbing, soaking and the result was evident in the pipe when I unpacked it. I took photos of the pipe before I started my work on it.  I took some photos of the rim top and stem. The rim top and bowl looked very good. The cake and lava overflow were gone and the inward beveled rim was very clean. Jeff had been able to get rid of the lava and tars and left behind a smooth rim top. The close up photos of the stem show that it is a much cleaner and better looking stem. The light tooth chatter was gone and the stem looked really good.I took some photos of the stamping on the shank sides to show the condition after the cleanup. Often the stamping takes a hit with the cleaning and is lessened in it clarity. Jeff does a great job in leaving the stamping looking very good.I removed the stem from the shank and took a photo of the pipe at this point. Like other Comoy’s I have worked on this stem had a metal tube in the tenon to strengthen it in what is often a weak point on a pipe.Since the pipe was in such great condition at this point I started my polishing regimen. I used nine worn micromesh sanding pads and dry sanded the bowl with 1500-12000 grit pads. I wiped the bowl down with a damp cloth after each pad. The bowl really shines by the final three pads. I worked some Before & After Restoration Balm into the surface of the briar with my fingertips to clean, enliven and protect it. I let the balm sit for a little while and then buffed with a cotton cloth to raise the shine. The photos show the bowl at this point in the restoration process. Because the stem was in such great condition I moved direct to polishing it with micromesh sanding pads – dry sanding with 1500-12000 grit sanding pads. I wiped it down after each sanding pad with a cloth containing some Obsidian Oil. I finished polishing it with Before & After Pipe Stem Polish – both Fine and Extra Fine and buffed it off with a cotton cloth. I gave it a coat of Briarville’s No Oxy Oil to preserve and protect the stem. I love it when I come to the end of a restoration and all of the parts come together and the pipe looks better than when we started the cleanup process. I put the stem back on the bowl and buffed the pipe with Blue Diamond on the buffing wheel. I carefully avoided the stamping on the shank sides during the process. I gave the bowl and stem multiple coats of carnauba wax on the buffing wheel and followed that by buffing it with a clean buffing pad on the buffer. I hand buffed the pipe with a microfiber cloth to deepen the shine. The finished pipe is a real stunning example of Comoy’s mastery of the Prince shape. The grain and the way the shape follows the grain is amazing. Give the finish pipe a look in the photos below. I can only tell you that it is much prettier in person than the photos capture. The dimensions of the pipe are Length: 5 ¾ inches, Height: 1 ¼ inches, Outside diameter of the bowl: 1 ¼ inches, Chamber diameter: ¾ of an inch. This English made Comoy’s Blue Riband pipe is a unique piece of pipe history. Thanks for walking through the restoration with me as I worked over another beautiful pipe. This one will be staying in my collection for now as I have nothing like it. Thanks for your time.

Restoring an Orlik H182 Hurricane Billiard


Blog by Steve Laug

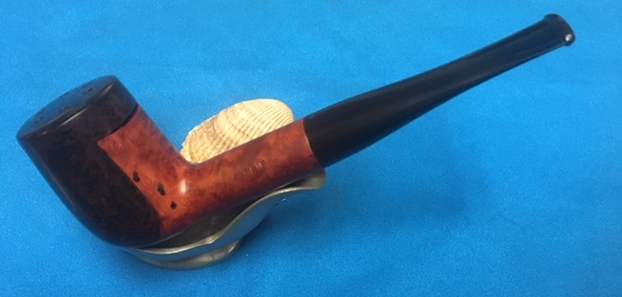
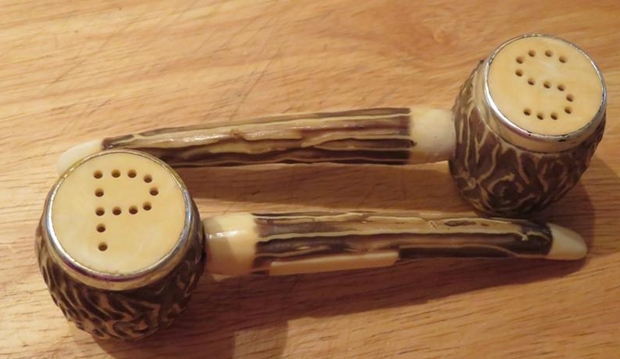
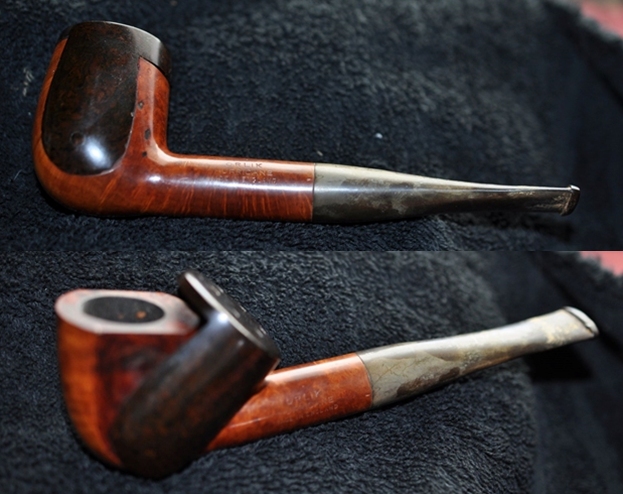
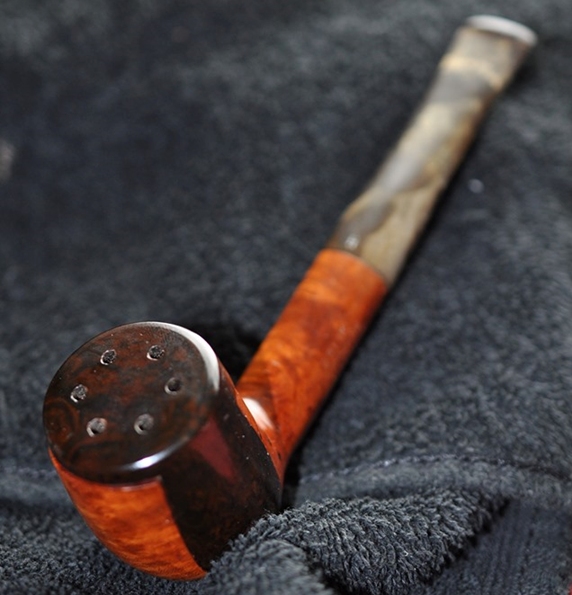
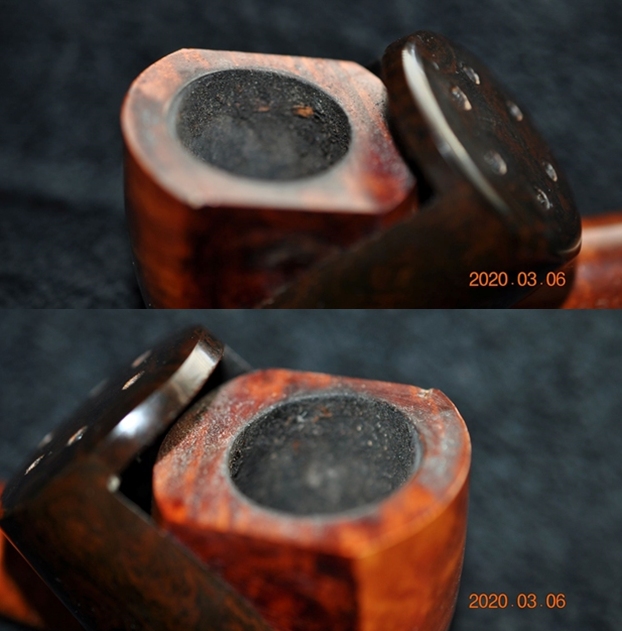
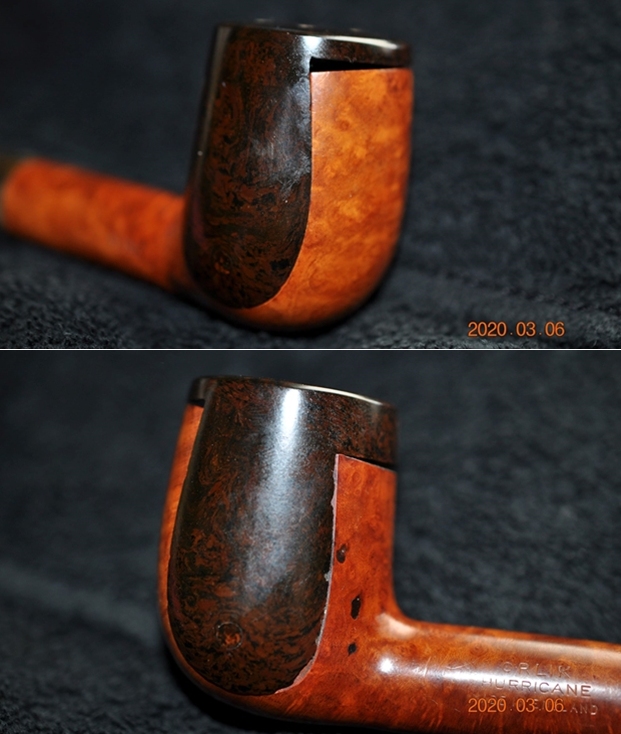
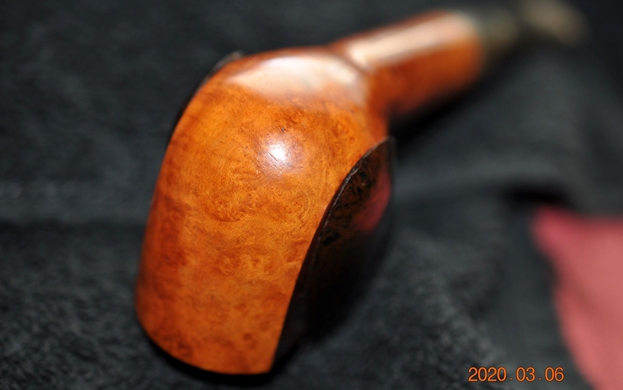
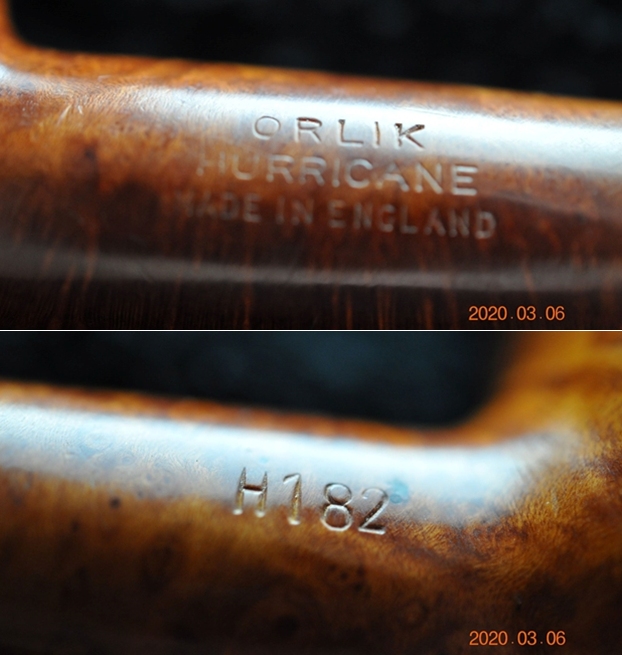
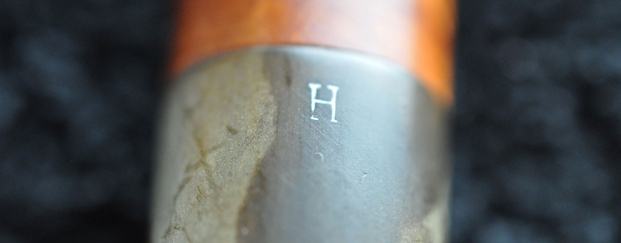
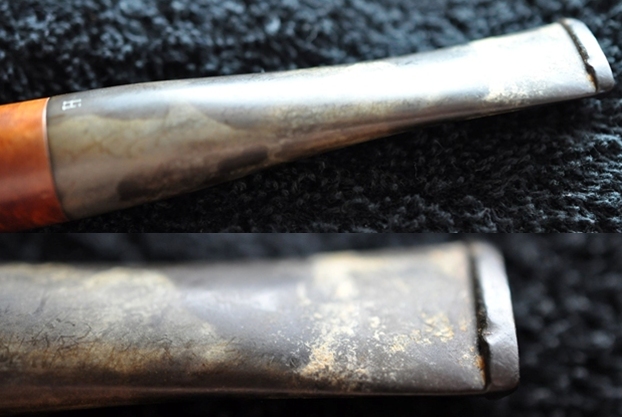
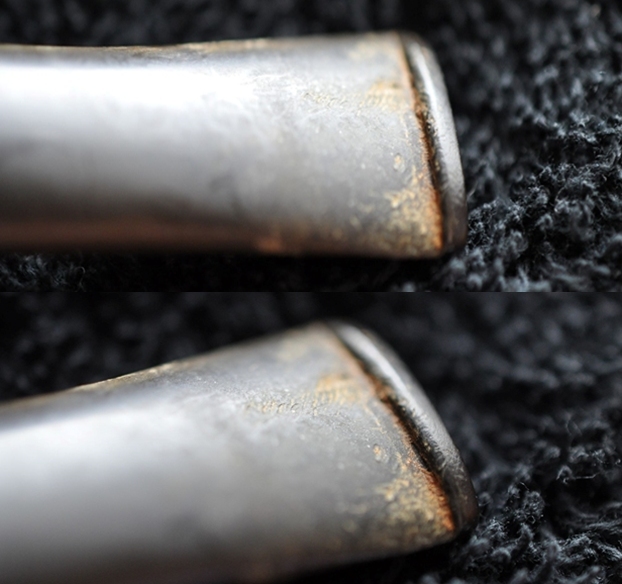
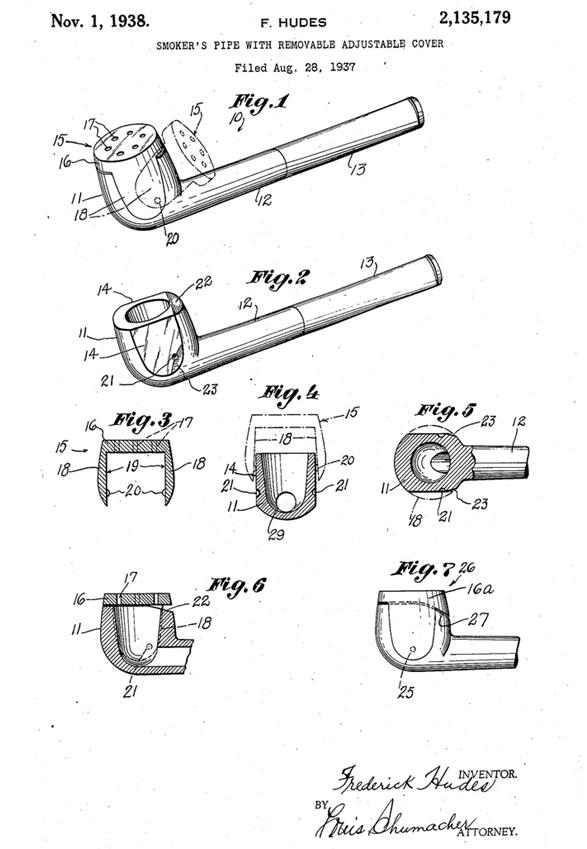
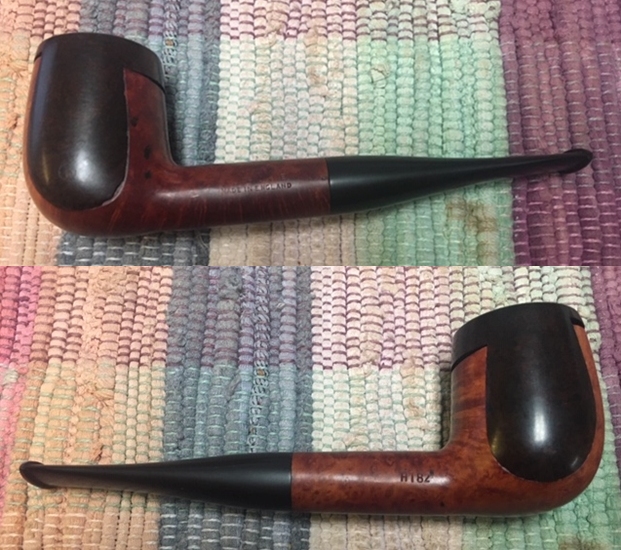
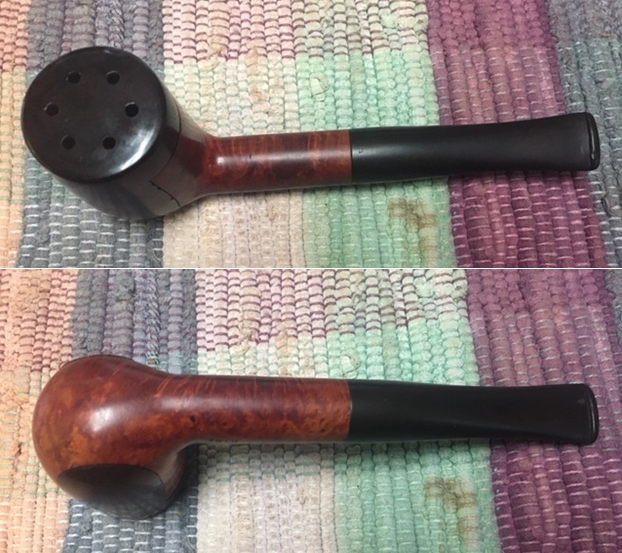
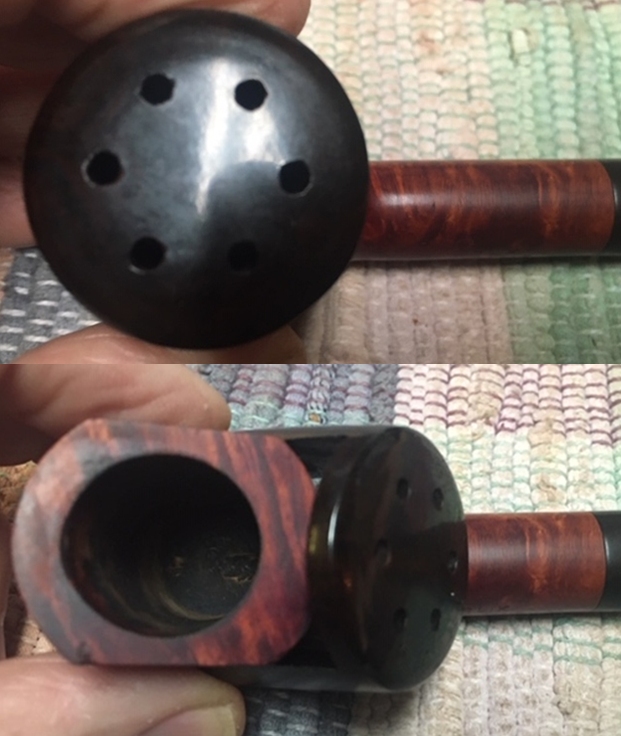
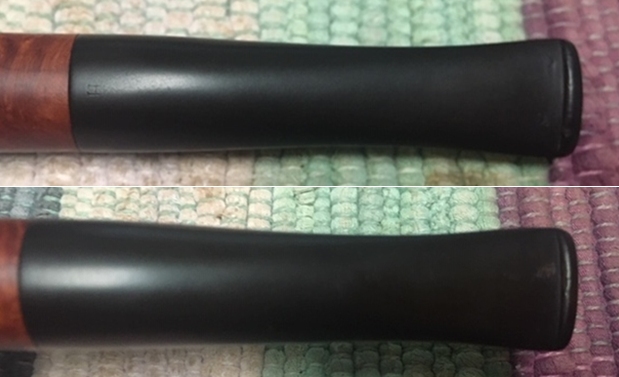
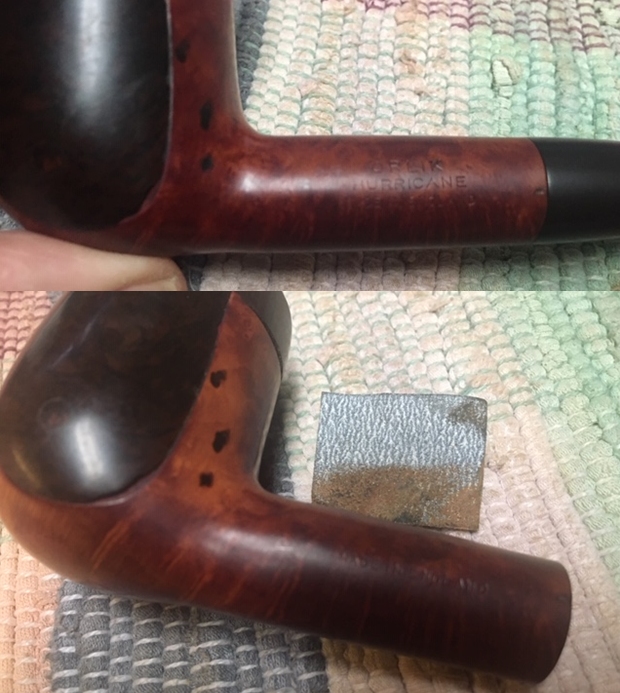
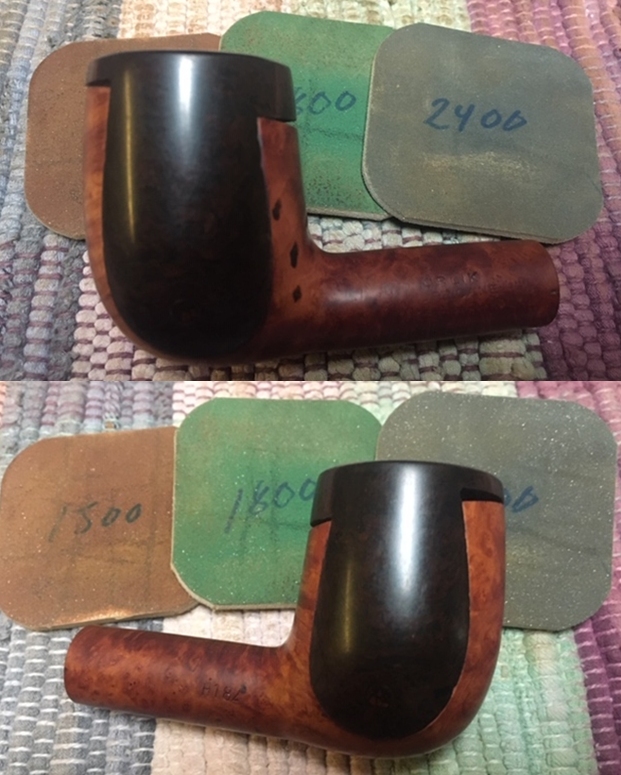
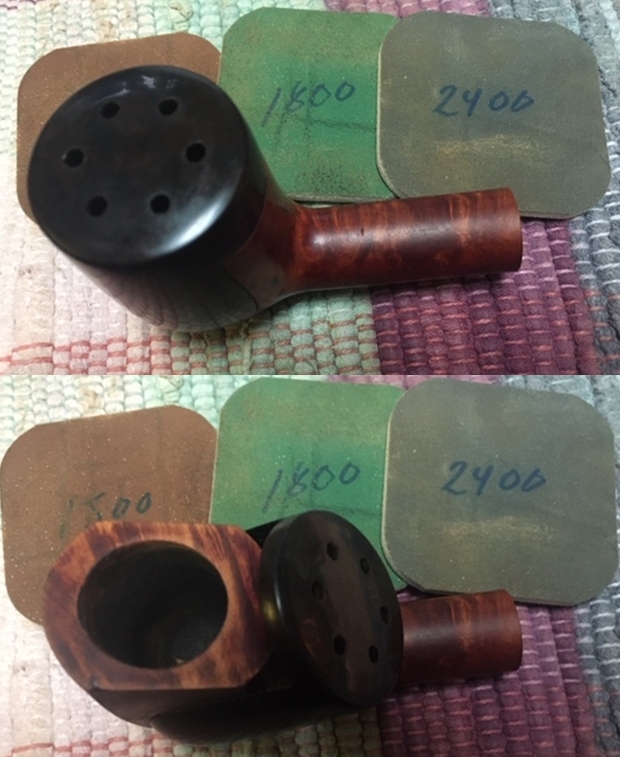
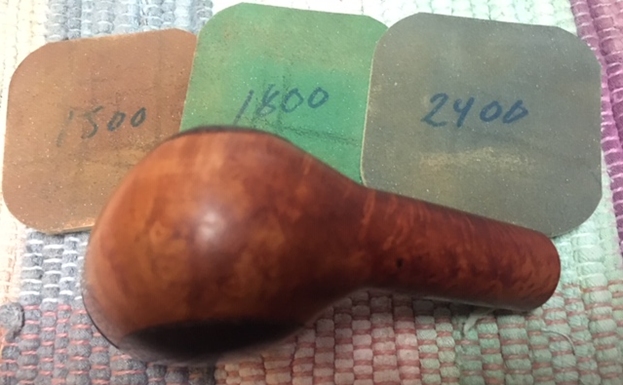
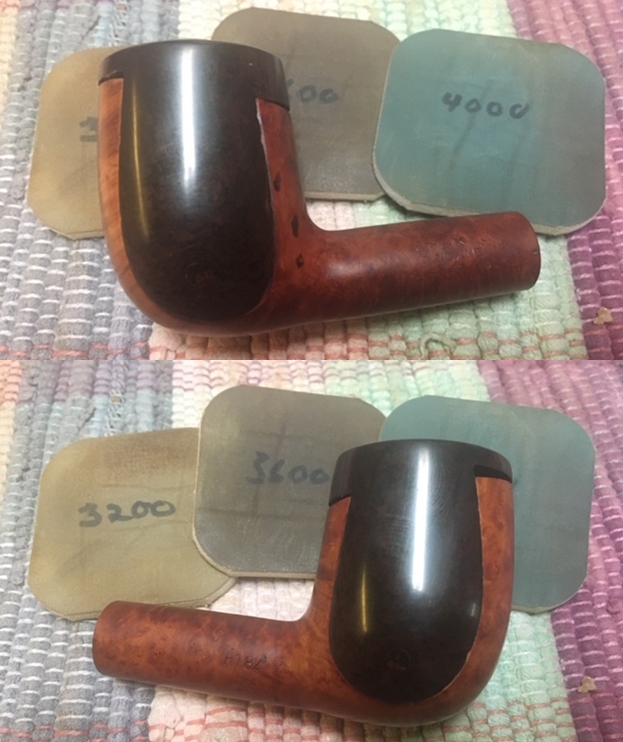
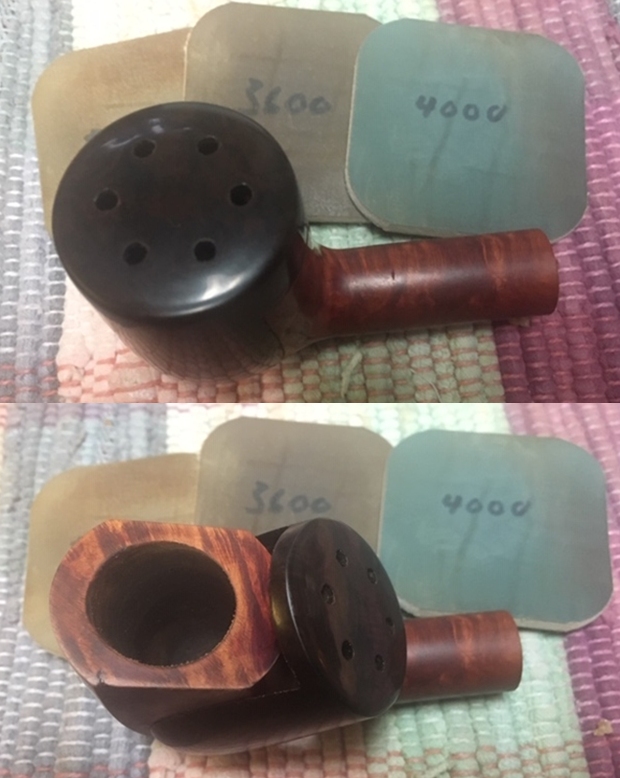
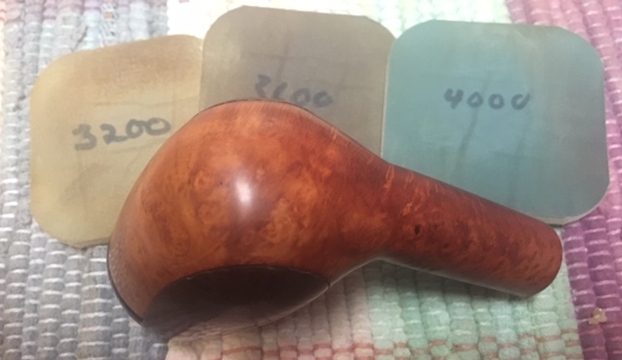
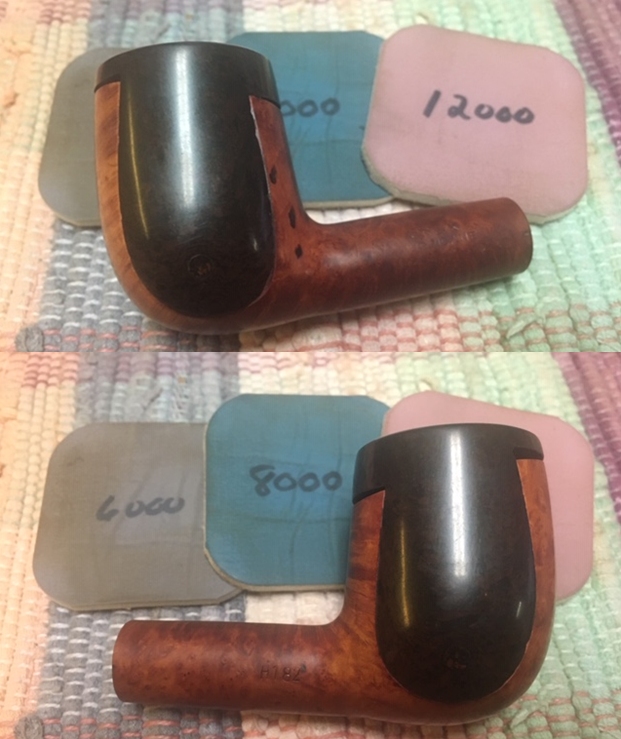
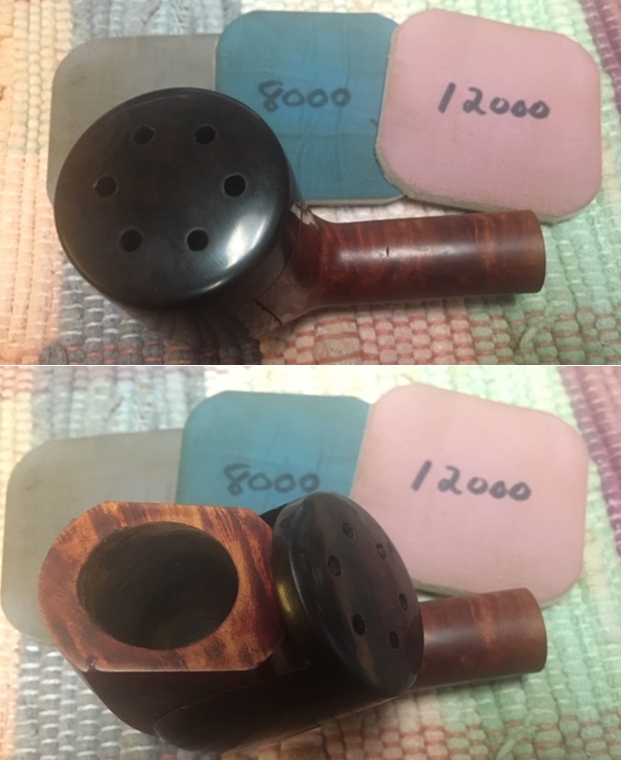
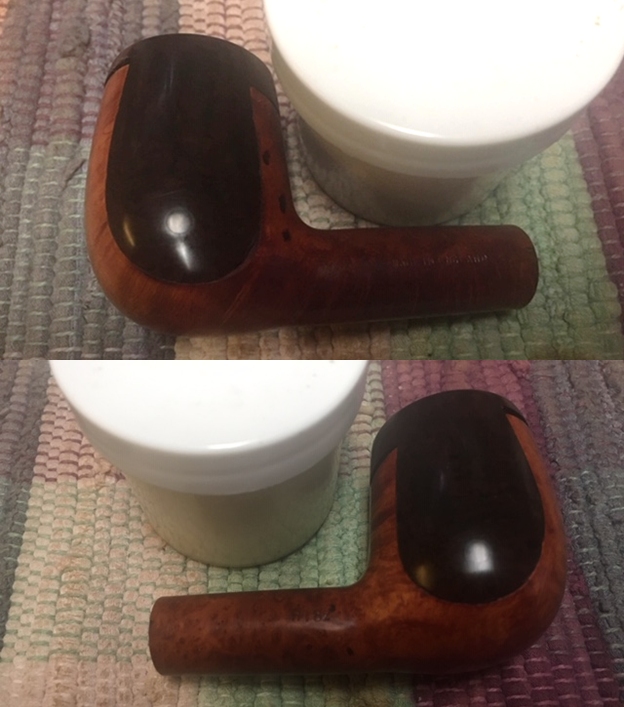
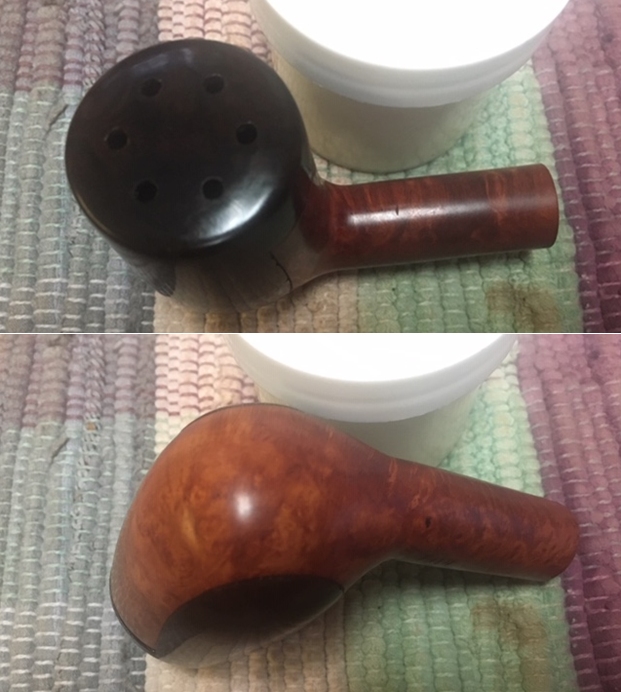
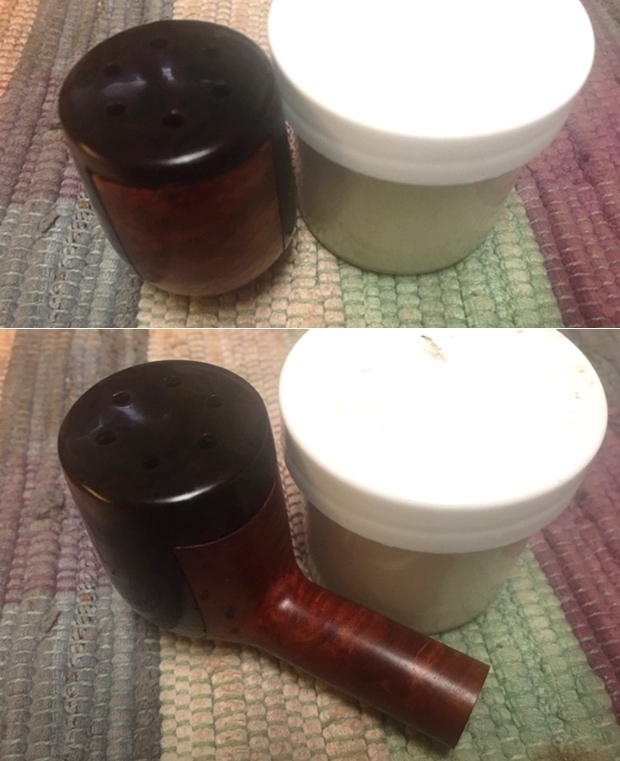
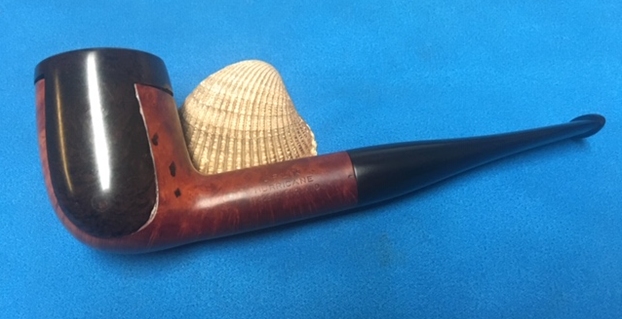
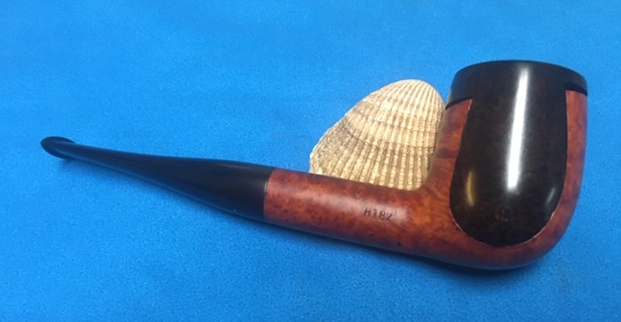
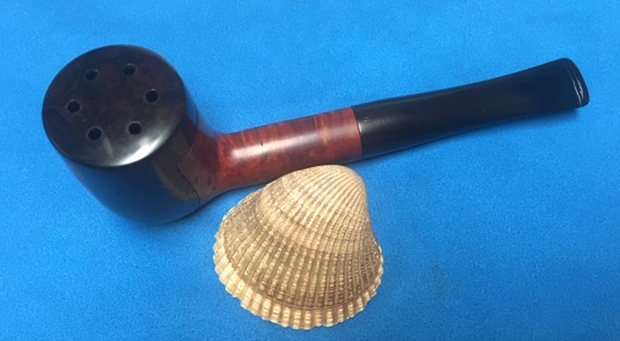
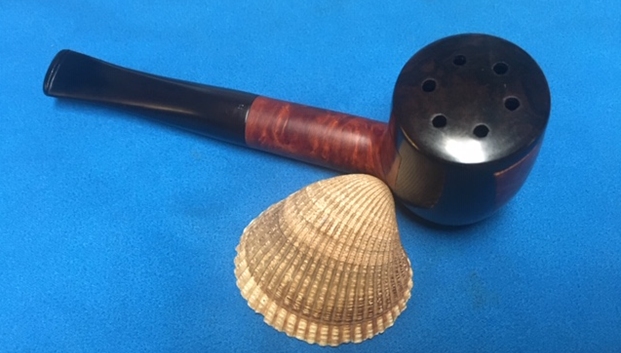
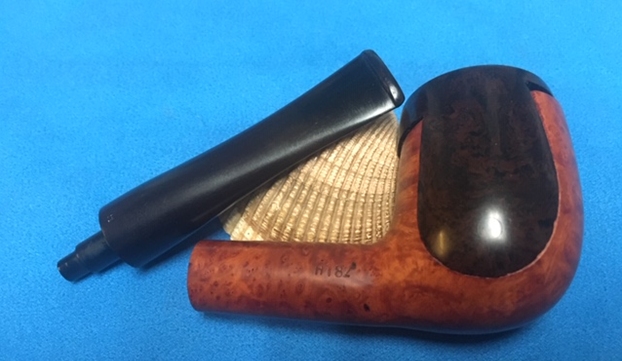
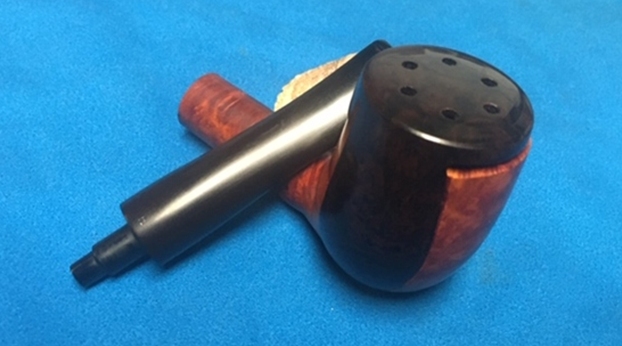
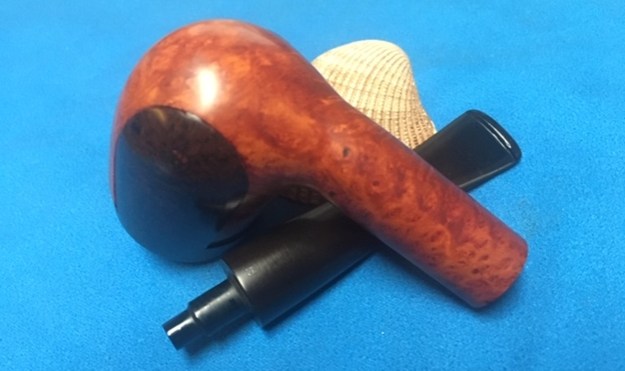
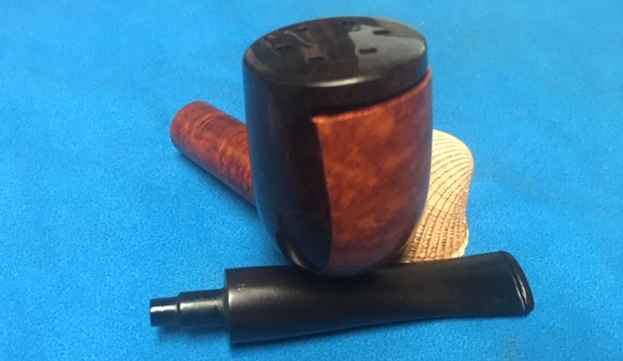
I have worked on a few Hurricane pipes in the past so I was familiar with the brand on the work table next. This one is stamped Orlik Hurricane over Made in England on the left side of the shank and the shape number H182 is stamped on the right side of the shank. The one I did most recently was a Hurricane Lovat (https://rebornpipes.com/2019/07/13/new-life-for-a-hurricane-standard-lovat/). This one was different in that it was a smooth finished pipe. I also was stamped Orlik. There was some great grain around the bowl but there were also some fills on the left of the bowl near the flip cap. The Hurricane pipes always remind me of these Salt and Pepper shaker pipes that were the bread and butter of most tourist spots in the US. In the recesses of my memory it seems like we had a set from Yellowstone National Park…but Jeff may correct my memory. Whatever the case this is what comes to my mind when I see the Hurricane pipes.Now to the pipe at hand. The rim top under the cap was very dirty with lava overflow and there was a thick cake in the bowl. The finish was dirty with sticky spots on the bowl sides and shank. The Bakelite cover on the bowl had some small chips along the edges. With the cap opened the sides of the bowl were also very dirty. The airholes in the top of the cap were also filled in with tars and oils. The stem was heavily oxidized and there were tooth marks on both sides near the button. It was a dirty pipe. Jeff took photos of the pipe before he started to clean it. He took some photos of the rim top with the cover tip back and with it in place to show the general condition of the pipe. You can see the cake in the bowl and the lava on the rim in the photos. He followed those with photos of the cap in place. You can see the fills on the left side of the bowl along the cap edge. The final photo of this set shows the heel of the bowl and the grain that is visible there. He also took some photos of the stamping on both sides of the shank. They are clear and readable. There was also an H on the stem top that is faint but hopefully salvageable. The next series of photos give a clearer picture of the condition of the stem. The first photo below shows the full length and profile of the heavily oxidized and stained vulcanite stem. The second photos shows the calcification on the stem ahead of the button. The next two photos show the surface of the top and underside of the stem. You can see the light tooth marks and chatter both on the button surface and on the blade itself.

I am including the link to the last Hurricane pipe I worked on. Give the blog a read if you are interested (https://rebornpipes.com/2019/07/13/new-life-for-a-hurricane-standard-lovat/). I am quoting from the background information to the brand that I included in that blog. I also darkened a portion of the quote that pertains to the Orlik pipe I am working on now.

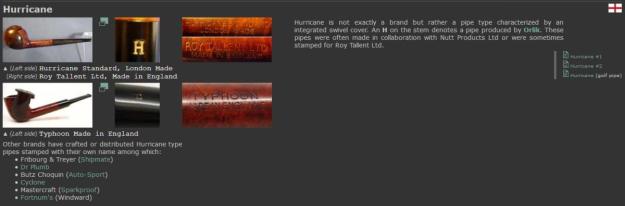
I looked up the Hurricane Standard pipe on the Pipephil Site to see what I could find out about the maker (http://www.pipephil.eu/logos/en/logo-h4.html). I quote in full the information included in the sidebar of the listing.

Hurricane is not exactly a brand but rather a pipe type characterized by an integrated swivel cover. An H on the stem denotes a pipe produced by Orlik. These pipes were often made in collaboration with Nutt Products Ltd or were sometimes stamped for Roy Tallent Ltd.

I include a screen capture of the listing from Pipephil as well. Note the various brands that made a Hurricane pipe with the same style or similar style wind cap. Note also that the one I have is made by Roy Tallent Ltd. of Old Bond Street. It bears the same H stamp on the top of the saddle stem as the pipes in the photo below.From that link I did a bit of search for the Fortnum brand. I found a listing for the brand on Pipedia. It said: Fortnum & Mason, the famed London department store in operation since 1707, has among countless other products sold its own line of pipes. One of the most notable was Fortnum’s Windward, a “Hurricane” type pipe with a built in swiveling windcap. The pipe was made following the design of Frederick Hudes, who received a patent for the pipe in the U.S. numbered 2135179 in 1938 (https://pipedia.org/wiki/Fortnum_%26_Mason). I have included the Patent drawings below. Armed with that information I moved forward to work on the pipe itself and see what I had to do with it. It had come back looking amazingly clean. Even the stem looked like new other than a few deep tooth marks. The Bakelite rim cap looked very good. I was impressed. Jeff had done his normal thorough clean up – reaming, scrubbing, soaking and the result was evident in the pipe when I unpacked it. I took photos of the pipe before I started my work on it. I took some photos of the rim top with the cap in place and with it tipped back. The rim top and bowl looked very good. The cake and lava overflow were gone and the Bakelite was very clean. The close up photos of the stem show that it is a much cleaner and better looking stem. There are some small deep tooth marks on both sides just ahead of the button and one mark on the top side of the button itself. To begin my part of the restoration work I decided to smooth out the three fills on the left side of the bowl near the edge of the flip cap. They are shown in the first photo below as three blackened dots running vertically along the cap. There rough to the touch and bumpy feeling. I sanded them smooth with a folded piece of 220 grit sandpaper and blended them into the surface. They still stick out but at least they are smooth!I decided to polish the briar and the Bakelite flip cap with micromesh sanding pads – wet sanding with 1500-12000 grit pads. I wiped the bowl and cape down after each pad with a damp cloth. The bowl begins to shine with the transition to each new pad. After the final polishing pad it looks great. I worked some Before & After Restoration Balm into the surface of the briar with my fingertips to clean, enliven and protect it. I also rubbed it into the Bakelite cap. I let the balm sit for a little while and then buffed with a cotton cloth to raise the shine. The photos show the bowl at this point in the restoration process. I set the bowl aside and turned my attention to the stem. The stem was very clean so I filled in the tooth marks and built up the button with clear super glue and set it aside to cure. Once it had cured I flattened out the repairs and sharpened the edge of the button with a needle file. I sanded out the tooth chatter and blended in the repairs with 220 grit sandpaper and started to polish it with a folded piece of 400 wet dry sandpaper. Once it was finished it was smooth.I used some Denicare Mouthpiece Polish that I have in my kit to start polishing out some of the scratches and remaining oxidation on the stem. I rubbed it in with a cotton pad and my finger tip and buffed it off with a cotton pad.The H stamp on the stem was quite faint but I thought that I might be able to get a bit of it to show. I put some Liquid Paper in the faint marks on the top of the stem and let them dry. I scraped off the excess and you can see the faint H in the second photo. While it is not perfect it is at least visible.I polished the stem with micromesh sanding pads – wet sanding with 1500-12000 grit sanding pads. I wiped it down after each sanding pad with some Obsidian Oil. I finished polishing it with Before & After Pipe Stem Polish – both Fine and Extra Fine and buffed it off with a cotton cloth. I gave it a coat of Briarville’s No Oxy Oil to preserve and protect the stem. This is a Hurricane Billiard with the Orlik stamp on the shank is a real beauty with a tapered black vulcanite stem. It has a great look and feel. I polished stem and the bowl with Blue Diamond polish on the buffing wheel. I gave the bowl, the Bakelite flip cap and the stem multiple coats of carnauba wax. I buffed the pipe with a clean buffing pad to raise the shine. I hand buffed it with a microfiber cloth to deepen the shine. The pipe polished up pretty nicely. The rich combination of browns of the briar and dark brown of the Bakelite took on life with the buffing. The rich colour of the briar works well with the polished vulcanite stem. I like the grain and finished look of this Hurricane pipe. Have a look at it with the photos below. The shape, finish and flow of the pipe and stem are very well done. The dimensions are Length: 6 inches, Height: 2 inches, Outside diameter of the bowl: 1 ¼ inches, Chamber diameter: ¾ of an inch. This English made Hurricane pipe is a unique piece of pipe history. Thanks for walking through the restoration with me as I worked over another beautiful pipe. This one will be going on the rebornpipes store in the English Pipe Making Companies section shortly if you would like to add it to your collection. Thanks for your time.

Restoring a Lovely Cala Lily Shaped Erik Nording Signed Freehand


Blog by Steve Laug

My brother Jeff picked up this interesting looking freehand pipe on one of his adventures pipe hunting. It had really nice grain and remnants of plateau on the top of the rim and one spot on the left side end of the shank. There was something familiar about the shape of carving that reminded me of a flower that I have grown. It dawned on me this morning while I worked on it that it reminded me of a Cala Lily (pictured to the left). The flow of the shape of the bowl with the extended lip on the front and the grooves flowing up the side and back of the bowl look a lot like the shape of this lily. It is a beautiful pipe that is signed on the left side of the shank with Erik Nording’s signature.

The pipe has the signature as noted above but it was also stamped on the underside of the shank and read: Handmade by Erik Nording. The finish on this pipe was dirty with dust and a light lava coat on the edge of the plateau top. The bowl was lined with a thick cake. The smooth finish was also dirty and dull looking. The finish looks good under the grime and dust. The bits of plateau should clean up well. The stem is a turned fancy turned vulcanite stem with the stylized N of the Nording logo on the top of the saddle. The fit of the stem to the shank was snug. There were light tooth marks and chatter on both sides of the stem at the button. Otherwise it was a very clean stem. Jeff took of the pipe to show the overall condition of the bowl and stem. You can also see why I was reminded of the Cala Lily.He took close up photos of the bowl and rim top from different angles to show the condition of the rim top and the plateau finish. You can see the lava and build up on the rim top and the lava flowing over the inner edge of the bowl onto the plateau. It is hard to know if there is damage or if the lava protected it. The bowl has a thick cake that lining the walls and overflowing into lava. He took photos of the sides and heel of the bowl to show the lay of the grain and the carvings around the pipe. It is a nice piece of briar. The top of the bowl is floral looking. Unique! The shank end is smooth with one small piece of plateau on the left side of the shank toward the end. Jeff took a photo of Erik Nording’s signature on the left side of the shank. It appears to have been done with Black permanent marker. He also took a photo of the stamping on the underside of the shank which read Handmade by Erik Nording. The first photo below shows the full length and profile of the fancy turned vulcanite stem. The next two photos show the surface of the top and underside of the stem. You can see the light tooth marks and chatter both on the button surface and on the blade itself. Erik Nording is a living pipe carver from Denmark. He is still carving and the information on Pipedia and Pipephil is helpful to get a feel for the brand. Give those articles a look if you want a good summary of the information. I have included the links to both of those articles for easy access.
https://pipedia.org/wiki/N%C3%B8rding

http://www.pipephil.eu/logos/en/logo-n2.html

I moved forward to work on the pipe itself and see what I had to do with it. It had come back amazingly clean. Jeff had done his normal thorough clean up – reaming, scrubbing, soaking and the result was evident in the pipe when I unpacked it. I took photos of the pipe before I started my work on it. I took some photos of the rim top and stem to show the condition of them both when it arrived. Overall it looked good. The valleys of the plateau were finished in black but they were worn. The rim top was very clean. The stem looked amazingly good. The chatter on the stem surfaces was gone and the surface was clean.I took photos of the stamping on the underside of the shank and the signature on the left side. Both look to be in very good condition.To begin my part of the restoration work I decided to use a Black stain pen to fill in the crevices of the plateau top and give some contrast to the smooth high spots. I like this look as it give depth to the surface of the rim top.I polished the bowl with micromesh sanding pads – wet sanding with 1500-12000 grit pads. I wiped the briar down after each pad with a damp cloth. The bowl is starting to look very good. I worked some Before & After Restoration Balm into the surface of the briar with my fingertips and into the plateau rim top and shank end with a horsehair shoe brush to clean, enliven and protect it. I let the balm sit for a little while and then buffed with a cotton cloth to raise the shine. The photos show the bowl at this point in the restoration process. I set the bowl aside and turned my attention to the stem. I sanded out the tooth chatter and blended in the repairs with 220 grit sandpaper and started to polish it with a folded piece of 400 wet dry sandpaper. Once it was finished it began to shine.I used some Denicare Mouthpiece Polish that I have in my kit to start polishing out some of the scratches and remaining oxidation on the stem. I rubbed it in with a cotton pad and my finger tip and buffed it off with a cotton pad.I polished the stem with micromesh sanding pads – wet sanding with 1500-12000 grit sanding pads. I wiped it down after each sanding pad with some Obsidian Oil. I touched up the N stamp on the top of the stem with some Paper Mate Liquid Paper. I applied it with a tooth pick on the surface of the stem. Once it had dried I scraped off the excess Liquid Paper off the stem with the tooth pick. I finished polishing it with Before & After Pipe Stem Polish – both Fine and Extra Fine and buffed it off with a cotton cloth.This is another beautiful Freehand pipe. It is an Erik Nording Handmade with a fancy, turned, black acrylic stem. To me it has the look of a Cala Lily with the flared top edges and carved valleys in the sides of the bowl. It looks a lot like the photo I posted at the top of this blog. Once again the shape fits well in my hand with the curve of the bowl and shank junction a perfect fit for the thumb around the bowl when held. I polished stem and the bowl with Blue Diamond polish on the buffing wheel. I gave the plateau on the rim top multiple coats of Conservator’s Wax. I gave the bowl and the stem multiple coats of carnauba wax. I buffed the pipe with a clean buffing pad to raise the shine. I hand buffed it with a microfiber cloth to deepen the shine. The pipe polished up pretty nicely. The rich combination of browns and black in the smooth finishes and the plateau areas took on life with the buffing. The rich colour of the briar works well with the polished vulcanite stem. I like the grain and finished look of this Nording pipe. Have a look at it with the photos below. The shape, finish and flow of the pipe and stem are very well done. The dimensions are Length: 6 inches, Height: 2 ½ inches, Outside diameter of the bowl: 1 ½  wide x 2 inches long, Chamber diameter: 1 inch. This Danish Freehand is a real beauty. Thanks for walking through the restoration with me as I worked over another beautiful pipe. This one will be going on the rebornpipes store in the Danish Pipe Making Section shortly if you would like to add it to your collection. Thanks for your time.