Tag Archives: removing oxidation

Repairing a Cracked Shank and a Chipped Stem on a Dr. Plumb Bulldog


Blog by Steve Laug

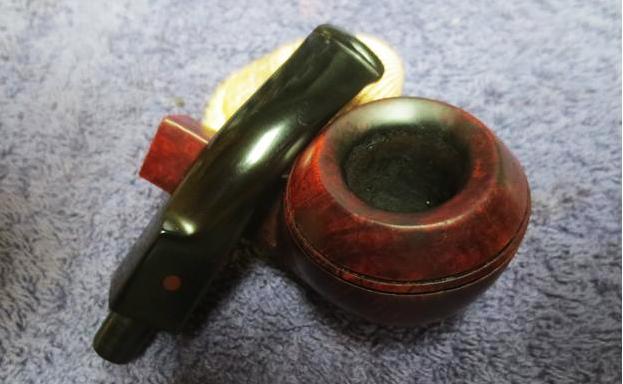
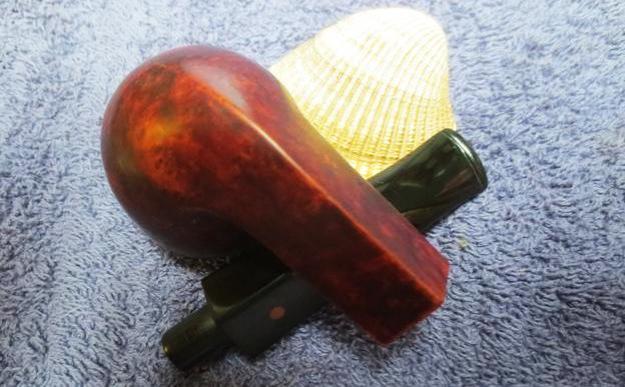
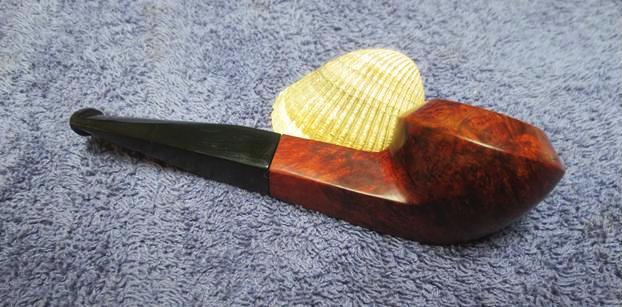
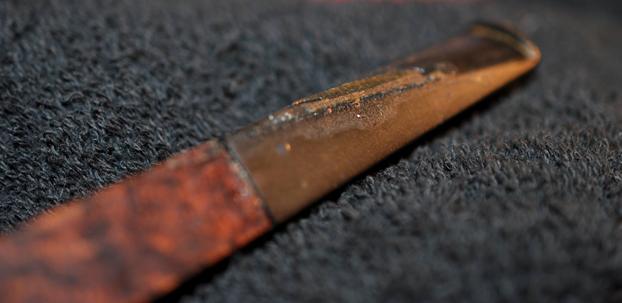
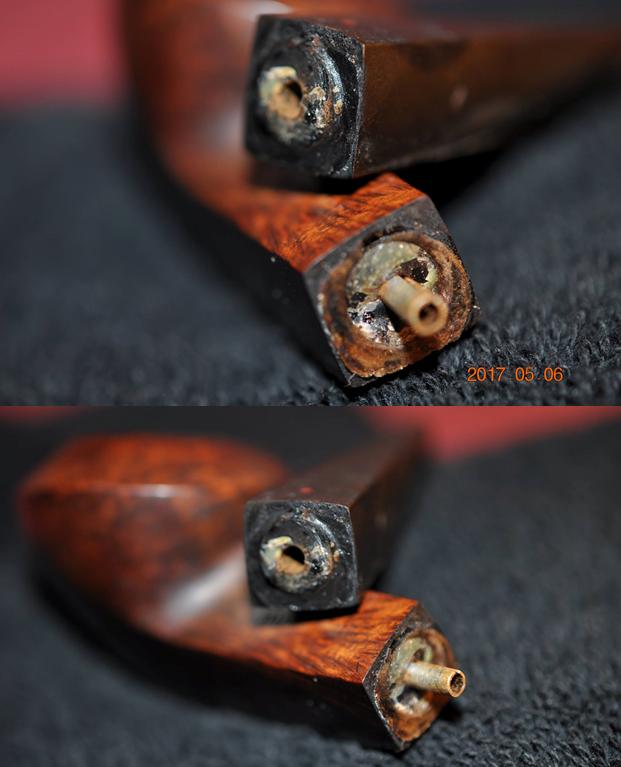
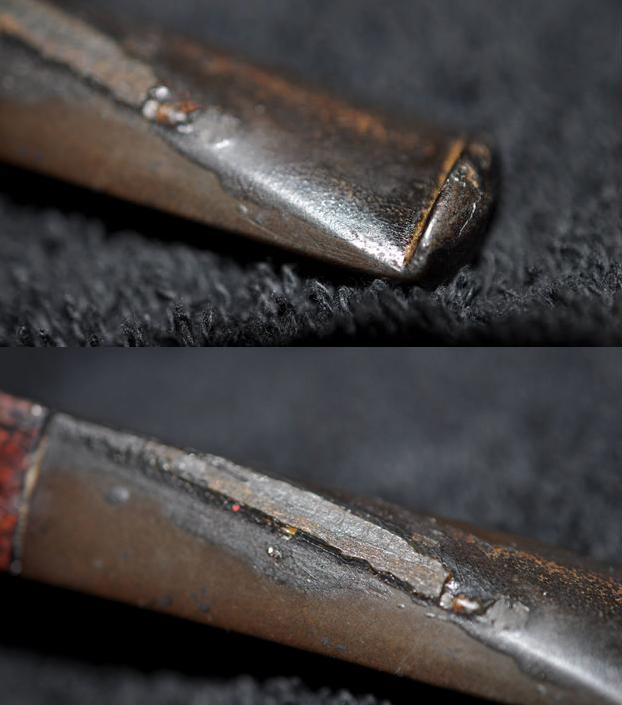
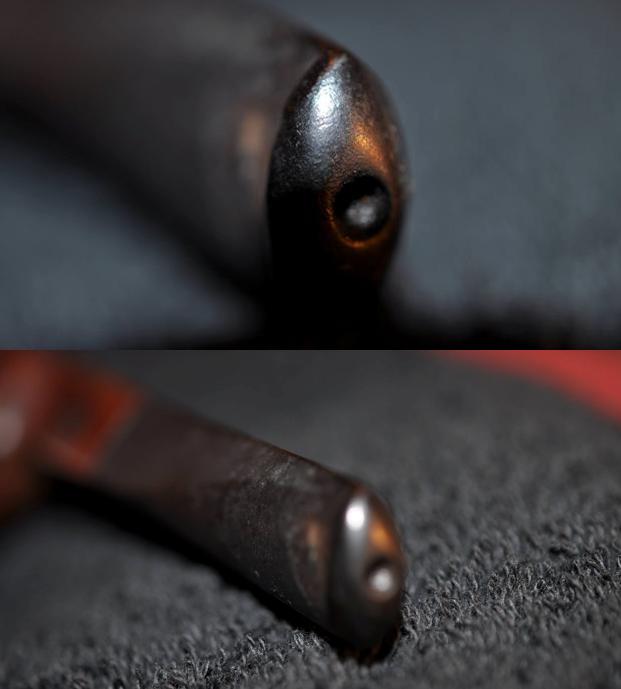
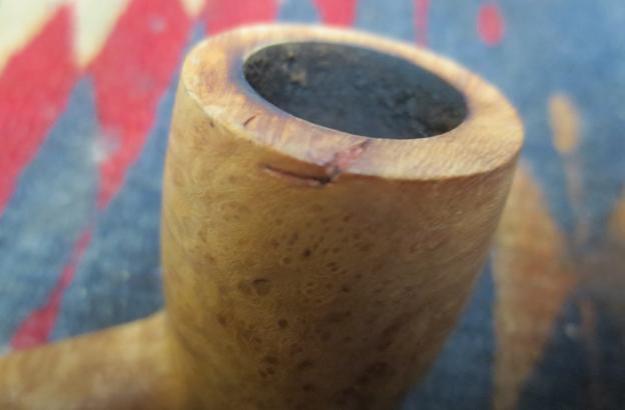
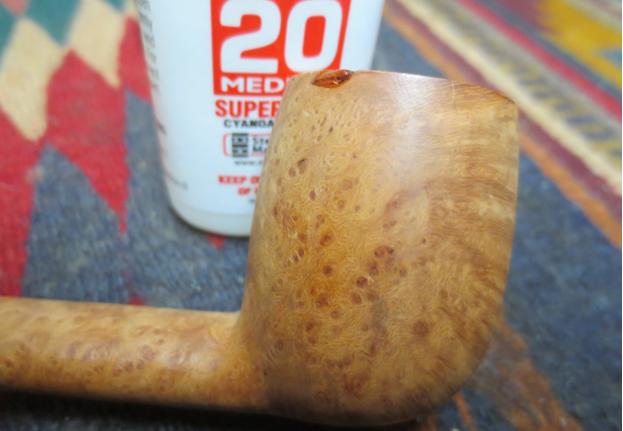
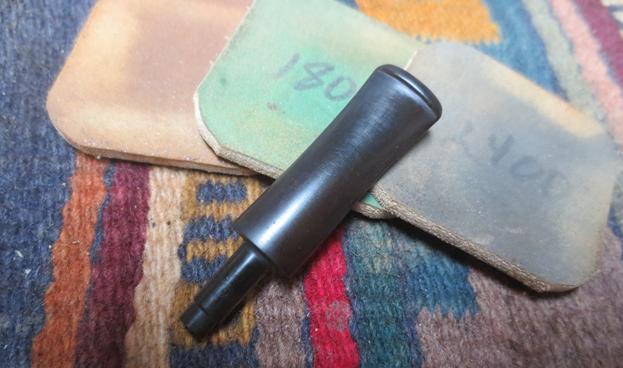
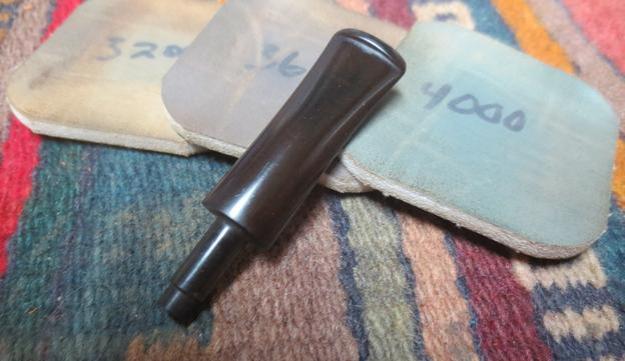
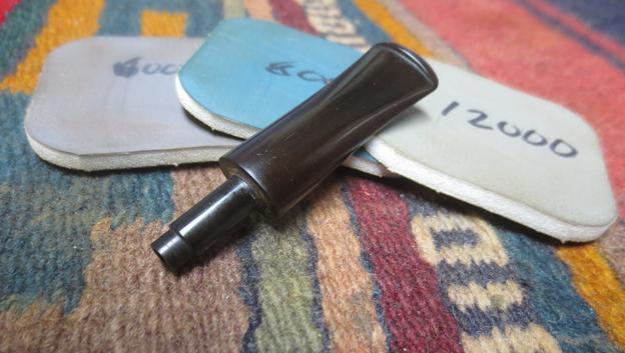
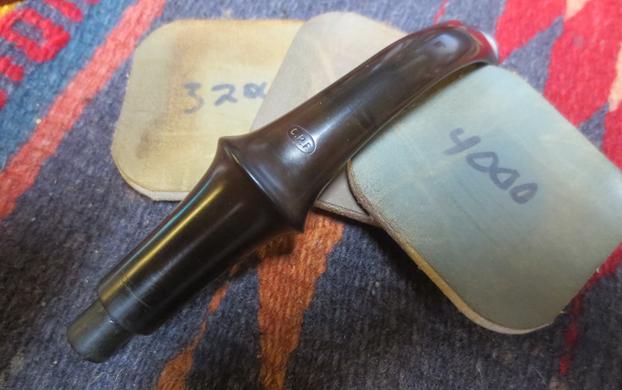
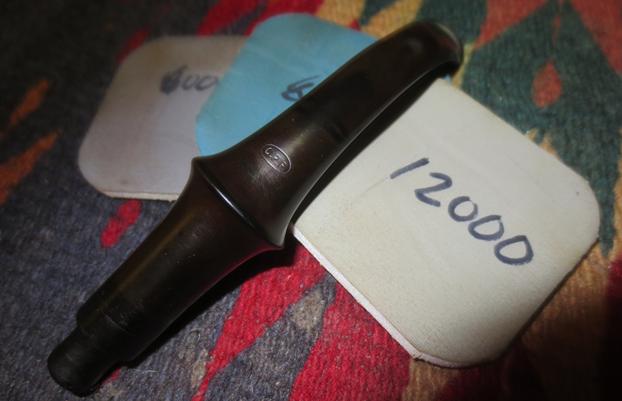
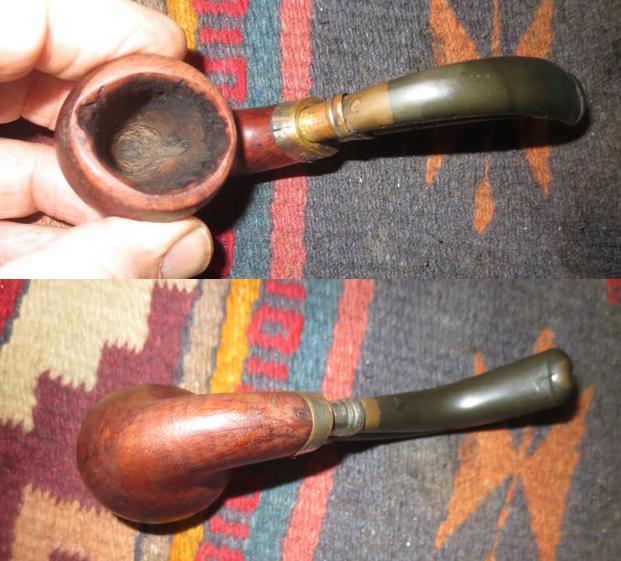
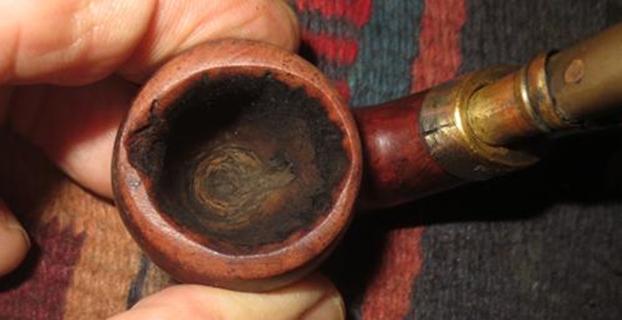
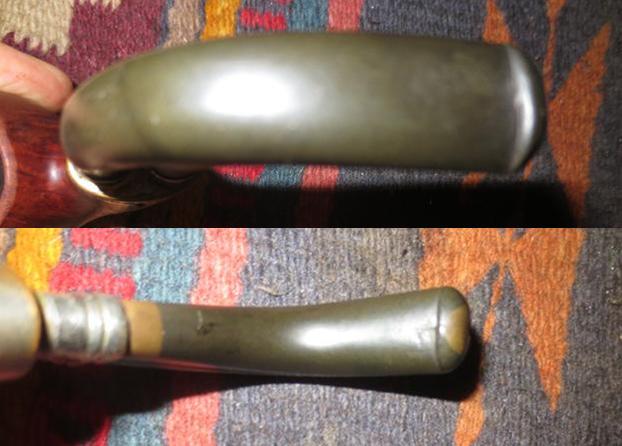
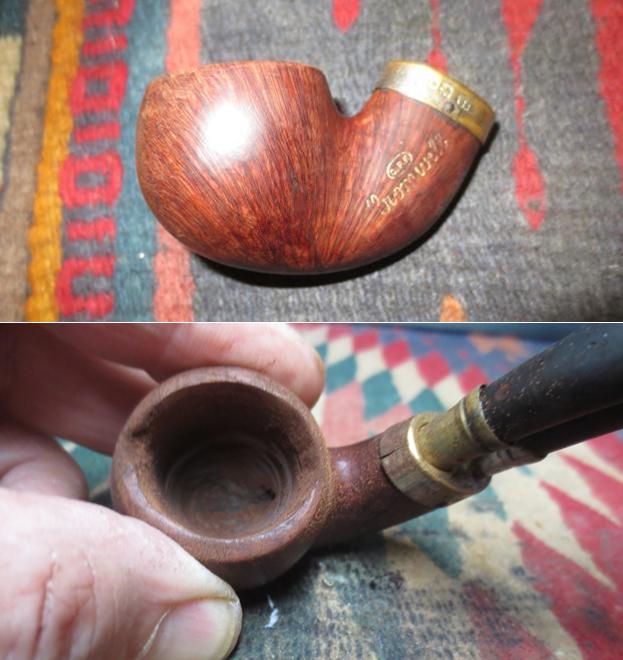
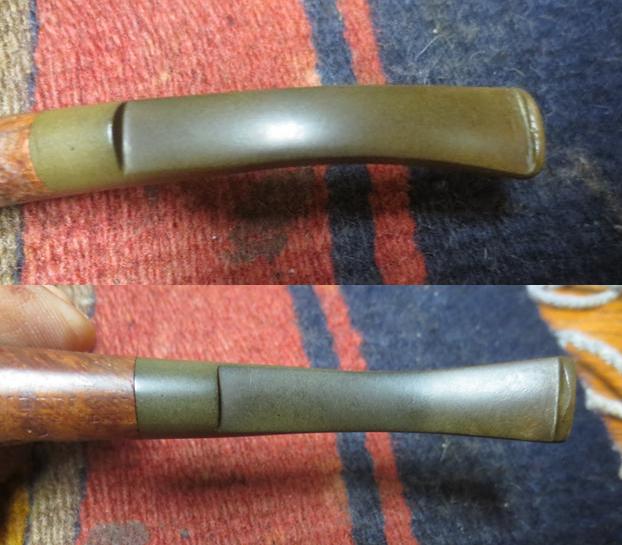
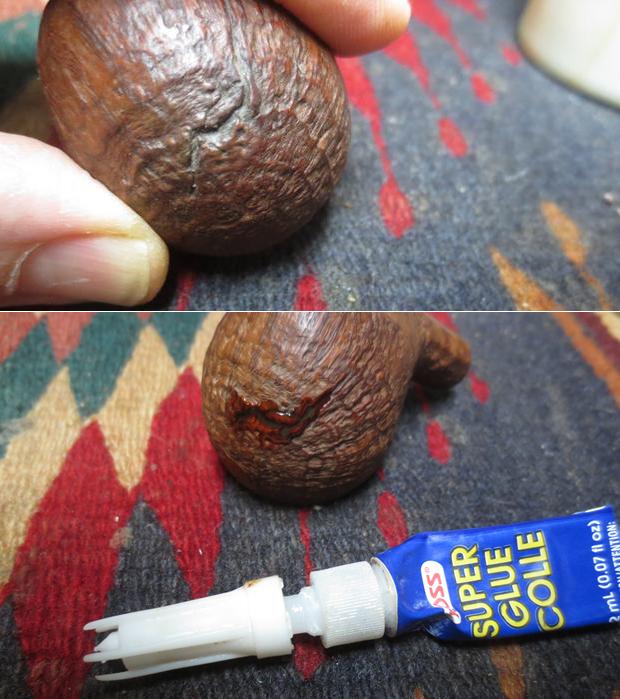
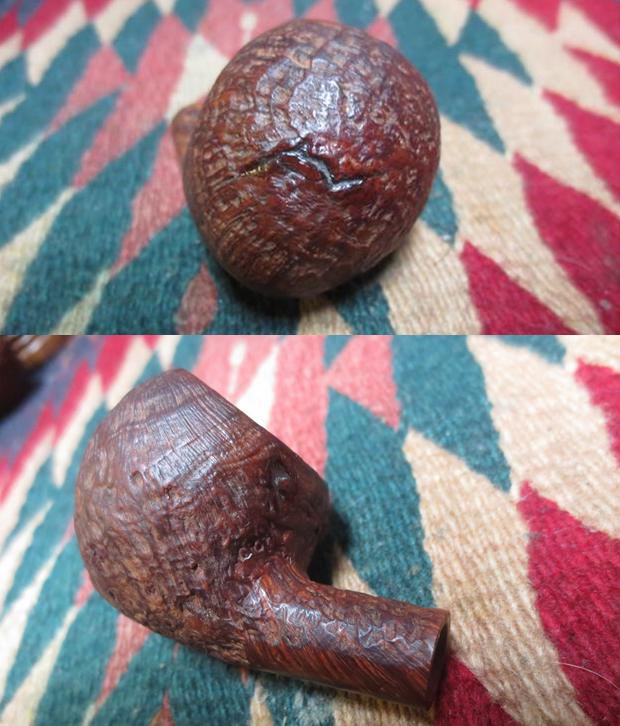
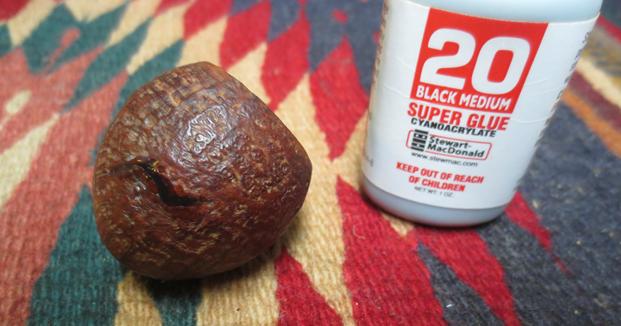
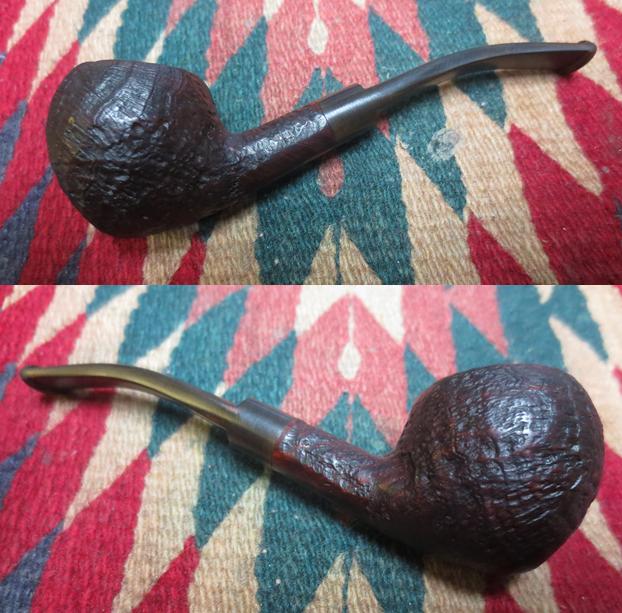
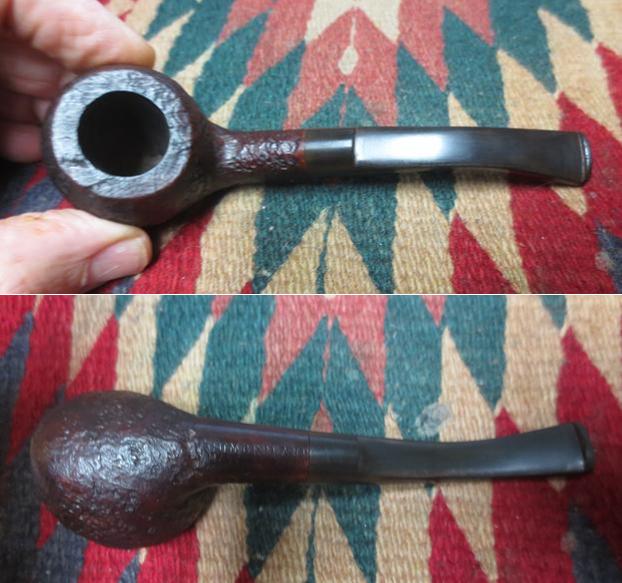
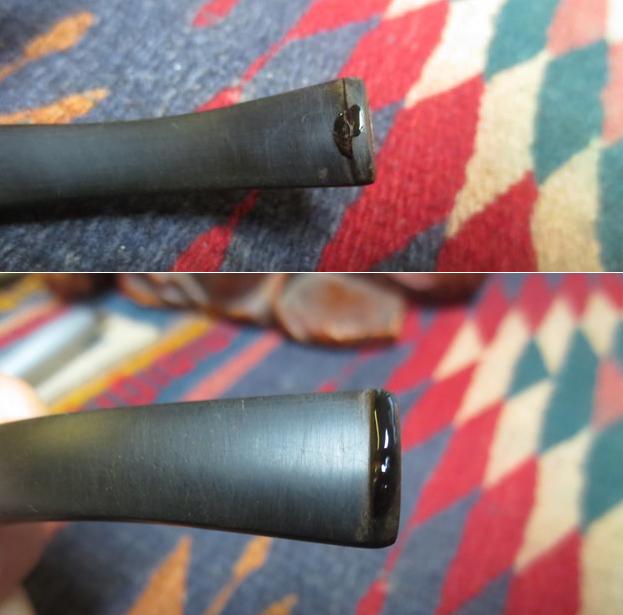
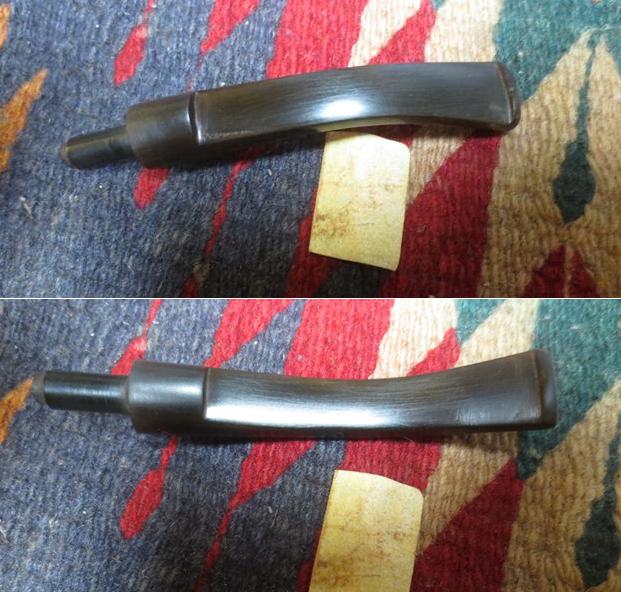
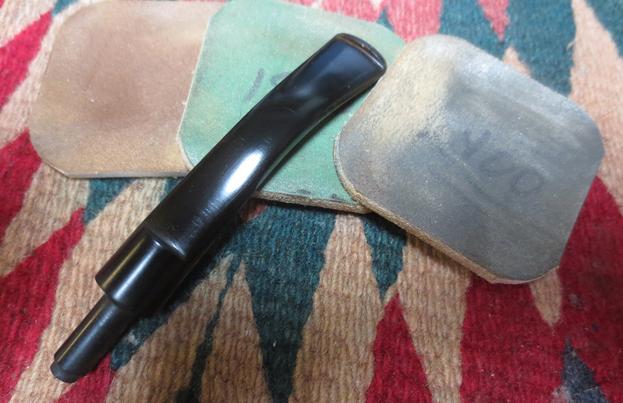
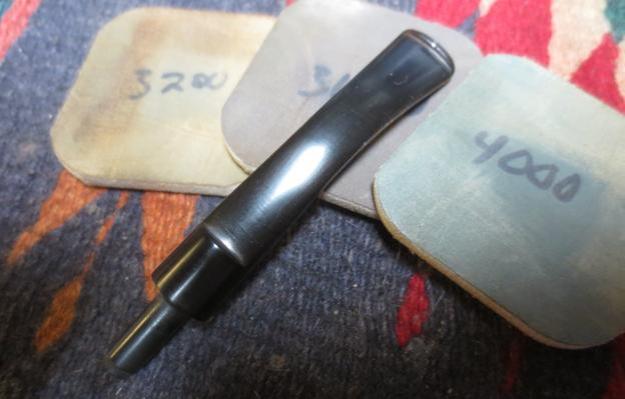
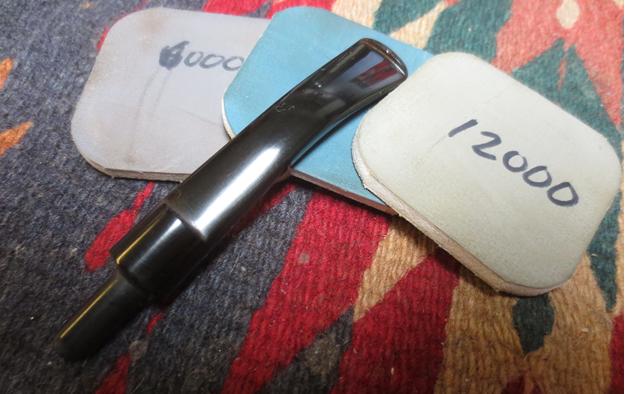
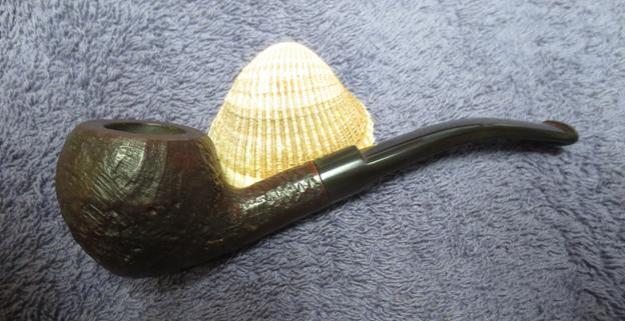
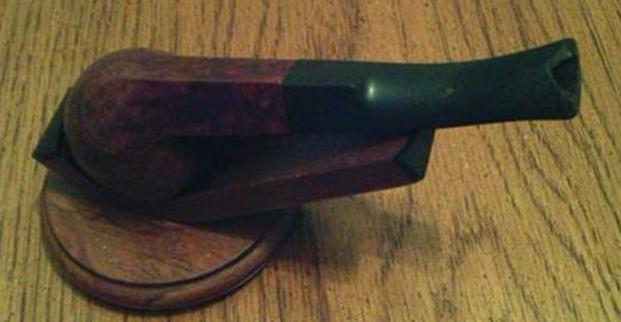
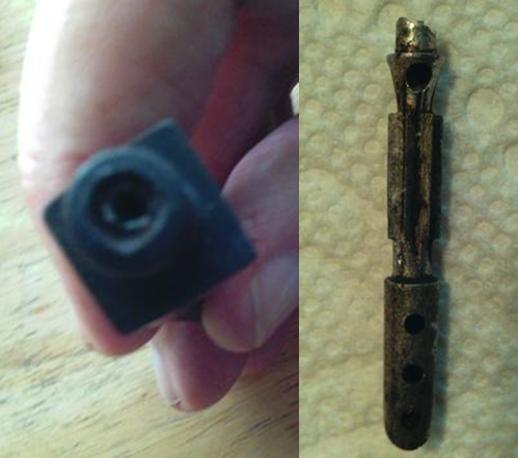
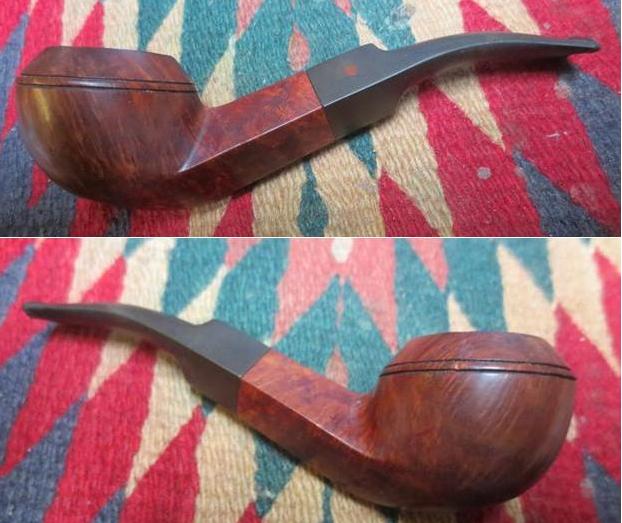
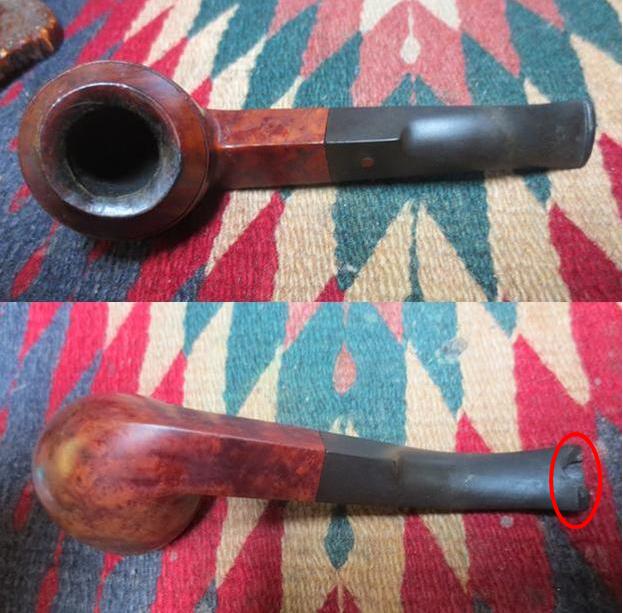
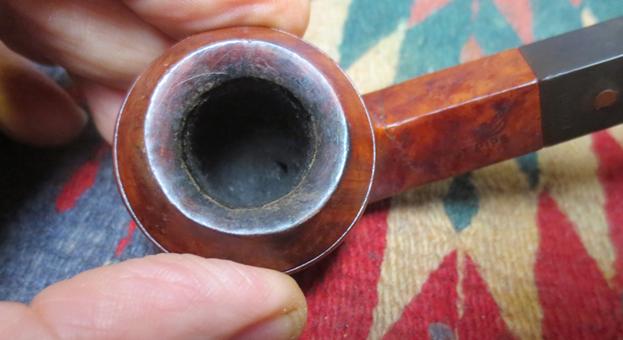
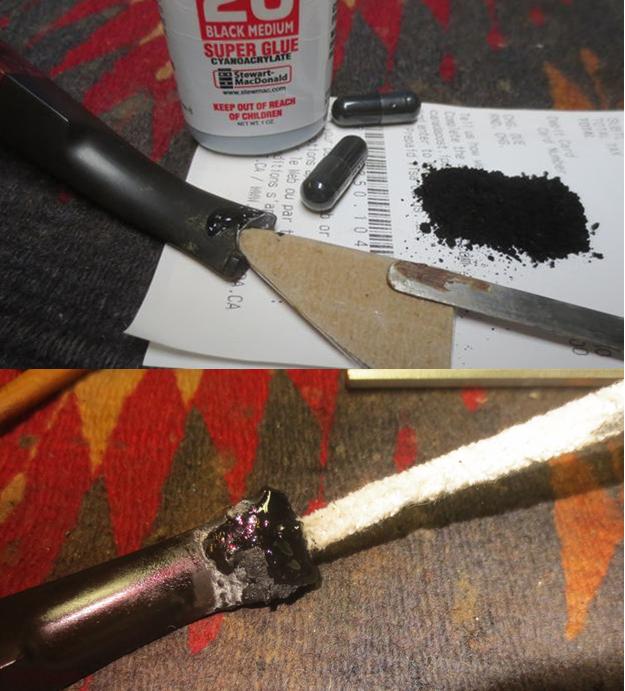
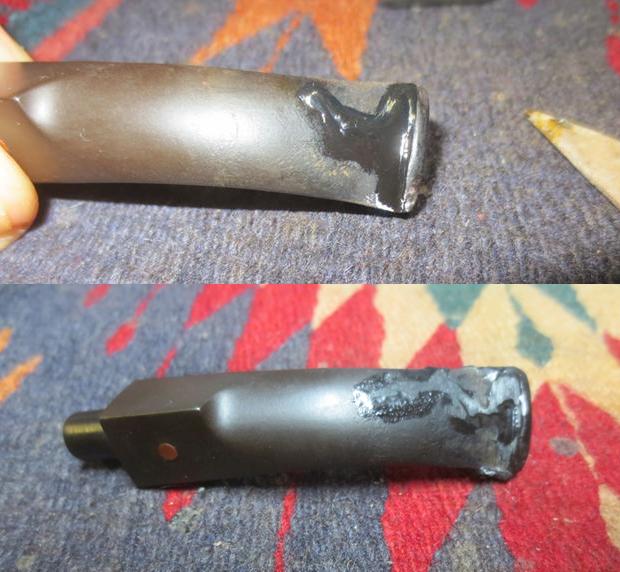
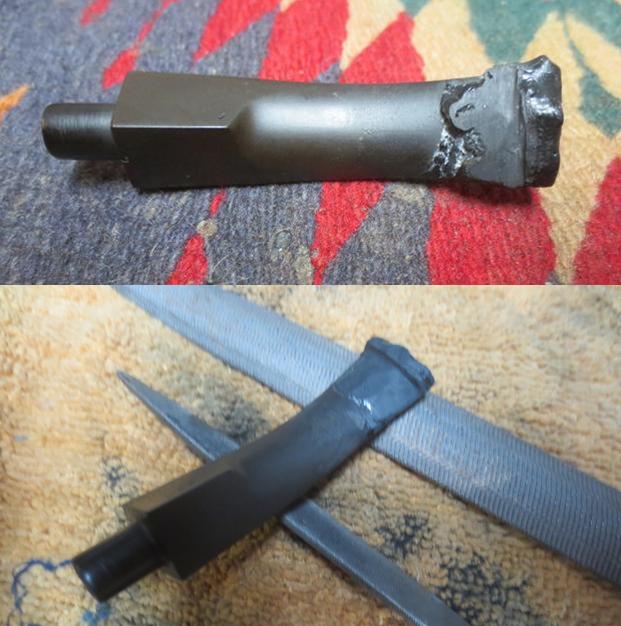
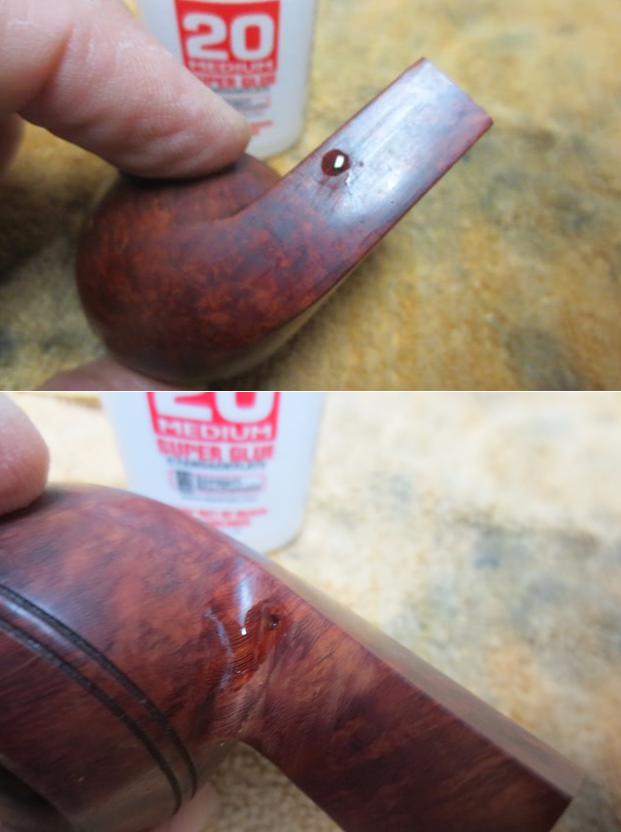
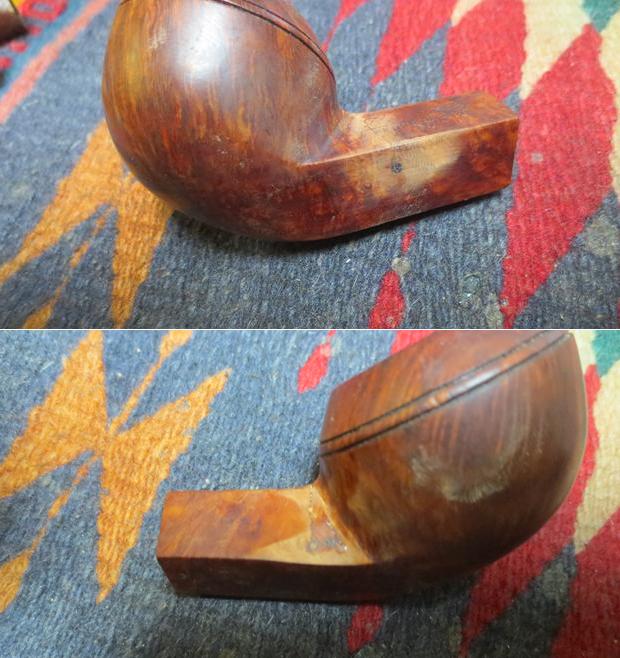
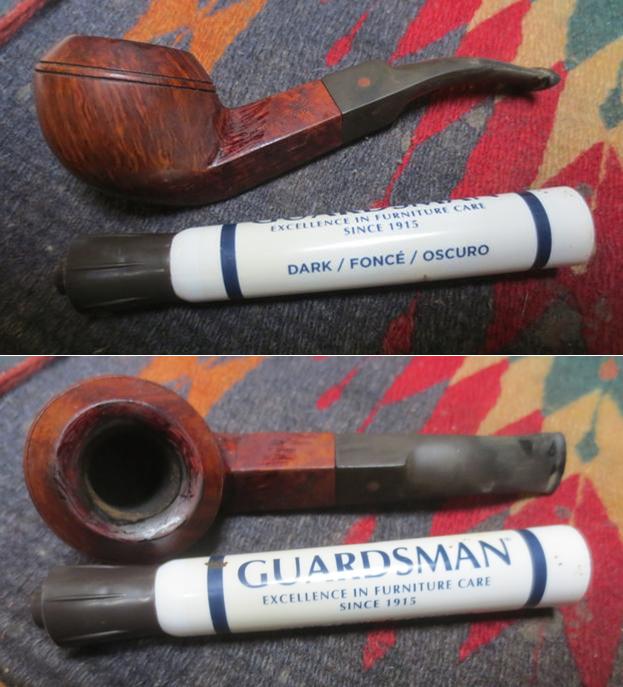
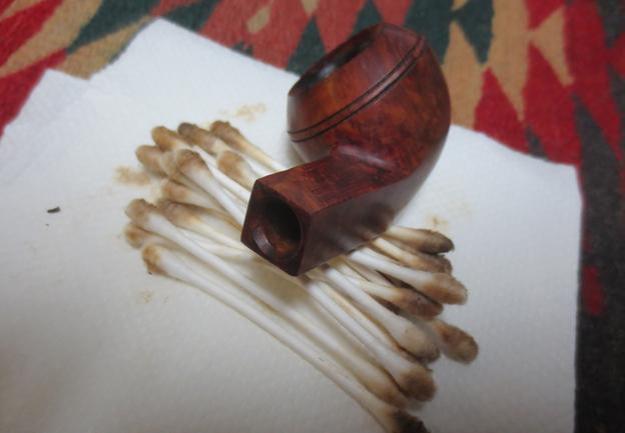
I received a short email from a reader of the blog about a Dr. Plumb Bulldog that he had that needed a bit of work. He wanted to know if I would be willing to work on it for him. He said that there were some issues with the pipe that he wanted me to try my hand at repairing. He said that the shank had a crack, the stem had a broken stinger end lodged in the airway and the button was broken off on the underside of the stem. I wrote back and asked him to send me some photos of the pipe so I could see what he was speaking about regarding the pipe. He sent the first photo to give me an idea of the overall look of the pipe. Looking at it I have to say that it is a classic GBD shaped bent Bulldog and it had nice grain. He sent a photo of the crack at the bowl/shank junction and noted that he had glued it but was not happy with the way it looked. The photo only shows the crack on the left side of the stem but it was also on the right side. He wanted me to clean it up and stabilize it so that it would not crack any further. That should not be too much of an issue.He sent along a photo of the rim top showed that the outer edge of the bowl had some small nicks in it that needed to be cleaned up. The surface of the beveled rim had some lava overflow and was darkened in several places around the top and the inner edge of the bowl. It was hard to tell for certain from the photos but there was probably some wear on the top and inner edges. The next photo he included showed the stem. Not only was it oxidized with a nice greenish brown colour but there was the “little issue” shown on the underside of the stem. There was a large chunk of vulcanite missing from the button and extended down into the surface of the stem. It appeared to be broken off and I wonder if had not happened when attempting to drill out the broken stinger. I am not sure but I have seen that kind of damage done with a drill bit on other stems in the past. The other possibility is less likely but could have happened, while inserting a thick pipe cleaner the button had cracked and come off.The final two photos pin point the second issue that he was having with the pipe. The metal stinger threaded into the tenon that comes on all Dr. Plumb pipes had been broken off with the threaded portion of it stuck in the tenon and extending part of the way up the stem. His photos included a tenon end shot and a photo of the broken stinger by itself. You can see the ragged edge of the end that would have sat flush against the end of the tenon.Once I saw the photos, I wrote back and told him to send the pipe up to Canada and I would see what I could do with the issues on the pipe. He packed it up and sent it off to me. It did not take too long for it to arrive here in Vancouver. I unpacked it from the mailing envelope it came in and had a look at it. It was even a better looking little Bulldog in person. There were a few small fills on the shank. The largest of the fills was on the right side of the shank right at the junction of the stem and bowl. The crack went through and around the fill. The pipe was stamped faintly on the left side of the shank with the script Dr. Plumb over Perfect Pipe and on the right side it was faintly stamped Made in England and the shape number 134. The stamping was only readable under a bright light. The shank was dirty and the airway in the bowl was tarry and dirty from the buildup around the stinger apparatus. The airway in the stem was dirty and partially blocked by the broken stinger. I took photos of the pipe when I received it so I would have a base to show the progress once I had finished. The third photo shows the damaged stem and I have circled the missing chunk of vulcanite in red. I took a close up photo of the rim top to show the darkening to the rim and the debris that was built up on the top. There was some damage to the inner edge of the rim that would need to be smoothed out.I took some photos of the stem to show the oxidation and the damaged area on the underside at the button.I made a wedge out of cardboard and cellophane tape and pushed it into the slot in the button to provide a base for the repair. I mixed charcoal powder with black super glue and built up the missing chunk. I removed the wedge and slid a greased pipe cleaner into the slot and built up the area on the end of the button. I filled in the deep tooth marks on the top side of the stem with the mixture. I filed the repair on the underside of the stem with a rasp and a file to begin to shape the button edge and blend the repair into the surface of the stem. I shaped the button with the files as well to begin to shape it in a classic football shape to match the top half of the stem. The photos show the progress of the shaping. Once I had the levels on the surface correct I wiped the stem down and could see the tiny air bubbles in the repair. I filled them in with clear super glue and let them cure. Once the repairs had cured I used needle files to reshape the button and slot in the end of the stem. There were a few more air bubbles that showed up as I reshaped the button. Once they dried I sanded repaired spots. I used the files to cut the sharp edge of the button. When the spots dried I sanded the surface of the stem with 220 grit sandpaper to smooth out the repaired areas and blend them into the rest of the stem. I set the stem aside for awhile and worked on the bowl. I wiped down the area around the crack in the shank and drilled small microdrill bit holes in the end of each of them. I fount that on the right side there was a third trail of crack so I drilled it as well. I filled in the drill holes with clear super glue. I layered in the glue to a bubble and let it dry. Once the glue had dried I sanded the length of each crack in the shank and the repaired holes as well until they were smooth. I sanded the beveled rim top to smooth out the damage and clean up the surface. I worked over the inner edge with sandpaper to smooth out the damaged areas.I used a dark brown stain pen to touch up the repaired and sanded areas on the shank and on the beveled rim top. I cleaned out the inside of the shank and mortise with cotton swabs, pipe cleaners and alcohol until the shank was clean and all of the oils and tars were removed.I stained the bowl and shank with a dark brown aniline stain. I flamed the stain to set it in the briar and repeated the process until the coverage around the bowl was even. I wiped down the briar with alcohol on cotton pads to make it more transparent. After wiping it down the grain shone through the stain coat. I think that once it is polished it would be a beautiful finish for this Dr. Plumb. Polishing the stem was a harder prospect and took more work than the bowl. The sanding and polishing process repeatedly revealed new air bubbles in the newly built up underside of the stem and button. I sanded and added drops of clear super glue to take care of each air bubble. It was tedious but it paid off. I polished the stem with micromesh sanding pads – wet sanding with 1500-2400 grit pads and wiping down the stem after each pad with Obsidian Oil. I checked for new air bubbles and then went on to dry sand it with 3200-4000 grit pads. I gave it a coat of oil after each one and then finished polishing it with 6000-12000 grit pads. I repeated the oil after each pad and after the 12000 grit pad I set the stem aside to dry. I put the stem back on the bowl and buffed the pipe with Blue Diamond. I kept a light touch in buffing the underside of the stem and button as I did not want to do any harm to the repair. I buffed the repairs on the shank normally and the rest of the pipe the same way. I gave the bowl and stem multiple coats of carnauba wax and buffed it with a clean buffing pad to raise the shine in the briar and vulcanite. I hand buffed it with a microfiber cloth to deepen the shine. The pipe is almost ready to go back to the pipe man who sent it to me. It will go out later this week after I do a last minute check up on the entire pipe. I want it to go back to him in good condition. Thanks for walking with me through this repair and restoration project.
Replacing a Broken Tenon & Restoring an Old Italian Bulldog


Blog by Steve Laug

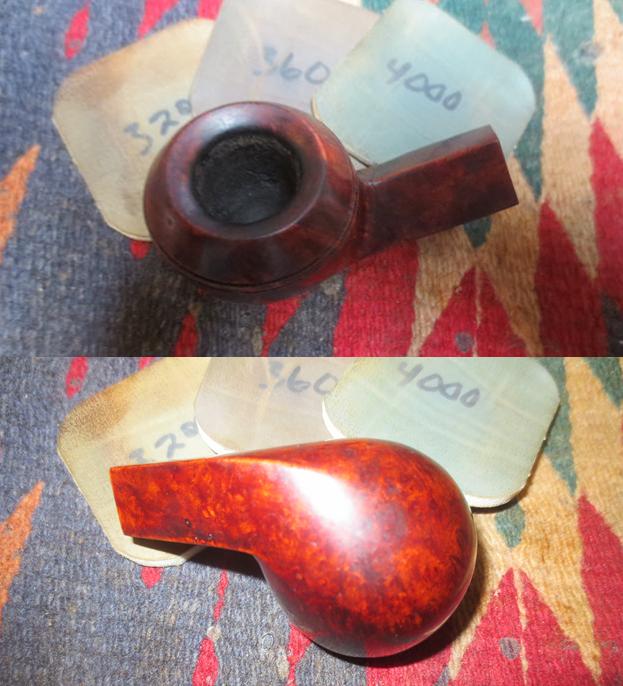
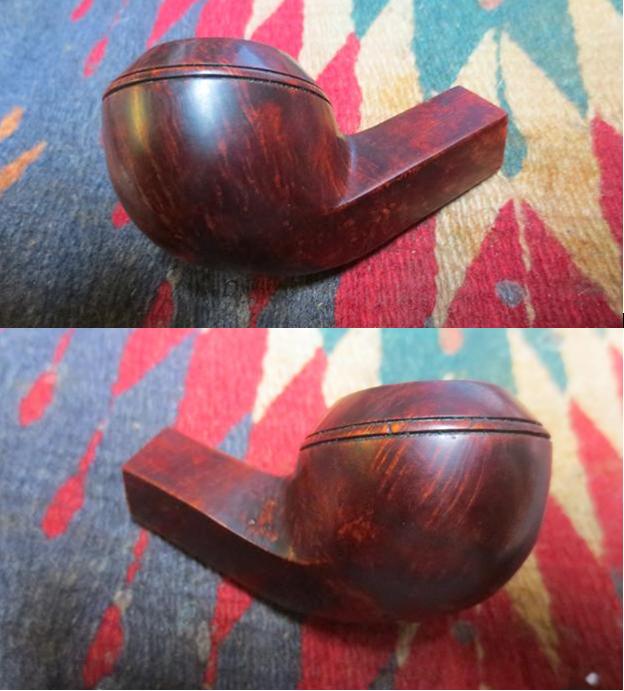
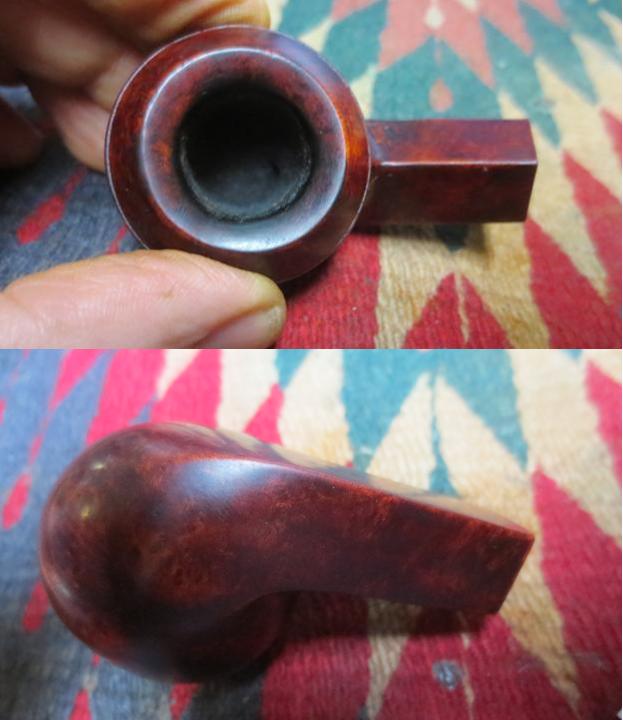
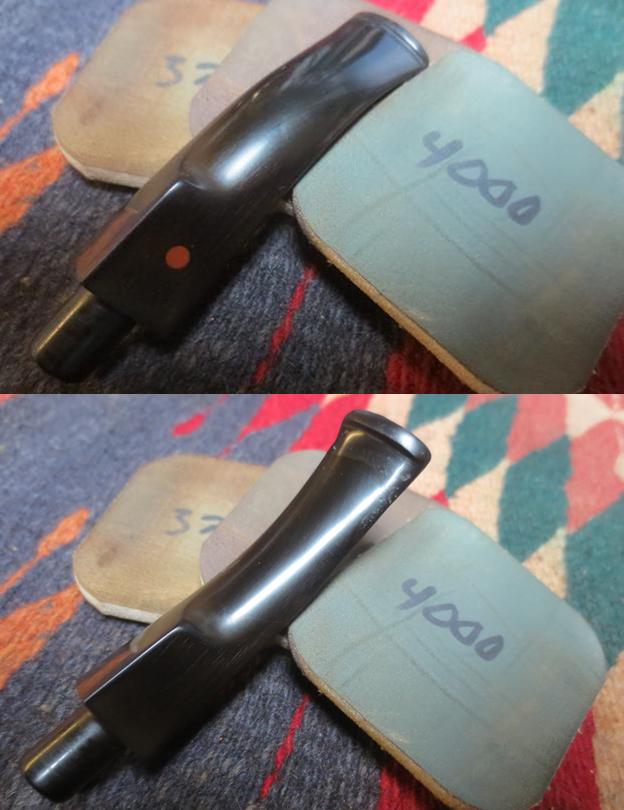
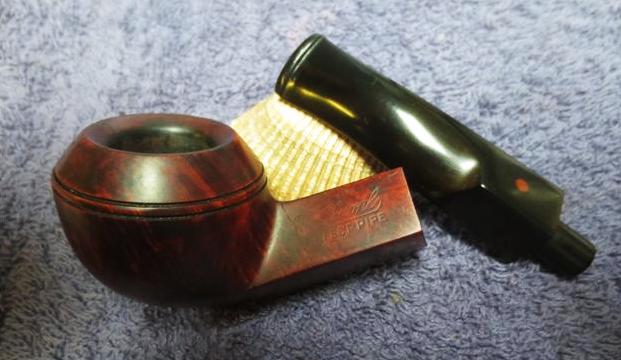
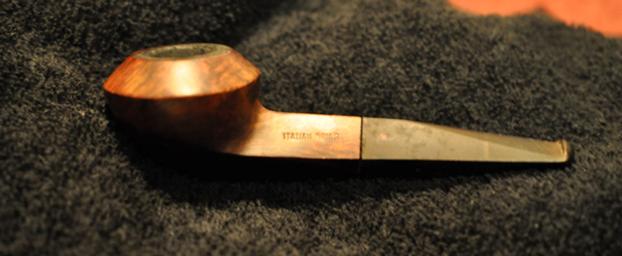
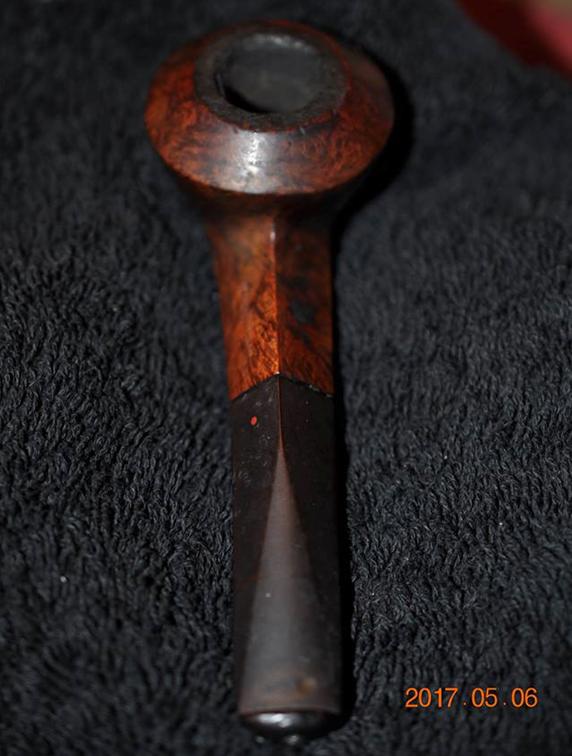
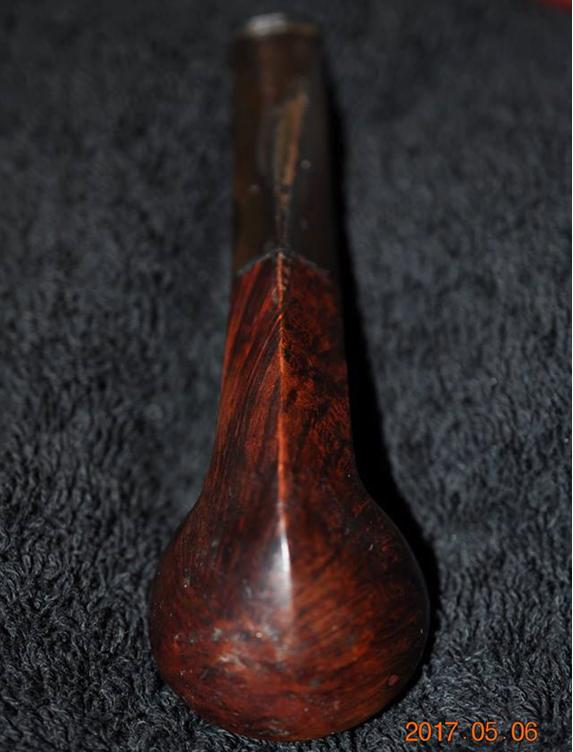
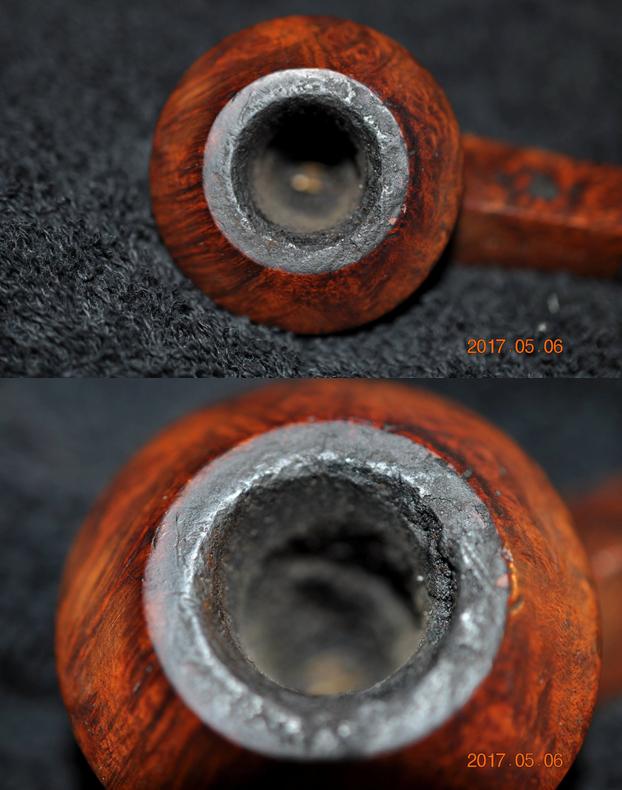
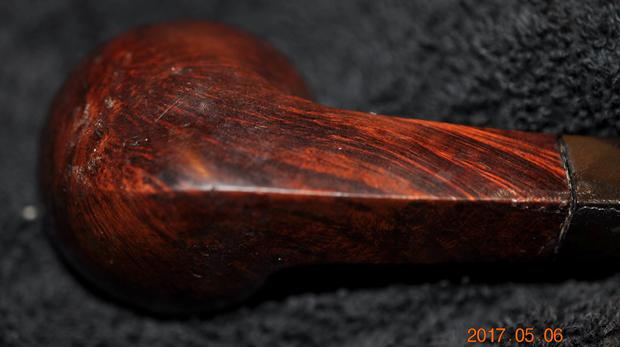
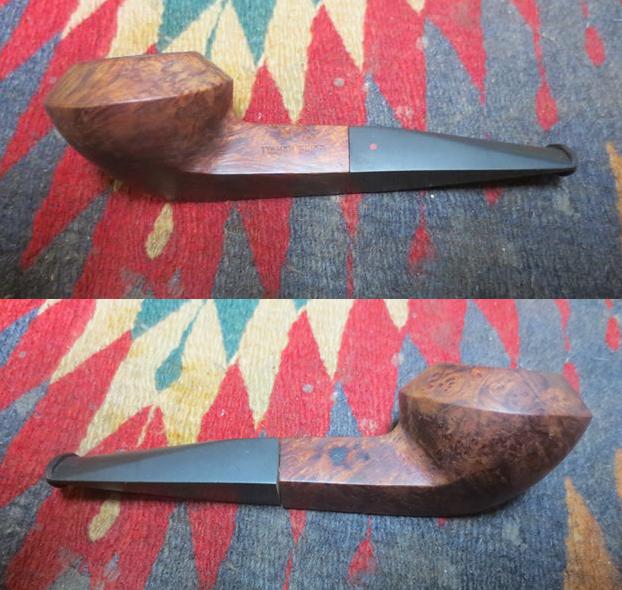
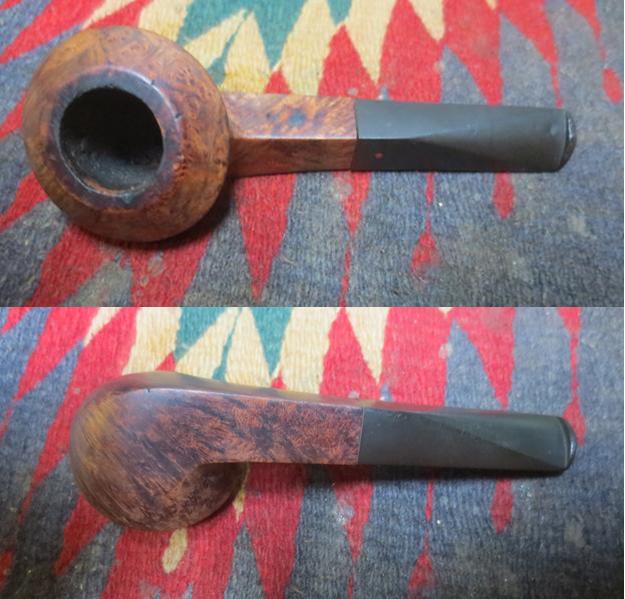
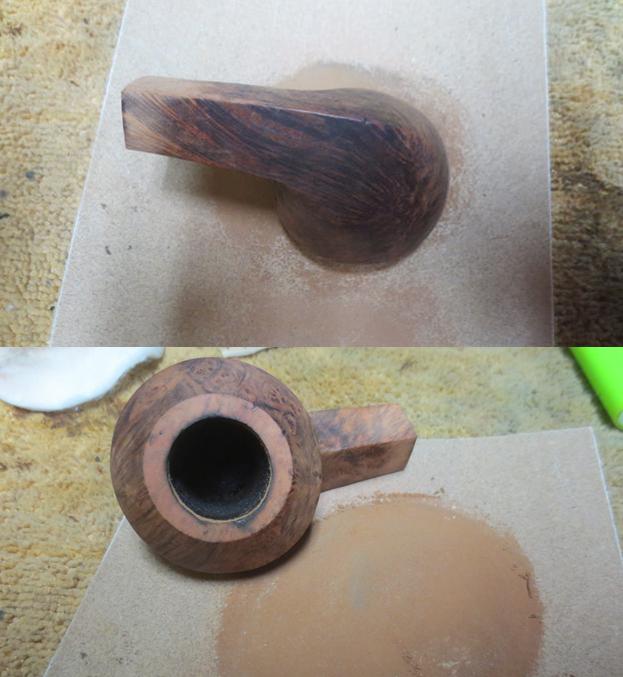
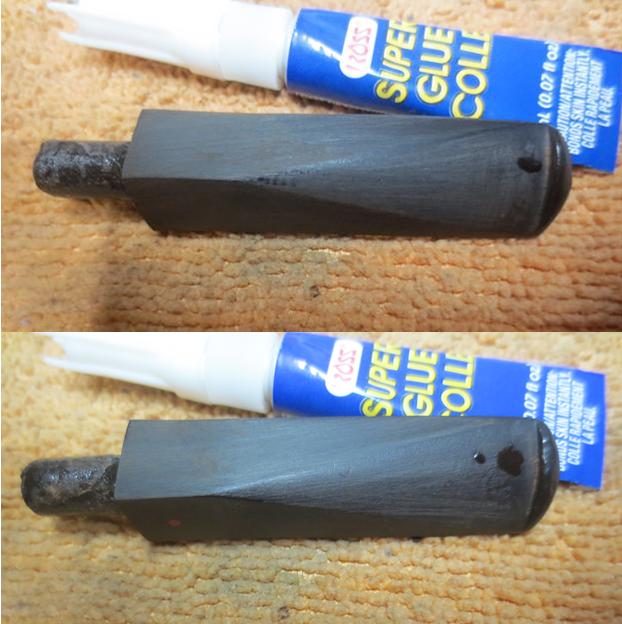
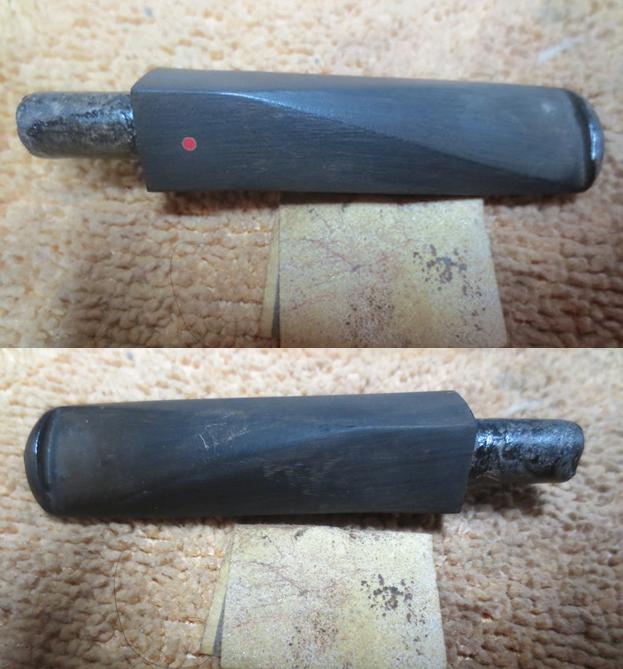
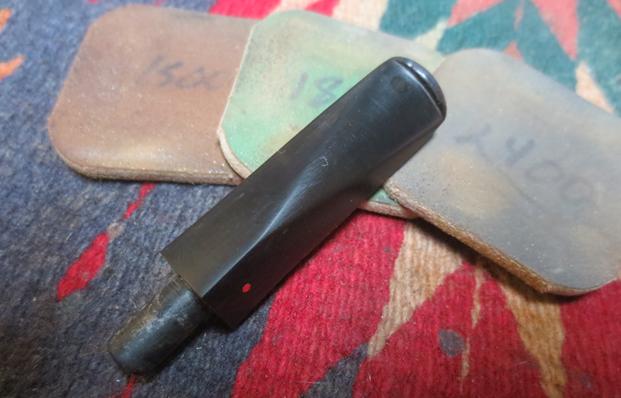
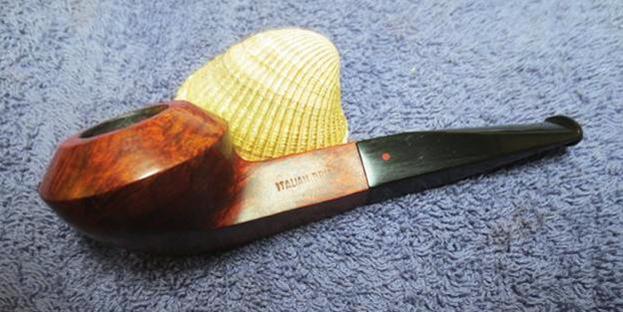
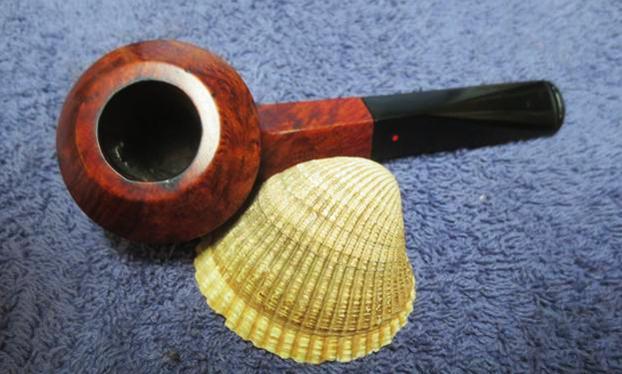
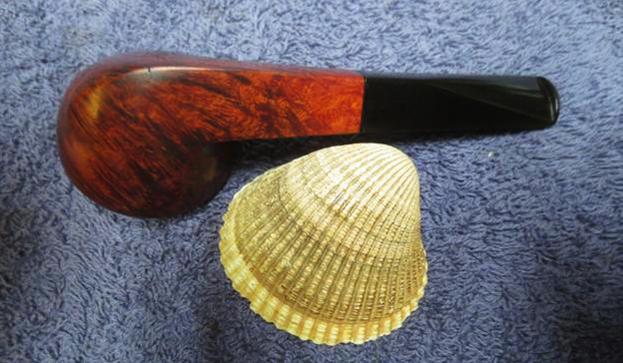
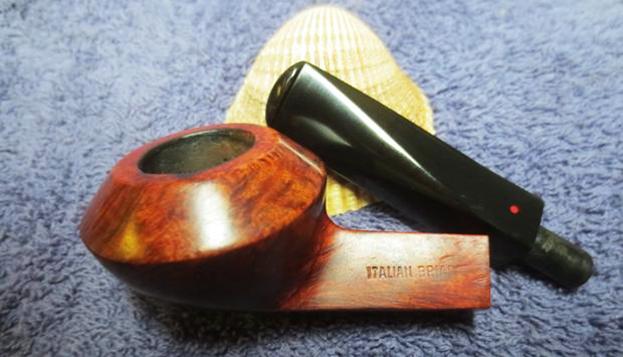
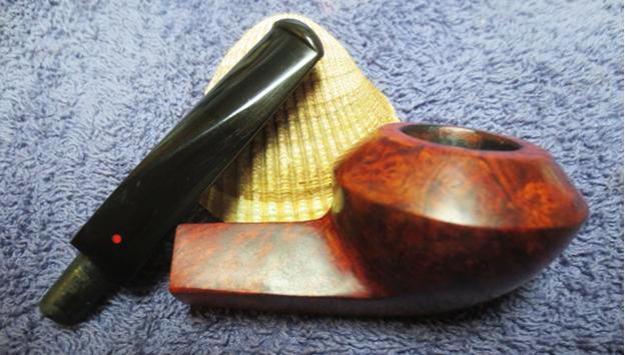
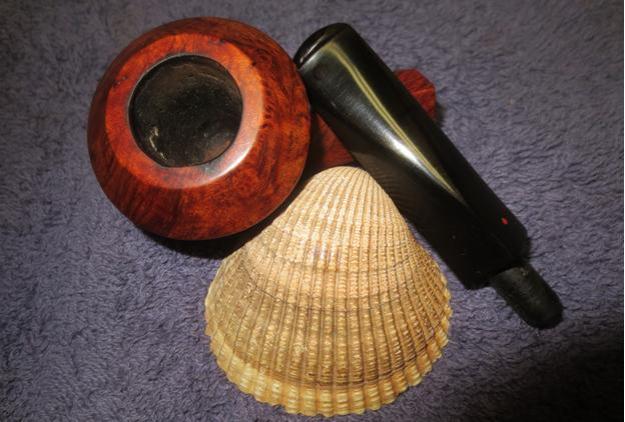
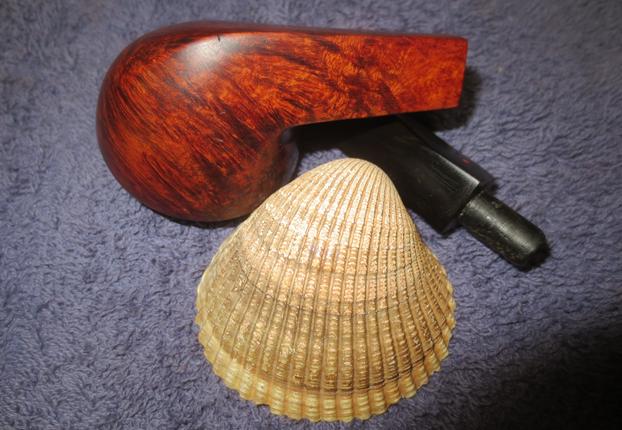
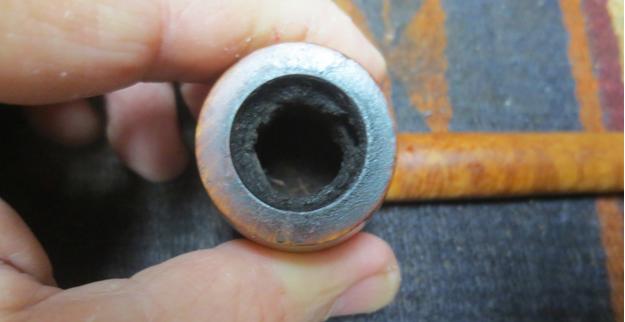
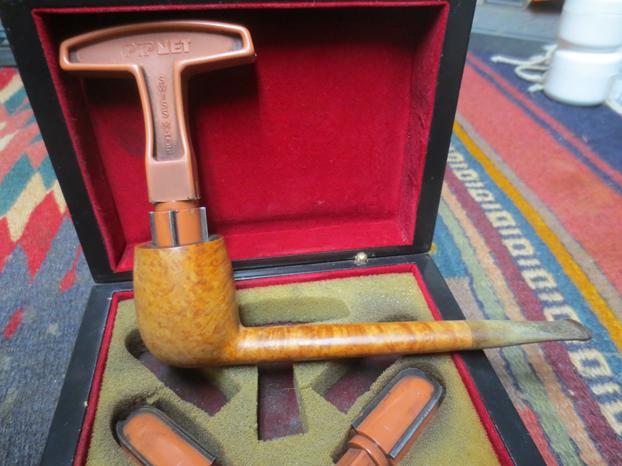
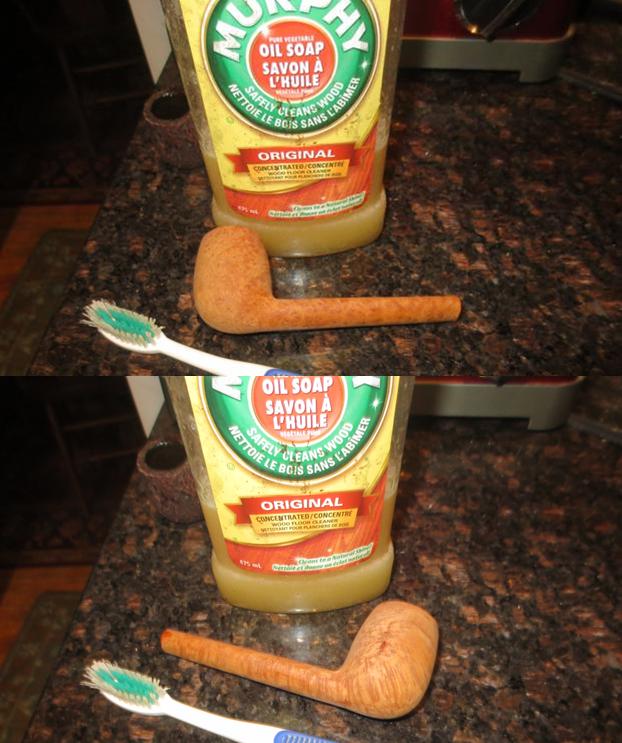
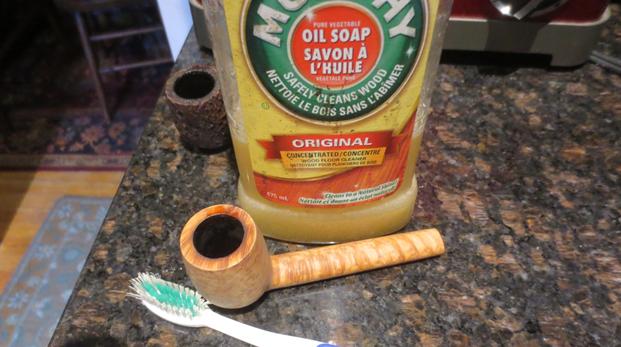
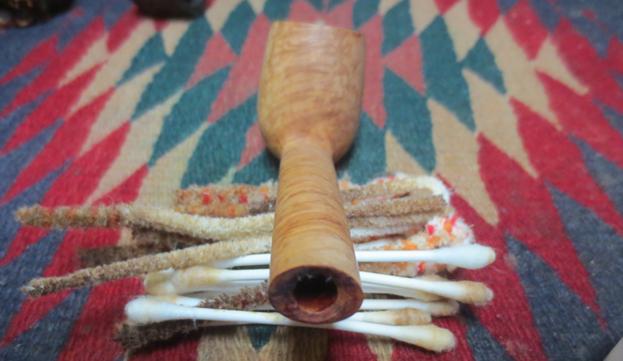
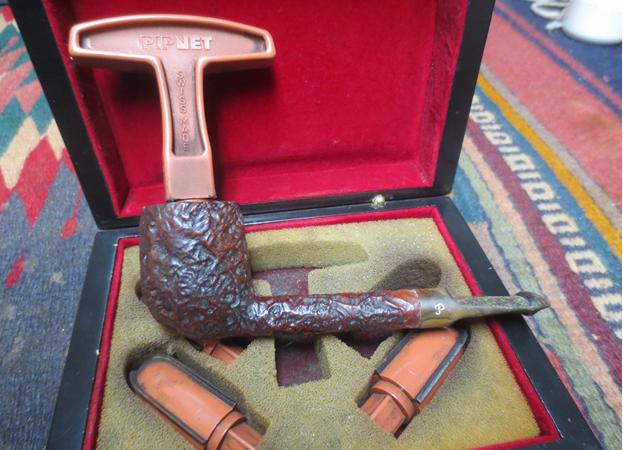
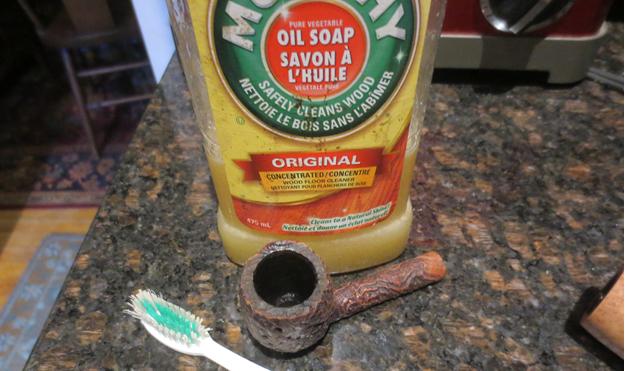
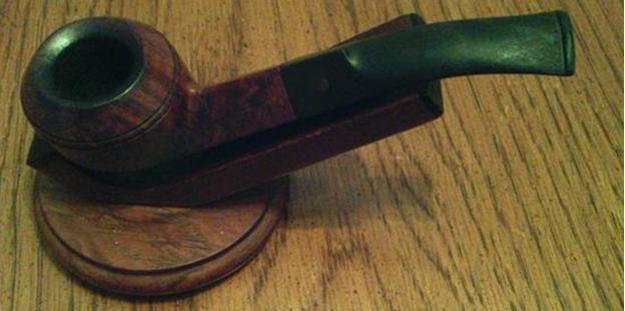
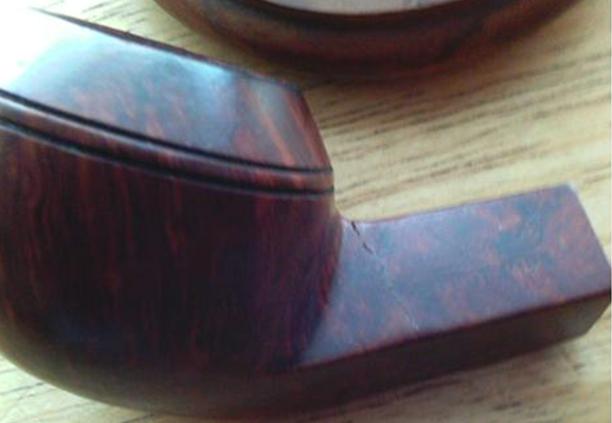
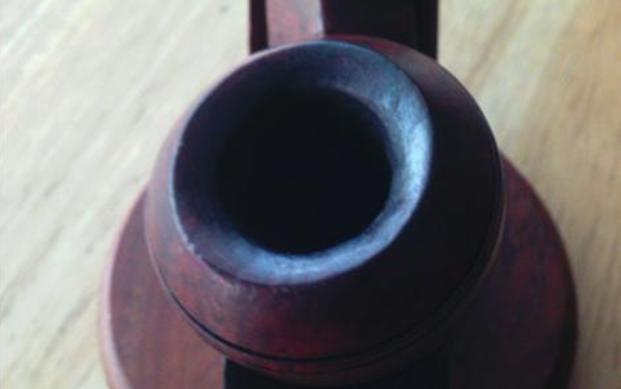
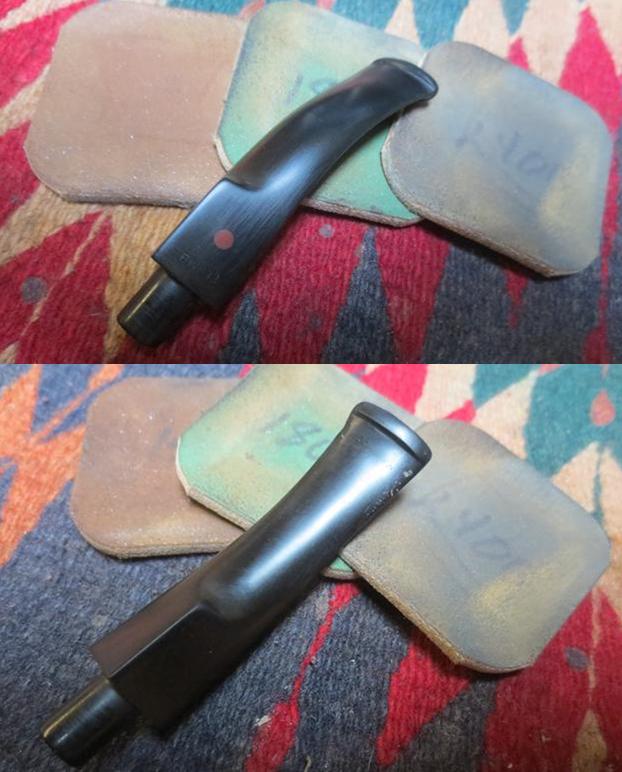
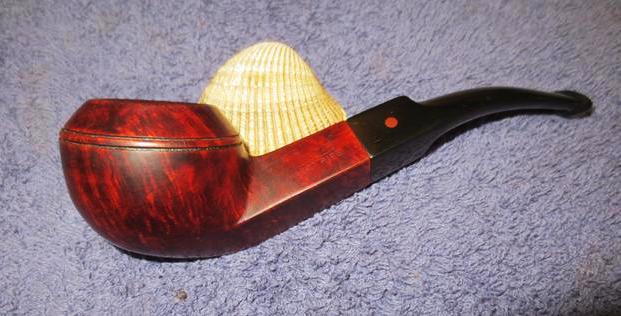
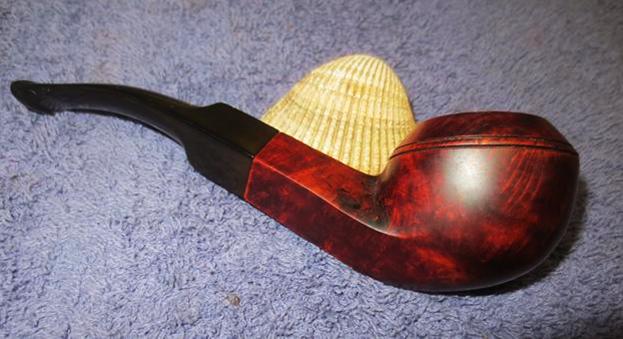
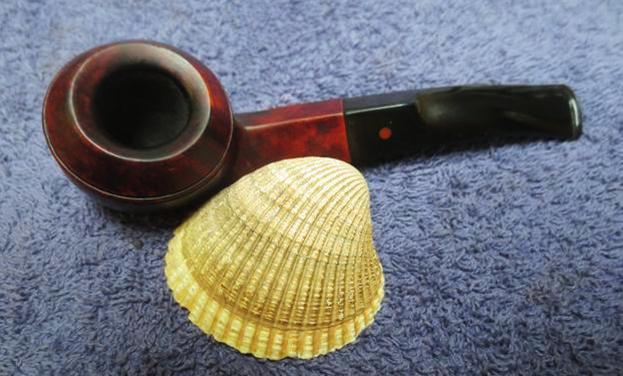
I am just about finished cleaning up and restoring the pipes my brother and I picked up on our Virtual Pipe Hunt in Montana. The next pipe that I brought to my work table was from that hunt. I think I may have two or three left two work on but this is one that I have picked up and put back several times since they arrived in Vancouver. As I mentioned in my last blog I have written several blogs about that hunt as it was one of those once it a life time finds. It contained a lot of late 1890s and early 1900 era pipes. These included C.P.F., W.D.C. and some no name pipes from the same era. Again if you are interested in reading about any of the restorations, a quick search on the blog for “Virtual Pipe Hunt” will give you the links to a blog about the hunt and to other pipes that were included. This particular little Bulldog shaped pipe had something about it that caught my eye. It combined some interesting grain (birdseye, swirled and cross grain) on the bowl and a diamond shaped taper stem with an orific button. The finish was worn and the stem was glued onto the shank. At this point in the process the stem would not move as the glue held it tightly in place. The top of the shank was stamped ITALIAN BRIAR in block print and no other stamping on the pipe on either side. The stem had a red dot on the left top side of the diamond. There were tooth marks and the stem was really dirty with an overflow of glue that was on both sides. My brother took photos of the pipe before he started the cleanup process.The next two photos show the pipe from the top side and the underside of the pipe. The topside shows the wear and tear to the finish. There were a lot of scratches and nicks in the briar and a cake in the bowl with lava overflow on the rim top. The underside of the bowl showed the nicks and scratches that went down both sides and the bottom of the bowl and shank. He took some photos of the rim top and bowl. Both photos show the thick cake in the bowl and a thick lava coat on the rim top. It is hard to know if there was any damage to the inner edge of the bowl or on the top surface of the rim.The close up of the underside of the bowl and shank shows the glue buildup in the gap between the shank and the stem.The stem looked like it was in rough shape. There were some peeling flakes on the surface of the stem. They could either be glue or damage to the stem.I was really surprised that my brother was able to get the stem off the shank. It turned out that the broken tenon was glued in the shank and a piece of inner tube was glued into the broken tenon. About an inch of the tube extended beyond the shank and the stem fit on the tube. The glue was painted onto the end of the shank and the end of the stem and the two parts were held together until the glue set. Jeff used some acetone to eat through the glue in the gap between the stem and the shank and was able to pry the pieces apart.The next photos show the damaged stem. It looked like the repair had also included painting the surface of the stem with glue. The glue had bubbled, cracked and peeled leaving behind a messy chipped finish. The orific button on the rounded stem end was in good shape. It appeared that the glue mixture had protected the stem from a lot of tooth marks and chatter. Jeff did his usual thorough cleanup of the pipe. I am coming to expect nothing less when he sends me pipes that have gone through his cleaning process. He reamed the bowl with a PipNet reamer, scraped the bowl and the rim top with a Savinelli Fitsall Pipe Knife to clear off the lava build up. He cleaned out the internals in the airway in the shank as much as possible with the broken glued in tenon in the way. He used alcohol, cotton swabs and pipe cleaners. He cleaned out the airway in the stem with alcohol and pipe cleaners. He scrubbed the exterior of the briar and the stem with Murphy’s Oil Soap and a tooth brush to remove all of the grime on the briar and the hardened, chipped glue on the finish of the stem. He rinsed the parts under running water and dried it with a soft cloth. He soaked the stem in OxyClean to clean off the glue on the surface. When the pipe arrived in Vancouver it looked different than it did when we picked it up in Montana. I forgot to take photos of the pipe before I started on it because I was excited to pull the broken tenon from the shank. You can see the clean bowl and stem in the photos.

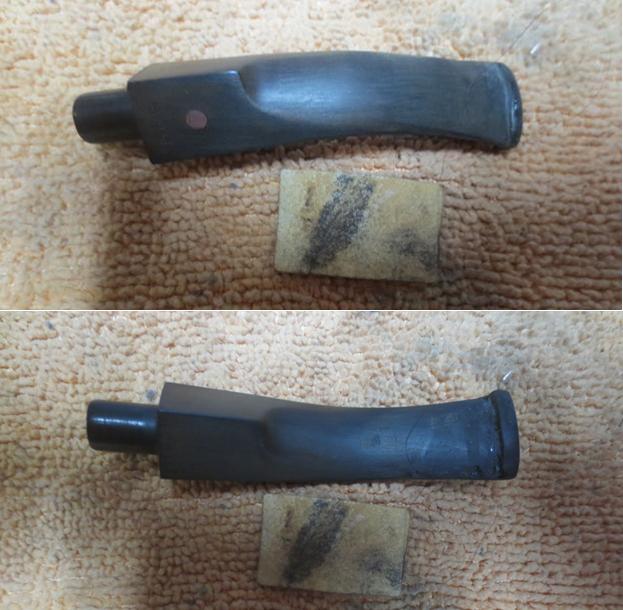
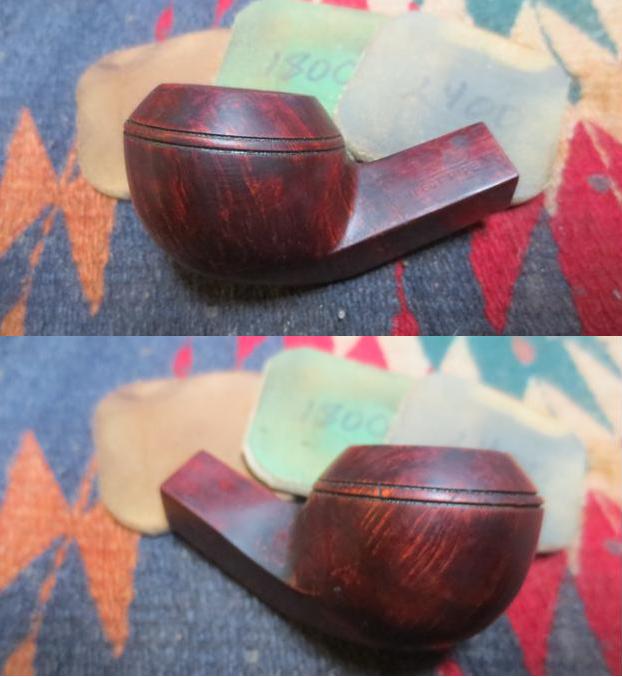
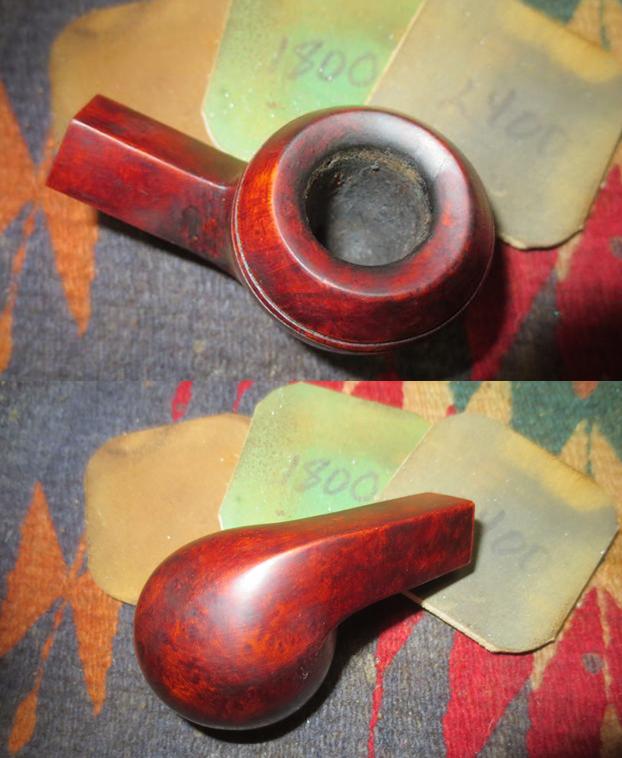
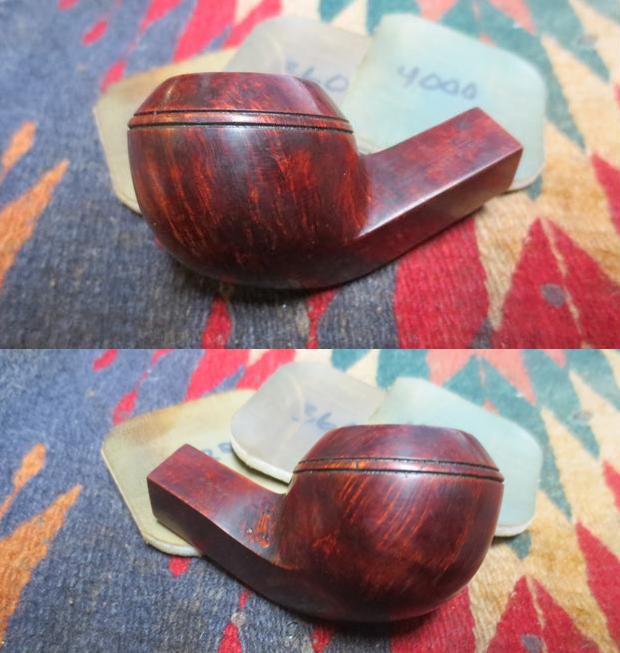
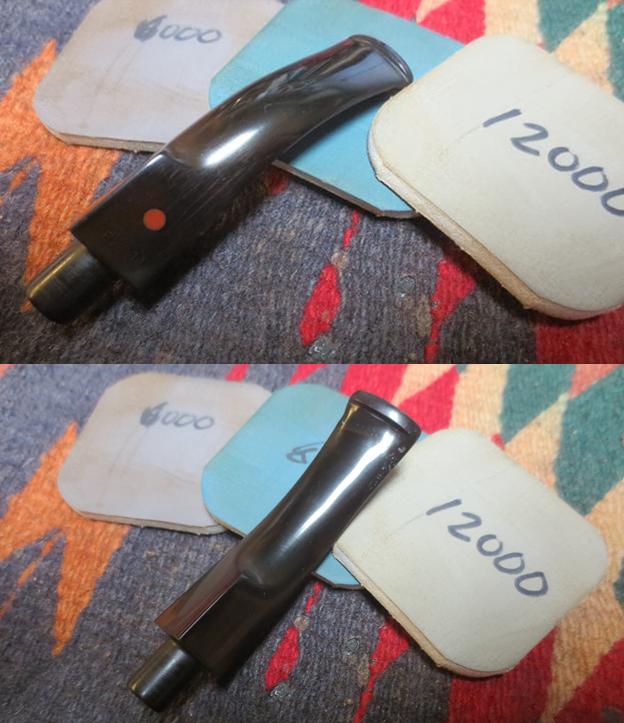
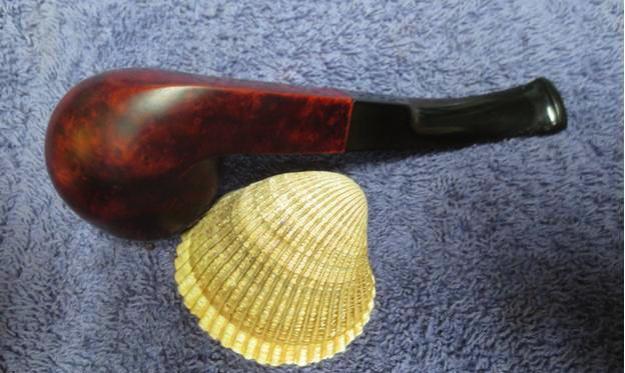
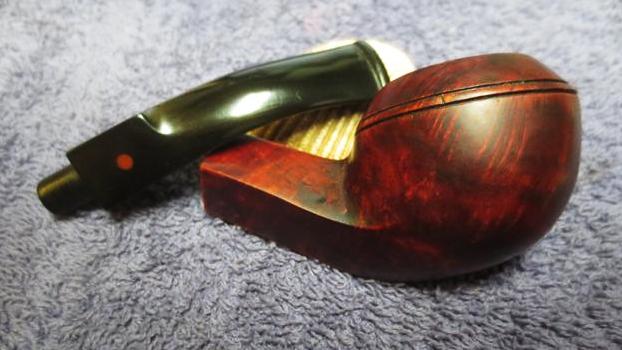
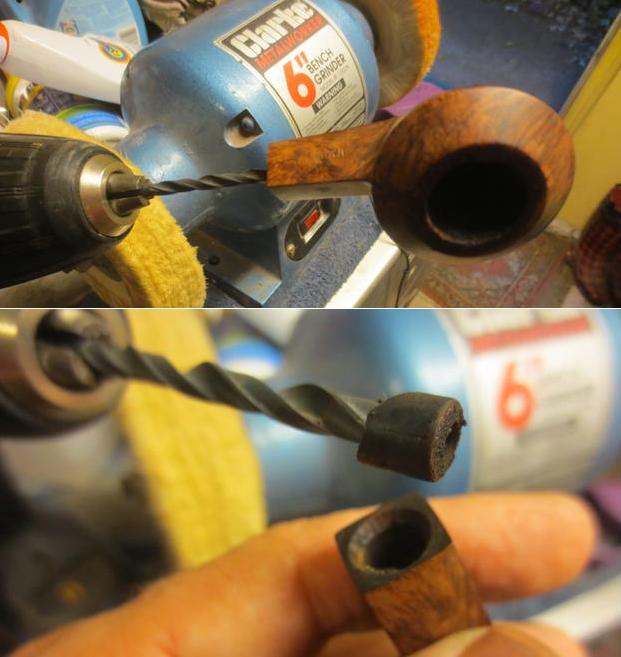
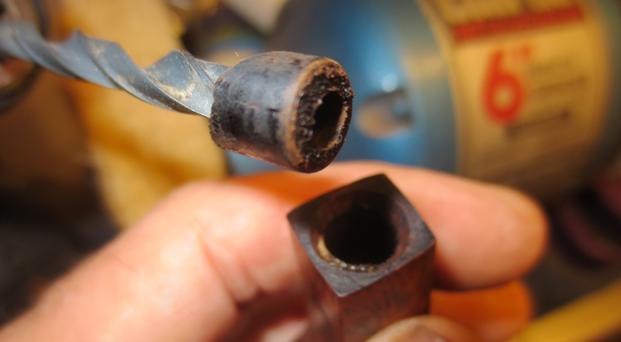
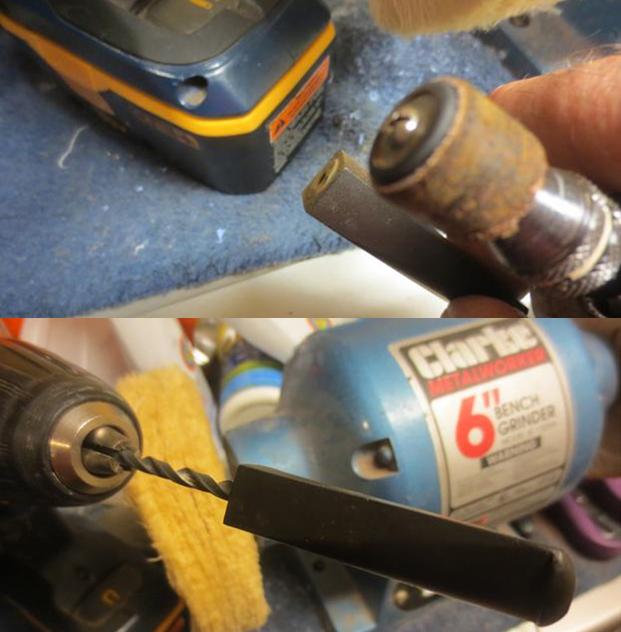
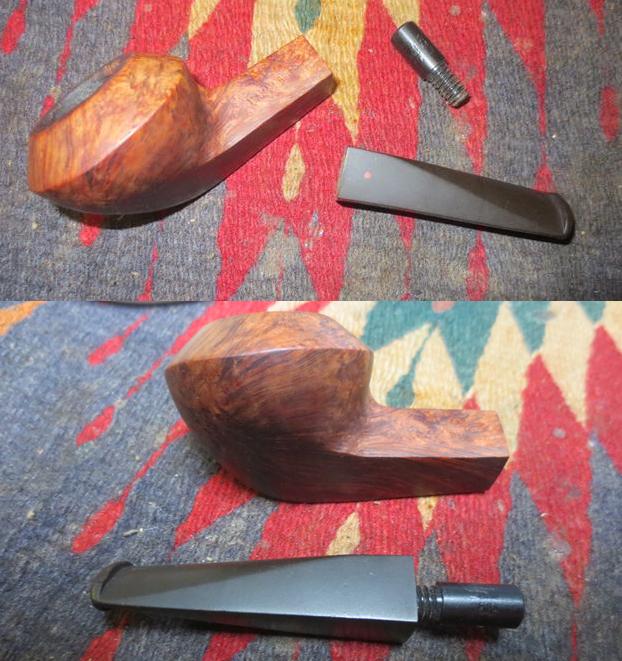
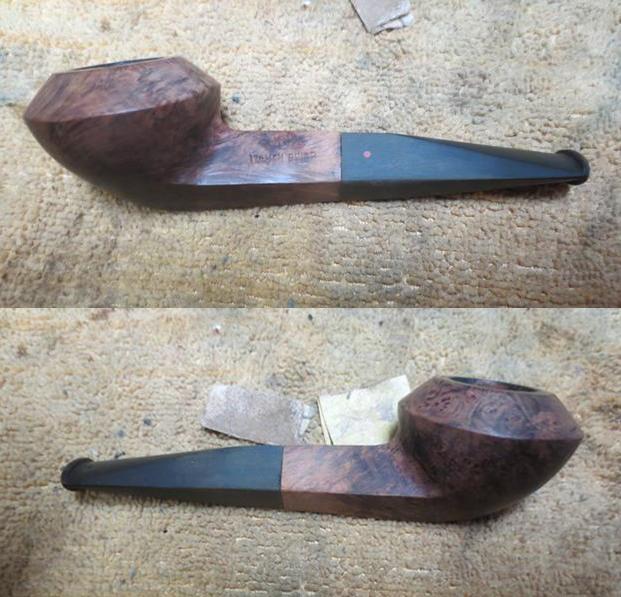
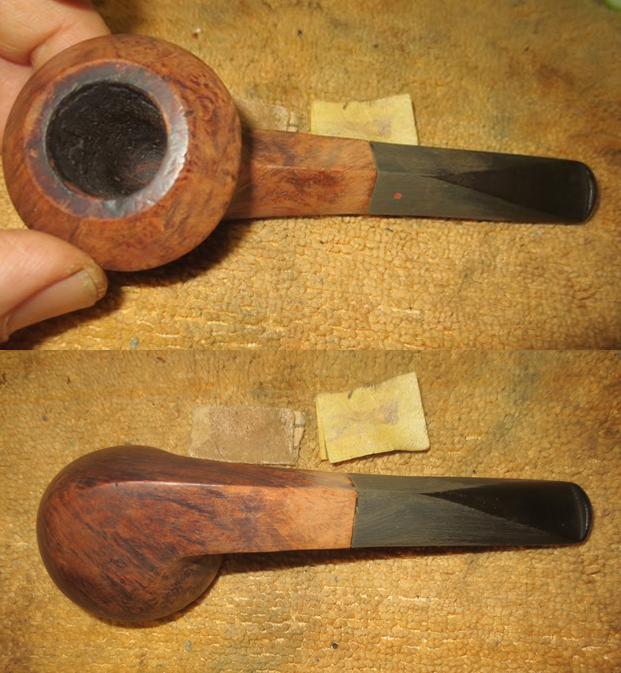
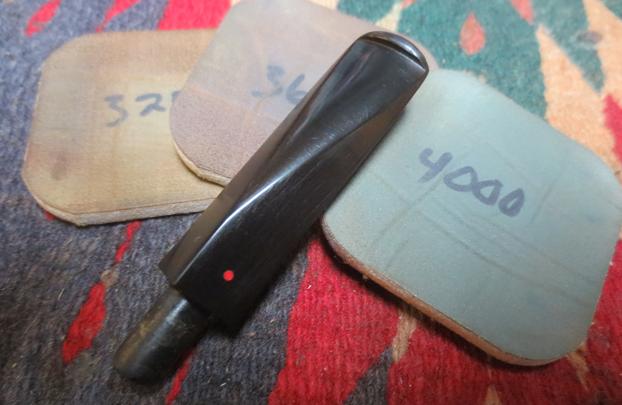
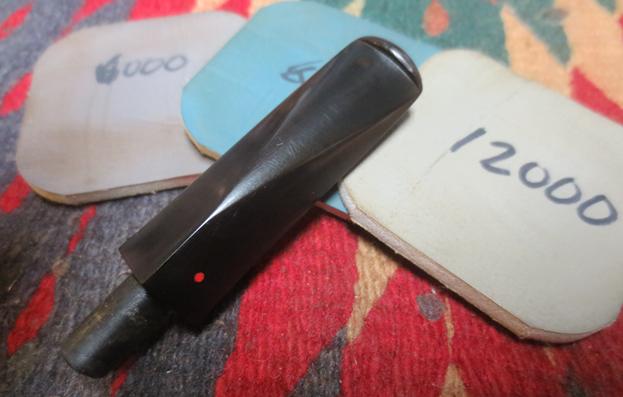
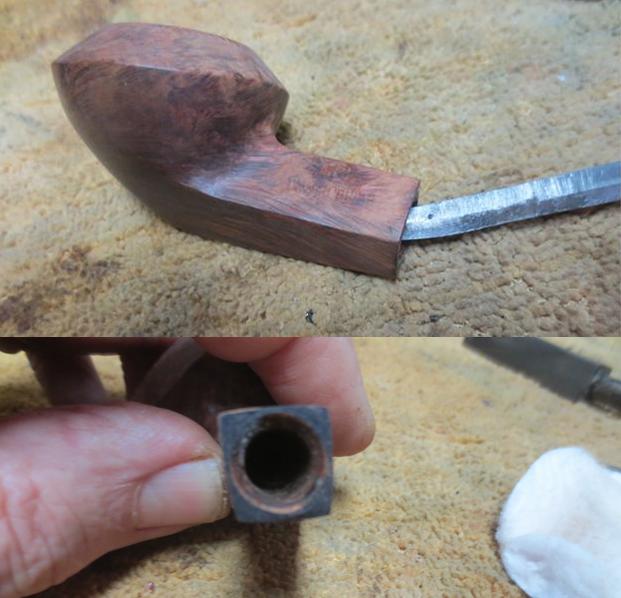
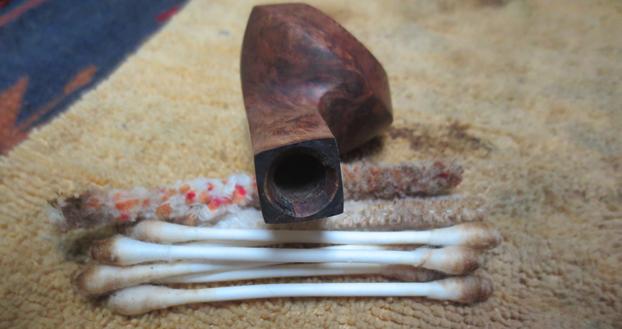
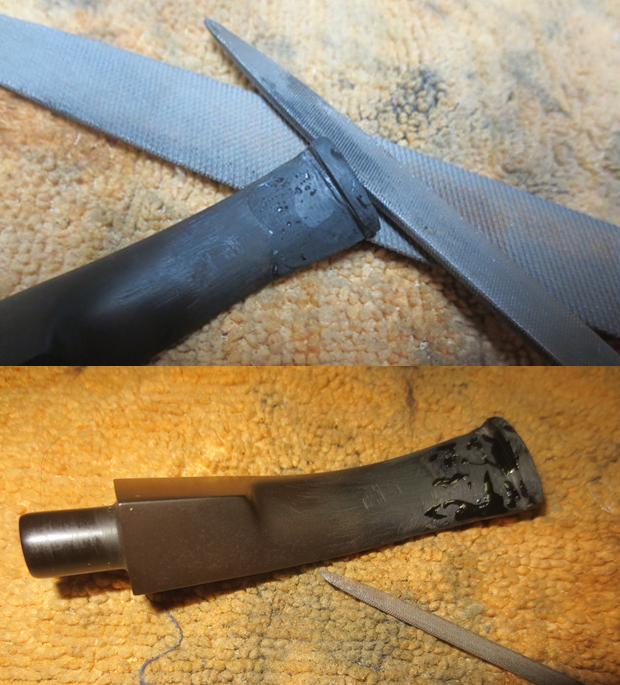
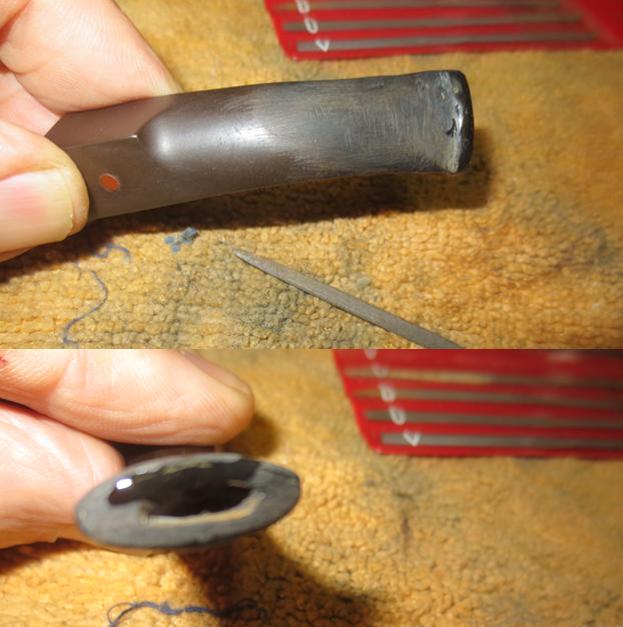
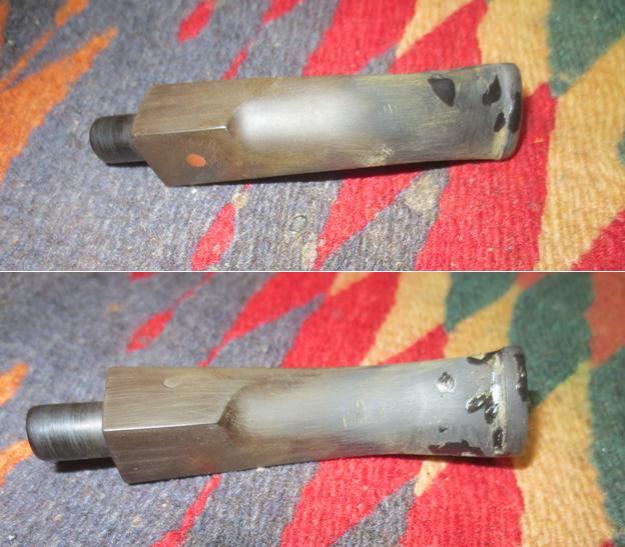
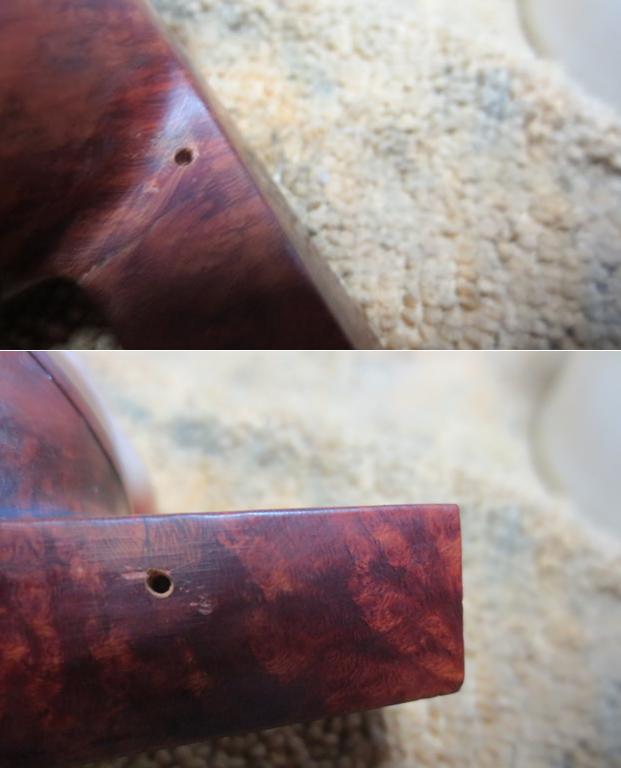
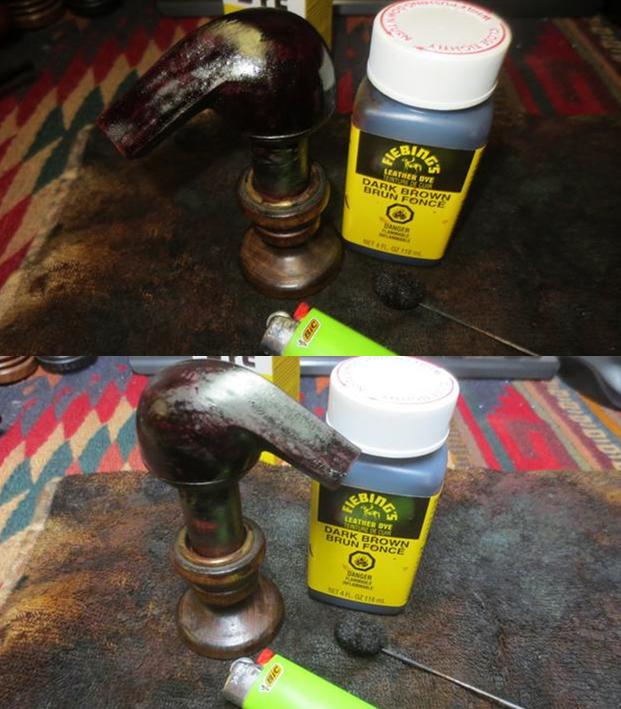
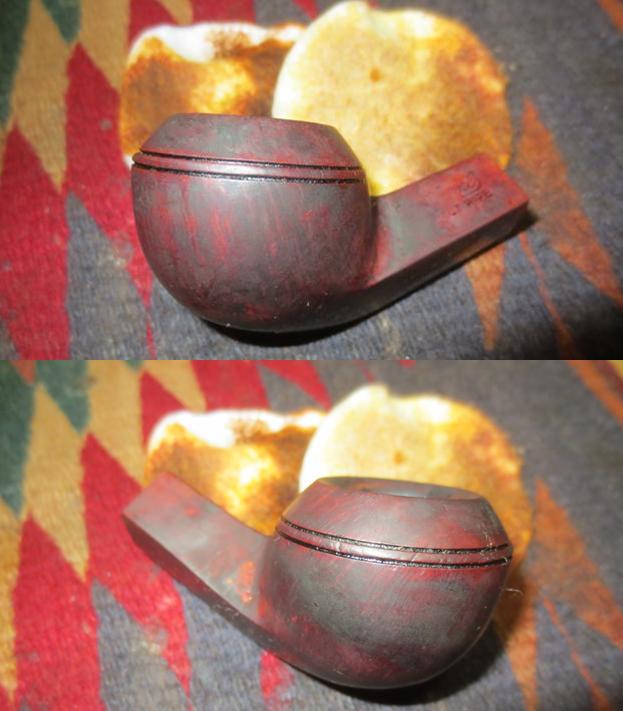
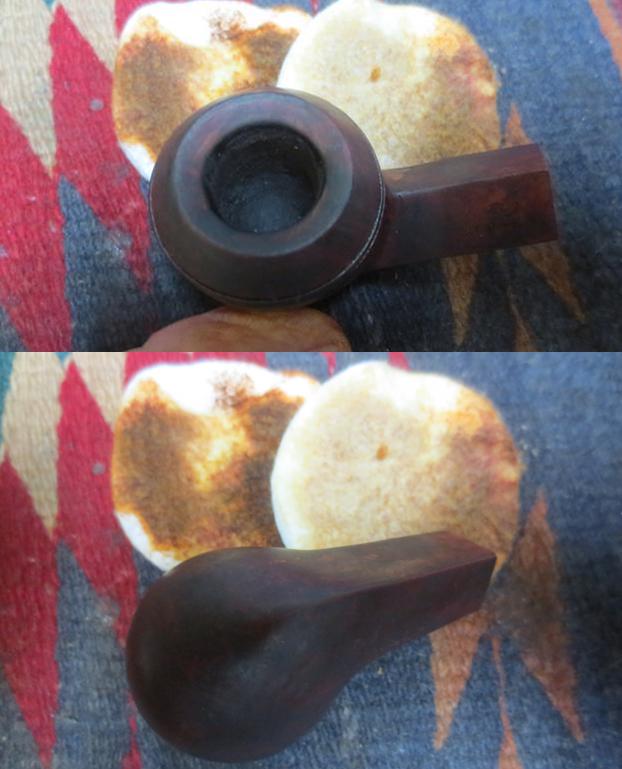
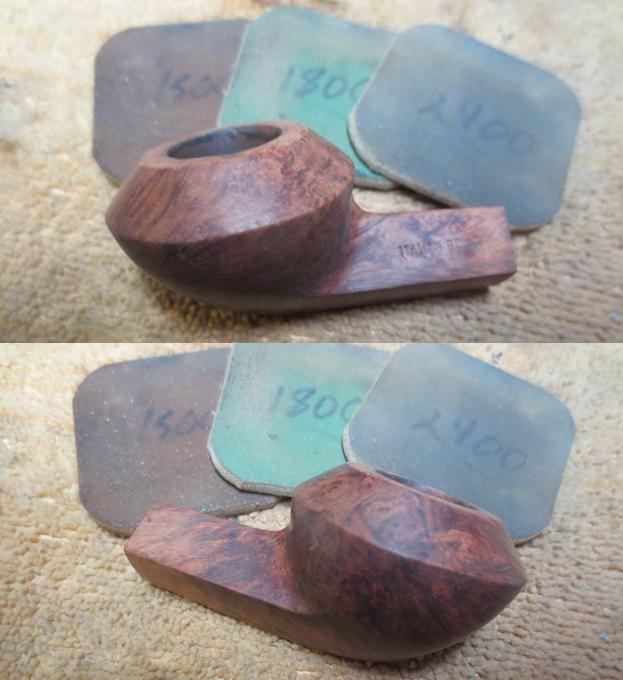
I put a drill bit in the chuck of my cordless drill and turned the bowl as the bit went into the airway on the broken tenon. I used one that was slightly larger than the airway and worked my way up to the one in the second photo. Some of the tenon crumbled away and the remainder stuck on the drill bit. I pulled it out of the shank and that part of the process was complete. The shank was clear. I used a Dremel and sanding drum to smooth out the broken edges of the tenon on the end of the stem. I smoothed it out until the broken tenon was smooth against the end of the stem. I put a drill bit in the chuck of my cordless drill and turned the stem onto the bit to open the airway for the new threaded Delrin tenon. I increased the size of the bit until it was the same size as the threaded tenon end. I cleaned up the newly drilled airway with a dental burr on the Dremel.I took the stem back to the work table and took pictures of the process of inserting the new tenon in the stem. The photos show the progress. I turned the tenon into the stem and put glue on the final few threads and use a pair of pliers to turn it into the stem until it was seated against the flush end. I put the stem in the shank and took some photos. The alignment is always a little off when the stem is first inserted. In this case the fit against the shank was perfect. The sides on the old stem and shank were just a little bit off. The left and top side aligned almost perfectly but the right and underside of the stem need some minor adjustments to fit properly. I sanded the stem/shank connection with 220 grit sandpaper to smooth out the transition and make it smooth to touch. I wiped the bowl down with acetone on a cotton pad to remove the remaining finish from the bowl. When I was finished I took photos of the fit and it was looking really good. I topped the bowl with 220 grit sandpaper on a topping board. I topped it until the surface was smooth and the damaged areas were removed. I used a folded piece of sandpaper to smooth out the inner edge of the bowl.I sanded the stem surface to remove the scratches and damage to the flat sides of the diamond and also the flat angle to the button. I wiped the stem down with alcohol on a cotton pad and removed the debris left behind by the sanding. I filled in the tooth marks with clear super glue and when the glue dried I sanded the repairs smooth with 220 grit sandpaper. I put some clear super glue on the tenon to build it up so that the fit in the shank would not be too loose. When the glue dried I sanded the surface of the tenon until it was smooth. I polished the stem with micromesh sanding pads – wet sanding it with 1500-2400 grit pads and dry sanding it with 3200-12000 grit pads. I rubbed the stem down with Obsidian Oil after each pad and after the final pad I gave it a final coat of oil. I set it aside to let it dry. I scraped out the inside of the mortise with a pen knife to remove the glue build up on the walls. I cleaned up the bevel with the blade of the knife at the same time to make sure that it did not interfere with the fit of the stem against the shank. I cleaned out the airway and mortise with pipe cleaners, cotton swabs and alcohol to remove the debris that remained once I pulled the old tenon. It took a few pipe cleaners and swabs but it did not take too long to clean it up. I polished the briar with micromesh sanding pads – wet sanding it with 1500-2400 grit sanding pads.  I worked around the stamping so I would not damage it in the process. I decided to stain the bowl with a medium brown stain pen rather than my regular aniline stain. I covered the sanded rim top, bowl sides and the shank with the stain. I continued to polish the bowl with micromesh sanding pads – dry sanding it with 3200-12000 grit sanding pads. I wiped it down after each pad with a damp cotton pad. The briar began to really shine as I worked through the micromesh sanding pads. I put the stem back on the bowl and buffed it with a carnauba wax buffing pad. I gave the stem and bowl multiple coats of wax. I buffed the completed pipe with a clean buffing pad to raise the shine. I hand buffed the pipe with a microfibre cloth to deepen the polish. The finished pipe is shown in the photos below. It turned out to be a pretty pipe. The black vulcanite stem with the red dot works well with the reddish colour of the briar. The grain stands out well with the colours of the stain. I like the look of finished pipe a lot. This one will probably stay in my own collection. Thanks for following along with me on this refurbishing journey.

Restoring an odd Daseo/Dasco Bakelite Pipe with a Removable Bowl


Blog by Steve Laug

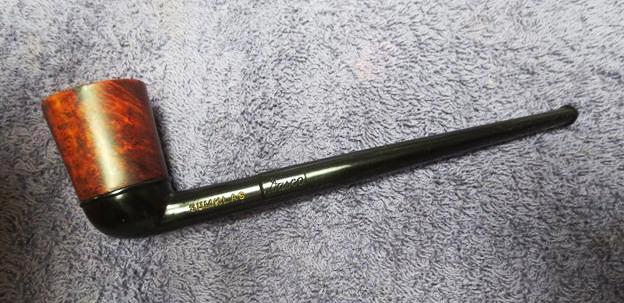
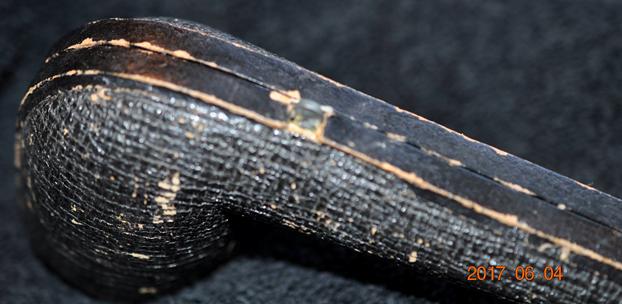
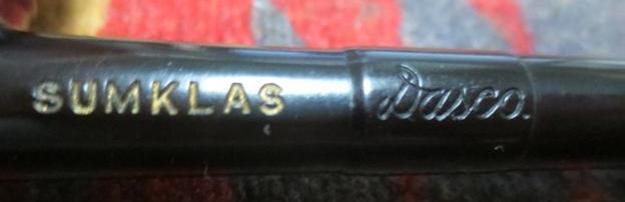
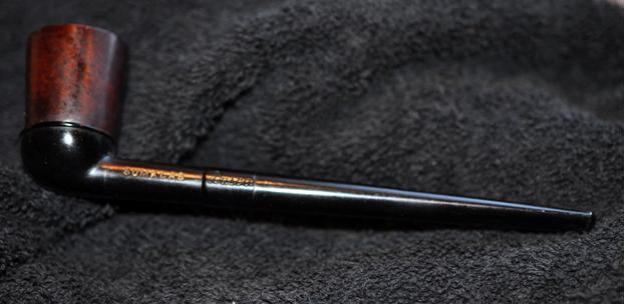
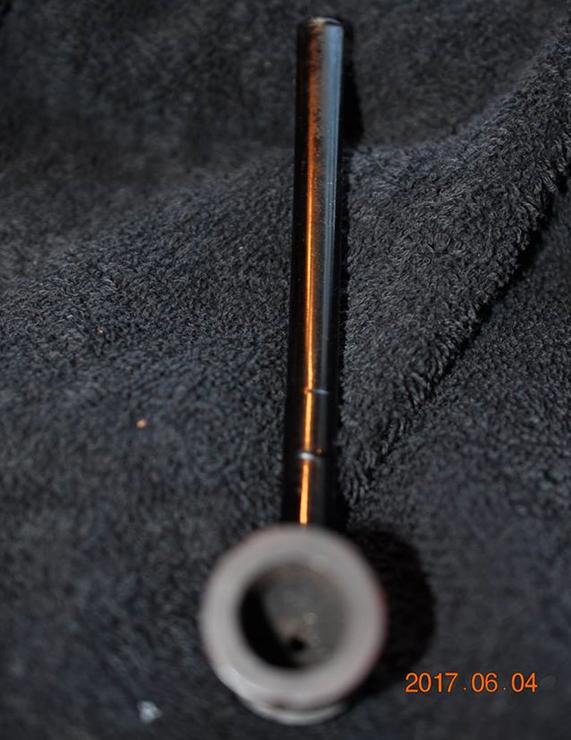
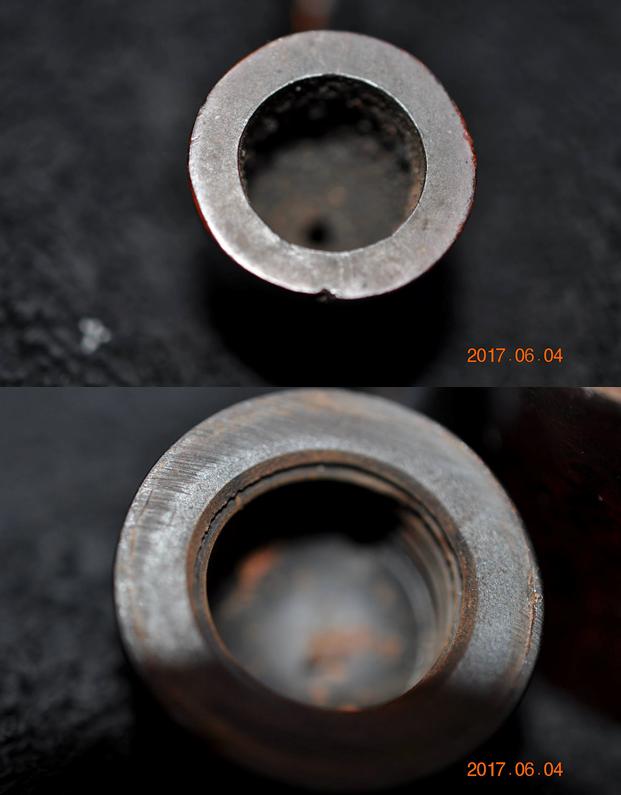
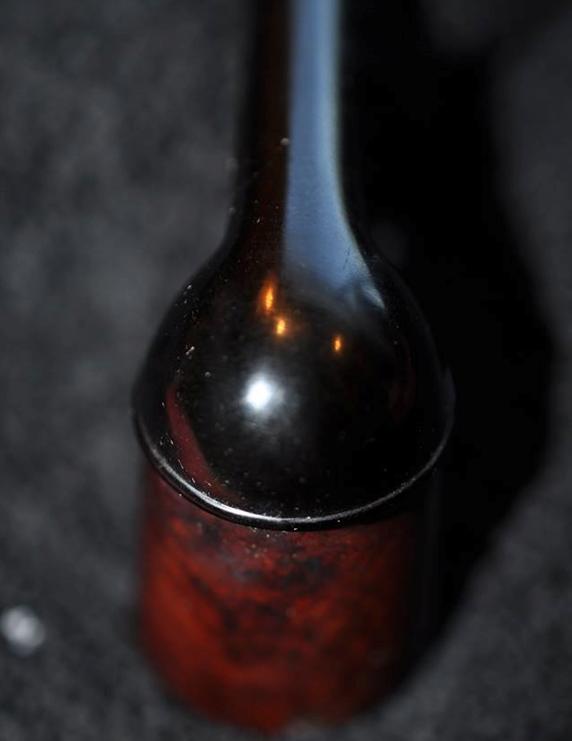
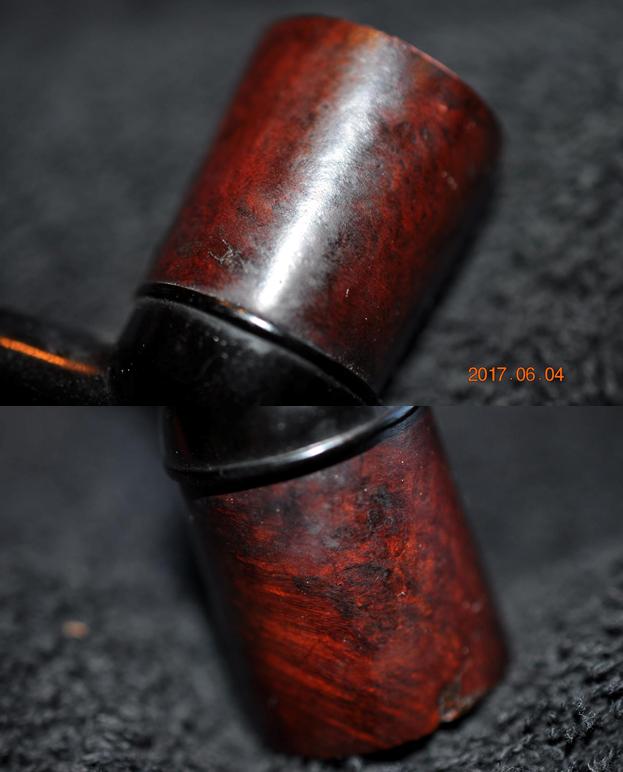
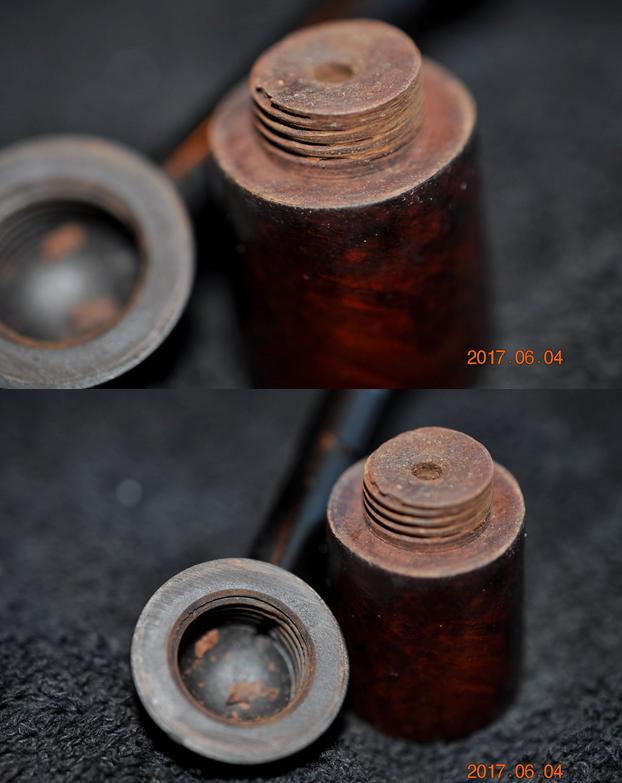
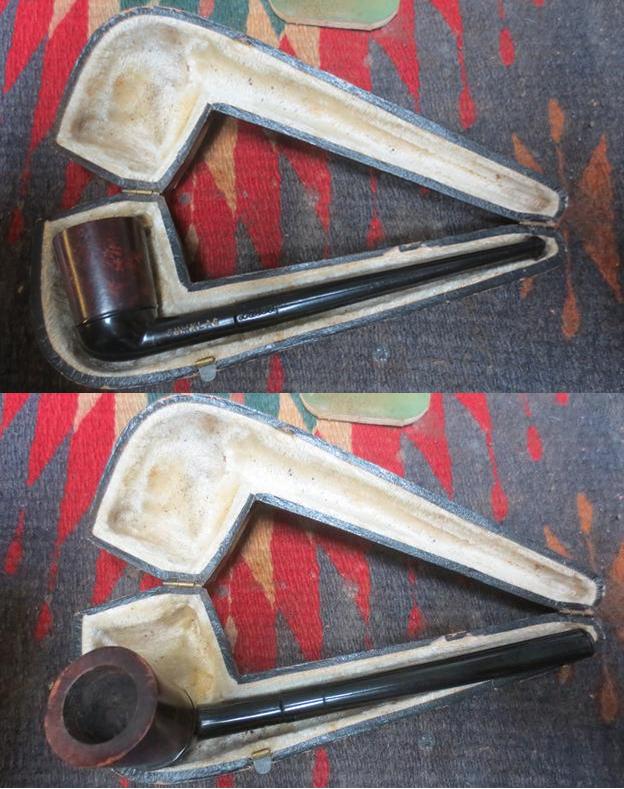
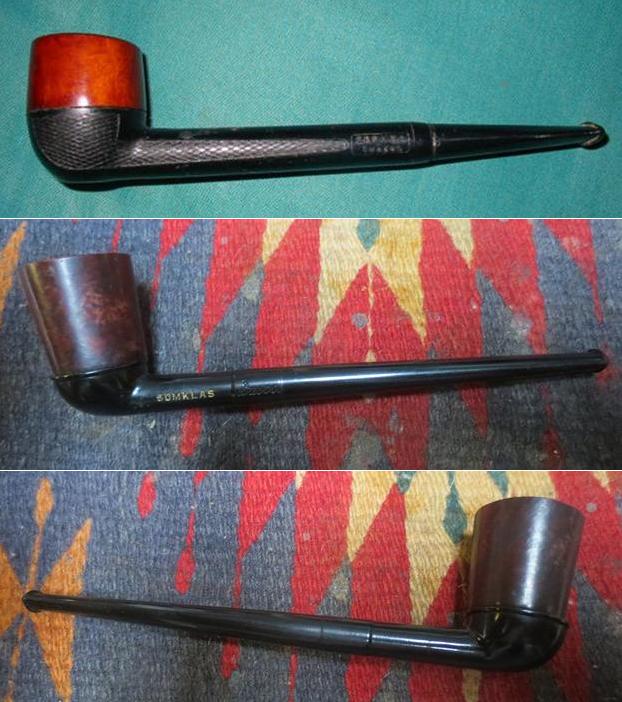
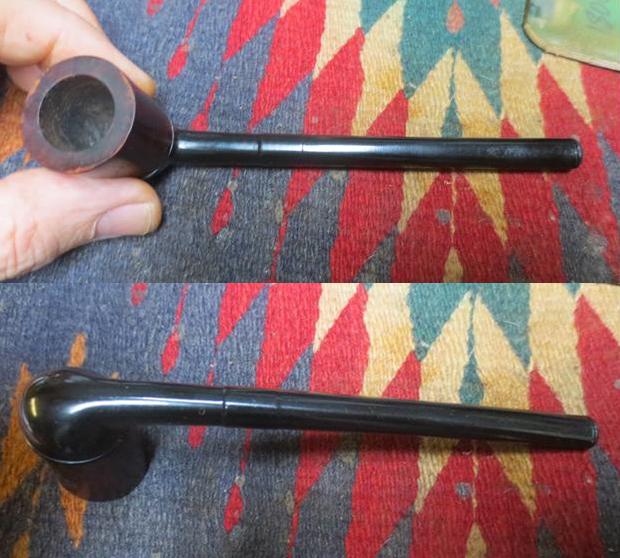
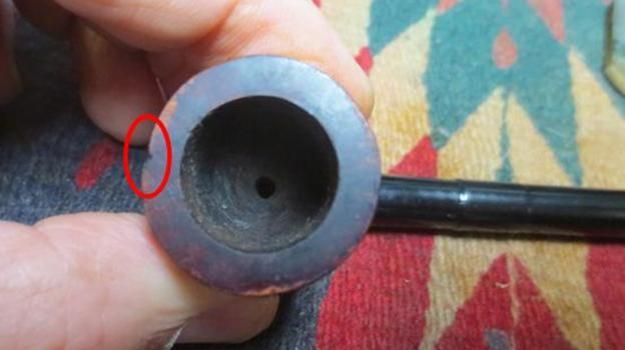
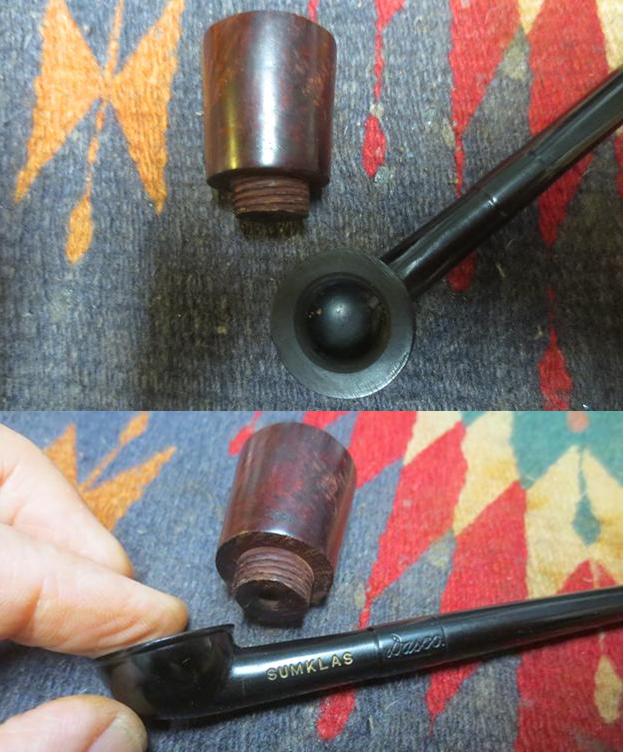
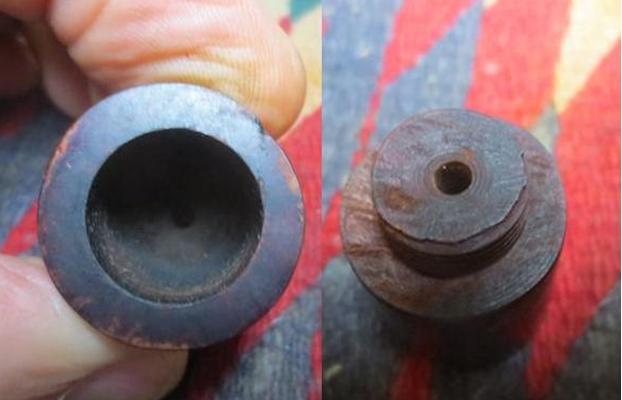
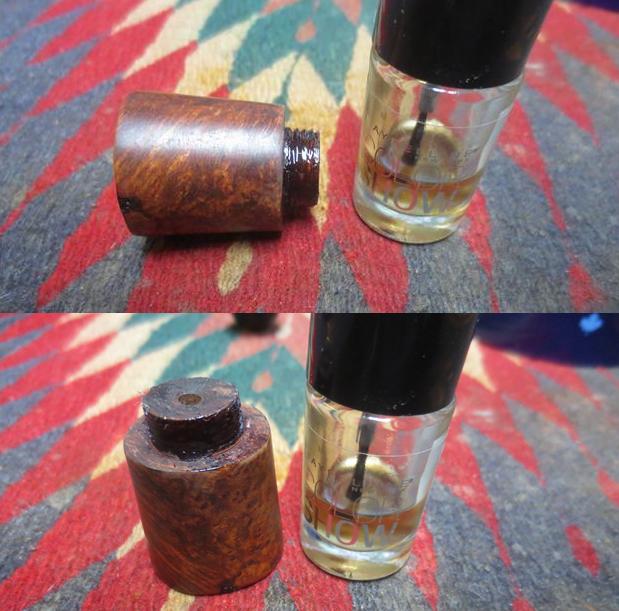
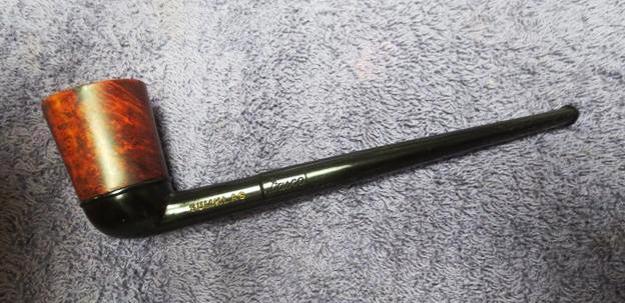
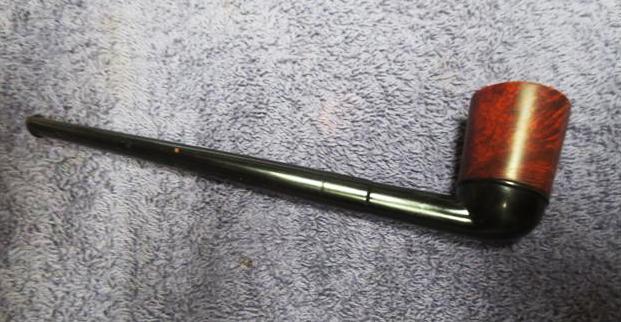
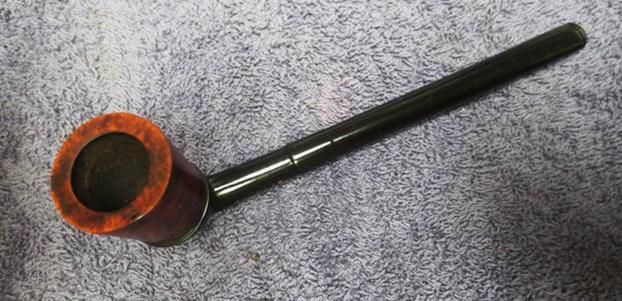
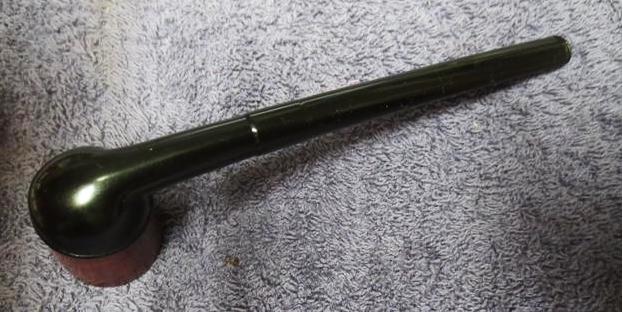
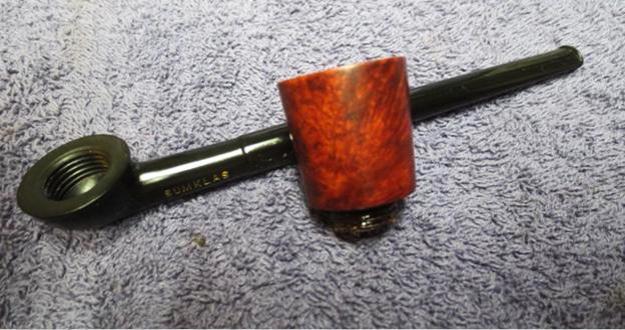
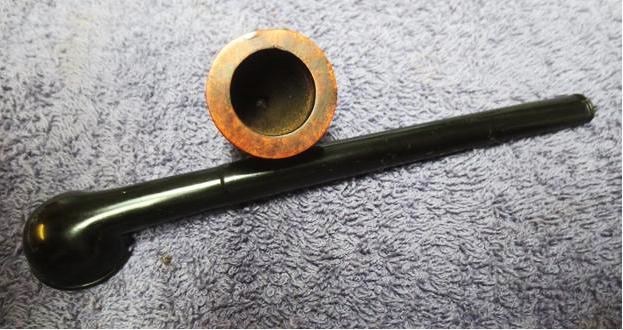
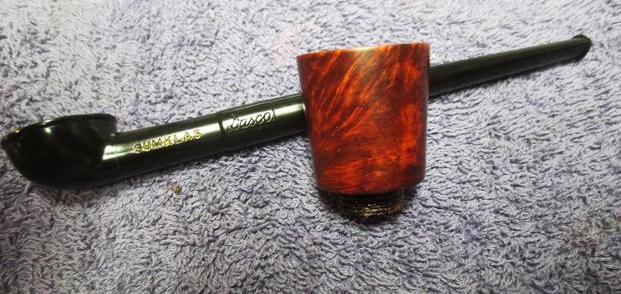
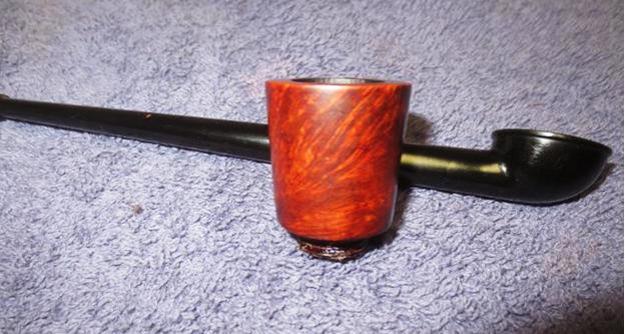
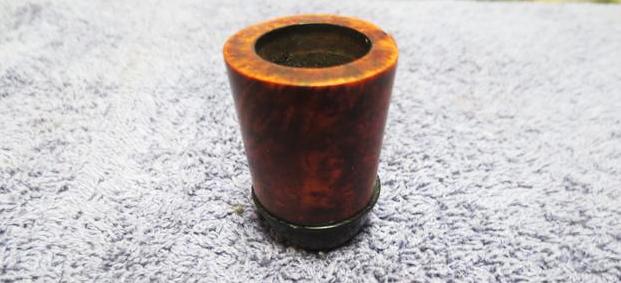
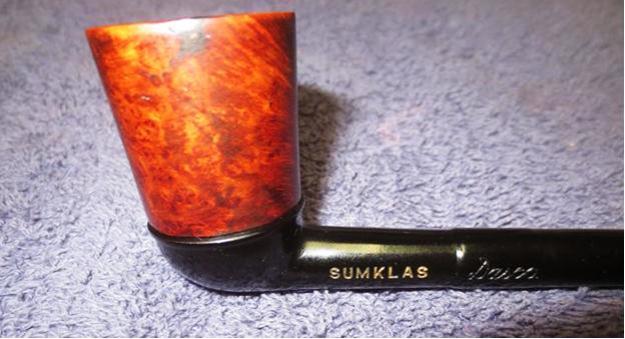
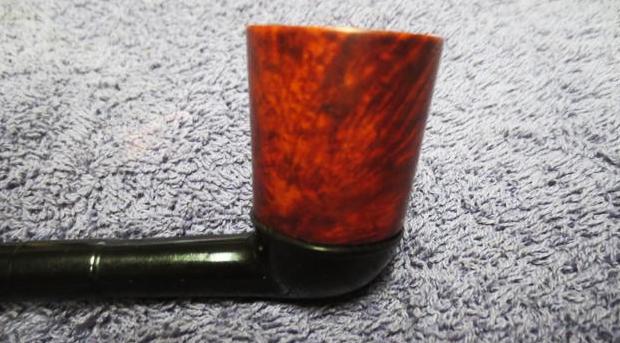
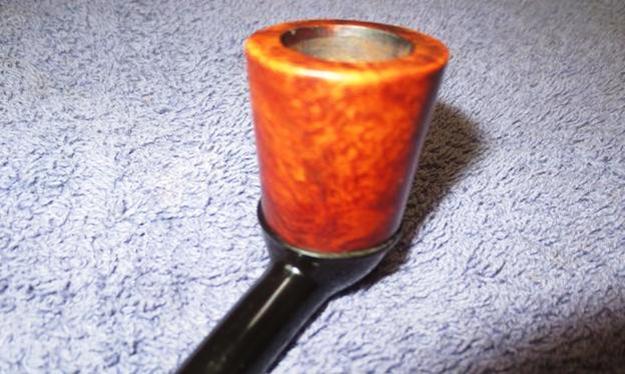
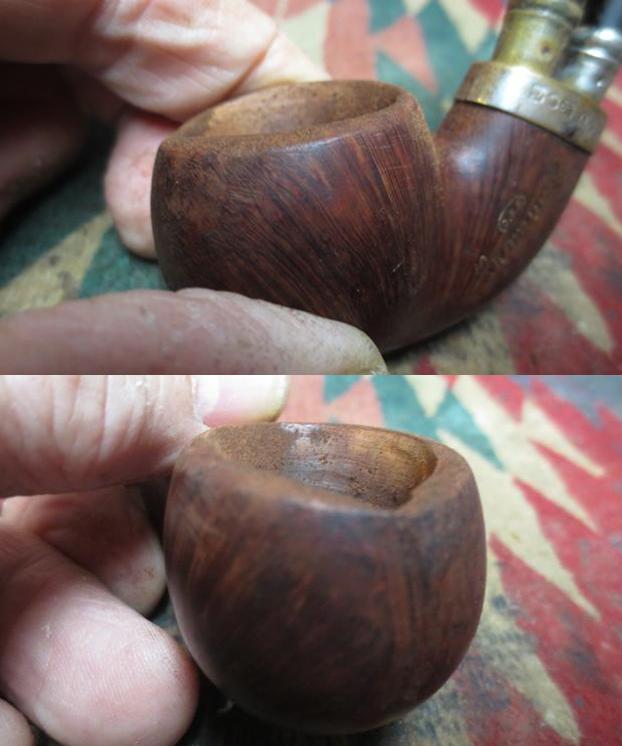
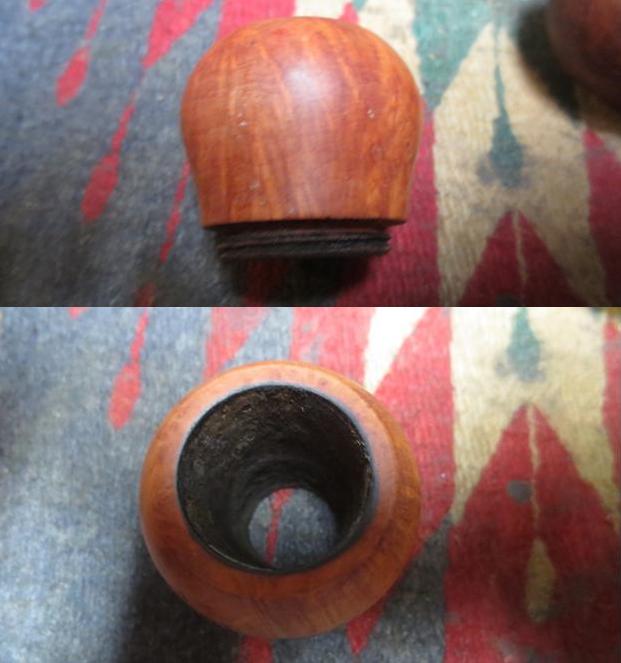
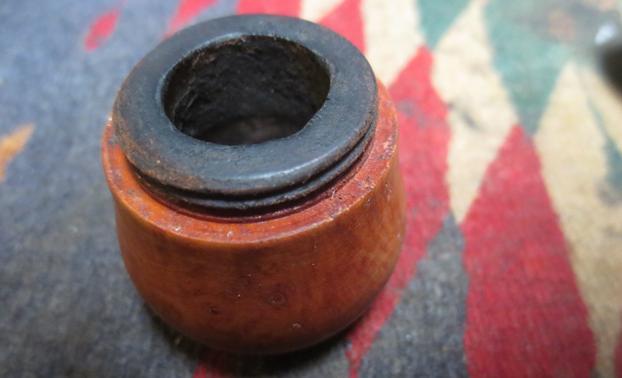
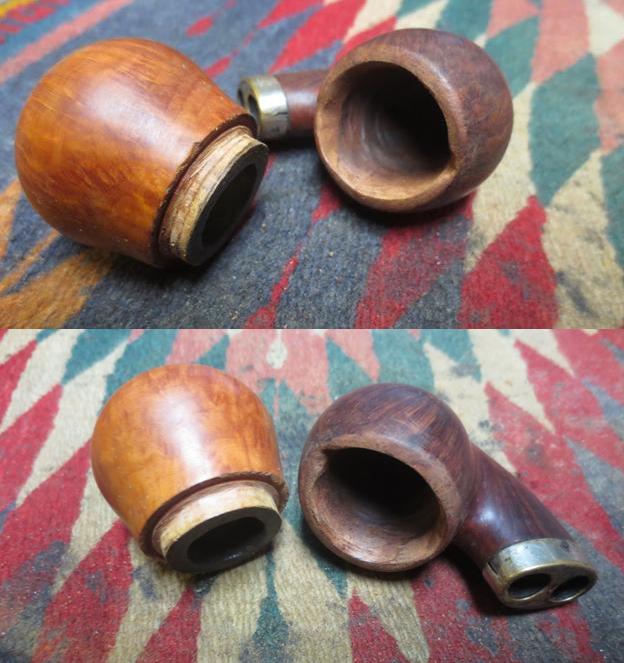
When I took this old case out of the box my brother Jeff sent me I could not remember what was inside. Looking at it I was kind of thinking that it might hold an older meerschaum billiard or an old amber stemmed briar billiard. I just could not remember what was in the old case when it arrived. I wrote Jeff and asked him to send me the pictures of the old pipe before he cleaned it up. He also was surprised I think when he opened the case as we have worked on so many pipes I am sure he had forgotten what was in this case. I present the case as it looked when he started working on the old pipe that it contained. What do you think could be inside? Don’t want to guess? That’s okay move onto the photos that follow once he opened the case. It certainly was not what I expected. Okay, no more suspense. Here is what we saw when he opened the case. I suppose your response was similar to ours. “What is that?” we exclaimed in surprise. Inside the old case was no older meerschaum or briar. There was no amber stem. There was only an odd looking pipe with a Bakelite base, shank and stem as a single unit with a screw on briar bowl. It was odd looking and strangely delicate. It was very light weight and different.It was stamped on the left side of the shank with the words SUMKLAS in gold filigree. On what would be a band if it was separated from the shank was also stamped Dasco or Daseo in script. There were no other markings on the pipe. I was unfamiliar with the brand whether it was a SUMKLAS or a Dasco/Daseo pipe. I could find no information on the brand in any of my usual online or book resources. I found a link on the Smoking Metal site to a Daseo  http://www.smokingmetal.co.uk/pipe.php?page=513. It is a three part Bakelite Bent pipe that is made of the same black Bakelite as the one I am working on. It has a similar threaded base on the bowl and a poorly rounded outer edge of the bowl as well. So I am not sure if the pipe is a Daseo or a Dasco. I have included a photo of the stamping on the pipe below. Have a look and see what you think. The script name and the curl at the top of the lower case c or e make either option possible. The pipe remains a bit of a mystery unless one of you who are reading this blog can shed any light on it. Jeff took the pipe out of the case and took photos of it to show what it looked like from a variety of angles. The finish on the briar was badly worn with a lot scratches and nicks in the surface of the wood. The rim top had some lava and there was a cake in the bowl. There was one large nick on the front of the bowl at the outer edge of the rim. The stem and base were dirty and scratched but no real issues. There was light tooth chatter at the button on both sides of the stem. Jeff took a close up photo of the rim top and bowl to show the condition. In the photo the nick out of the rim edge can be seen on the front of the bowl. The light cake in the bowl and the lava on the rim is also visible in the first photo. He unscrewed the bowl from the base and took a photo of the base to show what it looked like inside. The threads were in great shape and the base was dirty with oils, tars and dust. The bottom side of the base unit looked very good – a bit of polishing would shine it up. The next photos show the condition of the briar bowl. Note the nicks and scratches as well as the peeling finish on the bowl. There is some nice grain peeking through the old finish.I kept both of the follow photos of the threads on the bottom of the bowl to show the wear and tear on the briar threads. It appears that the bowl had been overturned several times and one side the threads were almost worn smooth.Jeff did a great job of cleaning this old-timer. He reamed the bowl and scrubbed the bowl and base unit with Murphy’s Oil Soap and a tooth brush. He rinsed it under running water. The internals were cleaned out with cotton swabs, pipe cleaners and alcohol. The inside of the base was scrubbed out with alcohol and cotton swabs. When it arrived here in Vancouver I had forgotten what was in the old case. When I opened it I was surprised a second time. I took photos of the pipe before I started working on it give an idea of what needed to be repaired and restored. When I took it out of the case and looked at it the pipe reminded me a lot of an older Swedish pipe that I had restored. That particular pipe was a Bromma Dollar that I restored. The link to the blog is https://rebornpipes.com/…/cleaning-up-a-swedish-bromma…/ I have included a photo of the Bromma here for comparison. It also has a base/stem single unit with a briar screw on bowl. The Dasco/Daseo is older I think and it is certainly more elegantly proportioned than the Bromma but you can see the similarities between the two pipes. I took a close up photo of the rim top and bowl to show the nick toward the front of the bowl as I am holding it in my hand. I have circled it in red to highlight it for you.The stem had tooth chatter on both the top and underside near the button. The button was the older style rounded cap with an orific opening in the end. Overall the stem and base unit were in excellent condition.I took the bowl off the base and took some photos of the parts of the pipe. It is a pretty straight forward design with no systems or sumps. Just a screw on briar bowl and a Bakelite base unit.I took photos of the bowl top and bottom – it is in decent condition. The bottom of the bowl has some nicks in the edge of the threads.I repaired the nick/missing chunk of briar on the side of the bowl (front/side) with clear superglue. I cleaned out the area with a cotton swab and alcohol and then dried it off. I filled it in with clear superglue in layers to build it up even with the rim top surface and the bowl side surface. I sanded the repair with 220 grit sandpaper to smooth it out even with the top of the bowl and the side. I wanted it to be unidentifiable once the bowl was stained. I sanded off the rest of the finish while I was at it. There were bubbles and crackling in the finish. Once the old damaged finish was removed there was some interesting cross grain and birdseye grain around the bowl. Before staining the bowl I “painted” the thread on the bottom of the bowl with clear fingernail polish to build them up for a better fit on the base. Without the added thickness to the threads the bowl overturned and no longer aligned with the edges of the base.I cleaned up the excess fingernail polish on the base of the bowl bottom with a cotton swab and acetone. Then it was time to stain the bowl. I decided to keep things simple and stain the bowl with a Guardsman Dark Brown stain pen. It is simple, mess free but it is also transparent and will allow the grain to show through when buffed. I covered the bowl with the stain pen and repeated until the coverage was what I wanted.I put the bowl on the end of my finger and buffed it with Blue Diamond on the buffing wheel to spread out the stain and even the coverage on the bowl. It gave the bowl a nice medium brown colour and allowed the grain to shine through. I buffed it with several coats of carnauba wax and buffed it with a clean buffing pad to raise the shine. I set the finished bowl aside and worked on the base/stem unit. I polished it with micromesh sanding pads – wet sanding with 1500-2400 grit pads and dry sanding with 3200-12000 grit pads. I wiped the base/stem unit down after each pad with some Obsidian Oil. I have used it on Bakelite before and like how it worked. I gave it a final coat of the oil after the last pad and set it aside to dry. I screwed the stem back on the base and the alignment was perfect now. The repaired area was on the left side of the pipe rather than the front. It blended in pretty well. I buffed the whole pipe carefully with carnauba wax and a clean buffing pad to raise the shine. I hand buffed the pipe with a microfibre cloth to deepen the shine. The finished pipe is shown in the photos that follow. It is a nice light weight pipe that has a unique look and potentially a bit of history. Some of the information on similar pipes dated it in the mid to late 1920s. There is no way of knowing for sure but the orific button and the gold lettering on the shank would fit that time period. It is unique that is for sure. Thanks for looking.


New Life for a P. Jackson Co. of Singapore Canadian


Blog by Steve Laug

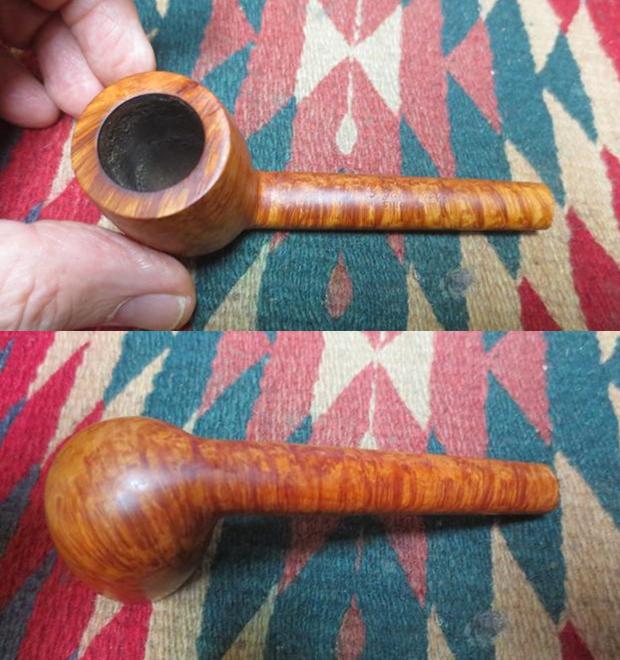
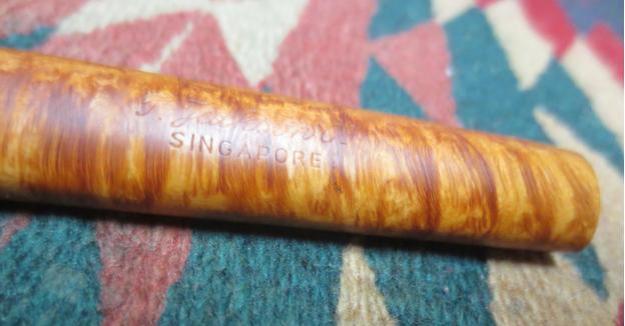
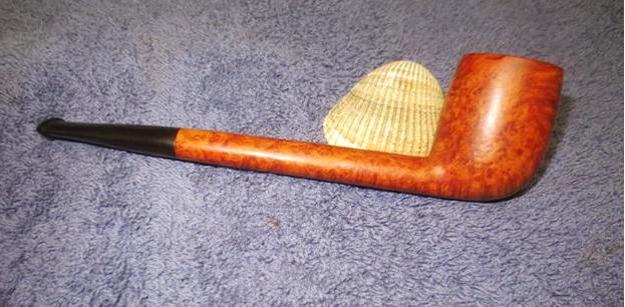
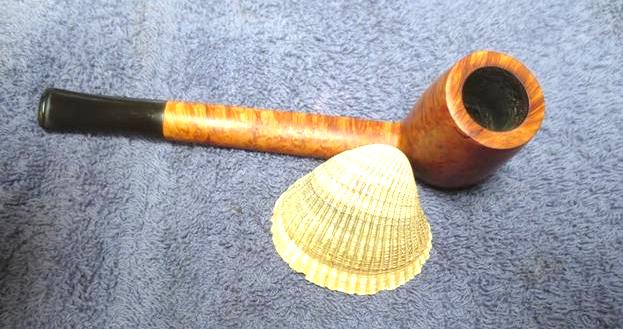
This P. Jackson Canadian is the second pipe that my friend in Calgary messaged me about when he found a pair of pipes at a little flea market in Winfield, B.C. The first one was a Peterson’s Lovat that I wrote about in a previous blog (https://rebornpipes.com/2017/09/01/cleaning-a-winfield-b-c-find-a-republic-era-petersons-kapruf-lovat-75/). He sent me the photo below showing both of the pipes. He asked if would be willing to refurbish them for him. I wrote back and told that both were nice pipes and I would be happy to work on them for him. He laughed and said they were on their way to Vancouver. The pipes arrived early this week and I unpacked them both. The second pipe above was a virgin finish Canadian. The stamping is centered on the topside of the shank with the script name P. Jackson Co. and underneath that it reads Singapore. The brand was one that I was unfamiliar with and I could not find information on in my usual sources. The pipe looked very English to me – there was something about it that looked like a Comoy’s Canadian but I could find nothing to prove or disprove that assumption. The finish on the pipe was not as worn or dirty as the little Peterson’s Lovat. The finish was dull and dry looking. The rim top was dirty but and had a lava overflow on the backside of the rim top. There was a thick cake in the bowl that was crumbling and soft – exactly like the other pipe. The stem was oxidized and dirty. The stem had the same tooth marks as the other pipe – a line across middle of the stem on both sides. The cake in the bowl, the tooth marks all told me that the pipe came from the same pipe man. This was another a good find. I took the following photos of the pipe before I started the cleanup work. I took a photo of the rim top to show the cake in the bowl and the lava build up. The inner and outer edge of the bowl looked undamaged but I would know more once I cleaned up the bowl and rim.The next photo shows the faint stamping on the shank. You can see what the stamping reads under the light of the flash. The script P. Jackson Co over the block print SINGAPORE is clear.The stem had the same marks and gummy substance as the previous Peterson’s Lovat – sticky from a price label. There was a lot of tooth chatter and the tooth marks mid stem that I mentioned above. The underside of the shank was stamped FRANCE – visible in the second photo below.I decided to look at things a little differently and researched the P. Jackson Singapore connection. I could not find anything on the P. Jackson Co. listed as a company or tobacconist in Singapore so that was a dead-end. I will continue to look for that Company through a variety of documents. I did find several other people on the forums had also found this particular brand of pipe but no one had a clue as to who made it. So I went a little further in my search. I entered P. Jackson Singapore to see if I could come up with leads. I was surprised when it returned a search category for P (Philip) Jackson who was a cartographer in Singapore. I followed those links and this is what I found.

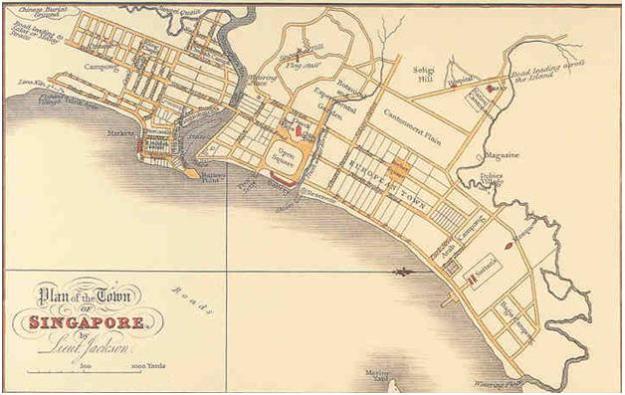
Lieutenant Philip Jackson (b.24 September 1802, Durham, England–d.1879) was an officer in the Bengal Regiment Artillery, and served as Assistant Engineer, Executive Officer and Surveyor of Public Lands in colonial Singapore. An accomplished surveyor and draughtsman, Jackson produced a number of important maps, including one of the earliest maps of the town of Singapore and the earliest known drawing of Singapore – “Plan of the Town of Singapore”. He was also the first architect of the Singapore Institution (the precursor of Raffles Institution) building. http://eresources.nlb.gov.sg/infopedia/articles/SIP_140_2005-01-20.html

I followed references in that link and found that Jackson had designed the plan of the Town of Singapore. Here is what I found on that link.

The Jackson Plan or Raffles Town Plan,[1], an urban plan of 1822 titled “Plan of the Town of Singapore”, is a proposed scheme for Singapore drawn up to maintain some order in the urban development of the fledgling but thriving colony founded just three years earlier. It was named after Lieutenant Philip Jackson, the colony’s engineer and land surveyor tasked to oversee its physical development in accordance with the vision of Stamford Raffles for Singapore, hence it is also commonly called Raffles Town Plan. The plan was formulated in late 1822 and published in 1828.[1] It is the earliest extant plan for the town of Singapore, but not an actual street map of Singapore as it existed in 1822 or 1828 since the plan is an idealised scheme of how Singapore may be organized that was not fully realised.[2] Nevertheless it served as a guide for the development of Singapore in its early days, and the effect of the general layout of the plan is still observable to this day.(ED. The endnotes are included underneath the map. I found that the map was interesting in itself so I included that as well.) https://en.wikipedia.org/wiki/Jackson_Plan

[1] Bonny Tan. “Raffles Town Plan (Jackson Plan)”. Singapore Infopedia. National Library Board.

[2] H. F. Pearson (July 1969). “Lt. Jackson’s Plan of Singapore”. Journal of the Malaysian Branch of the Royal Asiatic Society. 42 (1 (215) Singapore 150th Anniversary Commemorative Issue): 161–165.

From this information I surmised that the pipe may have been issued as some kind of Commemorative Pipe to recognize the contribution of Jackson to the city of Singapore. I know I can’t prove that, but it is an interesting possibility. If any of you have information on the brand and could shed light on the origins of this pipe let us all know. Thanks ahead of time.

I reamed the bowl with a PipNet pipe reamer to remove the thick cake. I started with the smallest cutting head and worked my way up to the second cutting head to remove the cake and leave the inside of the bowl bare. I wanted to be able to check the inside walls to see if there was any heat damage (once again I was glad to see that there was no damage).I removed the stem from the shank – it was a dirty mortise so the fit on the shank was very tight. I worked it carefully so as not to break or damage the tenon or the shank. I lightly wiped off the debris from the stem, wiped it down lightly with alcohol to remove the gummy substance and put it in the Before & After Pipe Stem Deoxidizer to soak overnight along with the Peterson’s Kapruf stem.While the stem soaked, I worked on the stummel. I scrubbed it down with undiluted Murphy’s Oil Soap and a tooth brush. I scrubbed hard to remove the lava from the rim top. There was a lot of dirt and grime on the virgin finish and the scrubbing removed that. I rinsed the bowl down with running water to wash off the soap and the grime. I scrubbed it under the running water with the tooth brush and when it was finished, dried it off with a towel. The pipe was looking pretty good at this point in the process. I scrubbed the internals of the pipe with pipe cleaners, cotton swabs and alcohol to clean out the tars and oils that had collected there. It took a lot of scrubbing before the cleaners and cotton swabs came out clean.After I rinsed the bowl and rim I could see the two areas on the right top of the bowl that were sandpits. One of them had a large crumbling fill that went across the rim top (not quite as far as the inside edge of the bowl) and then curved down the side toward the back of the bowl. I cleaned the fill with a dental pick to clean up the putty. I repaired the fill with clear super glue and a little bit of briar dust. The photos below show the repaired areas. When the repair had cured I sanded the repairs smooth with 220 grit sandpaper. I polished them with micromesh sanding pads to blend them in with the top of the rim and the back of the bowl. The photos below show the repairs after the sanding and polishing.I set the bowl aside for a short time and turned my attention to the stem. I removed it from the Before & After Pipe Stem Deoxidizer and dried it off. There was still some stubborn oxidation in the vulcanite. I sanded it with 220 grit sandpaper to remove the oxidation. I polished the stem with micromesh sanding pads – wet sanding with 1500-2400 grit pads and dry sanding with 3200-12000 grit pads. I wiped down the stem after each pad with Obsidian Oil. After the final pad I gave the stem a final coat of oil and set it aside to dry. I wiped the bowl down with a light coat of olive oil to give life to the briar. I buffed the bowl with Blue Diamond on the buffing wheel to polish out the scratches. I gave it multiple coats of carnauba wax and buffed it with a clean buffing pad to raise the shine. The stamping is still very readable. It is a good looking pipe and the P. Jackson Co. Singapore label is still an ongoing mystery.I put the stem back on the pipe and buffed it lightly with the Blue Diamond polish on the buffing wheel. I buffed the stem harder than the stummel to polish the vulcanite. I gave the bowl and stem more coats of carnauba wax and buffed them with a clean buffing pad to raise a shine. I hand buffed it with a microfiber cloth to deepen the shine. The finished pipe is shown in the photos below. It really is a nice long shank Canadian with beautiful grain and a natural finish. I think my friend in Calgary is going to enjoy this second pipe as much as the Peterson’s Lovat. Thanks for following along the restoration path on this one with me.


New Life for a C.P.F. Wellington Style Pipe


Blog by Steve Laug

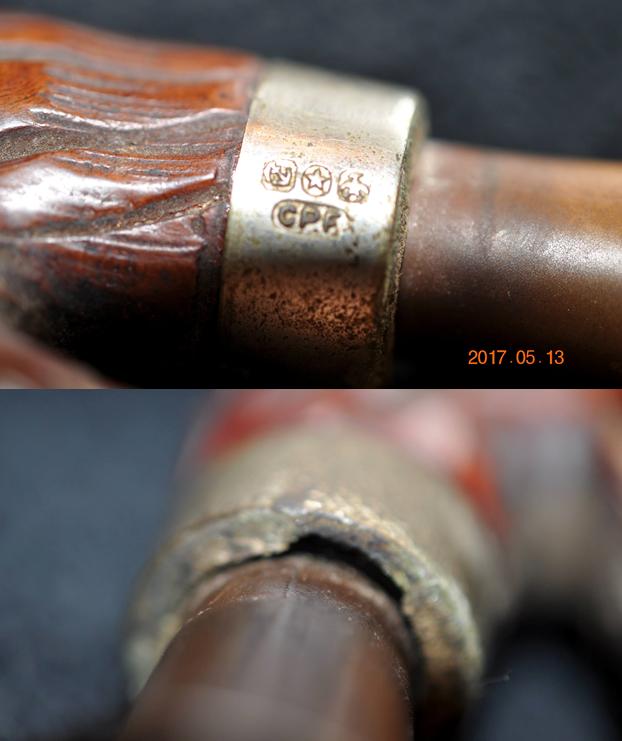
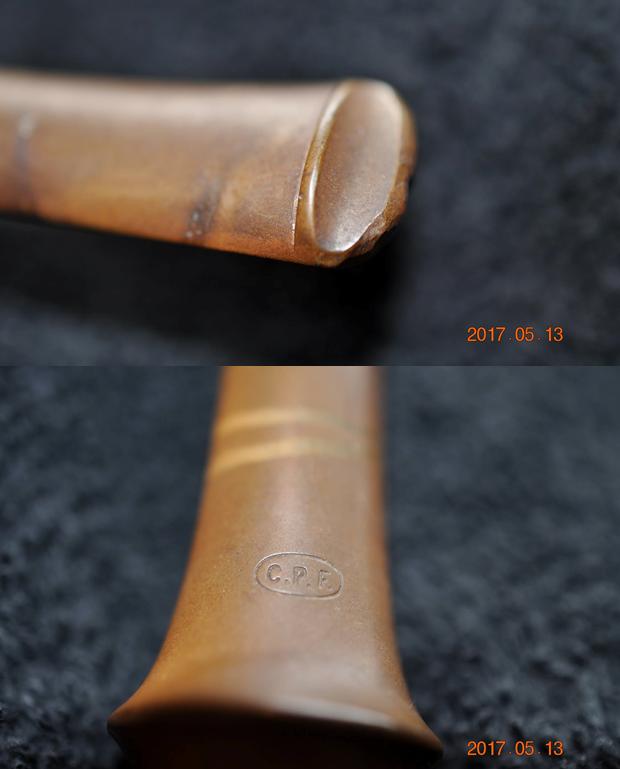
The next pipe on my work table is another C.P.F. from the virtual pipe hunt Jeff and I did in Montana. It is an interesting piece in that it has some age on it but to my thinking it is “newer” than the other C.P.F. pipes I have been working on from that hunt. This one has no stamping on the bowl but has the C.P.F. in an oval logo stamped on the ferrule underneath a set of the expected faux hallmarks.

To me it is very much like later C.P.F./KB&B post-merger Chesterfield pipes. KB&B acquired or started the C.P.F. line sometime between 1884 and 1898” (http://kaywoodie.myfreeforum.org/archive/cpf__o_t__t_161.html). They operated the factory at 129 Grand Street, in New York City, New York. The ferrule and stem are not stamped with the dual stamp that later pipes had, so I think it is safe to assume that it is from pre-1900. I went back and read my blog post on the background of the brand and I think I was able to date this one a bit.

The C.P.F. brand was discontinued sometime between 1910-1920. I turned to a quote I found from Bill Feuerbach where he notes the following, which pins down the time frame of the discontinuation of the brand more specifically, “I have a C.P.F. Chesterfield in our office display that has a nametag from way before my time that says 1900 C.P.F. Chesterfield. It looks like most other Chesterfields you’ve seen, including the military type push stem, except this stem is horn and not vulcanite. As far as I have gathered the C.P.F. brand was phased out sometime around 1915” (http://kaywoodie.myfreeforum.org/archive/cpf__o_t__t_161.html). Interestingly, he noted that the Chesterfield name and style was later introduced in the KB&B, Kaywoodie and Yello-Bole lines. He says that the 1924 KB&B catalog shows KB&B Chesterfields. (Here is a link to the full blog on the brand: https://rebornpipes.com/2013/04/14/some-reflection-on-the-historical-background-on-cpf-pipes/).

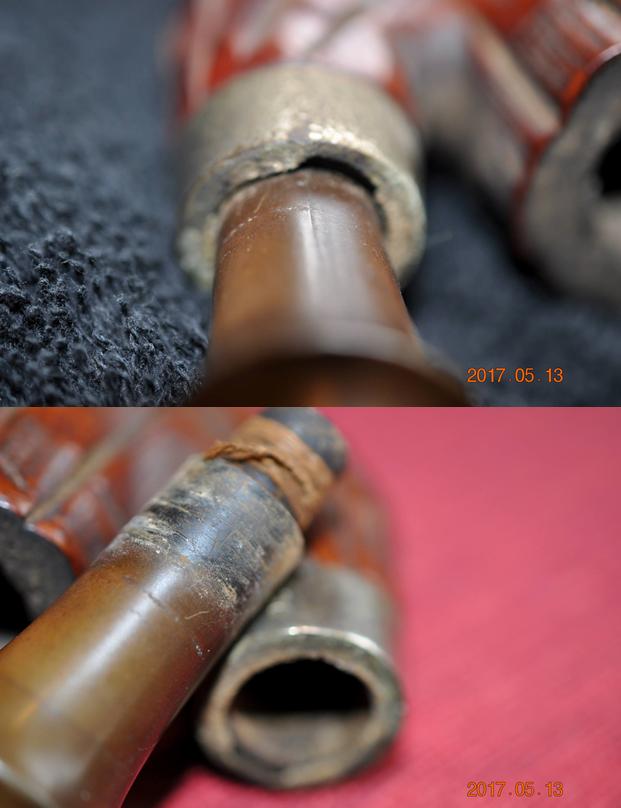
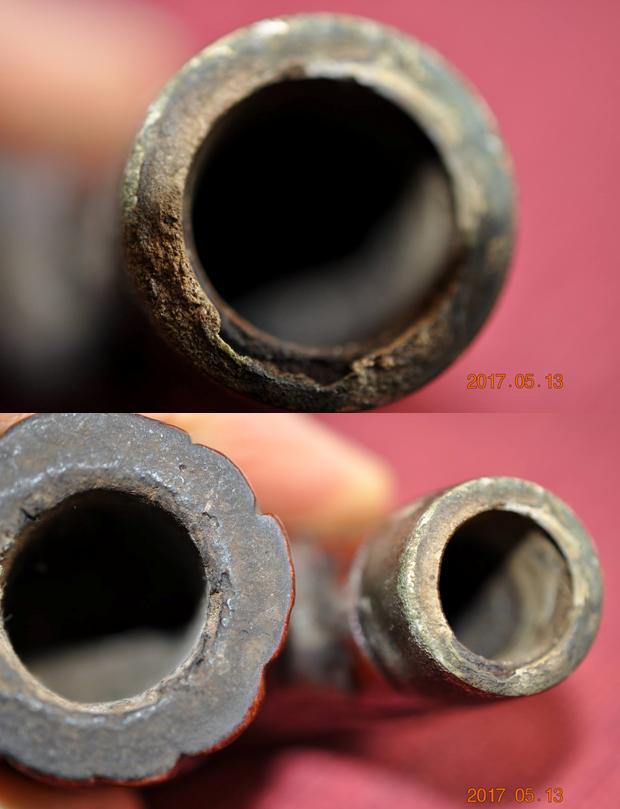
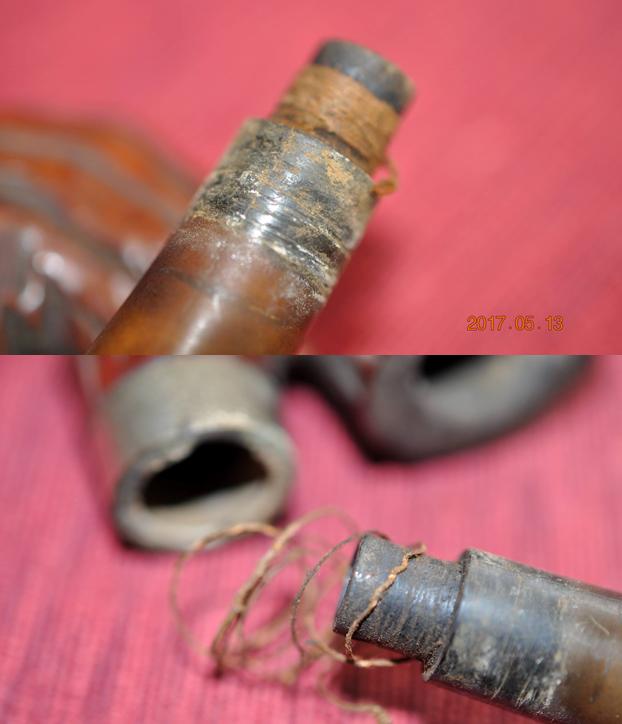
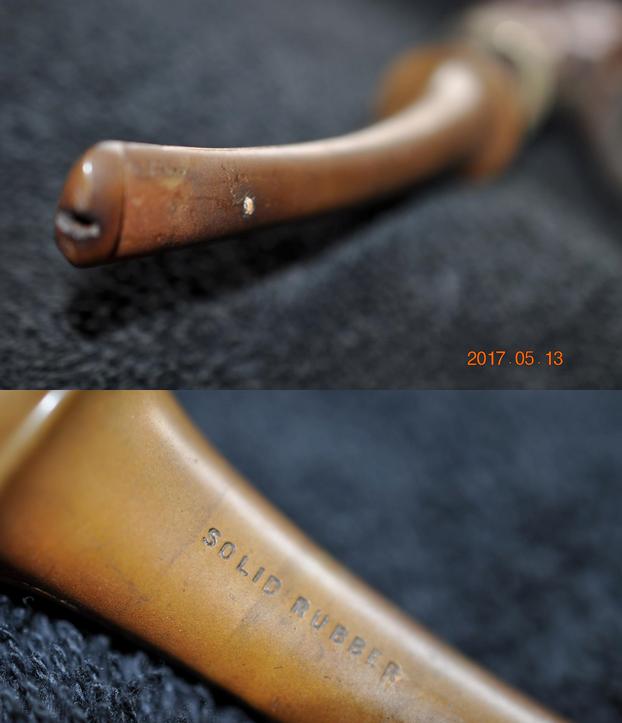
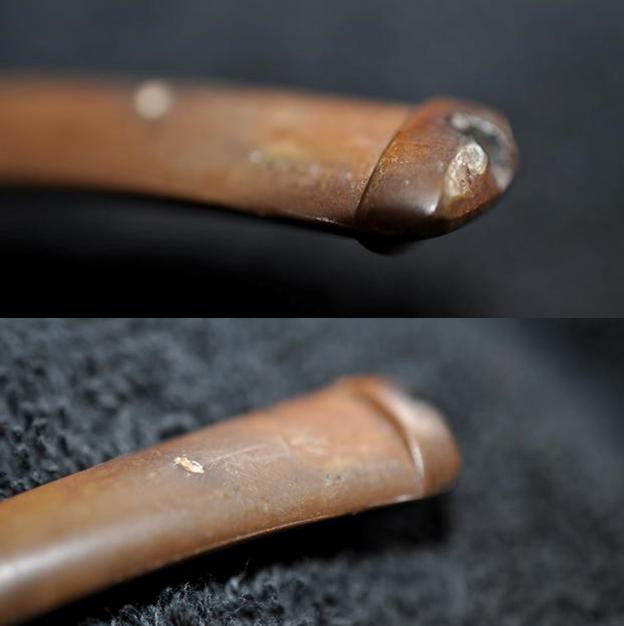
My brother Jeff took the previous and the following photos of the pipe before he cleaned it and sent it to me. It was extremely dirty with grime settled deep in all of the grooves of the rustication on the bowl. The nickel ferrule was oxidized and had turned and the stamping in the metal was not visible on the left side. The stem was oxidized and spotty looking and to my eye it had appeared to have straightened over time and lost some of the natural curve it originally had. This old pipe was in really rough shape. The rim was heavily covered in a thick lava coat and the bowl was caked with a hard carbon. It was thick against the walls with the cake thicker on the back side of the bowl. The way the cake was it was hard to tell what kind of condition the inner and outer edge of the bowl would be in until it was all removed.The next photo not only shows more of the rim and bowl but also the damage and heavy oxidation of the ferrule. It was rough to touch and there was a large piece missing on the end.The next photos show the dirt that was caked in the grooves and carvings of the bowl and shank sides. The curved area between the bowl and the shank was really dirty. The third photo below shows the heel of the bowl and the small crack that went across the width. It was hard to tell if it was just a flaw in the briar or a true crack. Once it was cleaned up I would be better able to tell. The one thing going for it was that there was no darkening to the exterior of the heel. The ferrule had come loose at some point in its life and had been reglued upside down. The C.P.F. in an oval logo and the faux hallmarks were on the bottom of the shank. The damaged spot on the ferrule had turned to the top of the shank. I wondered if the damage had been engineered when the shank had been drilled. Once again, I would know once we had cleaned it up and looked at it up close. When the stem was removed the end was wrapped up the stem about an inch with cord. This was often done to tighten the fit in the shank. I have found that on pipes this dirty that the sump below the airway in the mortise is generally filled and the sides of the mortise are so dirty that the stem no longer fits correctly in the shank. Jeff took a photo of the shank end to show the damage to the ferrule close up. It almost looks like it is notched. I am wondering if the turned ferrule (the notch) on the top of the shank rather than the bottom was not one reason for the misfit of the stem.The next two photos show the wrap as he began to unwind it from the end of the stem.The stem was badly oxidized and it was going to be hard to get all of the oxidation off the old vulcanite. The button end had a slight notch that opened up the orific airway. I was not sure if this was original or if it was damage. The stem was stamped on the underside with the words SOLID RUBBER and on the topside near the saddle with C.P.F. in an oval. There was some definite wear and tear on the stem but surprisingly no tooth marks. Once again, Jeff did his usual thorough cleanup of the pipe. He reamed the bowl with a PipNet reamer, scraped the rim top with a Savinelli Fitsall Pipe Knife to clear off the lava build up. He cleaned out the internals – mortise, airway in the shank and stem with alcohol, cotton swabs and pipe cleaners. He scrubbed the exterior of the briar with Murphy’s Oil Soap to remove all of the grime and grit in the finish and clean out the areas around the issue I had noted on the heel of the bowl. He rinsed the briar under running water and dried it with a soft cloth. He soaked the stem in OxyClean to bring the oxidation to the surface and remove the grime. When the pipe arrived in Vancouver it certainly looked different than it did when we picked it up out of the sale display in Montana. I did not take photos of the pipe before I started working on it but instead got sucked into the restoration process.

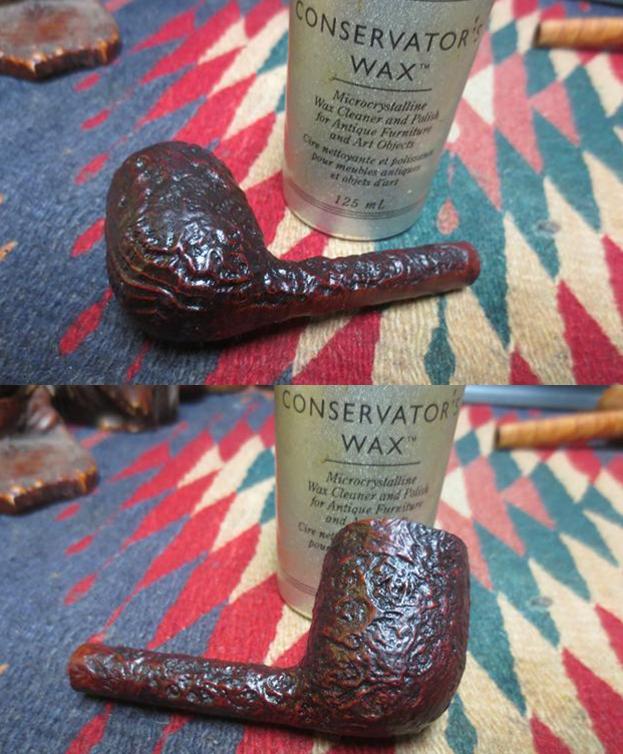
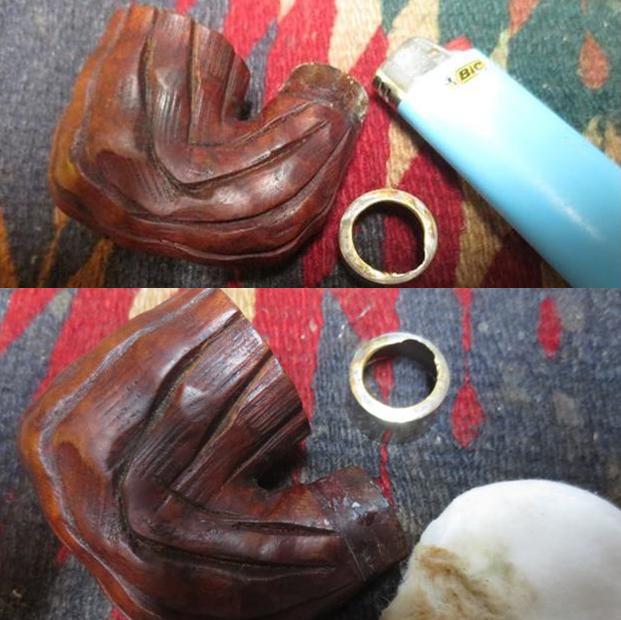
I heated the ferrule with a Bic lighter to soften the glue that held the metal to the shank end. It took a bit of heating a cooling before I was able to pry the ferrule off the shank end. In the photo below you can see the glue on the shank end and the notch in the face of the ferrule. I wiped down the finish with acetone on a cotton pad paying special attention to the glue on the shank end. I wanted the shank end clean before I reglued the ferrule on it. I painted all-purpose glue around the shank, aligned the ferrule so that the notch was at the bottom of the shank and the C.P.F. logo and faux hallmarks were on the left side of the shank as they had originally been when the pipe left the factory. I pressed the ferrule in place. Once it set on the shank I tried the stem and it fit better than previously. I put the stem in a bath of Before & After Pipe Stem Deoxidizer for 24 hours to let the mixture do its magic on the badly oxidized stem.Once the bowl had been reamed clean it was clear that the cake had been reamed out before with a knife and the airway entered the bowl high. The bottom of the bowl was below the airway and because of that it made the bottom quite thin. While the bowl was not burned or damaged it was a candidate for that to happen. I mixed a batch of JB Weld and applied it to the bottom of the bowl and up the sides part way to raise the bottom of the bowl and protect it. The airway entrance was also to open so I built up the edges around it with some of the mix. I set the bowl aside to let the repair cure overnight, turned off the lights and called it a day. Work was so busy last week that I did not get to work on the pipe again until the weekend. The stem had soaked in the bath for 48 hours and I was hoping that the mixture had done its magic and remove the oxidation. I took it out of the bath and dried it off and ran pipe cleaners and alcohol through the airway in the stem.I put a pipe cleaners in the airway and heated the solid rubber stem with a candle to soften the stem enough to be able to bend it. I kept it high enough above the flame so that the rubber would not burn. Once it was soft and flexible I bent it to the point that when in the shank it sat properly in the mouth of the pipe man.I sanded the stem with 220 grit sandpaper to remove the tooth chatter on both sides of the stem in front of the button. I reshaped the end of the button to make it more round and remove some of the damage on the edges.I buffed the stem with red Tripoli to remove some of the deep remnants of oxidation. I polished it with micromesh sanding pads – wet sanding it with 1500-2400 grit pads and rubbing it down after each pad with Obsidian Oil. I dry sanded it with 3200-12000 grit pads and once again rubbed it down after each pad. I gave it a last coat of oil after the 12000 grit pad and set it aside to dry. I examined the area on the heel of the bowl with a lens and could see that the bowl was not cracked but rather I was dealing with a flaw in the briar. I picked it clean and wiped it down with alcohol on a cotton swab to make sure that there was no debris in the crack. I pressed some briar dust into the flaw with a dental pick and spatula. I put clear super glue on top of the briar dust and let it seep into the flaw.I carefully sanded the repaired area with a folded piece of 220 grit sandpaper to smooth out the repair. Once it was smooth I touched up the stain with a medium grit stain pen and buffed the bowl with Blue Diamond on the buffing wheel. I rubbed the briar down with Conservator’s Wax and when it dried, I buffed it with a clean buffing pad to raise the shine. The next photos show the bowl at this point in the process.(An interesting note at this point. Looking down the bowl from the top you can see the JB Weld repair on the bowl bottom. Once this cures for about a week I will give the pipe a bowl coating of sour cream and charcoal powder.)I buffed the stem with Blue Diamond and gave it several coats of carnauba wax. I gave the bowl several more coats of Conservator’s Wax and buffed the pipe with a clean buffing pad to raise a shine on the pipe. The finished pipe is shown below. The dimensions of the pipe are Length: 6 ½ inches, Height: 1 ¾ inches, Bowl diameter: 1 3/8 inches, Chamber diameter: ¾ inches. Though the pipe is far from perfect, I think this old-timer has been given a new lease on life and should last the next pipe man for many years to come. The damages are repaired but in many ways still speak of the story of the old pipe. Hopefully the next pipe will keep the trust for this old pipe and pass it on to the next generation. Thanks for looking.

“Frankensteining” a Badly Damaged C.P.F. Cromwell Double stem pipe


Blog by Steve Laug

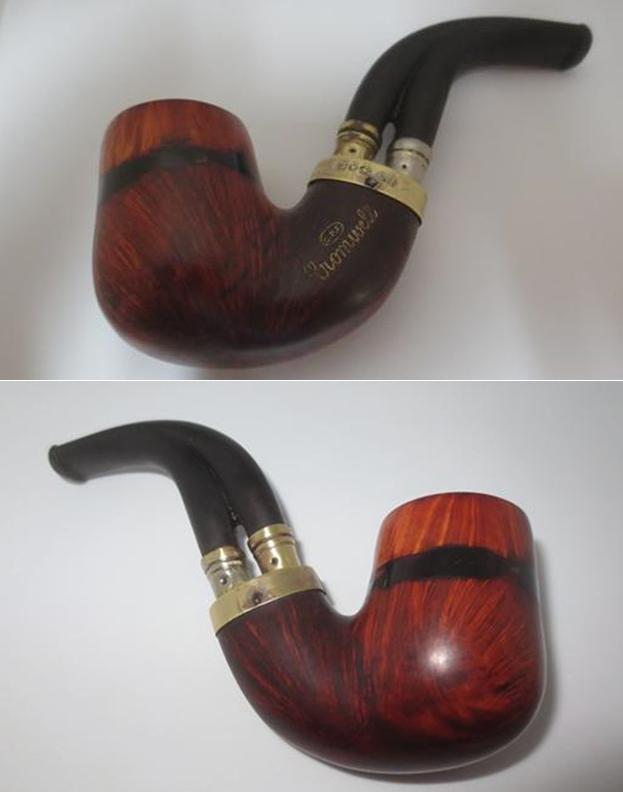
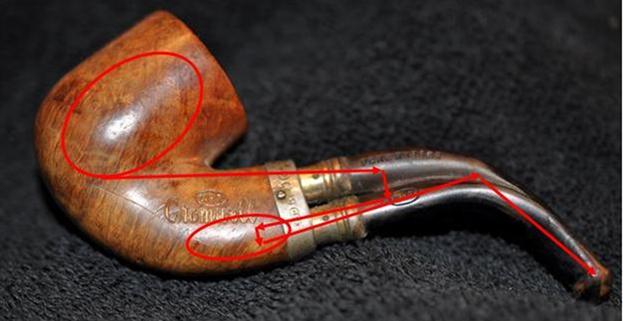
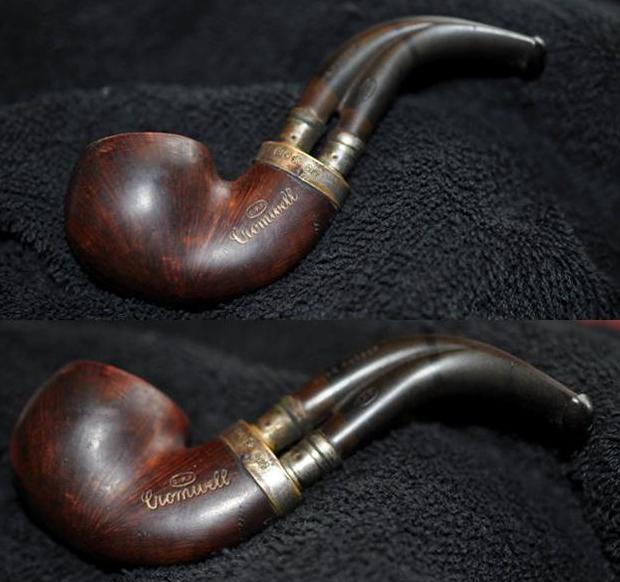
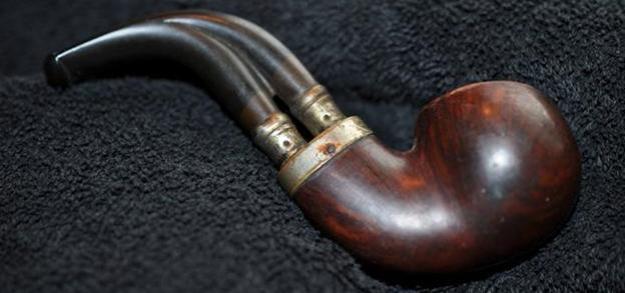
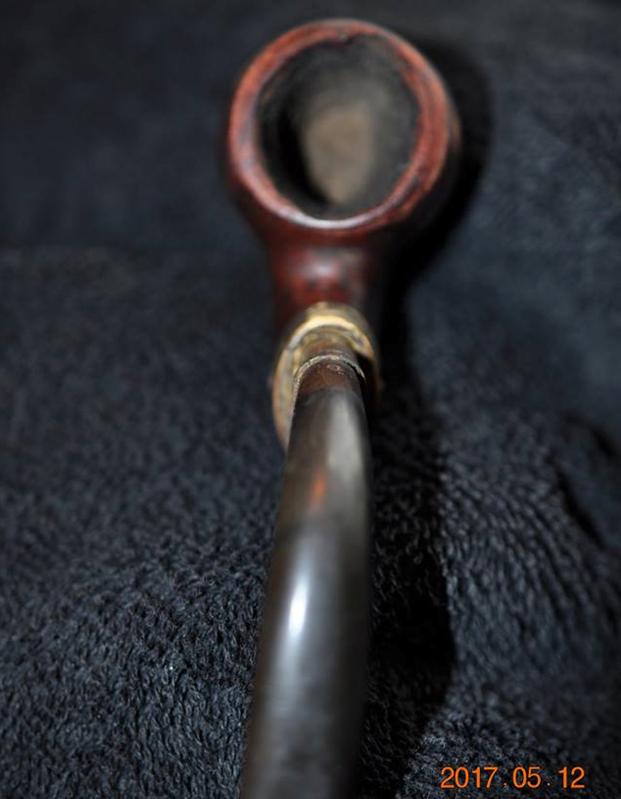
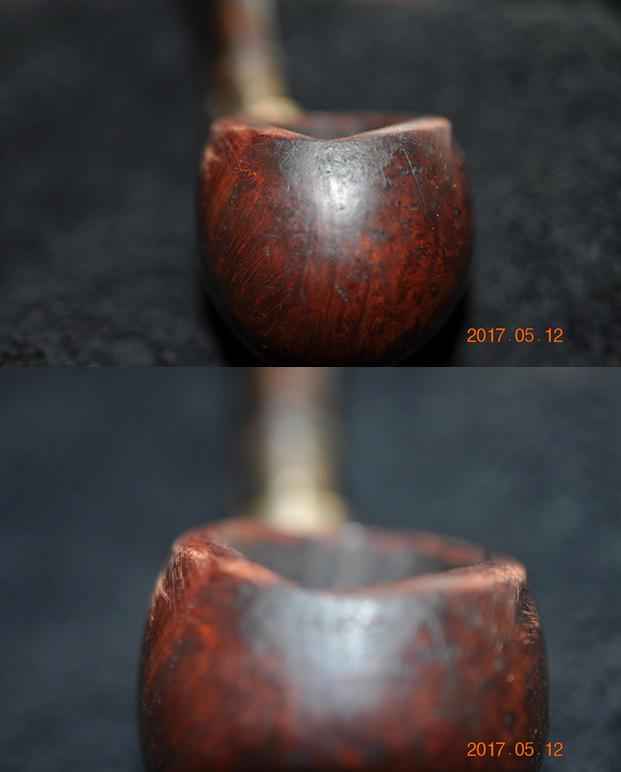
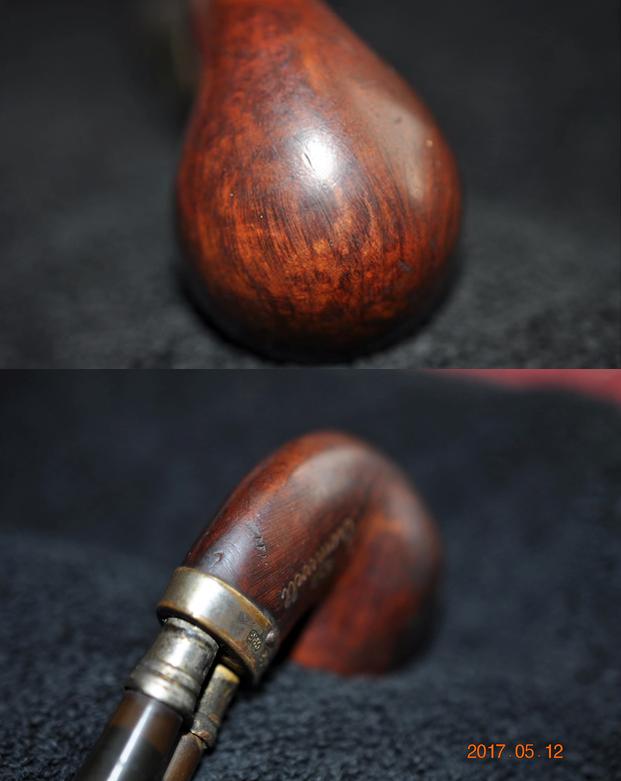
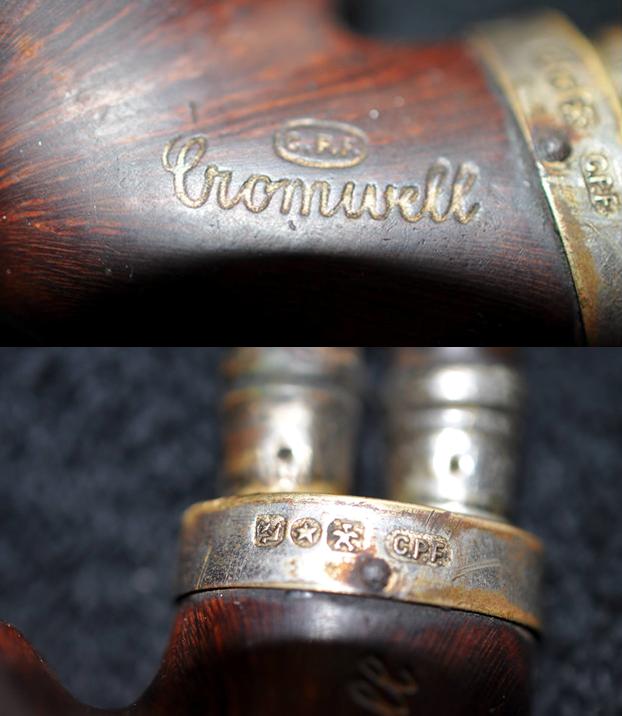
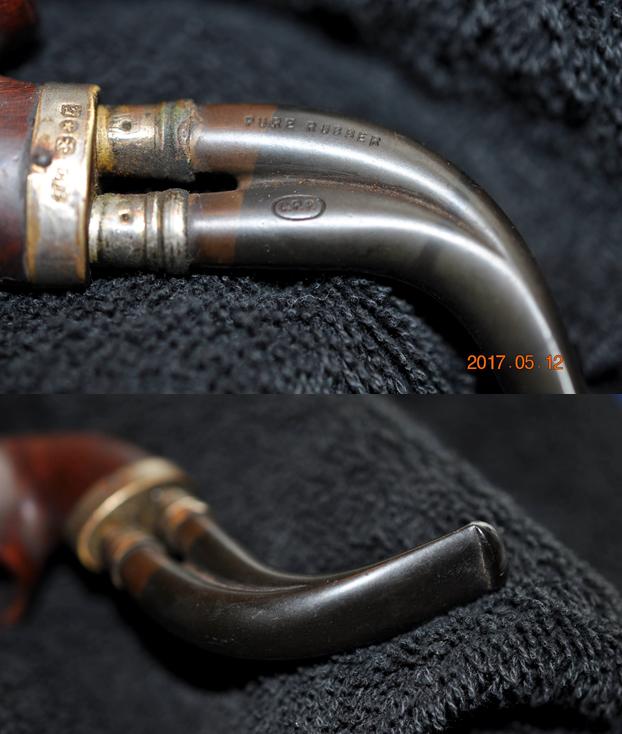
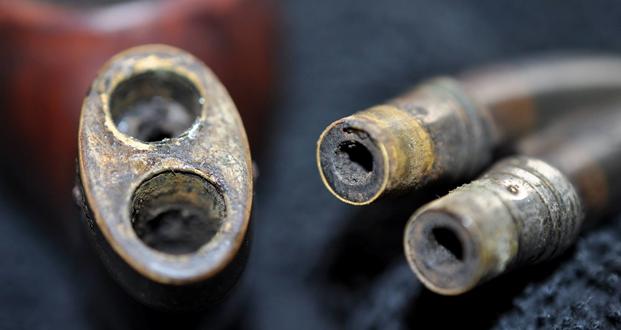
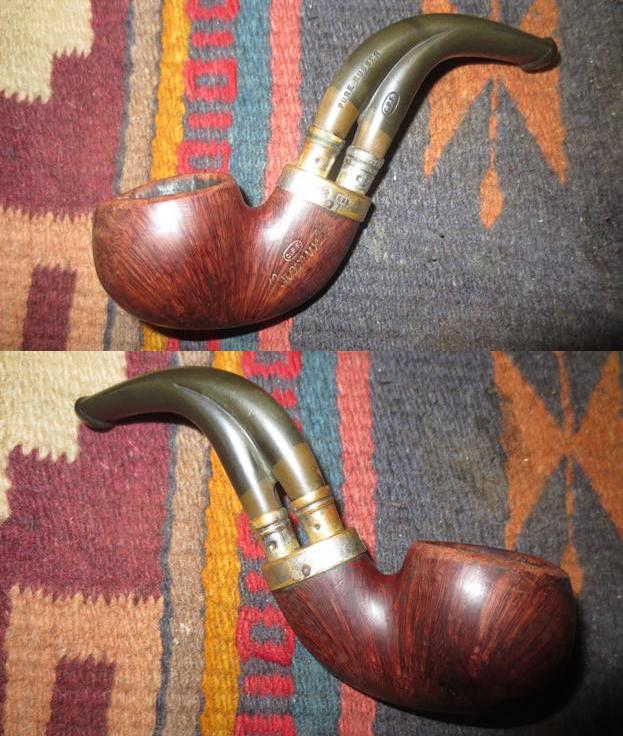
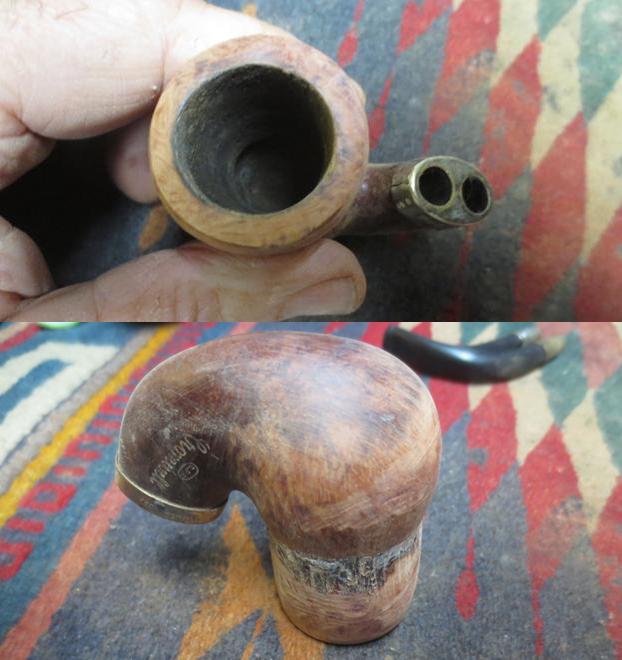
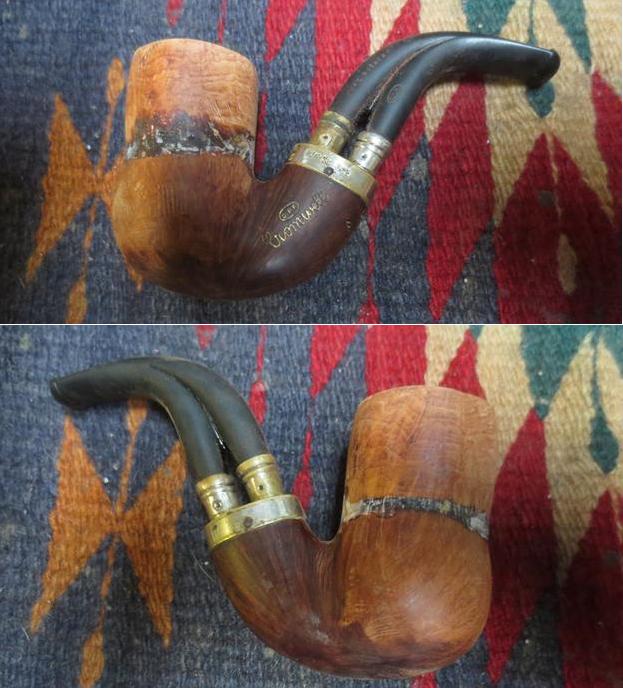
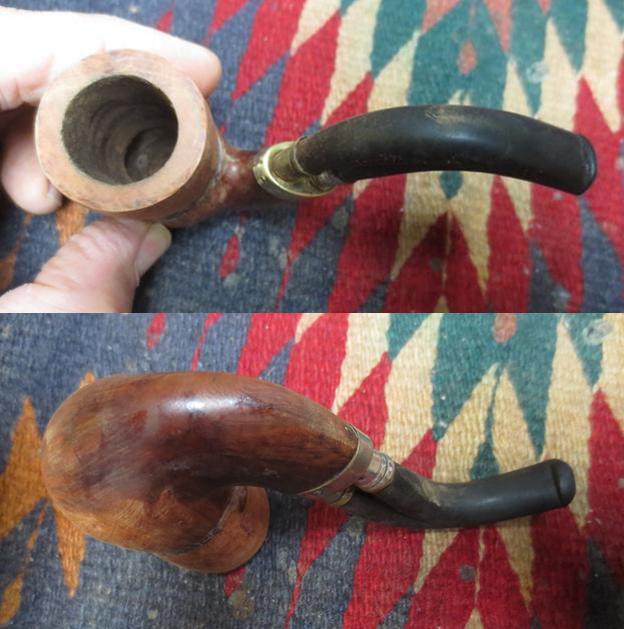
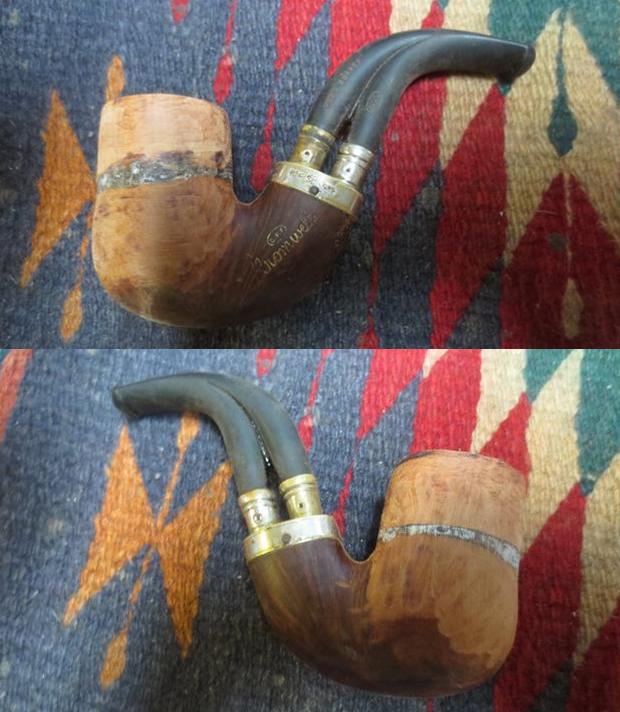
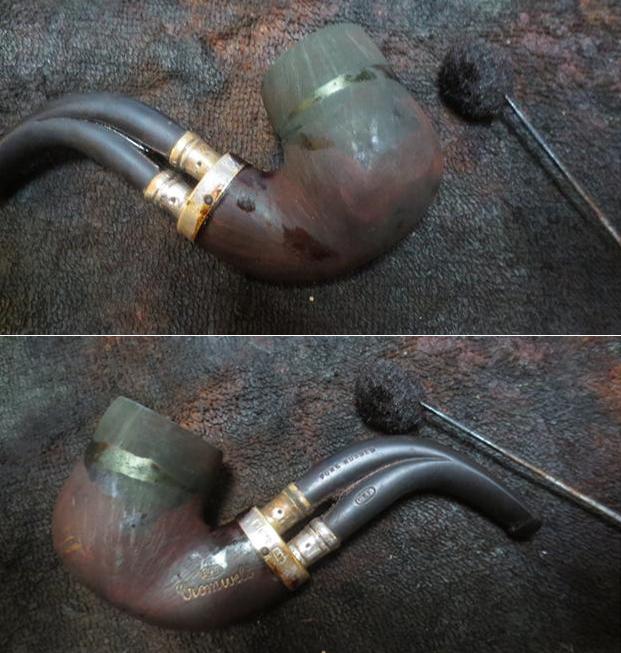
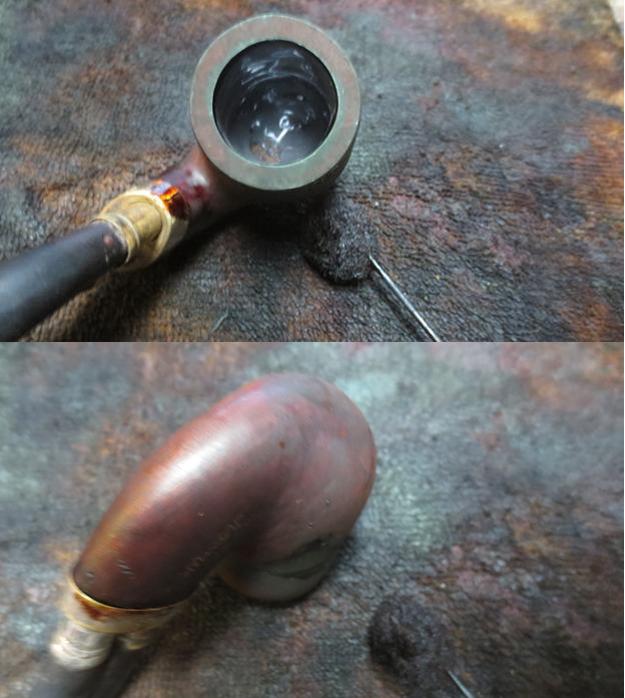
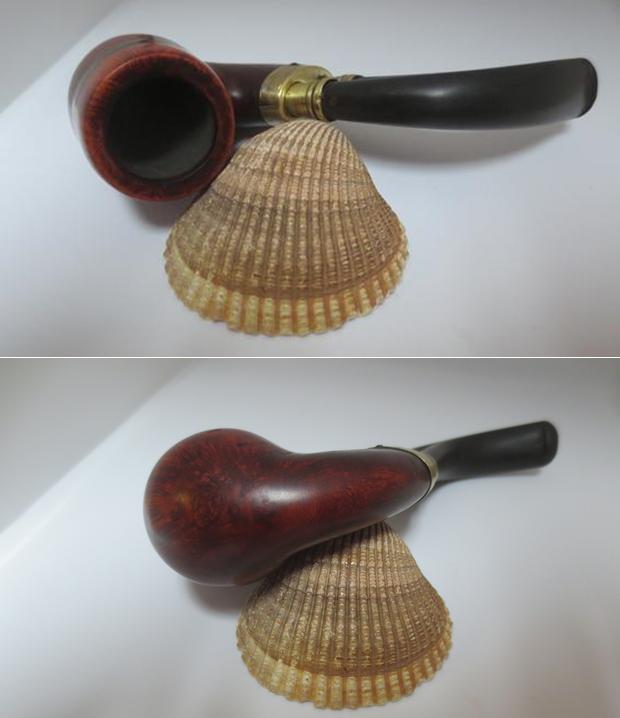
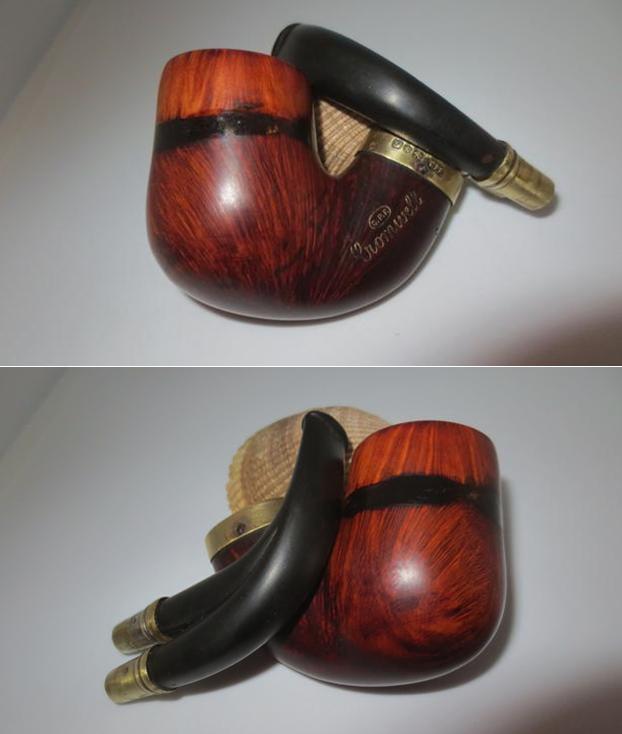
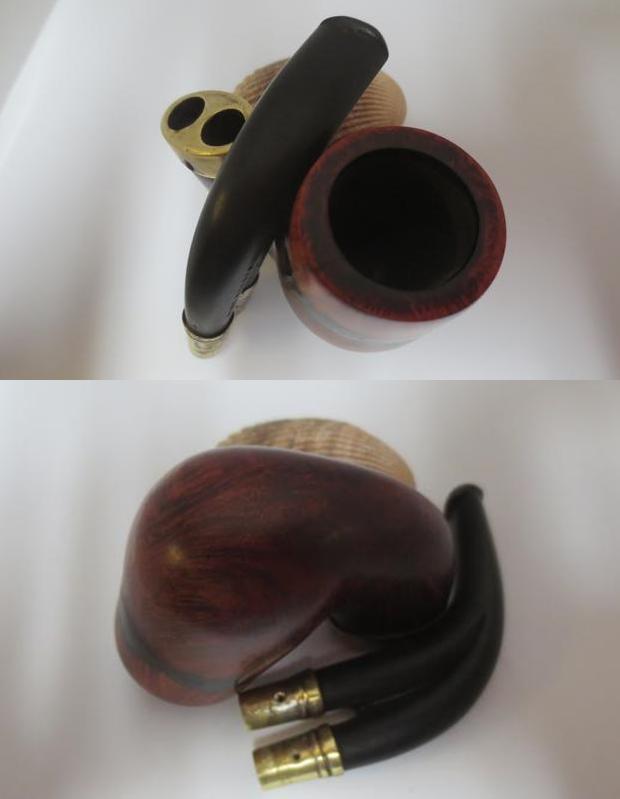
This is the second C.P.F. Cromwell Double stem system pipe that I have worked on (https://rebornpipes.com/2017/07/01/out-damn-spots-a-c-p-f-cromwell-double-vertical-stem-bent-billiard/). This one was in very rough shape but the stem was in much better condition. Like other older C.P.F. pipes this one has some real charm that deserved to be repaired and brought back to life. Like the other Cromwell it is on the petite side of things – 4 ½ inches long and 1 ½ inches tall. It was a nice piece of briar, a mix of grains. The silver collar on the shank is stamped with the same faux hallmarks and the C.P.F. in an oval logo as the previous one. It is probably silver or at least plated but I am not sure. The stem is the unusual part of the mix. It has two silver plated spigot tenons that fit into openings in the silver collar. The twin stems merge into one single airway. In the previous blog I posted a line drawing on the pipe showing the flow of air through the bowl to the button. I include that below as it is quite unique to this particular pipe.He took photos of the pipe from a variety of angles to show the uniqueness and the condition. The finish was worn and the top of the bowl had been burned and sanded down by about half of the briar. It was uneven and broken looking. But I think that the pipe still had some life in it. I was toying with the idea of “Frankensteining” the pipe. I was thinking about bonding the upper portion of another pipe bowl to the damaged portion of this bowl. The left side of the shank is stamped in worn gold leaf C.P.F. in an oval over Cromwell in script. There is no other stamping on the bowl. The stem is also stamped on the left side and reads PURE RUBBER on the top stem and C.P.F. in an oval on the lower stem. This pipe is also from the virtual pipe hunt my brother and I did in Montana. The photos he took are shown below. The next two photos show that the pipe continued to be smoked even after all of the damage. It must have been someone’s favourite pipe as you can see the cake that is formed around the inside walls of the bowl. The rim top and edges are absolutely savaged and it looks like someone took a rasp or file to the top to try to smooth out the damage. A view from the front of the bowl shows the damage to the top of the bowl and how it dips dramatically at the front. The bowl sides are scratched and damaged as well.The next two photos show some of the nice grain that remains on the bottom and sides of the bowl.The stamping on the left side of the shank is very readable – C.P.F. in an oval logo over Cromwell in script format. The metal ferrule bears the C.P.F. in an oval logo flanked on the left by the same three faux hallmarks that were on all of the other C.P.F. pipes.The double stem inserted in the ferrule has end caps that are also metal and pressed onto the vulcanite. The stem is stamped Pure Rubber on the top stem and the C.P.F. in an oval logo on the lower stem. The stem is oxidized but it is in good condition.The stem surface at the top and underside near the button is worn and has tooth chatter and wear on the sharp edge of the button.When the stem was removed from the shank the inside of the mortise was dirty and had a lot of oxidation and buildup on the inside and on the stem caps. The airways were also dirty and almost clogged.Once again Jeff did his usual thorough cleanup of the pipe. He reamed the bowl and cleaned out the internals – both sides of the twin mortise, and the convoluted airways in the shank and stem with alcohol, cotton swabs and pipe cleaners. He scrubbed the exterior of the briar with Murphy’s Oil Soap to remove all of the grim and grit in the finish and clean out the areas around the sandpits. He rinsed the briar under running water and dried it with a soft cloth. He soaked the stem in OxyClean to bring the oxidation to the surface and remove the grime. When the pipe arrived in Vancouver it certainly looked different than it did when we picked it up. I took the photos below to show the condition of the pipe when I brought it to the work table.

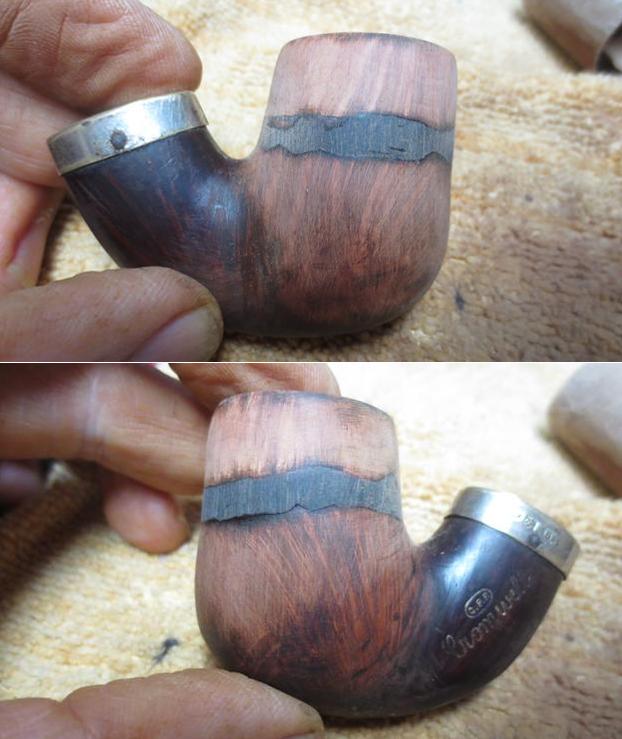
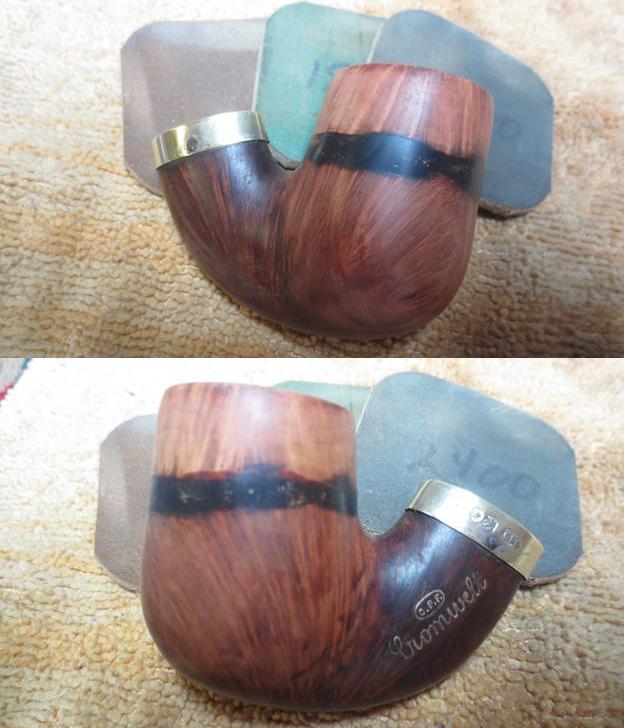
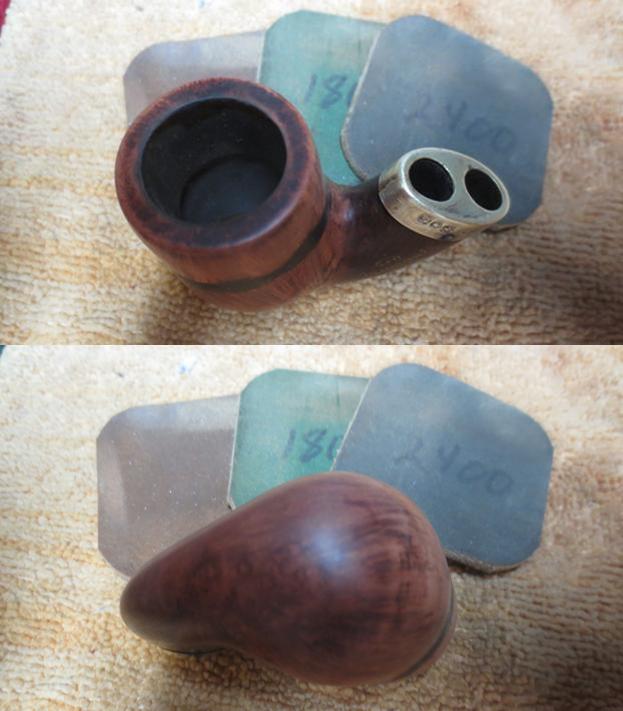
The briar was really a nice piece with flowing straight and flame grain running up the sides of the bowl and shank and birds eye on the bottom of both. The rim top was basically gone and what remained was very damaged with missing chunks of briar on the inner edge. The angle of the remaining rim was lower in the front than it was in the back. The bottom of the bowl was over reamed. I took a close up photo of the rim top and bowl. It was really damaged but it was clean. You can see the chips and missing chunks of briar in the rim top. The bowl is totally out of round and is rough with file marks on the top surface.The OxyClean soak had brought the oxidation to the surface of the vulcanite. It was evenly distributed over the entire stem surface. There was some tooth chatter and marks on the stem that showed up with the soak. They are not deep so they will easily cleanup.I topped the bowl with 220 grit sandpaper on a topping board. I wiped the bowl down with alcohol on a cotton pad to clean up the dust from the topping process. I put the stem in the Before & After Pipe Stem Deoxidizer to soak and turned my attention to working on my idea for the bowl repair. I went through a box of bowls and stuff I have here for repairing pipes and I found a bowl that originally came from a metal pipe that had an open bottom. It was solid with no fills and it was one I had around that did not fit any of the metal bases in my drawer. I decided it would work really well as the replacement for the top half of the bowl. It was time to begin “Frankensteining” the two parts so that they would fit together. I used the sanding drum on the Dremel to sand off the threads on the bowl base and also sand out the inside of the Cromwell base.I built up the top edge and rim top of the bowl with a combination of briar dust and clear super glue. I wanted to build an even surface for the base of the bowl to rest on. I wanted the bowl to anchor firmly in the base using the smoothed out threaded portion of the bowl.I took photos of the bowl top after I had topped it on the topping board. You can also see the sanding marks of the sanding drum on the inside of the bowl.I applied super glue to the edges of the top bowl and on the inside of the base and glued the bowl to the base. I held it in place until the glue set. When it had dried I filled in the gaps between the bowl top and base with super glue and briar dust as shown in the photos below. This is where I begin to shape the “Frankenpipe” and bring the two parts together. I used a Dremel and sanding drum to begin to blend the two parts together. I need to reduce the diameter and flow of the top of the bowl so that it would blend in with the sides of the base portion of the bowl. It was going to take a lot of sanding but I think it actually would work. At this point the bowl is quite tall and that would need to be shortened. I took the stem out of the Before & After bath and dried it off with a rough cloth to remove the oxidation and sludge that clung to the surface of the vulcanite. I cleaned out the airways in the stem with pipe cleaners and alcohol. I sanded out the tooth marks at the button on both sides and wiped the surface with Obsidian Oil. I was so intent on cleaning it up that I forgot to take photos of the stem work.I still needed to polish the stem with micromesh sanding pads but I would do that later in the process.

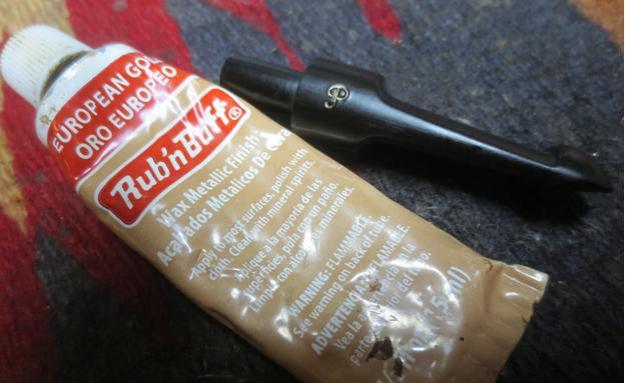
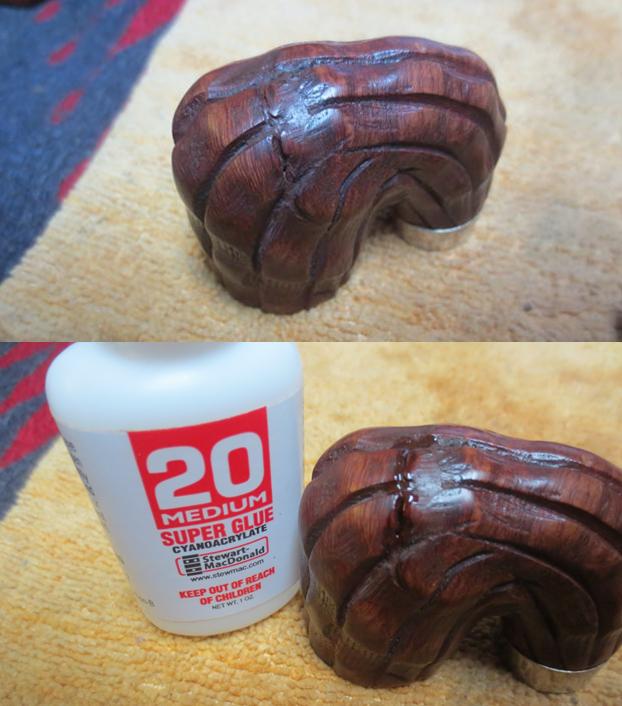
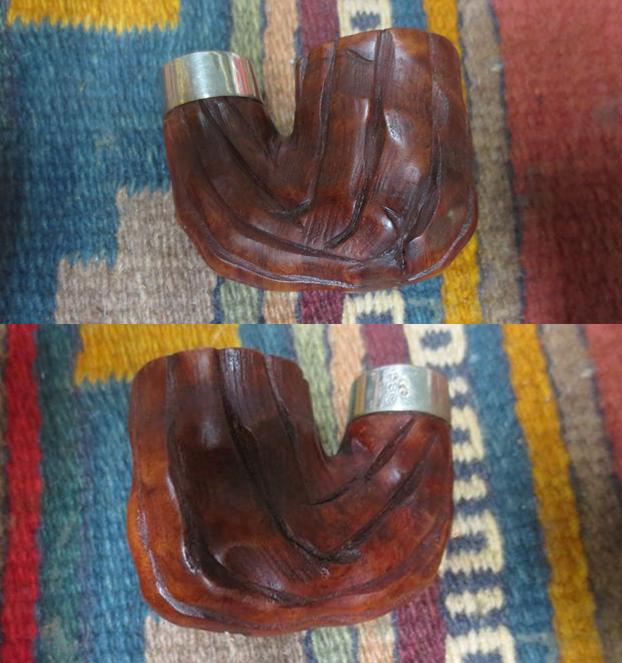
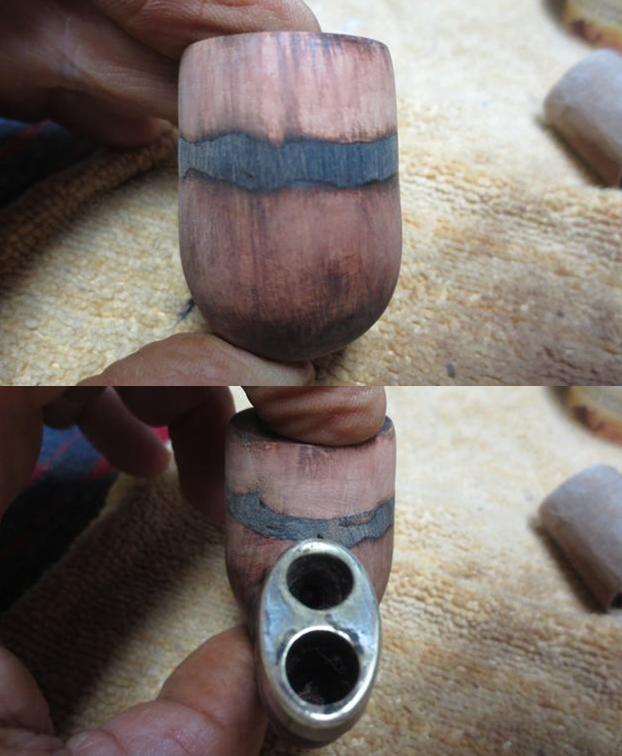
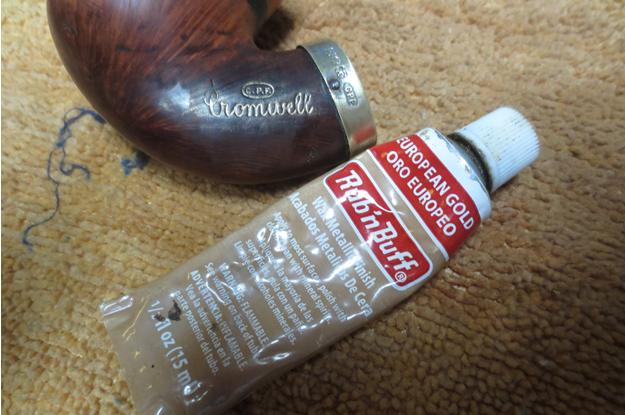
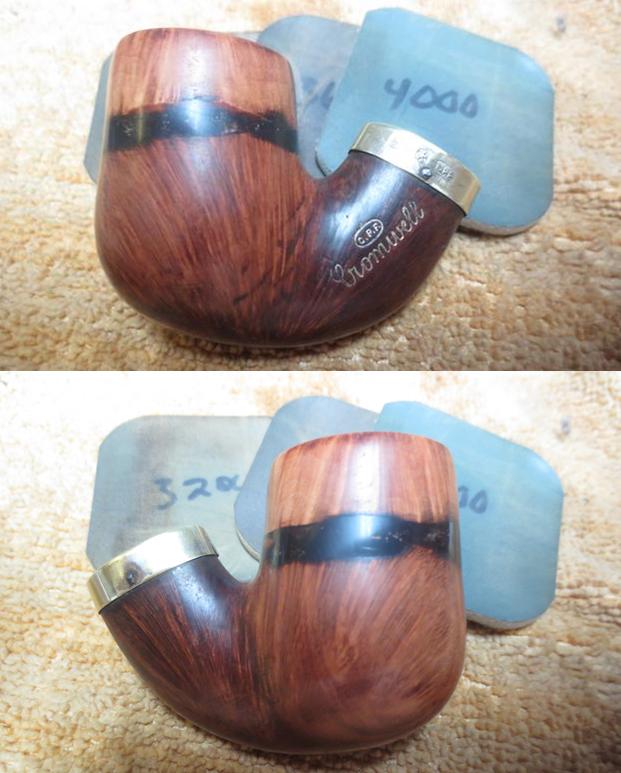
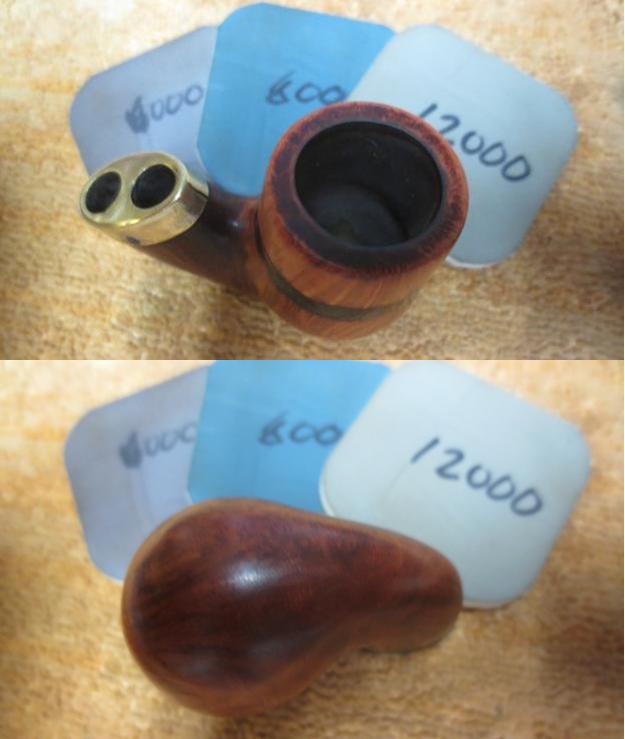
I turned back to the bowl and continued to sand with the Dremel and sanding drum shaping the bowl top to match the flow of the base. I shortened it each time I sanded the sides but it was going to take some time. I put the stem back in the shank and took photos to see where I stood with the reshaping work. You can begin to see the shape of the new pipe emerging as I sand it. I removed more of the height off the top of the bowl and continued to sand and remove excess briar around the base and sides to blend the two parts together. The photos tell the story. I continued to shape and shorten the new bowl with 220 grit sandpaper. I worked on the inside of the bowl using the Dremel with a sanding drum to smooth out the joint of the two parts. I followed up by using 180 grit sandpaper. In the photos below the pipe is beginning to take shape.To protect the joint on the inside of the bowl from potential burn out or damage I mixed a batch of JB Weld and used a spatula to apply it to the inside of the bowl. I decided to stain the briar with a dark brown aniline stain to make the grain stand out on the briar. I would sand it all off but the dark brown would highlight things well. I would not be able to hide the connection between the two parts of the bowl so I was thinking that I could leave the shank darker, the bottom a shade lighter, the junction between the two black and the top portion lighter. It would have a contrast like a meerschaum. I stained it and flamed it to set the grain in the briar. I repeated the process multiple times. While the stain cured on the bowl I worked on the stem with micromesh sanding pads. I wet sanded it with 1500-2400 grit pads and wiped it down with Obsidian Oil. I dry sanded it with 3200-12000 grit pads and wiped it down with the oil after each pad. Once again I was so absorbed in working on the bowl that I forgot to take photos of the stem work. I set the stem aside to dry and went back to the bowl. I sanded the bowl with 180 and then 220 grit sandpaper to remove the stain coat on the bowl. The dark band is not even but it looks really good to me. I touched up the stamping on the left side of the shank with Rub’n Buff European Gold. I applied it with a cotton swab and buffed it off with soft pad. It is very readable and clear.With all of the touch ups finished and sanding finished on the bowl it was time to polish the briar. I really like to polish it with micromesh sanding pads as it brings the grain to the surface and gives the briar a deep shine. I work the same each time – wet sanding with 1500-2400 grit pads and dry sanding with 3200-120000 grit pads. I wiped the bowl down with a damp cloth after each pad. I polished the ferrule and the stem ends with the micromesh pads at the same time. I wiped them down with a jeweler’s cloth to protect and give them a shine. I buffed the bowl and stem separately with Blue Diamond on the buffing wheel being careful around the joint of the two parts of the bowl and the metal end caps on the double stem. I gave the bowl and stem multiple coats of carnauba wax and buffed it with a clean buffing pad. I rubbed the bowl down with a light coat of olive oil and buffed it with a soft microfiber cloth to deepen the shine on the bowl. The repaired pipe is shown in the photos below. I am pretty happy with how it turned out. In a few days I after the JB Weld has cured in the bowl I will give the bowl a coat of sour cream and charcoal powder to further protect it. What do you think of this Frankenstein pipe? Thanks for looking.

Restoring a Made in England Cumberland Acorn


Blog by Steve Laug

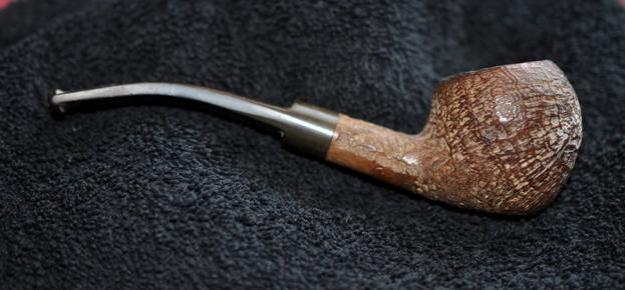
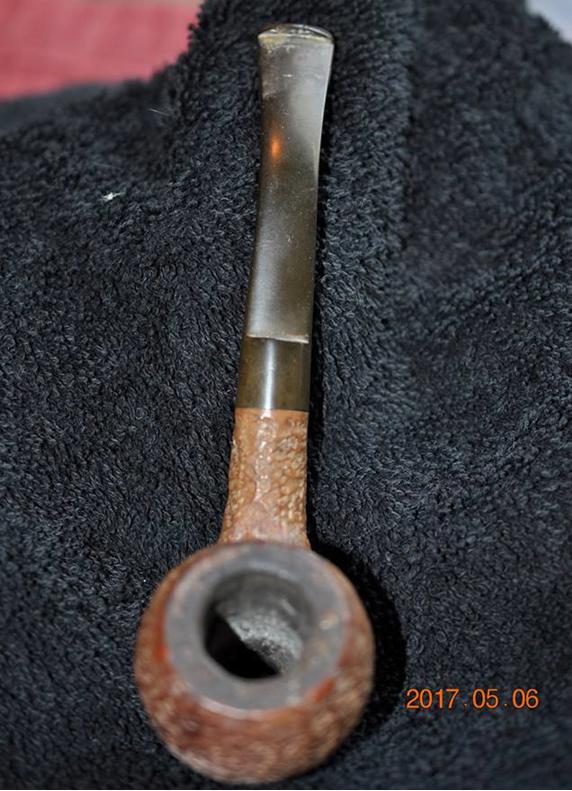
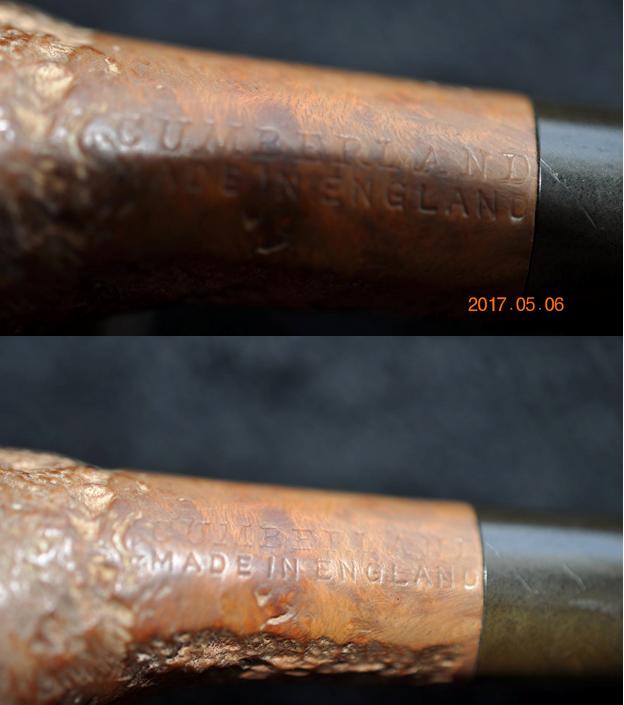
The stamping on the next pipe that crossed my work table was faint but it read Cumberland over Made in England. There is no shape number and no other name on the pipe. There is nothing Cumberland about the pipe as far as I can tell – the stem is black vulcanite and appears to be original. The finish is sand blast and quite nice though there are some sand pits in the bowl that are quite large and have been filled in. The rim and bowl are in good condition. The stem was badly oxidized and had a few tooth marks but otherwise clean. Like I said nothing Cumberland about it. I looked on Pipephil’s site and as expected nothing with this name other than Dunhill. I looked at Who Made That Pipe and they list it as UNKNOWN. So the mystery remains. I have no idea who made this nicely shaped acorn but I know that it was made in England. Anyone have any ideas?

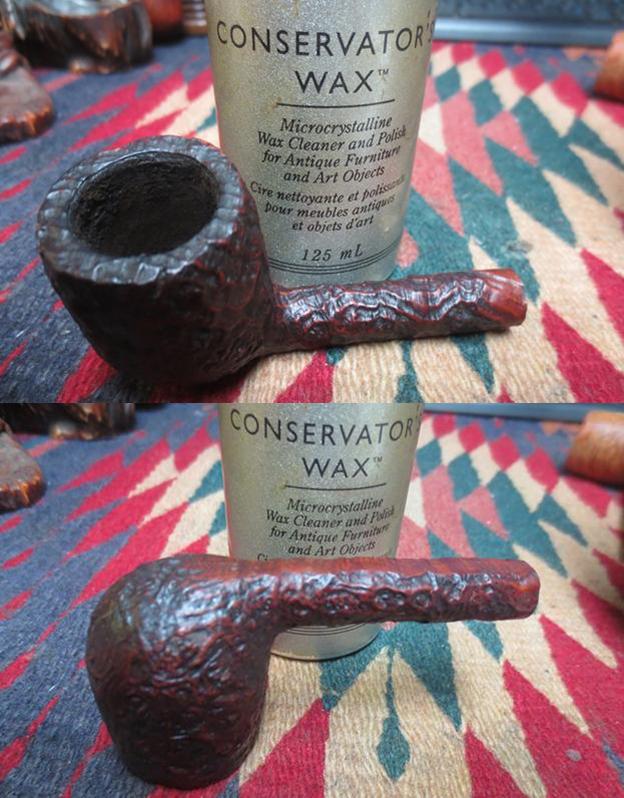
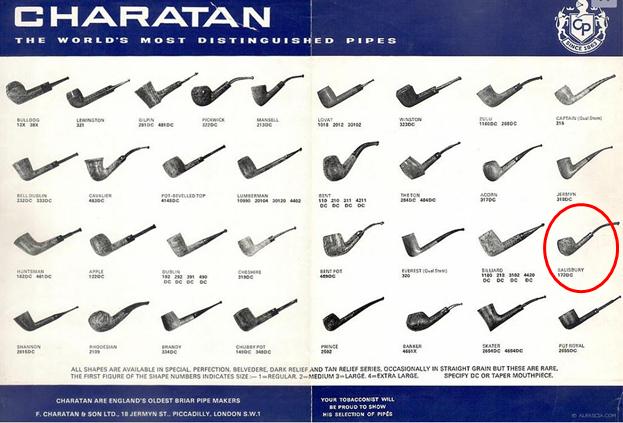
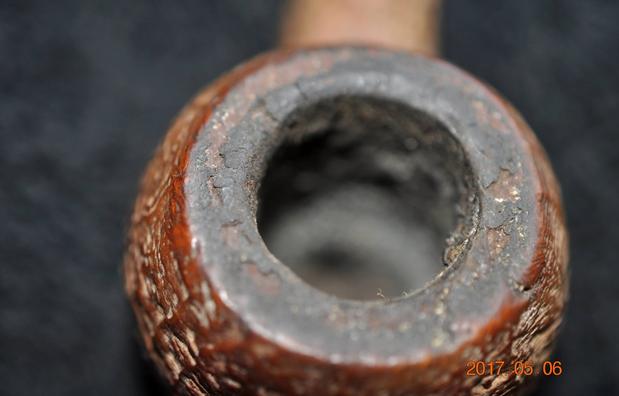
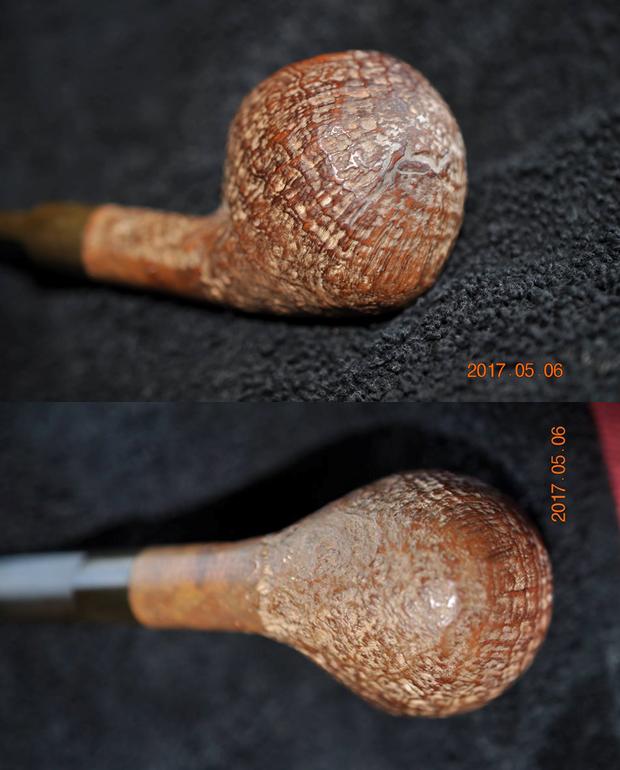
I received a comment on the blog and on my Facebook page both confirming what I asked regarding the maker of this pipe. Al Jones (upshallfan) and Dan Chlebove both figured it was made by Charatan. I did some searching online and found a Charatan Shape Chart on Al Pascia’s website. Sure enough, the shape was on the chart. It is the Salisbury Shape 173. Dan noted that it was an older one because it did not have the Double Comfort style bit on it. I think that the scar on the front of the bowl and the sandpit on the back make it a Charatan Reject. Thanks for the information gentlemen.My brother took the photo above and the ones that follow to show the condition of the pipe when it arrived in Idaho. The finish was very dirty and there was a lot of grime and dirt in the grooves of the sandblast. There was significant tar and darkening on the rim top and edges. The bowl had a thick cake and it had overflowed onto the rim top. The stem was lightly oxidized and very dirty with the slot almost closed off with tars. There were tooth marks and chatter on both the top and underside of the stem near the button and tooth damage to the sharp edge of the button on both sides.The next photo shows the cake and the overflow on to the bowl top. I have found that generally this kind of buildup protects the rim top as well as the inner and outer edges from damage.The next photos show the interesting sandblast finish on the bowl from various angles. Looking past the dirty finish it is an interesting blast. The first photo below shows the sandpit on the front of the bowl but future photos will give a better view of that spot.I have included both of the next photos because together they give a clear view of the stamping on the underside of the shank. The first one show the CUMBERLAND stamping though the Made in England stamp is blurry. The second is the reverse. The shank is stamped on the curve of the shank so it is hard to get a clear photo of both at the same time.The close up photos of the stem surfaces show the tooth marks, chatter and damage to the edge of the button on both sides.Jeff did his usual thorough cleanup of the pipe. He reamed the bowl and cleaned out the internals – mortise, airway in the shank and stem with alcohol, cotton swabs and pipe cleaners. He scrubbed the exterior of the briar with Murphy’s Oil Soap to remove all of the grim and grit in the finish and clean out the areas around the sandpits. He rinsed the briar under running water and dried it with a soft cloth. He soaked the stem in OxyClean to bring the oxidation to the surface and remove the grime. When the pipe arrived in Vancouver it certainly looked different than it did when we picked it up. I took the photos below to show the condition of the pipe when I brought it to the work table. The finish looked amazingly clean. The rim top looked better without the tars and buildup. There was some darkening on the rim top but the edges of the rim looked very good.The OxiClean had done the job and the oxidation was on the surface of the vulcanite stem. It was pretty green. I dropped it in the Before & After Pipe Stem Deoxidizer to soak for 24 hours while I turned my attention to the stummel. The “Harry Potterish” scar (flaw/sandpit) on the front of the bowl was quite deep but it was not cracked. To me it took away from the overall look of a nice sandblast. There was also a round sandpit on the back side of the bowl on the left toward the top edge that also needed attention. I used a brass bristle brush to scrub out the remaining debris in those areas. I filled them in with clear super glue to blend them into the surface of the briar better. When the repairs had cured I carefully wiped around the edges with acetone on a cotton swab to remove the excess glue. I have found that the super glue repairs leave a shiny spot on the finish if you don’t remove the overage. To blend the repairs into the briar even more I topped up the repaired areas with black super glue. It would blend in better with the final stain that I was planning on using on the briar. I cleaned up the areas with a cotton swab and acetone to remove any excess glue in the surrounding sandblast. I warmed the briar and stained it with a dark brown aniline stain. I applied the stain and flamed it several time until I had an even coverage on the stummel. I set the pipe aside for about an hour and worked on another pipe I have on the work table. When the stain had dried I wiped it off with alcohol on a cotton pad to make it more transparent and show some of the underlying grain. I like the contrast that happens in the finish when I wiped off some of the stain. Notice the repaired areas on the front and back side of the bowl. They blend in quite well with the darker finish. I gave the sandblast several coats of Conservator’s Wax and buffed it with a shoe brush to raise the shine. I really like the new colour on the bowl and find that the repaired areas really do blend in quiet well with the rest of the finish. It also blends in the darkening on the rim top and gives the pipe a richer new look. I took the stem out of the Before & After soak and dried off the stem with a rough cloth to remove the remnants of the soak and the oxidation that it had lifted. The next two photos show the stem after the soak. There is still some deep oxidation that will need to be addressed but it looks far better than it did when I started.I put the stem on the stummel and took some photos to get an idea of where I was at with the restoration. The pipe is going to look good once I am finished. I used some black super glue to repair the edge of the button on both sides of the stem. Once the repair dried I sanded the repairs and the rest of the stem with 220 grit sandpaper to shape the button and to remove the remaining oxidation. I worked on the saddle portion of the stem carefully so as not to round the edges where it met the shank of the pipe. It was looking better but more work was necessary to bring it to a full shine. I polished the stem with micromesh sanding pads – wet sanding with 1500-2400 grit pads and wiping the stem down after each pad with Obsidian Oil. I polished the stem with Before & After Pipe Polish to further remove the scratches left behind by the sandpaper. I dry sanded the stem with 3200-12000 grit micromesh pads to deepen the polish. I wiped the stem down after each pad and set it aside to dry after sanding with the 12000 grit pad. I put the pipe back together and polished it with Blue Diamond on the buffing wheel. I find that Blue Diamond Plastic polish really takes out the scratches in the vulcanite stems. I gave the stem multiple coats of carnauba wax and polished it with a clean buffing pad. I hand waxed the sandblast bowl with a final coat of Conservator’s Wax and buffed it with a clean buffing pad. I hand buffed the bowl and stem with a microfiber cloth. The darker stain blended the repaired sandpits and the darkening on the rim top into the rest of the finish. It turned out to be a nice looking pipe – its dimensions are Length: 5 ½ inches, Height: 1 1/2 inches, Bowl diameter: 1 3/8 inches, Chamber diameter: ¾ inches. The finished pipe is shown in the photos below. I will be putting it on the rebornpipes store soon. If it interests you, send me an email to slaug@uniserve.com or a message on Facebook. Thanks for looking.
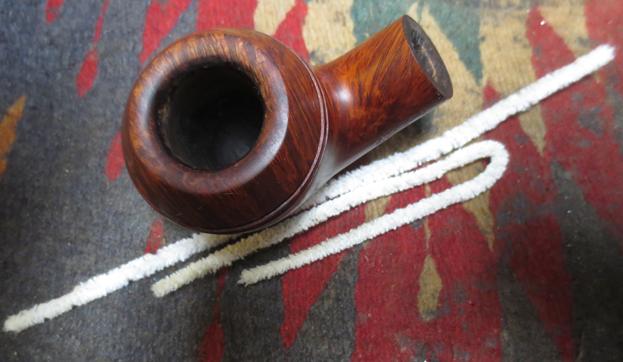
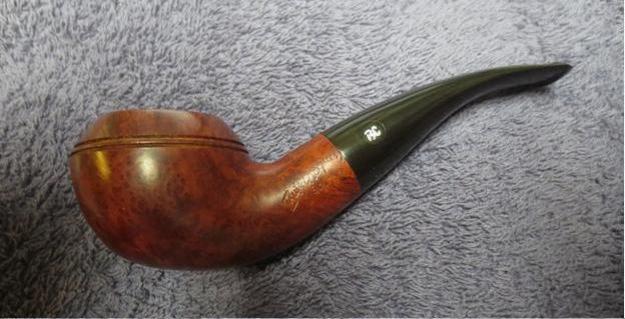
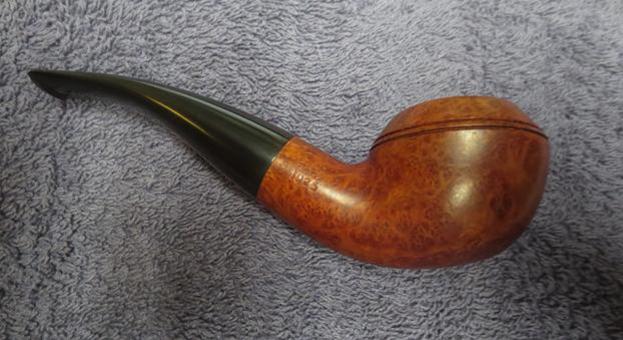
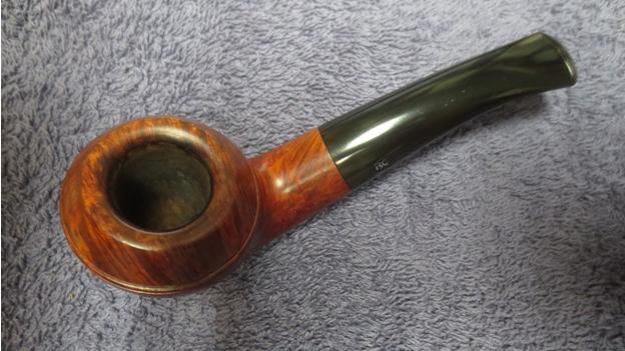
One of my favourite shapes – a Butz-Choquin Bourbon Rhodesian 1025


Blog by Steve Laug

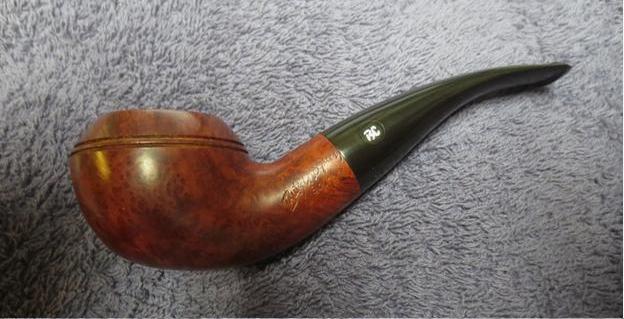
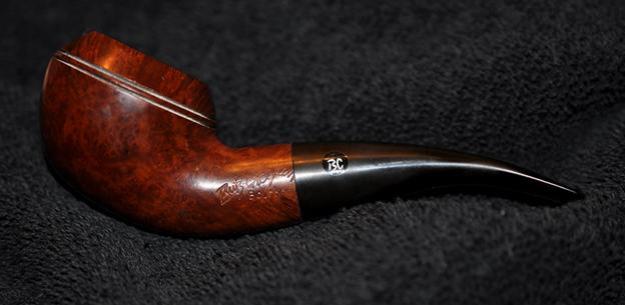
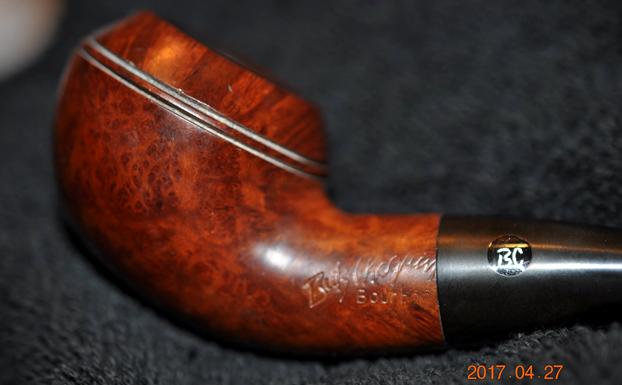
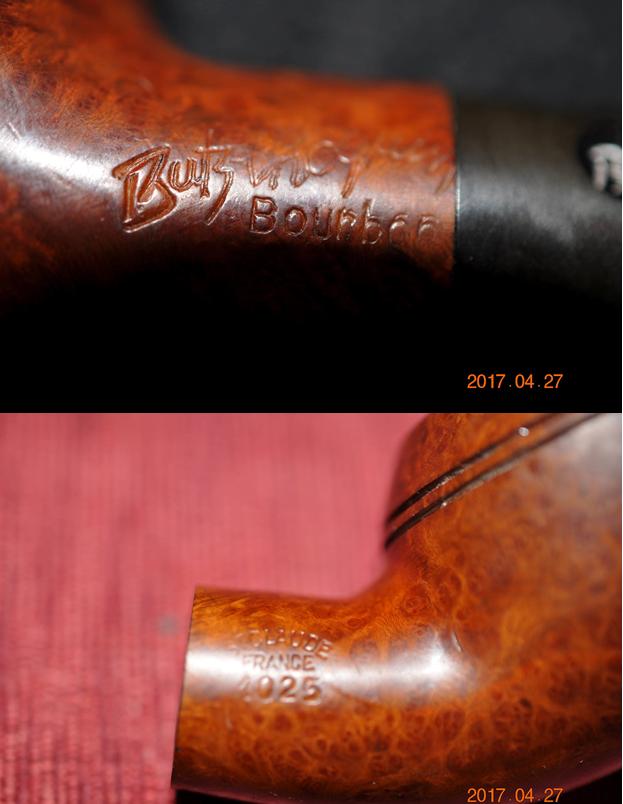
The next pipe I brought to the work table was a Butz-Choquin (BC) Rhodesian. The Rhodesian shape is one of my favourites and one that continually look for in my pipe hunting. My brother, Jeff found this one either on his eBay hunts or his antique mall hunting trips. The pipe is similar in shape to the GBD 9438 and also the Peterson 999 but there is a slight difference. The BC is squatter to my eye – less height from the bottom of the stummel to the top of the cap and a bit wider at the same time. It is still one of those shapes that sits well in the hand and just feels like it was made to clutch as you smoke it. This one is stamped Butz-Choquin in script over the word Bourbon on the left side of the shank. On the right side it is stamped St. Claude over France over the shape number 1025.

The origin of the Butz-Choquin brand reaches back to 1858 when Jean-Baptiste Choquin in collaboration with his son-in-law Gustave Butz created their first pipe in Metz (France). Since 1951 Butz-Choquin is a brand of the Berrod-Regad group (Saint-Claude, France). Jean Paul Berrod managed the company from 1969 to 2002 when he retired and sold the corporation to Mr. Fabien Gichon. Denis Blanc, already owner of EWA, took over the Berrod-Regad group in 2006.

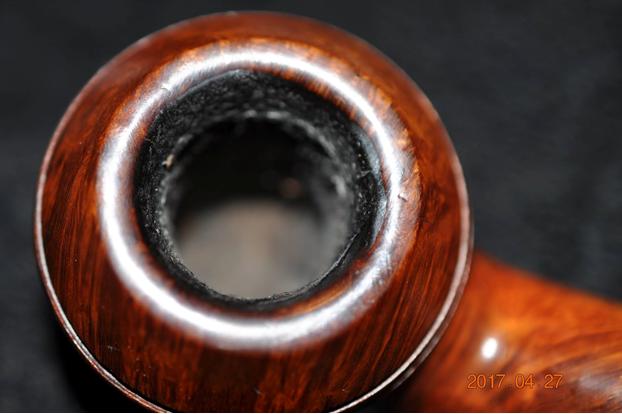
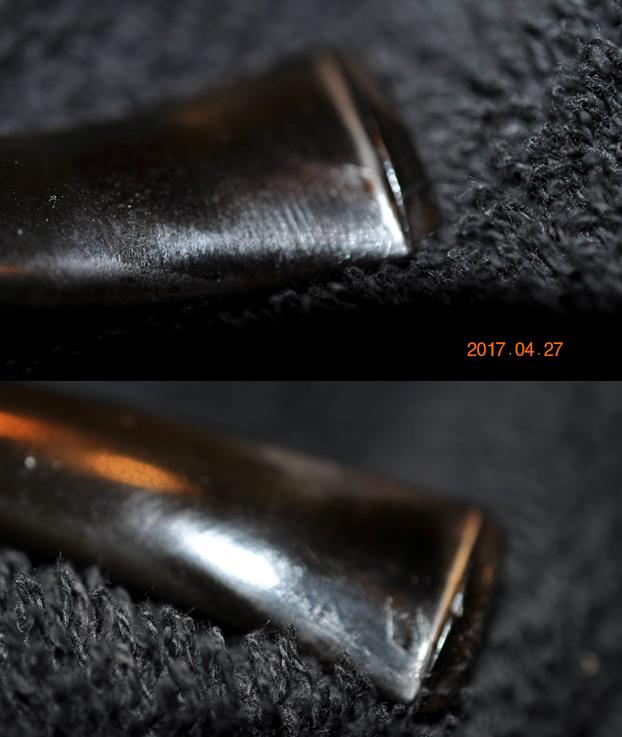
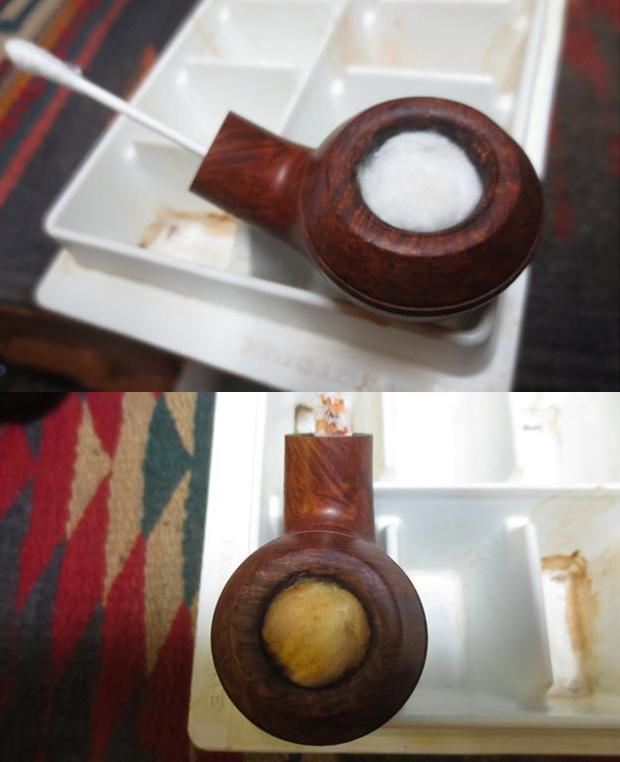
The finish on the bowl was in great condition, just dirty. There was some great grain on the bowl sides, top and bottom. The twin grooves around the rim were dirty and filled in with debris. The rim top had some dents and dings in the surface of the rim. The fit of the stem against the shank was excellent with no gaps or separation. The stem was lightly oxidized and dull but should clean up very well. The next photo is a close up of the bowl and rim. You can the thick cake in the bowl but it had not overflowed on to the rim top. You can also see the small nicks and dents in the surface of the curved rim top. The mortise and the airway in the shank and the stem were dirty and black with grime.The stamping on the left side of the shank appeared to be double stamped. The Butz-Choquin part of the stamp was clear. The Bourbon stamping was double and the letters appeared to be blurry when looked at without a light. The next photos show the stamping on both sides of the shank.The grain on the bottom of the bowl was quite beautiful cross grain that ran from the bottom of the bowl the length of the shank.The surfaces of both the top and bottom sides of the stem near the button had a lot of tooth chatter and a few tooth marks. None of them were too deep so they should clean up easily.Jeff did his usual thorough cleanup of the pipe. He reamed the bowl with the PipNet reamer and tidied it up with a Savinelli Fitsall Pipe Knife. He took the cake back to bare briar. He scrubbed the mortise and the airway in the shank and the stem with alcohol, pipe cleaners and cotton swabs. He scrubbed the externals with Murphy’s Oil Soap and a tooth brush to remove the grime. He scrubbed the stem in the same way. He rinsed the pipe off with running water to rinse off the soap. When I received the pipe in the mail it looked really good. It did not appear to need too much work. I took photos of the pipe before I started working on it. I took a close up photo of the rim top and bowl. I apologize that it is out of focus but you can see that the bowl and rim are clean. As the work progresses I will take further photos of the rim and bowl to show its condition.The stem looked really good – Jeff was able to remove the grime and clean up the oxidation on the surface. The tooth chatter really was quite light. There was one small tooth mark on the left side of the top near the button that would need some work. I sanded the tooth chatter with 220 grit sandpaper to remove it and the tooth mark to reduce it. I polished the stem with micromesh sanding pads – wet sanding it with 1500-2400 grit pads and dry sanding it with 3200-12000 grit pads. I rubbed the stem down with Obsidian Oil after each of the pads. After the 12000 grit pad I gave it a final coat of oil and set it aside to dry. The pipe had a heavy cased tobacco smell that lingered in the shank and bowl even after cleaning it with alcohol. I decided to give it a cotton ball and alcohol soak. I stuffed the bowl with cotton balls until it was full. I used an ear syringe to fill the bowl with alcohol. I stuck a cottons swab and then a thick pipe cleaner in the shank to absorb the tars and oils that were in the shank and it would also wick the alcohol up the shank to help clean it. I set the bowl aside to let the alcohol and cotton do their work over night. In the morning when I checked the pipe the cotton pad was brown with the oils it had drawn out of the bowl. I removed the cotton pads and ran pipe cleaners through the shank to pick up any leftover oils. The pipe cleaners were surprisingly clean. I polished the briar and the stem with Blue Diamond on the buffing wheel and gave the bowl and stem multiple coats of carnauba wax. I buffed the pipe with a clean buffing pad to raise the shine and hand buffed it with a microfiber cloth to deepen it. It is a beautiful pipe whose dimensions are Length: 5 ¼ inches, Height: 1 3/8 inches, Bowl diameter: 1 ¾ inches, Chamber diameter: ¾ inches. I am going to put this one on the rebornpipes store soon, even though everything in me wants to hang on to it. If you are interested email me at slaug@uniserve.com or send me a message on Facebook. Thanks for looking.

Restoring a Thompson Freehand 529 with Cumberland Stem


Blog by Steve Laug

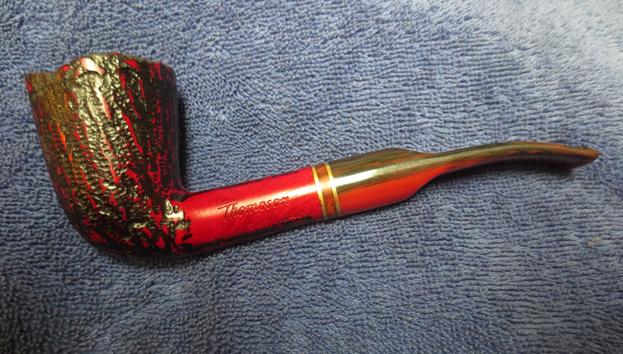
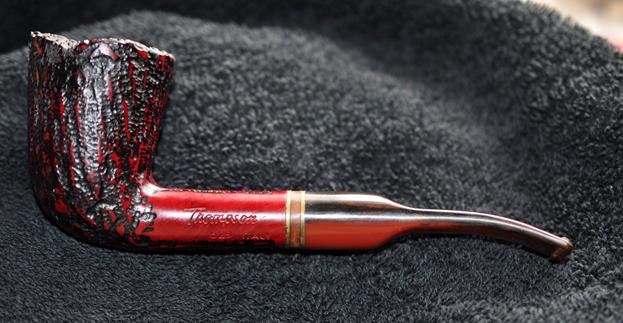
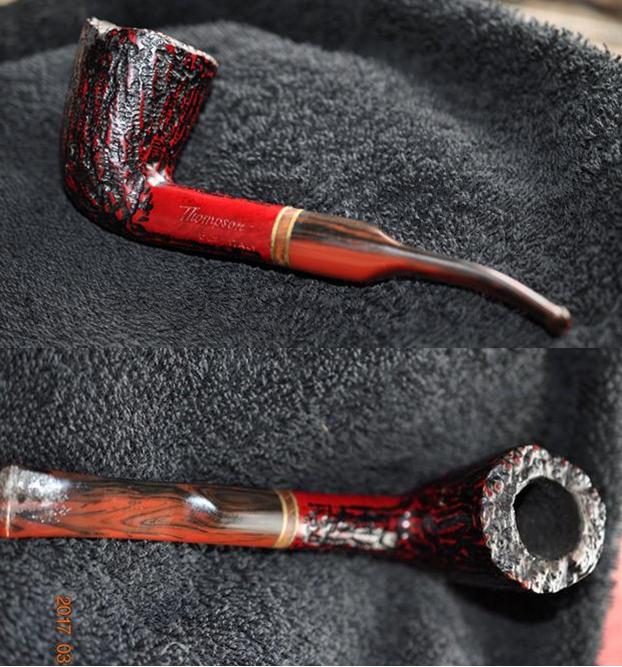
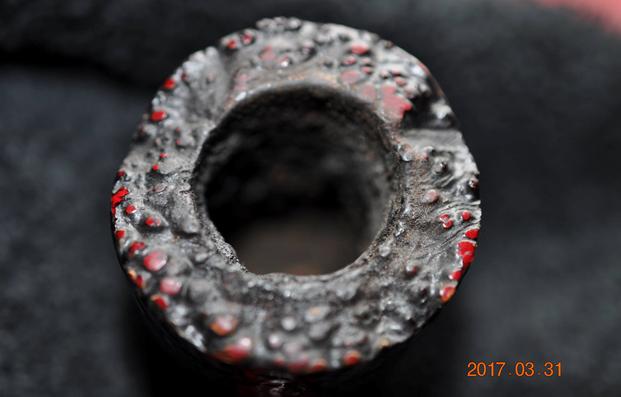
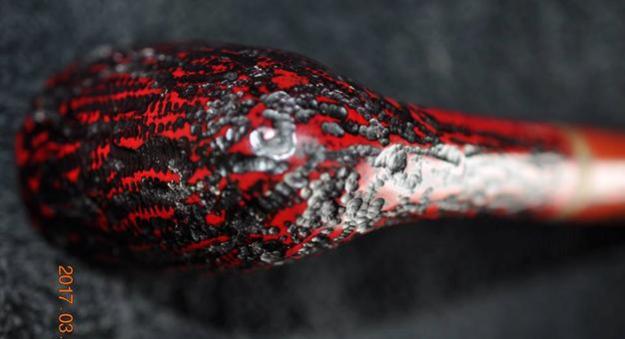
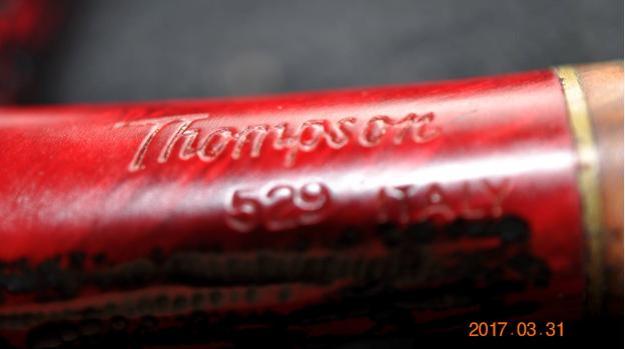
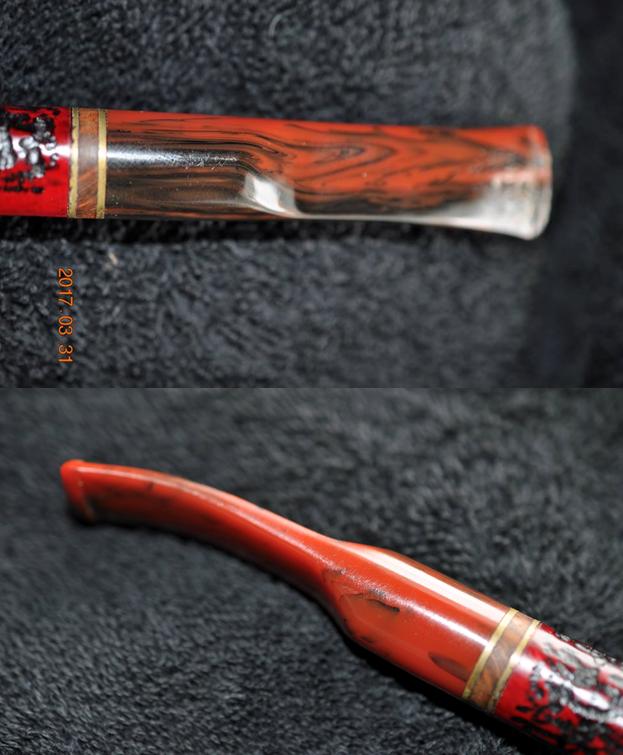
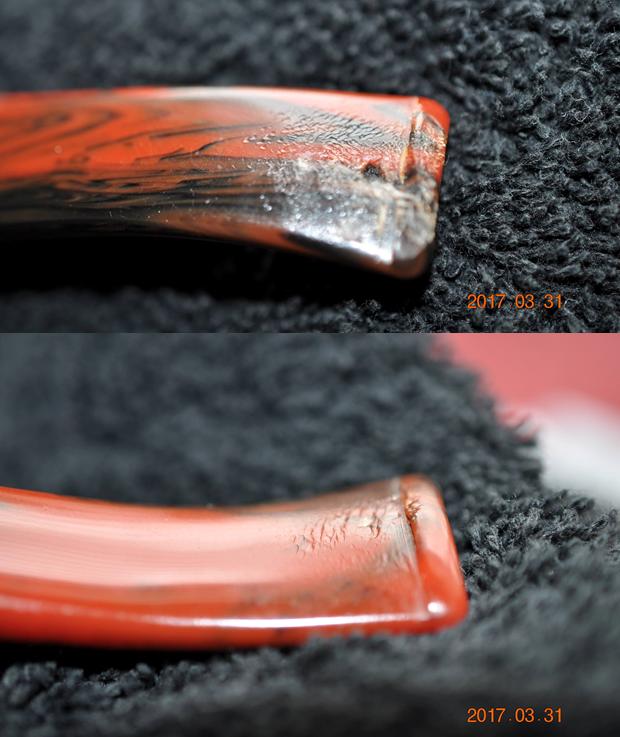
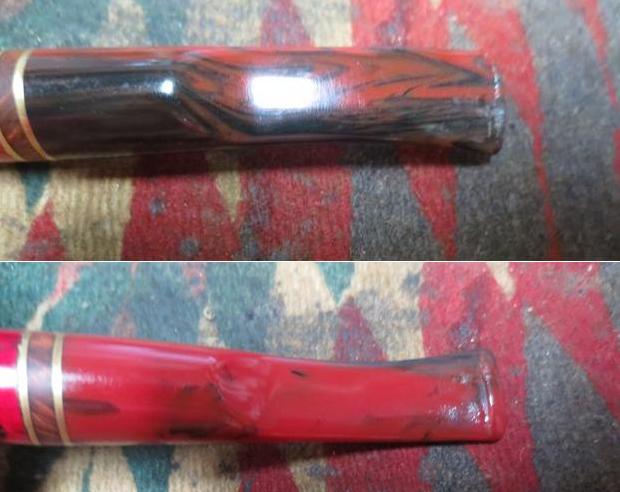
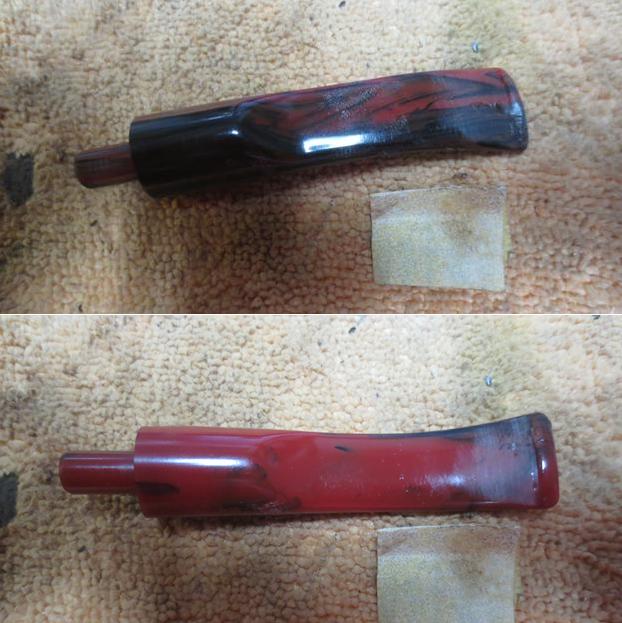
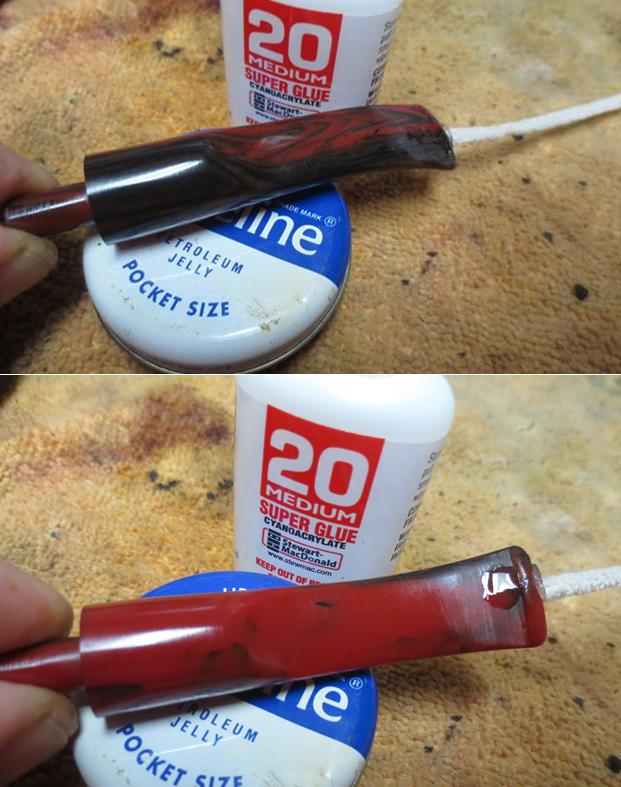
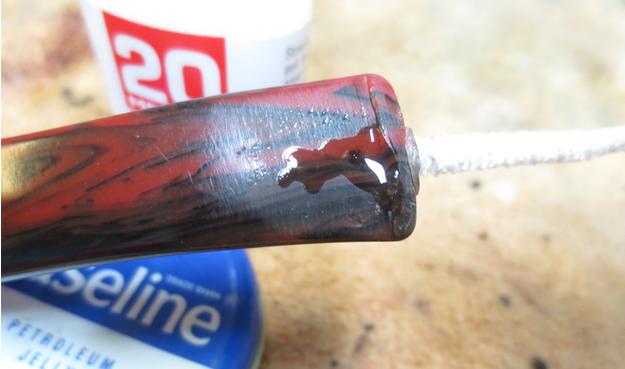
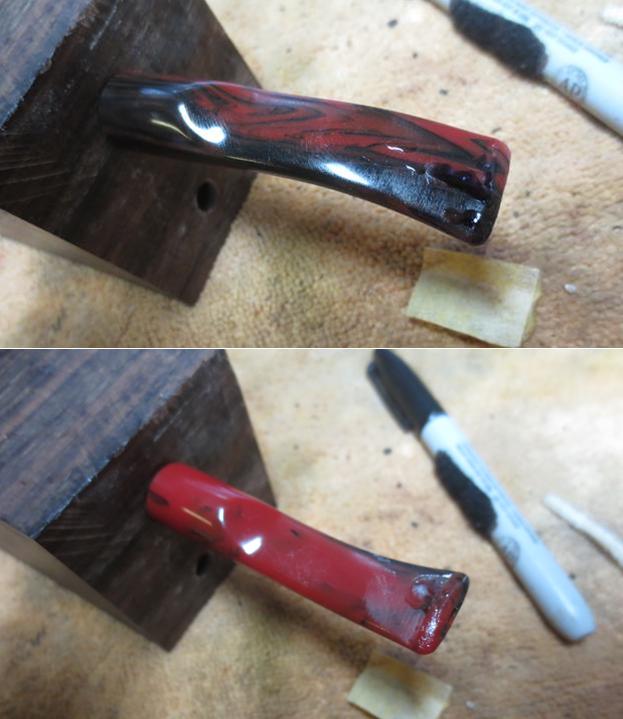
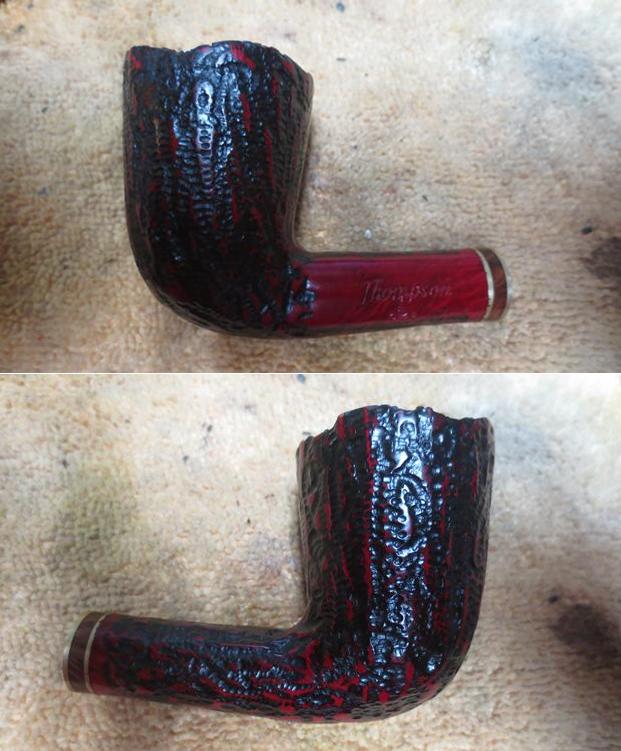
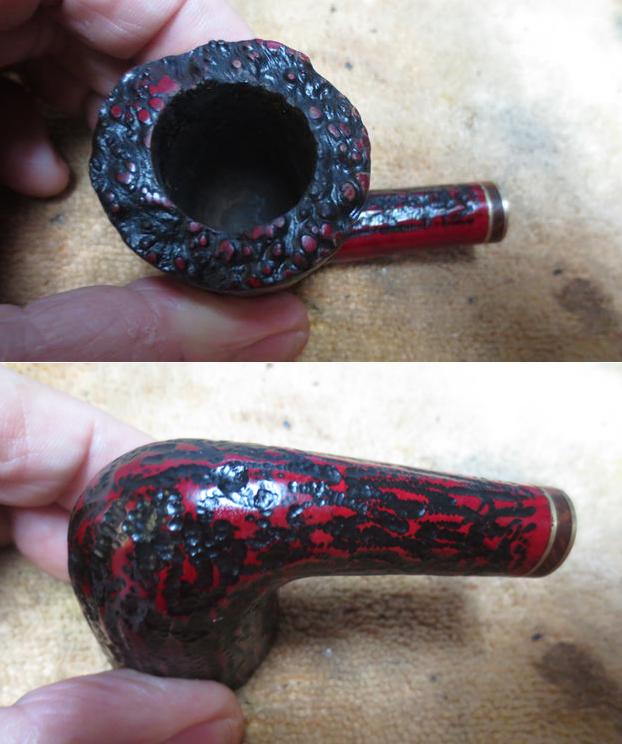
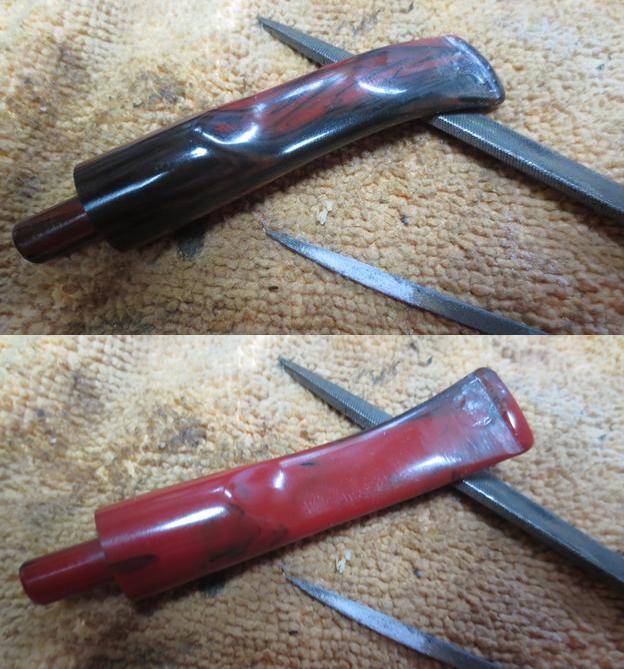
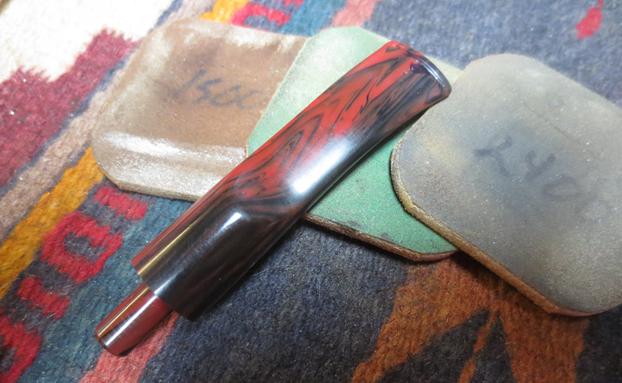
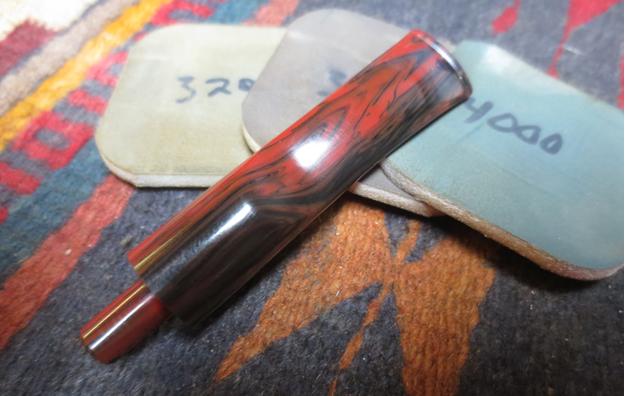
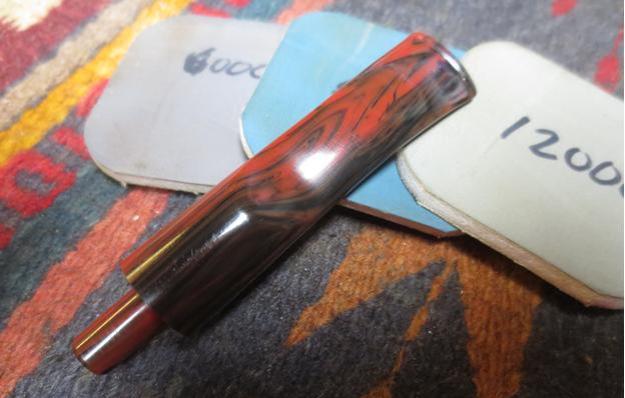
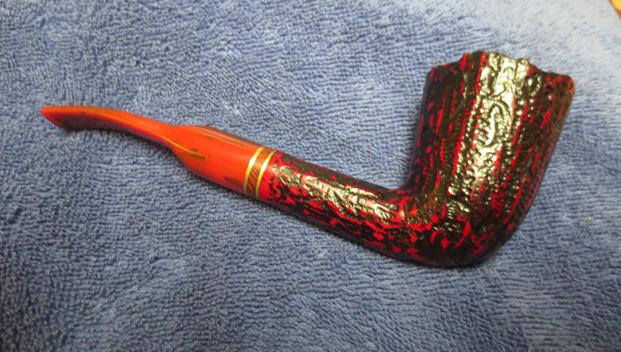
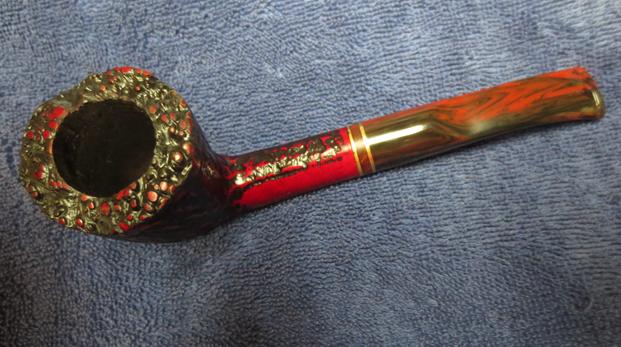
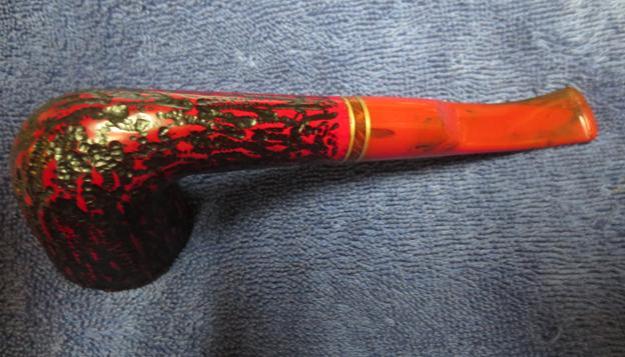
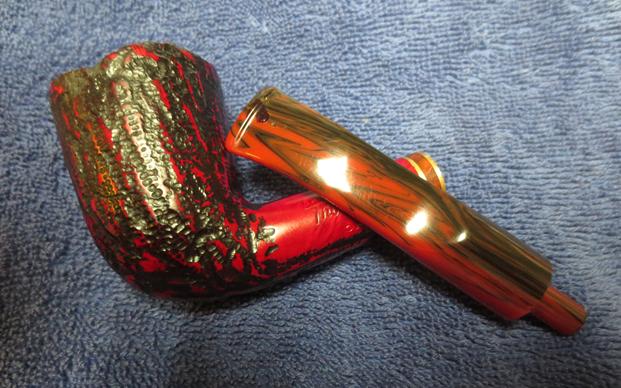
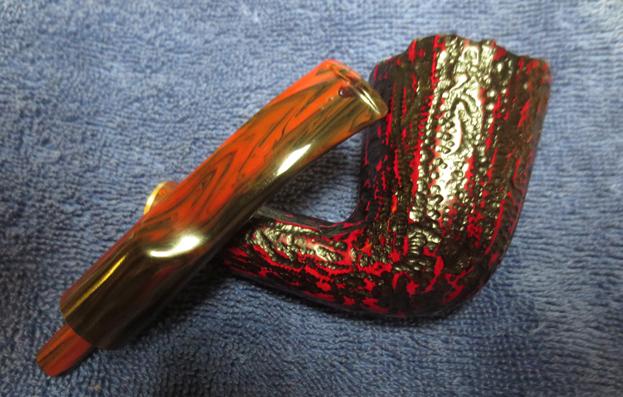
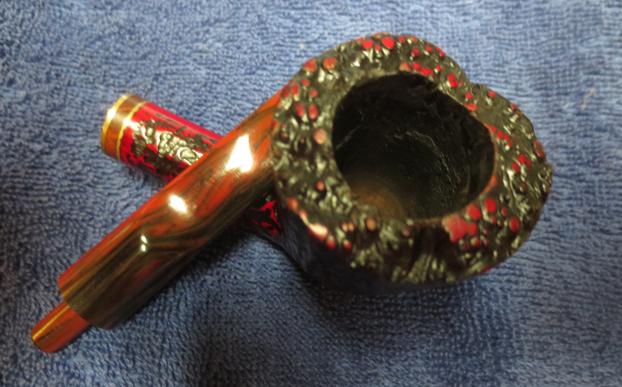
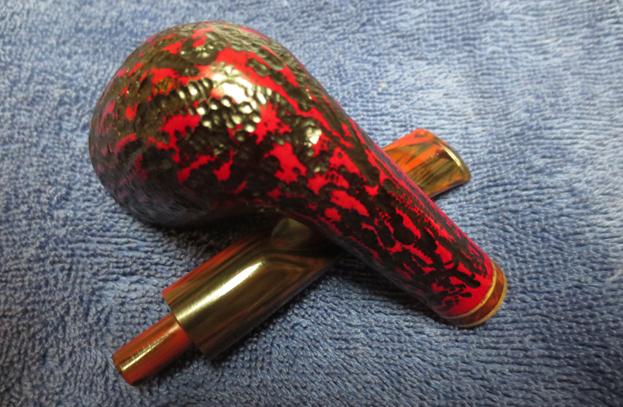
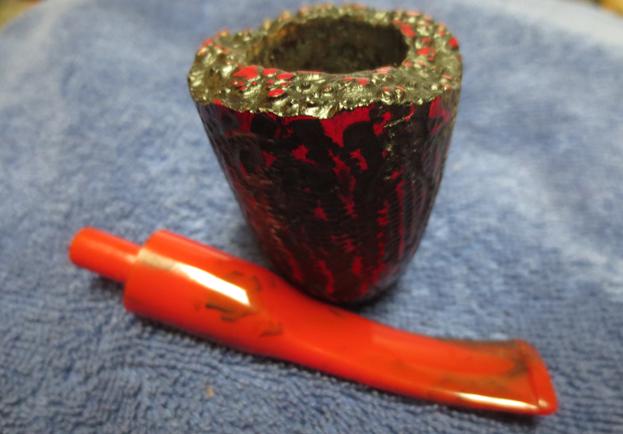
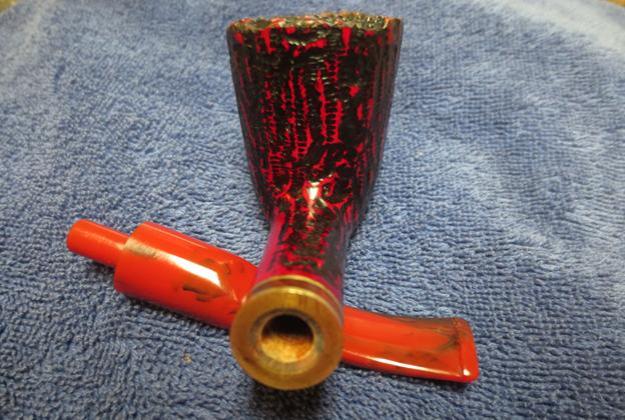
The next pipe on the worktable is a freehand with a plateau rim. It has a contrast black and red stain – red on the high spots of the rustication and black in the nooks and crannies. The rim shows the same pattern or reds and black. The shank has a band on it that is briar with brass on either side of it. The pipe was very dirty on the rim and the inside when my brother picked it up at an estate sale in Idaho. The rim had an overflow of the thick cake that filled the bowl. It had a Cumberland style acrylic saddle stem. The stem was in pretty rough shape with deep tooth marks on both the top and underside near the button and tooth marks on the button itself. There was also a bite through on the top side of the stem – mid stem just ahead of the button. It was not a large hole but it was a hole nonetheless. My brother took the following photos before he cleaned up the pipe for me.From a previous blog I wrote and one that Robert Boughton wrote I remembered that Thompson pipes were made for Thompson Cigar Company. This particular pipe was stamped on the left side of the shank with the words Thompson in script over the shape number 529 and Italy. I know that Thompson Cigar Company had pipes made in Italy, the Netherlands (Big Ben), and Turkey (the Meerschaum). Many of their Italian pipes were made by Savinelli. In checking the shape numbers of Savinelli pipes I did not find a listing for a 529 but there were others around that shape number.The photo Jeff took of the rim top and bowl shows the thick cake in the bowl and the lava overflow on the rim top. The insides of the pipe looked as if they had never been cleaned before. The beauty of the mess was that it probably protected the plateau top from damage.The underside of the bowl shows the rustication pattern on the briar and the cleanness of the exterior of the pipe.The next photo, though a little out of focus shows the stamping on the shank. It is very readable and clear.The Cumberland acrylic stem looks very good with the red and black of the stain on the rusticated bowl. The shank band or twin brass bands separated by a briar insert makes a stunning separator for the shank and the stem.The stem was in rough condition as mentioned above. The top of the stem had a lot of tooth chatter and the button was chewed down. There was a small hole in the middle of the stem just below the button. The underside of the stem also showed a lot of tooth chatter and bite marks.The rim top looked really good once he had removed all the built up tar and lava. The high spots and the valleys in contrasts of red and black.The stem was clean but the topside showed a lot of damage. There were tooth marks and the hole to deal with and the large dent in the top of the button edge on the stem top. The underside had some deep tooth marks and some chatter.I sanded the damaged areas on the top and underside of the stem to prepare for the repairs to the tooth marks and dents. I was able to remove much of the chatter and only left behind the deep marks in the surface of the stem.I coated a pipe cleaner with Vaseline and inserted it in the stem below the hole in the stem surface. The greased pipe cleaner would prevent the super glue repair from sticking to the pipe cleaner or clogging the airway. I filled in the hole and the deep tooth marks on both sides of the stem with clear super glue. I used my drilled block to hold the stem so both sides of the stem would dry without interference from my work surface. While the repair cured I buffed the bowl with a soft cotton buffing pad to bring up a shine. Once the repair had cured I used a needle file on both sides of the stem to bring the repair even with the surface of the stem. I sanded the repaired areas with 220 grit sandpaper to smooth them out and blend them into the surface of the stem. The photos below tell the story. I put the stem back on the bowl and buffed it with Blue Diamond polish on the buffing wheel. I buffed lightly to keep the polish from getting in the grooves of the rustication. I buffed the stem to polish out the remaining scratches. I gave the stem multiple coats of carnauba wax and buffed it with a clean buffing pad to raise the shine. I gave the rusticated bowl several coats of Conservator’s Wax and buffed it with a shoe brush. I buffed the entire pipe with a microfiber cloth to deepen the shine. The dimensions of the pipe are Length: 6 inches, Height: 2 inches, Diameter of the bowl: 1 ½ inches, Diameter of the chamber: ¾ inches. The finished pipe is shown in the photos below. I will be putting it on the rebornpipes store soon. If you are interested in adding this one to your collection email me at slaug@uniserve.com or send me a message on Facebook. Thanks for looking.