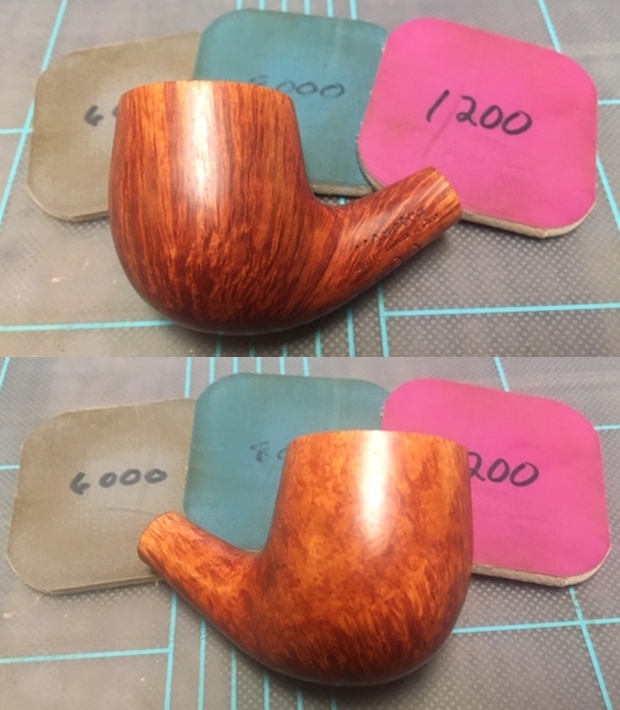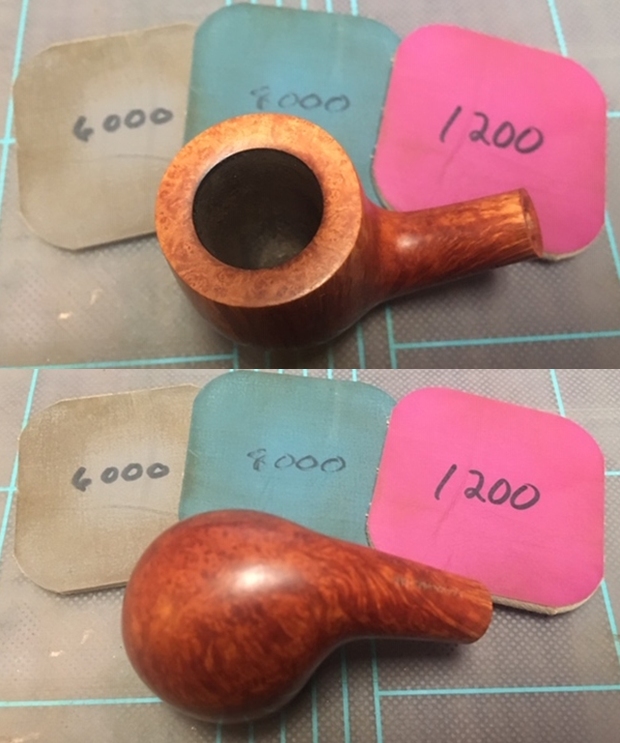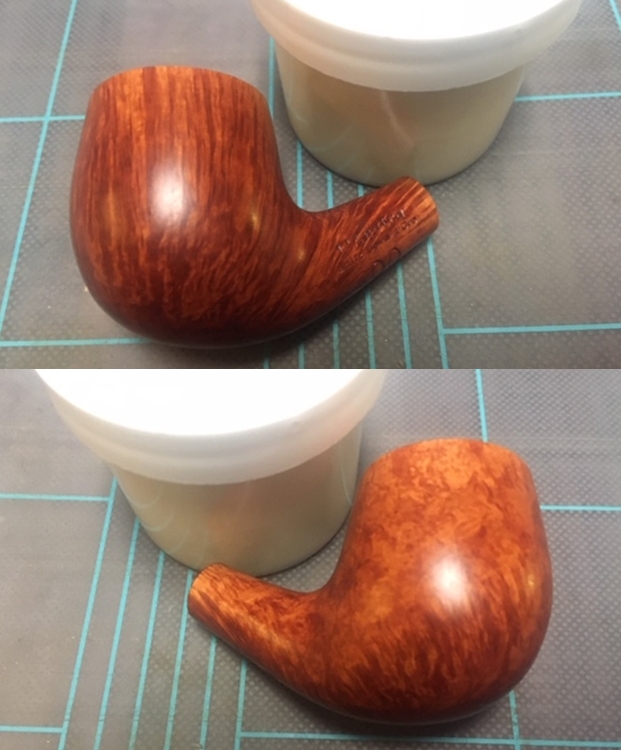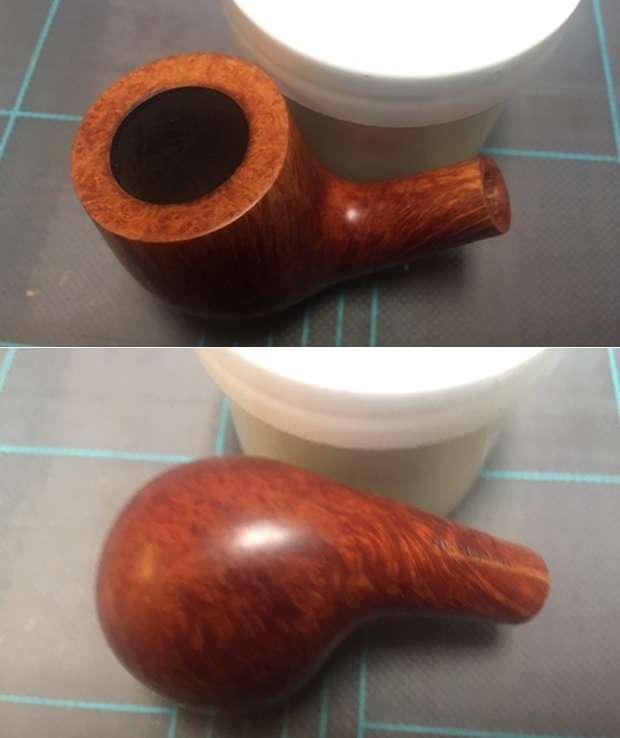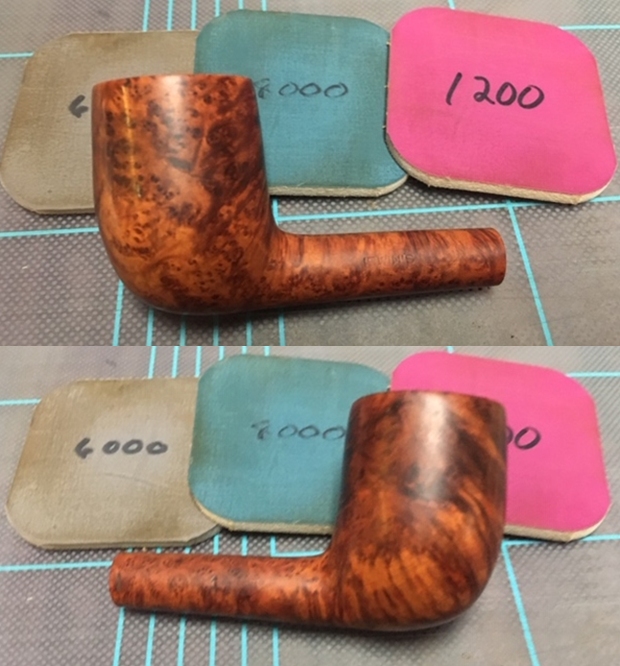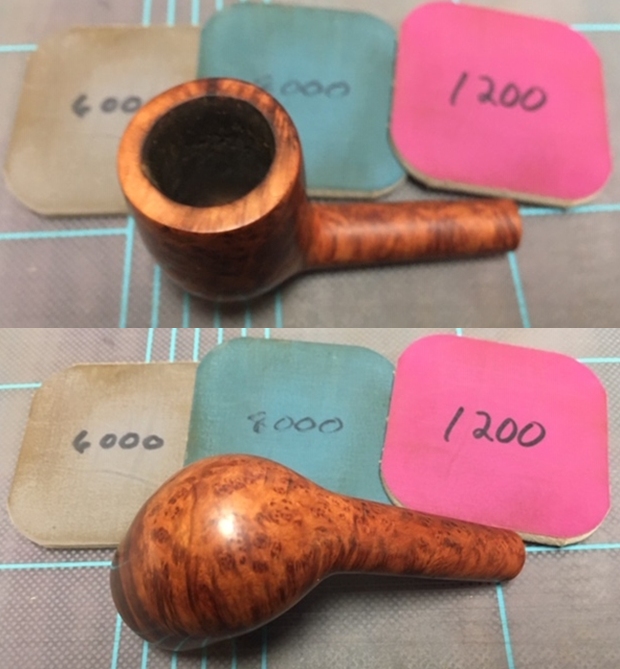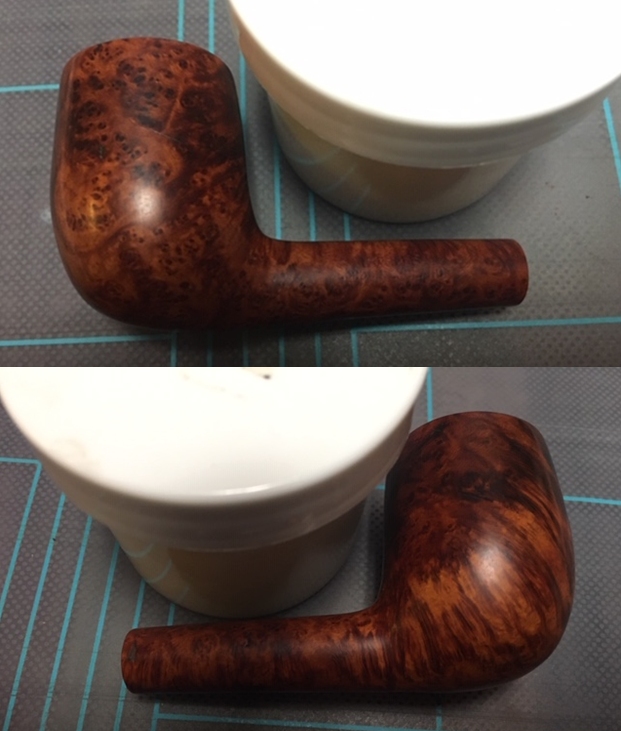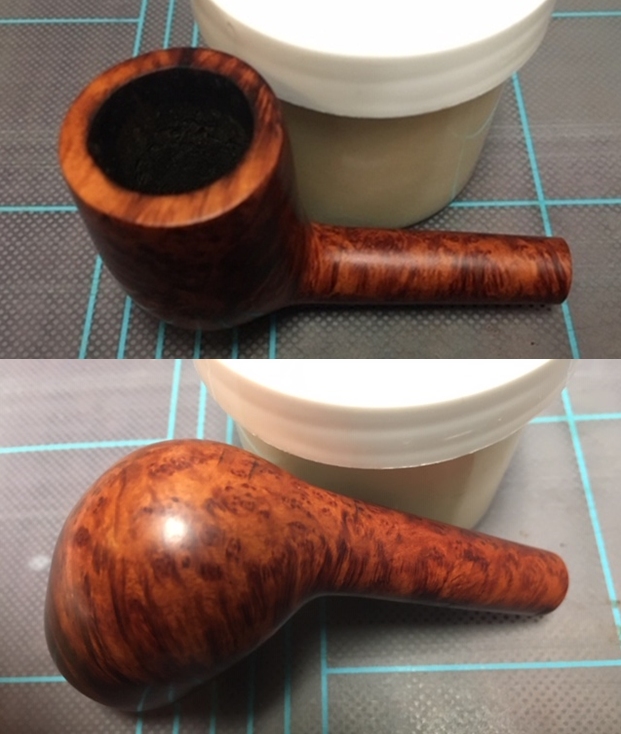
Tag Archives: removing oxidation

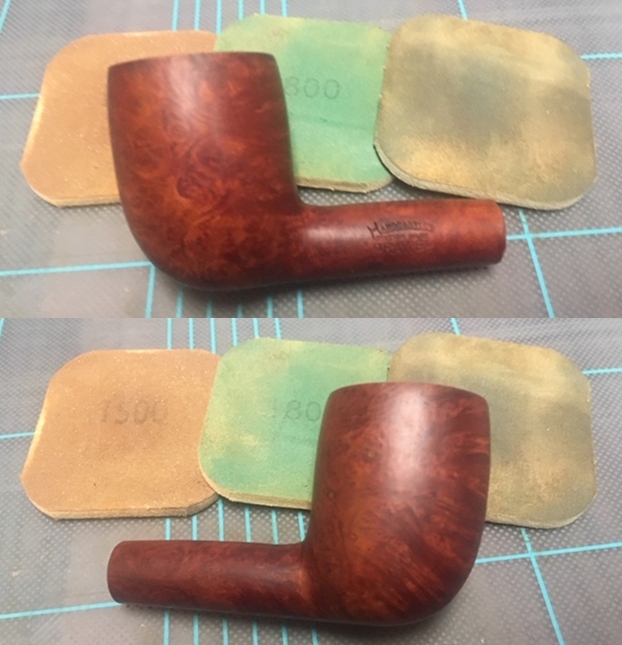
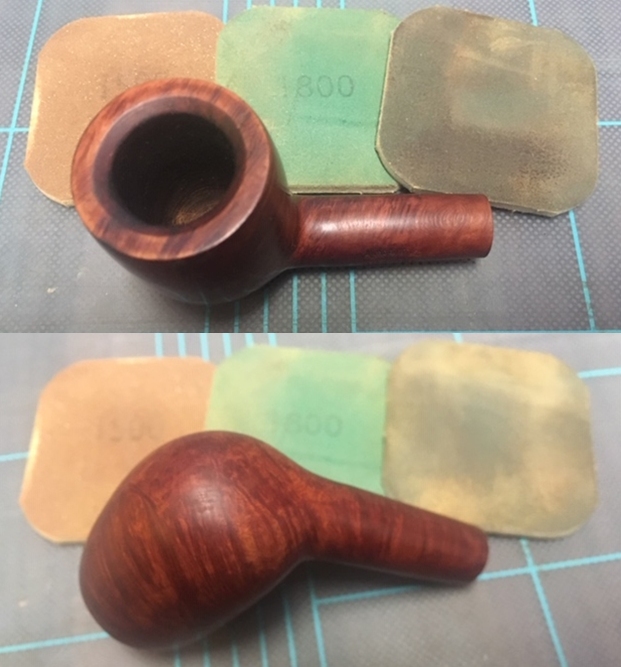
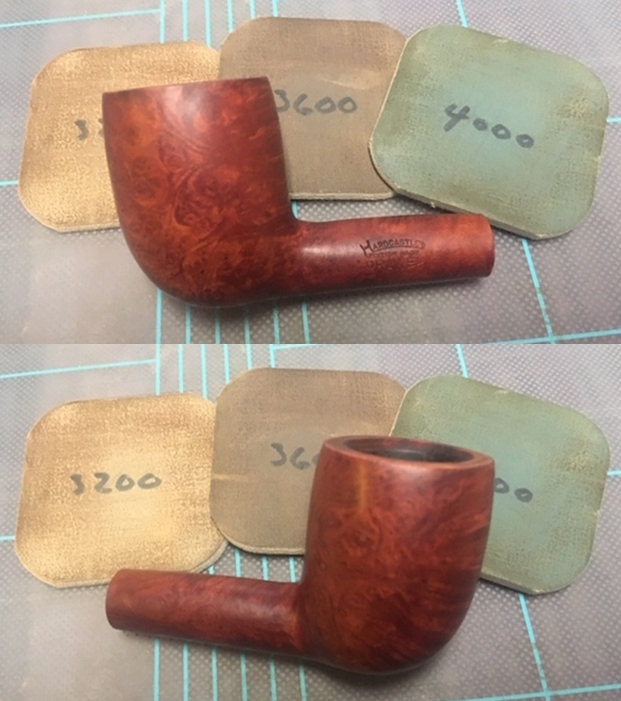
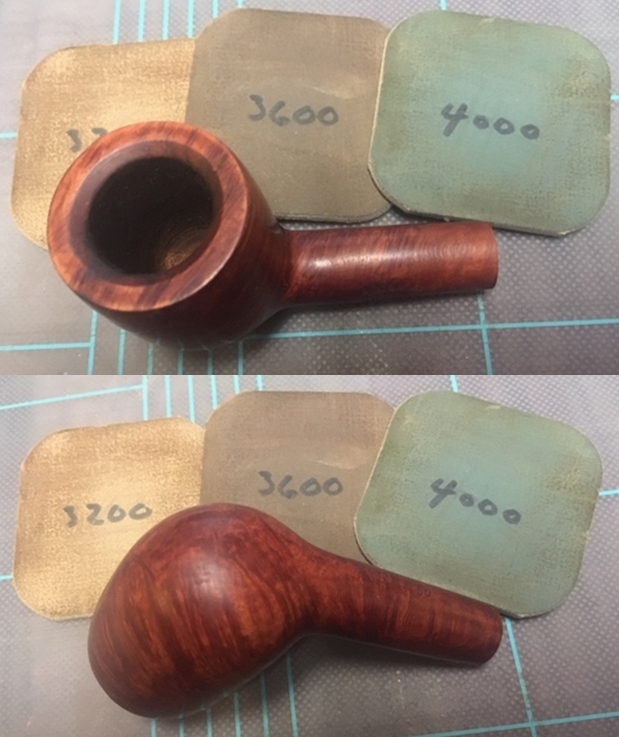
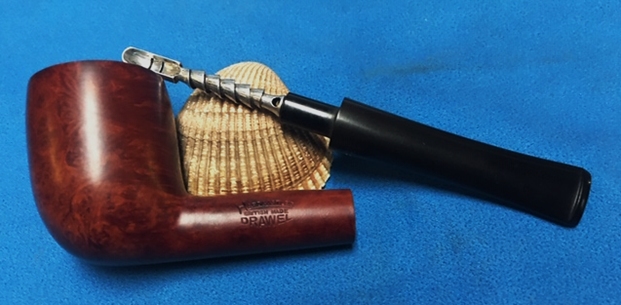
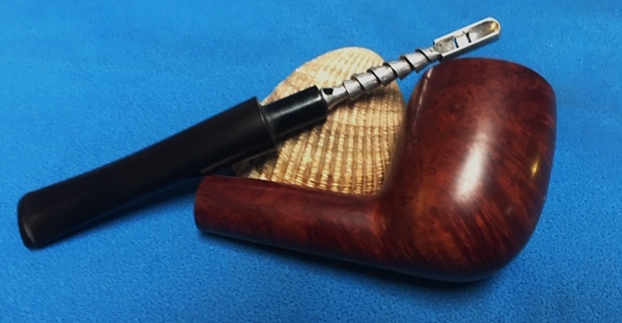
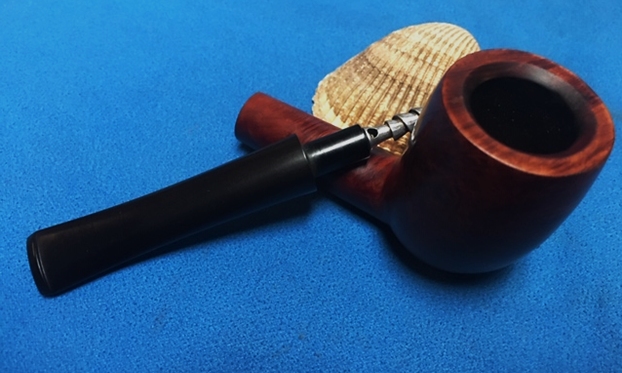
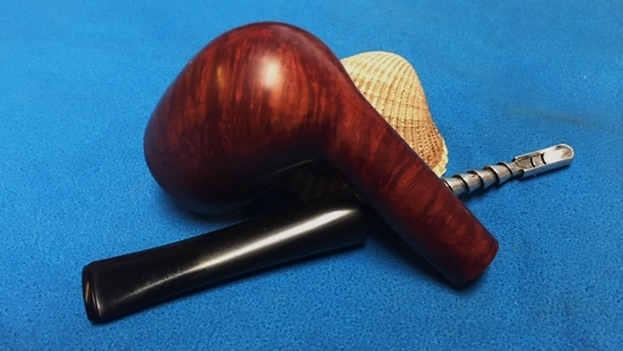
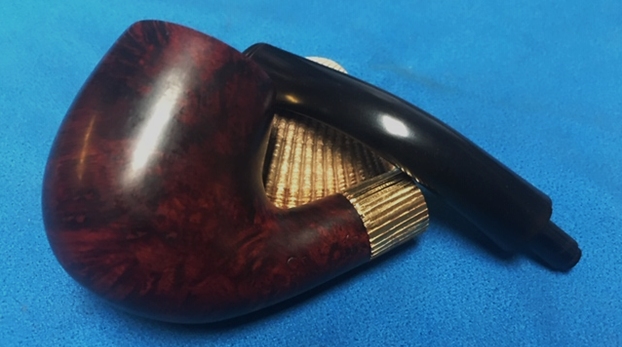
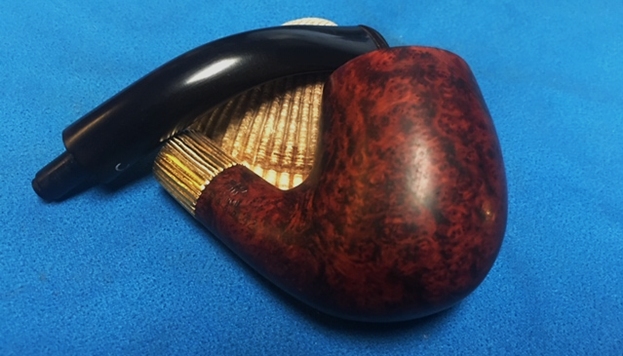
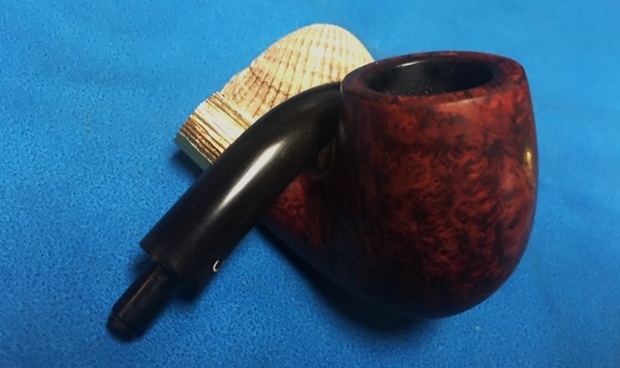
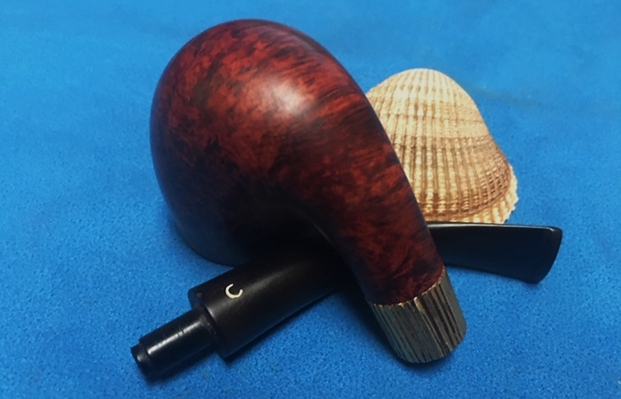
A New Life for a Hardcastle Drawel 50 Billiard from Bob Kerr’s Estate


Blog by Steve Laug

I have only 14 more of Bob’s pipes to finish before I have completed the restoration of his estate so I am continuing to work on them. The next one from Bob Kerr’s Estate is his only Hardcastle Drawel Billiard. (Bob’s photo is to the left). If you have not “met” the man and would like to read a bit of the history of the pipeman, his daughter has written a great tribute that is worth a read. Because I have included it in most of the restorations of the estate to date I thought that I would leave it out this time. Check out some of the recent Dunhill restoration blogs that include the biographical notes about Bob. Here is a link to one of them (https://rebornpipes.com/2020/01/01/restoring-the-last-of-bob-kerrs-dunhills-a-1962-dunhill-bruyere-656-f-t-bent-billiard/).

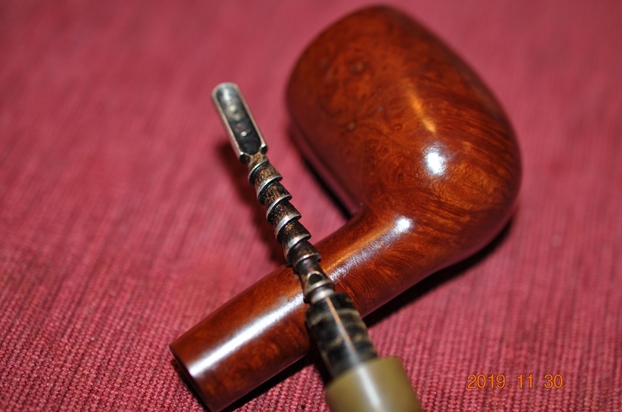
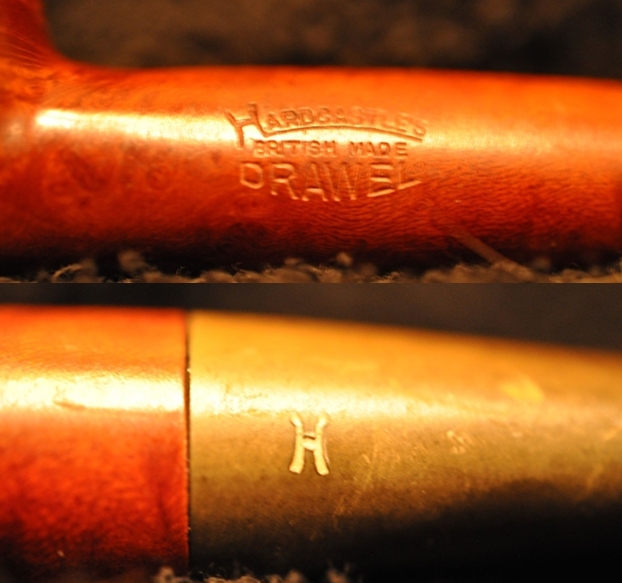
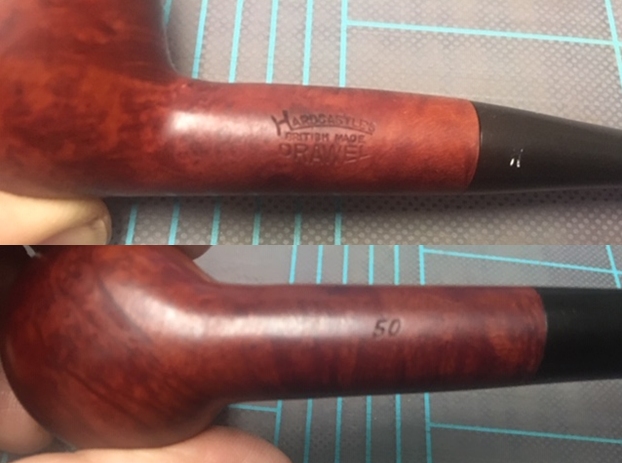
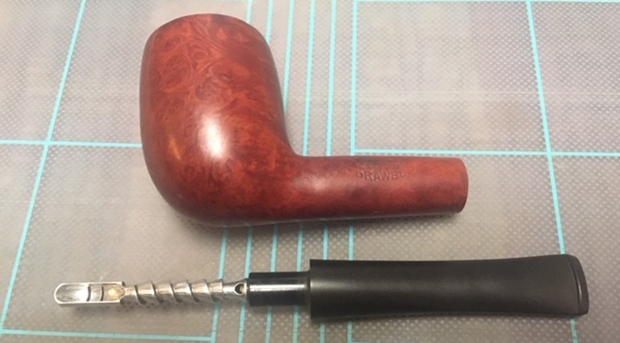
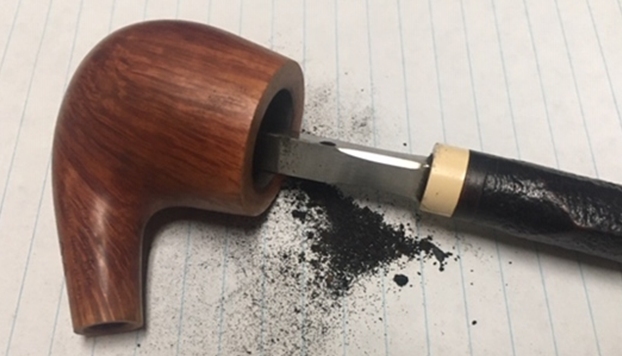
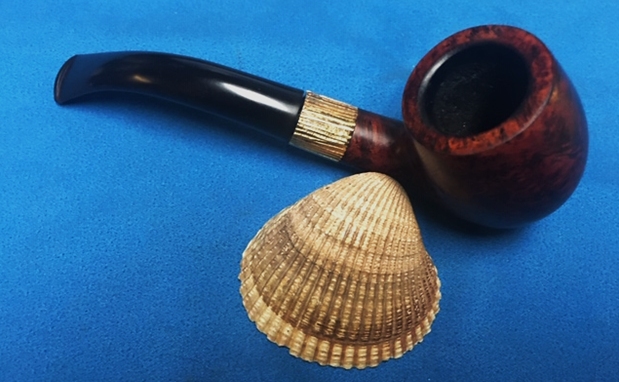
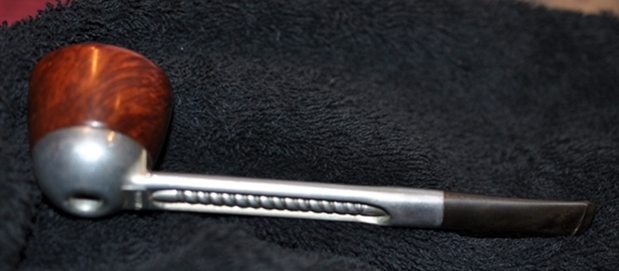
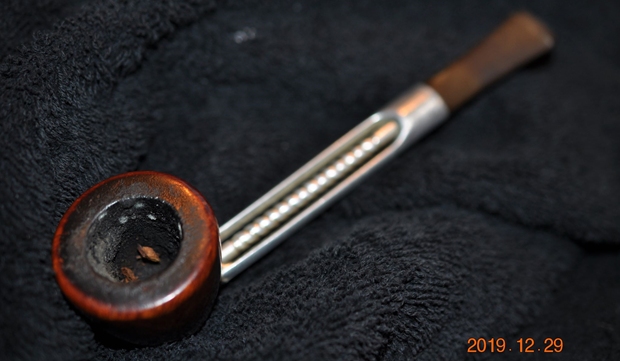
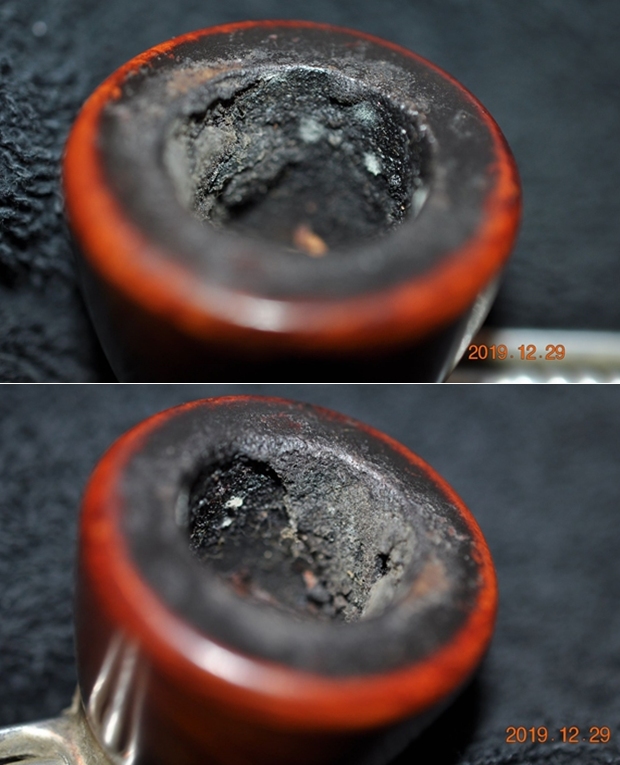
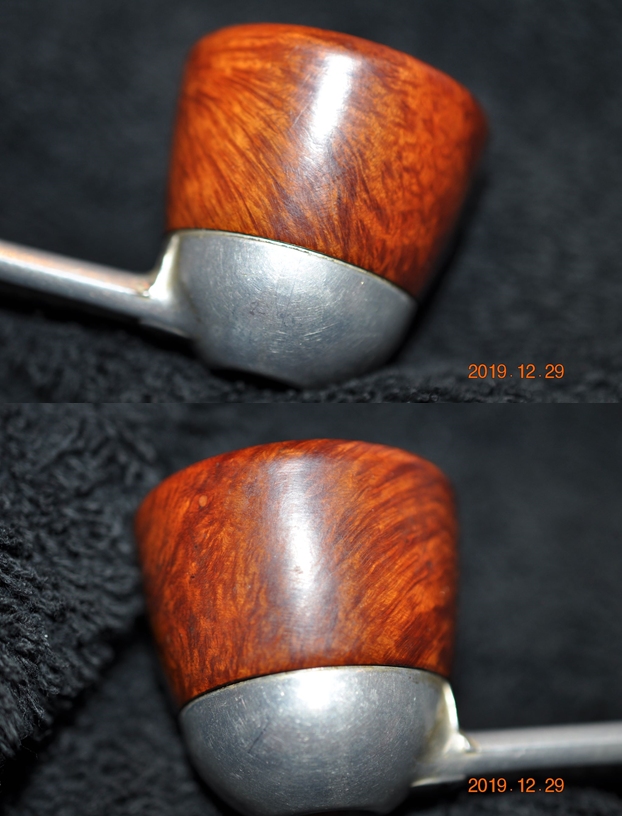
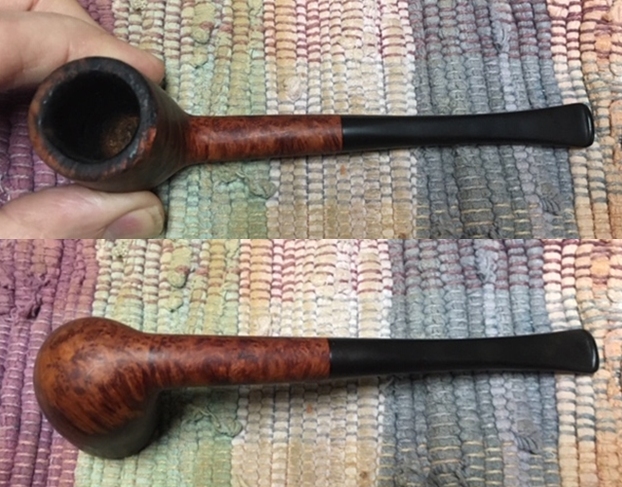
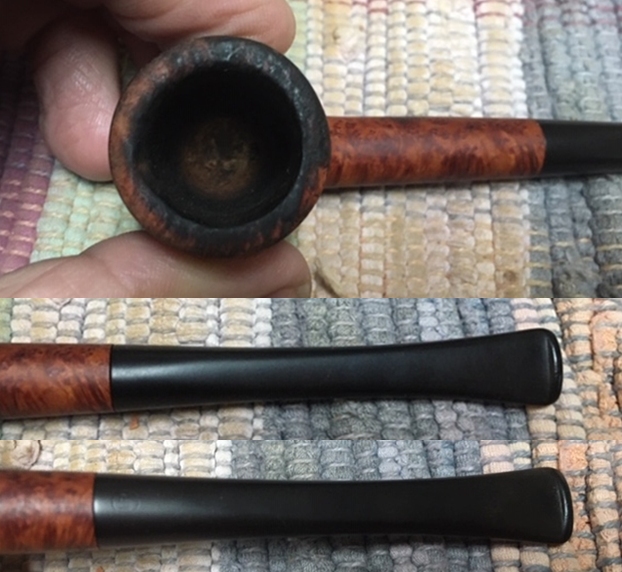
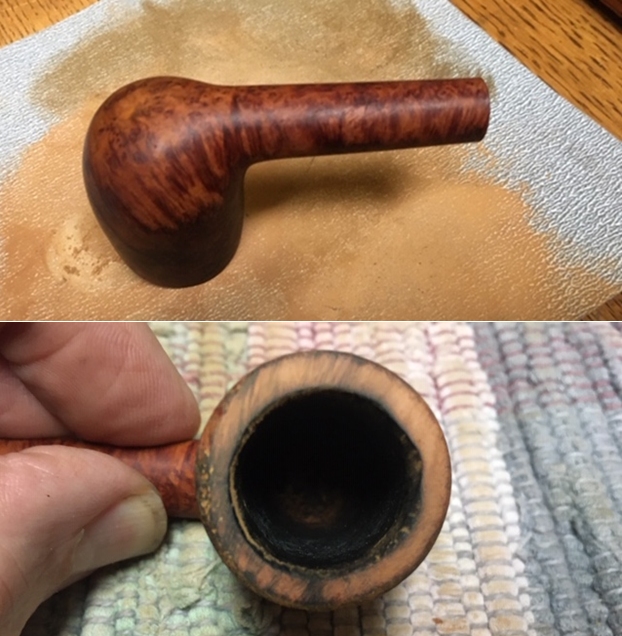
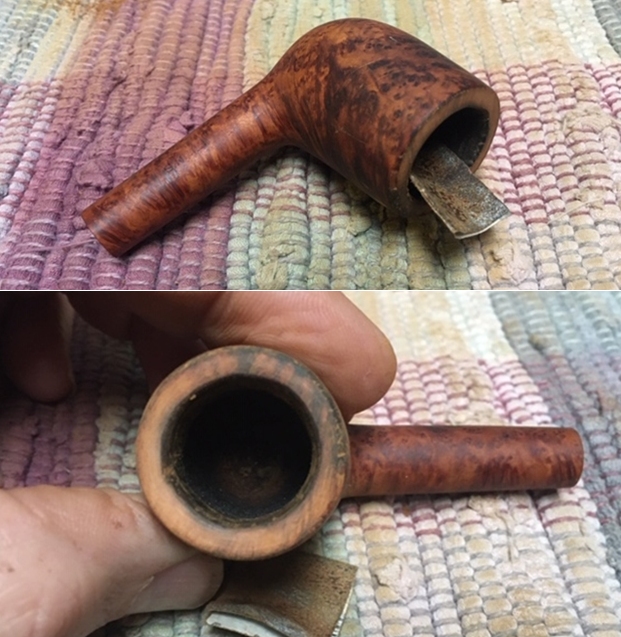
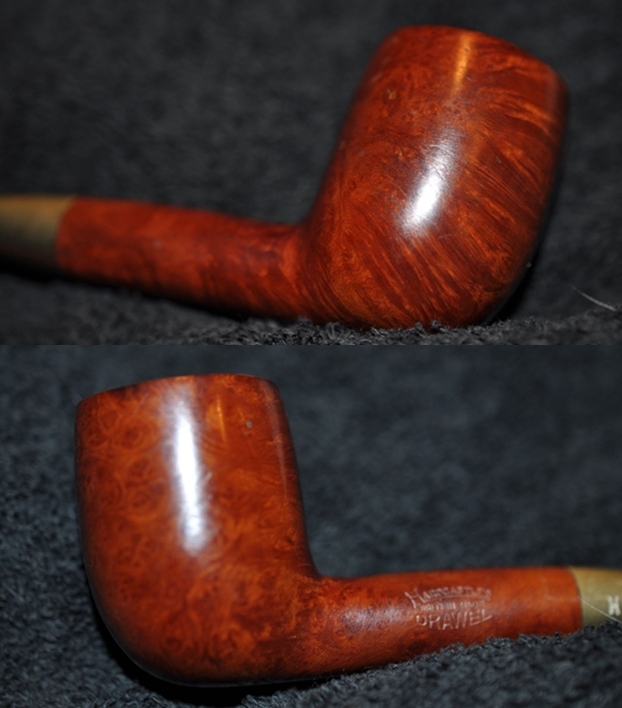
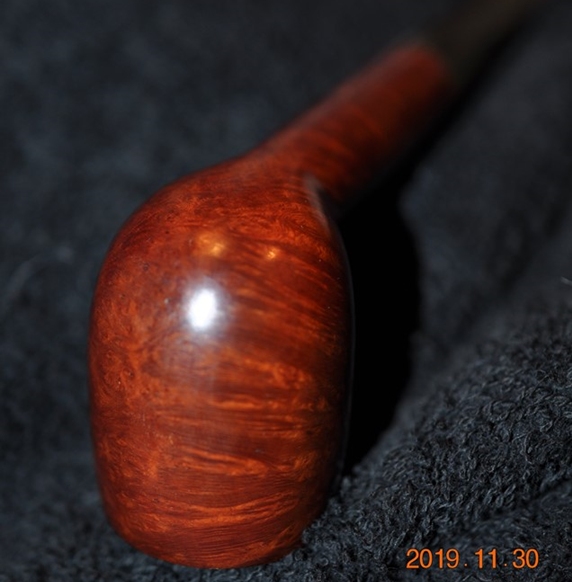
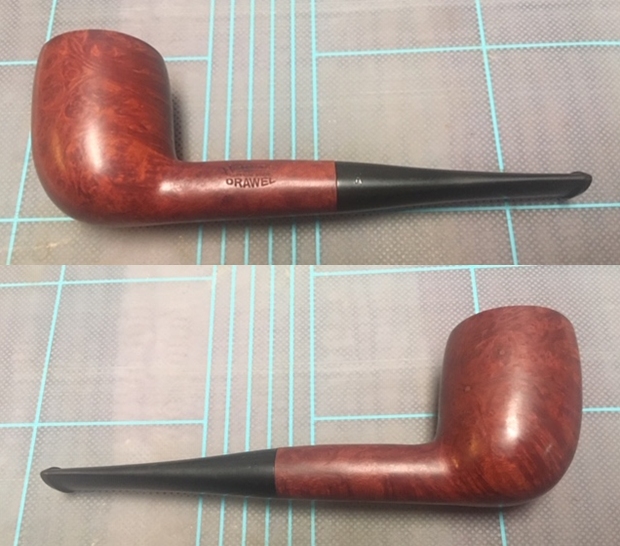
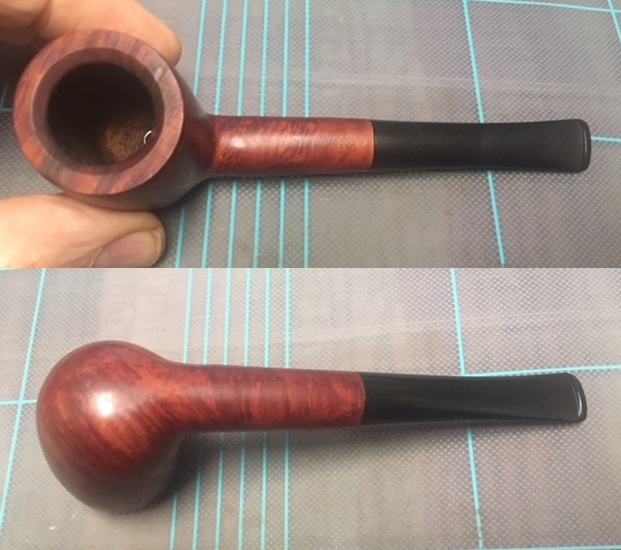
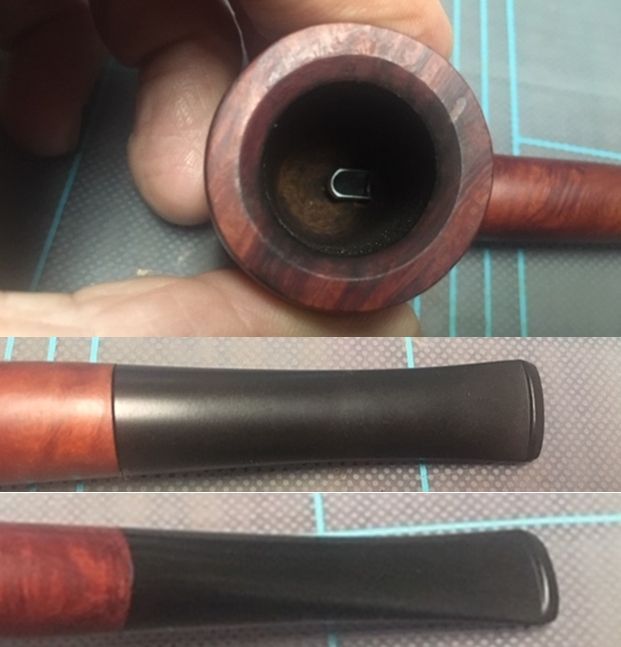
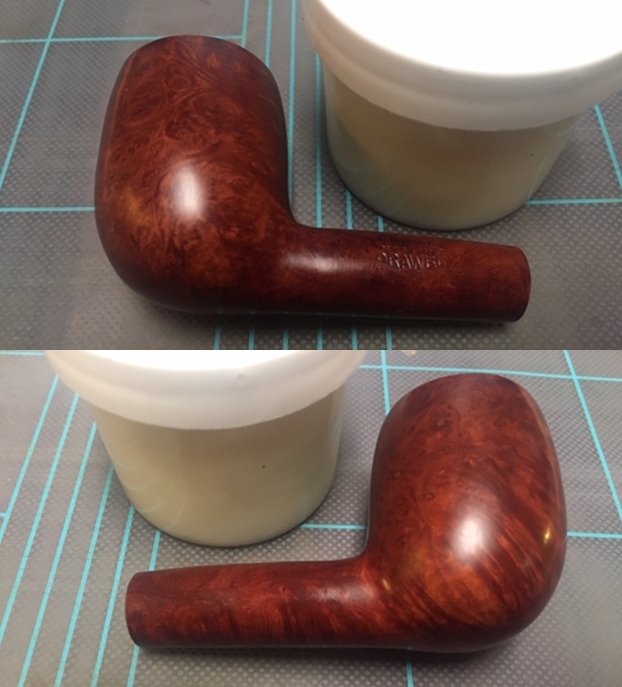
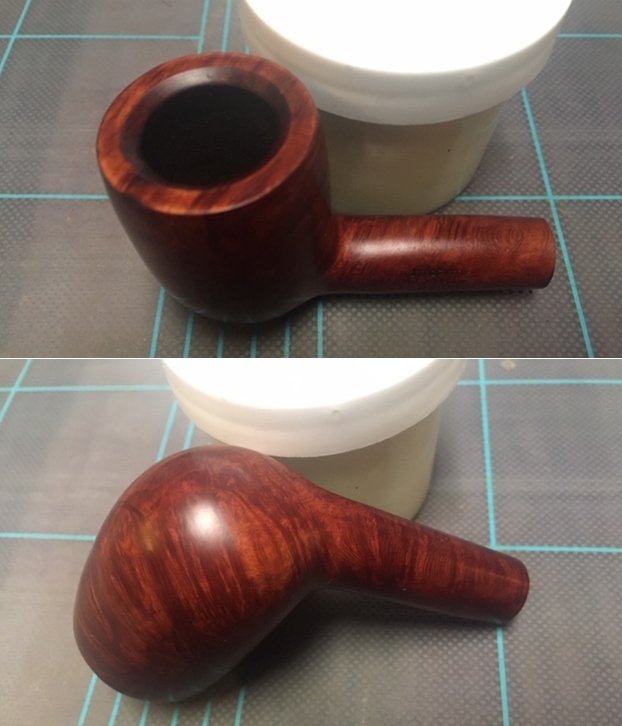
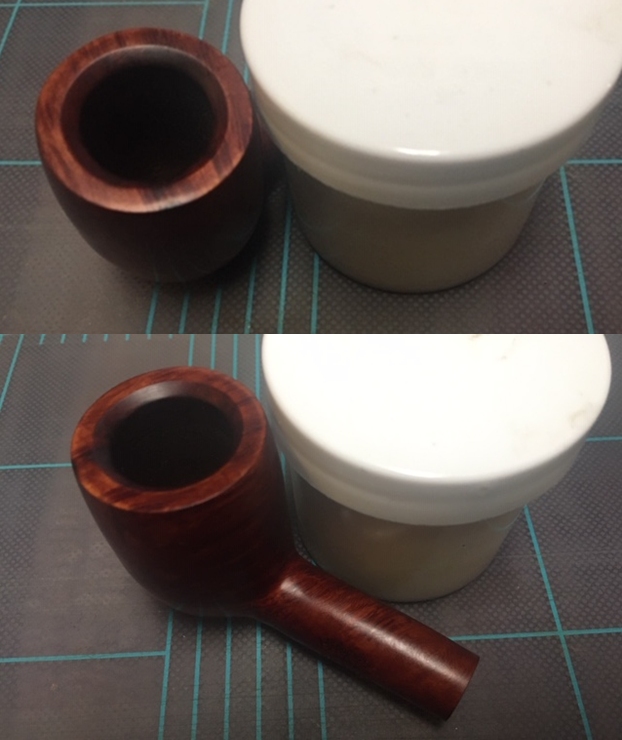
The Hardcastle Drawel British Made Billiard with a taper vulcanite stem. It is a smooth finish around the bowl and shank that has a lot of dust and debris ground into the finish of the briar. It was stamped on left and underside of the shank. It is stamped Hardcastle [over] British Made [over] Drawel on the left side of the shank. On the underside it is stamped with the shape number 50. There was a thick cake in the bowl and lava overflow on the rim top. There was a metal stinger apparatus that extended from the tenon end into the bottom of the bowl. The vulcanite stem was calcified, oxidized and had tooth marks and chatter ahead of the button on both sides. Jeff took photos of the pipe to show its general condition before he did his cleanup. As I mentioned above the exterior of the pipe was very dirty – grime and grit ground in from years of use and sitting. The rim top was covered with a coat of thick lava that overflowed from the thick cake in the bowl. It was hard to know what the rim edges looked like because of the lava.      Jeff took photos of the sides and the heel of the bowl to give a better feel for the condition of the briar around the bowl.     Jeff took a photo of the unique stinger contraption in the tenon. It is long and extends into the bottom of the bowl.The next photo show the stamping on the left side of the shank and it is very readable. It reads as noted above. The second photo shows the H stamp on the left side of the taper stem.   The stem was dirty, calcified and oxidized with tooth chatter and marks on the top and underside of the stem at the button.    It has been quite a while since I have worked on a Hardcastle pipe so I turned to the Pipedia article on the brand (https://pipedia.org/wiki/Hardcastle). I quote both the introductory paragraph and the section on Models and Grades.
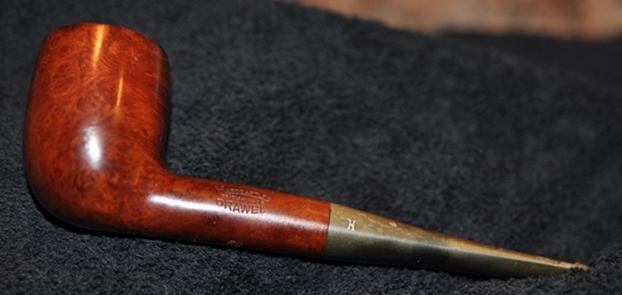
Harcastle was founded in 1908 by Edmund Hardcastle and built itself a good reputation among the numerous British mid-graders. In 1935 Dunhill started to build a factory next door to Hardcastle in Forest Road, Walthamstow, London E17. The family owned Hardcastle Pipes Limited sold 49% of its equity to Dunhill In 1936.

Along with closing down its pipe factory in Notting Hill in 1946 Dunhill bought the reing shares turning Hardcastle into a 100% Dunhill subsidiary. As members of the Hardcastle family continued as executives in the company’s management Hardcastle retained a certain independence.

This ended in 1967. Dunhill merged Hardcastle with Parker (100% Dunhill as well). The new Parker Hardcastle Limited also absorbed the former Masta Patent Pipe Company. Hardcastle’s Forest Road plant was immediately given up and the production of Hardcastle pipes was shifted to Parker’s nearby St. Andrews Road factory – now consequently called Parker-Hardcastle factory.

In fact this put a definite end to Hardcastle as an own-standing pipe brand and no one minor than Edwin Hardcastle, the last of the family executives, spoke frankly and loudly of Hardcastle pipes being degenerated to an inferior Dunhill second.

Today Hardcastle pipes use funneled down bowls that are not deemed suitable to bear the Dunhill or not even the Parker name as well as obtaining briar from other sources.

Models & Grades

Family Period – Straight Grain, Supergrain, Leweard, Nut Bruyere, De Luxe, Royal Windsor Sandhewn, Royal Crown, The Crown, Phito Dental, Old Bruyere, Jack O’London, Dental Briar, Phito, Dental, Dryconomy, Drawel, Phithu, Telebirar, Camden, Lightweight, The Table, Dovetail, Dental, Crescent Extra, Lonsdale, Welard De Luxe

It is good to know that I am working on a Family Period Hardcastle before the downgrade of the brand. Now it was time to move on to working on the pipe.

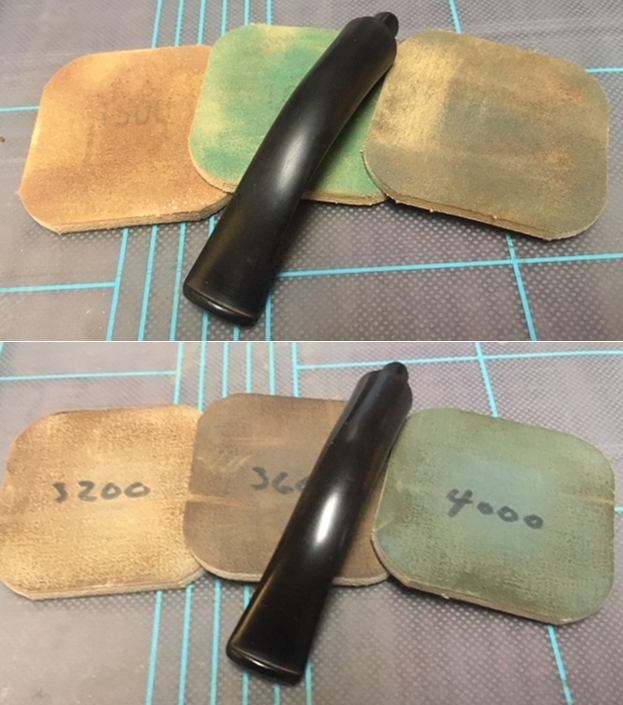
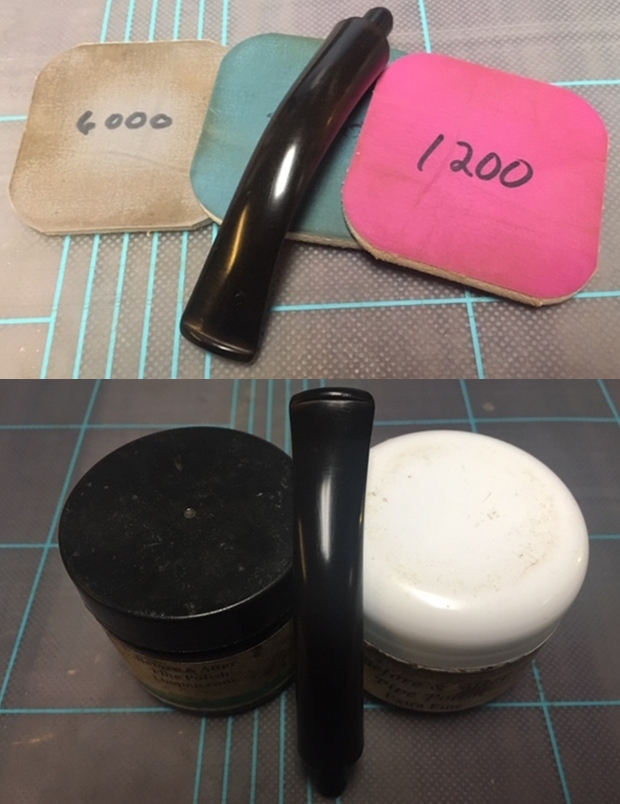
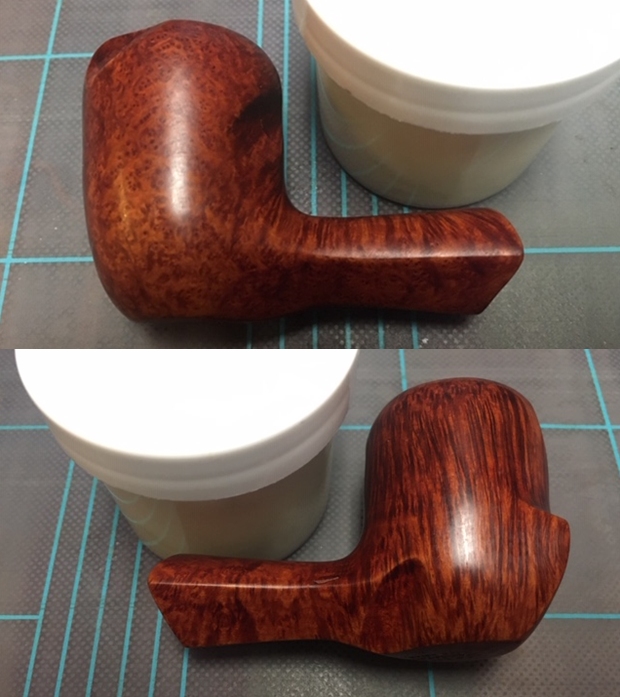
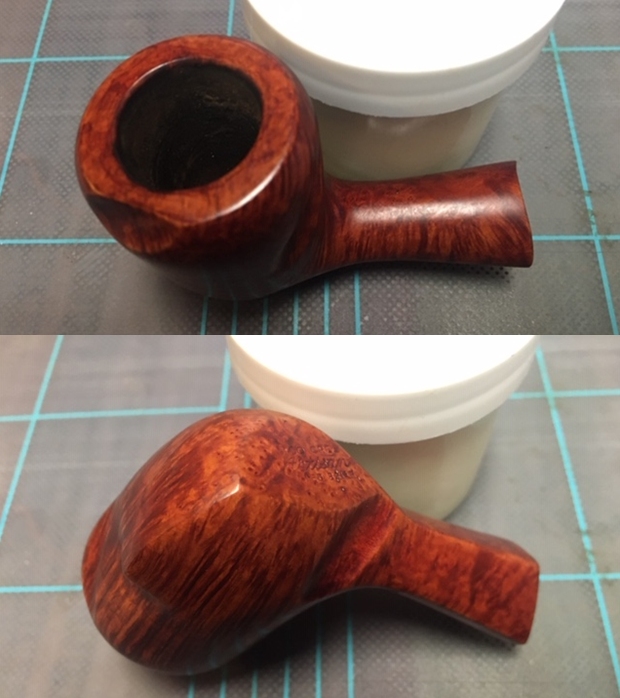
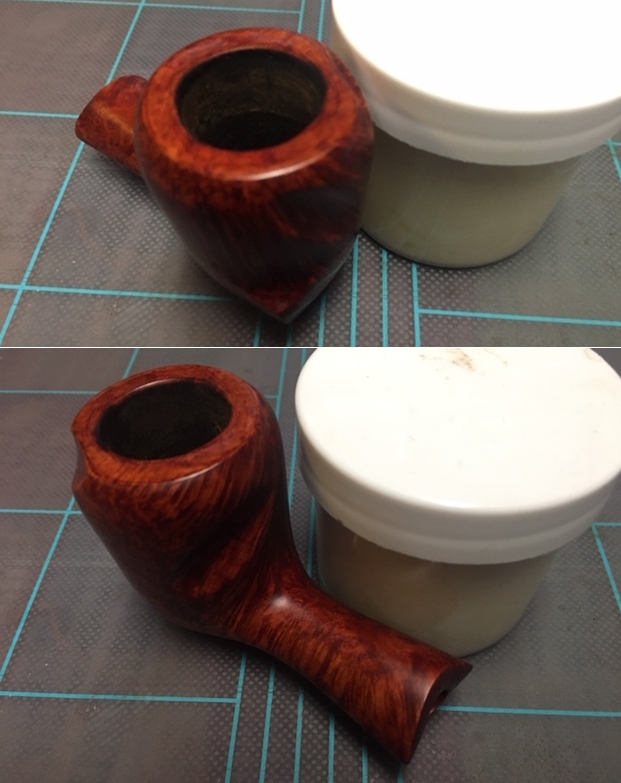
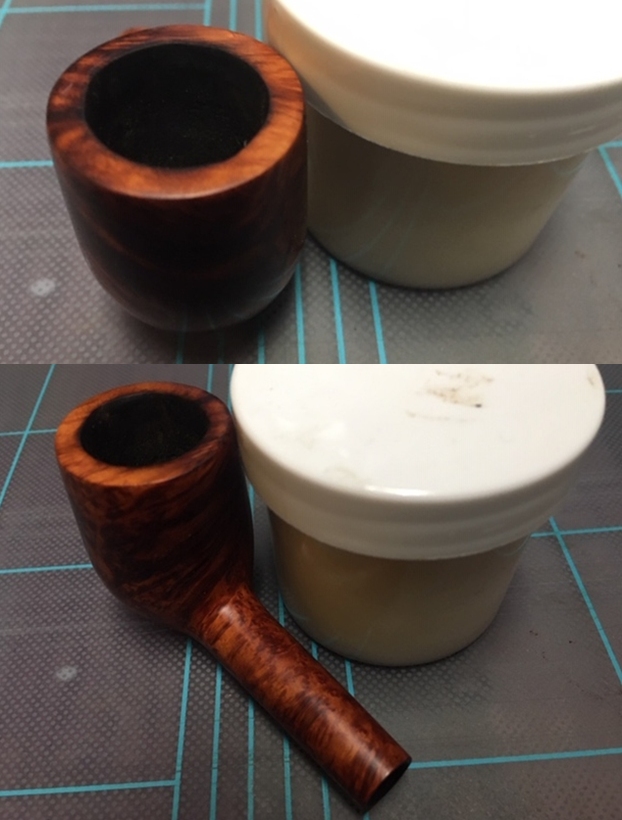
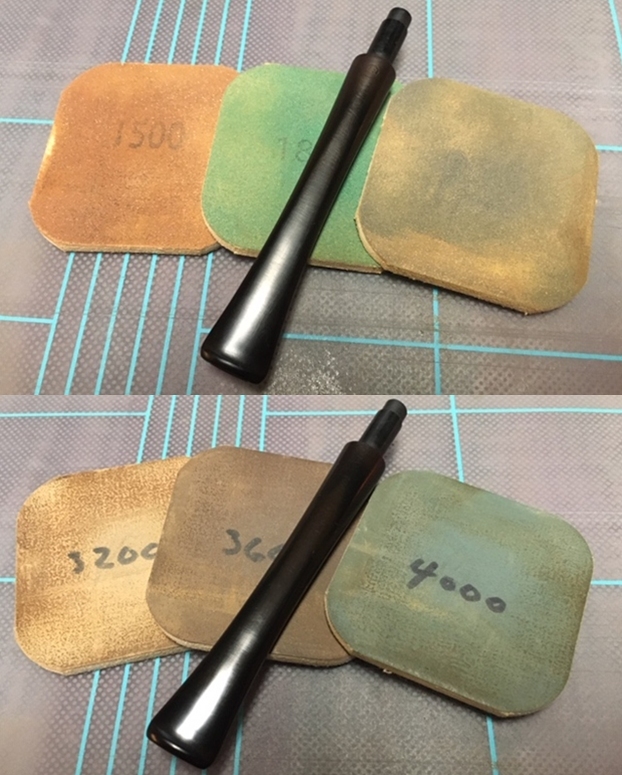
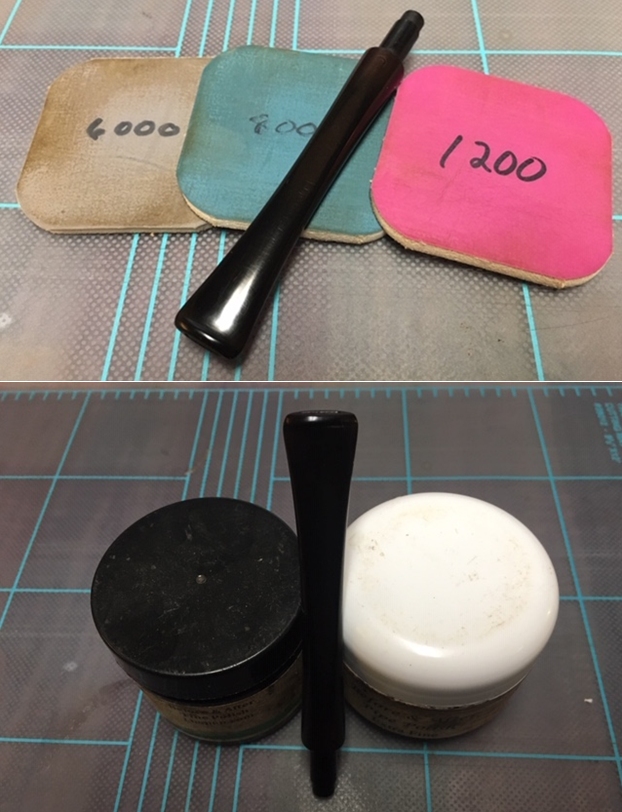
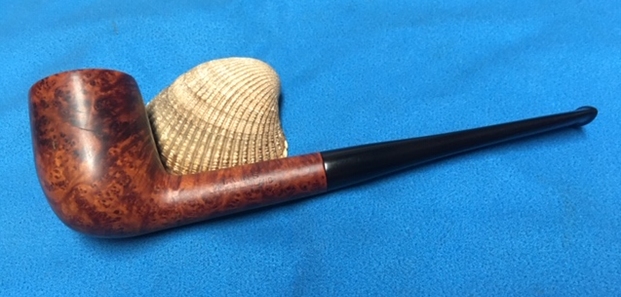
With over 125 pipes to clean from Bob’s estate I took a batch of them to the states with me when I visited and left them with Jeff so he could help me out. Jeff cleaned the pipes with his usual penchant for thoroughness that I really appreciate. Once he finished he shipped them back to me. Bob’s pipes were generally real mess and I did not know what to expect when I unwrapped it from his box. I was surprised to see how well it turned out. He reamed it with a PipNet pipe reamer and cleaned up the reaming with a Savinelli Fitsall Pipe Knife. He scrubbed out the internals with alcohol, pipe cleaners and cotton swabs until the pipe was clean. He scrubbed the exterior of the bowl with Murphy’s Oil Soap and a tooth brush to remove the grime and grit on the briar and the lava on the rim top. The finish looks very good with good looking grain around the bowl and shank. Jeff scrubbed it with Soft Scrub and soaked it in Before & After Deoxidizer to remove the oxidation on the rubber. When the pipe arrived here in Vancouver for the second stop of its restoration tour it looked a lot better. I took photos before I started my part of the work.      I took some close up photos of the rim top and the stem surface. I wanted to show what cleaned bowl and rim top looked like. The rim top had some light damage and the inner and outer edges of the bowl were in excellent condition. I also took close up photos of the stem to show the tooth marks and the remaining oxidation on the stem surface.        I took photos of the stamping on the left and underside of the shank and it is clear and readable. There is also an H stamped on the left side of the taper stem. It is stamped as noted above.       I removed the stem for the shank and took a photo of the bowl and stem to give a picture of what it looked like. The oxidation is very visible.I polished the bowl with micromesh sanding pads – wet sanding with 1500-12000 grit sanding pads and wiping it down after sanding pad with a damp cloth.   I rubbed the bowl down with Before & After Restoration Balm. I worked it into the surface of the briar with my fingertips to clean, enliven and protect it. I let the balm sit for a little while and then buffed with a cotton cloth and shoe brush to raise the shine.        I set the bowl aside and turned my attention to the stem. I touched up the stamped “H” on the left side of the stem with some Liquid Paper. I applied it and when it dried I scraped and sanded off the excess.   I polished the vulcanite with micromesh sanding pads – 1500-12000 grit pads. I wiped it down with a damp cloth after each sanding pad. I used Before & After Pipe Polish – both Fine and Extra Fine to further polish the stem.  I left a little oxidation around the stamp so as not to damage it more.         This Family Period Hardcastle Drawel British Made 50 Billiard from Bob Kerr’s estate cleaned up really well and looks very good. The mixed stain brown finish on the pipe is in great condition and works well with the polished vulcanite taper stem. I put the stem back on the bowl and carefully buffed the pipe with Blue Diamond on the buffing wheel using a light touch on the briar. I gave the bowl and stem multiple coats of carnauba wax on the buffing wheel and followed that by buffing the entire pipe with a clean buffing pad. I hand buffed the pipe with a microfiber cloth to deepen the shine. The finished Hardcastle Drawel Billiard fits nicely in the hand and I think it will feel great as it heats up with a good tobacco. Give the finished pipe a look in the photos below. The dimensions of the pipe are Length: 5 ¼ inches, Height: 1 ¾ inches, Outside diameter of the bowl: 1 ¼ inches, Chamber diameter: ¾ of an inch. If you are interested in carrying on Bob’s legacy with this pipe send me a message or an email. I have more to work on of various brands. Perhaps one of those will catch your attention. Thanks for reading this blog and my reflections on the pipe while I worked on it. This is an interesting estate to bring back to life.

Restoring and Restemming a Beautiful L’Anatra dalle Uova d’Oro Bent Billiard


Blog by Steve Laug

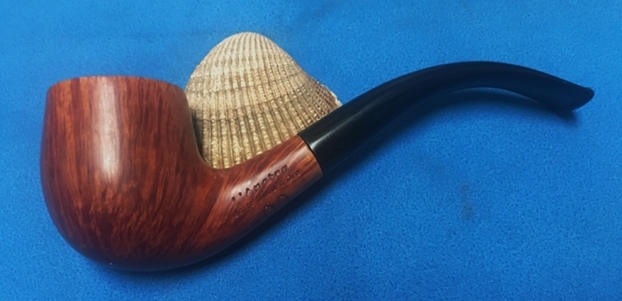
I am doing periodic repairs for a local pipe/cigar shop. They called in February about a pipe that one of their customers had dropped off for repairs. He was hoping for another L’Anatra stem but he had either lost or thrown away the original after the tenon had snapped off in the shank. That was too bad as it would have been fairly straight forward to put a new tenon on the stem and fit it in the shank. We spoke a bit about it and as I do not have access to L’Anatra stems with the goose head on the top that are hand turned acrylic I figured the repair had been dropped. Fast forward to June! On Friday evening they called and said that one of them would drop a pipe by for restemming with a vulcanite stem as the customer just wanted to be able to smoke it and enjoy it again. We arranged for the drop off at my house on that evening after the shop closed. Friday evening there was no pipe. All day Saturday and into the evening there was no pipe so I figured they had changed their minds. Then this morning around 9am the doorbell rang and there was a fellow with a City Cigar Bag in hand with a large box. We chatted and he handed me the bag.

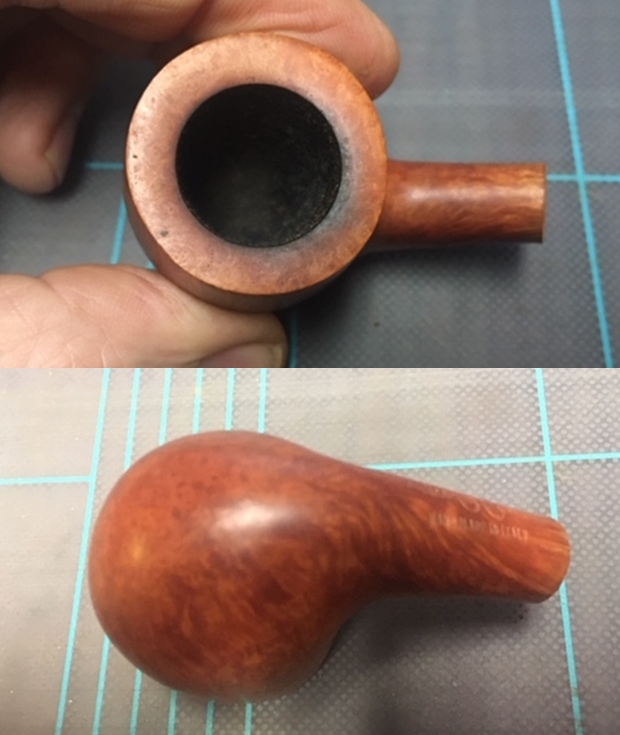
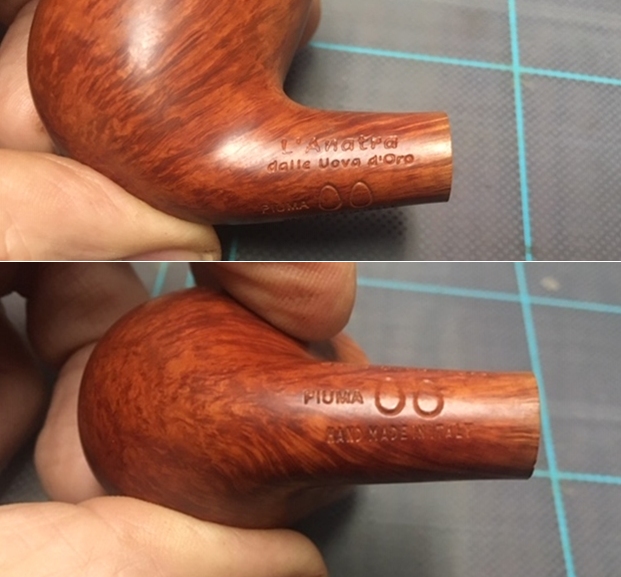
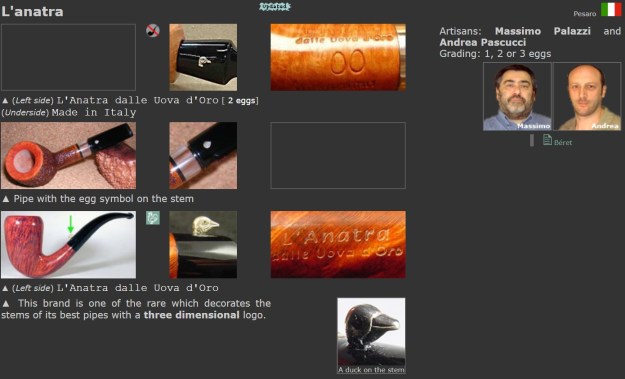
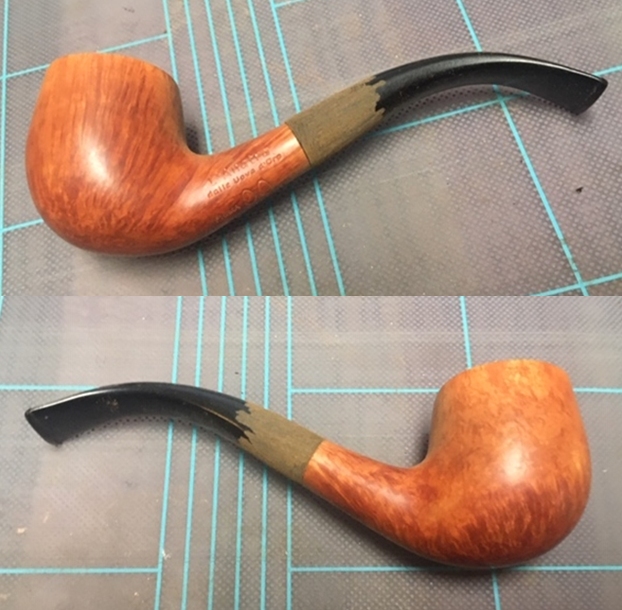
I don’t know what I was expecting but it certainly was not what I found inside the box. It is a large box like others I have seen with L’Anatra pipes. Inside were a note and a draw string pipe bag. With the box, the bag and all I was expecting a large Italian pipe sans stem. I had no idea what shape it would be and no idea what size pipe it was. You can imagine my surprise when I open the bag and removed the pipe pictured below. It was absolutely smooth and quite stunningly grained. The shape was very nice and the condition was better than I expected. I examined the bowl for dings and nicks from the fall that snapped the tenon and found none. It was stamped L’Anatra [over] dalle Uova d’Oro [over] Fiuma and 2 eggs for the grade of the pipe. Underneath that it was stamped Hand Made in Italy. So far you see what I saw. Now let me tell you the size of the pipe. The bowl is 2 ½ inches long, 1 ½ inches tall, the outer diameter of the bowl is 1 ¼ inches and the chamber diameter is ¾ of an inch. It is a lot smaller and petite than I expected from the box and bag.  I took a photo of the stamping on the left and underside of the shank. It was very clear and readable. It was stamped as noted above – L’Anatra [over] dalle Uova d’Oro [over] Fiuma and 2 eggs [over] Hand Made in Italy.      I looked up the L’Anatra brand on PipePhil’s site (http://www.pipephil.eu/logos/en/logo-l1.html). It gives a great brief history of the brand that is a quick overview of the Company. The pipes are carved by Massimo Palazzi and Andrea Pascucci and graded 1, 2, or 3 eggs. The brand also had a goose head standing on the top of the stem.I looked up the brand on Pipedia (https://pipedia.org/wiki/L%27anatra). The article there was very informative about the background and history of the brand. Give the article a read if you are interested in a great article. Now it was time to begin the process of the restoration on this pipe. I quote in part:

L’Anatra pipes feature a cast silver goose head on the stem! This is demonstrative not only of their playfulness, but also of their willingness and desire to be different from the norm. They do not strive to impress, they strive to make a truly delightful and pleasing pipe. Perhaps it is this attitude that makes L’Anatra pipes so superb that pipes should first be a joy to make, to smoke and to peruse and then, only once those most important attributes are satisfied, the true artistry of the maker will shine through.

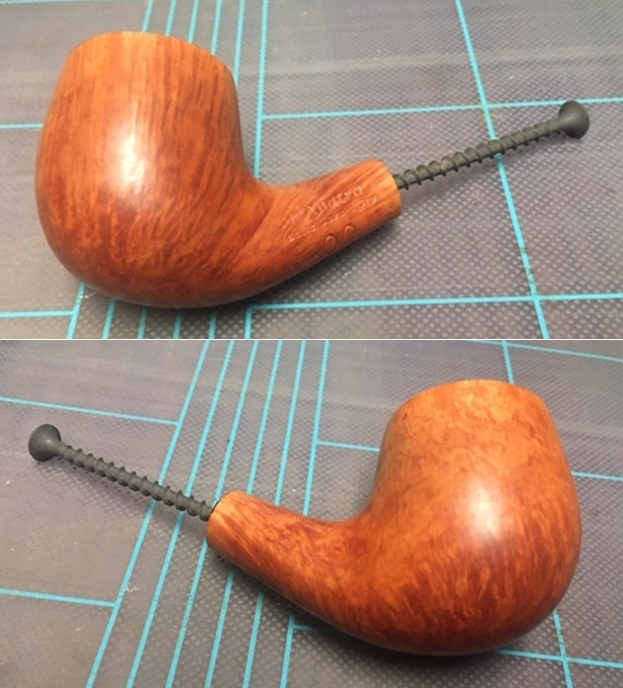
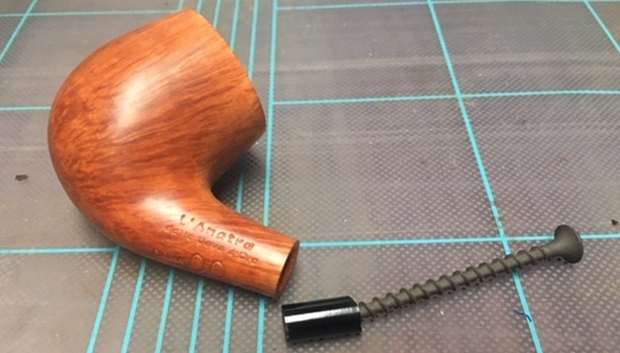
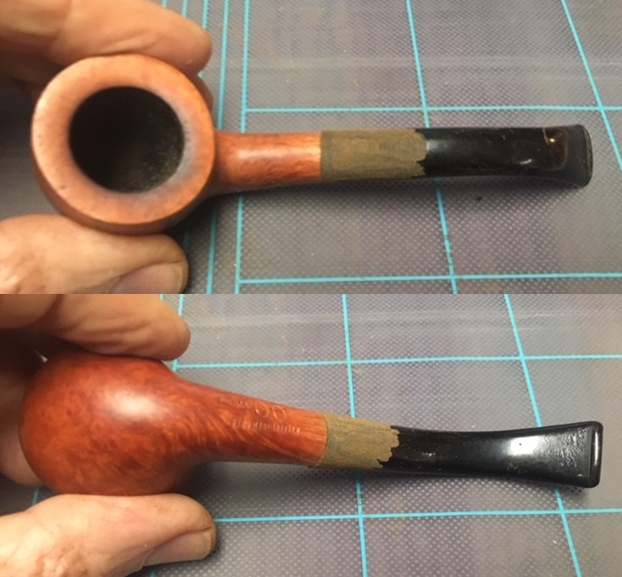
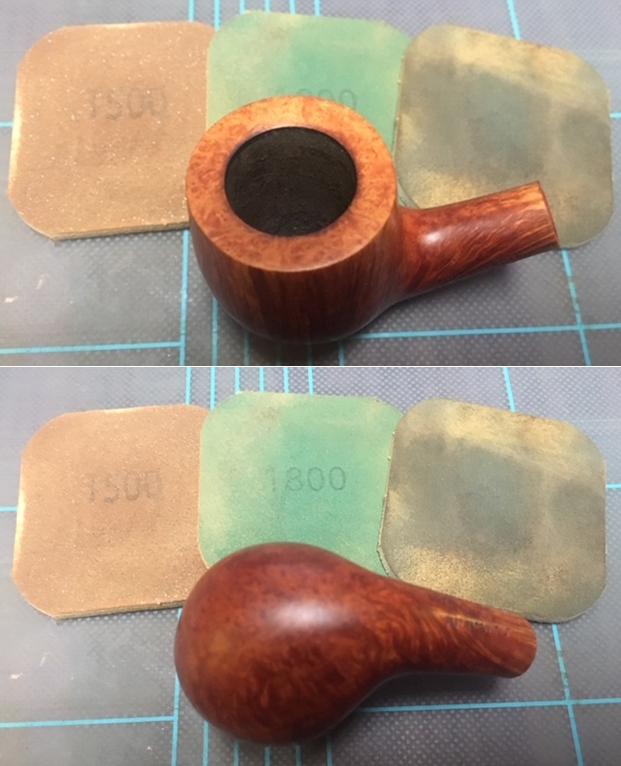
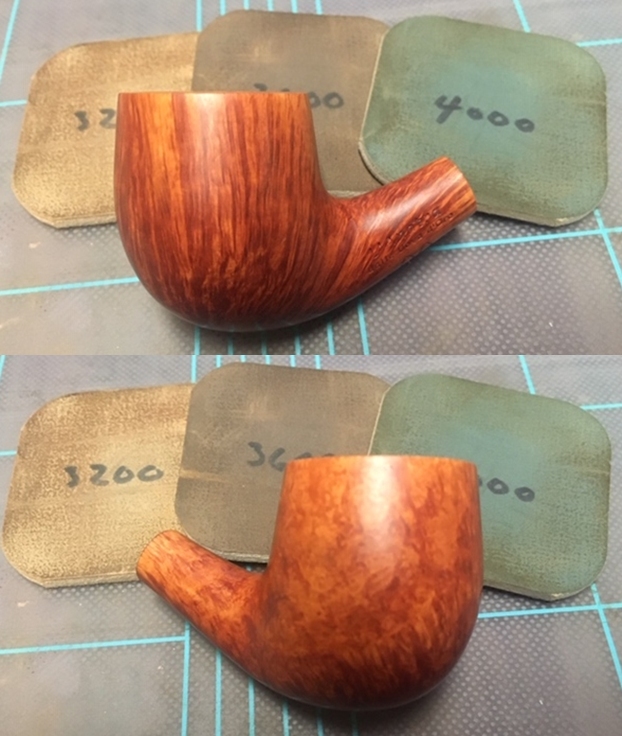
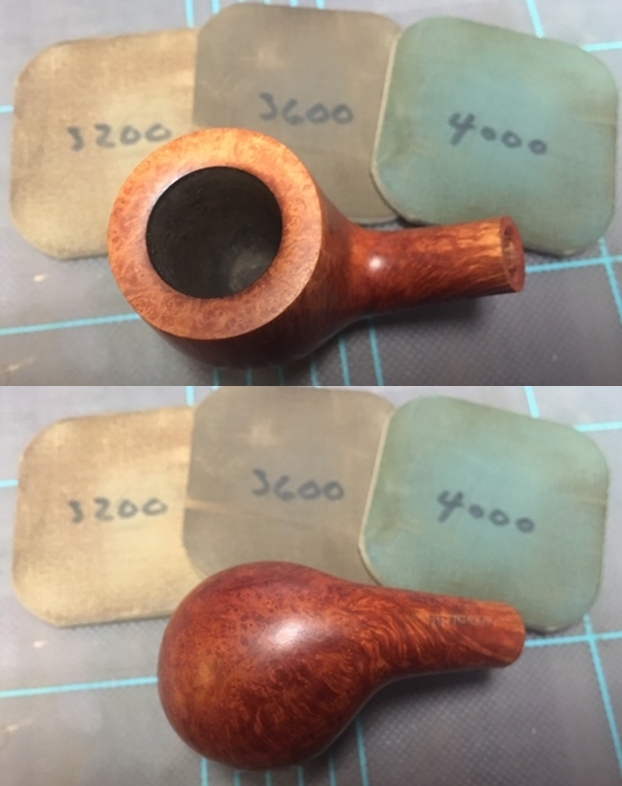
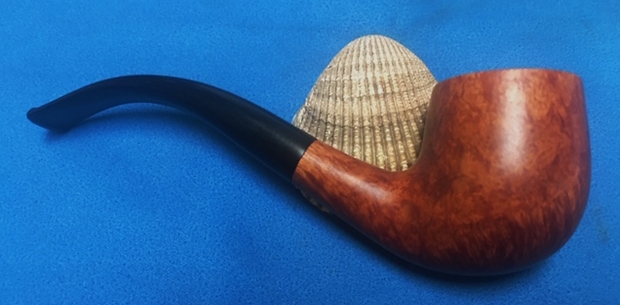
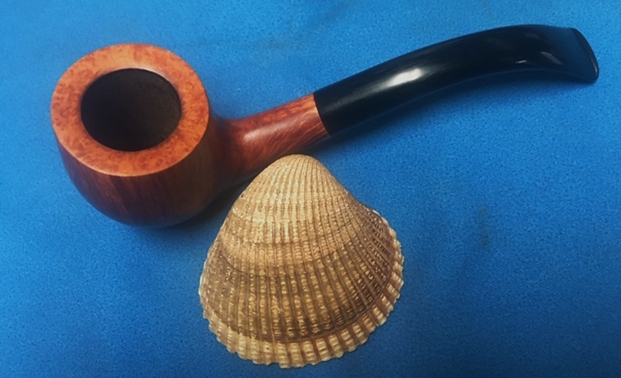
The issue that brought the pipe to me in the first place was the missing stem. Before I could fit a new stem I needed to pull the broken tenon. I tried with my usual method of turning a large screw into the airway and wiggling the tenon piece free. The tenon was stuck and did not move at all. I wrapped the bowl in a paper towel and put it in the freezer for 20 minutes. I took it out and turned the screw into the airway in the tenon. It took very little effort for the broken tenon to easily come out of the shank.    I decided to see what kind of stem I had to replace the missing stem. I had a vulcanite stem that was a close fit. The diameter of the stem was slightly larger than that of the shank. I forgot to take pictures of the stem before I worked on it. I used a Dremel and sanding drum and took the diameter down to as close to the shank diameter as I could. The rest of the work would be by hand. I took photos of the pipe with the initial fit of the stem to the shank. It is looking pretty good at this point.   I continued to reduce the diameter of the stem with 220 sandpaper to remove the excess. It took a lot of sanding to get it to have a proper fit. I followed that up sanding it with 400 grit sandpaper.   The stem was looking much better. I polished it with micromesh sanding pads – wet sanding with 1500-12000 grit pads. I wiped the stem down after each sanding pad with Obsidian Oil. I polished it with Before & After Pipe Stem Polish – both Fine and Extra Fine.    I set the new stem aside and turned my attention to the bowl. I needed to clean out the bowl and shank before I fit the new stem on it. I reamed it with a Savinelli Fitsall Pipe Knife and wiped the bowl out with a piece of paper towel to remove the dust. I polished the darkened area on the back of the rim top and the rest of the bowl with 1500-12000 grit micromesh sanding pads. I wiped the bowl down with a damp paper towel after each pad. I rubbed the bowl and rim down with Before & After Restoration Balm. I worked it into the surface of the briar with my fingertips to clean, enliven and protect the briar. I let the balm sit for a little while and then buffed with a cotton cloth to raise the shine. I really like watching the Balm do its magic and bring the briar alive. The pipe looked good – the natural finish allowed me to blend in the sanded and polished areas.    As usual at this point in the restoration process I am excited to be on the homestretch. I look forward to the final look when it is put back together, polished and waxed. I put the bowl and stem back together. I polished the bowl and stem with Blue Diamond to polish out the scratches in the briar and the vulcanite. I gave the bowl and the stem multiple coats of carnauba wax. I buffed the pipe with a clean buffing pad to raise the shine. I hand buffed it with a microfiber cloth to deepen the shine. The pipe polished up pretty nicely. The grain really pops with the wax and polish. The shiny black vulcanite stem is a beautiful contrast natural browns of the bowl and shank. This L’Anatra dalle Uova d’Oro Bent Billiard was another fun pipe to work on thanks the fact that I could in essence start over with it. The thin taper stem looks really good with the natural finish of the bowl and shank. The pipe is a quite stunning piece of briar with great grain around the bowl. The pipe is comfortable pipe to hold in the hand. The finished pipe is shown in the photos below. The dimensions of the pipe are Length: 5 ¼ inches, Height: 1 ½ inches, Outside diameter of the bowl: 1 ¼ inches, Chamber diameter: ¾ of an inch. This newly restemmed pipe will soon be going back to City Cigar to pass on to the customer who dropped it off. I hope that he soon can enjoy a few bowls in this newly stemmed pipe. Thanks for reading this blog and my reflections on the pipe while I worked on it. This is an pipe to bring back to life.

A New Life for a Comoy’s Gold Bark 42 Bent Billiard from Bob Kerr’s Estate


Blog by Steve Laug

I have only 15 more of Bob’s pipes to finish before I have completed the restoration of his estate so I am continuing to work on them. The next one from Bob Kerr’s Estate is an interesting Comoy’s Gold Bark Bent Billiard. It is a bit of a strange one for me as I have several Comoy’s Gold Bark pipes and all are sandblast with a golden stain. This one is smooth! Where is the Bark and is the band the Gold?

(Bob’s photo is to the left). If you have not “met” the man and would like to read a bit of the history of the pipeman, his daughter has written a great tribute that is worth a read. Because I have included it in most of the restorations of the estate to date I thought that I would leave it out this time. Check out some of the recent Dunhill restoration blogs that include the biographical notes about Bob. Here is a link to one of them (https://rebornpipes.com/2020/01/01/restoring-the-last-of-bob-kerrs-dunhills-a-1962-dunhill-bruyere-656-f-t-bent-billiard/).

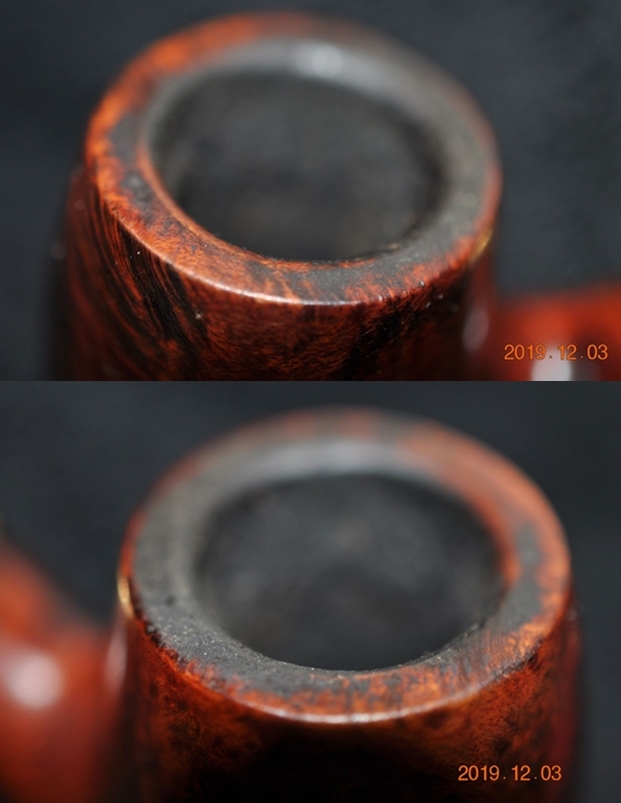
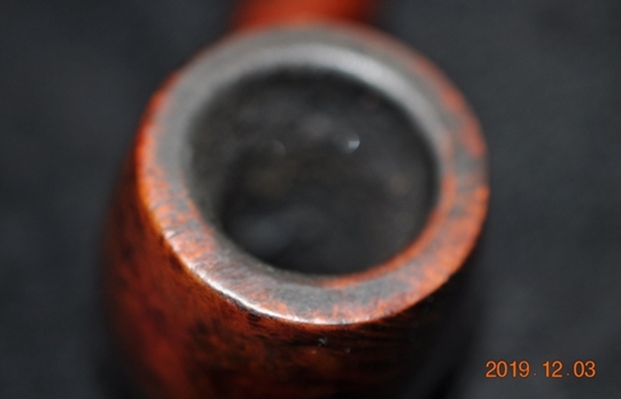
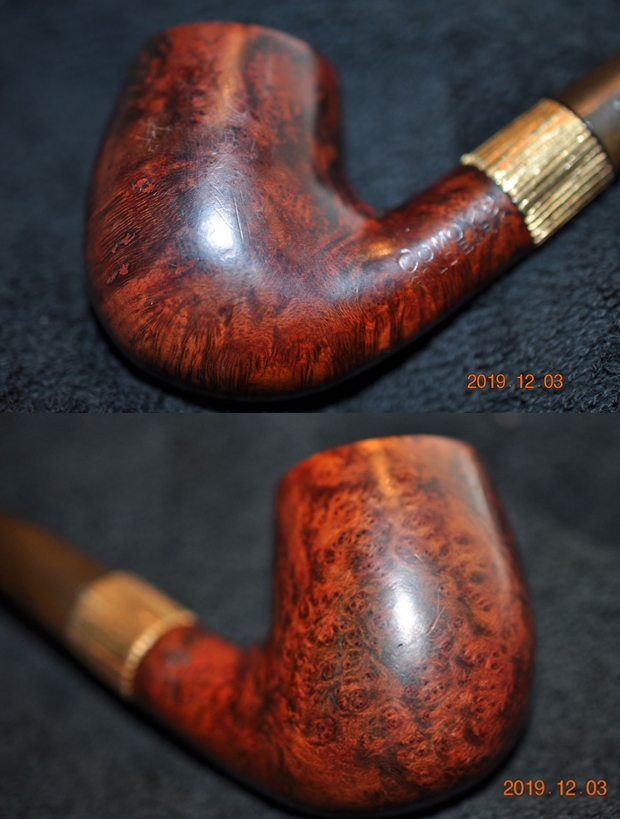
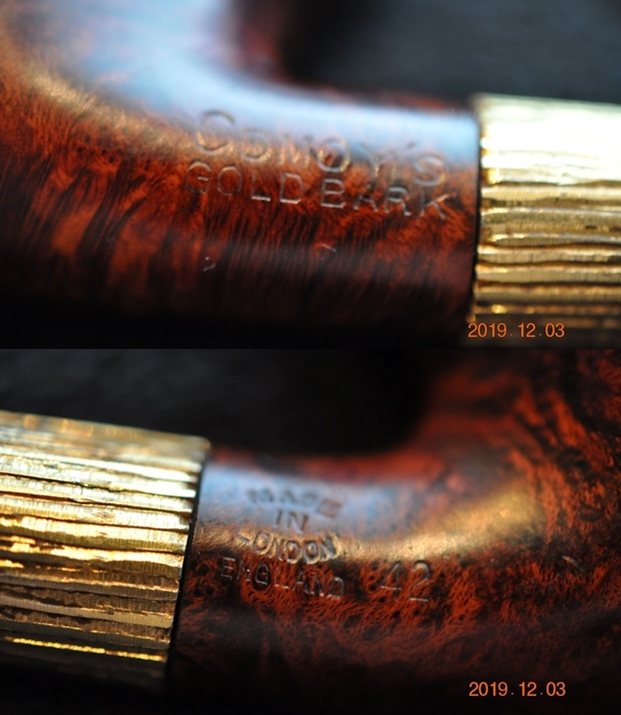
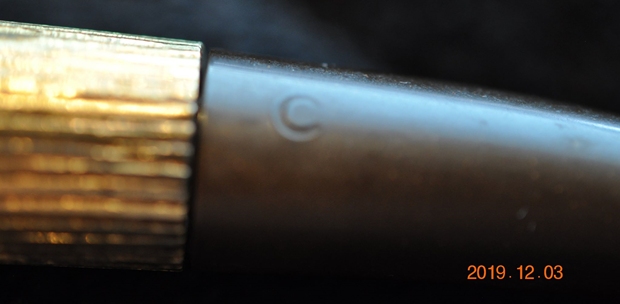
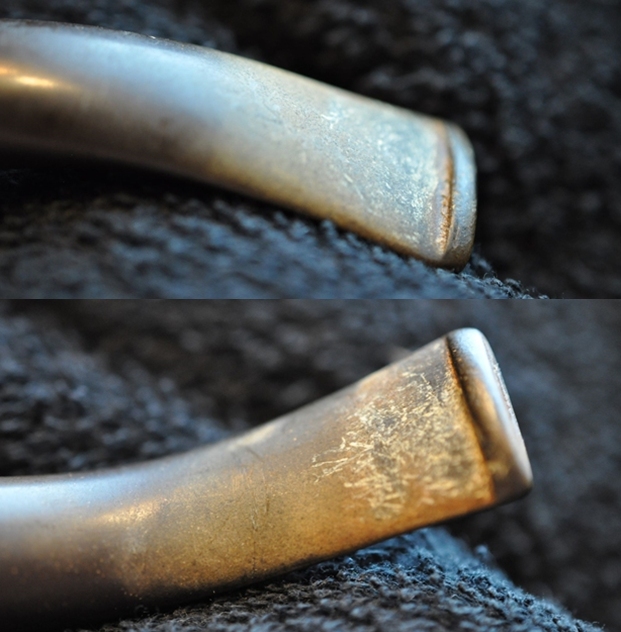
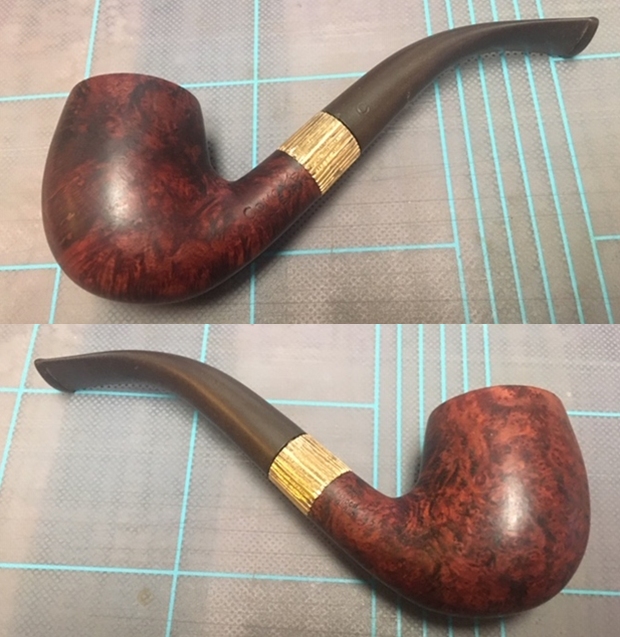
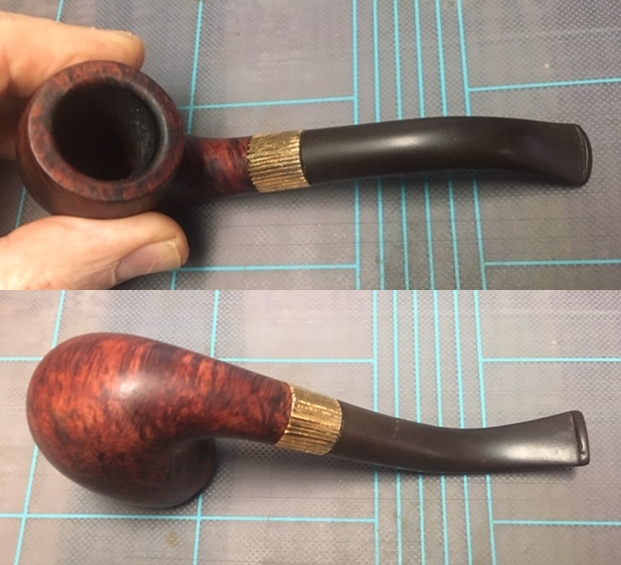
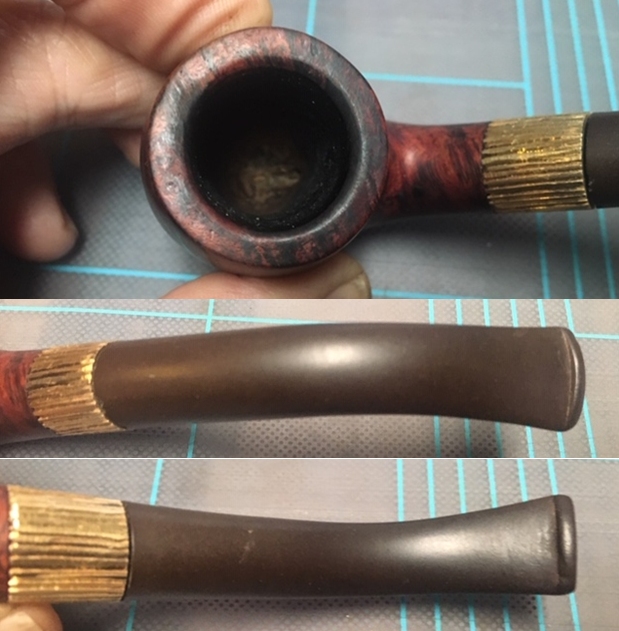
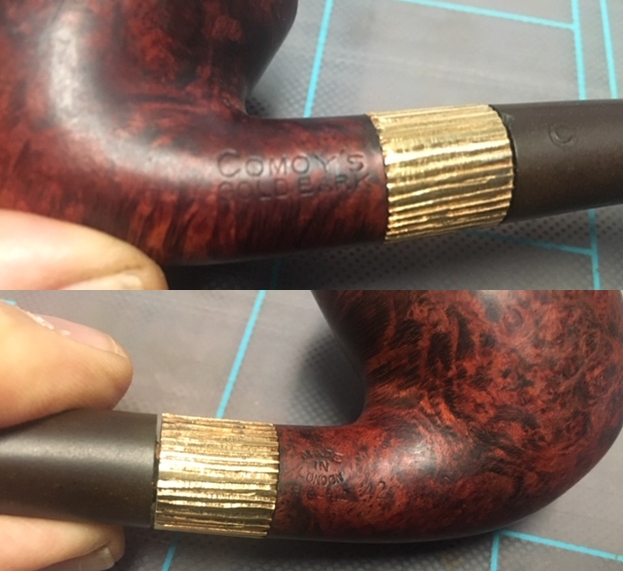
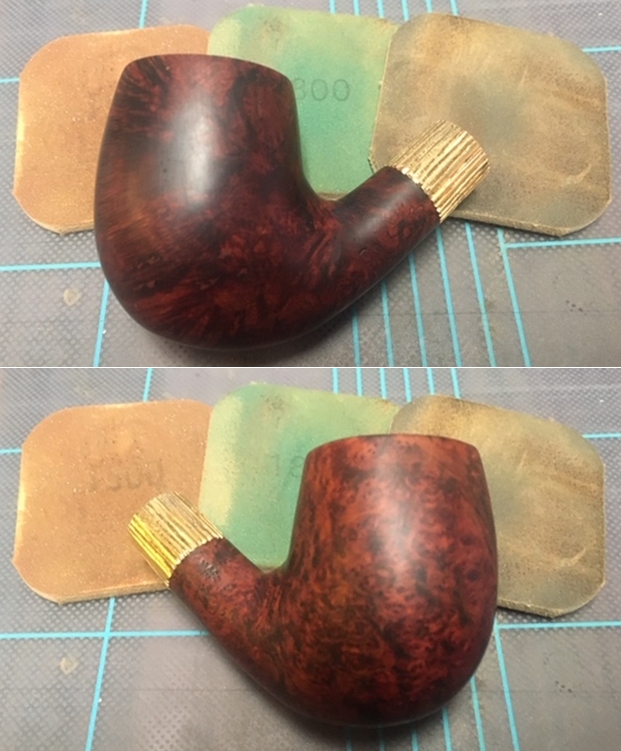
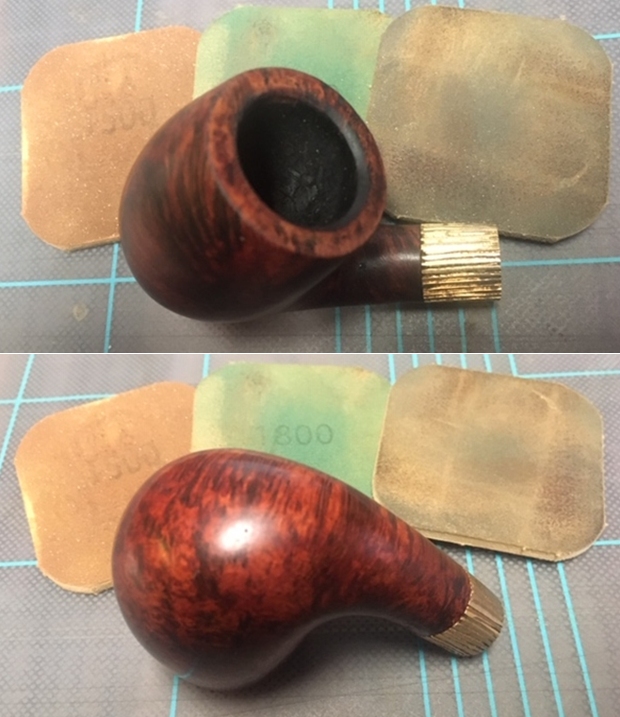
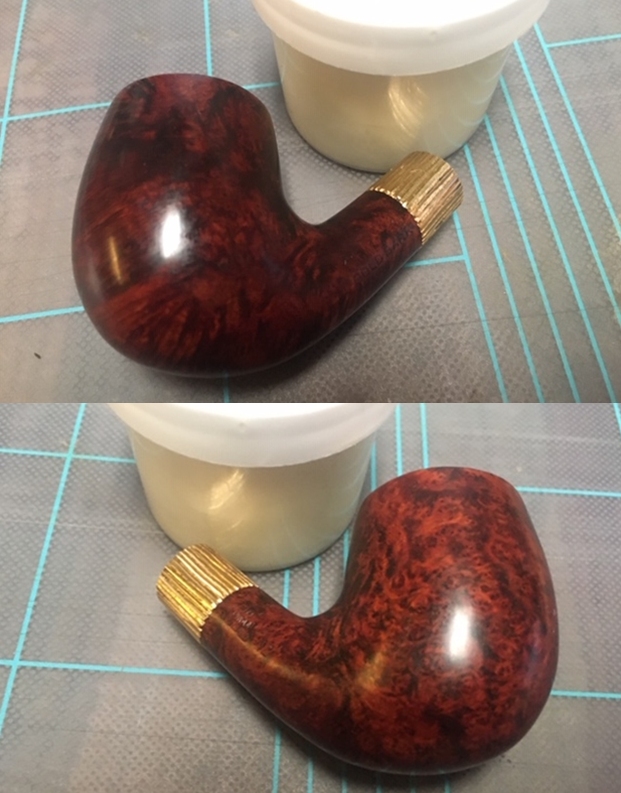
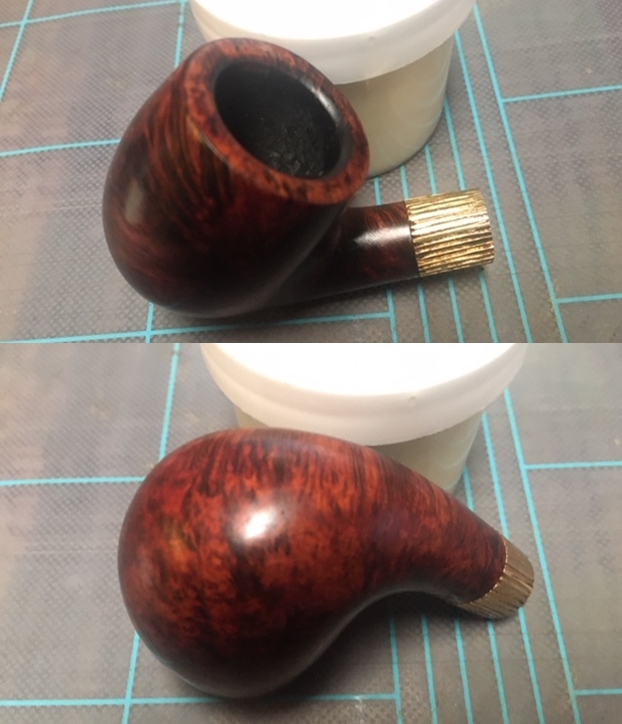
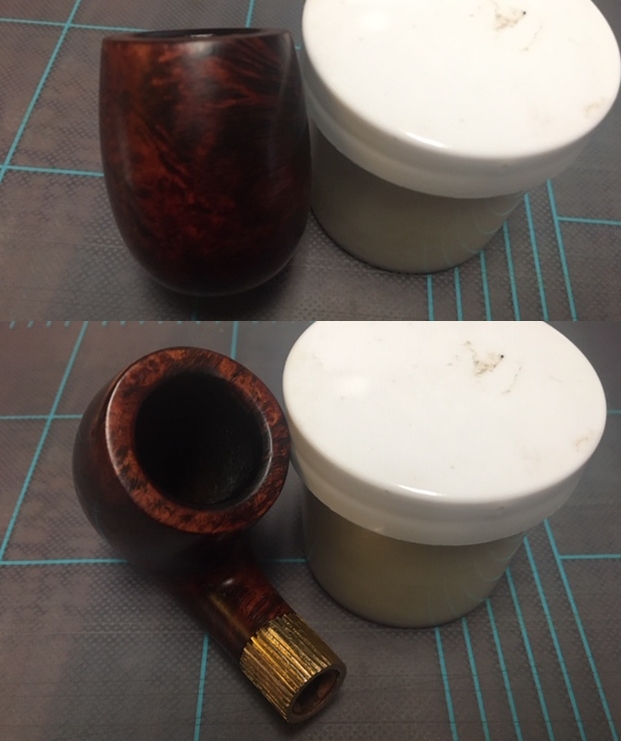
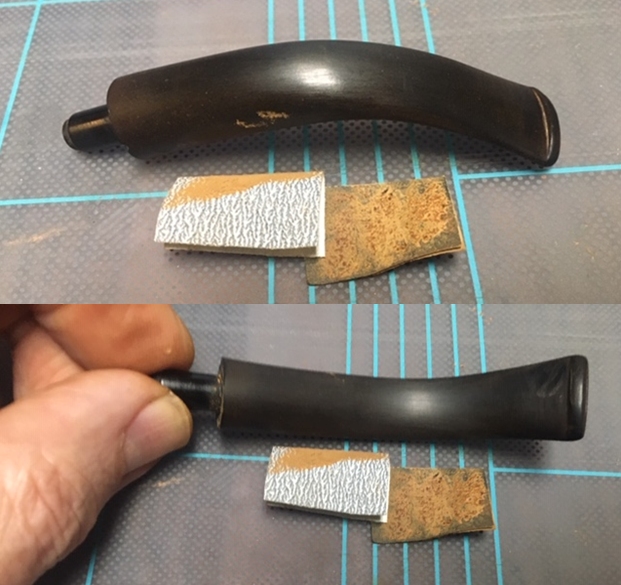
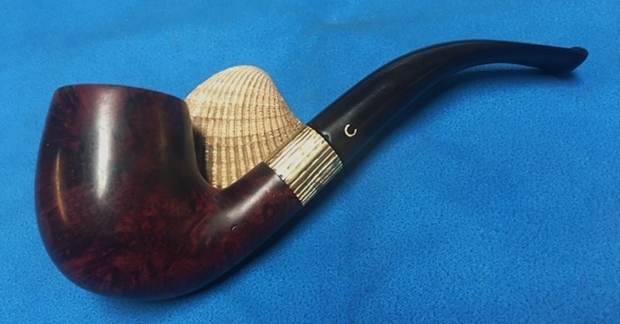
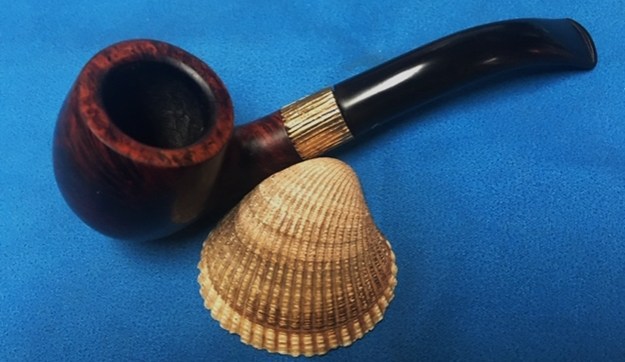
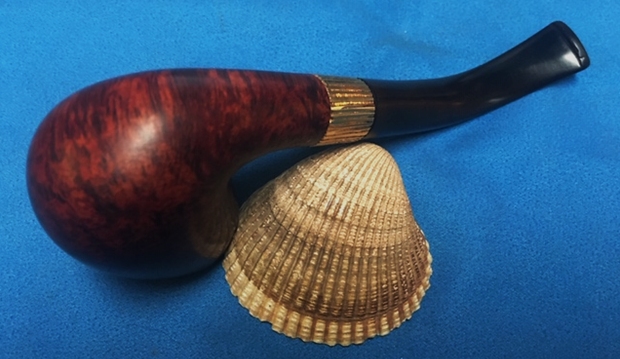
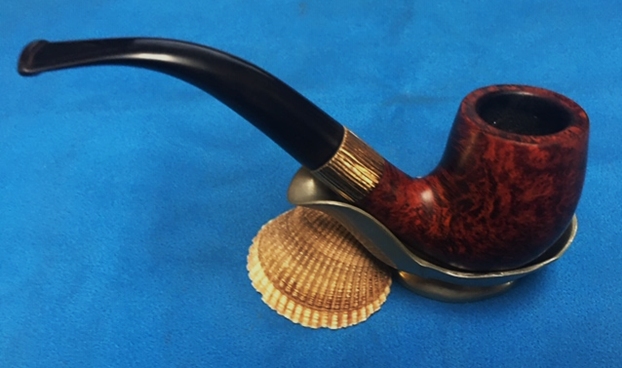
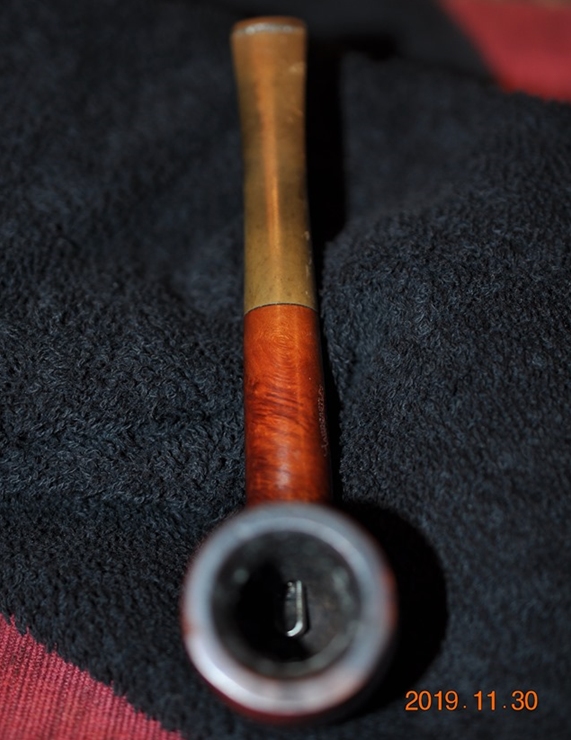
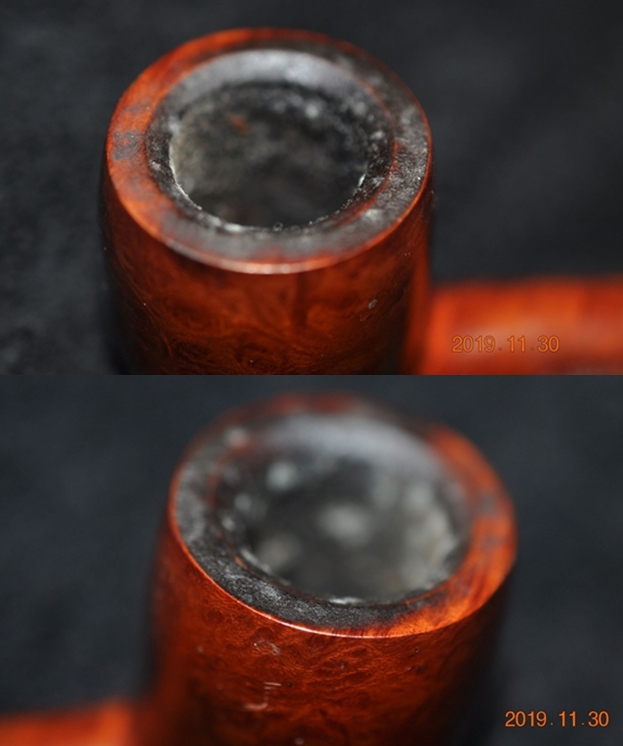
The Comoy’s Bent Billiard with a fluted gold coloured band on the shank. It is a smooth finish around the bowl and shank that has a lot of dust and debris ground into the finish of the briar. It was stamped on both sides of the shank. It is stamped Comoy’s [over] Gold Bark on the left side of the shank. On the right side it is stamped with the Made in London England circle COM stamp followed by the shape number 42. There was a thick cake in the bowl and lava overflow on the rim top. The vulcanite stem was calcified, oxidized and had tooth marks and chatter ahead of the button on both sides. Jeff took photos of the pipe to show its general condition before he did his cleanup. As I mentioned above the exterior of the pipe was very dirty – grime and grit ground in from years of use and sitting. The rim top was covered with a coat of thick lava that overflowed from the thick cake in the bowl. It was hard to know what the rim edges looked like because of the lava.         Jeff took photos of the sides and the heel of the bowl to give a better feel for the condition of the briar around the bowl. You can also see some of the few fills in the briar in the photos.    The next photo show the stamping on the underside of the shank and it is very readable. It reads as noted above. The stem was dirty, calcified and oxidized with tooth chatter and marks on the top and underside of the stem at the button.      With over 125 pipes to clean from Bob’s estate I took a batch of them to the states with me when I visited and left them with Jeff so he could help me out. Jeff cleaned the pipes with his usual penchant for thoroughness that I really appreciate. Once he finished he shipped them back to me. Bob’s pipes were generally real mess and I did not know what to expect when I unwrapped it from his box. I was surprised to see how well it turned out. He reamed it with a PipNet pipe reamer and cleaned up the reaming with a Savinelli Fitsall Pipe Knife. He scrubbed out the internals with alcohol, pipe cleaners and cotton swabs until the pipe was clean. He scrubbed the exterior of the bowl with Murphy’s Oil Soap and a tooth brush to remove the grime and grit on the briar and the lava on the rim top. The finish looks very good with good looking grain around the bowl and shank. Jeff scrubbed it with Soft Scrub and soaked it in Before & After Deoxidizer to remove the oxidation on the rubber. When the pipe arrived here in Vancouver for the second stop of its restoration tour it looked a lot better. I took photos before I started my part of the work.  I took some close up photos of the rim top and the stem surface. I wanted to show what cleaned bowl and rim top looked like. The rim top had some light damage and the inner and outer edges of the bowl were in excellent condition. I also took close up photos of the stem to show the tooth marks and the remaining oxidation on the stem surface.  I took photos of the stamping on the underside of the shank and it is clear and readable. There is also a C stamped on the left side of the saddle stem. It is stamped as noted above.  There is a small chip in the edge of the stem at the shank junction just left of centre visible in the first photo below.       I removed the stem for the shank and took a photo of the bowl and stem to give a picture of what it looked like. The heavy oxidation is very visible.I polished the bowl with micromesh sanding pads – wet sanding with 1500-12000 grit sanding pads and wiping it down after sanding pad.    I rubbed the bowl down with Before & After Restoration Balm. I worked it into the surface of the briar with my fingertips to clean, enliven and protect it. I let the balm sit for a little while and then buffed with a cotton cloth and shoe brush to raise the shine.      I set the bowl aside and turned my attention to the stem. I scrubbed the surface of the stem with Soft Scrub to remove as much of the oxidation as I could. It is amazing how well this product works on vulcanite stems.   I sanded out the remaining oxidation and the tooth dents in the top and underside of the stem with 220 sandpaper. I started polishing the stem with 400 grit wet dry sandpaper.     I touched up the stamped C on the left side of the stem with some Liquid Paper. I applied it and when it dried I scraped and sanded off the excess.   I polished the vulcanite with micromesh sanding pads – 1500-12000 grit pads. I wiped it down with a damp cloth after each sanding pad. I used Before & After Pipe Polish – both Fine and Extra Fine to further polish the stem.  I left a little oxidation around the stamp so as not to damage it more.       This Cadogan era Comoy’s Gold Bark 42 Bent Billiard from Bob Kerr’s estate cleaned up really well and looks very good. The mixed stain brown finish on the pipe is in great condition and the fluted gold ferrule works well with the polished vulcanite taper stem. I put the stem back on the bowl and carefully buffed the pipe with Blue Diamond on the buffing wheel using a light touch on the briar. I gave the bowl and stem multiple coats of carnauba wax on the buffing wheel and followed that by buffing the entire pipe with a clean buffing pad. I hand buffed the pipe with a microfiber cloth to deepen the shine. The finished Comoy’s Gold Bark Bent Billiard fits nicely in the hand and I think it will feel great as it heats up with a good tobacco. Give the finished pipe a look in the photos below. The dimensions of the pipe are Length: 5 ½ inches, Height: 2 inches, Outside diameter of the bowl: 1 ¼ inches, Chamber diameter: ¾ of an inch. If you are interested in carrying on Bob’s legacy with this pipe send me a message or an email. I have more to work on of various brands. Perhaps one of those will catch your attention. Thanks for reading this blog and my reflections on the pipe while I worked on it. This is an interesting estate to bring back to life.
A Rebirth for a Savinelli Capri Root Briar 4011 Zulu from Bob Kerr’s Estate


Blog by Steve Laug

I have just over 20 more of Bob’s pipes to finish before I have completed the restoration of his estate so I am continuing to work on them. The next one from Bob Kerr’s Estate is a Savinelli Capri Root Briar Zulu. (Bob’s photo is to the left). If you have not “met” the man and would like to read a bit of the history of the pipeman, his daughter has written a great tribute that is worth a read. Because I have included it in most of the restorations of the estate to date I thought that I would leave it out this time. Check out some of the recent Dunhill restoration blogs that include the biographical notes about Bob (https://rebornpipes.com/2020/01/01/restoring-the-last-of-bob-kerrs-dunhills-a-1962-dunhill-bruyere-656-f-t-bent-billiard/).

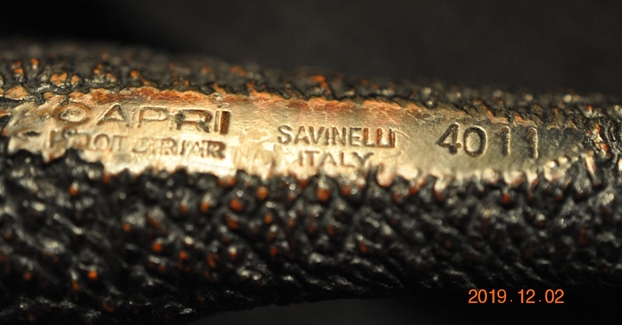
The Savinelli Capri Root Briar Zulu has a rusticated finish (looks a lot like the Castello Sea Rock finish). It is a coral like rustication around the bowl that was filled in with dust and debris. It was stamped on underside of the shank. It is stamped Capri [over] Root Briar followed by Savinelli Italy and the shape number 4011. The finish was dirty with dust and grime ground into the bowl sides. There was a thick cake in the bowl and lava overflow on the rim top. The vulcanite stem was oxidized and had tooth marks and chatter ahead of the button on both sides. Jeff took photos of the pipe to show its general condition before he did his cleanup. As I mentioned above the exterior of the pipe was very dirty – grime and grit ground in from years of use and sitting. The rim top was covered with a coat of thick lava that overflowed from the thick cake in the bowl. It was hard to know what the rim edges looked like because of the lava. Jeff took photos of the sides and the heel of the bowl to give a better feel for the condition of the briar around the bowl. You can also see some of the few fills in the briar in the photos.
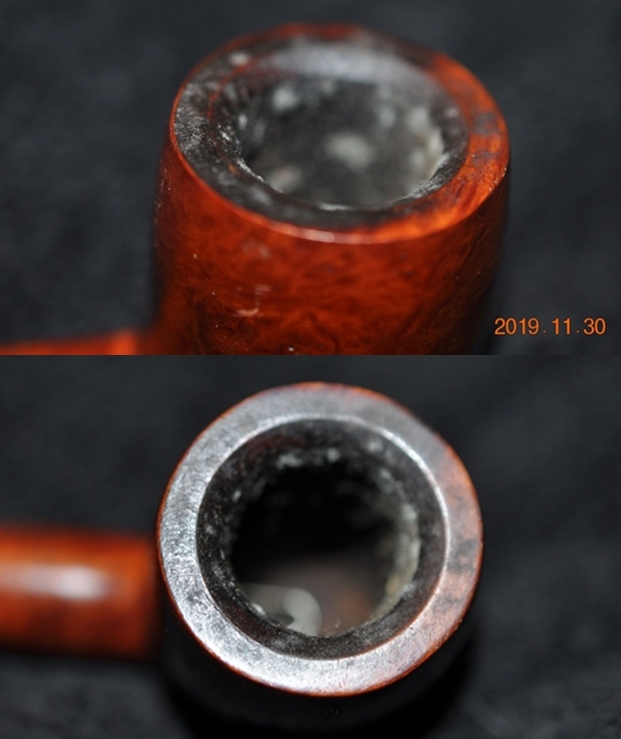
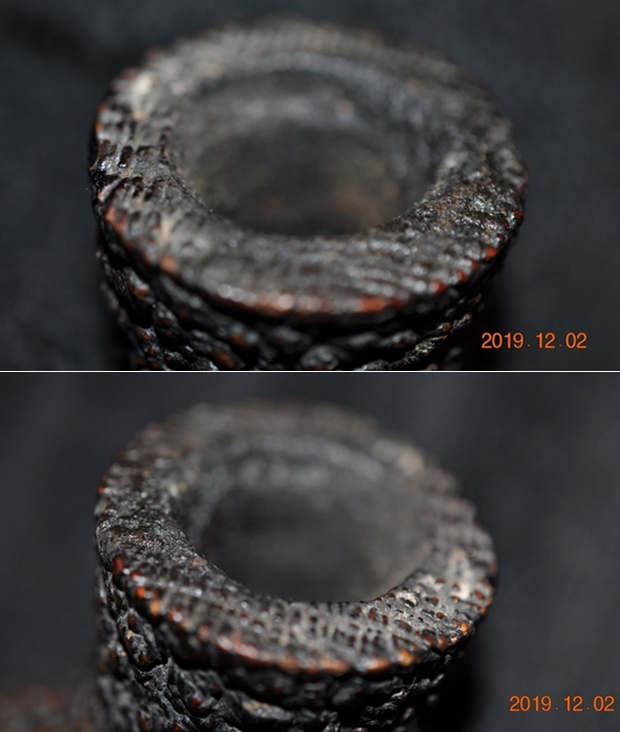
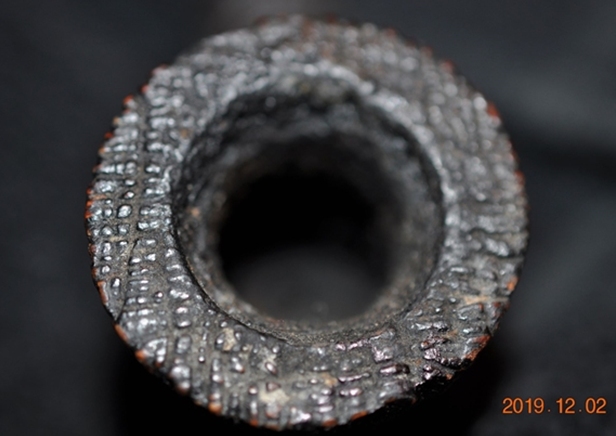
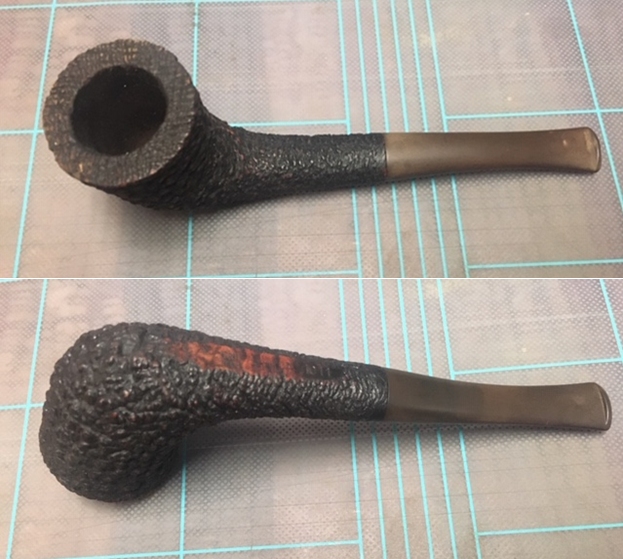
The next photo show the stamping on the underside of the shank and it is very readable. It reads as noted above. The stem was dirty, calcified and oxidized with tooth chatter and marks on the top and underside of the stem at the button.    I have always like the Savinelli Capri Root Briar finish so I was glad to be working on this one. With over 125 pipes to clean from Bob’s estate I took a batch of them to the states with me when I visited and left them with Jeff so he could help me out. Jeff cleaned the pipes with his usual penchant for thoroughness that I really appreciate. Once he finished he shipped them back to me. Bob’s pipes were generally real mess and I did not know what to expect when I unwrapped it from his box. I was surprised to see how well it turned out. He reamed it with a PipNet pipe reamer and cleaned up the reaming with a Savinelli Fitsall Pipe Knife. He scrubbed out the internals with alcohol, pipe cleaners and cotton swabs until the pipe was clean. He scrubbed the exterior of the bowl with Murphy’s Oil Soap and a tooth brush to remove the grime and grit on the briar and the lava on the rim top. The finish looks very good with good looking grain around the bowl and shank. Jeff scrubbed it with Soft Scrub and soaked it in Before & After Deoxidizer to remove the oxidation on the rubber. When the pipe arrived here in Vancouver for the second stop of its restoration tour it looked a lot better. I took photos before I started my part of the work.  I took some close up photos of the rim top and the stem surface. I wanted to show what cleaned bowl and rim top looked like. The rim top and the inner and outer edges of the bowl were in excellent condition. I also took close up photos of the stem to show the tooth marks and the remaining oxidation on the stem surface.    I took photos of the stamping on the underside of the shank and it is clear and readable. It is stamped as noted above.    I removed the stem for the shank and took a photo of the bowl and stem to give a picture of what it looked like. The heavy oxidation is very visible.I rubbed the bowl down with Before & After Restoration Balm. I worked it into the surface of the briar with my fingertips to clean, enliven and protect it. I let the balm sit for a little while and then buffed with a cotton cloth and shoe brush to raise the shine.     I set the bowl aside and turned my attention to the stem. I used a Bic lighter to “paint” the surface of the stem with the flame to lift the tooth marks on both sides of the stem. The heat lifted the tooth marks to the degree that was able to sand out the remaining marks on the stem surface.       I filled in the remaining divots with black super glue. I set the stem aside to let the glue cure. Once they cured I used a needle file to flatten repaired areas. I sanded out the remaining tooth dents in the top and underside of the stem with 220 sandpaper. I started polishing the stem with 400 grit wet dry sandpaper.     I polished the vulcanite with micromesh sanding pads – 1500-12000 grit pads. I wiped it down with a damp cloth after each sanding pad. I used Before & After Pipe Polish – both Fine and Extra Fine to further polish the stem.  I left a little oxidation around the stamp so as not to damage it more.    This Savinelli Made Capri Root Briar 4011 Zulu from Bob Kerr’s estate cleaned up really well and looks very good. The mixed stain brown finish on the pipe is in great condition and works well with the polished vulcanite taper stem. I put the stem back on the bowl and carefully buffed the pipe with Blue Diamond on the buffing wheel using a light touch on the briar. I gave the bowl and stem multiple coats of carnauba wax on the buffing wheel and followed that by buffing the entire pipe with a clean buffing pad. I hand buffed the pipe with a microfiber cloth to deepen the shine. The finished Capri Root Briar 4011 Zulu fits nicely in the hand and I think it will feel great as it heats up with a good tobacco. The tactile finish will add to the experience. Give the finished pipe a look in the photos below. The dimensions of the pipe are Length: 6 inches, Height: 2 inches, Outside diameter of the bowl: 1 ½ inches, Chamber diameter: 7/8 of an inch. If you are interested in carrying on Bob’s legacy with this pipe send me a message or an email. I have more to work on of various brands. Perhaps one of those will catch your attention. Thanks for reading this blog and my reflections on the pipe while I worked on it. This is an interesting estate to bring back to life.

A Rebirth for a Comoy’s Made Royal Falcon 332 Billiard from Bob Kerr’s Estate


Blog by Steve Laug

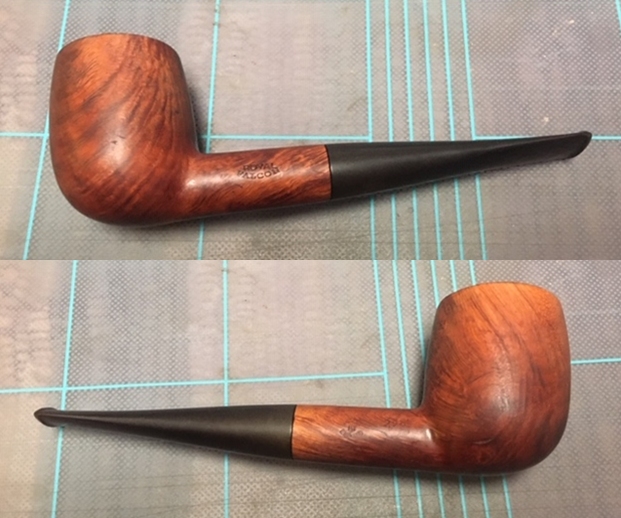
I have just over 20 more of Bob’s pipes to finish before I have completed the restoration of his estate so I am continuing to work on them. The next one from Bob Kerr’s Estate is a Royal Falcon Billiard. (Bob’s photo is to the left). If you have not “met” the man and would like to read a bit of the history of the pipeman, his daughter has written a great tribute that is worth a read. Because I have included it in most of the restorations of the estate to date I thought that I would leave it out this time. Check out some of the recent Dunhill restoration blogs that include the biographical notes about Bob (https://rebornpipes.com/2020/01/01/restoring-the-last-of-bob-kerrs-dunhills-a-1962-dunhill-bruyere-656-f-t-bent-billiard/).

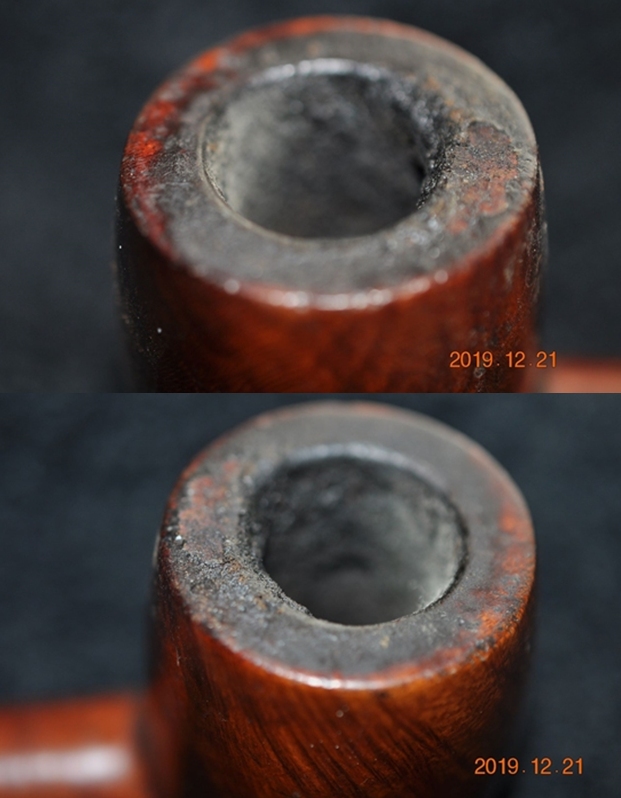
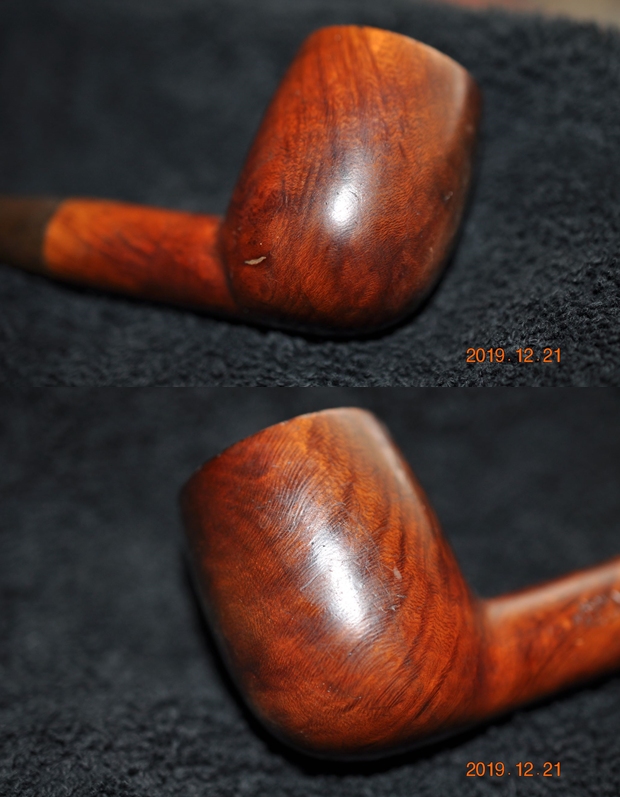
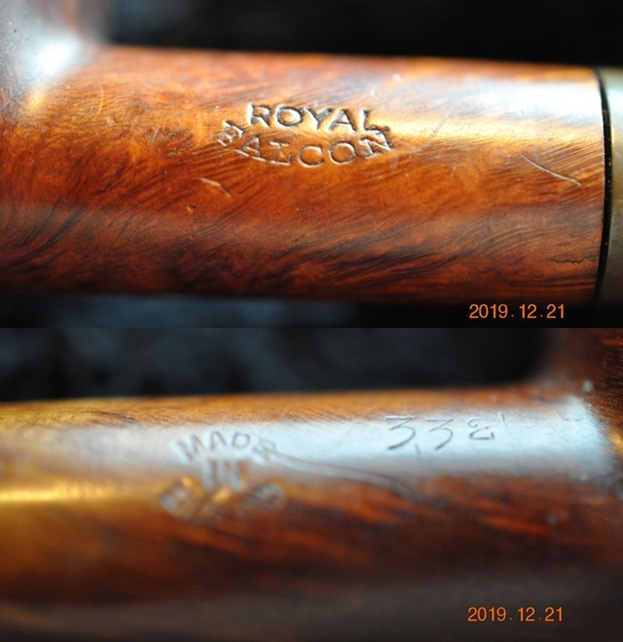
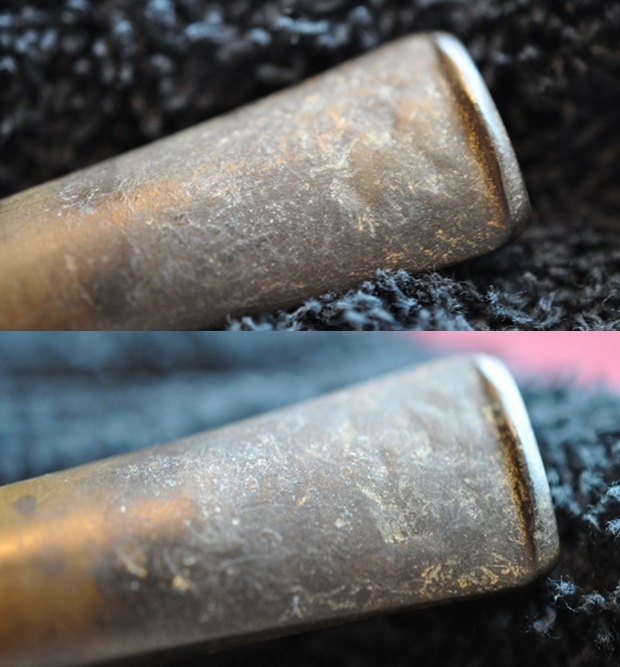
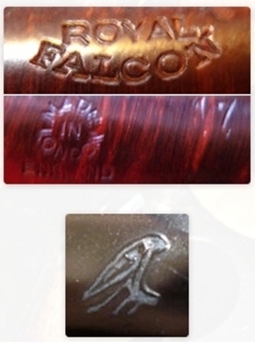
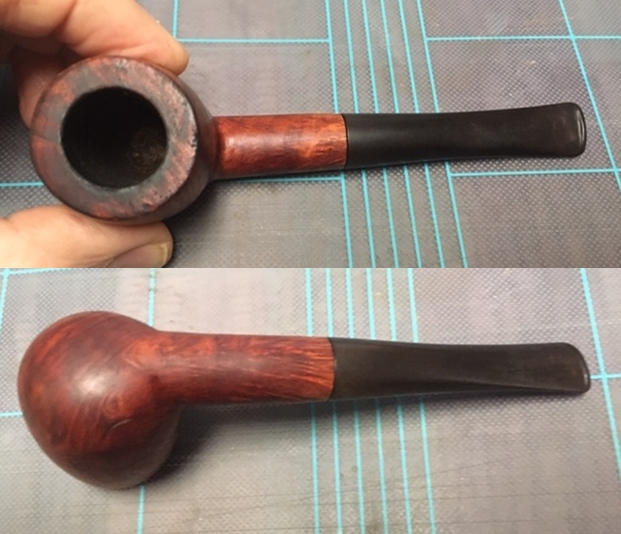
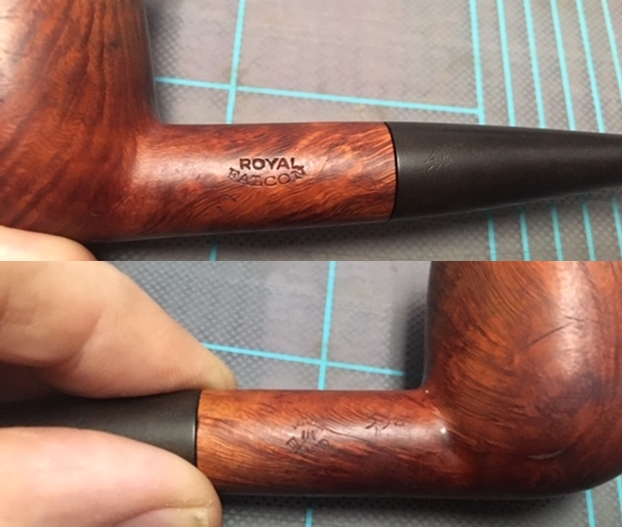
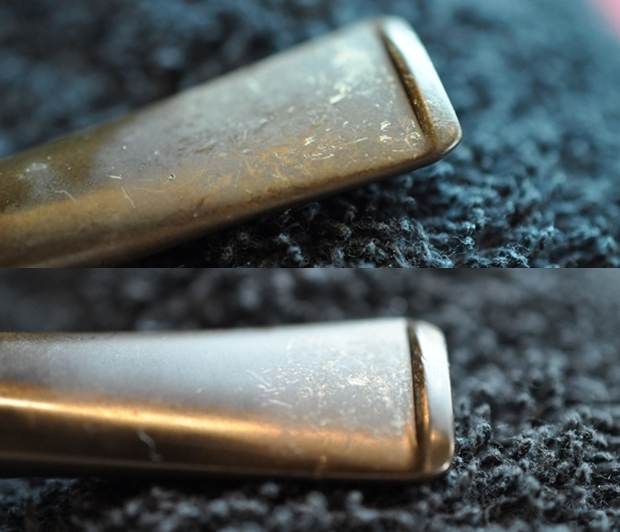
The Royal Falcon Billiard has a smooth finish and a smooth rim top. It is nicely grained with mixed grain around the bowl. It was stamped on both sides of the shank. On the left side it is stamped Royal Falcon. On the right side it has the shape number 332 next to the bowl shank junction and to the left of that it has a circular Made in England COM stamp. The finish was dirty with dust and grime ground into the bowl sides. There was a thick cake in the bowl and lava overflow on the rim top. The vulcanite stem was oxidized and had tooth marks and chatter ahead of the button on both sides. Jeff took photos of the pipe to show its general condition before he did his cleanup. As I mentioned above the exterior of the pipe was very dirty – grime and grit ground in from years of use and sitting. The rim top was covered with a coat of thick lava that overflowed from the thick cake in the bowl. It was hard to know what the rim edges looked like because of the lava.  Jeff took photos of the sides and the heel of the bowl to give a better feel for the condition of the briar around the bowl. You can also see some of the few fills in the briar in the photos.   The next photo show the stamping on the underside of the shank and it is very readable. It reads as noted above. The second photo shows the inlaid cloverleaf logo on the top of the stem.    The stem was dirty, calcified and oxidized with tooth chatter and marks on the top and underside of the stem at the button.      The pipe is stamped on the left side of the shank, Royal over Falcon as pictured to the left. On the right side it is stamped Made in London in a Circle over England. Next to that is stamped shape number 332 which is a Comoy’s number. In checking on Pipephil’s site on the Royal Falcon brand (http://www.pipephil.eu/logos/en/logo-r6.htmlit) it is clear that the pipe is definitely a Comoy’s brand. The stem has the same logo as Phil shows on his site though the pipe in hand has much fainter stamping.
I turned to Pipedia’s article on Comoy’s pipes and scrolled down to the section on seconds and the brand is listed there (https://pipedia.org/wiki/Comoy%27s). There was also was a photo of a Comoy’s made Royal Falcon on the site. Underneath it is written the following: Early Comoy’s Royal Falcon with circular Made in England stamp. Thin pencil shank pipe. 1930’s? The pipe I am working on is stamped with the same Made in England circular stamp.

From the above information I knew that I was working on an early Comoy’s made Royal Falcon. Perhaps as early as the 1930s!

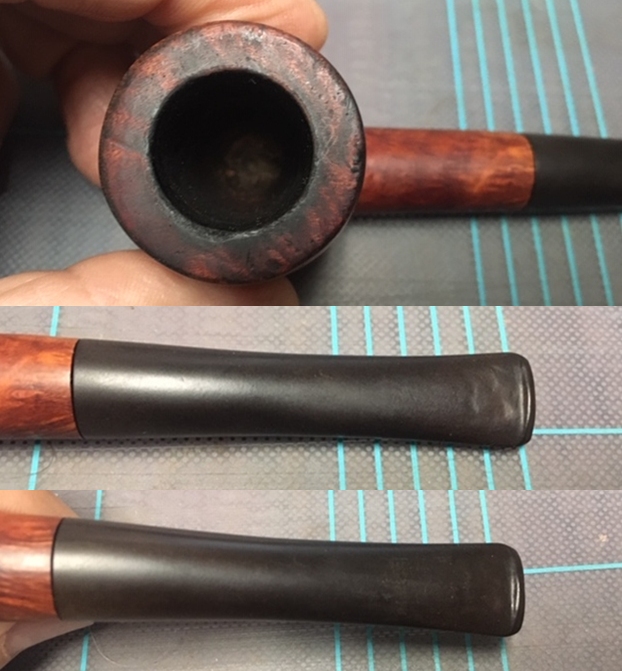
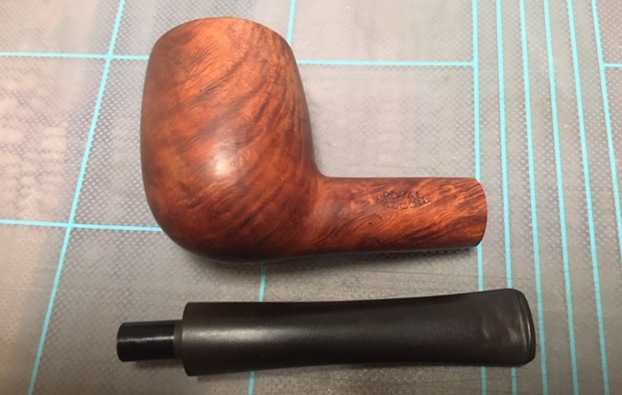
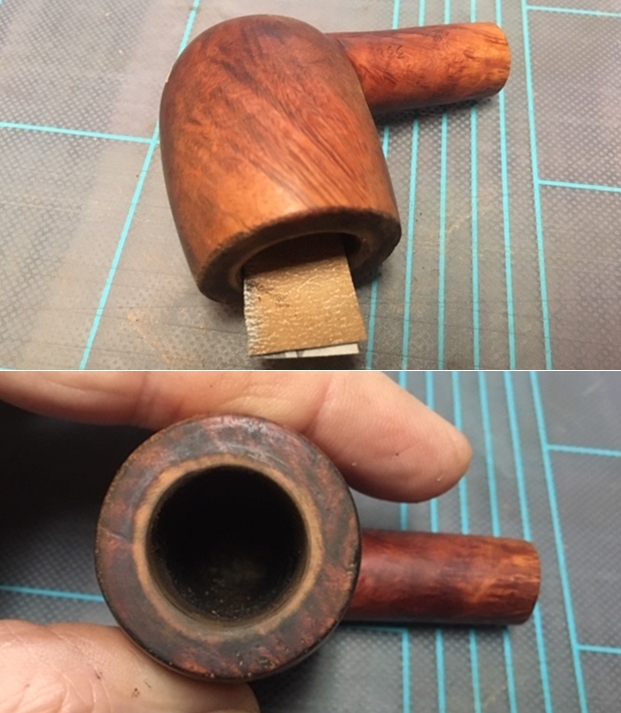
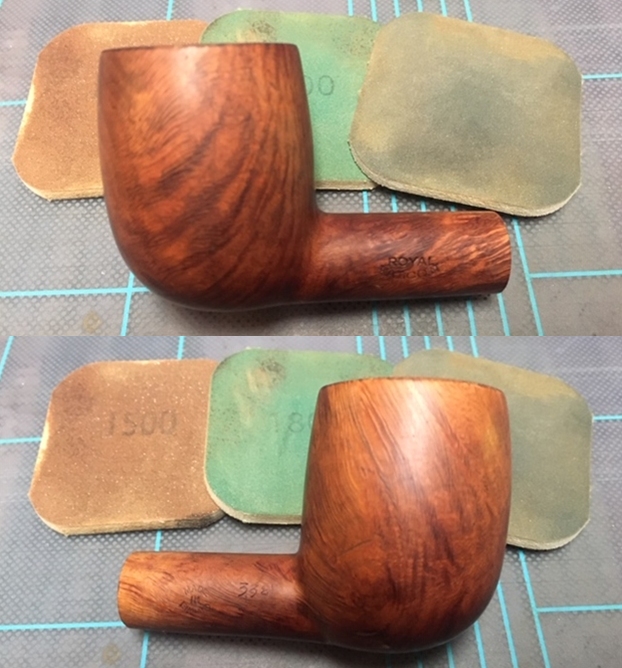
With over 125 pipes to clean from Bob’s estate I took a batch of them to the states with me when I visited and left them with Jeff so he could help me out. Jeff cleaned the pipes with his usual penchant for thoroughness that I really appreciate. Once he finished he shipped them back to me. Bob’s pipes were generally real mess and I did not know what to expect when I unwrapped it from his box. I was surprised to see how well it turned out. He reamed it with a PipNet pipe reamer and cleaned up the reaming with a Savinelli Fitsall Pipe Knife. He scrubbed out the internals with alcohol, pipe cleaners and cotton swabs until the pipe was clean. He scrubbed the exterior of the bowl with Murphy’s Oil Soap and a tooth brush to remove the grime and grit on the briar and the lava on the rim top. The finish looks very good with good looking grain around the bowl and shank. Jeff scrubbed it with Soft Scrub and soaked it in Before & After Deoxidizer to remove the oxidation on the rubber. When the pipe arrived here in Vancouver for the second stop of its restoration tour it looked a lot better. I took photos before I started my part of the work.    I took some close up photos of the rim top and the stem surface. I wanted to show what cleaned bowl and rim top looked like. The rim top shows some damage on the surface and the inner and outer edges of the bowl. I also took close up photos of the stem to show the tooth marks and the remaining oxidation on the stem surface.         I took photos of the stamping on the underside of the shank and it is clear and readable. It is stamped as noted above.    I removed the stem for the shank and took a photo of the bowl and stem to give a picture of what it looked like. The heavy oxidation is very visible.Now, on to my part of the restoration of this Comoy’s made Royal Falcon Billiard. I decided to clean up the damaged rim top and inner edge of the bowl. I cleaned up the inside of the bowl edges with a folded piece of 220 grit sandpaper. Once I was finished the edge looked a lot better. I would polish out the rim top with micromesh pads.    I polished the top of the bowl and the entirety of the bowl with micromesh sanding pads – wet sanding with 1500-12000 grit pads and wiping the briar down with a damp cloth after each sanding pad.     I rubbed the bowl down with Before & After Restoration Balm. I worked it into the surface of the briar with my fingertips to clean, enliven and protect it. I let the balm sit for a little while and then buffed with a cotton cloth and shoe brush to raise the shine.      I set the bowl aside and turned my attention to the stem. I used a Bic lighter to “paint” the surface of the stem with the flame to lift the tooth marks on both sides of the stem. The heat lifted the tooth marks to the degree that was able to sand out the remaining marks on the stem surface.    I sanded out the remaining tooth dents in the top and underside of the stem with 220 sand paper. I started polishing the stem with 400 grit wet dry sandpaper.    I polished the vulcanite with micromesh sanding pads – 1500-12000 grit pads. I wiped it down with a damp cloth after each sanding pad. I used Before & After Pipe Polish – both Fine and Extra Fine to further polish the stem.  I left a little oxidation around the stamp so as not to damage it more.      This Comoy’s Made Royal Falcon 332 Billiard from Bob Kerr’s estate turned out to be a great looking billiard. The mixed stain brown finish on the pipe is in great condition and works well with the polished vulcanite taper stem. I put the stem back on the bowl and carefully buffed the pipe with Blue Diamond on the buffing wheel using a light touch on the briar. I gave the bowl and stem multiple coats of carnauba wax on the buffing wheel and followed that by buffing the entire pipe with a clean buffing pad. I hand buffed the pipe with a microfiber cloth to deepen the shine. The finished Royal Falcon 332 Billiard fits nicely in the hand and feels great. Give the finished pipe a look in the photos below. The dimensions of the pipe are Length: 5 ¾ inches, Height: 2 inches, Outside diameter of the bowl: 1 ¼ inches, Chamber diameter: ¾ of an inch. If you are interested in carrying on Bob’s legacy with this pipe send me a message or an email. I have more to work on of various brands. Perhaps one of those will catch your attention. Thanks for reading this blog and my reflections on the pipe while I worked on it. This is an interesting estate to bring back to life.

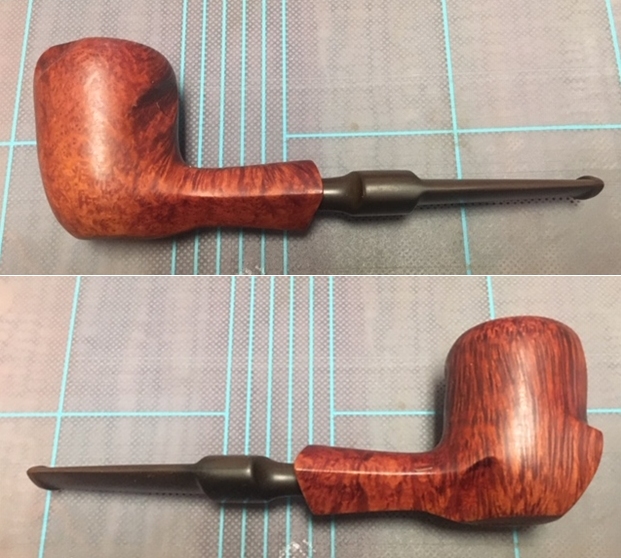
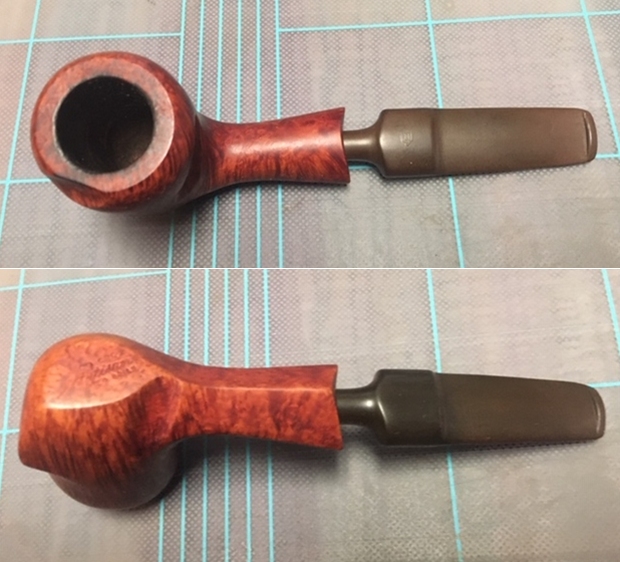
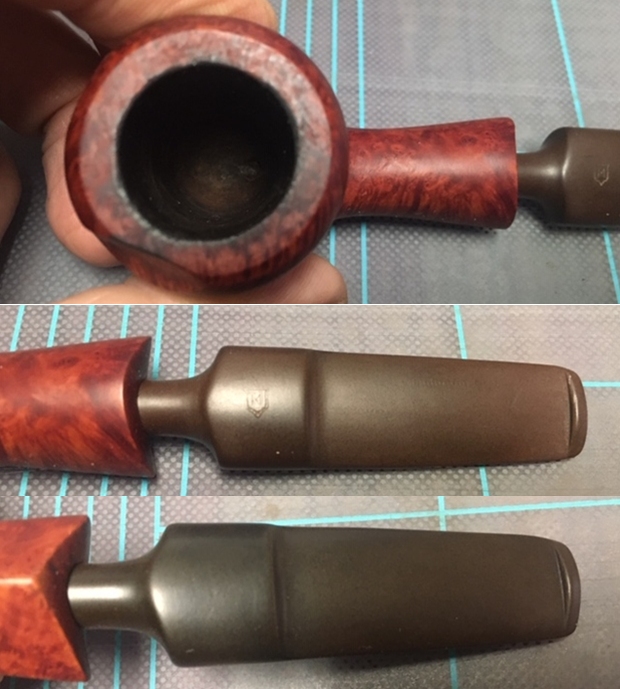
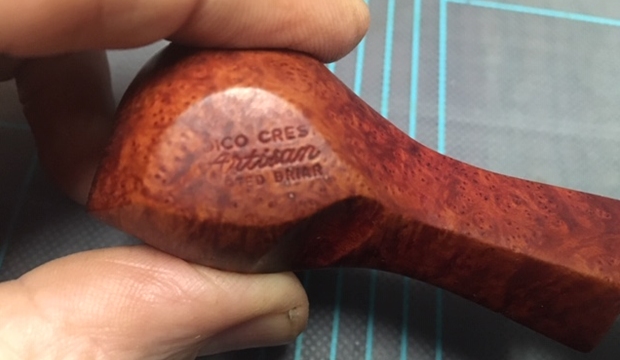
Breathing Life into a Medico Crest Artisan Freehand from Bob Kerr’s Estate


Blog by Steve Laug

The next pipe I have chosen from Bob Kerr’s Estate is a Medico Artisan Freehand. (Bob’s photo is to the left). If you have not “met” the man and would like to read a bit of the history of the pipeman, his daughter has written a great tribute that is worth a read. Because I have included it in most of the restorations of the estate to date I thought that I would leave it out this time. Check out some of the recent Dunhill restoration blogs that include the biographical notes about Bob (https://rebornpipes.com/2020/01/01/restoring-the-last-of-bob-kerrs-dunhills-a-1962-dunhill-bruyere-656-f-t-bent-billiard/).

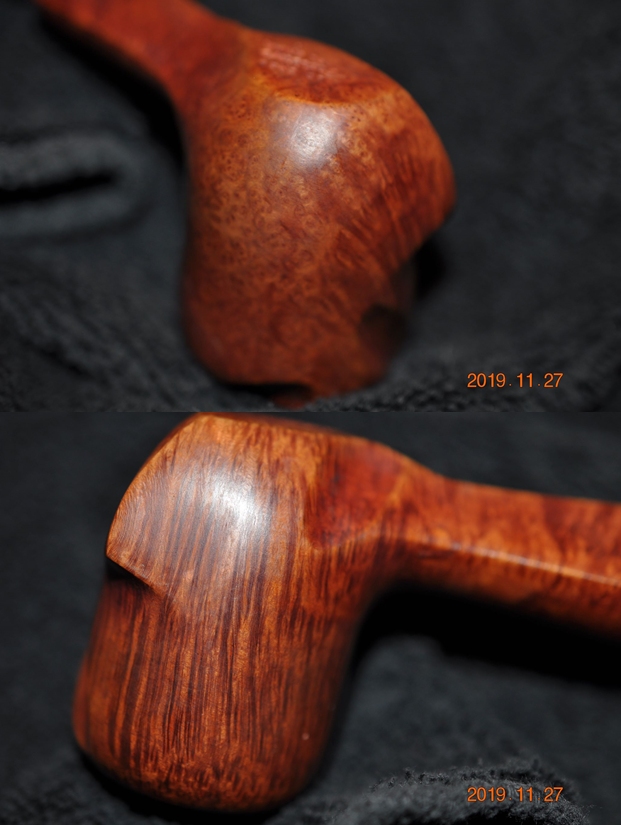
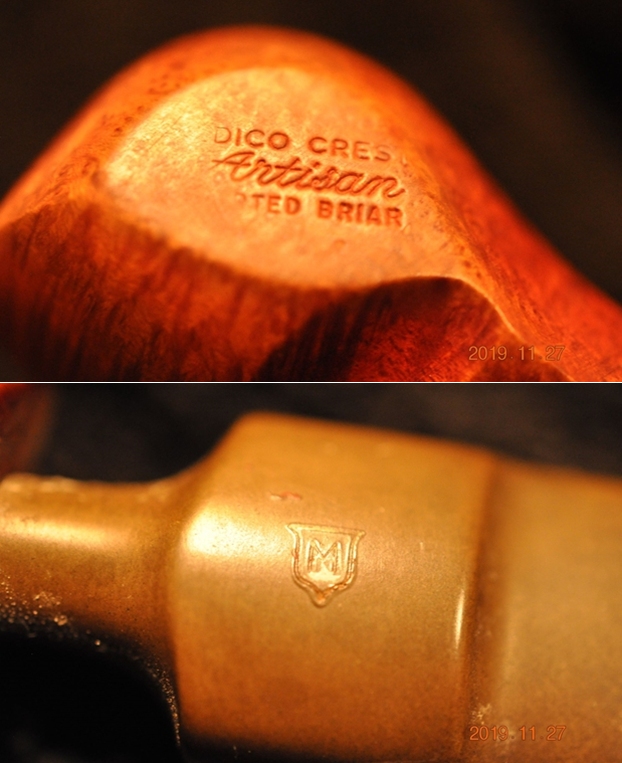
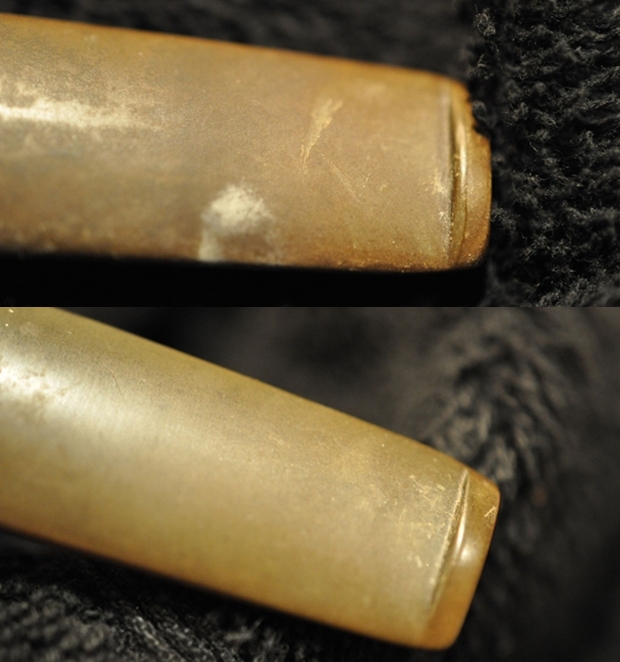
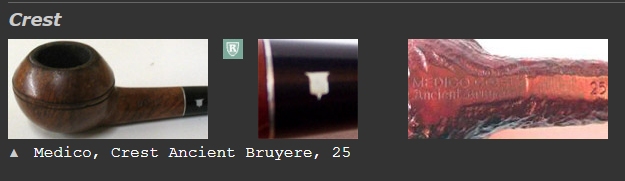
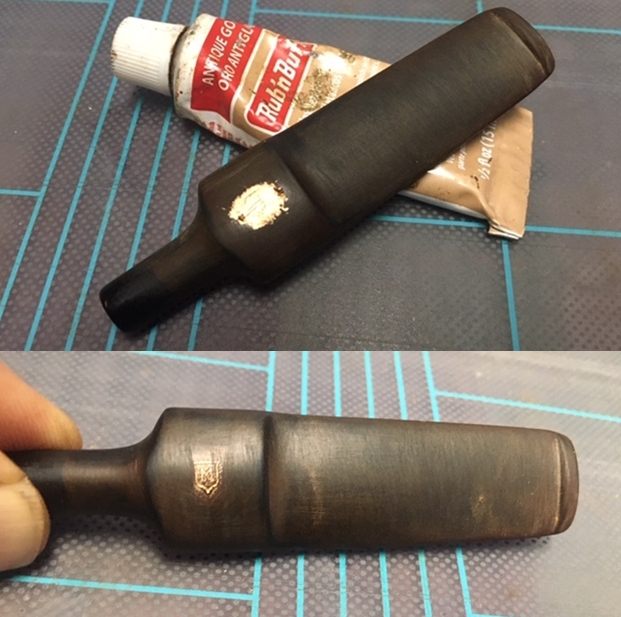
The Medico Artisan Freehand has a smooth finish and a smooth rim top. It has carved indentations around the bowl sides. It was stamped on the underside of the heel. It read Medico Crest Artisan Imported Briar. The finish was dirty with dust and grime ground into the bowl sides. There was a thick cake in the bowl and lava overflow on the rim top. The vulcanite stem was oxidized and had tooth marks and chatter near the button on both sides. It appears that the tenon is drilled to accommodate a Medico paper filter. Jeff took photos of the pipe to show its general condition before he did his cleanup. The exterior of the pipe was very dirty – grime and grit ground in from years of use and sitting. The rim top was covered with a coat of thick lava that overflowed the bowl. There was also some darkening on the rim top and inner edge of the bowl. The bowl itself had a thick cake with flecks of tobacco stuck in the cake on the sides.     Jeff took photos of the sides and the heel of the bowl to give a better feel for the condition of the briar around the bowl.     The next photo show the stamping on the underside of the shank and it is very readable. It reads as noted above. The second photo shows the stamped Medico M shield logo on the top of the stem.The stem was dirty and oxidized with light tooth chatter and marks on the top and underside of the stem at the button. This one at least did not have the chew marks that were a norm on Bob’s pipes.   Before doing cleanup work on the pipe I decided to do some research on the pipe. I have worked on and smoked Medico pipes in the past but I have never worked on a Medico Crest Artisan in the past. I decided to look on the normal sites to see what I could find out about this line. I looked first on the Pipephil website and found some information on the Medico Crest line with a similar logo as this pipe but nothing on the Crest Artisan line. I did a screen capture of the pertinent information on the logo itself (http://www.pipephil.eu/logos/en/logo-medico.html). The crest is similar but it has an M in the center and seems to have been gold. I turned to Pipedia to see what further information was available on that site and if there was anything specifically on the Artisan line (https://pipedia.org/wiki/Medico). I quote:

Medico was created in 1933, and is still produced by S.M. Frank. The brand is famous for its pipe filters, which were launched in the same year. Since 1966, some models have been made in Brylon, a synthetic material, and others in briar. The brand was also sold by the English

Symbol: M inside a shield, although early pipes, like the example bellow, had a + sign, like a Medic would have on their sleeve.

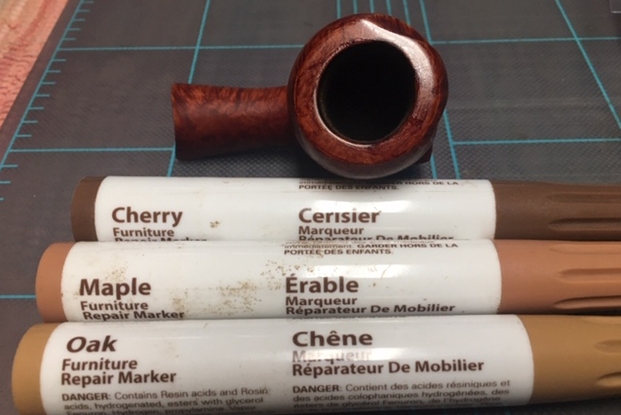
The article included photos of A Medico Crest Artisan, made in Italy, courtesy Doug Valitchka. The carving around the bowl is identical. This one is stamped ITALY while the one I am working on is not stamped with that identification.With over 125 pipes to clean from Bob’s estate I took a batch of them to the states with me when I visited and left them with Jeff so he could help me out. Jeff cleaned the pipes with his usual penchant for thoroughness that I really appreciate. Once he finished he shipped them back to me. This one was a real mess and I did not know what to expect when I unwrapped it from his box. He reamed it with a PipNet pipe reamer and cleaned up the reaming with a Savinelli Fitsall Pipe Knife. He scrubbed out the internals with alcohol, pipe cleaners and cotton swabs until the pipe was clean. He scrubbed the exterior of the bowl with Murphy’s Oil Soap and a tooth brush to remove the grime and grit on the briar and the lava on the rim top. The finish looks very good with good looking grain around the bowl and shank. Jeff scrubbed it with Soft Scrub and soaked it in Before & After Deoxidizer to remove the oxidation on the rubber. When the pipe arrived here in Vancouver for the second stop of its restoration tour it looked a lot better. I took photos before I started my part of the work. I took some close up photos of the rim top and the stem surface. I wanted to show what cleaned bowl and rim top looked like. The rim top shows some damage on the inner edge of the bowl. I also took close up photos of the stem to show the light tooth marks and the remaining oxidation on the stem surface.       I took photos of the stamping on the underside of the shank and it is clear and readable. It is stamped as noted above.  I removed the stem for the shank and took a photo of the bowl and stem to give a picture of what it looked like. The remaining oxidation is very visible.Now, on to my part of the restoration of this Medico Crest Artisan Freehand. I decided to clean up the damaged rim top and inner edge of the bowl. I gently topped the bowl on a topping board with 220 grit sandpaper. I cleaned up the inside of the bowl edges with a folded piece of 220 grit sandpaper. Once I was finished the rim top looked a lot better. I polished the top of the bowl and the entirety of the bowl with micromesh sanding pads – wet sanding with 1500-12000 grit pads and wiping the briar down with a damp cloth after each sanding pad. I restained the rim top with a blend of Cherry, Maple and Oak Stain Pens to blend it into the colour of the rest of the briar. Once it had dried I would polish it and give it several coats of Before & After Restoration Balm.I rubbed the bowl down with Before & After Restoration Balm. I worked it into the surface of the briar with my fingertips to clean, enliven and protect it. I let the balm sit for a little while and then buffed with a cotton cloth and shoe brush to raise the shine. I used some Antique Gold Rub’n Buff to recolour the logo on the stem top. I rubbed it into the logo with a pipe cleaner and buffed it off with a soft towel. I set the bowl aside and turned my attention to the stem. I sanded out the tooth dents in the top and underside of the stem at the button. I started polishing the stem with 400 grit wet dry sandpaper. There was still some oxidation around the logo and on the stem surface. I polished the vulcanite with micromesh sanding pads – 1500-12000 grit pads. I wiped it down with a damp cloth after each sanding pad. I used Before & After Pipe Polish – both Fine and Extra Fine to further polish the stem.  I left a little oxidation around the stamp so as not to damage it more.    This Medico Crest Artisan Freehand pipe from Bob Kerr’s estate turned out to be a great looking pipe. The mixed stain brown finish on the pipe is in excellent condition and works well with the polished vulcanite saddle stem. I put the stem back on the bowl and carefully buffed the pipe with Blue Diamond on the buffing wheel using a light touch on the briar. I gave the bowl and stem multiple coats of carnauba wax on the buffing wheel and followed that by buffing the entire pipe with a clean buffing pad. I hand buffed the pipe with a microfiber cloth to deepen the shine. The finished Medico Crest Artisan Freehand fits nicely in the hand and feels great. Give the finished pipe a look in the photos below. The dimensions of the pipe are Length: 5 ¾ inches, Height: 2 inches, Outside diameter of the bowl: 1 ¼ inches, Chamber diameter: ¾ of an inch. If you are interested in carrying on Bob’s legacy with this pipe send me a message or an email. I have more to work on of various brands. Perhaps one of those will catch your attention. Thanks for reading this blog and my reflections on the pipe while I worked on it. This is an interesting estate to bring back to life.
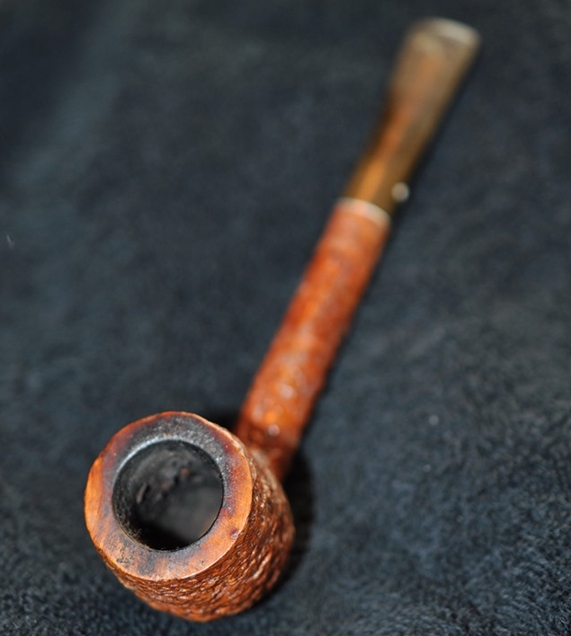
New Life for a Kaywoodie Rustica 76BL Billiard from Bob Kerr’s Estate


Blog by Steve Laug

The next pipe I have chosen from Bob Kerr’s Estate is a Kaywoodie Rustica Medium English Billiard. (Bob’s photo is to the left). If you have not “met” the man and would like to read a bit of the history of the pipeman, his daughter has written a great tribute that is worth a read. Because I have included it in most of the restorations of the estate to date I thought that I would leave it out this time. Check out some of the recent Dunhill restoration blogs (https://rebornpipes.com/2020/01/01/restoring-the-last-of-bob-kerrs-dunhills-a-1962-dunhill-bruyere-656-f-t-bent-billiard/).

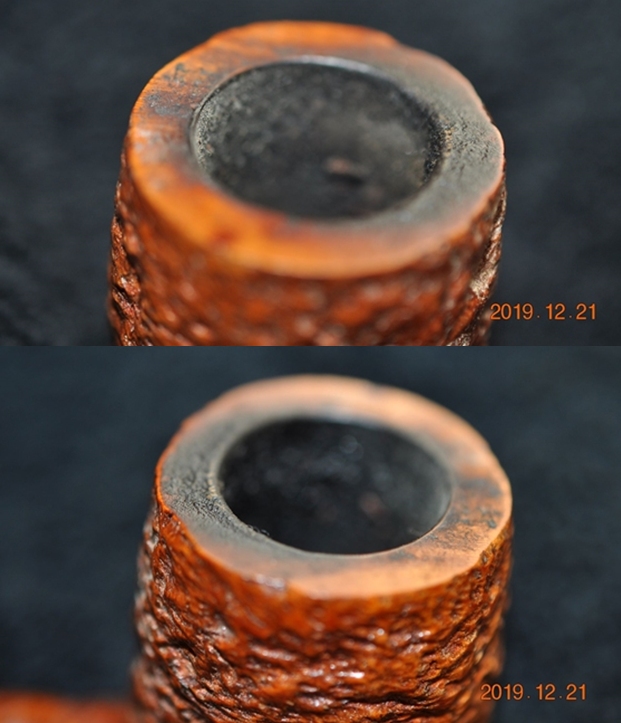
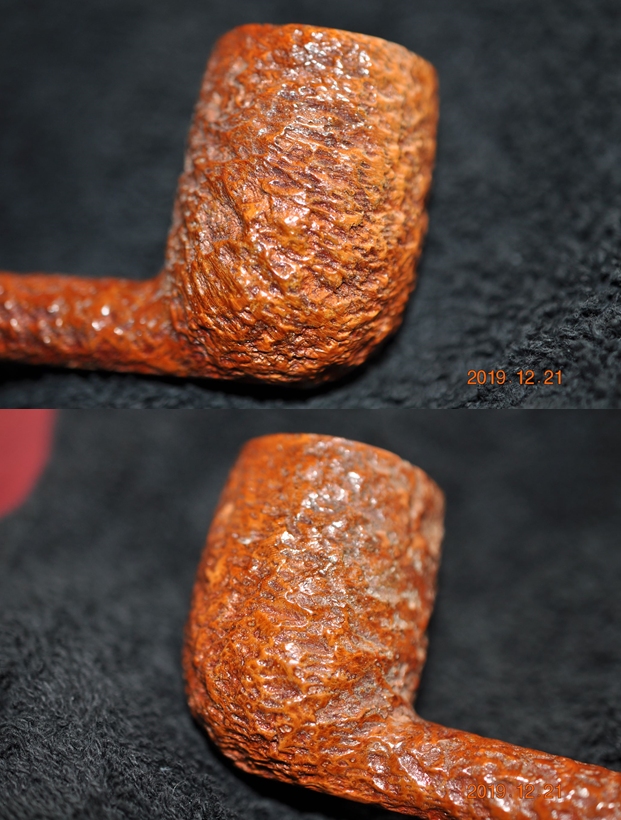
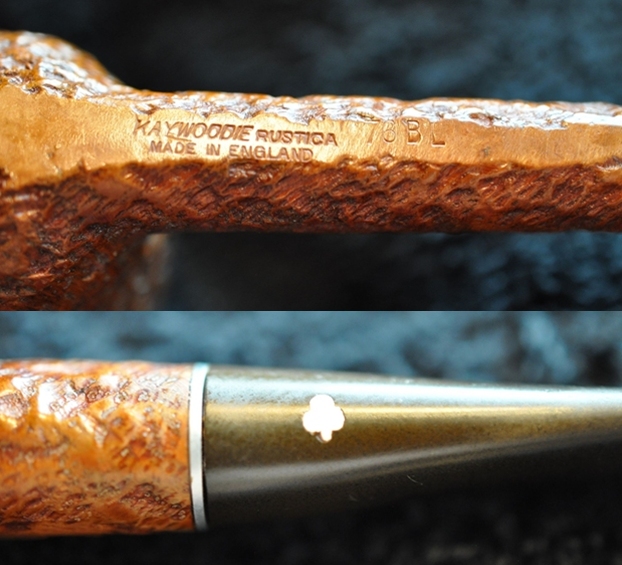
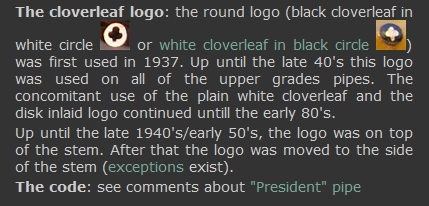
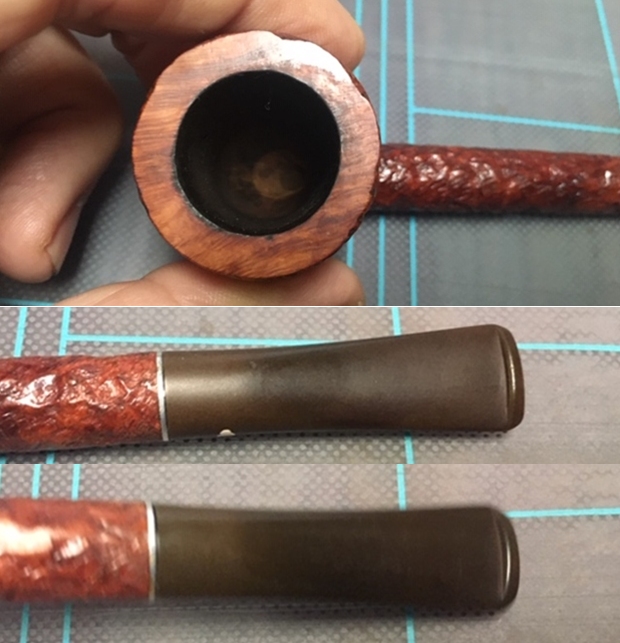
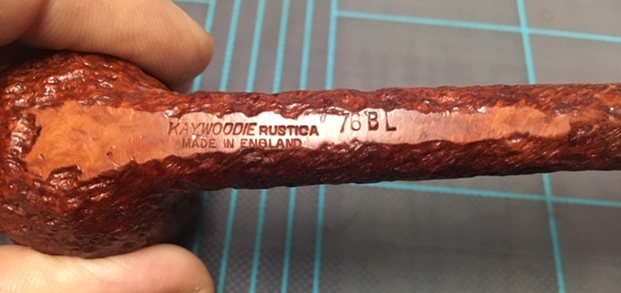
The Kaywoodie Rustica had a rusticated finish and a smooth rim top. It was stamped on the underside of the heel and shank. It read Kaywoodie Rustica over Made in England on the heel followed by the shape number on the shank end – 76BL. The rusticated finish was dirty with dust and grime ground into the finish. There is a thick cake and lava overflow on the rim top.  The vulcanite stem was oxidized and had tooth marks and chatter near the button on both sides. There was also a three-hole Kaywoodie stinger/tenon set up that was a little dirty. Jeff took photos of the pipe to show its general condition before he did his cleanup. The exterior of the pipe was very dirty – grime and grit ground in from years of use and sitting. The rim top was covered with a coat of thick lava that overflowed the bowl. There was also some darkening on the rim top and inner edge of the bowl. The bowl itself had a thick cake with flecks of tobacco stuck in the cake on the sides. Jeff took photos of the sides and the heel of the bowl to give a better feel for the condition of the bark around the bowl.The next photo show the stamping on the underside of the shank and it is very readable. It reads as noted above. The second photo shows the inlaid cloverleaf logo on the top of the stem.The stem was dirty and oxidized with light tooth chatter and marks on the top and underside of the stem at the button. This one at least did not have the chew marks that were a norm on Bob’s pipes.Before doing cleanup work on the pipe I decided to do some research on the pipe. I looked first on the Pipephil website and found some information on the white club inlay on the left side of the tapered stem. I did a screen capture of the pertinent information on the logo itself (http://www.pipephil.eu/logos/en/logo-kaywoodie.html). From there I learned that the logo was used until the 1980s. After the early 50s the logo was on the side of the stem.I turned to Pipedia (https://pipedia.org/wiki/Kaywoodie) and read the section on the rough outline on the history of the brand that links the brand with the English section of the company. I quote:

Again, demand for KBB pipes and especially Kaywoodie prompted another move for both the manufacturing facilities and the corporate offices. In 1930 the corporate office moved into the Empire State Building on Fifth Avenue in New York. By 1935, the manufacturing operations moved from Union City to 6400 Broadway in West New York, New Jersey which, at the time, was touted as the largest pipe making facility in the world. At the height of production, there were 500 employees producing up to 10,000 pipes per day.

The corporate offices were relocated in 1936 to the International Building, Rockefeller Center, 630 Fifth Avenue, New York. The invitation to visit the new office reads, “Kaywoodie is now on display at the world’s most famous address – Rockefeller Center. Here Kaywoodie takes its place among the leaders of industry and commerce.” The move to Rockefeller Center coincided with The Kaywoodie Company’s emergence as a subsidiary of KBB. All of the pipes manufactured by KBB including the Yello-Bole line were also on display here. By 1938 Kaywoodie had opened an office in London to meet worldwide demand. Kaywoodie of London was jointly owned with another famous pipemaker, Comoy’s of London.

From there I turned to a link on the article to a section called Guide to Kaywoodie Pipes (https://pipedia.org/wiki/Collector%27s_Guide_to_Kaywoodie_Pipes#NOTES_ON_.22OTHER.E2.80.9D_KAYWOODIE_PIPES).

English Kaywoodies. All of the catalogs reviewed in this research contained the following copyright notification: Printed in U.S.A., Kaufmann Bros. and Bondy, Inc., New York and London. Kaywoodie Pipe cases and smoker’s accessories were also marked with “New York and London”. The catalogs, however, do not present any information concerning Kaywoodie’s London operations, or how the English Kaywoodies might have differed from those manufactured and marketed in the U.S. Lowndes notes that he has several English Kaywoodies acquired in Vaduz and Zurich. English Kaywoodies are now made by Oppenheimer pipes. Lowndes notes that English Kaywoodies with the “screw-in bit” come in Ruby Grain, Custom Grain, Standard, and Relief Grain grades. The traditional push-bit models come in Continental Plain and Relief, London Made, Minaret, Air-way Polished No. 707, and Lightweight grades. Prices in 1985 ranged from 9.50 (pounds) to 26.00 (pounds). Lowndes notes that the Super Star was a special edition English Kaywoodie made of finest briar with a handmade silver band. Lowndes has two: one from Zurich with a large white-outlined logo, and beautifully cased; and one in walnut finish with the black-­in-white logo. A recent catalog shows the Super Star without a band and the ordinary small white logo. A 1985 letter from Oppenheimer states that the black-in-white logo has been discontinued and only the regular white logo is now used.

I turned to Pipedia’s Kaywoodie Shape Number chart to check out the number 76BL that is stamped on the underside of the shank (https://pipedia.org/wiki/Kaywoodie_Shape_Numbers). The chart gives the shape information and the time frame in which the shape was made. I did a screen capture of the shape number information and have included it below.From the above information I now knew that the pipe in hand was a Medium English Billiard made between 1938-1972 in London by Oppenheimer. It had screw-in bit.

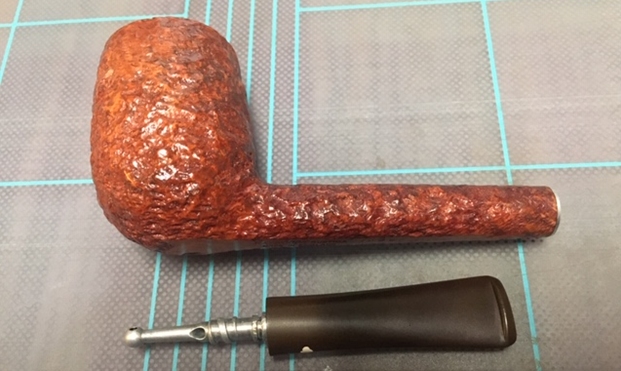
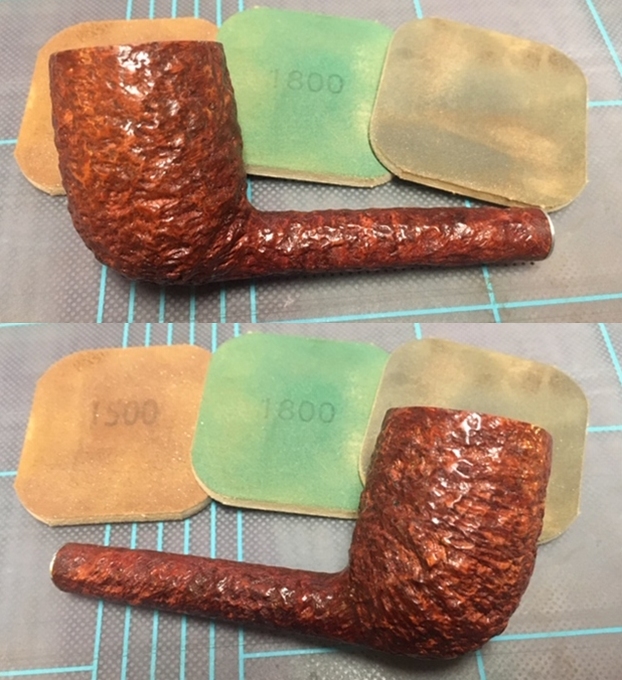
With over 125 pipes to clean from Bob’s estate I took a batch of them to the states with me when I visited and left them with Jeff so he could help me out. Jeff cleaned the pipes with his usual penchant for thoroughness that I really appreciate. Once he finished he shipped them back to me. This one was a real mess and I did not know what to expect when I unwrapped it from his box. He reamed it with a PipNet pipe reamer and cleaned up the reaming with a Savinelli Fitsall Pipe Knife. He scrubbed out the internals with alcohol, pipe cleaners and cotton swabs until the pipe was clean. He scrubbed the exterior of the bowl with Murphy’s Oil Soap and a tooth brush to remove the grime and grit on the briar and the lava on the rim top. The finish looks very good with good looking grain around the bowl and shank. Jeff scrubbed it with Soft Scrub and soaked it in Before & After Deoxidizer to remove the oxidation on the rubber. When the pipe arrived here in Vancouver for the second stop of its restoration tour it looked a lot better. I took photos before I started my part of the work. I took some close up photos of the rim top and also of the stem surface. I wanted to show what cleaned bowl and rim top looked like. The rim top shows some damage on the inner edge of the bowl. I also took close up photos of the stem to show the light tooth marks and the remaining oxidation on the stem surface.    I took photos of the stamping on the underside of the shank and it is clear and readable. It is stamped as noted above.  I unscrewed the stem for the shank and took a photo of the bowl and stem to give a picture of what it looked like. You can see the stinger apparatus is intact and you can see the oxidation on the stem surface.Now, on to my part of the restoration of this KBB English Made Medium Billiard. I decided to start by polishing the top of the bowl with micromesh sanding pads – wet sanding with 1500-12000 grit pads and wiping the briar down with a damp cloth after each sanding pad.    I rubbed the bowl down with Before & After Restoration Balm. I worked it into the surface of the briar on the bowl sides and shank with my fingertips and a horse hair shoe brush to clean, enliven and protect it. I let the balm sit for a little while and then buffed with a cotton cloth and shoe brush to raise the shine.   I set the bowl aside and turned my attention to the stem. I sanded out the tooth dents in the top and underside of the stem at the button. I started polishing the stem with 400 grit wet dry sandpaper.    I polished the vulcanite with micromesh sanding pads – 1500-12000 grit pads. I wiped it down with a damp cloth after each sanding pad. I used Before & After Pipe Polish – both Fine and Extra Fine to further polish the stem.  This Kaywoodie Rustica 76BL Medium English Billiard, an English made pipe from Bob Kerr’s estate turned out to be a great looking pipe. The rusticated medium brown finish on the pipe is in excellent condition and works well with the polished vulcanite taper stem. I put the stem back on the bowl and carefully buffed the pipe with Blue Diamond on the buffing wheel using a light touch on the briar. I gave the bowl and stem multiple coats of carnauba wax on the buffing wheel and followed that by buffing the entire pipe with a clean buffing pad. I hand buffed the pipe with a microfiber cloth to deepen the shine. The finished Kaywoodie Rustica Medium Billiard fits nicely in the hand and feels great. Give the finished pipe a look in the photos below. The dimensions of the pipe are Length: 5 ¾ inches, Height: 1 ¾ inches, Outside diameter of the bowl: 1 ¼ inches, Chamber diameter: ¾ of an inch. If you are interested in carrying on Bob’s legacy with this pipe send me a message or an email. I have more to work on of various brands. Perhaps one of those will catch your attention. Thanks for reading this blog and my reflections on the pipe while I worked on it. This is an interesting estate to bring back to life.
 

Restoring a Heavily Smoked Falcon with a Dublin Bowl


Blog by Steve Laug

The next pipe I have chosen from Bob Kerr’s collection is the first of four metal pipes in the estate. Bob was an artist from the Vancouver area and a real character (Bob’s photo is to the left). If you have not “met” the man and would like to read a bit of the history of the pipeman, his daughter has written a great tribute that is worth a read. Because I have included it in most of the restorations of the estate to date I thought that I would leave it out this time. To read it you can check out some of the recent Dunhill restoration blogs such as the one linked below (https://rebornpipes.com/2020/01/01/restoring-the-last-of-bob-kerrs-dunhills-a-1962-dunhill-bruyere-656-f-t-bent-billiard/).

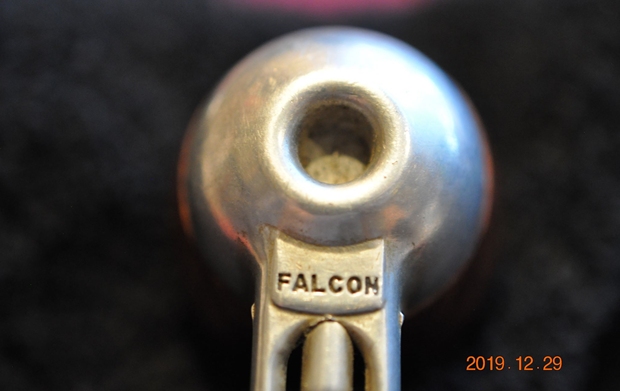
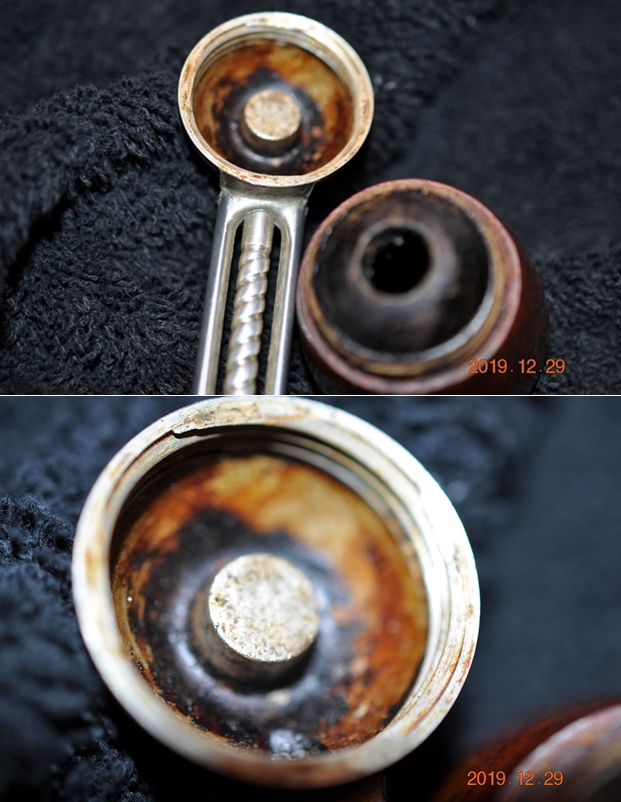
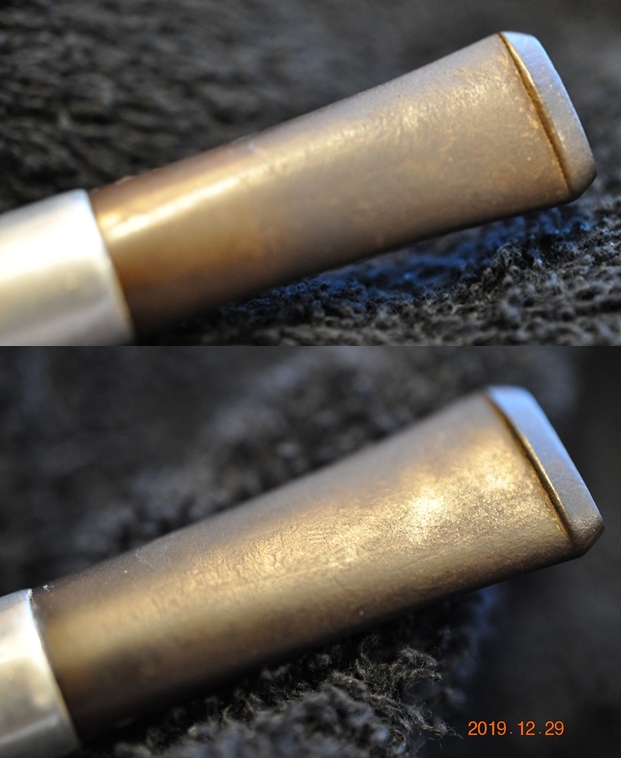
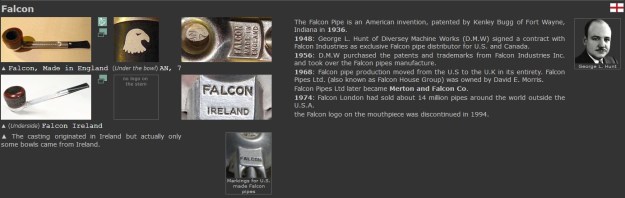
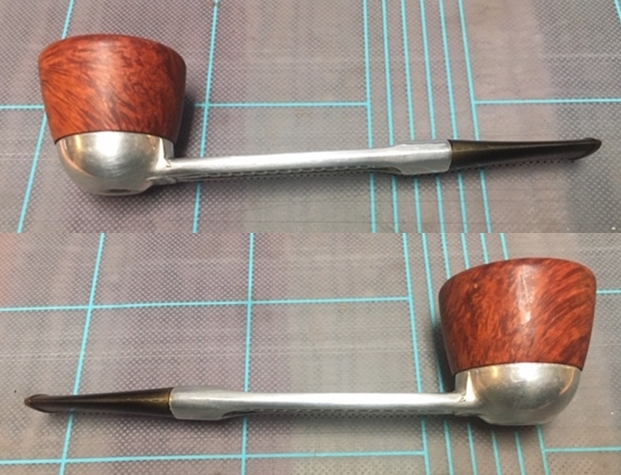
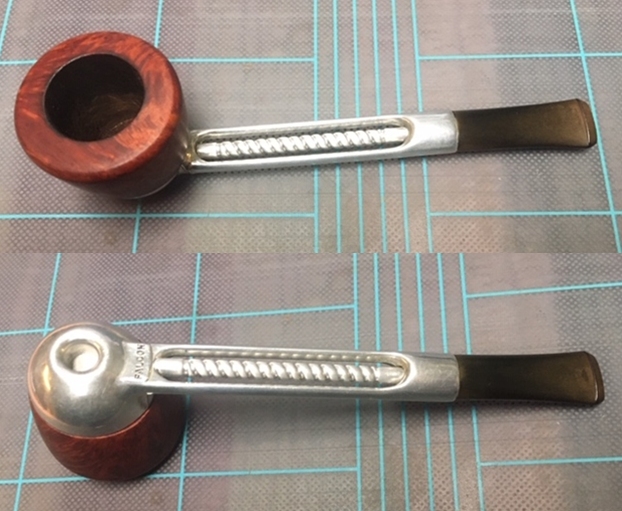
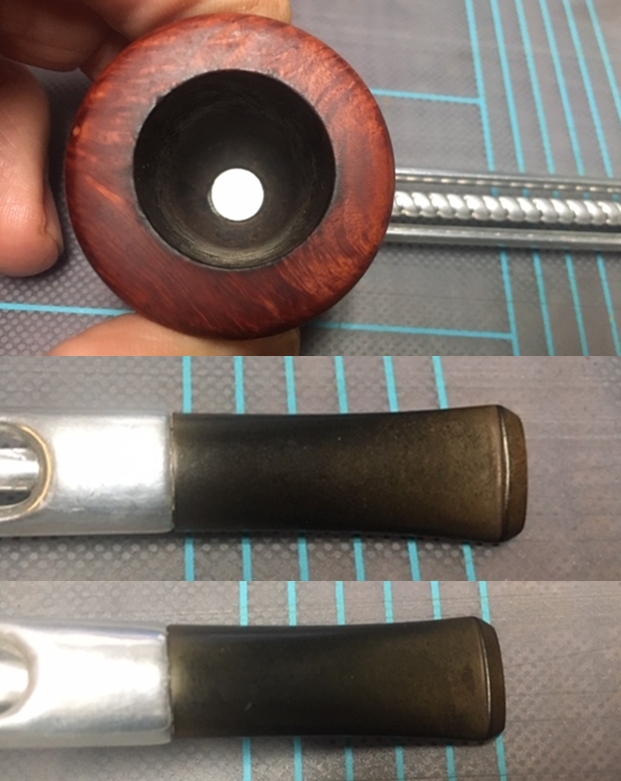
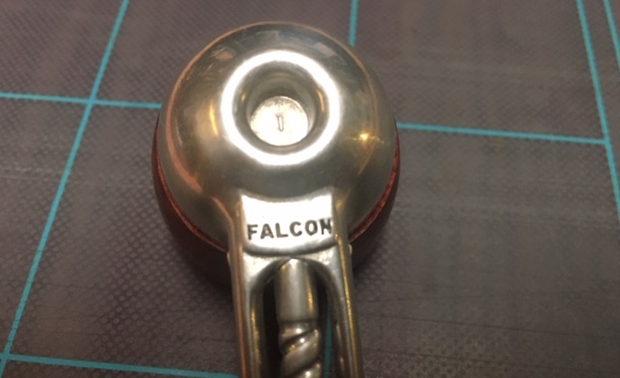
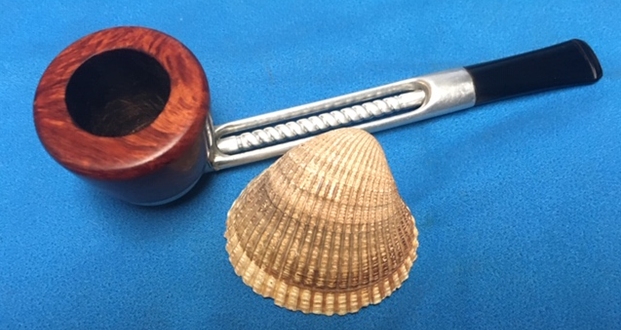
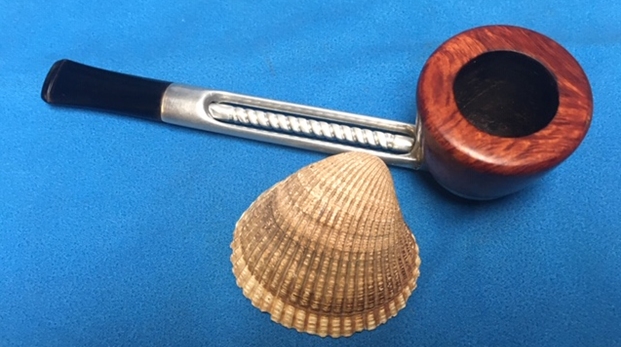
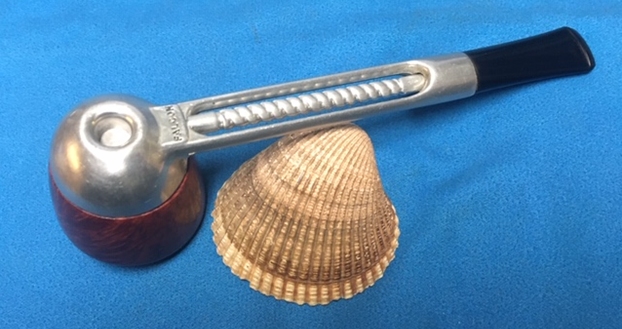
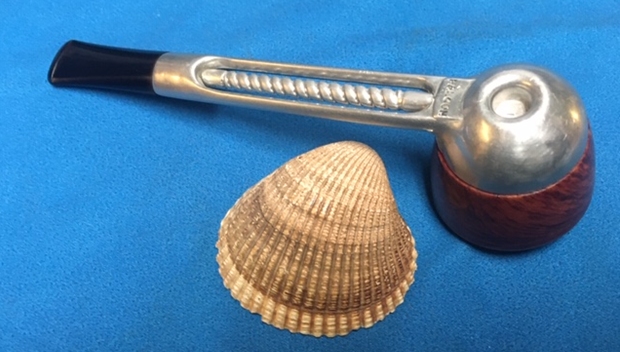
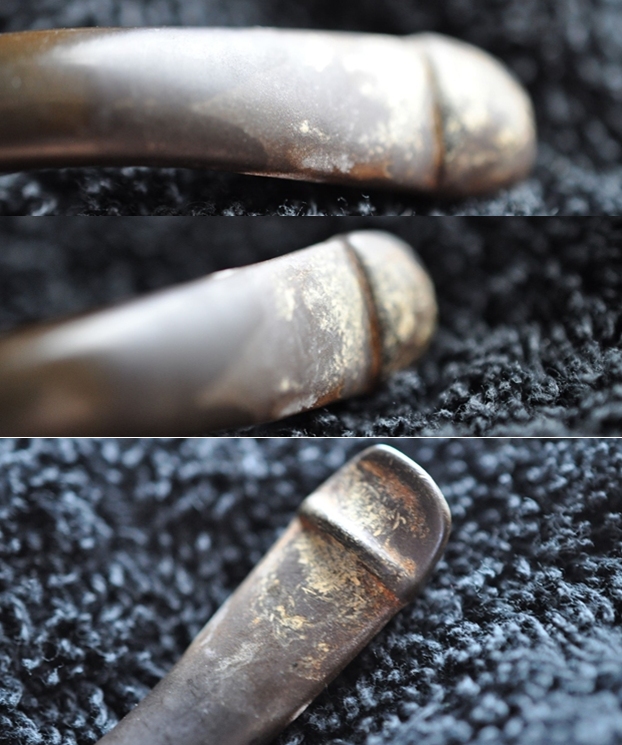
This first metal pipe from Bob’s Collection – a Falcon and this one is worn and dirty. It has a Dublin bowl and a medium brown finish. The metal and the briar bowl are very dirty with dust and debris ground into the finish. There was a thick cake in the bowl with tobacco debris. There was a heavy lava overflow on 2/3rds of the rim making it impossible to know if there is any damage on the inner edge of the bowl. It is stamped FALCON on the metal base of the pipe. There was also a number 1 in the hollow on the bowl bottom. The vulcanite stem is tapered and is oxidized, calcified and has light tooth marks and chatter on both sides near the button. Jeff took photos of the pipe to show its general condition before he did his cleanup. Jeff captured the filthy bowl and rim top in the next photos. You can see the thick the coat of lava on the edges and top. The thick cake in the bowl is also visible in the photos. The pipe was obviously one of Bob’s favourites and must have been an amazing smoker even this clogged with debris.   The next two photos show the grime ground into the smooth finish around the sides of the briar bowl. This old pipe was truly a mess. The aluminum base and shank are oxidized and dirty.    The brand is stamped on the underside of the shank and in the indentation there is a number 1 stamped.Jeff unscrewed the bowl from the base to show the tars and oils in the base. It hardens to a lacquer.The stem is calcified and oxidized with light tooth marks and chatter on both sides.       I turned to Pipephil (http://www.pipephil.eu/logos/en/logo-f1.html) to see what I could learn about the brand. I have included a screen capture of the information on the site below.I also include the brief sidebar history from the site below:

The Falcon Pipe is an American invention, patented by Kenley Bugg of Fort Wayne, Indiana in 1936.

1948: George L. Hunt of Diversey Machine Works (D.M.W) signed a contract with Falcon Industries as exclusive Falcon pipe distributor for U.S. and Canada.

1956: D.M.W purchased the patents and trademarks from Falcon Industries Inc. and took over the Falcon pipes manufacture.

1968: Falcon pipe production moved from the U.S to the U.K in its entirety. Falcon Pipes Ltd. (also known as Falcon House Group) was owned by David E. Morris.

Falcon Pipes Ltd later became Merton and Falcon Co.

1974: Falcon London had sold about 14 million pipes around the world outside the U.S.A.

The Falcon logo on the mouthpiece was discontinued in 1994.

There was also interesting information the particular stamping on the base of this pipe. It has the stamping that identifies it as an American made Falcon. Now I had the basic background information on the pipe. I also knew that the pipe was made after 1948 and prior to the move of production to the UK in 1968.

With over 125 pipes to clean from Bob’s estate I took a batch of them to the states with me when I visited and left them with Jeff so he could help me out. Jeff cleaned the pipes with his usual penchant for thoroughness that I really appreciate. Once he finished he shipped them back to me. This one was a real mess and I did not know what to expect when I unwrapped it from his box. He reamed the bowl with a PipNet pipe reamer and cleaned up the reaming with a Savinelli Fitsall Pipe Knife. He scrubbed out the internals with alcohol, pipe cleaners and cotton swabs until the pipe was clean. He scrubbed the exterior of the bowl with Murphy’s Oil Soap and a tooth brush to remove the grime and grit on the briar and the lava on the rim top. The finish looks very good with good looking grain around the bowl and shank. Jeff scrubbed it with Soft Scrub and soaked it in Before & After Deoxidizer to remove the oxidation on the rubber. When the pipe arrived here in Vancouver for the second stop of its restoration tour it looked a lot better. I took photos before I started my part of the work.  I took a close up photo of the rim top and bowl to show how clean both were. The rim top showed some wear on the front edge and top. I also took photos of the stem top and underside. You can see the remaining oxidation and the light tooth marks. I took photos of the stamping on the heel of the base and the shank. You can see the FALCON stamp and the number 1.I took the bowl off the base and took photos of the pipe. It is a very clean looking pipe. The base is sparkling now rather than darkened with tobacco lacquer. With a little work the stem oxidation will be gone and it will look very good. I decided to start working on the pipe by dealing with damaged inner edge of the bowl. I sanded it with a folded piece of 220 grit sandpaper. I then repaired the filled areas with clear super glue. Once the repairs had cured I sanded them smooth to blend them into the surrounding briar. I polished the briar with micromesh sanding pads – sanding and polishing the briar with 1500-12000 grit pads. Each sanding pad brought more shine to the bowl. I worked Before & After Restoration Balm into the rusticated surface of the briar with my fingertips to clean, enliven and protect it. I let the balm sit for a little while and then buffed with a cotton cloth and shoe brush to raise the shine. The pipe looks very good after the Balm has done its magic.   I set the bowl aside and turned my attention to the stem. The stem was in great condition with light tooth marks and some remaining oxidation. I sanded the stem with a folded piece of 220 grit sandpaper to remove the oxidation, tooth marks and chatter. I started polishing the vulcanite with 400 grit wet dry sandpaper.   I polished the vulcanite with micromesh sanding pads – 1500-12000 grit pads. I wiped it down with a damp cloth after each sanding pad. I used Before & After Pipe Polish – both Fine and Extra Fine to further polish the stem.       This American made Falcon with a Dublin bowl from Bob Kerr’s estate turned out to be a great looking pipe. The grain on the bowl is quite beautiful and really came alive with the cleaning and buffing. The finish on the pipe is in excellent condition and works well with the polished base and vulcanite saddle stem. I put the bowl back on the base and carefully buffed the pipe with Blue Diamond on the buffing wheel using a light touch on the metal. I gave the bowl and stem multiple coats of carnauba wax and buffed it on the buffing wheel. I buffed entire pipe with a clean buffing pad to raise the shine on the bowl and stem. I hand buffed the pipe with a microfiber cloth to deepen the shine. The finished Falcon with a Dublin bowl fits nicely in the hand and feels great. Give the finished pipe a look in the photos below. The dimensions of the pipe are Length: 5 ¾ inches, Height: 1 ½ inches, Outside diameter of the bowl: 1 ½ inches, Chamber diameter: 7/8 of an inch. If you are interested in carrying on Bob’s legacy with this Falcon metal pipe send me a message or an email. I have more to work on of various brands. Perhaps one of those will catch your attention. Thanks for reading this blog and my reflections on the pipe while I worked on it. This is an interesting estate to bring back to life.
Restoring a Heavily Smoked BELT Meerschaum Peterson Like Pipe


Blog by Steve Laug

The next pipe I have chosen from Bob Kerr’s collection is the second of three Block Meerschaum pipes in the estate. Bob was an artist from the Vancouver area and a real character (Bob’s photo is to the left). If you have not “met” the man and would like to read a bit of the history of the pipeman, his daughter has written a great tribute that is worth a read. Because I have included it in most of the restorations of the estate to date I thought that I would leave it out this time. To read it you can check out some of the recent Dunhill restoration blogs such as the one linked below (https://rebornpipes.com/2020/01/01/restoring-the-last-of-bob-kerrs-dunhills-a-1962-dunhill-bruyere-656-f-t-bent-billiard/).

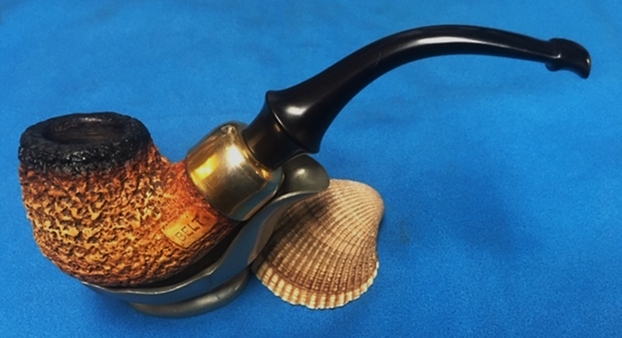
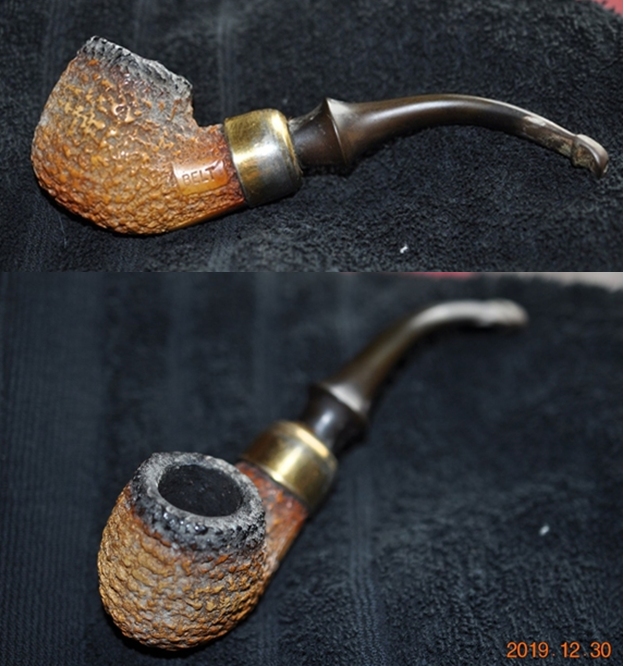
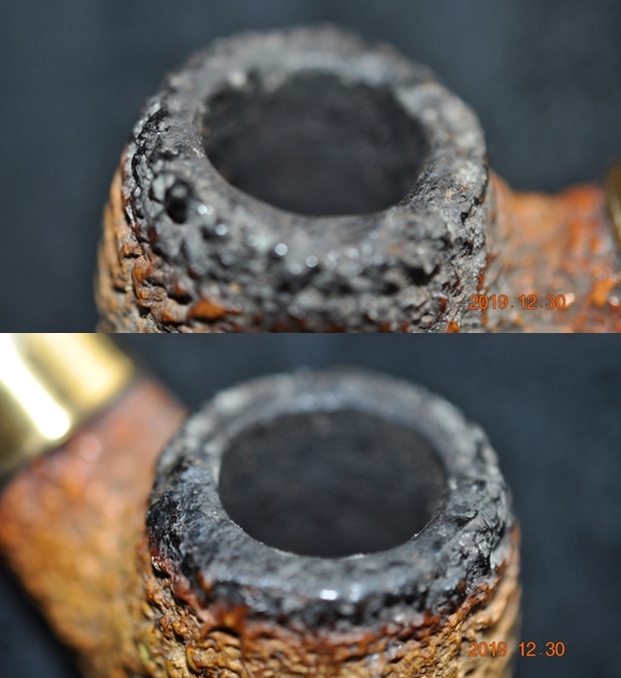
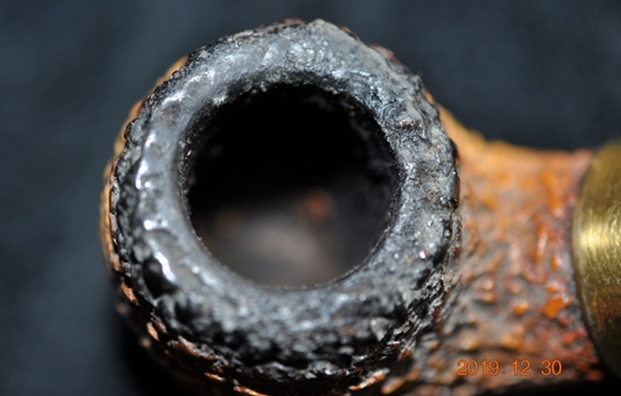
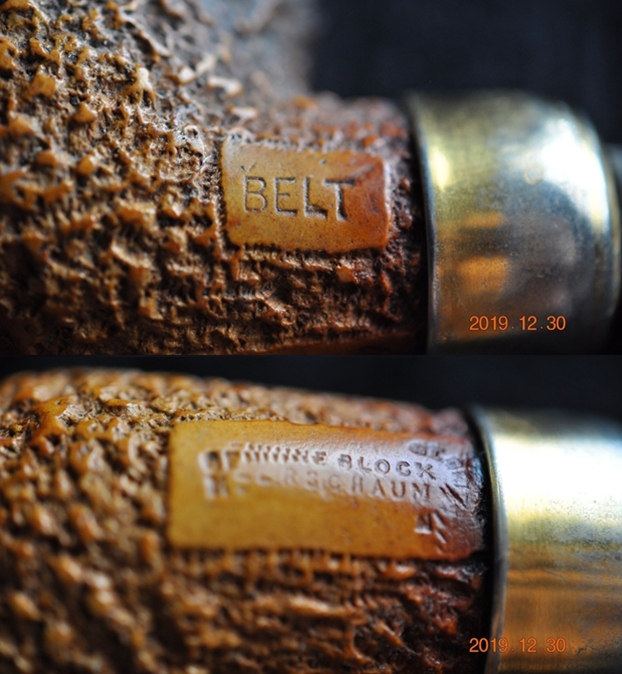
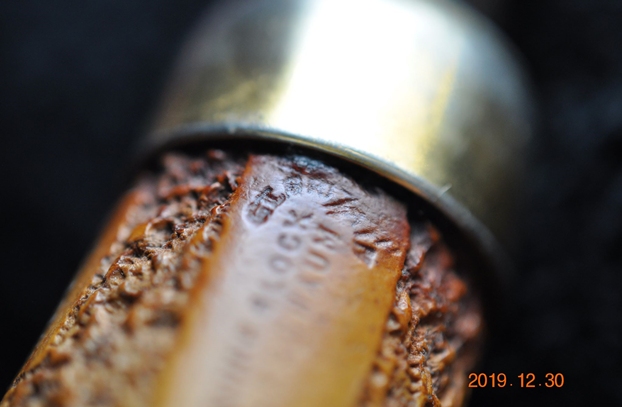
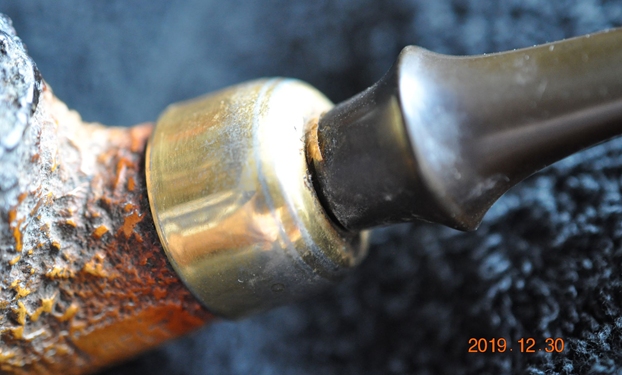
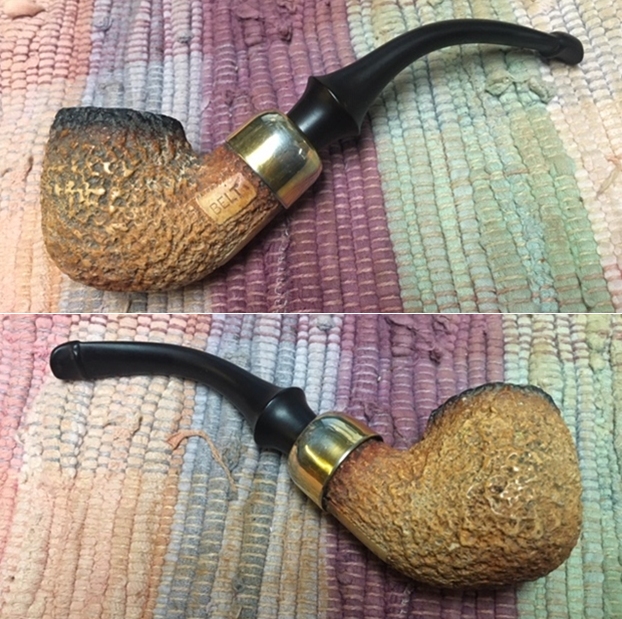
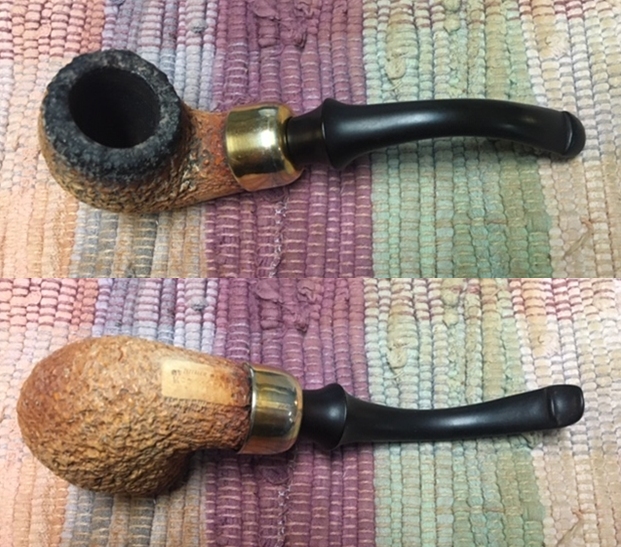
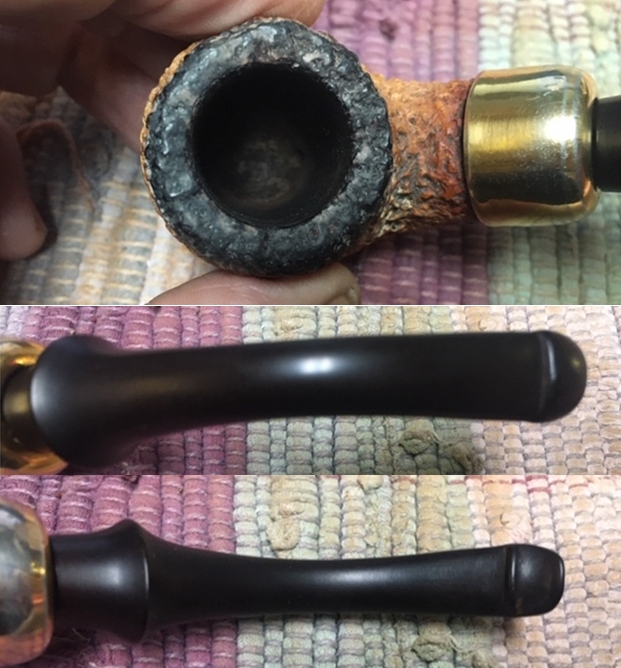
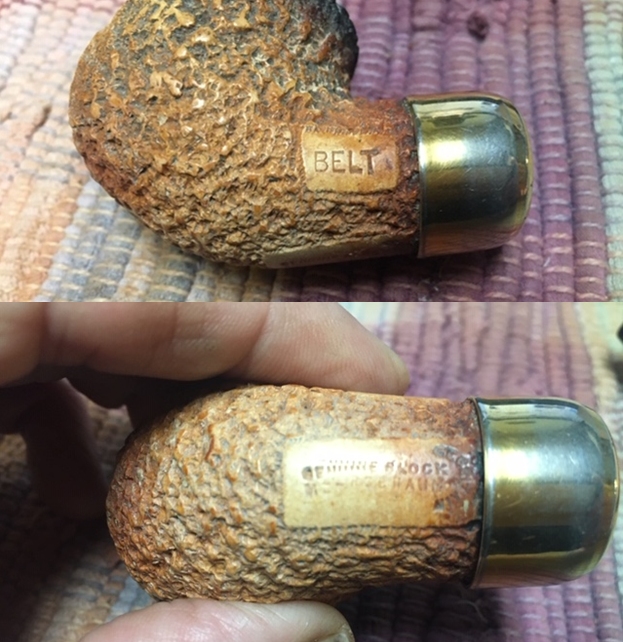
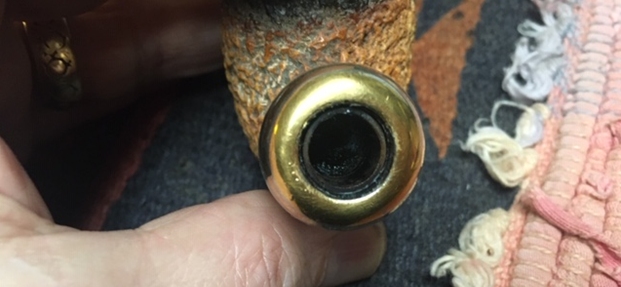
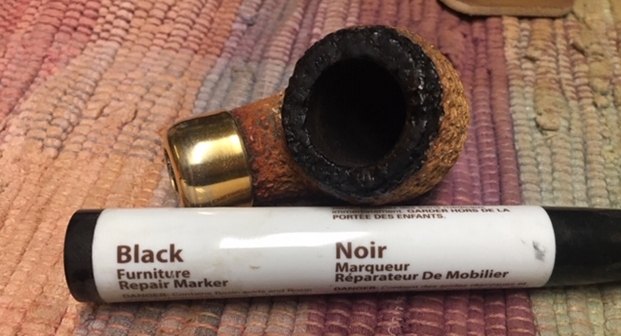
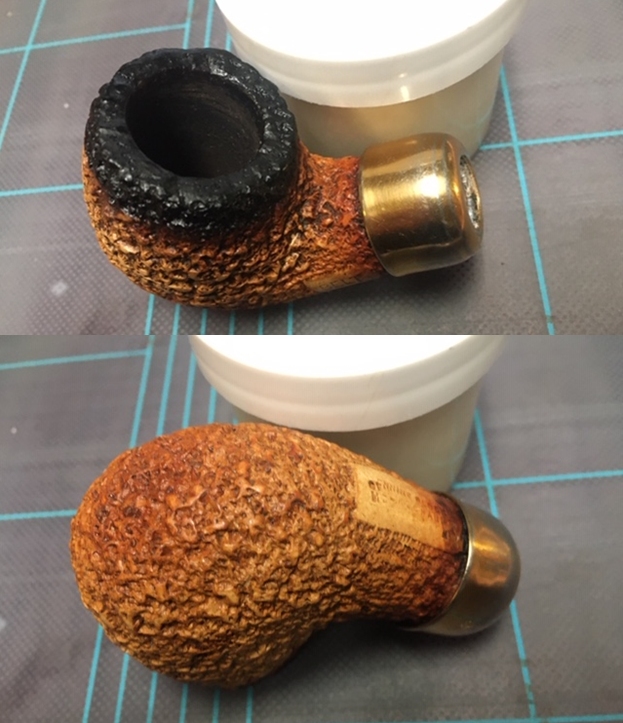
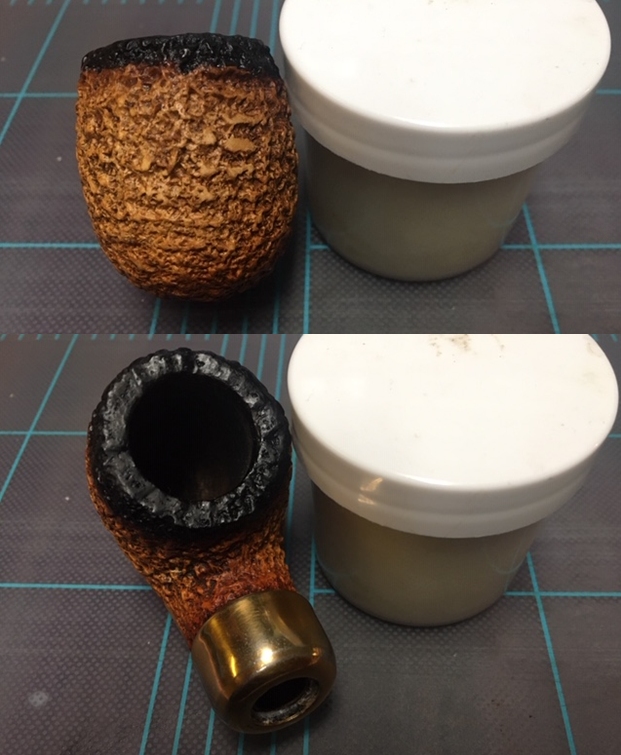
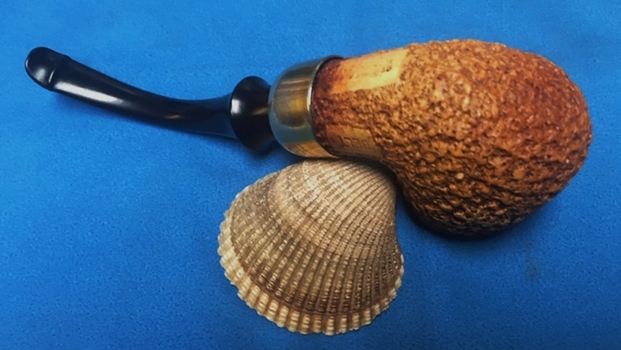
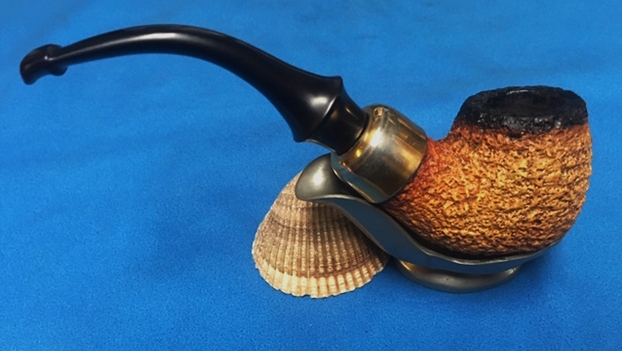
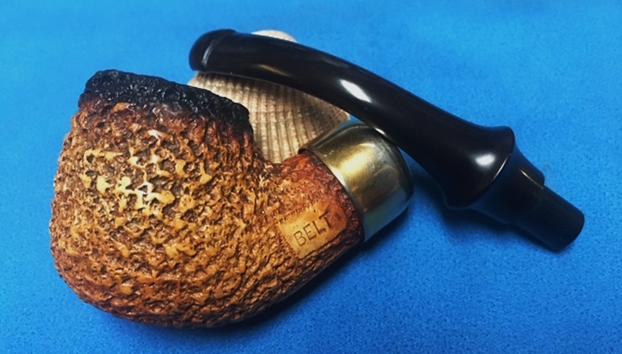
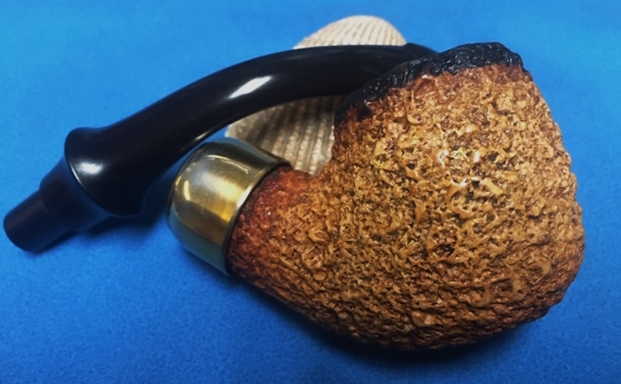
This second Genuine Block Meerschaum from Bob’s Collection and this one is more worn and dirty than the previous one. It has a flumed top and a very rugged rustication on the bowl and top. There a smooth patches for the stamping on the pipe. There is a golden coloured ferrule on the shank end of the pipe that is oxidized. The meerschaum is very dirty with dust and debris caught in the grooves and crevices of the rustication. There is a thick cake in the bowl and a heavy lava overflow on the rim top filling in the rustication. It is stamped BELT on the left side of the shank. On the underside it is stamped with Genuine Block Meerschaum. There is also an arched stamp at the shank band junction. The vulcanite stem is tapered and has a design similar to a P-Lip from Peterson. The difference is in the shape of the button and the airway exiting on the end rather than the top.  It stem is oxidized, calcified and has light tooth marks and chatter on both sides near the button. Jeff took photos of the pipe to show its general condition before he did his cleanup.Jeff captured the filthy rim top in the next photos. You can see how the rustication is almost smooth with the thick coat of lava. The thick cake in the bowl is also visible in the photos. The pipe was obviously one of Bob’s favourites and must have been an amazing smoker even this clogged with debris.  The next two photos show the debris ground into the rusticated finish around the sides and heel of the bowl. This old pipe was truly a mess. The black fumed areas around the top of the bowl look grey.  The next three photos show the stamping on the pipe. It reads as noted above.    The fit of the stem in shank appears to be loose and the shank looks to be very dirty. The stem is calcified and oxidized the length but is in worse condition for the first inch from the button forward. There are light tooth marks and chatter on both sides.    The BELT brand is not one that I am familiar with. I have never heard of the brand in my years of doing this work. I decided to pause before I started my part of the work on the pipe and see what I could learn on the web. I looked on Pipephil’s site and could find nothing listed. I did the same on Pipedia and initially found nothing either. I did a google search for the brand and low and behold the brand came up under Danish Pipe Making Companies under the heading London Meerschaum (https://pipedia.org/wiki/London_Meerschaum). I quote the brief article below as taken from Jose Manuel Lopes book.

“London Meerschaum made some pipes under the name of BELT or THE BELT, I had this confirmed by Bonds of Oxford St. who have 5 smooth bowl versions in stock at the time of writing, these look very similar to standard system full bent Peterson Meerschaums, the smooth versions have silverware stamped L&JS {Les & Dolly Wood, Ferndown} and has Belt and Genuine Block Meerschaum stamped on the bowl. I have seen 1 rusticated version with the same silverware and 2 of which I own 1, have gold plated ware with no hallmarks and are also stamped Belt and Genuine Block Meerschaum. Both smooth and rusticated have P-Lip type stems though the air hole is not on top but at the end as with most non Peterson P-Lips that I have come across. I do not know when London Meerschaum ceased trading but I can say from the one Belt that I own, it’s a very fine pipe and not cheap, well over the £100 mark when new.”

These pipes were evidently sold at least as early as the 1950’s. These may have been made by, or are affiliated with Pomeroy & Cooke Ltd., (Pipes, Artisans and Trademarks, by José Manuel Lopes).

I have to say that what I read was not what I expected at all. In my mind it was a Manx Made African Meer and now I knew that it was a Danish Made London Meer… strange provenance for this old meer.

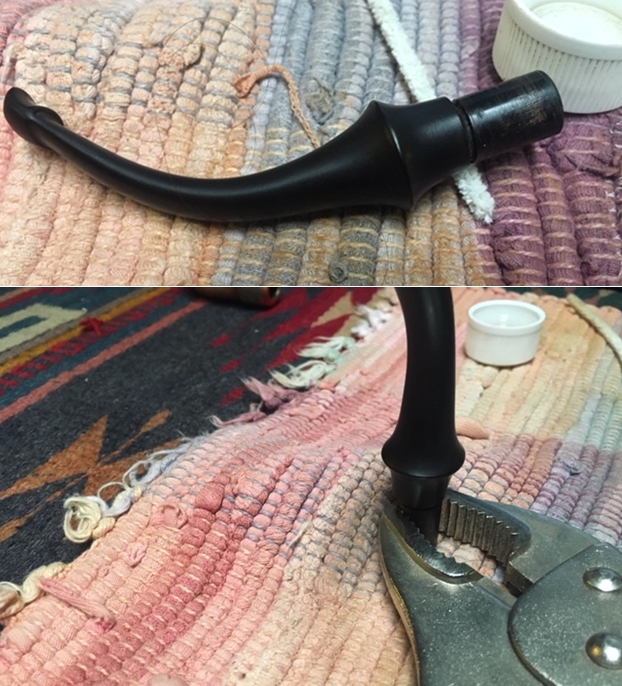
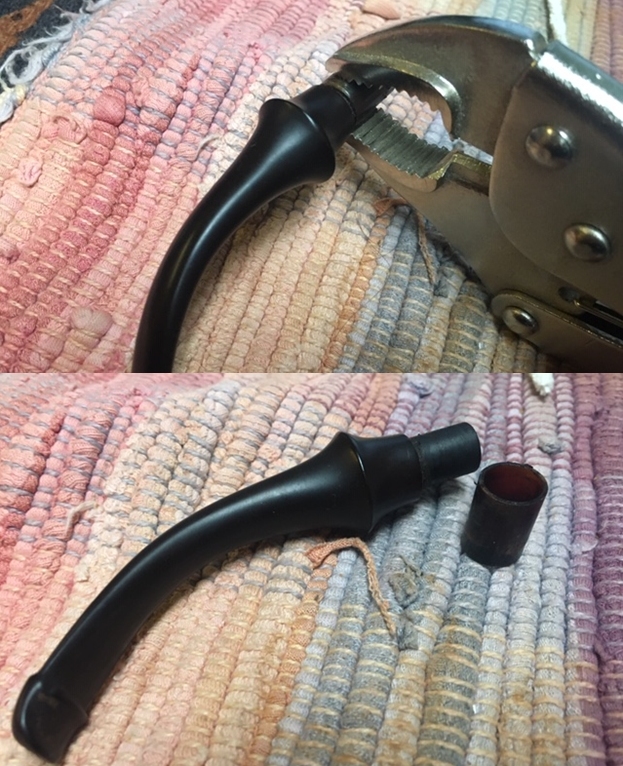
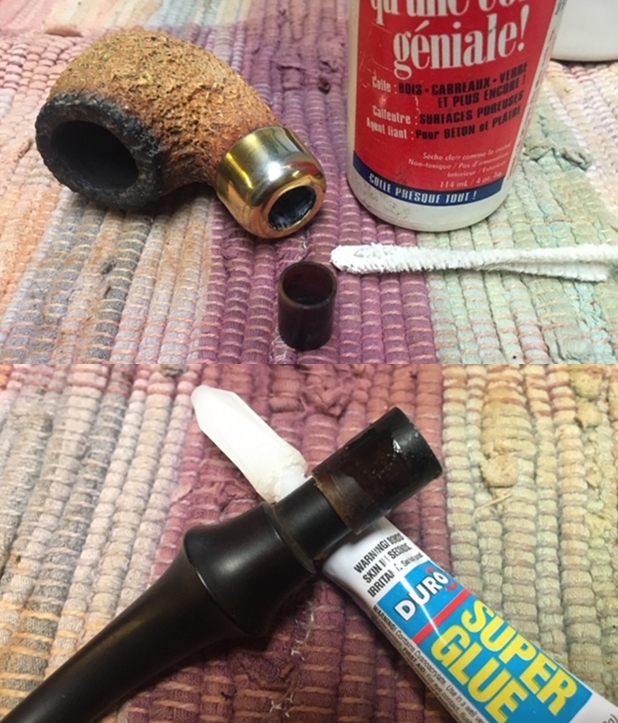
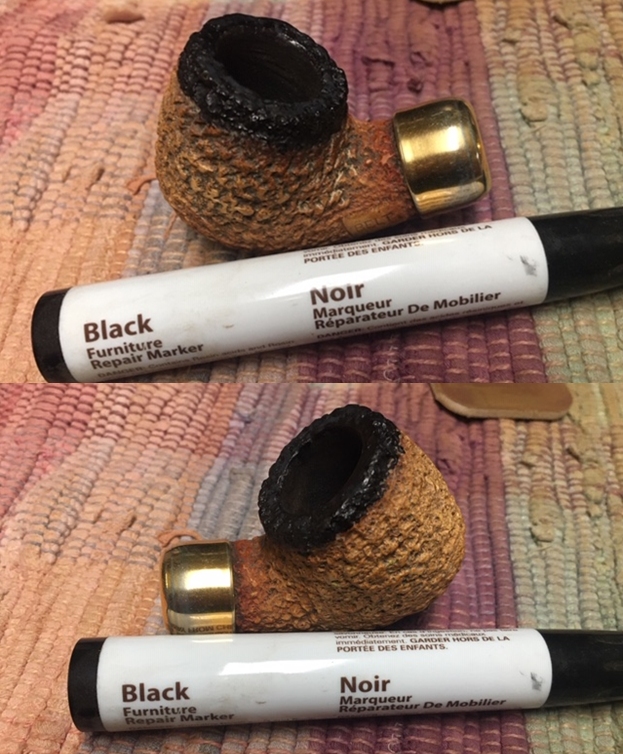
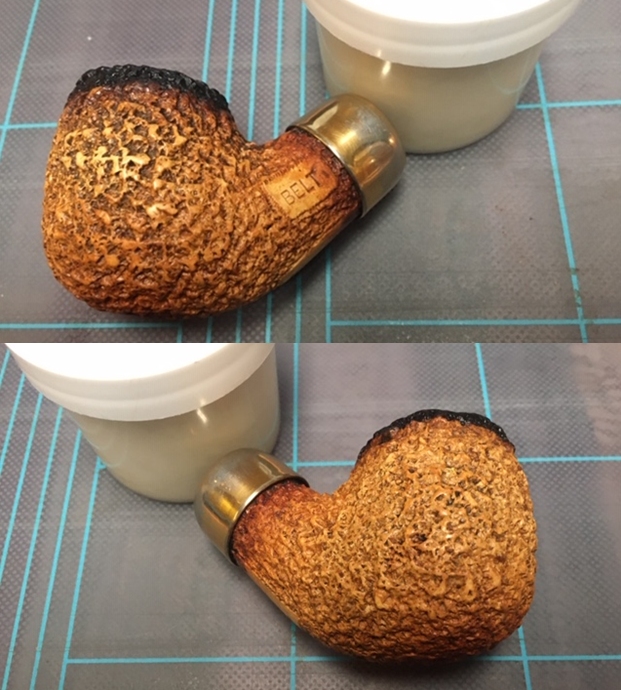
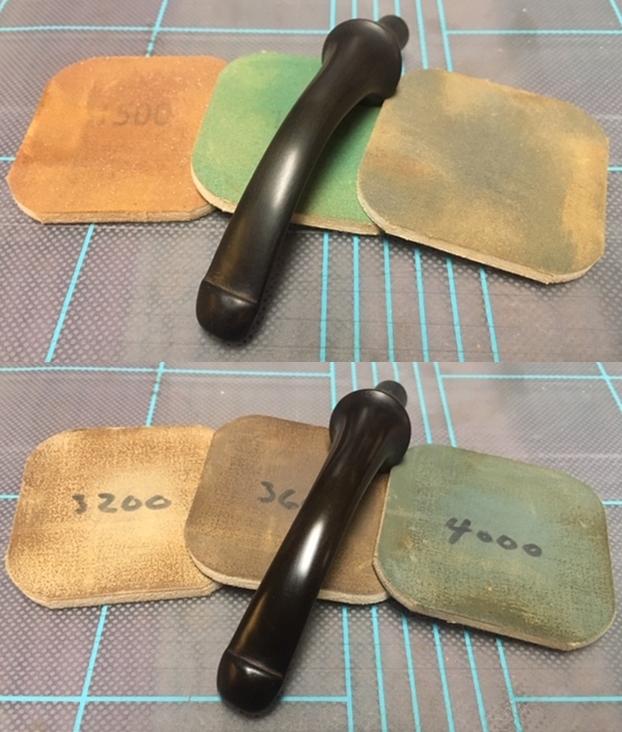
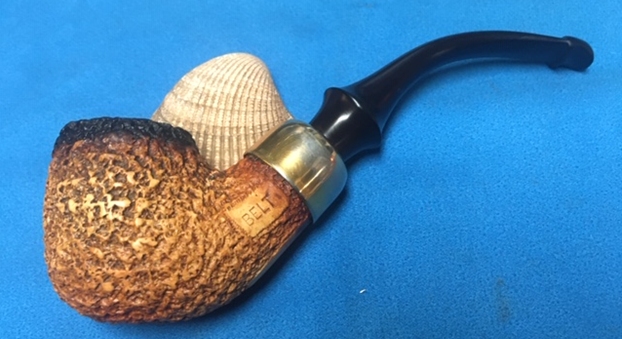
With over 125 pipes to clean from Bob’s estate I took a batch of them to the states with me when I visited and left them with Jeff so he could help me out. Jeff cleaned the pipes with his usual penchant for thoroughness that I really appreciate. Once he finished he shipped them back to me. This one was a real mess and I did not know what to expect when I unwrapped it from his box. He reamed it with a PipNet pipe reamer and cleaned up the reaming with a Savinelli Fitsall Pipe Knife. He scrubbed out the internals with alcohol, pipe cleaners and cotton swabs until the pipe was clean. He scrubbed the exterior of the bowl with Murphy’s Oil Soap and a tooth brush to remove the grime and grit on the briar and the lava on the rim top. The finish looks very good with good looking grain around the bowl and shank. Jeff scrubbed it with Soft Scrub and soaked it in Before & After Deoxidizer to remove the oxidation on the rubber. When the pipe arrived here in Vancouver for the second stop of its restoration tour it looked a lot better. I took photos before I started my part of the work.   I took a close up photo of the rim top and bowl to show how clean both were. The rim top showed some wear on the front edge and top. I also took photos of the stem top and underside. It looked very good.    The stamping was very clean and readable. It reads as noted above.   I decided to start working on the pipe by dealing with the misfit/loose stem. As looked it over this morning before I worked on it I realized that there was a sleeve on the tenon. That sleeve was actually the Delrin liner for the shank/mortise on the pipe. I cleaned out the end of the tenon and sleeve with alcohol and pipe cleaners to try to loosen the tight bind that held it in place. I repeated that then clamped a pair of Vise-Grip pliers on the sleeve and carefully wiggled the stem to loosen the connection of the tenon in the sleeve. It took a bit of fussing but it finally came off without damage.   I cleaned out the sleeve and removed all of the tars and oils on it with alcohol. It was quite dirty and caked on both the inside and outside. Once it was clean I debated between all-purpose glue and clear super glue to set it in the shank. I tried the all-purpose glue and it did not connect but rather the glue was absorbed into the meerschaum… sooo I coated the lining with clear superglue and set it in the shank by pressing it in with the stem in place. I removed the stem and set the bowl aside to let the glue cure. I restained the black flumed rim top and down the sides of the bowl with a black stain pen. I was happy with the look of the newly stained flumed portion of the meerschaum bowl. I have been using Before & After Restoration Balm on Meerschaum pipes experimentally. I have been happy with the results. I worked it into the rusticated surface of the meerschaum with my fingertips and a horse hair shoe brush to clean, enliven and protect it. I let the balm sit for a little while and then buffed with a cotton cloth and shoe brush to raise the shine. The pipe looks very good after the Balm has done its magic.   I set the bowl aside and turned my attention to the stem. The stem was in great condition with light tooth marks and oxidation. I polished the vulcanite with micromesh sanding pads – 1500-12000 grit pads. I wiped it down with a damp cloth after each sanding pad. I used Before & After Pipe Polish – both Fine and Extra Fine to further polish the stem.    This Danish Made London Meerschaum BELT Bent Billiard from Bob Kerr’s estate turned out to be a great looking pipe. The flumed top and the nice looking patina around the bowl sides, top and bottom give the pipe interestingly dimensional texture. The finish on the pipe is in excellent condition and works well with the polished vulcanite saddle stem. I put the stem back on the bowl and carefully buffed the pipe with Blue Diamond on the buffing wheel using a light touch on the meerschaum. I gave the bowl and stem multiple coats of Clapham’s Beeswax polish and buffed it on the buffing wheel. I buffed entire pipe with a clean buffing pad to raise the shine on the bowl and stem. I hand buffed the pipe with a microfiber cloth to deepen the shine. The finished rusticated Meerschaum Bent Billiard fits nicely in the hand and feels great. Give the finished pipe a look in the photos below. The dimensions of the pipe are Length: 5 ½ inches, Height: 1 ¾ inches, Outside diameter of the bowl: 1 ¼ inches, Chamber diameter: ¾ of an inch. If you are interested in carrying on Bob’s legacy with this London Meerschaum BELT Bent Billiard send me a message or an email. I have more to work on of various brands. Perhaps one of those will catch your attention. Thanks for reading this blog and my reflections on the pipe while I worked on it. This is an interesting estate to bring back to life.
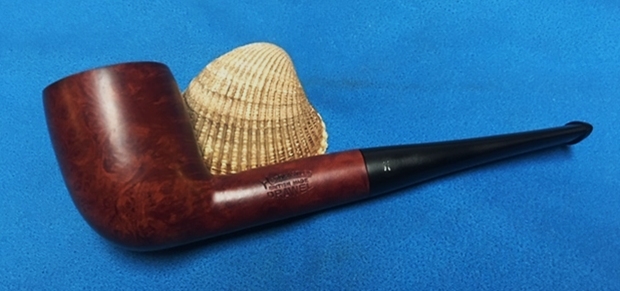
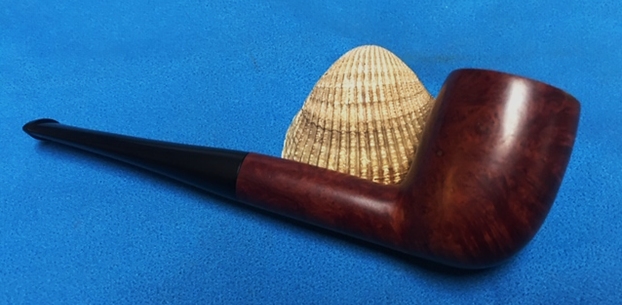
Restoring a Tired Irwin’s London England 1 Billiard from Bob Kerr’s Estate


Blog by Steve Laug

The next pipe I have chosen from Bob Kerr’s Estate is the second Irwin billiard in Bob’s Collection. Bob was an artist from the Vancouver area and a real character (Bob’s photo is to the left). If you have not “met” the man and would like to read a bit of the history of the pipeman, his daughter has written a great tribute that is worth a read. Because I have included it in most of the restorations of the estate to date I thought that I would leave it out this time. Check out some of the recent Dunhill restoration blogs (https://rebornpipes.com/2020/01/01/restoring-the-last-of-bob-kerrs-dunhills-a-1962-dunhill-bruyere-656-f-t-bent-billiard/).

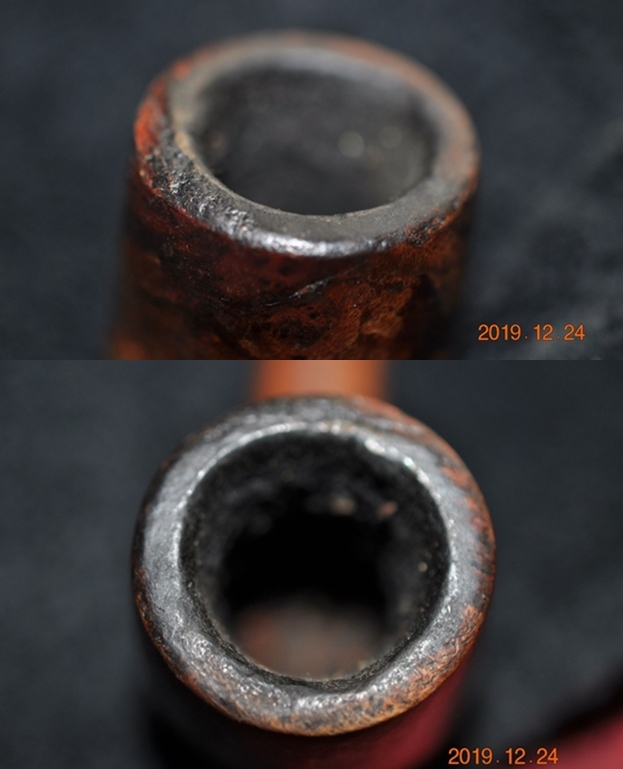
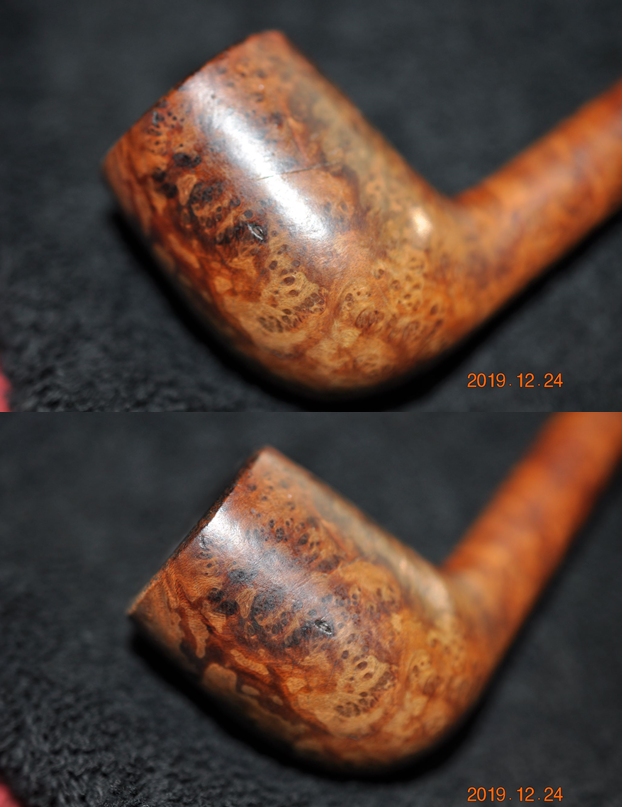
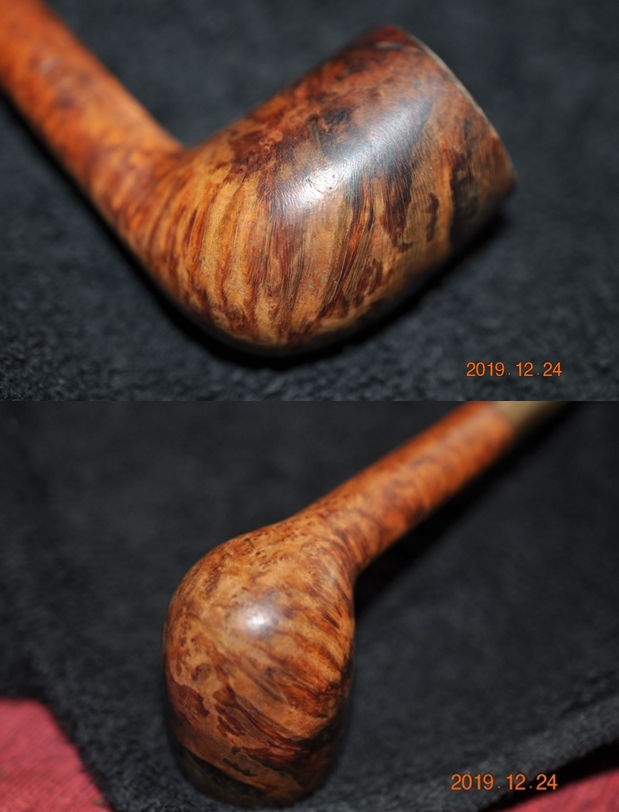
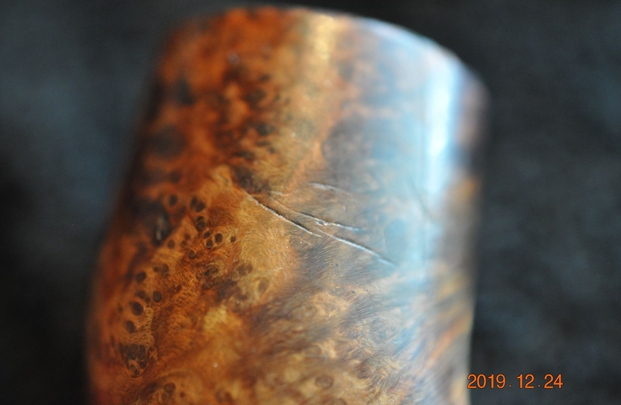
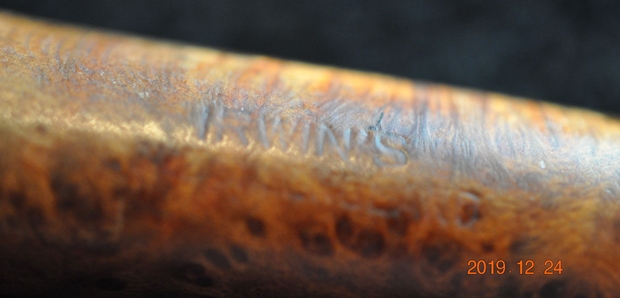
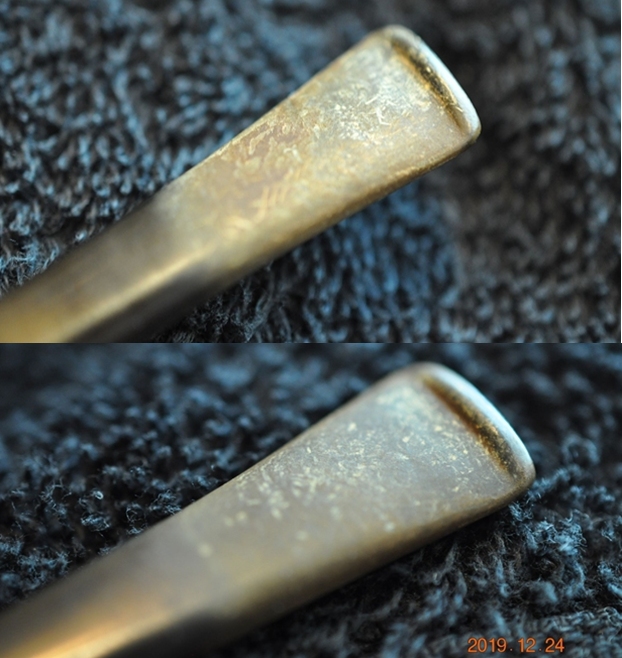
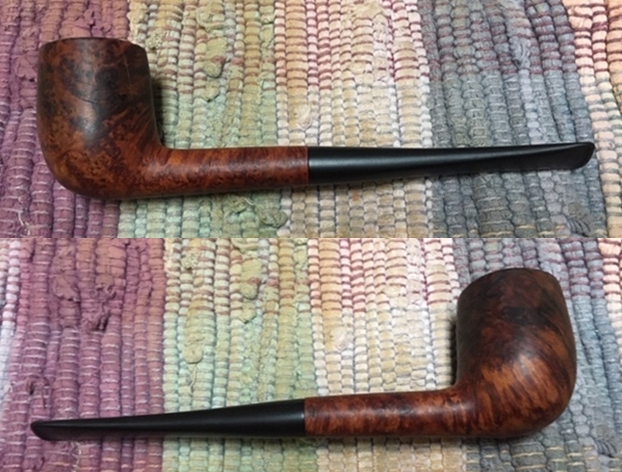
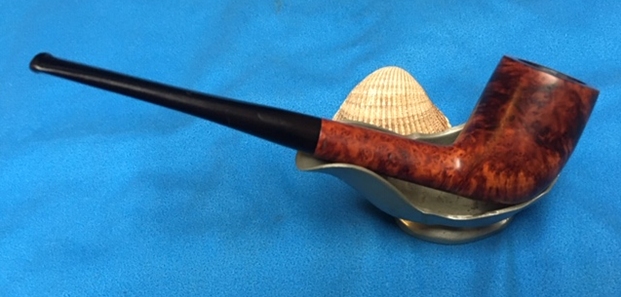
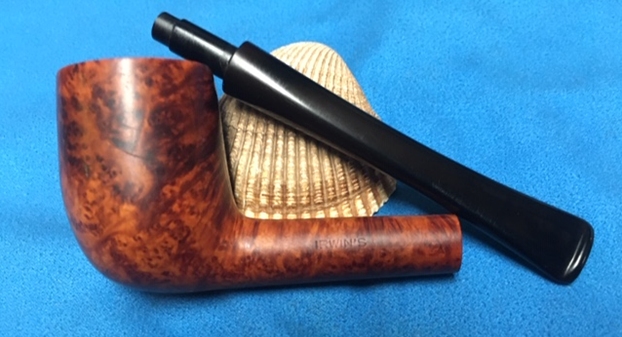
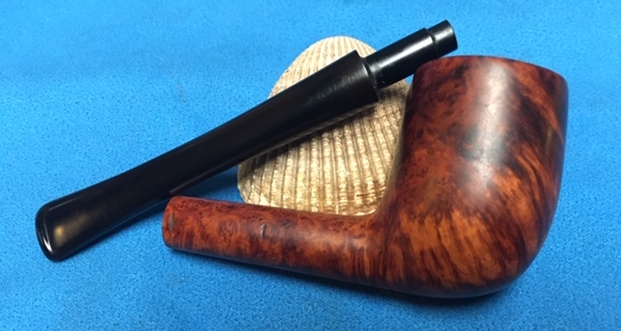
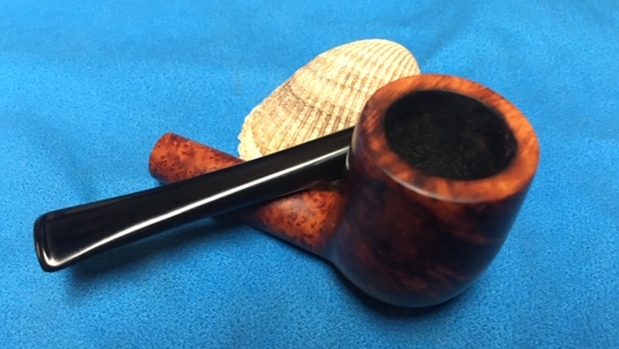
This is the second Irwin’s billiard from Bob’s Collection and this one is in far worse condition than the previous one. It is worn and tired looking. It has a thin, almost pencil shank and stem. The briar is dirty and the finish is worn off. There are some deep scratches in the left side of the bowl and the rim top looked like it had been used as a hammer. There is a thick cake and lava overflow on the rim top. It is stamped Irwin’s over London England the left side of the shank. On the right side it is stamped with the number 1. The thin tapered stem has a faint IR stamp on the top side.  It stem is oxidized, calcified and has light tooth marks and chatter on both sides near the button. Jeff took photos of the pipe to show its general condition before he did his cleanup. He took photos of the bowl and rim top to show the cake in the bowl and the lava build up on the edges of the bowl. It was thick and hard but hopefully it had protected the rim top and edges from damage. It was hard to know for sure from the photos. Jeff took photos of the sides and heel of the bowl to show the condition of the finish. You can see some beautiful grain under the grime and grit ground into the finish.  You can also see the damaged areas on the briar in the photos. He took a photo of the left side to show the deep scratches in the briar. Next these there were also vertical scratches and a fill that had fallen out. It was going to take a bit of work but it must have been a fine smoking pipe if the condition is any indication.He took photos of the stamping on both sides of the shank. The stamping was readable as you can see from the photos and read as noted above. You can also see the Circle IR stamp on the topside of the taper stem. Jeff took photos of the top and underside of the stem showing the tooth chatter, scratching and oxidation on the stem surface and wear on the edges of the button.The shape number 1 on the right side of the shank mystifies me a bit but I knew that Irwin’s was a second line for GBD. I am including what I found when I worked on the previous Irwin’s billiard in this collection.

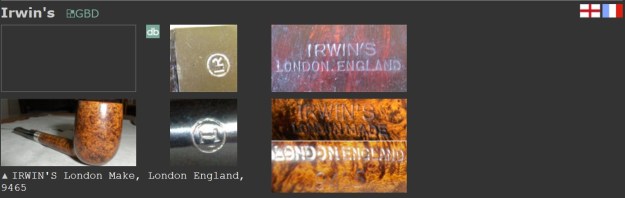
I turned to the Pipephil website (http://www.pipephil.eu/logos/en/logo-i.html). The site had very little information but it linked the brand to GBD as I had remembered. Here is a screen capture of the section.I turned to Pipedia to see if I could find more information on Irwins and there was nothing listed in the article on GBD pipes. I did find a note on the Brands and Makers page connection the brand to GBD (https://pipedia.org/wiki/Pipe_Brands_/_Makers). On that page under Irwin’s I found the following information.

GBD sub-brand / second. Also known “Irwin`s Handmade in Denmark”

Other than that there was no other information.

With over 125 pipes to clean from Bob’s estate I took a batch of them to the states with me when I visited and left them with Jeff so he could help me out. Jeff cleaned the pipes with his usual penchant for thoroughness that I really appreciate. Once he finished he shipped them back to me. This one was a real mess and I did not know what to expect when I unwrapped it from his box. He reamed it with a PipNet pipe reamer and cleaned up the reaming with a Savinelli Fitsall Pipe Knife. He scrubbed out the internals with alcohol, pipe cleaners and cotton swabs until the pipe was clean. He scrubbed the exterior of the bowl with Murphy’s Oil Soap and a tooth brush to remove the grime and grit on the briar and the lava on the rim top. The finish looks very good with good looking grain around the bowl and shank. Jeff scrubbed it with Soft Scrub and soaked it in Before & After Deoxidizer to remove the oxidation on the rubber. When the pipe arrived here in Vancouver for the second stop of its restoration tour it looked a lot better. The stem still had a lot of deep oxidation. I took photos before I started my part of the work.   I took some close up photos of the rim top and also of the stem surface. I wanted to show what cleaned bowl and rim top looked like. The rim top good but there was some darkening on the beveled inner edge of the rim. I also took close up photos of the stem to show the light tooth marks and the remaining oxidation on the stem surface.  Now on to my part of the restoration of this Irwin’s London England 1 GBD made Billiard. I decided to start by dealing with the damage to the rim top and the inner edge of the rim. I started by topping the bowl on a topping board with 220 grit sandpaper to start removing the damage to the rim top.   I used a folded piece of 220 grit sandpaper to smooth out the edge and clean up the edge to minimize the darkening.   I retopped the bowl on the topping board to further work on the outer and inner edge. Once I finished the topping I was happy with the look of the rim top and edges.  I sanded out the scratches in the left side of the bowl as shown above. I was able to remove them with the 220 grit sandpaper.I polished the briar with micromesh sanding pads – wet sanding with 1500-12000 grit pads and wiping the briar down with a damp cloth after each sanding pad. I rubbed the bowl down with Before & After Restoration Balm. I worked it into the surface of the briar with my fingertips to clean, enliven and protect it. I let the balm sit for a little while and then buffed with a cotton cloth to raise the shine. The pipe looks very good.    I set the bowl aside and turned my attention to the stem. The stem was in great condition with light tooth marks and oxidation. The circle IR stamp on the top of the stem is very faint. There was not enough depth to the stamp to put white paint into and restore. I polished the vulcanite with micromesh sanding pads – 1500-12000 grit pads. I wiped it down with a damp cloth after each sanding pad. I used Before & After Pipe Polish – both Fine and Extra Fine to further polish the stem.  I left a little oxidation around the Circle IR stamp on the top of the stem to preserve what remained. This Irwin’s London England 1 Billiard made by GBD from Bob Kerr’s estate turned out to be a great looking pipe. The mix of brown stains highlights the grain around the bowl sides, top and bottom. The finish on the pipe is in excellent condition and the contrasting stains work well with the polished vulcanite saddle stem. I put the stem back on the bowl and carefully buffed the pipe with Blue Diamond on the buffing wheel using a light touch on the briar. I gave the bowl and stem multiple coats of carnauba wax on the buffing wheel and followed that by buffing the entire pipe with a clean buffing pad. I hand buffed the pipe with a microfiber cloth to deepen the shine. The finished Irwin’s Billiard fits nicely in the hand and feels great. Give the finished pipe a look in the photos below. The dimensions of the pipe are Length: 5 ¾ inches, Height: 1 ½ inches, Outside diameter of the bowl: 1 1/8 inches, Chamber diameter: ¾ of an inch. If you are interested in carrying on Bob’s legacy with this pipe send me a message or an email. I have more to work on of various brands. Perhaps one of those will catch your attention. Thanks for reading this blog and my reflections on the pipe while I worked on it. This is an interesting estate to bring back to life.