Tag Archives: refurbishing

Reworking a John Bessai Pipe


Blog by Steve Laug

I picked this old pipe up on EBay for a very cheap price. In fact I think the postage was more than the pipe. I had read on the forums that John Bessai carved some great smoking pipes.

Pipedia has this information http://pipedia.org/index.php?title=Bessai

John Bessai was a long time pipemaker, repairman and tobacco shop owner who operated his pipe shop at the “Old Arcade” in Cleveland, Ohio. The shop was opened in approximately 1898. It was a small 2-room shop where he hand-crafted his own pipes in the back room and could work when customers were not there. Like so many other shop made brand, John Bessai’s limited production was quickly acquired by regular customers and thus his craftsmanship remained little known outside of Ohio and the Midwest. While his name is known by pipe collectors in the Midwest, his work is seldom seen elsewhere! He died before 1969. Nevertheless, John Bessai left behind a small number of classic shaped pipes; all were made on-site. They are praised worthy of collecting and reflecting skills well beyond most American pipe makers. John Bessai’s logo “JB” appeared as one letter as the “back” of the “J” and the “back” of the “B” share a single line. The logo was stamped on the stem and on the left side of the shank. His son Herb Bessai took over the business and also continued making pipes. He closed the shop in about 1978.

I was excited to have one of his pipes and looked forward to its arrival here in Canada. When it came and I opened the package I loved the shape and the feel of the pipe, but the large fills really bugged me. I cleaned up the pipe and gave it a smoke to see if I would even keep it. It smoked incredibly well and the draw was effortless. It was comfortable and lightweight so it seemed like one that I would keep. But what to do with the fills that covered the right side and the front of the bowl puzzled me. I wanted to keep the pipe clearly a Bessai pipe. I did not want to destroy what he had carved but I wanted to do something to deal with the fills.

ImageImageImageImage

So I decided to rusticate it with a leather-like rustication and then give it a contrast stain on it give it an interesting look. I used my rustication tool (the pipe and nails that I have written about in another post on the blog) to cut into the finish and rusticate the surface of the bowl. Once the bowl was rusticated to the place I liked I took it to the buffer and buffed off the rough spots and made the overall surface smooth to the touch. I then stained it with a coat of black aniline stain and flamed it to set the stain. Once it was dry I took it to the buffer and removed the black stain on the high spots with a Tripoli buffing pad. I then took it back to the desk and gave it a coat of medium brown aniline stain and flamed it. I let it dry and then buffed it with White Diamond. I then buffed the whole pipe with White Diamond to polish the stem and bowl and gave it several coats of carnauba wax. I used a light touch on the bowl as I did not want to fill the grooves with wax. ImageImageImageImage

Restemming a Wimbledon Bulldog


I have this old bulldog in a box to be repaired for quite a while. It is stamped Wimbledon 800 and from research appears to have been made by Briar Craft/Grabow. It needed a new stem as it came to me without one. I had this interesting old butterscotch coloured Lucite stem in my can of stem. It was a diamond shaped saddle stem that I fit to the bowl. I had to turn the tenon to get a fit on the bowl and then had to remove much of the Lucite material on the sides of the diamond shape and thin down the blade and button of the stem. I used my Dremel with a sanding drum to cut away most of the material on the angles and also flatten and thin the stem. I shaped the stem until the angles were correct and then finished the shaping of the stem with sandpaper. I used a medium grit emery cloth to start with as it seems to work really well in removing material and getting rid of the deep scratches and grooves left by the sanding drum. I then used 240 grit sandpaper followed by 400 and 600 wet dry sandpaper with water. I finished by polishing the stem with 1500-600 grit micromesh pads. I had to band the shank as it had a small crack near the top left edge. I fit the stem and then buffed the pipe lightly with White Diamond and then coated the stem with carnauba wax and the bowl with Halcyon II wax. I buffed it to a shine with a flannel buff.ImageImageImage

A Reborn Kaywoodie Relief Grain Billiard


I went to work on this old timer Sunday afternoon. I had picked it up on a recent trip to the US for a visit. It has an amazing blast that is deep and craggy. The pictures give a bit of an idea how beautiful the grain is but in hand it is an amazing tactile experience. It is very rugged yet the ridges are smooth to the touch. The bowl still had tobacco inside and a hard cake inside that was uneven. The rim of the bowl was coated with tars and oils that filled all the grooves of the blast to the point that they were smooth. They were also running down the front of the bowl along the outer lip of the rim. The stem was badly oxidized and over-turned so that it would not line up when tightened. The stem was amazingly bite free and only had a minimum of tooth chatter so it would be easy to work on. The finish was in good shape but was dirty. This one would take more work on the stem than the bowl. ImageImageImageImage

I cleaned out the old tobacco with a dental pick and then reamed the bowl until it was bare wood. The cake was too uneven to leave much behind. I then used pipe cleaners and cotton swabs dipped in isopropyl alcohol to clean out the shank and the inside of the bowl. To scrub down the bowl I coated it with undiluted Murphy’s Oil Soap and used a tooth brush to scrub it down. I scrubbed the rim with a brass wire tire brush. I wiped the bowl down to remove the soap and then reapplied it to the rim and continued scrubbing until the grooves of the blast were clean and visible. I also used a micromesh pad 2400 grit to polish the metal band on the shank and the face of the metal tenon. Once that was finished I set the bowl aside and turned my attention to the stem.

I put the stem on the pipe and buffed it with Tripoli to remove the oxidation that would easily come off. Then I heated the 4 hole KW stinger with my heat gun and realigned the overturned stem. Once it cooled I took it back to the worktable to sand on the stem. I used 240 grit sandpaper to break up the oxidation and bring the surface back to a matter black. I was careful around the inserted KW emblem as they are fairly thin. I then used 400 and 600 grit wet dry sandpaper to finish the initial cleaning. Once the stem is fairly smooth, no tooth chatter, no more oxidation then I use the regimen of micromesh pads to sand it to a polished look. This time I added three new grits of pad to the process. I normally have used 1500-6000. This time I added 7000, 8000 and 12000 to the mix and the shine is remarkable. I finished by buffing it quickly and lightly with White Diamond and then gave the stem several coats of carnauba and the bowl several coats of Halcyon II Wax. ImageImageImageImage

This little Dr. Plumb Bulldog is a beauty


Blog by Steve Laug

This little pipe came to me via a friend in Germany. I finished cleaning up what has turned out to be a very nice squat straight bulldog that is stamped Dr. Plumb Extra on one side and 13 D.R.G.M. on the other. I have been familiar with Dr. Plumb pipes for quite a while and love the fact that they were a GBD seconds line. In fact they often share the same numbering system for shapes. This little guy had some serious issues when I took it under my wing. It needed a bit of work. The bowl was scorched along the front outer edge of the rim as it looked to have been lit with a torch lighter. The finish was shot and not only faded and washed out but also pitted and darkened along the bowl sides. The stem was oxidized and a bit chewed on the end. The stinger apparatus was dark and filled with tars and hardened tobacco oils.

My friend had started removing the burn mark and the bowl angles were slightly out or line. I finished removing the scorched briar and reworked the angles on all the outer edges of the bowl to keep the perspective and rim correct. I gave a ream and clean to remove any of the remaining cake and the sanding dust that had become embedded in the cracks in the cake. I put the bowl in the alcohol bath and then worked on the stem.

The pipe had the strangest stinger contraption I have ever seen that extends into the bottom of the bowl. It almost looks like a motorcycle exhaust pipe. I have inserted a few pictures of the stinger and fit in the bowl. I removed the stinger and placed in a small bowl of alcohol to soak. The stem was badly oxidized – not the brown oxidation that sat on the surface but a deep oxidation that left the stem a deep brown under the surface. I had been soaking the stem in Oxyclean while I worked on the burn on the rim of the bowl so that when I removed it from the water the oxidation had been brought to the surface. I used my buffer to remove the surface oxidation that had softened. I use Tripoli at this stage and work the stem carefully on the buffer to avoid rounding the shoulders on the stem. Then I sanded it with 240 grit sandpaper until it was matte black and clean. I then sanded it with 400 and 600 grit wet dry sandpaper and water to remove the scratches. I finished the stem by sanding with the micromesh pads 1500-6000 grit until the stem had a sheen to it. ImageImage

I then took the bowl out of the alcohol bath and dried it off. I sanded it with the 1800-2400 grit micromesh pads until the surface was free of scratches and grooves and was smooth. Then I refinished it with an oxblood aniline stain to bring out the red highlights in the briar. I put the stem back on the pipe and took it to the buffer to buff with White Diamond. Once finished I gave the whole pipe several coats of carnauba wax. ImageImageImage

Restoring an old cob on a lark


This morning before I finished my coffee I was going through my box of pipes that have come in for refurbishing and came across this old cob. Now usually I don’t rework cobs. If they are in bad shape then I just pitch them in the bin. There is no need to repair them. The stems usually are junk, the shank is not reusable and the bowls are generally not worth cleaning. But this one had an interesting look to it and I kind of thought, what the heck let’s see what I can do with it just for fun.ImageImage

I topped the bowl to take care of the piece that was missing out of the edge and also to clean off the burn. I sanded the outside of the bowl and buffed it with White Diamond to smooth the surface and give it a shine. I cleaned out the tobacco in the bowl and scraped it clean with a dental pick. I worked over the shank and the inside of the stem with many pipe cleaners, cotton swabs and then a dental pick on the slot. I used isopropyl to clean the stem. I then sanded the tooth marks and tooth chatter off the stem. I polished it with a very light touch on the buffer as it is plastic and a good push will melt it! I then polished the stem with micromesh pads. Now I have a serviceable cob for my afternoon smoke! Not bad for about a 30 minute makeover! ImageImage

The stem was stuck and I was able to work it free of the stem just before I snapped this picture and decided to blog on it! When I got it out I found that the tenon on it was not wide open and thin – set up for a filter. This one was slotted and opened in the shape of a little oval. I have not seen one that is not wide open to receive a Medico Filter so I am figuring that this must be an old timer of a cob. The shank also has not been drilled to receive a filter – it is only drilled far enough to receive the tenon and then it reduces to the size of the airway in a regular briar. The bowl has a faded tag on the bottom that is unreadable. There was even a bit of unsmoked tobacco in it. Anyway the long and short of it was I decided to have a bit of mercy on this old cob and give it a once over!

A surprise awaited me when I opened the package and looked at this BBB Boldergrain Canadian


Blog by Steve Laug

When I saw this one show up on EBay I had to have it. Multiple reasons made it one that I wanted to own. The first is that I love the older BBB pipes. I like the way they look and smoke. I like the classic shapes and the old patinas that grace them. Then of course for me was the fact that in my reading and buying estates I had not come across this line of BBB pipes. It was new to me. So I placed a bid on it and won it – it turns out that I was the only bidder so no surprise really.

The first series of four pictures show the pipe as it appeared on EBay. The finish looked to be very worn, the stem oxidized but it did look promising to me. It looked like it would need a bit of work to bring it back to life. The stain would probably have to be redone. The stem cleaned and polished and who knows what the inside would be like. The second picture gave me a bit of hope that maybe the pictures were not quite the whole story. The final picture of the bowl looked like it may have been over reamed and I wondered if there was not a crack in the bowl. But I would know more when it arrived.

Image

ImageImageImage

When the box arrived from England I opened it to see what would await me in terms of cleanup and restoration. You can imagine my expectations and what went through my mind as I cut the tape and the wrapping paper to open the box. When I took the bubble wrap off of the pipe and stem I was amazed at the pipe. It did not even look like the one in the pictures above. The three pictures below show the pipe just after I took it out of the box. The stem was slightly oxidized but the finish was actually not too bad at all. It was nothing that a good buff with some carnauba could not take care of.

ImageImageImage

The next series of photos show what the pipe looked like once it was buffed and the stem polished and the oxidation removed. This probably took the least amount of effort to clean of any of my EBay purchases. Even the inside was very clean. The shank and bowl were clean. I ran a few pipe cleaners through to check it out and they came out spotless. There was no old tobacco smell to the pipe at all – it smelled new. I loaded it up and smoked some older Three Nuns that I had around and enjoyed what appeared to be a very clean pipe. The first smoke was clean and flavourful with no hints of ghosts or residual flavours that I have come to expect from old estate pipes. This one was like smoking a well broken in pipe that had been thoroughly cleansed and exorcised of previous ghosts. It has since become a favourite of mine!

ImageImage

Reflections of an amateur refurbisher


This week after seeing George Dibos’(of Precision Pipe Repair) three part post on cutting a stem from rod stock that he shared on Smokers Forums I have to say that I am left to confess that I am truly an amateur refurbisher. I am not downplaying the work I do or the pleasure I get out of my craft but only wish to acknowledge that there are true masters of the craft. George is truly a master at what he does. His careful attention to minute details of repairing pipes makes his refurbishments some of the best in the business. He is able to replicate stems that are incredibly matched to the originals. I am in no way negating the value of doing the work ourselves but it is acknowledging those who are leading the craft and creating beautiful work. I stand in awe of him and others like him who make this work look so easy. I must say that in comparison to them I feel a lot like a bush mechanic in the company of truly gifted mechanics.

I have no trouble acknowledging the fundamental difference between the work I do and what these gifted individuals in the pipe restoration/repair community do. It is truly no different than recognizing the difference between artisans who carve pipes as a livelihood and those who do it as a spare time hobby. Both are artists in their own right. To a varying degree there is a difference in the skill level, if not by natural gifting, certainly by sheer volume of practice. The same is true with pipe refurbishment. Those who have well developed shops, days focused on the process of pipe refurbishment, and skill and gifts in using the tools that they have will certainly have more carefully honed skills than the armchair or weekend hobbyist. This in no way makes light of either one. Both are integral parts of the hobby we enjoy.

I don’t have the tools, the space nor the skill set to do the kind of work that George and others like him do. I will probably never be the kind of individual who does what they do because, bottom line, to me it is a hobby and something I do for relaxation and not a vocation. I use what I have to do what I can and invent what I need as I go along. Part of the joy of the hobby for me is not just doing the work in the best way I can, but always learning new and better ways of doing things. I am a committed lifelong learner who has a hungry mind that is never satisfied with what I know and is always looking for new ways and new information. I love the creative process of refurbishment in that I can continually be challenged to work “magic” on new pieces that come across my desk. But another important part of the joy for me is the task that I have taken on willingly and freely to pass on what I learn to others in our hobby. It is a joy to see others take what I have learned and surpass me in their skill and expertise. To learn tricks from those who have learned from me is part of why I started the reborn pipes blog. I don’t just want to share what I have learned, I also want others to pass on what they have learned and their own refinements on the processes they experiment with. That is why I invite others like Al, Chuck, Fred, Rob, Ed, Bryan and more who share the love of reclaiming old briar and giving it new life.

For me the blog is a way we all can continue to learn from one another, share common ideas and issues and seek to understand how to address them as we work on the pipes on our desks. We can write about what we do and have others try it, refine it and pass on their knowledge. Thus, we create a living “school” in which to continue to develop our craft. It is a place for those of us who are amateur refurbishers, who love to tinker, love the process and the pipe, to continue to learn from each other. Lately I have been using Skype, an online web communication tool, to meet with individuals and work on pipes together. It is quite amazing to talk and work real time with another person on a pipe that they have on their work bench. It works with video and audio so that you can literally look at the pipes you are talking about. Worst case scenario Skype has an instant messaging component that you can type communications between several who are working on pipes. In my work I have used it with groups to have virtual meetings and can see that working really well to have a shop time gathering. I have written an article on one such experience and Part 1 of it was printed in the August issue of Pipe Smoker Unleashed Magazine – http://www.pipesmokerunleashed.com/magazine/august2012.html and is on the blog as a post. The second half of the article will be in the September issue and will soon follow on the blog. Skype provides a real time tool that we can also use to consult with each other on pipe repairs before and as we do them. This is a venue for us to use that is rich with possibilities. I am aware that others use “You Tube” and make videos of their work, but I am reticent to venture into that arena. I don’t know why, as I am sure it is helpful, but it just is not something I am interested in doing. Others may want to do videos and I can easily add them to the blog or they can start their own blogs.

As I close these reflections I have to say that when I look ahead at the future of pipe restoration and refurbishment I am excited to think of all the possibilities and all that there is yet to learn from one another. I also remain in awe of the calibre of work and craftsmanship of those like George. I delight to see the product of their skills and observe so that I can learn as much as I can in the process from them. I will always have to personalize their methods to work on my smaller scale of refurbishing but that too is part of the process I enjoy. I tip my hat to the masters and know that I will probably not live long enough to even come close to that kind of workmanship. However, I take my place proudly in the company of those who tinker at refurbishing and share their love of all things pipes with one another. My plan for the near future is quite simple, I will continue in my tinkering until I am no longer able. Why? Because it gives me pleasure!

Image

GBD Tapestry 9438 Re-boot


Earlier this year I refurbished a GBD 9438 in Tapestry finish and vowed never to touch a chair-leg stem again. That pipe proved to be a wonderful smoker and is a frequently used pipe in my rotation. A few weeks ago I found the identical pipe on Ebay and won the auction. This second 9438 was in a little better shape and the stem was not nearly as oxidized. The Rondell appeared to be damaged.

The bowl was in terrific shape, with very crisp nomenclature. There is an “E” stamp just at the end of the stem. If anyone has an insight as to what that means, please comment. The bowl was lightly reamed, then soaked with Everclear and sea salt. After the bowl was soaked, I buffed the briar with some Tripoli, White Diamond and finally a few coats of Carnuba wax. The briar is in really nice shape and the polished top is unmarred.

My attention then went to the stem. From the Ebay picture, I thought a piece of the brass rondell was missing. But that proved to be only grime. These rondells now appear to be unattainable, so I was pleased to discover this. The stem was soaked in an oxyclean solution. It was then cleaned with 2000 grit wet paper, than the last few grades of micromesh. After sanding, I buffed the stem with white diamond and then plastic polish.

I’m very pleased with the finished pipe. The briar a bit nicer than my first 9438 Tapestry. I bought it with the intention of giving to a family member as a Christmas gift, but now.….

Perspective of the pictures makes it appear the pipes are different sizes. However, they are identical in size. The tenon on the recent addition is curiously a bit longer than my first 9438.

Before:

The fisnished pipe and some shots with the sister 9438 Tapestry:

Al Jones aka “Upshallfan”

Cleaning Up Estate Meerschaums – Fred Bass


Blog by Fred Bass

Fred Bass, who is the moderator of the All Things Meerschaum Group on Smokers Forums, wrote this article and has given permission to have it posted on rebornpipes. Thanks to Fred for his continued work in educating many of us to the joy and delight of the meerschaum pipe.

There are an abundance of ideas about how to clean up used meerschaum pipes and return them to active service.  Some of these ideas are good while others can generate problems of greater magnitude than those you sought to remedy. I don’t have all the answers and my repair skills are limited by spartan equipment and my lack of finesse with the tools that I do have. Just the same, many of the meerschaums in my collection were smoked by others before I acquired them and cleaned them up, using simple methods to get years of further use from these old soldiers. I’ve written essays and articles on the pleasures of smoking the seasoned meerschaums I’ve acquired, and which I continue to enjoy smoking. This can be done by anyone who cares to invest a bit of time and patience in acquiring vintage meerschaums to resurrect, and cleaning them up so that they can provide you with years of smoking pleasures as well. I don’t claim to be an expert or an artisan, but using the scraps of knowledge I’ve acquired over the years, as a student and devotee of these pipes and their cultures, has been a benefit to me and it is my pleasure to share what I’ve learned. These are things that I would like to pass along, not as the perfect example that should be followed, since there’s already plenty of that from all of the persona in the pipe community, but as something that I can contribute to the body of available knowledge, while not perpetuating myths and hearsay that are commonly held to be fact. The opinions and preferences of meerschaum pipe smoker are as numerous and diverse as the people who smoke them, and I have no intention to slight or refute them. If you read something in this essay that you think might be useful to you, then I will have achieved my intent to provide you with viable information.

Image
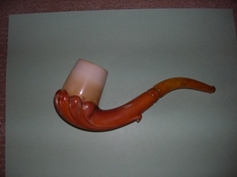
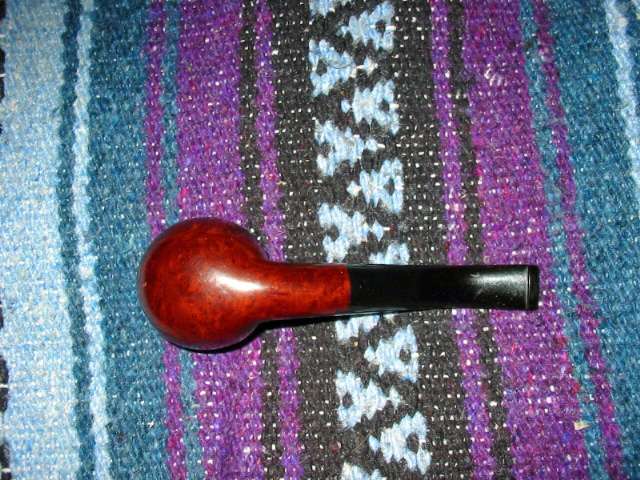
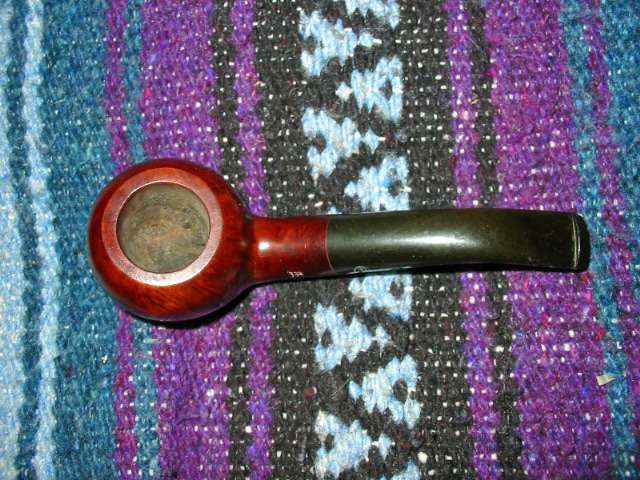
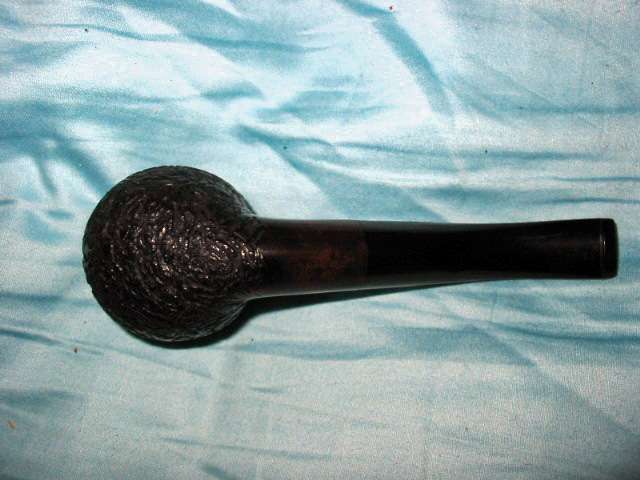
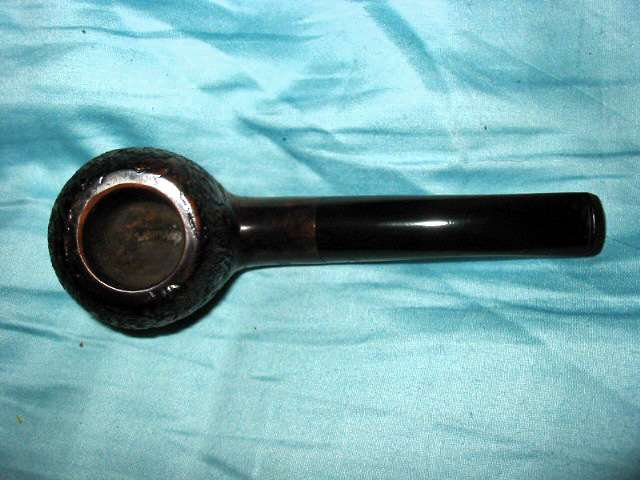
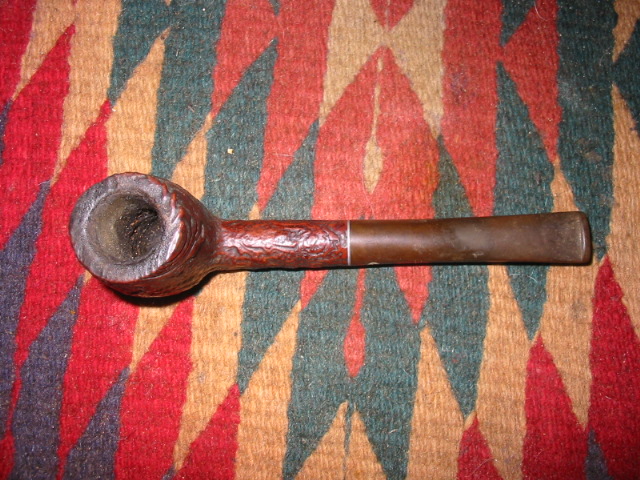
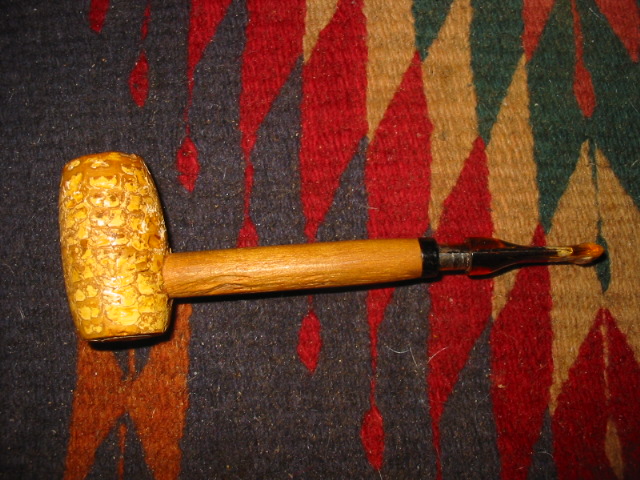
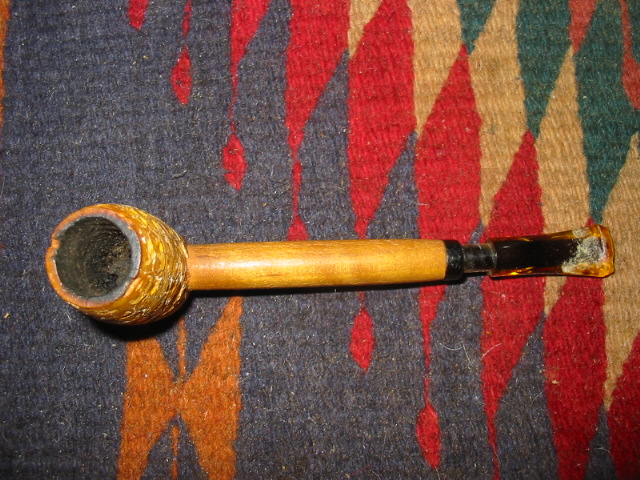
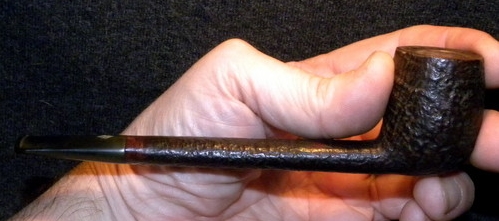
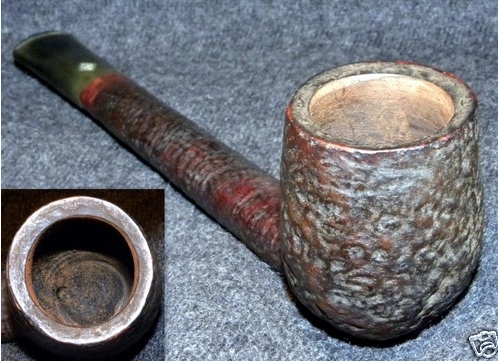
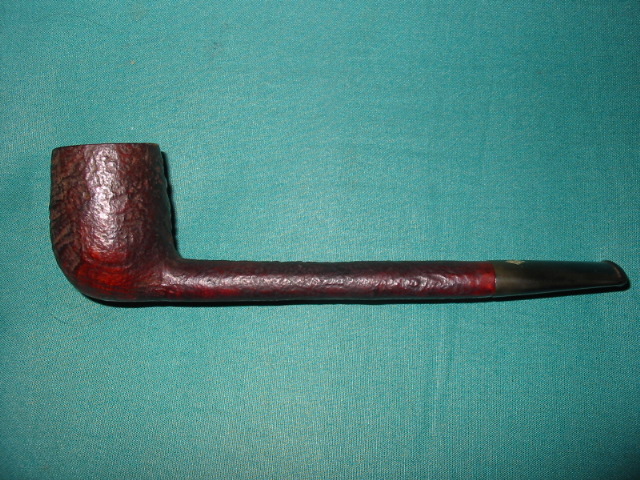
Large Bent with scalloped underside, Amber mouthpiece, 7″ overall length

I will discuss things to consider prior to purchase of a vintage pipe, which means a pipe that is less than 100 years old, assuming that you don’t already have a pipe that you want to clean up; the basics of removing the debris of past use; routine cleaning to maintain a pipe that will smoke with clarity; and the choices you will need to make about the general appearance of the pipe. I have my own opinions, like everyone else, which you will find throughout this essay, but I will not tell you something that is outside of my experience without giving notice that it either speculation or something someone else has discovered by trial and error. If this sounds like it is something that is worth your time to read, then this is for you. Hopefully, you will find these old veterans of past fires to be as worthwhile as they are to me.

When considering the purchase of a used estate pipe or fixing up a meerschaum that you already have, it is important to get an idea of how much it will cost to fix the pipe, prior to a purchase and/or investing the cash, time and materials that will be required before it can be smoked again. Any good discussion about cleaning up estate pipes should take the value of the pipe and the cost of getting it back in service into consideration, as the two issues are linked to each other, unless you plan to use it for display in its’ current condition. It is best to be able to examine the pipe yourself, which is not always possible since many estate pipes are sold in online auctions.

Image
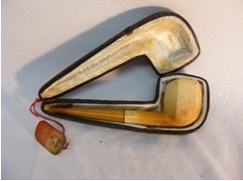
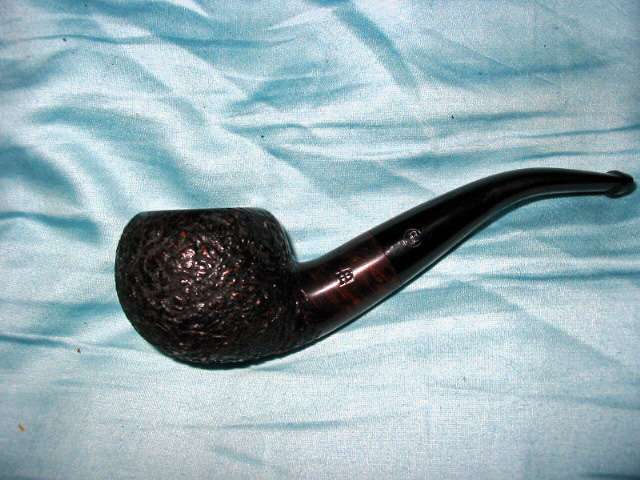
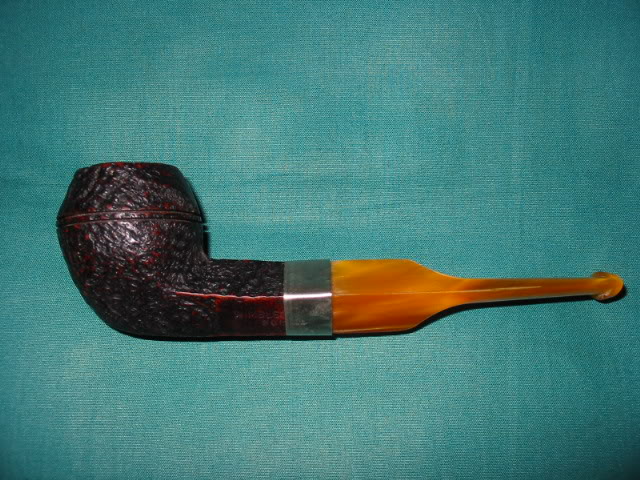
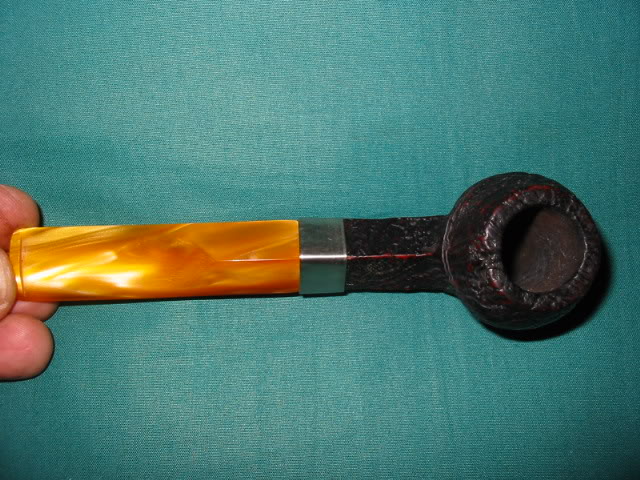
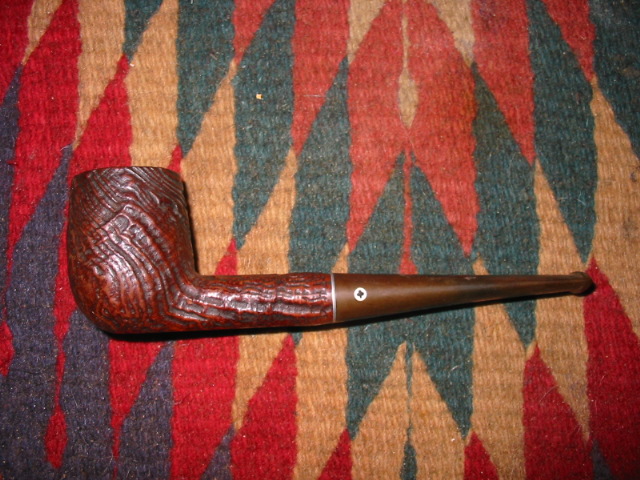
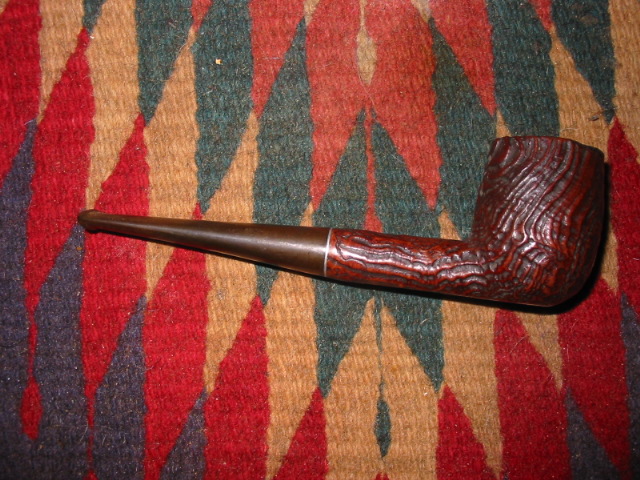
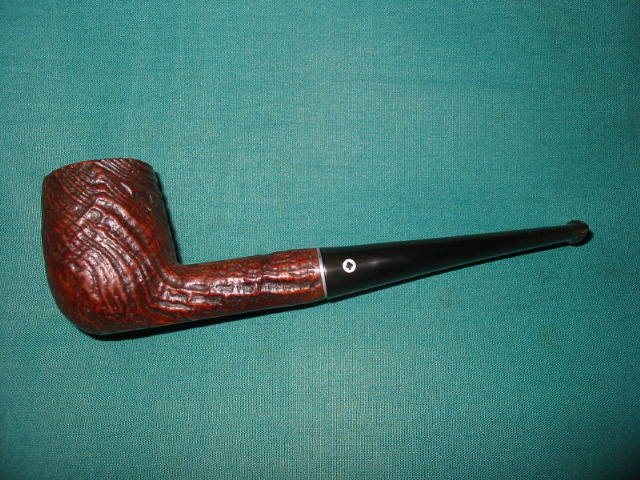
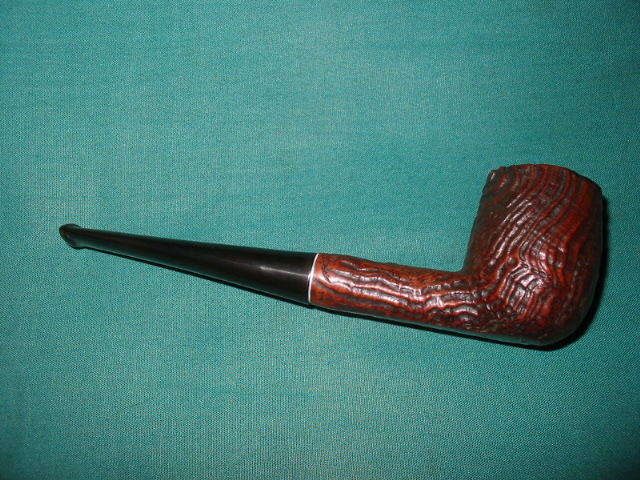
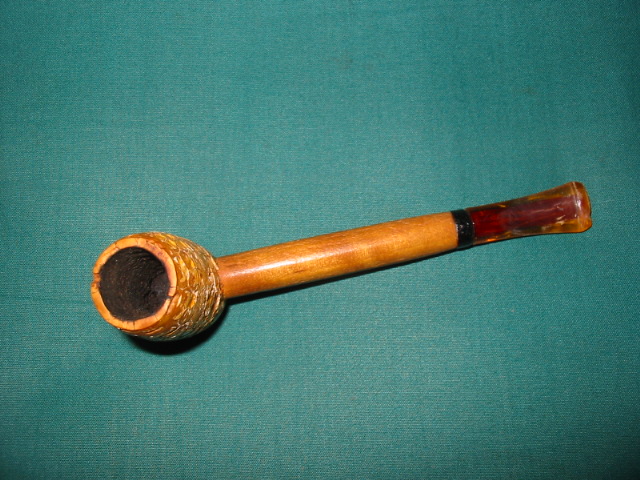
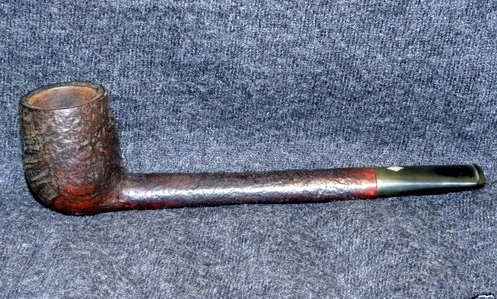
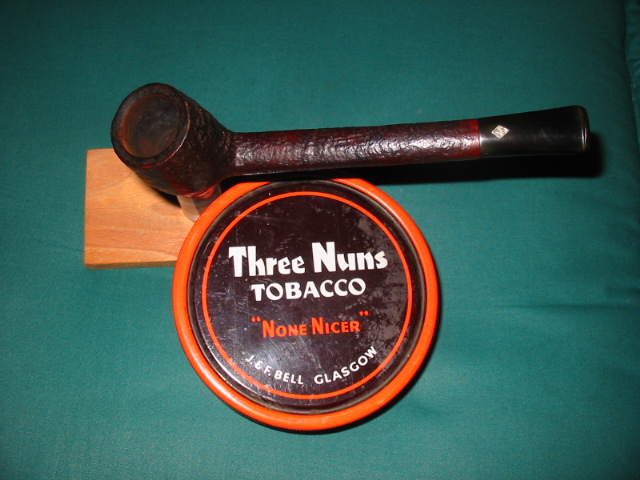
Koncak Andreas Bauer Paneled Billiard

First, determine if there are any cracks, dings or break lines in the block, because if the block isn’t sound, then there is no reason to consider the pipe as being a candidate for future use. Online sellers should be able to provide this information, even if they don’t know a whit about pipes and have poor skills at photography. Reputable sellers are happy to answer your questions. Repairs to damaged block meerschaum are difficult, costly and generally not worth the investment. The presence of a metal band on the distal portion of the shank, where it meets the bit, may be there because of a repair, which is not a good sign for continued block integrity if you intend to smoke the pipe. Metal bands that adorn the pipe for effect don’t present this problem, but it is wise to consider how easy it will be to maintain a bright finish on them without creating problems for the block. Personally, I prefer to avoid having to clean metal on a pipe, especially around the bowl’s plateau, or to have to deal with the metal getting hot while discoloring the block during the smoke.  Another aspect of the condition of the block is how much it has been smoked. Yes, well developed coloration is attractive but the more use a meerschaum has provided, the greater the possibility of diminished strength in the block’s integrity, especially in the older pipes, which are prone to being brittle. This is more of a consideration for Turkish block than it is for African block, because Turkish block is softer and hasn’t been strengthened by a calcification process, commonly used by factories that produced African block meerschaum pipes. That rich patina might also be there because the previous owner smoked a cheap aromatic blend and never spent a cent on a pipe cleaner, so you could be spending years trying to exorcise the ghosts from the pipe. I’ve been fortunate in that most of the estate pipes I’ve purchased were smoked by someone who enjoyed virginia blends, but the few that I discovered had been used to burn cheap aromatics were a real trial to clean up. Remember, you can’t use a retort or the salt-alcohol treatment on a meerschaum pipe. I know a few meerschaum pipe smokers that have drilled out the chamber and shank on pipes that have seen decades of abuse and neglect, but I don’t have the skills to do this. Others have used denatured alcohol as a cleaner but I prefer to rely on the FDA standards that Everclear must meet as a food grade solvent. The alcohol concentration is 95% with Everclear and I don’ need to be concerned about what the remaining 5% has in it, which is likely water. You should scrape the cake down to the block and clean the shank with Everclear, a shank brush and plenty of pipe cleaners before the first smoke, but you will need to repeat the cleaning between every smoke until the pipe starts smoking with clarity. Once the block has flushed the debris left by the last guy from burning his blends in it, the pipe will smoke well and it is up to you to keep it clean if you want it to remain smoking with clarity. After you scrape the cake out of the bowl’s chamber, then use a doubled over pipe cleaner with Everclear on it to get more of it out, and a paper towel to ream it. I don’t recommend using a pipe reamer because the force that is required to use one might crack the block. The shank brush with Everclear will help you clean the pipe’s draft, and it might take more than one to do so because a fouled draft can destroy a good number of them before the job is done. When the pipe cleaners start coming back white, then you will know that the pipe is clean. Smoking the pipe will cause more of the trash to migrate out of the block, so be prepared to use a lot more pipe cleaners, shank brushes and Everclear. Some of the abused estate pipes I’ve cleaned up have made a pint of Everclear look like engine sludge with the first cleaning. This isn’t the fun part of cleaning these old pipes up, so it deserves your consideration prior to a purchase or a decision to clean up that old meerschaum that’s been in the family for generations.

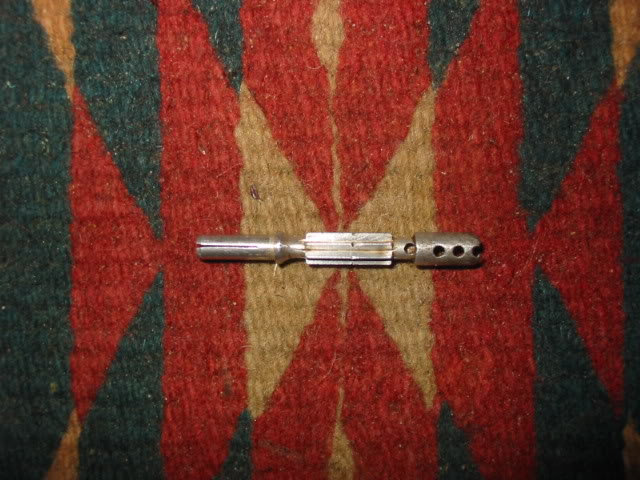
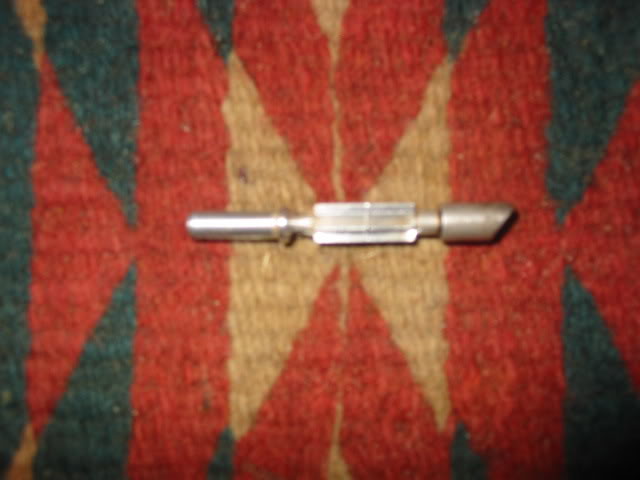
The next thing to consider is the bit and the bit-to-shank connector. I prefer derlin push/pull connectors and bone screws.

Image

The Delrin connectors are easily replaced, providing that the threads in the bit and the shank are intact. The bone screw connectors in some of my pipes have lasted for 35 years or more. The downside to them is that they must be kept clean or they can foul the smoke and they can require advance skills in the use of a pipe cleaner. I’ve never been able to appreciate the taste that metal connectors impart to the smoke, so I avoid them. If the bit and the connector need replacing, then either I’ll do it or send it to a pipe repairman if it requires more skills than I have in order to fix them.  In the past, I have sanded and refinished bit that were badly oxidized. These days, after discovering that it involved a lot of work, I prefer to just have them replaced if they are in poor condition. There are guys that are happy to work for days on restoring a bit. I’m not one of them. If I can’t clean the bit up using Everclear, a shank brush, pipe cleaners and bit polish, then I send it to Floyd Norwood. If the bit is light colored so that the lumen of the draft is visible, then I’ll use hydrogen peroxide to help remove old stains in the plastic, which is a timely process because I use a shank brush to scrub them in my routine cleaning and do not let the bits soak in the hydrogen peroxide. Get used to the fact that everything about meerschaum pipes is a slow process. If the pipe has an amber bit with chunks missing, I will have it replaced with and a new acrylic bit. Amber is expensive and many artisans will not work with it.  Amber is fragile and the ‘cultured amber’, which is made from the dust and chips left over from cutting and polishing the raw material, is the most fragile. I use regular pipe cleaners, Everclear and bit polish on them. Shank brushes and bristled pipe cleaners should never be used to clean amber bits, as they are brittle and break easily.

The general appearance and condition of the block’s exterior must be taken into account. Dirt and grime on the block can be removed by using a clean, white cotton cloth, moistened with Everclear. In a recent reply to my e-mail inquiry to S.M.S. Meerschaums about re-waxing meerschaums, Beth Sermet replied as follows:

Rewaxing a Block Meerschaum
Preparation: 100% beeswax cakes — confectionery quality
Old towel or cloth — to prevent hot wax from dripping or spattering onto other surfaces
Hair dryer — multiple temperature and fan settings
Cotton swabs — for brushing the melted beeswax
Polishing cloth — soft white terry cloth towel or white flannel

STEP 1: Use a hair dryer set to hot temperature setting, but low air speed. Heat the beeswax cake to consistency of lip balm. Hold the pipe by the stem. Smear onto the bowl directly from the beeswax cake like lipstick. Do not touch the bowl with your fingers during any of the steps.

STEP 2: Continue to heat the section of the surface of the bowl until the wax becomes liquid. Use the cotton swab like a brush to paint the area with a coating of wax. Push (the) molten wax into crevices and hard to access areas. The swab may unravel as it absorbs excess wax. Coat the entire bowl surface evenly. CAUTION: Try to prevent wax from dripping into the tobacco hole since it will leave a bitter taste.

STEP 3: Heat the bowl again to allow complete absorption of the wax. Set the pipe down on the towel to cool.

STEP 4: After the bowl cools to room temperature. Buff the surface to a high gloss using a towel first then the flannel cloth for the final buffing. If the surface is tacky, too much wax is on the surface. Heat this area again and remove excess wax with a cotton swab and buff again.

STEP 5: Repeat when the surface becomes soiled or dull. Excessive waxing may cause too much wax accumulation (tacky surface and dripping).

Image
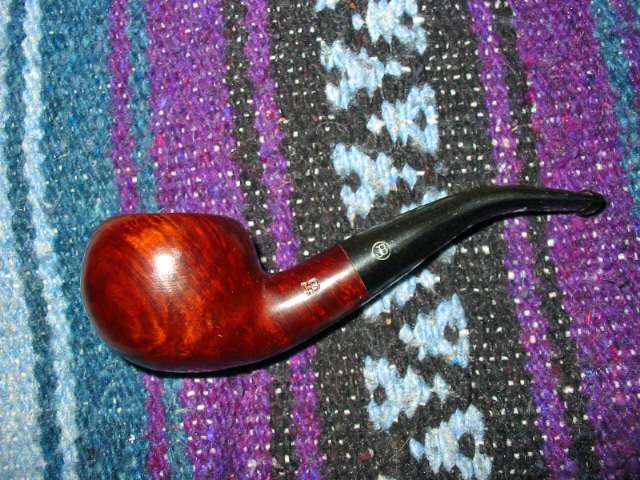
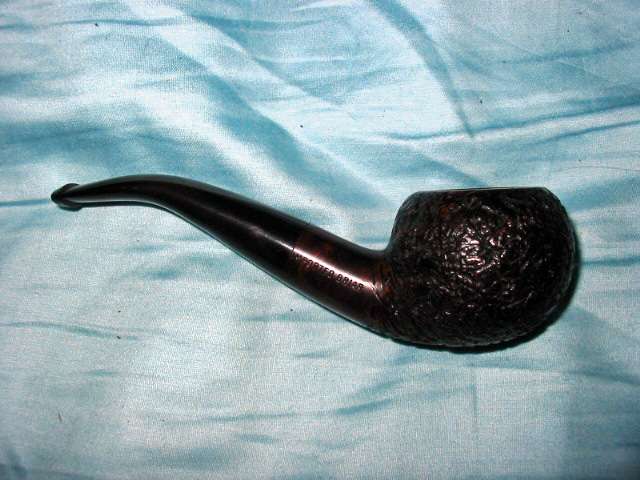
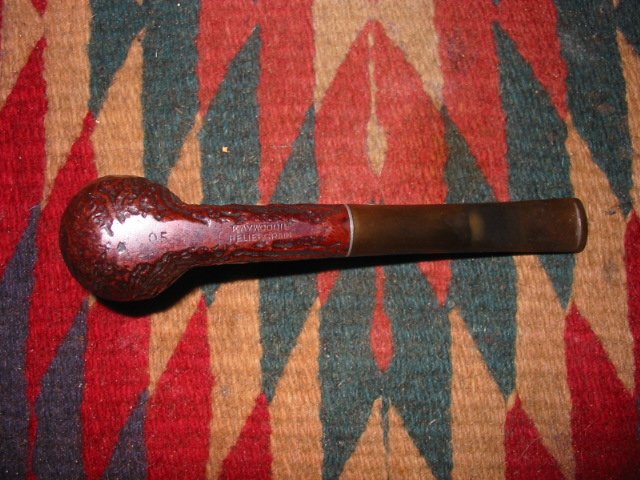
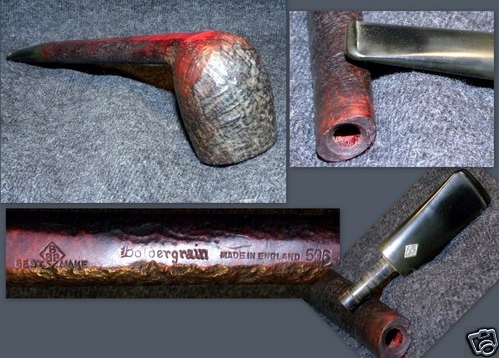
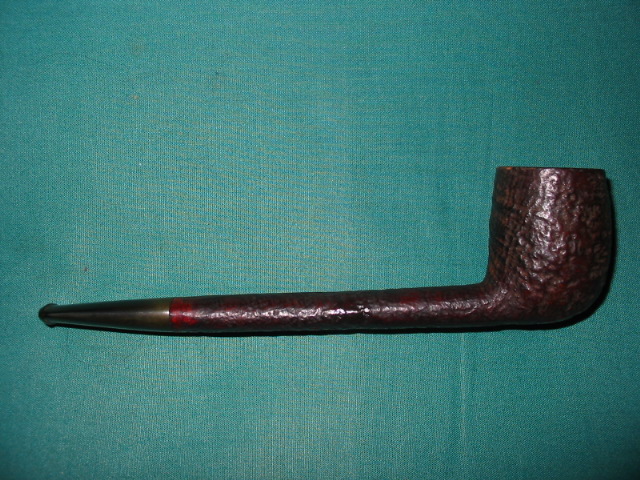
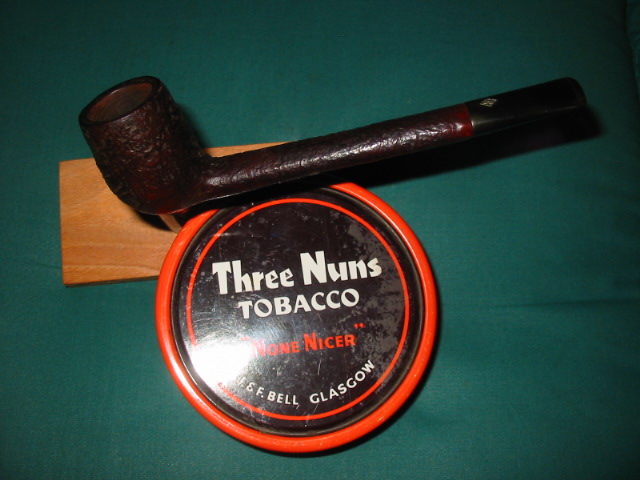
Peterson African Block Meerschaum Prince Estate Pipe Made in Great Britain

In the past, I’ve used aggressive methods to clean up the exterior of the pipe. These days, I try to preserve as much patina as I can, which means that I wax the meerschaum while smoking it, using white beeswax, instead of resorting to the heroic measures of the artisan. Sanding the block to remove scratches and stains will change the shape of the pipe and it could be years before the patina returns, anytime you disturb the color progression. If there is a buildup of cake on the scorched plateau of the bowl, then scrape the carbon off as best you can without scoring or exposing the surface of the block. The beeswax will serve to make the black color soften and become more diffuse in time with continued waxing and smoking of the pipe. This is a more conservative approach but I’ve found it to be preferable to waiting years for the coloration to return to the pipe. These pipes will often take a lot of beeswax because they likely have not been waxed since they received it from the carver, which will produce rapid onset of coloration in pipes that have been heavily smoked by others. It is like having the benefits of a professional smoker- a service that the wealthy and nobles have paid for in the past. Here is a bit of history that Ben Rapaport ran across while digging thru the stacks of resources.

There is no doubt that the industry of colouring meerschaum pipes was, and probably is still, thriving in Paris. I remember, when living in one of the streets surrounding the Palais-Royal, to have seen opposite the house in which I lived a man, with his window open, smoking all day long and all the year round curiously elaborated meerschaum pipes. I met him one day, and could not help asking him how he could resist such inhalation of nicotine. He told me he was a professional ‘meerschaum colourer’ for the account of Madame Hubert, an extensive pipe-dealer in the neighborhood. He was paid a yearly salary of 1500 francs, and supplied gratis with tobacco. (“Very Like ‘Smoke,” Notes and Queries: A Medium of Inter-Communication for Literary Men, Readers, Etc., Fourth Series.–Volume Third, June 12, 1869, 567)   

These days, I’m more selective about the pipes I take in to clean up. If they look like they are going to be a real trial, then I pass on them. There are guys that enjoy working long hours to salvage the pipes that have been abused for decades.  I’ve discovered that I’m simply not one of them. The additional cash that I might spend on another pipe that is in better condition is worth it to me. I know my limitations. Some of you already know that dwelling in the realms of the White Goddess can be devastating to your bank account. In many ways, the estate meerschaum pipe market offers some degree of respite as long as you think about the hidden costs, such as what it takes to clean these survivors up, and/or repair them. In The Thrill of the Hunt (PipesMagazine.com, 10/19 2010): http://pipesmagazine.com/blog/put-that-in-your-pipe/the-thrill-of-the-hunt-a-guide-to-estate-meerschaums/, I wrote about some of the realities of this market and expanded on it in Time Travelers (PipesMagazine.com, 6/2012). It pays to do the homework before playing with the past glories of this seductive mistress because the rewards can be great.  Whether you have found grandfather’s old meerschaum, while rummaging thru the attic, or have acquired the vintage pipe of your dreams from an auction, knowing that returning these old veterans of past fires to active duty will take time is just another of the many lessons in delayed gratification that the White Goddess teaches. Come with me and discover for yourself why these pipes have been so highly prized for the past 300+ years. Care to join me in a smoke?

Fred Bass founded the All Things Meerschaum Group on October 14, 2008 for anyone interested in meerschaum pipes, carvers, culture & history, and the care & maintenance of meerschaums. If you have an interest in, or are curious about the meerschaum experience, you can contact Fred at FBass16117@aol.com or on Smoker’s Forums, http://www.smokersforums.co.uk/

Restemmed Red Point Capped Bent


I picked up this Red Point Old Briar Capped Pipe bowl on Ebay awhile ago. It did not have a stem but seemed to have promising grain. When it came in the mail I cleaned it up a bit and then worked on a stem for it. I decided to use a faux p-lip stem that has the airhole on the end of the stem rather than on the top. I fit the tenon to the shank – that was a bit of a trick as the shank is like a Pete shank in that it narrows/tapers as it descends toward the bowl. I finished fitting and polishing the stem.

Here are some pictures of the bowl when it came. From the second photo you can see that it was barely smoked. It was very clean and needed a few pipe cleaners run through it. The exterior needed to be wiped down with a little oil soap to clean away the grime – I always rub it on undiluted (no water) and quickly wipe it off. I do not leave it to sit. I also polished the silver work on the shank and the cap.

ImageImage

I heated the stem with my heat gun and bent it slightly and took the next three pictures. I have learned that pictures give the true story in terms of bend and overall look of the pipe in a way that is clearer than the naked eye. From the photos I decided that the bend need to be a bit more dramatic and match the curve of the bottom of the bowl and shank. I reheated it and used the rounded edge of my work table to get a proper bend in it.

ImageImageImage

Here is the final product – a proper bend with a curve that matches the bottom of the bowl and shank. The look is like an elongated S. Once it was finished I cooled the stem for a bit and then loaded it with Blue Mountain and smoked the inaugural bowl. Since then I have smoked it several times. It delivers a great smoke.

Image