Blog by Steve Laug
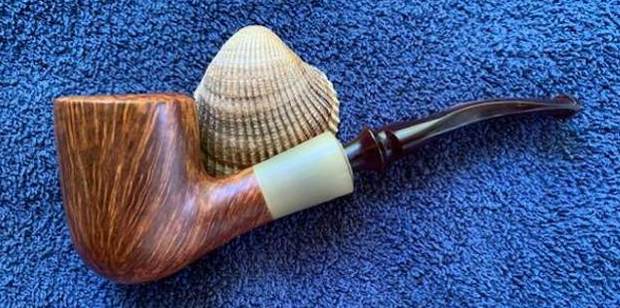
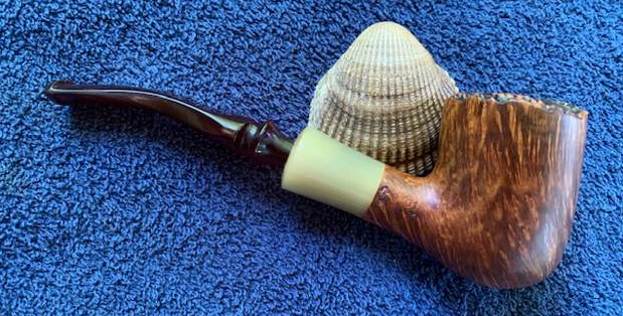
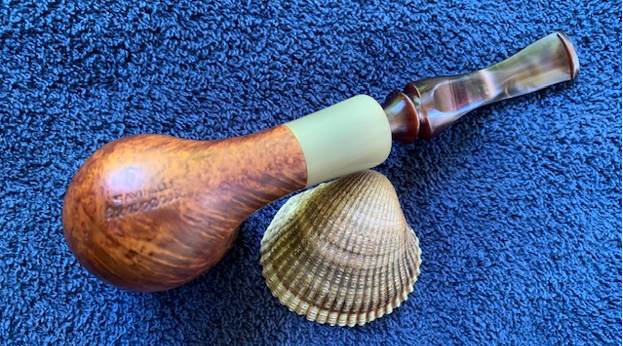
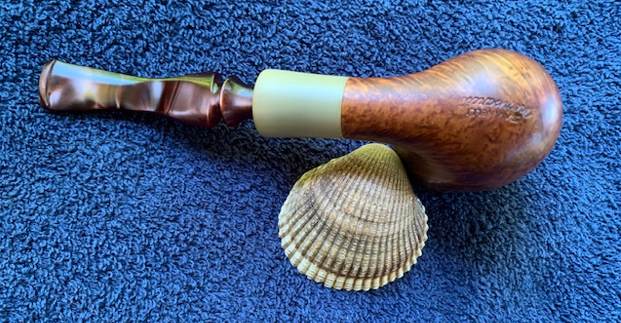
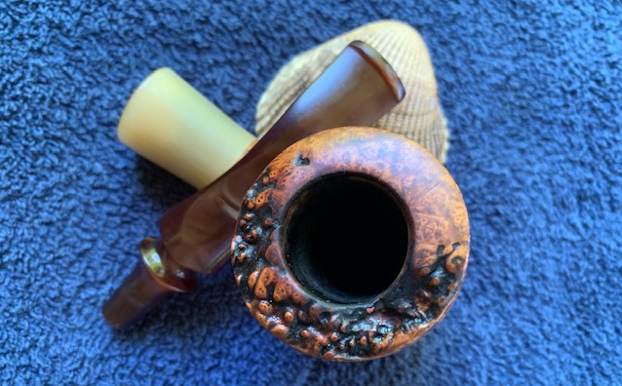
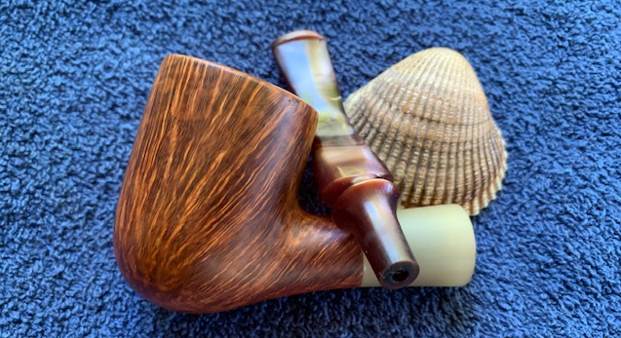
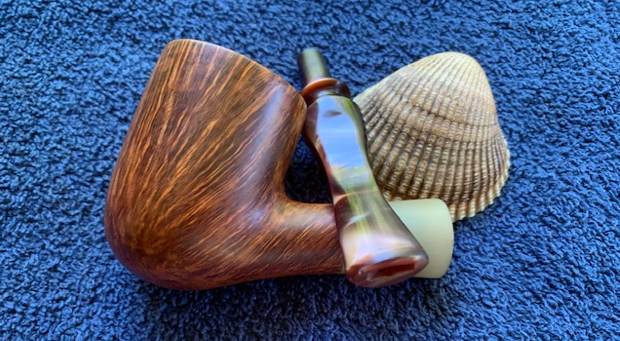
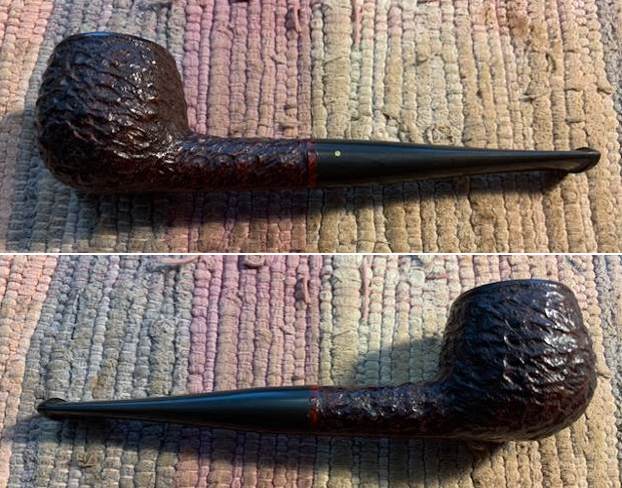
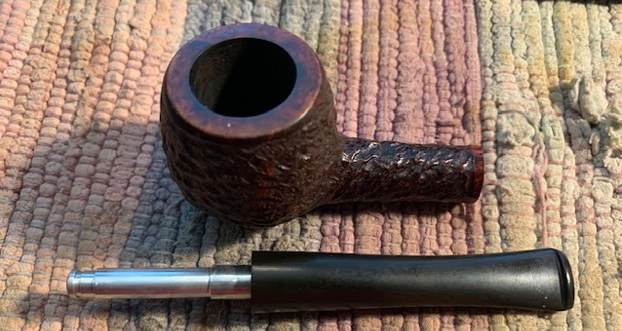
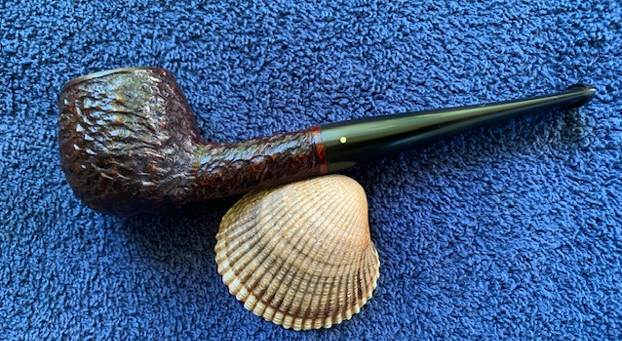
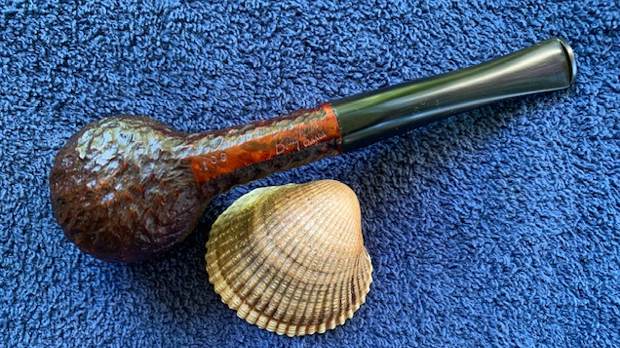
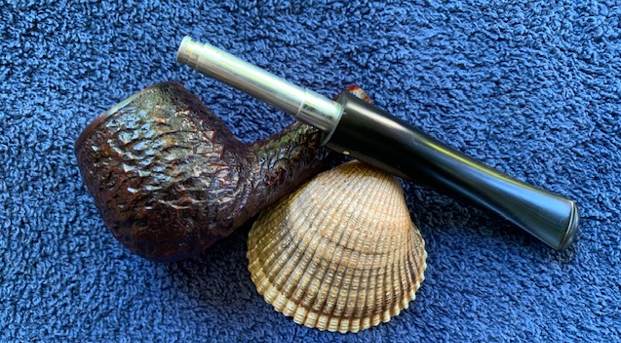
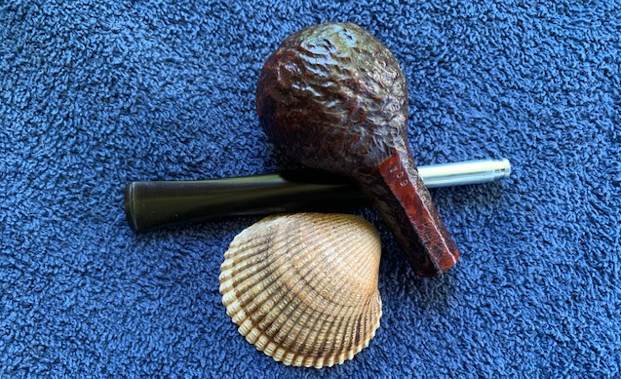
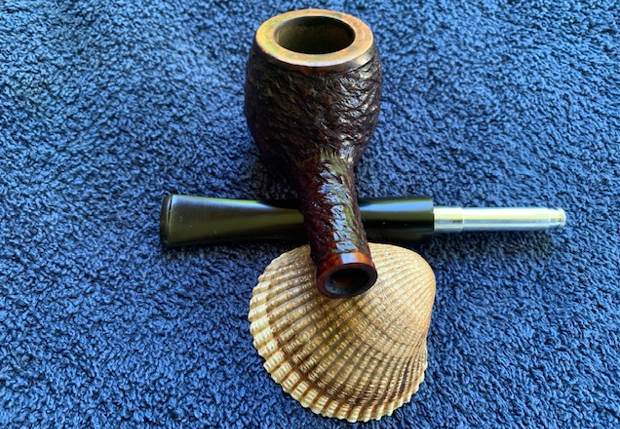
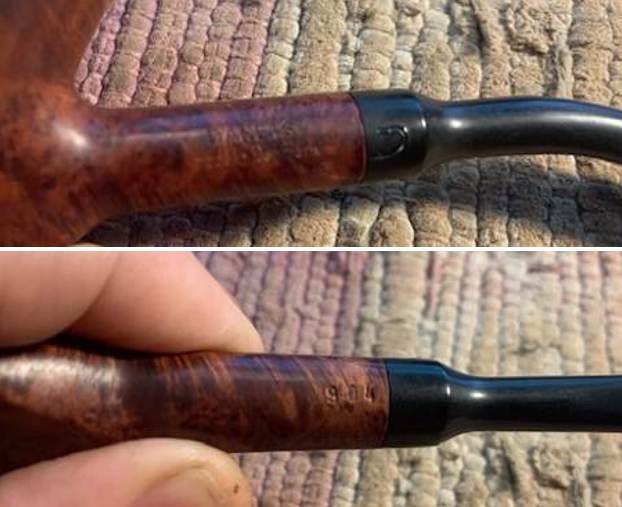
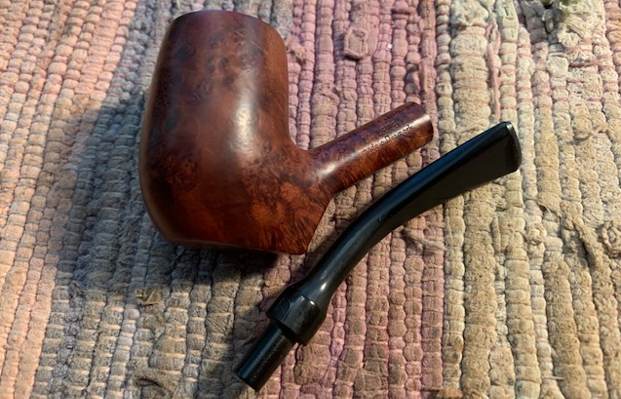
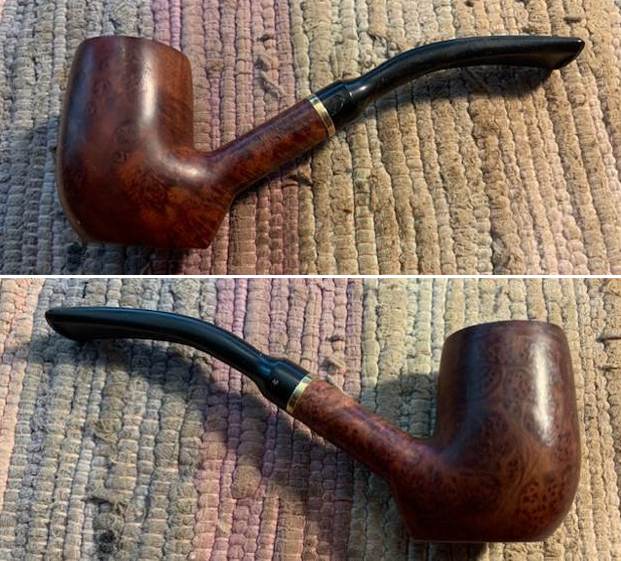
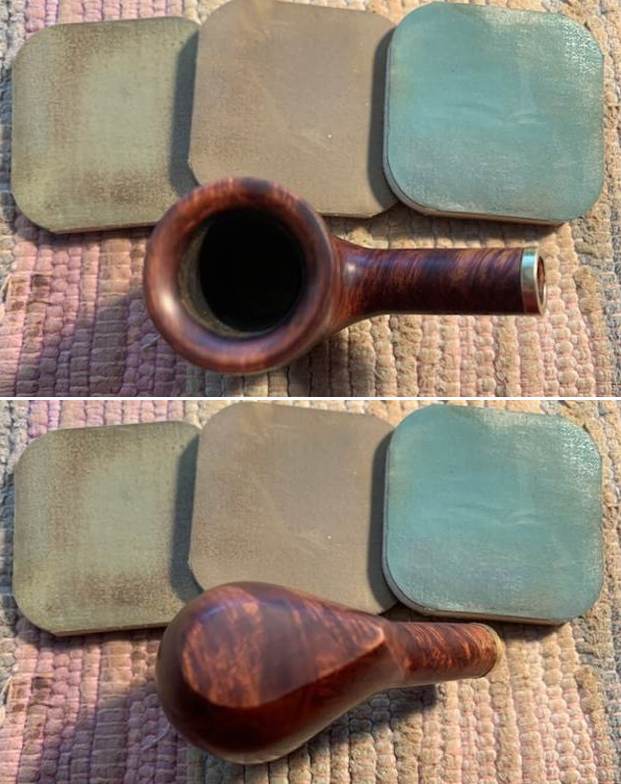
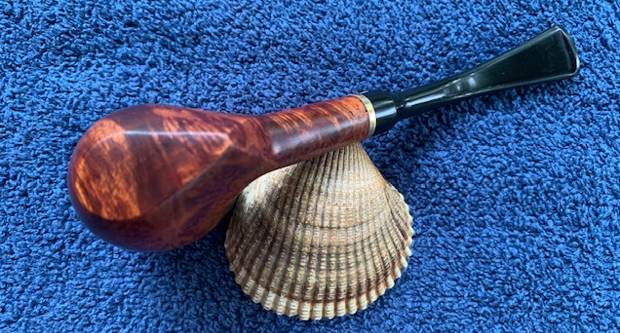
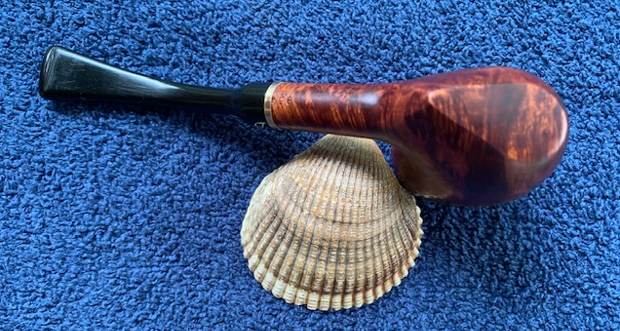
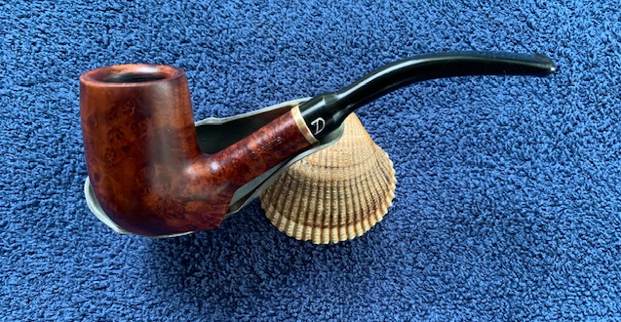
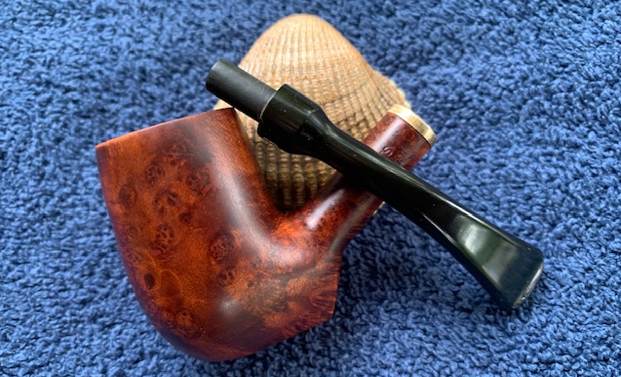
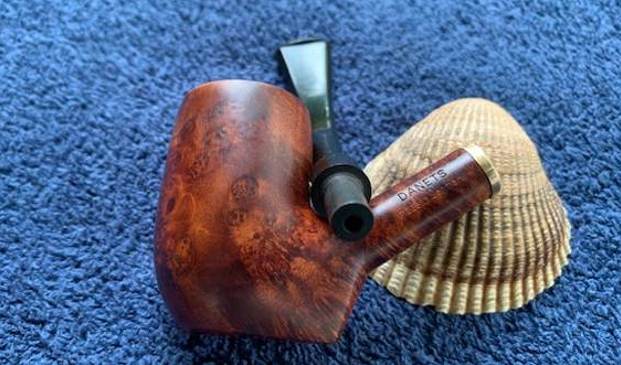
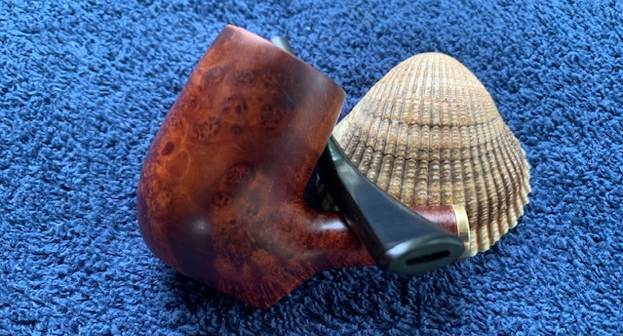
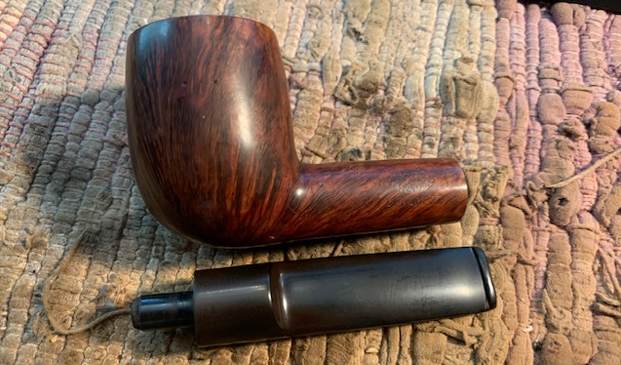
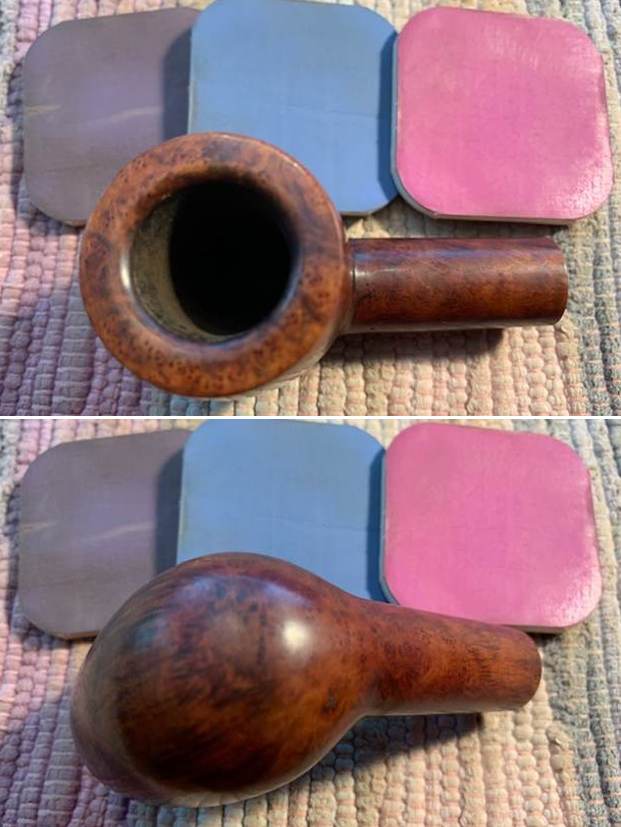
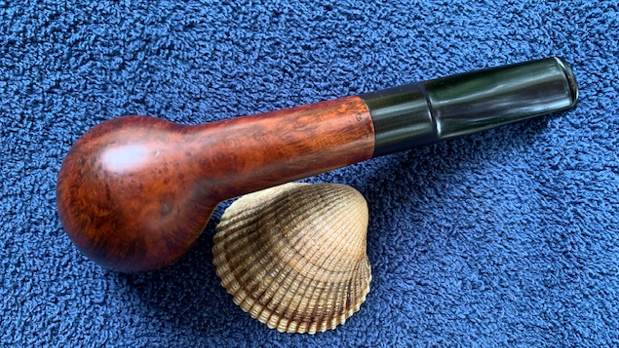
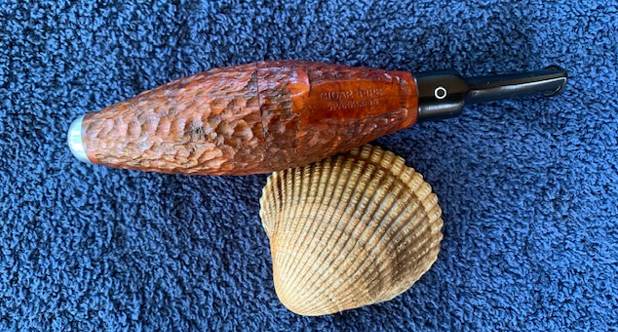
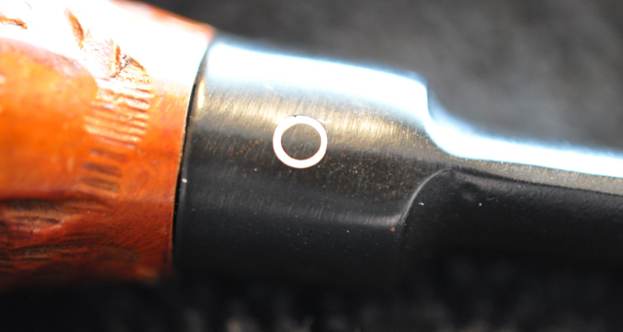
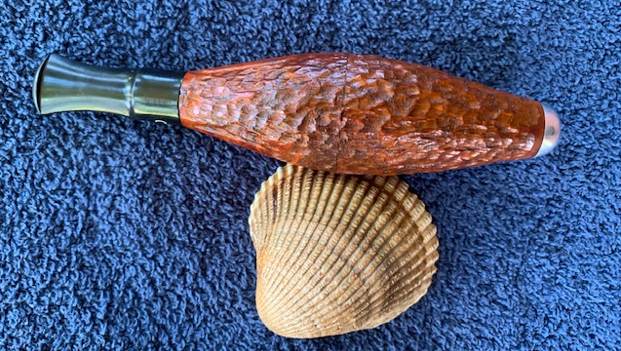
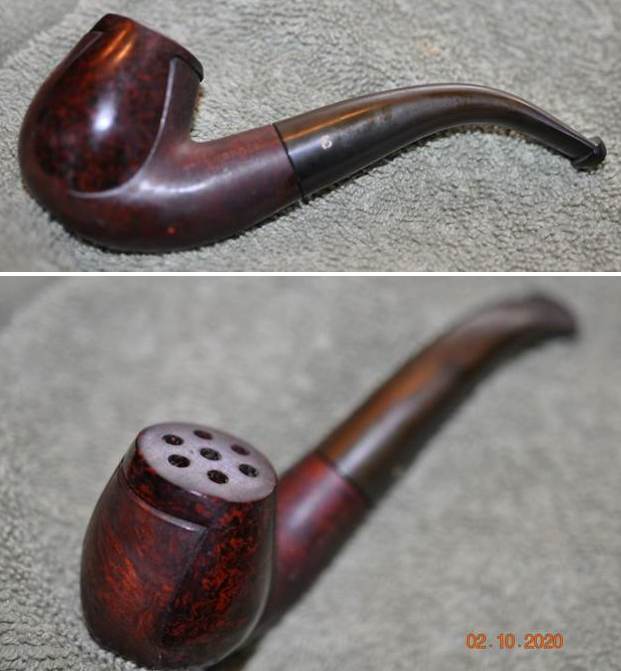
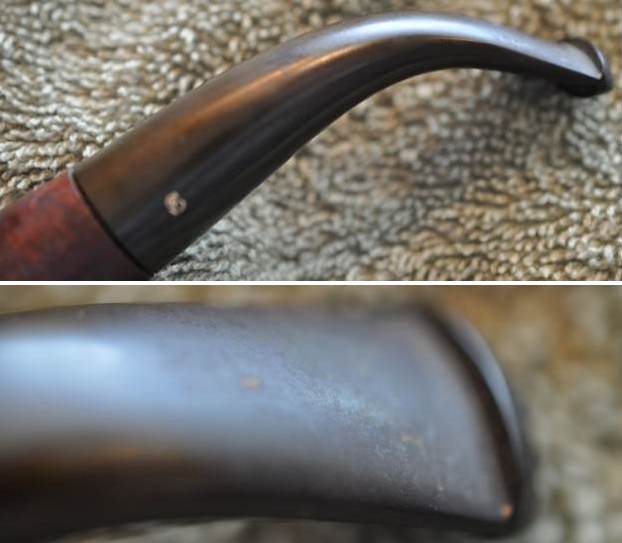
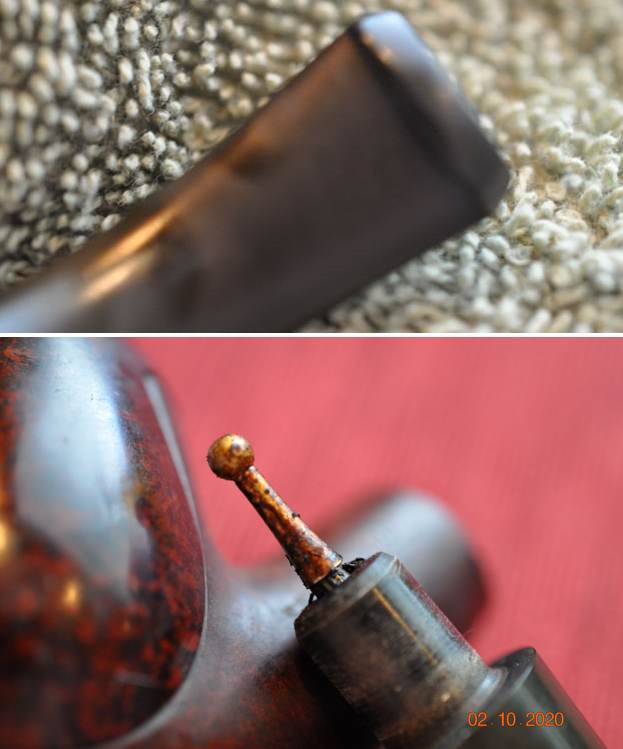
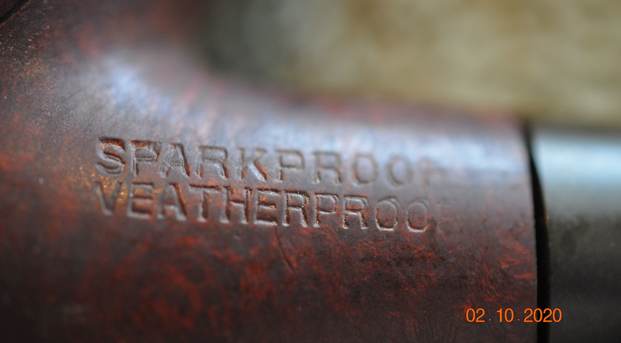
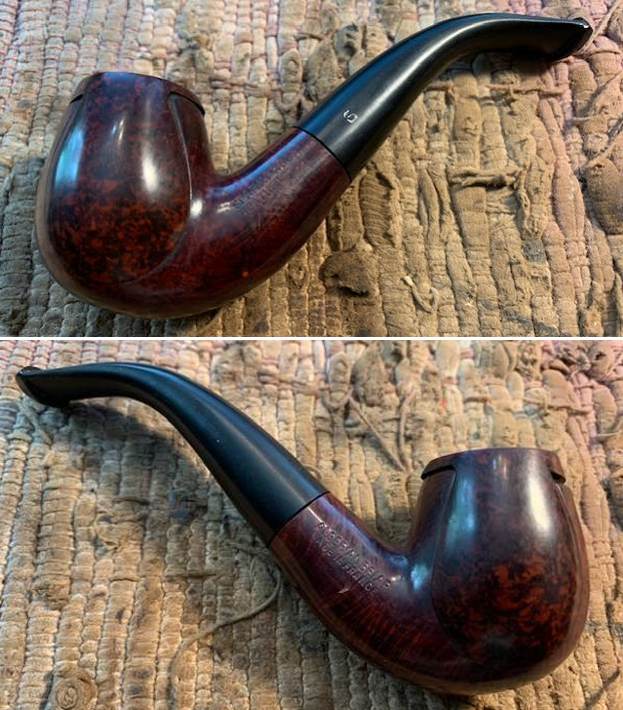
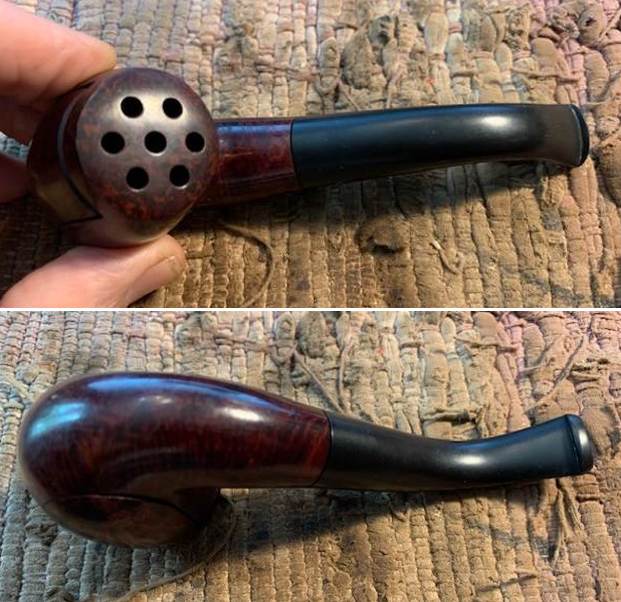
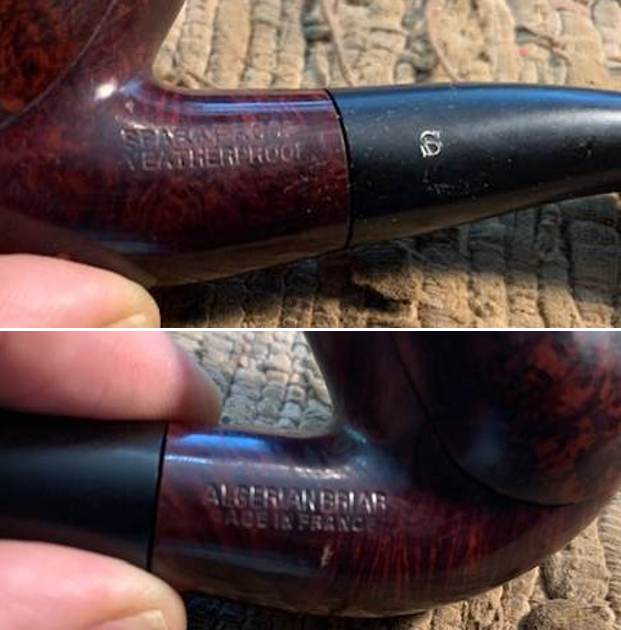
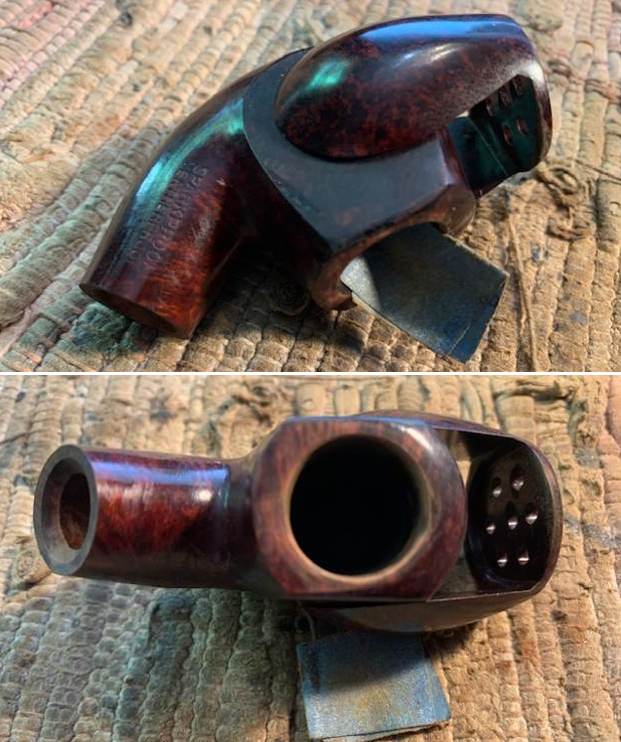
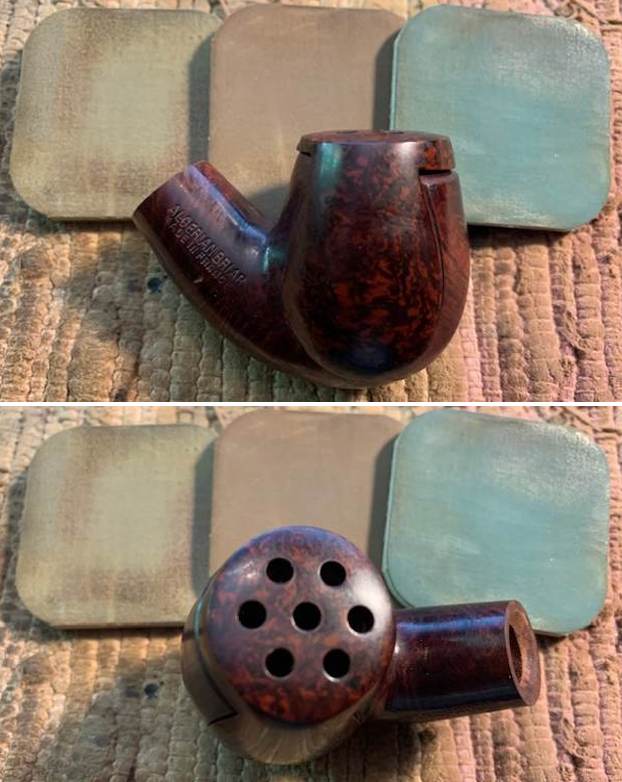
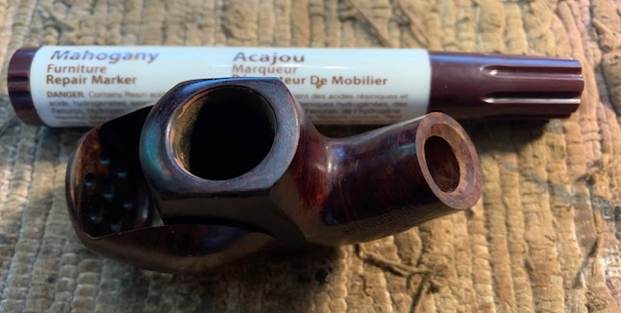
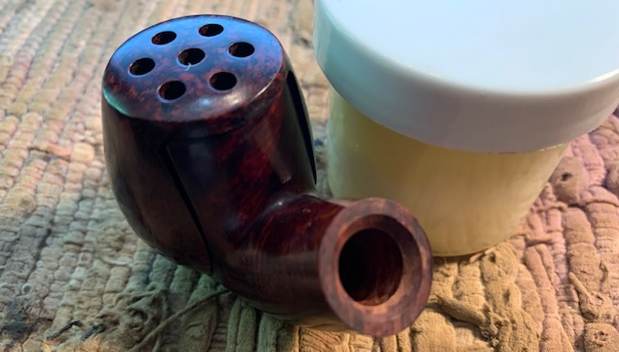
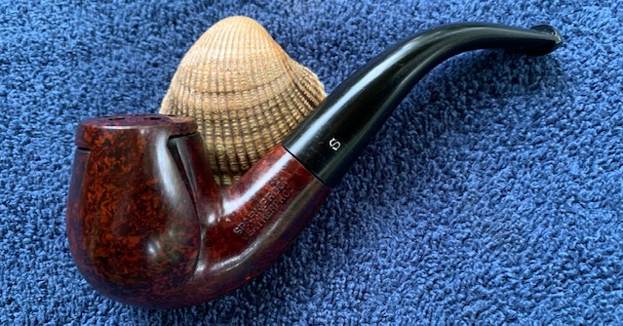
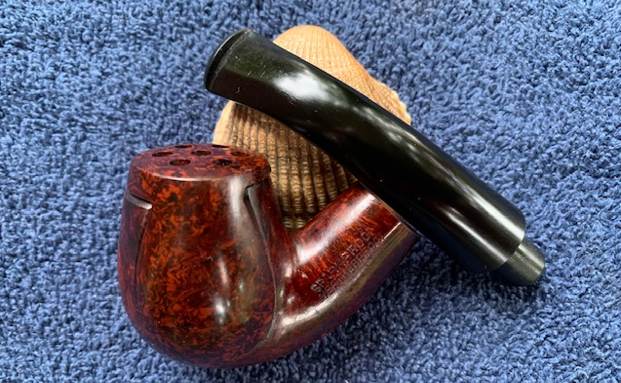
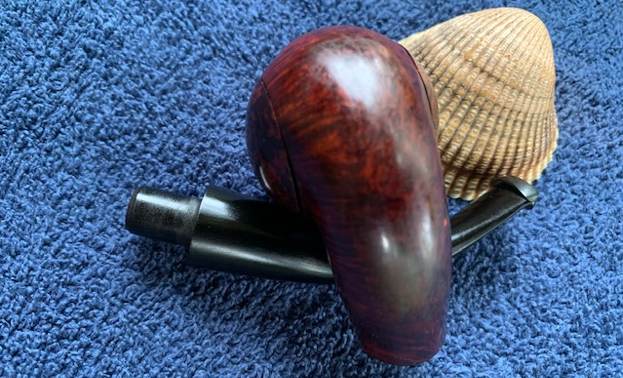
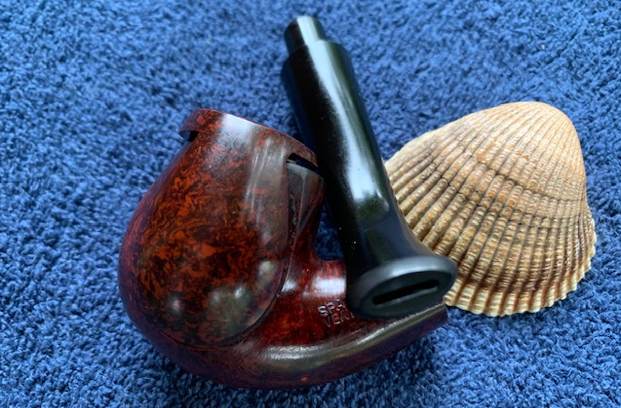
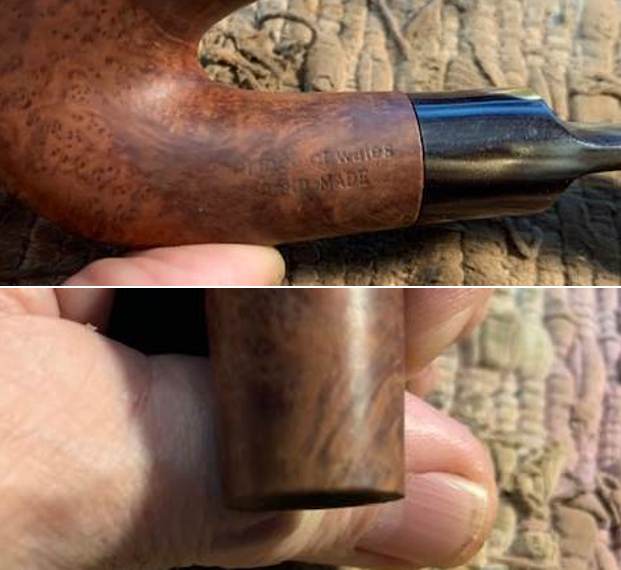
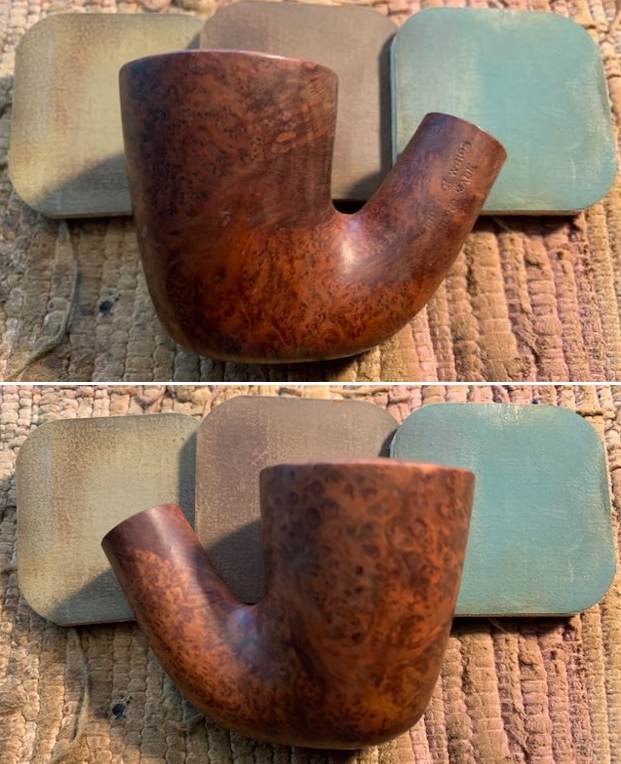
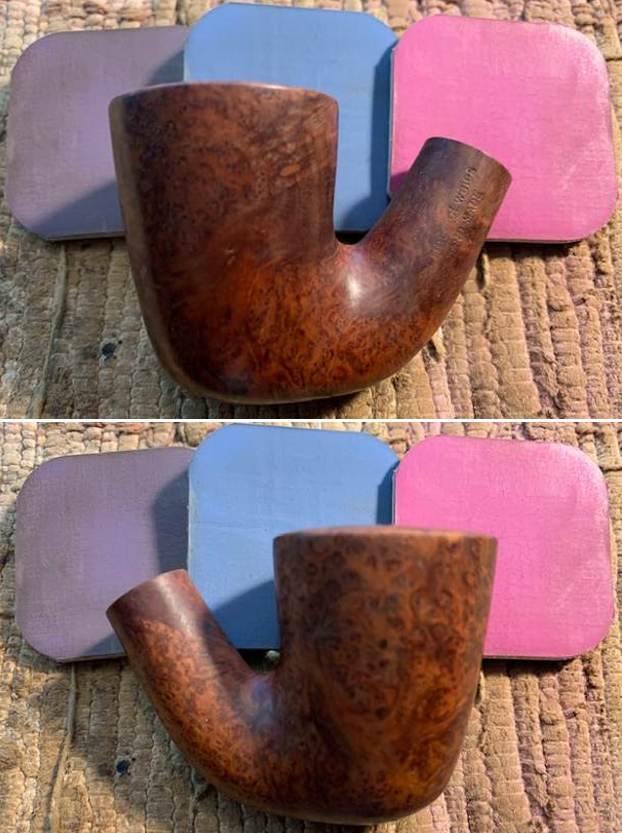
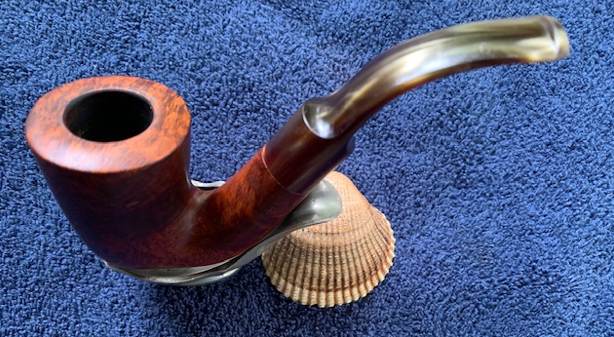
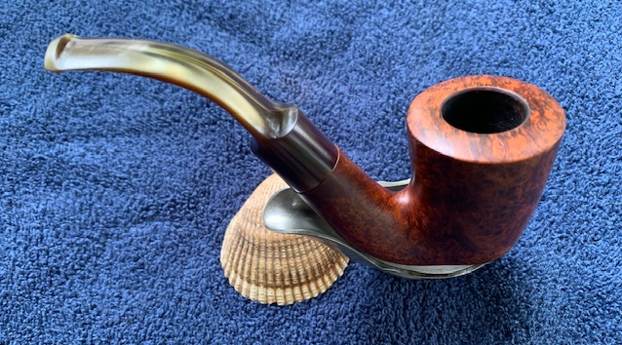
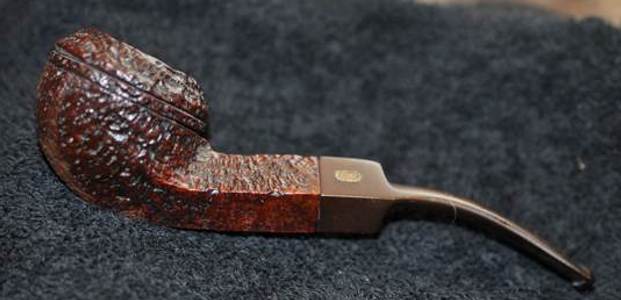
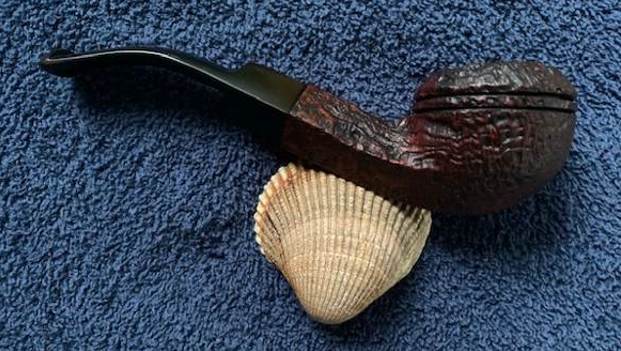
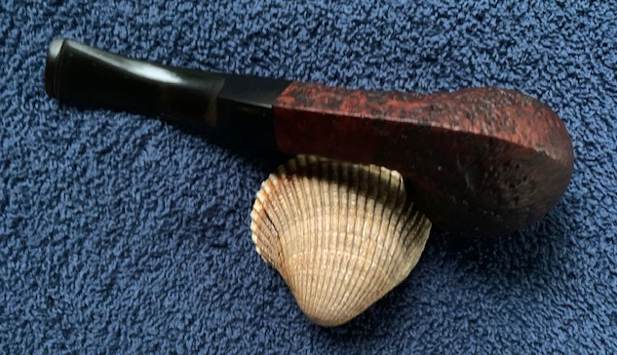
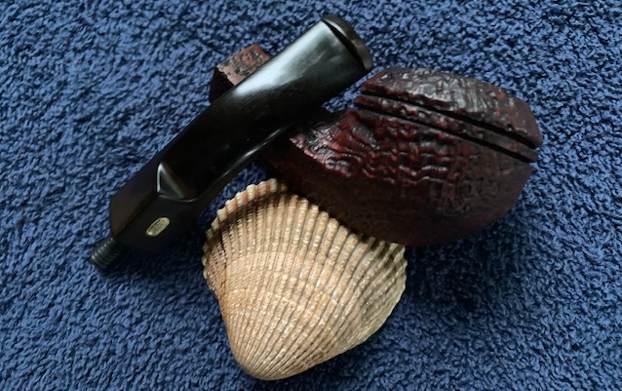
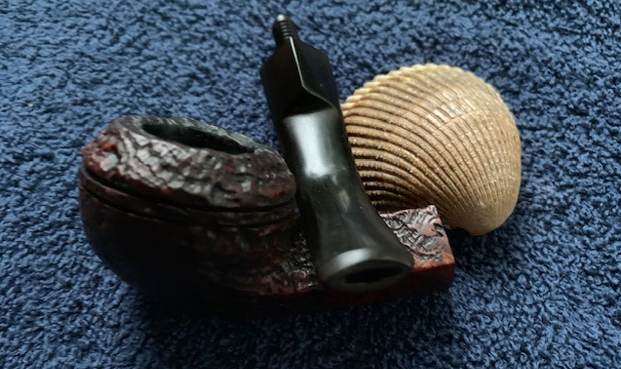
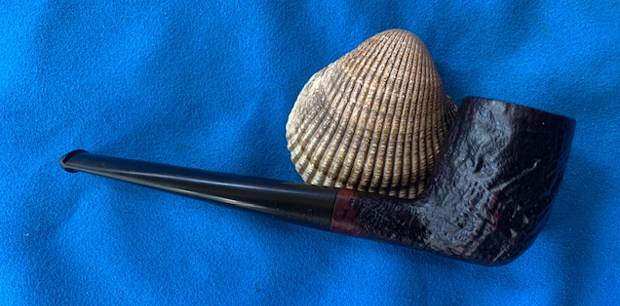
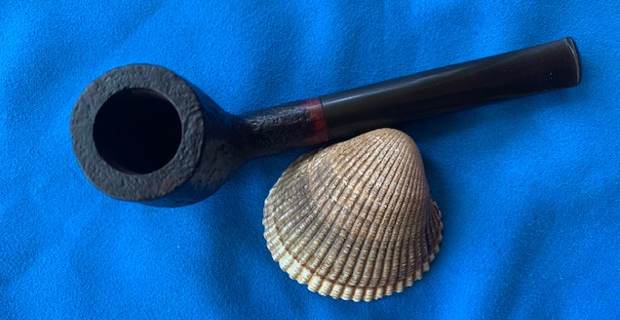
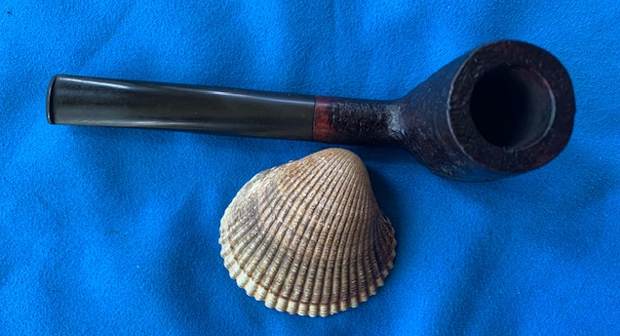
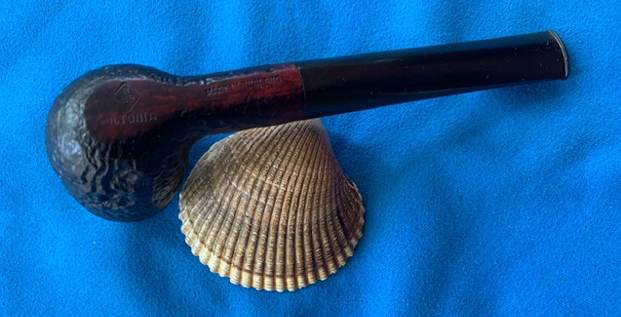
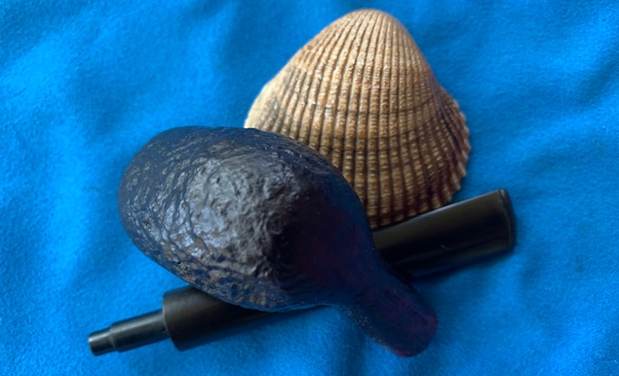
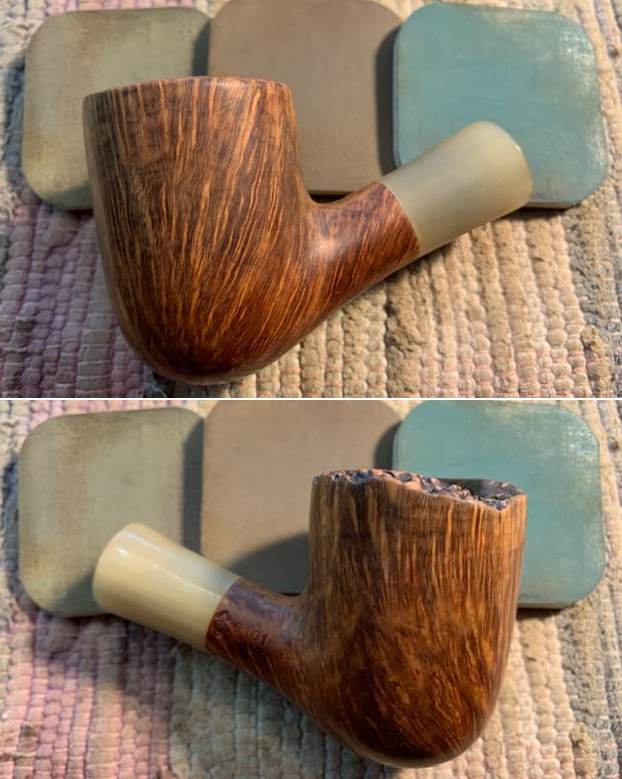
The next pipe is another one that has been here for a long time – so long in fact that I cannot remember where I picked it up. I know it came to me from a trade or my own hunt because it had not been cleaned or reamed by Jeff. There was a thick cake in the bowl and lava overflowing on to the plateau and the smooth portion of the rim top and inner edge of the bowl. The exterior of the pipe was dirty but the grain really shone through the grime. The pipe was stamped on the heel of the bowl and read Savinelli [over] Nonpareil. The left side of the shank is also stamped and had a Savinelli S shield followed by the shape number 9101 [over] Italy. The vulcanite taper stem had a single brass dot on the left side. Here is the pipe! 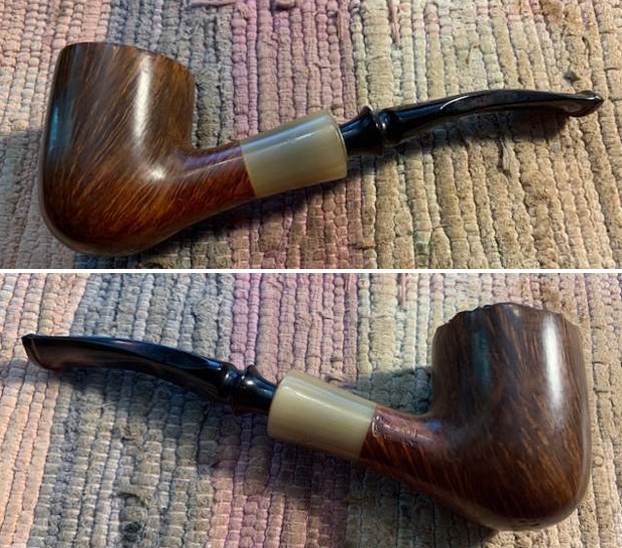
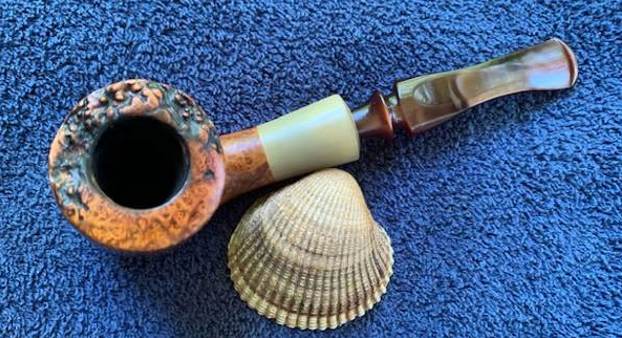
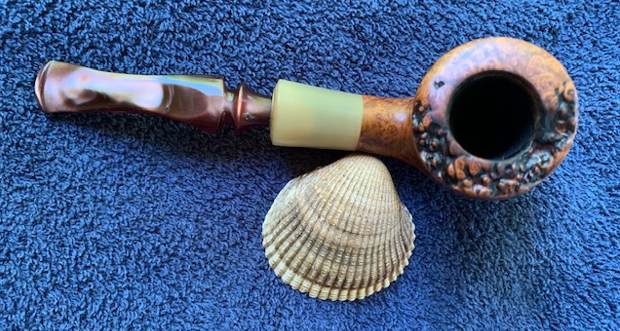
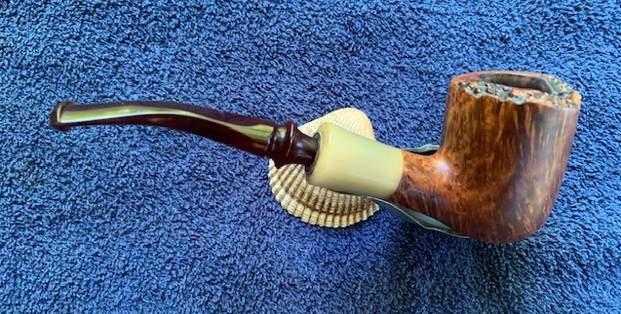
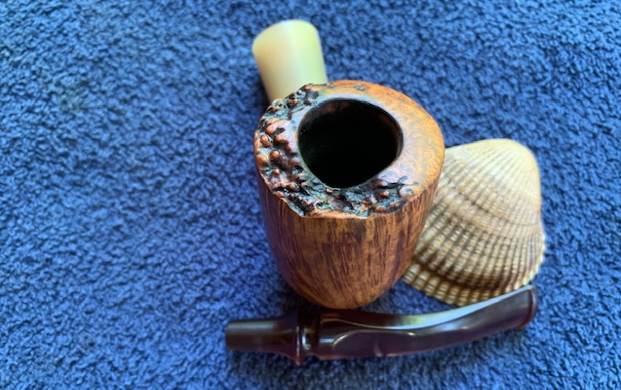
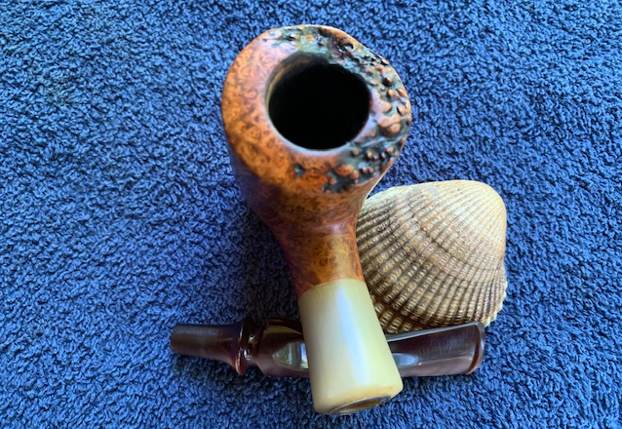
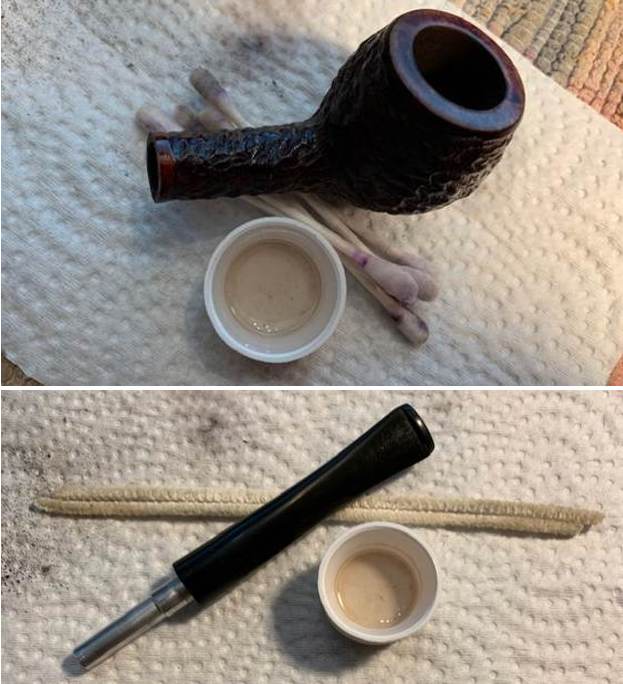
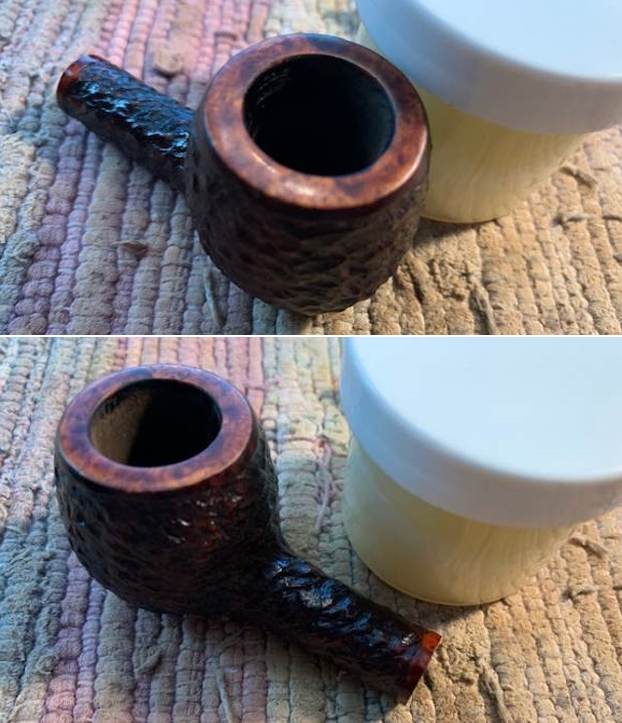
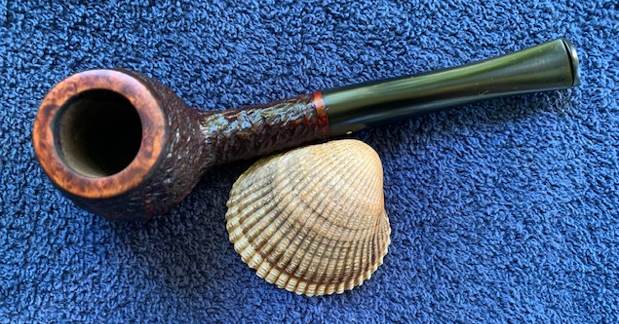
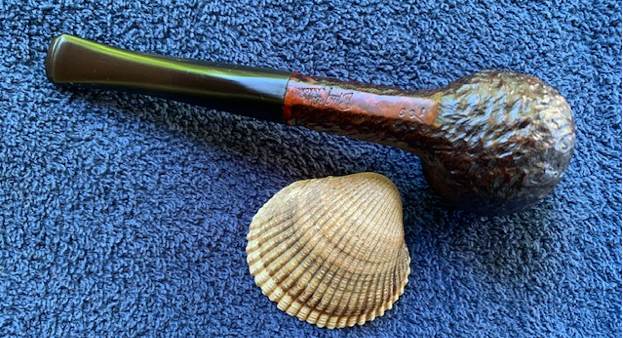
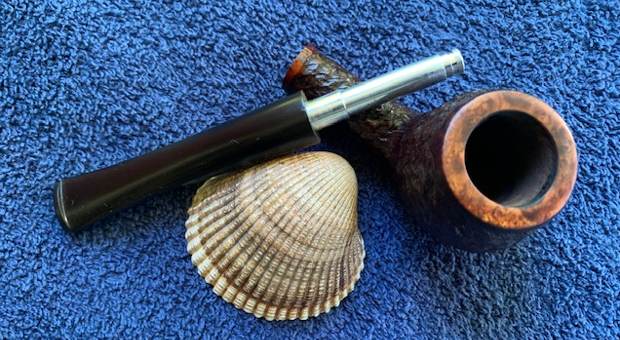
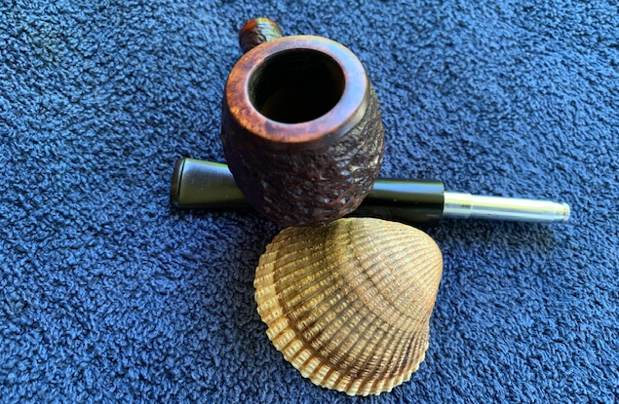
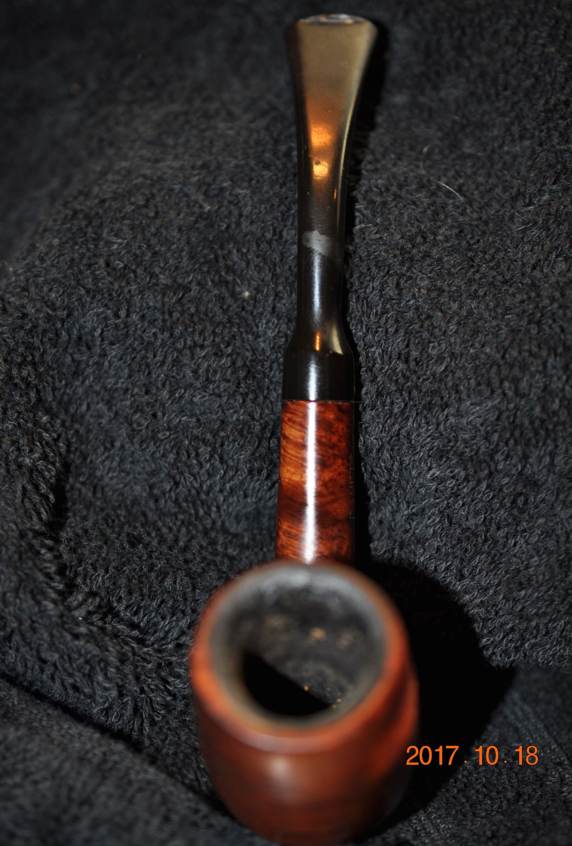
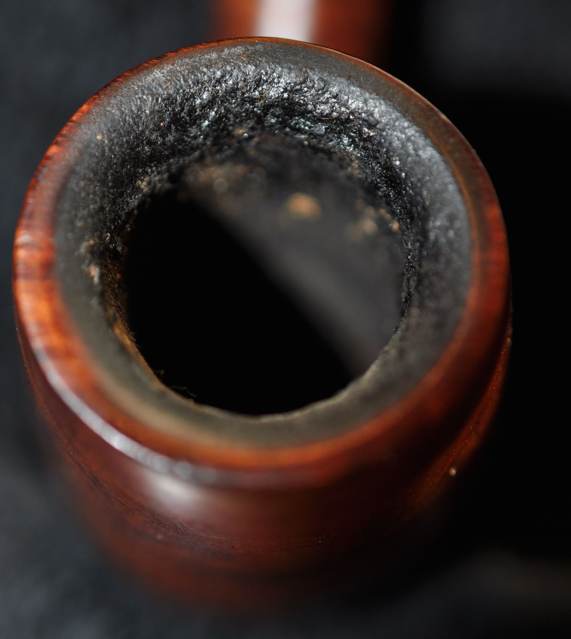
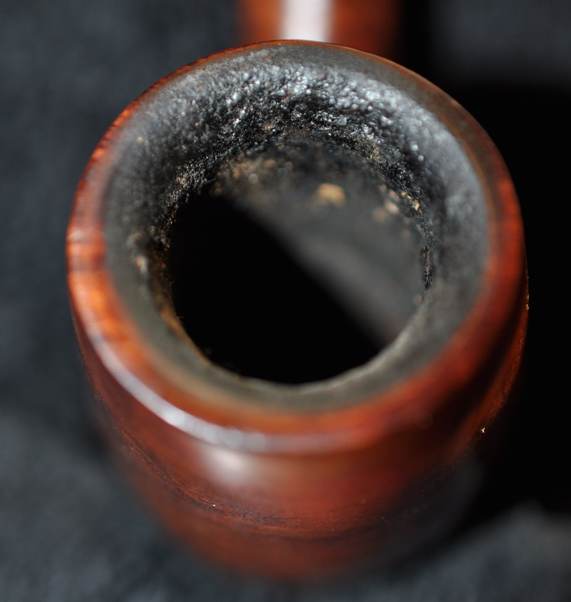
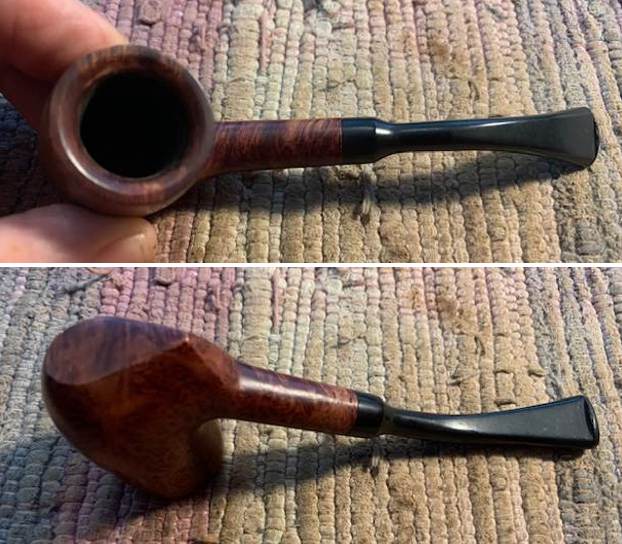
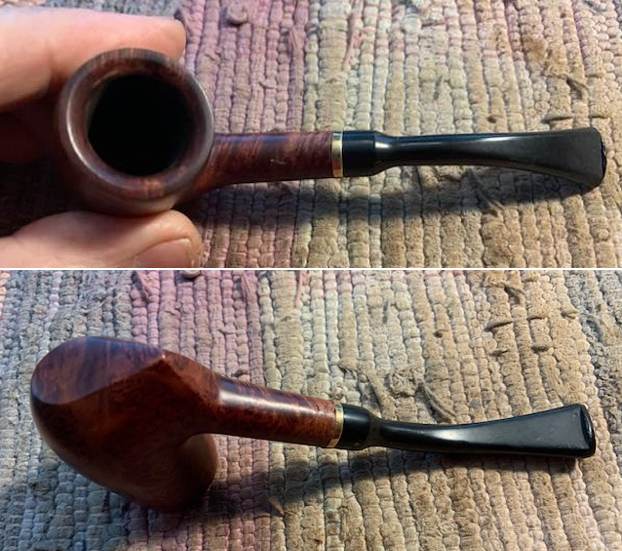
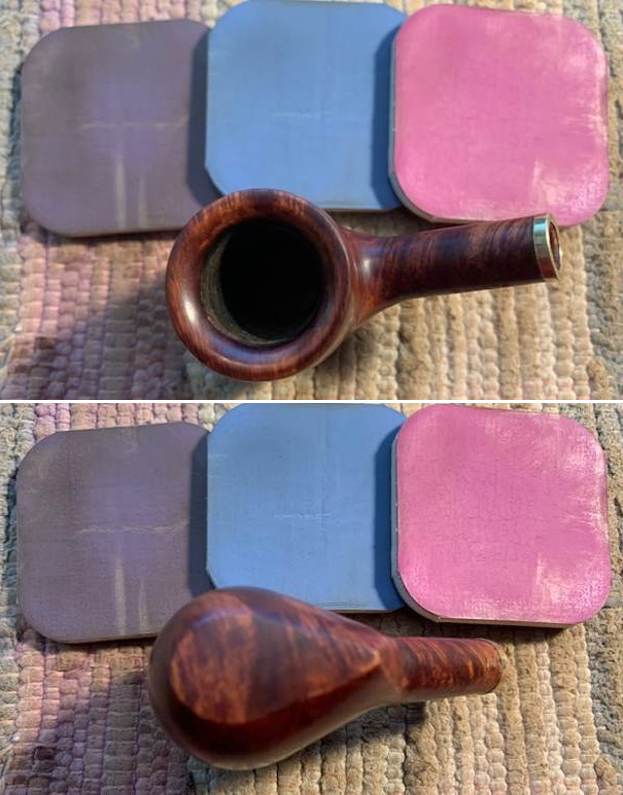
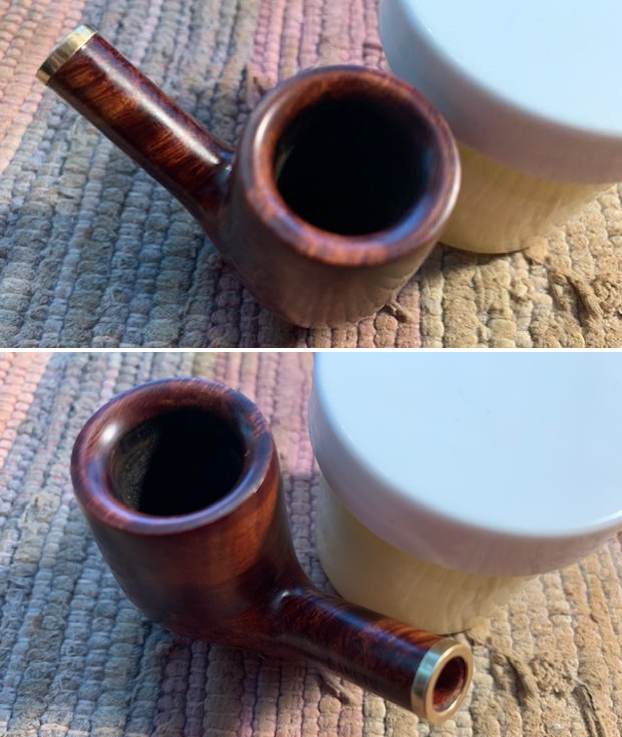
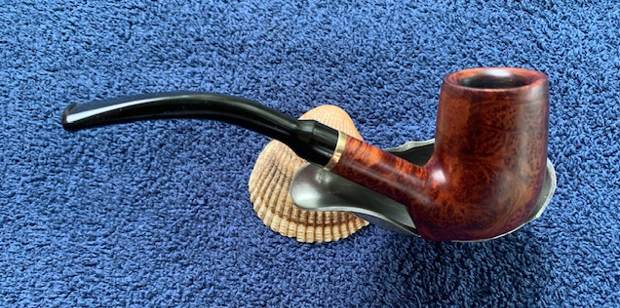
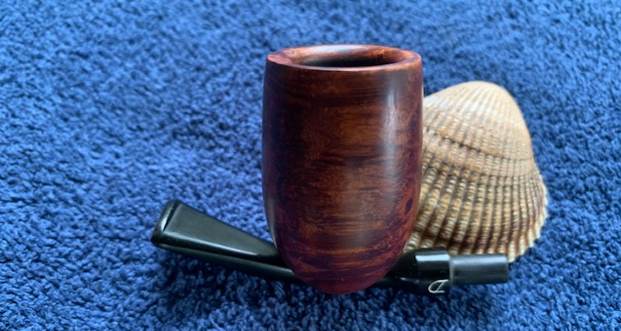
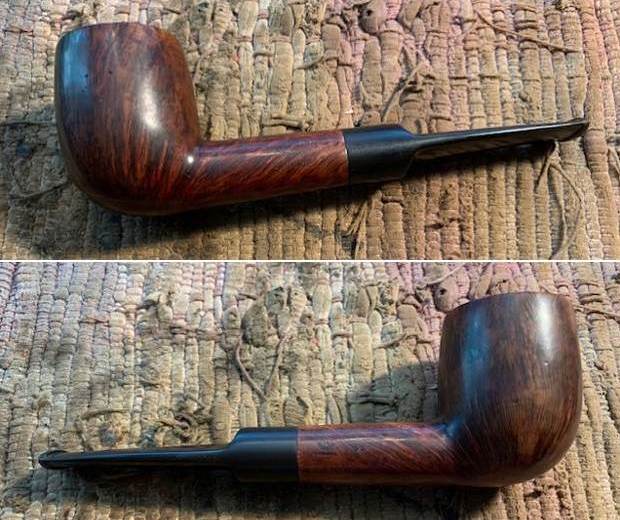
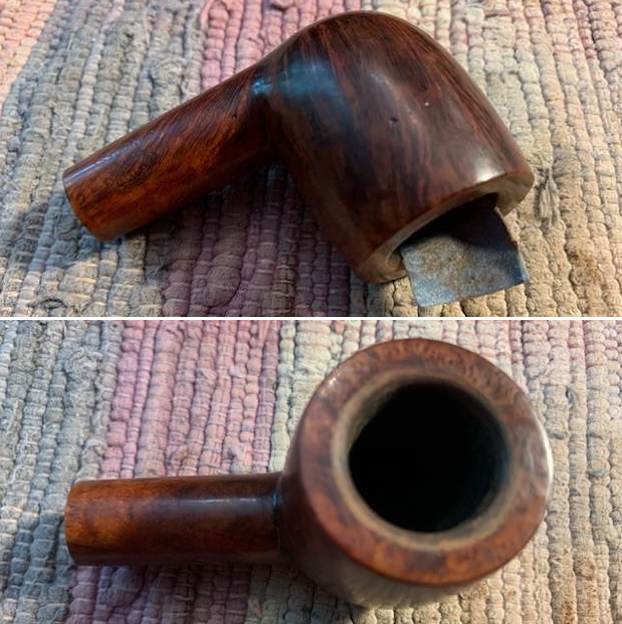
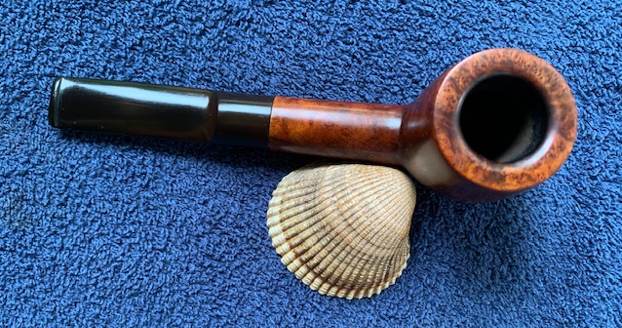
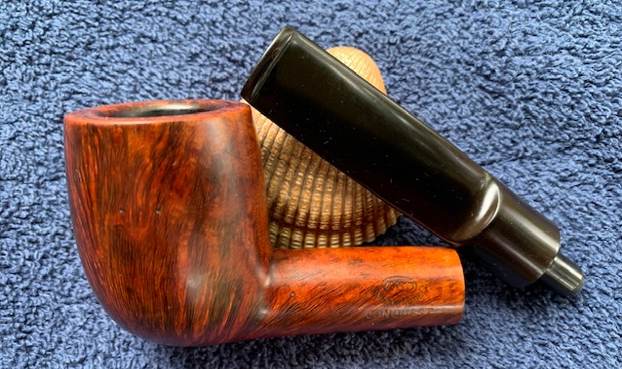
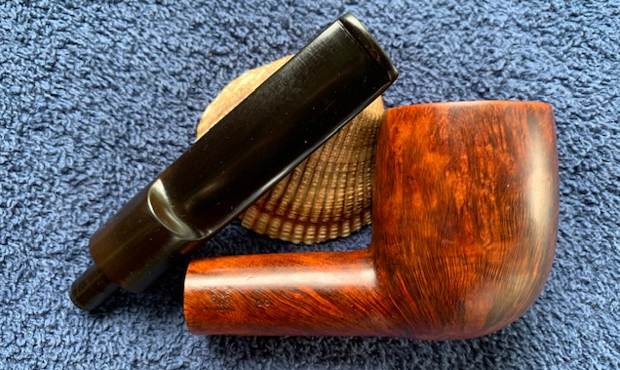
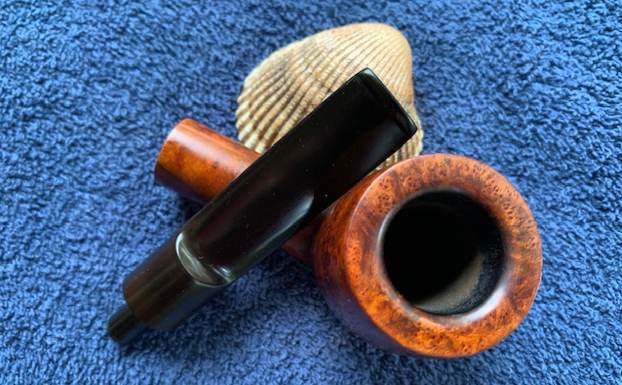
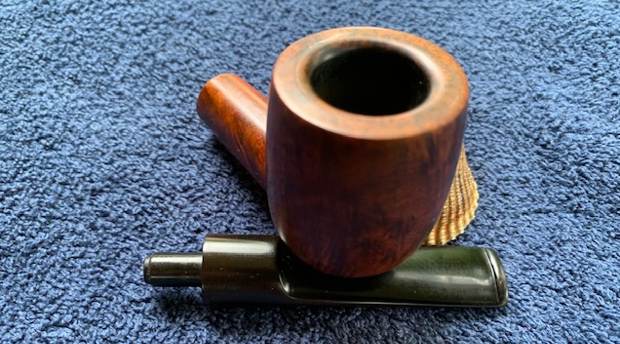
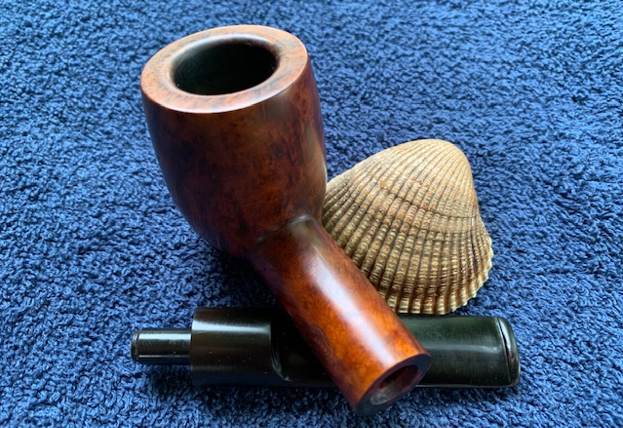
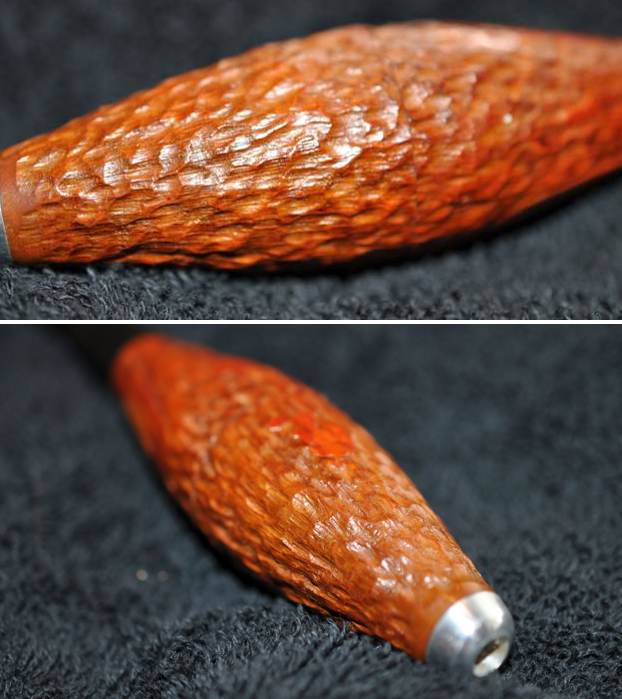
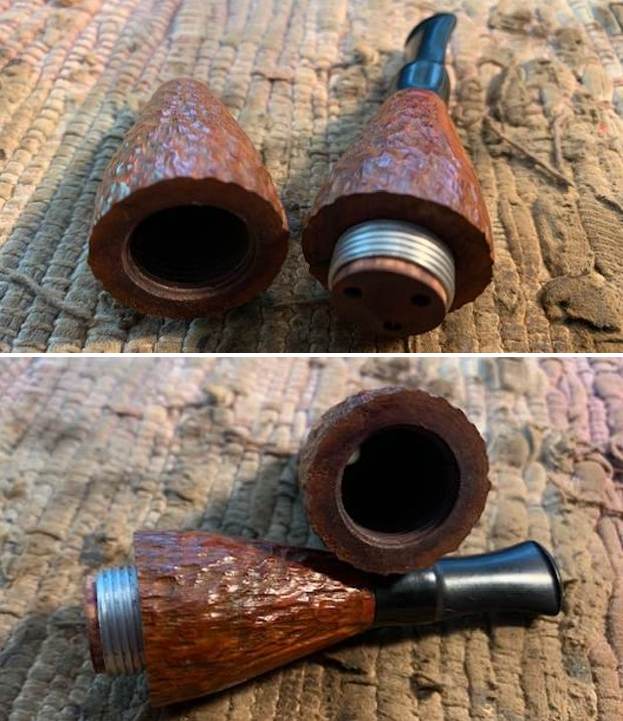
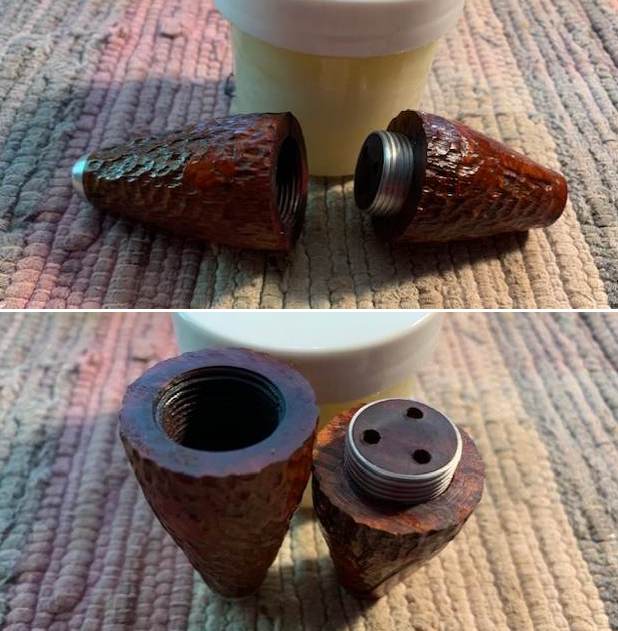
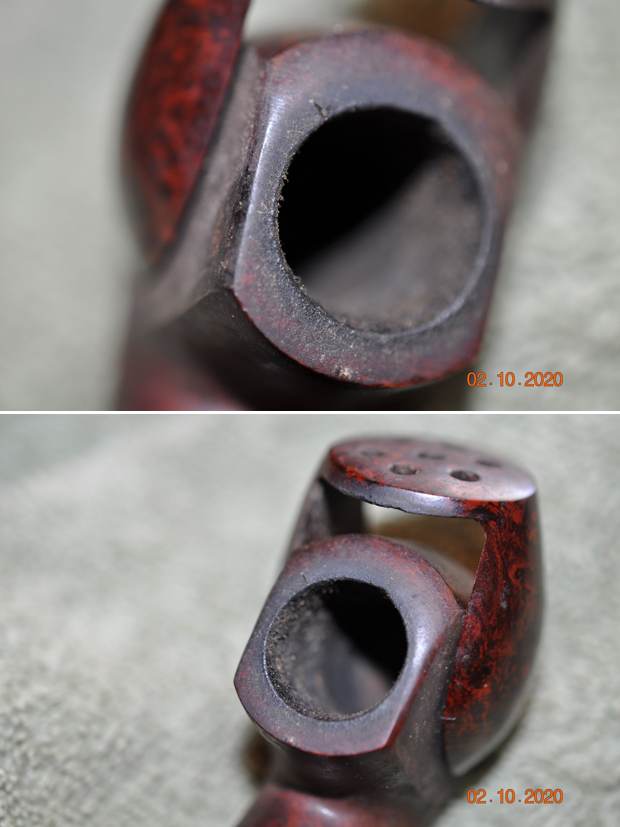
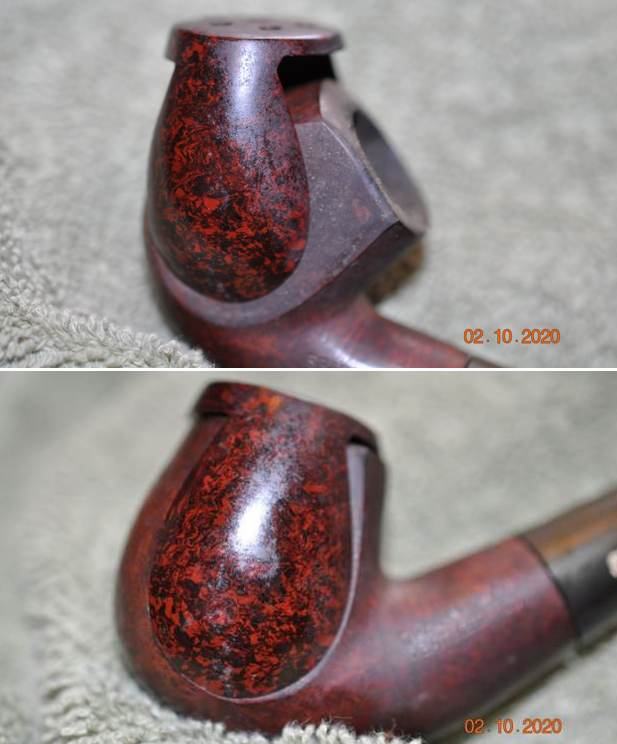
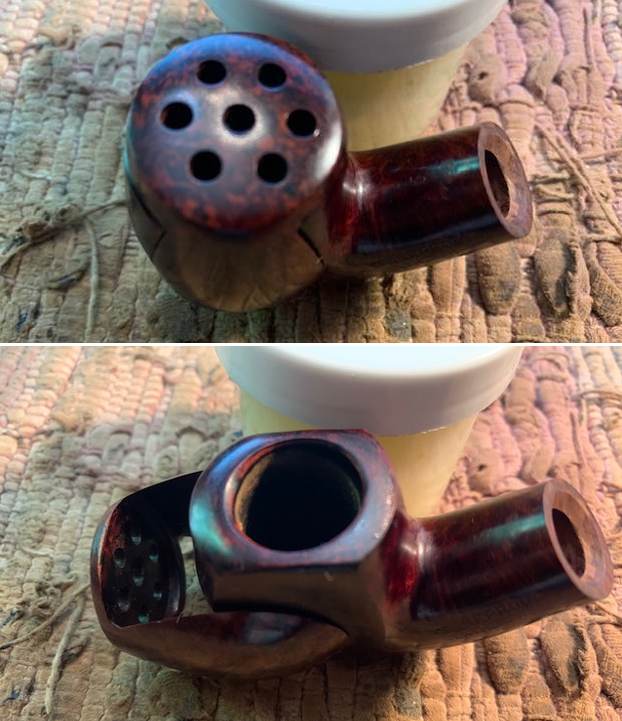
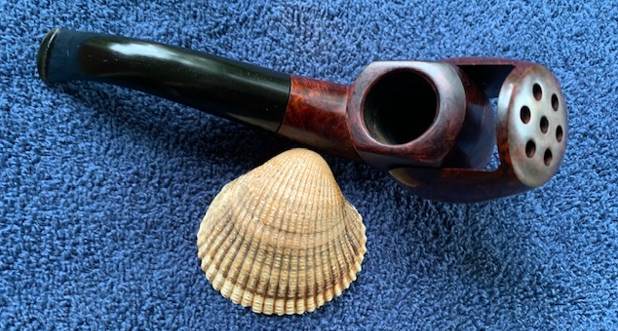
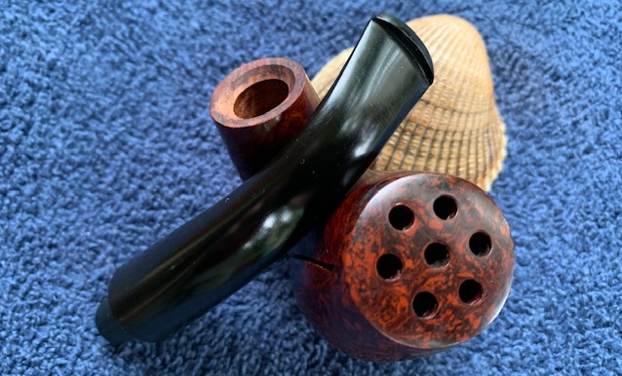
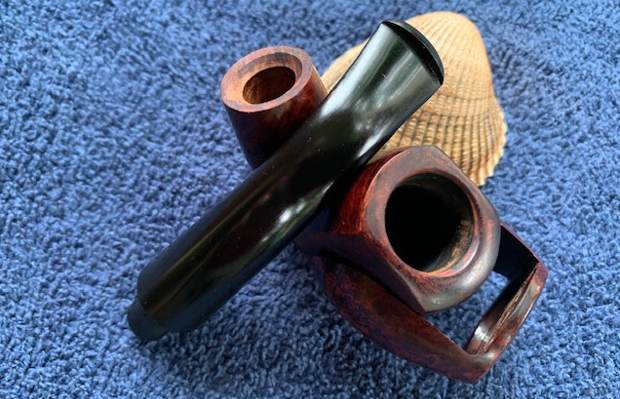
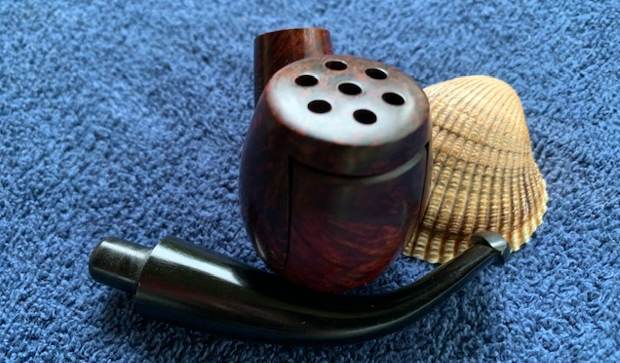
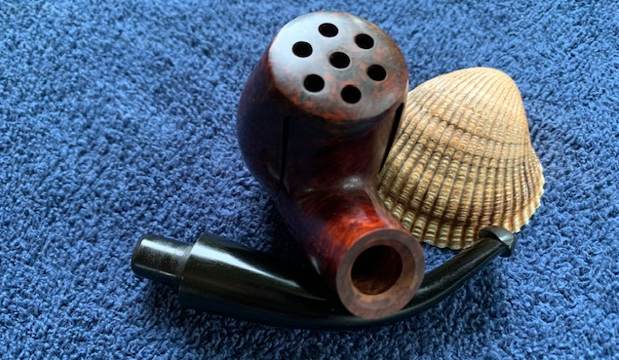
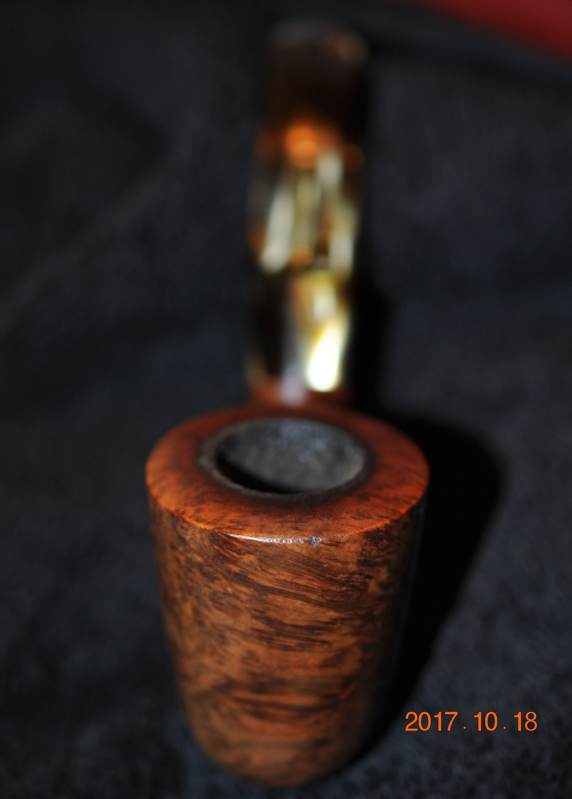
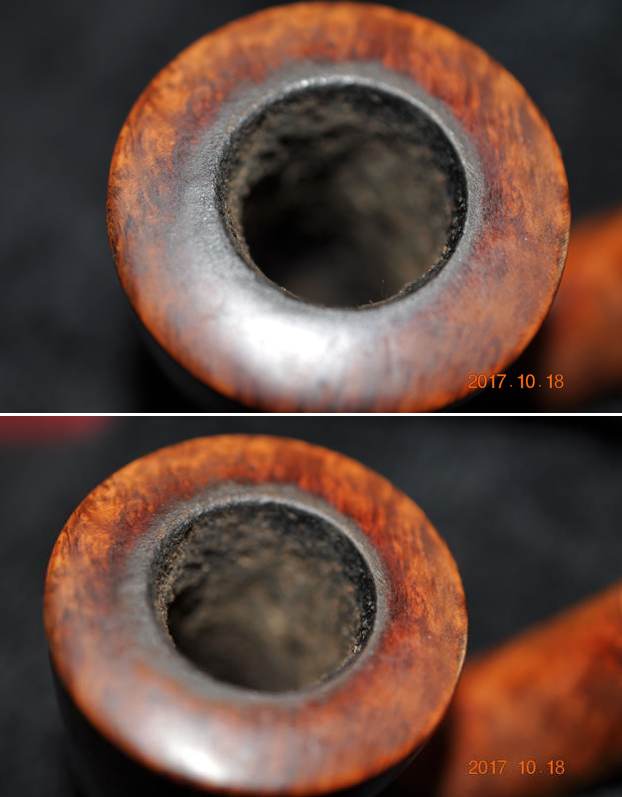
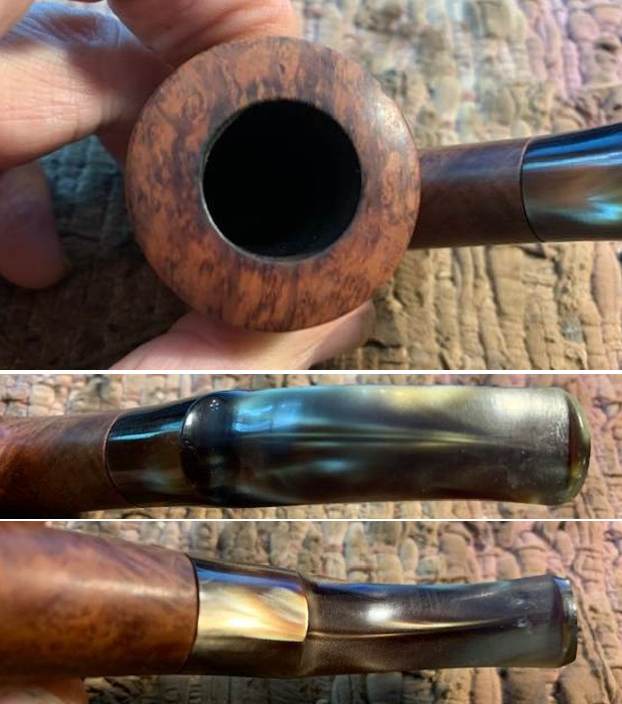
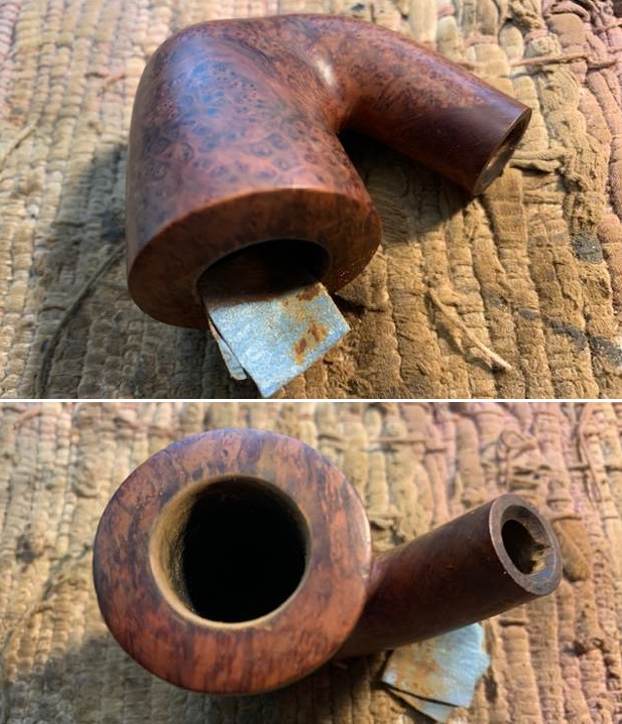
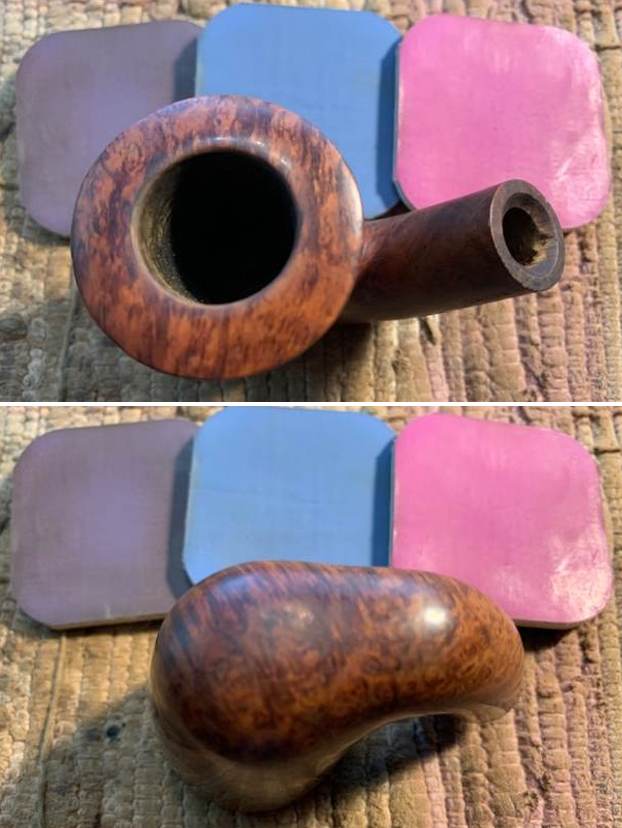
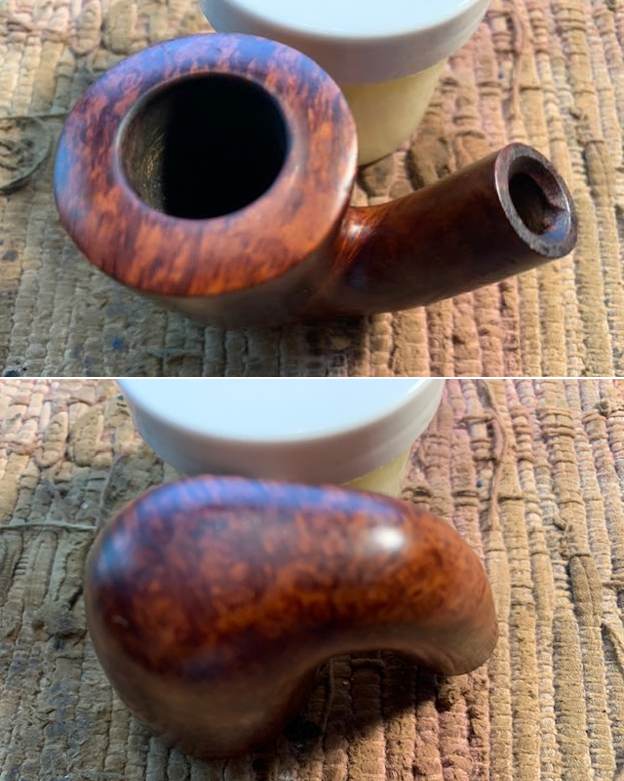
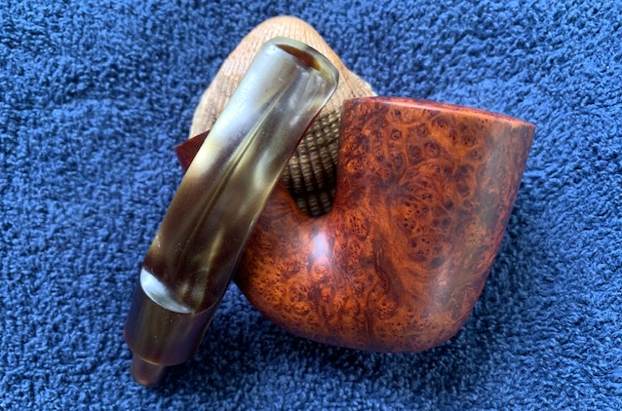
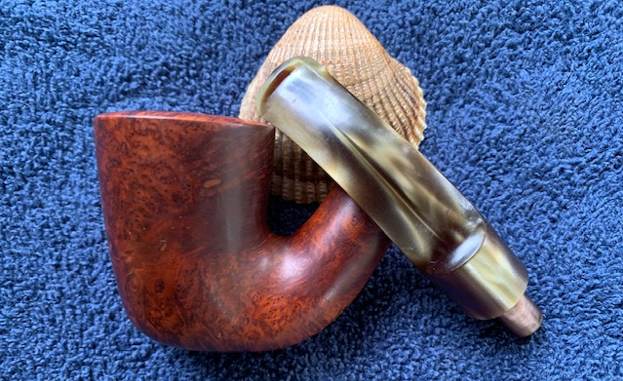
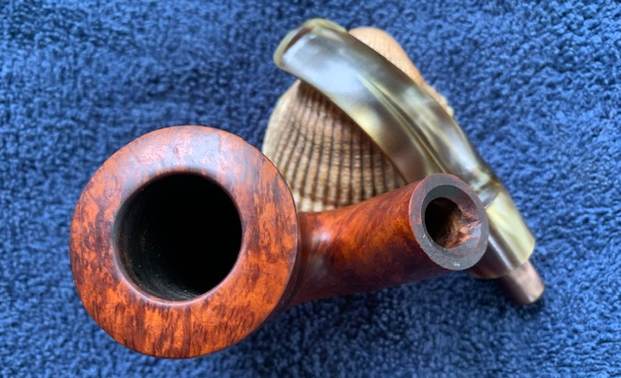
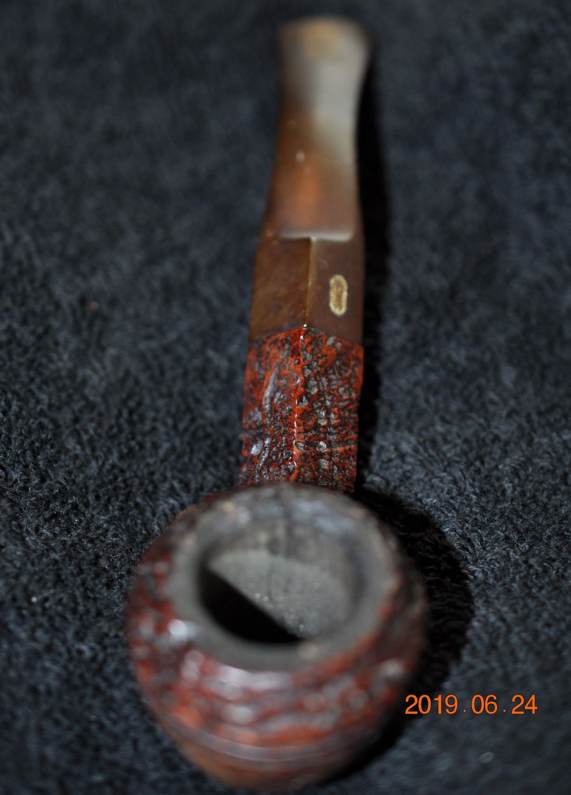
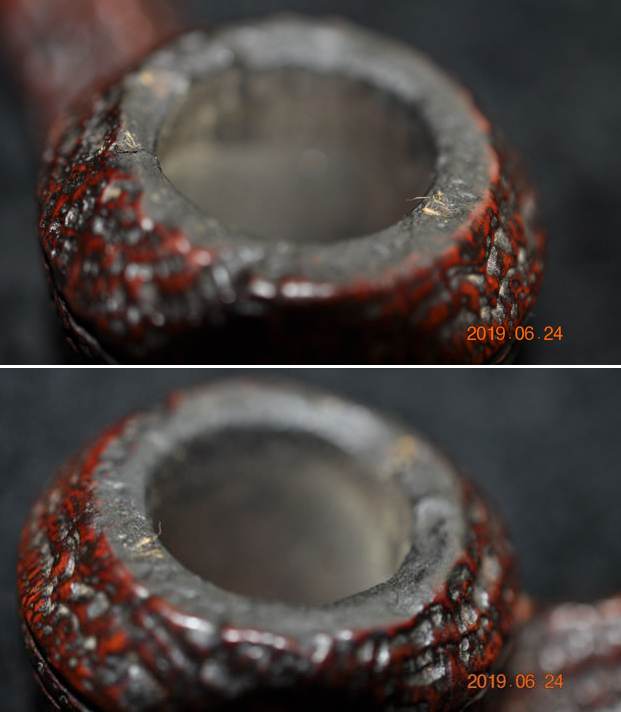
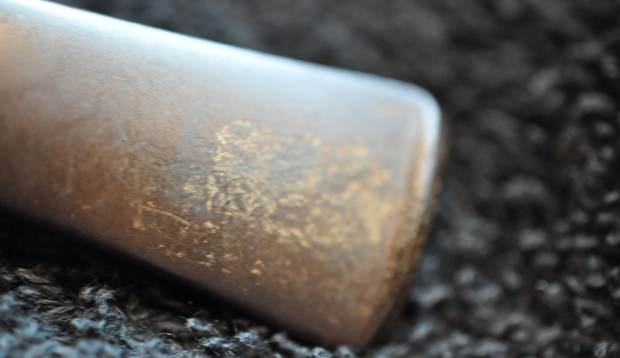
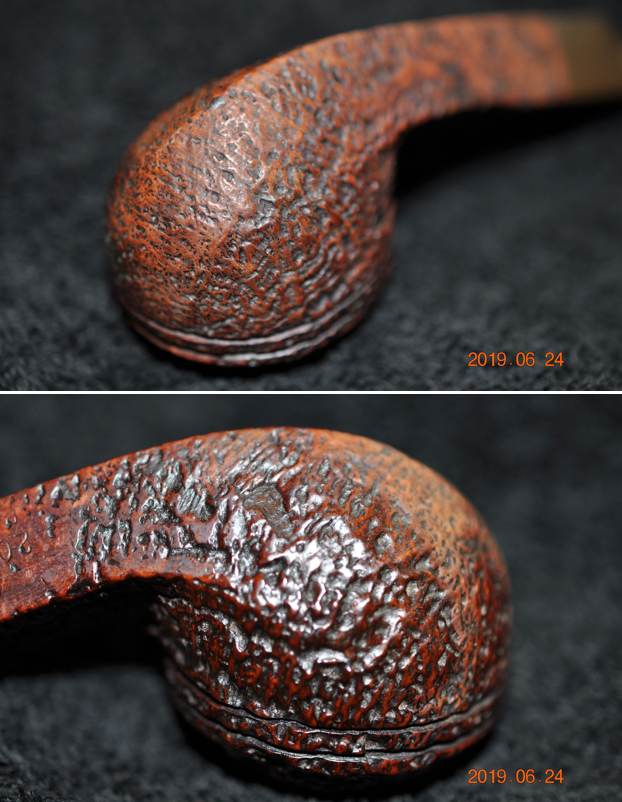
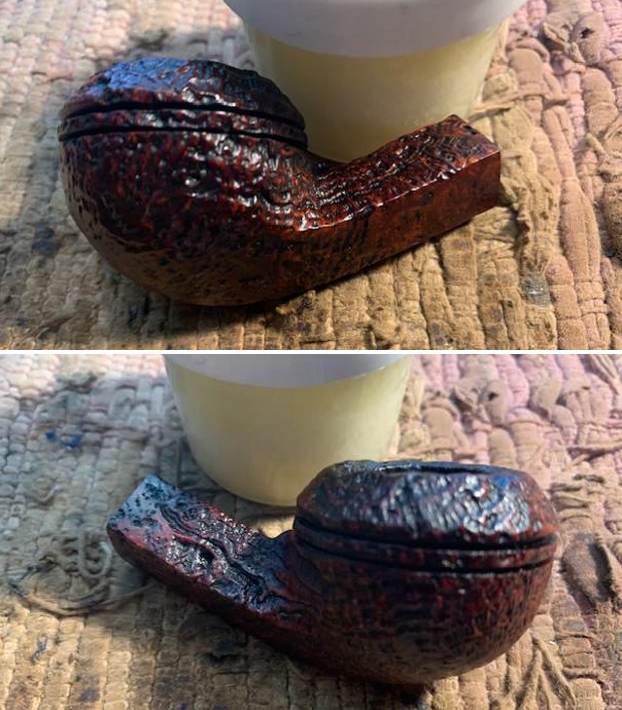
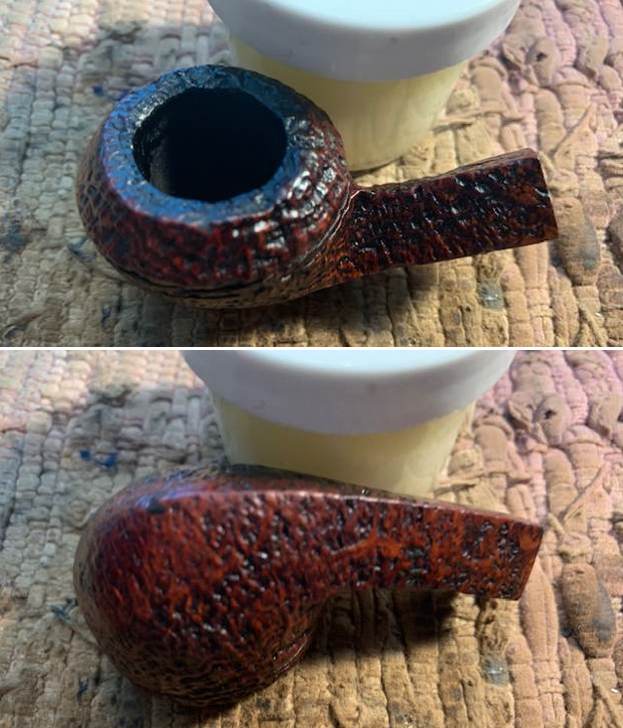
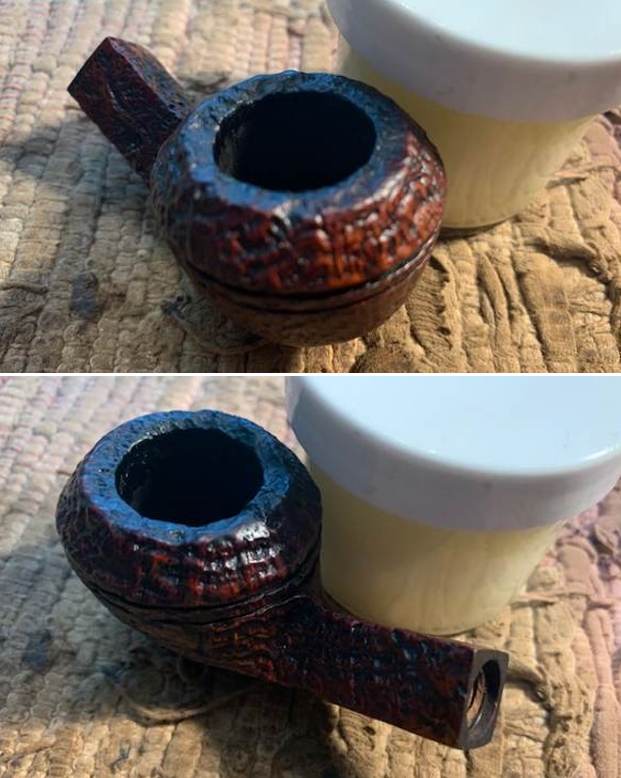
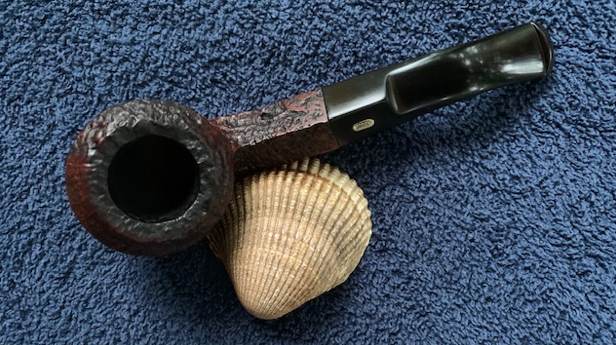
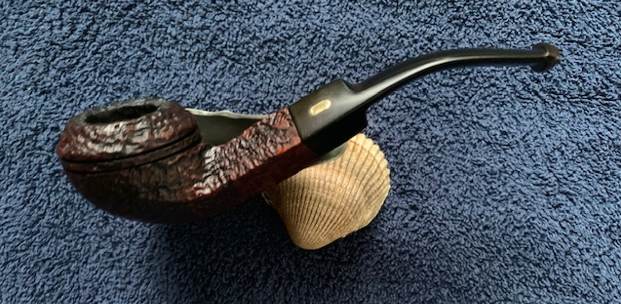
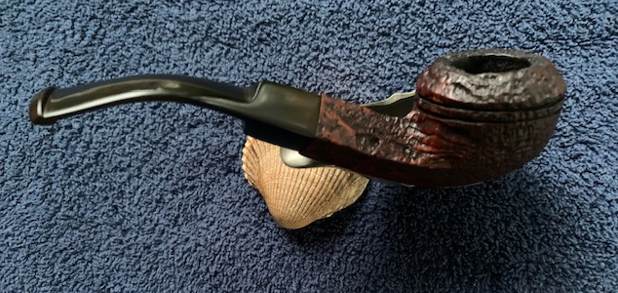
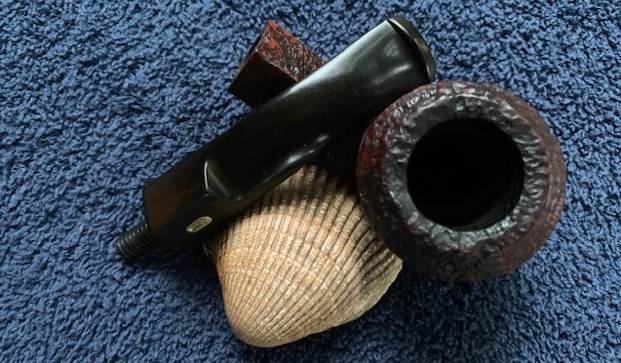
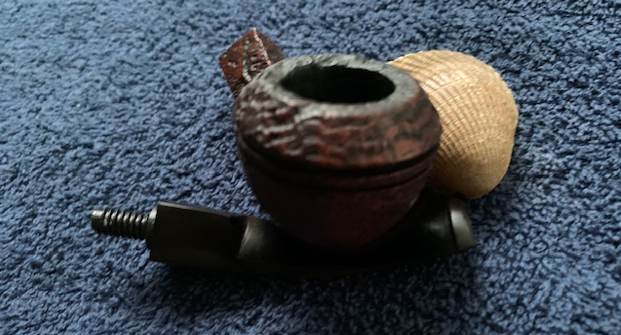
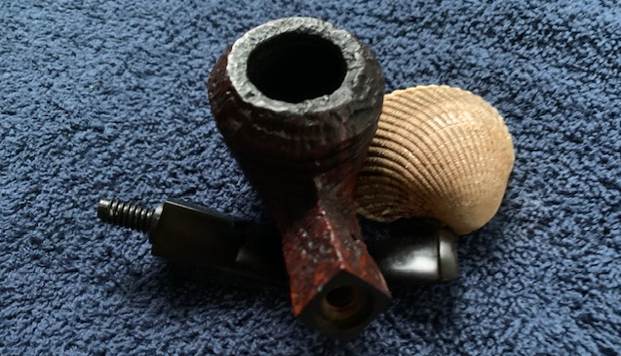
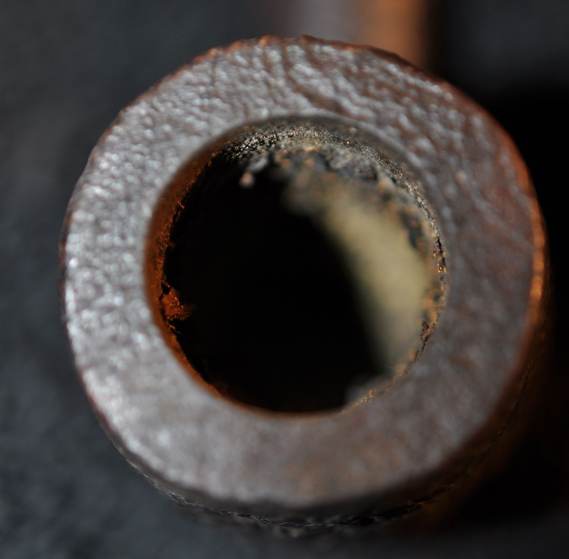
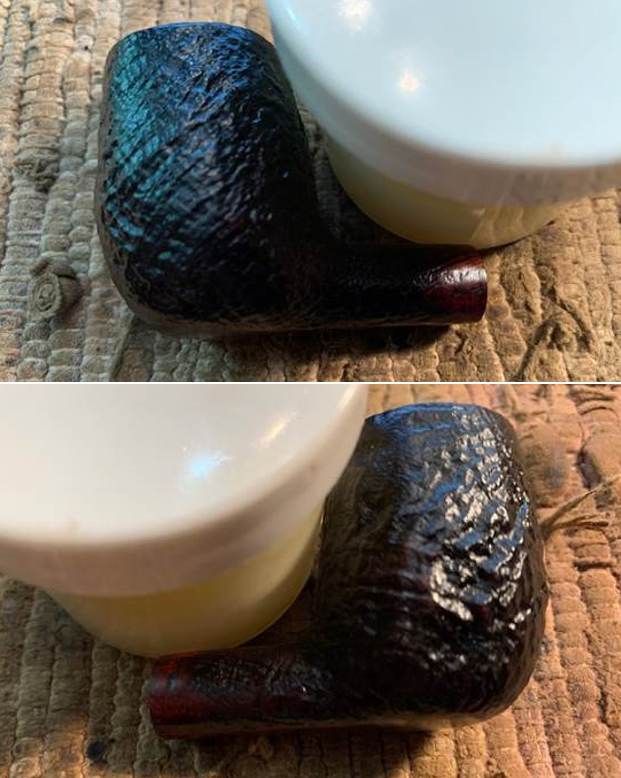
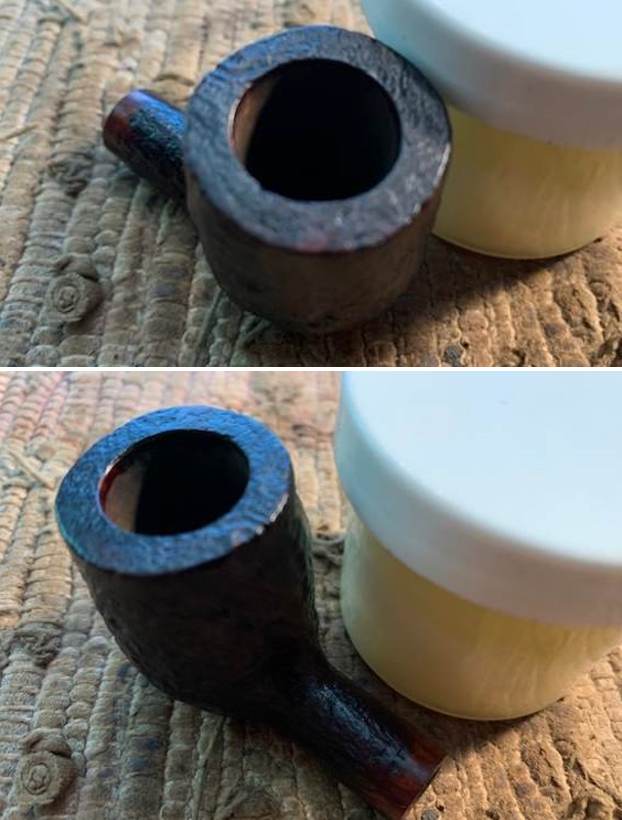
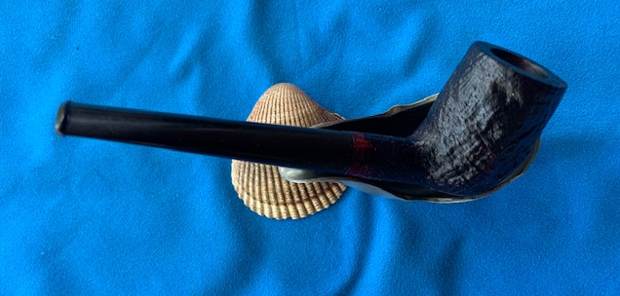
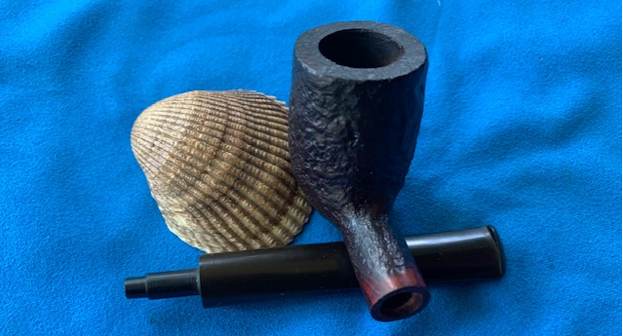
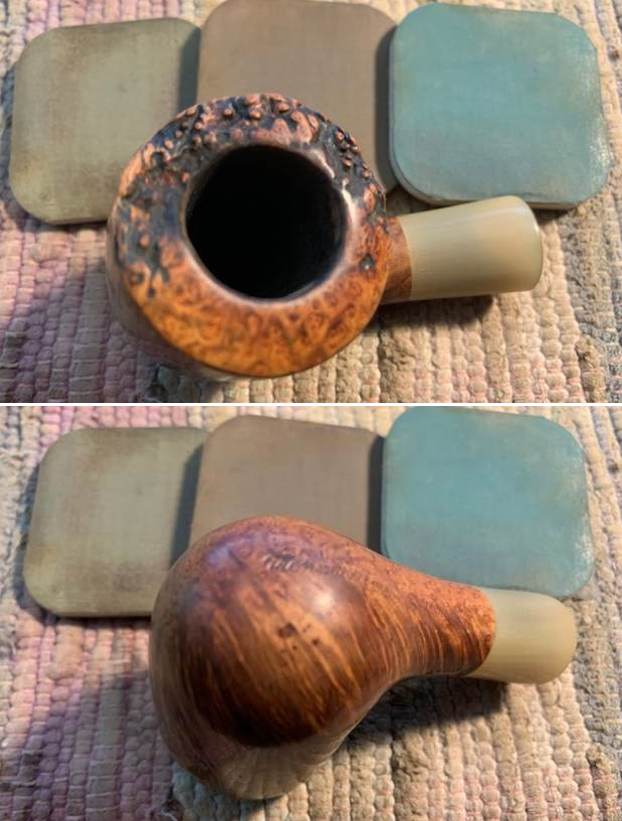
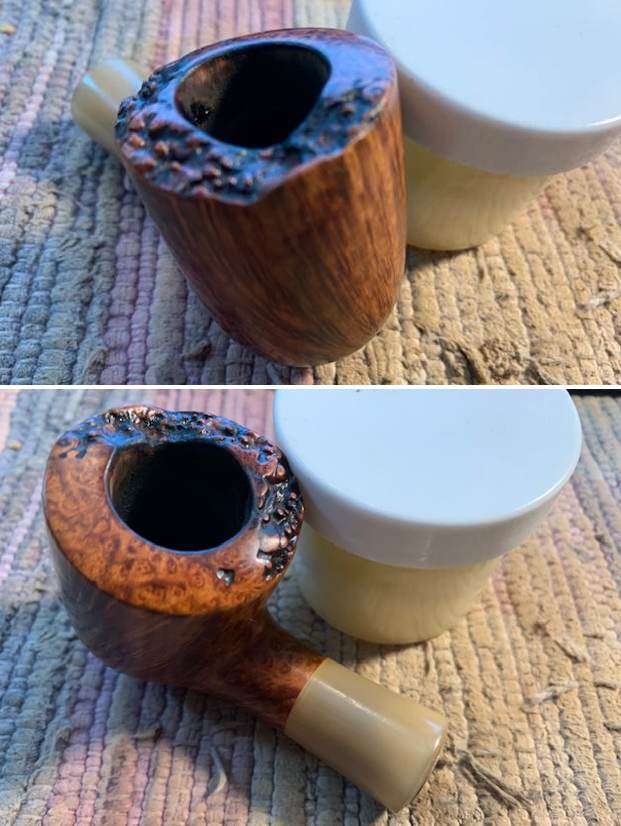
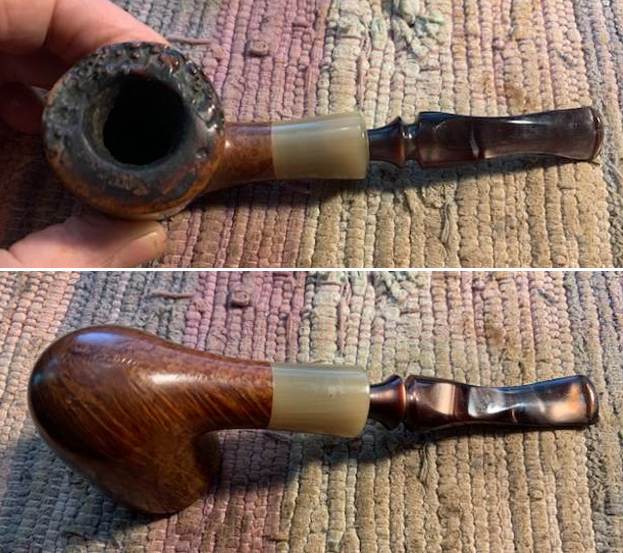 I took close up photos of the rim/bowl and stem. The cake in the bowl was thick and there was a thick coat of lava overflow on the rim top and edge. The valleys of the plateau were quite filled in. The stem was dirty and had light tooth marks on the top and underside near the button.
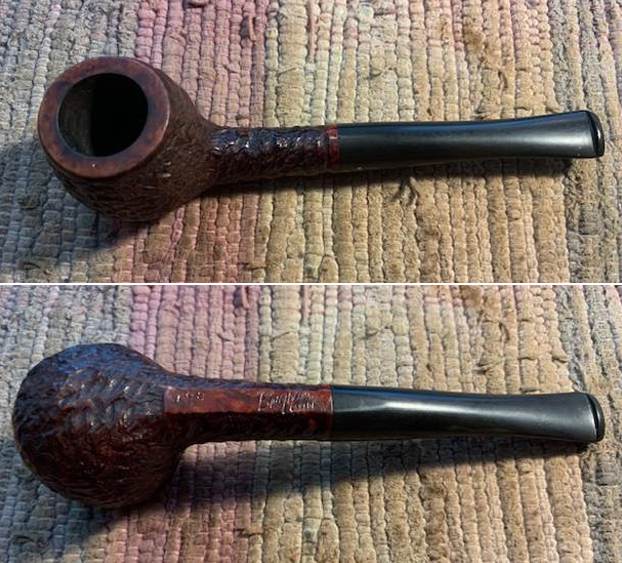
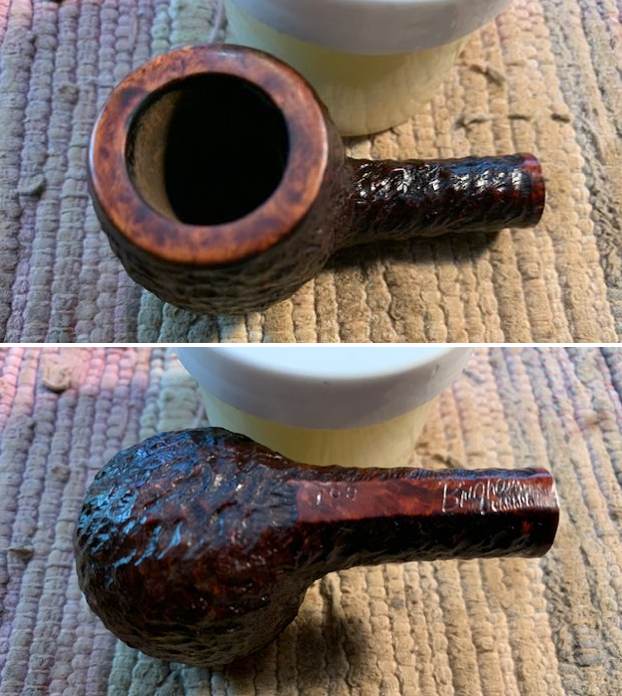
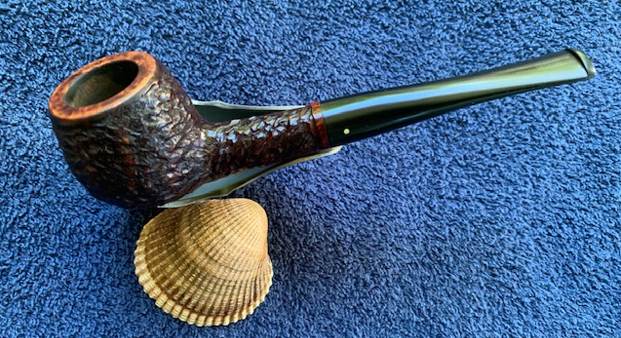
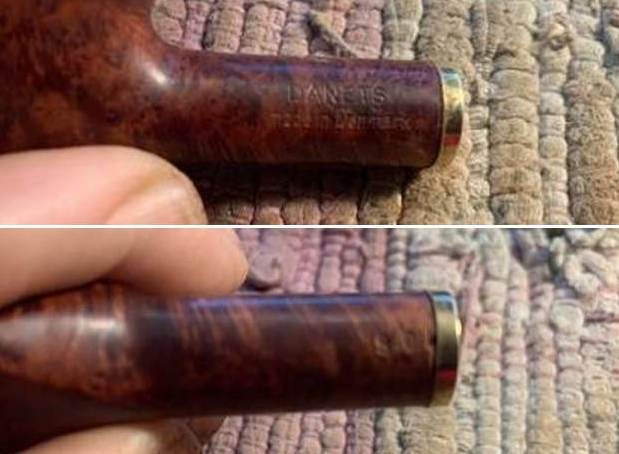
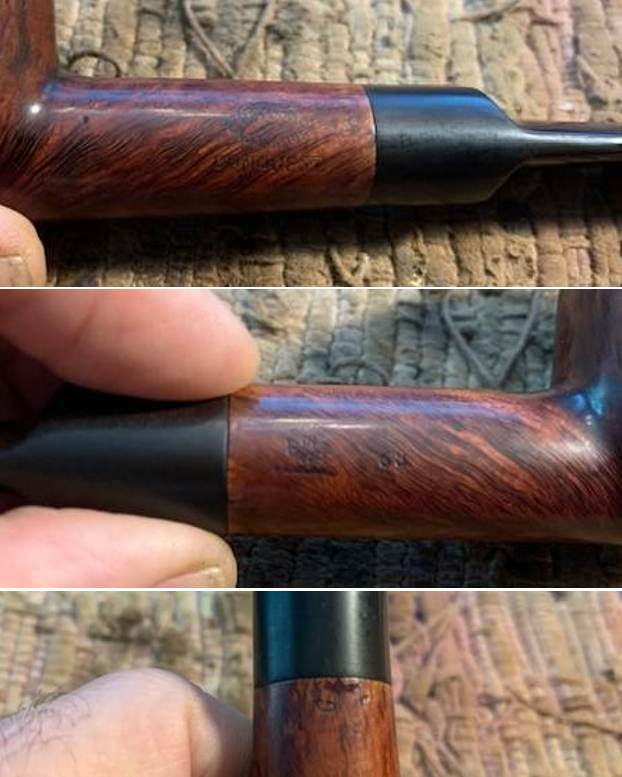
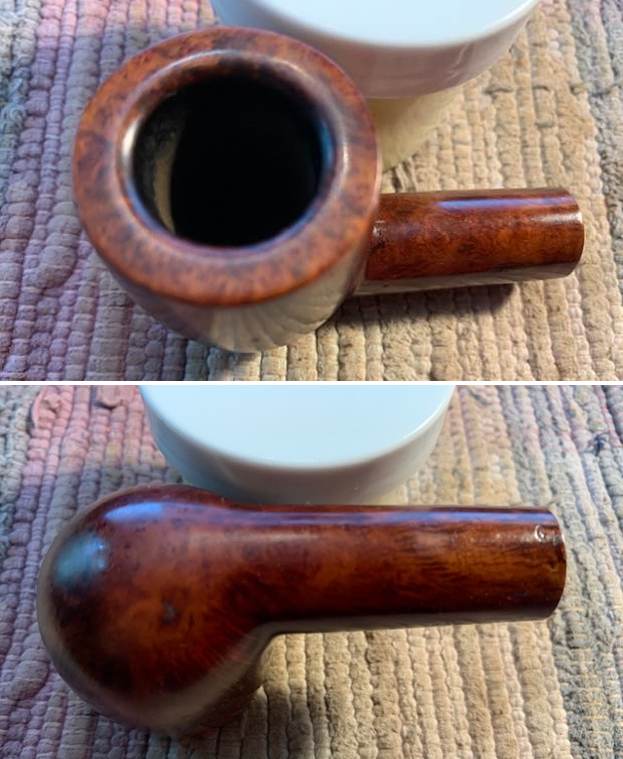
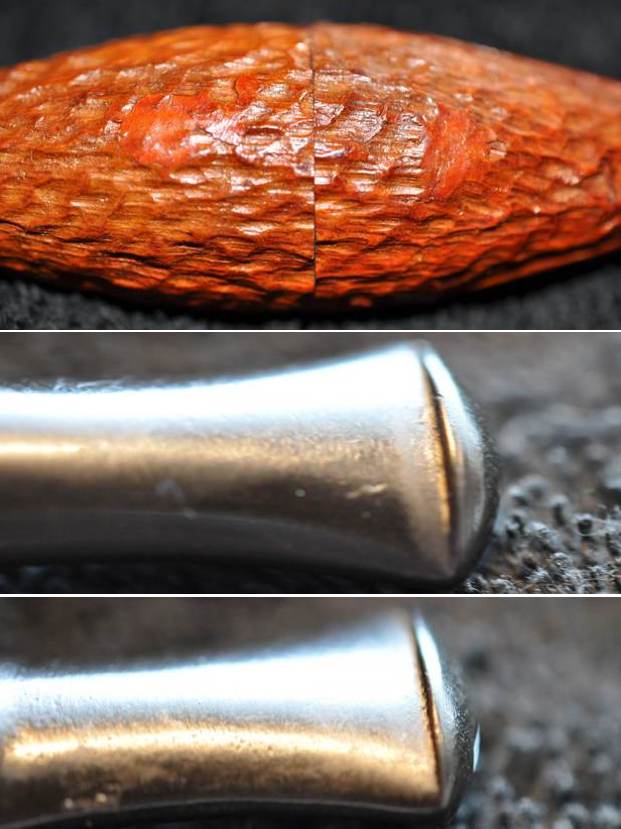
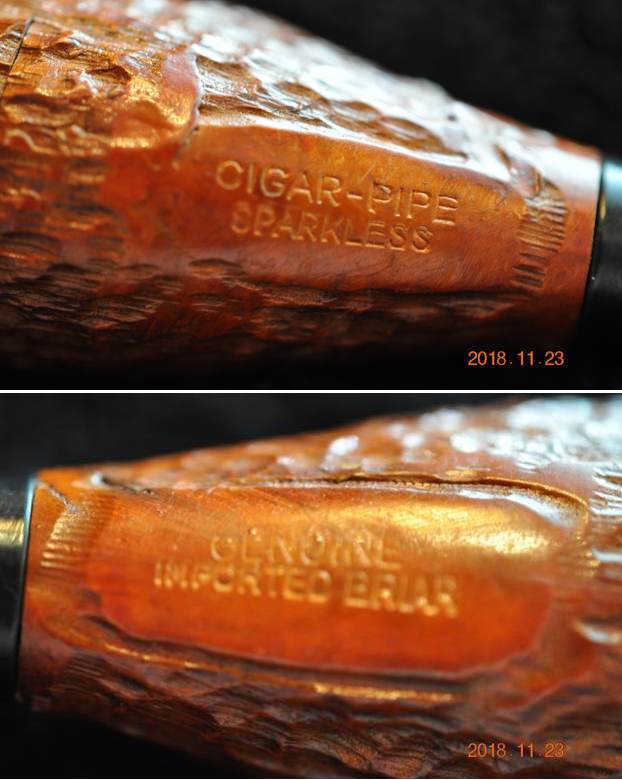
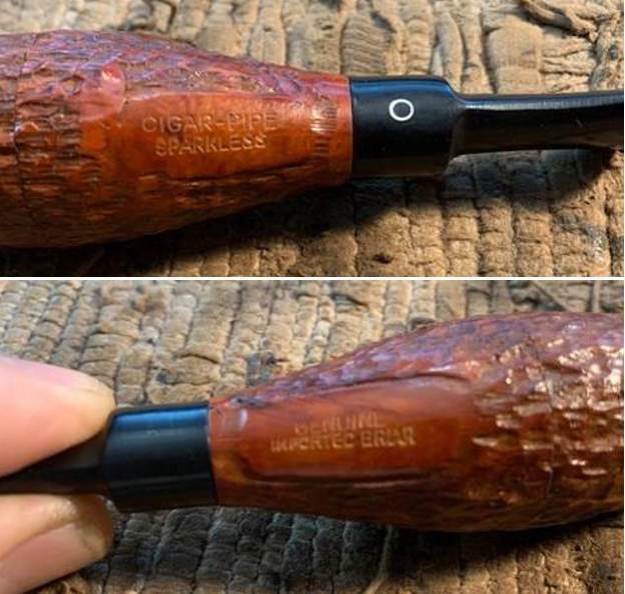
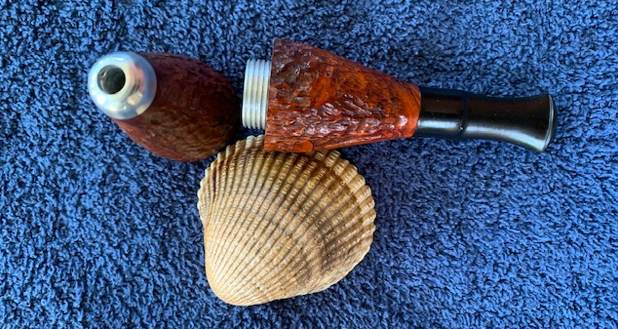
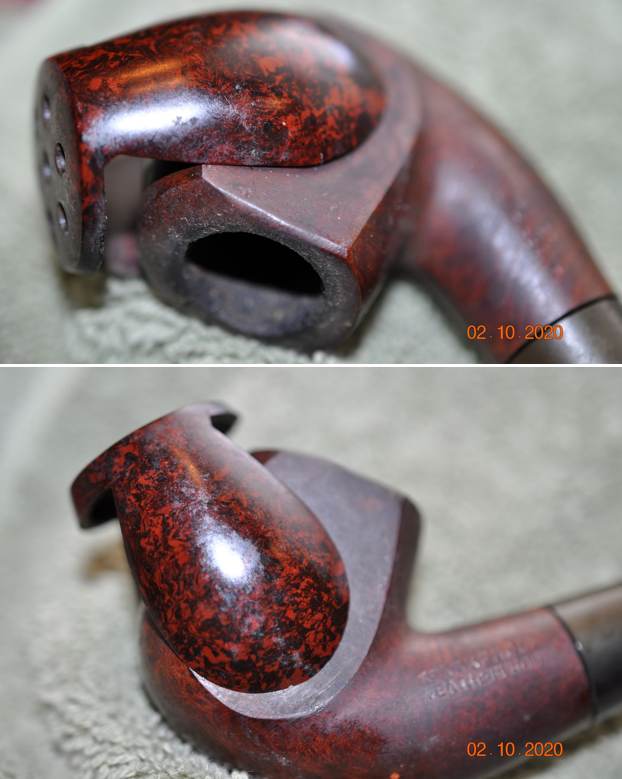
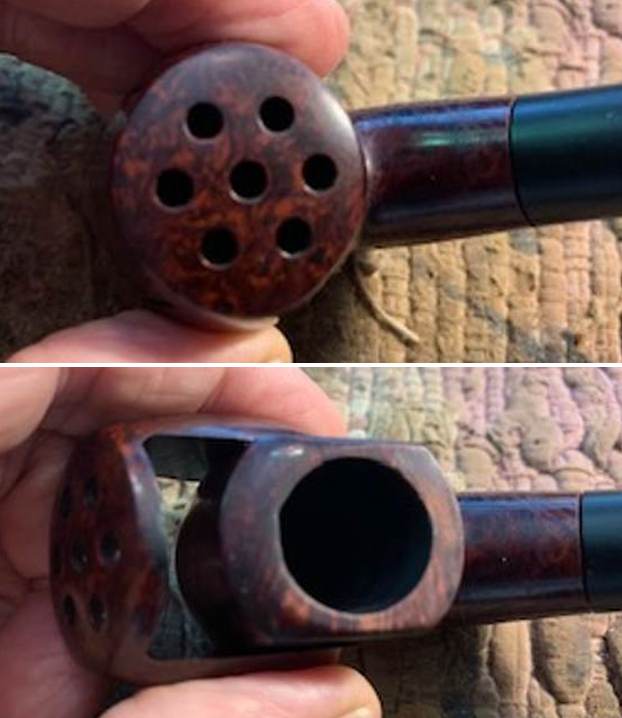
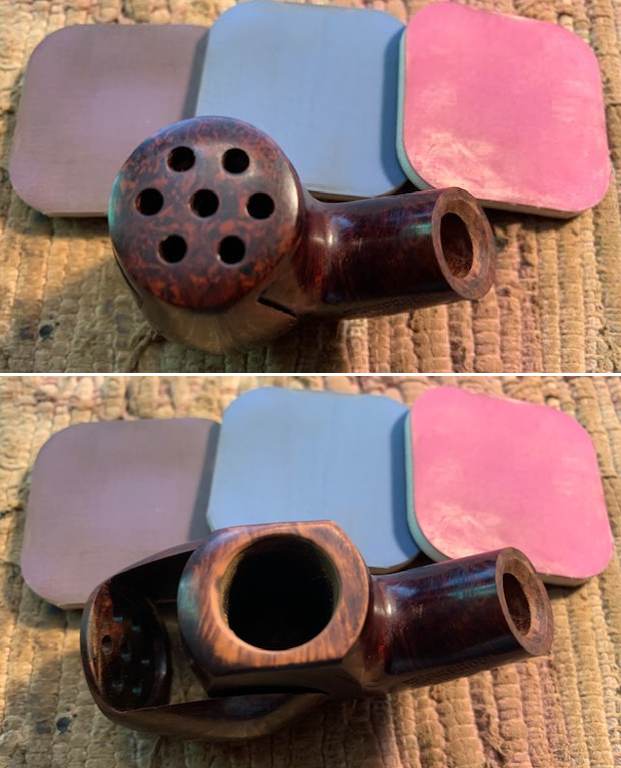
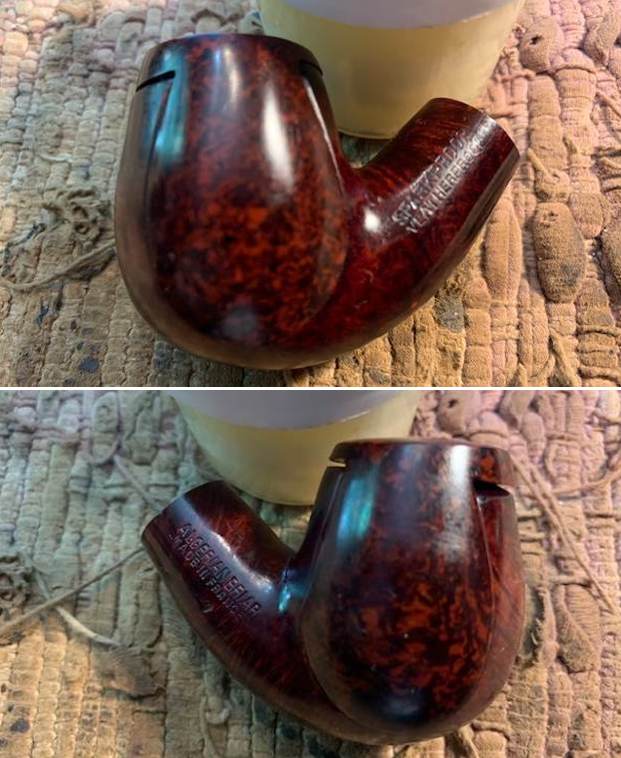
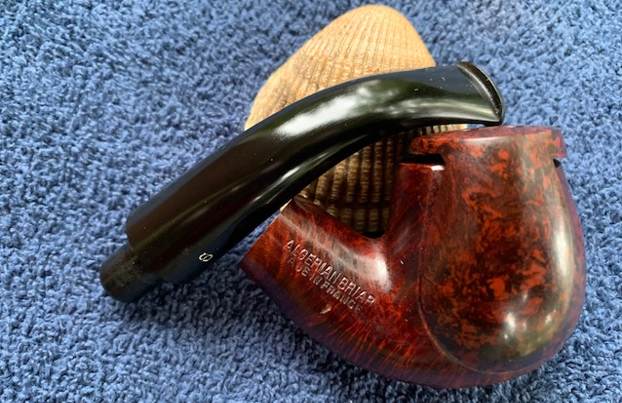
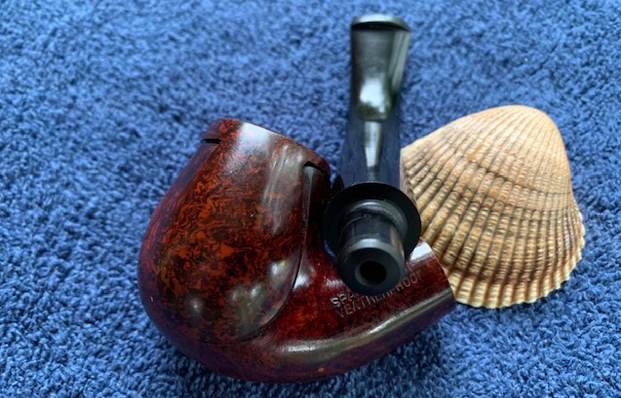
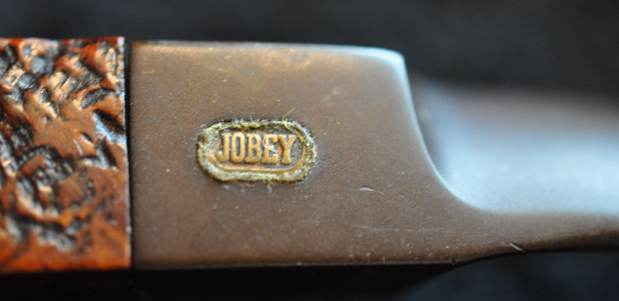
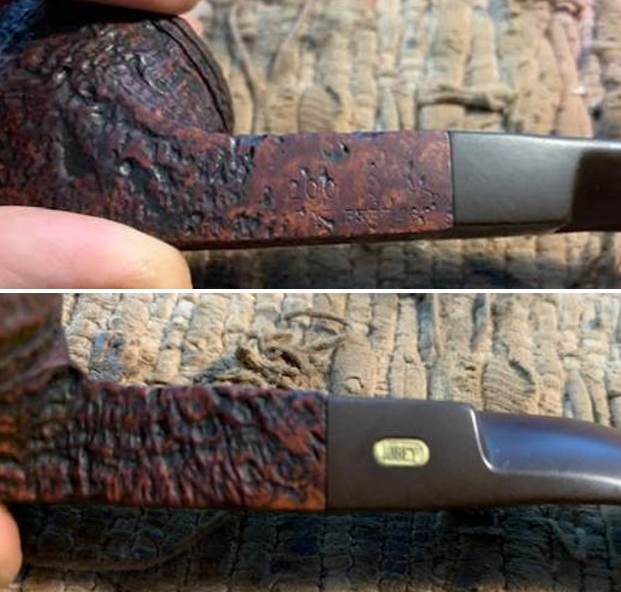
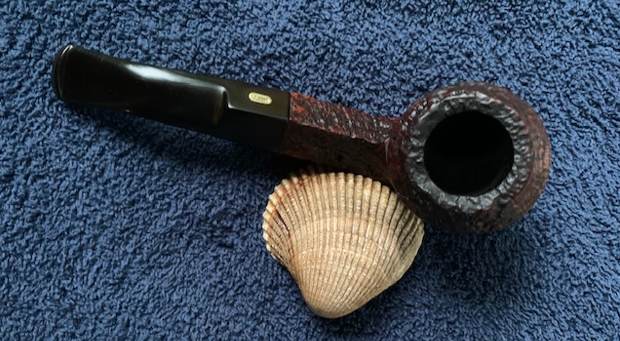
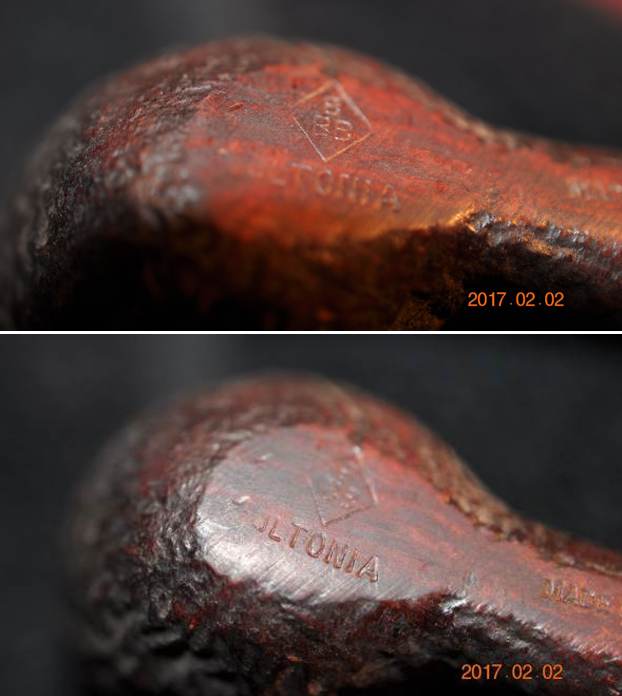
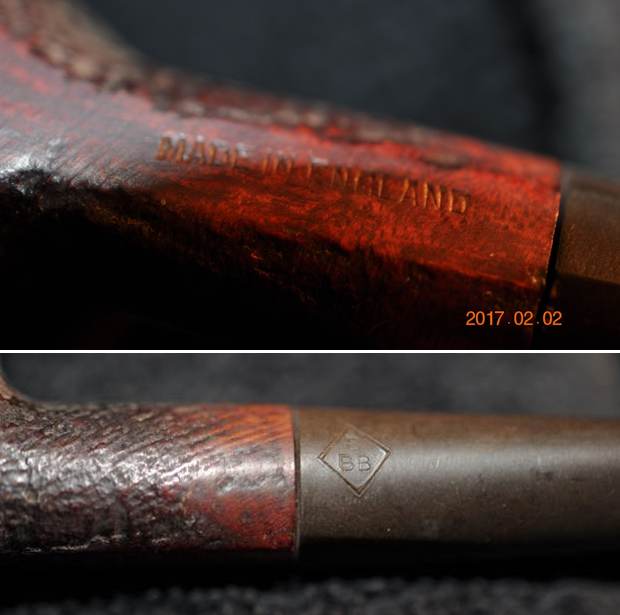
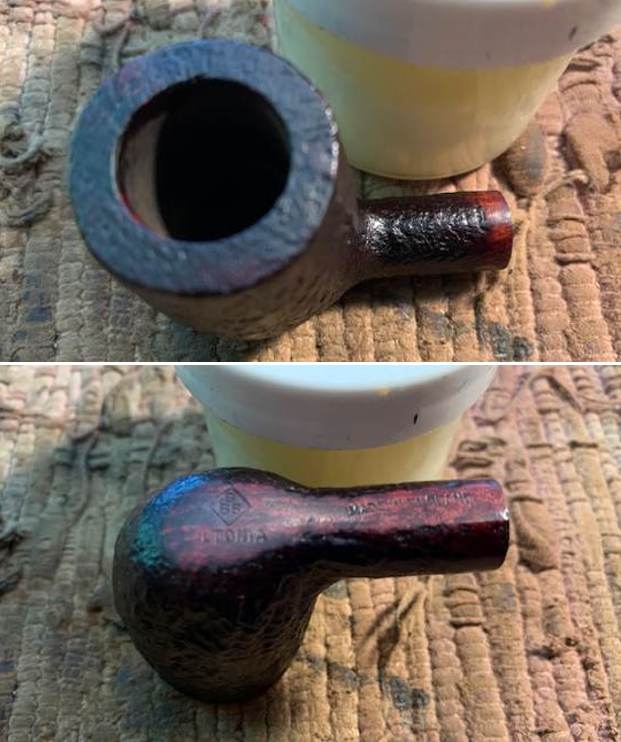
 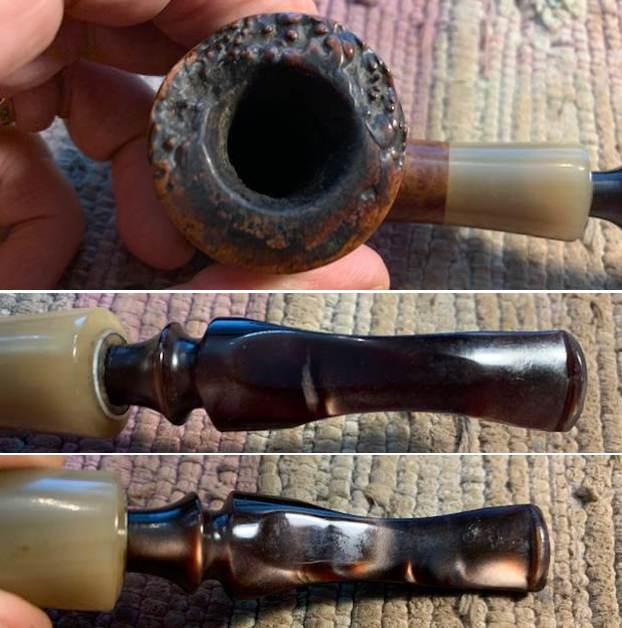 I took photos of the stamping on the underside of the bowl and the left side of the shank. It is clear and readable as noted above.
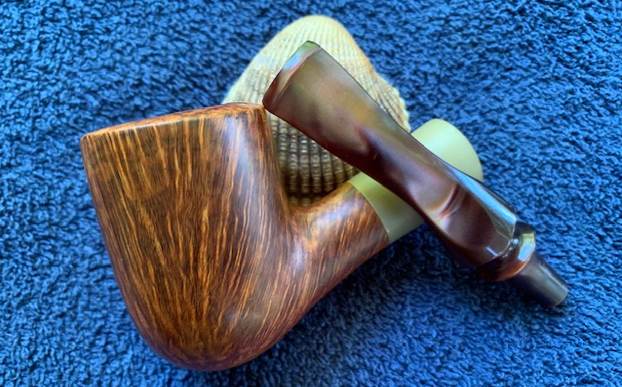
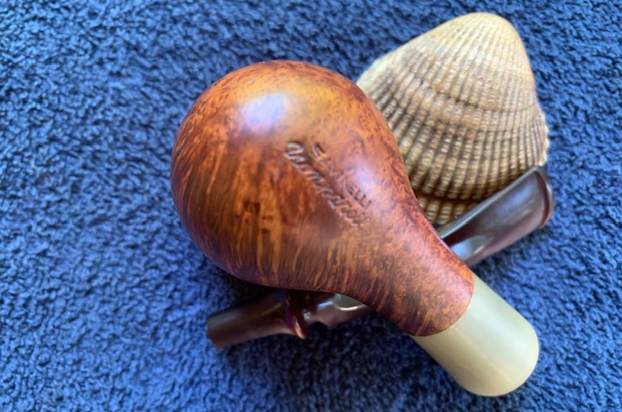
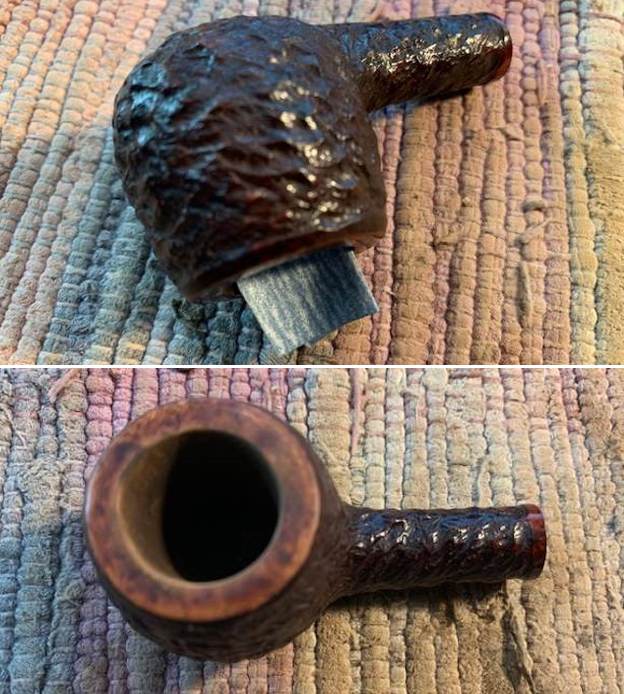
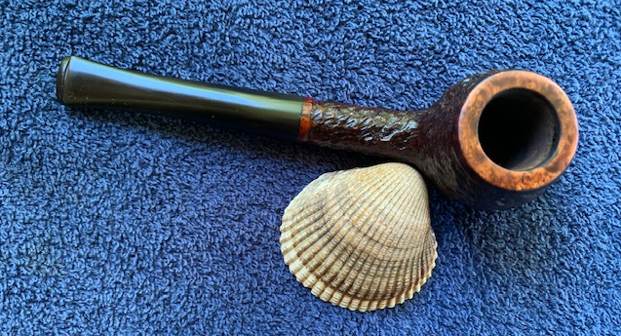
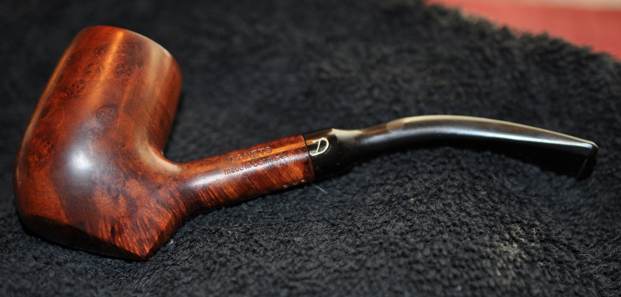
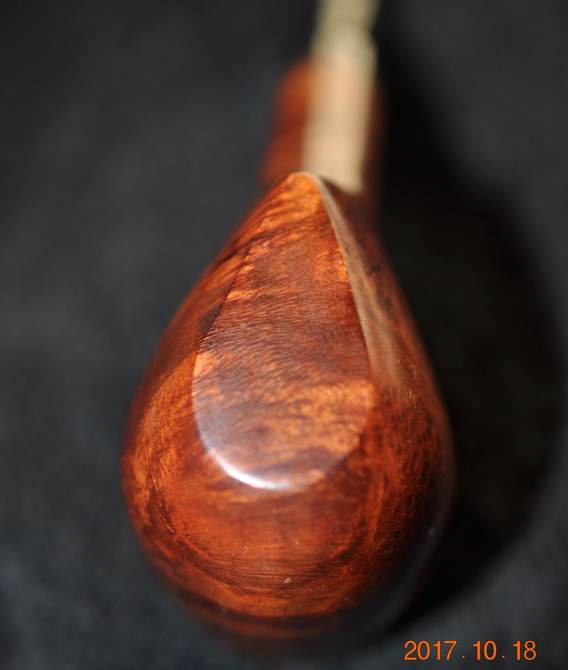
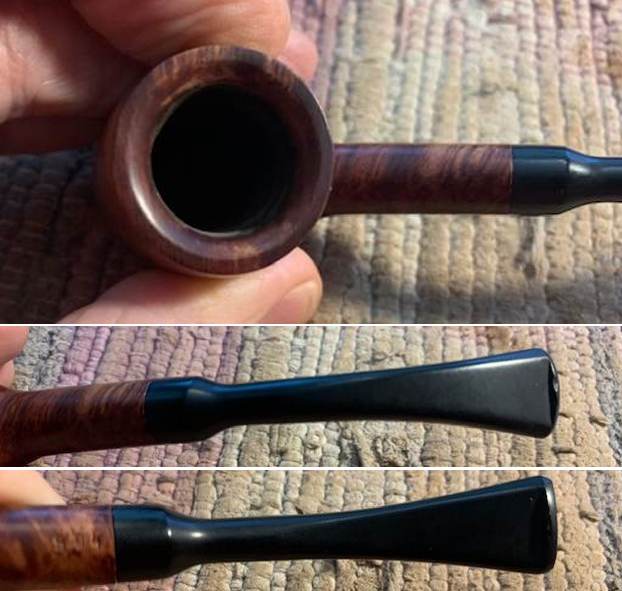
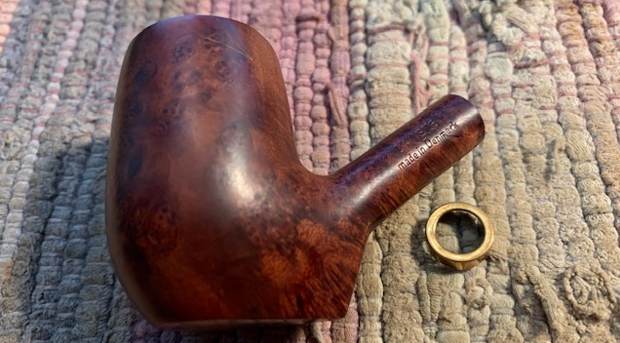
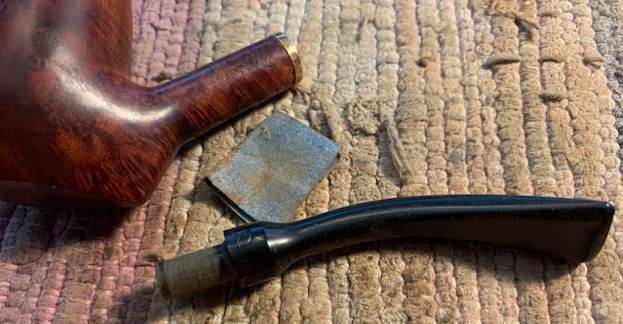
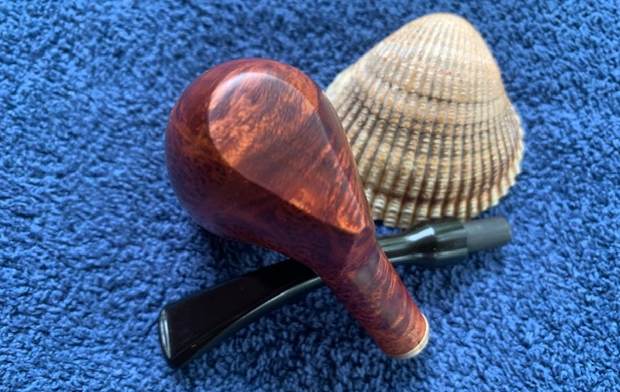
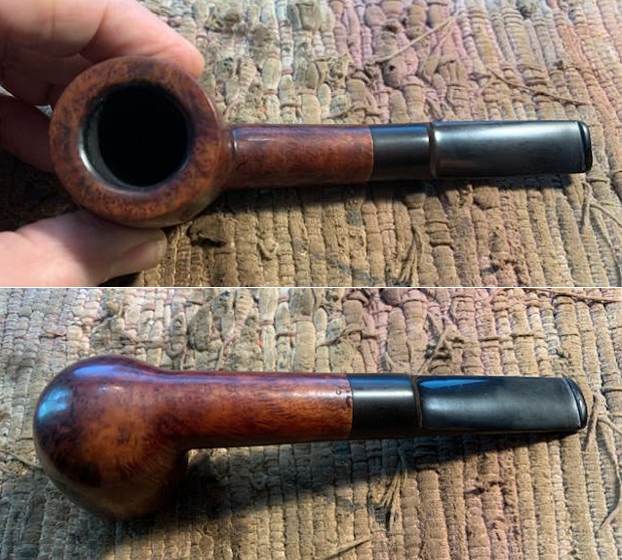
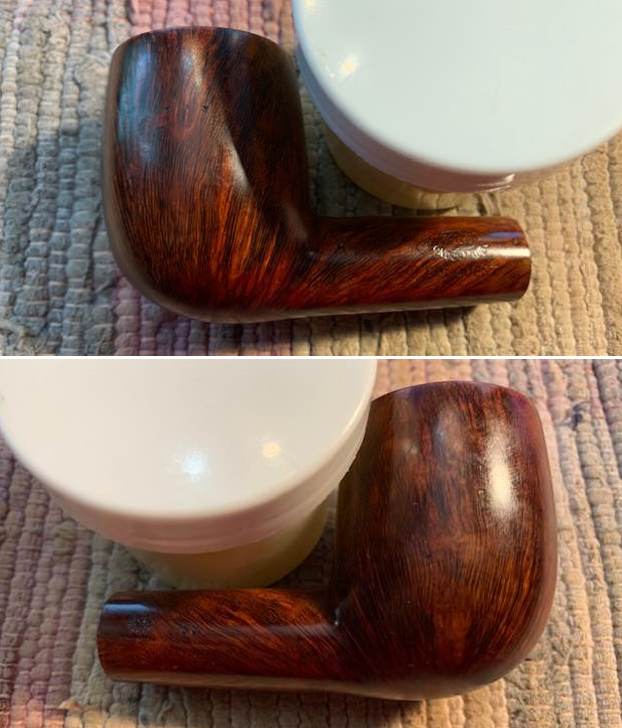
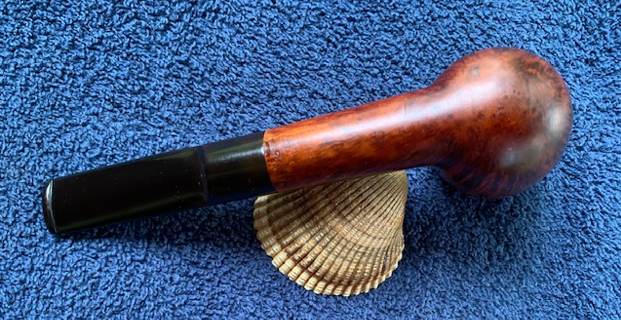
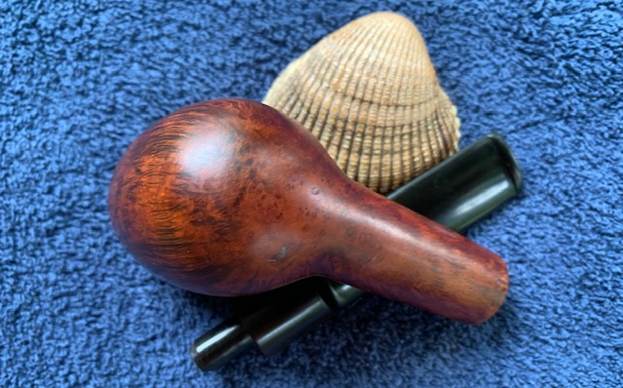
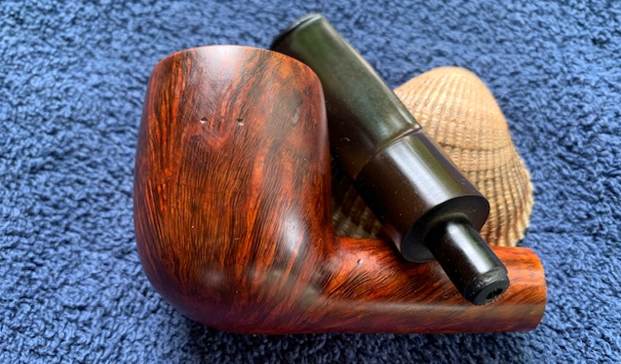
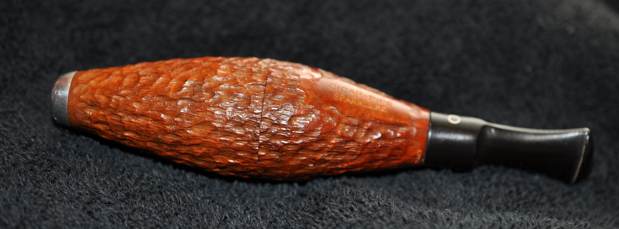
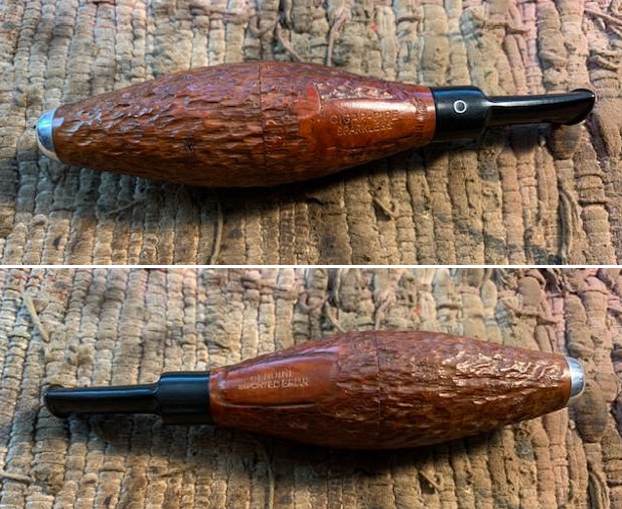
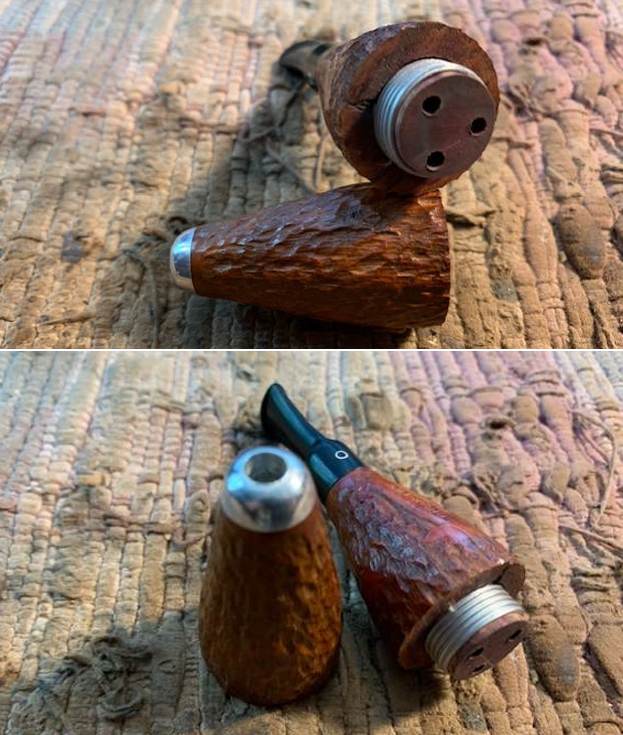
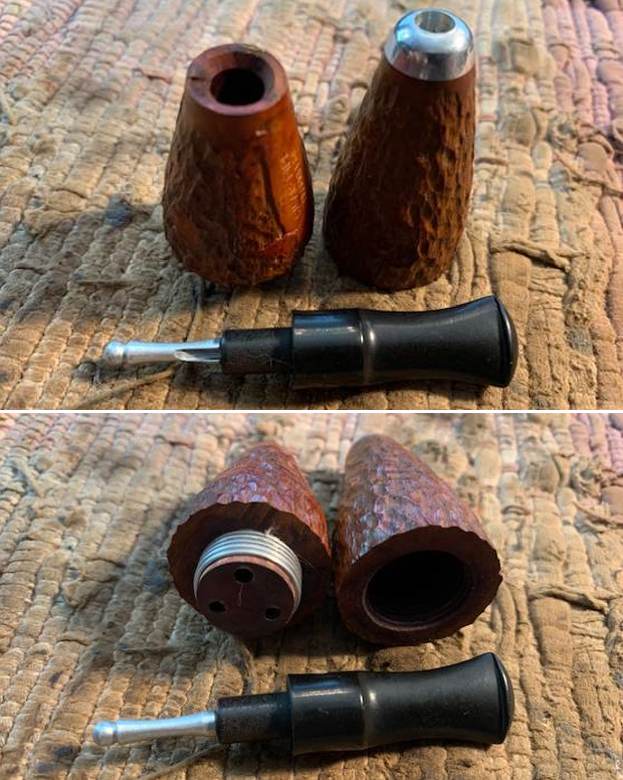
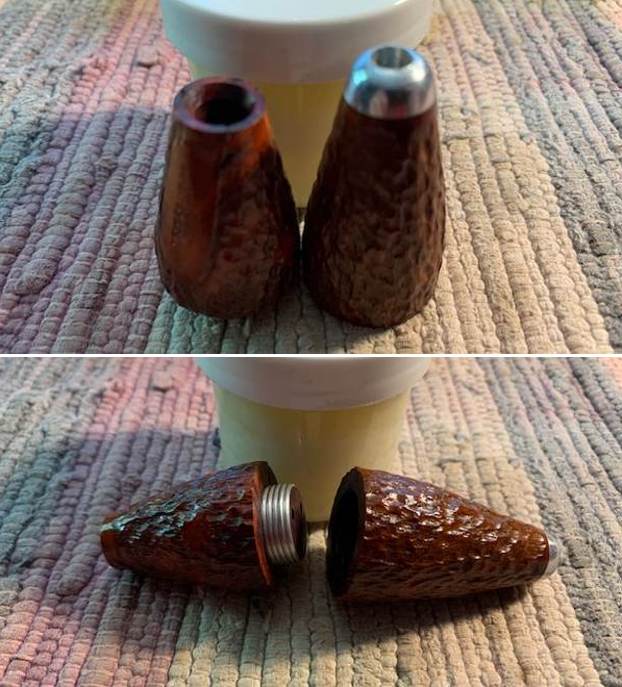
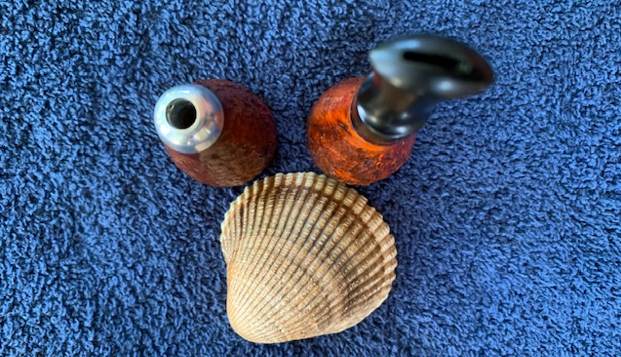
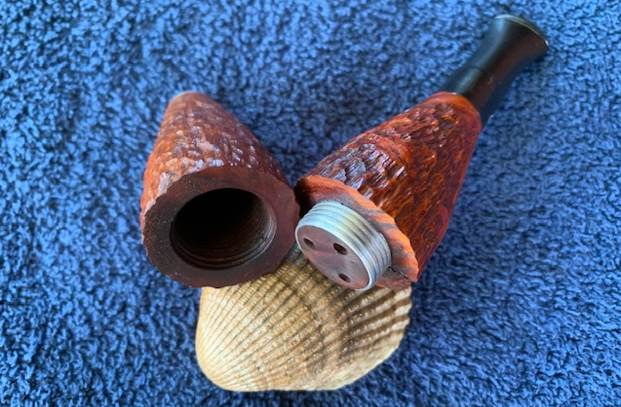
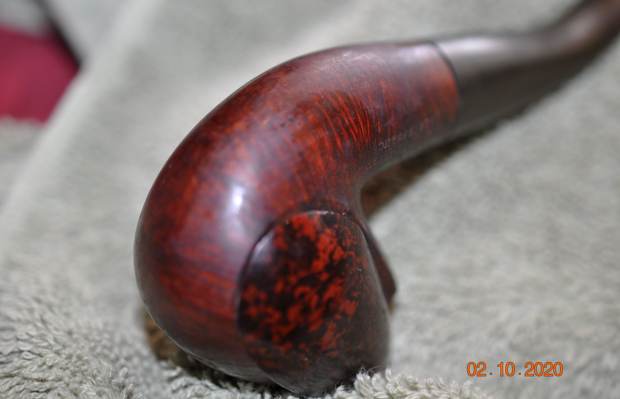
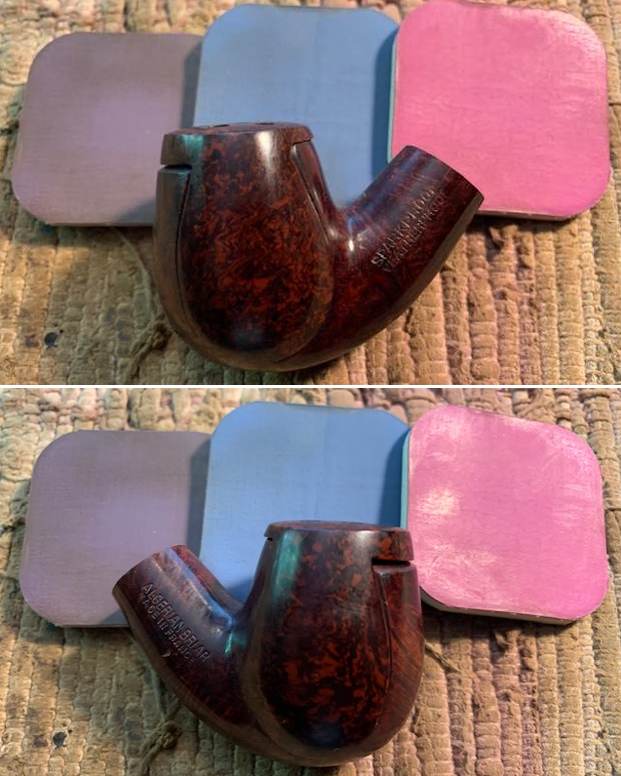
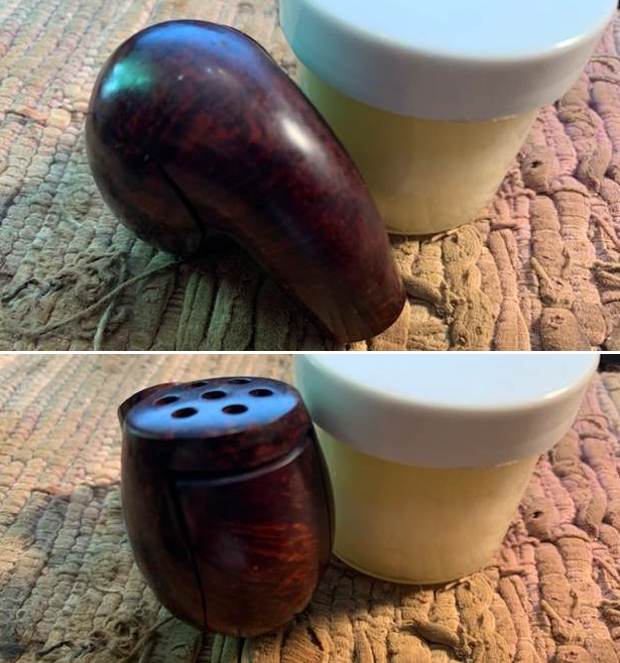
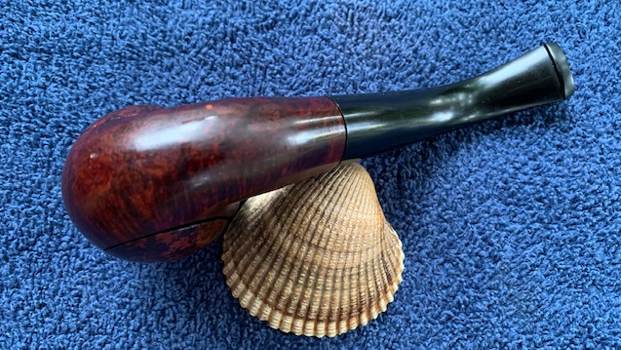
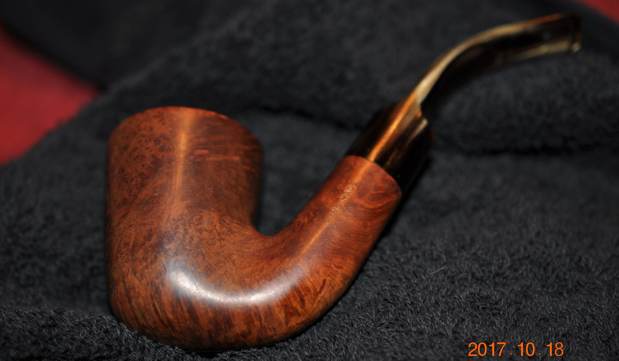
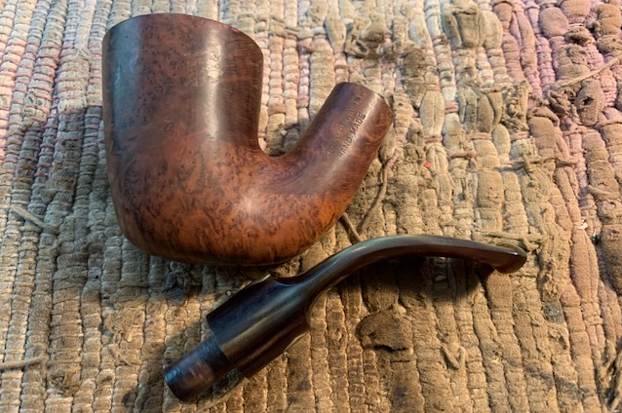
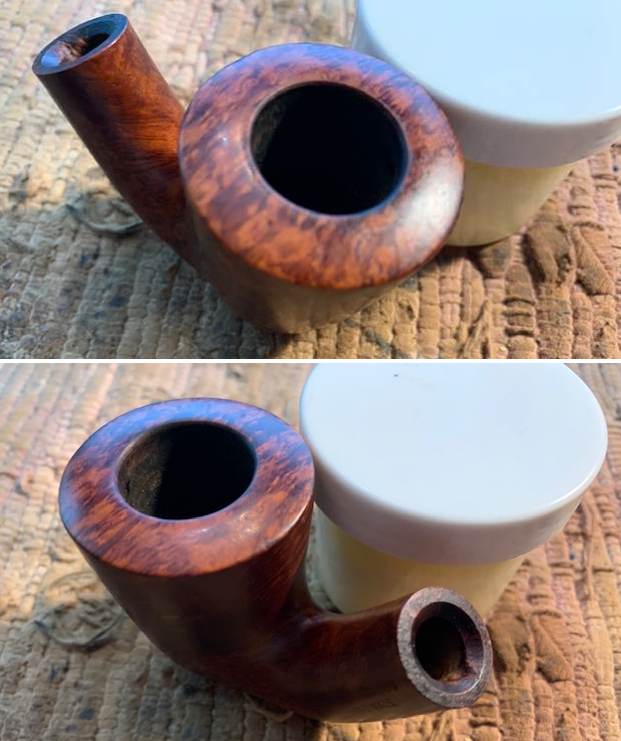
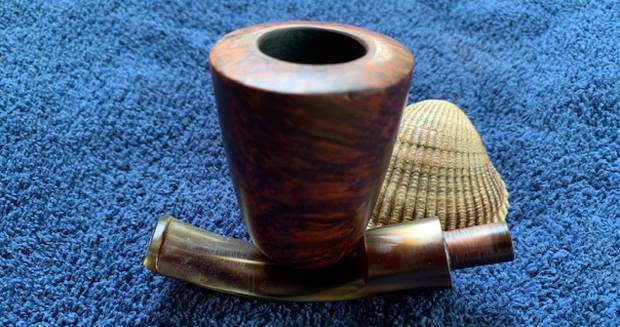
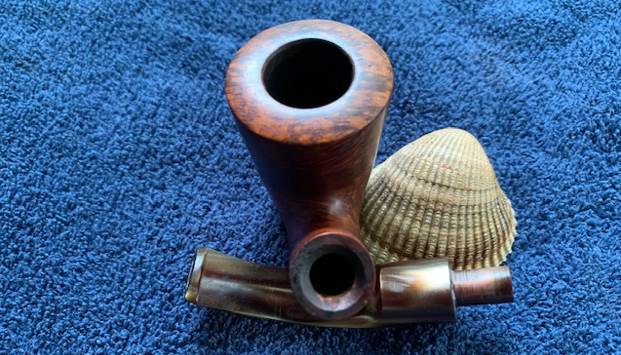
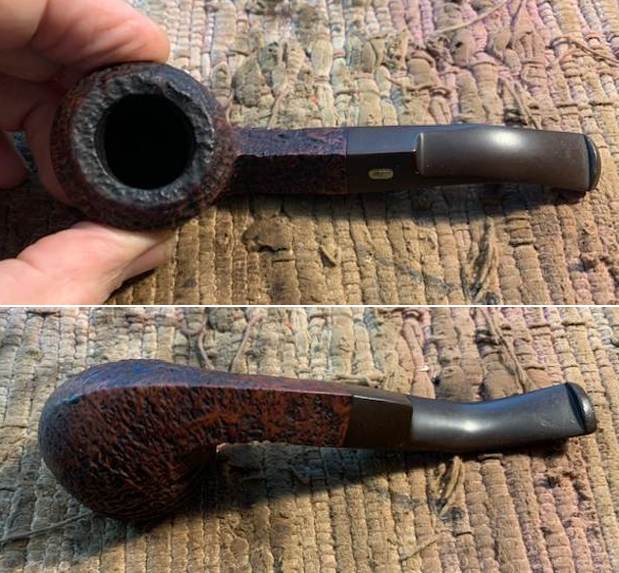
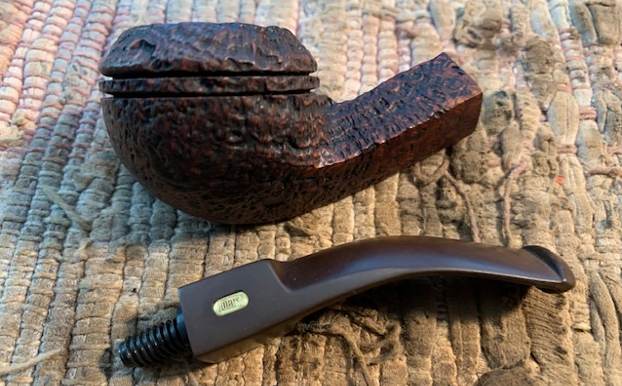
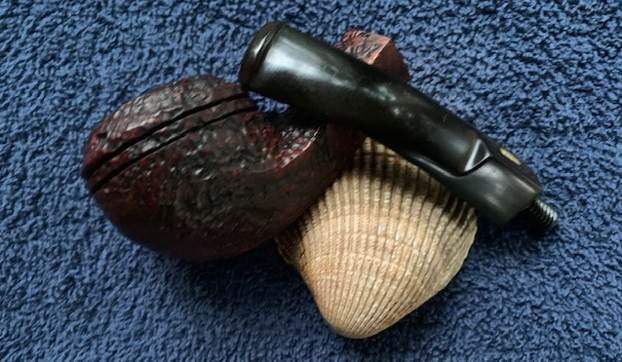
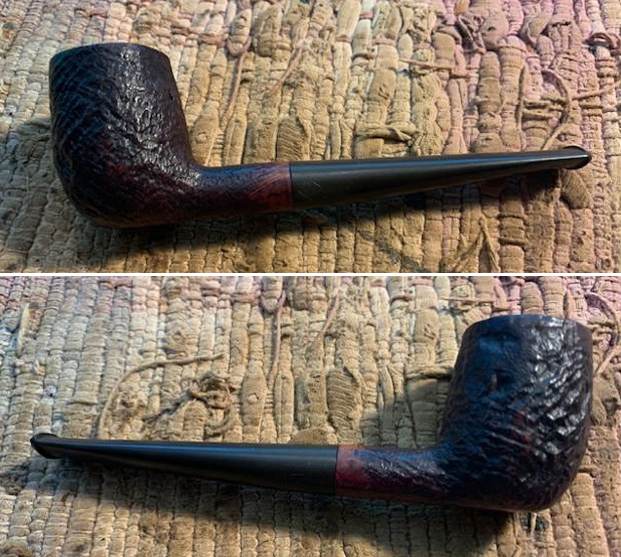
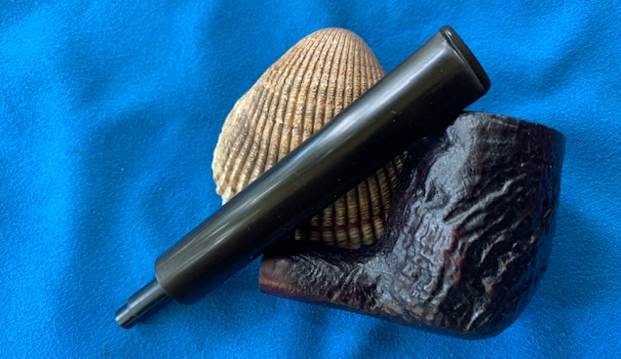
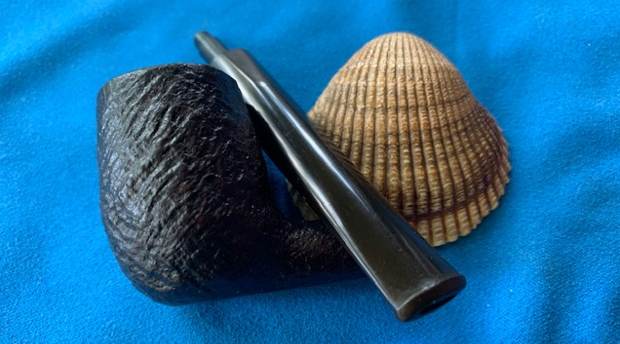
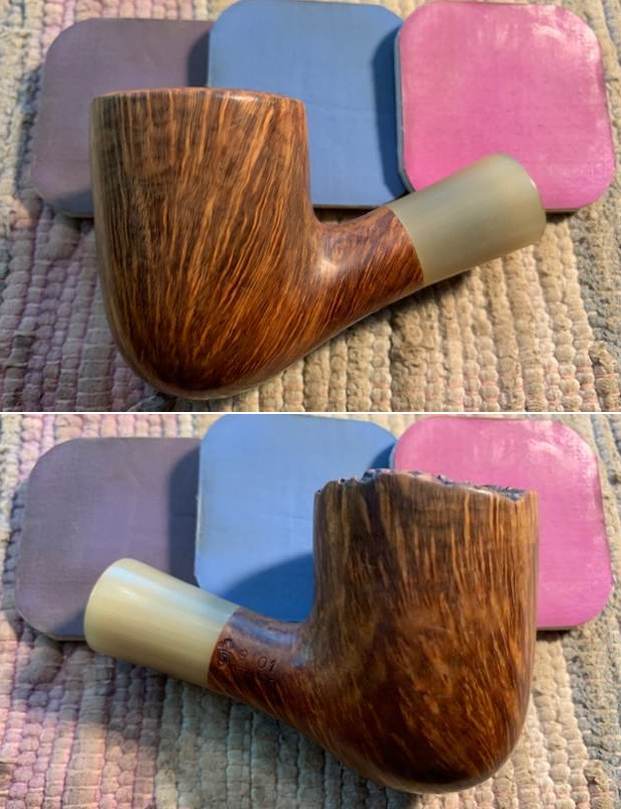
 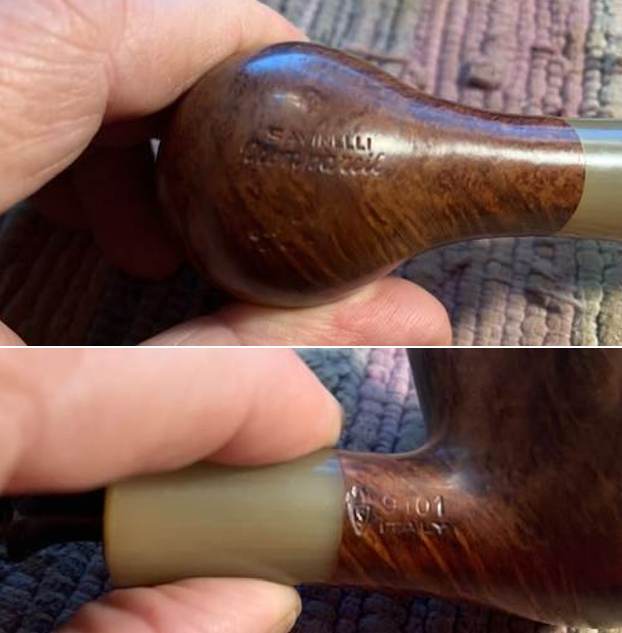 I removed the stem from the shank and took a picture of the pipe. It is quite an attractive shape and should clean up well.
 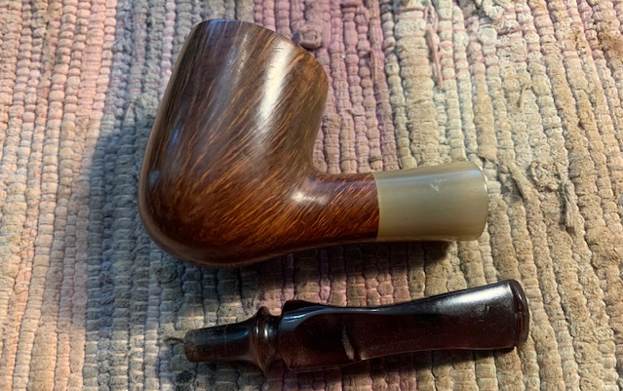 I turned to Pipephil (http://www.pipephil.eu/logos/en/logo-savinelli3.html) to get a quick view of the Nonpareil Line. I did a screen capture of the site’s information and have included that below.
  I am also including a screen capture of the Shape and code chart introduction that is link in the above capture.
 It appears that the Nonpareil 9101 that I am working on is made before 1970 so it is at least 50+ years old. It is in great shape. I am not sure what the exception noted above is about.
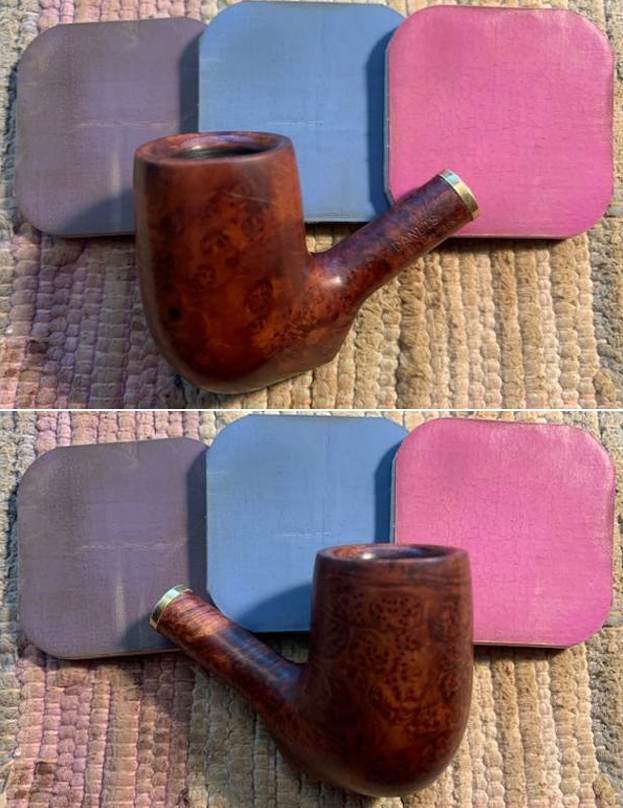
I turned to Pipedia (https://pipedia.org/wiki/Savinelli) for a quick read. The site is worth reading the history of the Savinelli brand and it philosophy of pipemaking. There was nothing specific on the Nonpareil line however so it was time to work on the pipe.
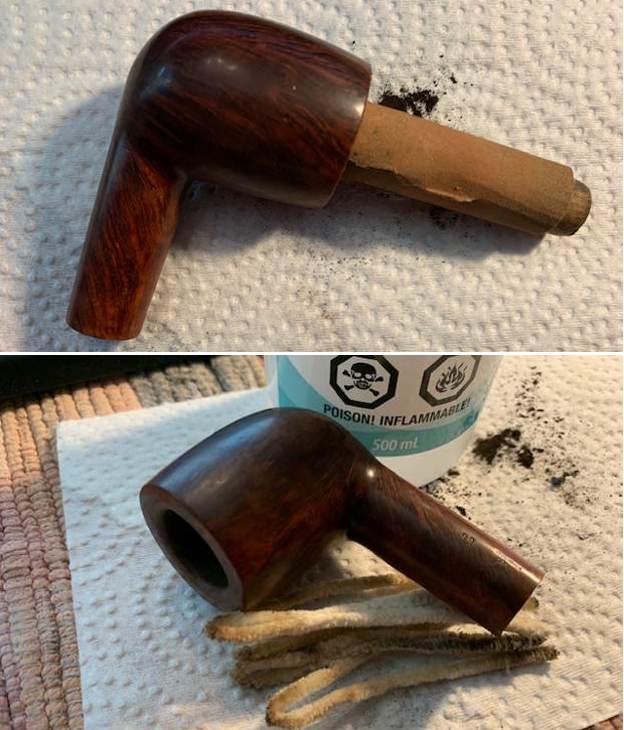
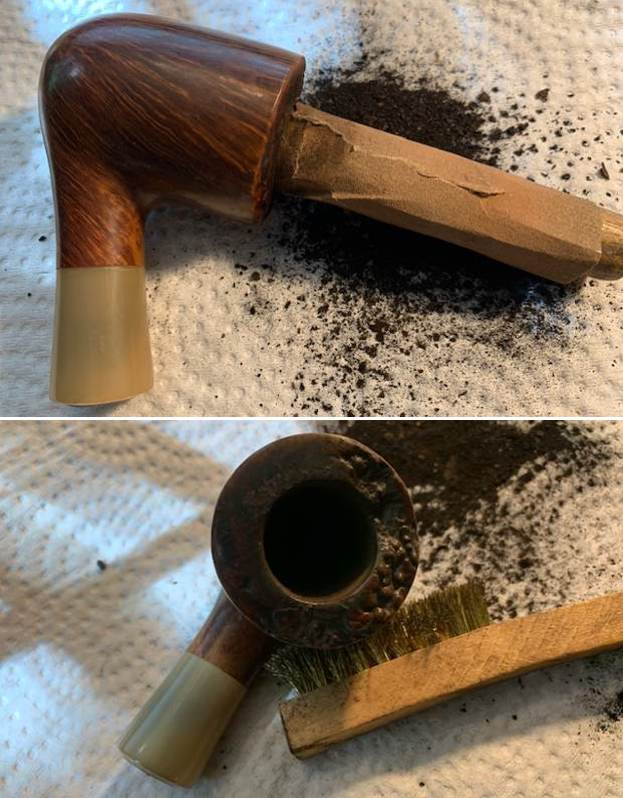
I used a PipeNet pipe reamer (first 3 cutting heads) to strip back the cake to bare briar. I cleaned up the remnants with a Savinelli Fitsall pipe knife. I sanded the bowl with a dowel wrapped with 220 grit sandpaper to smooth out the walls. I worked on the lava in the rim top plateau with a brass bristle wire brush. I was able to remove much of the lava with that. Scrubbing it would remove the rest.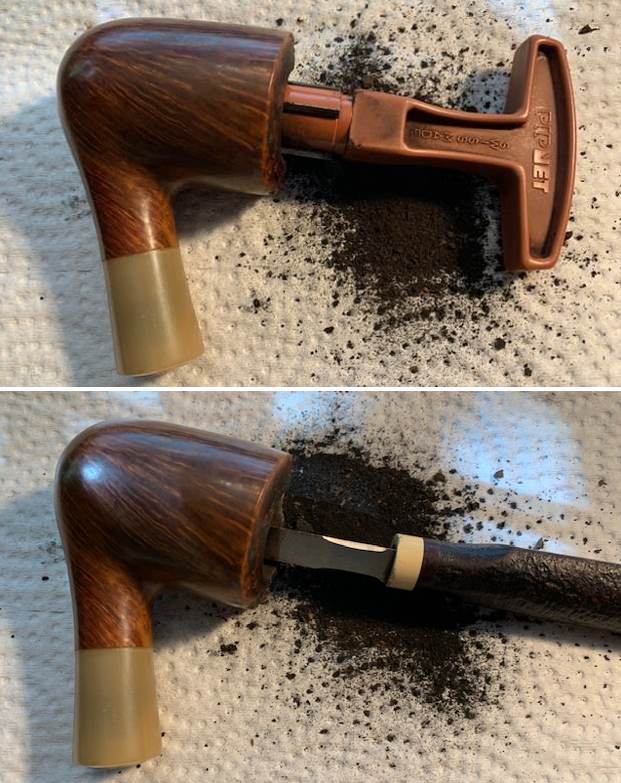
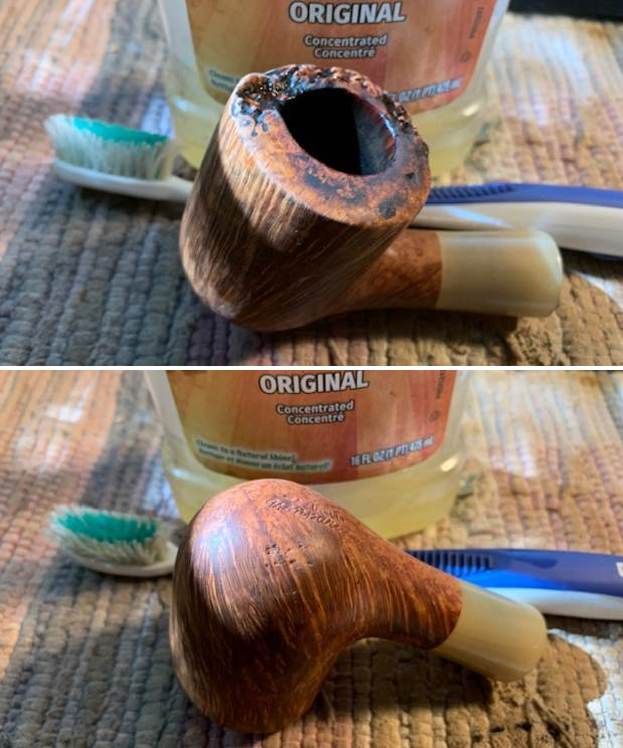
 I scrubbed the externals of the bowl and rim top with a tooth brush and some undiluted Murphy’s Oil Soap. I rinsed it off with warm water and dried it off with a soft cloth.
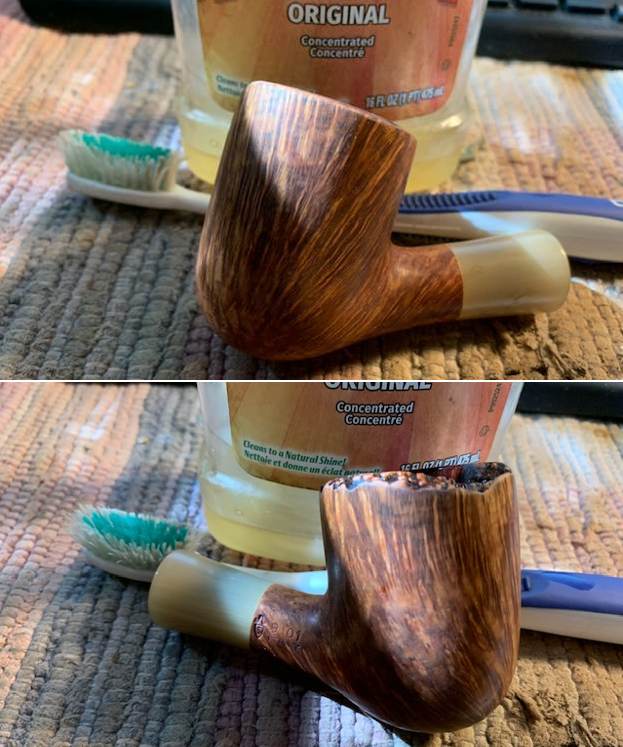
 Now it was time to scrub the inside of the shank and rid it of the tars and oils. I scrubbed the mortise and the airway in the shank and the stem with pipe cleaners, cotton swabs and 99% isopropyl alcohol. There was some stain in the inside of the shank that came out.
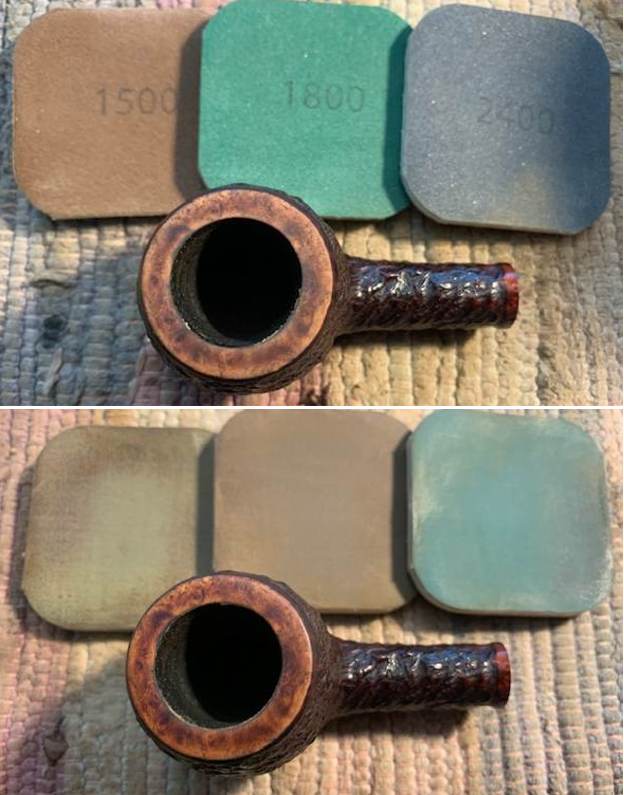
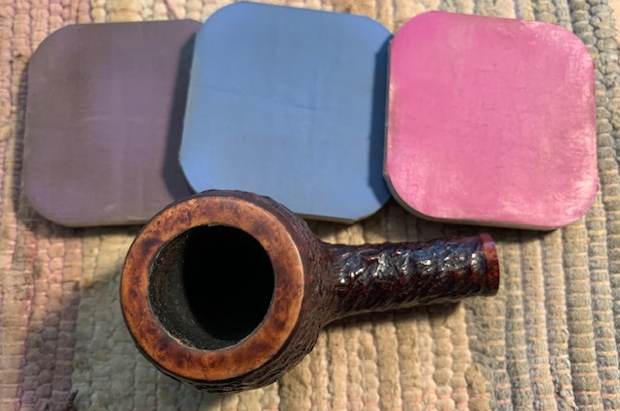
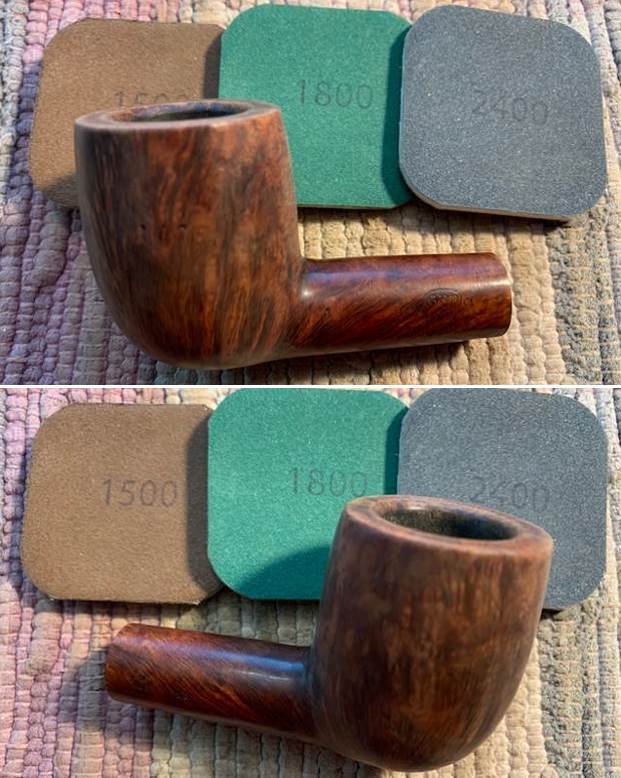
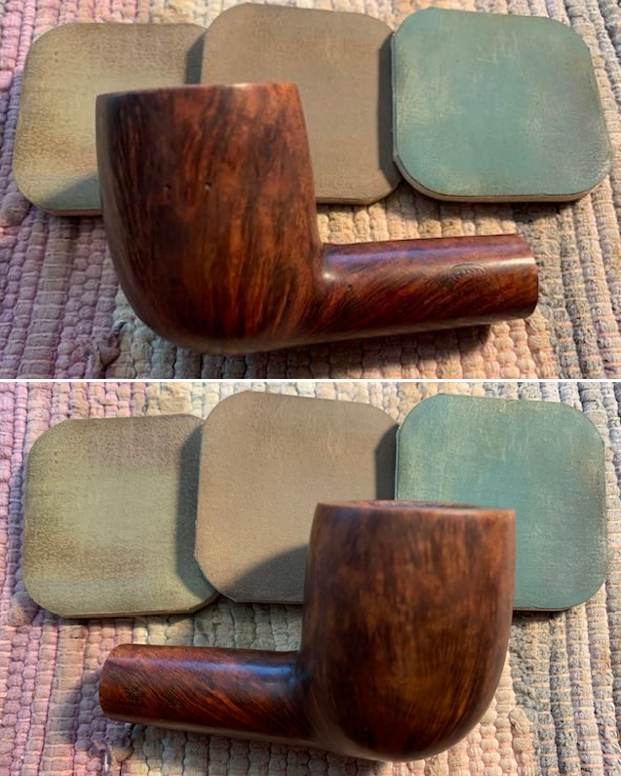
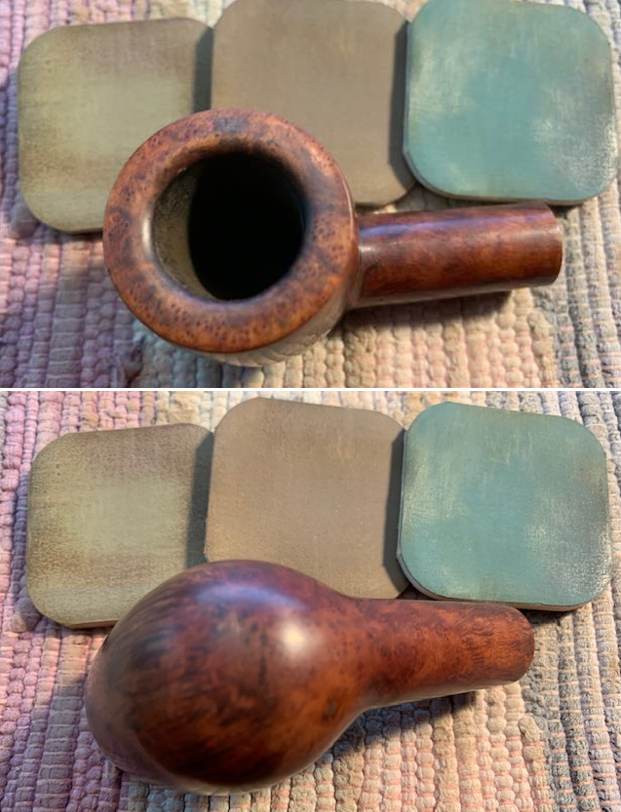
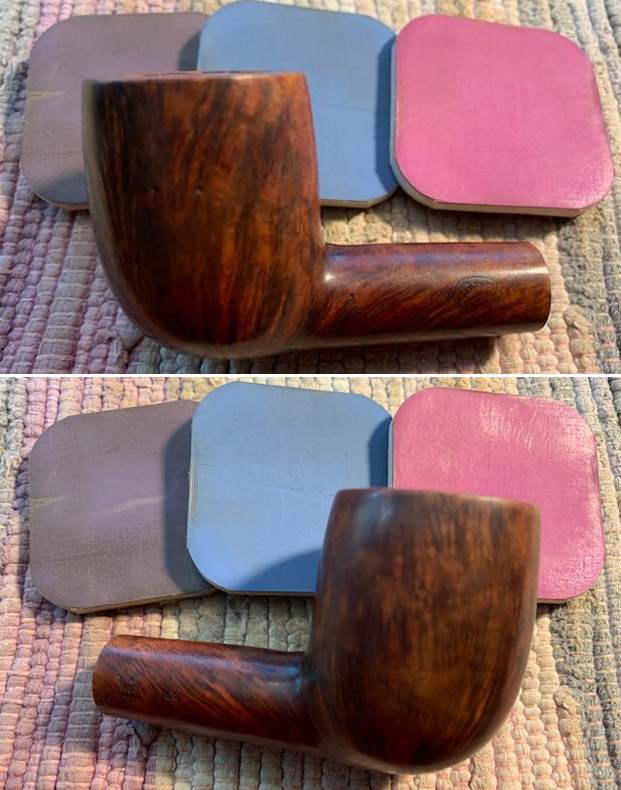
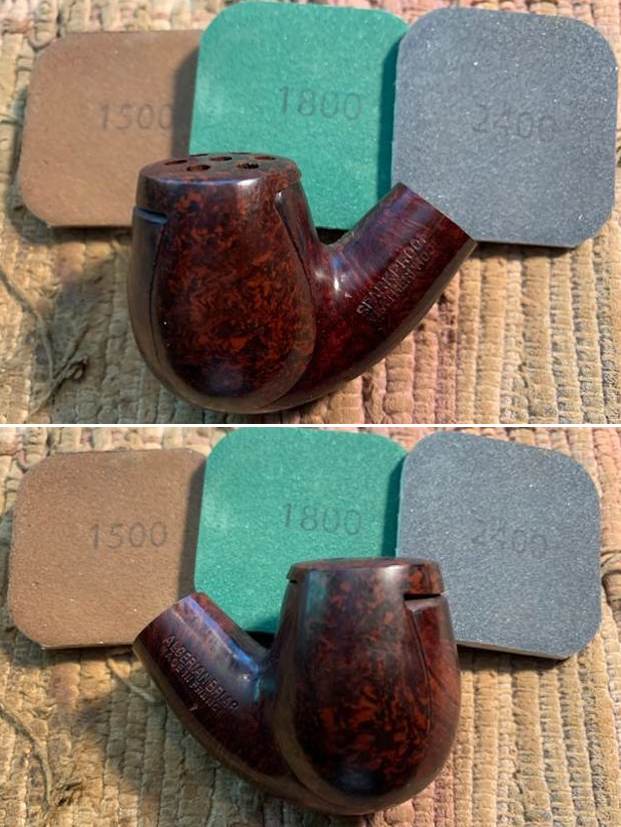
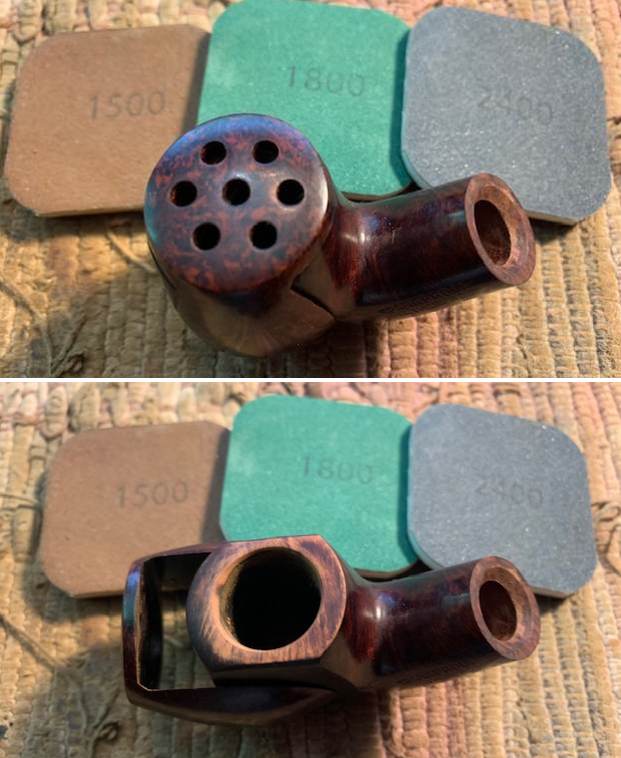
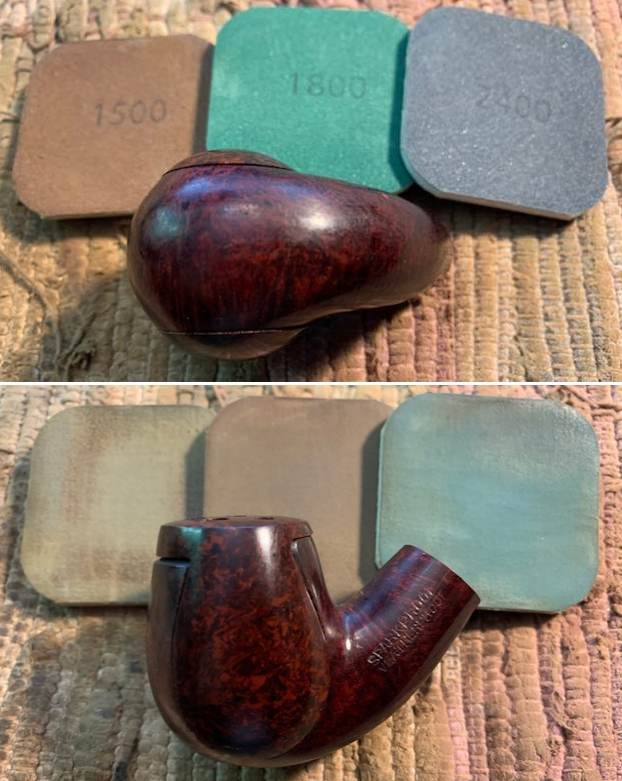
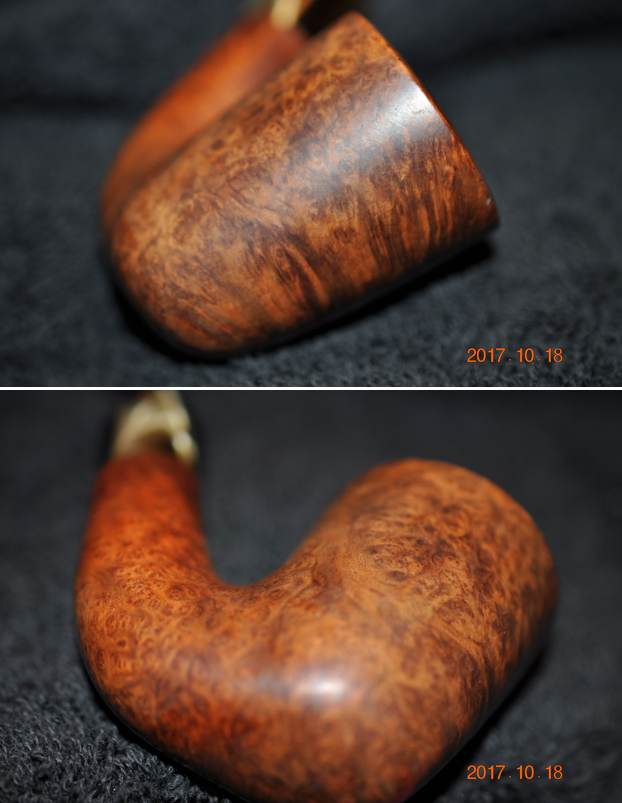
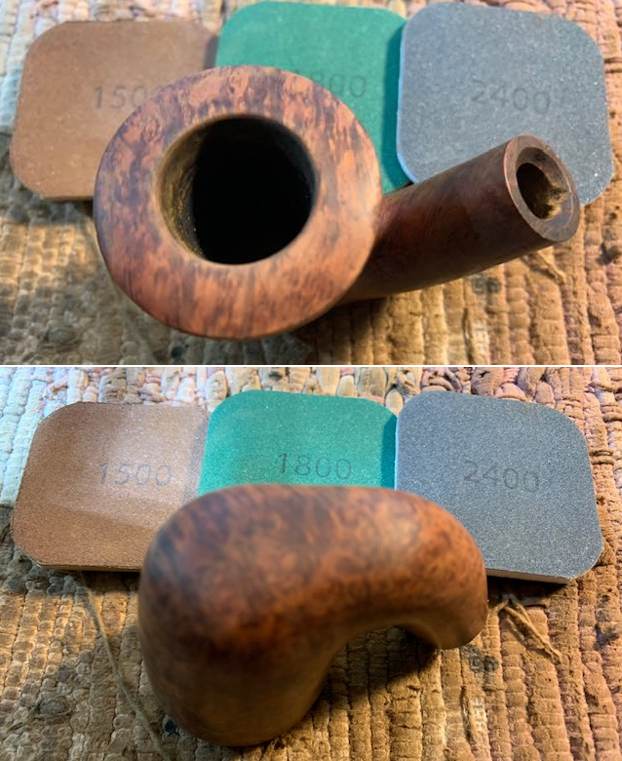
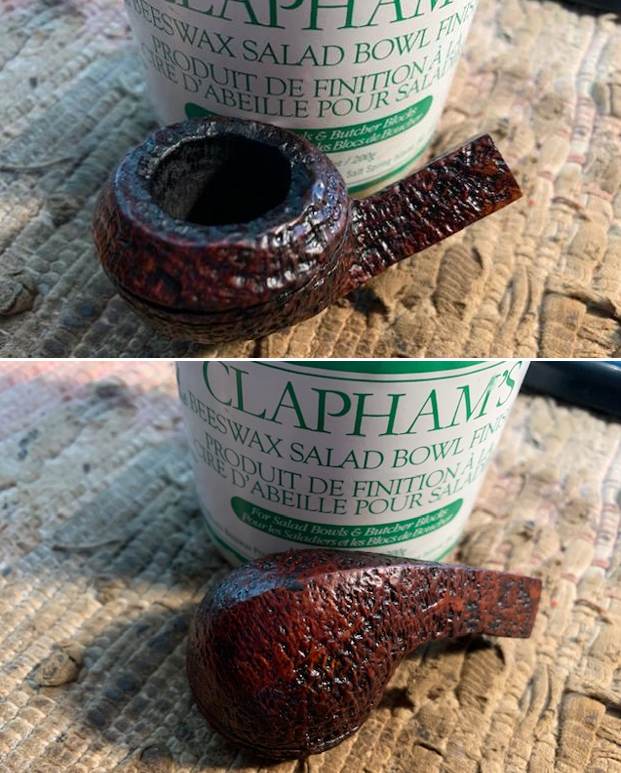
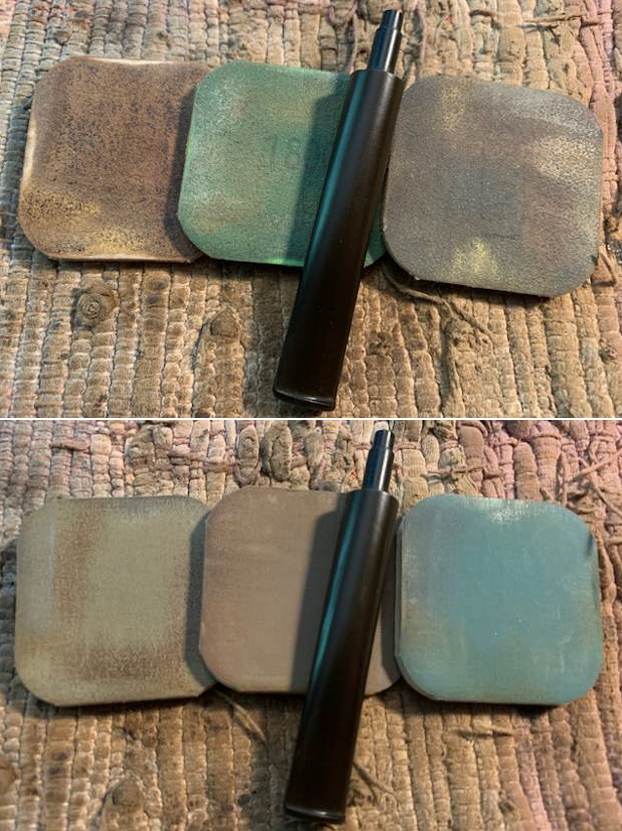
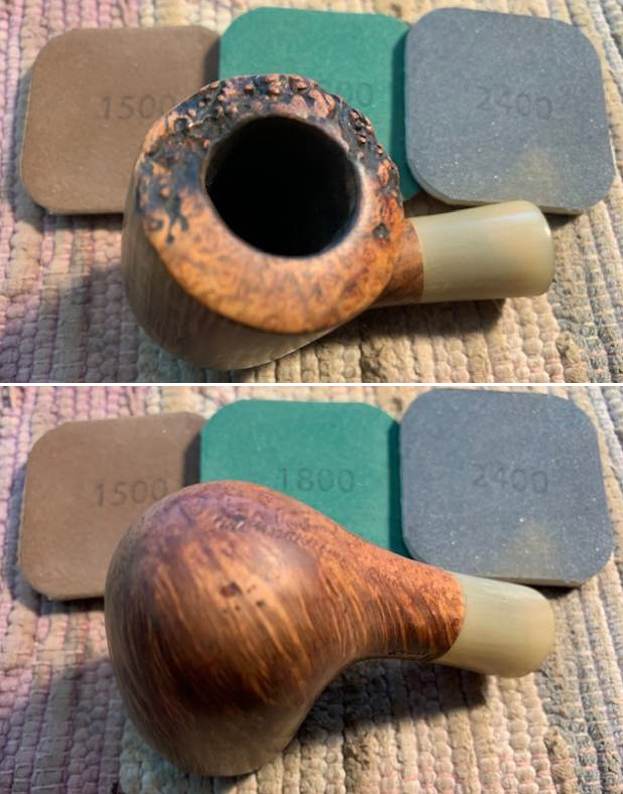
 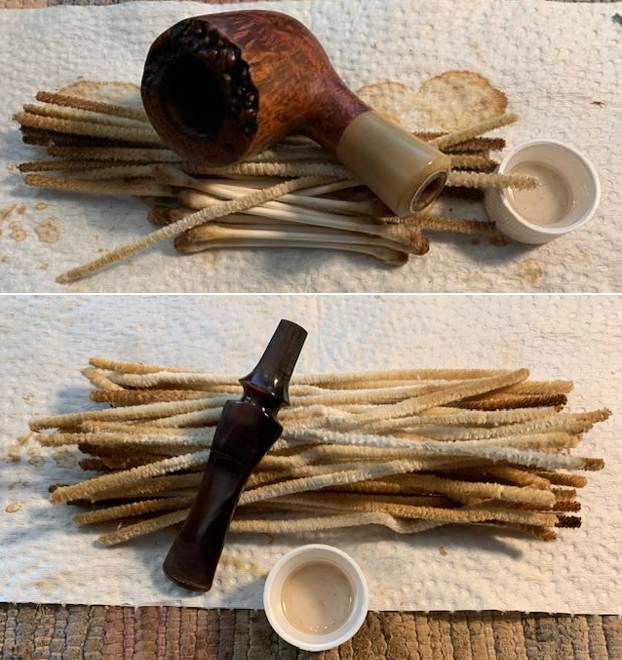 I polished the briar on the rim top with micromesh sanding pads – dry sanding it with 1500-12000 grit pads. I wiped the briar down with a damp cloth to remove the sanding dust. The briar really took on a rich shine with the polishing.
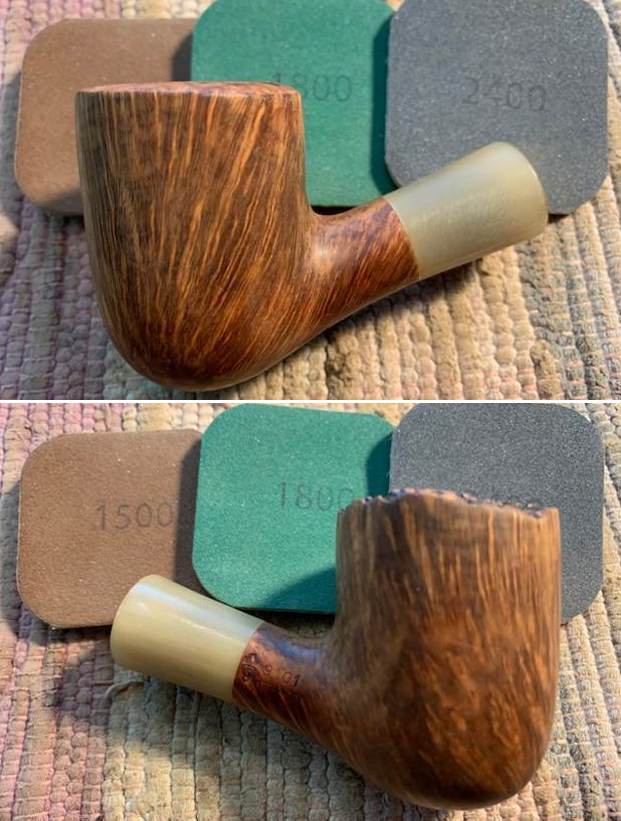
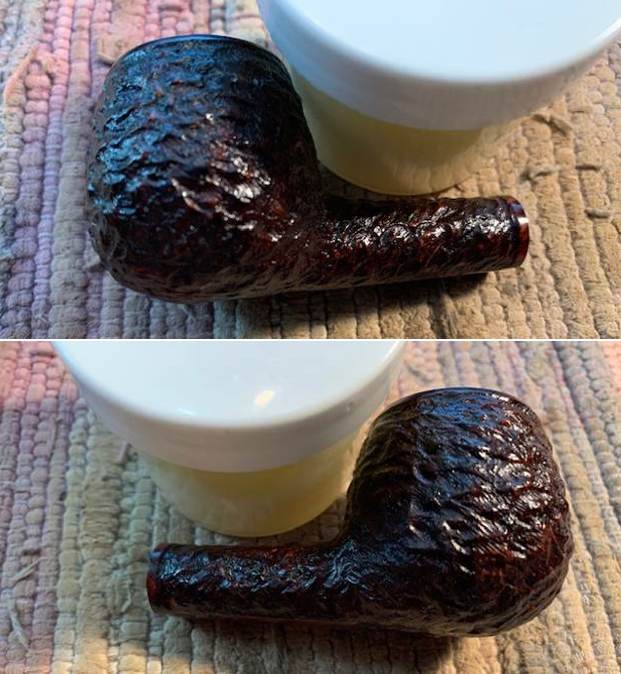
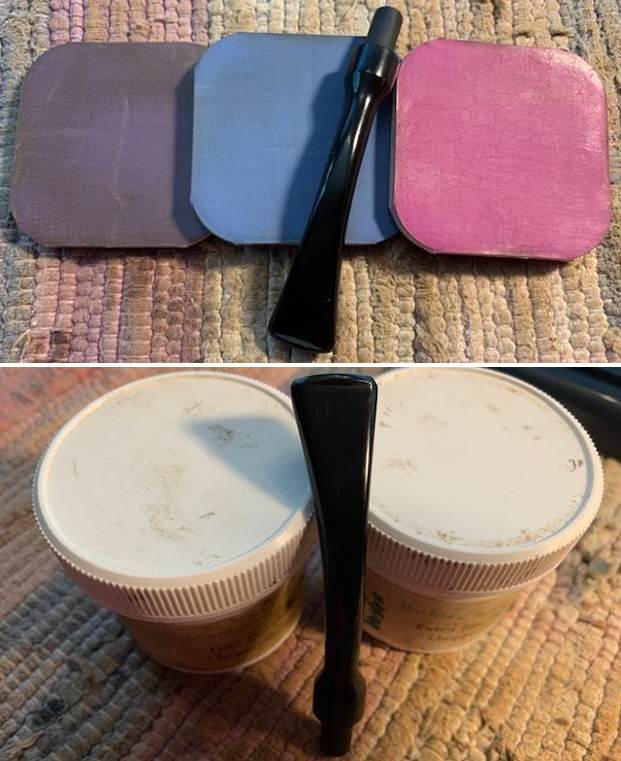
 I rubbed the bowl down with some Before & After Restoration Balm. I worked it into the briar with my finger tips and a horse hair shoe brush on the plateau rim top to clean, revive and preserve the wood. It really brings the grain alive once again. I let it sit for 15 minutes then buffed it off with a soft cloth. The grain really pops at this point in the process.
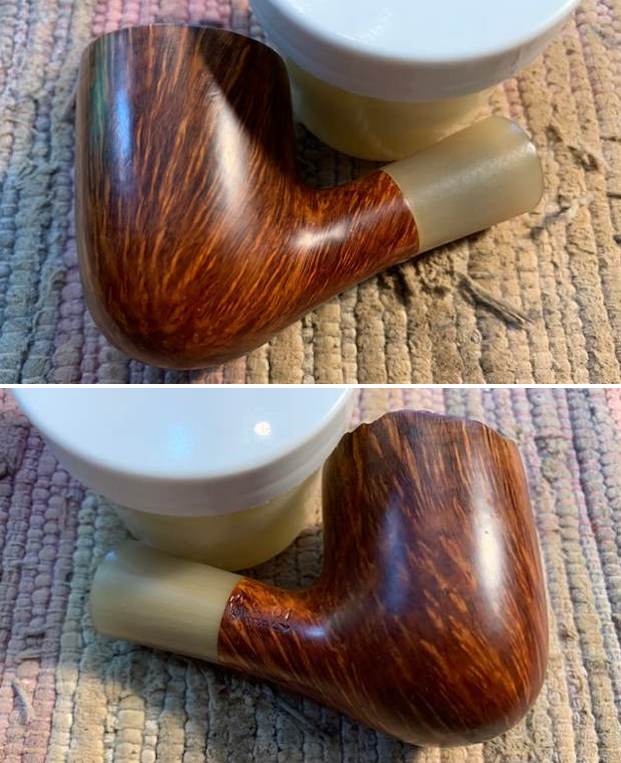

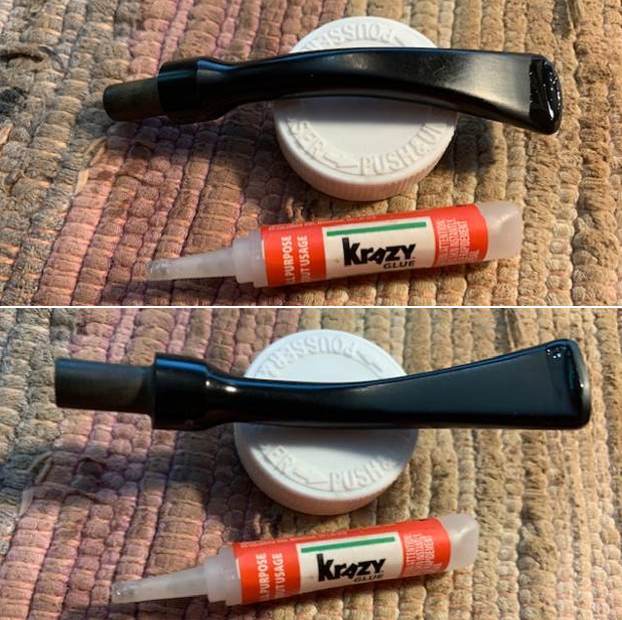
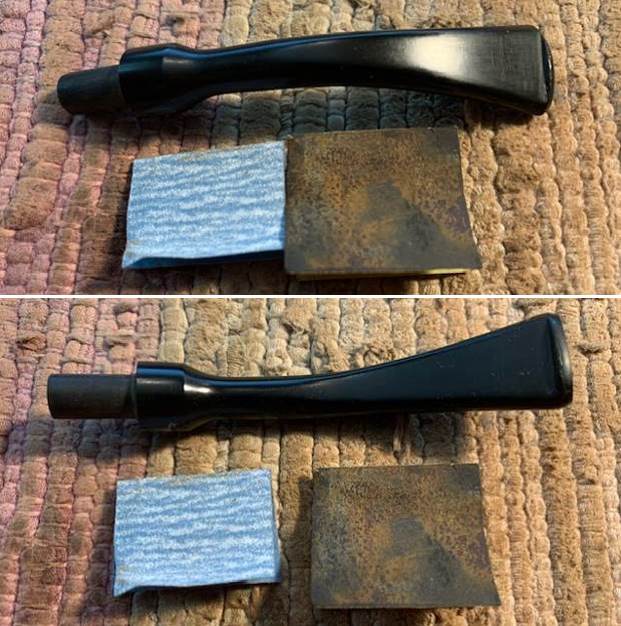
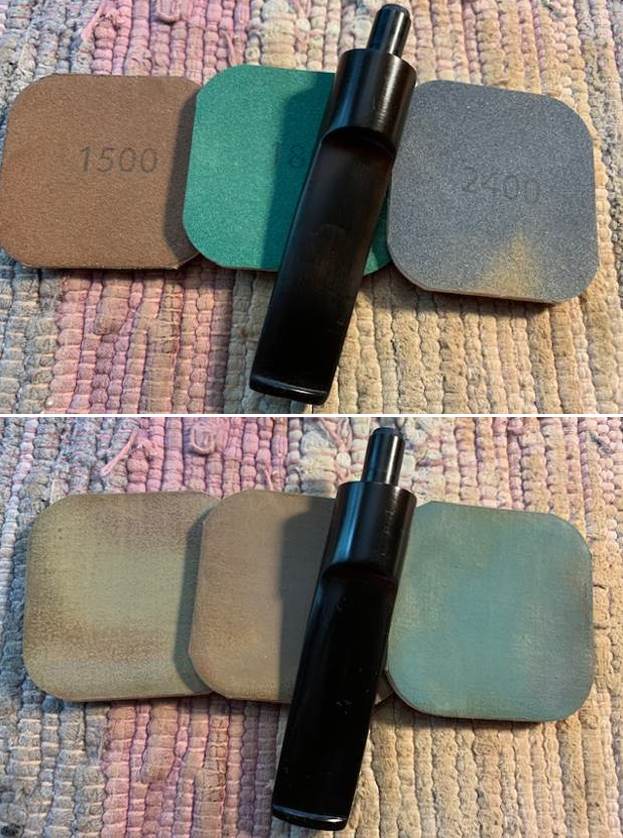
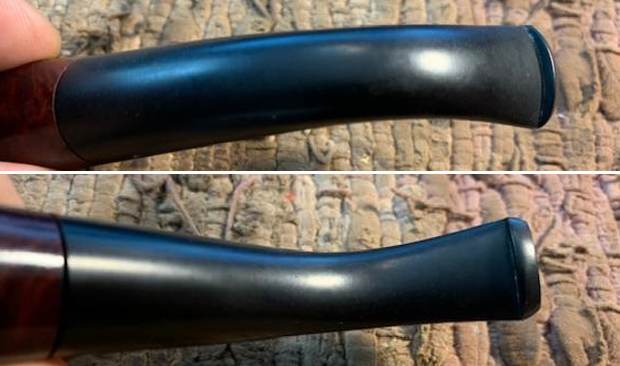
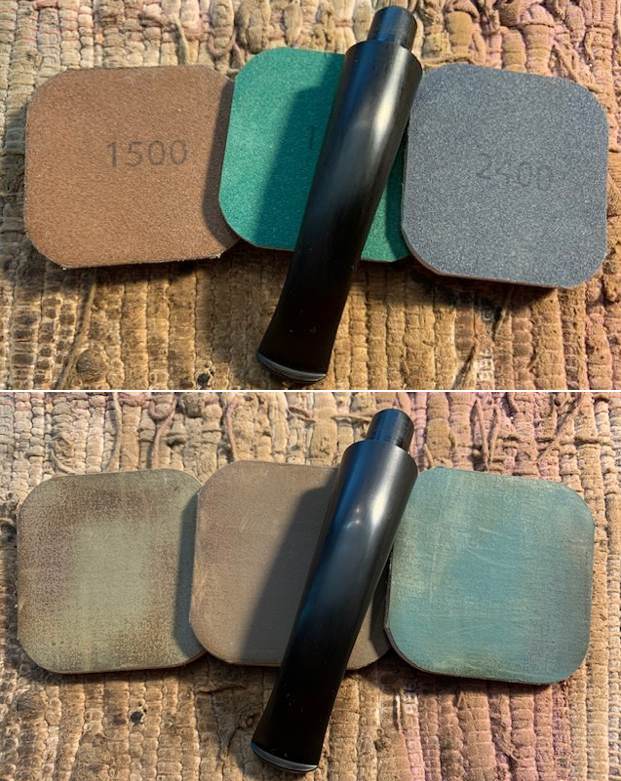
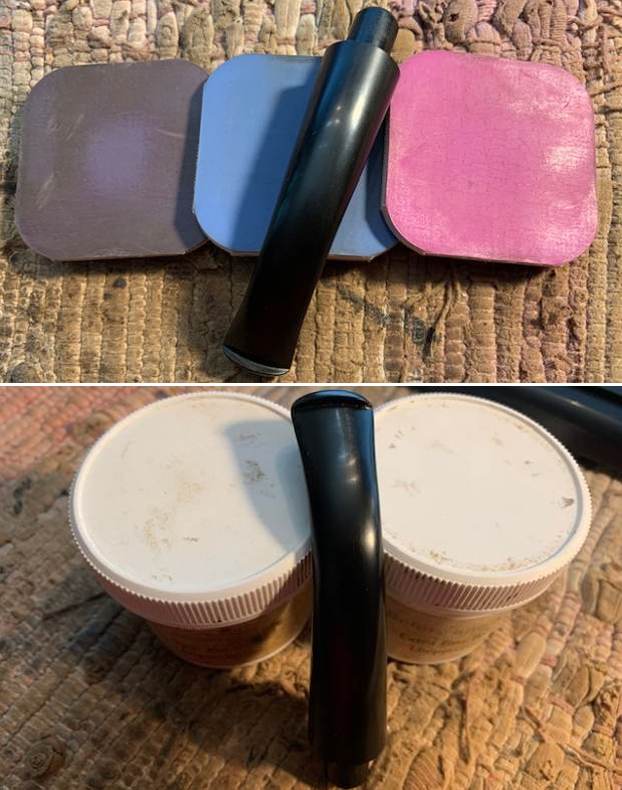
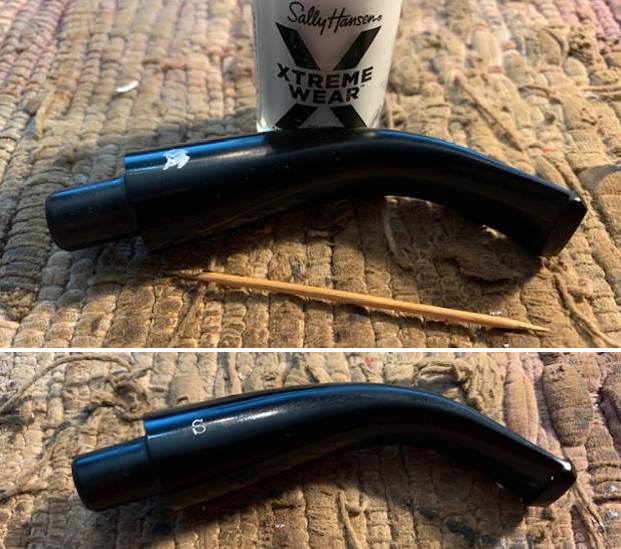
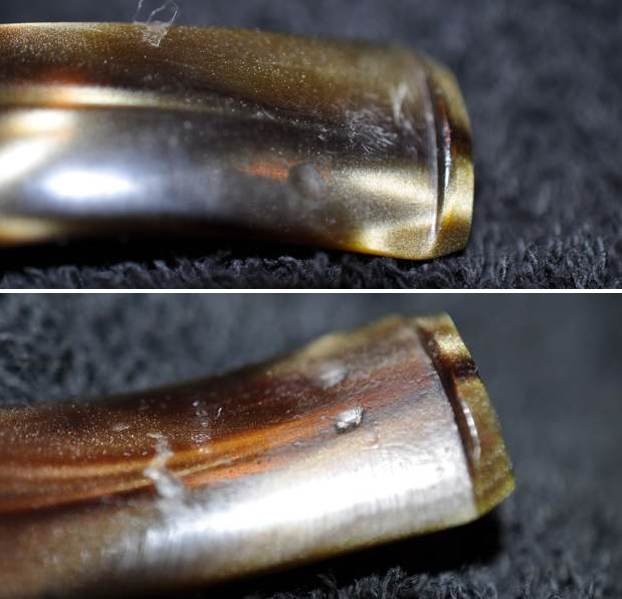
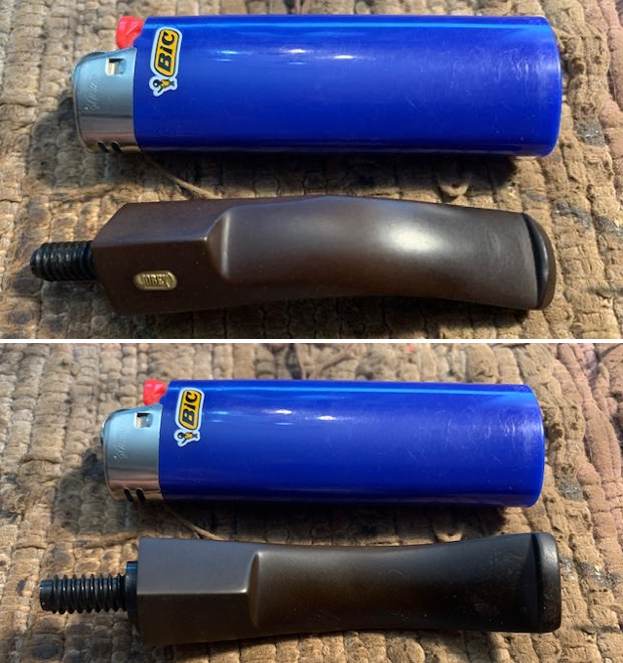
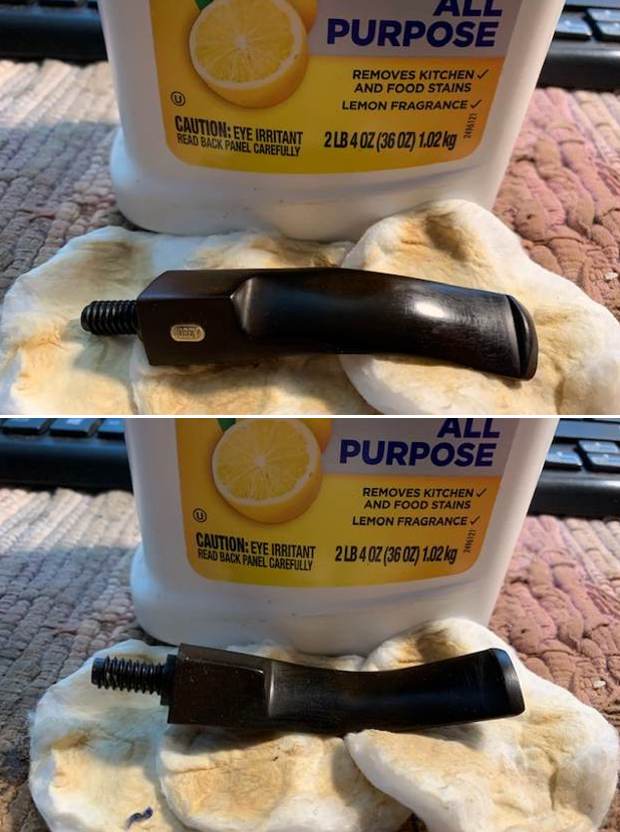
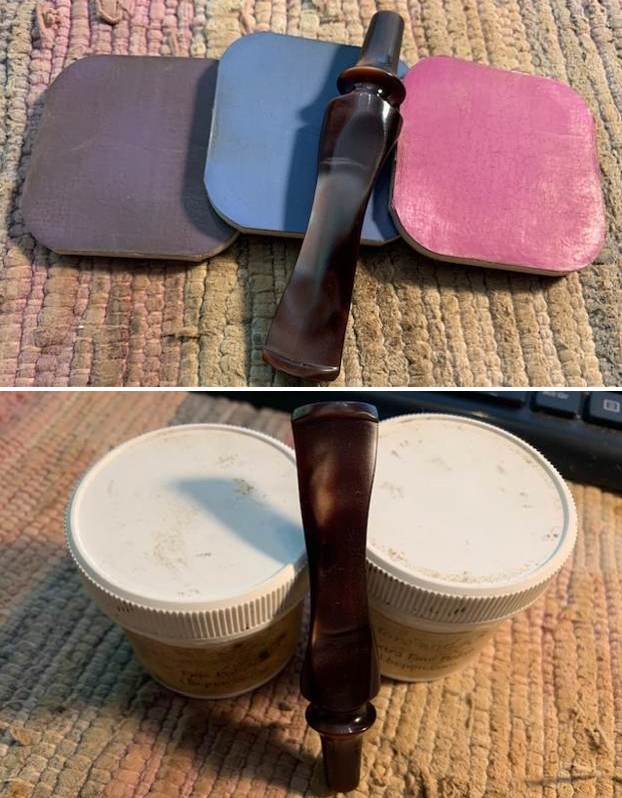
 I set the bowl aside and worked on the stem. I smoothed out the tooth marks on the stem and button surface with 220 grit sandpaper and started polishing the stem with 400 grit wet dry sandpaper. It was starting to look better.
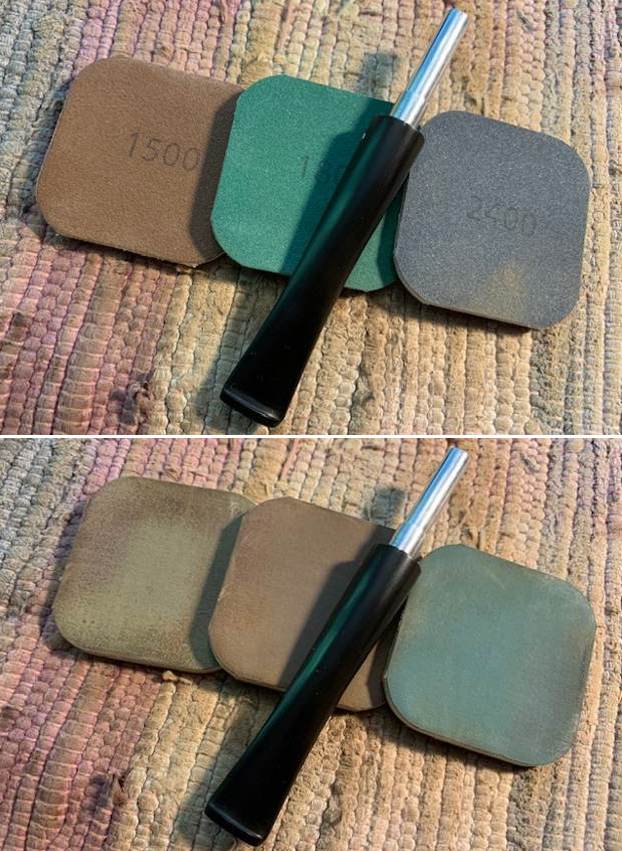
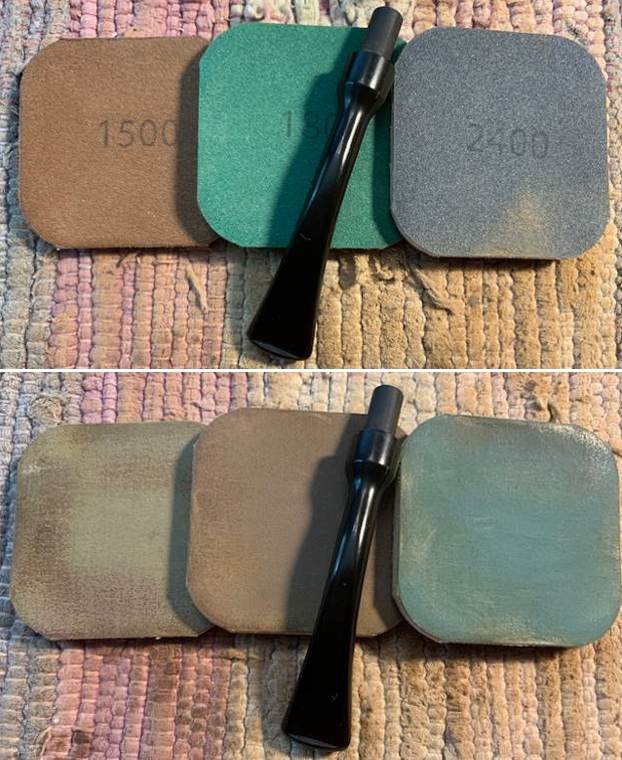
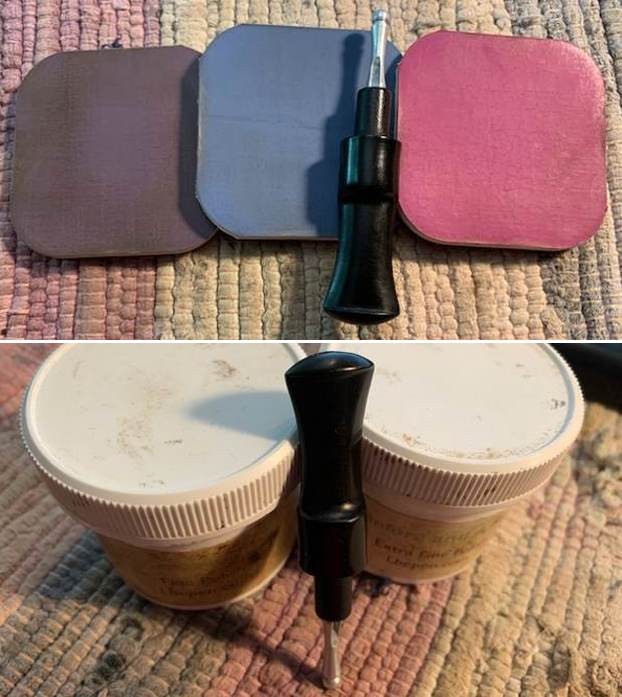
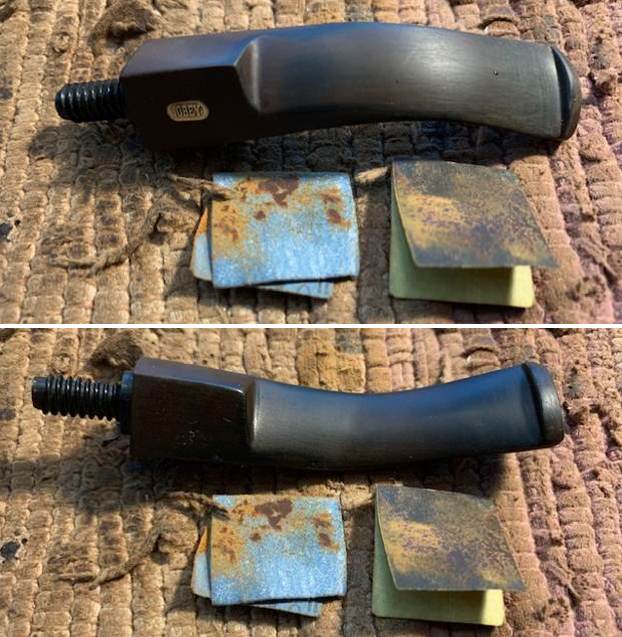
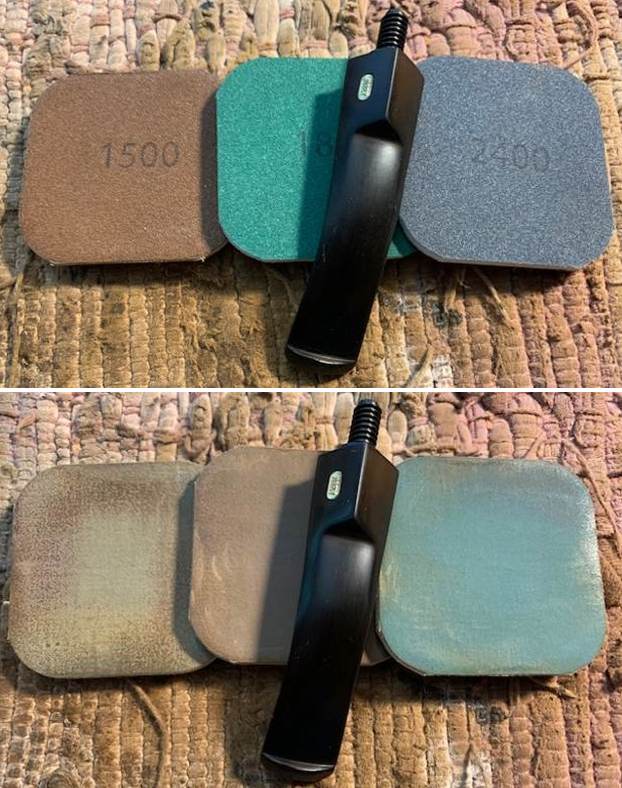
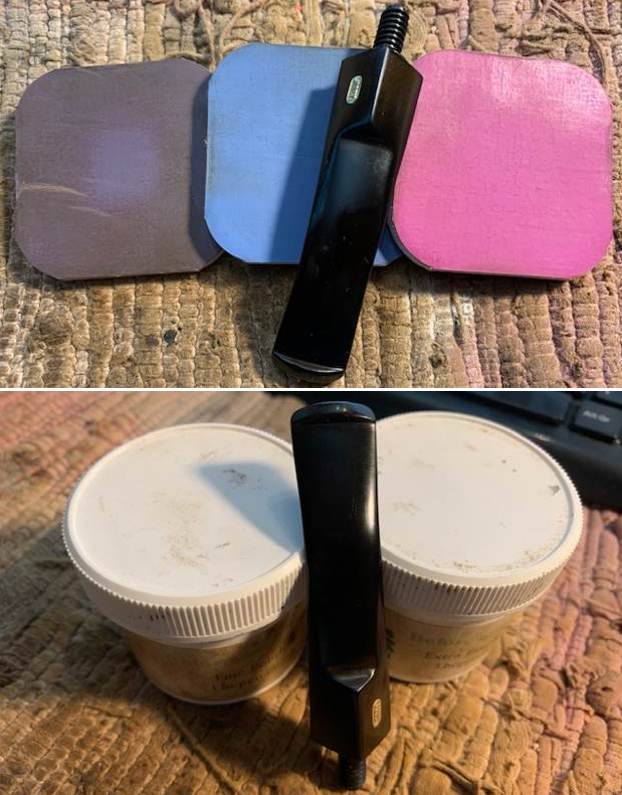
 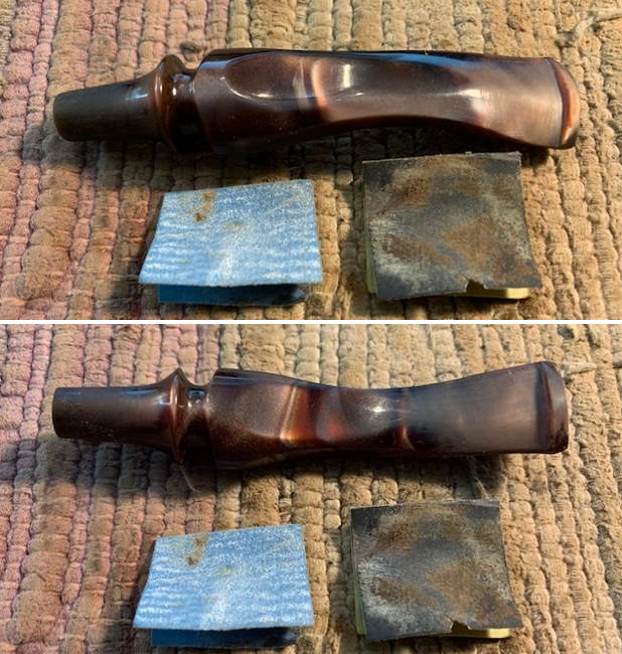 I polished the stem with micromesh sanding pads – dry sanding with 1500-12000 grit pads. I wiped the stem down between each pad with some Obsidian Oil. I finished polishing it with Before & After Pipe Stem Polish – both Fine and Extra Fine to deepen the shine. I gave it a final wipe down with Obsidian Oil.
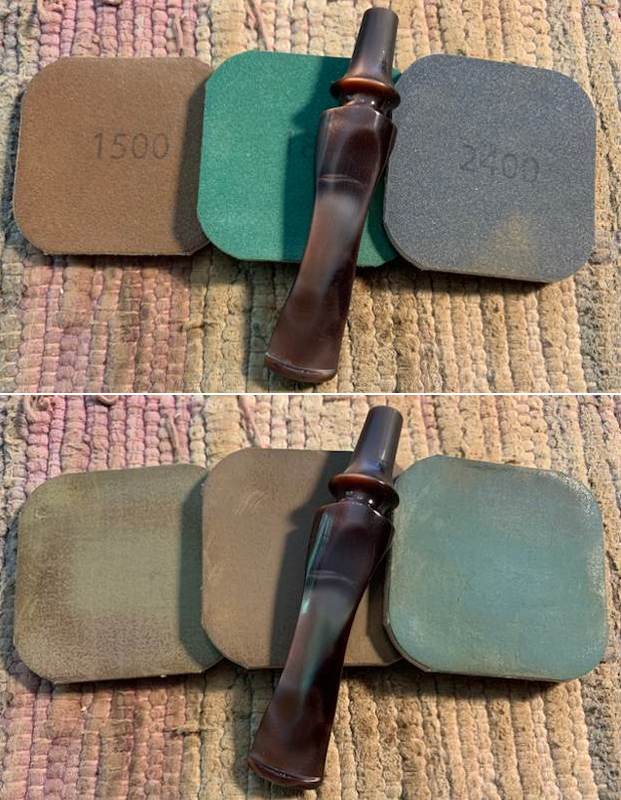
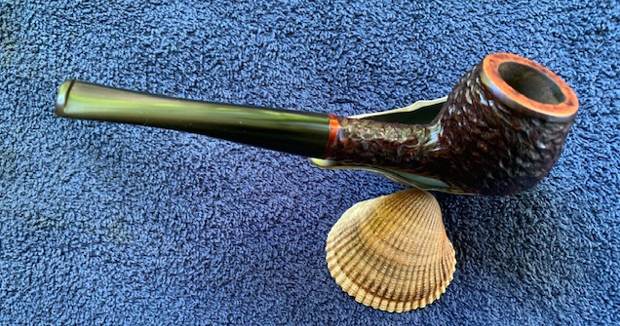
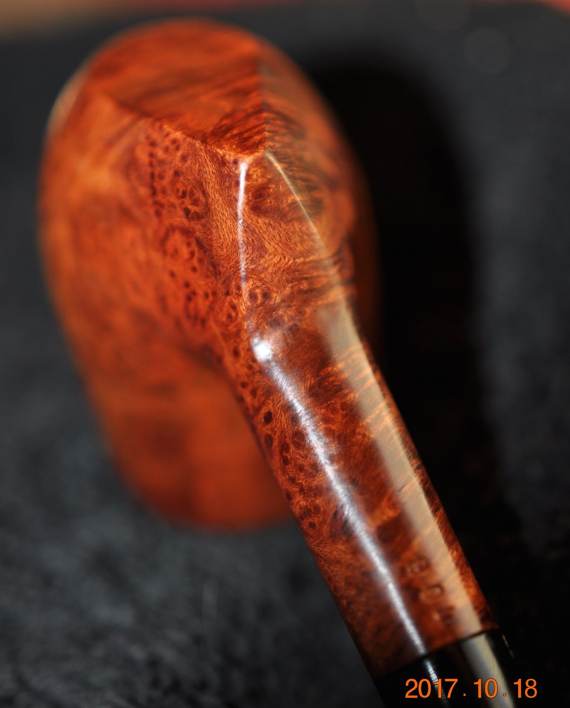
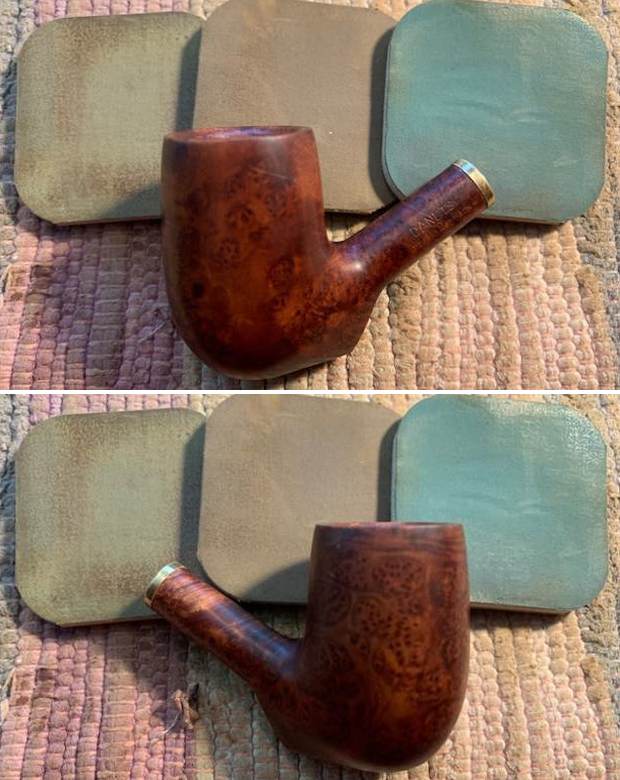
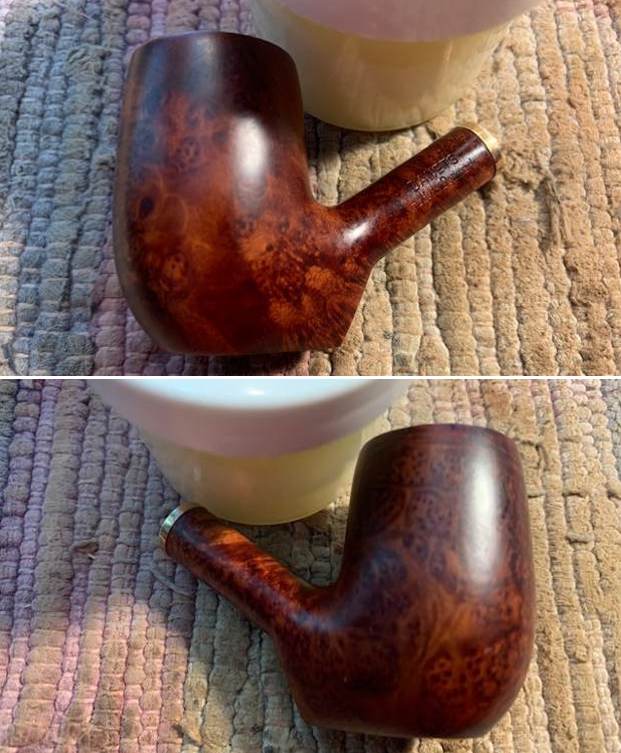
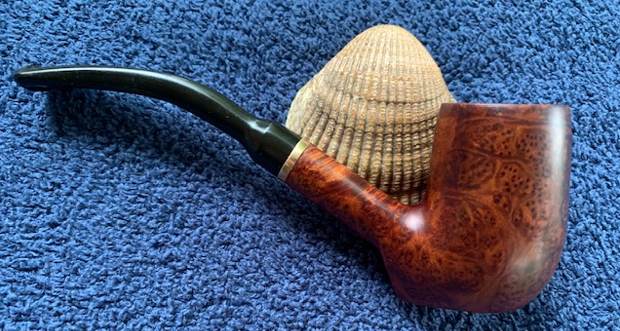
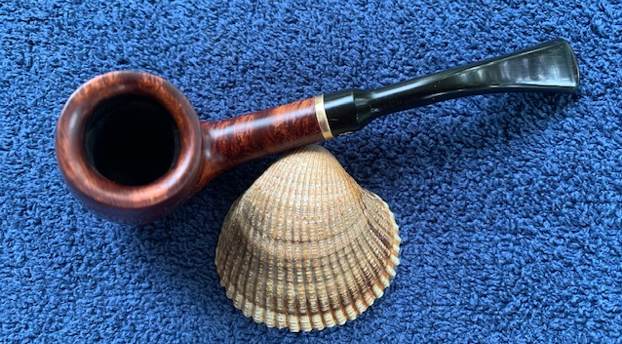
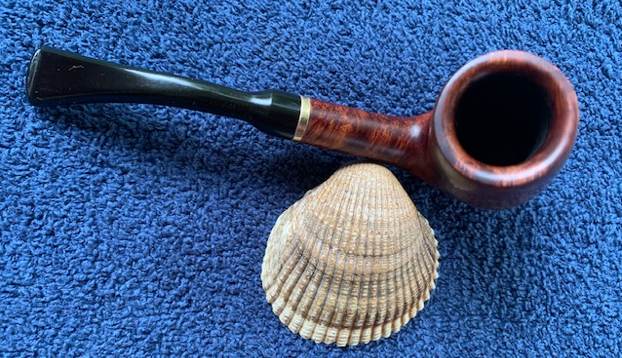
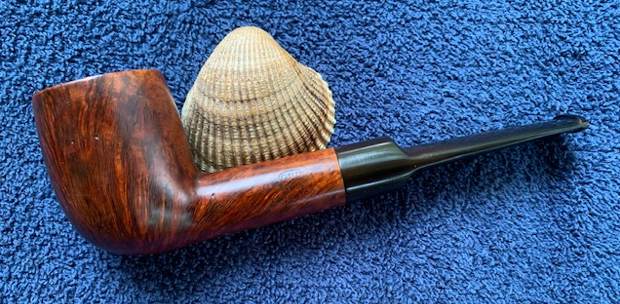
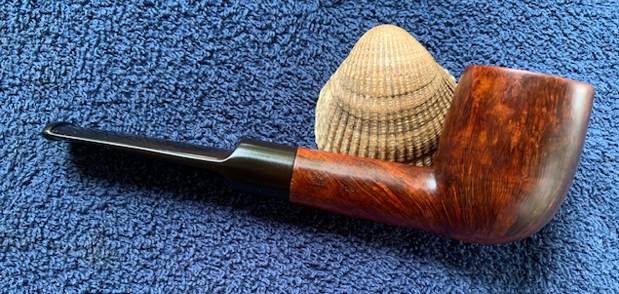
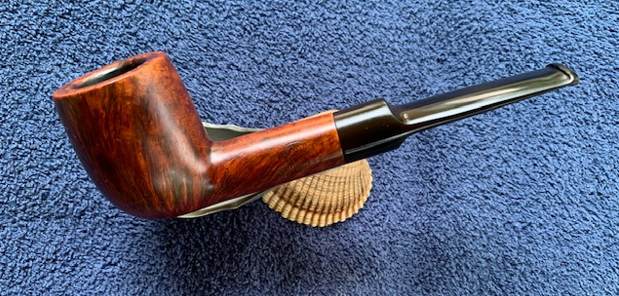
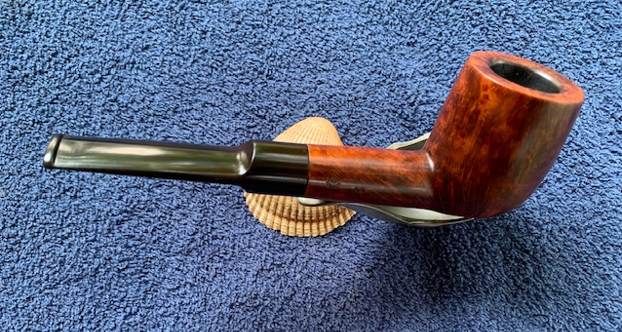
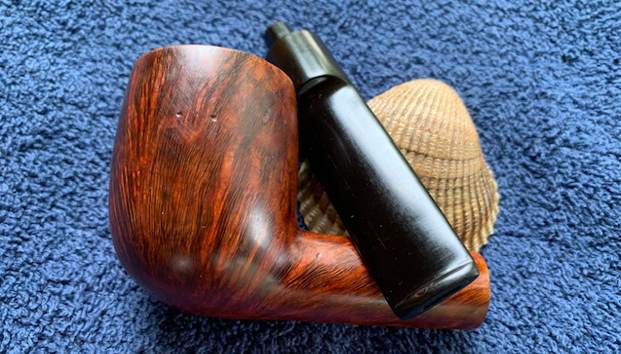
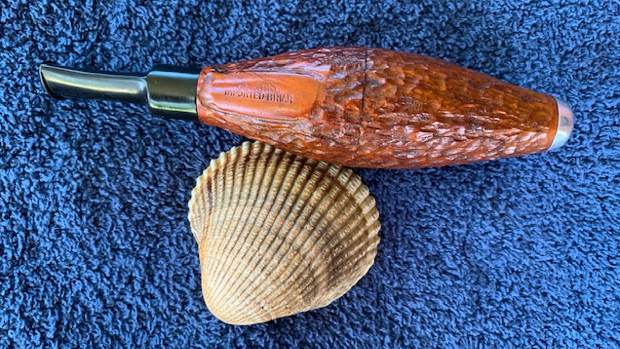
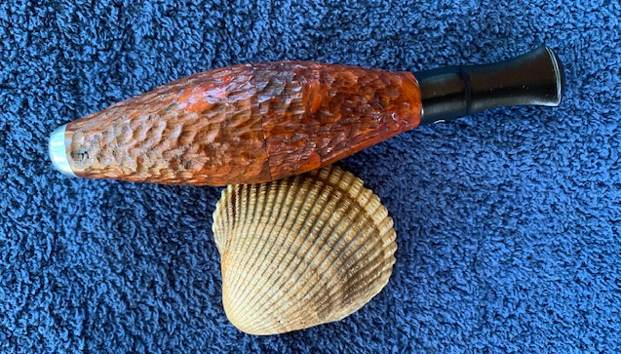
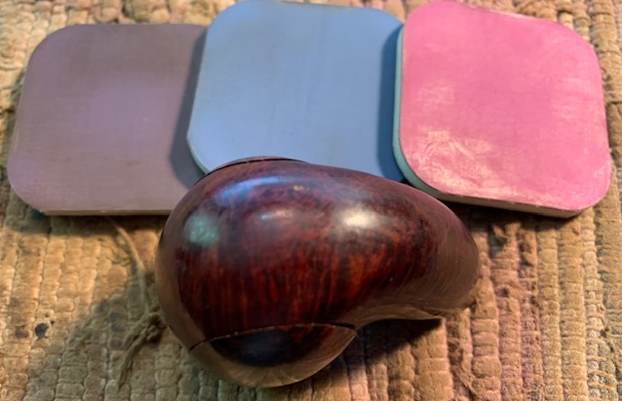
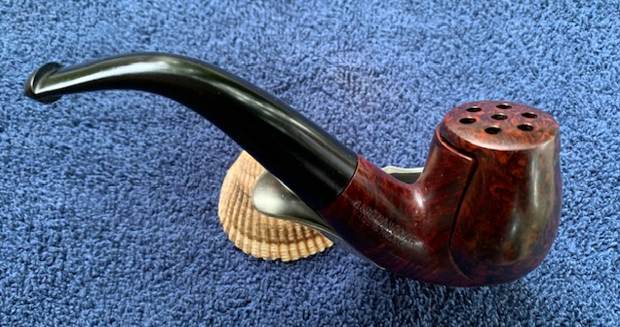
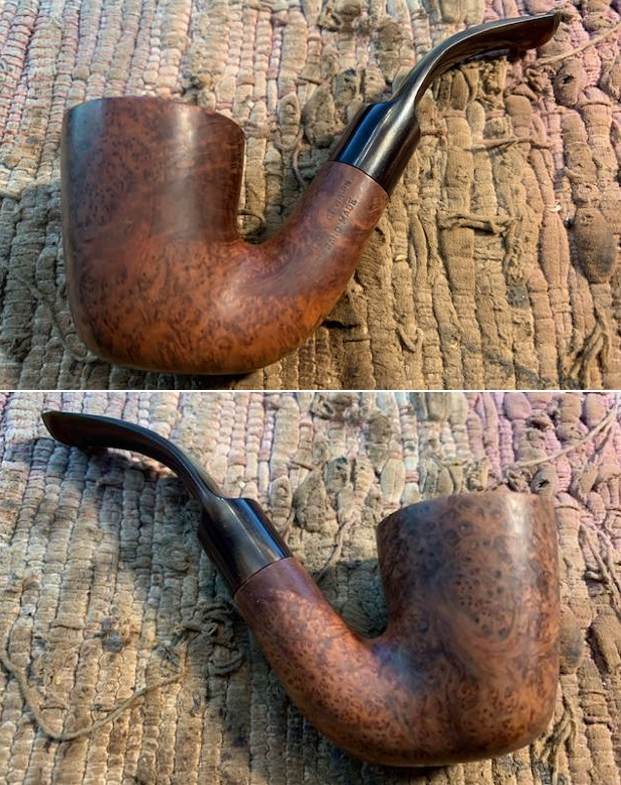
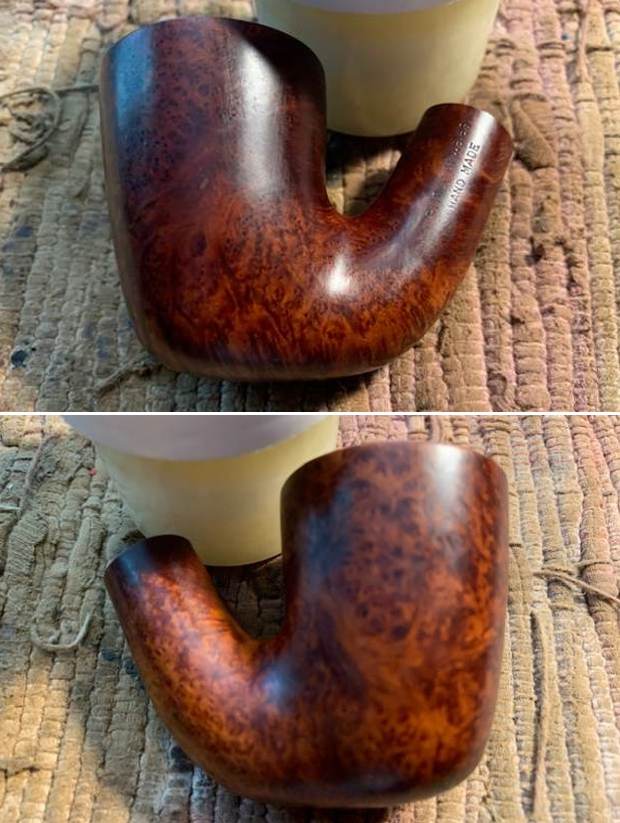
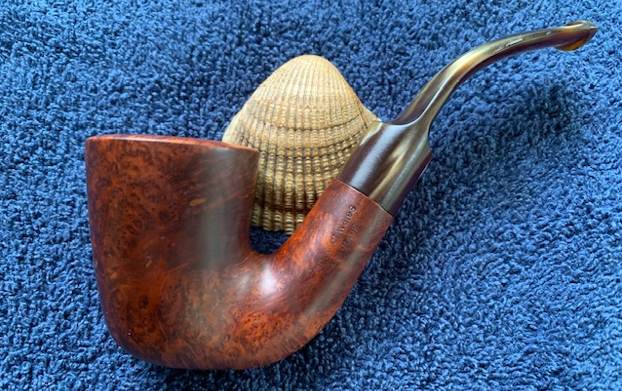
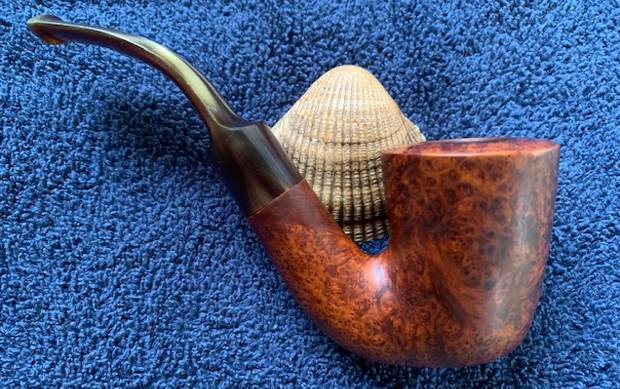
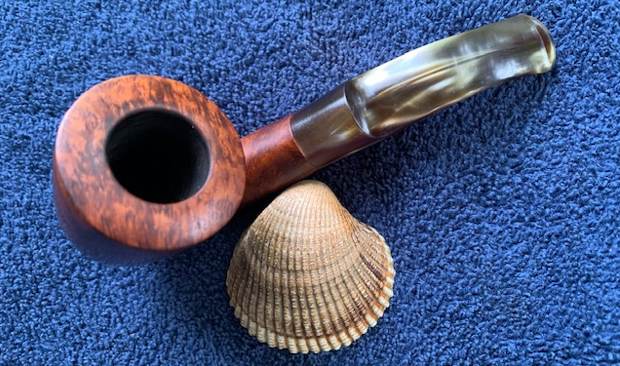
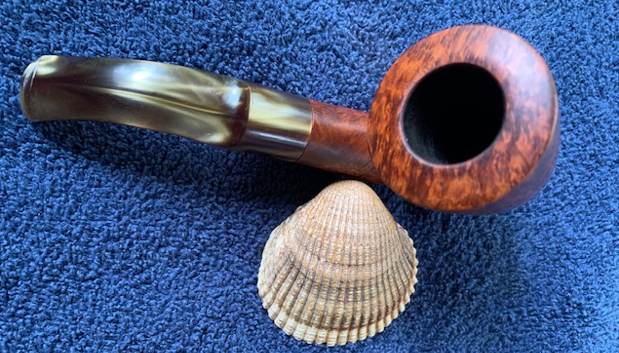
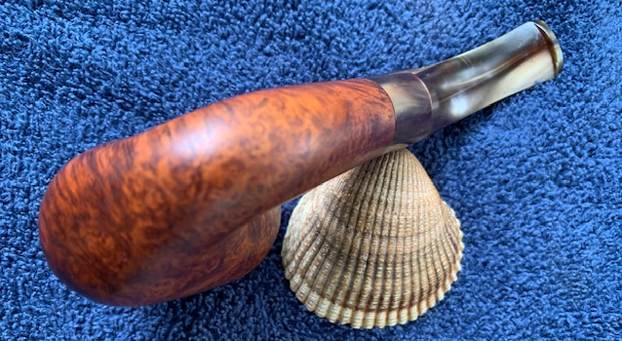
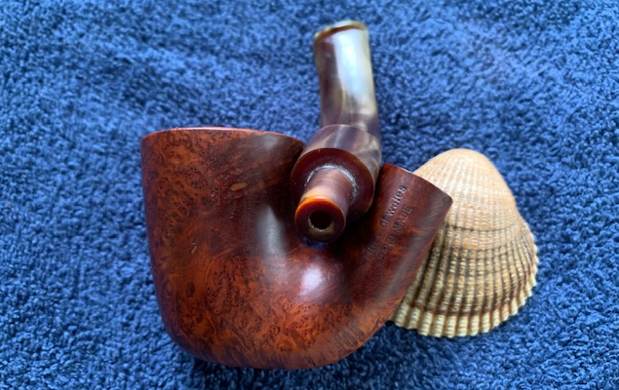
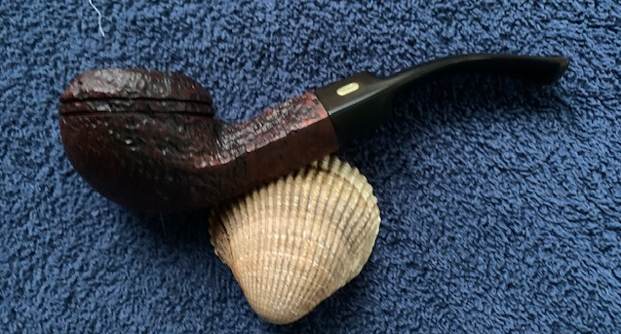
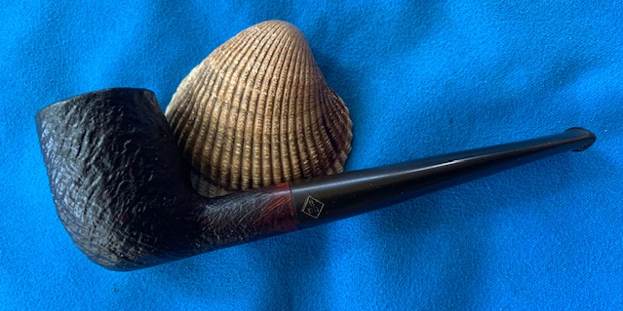
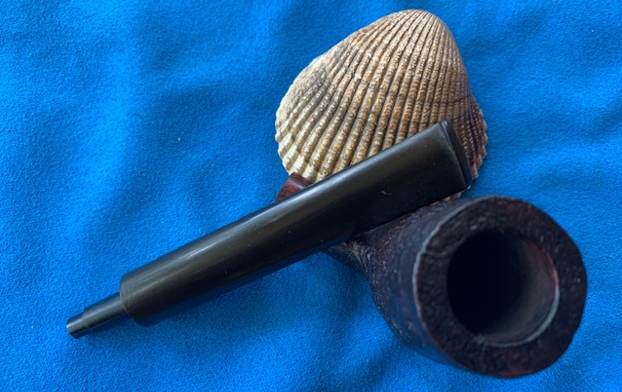
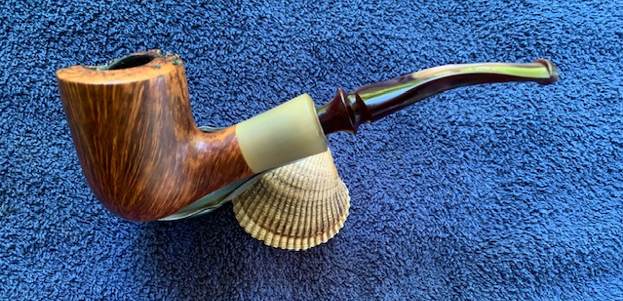
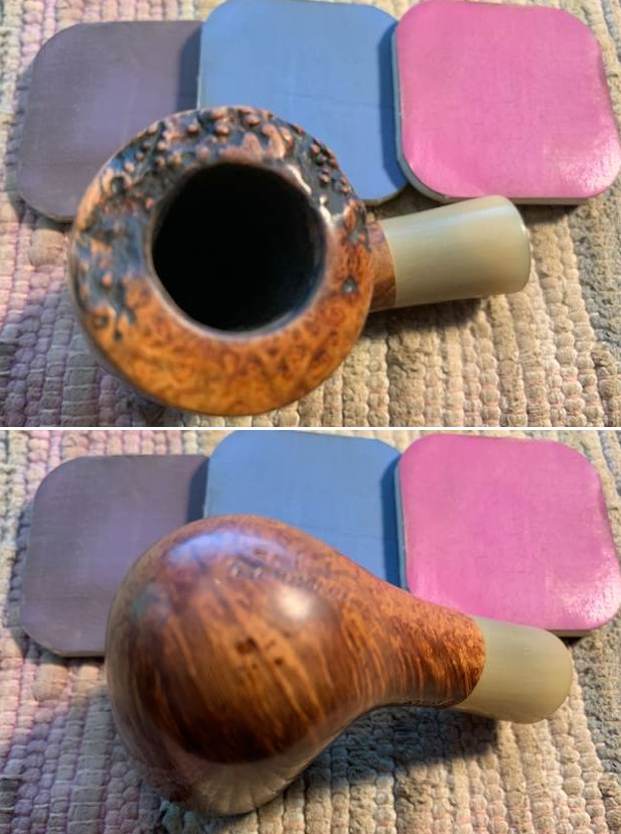
 I put the Savinelli Nonpareil 9101 Plateau Freehand back together and buffed it with Blue Diamond on the buffing wheel. I gave the bowl and the stem multiple coats of carnauba wax. I buffed the pipe with a clean buffing pad and hand buffed it to raise the shine. It is fun to see what the polished bowl looks like with the grain popping around the bowl and shank. Added to that the polished acrylic variegated brown stem was a beautiful touch. It is light and well balanced. Have a look at it with the photos below. The dimensions are Length: 6 inches, Height: 2 inches, Outside diameter of the bowl: 1 ½ inches, Chamber diameter: ¾ of an inch. The weight of the pipe is 65 grams/2.29 ounces. It is a beautiful pipe and one that will be on the rebornpipes store in the Italian Pipemakers section. If you are interested in adding it to your collection let me know. Thanks for walking through the restoration with me as I worked over this pipe. Thanks to each of you who are reading this blog. I want to keep reminding us of the fact that we are not pipe owners; we are pipemen and women who hold our pipes in trust until they pass on into the trust of the next trustee.