Tag Archives: refinishing

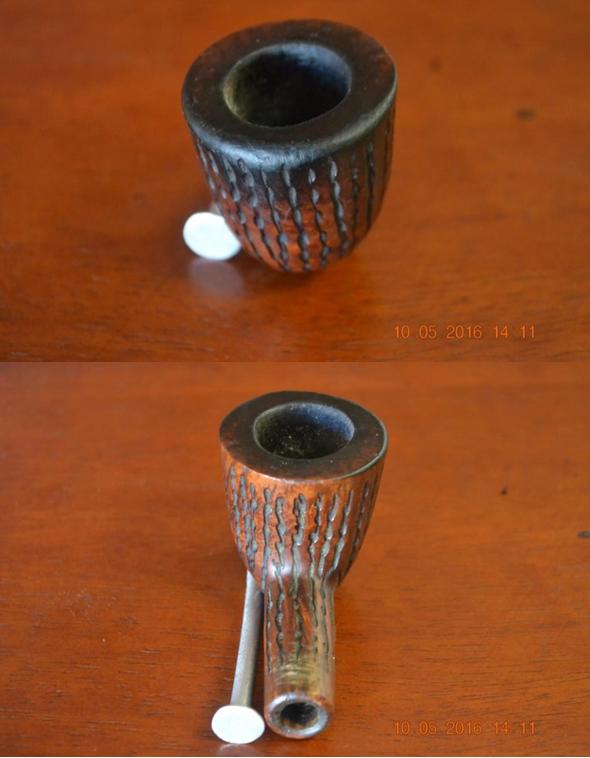
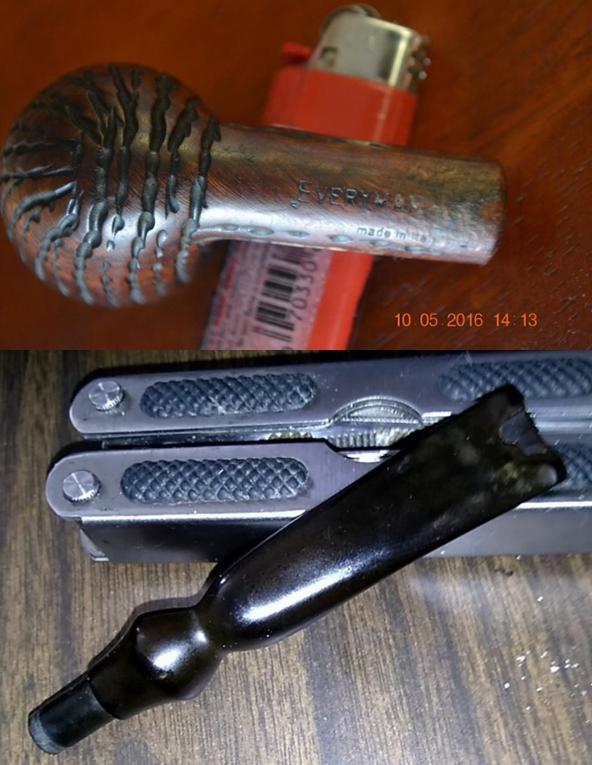
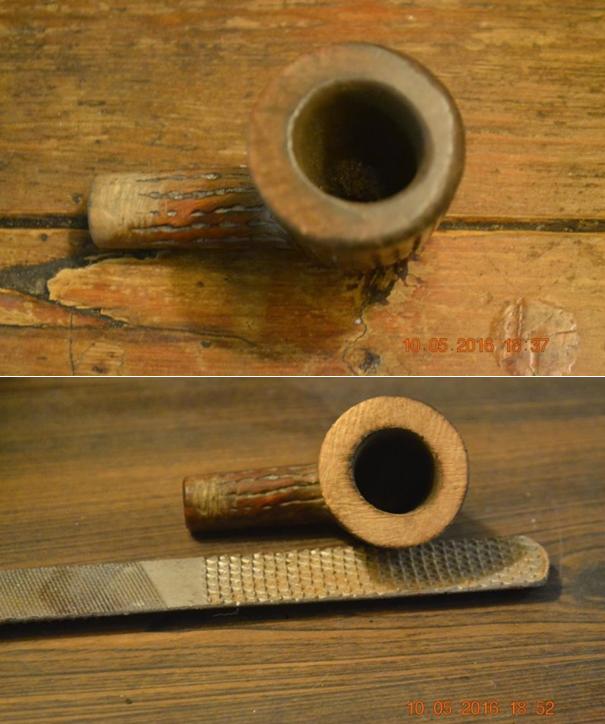
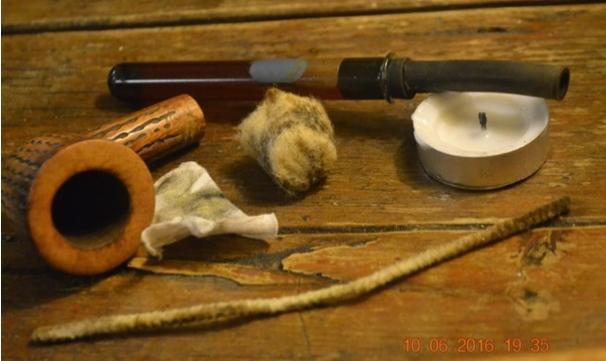
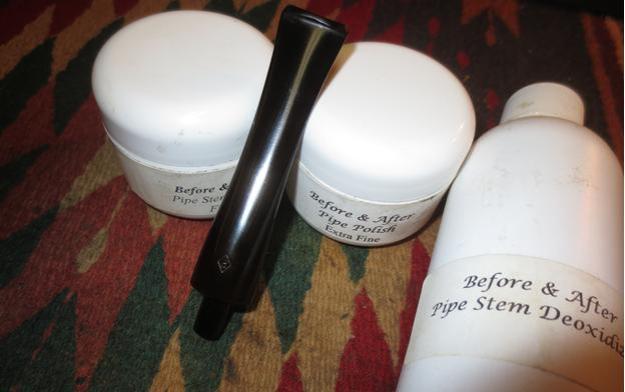
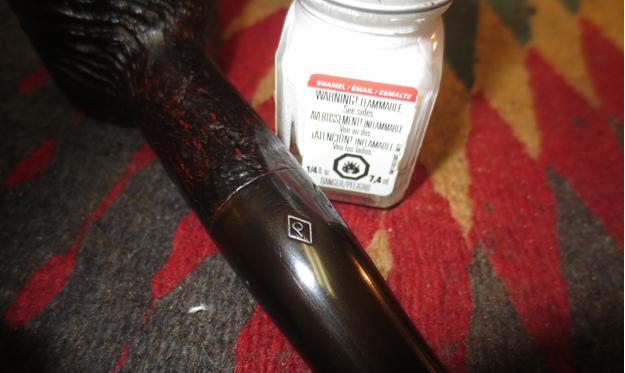
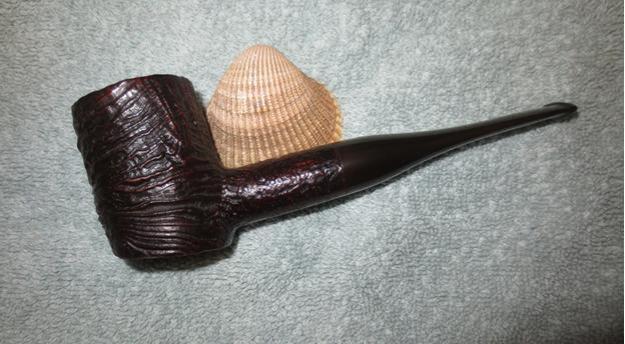
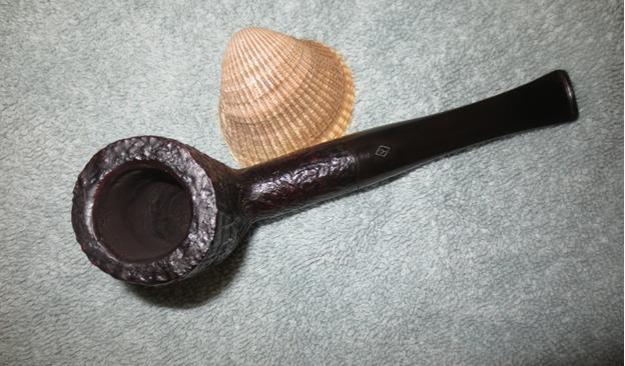
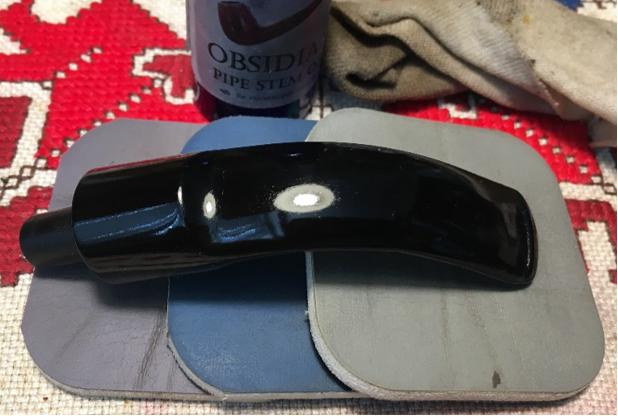
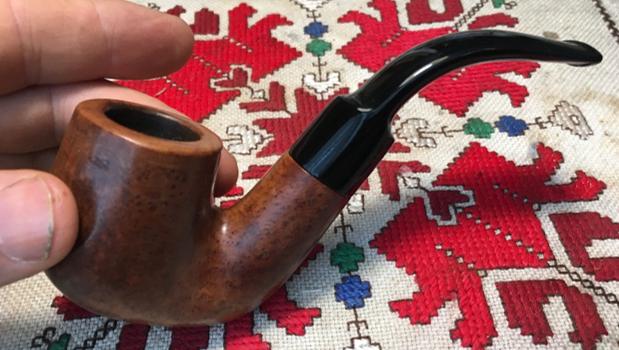
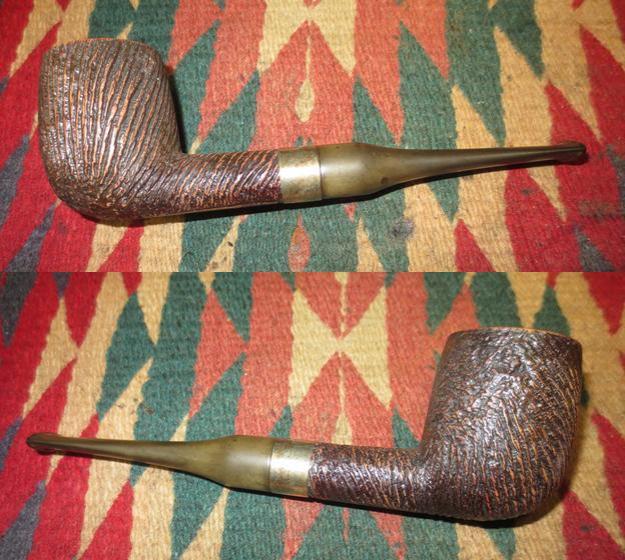
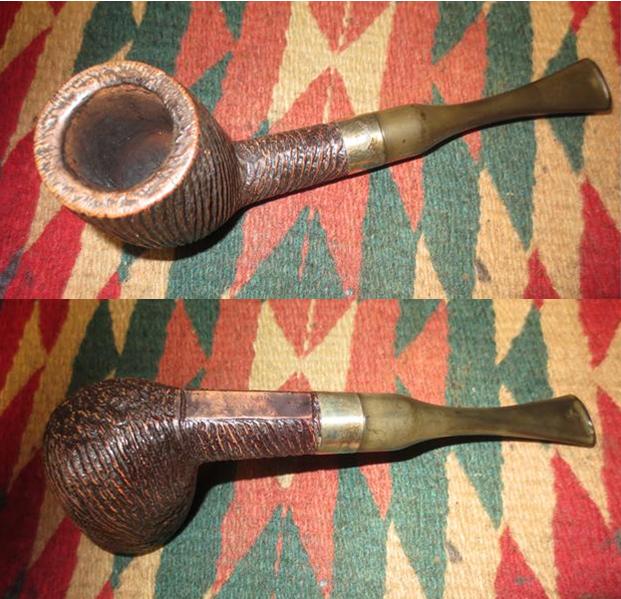
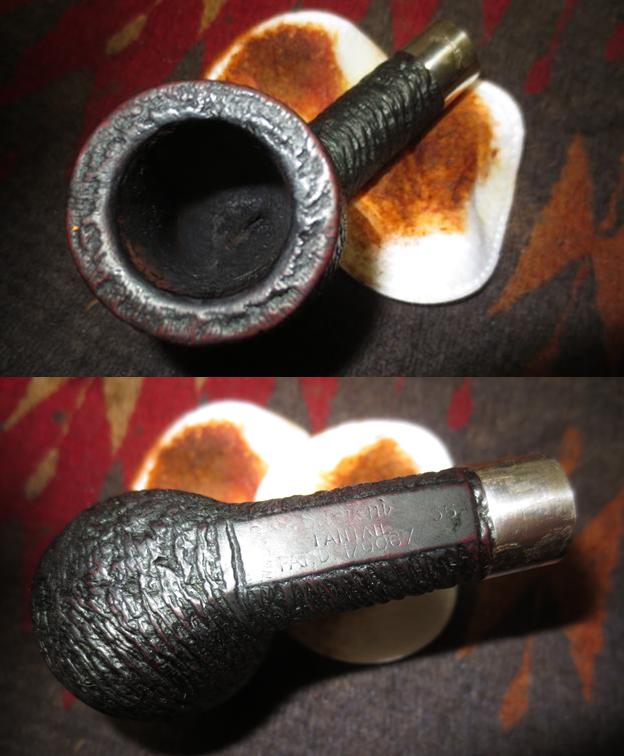
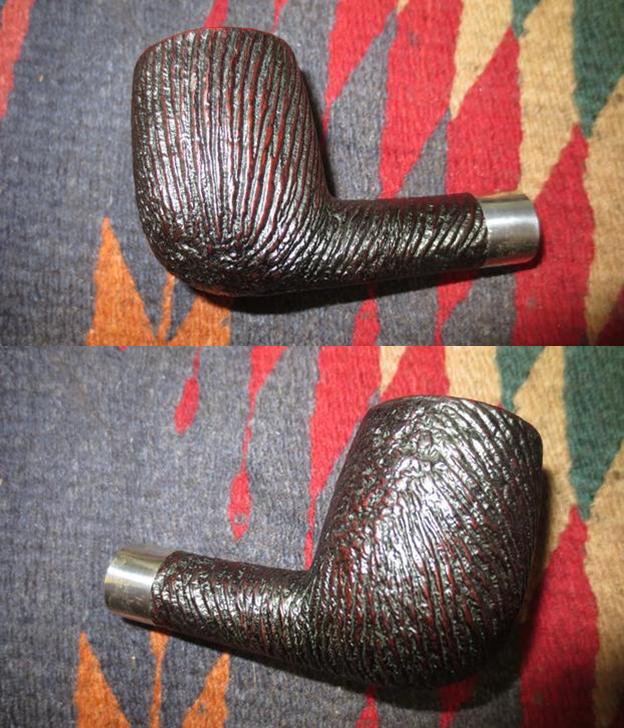
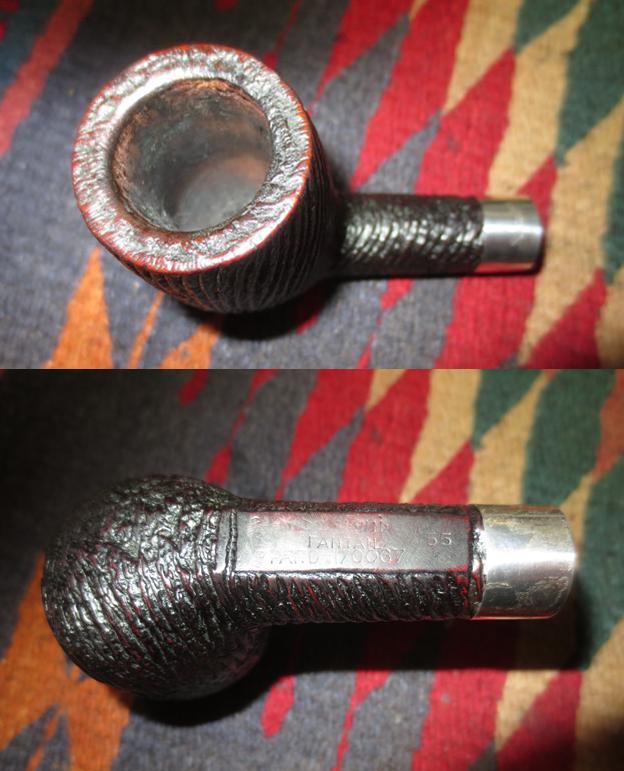
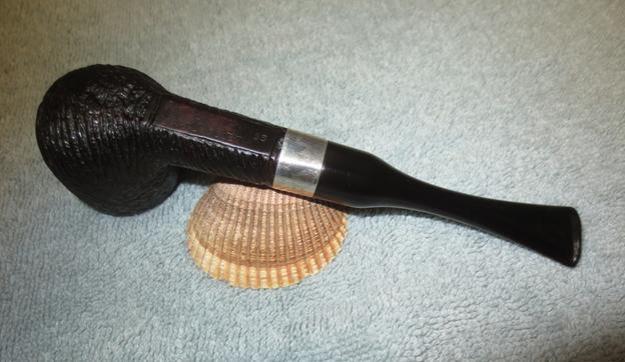
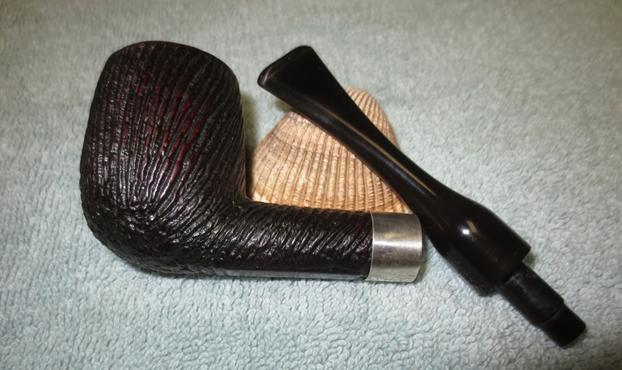
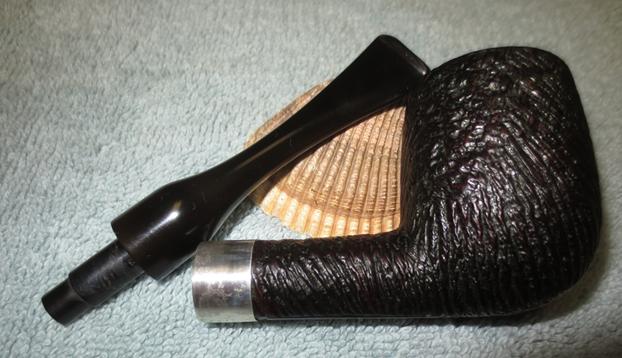
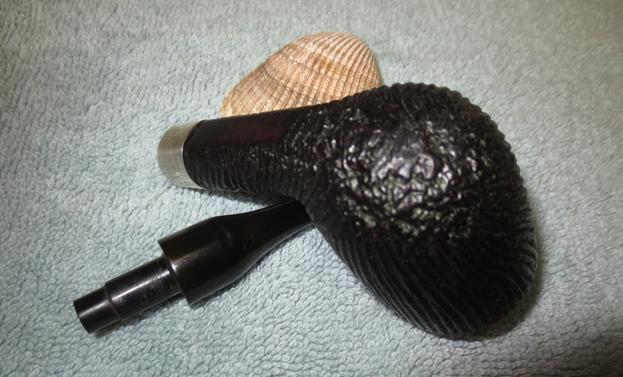
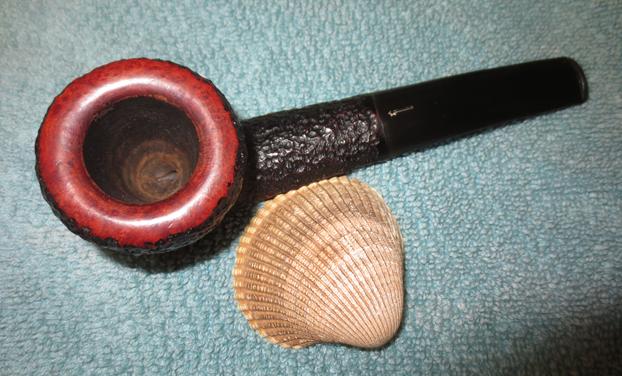
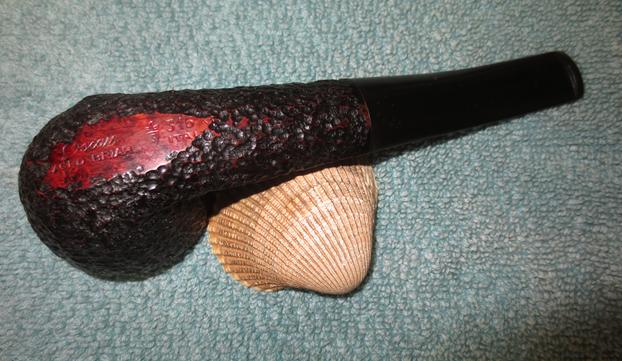
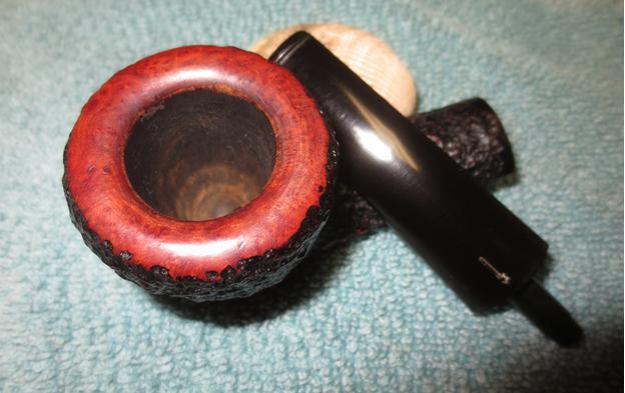
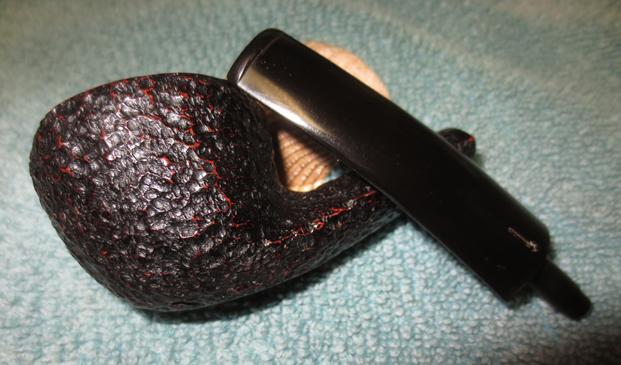
Dunhill 1949 Patent 120 FrankenStem


Blog by Henry Ramirez

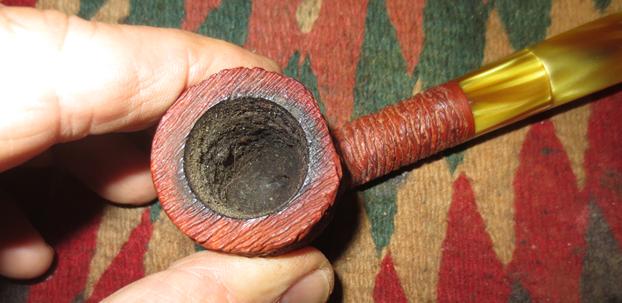
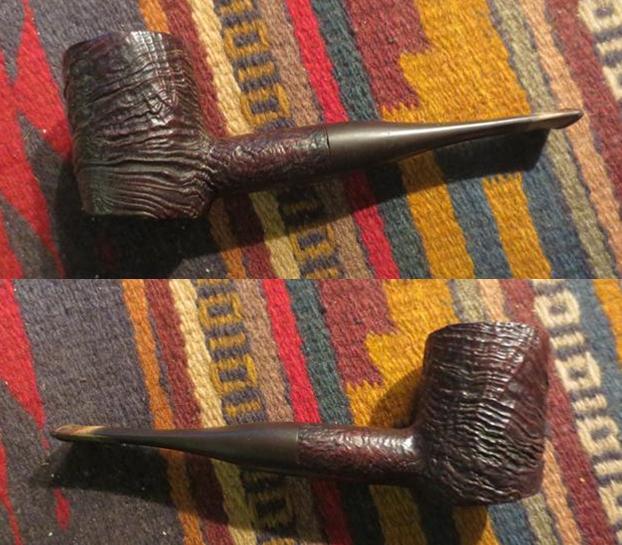
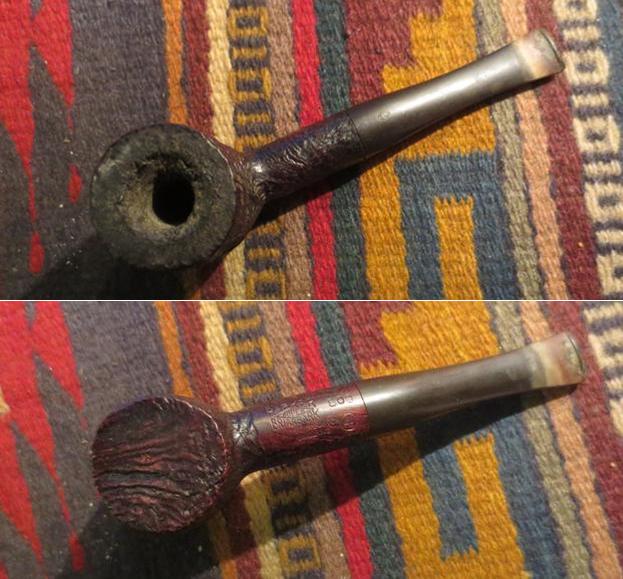
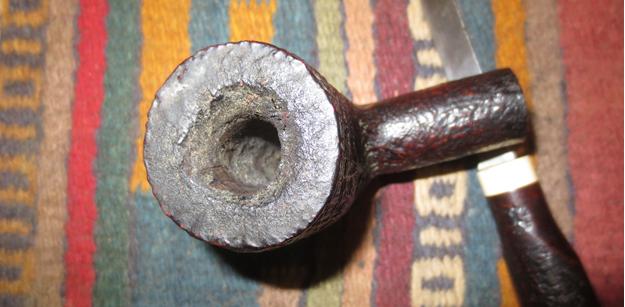
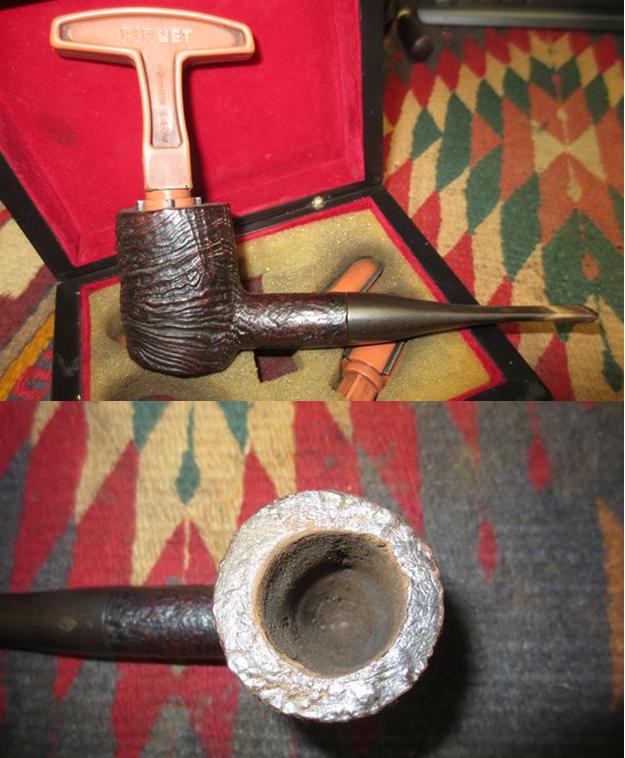
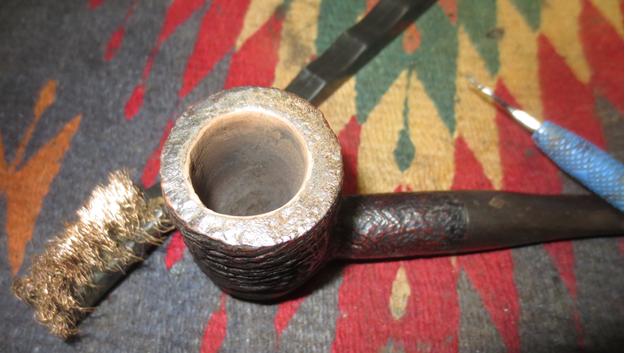
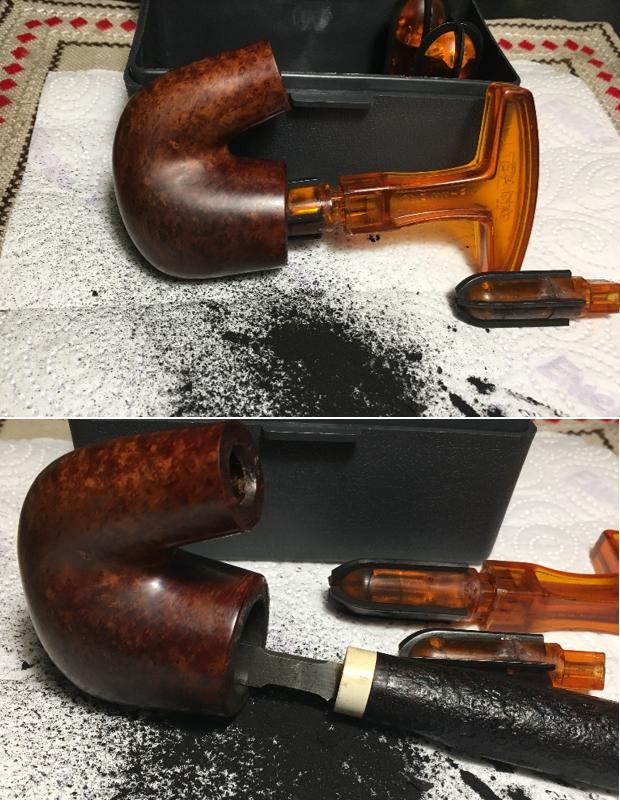
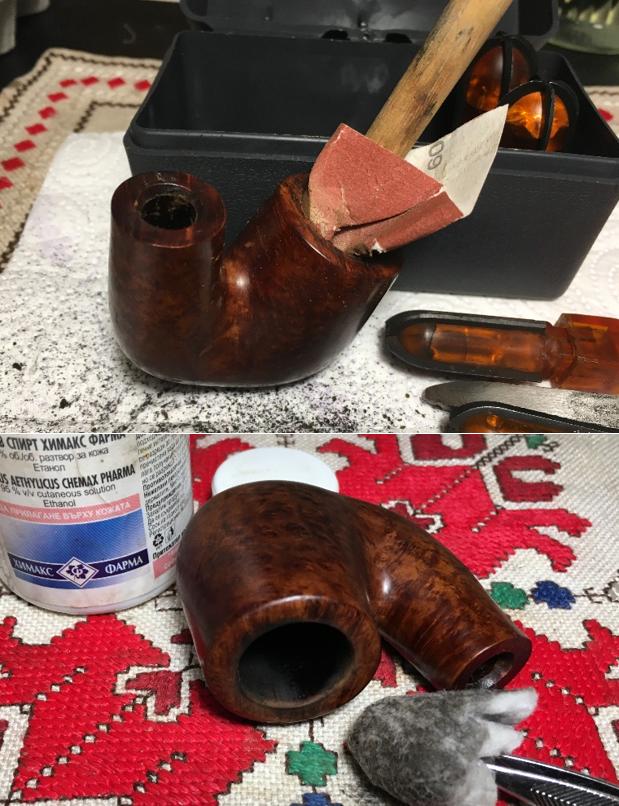
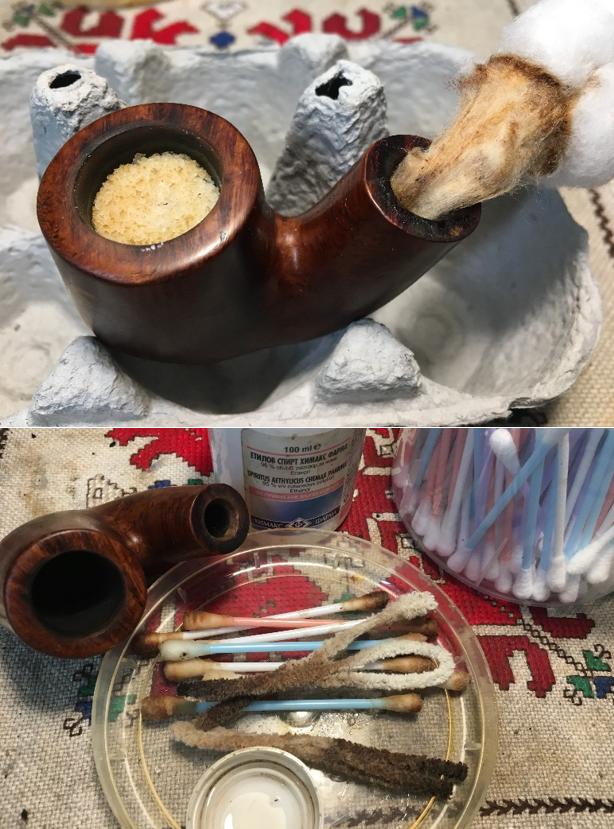
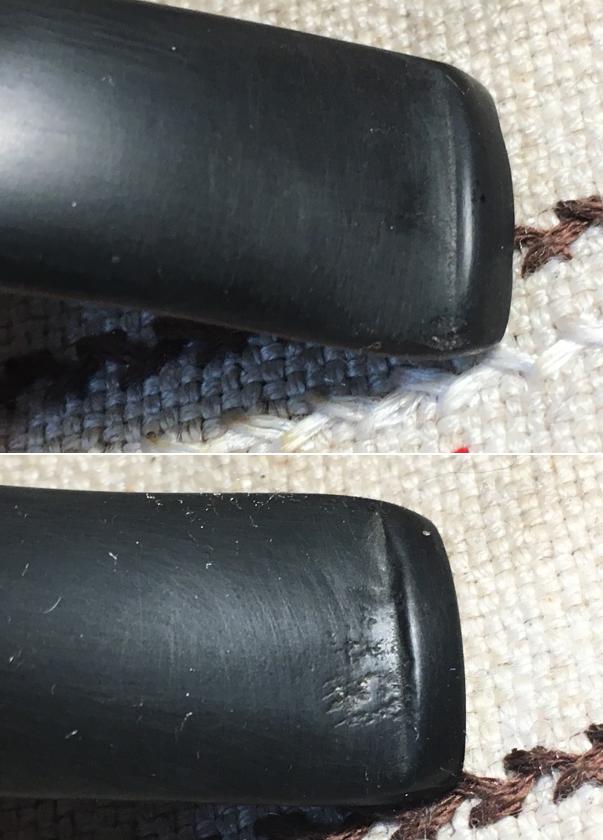
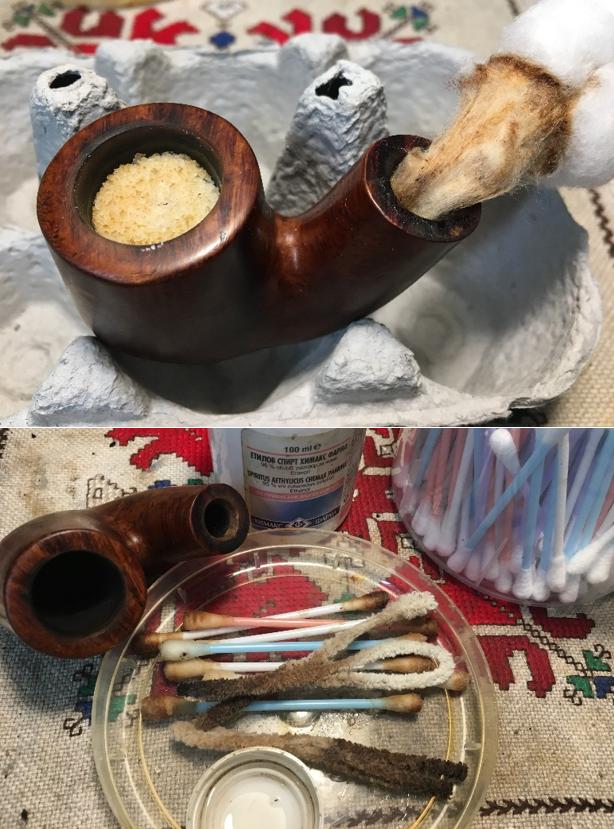
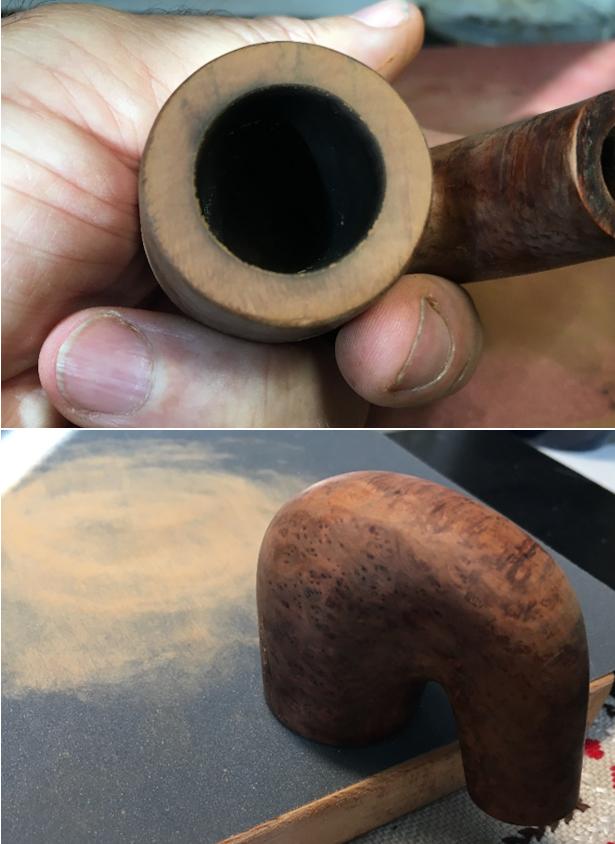
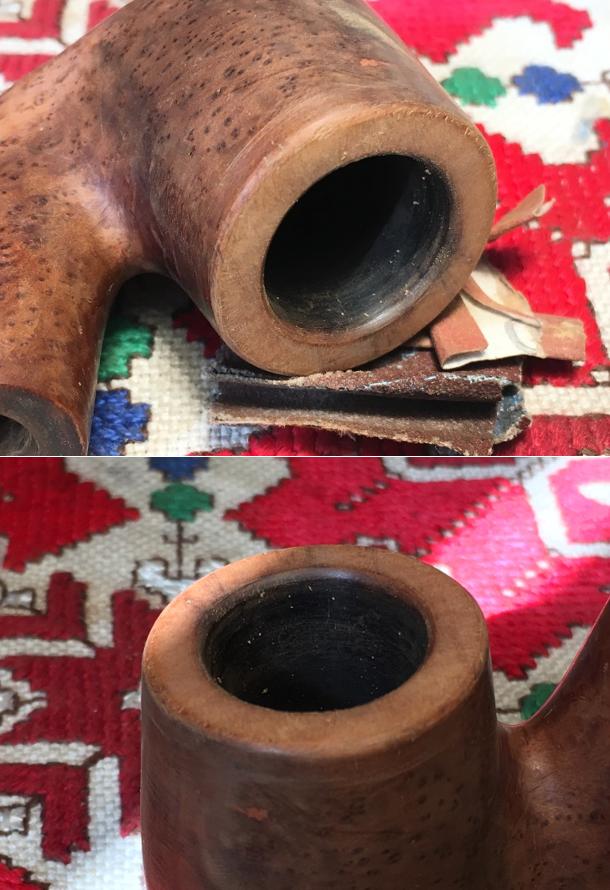
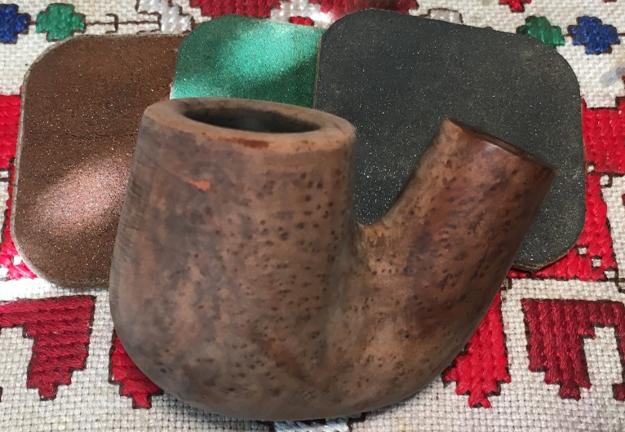
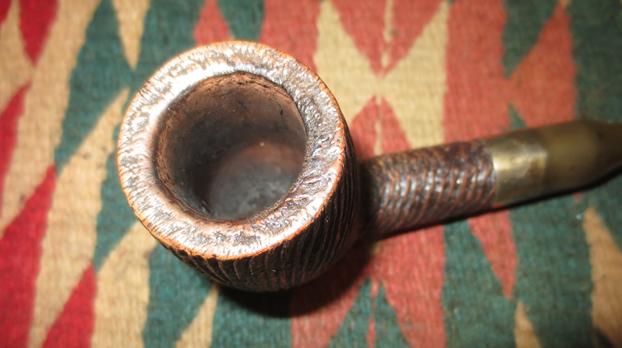
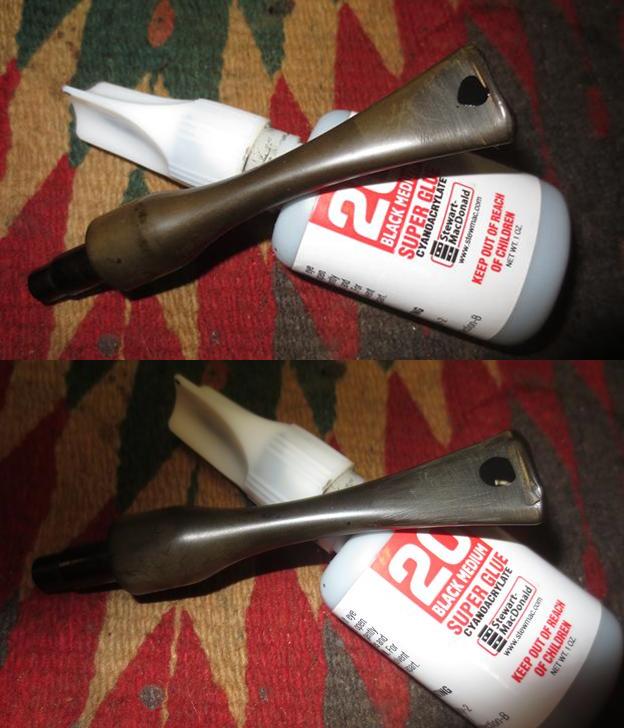
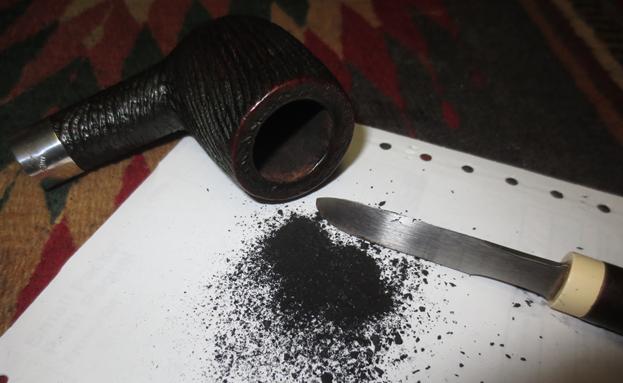
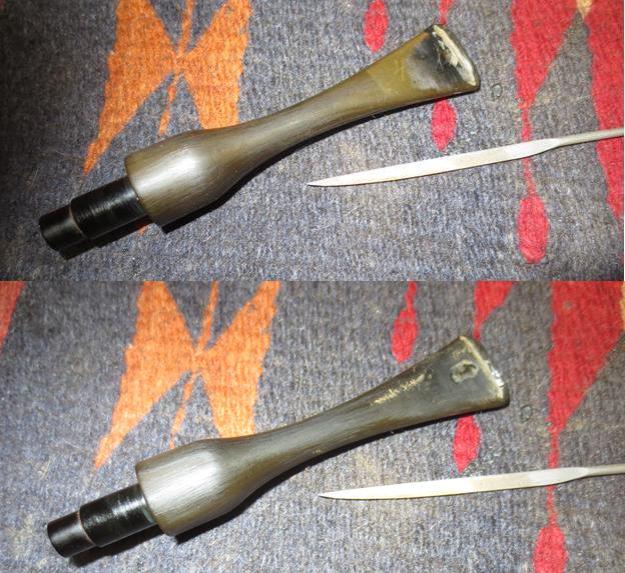
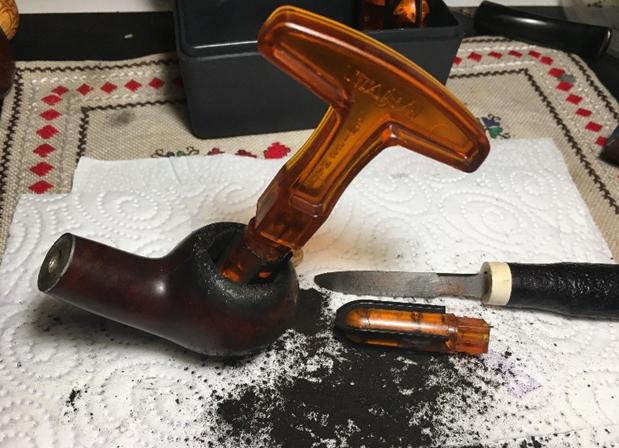
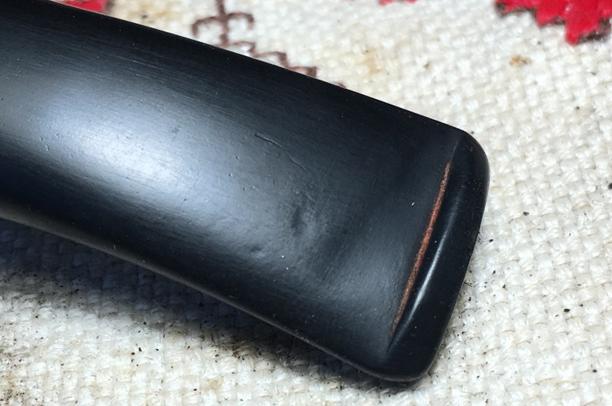
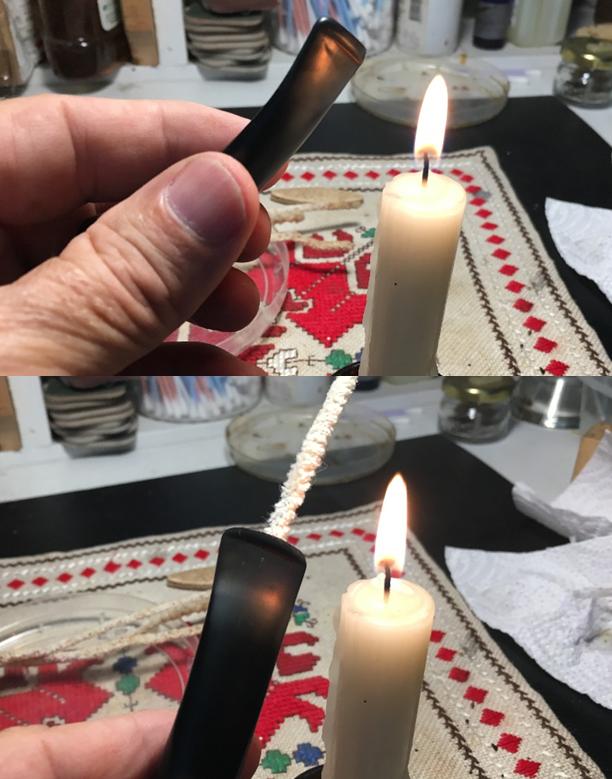
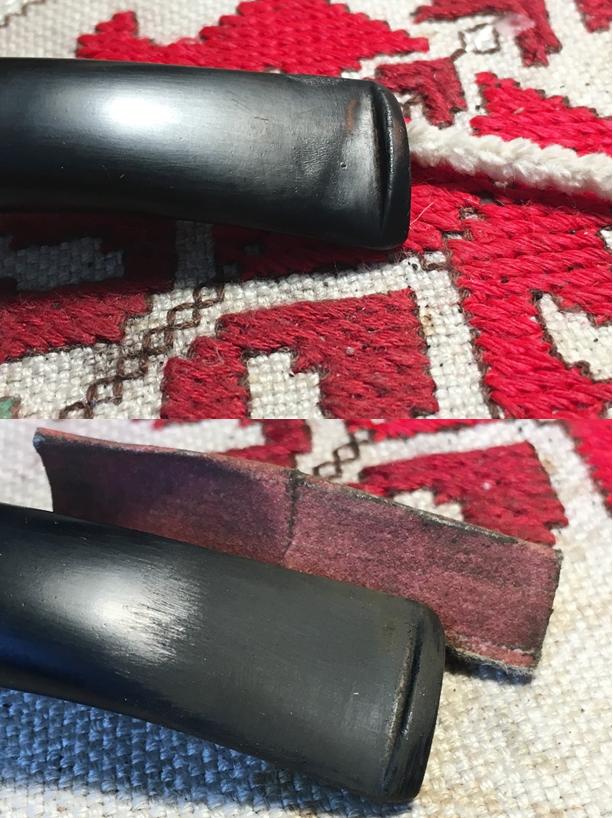
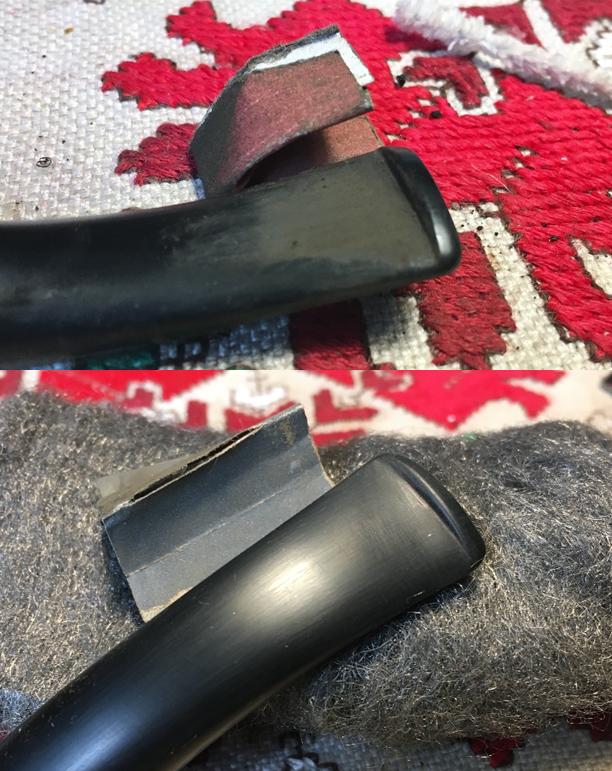
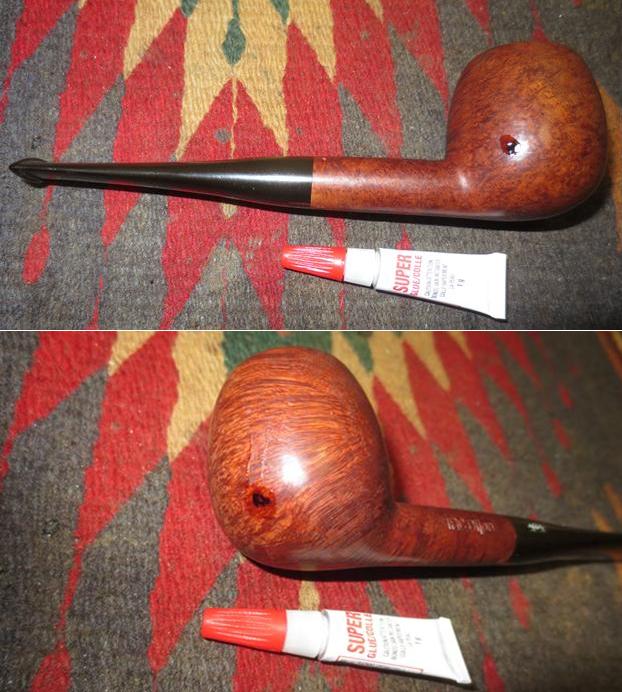
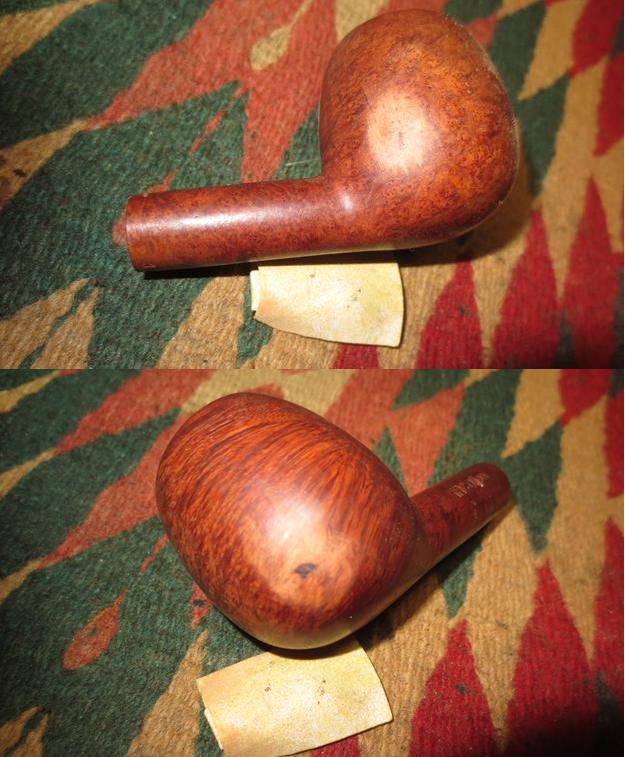
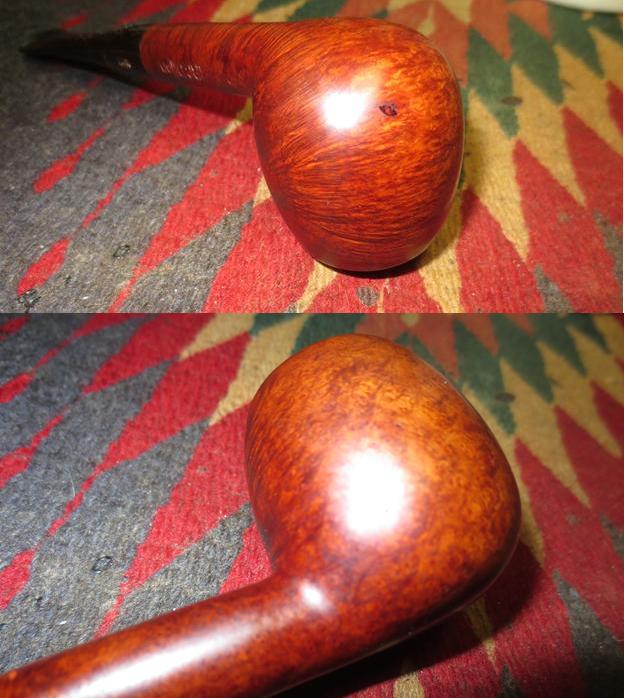
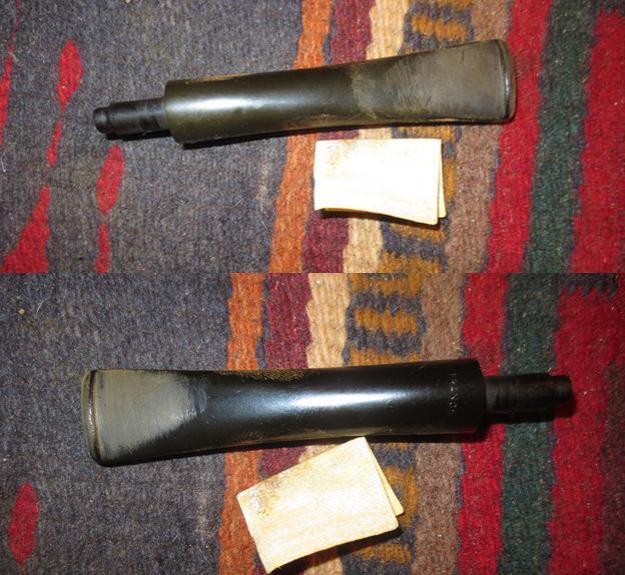
Cruising Ebay for a pipe to play with I came across a Shell bent which, as stated in the listing, had the stem bit completely chewed off. I’d been trying a mold technique to reconstruct the stem button with limited success, very limited. Anyway, this pipe’s stem had been chewed to the point where no pipe cleaner could negotiate the airway and tobacco dottle was packed in tight. Here is a photo of the listing.Dang me, the previous owner had a heck of an oral fixation!  This stem was exactly what I was looking for.While the stem soaked in the Oxyclean bath, I evaluated the briar. The cake in the chamber was so thick you could shake a stick at it but after removal proved to be the protection connection because the inner bowl was pristine. I don’t know what it is about old tobaccos but the cake is dry and pumice-like with a delightfully transporting aroma to another time. The bowl’s rim was likewise protected by the lava of cake and tar. When I use my augers and drill bits, it’s either by holding the bit by hand or using an electric drill to hold the spade bit and turning the pipe itself. I’m listening for the crunching sound of cake being cleaved rather than the squeaky sound of metal on briar. Full rotations are usually not possible until the very end.

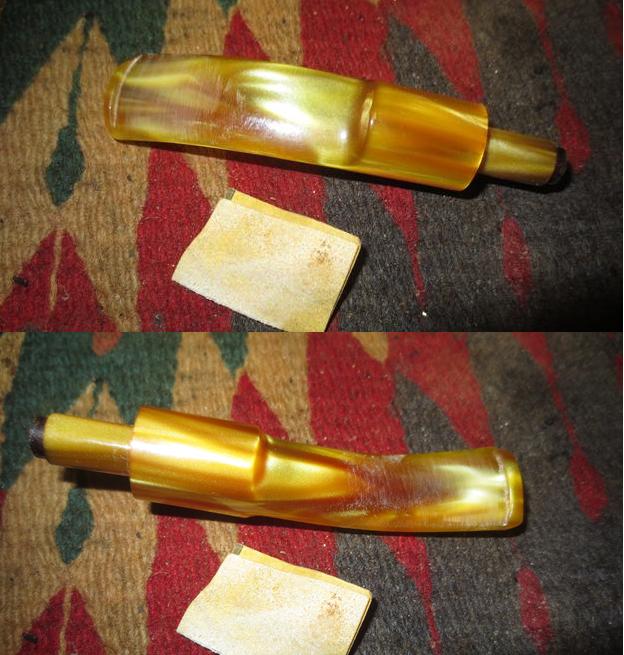
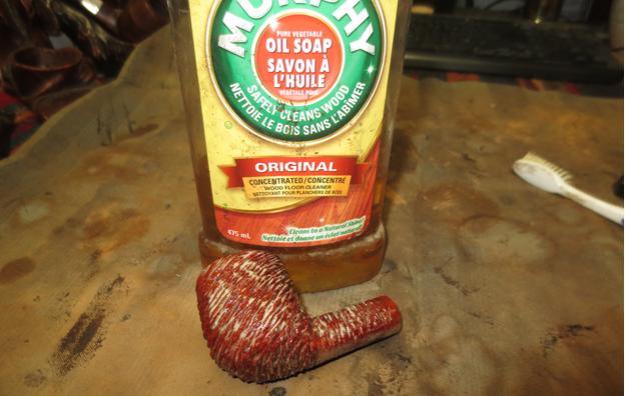
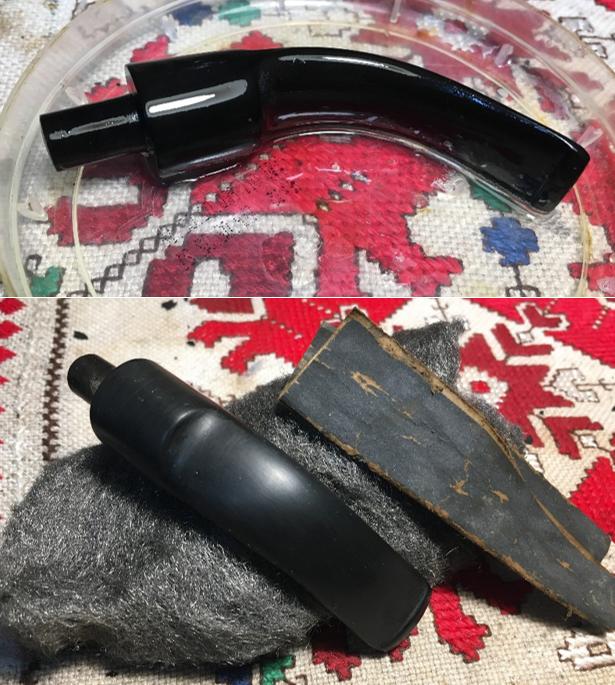
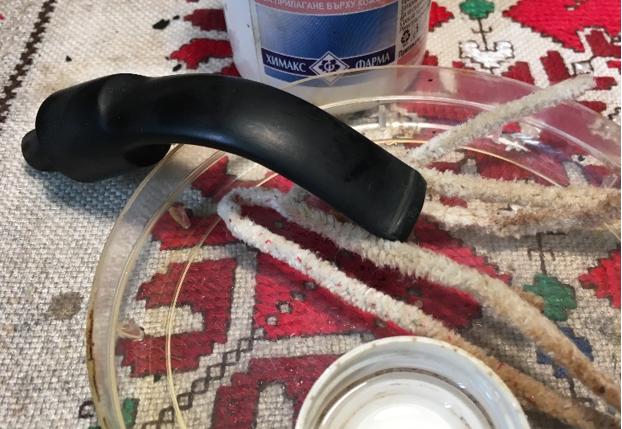
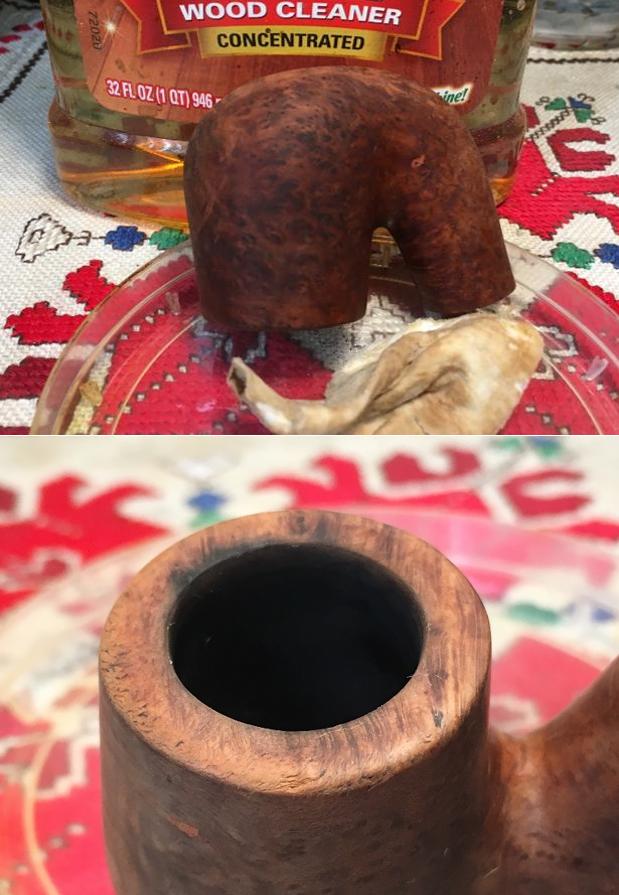
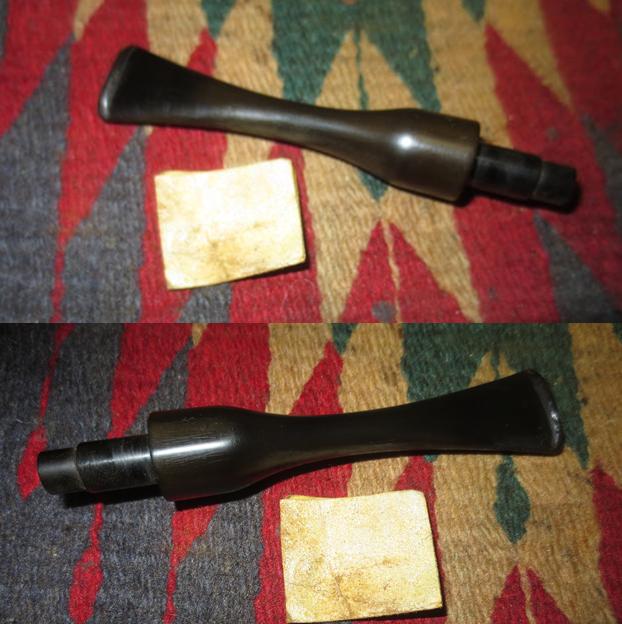
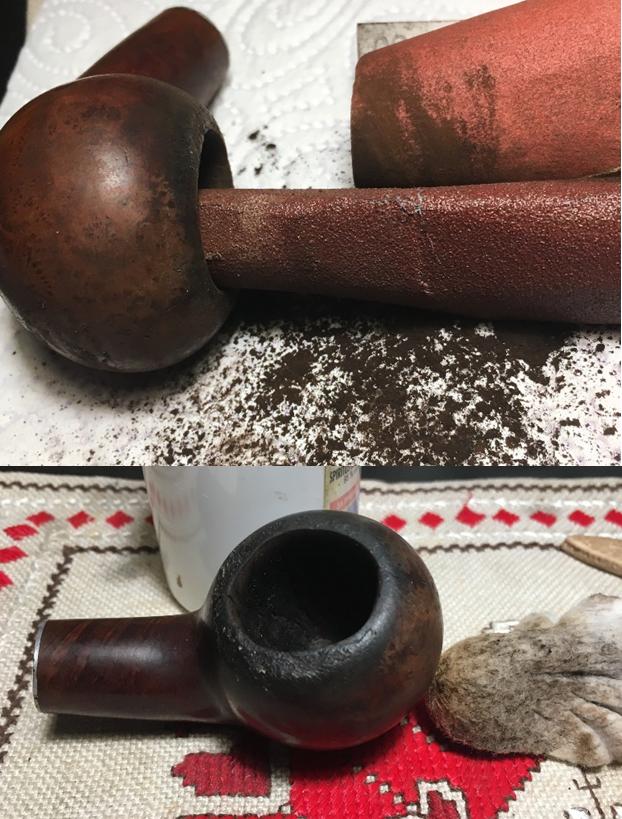
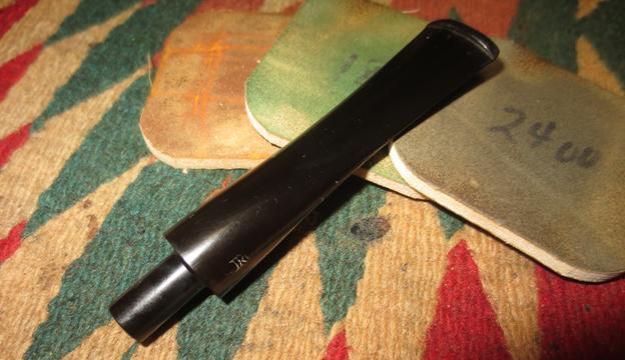
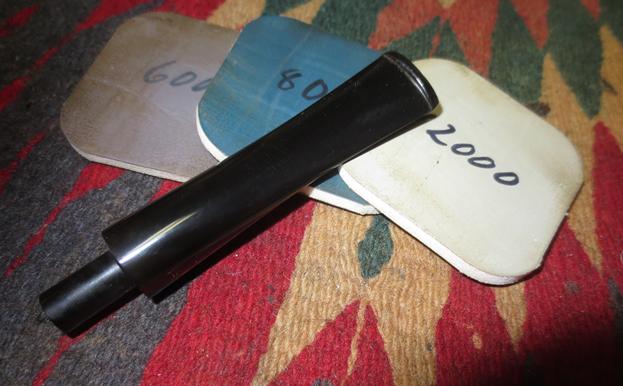
The stain and finish on the briar had that great oxblood highlight color that I love but was tarnished with a river of muck. I decided to try using my micro etcher to preserve the blast on the rim but knowing that I would later have to re-stain. I didn’t want to use Murphy’s Oil Soap because it diminishes the intensity of the stain somewhat.  Regarding the River o” Muck, I tried using my steamer which has a gun for accurate aiming and a boiler which keeps up the psi.  This muck was visible in the blast’s valleys as a white deposit. I fished out the stem from the Oxyclean bath, scrubbed it with blue shop paper towels to remove the slimy coating and polished it with flour of pumice, green, red, white diamond and Bendix on the lathe with individual rag wheels.

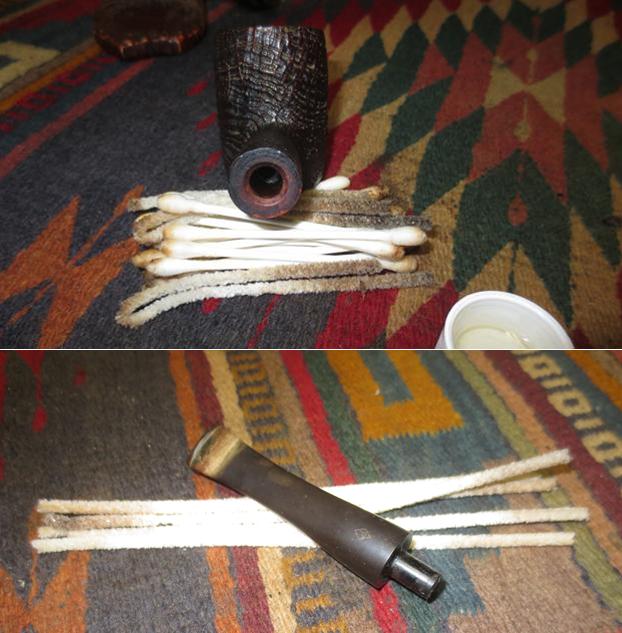
When the stem airway is too congested or crimped to allow passage of even a bristle pipe cleaner, I use a base “E” guitar string. It has a stiff central core wire which is later wound with another thicker resilient wire to poke on through.  My intent is not to mechanically open the airway but to remove any remaining tobacco chattel that the steamer couldn’t dislodge.

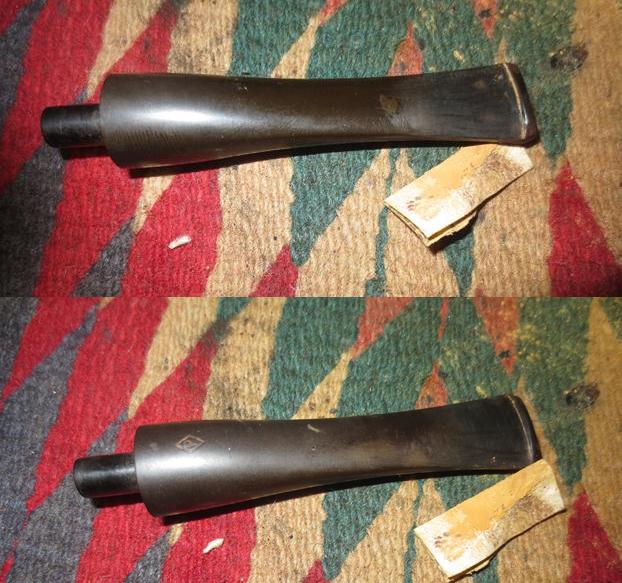
Next, I want to straighten the stem in my Wife’s oven. Of course I do this when she’s not around and so far she has turned a blind eye towards this practice.  But if there is residual tobacco burnt in her oven, I don’t want to be around to explain! The vulcanite has a memory of its initial pre-bent and pre-chewed state which will allow ease of cleaning and repair. The only bugaboo is that tenon-mortise margin can open. I was fortunate to have that happen because I have an adjustment technique to fix that which I want to try out. Importantly, don’t forget to trace the initial outline of the bent stem on a piece of paper for a reference when re-bending.

The pipe stem is positioned on a sheet of aluminum foil on the middle shelf where it is easy access and can be well illuminated by the oven’s light, I have tried to use an aluminum pie plate but the higher sides obscure my viewing the stem. I set the temperature to 247 degrees using the Bake Convection mode. This oven is electric and if yours is gas, you may want to let it get up to temperature first before placing your stem. Gadzooks!  The tenon on the stem opened like a blunderbuss barrel and the stem won’t fully seat. More fun!

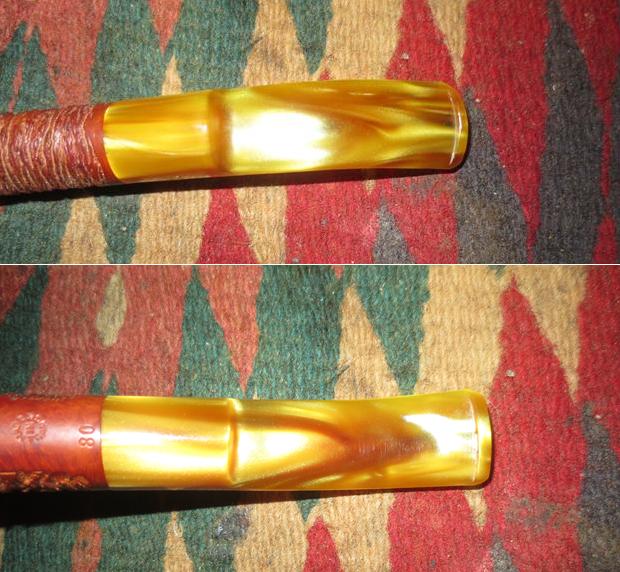
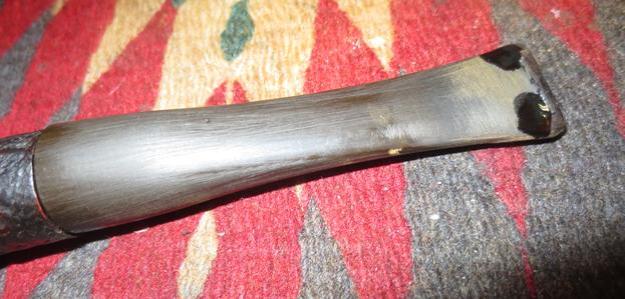
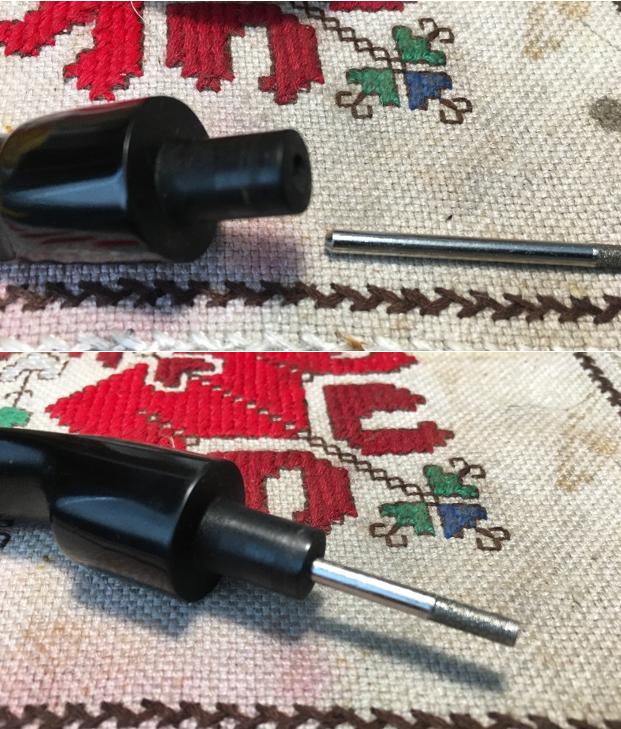
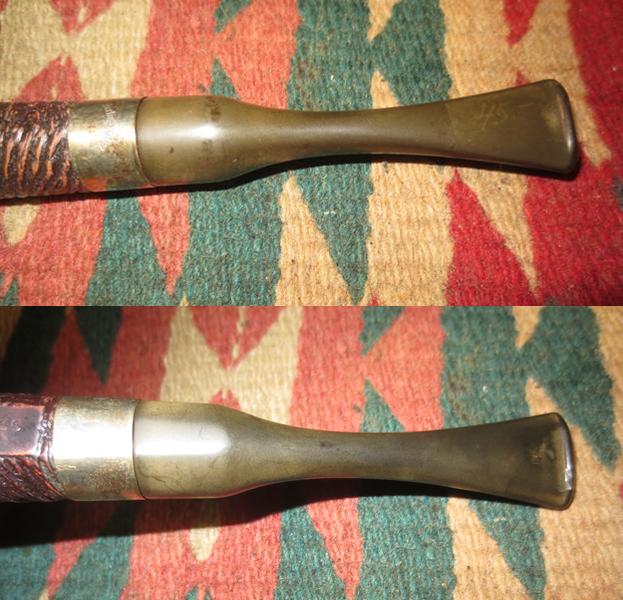
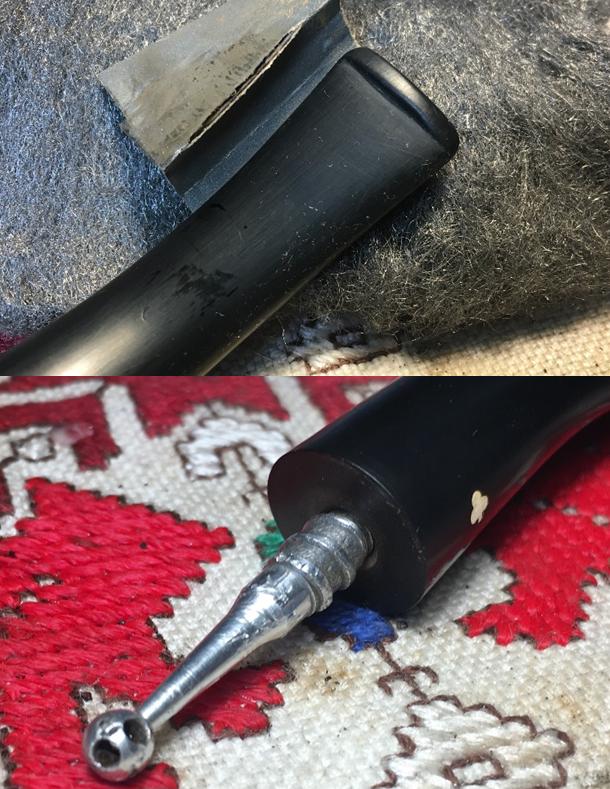
The cross section on either side of the air way seemed meaty enough for some pins and channeling to create a ferrule of composite resin. I made a silicone putty impression of an unsmoked stem which approximated the same size and shape of this pipe. I made sure to capture the airway’s interior.I then plugged the stem’s airway with wax; micro etched the exterior surface and bonded the composite. I’d gotten a black resin colorant online but found that it either accelerated the mix to a very short working time or inhibited the mix to not fully curing. To blacken my next mix I’m going back to activated charcoal. But although this bit is ivory colored, it is very strong and decently shaped so I decided to simply slather it with a coating of black CA.

When I placed the pipe back in the oven to re-bend it, I found that some of the CA had over heated and was bubbled up like road tar. Note to self, keep CA out of the oven. I had seen this happen with an infrared light in a previous experiment but thought the temp was sufficiently lower to prevent a recurrence. Oh well, just more fussin’.

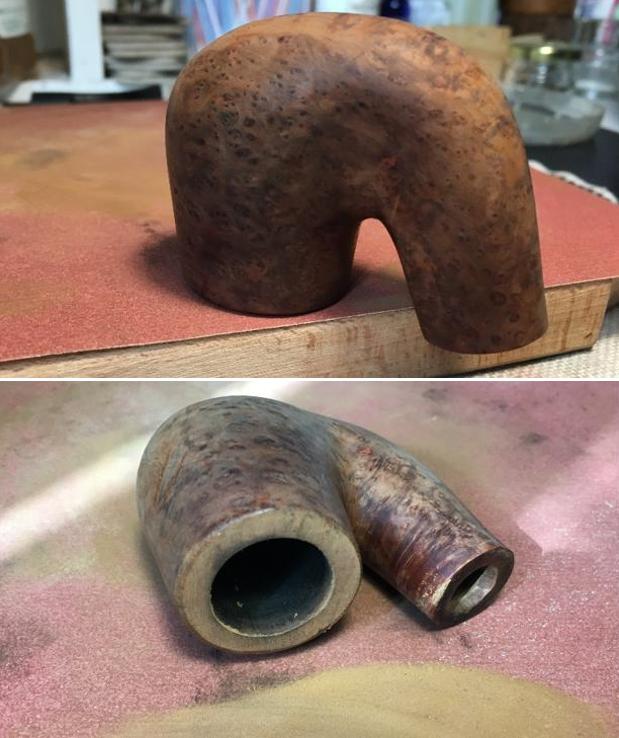
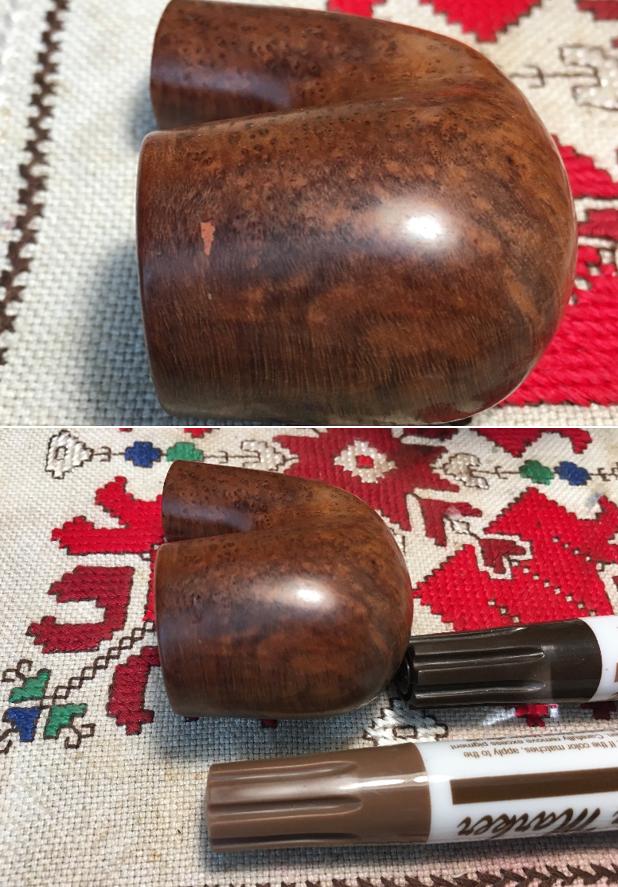
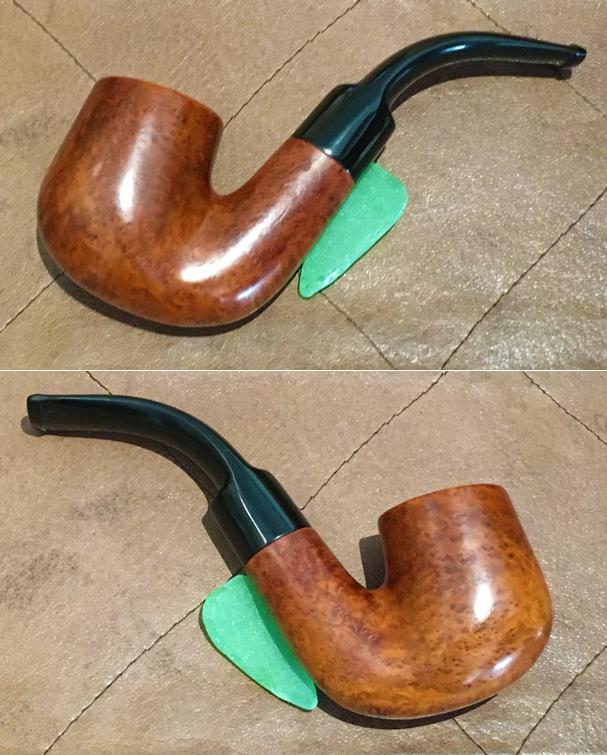
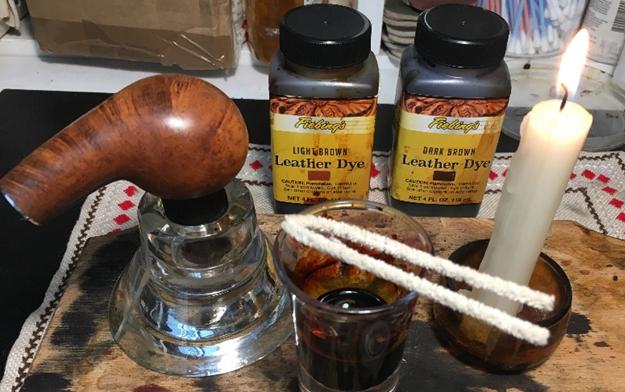
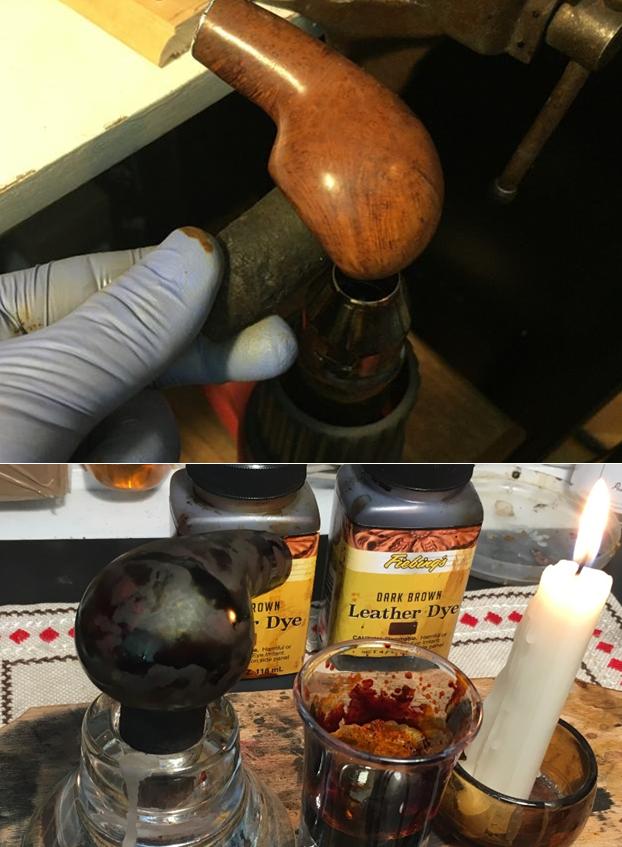
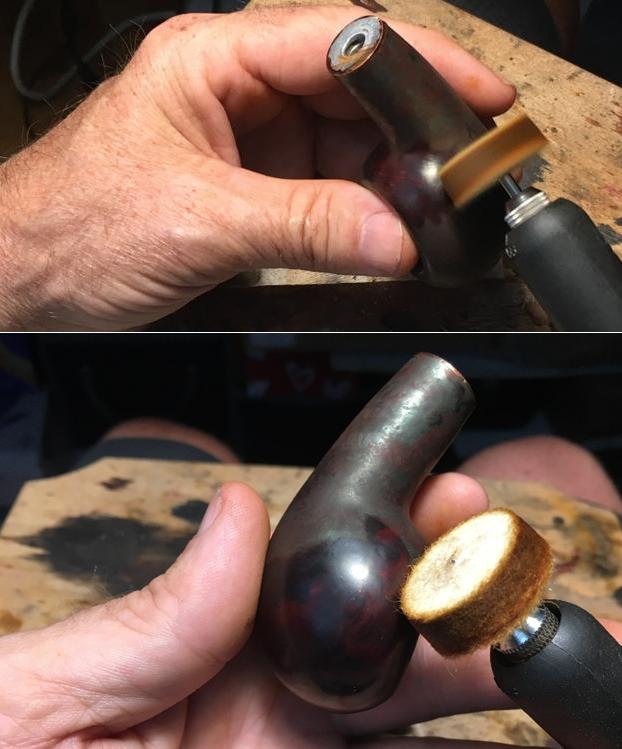
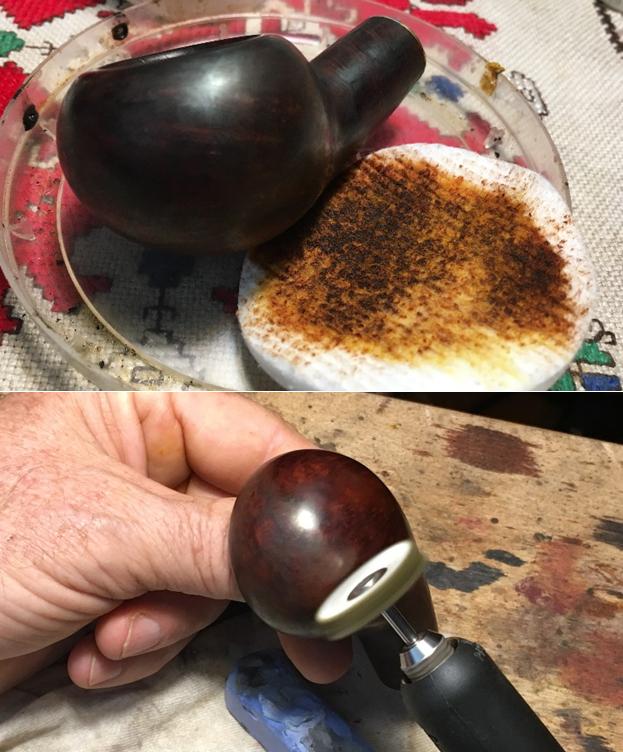
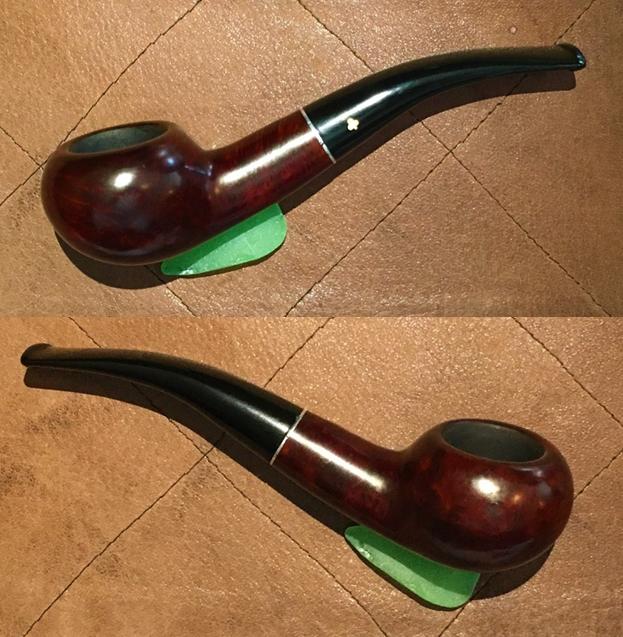
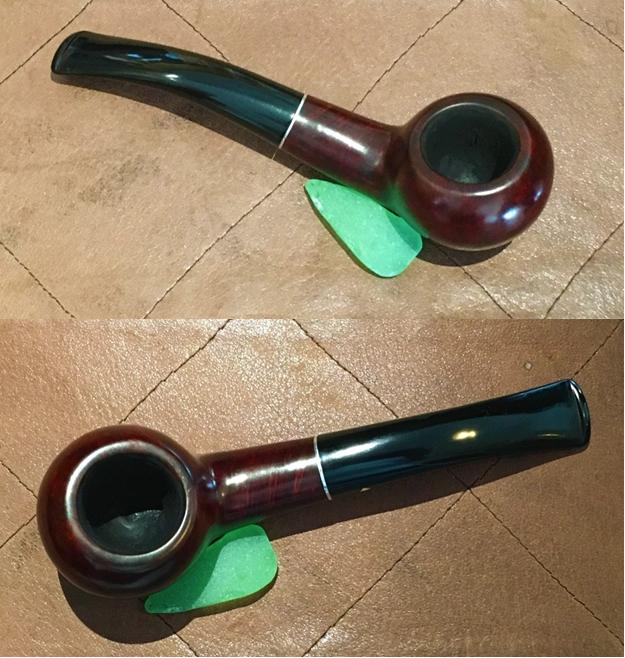
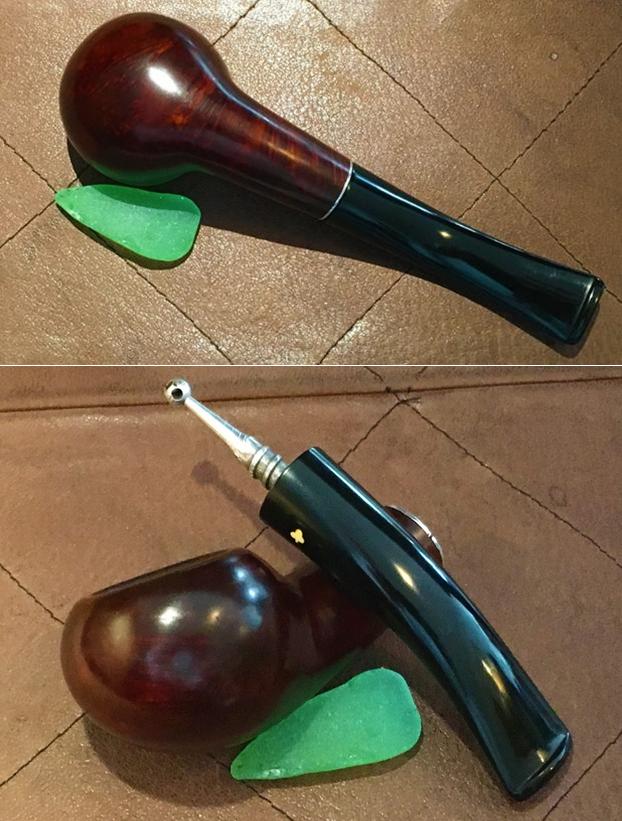
By the way, when re-bending the stem I never seem to be able to wait long enough and go through several attempts before getting it right. If it doesn’t fully bend to the proper contour, you have to wait until it re-straightens itself and then some. If you get greedy you can snap stem in half. I’m looking forward to my next stem bending because I plan to chronicle the ideal temperature using my laser thermometer.Returning to the bowl’s rim, I stained it with a light brown, got the stem to fit better but haven’t yet dialed it in and polished the pipe.I noticed that the preliminary outline of the stem displayed the additional length that the new bit added.Here’s the semi-final result and I wonder if any of these projects are truly ended because to aspire to the superb craftsmanship of these old Dunhill artisans is a journey rather than an endpoint.


Jen’s Trove #1: A Kaywoodie Author


Blog by Dal Stanton

Jenny has laid the groundwork for a pipe restorer’s dream job!  Jenny has been working with us here in Sofia, Bulgaria, as an intern for the last few years and she will be transitioning back to the US at the end of the summer.  She’ll be working with international students at what she considers her home territory at the University of Tennessee – Knoxville.  We’ll miss her, but she has created a bittersweet gauntlet for me!  She has gone through my baskets and boxes of ‘pipes-in-waiting for help’ that I have culled and collected to create a gift trove for the special men in her life when she returns to the US – brothers, brothers-in-laws, father….  She knows that the pipes I restore benefit our work with the Daughters of Bulgaria, women/girls who have been sexually exploited and trafficked throughout Europe.  She wants to support the Daughters but also communicate this to her loved-ones in the US by gifting them pipes restored by The Pipe Steward – me 😊.   Since the proceeds benefit the Daughters, the agreement we have is that after each pipe is restored from her trove, I will determine a price and she will then decide if she would like to ratify the purchase – a win/win/win all around – for her, her special men and for the Daughters.  As Jen poked and prodded through my pipes, I learned that she was seeking a variety shapes and sizes so that each gift would be unique.  I hope that I can run the gauntlet well by providing her precious gifts AND finish on time!!!

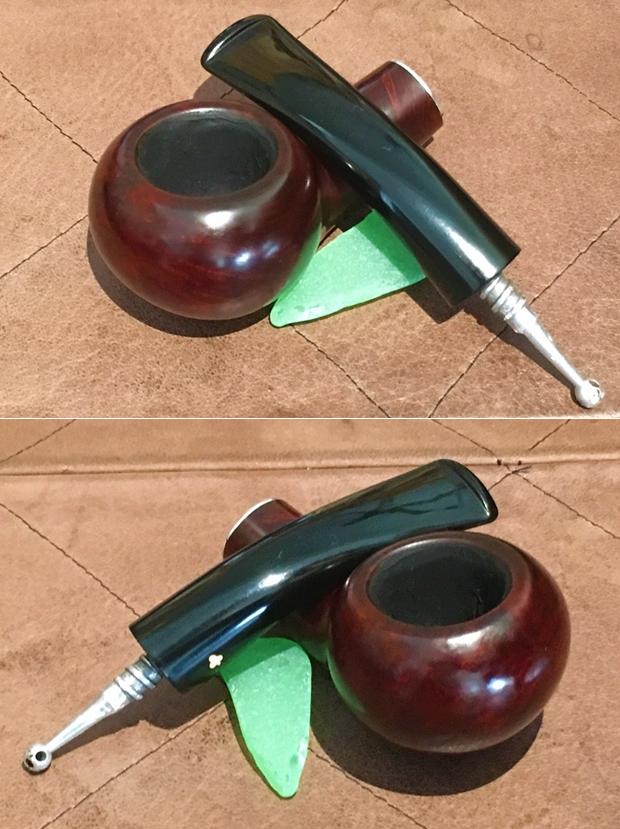
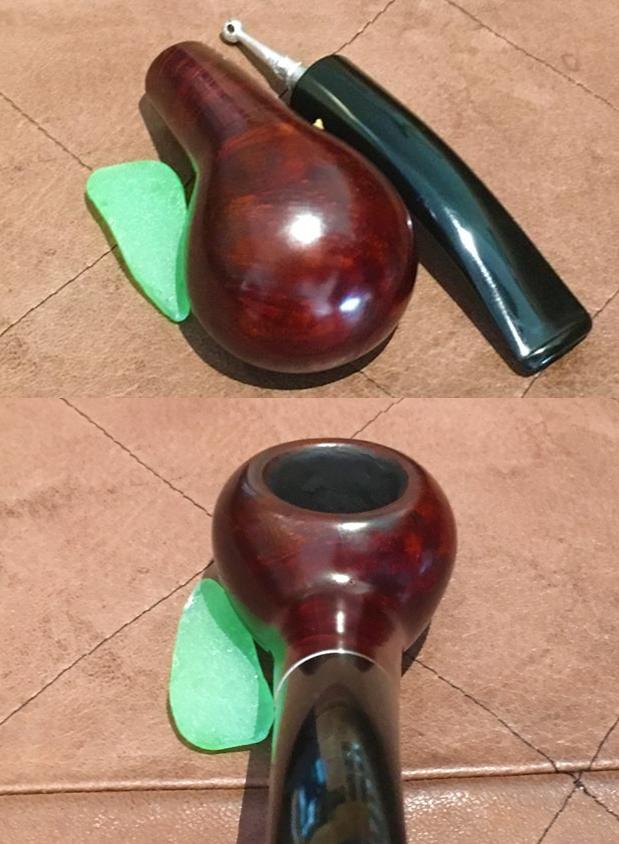
The first pipe I chose randomly out of the ‘Jen’s Trove Basket’ is a Kaywoodie Author shape.  I saw this pipe on eBay and was attracted to the solid shape of the Kaywoodie ‘Ball’ shape that was advertised by the eBay seller in New Hampshire.  Here is what I saw:When I looked at Pipedia’s Shape Chart put together by Bill Burney, I saw that the Ball and Author shapes are very similar, but Bill’s description of “The Author as a beefed-up prince, featuring a flattened ball-shaped bowl and a heavy 1/8 to 1/4 bent stem” caused me to classify this Kaywoodie as an Author.  With the pipe now on my work table, I take more pictures to fill the gaps. This is the first Kaywoodie I’ve worked on.  A plethora of information is available online about America’s oldest pipe making manufacturer.  Kaywoodie’s website is informative:

The history of S. M. Frank & Co. spans nearly a century and half of pipe making, supporting our claim as the “oldest pipe house in America.” S. M. Frank, as it exists today, is a combination of some of the biggest names in pipe making from the early part of the 20th. century. The pipe names Kaywoodie, Yello-Bole, Reiss-Premier, DeMuth, Medico, Heritage and Frank are familiar to generations of pipe smokers.

The article describes how in 1919 the Kaufman Brothers & Bondy Company (KBB) produced the Kaywoodie and Dinwoodie pipe lines.  By 1924 the Dinwoodie line fell by the wayside and the primary name of Kaywoodie was the mainstay pipe line and the company came to be known by that name.  Little is known about the early activities of the KBB Company which started in 1851 by the German born Kaufman brothers.  The company had several locations but was centered in the New York City region throughout its production history.  The expansion of the KKB Company following the gold rush I find fascinating:

When one of the men from the New York office got “gold fever”, he carried a large supply of pipes with him to California that he sold along the way. This early “national distribution” did much to build the reputation of KBB. By the late 1800’s, branches of KBB were opened in Chicago, Atlanta, San Francisco and St. Louis with family and friends acting as agents. The trademarks, for the inlaid cloverleaf and the cloverleaf with the KBB initials inside, were issued in 1881. 

In 1935, KBB boasted of being the largest pipe making facility in the world with 500 employees and a production of 10,000 pipes per day from their facility in West New York, New Jersey.  In 1955, Kaywoodie was acquired by S. M. Frank & Co. (See Link) and continues to the present with well-known names Yello-Bole, Reiss-Premier, William Demuth Company, Medico, Heritage (Heritage Pipes Inc.), along with Kaywoodie (Link).

It is difficult to date the Kaywoodie before me.  The only identifying marker is the traditional white shamrock on the stem.  There are no other markings that I see.  To the left, a 1964-65 Kaywoodie Dealer Catalog from Pipepages.com shows a remarkable likeness to the Connoisseur line and the Author before me with the stem shamrock on the side rather than on the top as in a 1955 Kaywoodie catalogue (See LINK).  There is no clear indicator for dating the Kaywoodie Author, but this catalog may put me in the ballpark.

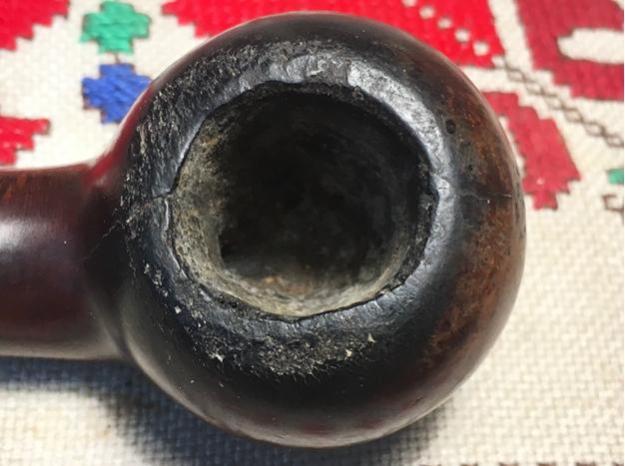
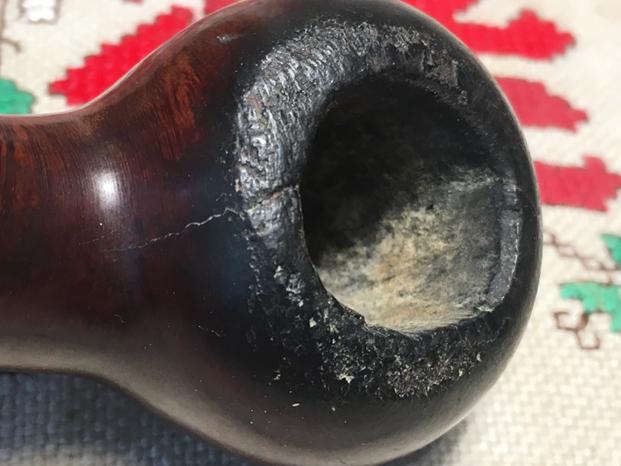
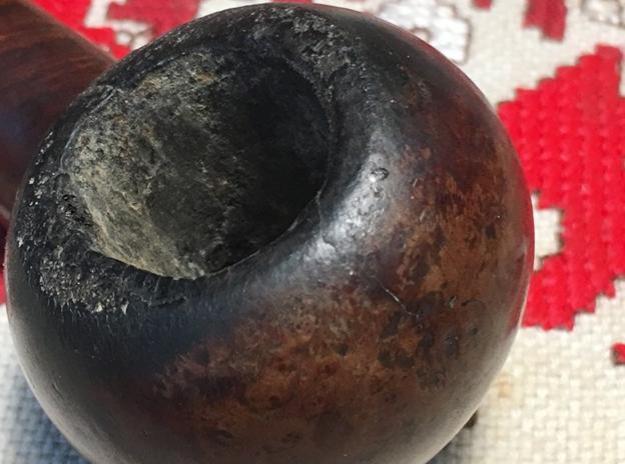
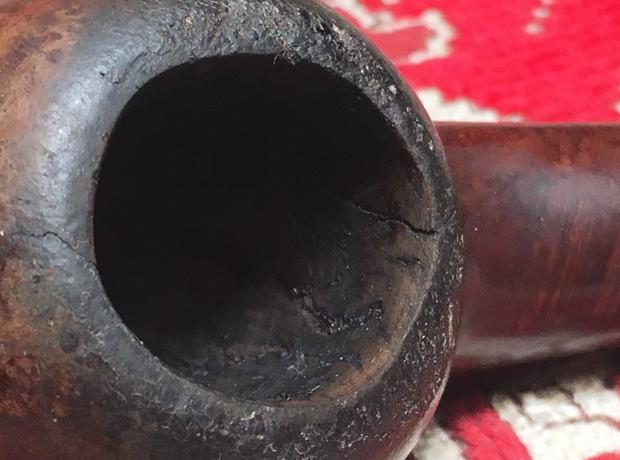
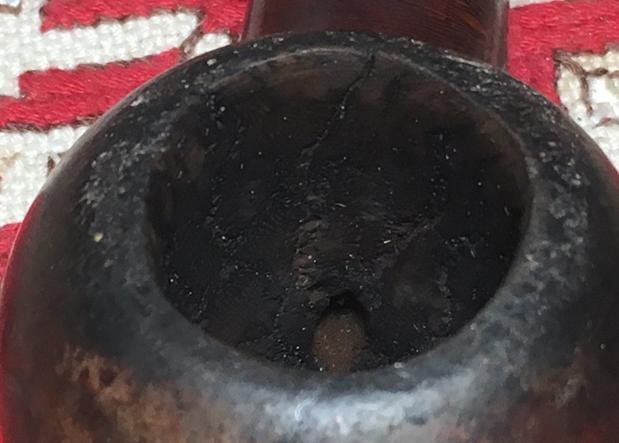
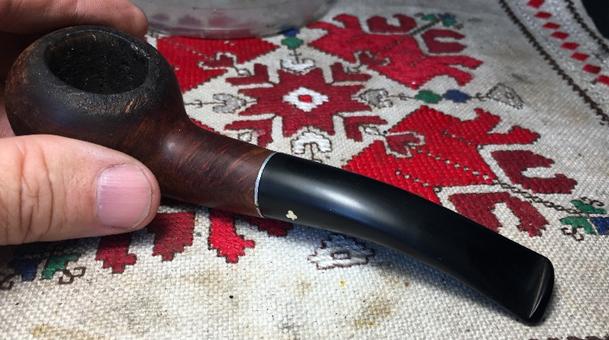
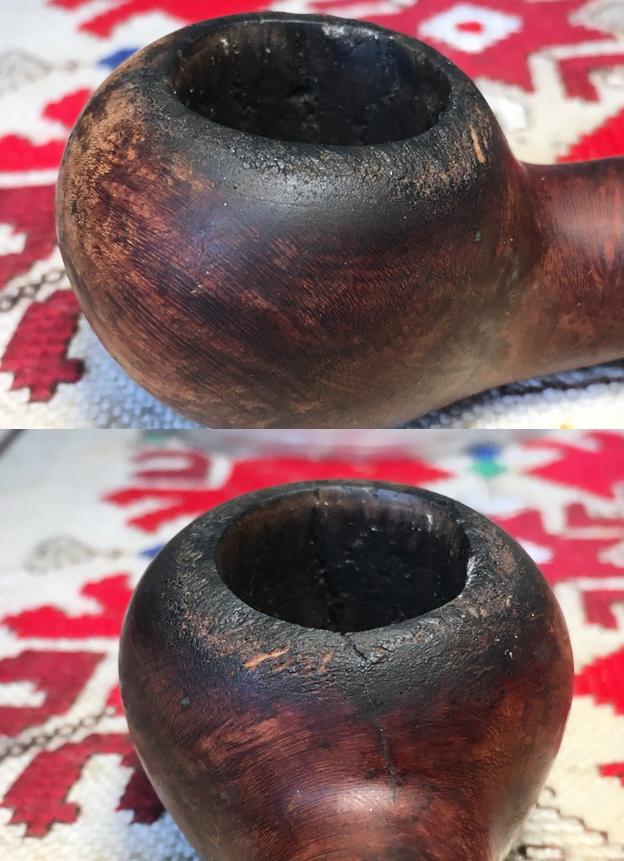
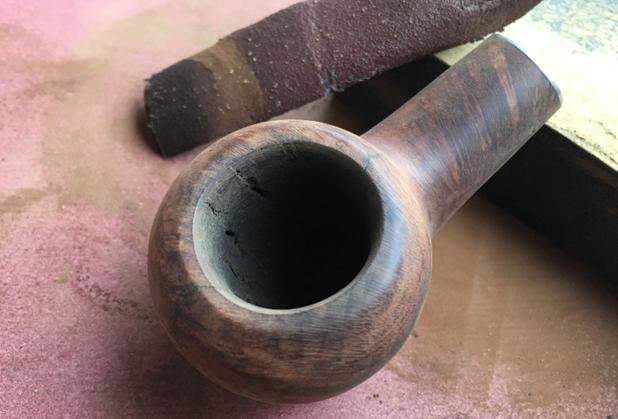
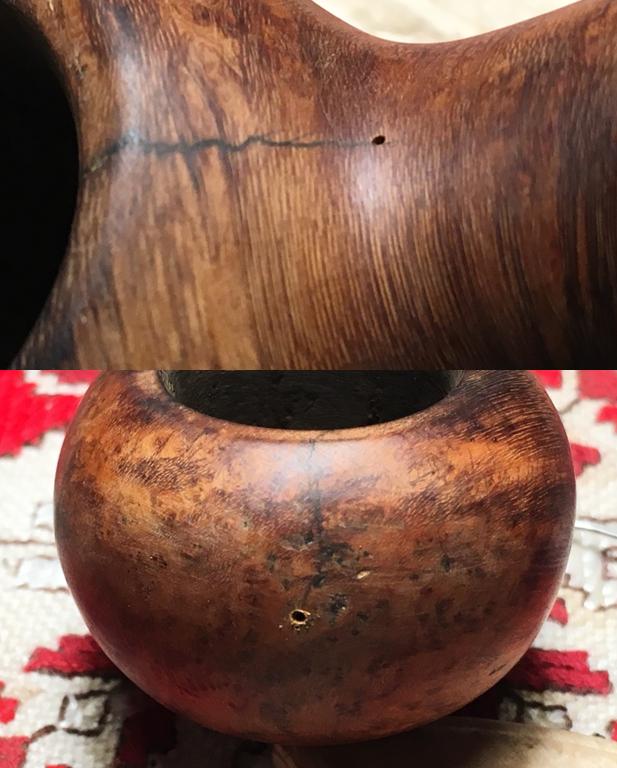
With a better understanding of the Kaywoodie name, I take a closer look at the Author.  The good news is that the stem is in good shape with little tooth chatter.  The classic Kaywoodie patented Synchro-Stem which boasts that “metal-to-metal contact prevents binding and sticking” from a 1955 catalogue.  The stummel, however, is a different story.  The rim is beat up significantly, and I detect what might be cracks in the stummel.  Looking back at the eBay pictures provided by the seller, it made it very difficult to see what I seen now.  There appear to be two cracks, across from each other on the front and on the back of the rim.  I take a few closeups.

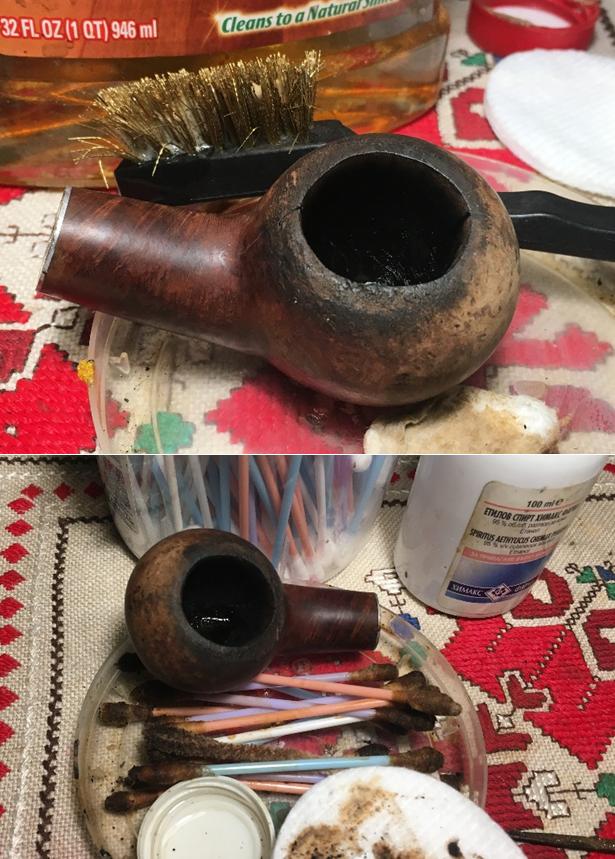
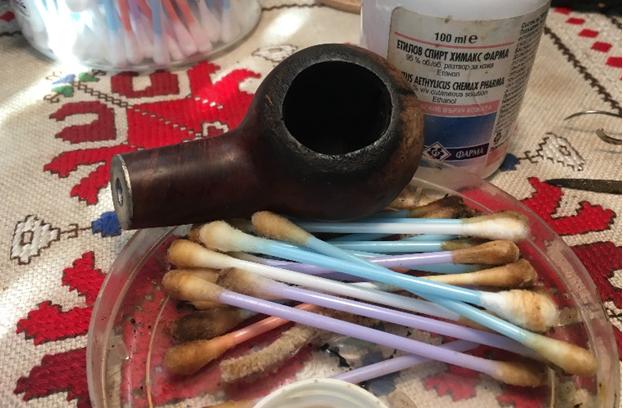
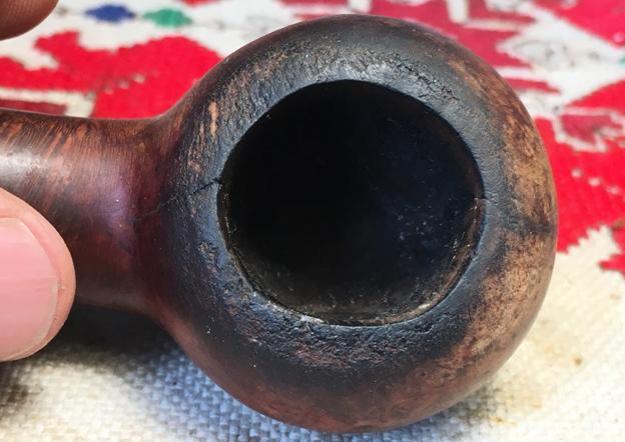
At this point, I’m not sure what I’m seeing.  Are the cracks superficial or do the run deeply into the briar.  It’s curious also that they seem to be opposites – perhaps part of the same trauma or what?  I will need to clean the chamber and rim to see more clearly the depth of the problem.  After spreading paper towel to minimize cleanup, I use the Pipnet Reaming Kit to work on the fire chamber.  I use 2 or the 4 blades available, starting first with the smallest.  I fine tune the reaming job with the Savinelli pipe knife then sand the chamber with coarse 120 grade sanding paper then 240 grade.  I wipe the chamber with a cotton pad wetted with isopropyl 95% to clean the carbon dust.  I take some close-ups of the chamber revealing some heat fissures and evidence that the crack seems to run through the bowl – especially the crack on the back-side of the bowl.  I continue with the external cleaning using Murphy’s Oil Soap and cotton pads.  I also employ a brass bristle brush to work on the rim which is really beat up and scorched.  The cleaning reveals more of the damage to the rim as well as the cracks I will need to address.  I’m guessing that the stummel cracks were caused by excessive heating of the briar.  I decide to clean the internals of the stummel using cotton swabs and pipe cleaners dipped in isopropyl 95%.  I also employ a straight needle file to scrape the walls of the mortise to dig out the gunk and tar.  I like to take care of the dirty work before continuing with the externals.  This also gives me time to think about how to approach the stummel repair.  The pictures show the progress which is slow – the internals are really gummed up. 

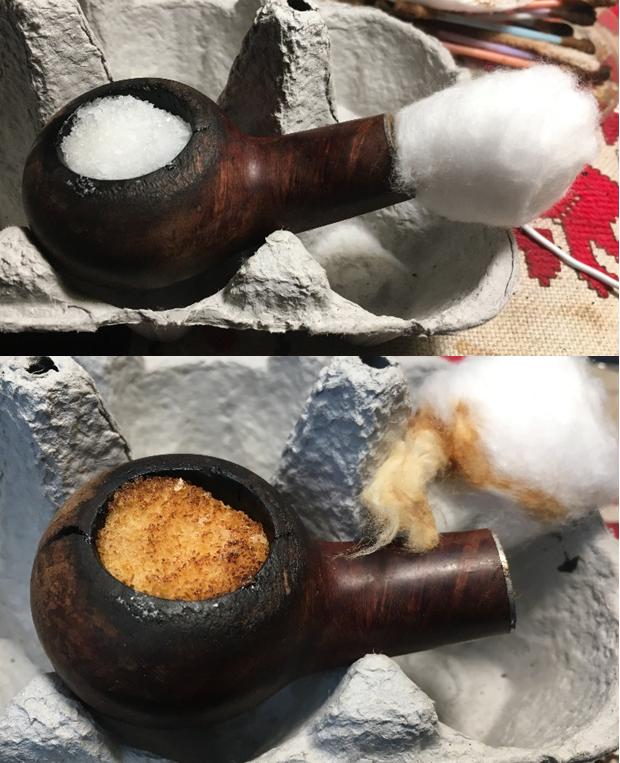
The day is coming to an end so I decide to employ a kosher salt and alcohol soak to make progress with the internals – while I sleep!  I use kosher salt so not to leave an iodine after-taste.  I stretch and twist a cotton ball to create a thinner ‘string’ of cotton to stuff down the narrow mortise opening through the metal plate of the Kaywoodie.  This cotton string will act as a wick to draw out the oils.  I then fill the bowl with kosher salt and cover the opening with my palm and give it a shake to displace the salt.  Using a large eyedropper, I introduce isopropyl 95% to the bowl until it surfaces over the salt.  I leave the stummel in an egg crate and turn the lights out – another day is done.  The next morning, the salt/alcohol soak has done the job.  The salt has discolored as well as the cotton wick.  I dump the used salt into the waste basket, thumping the stummel on my palm.  I wipe the chamber out with paper towel and using a long-bristled brush remove the excess salt from the internals.   I then return to using cotton swabs dipped in isopropyl 95% to complete the cleaning.  The pictures show the progress.

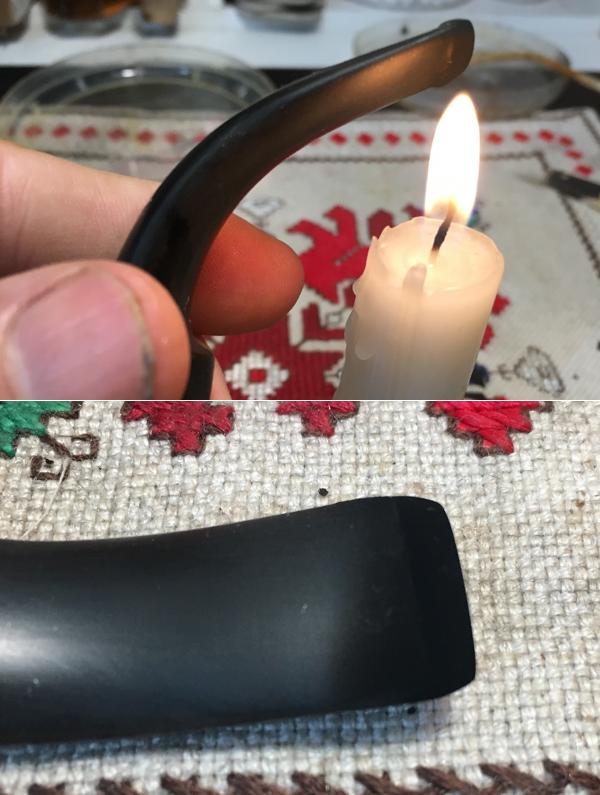
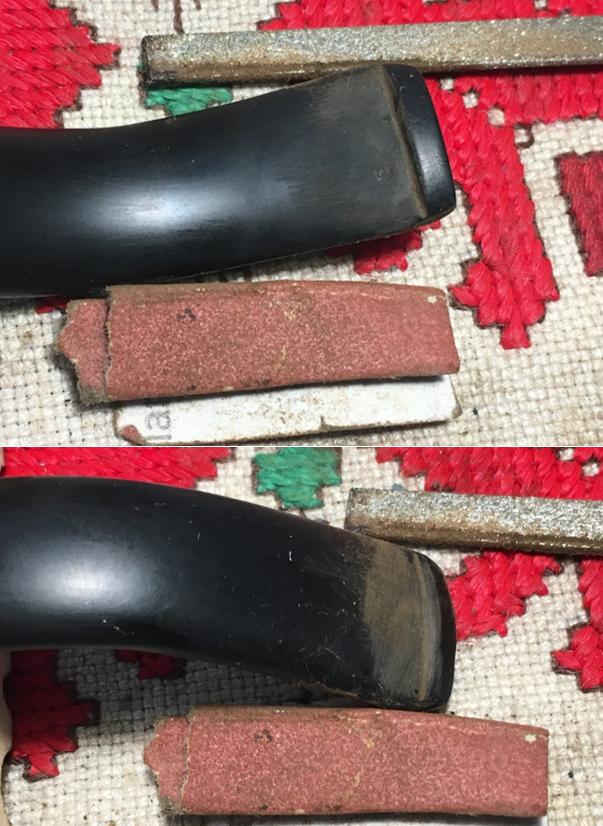
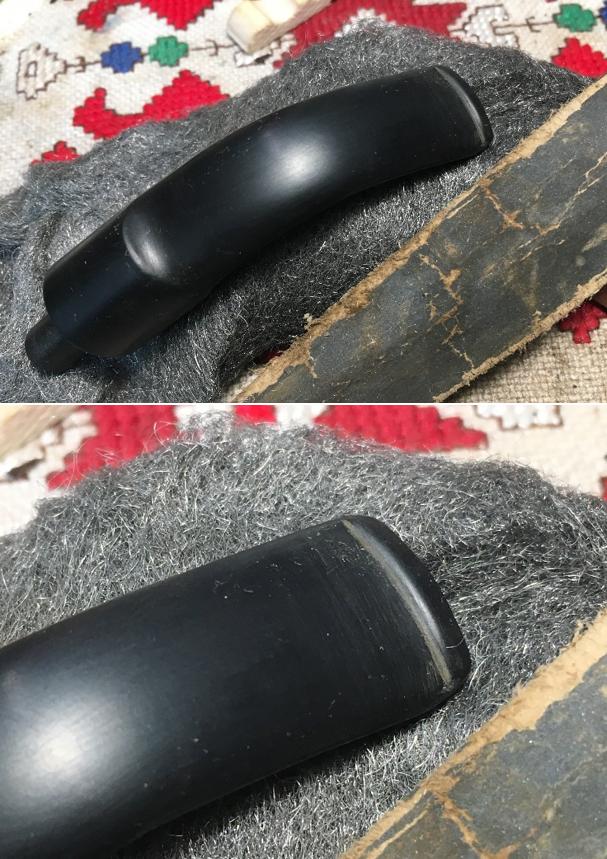
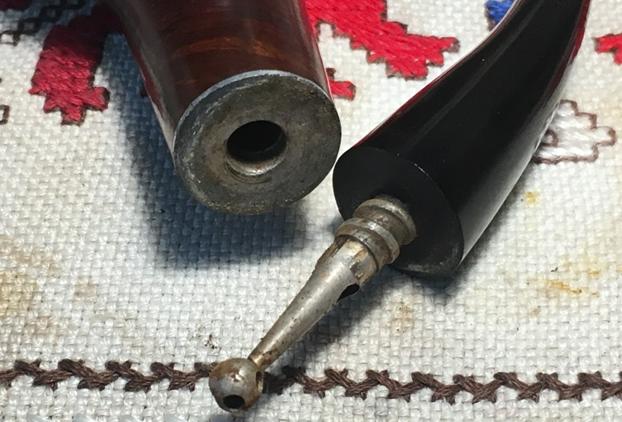
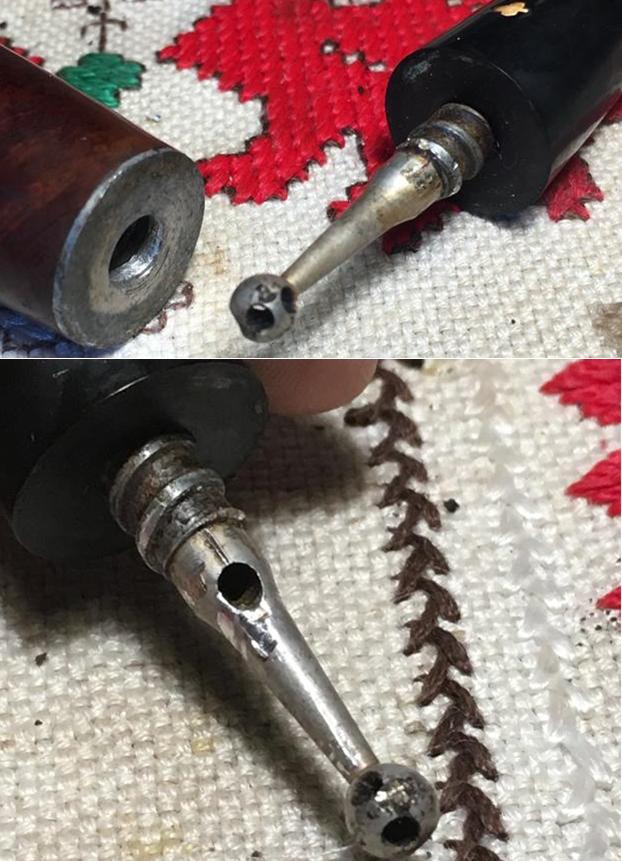
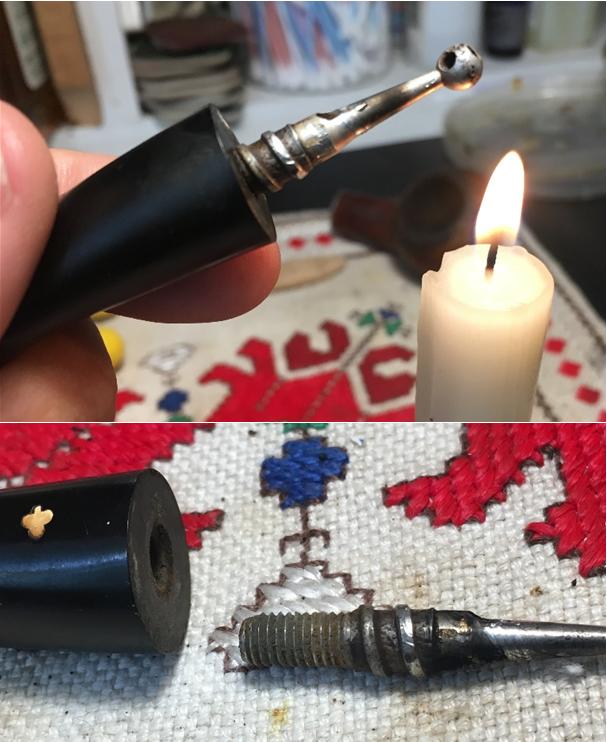
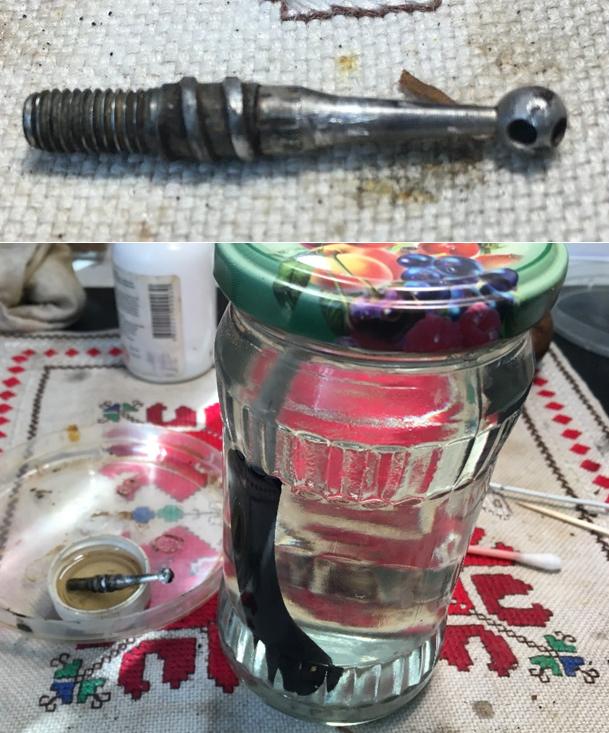
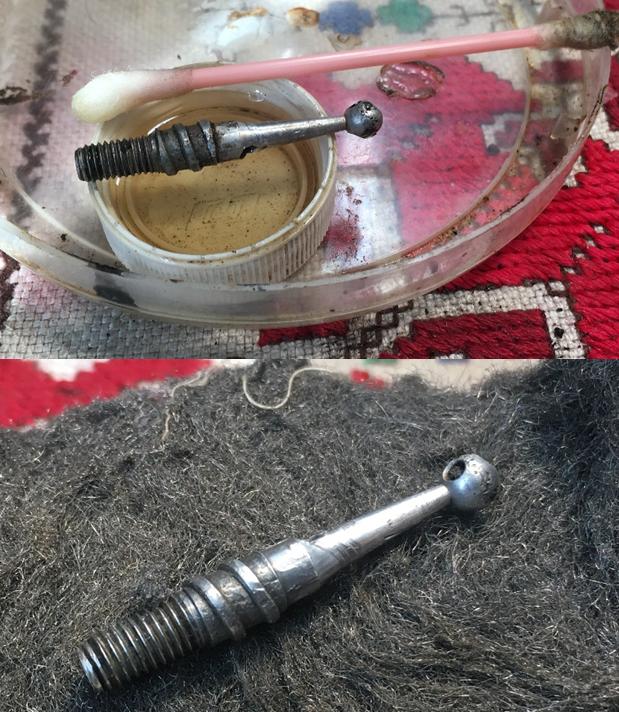
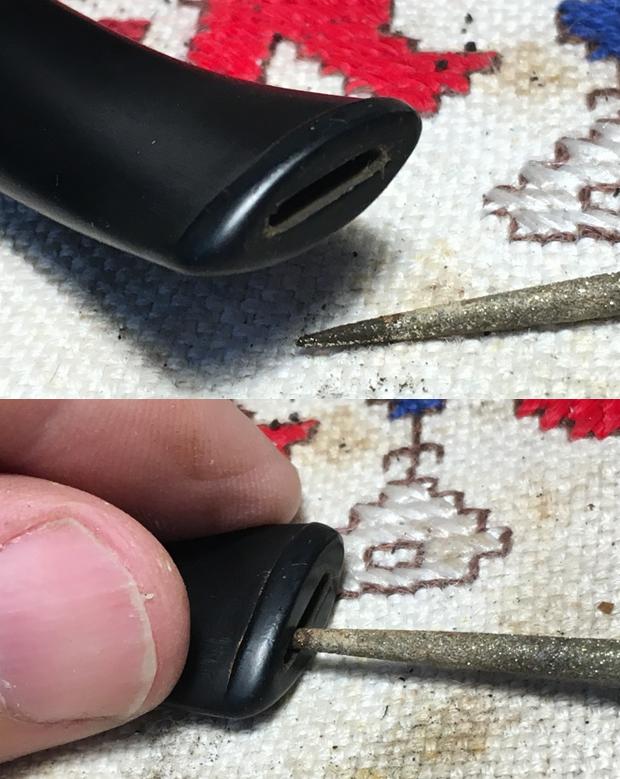
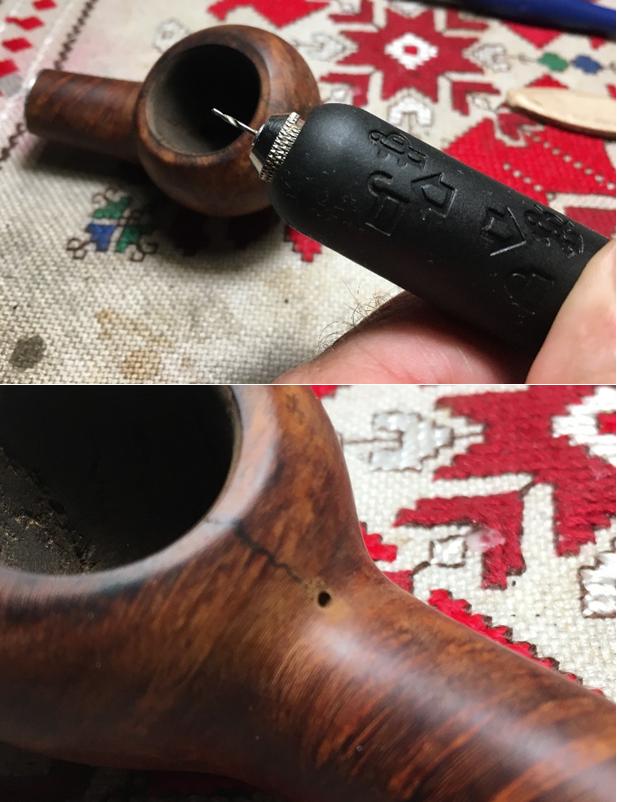
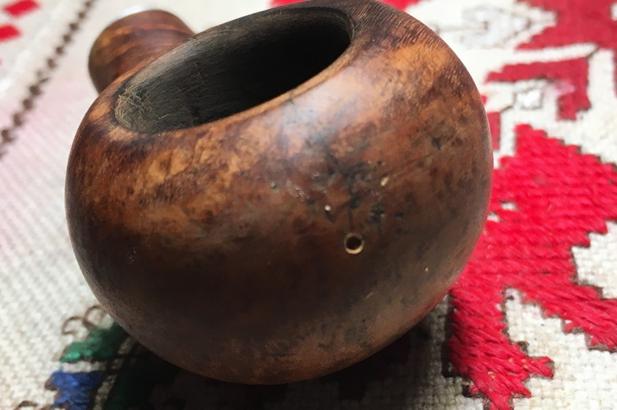
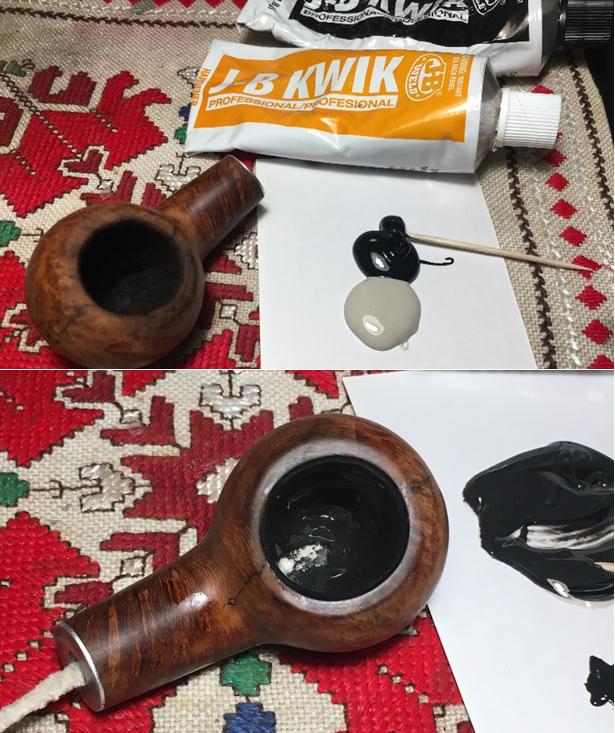
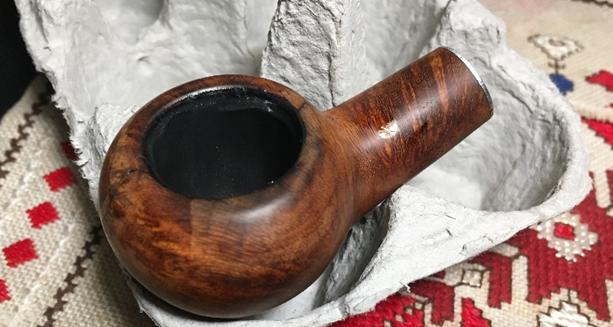
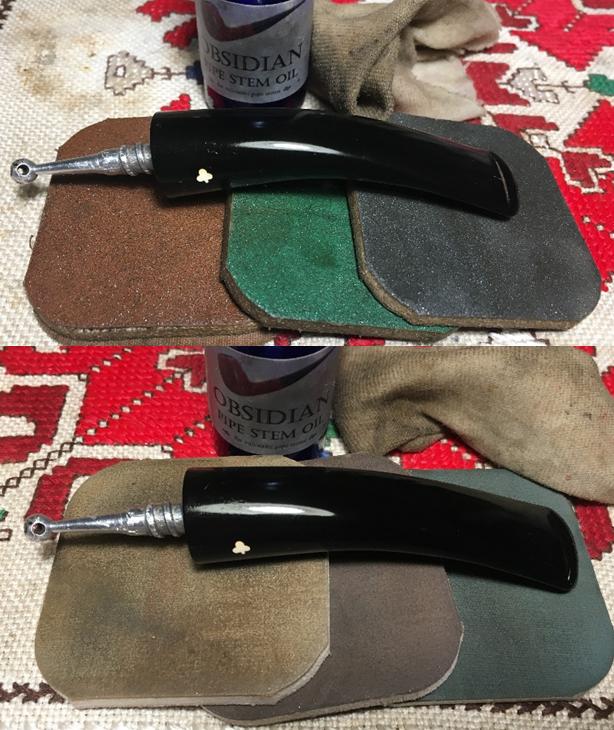
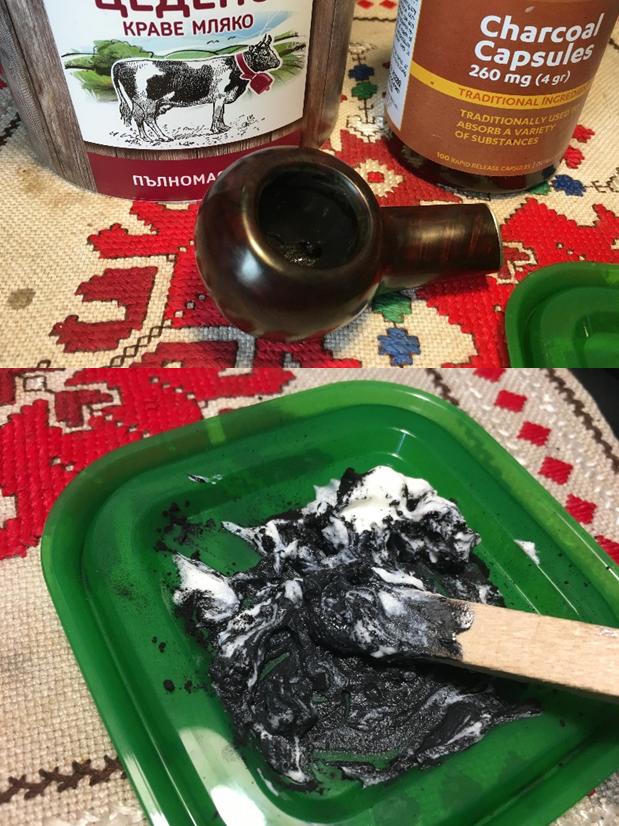
After sending an email off to Steve to get some advice on the stummel cracks and the stinger/tenon system of this older Kaywoodie, I put the stummel aside to work on the stem.  I wasn’t exactly sure how the stinger on the stem which screws into the metal shank plate comes off – and off it must come if one is to adequately clean the stem – and keep it cleaned!  Steve’s email was helpful with the question whether the stinger had 3 holes or 4 – 4 would indicate an older system according to Steve.  Ok, another clue to the age of this old boy. I look and discover 4 holes on the end ball of the stinger which indicated to Steve that the stinger may be threaded and screws into the metal tenon.  Taking a closer look, there does appear to be a seam marking the tenon and stinger contact point.  Steve’s advice was to heat the tenon and twisting the stinger to release it.  I take a couple of pictures to show what I’m seeing.Holding the stinger over a lit candle, after a few tests to twist, the entire tenon unscrewed from the stem.  By the appearance of the seam, I’m thinking that the stinger will separate from the tenon and needs to be removed for ease of cleaning.  With another quick note off to Steve, I’m cautious because I don’t want to damage the tenon and Steve has seen a few more of these than I!  I clean the tenon with alcohol and a cotton pad and then follow this with 0000 steel wool to finish cleaning the tenon/stinger. To work on the oxidation of the stem I drop the stem into an OxiClean bath to let it soak for several hours.  The pictures show the progress. After several hours, I retrieve the stem from the OxiClean bath.  The stem shows little oxidation after the soak.  Using 0000 steel wool I clear the layer raised by the OxiClean bath.  Then, using pipe cleaners and long-bristled brushes, dipped on isopropyl 95%, I clean the internals of the stem.  The airway is tight and I resort to the long-bristled brushes to push through the airway.  After cleaning the airway, I want to alleviate some of the tightness of the airway by expanding the slot area.  I use a pointed needle file and insert the point into the slot and carefully apply abrasive pressure to the edges of the slot.  The pictures show the progress. The upper bit shows latent bite dents – the lower as well but much less.  I use the heating technique to expand the vulcanite.  With a lighted candle, I pass the end of the stem over the flame – in a back and forth motion, not allowing the stem to cook by holding it stationary over the flame.  After a few passes, the idea came to my mind that while the vulcanite is pliable to insert a pipe cleaner in the airway to expand it a bit allowing pipe cleaners to pass through without as much fuss.  The effort seems to work – both for expanding the vulcanite and the airway.  There remains a ‘footprint’ of the bite dent, but not as much.  Using 240 grit sanding paper I work the dents out on the upper and lower bit.  Following the 240 grit paper, I use 600 grit and then finishing with 0000 steel wool.  I reattach the tenon/stinger to the stem and clock it so that the stem tightens at the correct angle.  I tighten the tenon one full turn less to make it easier to remove and therefore, much easier to clean the airway.  I like the results – good progress on this nice-looking KW Author.  The pictures show the progress. I turn my attention back to the stummel, and take a few more up-close pictures.  The burn damage is significant and the chamber is out of round.  Heat fissures are evident in the chamber and I’ve already noted the cracks in the stummel which track over the rim into the chamber.  I can say with little doubt, this pipe was loved and used much by its former steward.  Yet, he’s taken quite a beating.  My plan is to fill the heat fissures in the fire chamber with a coat of J. B. Weld.  With Steve’s input, I’ll drill back-holes at the terminus points of both fore and aft cracks to prevent further crack creep.  I will fill each hole with CA glue as well as apply a penetration layer of CA glue over the path of the crack to seal the cracks.  Before I start these repairs, I work on the external rim area with the goal of cleaning up the damage, re-balancing the stummel’s look as much as I can through a combination of topping and sanding.  When the stummel starts looking human again, if this is possible, I will then again assess the cracks and their needs.  All in all, the stummel’s undamaged briar is quite attractive – nice grain.  I hope I can return this Kaywoodie up to specs so that Jen can be proud to gift this old boy to her men-folk! I start with a coarse sanding sponge to see what progress can be made.  I follow by gently topping the stummel with 240 grit paper on a chopping board and then again return to the coarse sanding sponge to ‘reduce’ the edge of the topped stummel.  What develops is a technique of gradually reshaping the rim area to give the stummel a more uniform look.  I cycled through a light topping and then returning to the coarse sanding sponge several times.  The pictures show the process. As the rim starts taking shape, the fact that the bowl is out of round becomes even more distinctive.  To shape incrementally a truer ‘round’ I use a coarse 120 grit sanding paper rolled up and I sand the internal bowl at the point where the rounding was needed.  I gradually work around the internal chamber wall careful not to lean to aggressively into beveling an angle on the internal rim at this point.  I want to address first the unevenness in the walls of the fire chamber.  After doing this, I move more toward the top of the chamber and then create an inner bevel which gradually helps to round out the rim.  As I work on the internal sanding, I recycle as before, doing a gentle topping followed by the coarse sanding sponge to even and balance the whole.  The pictures show this gradual process starting with the ‘unrounded’ bowl. While the completed shaping is not perfect, I’m pleased that the stummel has regained proportion with the removal of the damaged briar and the gradual shaping through sanding and topping.  Looking very good at this point!Before I move forward finishing the stummel, I need to do the crack repairs.  The first thing I do, with the aid of a magnifying glass is mark the terminus points of the forward and aft cracks on the stummel.  The mark is made by creating a dimple using sharp dental probe.  This helps to guide the drill point when I create the ‘back hole’.  Using a 1mm sized drill bit mounted on the Dremel, I drill holes at the terminus points of the cracks.  With a somewhat steady hand, the work is successful. With the ‘back-holes’ drilled I drop-fill the holes with CA glue using a toothpick, and sprinkle briar over the hole.  I also apply a line of CA glue over the crack itself to strengthen the repair and seal the cracks.  The CA glue I use is extra thin and will seep into the cracks – hopefully.  I put the stummel aside for the night for the patches to cure.  The pictures show the patch process.The next day, the patches have fully cured and I use a rounded and flat needle files to work on the ‘forward and aft’ cracks where the back-holes were drilled. When I bring the CA glue patch mound down to briar surface level, I use 240 grit sanding paper to smooth it further and to blend with the briar.  Once this is completed, I again use the coarse sanding sponge and do a light topping to freshen the lines of the rim after the repair work.  I then roll a piece of 240 grit paper and again freshen the rim’s internal bevel.  The pictures show the progress. I proceed to smooth and blend the stummel by using a medium grade sanding sponge followed by a light grade sanding sponge.  The picture shows these last two stages and I take pictures of the finished crack repairs.  During the staining, I’ll seek to blend these further – especially the aft crack. At this juncture, I repair the fire chamber before continuing to the external stummel surface. Earlier I describe using J. B. Weld to coat the fire chamber, filling the heat fissures that had developed over years of use.  The J. B. Weld compound will also provide a protective barrier against the heat.  Later, I will coat the chamber with ‘pipe mud’ to provide a foundation for a new cake to develop to protect the chamber walls.  The few times I’ve used J. B. Weld, I always mixed too much.  I’ll try to moderate this time around.  After cleaning the chamber with a cotton pad wetted with isopropyl 95%, I place equal parts of the J. B. Weld components on an index card – hardener and steel.  The directions state that after mixing the two, one has about four minutes before they start setting.  I insert a pipe clean into the draft hole to prevent the Weld mixture to plug the airway.  I mix the components with a tooth pick then I place a dollop of the compound into the chamber walls.  I use my pinky finger to spread the mixture evenly and pull out excess.  After a bit, the mixture is setting up.  I rotate the pipe cleaner out when the tackiness of the mixture has firmed up enough that it will remain in place.  I set the stummel upright in an egg carton and let it cure overnight.  The pictures show the process. Turning now to the stem restoration, I utilize a plastic disc I fabricated to protect the shoulders of the stem during the micromesh process.  Using micromesh pads 1500 to 2400 I wet sand the stem, then follow with dry sanding with pads 3200 to 4000 then 6000 to 12000.  After each cycle of three I apply a coat of Obsidian oil to the stem to revitalize the vulcanite.  The stem looks good.  The pictures show the progress. A new day has arrived in Bulgaria and I turn again to the stummel.  All the major repair work is completed and I begin to prepare the stummel’s surface for a stain finish.  Using 1500 to 2400 micromesh pads I wet sand the stummel.  Amazingly, after this first cycle, I see what I did not see before – Kaywoodie [over] Standard nomenclature on the left side of the shank and what appears to be 13B on the right side.  I take a picture to mark this – unfortunately, I did not see it sooner to avoid sanding in that area.  Checking again with Pipedia’s Collector’s Guide to Kaywoodie Pipes, 13B is the shape number identifying this as an Apple.  Looking at the catalogs in the same article, with the stem shamrock on the side, I’m feeling pretty confident identifying this pipe from the 1960s. I follow this by dry sanding using pads 3200 to 4000 and then 6000 to 12000.  I never grow tired of seeing the grain emerge as the micromesh cycles do their magic.  The pictures show the process. To encourage better blending by hiding the cracks and repairs, I use a mixture of Fiebing’s Dark and Light Brown Leather Dyes.  I use 2 parts light to 1 part dark.  I don’t want to go too dark and hide the beautiful grain that has emerged.  When I look at the original hue of the Kaywoodie (the 1960s catalogs above I think is a pretty good guess regarding the age of this KW) leveraged toward the lighter hues – yet, I do want to mask the cracks. After mixing the dyes, I heat the stummel using a hot air gun to open the briar making it more receptive to the dye.  With the stummel heated, using a cork in the bowl as a handle, I liberally apply the dye over the stummel surface.  Following this, I fire the wet dye with a lit candle and the alcohol immediately ‘flames’ and burns off setting the stain.  I repeat the same process a few minutes later.  After the second firing, I put the stummel aside for several hours.  The pictures show the staining process. Some hours later, I’m ready to ‘unwrap’ the fired layer to discover what the briar has done with the dye.  Using a felt buffing wheel, I mount it on the Dremel and set the speed to the slowest.  After purging the buffing wheel on the edge of the metal tightening wrench, using Tripoli compound I methodically begin removing the fired layer by not applying much downward pressure, and allowing the RPMs and the compound to do the work. When I complete the removal of the fired layer with Tripoli, I take a cotton pad wetted with isopropyl 95% and wipe down the stummel.  I do this not only to blend the dye but also to lighten it.  I then move to Blue Diamond compound.  I use a cotton cloth buffing wheel mounted on the Dremel, increase the speed by one notch, and move in circular motions over the entire stummel – again, as with the Tripoli compound, I do not apply a lot of downward pressure on the buffing wheel but allow the RPMs and compound to buff up the surface.  When completed with the Blue Diamond, I use a felt cloth to hand buff the stummel to remove compound dust before moving to the wax phase.  The pictures show the compound process. Before finishing the external surface with carnauba wax, I apply a layer of ‘pipe mud’ in the fire chamber.  This creates a layer to encourage the development of a carbon cake in the bowl.  I use a mixture of sour cream and two 260mg capsules of activated charcoal powder. I mix the sour cream and charcoal powder with a wooden stick and then, after inserting a pipe cleaner through the draft hole, apply a dollop of pipe mud mix in the chamber.  I then use my pinky finger to spread the mud evenly and draw out the excess.  When finished, I put the stummel aside to let the pipe mud set up.  The pictures show the mud process. With pipe mud set, I reattach stem and stummel.  I mount a cotton cloth buffing wheel to the Dremel, set at speed 2, with the fastest being 5, and apply carnauba wax to the stem and stummel.  After applying several coats, I switch the Dremel to a clean cotton cloth buffing tool and again buff the pipe.  I do this to work in pockets of wax that were missed and to raise the shine.  Following this, I hand buff the pipe with a micromesh cloth to raise the shine more.

This Kaywoodie Standard Author has turned out in classic form.  I’m very pleased with results of the rim repair and the rich, ‘smoking jacket’ finish that masks the crack repairs.  The Author has a solid presence in the hand as I hold it – a classic shape that will provide a new steward with several more years of service.  As I mentioned before, Jen’s purchase of this Kaywoodie Standard Author benefits the work we do here in Bulgaria with women who have been sexually exploited and trafficked, the Daughters of Bulgaria.  If you would like more information about my restorations check out The Pipe Steward.  Thanks for joining me!


Restoring an IRC Dijon 169 Three Star Apple


Blog by Steve Laug

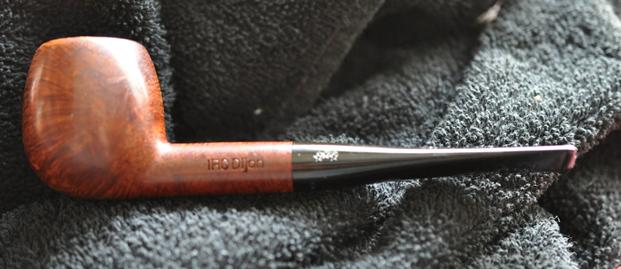
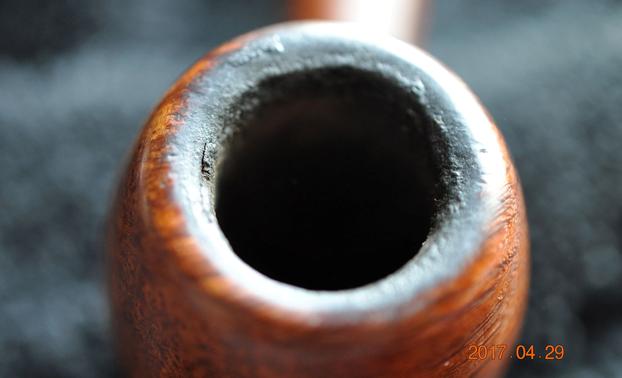
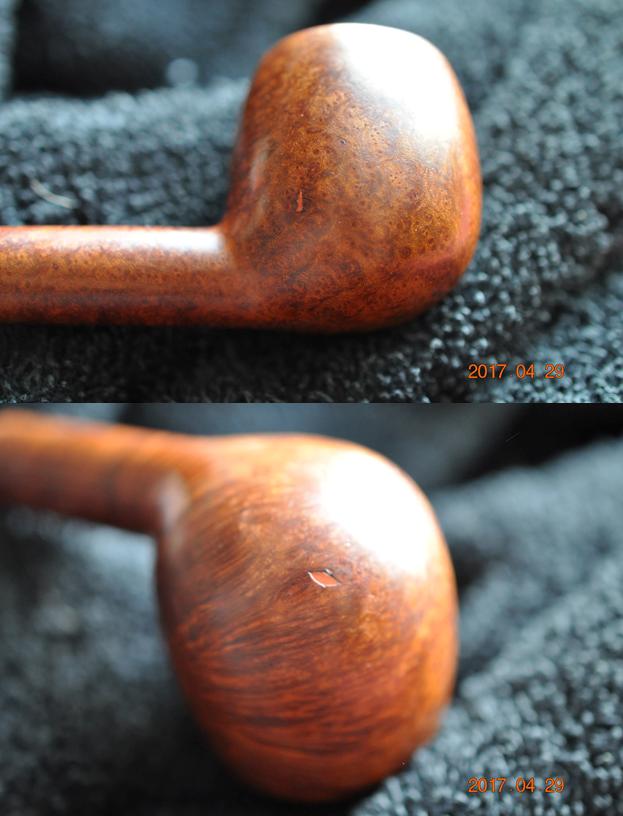
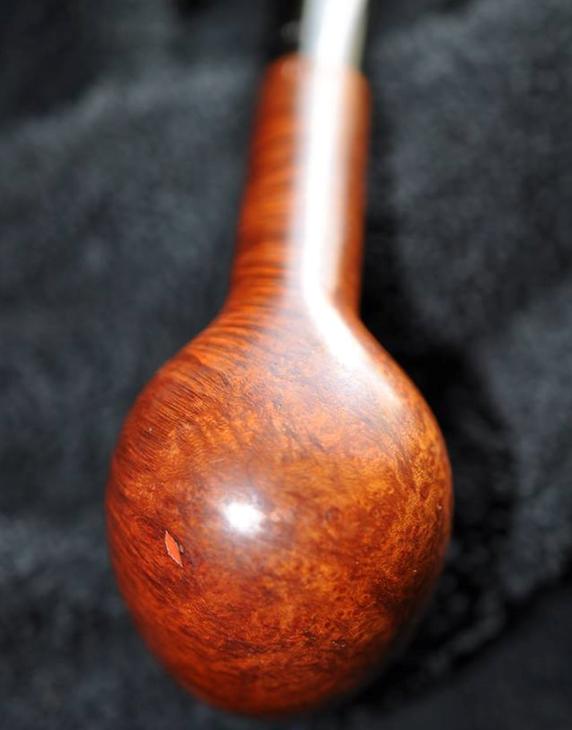
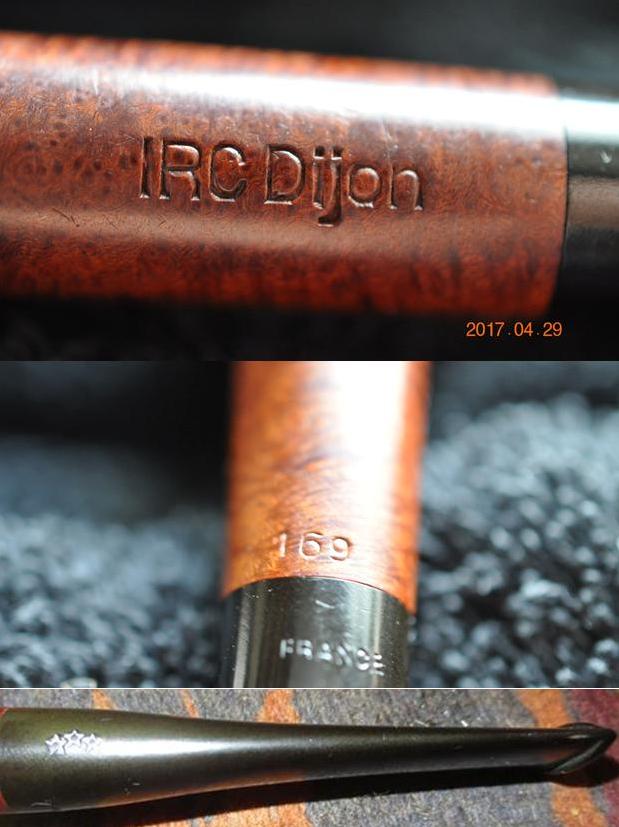
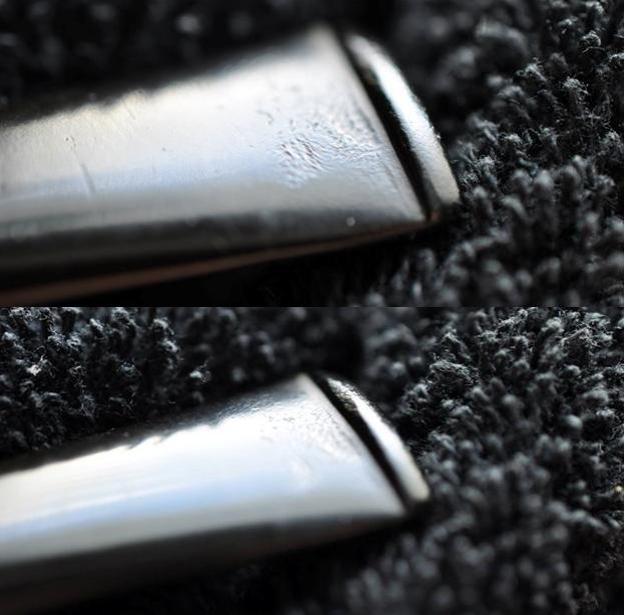
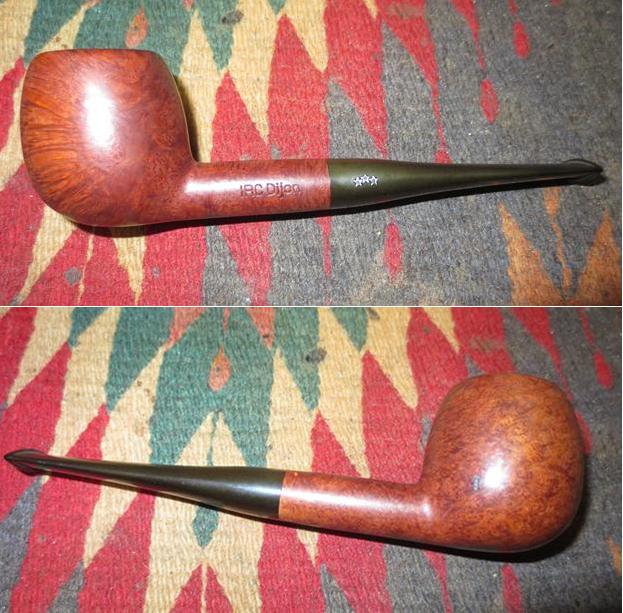
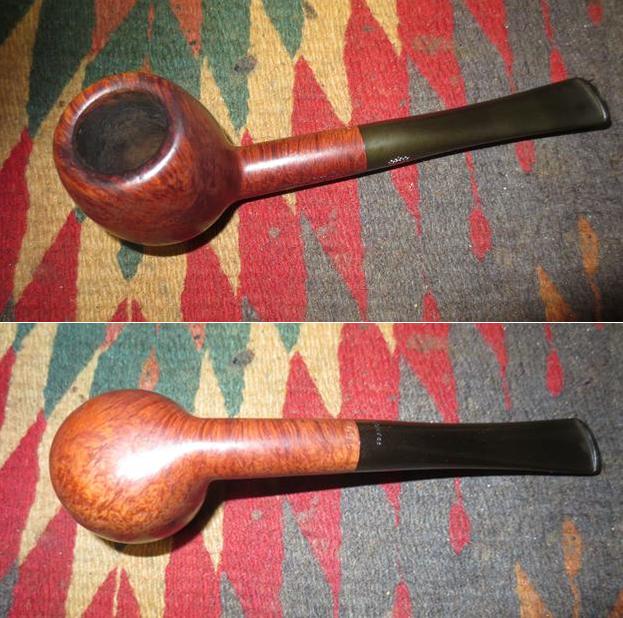
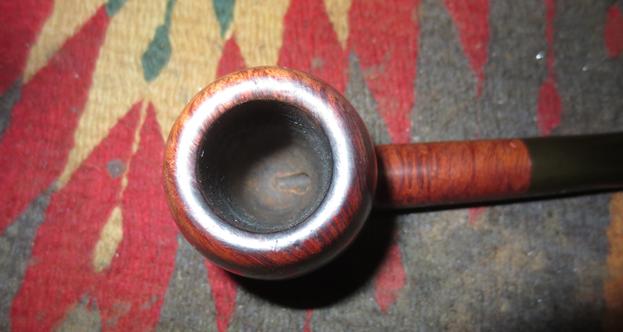
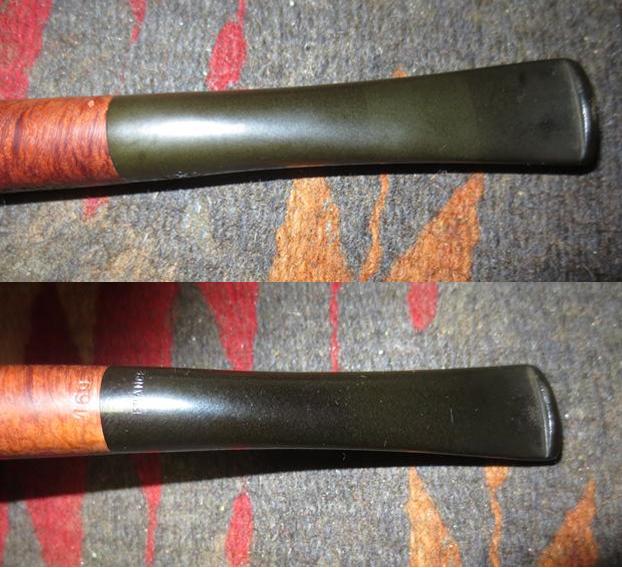
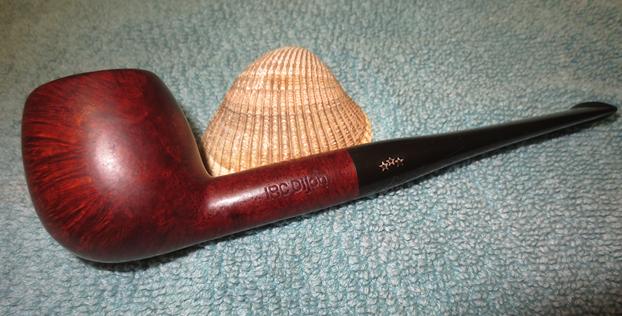
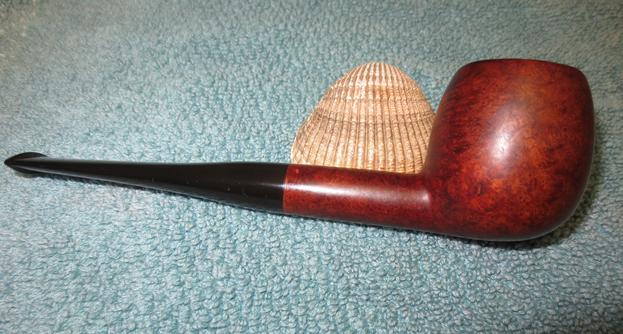
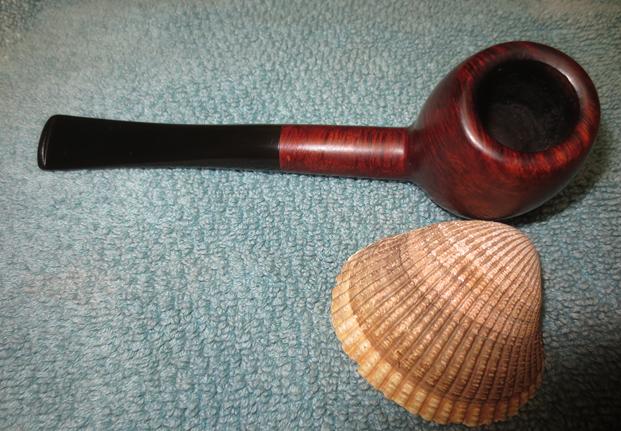
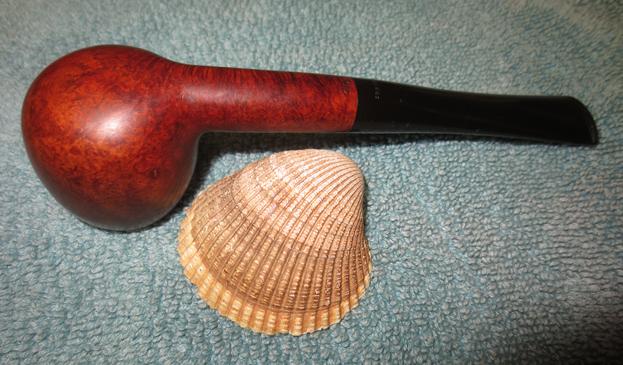
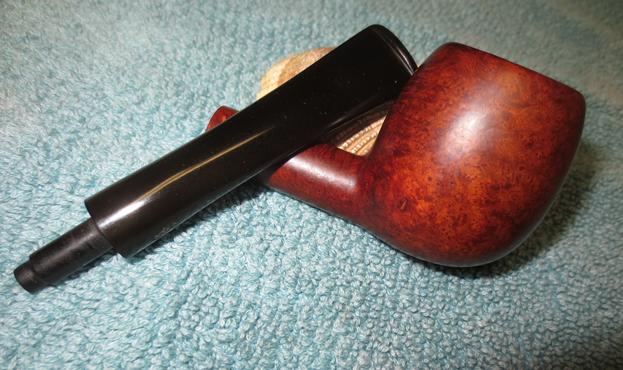
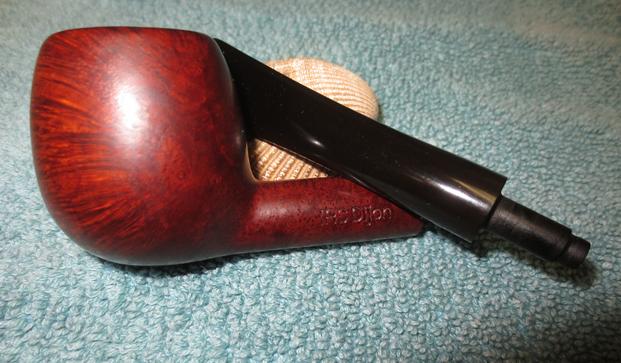
Finally the final pipe from the estate lot is on the work bench. When I get to the bottom of a box of pipes that I am working on it is a bit of a celebratory day. I have quite a few boxes of pipes here that I am working on so when one moves out it is a good day. It is a small apple shaped pipe with some nice grain on the front and sides – cross grain and birdseye. It is stamped IRC Dijon on the left side of the shank with three stars stamped on the stem side. On the underside of the shank is the shape number 169 on the briar and France on the vulcanite at the stem/shank junction. The stamping on the shank and stem was clear and readable. From what I can find on-line Iwan Ries has a variety of companies make their pipes – Savinelli, Benton, Big Ben and an unknown French maker. This one is stamped France on the stem so at least the vulcanite stem is French Made. The Dijon name also is the name of a French city.The pipe had a fairly thick cake and the lava had flowed over the top of the bowl. I was hoping the tars on the rim top had protected it from damage. It was thick enough that it was hard to see if the inner or outer edge was damaged.The next photos show the condition of the bowl and the quality of grain around the bowl sides and bottom. There were two major fills on the bowl – both sides toward the bottom and a small one on the top left of the shank near the stem/shank junction. The two larger fills were shrunken leaving the surface feeling dented and in need of repair. My brother took some photos of the stamping on the shank – left side and underside of the shank and the stem. The stamping is very clear and legible. I took a photo of the three stars stamped on the left side of the stem and added it to the pre-clean photos.The stem showed the now familiar tooth marks and chatter on both sides near the button. I am going to miss the familiar tooth marks on the pipes now that I have finished them all. These were not too deep or damaging to the surface and took very little to remove.As usual and now to be expected my brother did his usual superb job on the cleanup of the pipe. It is really nice to be able to work on clean pipes. I don’t think too much about it until I get a repair that is in really dirty condition. I then wish that he was nearby so I could hand off the clean up to him. He does a thorough and meticulous job. He reamed the bowl with a PipNet reamer and took the cake back to briar. He scrubbed the rim and bowl with Murphy’s Oil Soap and removed the grime and the lava build up on the rim top. He cleaned out the mortise and the airways in the stem and shank with alcohol, cotton swabs and pipe cleaners. He soaked the stem in Oxyclean to raise the oxidation to the surface. I took photos of the pipe when it arrived in Vancouver to give a clear idea of the condition of the pipe when I received it. Thanks Jeff for the work you do! I took a close up photo of the bowl and the rim to show the condition. The bowl is clean and not as darkened in the bottom quarter of the bowl. The rim top is clean and the out and inner edge of the bowl is in undamaged condition.I took photos of the stem to show the tooth marks and the oxidation on the surface. This stem was in the best condition of the lot. There were a few small tooth marks and chatter on the stem surface in front of the button and on the surface of the button itself.I used a black Sharpie pen to darken the shrunken fills and filled them in with clear super glue. I overfilled the divots so that when they dried even. Once the glue dried I sanded the repaired areas with 220 grit sandpaper to blend them into the surface of the briar. I polished the sanded areas with micromesh sanding pads – wet sanding the entire briar with 1500-2400 grit micromesh sanding pads. I dry sanded it with 3200-12000 grit pads. I touched up the light areas with a medium brown stain pen and waxed the bowl with Conservator’s Wax. I buffed the bowl with a microfibre cloth to raise the shine.I sanded out the tooth chatter and marks with 220 grit sandpaper. I sanded the oxidation with the sandpaper as well and wiped the stem down with a damp cloth to remove the sanding dust.I polished the vulcanite stem with micromesh sanding pads – wet sanding with 1500-2400 grit pads and dry sanding with 3200-12000 grit pads. I wiped the stem down with Obsidian Oil after each sanding pad. I buffed the stem with red Tripoli after the 4000 grit pad and before the 6000 grit pad. I gave the stem a final coat of oil after the 12000 grit pad and set it aside to dry. I put the stem back in place in the shank and buffed the bowl and stem with Blue Diamond on the buffing wheel. I gave them both multiple coats of carnauba wax, buffing between each coat of wax with a clean pad. After the last coat of wax I buffed it with a clean buffing pad a final time to raise the shine. I hand buffed the bowl with a microfibre cloth to deepen the shine. The finished pipe is shown in the photos below. The dimensions of the pipe are Length: 5 3/4 inches, Height: 1 ½ inches, Outer diameter of the bowl: 1 1/8 inches, Chamber diameter: 3/4 inches. This contrast between the smooth, polished, well grained briar with the black of the vulcanite give the pipe rich look. The bowl has been cleaned and the entire pipe is ready to smoke. I will be putting it on the rebornpipes store soon. If you are interested in adding it to your collection email me at slaug@uniserve.com or send me a message on Facebook. Thanks for looking.


Cleaning up a Uniquely Shaped Savinelli Oscar Aged Briar 316KS


Blog by Steve Laug

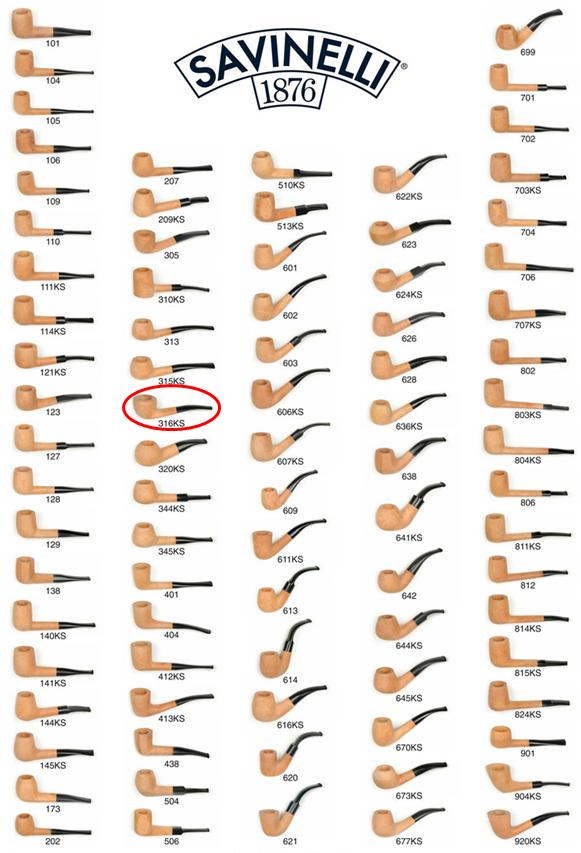
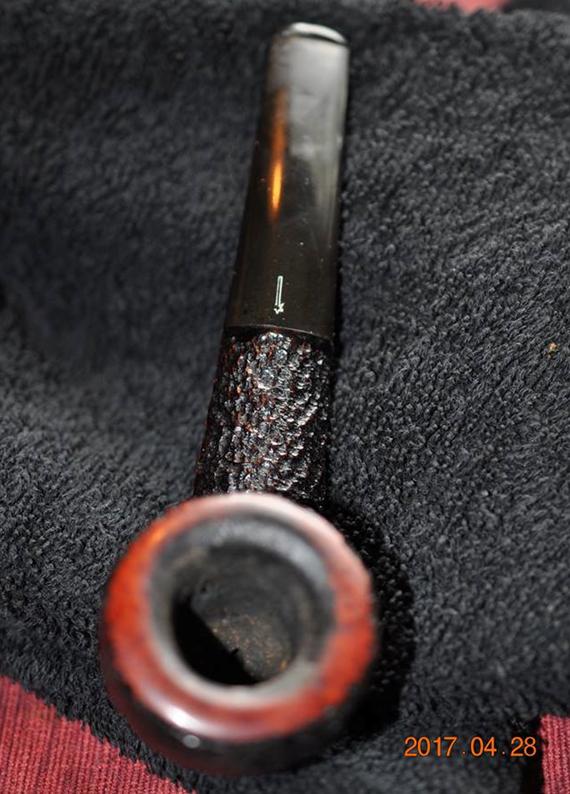
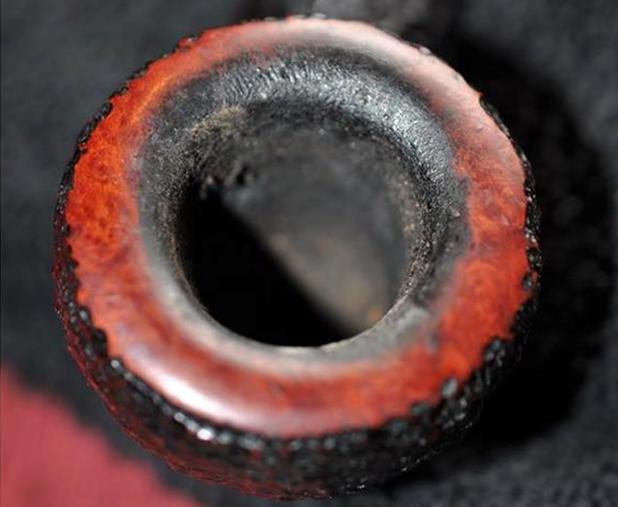
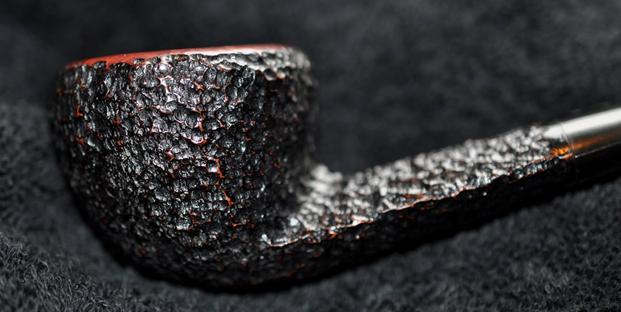
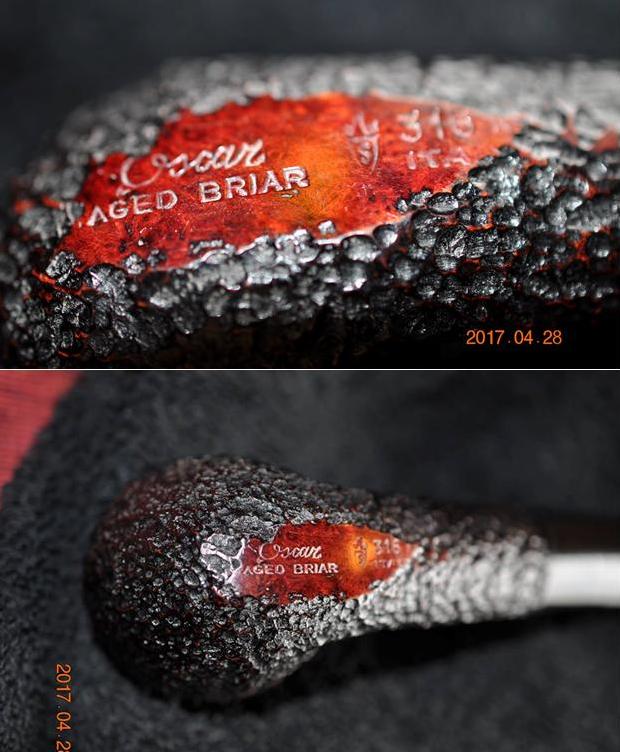
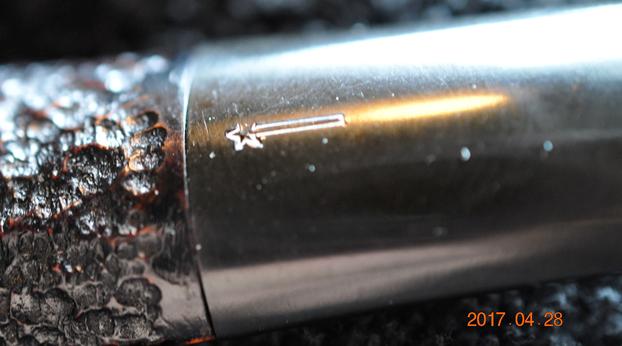
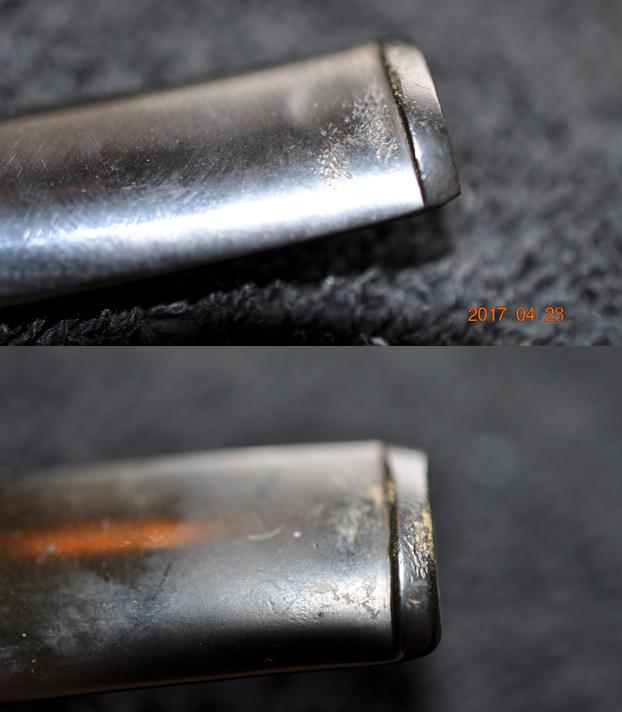
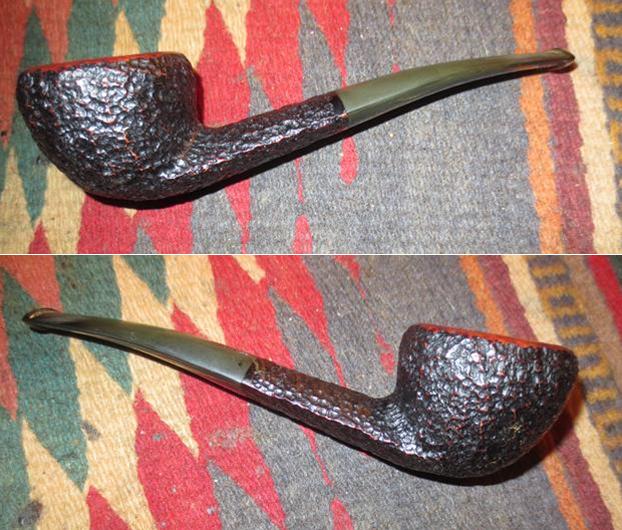
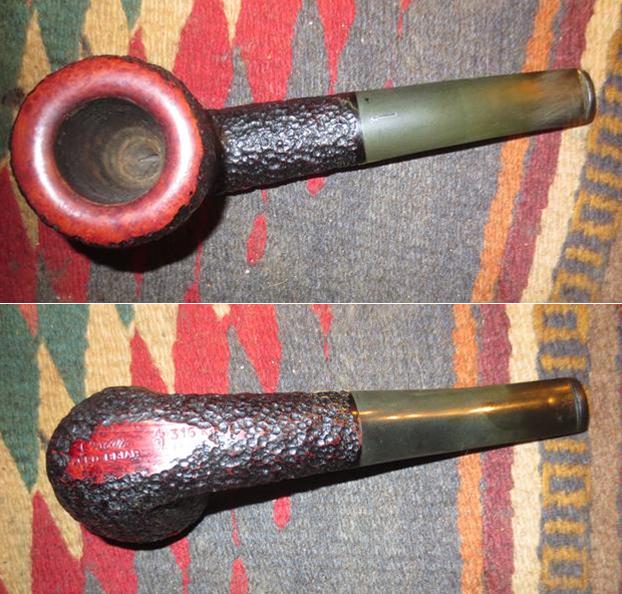
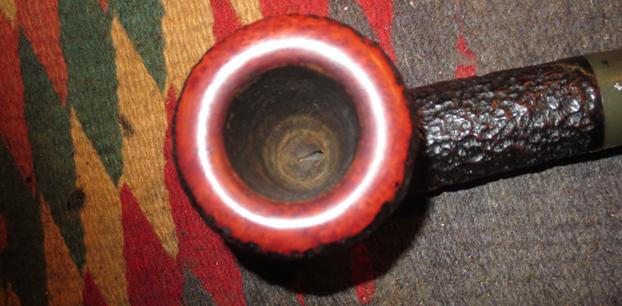
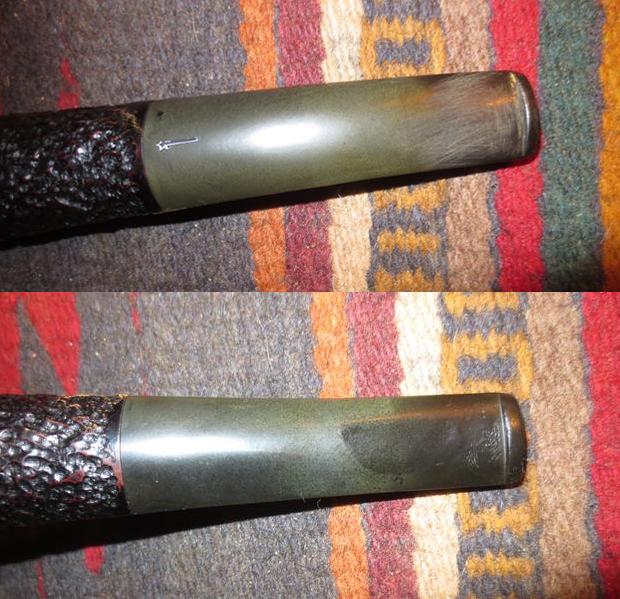
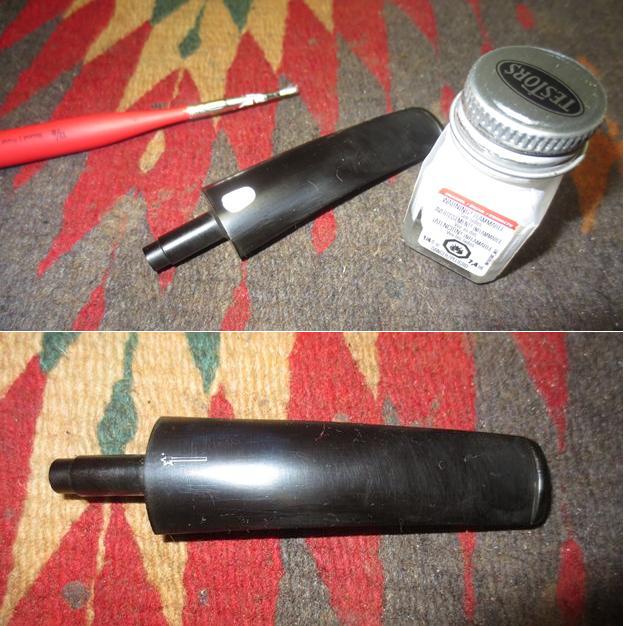
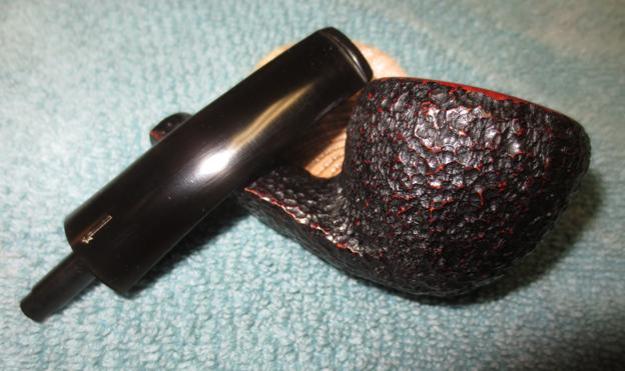
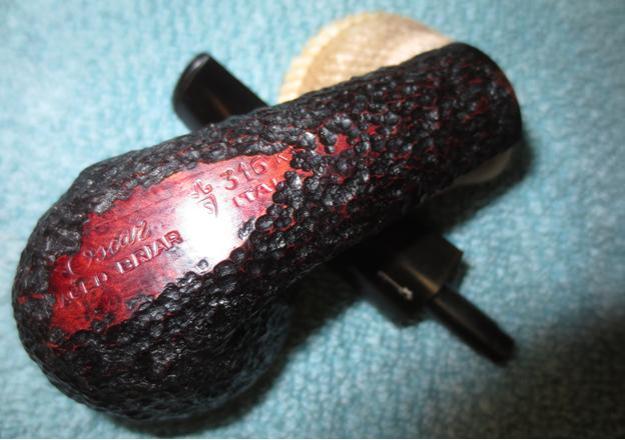
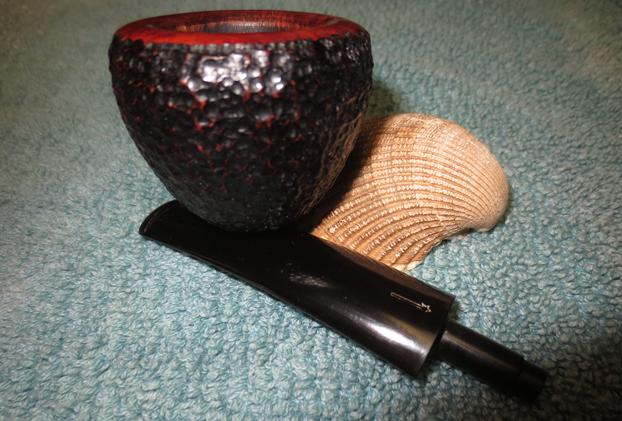
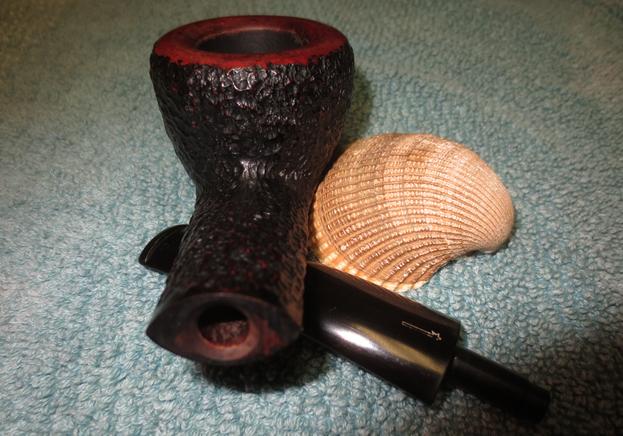
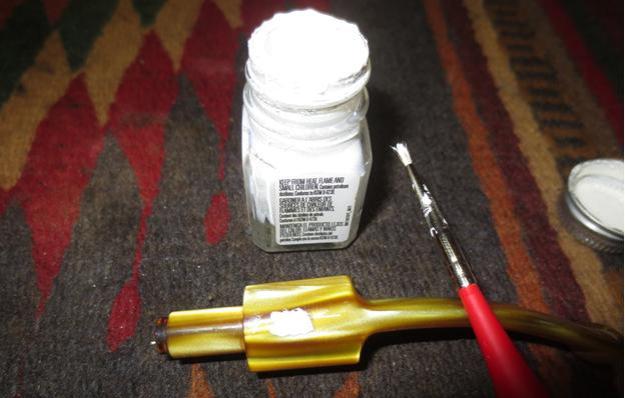
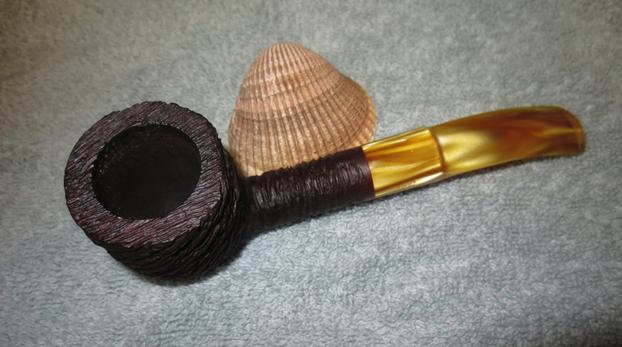
Two pipes left to clean up from the estate sale pipe lot that my brother picked up. The first of them is a beautiful Savinelli. It is stamped on a smooth spot on the bottom of the bowl with the words – Oscar in script over Aged Briar. Next to that is the Savinelli S shield followed by 316KS over Italy. Looking at the pipe I am not quite sure what to call it in terms of the shape. It is an incredibly unique shape to Savinelli. The walls are flared like a Dublin, bowl short like a Pot and highly beveled and polished rim, this shape is beautiful. The rusticated finish on the Aged Briar is a lot like it is sandblasted over the top of the rustication. I looked up a similar pipe on smokingpipe.com and found the description there helpful. I quote it in full: “Somewhere in between a Pear, Dublin, and a Pot, there’s Savinelli’s signature “316” shape. It features a wide chamber perfect for enjoying the intricacies of more complex blends. Presented here in the rugged rustication of the Oscar Aged Briar line, it’s a handsome composition for a price that simply can’t be beat.” http://www.smokingpipes.com/pipes/estate/italy/moreinfo.cfm?product_id=183082 I looked up the Savinelli Shape Chart and copied it below. I circled the shape in red in the chart below. You can see it in the second column.Jeff took the first photo and the remaining ones on the black background. They show the condition of the pipe before my brother cleaned it.The top of the rim was in rough shape. The cake in the bowl had overflowed in lava on the rim top. It was thick and hard. It would be interesting to see what would be underneath once the bowl was reamed the rim top cleaned. The finish on the rest of the bowl was in excellent condition as can be seen in the second photo below. The next photos show the stamping on the bowl bottom as noted in the opening paragraph of the blog. The stamping was sharp and readable. The third photo shows the stamping on the top of the stem. It is the classic Savinelli Oscar shooting star. The stem showed the now familiar tooth chatter and marks that were on each of the pipes in this estate lot. There was some light oxidation on the surface of the stem as well.My brother did a stellar job of cleaning up the pipe. He reamed the bowl with the PipNet pipe reamer and took the cake back to briar. He scrubbed the rim top and the finish with Murphy’s Oil Soap and a tooth brush to clean out the debris and dust in the grooves of the finish. He was able to remove the buildup on the rim top and leave the finish intact. The stem was soaked in Oxyclean and the oxidation came to the surface. He cleaned out the inside of the mortise and the airway in the shank and stem with alcohol, pipe cleaners and cotton swabs. When I got the pipe it was clean. I took the following photos to show the condition of the pipe before I restored it. The next photo shows the crowned rim top. It was amazingly clean with no residue left behind from the lava build up that had been present before he cleaned it.I took close up photos of the stem surface on both sides. The tooth chatter and marks are more distinct on the underside of the stem at the button than those on the topside.I sanded the stem with 220 grit sandpaper to remove the oxidation and the tooth marks and chatter. It did not take too much sanding to remove all the damage and oxidation. I worked on it until it was clean. I rubbed the stem down with Obsidian Oil and let it soak in. I wiped down the area around the shooting star stamp with alcohol on a cotton pad and touched up the stamp with white acrylic paint. Once the paint dried I rubbed off the excess paint and left only the paint in the stamp itself.I polished the stem with micromesh sanding pads – wet sanding it with 1500-2400 grit pads. I rubbed it down with oil between each of the pads. I dry sanded it with 3200-4000 grit pads and rubbed it down with oil after each pad. I buffed the stem with red Tripoli on the buffing wheel and then finished polishing it with 6000-12000 grit pads.  I gave it a final coat of Obsidian Oil after the 12000 grit pad and set it aside to dry. I put the stem back in place in the shank and buffed the bowl and stem lightly with Blue Diamond on the buffing wheel. I gave the stem multiple coats of carnauba wax and the bowl several coats of Conservator’s Wax. I buffed the pipe and stem with a clean buffing pad to raise the shine. I hand buffed the bowl with a shoe brush and then with a microfibre cloth to deepen the shine. The finished pipe is shown in the photos below. The dimensions of the pipe are Length: 6 inches, Height: 1 ½ inches, Outer diameter of the bowl: 1 ¾ inches, Chamber diameter: 7/8 inches. This contrast between the smooth, crowned bowl rim and the patch on the underside of the bowl are reddish brown and the contrast of the dark brown/black top coat over the reddish brown showing through give the pipe an intriguing contrast look. The bowl has been cleaned and the entire pipe is ready to smoke. I will be putting it on the rebornpipes store soon. If you are interested in adding it to your collection email me at slaug@uniserve.com or send me a message on Facebook. Thanks for looking.


Refurbishing an Iwan Ries Savinelli Made Black Knight 207


Blog by Steve Laug

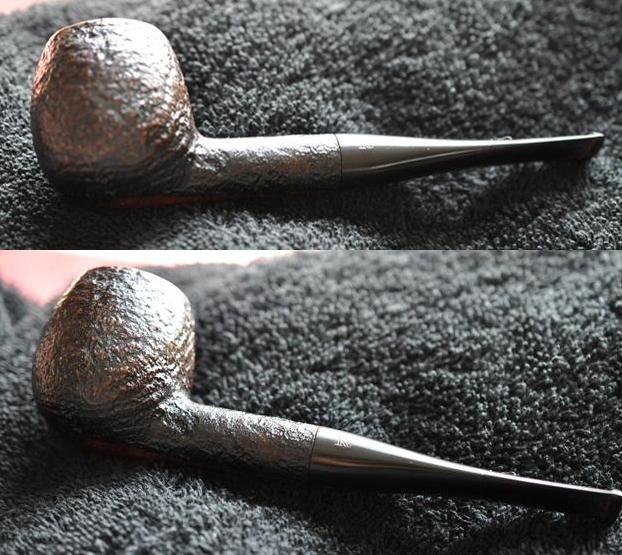
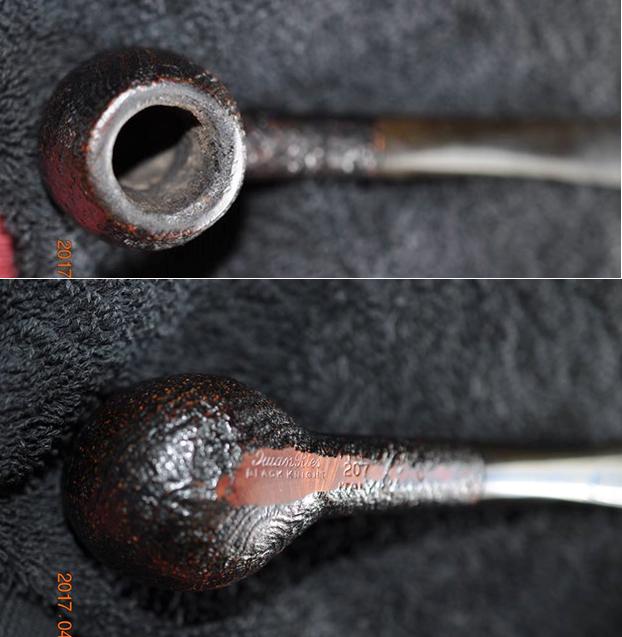
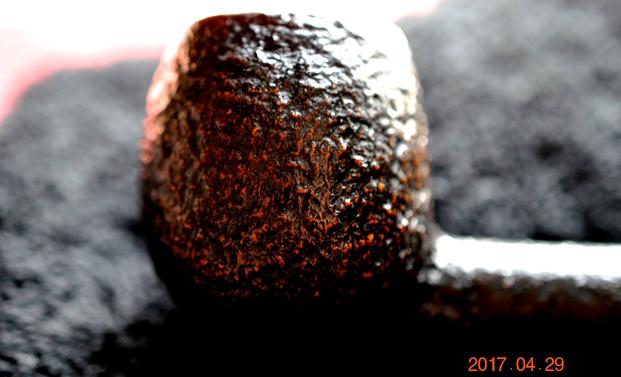
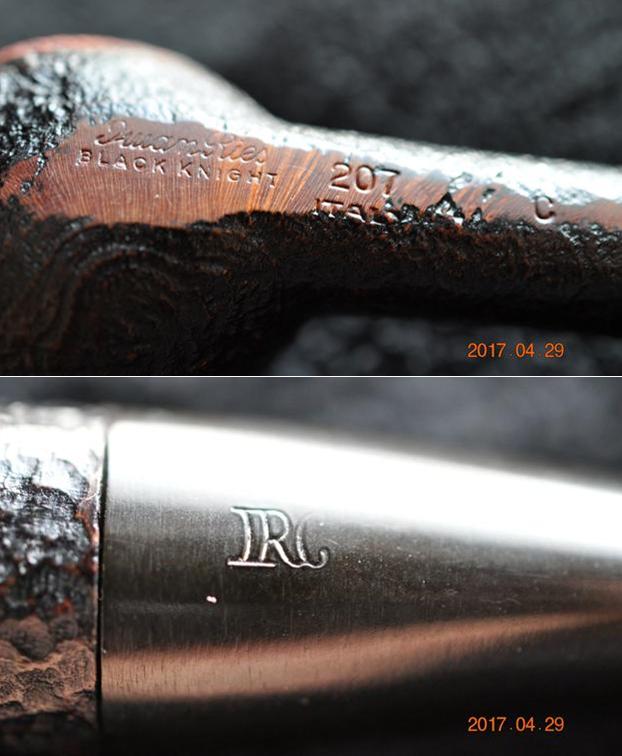
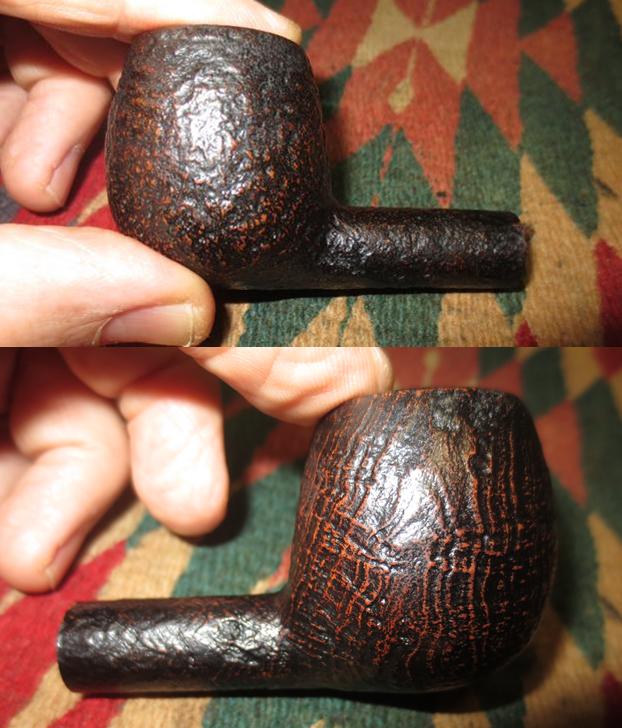
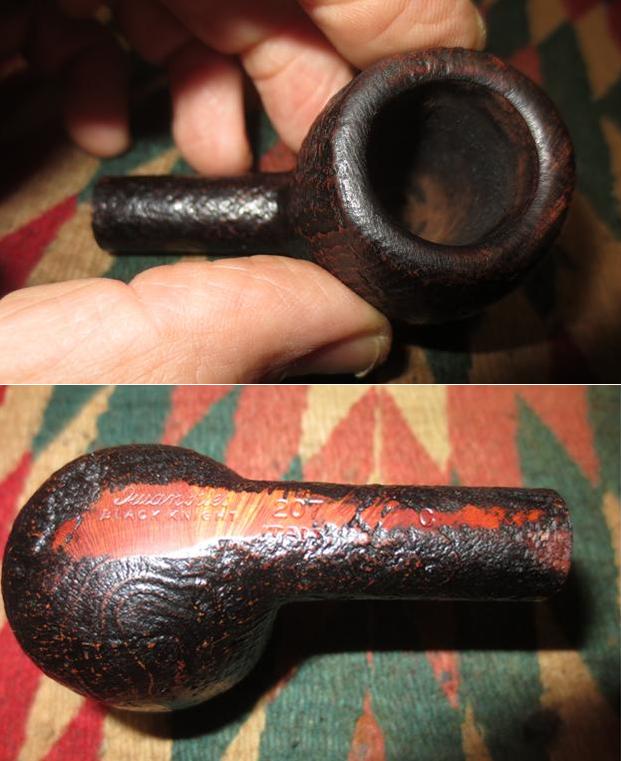
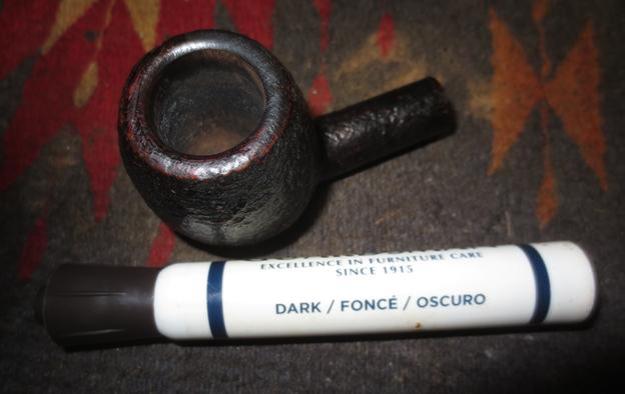
The next pipe from the estate sale that I chose to work on is a sandblast apple with a contrast black and brown stain. It is stamped on the underside of the shank in a smooth portion starting at the bottom of the bowl. It reads Iwan Ries over Black Knight. Next to that is the shape number 207 over Italy. Lastly there is a capital C. It is a Savinelli shape number. The finish was very dirty with dust and grime in the grooves and it seemed to be sticky. The cake in the bowl was quite thick and the lava had flowed over the rim top. The stem had a light IRC stamped on the left side of the taper and was lightly oxidized. The now characteristic tooth marks and chatter were on the top and underside of the stem near the button and the button surface itself had chatter and wear. The next four photos show the condition of the pipe when my brother Jeff brought it home from the sale and before he started to work on cleaning it up.He took a photo of the bowl from the top to show the cake in the bowl and the tarry build up on the rim top. The second photo below shows the sandblast on the left side of the bowl which is birdseye. The right side shows more of the ring grain but it will show up in later photos. The next photos show the clear and sharp stamping on the bottom of the bowl and the IRC stamp on the left side of the stem. It looks more deeply stamped than it appeared once it arrived in Vancouver.The stem shows the now characteristic tooth marks and chatter on both sides and the wear on the button surface as well, just as the rest of the pipes in the lot did.My brother scrubbed the bowl exterior with a tooth brush and Murphy’s Oil Soap to remove the sticky buildup and the grime in the grooves. He rinsed it with warm water to remove the soap and the dust. He reamed the bowl and scrubbed the rim top with the soap and tooth brush. He cleaned out the mortise and the airway in the shank and stem. He cleaned the stem with a short soak in Oxyclean. The soak brought the oxidation to the surface. I took the next four photos of the pipe when it arrived in Vancouver. The grain shows through the blast – birdseye on the left side and ring grain on the right side. I took a photo of the rim top and the inside of the bowl to show the condition. Like several other pipes in the estate lot this one still had raw briar at the bottom third of the bowl.The next two photos show the condition of the stem. The tooth marks and chatter are visible in the photo. The ones on the underside of the stem were deeper than the ones on the top side.I sanded the stem with 220 grit sandpaper to remove the tooth marks and chatter. I worked over the entire stem to break up the oxidation.I rubbed the bowl down with a light coat of olive oil on a soft towel. I took the following photos of the pipe after I had wiped it down. The shine on the sandblast revealed the contrast stains that had been used on the bowl – both a dark brown and black. I touched up the rim top with a dark brown stain pen to blend the rim into the rest of the bowl colour. The dark brown stain worked well on the high area and the black filled in the grooves of the blast.I set the bowl aside and worked on the stem. I wet sanded it with 1500-2400 grit micromesh sanding pads and gave it a rub down with Obsidian Oil. I dry sanded it with 3200-4000 grit pads and gave it another coat of oil. I let the oil dry and then buffed the stem with red Tripoli and Blue Diamond on the buffing wheel. I brought it back to the work table and finished polishing it with 6000-12000 grit micromesh pads. I gave it a final coat of Obsidian Oil and set it aside to dry. I put the stem back on the bowl and buffed the bowl lightly with Blue Diamond and more intently on the stem. The Blue Diamond polishes out the minute scratches in the vulcanite and gives the material more shine. I gave the stem multiple coats of carnauba wax and hand waxed the bowl with Conservator’s Wax. I buffed the pipe with a clean buffing pad to raise the shine. I hand buffed it with a microfibre cloth to deepen the shine. The finished pipe is shown in the photos below. The dimensions of the pipe are Length: 5 ¾ inches, Height: 1 1/8 inches, Outer diameter of the bowl: 1 ¼ inches, Chamber diameter: ¾ inches. The pipe is the kind of shape that feels great in the hand, it is light weight and comfortable. The look of the finished pipe is quite attractive and the contrast between the brown of the high spots on the briar and black in the crevices contrast well with the polished vulcanite stem. This one will soon be on the rebornpipes store. If you are interested in adding it to your rack email me at slaug@uniserve.com or send me a message on Facebook. Thanks for looking.
Chacom Churchwarden Resurrected


Blog by Joshua Fairweather

I received an email from Joshua about one of the Gourd Calabashes and a grab bag of pipes for refurbishing that I was selling. We made a deal on the pipes. At the end of his email he included some photos of some of the pipes he had already refurbished. His work looked really good so I invited him to submit a write up of some of his work to rebornpipes. Here is the first of those pieces that he submitted. A warm welcome and a thank you Joshua for your contribution to the blog. – Steve

I came across this pipe at an antique mall in London, Ontario. I almost passed it by had it not been for the vendor who was cleaning his case, he was kind enough to say ‘hi’ and ask what I was looking for. He just so happened to have a few pipes hiding in a glass case in the back of his store.

As you can see from the picture the pipe is heavily oxidized with little to no chatter marks. The bowl has a thick cake and tar on the bowl rim. Overall the bowl was in great condition with a small white mark on the bottom of the bowl (I think it was glue). The wood grain of the bowl also had nice appeal.

The brand of the pipe was marked on the bowl – ‘Chacom coin osseu’.

Now, I want to walk you through how I cleaned and restored this pipe. Step 1
When a pipe has a heavy cake inside the bowl, I like to put it through a salt and alcohol treatment. This method does a great job at cleaning the pipe, softening the hardened cake making it easier to remove from the bowl. It also, freshens up the bowl and gets ride of any ghosting left from prior tobaccos smoked.

I fill the bowl to the brim with larger grained salt. Using the syringe, I add the alcohol to the salt, topping it up to the bowl brim. I usually leave this treatment in the bowl overnight.Step 2
I prefer to use my old trusty friend (pocket knife) to clean the cake from the bowl. It has a more rounded tip and I find it a perfect tool to clean out most pipes without damaging the bowl.Step 3
With the same alcohol I use cotton pads to remove the finish off the pipe. Alcohol also does a great job at removing tar from the bowl rim. If the tar is heavy then a light sanding works better.Step 4
I don’t know what it is about sanding that brings so much satisfaction; I think it is the results you get on the pipe finish; it looks like glass. I use these foam padded Micro-Mesh pads to bring out the best finish on the briar wood. Step 5
Two of my favourite household products that do a fantastic job at cleaning pipe stems are OxiClean and Vim. Soak the stem in an OxiClean bath for about an hour maybe two hours. It will depend on how oxidized the pipe stem is, a heavy oxidized stem, leave in the solution for longer. This stem needed a longer soak.

After the bath I use Vim and a dry clean rag to wipe clean. Vim has a corrosive component that acts like a sand paper to buff the pipe stem back to a clean black colour again.

I will say, if the pipe stem is heavily oxidized it will take more than just Vim to bring out that black finish. I refer back to the Micro-Mesh foam sanding pads, which also do an amazing job at bringing out that preferred finish. I use alcohol and pipe cleaners to remove left behind tar inside the pipe stem. I repeat this process until the pipe cleaners come out clean.Step 6
To bring out the beauty of the natural grains of the wood, I use a variety of products and natural substances to do this. For this pipe I used an extra virgin olive oil.

With the combination of the sanded finish, adding the olive oil turns the pipe a darker colour. Well you can see the finished results for yourself!Conclusion:
Overall, I am pleased with the results. This pipe I will probably put into my private collection, as I do not have a churchwarden styled pipe as of yet.

Hope you have enjoyed my process.

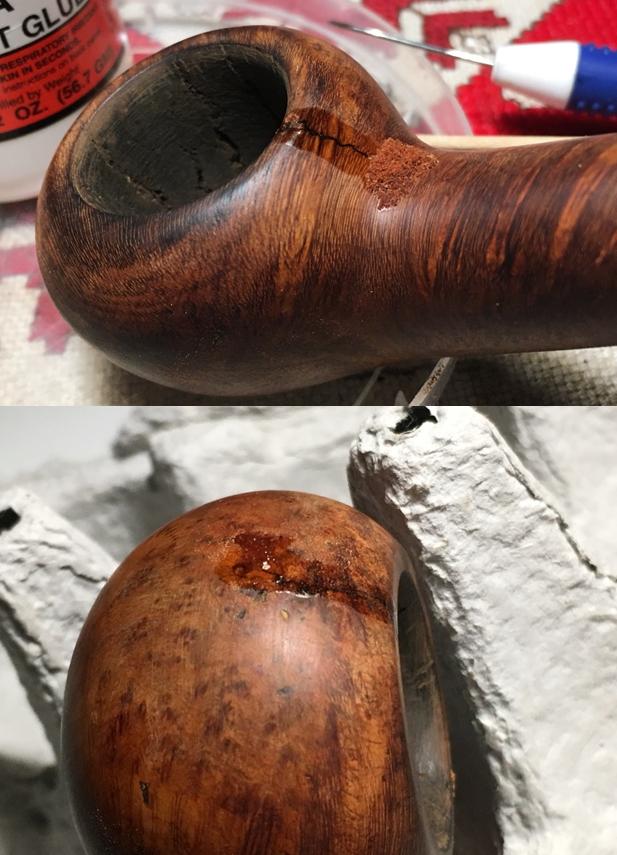
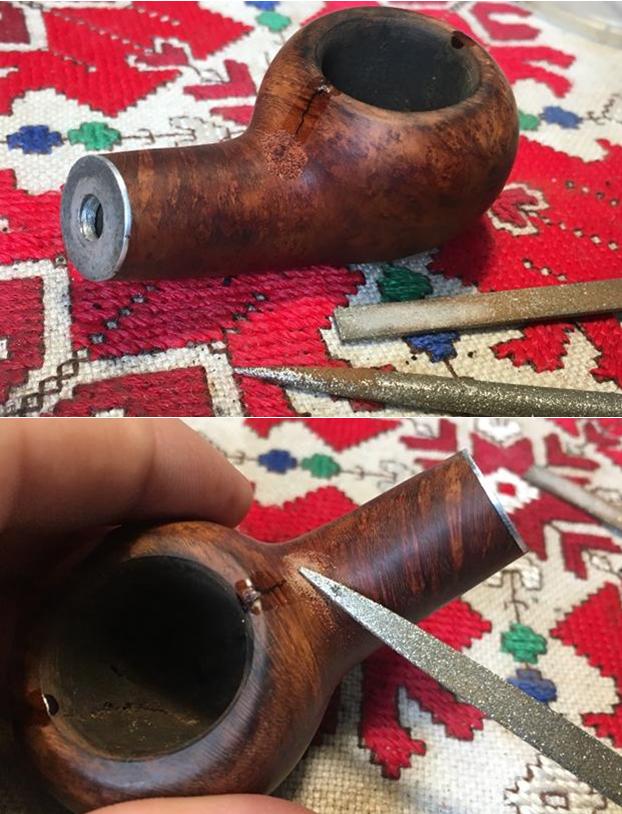
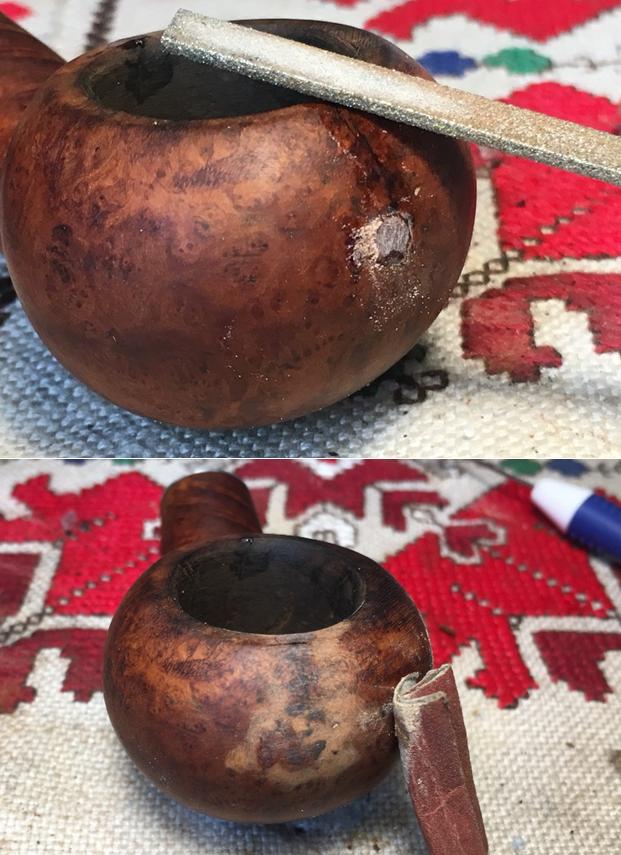
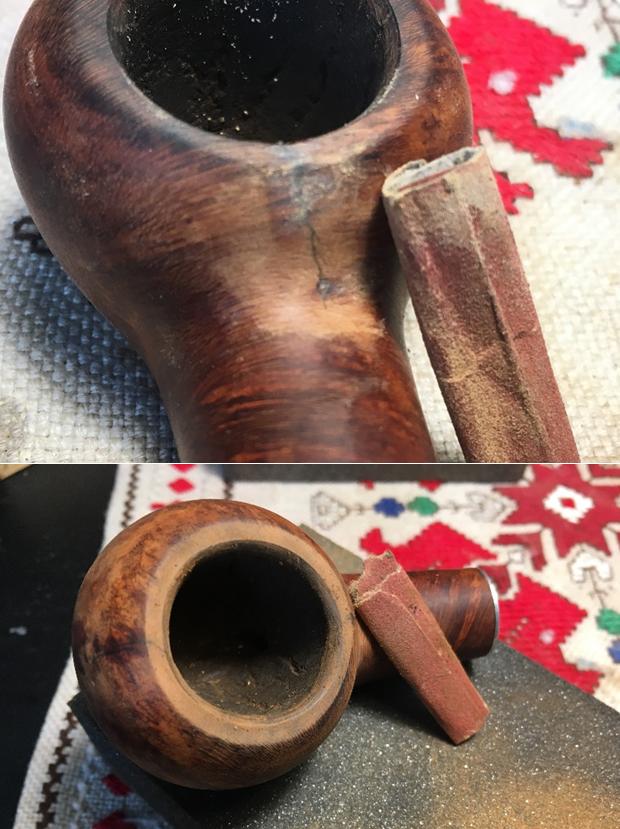
Just a few minor details – a Broken Tenon and a Cracked Shank on a Hardcastle Special Selection 7 Bulldog


Blog by Steve Laug

Not too long ago I received an email from a reader of rebornpipes regarding a pipe he was restoring. It was a beautiful little Hardcastle Bulldog that is stamped on the left underside Hardcastle over Special Selection over the number 7. He had finished cleaning and restoring it and it was looking good. He had done a thorough job, as I would see later in this post. He went on to tell me about how he had repeated my misadventure when buffing the pipe. Not long ago I posted about having finished a pipe and having the buffer snatch it from my hands and fling it against the floor. I snapped the tenon off a pipe I had finished while doing the final buffing. He wrote that he had done the same thing exactly. He wanted to know if I would be willing to put a new tenon on the stem. He noted a hairline crack at the shank/bowl junction and wondered if I would be willing to deal with that at the same time. We wrote back and forth and he sent me the following photos. The first one shows the cleaned up pipe ready for buffing.The next photo he sent shows the crack at the top of the shank on both topsides of the diamond. It stopped on both sides before it got to the edge of the diamond.The third photo shows the stem with the snapped tenon. He did a far better job snapping it off than I had done on mine. My broken tenon was jagged and needed to be sanded smooth before I could replace the tenon.He sent the pipe to me Vancouver for me to work on. It is funny in that it took a longer time to arrive from Idaho than pipes I have received from the east coast. But when it arrived I took photos of it. I have a container of threaded tenons here that I use for replacement tenons on pipes. I like the way they grip in the drilled out stem. Once they are anchored in place with glue on the threads, there is little chance that they will come out. I went through my tenons and found one that would fit the mortise with a little adjustment – the fit was tight and it was a little long for the shank.I set up my cordless drill and chose a bit that was close to the size of the airway in the stem. I have learned to work my way gradually through bits until I get to the size of the threaded portion of the new tenon. Doing it this way keeps the stem material from chipping or breaking away with the pressure of the drill bit. I turn the stem onto the stationary drill by hand so that I can control the depth of the bit. I mark the bit with scotch tape ahead of time to measure the depth of the drilled out airway that I need to have when I am finished.Once I had the airway opened enough to take the threaded end I used a tap to cut threads on inside of the newly opened airway. I turned the tenon in place on the stem to check the fit against the face of the stem.I checked the fit against the end of the mortise and found that the tenon was too long. I used a Dremel and sanding drum to bring it down to the correct length and cleaned up the end of the tenon with the topping board.I glued the new tenon in place in the stem with medium viscosity black superglue. It allows me time to adjust and align it so that it fits the mortise well and leaves no gaps.I set the stem aside overnight to allow the glue to cure. In the morning, I fine-tuned the fit so that it sat well in the shank. I chamfered/beveled the airway in the end of the new tenon to maximize the airflow into the stem.I put the stem in place in the shank and took photos of the newly repaired stem. This little Hardcastle Bulldog is a really beauty and extremely lightweight. The Cumberland stem looks good with the briar and gives the pipe an elegant appearance. I polished the stem and the tenon with micromesh sanding pads to remove any remaining scratches. I set the stem aside and turned my attention to the crack on the shank/bowl junction. I examined the crack with a bright light and a lens to make sure I could see the ends of the crack on both sides of the shank. It was a tight hairline crack so I just needed to stop it from spreading further. I drilled the end of the crack on both sides of the top of the shank using my Dremel and a microdrill bit. I slow the Dremel down to a speed of 10 so that I can carefully put the holes at the crack ends without it either going too deep in the shank or bouncing across the surface of the shank. It did not take too long to drill the holes.I took it back to the work table and took photos showing the two drill holes. The plan now was to use a dental pick to see if I could open the crack at all. I wanted to be able to put superglue into the crack to seal the two sides. It did not budge so I scratched it with the pick to provide a rough surface for the glue to adhere.I ran a bead of clear super glue the length of the crack from drill hole to drill hole. I put a drop of glue into each drill hole to fill them in. Since they are so tiny, I don’t bother with briar dust. I used the end of the dental pick to push the glue deep into the drill hole and refilled it to a bubble.Once the glue hardened I sanded it smooth to match the surface of the shank using 220 and 320 grit sandpaper folded to fit the angle of the junction. I sanded the area until the repair was smooth with the surface of the shank. I wanted the transition to be seamless. I took a close up photo of the repair on both sides of the shank to show what I had to deal with in terms of blending it into the finish of the bowl and shank.I sanded the repair with micromesh sanding pads to remove the scratches left behind by the sand paper. I worked through 1500-4000 grit pads to polish the shank. I polished the gold band with the higher grades of micromesh as well to give them a richer gleam. The repairs were slightly lighter in colour than the rest of the shank and the bowl so they would need to be restained. I restained the repaired area with a medium brown stain pen to blend it into the colour of the bowl and shank. I buffed the stained areas by hand with a microfibre cloth.I wrote to the pipeman who owned it and told him I had finished the repair to the shank and the stem and was touching up the stain. He wrote back to say that I had carte blanche to finish the pipe in any stain I saw fit. That was the go ahead I needed. I wanted to highlight the red hues in the briar that stood out in the bright light. I also knew that a red stain would allow me to blend in the repaired areas on the shank/bowl junction better. So I chose to stain the pipe with Danish Oil with Cherry stain. I am really happy with how the red of the stain works to highlight the grain. It also goes really well with the Cumberland stem and its red striations.I warmed the briar and applied the stain with a cotton pad. The nature of Danish Oil stain is that it highlights grain and breathes life into the wood. I let it sit for 10 minutes and hand buffed it off the bowl and shank. I took the next four photos of the finished bowl once I had hand buffed it. I buffed the bowl and stem with Blue Diamond polish on the buffing wheel to polish out any remaining scratches in the finish of the briar or the Cumberland. I gave them multiple coats of carnauba wax to protect the finish and buffed it with a clean buffing pad to raise a shine. I hand buffed it with a microfibre cloth to deepen the shine. I hand buffed the gold band on the shank with a jeweler’ cloth to polish and shine it. The finished pipe is shown in the photos below. I really like the finished look of the pipe. It is a beautiful and well executed Bulldog and it should serve its owner well. I plan on letting him know that if it does not fit his collection it will always have a home here. Thanks for looking.

A difficult trust: Gift of a Grandfather – A BBB Double Star Made in England


Blog by Dal Stanton

When I study the venerable pipe on my work table, it is not a glamorous display of briar and silver bands.  Some might call it a basket pipe.  The two stars imprinted on the shank were an indication of a working man’s pipe – not high quality, but among those pipes accessible to normal, if not common, people who work, live, love and as is the case with us all, die.  This unremarkable Apple shaped, BBB [diamond over] Double Star, MADE IN ENGLAND [over] 152, is remarkable because of the story it represents.   I enjoy restoring ‘estate’ pipes because they were left to others and these pipes carry with them stories and memories of loved ones who once befriended and valued them.  Greg heard from my son, Josiah, who are college buddies, that Josiah’s old man (my words not theirs!) restored ‘old’ pipes.   This ‘old’ pipe came to Greg from his grandfather through his mother.  Josiah’s email came to me asking what I could do with these pictures from Greg. My understanding is that Greg was a bit reluctant at first to send his pipe off to Bulgaria to be restored, but after Josiah directed him to some of the restorations I’ve done, he felt he could trust me with the heirloom that had come to him.  Knowing that this pipe was from his grandfather I asked that Greg send me information about his grandfather so that I not only could place the pipe better in history, but Greg’s grandfather as well.  This is the letter he sent me:

Hi Mr. Stanton,

Thank you so much for agreeing to restore my grandfather’s pipe. I am sorry for the delay in getting you the below information, but it’s been a crazy couple of weeks.

My mother inherited the pipe from my grandfather when he passed away in 1998. I saw it in the china cabinet one day and asked her if I could have it, since I had taken up pipe smoking. She kindly agreed. She doesn’t really know when my grandfather got the pipe, but she said he must have bought it in Hong Kong.

My grandfather was from Hong Kong, and only emigrated to the United States in the 1980s. He was a malaria inspector for the Hong Kong government for his entire working career. He must have gotten the pipe at the latest in the late 1940s or early 1950s, as my mother remembers him having it when she was a child. He never smoked the pipe when I knew him, but from its condition, I assume it was well used at an earlier period in his life.

Having graduated from the University of Georgia Law School in Athens, Georgia, passed his bars and currently serves as a law clerk to a federal magistrate judge in Augusta, Georgia, AND as a young married man, I can understand why Greg “took up” smoking pipes!  Pipes are wonderful companions for blooming attorneys!  His letter concluded with an agreement to the cost of the restoration would benefit our work with the Daughters of Bulgaria!  Thank you, Greg!

The information Greg received from his mother was invaluable for placing this BBB in time and space.  Pipedia’s article about BBB is helpful.  BBB in the mid-1800s originally stood for “Blumfeld’s Best Briars”, but after the death of Blumfeld, the Adolph Frankau Company took over the company and BBB gradually became “Britain’s Best Briars”.

The “BBB Two Star” rating also is referenced in the same article in a discussion of quality descriptors for BBB pipes:

In the Thirties, the top-of-the-range one becomes “BBB Best Make” with alternatives like “Super Stopping” and “Ultonia Thule”. The BBB Carlton, sold with the detail with 8/6 in 1938, is equipped with a system complicated out of metal, system which equipped the BBB London Dry too. Blue Peter was not estampillées BBB but BBB Ultonia, and the BBB Two Star (* *) become the bottom-of-the-range one. 

When Greg’s pipe arrived in Bulgaria, thanks to a visitor’s willingness to carry it across the Atlantic and European continent, I unwrapped it and put it on my work desk and took these pictures to fill in the gaps. At PipePhil.eu an example of the BBB Two Star marking is pictured along with the stinger/tube style extending into the chamber as Greg’s grandfather’s BBB does ( as seen above).In Pipes Magazine, I found a thread discussing the dating of the BBB Two Star.  One threader’s opinion, ‘jguss’ corroborates Greg’s mother’s recollections:

My guess is that the Two Star line started at the end of WWII; the first mention I’ve found so far is dated 1945, which at least gives a tpq (that is, an approximate dating). I know the line lasted at least into the early sixties.

It is not too difficult to speculate about the provenance of Greg’s pipe.  During WW2, briar became a scarce commodity throughout Europe and pipe manufacturing companies made do with what they could acquire.  Two Star BBBs would be lower end but more than likely during this time, a very close second when rations were short.  Added to this backdrop is the origin of our story in Hong Kong.  Hong Kong, a British holding since 1841 (see LINK), lost control of Hong Kong during WW2 to Japan in 1941 during the Battle of Hong Kong.  Undoubtedly, Greg’s grandfather would have experienced this first hand.  When Japan unconditionally surrendered in 1945, the British regained control of Hong Kong, but to counter Chinese pressures to control Hong Kong, reforms were introduced that broadened and increased the stake of local inhabitants of Hong Kong:

Sir Mark Young, upon his return as Governor in early May 1946, pursued political reform known as the “Young Plan“, believing that, to counter the Chinese government’s determination to recover Hong Kong, it was necessary to give local inhabitants a greater stake in the territory by widening the political franchise to include them.[19] (Link)

During the years following the Second World War, the same article describes unprecedented economic development which resulted in the economic powerhouse that Hong Kong became.  This period would have been while Greg’s grandfather was working as a malaria inspector for the government of Hong Kong and during which he acquired this BBB Two Star.  The smaller Apple shape would have served him well as he performed his inspection duties but given the ‘stem forensics’ pictured above, he probably chewed on it a bit as well while he worked!

With a greater sense of the story that this BBB Two Star tells, from England, to Hong Kong, to America, and now to Bulgaria, I’m anxious to restore this precious family gift from Greg’s grandfather.  At Greg’s request, he’s hoping for a pipe that is as good as new and ready for a new lifetime of service.  Yet, with all restorations, undoubtedly there will be some marks and blemishes remaining – these an ongoing testament to the memory of those who those who went before.

The first order of approach is with the stinger.  When the pipe arrived, the stinger was already separated from the stem.  The stinger extends from the stem through the mortise into the chamber itself through a metal tube air draft hole.  Using a pair of plyers, I wrap a piece of cloth around the end to pull gently to dislodge the stinger from the mortise.  I can see in the mortise that there appears to be a metal sheath that the stinger is lodged in – at least, that is what it appears to be.  The stinger is not budging and I do not want to break the stinger off.  To try to loosen things up, I pour some isopropyl 95% in the chamber to allow it to soak into the draft hole.  Hopefully, in time, this will loosen the stinger. The alcohol soak did not work.  In fact, a few weeks have transpired since writing the words above.  This stinger has given me quite the challenge.  In the back of my mind constantly, is the concern that I not leverage too much pressure pulling on the stinger.  I’m concerned about damaging the shank.  After soaking the internals for some time with alcohol, I pulled with plyers hoping to break the grip.  I also attempt heating the stummel with a heat gun in hope of dislodging the stinger.  I also heat the protruding part of the stinger with a candle, hoping that this would break the bond.  It did not.   I also was concerned about the candle flame close to the briar while trying to heat the stinger.  I craft a tinfoil shield, but this was not successful.  Unfortunately, I singed the end of the shank and had to remove the damage by ‘topping’ the shank end, which leads to a bit of work lining up the stem and shank later.  As you might expect, the protruding end of the stinger did not hold up under the pressure and eventually broke off. After the stinger protrusion broke off, and after a second email to Steve for input, I’m at the point of using a drill bit in another attempt to remove the bonded stinger.  Starting with a very small bit, I hand turn the bit to allow the drill to find the center of the stinger and gradually, remove the stinger introducing the next larger drill bit.  The end of the broken stinger begins at about 1/4-inch-deep into the mortise.  Unfortunately, this method is not working either because the drill bit will not bite into the metal and remain straight.  At the end of the stinger slot that I’m boring into with the drill bit, my efforts are flummoxed by the stinger’s design.  It has a slanted metal airflow deflector that causes the drill bit to veer off mark.  After breaking the end of the drill bit in the slot (ugh!), and digging it out with needle nose pliers, I sit and begin to think I was facing failure.  Nothing was working.  I’m introducing more problems to the restoration as I try unsuccessfully to solve the stuck stinger problem.  I can’t move forward and I’m stuck and begin to compose an apology letter to Greg in my mind.  UNTIL, on a fancy, I insert a small flat head screw driver into the slot at the end of the broken stinger 1/4-inch-deep in the mortise and I twist it gently counter-clockwise, and it snaps.  Suddenly, it was loose and I easily extract the ‘middle’ of Grandpa’s old stinger – I’m sure he was the last one to see this artifact!  I see daylight through the mortise and I’m hoping that it might also be a metaphoric ‘light at the end of the tunnel’!  I’ve not forgotten that the other end of the stinger remains lodged in the draft hole tube at the foot of the chamber.  Thankfully, a larger drill bit was the perfect size and it reaches into the mortise and hand turning the bit, it clears the rest of the stinger shrapnel.  Finally!  Oh my….  I’ll be saving the stinger debris for Greg.  This BBB will continue without difficulty stingerless.  The pictures show the results. In the interest of full disclosure, these words are coming weeks after.  Why the hiatus?  Life’s normal twists and turns, work, some wonderful travel to Crete for an organizational conference, to Athens (not in Georgia) for a consultation on the Eastern Orthodox Church, AND my growing frustration with Greg’s grandfather’s pipe’s restoration as more complications arrived!  I’ll try to catch you up to the present:

With the stinger removed, I was anxious to continue the restoration with a ‘normal’ pattern – the stem goes into the Oxi-Clean bath to deal with the oxidation in the stem.  After some hours, the stem is removed from the bath and I wet sand with 600 grade sanding paper removing the raised oxidation followed by 0000 steel wool. To clean and protect the BBB stamping on the stem, I use a non-abrasive Mr. Clean ‘Magic Eraser’ sponge.  The pictures show the progress.The next step is to re-seat the tenon into the mortise.  After the arduous process of removing the stinger, and after singing the shank end with a candle flame, and after ‘topping’ the shank to remove the damaged briar, the tenon and mortise needed to be re-wedded with the new realities.  The tenon was too large for full insertion into the shank.  Using a combination of reducing the tenon size with sanding paper and steel wool, sanding and filing the throat of the mortise, and using a rounded needle file to cut a new internal mortise openning bevel to accommodate the broader tenon base, I patiently, slowly, methodically worked to re-seat the tenon in the mortise which included working and then testing the new fit – GENTLY!  I suppose the fact that I said to myself, ‘Dal, careful, don’t crack the shank’, at least a 1000 times only made the sinking feeling more intense when I heard the sickening sound during what proved to be my last, ‘gentle testing’ of the tenon inserted into the mortise.  The hairline crack is pictured below that I took only a day ago – I couldn’t bear to take it then, when it happened.  I was sickened and put Greg’s pipe aside.  I needed some time to work through my own sense of failure of the trust given me to restore this family heirloom.  Now, after several weeks, I’ve regrouped and have taken up Greg’s pipe again.  The travels that I described above during this time in some ways felt more like Jonah running from Nineveh not wanting to face the scene of his calling and his sense of failure!  Though, my trip did prove beneficial – I sold some of my finished pipes to colleagues to benefit and raise the awareness of the Daughters of Bulgaria that The Pipe Steward supports.  I’ve included my Nineveh travels below for you who may not be familiar with ‘my world’, the Balkans – Sofia to Crete to Athens and back. Before moving forward, I needed to repair the cracked shank.  With the help of a magnifying glass, I locate the terminus of the crack and mark it by creating an indentation with a sharp dental probe.  The arrow to the left below marks this.  Using the Dremel tool, I mount a 1mm sized bit and drill a hole at that point – but not going through!  This hole acts like a controlled back-fire to stop the progress of a forest fire.  This will not allow the crack to continue creeping.  With the use of a toothpick, I spot-drop Hot Stuff CA Instant Glue in the hole and along the line of the crack which I expanded microscopically by partially inserting the tenon into the mortise.  This allows the CA glue better penetration to seal the crack.  I remove the stem immediately after the application of CA.  With the CA glue still wet, I apply briar dust to/in the hole and along the crack to encourage better blending.  The pictures show the progress. After some hours allowing the CA glue to cure on the shank repair, using a round grinding stone bit mounted on the Dremel, I reestablish an adequate and uniform internal bevel on the end of the shank to accommodate the base of the tenon when it is fully inserted into the mortise.  My theory is this is what caused the crack – lack of a sufficient internal bevel giving room for the slightly enlarged tenon as it merges with the stem proper.  With the Dremel engaged at the slowest setting, I’m careful to apply minimal pressure as I rotate the ball a bit to make sure it’s centered.  It looks good – the pictures show the progress.Due to a lapse of sorts and the intensity of my focus on re-seating the stem again without re-cracking the shank, I failed (or perhaps, had little desire) to take any pictures.  The short of it is, the stem and stummel have been reunited after some difficult times.  Also, not pictured are some of the basic steps: reaming the fire chamber of carbon cake buildup, cleaning the internals of the stummel and stem with cotton swabs and pipe cleaners wetted with isopropyl 95%, and cleaning the externals of the stummel with Murphy’s Soap.  Again, picking up the trail, pictured below is the micromesh pad process with the stem.  Using pads 1500 to 2400, I wet sand the stem, followed by dry sanding with pads 3200 to 4000 and then 6000 to 12000.  I follow each cycle with an application of Obsidian Oil to revitalize the vulcanite.  The stummel surface shows quite a bit of pitting in the first picture shown again below.  The rim also shows nicks. On the larger pits shown below on the heel of the stummel, I spot-fill with a toothpick using CA glue and shorten the curing time by using an accelerator spray on the fills.  After filing and sanding the fills to the briar surface, using a progression of 3 sanding sponges from coarse, medium to light, I work out most the remaining pitting over the stummel surface.  Using 600 grit paper on the chopping block, I also give a light topping to the rim to remove nicks and create fresh lines for the rim.  Following the topping, I introduce an internal bevel to the rim, first using a coarse 120 paper rolled tightly, then with 240 and 600.  The internal rim bevel to me, always adds a touch of class but also helps create softer lines which enhances this Apples shape.  The pictures show the unhindered progress! I now take micromesh pads 1500 to 2400 and wet sand the stummel followed by dry sanding with micromesh pads 3200 to 4000 and then 6000 to 12000 taking a picture after each set to mark the progress.  I am careful to guard the BBB nomenclature on the shank sides.  As I move through these cycles, I realize that I have been so wrapped up in the technical aspects of this restoration for Greg, that I failed to see the beauty of this diminutive Apple shape.  The grain that emerges from Grandpa’s old timer is truly beautiful. Flame grain and swirls, with a few bird’s eyes accenting the whole – totally eye-catching for a Two Star sub-mark BBB I would say! To see the big picture to help determine the next steps, I reunite stem and stummel and stand back and take a good look.  This BBB Made in England is looking real good – in spite of everything!  I can see by the way the BBB Apple naturally sits on the surface, leaning slightly like a listing ship, but remaining upright, provides some clues regarding the significant pitting on the heel of the stummel – just off center. Greg’s grandfather undoubtedly and conveniently placed his pipe on a table or counter surface, or perhaps on a nearby crate, as he made his rounds as a malaria inspector for the province of Hong Kong.  The original BBB coloring leaned toward the favored darker hues of English pipe makers and client proclivities. I decide not to go that dark, but to stain the stummel using a light brown base with a touch of dark brown to tint it down that track a bit.  This will make for better blending, especially for the darker briar around the nomenclature on the shank.  Using Fiebing’s Light Brown Leather Dye as the base, I add a touch of Fiebing’s Dark Brown.  Using a folded pipe cleaner in the shank as a handle, I begin by warming the stummel with a hot air gun to expand the briar making it more receptive to the dye.  After heated, I apply the dye mixture to the stummel generously aiming for total coverage.  I then fire the wet stummel with a lit candle igniting the aniline dye, burning off the alcohol and setting the pigment in the grain.  After a few minutes, I repeat the process concluding with firing the stummel.  I put the stummel aside to rest for several hours.  The pictures show the staining process – yes, you can see my blue fingers – I’ve started wearing latex gloves when I’m staining. After some hours, I’m looking forward to ‘unwrapping’ the fired stummel to reveal the stained briar beneath.  Using a felt buffing wheel mounted on the Dremel, set at the slowest speed, I use Tripoli compound to remove the initial layer.  Moving in a methodical, rotating pattern, I work my way around the stummel not apply a great deal of down-pressure on the wheel, but allowing the RPMs of the felt wheel and the compound to do the work. After removing the crusted layer with Tripoli, I wipe the surface with a cotton pad wetted with isopropyl 95%.  I do this not so much to lighten the finish, but to blend and even out the stain over the surface.  Following this, I mount a cotton cloth wheel on the Dremel, increase the speed slightly, and apply Blue Diamond – a slightly less abrasive compound.  After both compounds, I use a clean towel to hand buff the stummel to remove excess compound dust before applying the wax.  Pictures show the progress. Reattaching the stem and stummel, I apply several coats of carnauba wax to both.  Using a cotton cloth wheel, I set the speed of the Dremel to 2 with 5 being the fastest, I apply the carnauba and I like what I see.  With the carnauba wax applied, I mount a clean cotton cloth buffing wheel on the Dremel and again buff the stummel and stem.  Finally, I apply a rigorous hand buff using a micromesh cloth to raise the shine more.

This BBB Double Star Apple has come a long way from England to Hong Kong to the US to Bulgaria, and now it’s ready to return to its new steward.  This restoration was a bit bumpy, but then, so is life.  I’m glad to help give this pipe a new lifetime and I hope Greg not only enjoys it, but that it provides a special connection with his past.  I’m sure Grandpa would be proud.  Thanks for joining me!

Bringing a Stanwell Jubilee Sixten Ivarsson Design 10M back to life


Blog by Steve Laug

The next pipe in the lot that my brother brought back from the recent estate sale was a beautiful little Stanwell Acorn with a vulcanite shank extension. The pipe had some nice birdseye on the left side of the bowl and shank and a mix of grain around the rest of the bowl. The point at the bottom of the bowl has a ring of grain with a centre at the bottom and turning around the bowl up the front and back of the underside of the shank. The pipe is stamped on the left side of the shank Stanwell over Regd. No. (an illegible number) over Jubilee. On the right side it is stamped 10M which is the shape number. The shape is a design by Sixten Ivarsson that was done for Stanwell. It has a military mount stem. The Stanwell Crown S in on the shank extension rather than on the stem. The photos that follow are one that Jeff took of the pipe before he cleaned up to send to me.Jeff took close up photos of the rim and the bowl to show the condition. There was a light cake in the bowl with an overflow of lava on the crowned rim top. The next two photos show the grain on the sides of the bowl. The third photo shows the ring at the bottom of the bowl radiating up the bowl sides. It is a beautifully grain piece of briar that the shape fits very well. The next two photos show the stamping on the sides of the shank. The left side shows the Stanwell stamp clearly as well as the Jubilee stamp. It also shows the Crown S on the shank extension. There is a Regd. No. that is very faint and unreadable.The stem had the now familiar tooth chatter and marks the top and underside near the stem. The dents/marks on the underside were worse than those on the top side.My brother cleaned up the pipe as he usually does before he sends it to me. He did an amazing job cleaning up the interior and the exterior. When the pipe arrived in Vancouver it was absolutely clean on the inside. He had cleaned out the mortise and the airway in the shank and the stem with alcohol, pipe cleaners and cotton swabs until it was spotless. He had scrubbed exterior with Murphy’s Oil Soap and removed all of the grime on the bowl sides and the lava build up on the rim. I took the next four photos to show what the pipe looked like when it arrived here. The finish looked really good. The shank extension and stem were lightly oxidized. I took a close up photo of the rim to show how well it cleaned up. There was some darkening on the rim top. The grain really stood out well on the crowned rim. The inner edge of the rim was in excellent condition.I took some photos of the stem top and underside to show the oxidation and the tooth chatter and marks on the surface near the button.I sanded the shank extension with micromesh sanding pads to remove the oxidation. I wet sanded it with 1500-2400 grit pads and dry sanded with 3200-12000 grit pads. I buffed the shank extension and the bowl with Blue Diamond on the buffing wheel to polish the vulcanite. I use an acrylic paint to fill in the Crown S on the left side of the shank extension. Once the paint dried I buffed it off with Blue Diamond to remove the excess paint and leave some in the stamped impression in the vulcanite. There is still some oxidation in the vulcanite of the extension that needed to be polished out but the buffing would take care of that. The photos tell the story.I sanded the stem with 220 grit sandpaper to remove the oxidation on the surface. I followed that by sanding with 320 grit sandpaper to remove the scratches. I polished the stem with 1500-2400 grit micromesh sanding pads. I rubbed the stem down with Obsidian Oil. I dry sanded it with 3200-12000 grit pads and gave it a rub down with Obsidian Oil after each pad. I buffed it with Blue Diamond between the 2400 and 3200 grit pads and between the 4000 and the 6000 grit pads. I gave it a final buff after the 12000 grit pad and gave it a final coat of Obsidian Oil and set the stem aside to dry. I put the stem back in the shank extension and buffed the pipe with Blue Diamond polish on the buffing wheel. I buffed it until the remaining scratches and oxidation were gone. The grain really began to stand out as I buffed the pipe. I gave it multiple coats of carnauba wax to protect the briar and the vulcanite. I buffed it with a clean buffing pad to raise the shine. I hand buffed it with a microfibre cloth to deepen the shine. The finished pipe is shown in the photos below. It is a beautifully grained pipe that is laid out well with the piece of briar. The dimensions are Length: 5 ¼ inches, Height: 2 inches, Outside bowl diameter: 1 ½ inches, Chamber diameter: ¾ inches. It is a pipe that I would normally hang on to for my own collection but I have a similar one already so I am going to put it on the rebornpipes store. It is available to anyone who wants to add it to their collection, their pipe rack. Just let me know if you are interested. Email me at slaug@uniserve.com or send me a private message on Facebook. Thanks for looking.
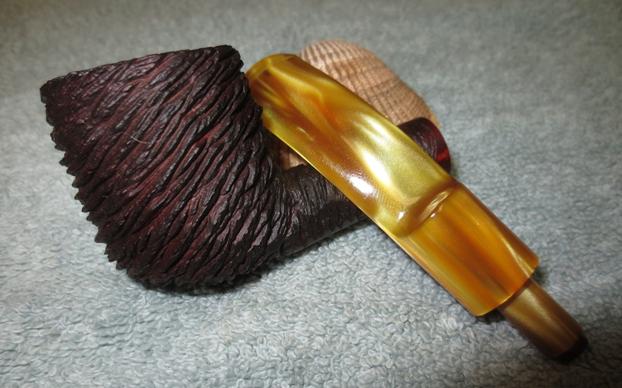
Breathing New Life into an Iwan Ries Jacques 169 Apple


Blog by Steve Laug

The next pipe on the table from the estate sale to be refurbished is a small apple that is stamped JACQUES on the left side of the shank and Iwan Ries & Co on the right side. It is also stamped 169 (Shape Number) on the underside of the shank at the stem/shank junction. The piece of briar is really a beauty with a mix of grains. The right side of the bowl has some beautiful birdseye grain that just pops. The combination of the yellow, cream coloured Lucite stem with the medium brown stain on the bowl works well and brings out the reds in the briar. Jeff took some photos of the pipe when he brought it home and before he worked his magic cleaning it up. He took some photos of the pipe to show the condition. The first of these shows the cake in the bowl and the lava overflow on the rim top. The rounded rim top looked like it was also darkened but I would know for sure once he had cleaned the top of the bowl.The next three photos show the stamping on the bowl. It is sharp and readable. There are also three stars on the left side of the taper stem as well. On the underside of the stem it is also stamped France. I am not sure if that is in reference to the entire pipe or just the stem being made in France. The next series of close up photos of the bowl show the overall condition of the pipe. The first photo shows the damaged fills on the left front of the bowl. These will need to be picked out and repaired to take care of the crumbling putty. The following photos show the now familiar tooth marks on the top and underside of the stem near the button. Unfortunately they are a bit hard to see as the colour of the Lucite obscures them. The top has tooth chatter and the underside has both chatter and a few deeper tooth marks.My brother worked his cleanup magic on the pipe and when it came to me the bowl had been reamed and cleaned. The airway in the shank and stem had been scrubbed with alcohol and pipe cleaners and the mortise cleaned with cotton swabs and alcohol. The pipe was in pristine condition internally. All I had to do was rework the fills and sand out the tooth marks on the stem. The next four photos show the pipe upon arrival in Vancouver. Jeff had been able to remove the cake in the bowl and all of the lava from the rim top. There was indeed some rim darkening that would need to be taken care of but it was very clean.  The second photo shows the ugly, damaged fills on the left front of the bowl.The stem looked really good and the tooth marks and chatter are even harder to see than in the previous photos but they are there.I picked out the damaged putty fills with a dental pick until they were clean. I wiped down the area with an alcohol dampened cloth to remove any remaining debris. I filled the areas with briar dust and clear super glue. It dries dark but that will work in these fills that follow the grain pattern of the bowl.Once the patch had dried I sanded it with 220 grit sandpaper to remove the excess fill and then with 320 sandpaper to smooth that out a bit. I polished the repair with micromesh sanding pads – 1500-12000 grit sanding pads to smooth out all the scratches. I touched up the repaired area with a dark brown stain pen. The colour of the stain matched the bowl perfectly and the fills blended in better than they were before.I hand buffed the bowl with a microfibre cloth to have a look at the rest of it and get a feel for the finished look. I ran a pipe cleaner through the mortise and the airway in the shank and the stem to check for any debris that might have collected from my sanding. They were still very clean.Now it was time to take care of the tooth marks on the stem. I sanded them out with 220 grit sandpaper and smooth that out with 320 grit paper. I polished the stem with micromesh sanding pads – wet sanding with 1500-2400 grit pads and dry sanding with 3200-12000 grit pads. I wiped the stem down between each pad with a water dampened cotton pad to remove the sanding debris. I put the stem back on the pipe and buffed it with Blue Diamond on the buffing wheel. I am skittish about buffing Lucite as it can heat up quickly and then make a mess of the work that has been done. I used a gentle touch to buff the stem and powered through buffing the bowl and shank. I took care not to damage the stamping on the shank. I gave the bowl and stem multiple coats of carnauba wax and buffed it with a clean buffing pad to raise a shine. I hand buffed it with a microfibre cloth to deepen the shine. The dimensions are Length: 5 ¾ inches, Height: 1 5/8 inches, Outer diameter of the bowl: 1 ¼ inches, Chamber diameter: ¾ inches. The finished pipe is shown in the photos below. It turned out to be a beautiful pipe and the repaired fills look better than when it left the factory. This one is available if you want to add it to your rack. Email me at slaug@uniserve.com or send a private message via Facebook if you are interested. Thanks for looking.