Blog by Paresh Deshpande
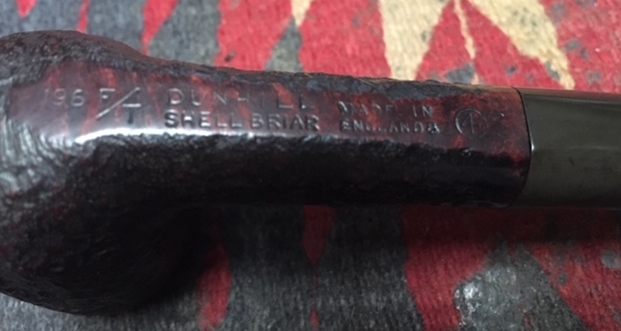
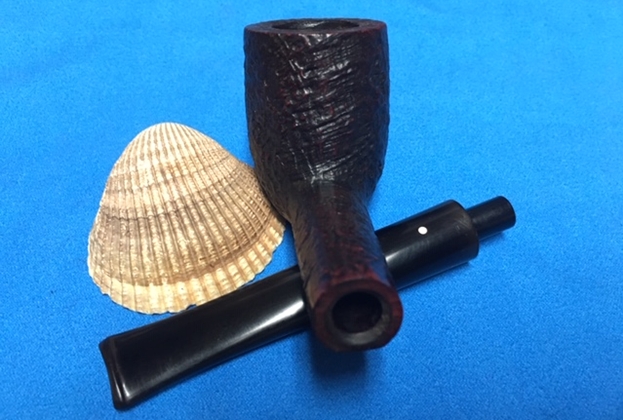
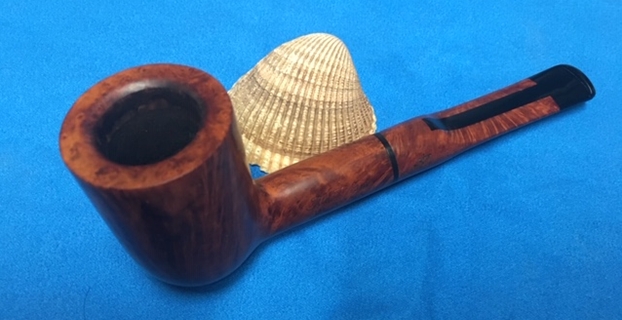
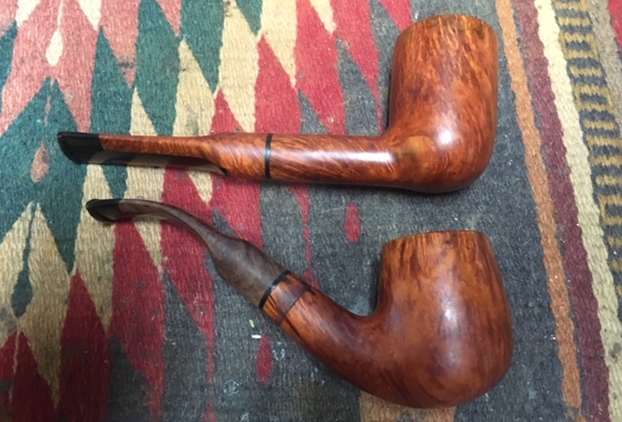
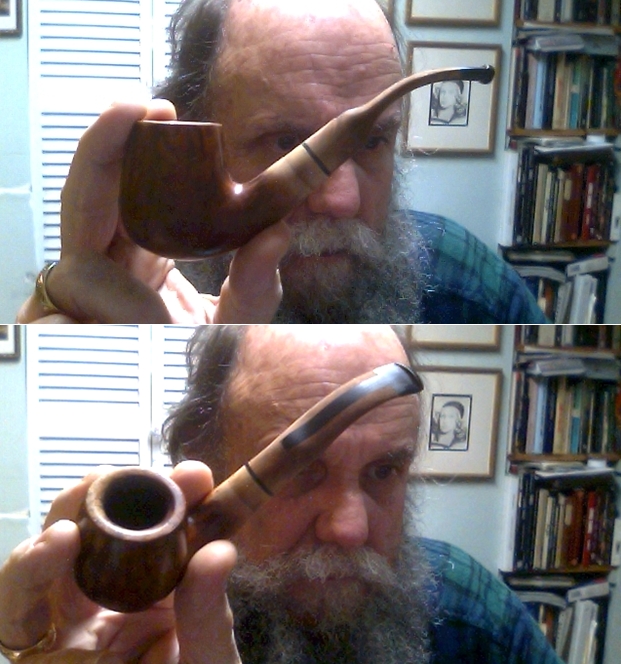
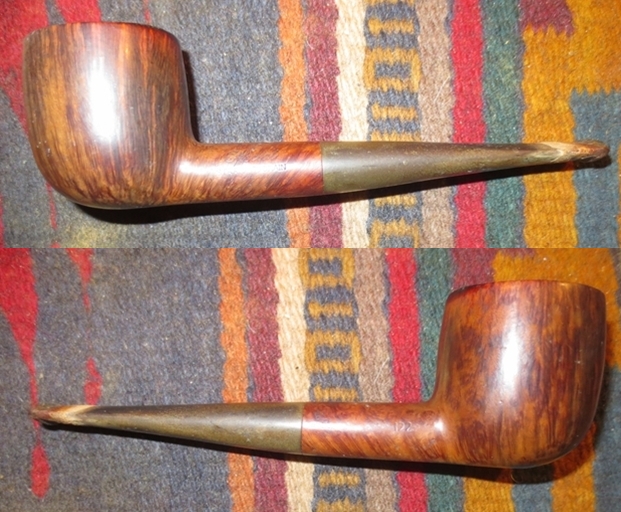
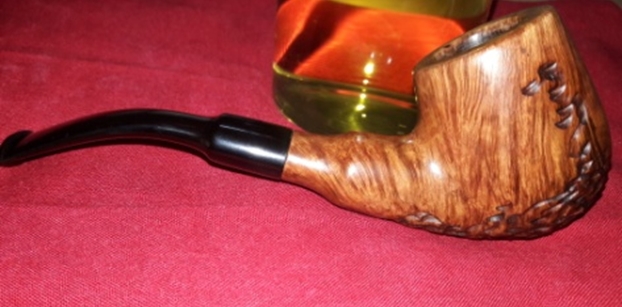
I shall be honest with you; I love vintage English made pipes! I love vintage British bikes and own a couple; I love vintage British fountain pens and have a decent collection of the same. It is something about the simplicity yet unique British craftsmanship, robustness and reliability factor of British made products that I find most appealing. However, after having worked on a number of pipes made by various pipe carvers from USA like Tracy Mincer, Custom-Bilts, Kaywoodies, John Bessai etc, I realize that American pipe carvers are artistic, technologically inventive and the pipes they made are robust, life lasting with a nice feel and heft and of very high quality. Am I gravitating towards American pipes? May be……. The next pipe on my work table is a 22 years old and completely handmade freehand full bent billiard made by an iconic pipe maker from Pennsylvania, USA. Yes, I am working on a pipe made by J M Boswell from the year 1996.
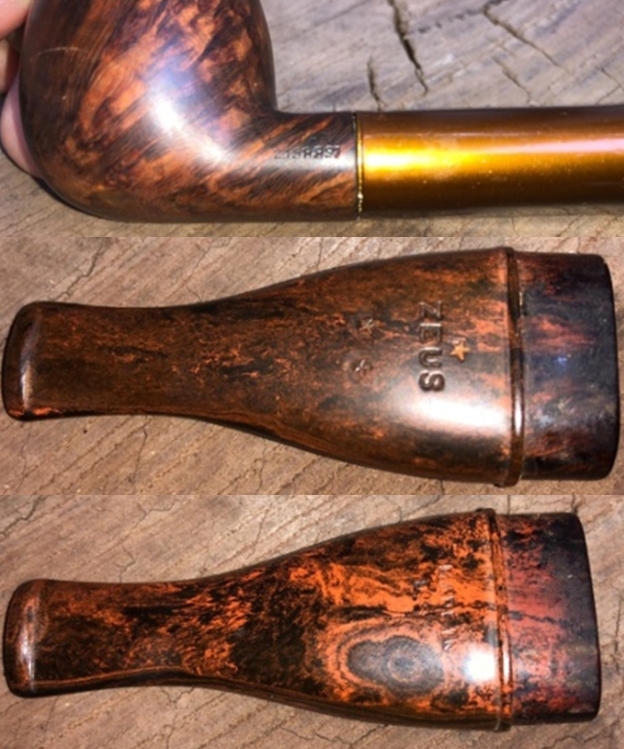
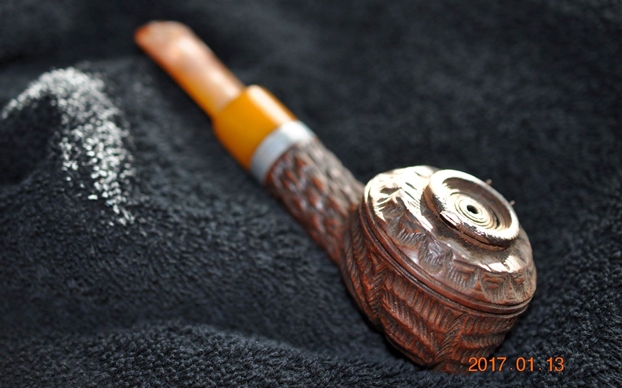
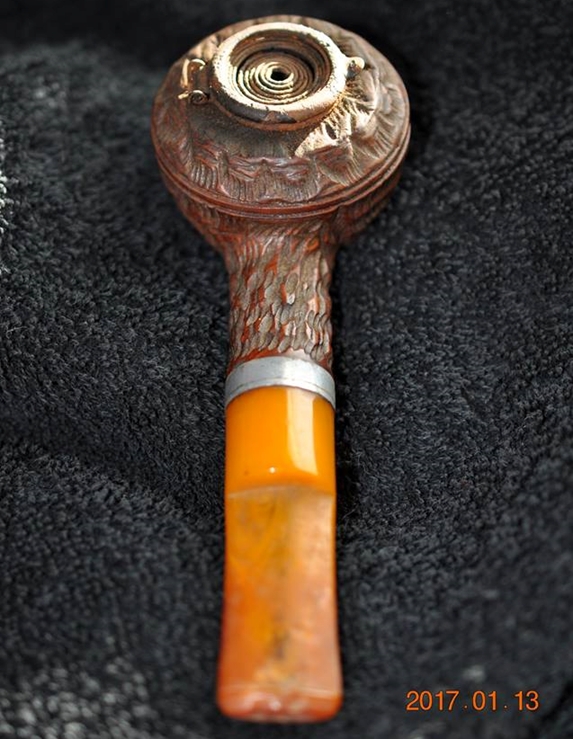
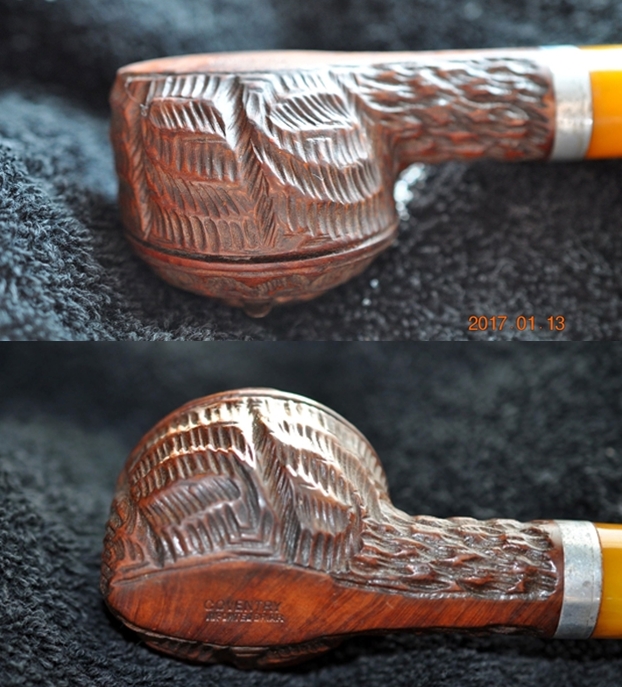
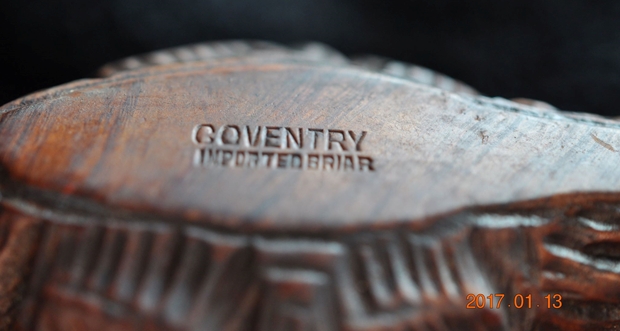
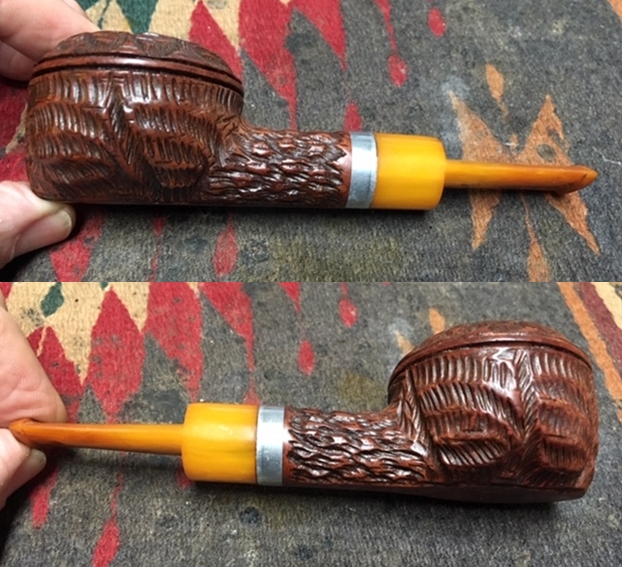
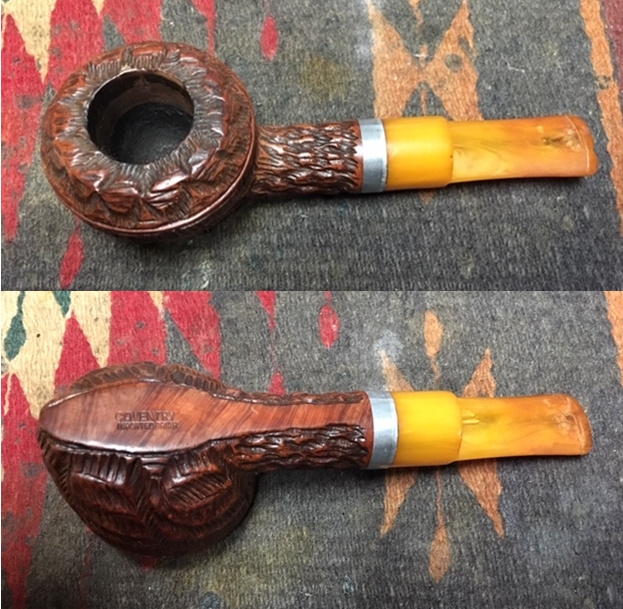
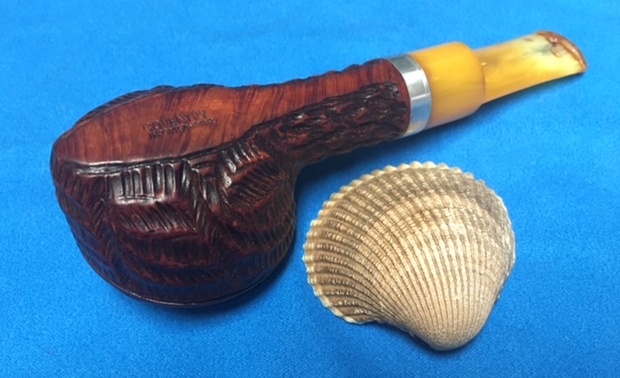
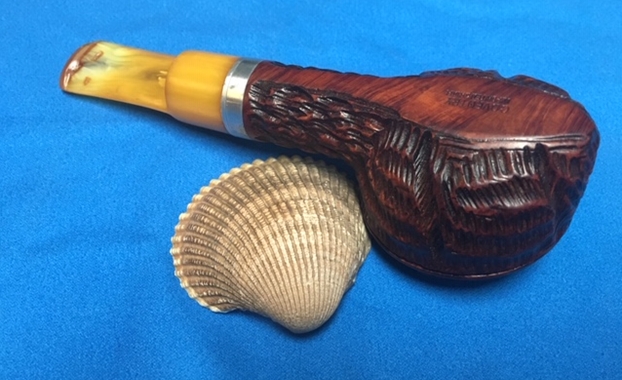
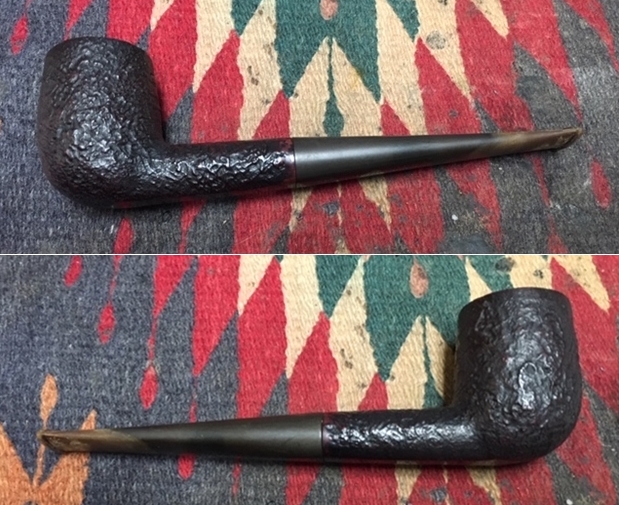
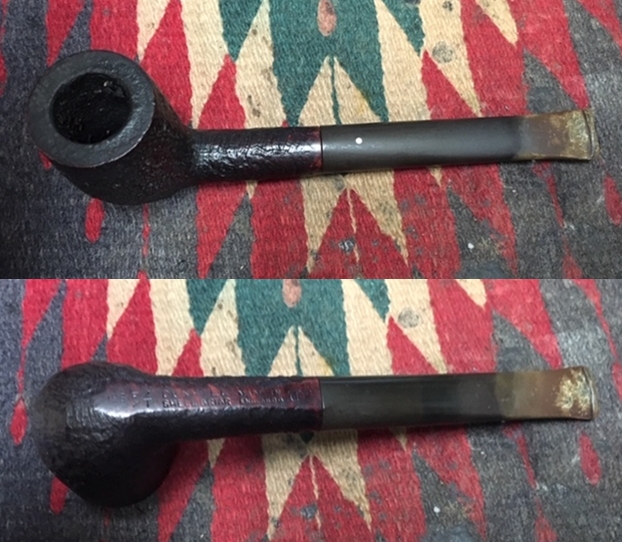
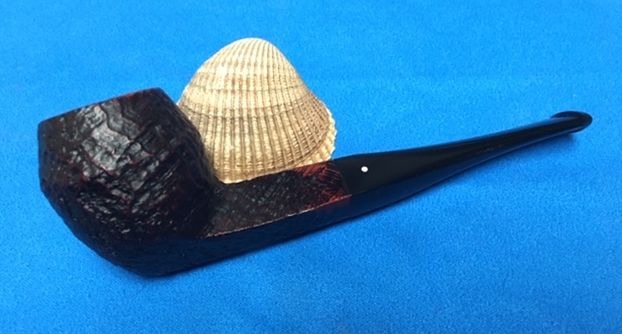
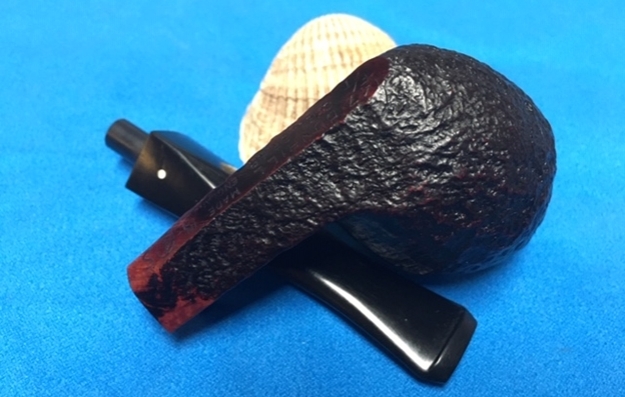
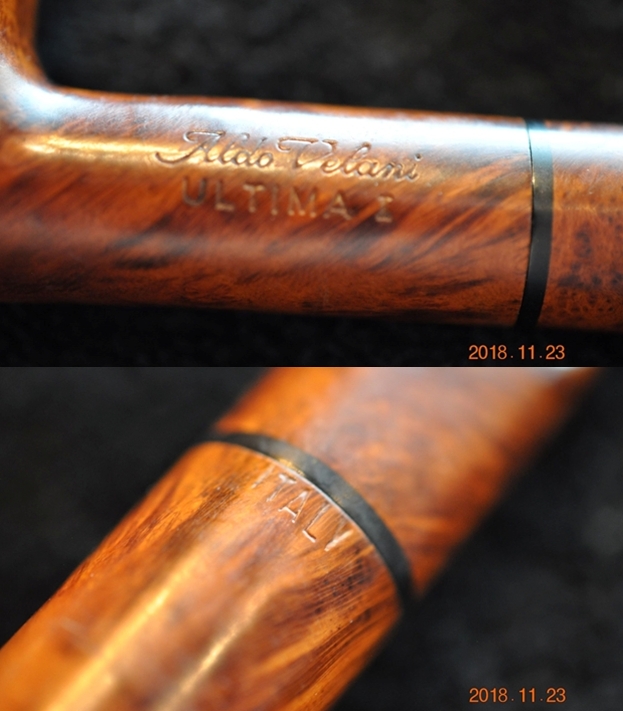
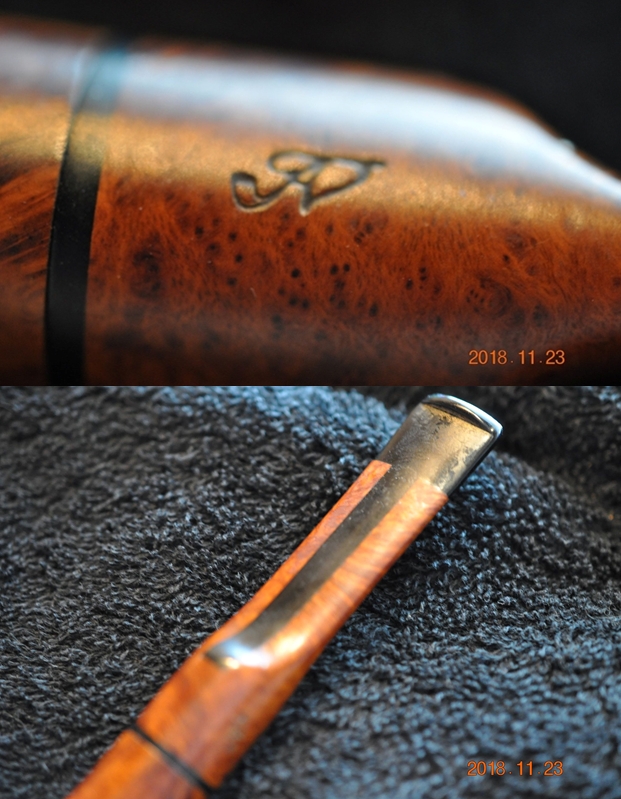
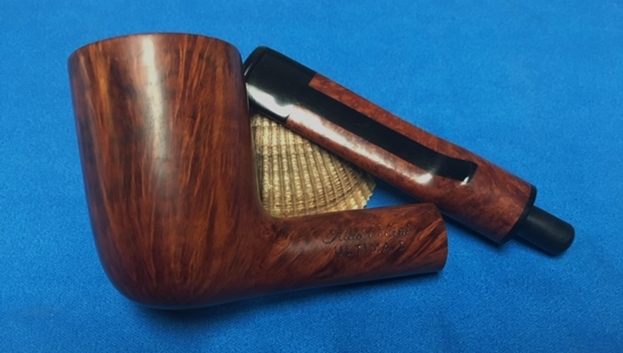
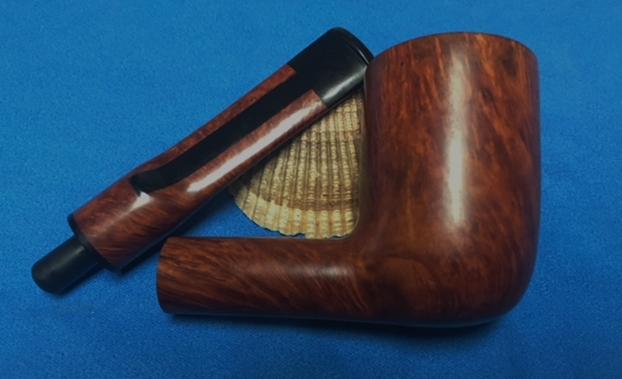
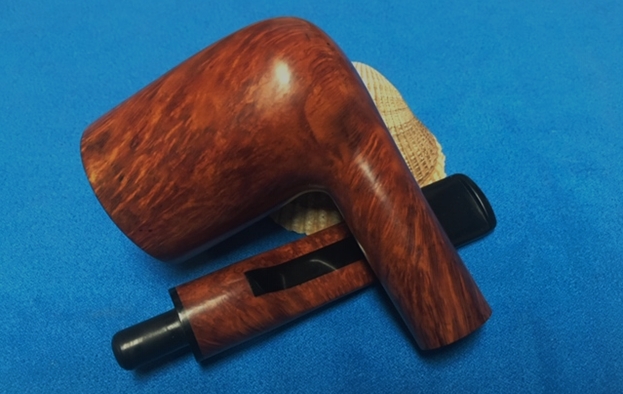
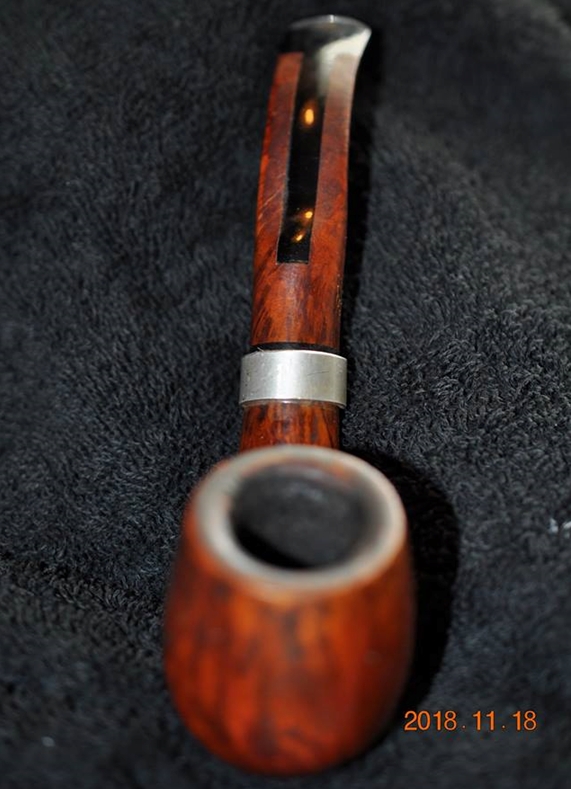
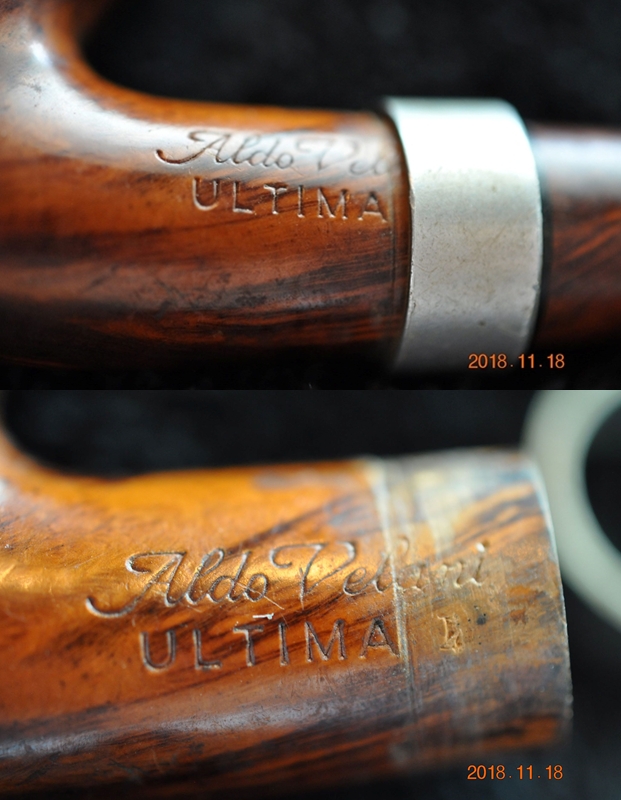
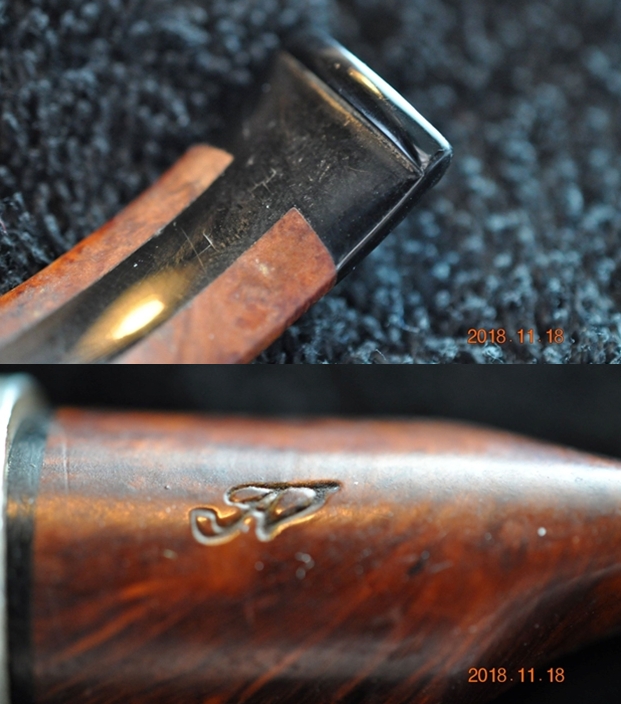
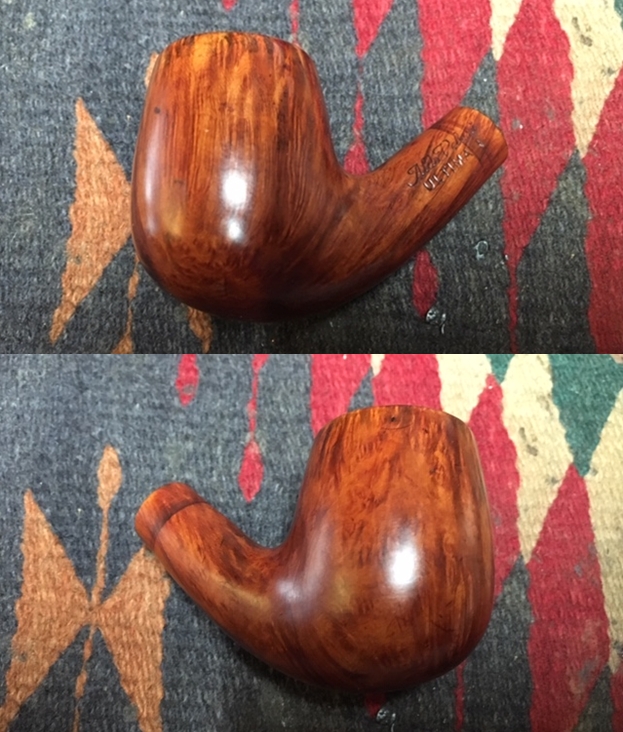
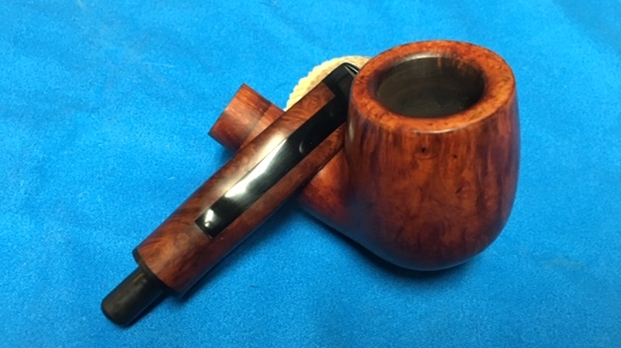
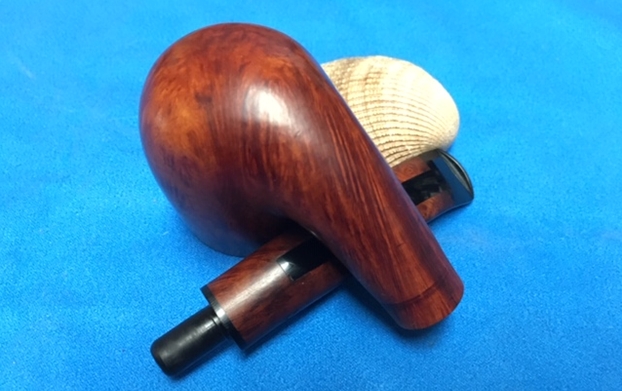
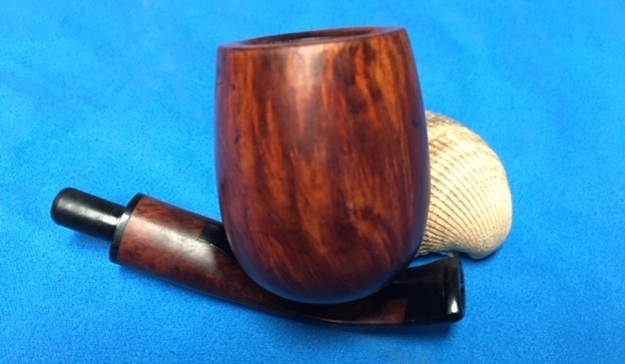
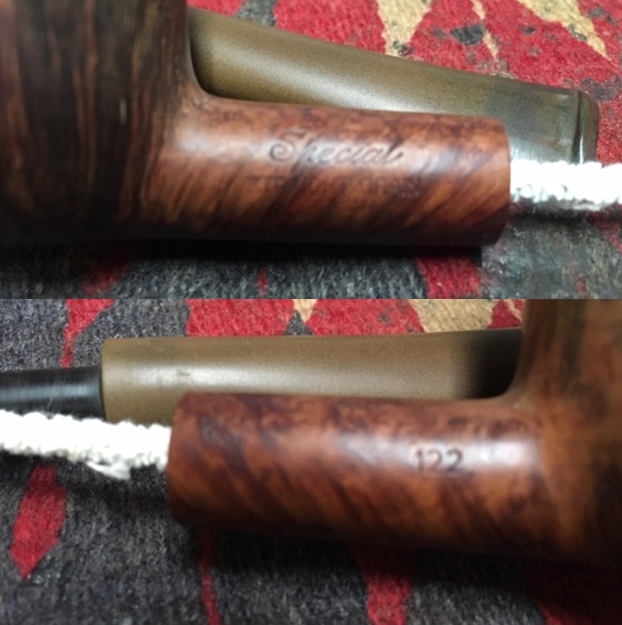
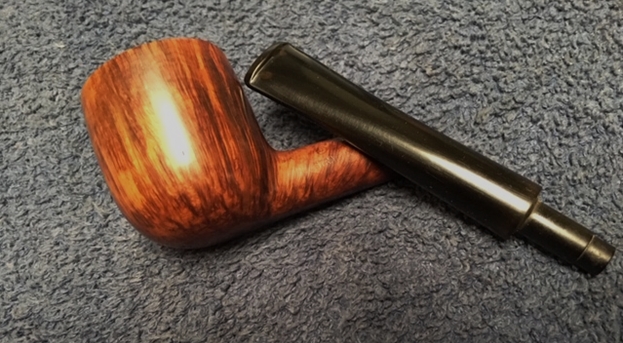
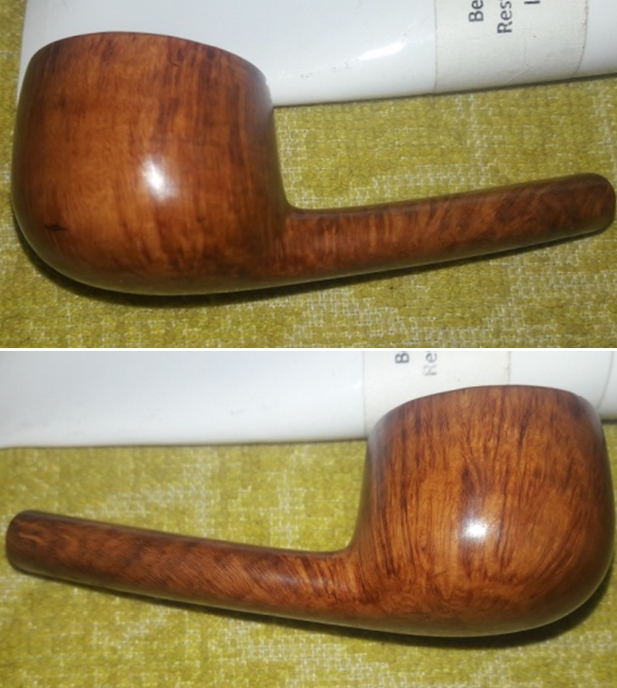
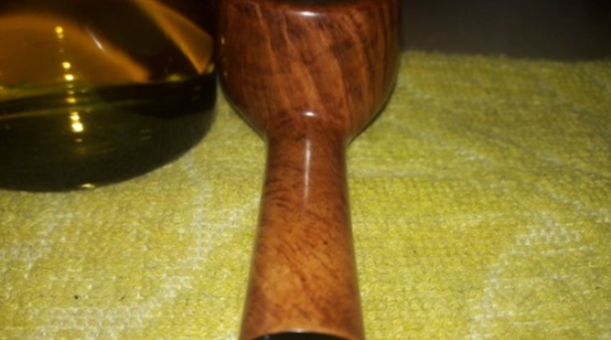
This is a large sized full bent billiard freehand pipe with a nice heft and hand feel. The shape of the pipe is unique in that the proportionate shank has a sudden taper towards the shank end and this size is carried forward on to the saddle of the stem, tapering a bit along the stem before flaring out at the stem end. Wow!!!! That was one hell of a description which has left me exhausted and brain drained!!!! The stamping on the left side of the shank was clear and readable. It read “Boswell” in script signature over “96 USA”. The pipe was made in 1996.The saddle stem bears no stampings. I was keen to know more about J M Boswell the carver, his pipe making techniques and philosophy. I searched rebornpipes.com and sure enough, Mr. Steve has worked on a Boswell before!!! As is his habit, he has thoroughly researched this carver and has included valuable information in his write up. Therefore, instead of reinventing the wheel, here is the link to this write up for detailed information; (https://rebornpipes.com/2017/07/19/refurbishing-a-boswell-2003-spiral-twist-bent-billiard/). Do give it a read.
Is there not a single brand that this gentleman has not worked on before??? Is there never going to be an opportunity for me to research and contribute one pipe make on rebornpipes??? Well, I have just started on my journey as against his decades of dedicated hard work and as Robert Frost wrote in his poem “……..and miles to go before I sleep”. The quest for excellence and contribution continues!
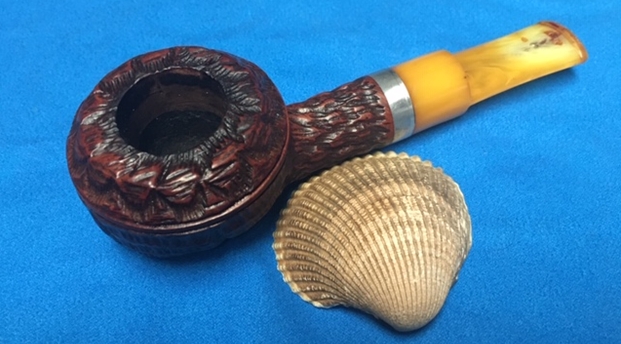
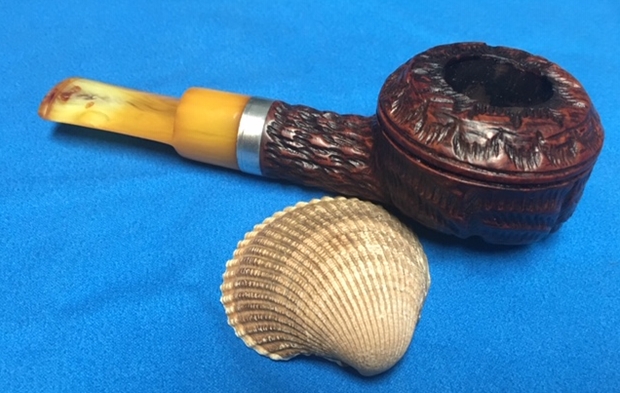
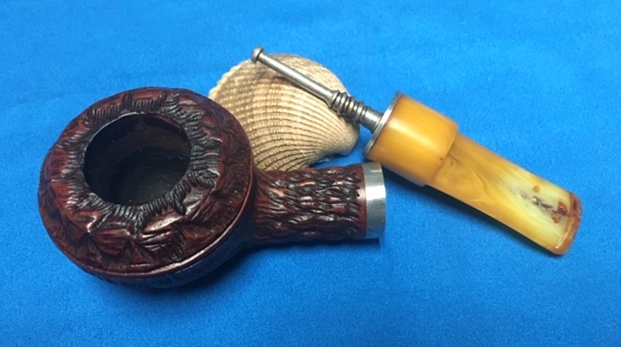
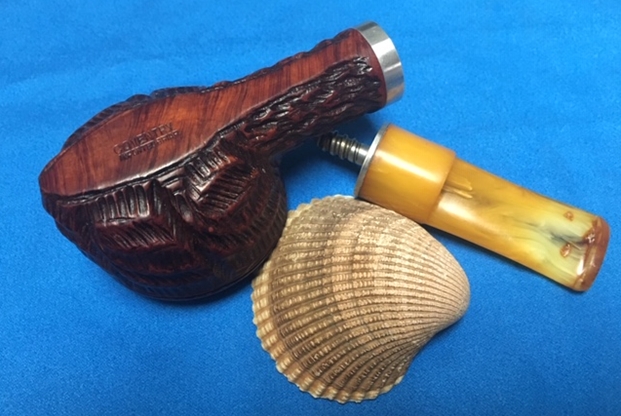
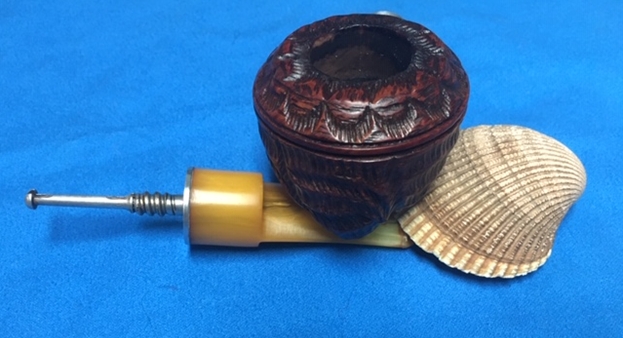
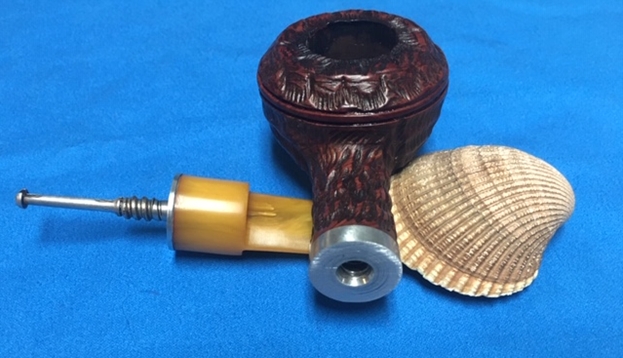
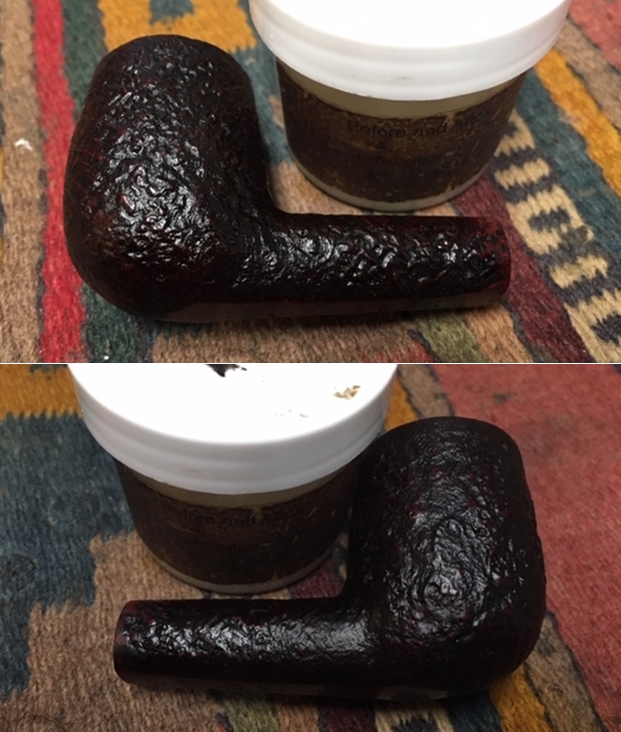
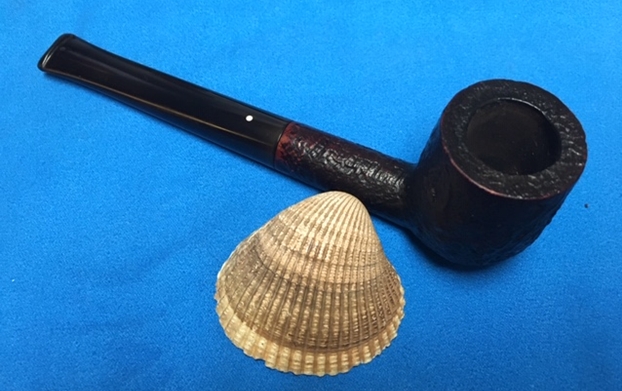
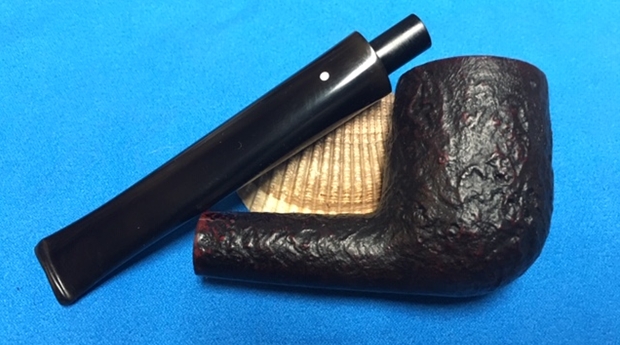
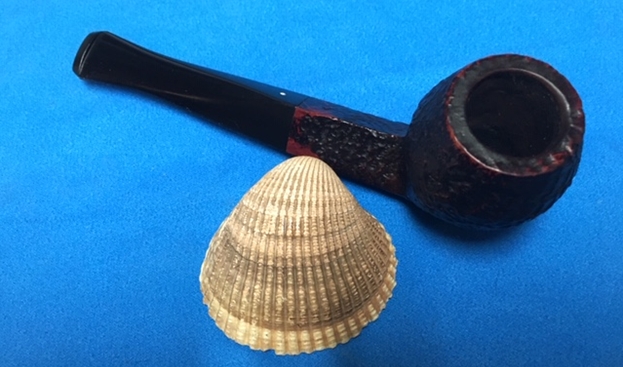
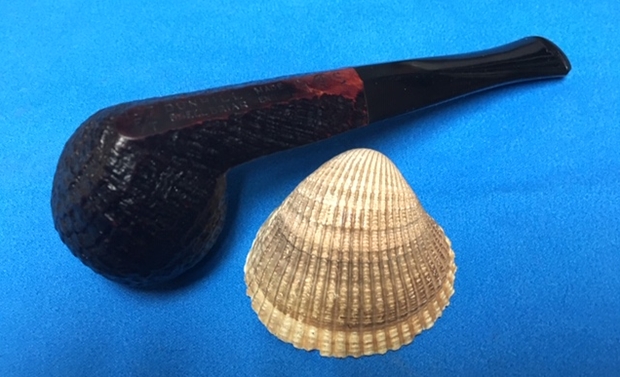
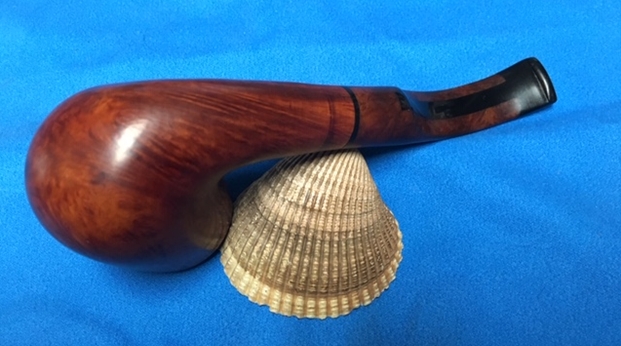
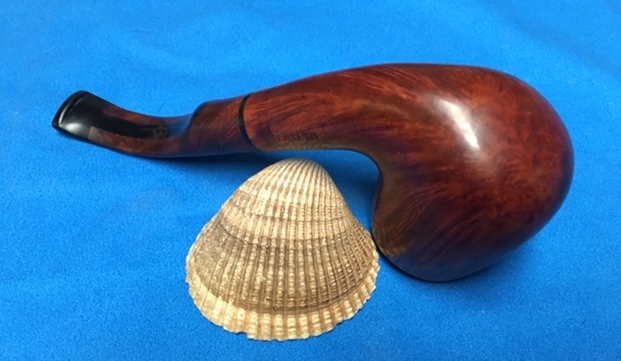
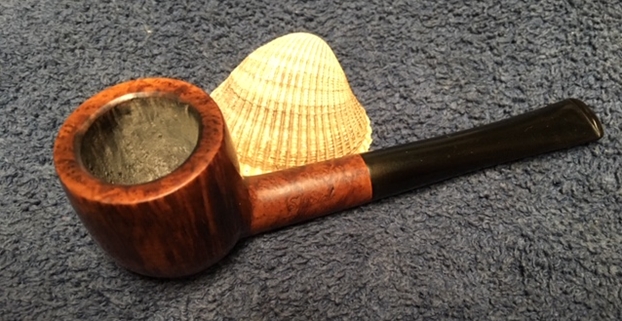
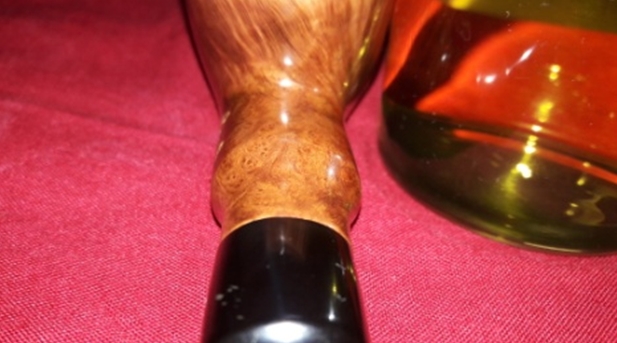
INITIAL VISUAL INSPECTION
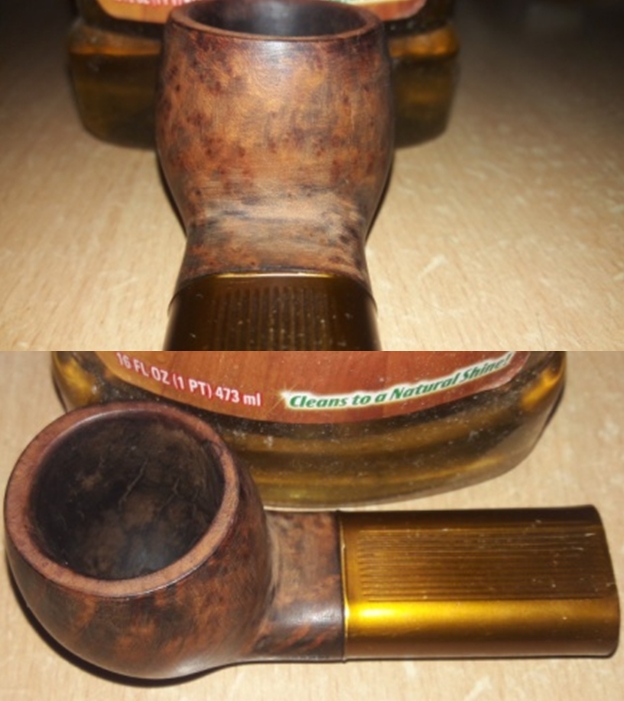
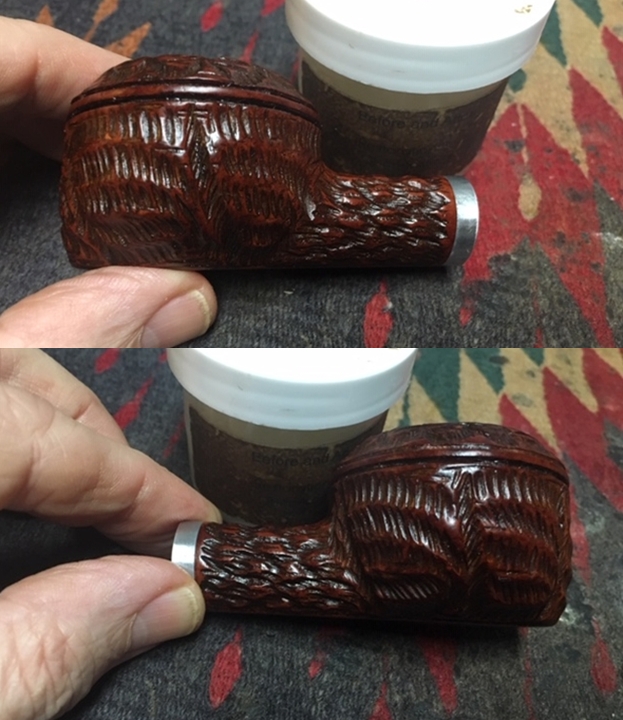
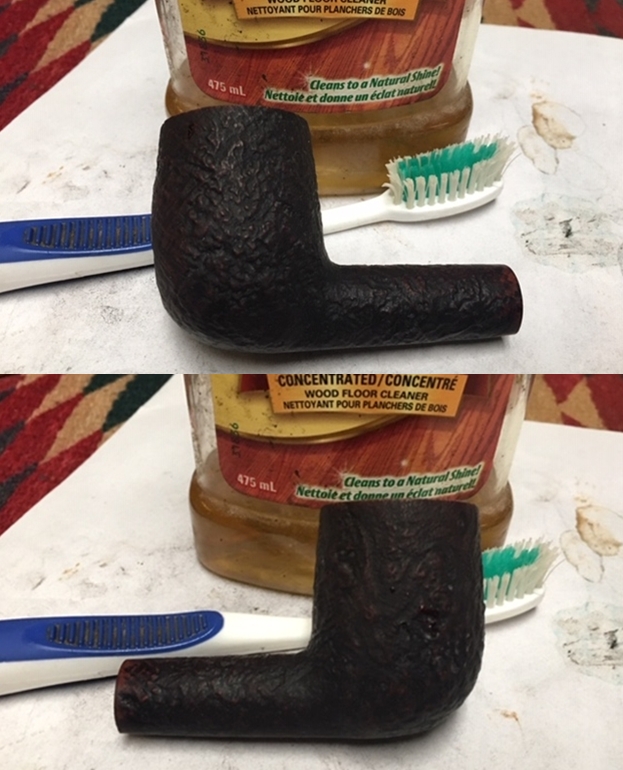
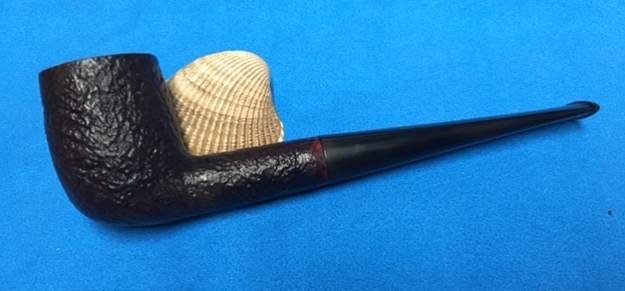
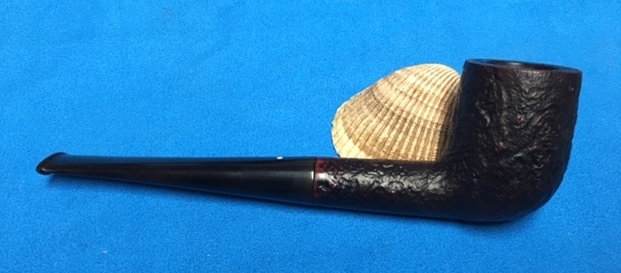
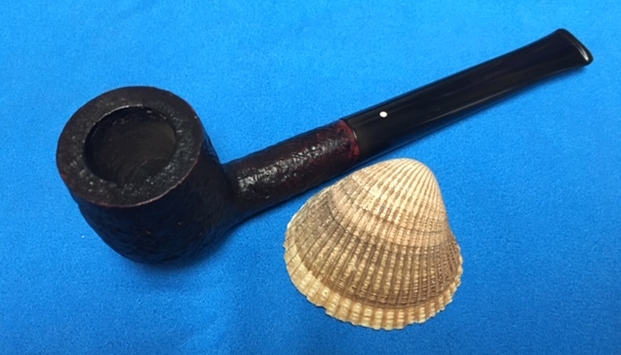
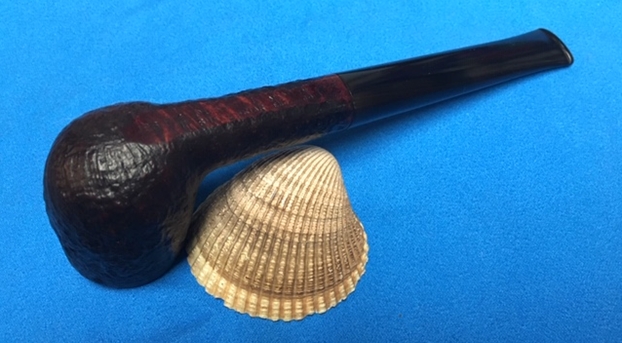
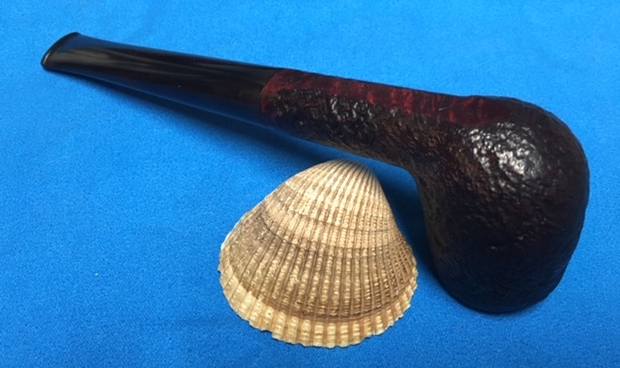
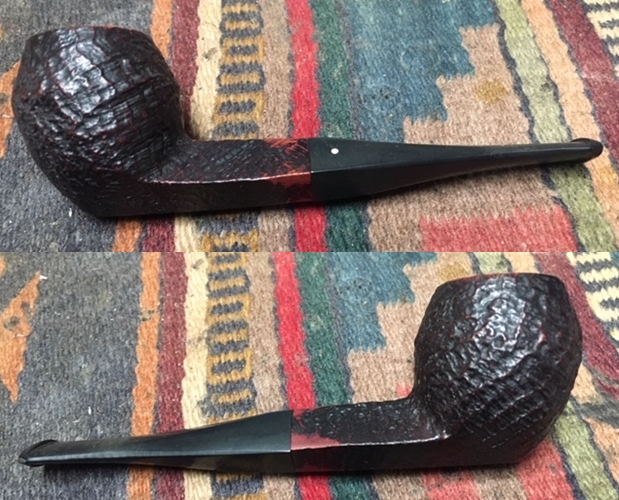
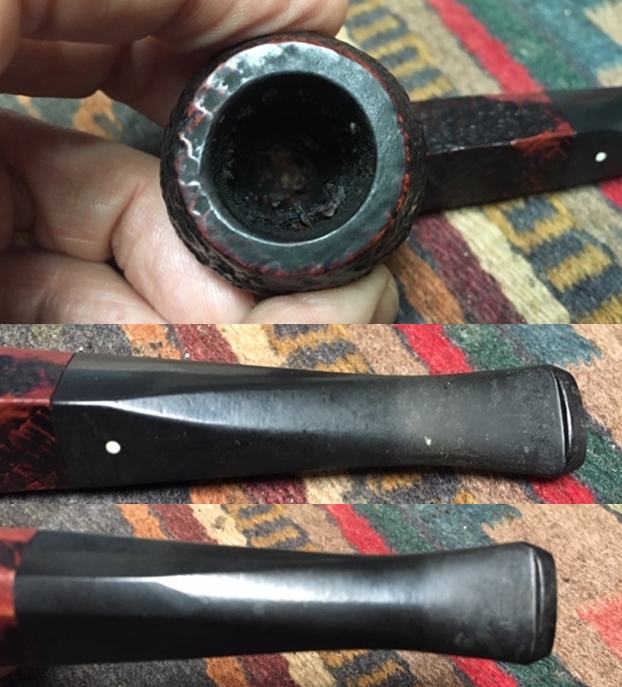
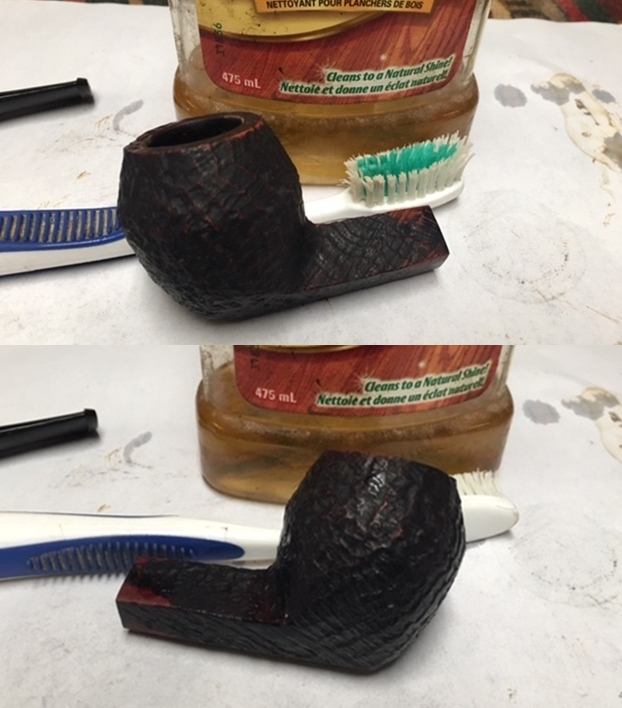
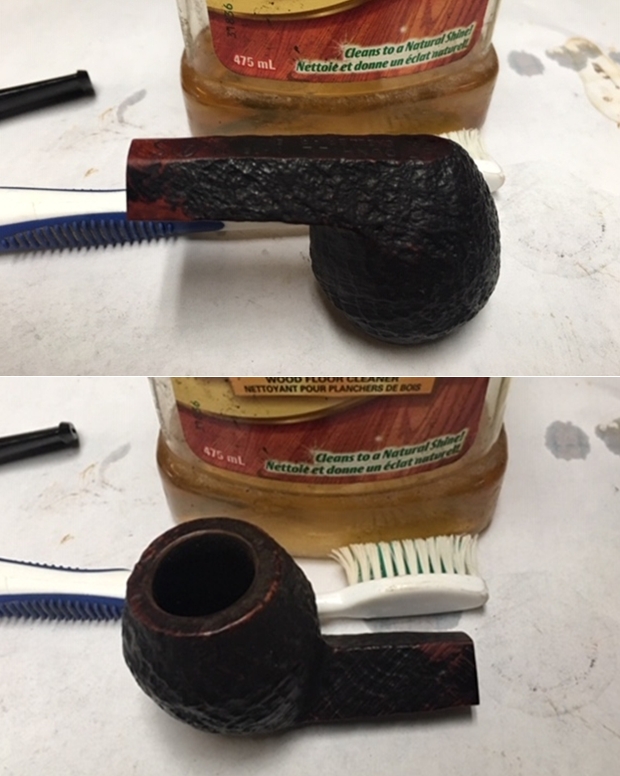
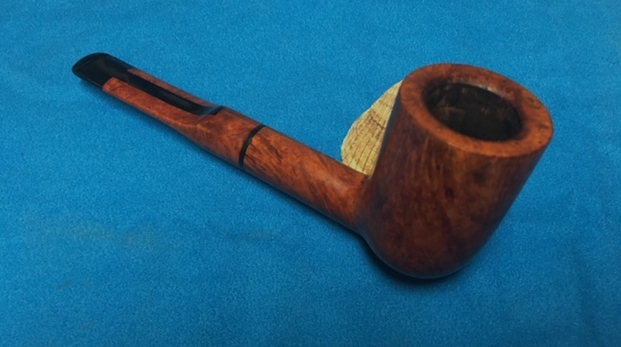
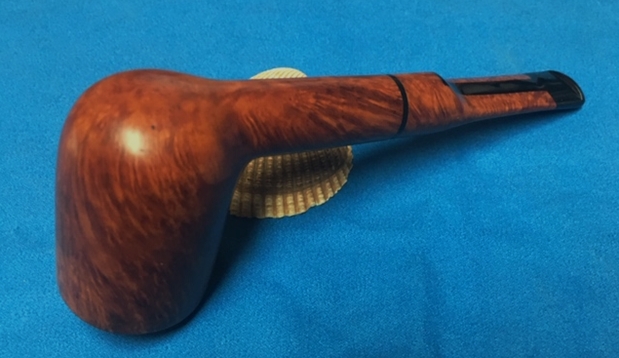
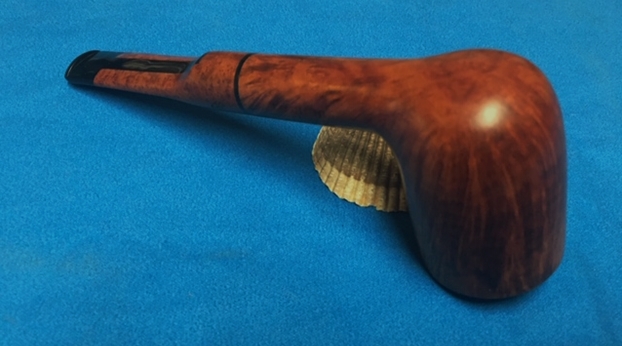
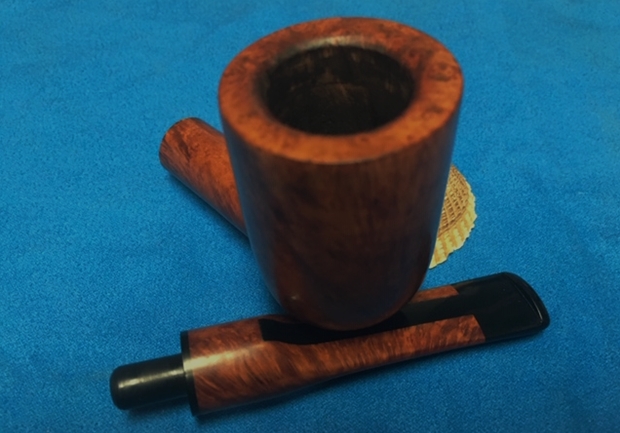
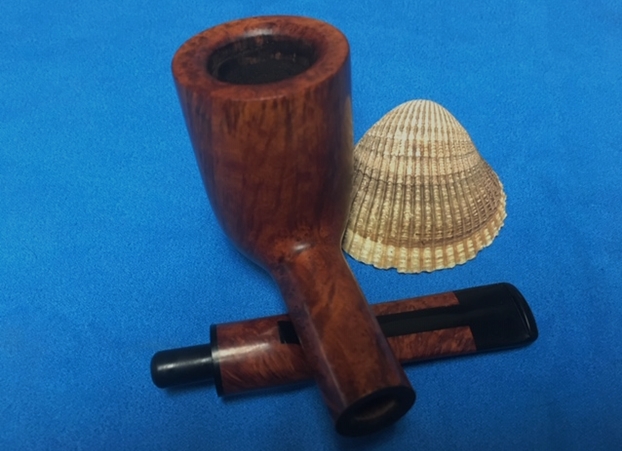
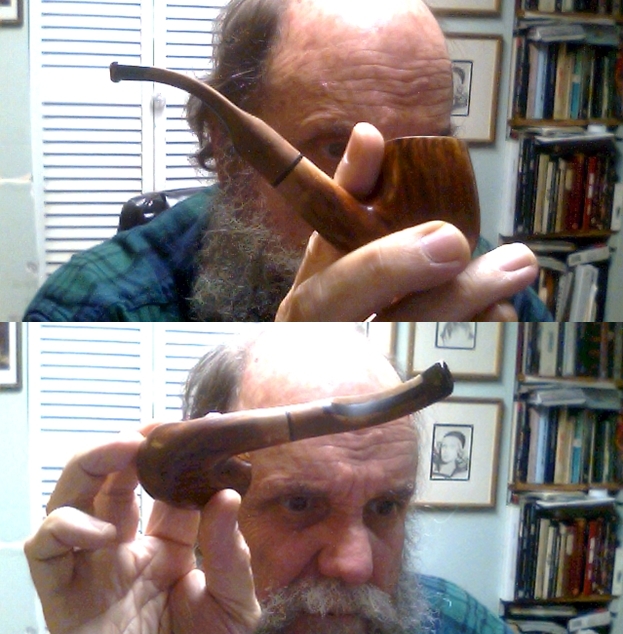
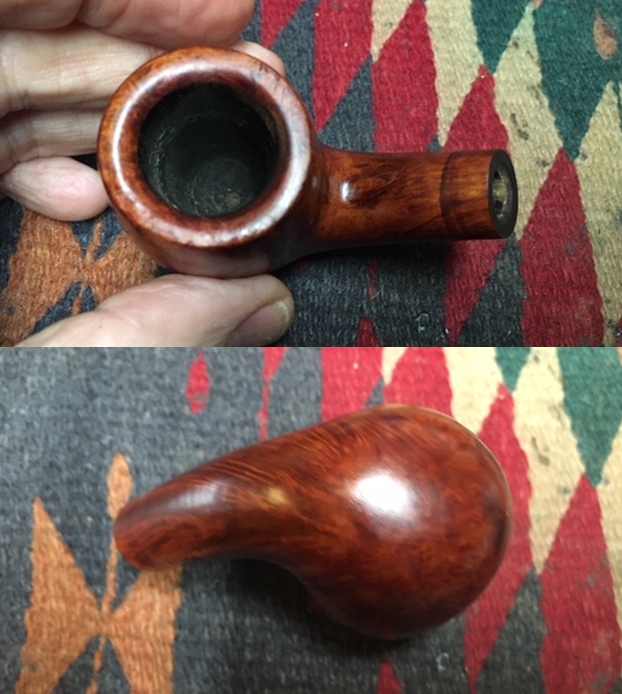
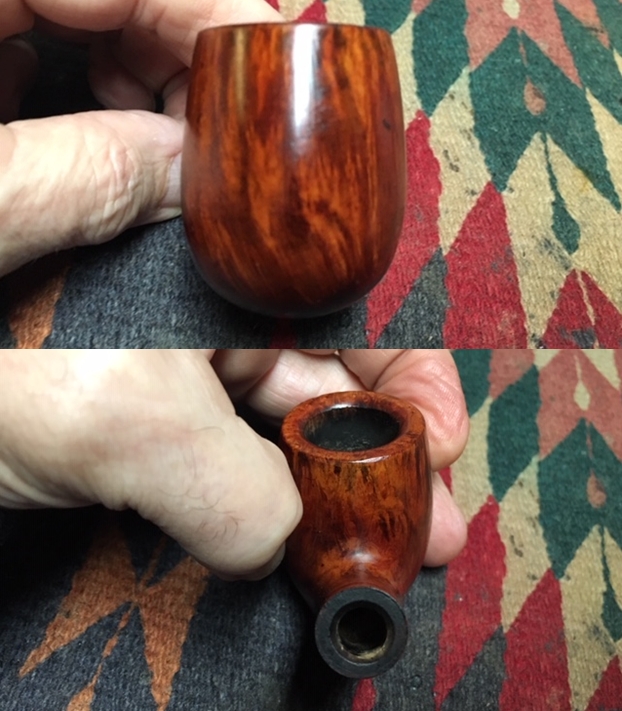
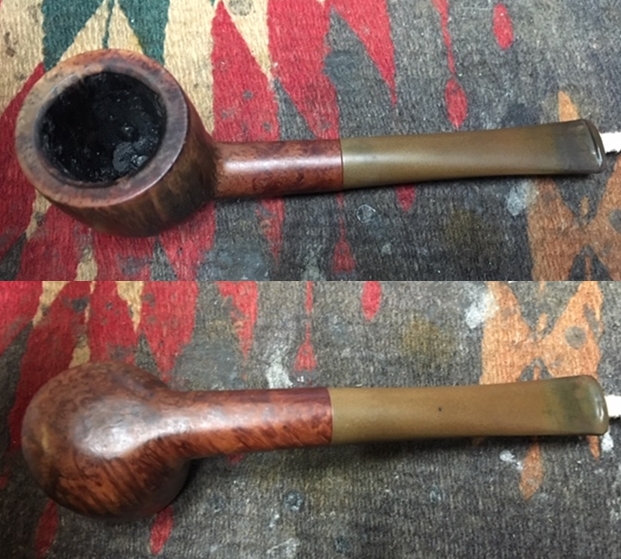
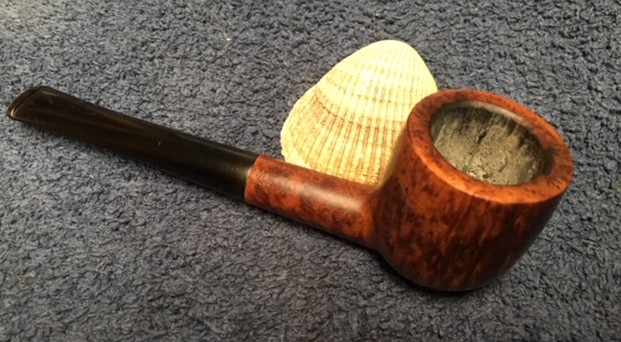
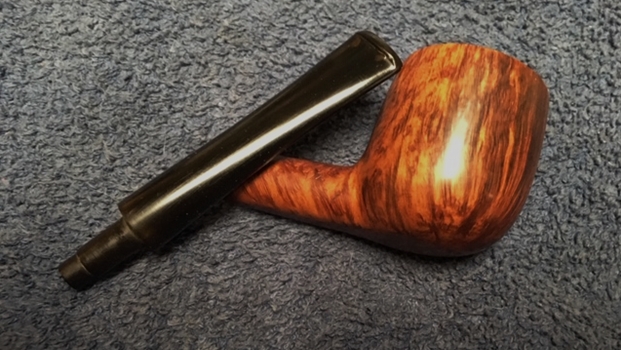
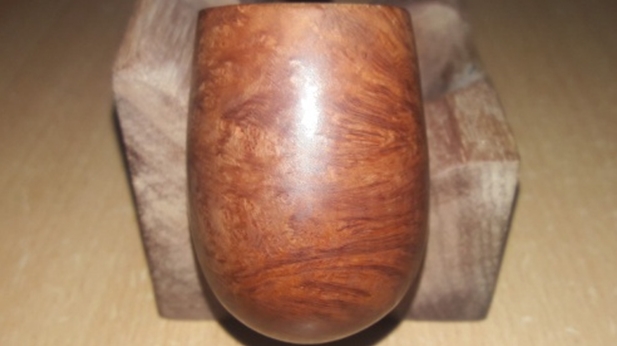
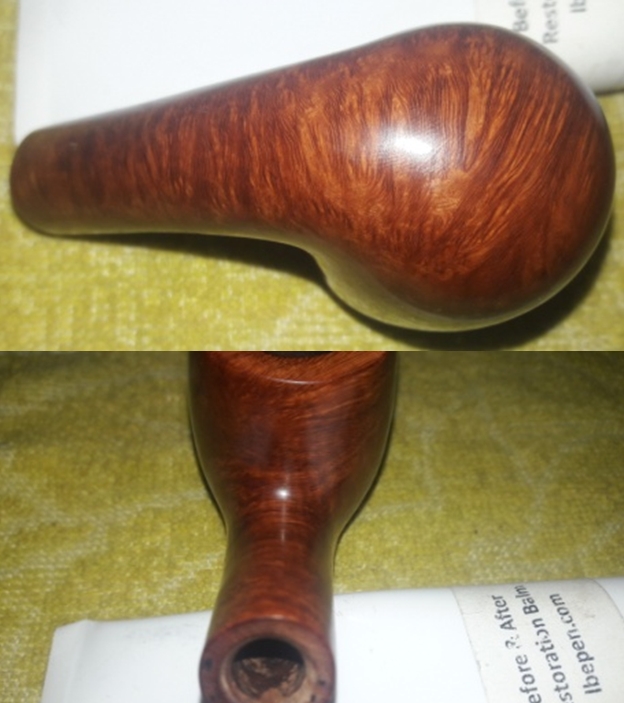
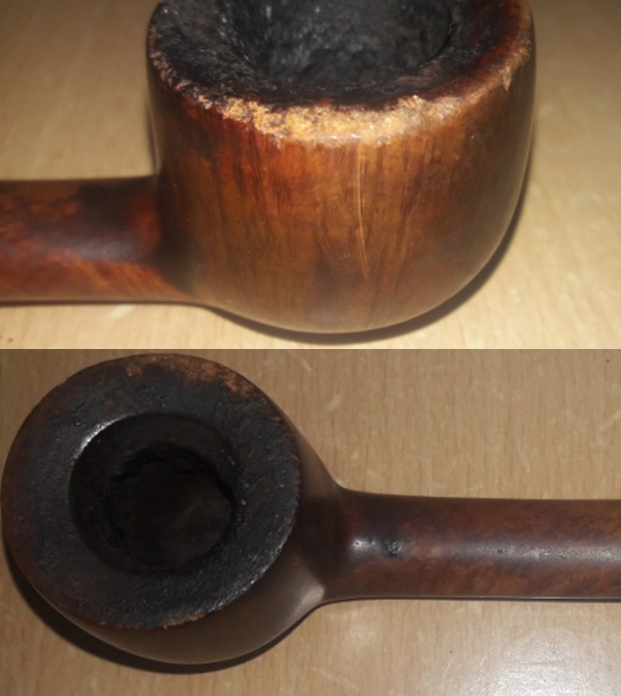
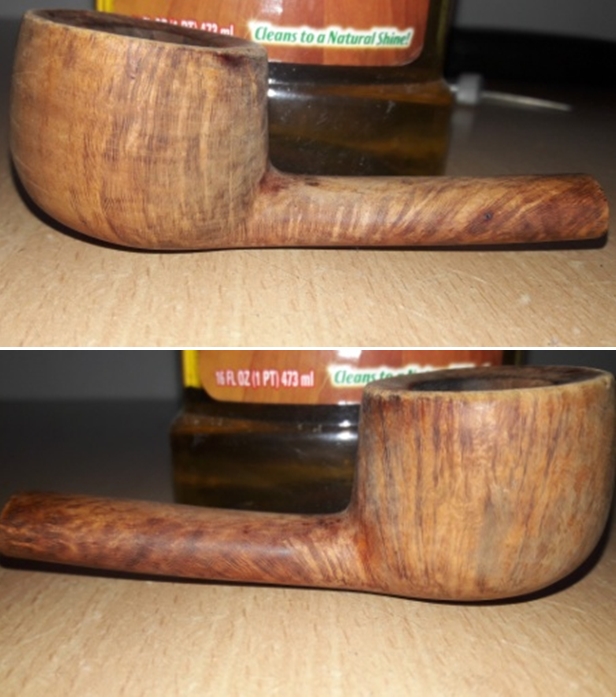
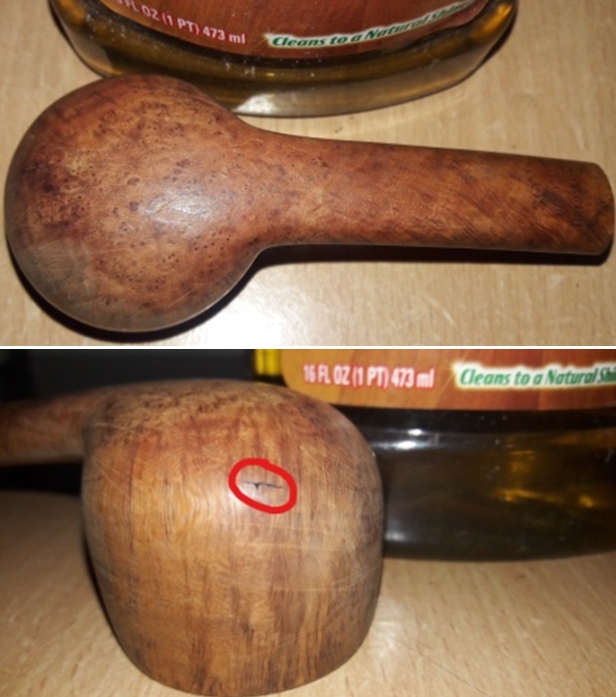
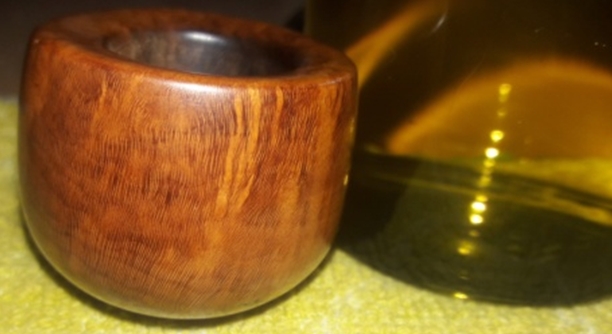
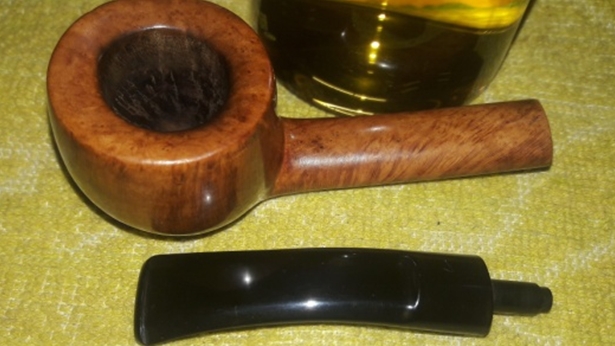
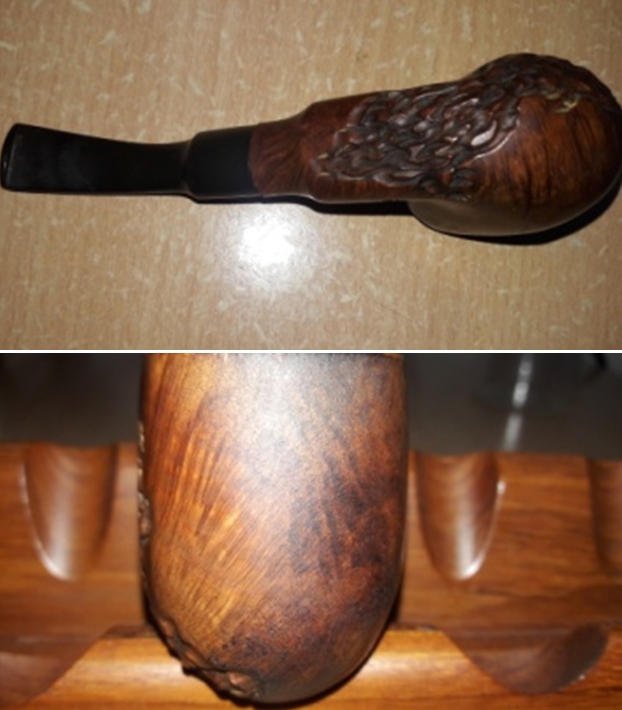
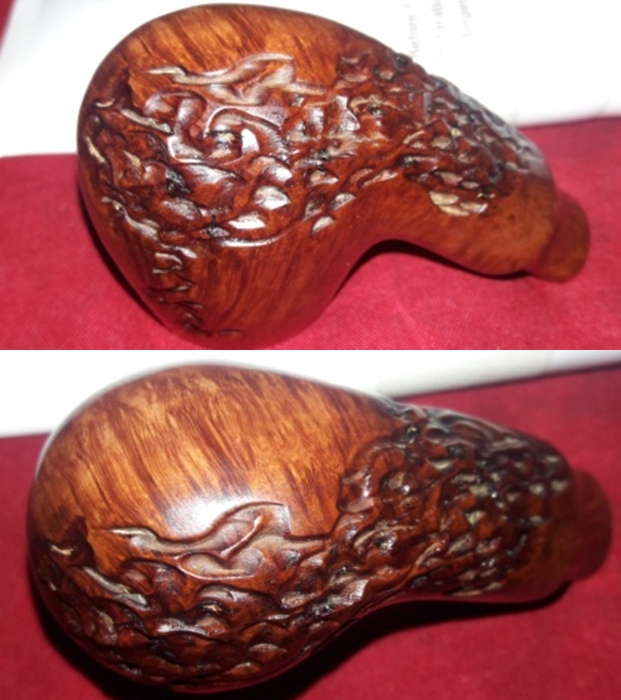
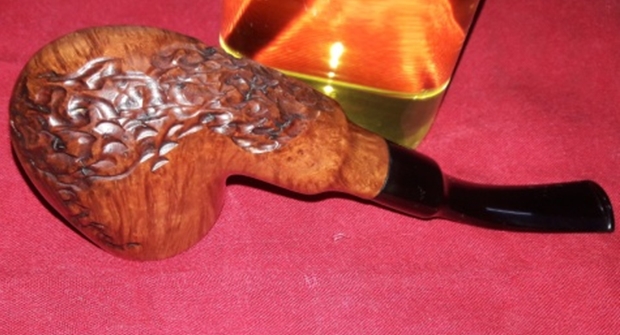
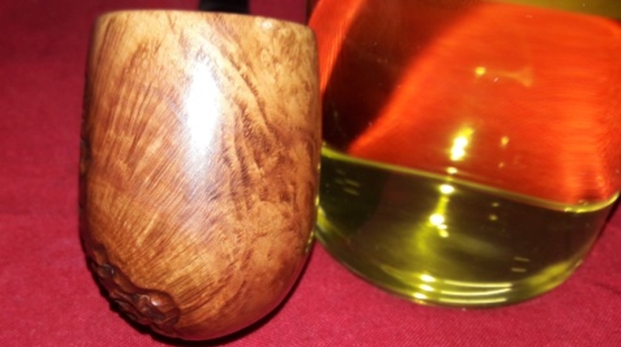
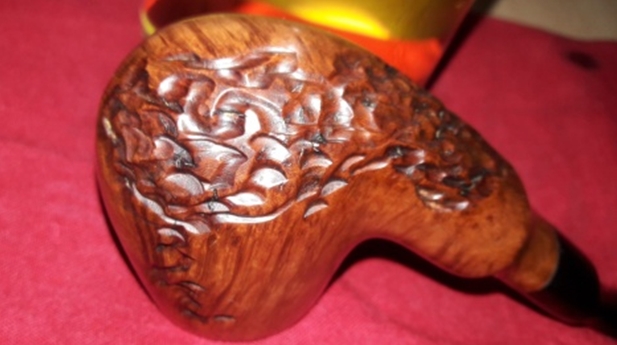
The stummel surface boasts of beautiful straight grains on the right side and most of the front while the left side has lovely swirls of grain interspersed with bird’s eye. The bottom of the shank has unique hand carved rustication which taper towards the right side and extends in a thin and straight line towards the rim on the right side. Lovely bird’s eye can be seen on the top of the shank surface with straight grains on either side of the shank. The stummel is covered in oils, tars and grime from the overflowing lava. The crevices in the rustication are filled with dirt, dust and grime. The briar is dull and lifeless and has taken on a layer of aged patina, through which one can make out the beautiful grains all round. This one should clean up nicely.
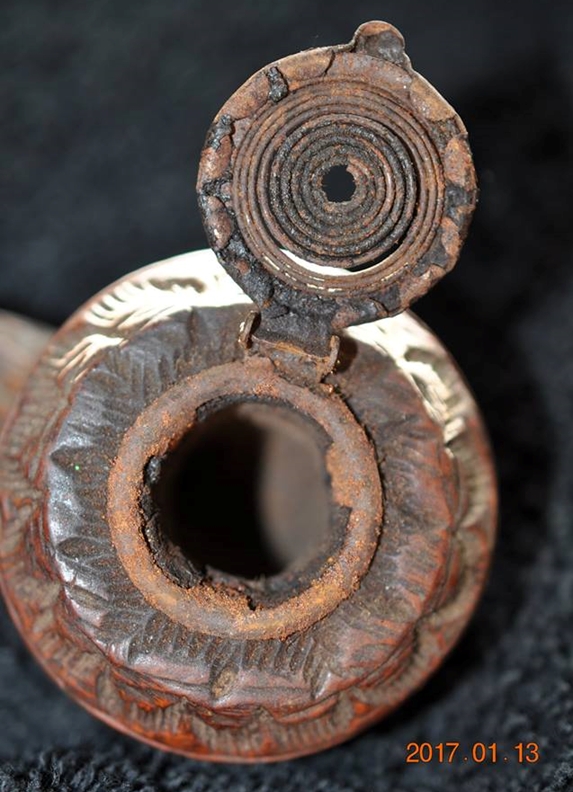
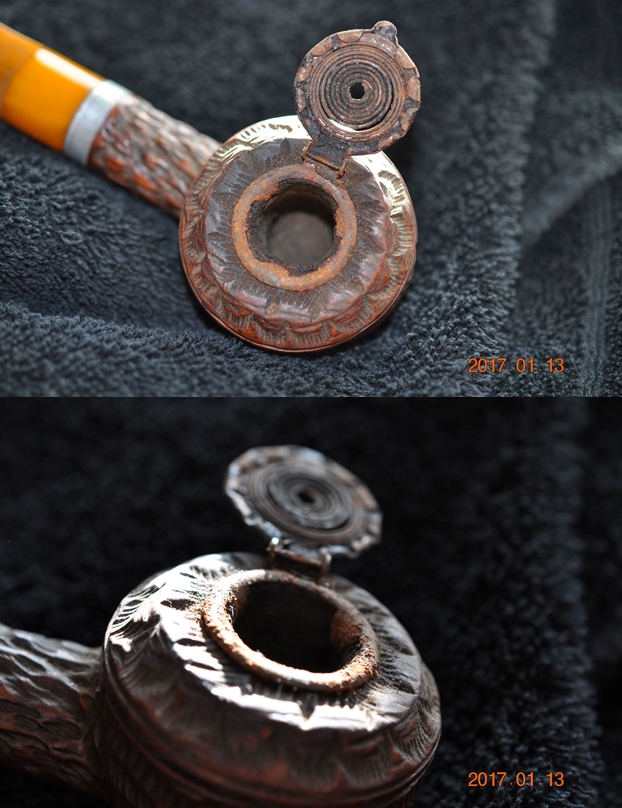
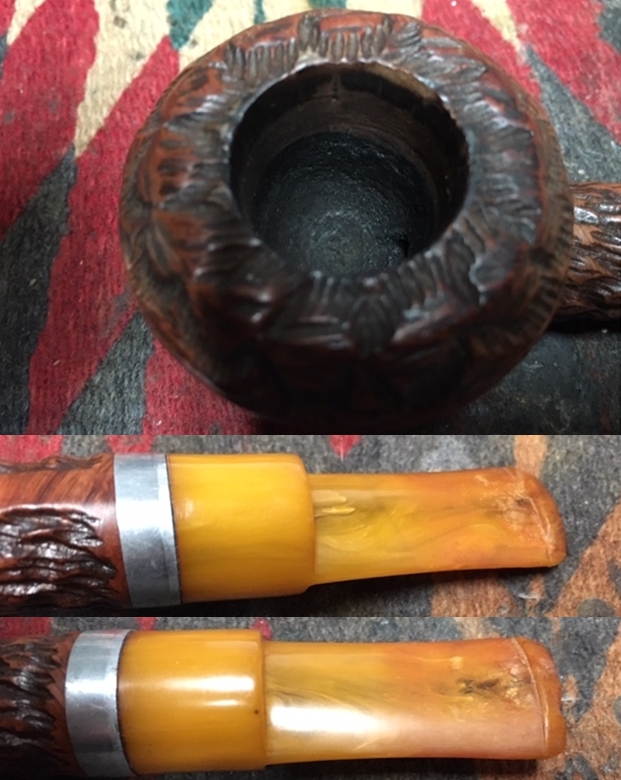
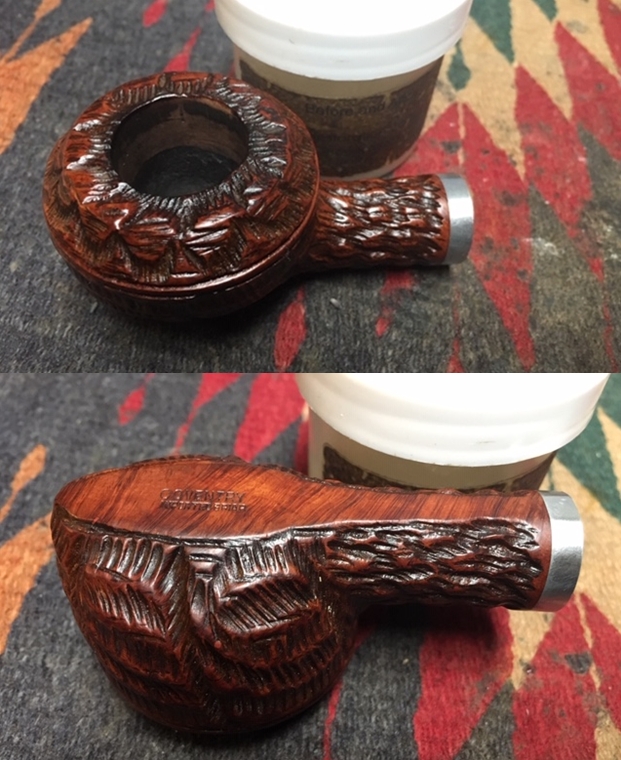
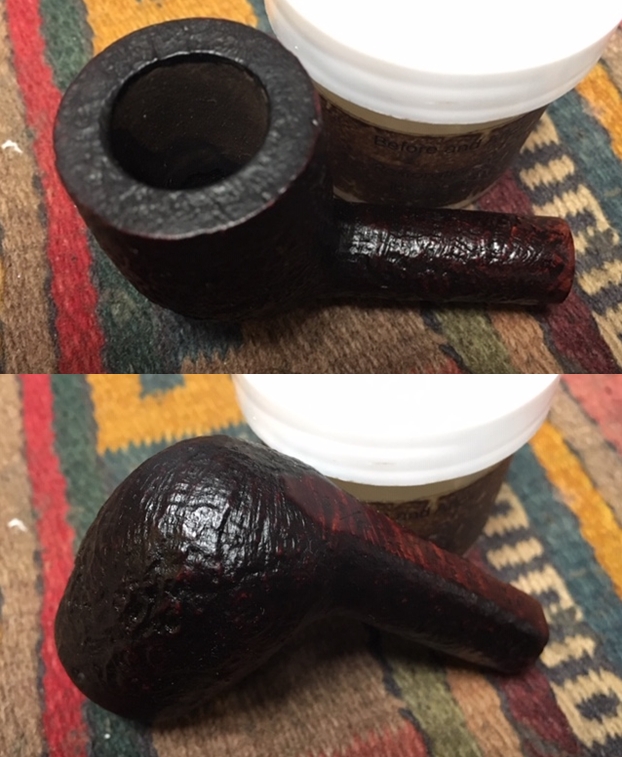
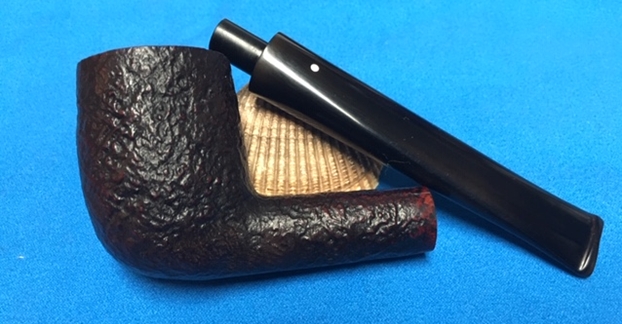
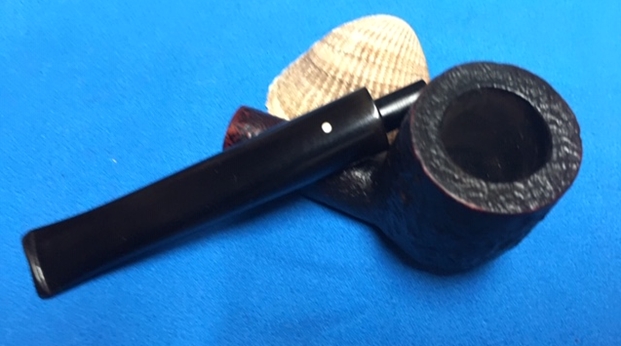
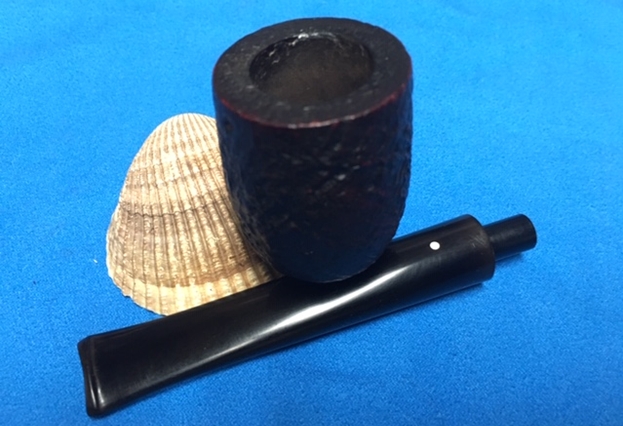
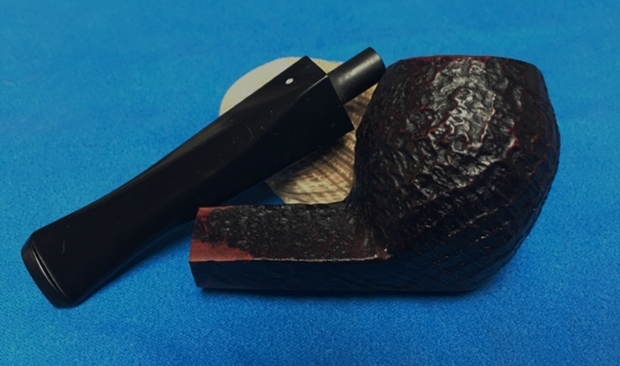
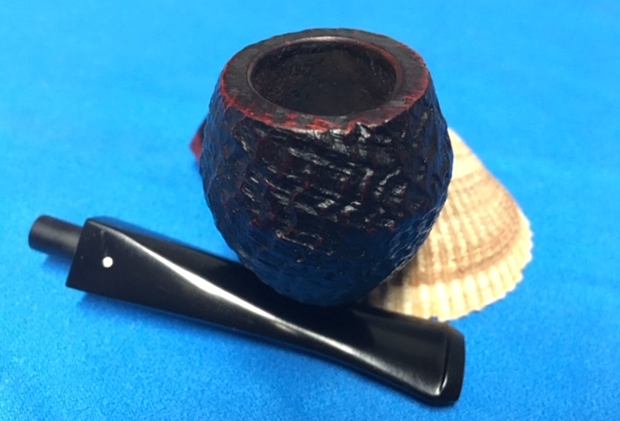
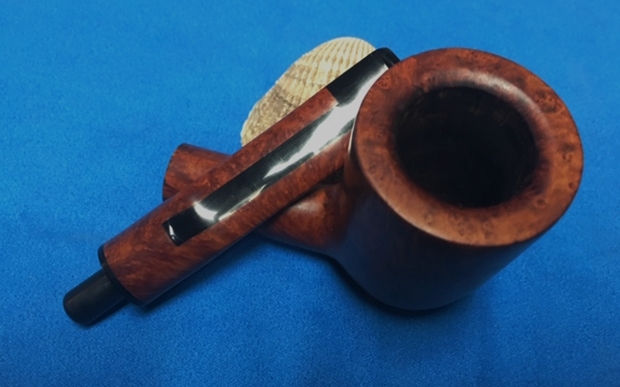
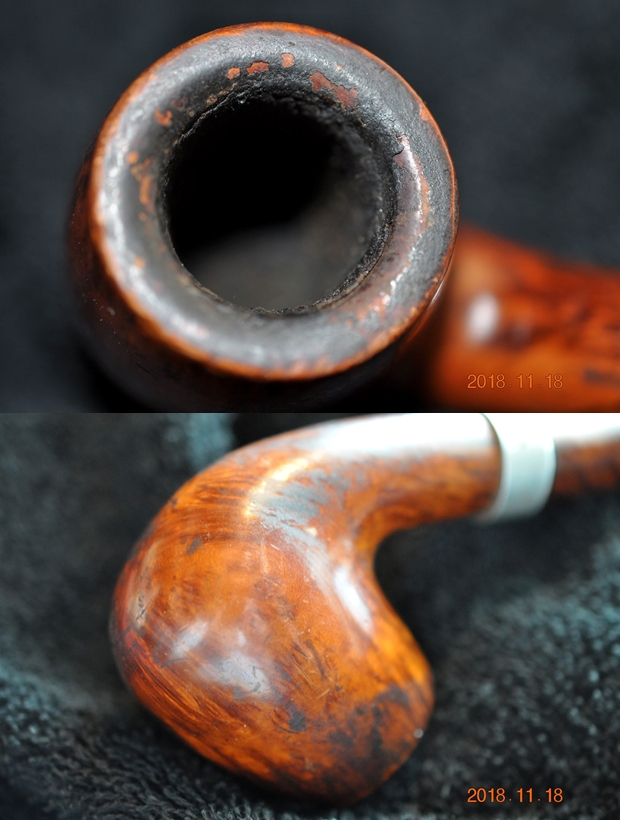
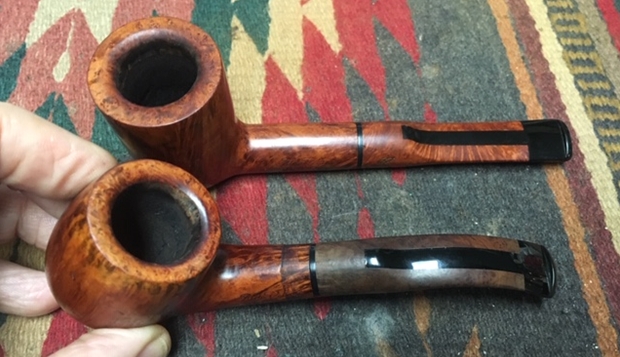
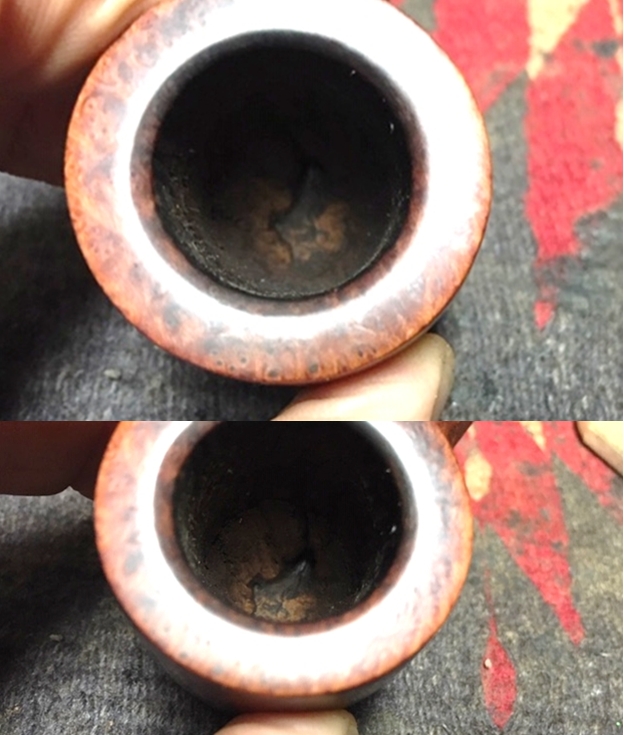
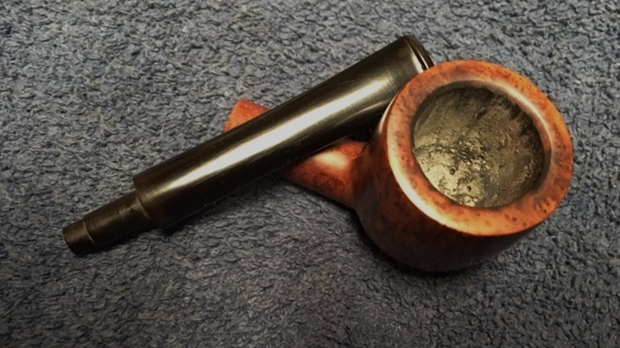
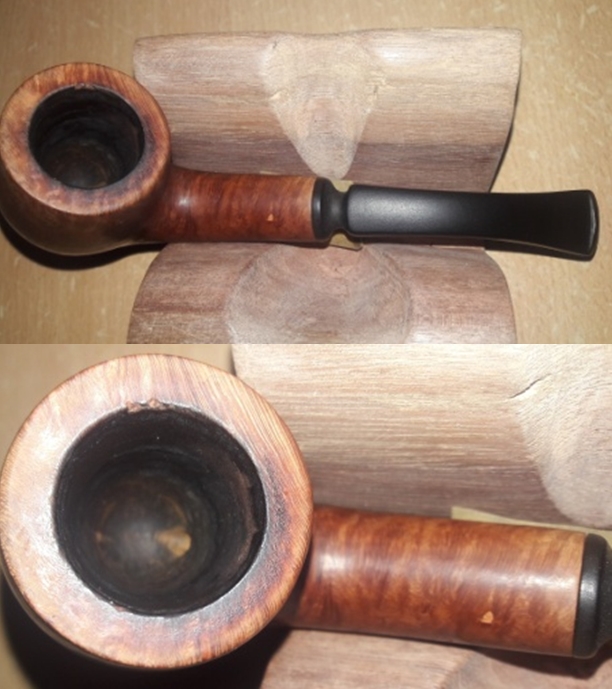
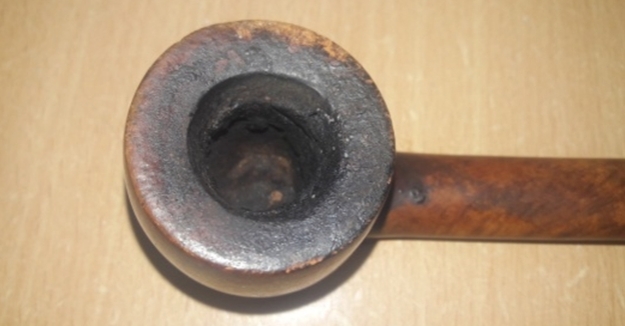
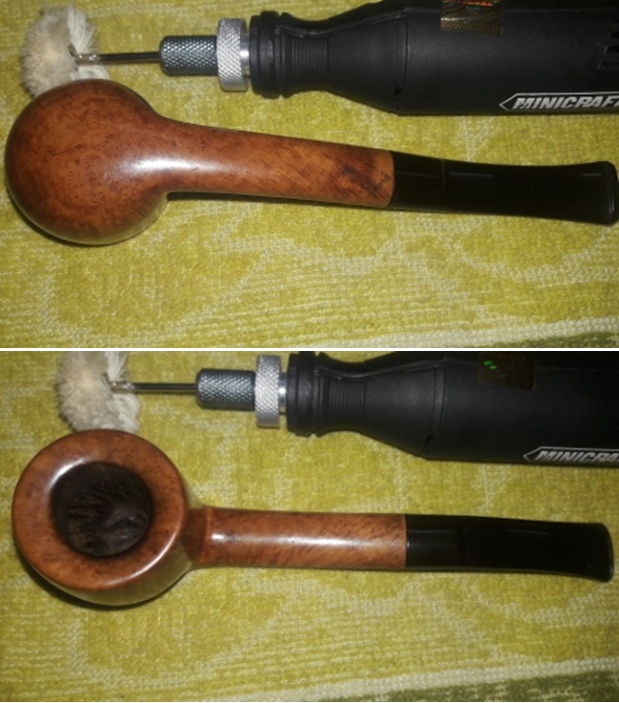
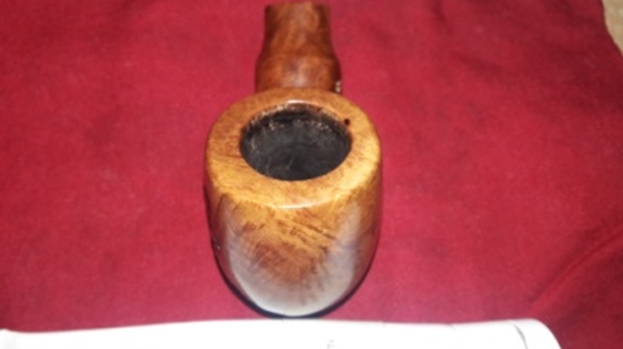
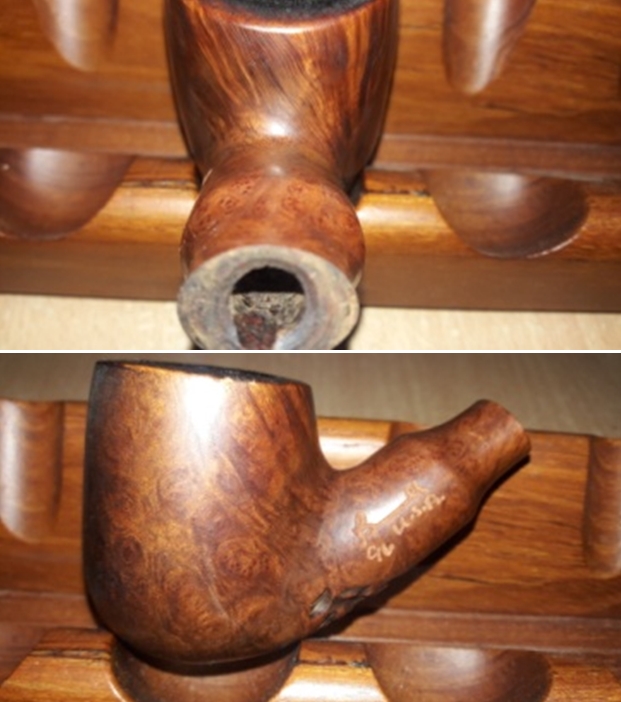 This pipe has seen heavy use and the chamber has a nice thick consistent layer of cake, about the size of dime, as is recommended. The cake has been regularly reamed to maintain correct thickness. This seems to be a well cared for pipe. The condition of the inner walls of the chamber can be ascertained only after the cake has been removed completely and taken down to bare briar. The bowl feels robust and solid to the touch from the outside. However, the mortise does show signs of accumulated dried oils, tars and remnants of ash, greatly restricting the air flow. This issue should be a breeze to address.
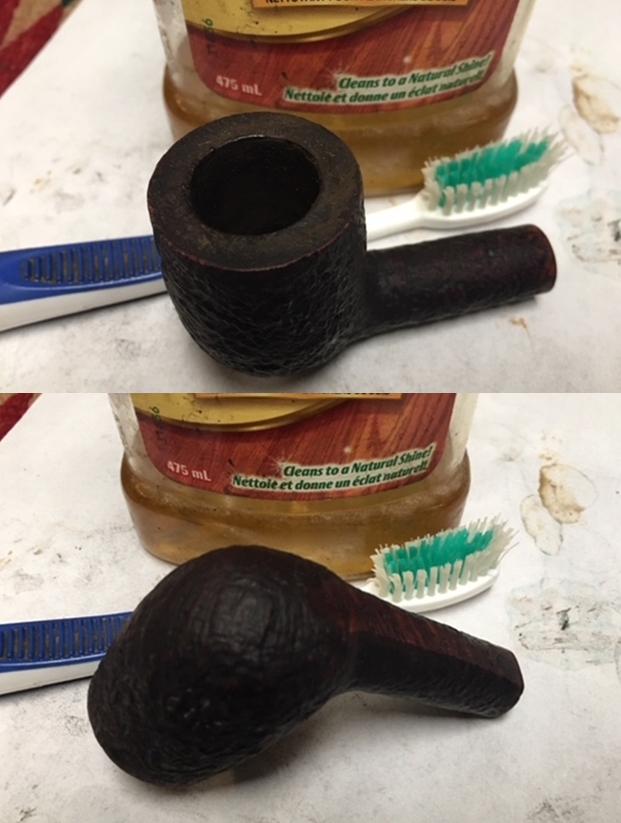
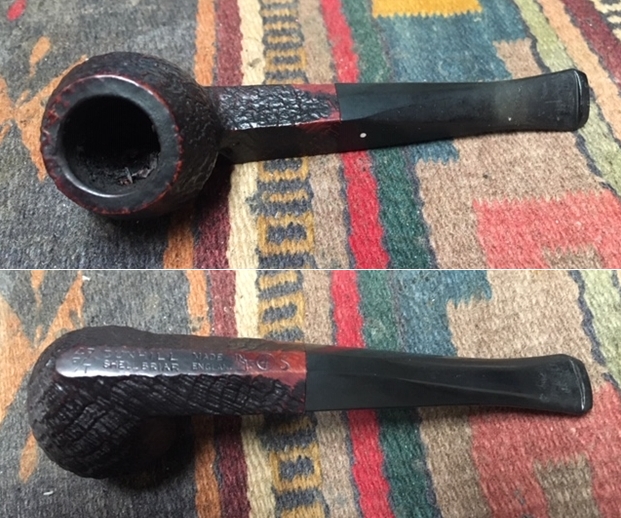
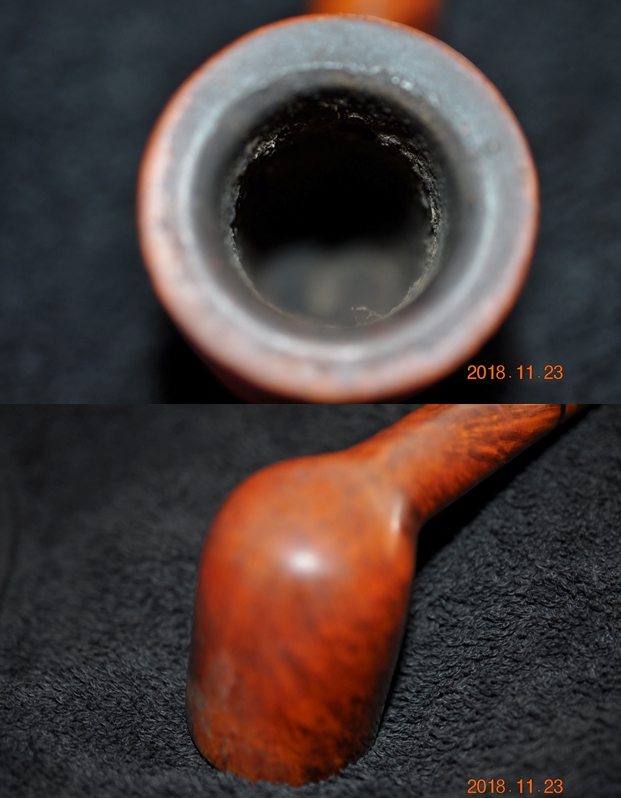
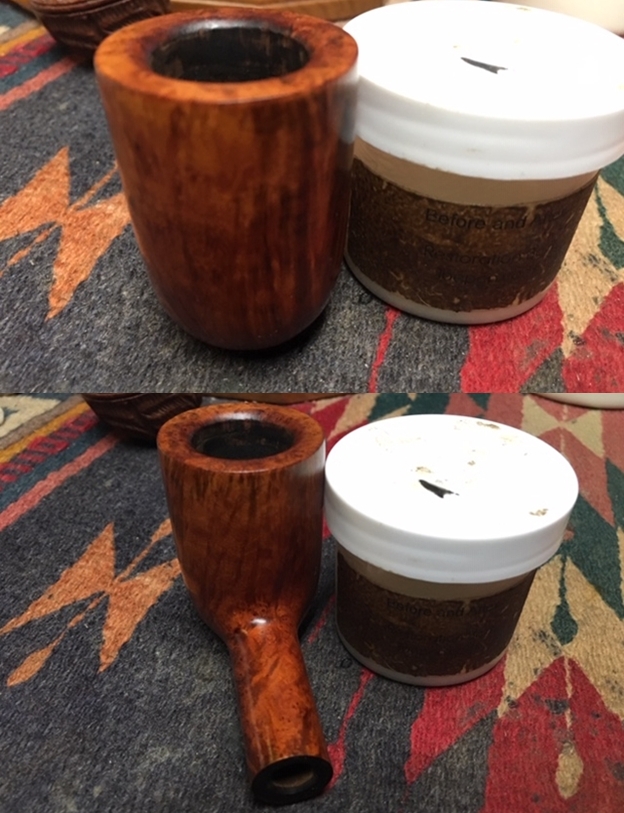
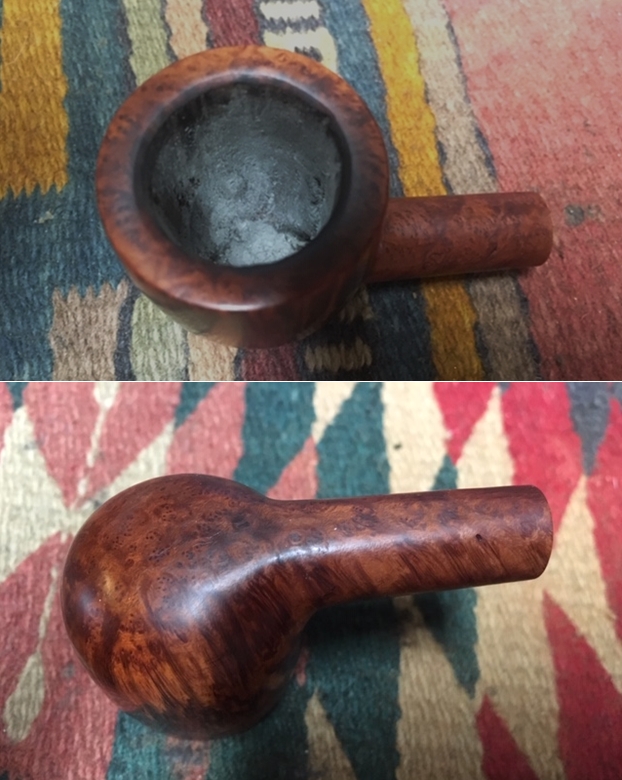
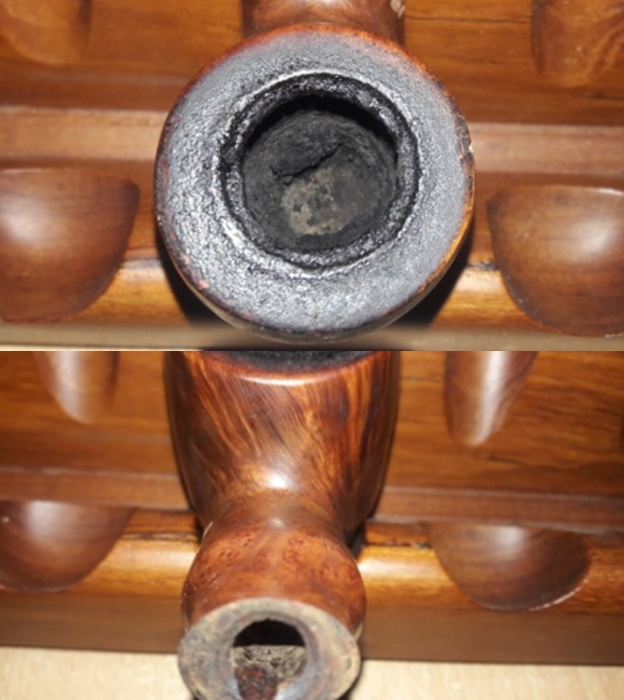 The rim top is covered in a thick overflow of lava from the chamber. This is the only part of the stummel which appears to be neglected. The condition of the inner edge and rim top can be commented upon only once the rim has been cleaned. However, I have a feeling from looking at the appearance, that the right side of the inner edge in 3 o’clock direction may be charred from frequent lighting. Well, we’ll see about it later. Thankfully, the outer edge is pristine and shows no signs of damage!!
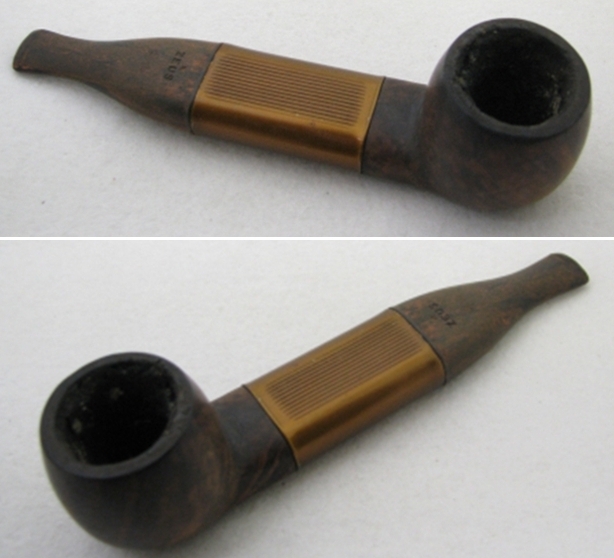
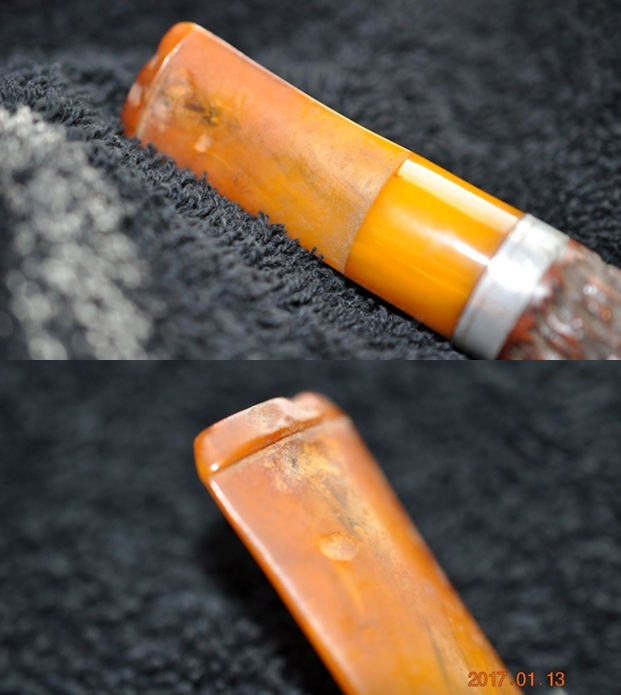
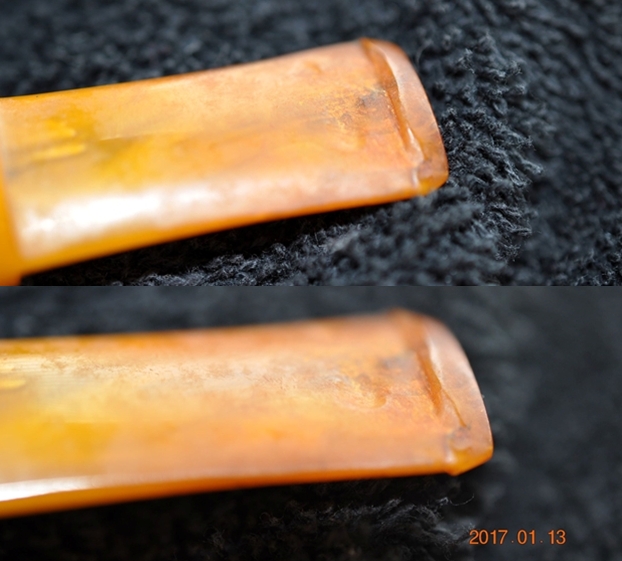
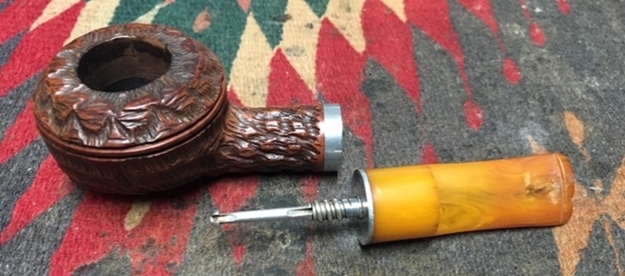
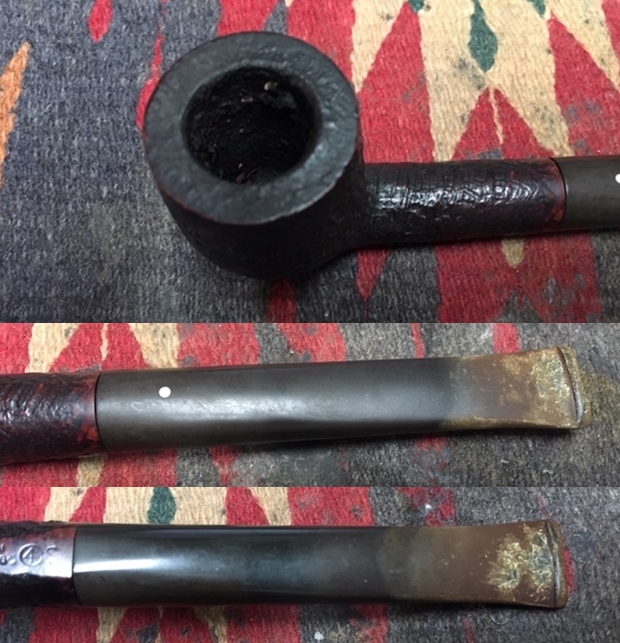
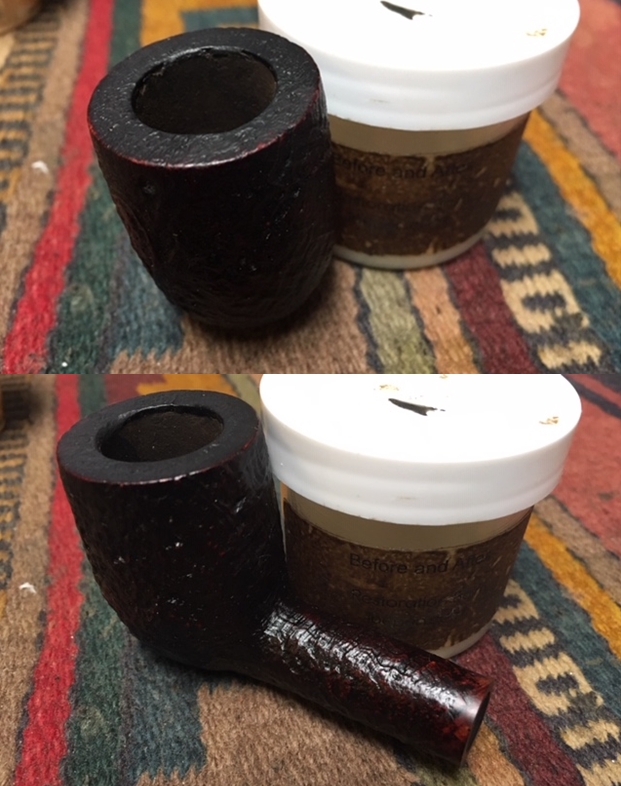
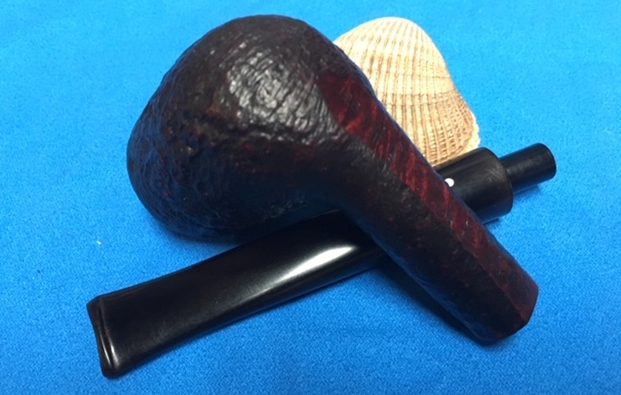
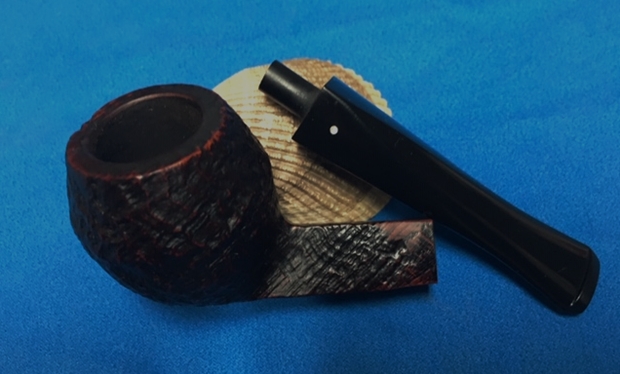
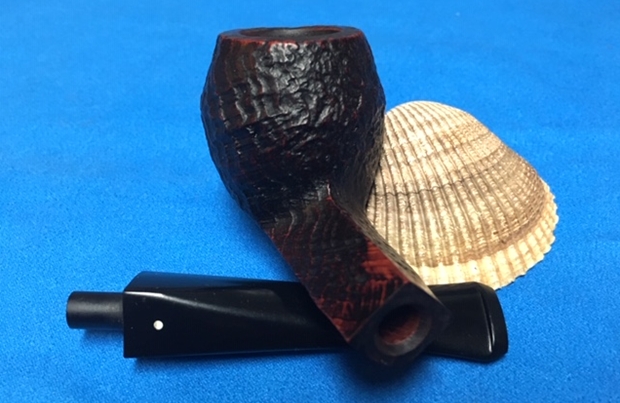
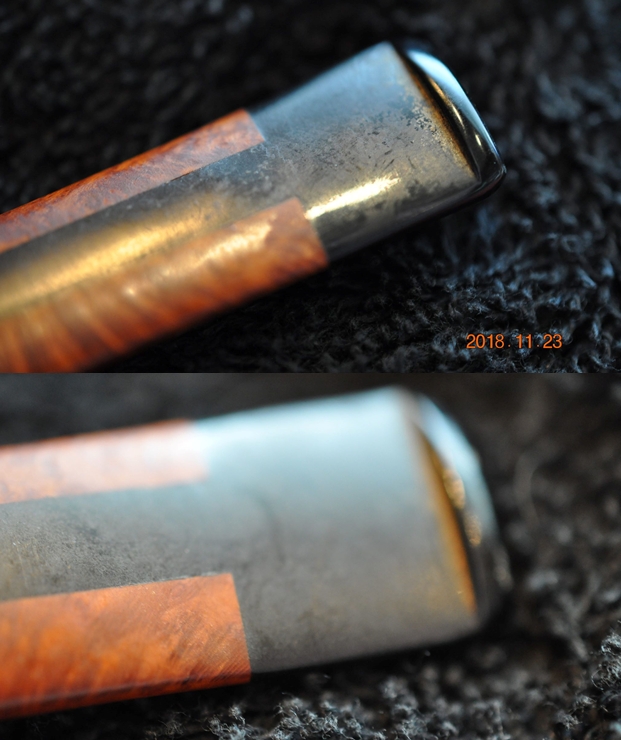
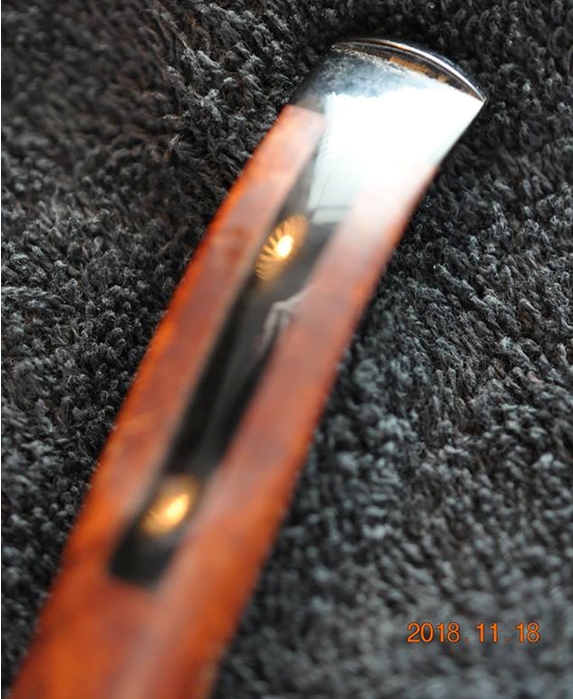
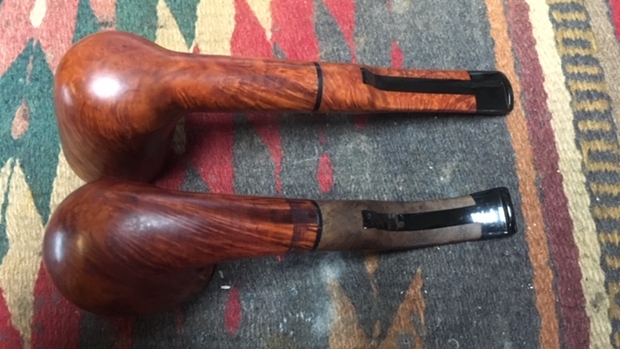
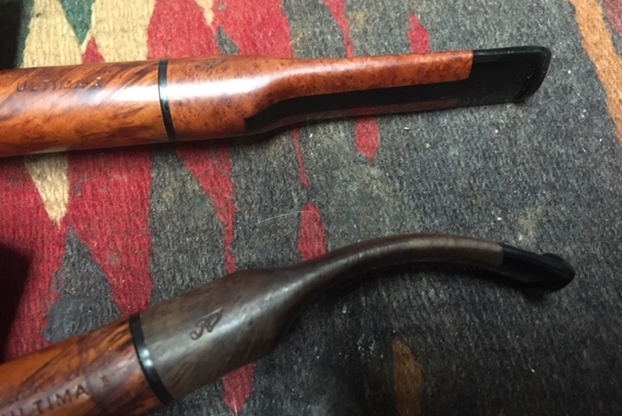
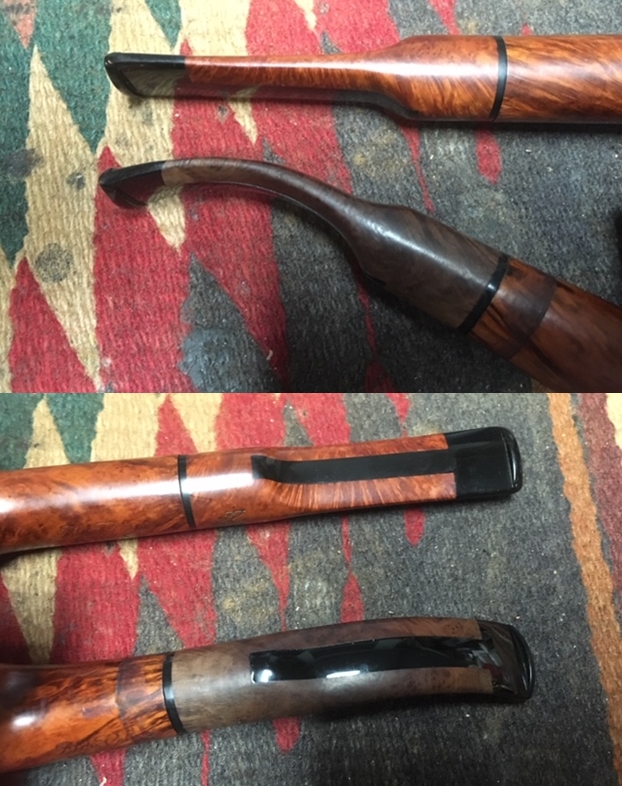
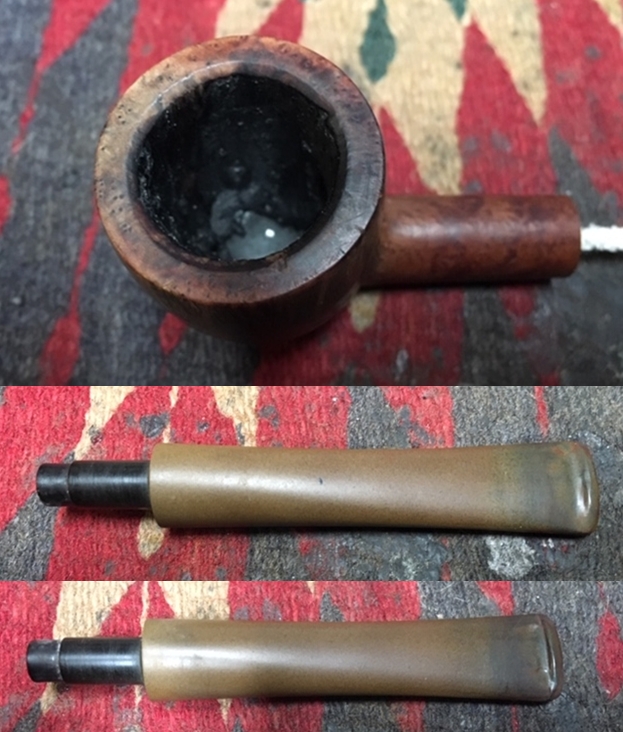
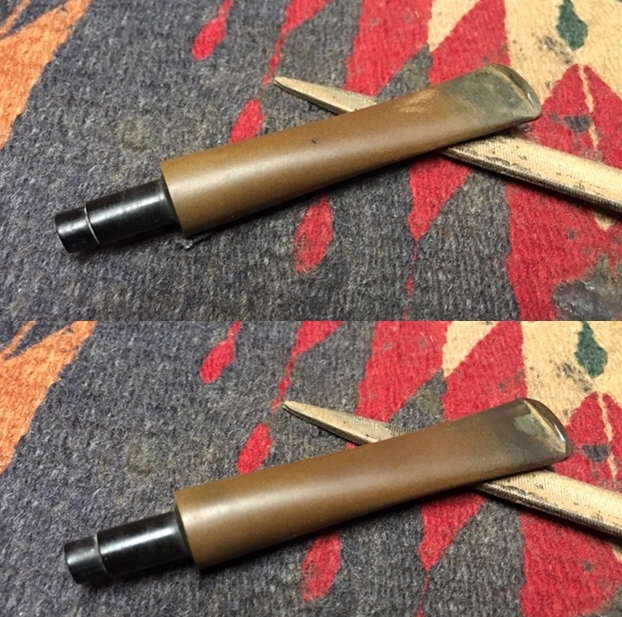
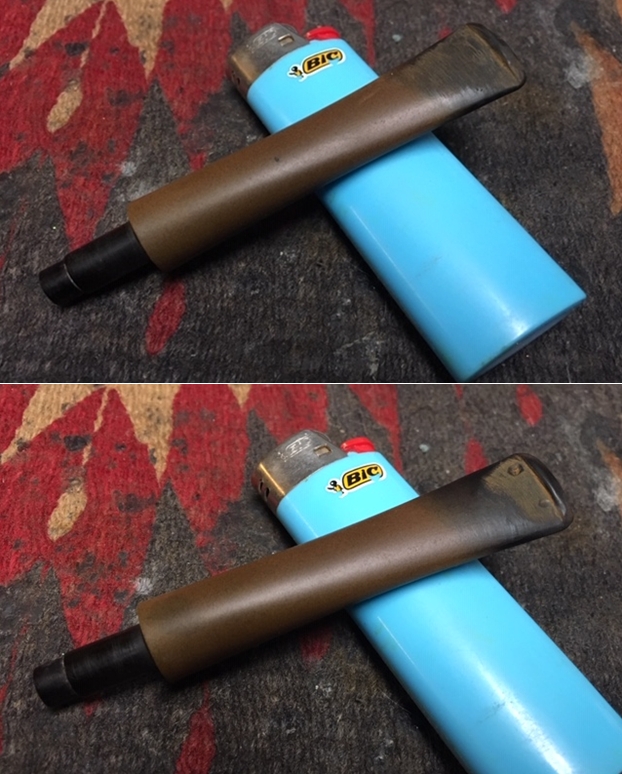
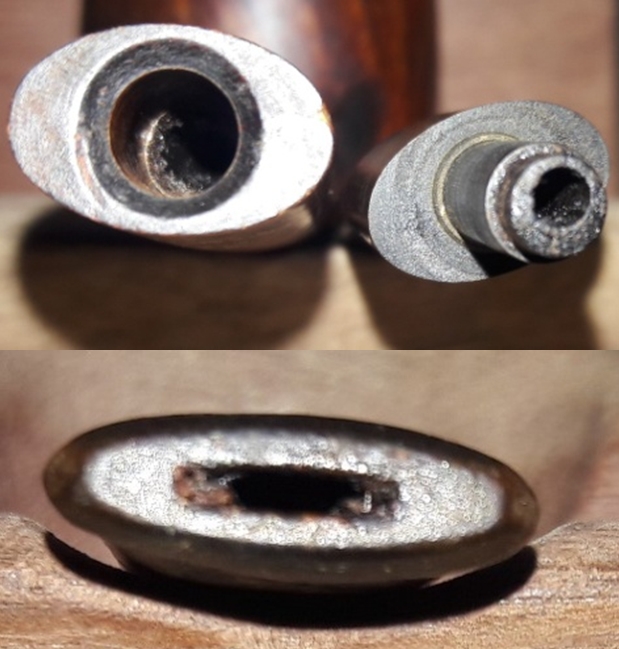
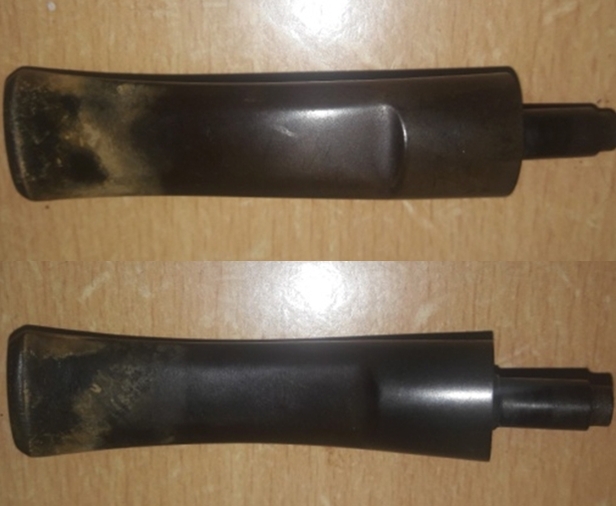
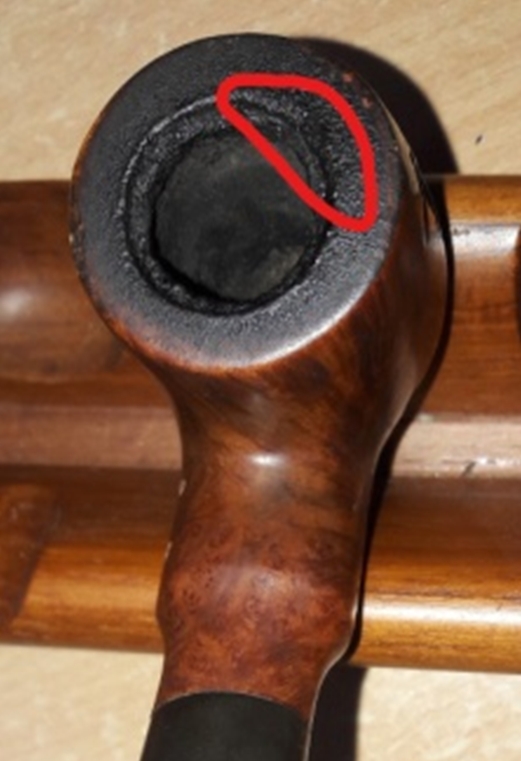 The vulcanite stem is without any bite marks or tooth chatter. The upper and lower lip does show one bite mark each. The stem was apparently used with a rubber bit as can be seen from the calcification marks on the stem (Come on!! One does not have to be a Sherlock Holmes for this deduction!!). The saddle stem is heavily oxidized. The tenon is covered in dried oils and tars and so is the airway. The air flow through the stem is laborious to say the least. The fit of the stem in to the mortise is very loose, which will loosen further after the mortise and tenon have been cleaned. These issues will need to be addressed.
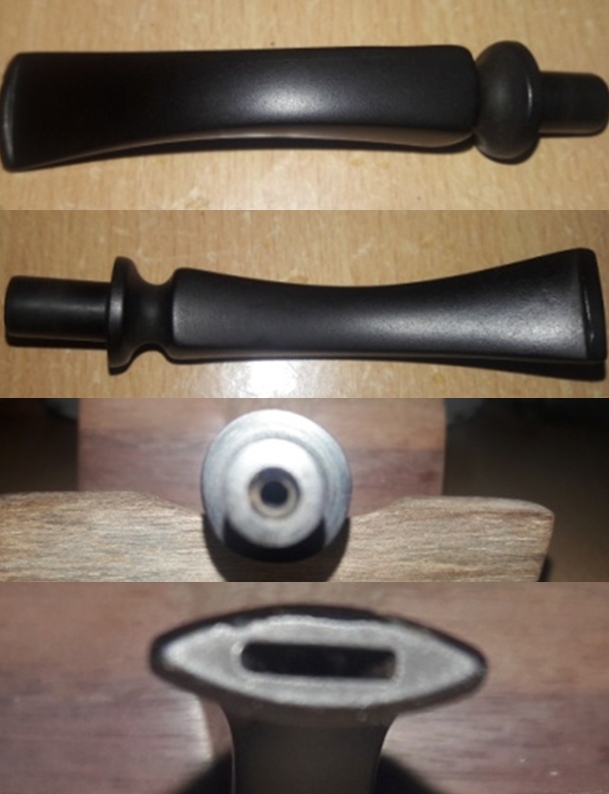
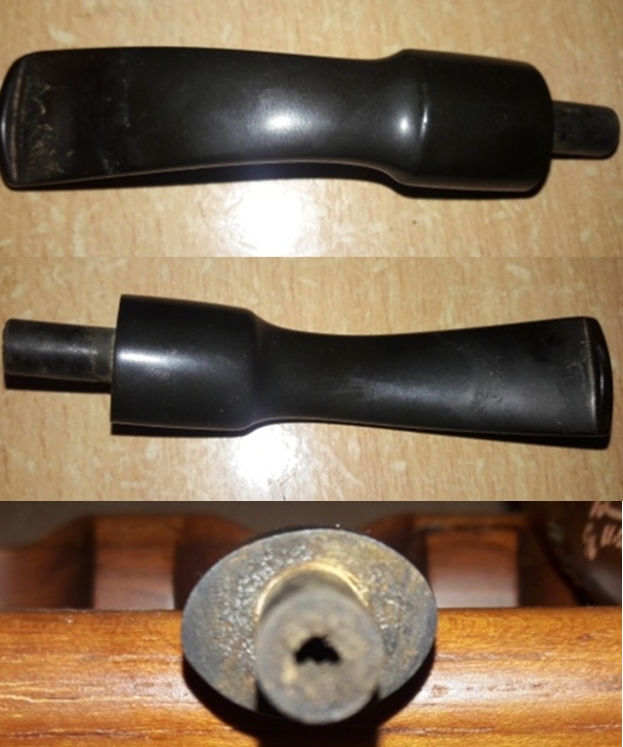 THE PROCESS
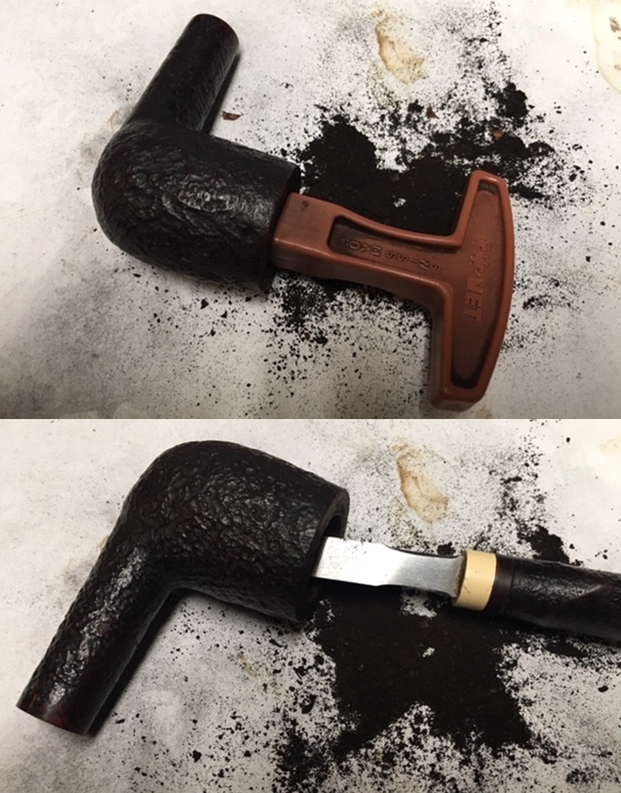
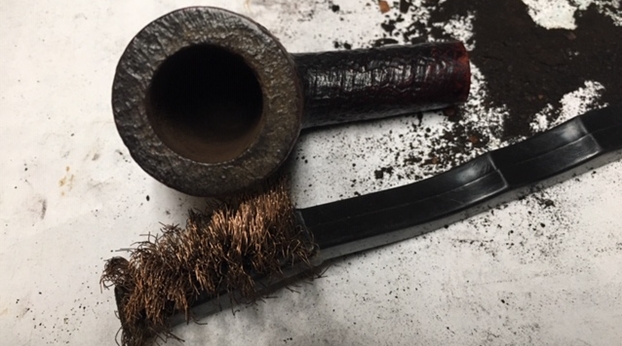
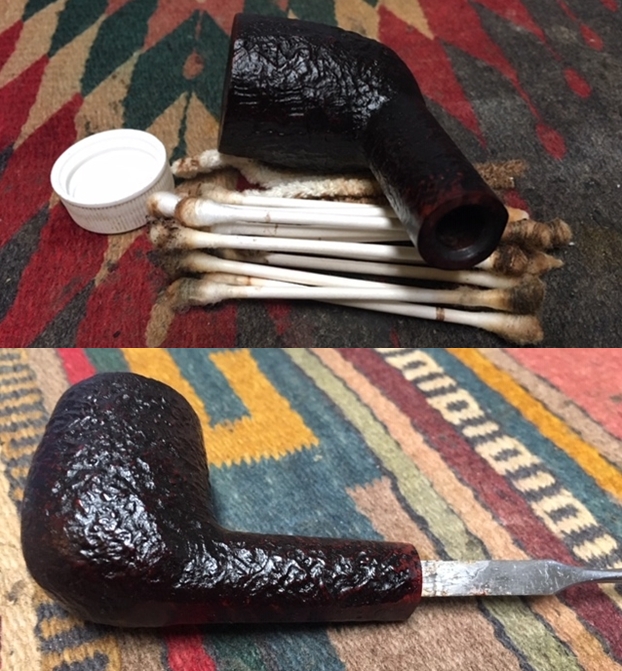
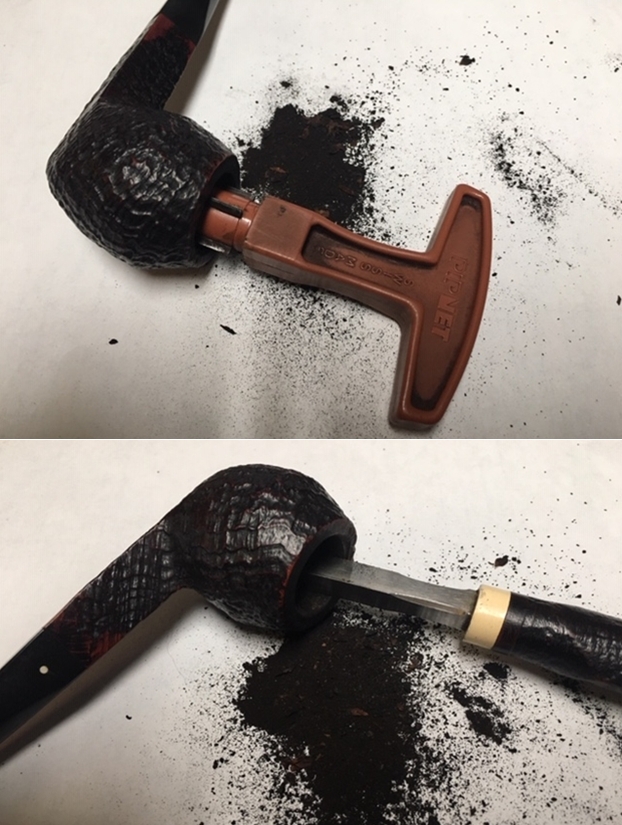
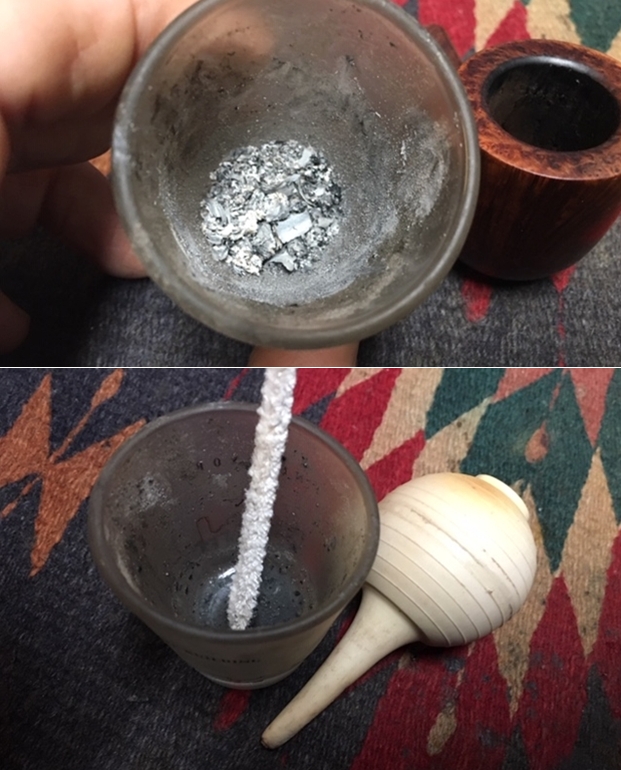
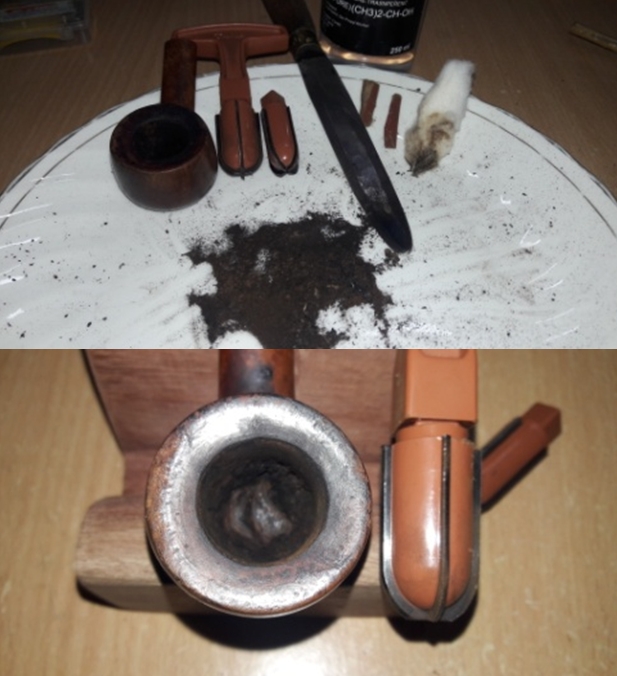
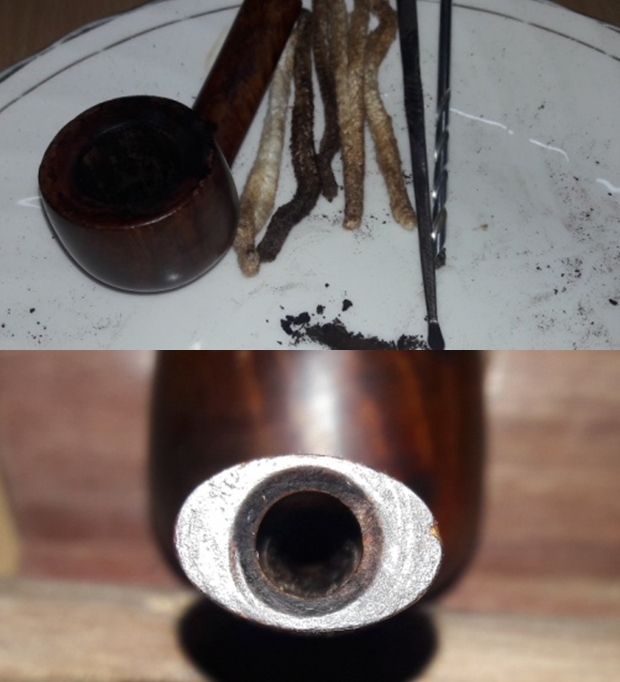
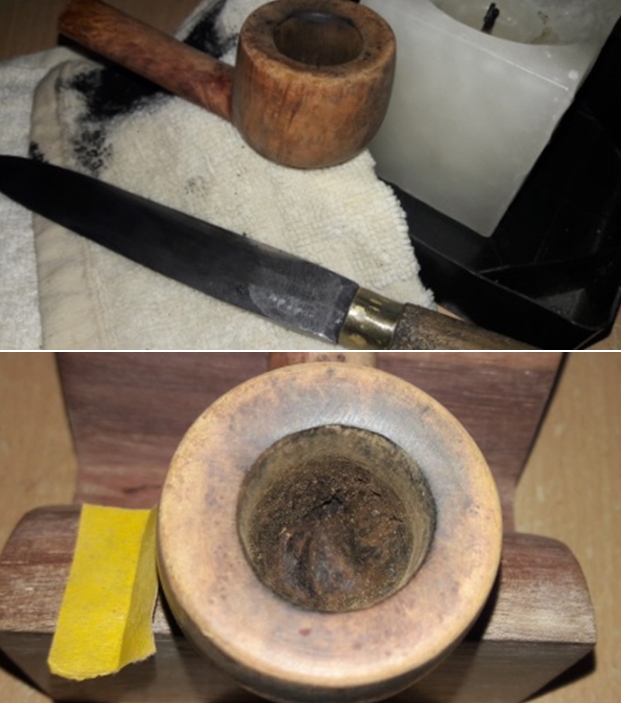
I started this project by reaming the chamber, starting with size 2 head of PipNet reamer and moving on to size 3 head. I used a 220 grit sand paper, pinched between my thumb and forefinger, to sand the inner walls of the chamber. Once I had reached the bare briar, I wiped the chamber with a cotton pad dipped in isopropyl alcohol. This removed all the residual carbon dust and also rid the chamber of all ghost smells. Using a sharp knife, I gently scraped the rim top to remove the lava overflow.
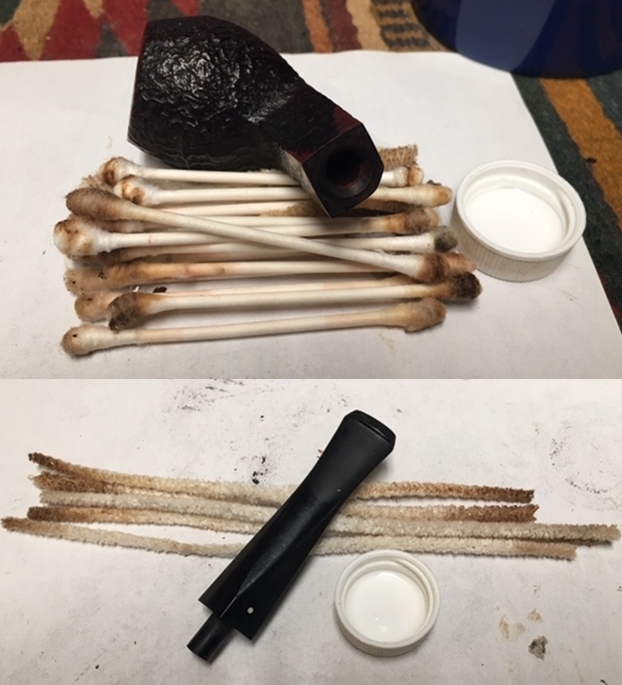
 I followed up the reaming by cleaning the mortise and air way using hard bristled and regular pipe cleaners, q-tips dipped in alcohol. The mortise and the draught hole was chock-a- block with all the dried tars, oils and gunk that I had to use my fabricated spatula and the drill bit from the Kleen Reem pipe reamer!!!! I gave a final clean with shank brushes dipped in alcohol and dried the mortise with a rolled paper napkin. The shank internals and the draught hole is now nice and clean with an open and full draw.
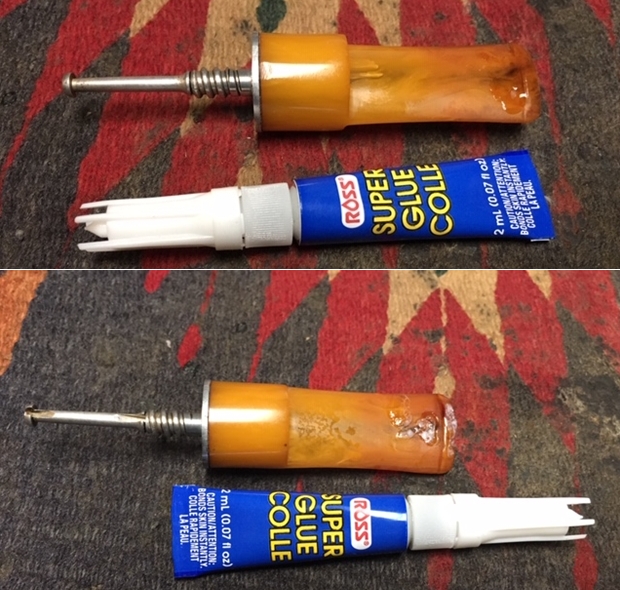
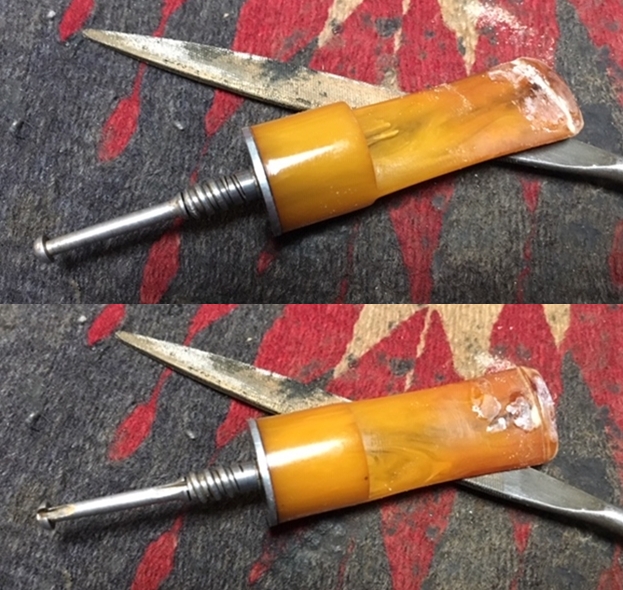
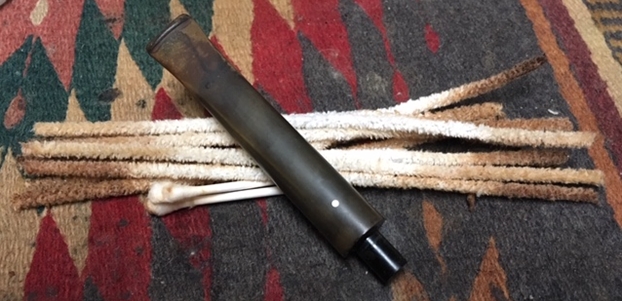
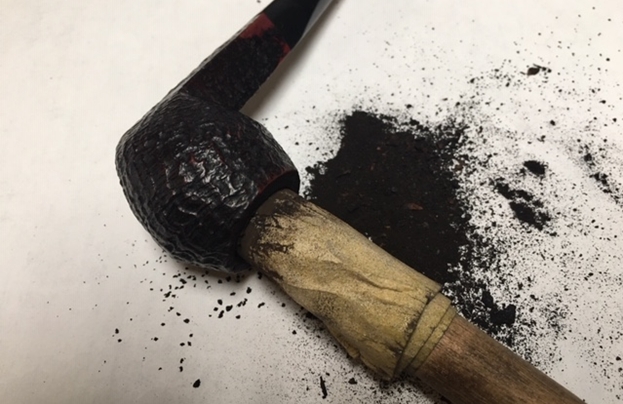
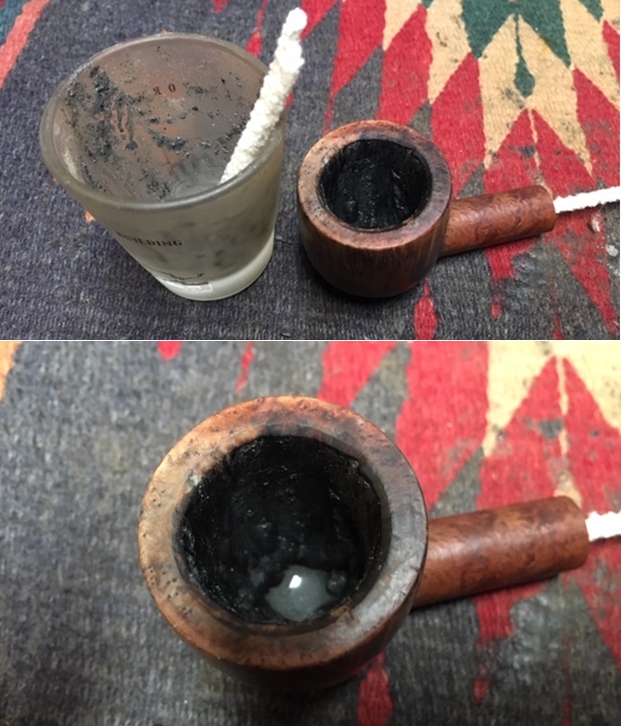
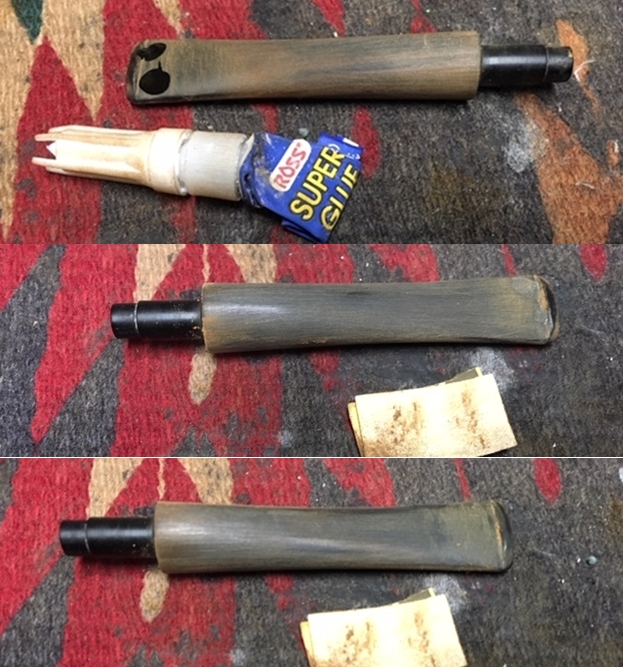
 I cleaned out the internals of the stem using hard bristled and regular pipe cleaners dipped in alcohol. I scraped the dried oils and tars from the tenon with the sharp edge of my fabricated dental spatula.
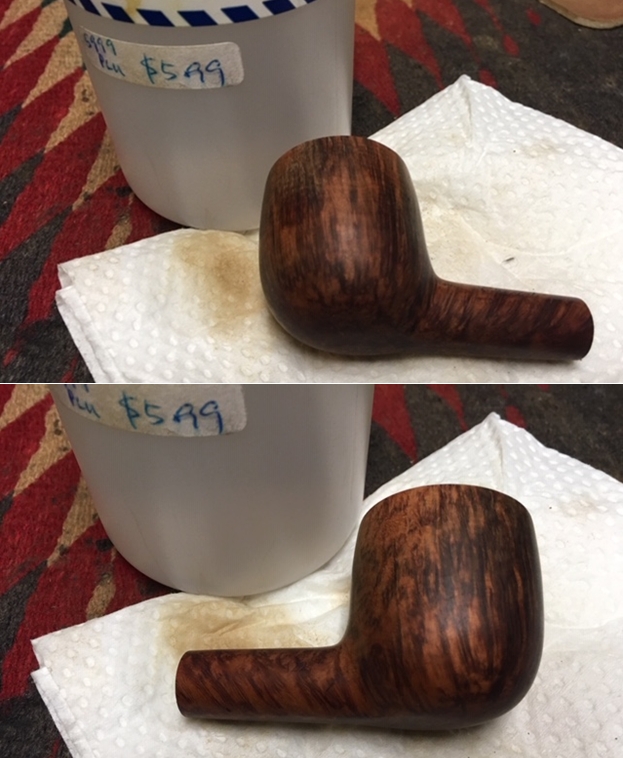
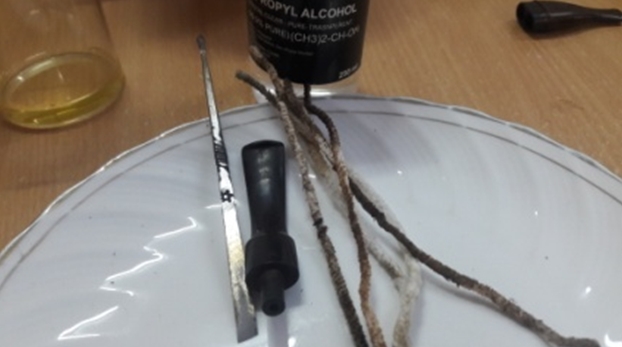 Now, it was the turn of the stummel to get cleaned up. Using a hard bristled tooth brush dipped in undiluted Murphy’s oil soap, I very deliberately scrubbed the stummel, cleaning the surface thoroughly. Special attention was paid to scrub out all the dirt and dust from the crevices in the rustication on the bottom of the shank and right side of the bowl. I cleaned the rim too. The stummel and rim top was dried using paper napkins and soft cotton cloth.

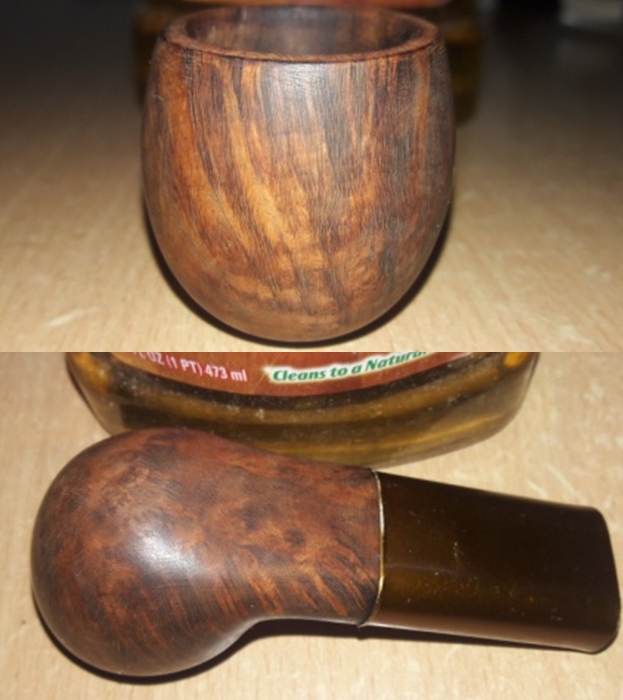
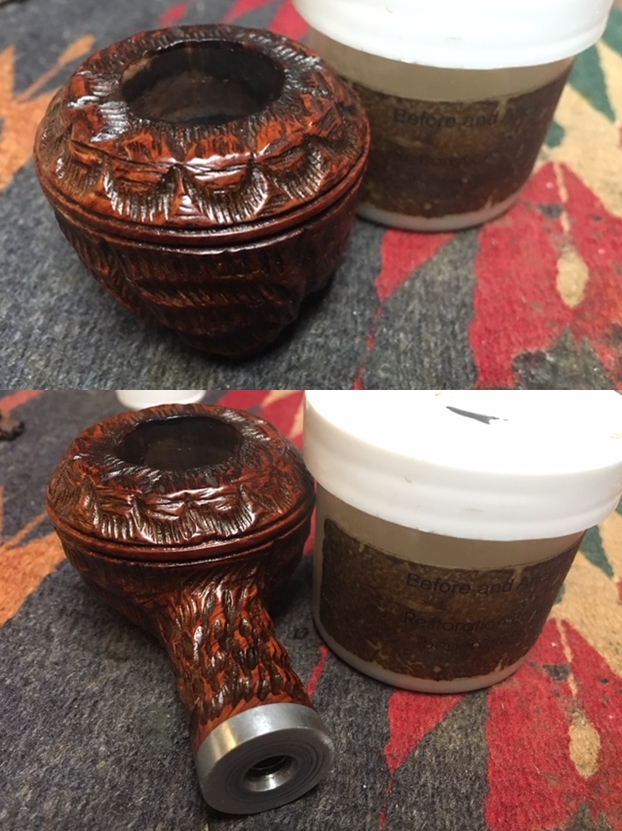
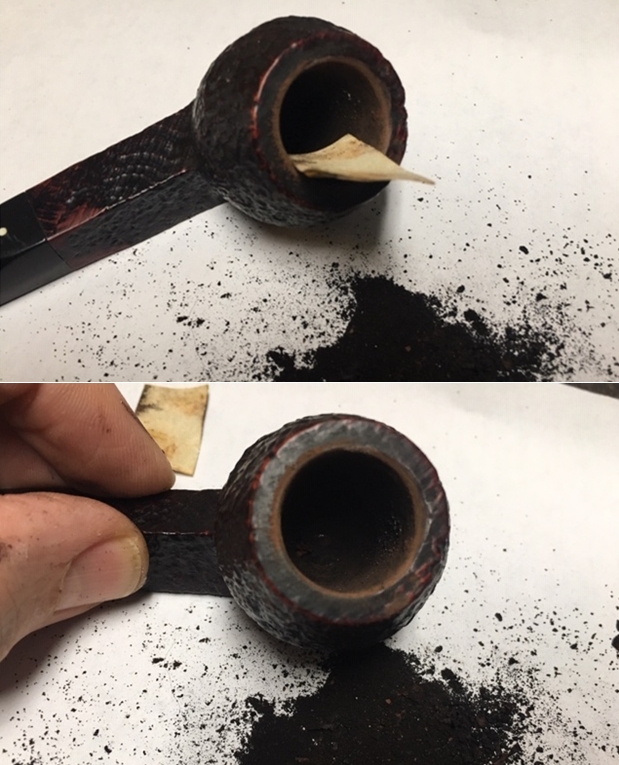
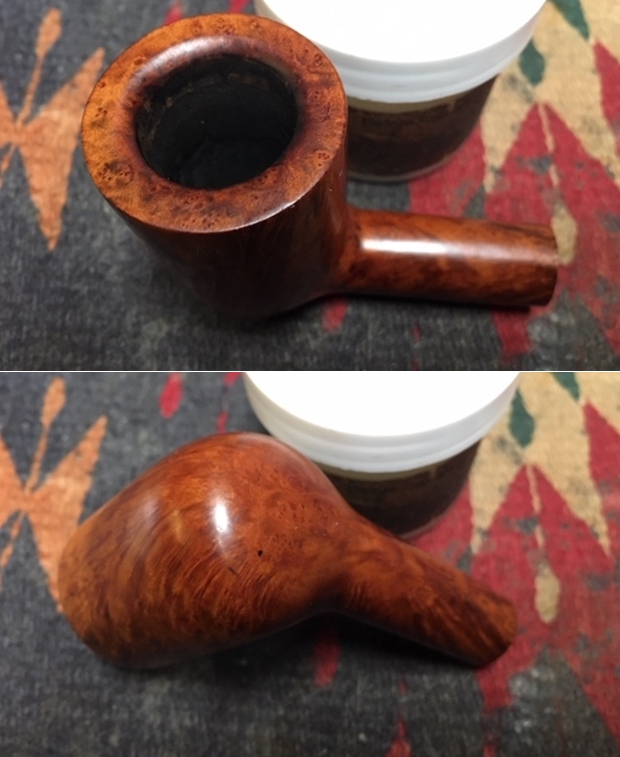
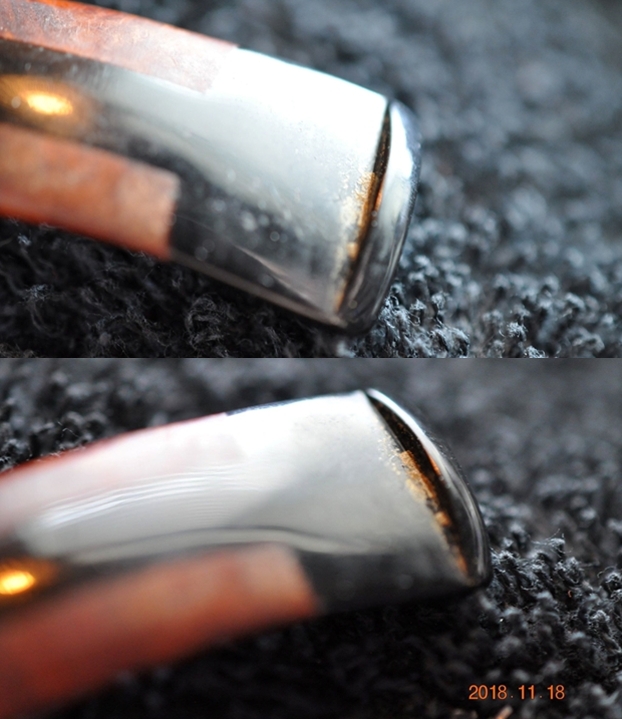
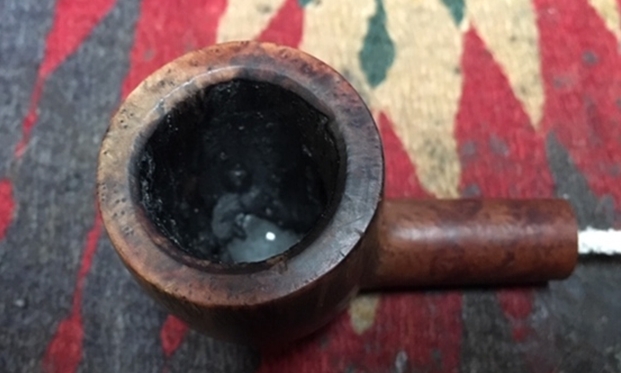
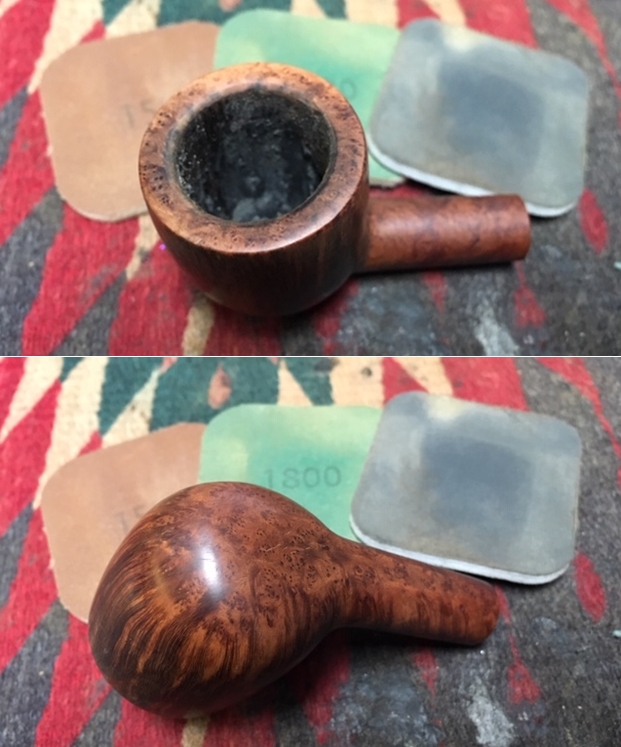
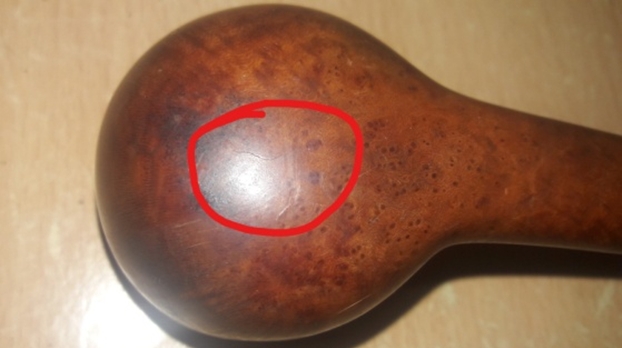
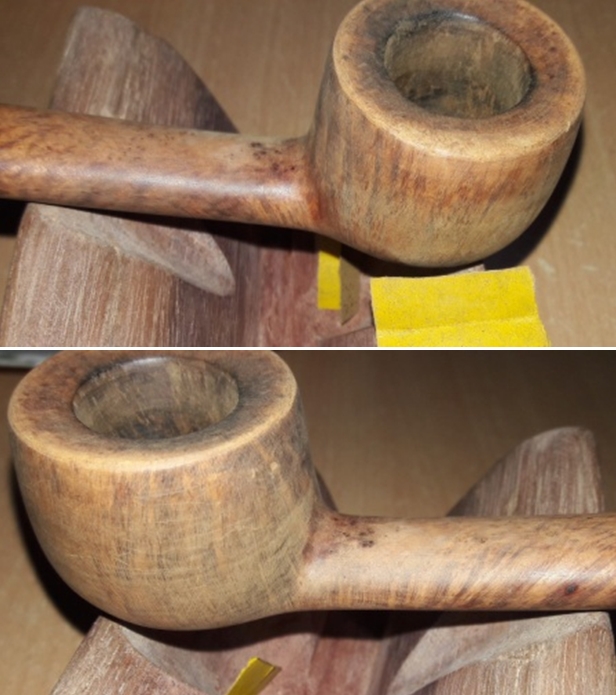
 I was not happy with the way the rim top had cleaned up. There were darkened areas on the rim top, which kept drawing my attention, as well as very light, almost negligible damage to the outer edge in the form of dents. For the sake of my own satisfaction, I decided to address these blemishes. I topped the rim top on a 220 grit sand paper. I was careful to avoid excessive topping and frequently checked the progress. It was at this stage that I realized that the left inner edge has a slight char in 8 o’clock direction. And all this while I had anticipated this damage to be on the right!! So much for playing Sherlock Holmes!! I address the issues to the inner and outer edge by creating a slight bevel using a 220 grit sand paper pinched between my thumb and forefinger. It’s looking good now, I say, save for a black spot on the left side!!!

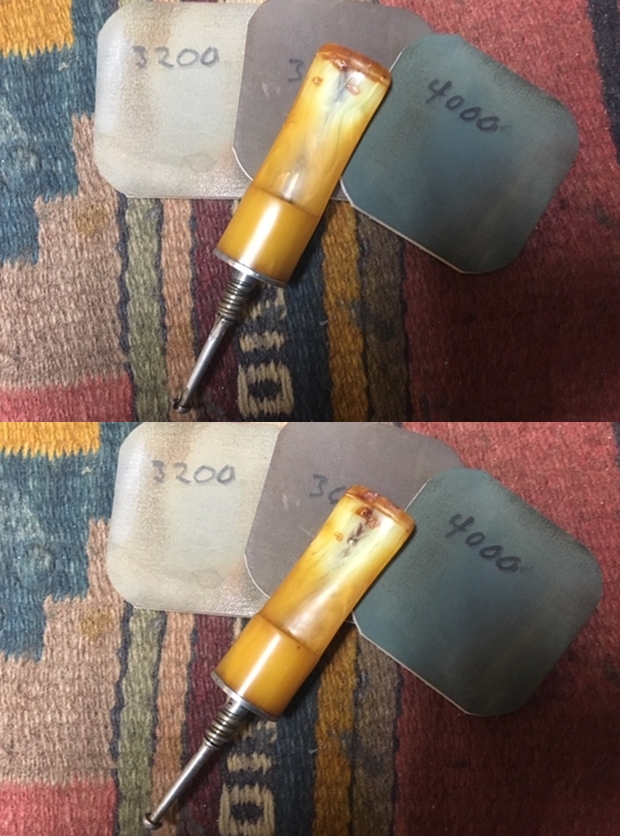
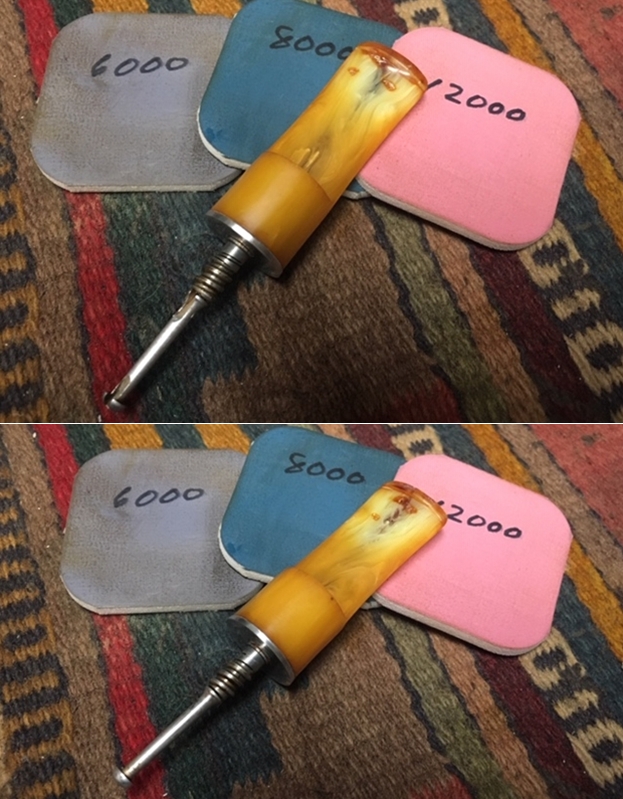
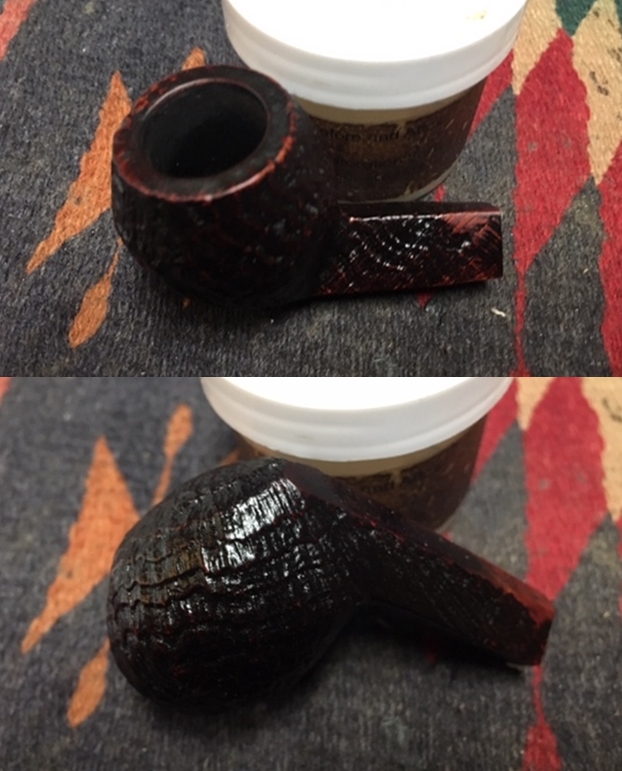
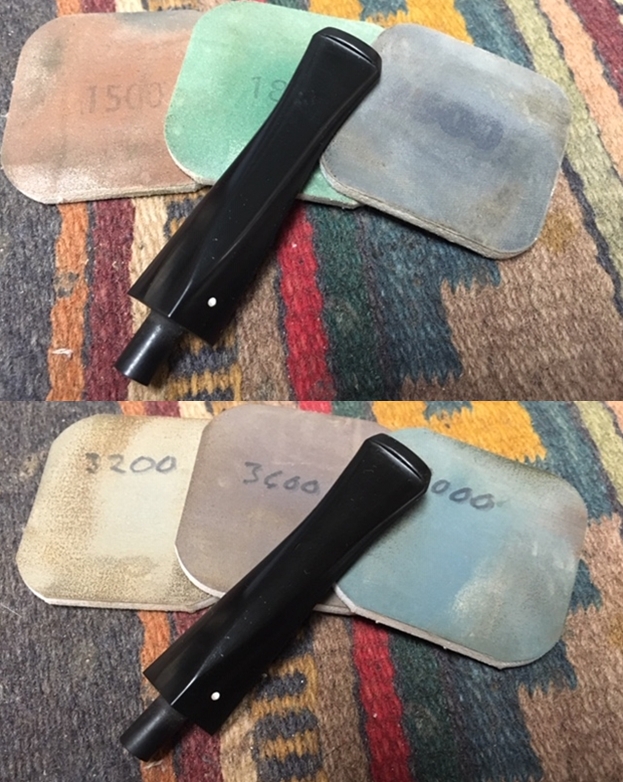
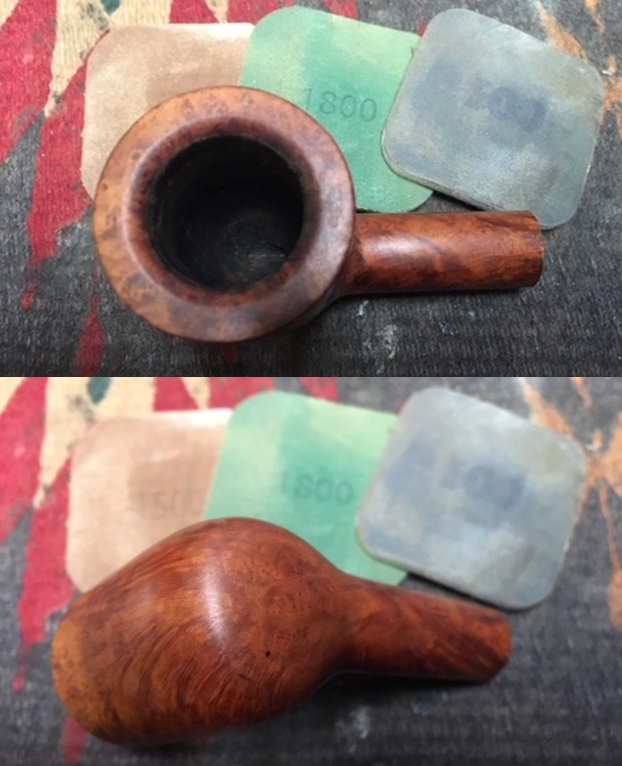
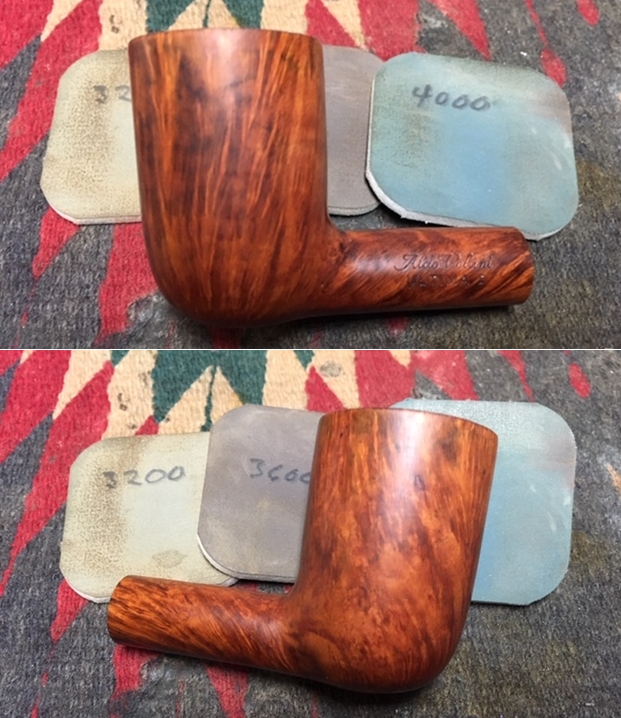
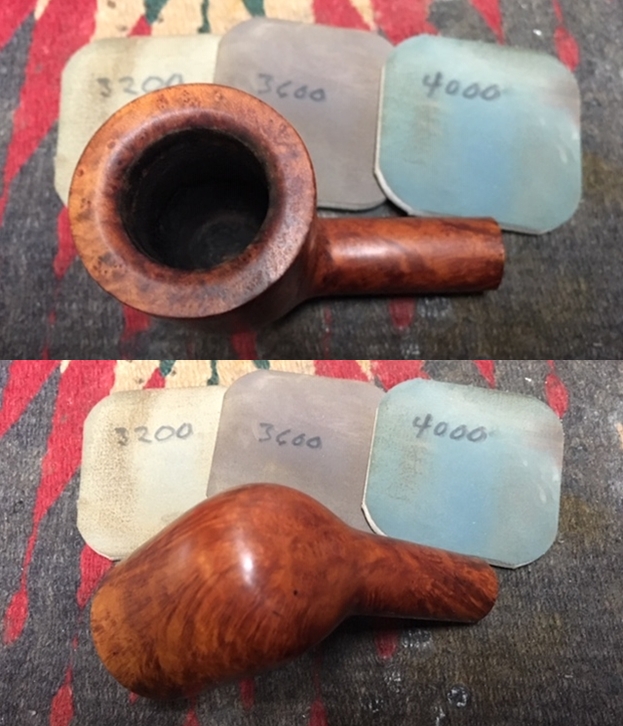
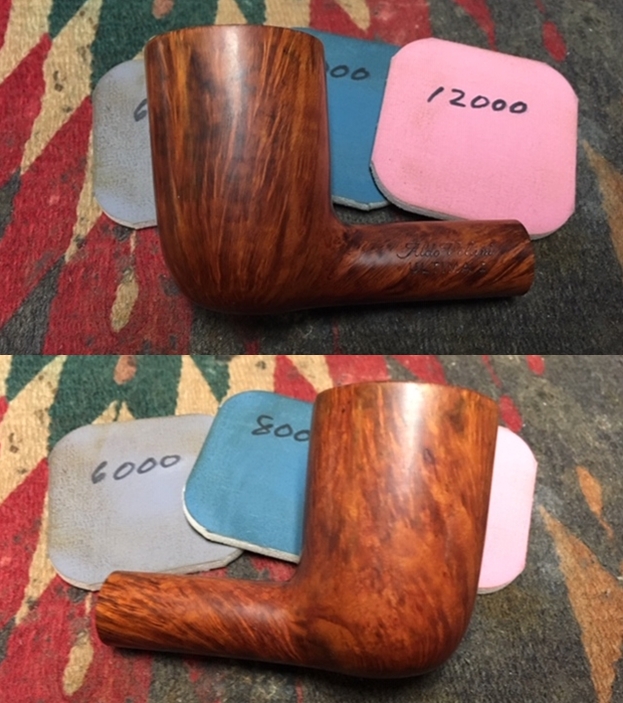
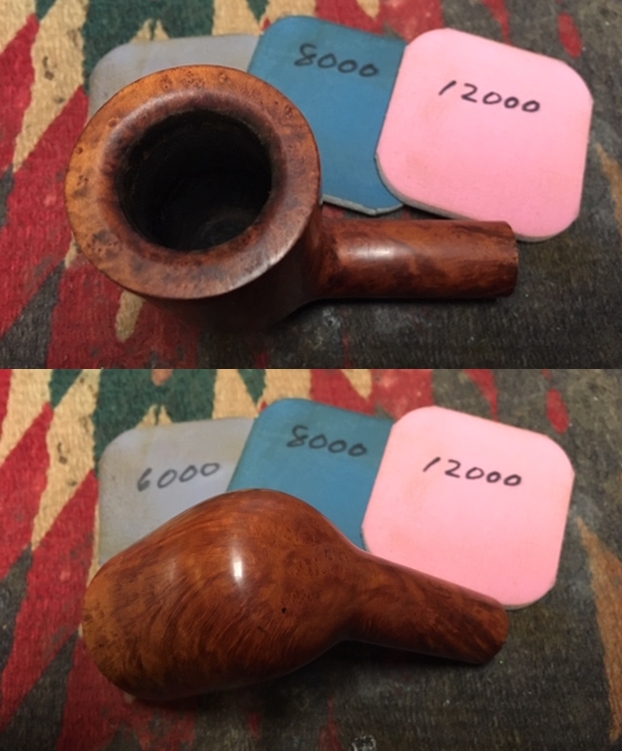
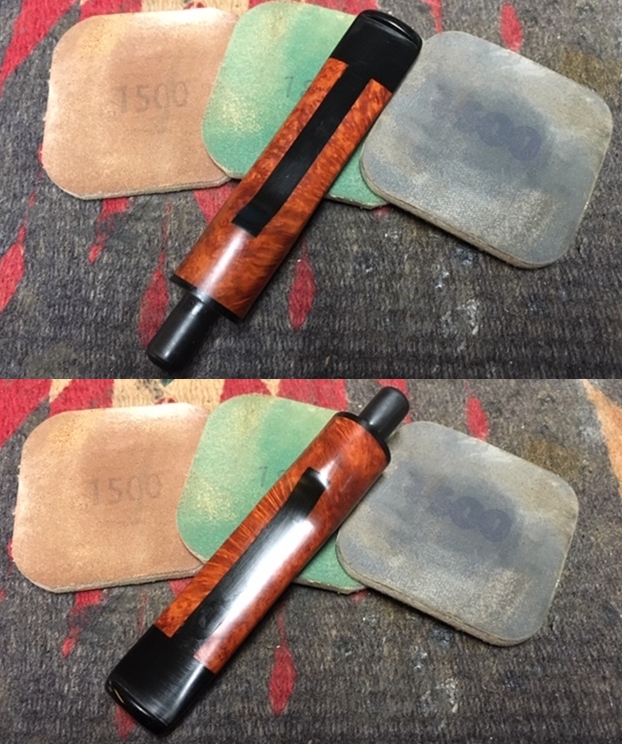
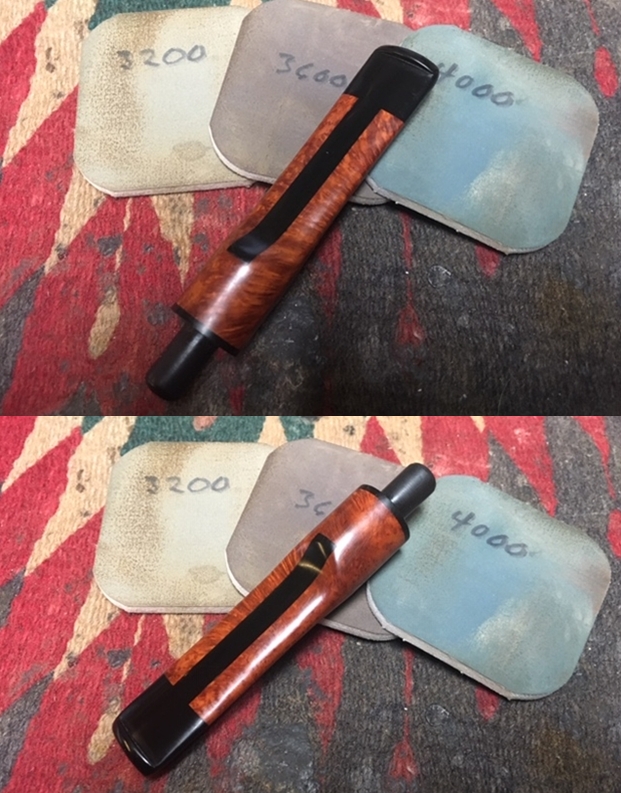
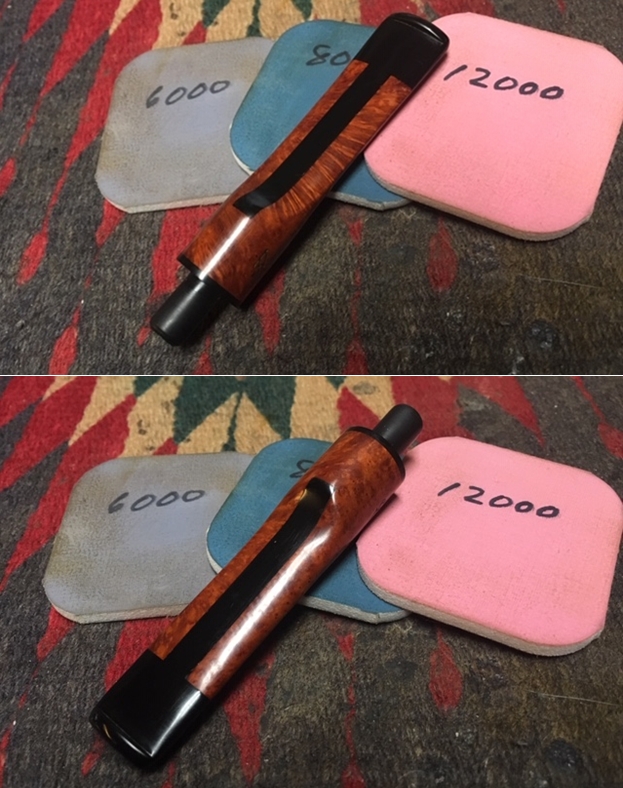
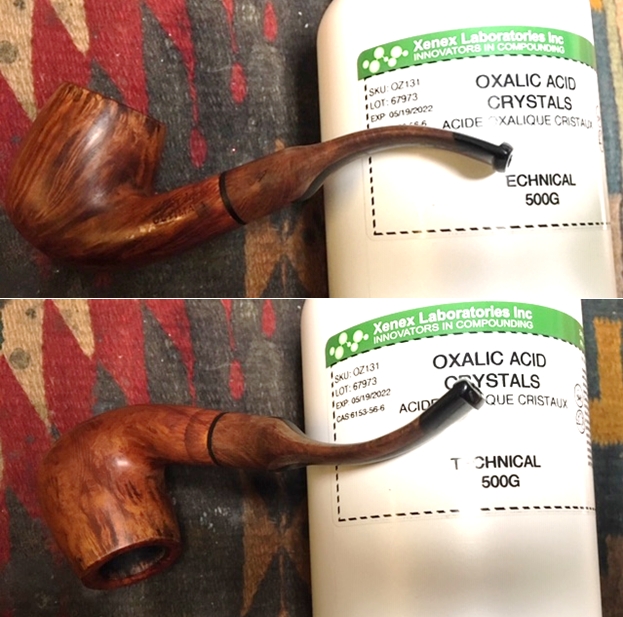
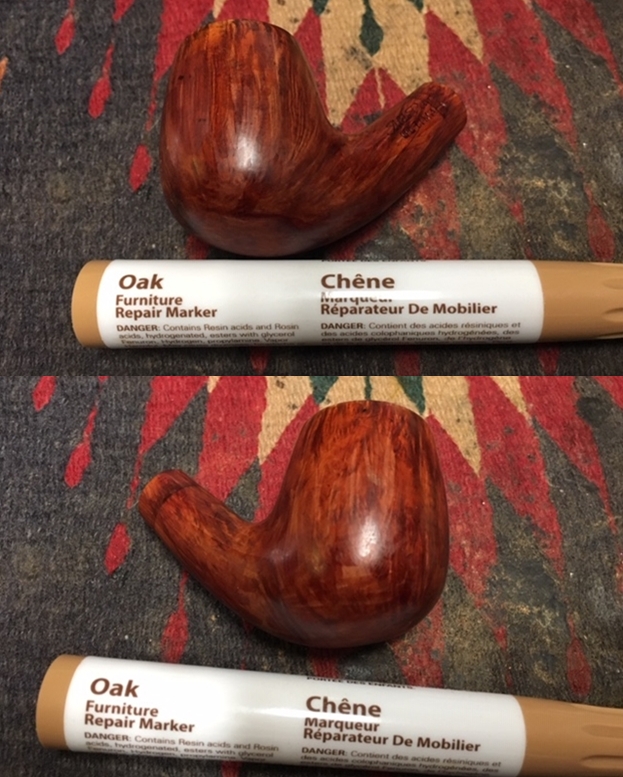
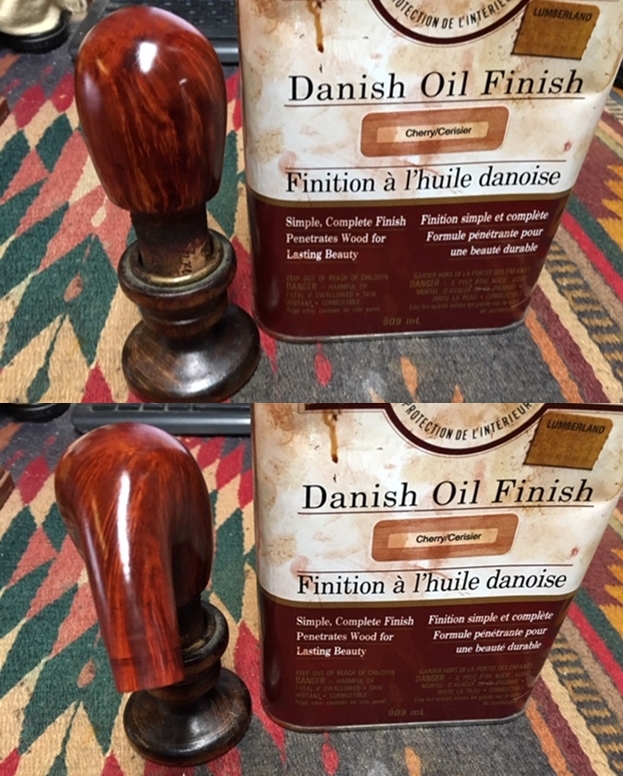
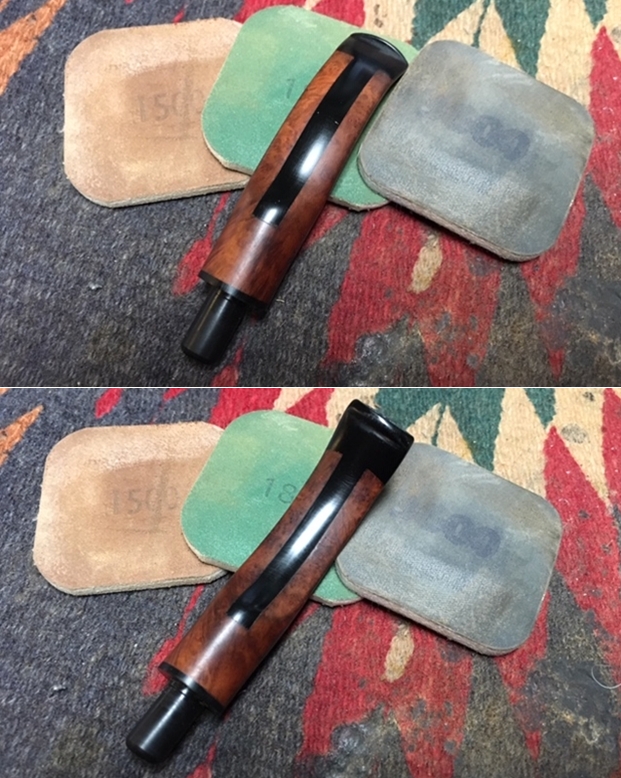
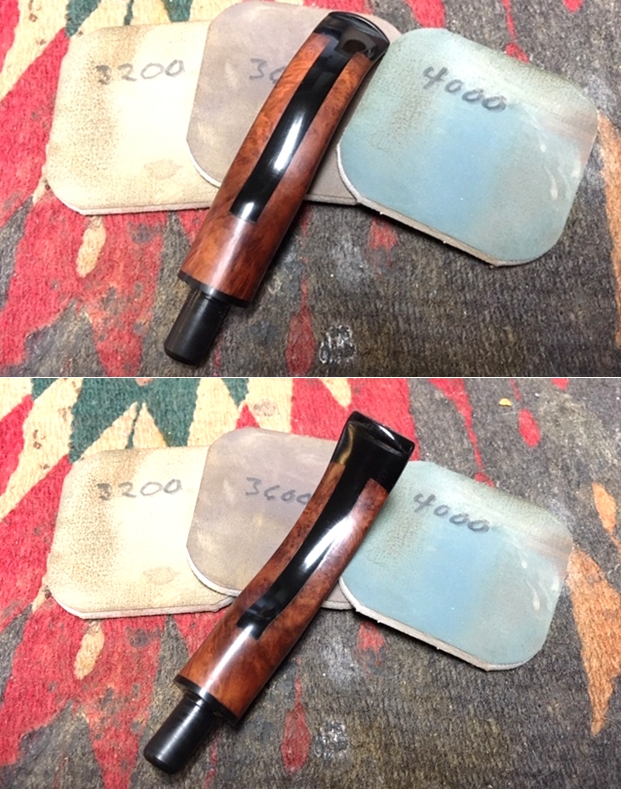
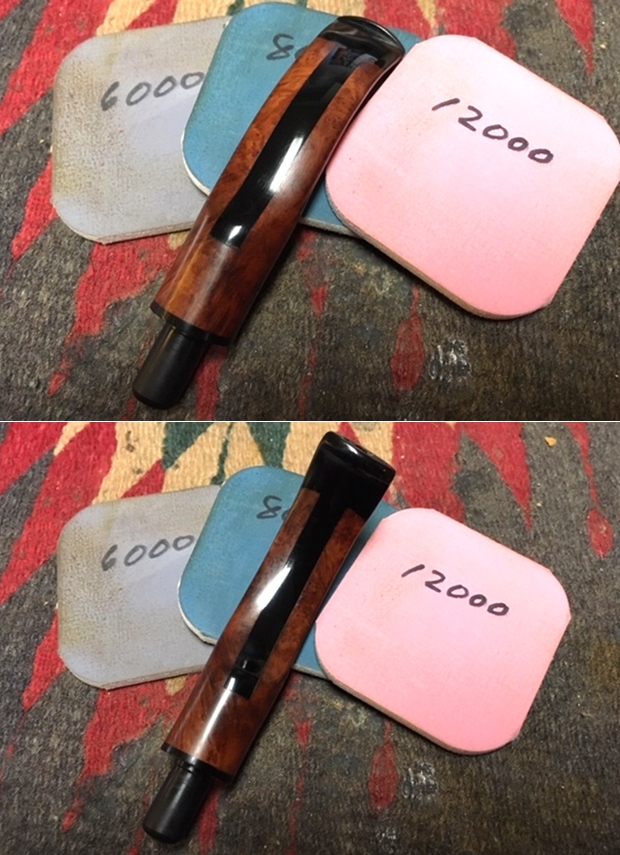
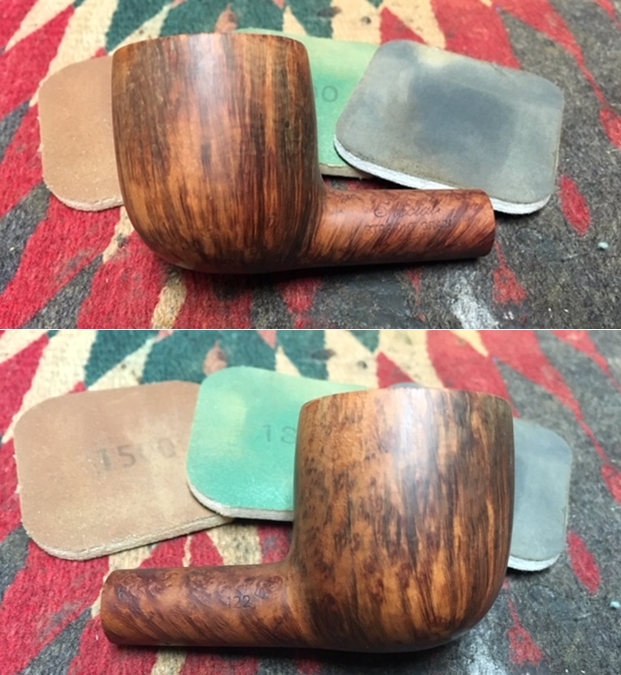
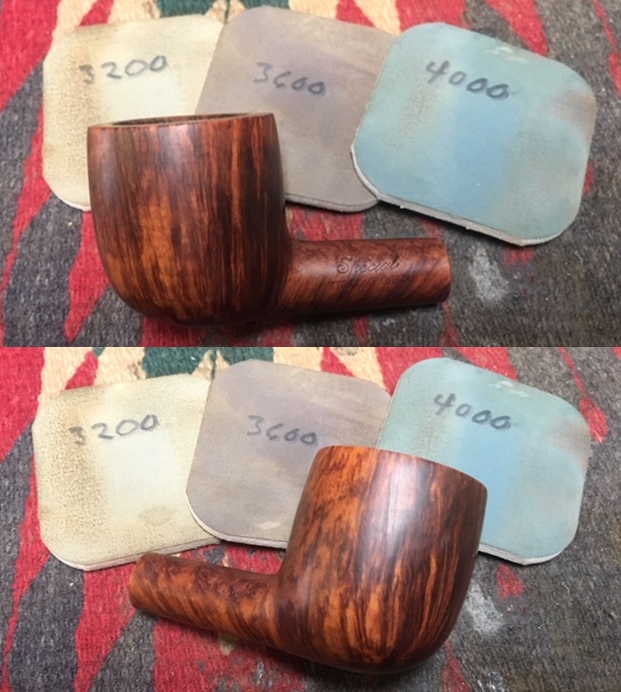
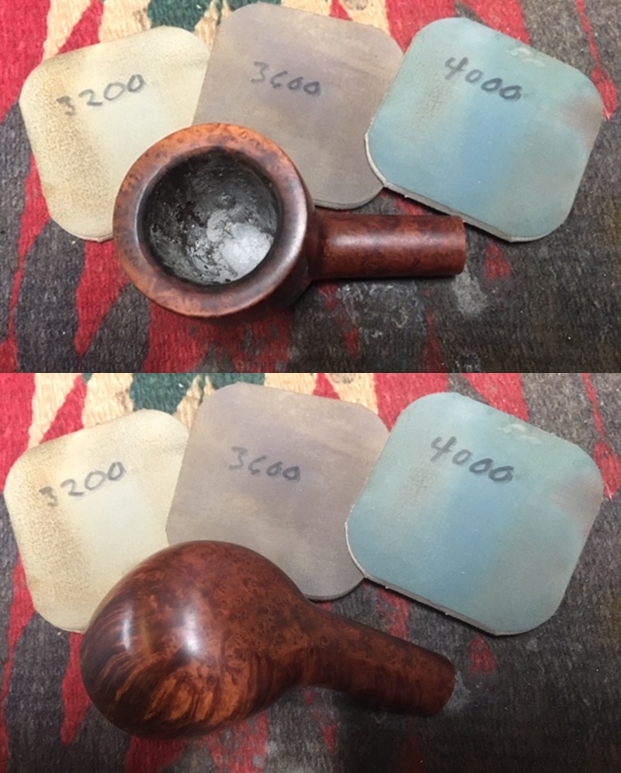
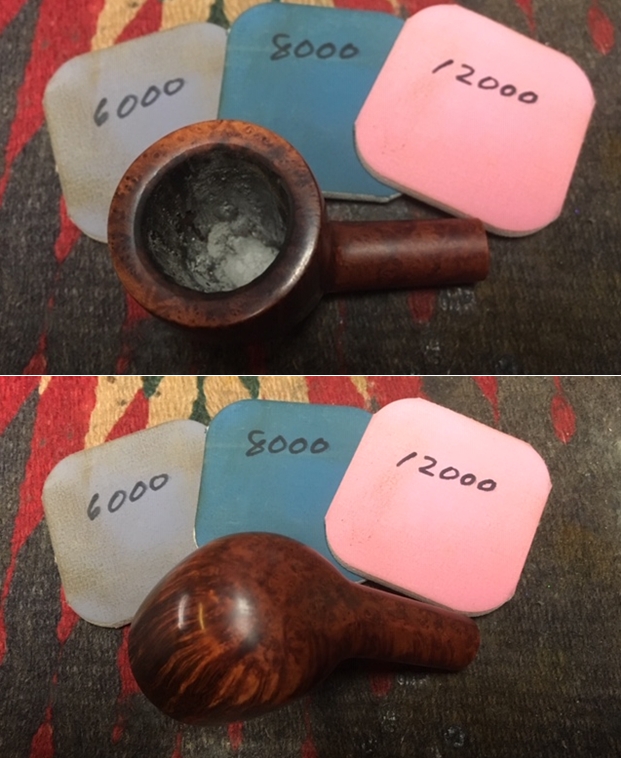
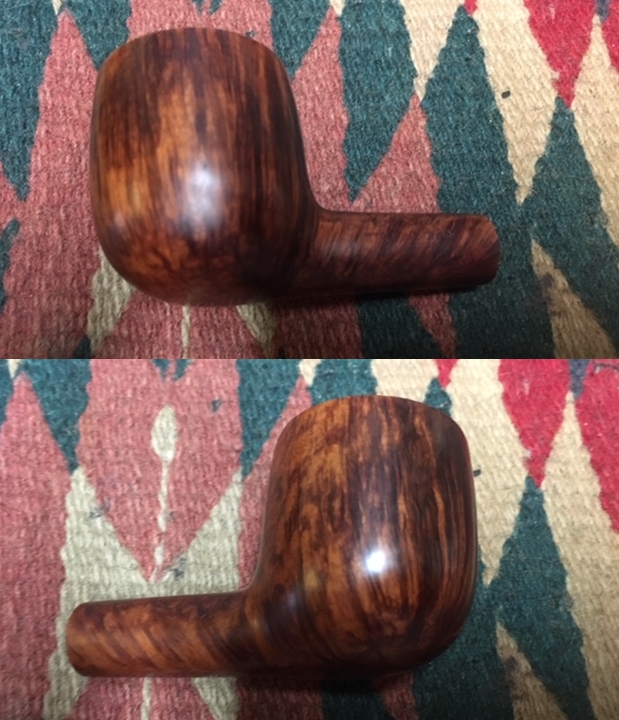
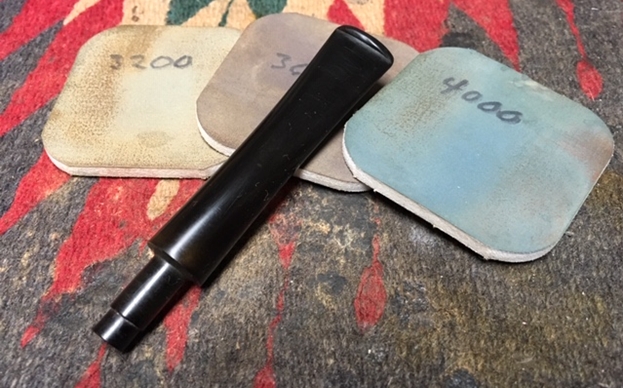
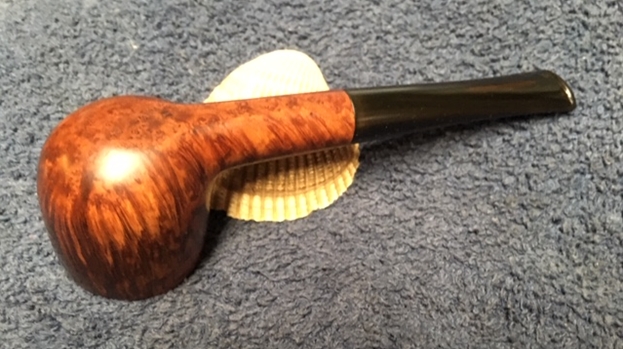
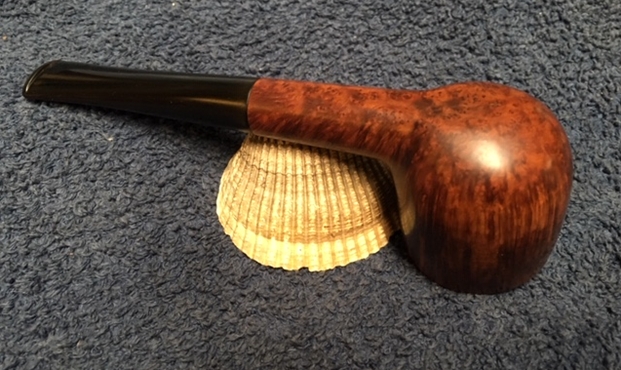
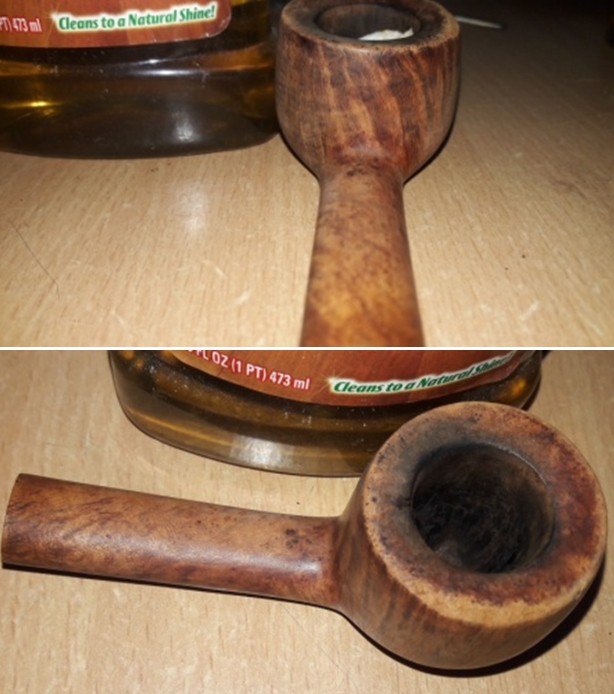
 I wanted to highlight the grains seen and further blend all the repairs carried out to the stummel. To achieve this aim, I sand down the stummel and rim top using micromesh pads, wet sanding with 1500 to 2400 grit pads and dry sanding with 3200 to 12000 grit pads. The stummel now has a deep shine with grains popping out with magnificent contrast. Though this part of restoration is the second most time consuming and laborious, the end results are also the most satisfying. The play of grains, the contrast and the smooth surface are well worth the efforts.

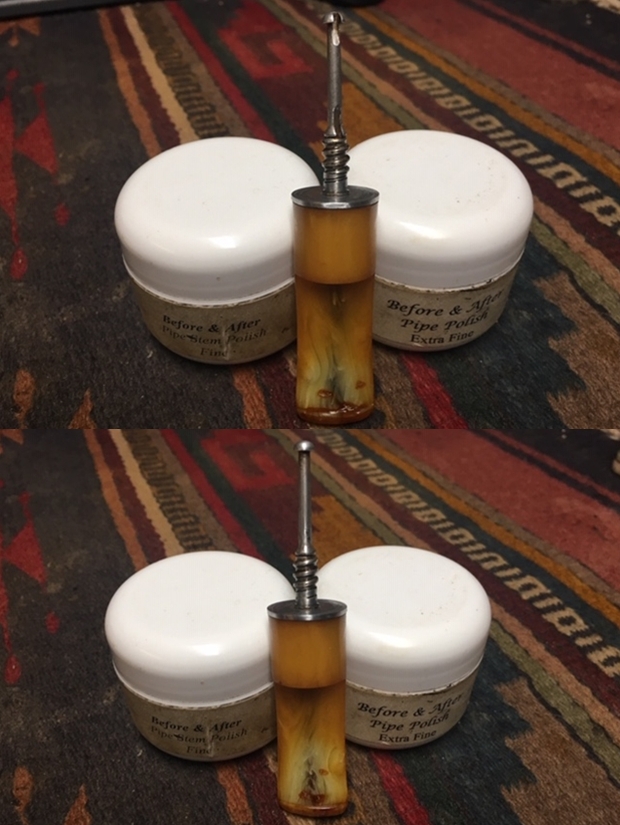
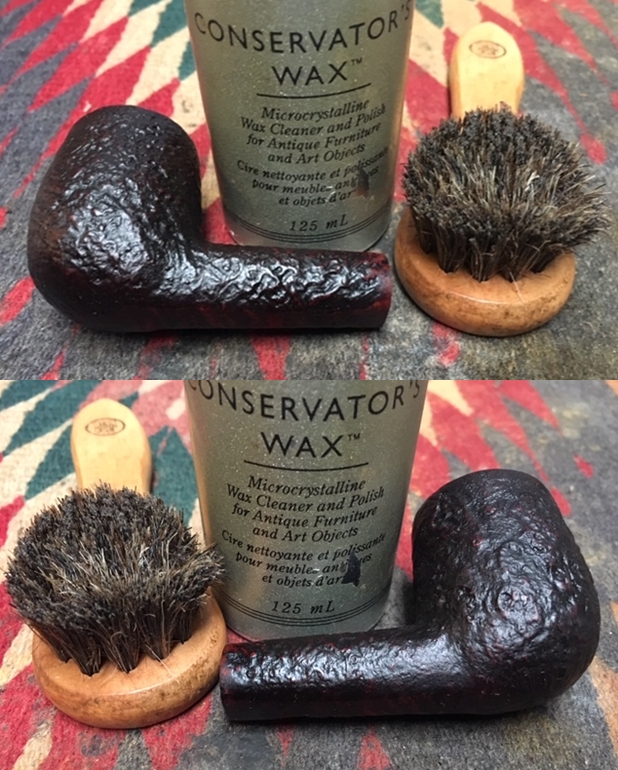
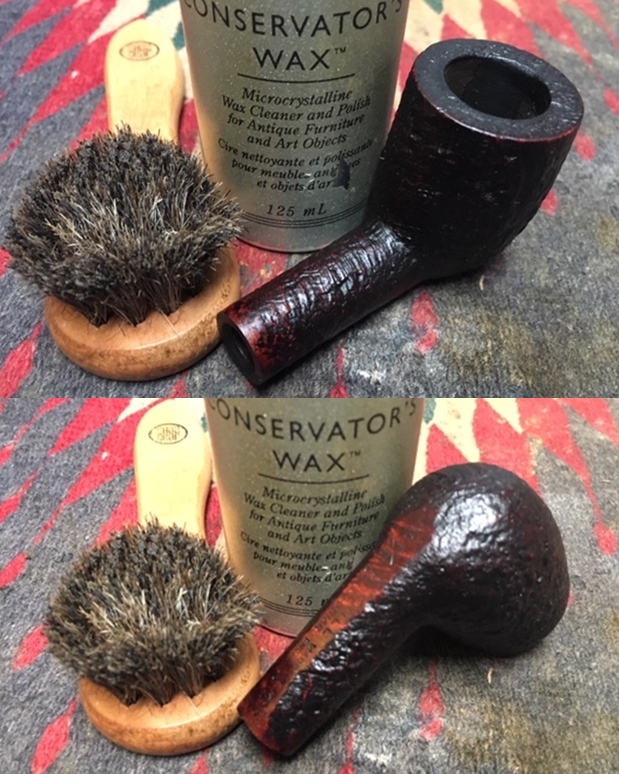
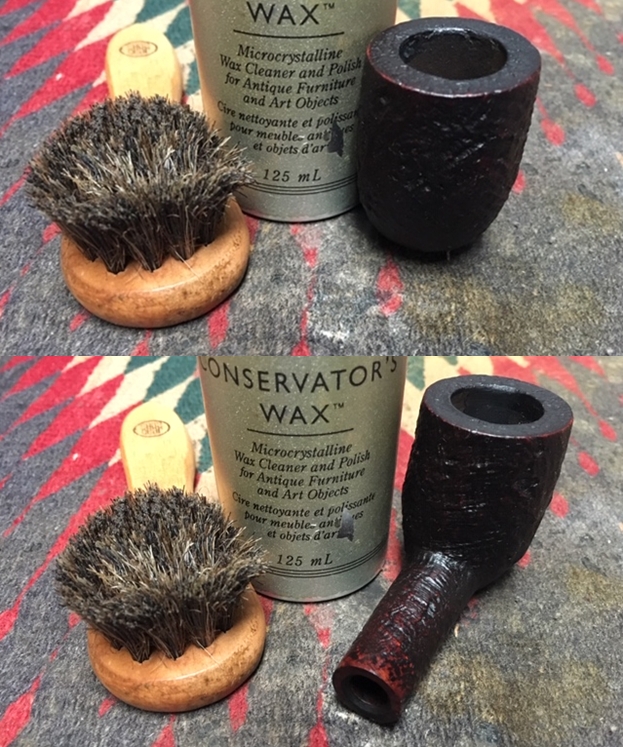
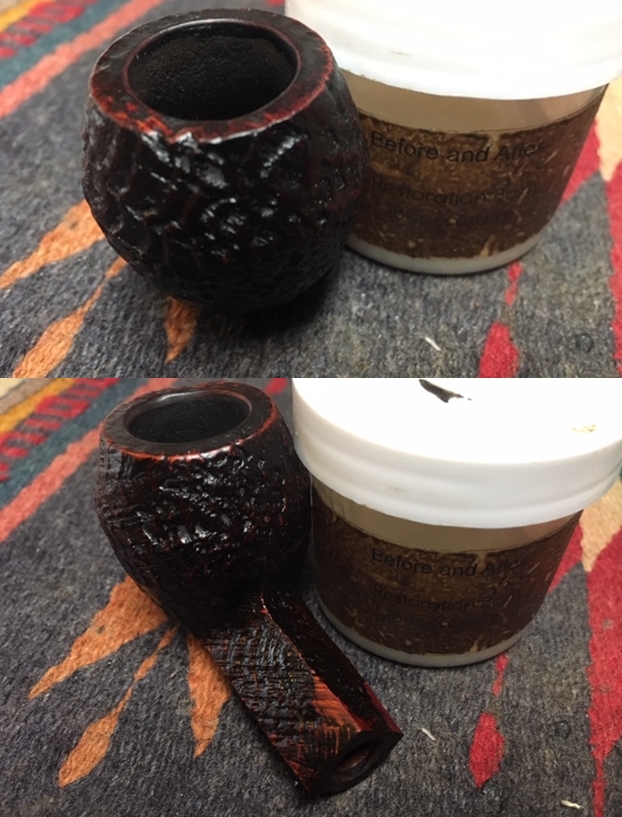
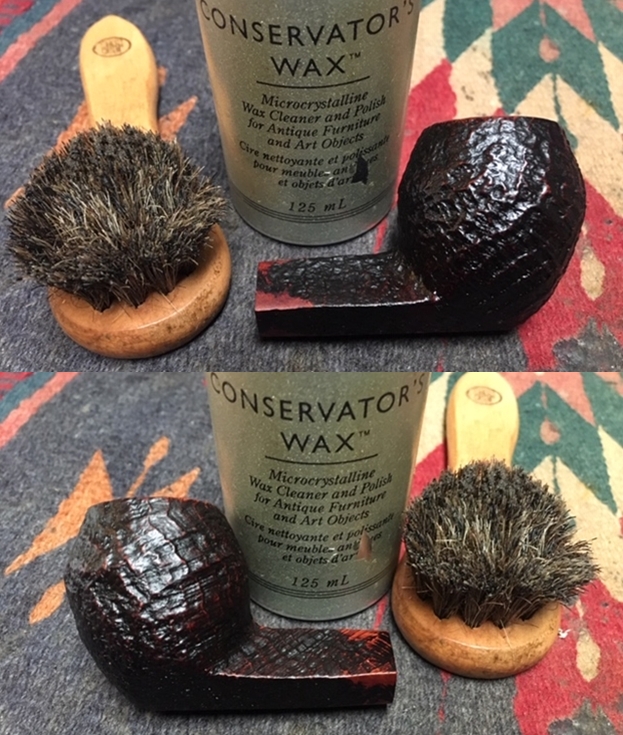
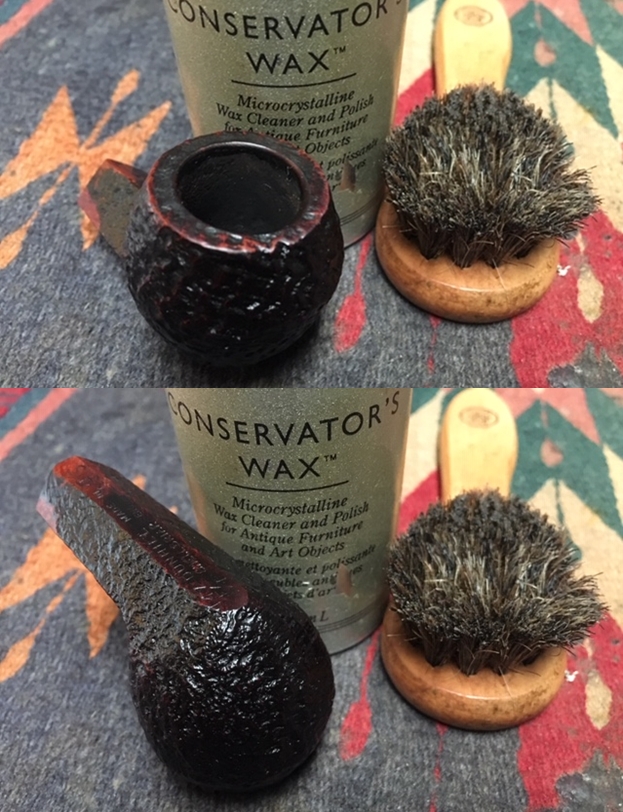
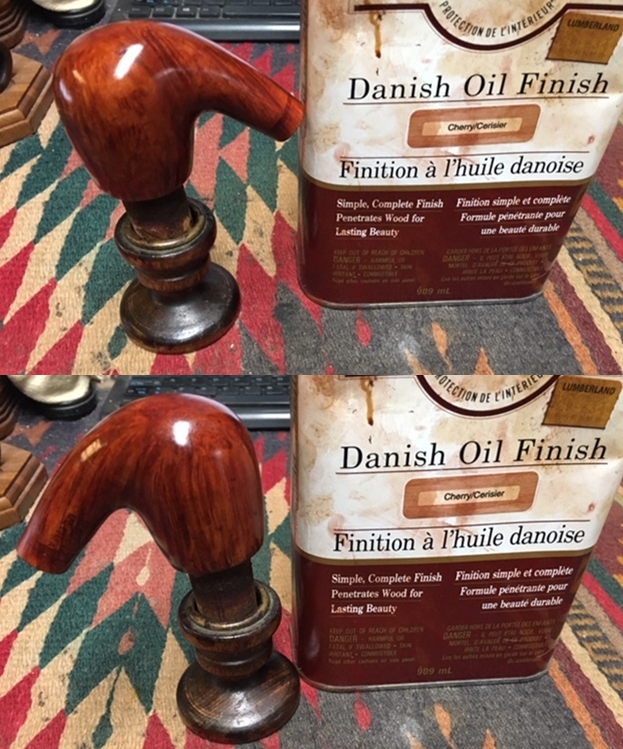
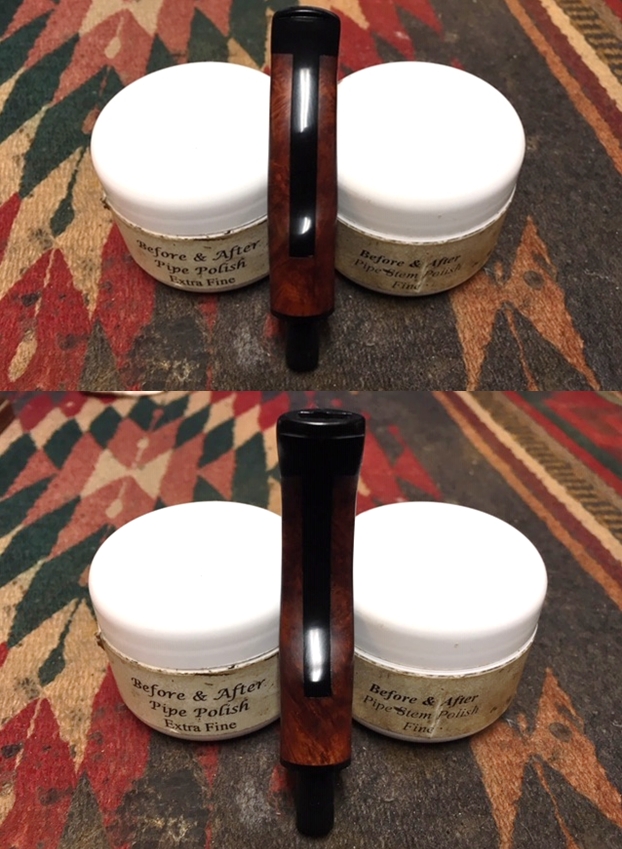
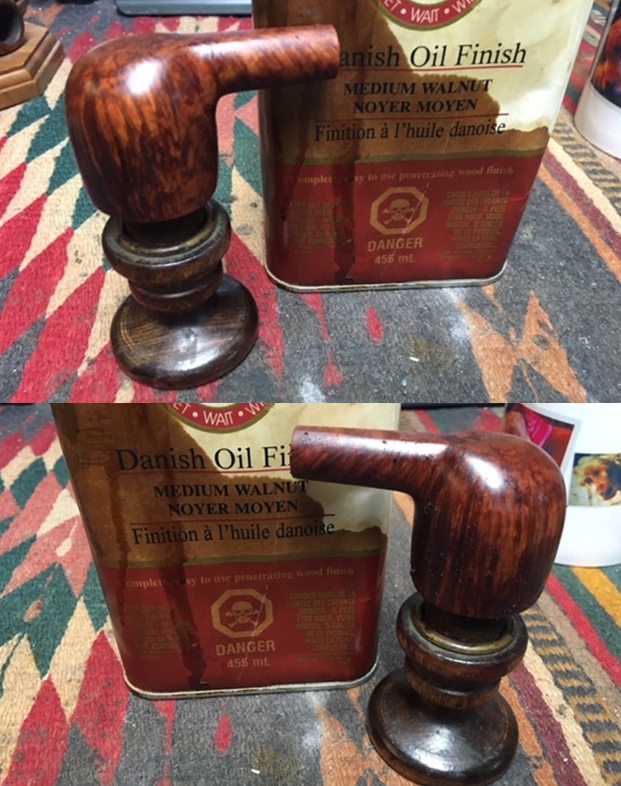
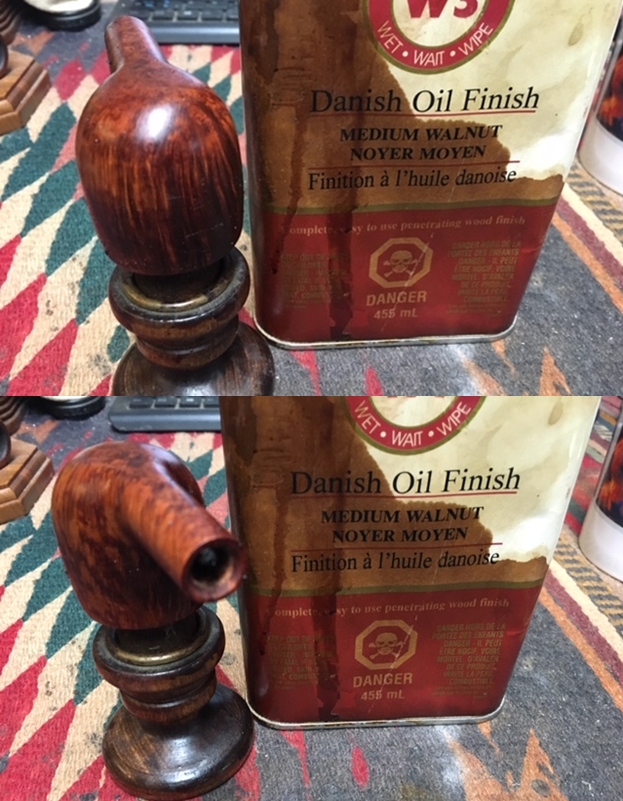
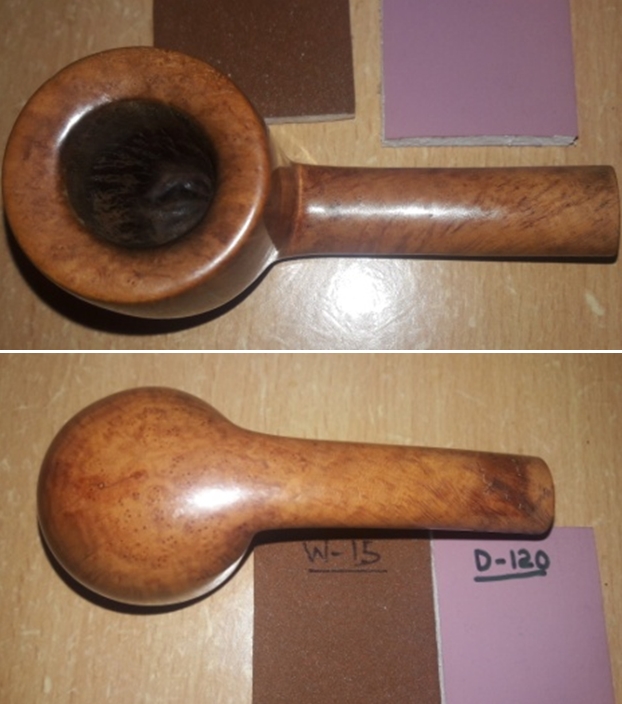
 I rub a small quantity of “Before and After Restoration Balm” in to briar and let it rest for a few minutes. I took some extra efforts to work the balm in to the hand carved rustications on the bottom of the bowl. The balm almost immediately works its magic and the briar now has a nice vibrant appearance. I further buff it with a horse hair shoe brush.

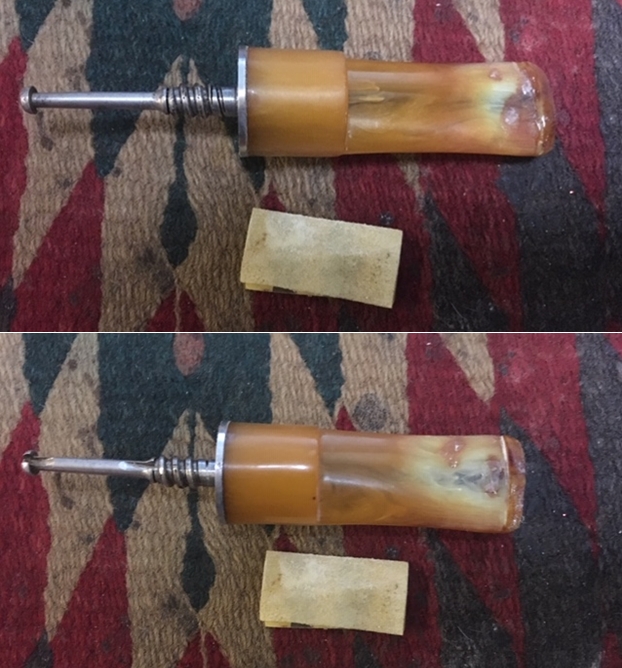
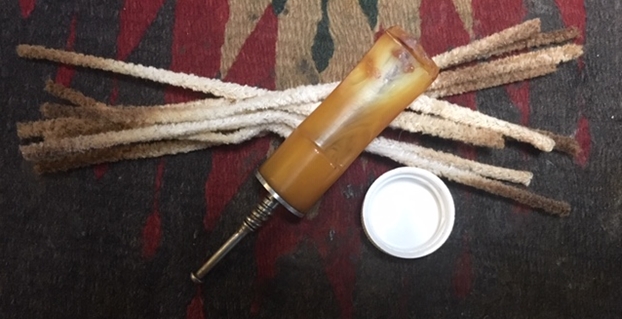
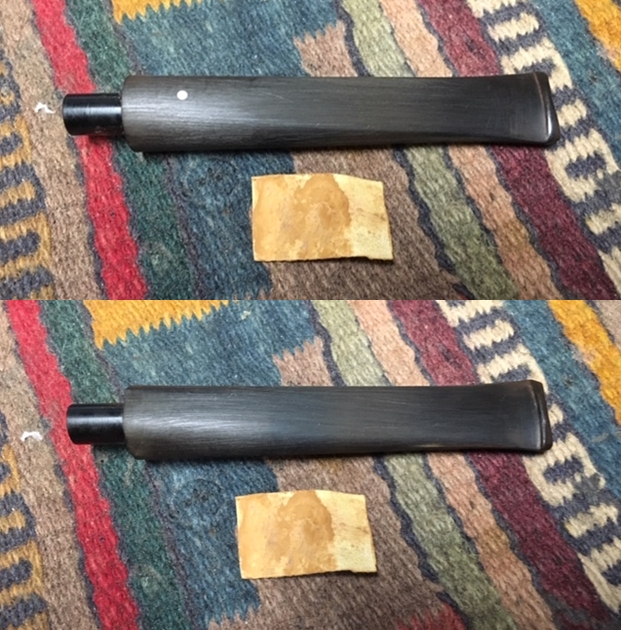
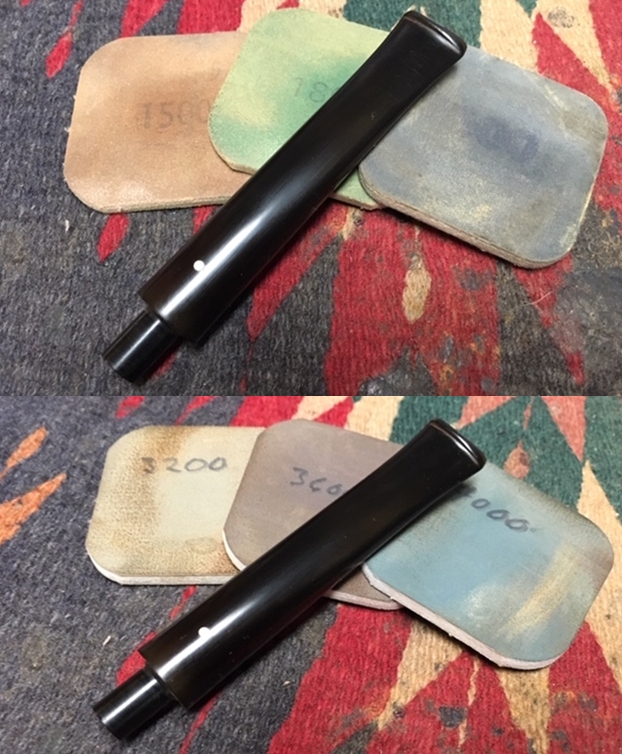
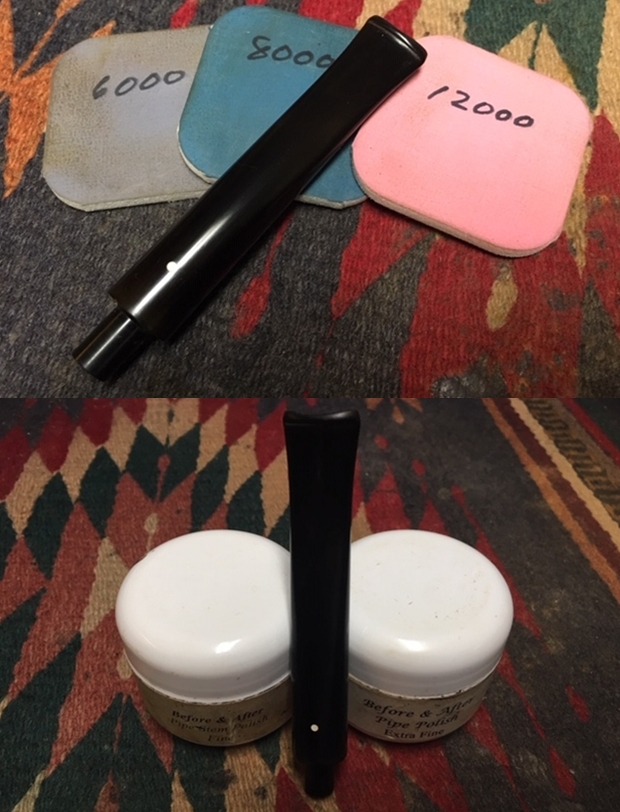
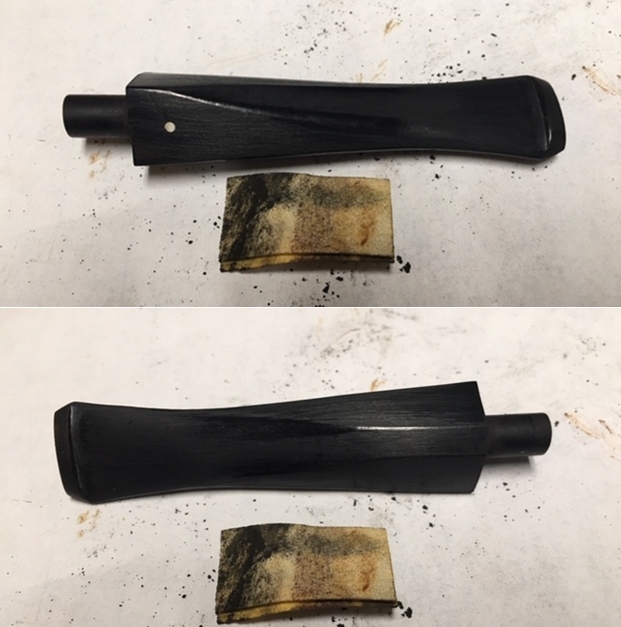
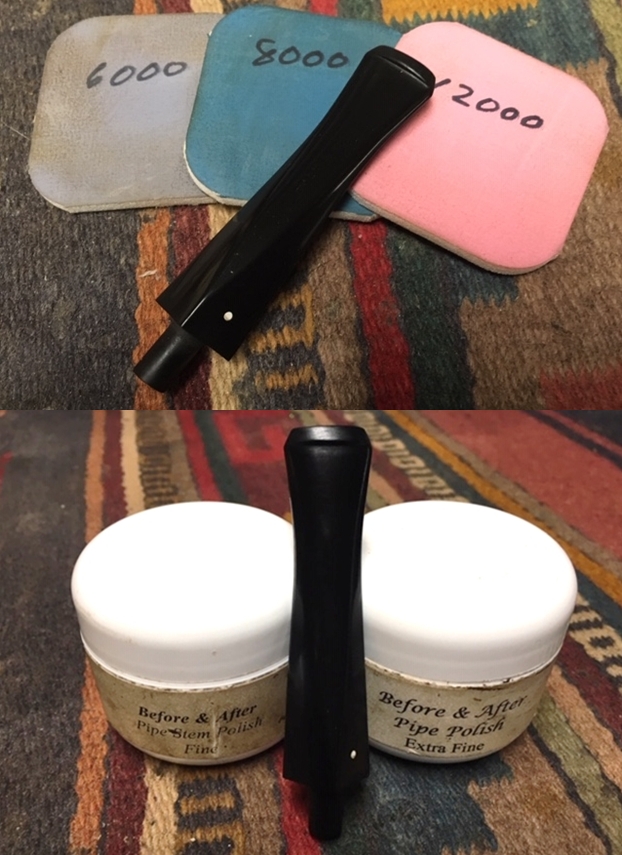
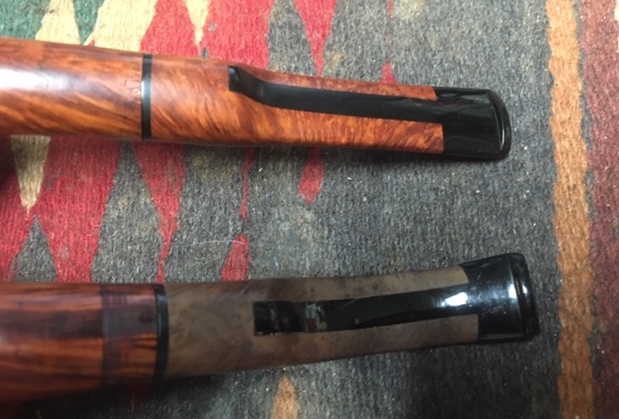
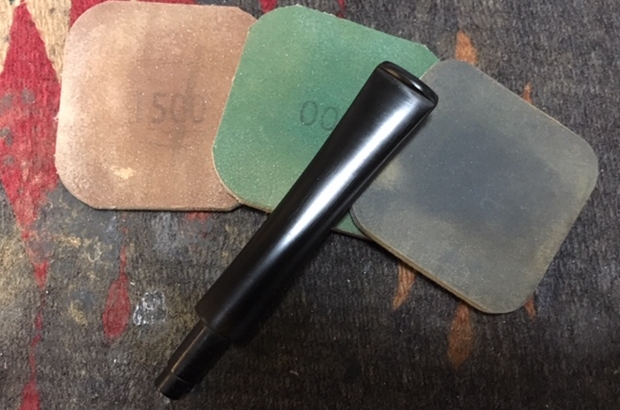
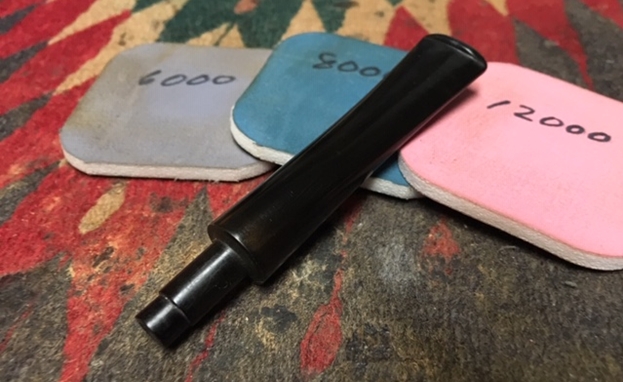
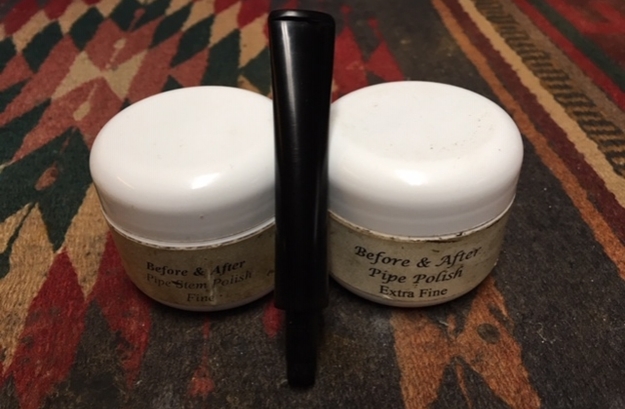
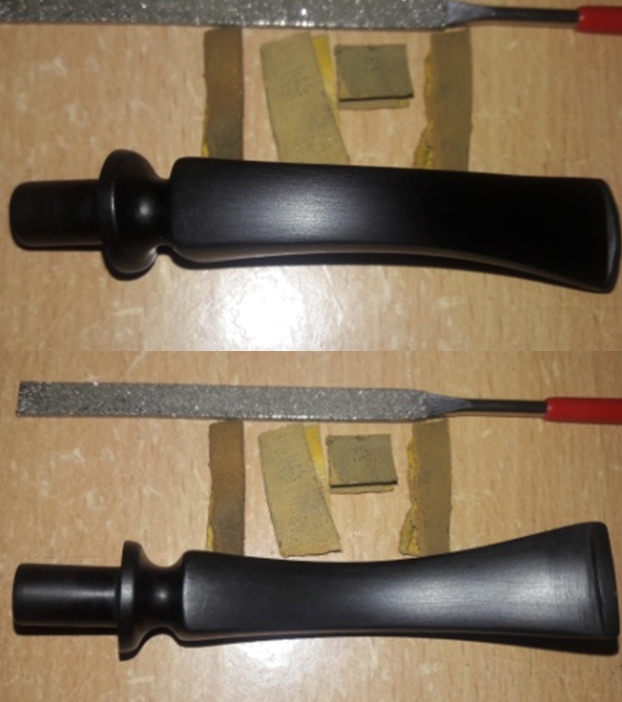
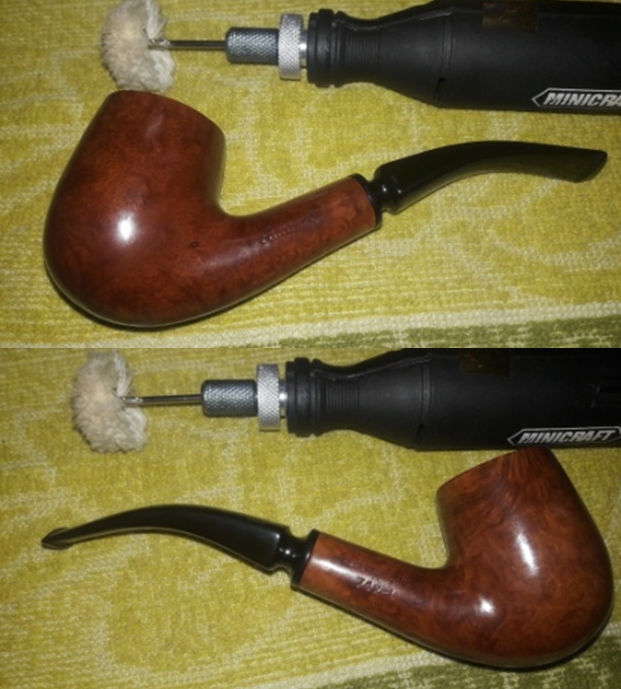
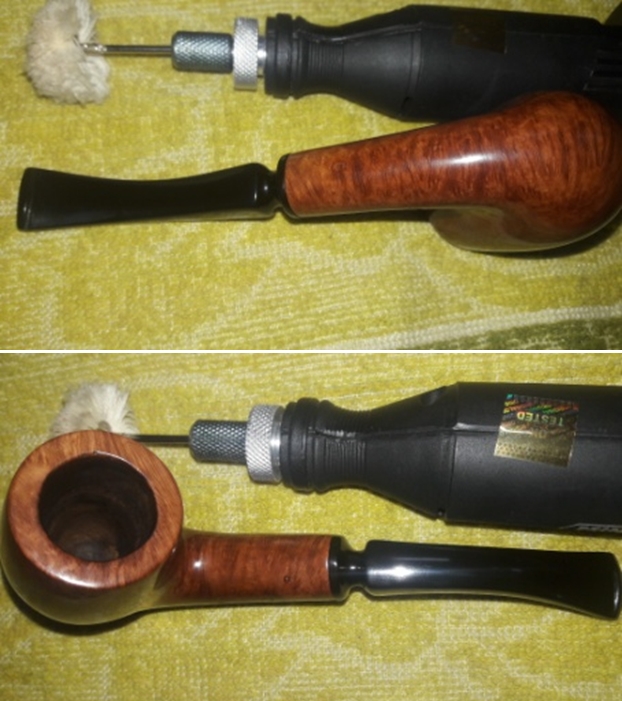
 With the stummel nice and clean and attractive, I worked the stem. I sharpened the lip edges using a needle file and sand the entire stem with 220 followed by 400 and 800 grit sand paper. This helps to reduce the sanding marks left behind by the more abrasive 220 grit paper. By mere sanding itself, the minor tooth marks seen on both stem surfaces were addressed completely. To bring a deep shine to the vulcanite stem, I went through the complete set of micromesh pads, wet sanding with 1500 to 2400 grit pads and dry sanding with 3200 to 12000 grit pads. I wiped the stem with alcohol after each pad and rubbed it down with Extra Virgin Olive oil. The internals of the stem was cleaned out using alcohol and pipe cleaners. The pictures of the process and final results are shown below.
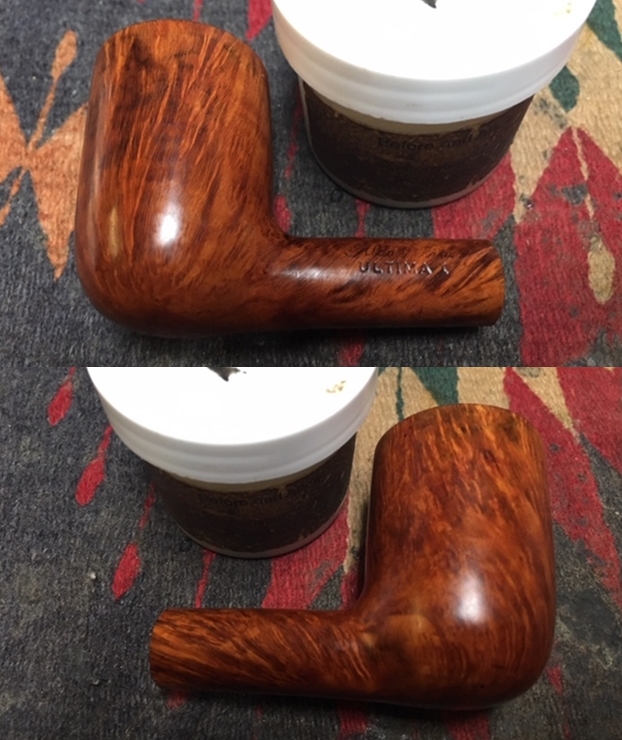
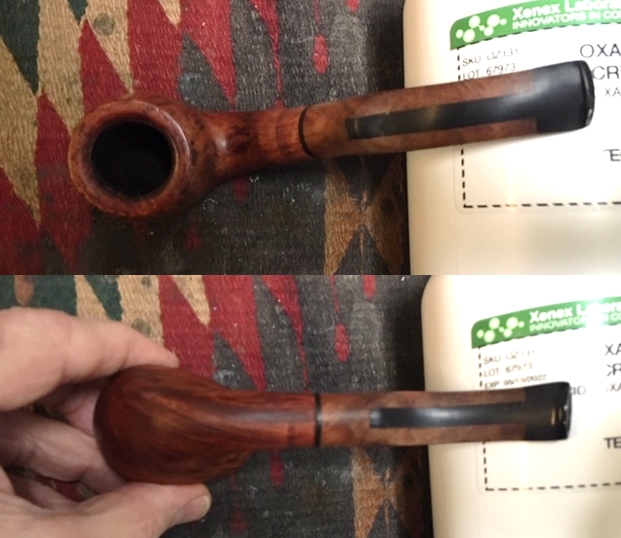
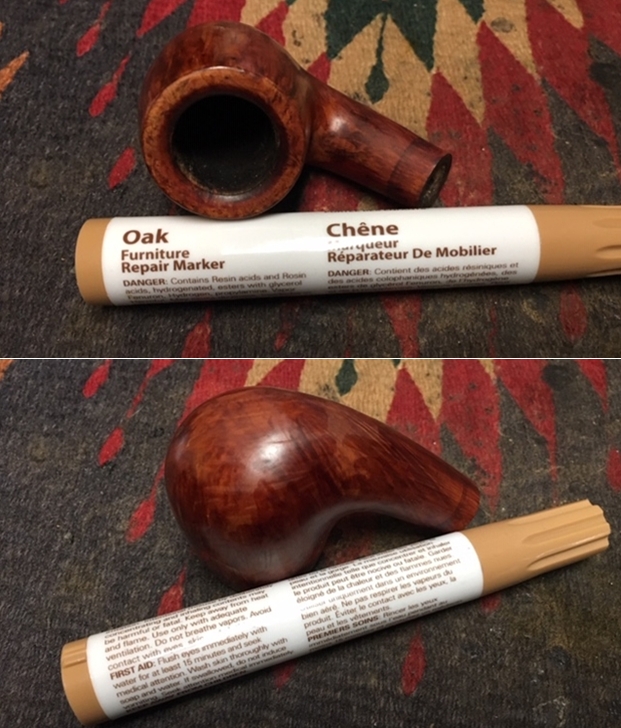
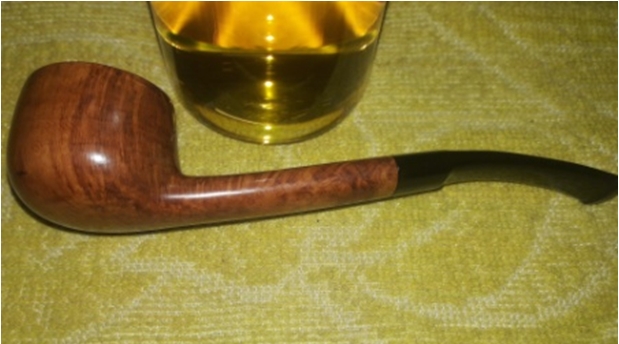
 To finish, I re-attach the stem with the stummel. I mount a cotton cloth buffing wheel on to my local machine which is similar to a Dremel. I set the speed at about half of the full power and applied White Diamond compound to the entire pipe. I wiped/ buffed the pipe with a soft cotton cloth to clear it of any leftover compound dust. I then mounted another cotton cloth wheel on to the polishing machine and applied several coats of carnauba wax. I finished the restoration by giving the entire pipe a rigorous hand buffing using a microfiber cloth to raise the shine further.
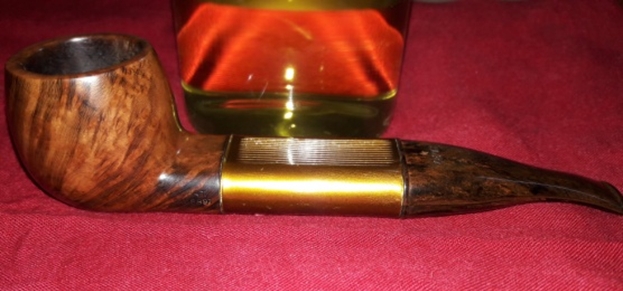
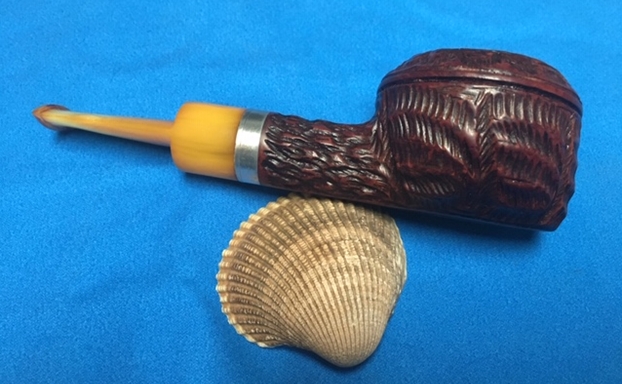
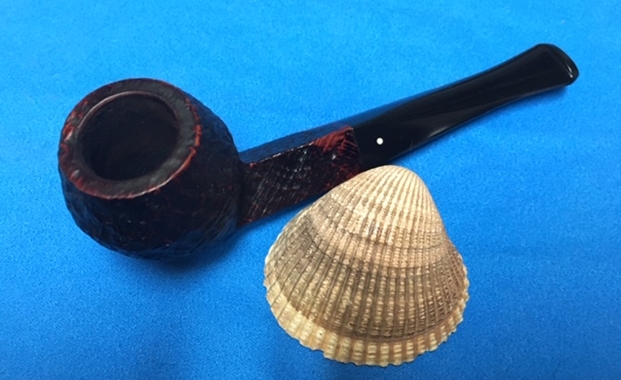
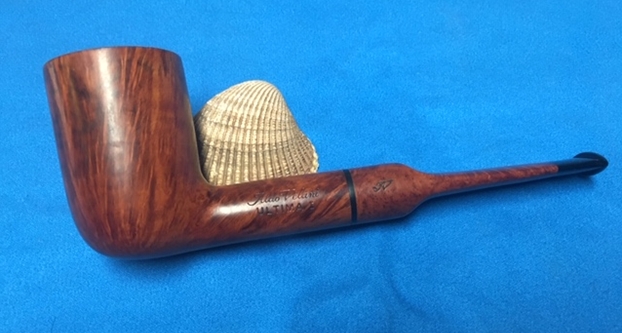
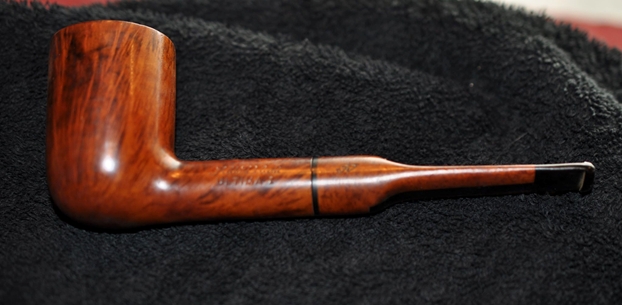
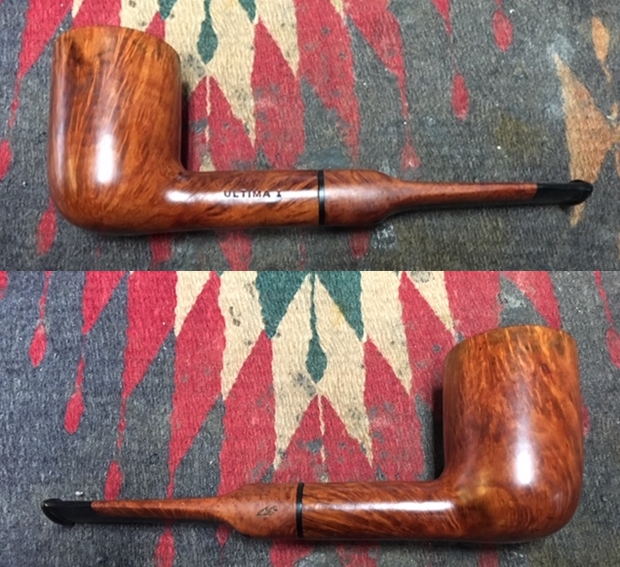
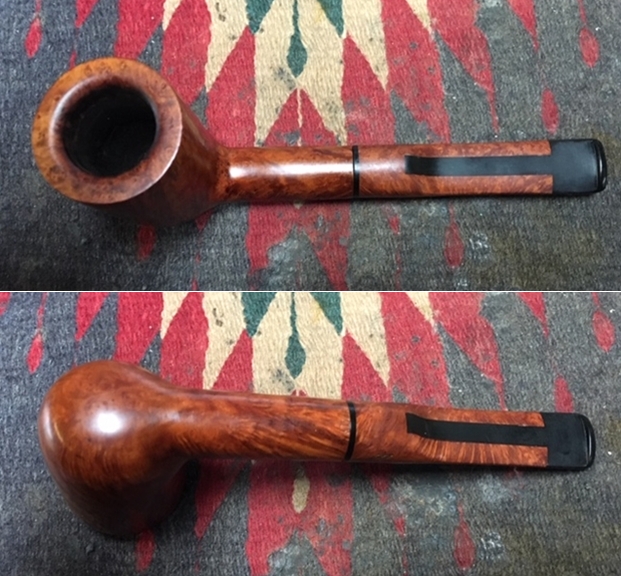
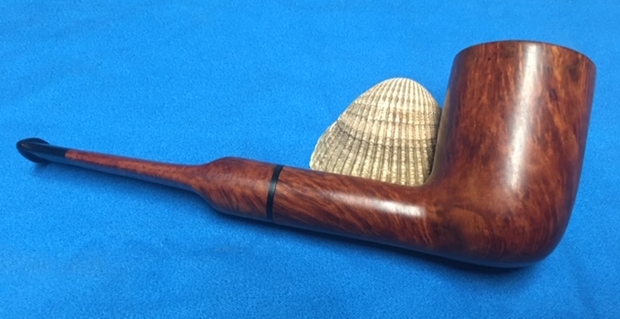
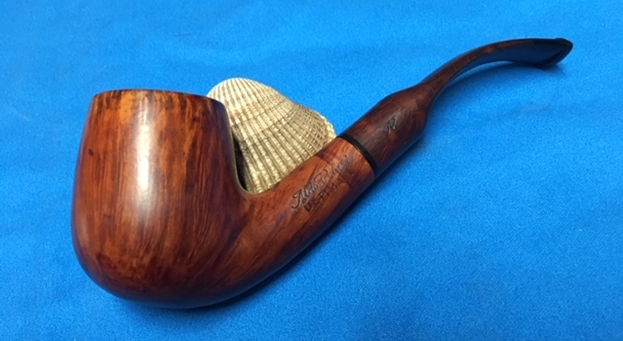
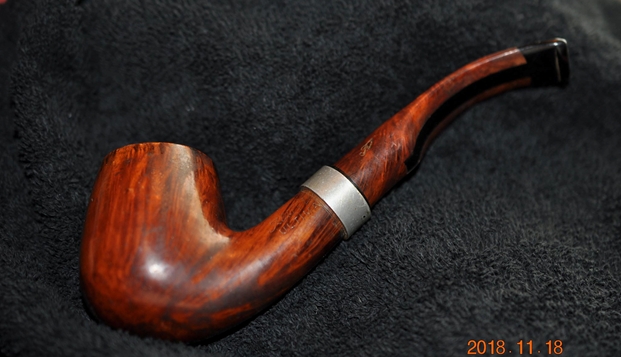
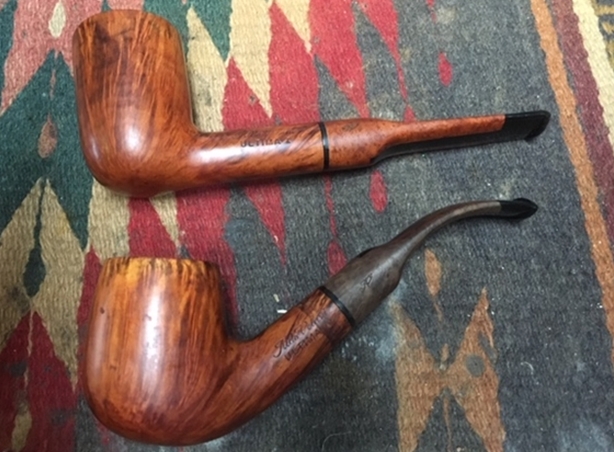
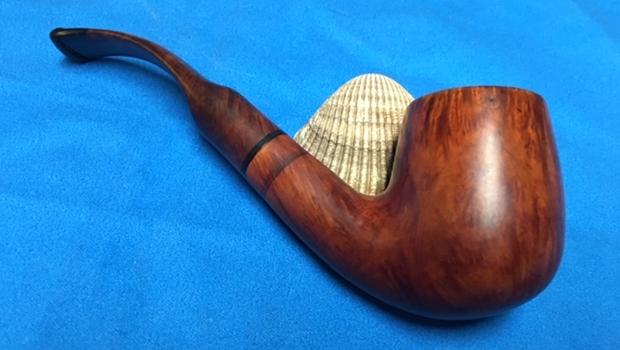
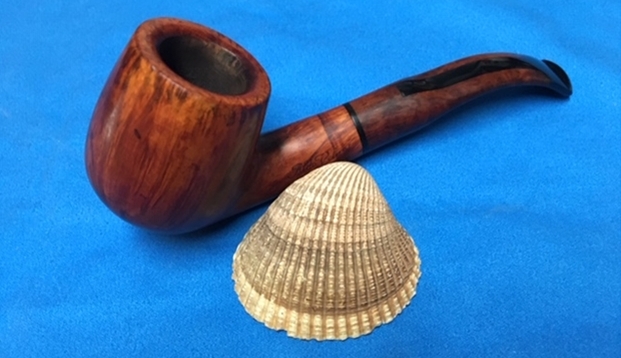
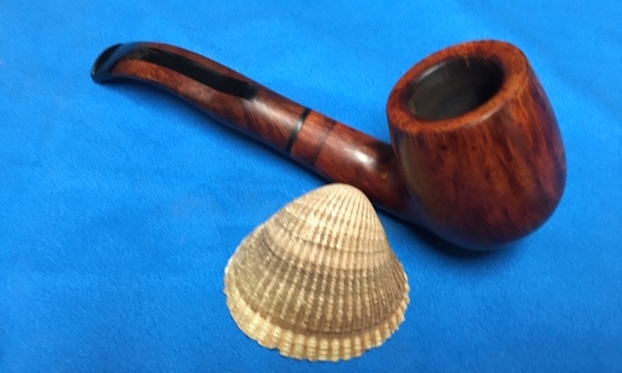
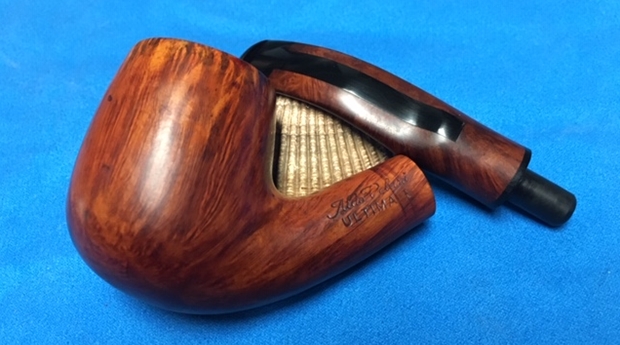
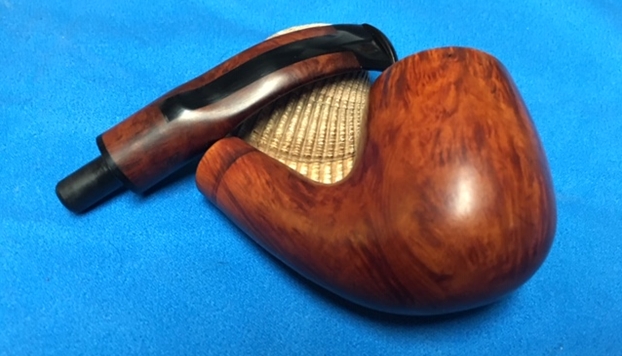
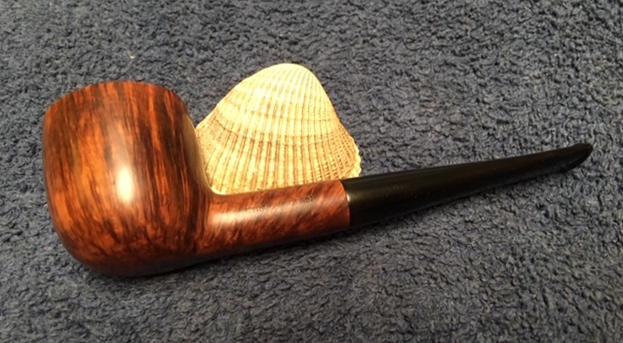
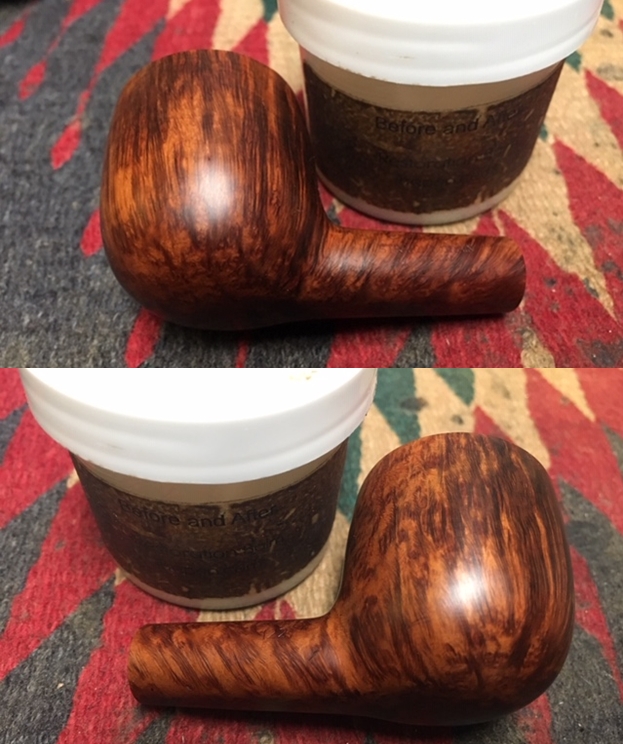
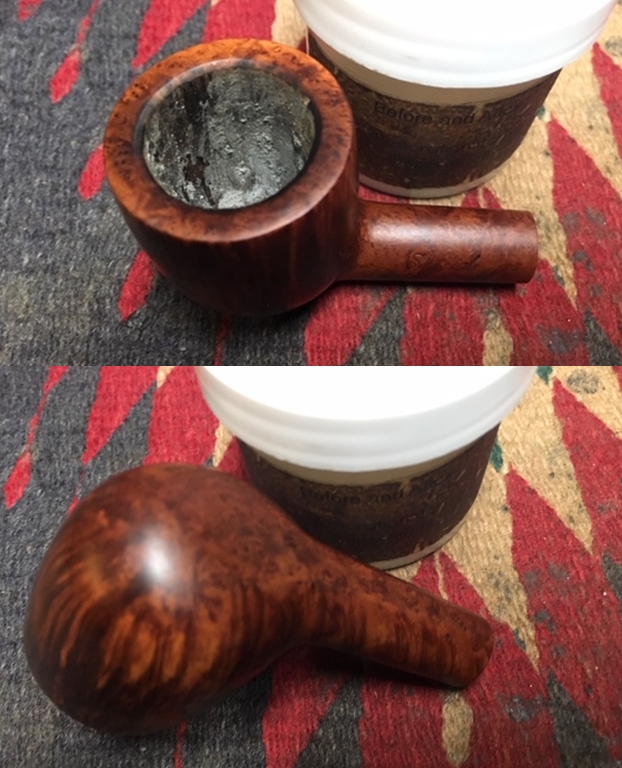
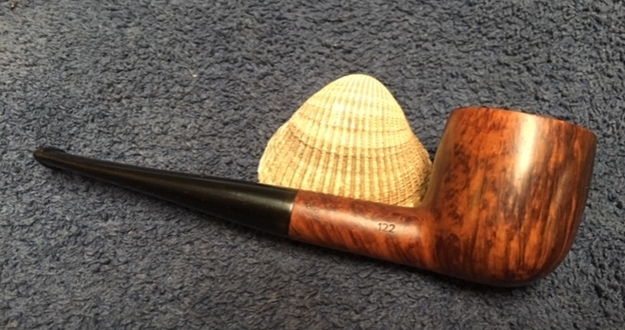
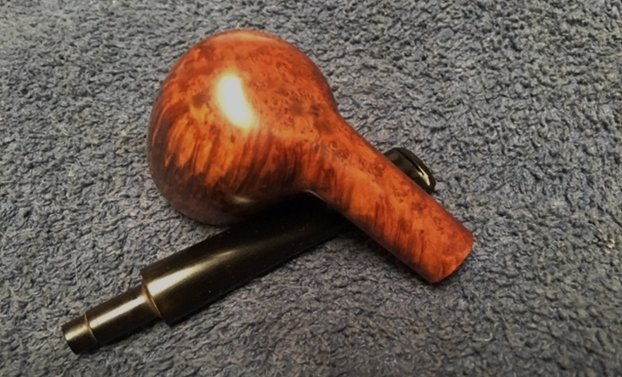
 The completed pipe, with the dark brown hues of the stummel contrasting with the shiny black stem, looks lovely, fresh and vibrant; the photographs speak for themselves. The beauty, size and shape of this pipe make it one of my favorites and will find a place of pride in my modest collection. If only the pipe could tell the story of its journey till date…………… Cheers!!
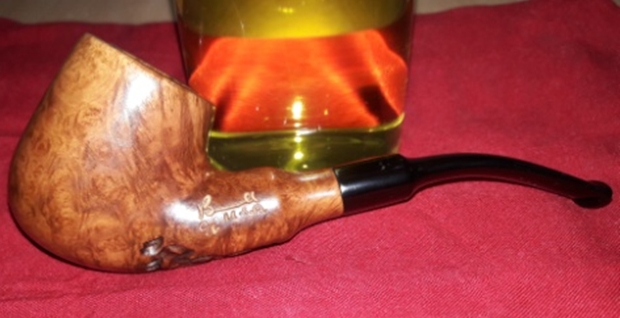
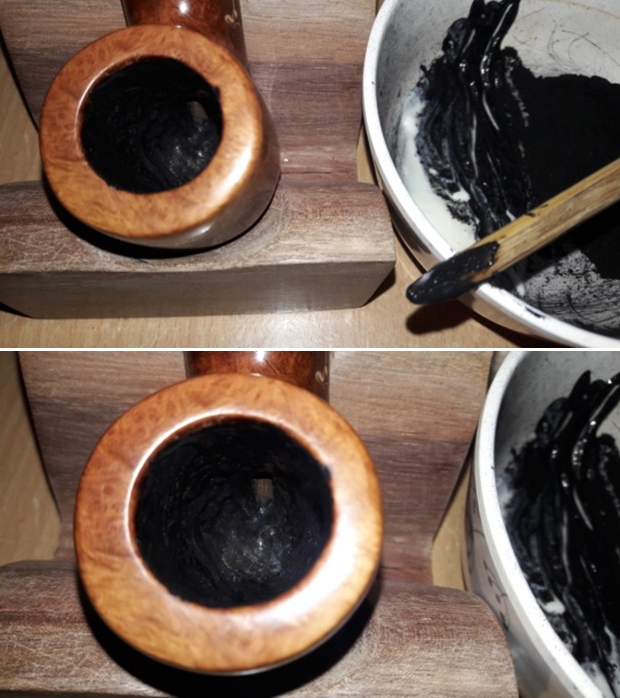
 PS: The last functional aspect which I addressed at this stage was the protection of the walls of the chamber against the possibility of a developing serious heat fissures. I mix activated charcoal and yogurt to a consistency which allows for an easy and even spread and evenly apply it on the inner walls and set it aside to dry out naturally. This coating helps in protecting the wall surface and assists in quicker formation of a cake.