Blog by Steve Laug
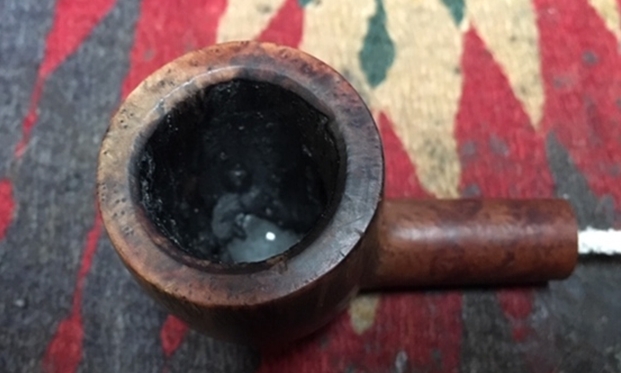
In my ongoing work on the estate pipes from the pipe shop that had closed here in Vancouver I am turning to a fourth pipe from the lot. The entire lot came to me from the estate of an older pipeman whose wife dropped them off at a pipe shop to be cleaned and sold. When the shop closed they came to me. The pipe on the table now is stamped Special over Straight Grain on the left side of the shank. On the right side it is stamped with a Comoy’s style COM stamp reading Made in London in a circle over England followed by the shape number 122. The briar has some nice straight and flame grain around the bowl with birdseye on the top of the bow, shank and the underside of both. The bowl had a thick cake in it with an over flow of lava on the rim top. The rim top looked very bad but it hard to know if there was real damage or if the marks were in the lava overflow. It was hard to know what the rim edges looked like with the thick coat covering it all. The briar was dull and dirty looking. The stem is vulcanite and is oxidized with no visible stamping or logo. There was calcification and tooth chatter and damage next to the button on both sides. There are heavier tooth marks on the underside of the stem. I took photos of the pipe when I received it. 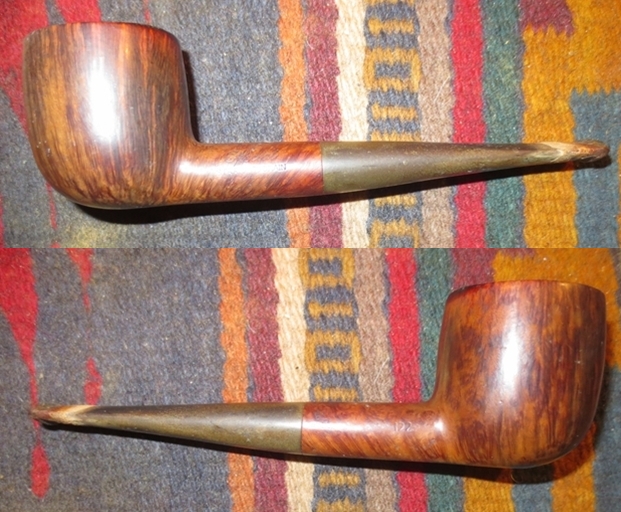
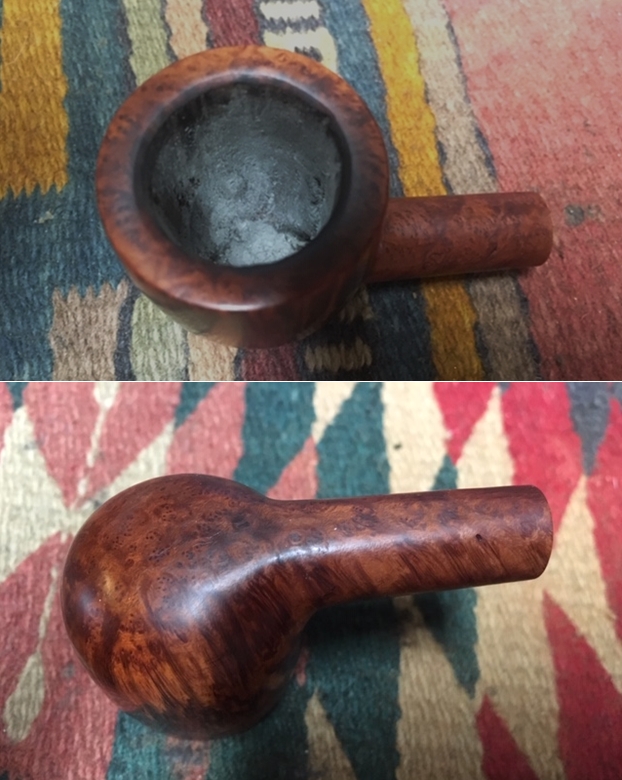
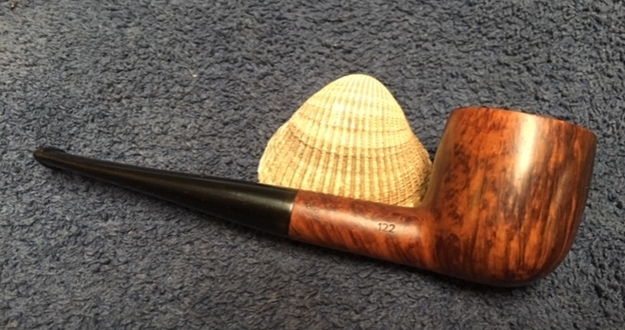
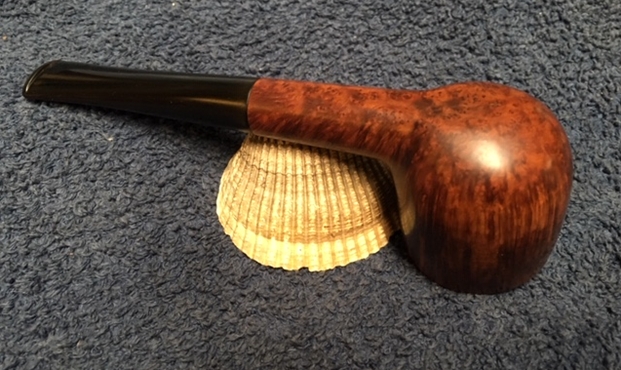
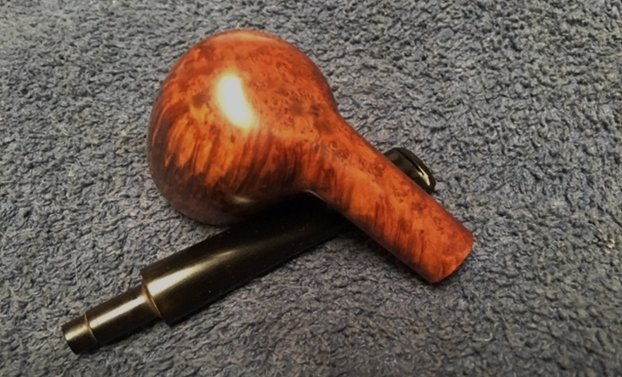
 I sent this pipe along with about twenty others from this lot to my brother Jeff in Idaho to work over and clean up. He cleaned up the pipes with his usual thoroughness – reaming the bowl and scrubbing the internals with alcohol, cotton swabs and pipe cleaners. He scrubbed the exterior with Murphy’s Oil Soap to clean off the dust and grime on the finish. When he sent it the pipe was ready to restore. Like the Savinelli I just worked on, I could not believe how good the rim top looked in comparison to what it was when he started. I was working on the Savinelli Giubileo D’ Oro and it had the same issues as this one with the trough in the bowl so I used the remaining pipe mud that I made for it to repair the bowl bottom on this pipe. In doing so I forgot to take photos before I began. I slid the stem over the pipe cleaner and put it in place to get photos. I took the following photos of the pipe to show what it looked like before I started working on the exterior. The briar was clean and the grain quite stunning. The finish looked dull and lifeless.
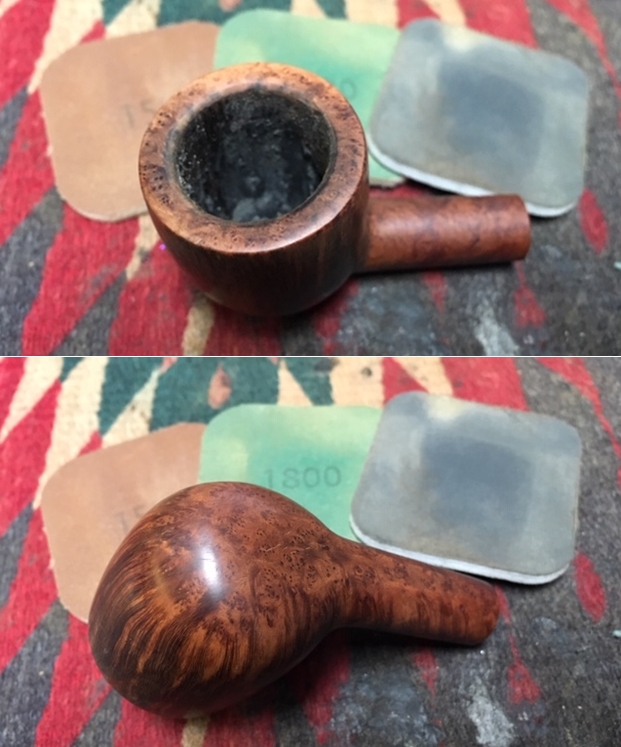
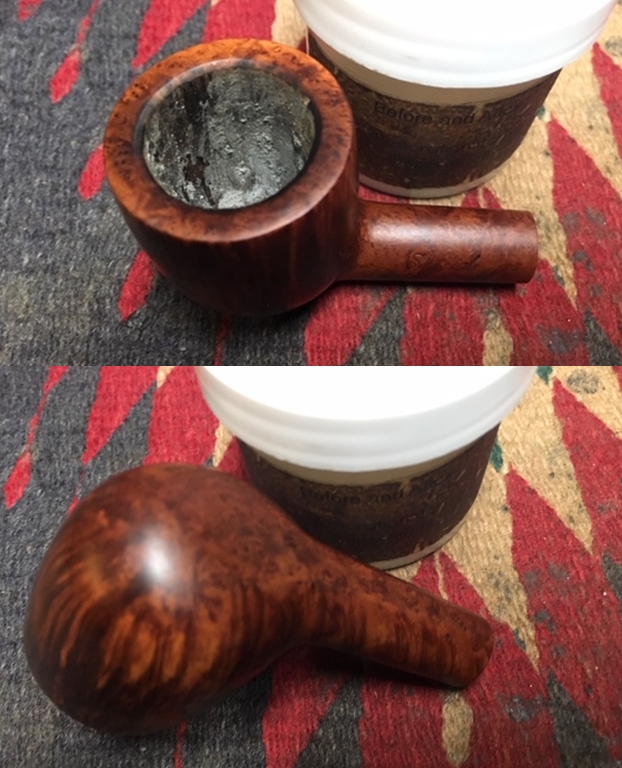
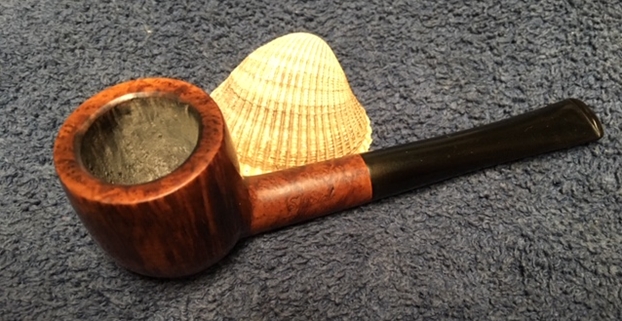
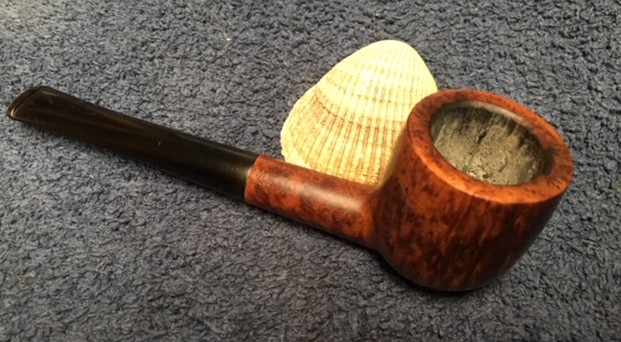
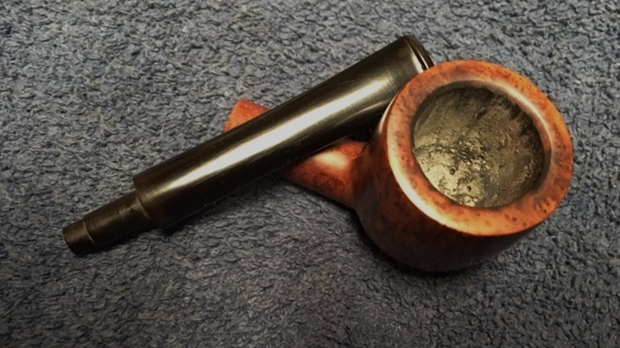
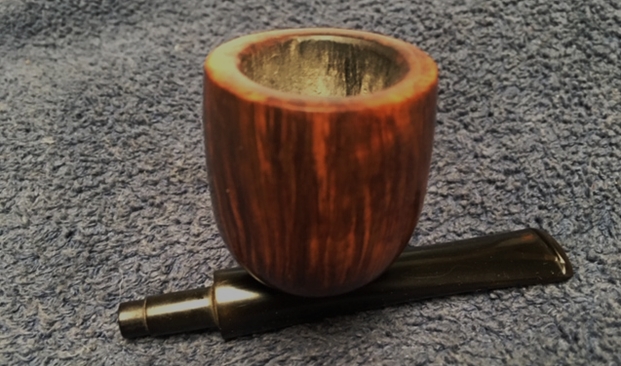
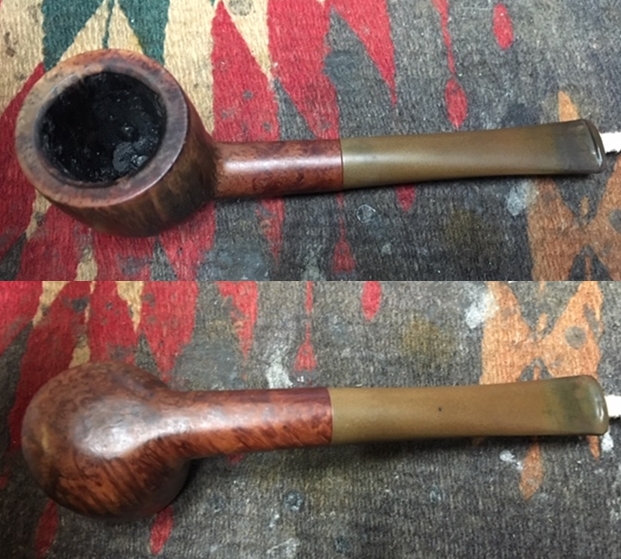 I took a close up photo of the rim top after Jeff had cleaned it up. The look of the rim top and edges is very good. (Ignore the pipe mud in the bowl bottom.) He had been able to remove the cake and the lava very well. The bowl was clean but there seemed to be a trough in the bottom of the bowl made by a pipe cleaner repeatedly passing over the same spot. The stem is also shown and was very clean but oxidized. He had not started using Mark’s Before & After Deoxidizer at this point. The tooth marks on both sides near the button are visible in the photos. The marks on the underside of the stem were worse than the ones on the topside.
 I took some photos of the stamping on the shank sides. The first photo shows the Special over Straight Grain stamp on the left side. The second shows the shape number and the COM Stamp that reads Made in London in a circle over England and the shape number 122 on the right side.
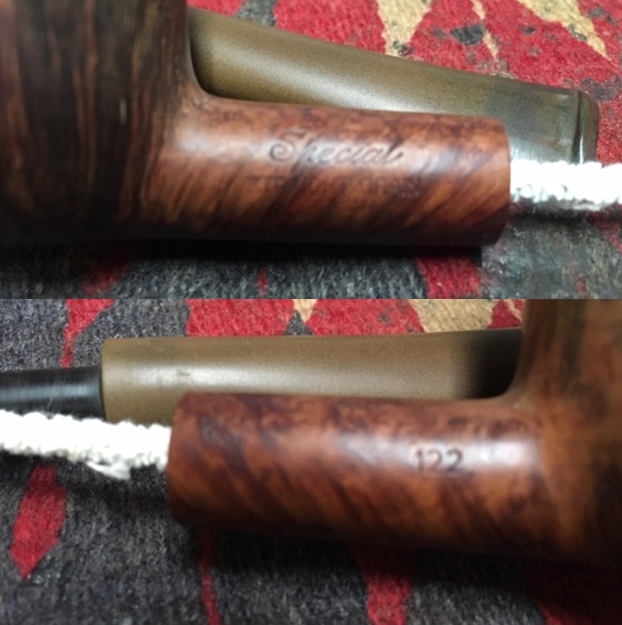 There were several things about the stamping that I was unfamiliar with so I did some searching online. I had a memory of the Special being a Comoy’s product. The COM stamp on the shank and the stamping on the left side of the shank pointed to that. The shape number 122 also seemed to point in that direction. I turned to all of my usual sources – Pipedia and Pipephil and found nothing connecting the stamping to Comoy’s. There is not a note regarding the Special Straight Grain stamp on either site when it is missing the Comoy’s designation. However there was a connection with the shape number on the Comoy’s Shape Chart on Pipedia (https://pipedia.org/wiki/Comoy%27s_Shape_Number_Chart).
I have captured a portion of the chart to show the number and designation match what I have in hand. I circled the shape number in red that is on the right side of this pipe. It fits the description of a 122 Pot with a straight stem and a medium sized bowl. I think I could safely assume I was working on a Comoy’s made pipe with an interesting and unique stamping – Special Straight Grain on the right side of the shank!
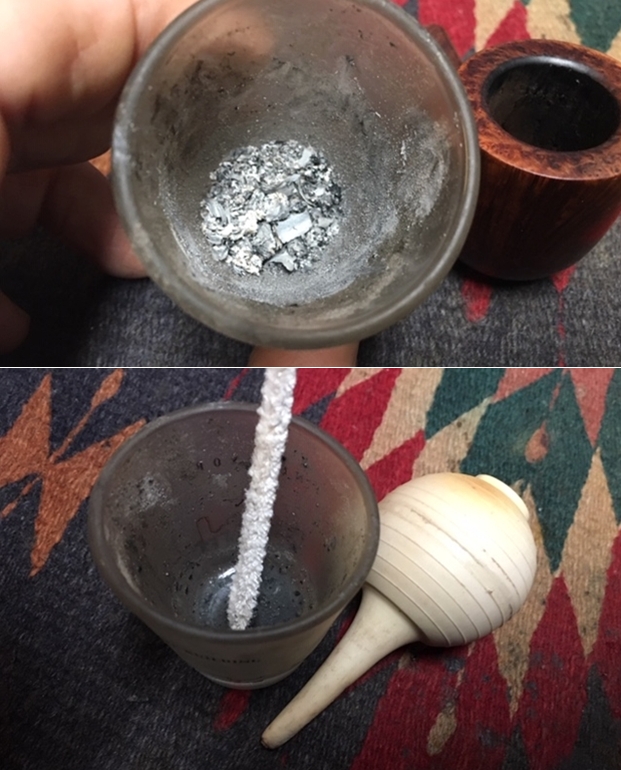
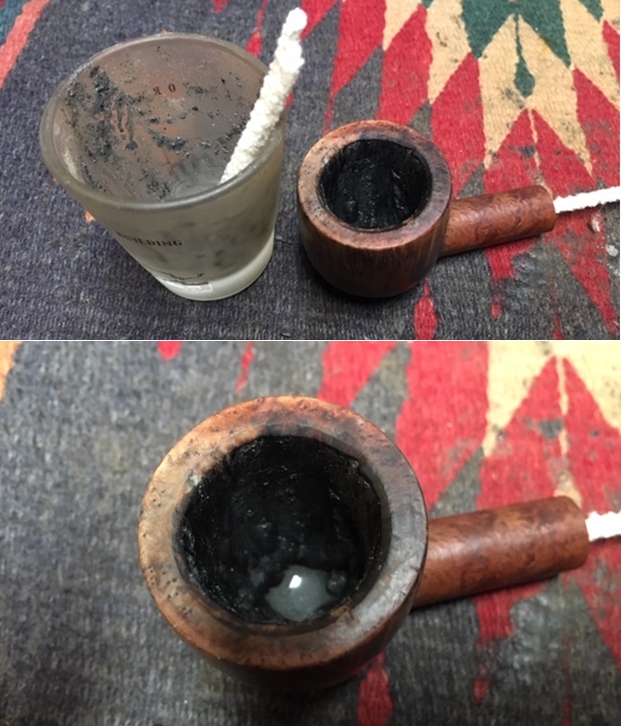
I started working on the bowl. Since I was working on the La Savinelli Giubileo D’Oro at the same time and both had parallel issues with the bowl I decided to address the trough in the bottom of the bowl first. It was quite visible and though the bottom of the bowl was still quite thick, it bothered me. I decided to mix a batch of pipe mud to fill in the trough and protect the bottom while a new cake was formed in the bowl. I mixed some cigar ash and water to form a paste. I put a pipe cleaner in the airway to protect it from being filled in. I used a folded pipe cleaner to paint the mud around the airway to clean up some of the edges and tamped some into the bottom of the bowl to fill in the trough. I packed it in place with a Czech pipe tool tamper as it fit in the bottom of the bowl. The pictures that follow tell the story. It will take a while to dry out but once it has dried it will be quite hard. I set the bowl aside while I worked on the other pipe.
(The first two photos show the bowl of the Giubileo. The bowl on the Special had a twin looking bottom and I forgot to include photos of the bowl bottom on this repair. You can imagine it from the photos below.)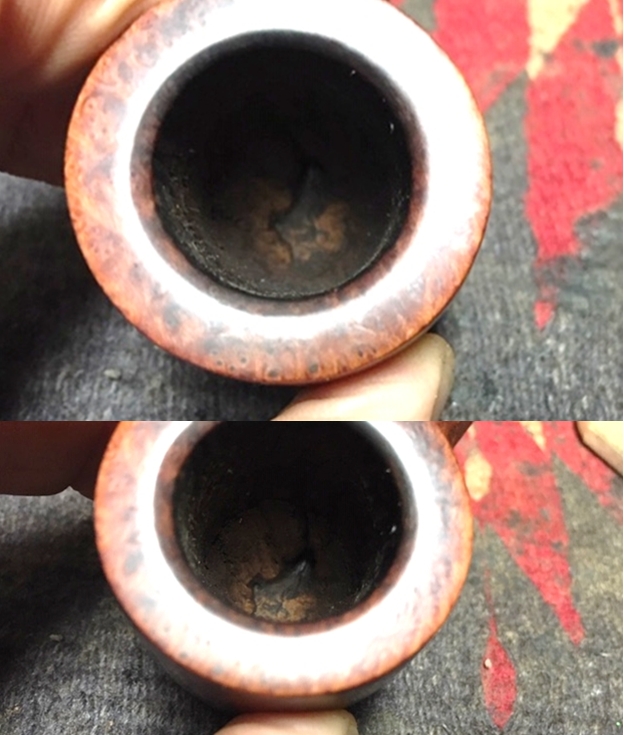
 I wanted clean up the rim top in the least intrusive method possible and still be able to deal with the scratches and wear on the flat surface. I wanted to see if I could minimize the darkening on the back side and the bevel of the inner edge of the rim top. I sanded it on a small medium and fine grit sanding block to see what I could do to begin with (forgot to take photos). I was happy with the way it was beginning to look. I finished with the blocks and wiped the bowl down with isopropyl alcohol to get a feel for what it looked like under the sanding dust.
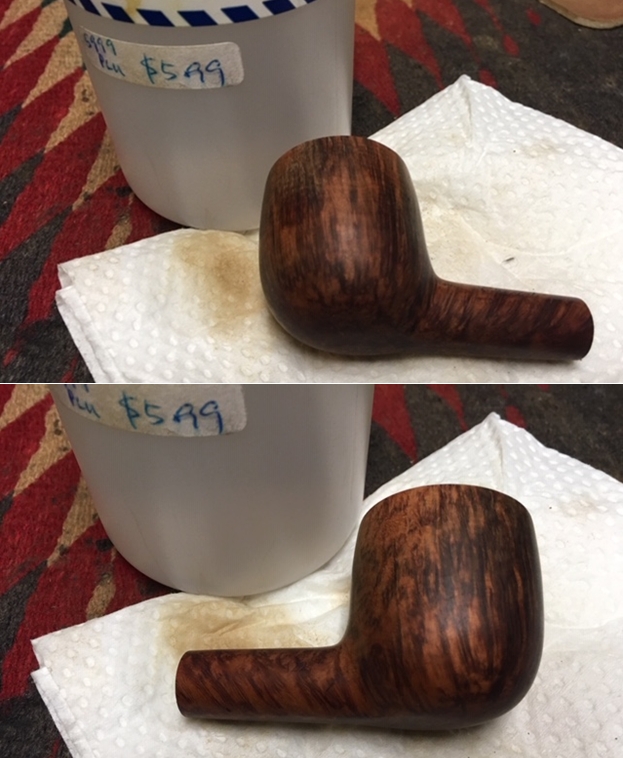
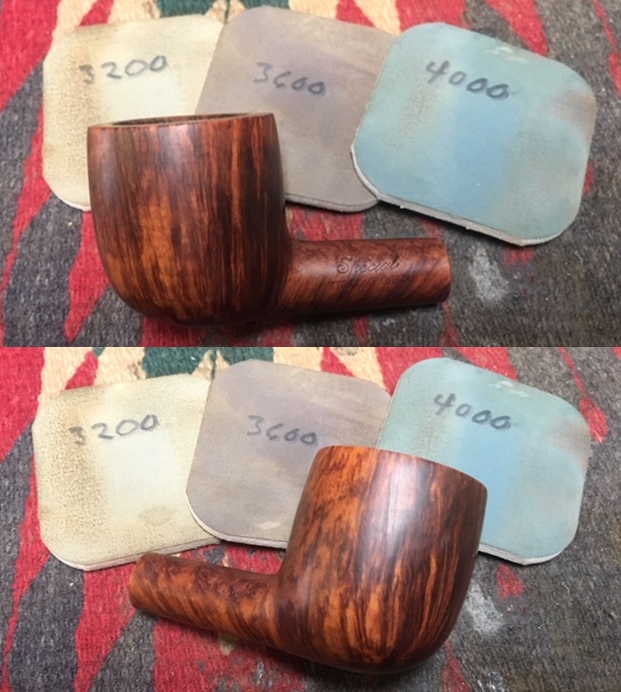
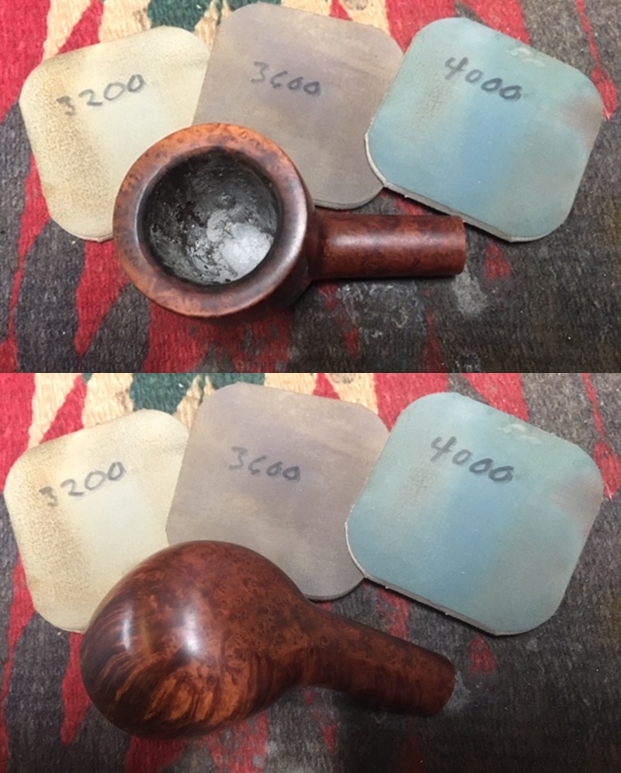
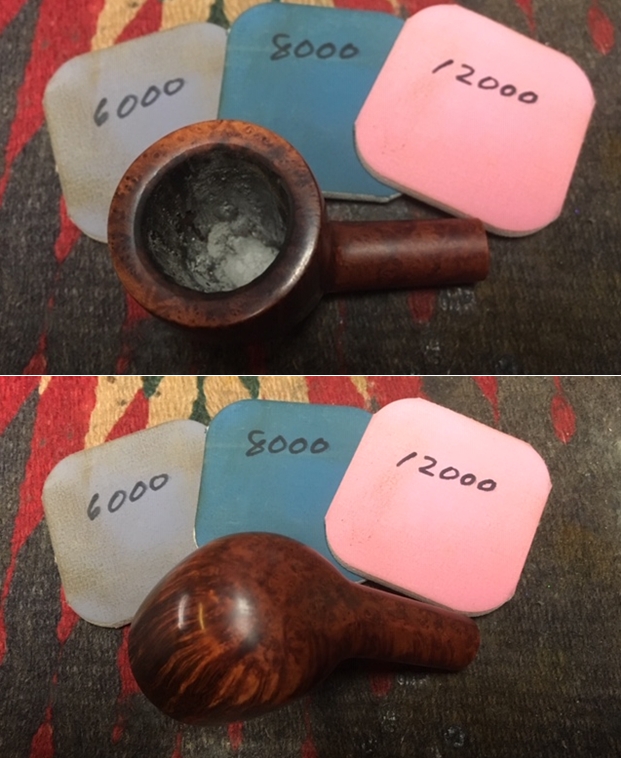
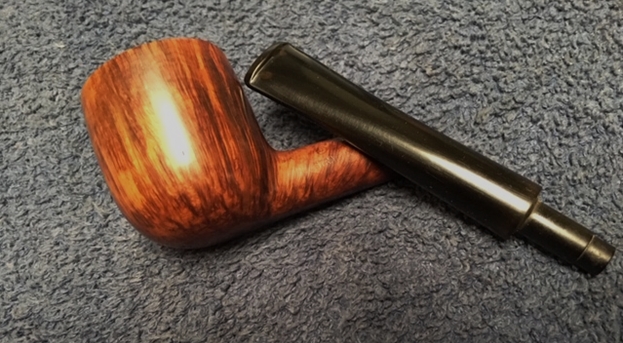
 I polished the briar by wet sanding with 1500-2400 grit sanding pads to raise the shine. I also wanted to remove as much of the scratching as I could. I dry sanded the briar with 3200-12000 grit pads. I wiped the bowl down with a damp cloth after each pad. The briar began to really shine and the grain stood out. This was a beautiful pipe and worthy of the designation SPECIAL STRAIGHT GRAIN.
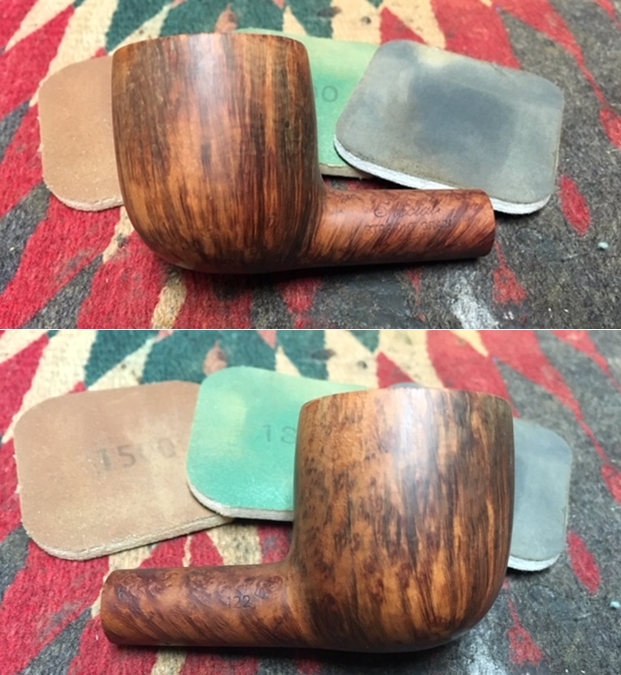

 The pipe was beginning to look really good and the grain was beginning to really pop. It was time to work some Before & After Restoration Balm into the briar on the bowl and the rim top. I worked it into the surface with my fingertips to clean, enliven and protect the wood. I let the balm sit for about 20 minutes and buffed it off with a soft cotton cloth. I took photos of the pipe at this point in the process to show what the bowl looked like at this point.
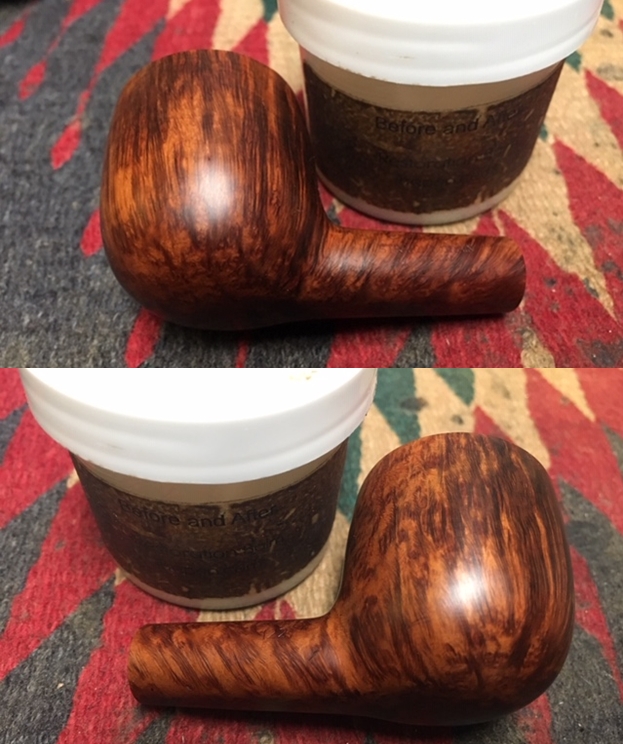
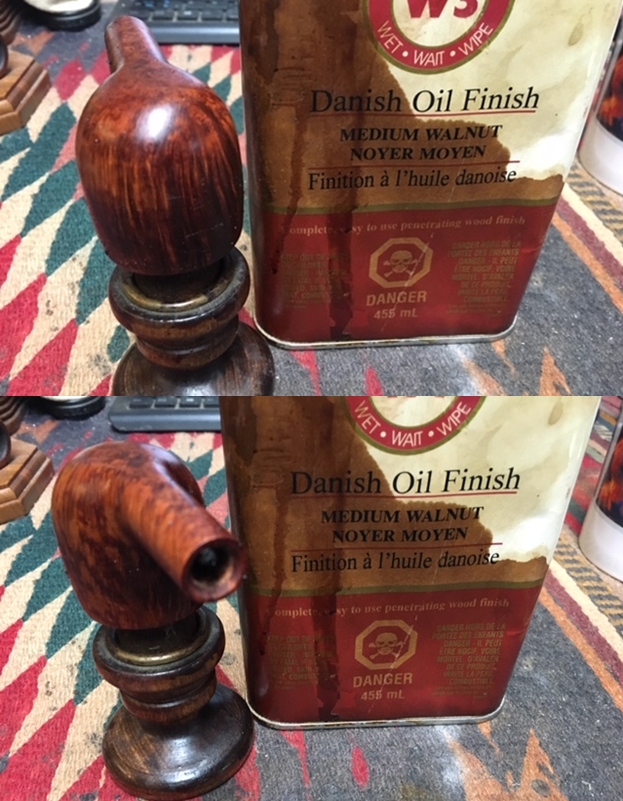
 I decided to rub down the surface of the bowl and shank with a Medium Walnut Danish Oil Finish and a cotton pad to give some depth to the finish. I really like how the Danish Oil Walnut Stain can make the grain pop on the briar without really darkening the finish.
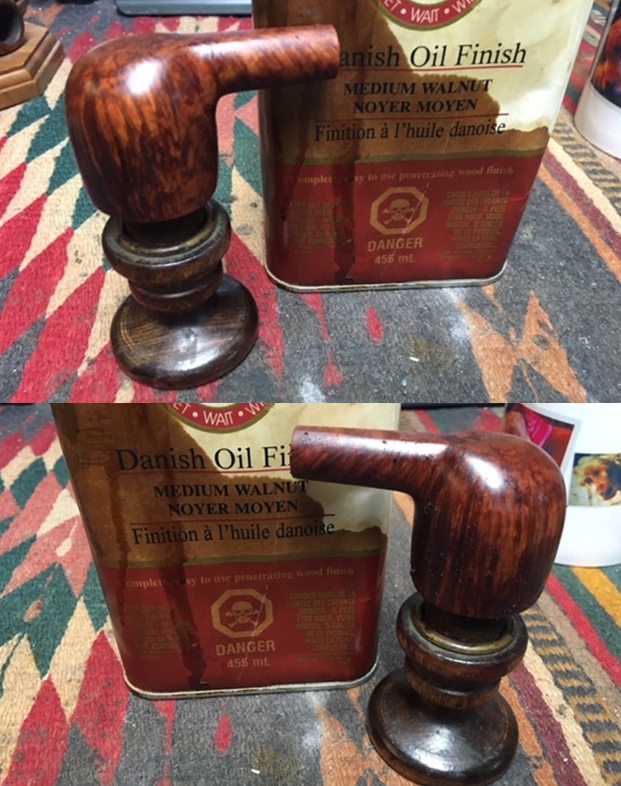
 I hand buffed the bowl with a soft cloth to polish the briar. I buffed it lightly on the buffing wheel using Blue Diamond on the wheel. I took photos of the bowl after buffing. I really like the way that the grain stands out now. It is truly a beautiful piece of briar.
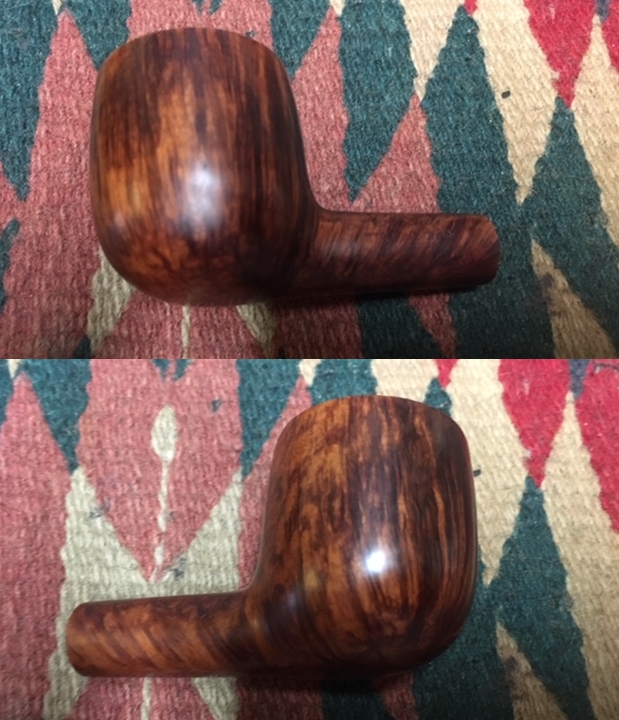
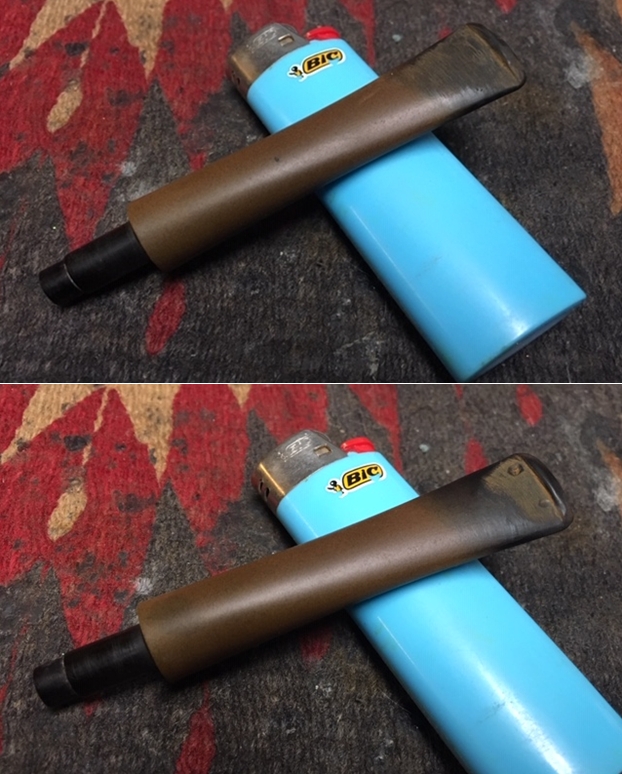
 The bowl looked good so I set it aside and turned my attention to the stem. I used a flat blade needle file to sharpen the edge of the button and smooth out the tooth damage to the edges of the button. I also worked on the tooth chatter with the filed. I followed that by using a Bic lighter to paint the surface of the vulcanite with the flame. Between the file work and the heat of the flame I was able to remove some of the marks and minimize the others. The photos tell the story.
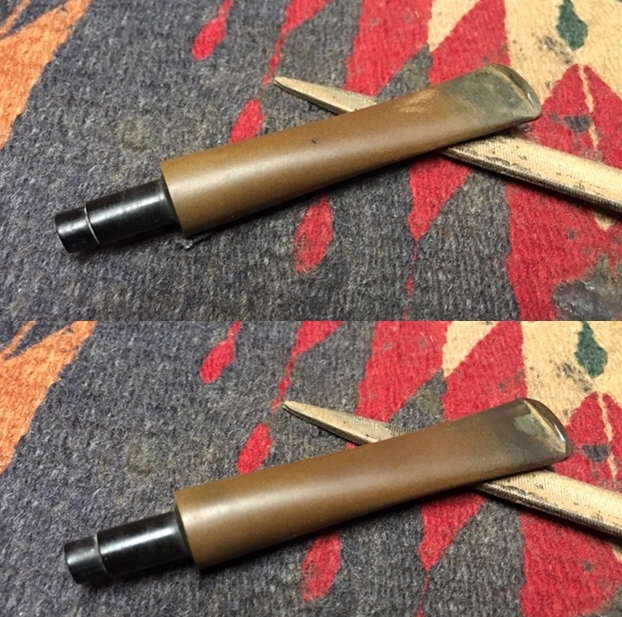
 I filled in the two deep tooth marks on the underside of the stem with superglue. The tooth marks on the topside were no longer an issue so I would only need to sand out the file marks. I set the stem aside to dry. Once the glue had dried I sanded the stem surface with 220 grit sandpaper to smooth out the repairs and remove the oxidation that was on the stem surface.
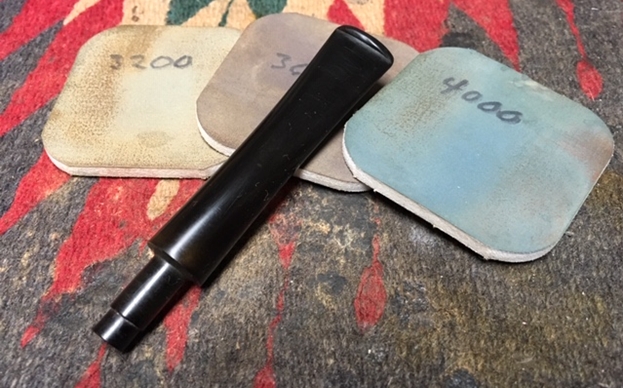
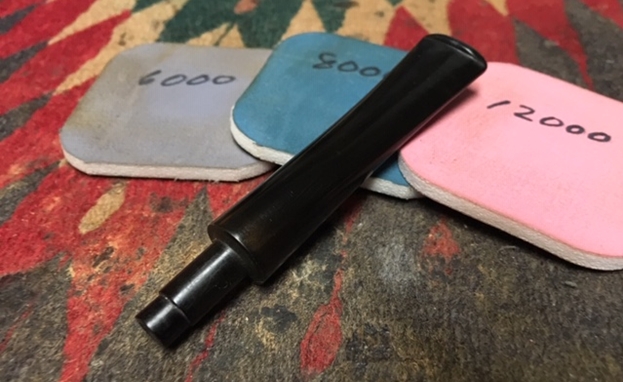
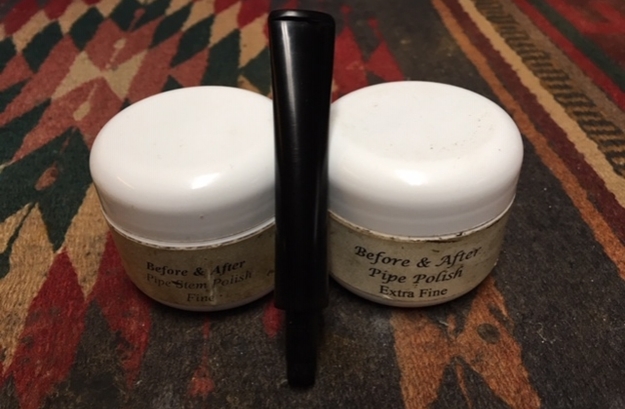
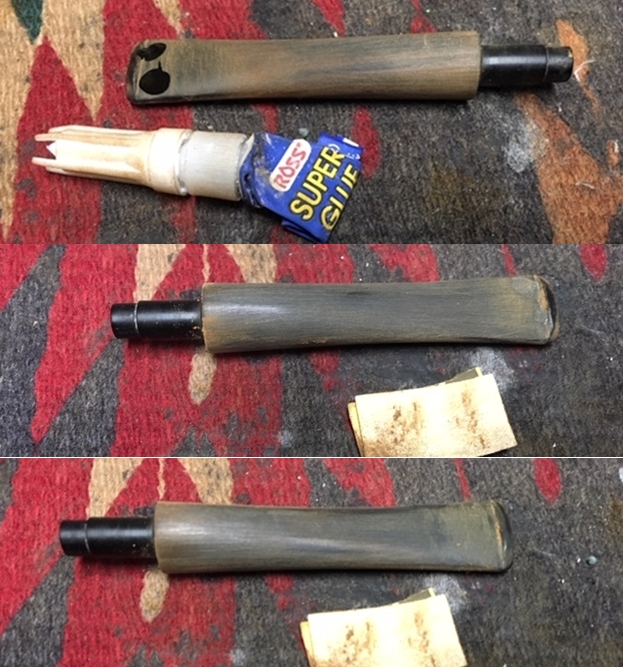 I polished the stem with micromesh sanding pads – wet sanding with 1500-2400 and dry sanding them with 3200-12000 grit pads. I wiped the stem down with Obsidian Oil after each pad. I gave it a further polish with Before & After Pipe Stem Polish – both Fine and Extra Fine. When I finished I gave it a final coat of Obsidian Oil and let it dry. The following photos show the stem at this point.
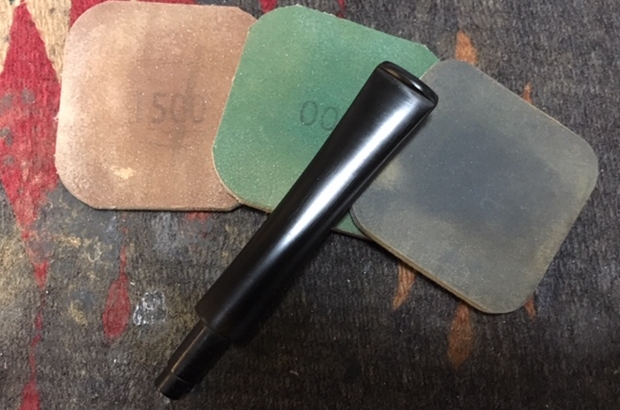
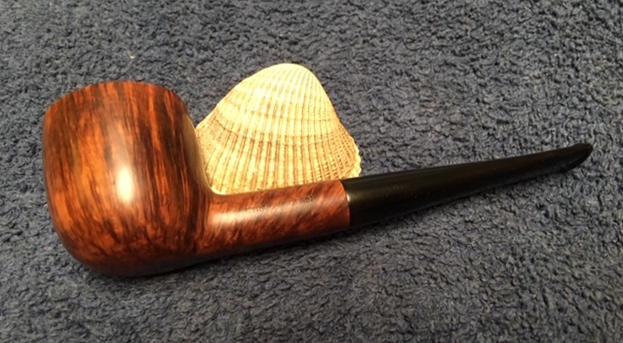
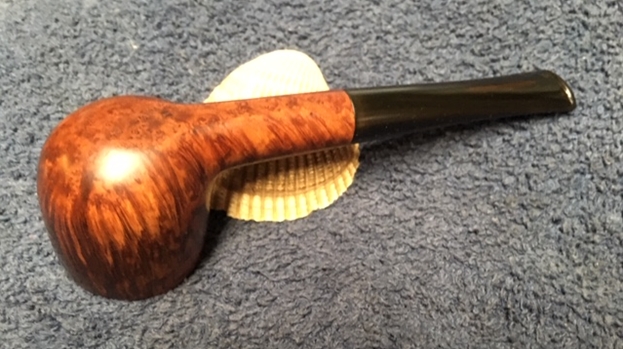
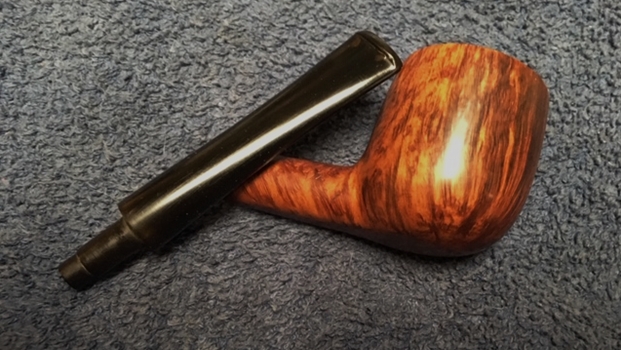
 I polished the bowl and stem with Blue Diamond to polish out the scratches in the briar and rubber. I gave the bowl and the stem multiple coats of carnauba wax. I buffed the pipe with a clean buffing pad to raise the shine. I hand buffed it with a microfiber cloth to deepen the shine. The pipe polished up pretty nicely. The Walnut Danish Oil had really breathed life into the briar and the pipe came alive with the buffing. The contrast of colours between the briar and the stem worked really well. The Special Straight Grain pipe has a rich and classic look. The finished pipe is shown in the photos below. The dimensions of the pipe are Length: 5 1/2 inches, Height: 1 5/8 inches, Outside diameter of the bowl: 1 3/8 inches, Chamber diameter: 7/8 of an inch. This one will soon be on the rebornpipes store if you are interested in adding it to your collection. Thanks for reading this while I worked on it. It was interesting and unusual piece to restore and I really enjoyed the work.


Beautiful work; it doesn’t even look like the same pipe!
LikeLike