Blog by Steve Laug
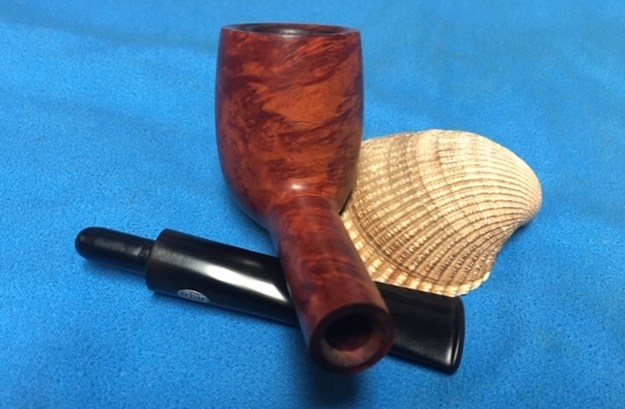
Not too long ago I received an email from a fellow in California who I have repaired a few pipes for over the years. He said he was sending me a couple of pipes to work on. The box arrived a few weeks ago and when I opened it I found this message in the box.
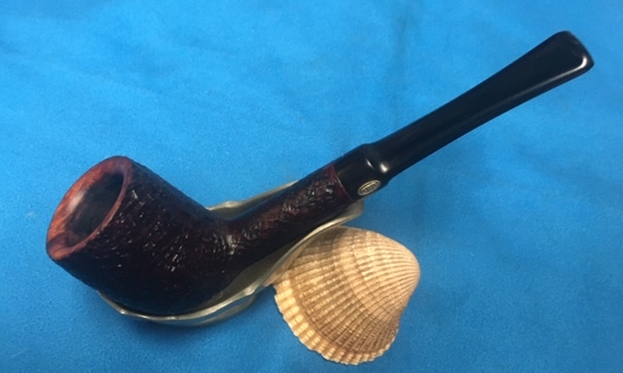
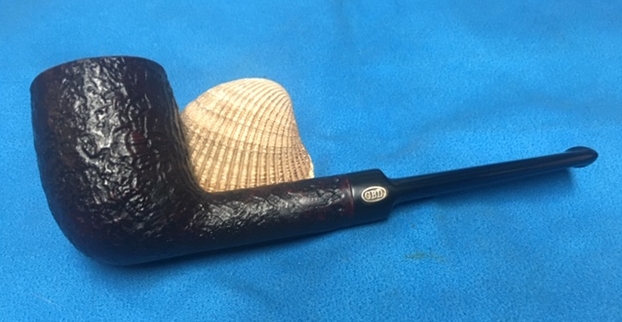
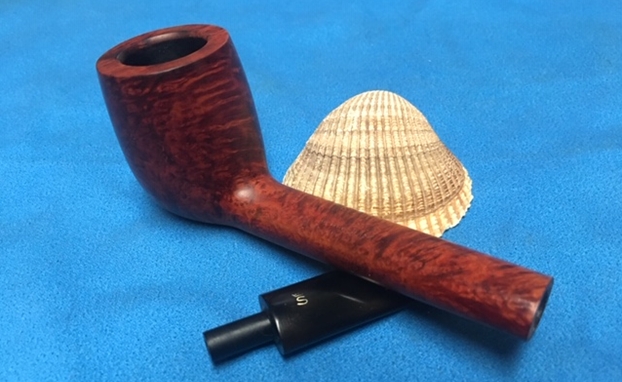
Hi Steve — Here are the two pipes as promised. The Dunhill Shell should be an easy resto, but the Barling’s Fossil is another story. This pipe appears to have been someone’s favorite and smoked pretty hard. Might involve a little reconstructive surgery as the inside of the rim has been chipped due to knocking on a hard surface. Looks like the cake has held it together. The stem is upside down and seized into the shank as well. Would like to keep the original finish on the stummels and shanks of both if possible… thanks — Scott
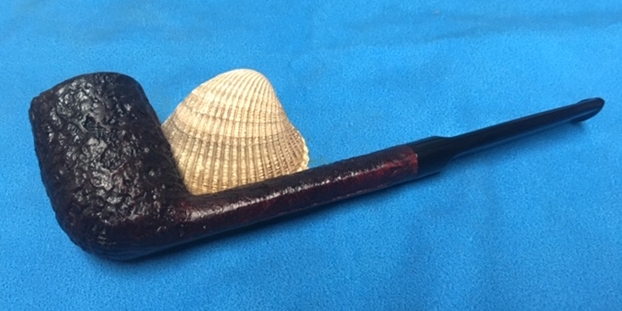
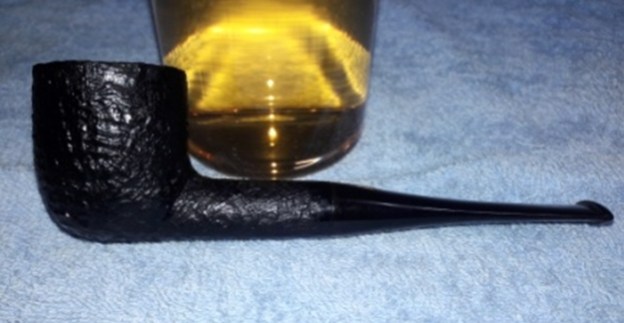
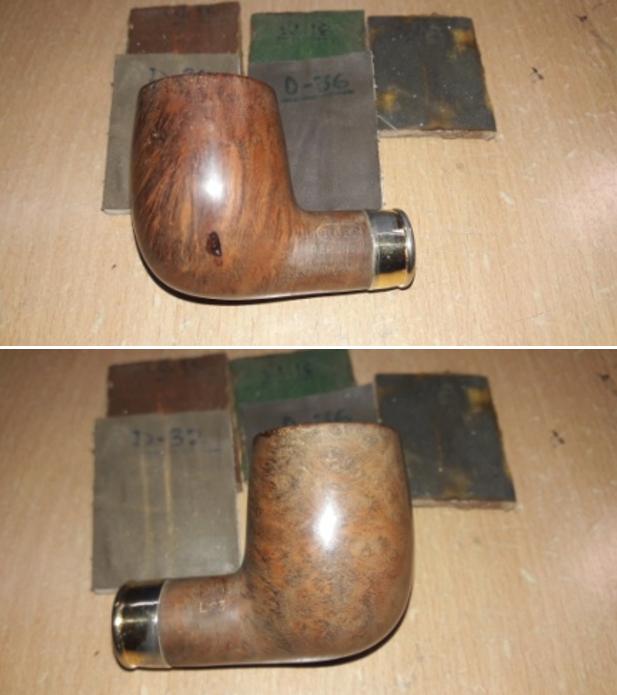
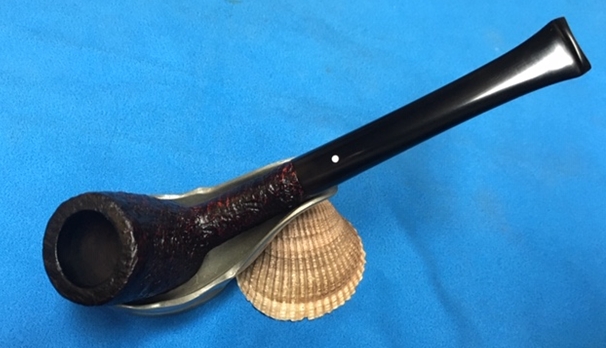
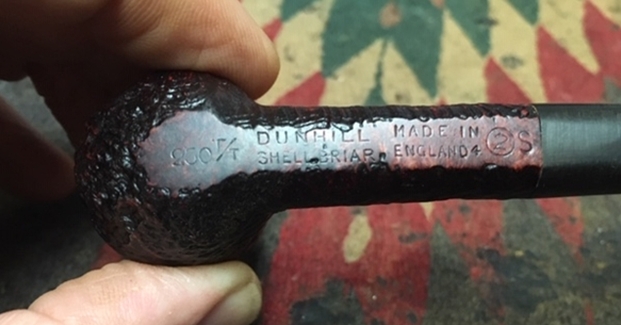
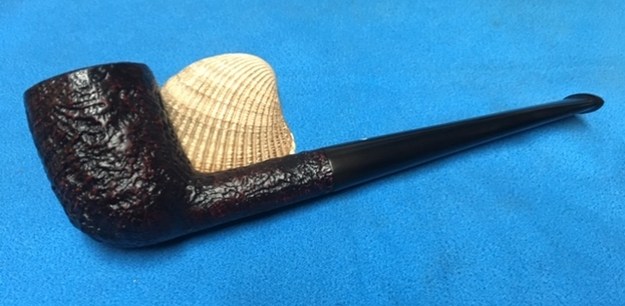
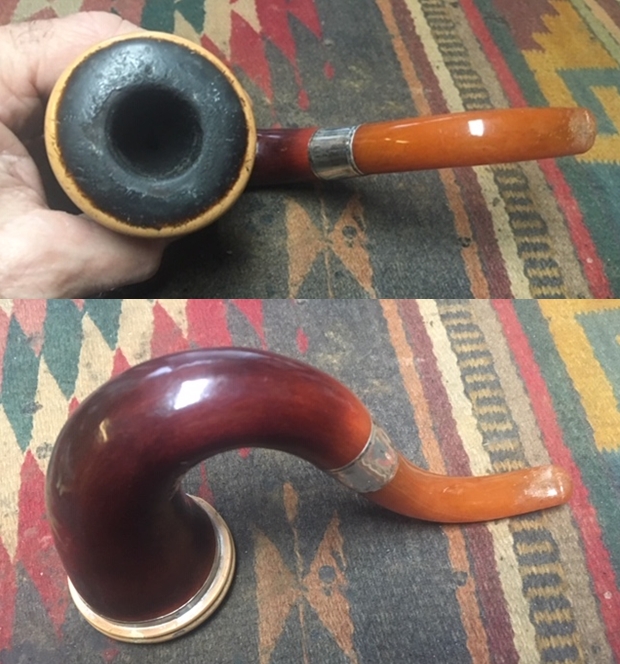
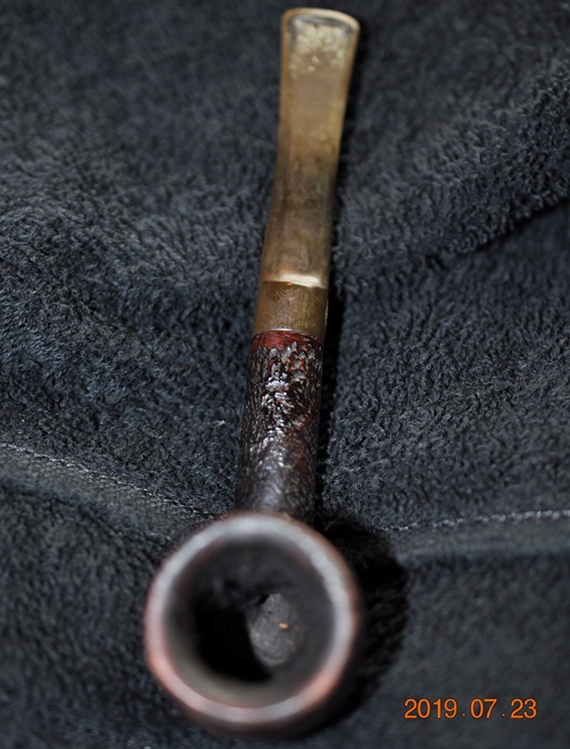
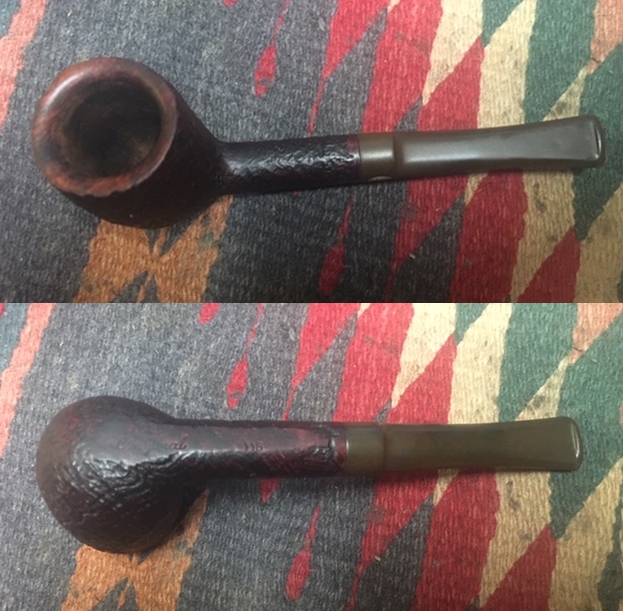
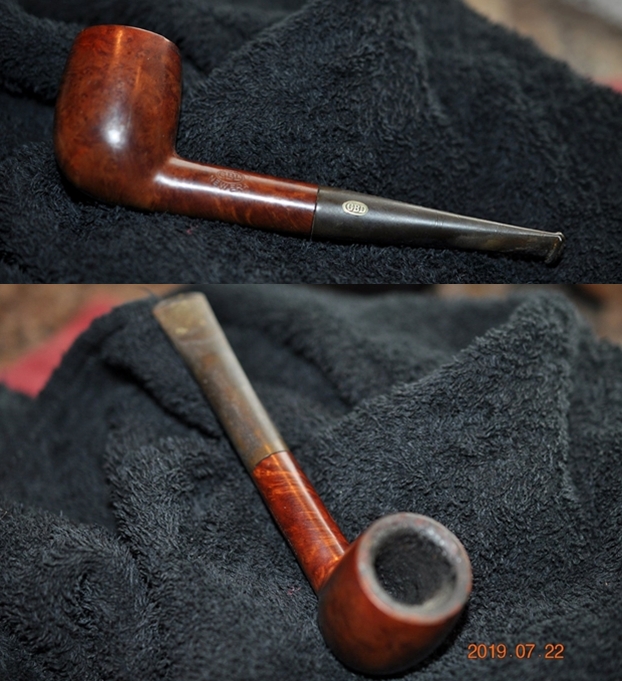
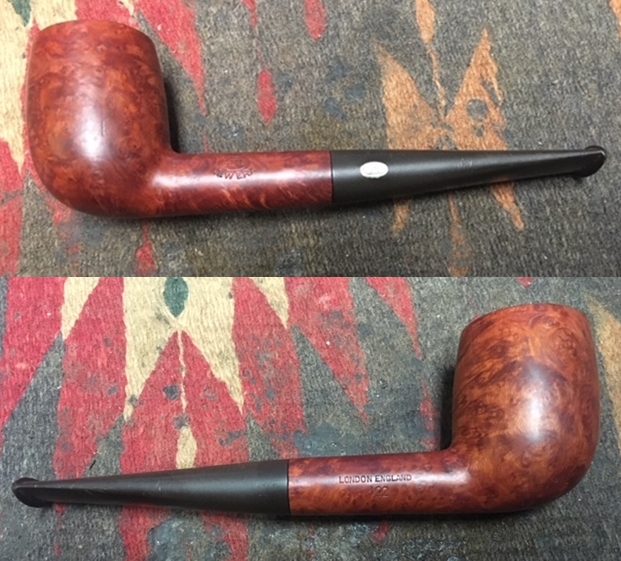
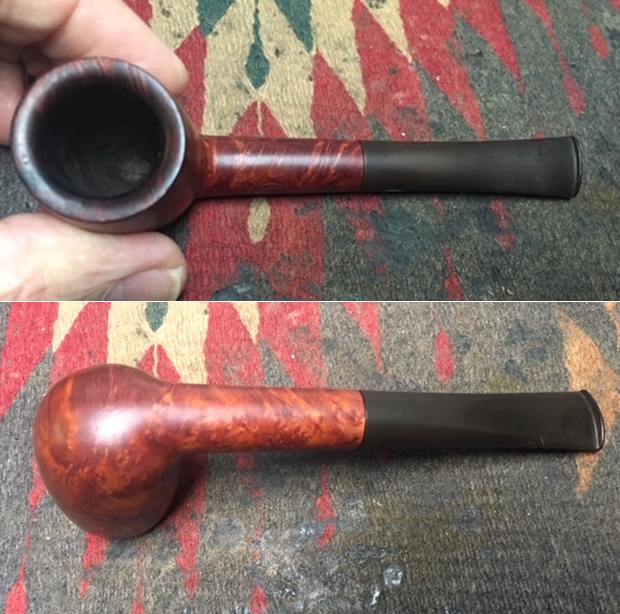
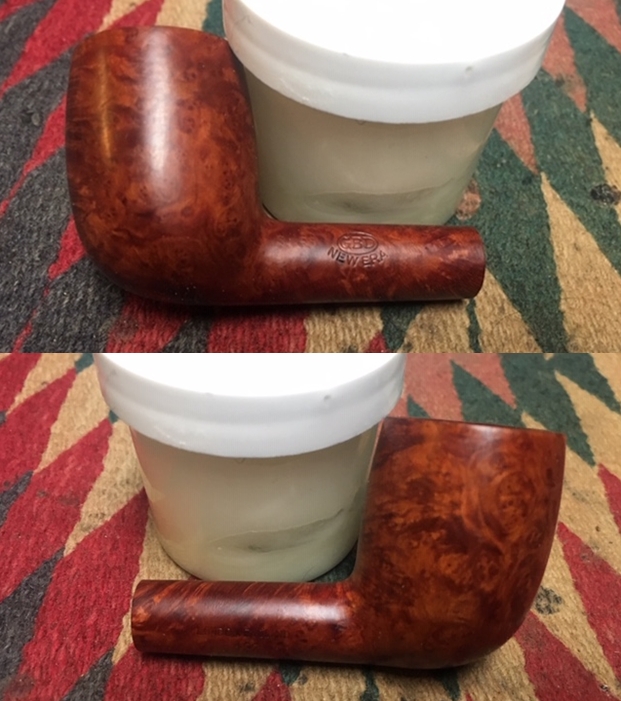
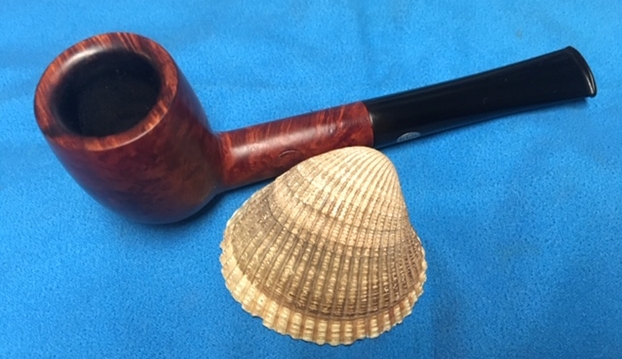
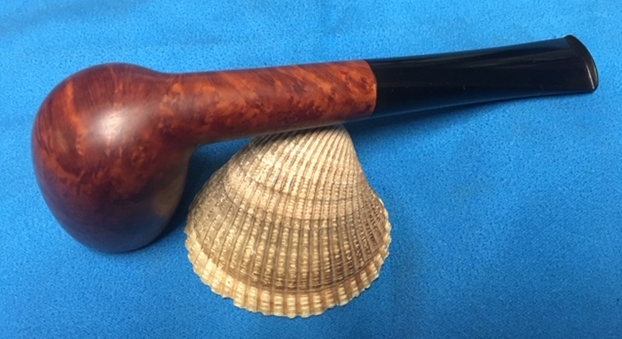
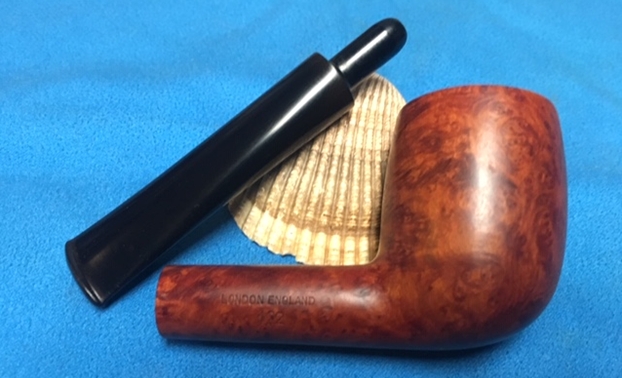
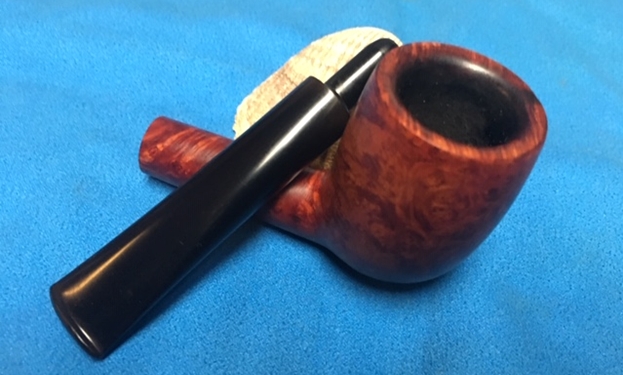
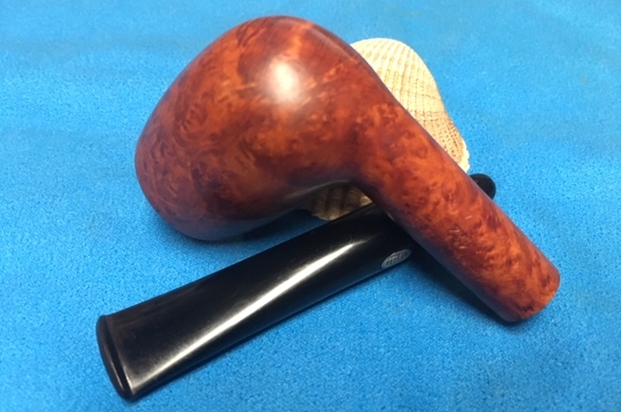
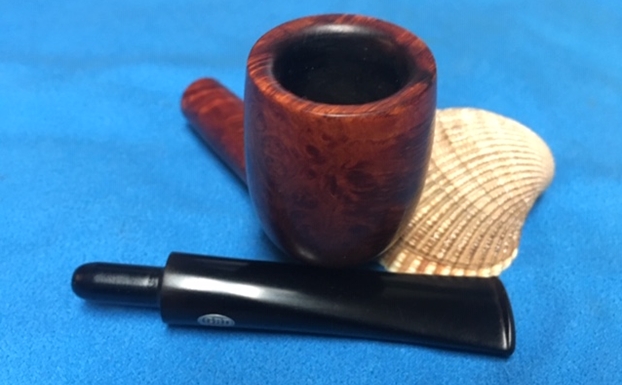
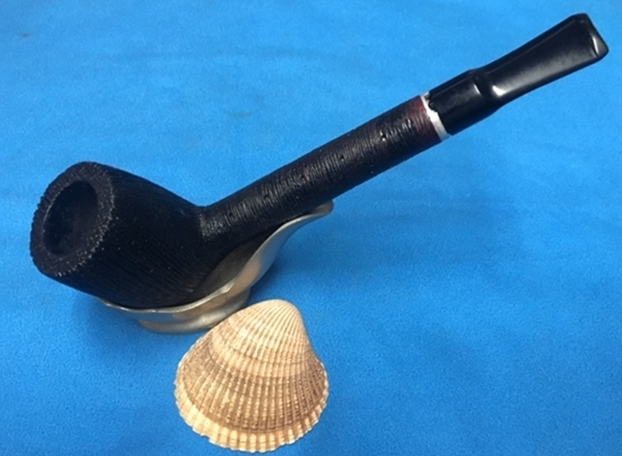
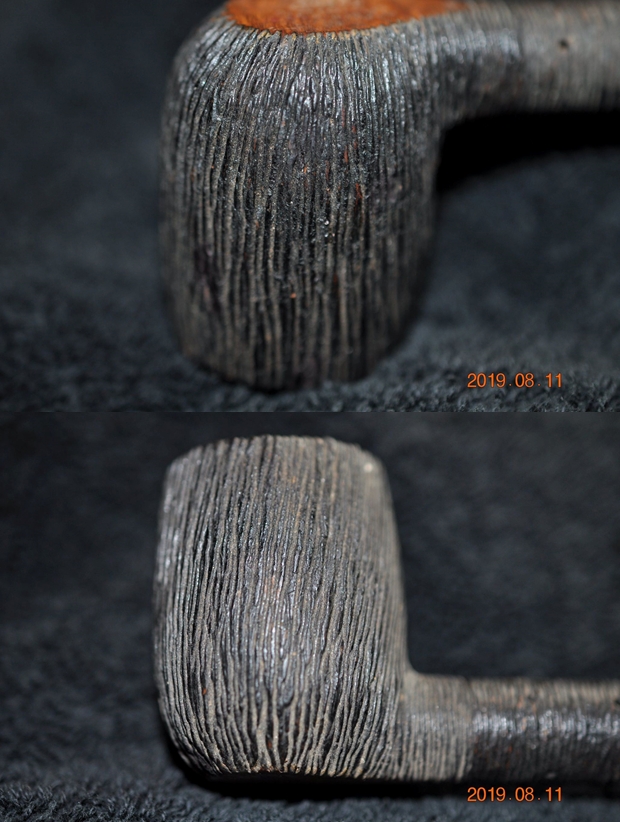
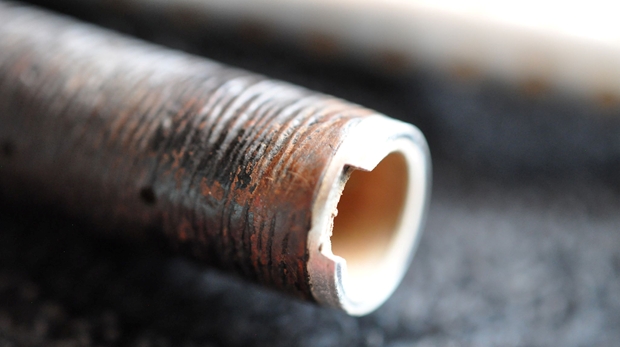
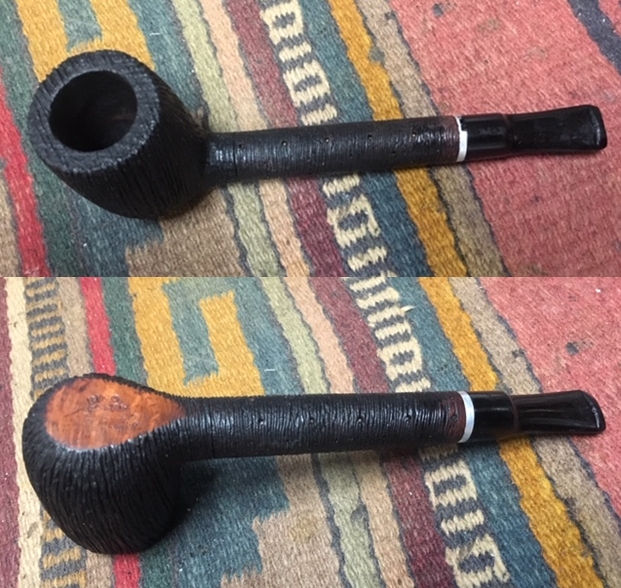
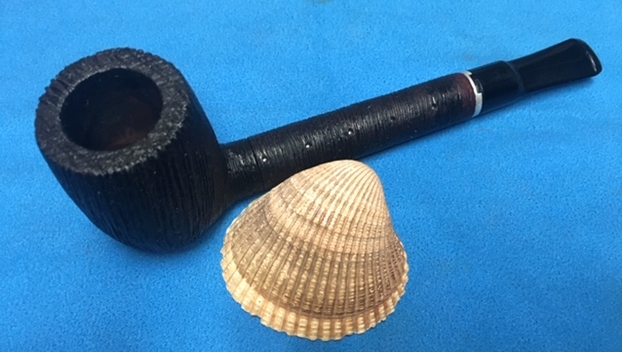
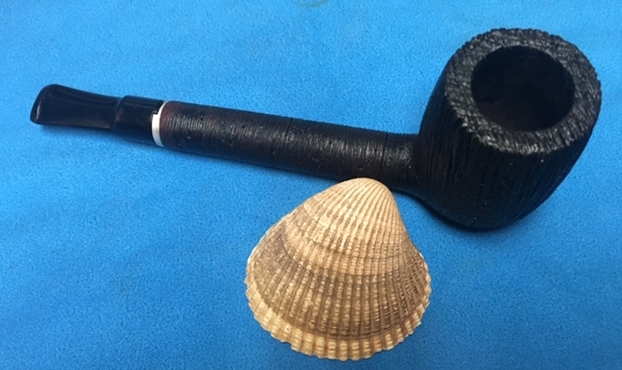
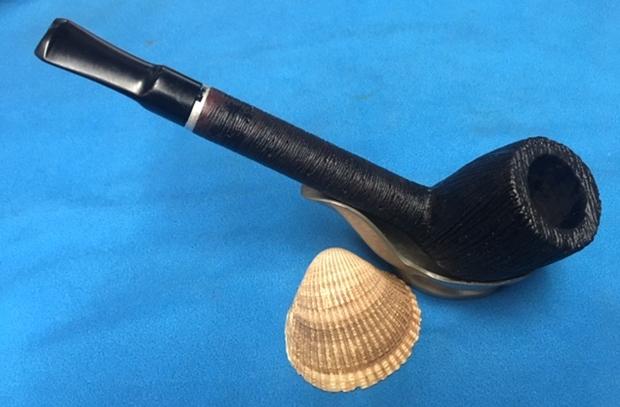
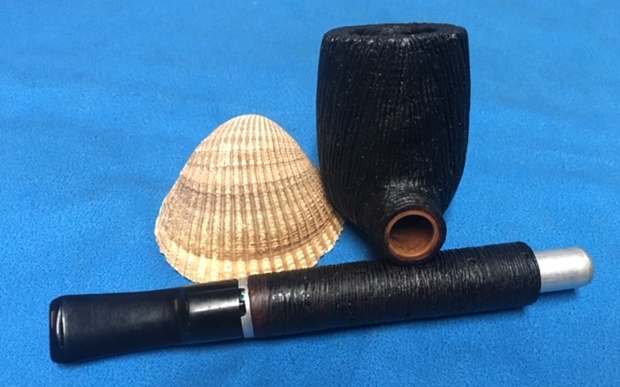
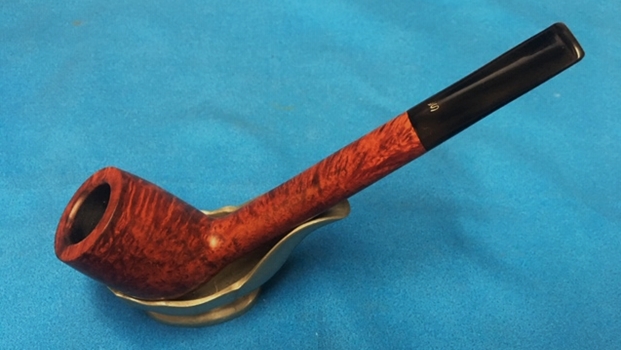
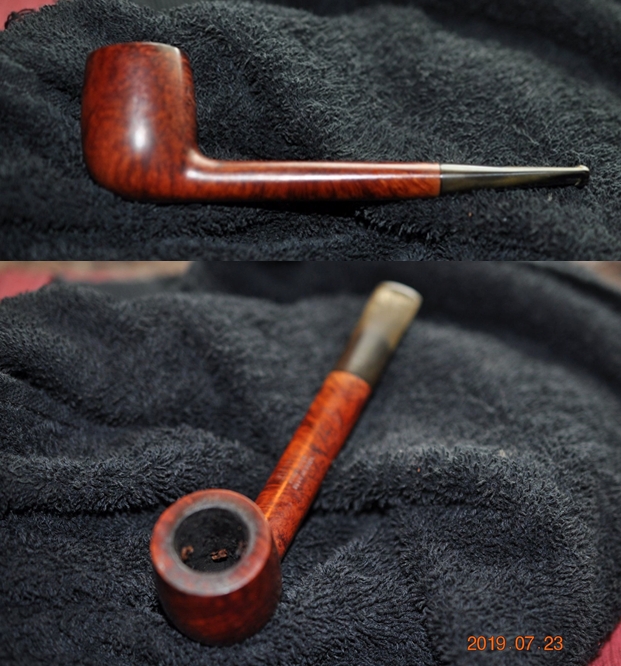
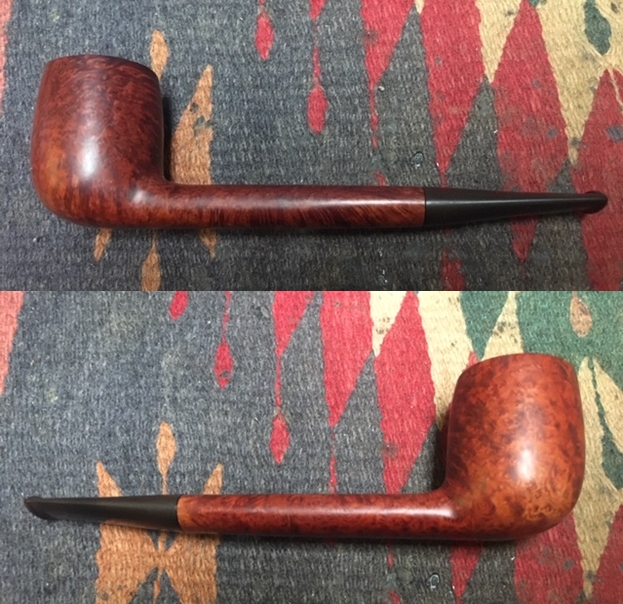
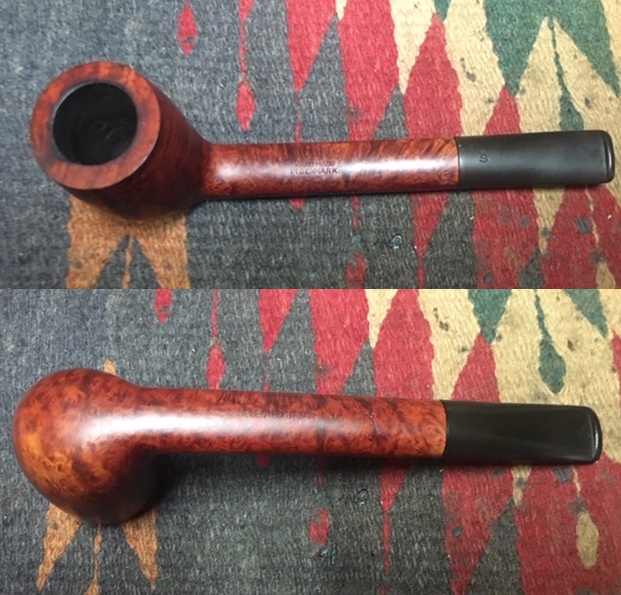
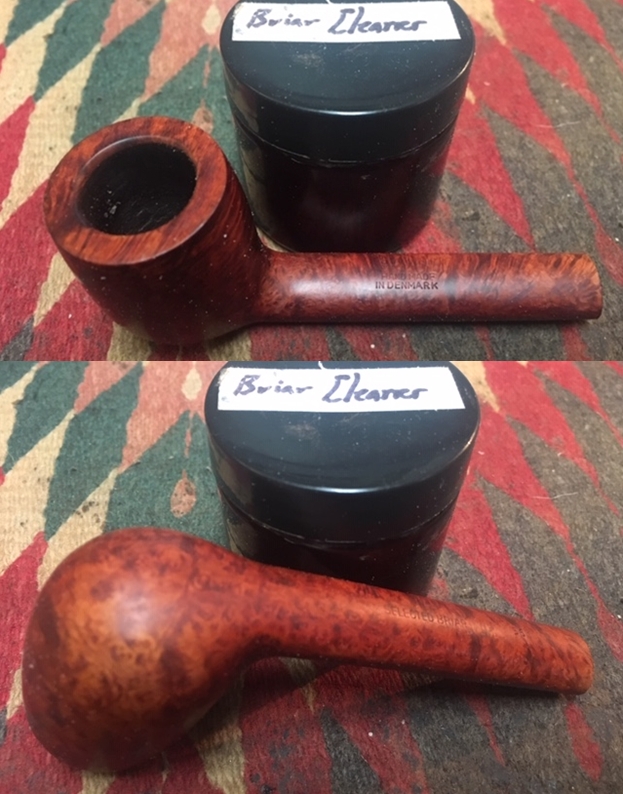
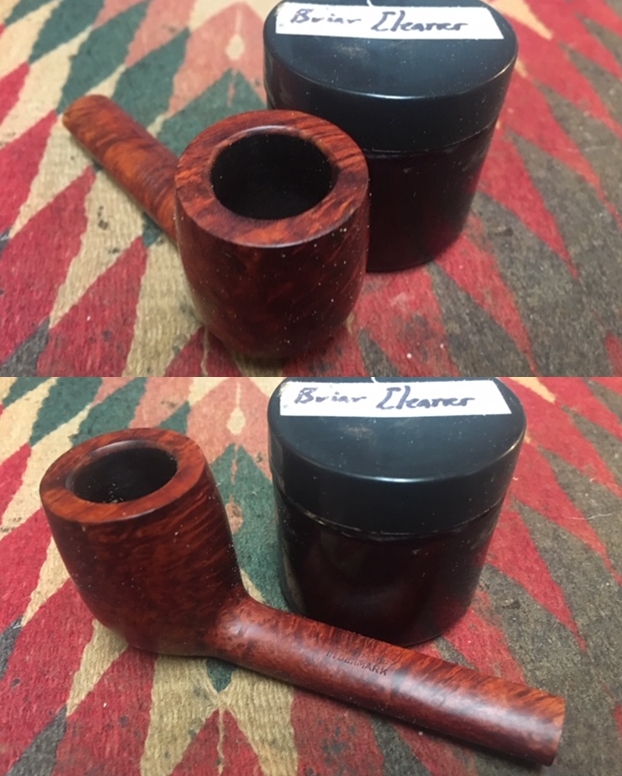
I decided to take a break from Bob Kerr’s Estate for a bit and work on Scott’s pipes. I took the Dunhill out first and did the restoration on it. It was pretty straight forward and cleaned up nicely. Give that blog a read if you are interested (https://rebornpipes.com/2019/08/28/new-life-for-a-1964-dunhill-shell-briar-250f-t-2s-billiard/). But now it was time to work on the second pipe – the Barling’s Make Fossil Canadian. I looked it over to check out its condition and what needed to be done with it. The finish was dirty but underneath all of the grime it appeared to be in decent condition. The edges of the rim top were virtually ruined on the front right side of the bowl. There were chips on the inner edge and damage on the outer edge. The rim top itself was scratched and nicked as if it had been knocked about. The bowl had a thick hard cake inside and remnants of tobacco stuck to the walls. I could not even put my little finger in the bowl it was so clogged. The stem was stuck in the shank and was upside down. It was unmovable. I could still see the Barlings Cross on the top of the stem and Regd number on the underside. There was some calcification on the first inch of the stem on both sides. The stem was also oxidized and dirty. The stamping on the stem is very faint. The slot in the button was almost clogged up with tars and debris. There were tooth marks and chatter on both sides and the button. There was a worn notch on the top right side of the stem just ahead of the button. I took photos of the pipe before I started my cleanup work.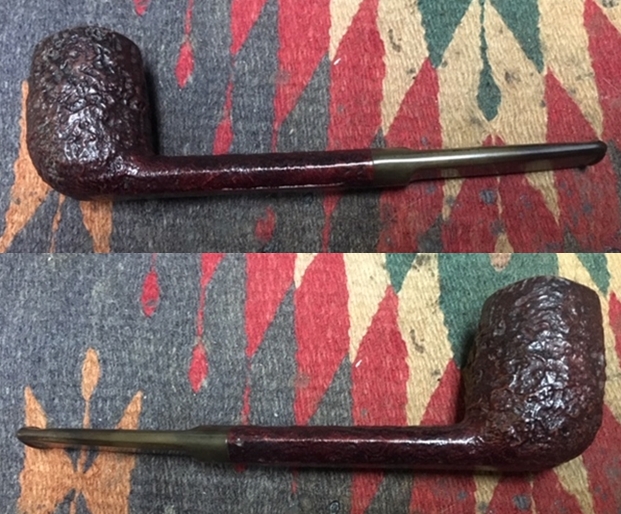
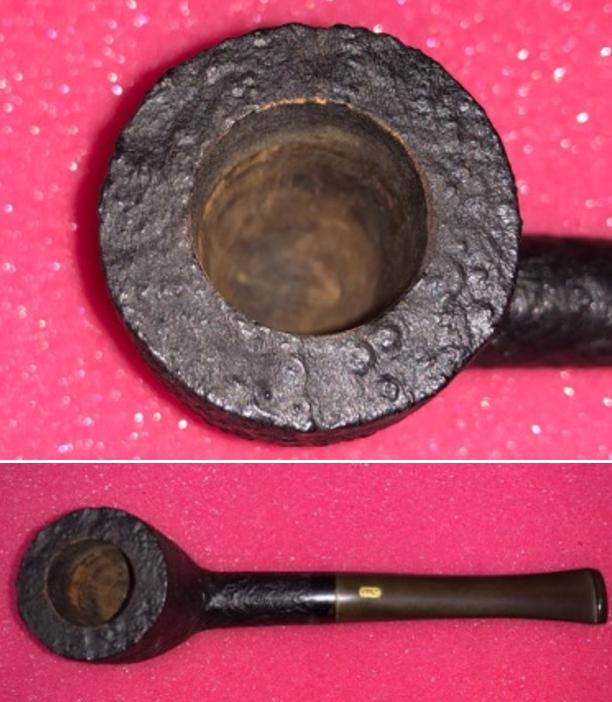
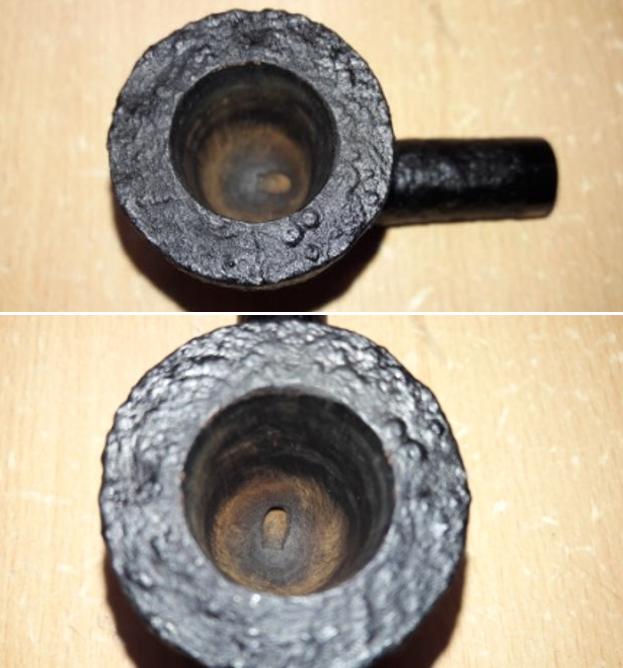
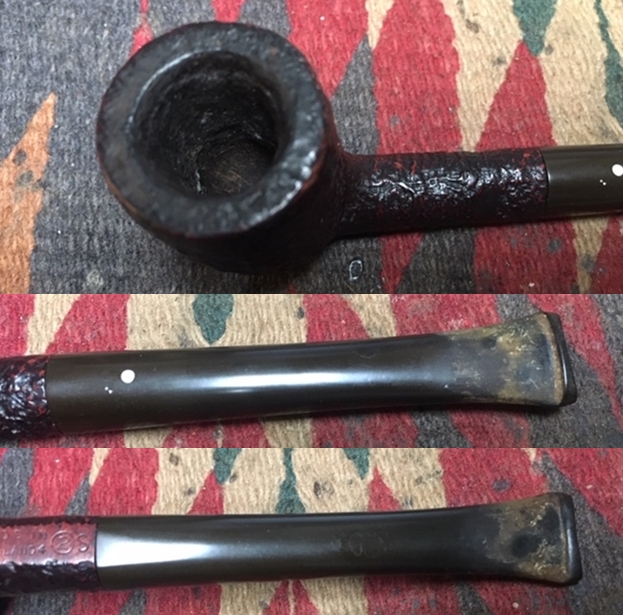
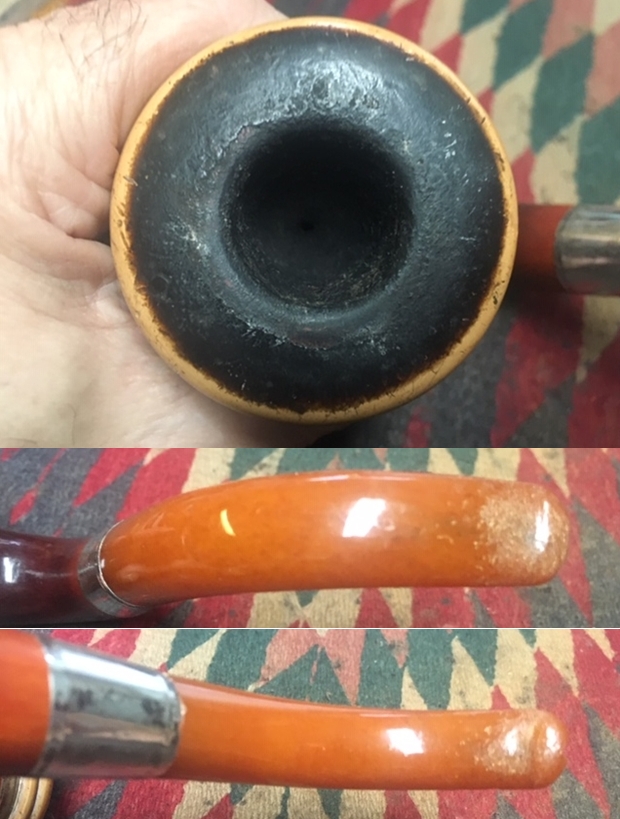
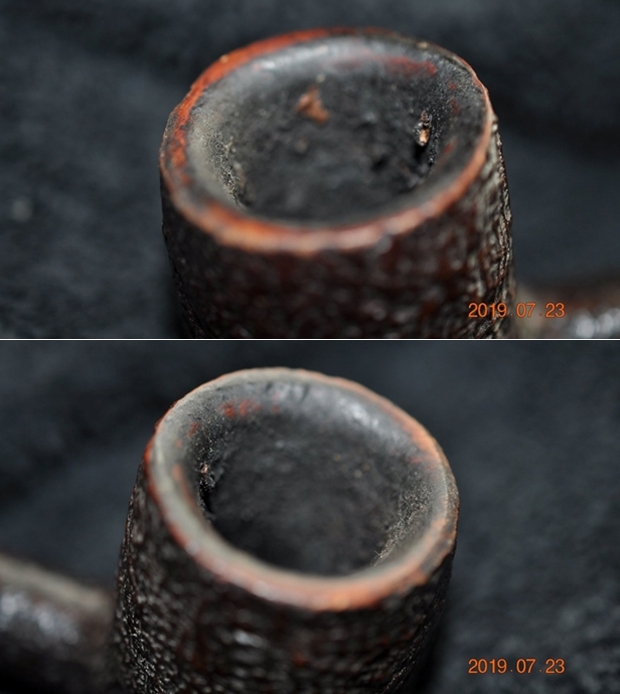
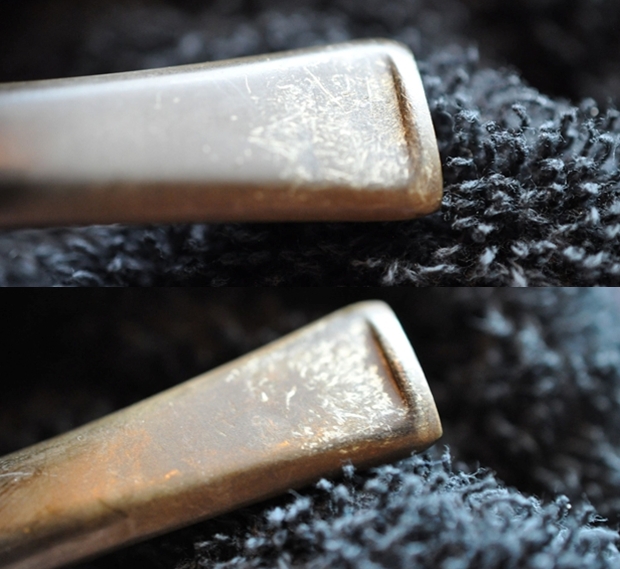
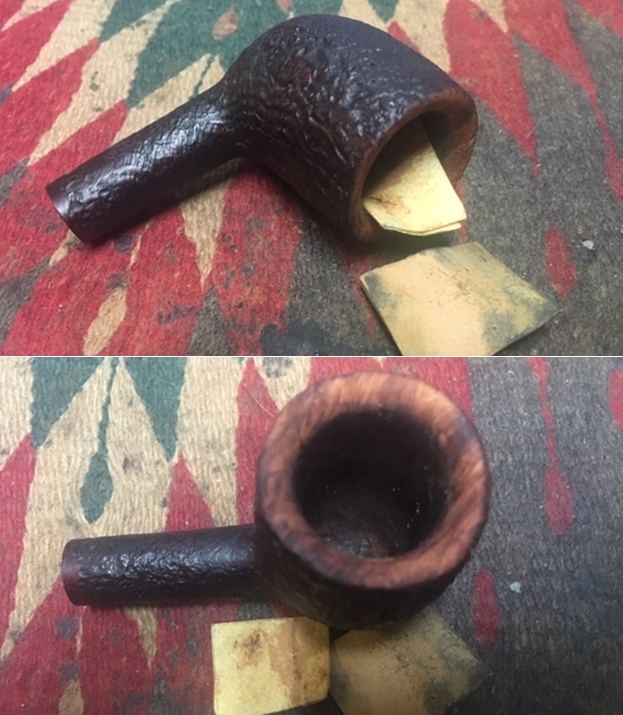
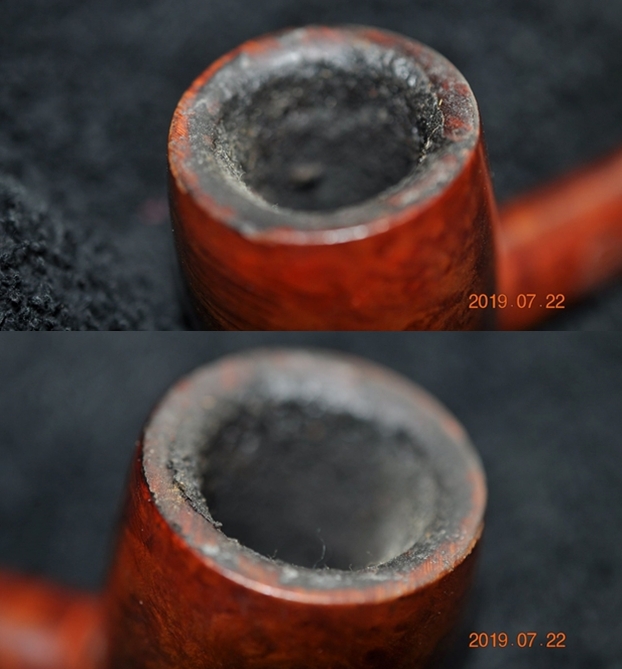
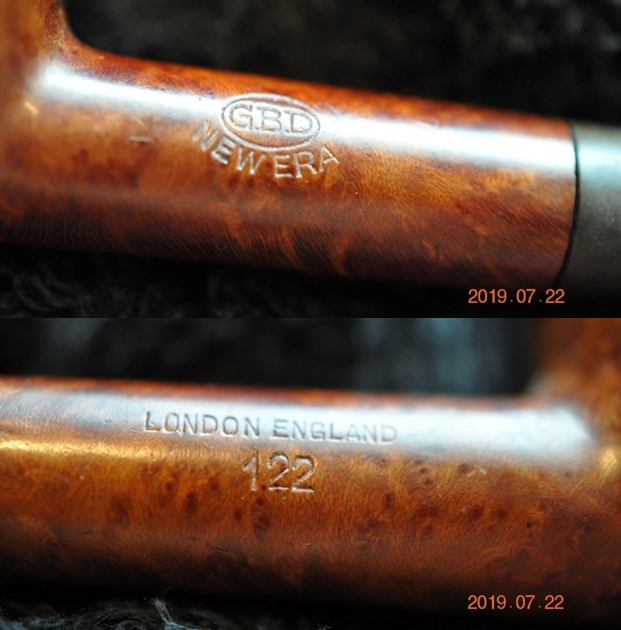
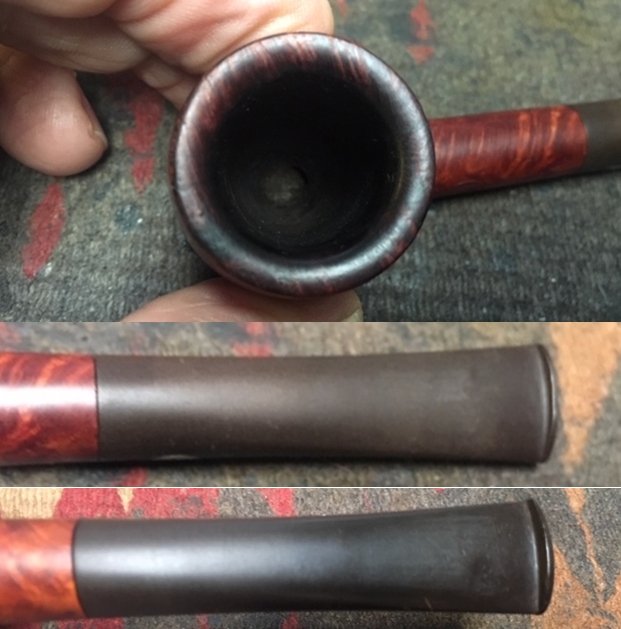
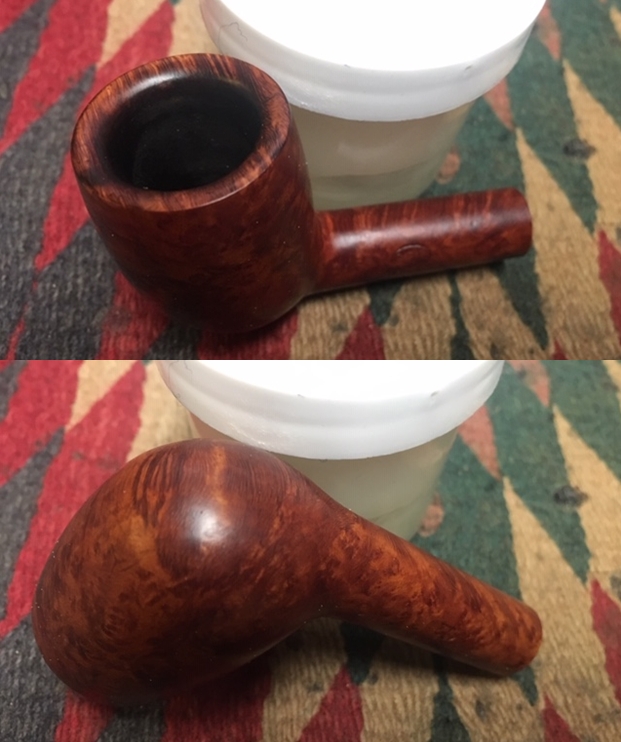
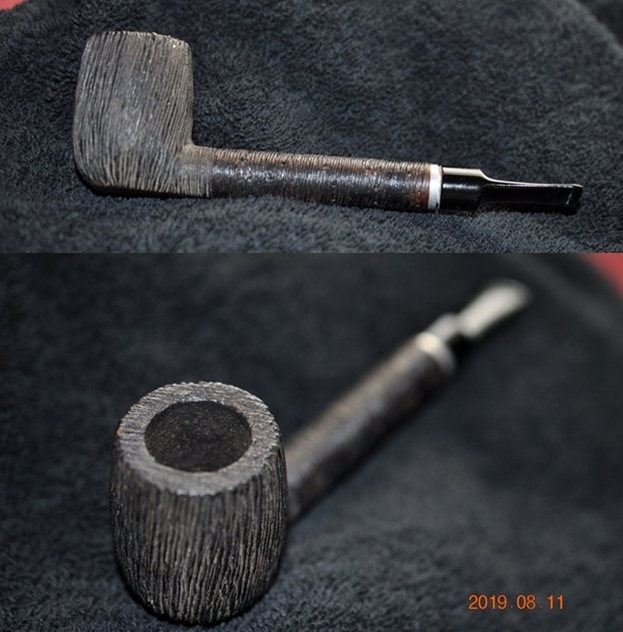
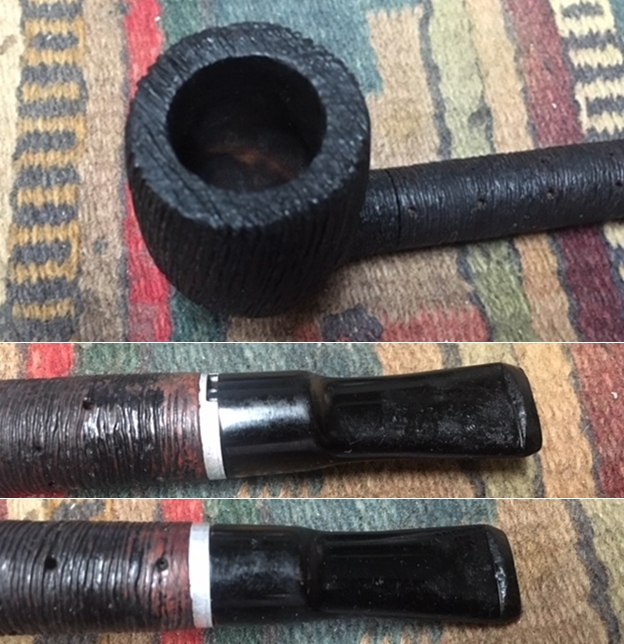
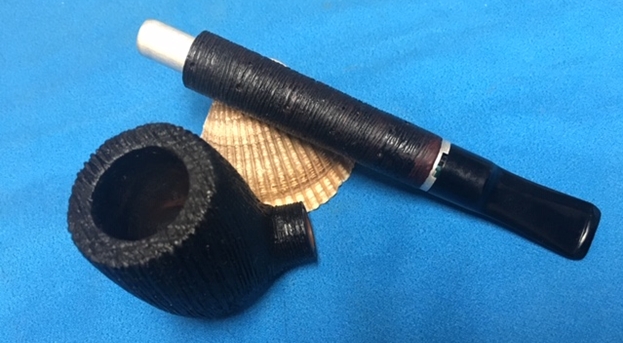
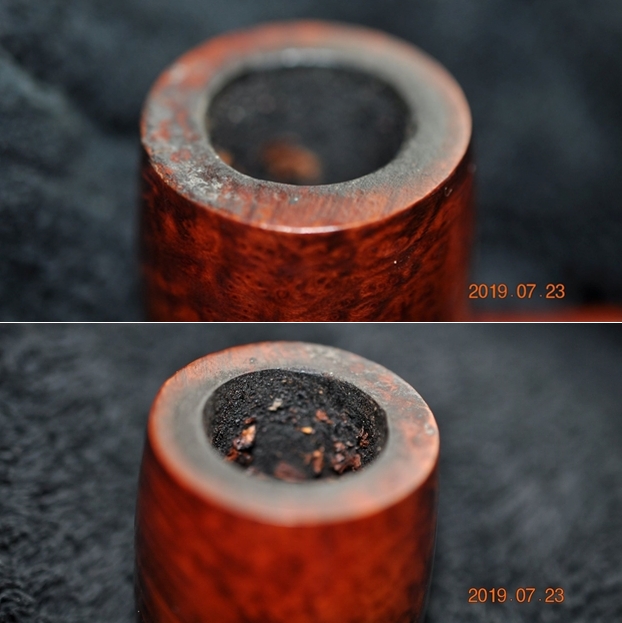
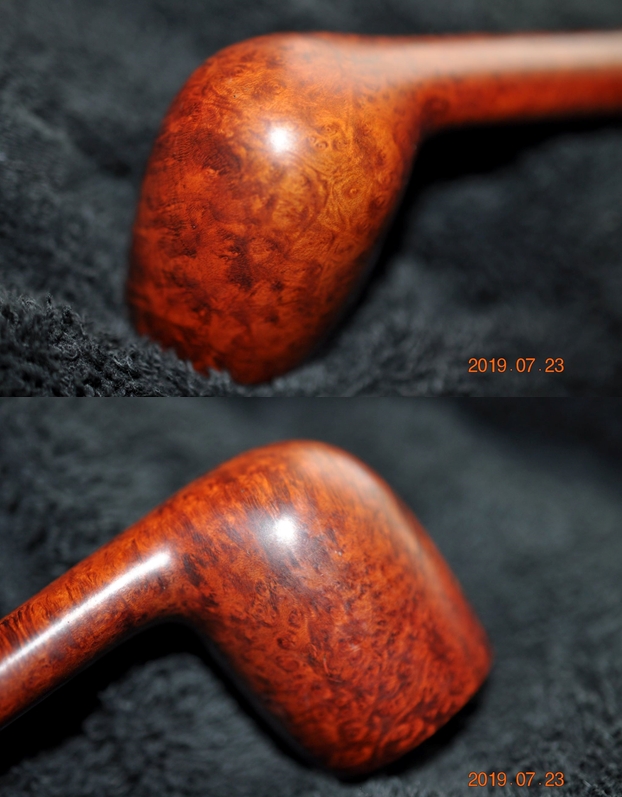
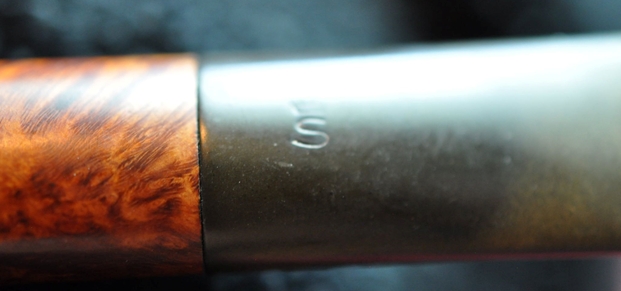
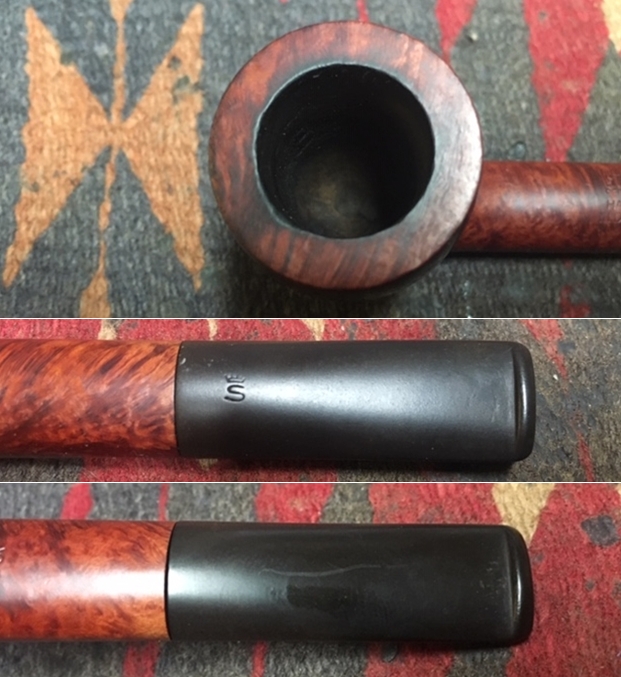
 I took some close up photos of the rim top and also of the stem surface. I wanted to show the condition of the bowl and rim before I started working on it. The rim top was a disaster – it looked as if it was ruined and destroyed. There is some thick lava filling in the sandblast of the rim. The inner edges were very rough with large chips out of the right front. The outer edge was worn from being beaten against something hard knocking out dottle. The cake in the bowl is quite thick and hard so the bowl walls should be in good condition. I also took close up photos of the stem surface before I did the cleanup. You can see the faint stamping on the topside – a Barling Cross. On the underside it was also stamped and was faint – Regd over 98046 .
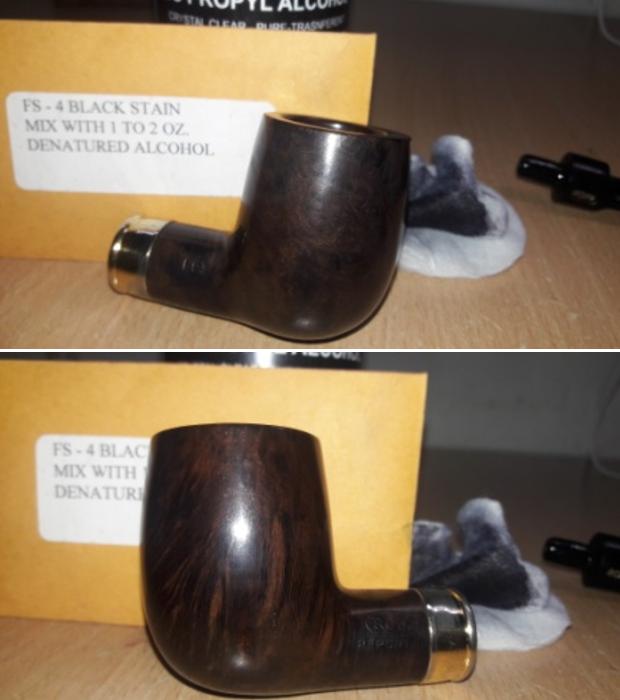
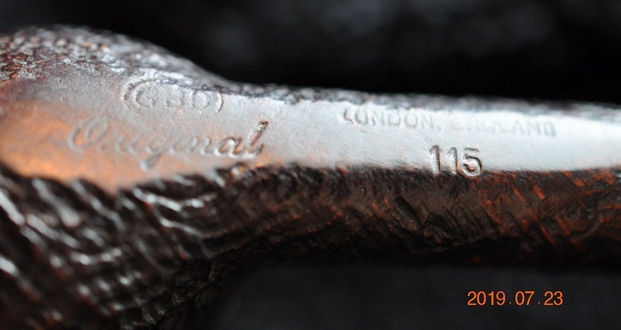
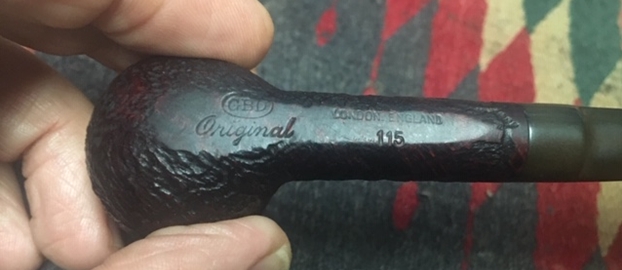
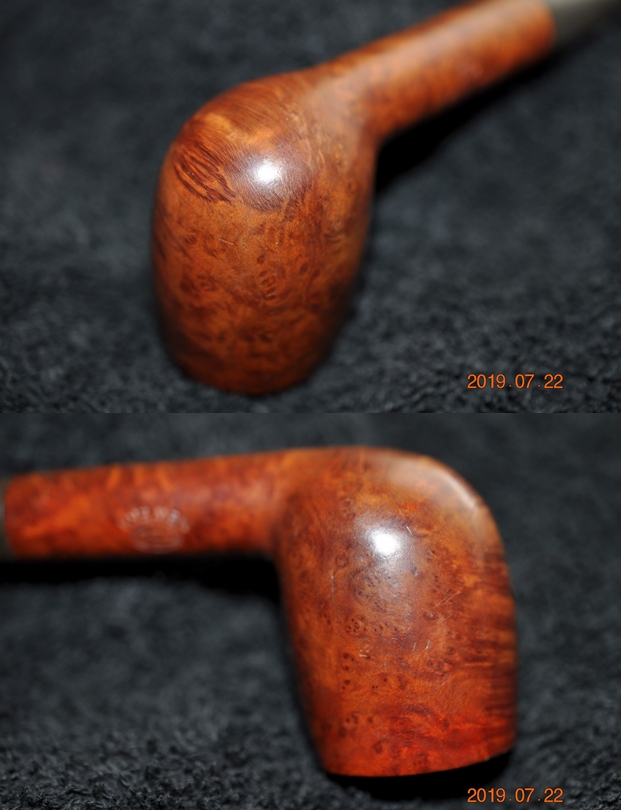
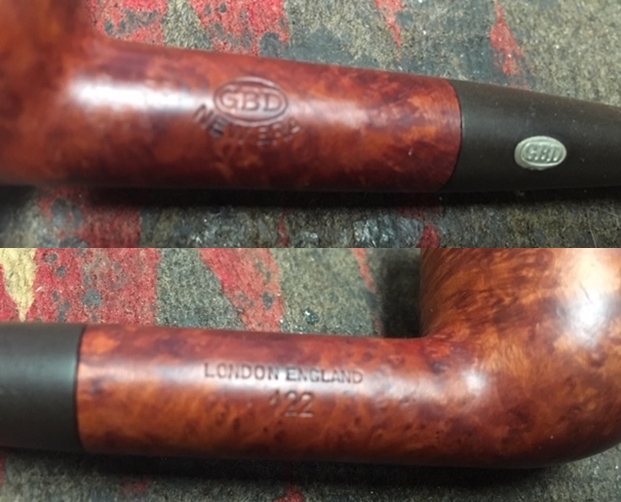
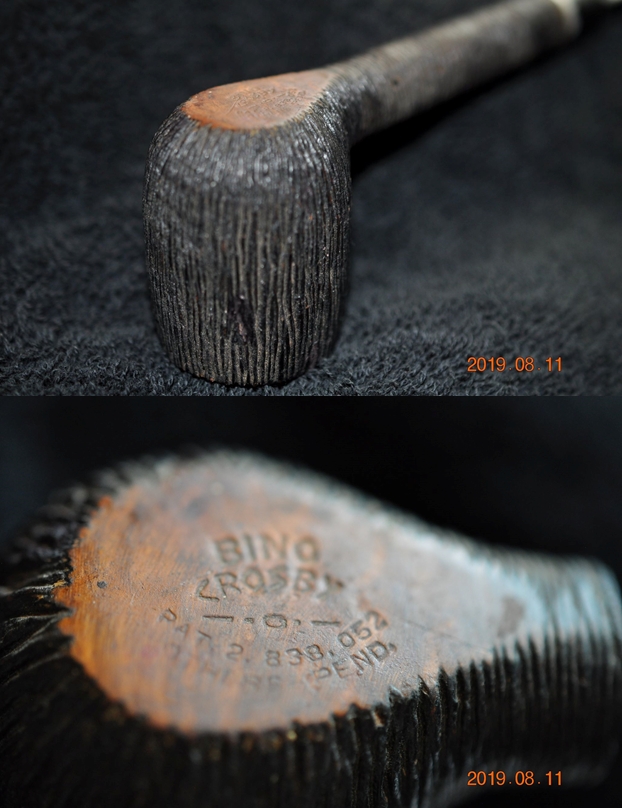
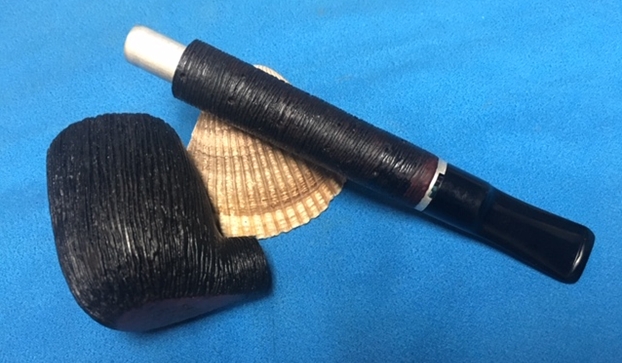
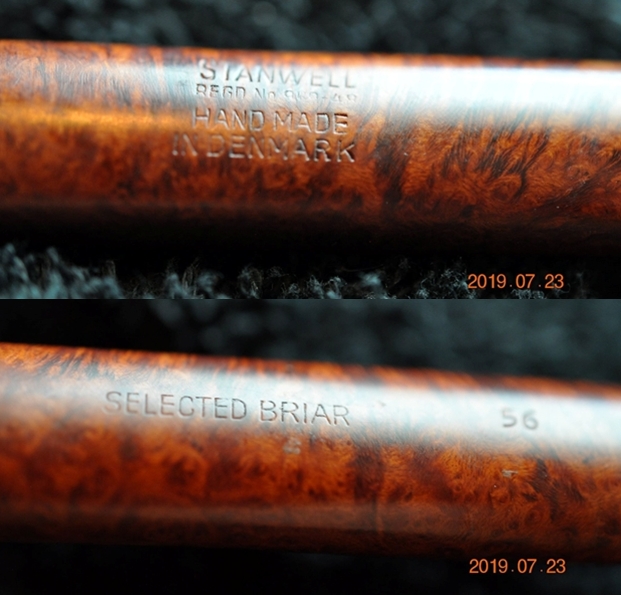
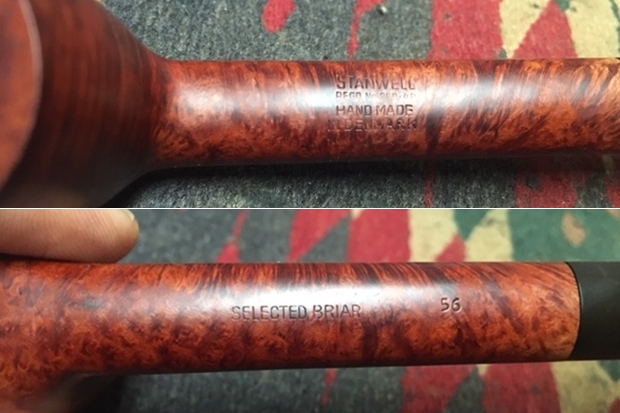
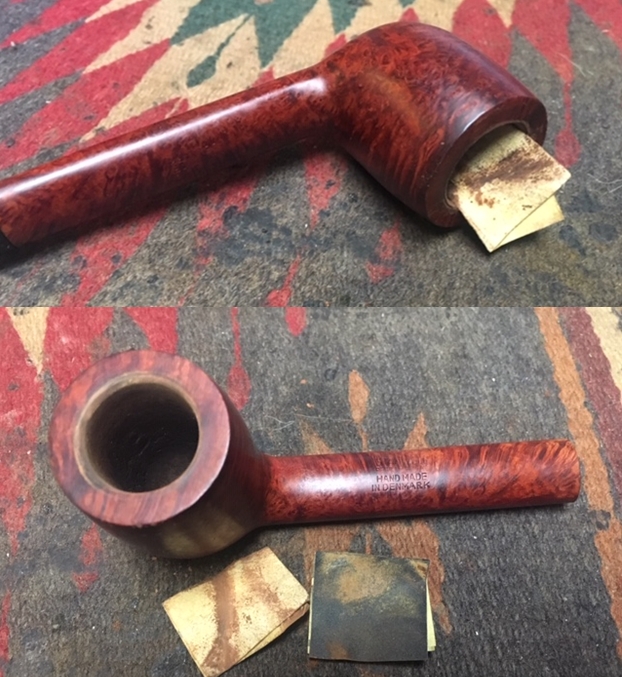
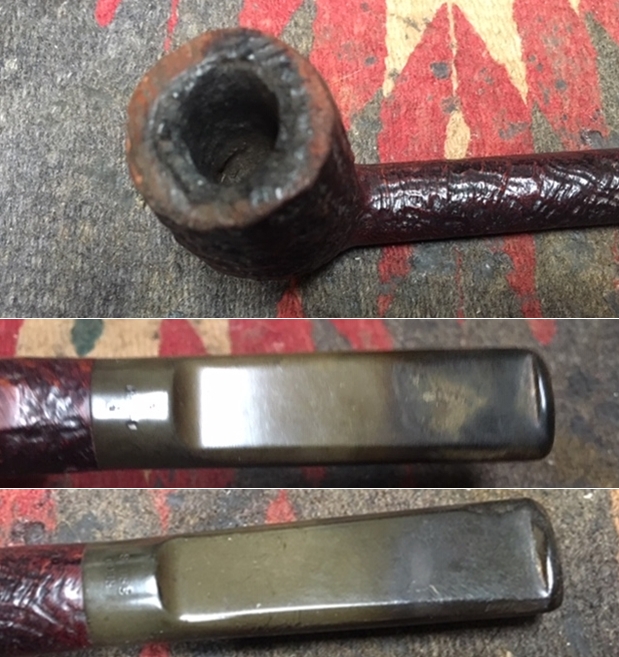 The stamping on the underside of the shank is in great shape. It reads Barling’s arced over Make and underneath that it reads Ye Olde Wood with the shape number 437 on the heel of the bowl. That is followed by EL “Fossil” in script. That is followed Made in England and T.V.F.
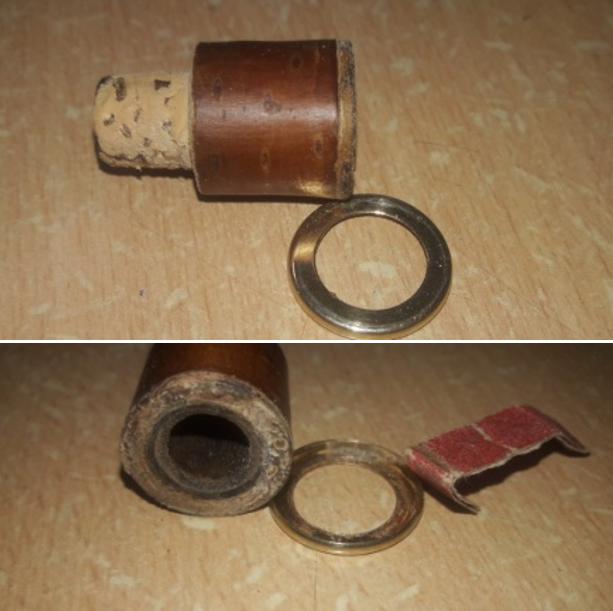
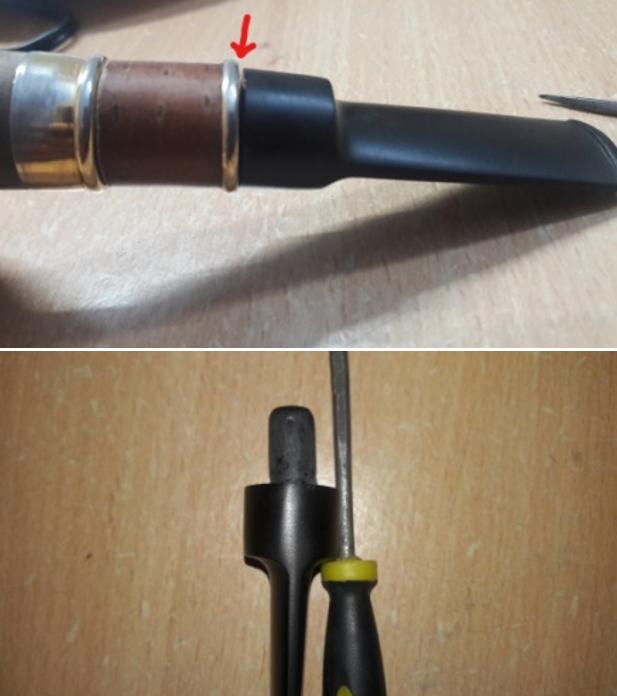
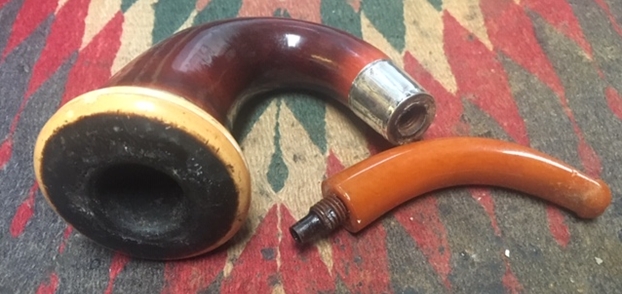
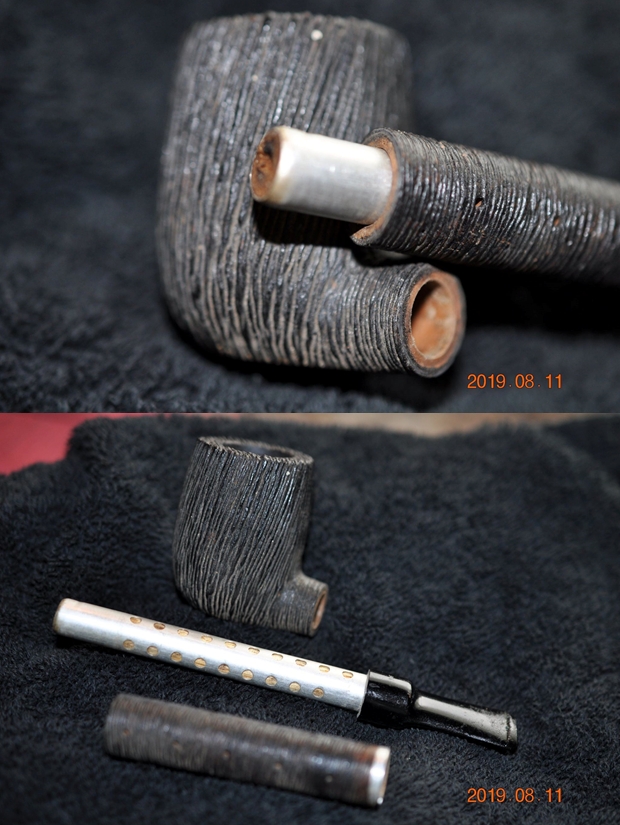
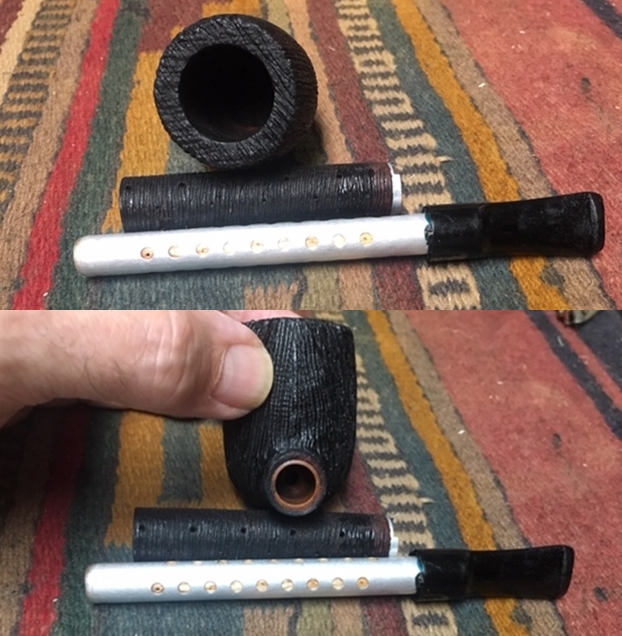
 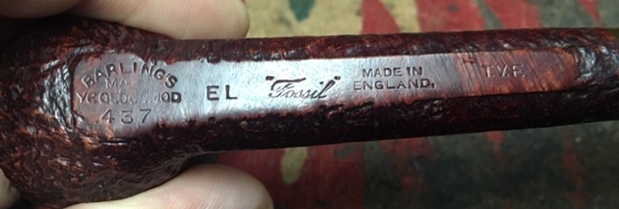 When I received the pipe the stem was stuck in the shank and was upside down. I put the pipe in the freezer for 30 minutes and when I removed it the stem turned easily in the shank. I removed it so that I could work on the bowl and soak the stem.
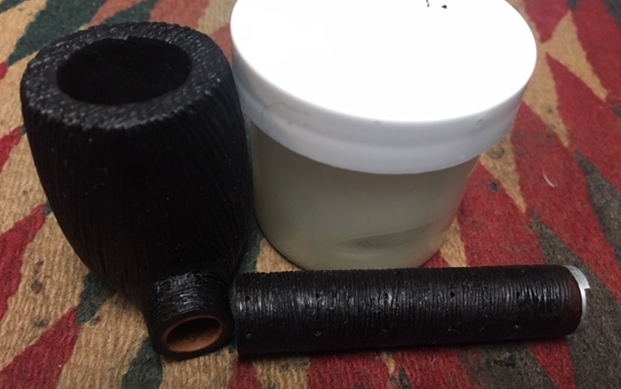
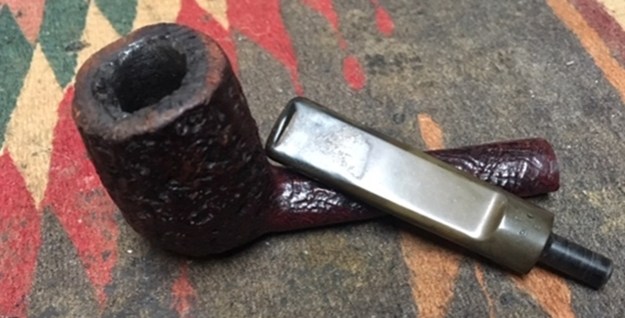 I put the stem in a bath of Before & After Deoxidizer and left it to soak while I turned my attention to the bowl.
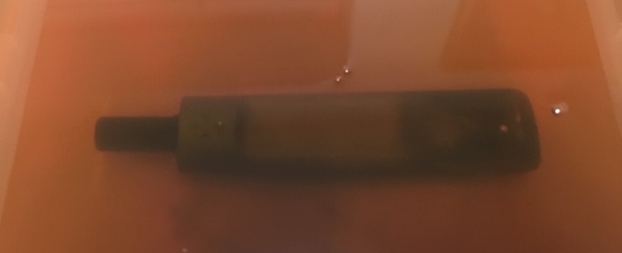 I turned to Pipedia’s article on Barling pipes (https://pipedia.org/wiki/Barling) and specifically read the section on the “Ye Olde Wood Stamp”. I quote as follows:
Sometime around 1913, the “Ye Olde Wood” stamp made its appearance on selected pipes. An example exists stamped on a 1913 date hallmarked pipe.
This logo will continue to be used in the decades to come. Initially it was used to designate a higher grade than the average, much as the “Special” grade would after the Second World War. Price lists show the “Ye Olde Wood” pipes as a separate grade from the basic BARLING’S MAKE pipe. Eventually, “Ye Olde Wood” came to represent the company to the world. The use of “YE OLD WOOD” as a stamp prior to 1940 was haphazard, at best, although the company used the slogan in advertising materials from the early teens onward. (Gage)
I also did further reading to understand the 3 digit model numbers which were designated on the site as Nichols Numbers. The article had this information:
Pipes intended for the US Market have a 3 digit model number. However, Family Era Barlings may have two numbers, not just three, and they may also have a letter following the model numbers. For example, the letter “M” following a model number would indicate that the bowl is meerschaum lined.
To further define the time period of the pipe I looked further in the article to the COM stamping on the pipes. This pipe is stamped MADE IN ENGLAND with a period at the end. Here is what the article said.
The “MADE IN ENGLAND.” stamp was in use in the 1930’s thru 1962. As with all things related to Barling nomenclature there are variations. Sometimes there is no “MADE IN ENGLAND.” stamp. Examples exist with a “MADE IN LONDON” over “ENGLAND” stamp. And, there are examples with “MADE IN ENGLAND” with no period after the word “ENGLAND”.
I also read the section on the size stampings and quote the pertinent part.
…In 1941 the published range of sizes expanded. Going from the smallest to the largest, they are SS, S, S-M, L, EL, EXEL, and EXEXEL. There is no “G” for giant. Giant pipes, or magnums, which are oversized standard billiards, were not stamped “G” but are commonly identified by collectors as such because they are obviously large relative to even EXEXEL pipes, and carried no size stampings (Gage).
There was a further section on Family Era Grades and Lines. This pipe was stamped Ye Olde Wood – sometimes referred to by collectors as YOW, which the article says may have a dark or plum stain. It is also stamped “Fossil” which denoted a sandblast finish. Most likely this stamping came into existence after WW2. The 1943 product line lists “sandblast” not “Fossil”.
This pipe was definitely made in the Family Era which ran from 1912 – 1962 and included pipes made by the Barling family while it either owned or managed B. Barling & Sons. I know that it was made after WW2 because of the “Fossil” stamp and before the close of the era in 1962. That appears to be as close as I can get to a date on this old timer.
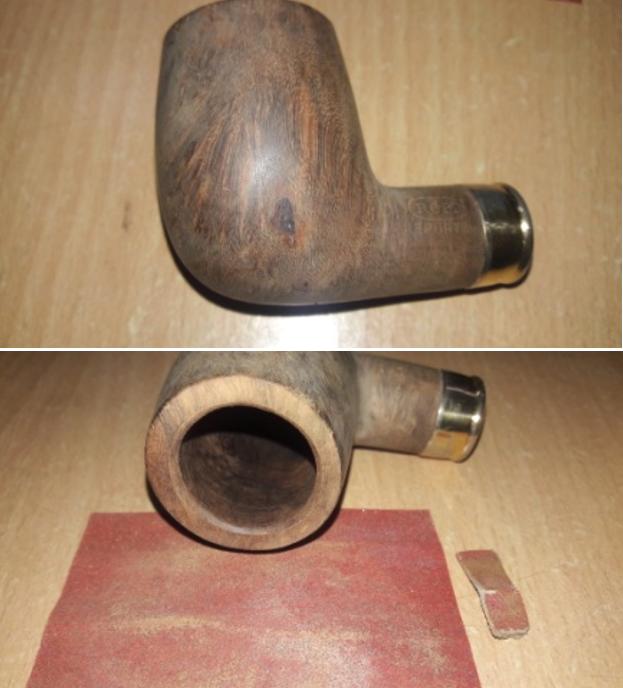
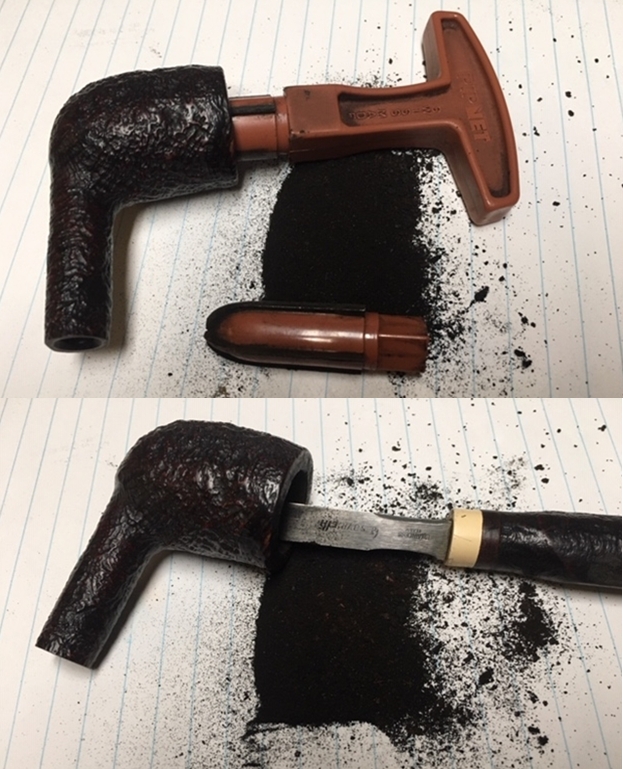
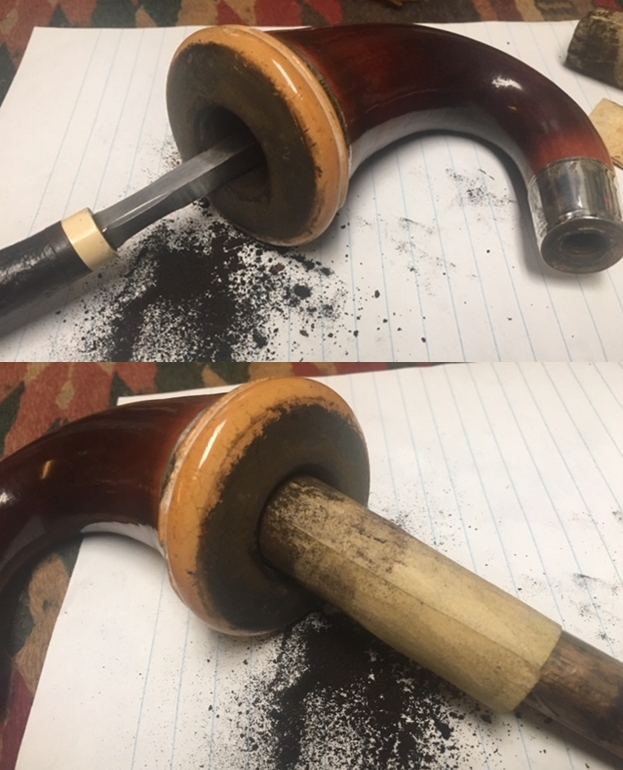
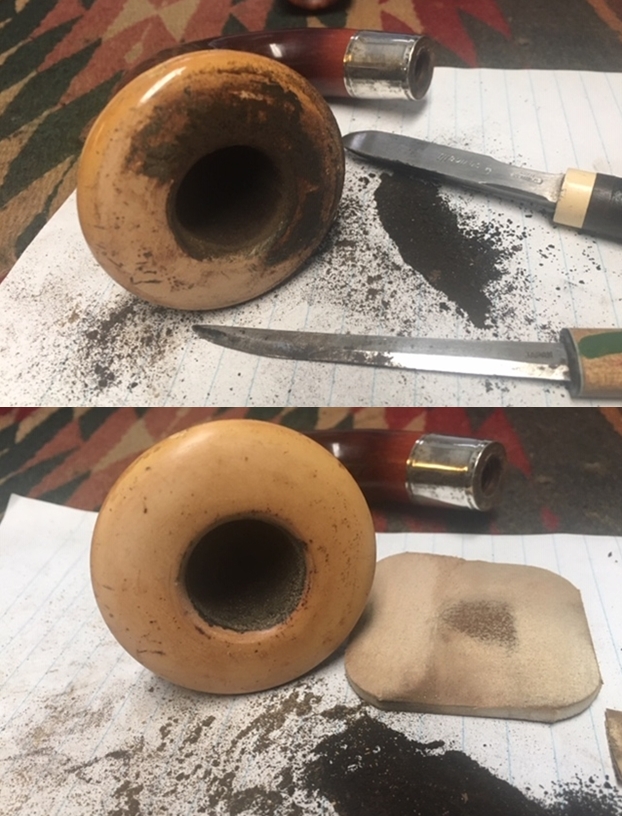
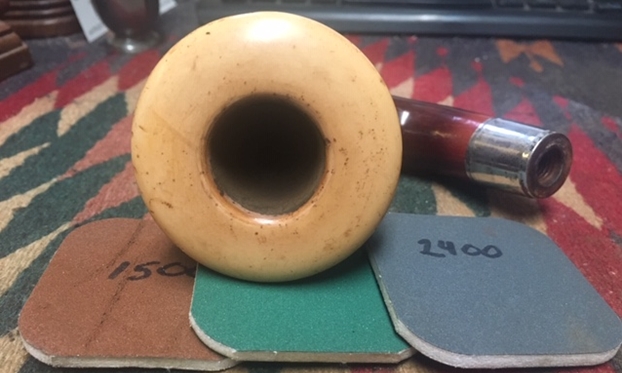
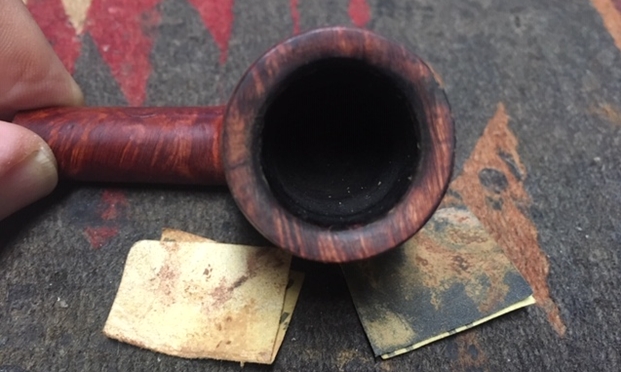
Armed with that information I turned to work on this pipe. The cake was very hard and took a lot of elbow grease to ream it. I started by reaming the bowl to remove as much of the cake on the walls and the debris of tobacco shards as possible. I switched back and forth between that PipNet reamer with the first two cutting heads and the Savinelli Fitsall Pipe Knife to break away more of the rock hard cake. Once I finally got the thick cake removed I sanded the bowl with 220 grit sandpaper wrapped around a piece of dowel and also a Sharpie Pen to smooth out the walls and clean up some of the damage to the inner edge of the bowl.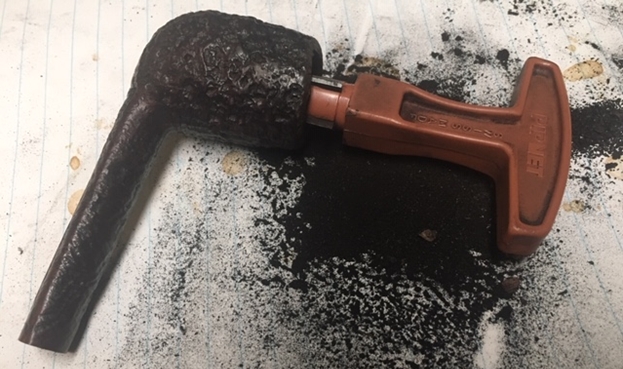
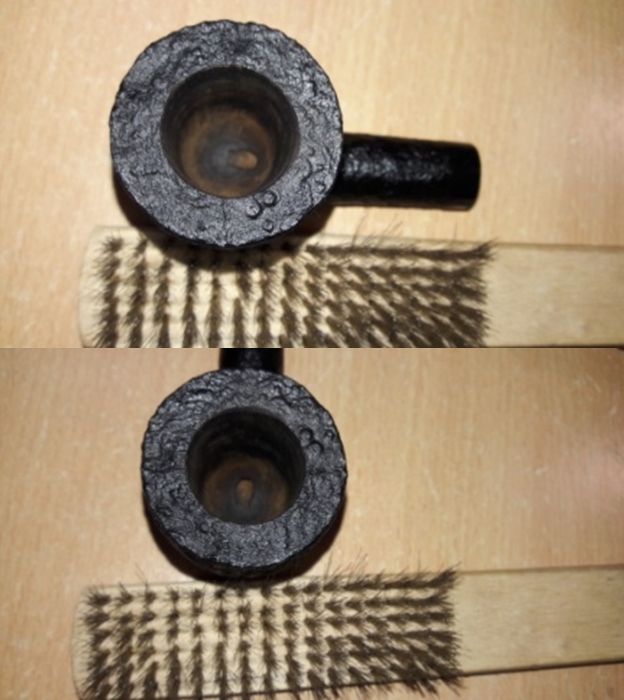
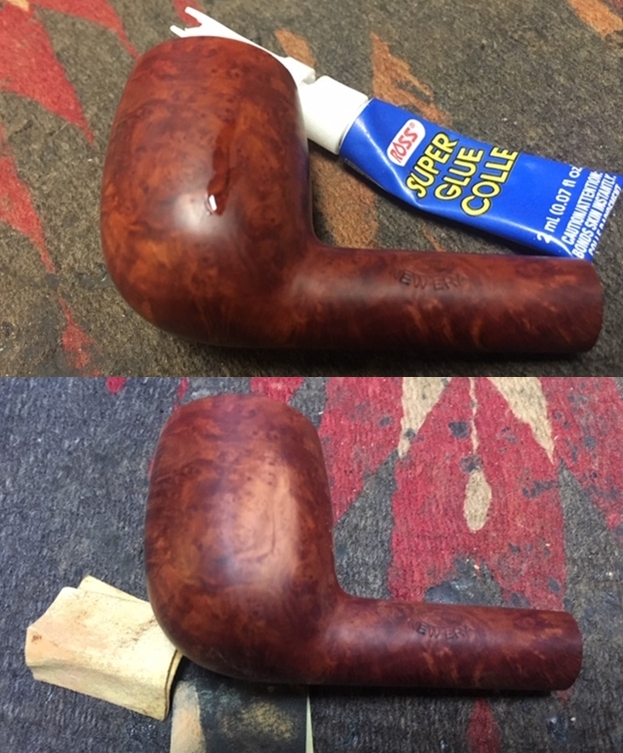
 I used a brass bristle wire brush to clean off the debris on the damaged rim top in preparation for rebuilding the damaged edge on the front right side. There were chips on the inner and outer edge of the rim as well as burn damage on the top at that point. Once I had it cleaned up I wiped the rim down with a cotton pad and alcohol to remove the remaining debris. I layered on a bit of clear super glue and used a dental spatula to add briar dust to the top of the glued areas. I pushed the dust deep in the chipped areas with a dental pick. I repeated the process until the damage rim top matched the height of the remaining rim top. The photos look far more intrusive than they really were. Once the repair had cured I wiped the excess dust off with a cloth (the dust in the bowl is just that dust and was cleaned out upon completion of the repair).
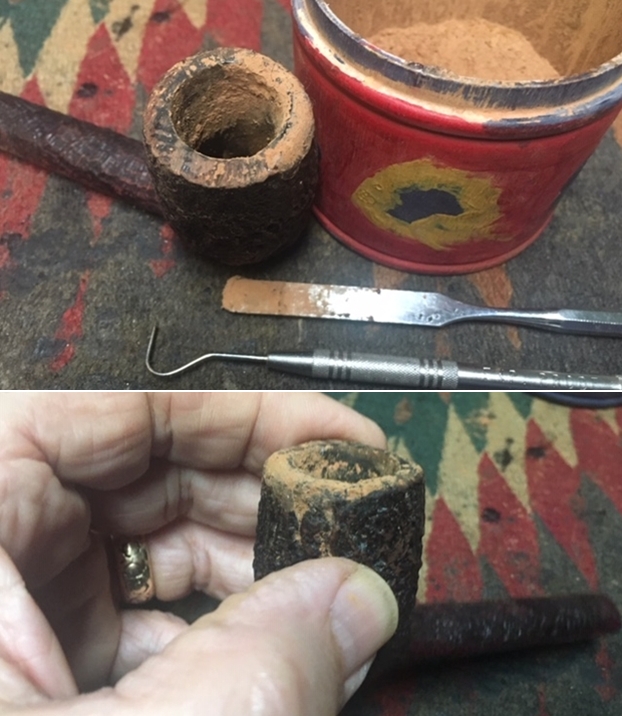
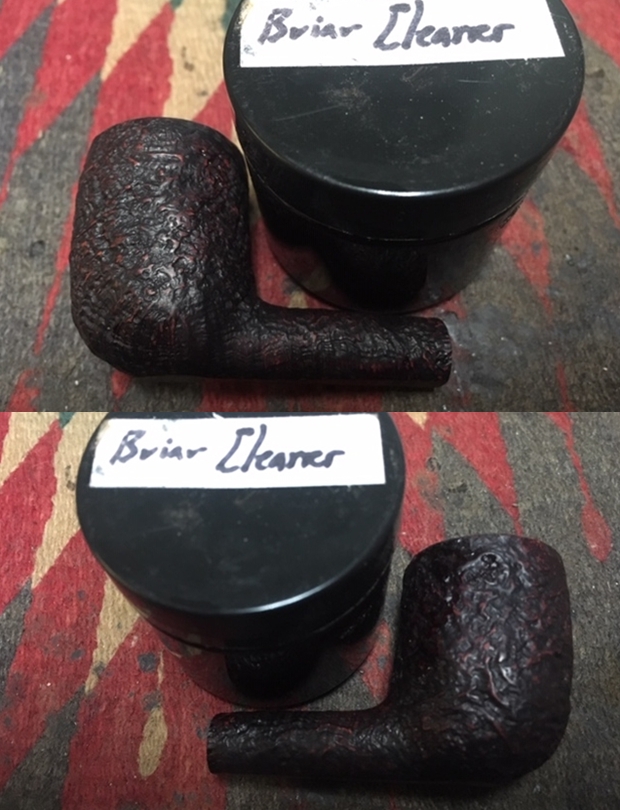
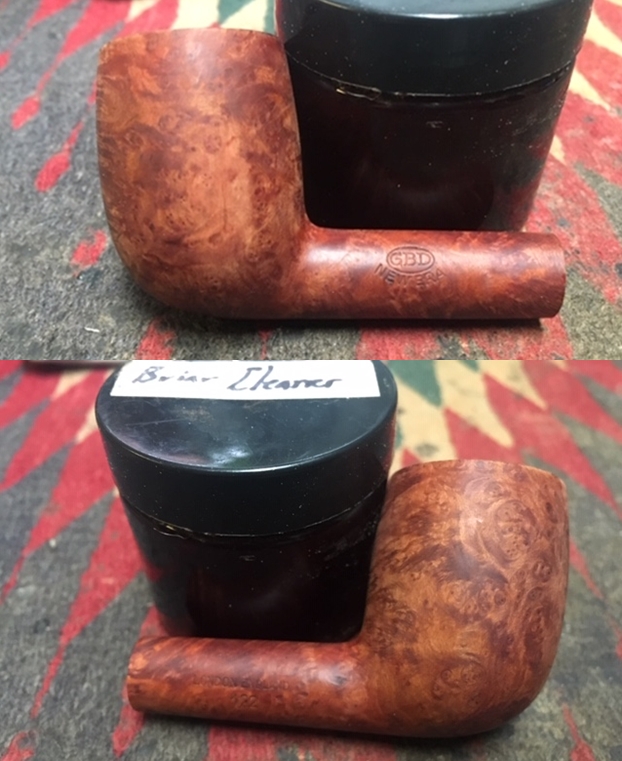
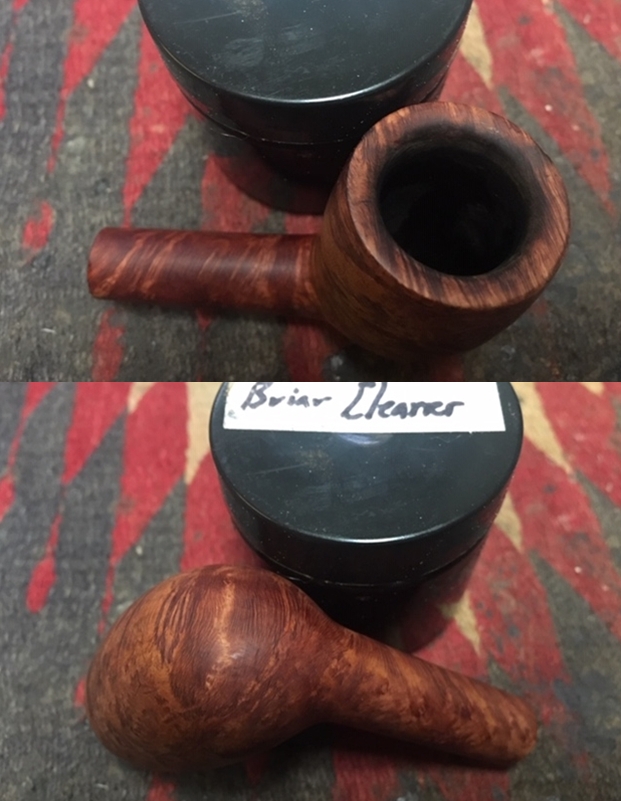
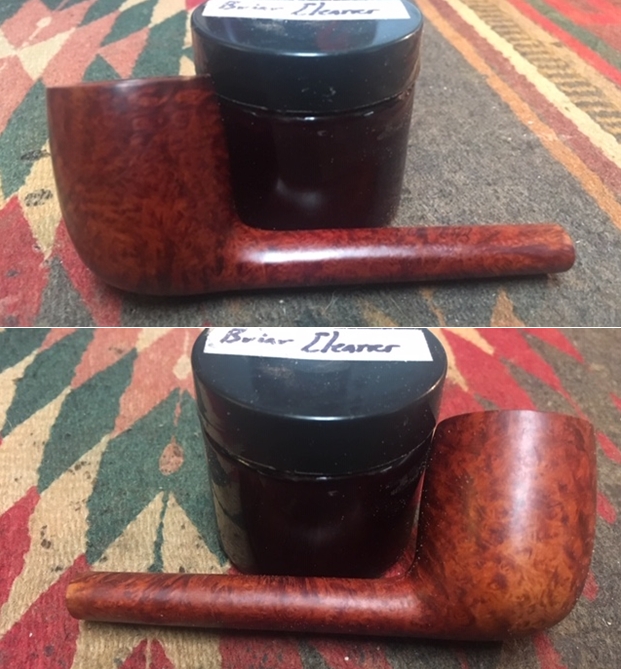
 I used a little more of the clear super glue to even out the top inner edge of the bowl. Once it had cured it was time to clean up the surface of the bowl. I continued my ongoing experiment with Mark Hoover’s Before & After Briar Cleaner to remove the dust and debris in the grooves of the blast on the bowl and the rim top. I rubbed it into the surface of the briar and let it sit for 10 minutes. I rinsed the bowl off with warm running water to remove the product and the grime. The grain really began to stand out clearly. It was a beautiful piece of briar.

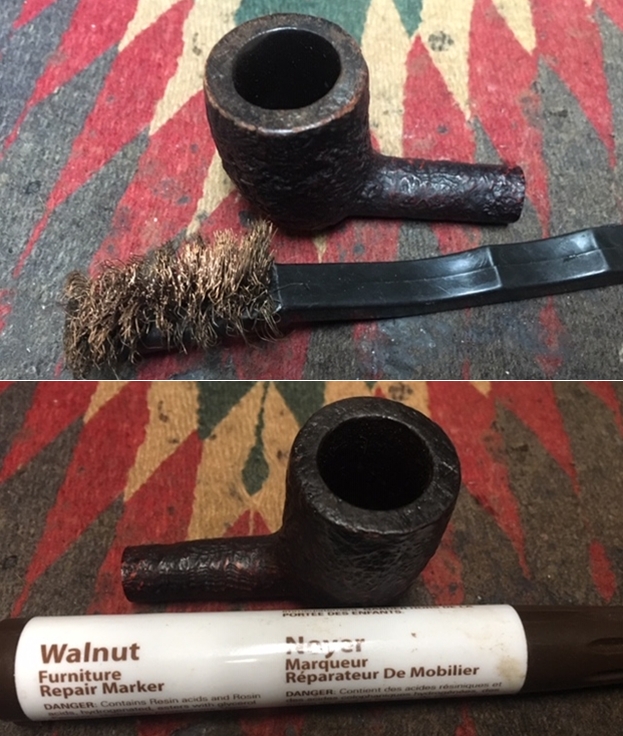
 I used a Dremel with some sharp and round burrs to match the repaired rimtop to the rest of the rim. The key was to not do too much but just enough to blend it into the sandblast that remained on the rest of the rim top. Once I had finished I used a brass bristle wire brush to clean off the debris left behind by the Dremel.
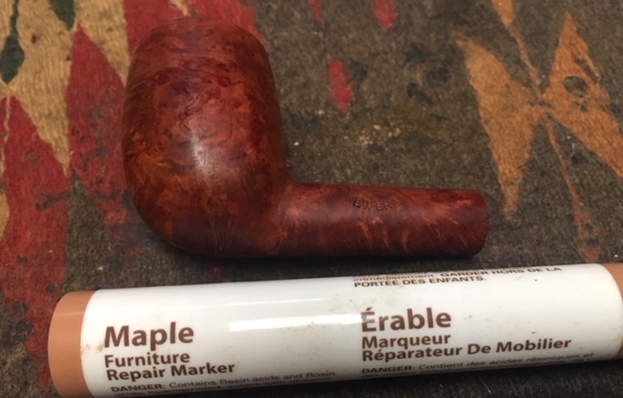
 I used a Walnut and a Mahogany stain pen to touch up the stain on the worn outer edges of the bowl and the rim top. I mixed in some black Sharpie pen to blend it to match the bowl colour.
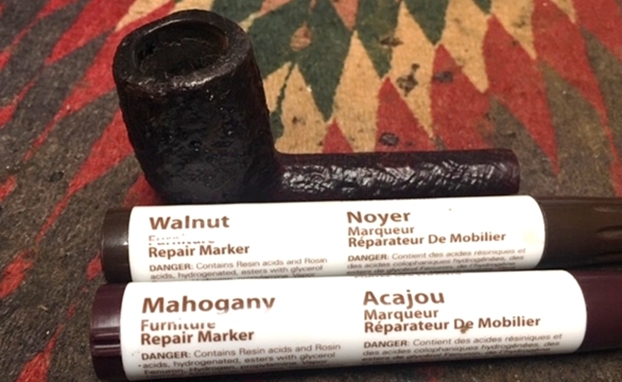
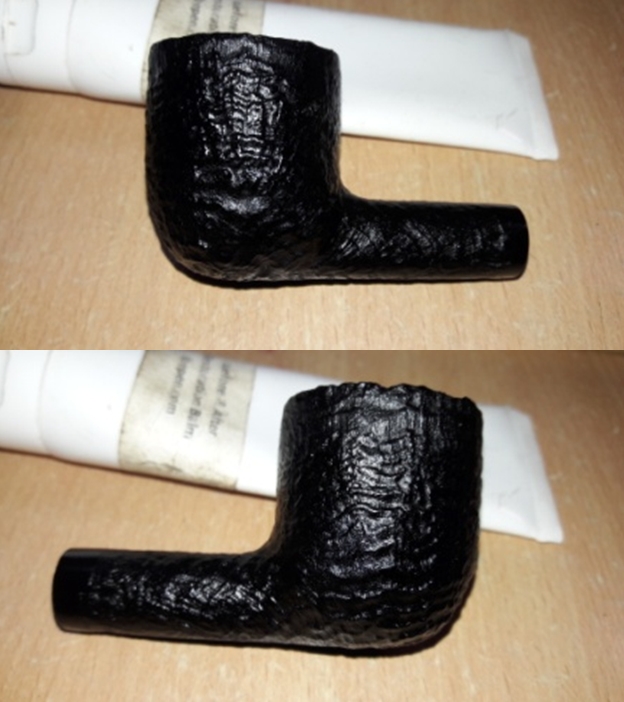
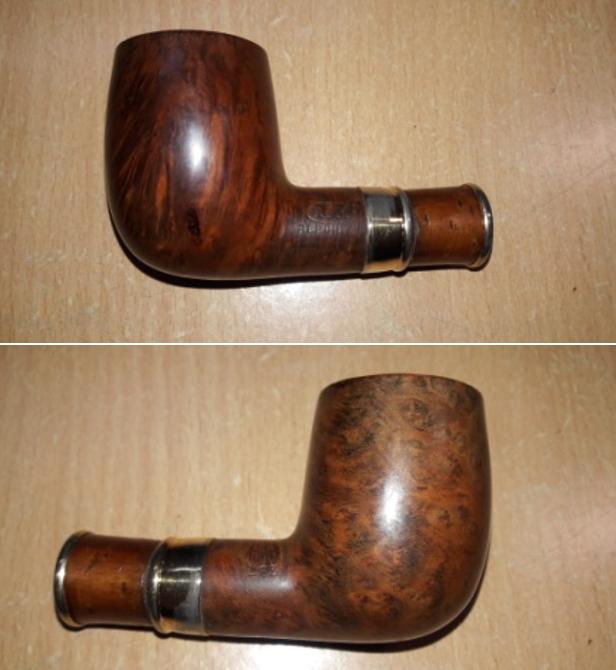
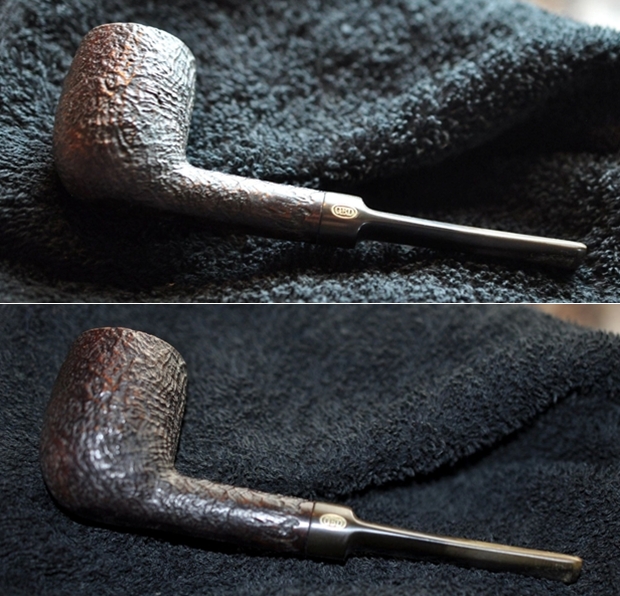
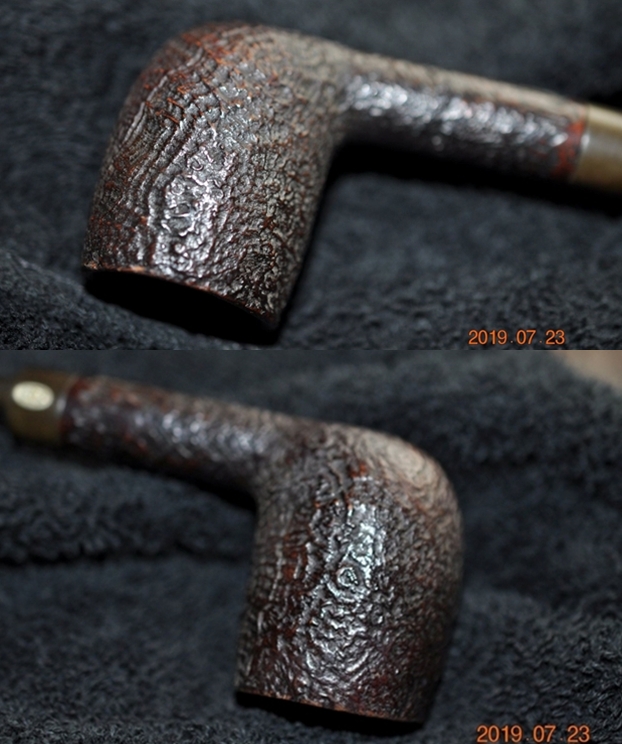
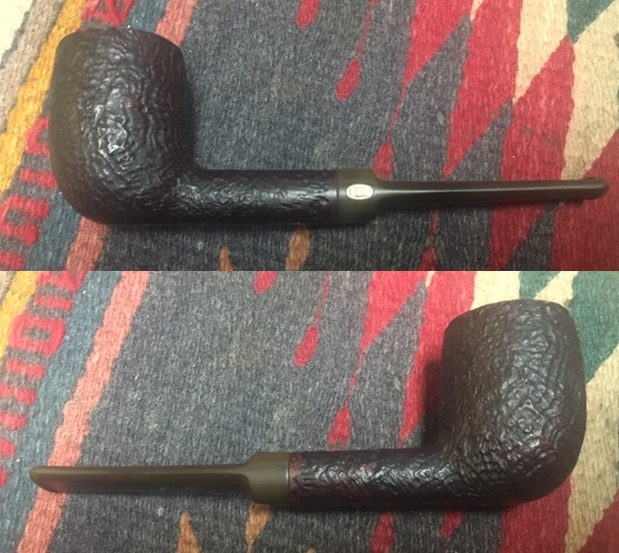
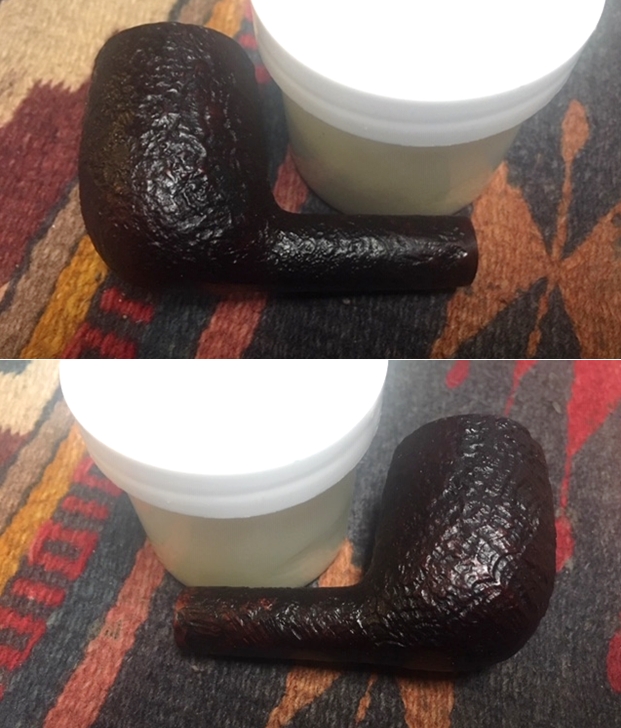
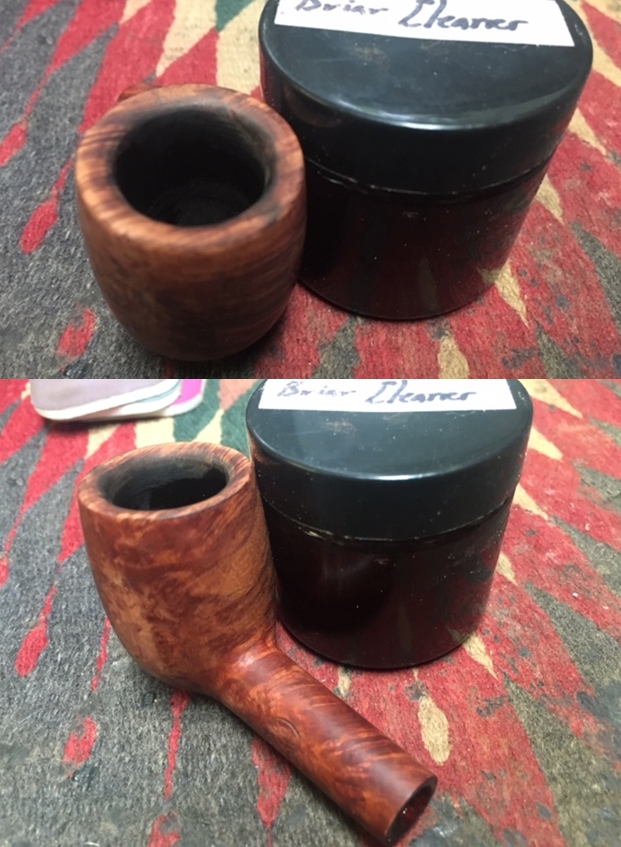
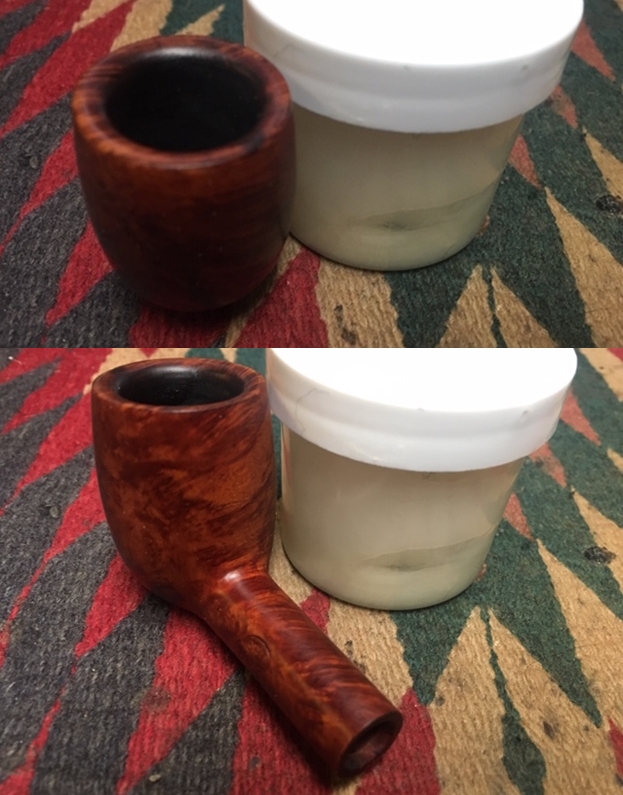
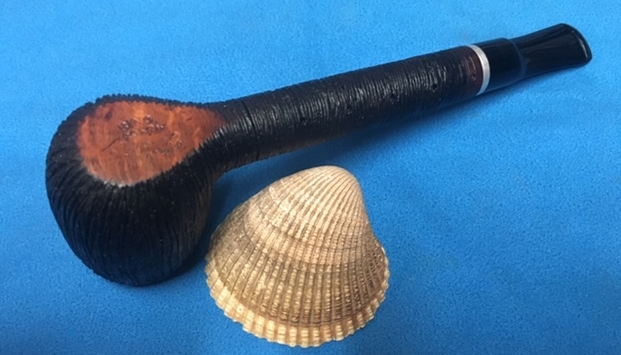
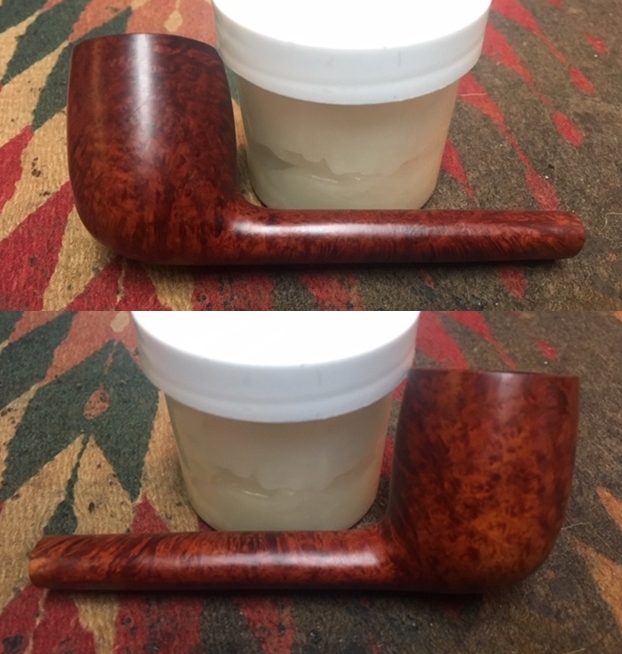
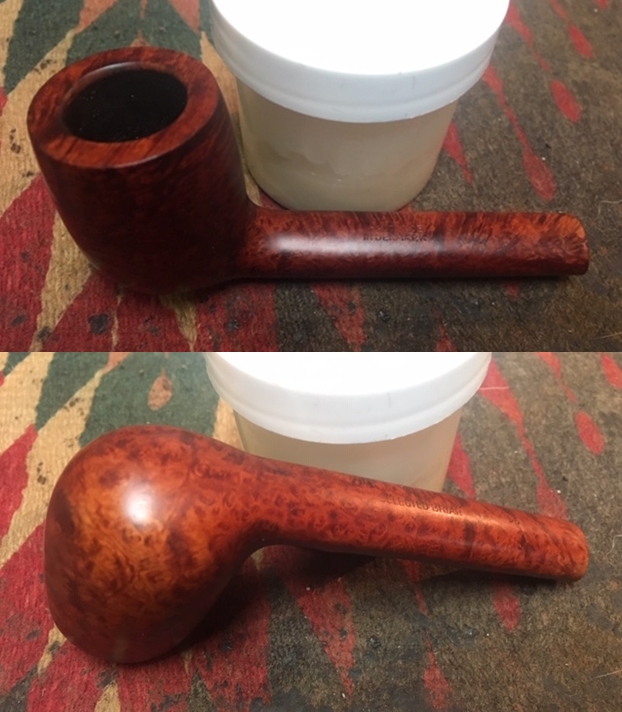
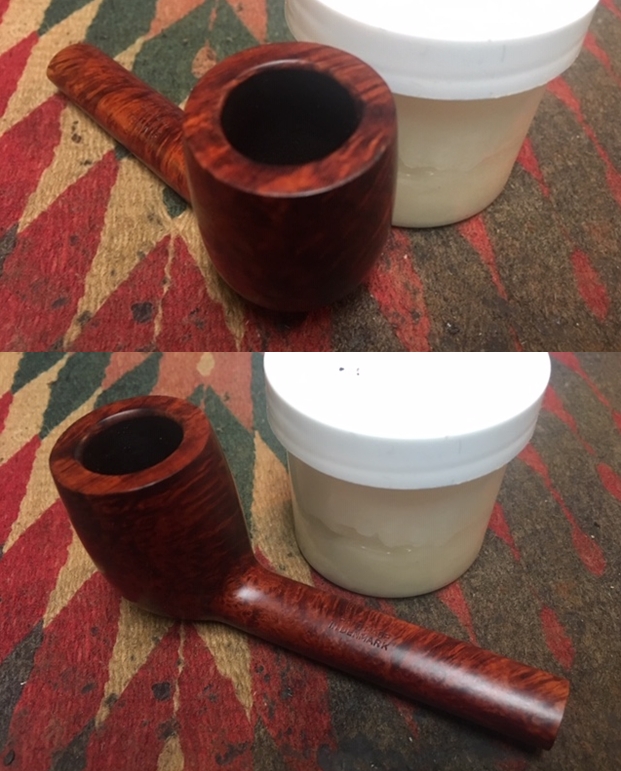
 I worked some Before & After Restoration Balm into the finish of the bowl and the rim top. I worked it into the surface with my fingertips and a horsehair shoe brush to clean, enliven and protect the wood. I let the balm sit for about 10 minutes and buffed it off with a soft cotton cloth. I took photos of the pipe at this point in the process to show what the bowl looked like at this point. I am happy with the blend of the stain on the right side and the overall look of the bowl at this point. Now the bowl was finished except for the final polishing.
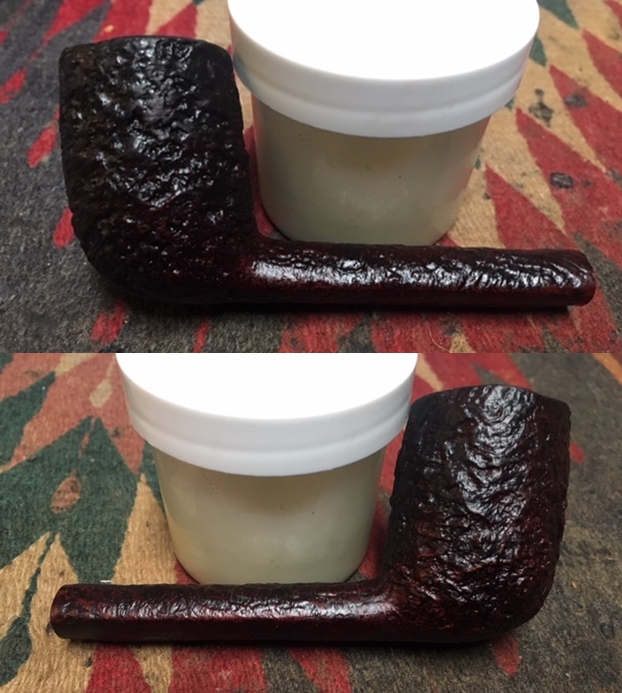

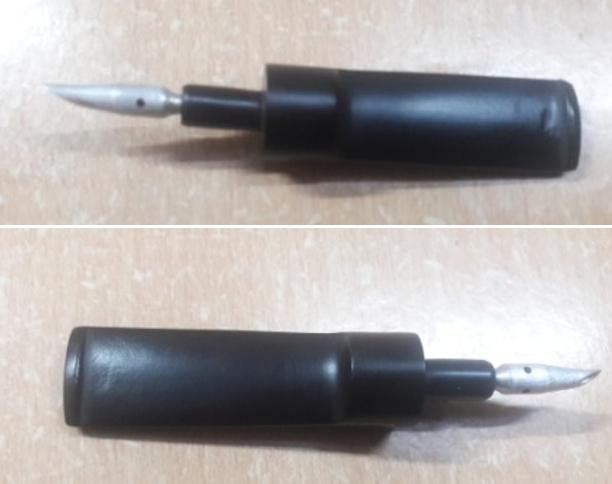
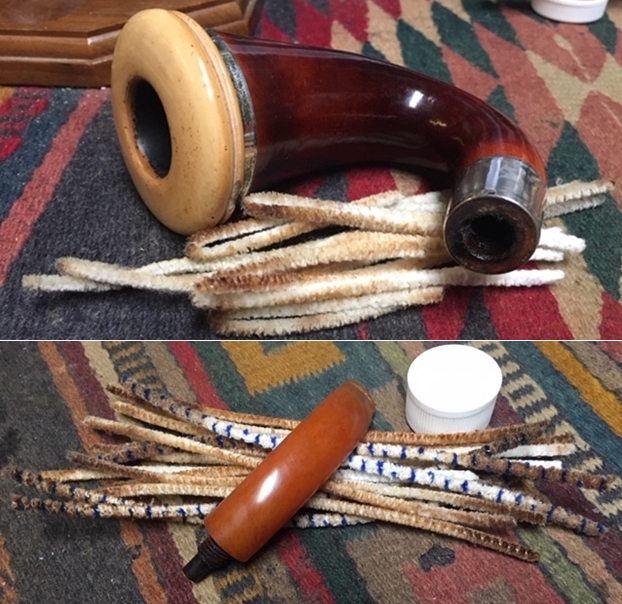
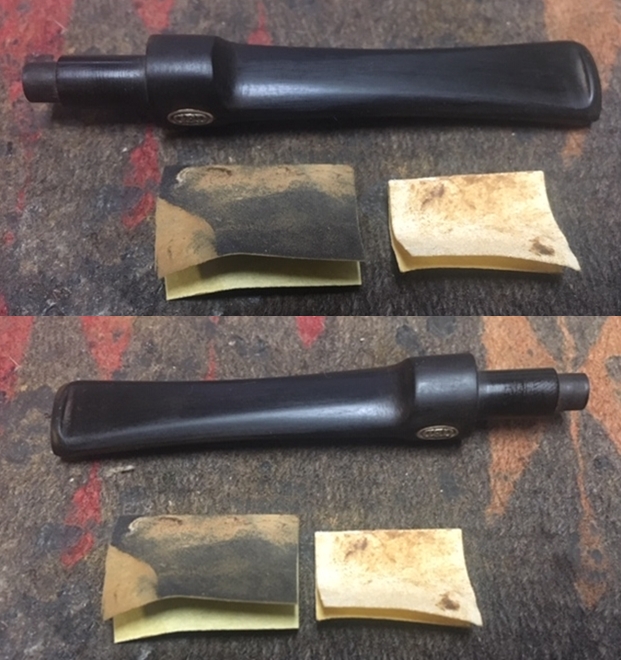
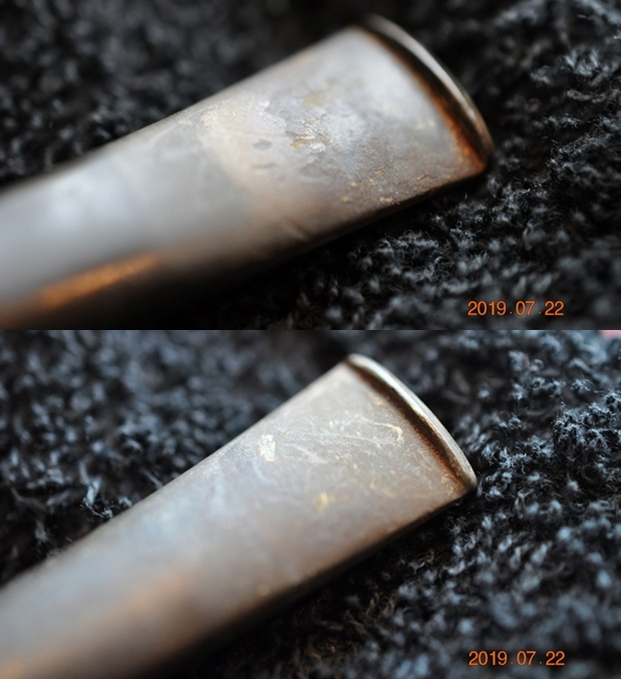
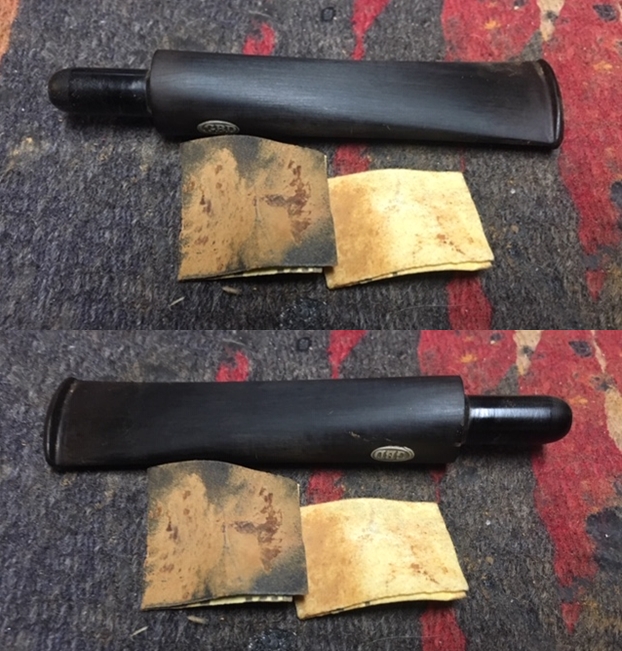
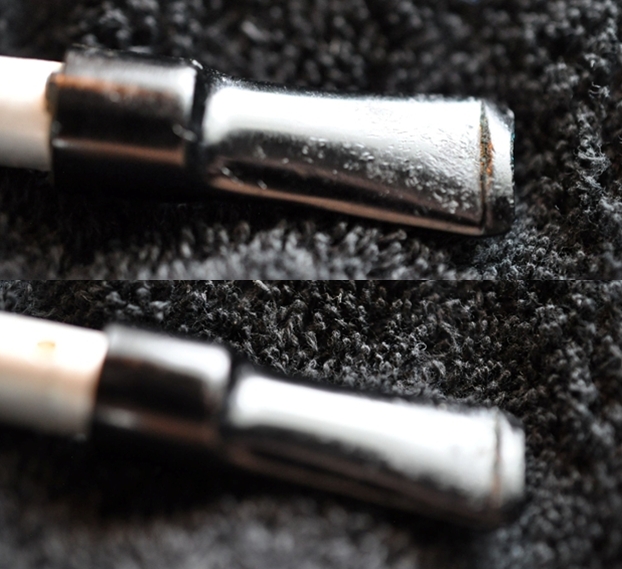
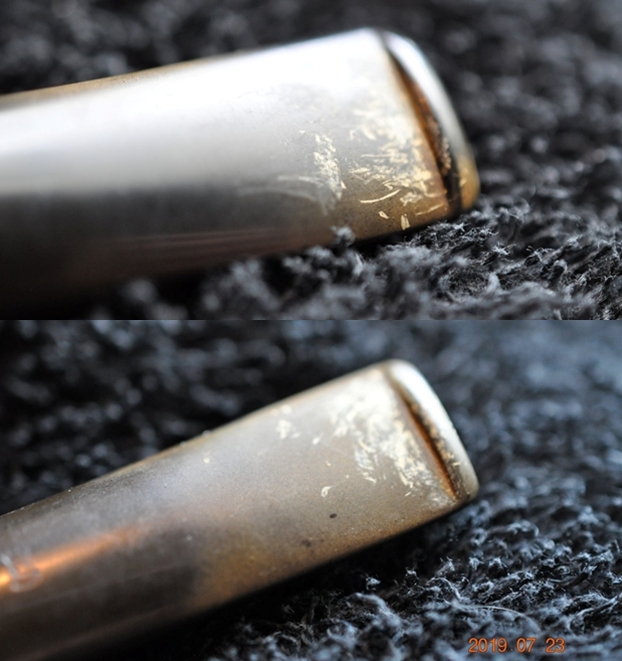
 I took the stem out of the Before & After Deoxidizer and rinsed it under warm water. I ran a pipe cleaner through the airway to remove the deoxidizer from the airway in the stem. The deoxidizer had done a good job removing the oxidized stem surface. You can see that the stamping is quite weak on the top and underside of the saddle. There is were on the edge of the button on the top side and few tooth dents. On the underside the edge of the stem there was a notch on the side of the stem near the button. There was also wear on the button surface.
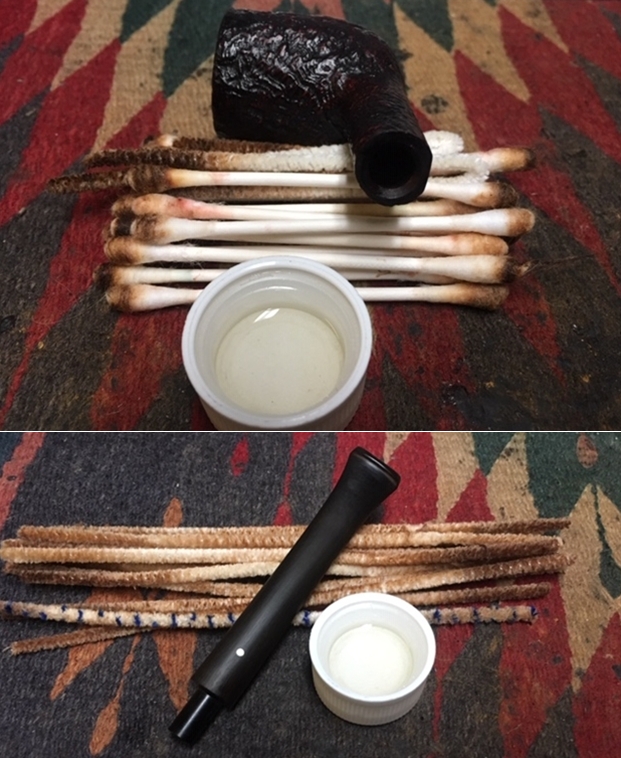
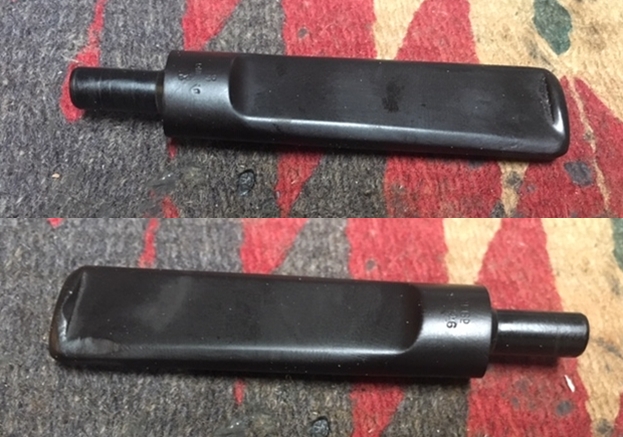 Once the externals of the stem were cleaned I turned my attention to the internals. I cleaned out the mortise and airway to the bowl and in the stem with 99% isopropyl alcohol, cotton swabs and pipe cleaners. I cleaned both until the cleaners came out white. It was a dirty pipe.
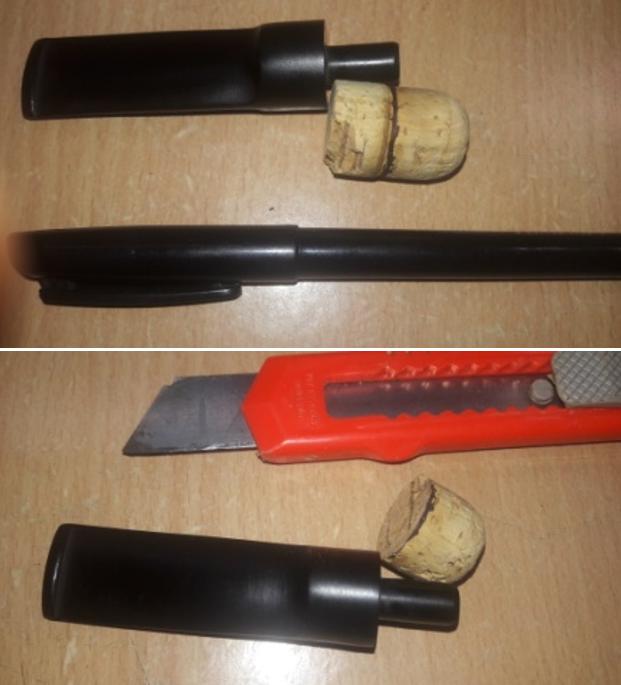
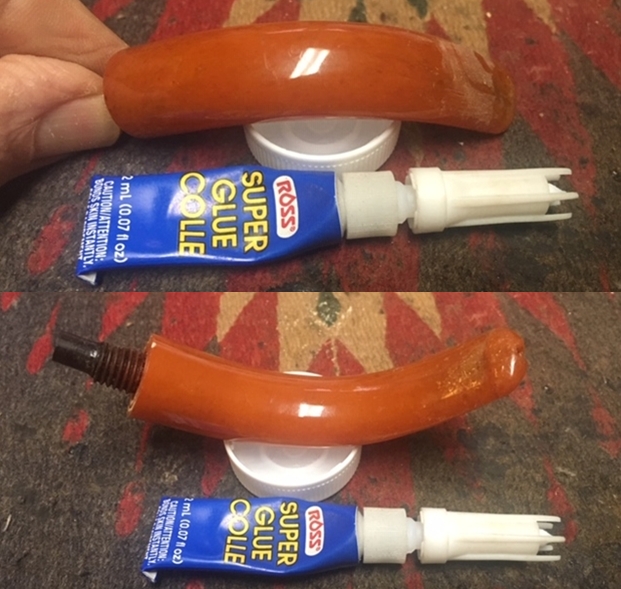
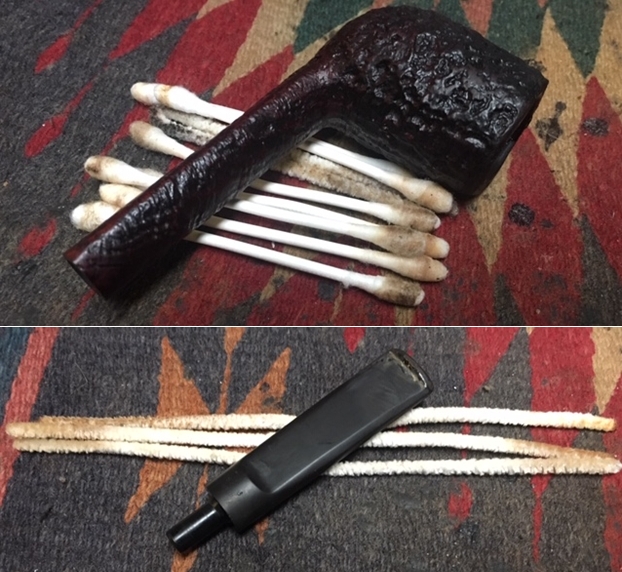 I set the bowl aside and turned my attention back to the stem. I built up the deep dents and gouges in the button and the edge of the stem with clear super glue. I set it aside to cure.
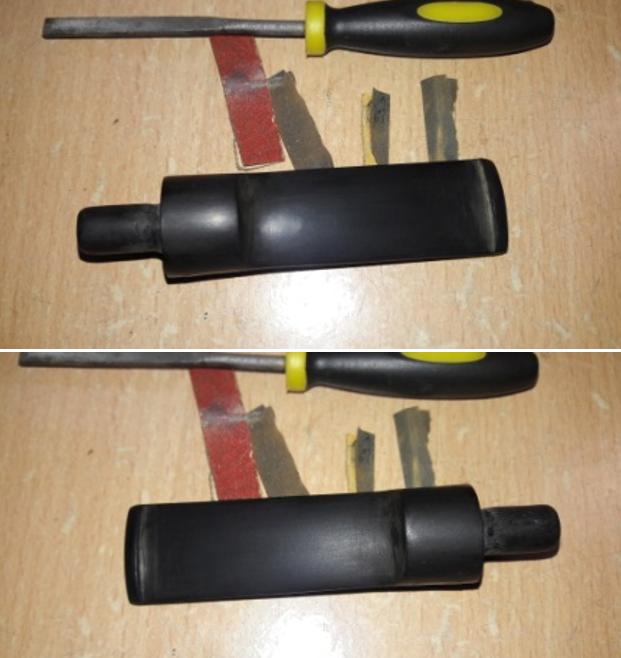
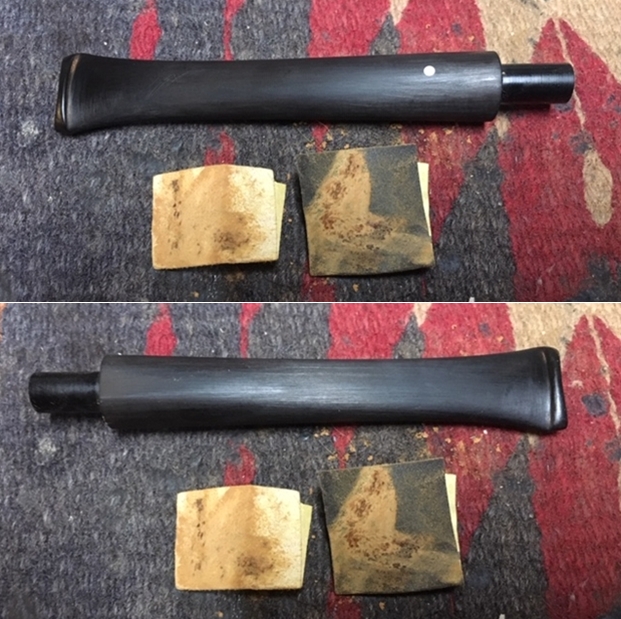
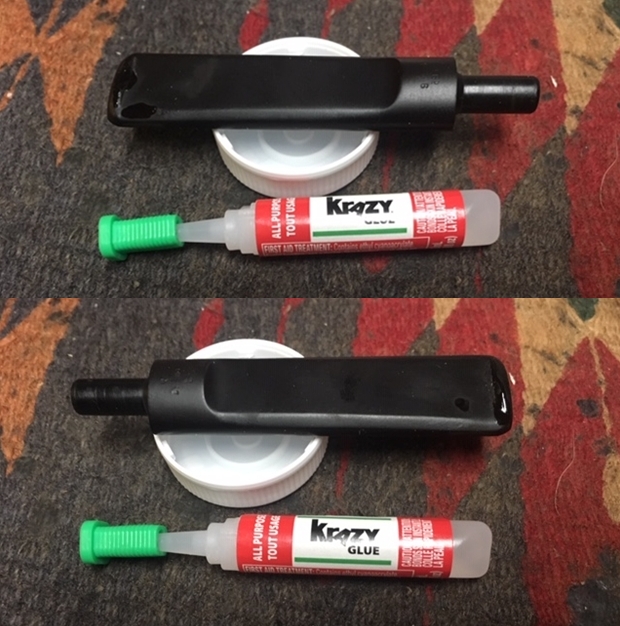 Once the repairs had cured I used a needle file to recut the edge of the button and smooth out the button edges.
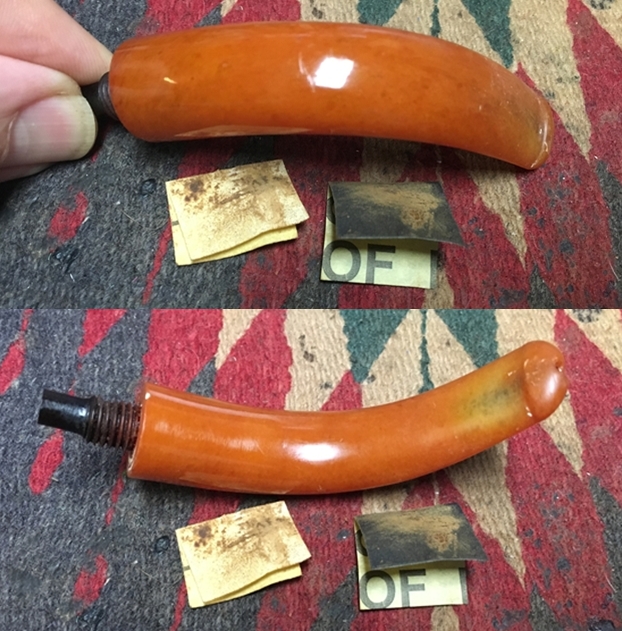
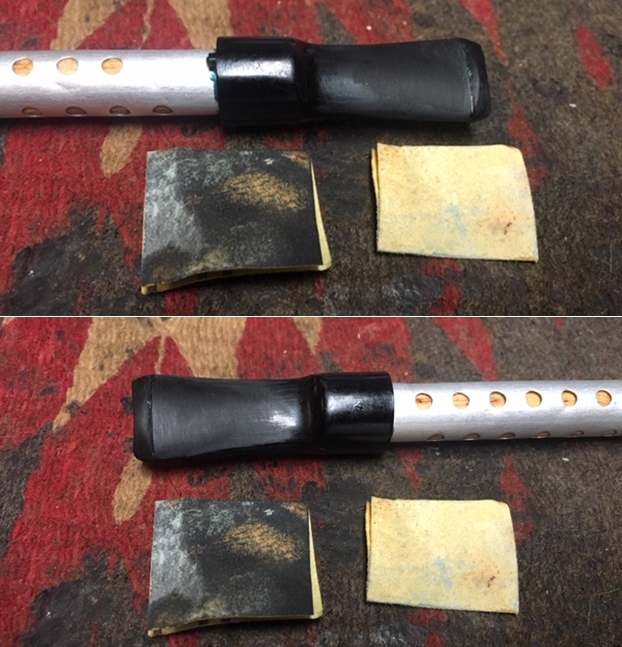
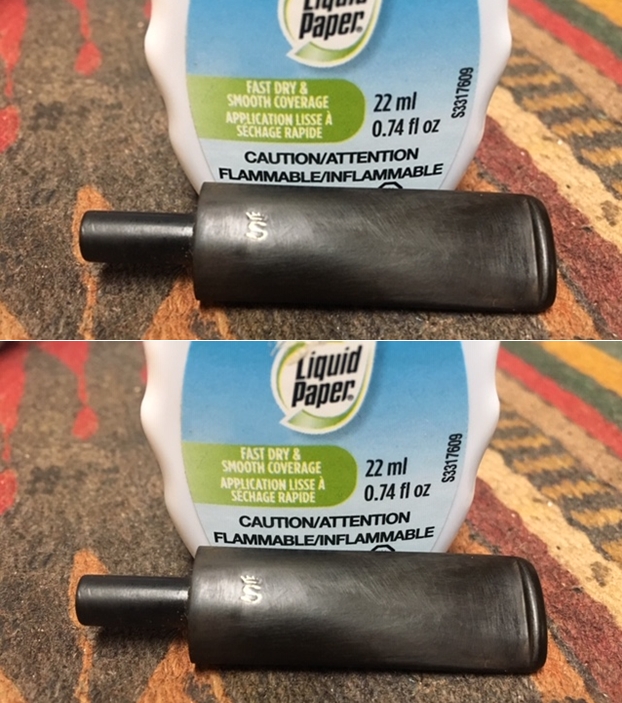
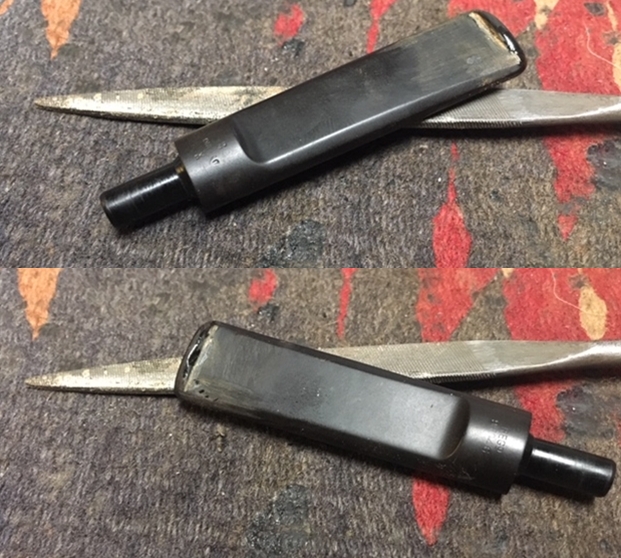 I also sanded out the tooth marks and chatter on the surface of the vulcanite and removed the rest of the oxidation on the vulcanite with a folded piece of 220 grit sandpaper. I followed the 220 grit sandpaper with 400 grit wet dry sandpaper to minimize the scratching.
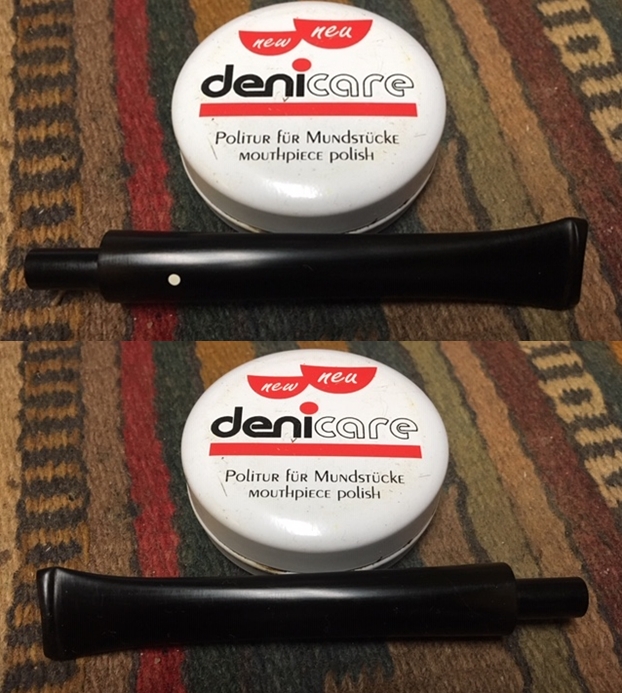
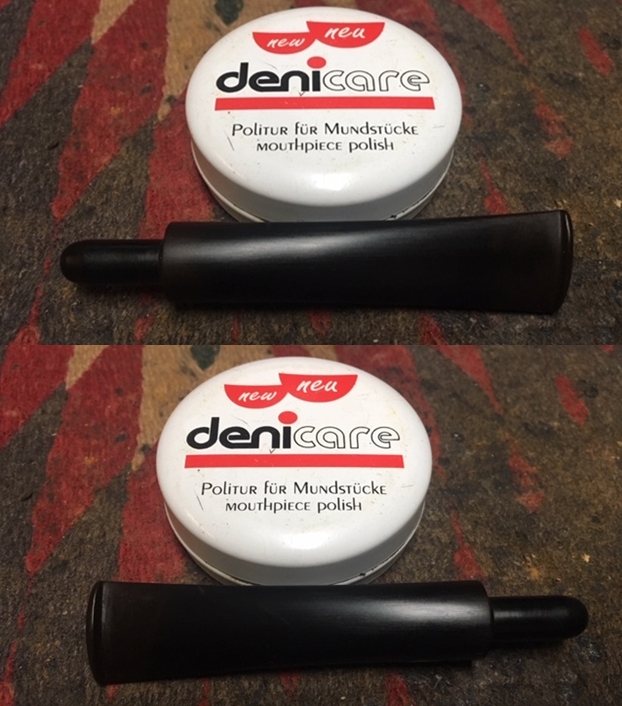
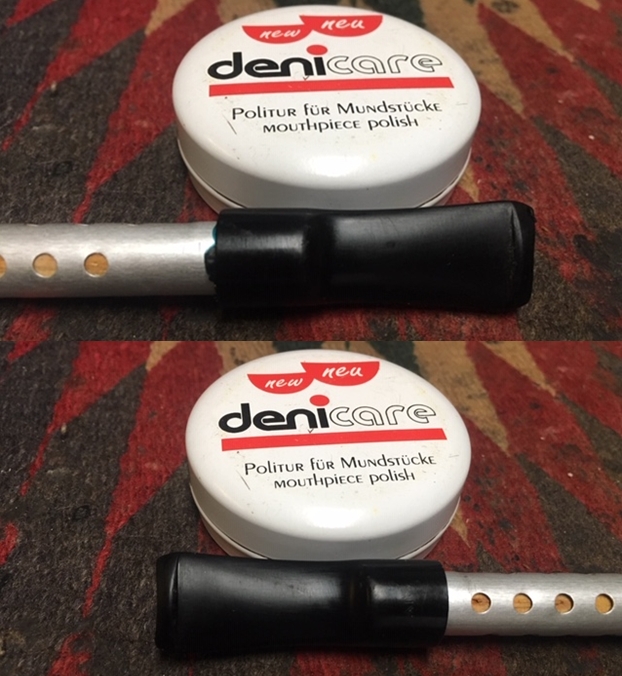
 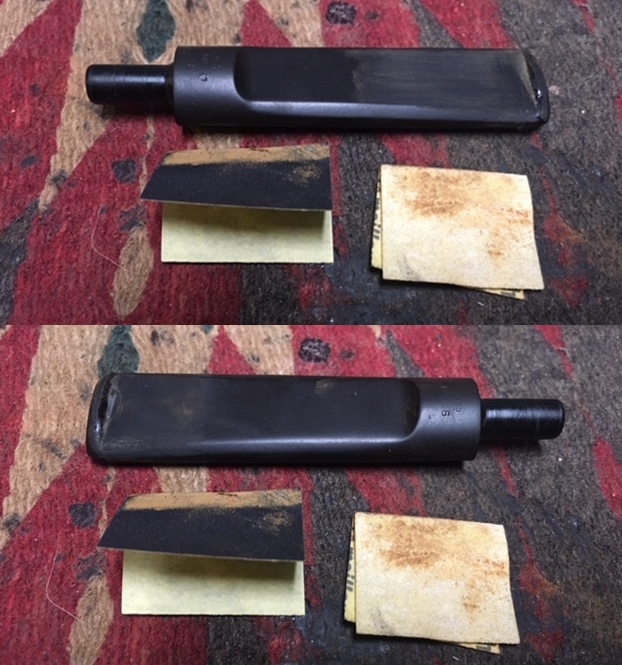 I polished the stem with Denicare Mouthpiece Polish to take out the oxidation at the button edge and on the end of the mouthpiece. I buffed the stem with a microfiber cloth.
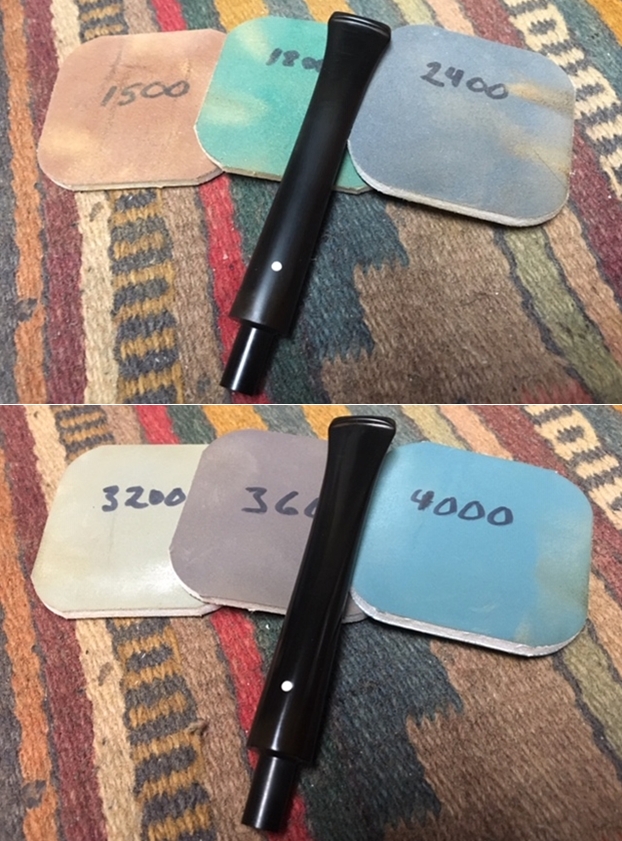
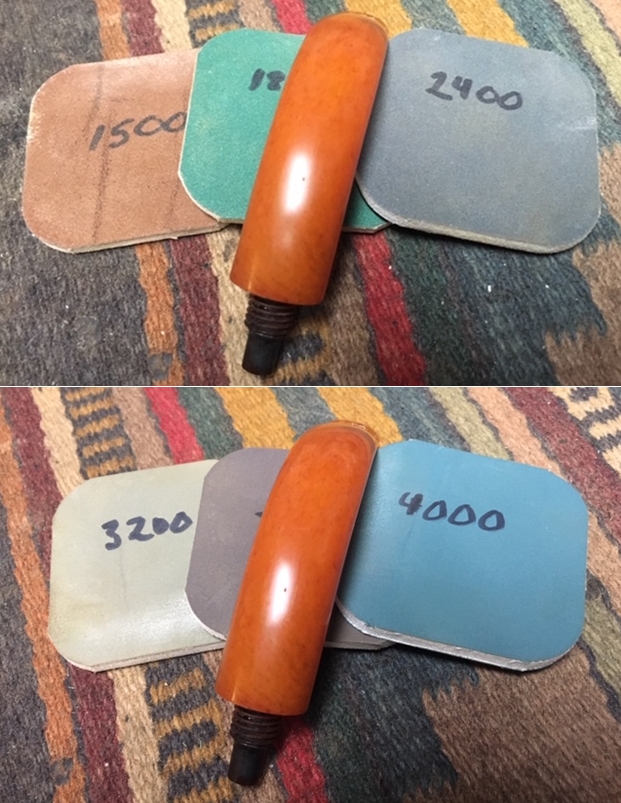
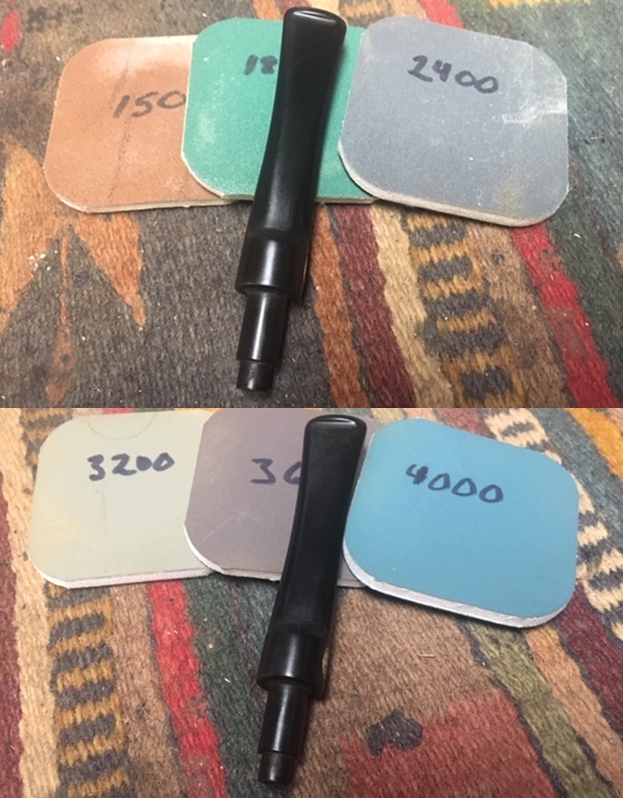
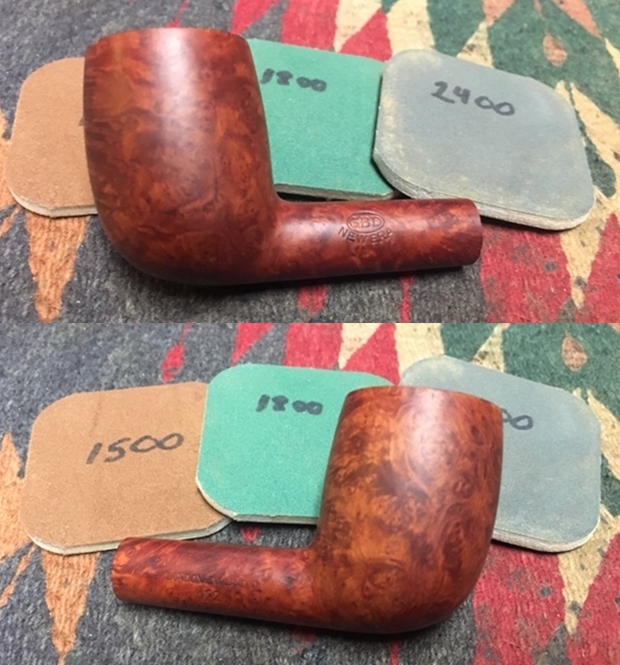
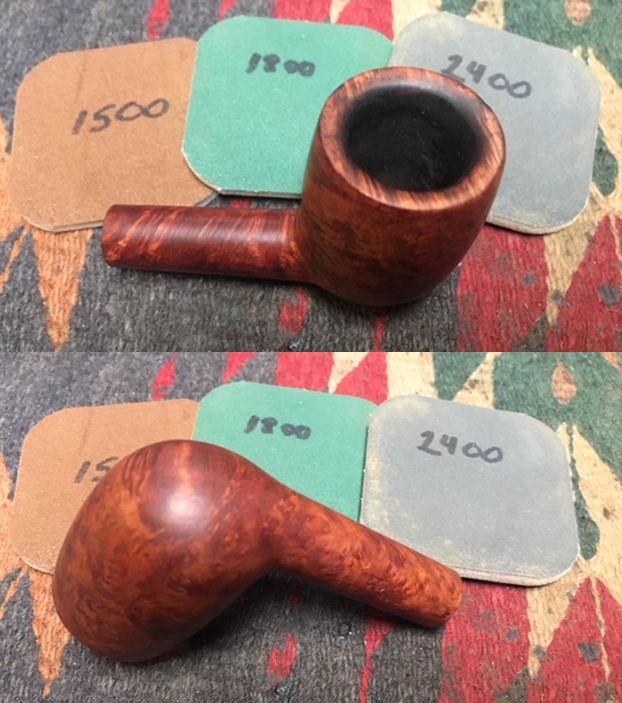
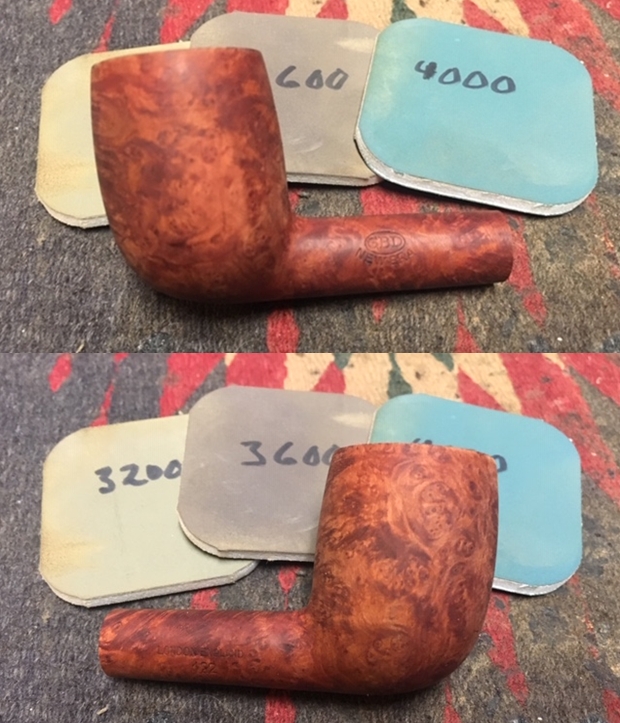
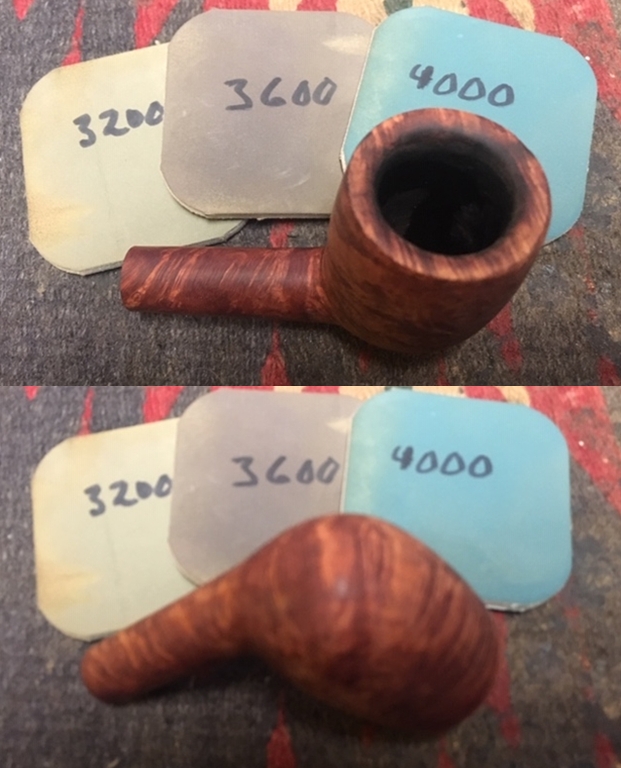
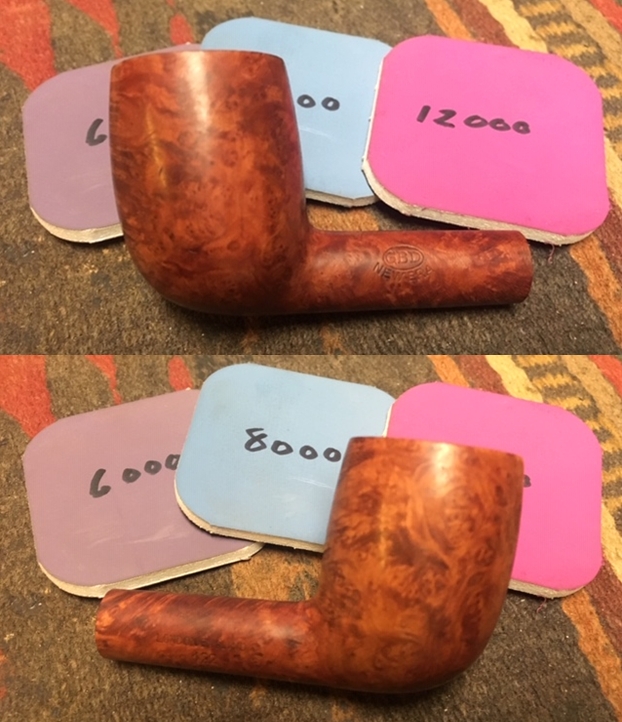
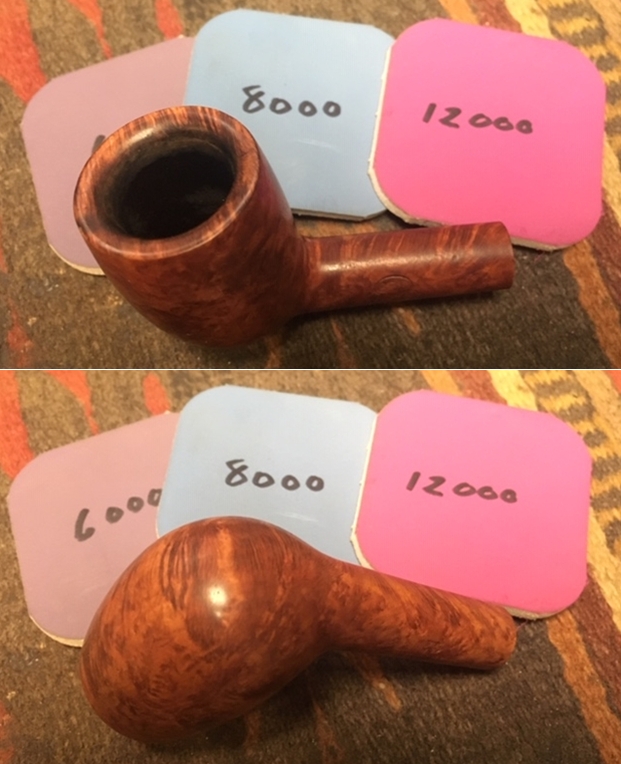
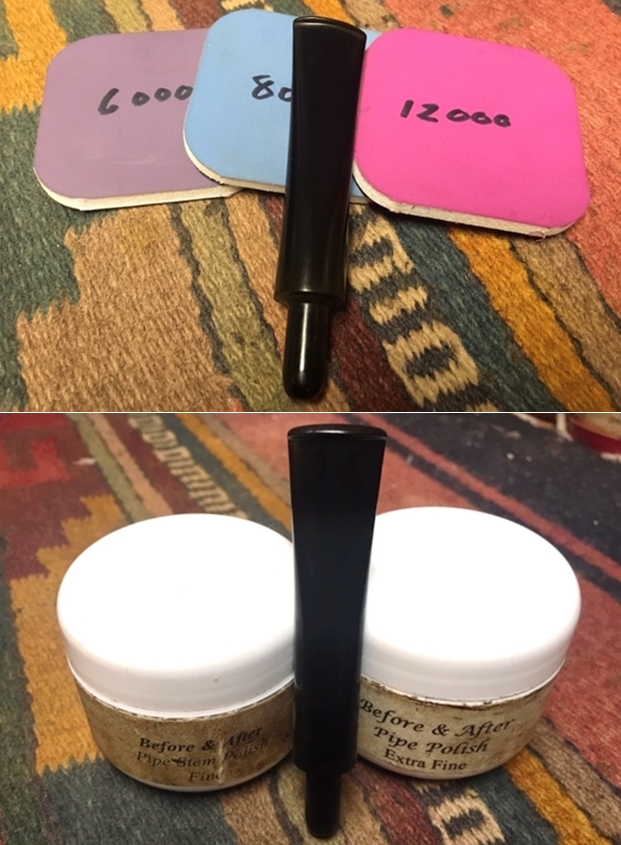
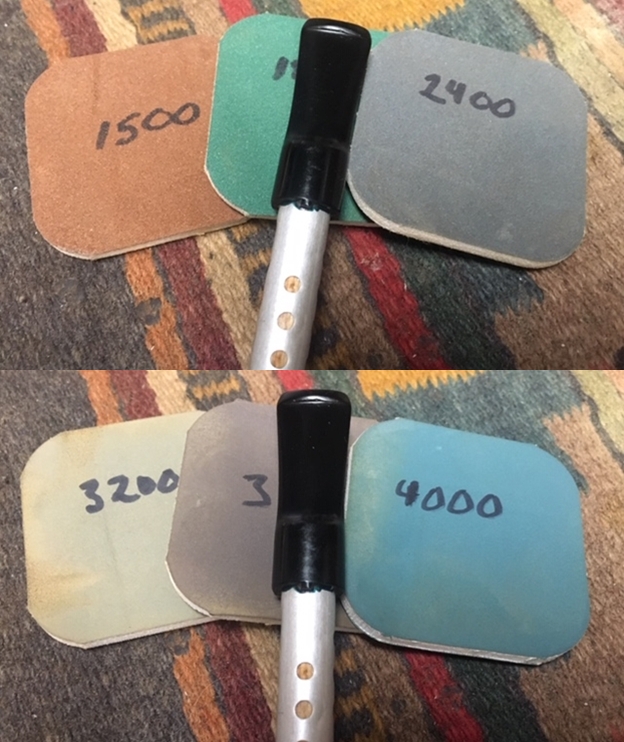
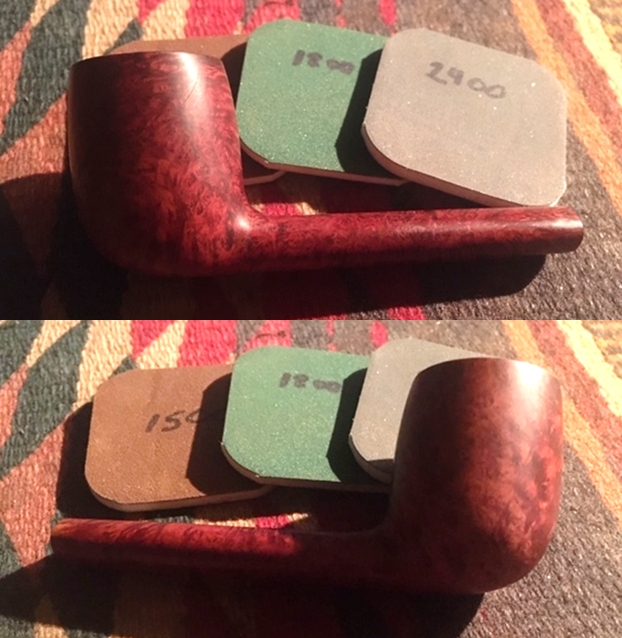
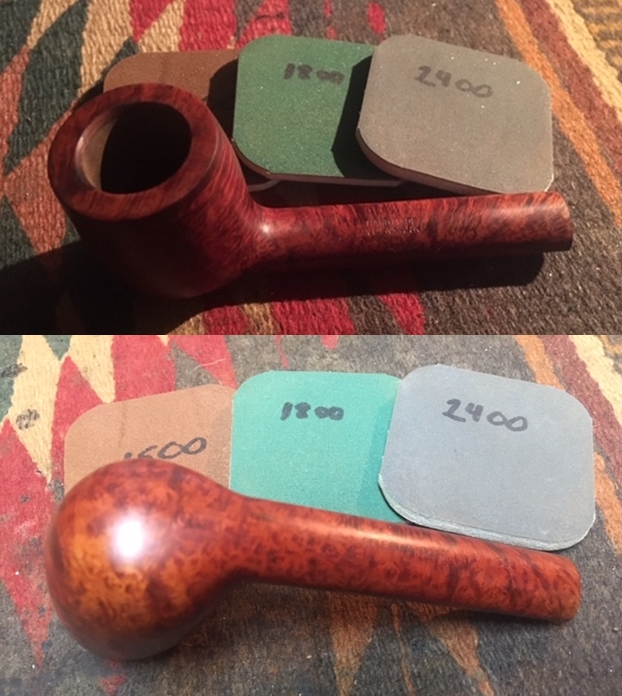
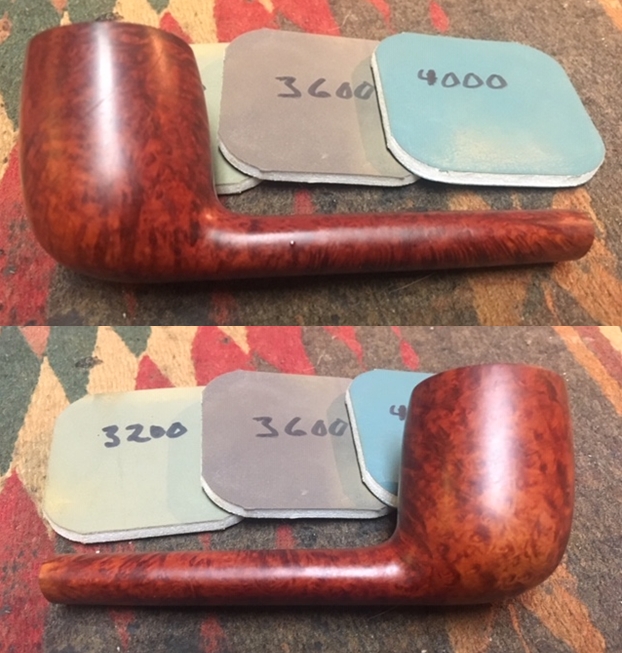
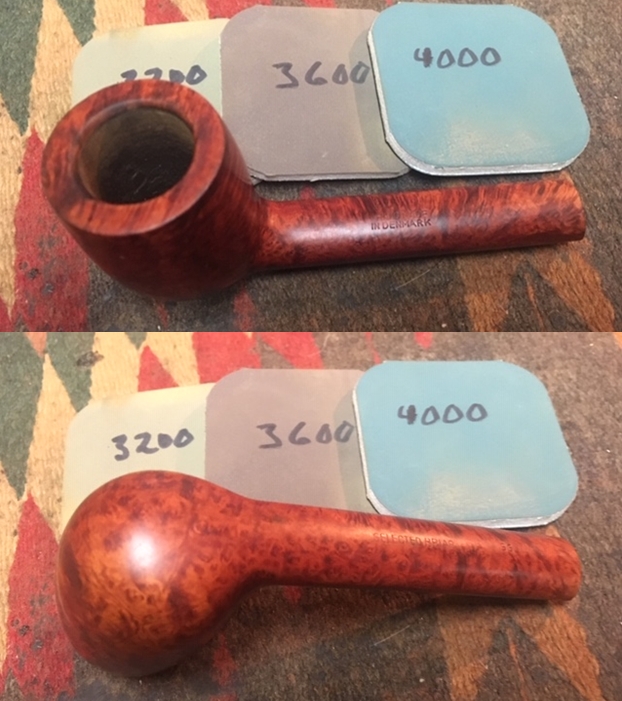
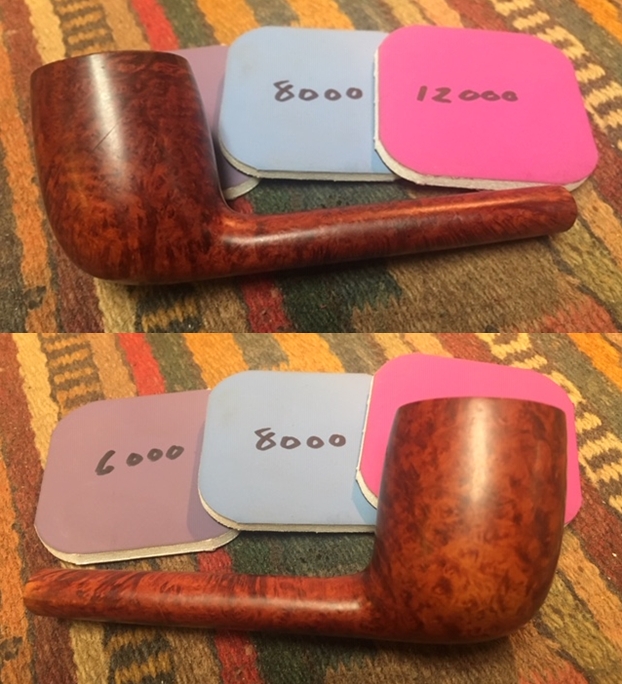
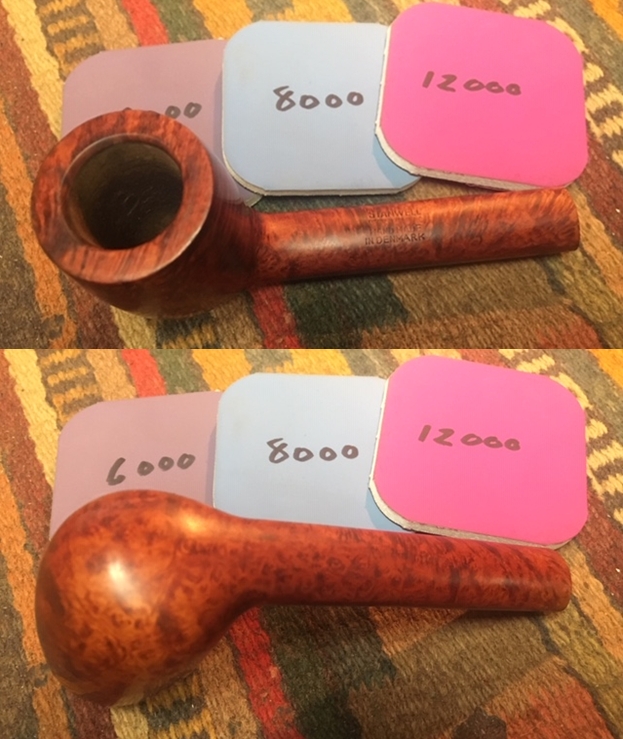
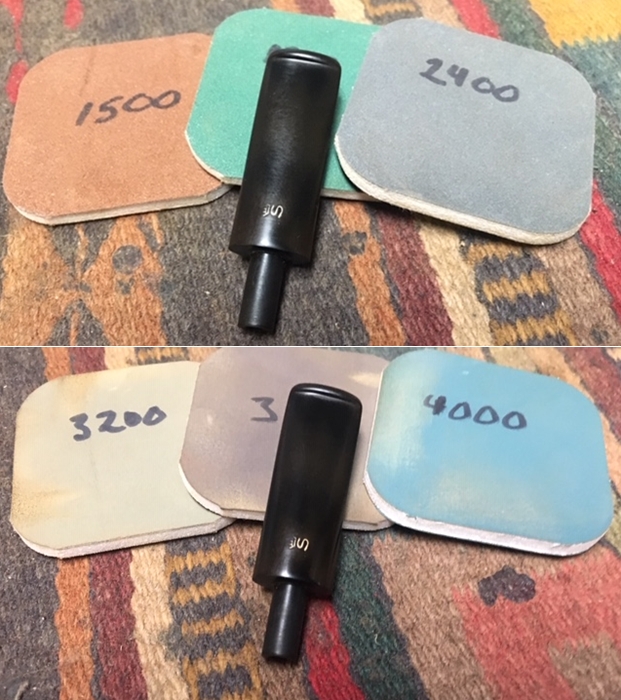
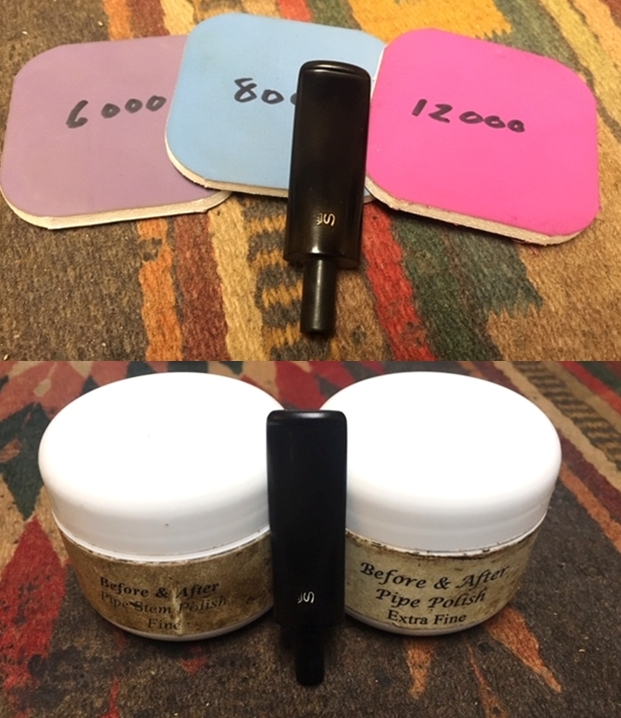
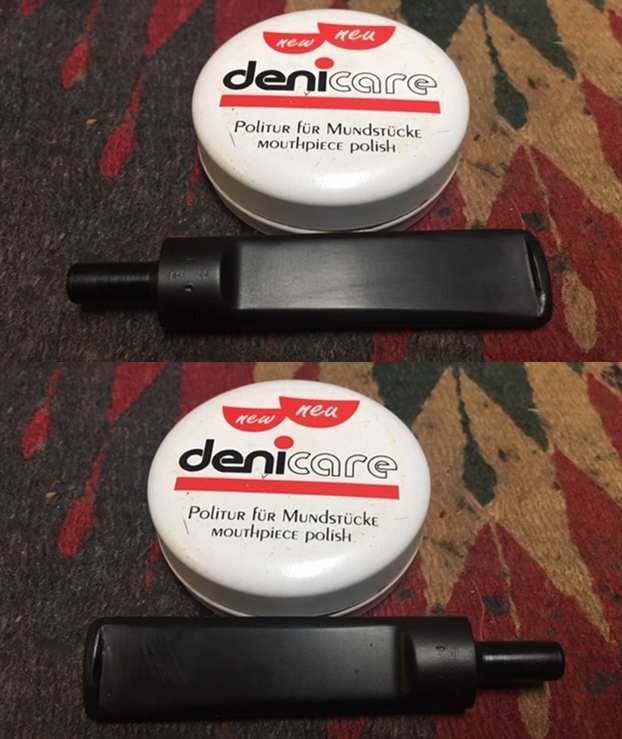 I polished out the scratches with micromesh sanding pads – wet sanding with 1500-12000 grit pads. I wiped the stem down after each sanding pad with Obsidian Oil. I polished it with Before & After Pipe Stem Polish – both Fine and Extra Fine. Once I had finished the polishing I gave it final coat of oil and set it aside to dry.
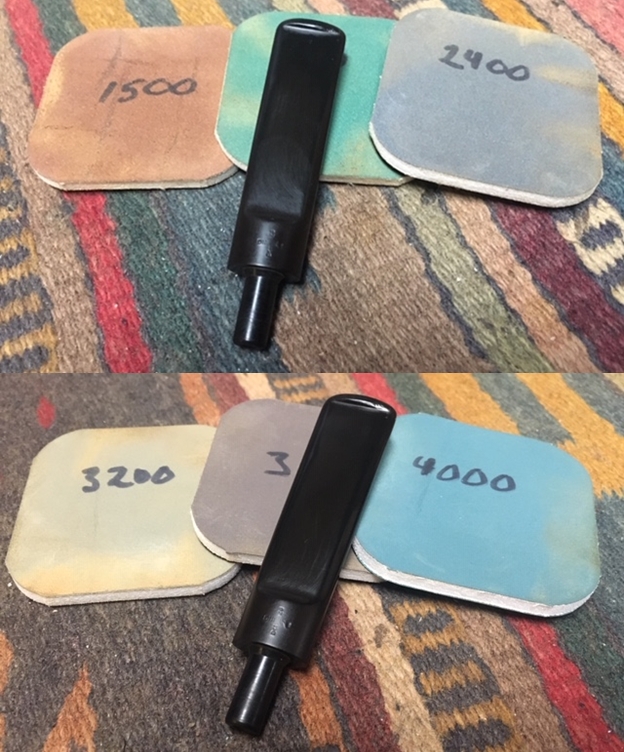
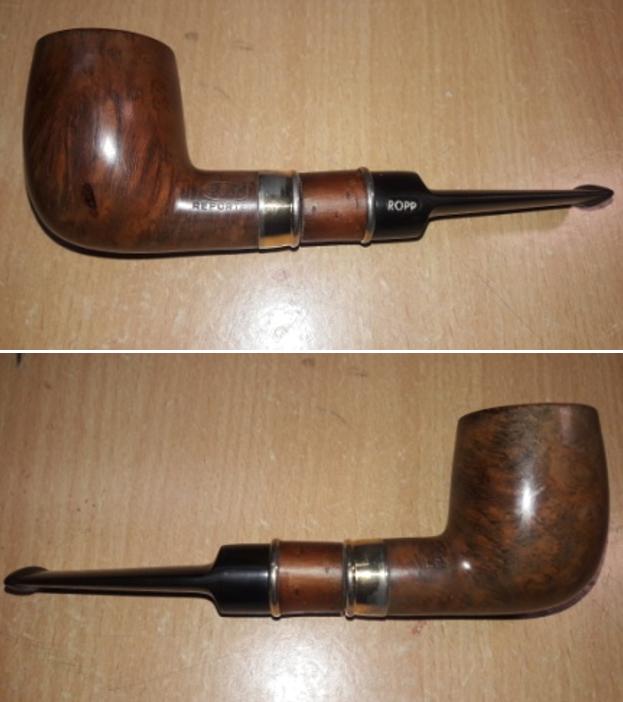
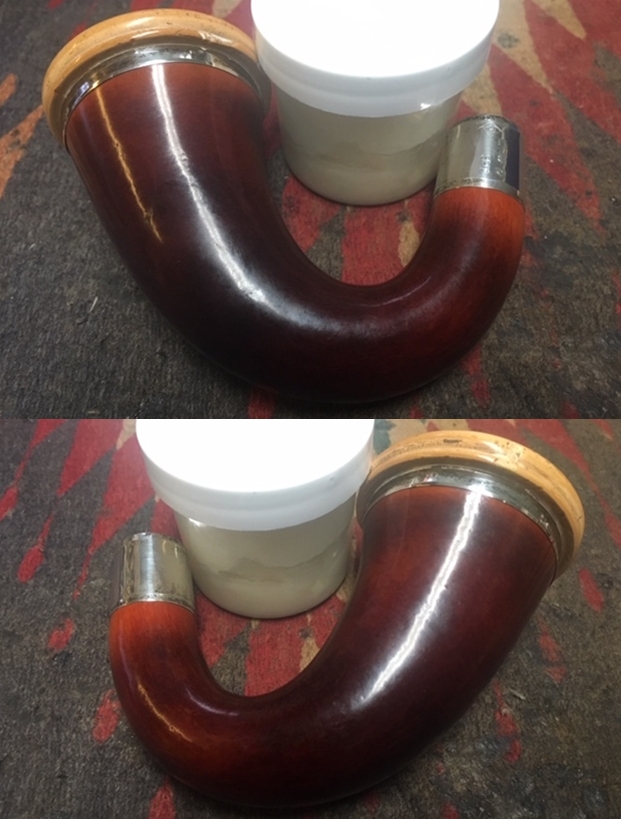
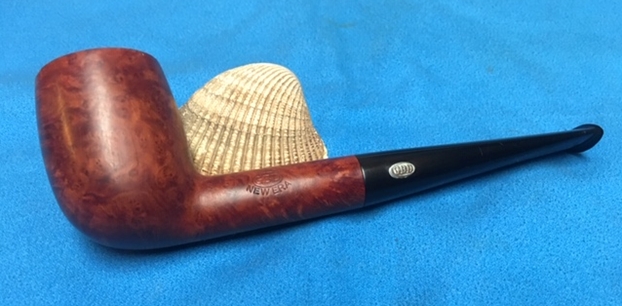
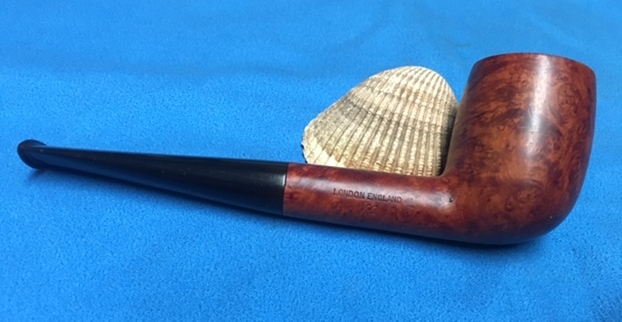
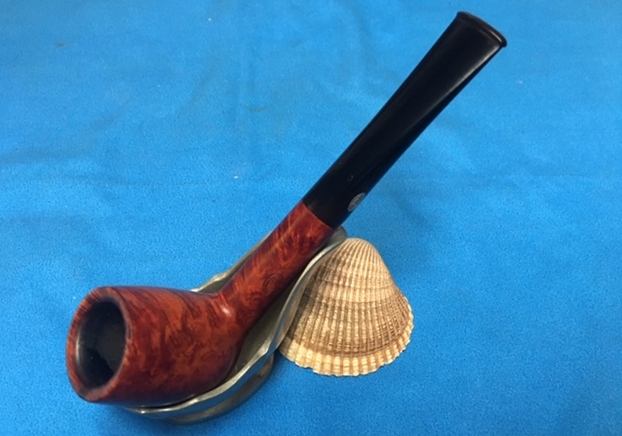
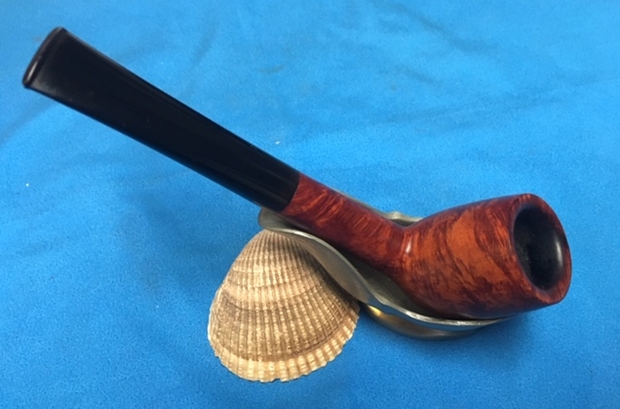
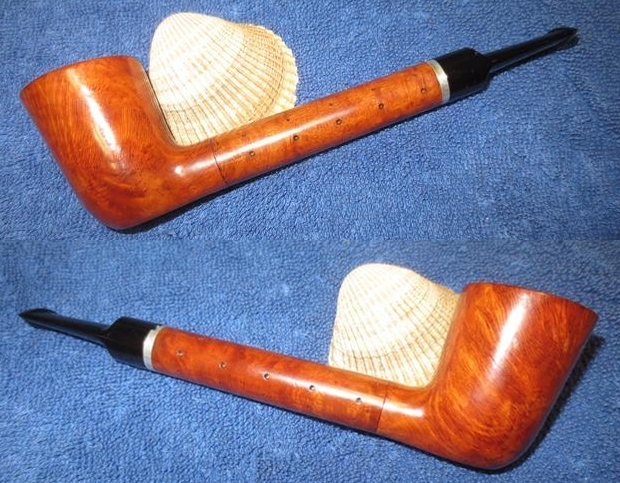
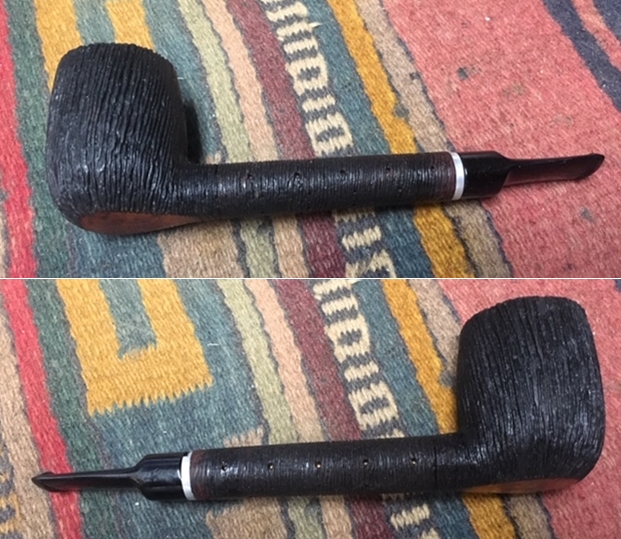
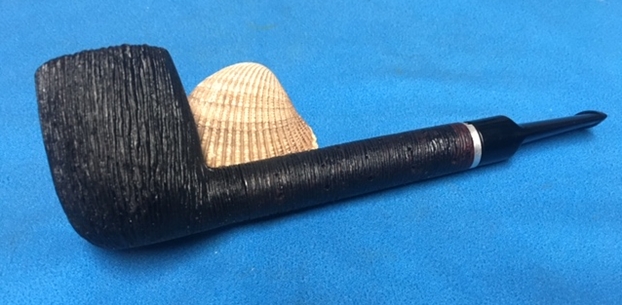
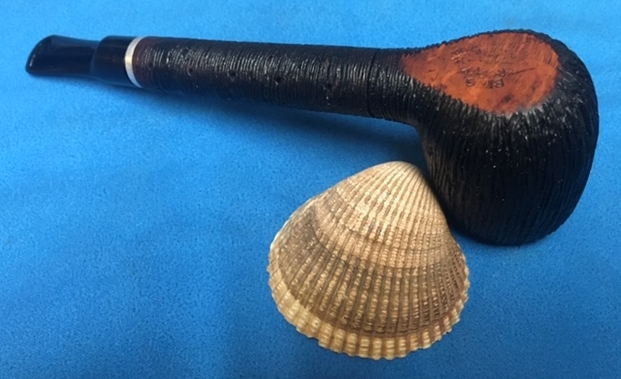
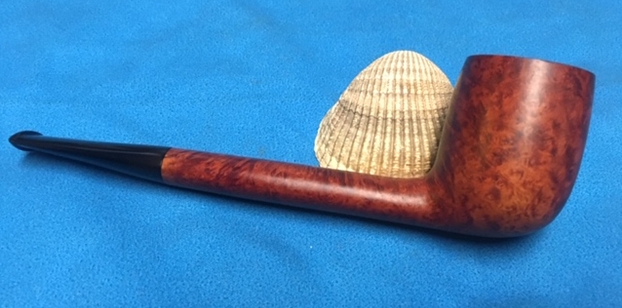
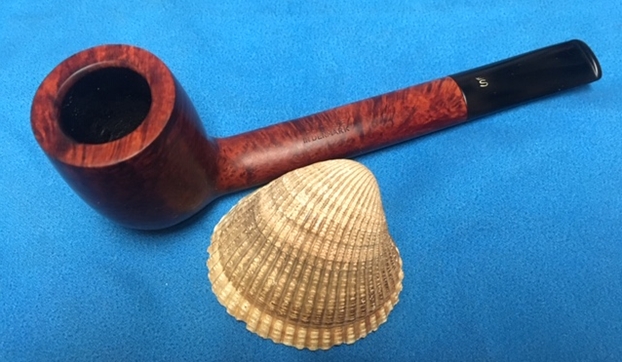
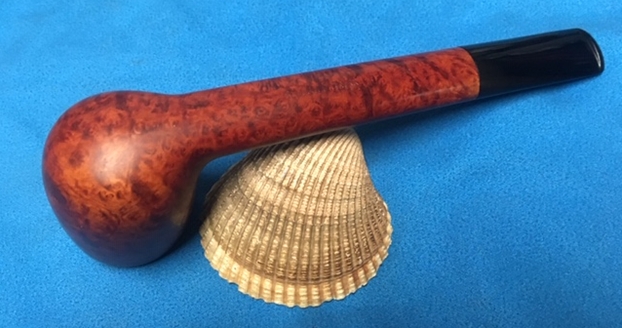
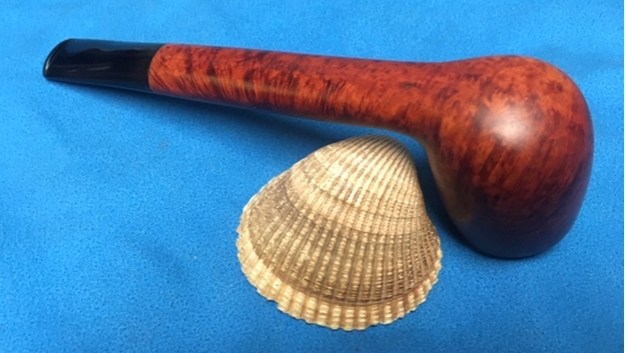
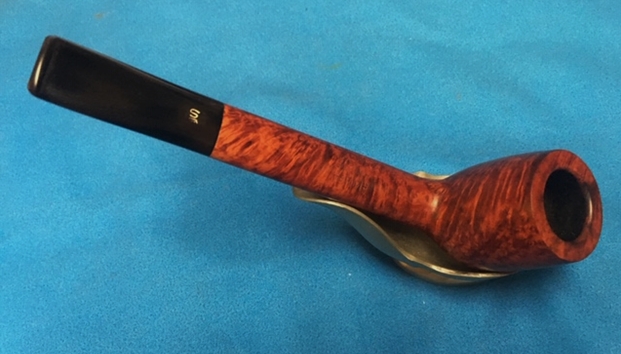
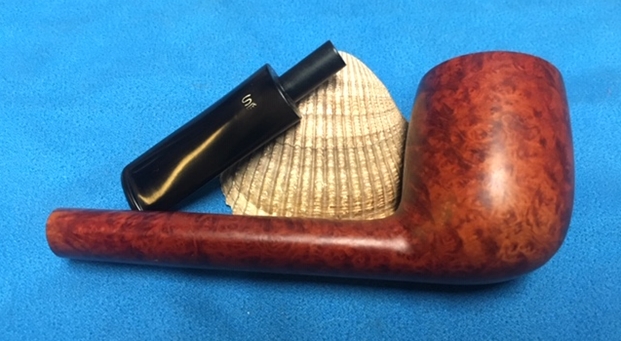
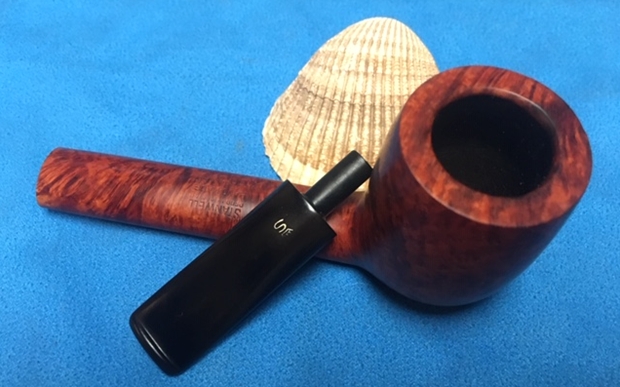
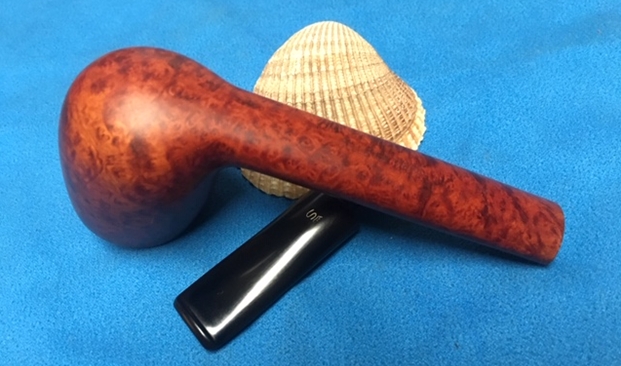
 Scott was correct in his note that this was a more difficult restoration. Even so, I am finally on the homestretch with this pipe as well and I really look forward to the final look when it is put back together and polished and waxed. I put the bowl and stem back together. I polished the bowl and stem with Blue Diamond to polish to begin the shine. I gave the bowl multiple coats of Conservator’s Wax and the stem multiple coats of carnauba wax. I buffed the pipe with a clean buffing pad to raise the shine. I hand buffed it with a microfiber cloth to deepen the shine. The pipe polished up pretty nicely. The deeply blasted grain on this old Barling’s Make Ye Olde Wood “Fossil” Canadian looked good with the polished black vulcanite. This Family Era “Fossil”sandblast Canadian shape 437 was a challenging pipe to work on. I really like the look of the Barling Sandblast finish on this one and will need to keep an eye out for one for me. The combination of red and black stains really makes the pipe look attractive. It is a comfortable pipe to hold in the hand and I think that as it heats with smoking that over time the finish will develop even a darker patina as Scott smokes it and it will look even better. The finished pipe is shown in the photos below. The dimensions of the pipe are Length: 6 ¼ inches, Height: 1 7/8 inches, Outside diameter of the bowl: 1 1/8 inches, Chamber diameter: ¾ of an inch. I look forward to hearing what Scott thinks of it once he receives it. I now will need to pack up the two pipes and get them in the mail to him. Thanks for reading this blog and my reflections on the pipe while I worked on it. This is an interesting estate to bring back to life.