Blog by Steve Laug
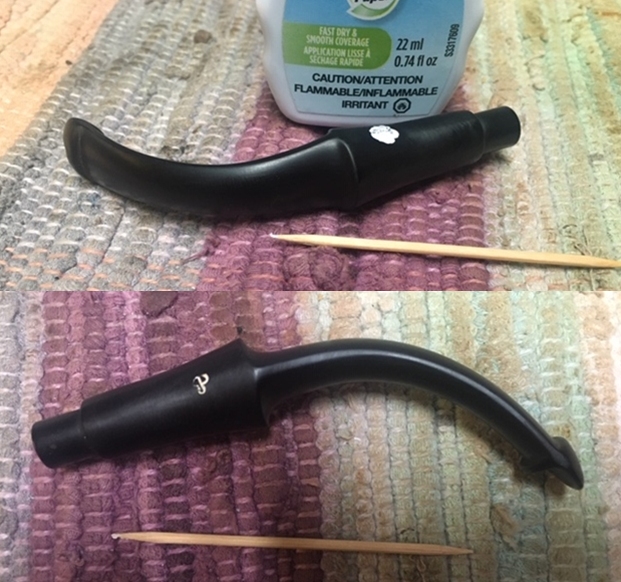
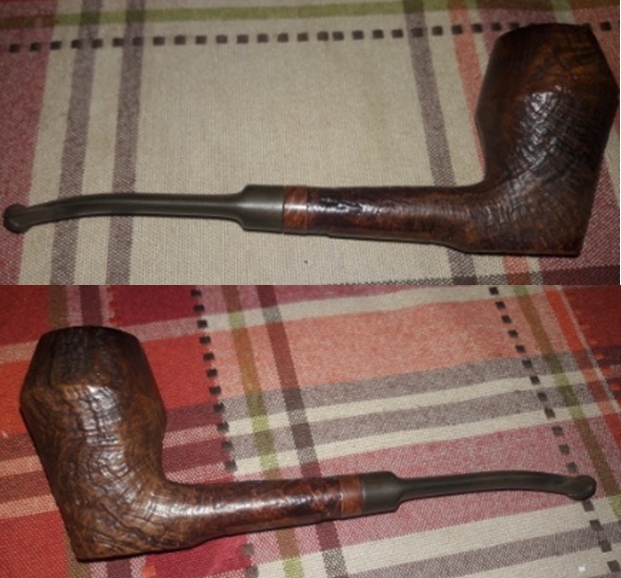
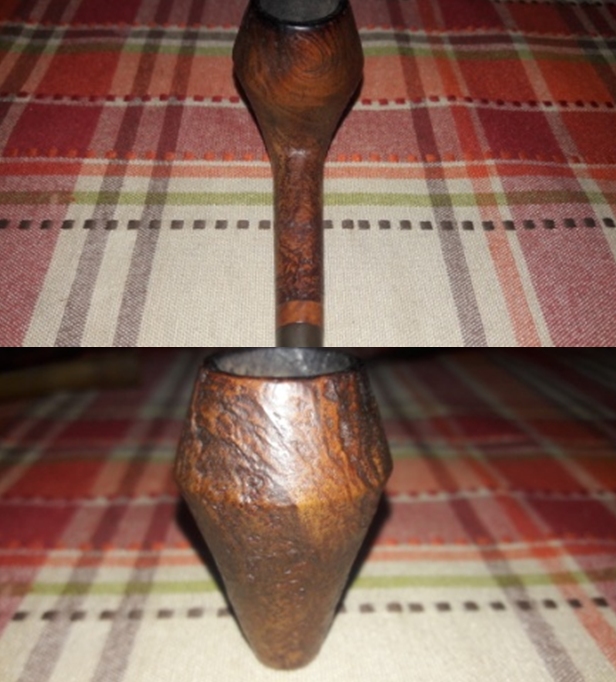
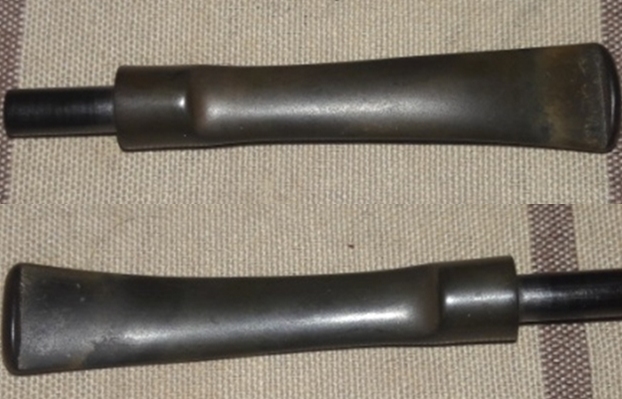
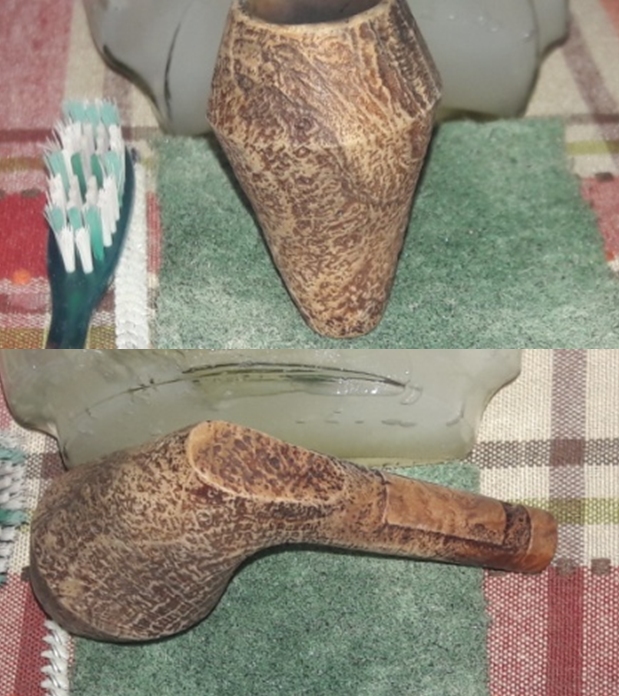
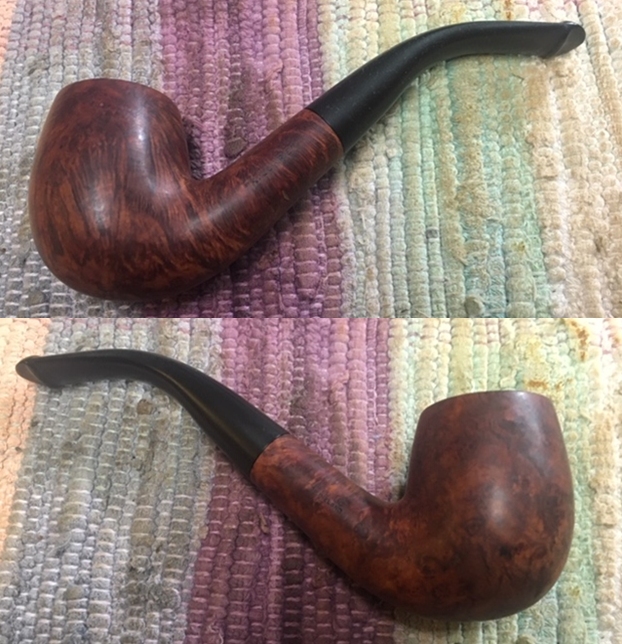
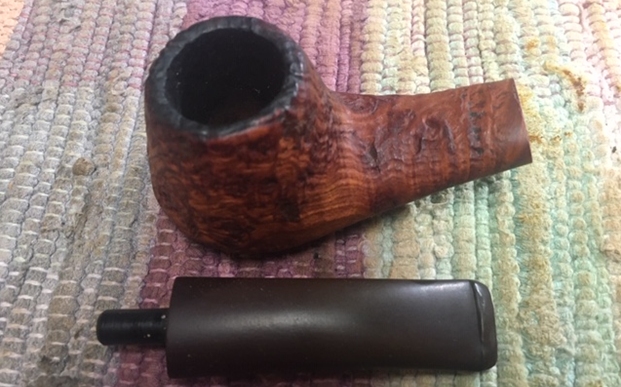
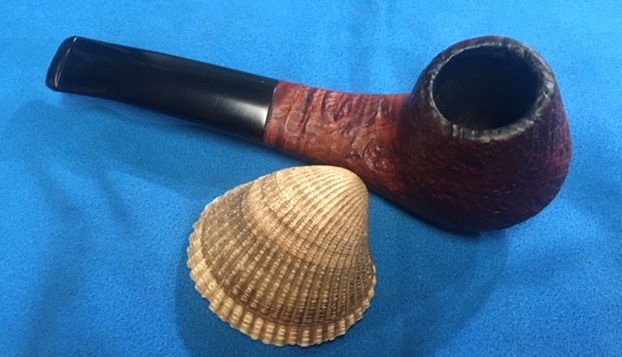
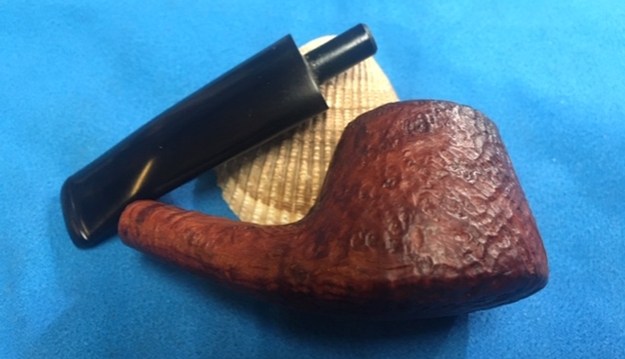
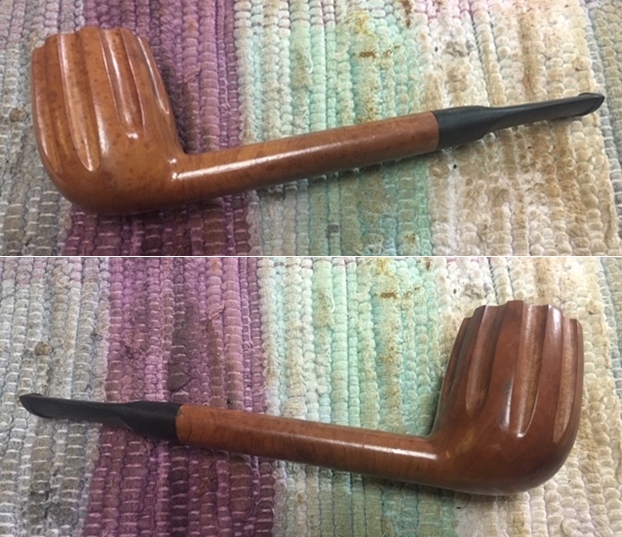
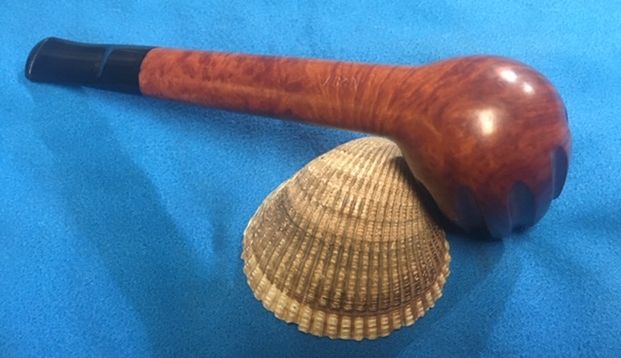
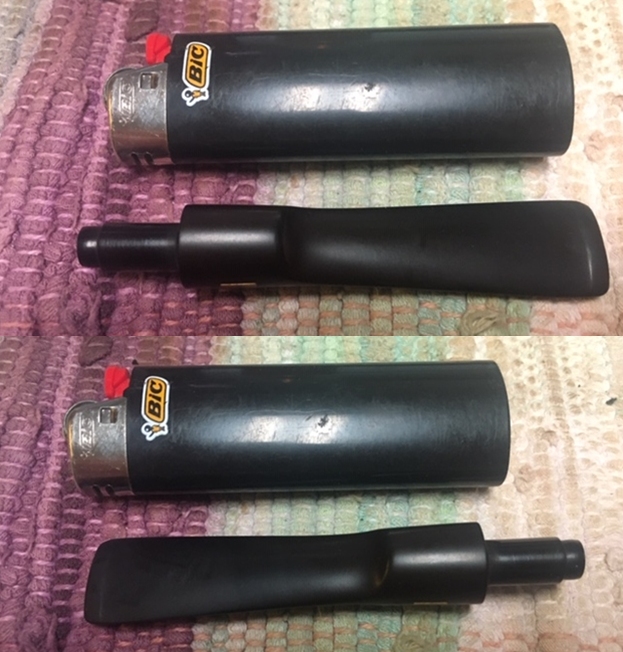
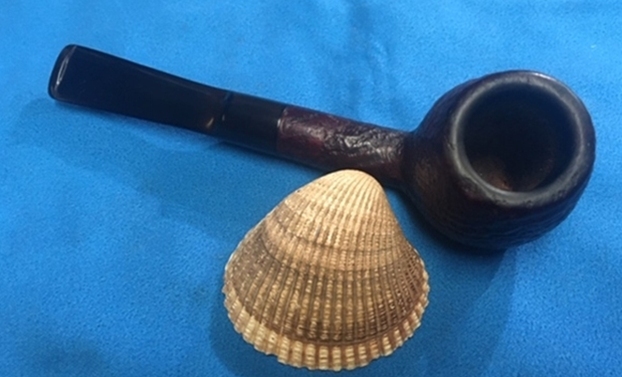
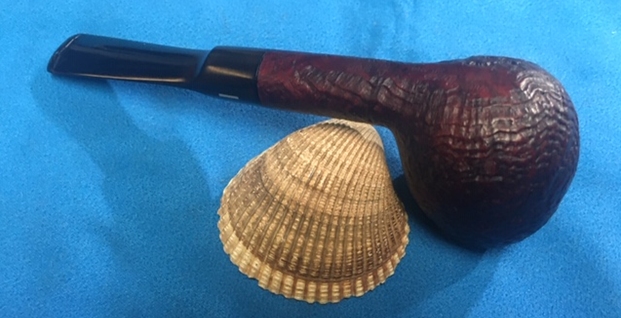
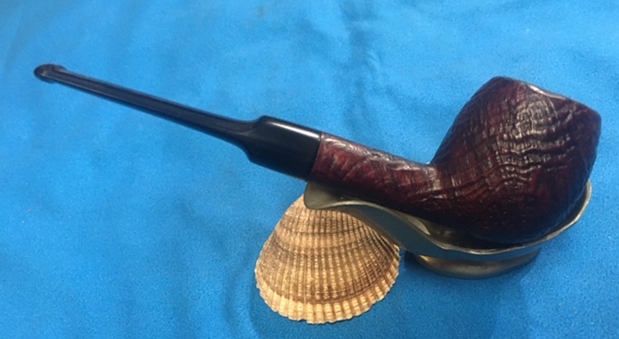
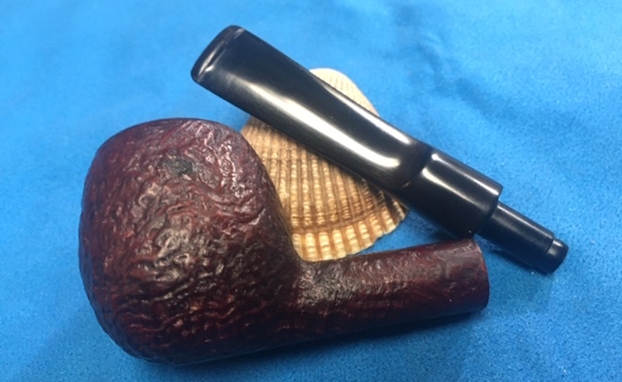
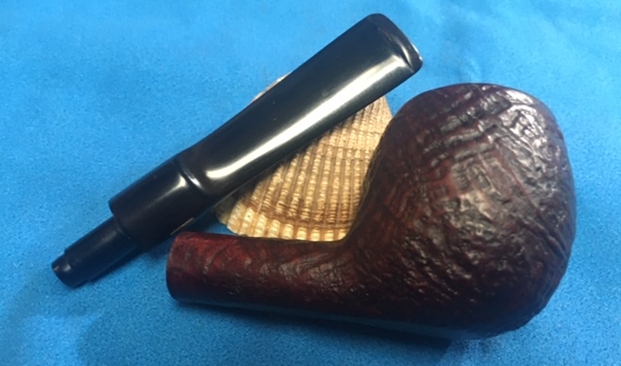
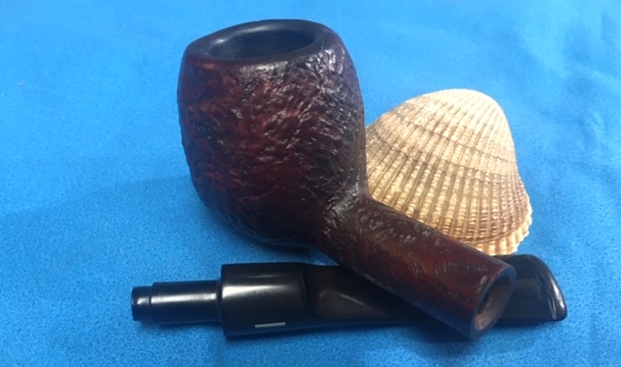
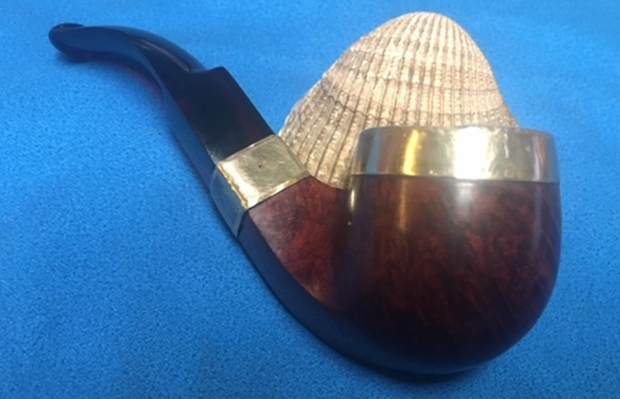
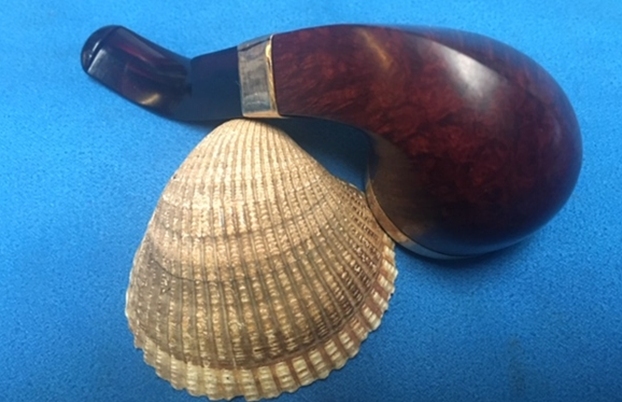
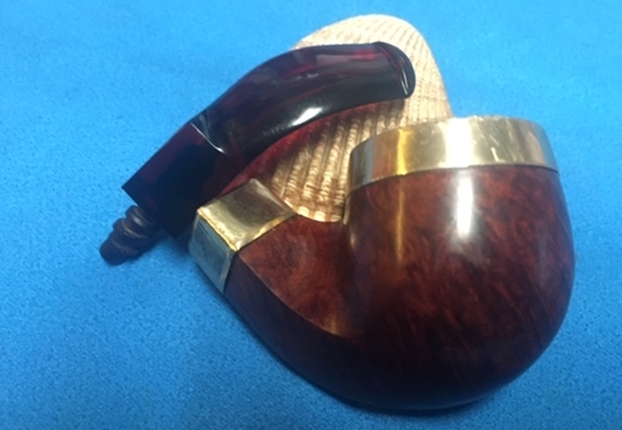
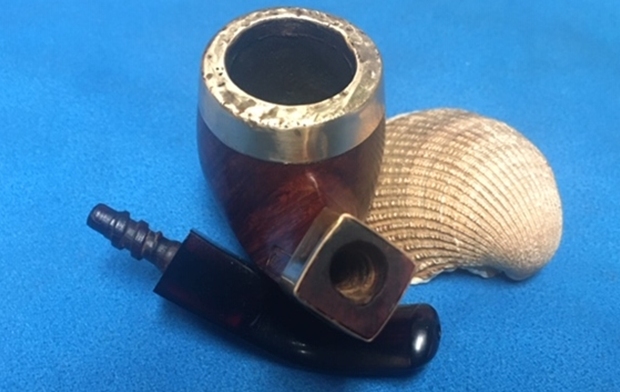
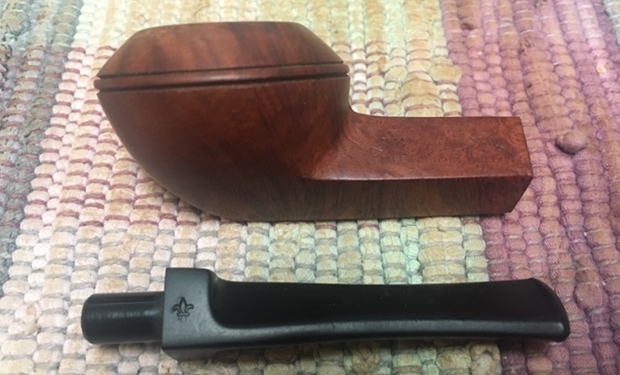
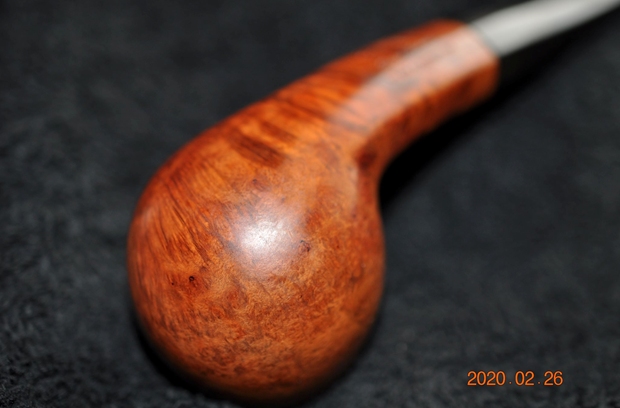
The next pipe on the table is one that was also at the bottom of the box of pipes I am working on. It is a Stanwell Royal Guard Apple. The round shaped bowl, oval shank and taper stem made up a nicely shaped pipe. The smooth finish showed great grain through the ground in dirt and grime. There are also some well hidden fills in the briar. It was stamped on the underside of the shank and read 182 at the top over Stanwell over Royal Guard over Made in Denmark. The finish was very dirty with a heavy coat of grime ground into the bowl and rim top as can be seen in the photos. The bowl had a thick cake with a lava overflow on the inner edge of the rim top but very little on the top itself. It appeared that both the inner and outer edges of the bowl looked clean and undamaged. The stem was oxidized and there were tooth marks and chatter on both sides and on the top and bottom edges of the button. The stem was made for a 9mm filter. Jeff took photos of the pipe before he cleaned it up so you could see what we saw. 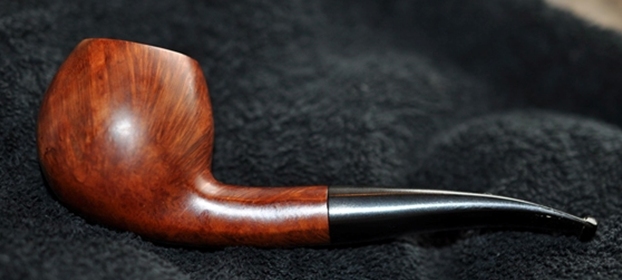
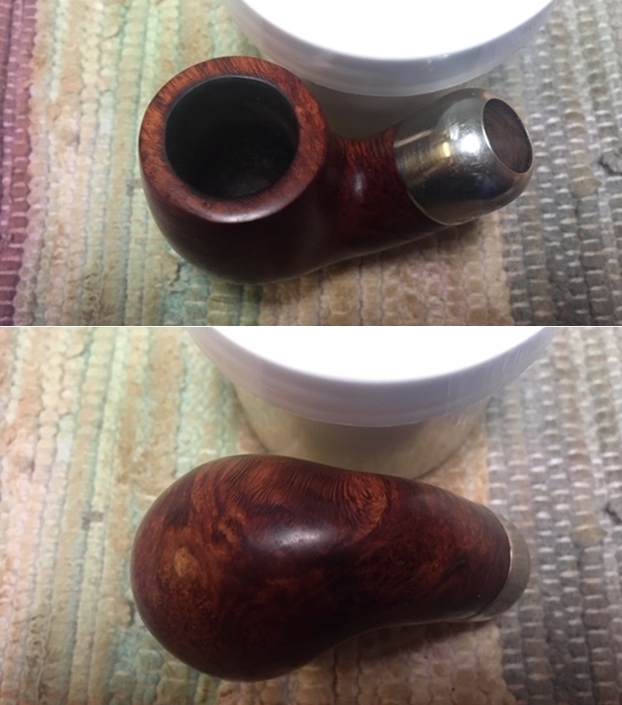
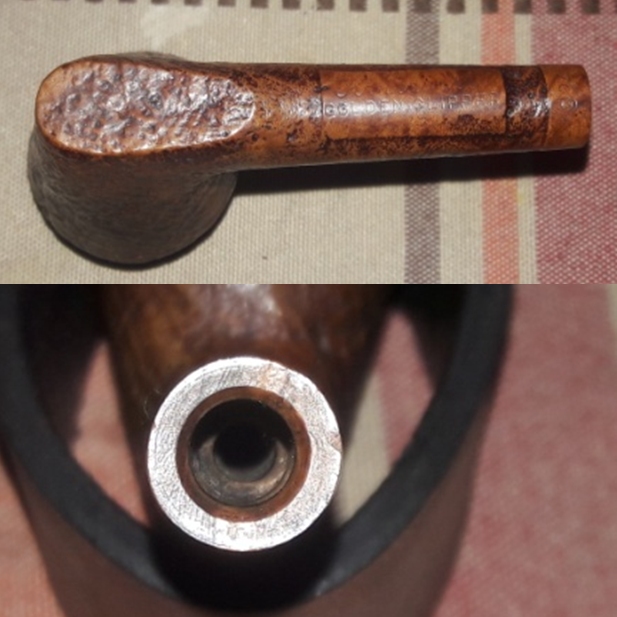
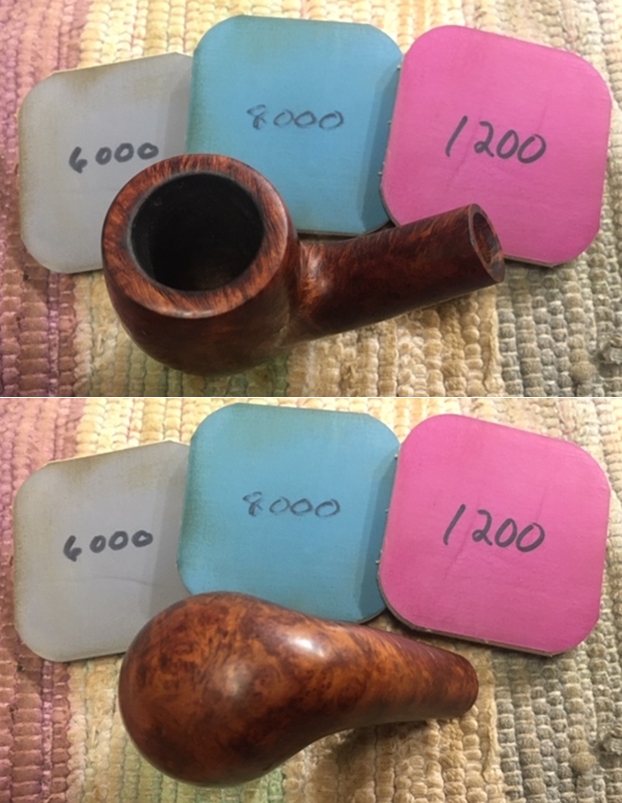
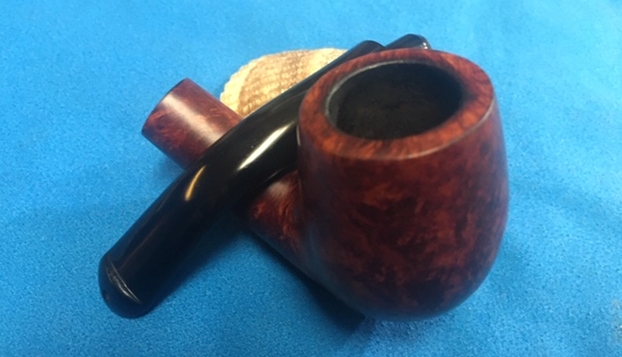
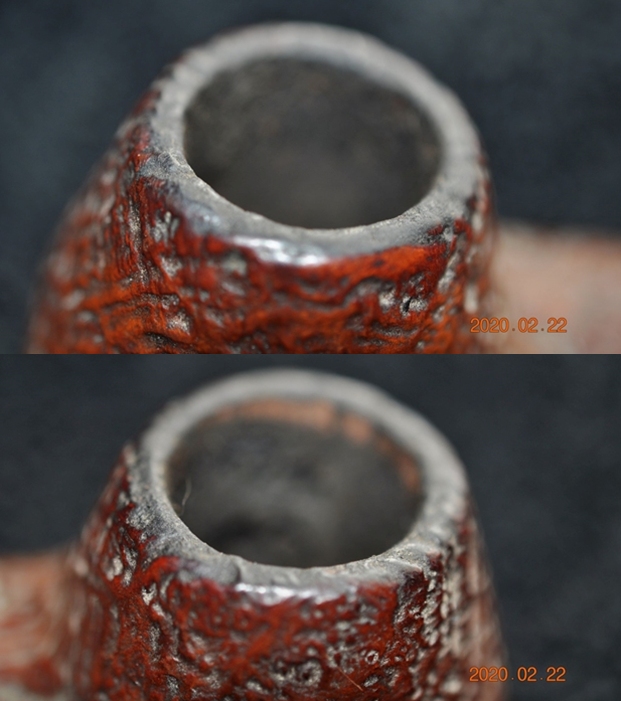
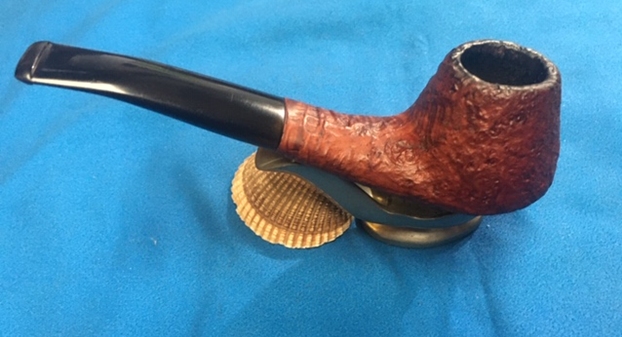
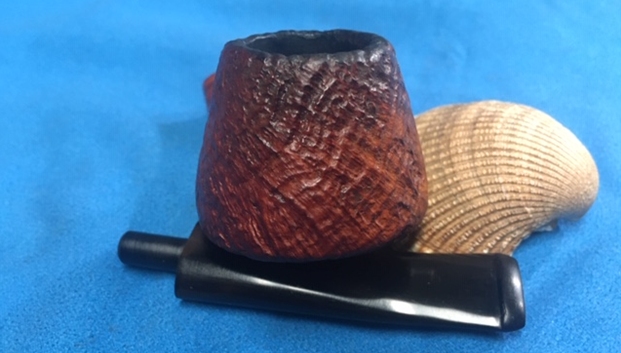
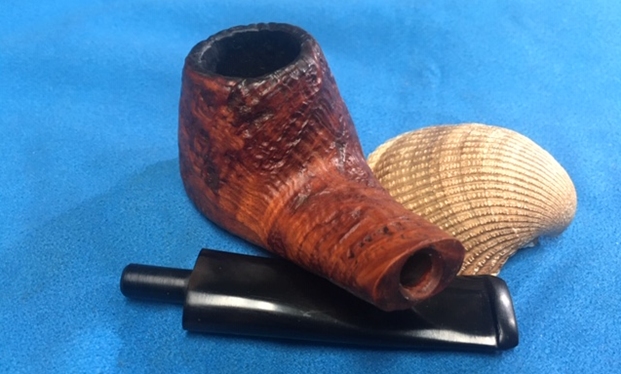
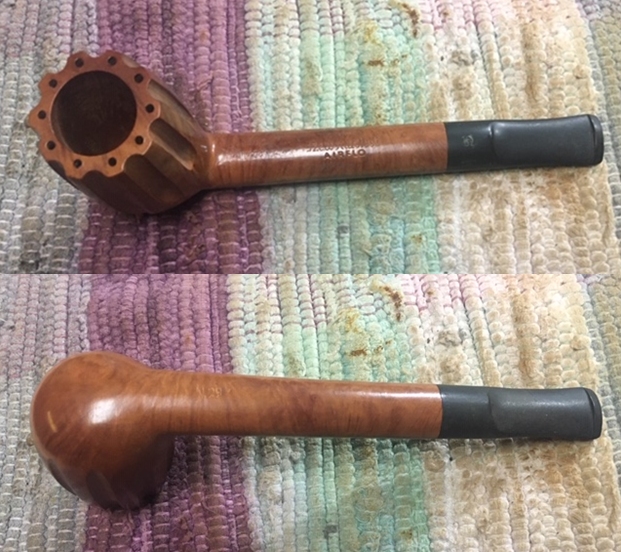
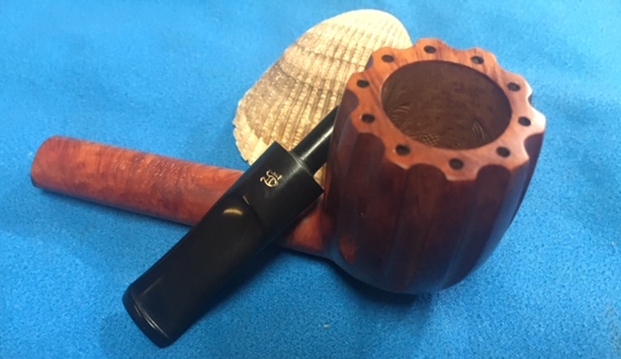
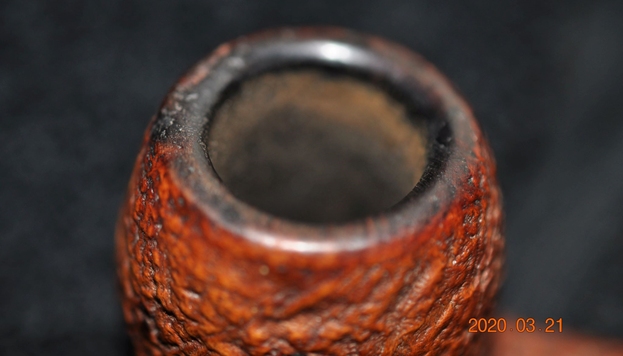
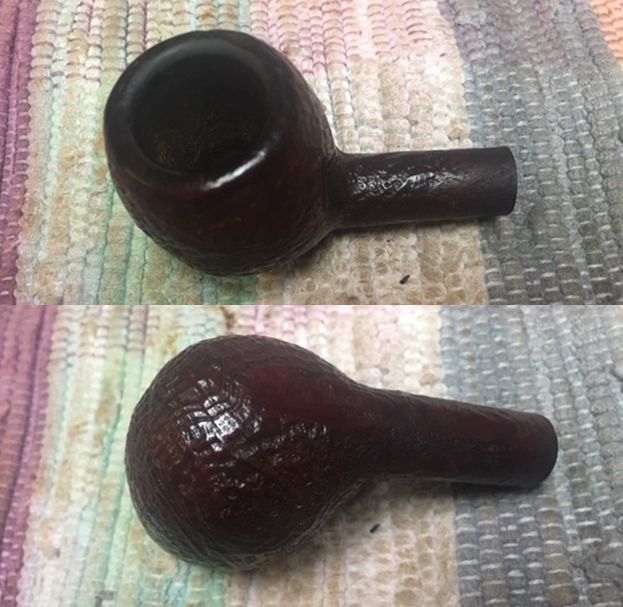
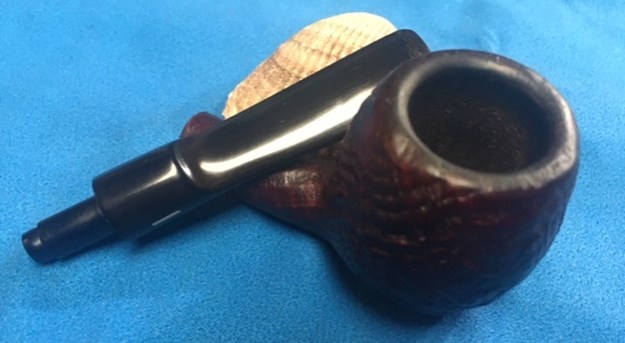
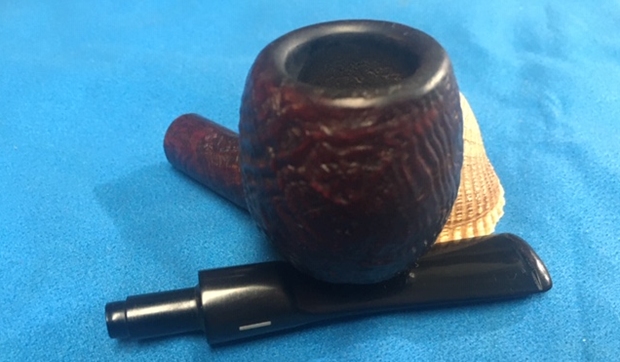
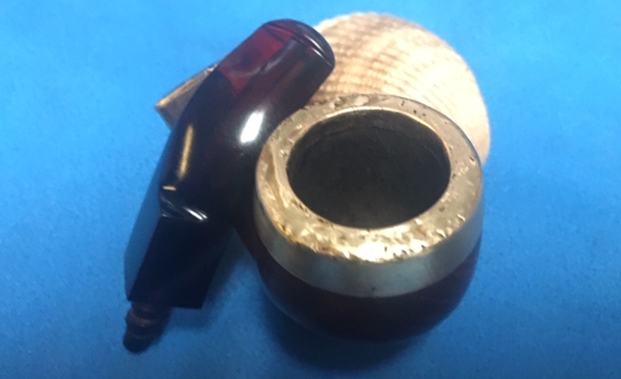
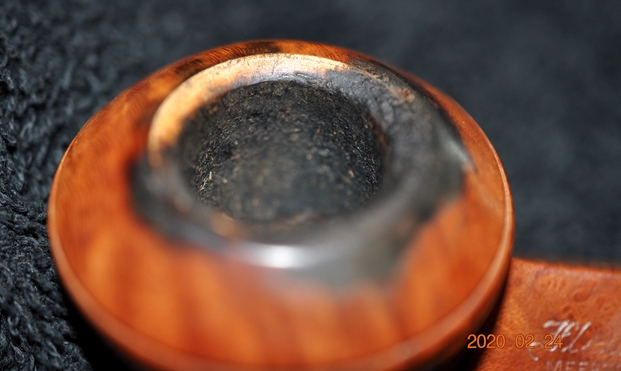
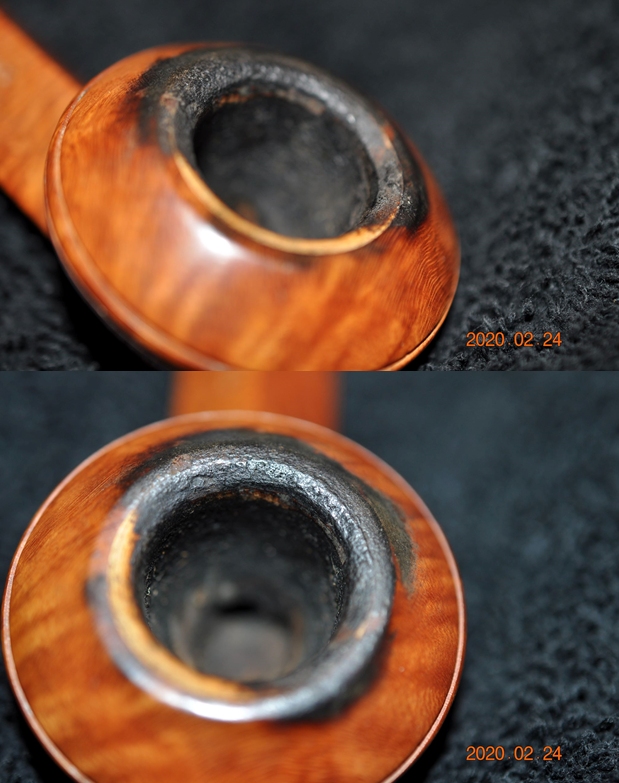
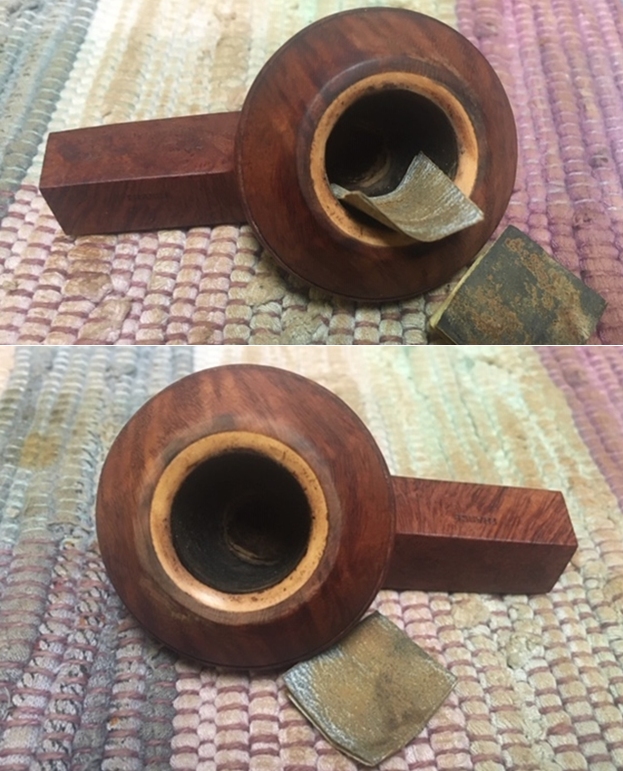
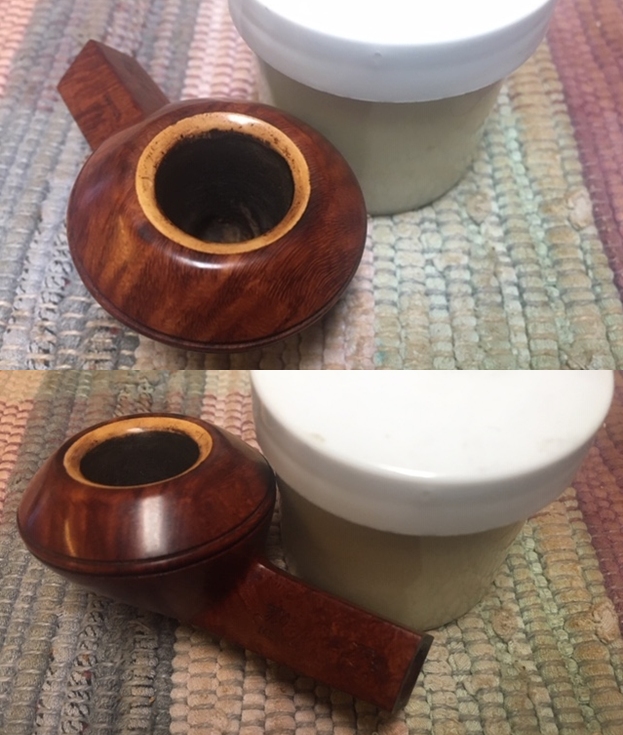
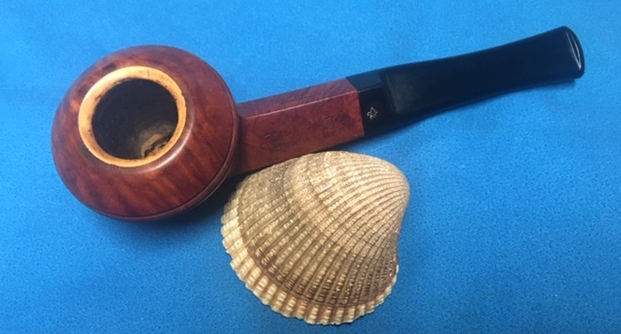
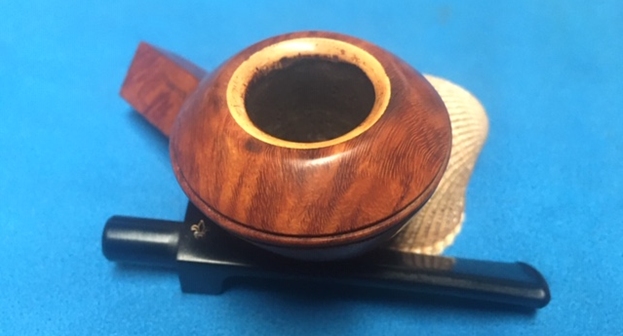
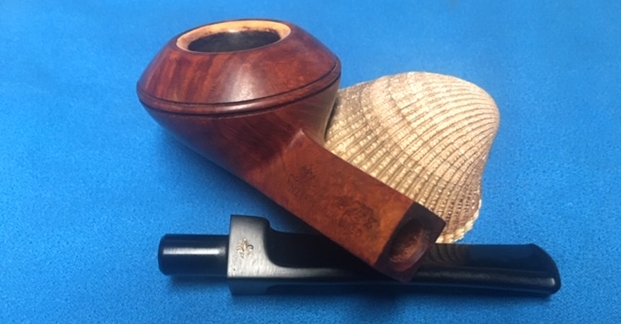
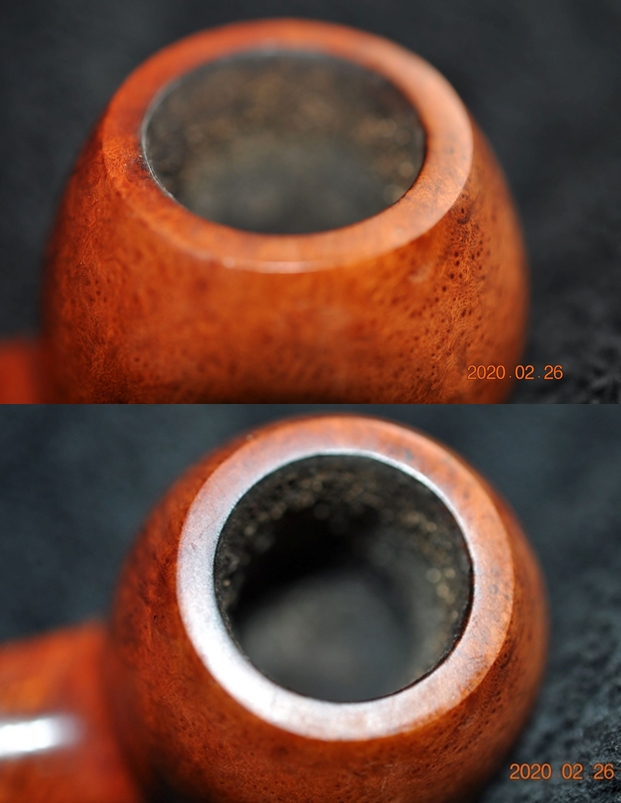
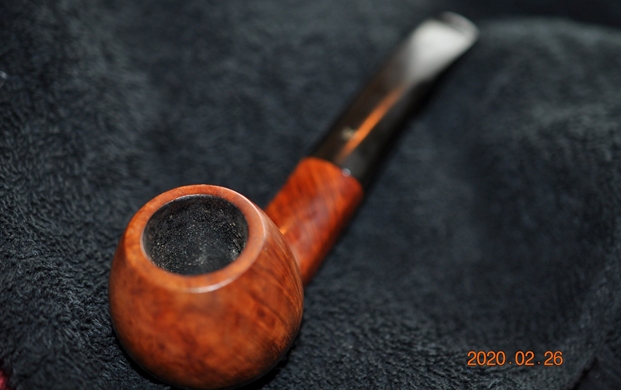 Jeff took photos of the rim top to show lava build up around the rim, the edges and cake in the bowl.
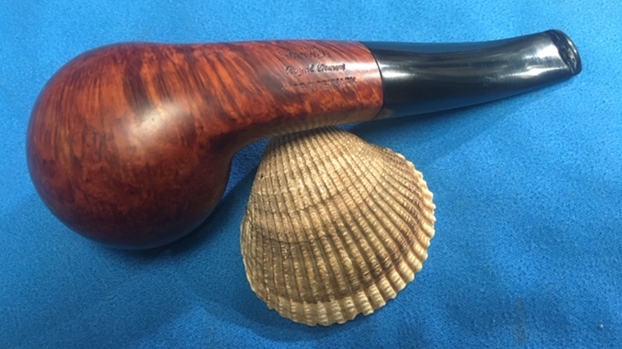
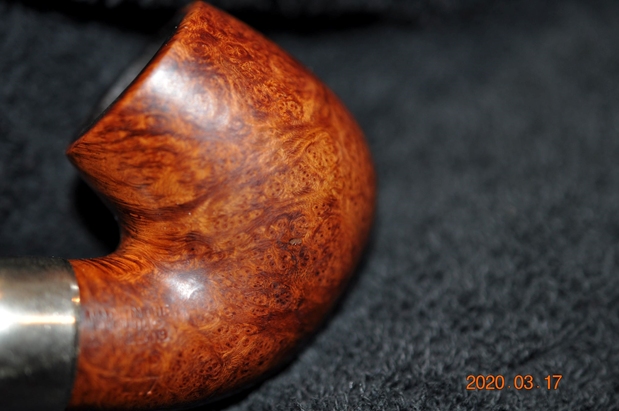
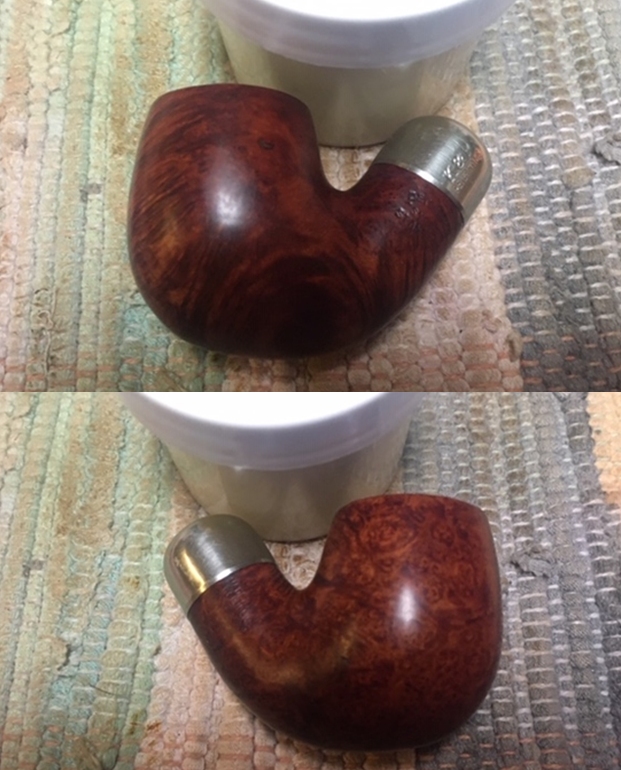
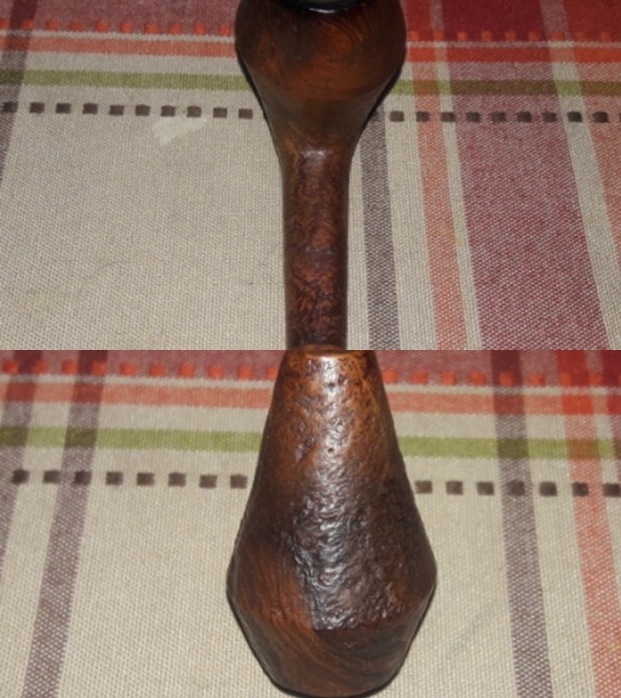
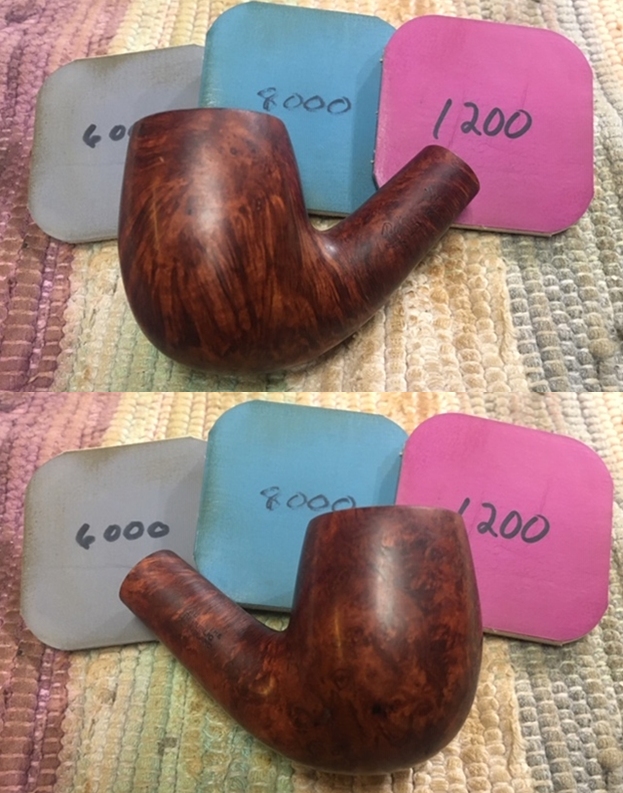
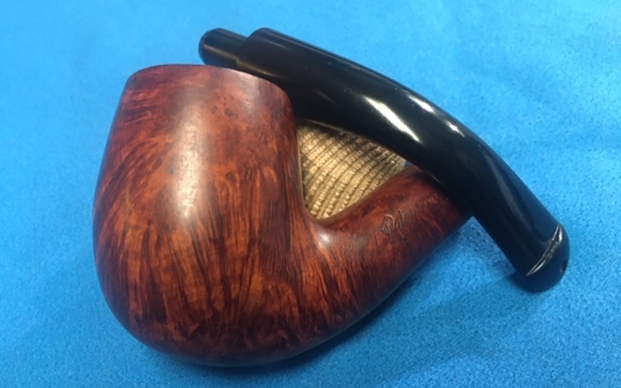
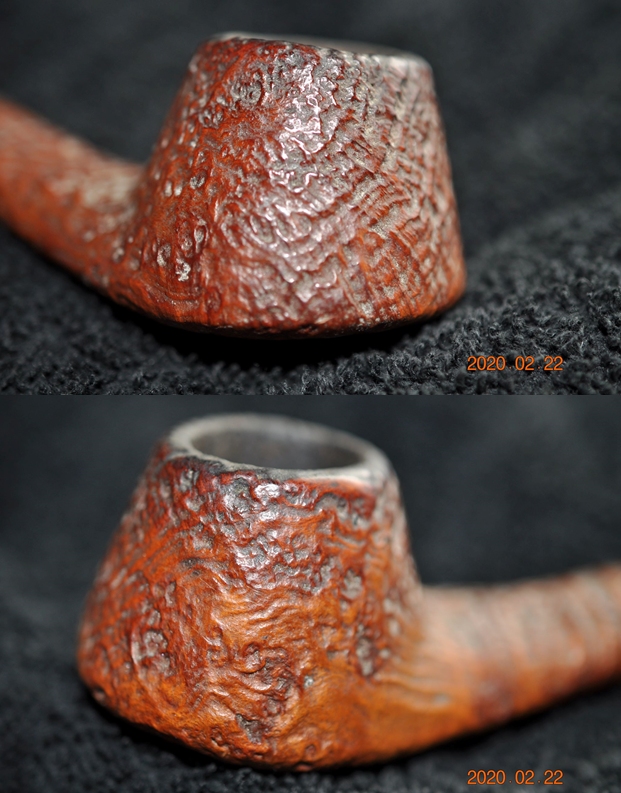
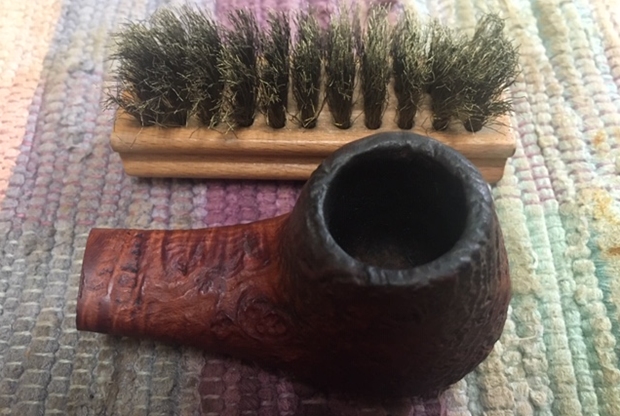
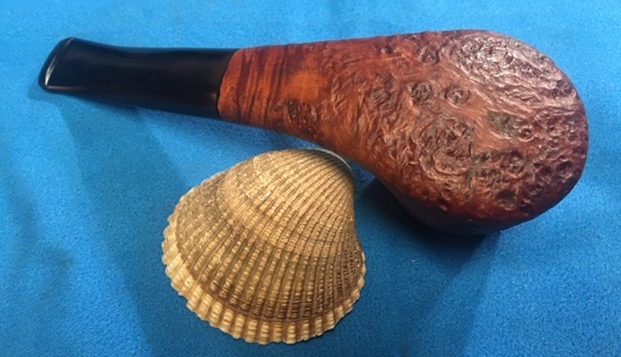
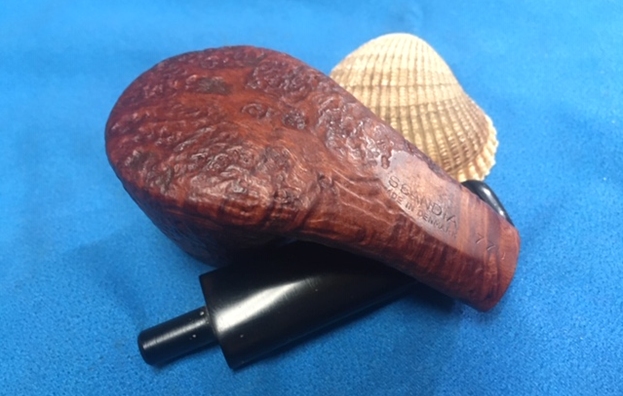
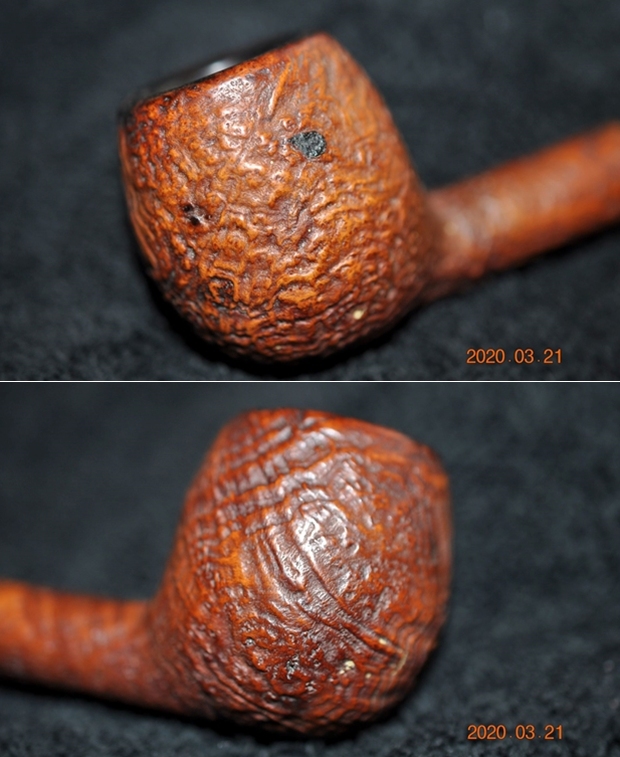
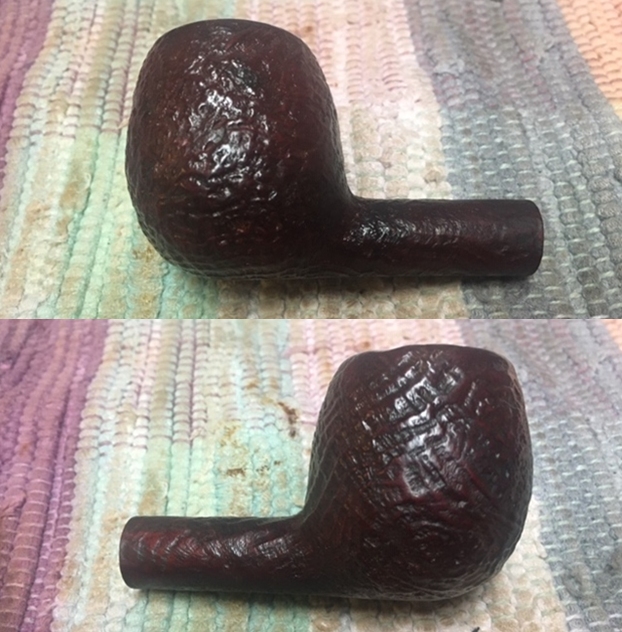
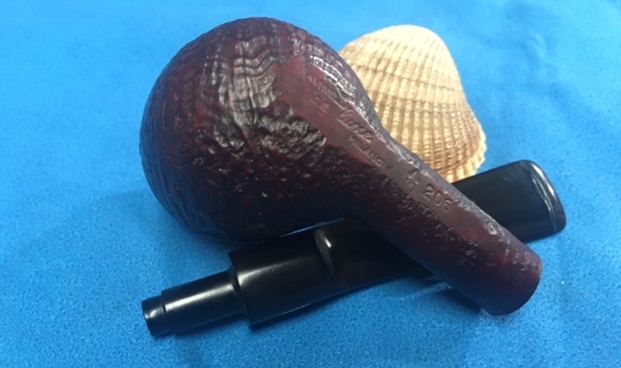
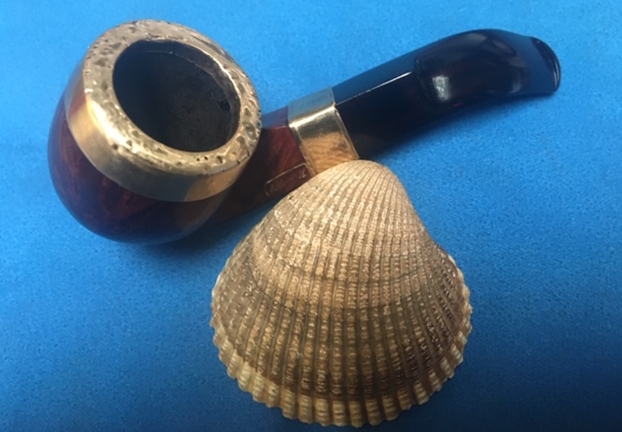
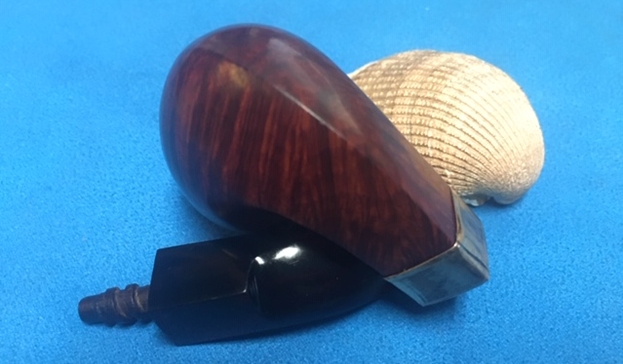
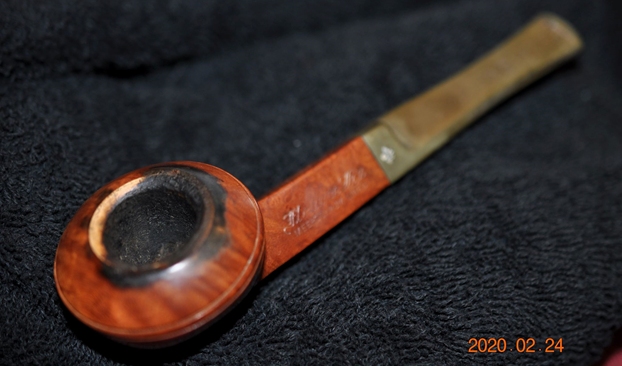
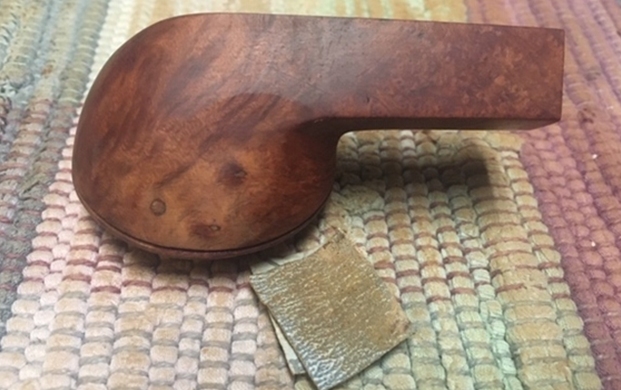
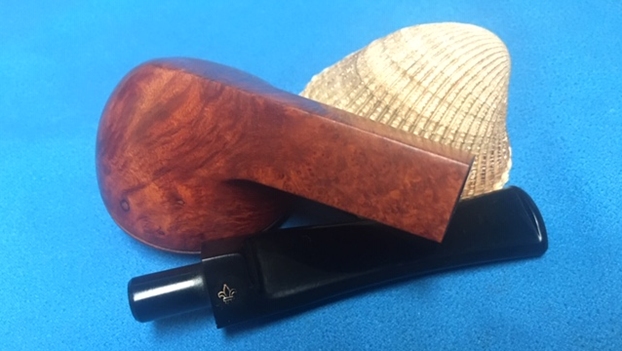
 Jeff took some photos of the bowl sides and heel to show the absolutely dirty finish ground into the briar. It was a dirty pipe but I think it will be a beautiful one once we are finished.
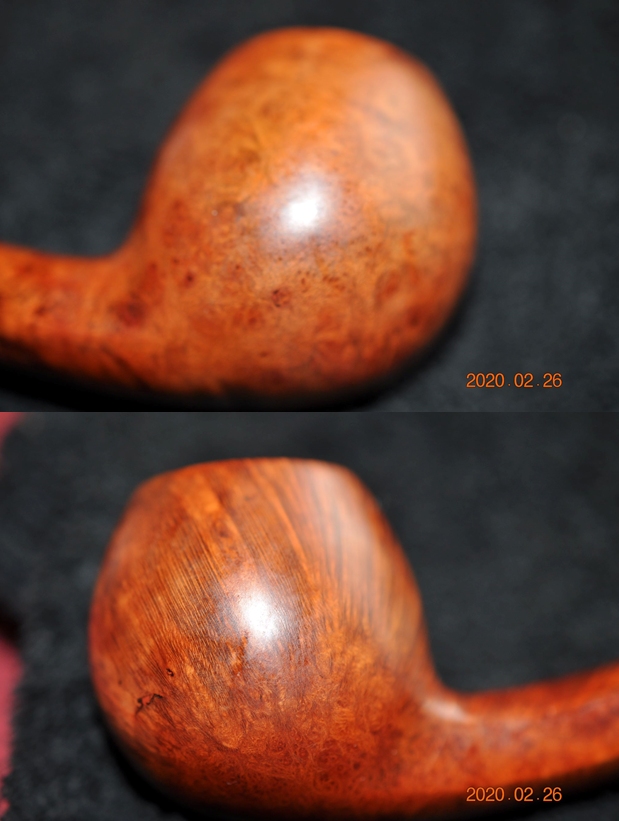
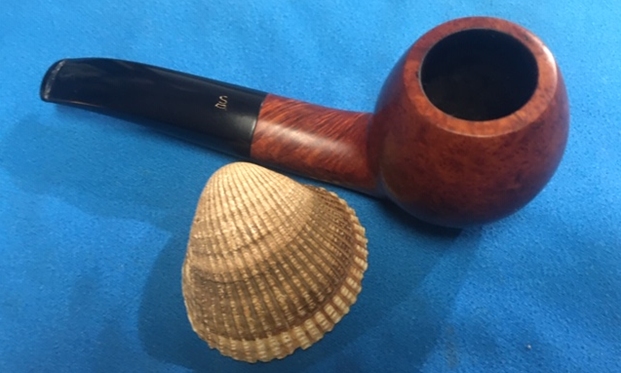
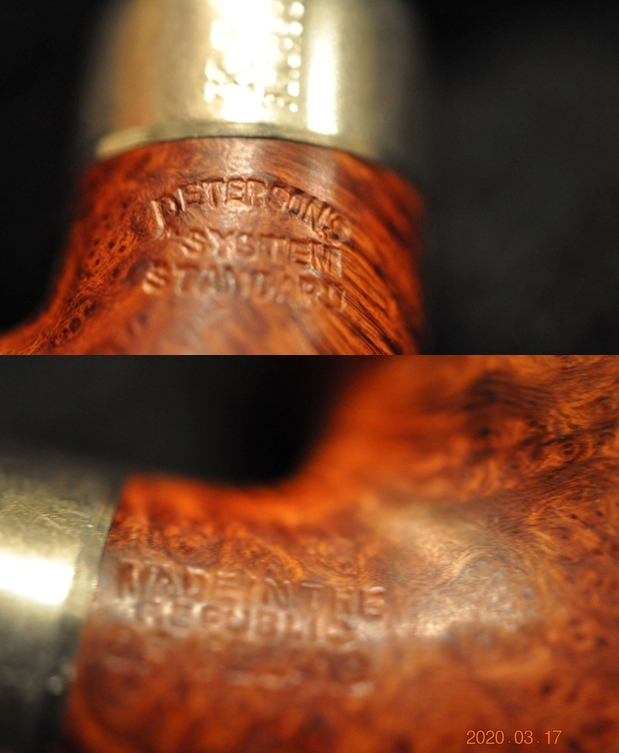
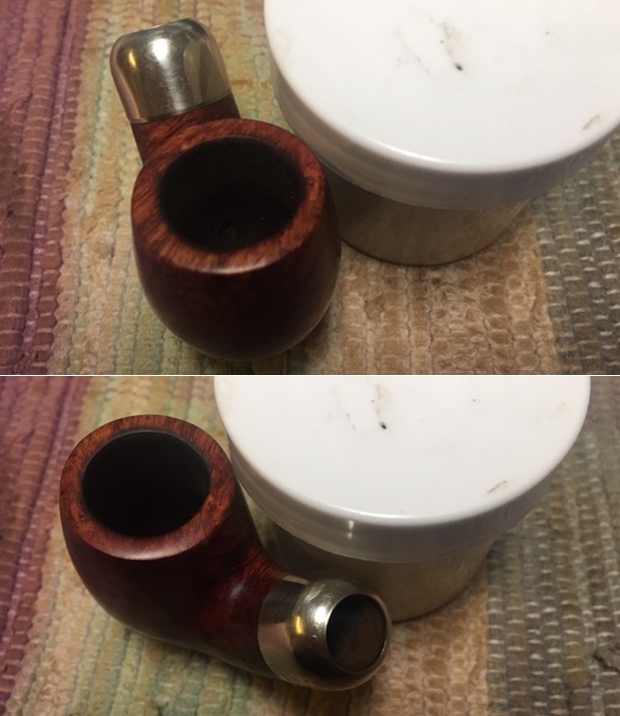
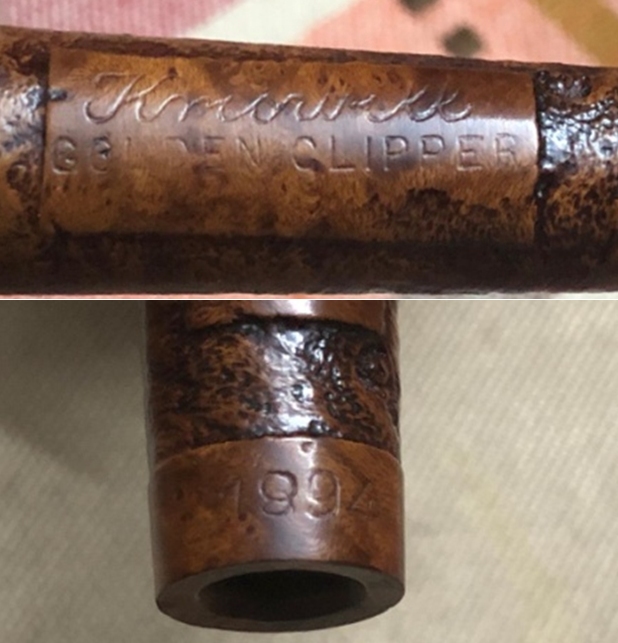
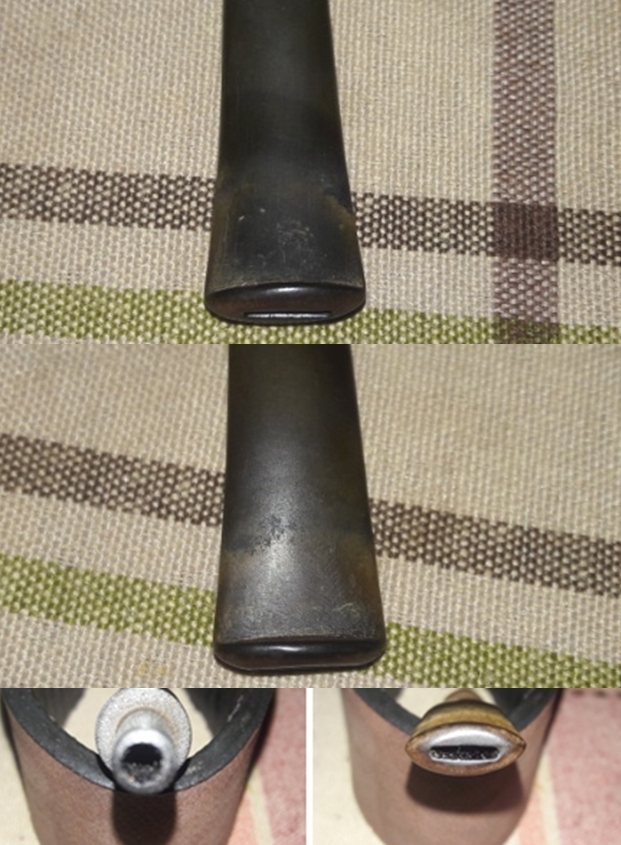
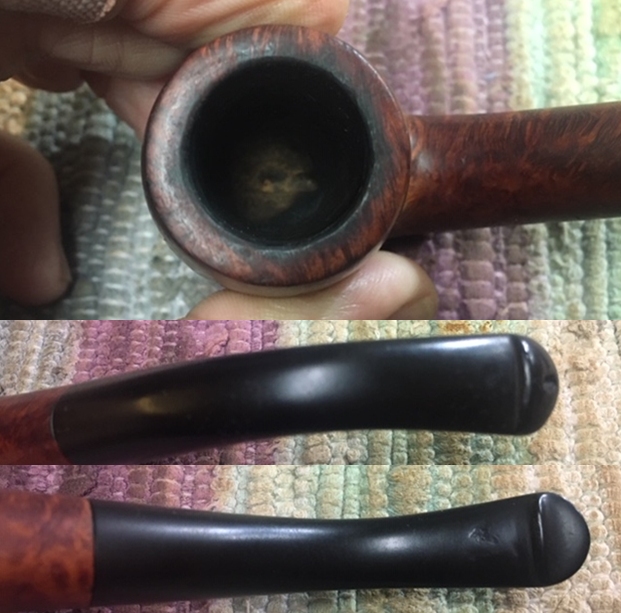
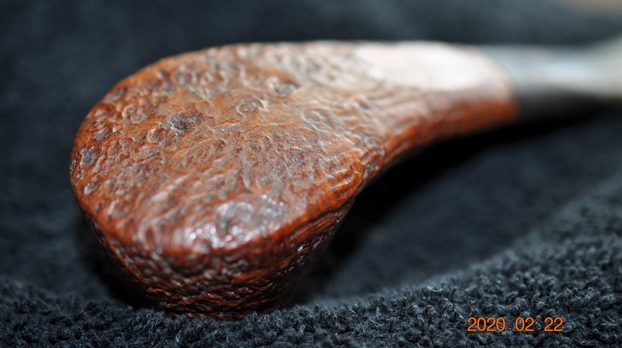
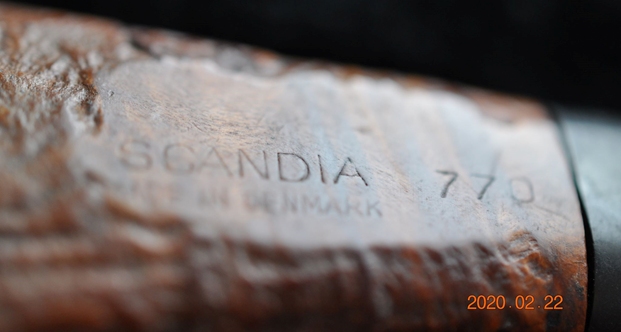
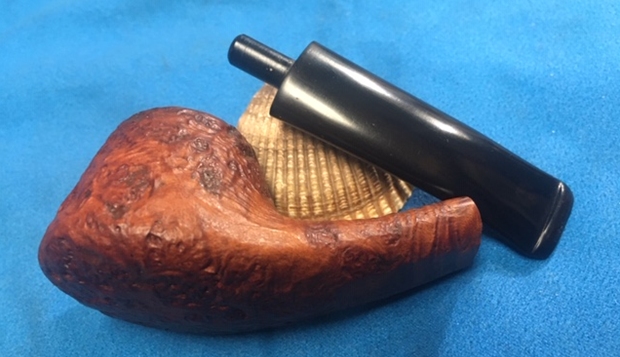
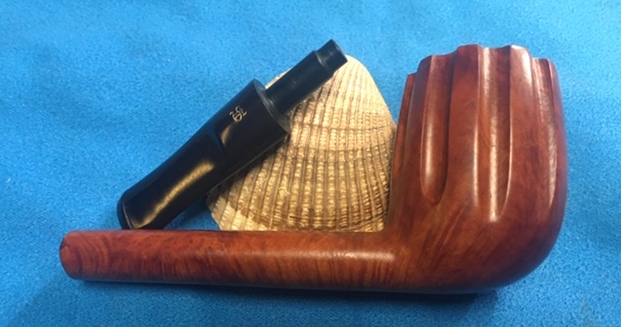
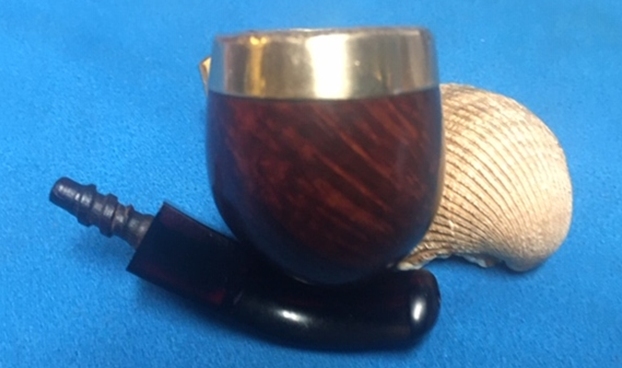
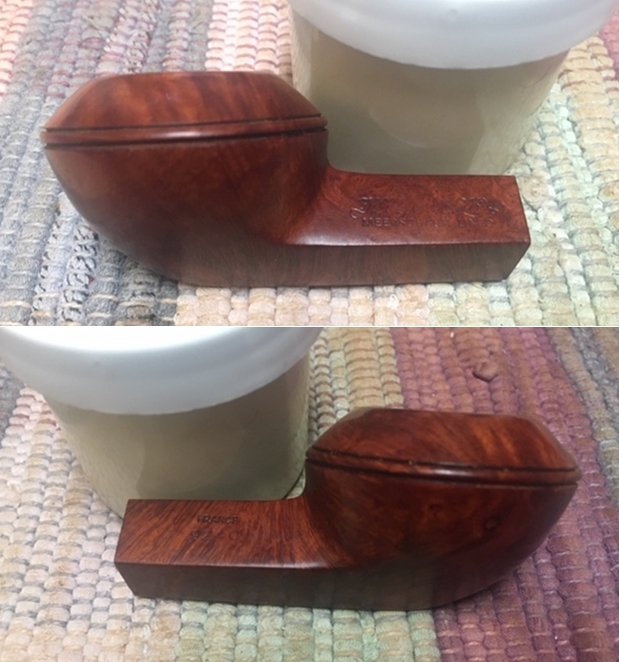
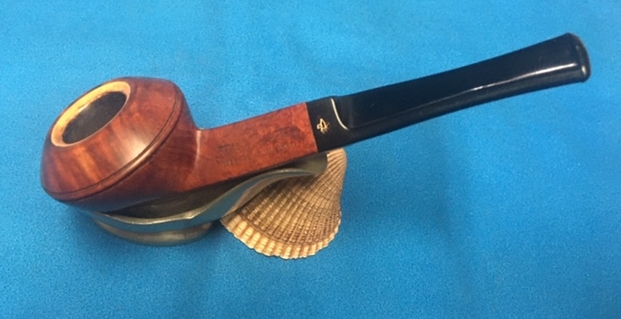
 The stamping on the underside of the shank is shown in the photos below. It is clear and read as noted above. There was the Stanwell Crown S stamped on the top of the stem.
 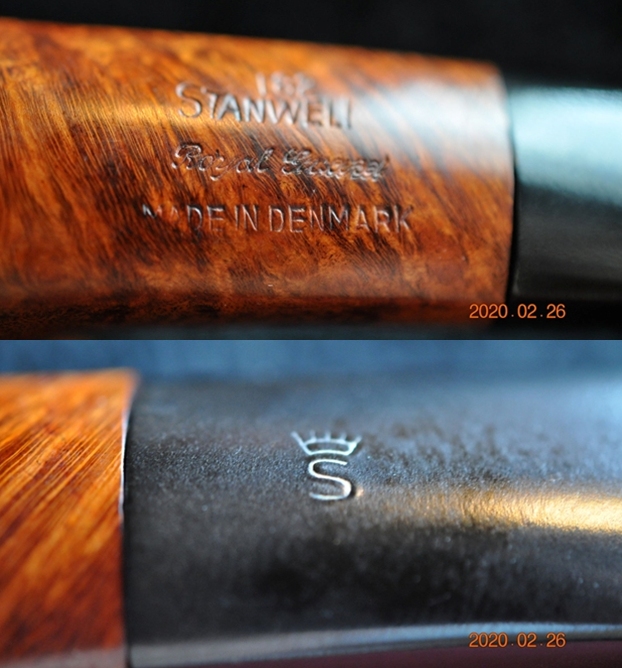 The stem was a good fit to the shank. It was oxidized, calcified and had debris stuck to the surface of the vulcanite. It also shows the tooth marks on the stem and on the button surface.
 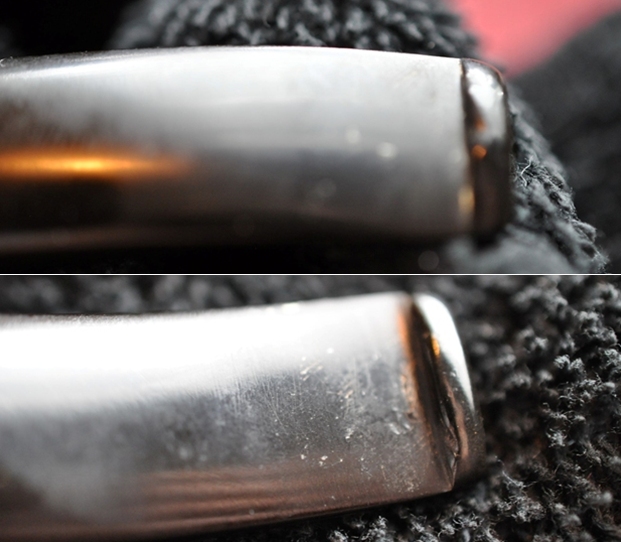 Pipedia has a great article on Stanwell Shape Numbers & Designers that matches the shape numbers of Stanwell pipes with the designer of the shape. I enjoy that information (https://pipedia.org/wiki/Stanwell_Shape_Numbers_and_Designers?fbclid=IwAR0ULK-xl-hW0RZXbt64VWijPtpMgn1uTDEawHywln8fGcDXtbWcmB6SA24). Turns out the design of this pipe was done by Bang and is a filter pipe. I am including the following screen capture.
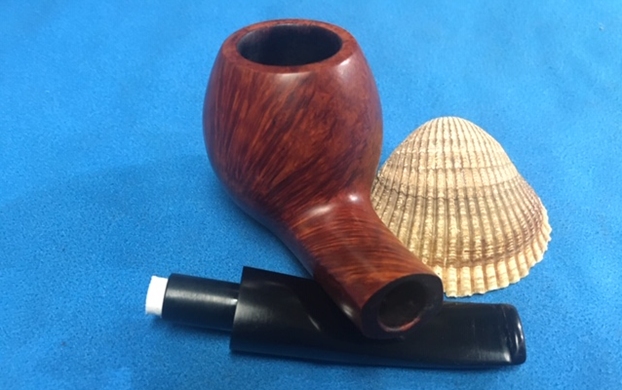
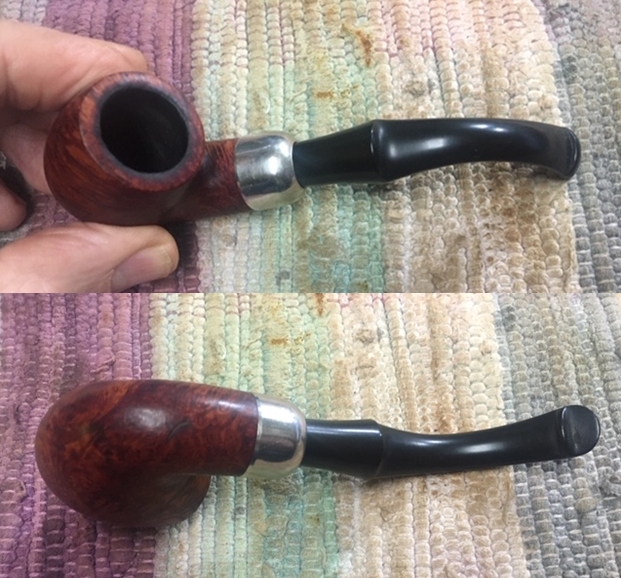
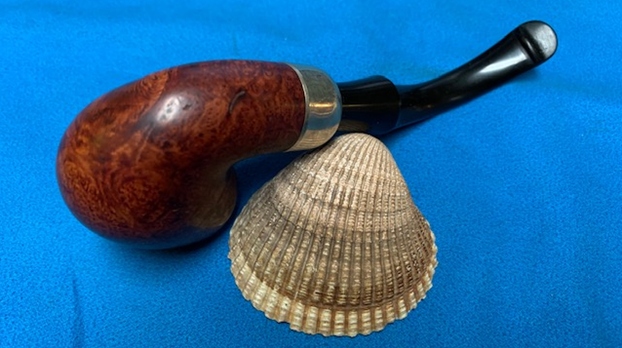
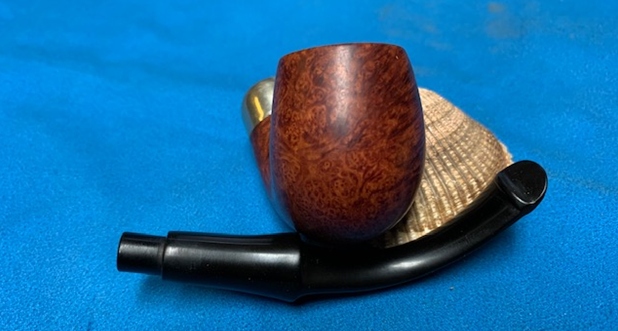
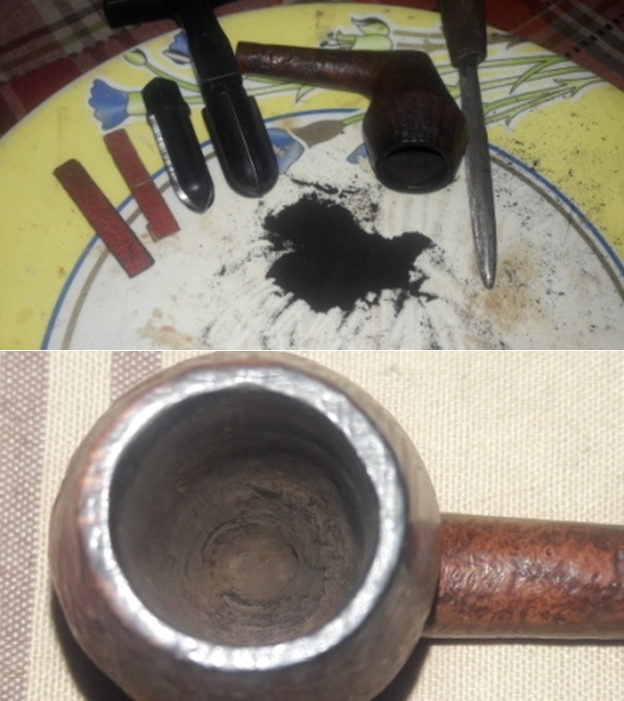
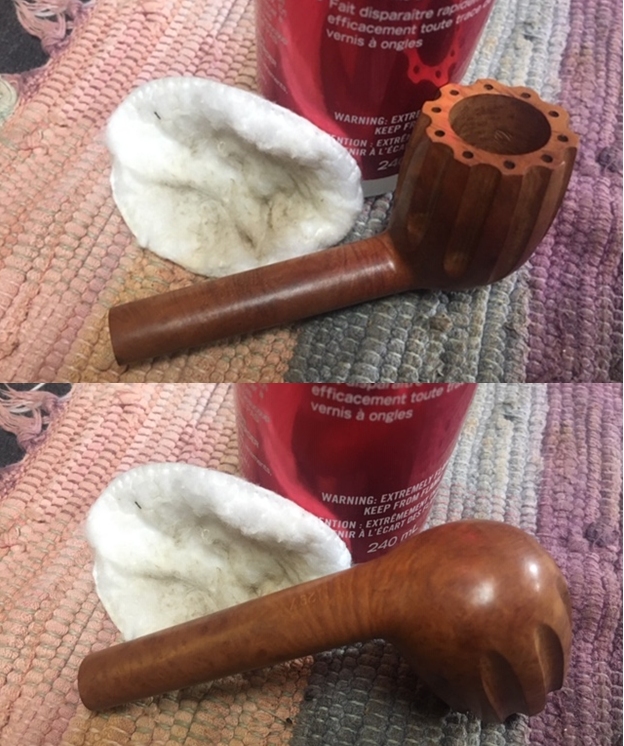
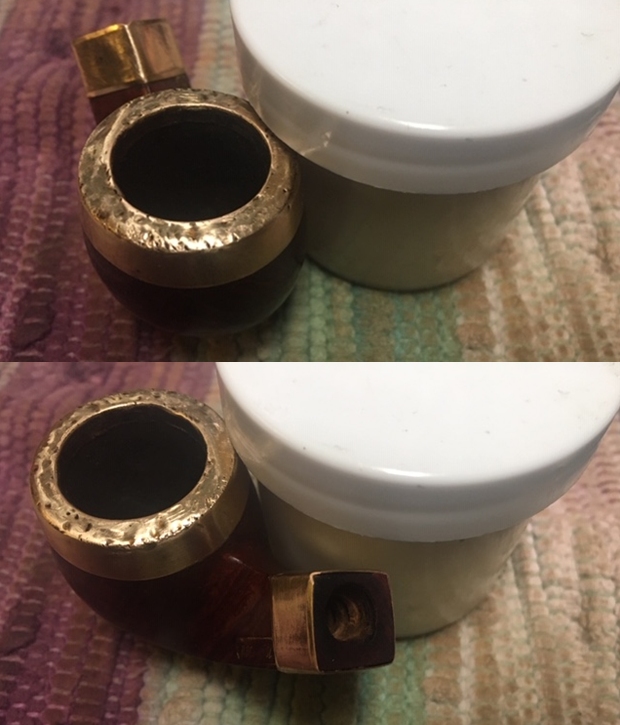
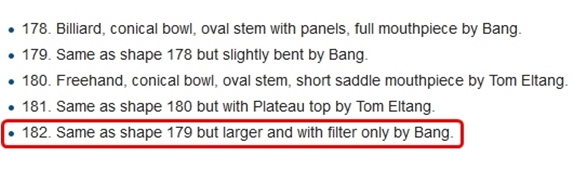 It was my turn to work on the pipe now. I was really looking forward to what the pipe would look like once Jeff had worked his magic. What would the rim top look like? What would the dirty sandblast on the bowl look like? I had no idea. When I took it out of the box I was struck great job cleaning up the pipe Jeff had done. It was impressive! He had reamed the pipe with a Pipnet piper reamer and taken the cake back to bare briar. He cleaned up the remaining cake with a Savinelli Fitsall Pipe Knife. He scrubbed the interior of the bowl and shank with pipe cleaners, cotton swabs and alcohol to remove the tars and oils. He scrubbed the exterior of the pipe with Murphy’s Oil Soap and a tooth brush to remove the grime from the finish. He worked on the rim top lava and darkening with the soap and tooth brush. He scrubbed the inside of the stem with alcohol and pipe cleaners. He scrubbed the exterior with Soft Scrub and then soaked it in Before & After Deoxidizer. He washed the stem off with warm water to remove the Deoxidizer. The pipe looked far better. I took photos of the pipe when I received it before I started working on it.
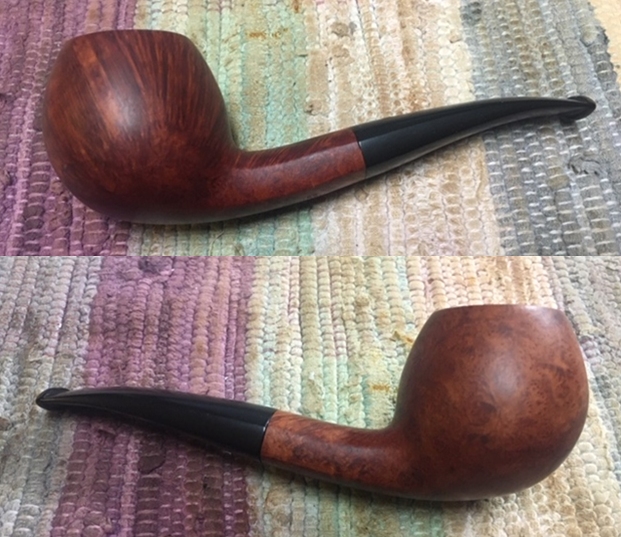
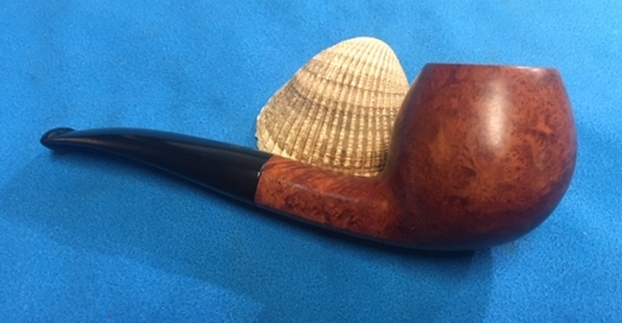
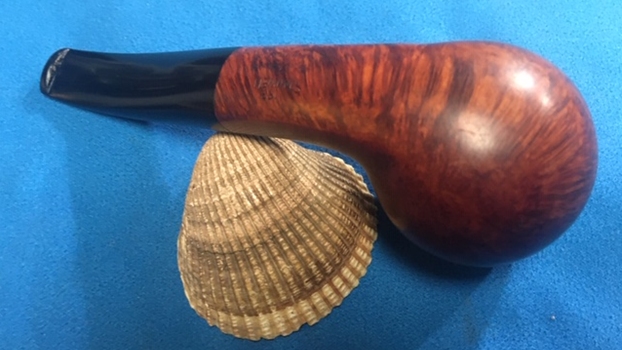
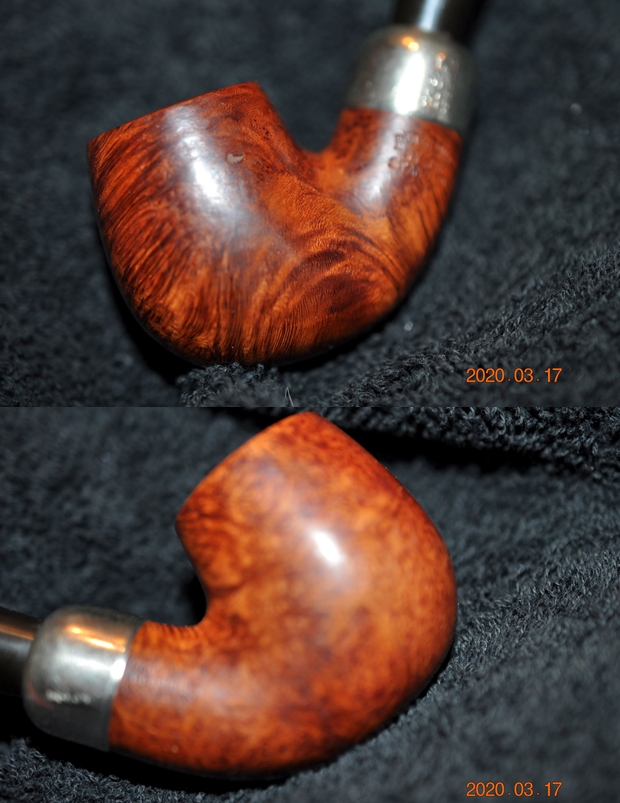
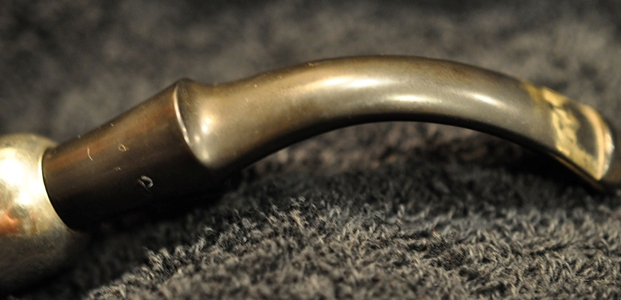
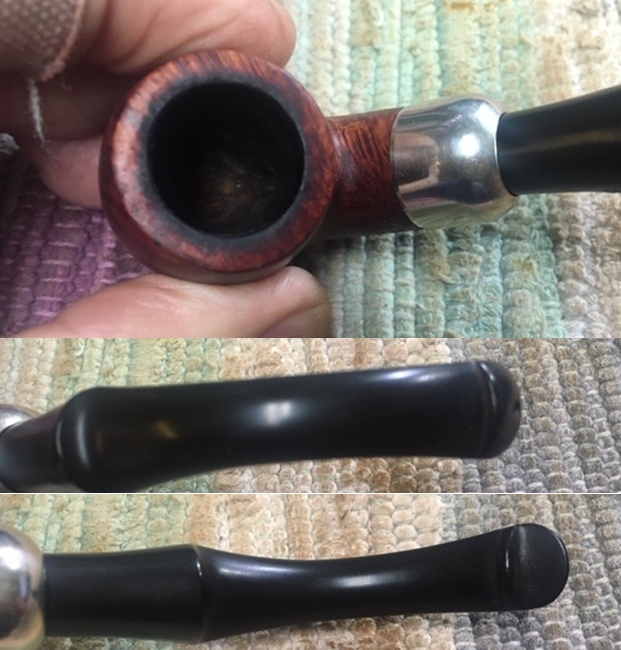
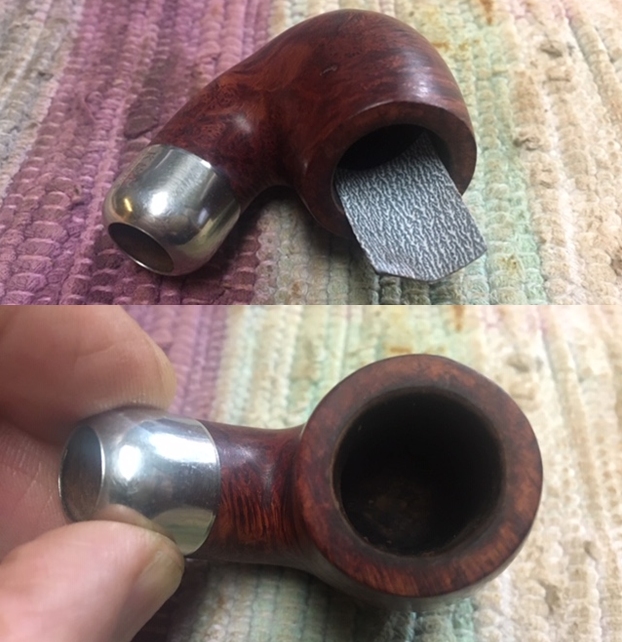
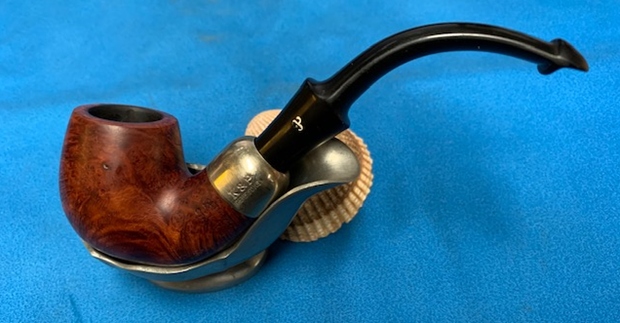
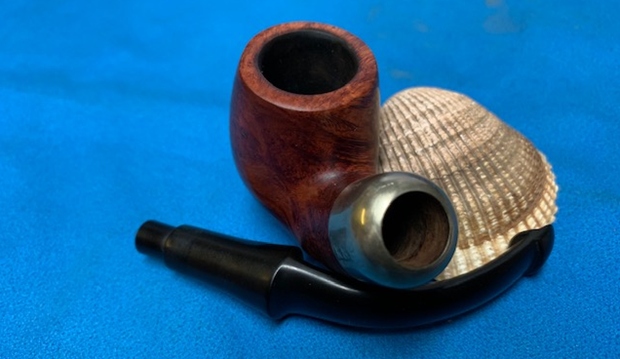
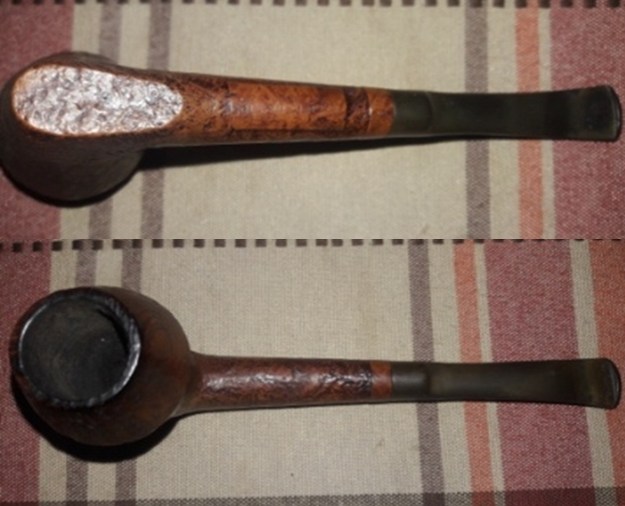
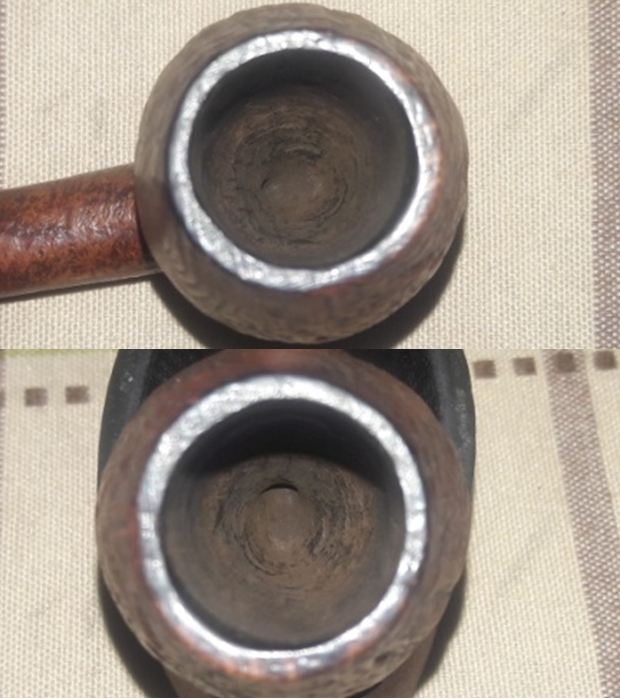
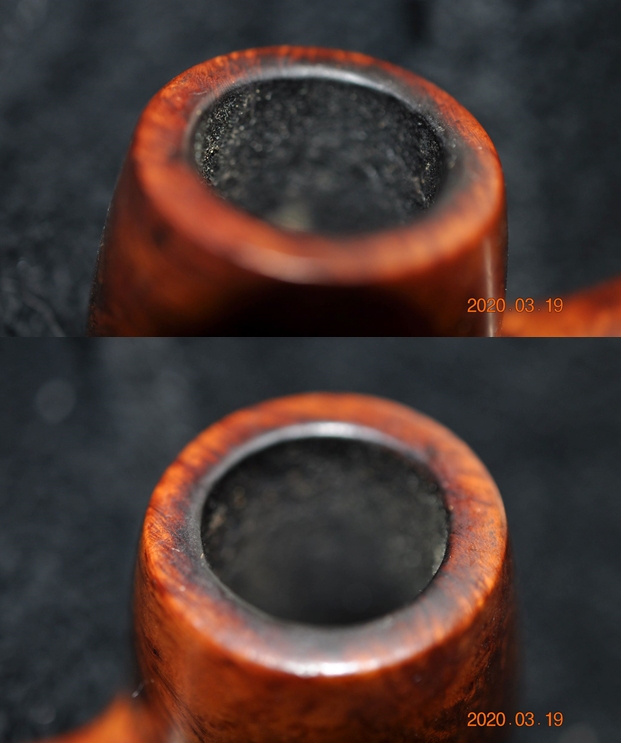
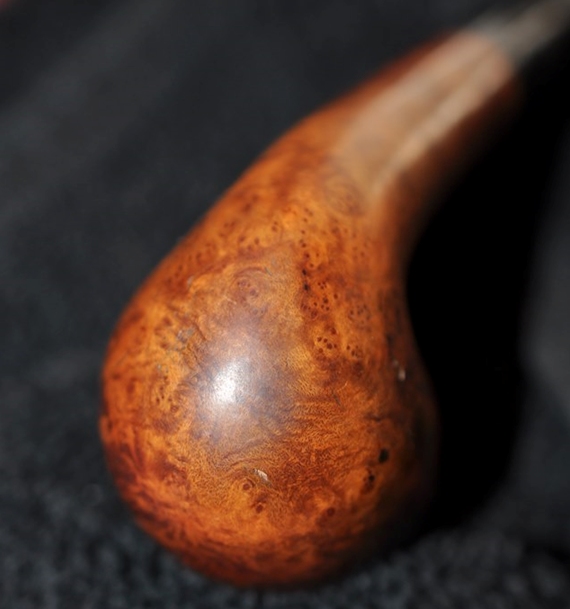
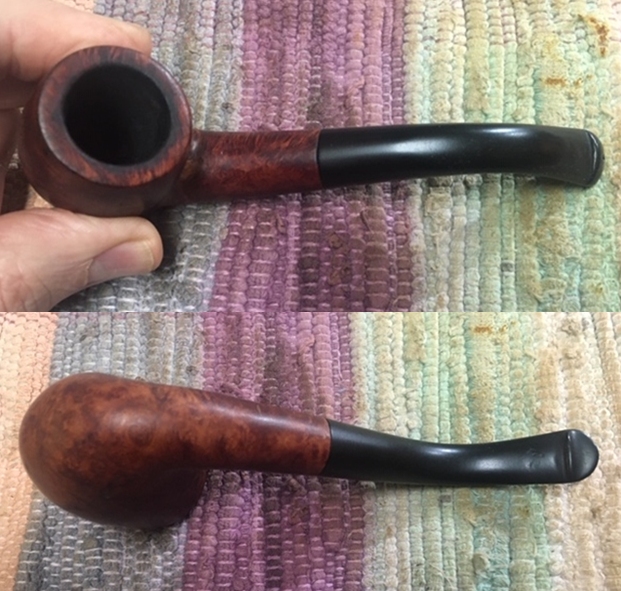
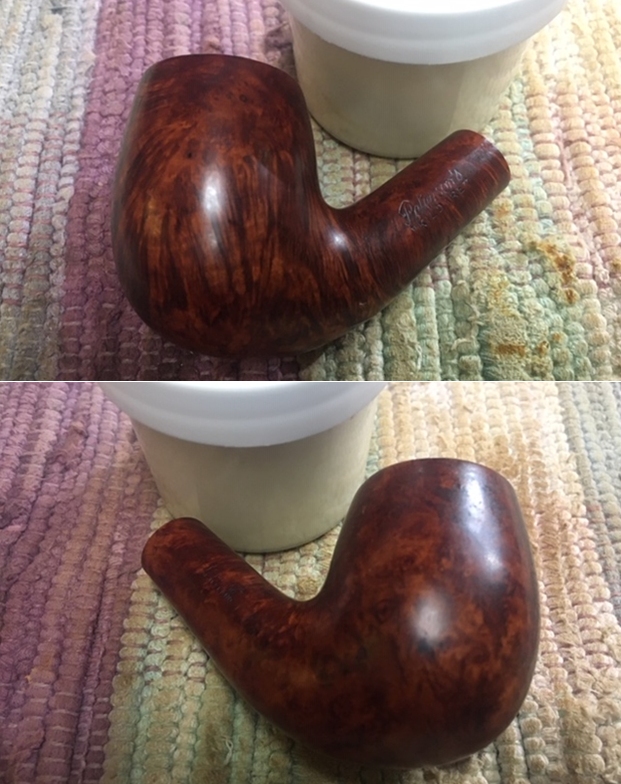
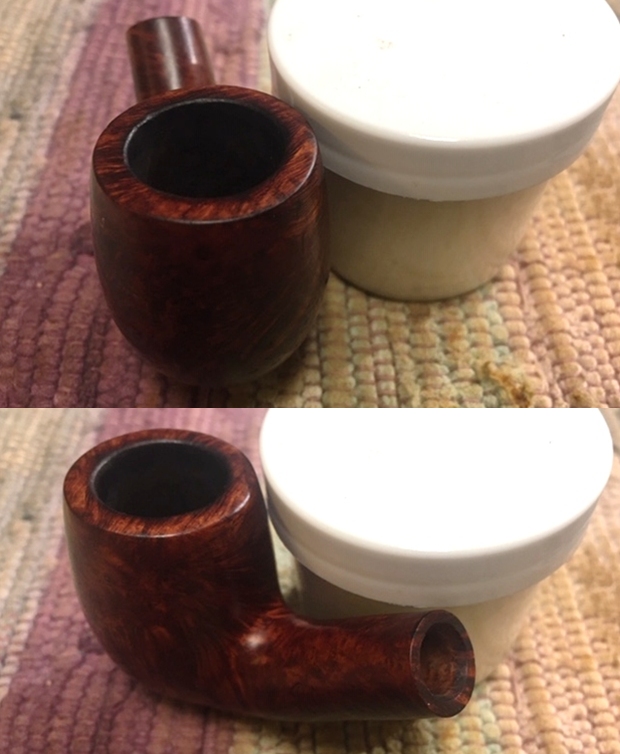
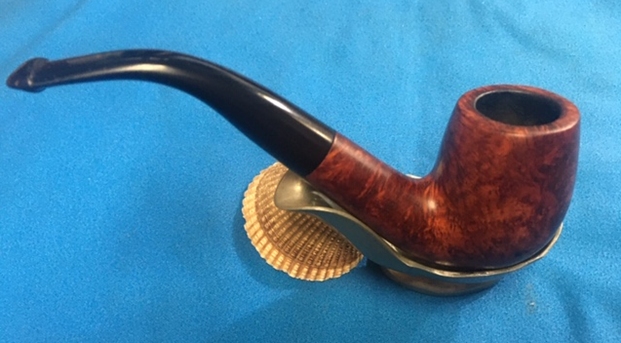
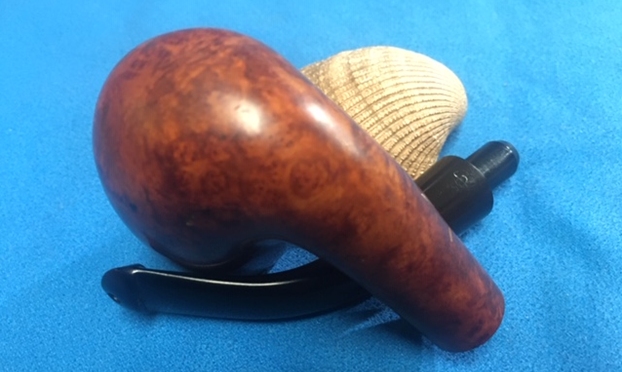
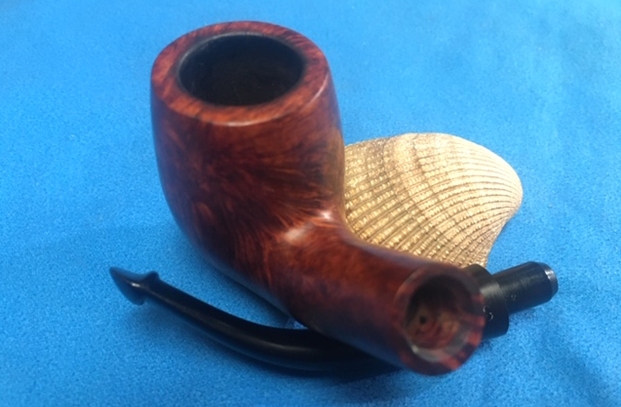
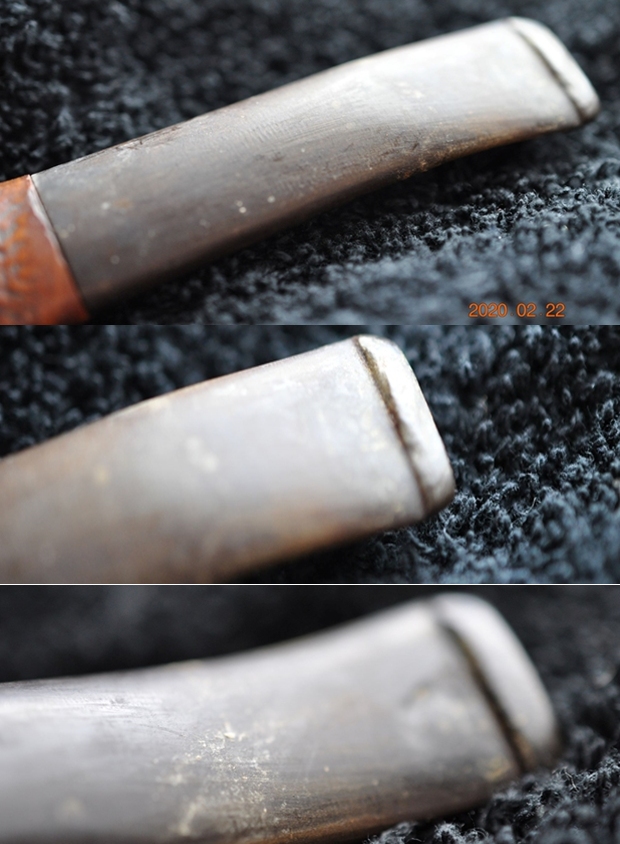
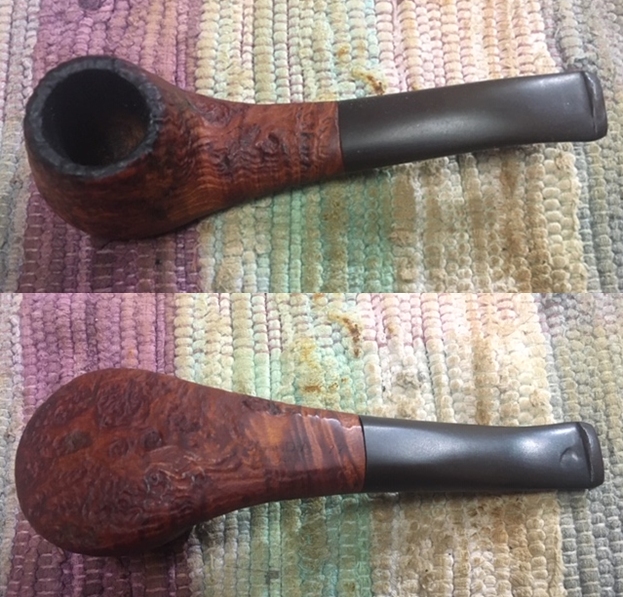
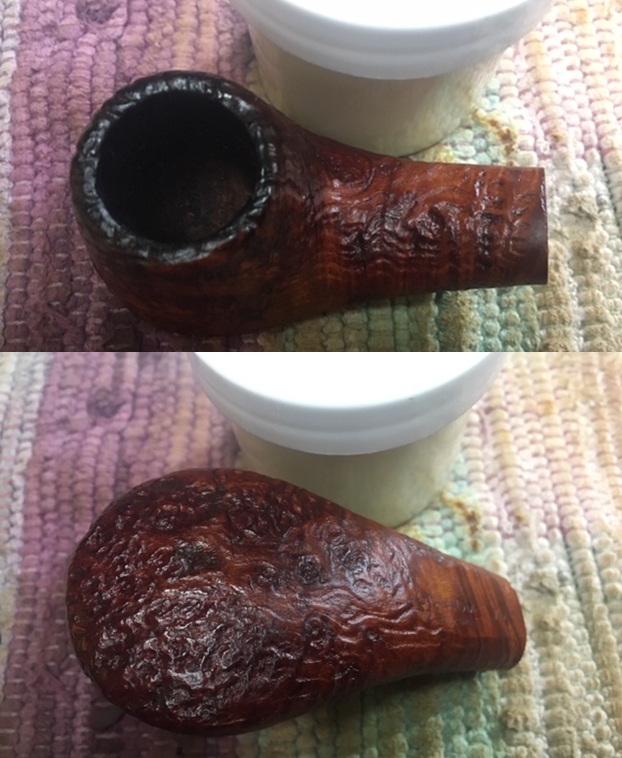
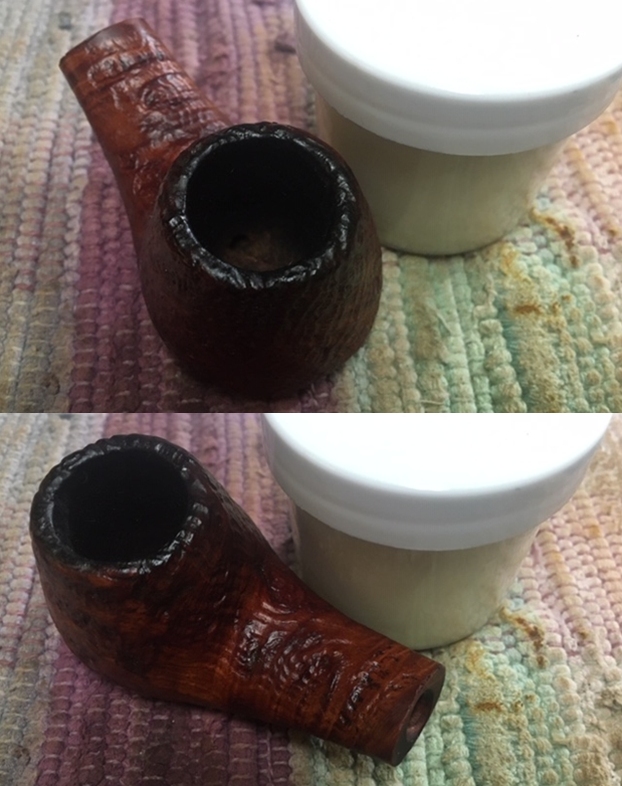
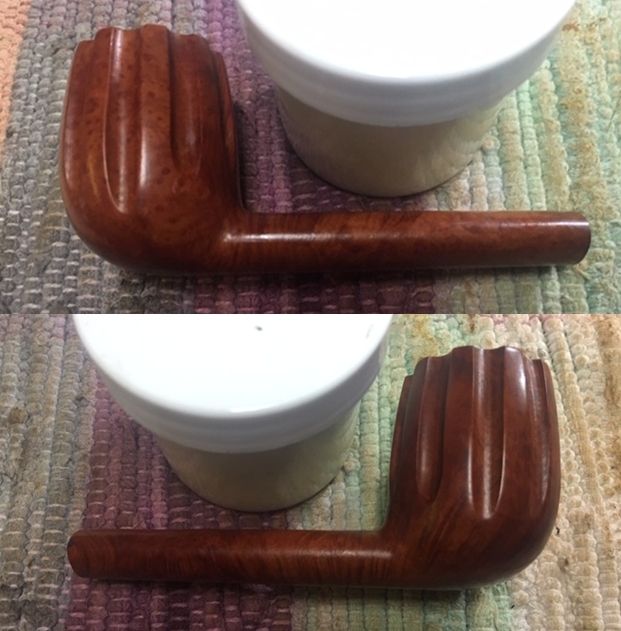
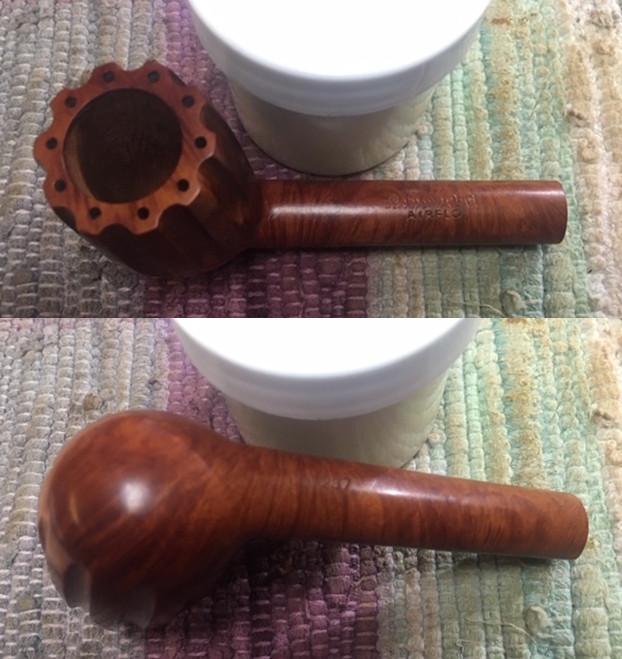
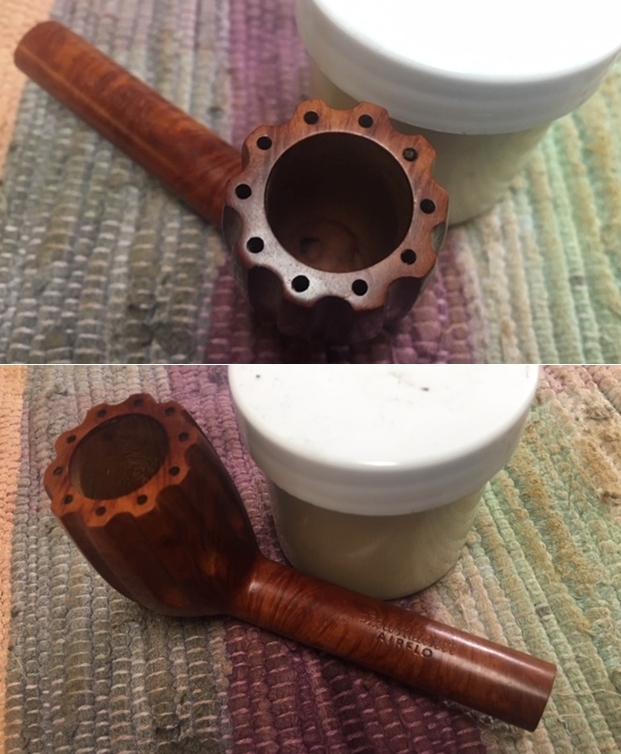
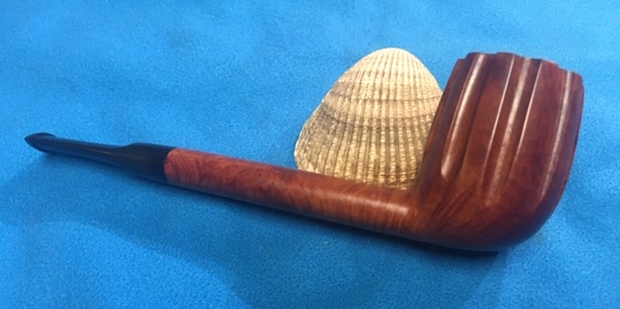
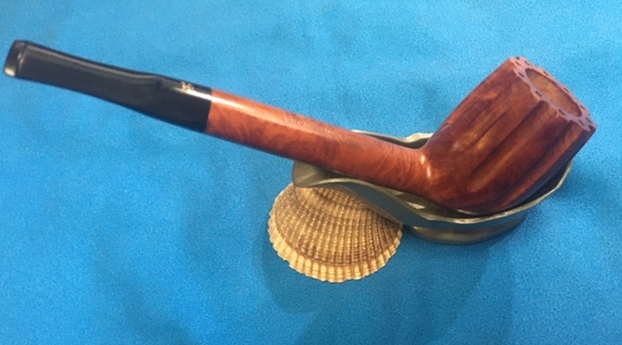
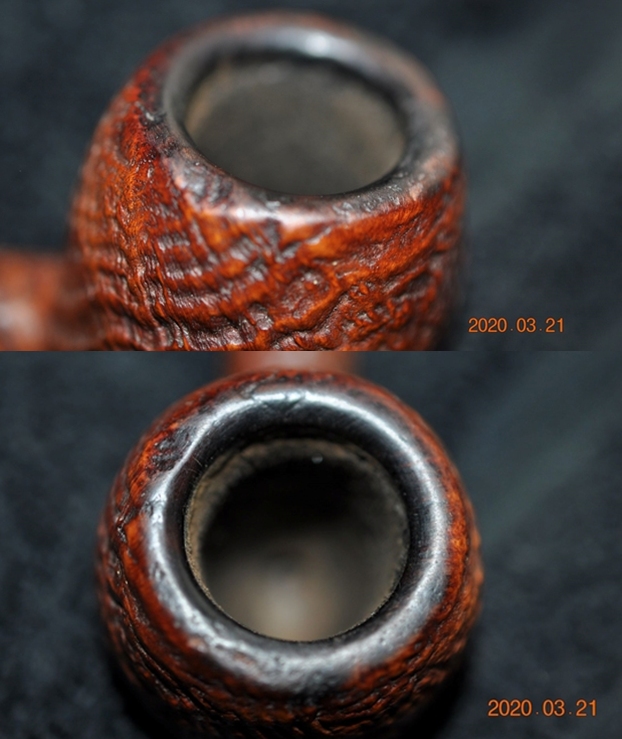
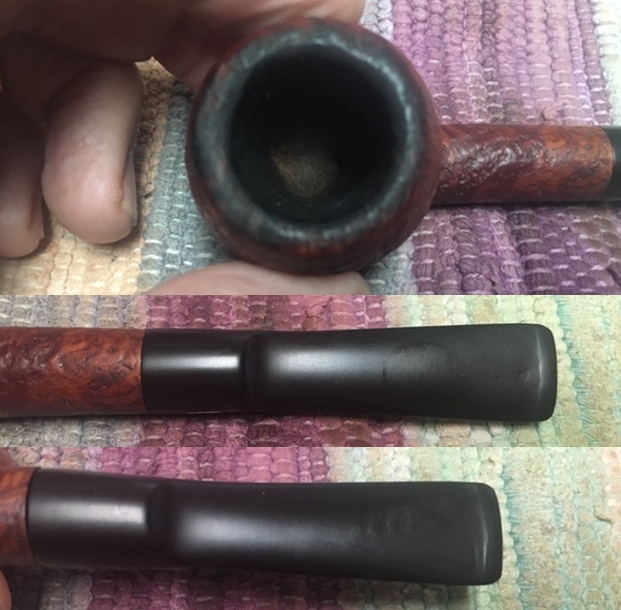
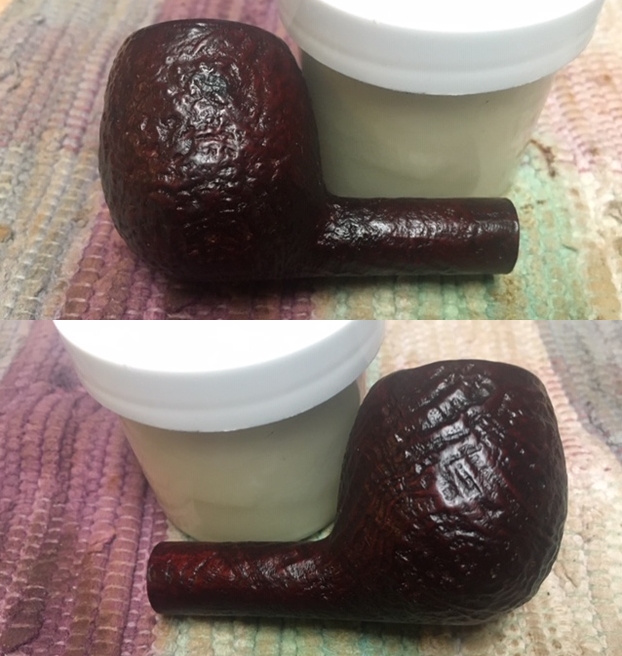
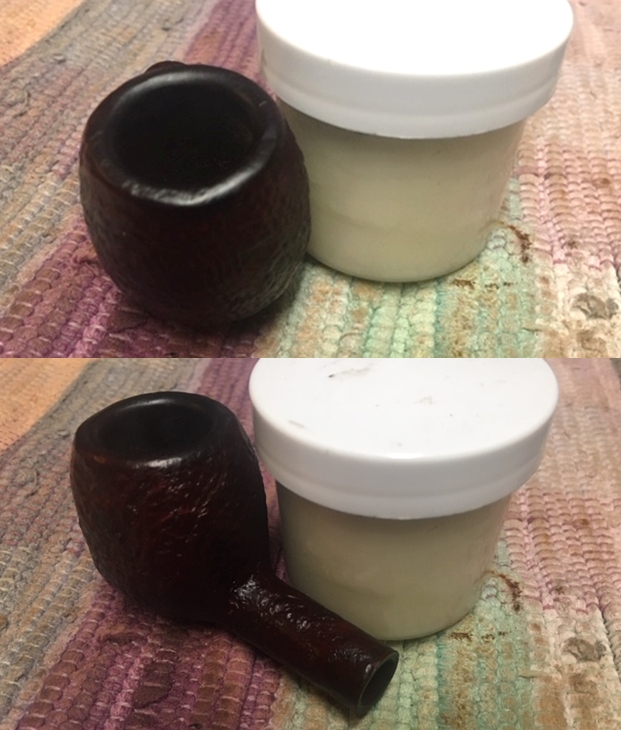
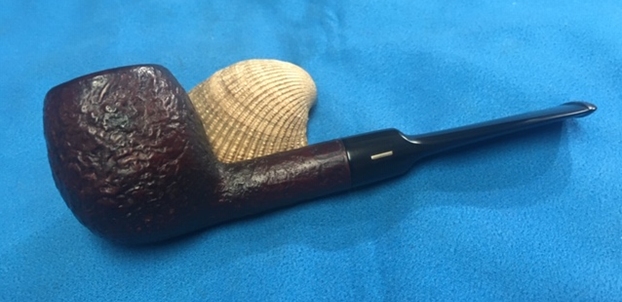
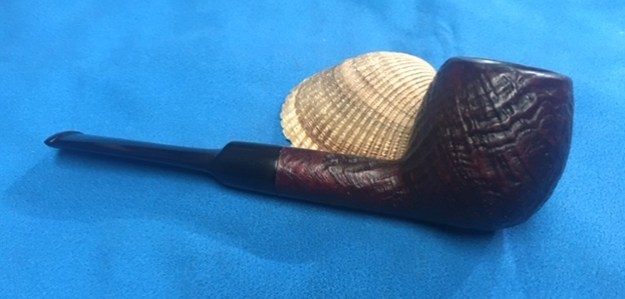
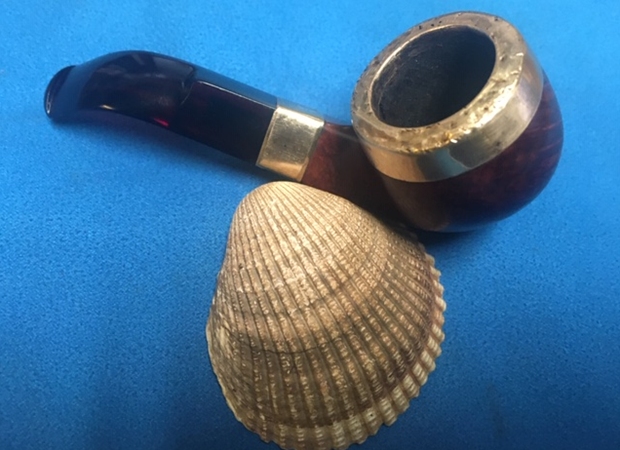
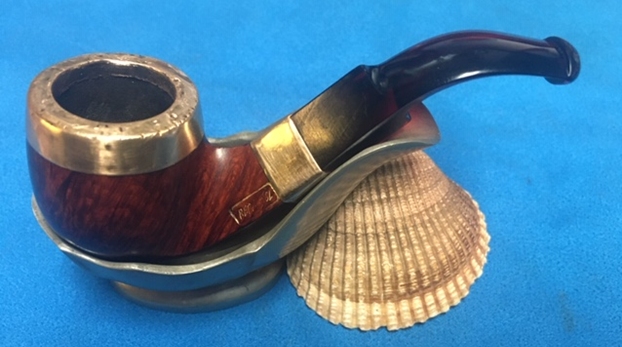
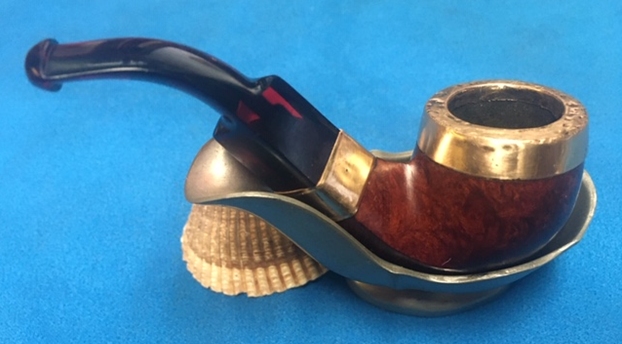
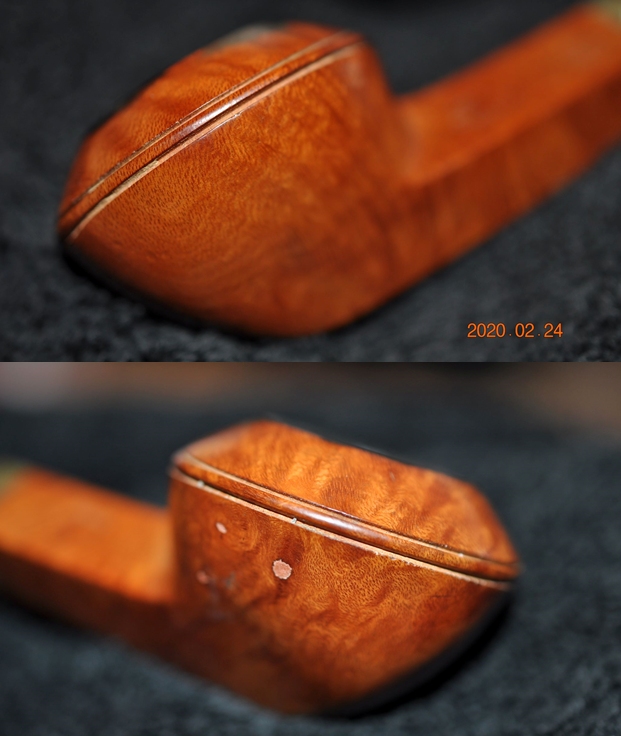
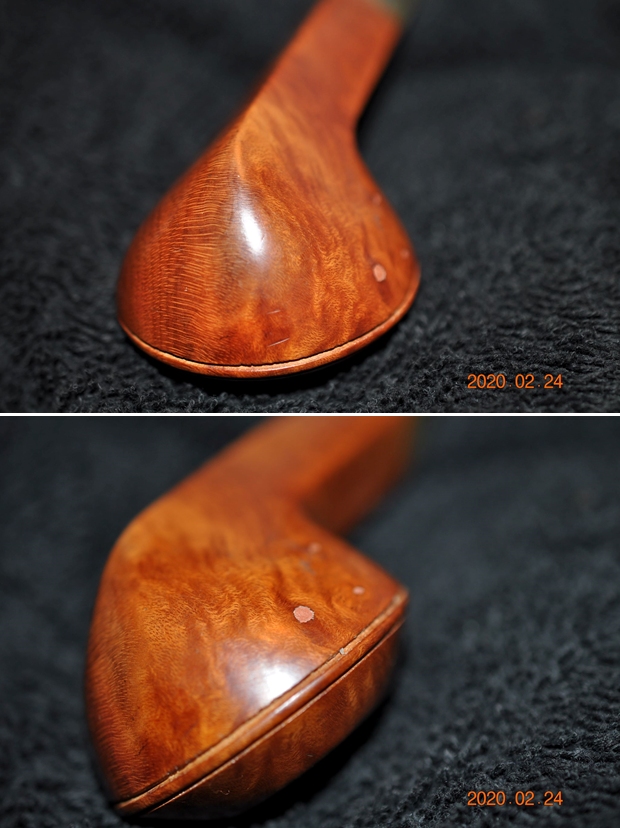
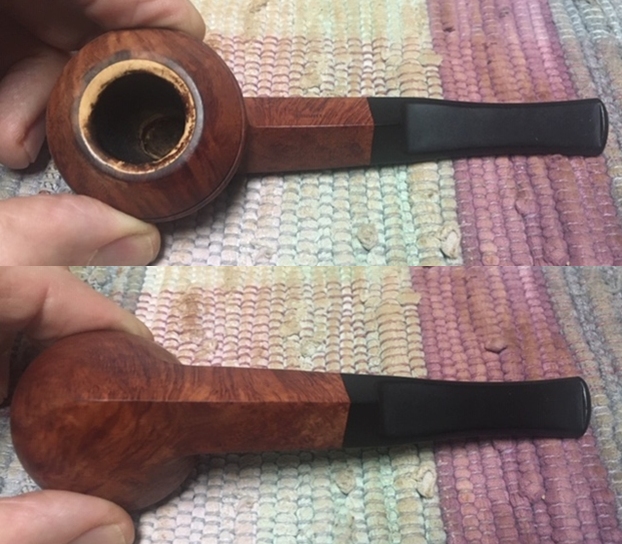
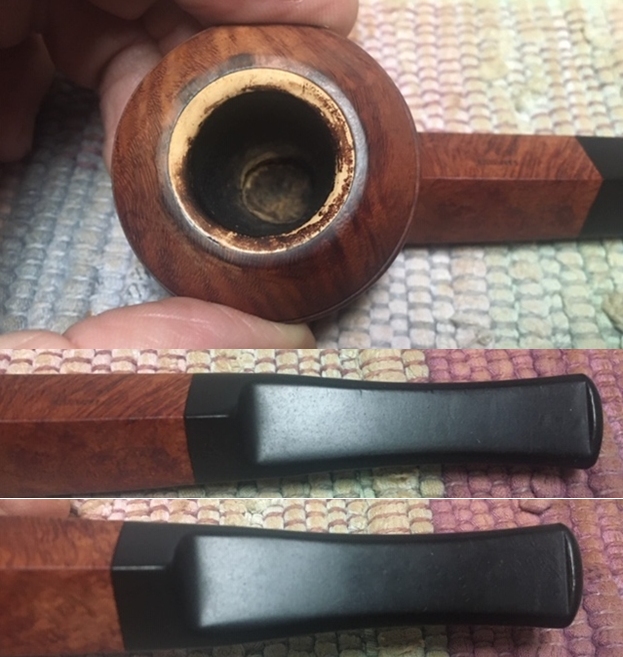
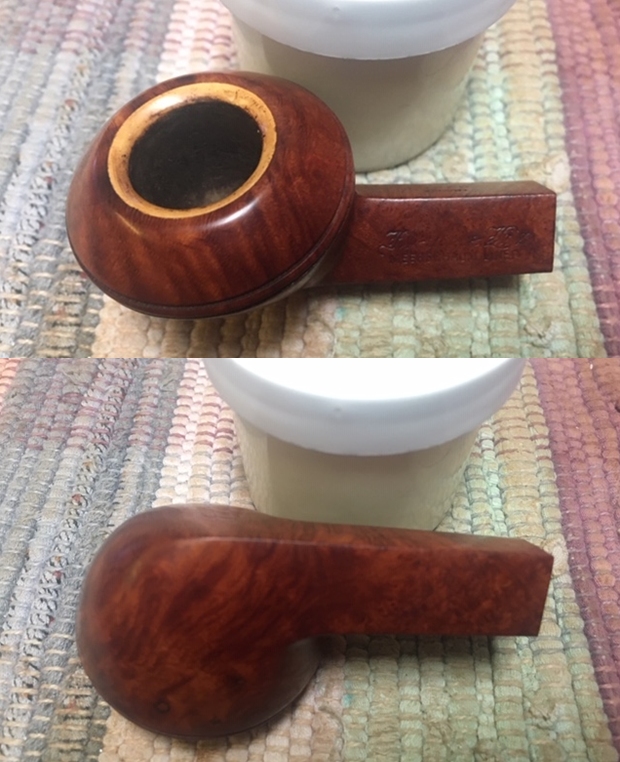
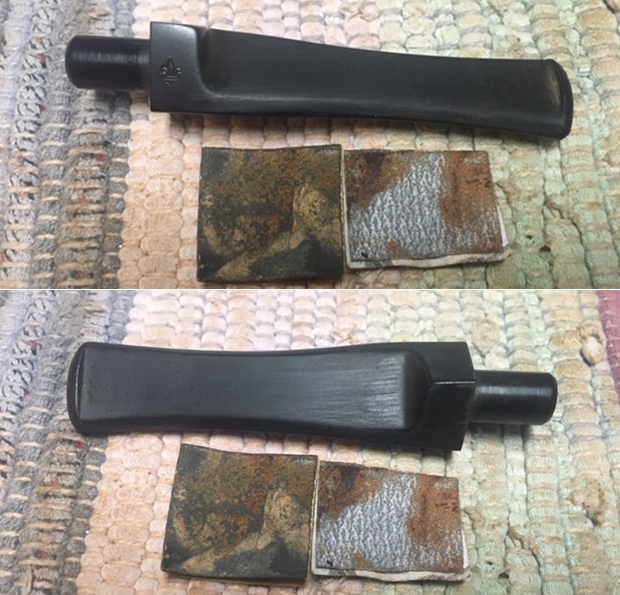
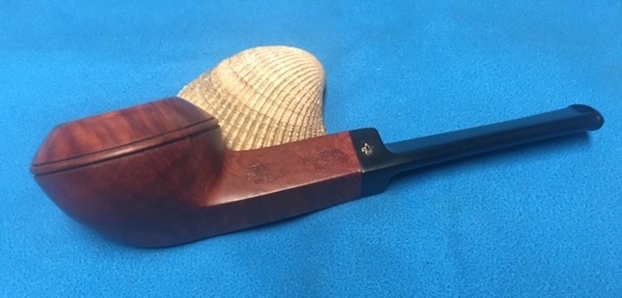
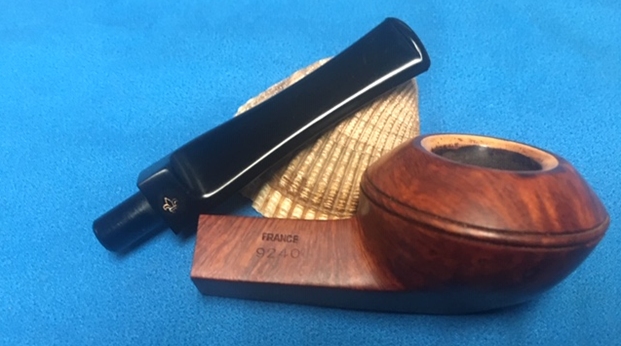
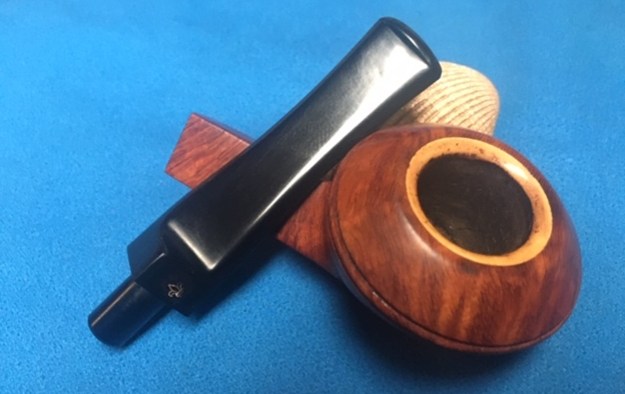
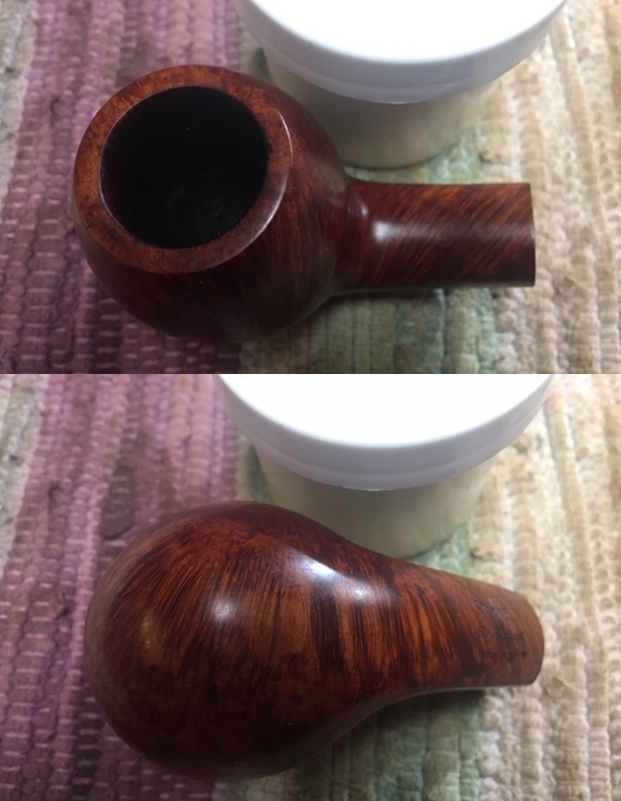
 I took photos of the bowl and rim top as well as the stem to show how clean they were. You can see that rim top and edges look very good. The stem is clean and the tooth damage on the button top and bottom edges.
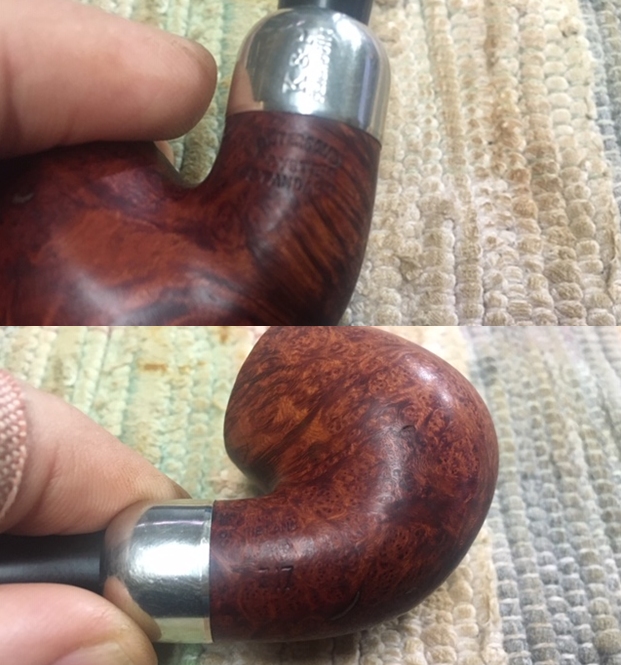
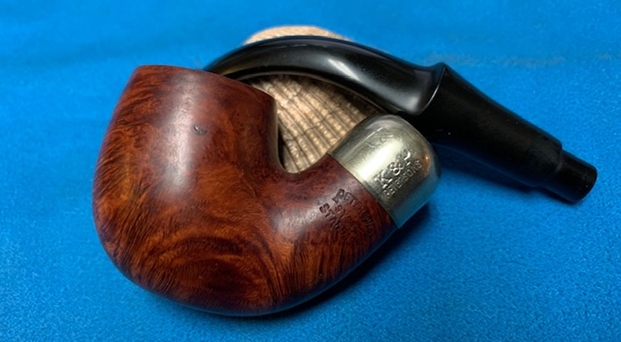
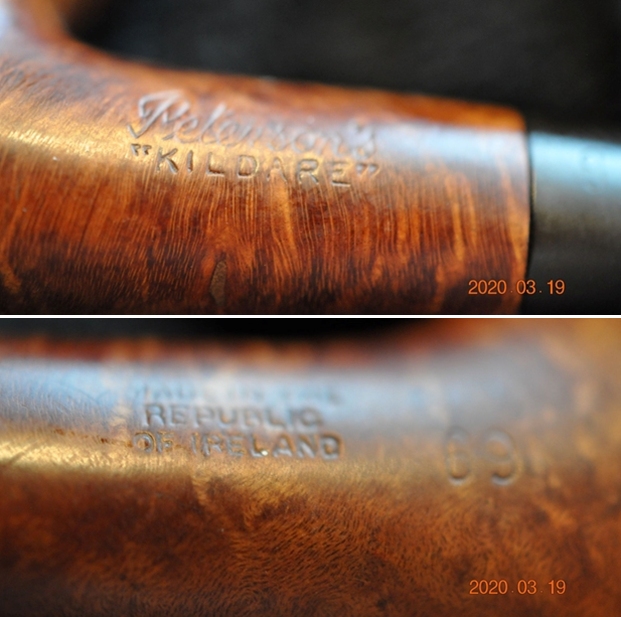
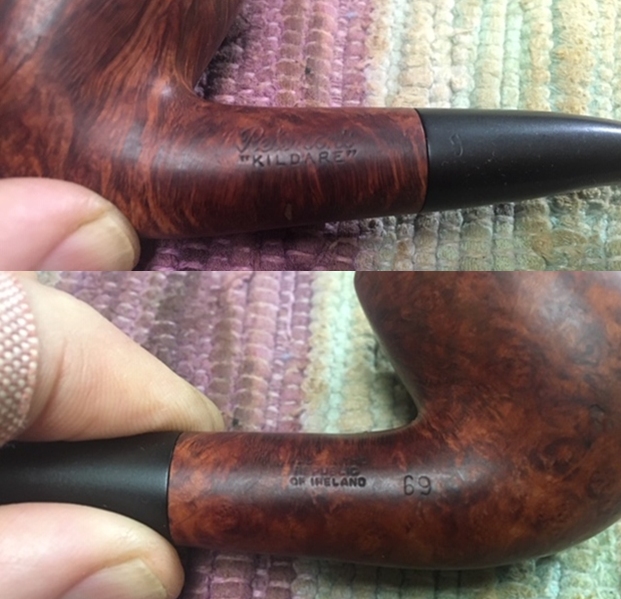
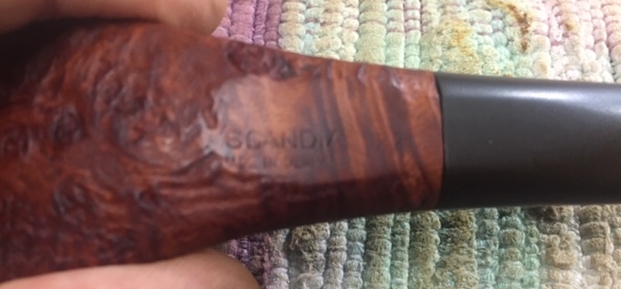
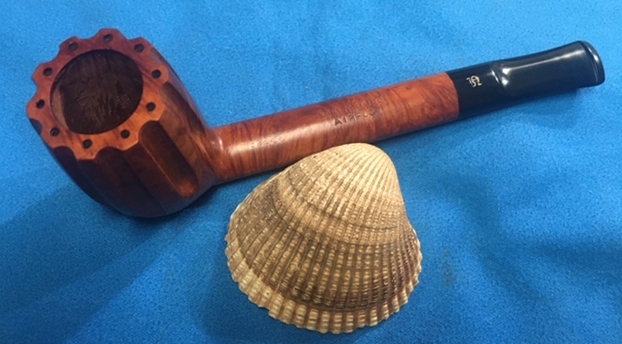
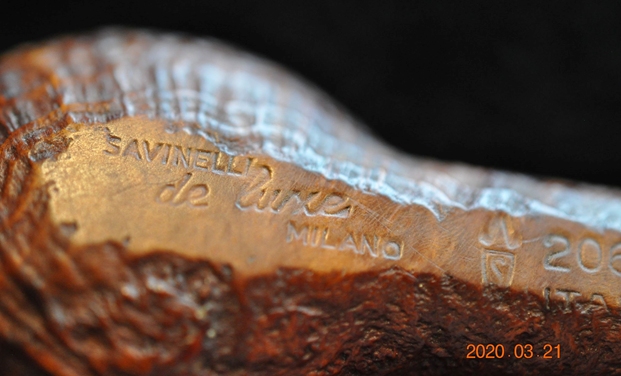
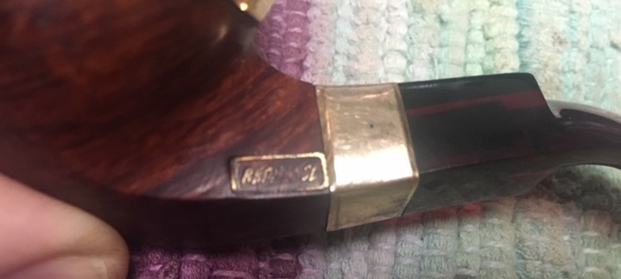
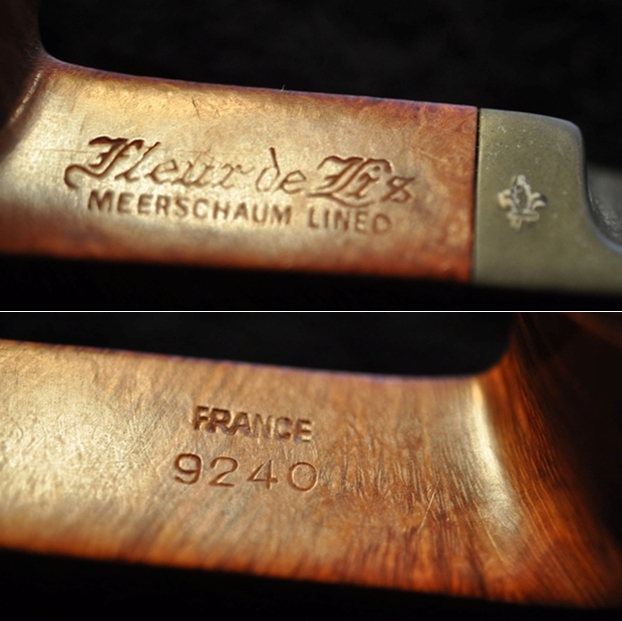
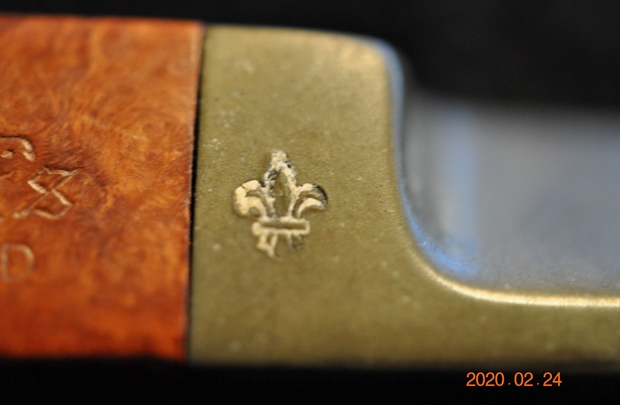
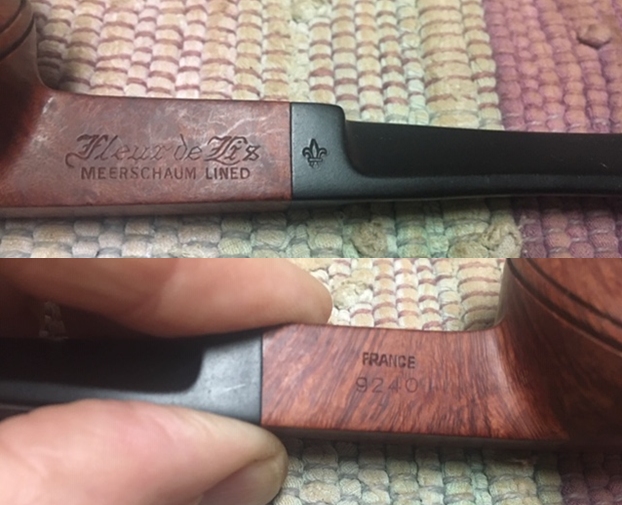
 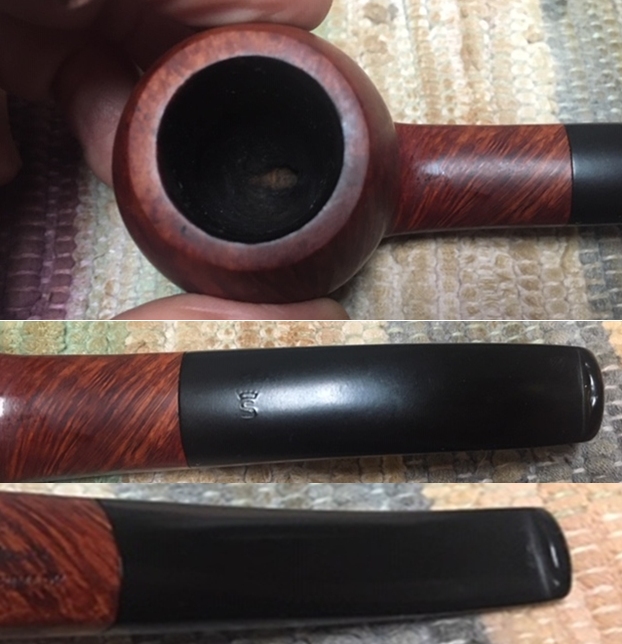 I took a photo of the stamping on the underside of the shank. The stamping is readable as noted above. The stamping GUARD is a double stamped and gives me a bit of a mystery. Royal Guard was a Stanwell second and generally was not stamped Stanwell. This one was! The stem on the Royal Guard was also stamped RG and this one bears the Stanwell Crown S.
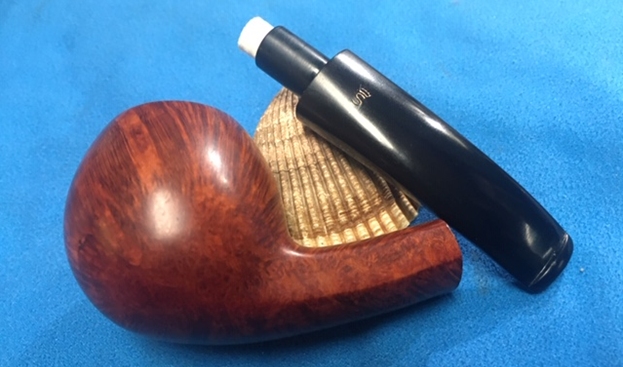
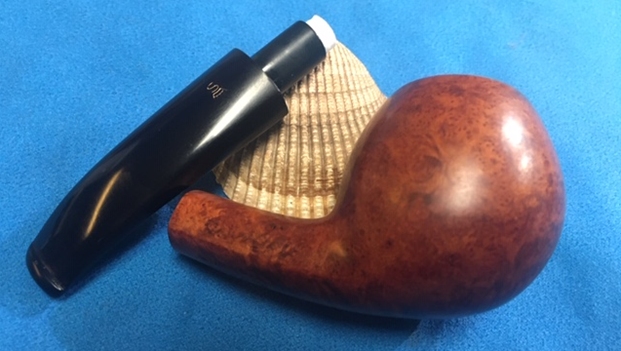
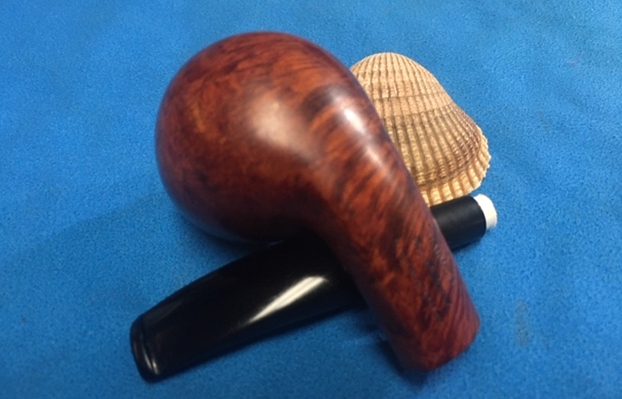
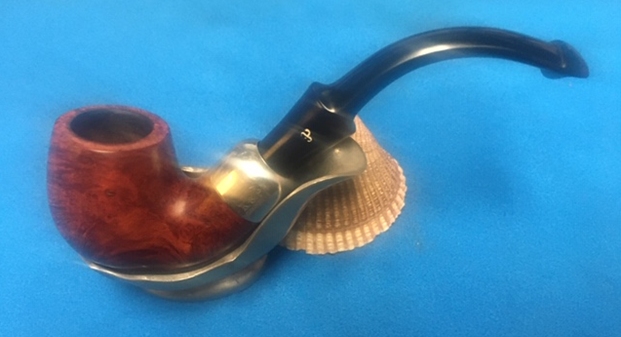
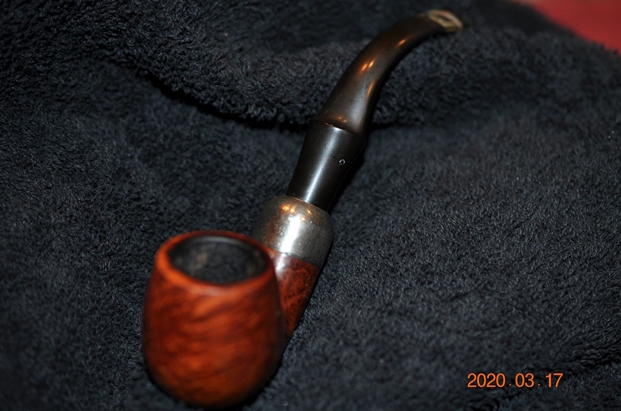
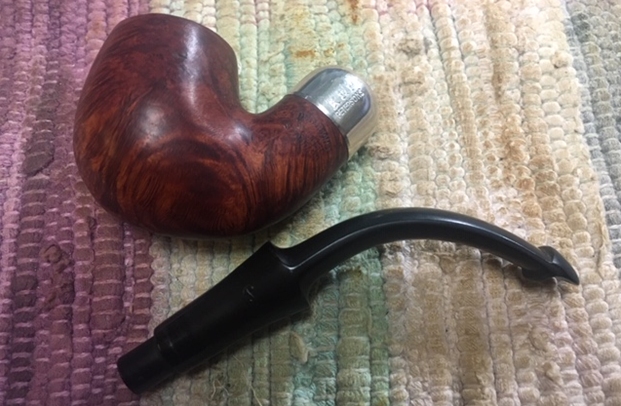
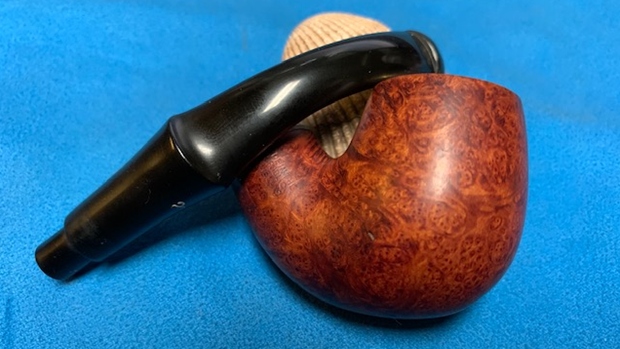
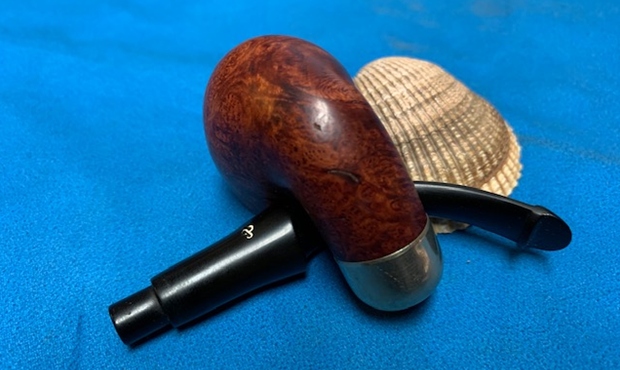
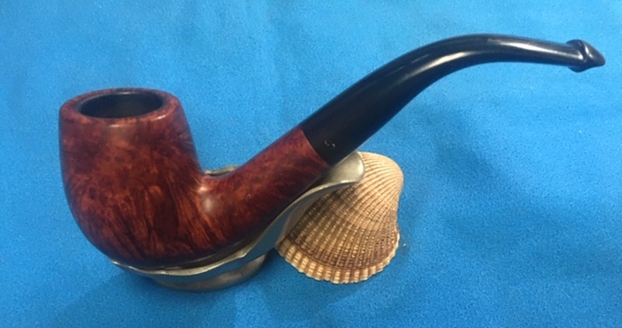
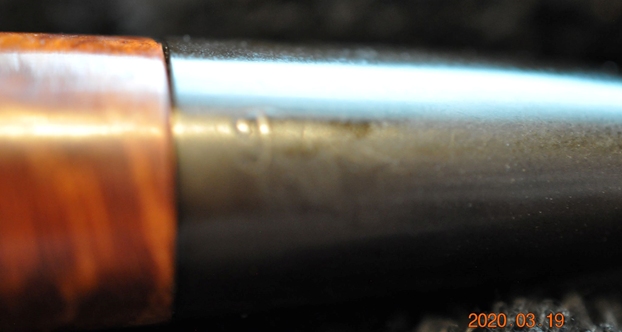
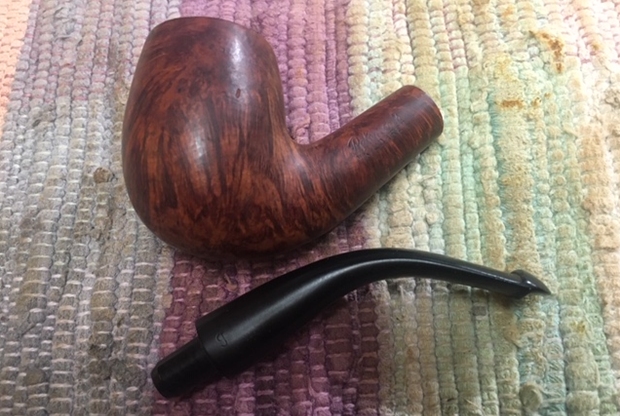
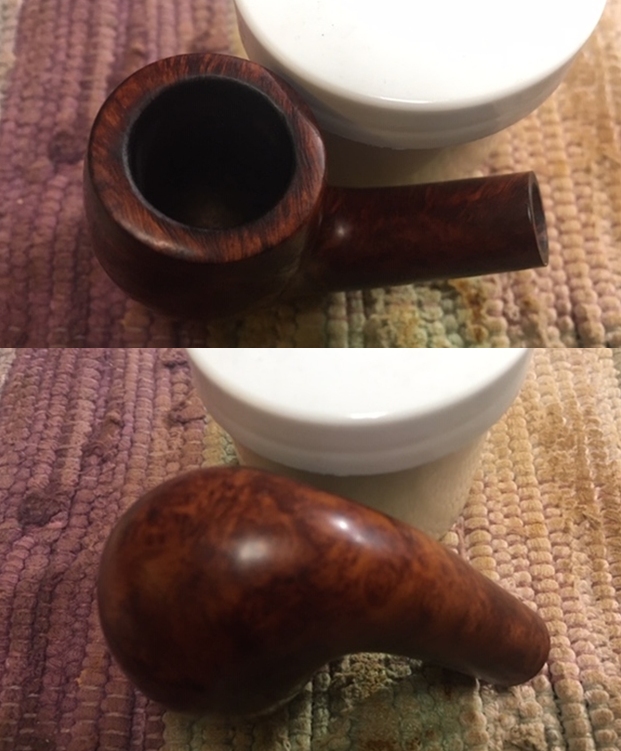
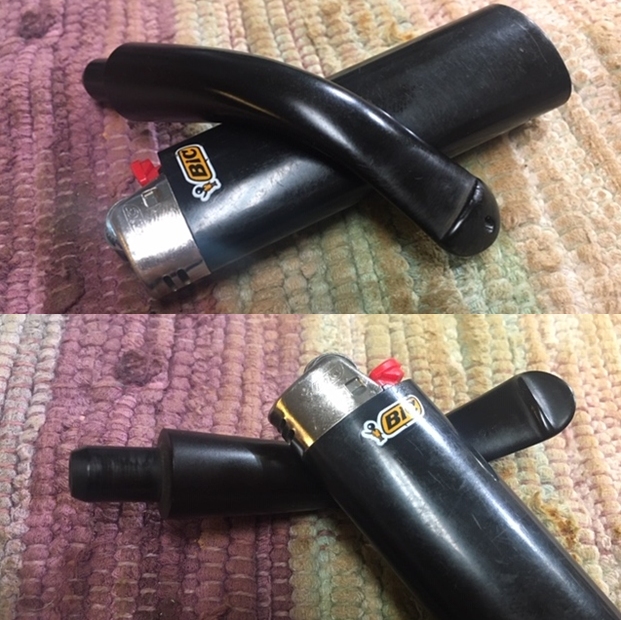
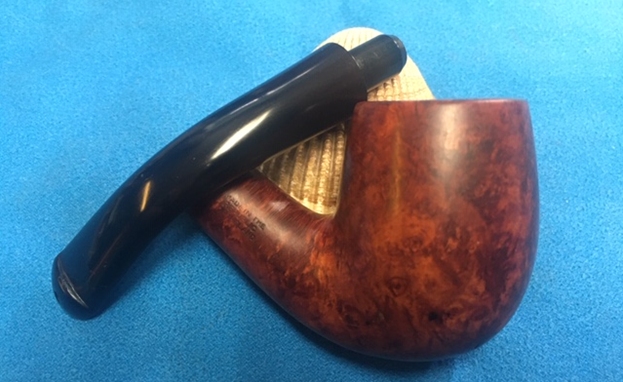
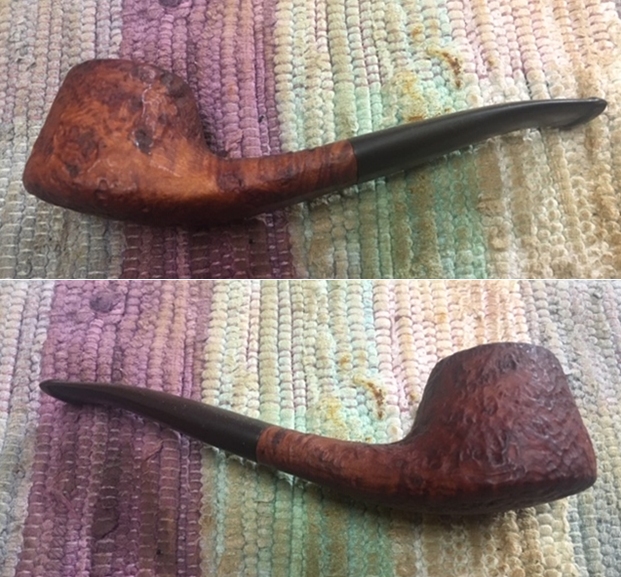
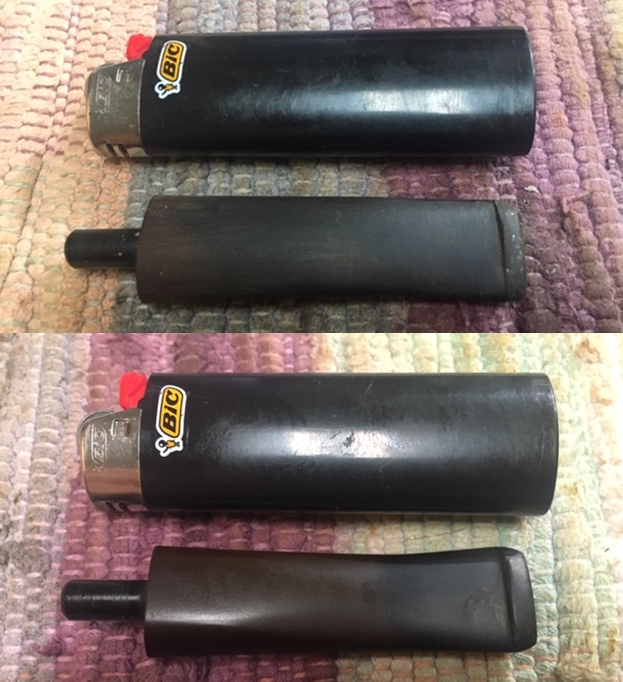
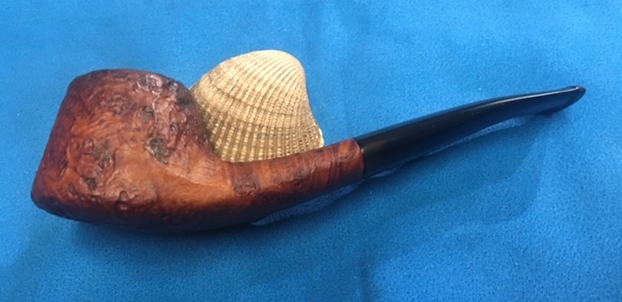
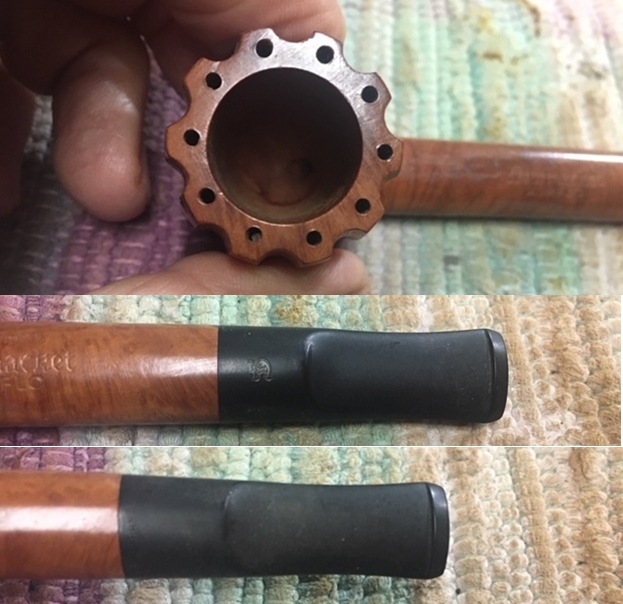
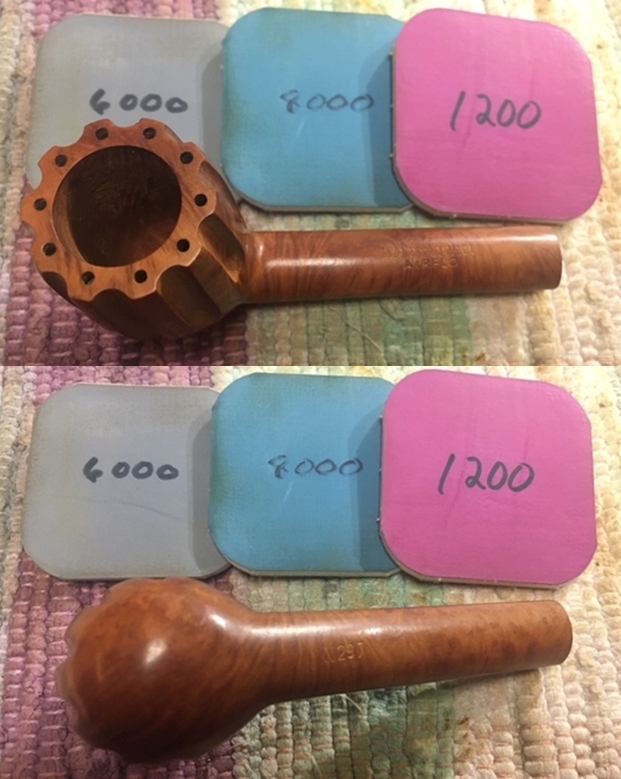
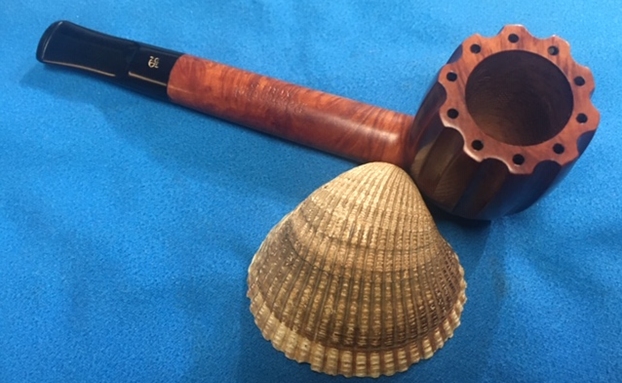
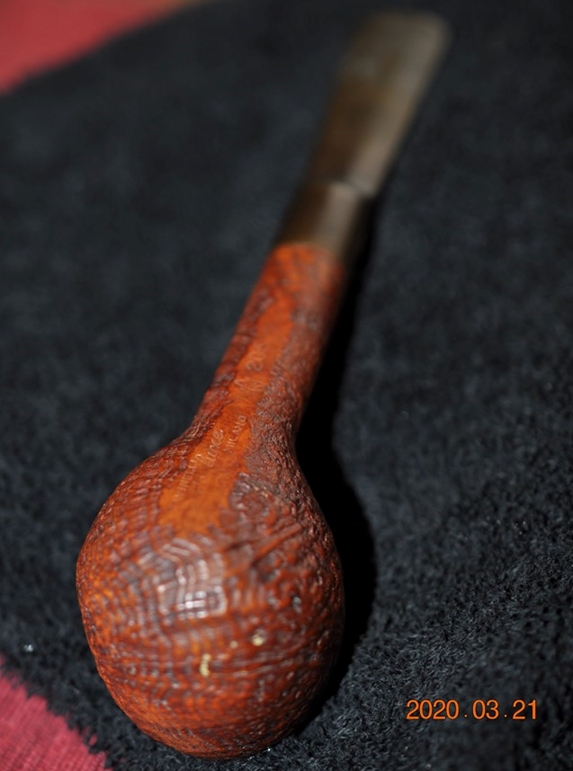
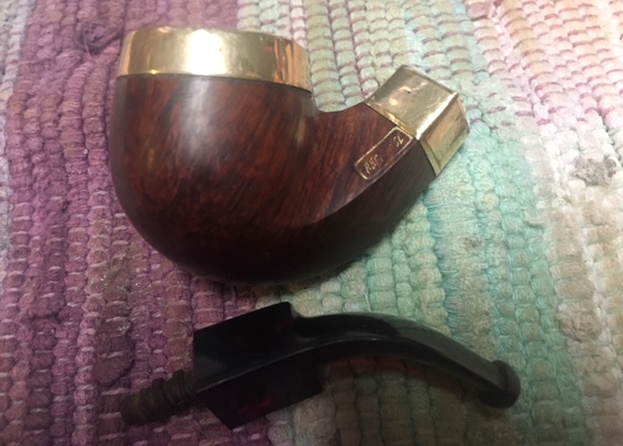
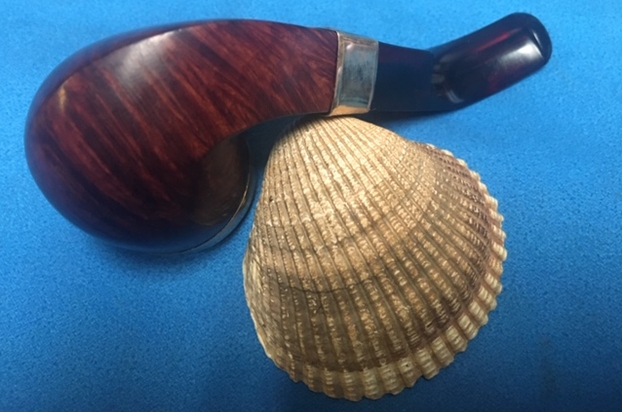
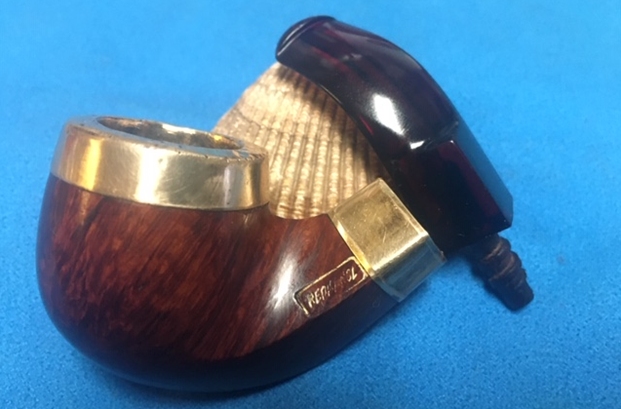
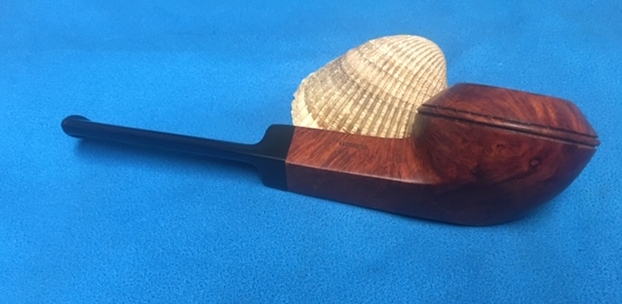
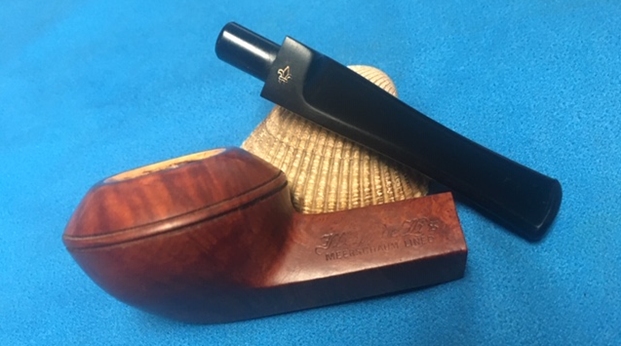
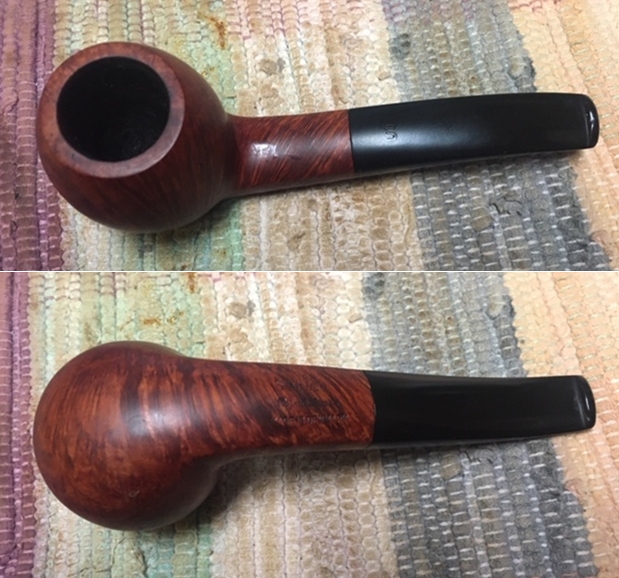
 I took a photo of the pipe with the stem removed to show that the tenon was drilled for a 9MM filter. I also took a photo of the bowl and stem to get an overall look of stem, tenon and profile of the pipe. It really is a beautifully shaped pipe.
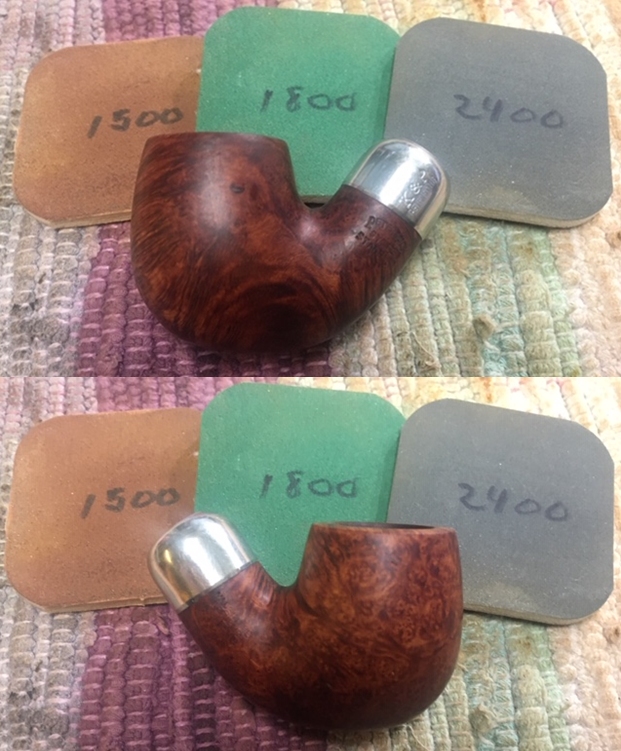
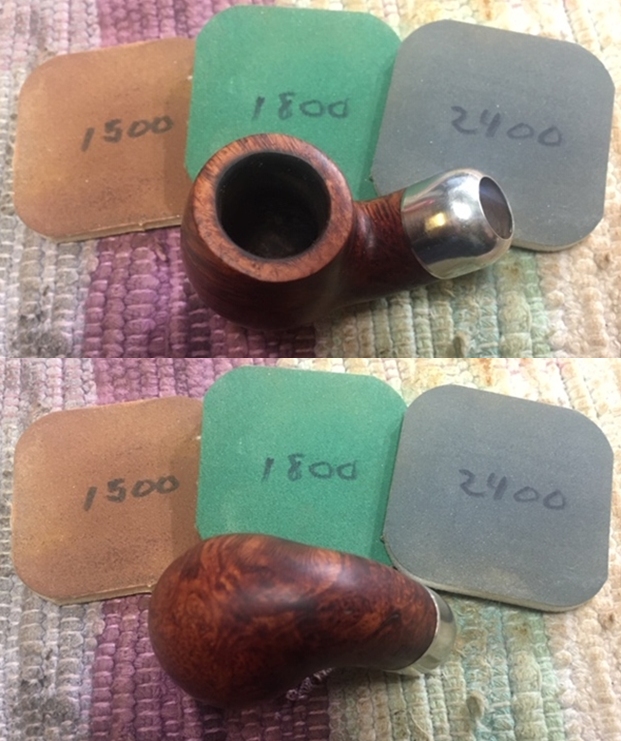
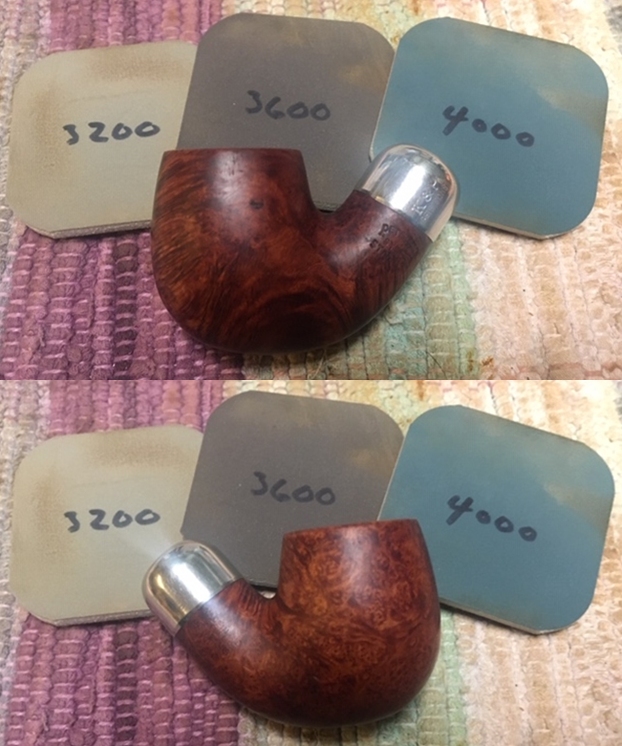
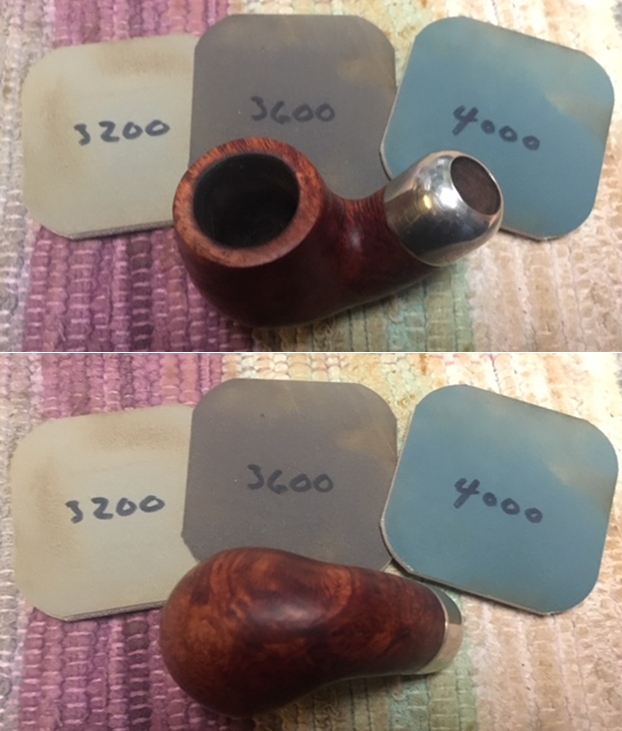
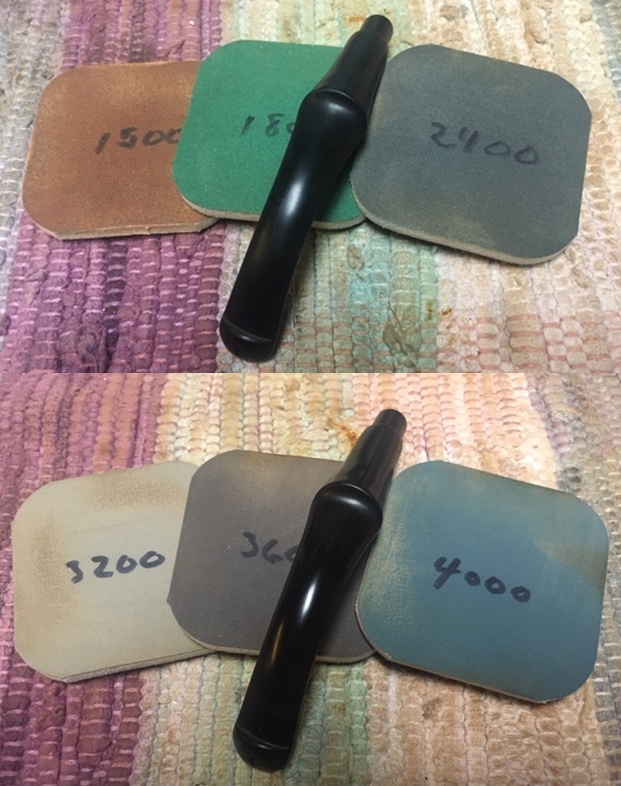
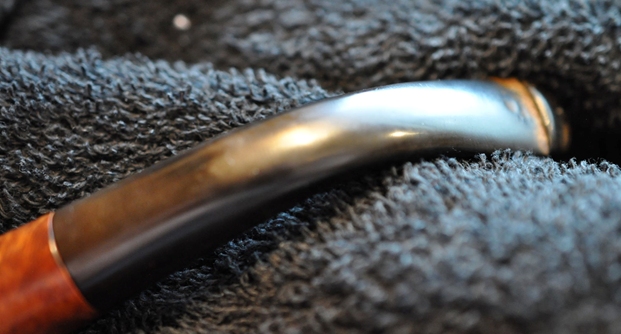
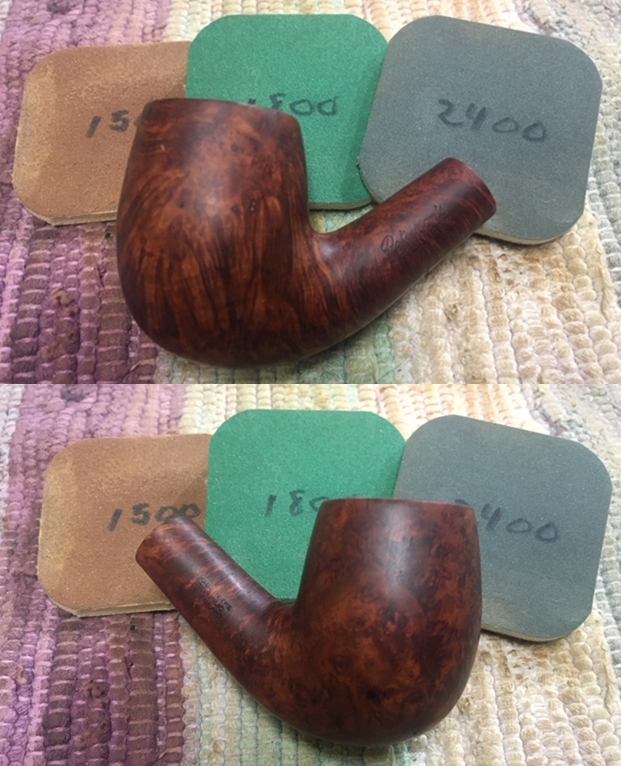
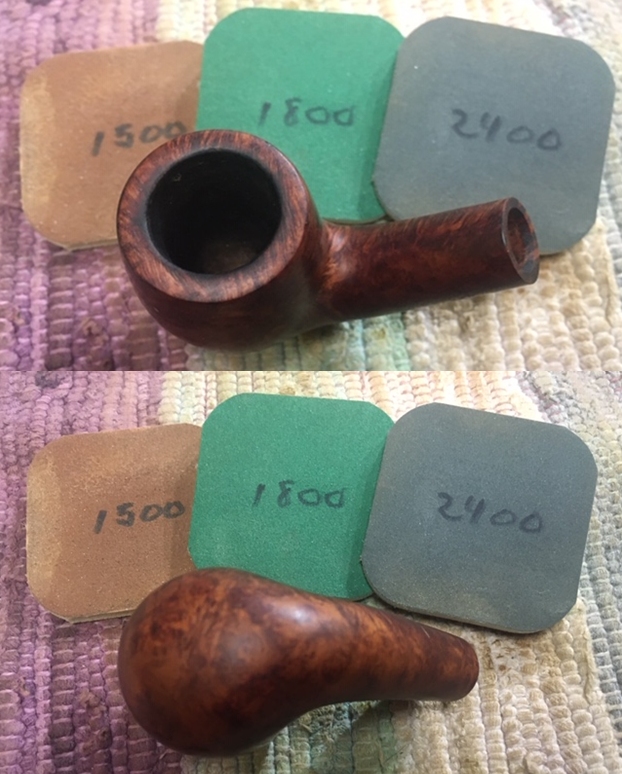
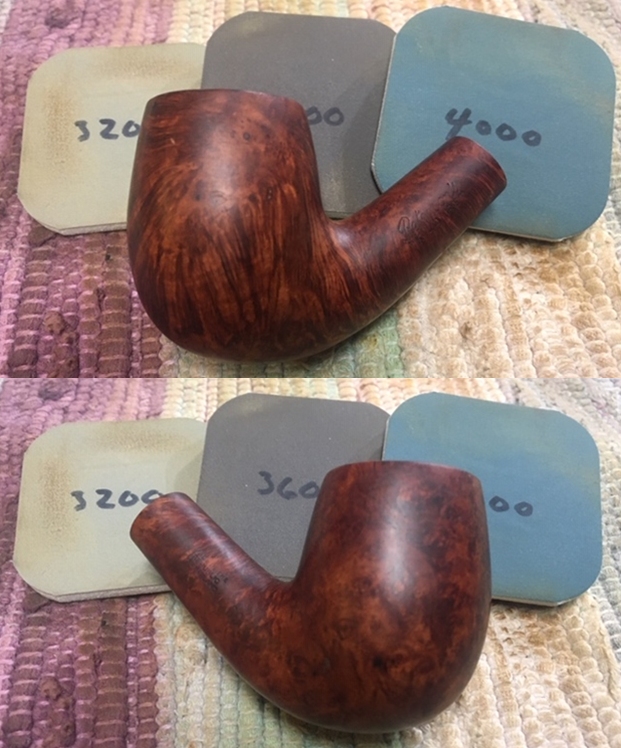
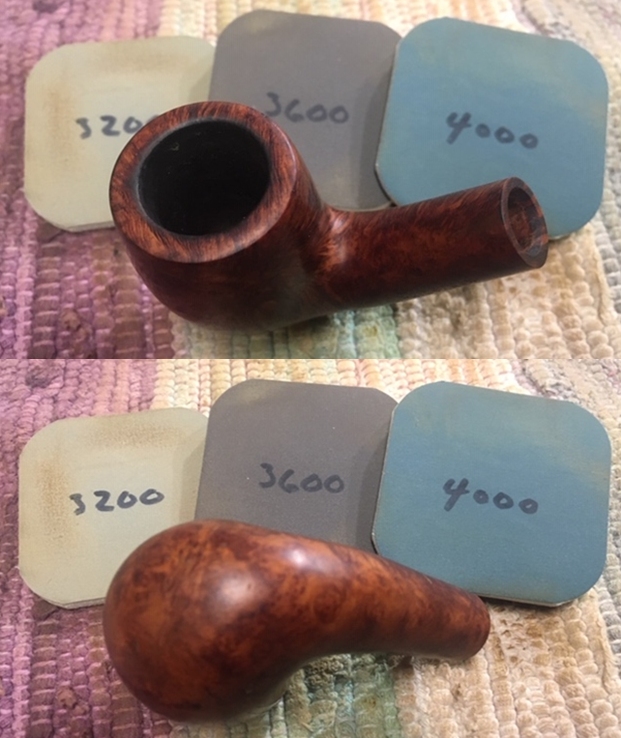
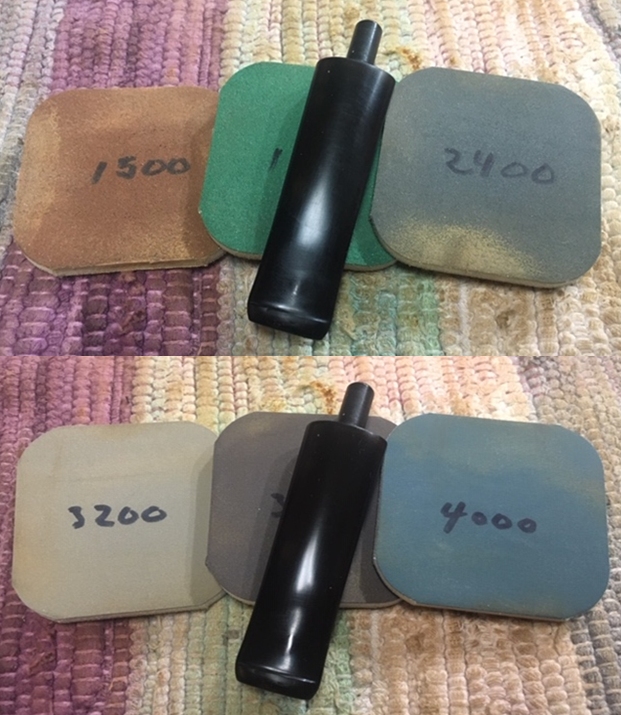
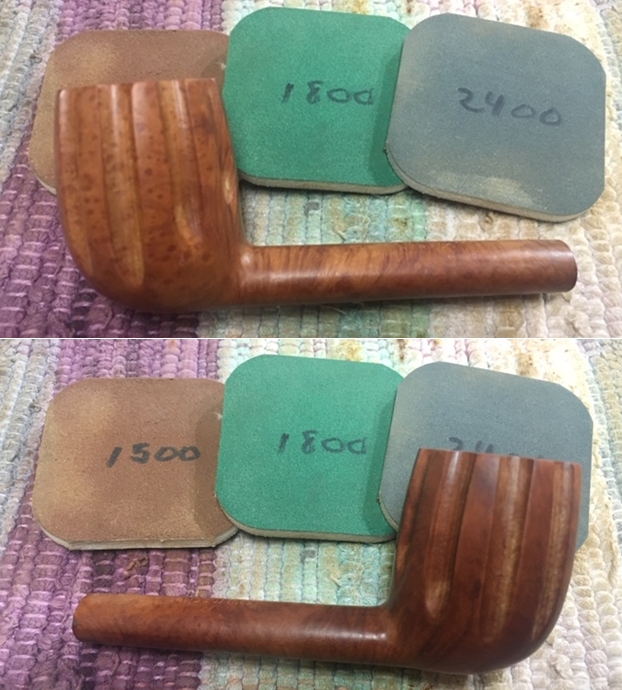
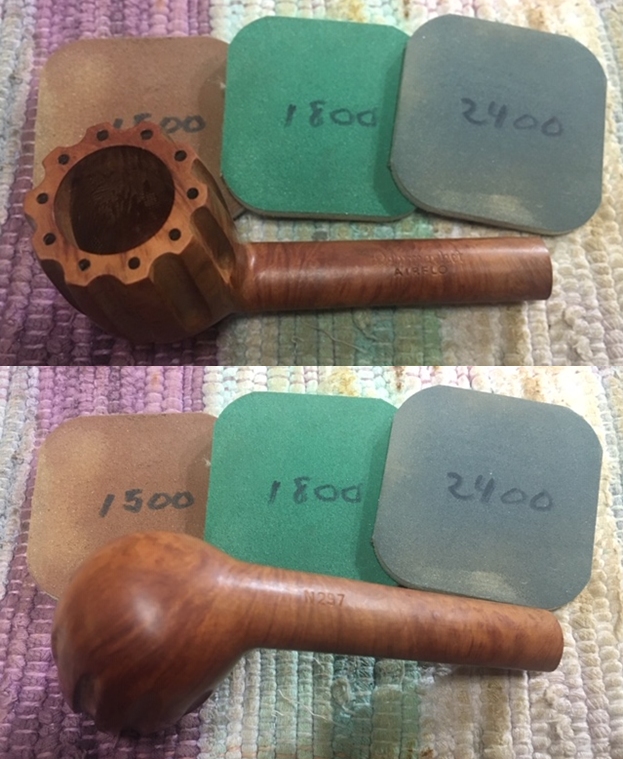
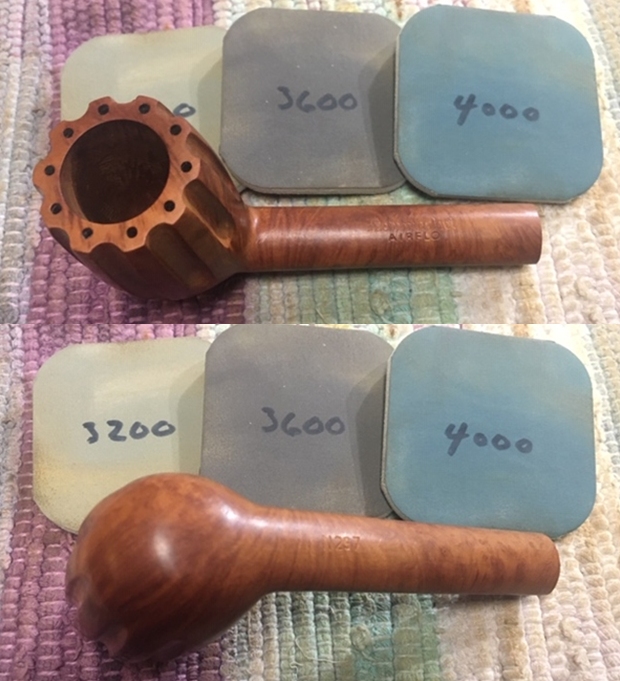
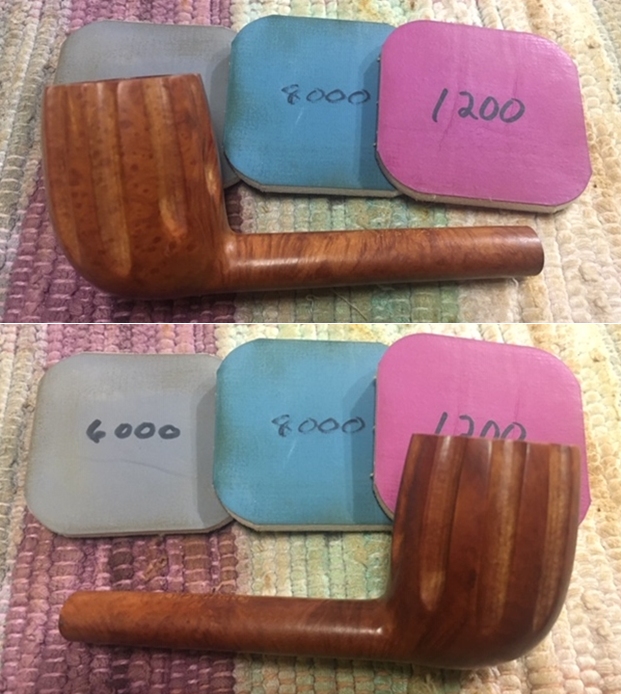
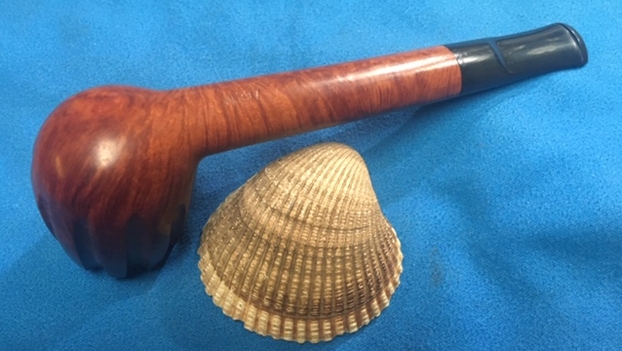
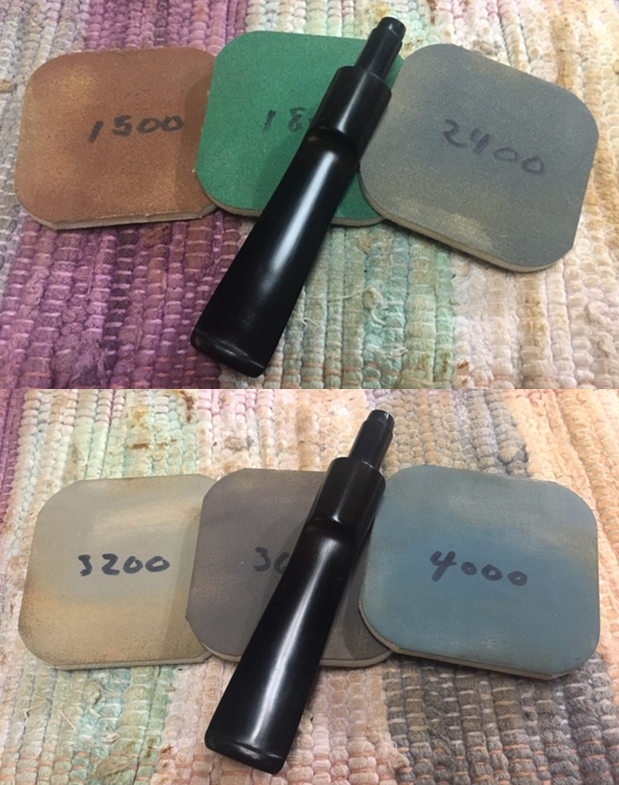
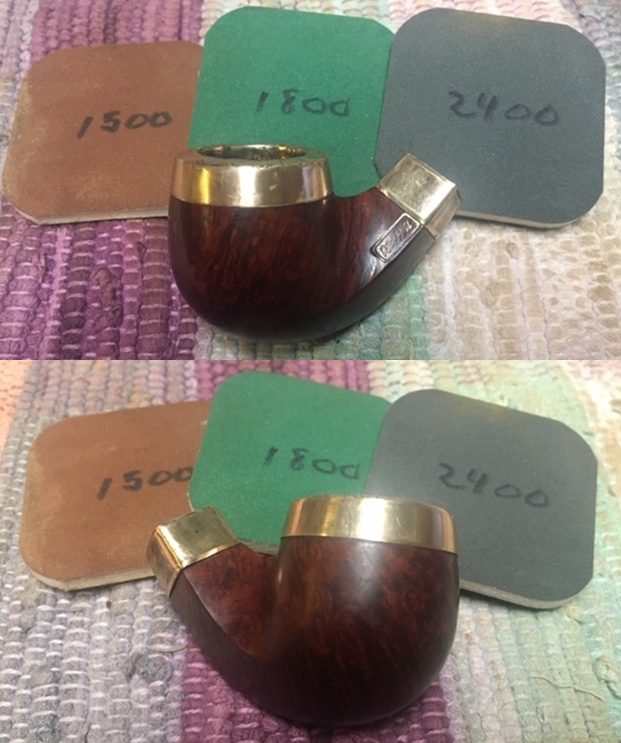
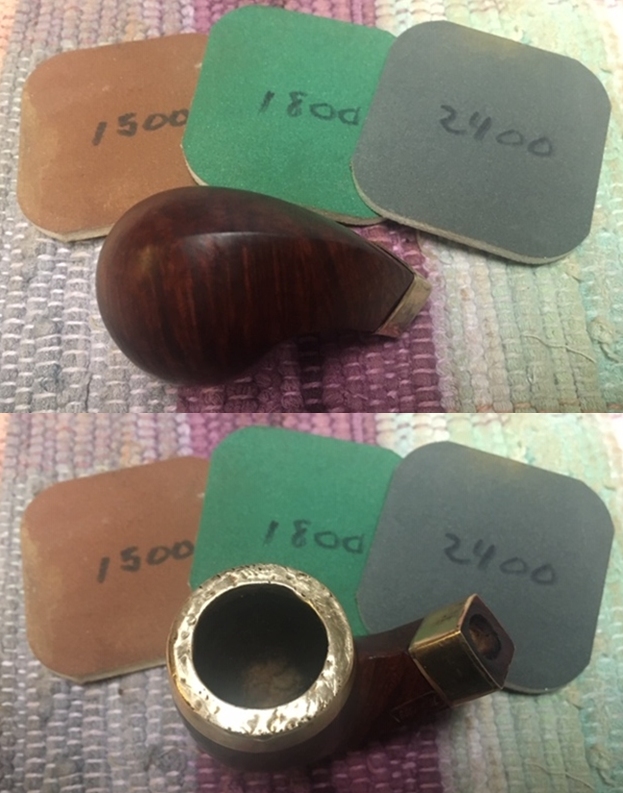
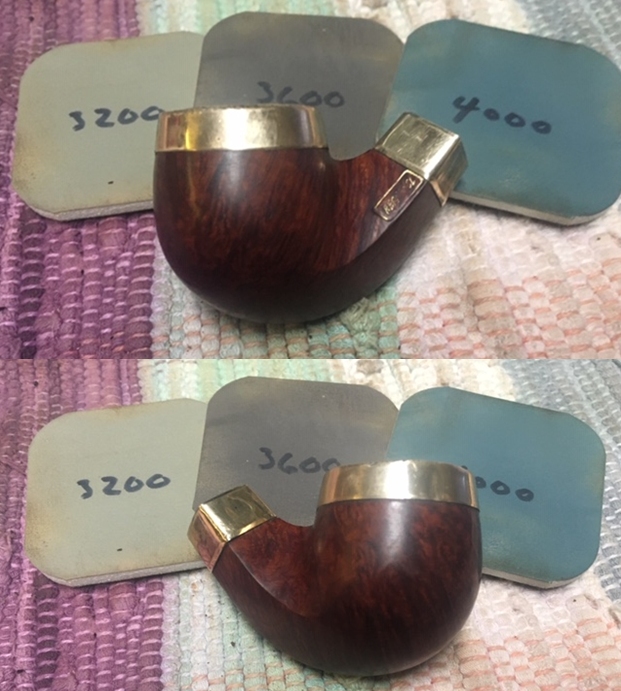
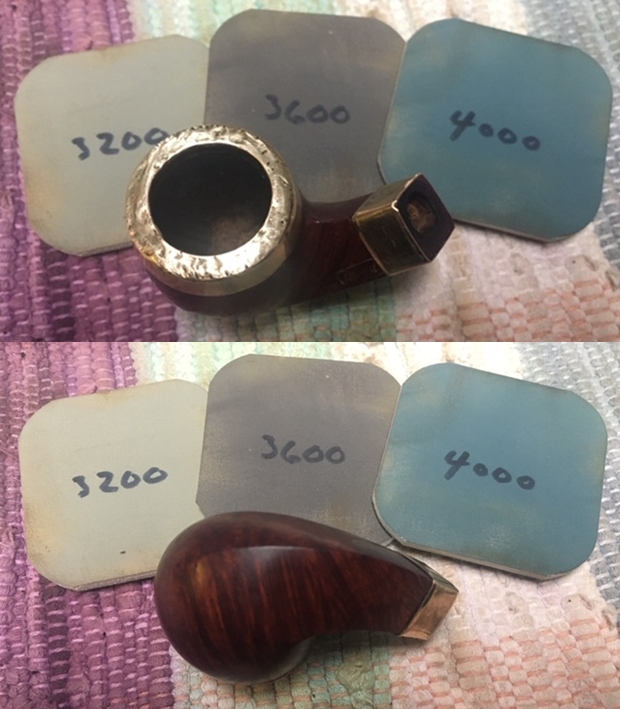
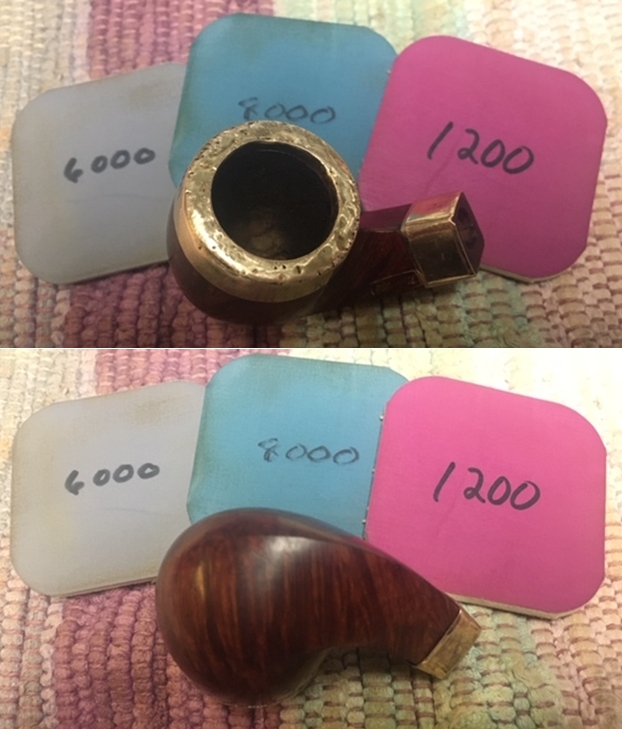
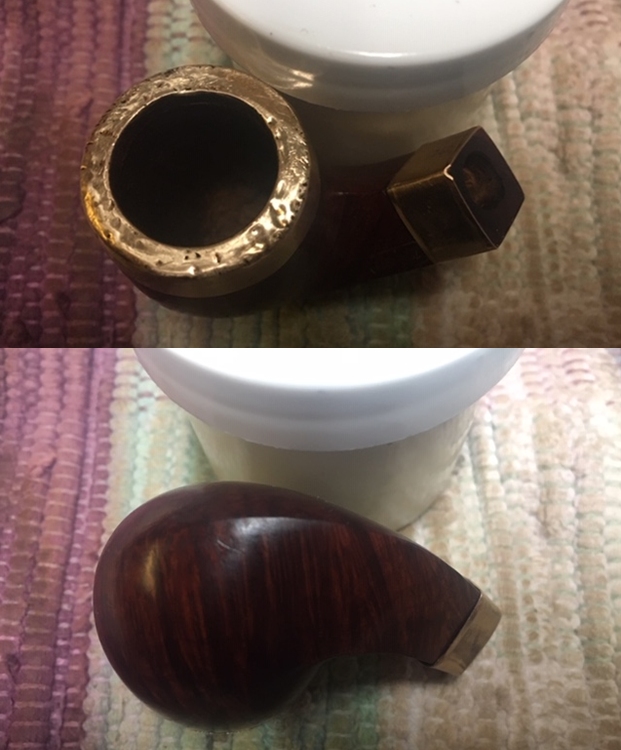
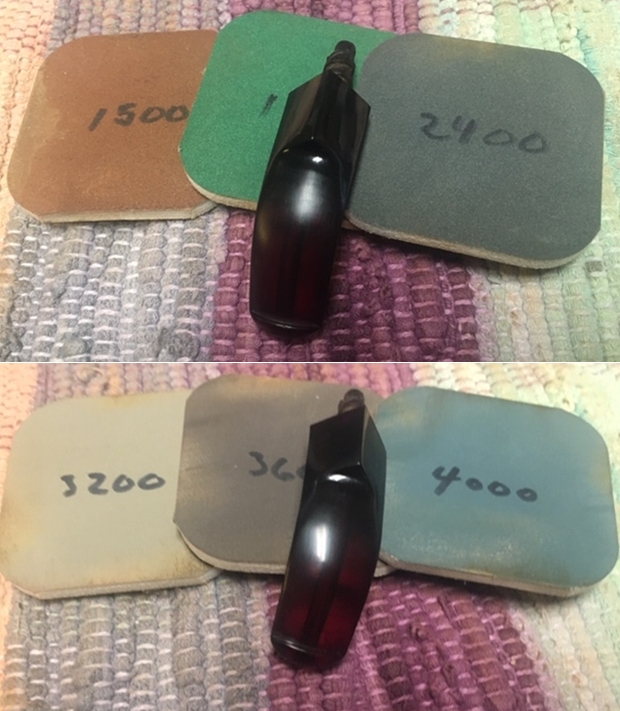
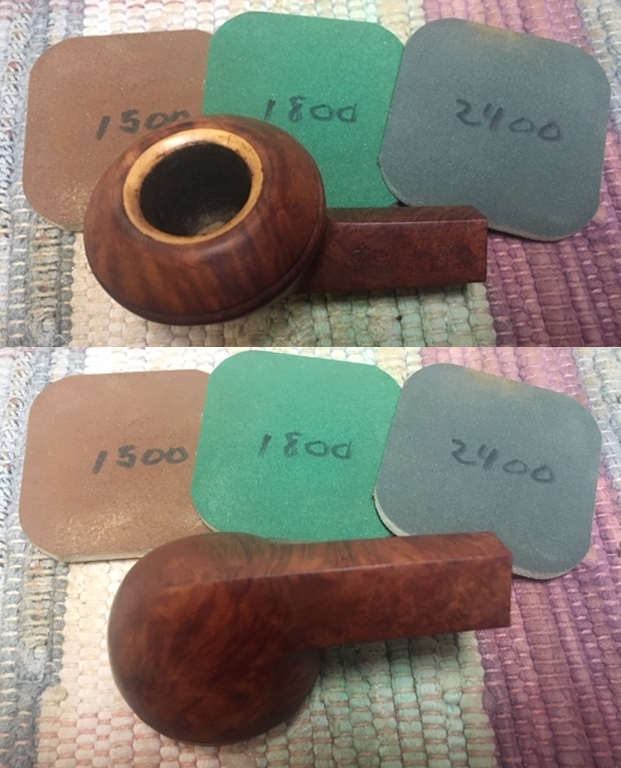
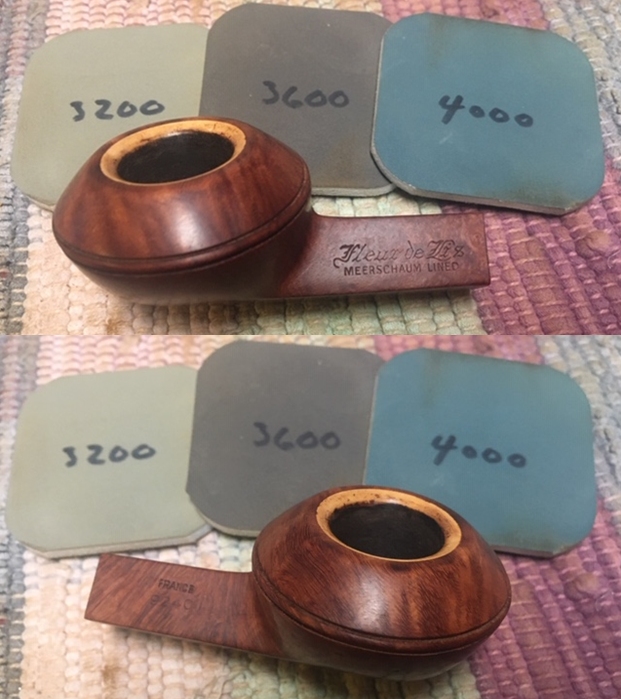
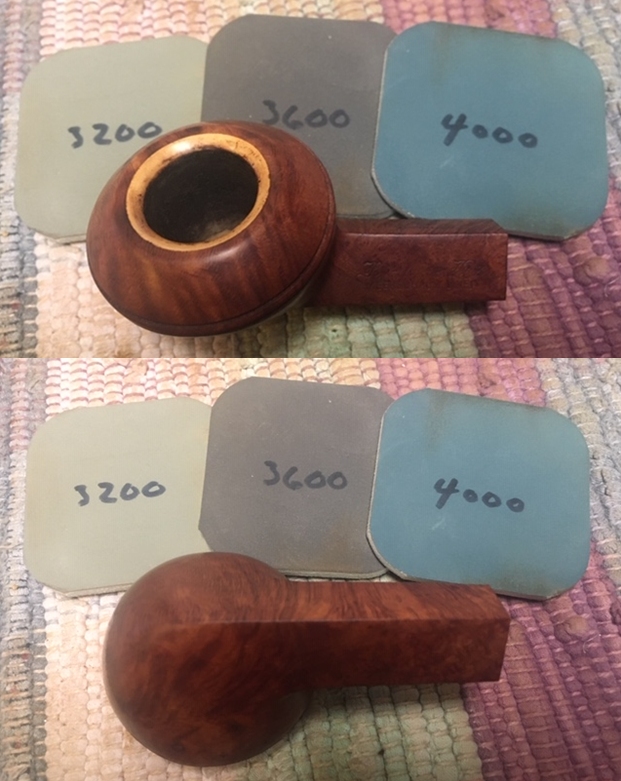
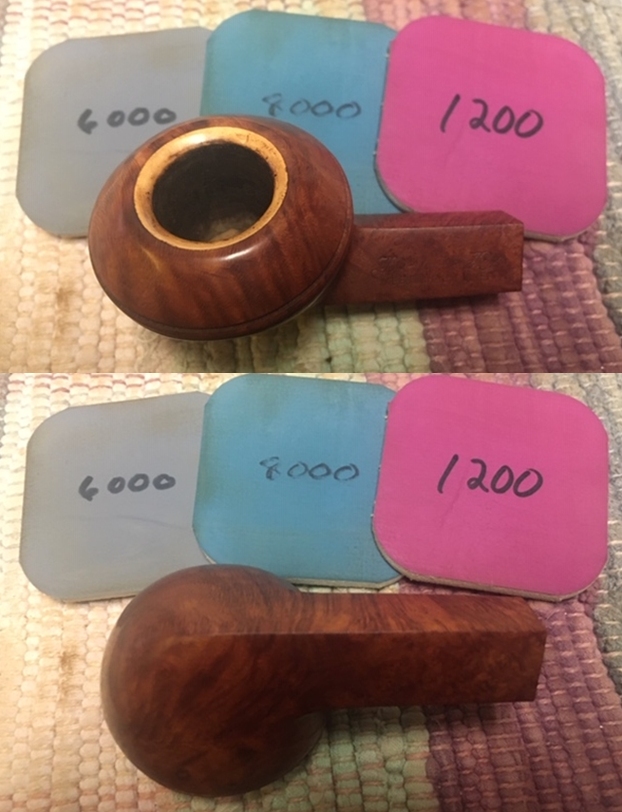
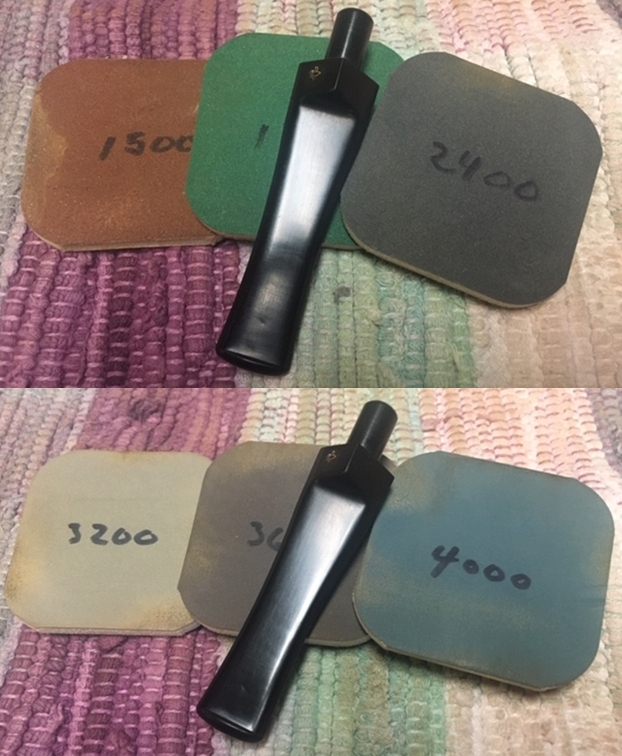
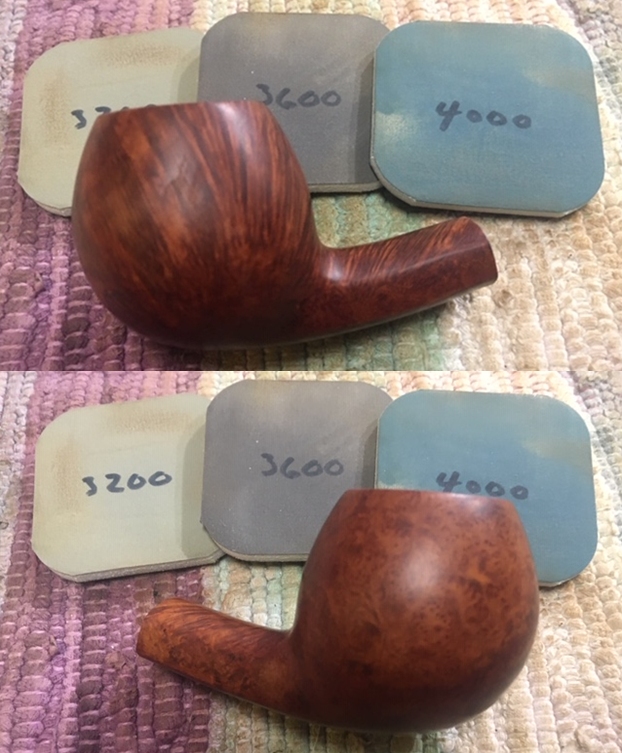
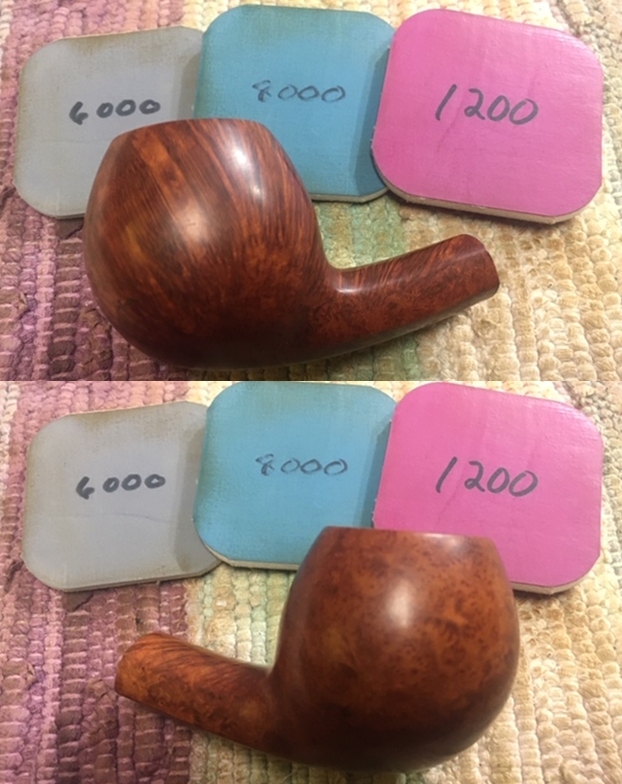
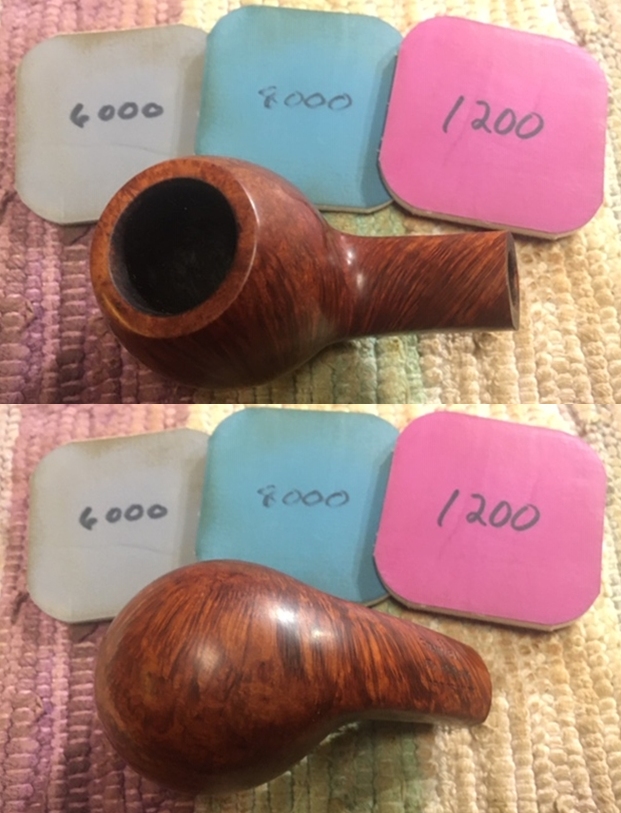
  I decided to start my work on the pipe by polishing the pipe with micromesh because it was in such good condition. I polished it with 1500-12000 grit micromesh sanding pads. I wiped the bowl down after each sanding pad with a damp cloth.
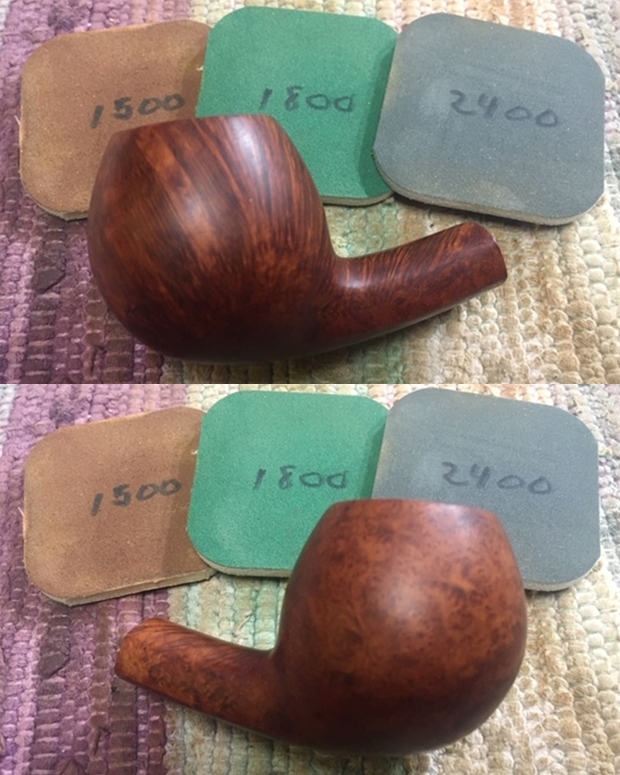


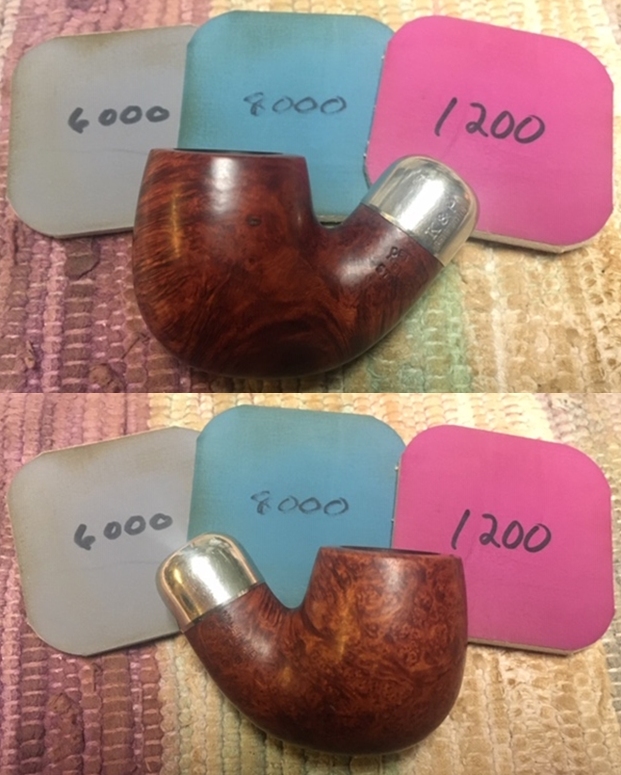
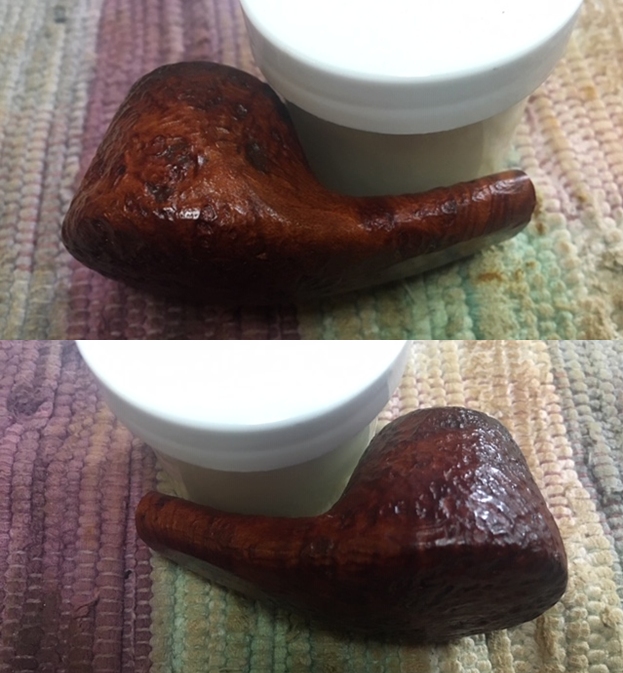
 I rubbed the briar down with Before & After Restoration Balm. I worked it into the briar with my fingertips. The product works to clean, enliven and preserve the briar. I let it sit for 10 minutes while I worked on the stem. After the time passed I buffed it with a cotton cloth to deepen the shine. The briar really comes alive with the balm.
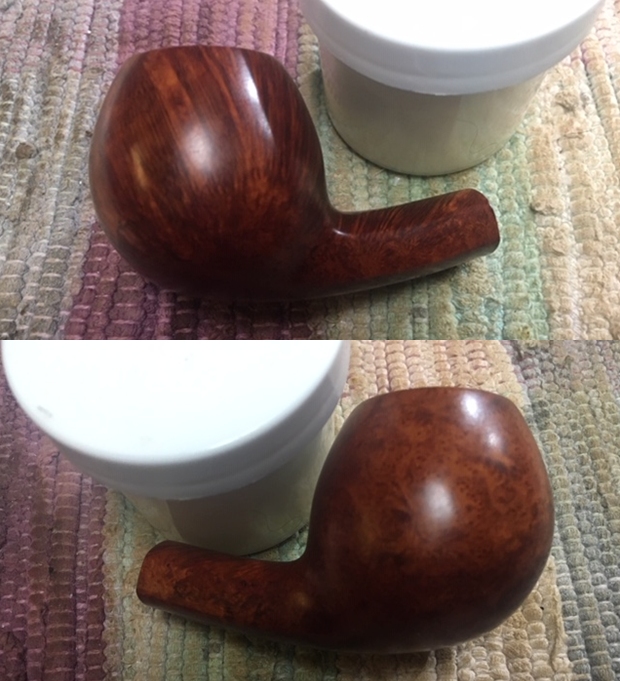
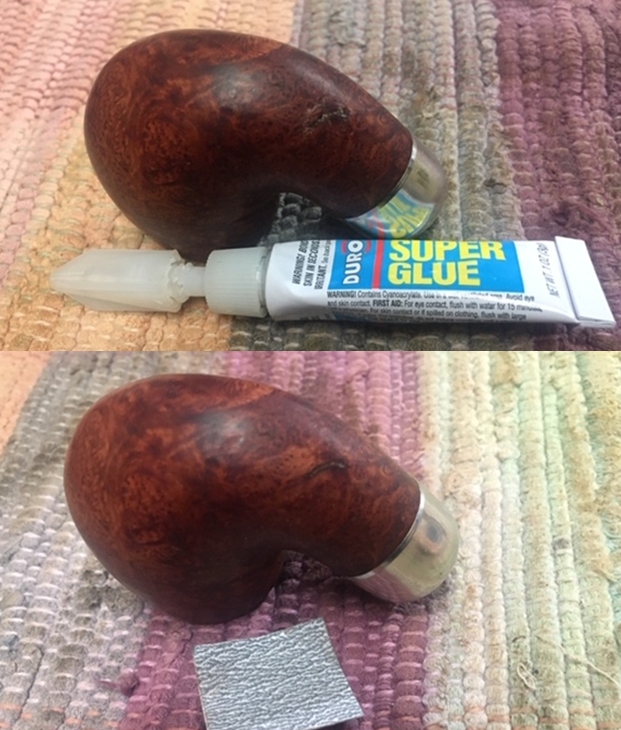
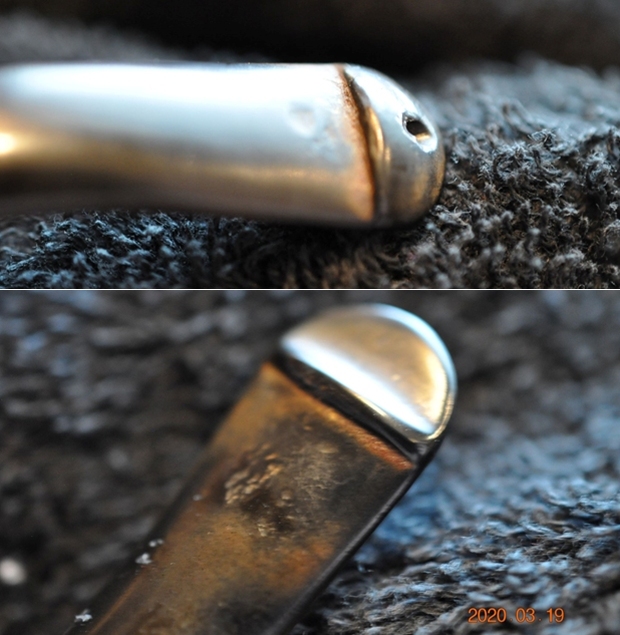
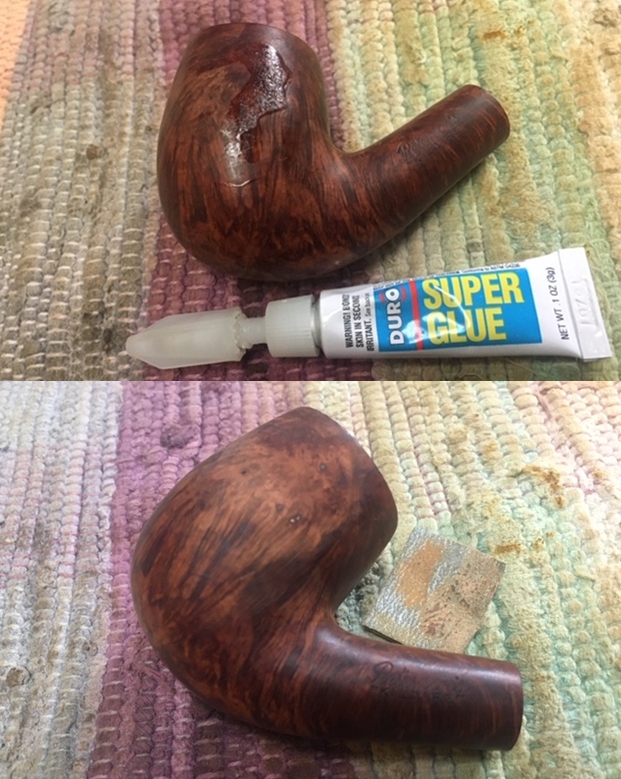
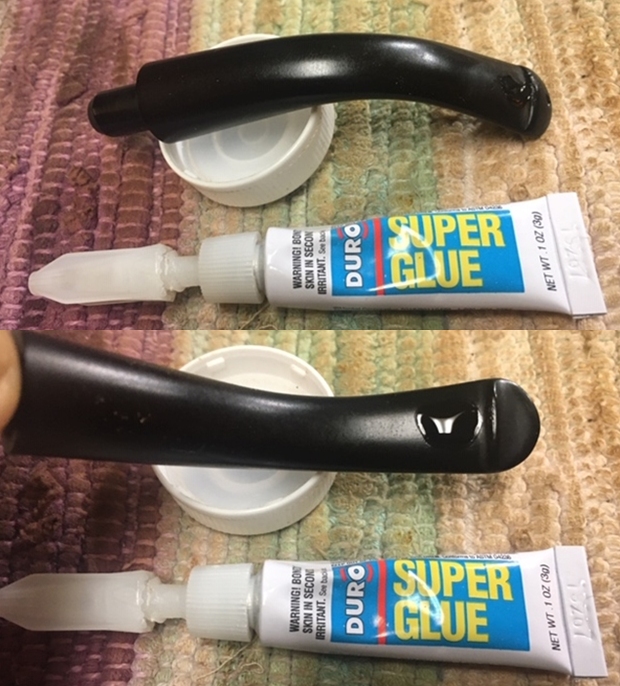
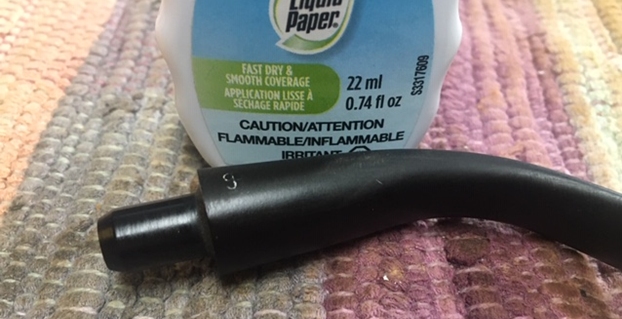
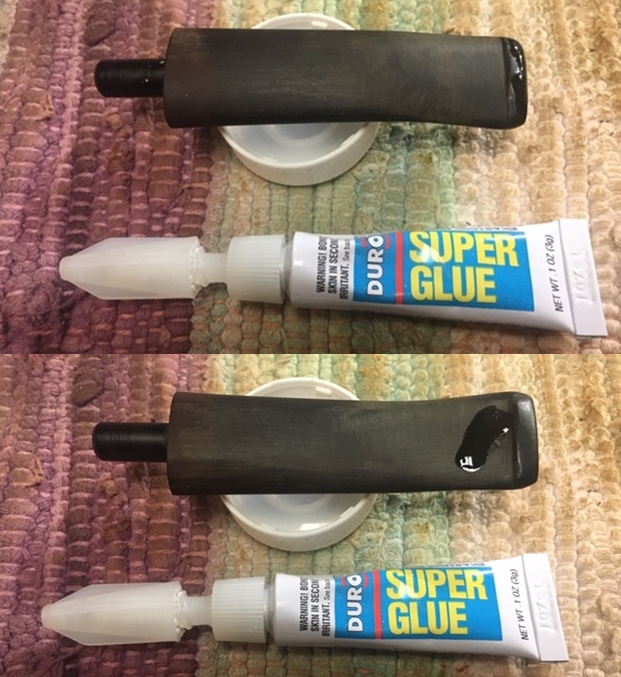
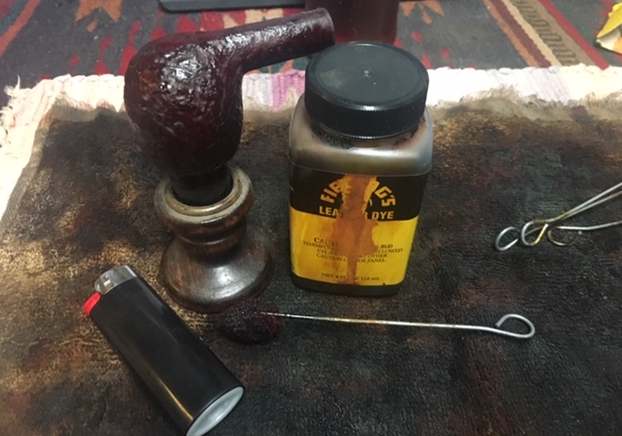
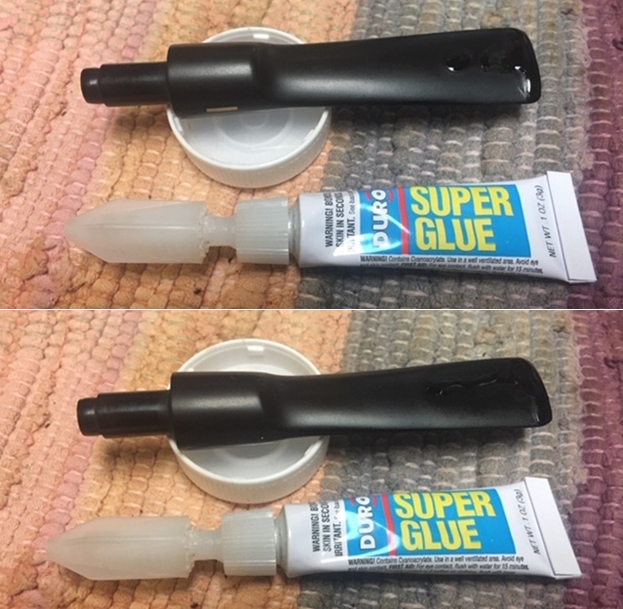
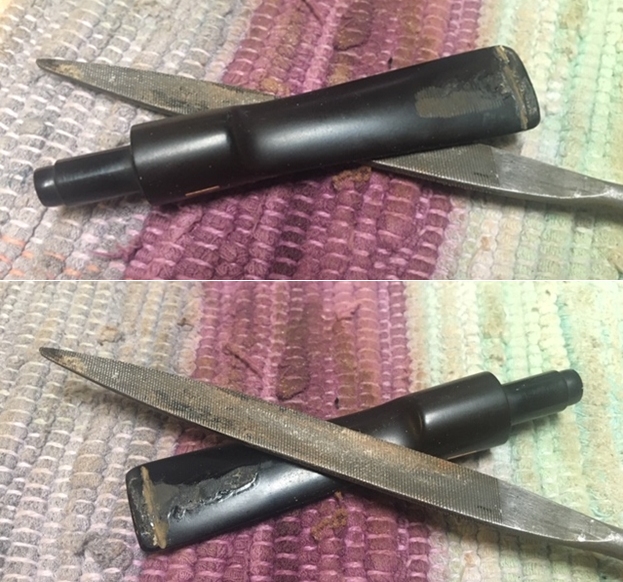
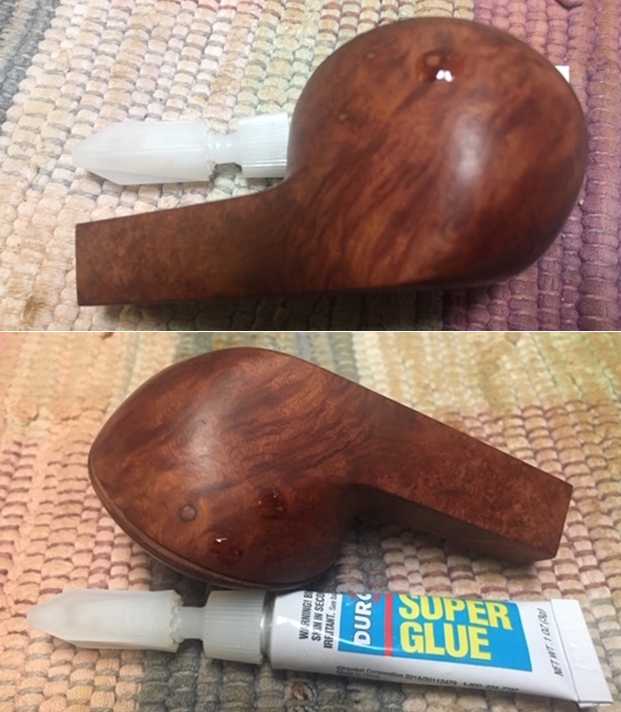
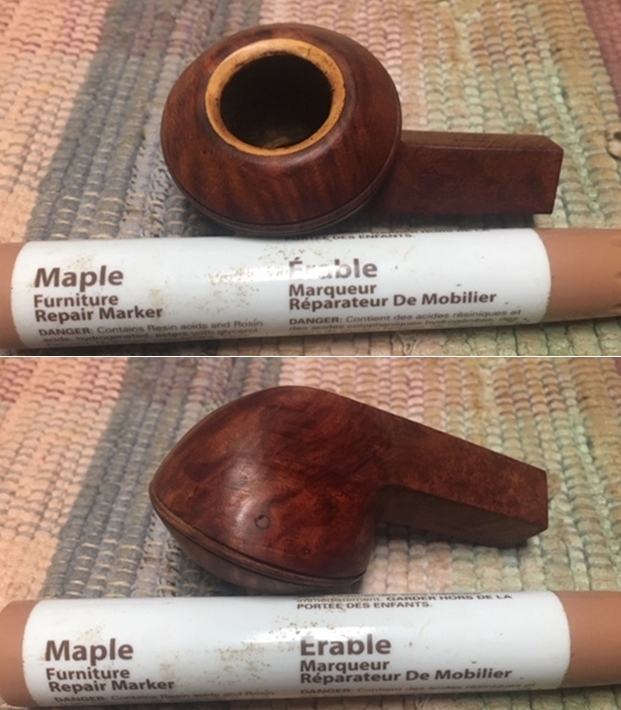
 I set the bowl aside and turned my attention to the stem. I filled in the indentations on the button edge and built it up with clear super glue. Once the repair cured I used a needle file to reshape the button edges and also flatten the repaired areas.
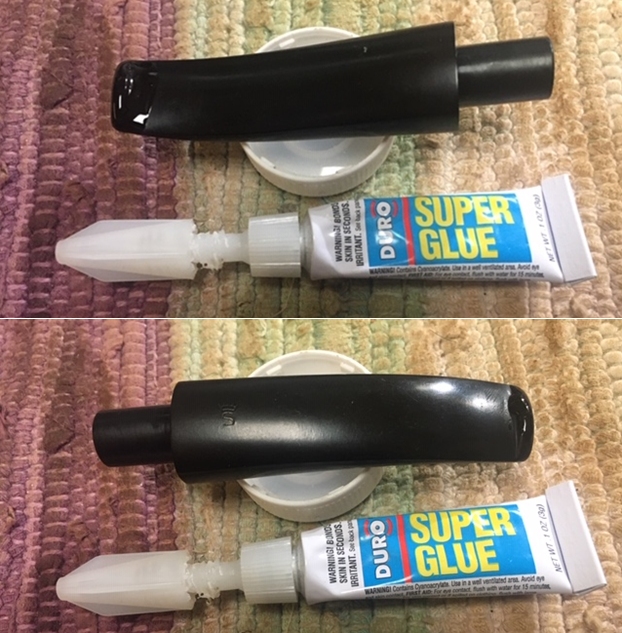
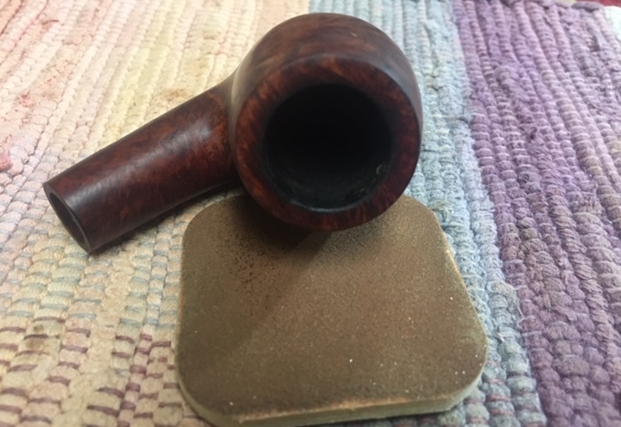
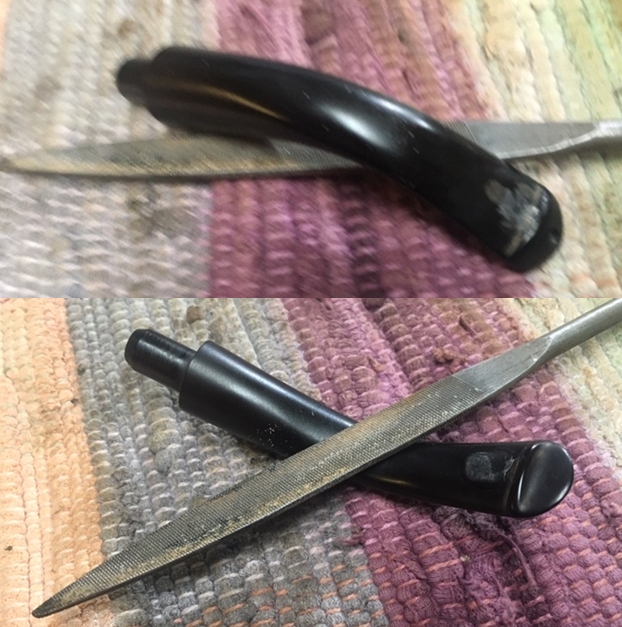
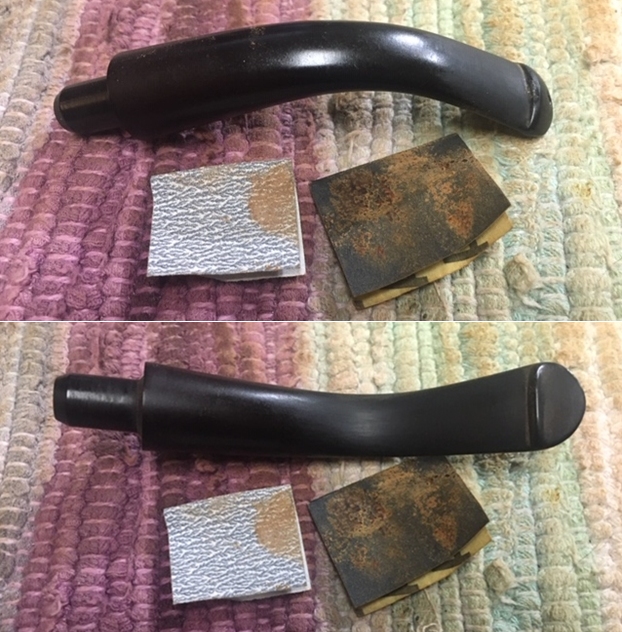
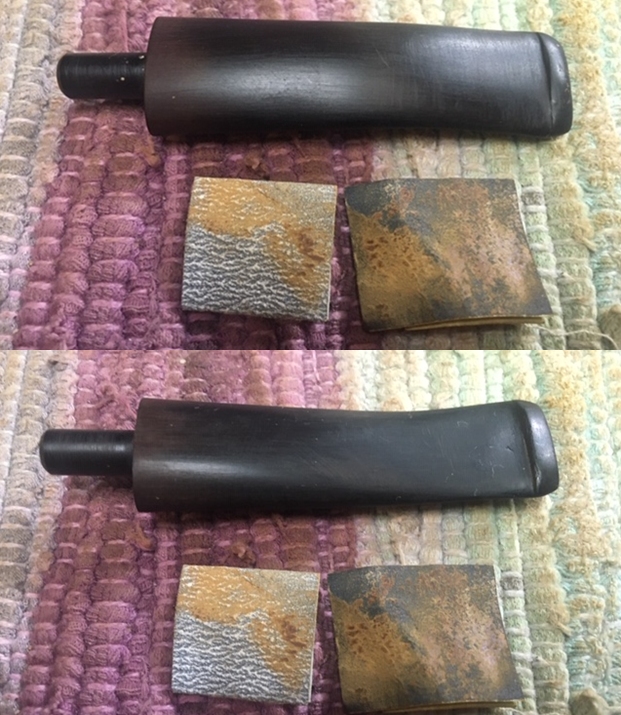
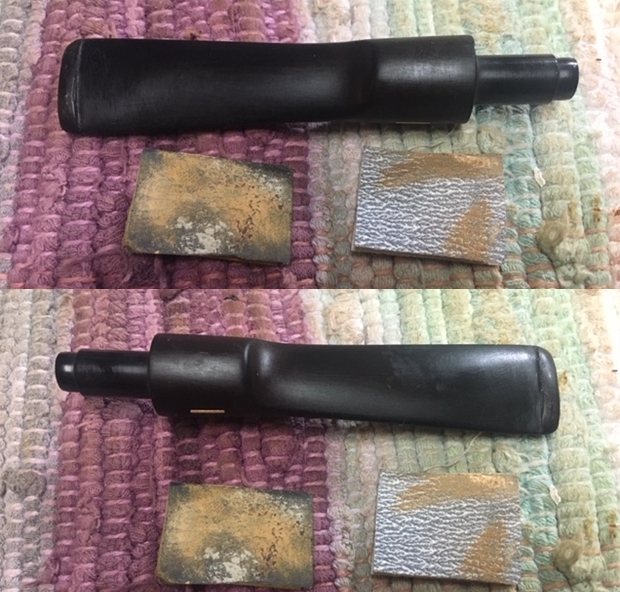
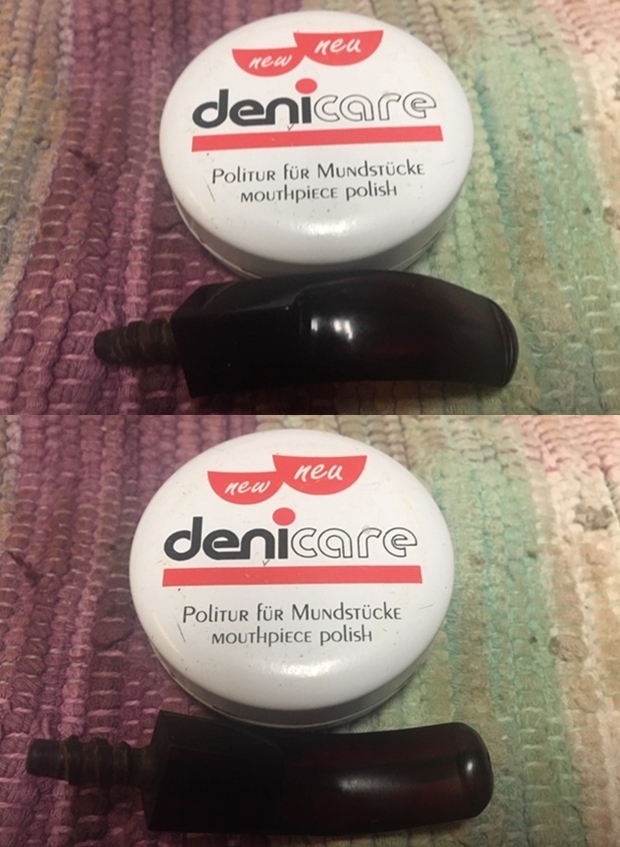
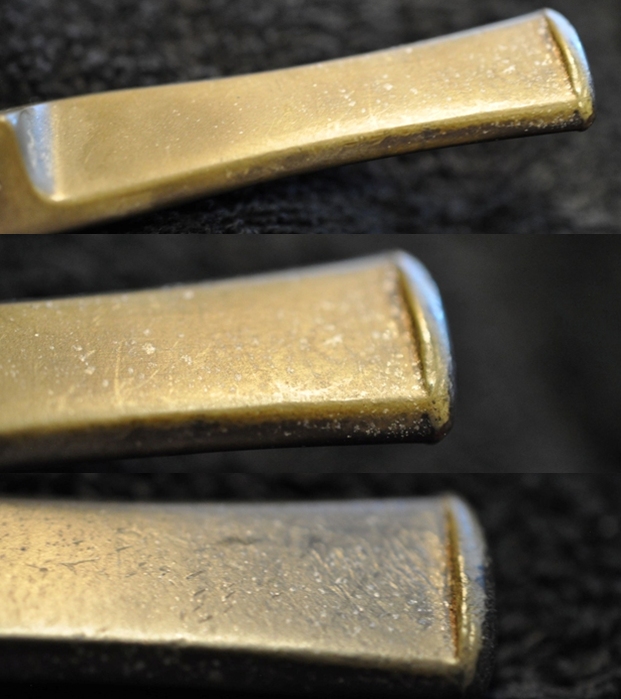
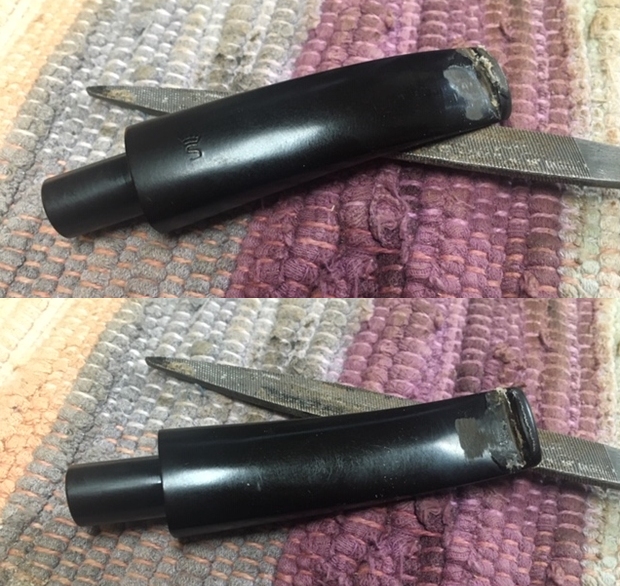 I sanded the stem with 220 grit sandpaper to finish the shaping and to remove the remaining oxidation. I started polishing the stem with 400 grit wet dry sandpaper. I wiped the stem down with Obsidian Oil before further polishing it.
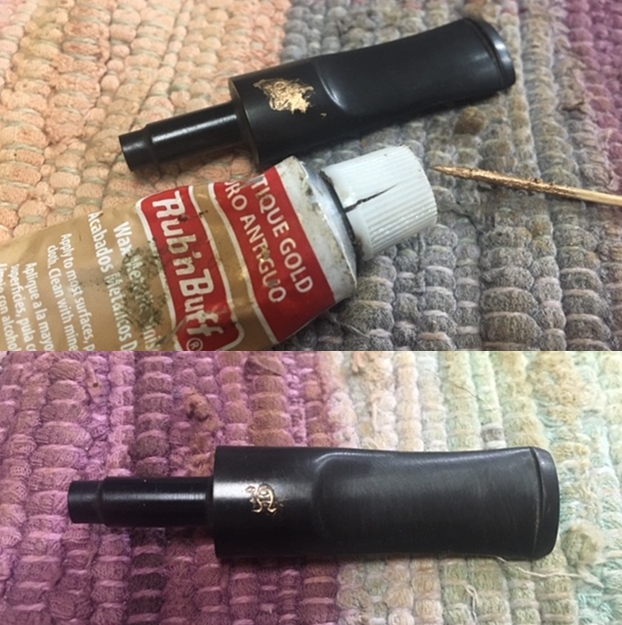
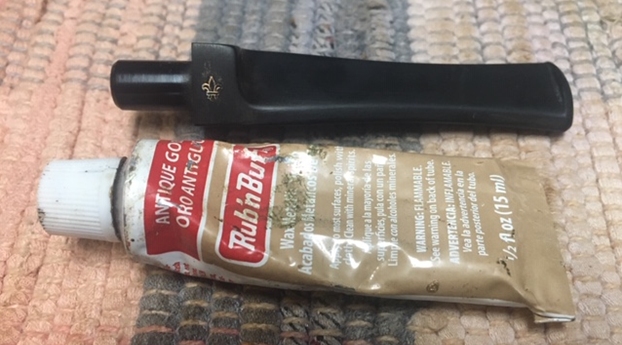
 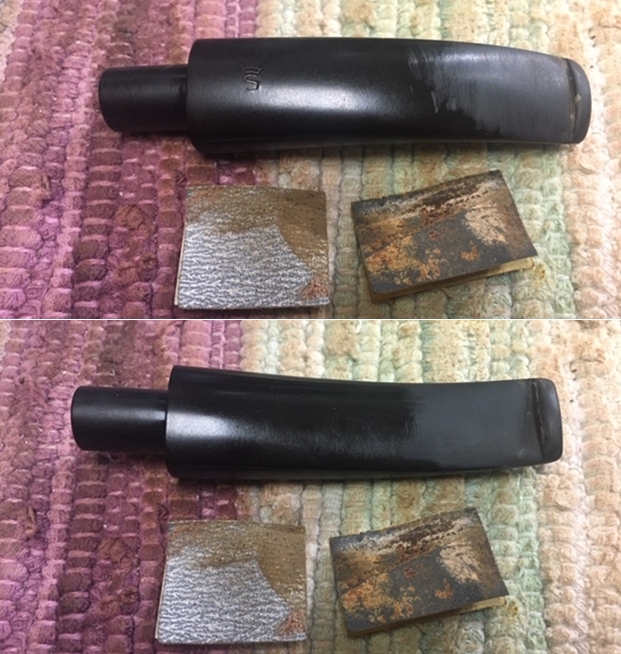 I used some Rub’n Buff Antique Gold to touch up the gold that remained in the Crown S stamp on the top of the stem.
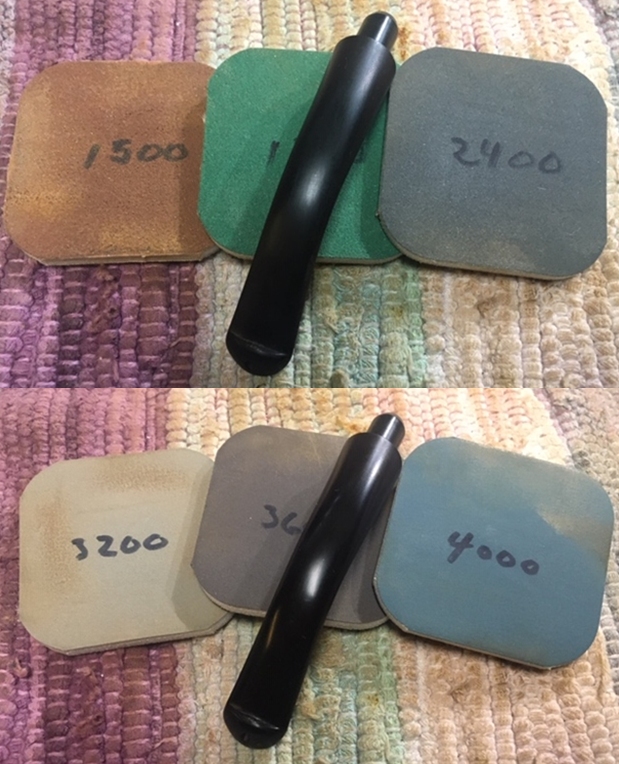
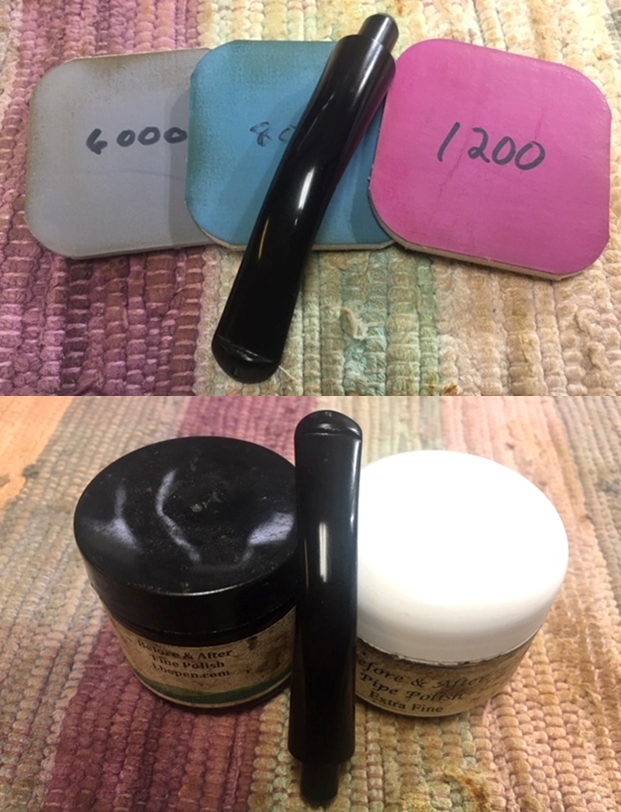
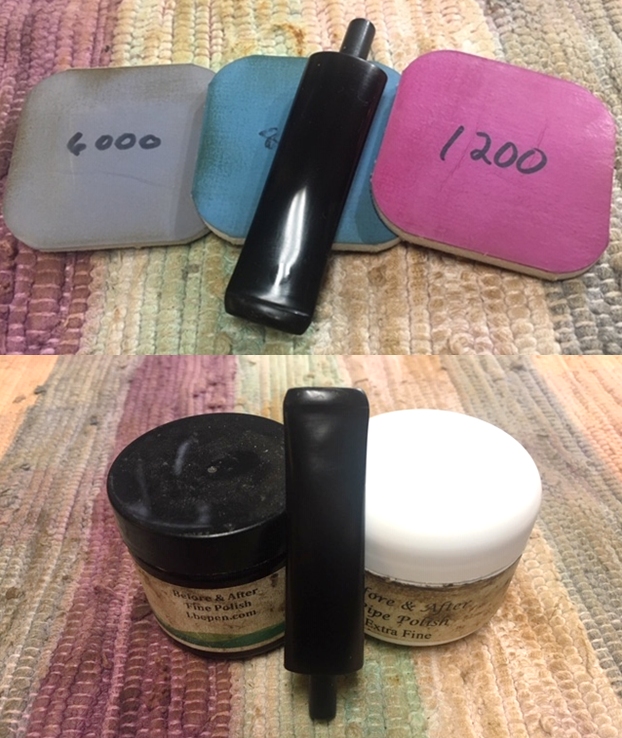
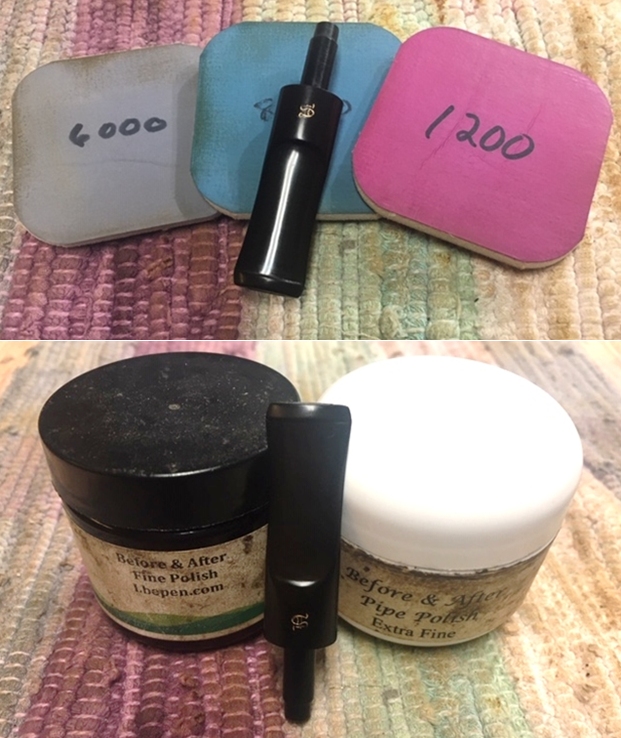
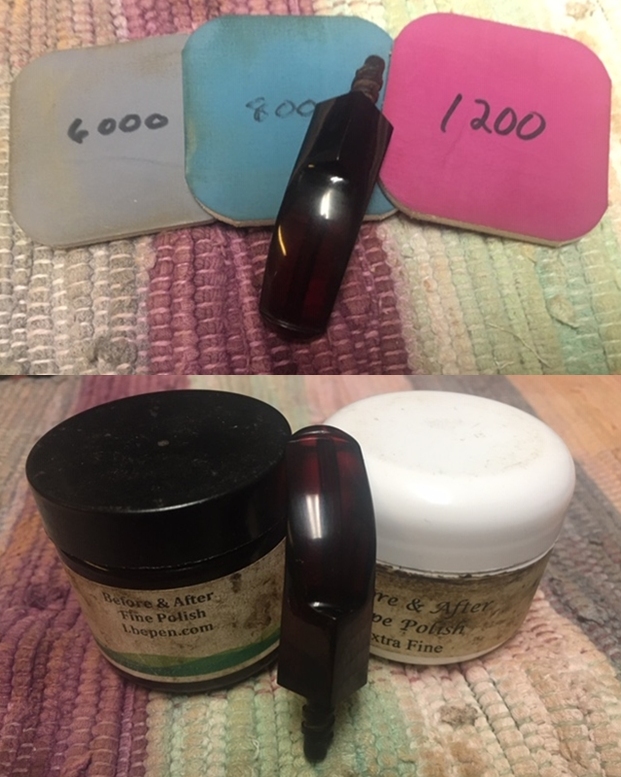
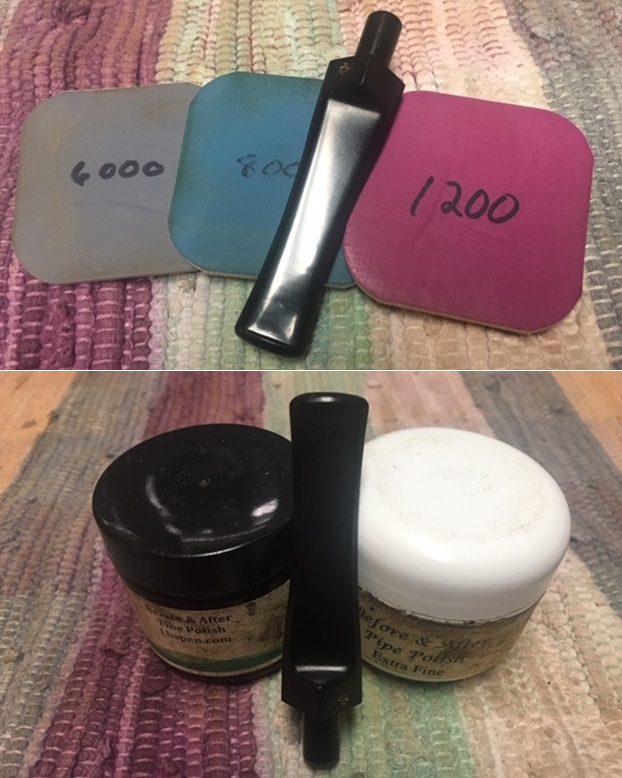
  I polished the vulcanite with micromesh sanding pads – 1500-12000 grit pads. I wiped it down with Obsidian Oil after each sanding pad. I used Before & After Pipe Polish – both Fine and Extra Fine to further polish the stem.
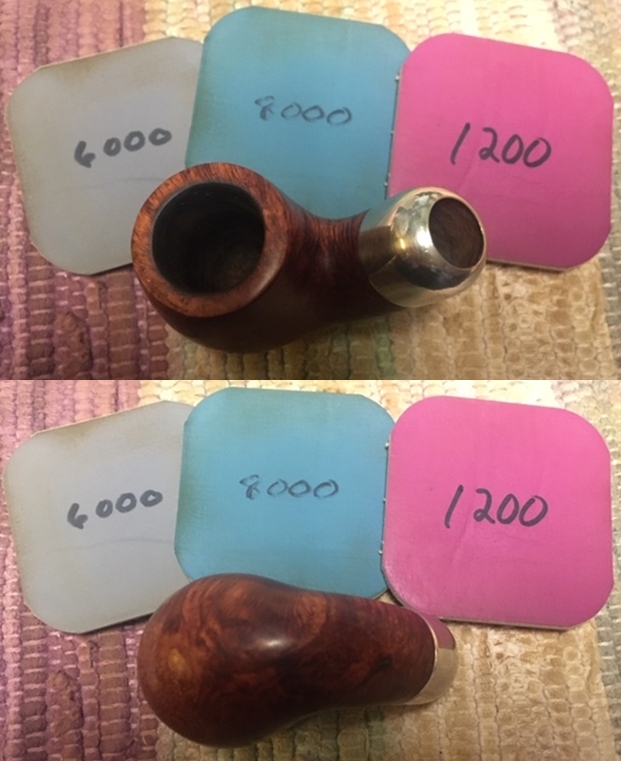
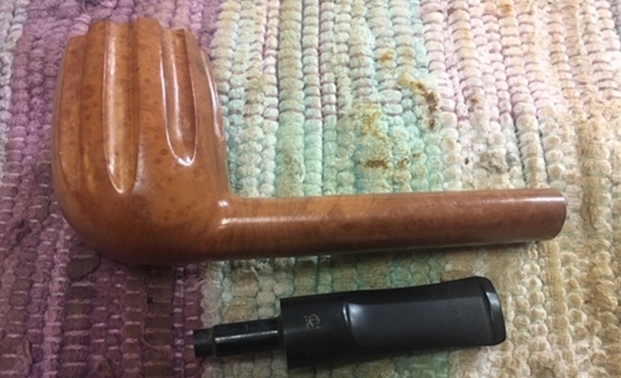
 I have a box of Vauen 9MM filters so I took one out of the box and inserted it in the tenon. The fit is perfect and fills in the tenon.
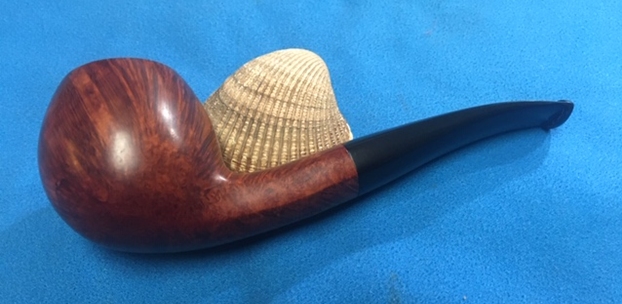
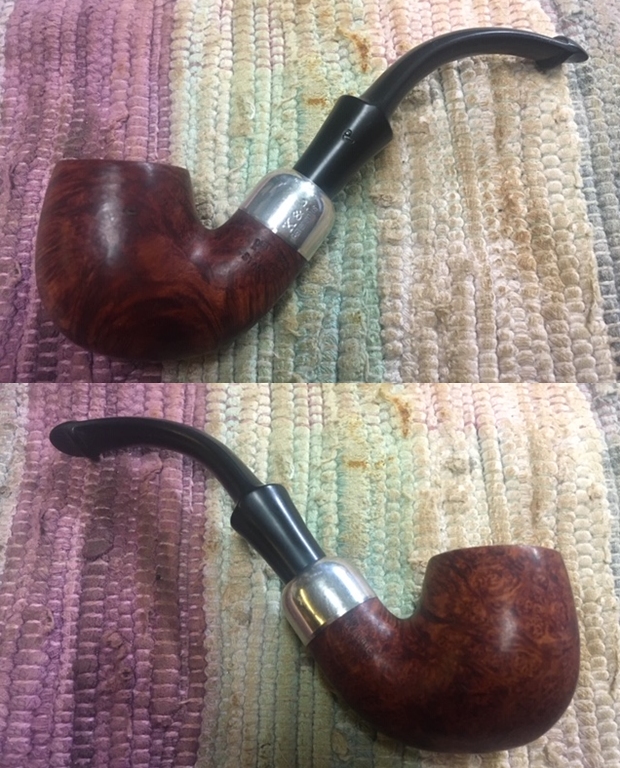
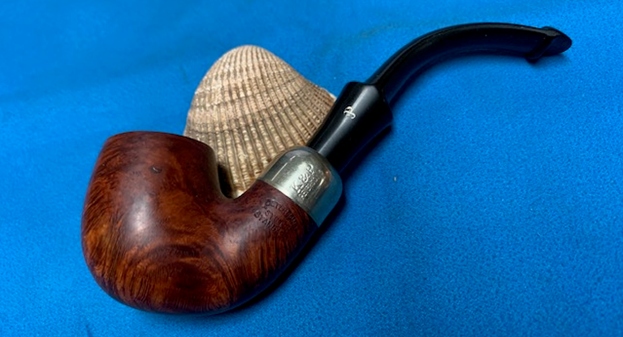
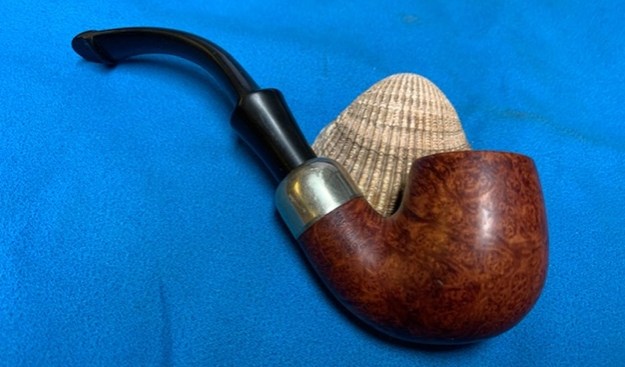
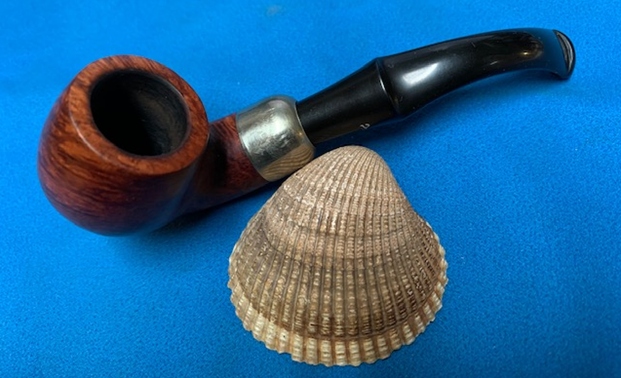
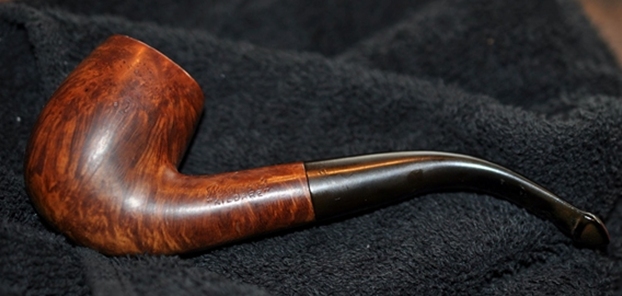
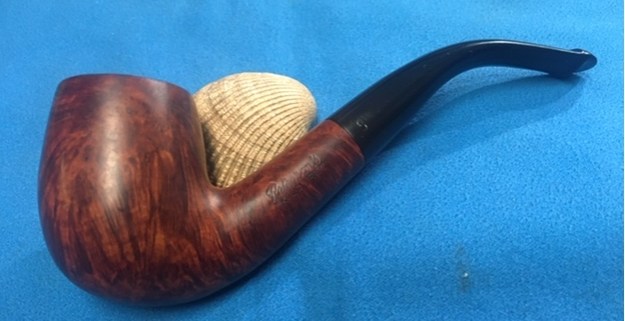
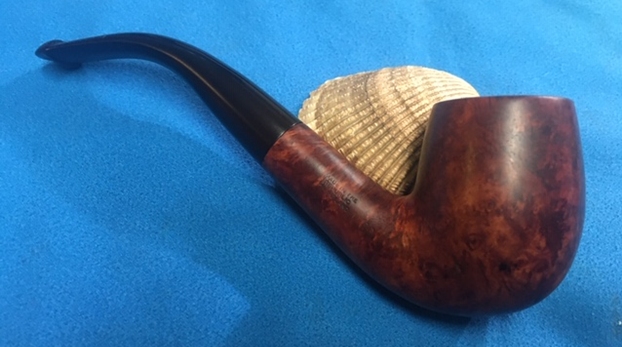
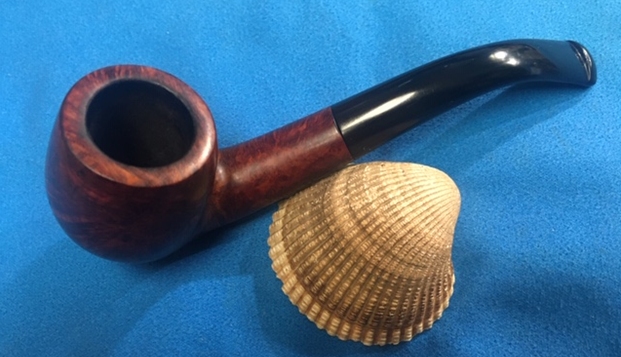
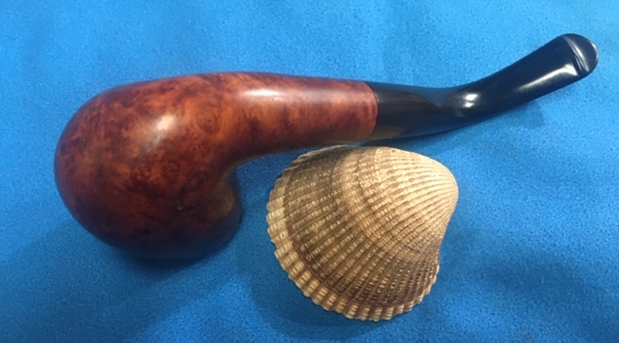
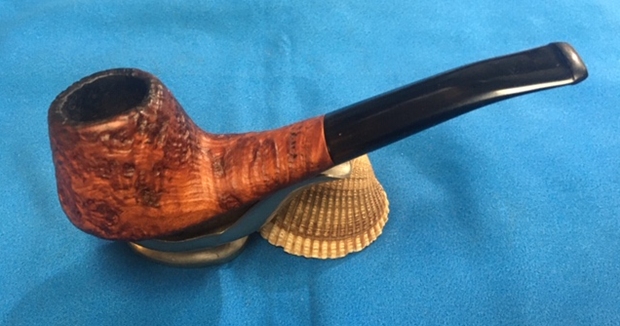
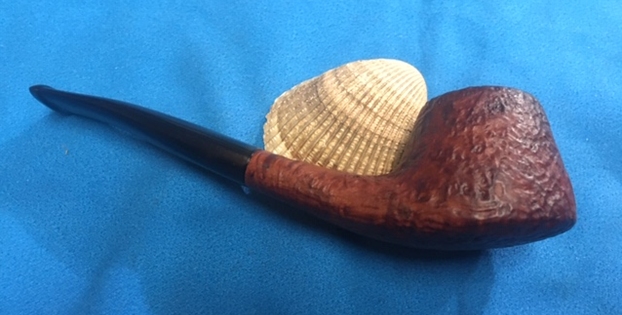
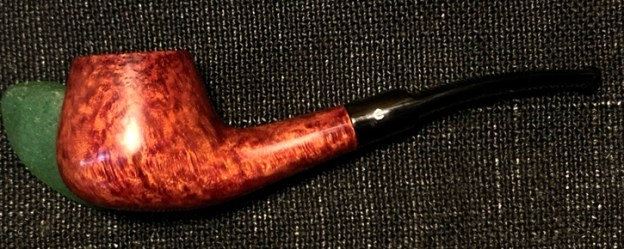
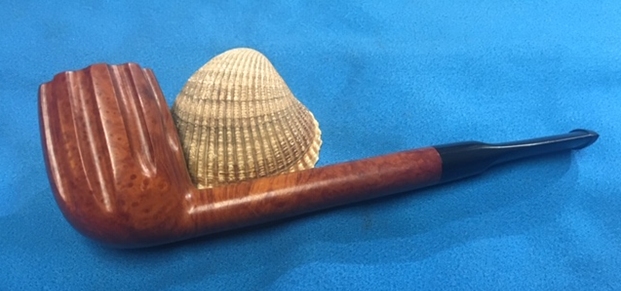
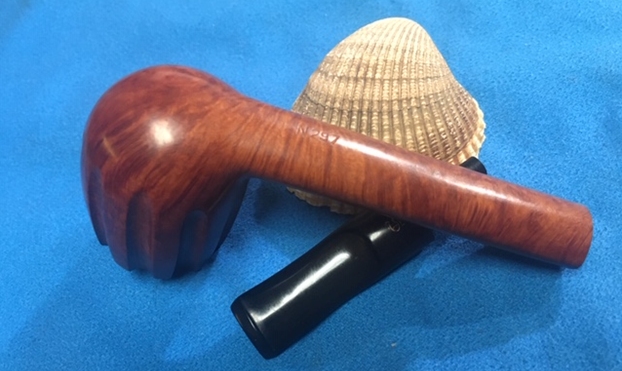
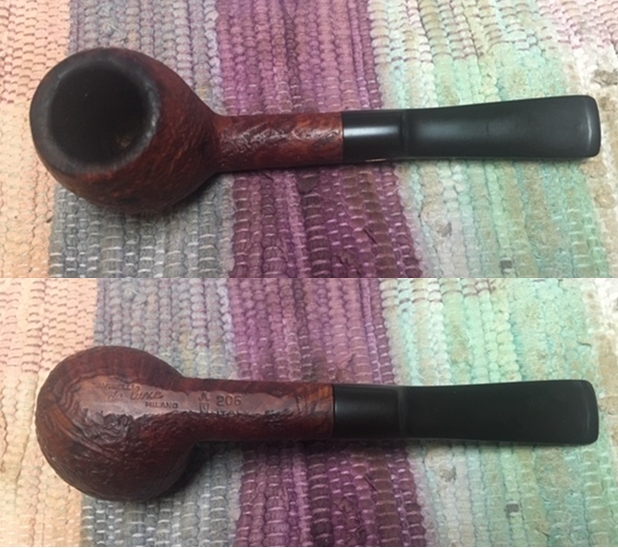
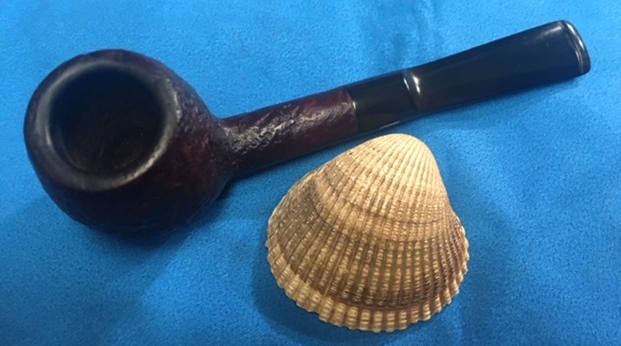
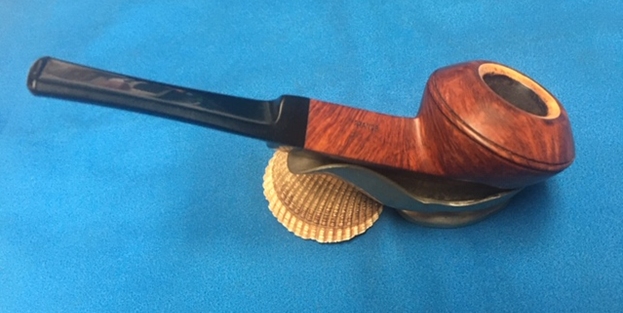
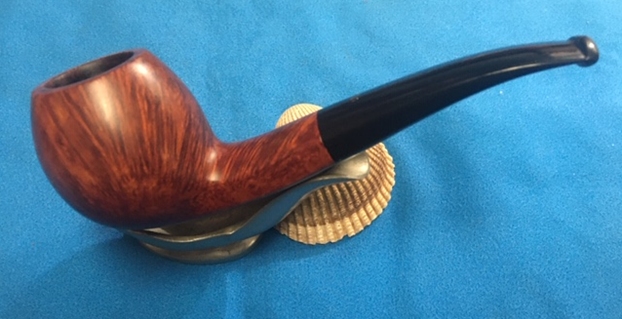
 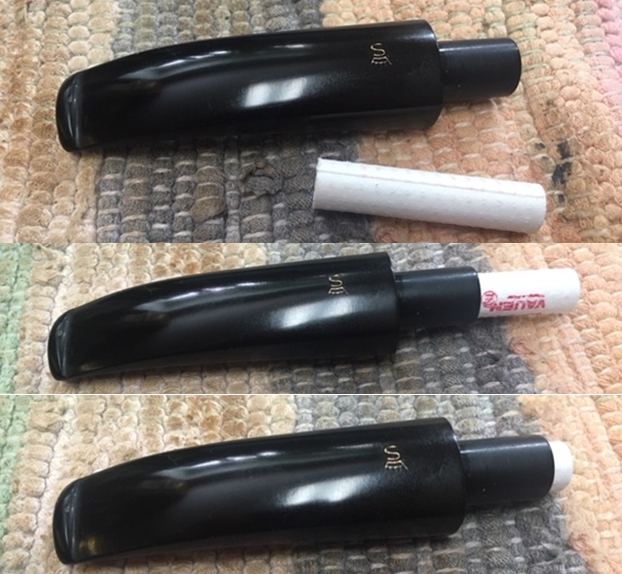 This S. Bang designed Stanwell Royal Guard 182 Apple with a taper vulcanite stem turned out very nice. The mix of brown stains highlights the grain around the bowl sides and bottom. The rim top and edges look very good. The finish on the pipe is in excellent condition. I put the stem back on the bowl and carefully buffed the pipe with Blue Diamond on the buffing wheel. I gave the bowl and stem multiple coats of carnauba wax on the buffing wheel and followed that by buffing the entire pipe with a clean buffing pad. I hand buffed the pipe with a microfiber cloth to deepen the shine. The finished apple is very nice and feels great in the hand and can be used as a sitter with the wide base. Give the finished pipe a look in the photos below. It is a nice pipe whose dimensions are Length: 5 ½ inches, Height: 1 ¾ inches, Outside diameter of the bowl: 1 ¼ inches, Chamber diameter: ¾ of an inch. Thanks for walking through the restoration with me as I worked over another beautiful pipe. This Stanwell Royal Guard 182 will be going on the rebornpipes store shortly. If you are interesting in adding it to your collection let me know! Thanks for your time.