Blog by Steve Laug
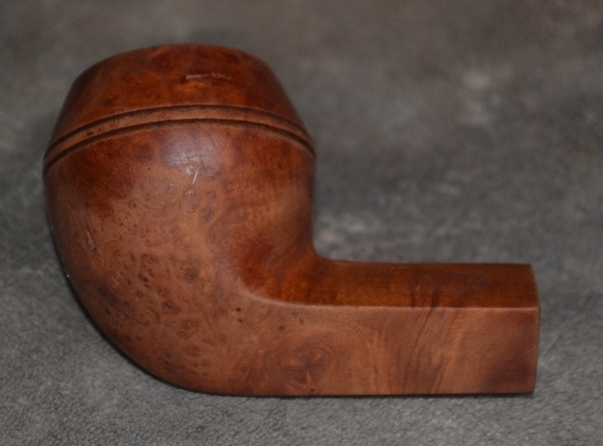
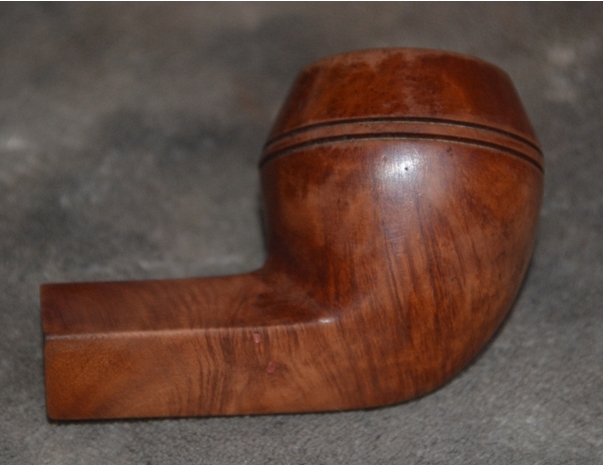
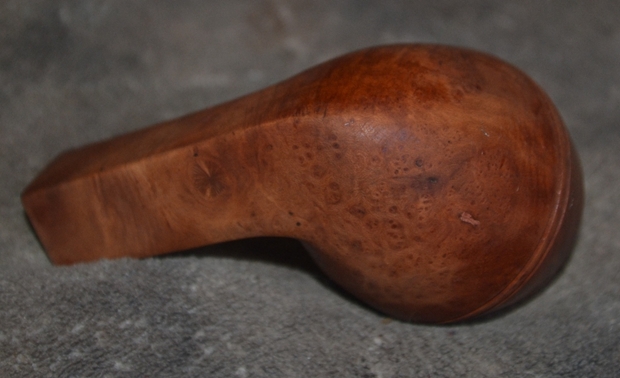
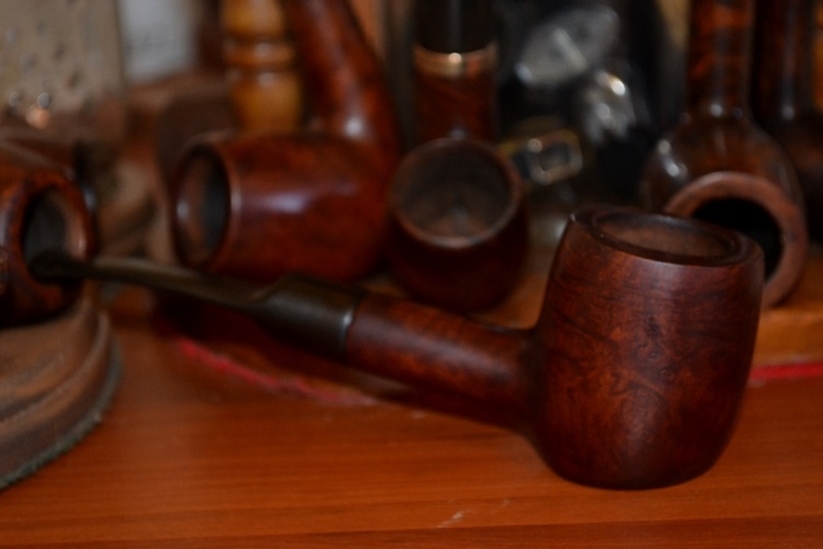
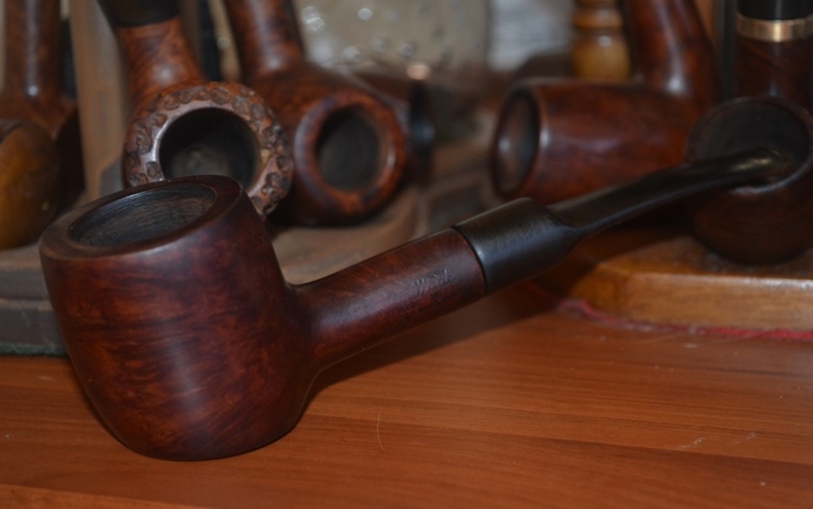
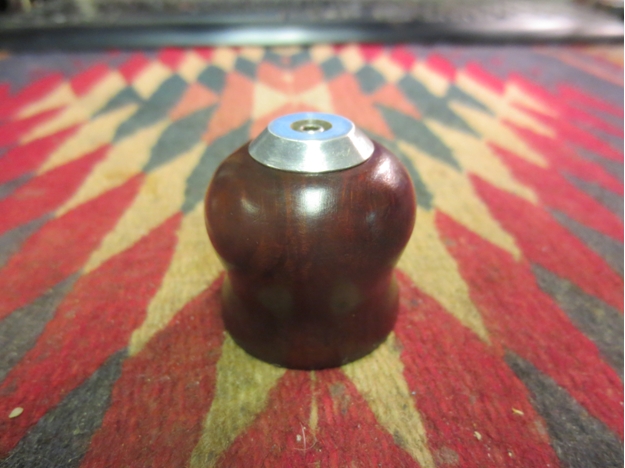
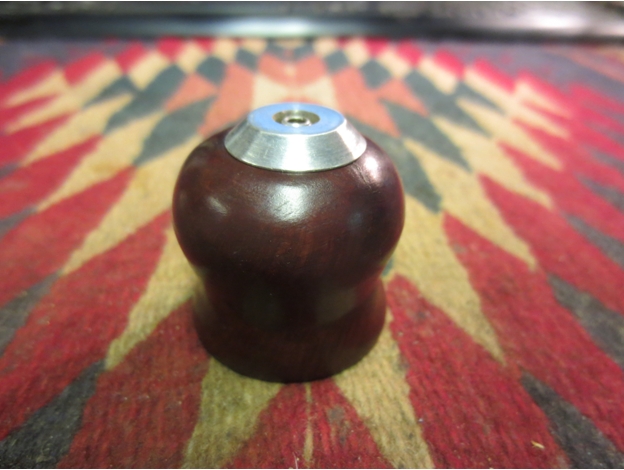
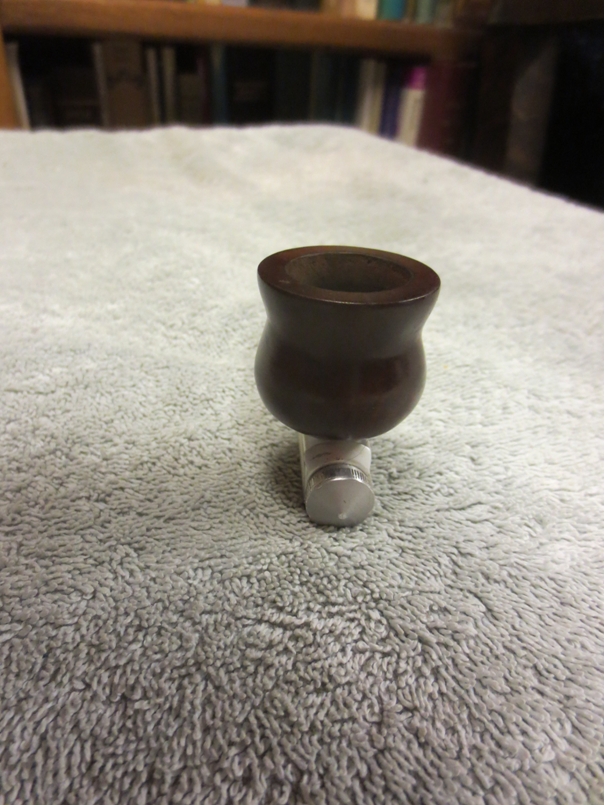
 There is a bit of a back story to this pipe. For as long as I can remember (you have to remember that may not be that long when you reach a certain age. Memory plays tricks on you) I have had two copies of Carl Ehwa Jr.’s The Book of Pipes and Tobaccos. One I am saving is pristine and one that graces my shelf. The other is for lending out and referring to when I am looking for information. It is a book I have read and reread and never tire of in the process. In a recent thread on Smoker’s Forums Ken posted to a thread on a review of the book some interesting information tying the book to a Diebel pipe that he had in his possession. He posted the pipe and then the information that Carl Ehwa Jr. was formerly a Master Blender at Diebels Tobacco and founder of McClelland Tobacco. He received several responses – one from Chris noting that the book’s dedication reads, “For my grandfather, Dr. W. C. McClelland…” I remember meeting Mary McNeil and sharing a limo back to the airport after the Chicago Show. In our conversation I found out that she was married to Ehwa when they started McClellands. He passed away and she married Mike McNeil who has always been a part of things there I believe.
Thanks to Ken I was given the impetus to try to find a Diebel’s pipe. I searched on Ebay and found one – a Diebel’s Canadian – to add to the collection. It should arrive very soon and when it does I will load a bowl of Christmas Cheer and read Ehwa’s book yet again. Adding a pipe to the read will be just one more dimension to the experience.
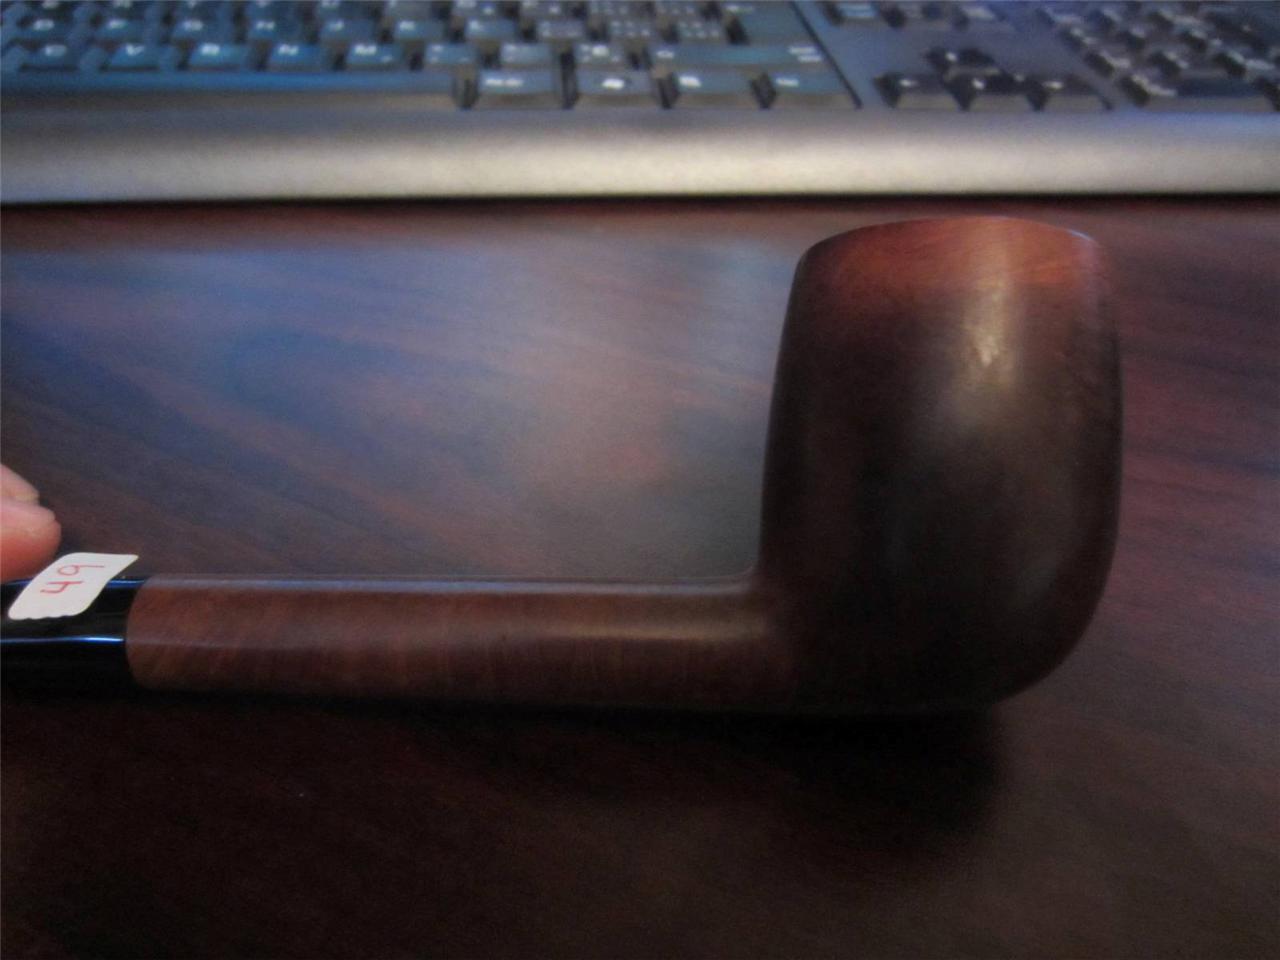
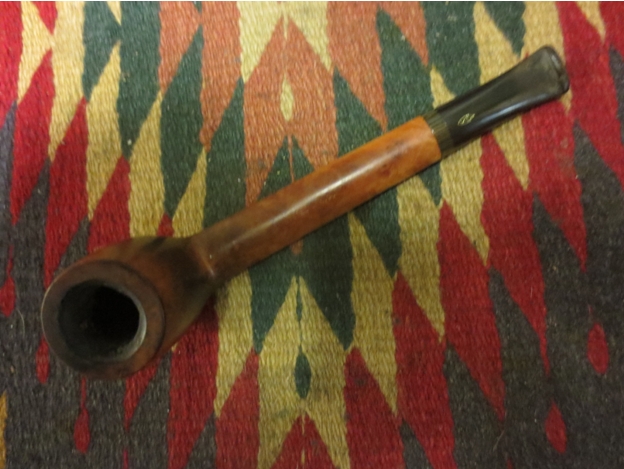
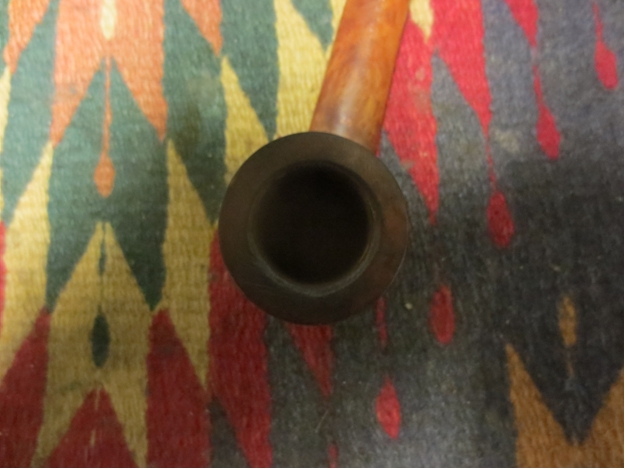
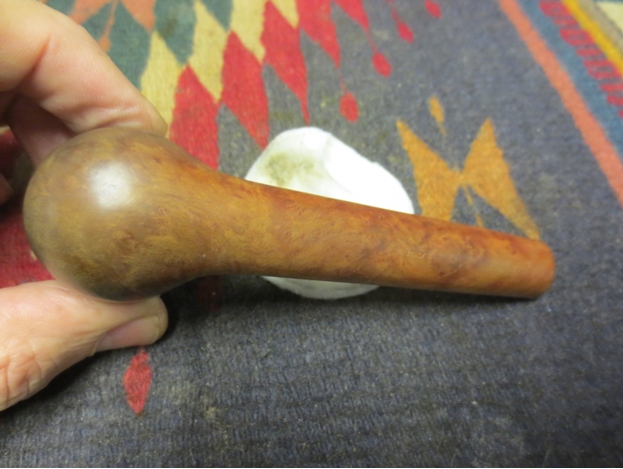
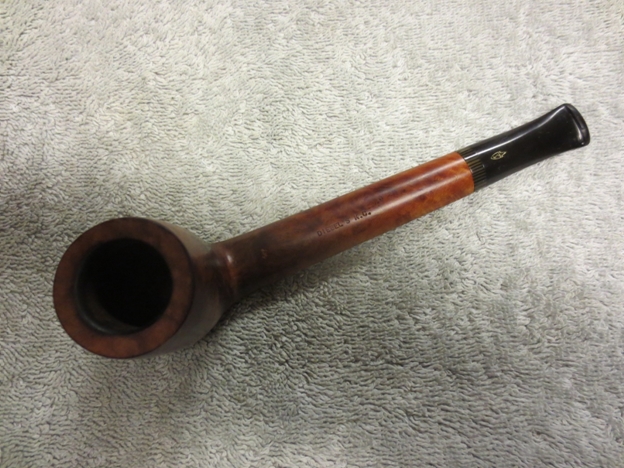
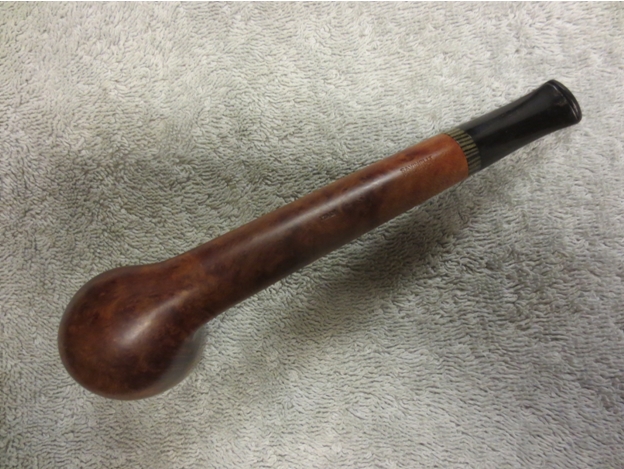
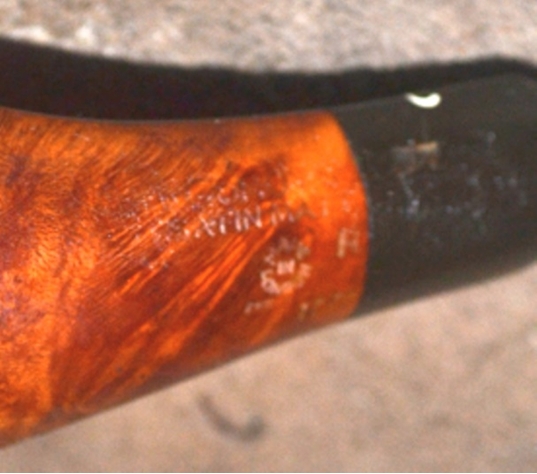
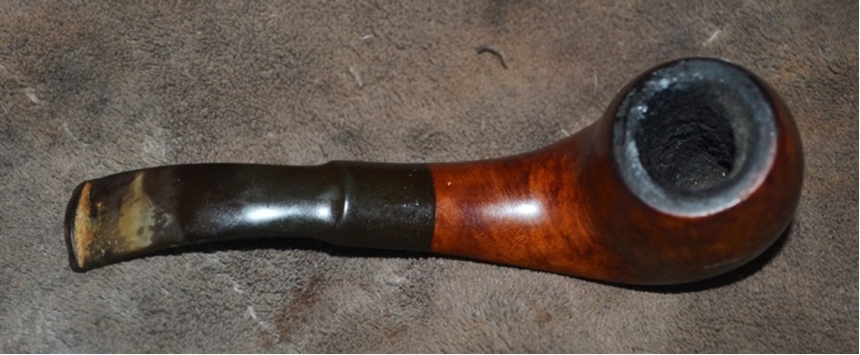
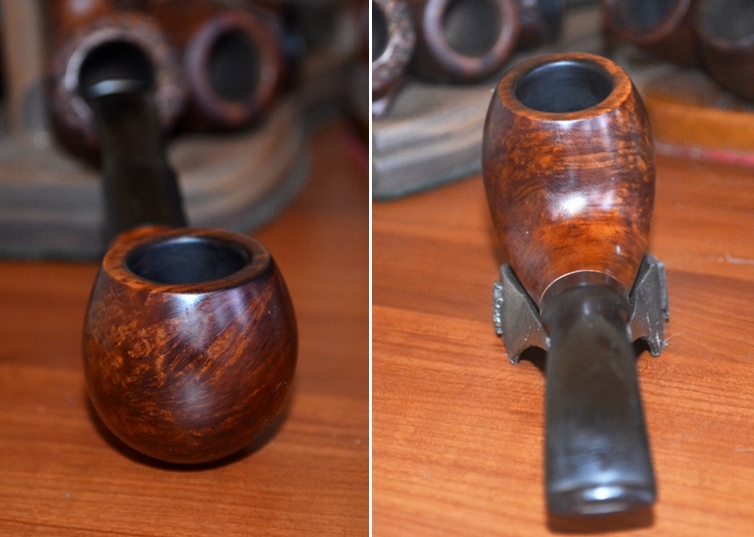
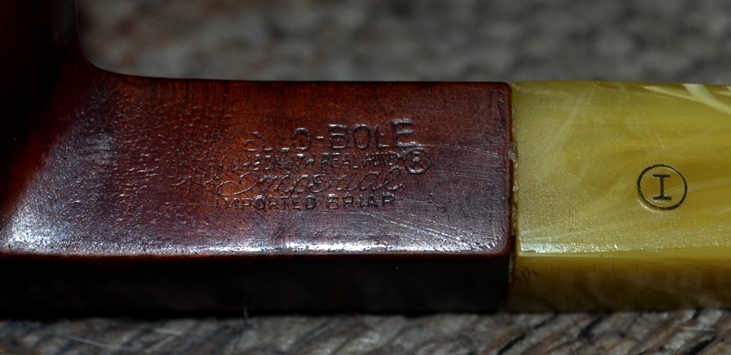
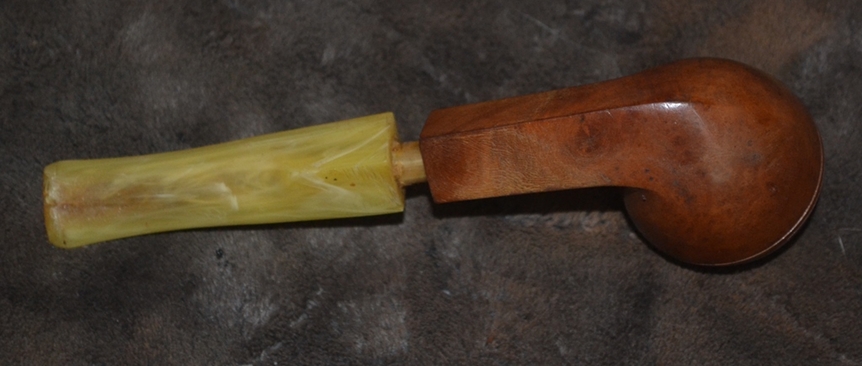
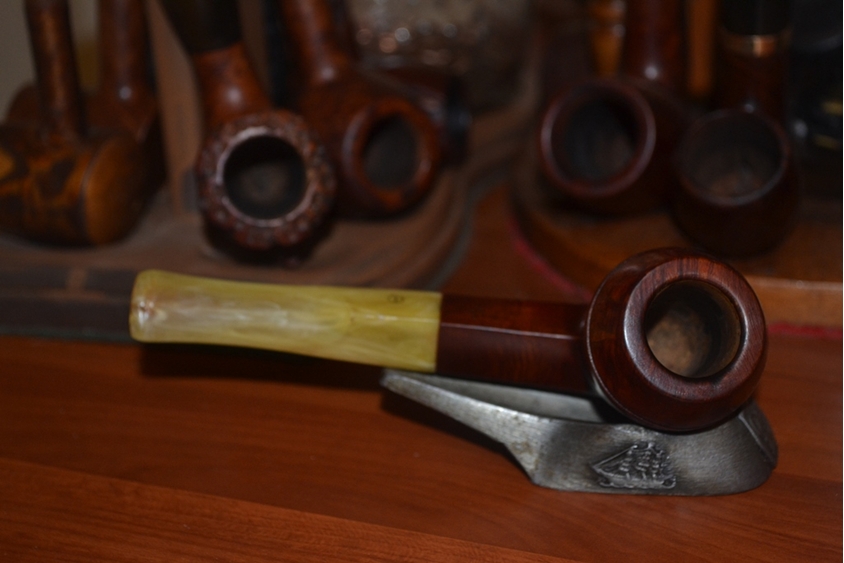
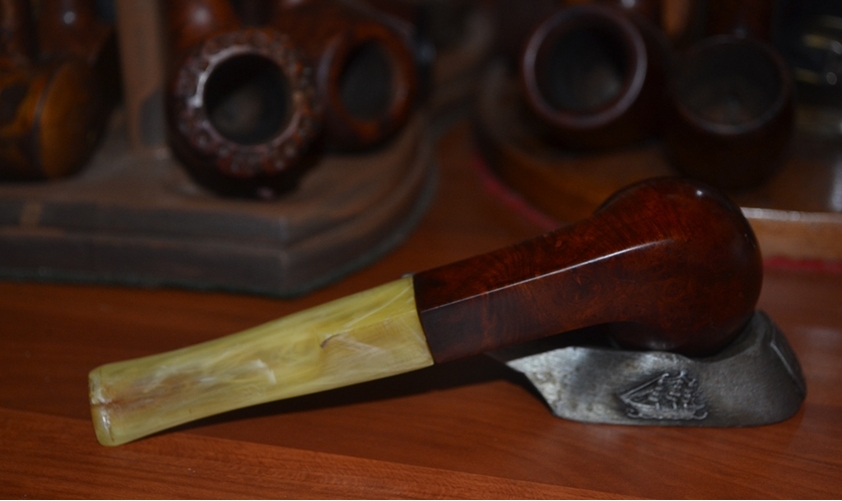
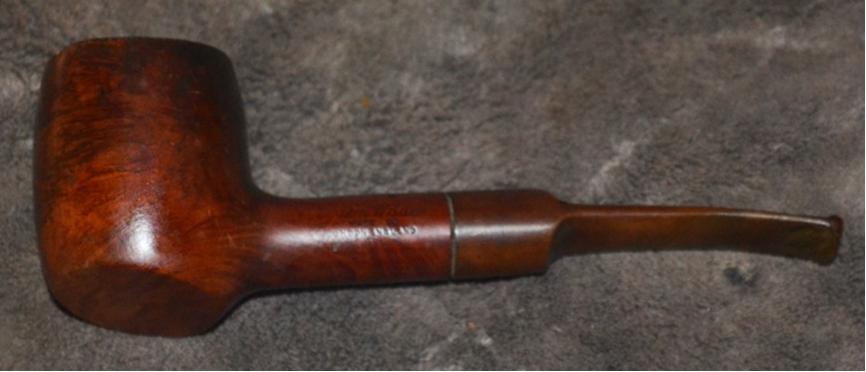
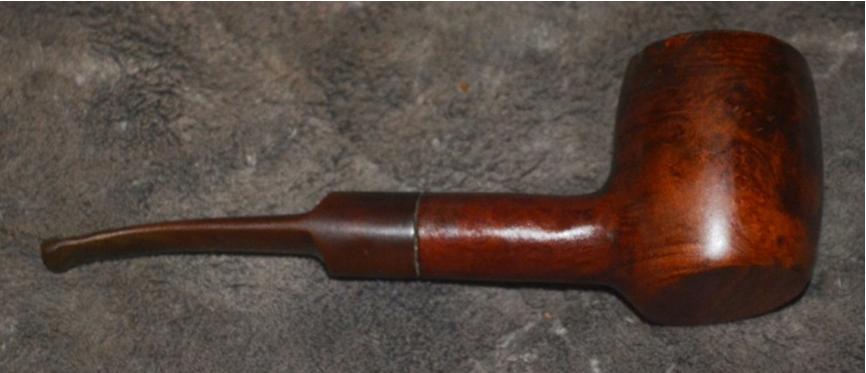
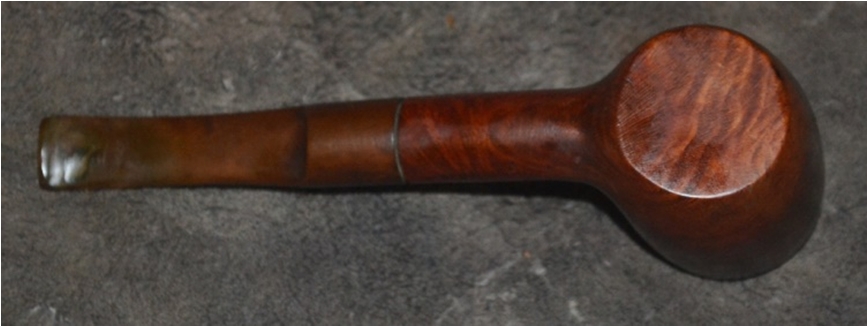
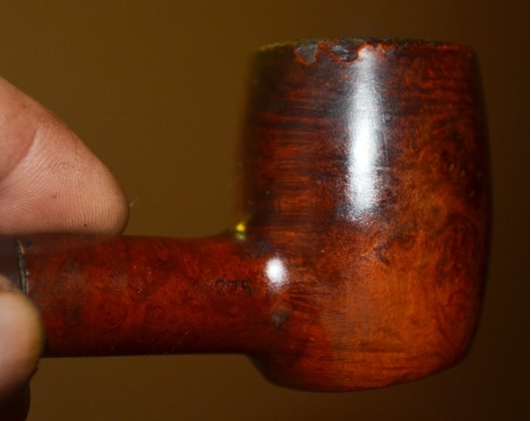
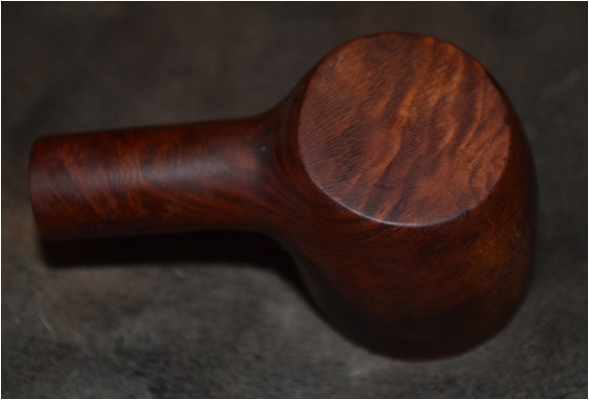
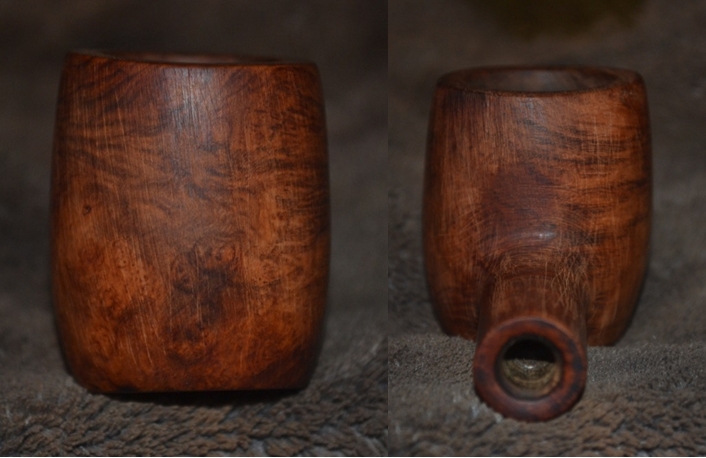
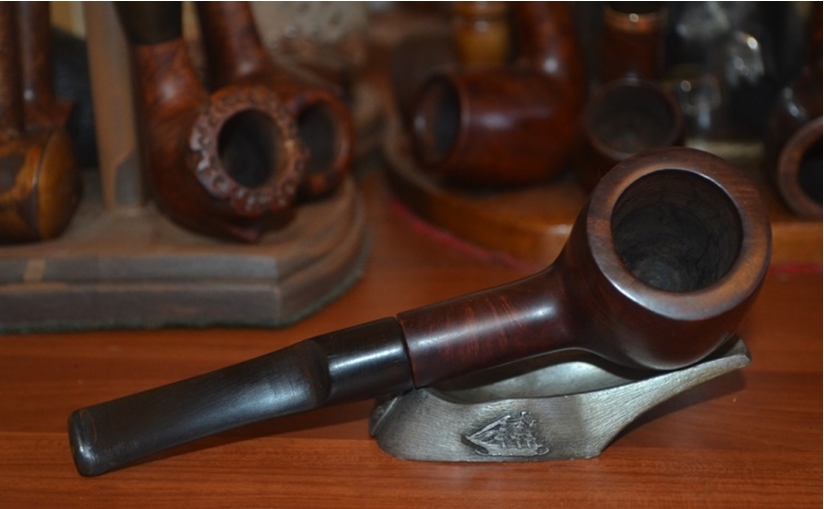
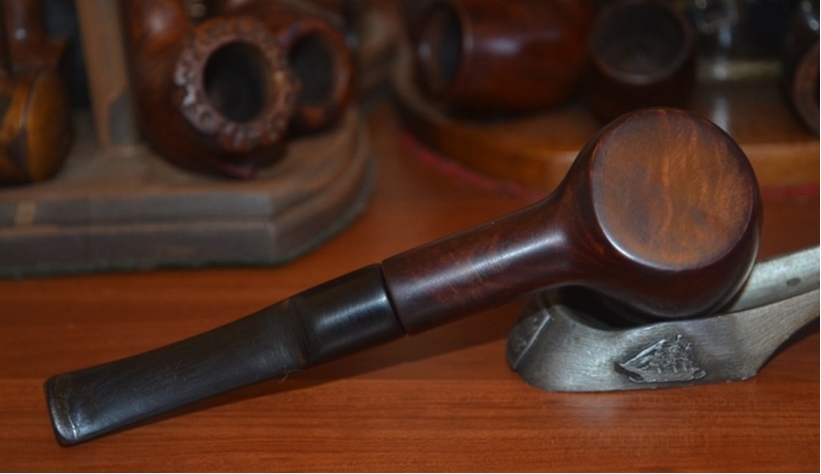
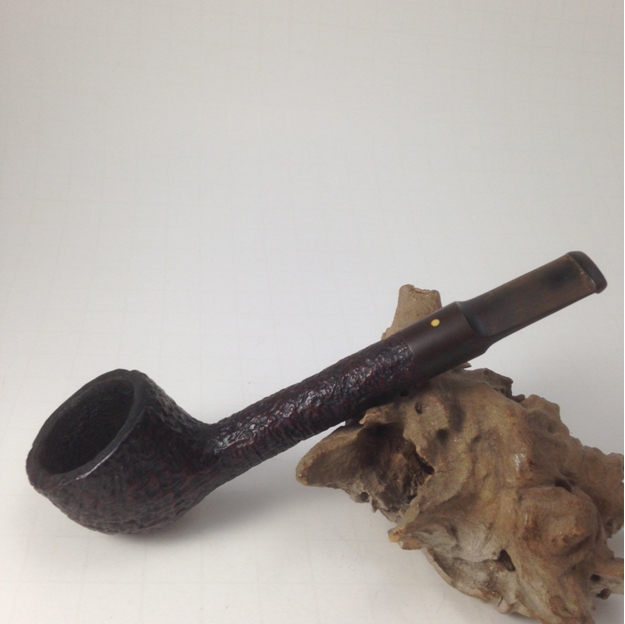
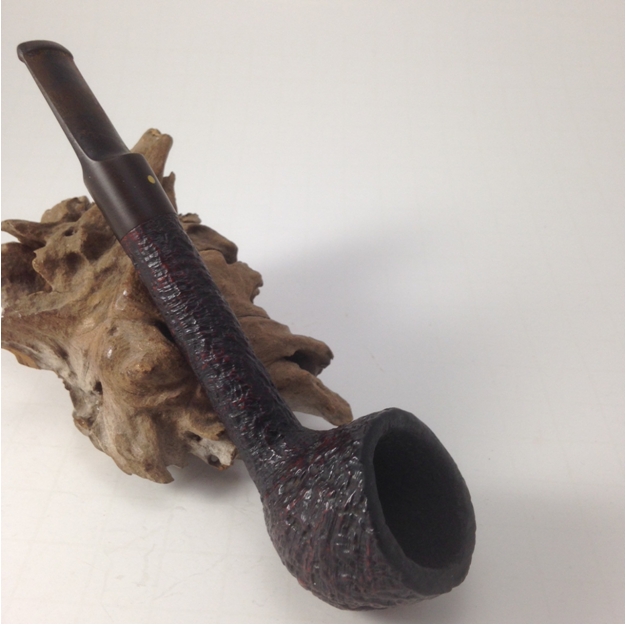
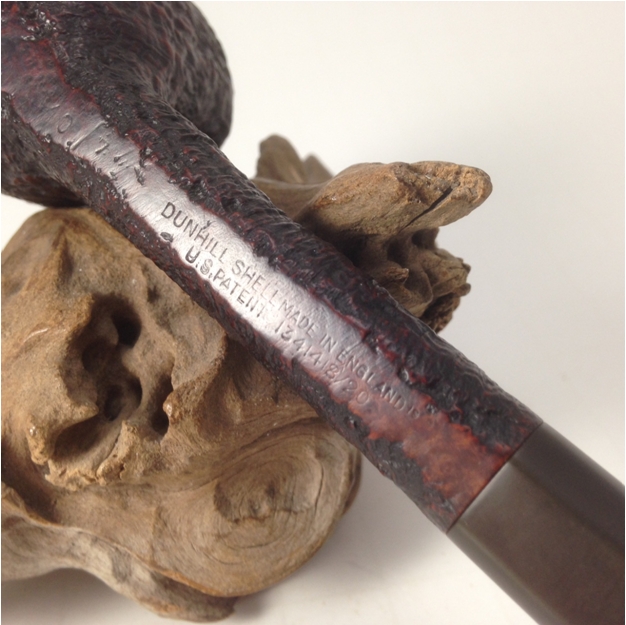
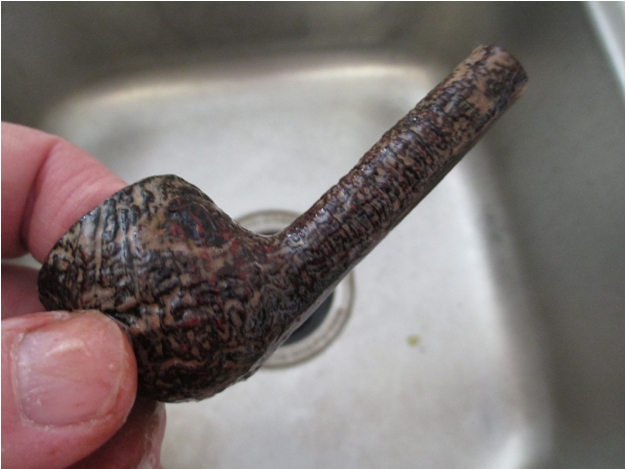
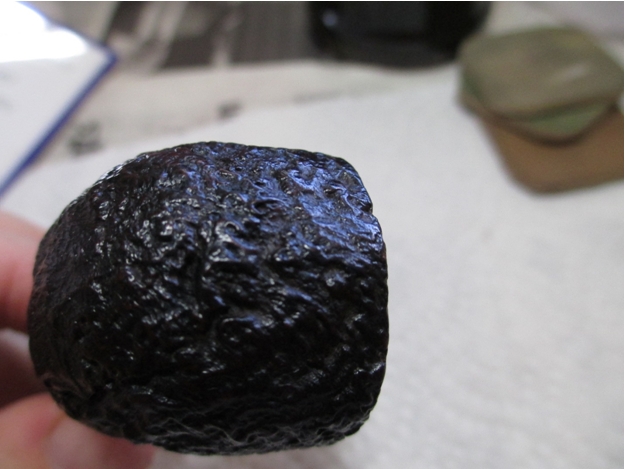
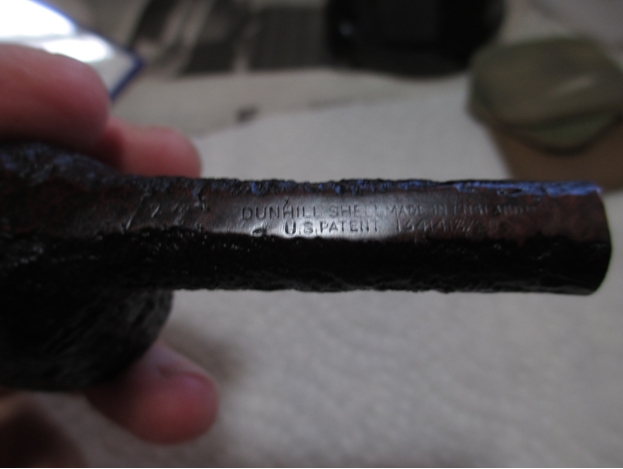
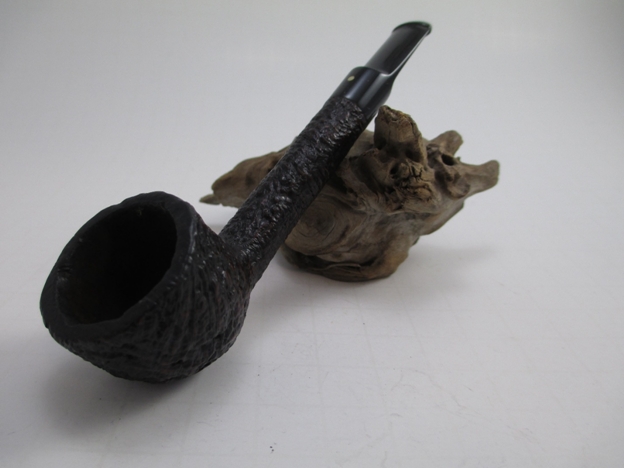
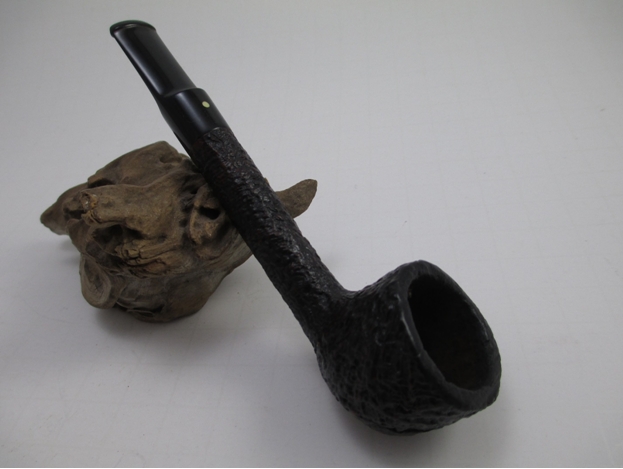
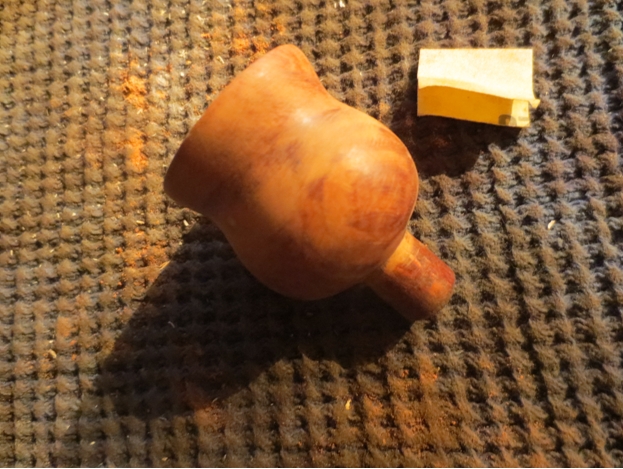
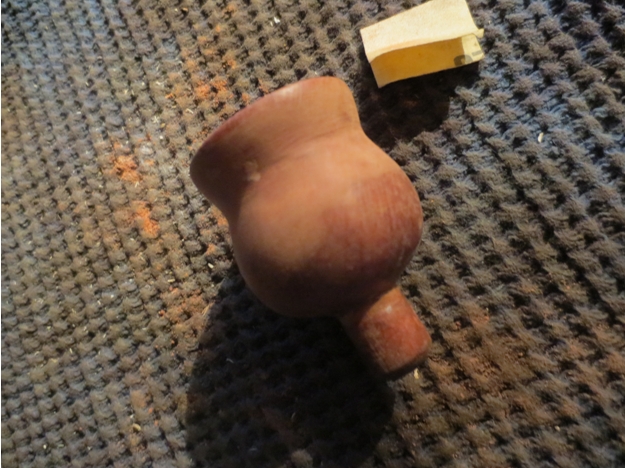
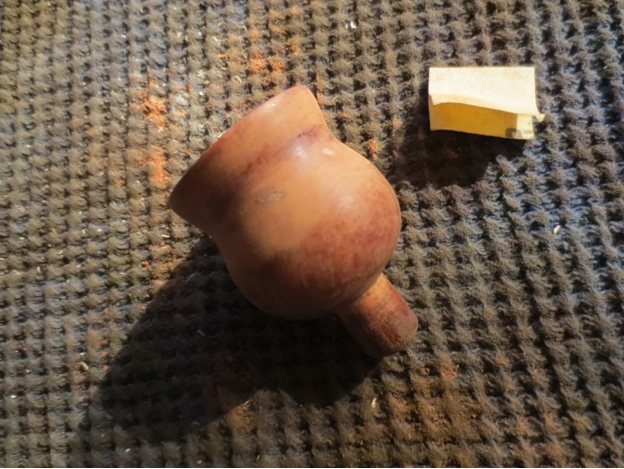
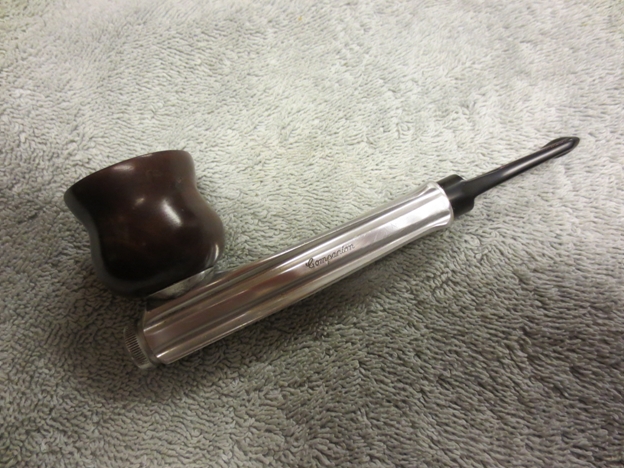
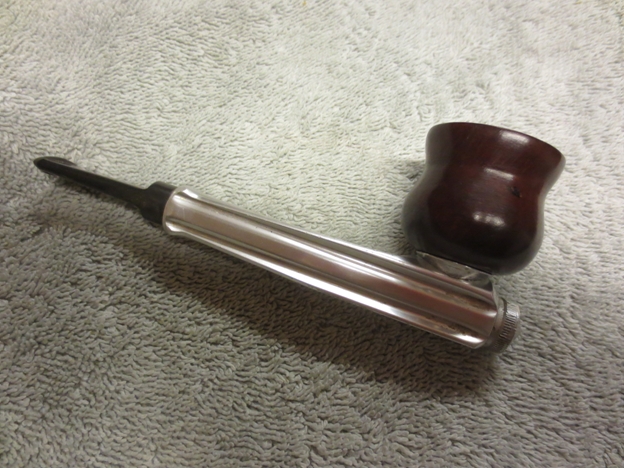
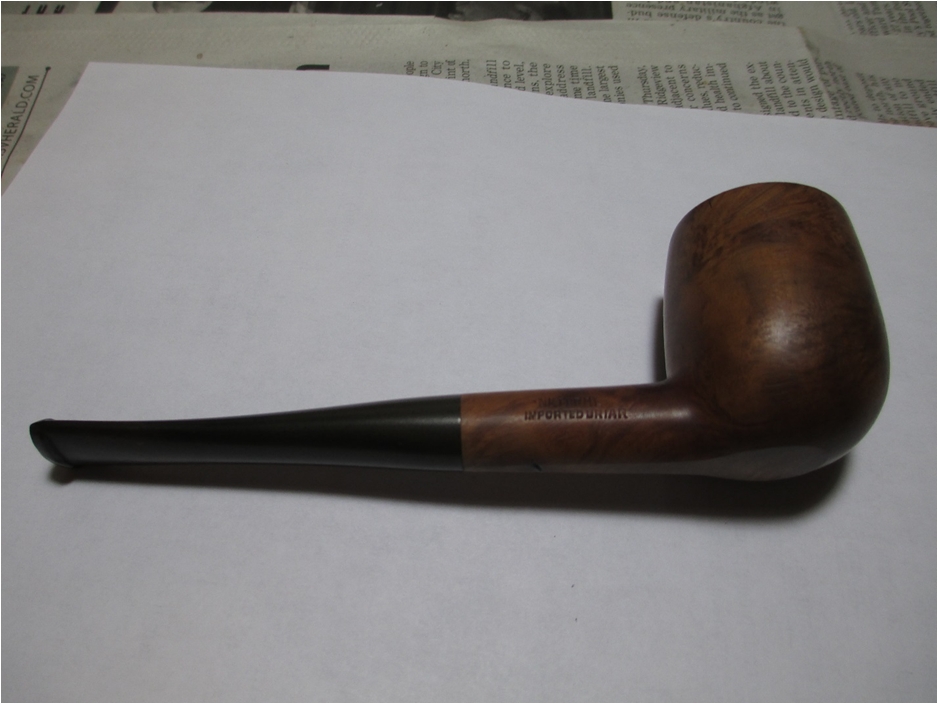
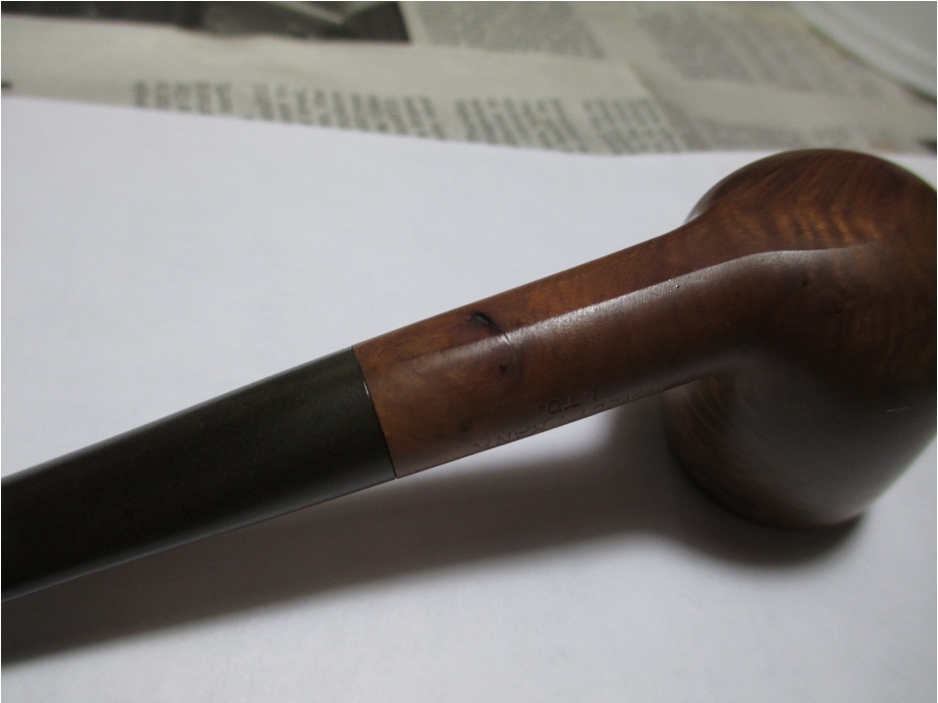
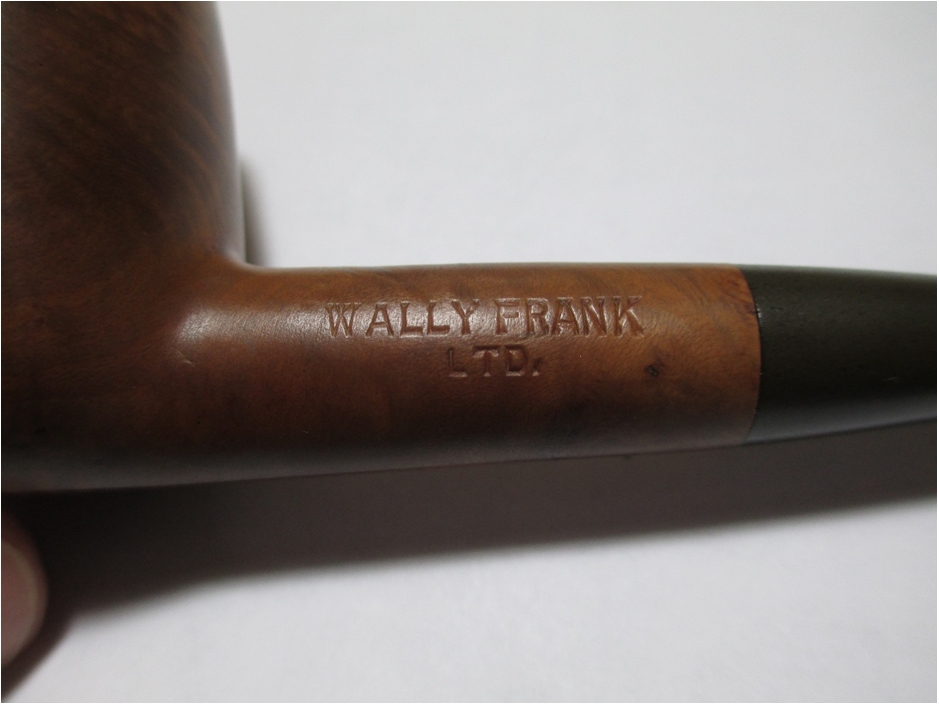
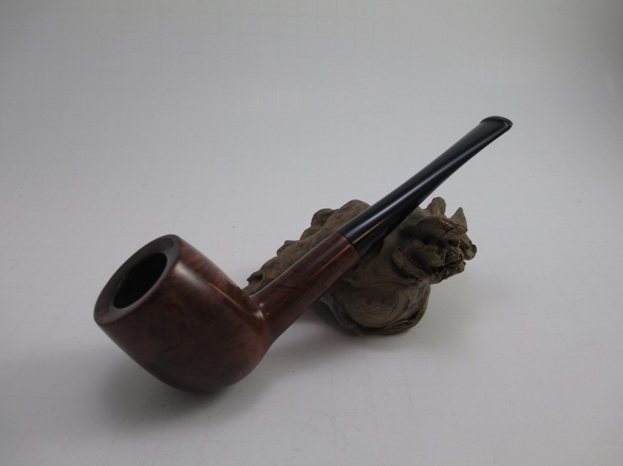
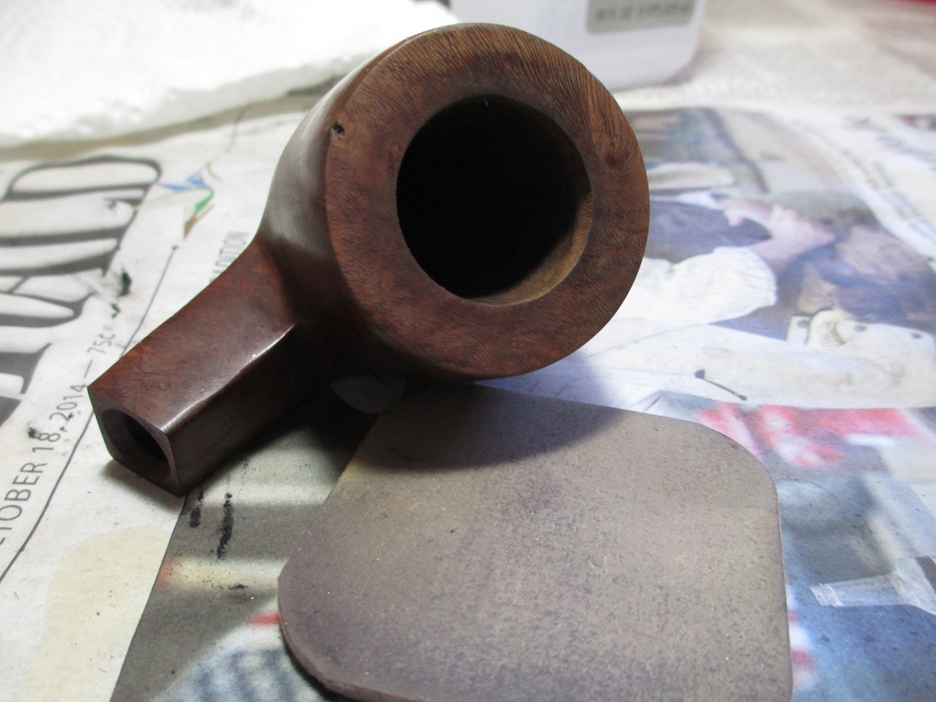
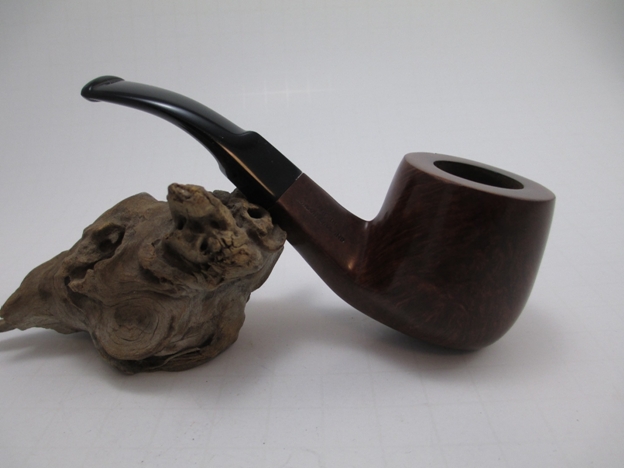
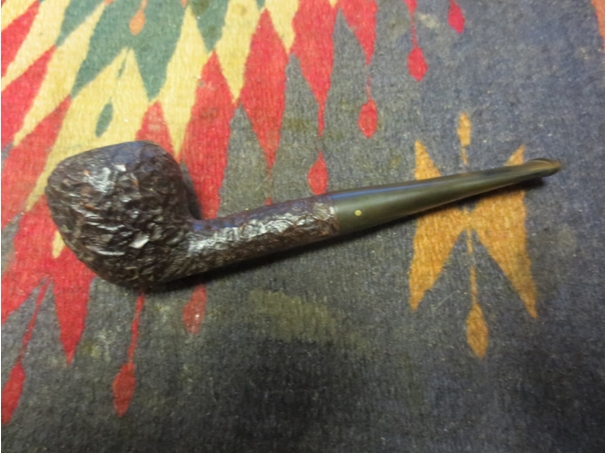
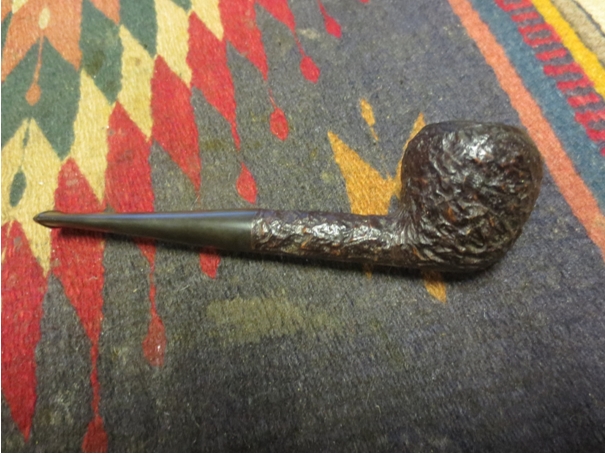
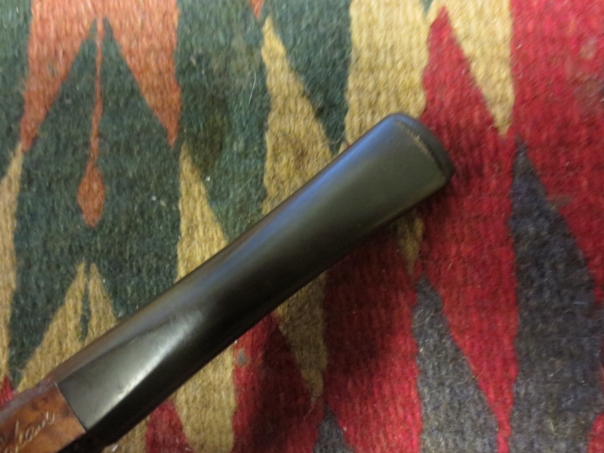
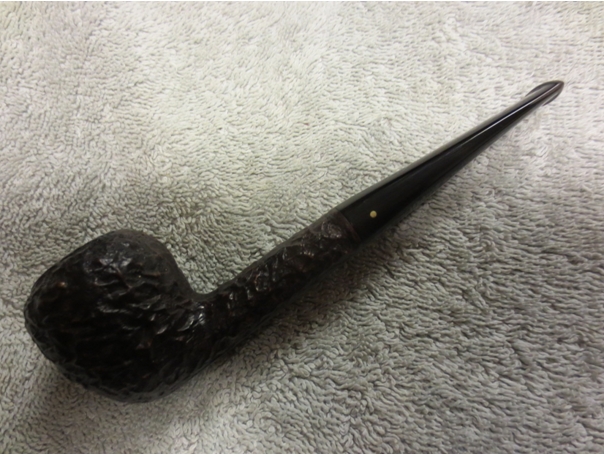
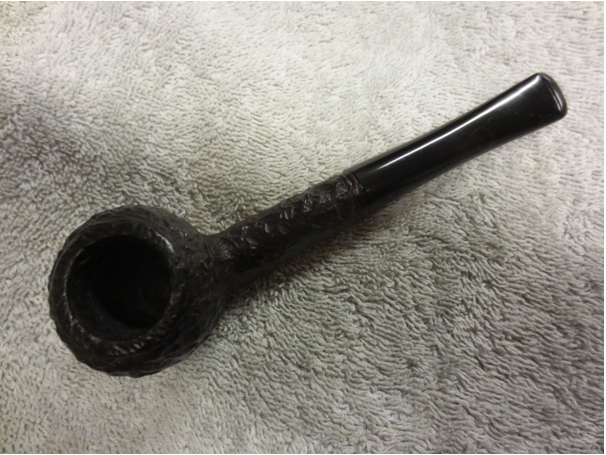
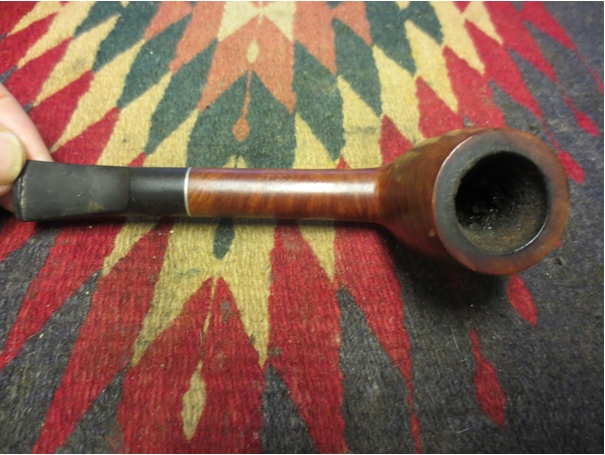
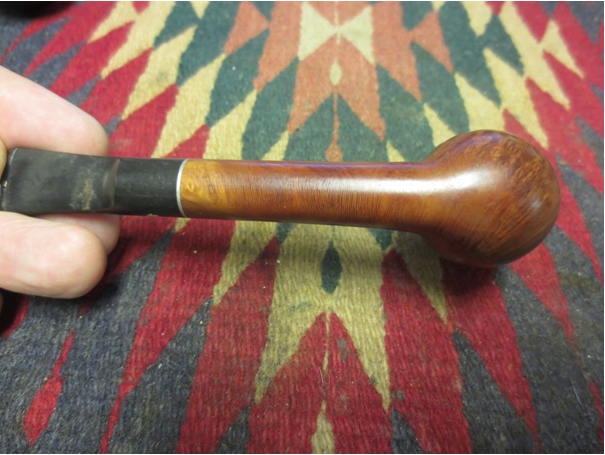
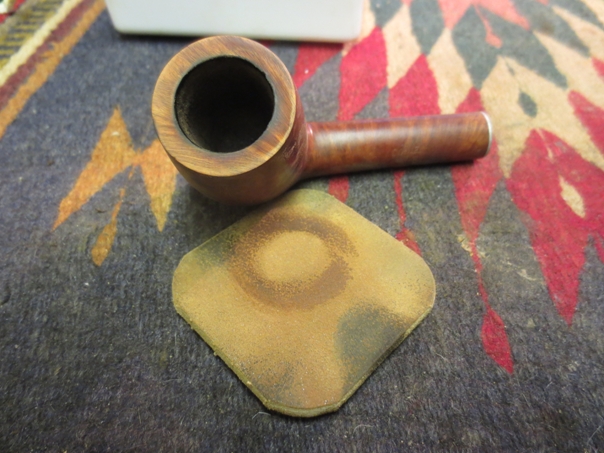
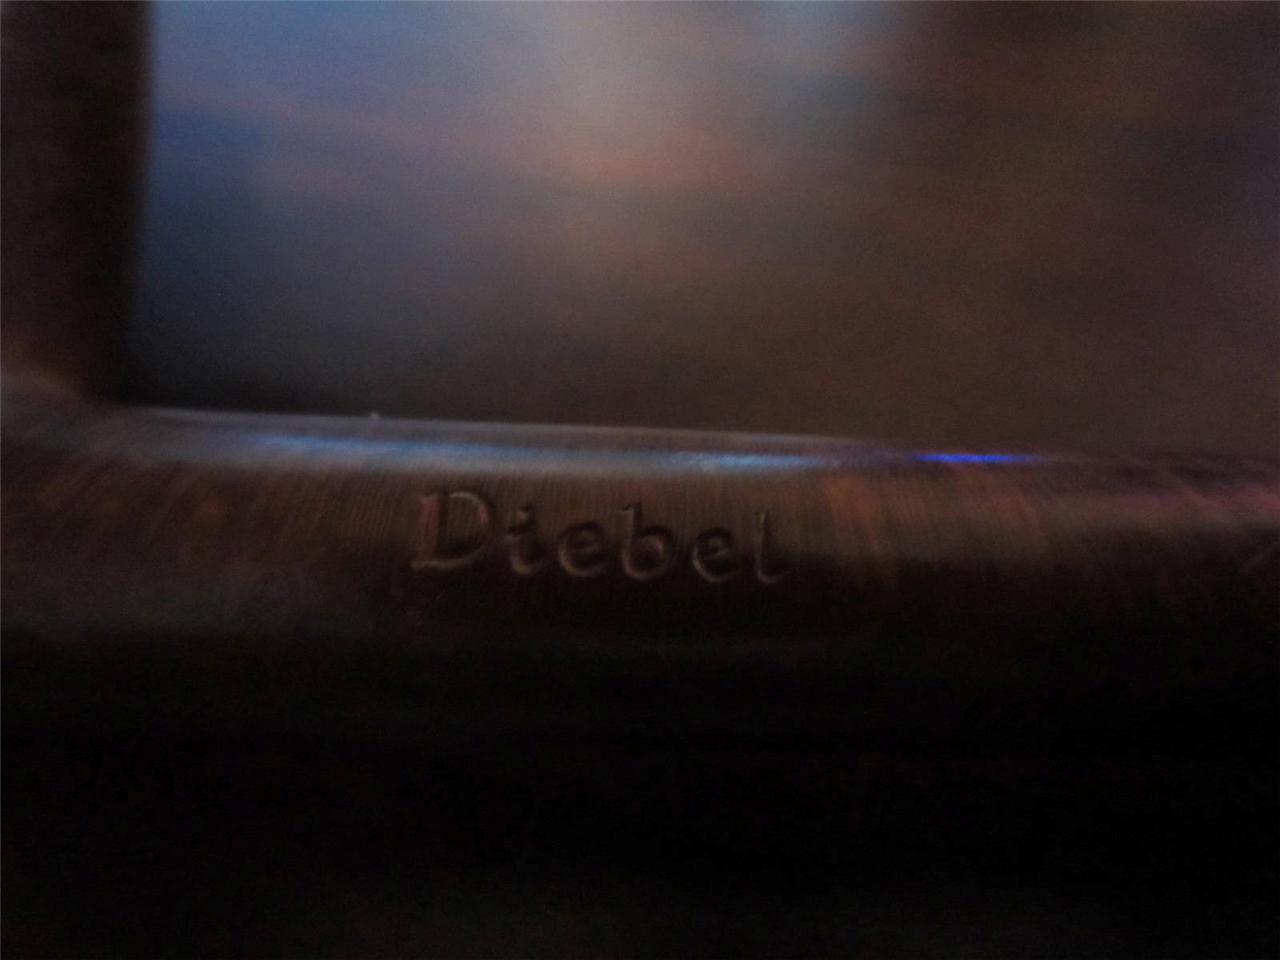 I was excited to receive the Diebel pipe in the mail so when it arrived I opened the box expecting to see the pipe above. I expected it to be a normal length Canadian with simply the Diebel stamping. When I unwrapped it I found a Diebel pipe but a different one than the one I had purchased. It was stamped DIEBEL’S K.C. on the top of the shank and had a Savinelli shield on the stem. It had a band of gold as part of the stem. On the underside of the shank it is stamped Italy and Savinelli Product. There were no shape numbers on the pipe but it was the long shank Canadian that is common with Savinelli. It measures 7 inches long. The briar was dirty and stained on the sides and the back of the bowl with oils. It was quite dark. It appeared to have a matte finish. The rim was darkened with tars and some scratches on the top front of the rim. The inner edge was darkened and had some burning.
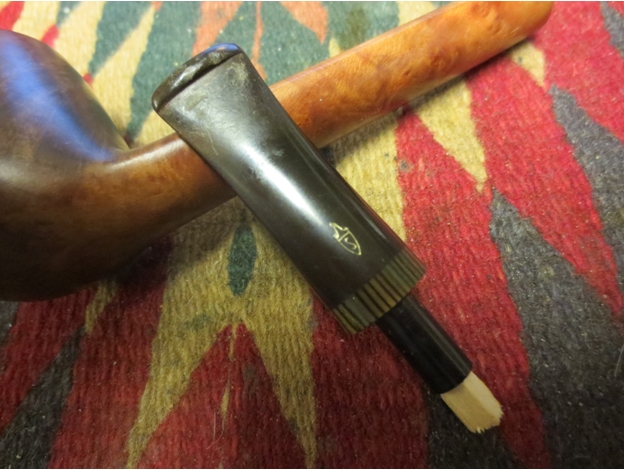
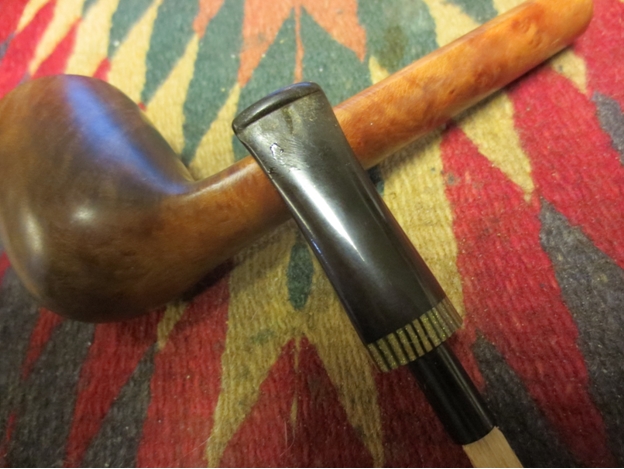
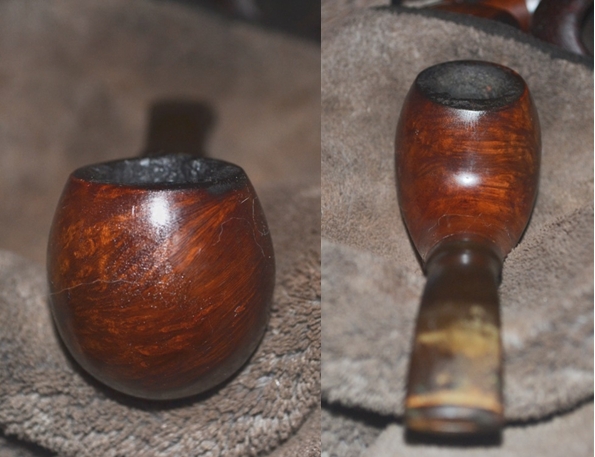
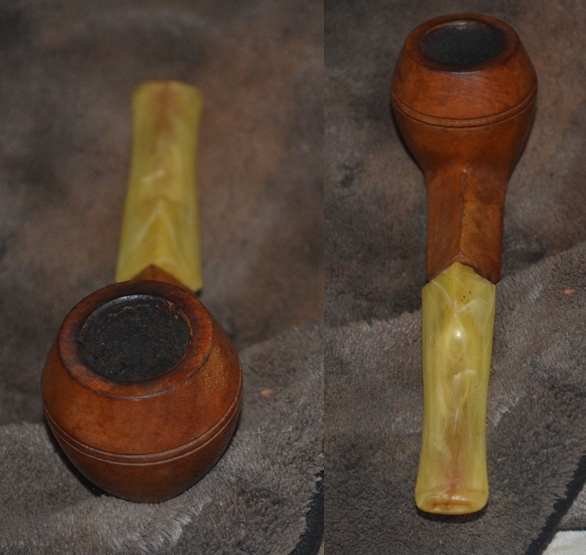
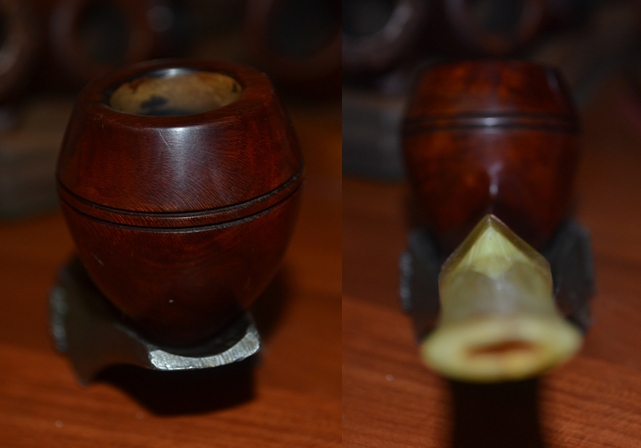
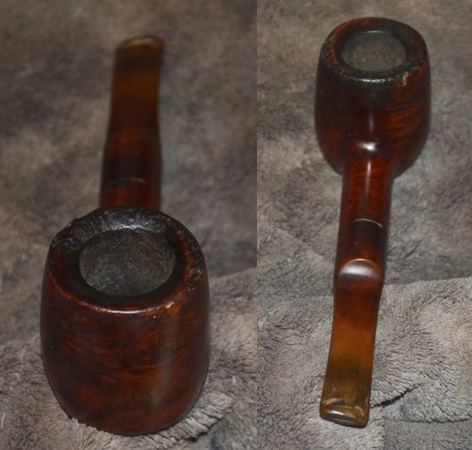
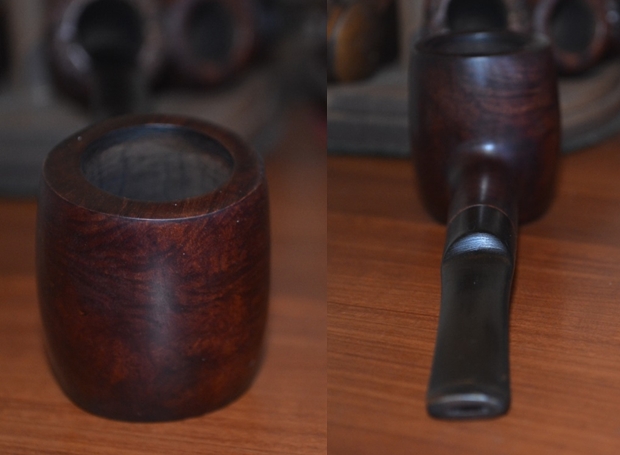
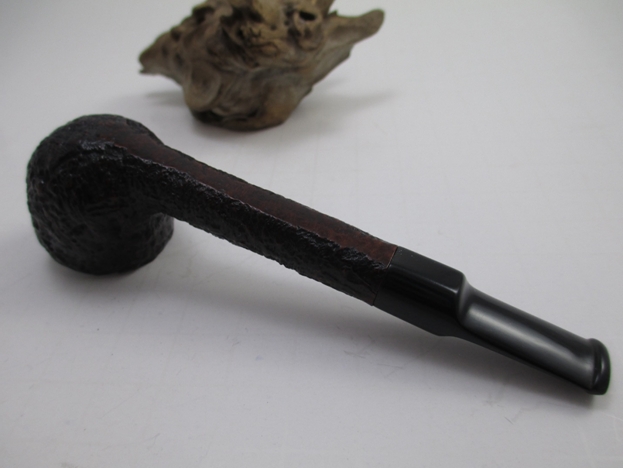
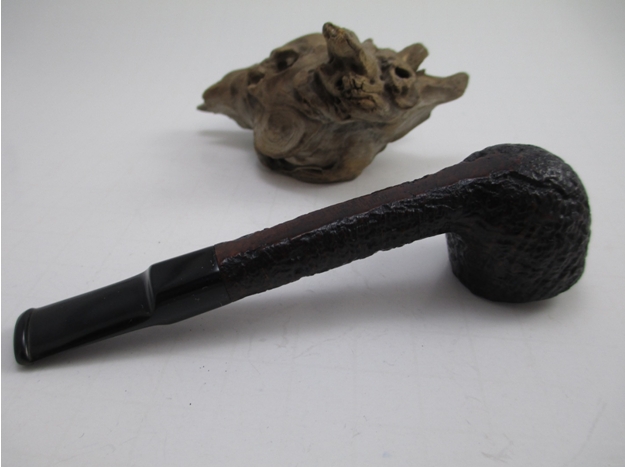
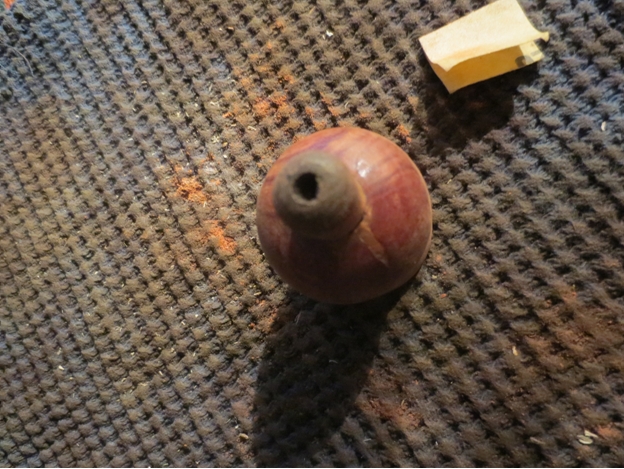
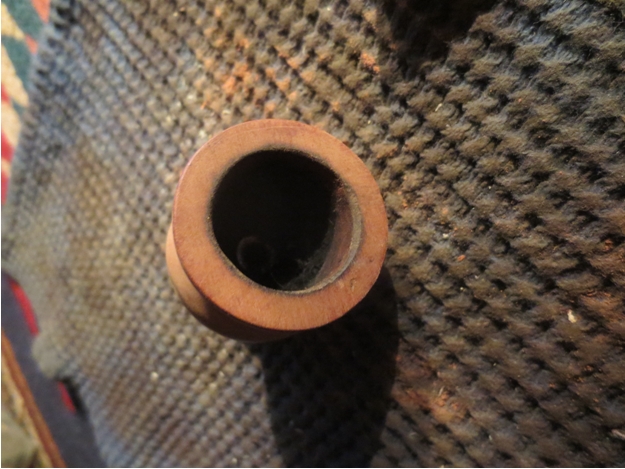
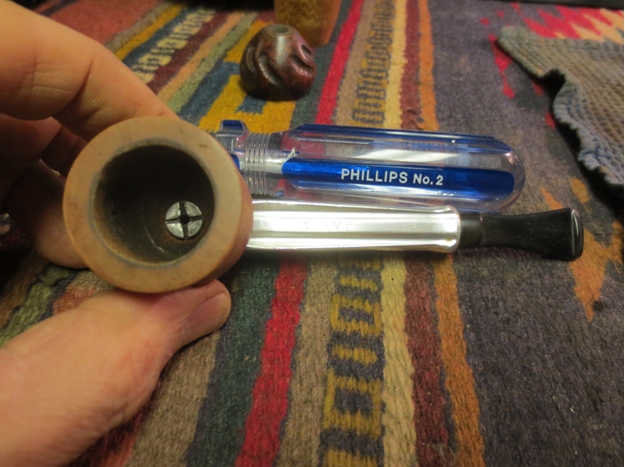
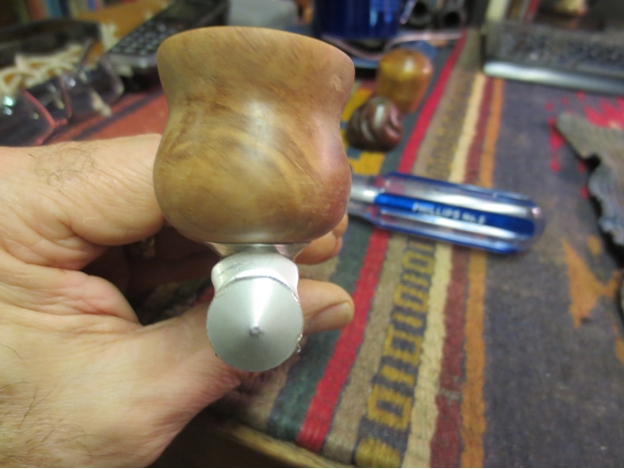
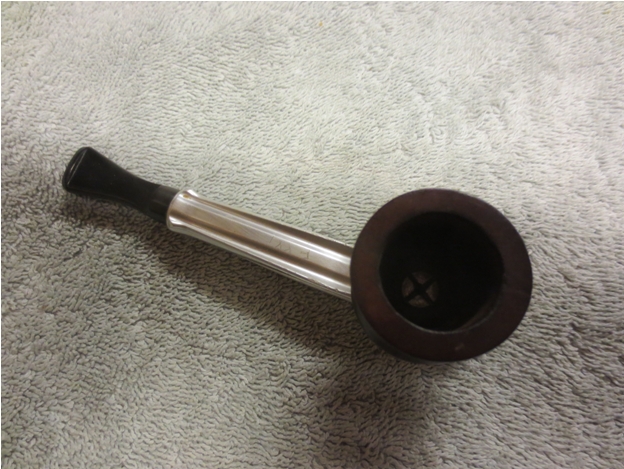
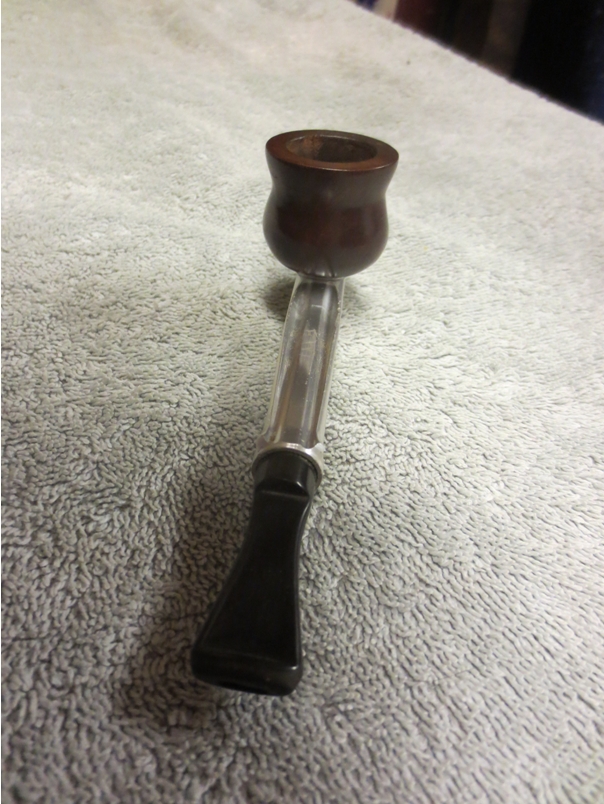
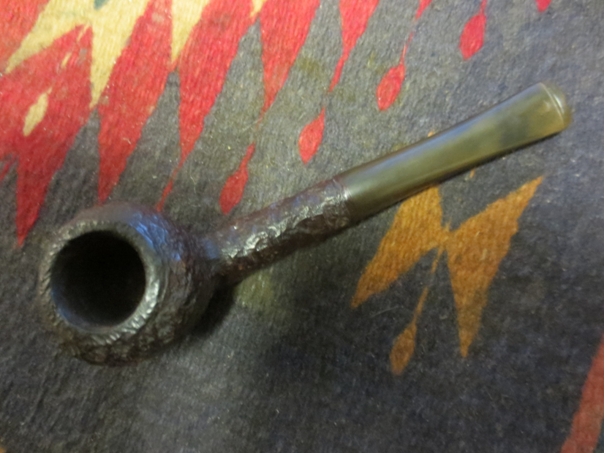
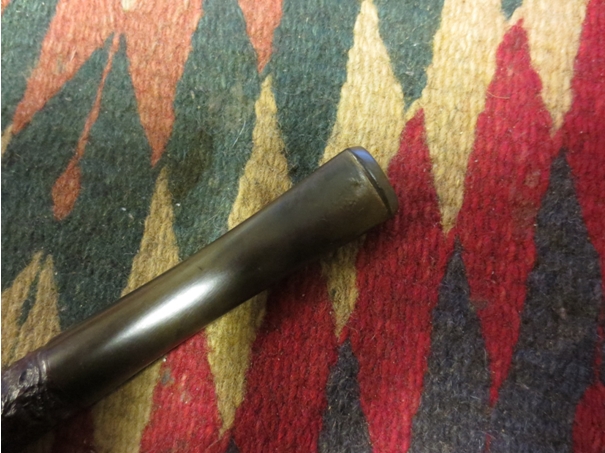
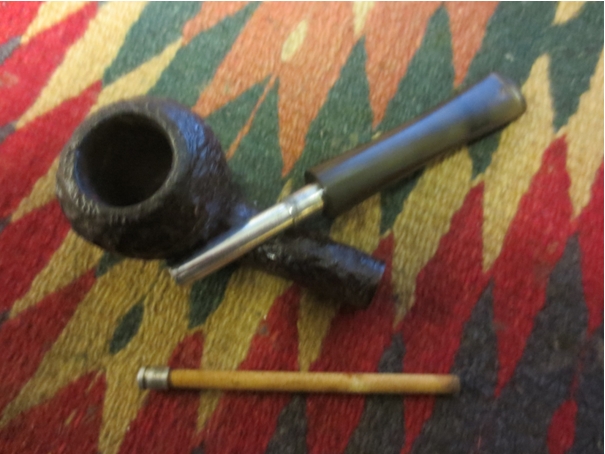
 The bowl had a thick cake that was rock hard. It significantly reduced the diameter of the bowl. The stem had two tooth marks on the top near the button and on the underside was a deep bite mark. I removed the stem and inside it had been drilled to receive the Savinelli balsa filter. There was a new filter in the tenon.
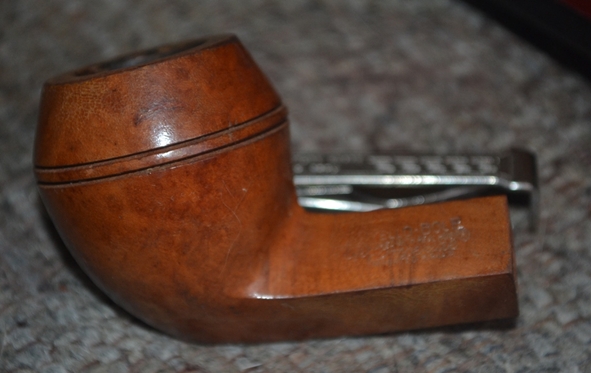
 Examining the old Diebel’s stamped Savinelli left me with questions that needed answering. I wanted to know more about the Diebel’s pipe shop. I wanted to know if Savinelli made all of their pipes or if some were actually carved in the shop itself. I wanted to know if the other pipe, the one I had actually ordered was made by Savinelli as well or if it may possibly have had a different manufacturer. You can see that the pipe left me with many questions that would require some research to find answers.
I did some digging and found the Diebels web site. On the site was a section on company history. The link follows: http://diebelsg.com/stores/company-history/
In reading through that section on the history of the company I learned that Fred Diebel learned pipe making from a local pipemaker, Fred Metz. He carved in house pipe made the way he had learned to make them from Fred. He also imported Savinelli and English made pipes. I am including a short section from that portion of the company history.
“When Fred Diebel returned from his World War II duty as a U.S. Navy pilot of lighter than air craft (blimps), he knew he wanted to own his own business. Diebel, who earned a degree in mathematics from Kansas City University (now UMKC), saved for his life’s ambition while working successively for two venerable retailers in Kansas City: Rothschild’s and Montgomery Ward.”
“In 1950, Diebel capitalized on his first entrepreneurial opportunity, buying into Afflick & Co., a tobacco shop located at 11th and Walnut in downtown Kansas City. The company was re-named Afflick & Diebel. There, Diebel became an avid pipe smoker and developed an interest in the arcane craft of pipemaking. He sought a noted local pipemaker, Fred Metz, to teach him the craft. Initially, the elderly German native refused. But eventually, Diebel’s persistence paid off and Mr. Metz consented, saying, “Young man, I will teach you to make pipes on these conditions. You buy the proper equipment and you promise to do it my way, the right way.””
“In 1954, Diebel determined it was time to strike out on his own. He saw the Country Club Plaza as a shopping and business district on the rise. So with a bankroll of $1,000, he purchased two display cases for $100 each, tools, tobacco product, and signed a lease. Fred Diebel, Pipemaker, Tobacconist was born at 4625 Wornall, across from Putchs’s Cafeteria (now Houston’s) and next to Renner’s Shoe Repair. The enterprise was successful from the beginning, though not in the way Diebel expected. He underestimated the strong demand for pipe repair and found little time for the pipe making work necessary to supply his retail pipe business. In order to manage the growth demand for new pipes, he began importing pipes from England.”
“For more than a decade, Diebel specialized exclusively in pipes, pipe repair, and pipe tobacco. Customers requesting cigars or cigarettes were politely but firmly referred elsewhere. Mr. Diebel’s philosophy may have been guided more by personal disdain for any smoking related product that did not involve a pipe than by visionary marketing theory. Nonetheless, he became one of the early niche retailing pioneers…”
“…The company also began manufacturing pipe tobacco. Conditioning, cutting, casing, blending, pressing and packing operations occurred in a warehouse located in the caves at Bannister and Holmes. Manufacturing continued through the early 1980’s. The business continued to grow as a family business, with Diebel’s wife plus his two sons and daughter working in the shops and manufacturing facilities during their teen and young adult years.”
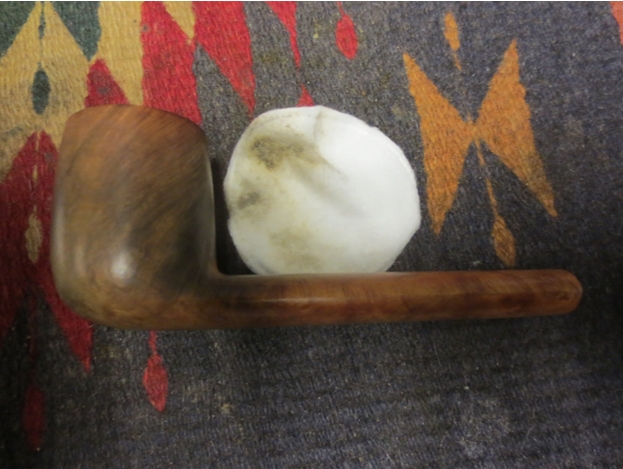
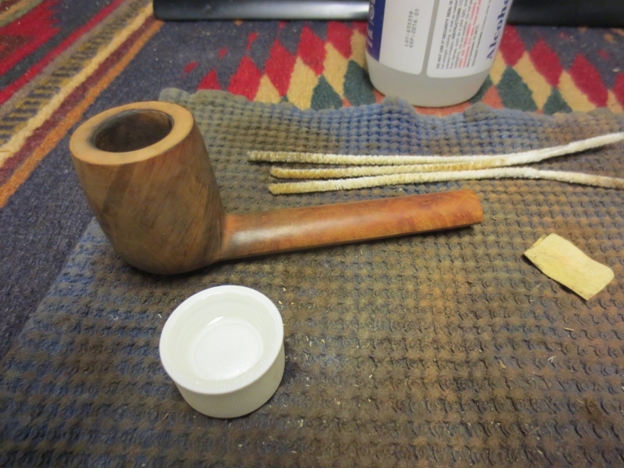
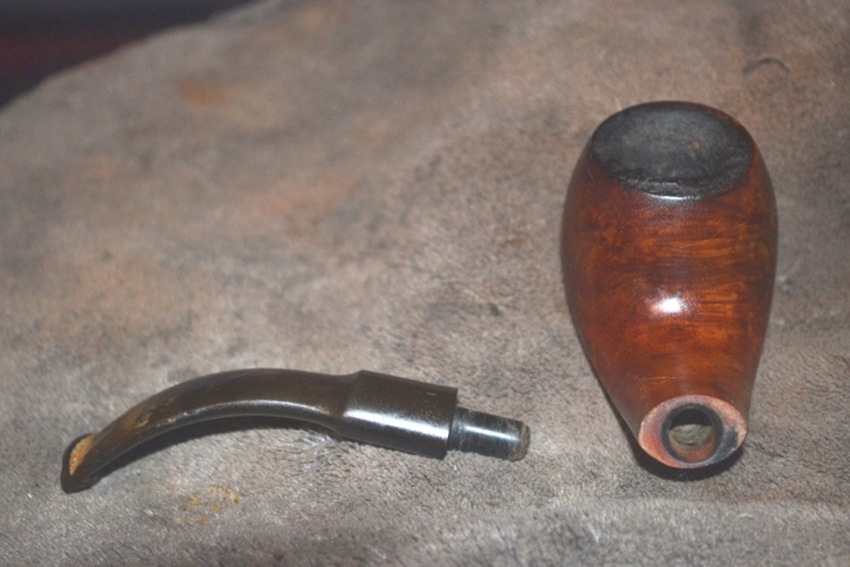
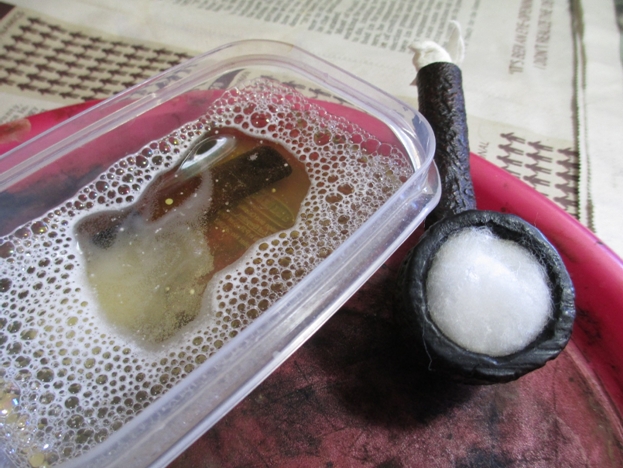
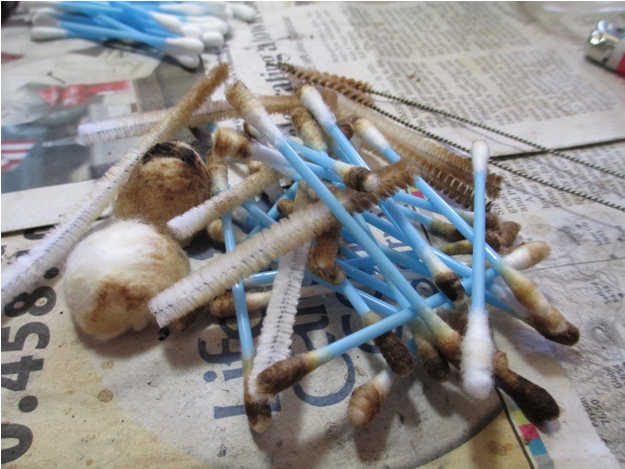
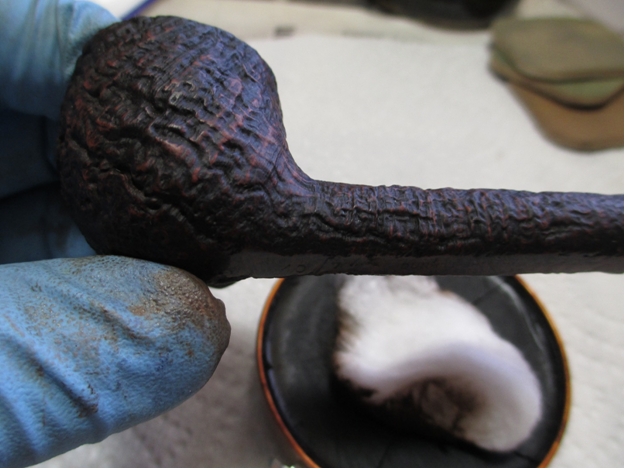
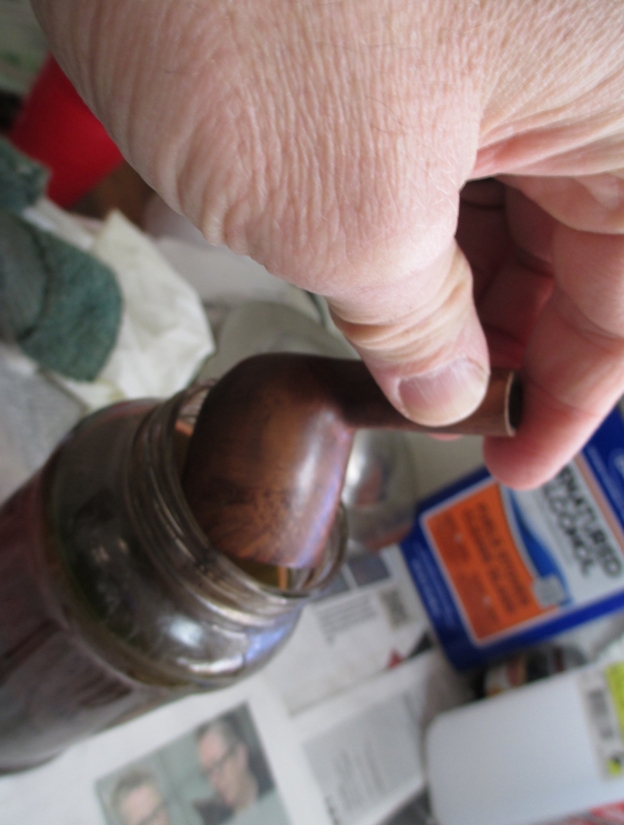
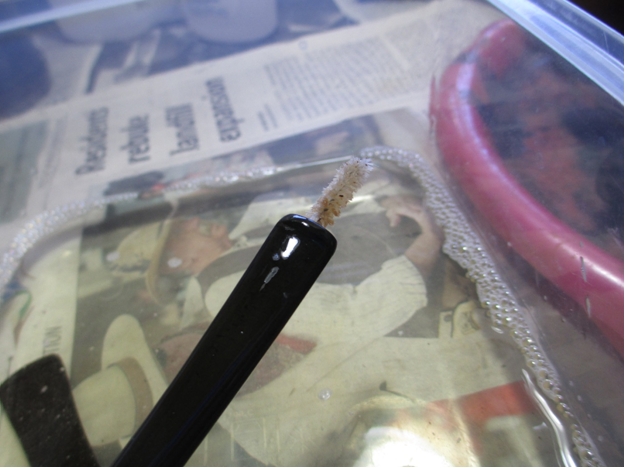
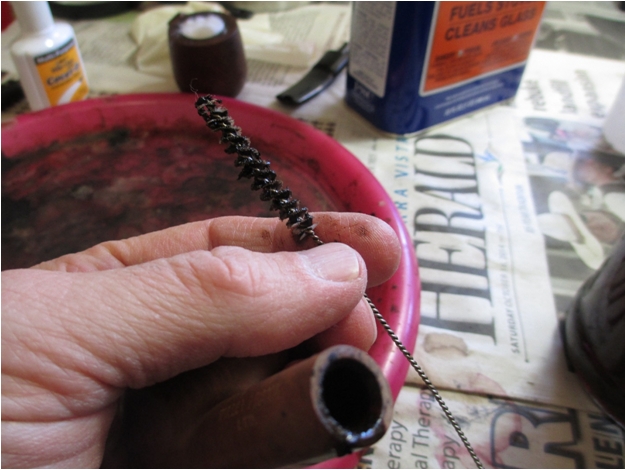
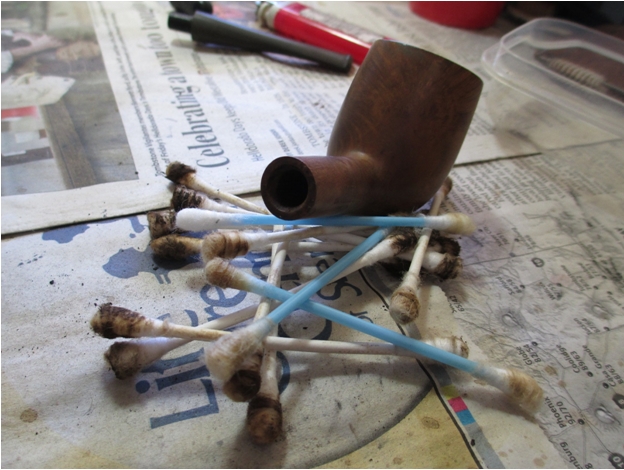
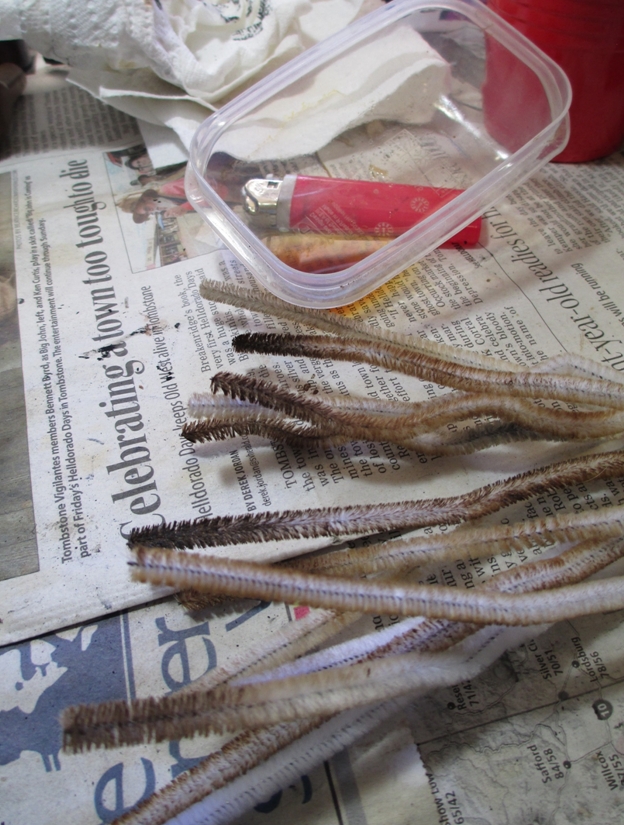
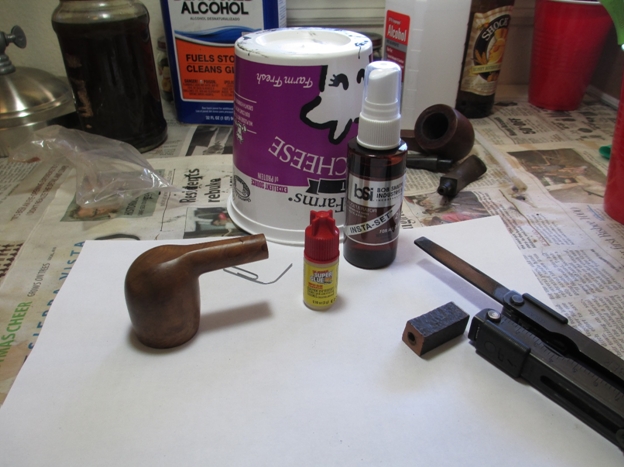
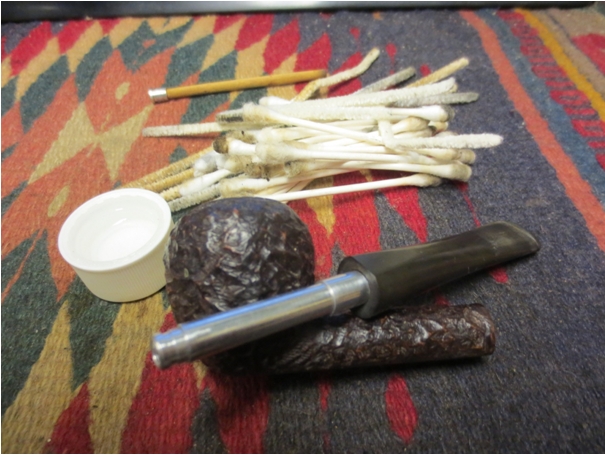
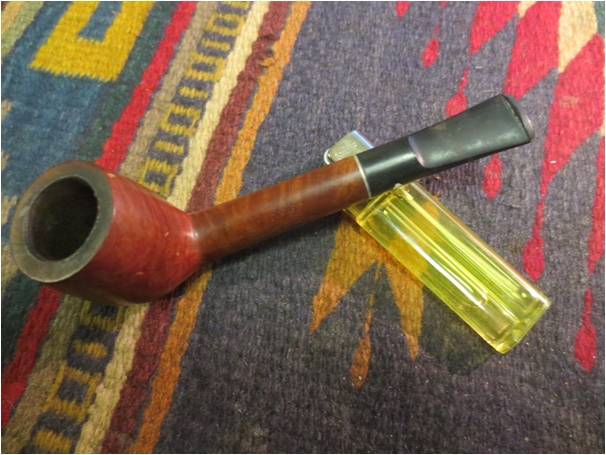
I love learning the history of a brand. Further reading on other sites led me to the information that Savinelli made Diebel’s pipes. With that information I went on to clean up the pipe. I reamed it with a PipNet reamer, starting with the smallest cutting head and working up to the second head. I reamed the cake back to bare wood. The cake and bowl smelled of a heavily cased aromatic. The inside of the shank and stem was black with tars.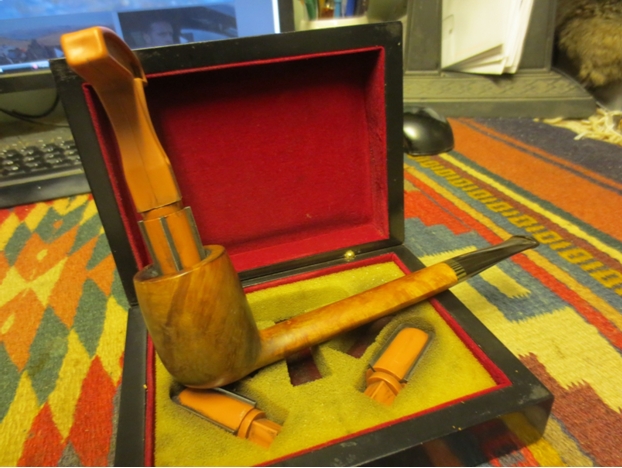
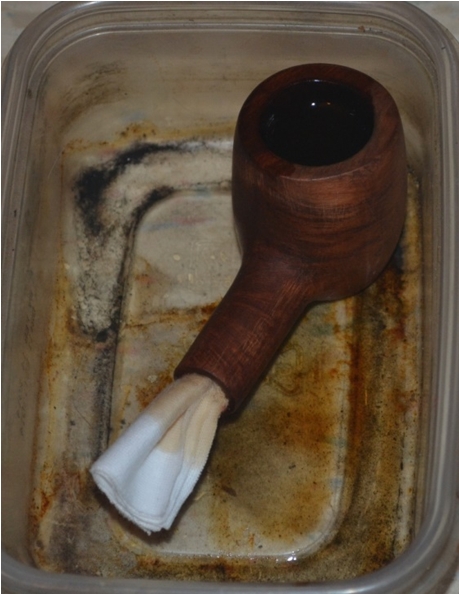
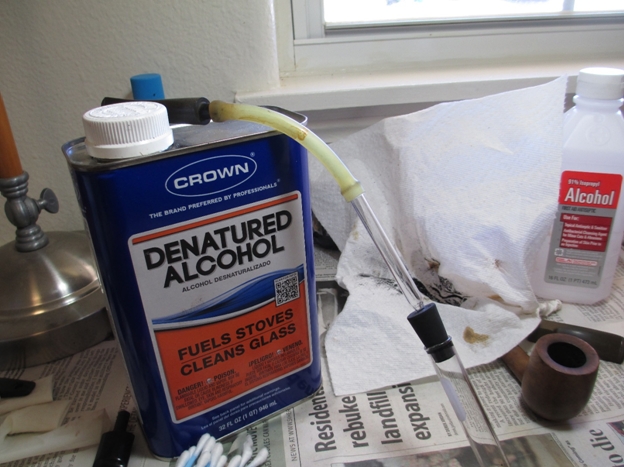
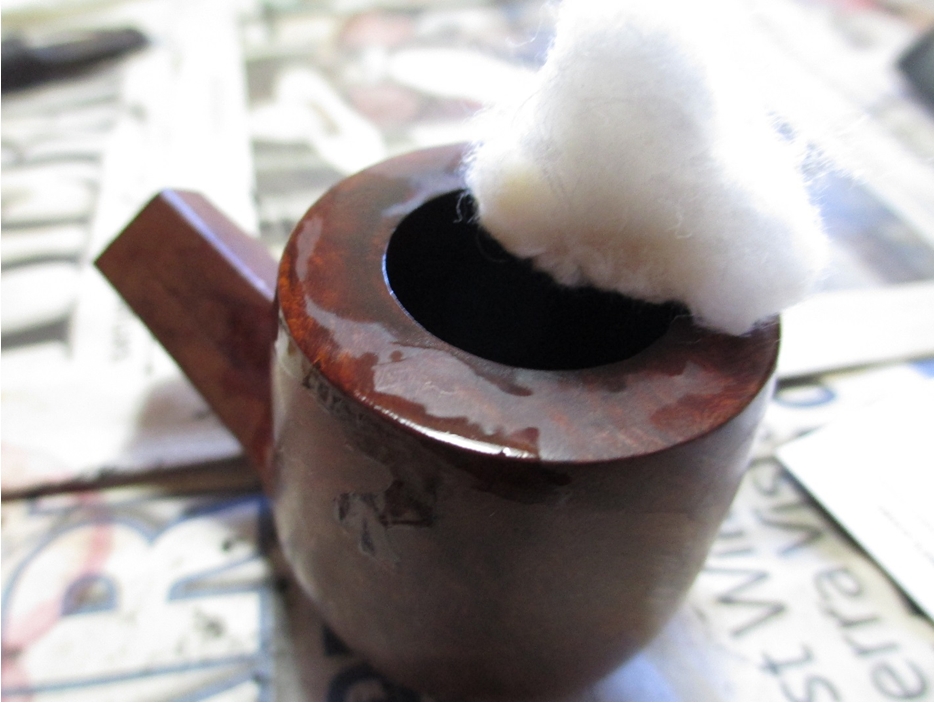
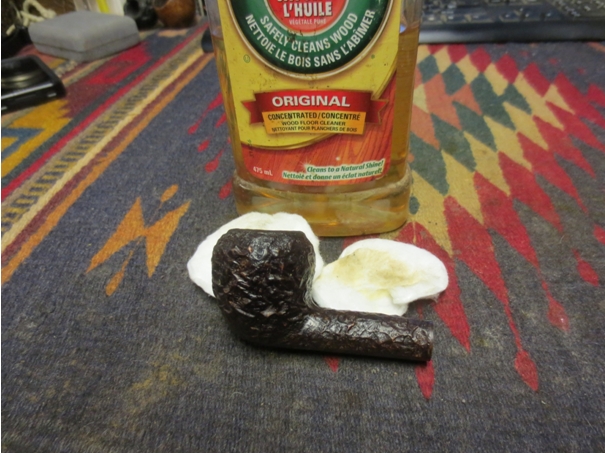
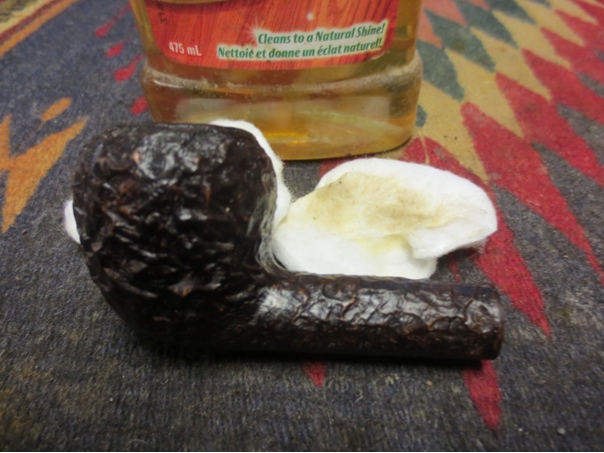
 I wiped the bowl down with acetone on cotton pads to remove the grime and the finish. The black grime came off easily with repeated scrubbing.
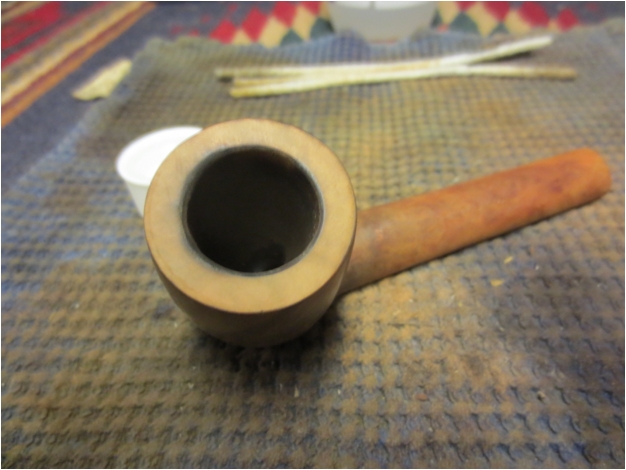
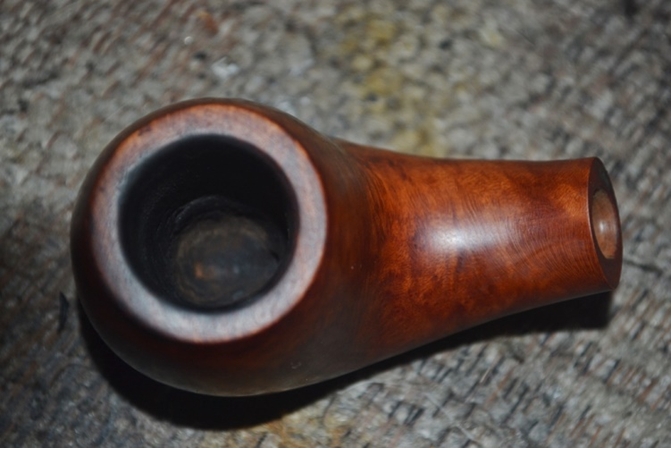
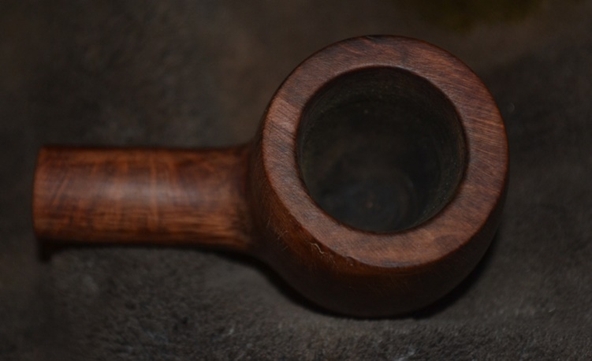
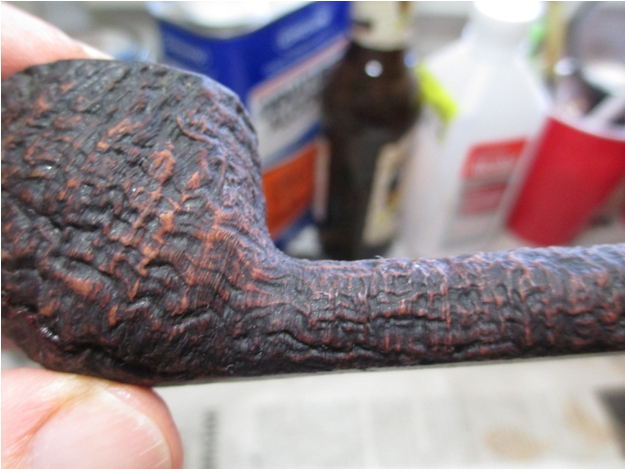
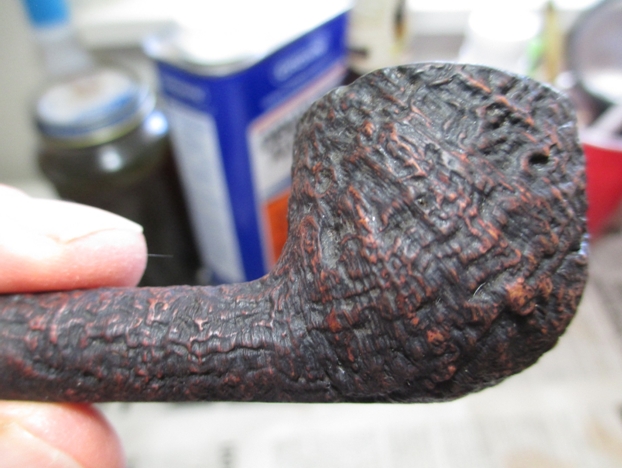
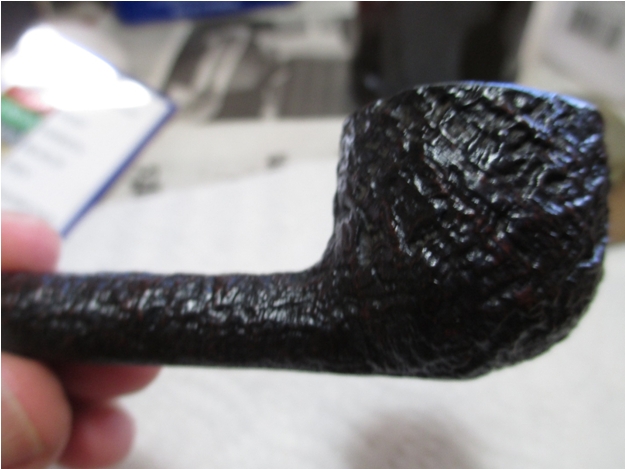
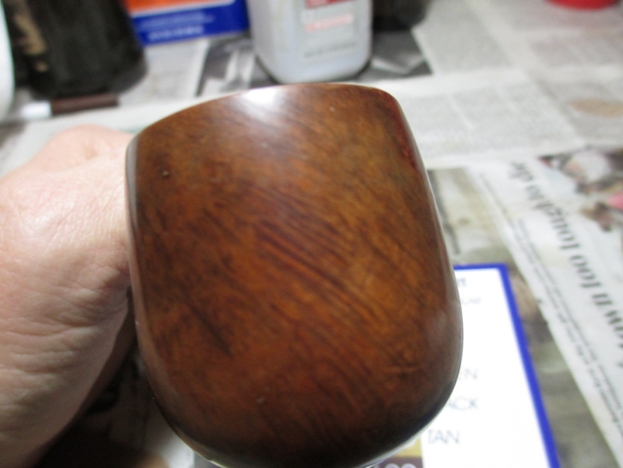
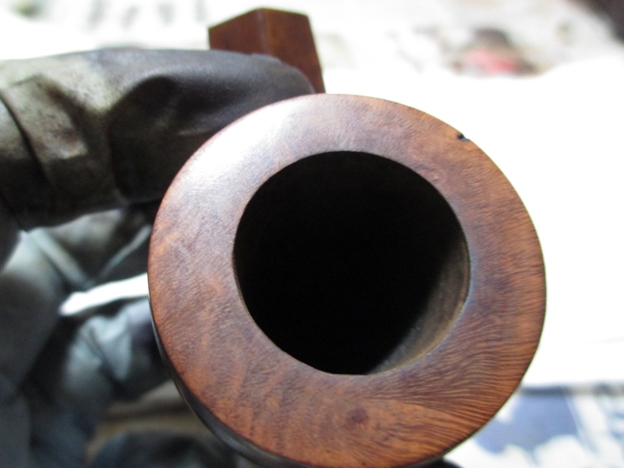
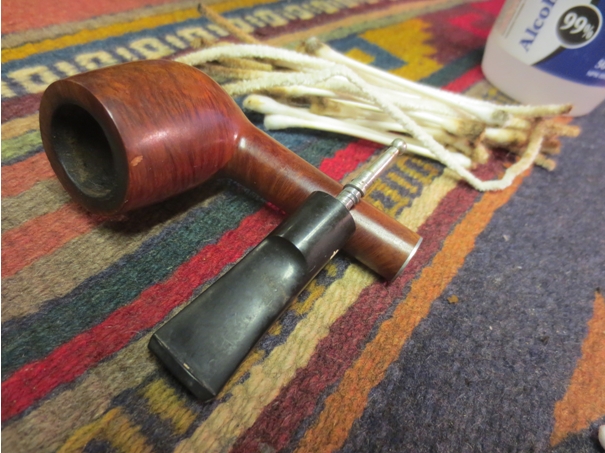
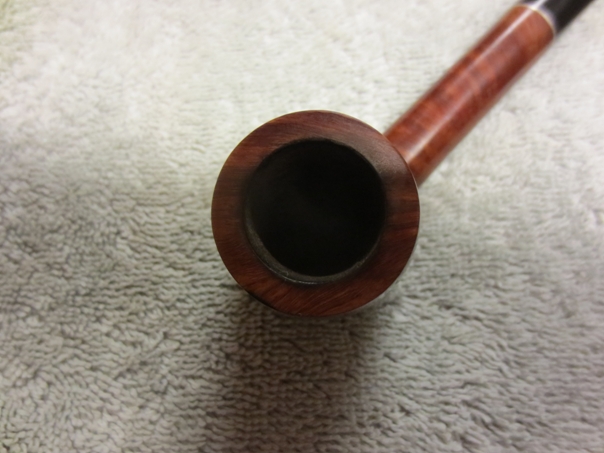
 Once I had cleaned the grime and tars off the rim I could see the darkened damaged area of the top of the rim and the inner edge of the bowl. Though it is hard to see there were some deep scratches on the top of the rim on the right front side. They were quite deep gouges. The bowl would need to be topped to remove the damage and minimize the burn marks.
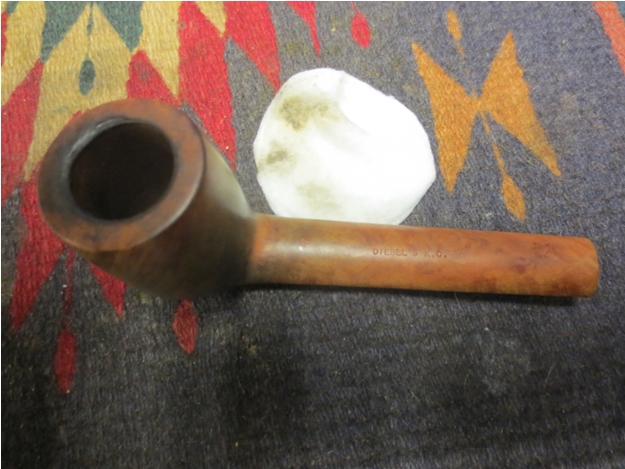
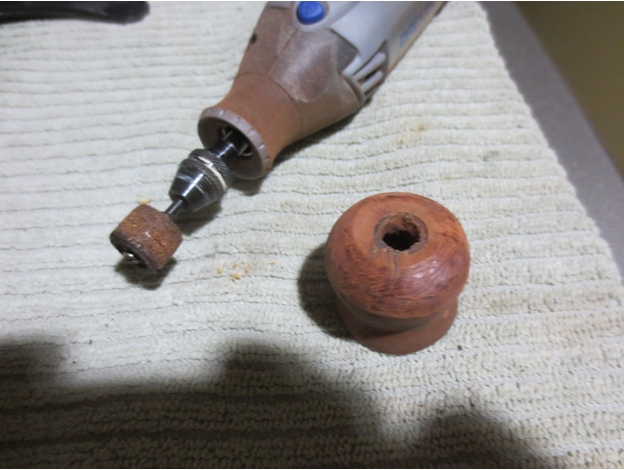
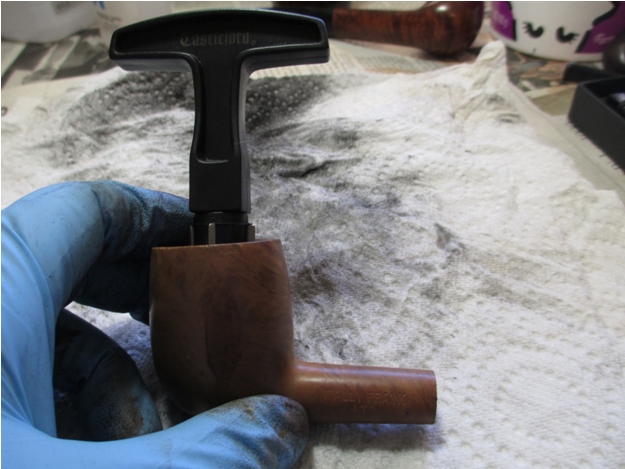
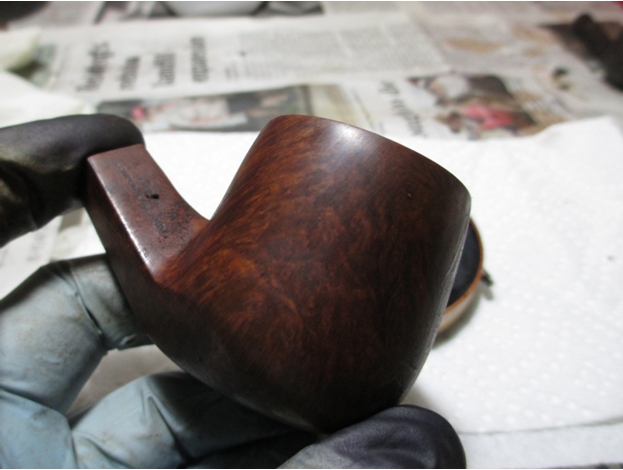
 I set up a topping board with 220 grit sandpaper on top of it. I turned the top of the bowl into the sandpaper in a circular motion, clockwise until the damaged area of the gouges and burned area was gone. I sanded the rim with a medium and a fine grit sanding sponge to remove the scratches left behind by the sandpaper. I used a folded piece of sandpaper to remove the burn damage on the inner edge of the rim. I sanded the bowl with the medium and fine grit sanding sponges to clean up the remaining dark areas. I wiped it down a final time with acetone on cotton pads.
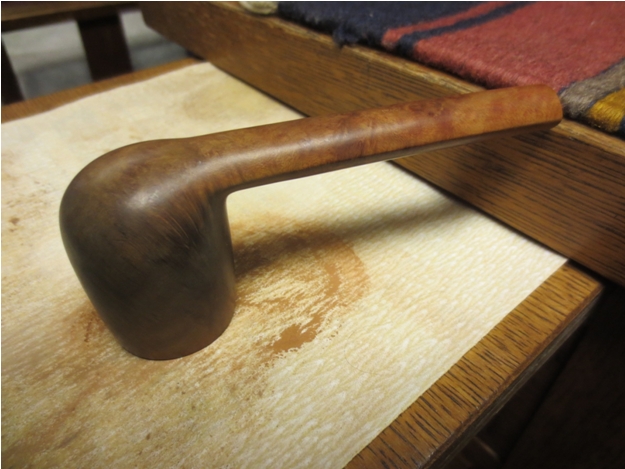
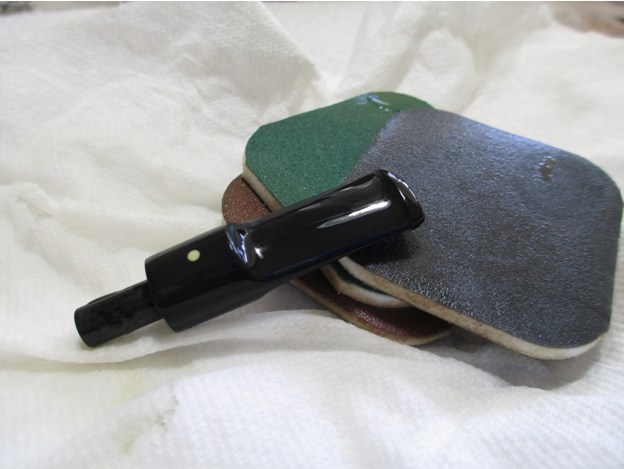
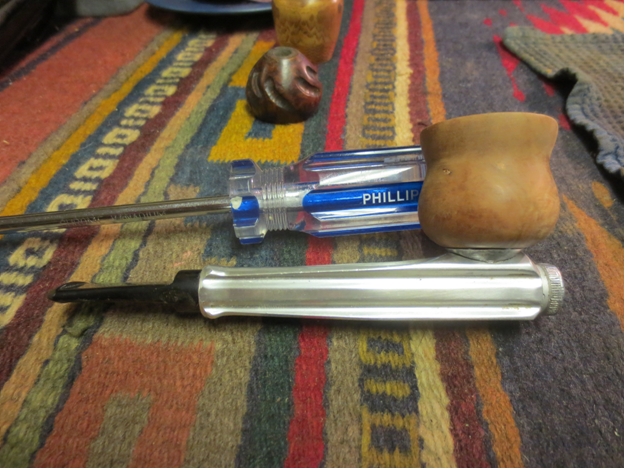
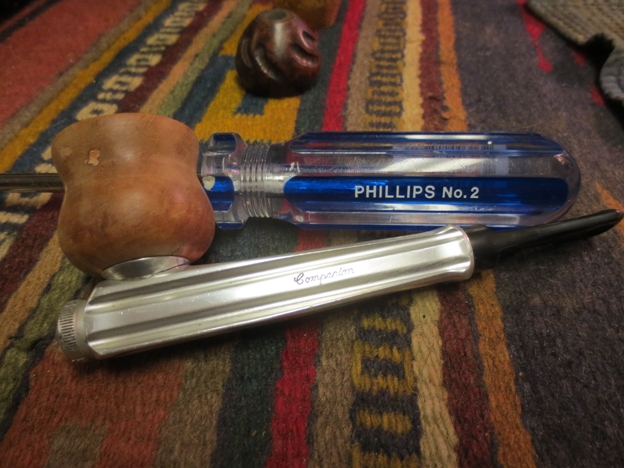
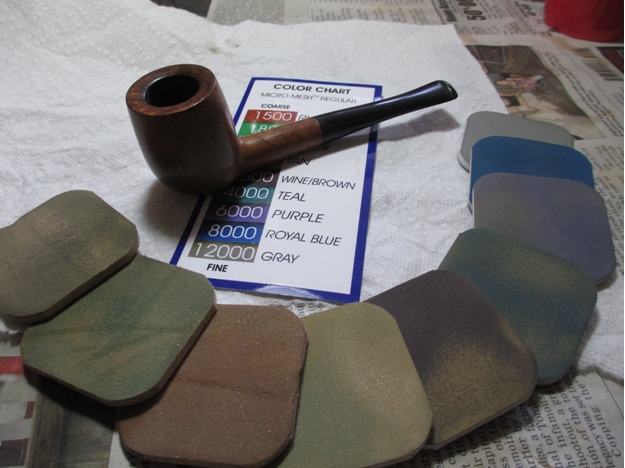
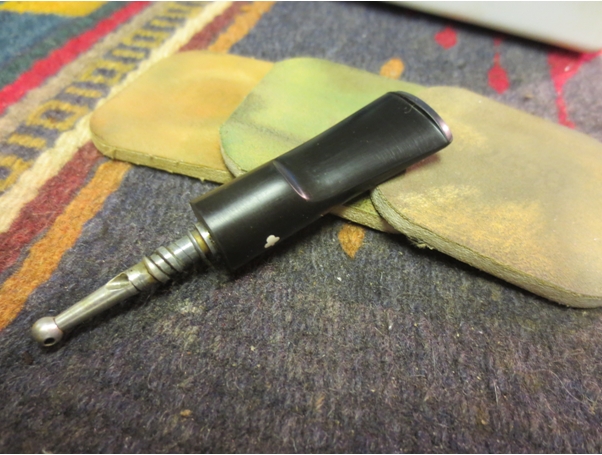
 With the bowl cleaned and ready to finish I set it aside and worked on the stem. I sanded the tooth marks with 220 grit sandpaper to smooth out the damage of the tooth marks.
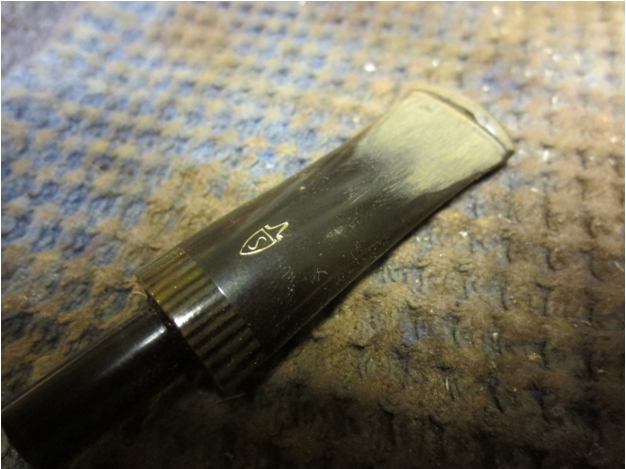
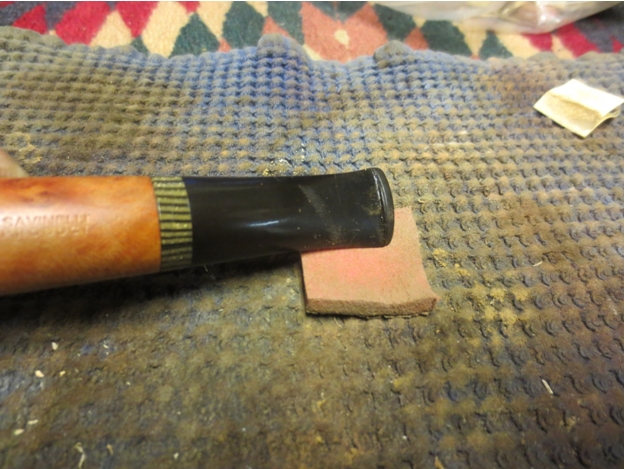
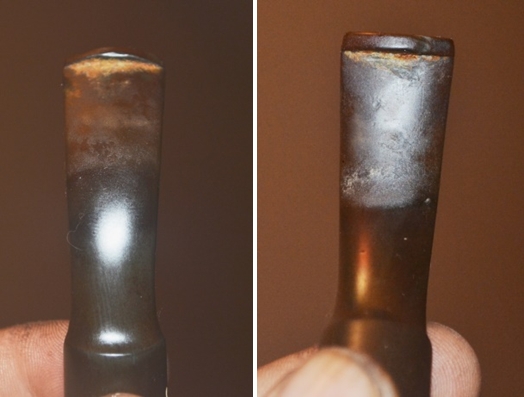
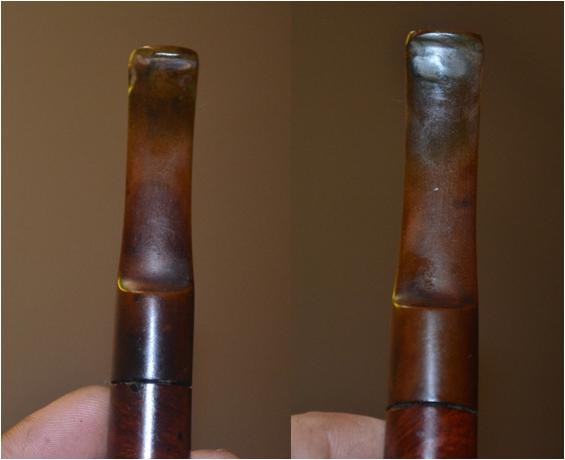
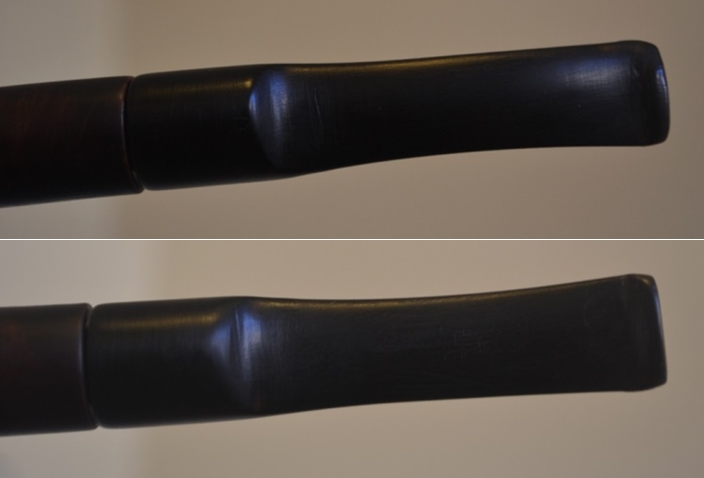
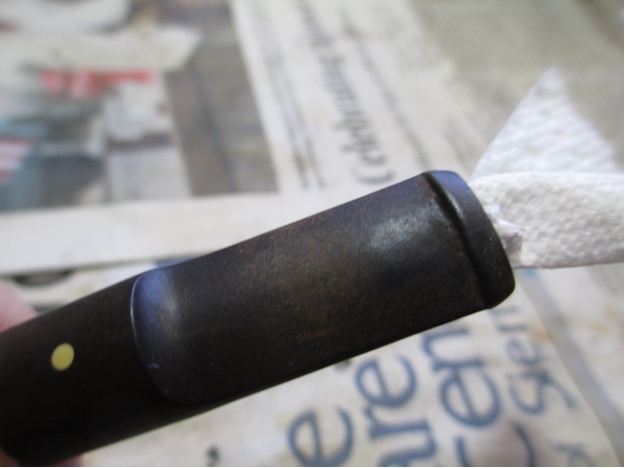
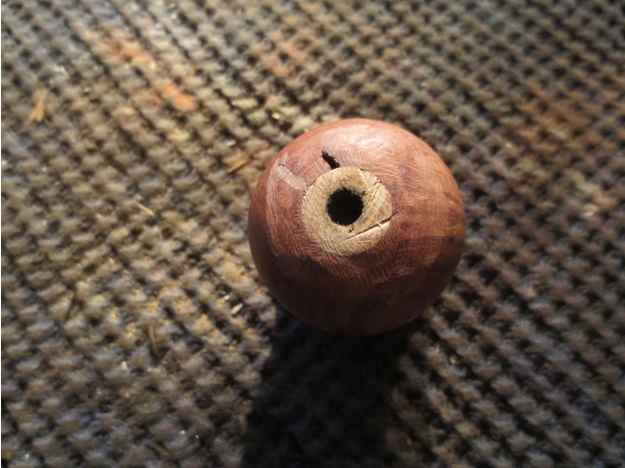
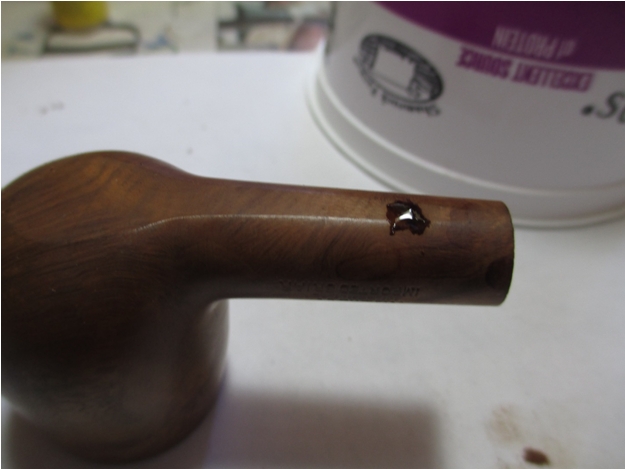
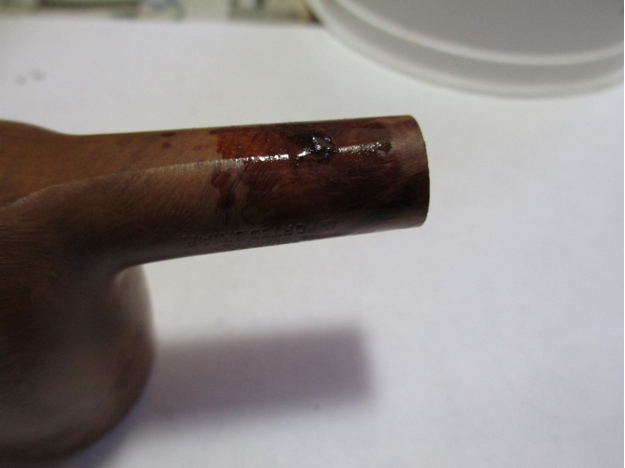
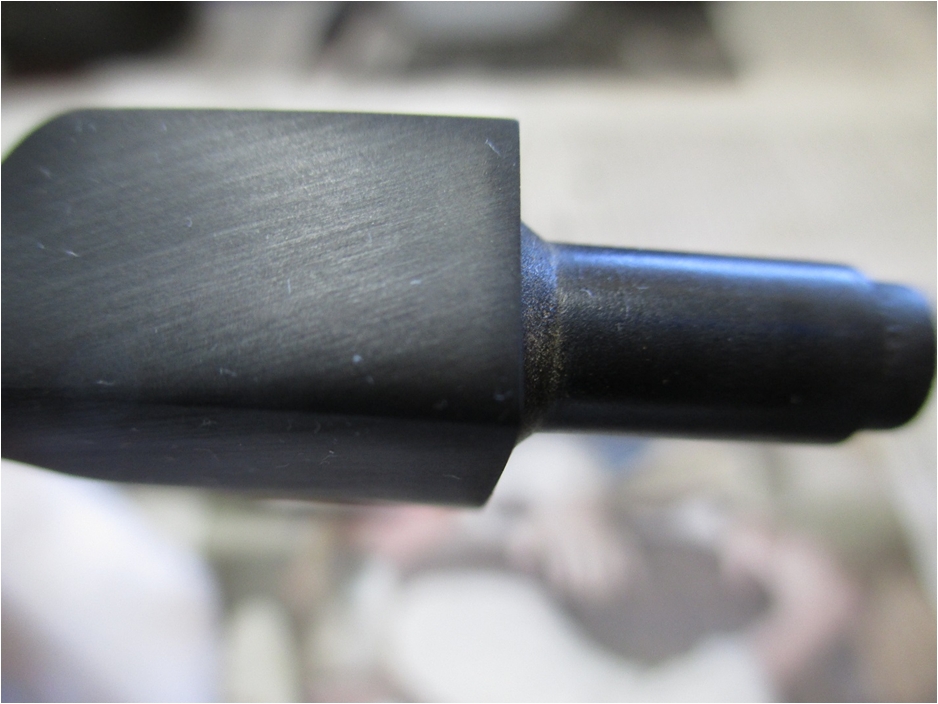
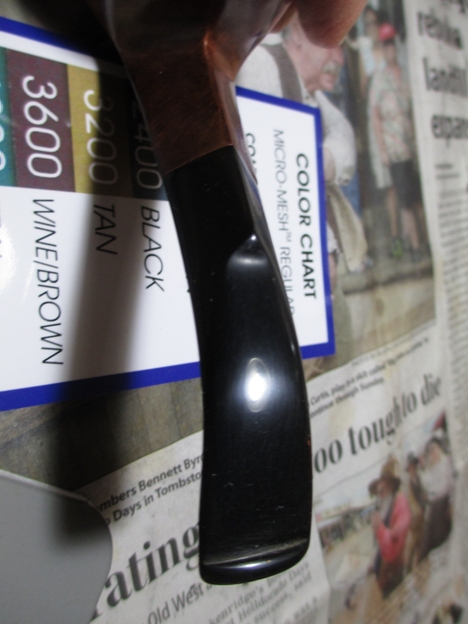
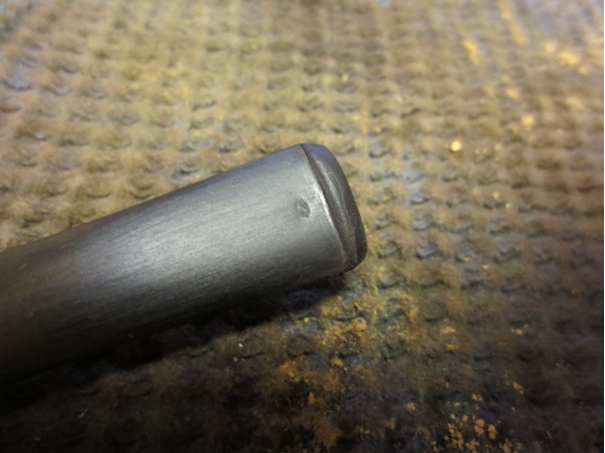
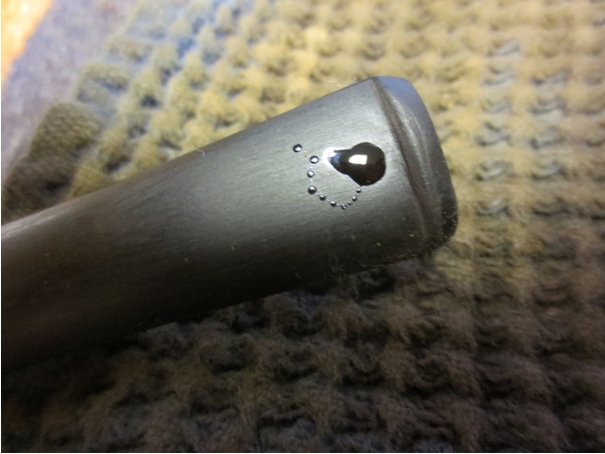
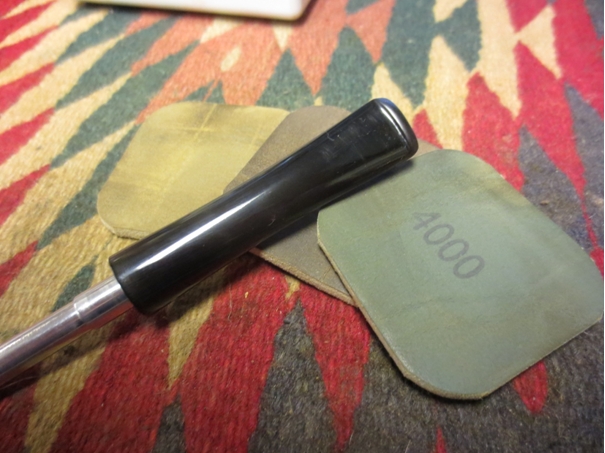
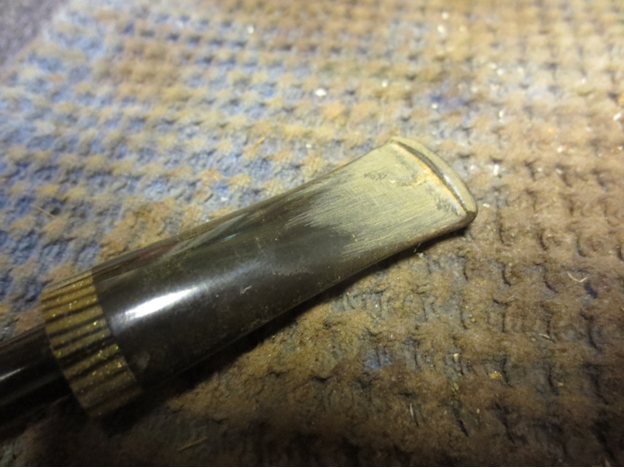 The tooth marks on the top of the stem cleaned up nicely, leaving behind two small divots that I needed to repair with super glue. The damage on the underside was much worse – the dent was deep and needed a large fill. The first photo below shows the repaired underside tooth mark. The second photo shows the repairs of the marks on the topside. I used clear super glue and an accelerator to harden it. Some might ask why I used clear super glue instead of black super glue and to be honest I am not sure why, I picked up the tube of clear glue and used it as it was closest to pipe at hand. Both work equally well for me.
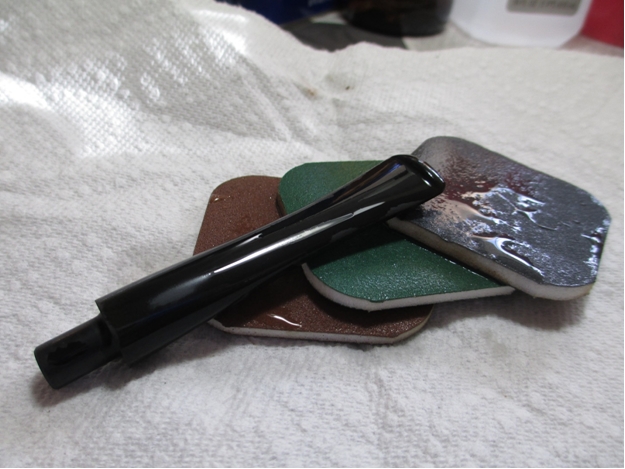
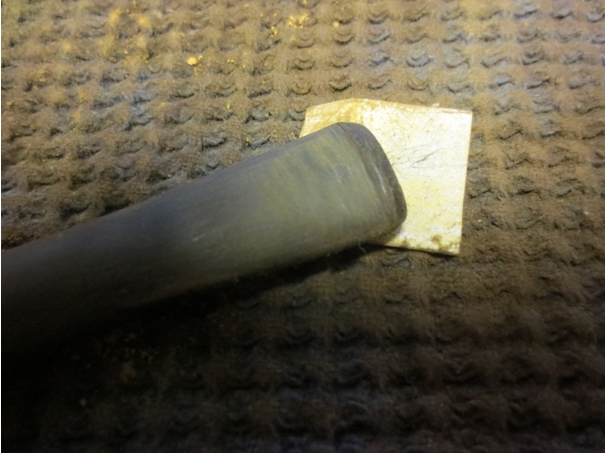
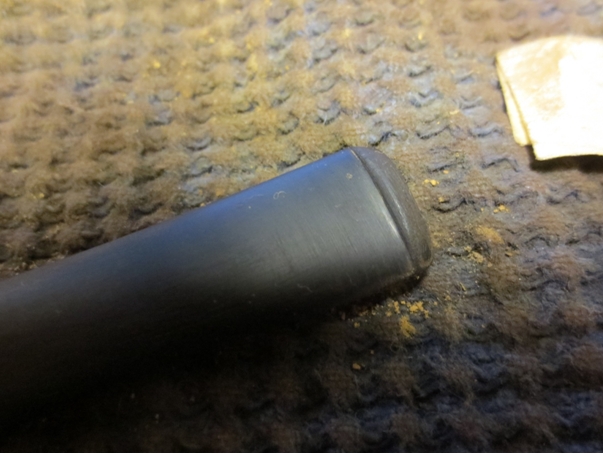
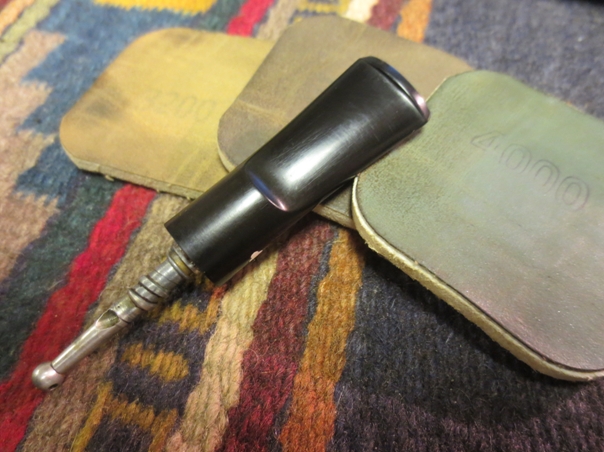
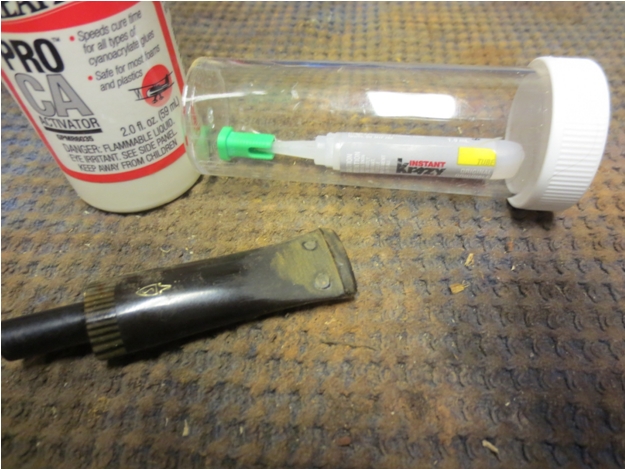 I sanded the glue patches with 220 grit sandpaper and then with medium and fine grit sanding sponges. I sanded until the surface of the patch was blended in with the surface of the stem. You can see from the photos that the clear glue worked well.
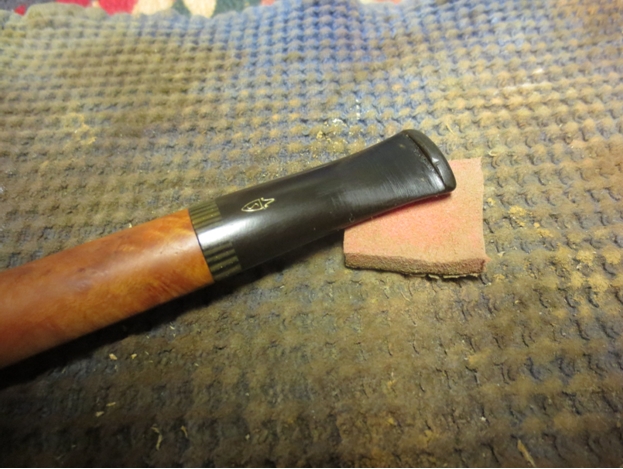
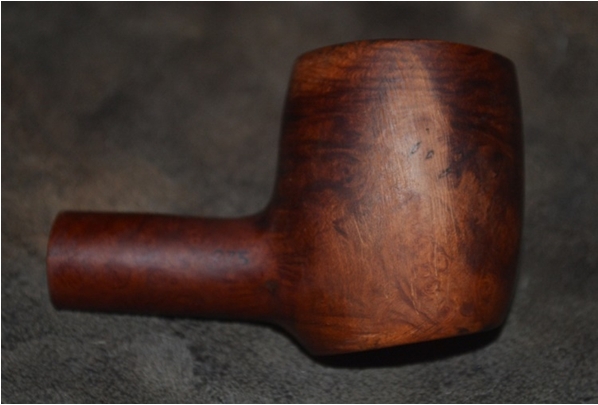
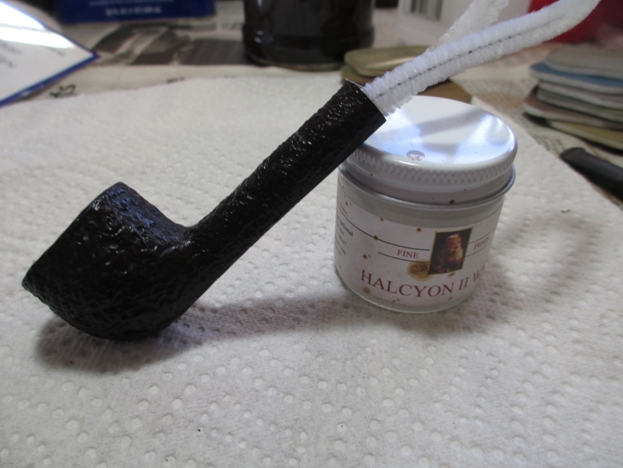
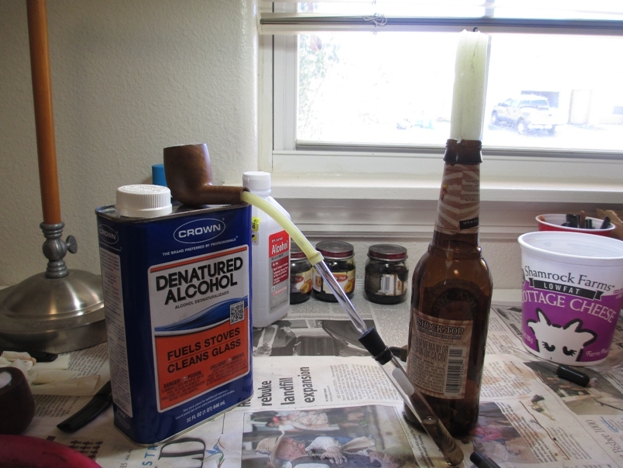
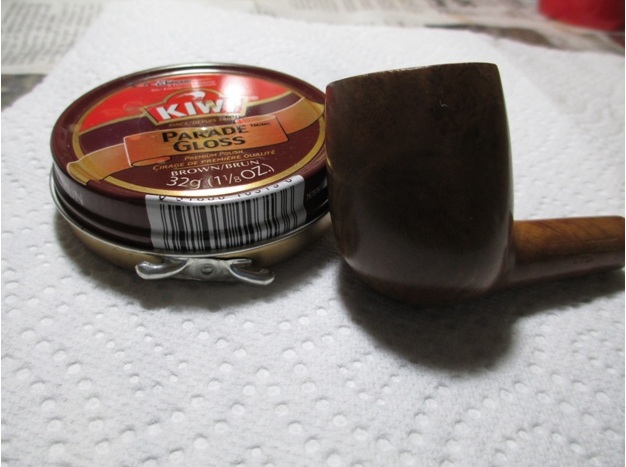
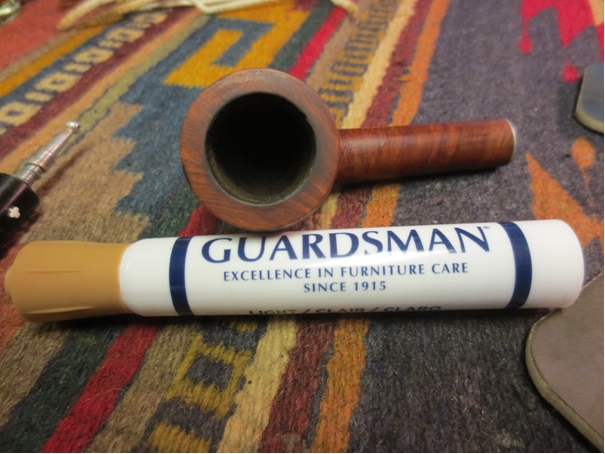
 At this point in the process I gave the pipe a coat of medium walnut Danish Oil stain. I set the pipe on a cork to dry while I went to work for the day.
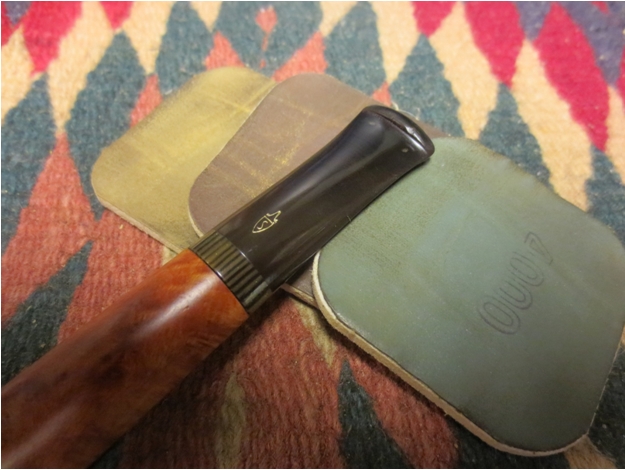
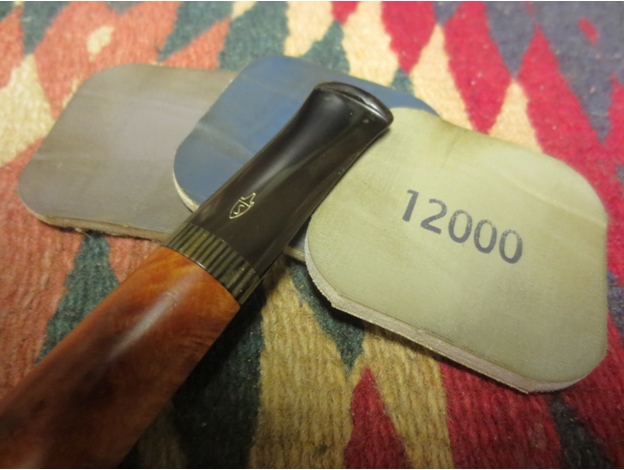
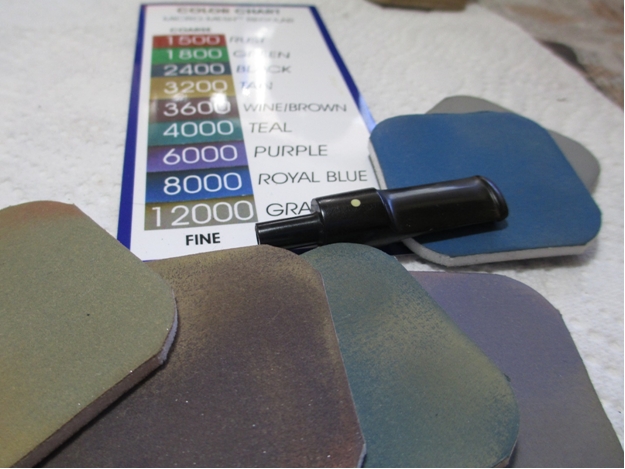
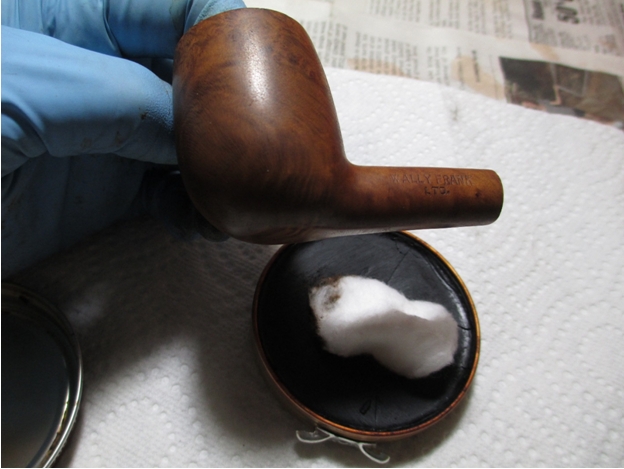
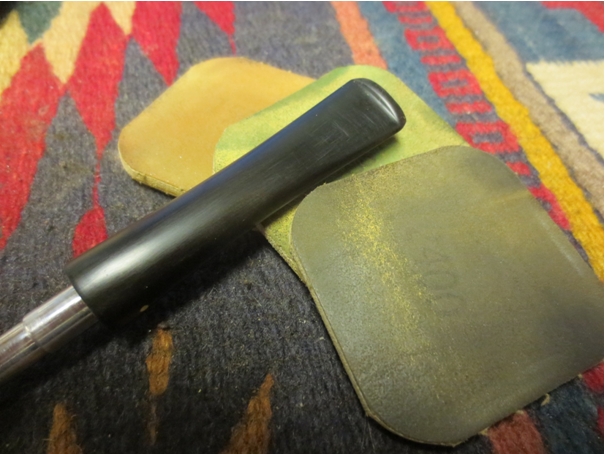
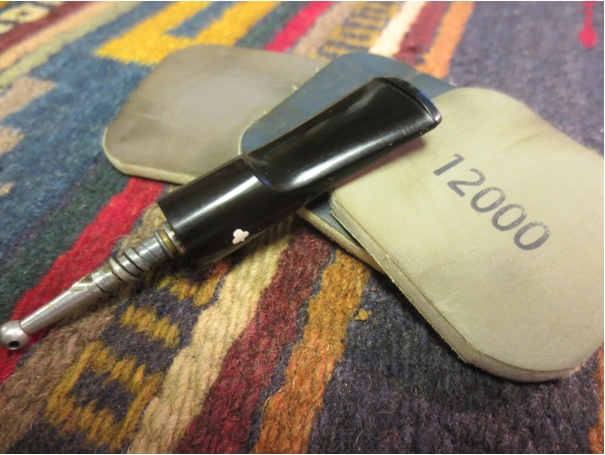
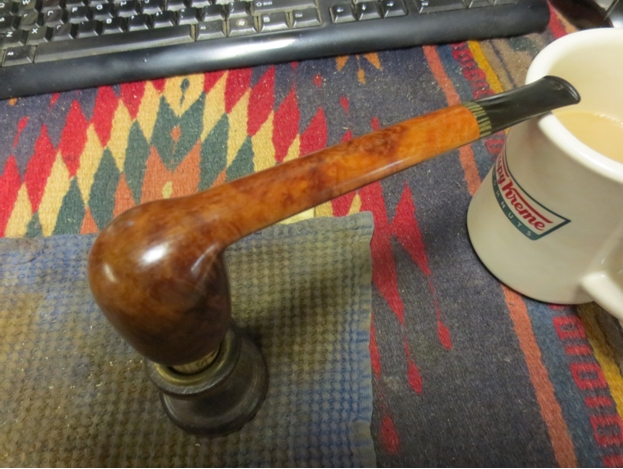 When I came home I buffed the bowl and shank with White Diamond and then worked on the stem with micromesh sanding pads. I wet sanded the stem with 1500-2400 grit micromesh pads and then dry sanded with 3200-12,000 grit pads. I buffed the stem with White Diamond and then rubbed it down with Obsidian Oil. Once it was dry I gave the bowl and stem several coats of carnauba wax and buffed it with a soft flannel buffing pad to raise a shine.
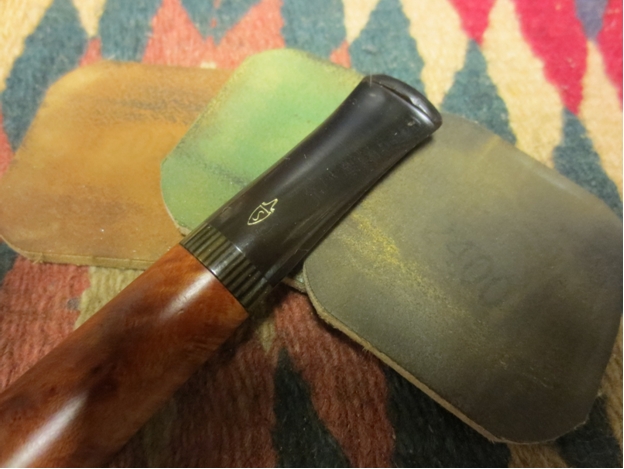
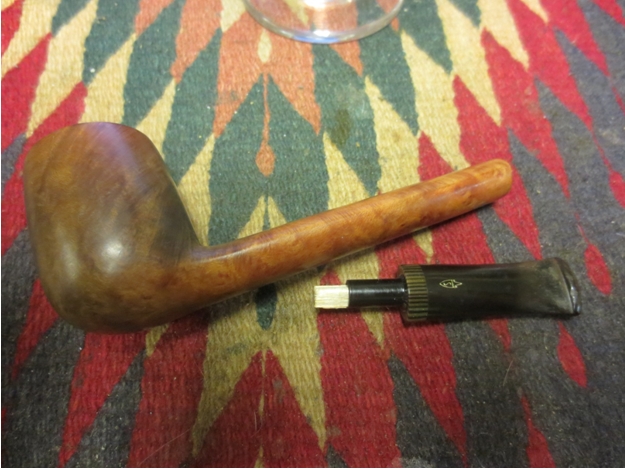
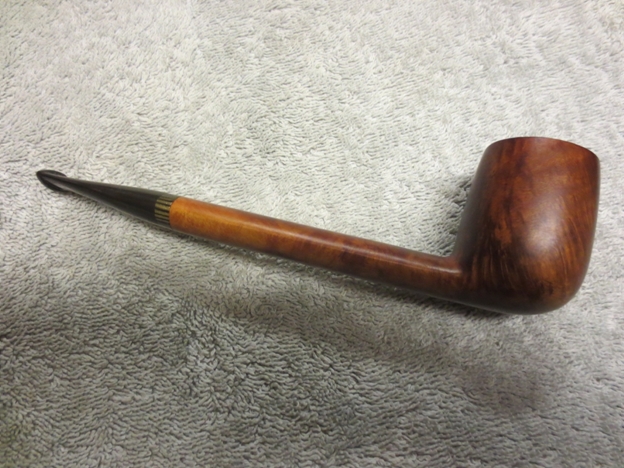
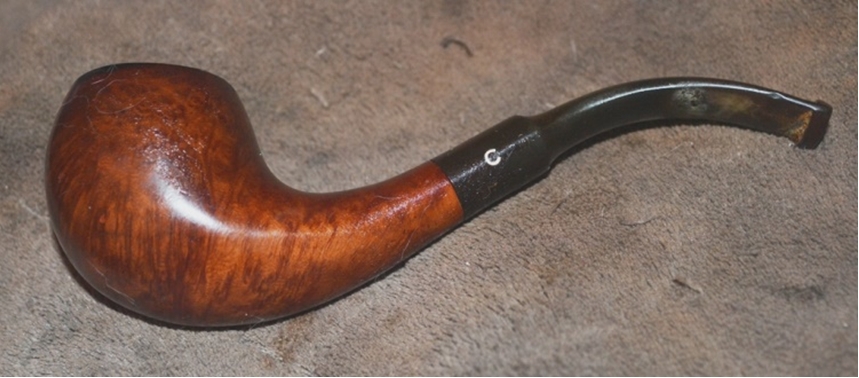
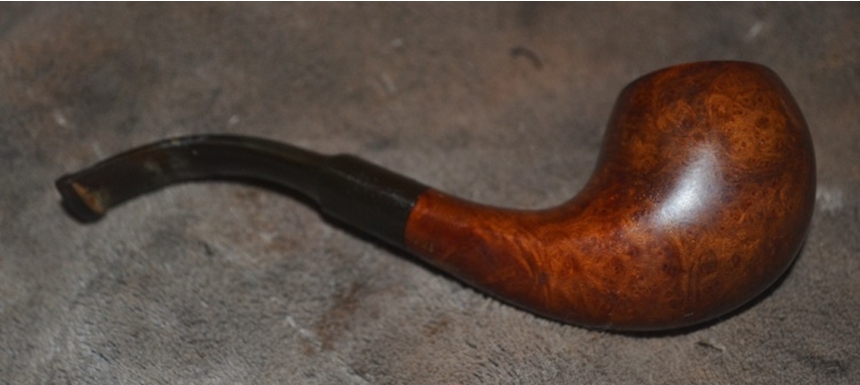
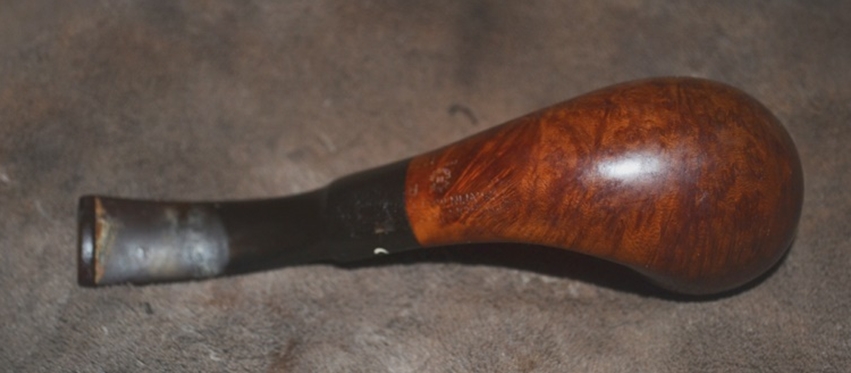
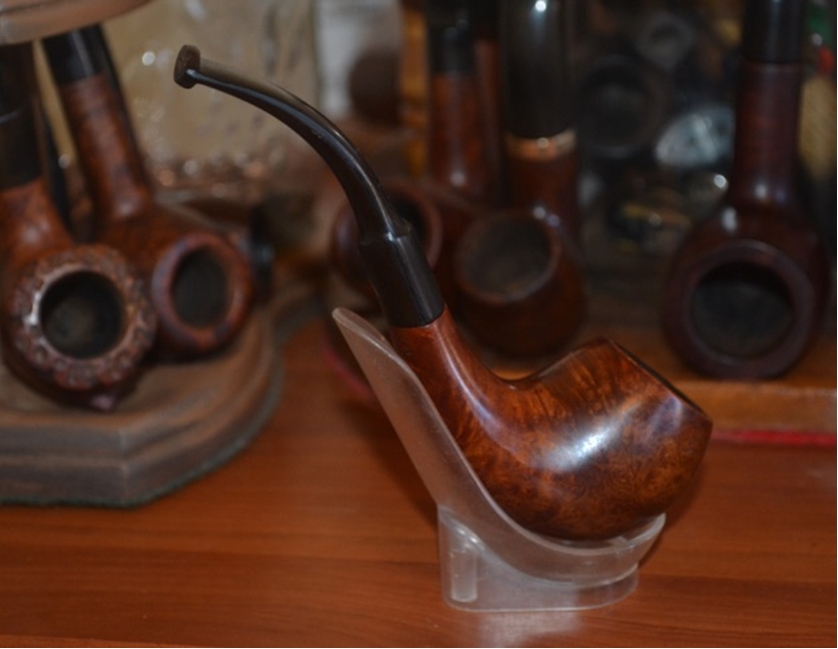
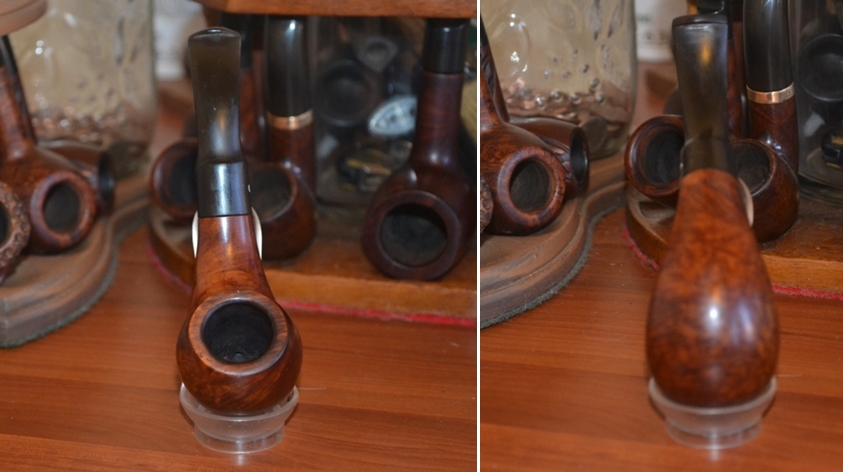
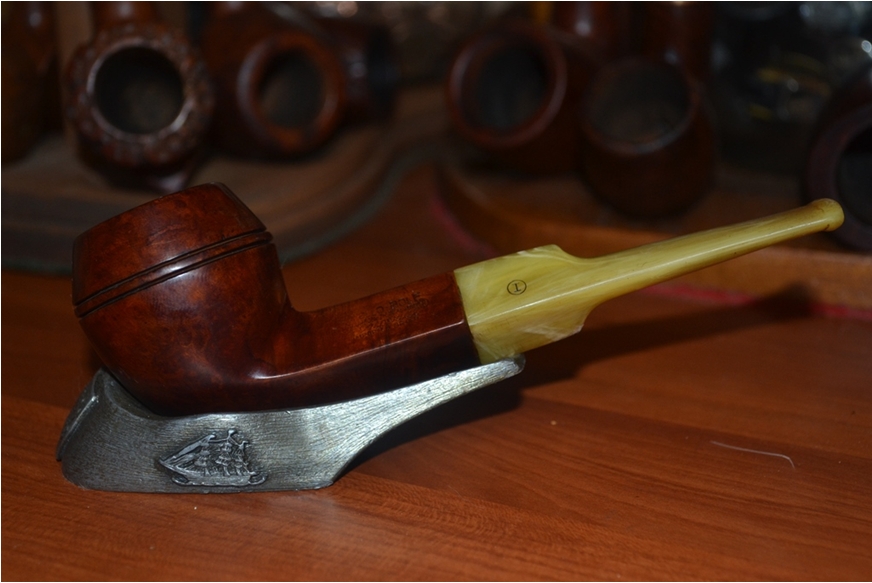
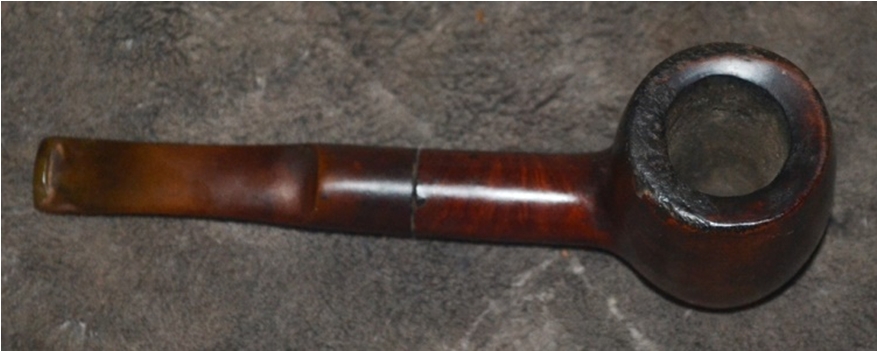
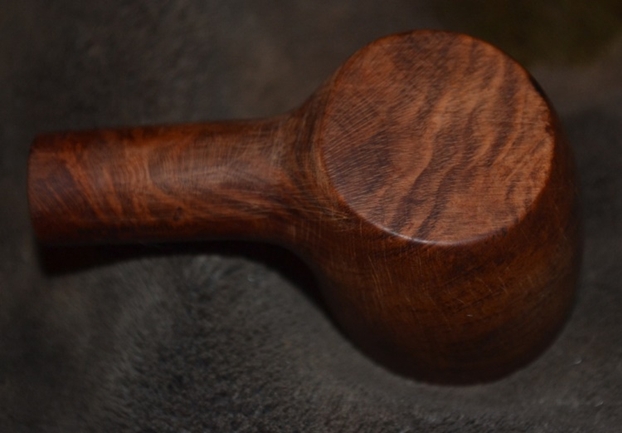
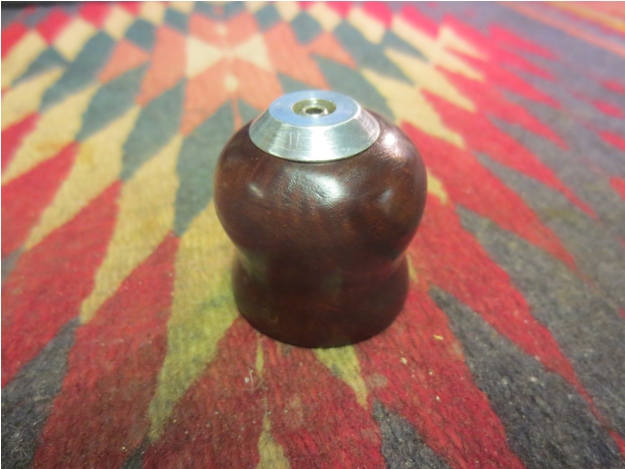
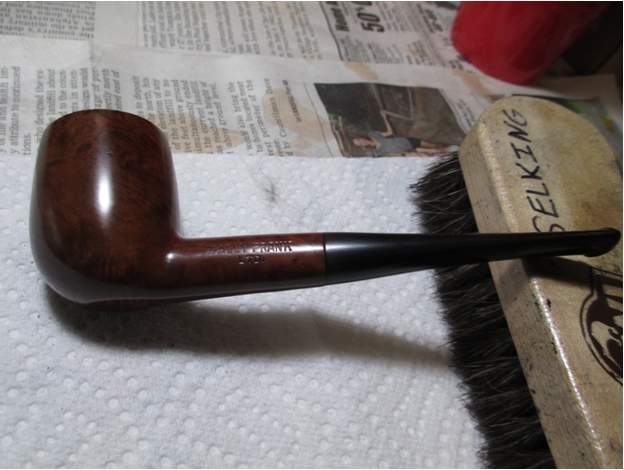
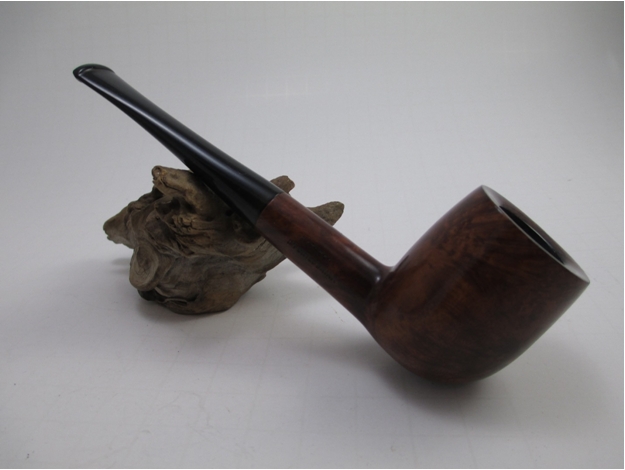
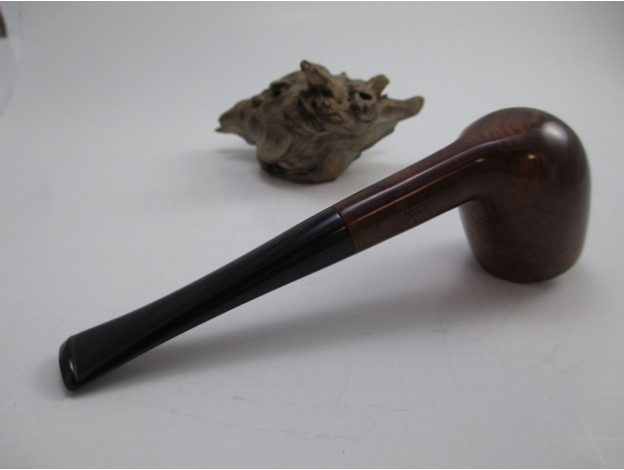
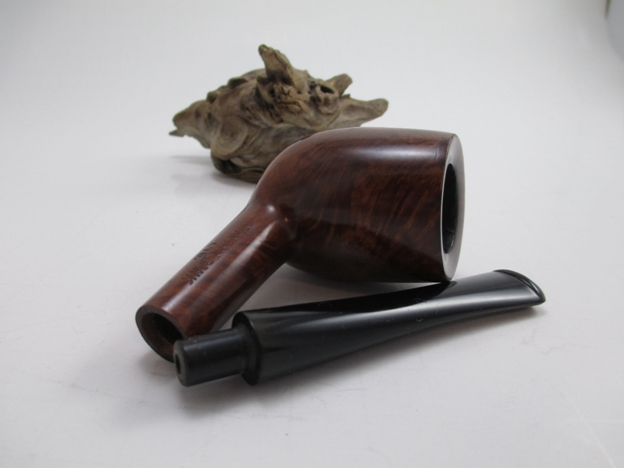
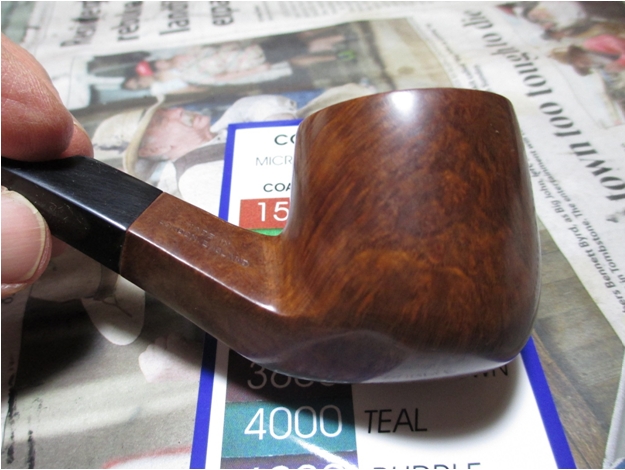
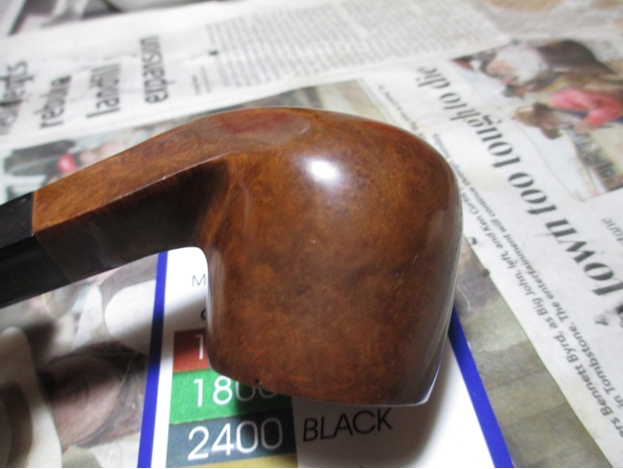
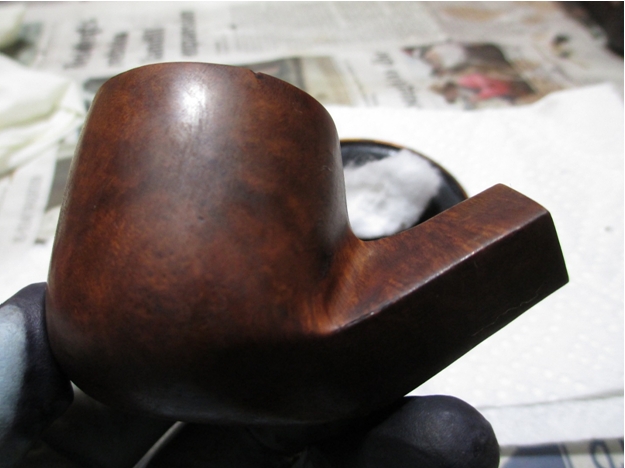
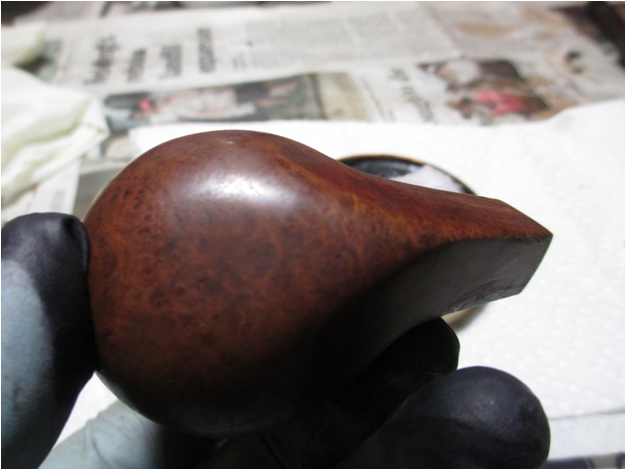
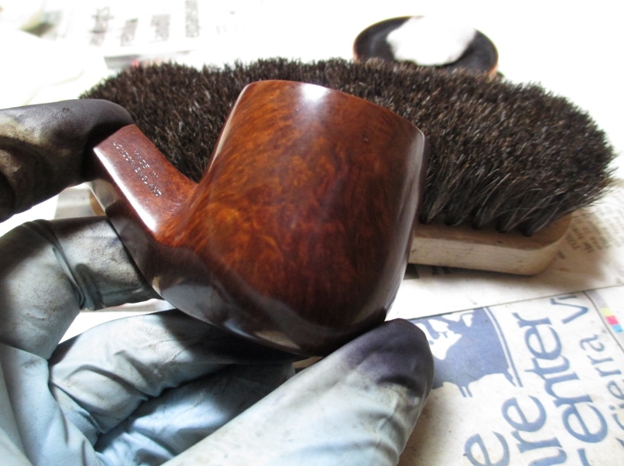
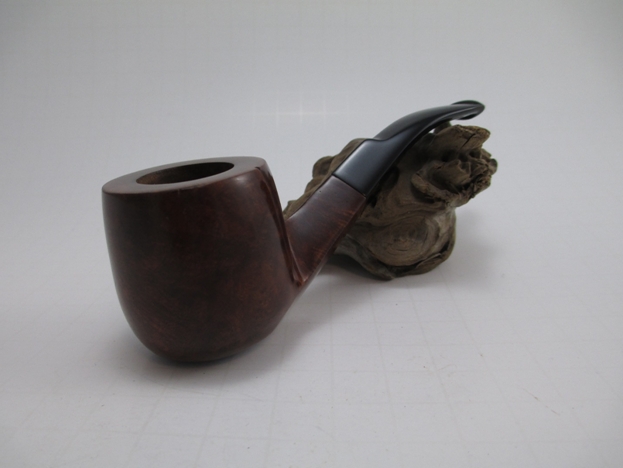
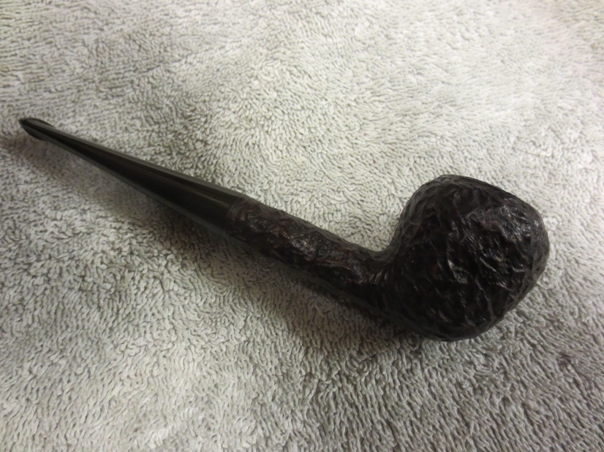
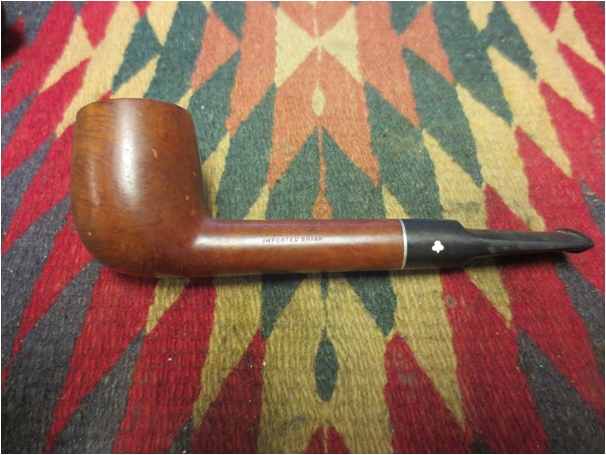
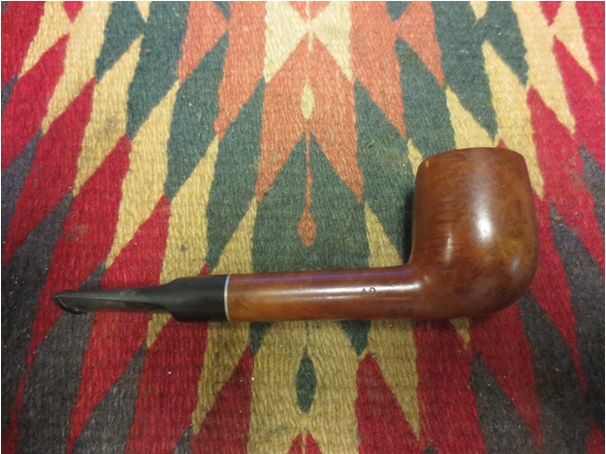
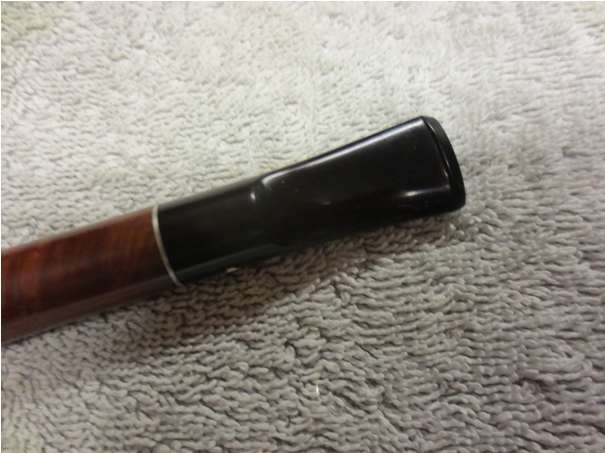
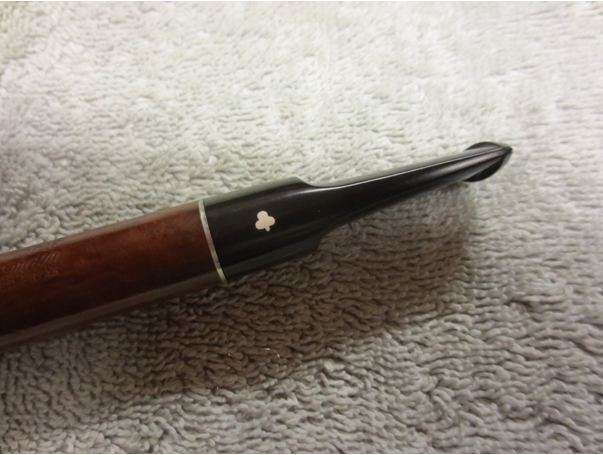
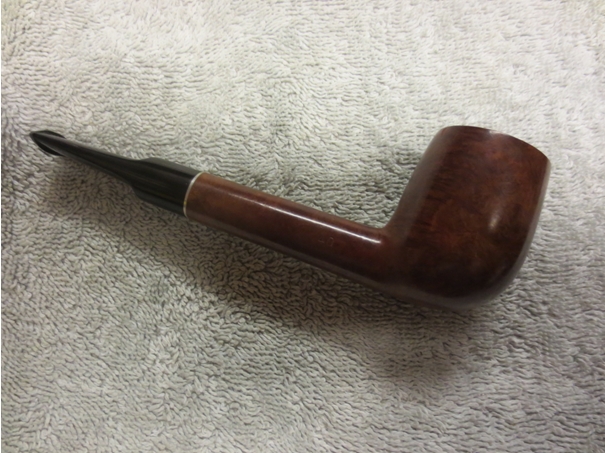
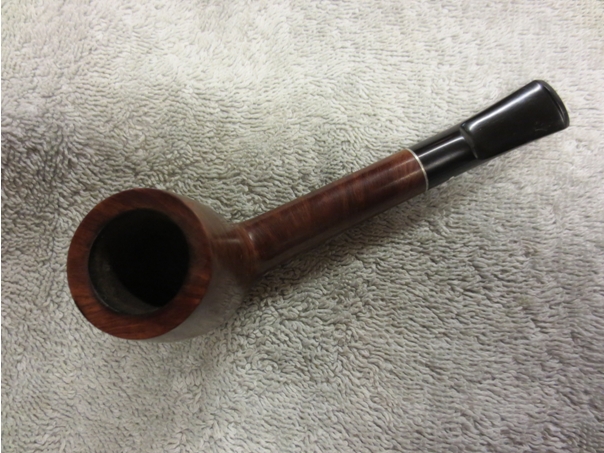
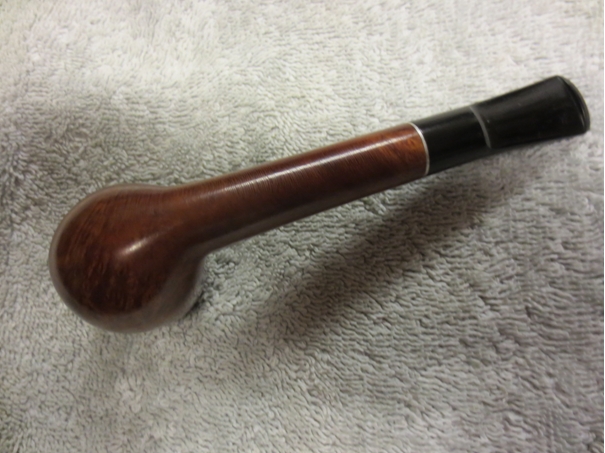
 The finished pipe is shown below. It is cleaned and ready to smoke. The overall look of the pipe is clearly a Savinelli to me. It is distinctively Italian. The taper of the stem, the sharper edges on the sides of the shank and the bowl shape all say Italian. The band on the stem is various sizes of gold stripes that encircle the stem at the shank union. The walnut stain gives the pipe a contrast look and makes the grain stand out. The finish is warm an earthy in tone and the smooth feel in the hand is comfortable. I am looking forward to loading up a bowl and enjoying an inaugural smoke.
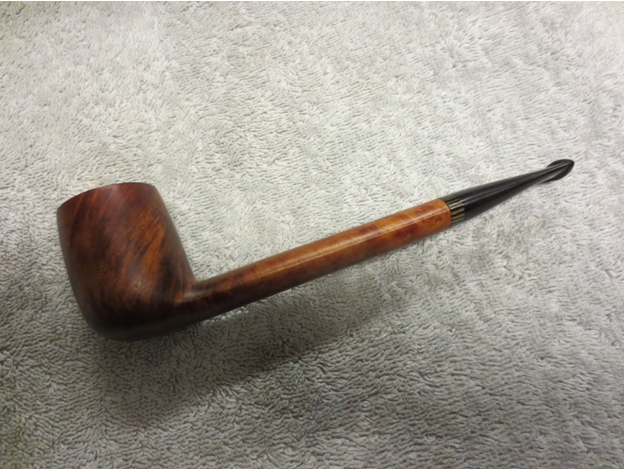
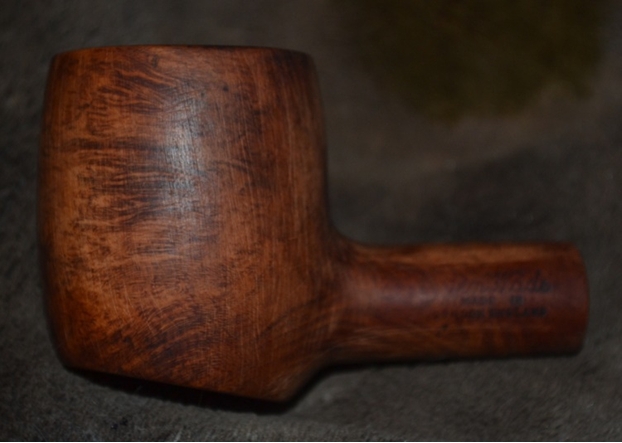
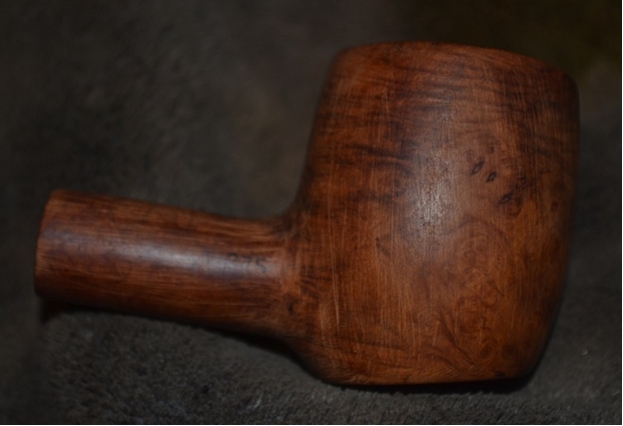
 Now I am waiting for the arrival of the original pipe I purchased from the seller in Eastern Canada. I look forward to seeing if it is one of Fred Diebel’s own hand-made pipes. The look in the first trio of photos above is certainly different from the look of the Savinelli. When it arrives I will clean it up and do a write up on it and a comparison with the Sav.


