Blog by Steve Laug
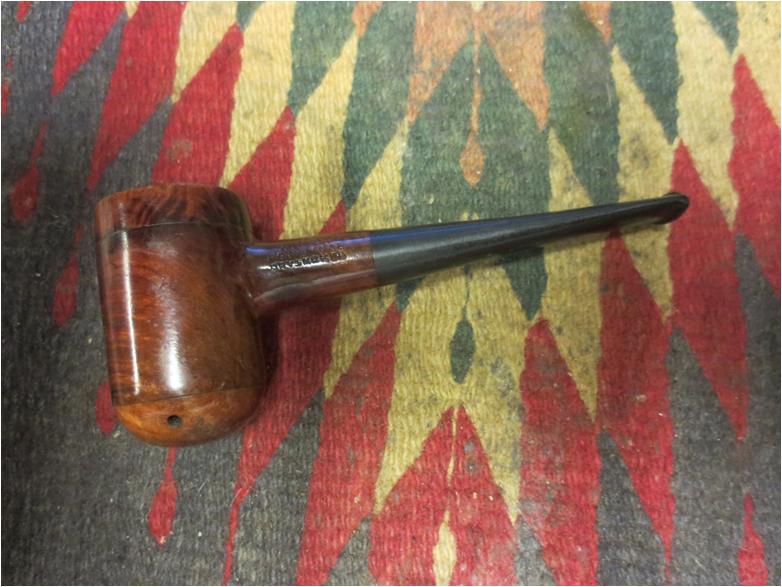
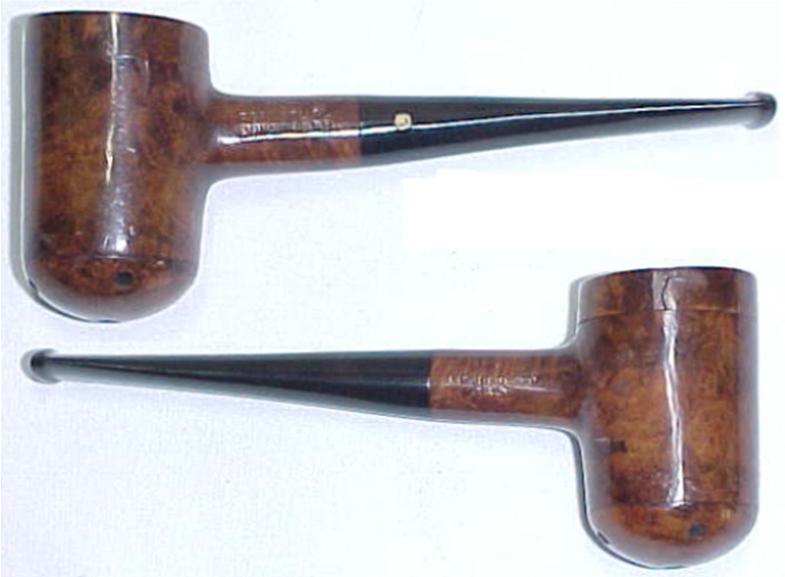
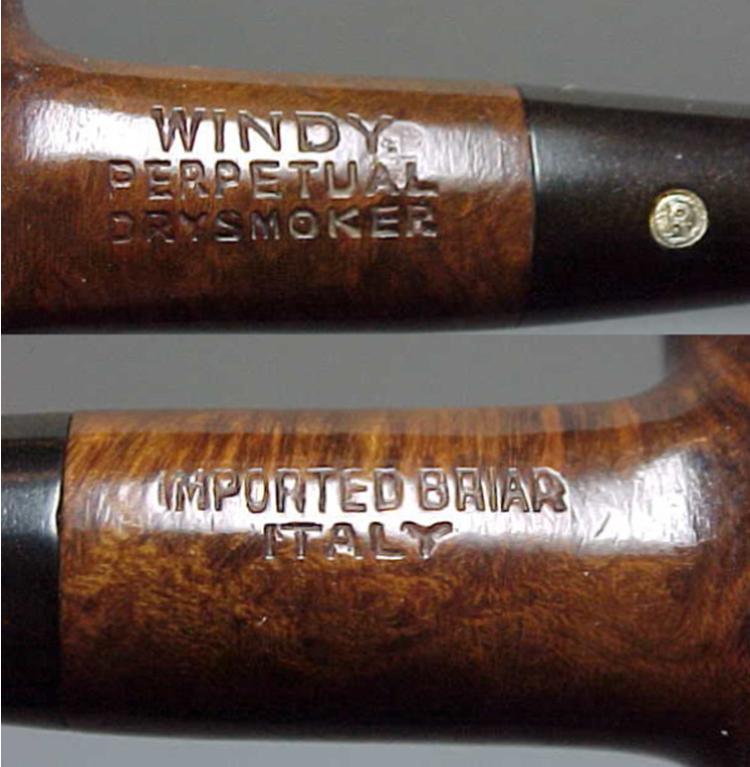
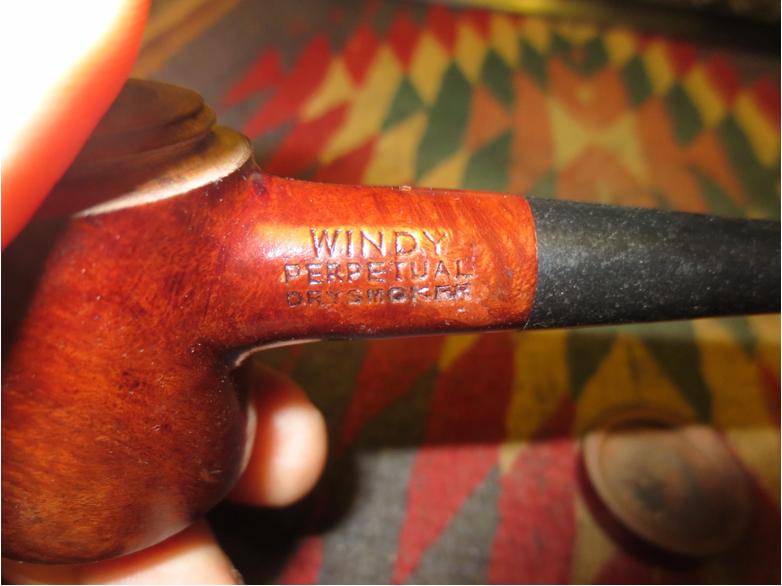
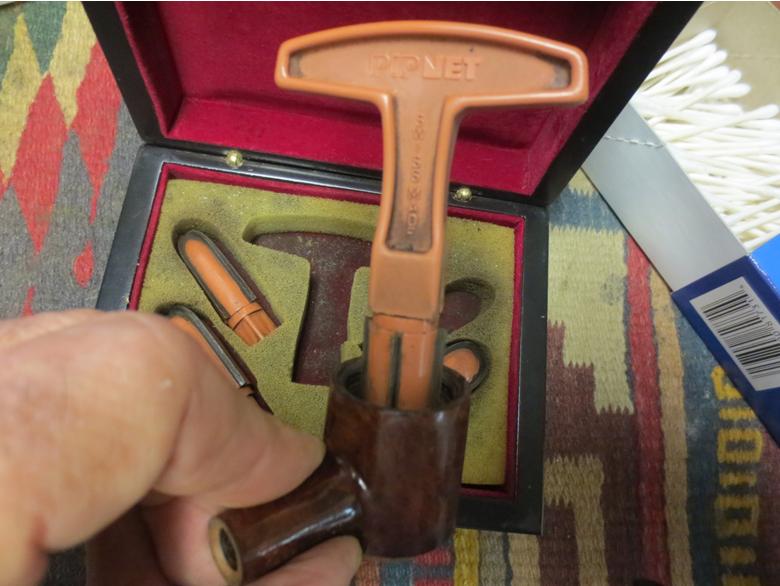
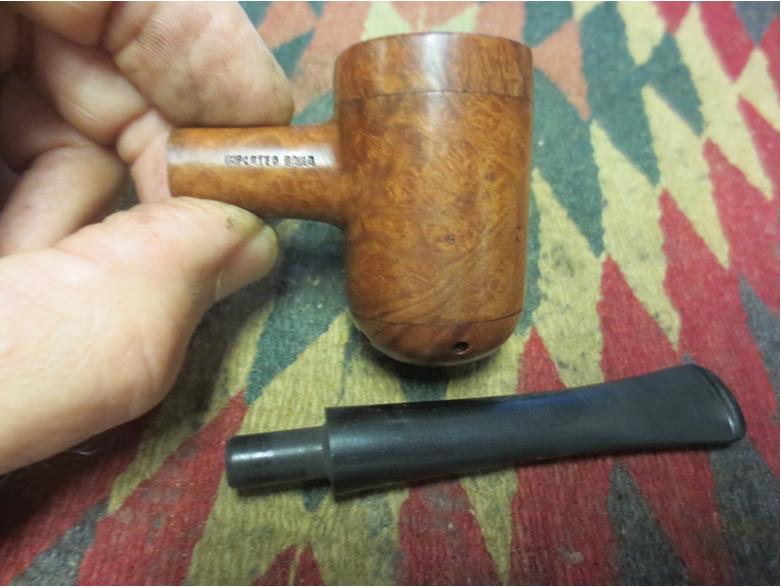
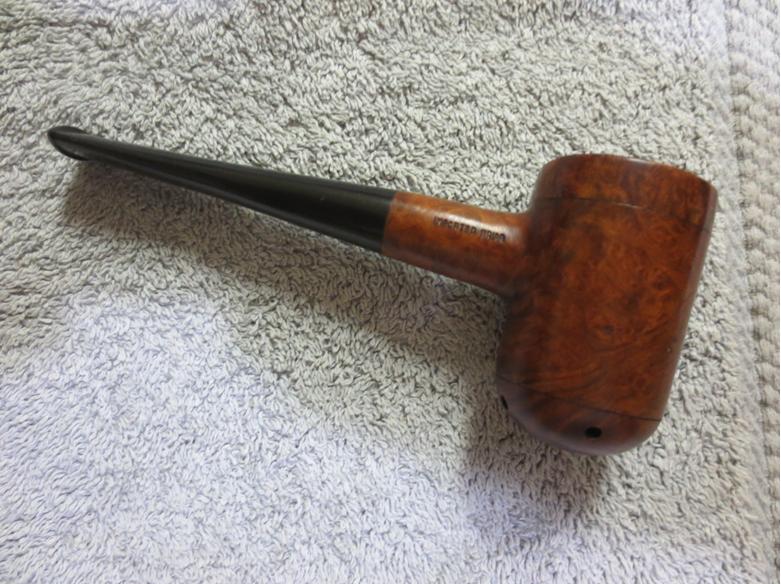
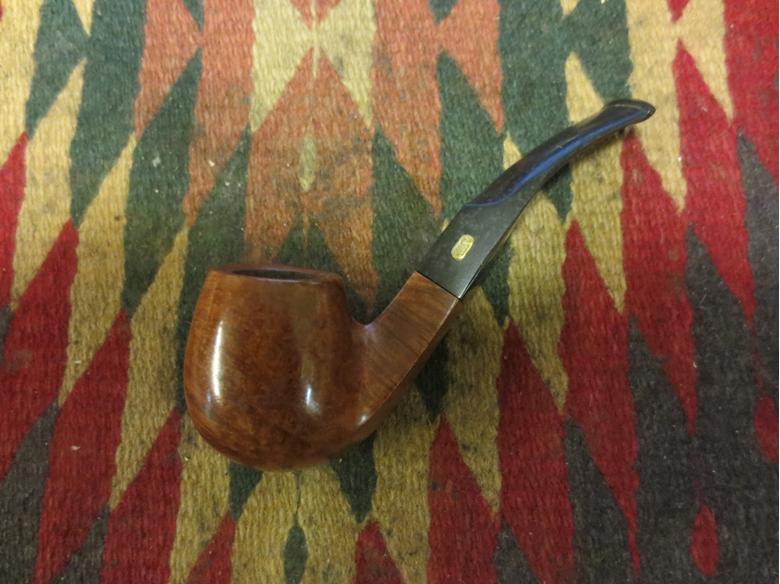
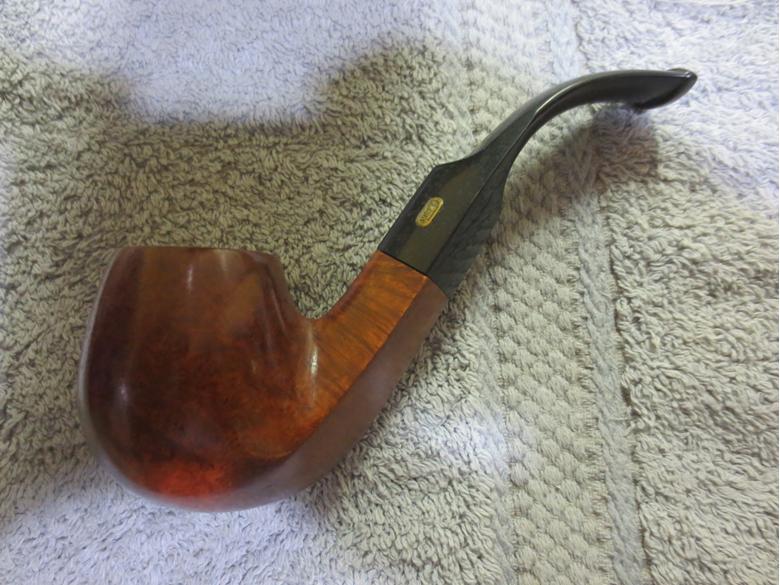
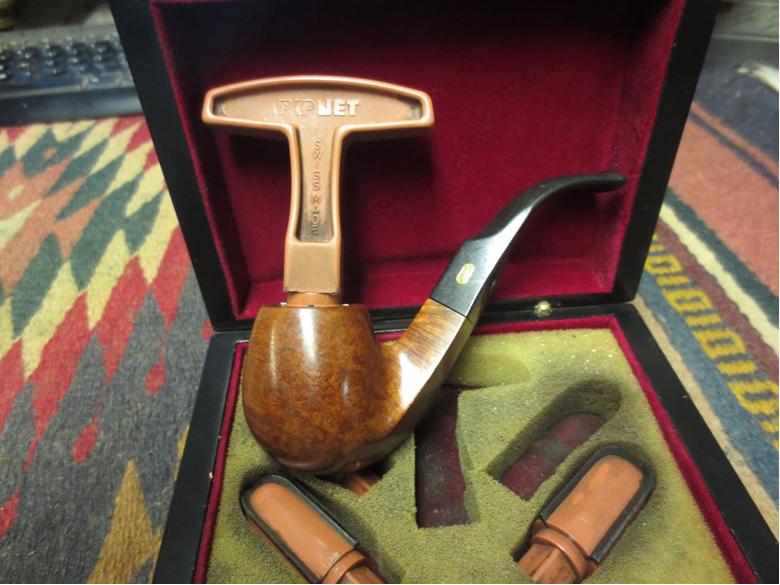
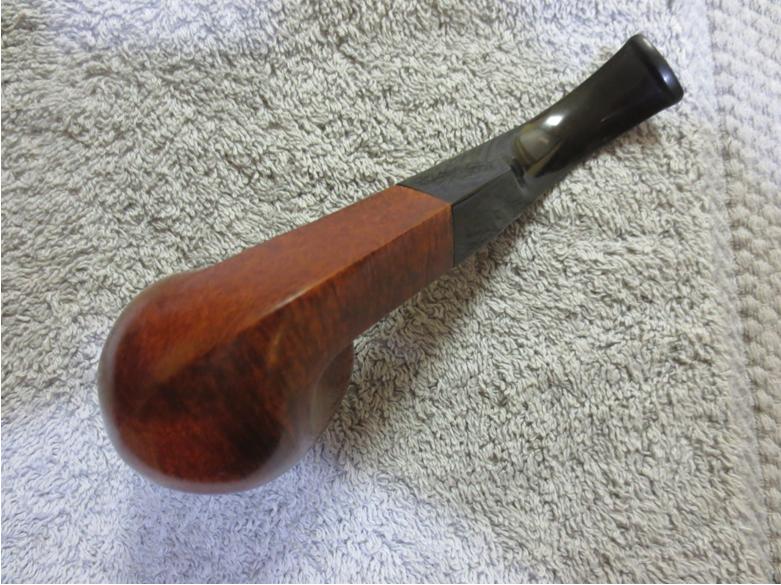
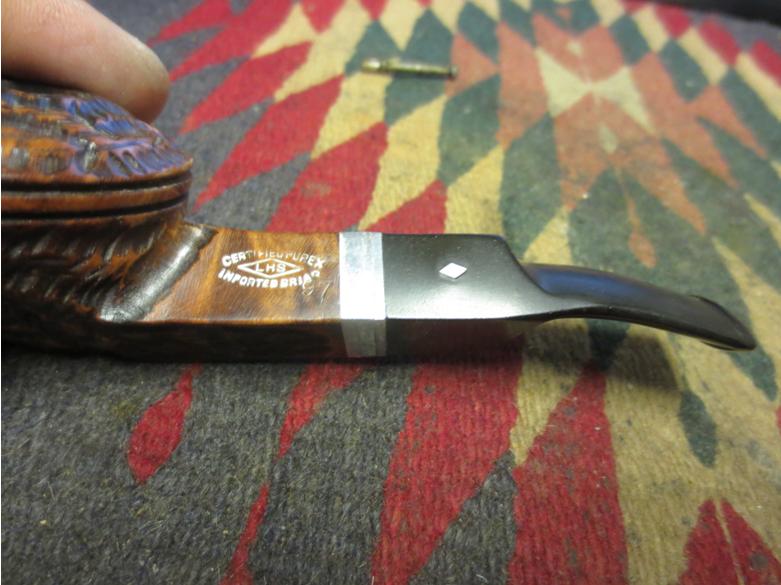
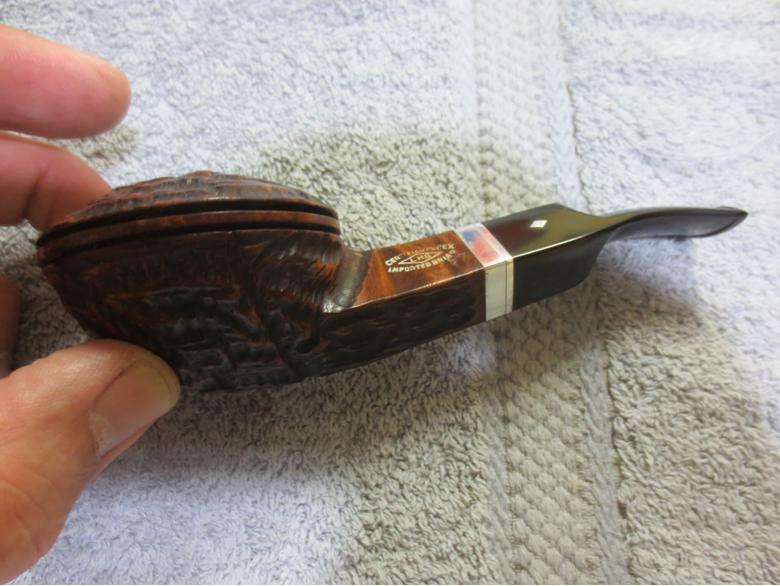
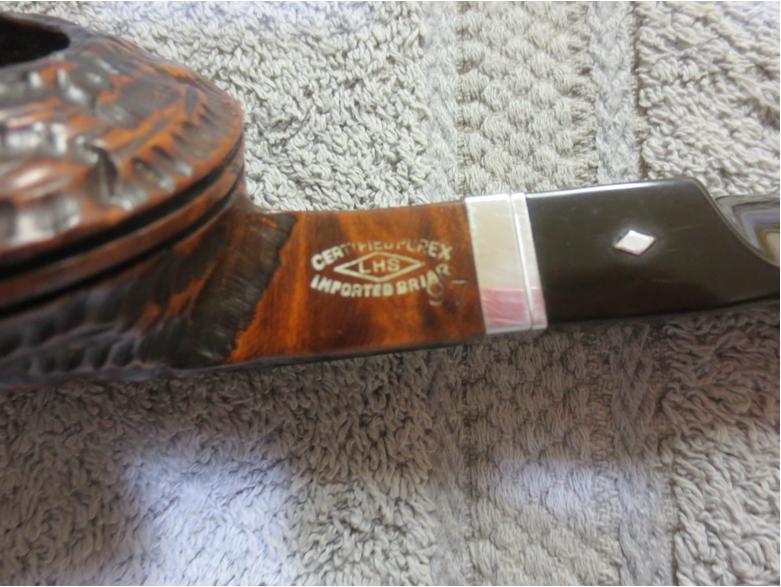
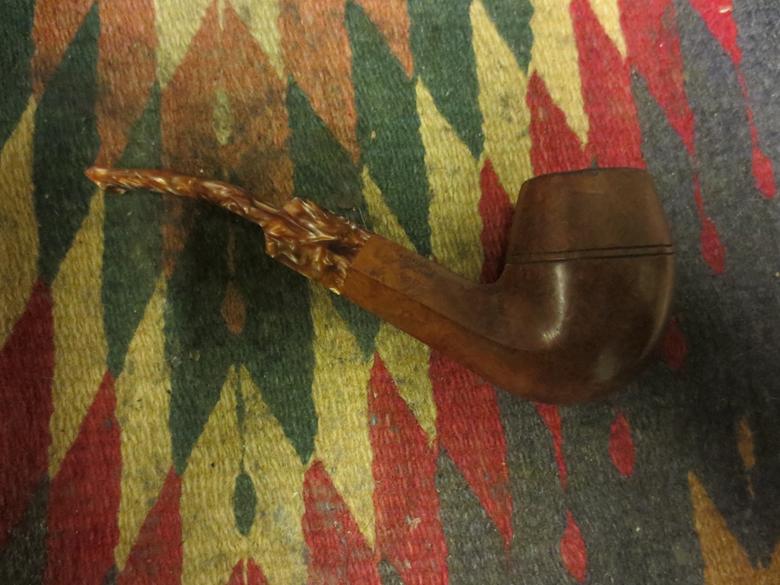
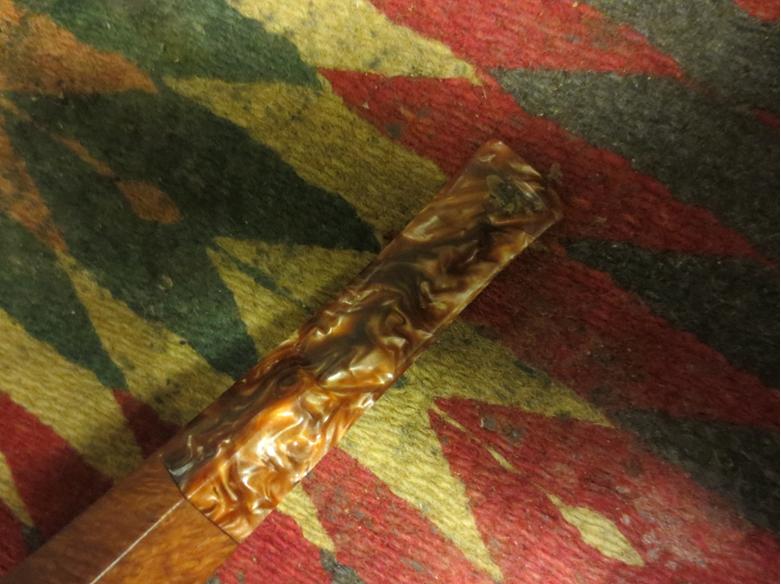
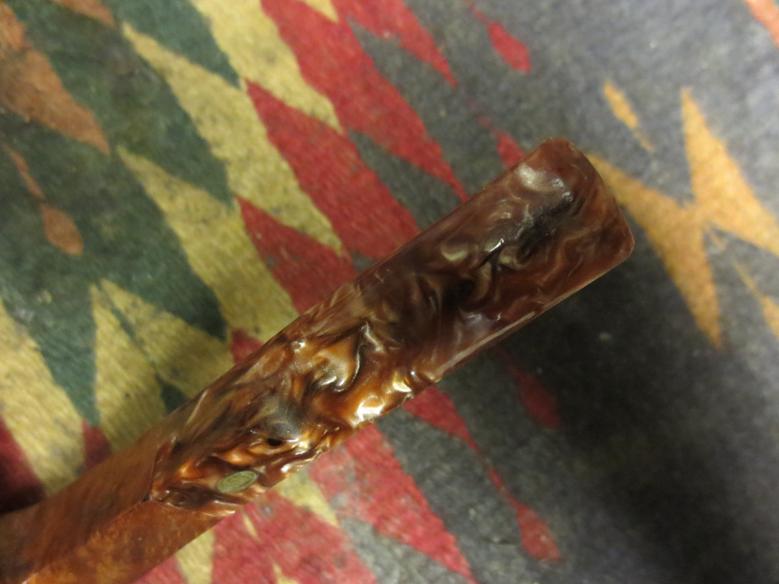
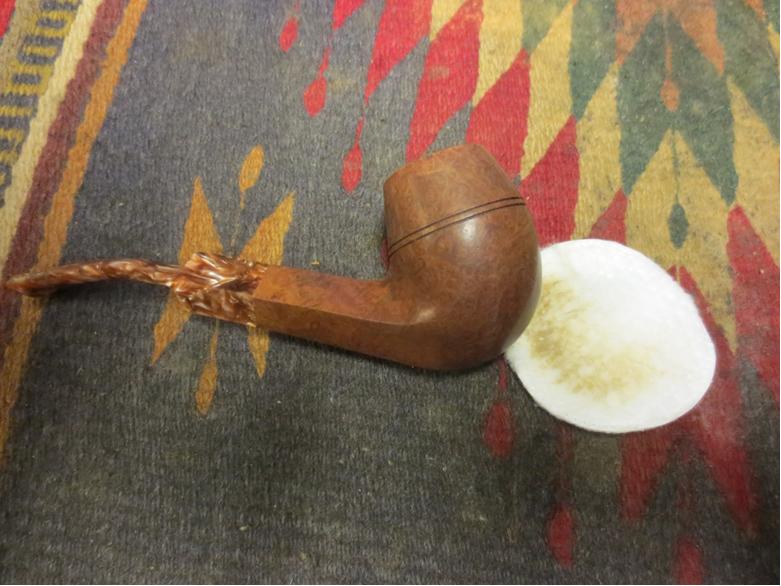
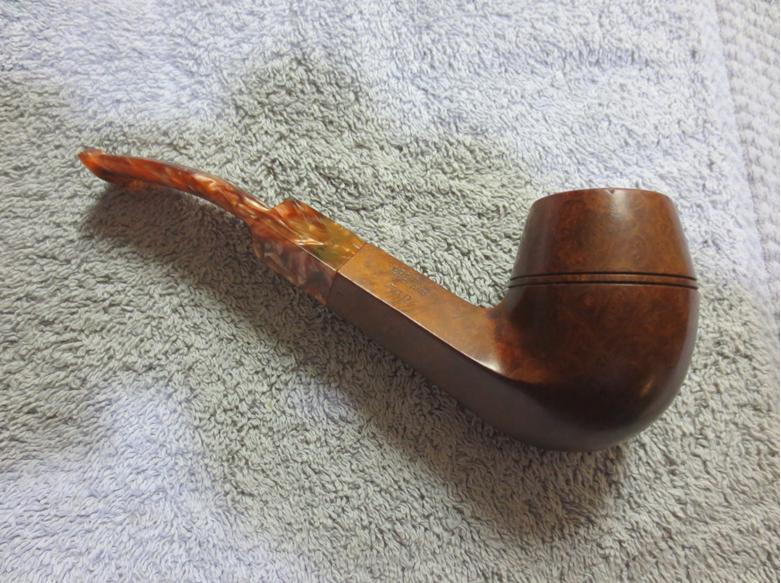
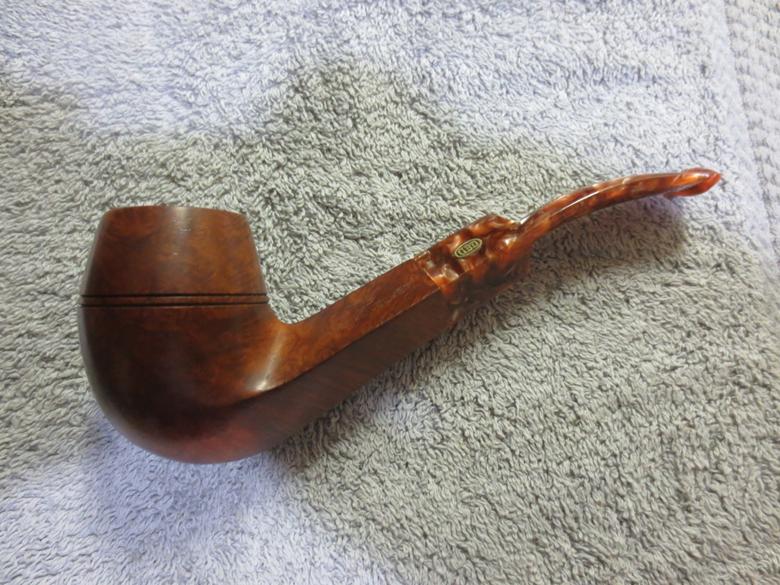
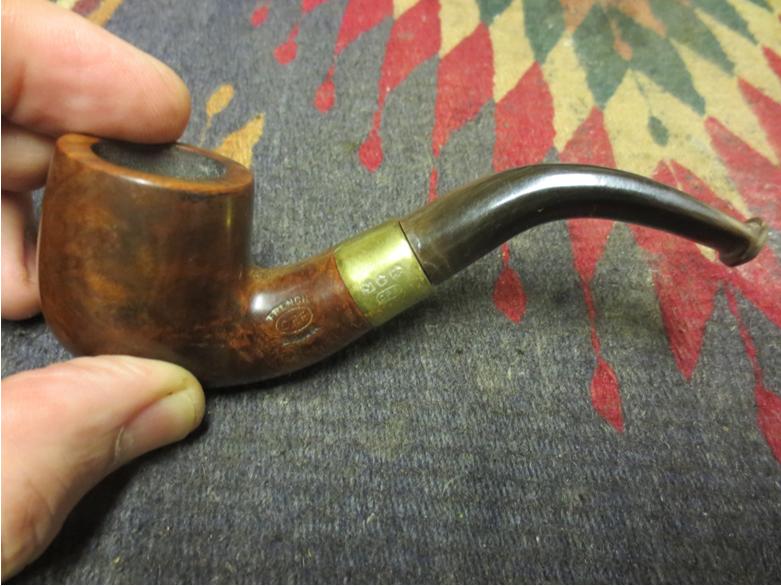
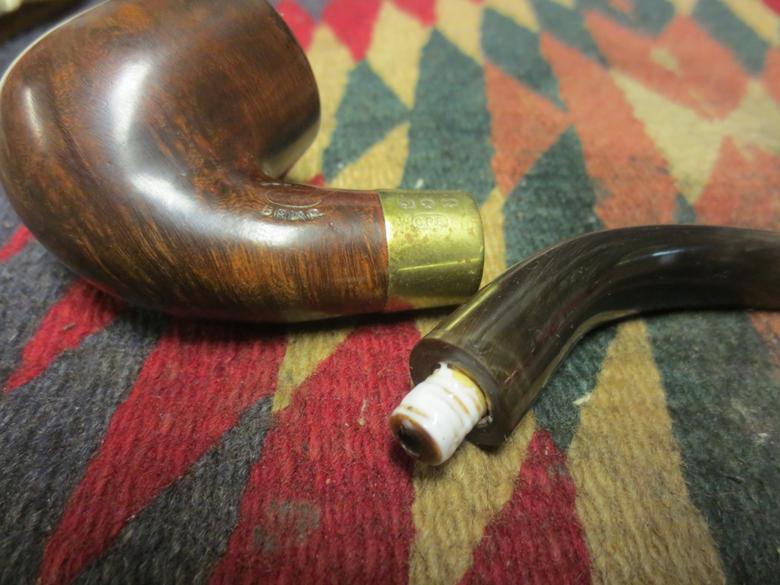
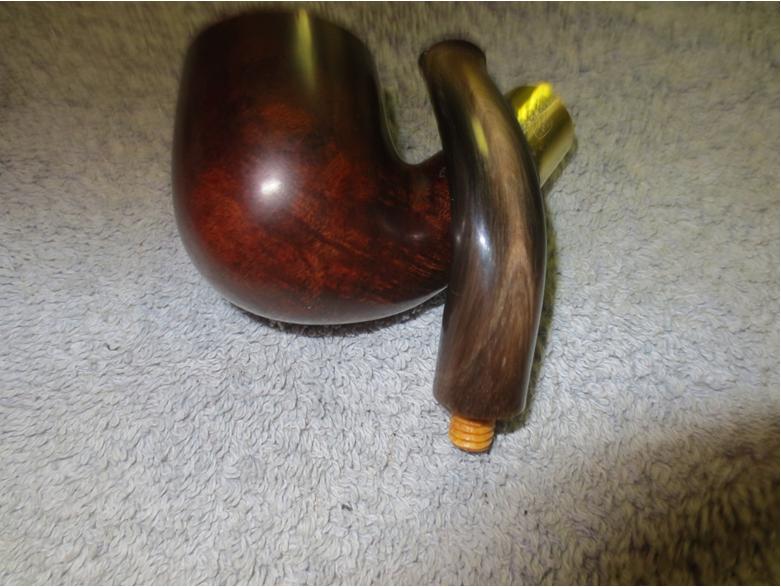
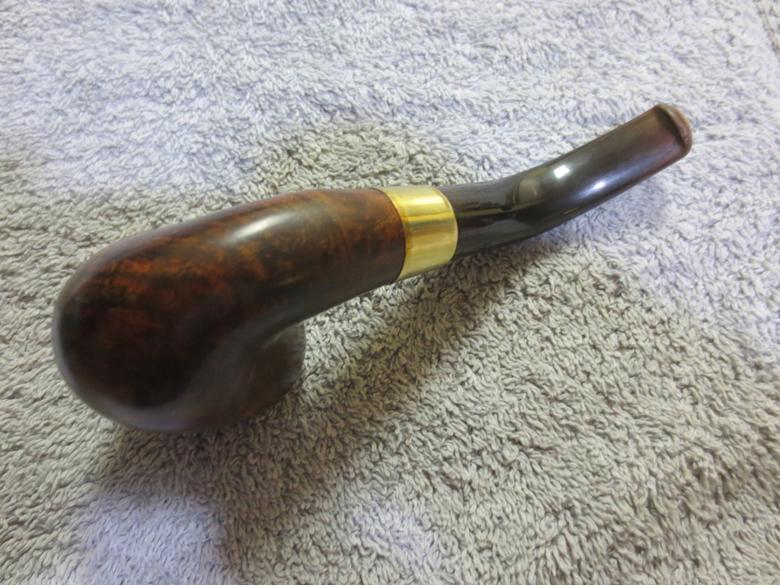
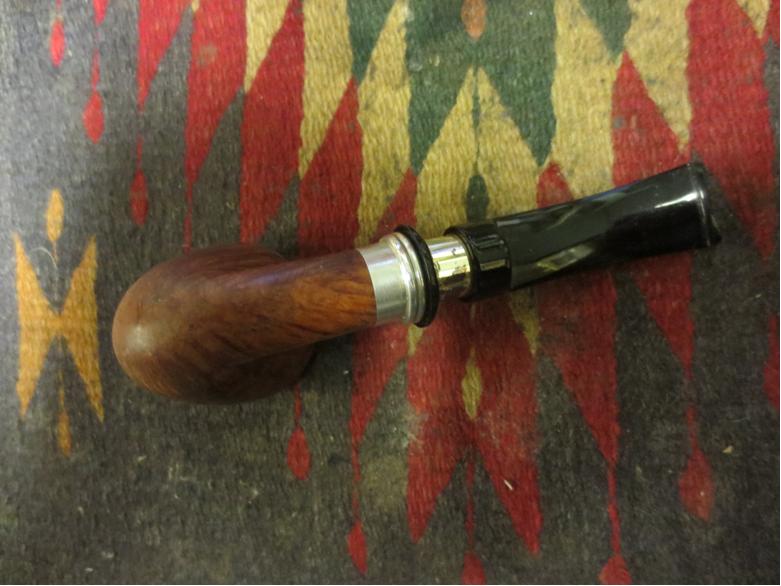
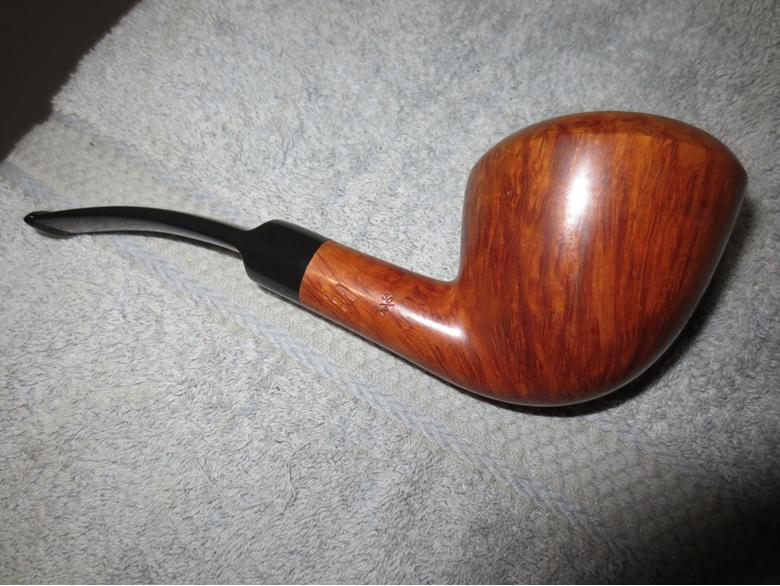
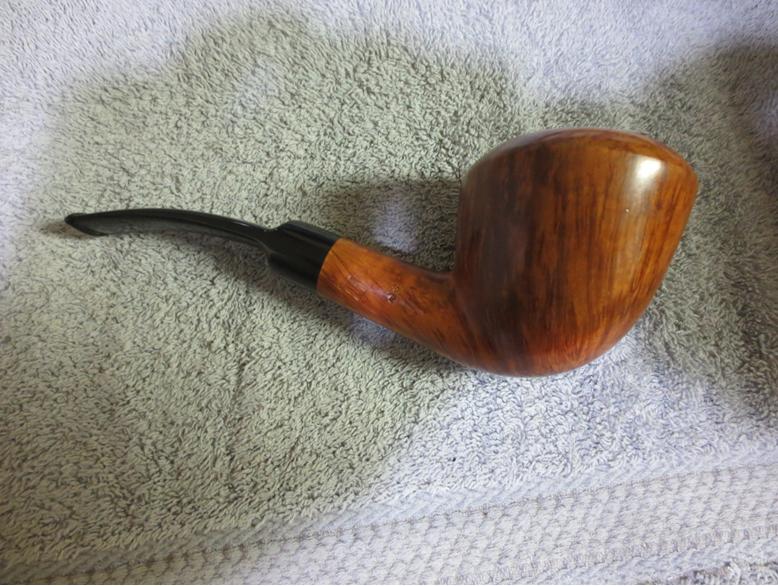
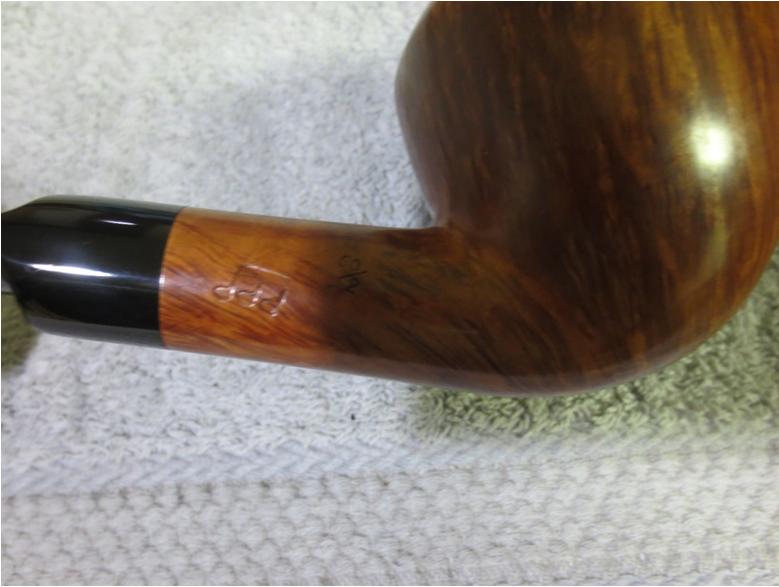
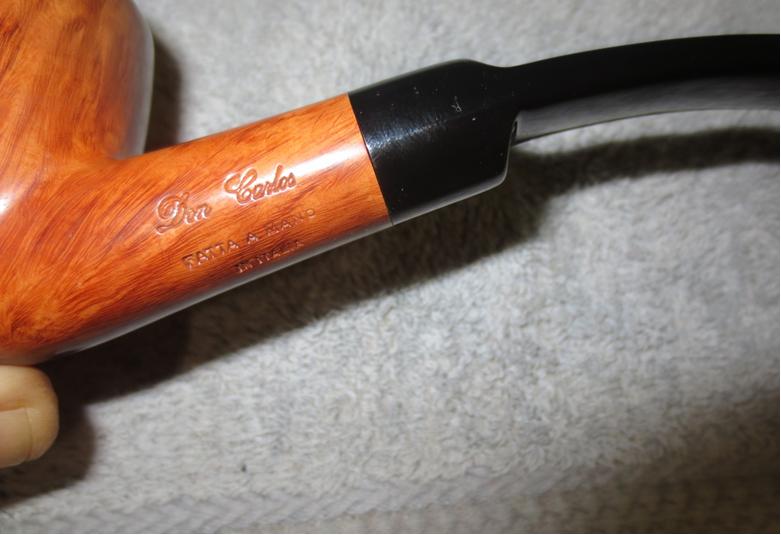
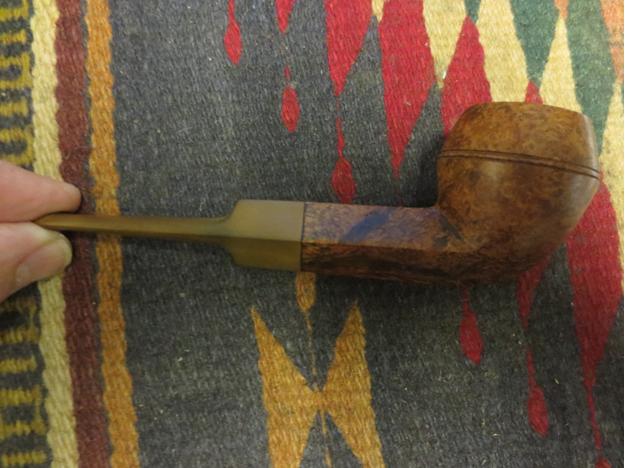
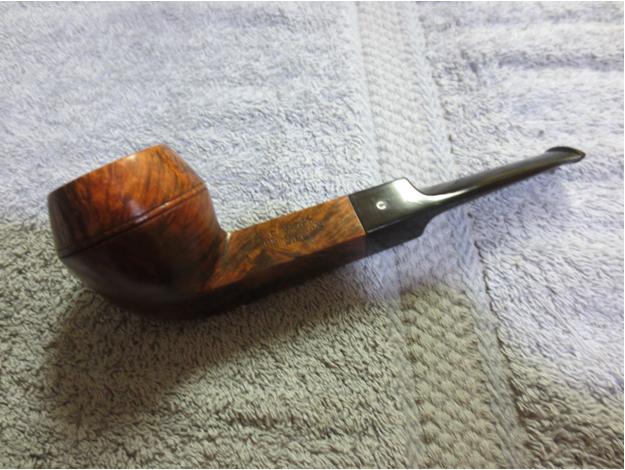
This is the fifth pipe from the box of pipes that I was gifted by a good friend of mine with the instructed purpose of cleaning them up and selling them with all of the proceeds going to the aid of earthquake victims in Nepal. Once again all funds raised will all go to the SA Foundation, and organization that has worked in Nepal for over 15 years helping provide recovery, housing and job training for women who are victims of sexual exploitation and trafficking. The ongoing earthquakes (over 300) that continue to shake Nepal have left much in ruins. The SA Foundation Project there was able to find new housing for the women and help with staff as well. Every dollar raised from the sale of these pipes will go to the work in Nepal. It is stamped on the left side of the shank, Orlik De Luxe over London Made and on the right side of the shank it is stamped with the shape number L206. According to the page from the Orlik shape chart below, the L206 (the bottom pipe on the page) was called an Inclined Bevelled Egg. The next four photos show the condition of the pipe when I brought it to the worktable to clean it up. The finish was in very decent shape though soiled and would clean up very nicely. The stamping was clear, though toward the back of the shank it was stamped more lightly than the front half of the shank.
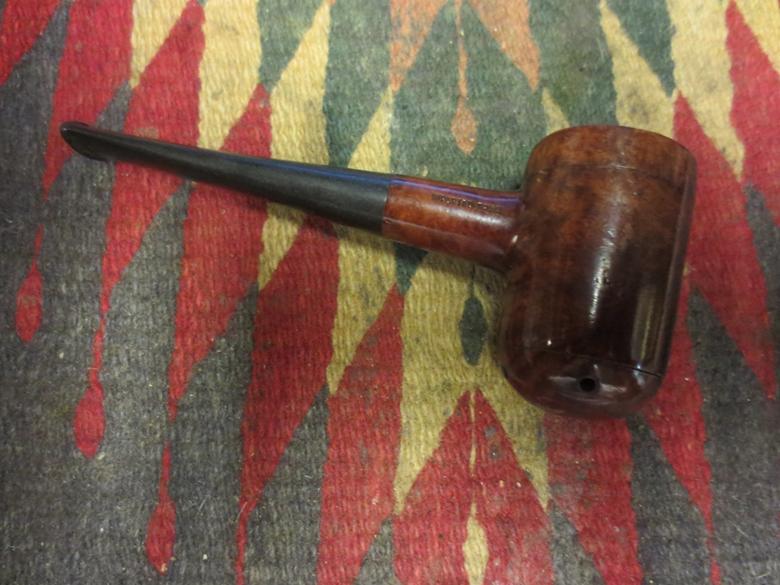
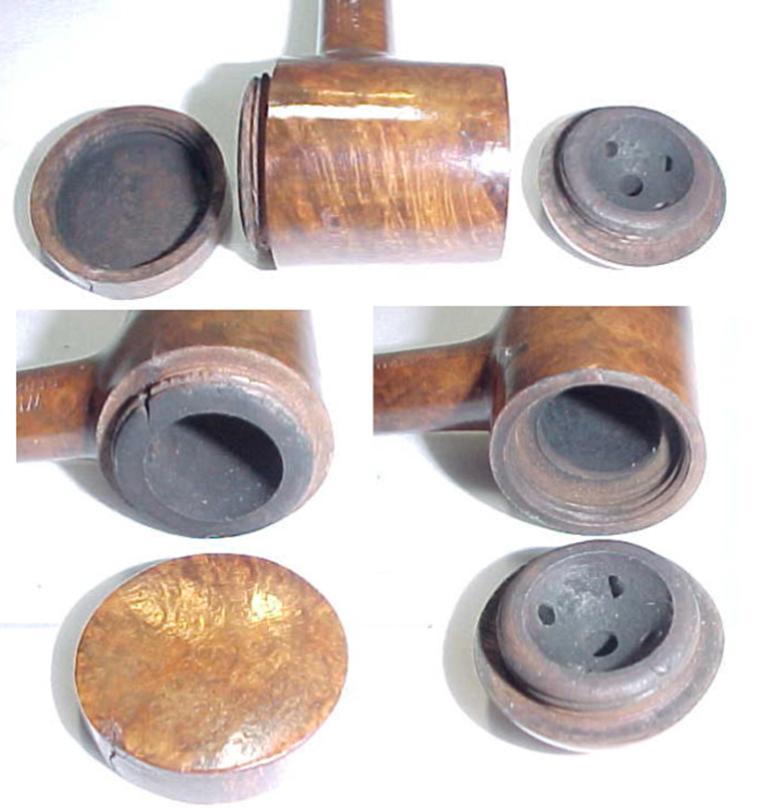
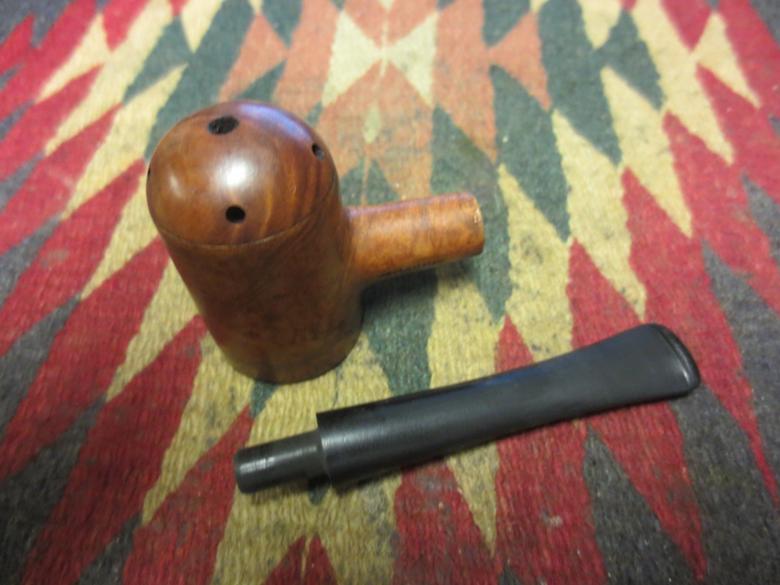
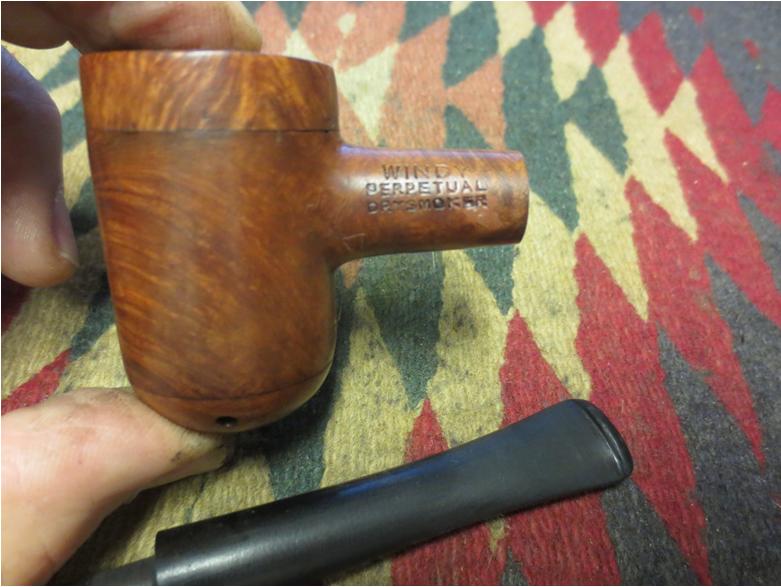
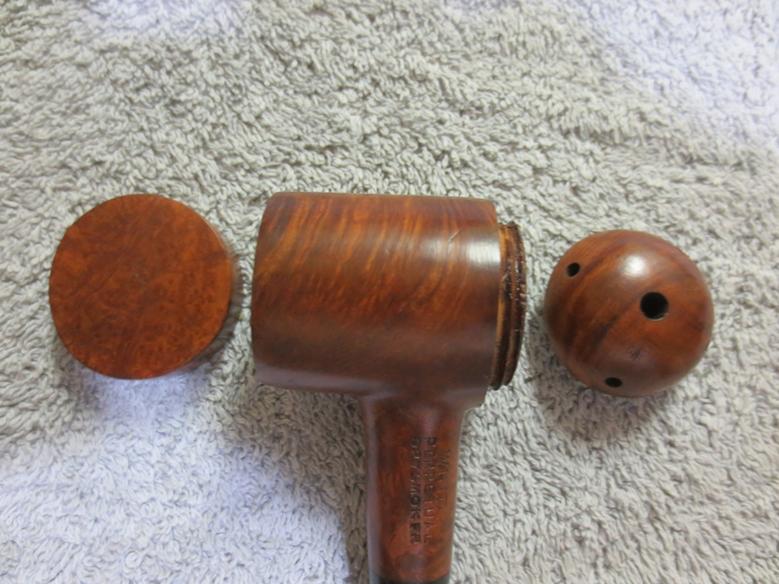
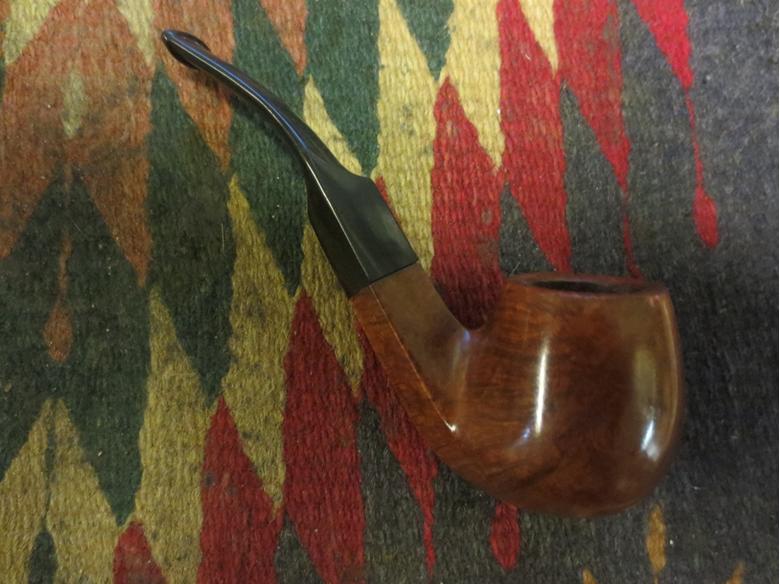
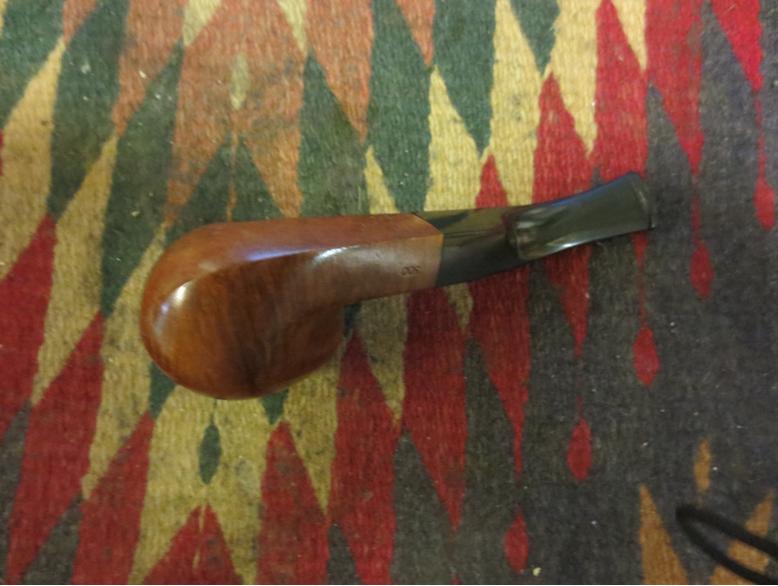
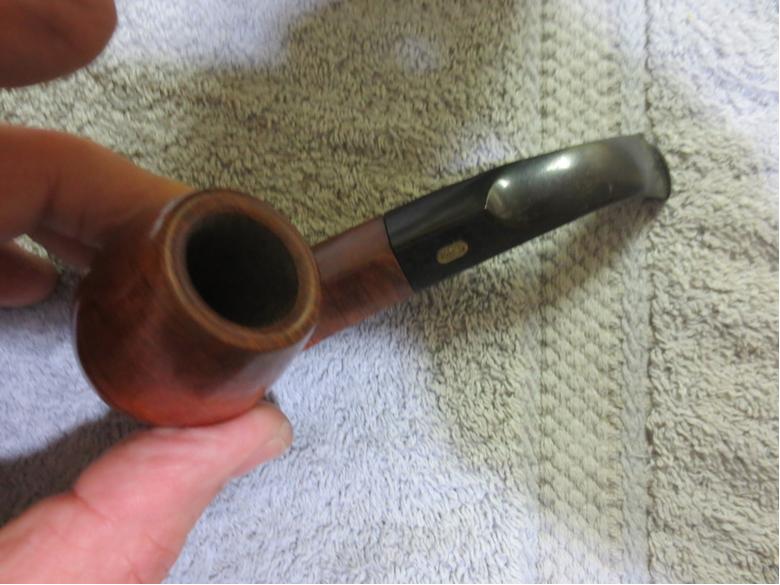
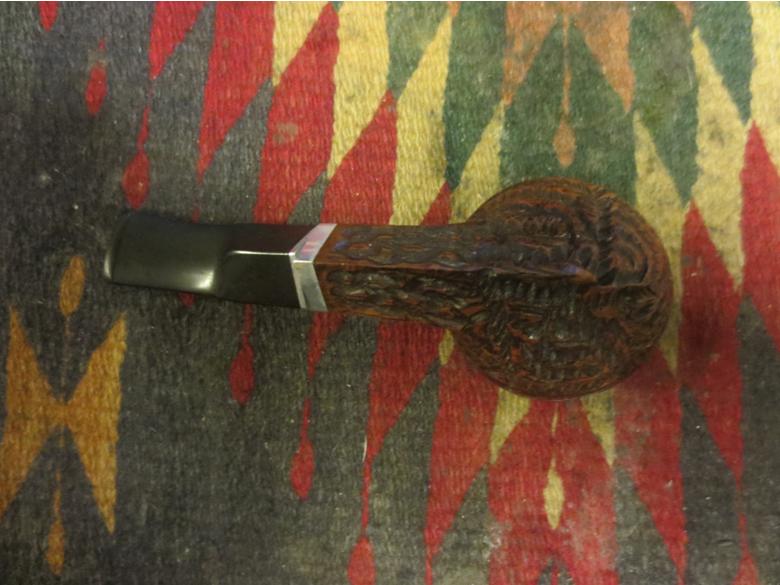
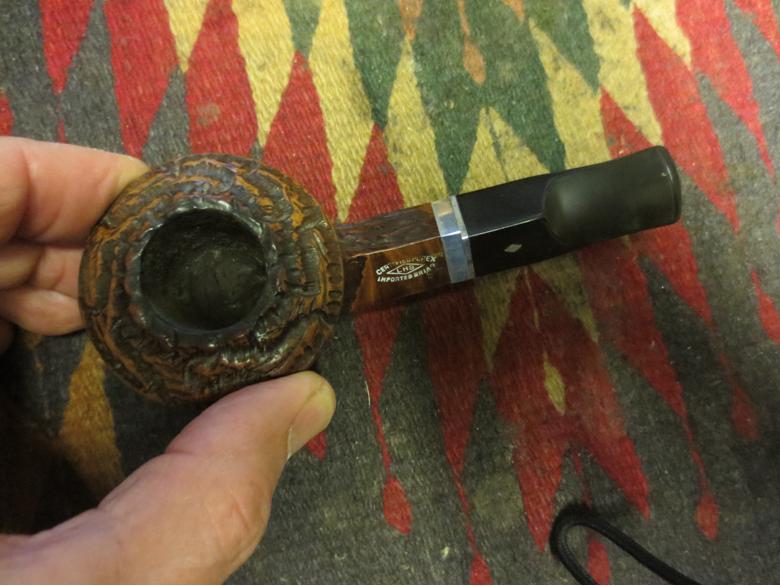
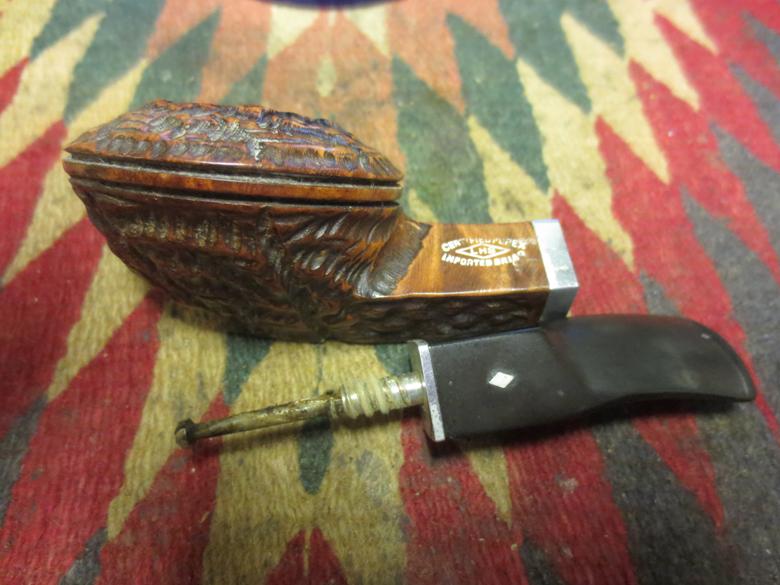
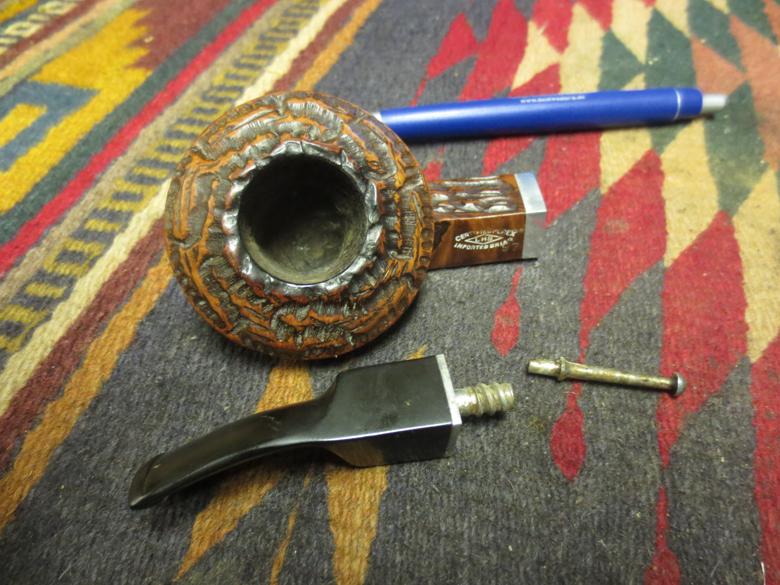
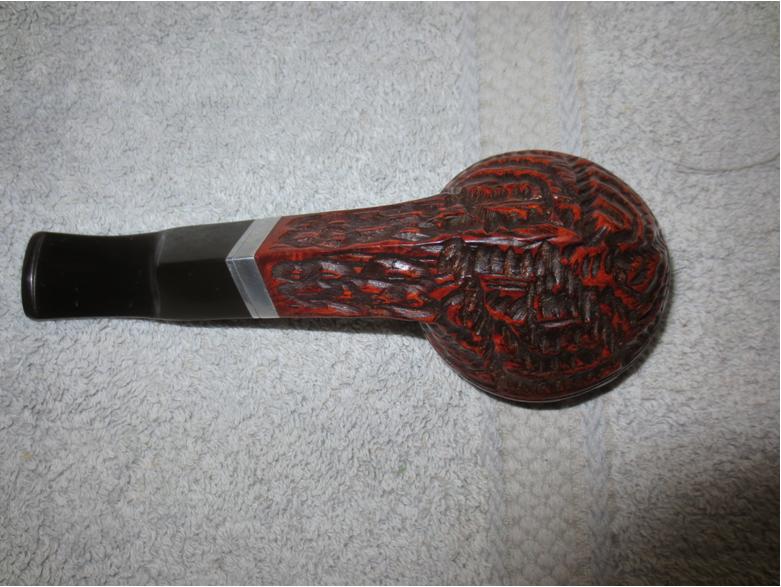
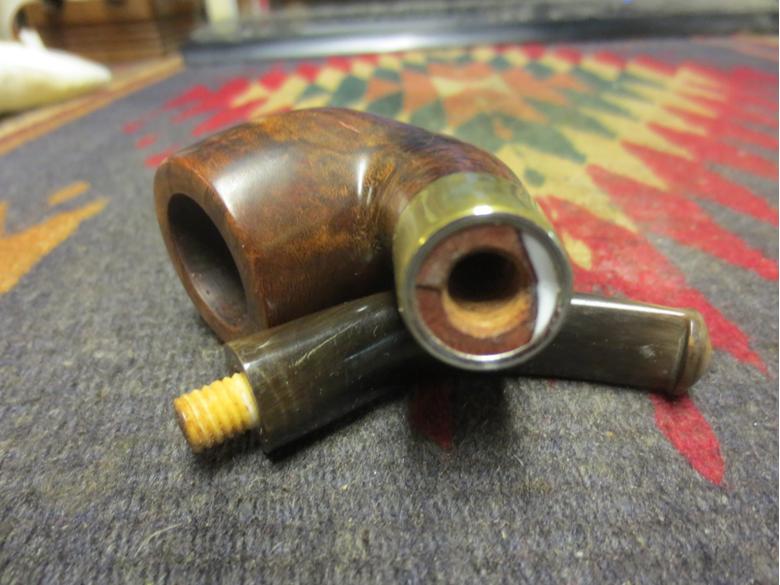
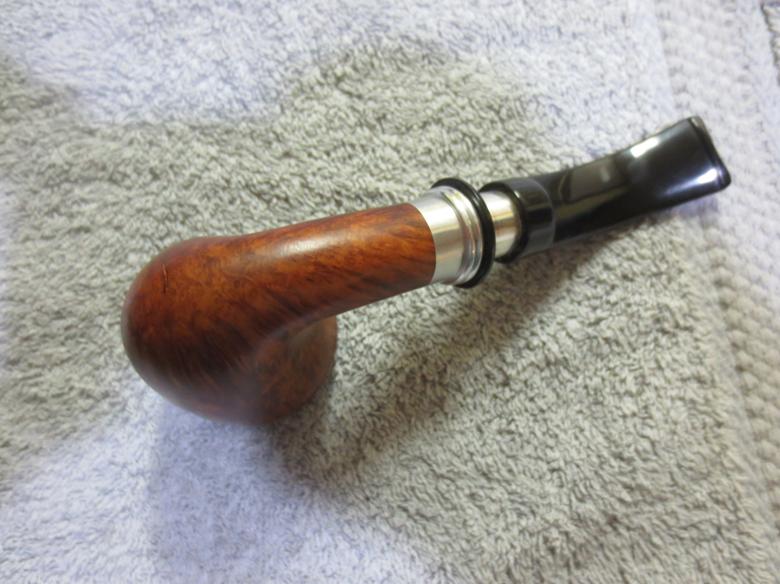
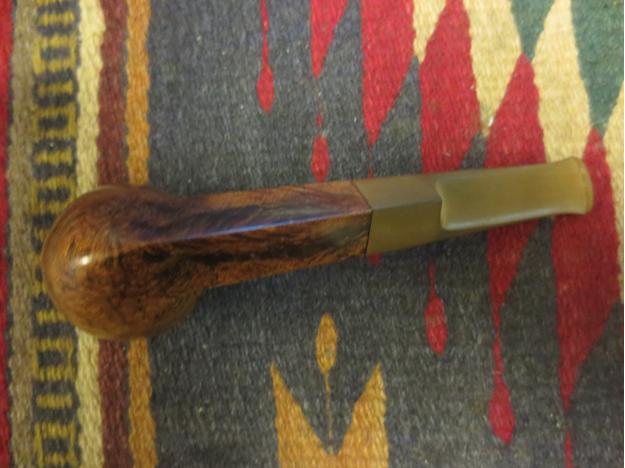
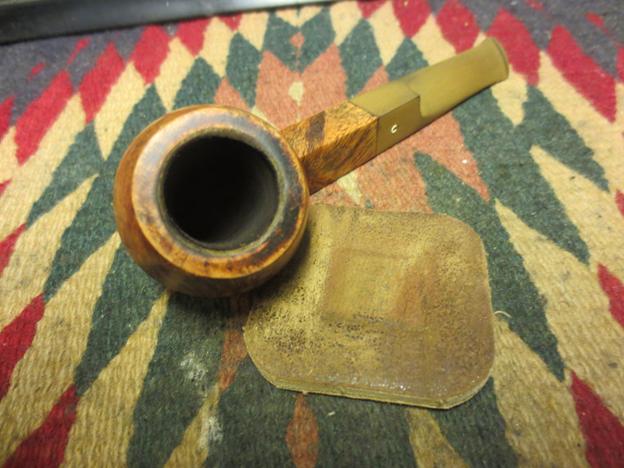
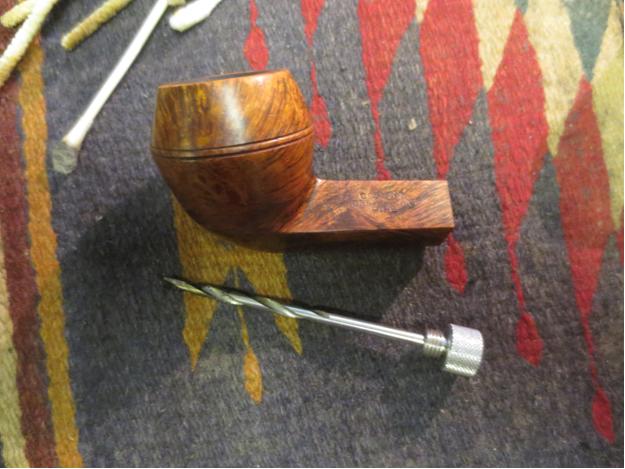
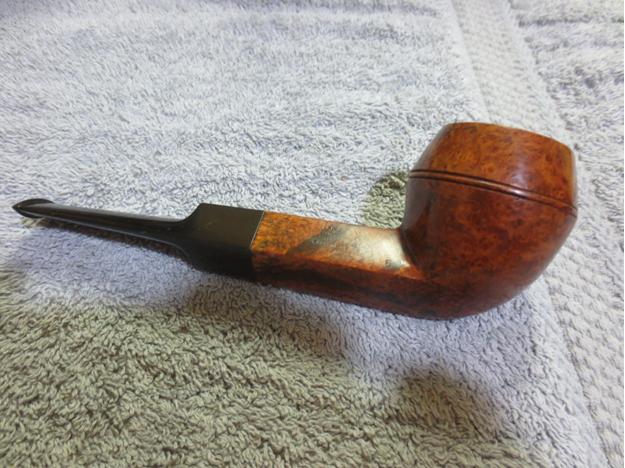
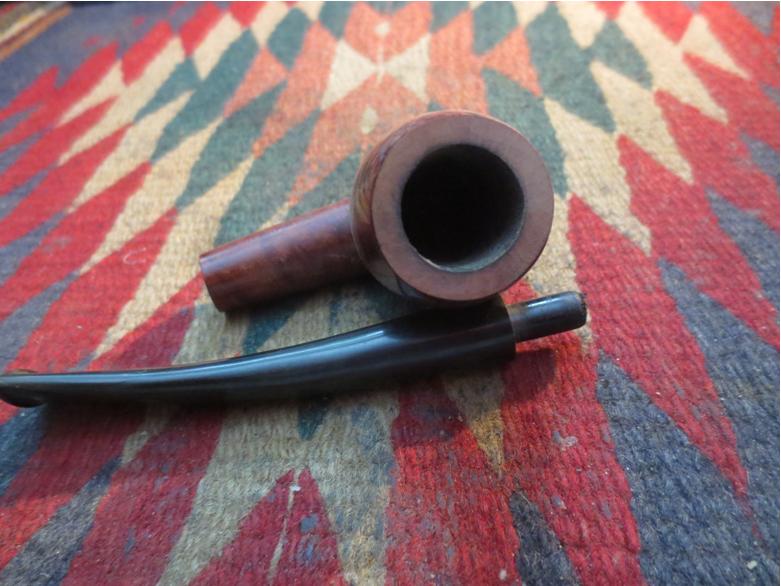
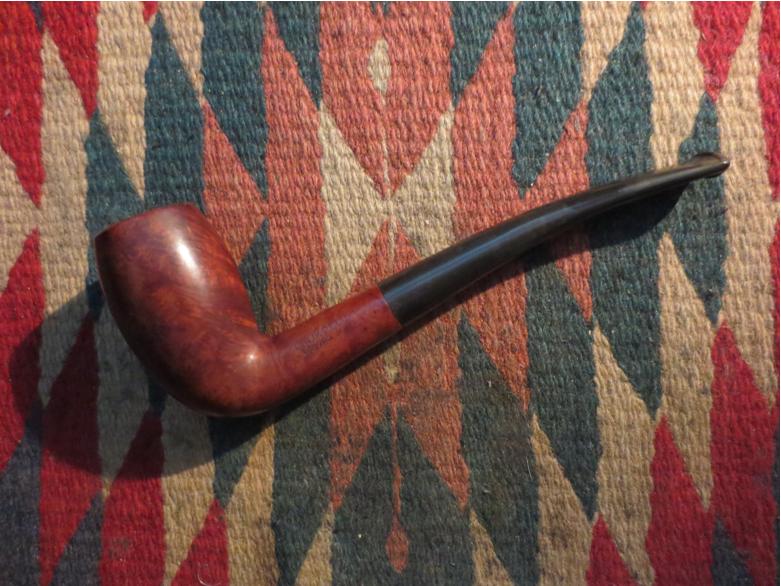

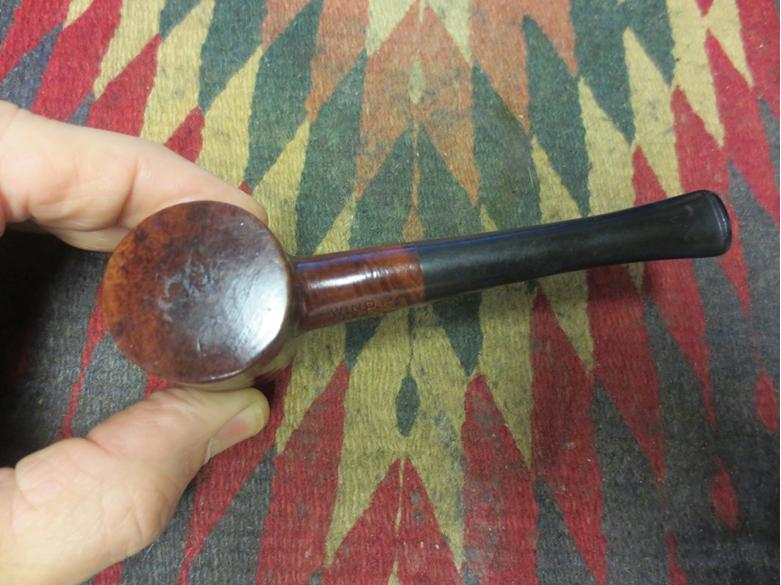
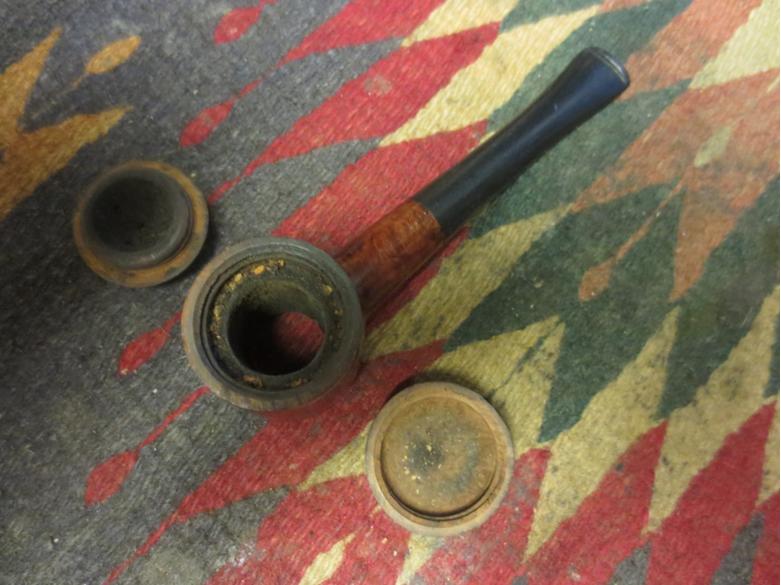
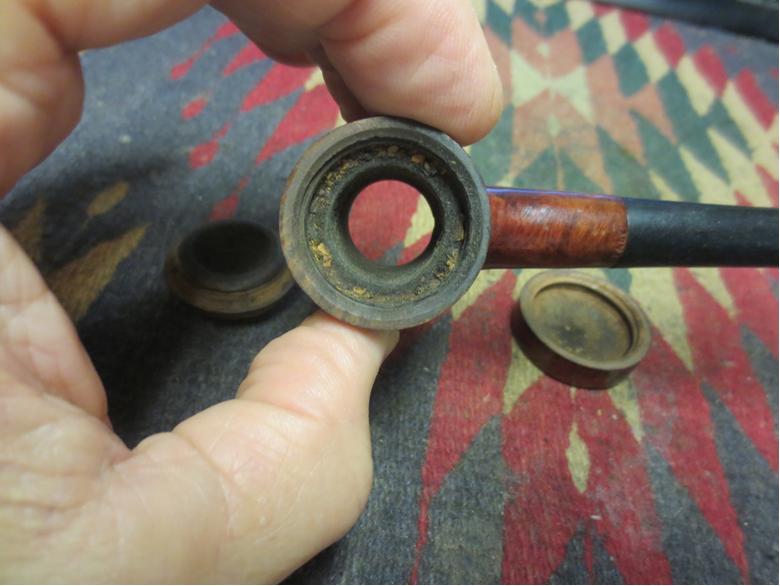
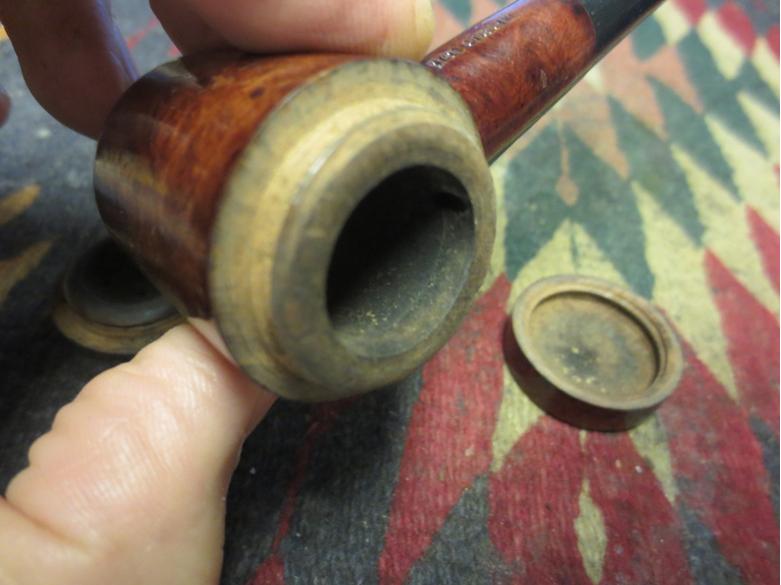
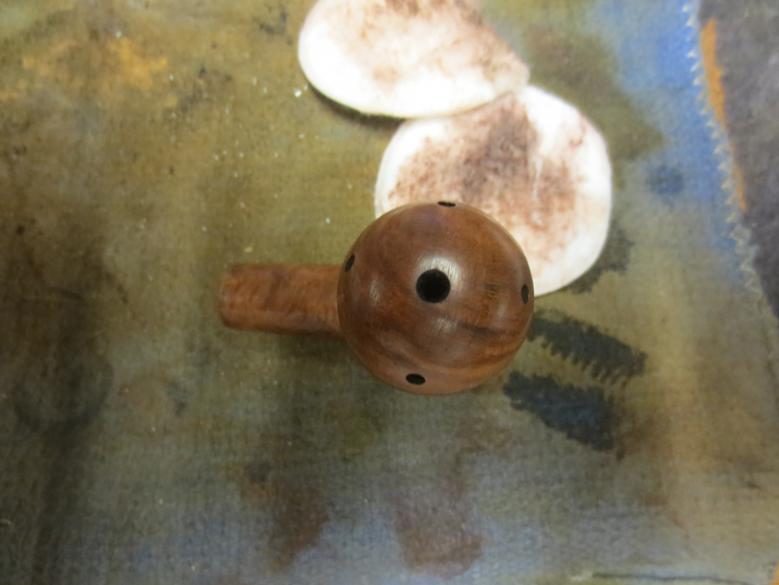
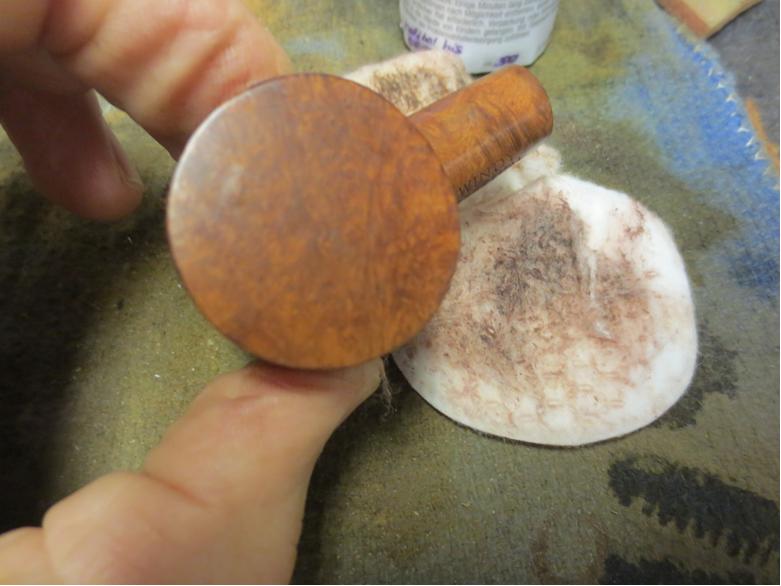
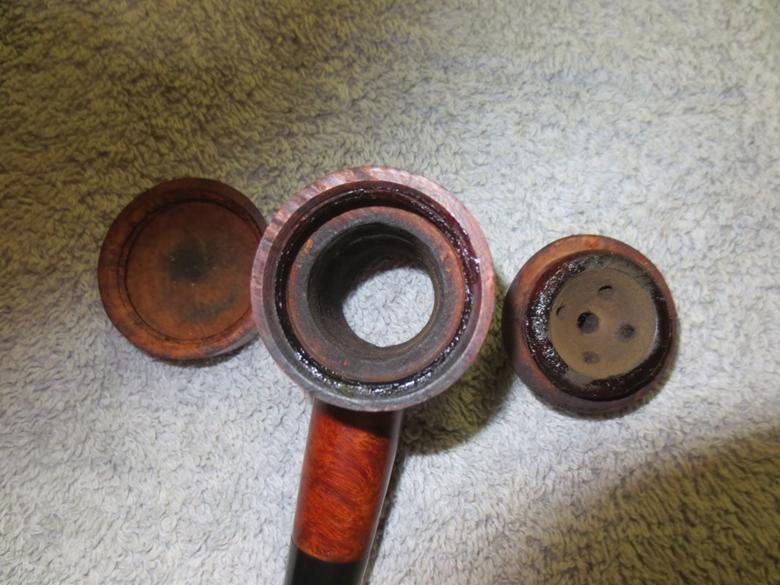
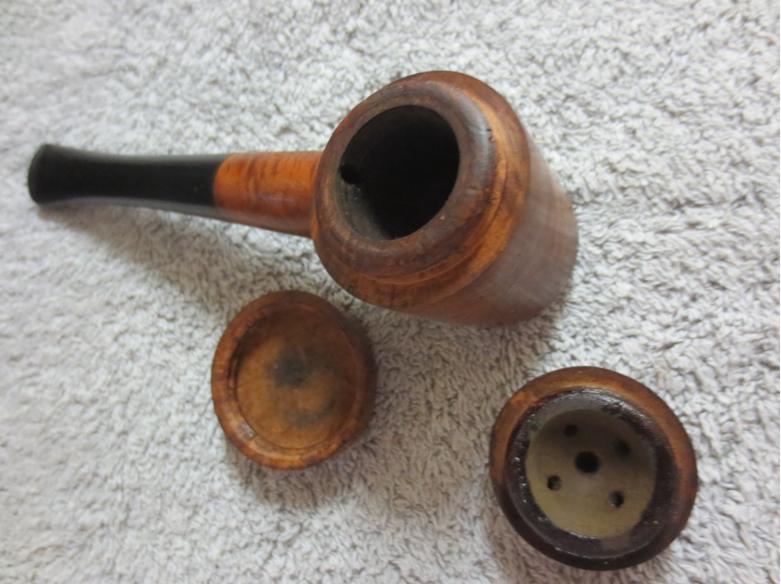
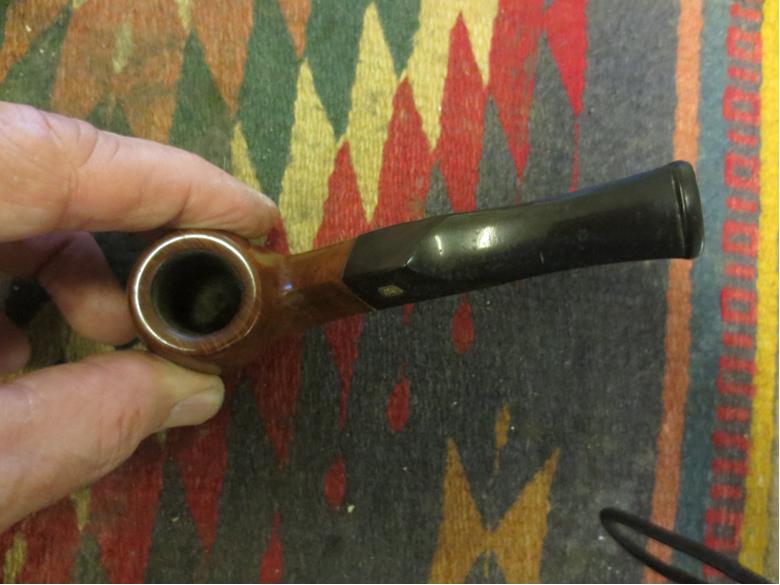
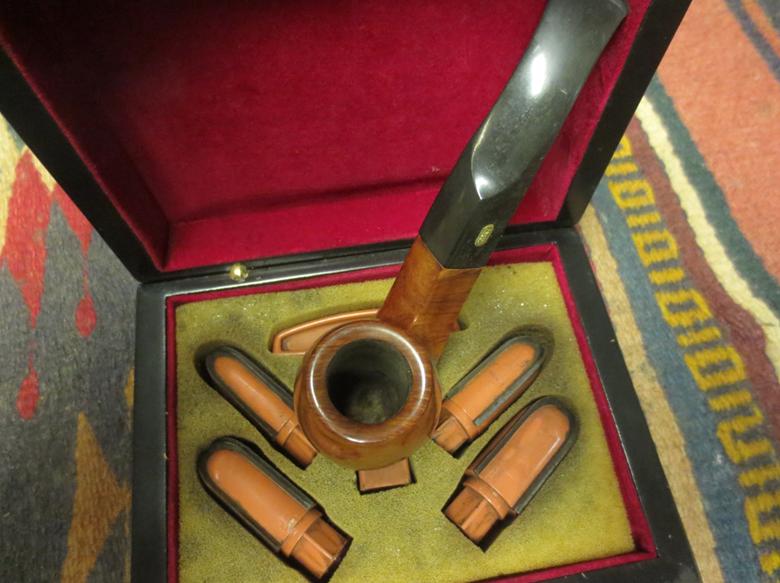
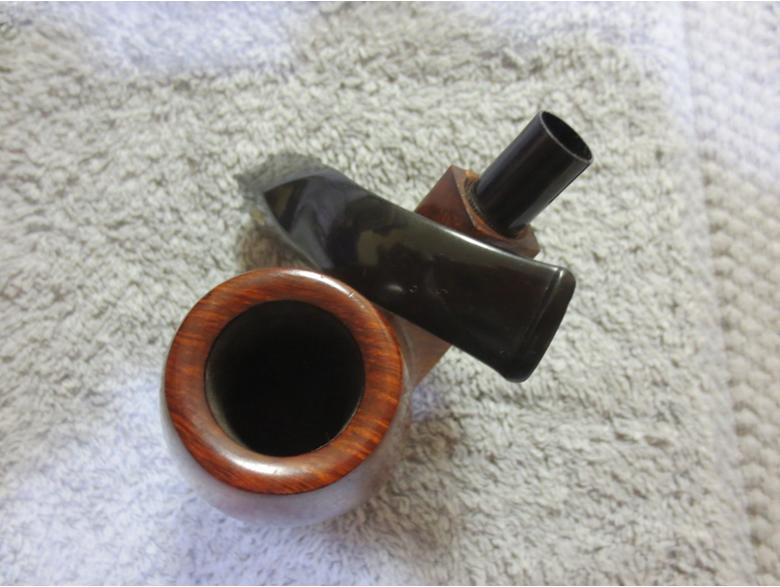
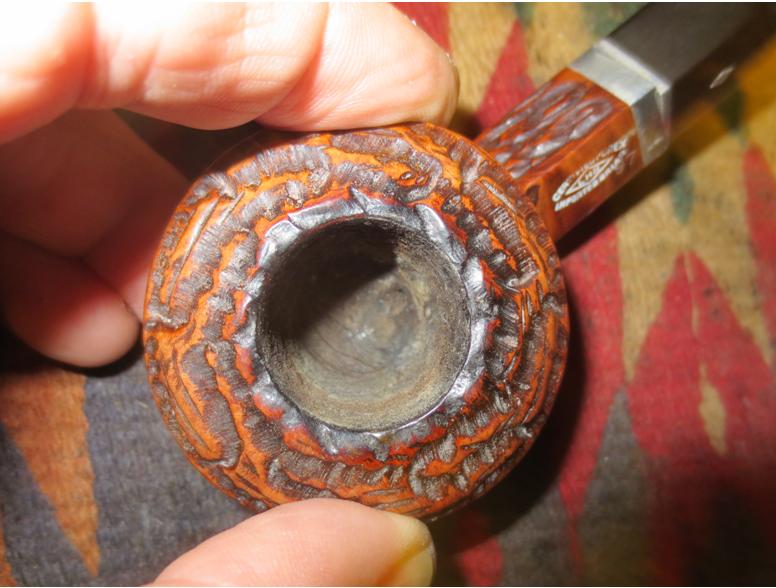
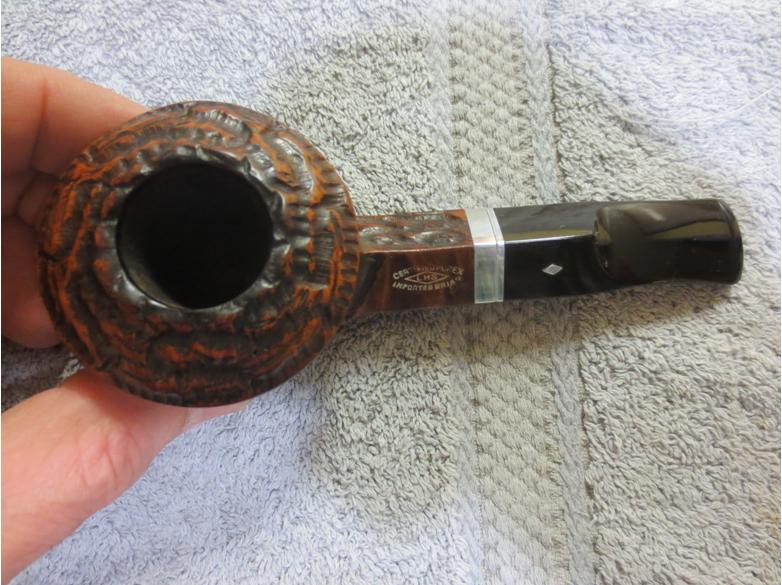
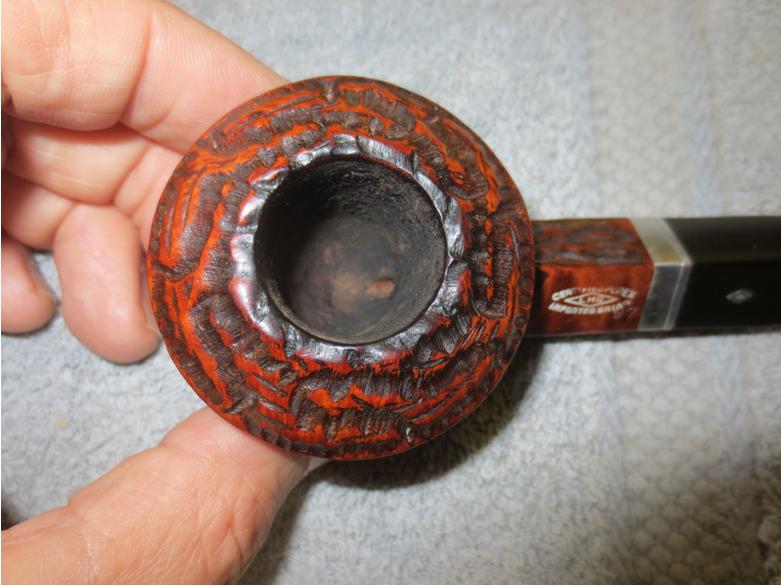
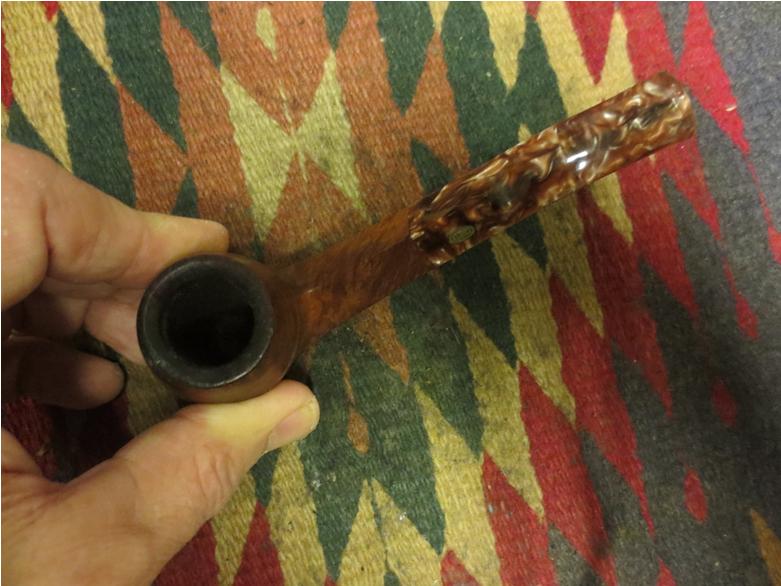
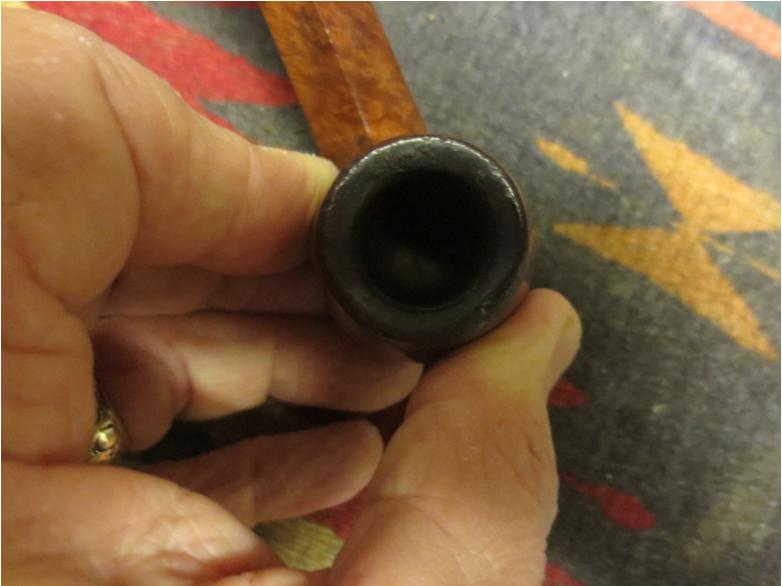
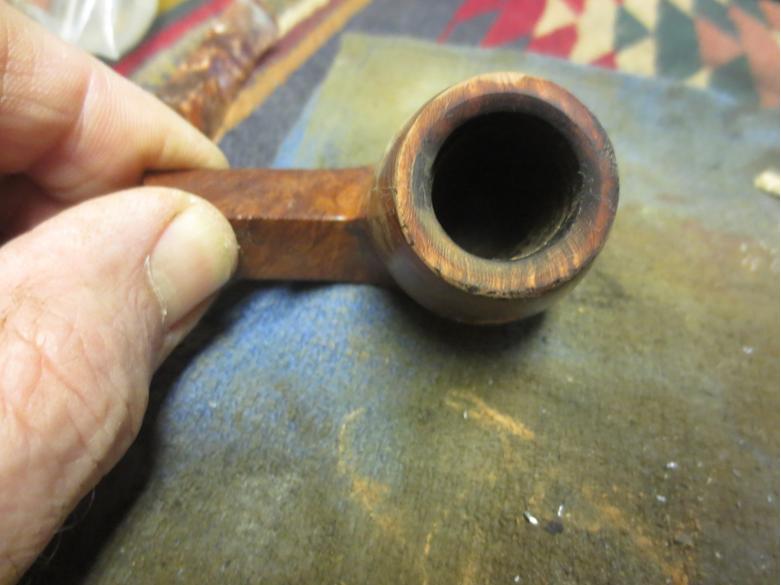
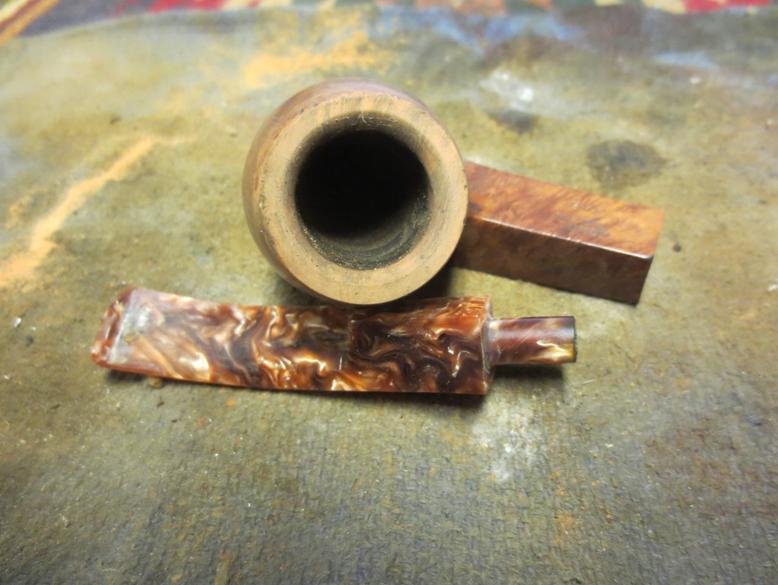
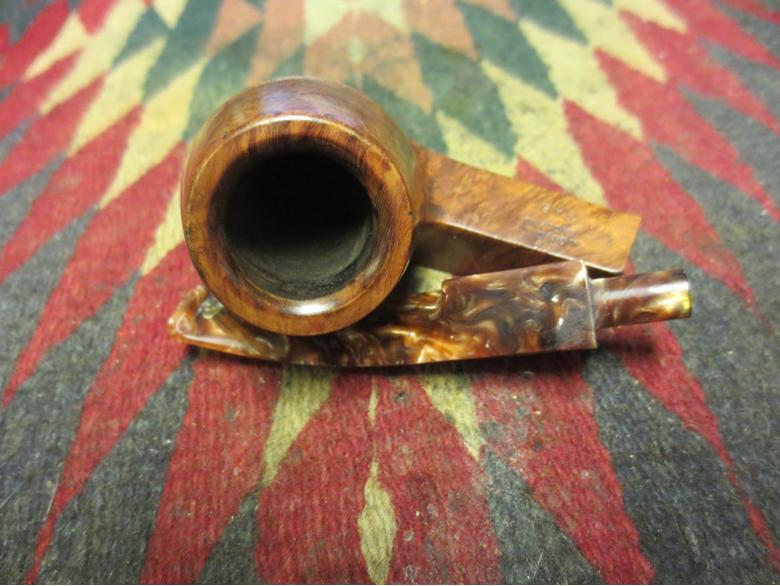
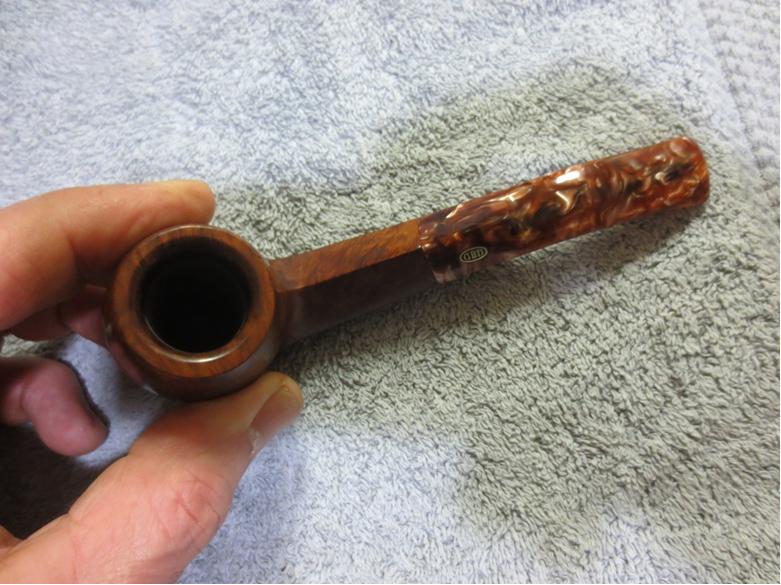
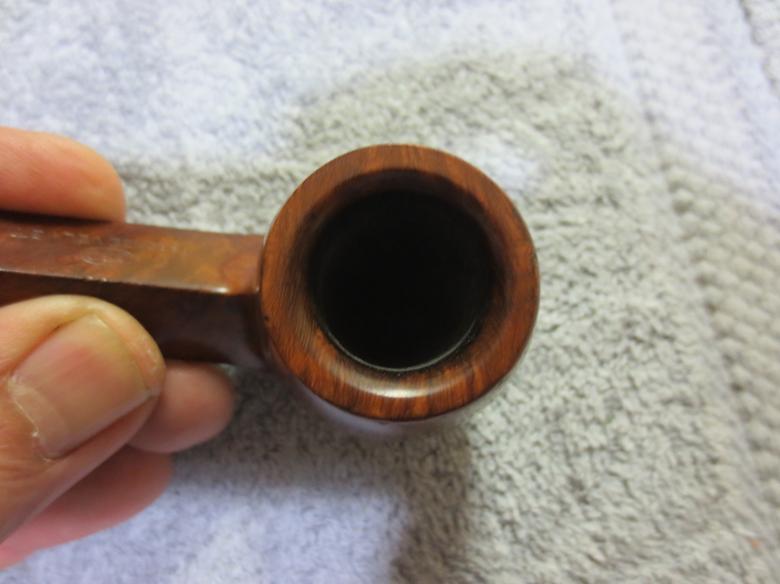
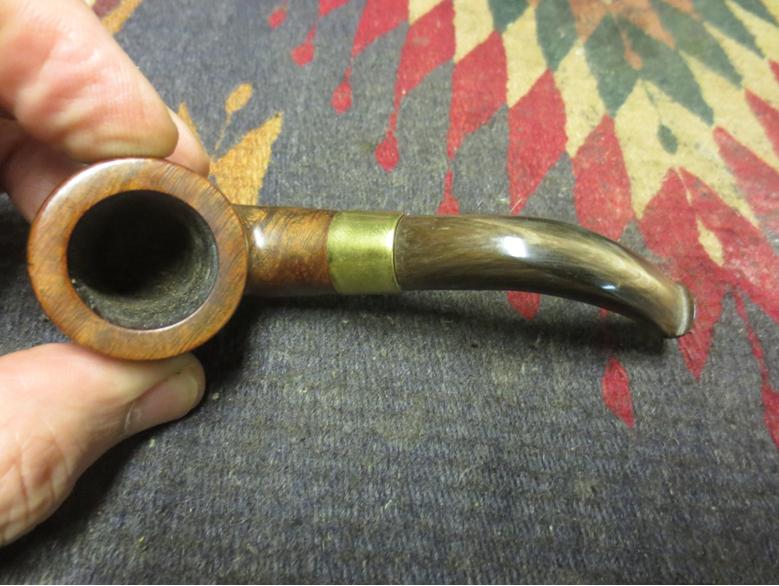
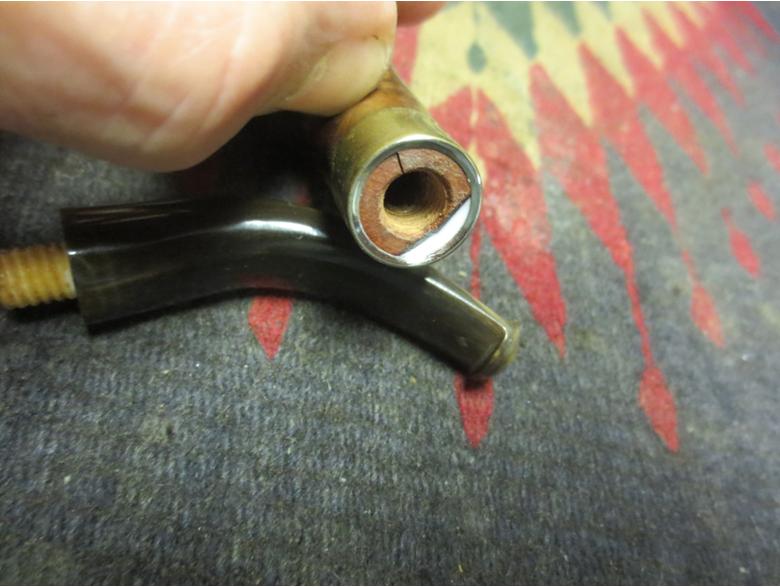
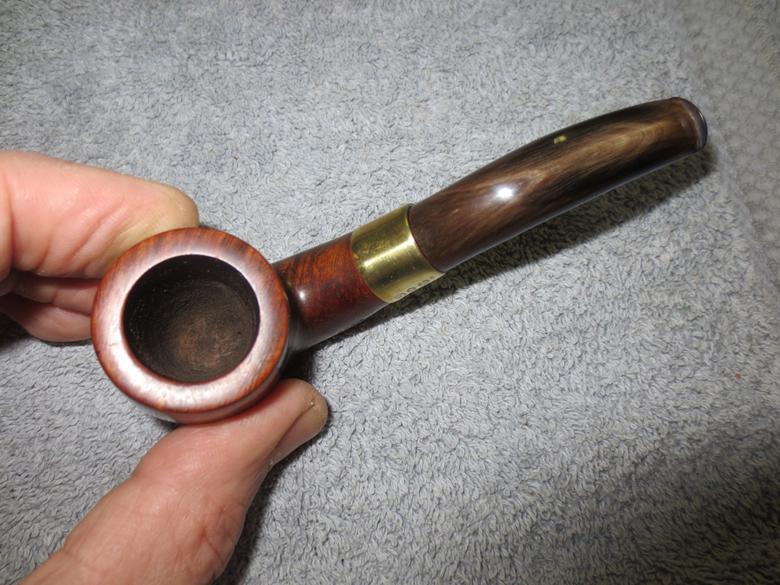
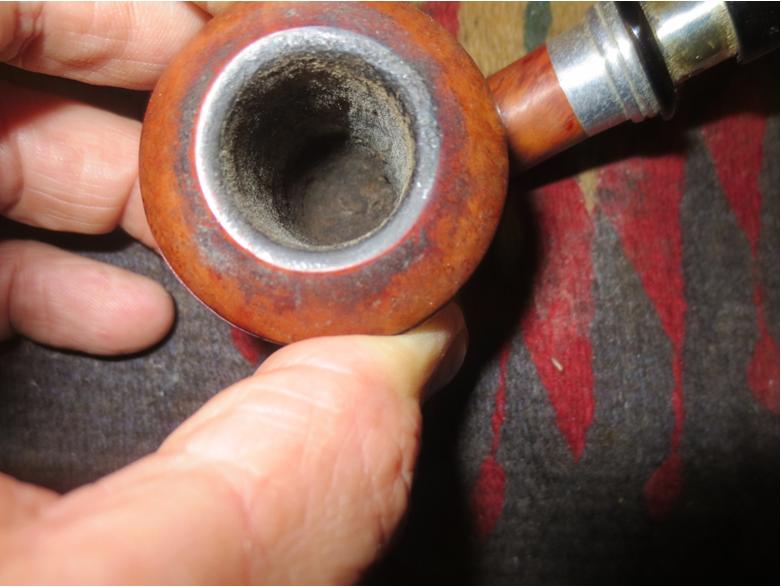
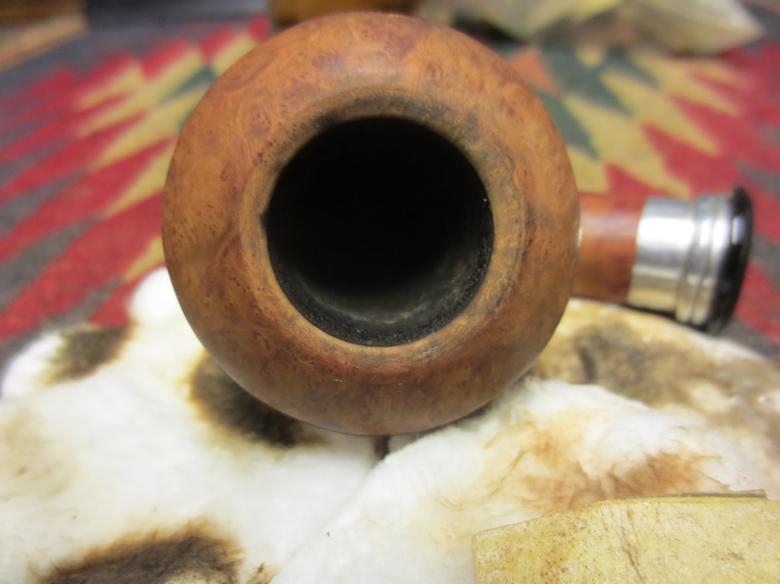
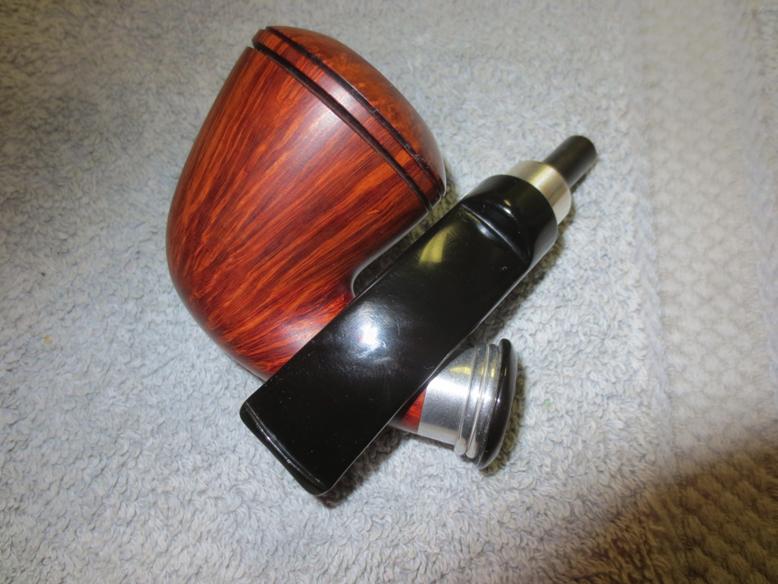
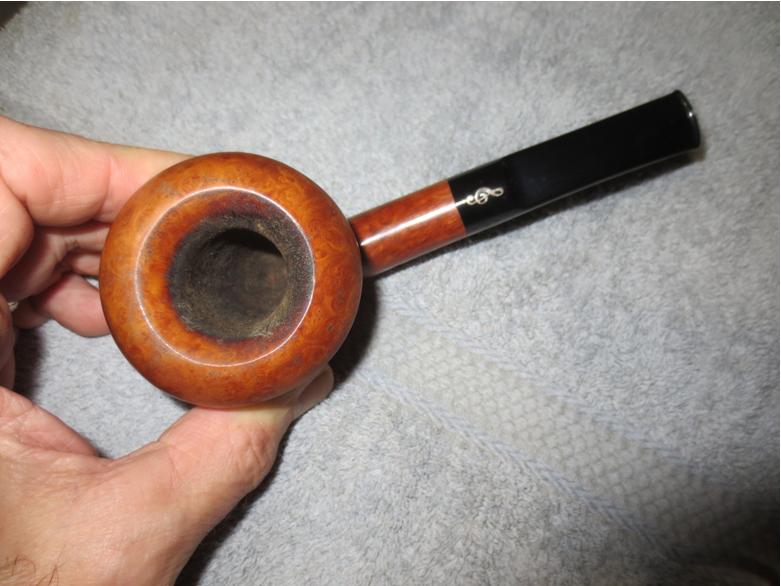
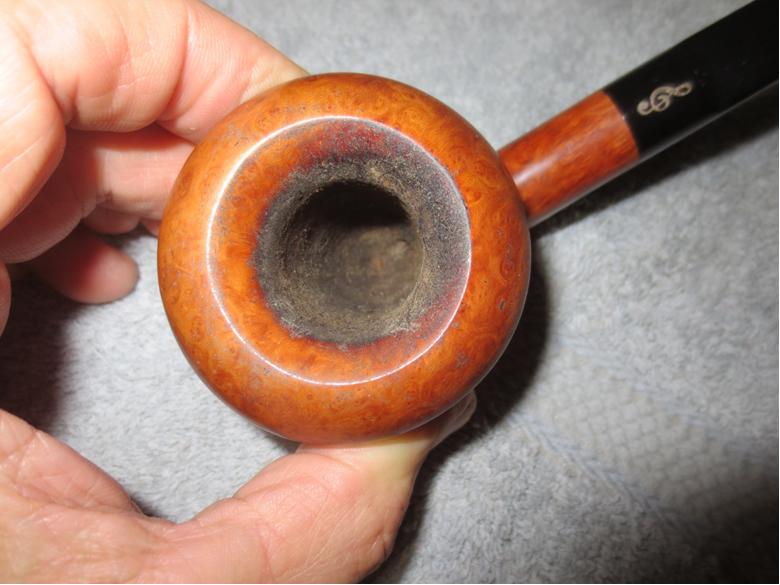
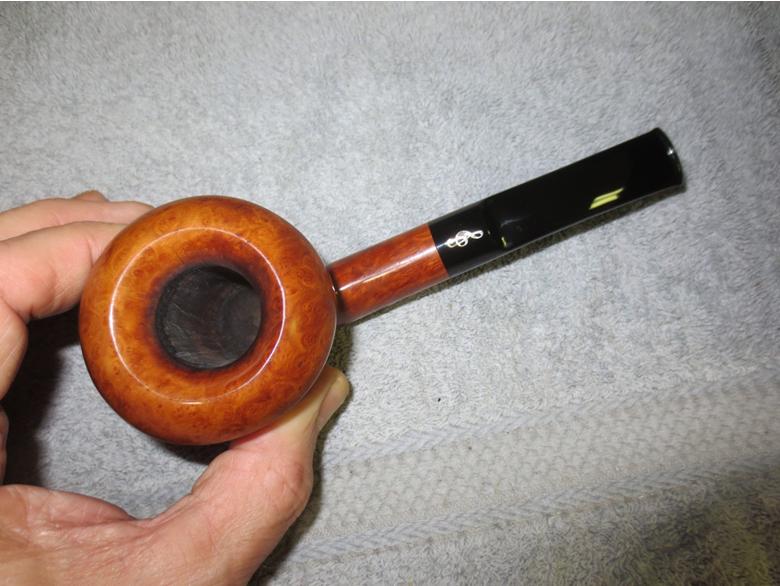
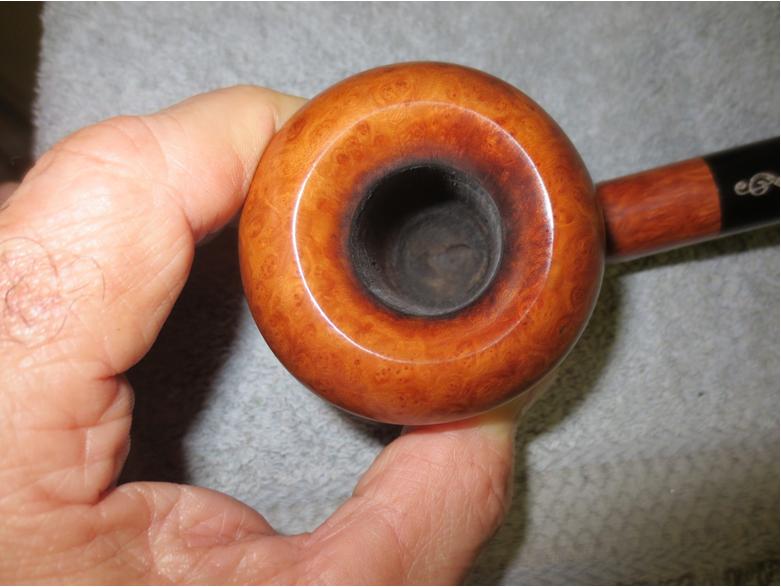
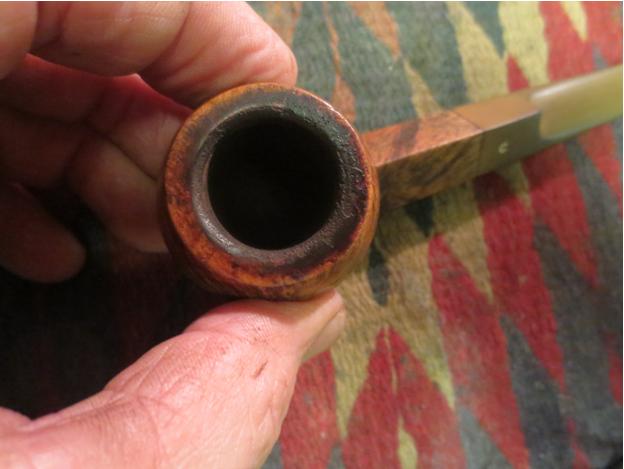
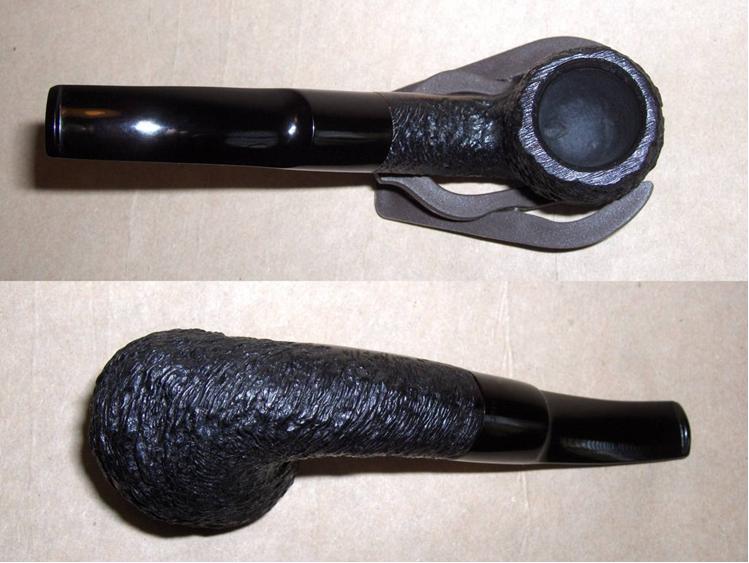
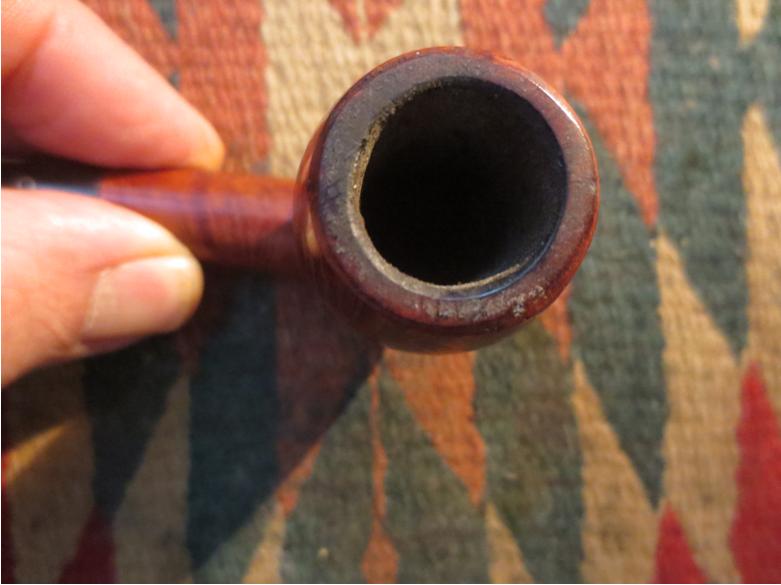
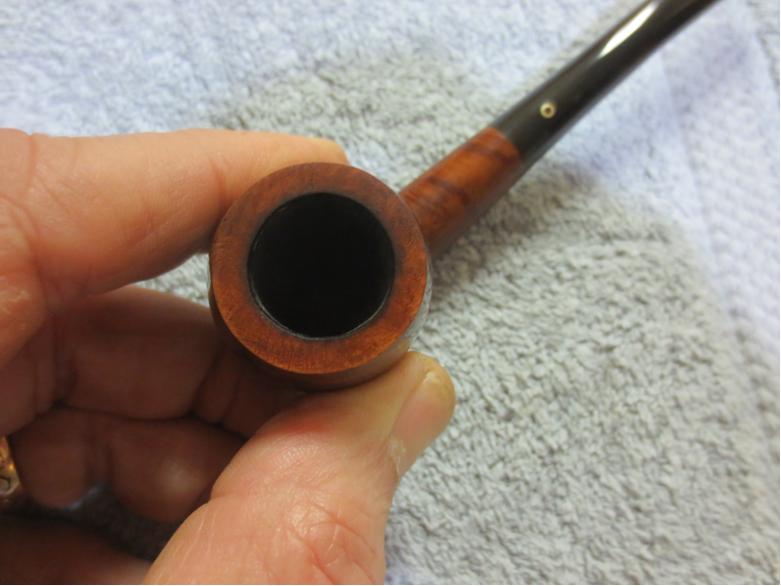
 The next photos are close-up pictures of the outer edge of the rim. The outer edge was damaged around over half of the bowl. Someone along the path this pipe took during its life time had smoothed out the damage and in so doing had rounded the outer edge of the bowl.
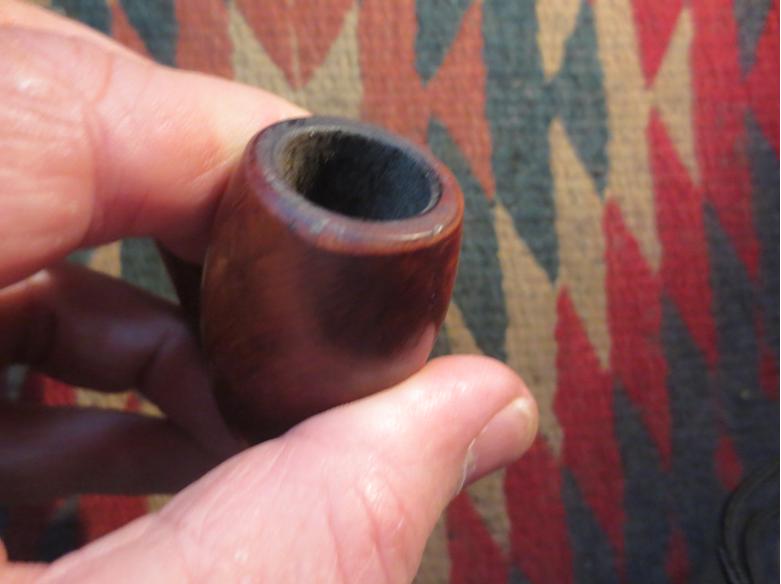
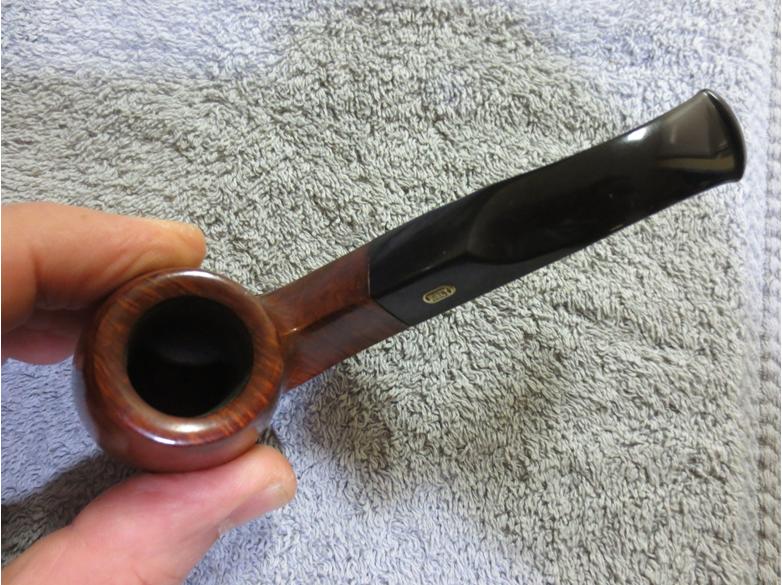
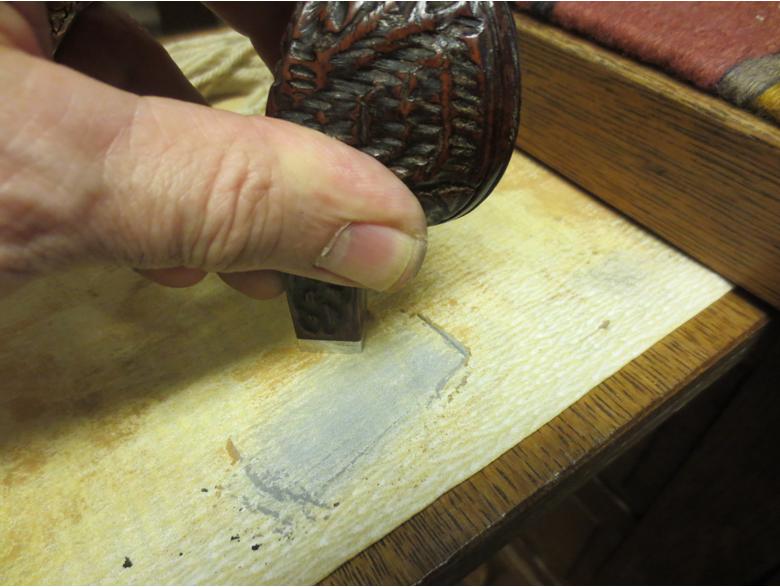
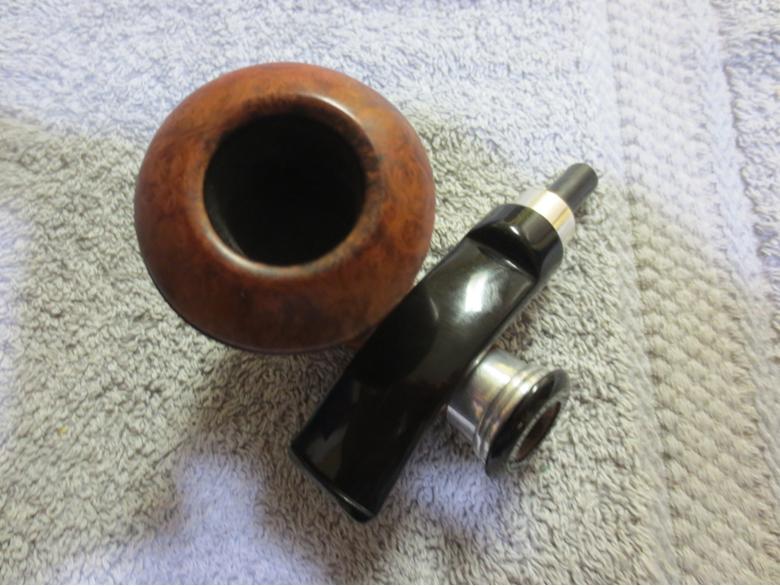
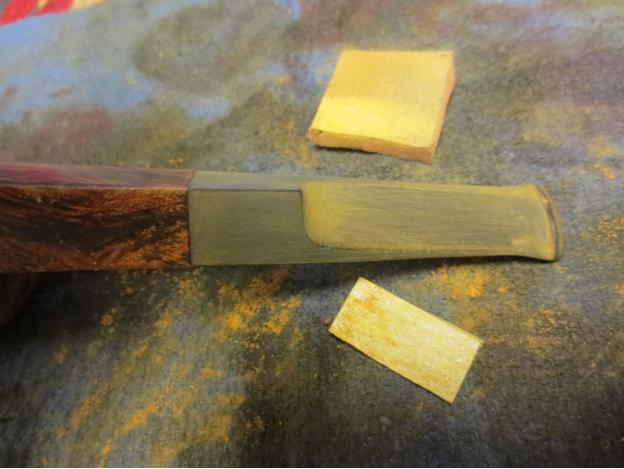
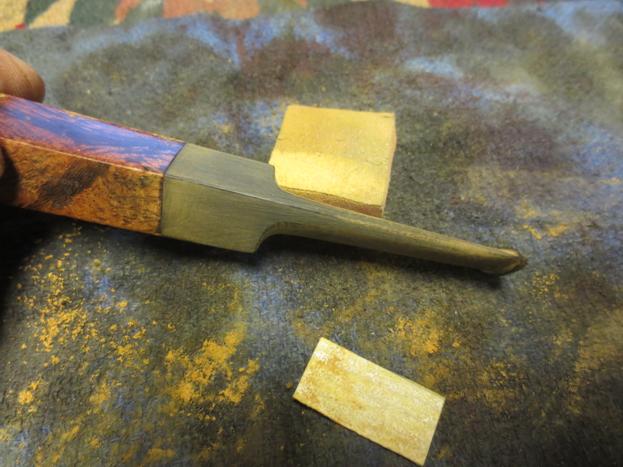
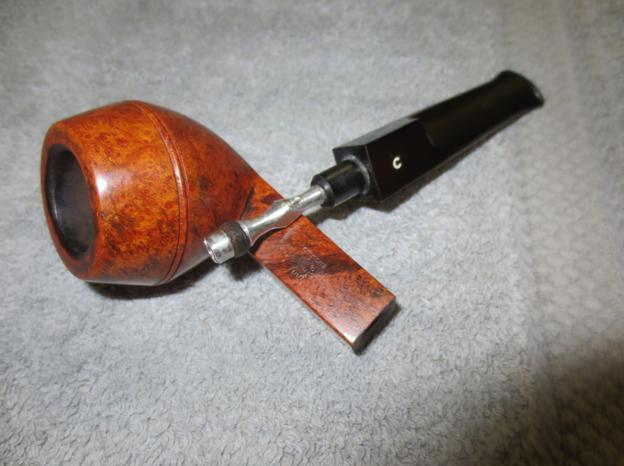
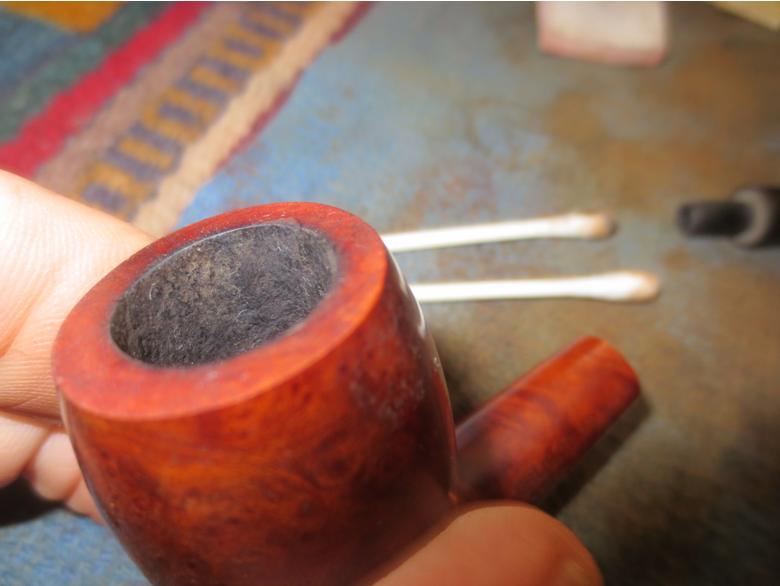
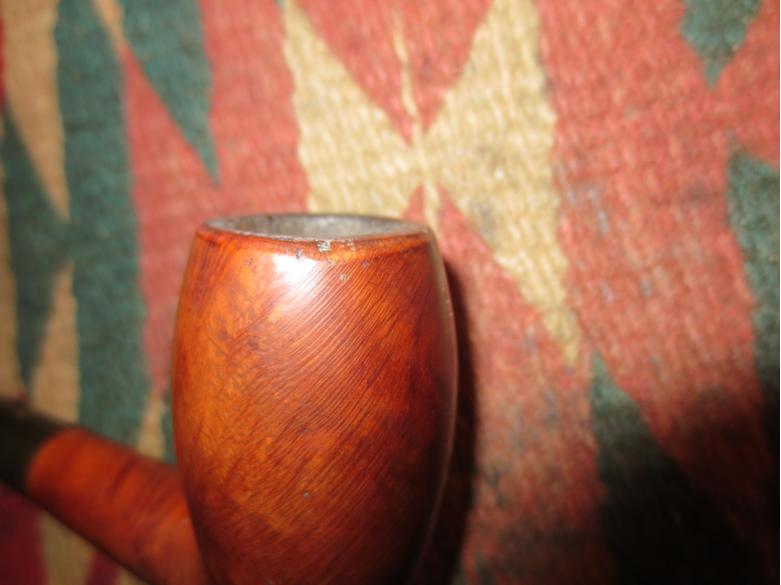 From the Orlik shape chart and photos on the web I could see that the edge was supposed to be sharp and smooth rather than rounded. The rounding also hid some rough spots in the briar caused by knocking out the pipe against something hard. I decided to top the bowl with a topping board. I used 220 grit sandpaper on the board and sanded the top in a circular motion while pressing it into the sandpaper. I took it down until the damaged sections were gone and the outer edge was sharp once again.
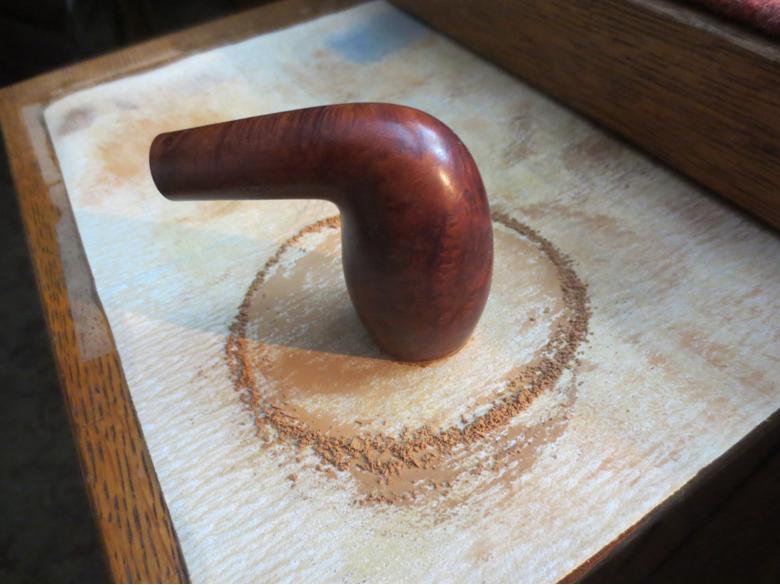

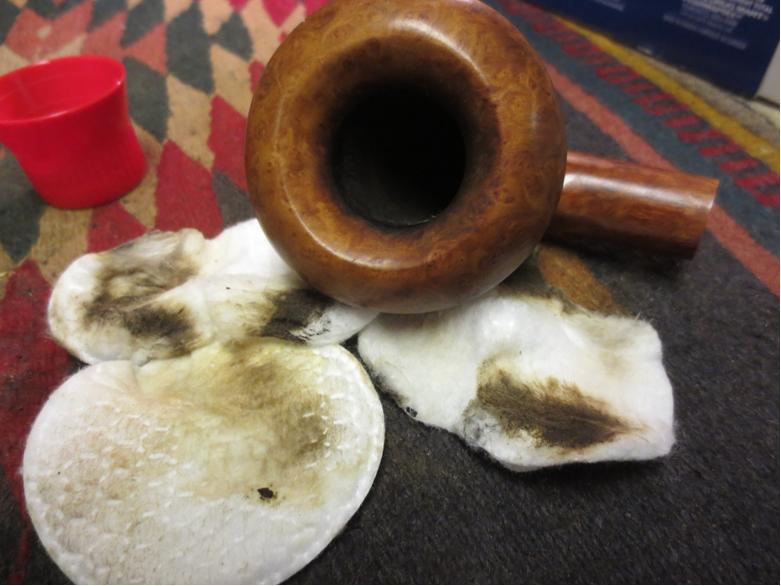
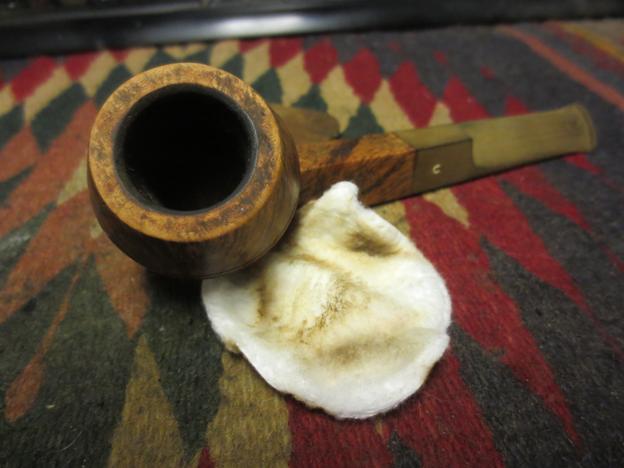
 I sanded the rim with a medium and fine grit sanding sponge to remove the scratching. I sanded it with 1500-2400 grit micromesh sanding pads to further smooth it out. I buffed the bowl and rim with White Diamond. I used a light and a medium brown stain touch up pen mixed together to match the stain with the rest of the bowl.
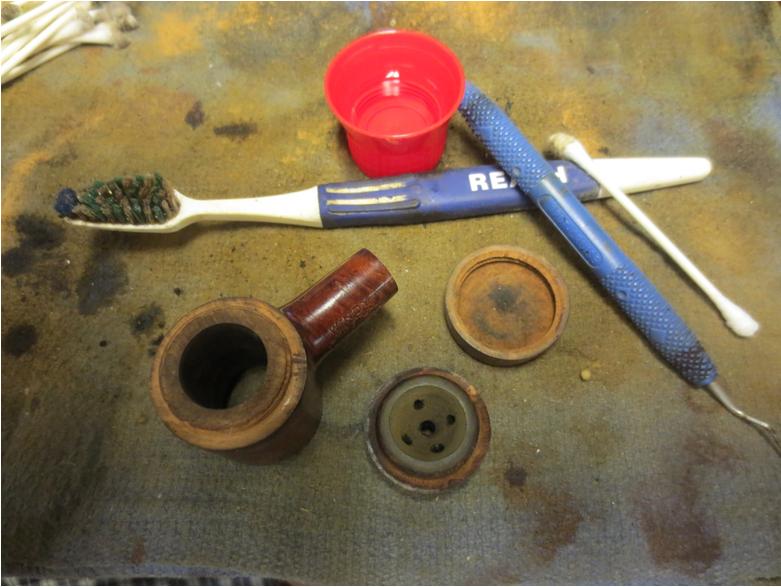
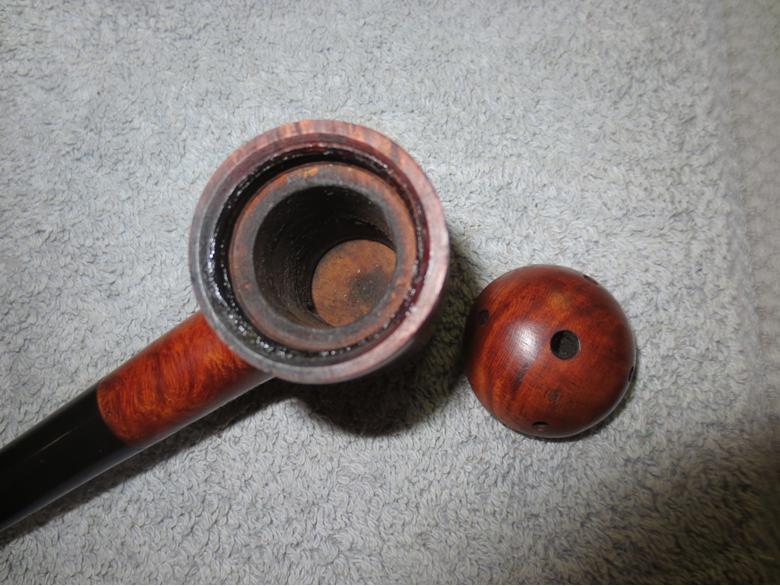
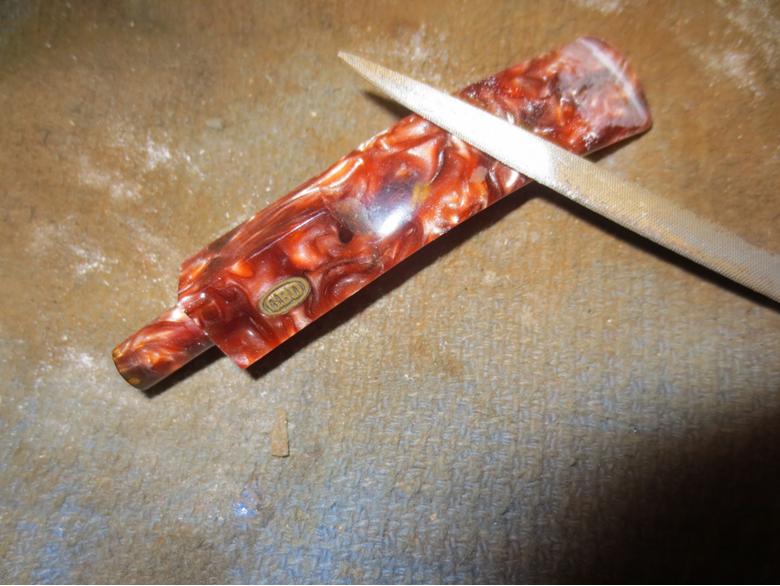
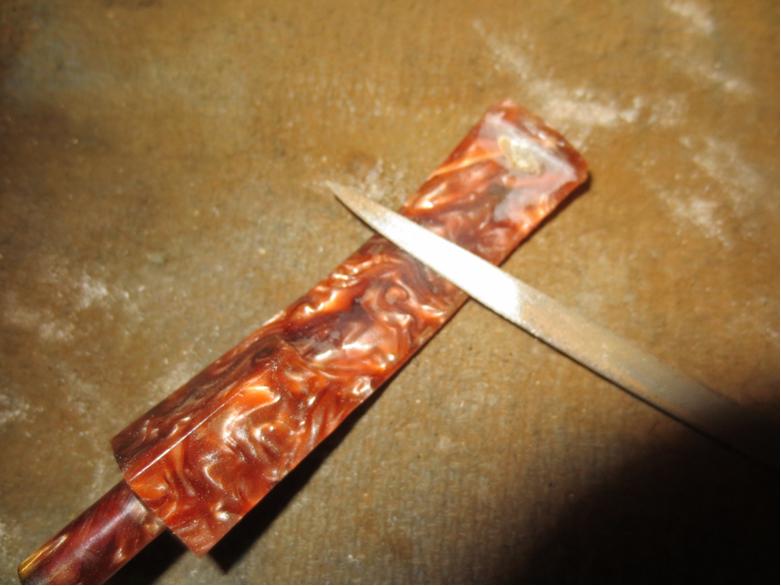
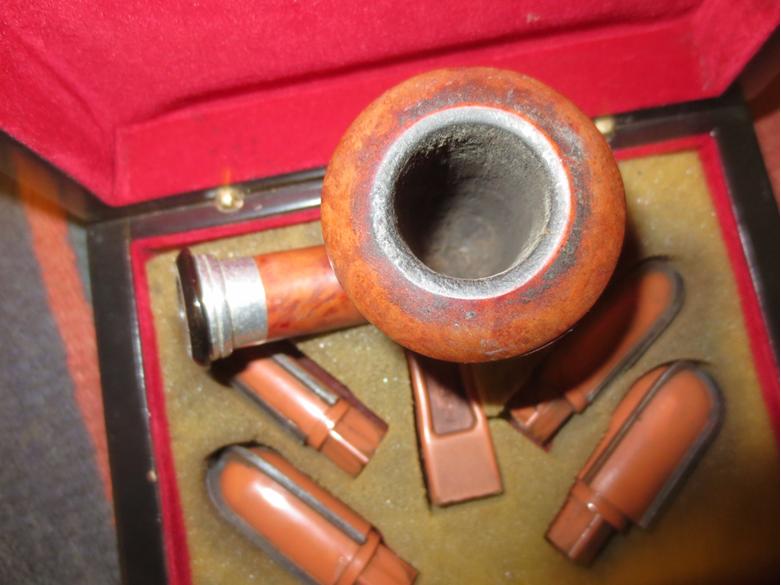
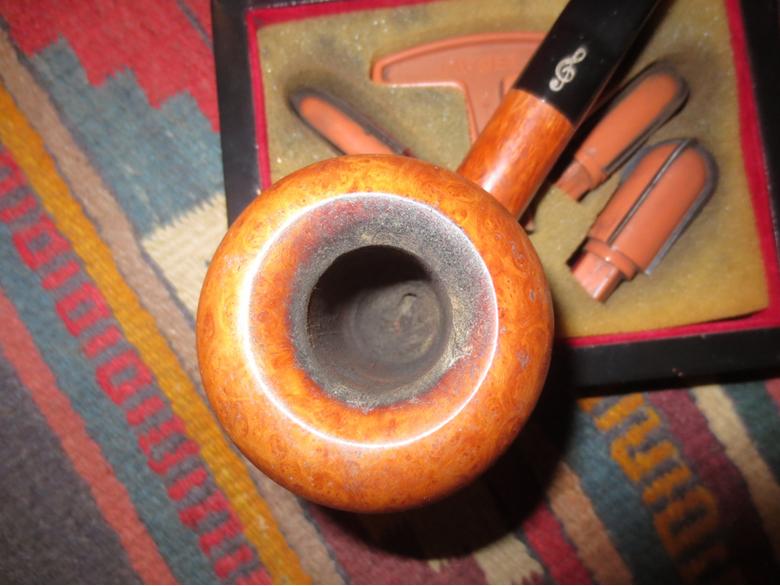
 I used a sharp knife to ream cake the bowl, remove the crumbling cake from the bottom portion of the bowl and leave a thin cake on the walls of the bowl. My purpose was to facilitate forming a new cake on the walls.
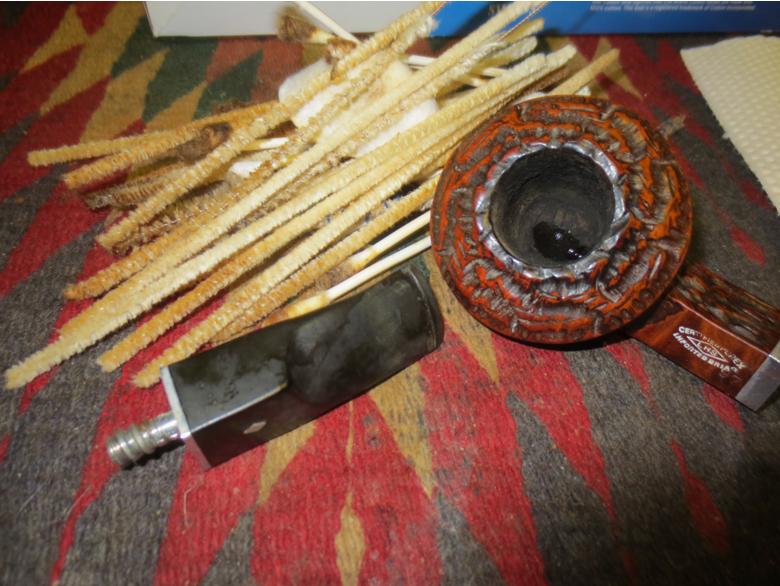
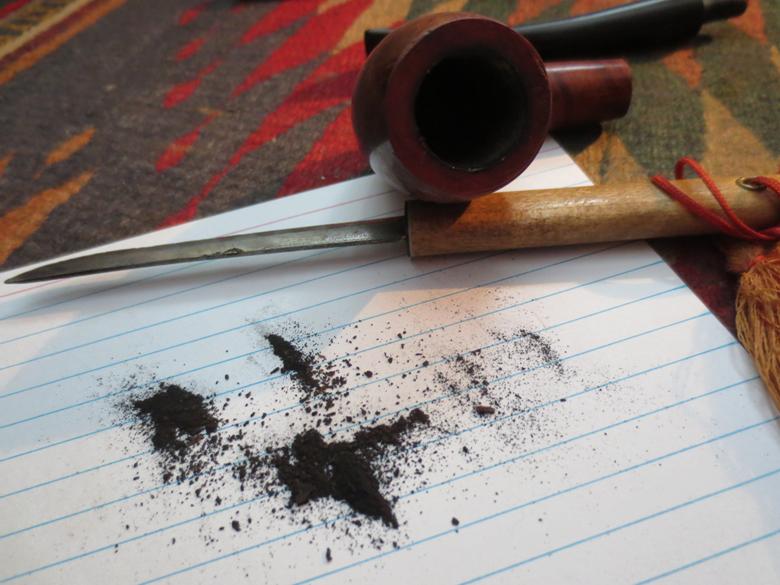
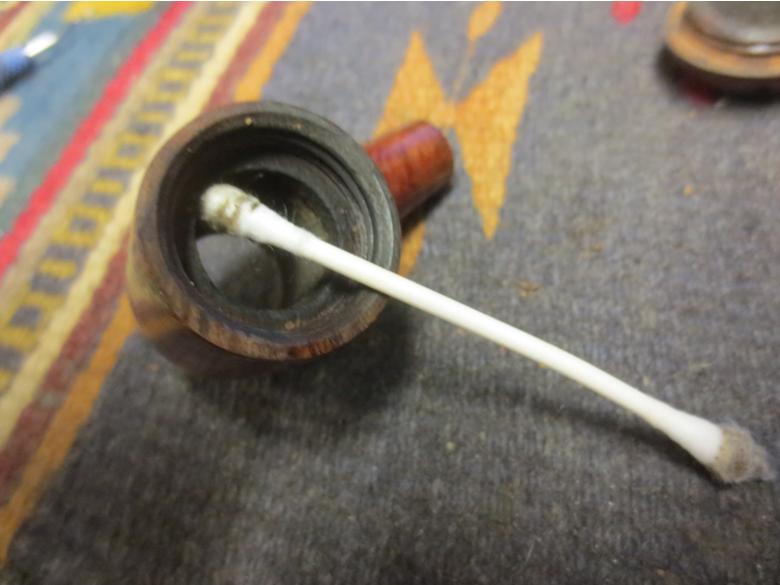
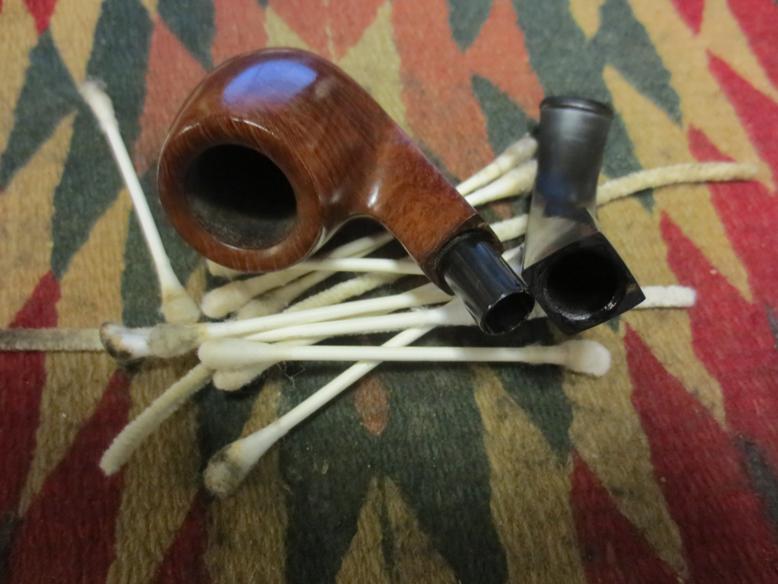
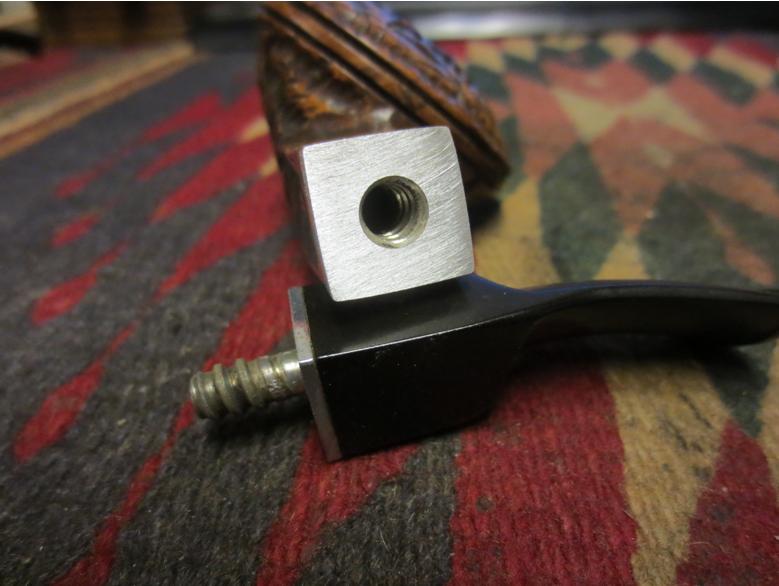
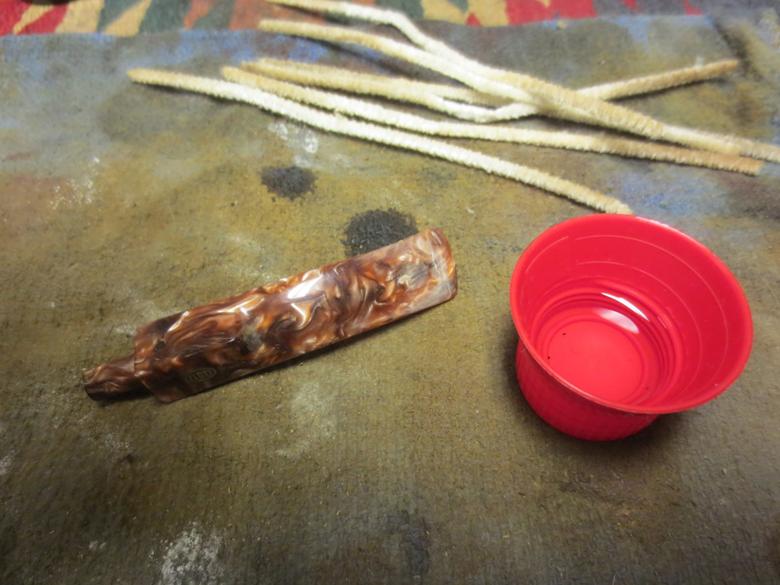
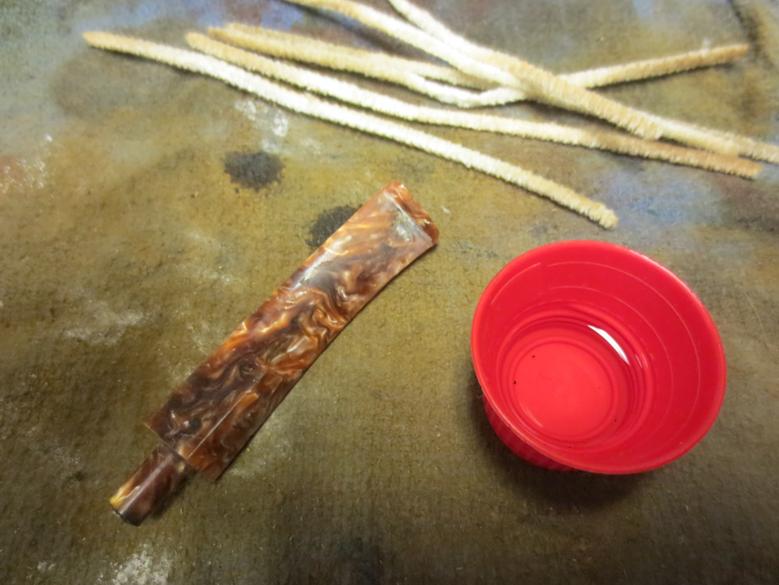
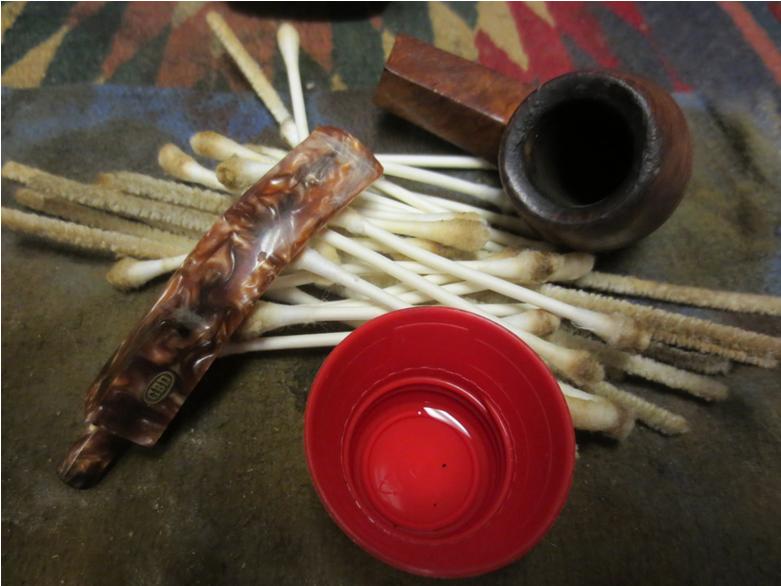
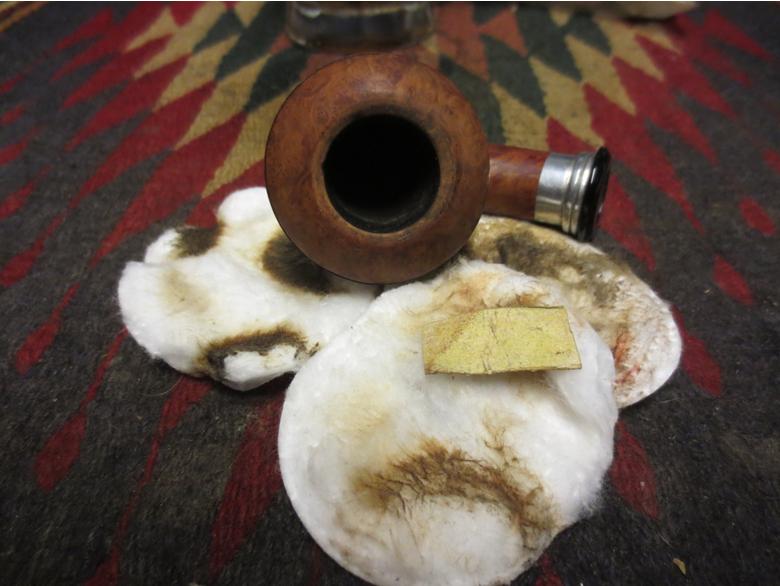
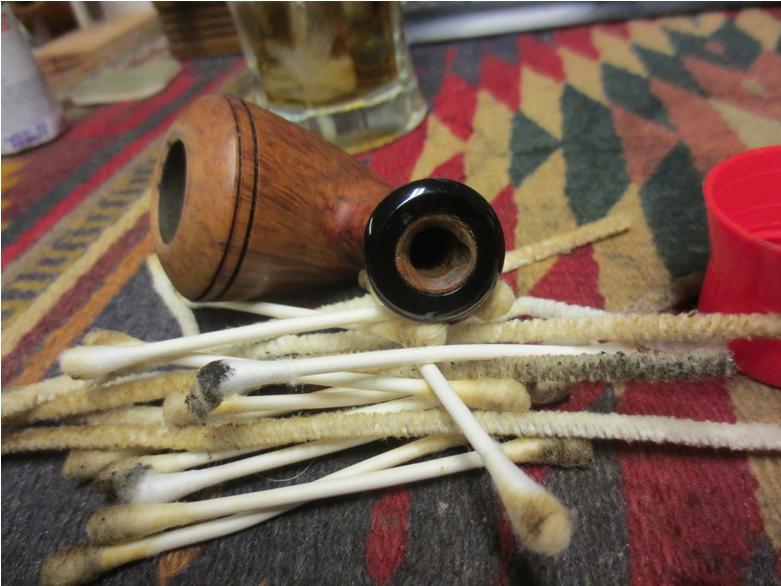
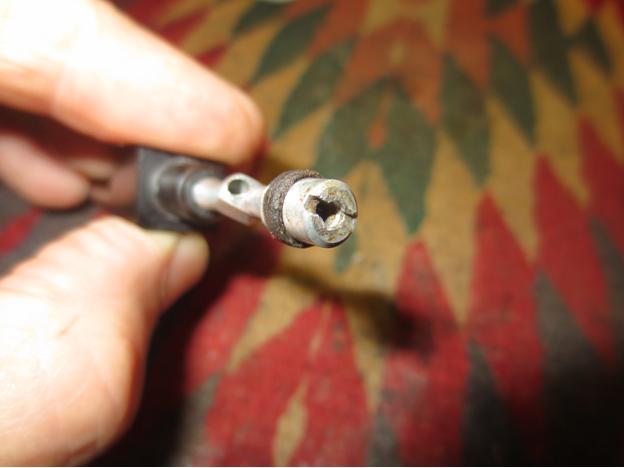
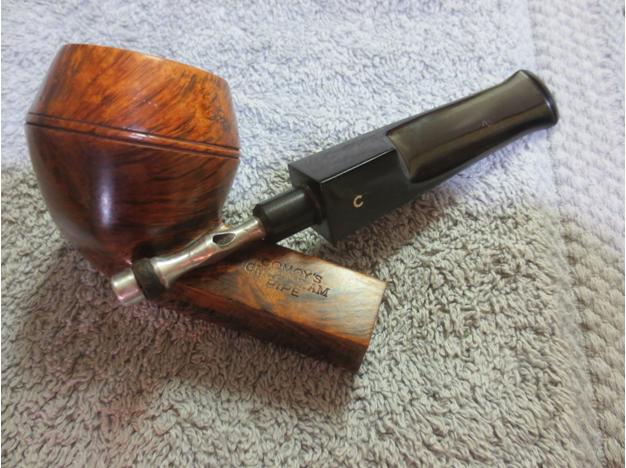
 I cleaned out the mortise and the airway in the shank and the stem with pipe cleaners, cotton swabs and alcohol until the cleaners came out white.
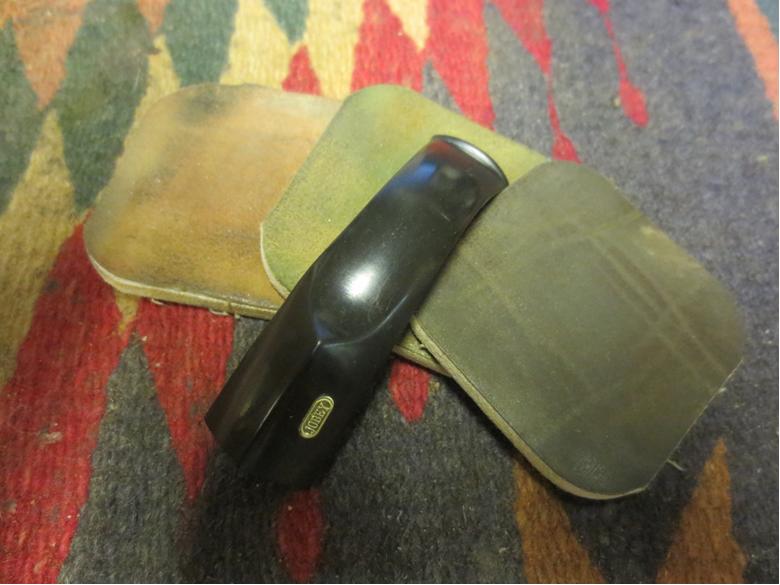
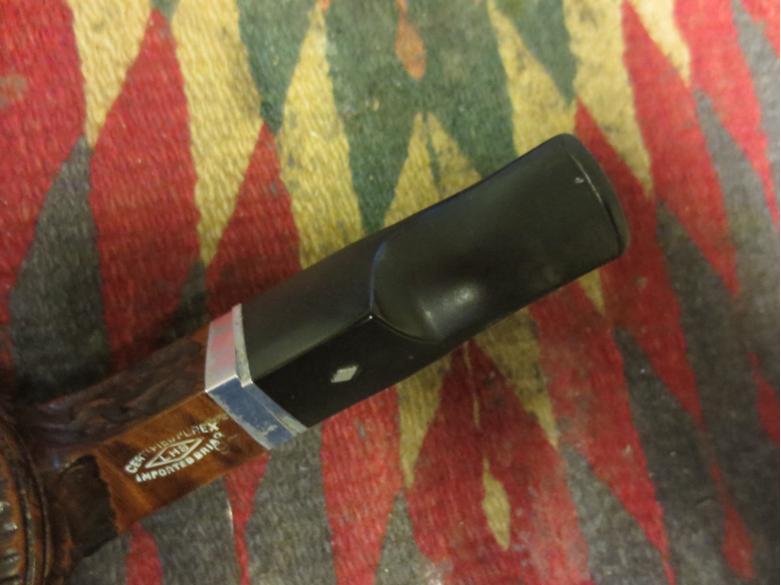
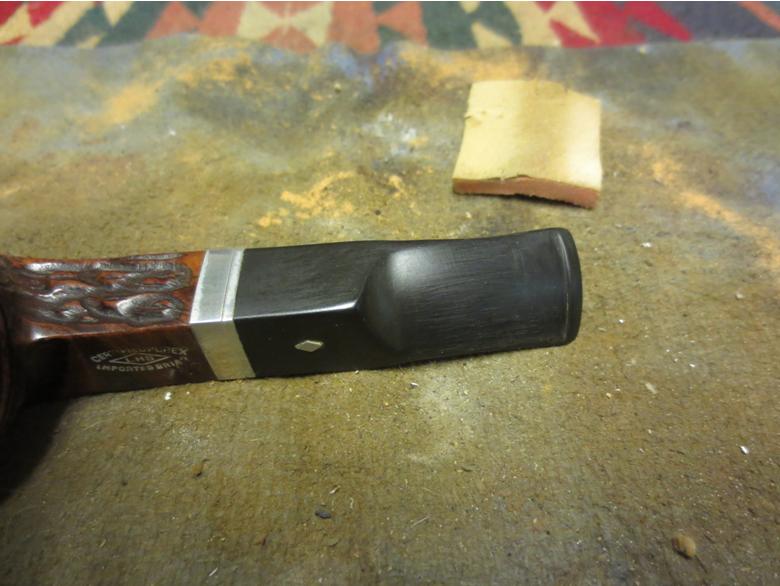
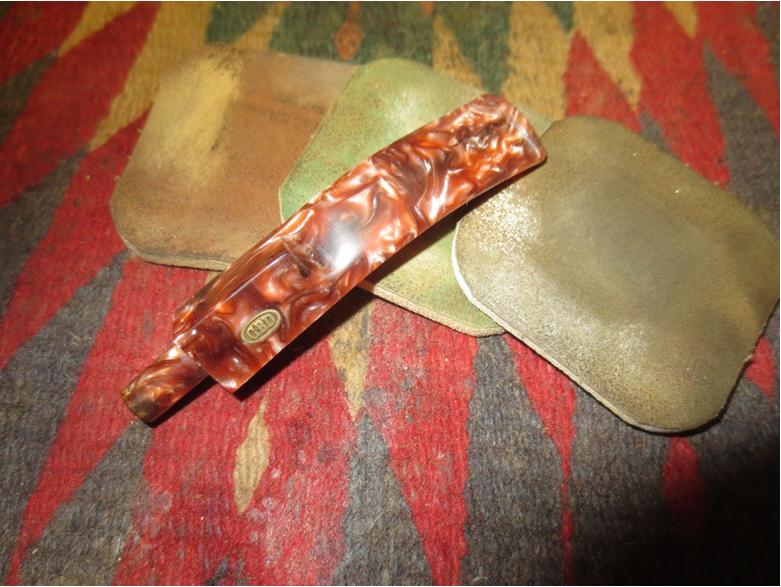
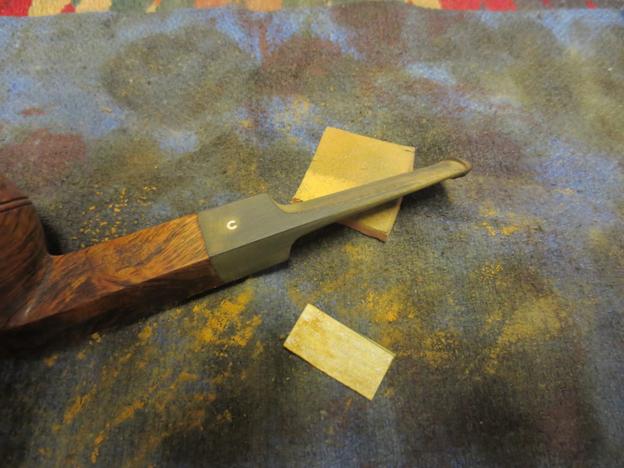
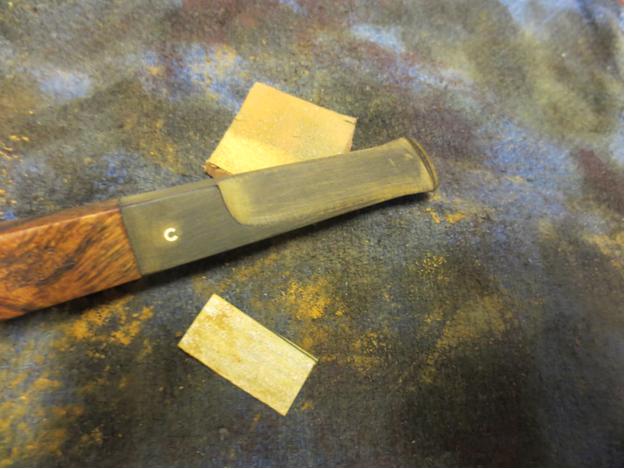
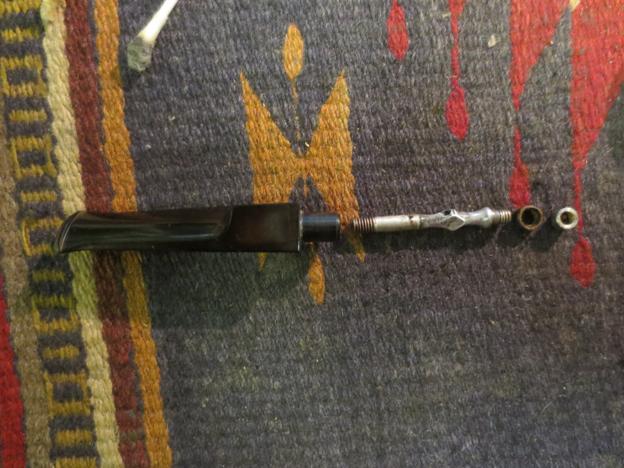
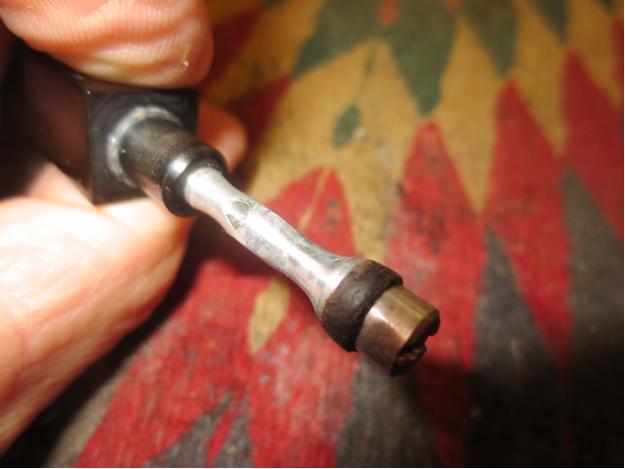
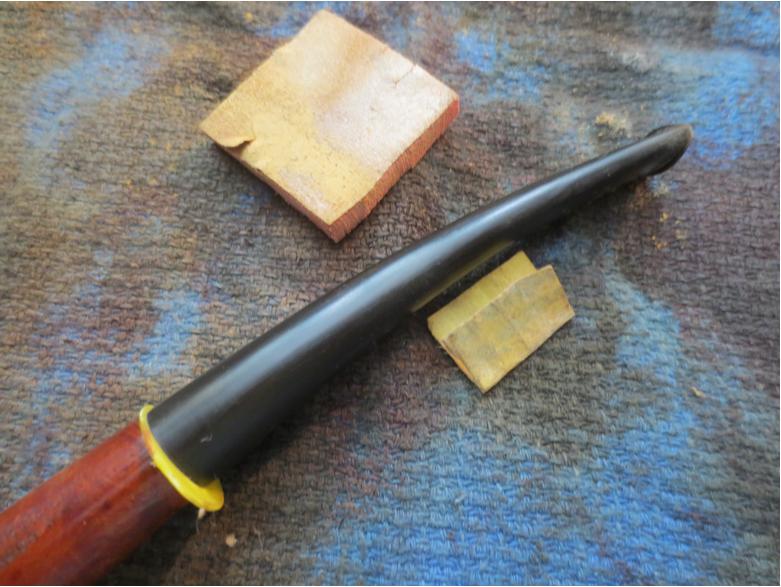
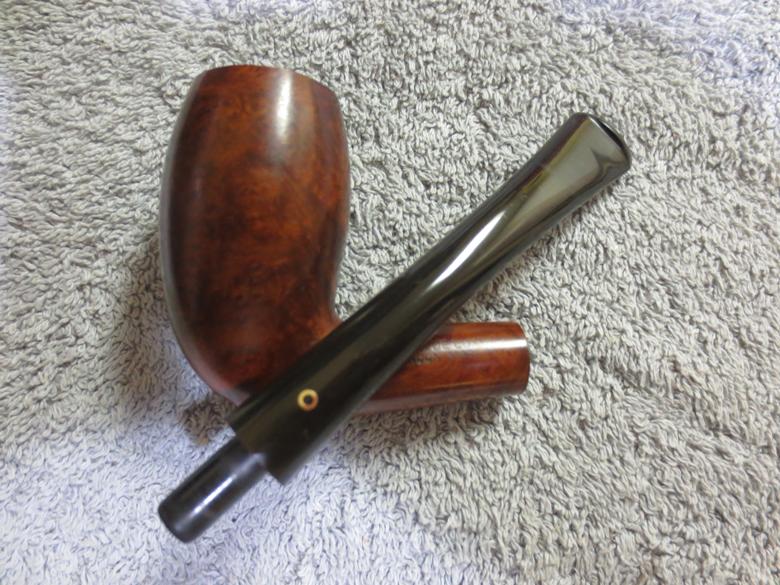
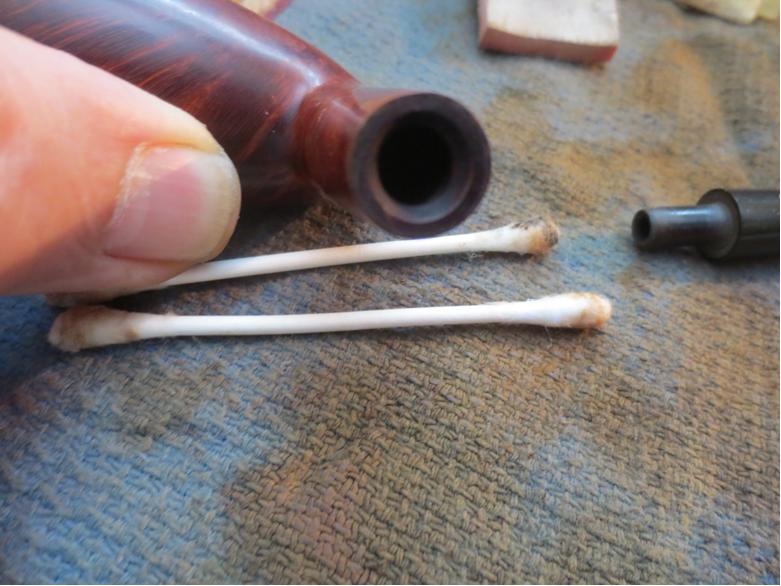 With the inside clean I put the stem back in place with a plastic washer on the tenon so that when it was pushed in place it sat between the shank and the stem. This allows me to sand the stem and remove the oxidation without rounding the shoulders or damaging the stain and finish on the shank. I sanded it with a worn piece of 220 grit sandpaper and then with a medium and a fine grit sanding sponge.
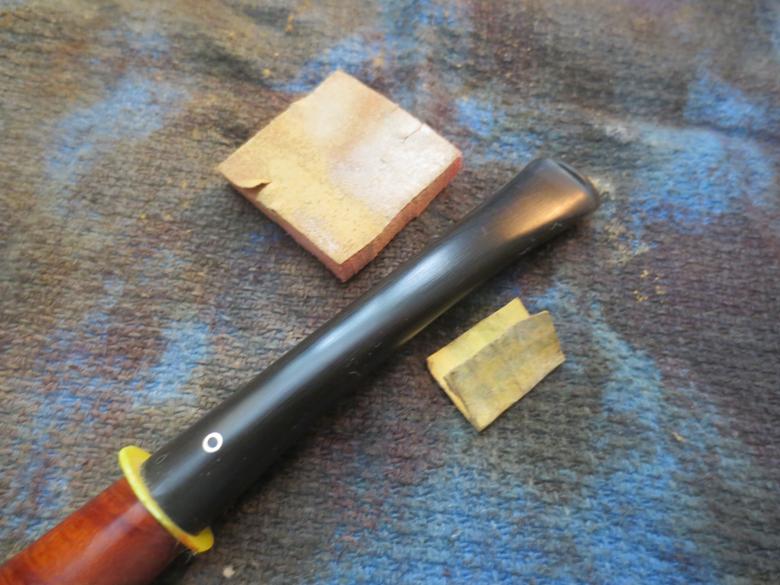
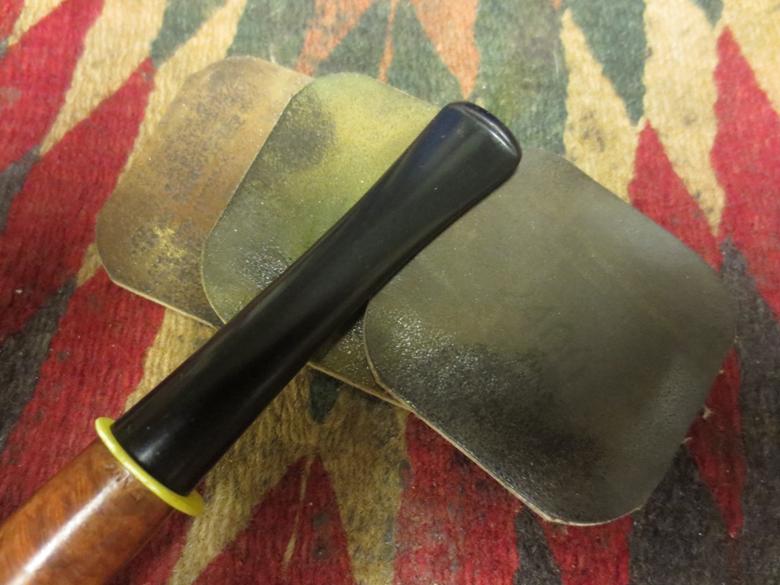
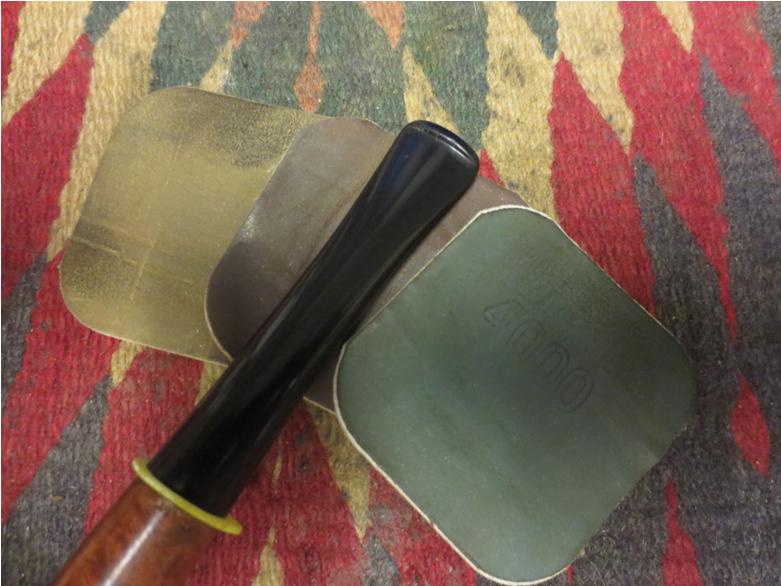
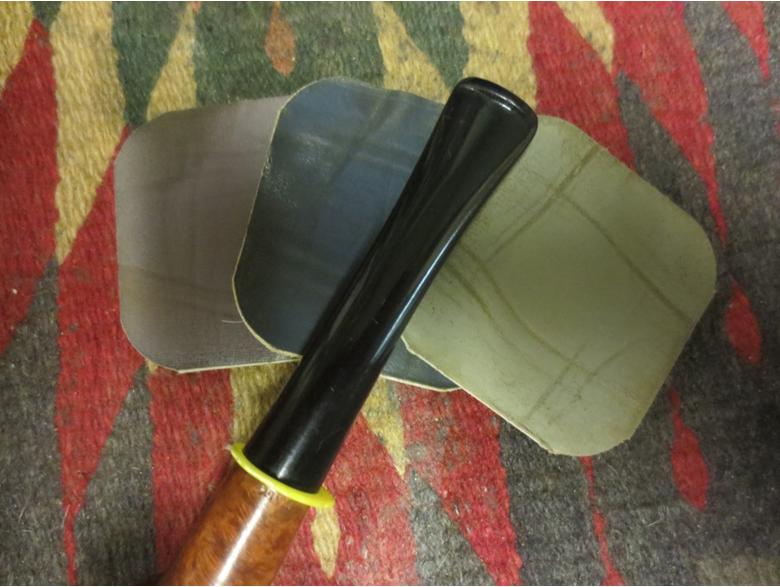
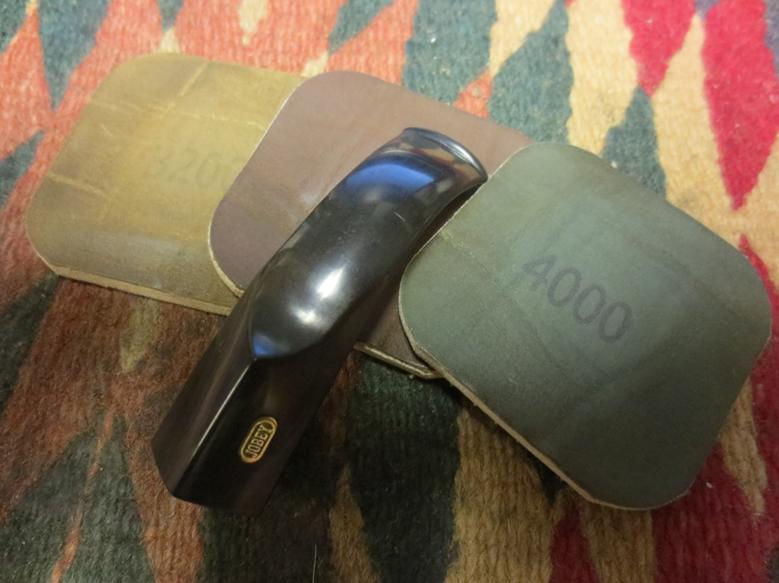
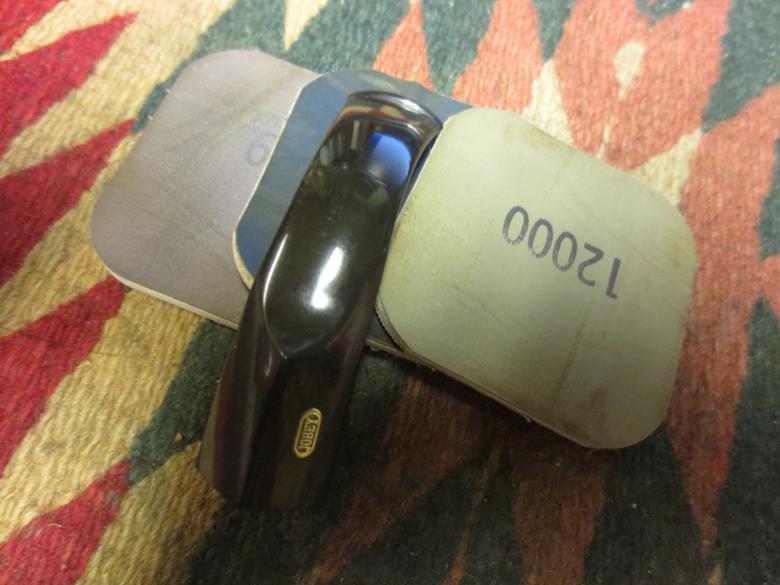
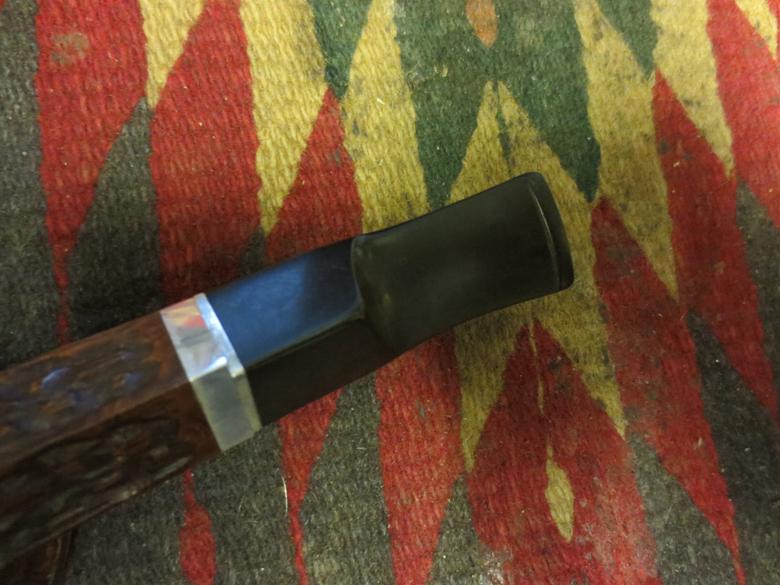
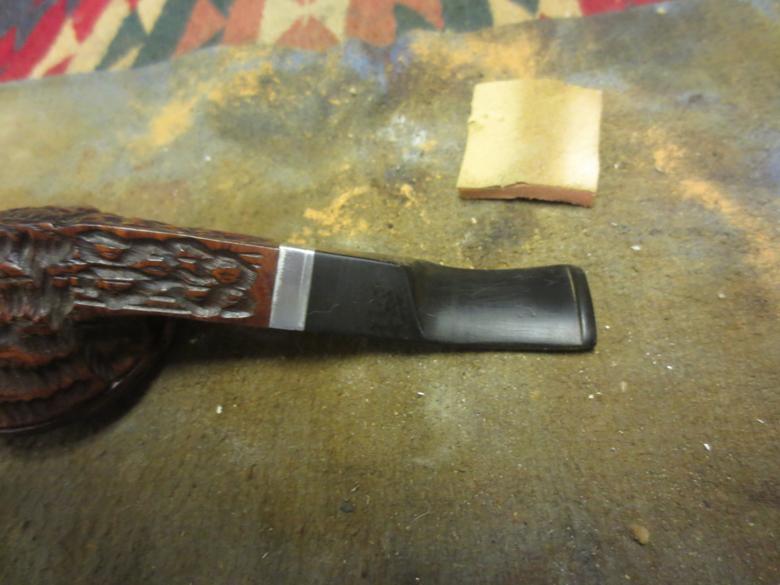
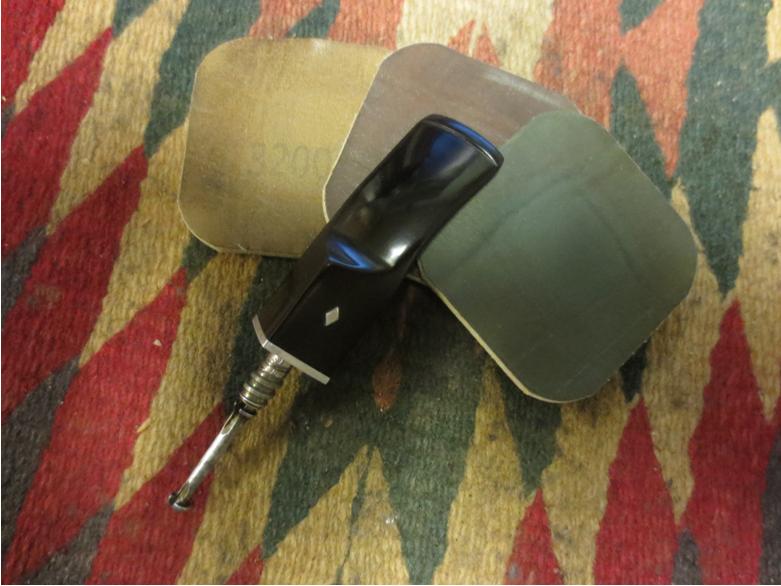
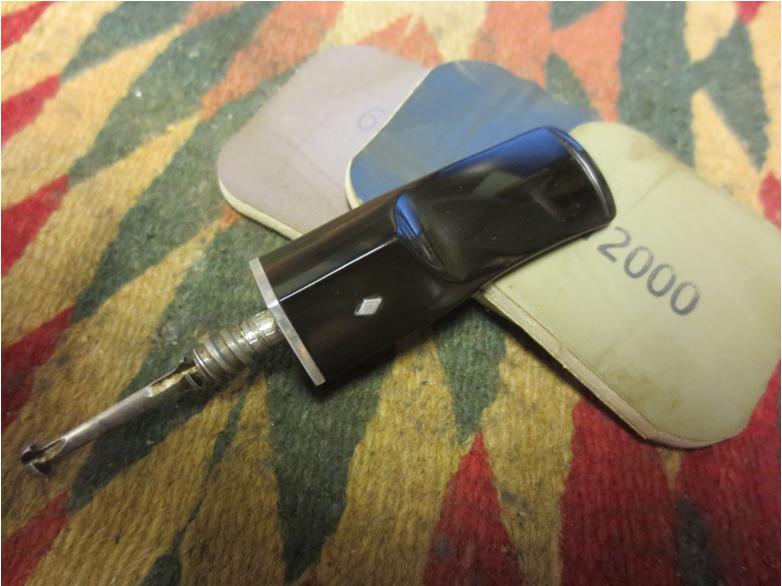
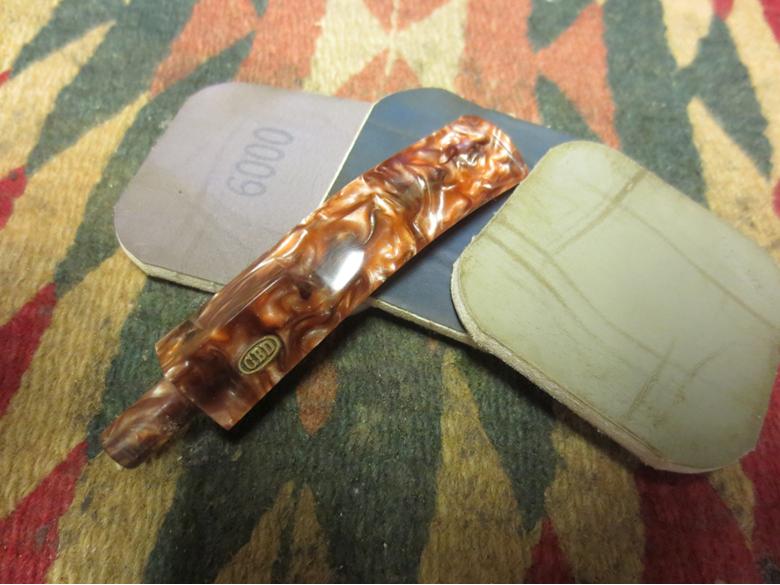
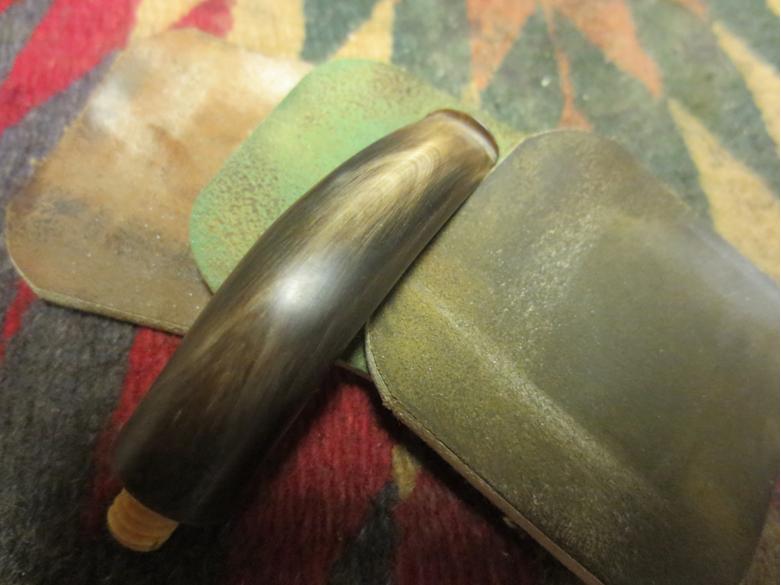
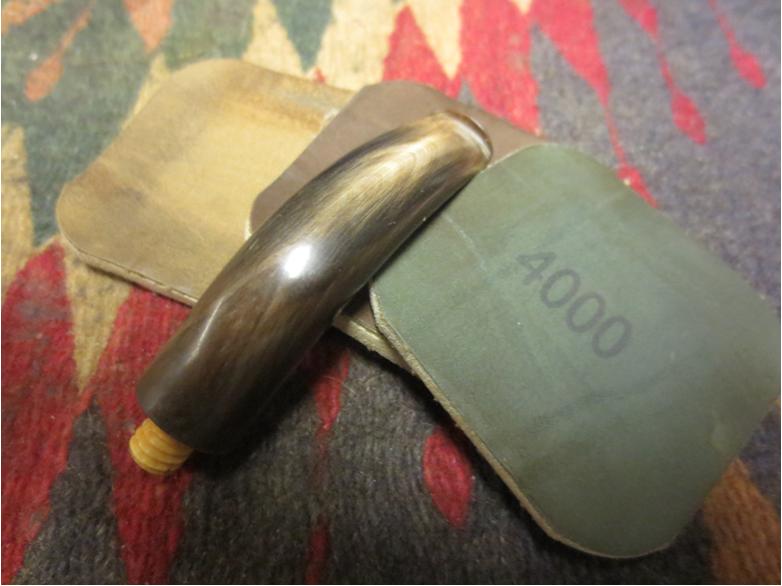
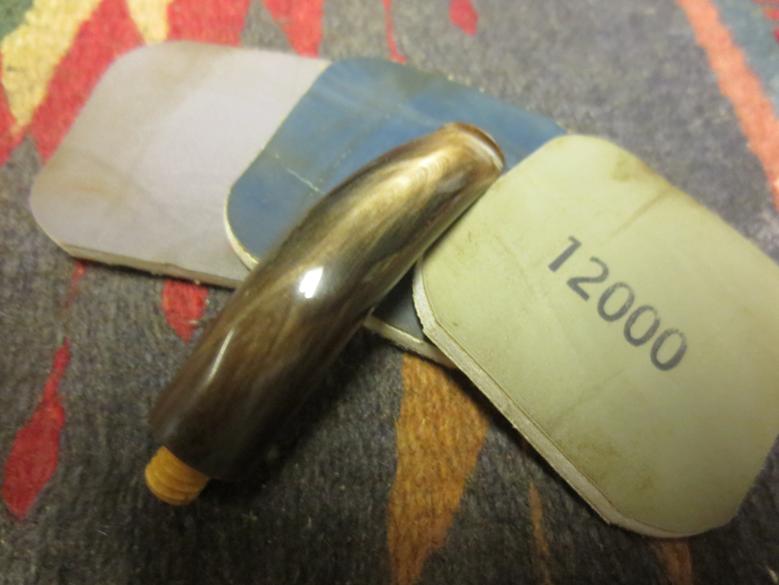
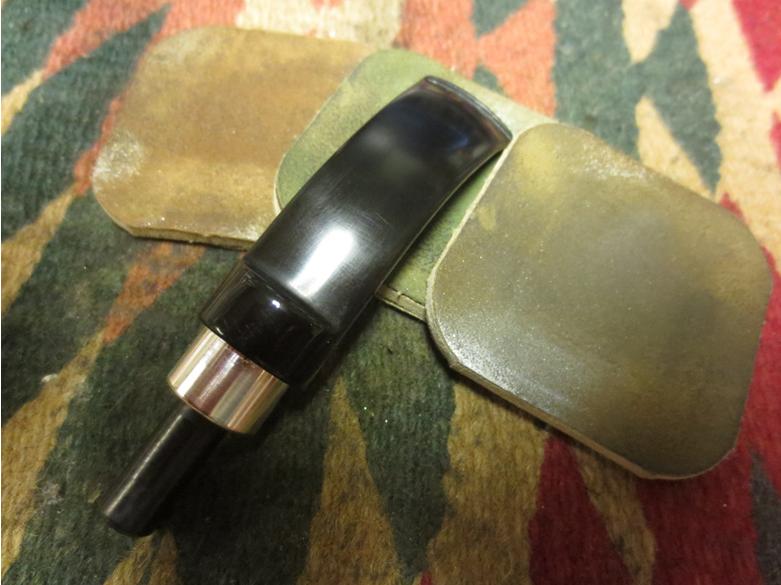
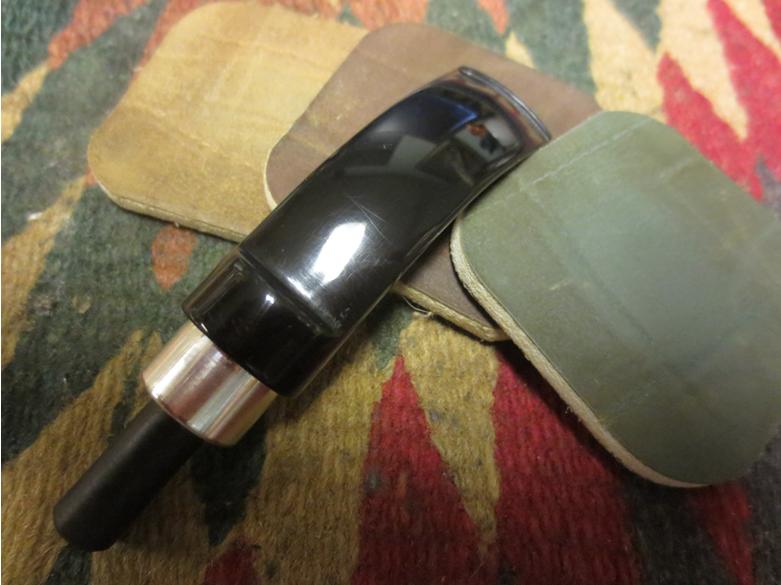
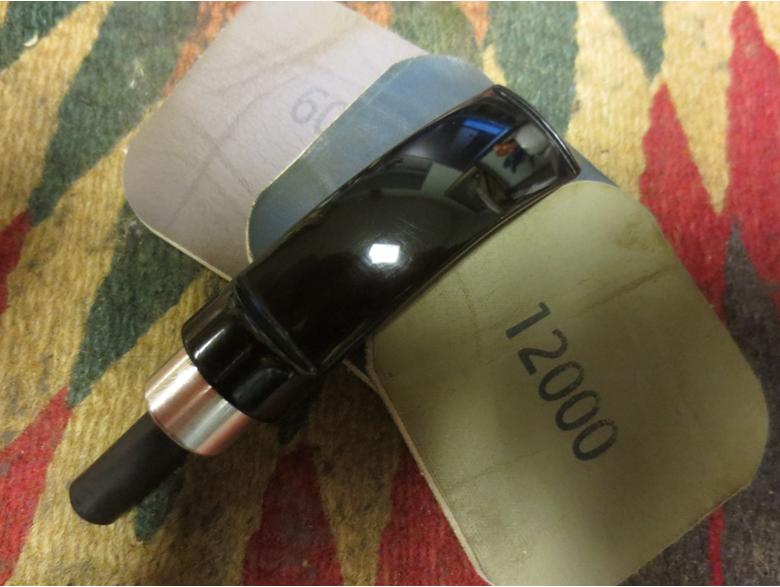
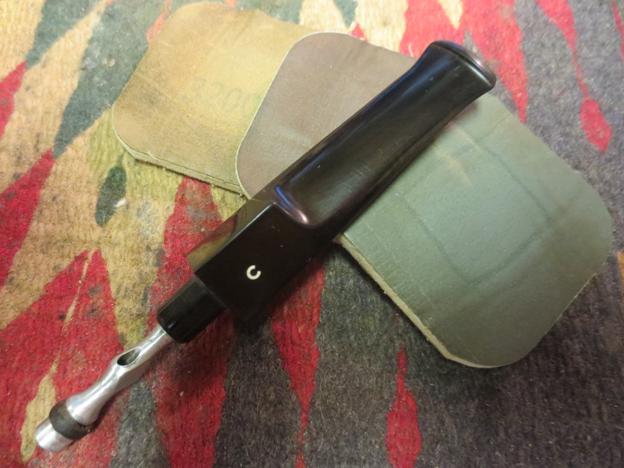
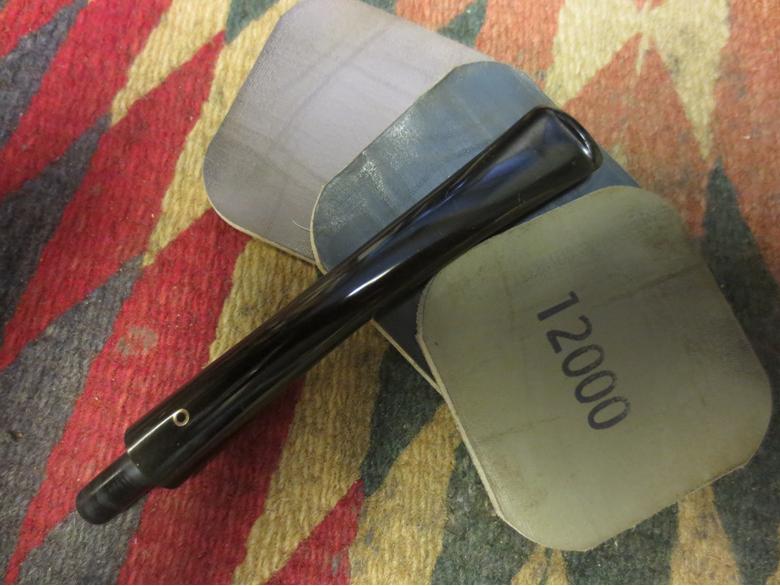
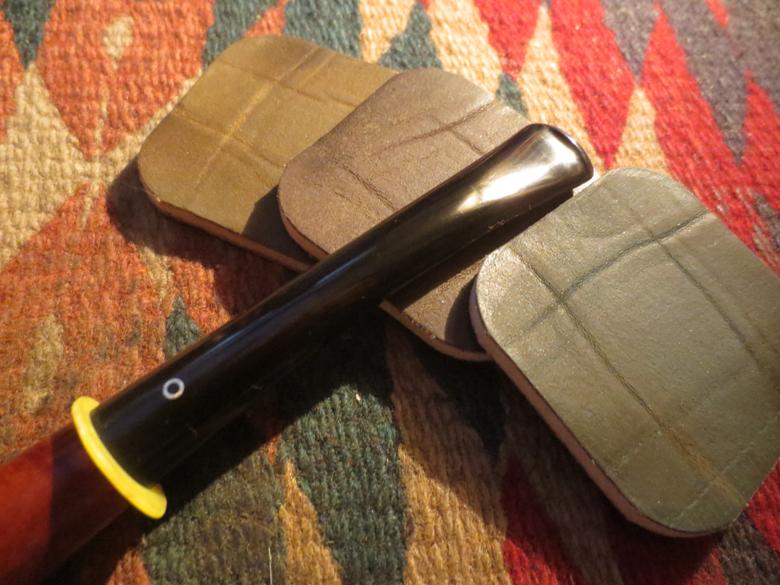
 With the oxidation removed from the stem I went on to sand it with micromesh sanding pads – wet sanding with 1500-2400 grit pads and dry sanding with 3200-12,000 grit pads. I rubbed down the stem with Obsidian Oil between each set of three pads and then when I had finished the third set I did it again and set it aside to let the oil dry.
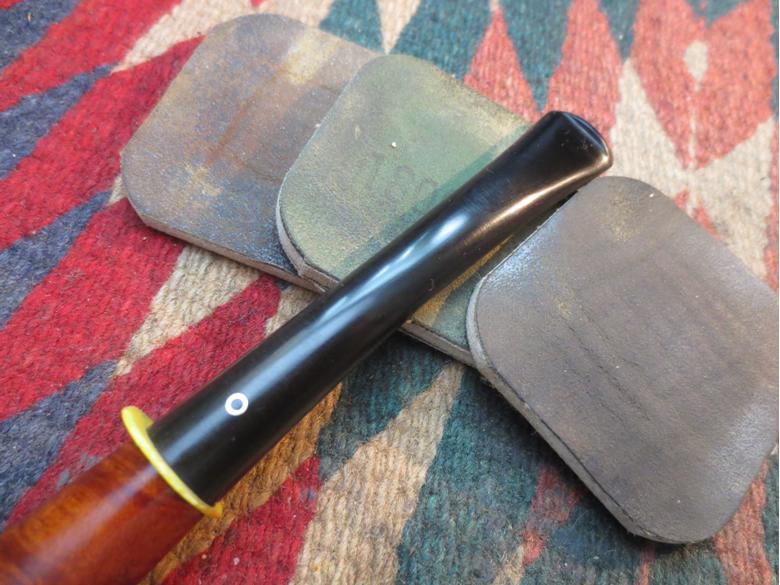
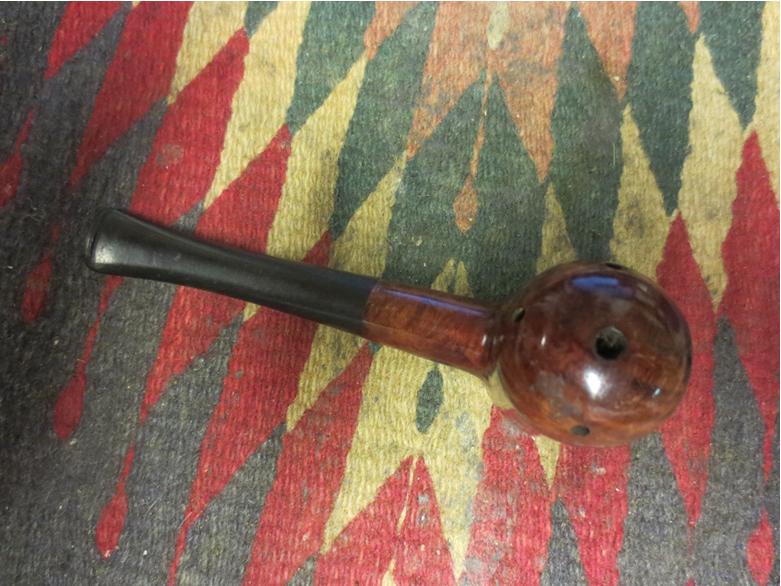
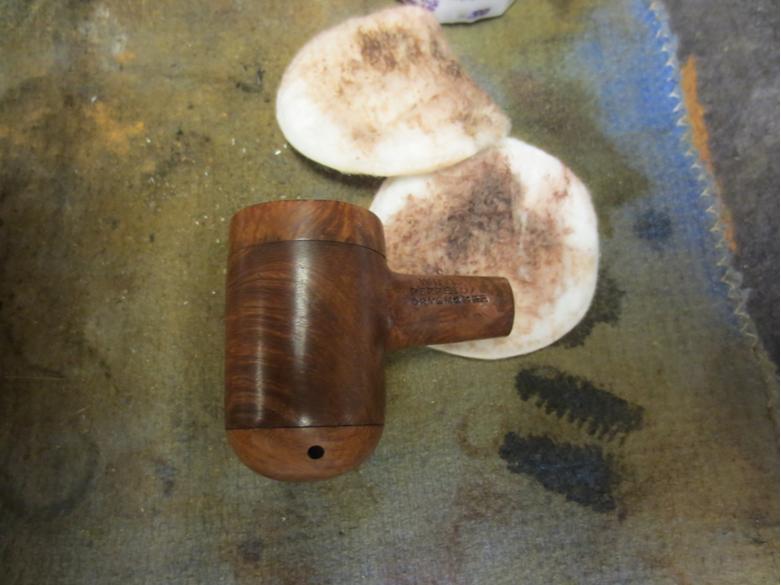
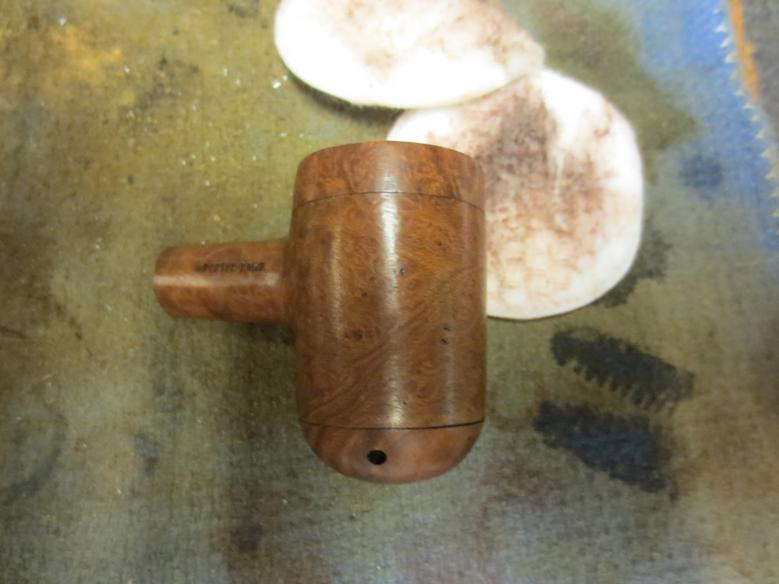
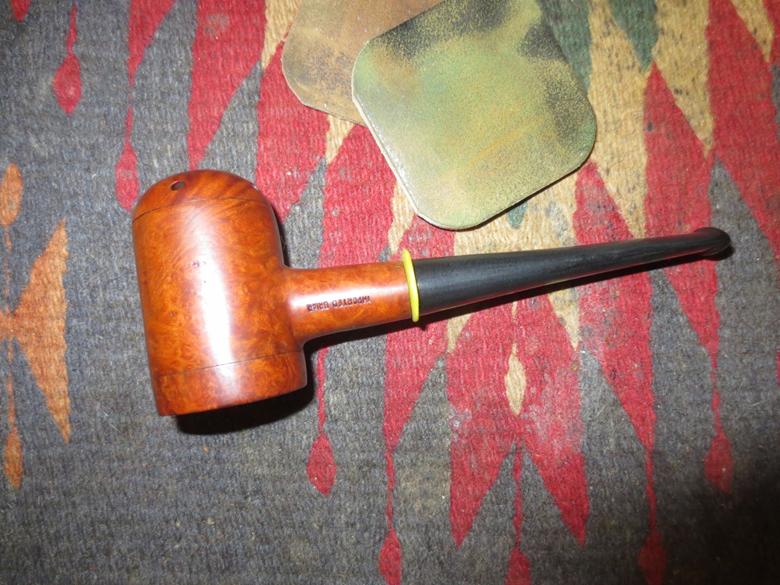
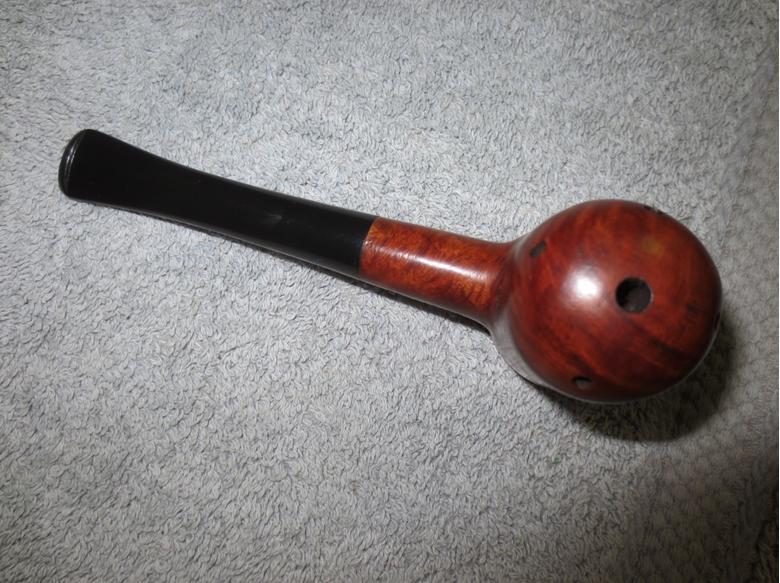
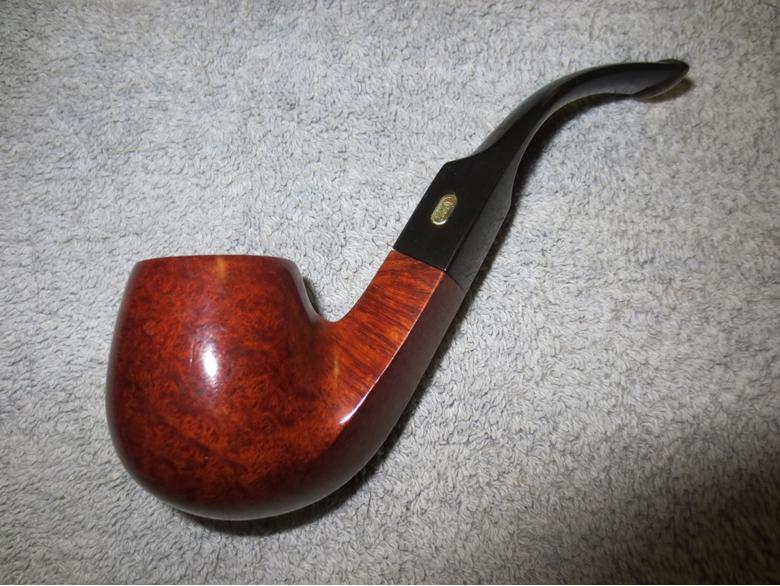
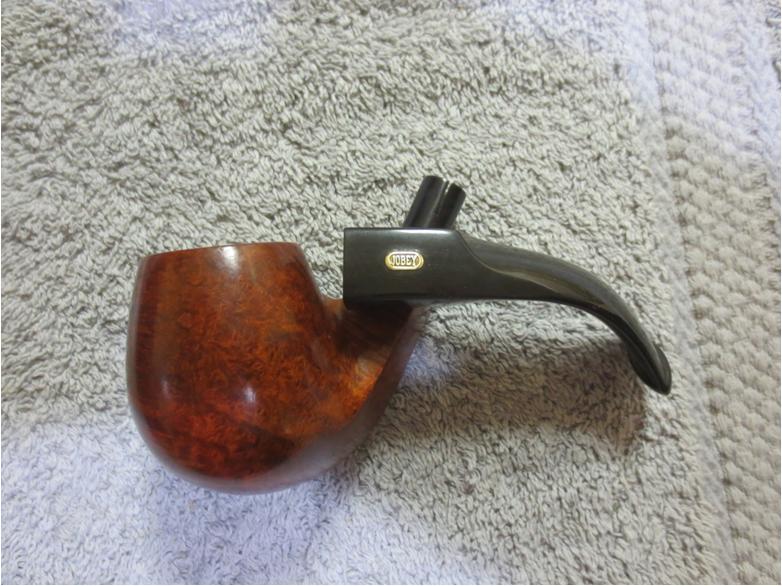
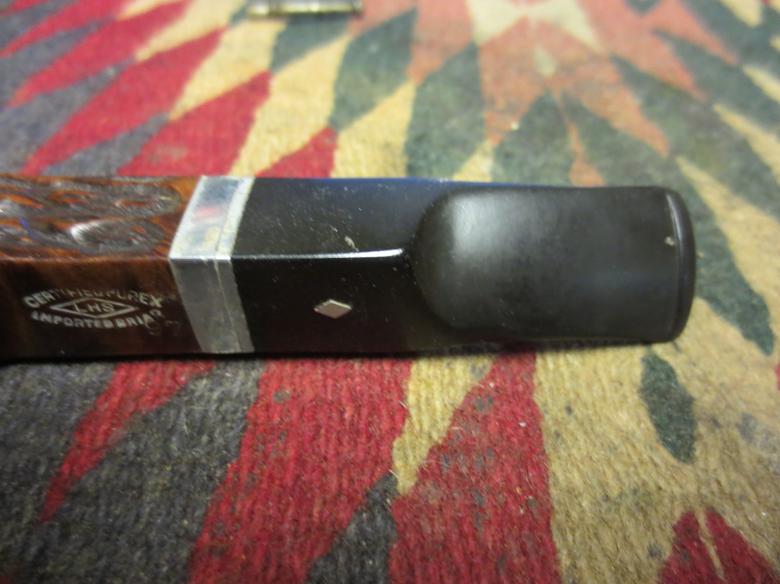
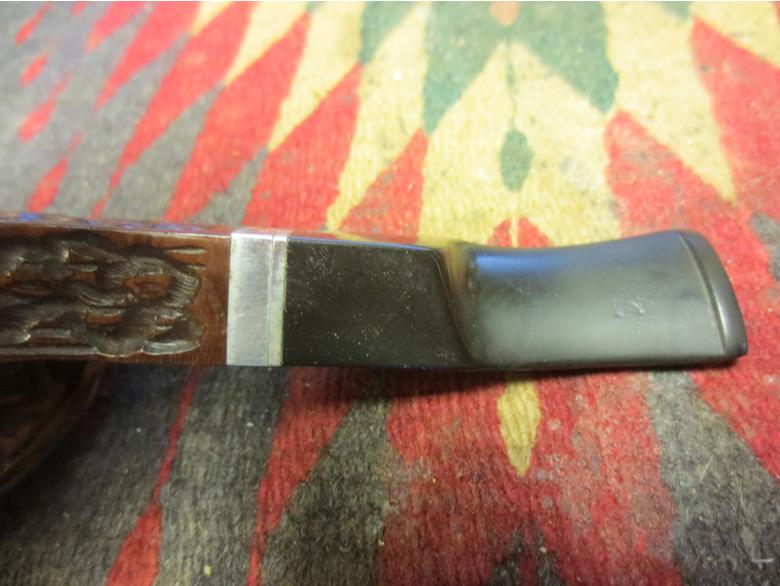
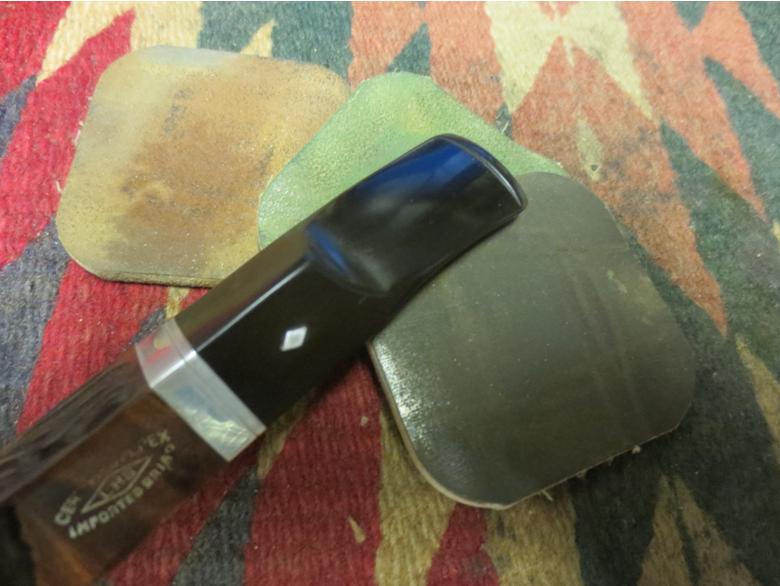
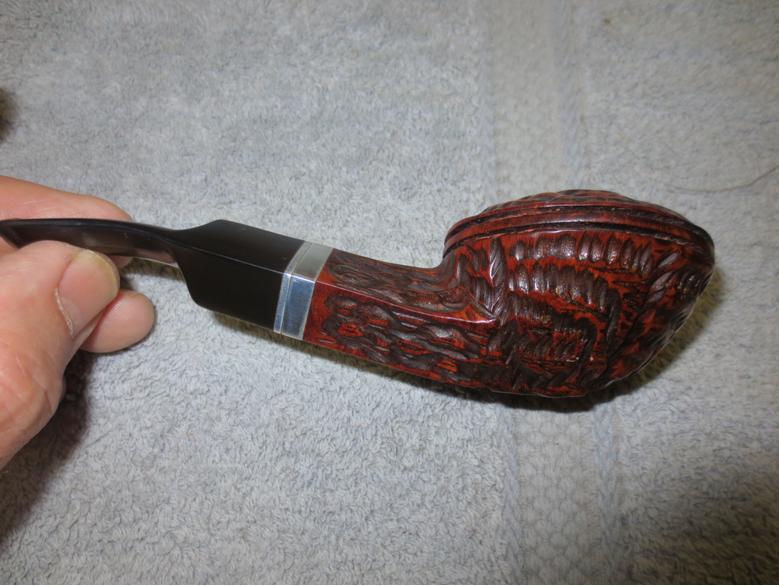
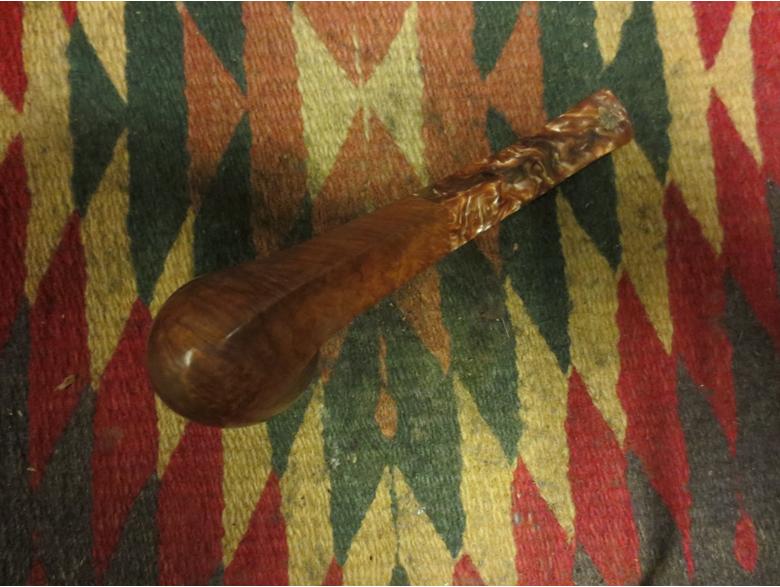
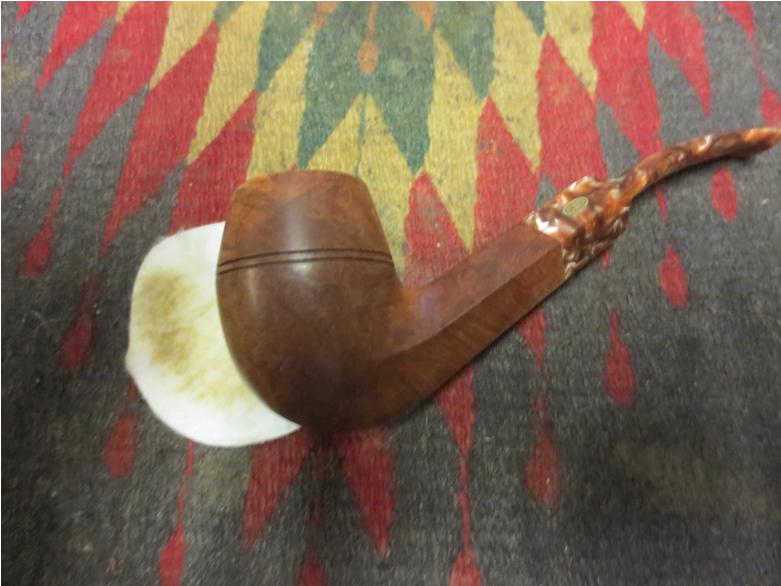
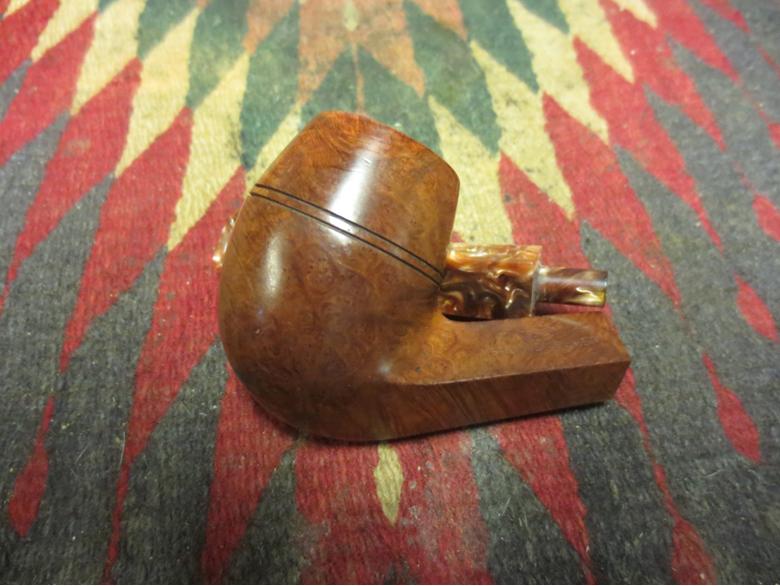
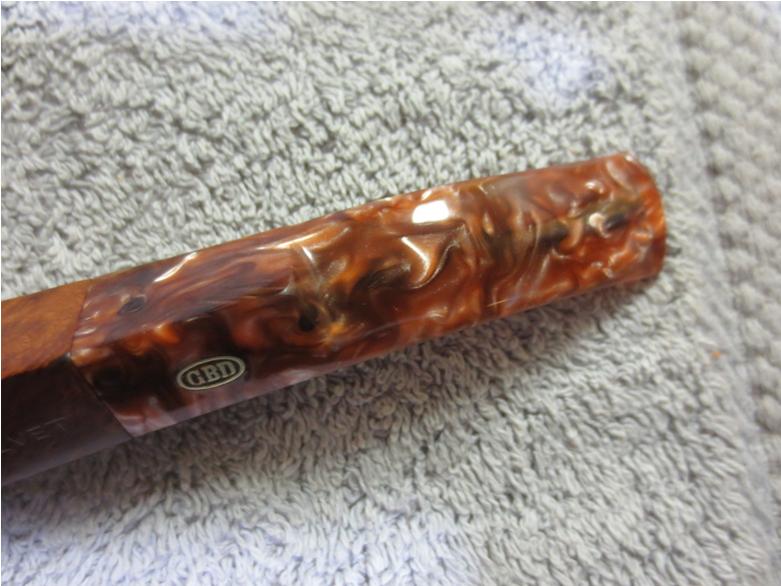
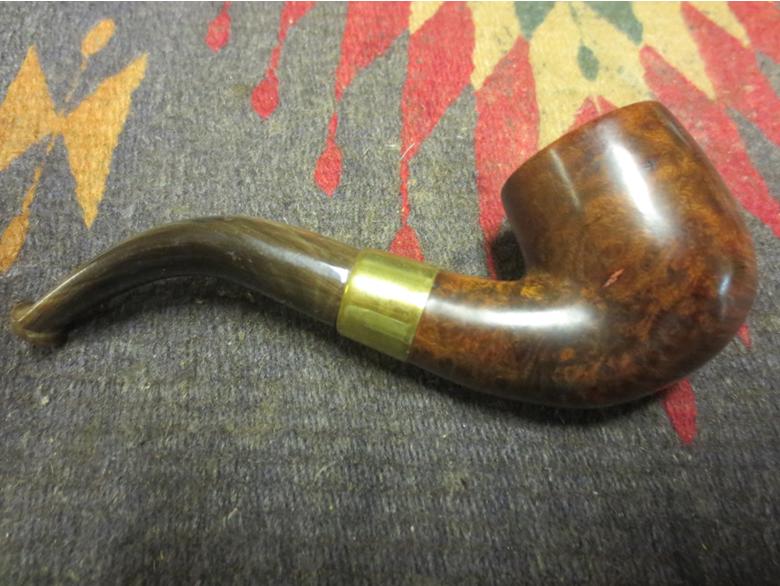
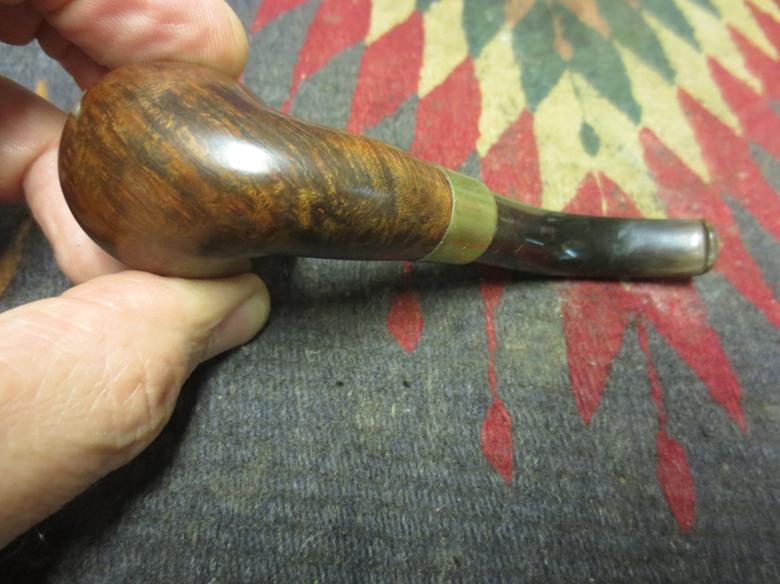
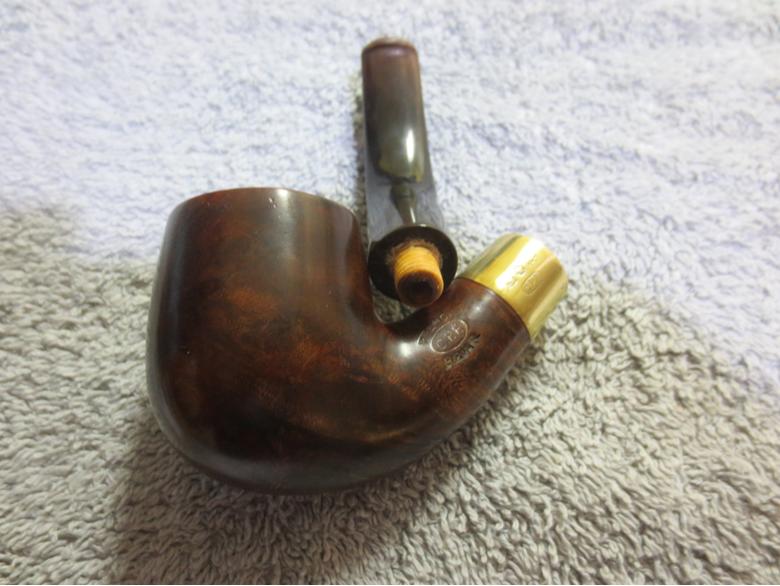
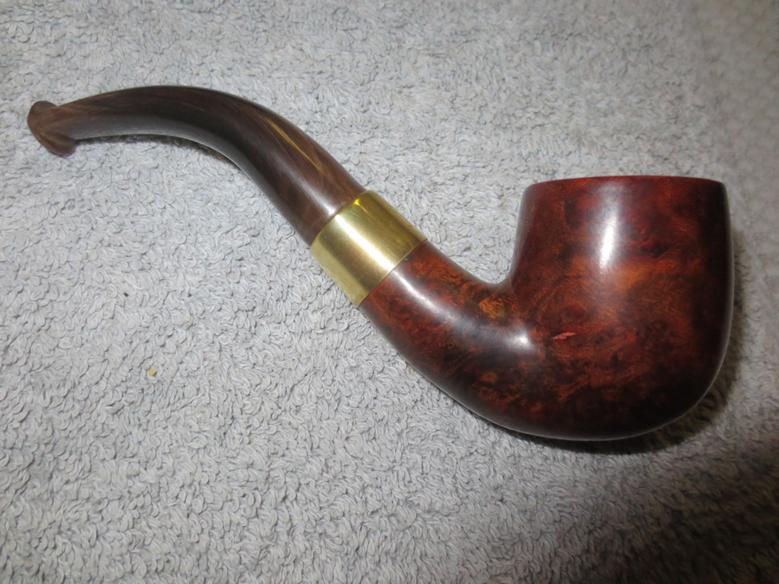
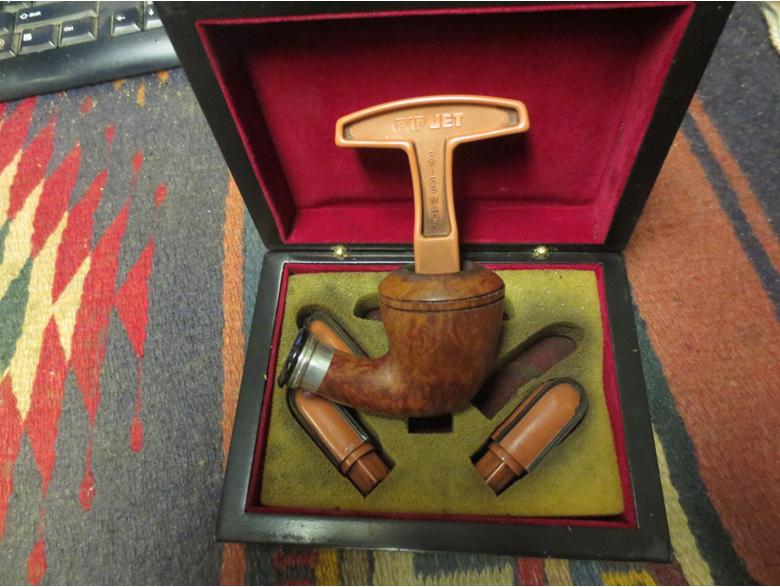
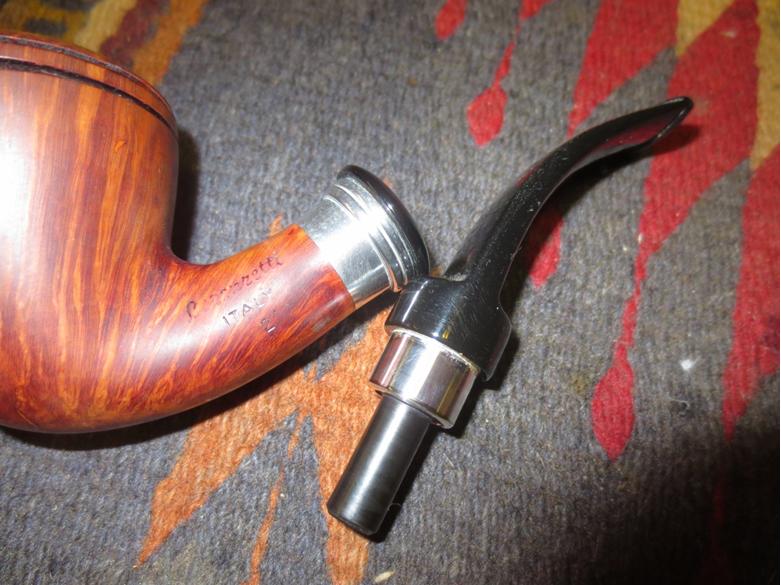
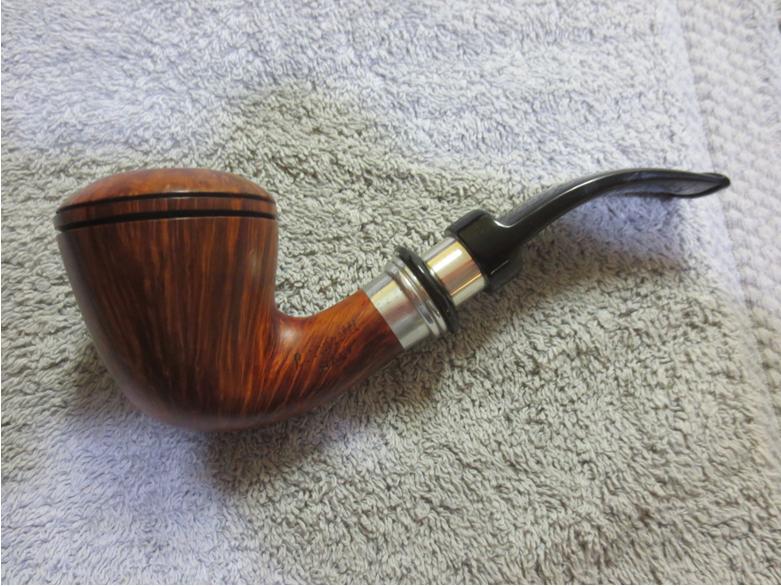
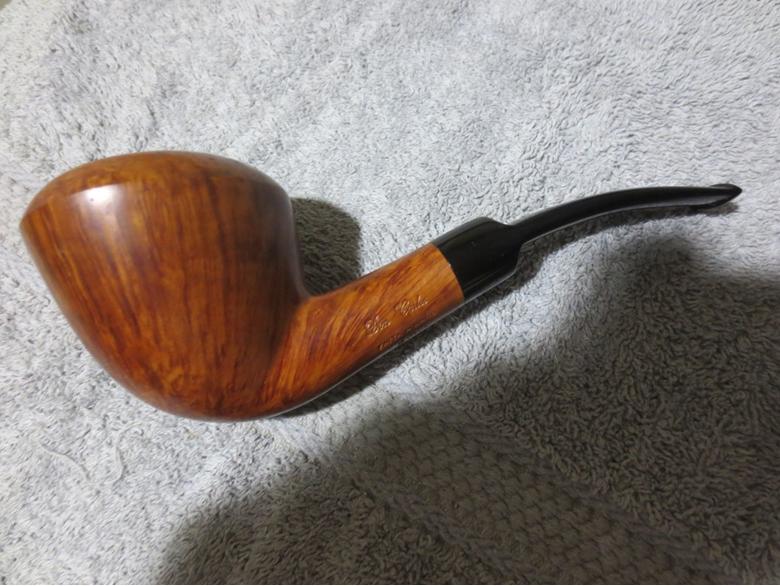
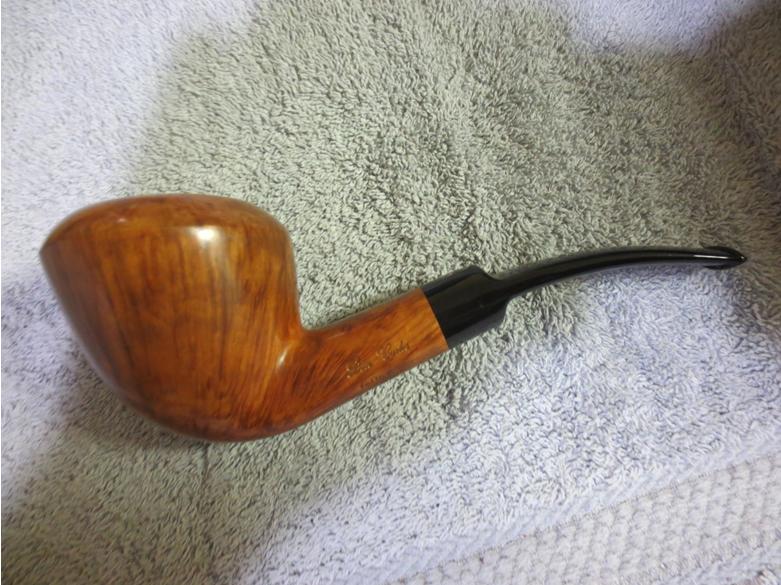
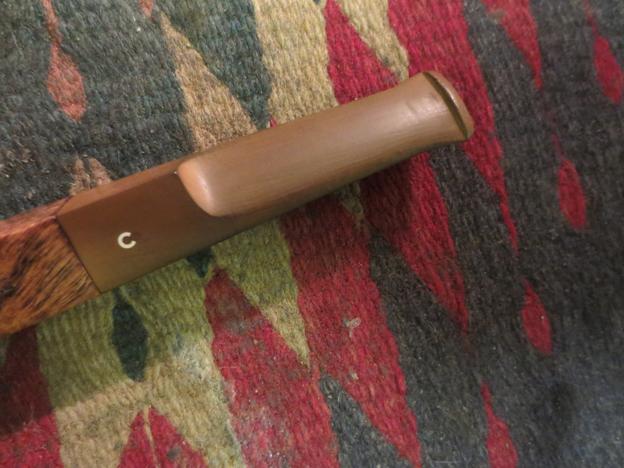
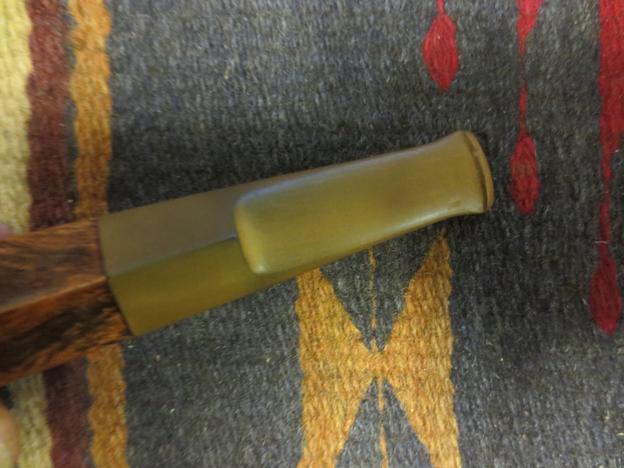
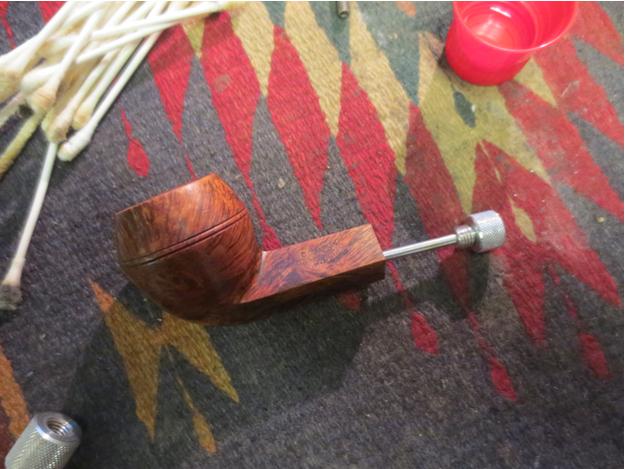
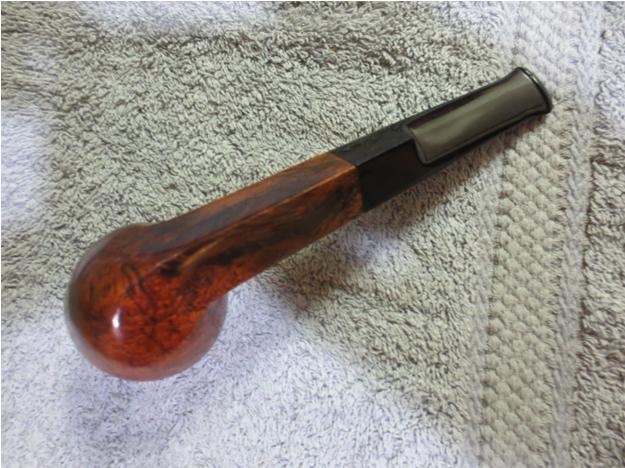
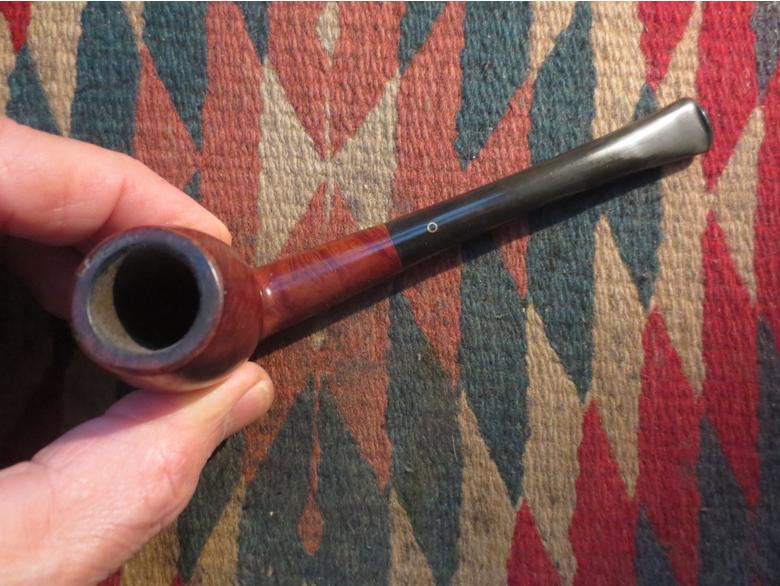
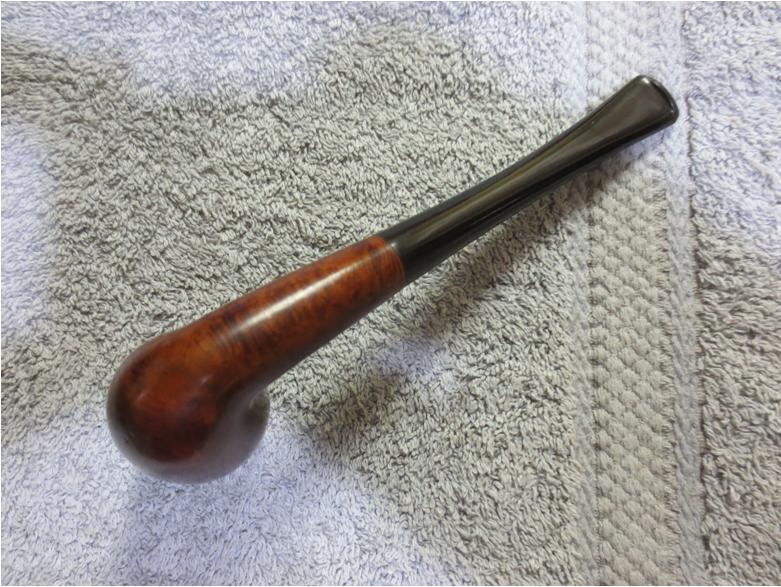
 After the oil dried I buffed the pipe and the stem with Blue Diamond Plastic Polish on the wheel while carefully avoiding the stamping. I gave it multiple coats of carnauba wax and buffed it with a soft, flannel buff to raise the shine. The finished pipe is shown below. It merely waits for the right person to add it to their rack and enjoy a flavourful smoke in a very light weight pipe.
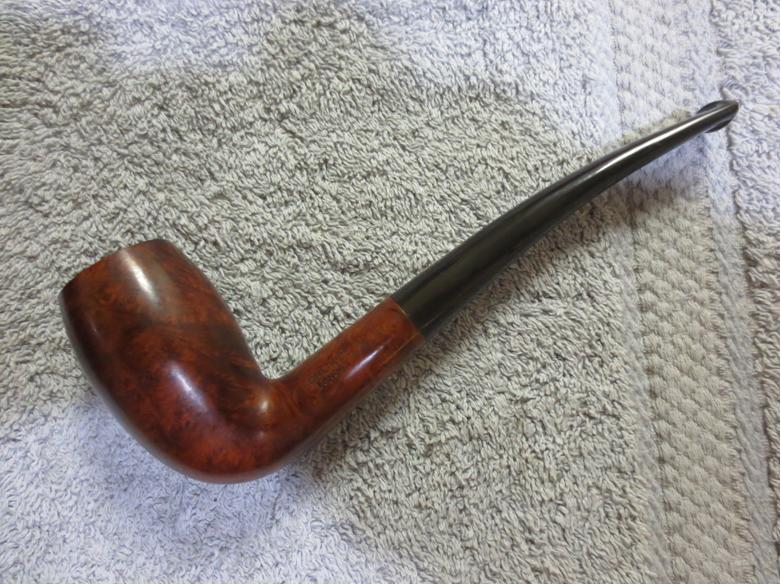

 This beautifully shaped Danish looking Orlik L206 Inclined Bevelled Egg should make someone a great addition. If you are interested in this pipe email me with an offer at slaug@uniserve.com and we can discuss it. The entirety of the sale price will go to the Nepal project. I will pay the postage so that does not get taken off the proceeds. If you are interested in reading about the SA Foundation you can look at their website at http://www.safoundation.com.
Thanks for looking.