Tag Archives: Paradis pipes

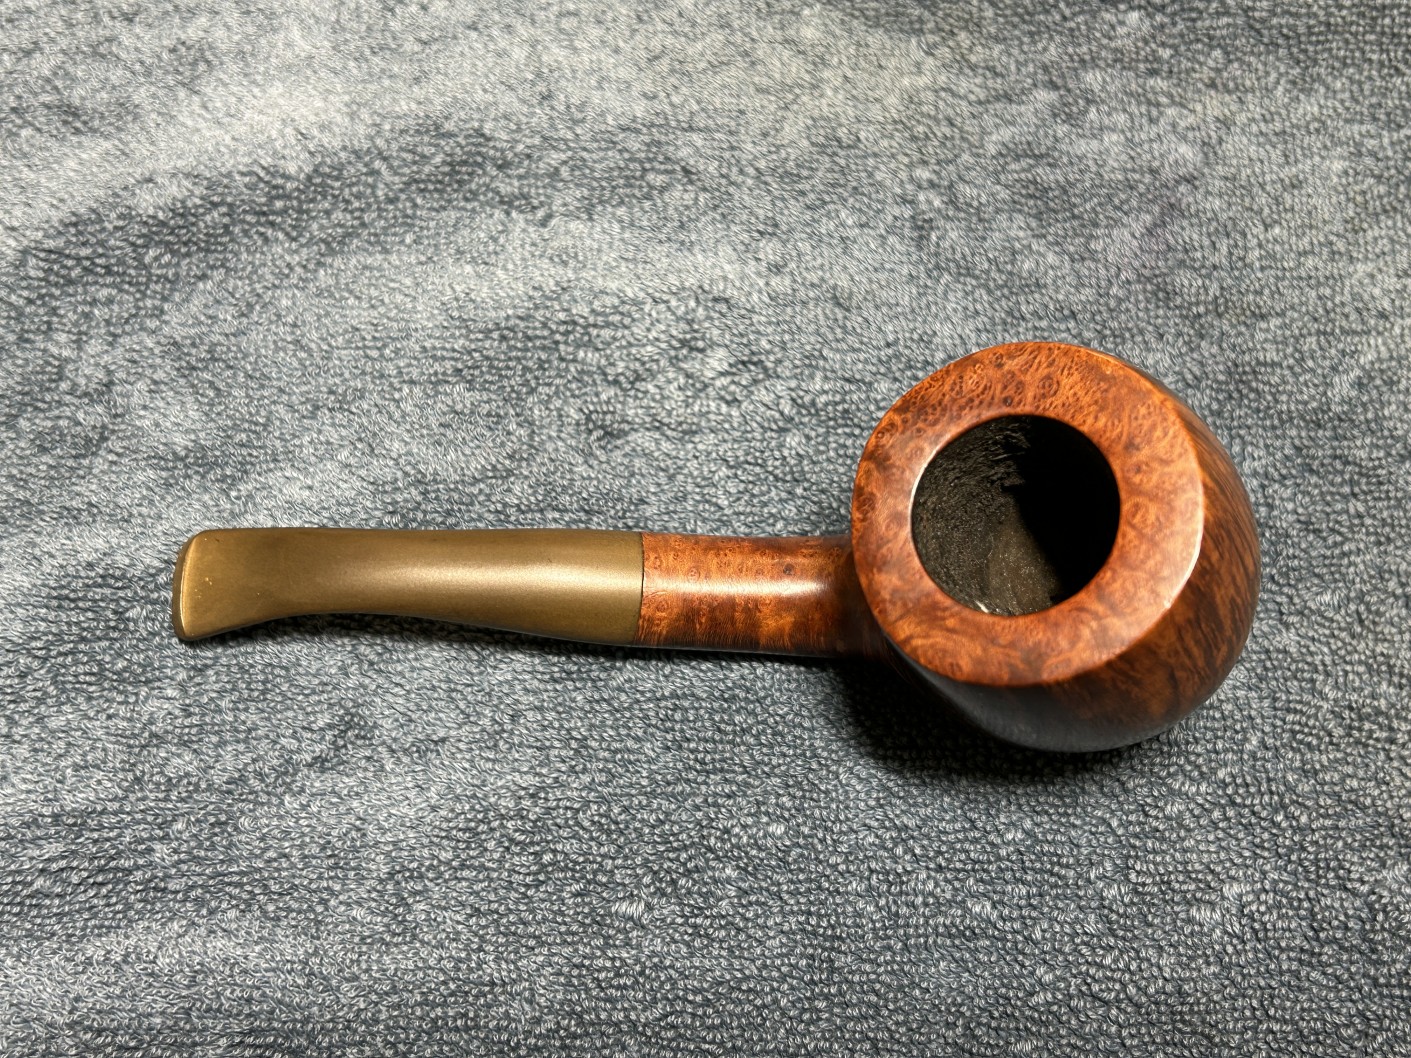
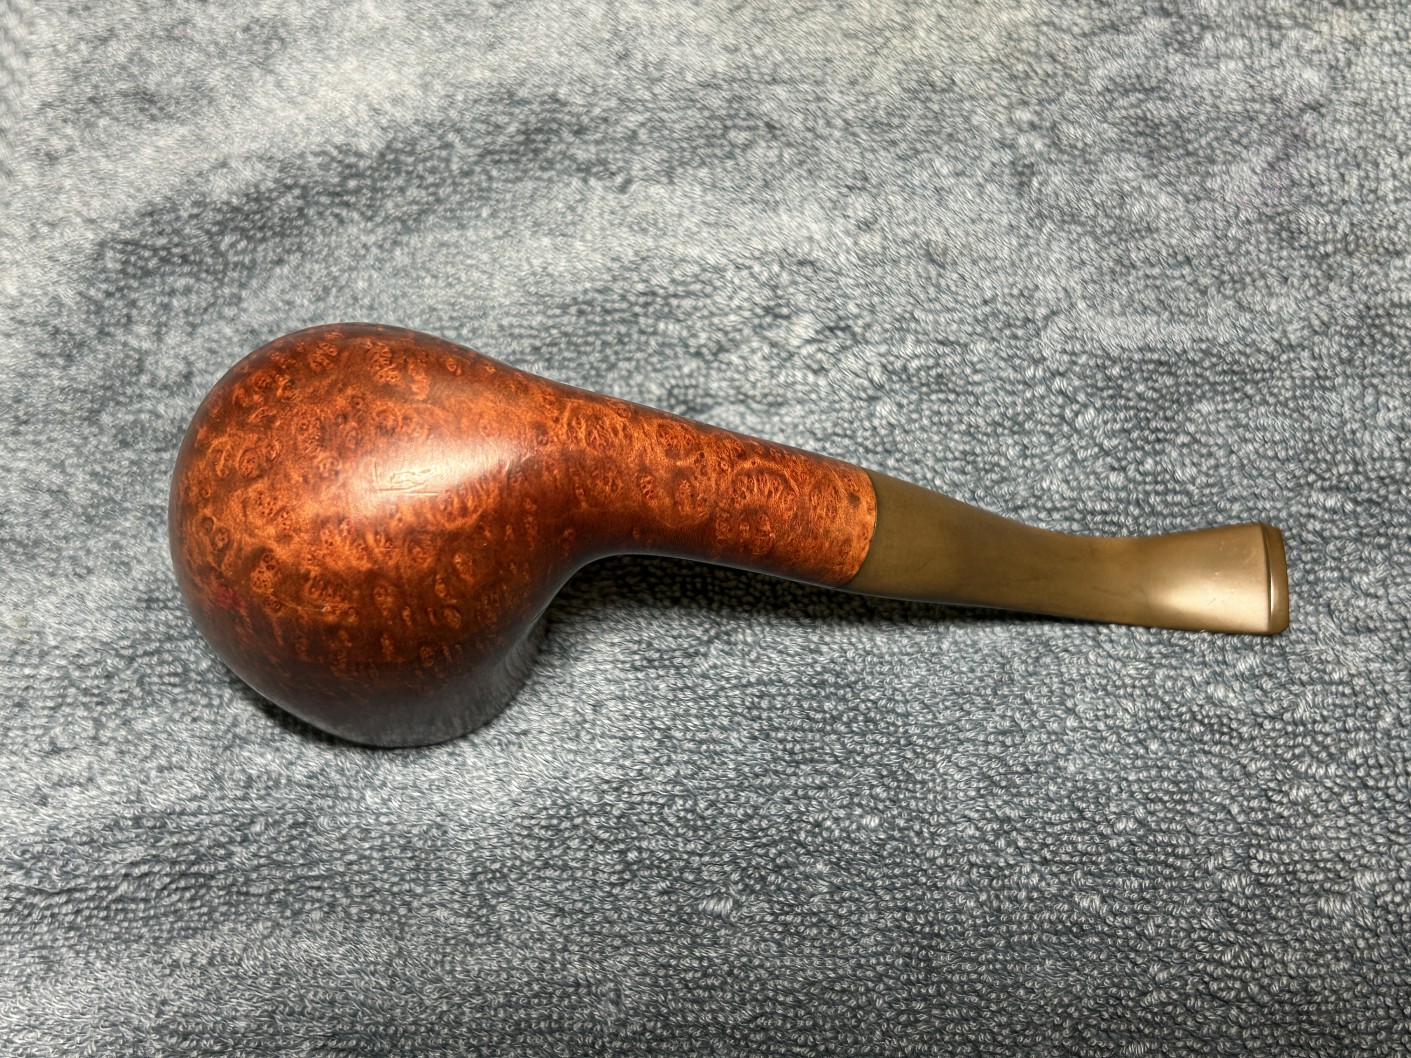
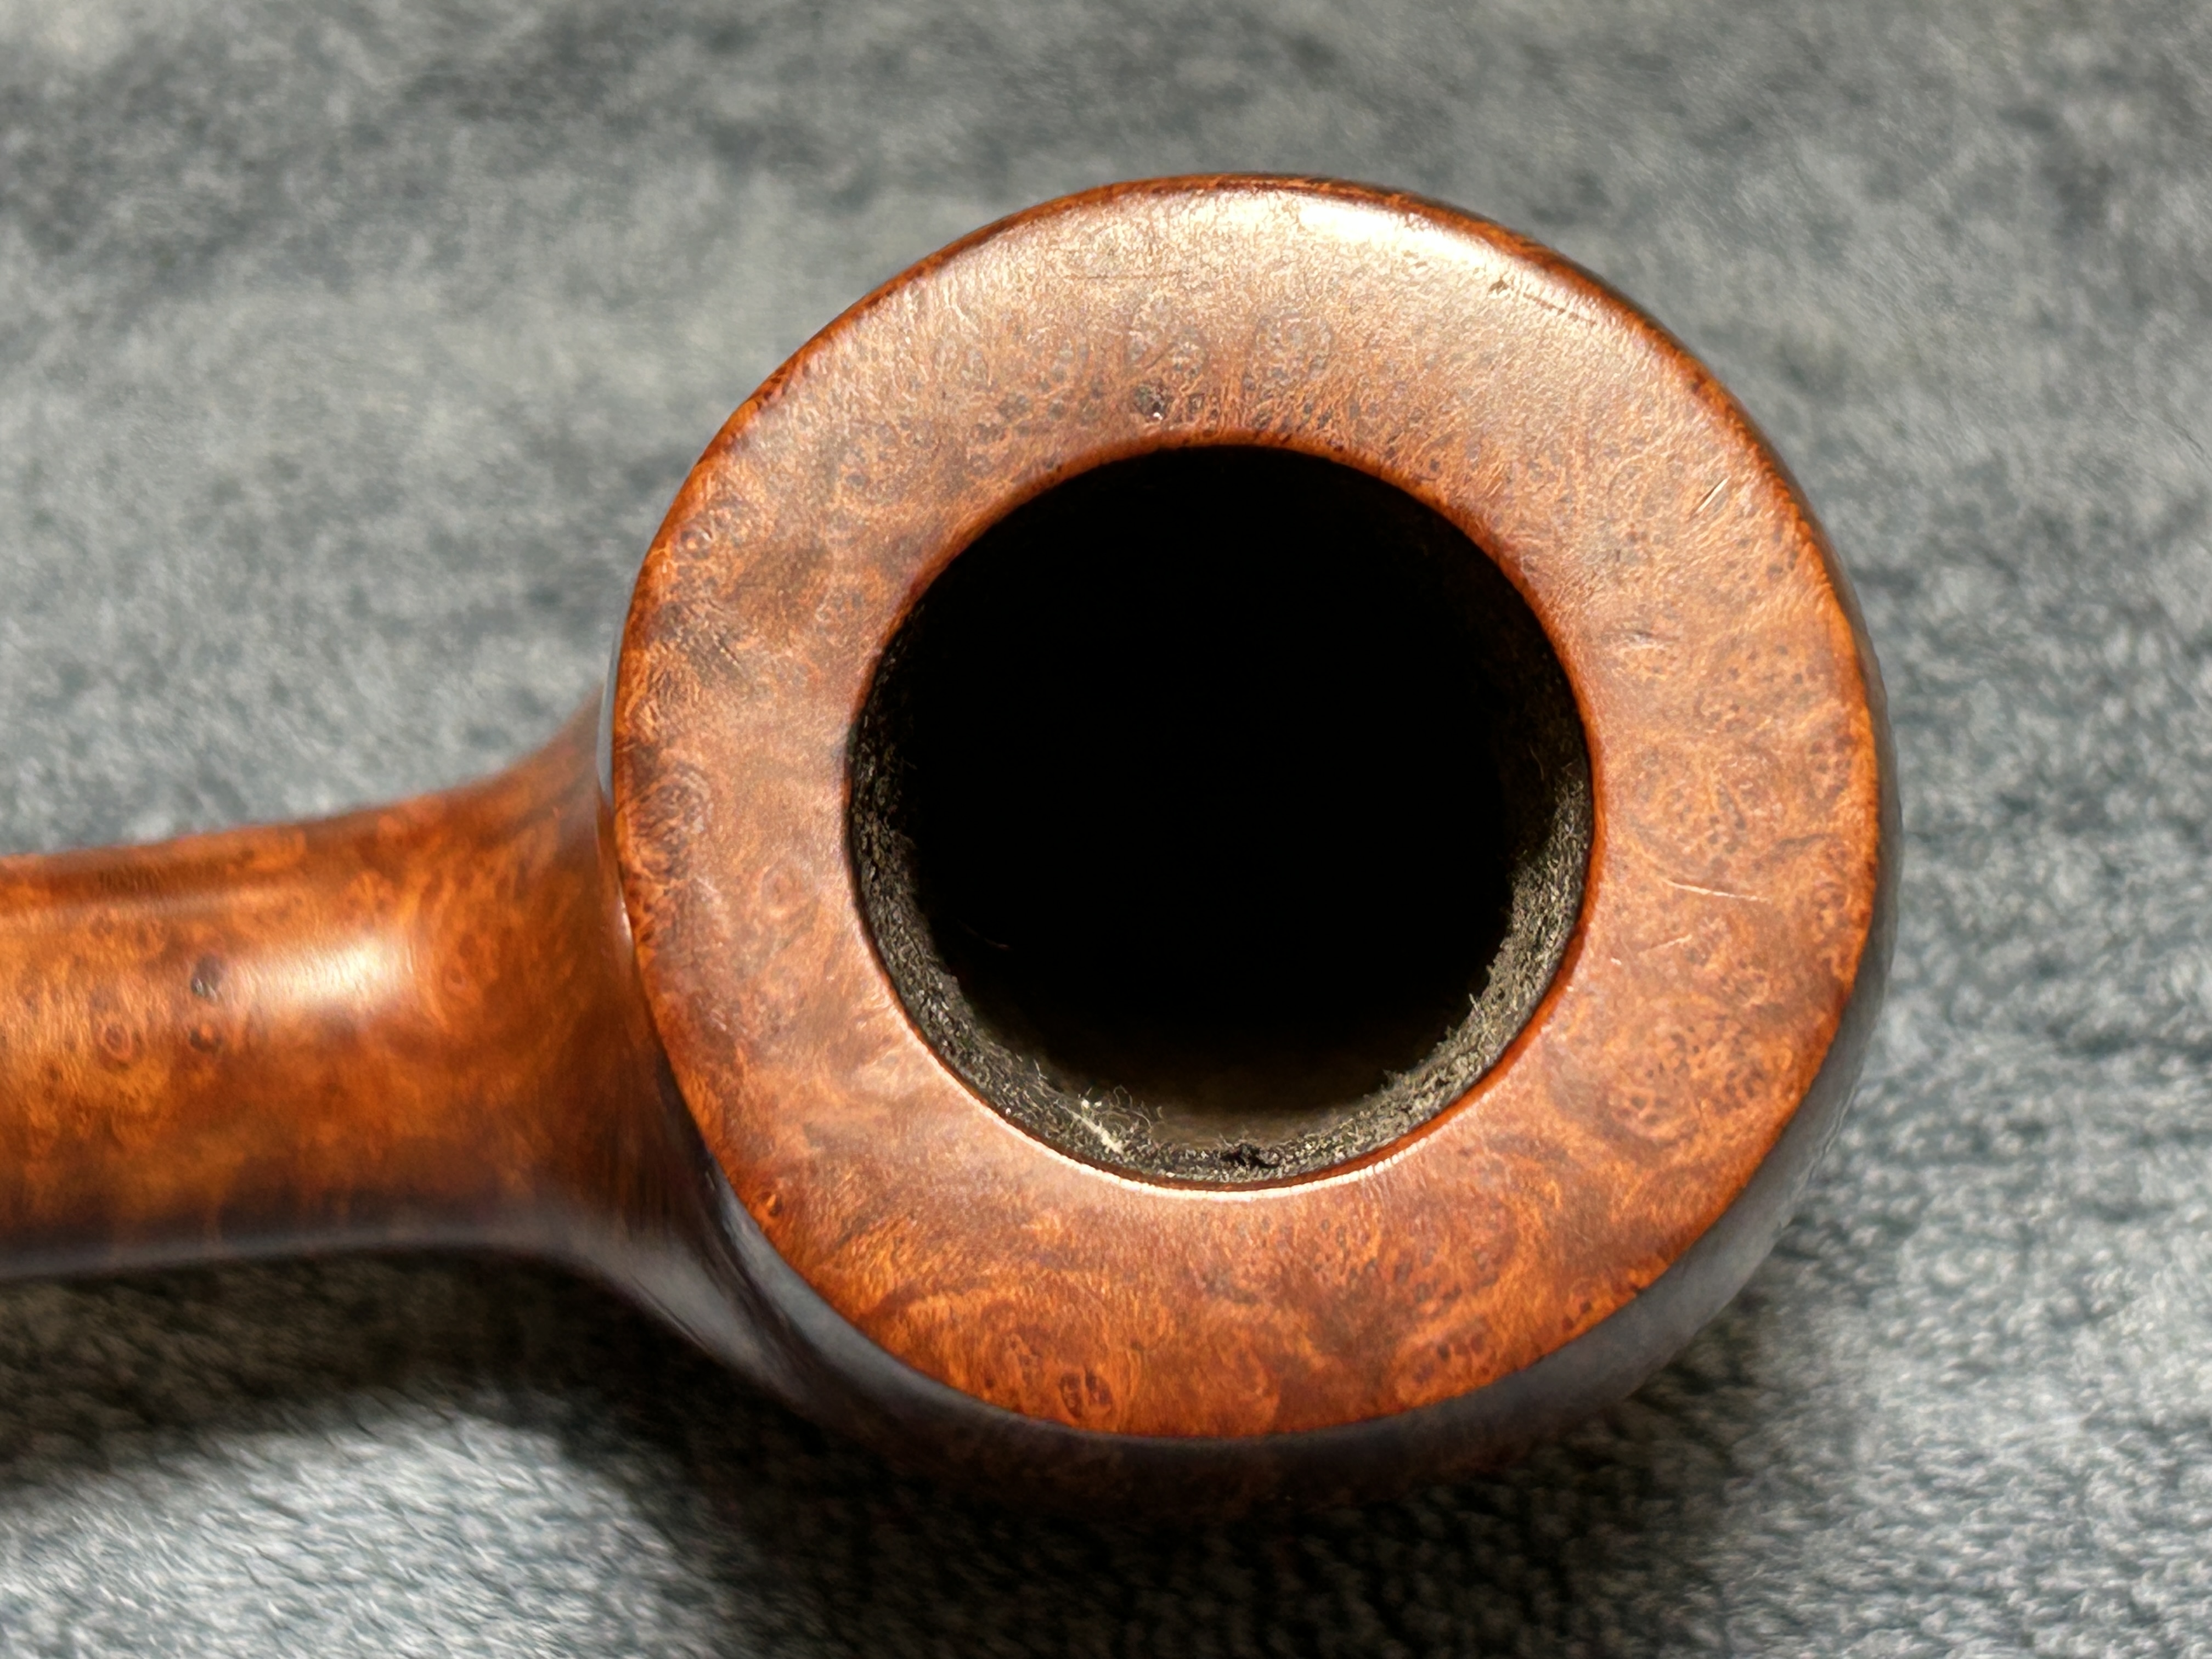
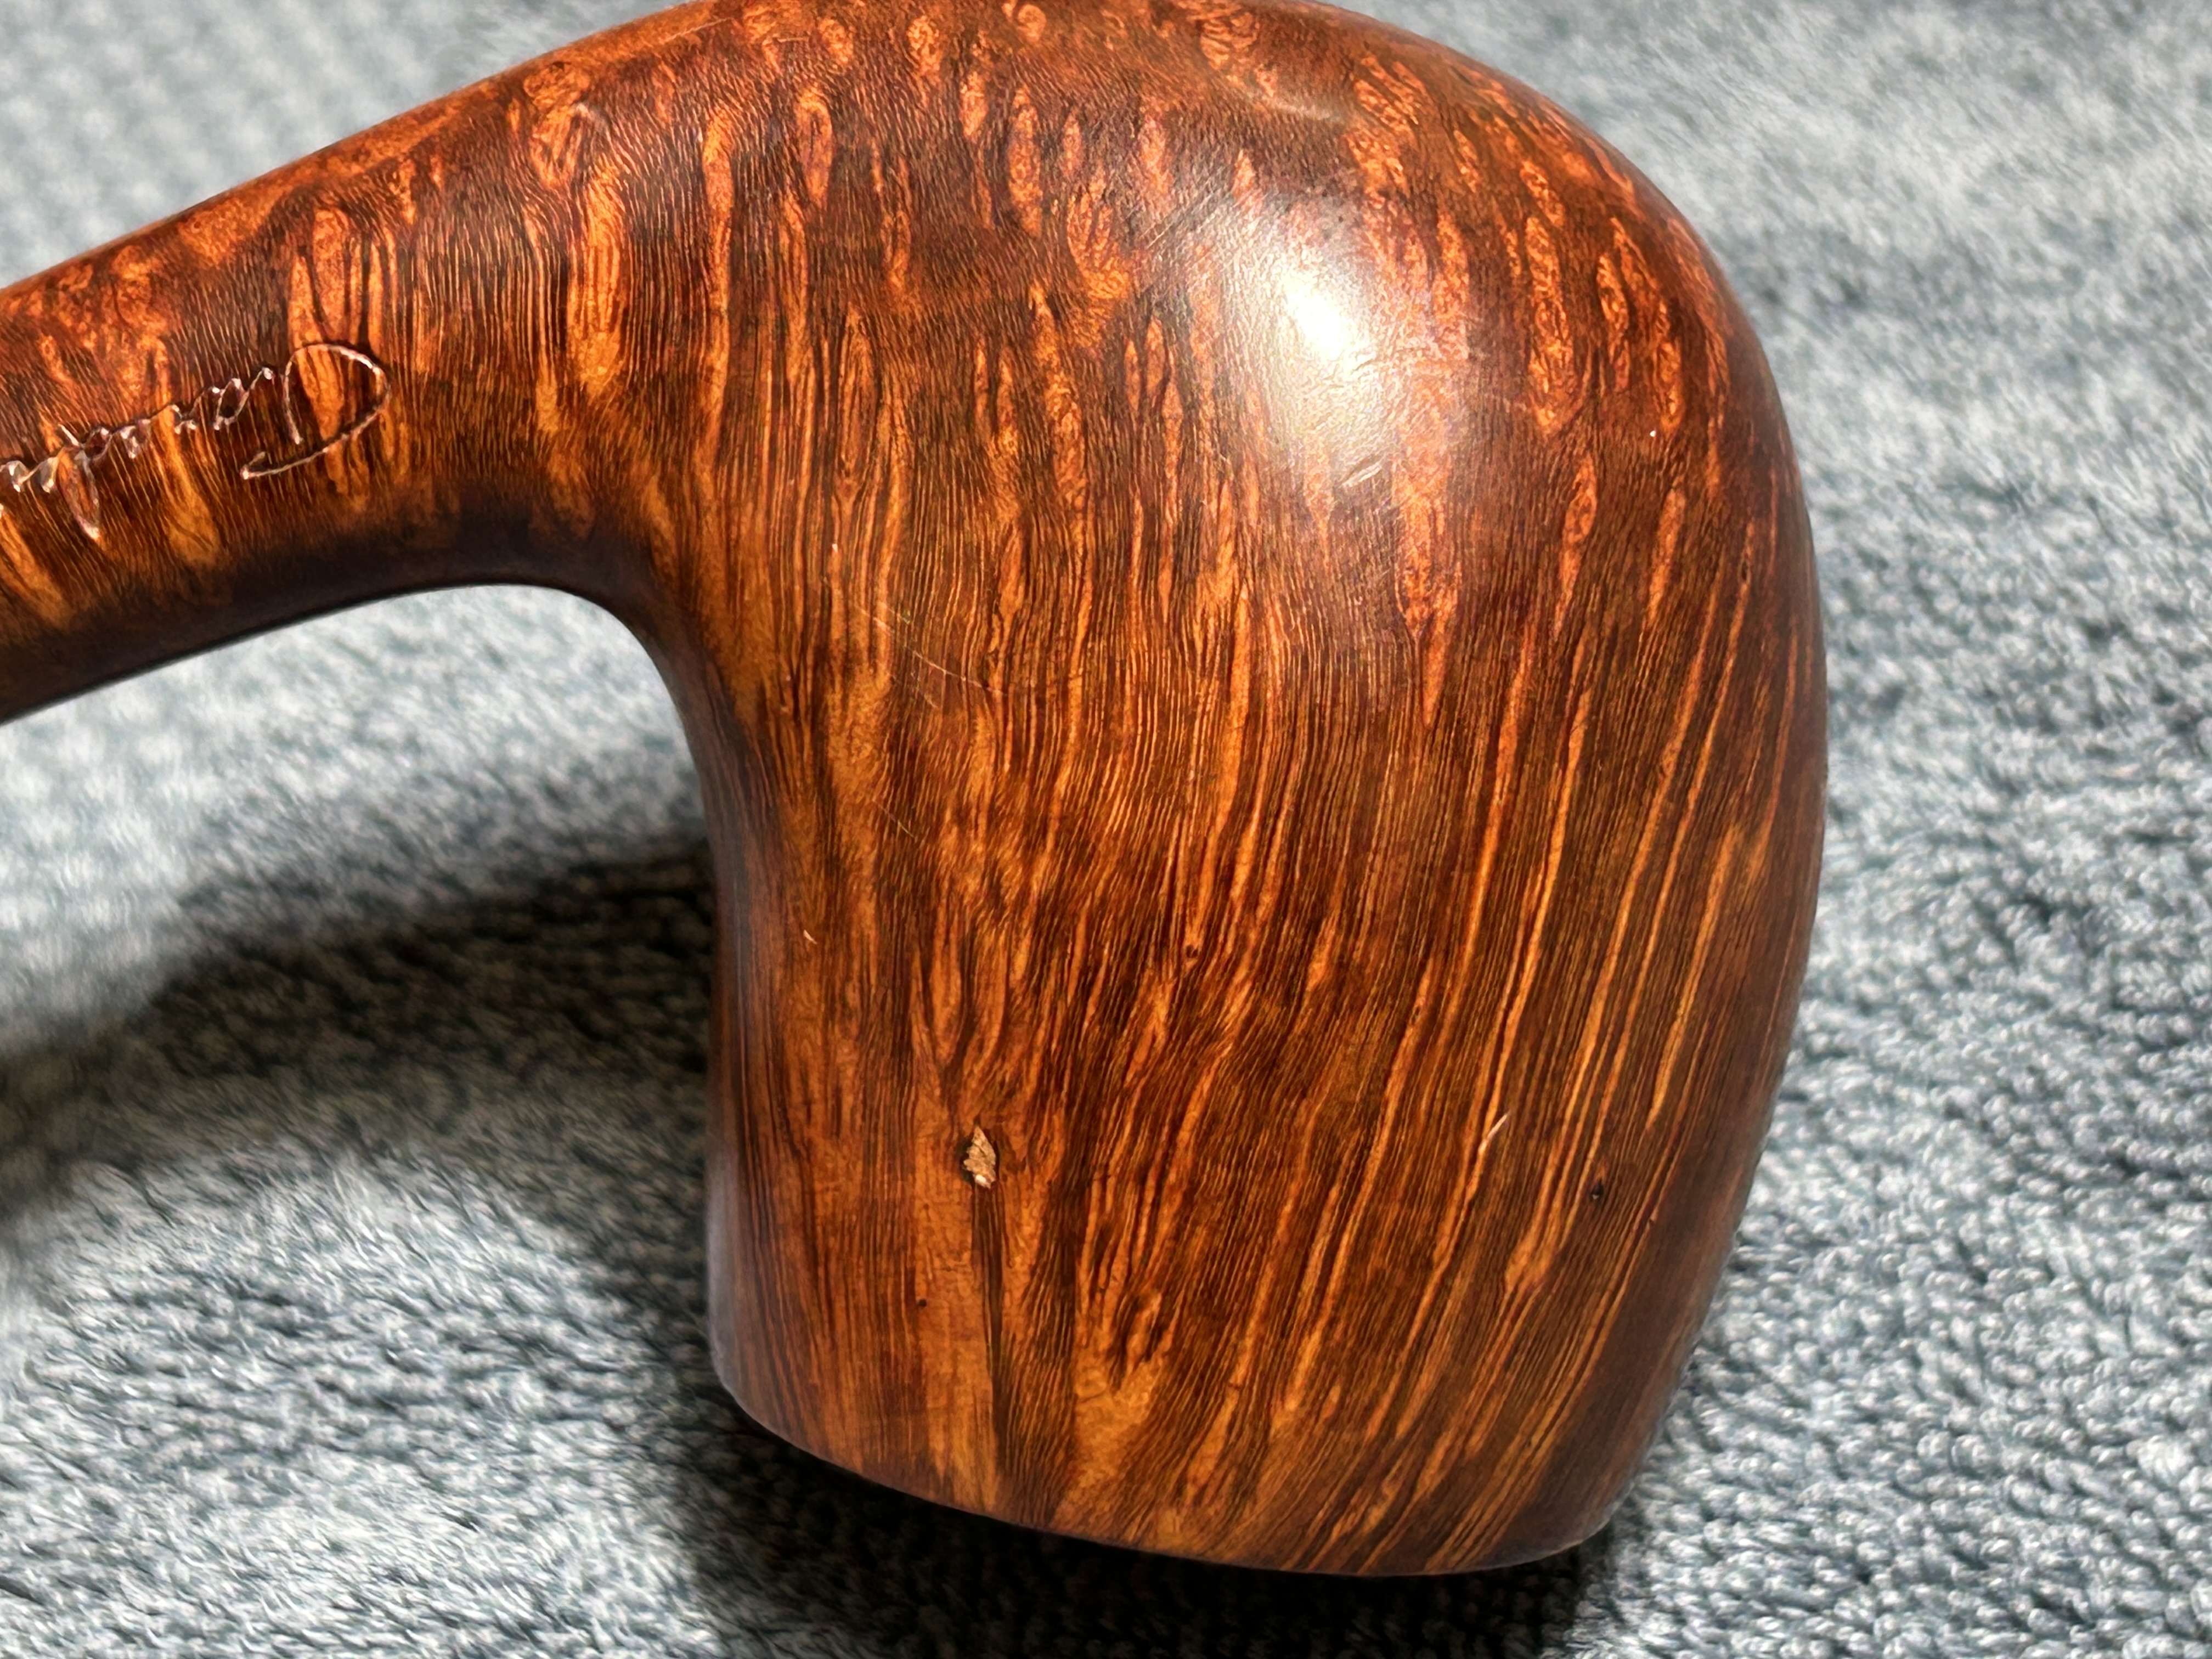
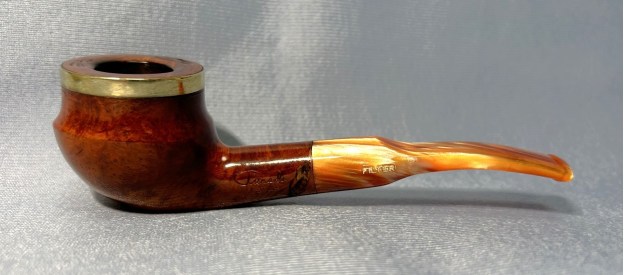
A Quite Remarkable Danish-Style Bent Egg from the Paradis Brothers


by Kenneth Lieblich

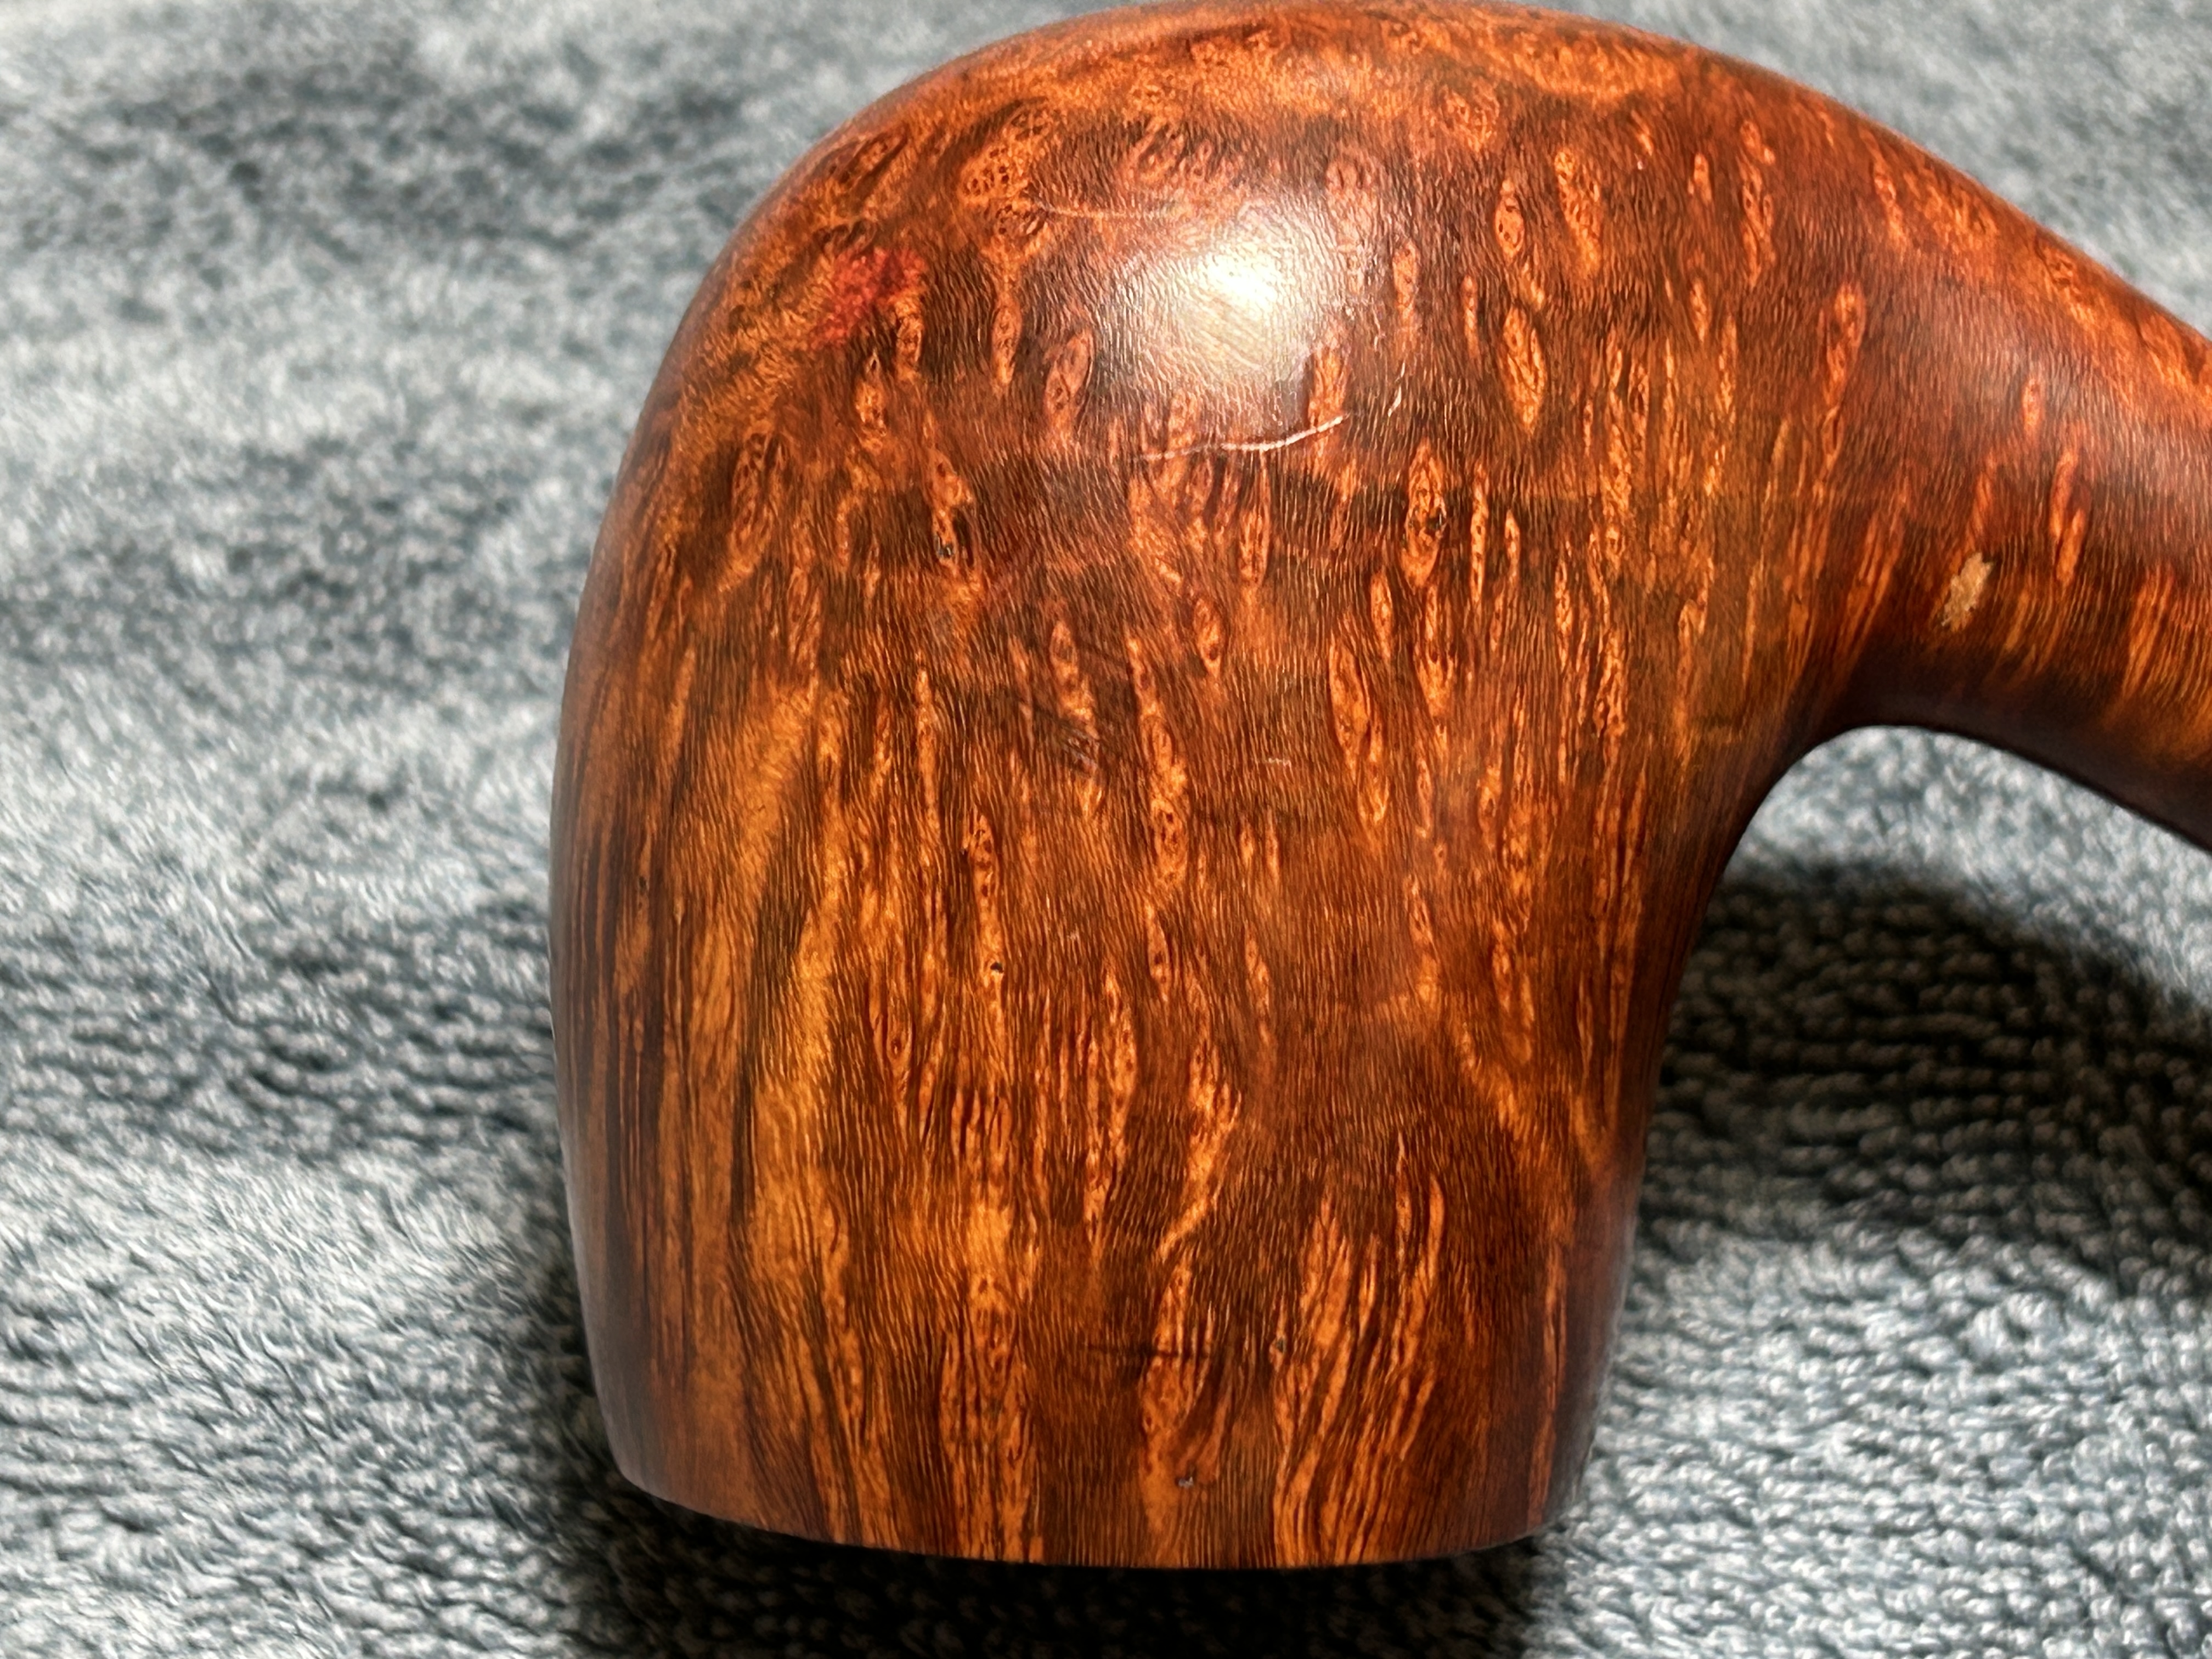
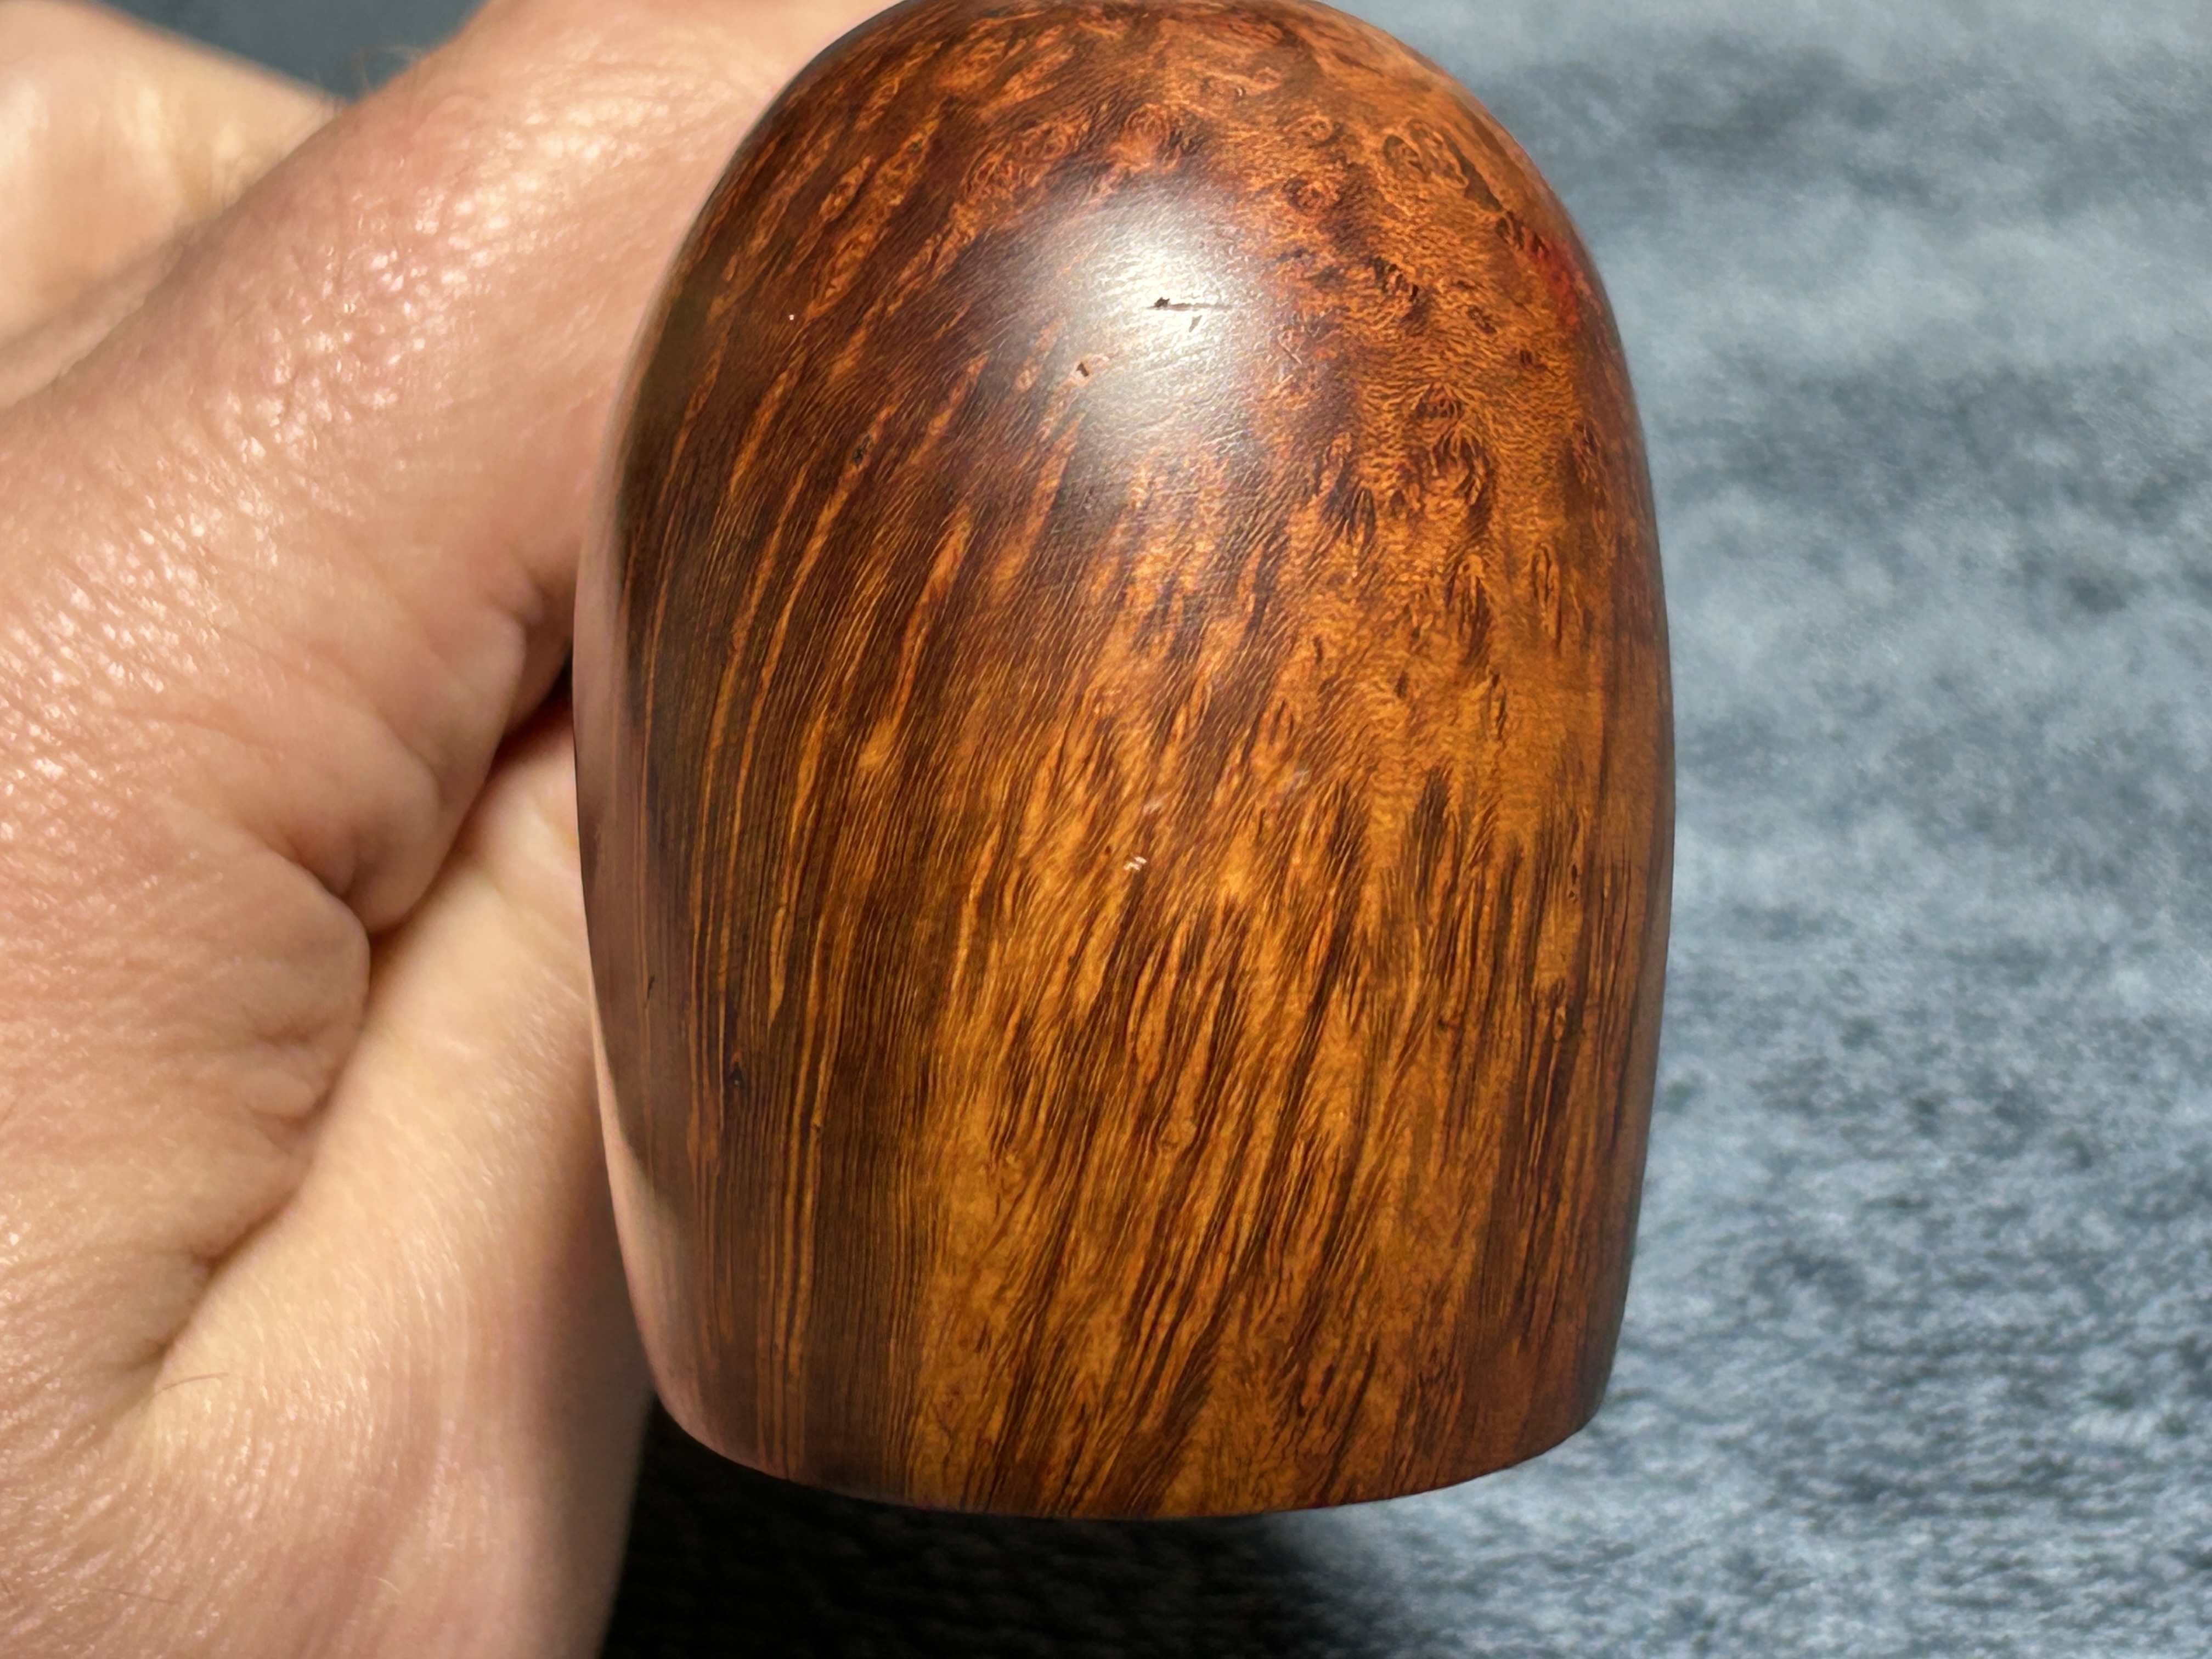
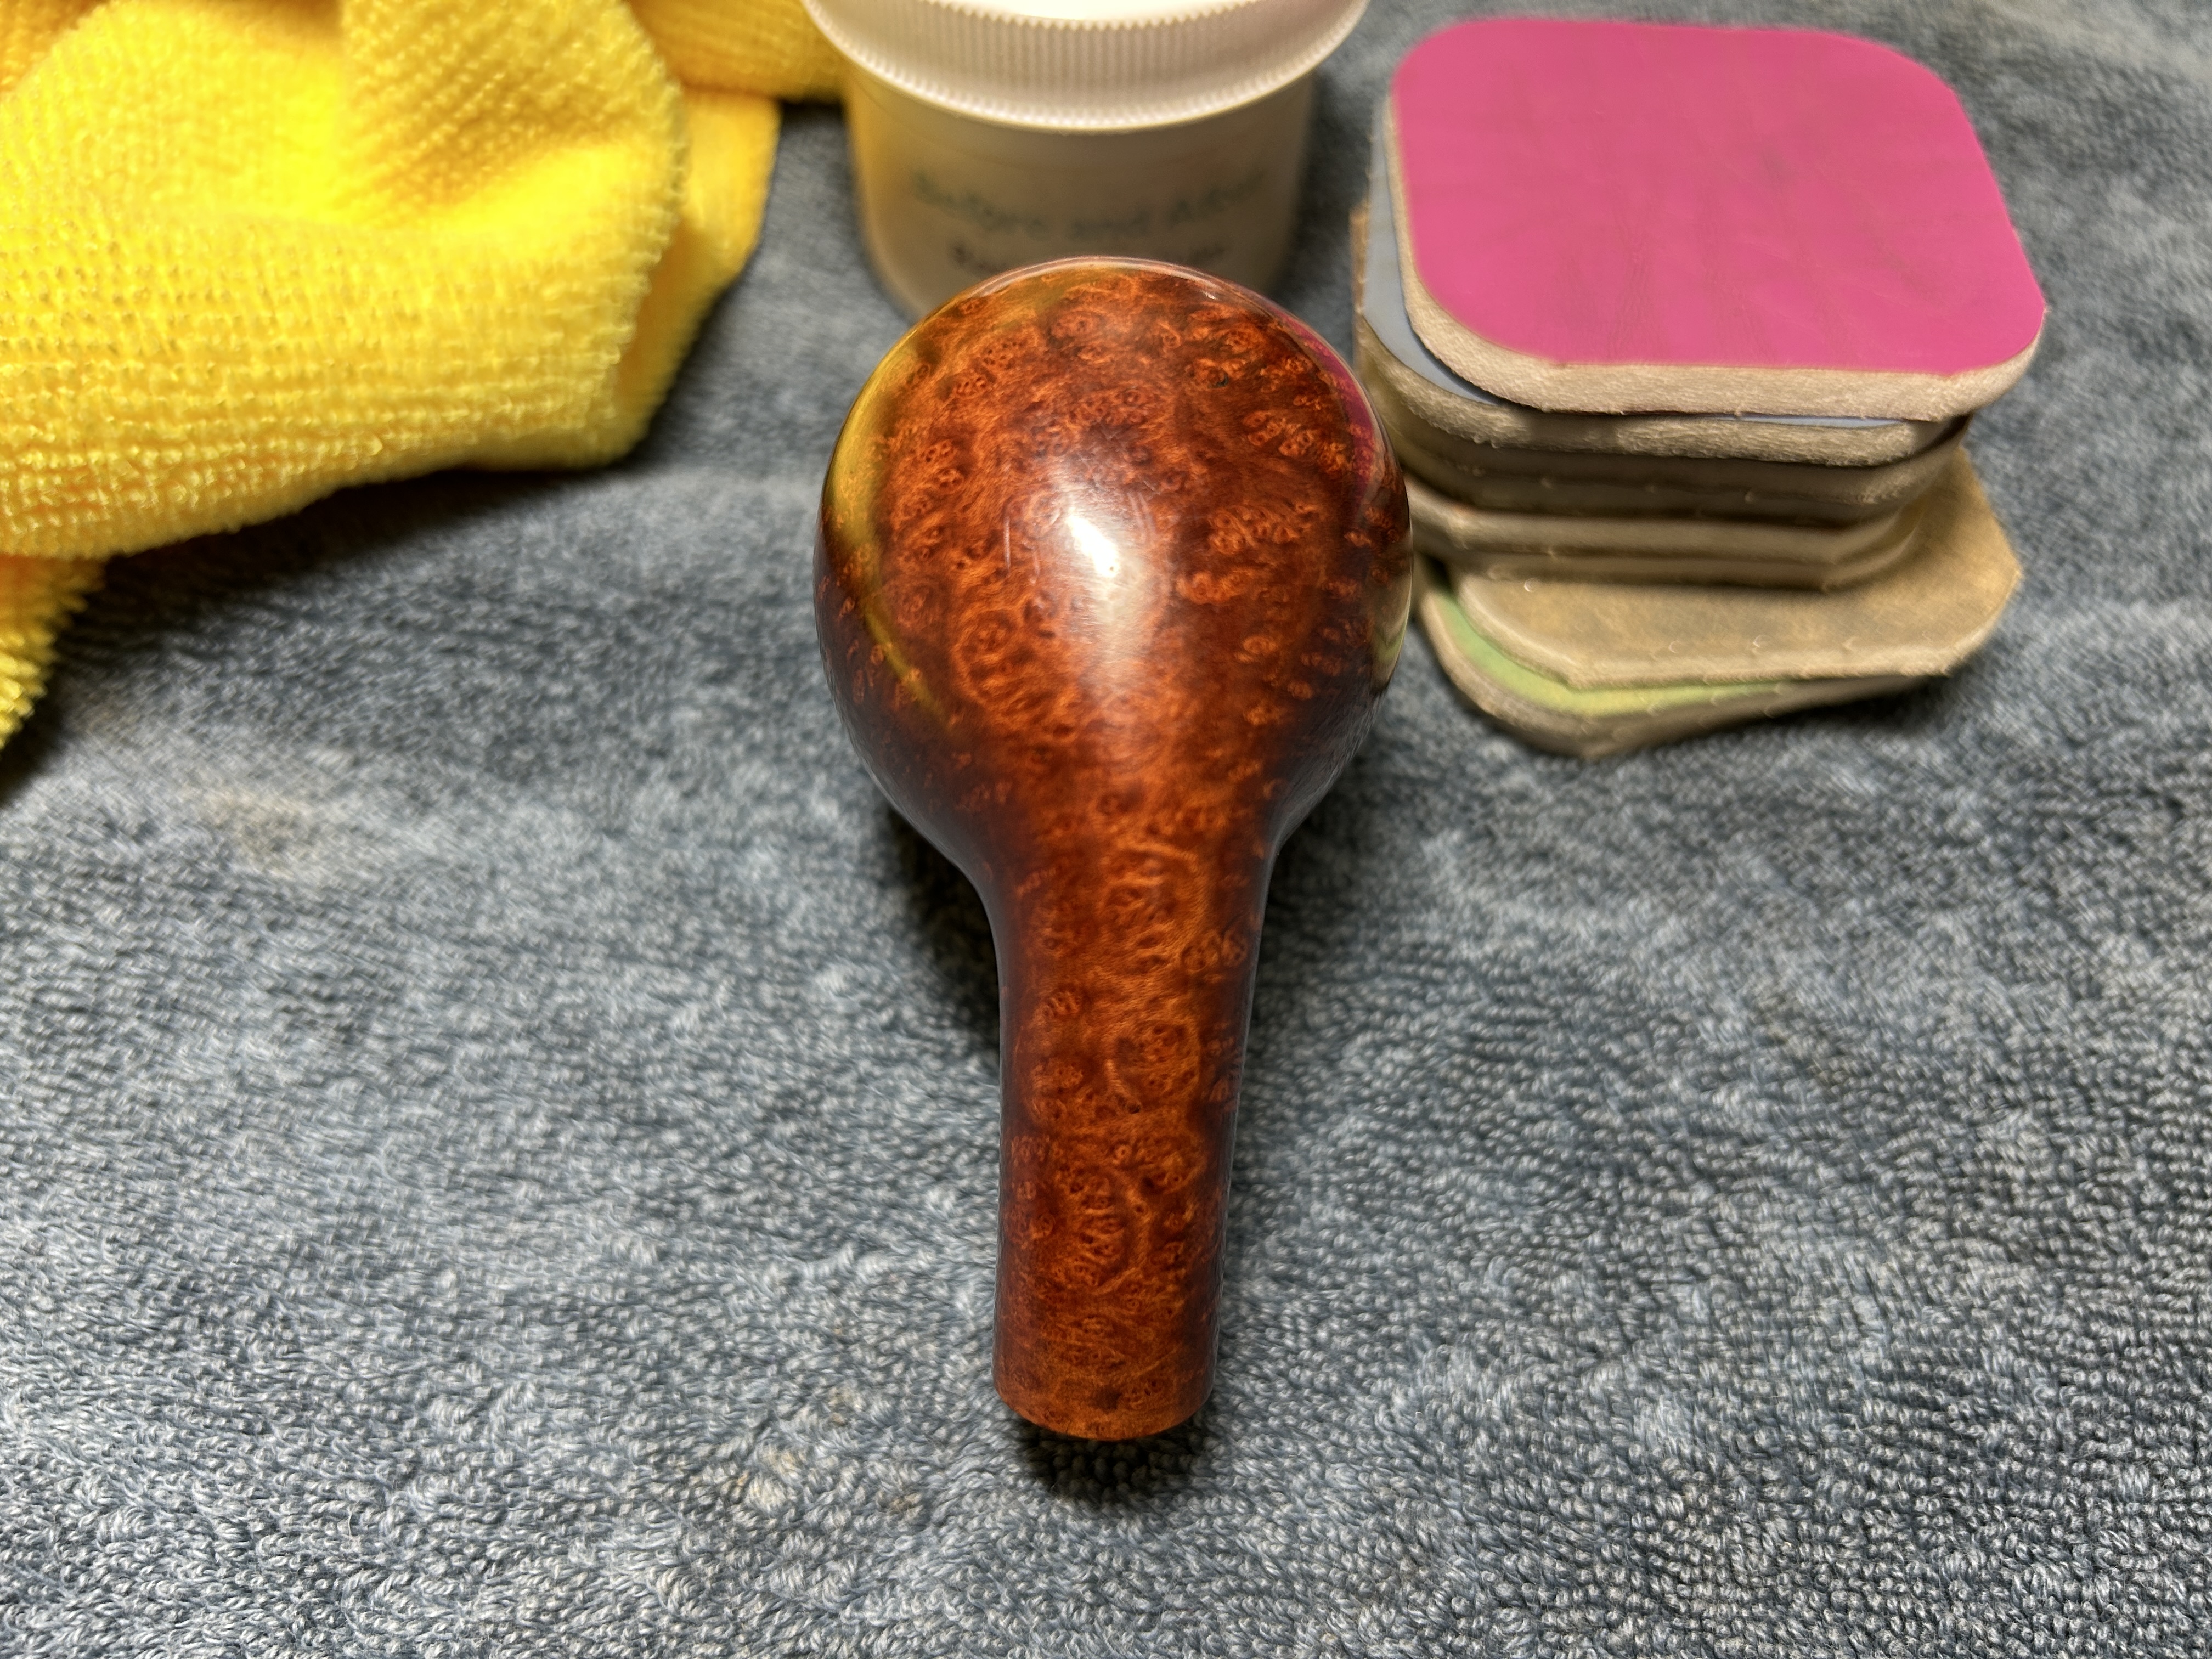
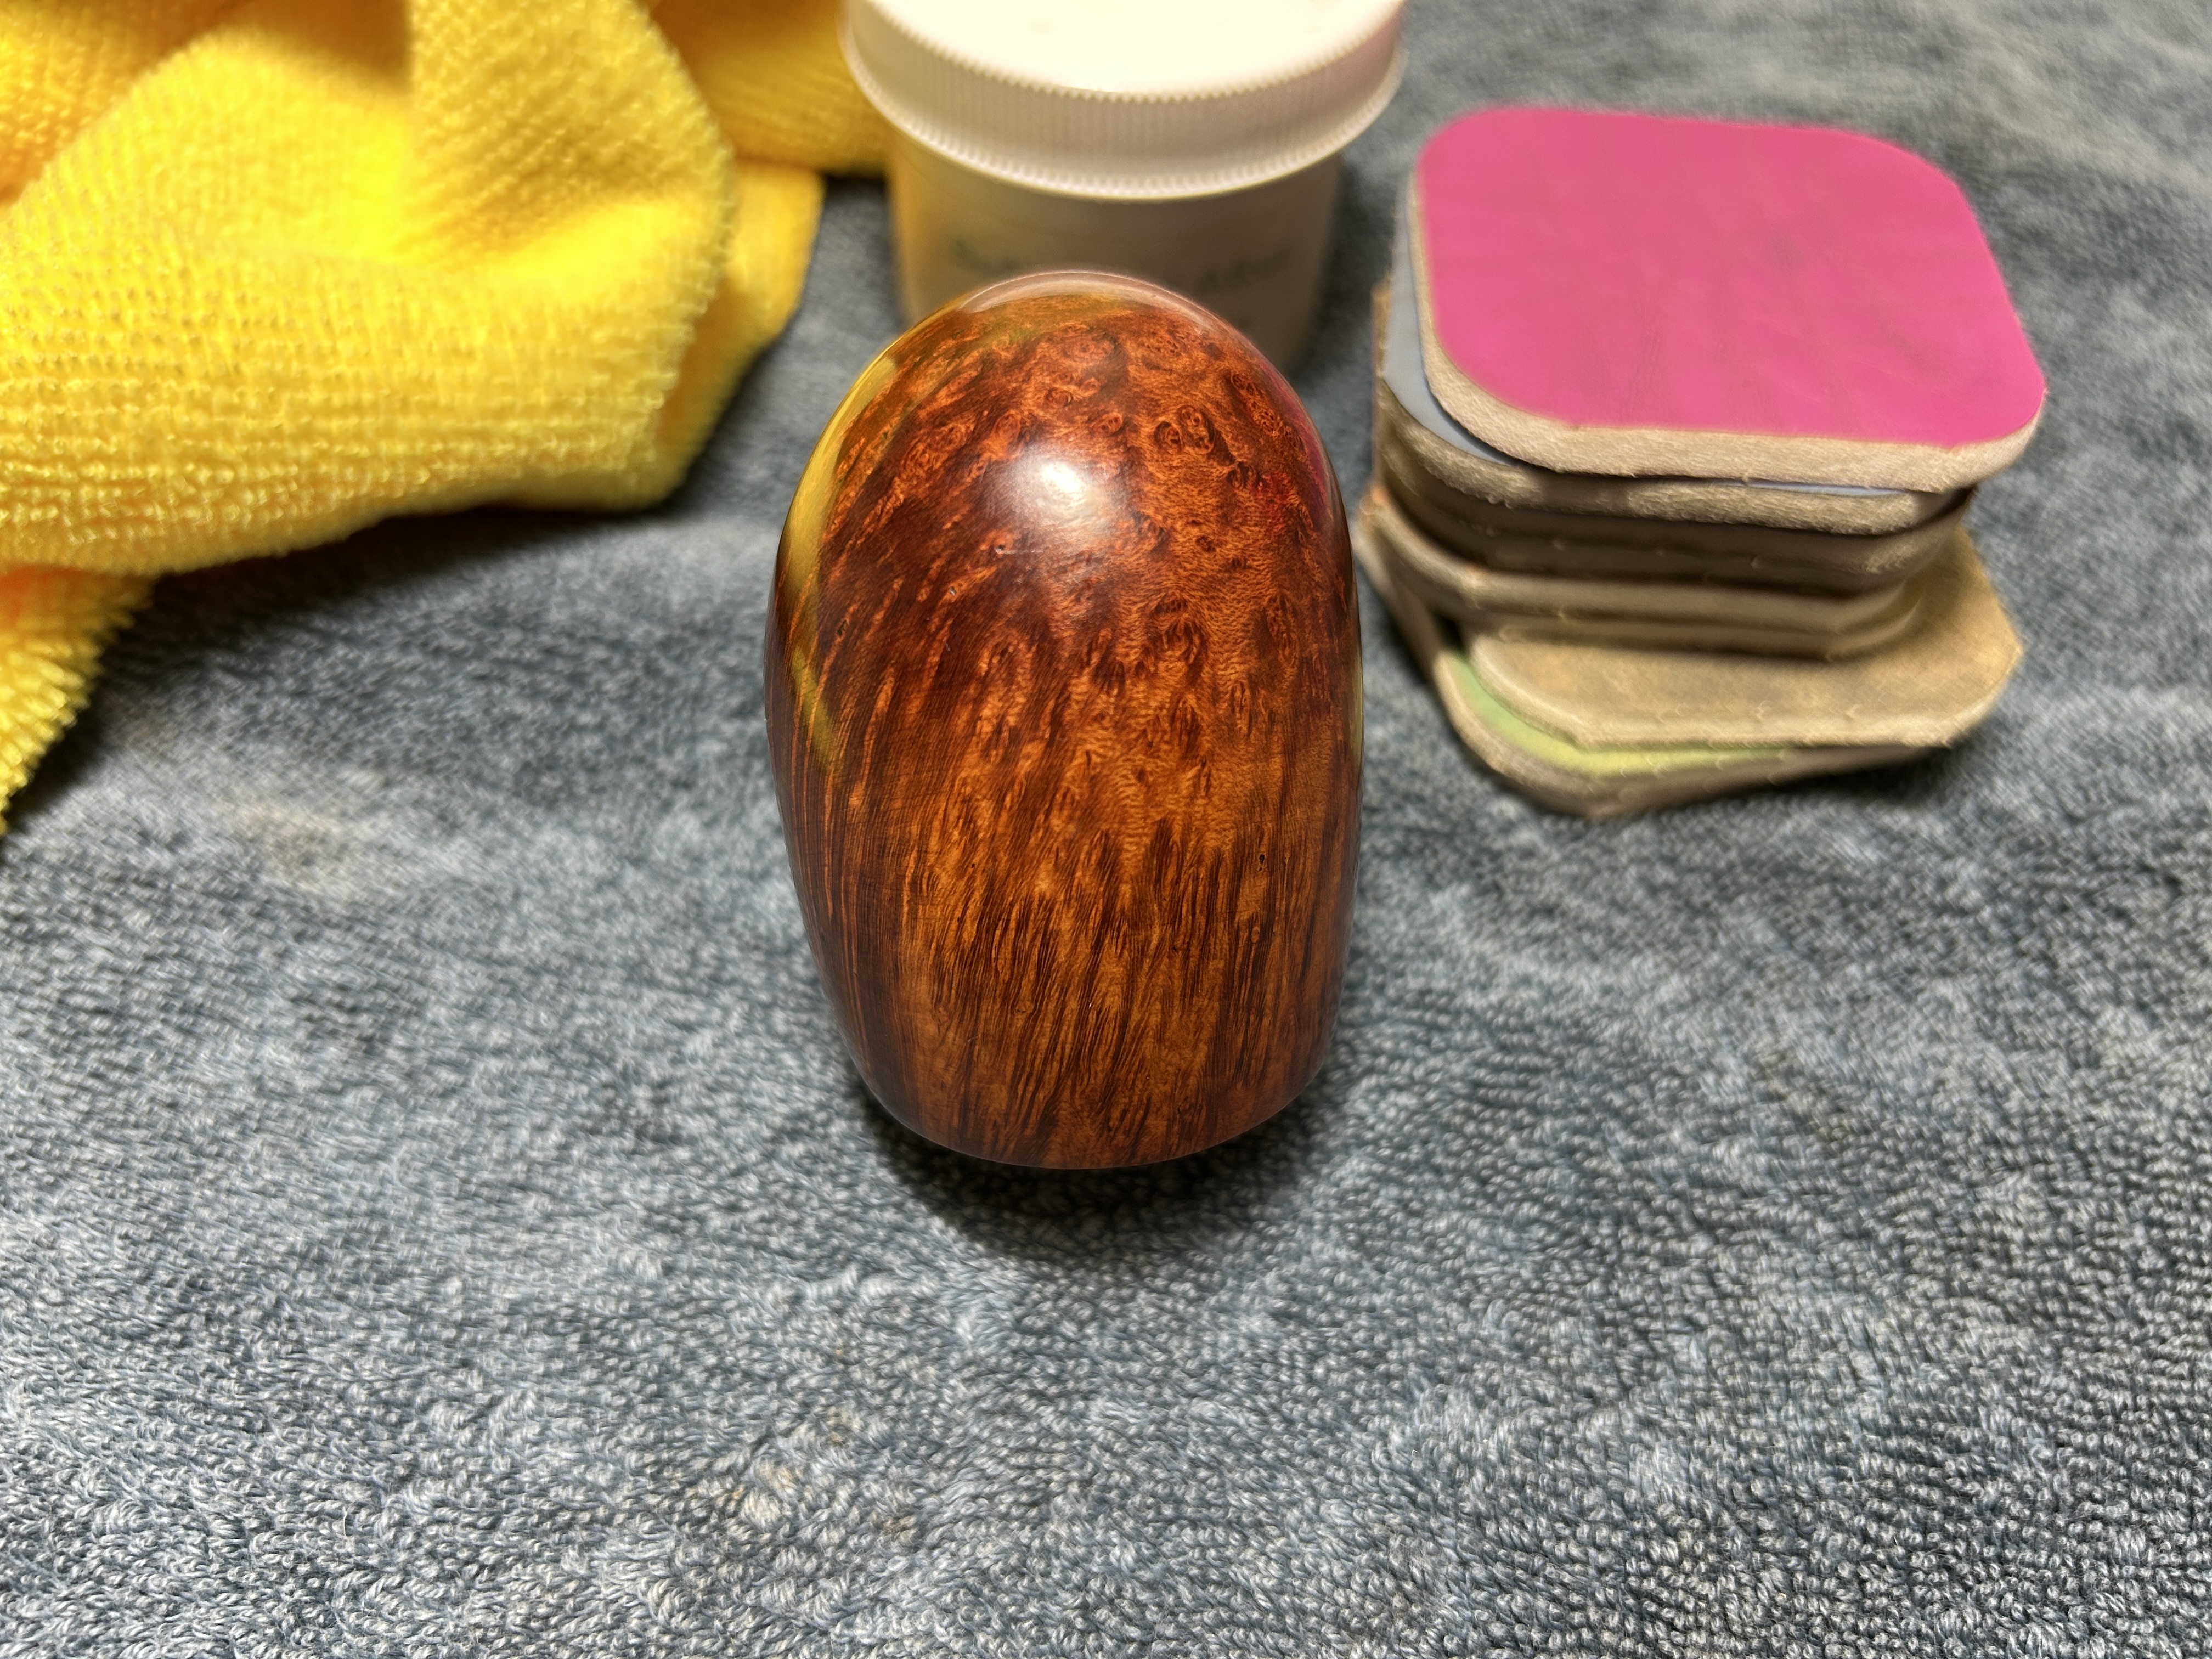
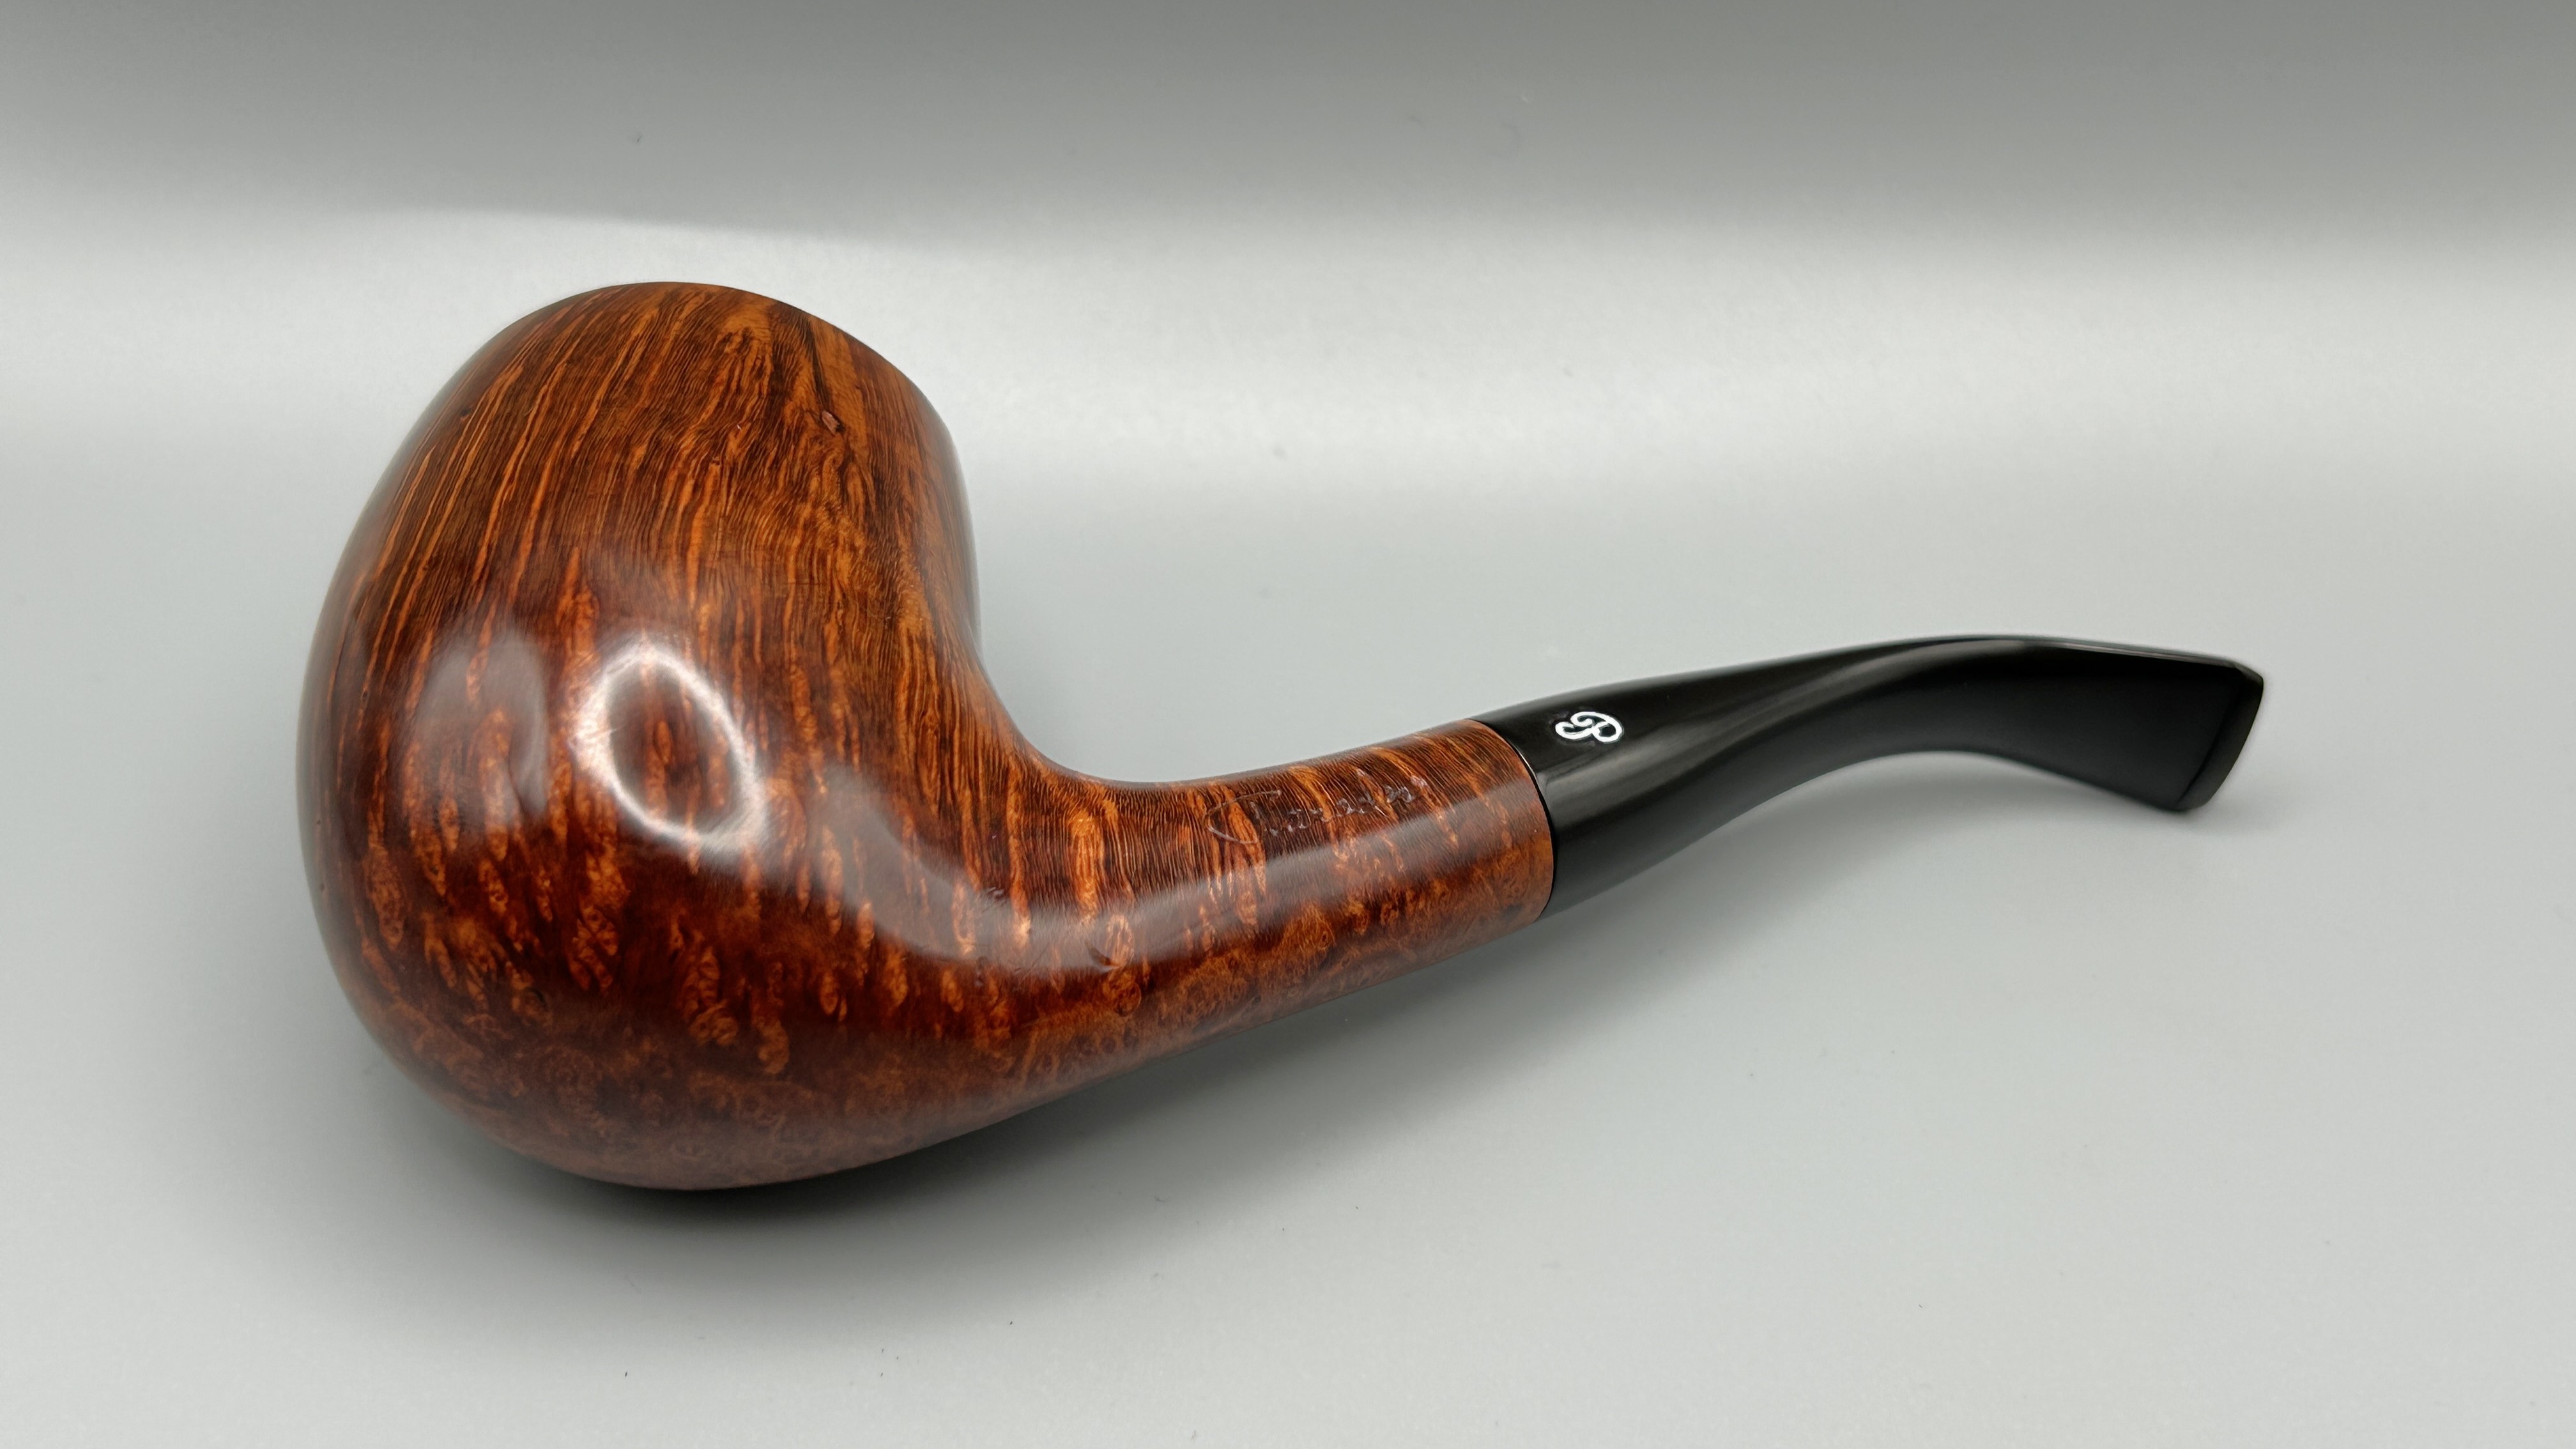
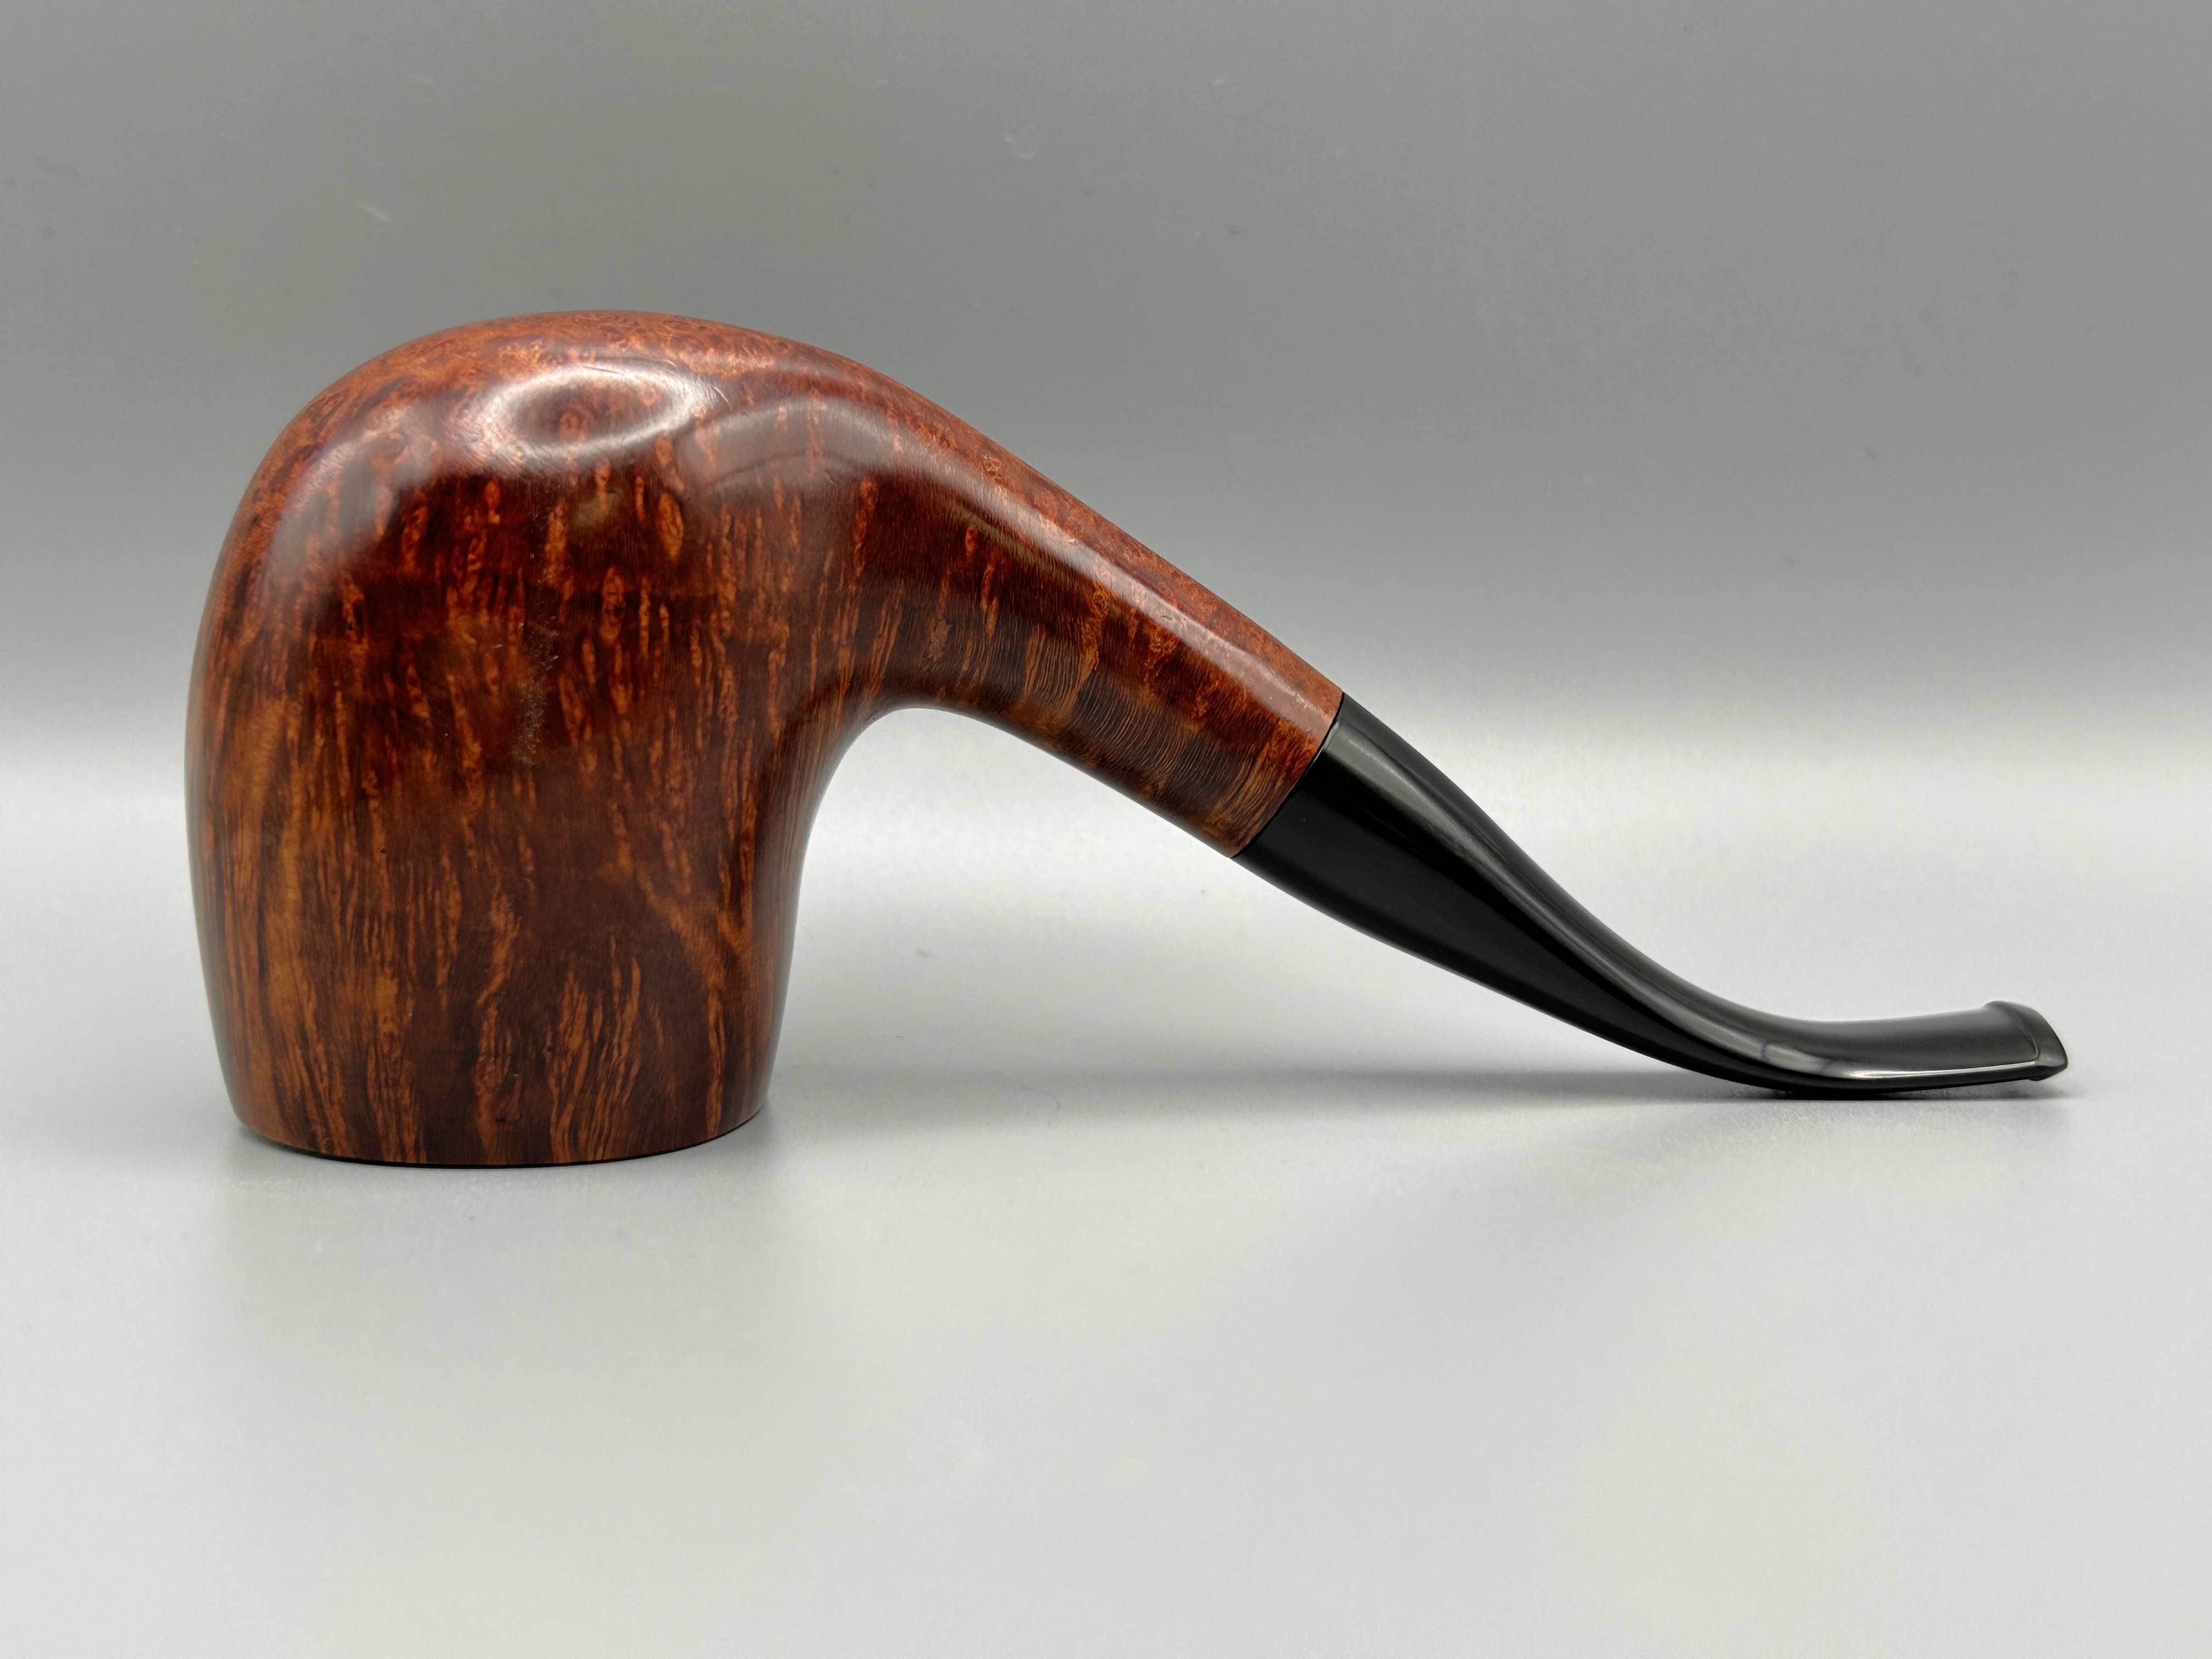
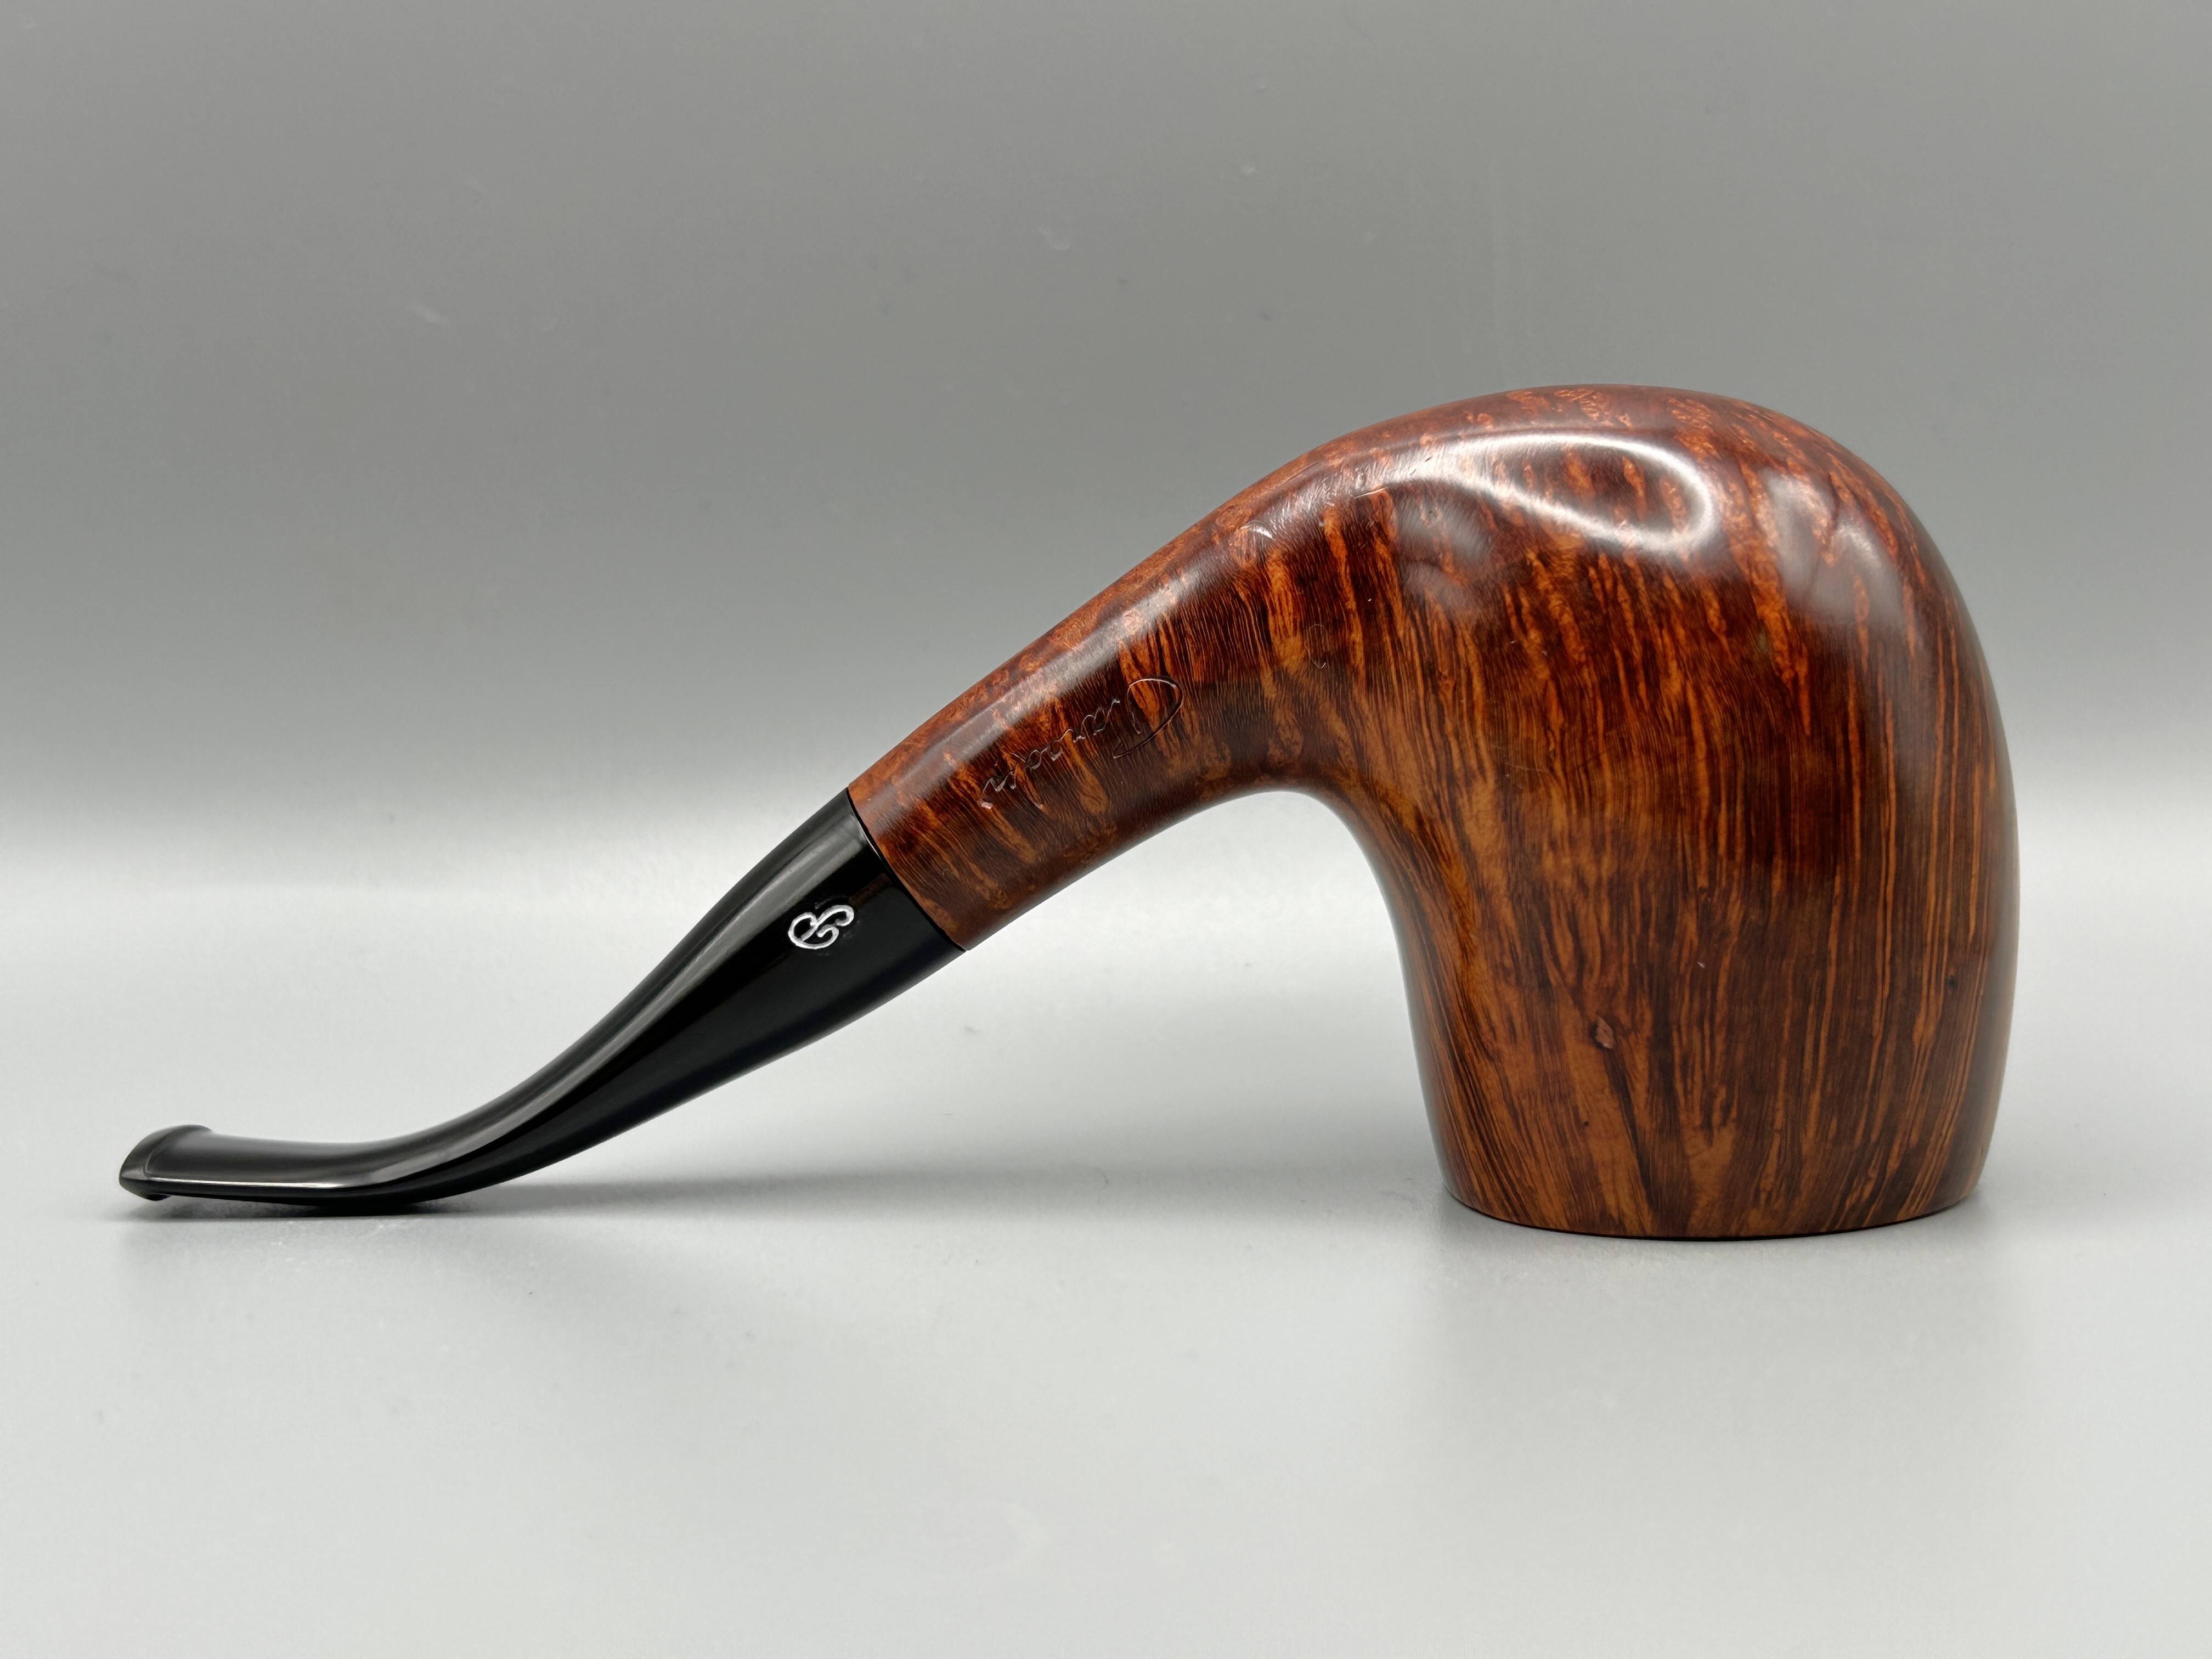
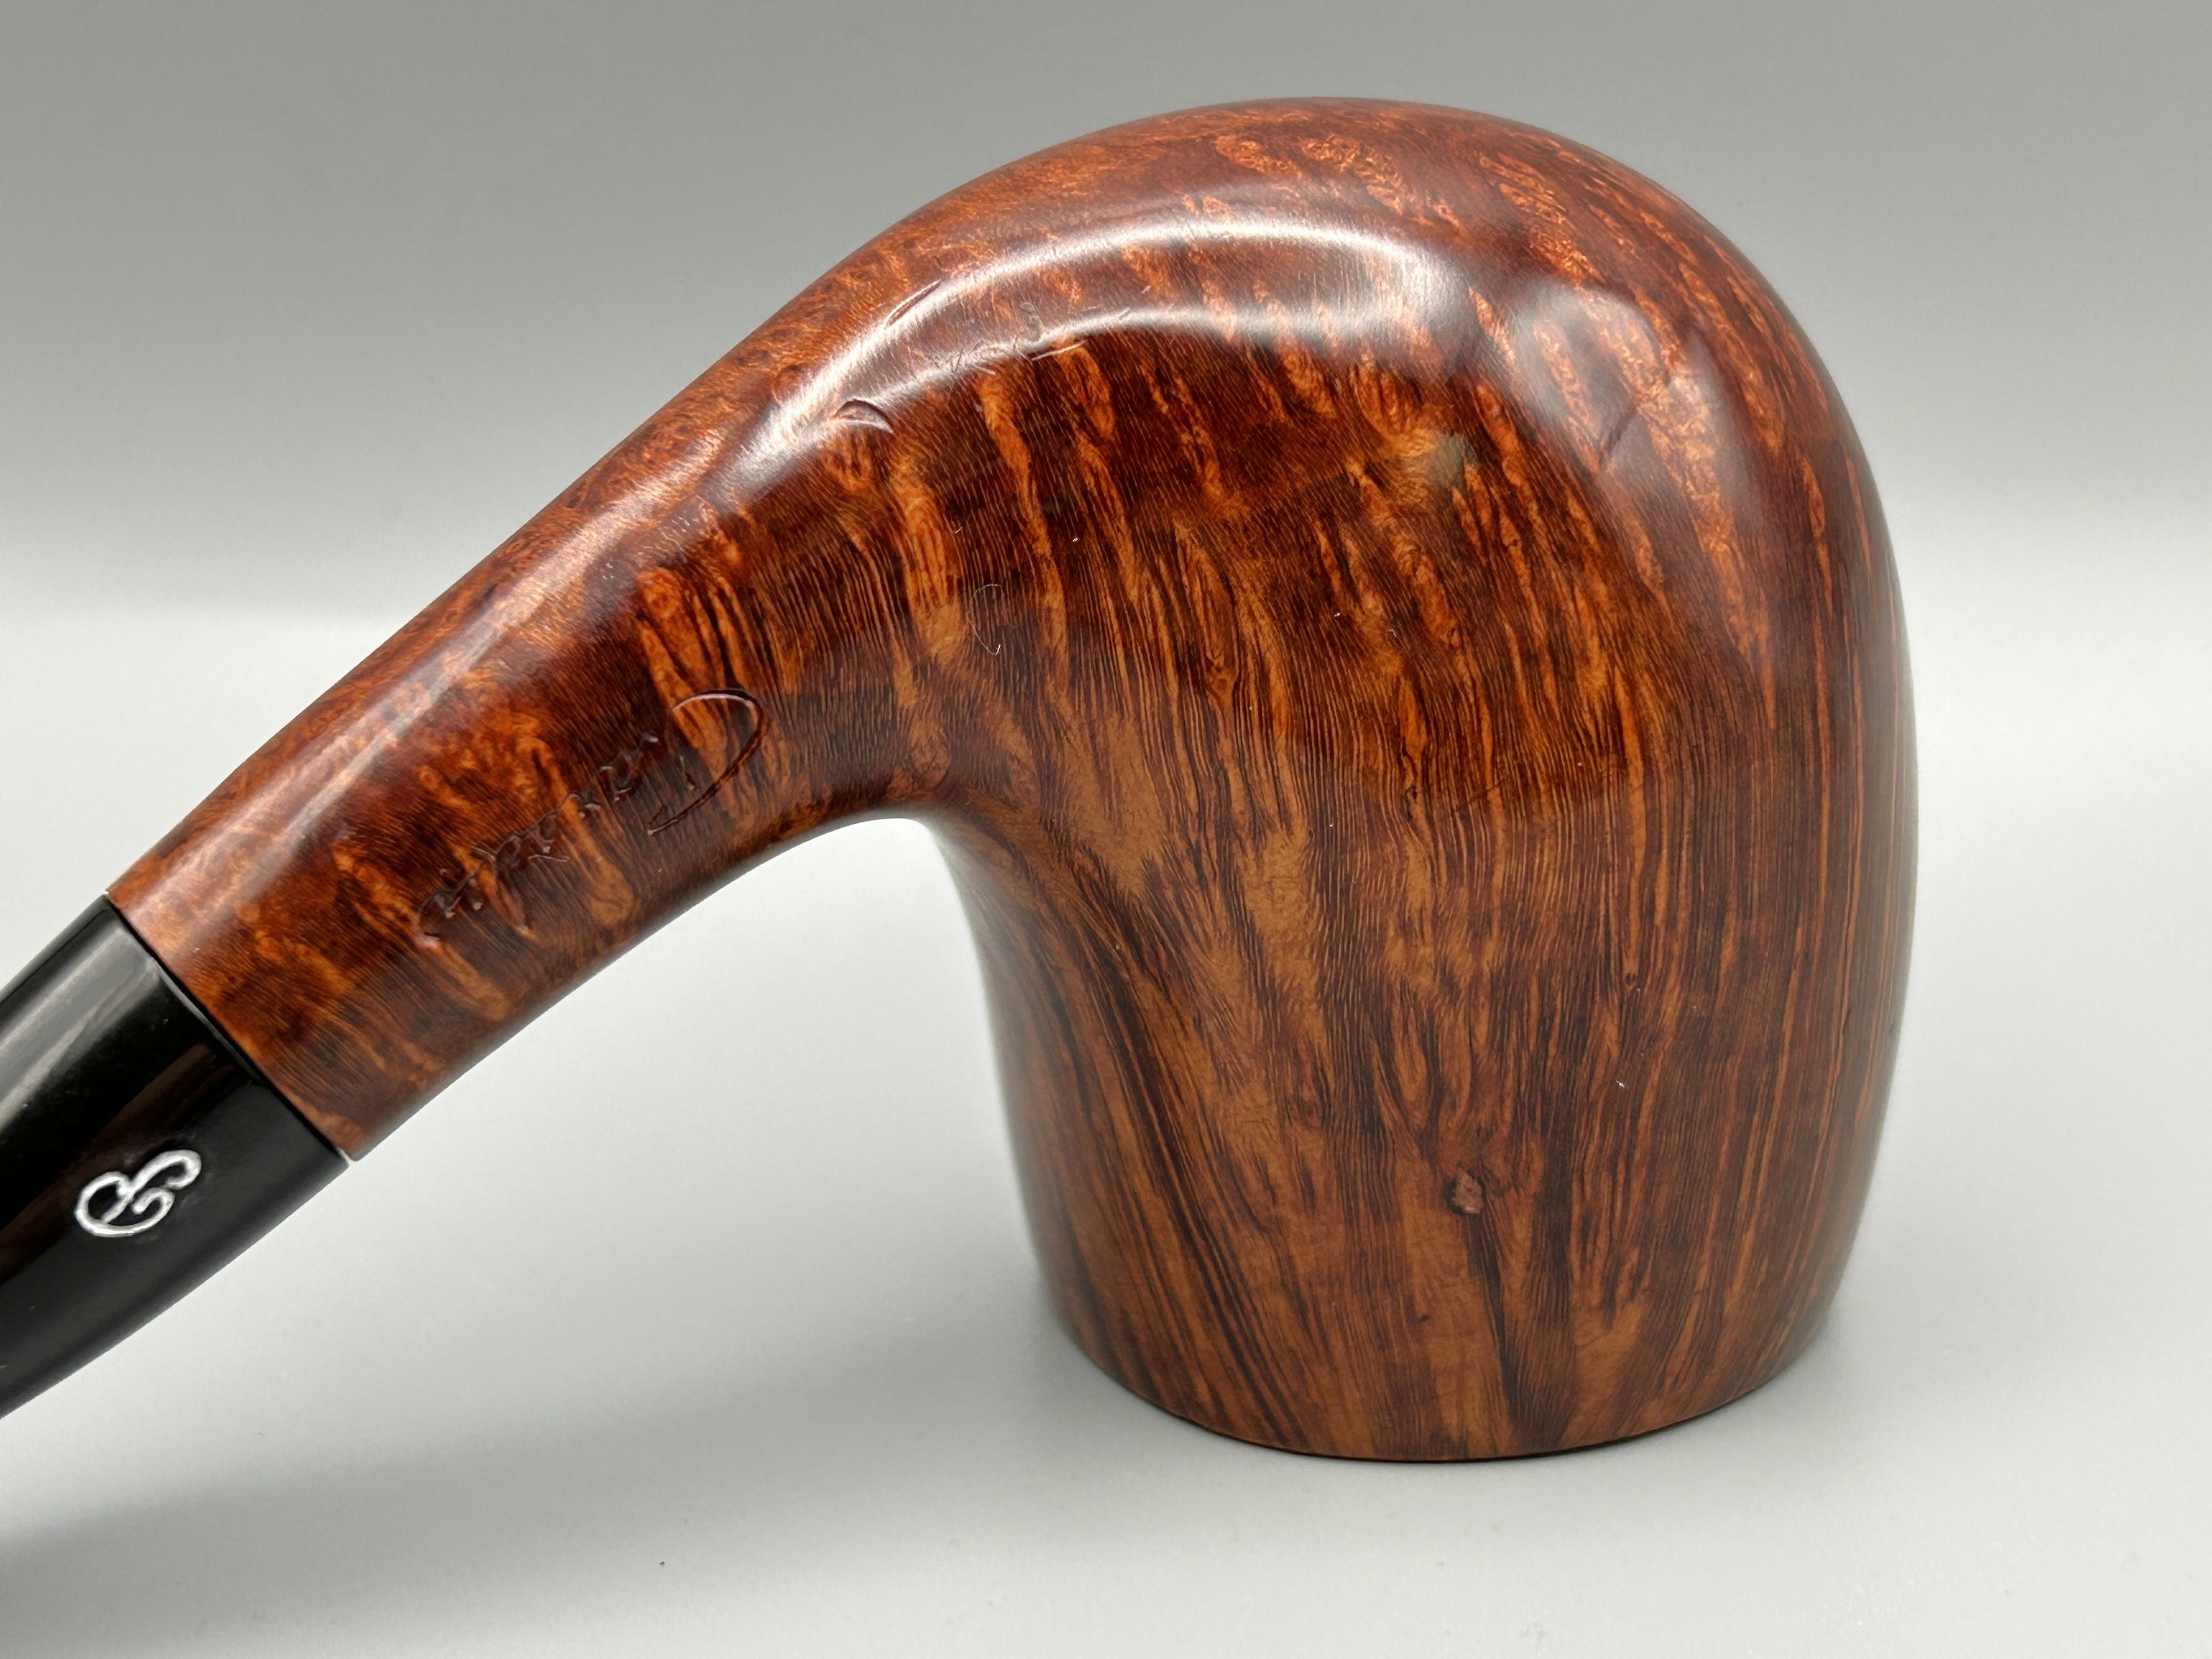
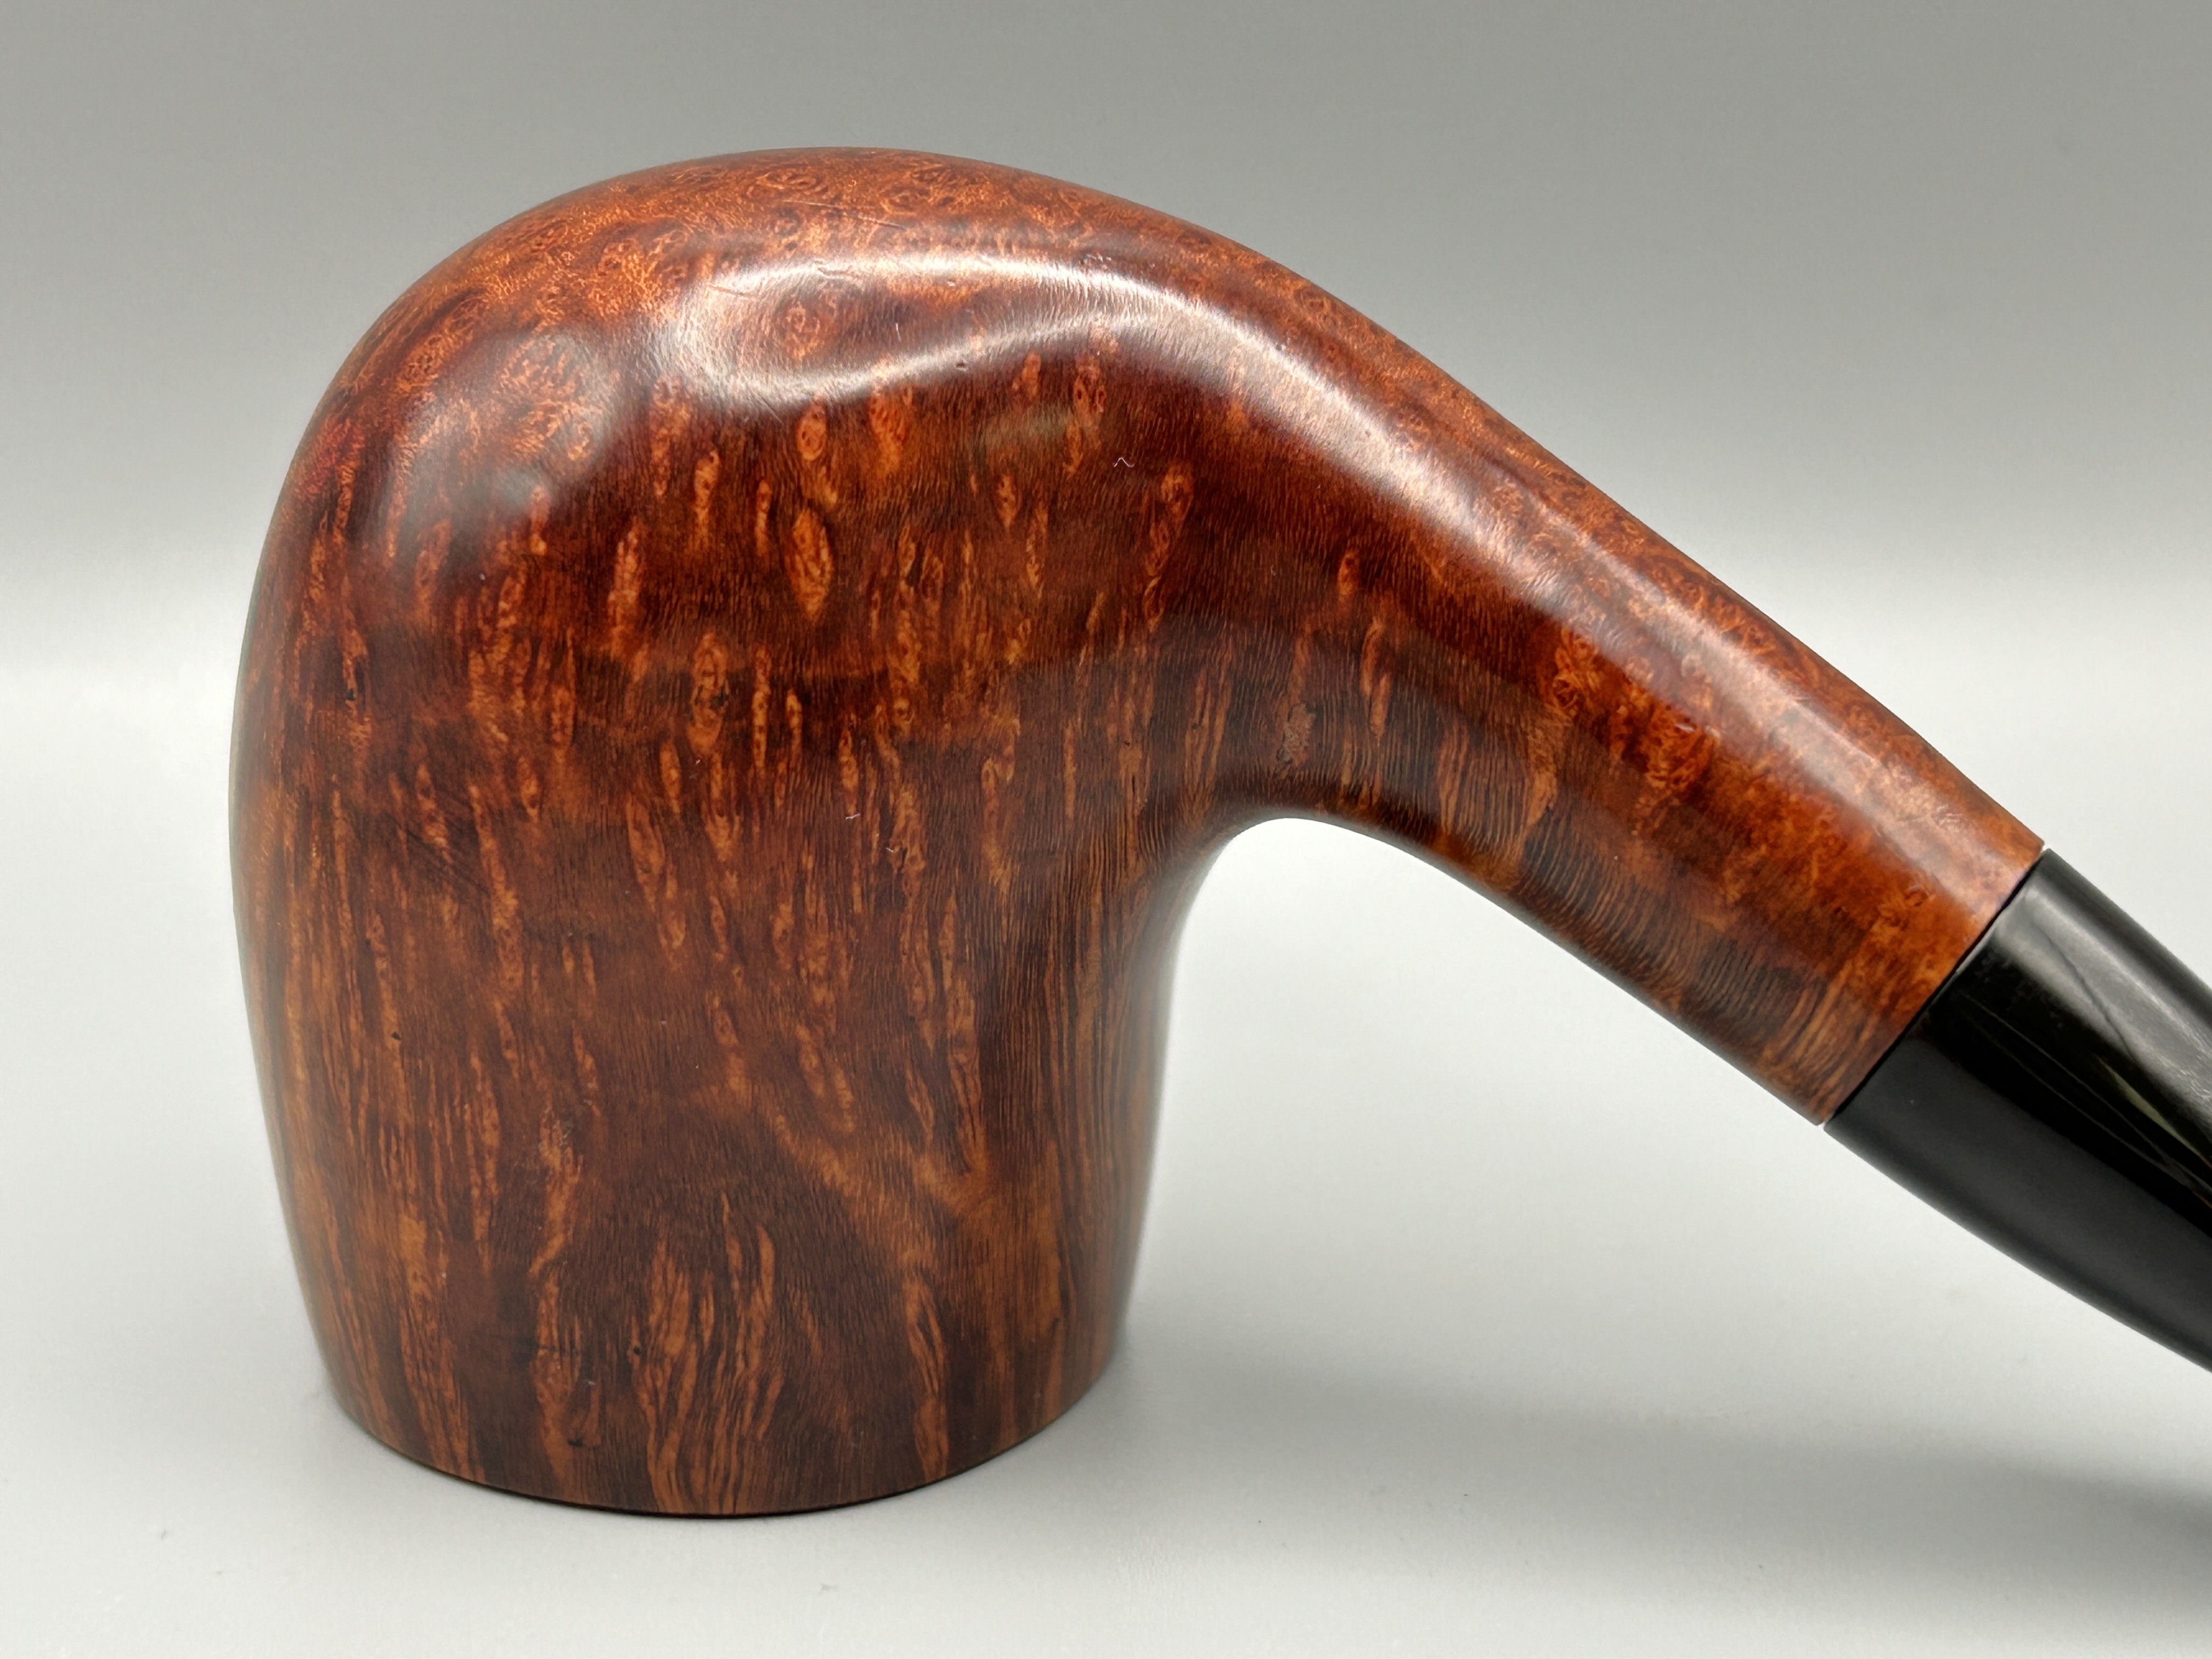
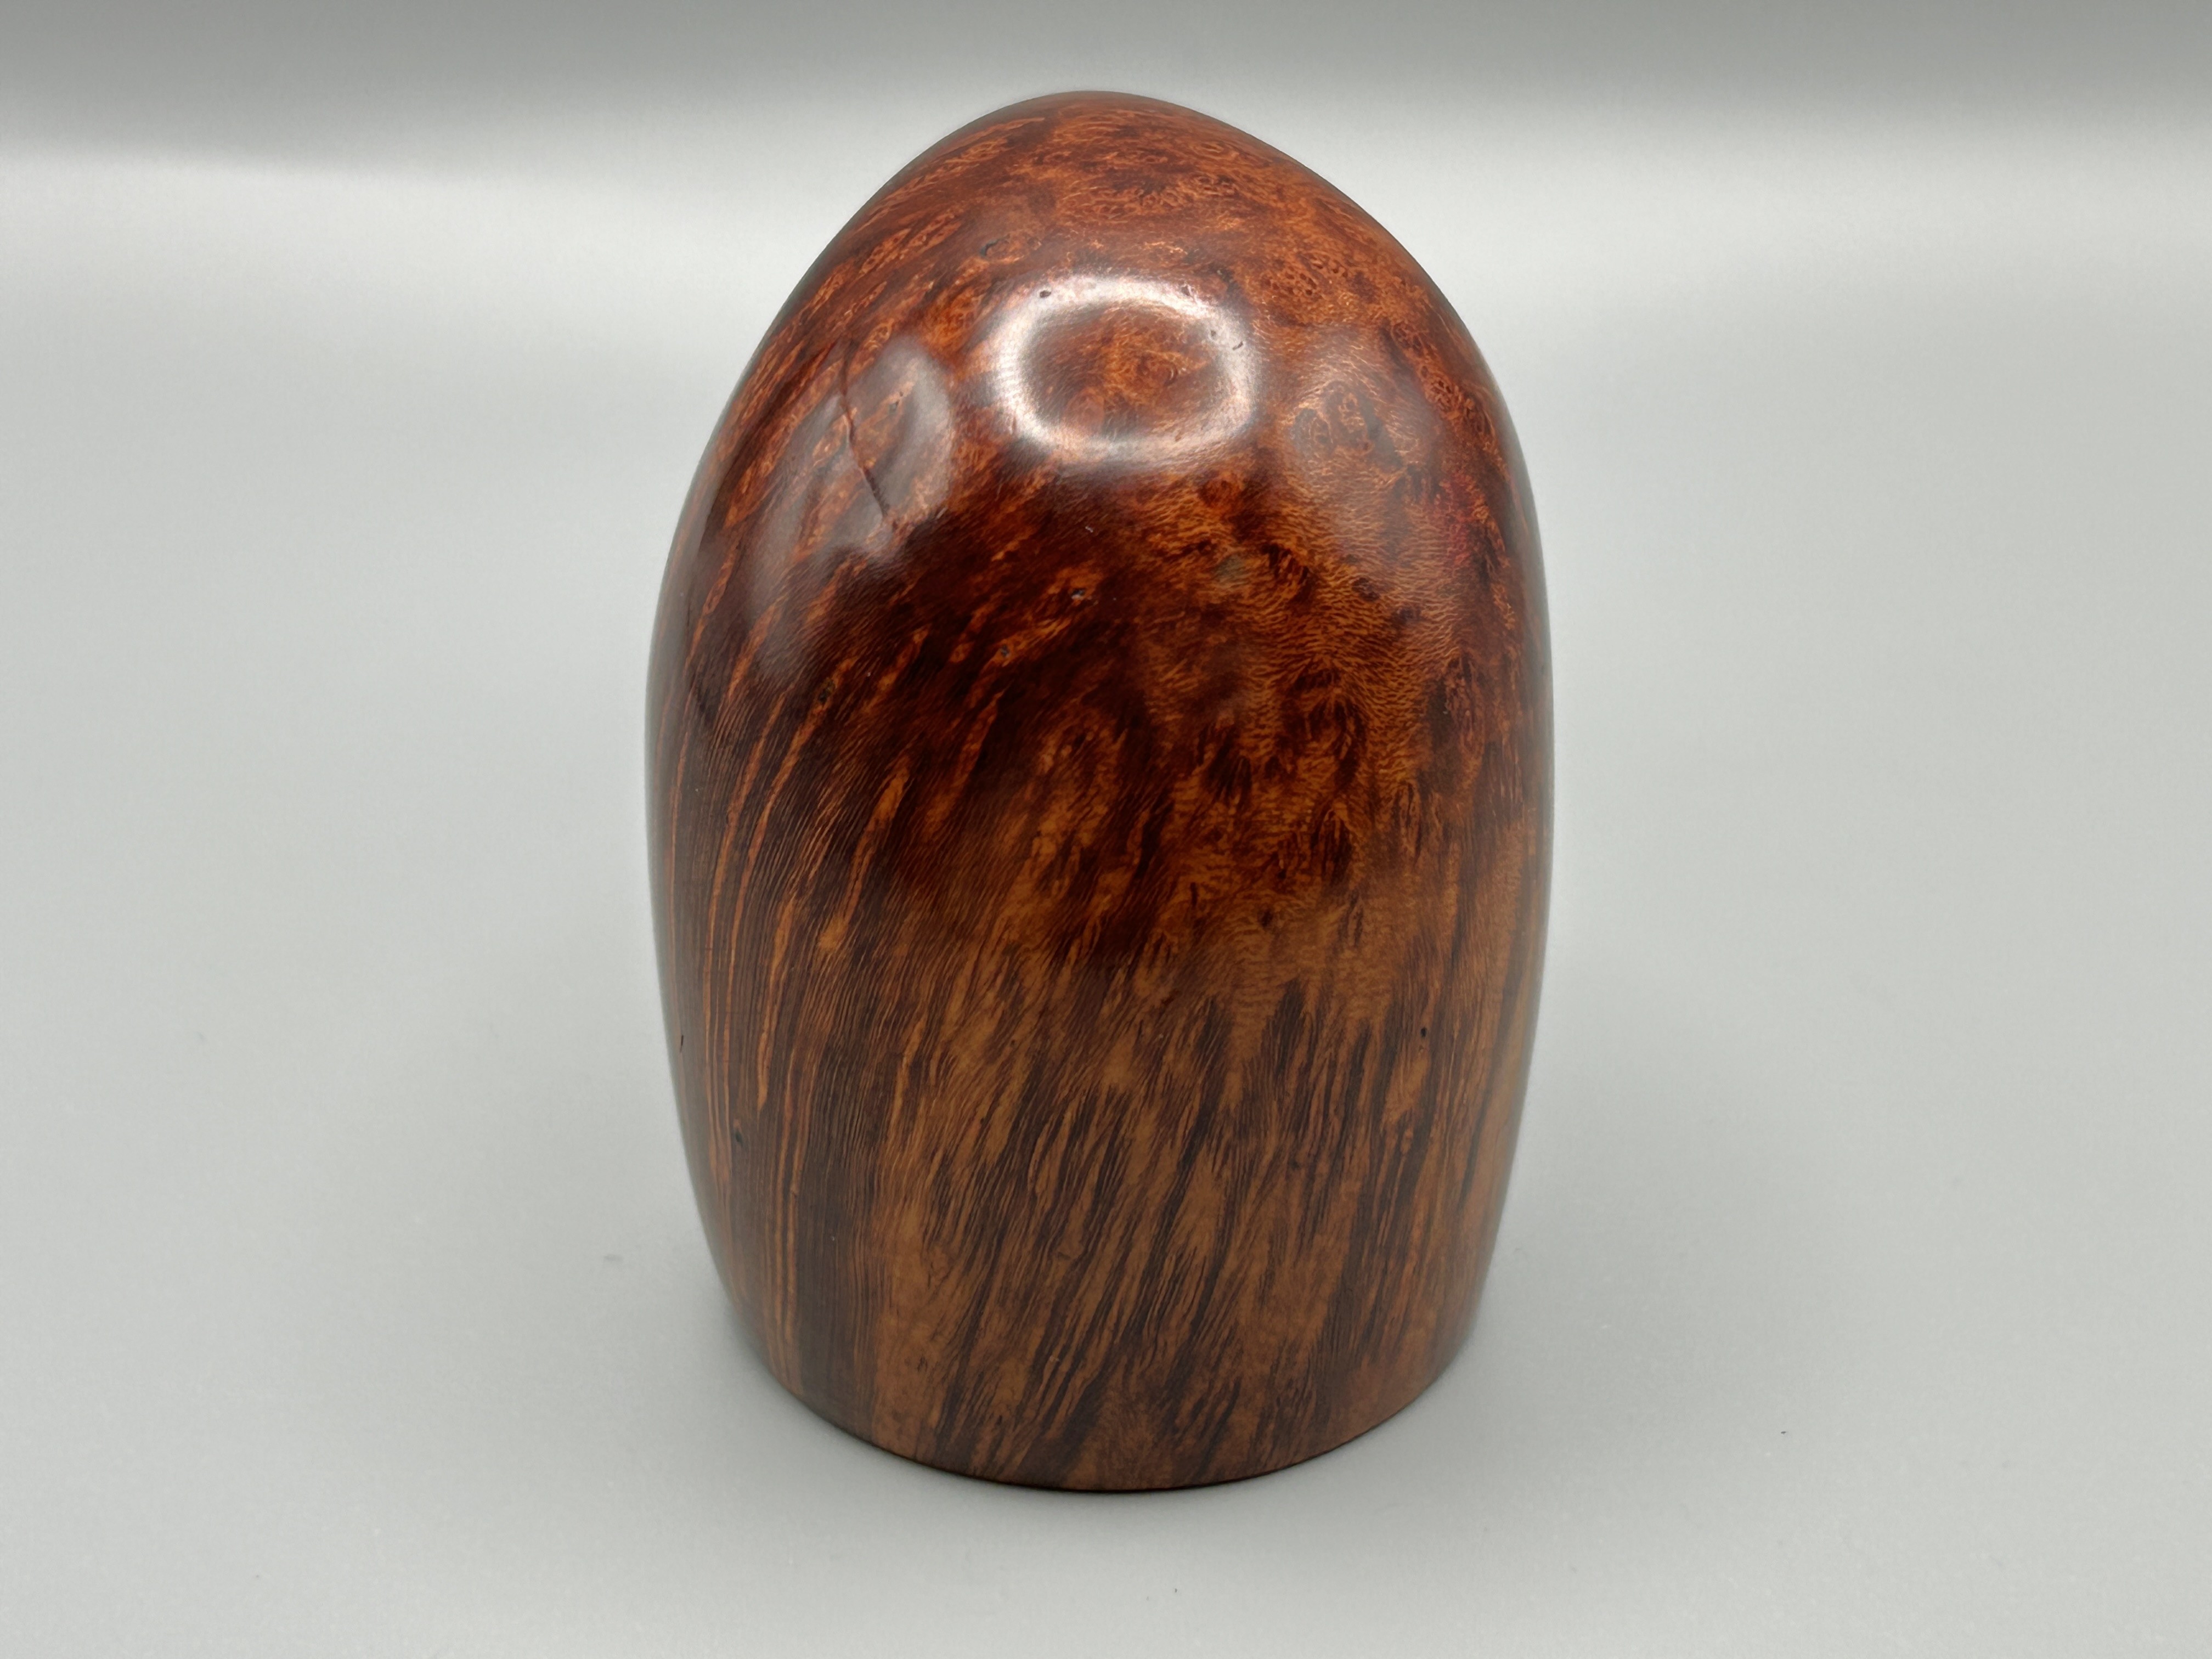
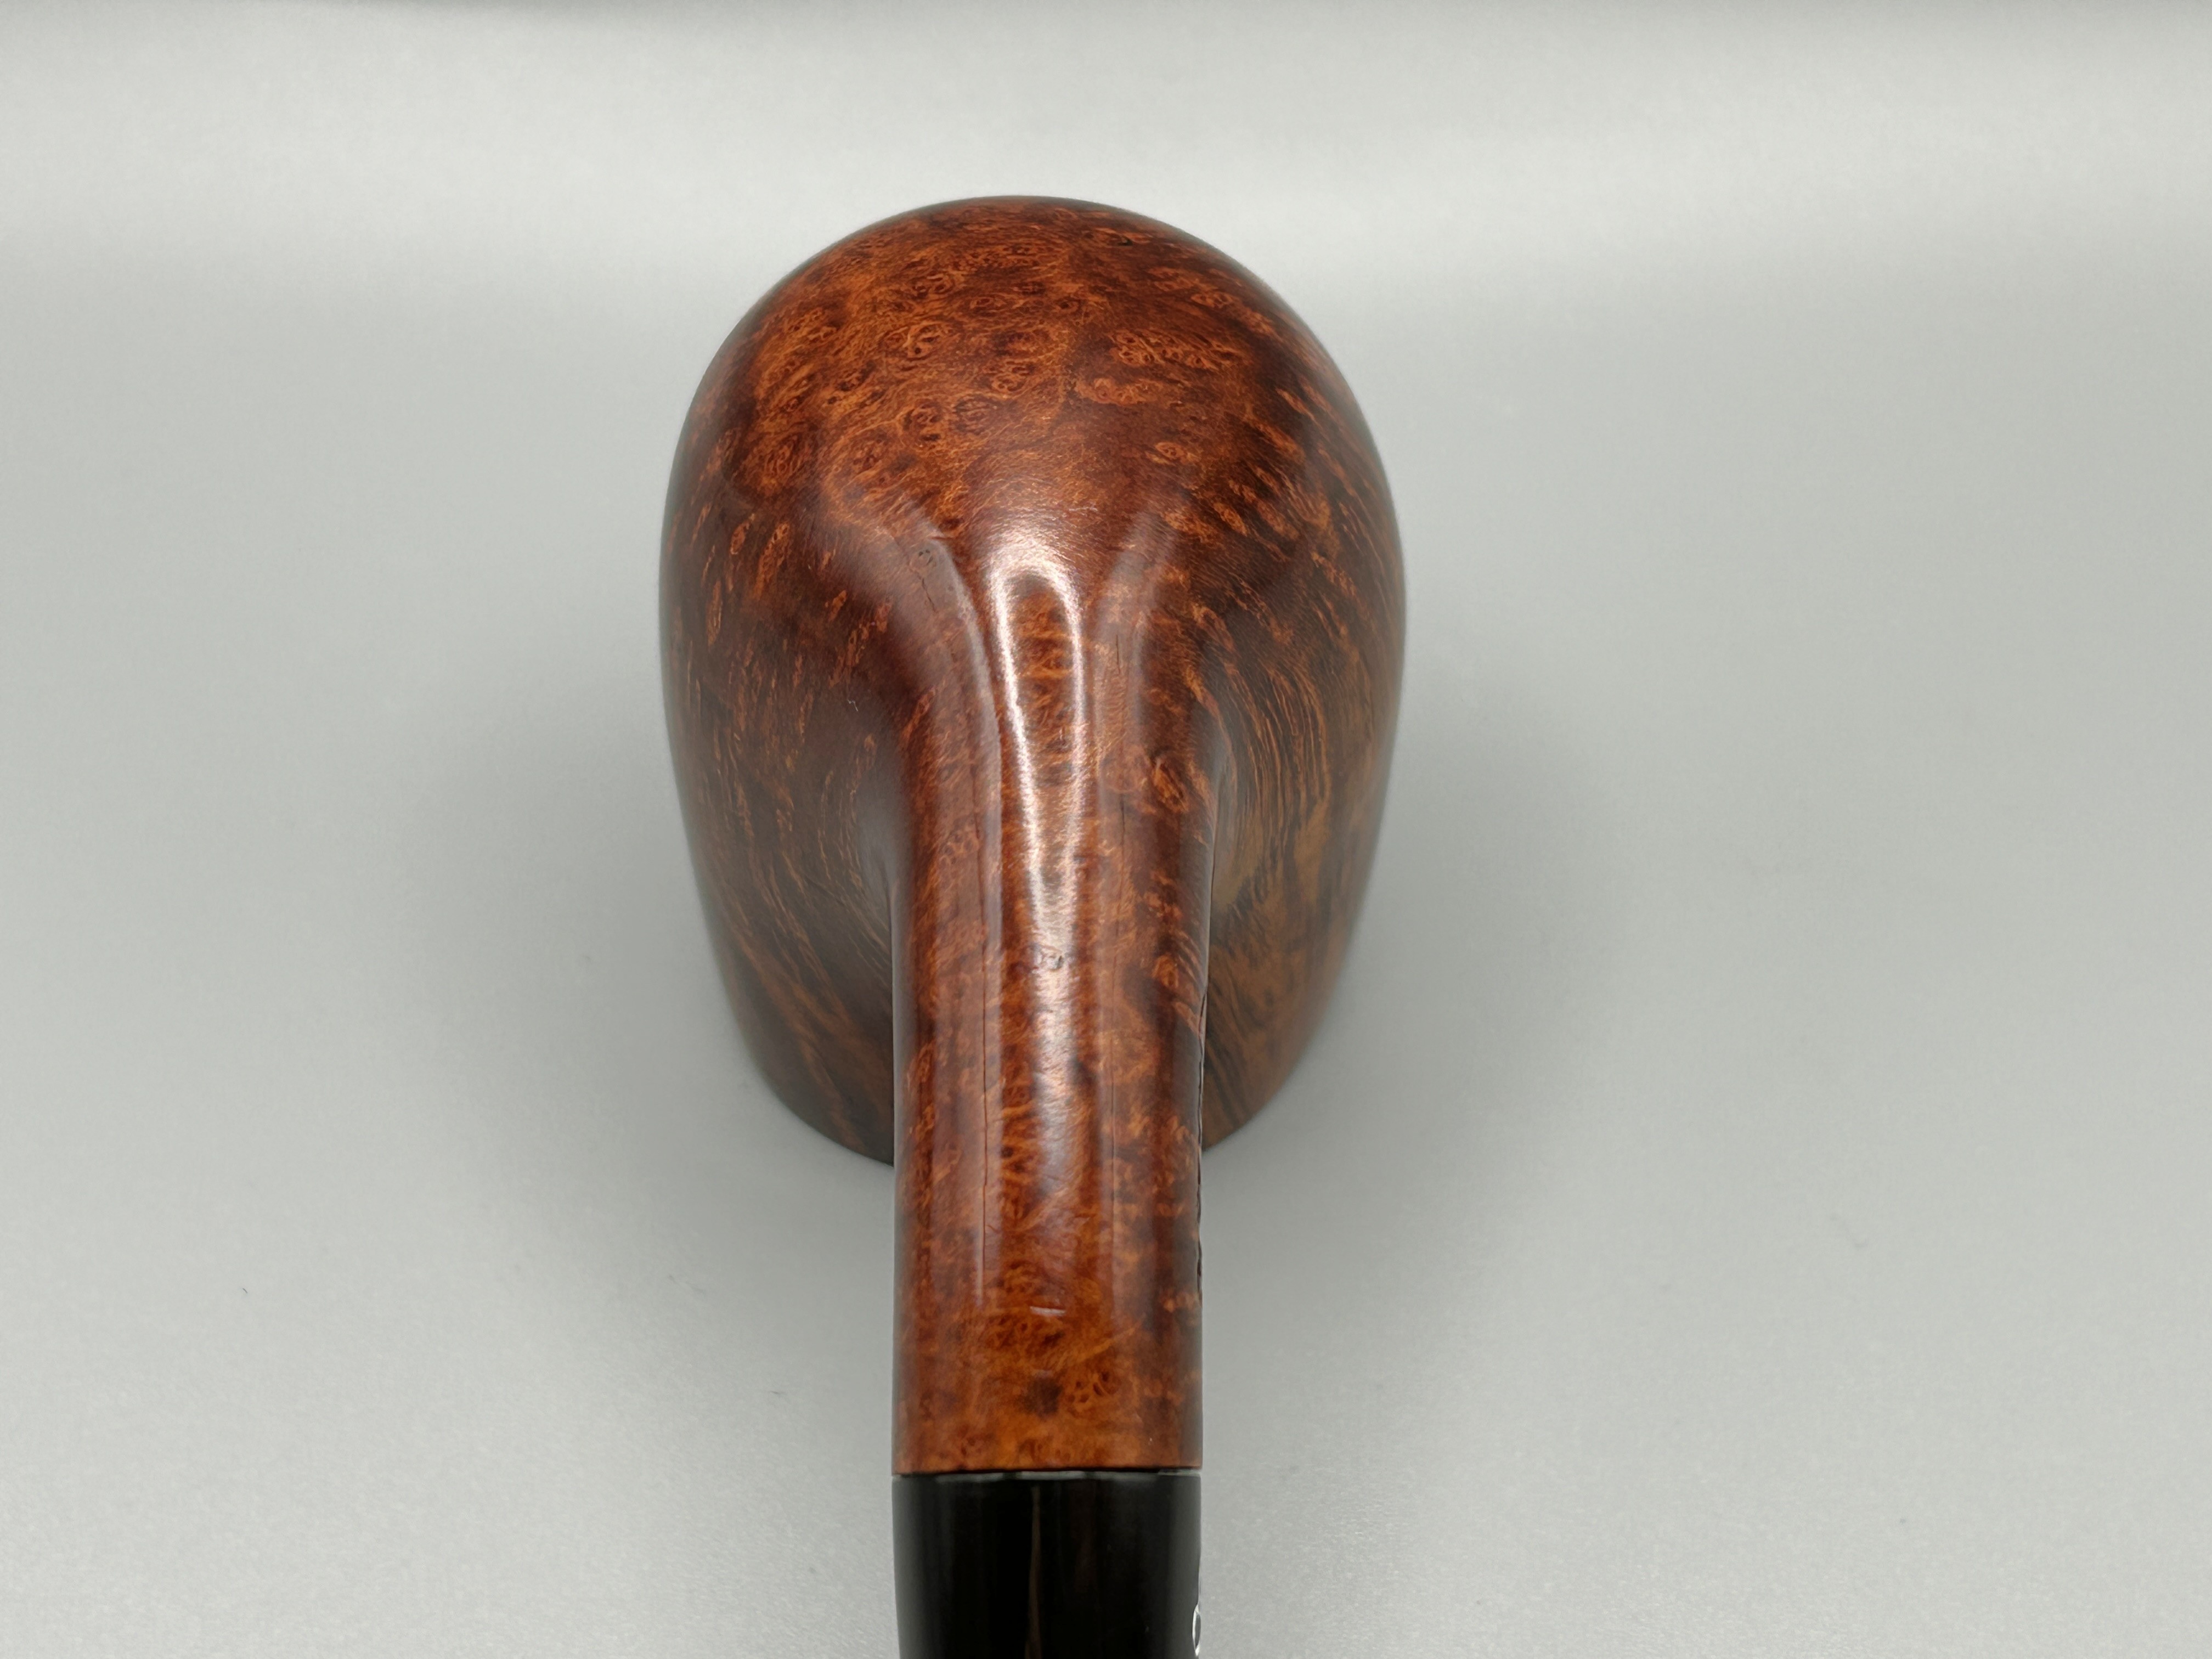
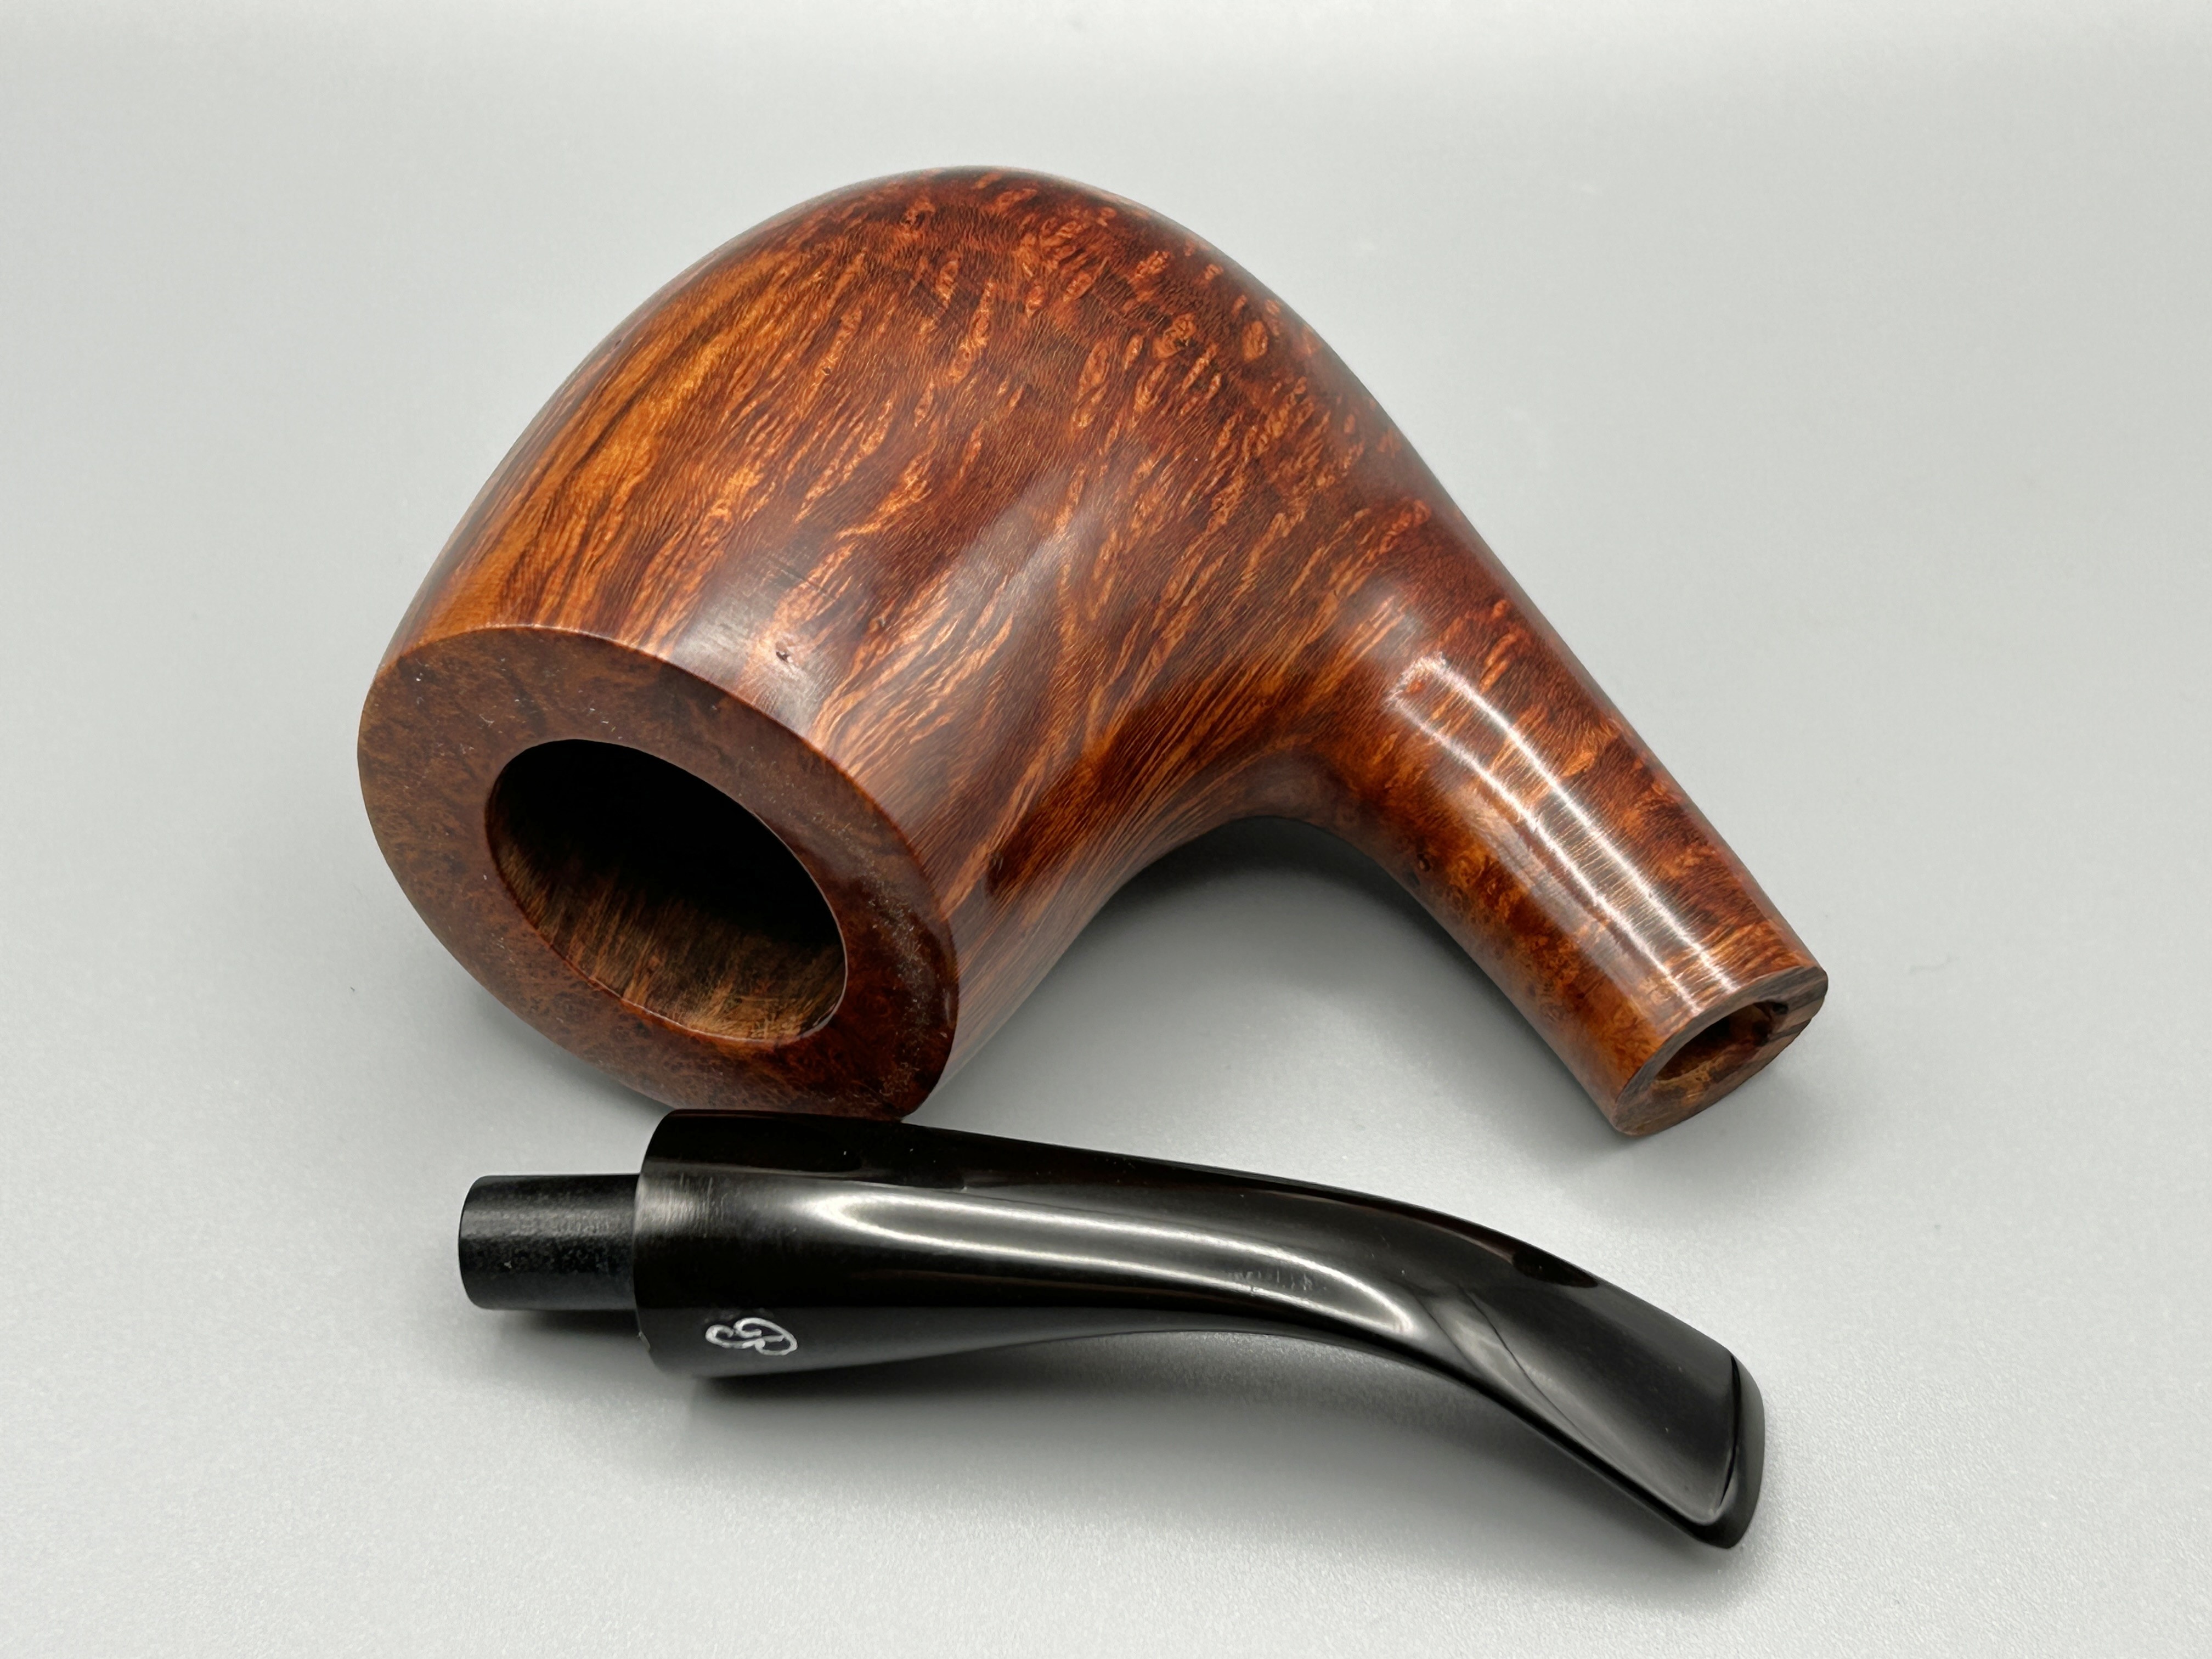
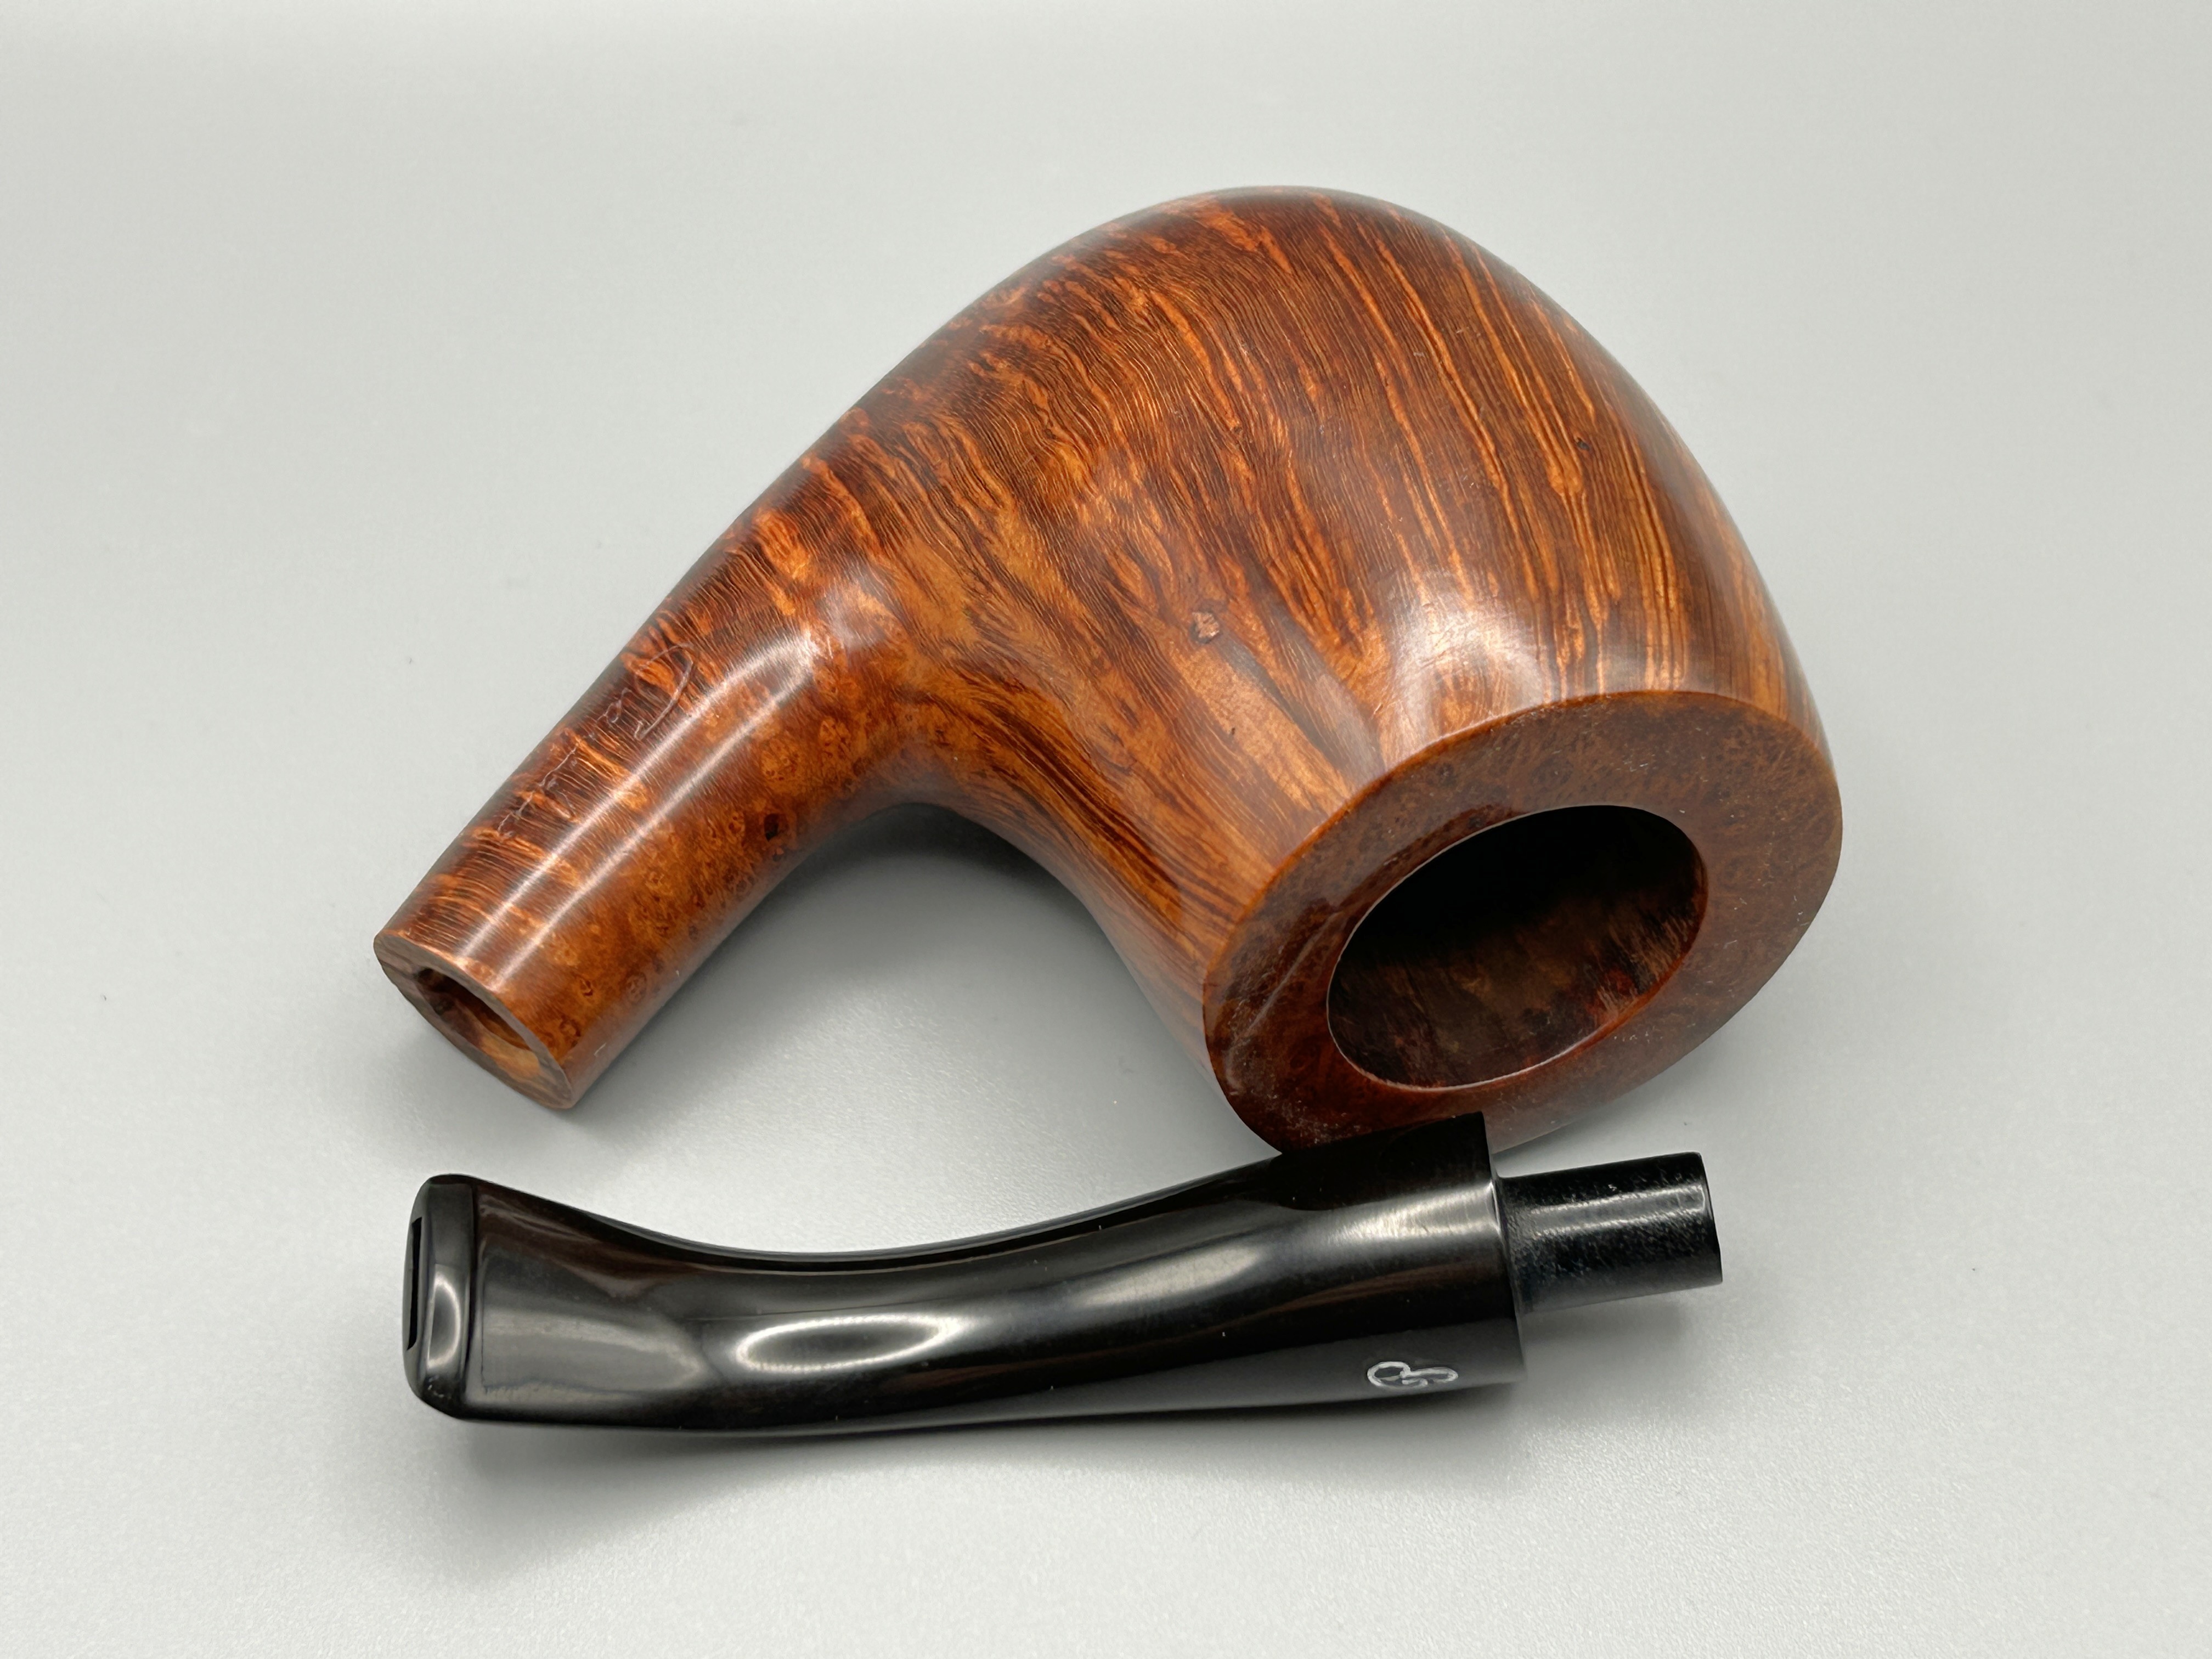
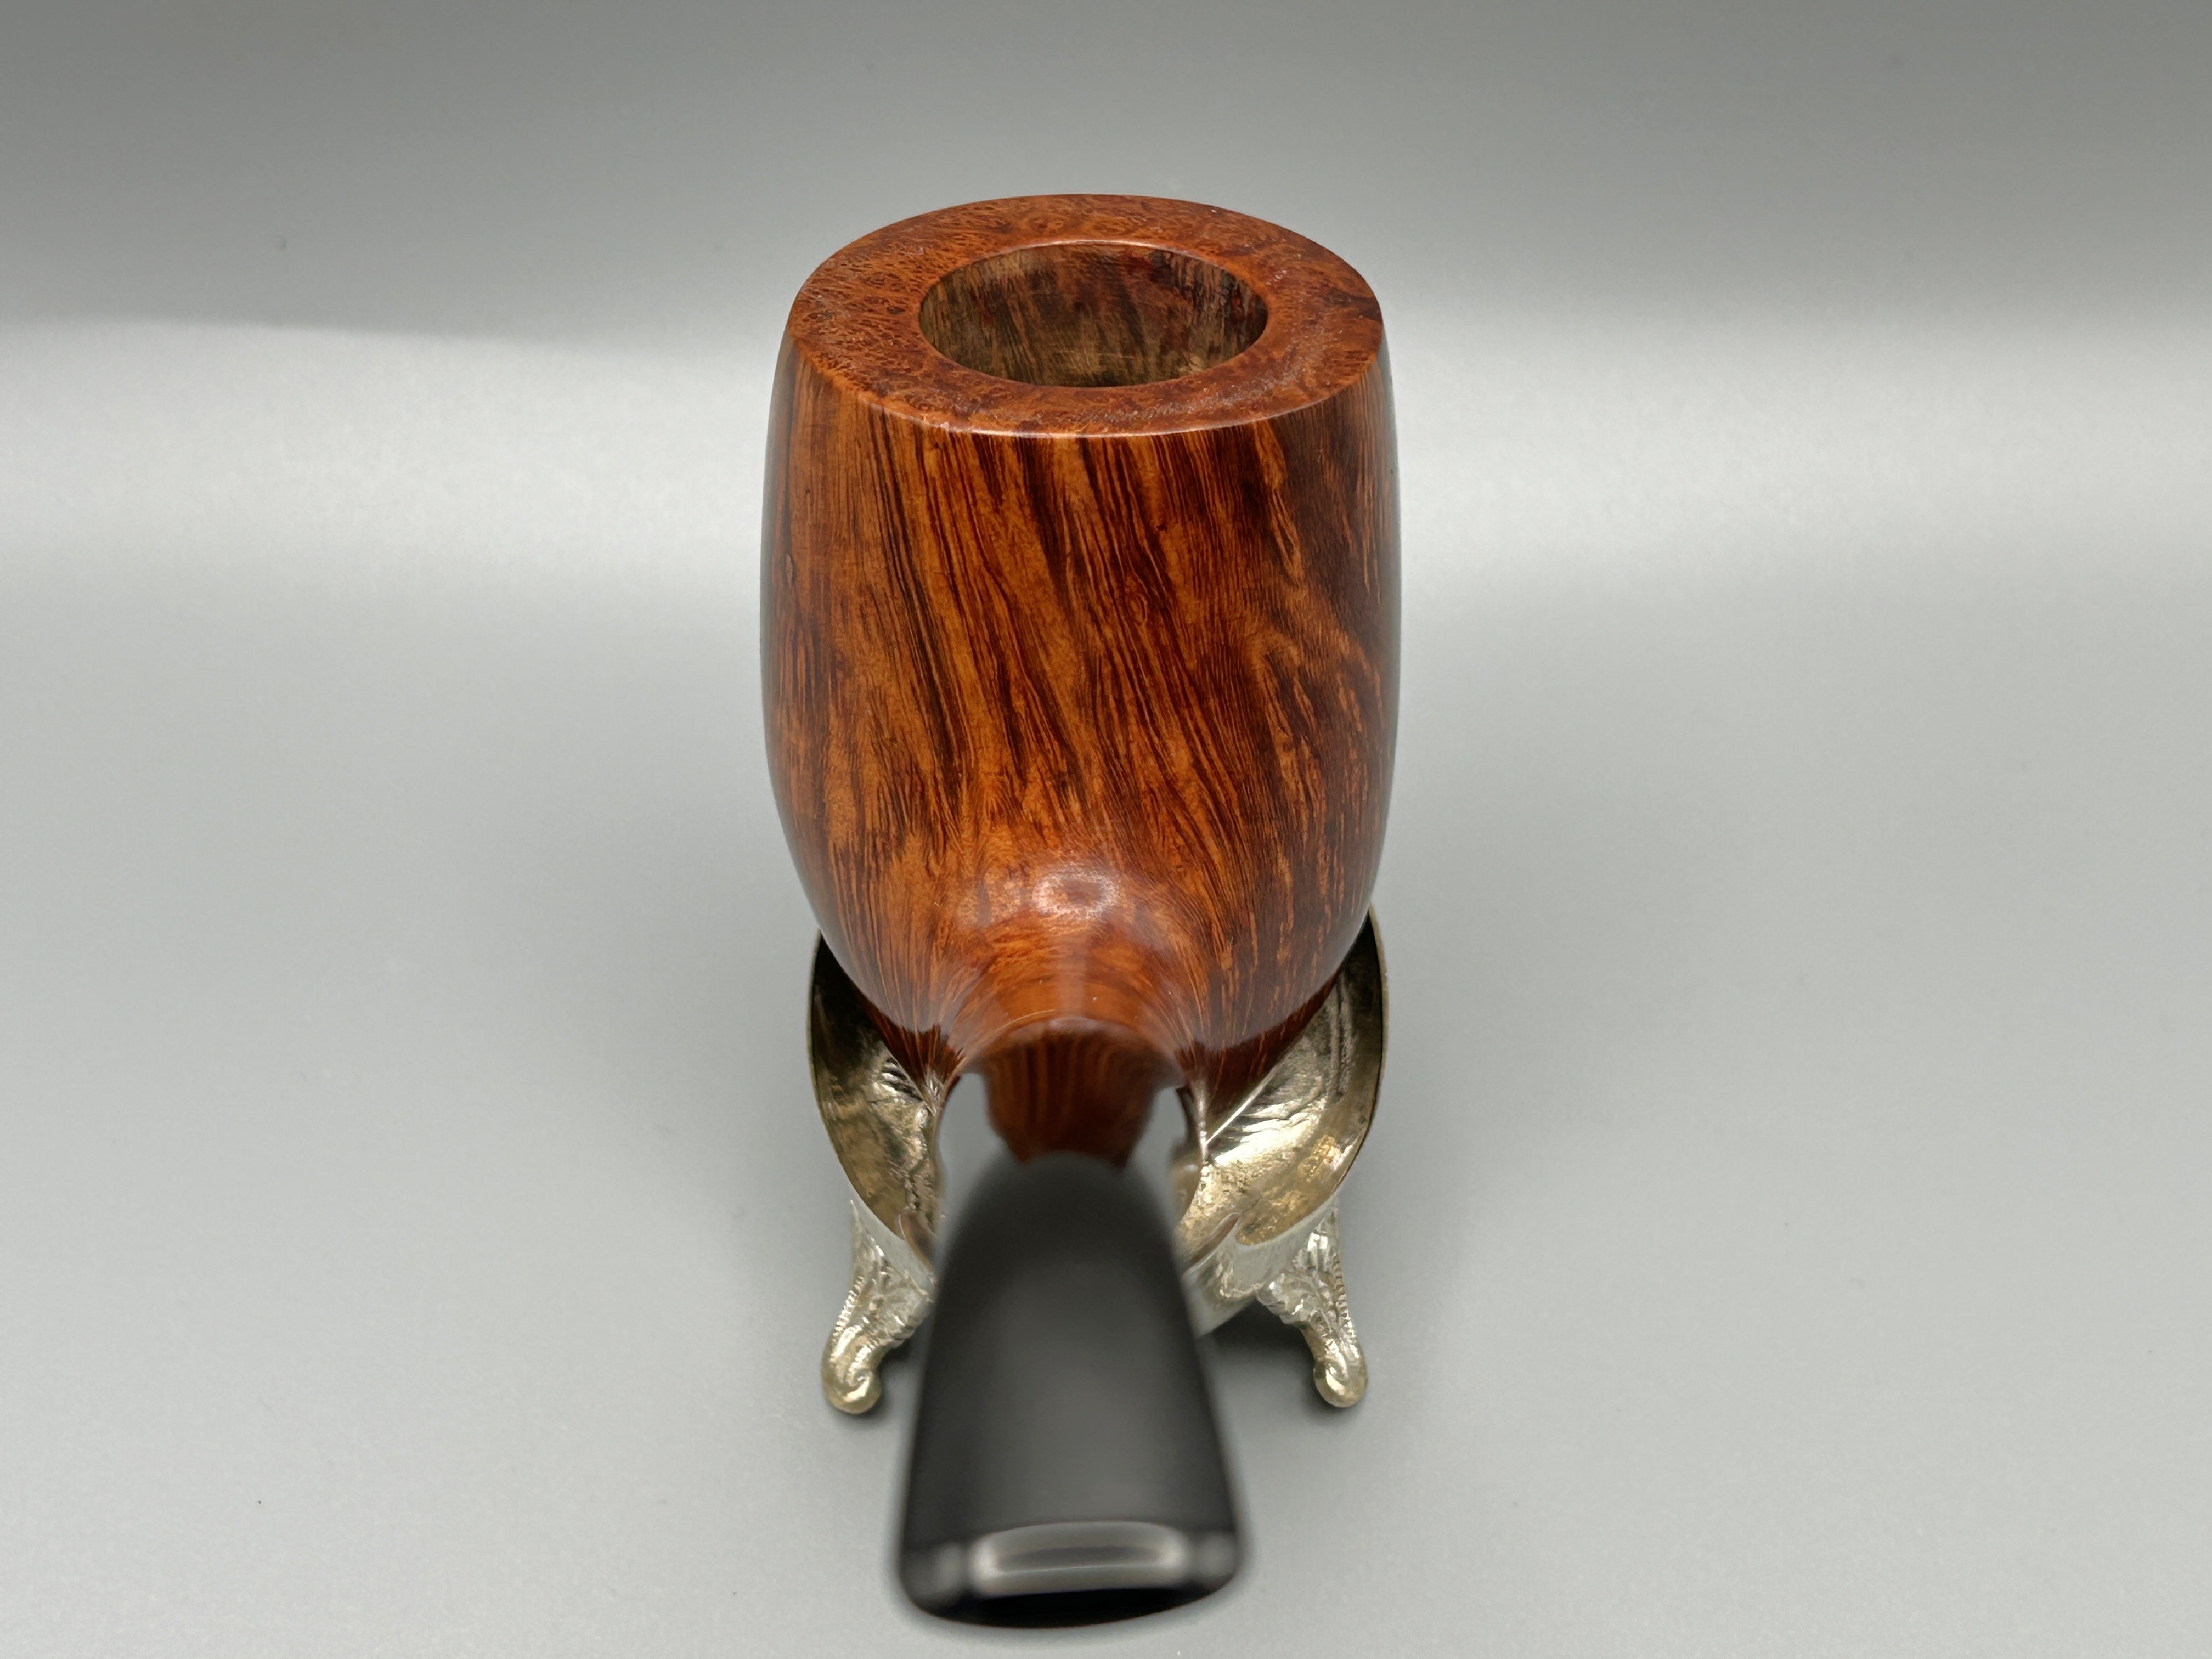
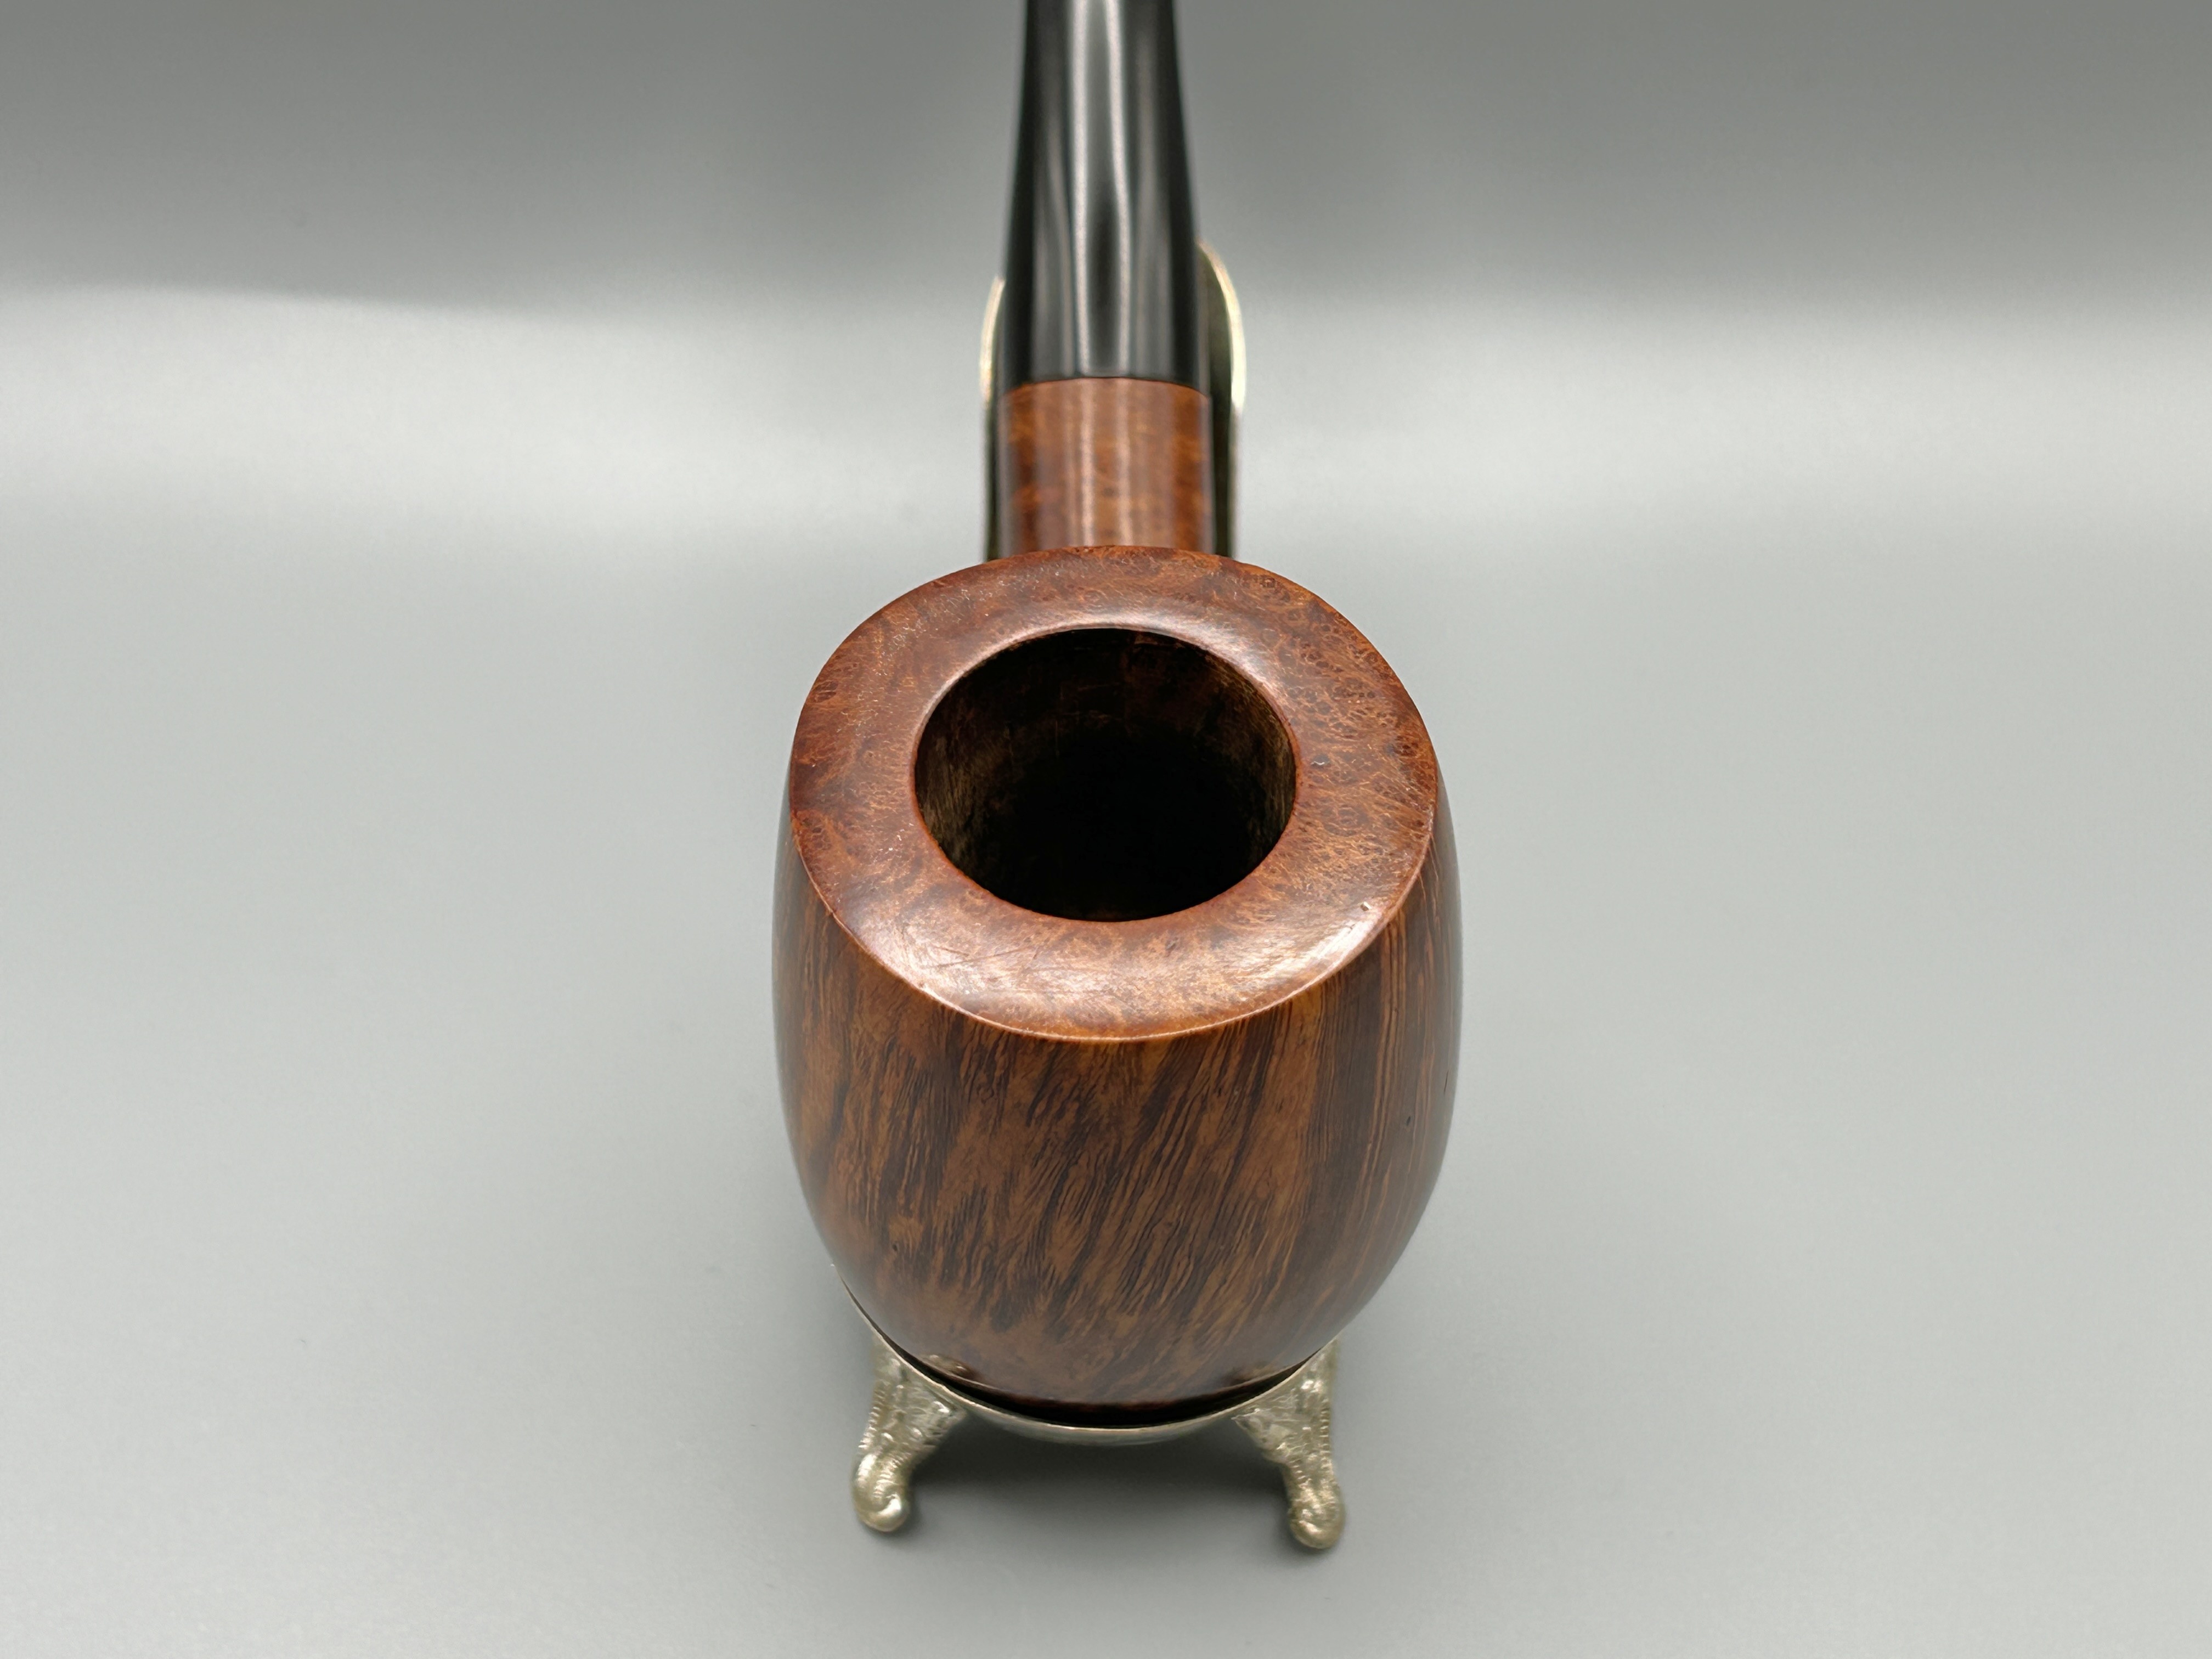
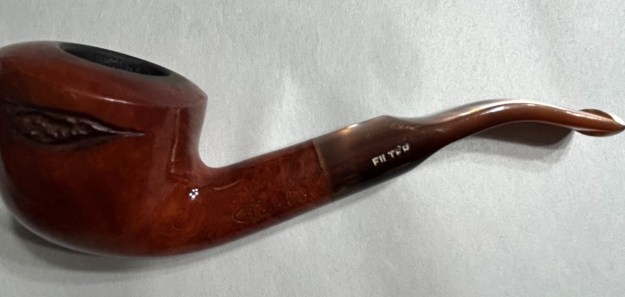
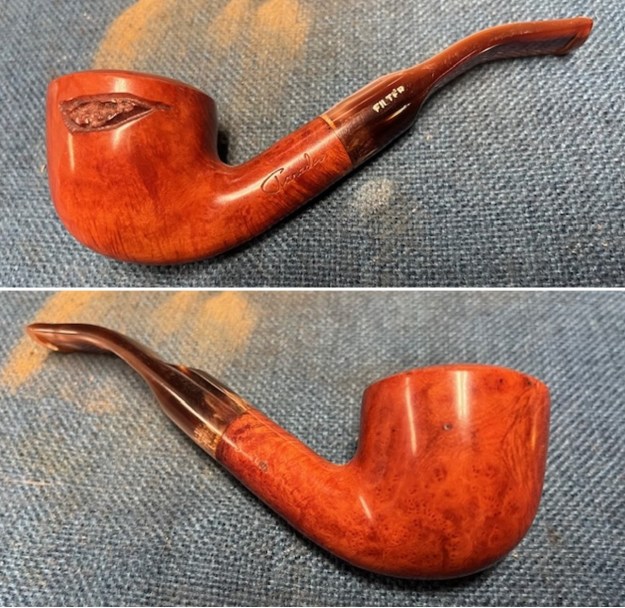
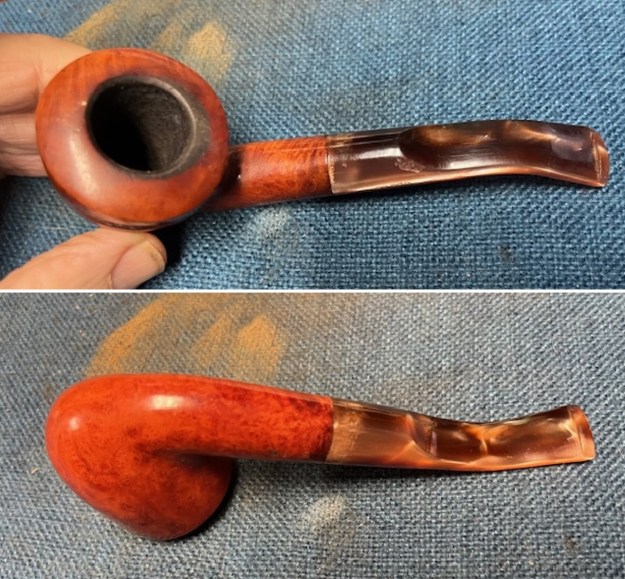
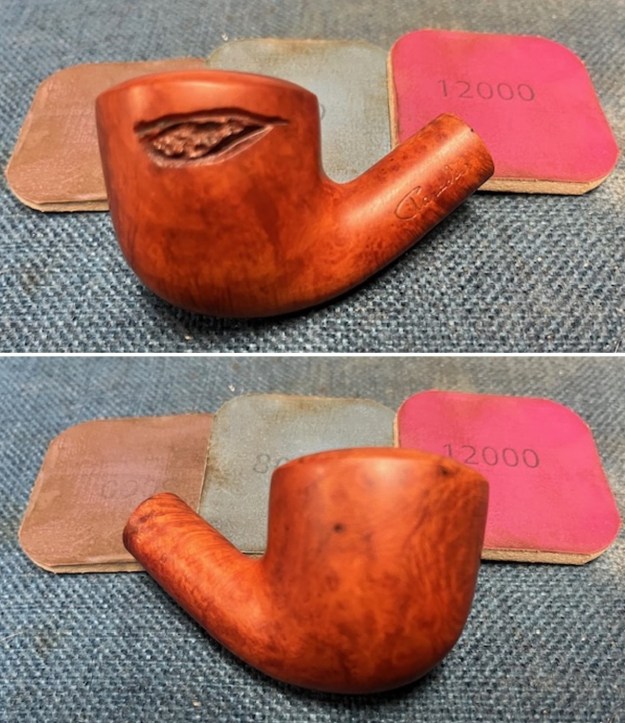
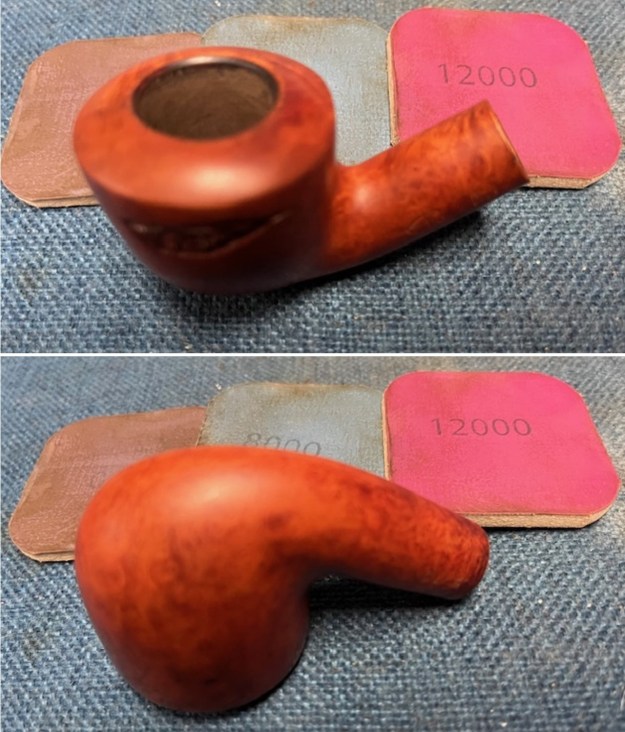
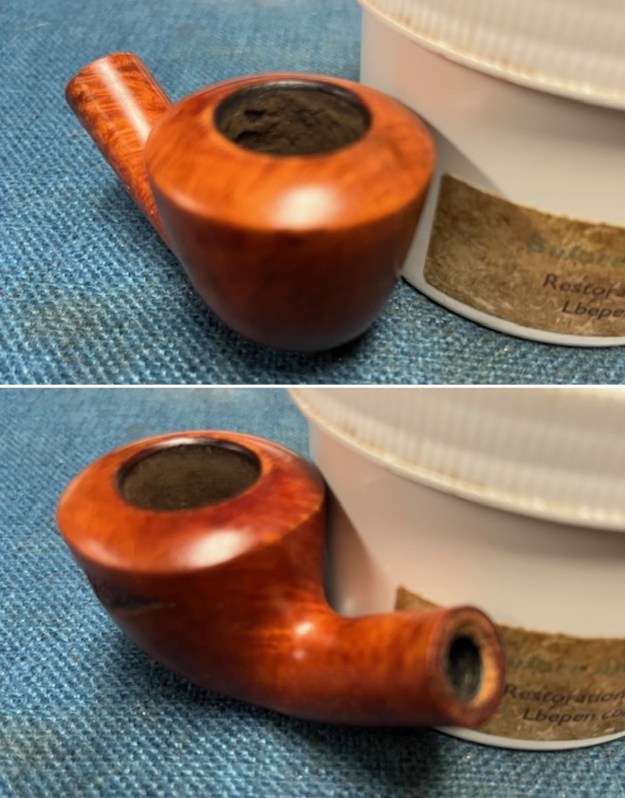
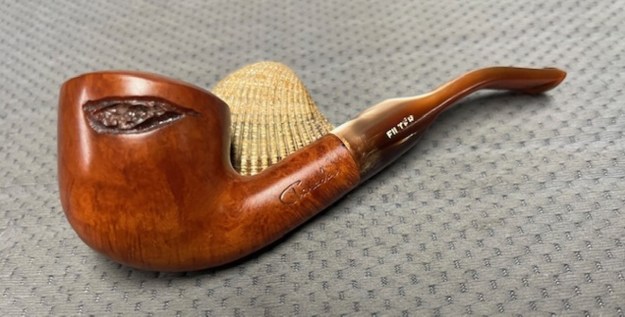
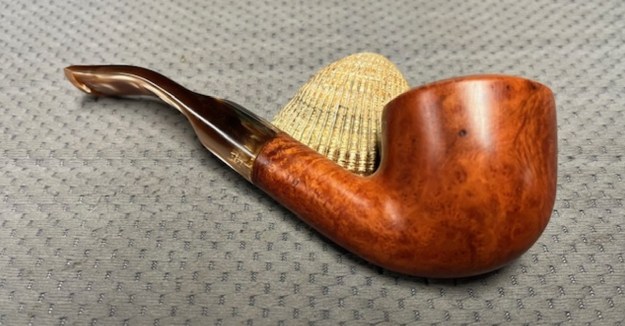
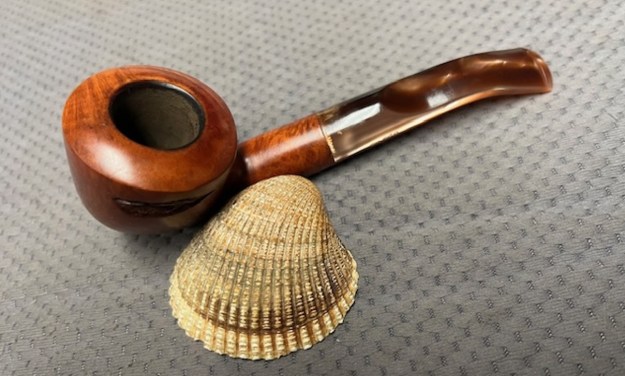
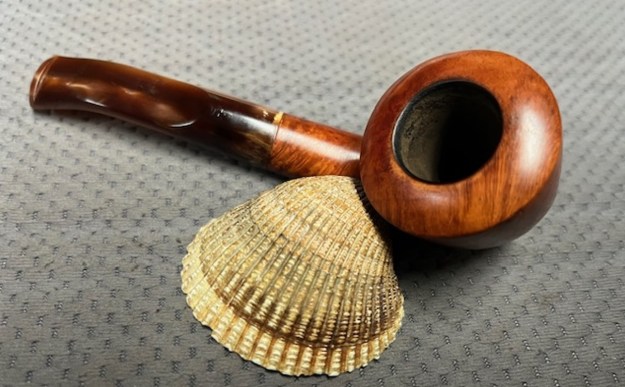
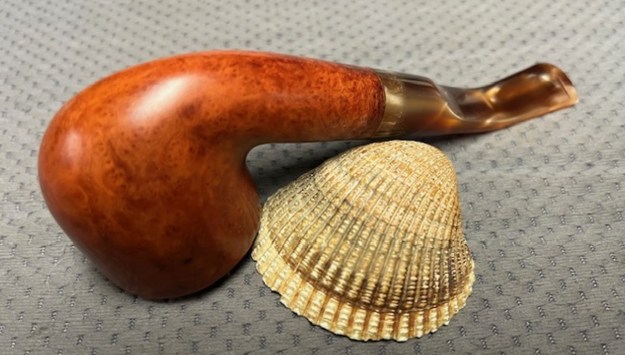
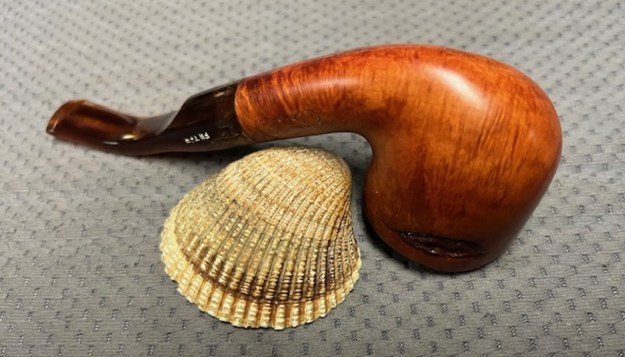
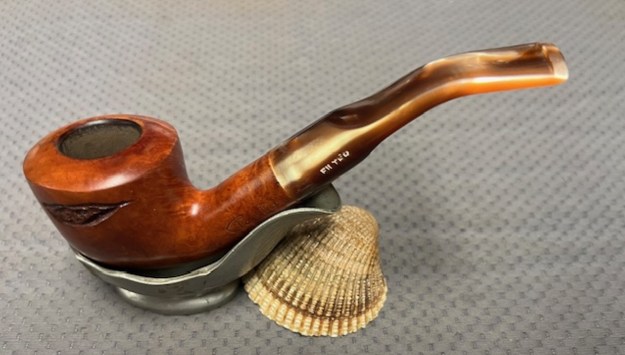
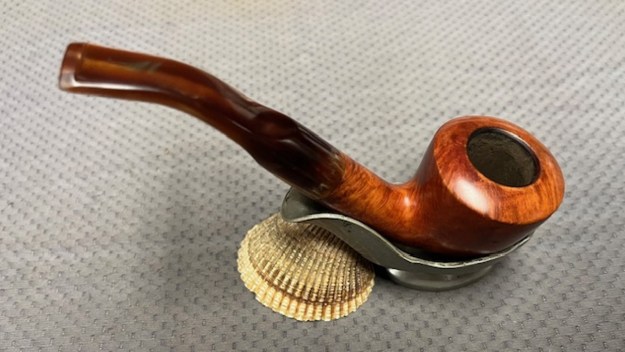
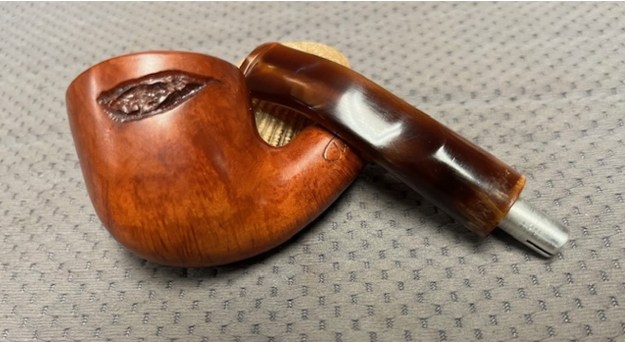
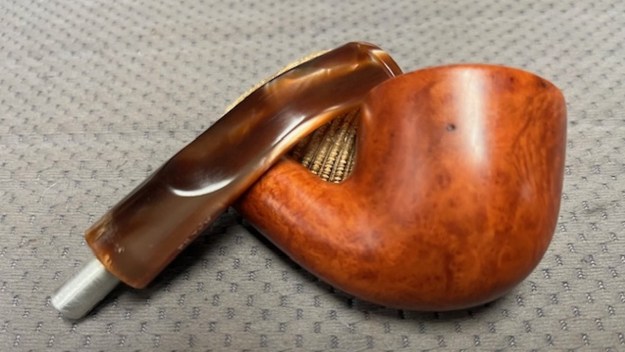
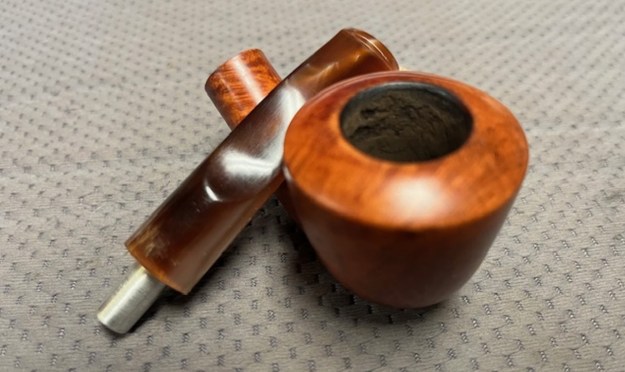
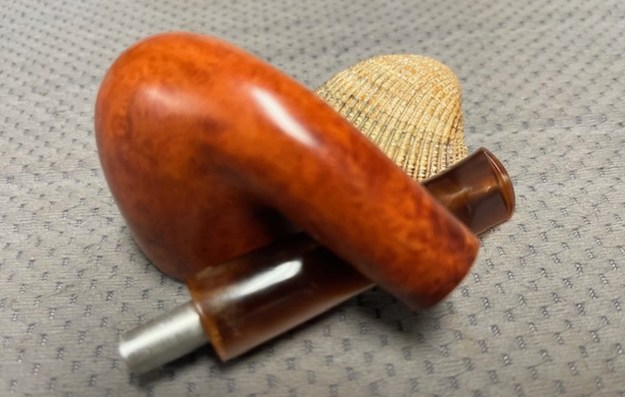
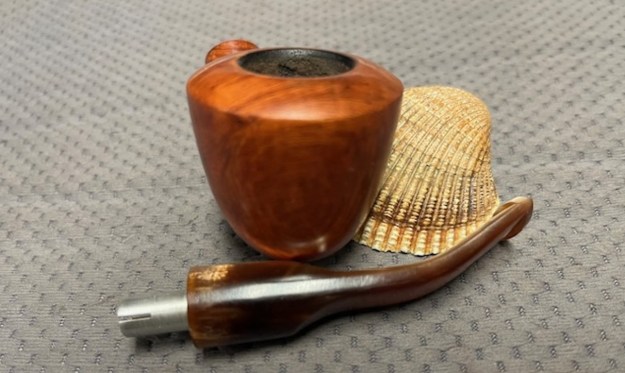
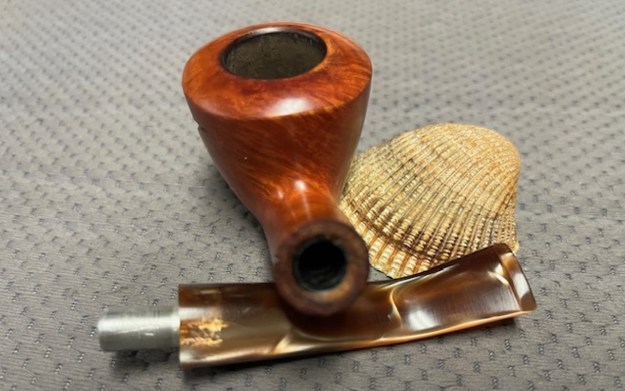
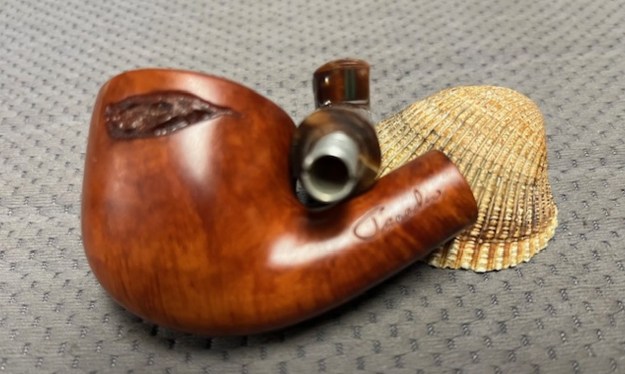
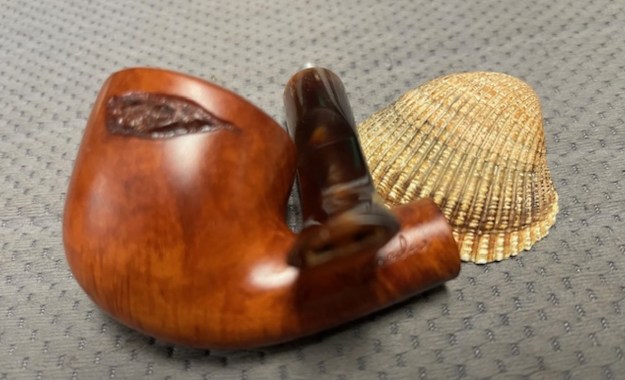
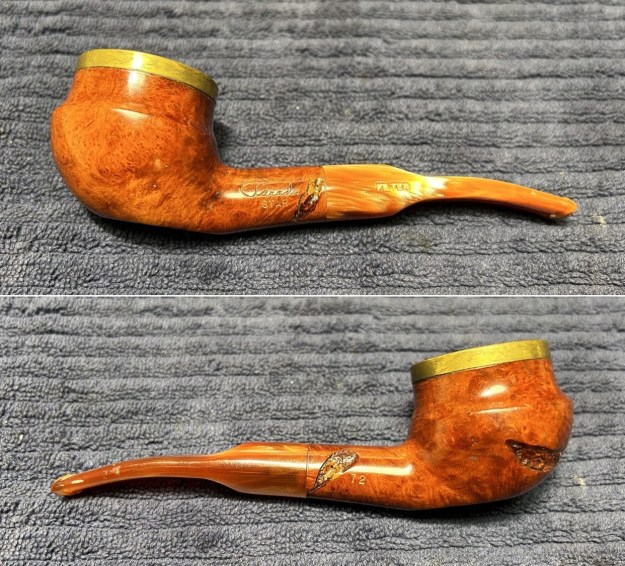
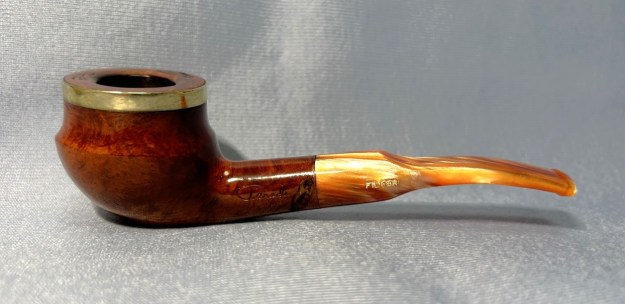
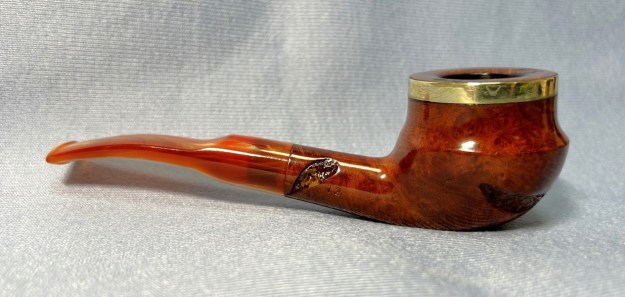
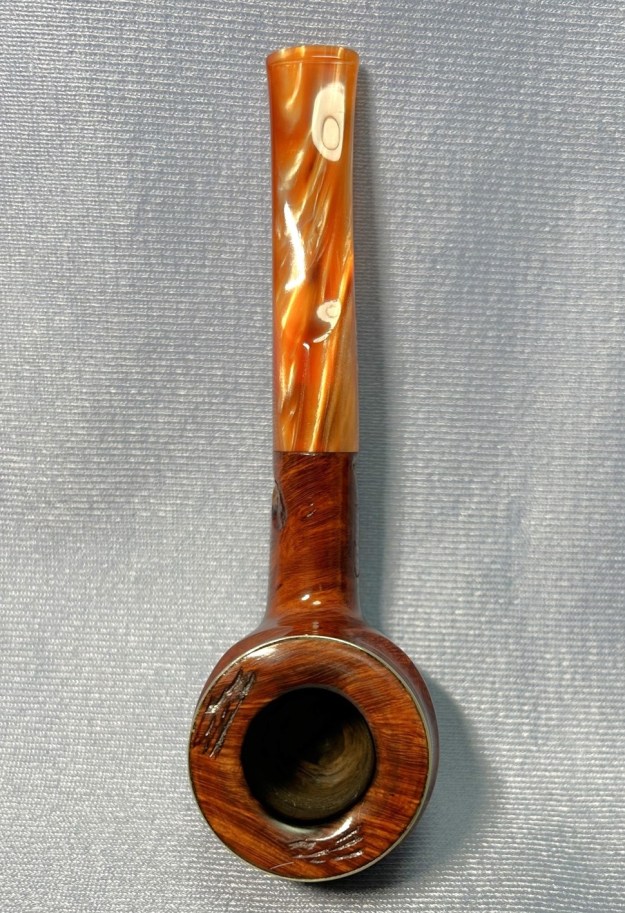
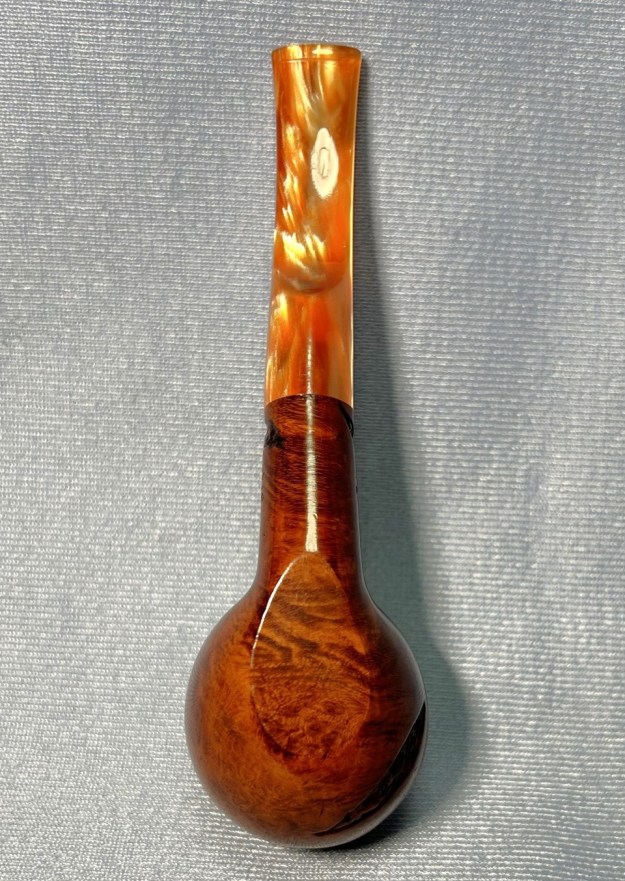
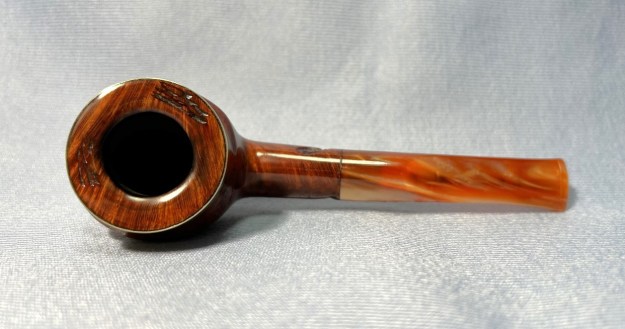
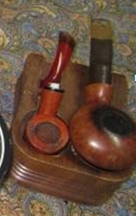
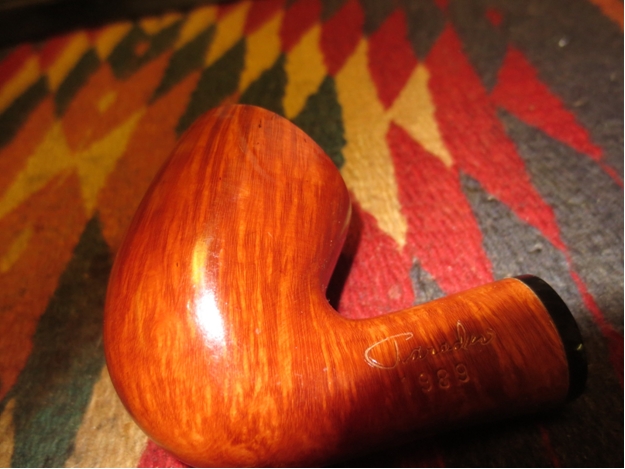
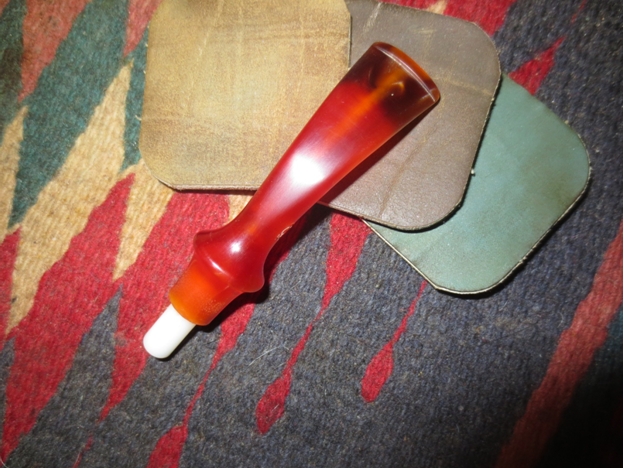
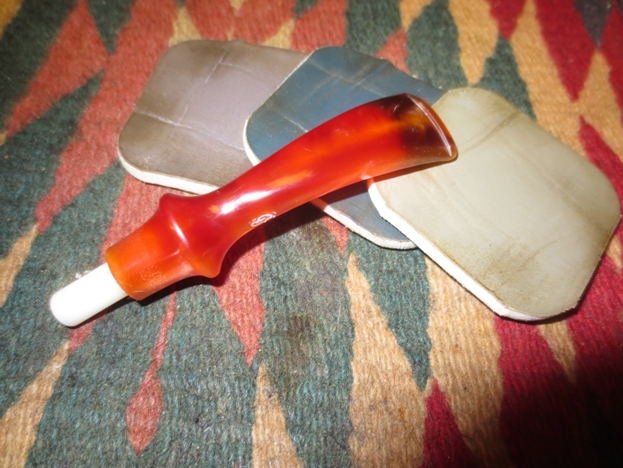
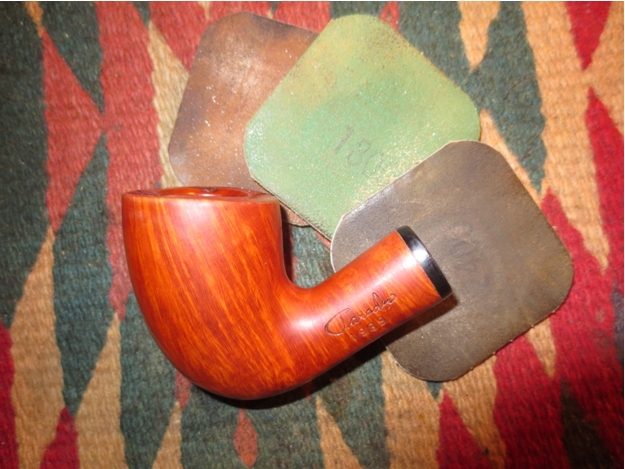
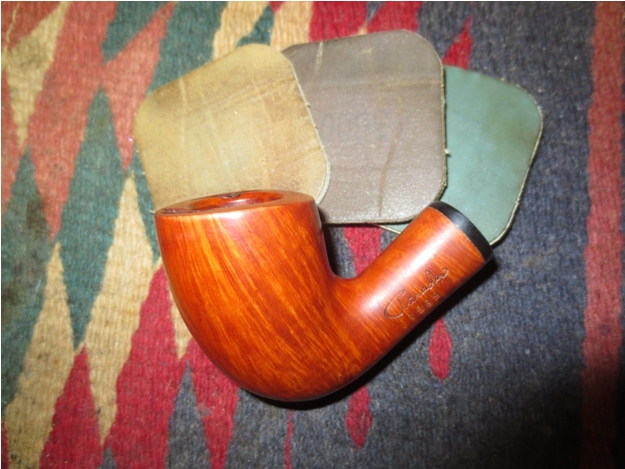
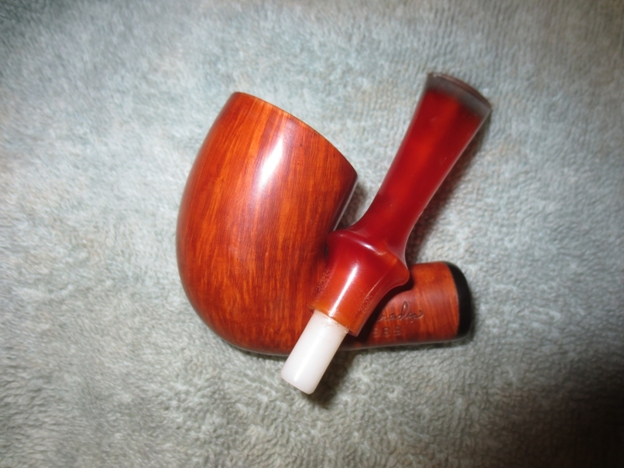
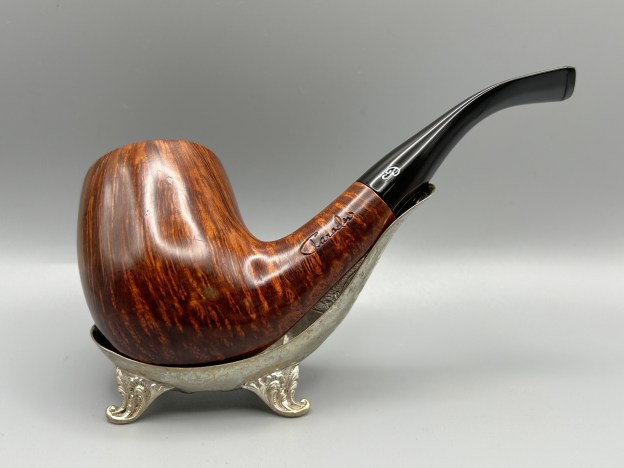
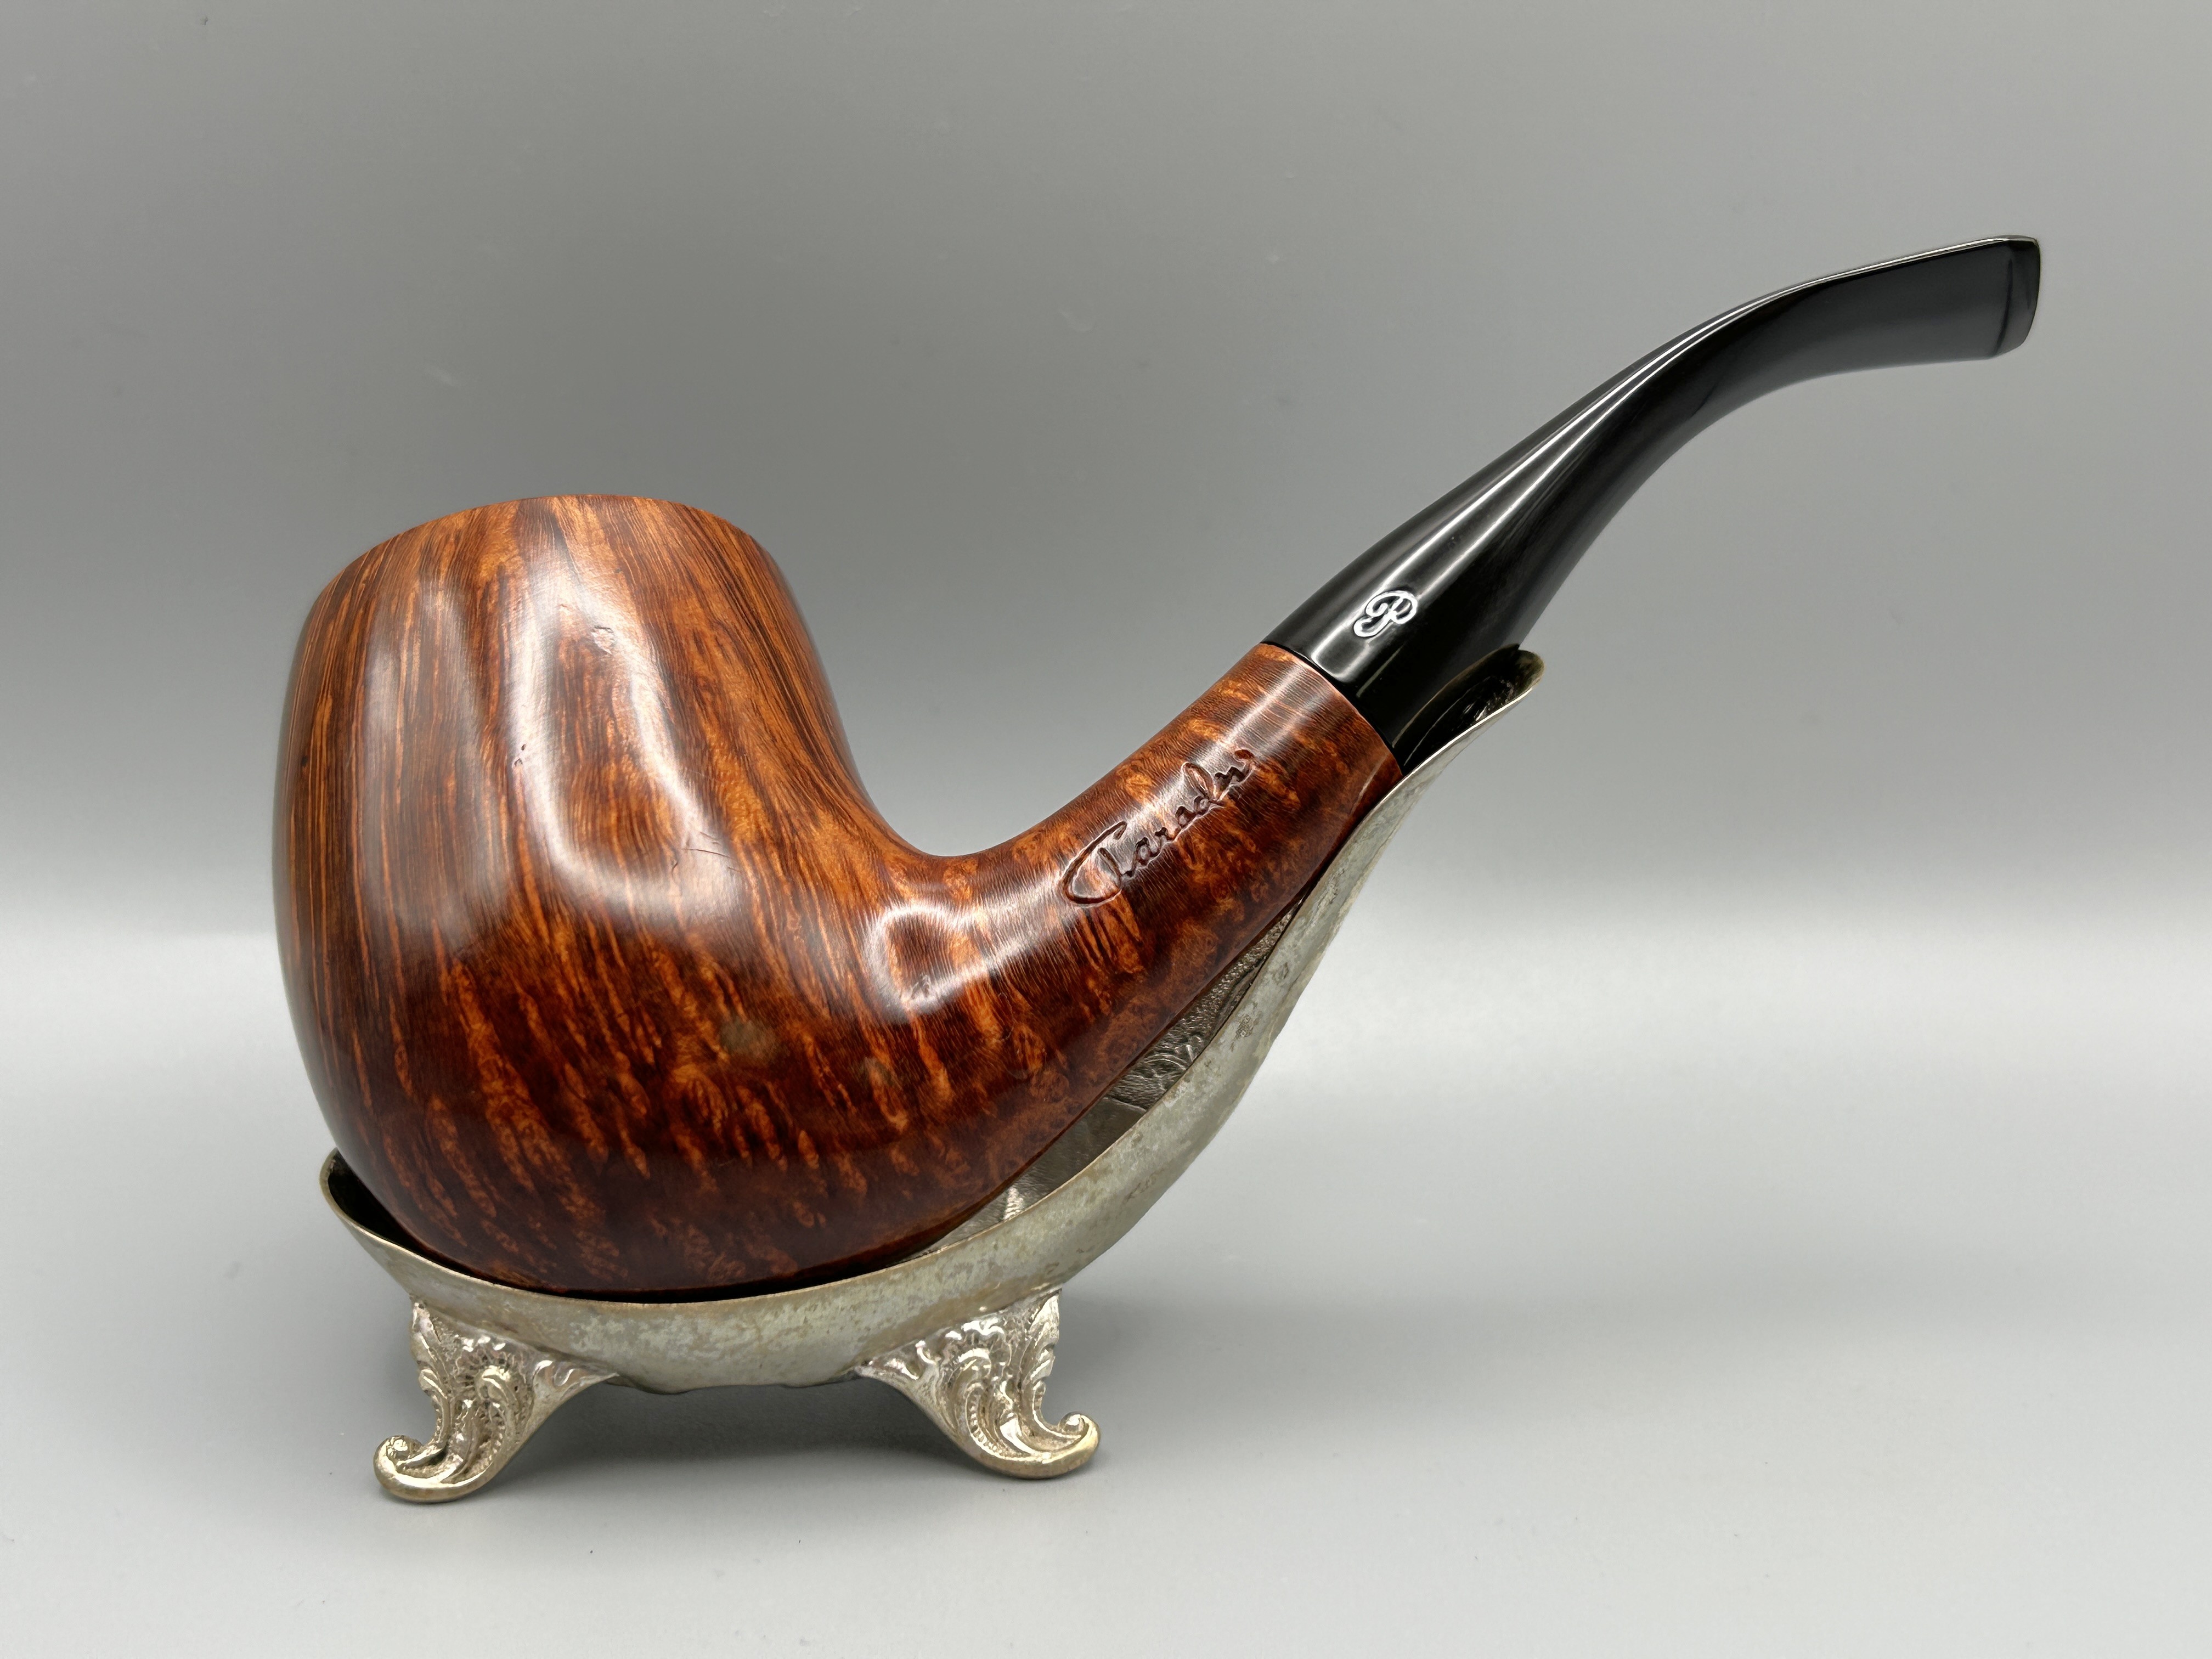
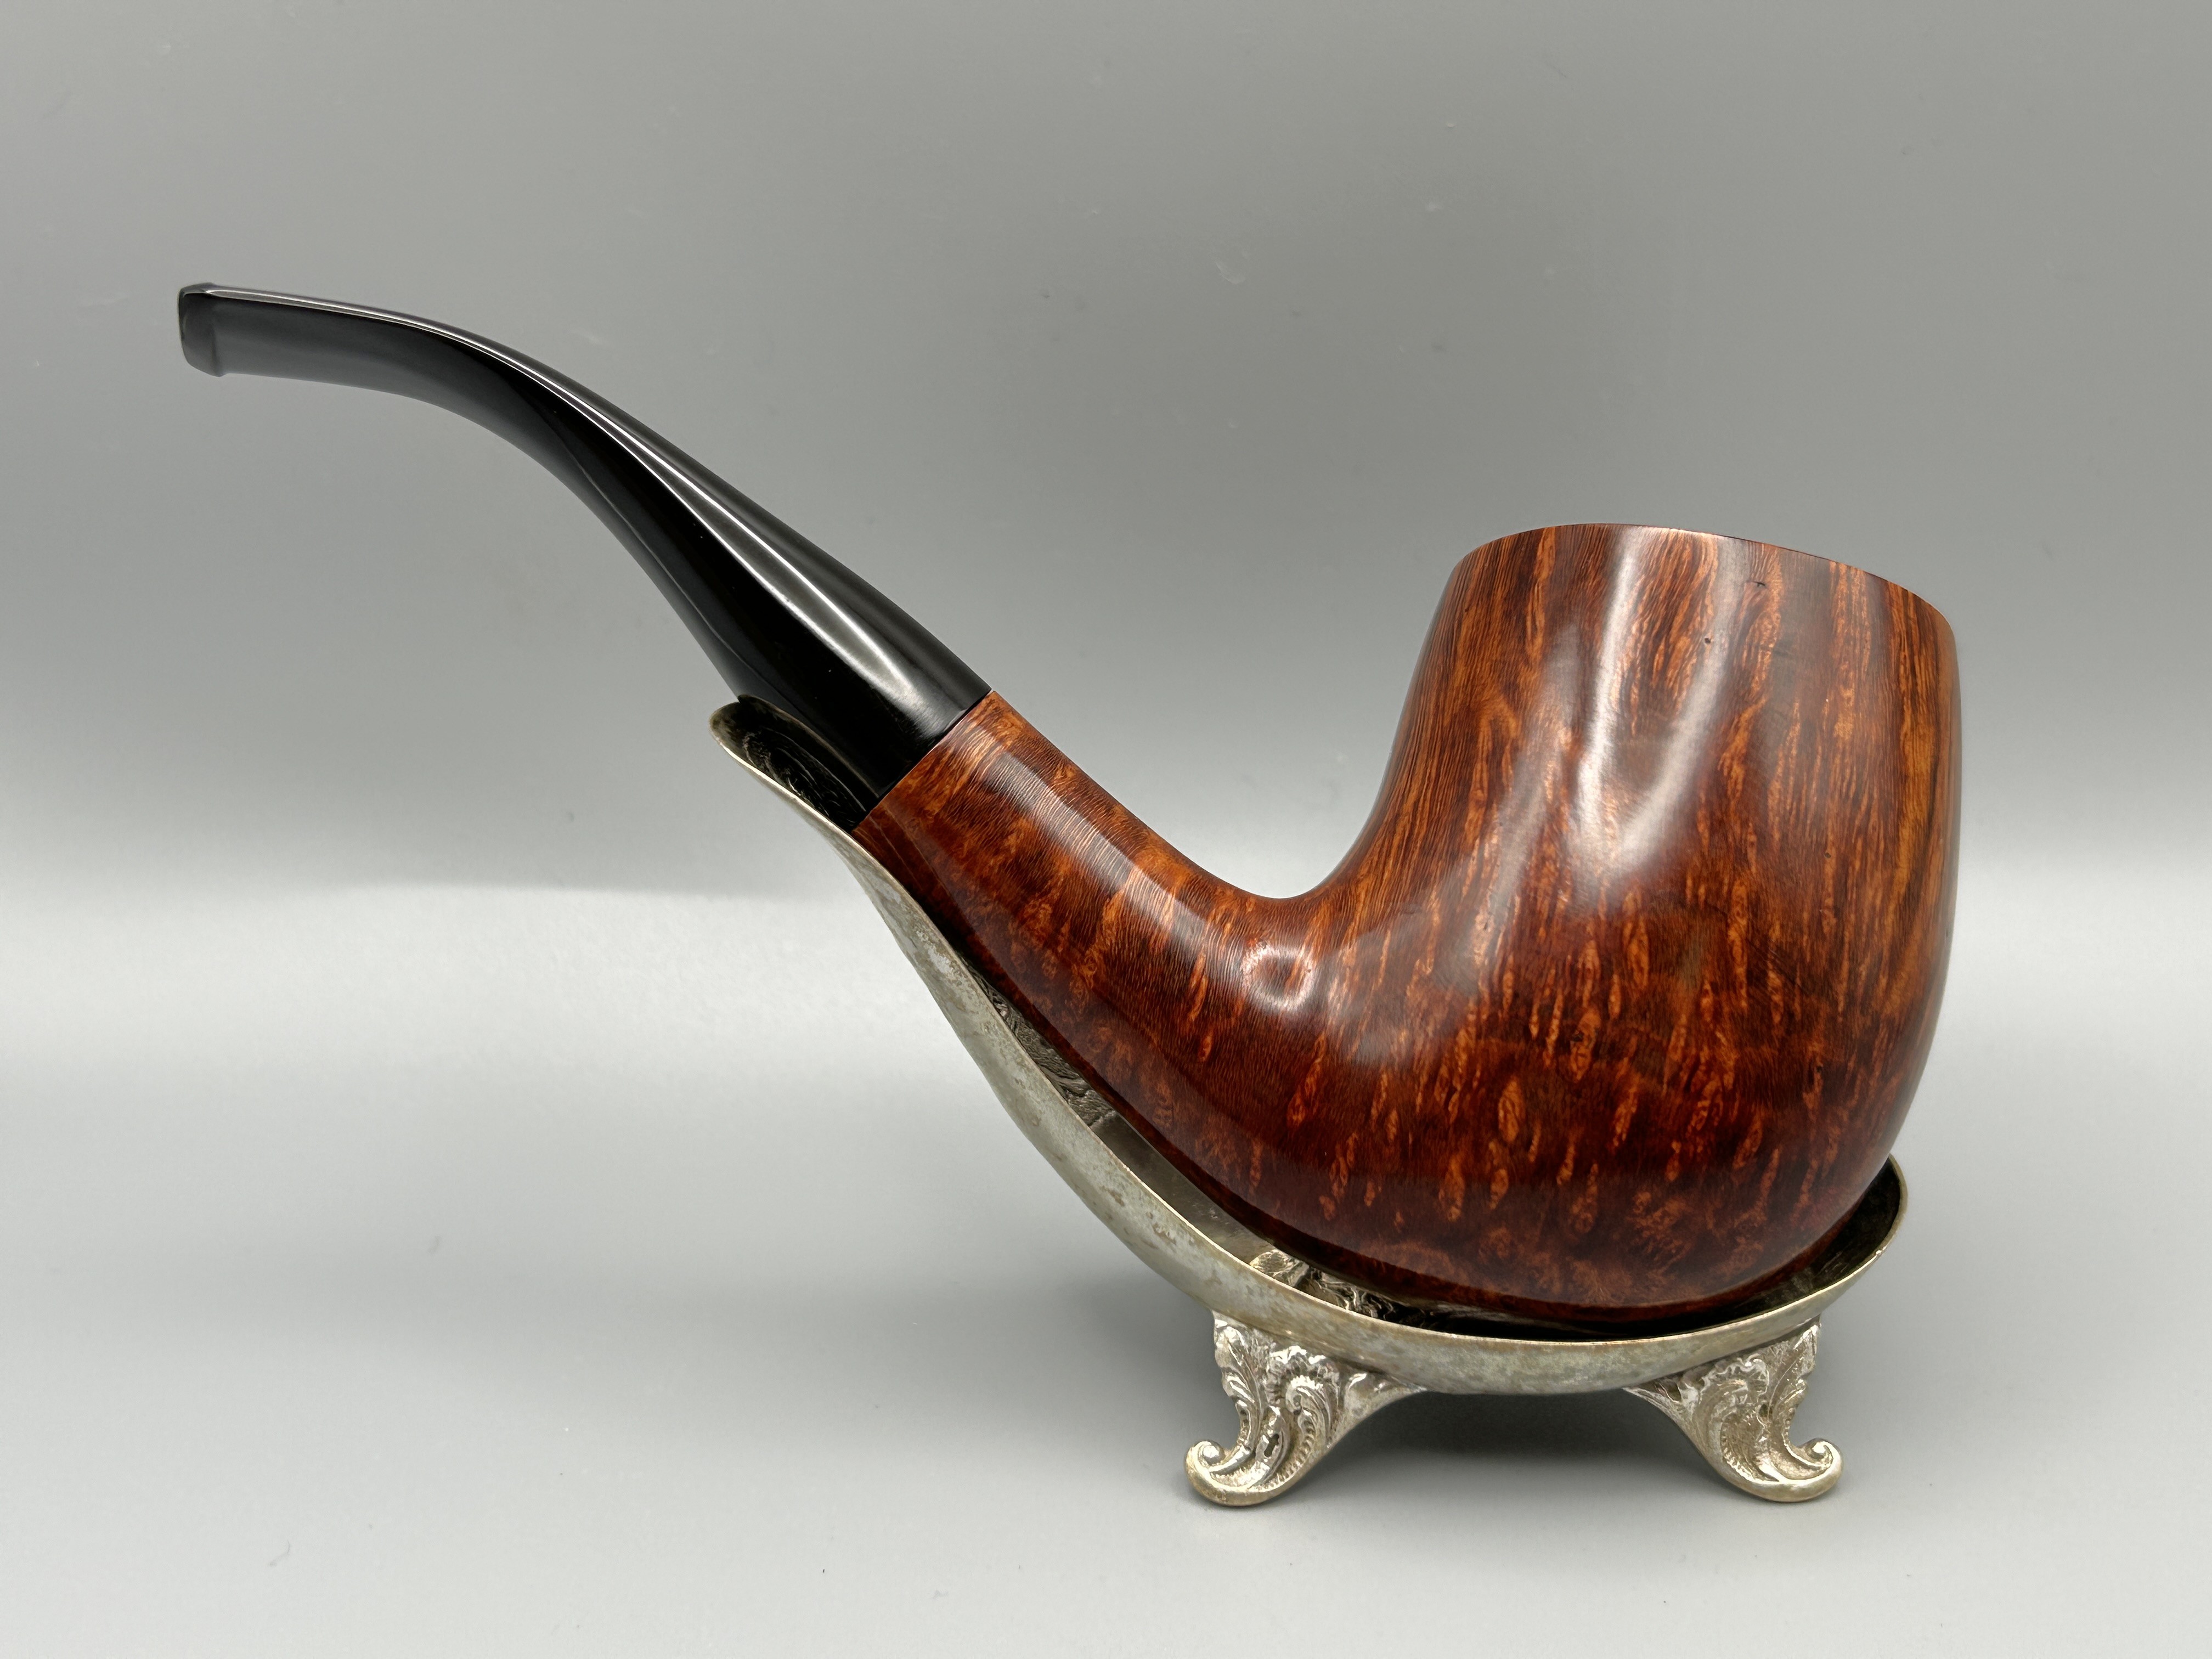
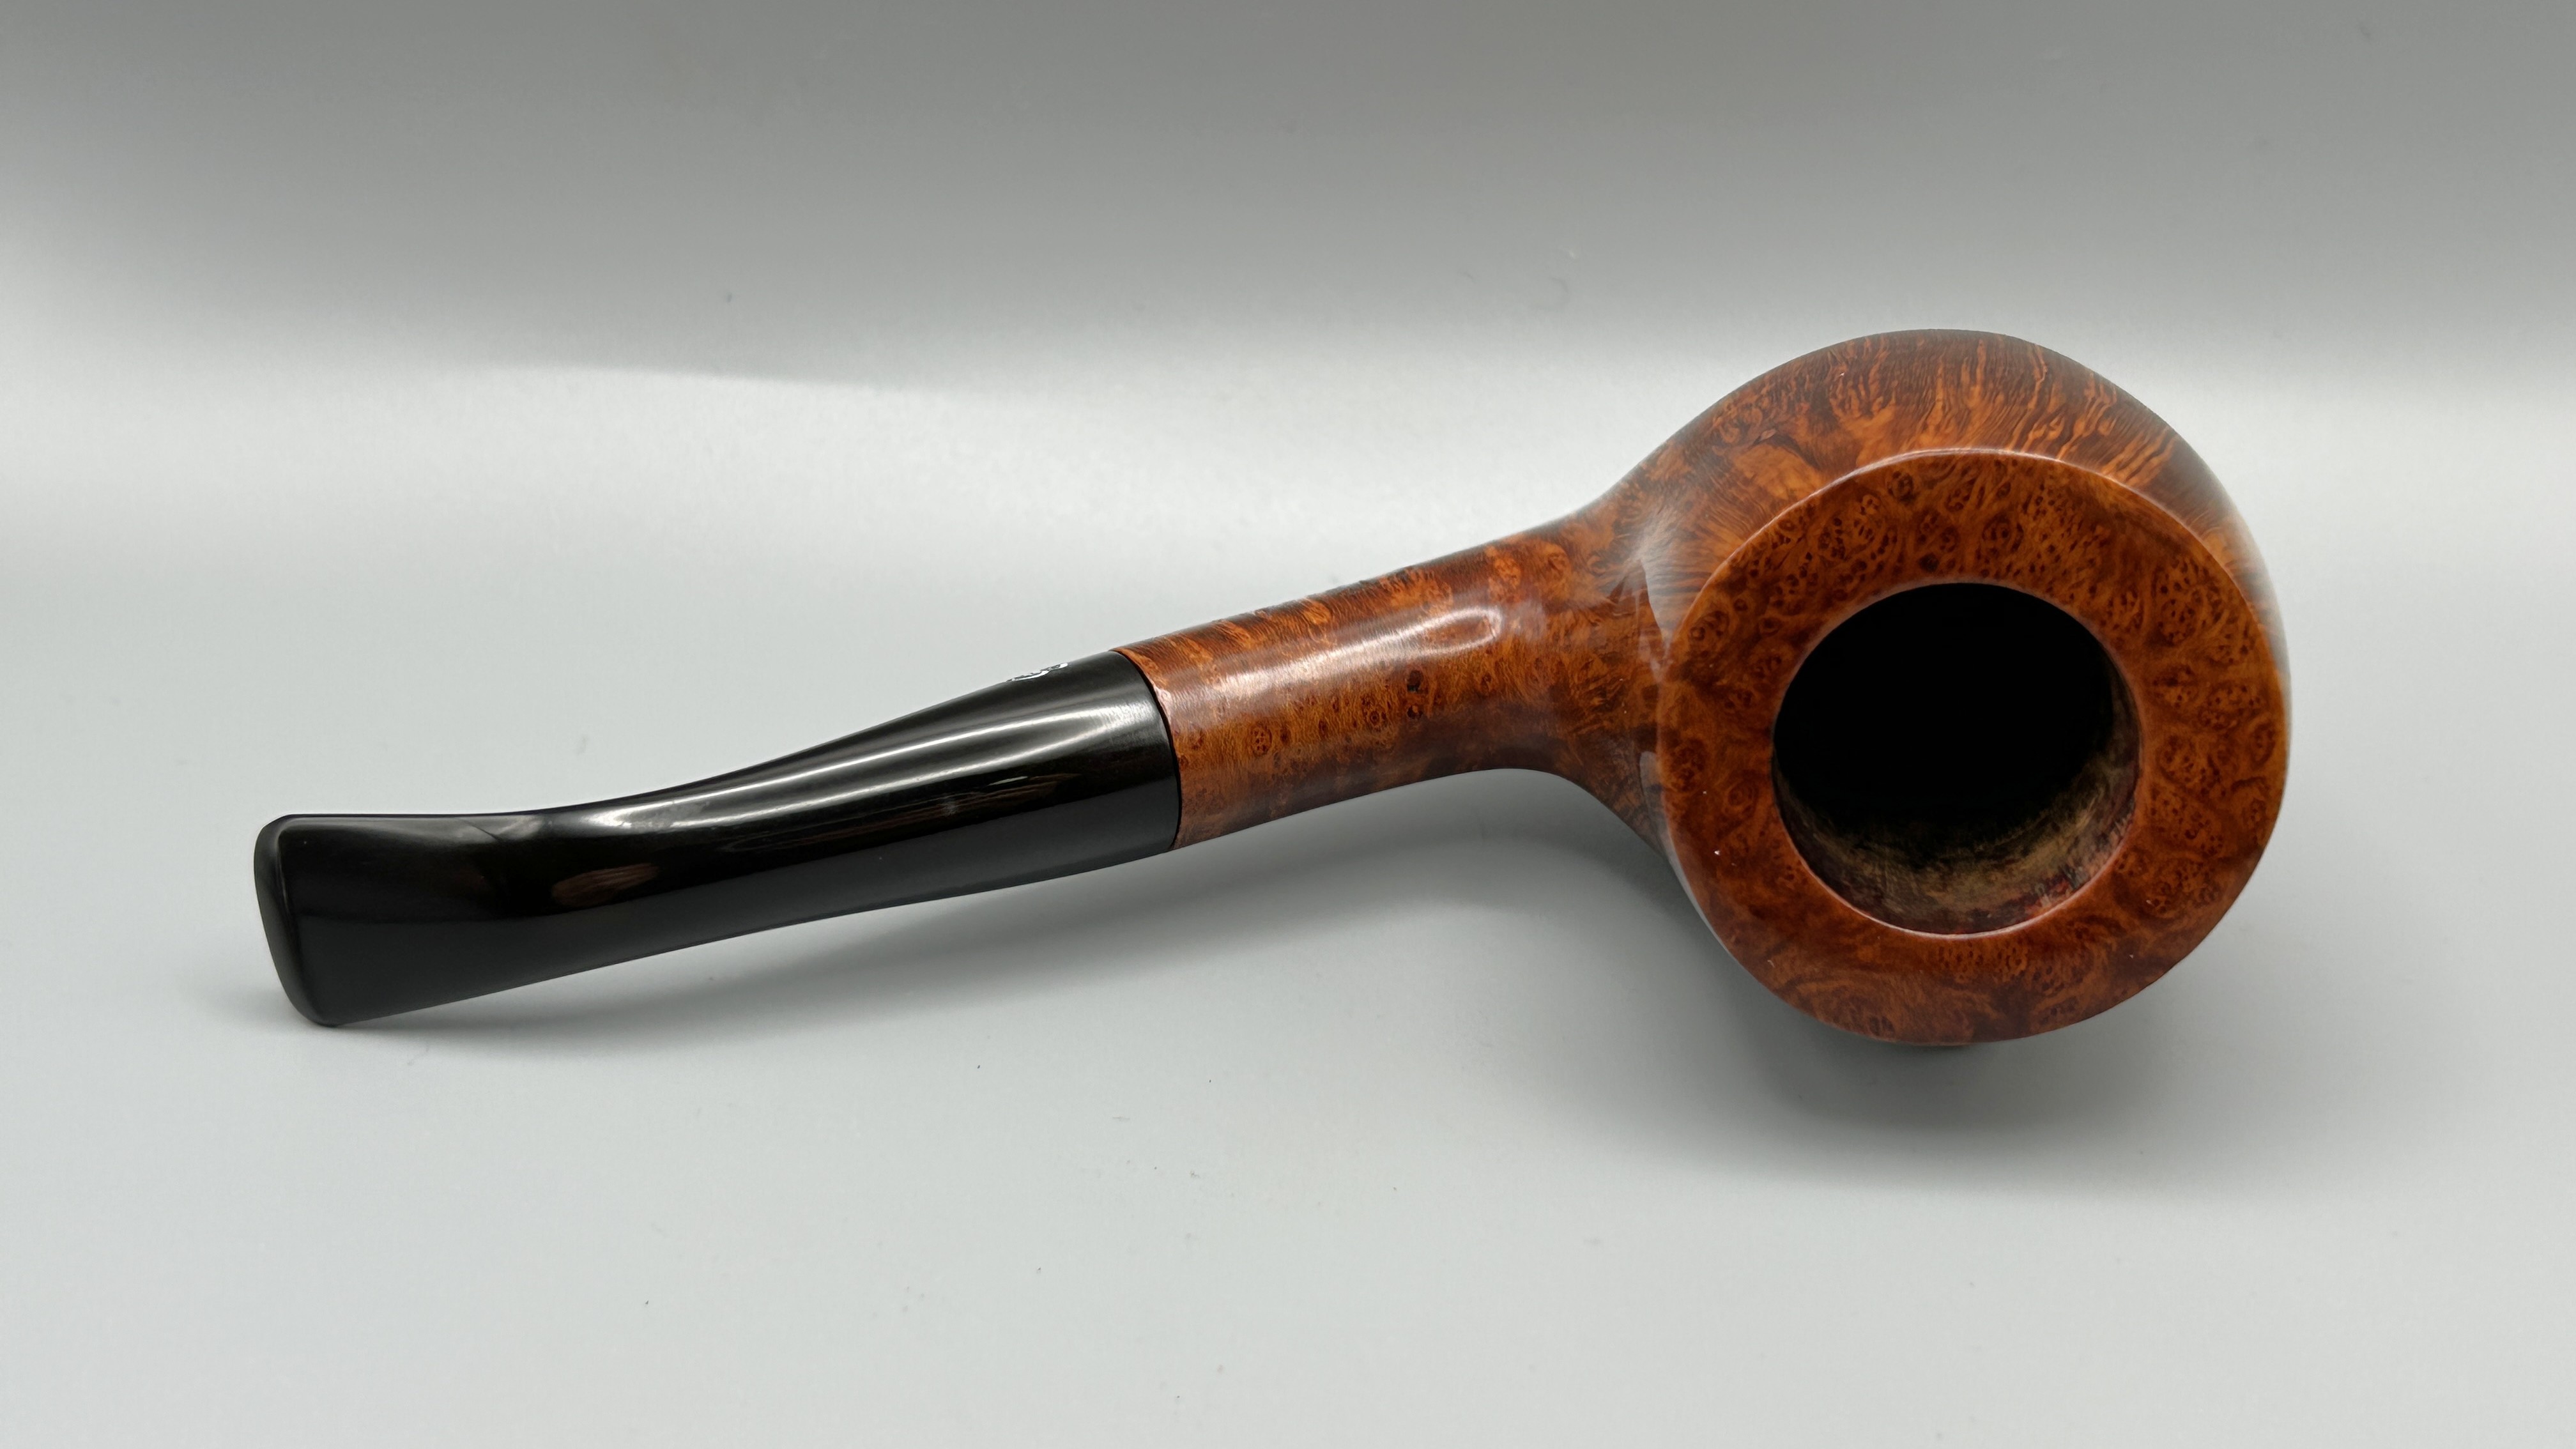
The first time this pipe came into my possession, I said, ‘Wow’. The stunning grain, the inviting shape, and the amazing proportions drew my attention immediately. This is a lovely and large Danish-Style bent egg from the Canadian Paradis Brothers of Québec City. The hearty bowl has thick, solid walls. The shank extends beautifully to a vulcanite taper stem. The pipe is very attractive and I hope it will find a good home with one of you. As I’m sure you know, the French word paradis means ‘paradise’ or ‘heaven’. I trust that smoking it will be a heavenly experience for you.
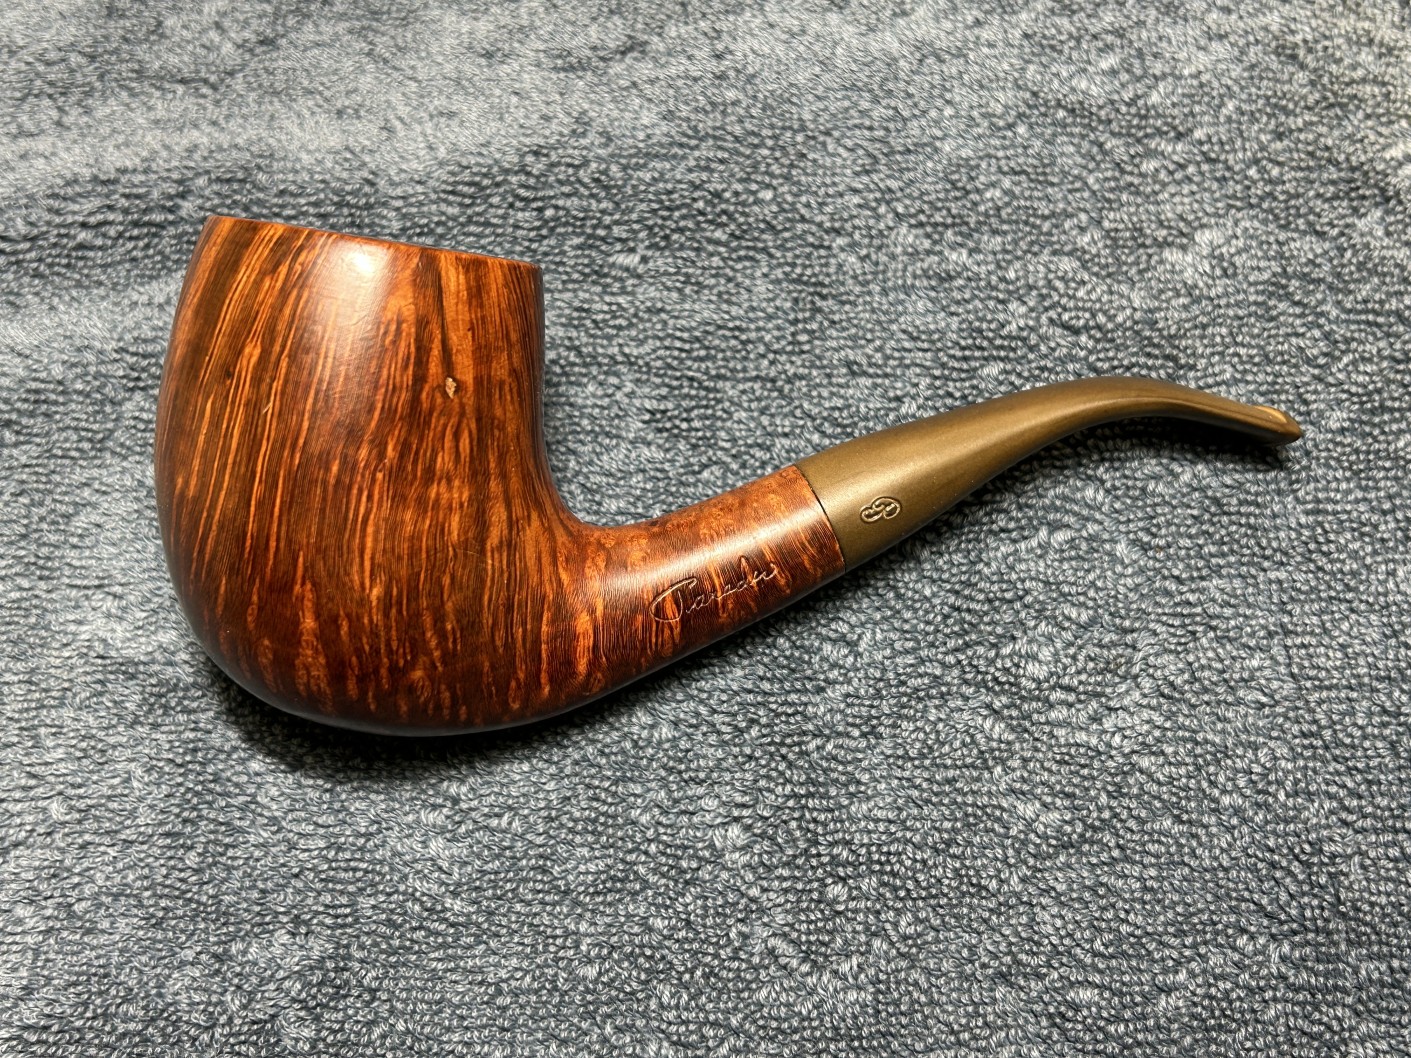
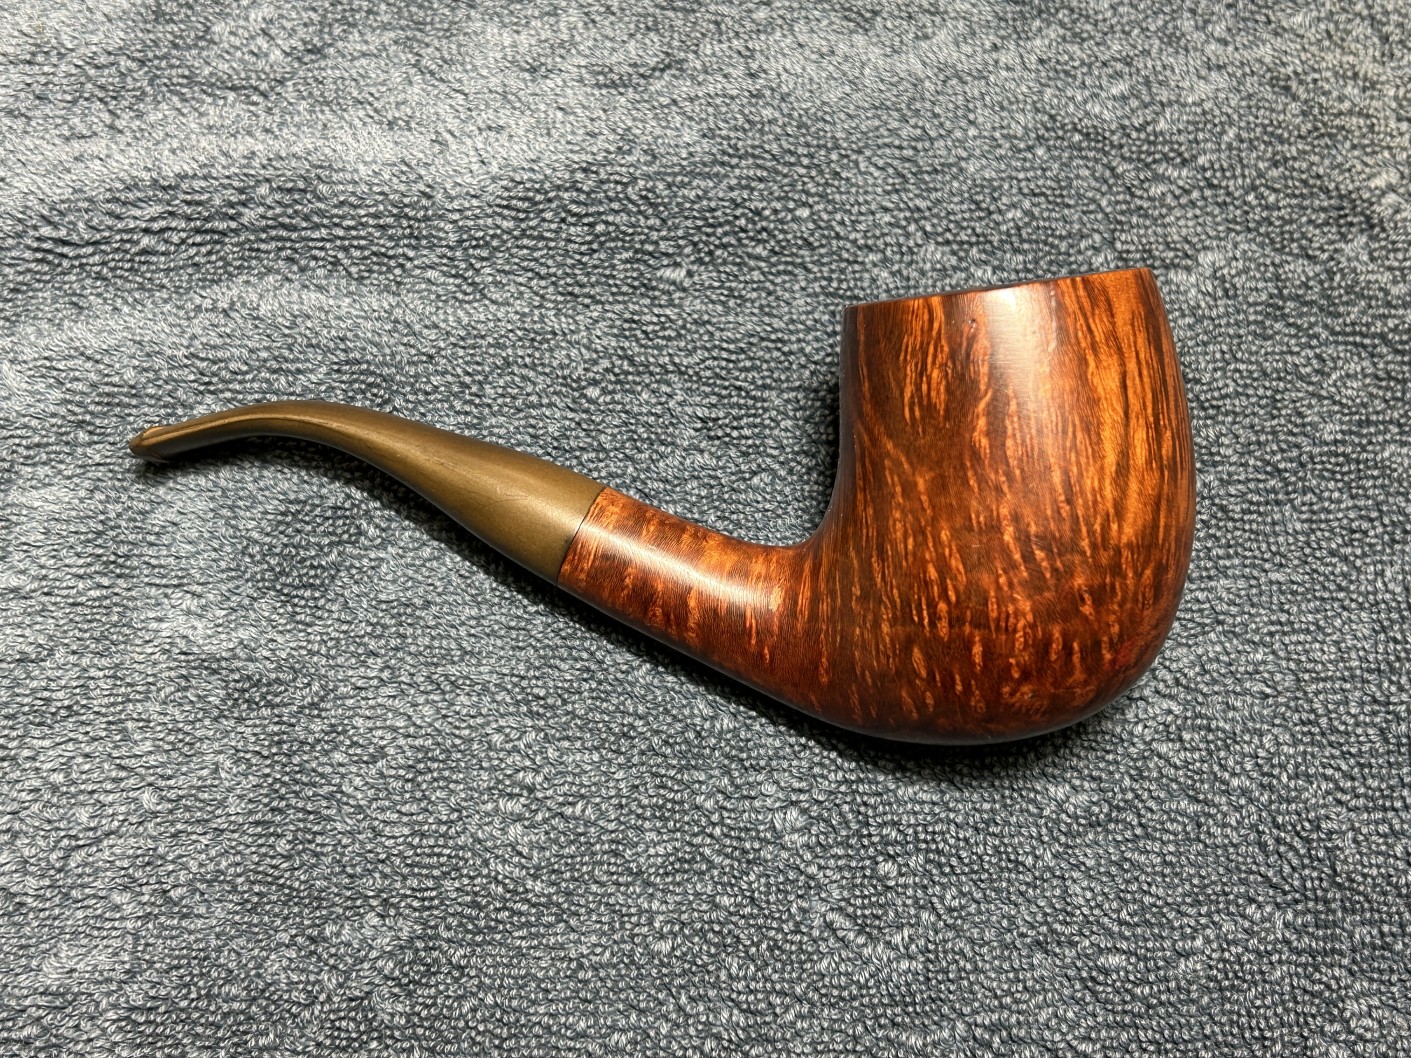
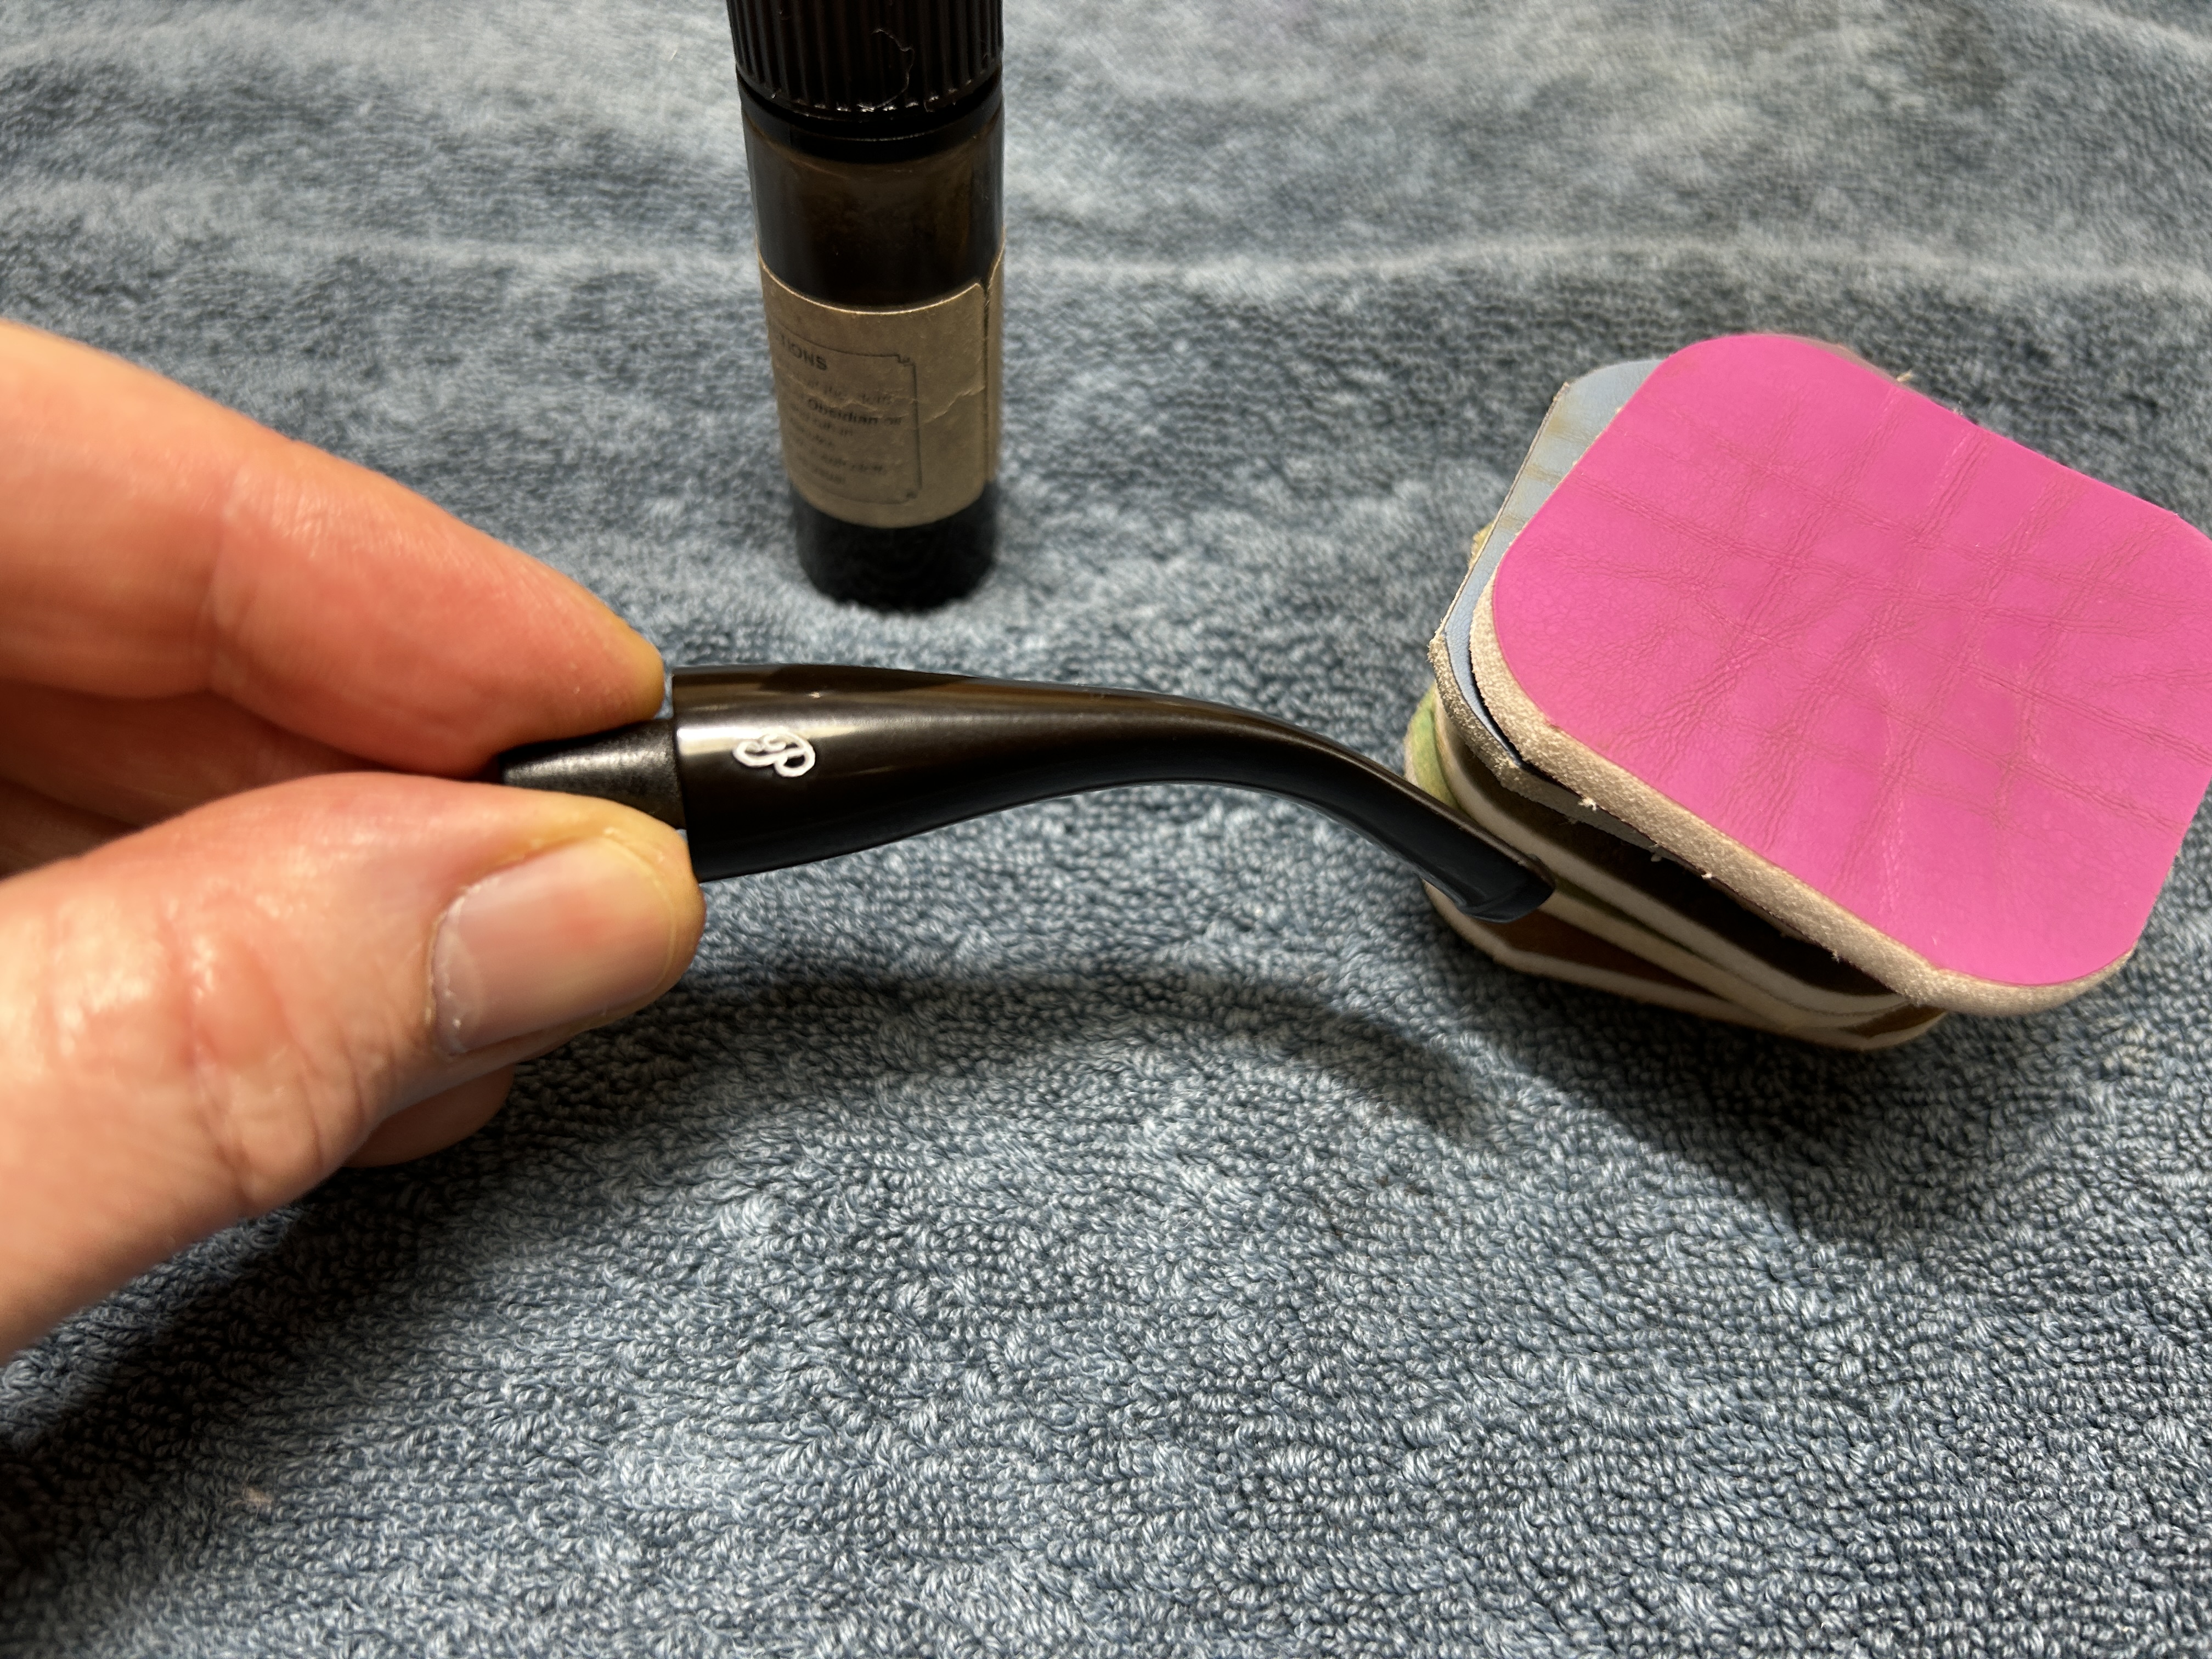
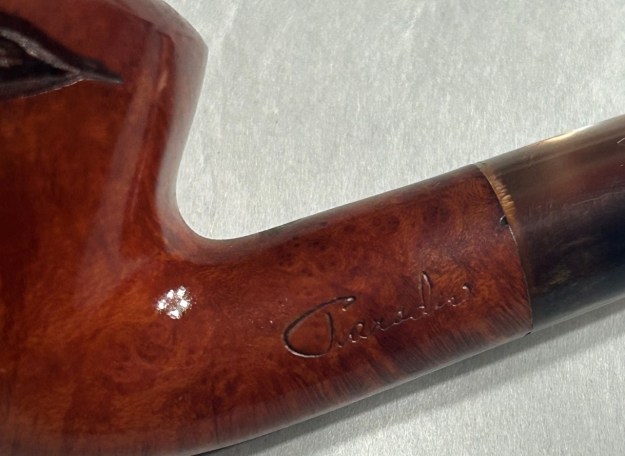
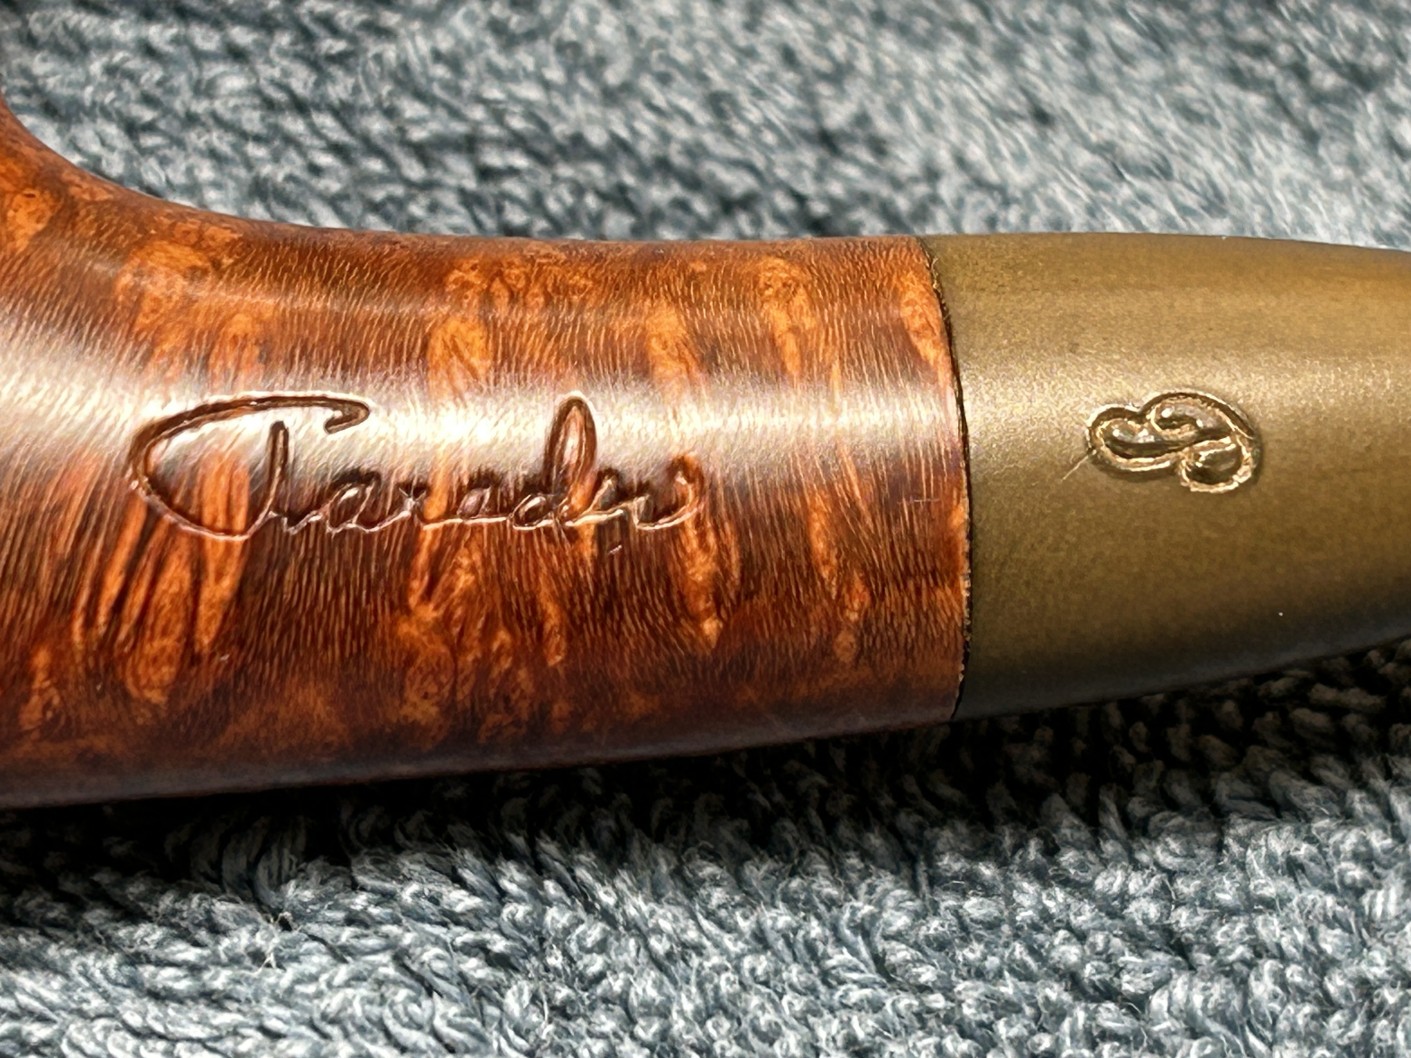
The markings are typically strange from Paradis – strange, insofar as there is very little marked! On the left side of the shank, we see the word Paradis. The stem has a cursive P. And that is all – no shape number, no place of manufacture, nothing else.
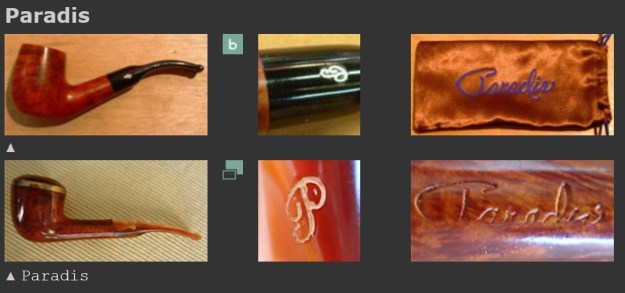
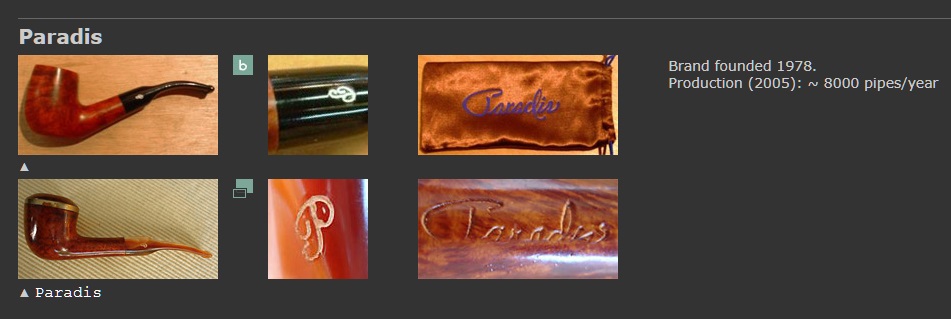
I knew Paradis Pipes to be a Canadian pipe company, based in Québec City, but I went over to Pipedia and Pipephil to seek out more information. Sadly, the company doesn’t exist anymore. Here’s some of what I found (after correcting many spelling errors):

Paradis Pipes is the Canadian brand of the brothers Gilles and Fernand Paradis. In 1922 the Paradis family moved to the USA, when Lucien Paradis (1906-1979) was 16 years old. It was at this age that he started as an apprentice at his uncle’s pipe factory: Joseph B. Desjardins, maker of (JD) pipes, in Fall River, MA. Joseph Desjardins was issued two patents during this period, one for a new machine for making pipe stems and another for a new design of pipe reamer. The company employed 60 workers at one stage. In 1930, due to the Great Depressions, Lucien lost his job and returned to Quebec to work in the agricultural machine industry. In his spare time, be made pipes, selling them door to door. Three years later the rest of the family joined him, and Lucien founded a pipe factory with two of his brothers. The company eventually employed 18 workers and in the 1960s produced over 50,000 pipes a year, under brands like JBL, Dr. Thomas, Fernand Gignac, S.C. Pipes, New London Golfer, and Jo Thomassin. Paradis was founded in 1978, at the Salon of Quebec Artisans, and is available in tobacconists all over the country today. The brand produces 8,000 pipes a year (400 “handmade”), with Greek briar.
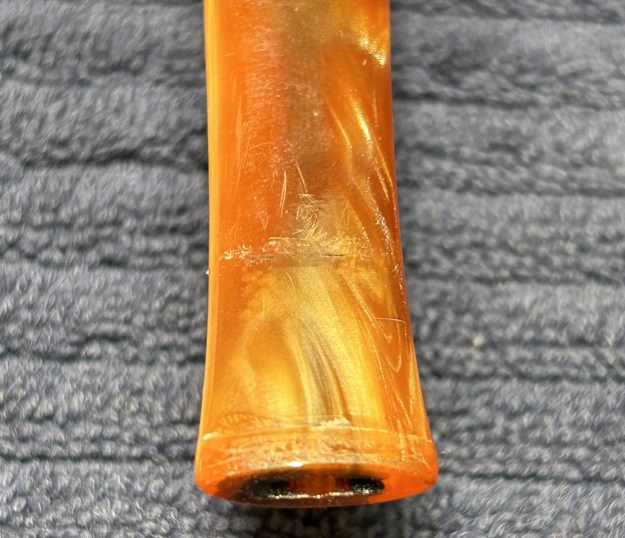
I’m pleased to say that the pipe is in very good condition. The stem is barely used. It has quite a bit of oxidation, but hardly any tooth chatter. The bowl has been seldom smoked. Very little cake, and no lava on the rim. There are a couple of small fills, but nothing serious.
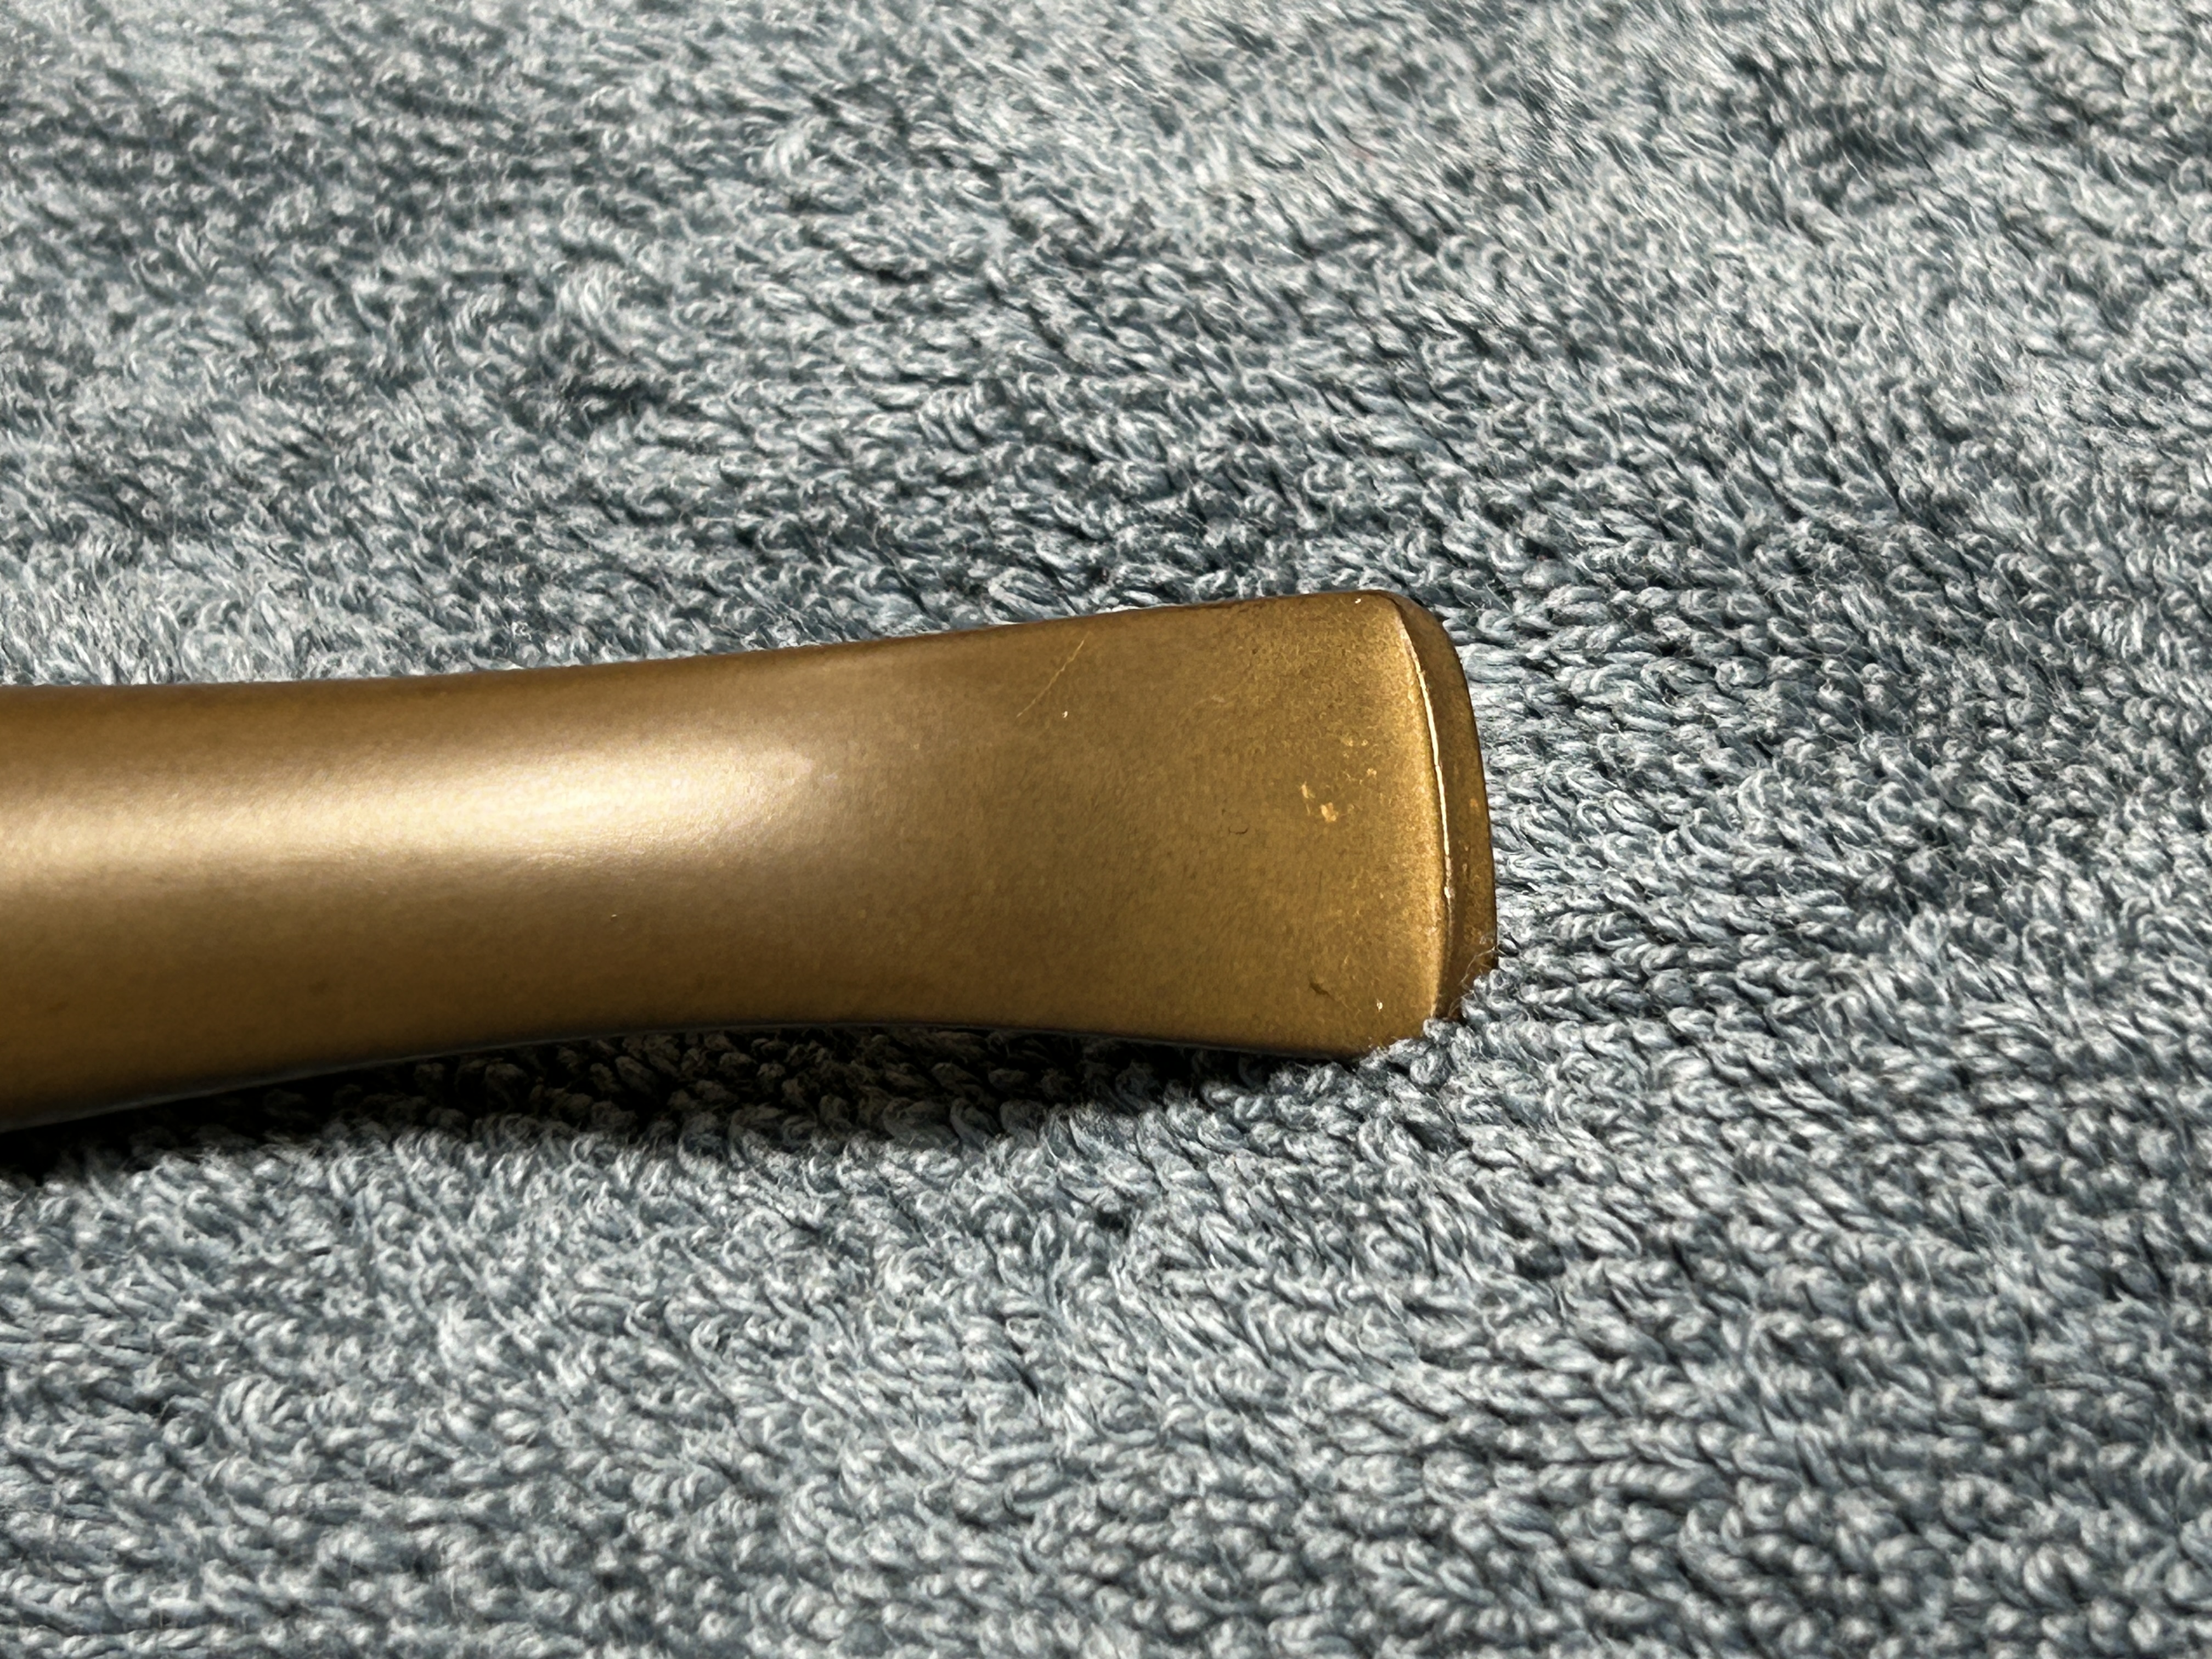
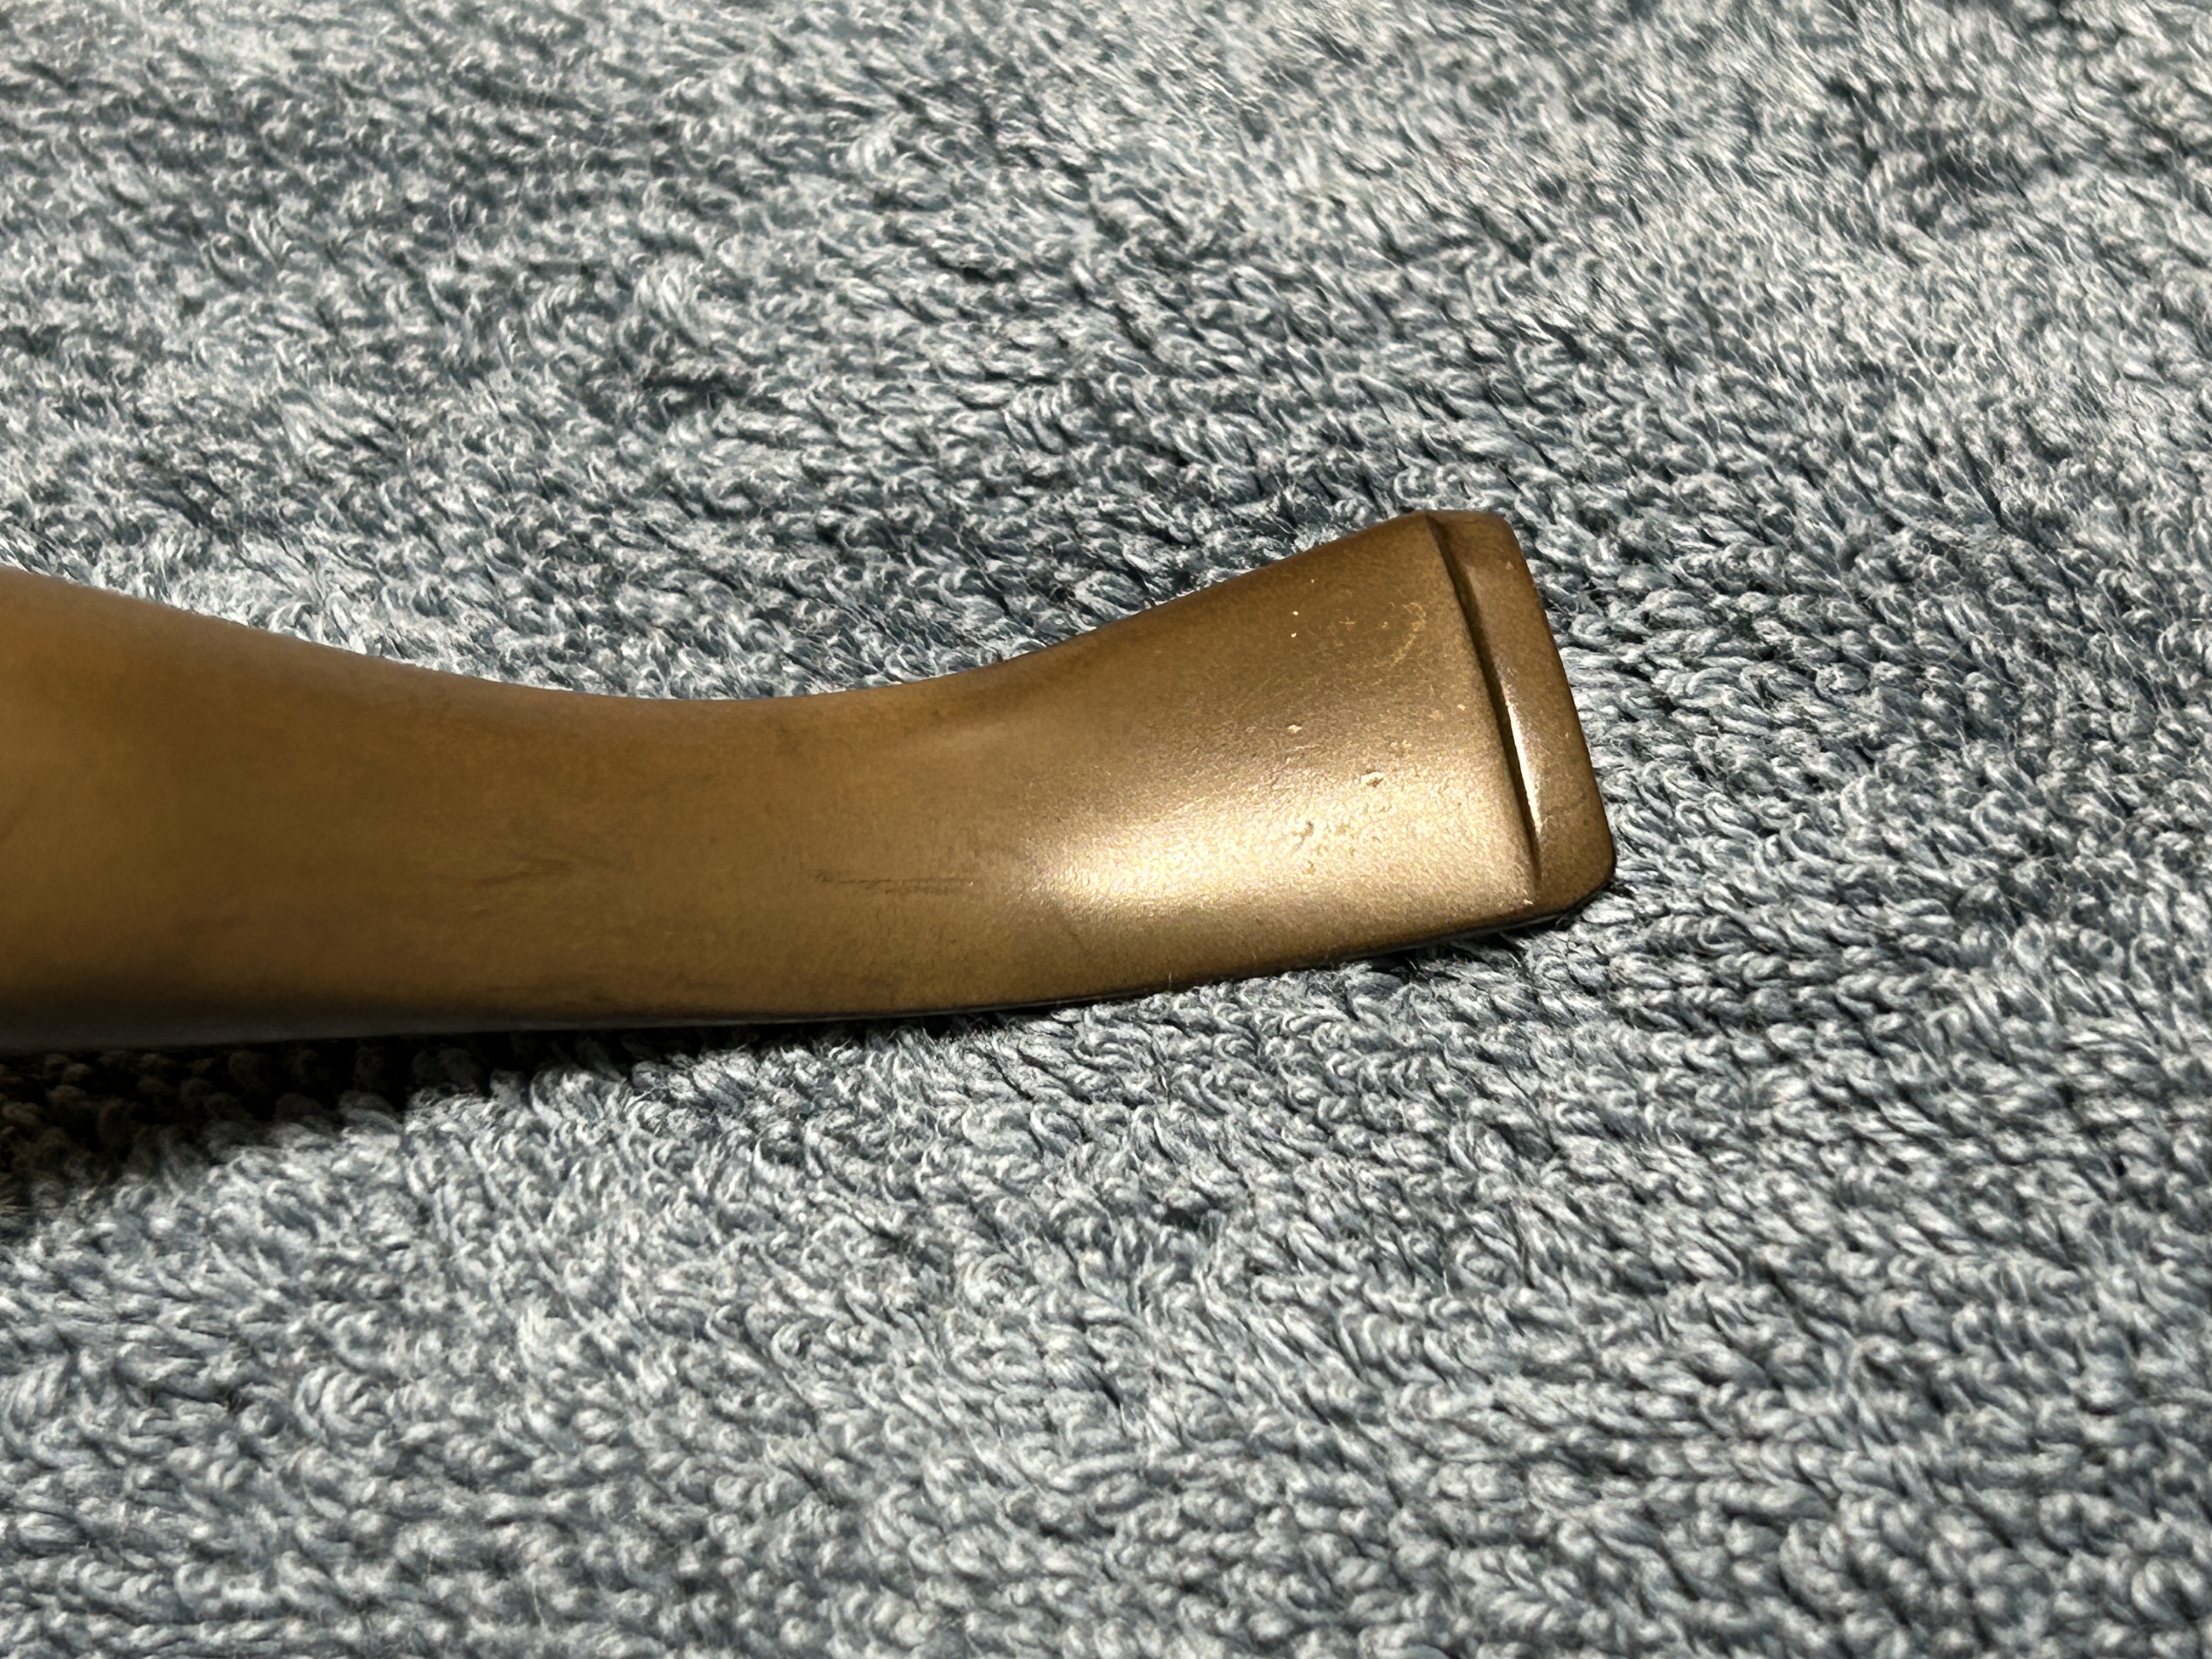
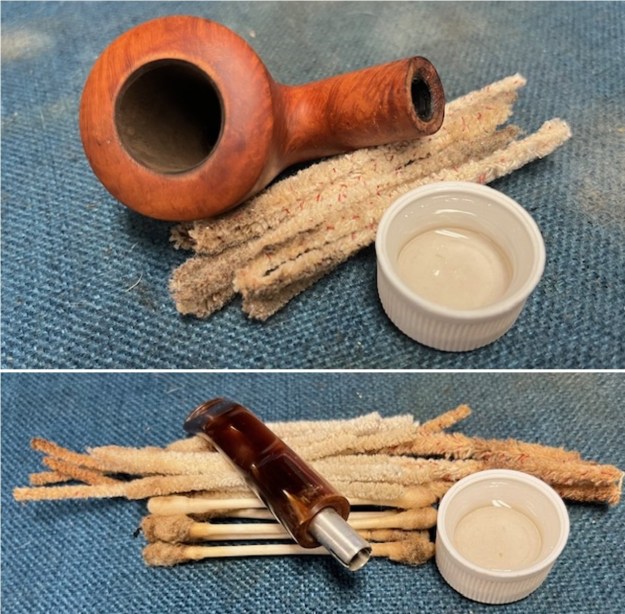
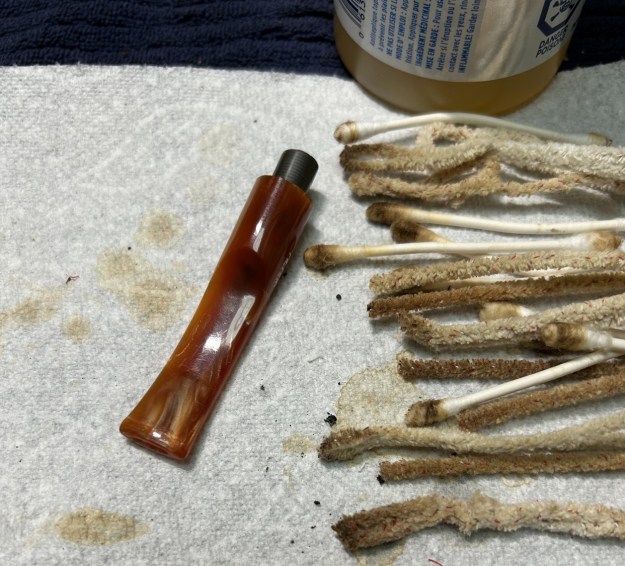
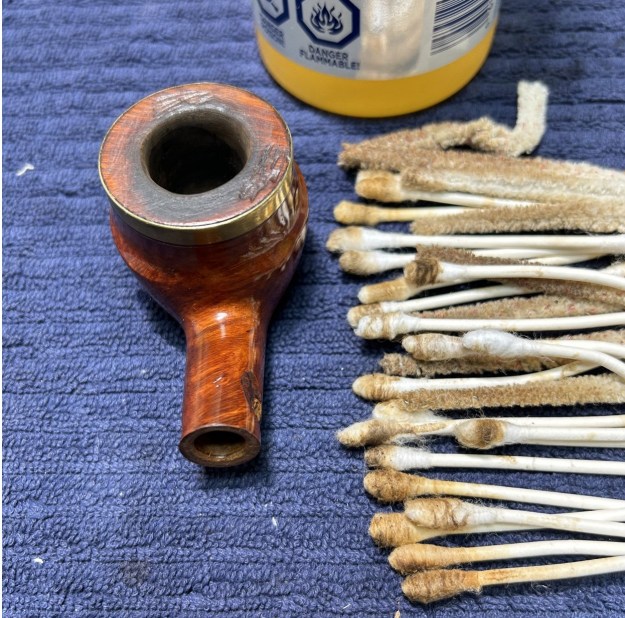
I used isopropyl alcohol on a few cotton rounds and wiped down the stem to provide an initial cleaning of filth before moving on to the next steps. The primary cleaning came next. I disinfected the inside of the stem with both pipe cleaners and cotton swabs dipped in lemon-infused 99% isopropyl alcohol. I scrubbed thoroughly to make sure the interior was very clean. It wasn’t very dirty.
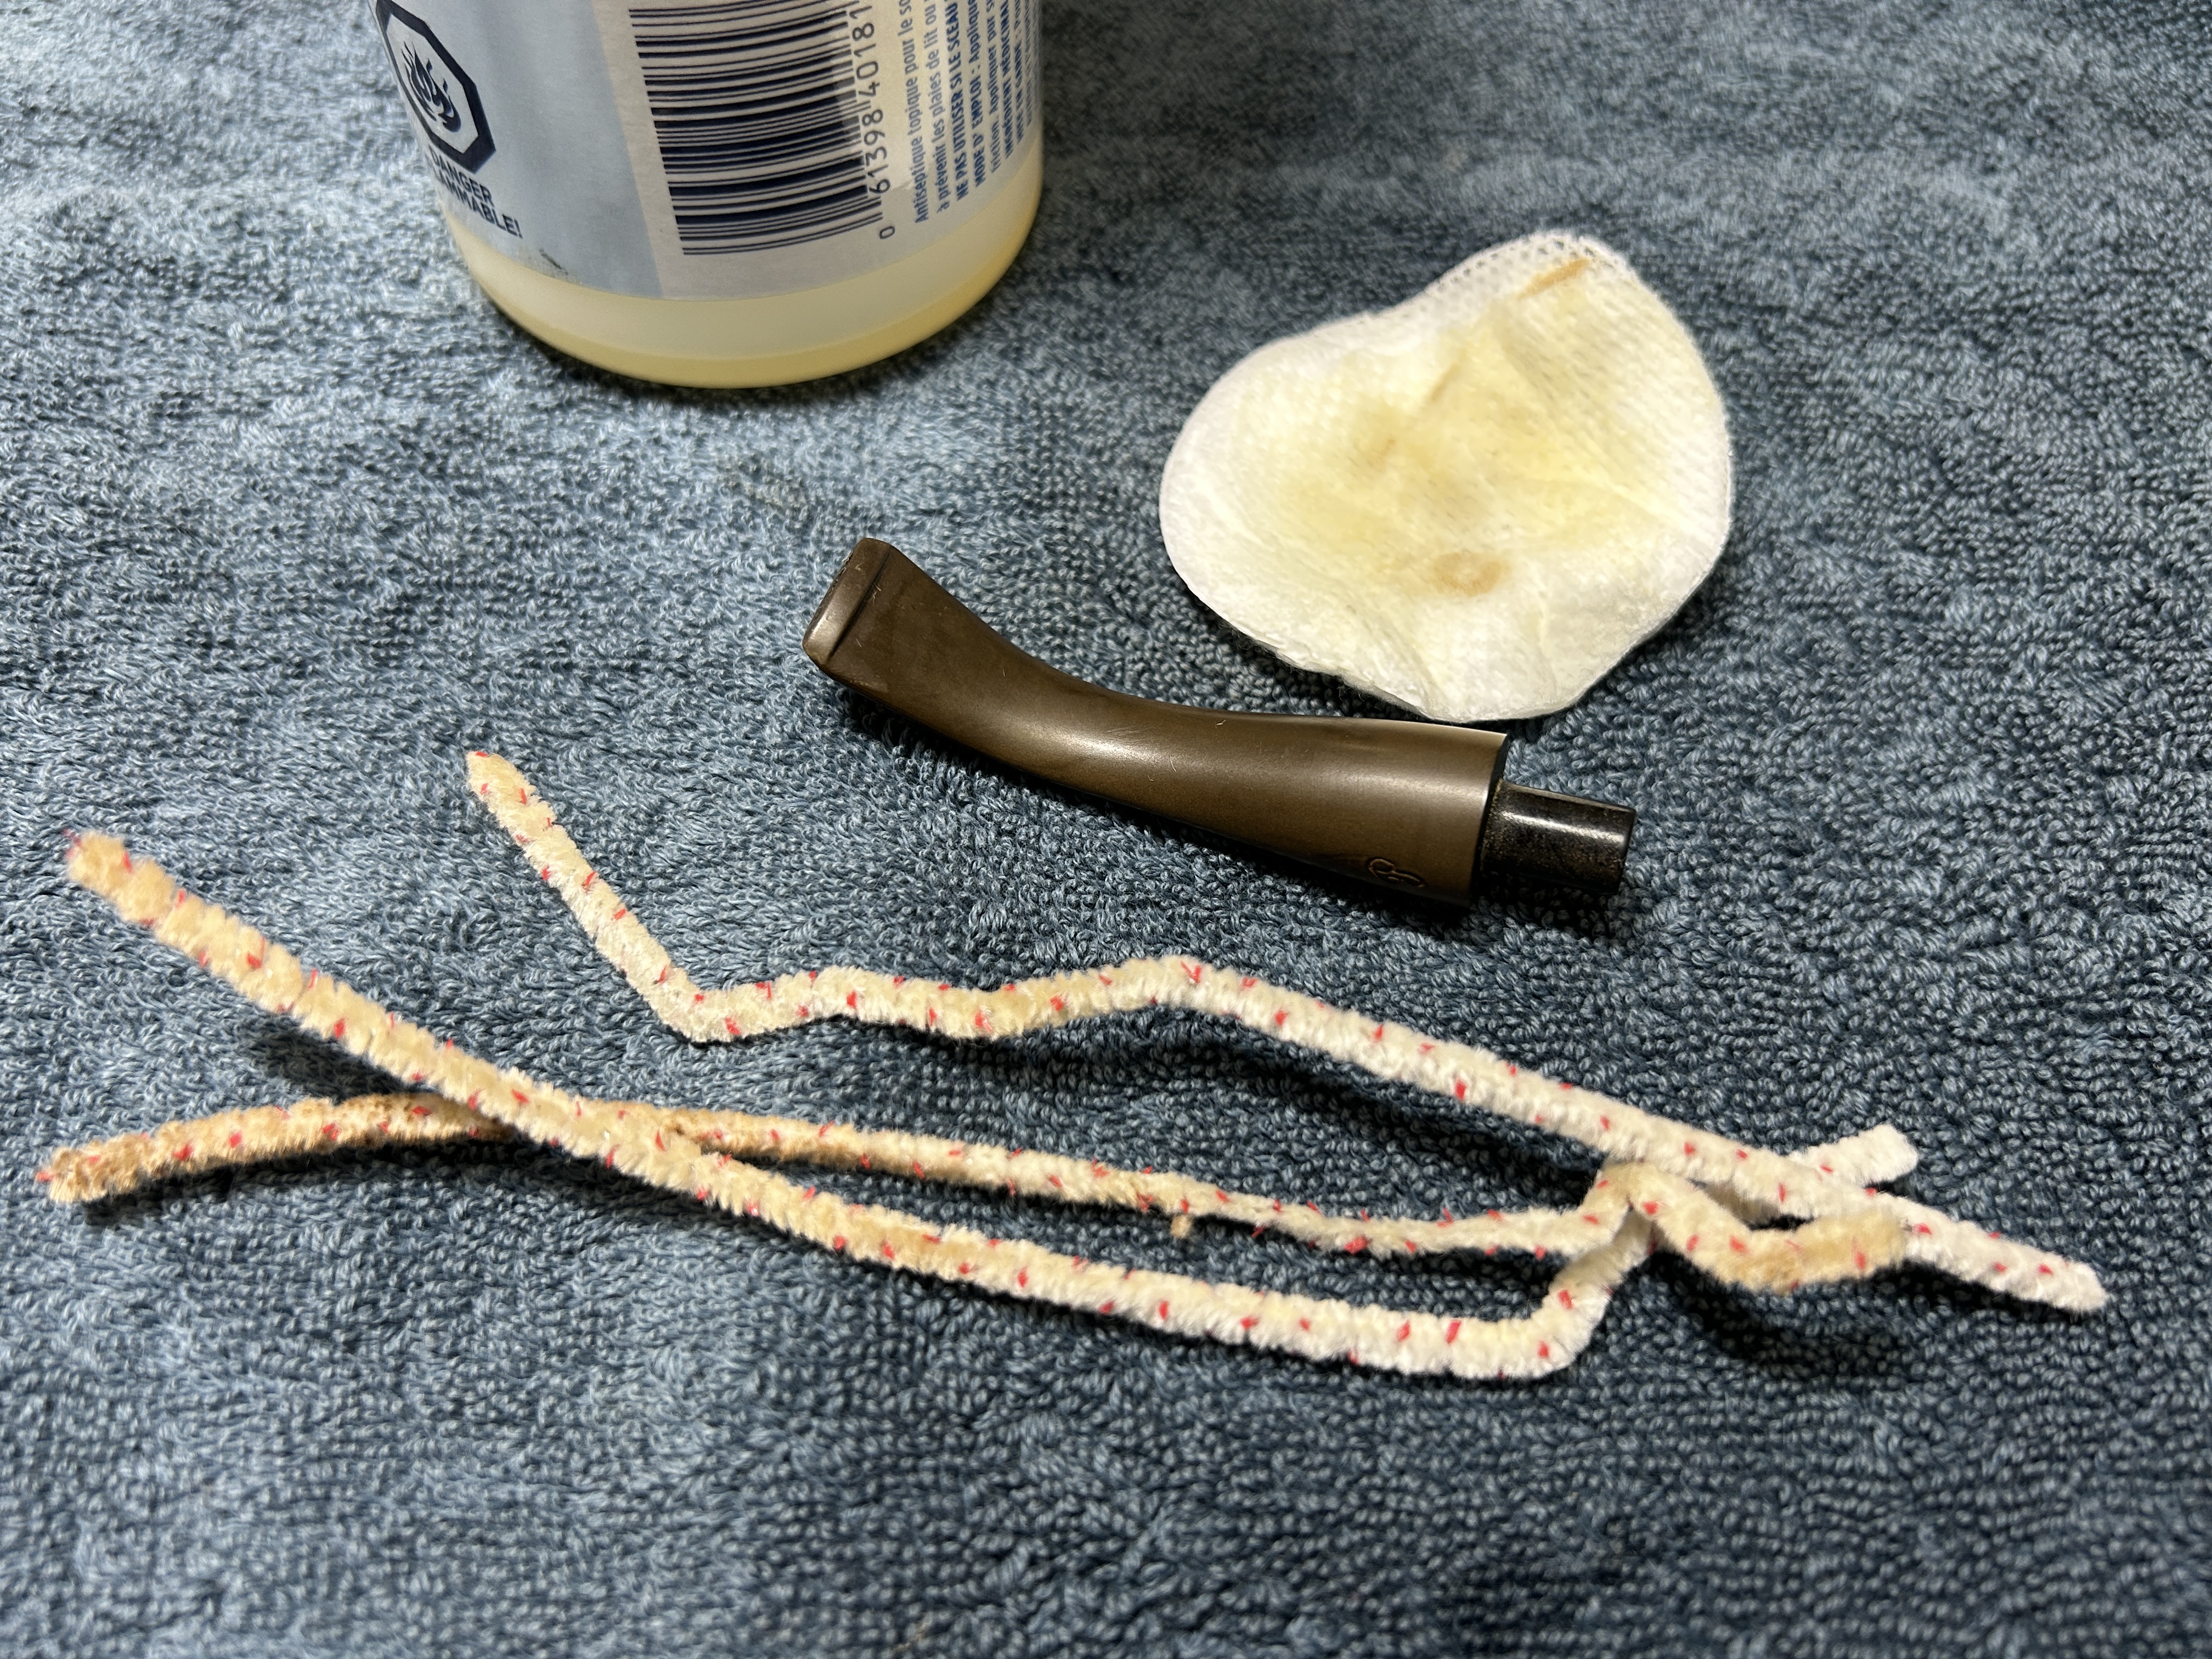
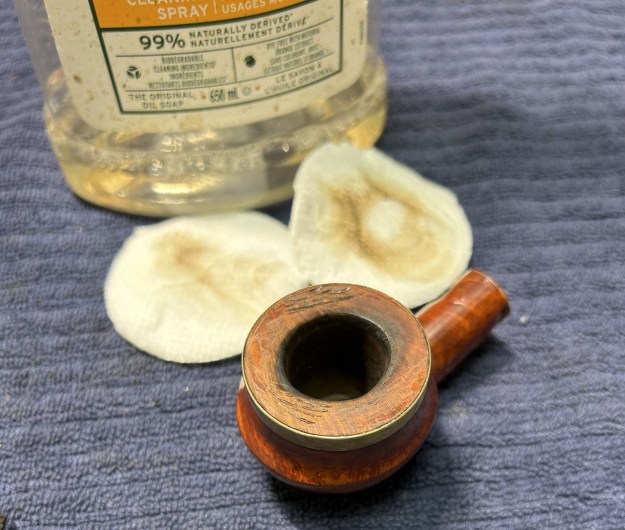
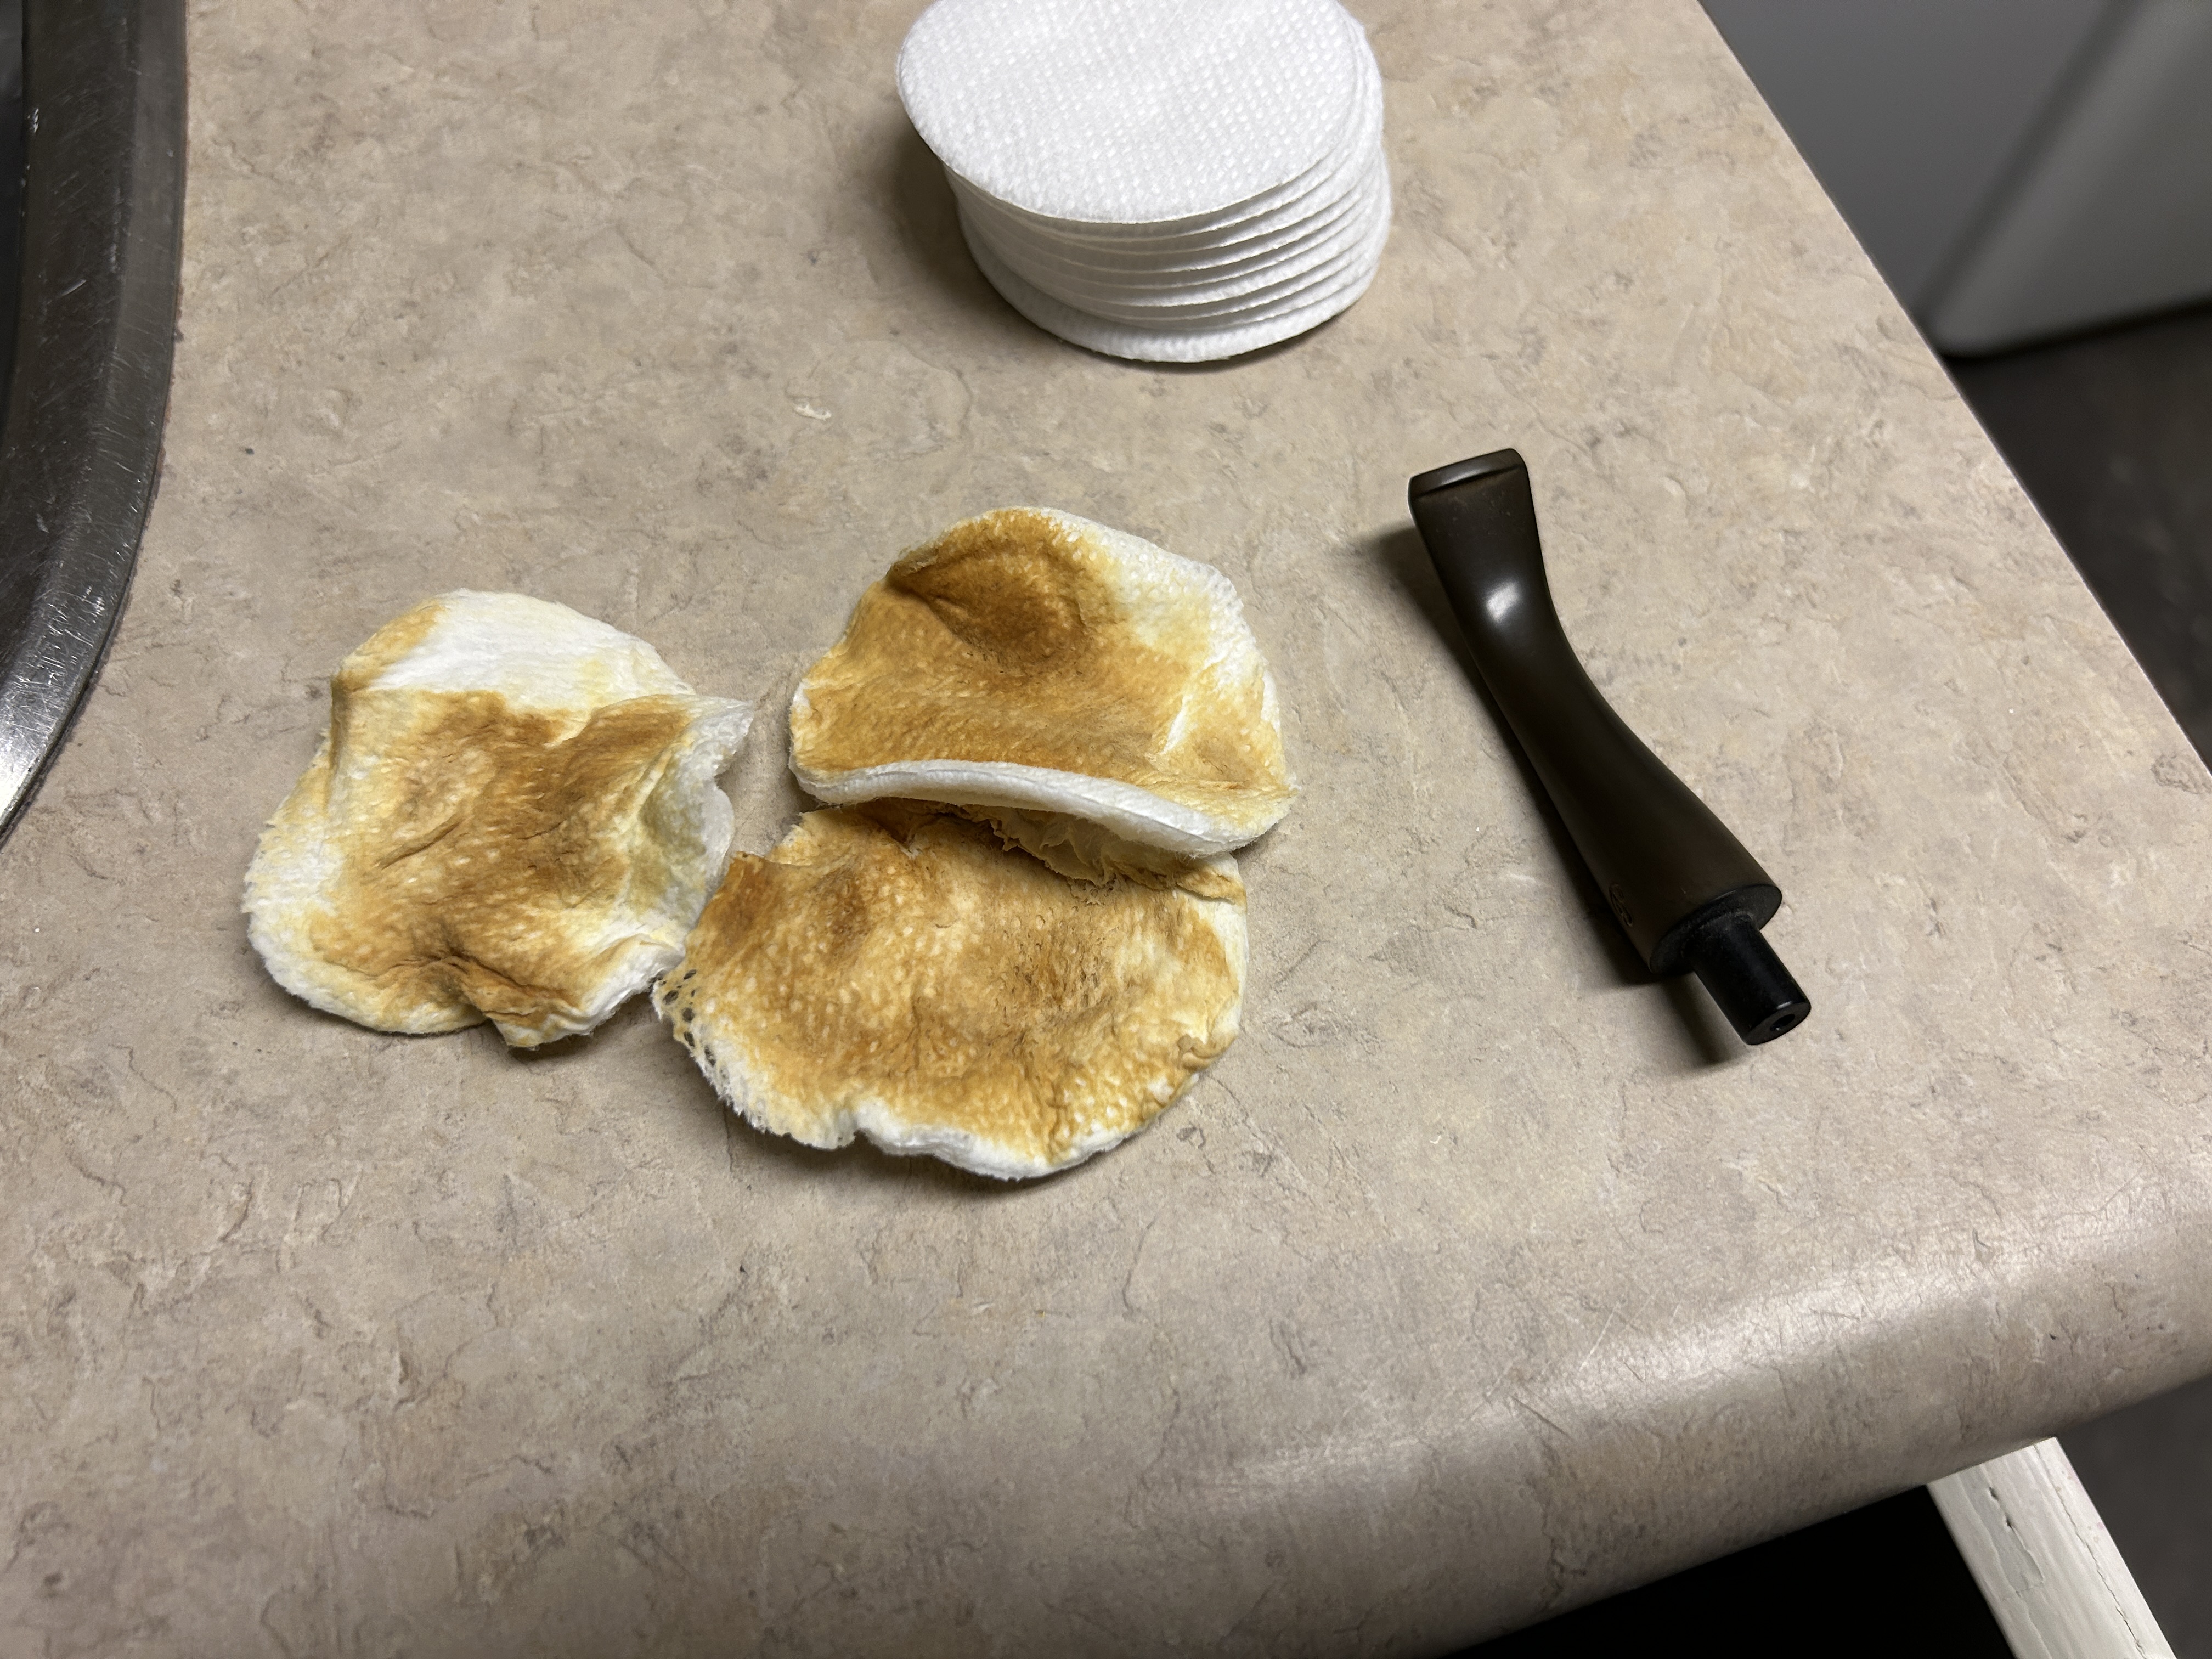
The goal of the next step is the removal (or minimization) of oxidation. Going to my sink, I used cream cleanser, cotton rounds, and a toothbrush, and scoured the stem to remove as much surface oxidation as possible. As the photos show, the result was a hideous, ochre-coloured mess – but better off the stem than on it.
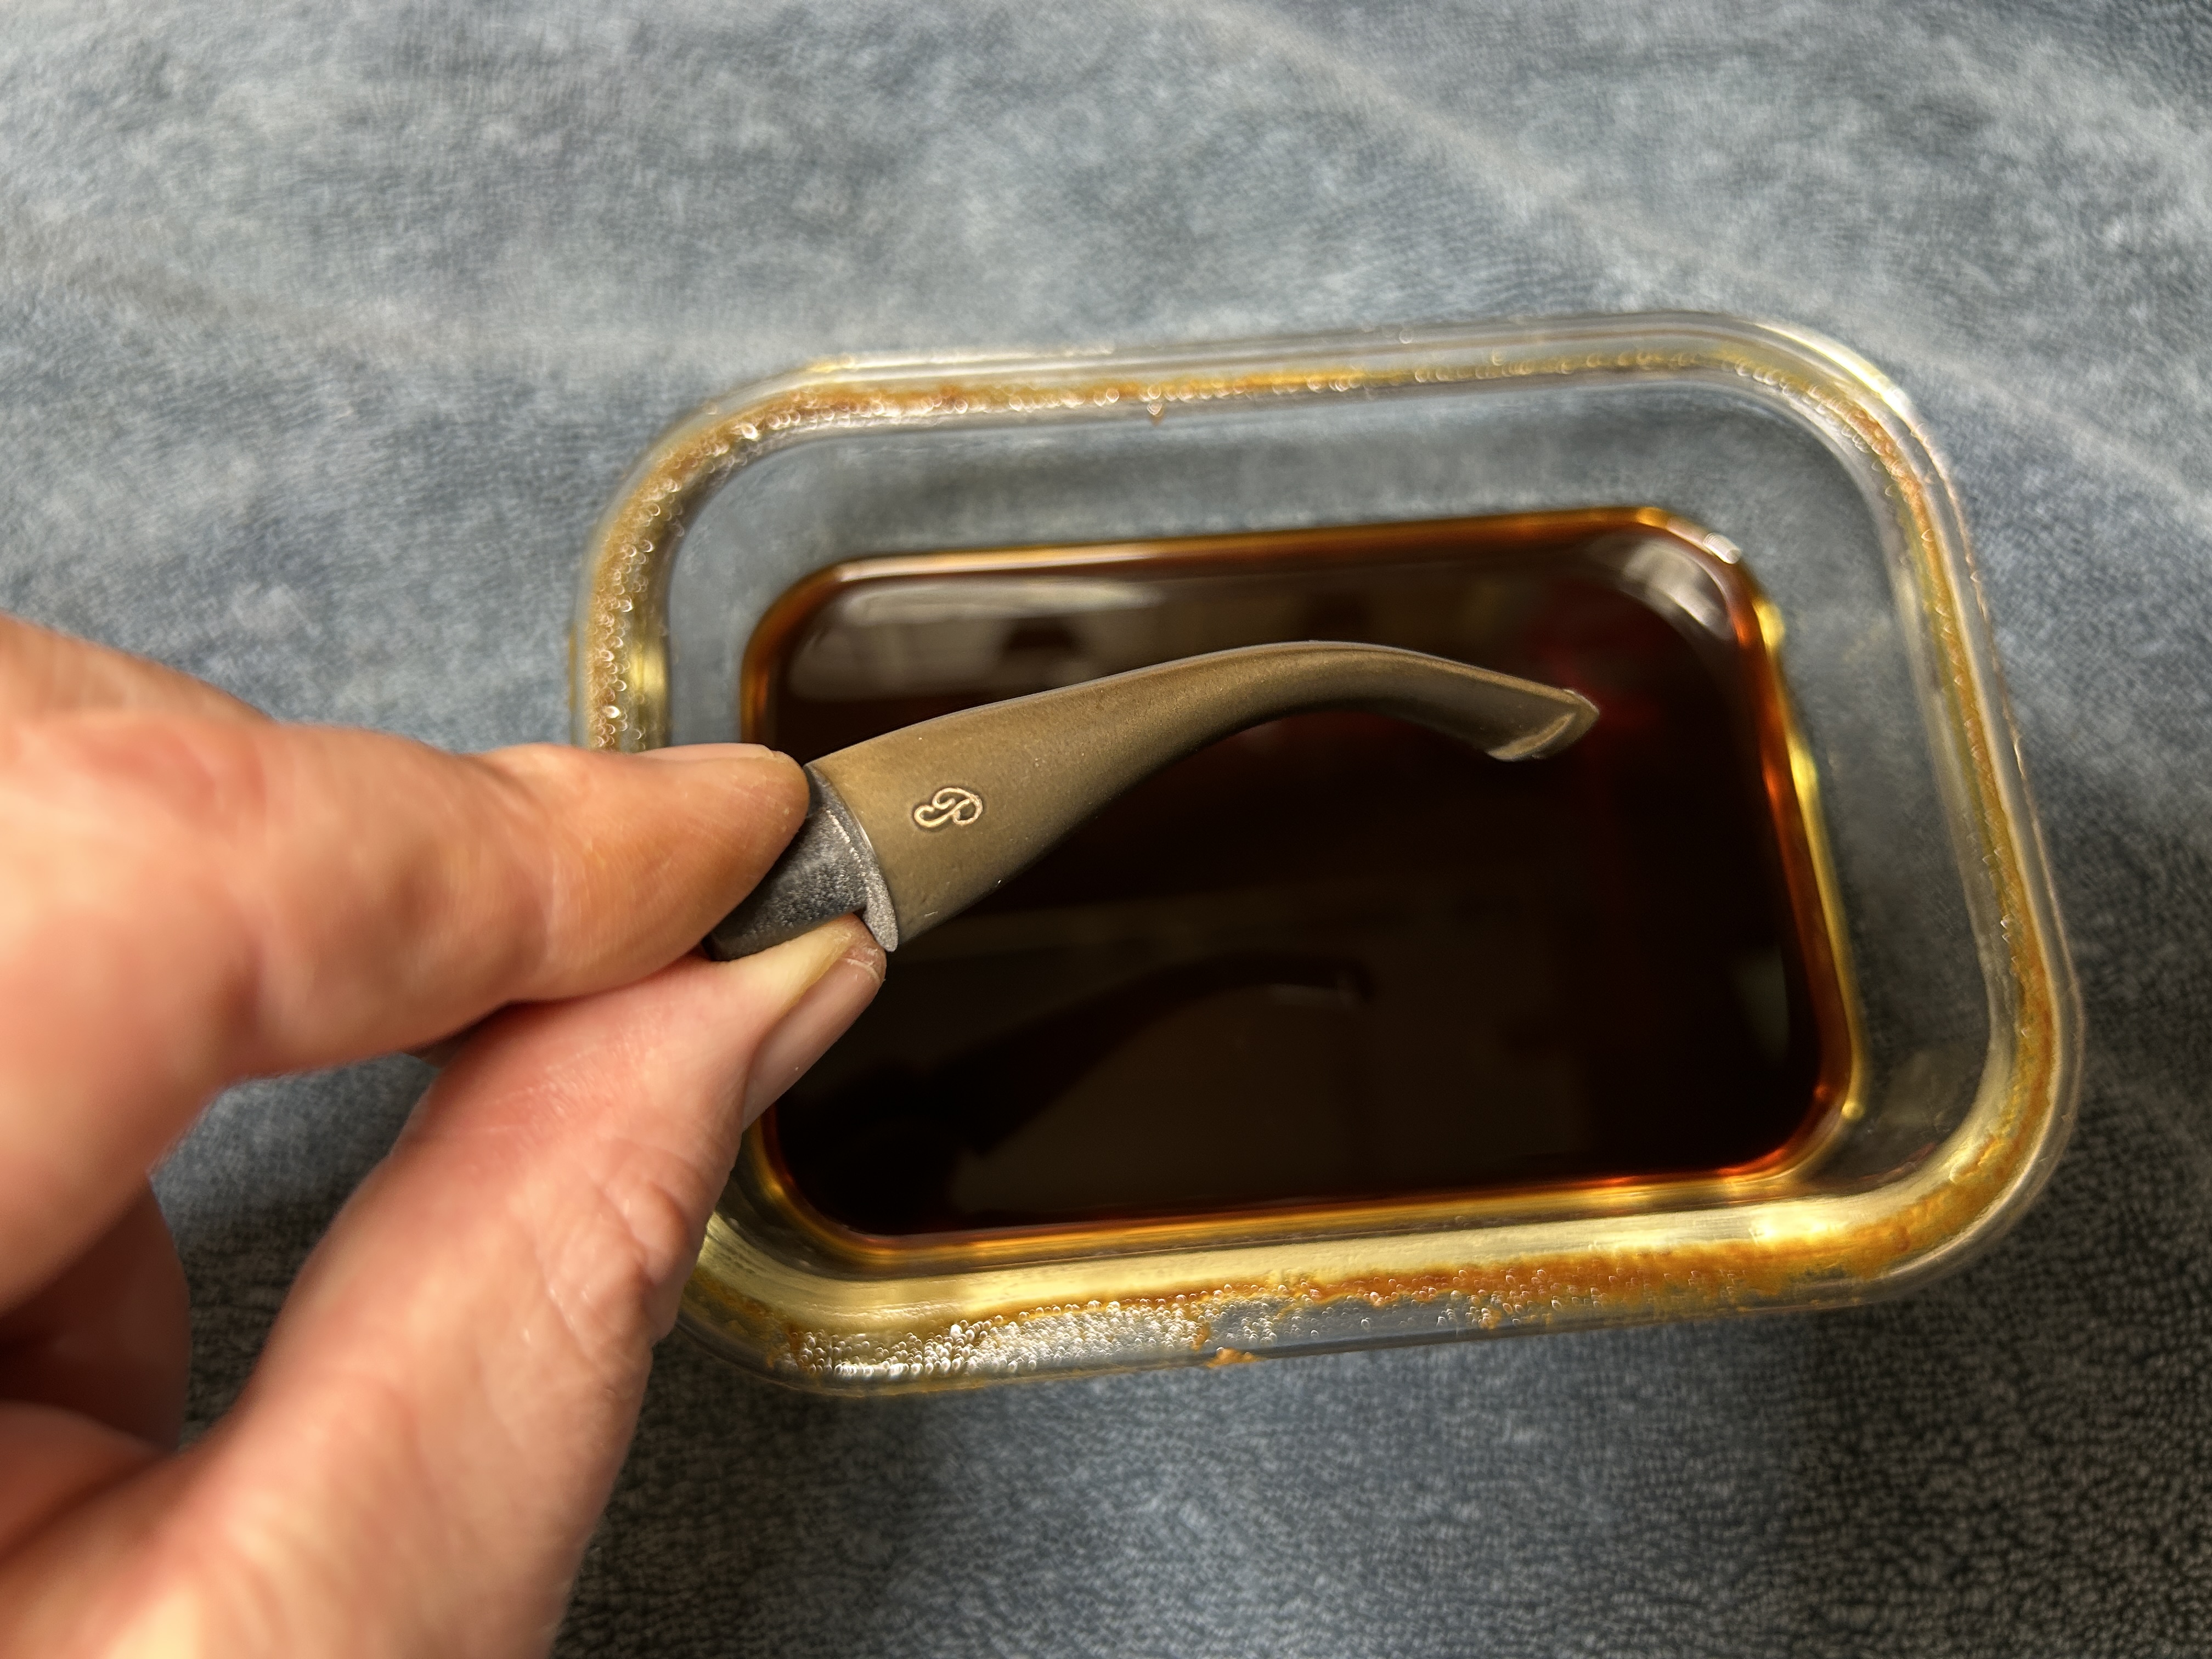
Once the stem was reasonably clean, I soaked it overnight in some Briarville Stem Oxidation Remover. This solution works to draw oxidation in the stem to the surface of the vulcanite. This is a major aid and an important step in ensuring a clean stem. The following day, I drew out the stem from its bath and scrubbed the lingering fluid with a toothbrush.
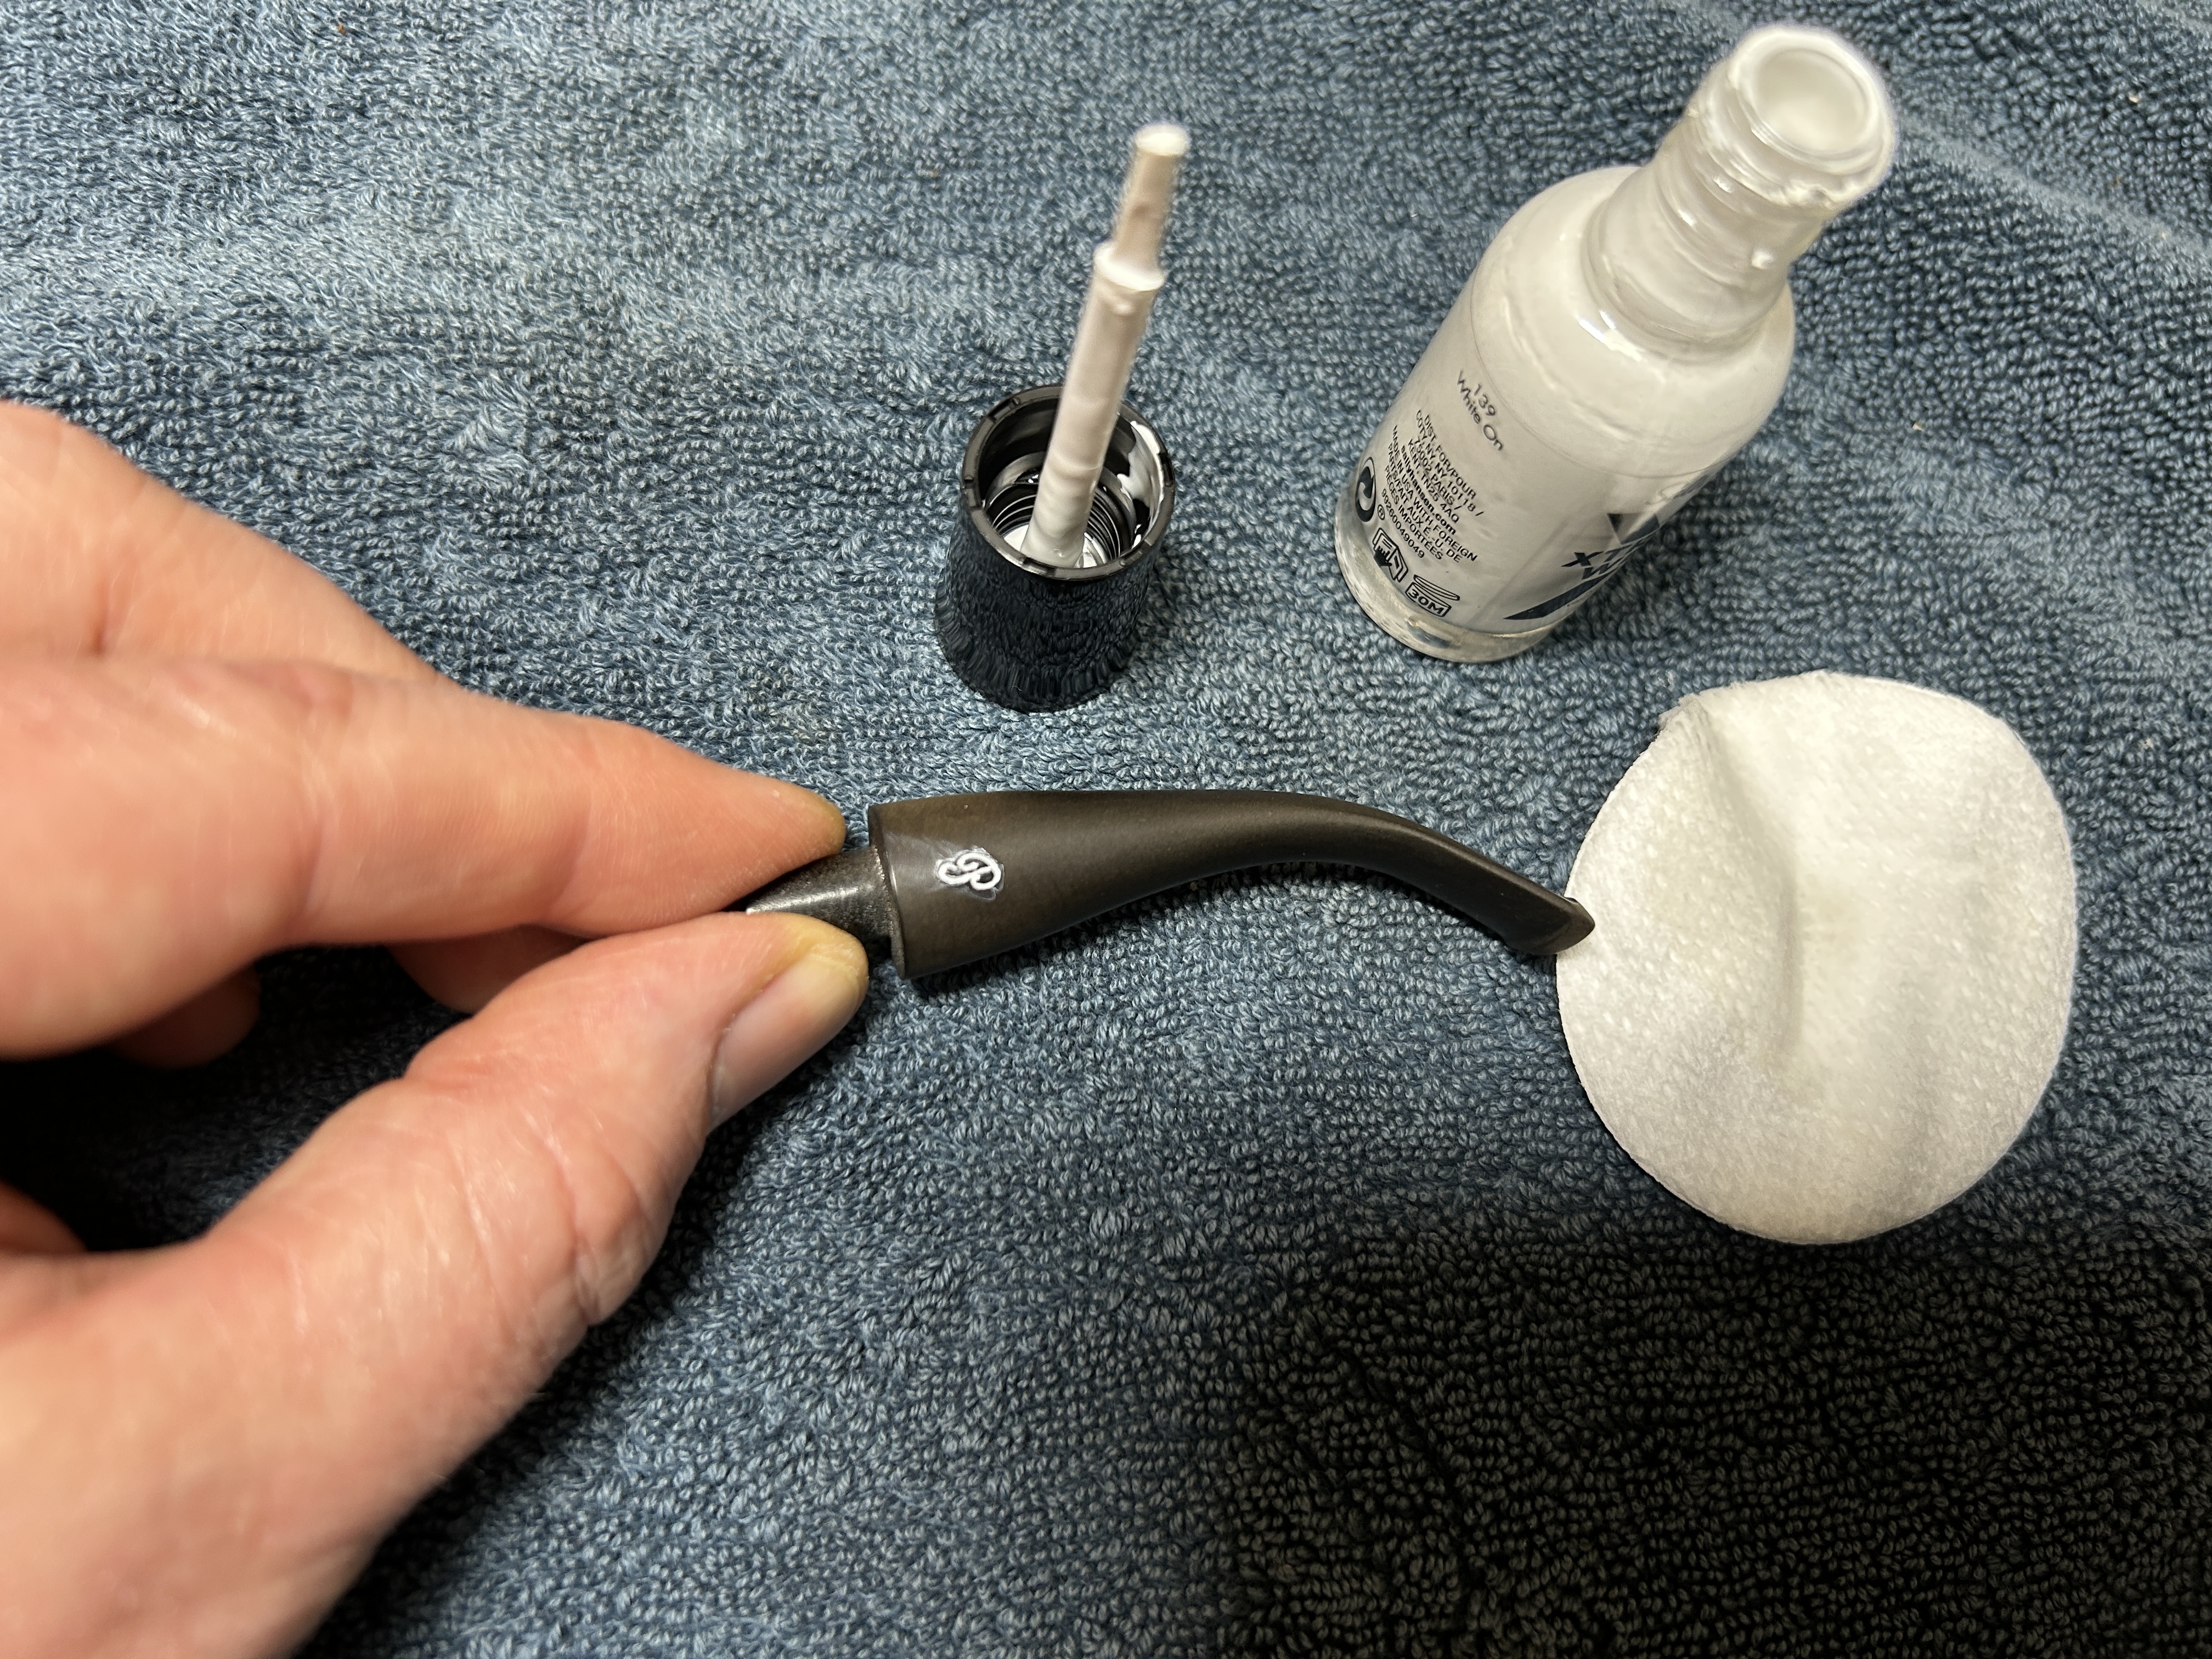
After this, I painted the logo on the stem with some enamel nail polish. I restored the logo carefully and let it fully set before proceeding.
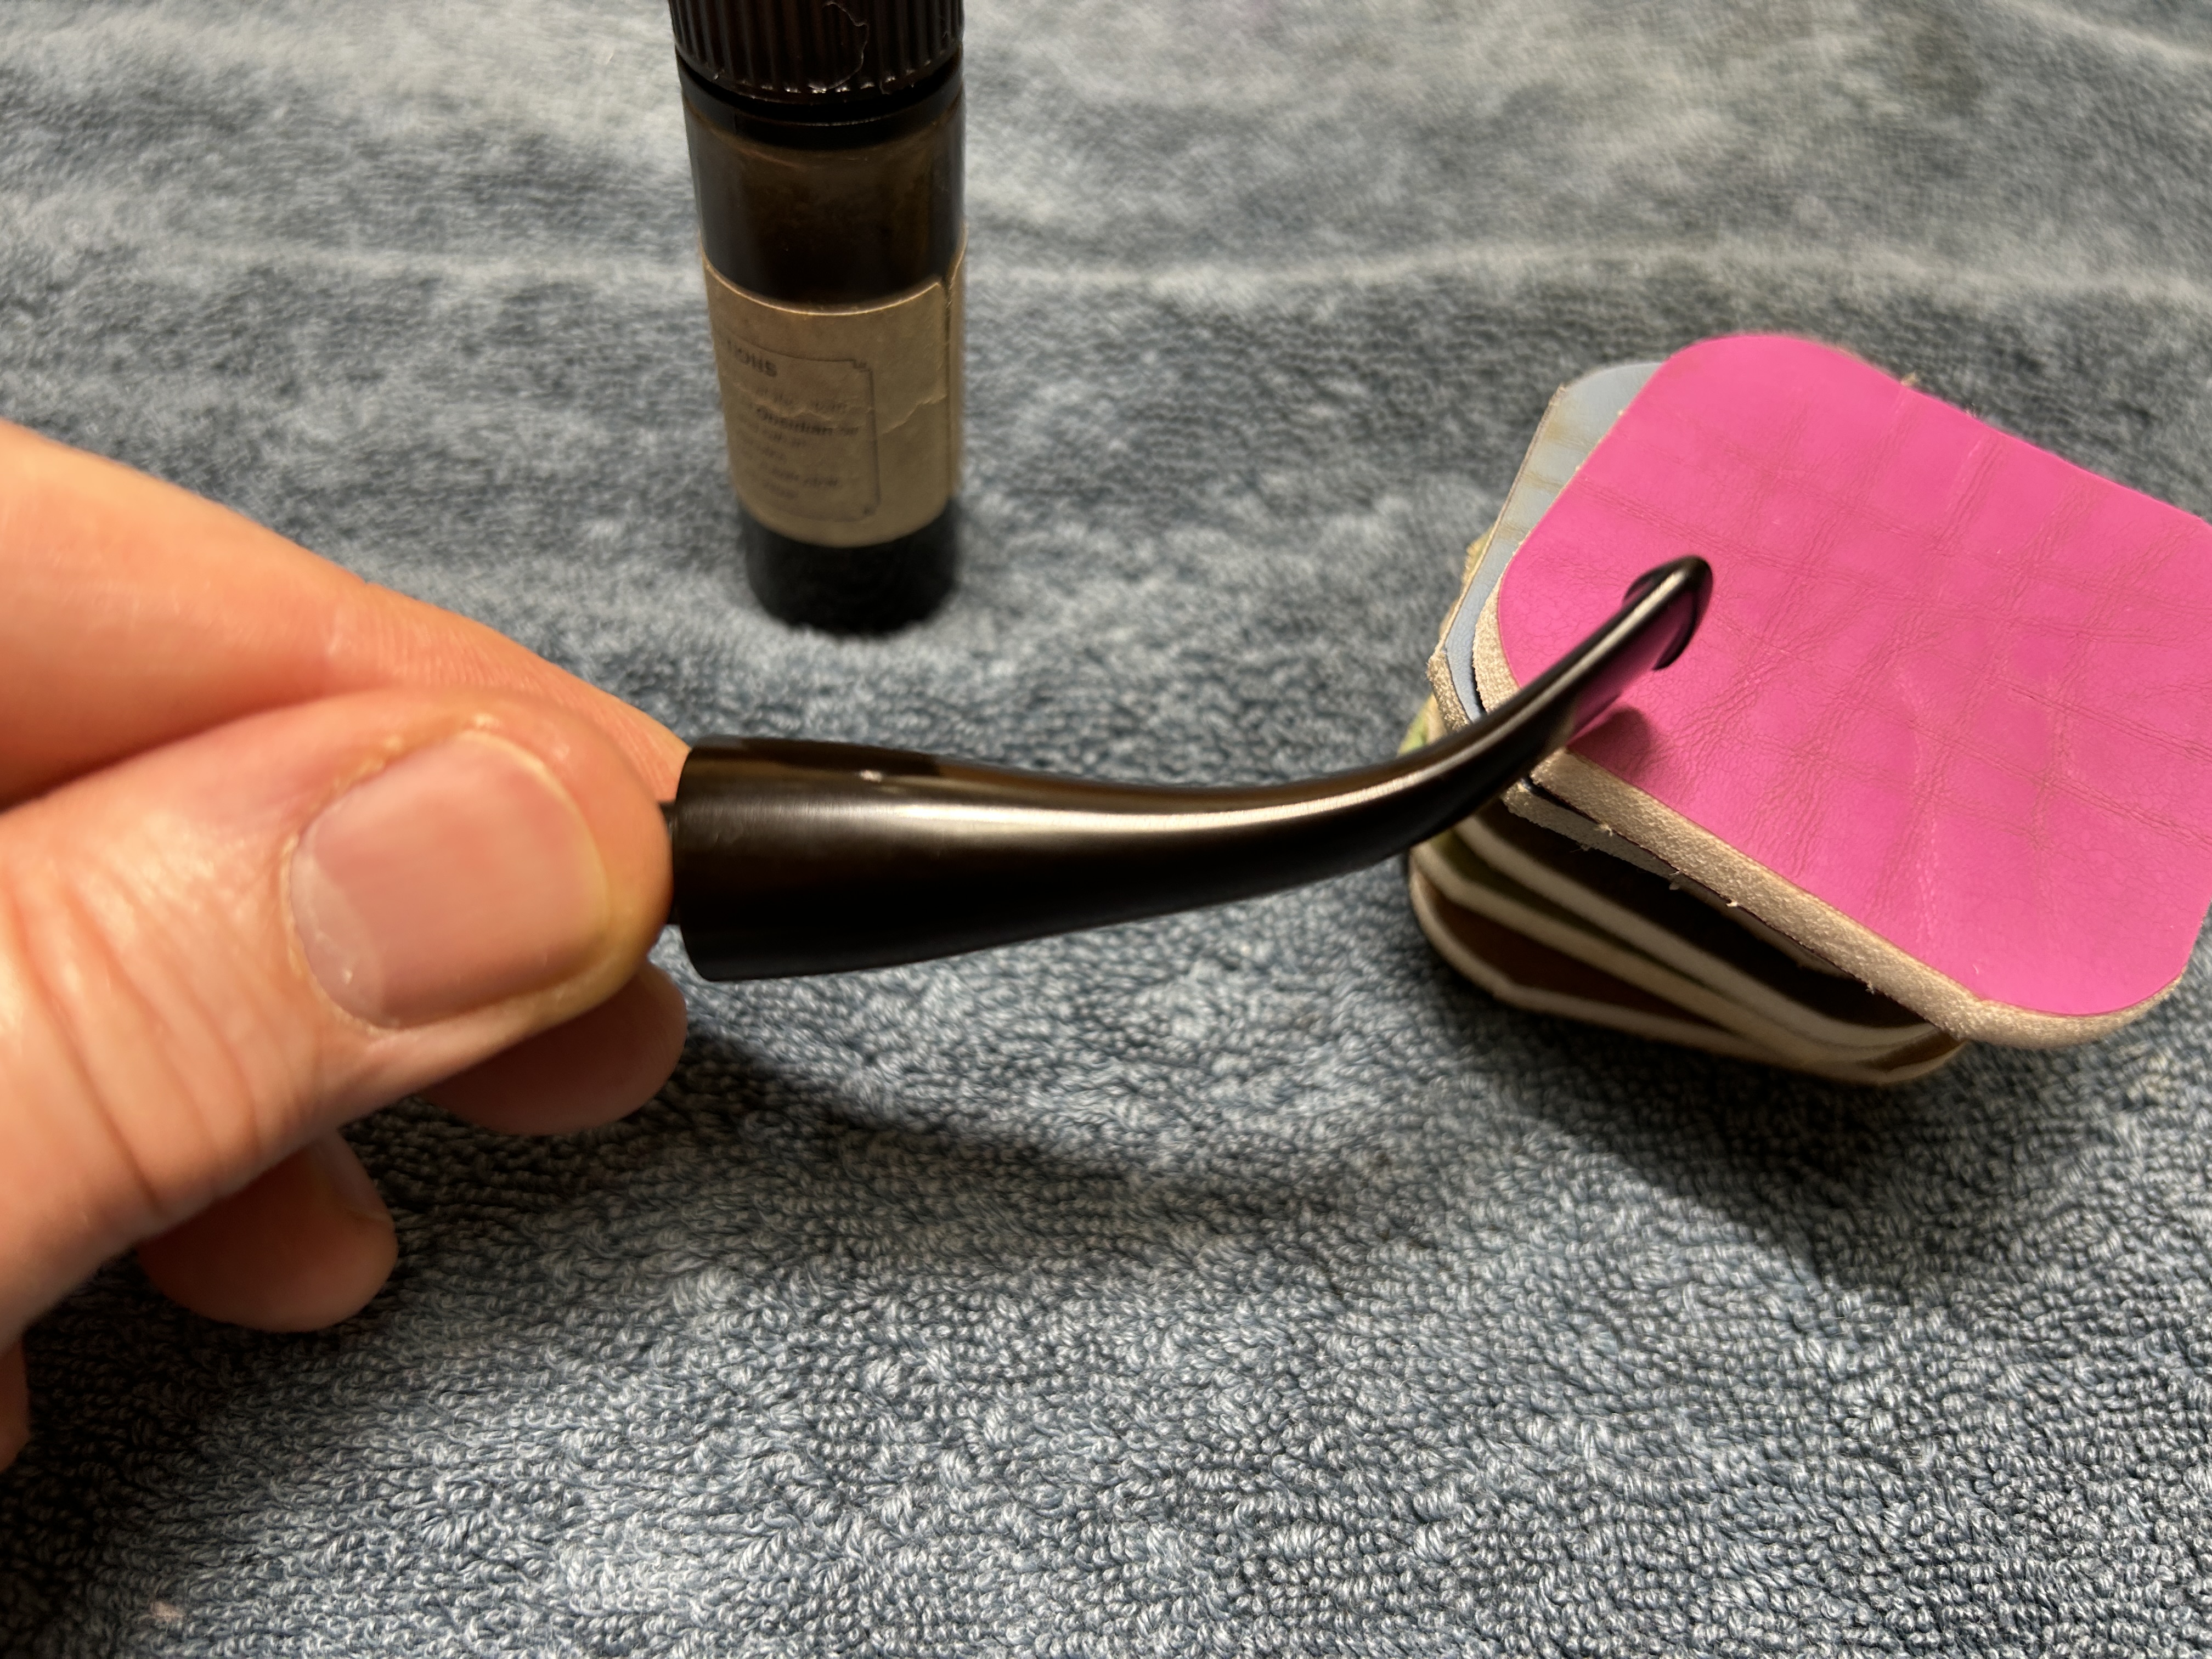
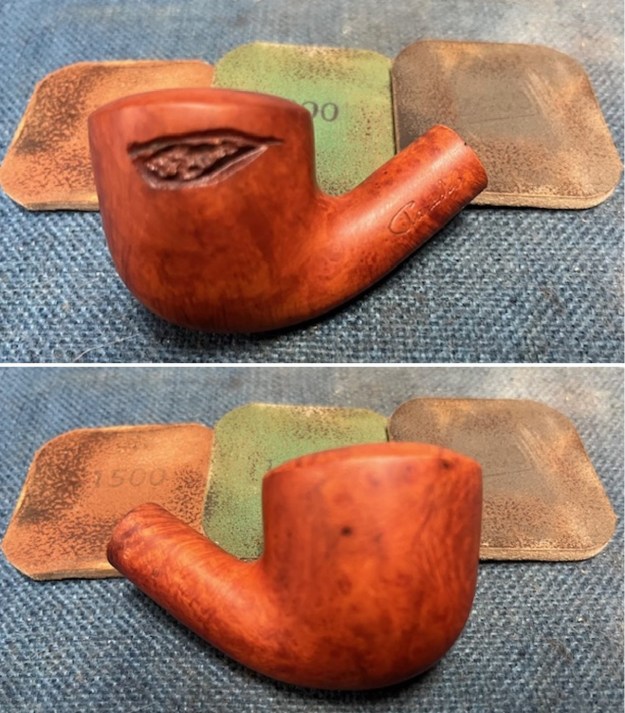
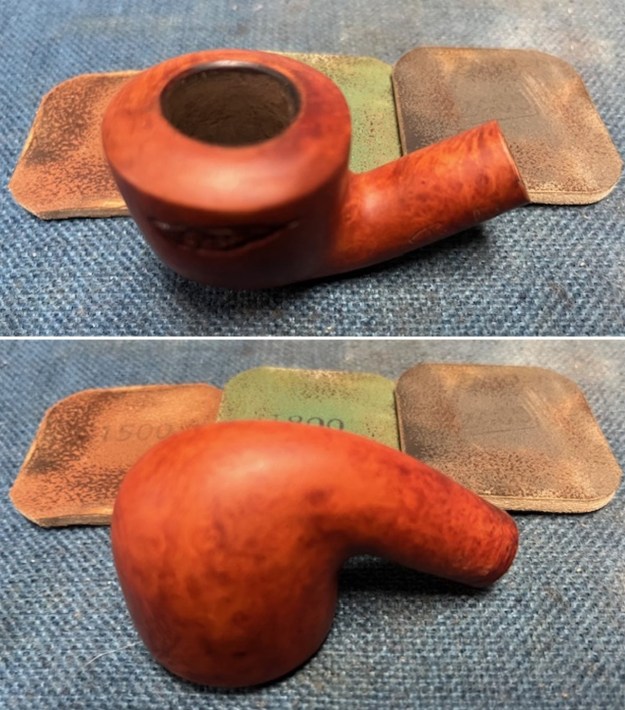
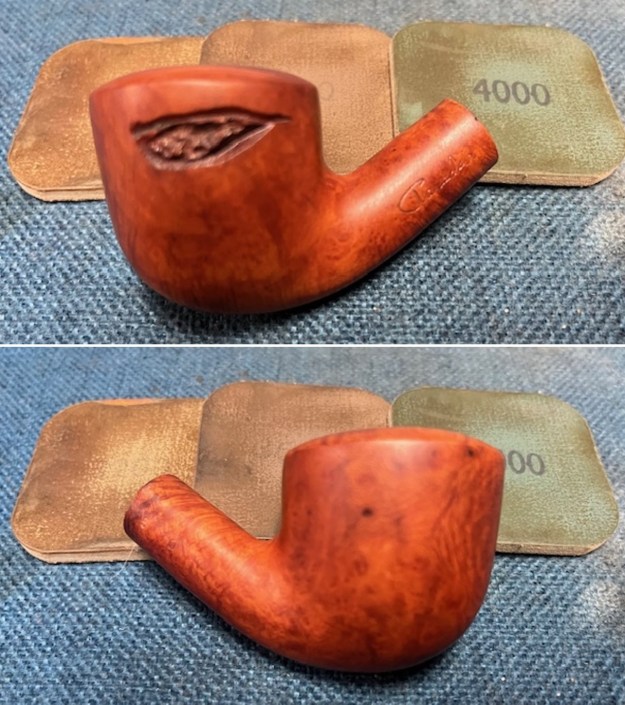
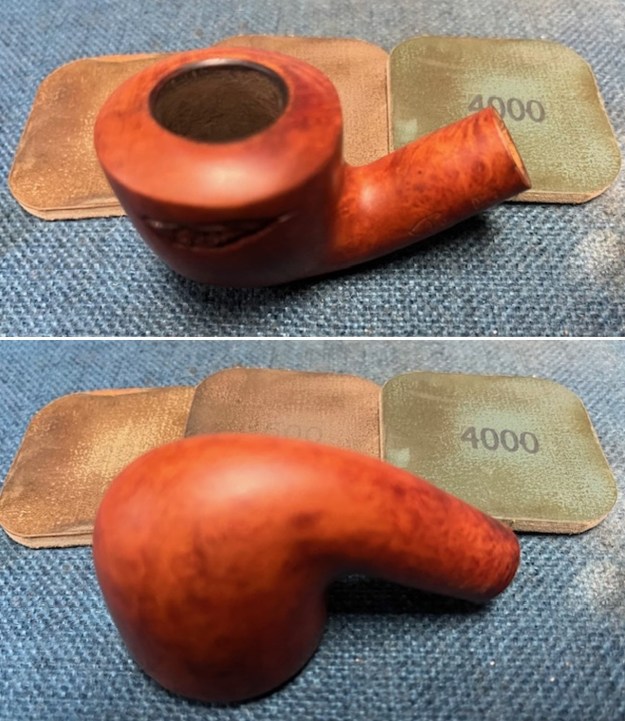
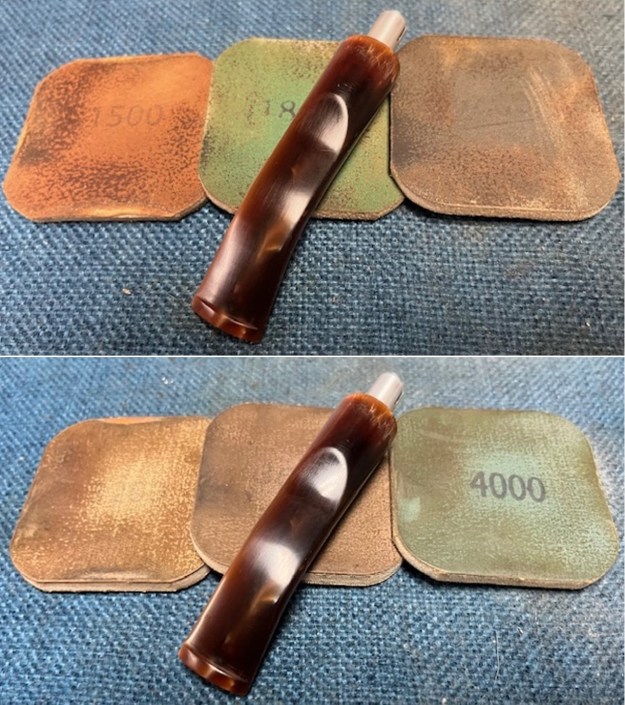
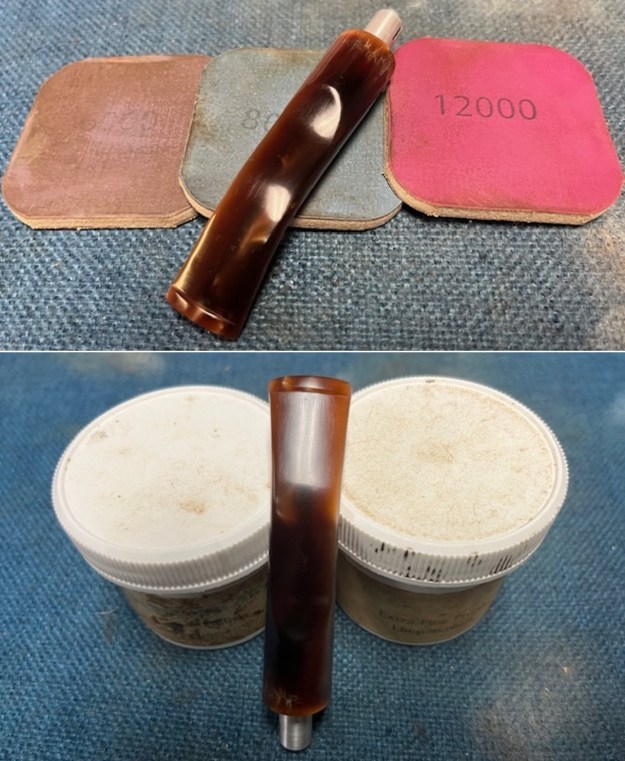
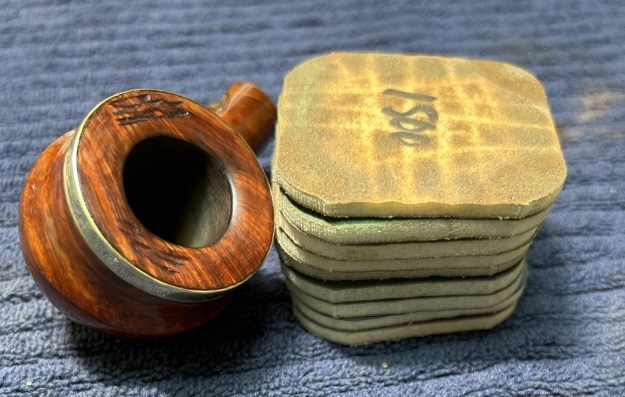
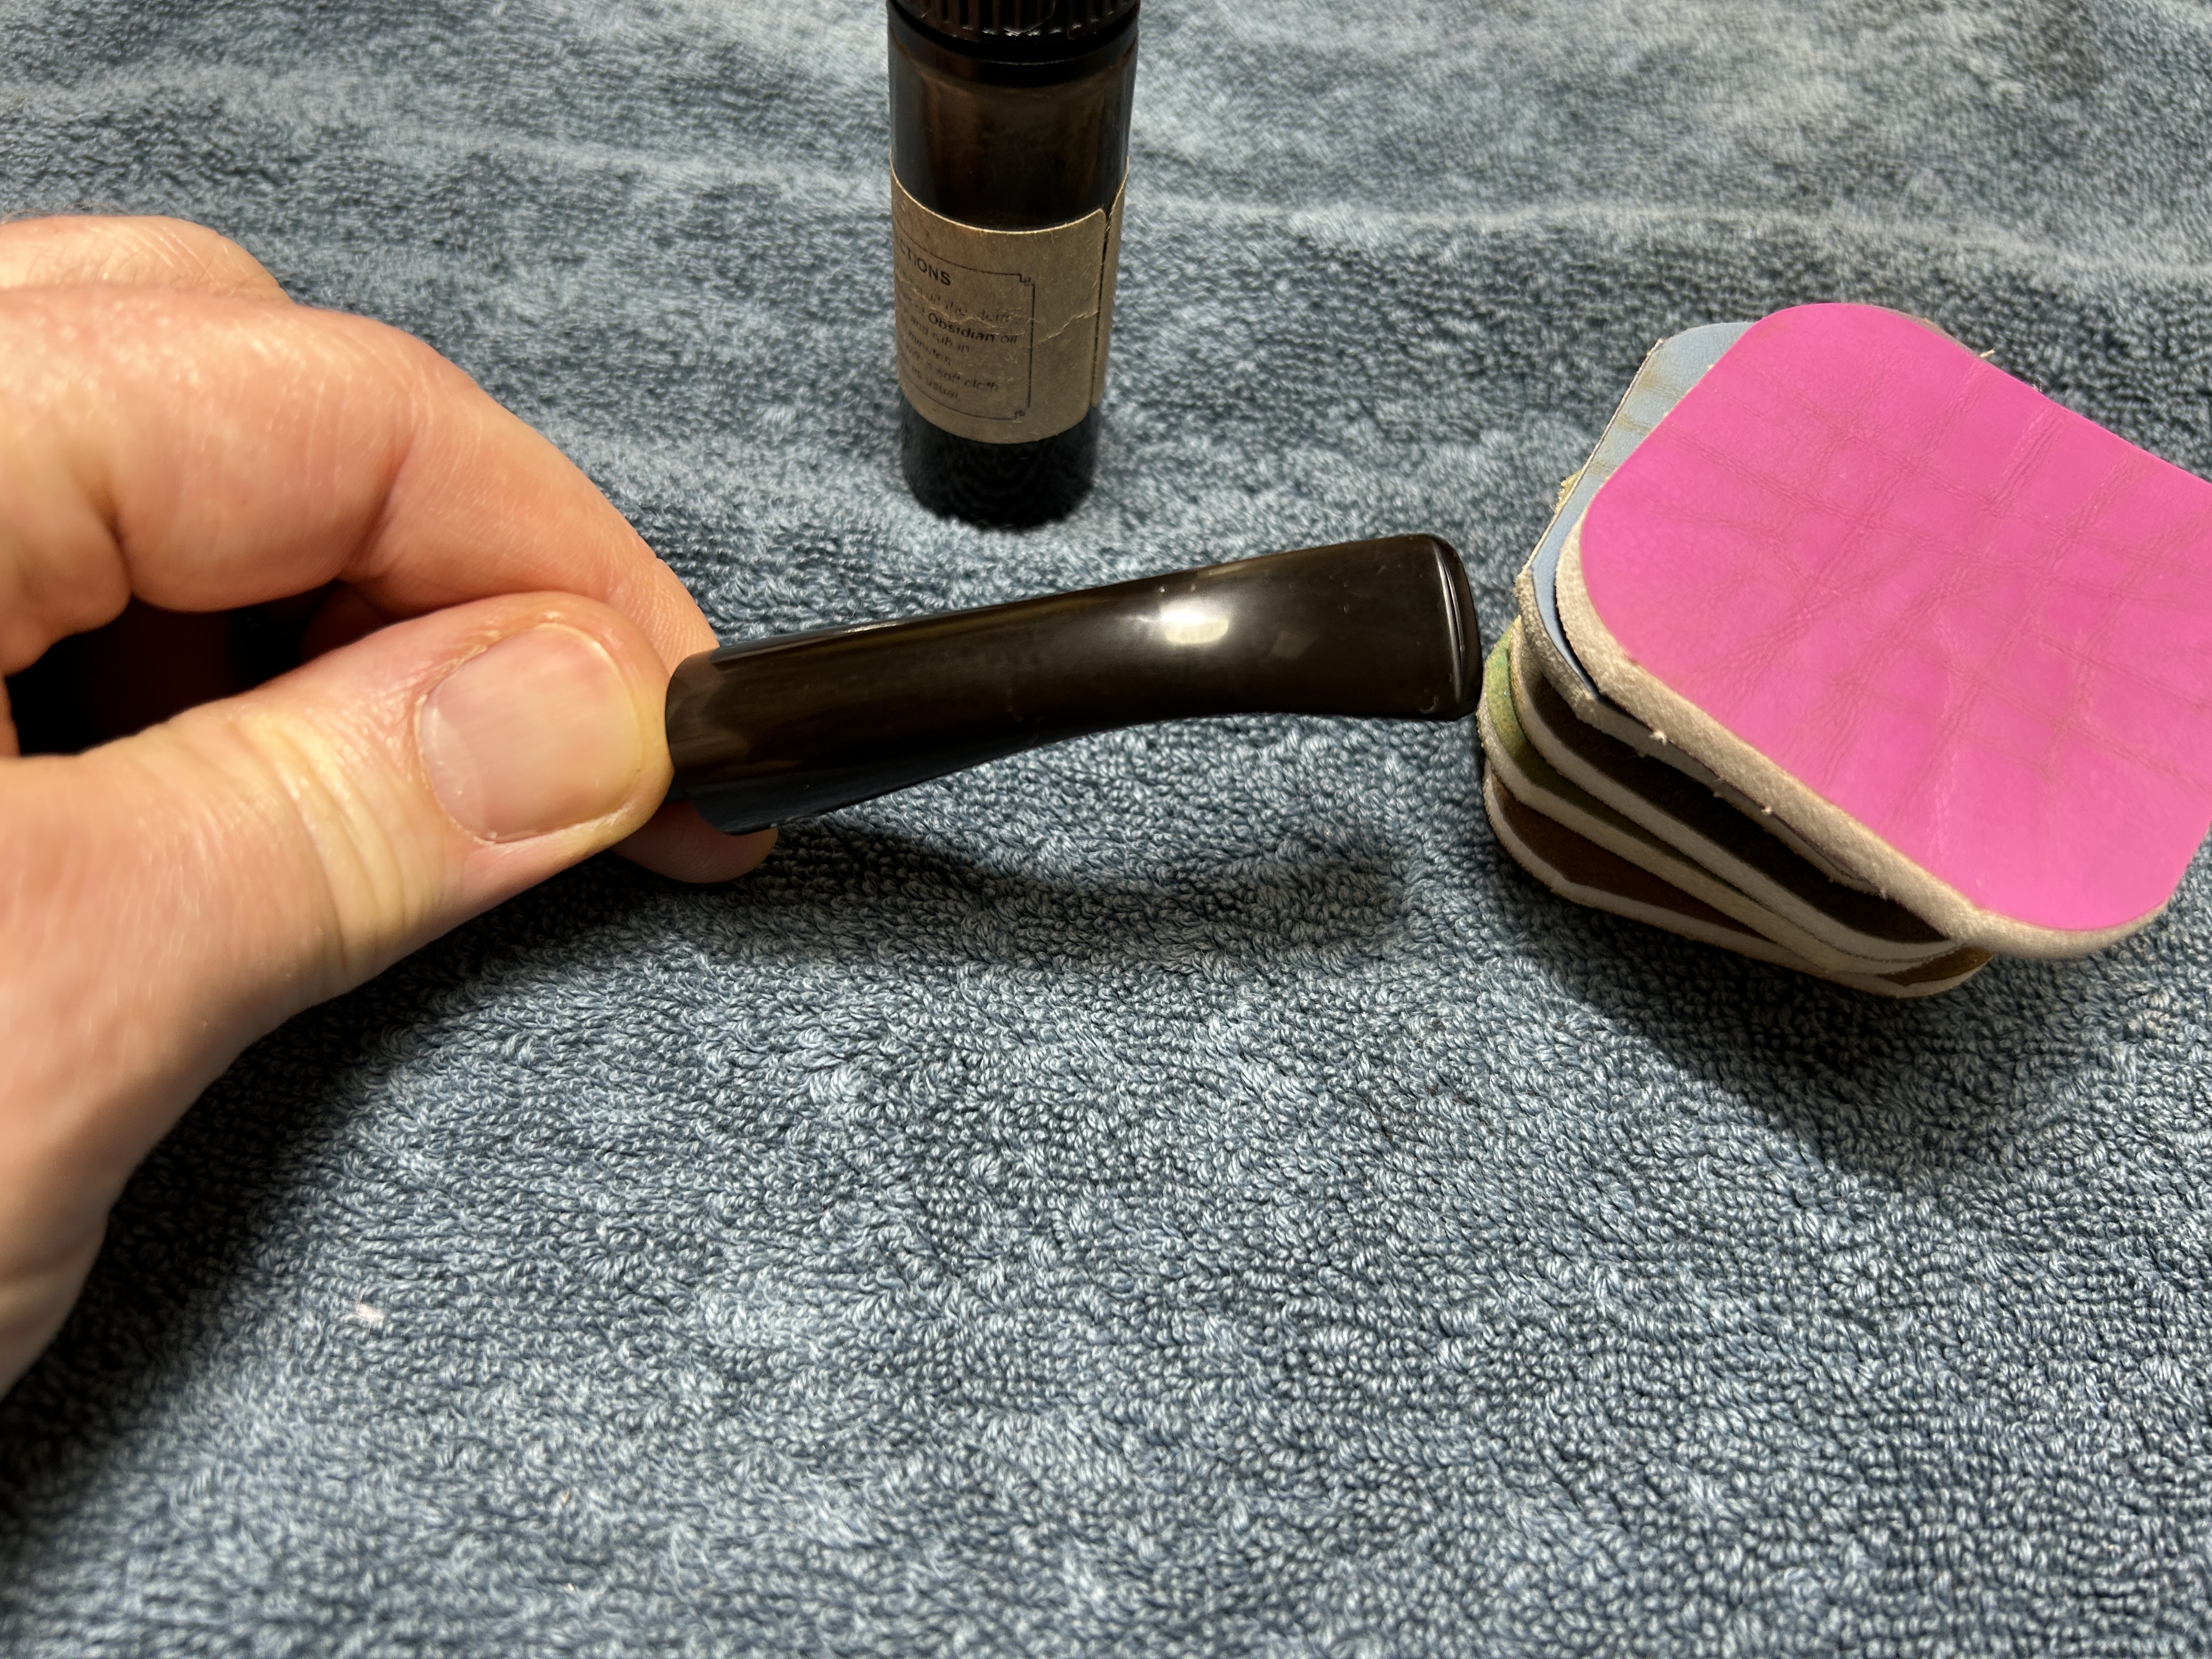
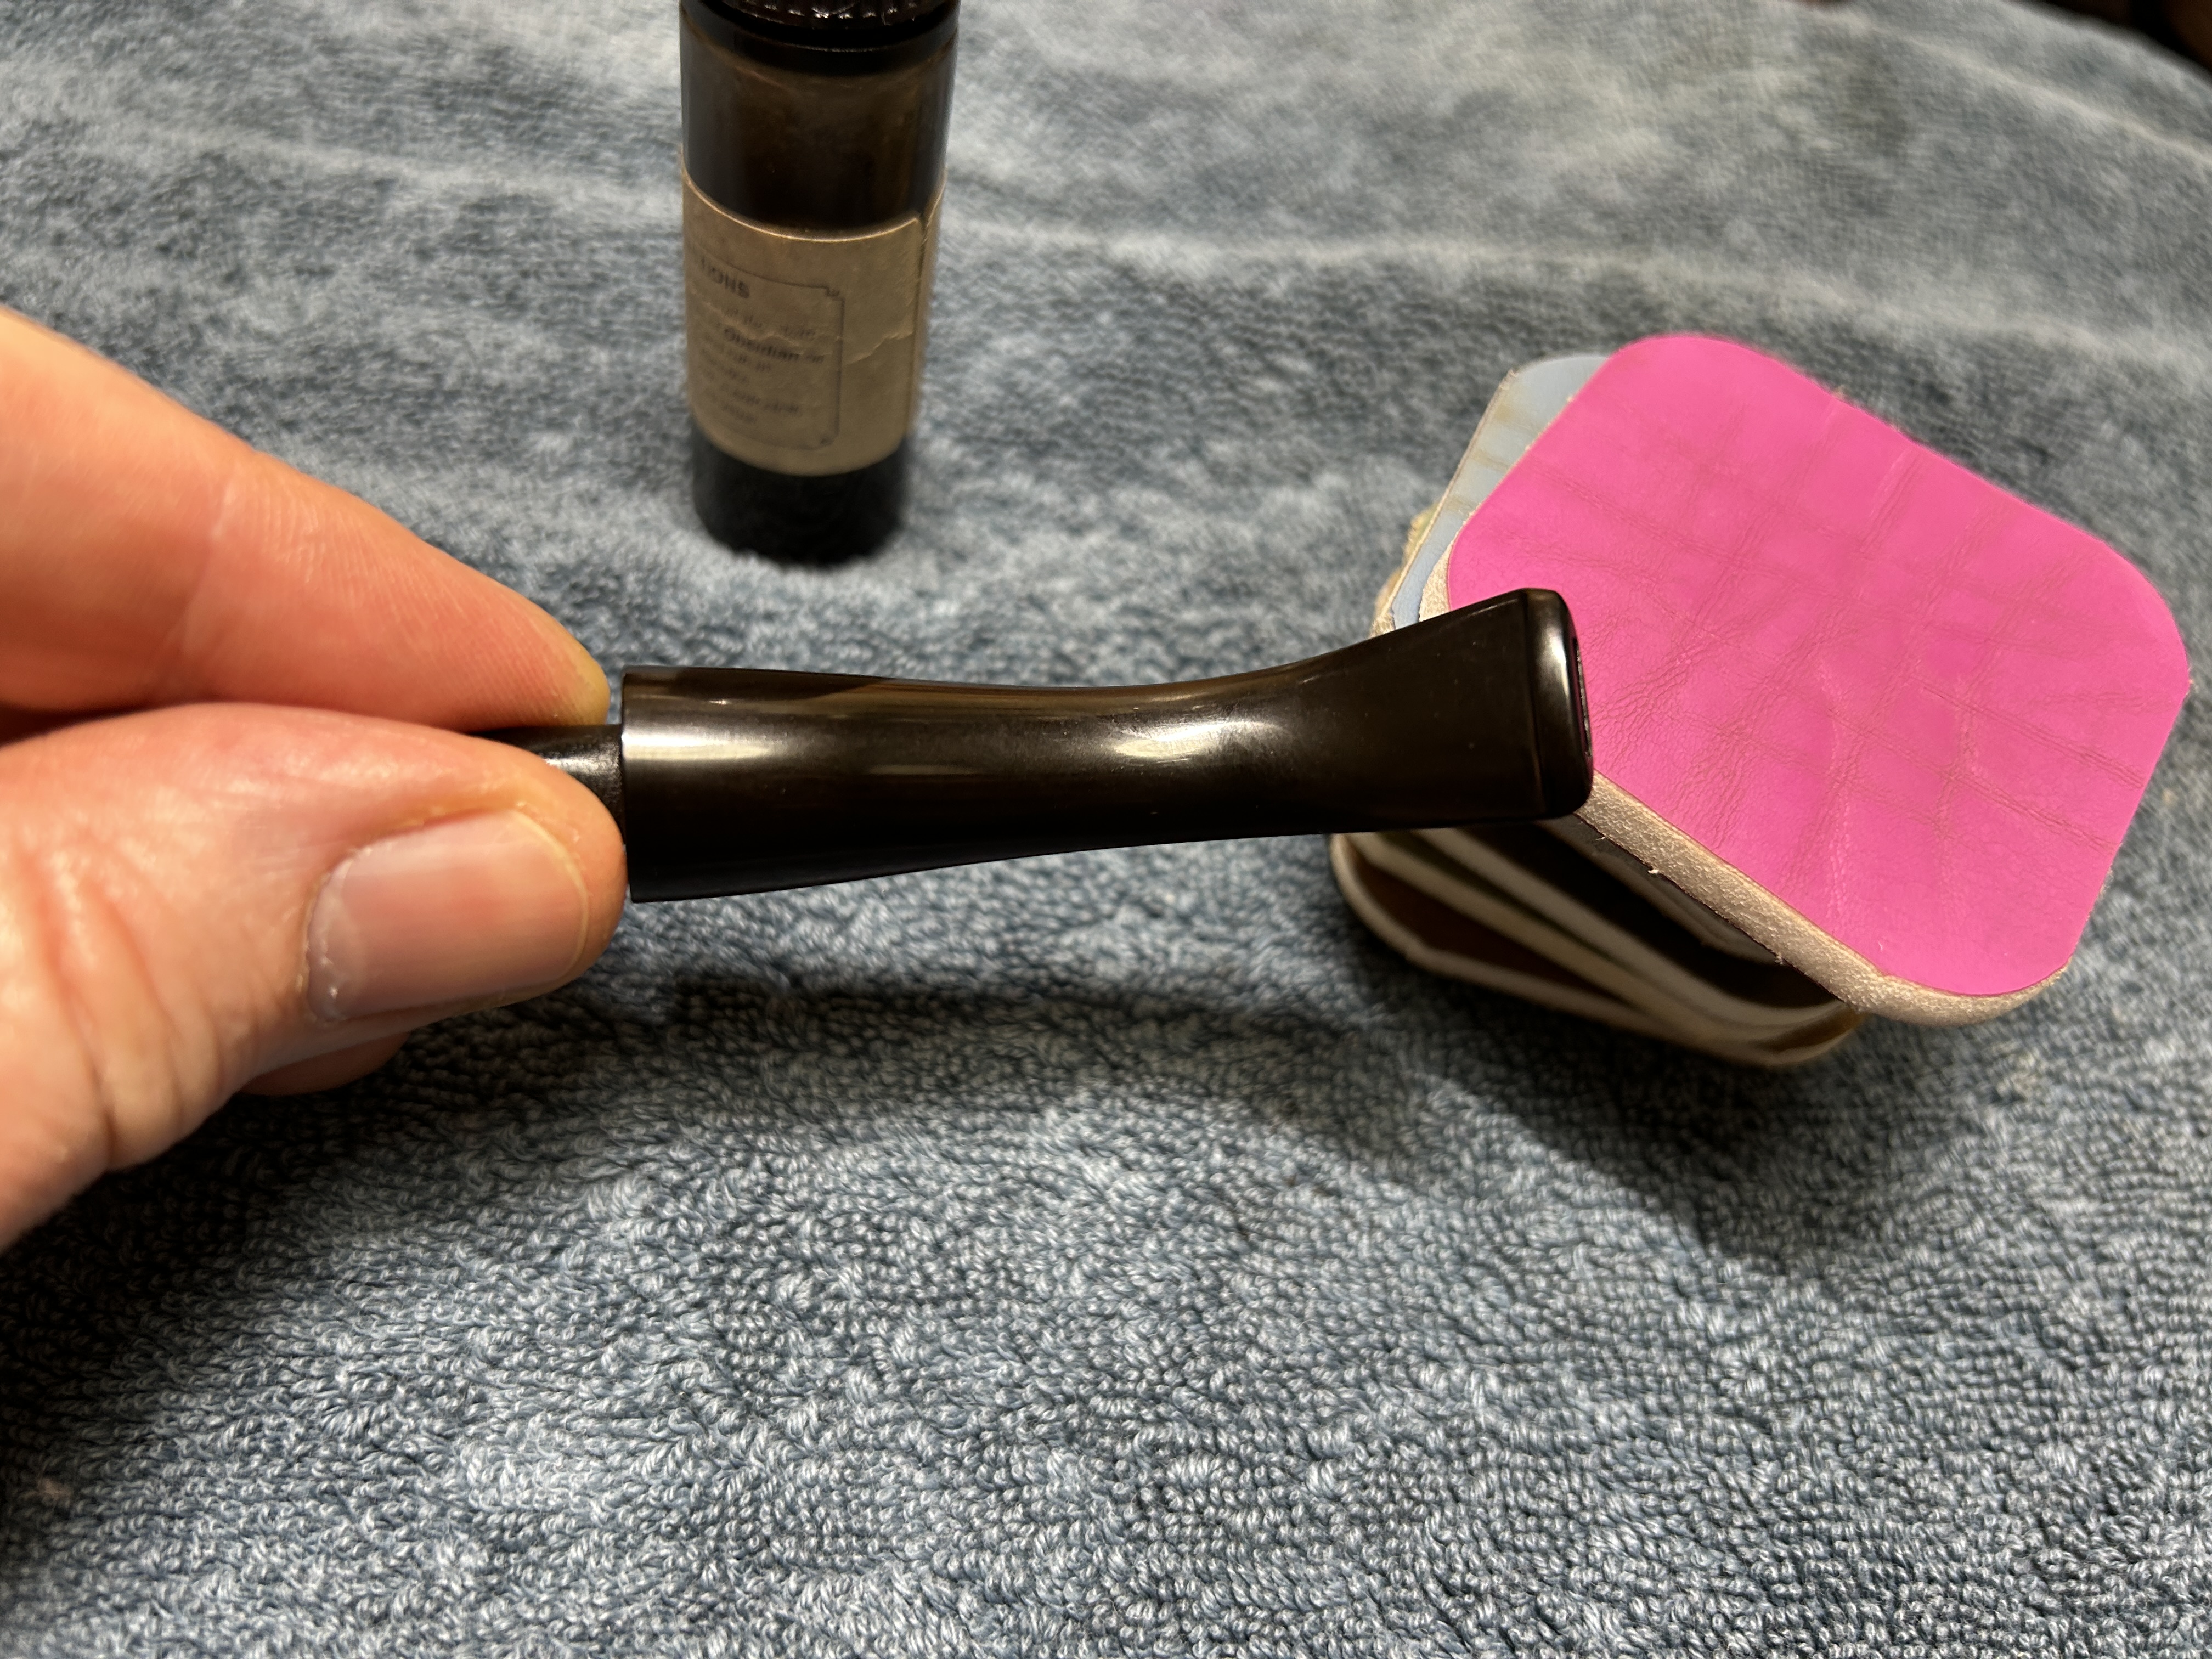
The penultimate step for the stem is sanding. First, with my set of needle files, I reduced the bulk of the cyanoacrylate repairs. I removed the excess adhesive as near to the surface as possible, without cutting into the vulcanite. Following that, I used all nine of the micromesh sanding pads (1,500 through 12,000 grit) to sand out flaws, even out the vulcanite, and provide gentle polishing of the finished surface. I also applied pipe-stem oil while using the last five micromesh pads. There was a wonderful, deep black shine to the stem when I was done.
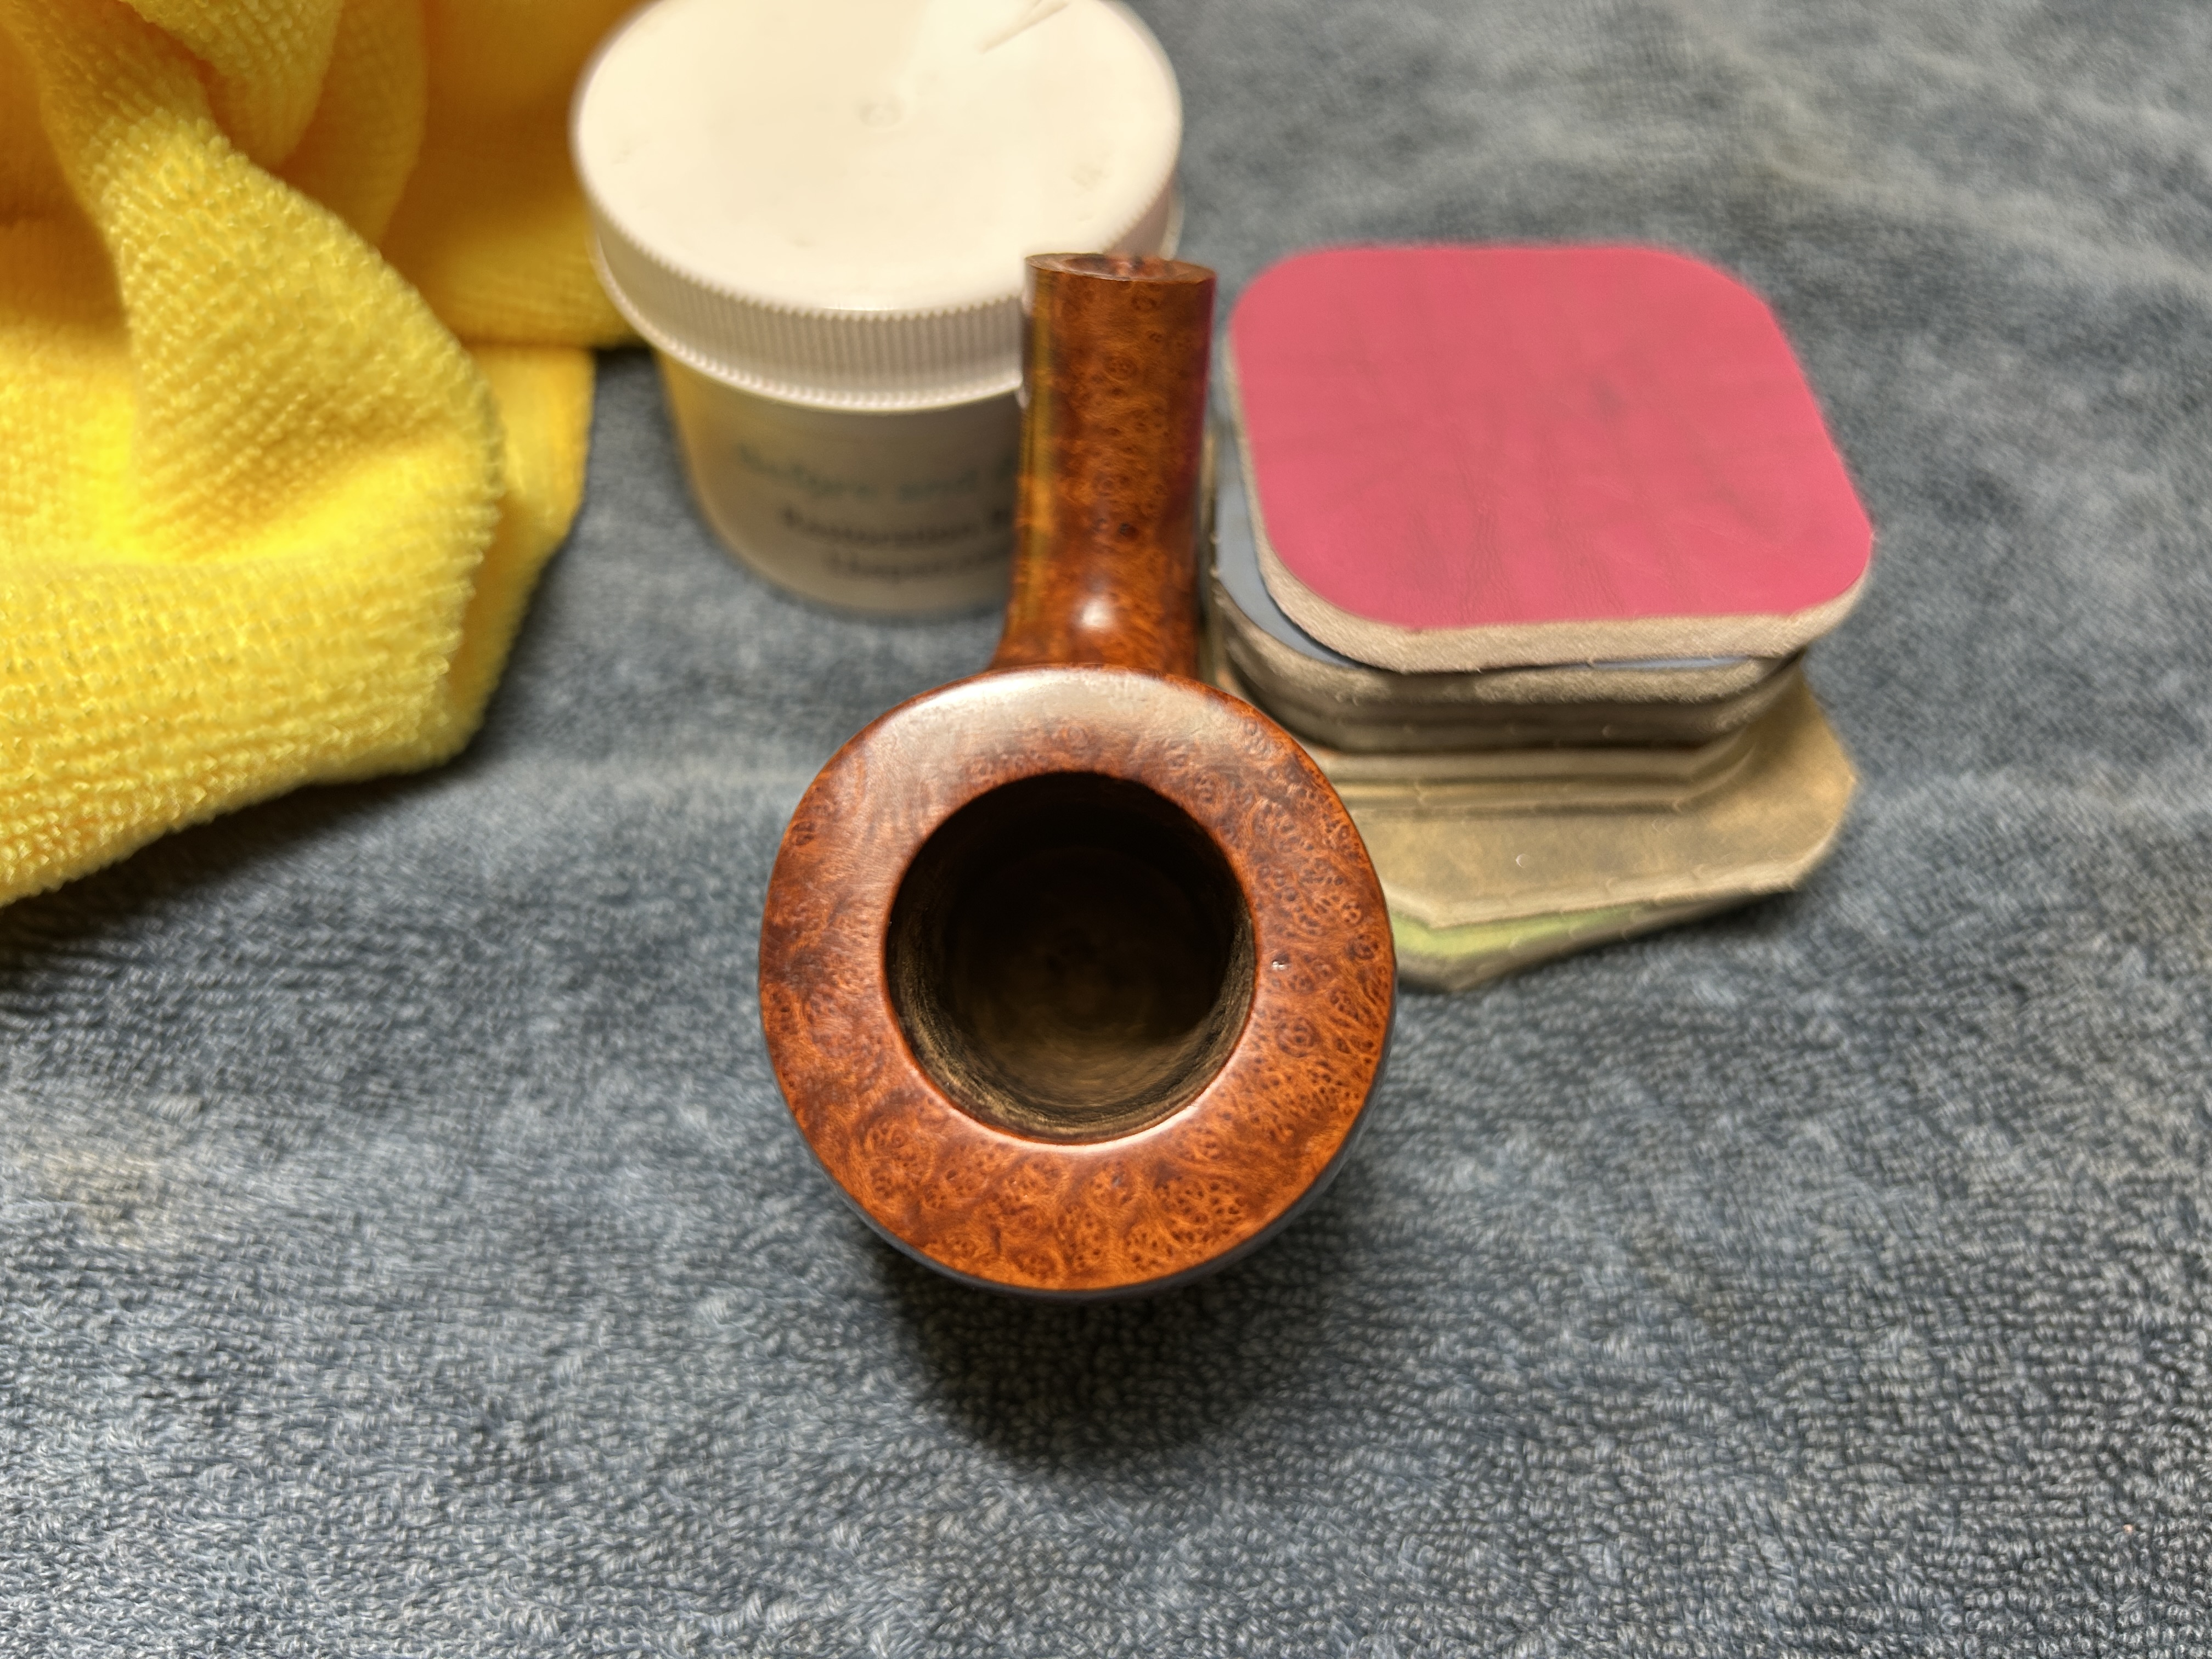
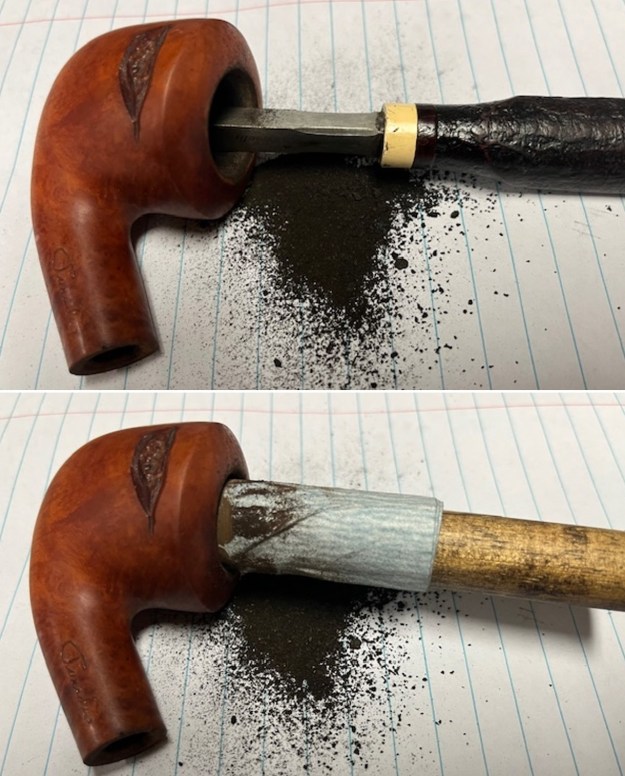
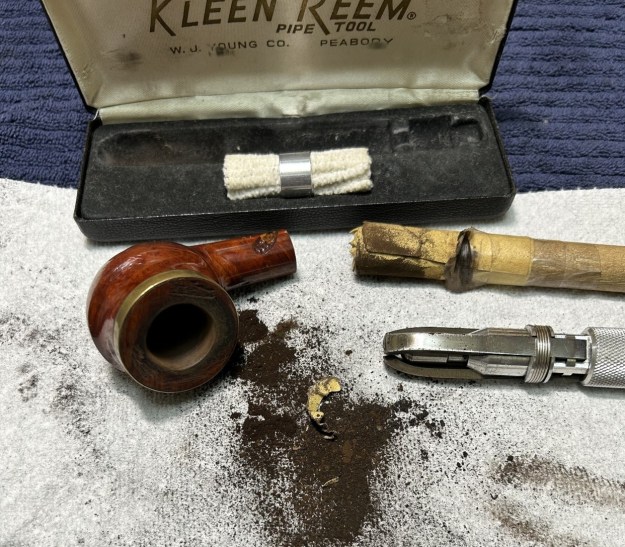
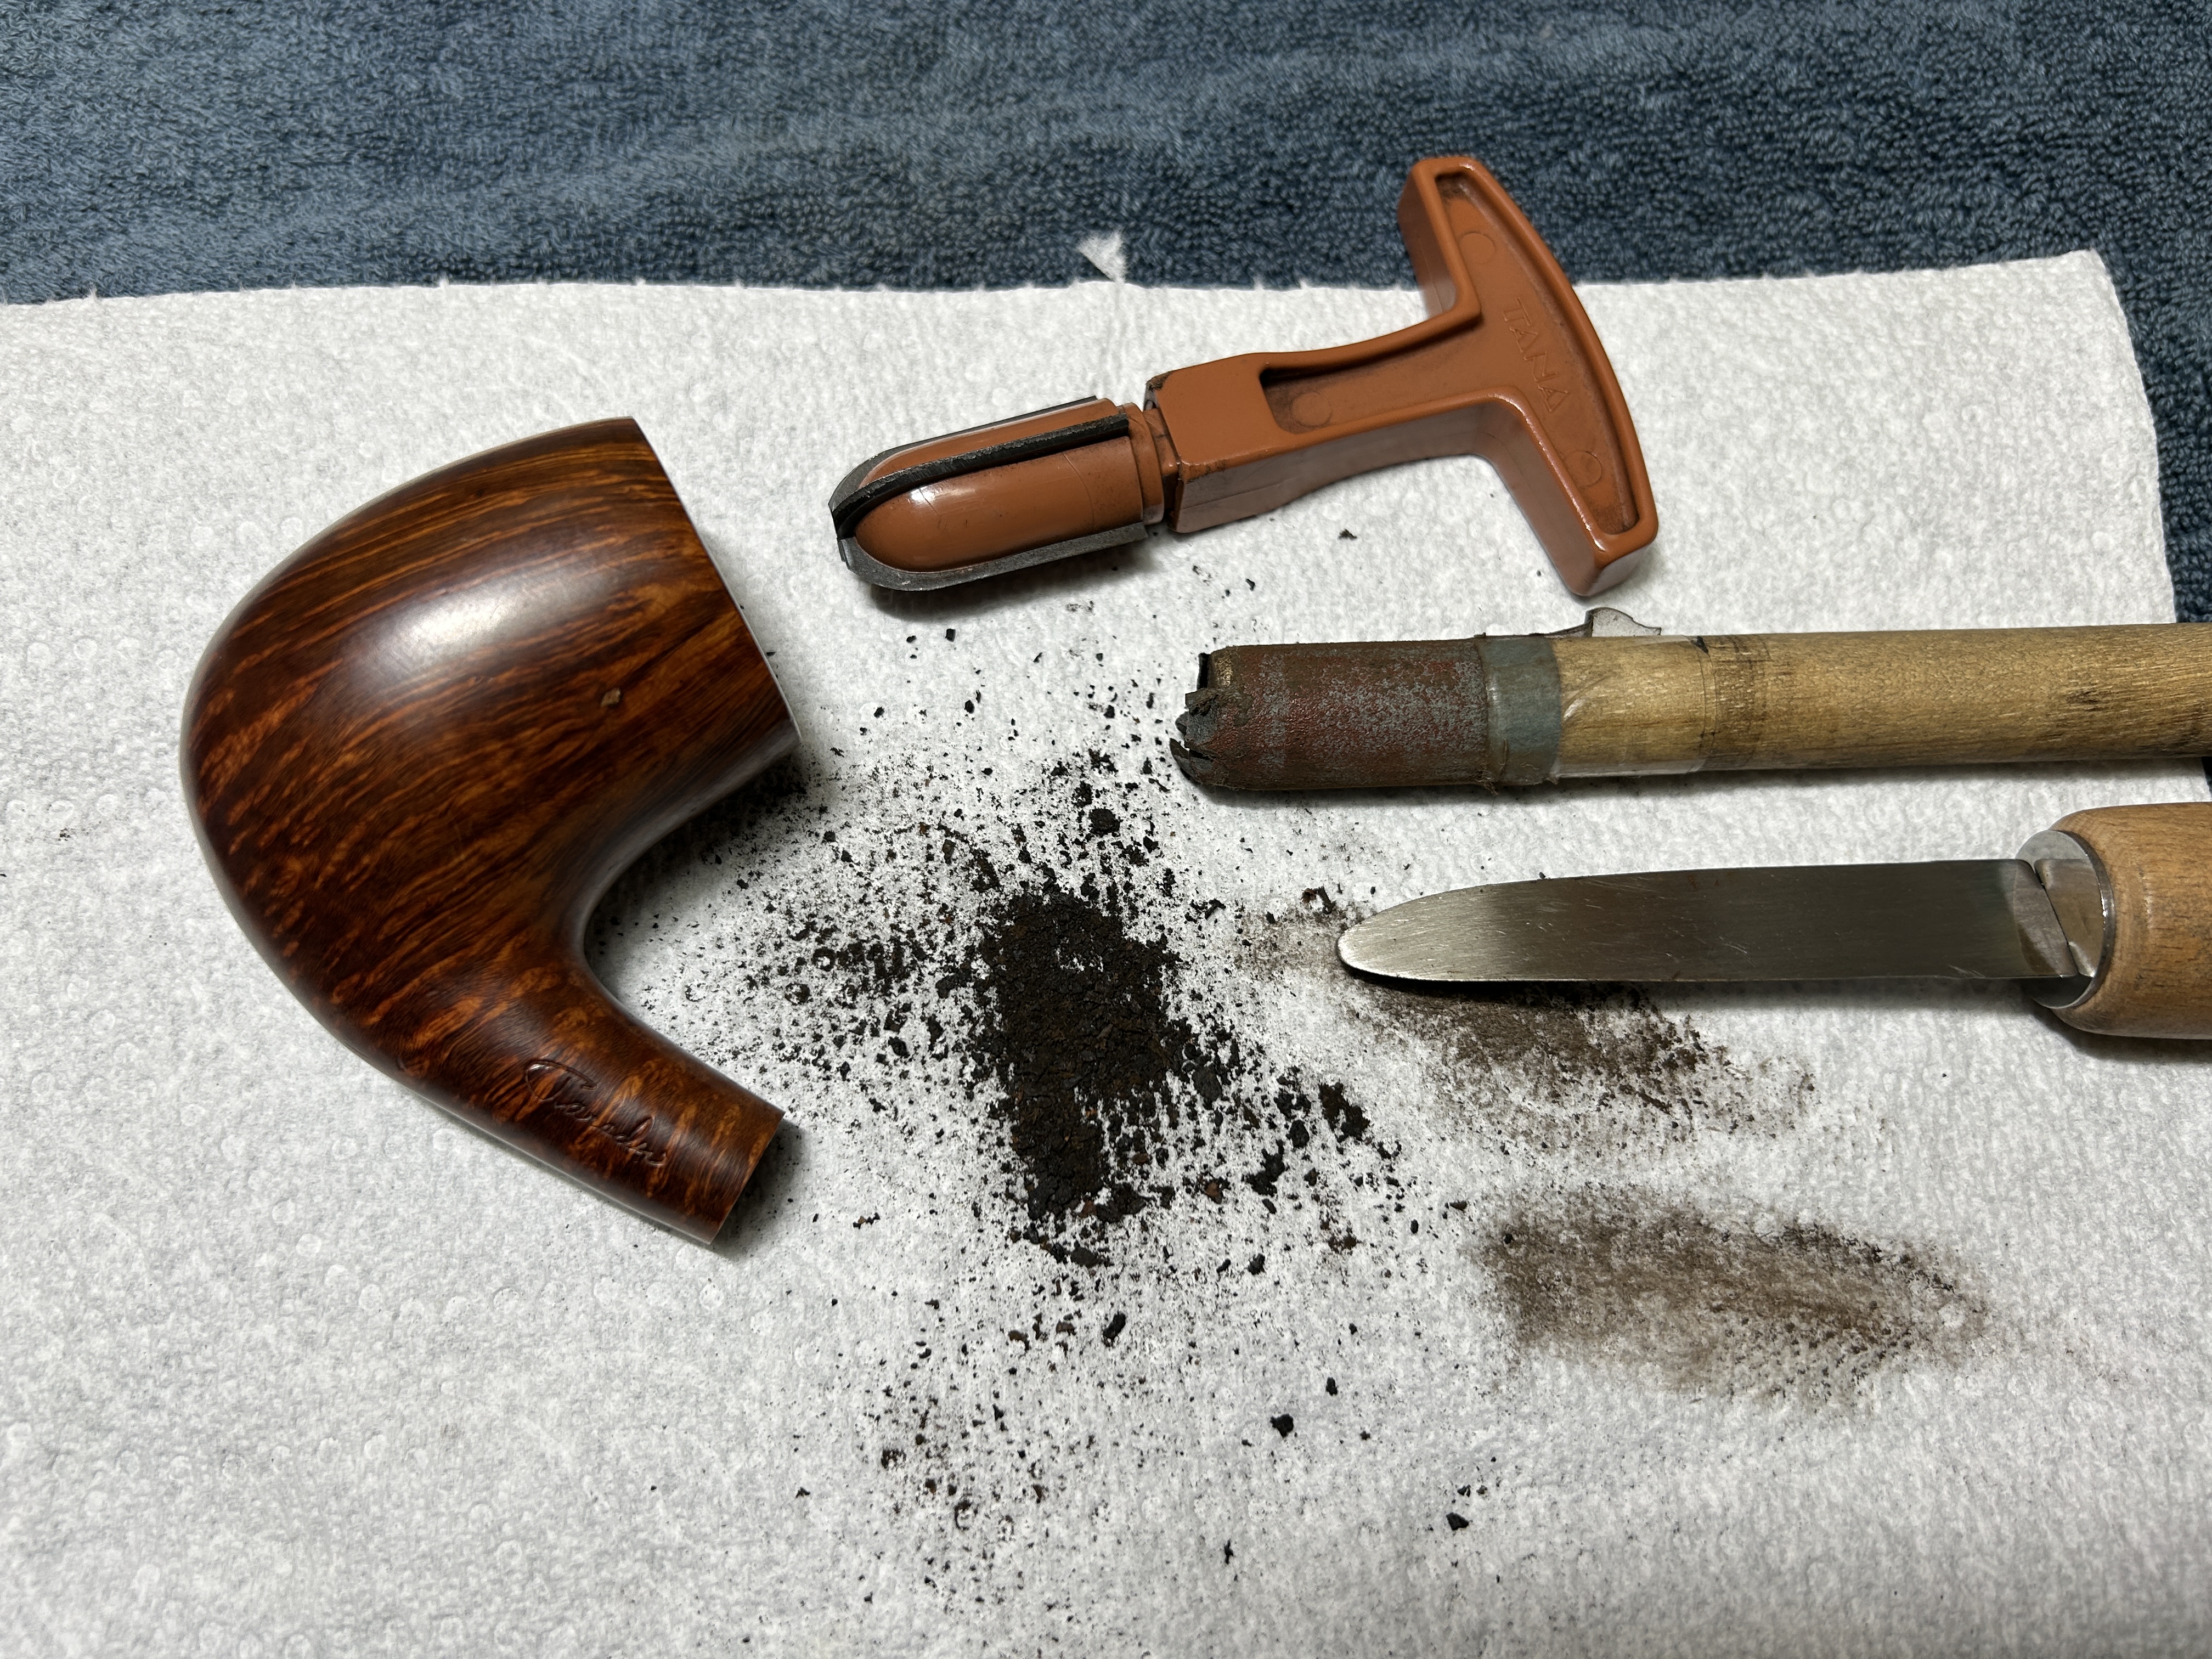
As the stem was (nearly) complete, I moved on to the stummel. The first step was to ream out the bowl – that is to say, remove all the cake inside the bowl. This accomplished a couple of things. First (and most obviously), it cleaned the bowl and provided a refurbished chamber for future smoking. Second, when the old cake was removed, I could inspect the interior walls of the bowl and determine if there was damage or not. I used a reamer, a pipe knife, and a piece of sandpaper taped to a wooden dowel. Collectively, these ensured that all the debris was removed. There was actually very little cake in there.
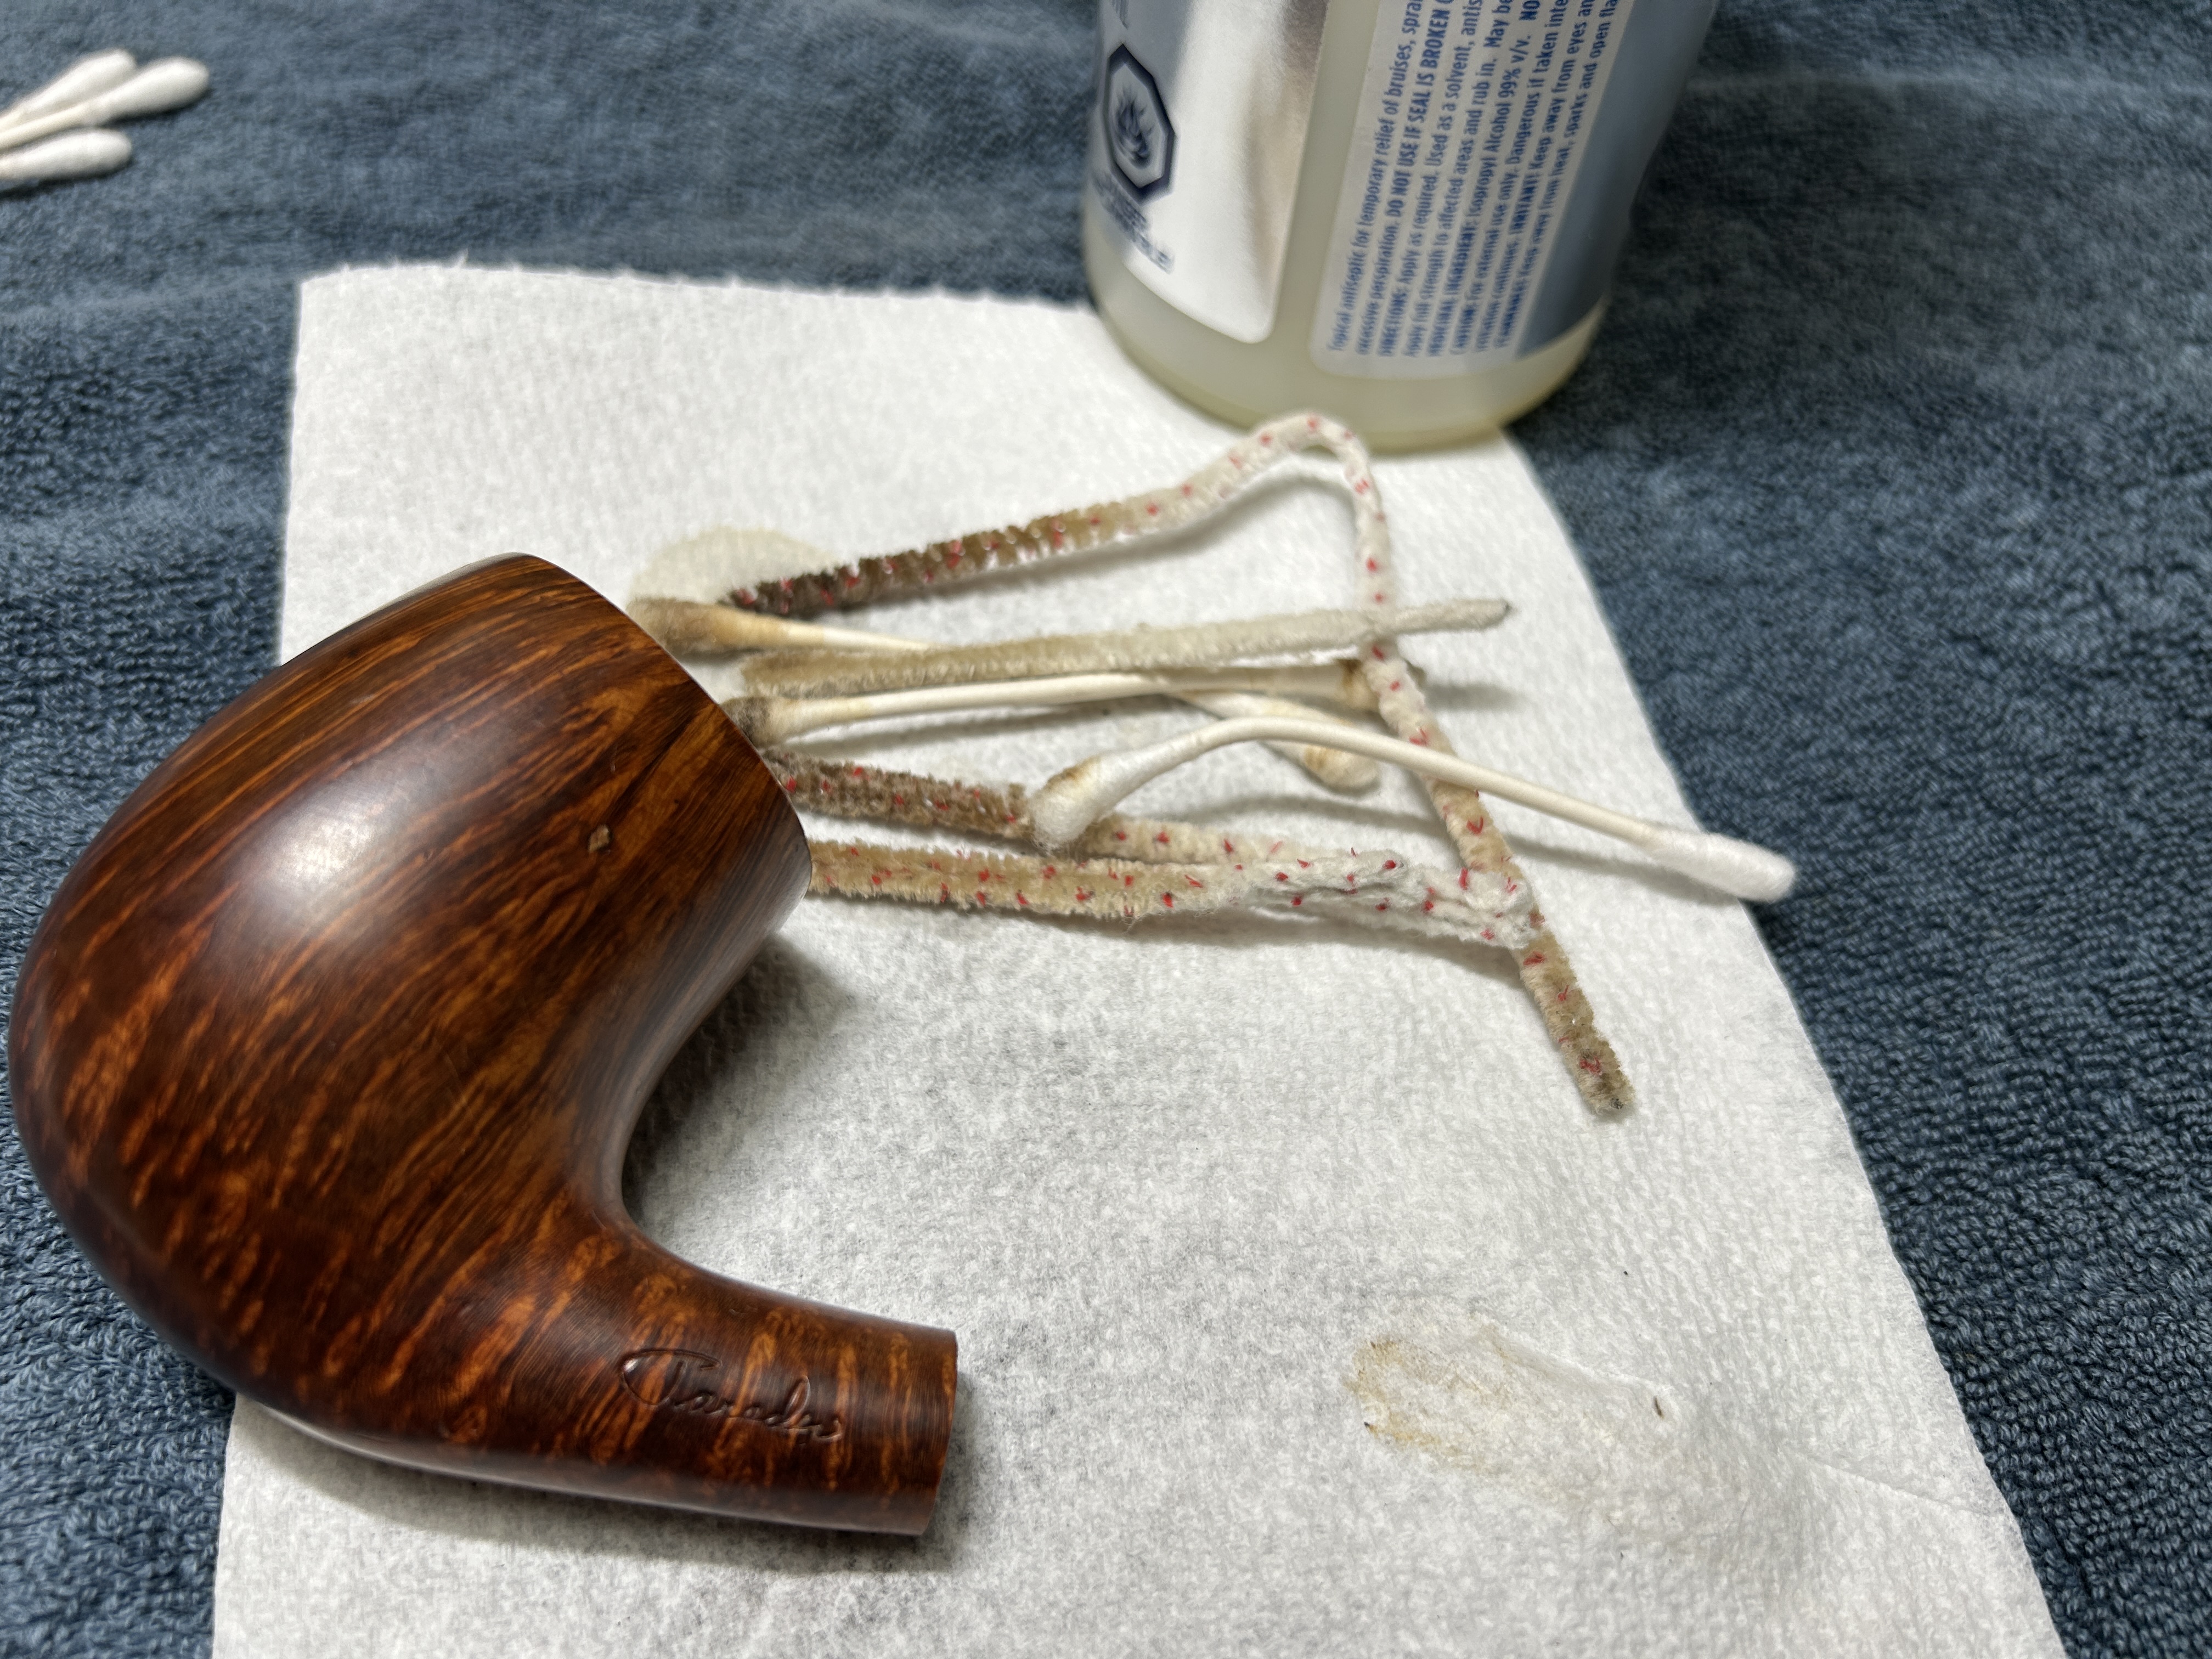
Similar to the stem, I then cleaned the stummel with both pipe cleaners and cotton swabs dipped in lemon-infused 99% isopropyl alcohol. Once again, the insides were not very dirty.
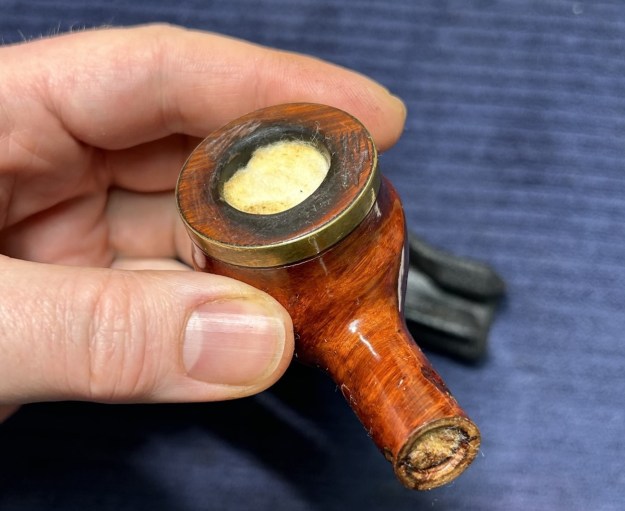
I then decided to ‘de-ghost’ the pipe – that is to say, exorcize the remaining filth from the briar. I filled the bowl and the shank with cotton balls, then saturated them with 99% isopropyl alcohol. I let the stummel sit overnight. This caused the remaining oils, tars and smells to leach out into the cotton. This pipe probably didn’t need it, but it’s just what I do!
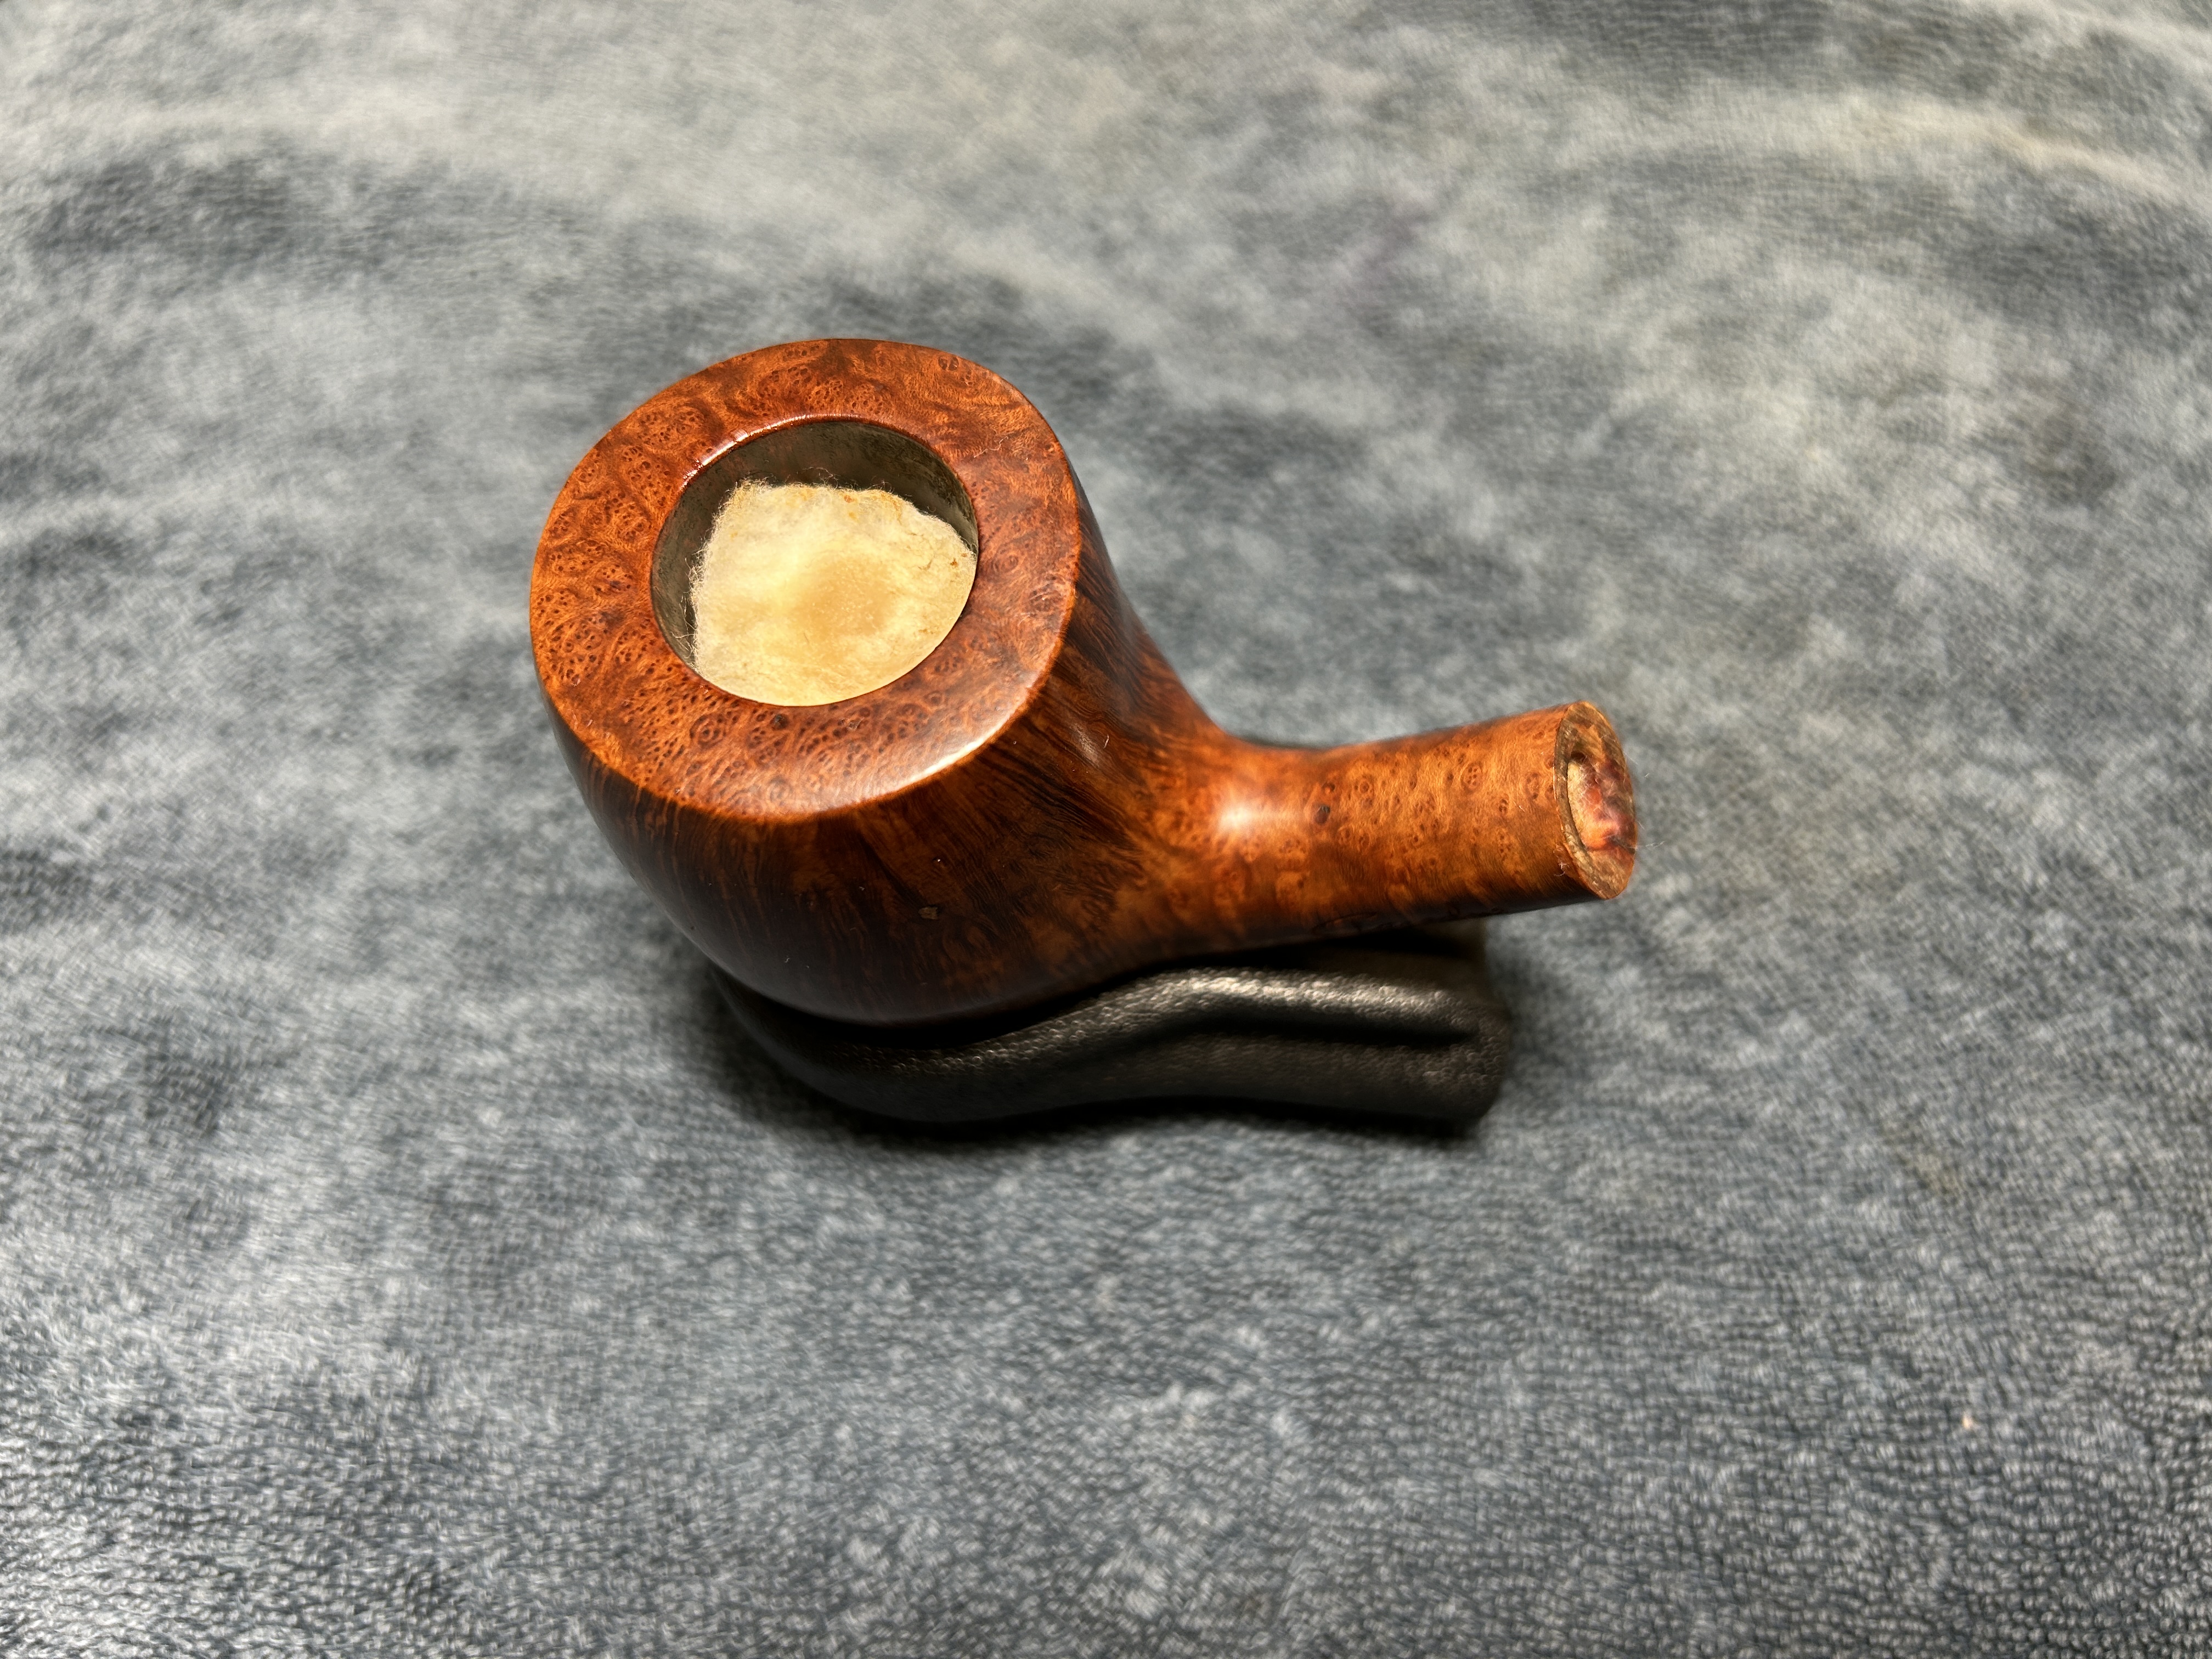
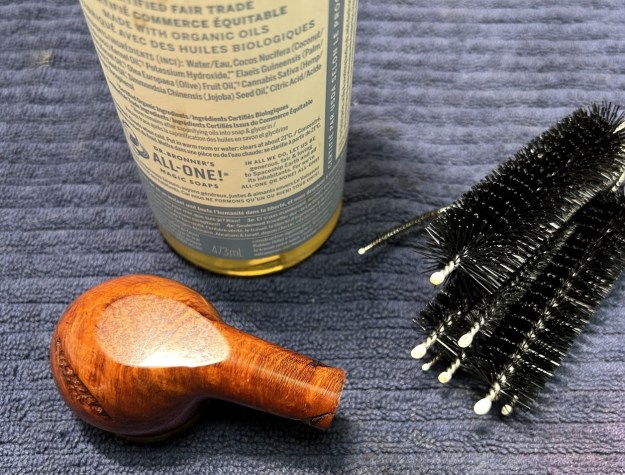
To tidy up the briar, I wiped down the outside, using a solution of a pH-neutral detergent and some distilled water, with cotton rounds. I also used a toothbrush in the crevices. This did a good job of cleaning any latent dirt on the surface of the briar. The last step of the cleaning process was to scour the inside of the stummel with the same mild detergent and tube brushes. This was the culmination of a lot of hard work in getting the pipe clean.
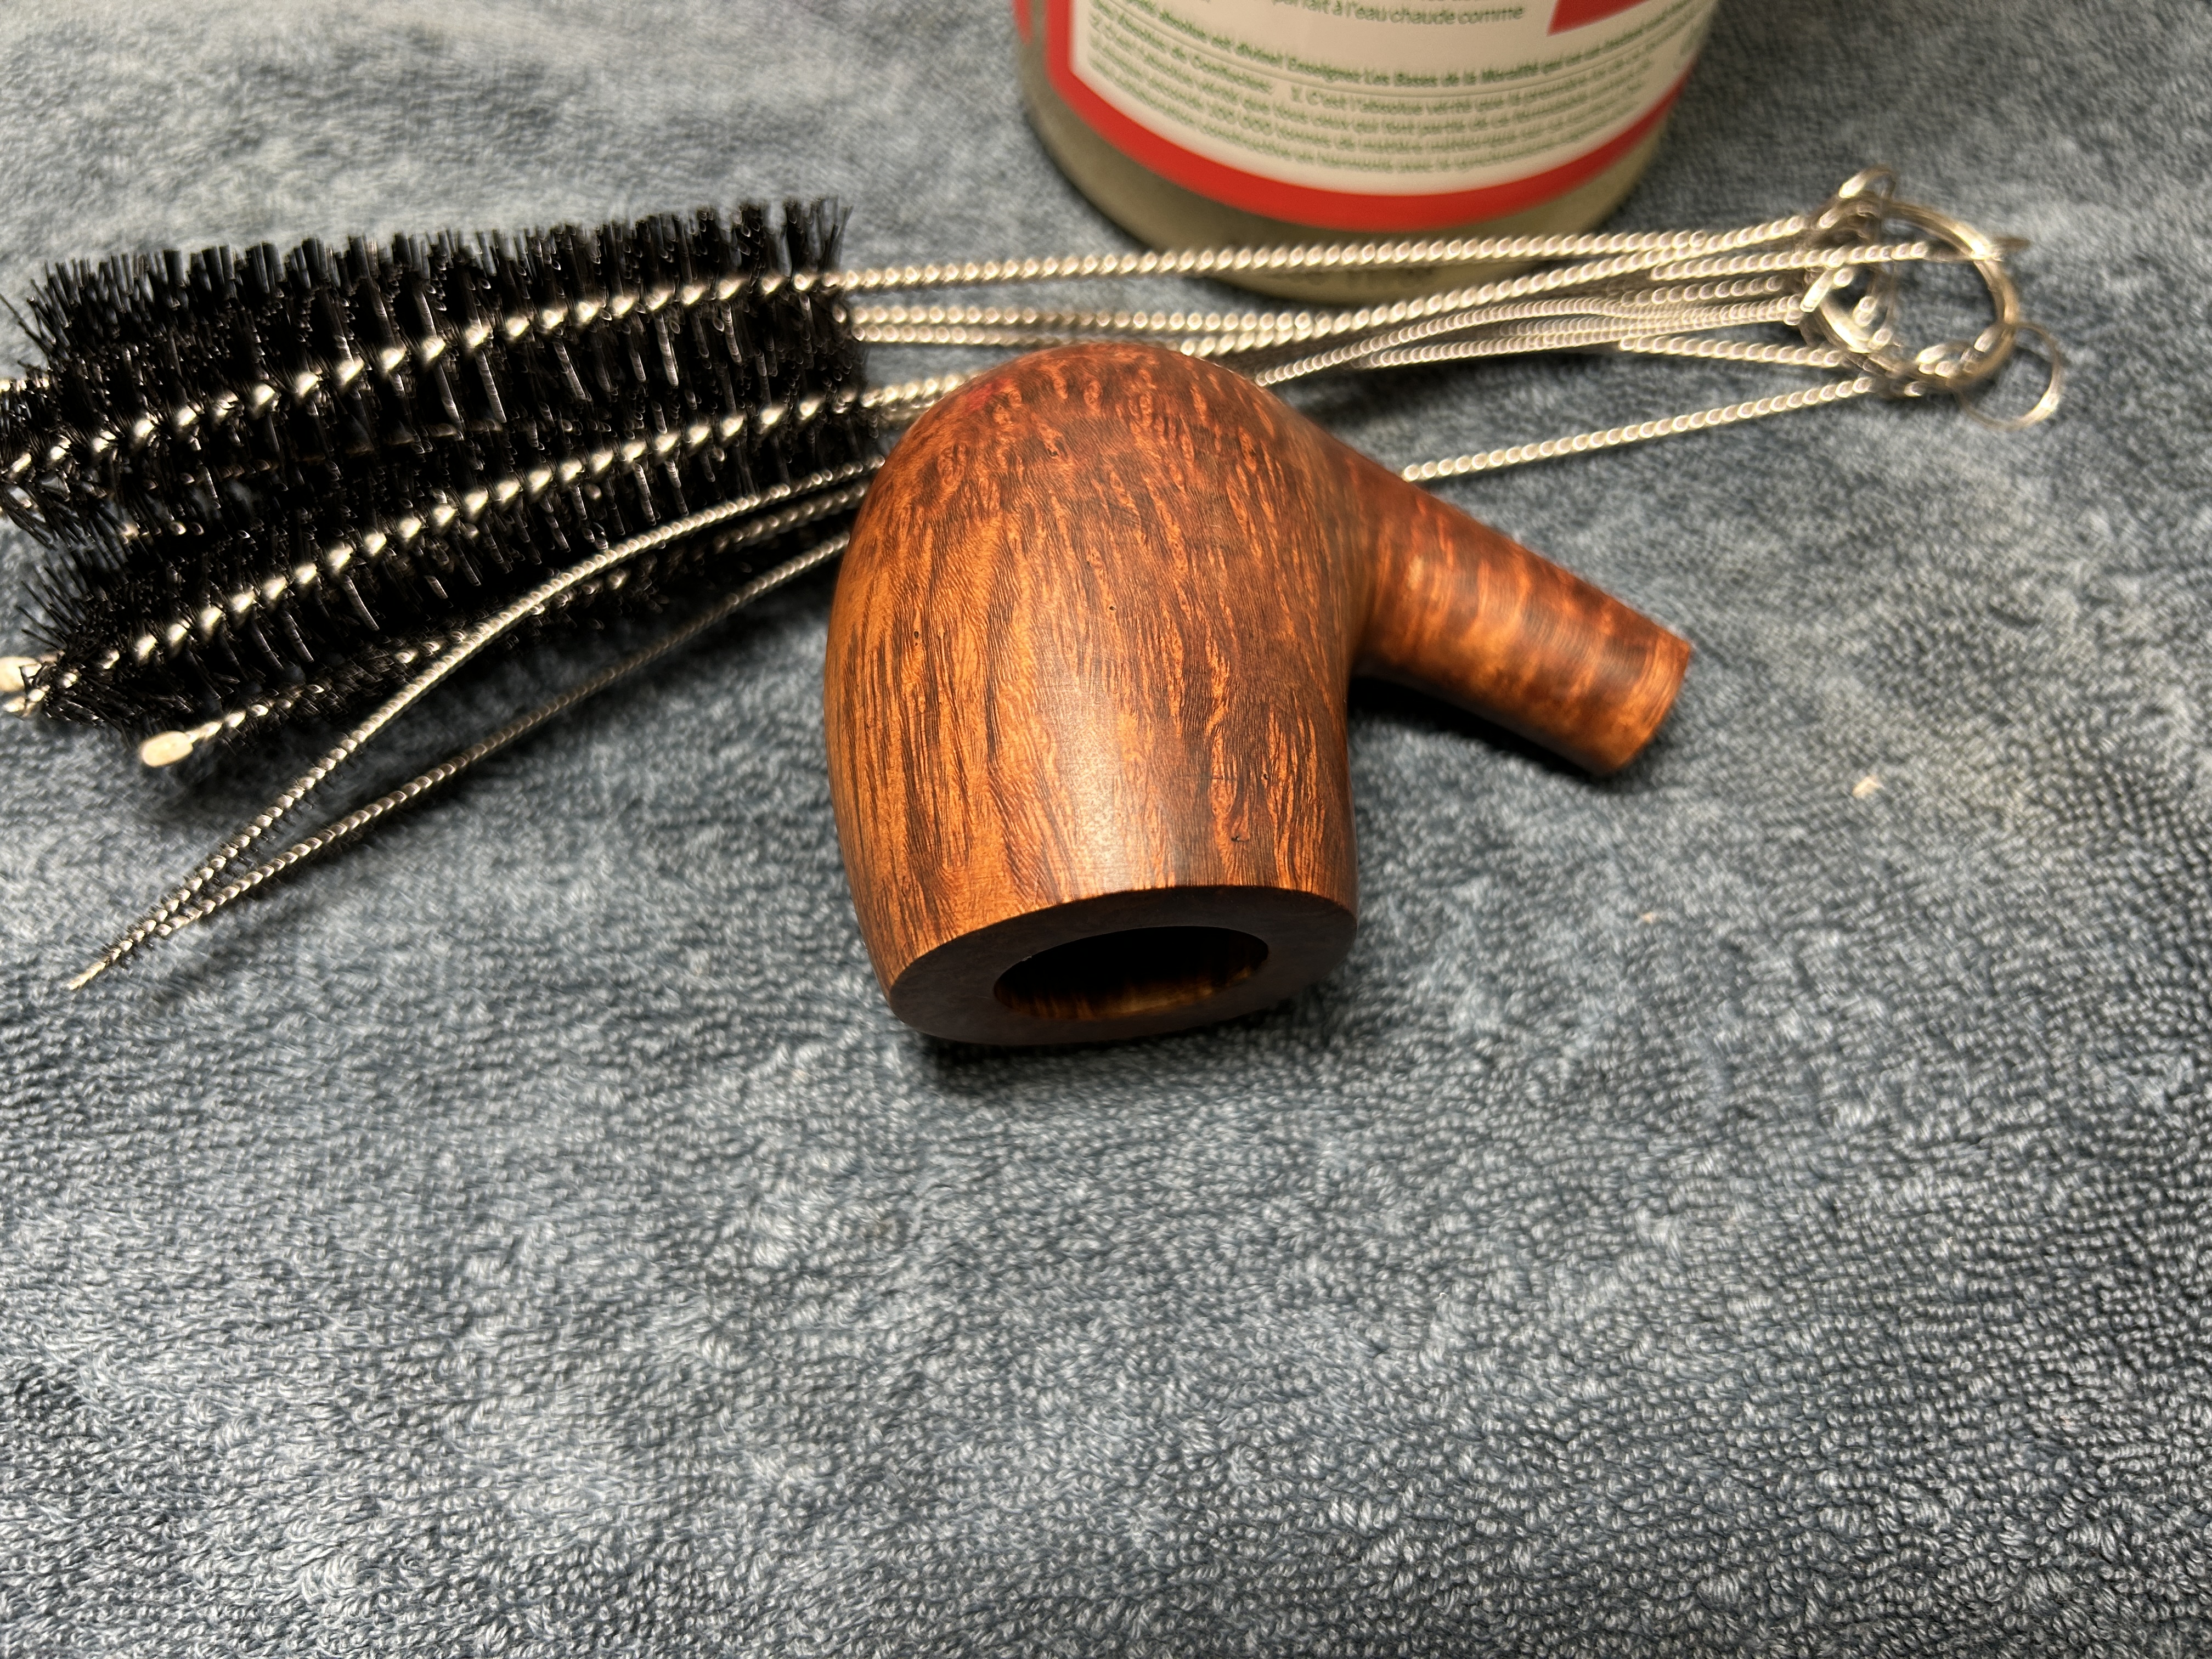
Having completed that, I was able to address the tiny nicks on the bowl. I dug out my iron and a damp cotton flannel cloth. By laying the cloth over the affected areas and applying the iron to it, the hot and moist steam can cause the wood to swell slightly and return to shape. There was some good improvement. Sorry – forgot to photograph this.

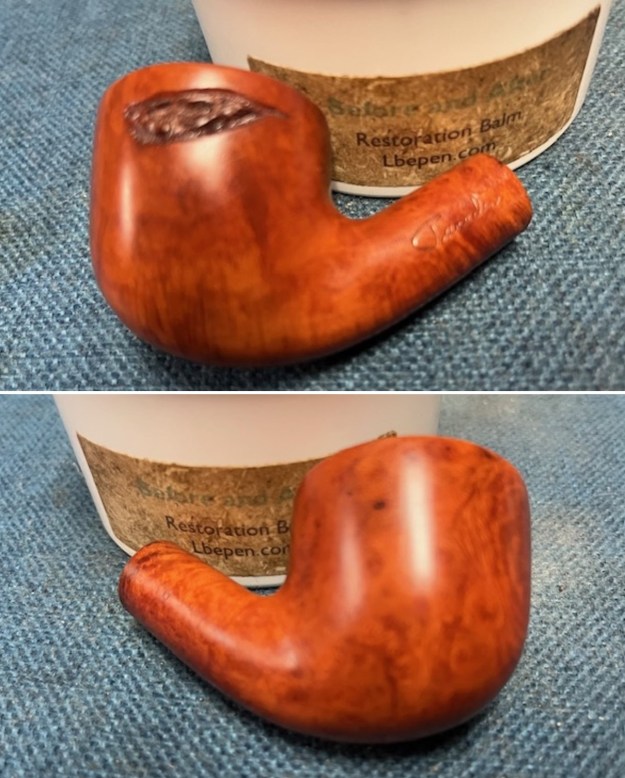
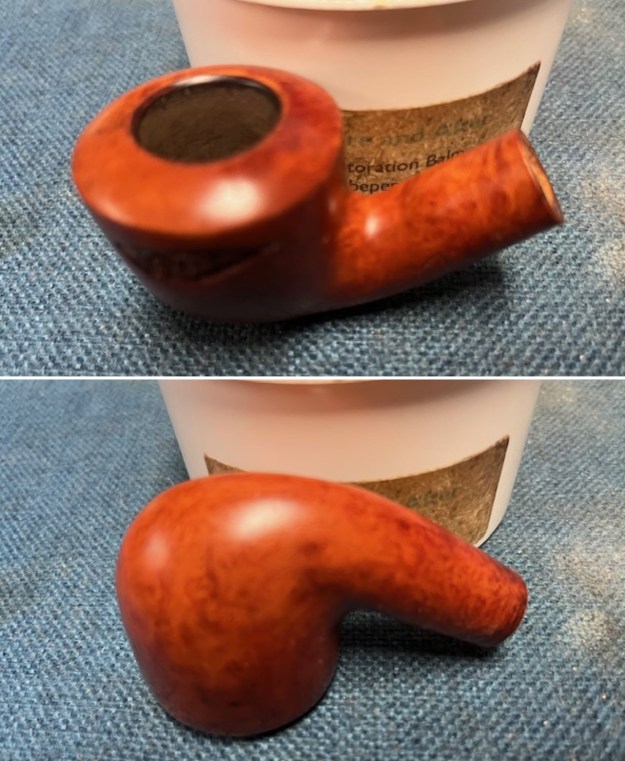
I used the last few micromesh pads to sand the outside of the stummel and finish it off. This sanding minimizes flaws in the briar and provides a beautiful smoothness to the wood. I rubbed some LBE Before & After Restoration Balm into the briar and let it sit for 30 minutes or so. The balm moisturizes the wood and gives a beautiful depth to the briar. I then buffed the stummel with a microfibre cloth.
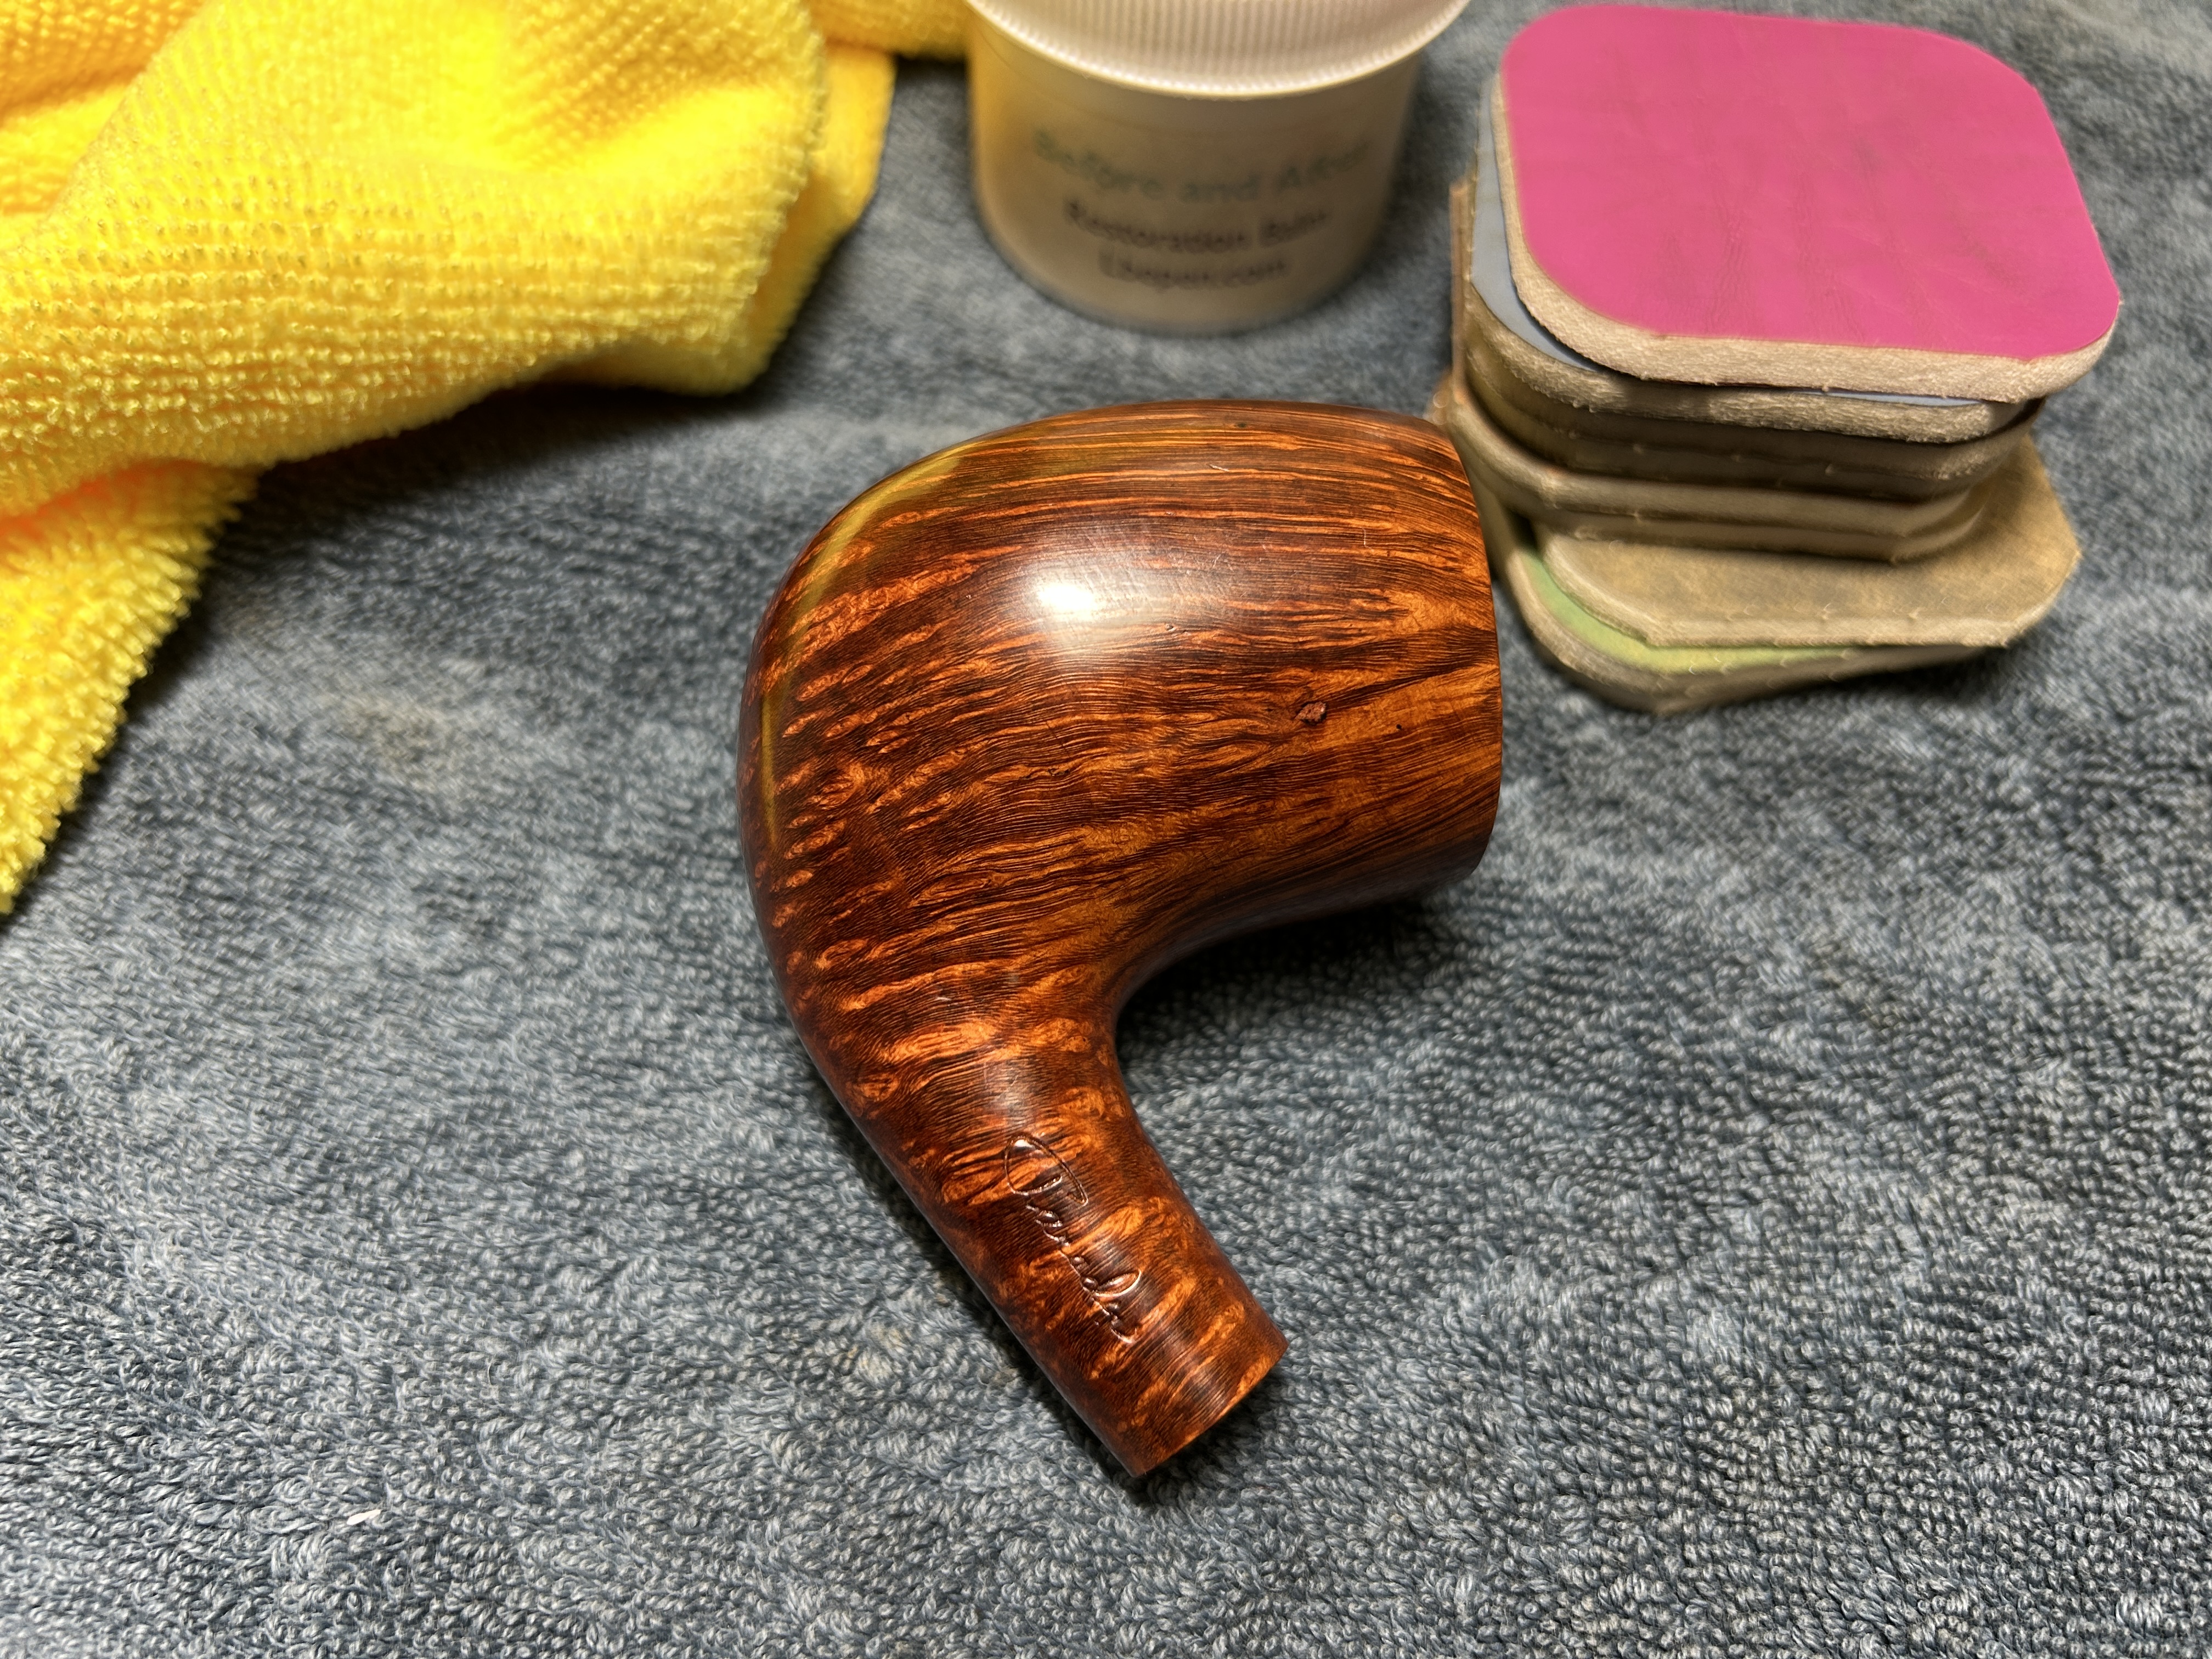
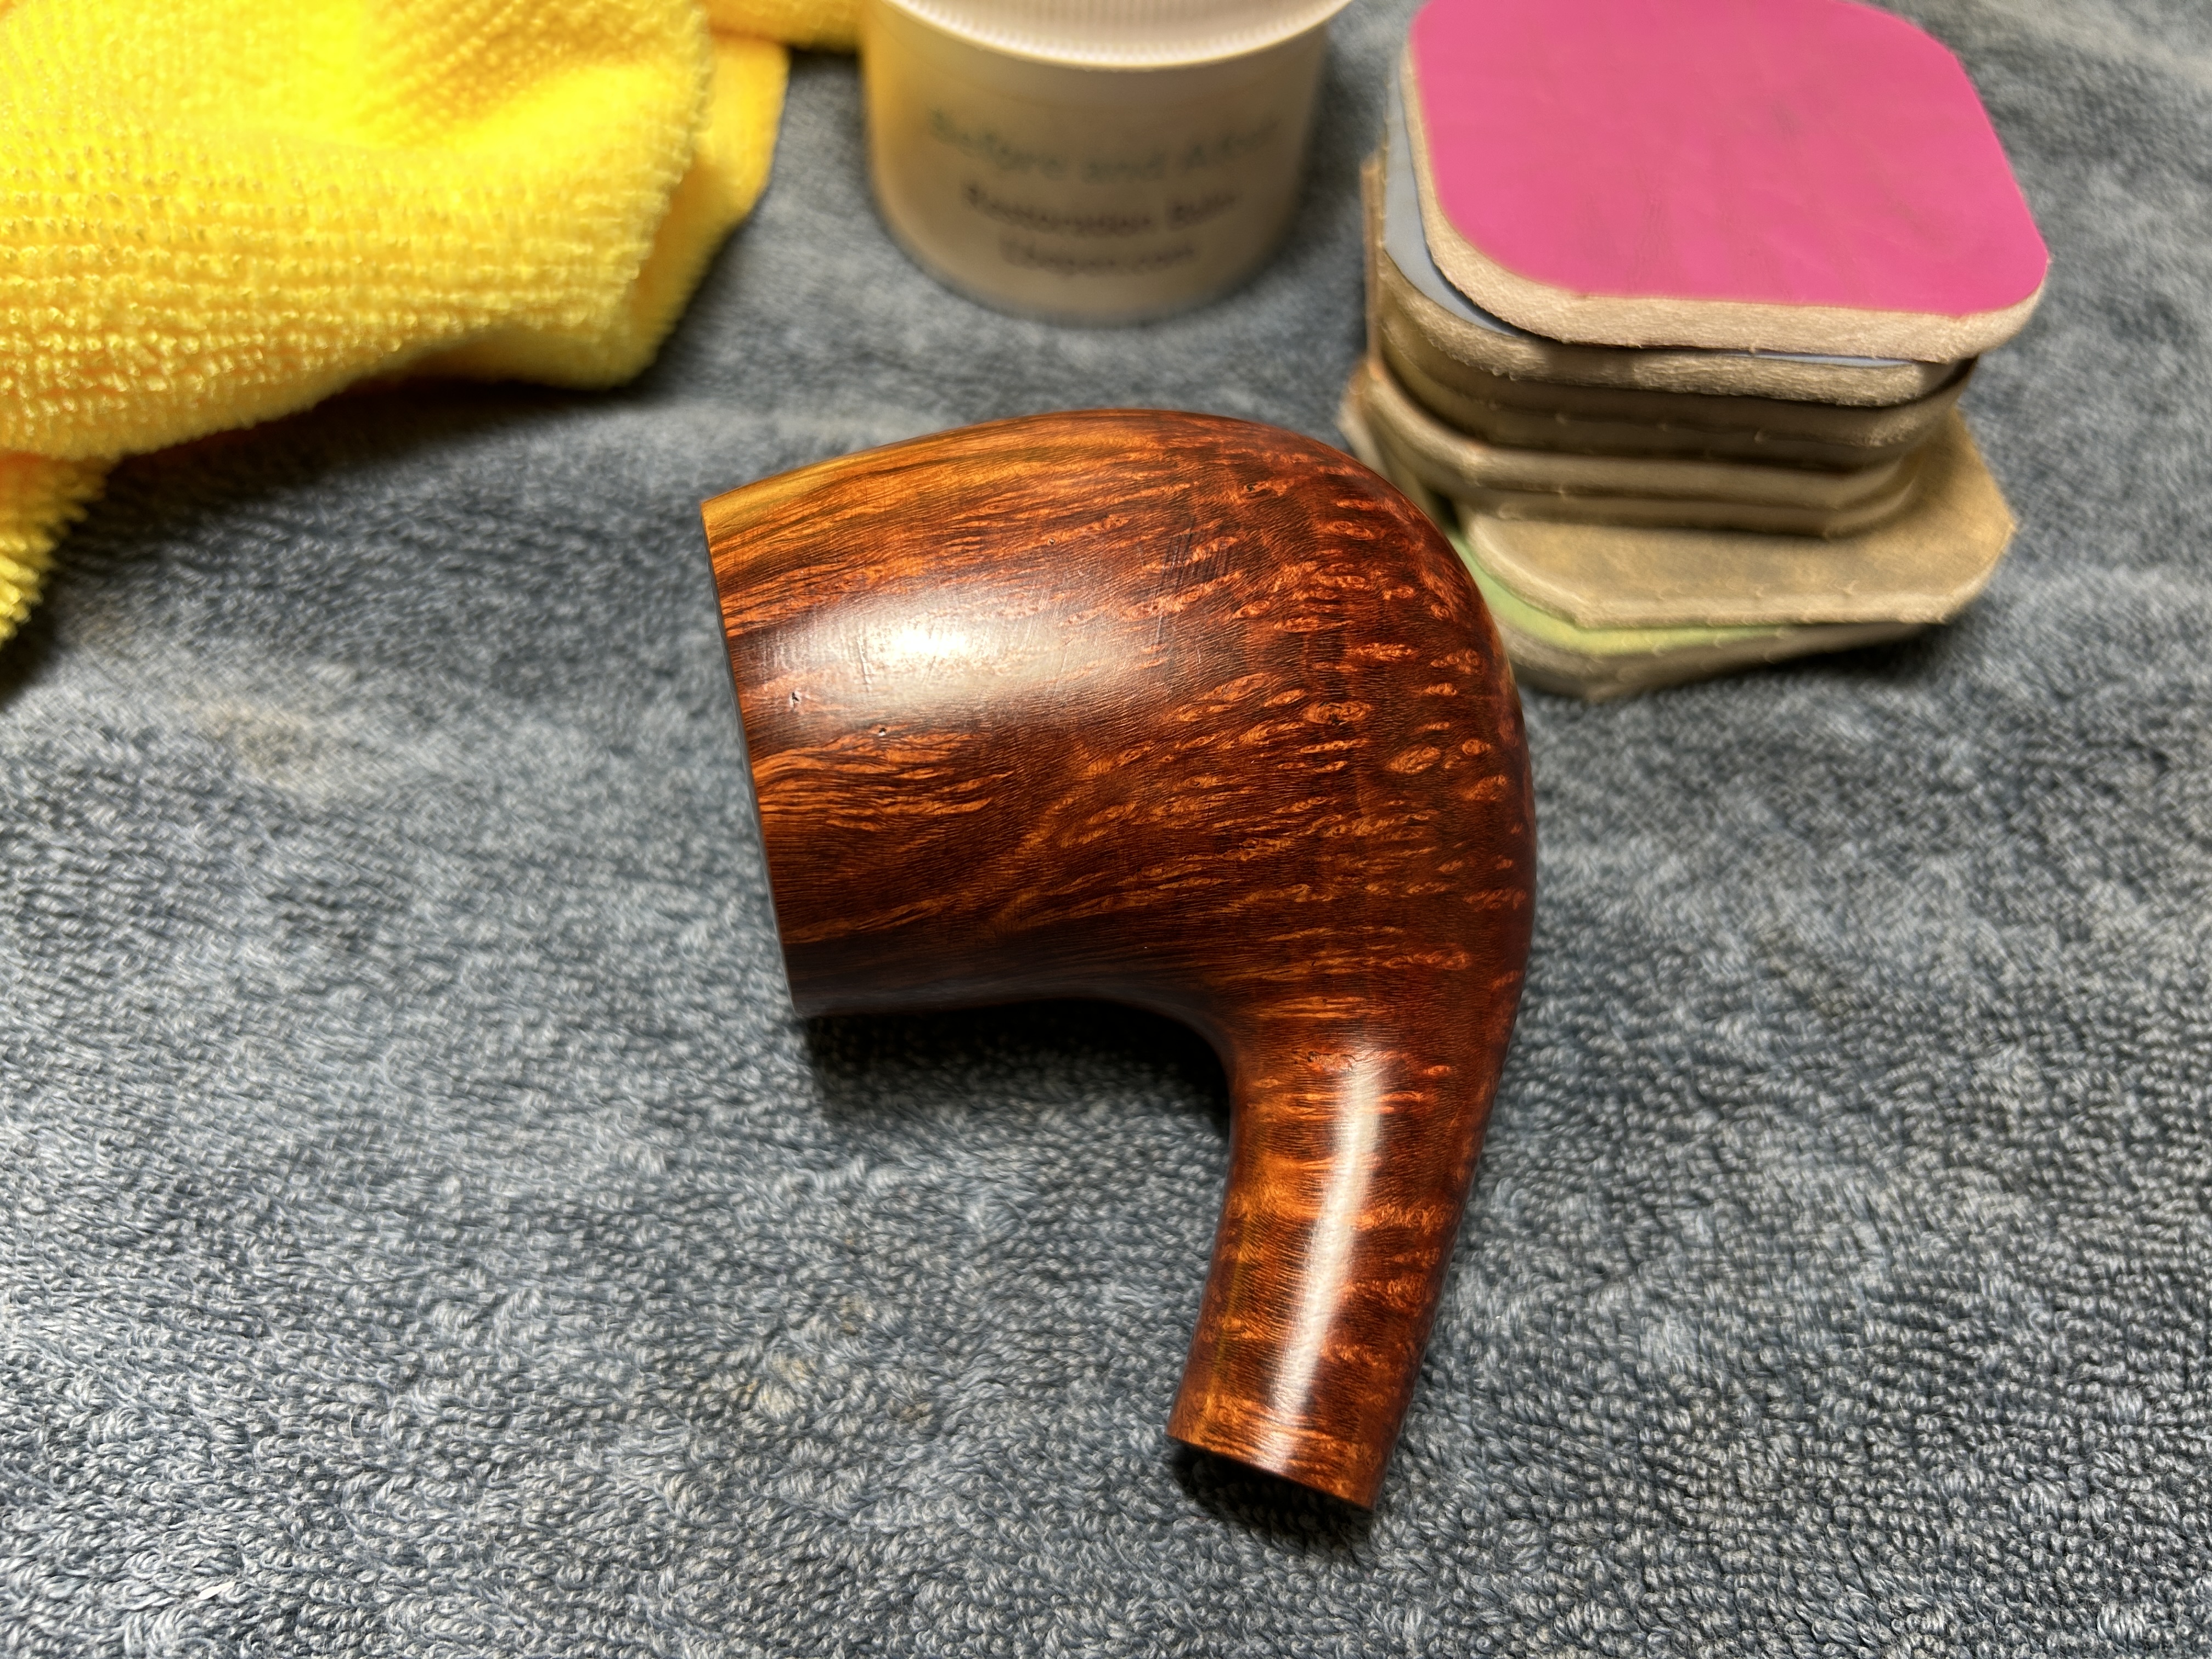
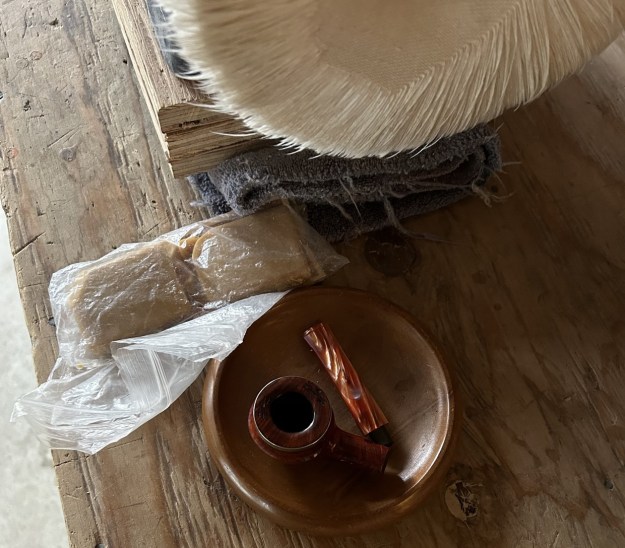
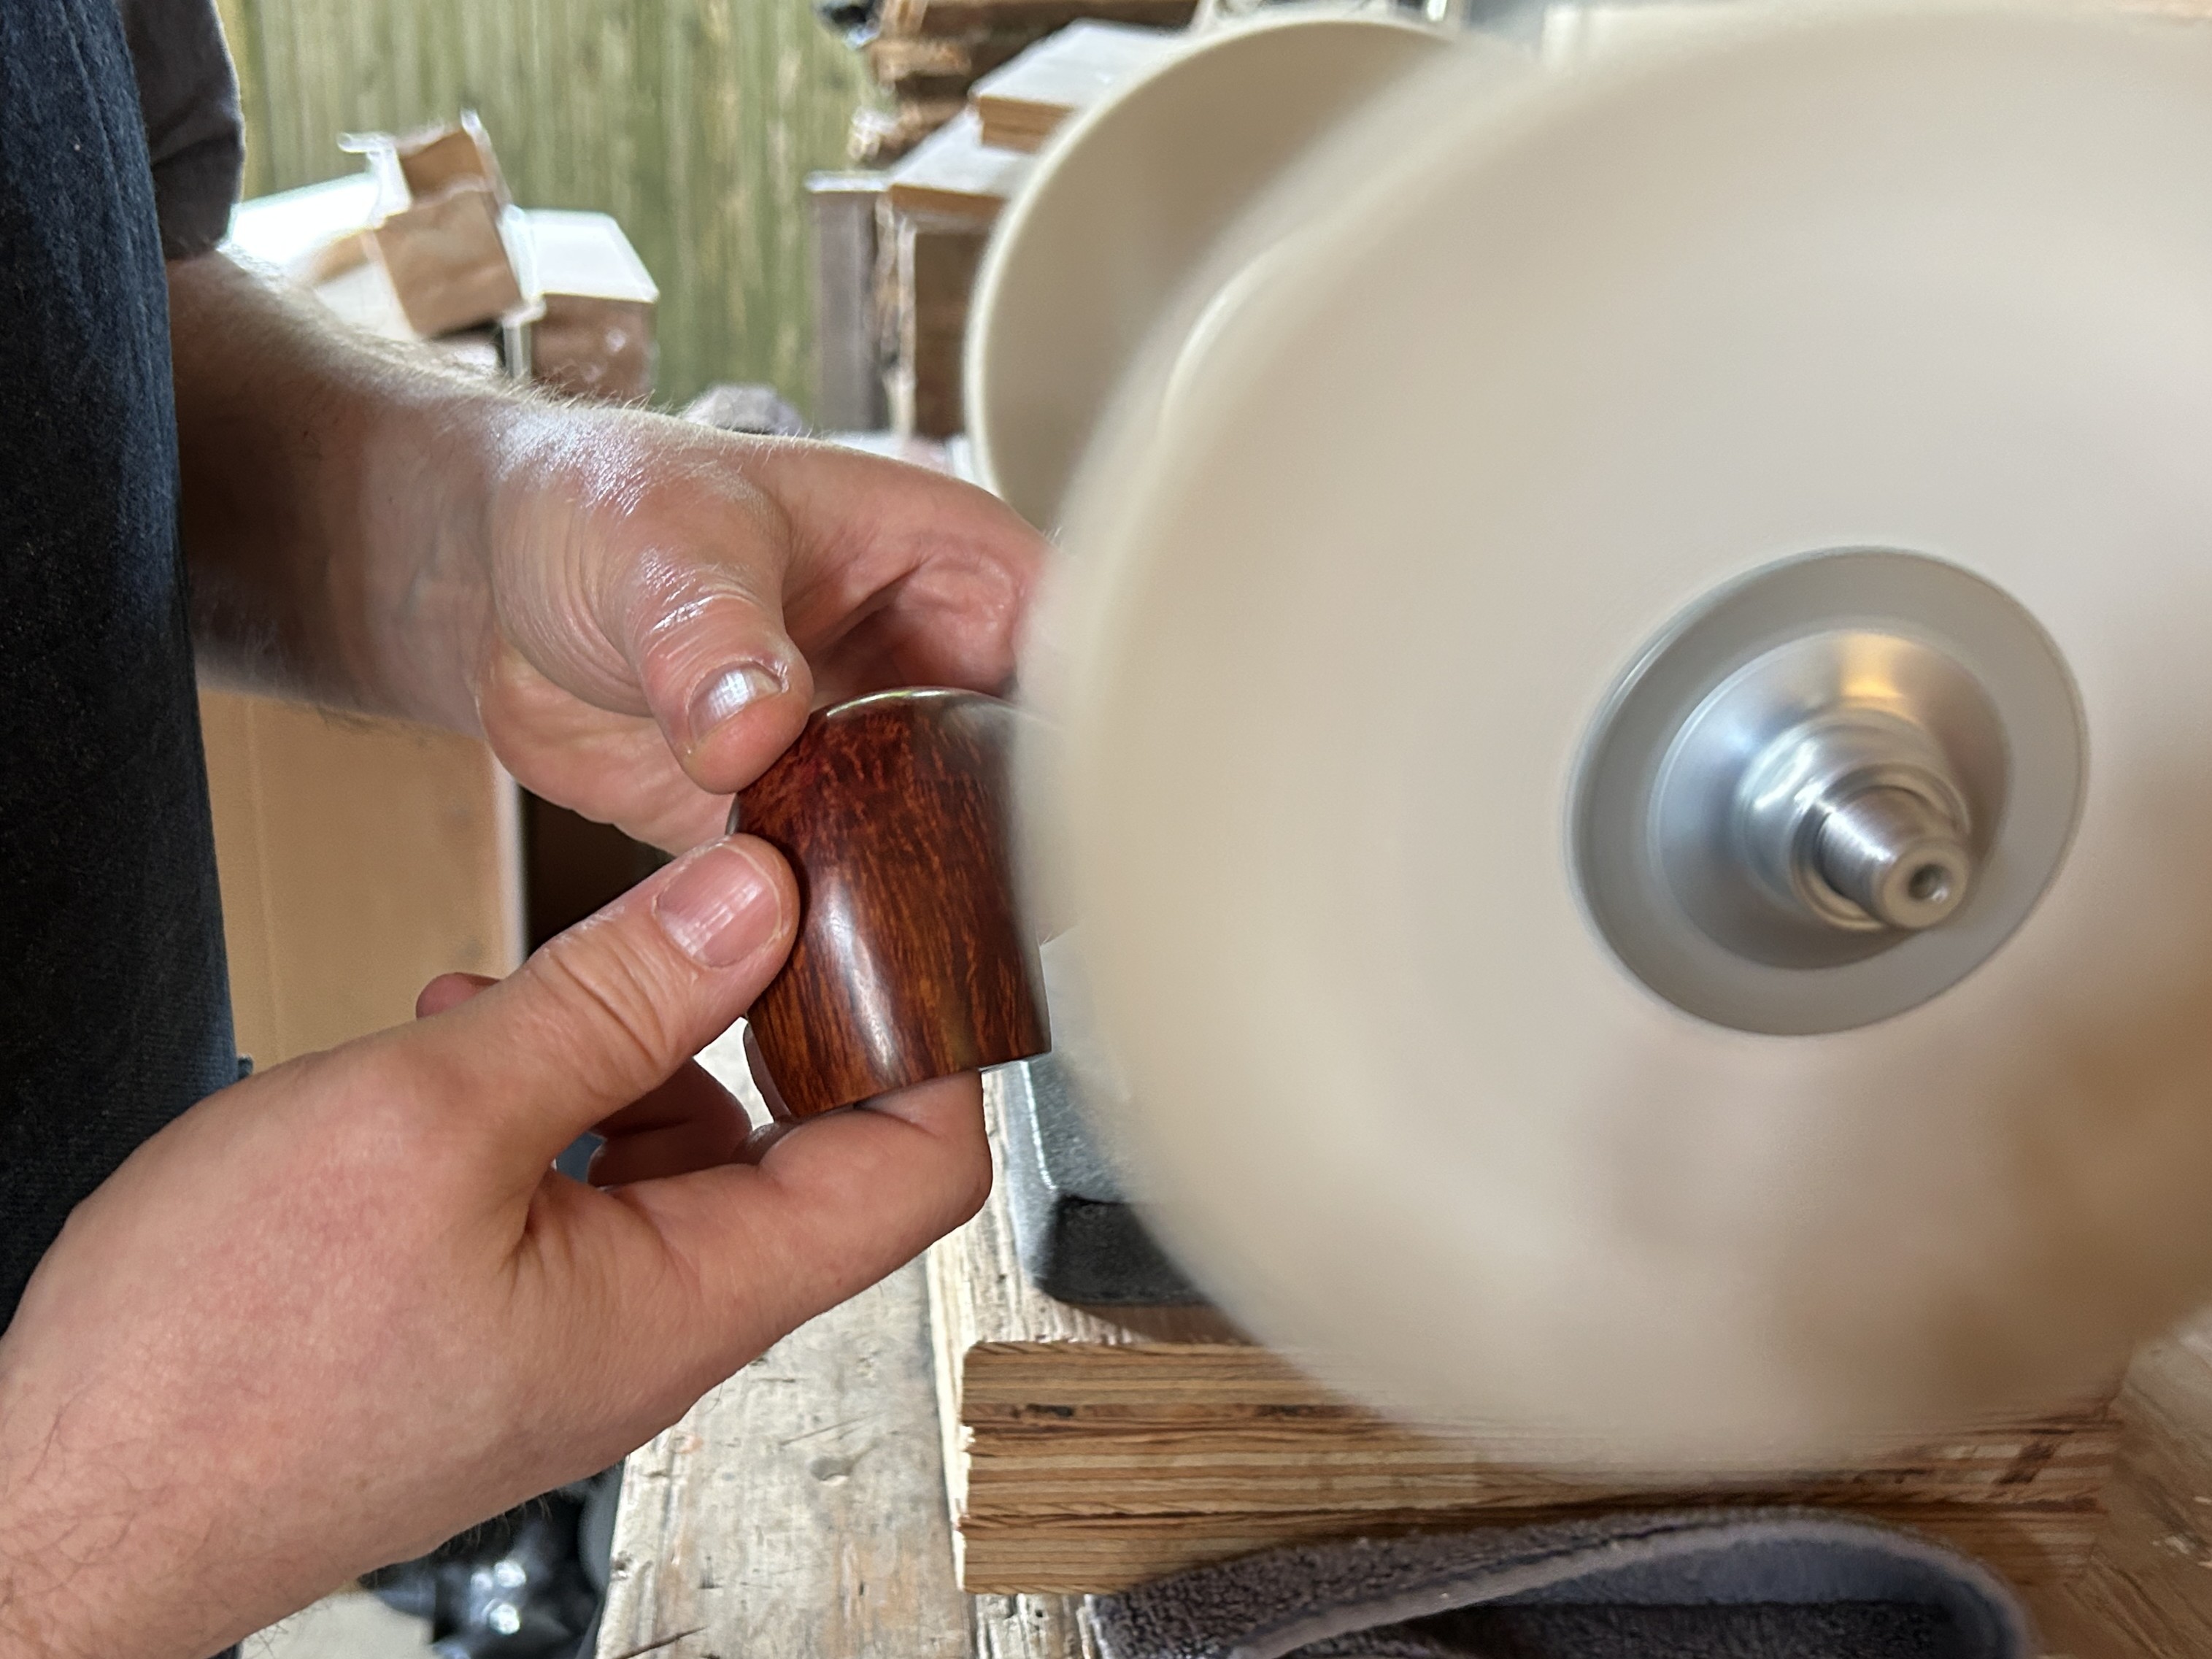
For the final step, I took the pipe to my bench polisher and carefully buffed it – first with a blue diamond compound, then with some carnauba wax. This procedure makes the pipe look its best – the stummel sings and the stem glows.
All done! This Paradis Danish-style bent egg looks fantastic again and is ready to be enjoyed by its next owner. I am pleased to announce that this pipe is for sale! If you are interested in acquiring it for your collection, please have a look in the ‘Canadian’ section of the store here on Steve’s website. You can also email me directly at kenneth@knightsofthepipe.com. The approximate dimensions of the pipe are as follows: length 5½ in. (140 mm); height 2¼ in. (57 mm); bowl diameter 1¾ in. (45 mm); chamber diameter ⅞ in. (22 mm). The weight of the pipe is 2⅜ oz. (68 g). I hope you enjoyed reading the story of this pipe’s restoration as much as I enjoyed restoring it. If you are interested in more of my work, please follow me here on Steve’s website or send me an email. Thank you very much for reading and, as always, I welcome and encourage your comments.
Restoring Canadian Made Paradis Smooth 5 10 Bent Dublin Filter Pipe


by Steve Laug

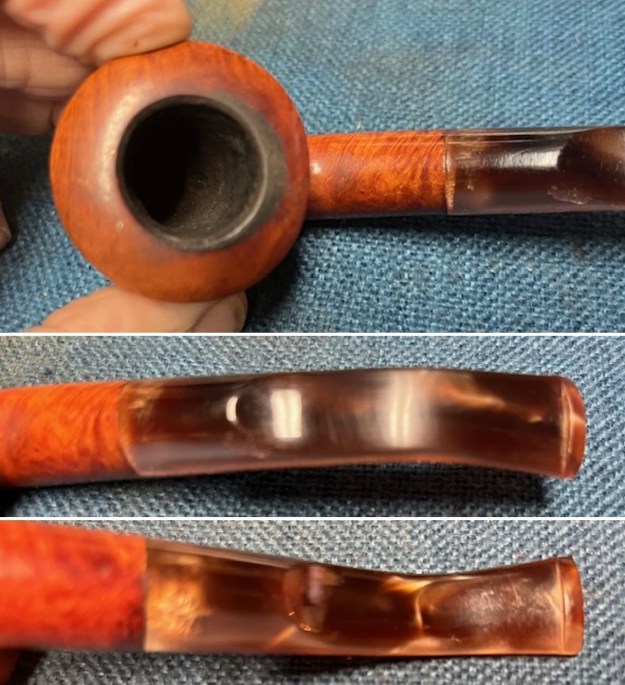
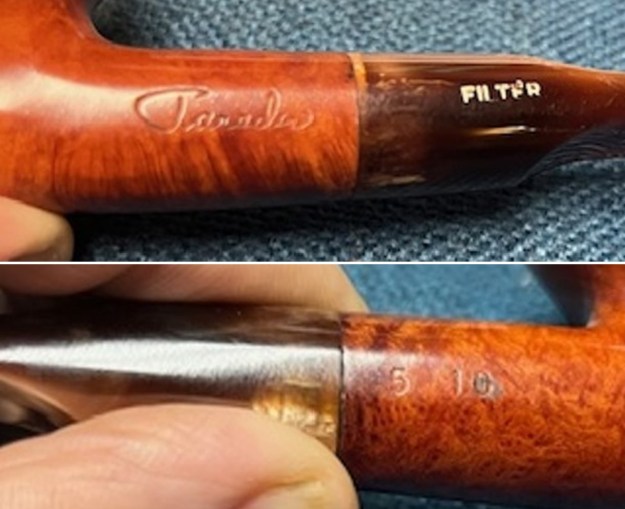
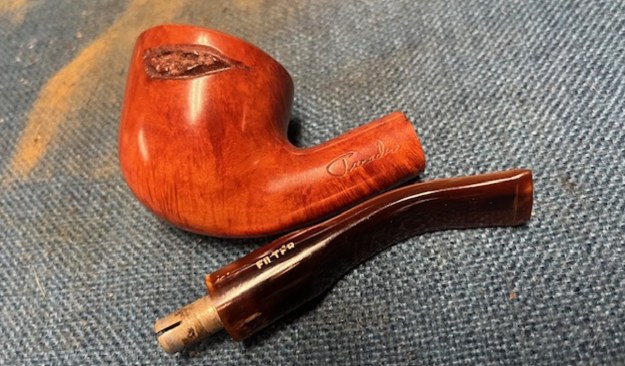
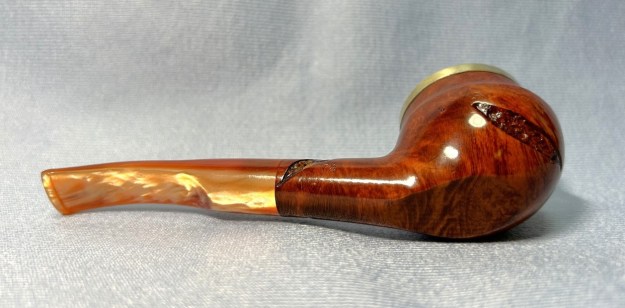
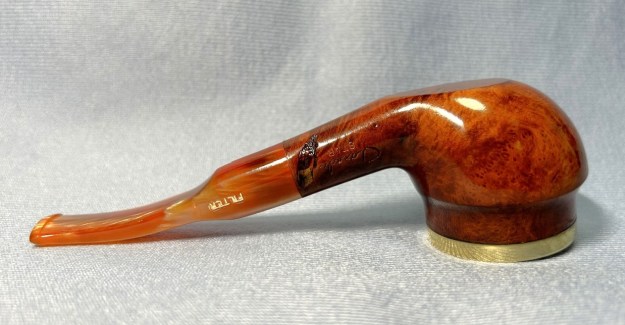
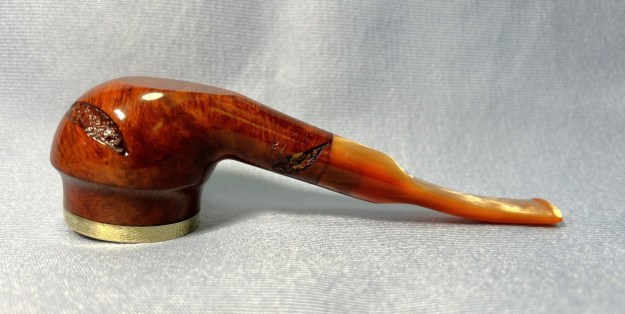
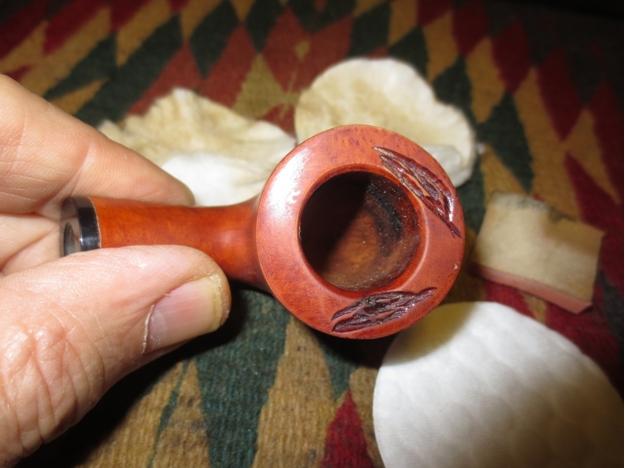
The next pipe is a Canadian Made Paradis Pipe. I purchased it from a seller in Ontario, Canada along with the John Calich pipe I restored already and wrote a blog about the restoration. Here is the link (https://rebornpipes.com/2026/03/12/resurrection-of-a-calich-hand-made-7-rusticated-billiard/). This Paradis pipe was in far better condition than the Calich and was not in need of as extensive a resurrection as that pipe. The Paradis had a moderate cake in the bowl and a light overflow of lava on the rim top. There was darkening on the top and around the inner edge of the rim. The finish was coated with a shiny coat of urethane (seems to be something I am dealing with lately!). It was peeling on the top of the rim and inner edge. It would all need to go. The pipe was stamped on the left side and read Paradis in script. The right side of the shank was stamped with the shape number 5 10. The pipe had a rusticated leaf pattern on the left side of the bowl. The bent acrylic saddle filter stem had a lot of tooth chatter and marks on both sides ahead of the button. It was stamped with the word, FILTER on the left side of the stem.

Before I started my clean up work on the pipe I wanted to remind myself of the brand and the information that was available. I knew Paradis Pipes was a Canadian pipe company, based in Montréal. I also knew that Kenneth had done a similar restoration on a Paradis Filter pipe (https://rebornpipes.com/2024/01/31/cleaning-up-an-interesting-paradis-star-freehand-pot/). I quote from his work below:

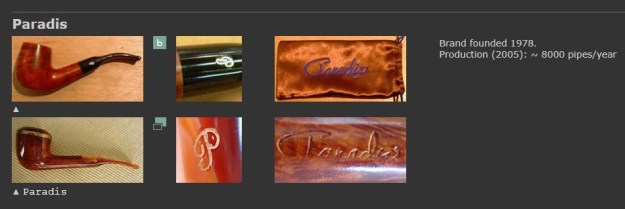
… I turned to Pipedia and Pipephil (http://www.pipephil.eu/logos/en/logo-p1.html) to seek out more information. Here’s some of what I found (after correcting the many spelling errors):

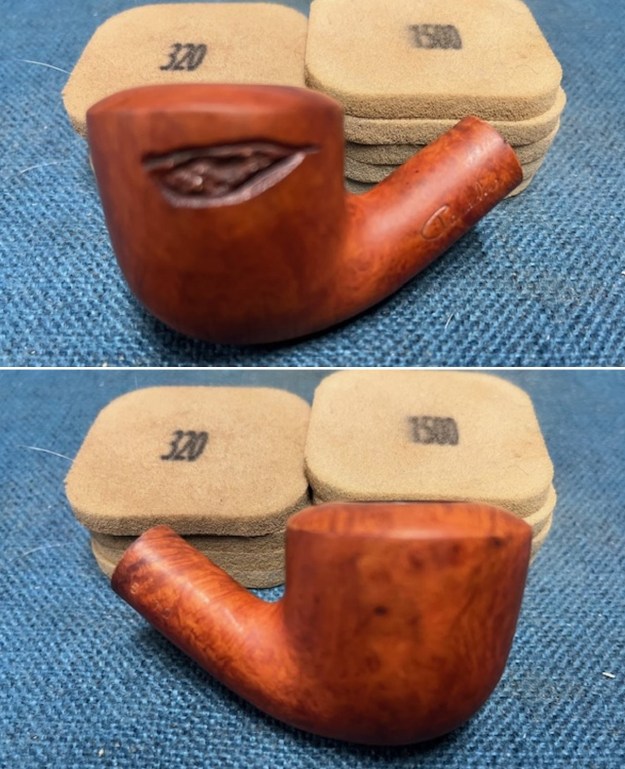
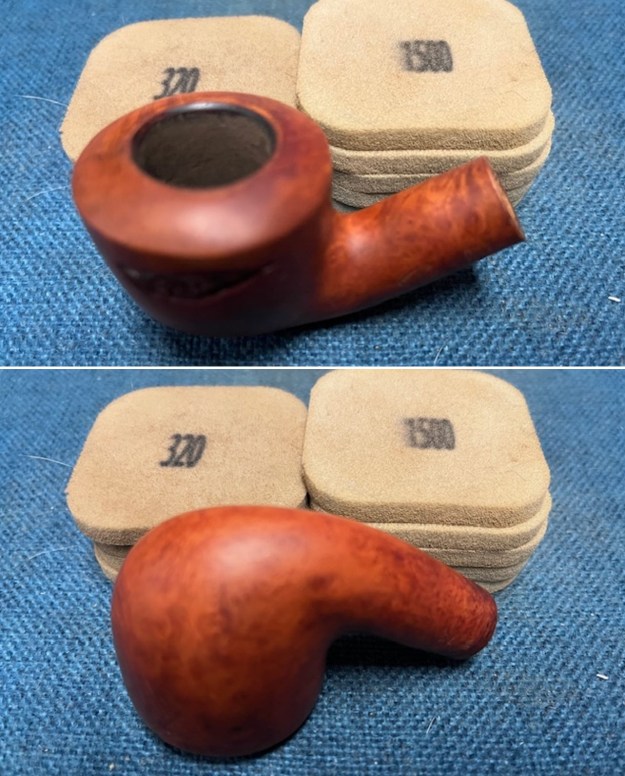
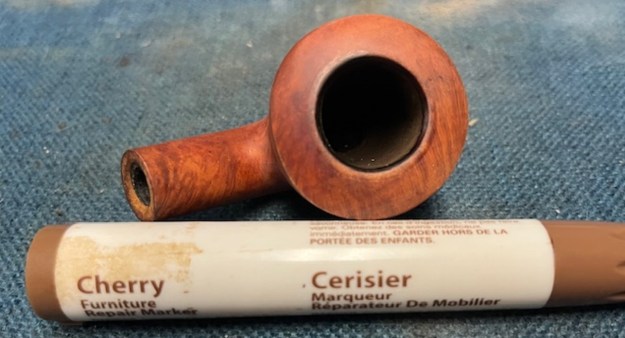
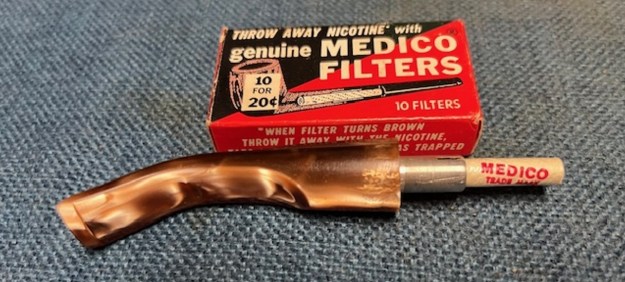
Paradis Pipes is the Canadian brand of the brothers Gilles and Fernand Paradis. In 1922 the Paradis family moved to the USA, when Lucien Paradis (1906-1979) was 16 years old. It was at this age that he started as an apprentice at his uncle’s pipe factory: Joseph B. Desjardins, maker of (JD) pipes, in Fall River, MA. Joseph Desjardins was issued two patents during this period, one for a new machine for making pipe stems and another for a new design of pipe reamer. The company employed 60 workers at one stage. In 1930, due to the Great Depressions, Lucien lost his job and returned to Quebec to work in the agricultural machine industry. In his spare time, be made pipes, selling them door to door. Three years later the rest of the family joined him, and Lucien founded a pipe factory with two of his brothers. The company eventually employed 18 workers and in the 1960s produced over 50,000 pipes a year, under brads like JBL, Dr. Thomas, Fernand Gignac, S.C. Pipes, New London Golfer, and Jo Thomassin. Paradis was founded in 1978, at the Salon of Quebec Artisans, and is available in tobacconists all over the country today. The brand produces 8,000 pipes a year (400 “handmade”), with Greek briar. (I have also included a screen capture of the section on Pipephil.)The pipe was in decent condition. It had been well-smoked, and the bowl and shank were fairly dirty. The bowl had some cake on the inside and a bit of lava on the rim. The crowned rim top was spotty but in decent condition other than being dirty. Meanwhile, the stem was relatively dirty. It was made of acrylic, so no oxidation to speak of, but there were tooth marks and chatter on the bit. Fortunately, no dents and no filter. I am including two photos sent to me by the seller. When the pipe arrived I took some better photos to try and capture the damaged rim top and edges as well as the dirty rustication on the leaf carved on the left side of the bowl. I think there is still the bones of a beautiful pipe under the dirt and damaged shiny coat. I took a close up photo of the rim top to show the lava build up and darkening on therim top and the inner edge. You can also see the cake in the bowl. The crowned rim top looks very good under the lava coat. The stem is dirty with tooth marks and chatter on both sides of the ste ahead of the button.I took photos of the stamping on the sides of shank and the Filter stamp on the left side of the saddle stem. It is clear and readable as noted above. I sanded the bowl and rim top with 320-3500 grit 2×2 inch sanding pads to remove the shiny coat of urethane and the lava build up on the rim top and the inner edge of the bowl. I wiped the briar down arfter each sanding pad and the bowl began to look very good. I reamed the bowl with a Savinelli Fitsall pipe knife. I sanded the bowl walls with 220 grit sandpaper wrapped around a dowel. The bowl began to look very good.I cleaned out the inside of the pipe – the shank, airway in the mortise and the stem with pipe cleaners, cotton swabs and alcohol. It was quite dirty. I find that the metal filter tenons are typically very dirty.I touched up the inner edge of the rim with a Cherry Stain pen to match the rest of the stain around the bowl and rim. It looks very good.I polished the briar with 1500-12000 grit micromesh sanding pads to smooth out the scratches and marks on the briar and rim top. I wiped the bowl down with a damp cloth after each sanding pad to remove any sanding debris. It was looking very good. I rubbed the bowl surface with Before & After Restoration Balm and worked it into the briar with my fingertips. The products works to deep clean, enliven and protect the briar. I let it sit on the briar for 10 minutes then buffed it off with a soft cloth. It looks beautiful with the polish. I set the bowl aside and turned my attention to the stem. I sanded out the tooth marks and chatter on the top and underside of the stem ahead of the button with a folded piece of 220 grit sandpaper. It removed them and made the surface smooth once more.I sanded the oxidation on the stem with 320-3500 grit 2×2 inch sanding pads. I wiped it down after each sanding pad with a cloth impregnated with Obsidian Oil. The stem began to take on a shine.I set the bowl aside and turned my attention to the stem. It was in great condition after the cleanup so I polished the stem with micromesh sanding pads – dry sanding it 1500-12000 pads. I wiped it down with Obsidian after each pad to remove the dust and polishing debris. I polished it with Before After Pipe Polish – both Fine and Extra Fine. I gave it another coat of Obsidian Oil. I fit the stem with a Medico paper filter and it worked well with the metal tenon on the pipe.This restored Paradis Filter Bent Dublin turned out to be a nice looking pipe. The rich medium brown stain on the pipe worked really well with the polished acrylic fancy saddle stem. I put the stem back on the bowl and carefully buffed the pipe with Blue Diamond on the buffing wheel. I gave the bowl and stem multiple coats of carnauba wax on the buffing wheel keeping a light touch on the buffing wheel for the bowl. I followed that by buffing the entire pipe with a clean buffing pad. I hand buffed the pipe with a microfiber cloth to deepen the shine. The finished Paradis Bent Billiard is shaped to sit comfortably in the hand. Give the finished pipe a look in the photos below. The dimensions of the pipe are Length: 5inches, Height: 1 ¾ inches, Outside diameter of the bowl: 1 ½ inches, Chamber diameter: ¾ of an inch. The weight of the pipe is 1.45 ounces/41 grams. Now that it is cleaned up I will be putting it on the rebornpipes store in the Canadian Pipe Makers Section. If you are interested in adding the pipe to your collection let me know. Thanks for reading this blog and my reflections on the pipe while I worked on it.

Thanks for walking through the restoration with me as I worked over another beautiful pipe. Remember we are not pipe owners; we are pipemen and women who hold our pipes in trust until they pass on into the trust of the next generation.

Cleaning Up an Interesting Paradis Star Freehand Pot


Blog by Kenneth Lieblich

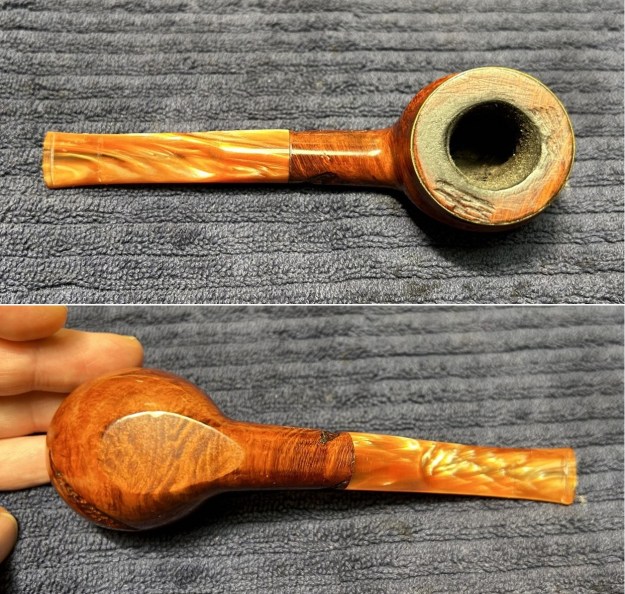
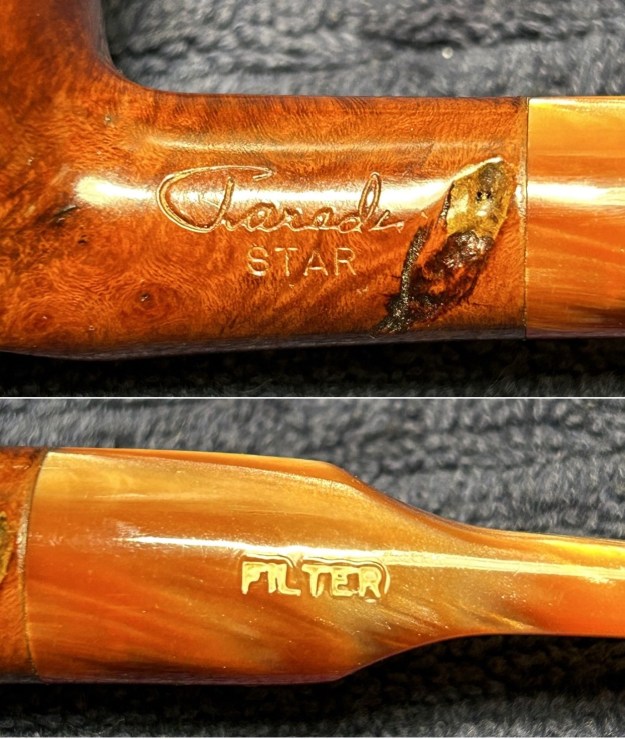
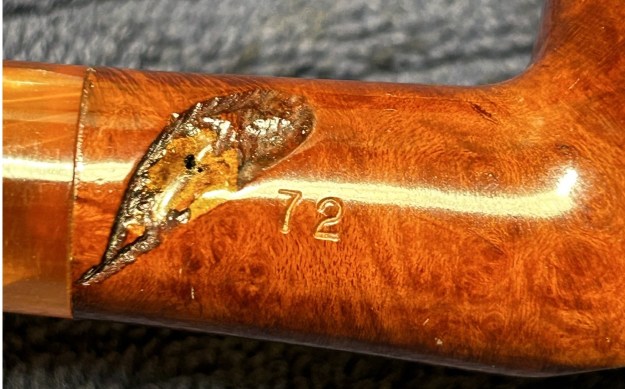
A fine gentleman from out east contacted me asking for this pipe to be restored. Naturally, I obliged and managed a relatively quick job on it. This is just a quick-and-dirty report because it was really more of a cleaning job than a repair job – and I missed out on a few photos. This pipe is a Paradis Star 72 Freehand Pot. The markings on the pipe are as follows: the left side of the shank read Paradis [over] Star; on the right side of the shank read the number 72 – the shape number; and on the left side of the stem was the word Filter. This pipe did indeed have a 6 mm filter and so that makes sense. I knew Paradis Pipes to be a Canadian pipe company, based in Montréal, but I went over to Pipedia and Pipephil to seek out more information. Here’s some of what I found (after correcting the many spelling errors):

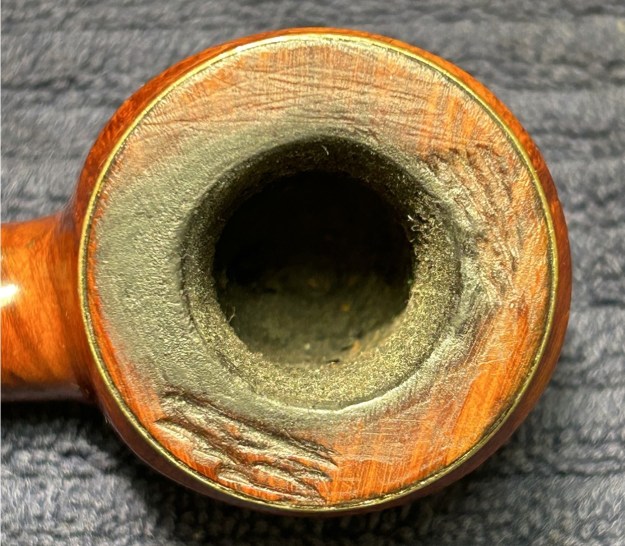
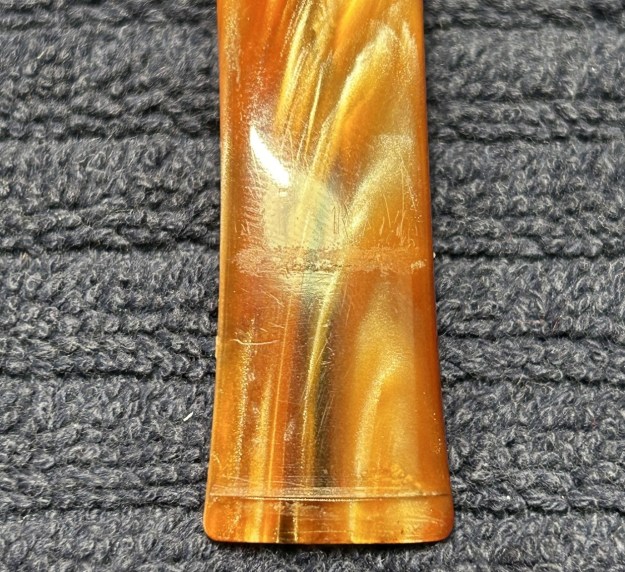
Paradis Pipes is the Canadian brand of the brothers Gilles and Fernand Paradis. In 1922 the Paradis family moved to the USA, when Lucien Paradis (1906-1979) was 16 years old. It was at this age that he started as an apprentice at his uncle’s pipe factory: Joseph B. Desjardins, maker of (JD) pipes, in Fall River, MA. Joseph Desjardins was issued two patents during this period, one for a new machine for making pipe stems and another for a new design of pipe reamer. The company employed 60 workers at one stage. In 1930, due to the Great Depressions, Lucien lost his job and returned to Quebec to work in the agricultural machine industry. In his spare time, be made pipes, selling them door to door. Three years later the rest of the family joined him, and Lucien founded a pipe factory with two of his brothers. The company eventually employed 18 workers and in the 1960s produced over 50,000 pipes a year, under brads like JBL, Dr. Thomas, Fernand Gignac, S.C. Pipes, New London Golfer, and Jo Thomassin. Paradis was founded in 1978, at the Salon of Quebec Artisans, and is available in tobacconists all over the country today. The brand produces 8,000 pipes a year (400 “handmade”), with Greek briar.The pipe was in decent condition. It had been well-smoked, and the bowl and shank were fairly dirty. The bowl had some cake on the inside and a bit of lava on the rim. But there was clearly some burning there too. The brass ring around the bowl was in good condition, just a bit scratched up. Meanwhile, the stem was relatively dirty. It was made of acrylic, so no oxidation to speak of, but there were what I would describe as “typical” tooth scratches on the bit. Fortunately, no dents – but someone did leave a heavily used filter behind. Delicious. The stem was first on my list. I wiped the outside down with Murphy’s Oil Soap on some cotton pads. I cleaned out the insides with lemon-infused isopropyl alcohol and some pipe cleaners and cotton swabs.I then used all nine Micromesh pads (1,500 through 12,000 grit) to make the swirling colours of the stem’s acrylic shine again. I also used Obsidian Pipe Stem Oil in between each pad scrubbing (from 3,600 onward).

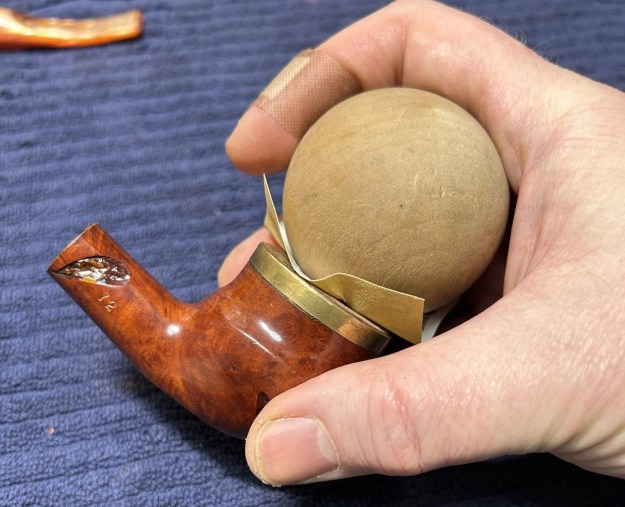
Now for the stummel. I reamed out the bowl to remove the built-up cake and followed that with 220-grit sandpaper taped to a dowel to eliminate as much as I could. I took the chamber down to bare briar, as I wanted to ensure there were no hidden flaws in the wall. Fortunately, there were none.I then proceeded to clean out the insides of the shank with Q-tips, pipe cleaners, and lemon-infused isopropyl alcohol. There was quite a bit of filth inside this stummel and it took a fair amount of cotton to get it clean. I used cotton rounds and some Murphy’s Oil Soap to wipe the outside of the stummel. I also used my toothbrush on the rim to see if I could lift some the burn marks there. Only so much was cleaned up. I followed that up by cleaning the insides of the stummel with some Castile soap and tube brushes. Next, I decided to de-ghost the pipe in order to remove any lingering smells of the past. I thrust cotton balls into the bowl and the shank and saturated them with 99% isopropyl alcohol. I let the stummel sit overnight. This caused any remaining oils, tars and smells to leach out into the cotton. The bowl was nice and clean after this.In order to safely remove the damage on the rim, I used a piece of 220-grit sandpaper wrapped round a wooden sphere. This effectively removed the damage, without altering the look of the pipe. This worked very well and I was pleased with the results. I tidied up some of the lost colour with one of my furniture pens. Then I sanded the rim down with all nine Micromesh pads (1,500 through 12,000 grit). I also made sure to use the Micromesh pads on the brass ring, in order to remove some scratches and bring back its shine. Finally, I applied some Before & After Restoration Balm and buffed it with a microfiber cloth. I then took the pipe to my bench polisher and buffed it with White Diamond and a few coats of carnauba wax. Wow – the pipe looks much improved.This unusual Paradis Star 72 Freehand Pot will suit the buyer very well and I’m sure that he will enjoy smoking it for many years to come. I hope you enjoyed reading the story of this pipe as much I as I did restoring it. If you are interested in more of my work, please follow me here on Steve’s website or email me directly at kenneth@knightsofthepipe.com. Thank you very much for reading and, as always, I welcome and encourage your comments.
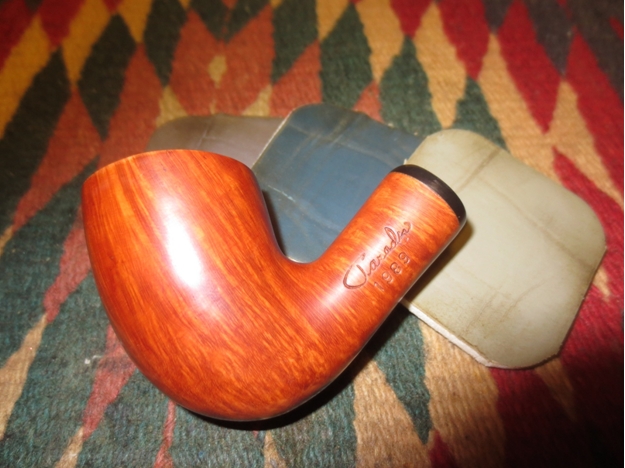
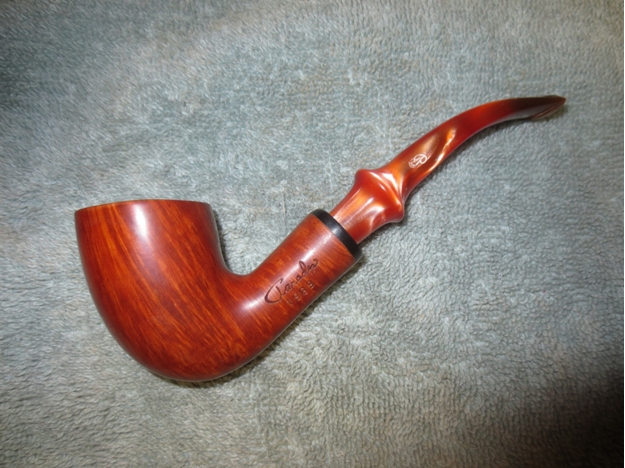
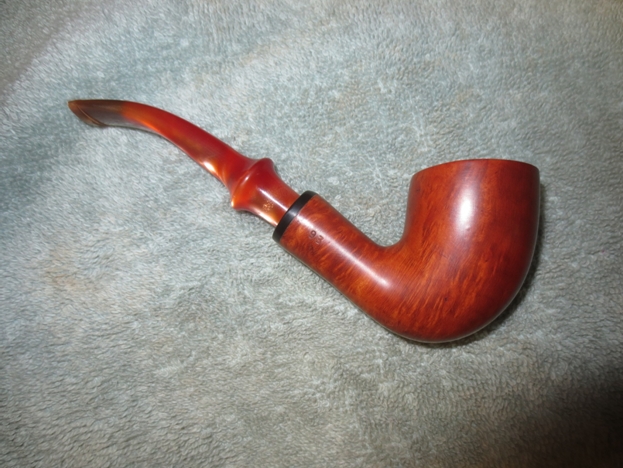
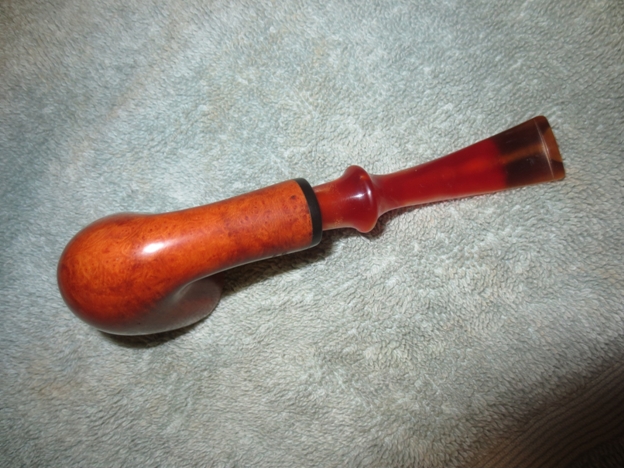
Repairing and restoring a Paradis 1989 Freehand Dublin 93


Blog by Steve Laug

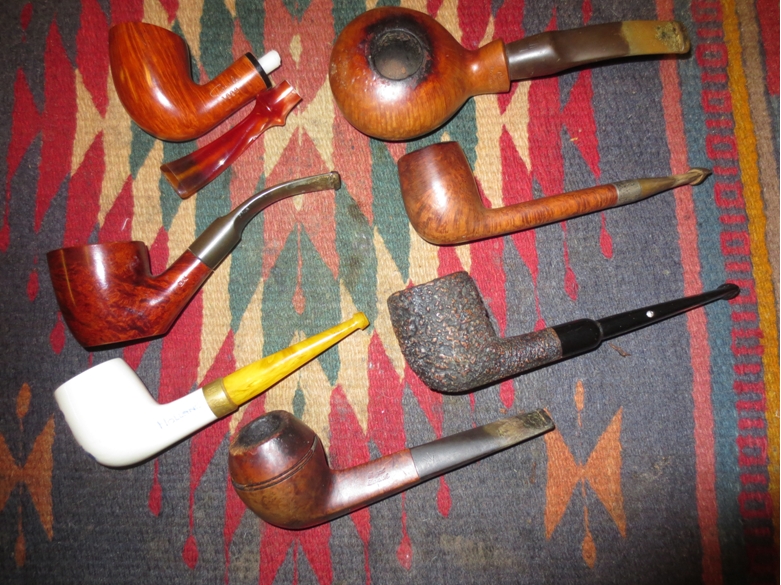
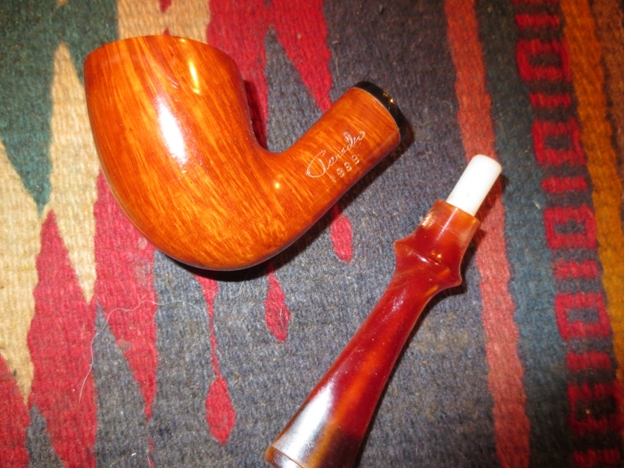
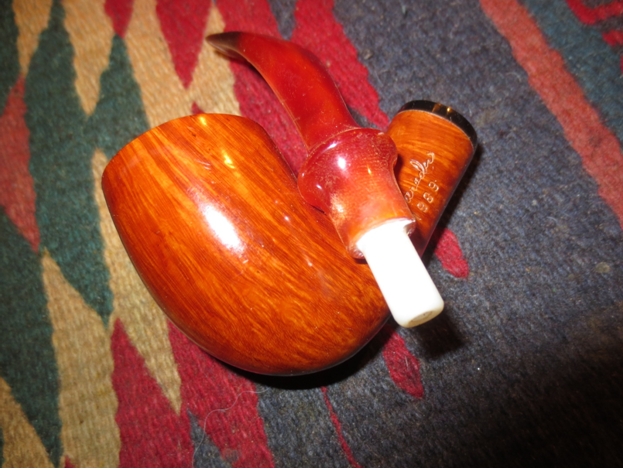
I picked up a lot of seven pipes from a craigslist seller in Vancouver. The first one I decided to work on was the Paradis with the broken tenon pictured at the top left in the photo below. craig5 It included quite a few nice pipes including this virtually unsmoked Paradis pipe. It was stamped Paradis in script and underneath that 1989 on the left side of the shank. On the right it was stamped 93. The pipe is Canadian made coming from Saintes-Foy, Quebec. Paradis pipes are made by two brothers. They sell their pipes on the Pipesworld website at this link. The prices are quite reasonable. http://www.pipesworld.com/pipes/search.php3?PIPEMAKER=Paradis&SEARCH=&x=29&y=4
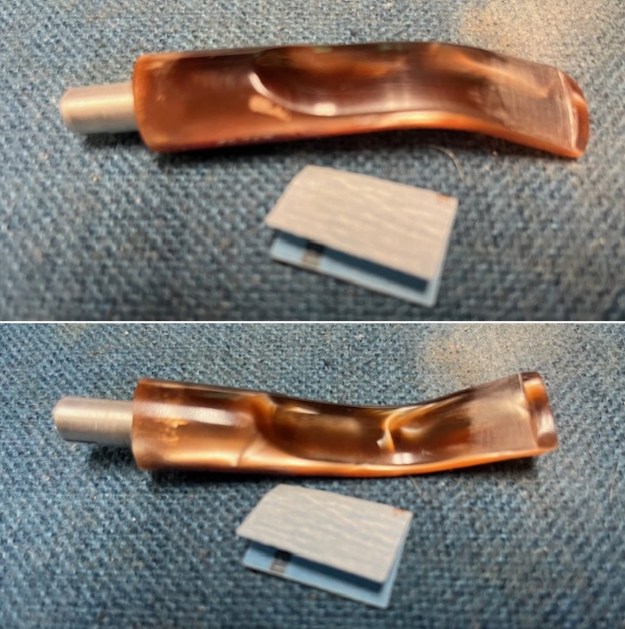
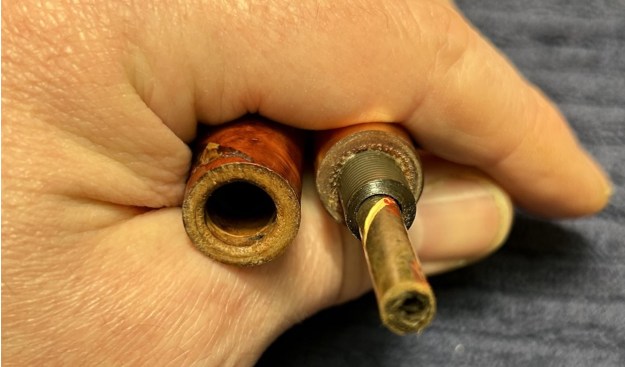
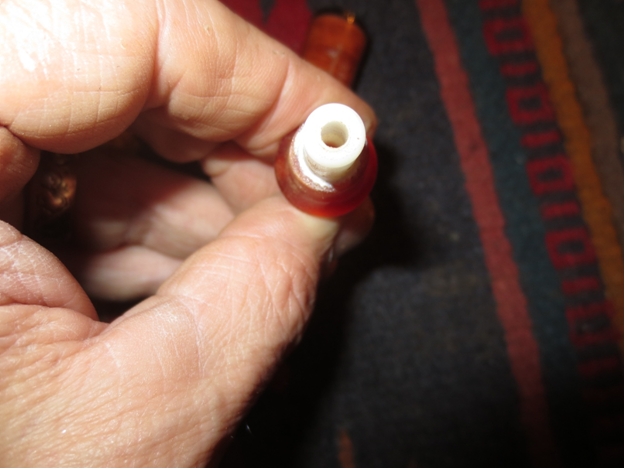
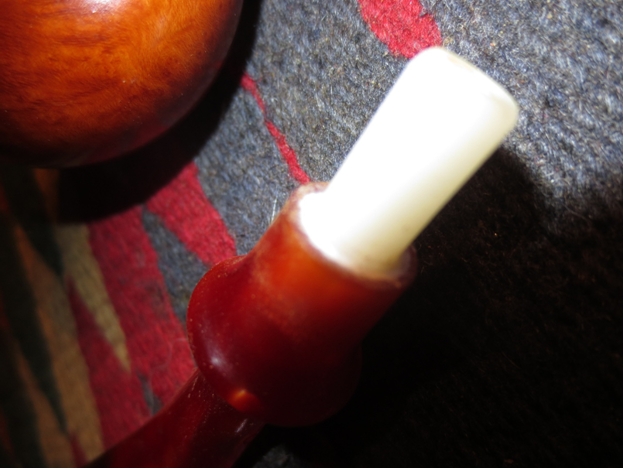
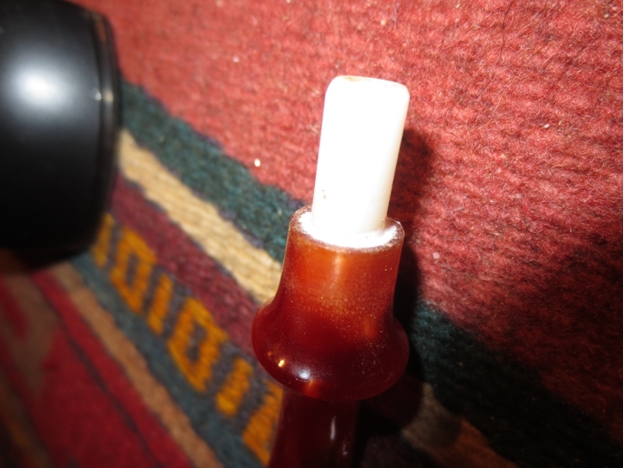
NonameThe finish appeared to be a natural colour, unstained and clean though it was coated with at thick coat of Polyurethane. There appeared to be a deep scratch on the left side of the bowl near the top side. The tenon was snapped and stuck in the shank. Looking at it the tenon was threaded and it had snapped inside the stem. There was a portion in the stem. The stem was orange/amber coloured acrylic. It was stamped with a script “P” on the left side. From the looks of it the pipe had been smoked once and the stem broke during that initial smoke. There was a bit of darkening on the top ¼ inch of the bowl and the rest of it was raw briar. The stem was clean on the inside so I had a virtually unsmoked pipe to work on.

The broken tenon came out of the shank fairly easily. It was not stuck and there was some of the threaded portion of the tenon extending out of the shank. I was able to get a good hold on it with a pair of pliers and pull it out of the tenon. It had broken in the threaded area inside of the stem so it was going to be a relatively easy repair. The stem was not damaged so I could glue it into the stem and then fill in the gap around it with glue to give a solid repair. I cleaned the end of the break on the tenon piece and then put super glue on it. I pressed it into the stem and pressed the two parts together until the glue set. I filled the open area around the tenon with glue and pushed it down in the gap with a dental pick. I set the stem aside to dry.Paradis1

Paradis2

Paradis3 I took the next photos of the pipe and stem as it was drying.Paradis4

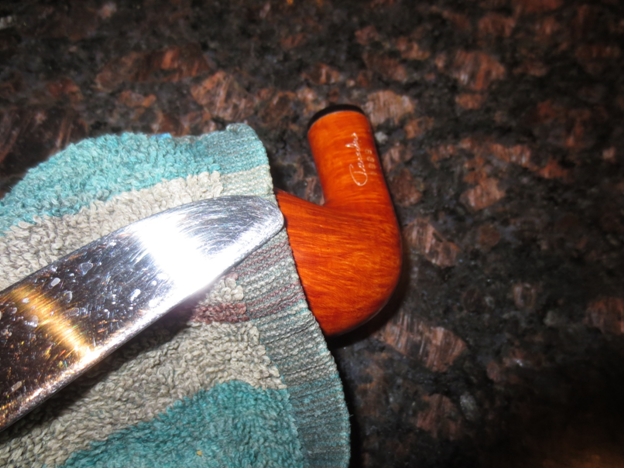
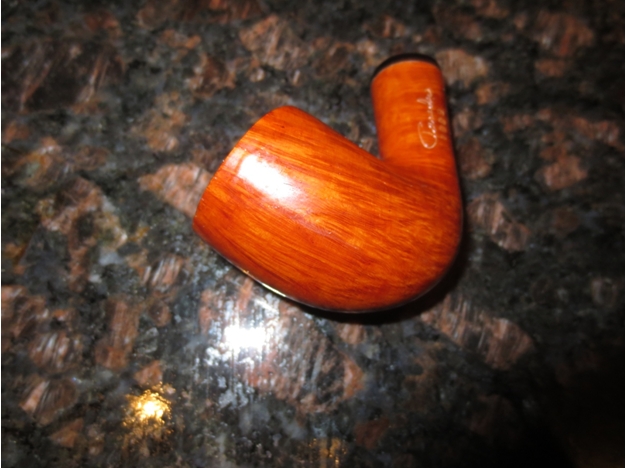
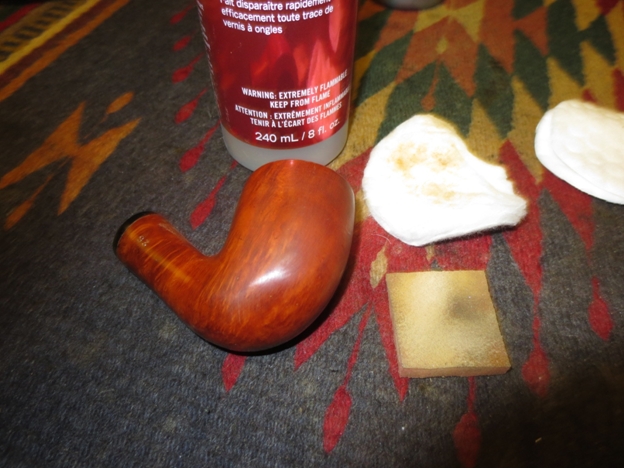
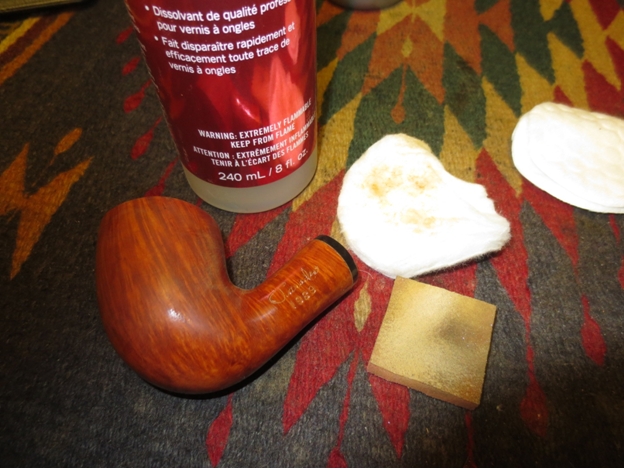
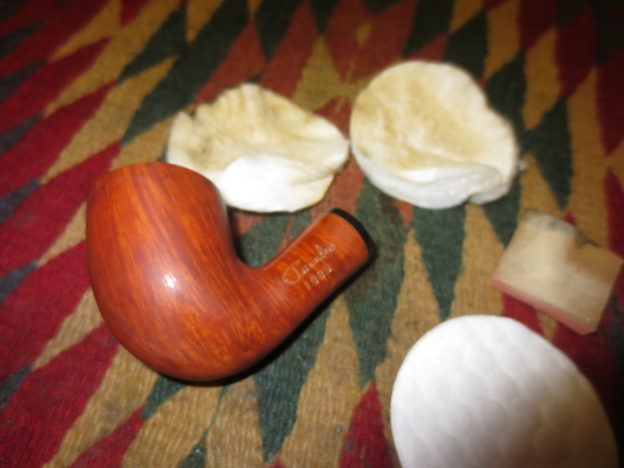
Paradis5 On the left side of the bowl near the top was what appeared to be a large horizontal dent. In the photo below you can see the dent looking almost like a line on the briar. It was about 1 inch long and followed the curve of the bowl.Paradis6 I tried to steam out the dent using a damp towel and a hot butter knife.Paradis7 The next photo shows the look of the dent even more clearly. After steaming I examined it more closely and found that the dent had lifted and what remained was a run in the polyurethane coating that was on the bowl. It was like a long sag in the coating.Paradis8 I took the pipe back to my work table and sanded the sag in the finish with a medium grit sanding sponge. I knew that I would have to remove the entire polyurethane coat from the bowl to clean up the sag completely.Paradis9 I sanded the bowl and shank with a medium grit sanding sponge and then wiped it down with acetone on cotton pads to break through and remove the finish.Paradis10

Paradis11 It took a lot of sanding and scrubbing before the polyurethane finish was gone and a clean smooth briar surface remained.Paradis12

Paradis13

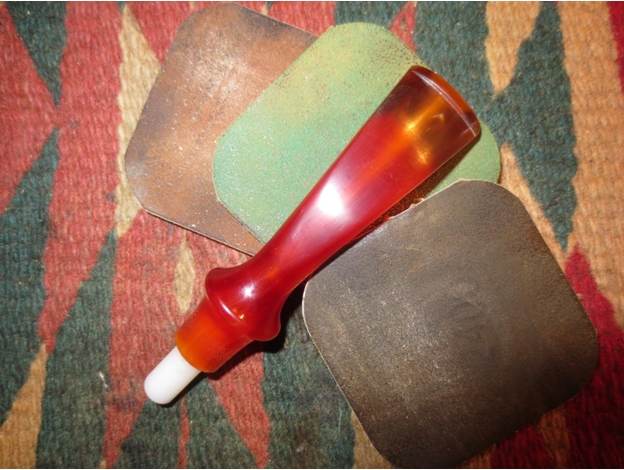
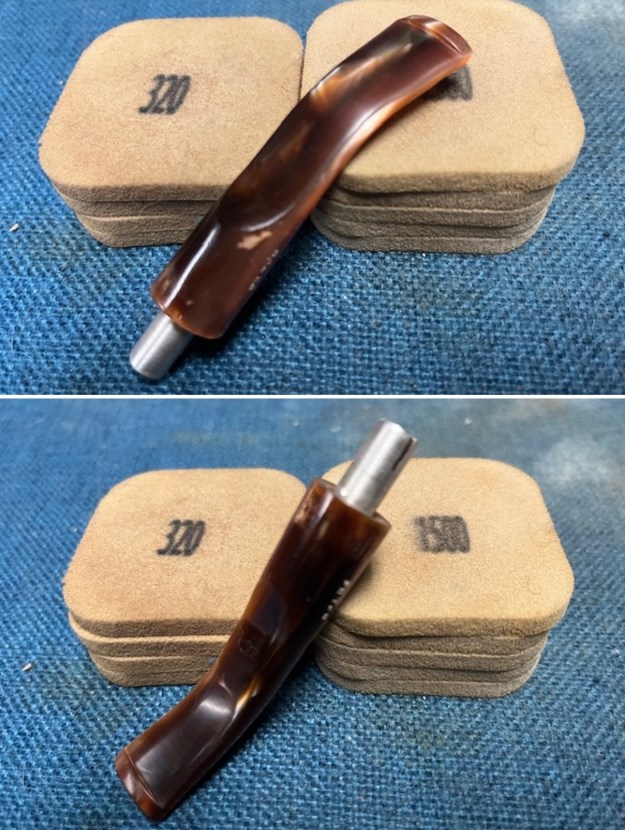
Paradis14 When I finished cleaning up the surface of the bowl and removed the finish completely I set the bowl aside and addressed the stem. There were no tooth marks or chatter to deal with so all I had to do was polish the dull surface with micromesh sanding pads. I wet sanded with 1500-2400 grit pads and dry sanded with the 3200-12,000 grit pads. I buffed the stem with White Diamond to polish the acrylic.Paradis15
Paradis16

Paradis17 I dry sanded the bowl with micromesh sanding pads using all of the grits to raise a shine in the briar and smooth out the surface of the briar.Paradis18

Paradis19

Paradis20 I gave the bowl a light buff with Blue Diamond polish and did the stem separately. I gave the bowl and stem several coats of carnauba wax and buffed it with a soft flannel buffing pad to raise the shine. The finished, repaired and refinished pipe is shown in the next series of photos.Paradis21

Paradis22

Paradis23

Paradis24

Paradis25