by Kenneth Lieblich
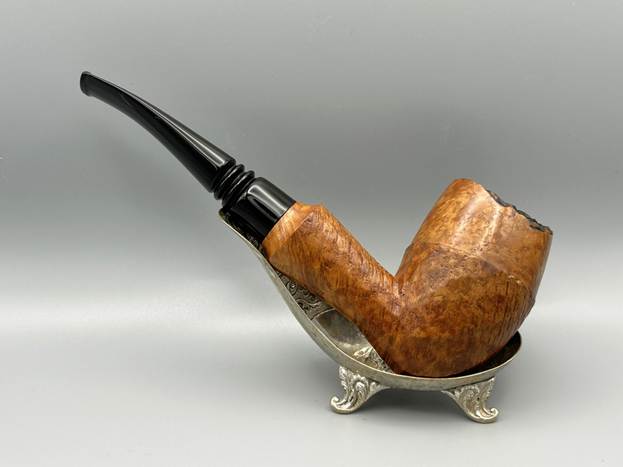
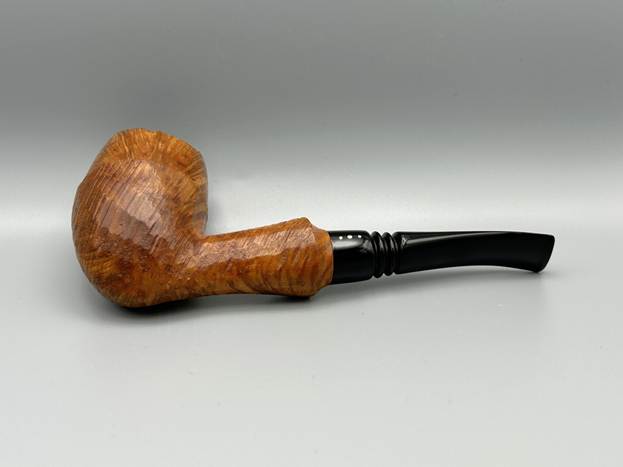
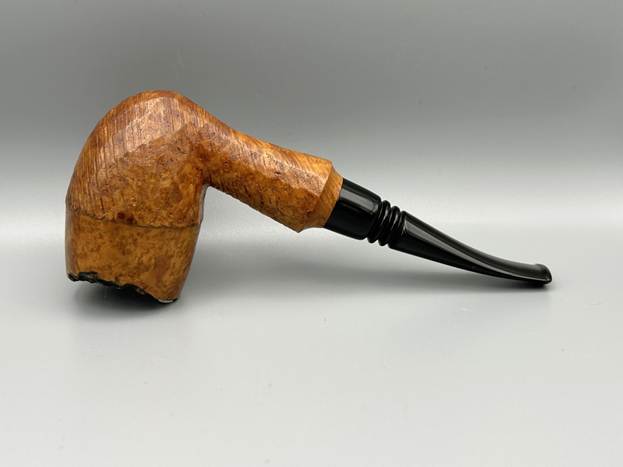
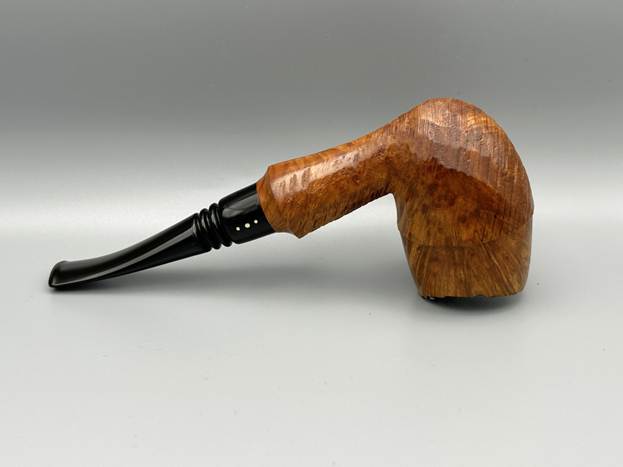
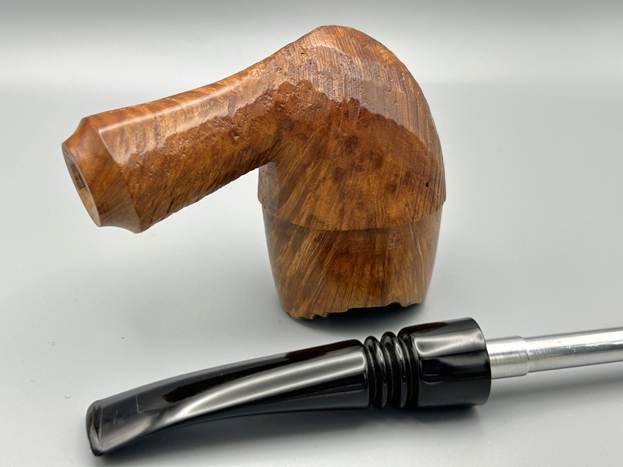
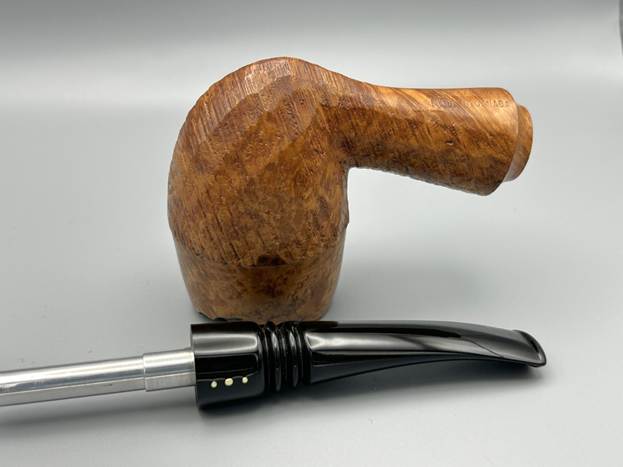
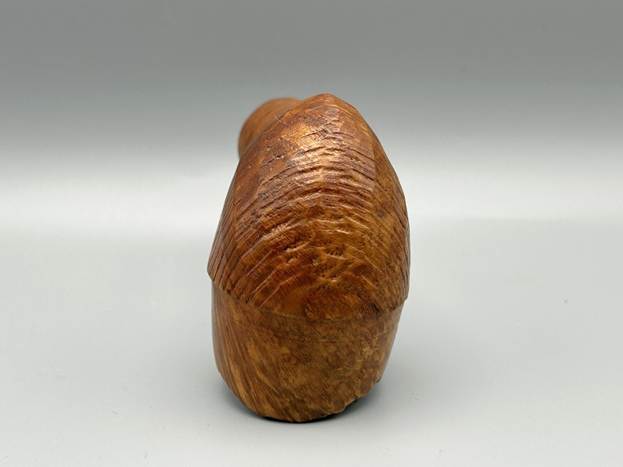
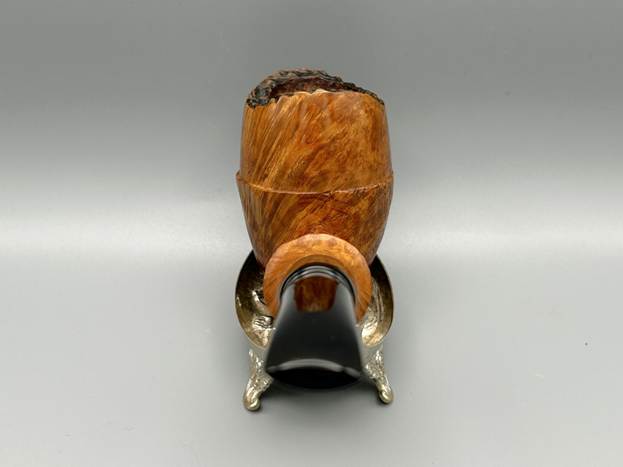
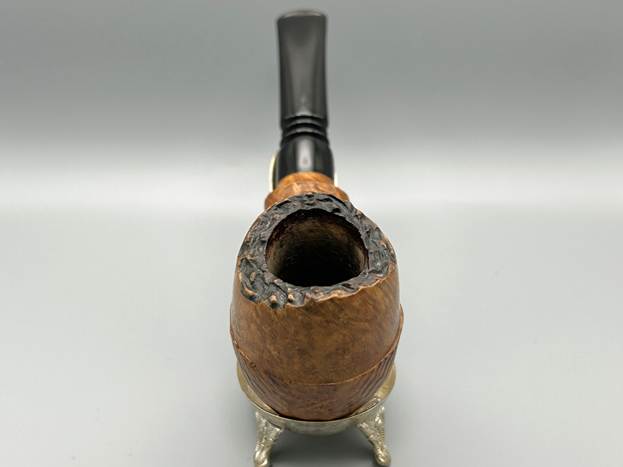
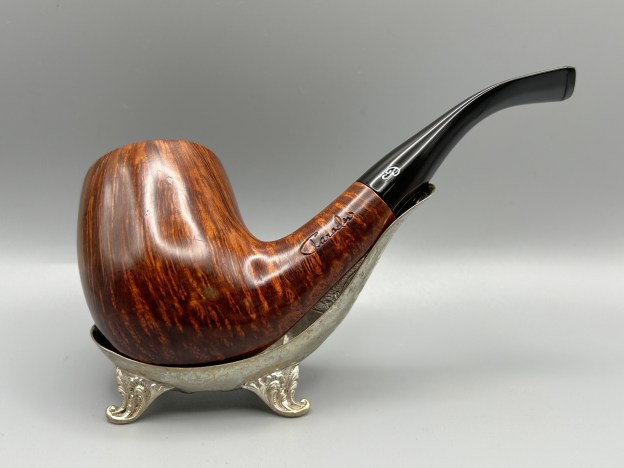
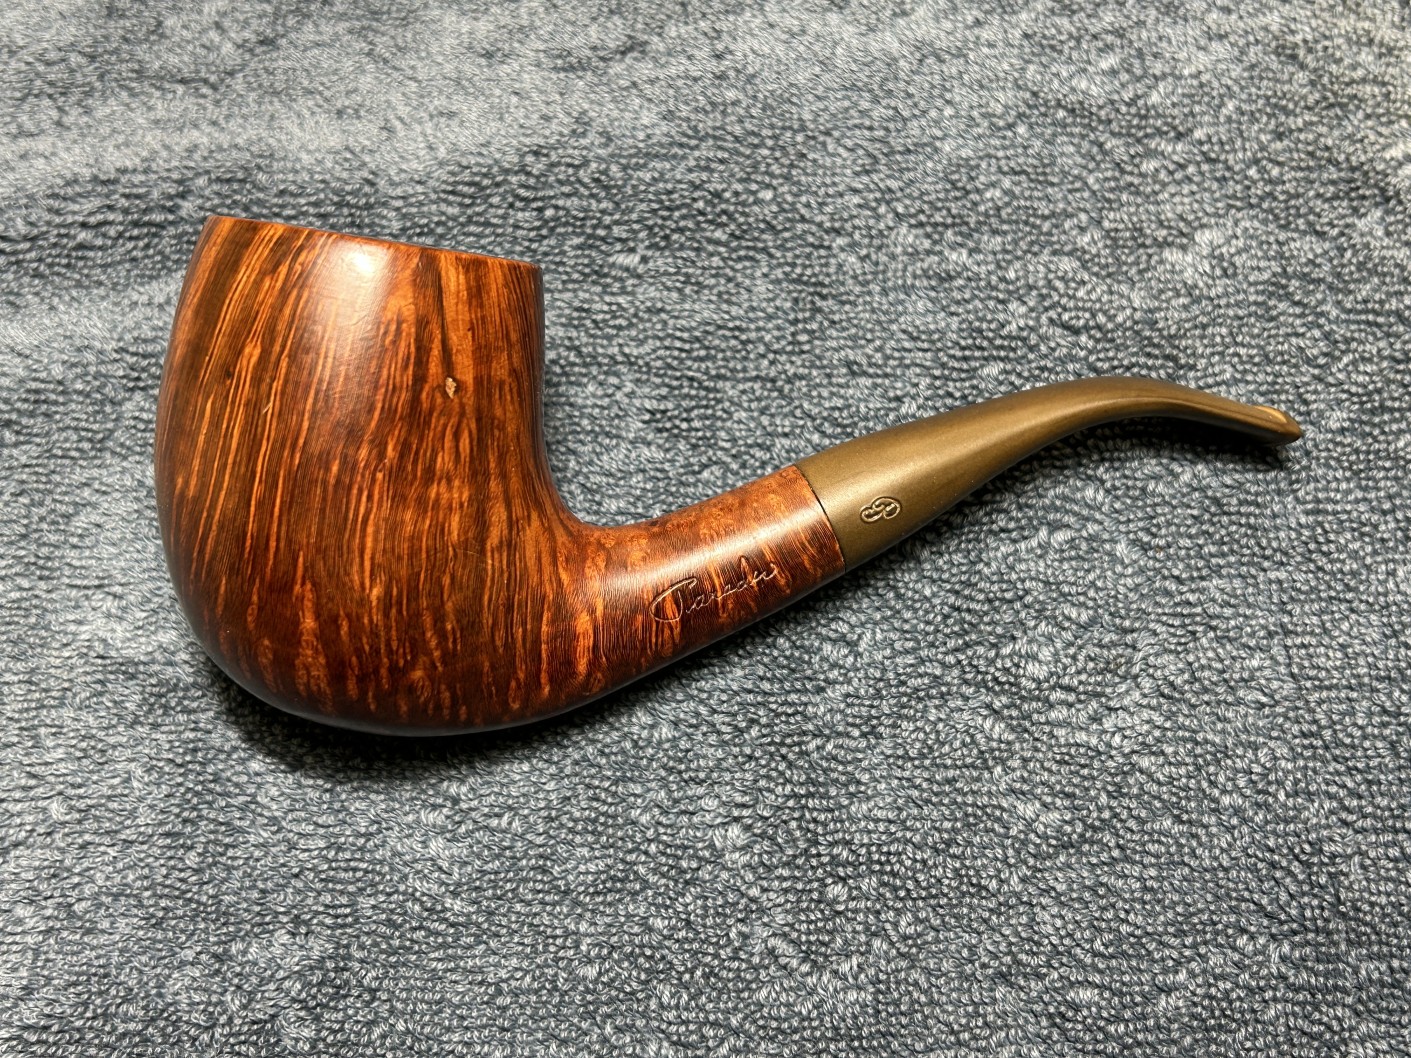
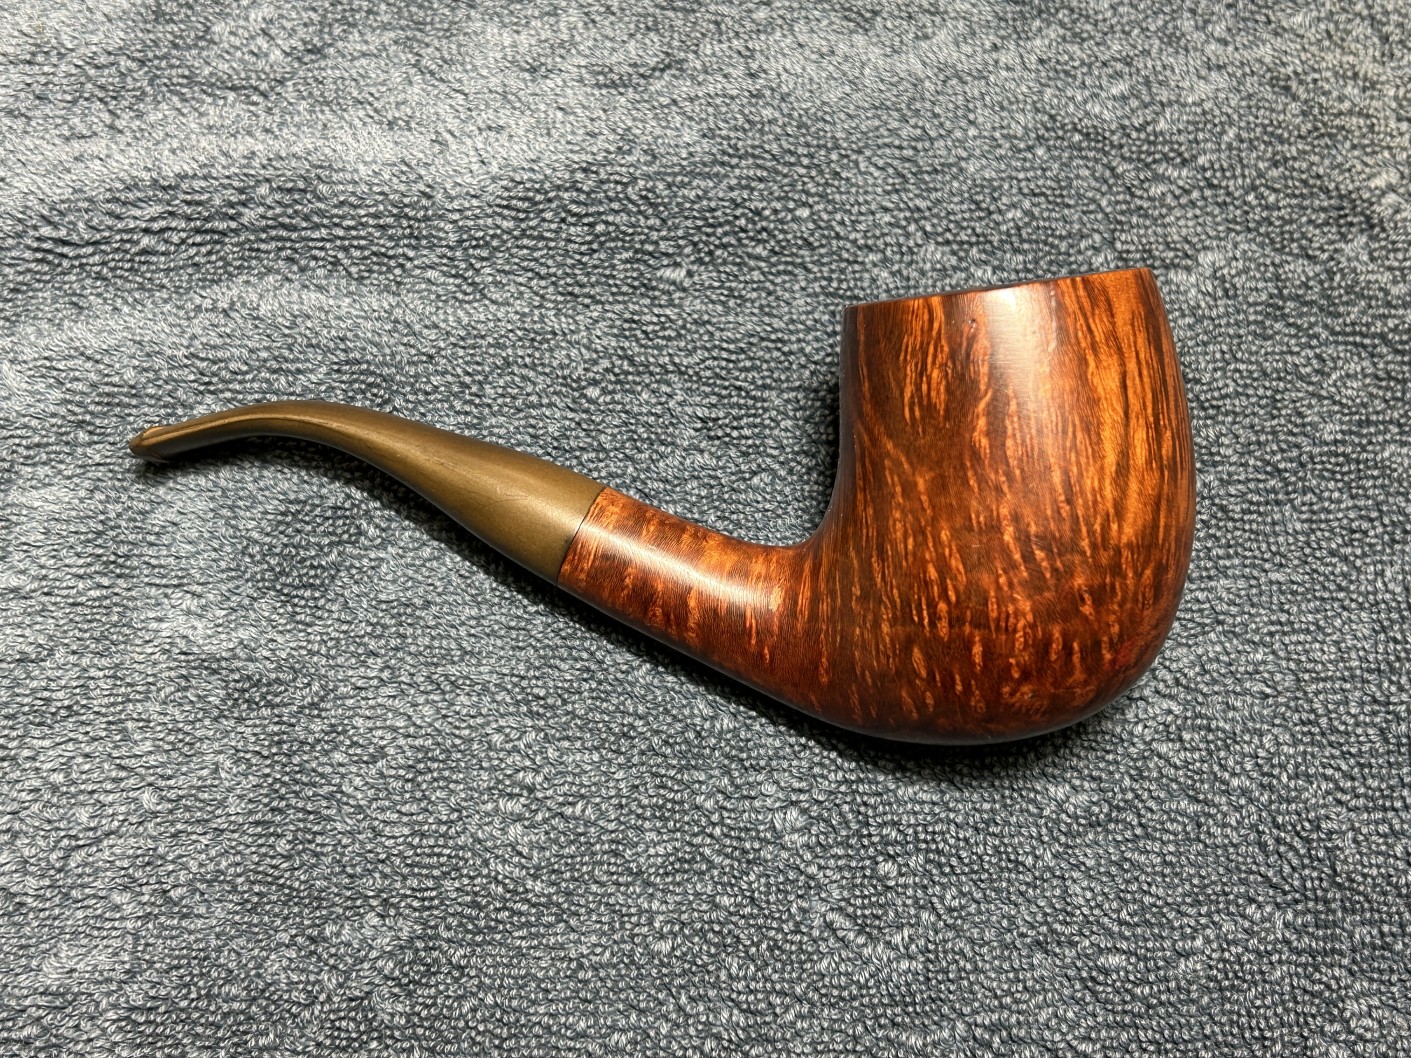
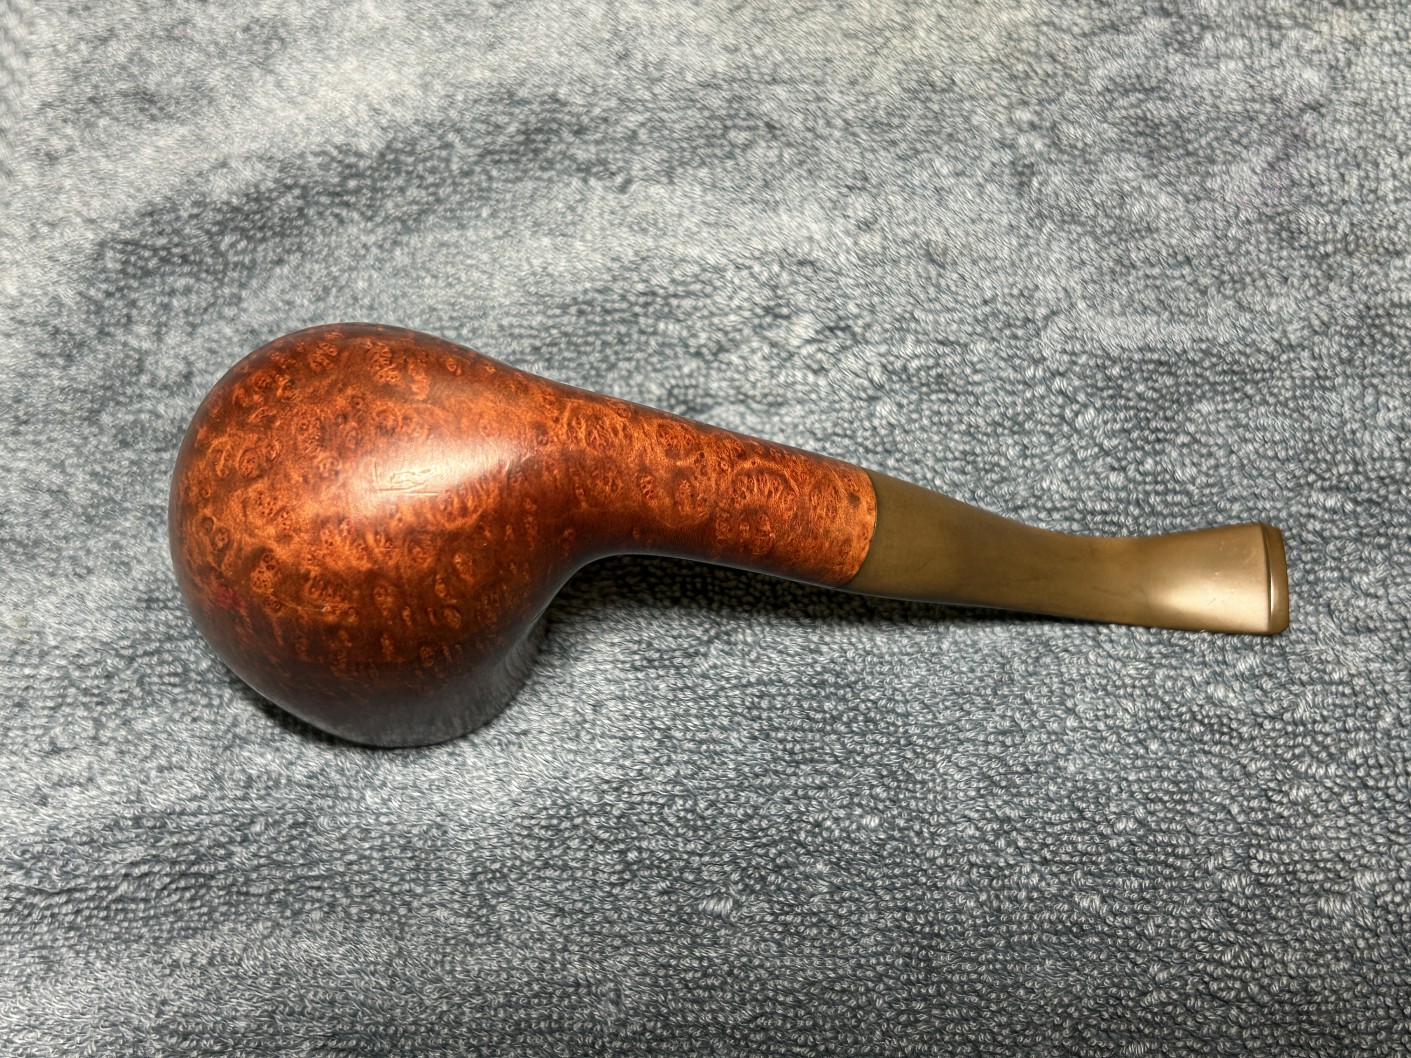
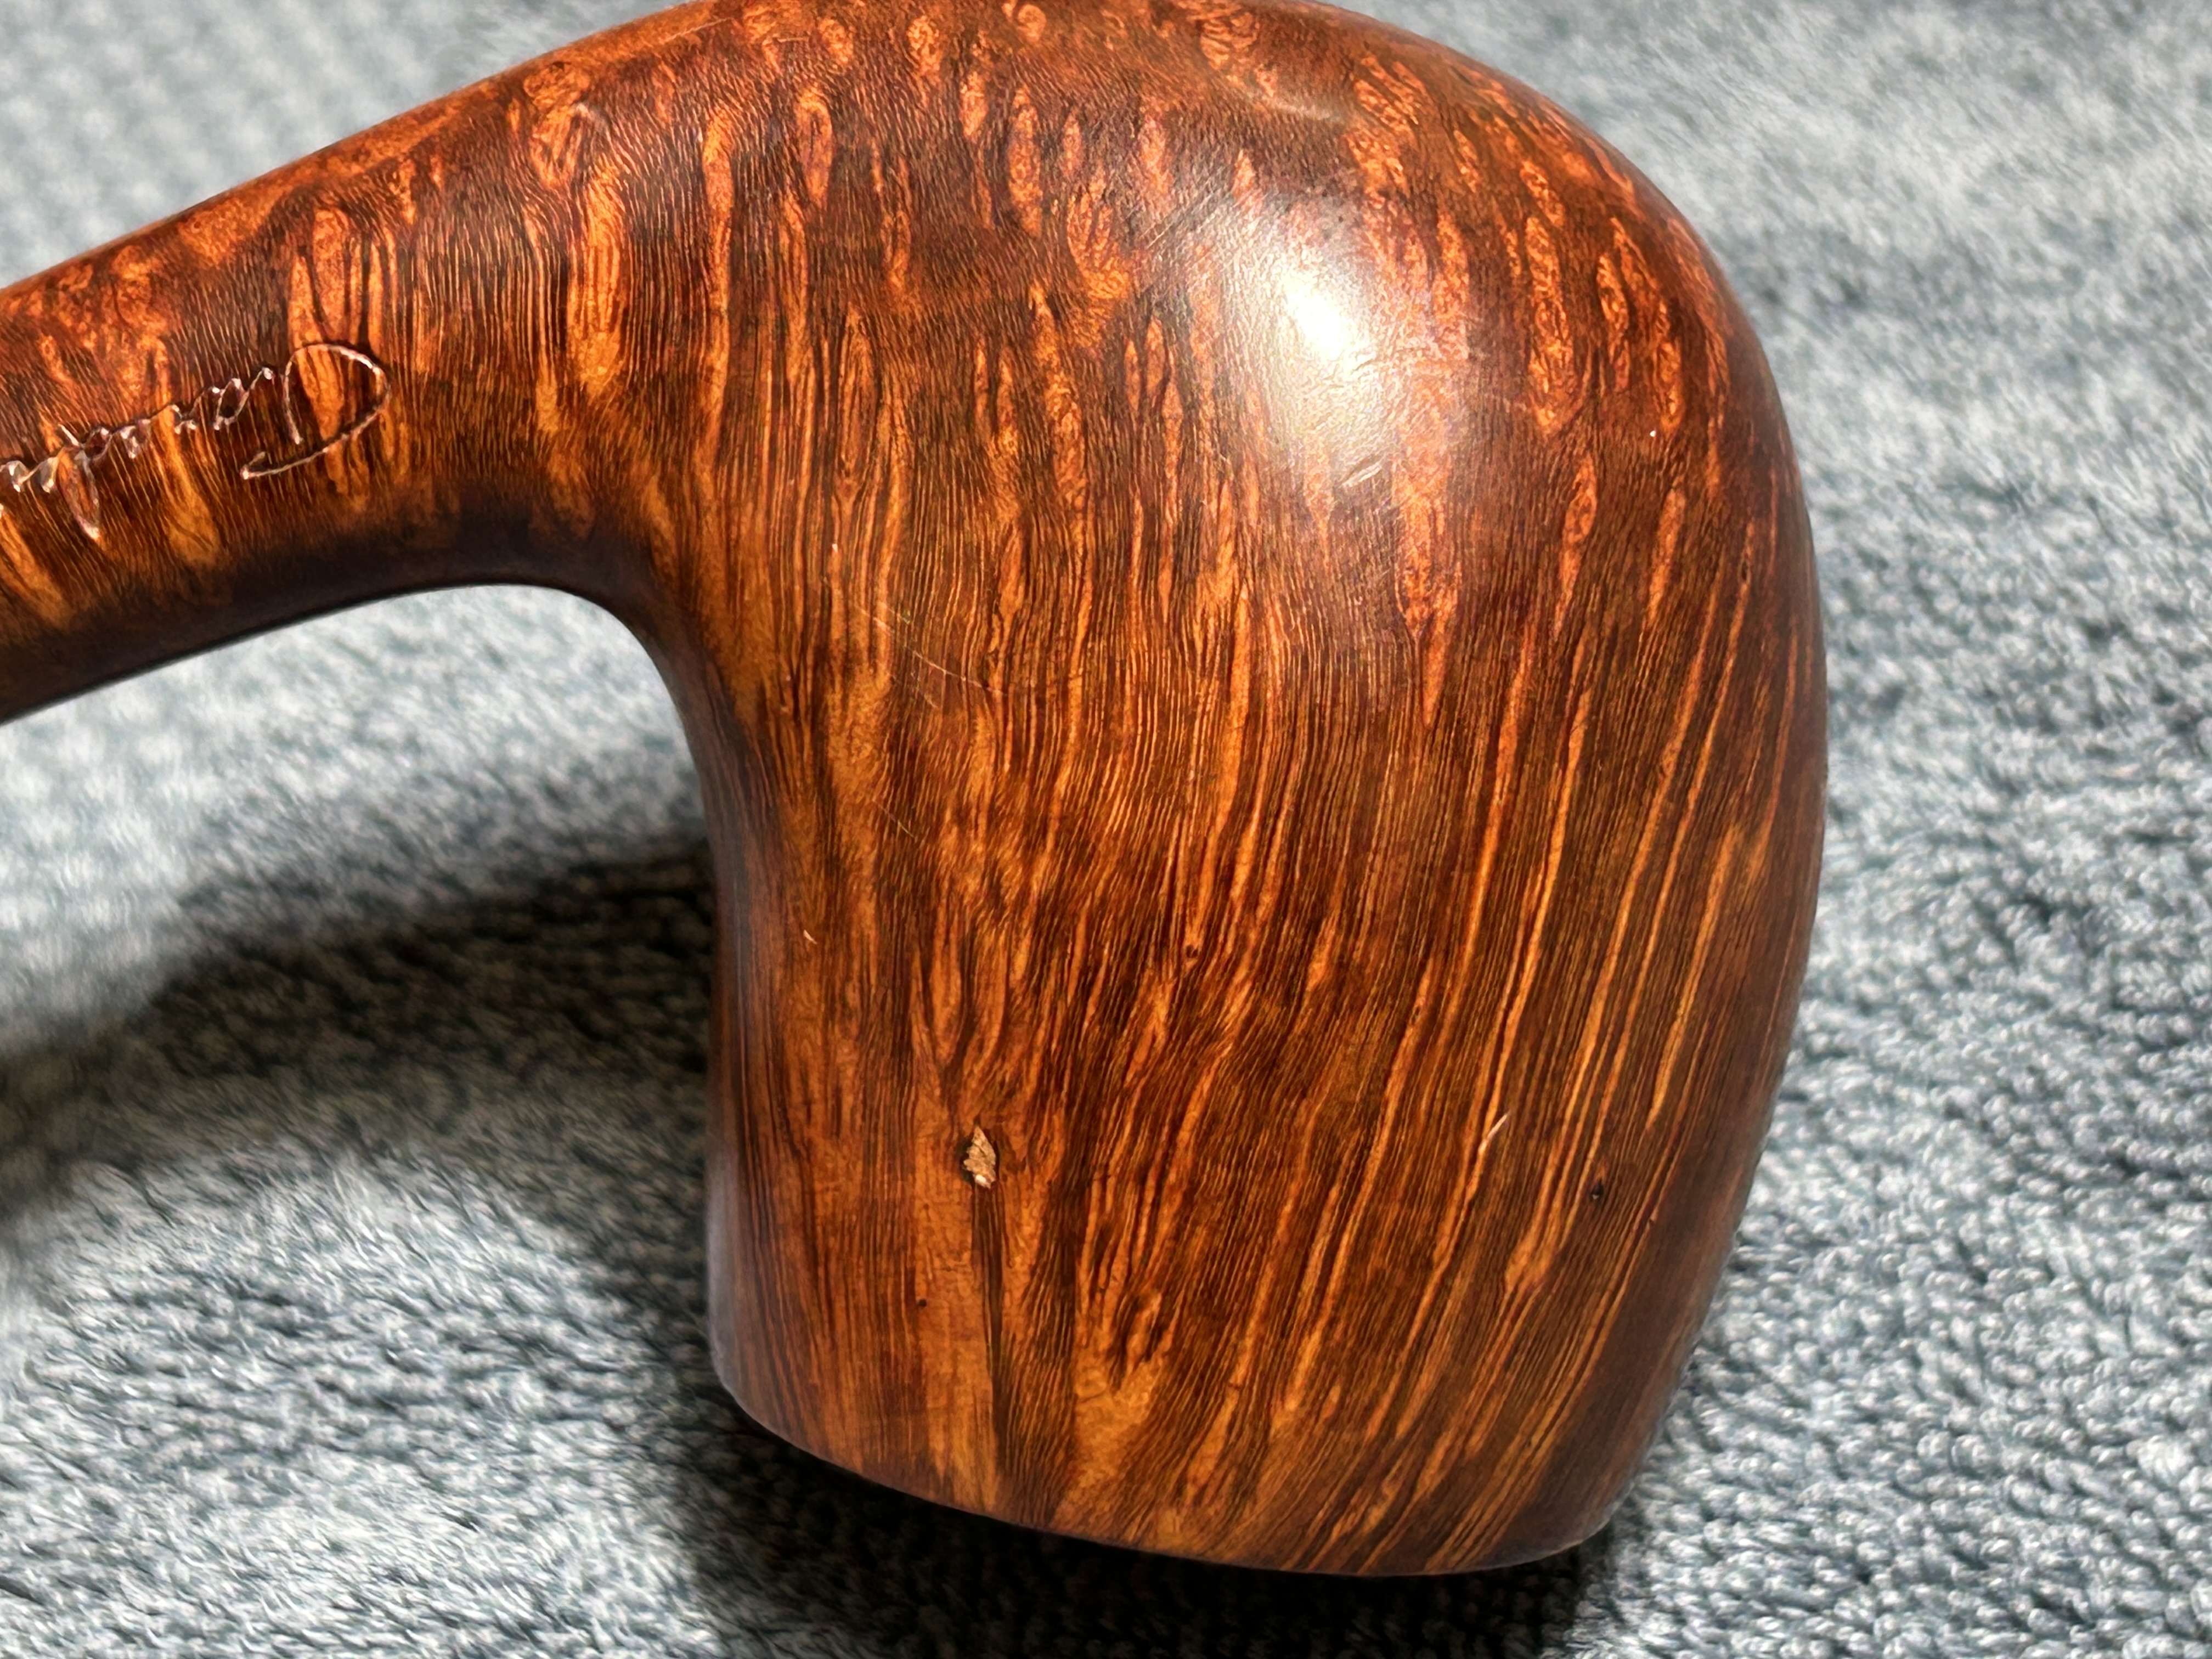
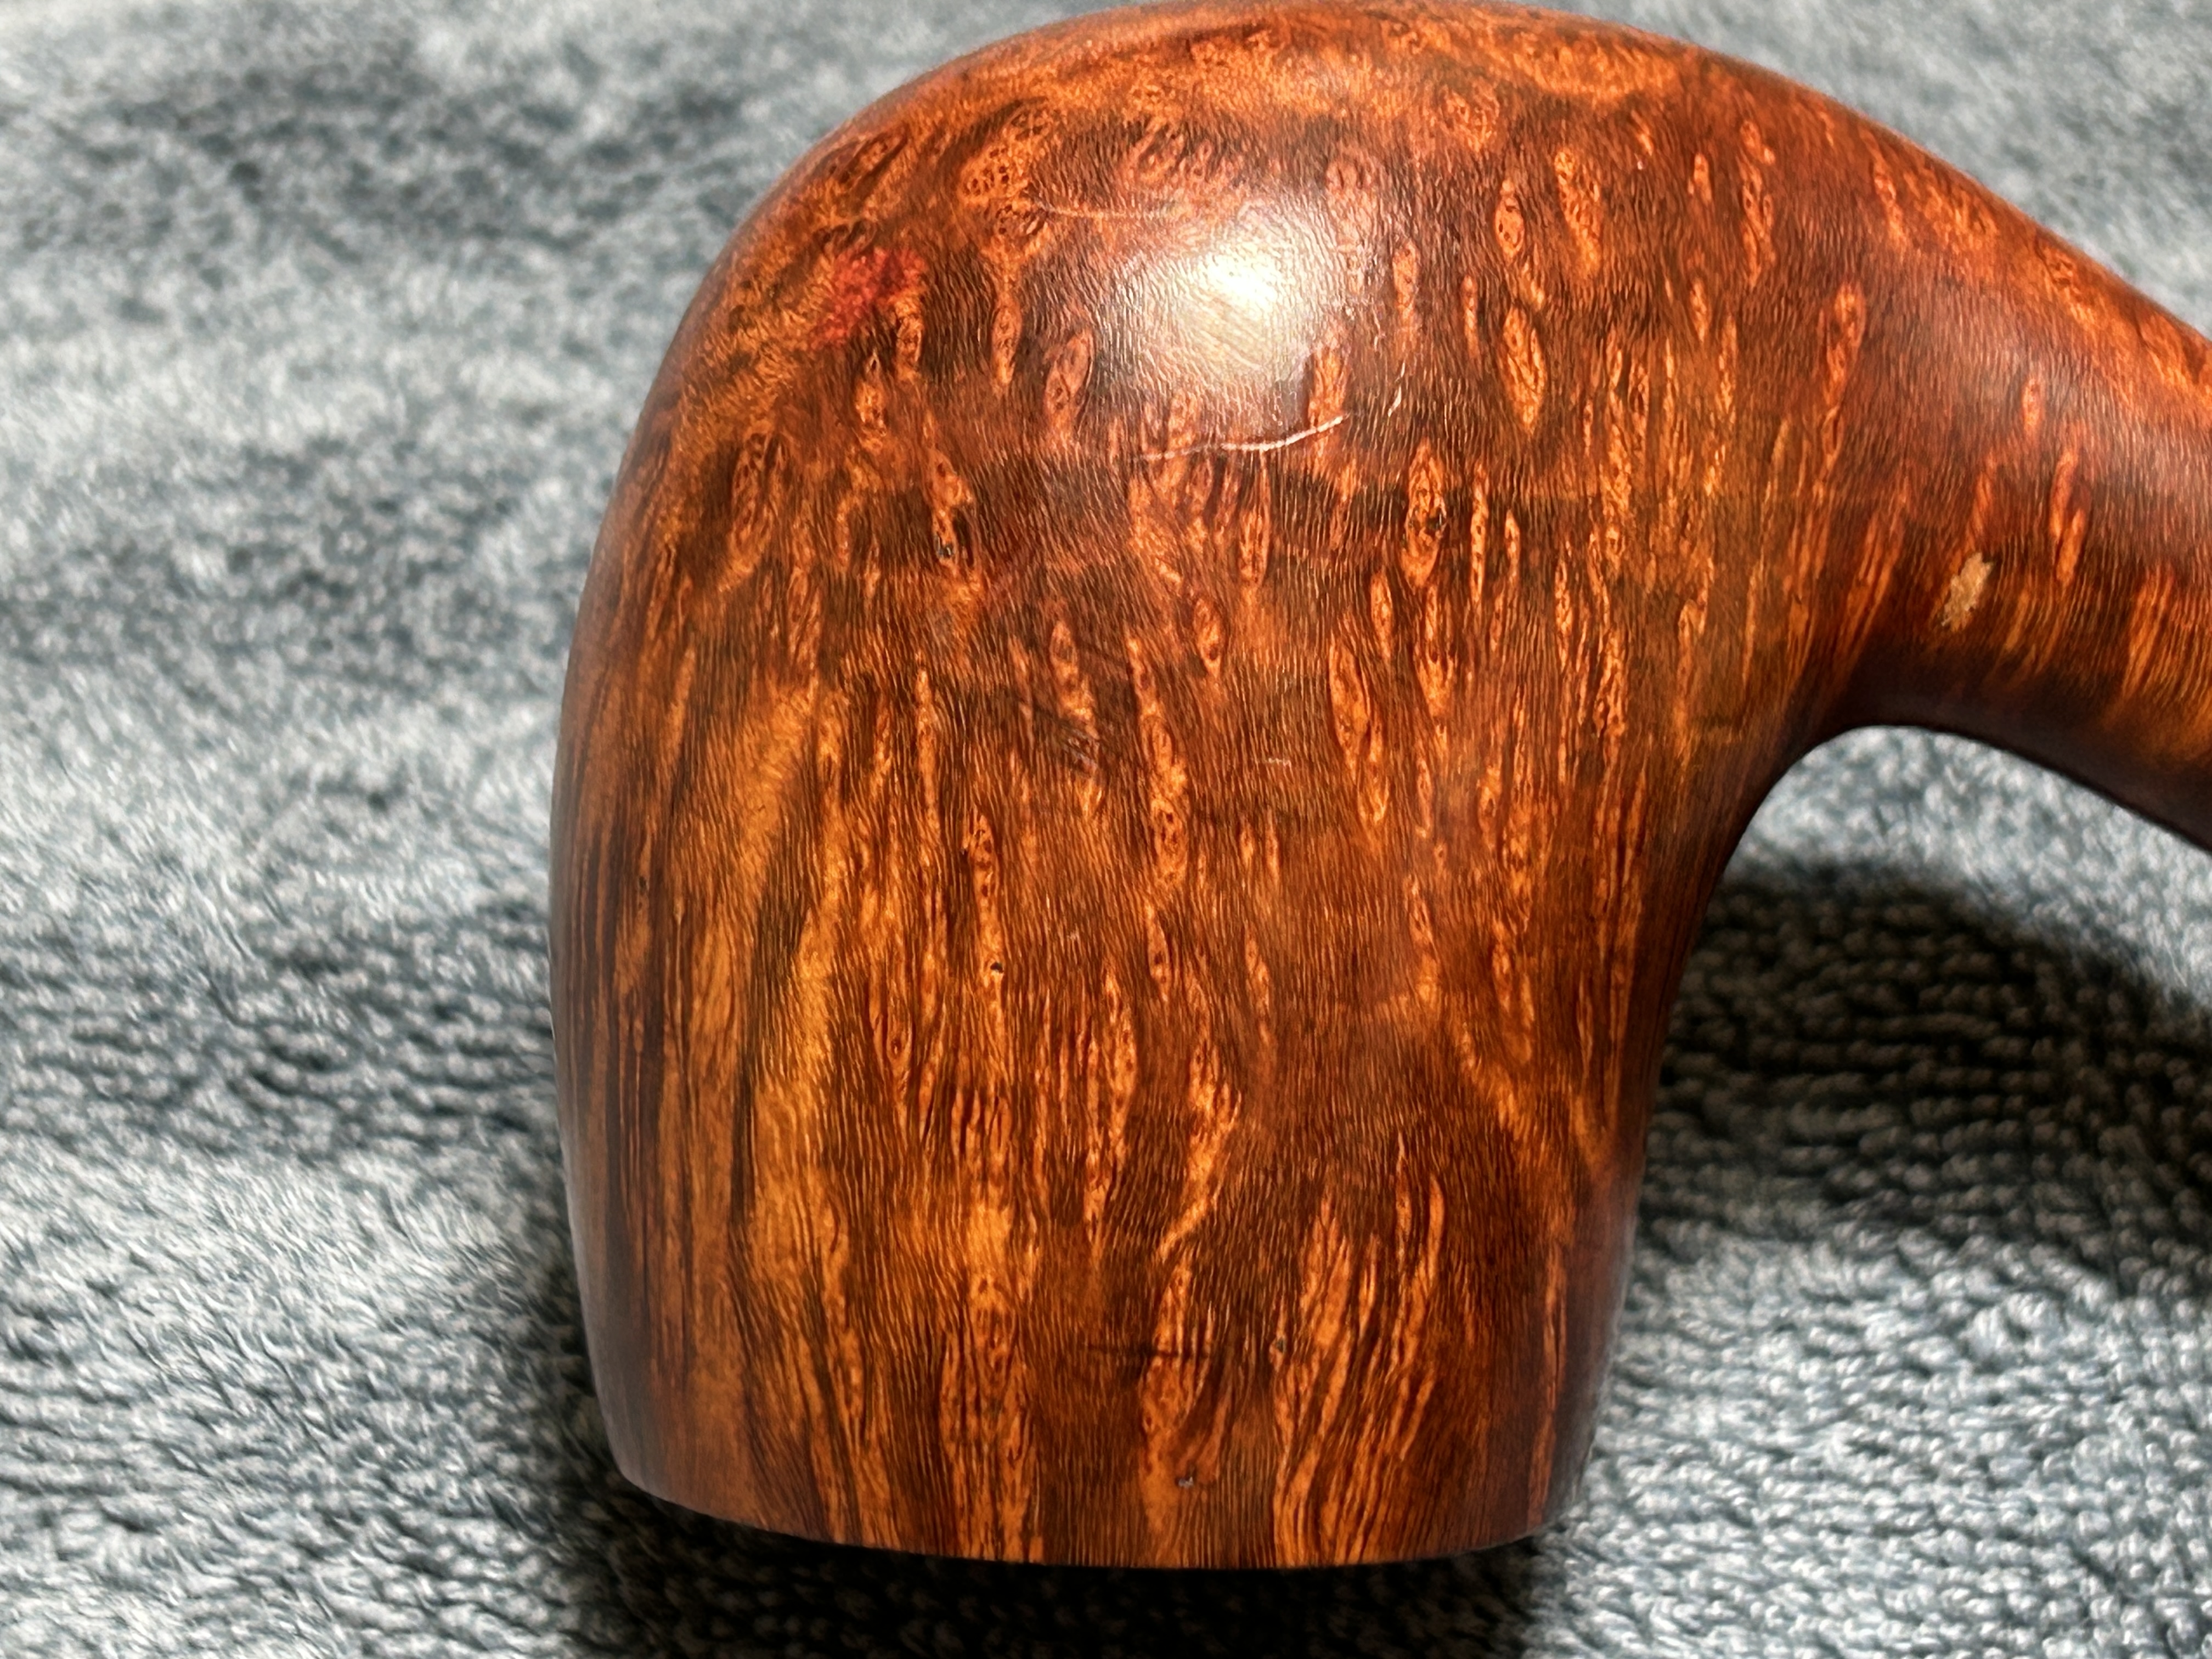
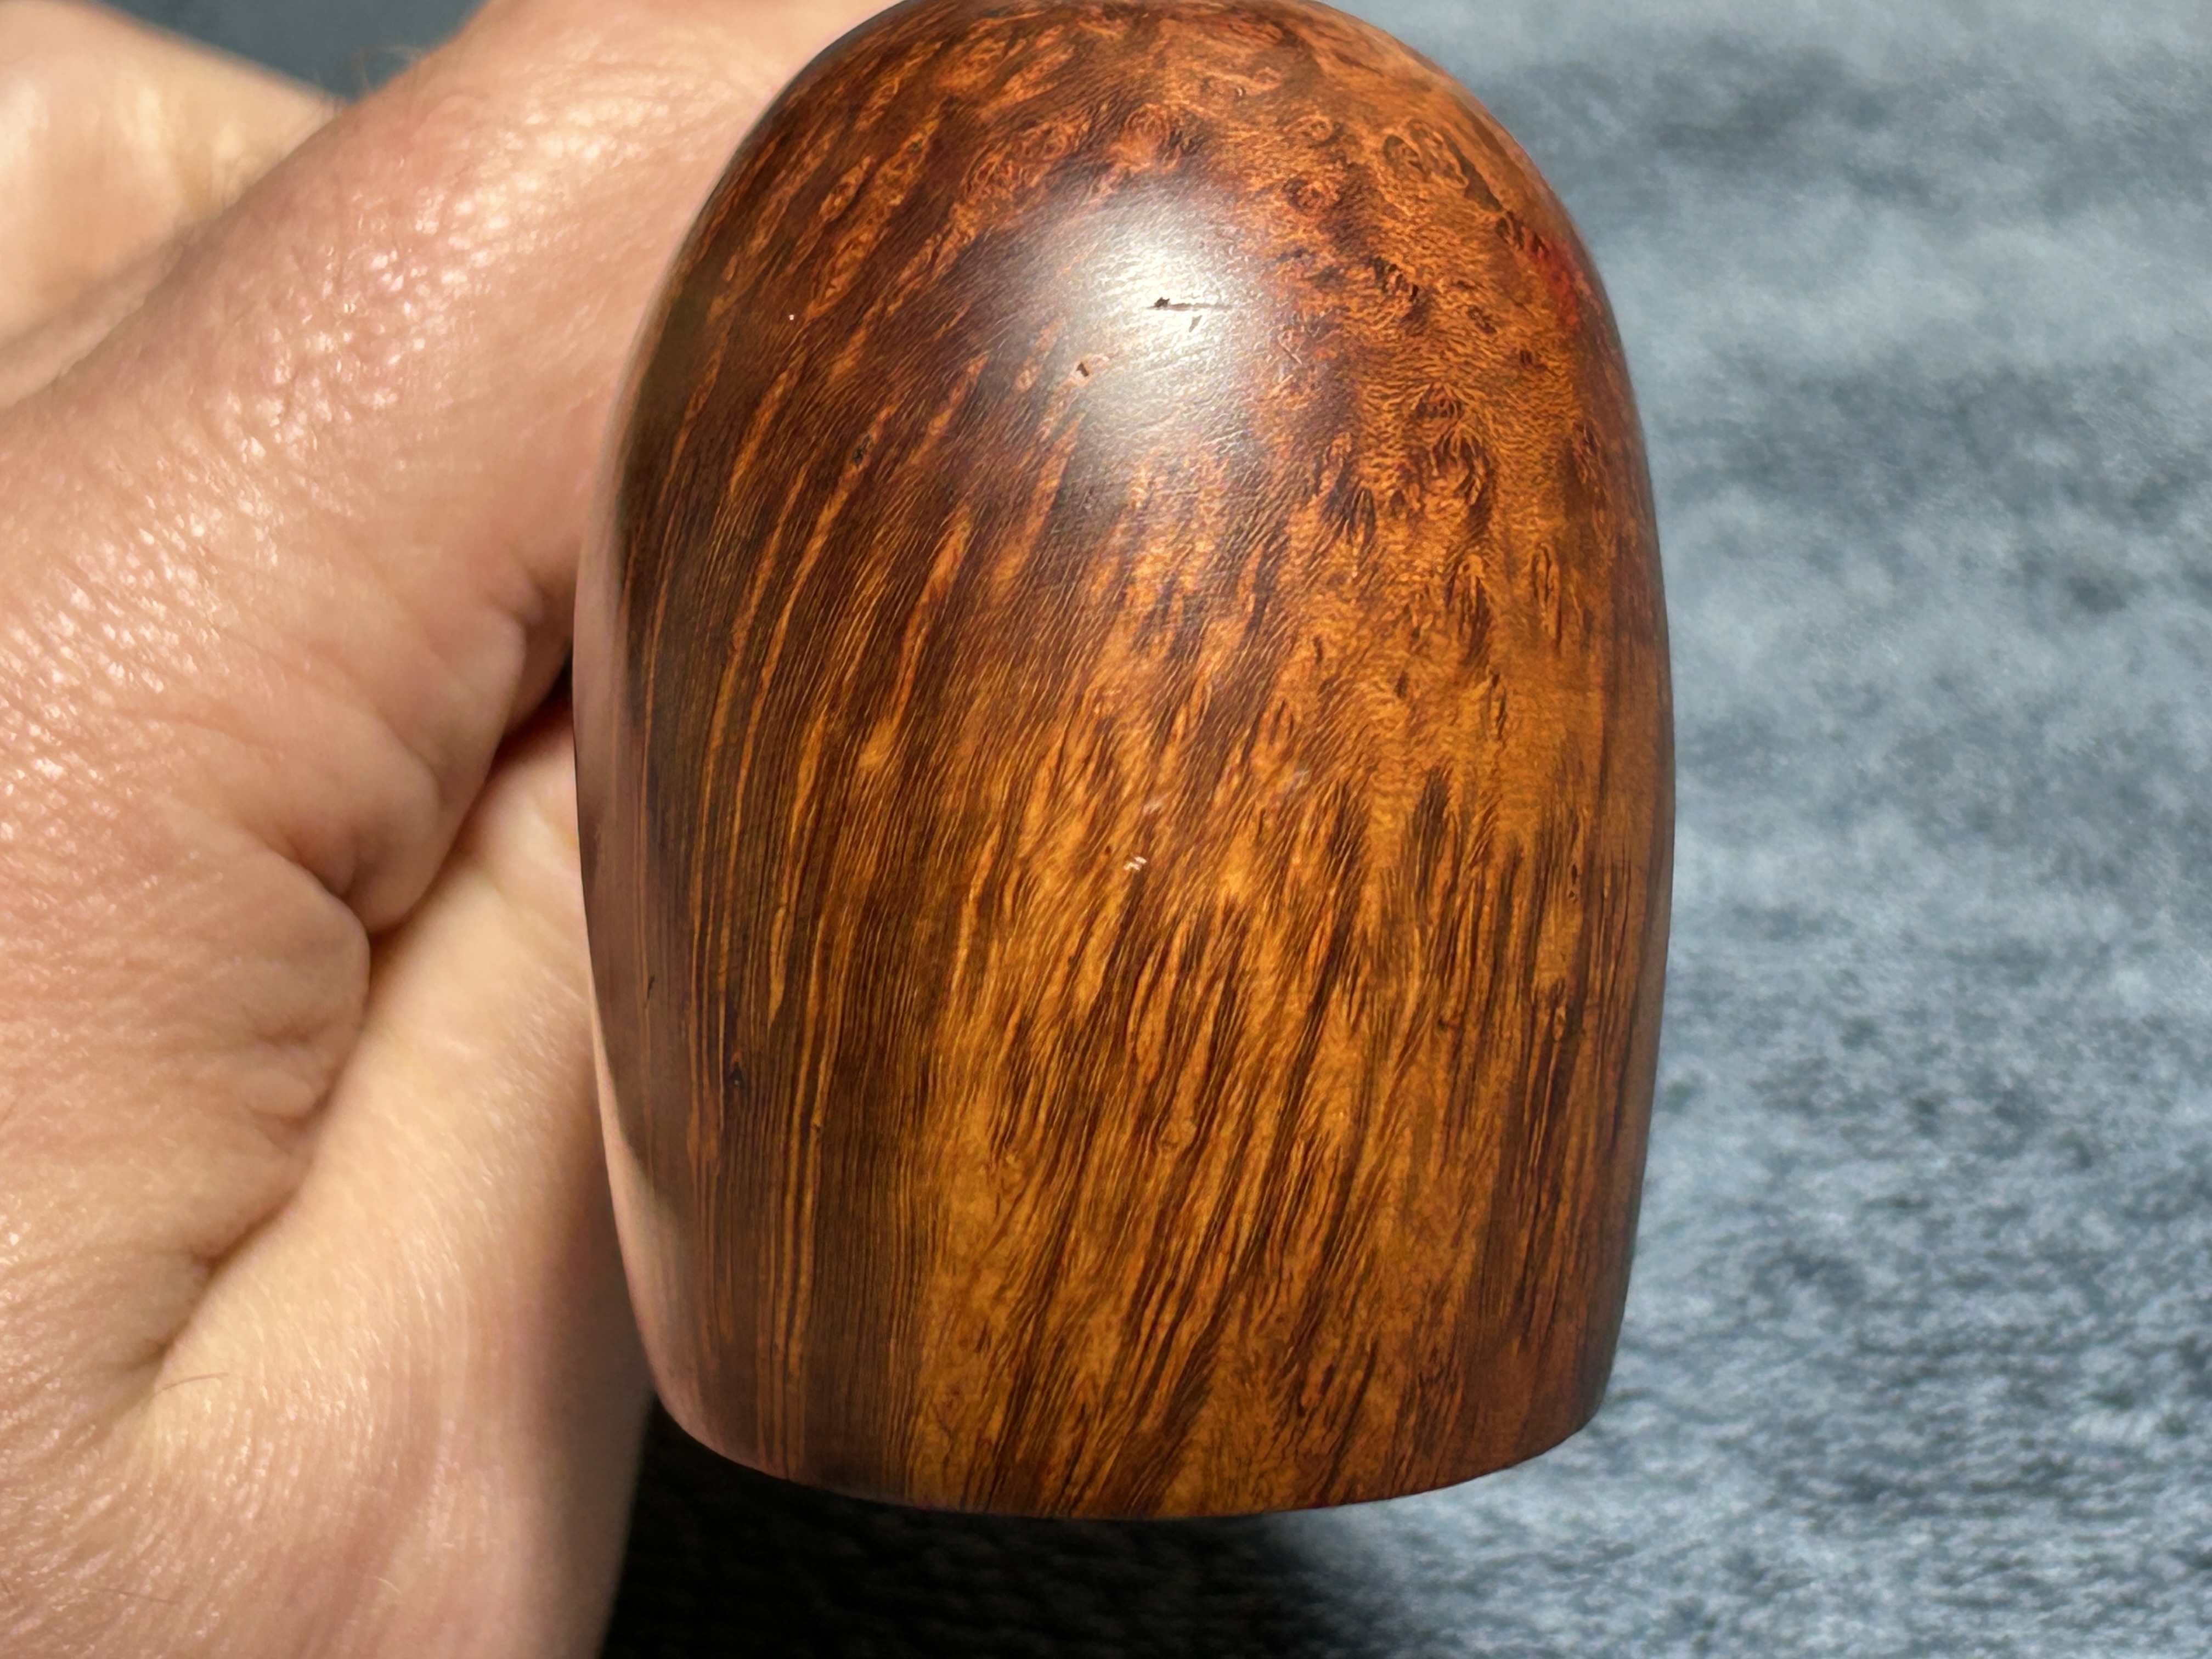
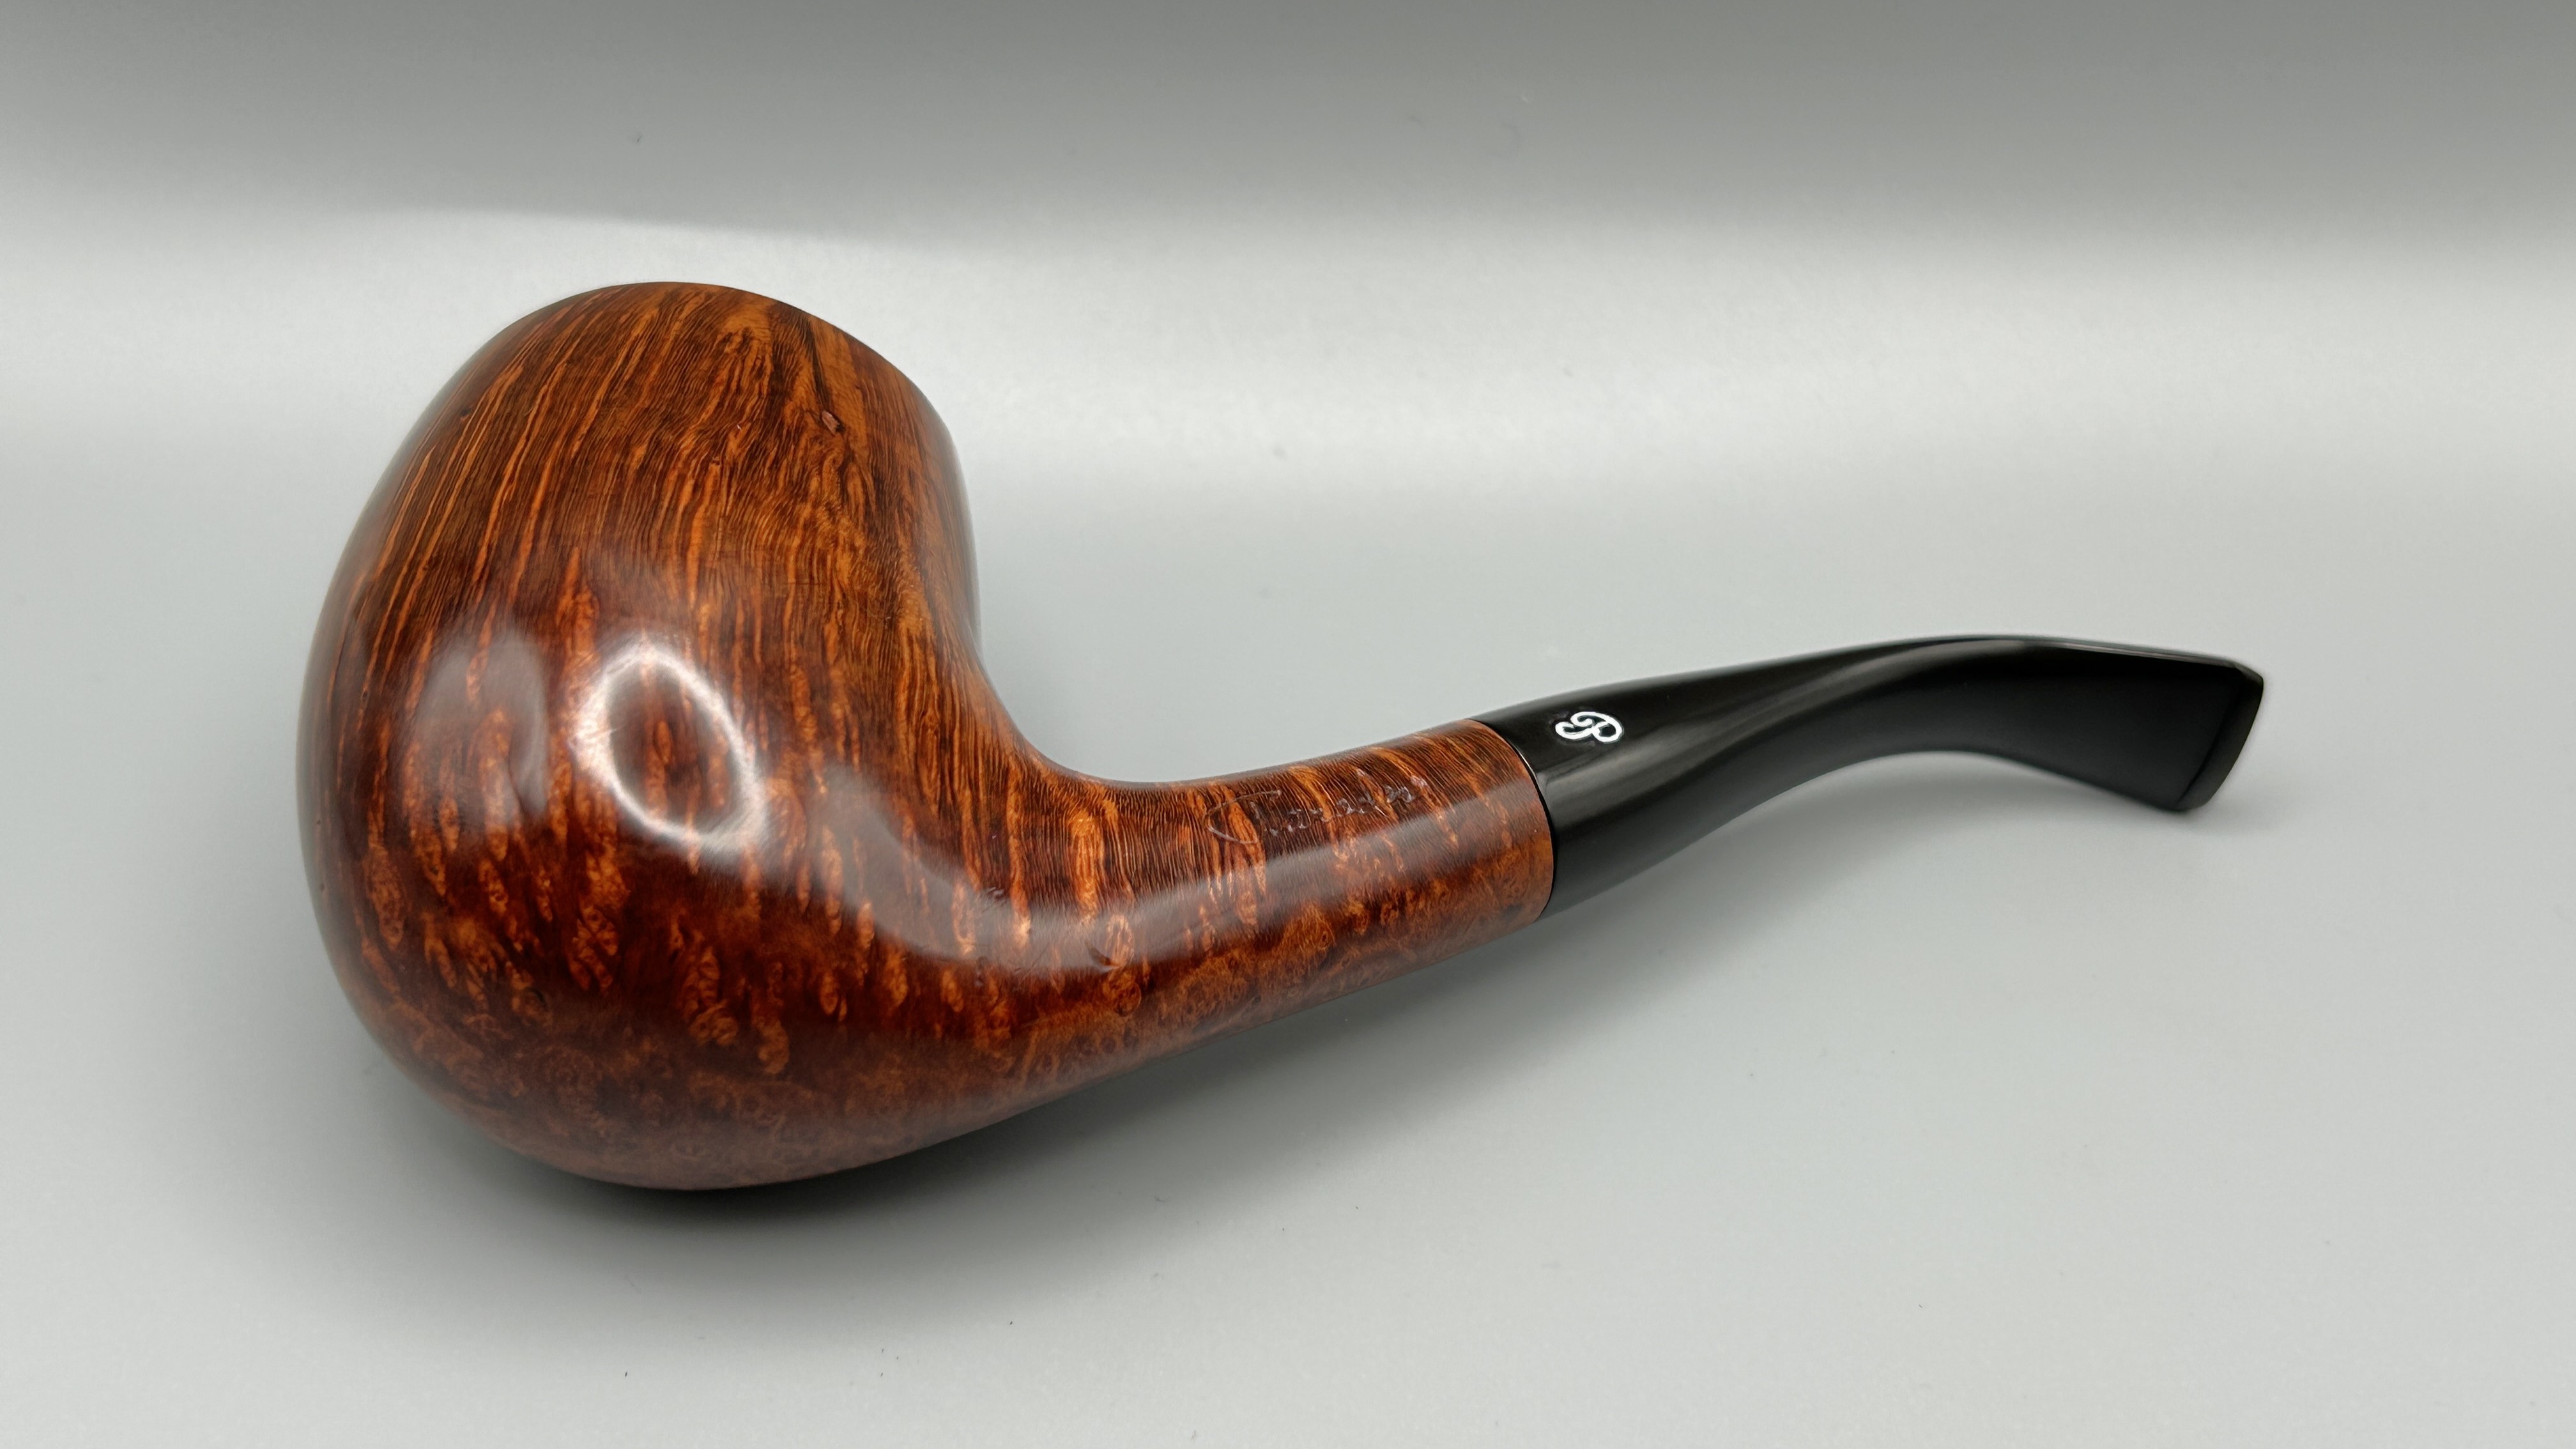
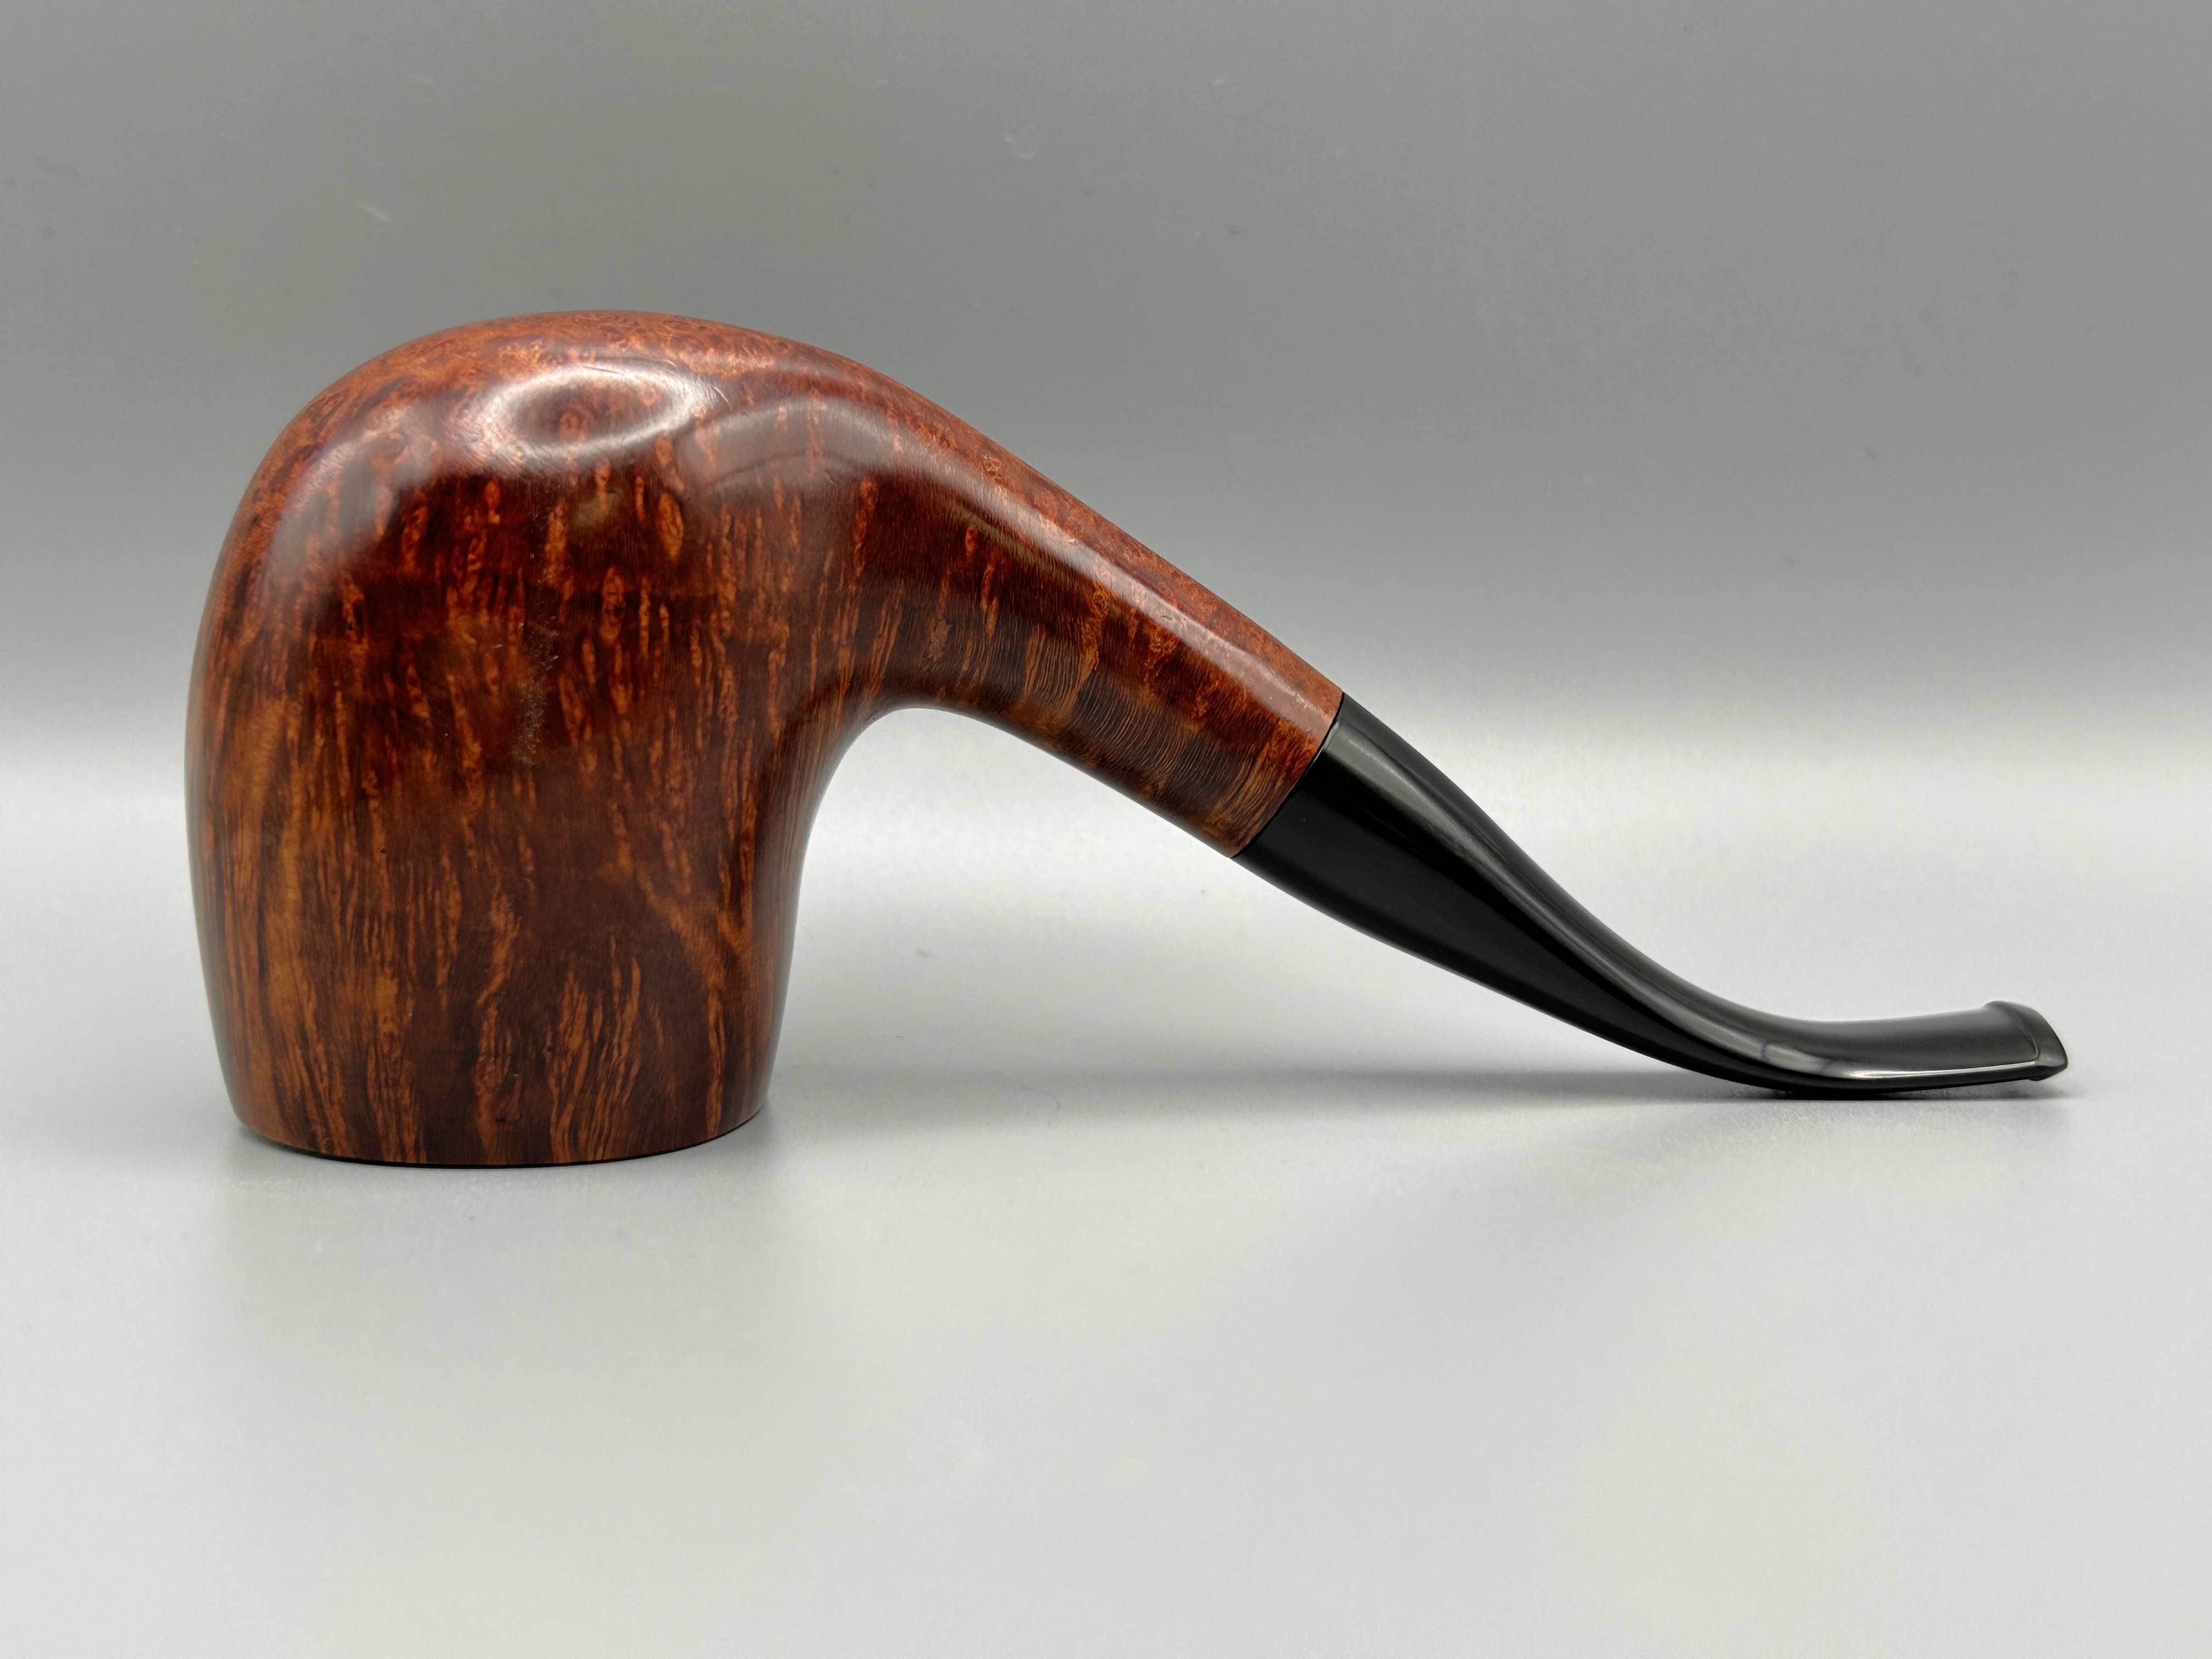
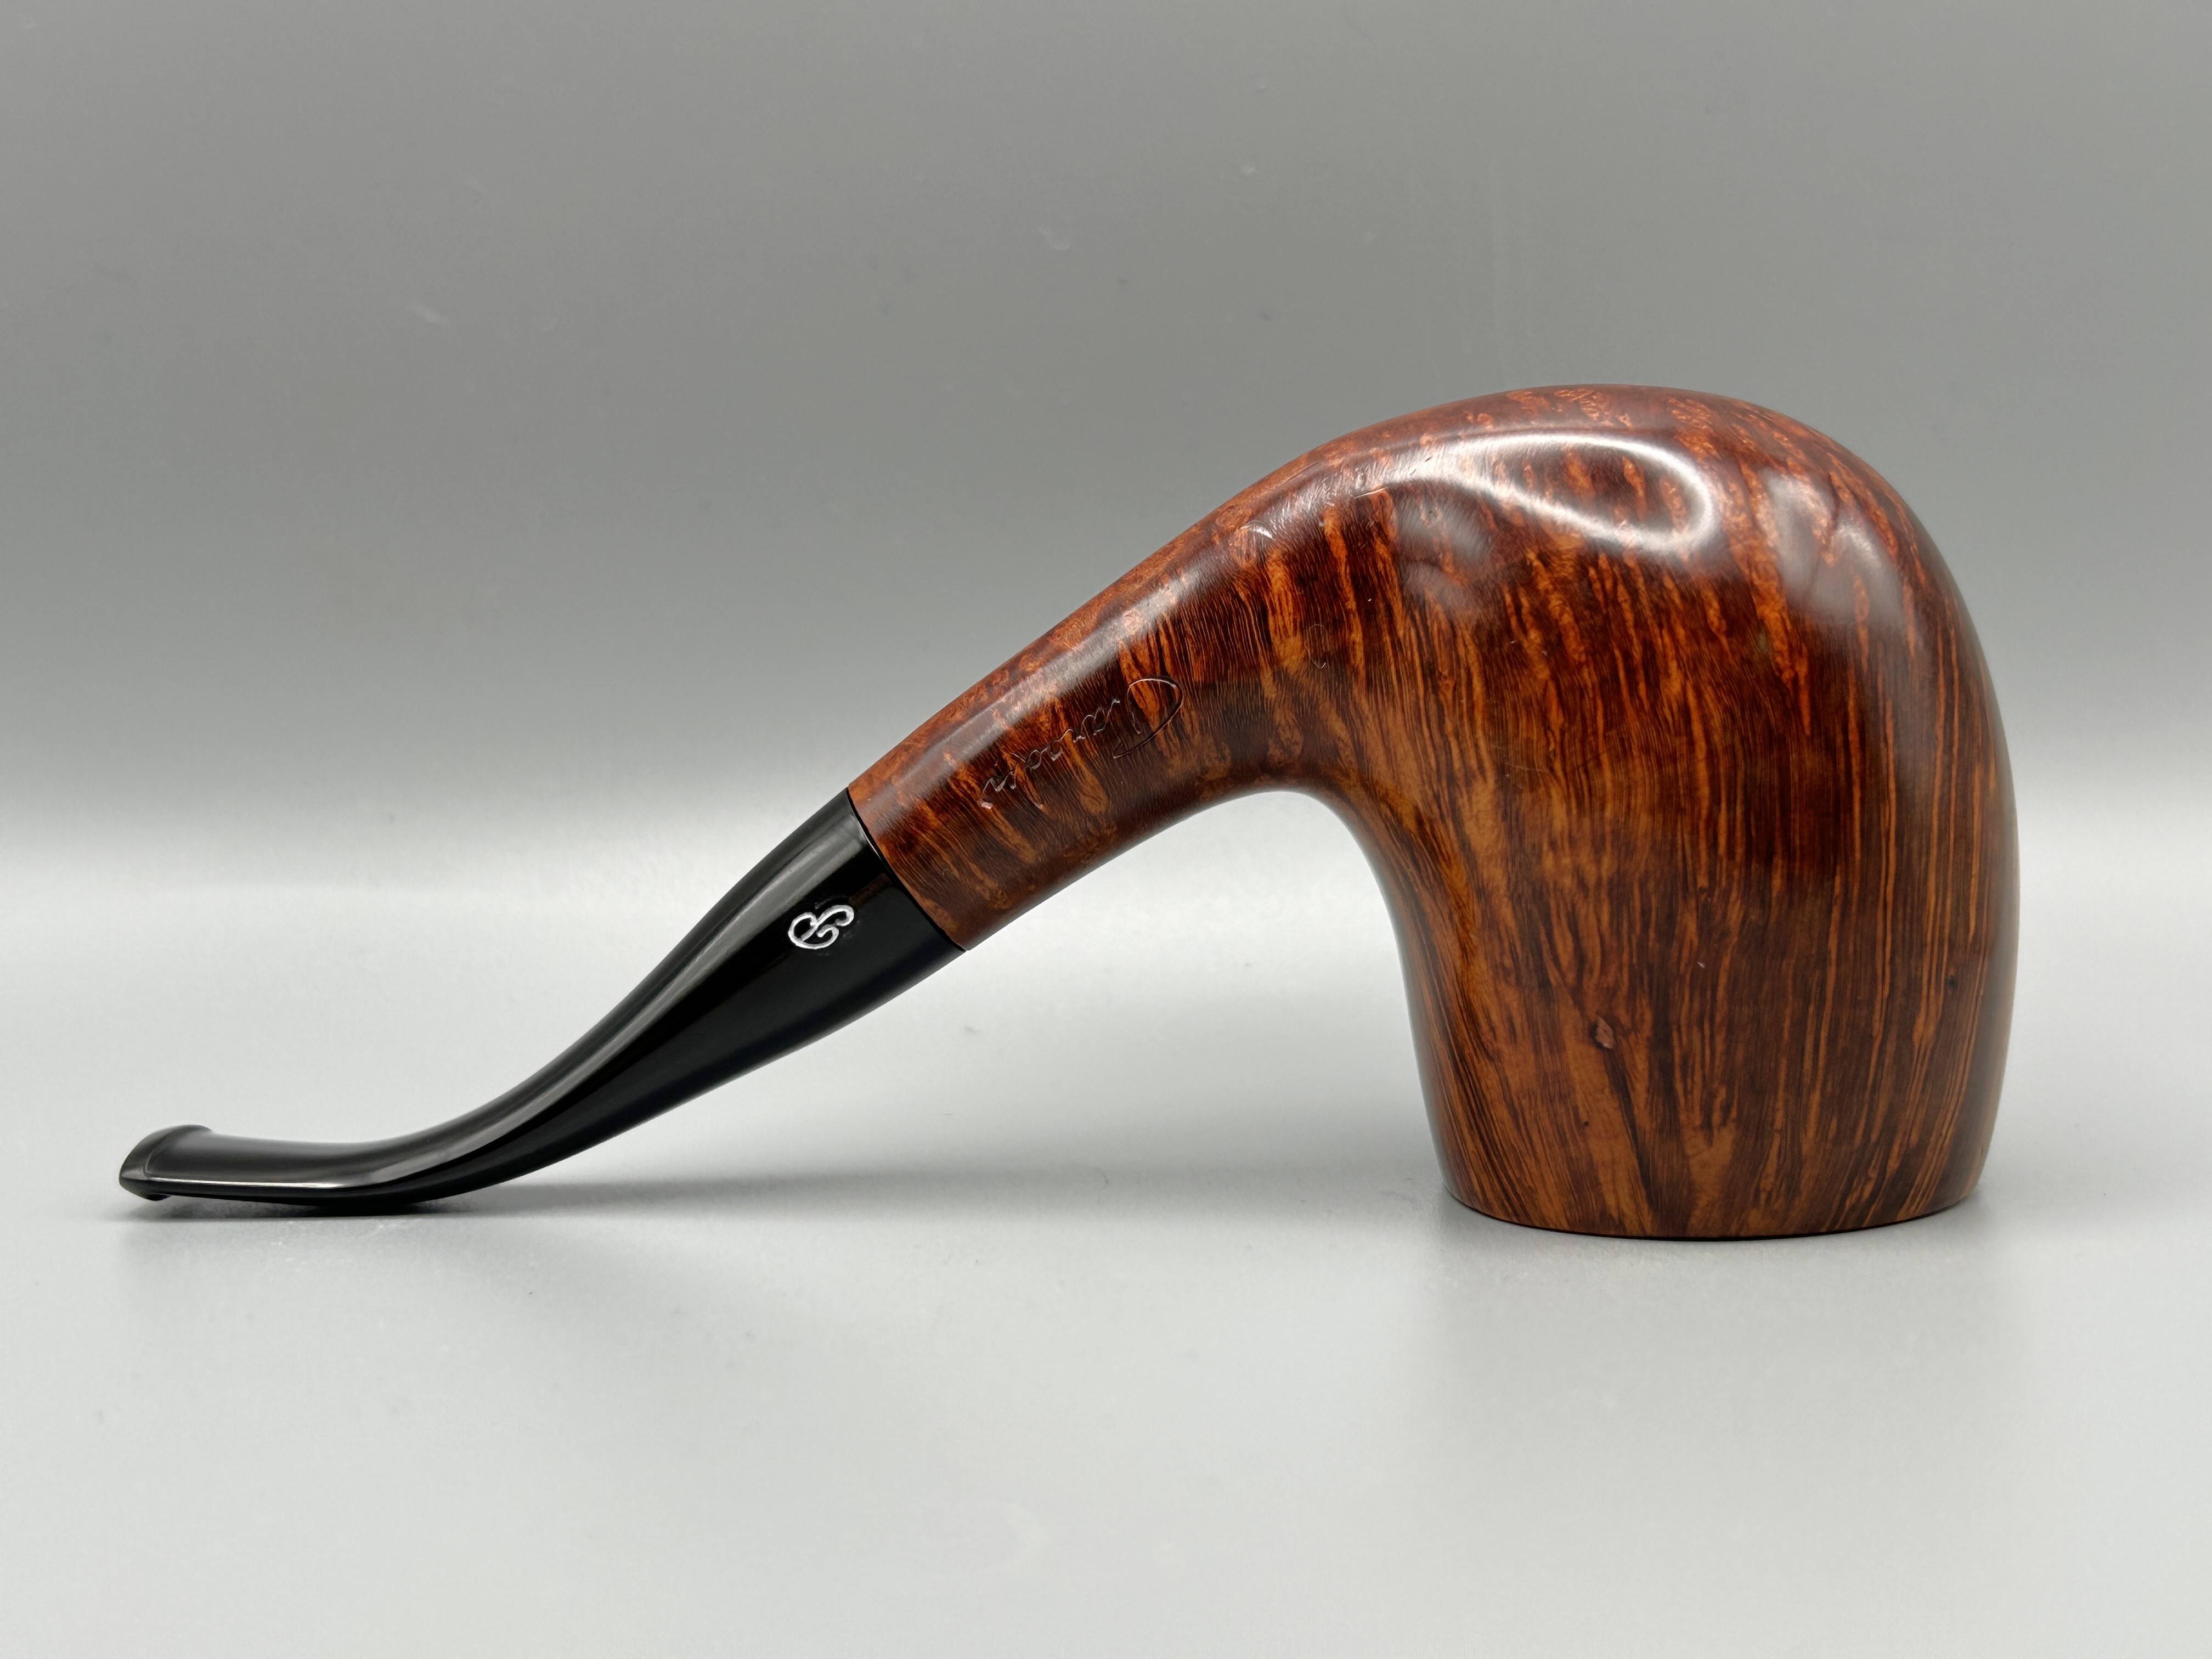
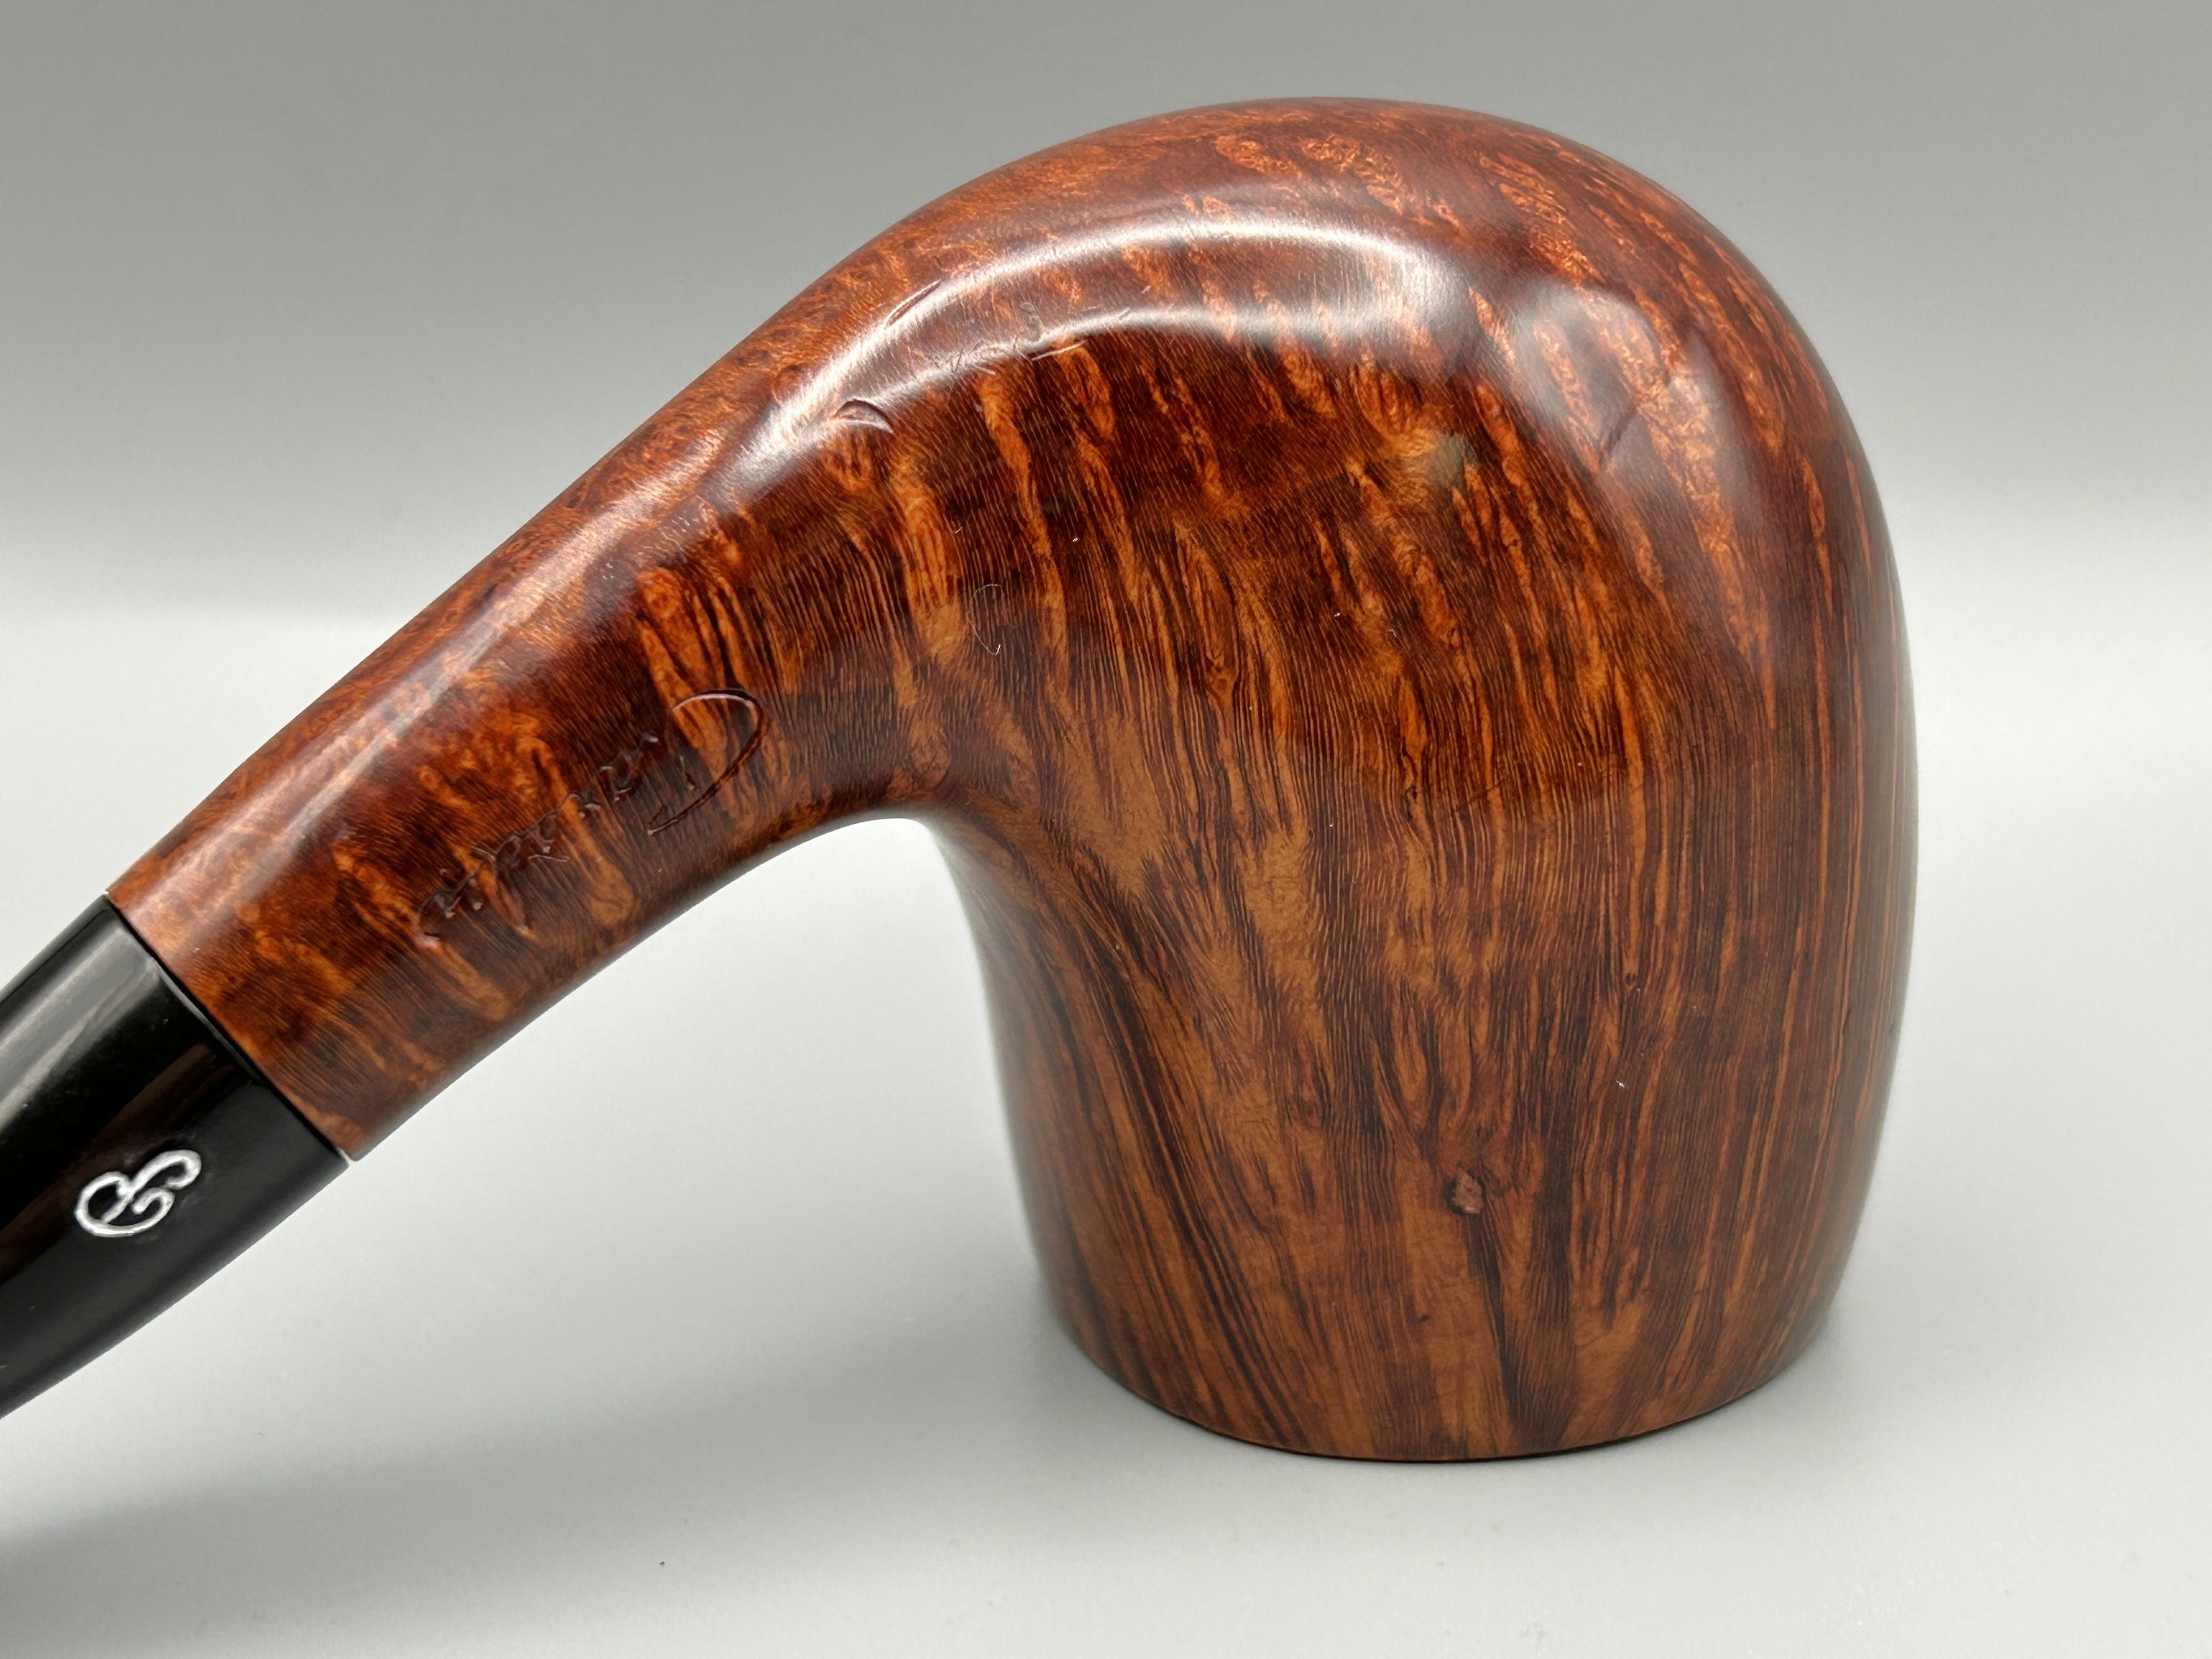
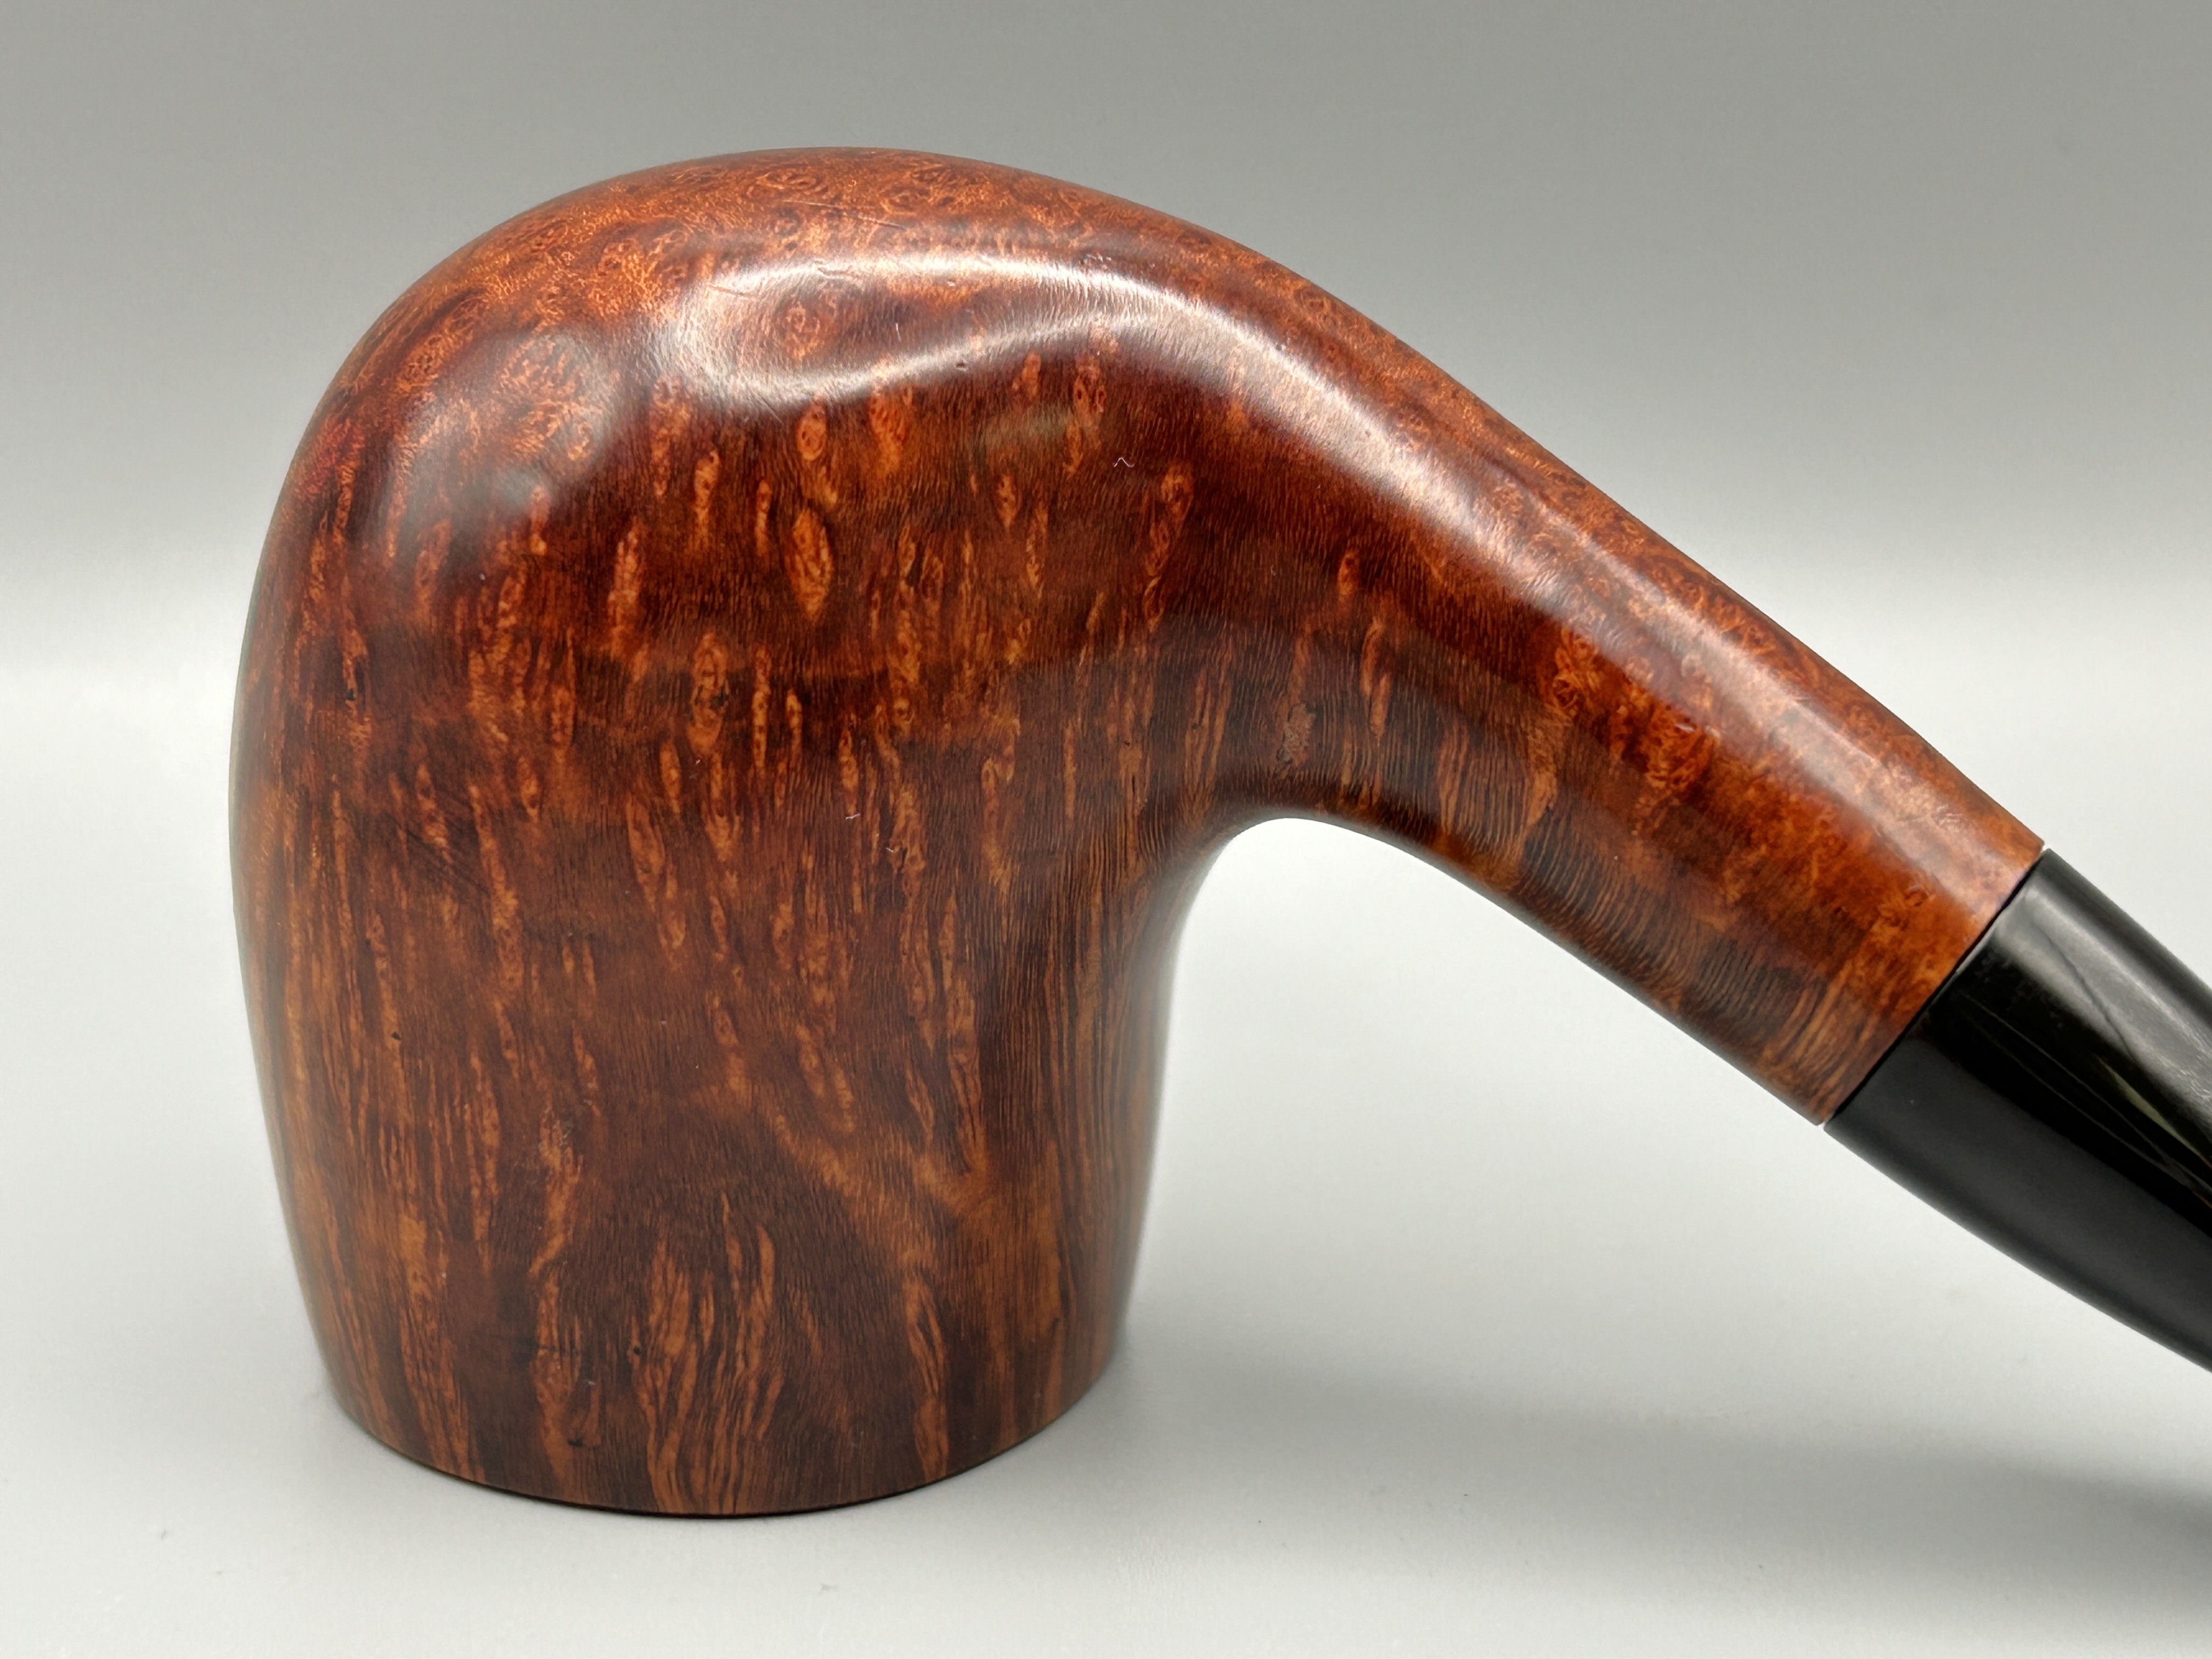
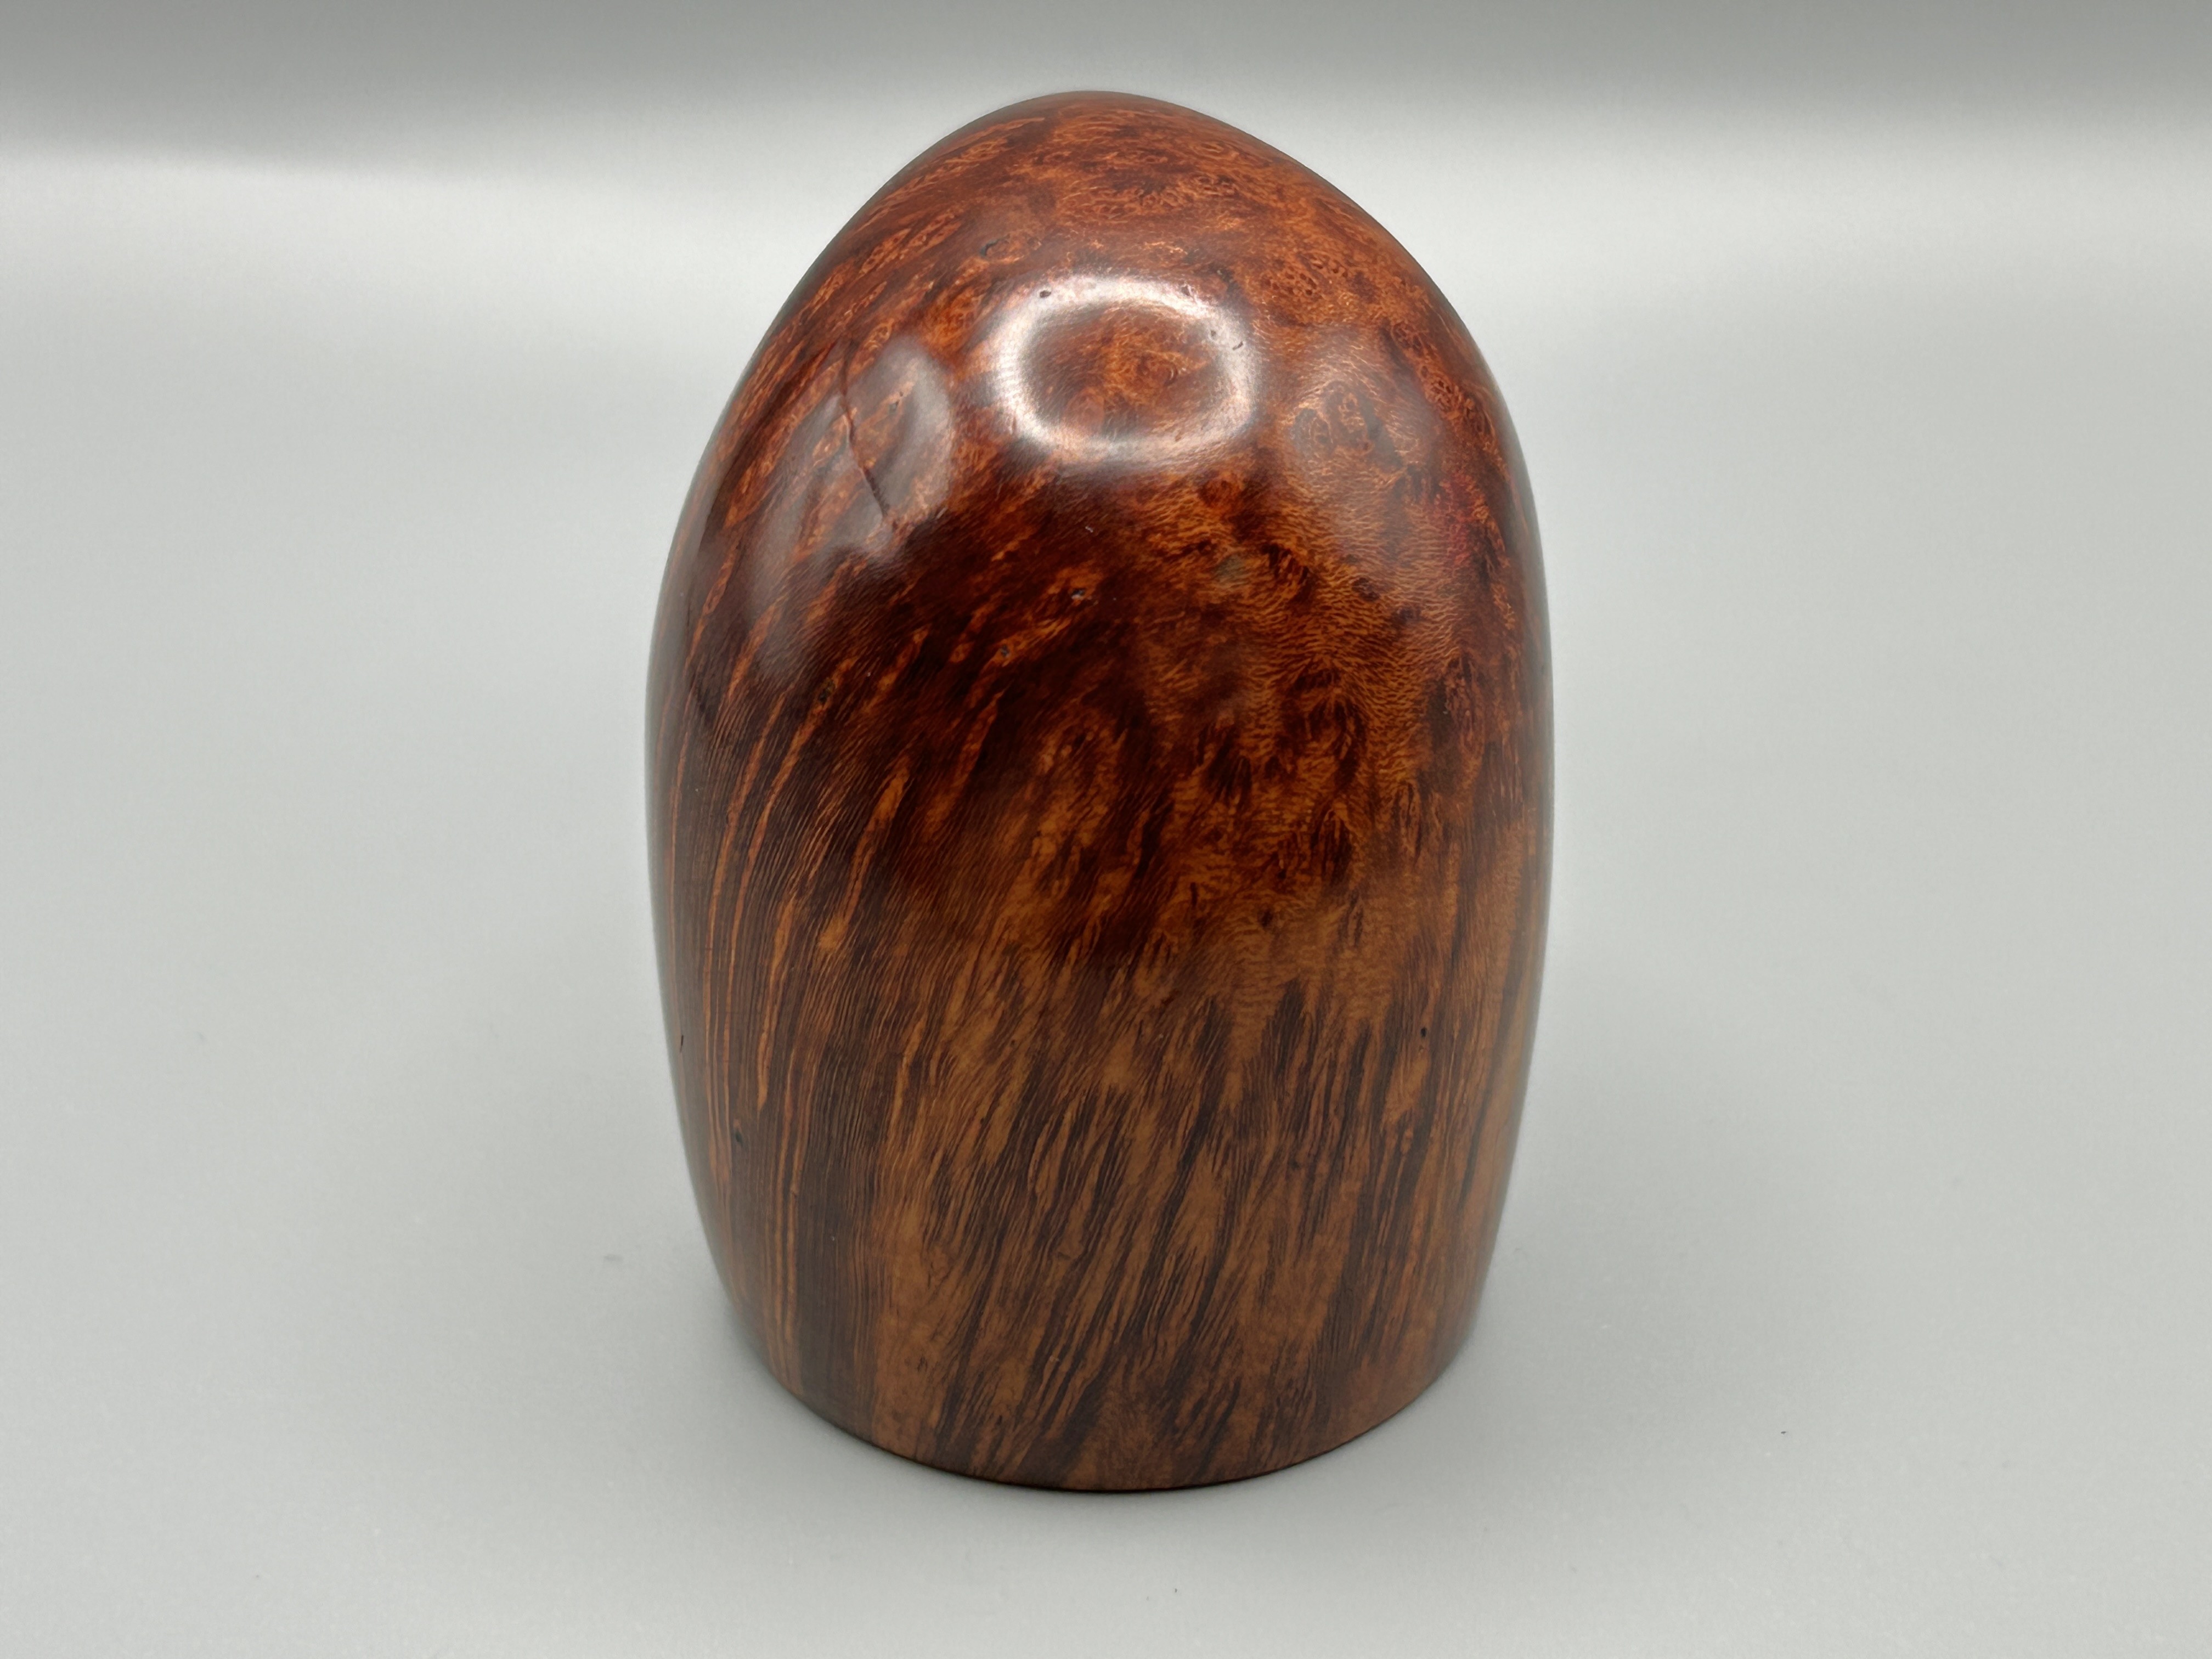
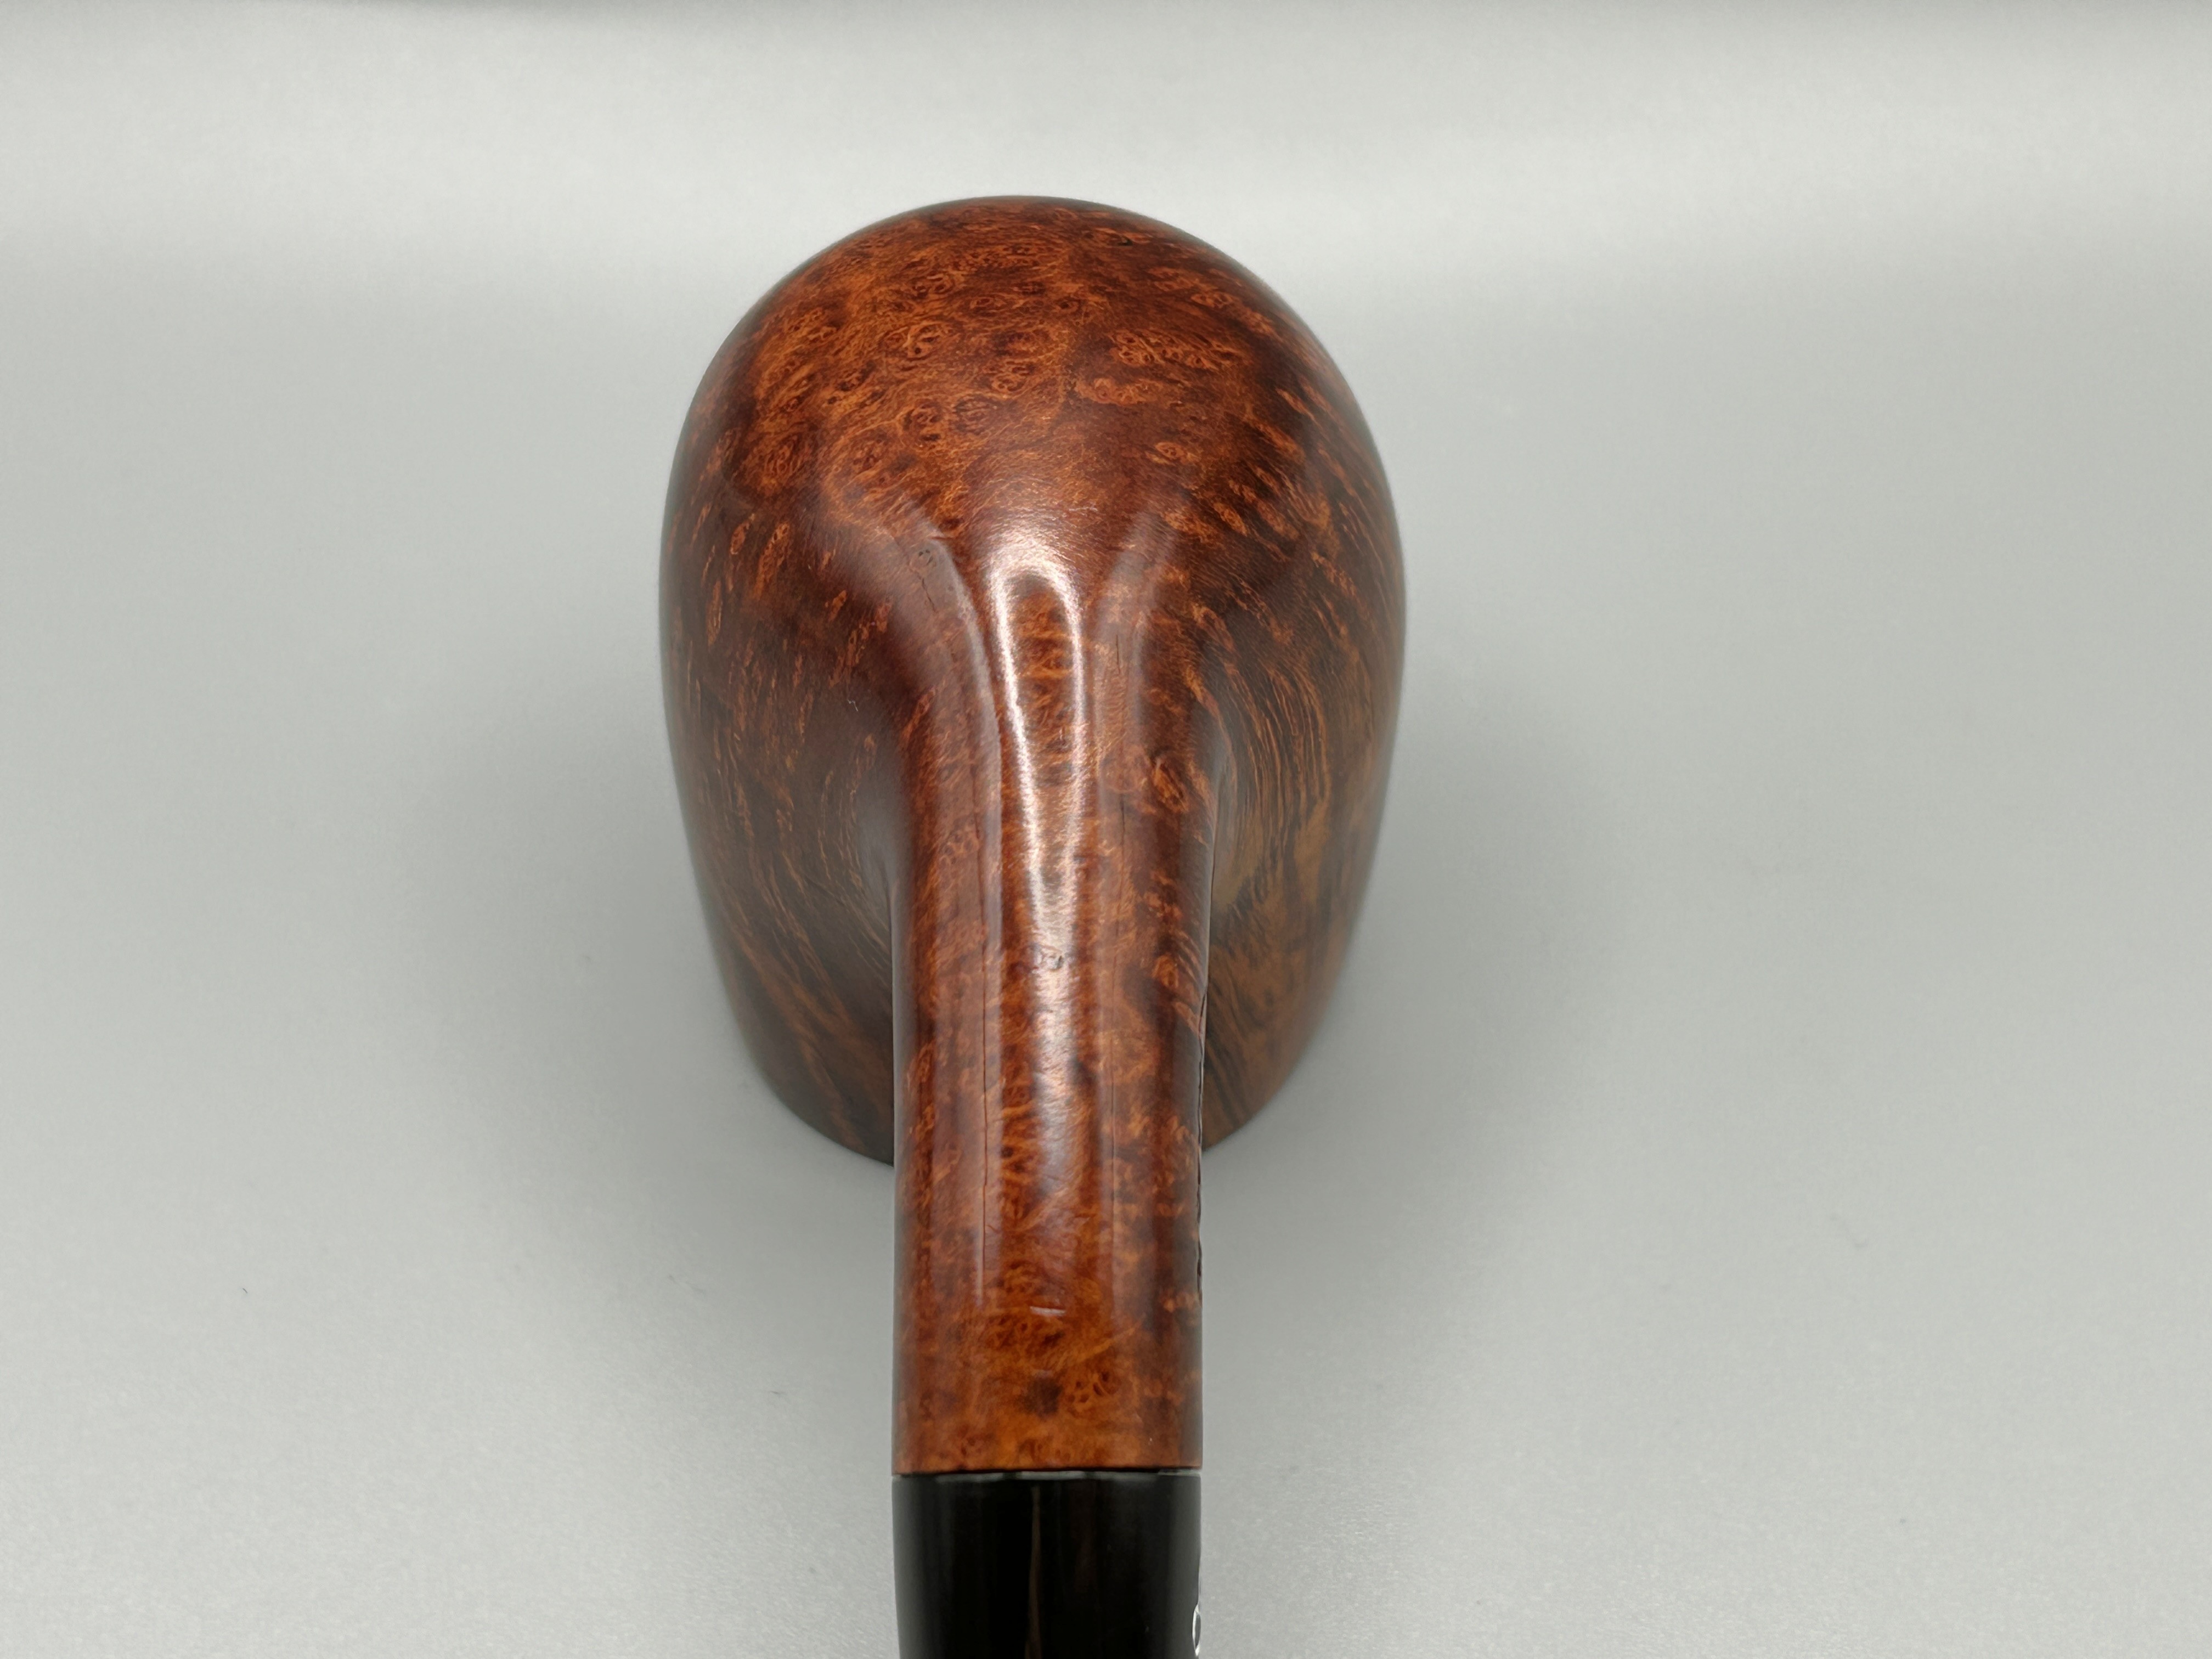
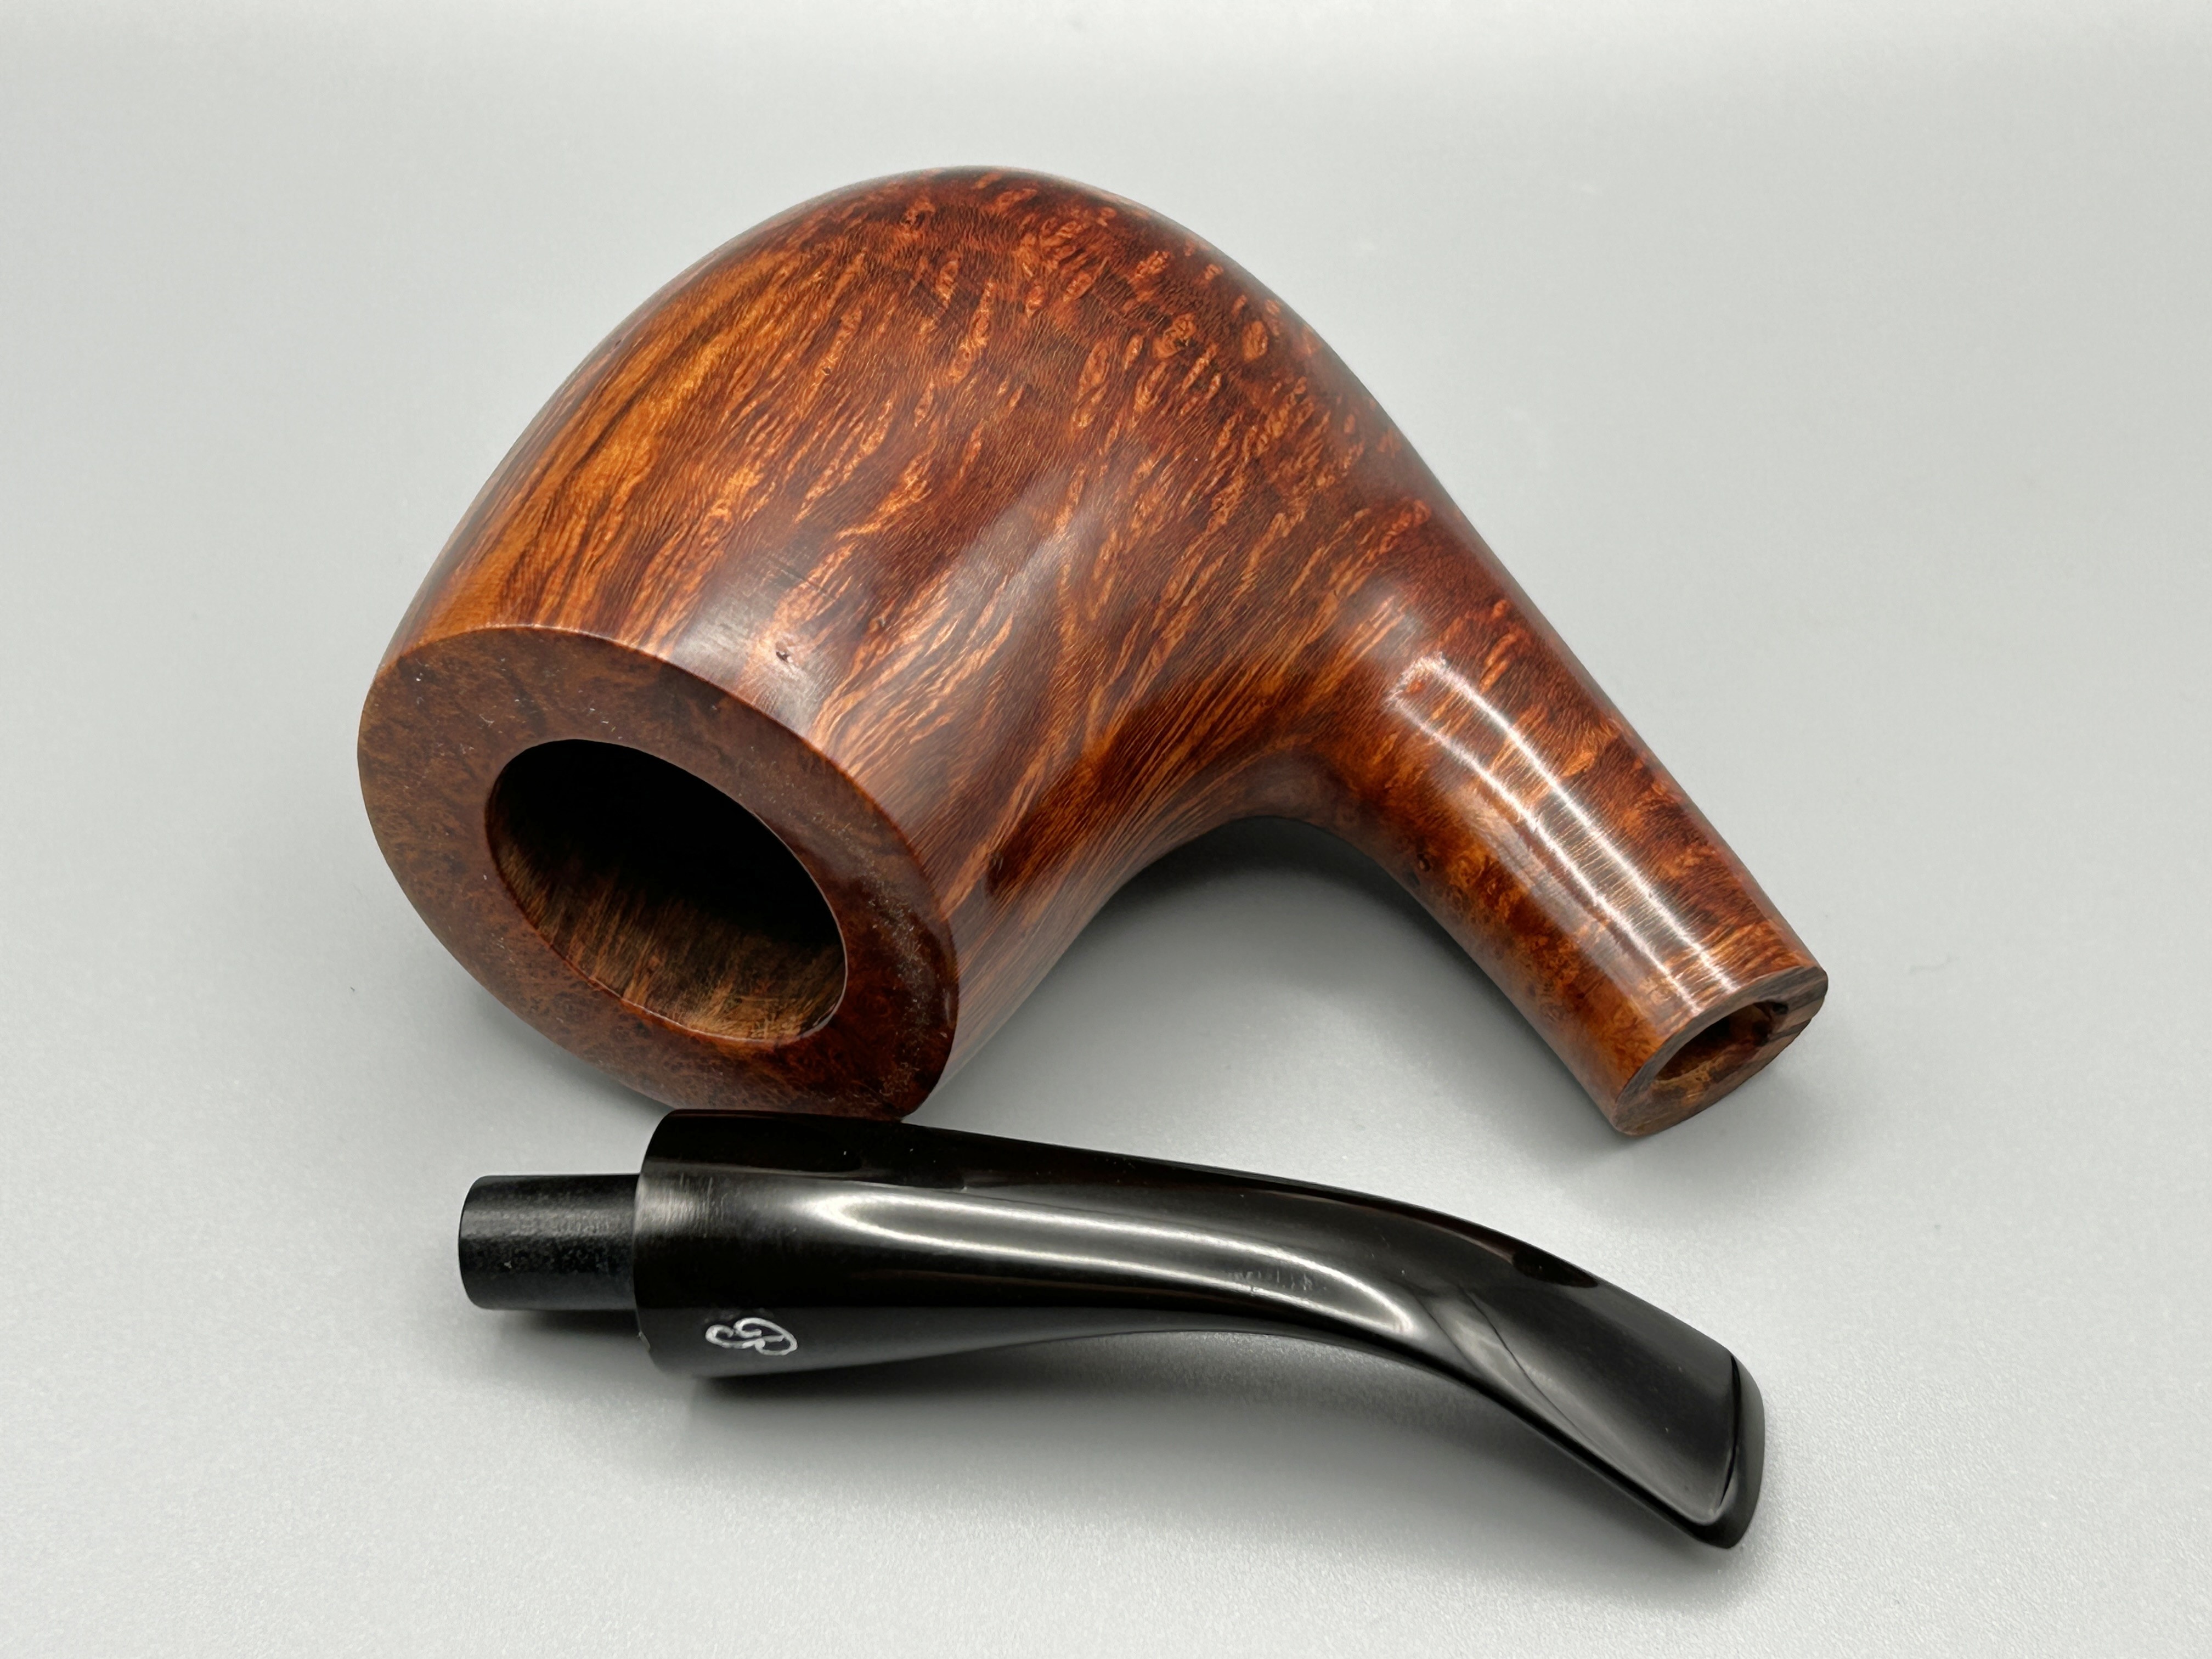
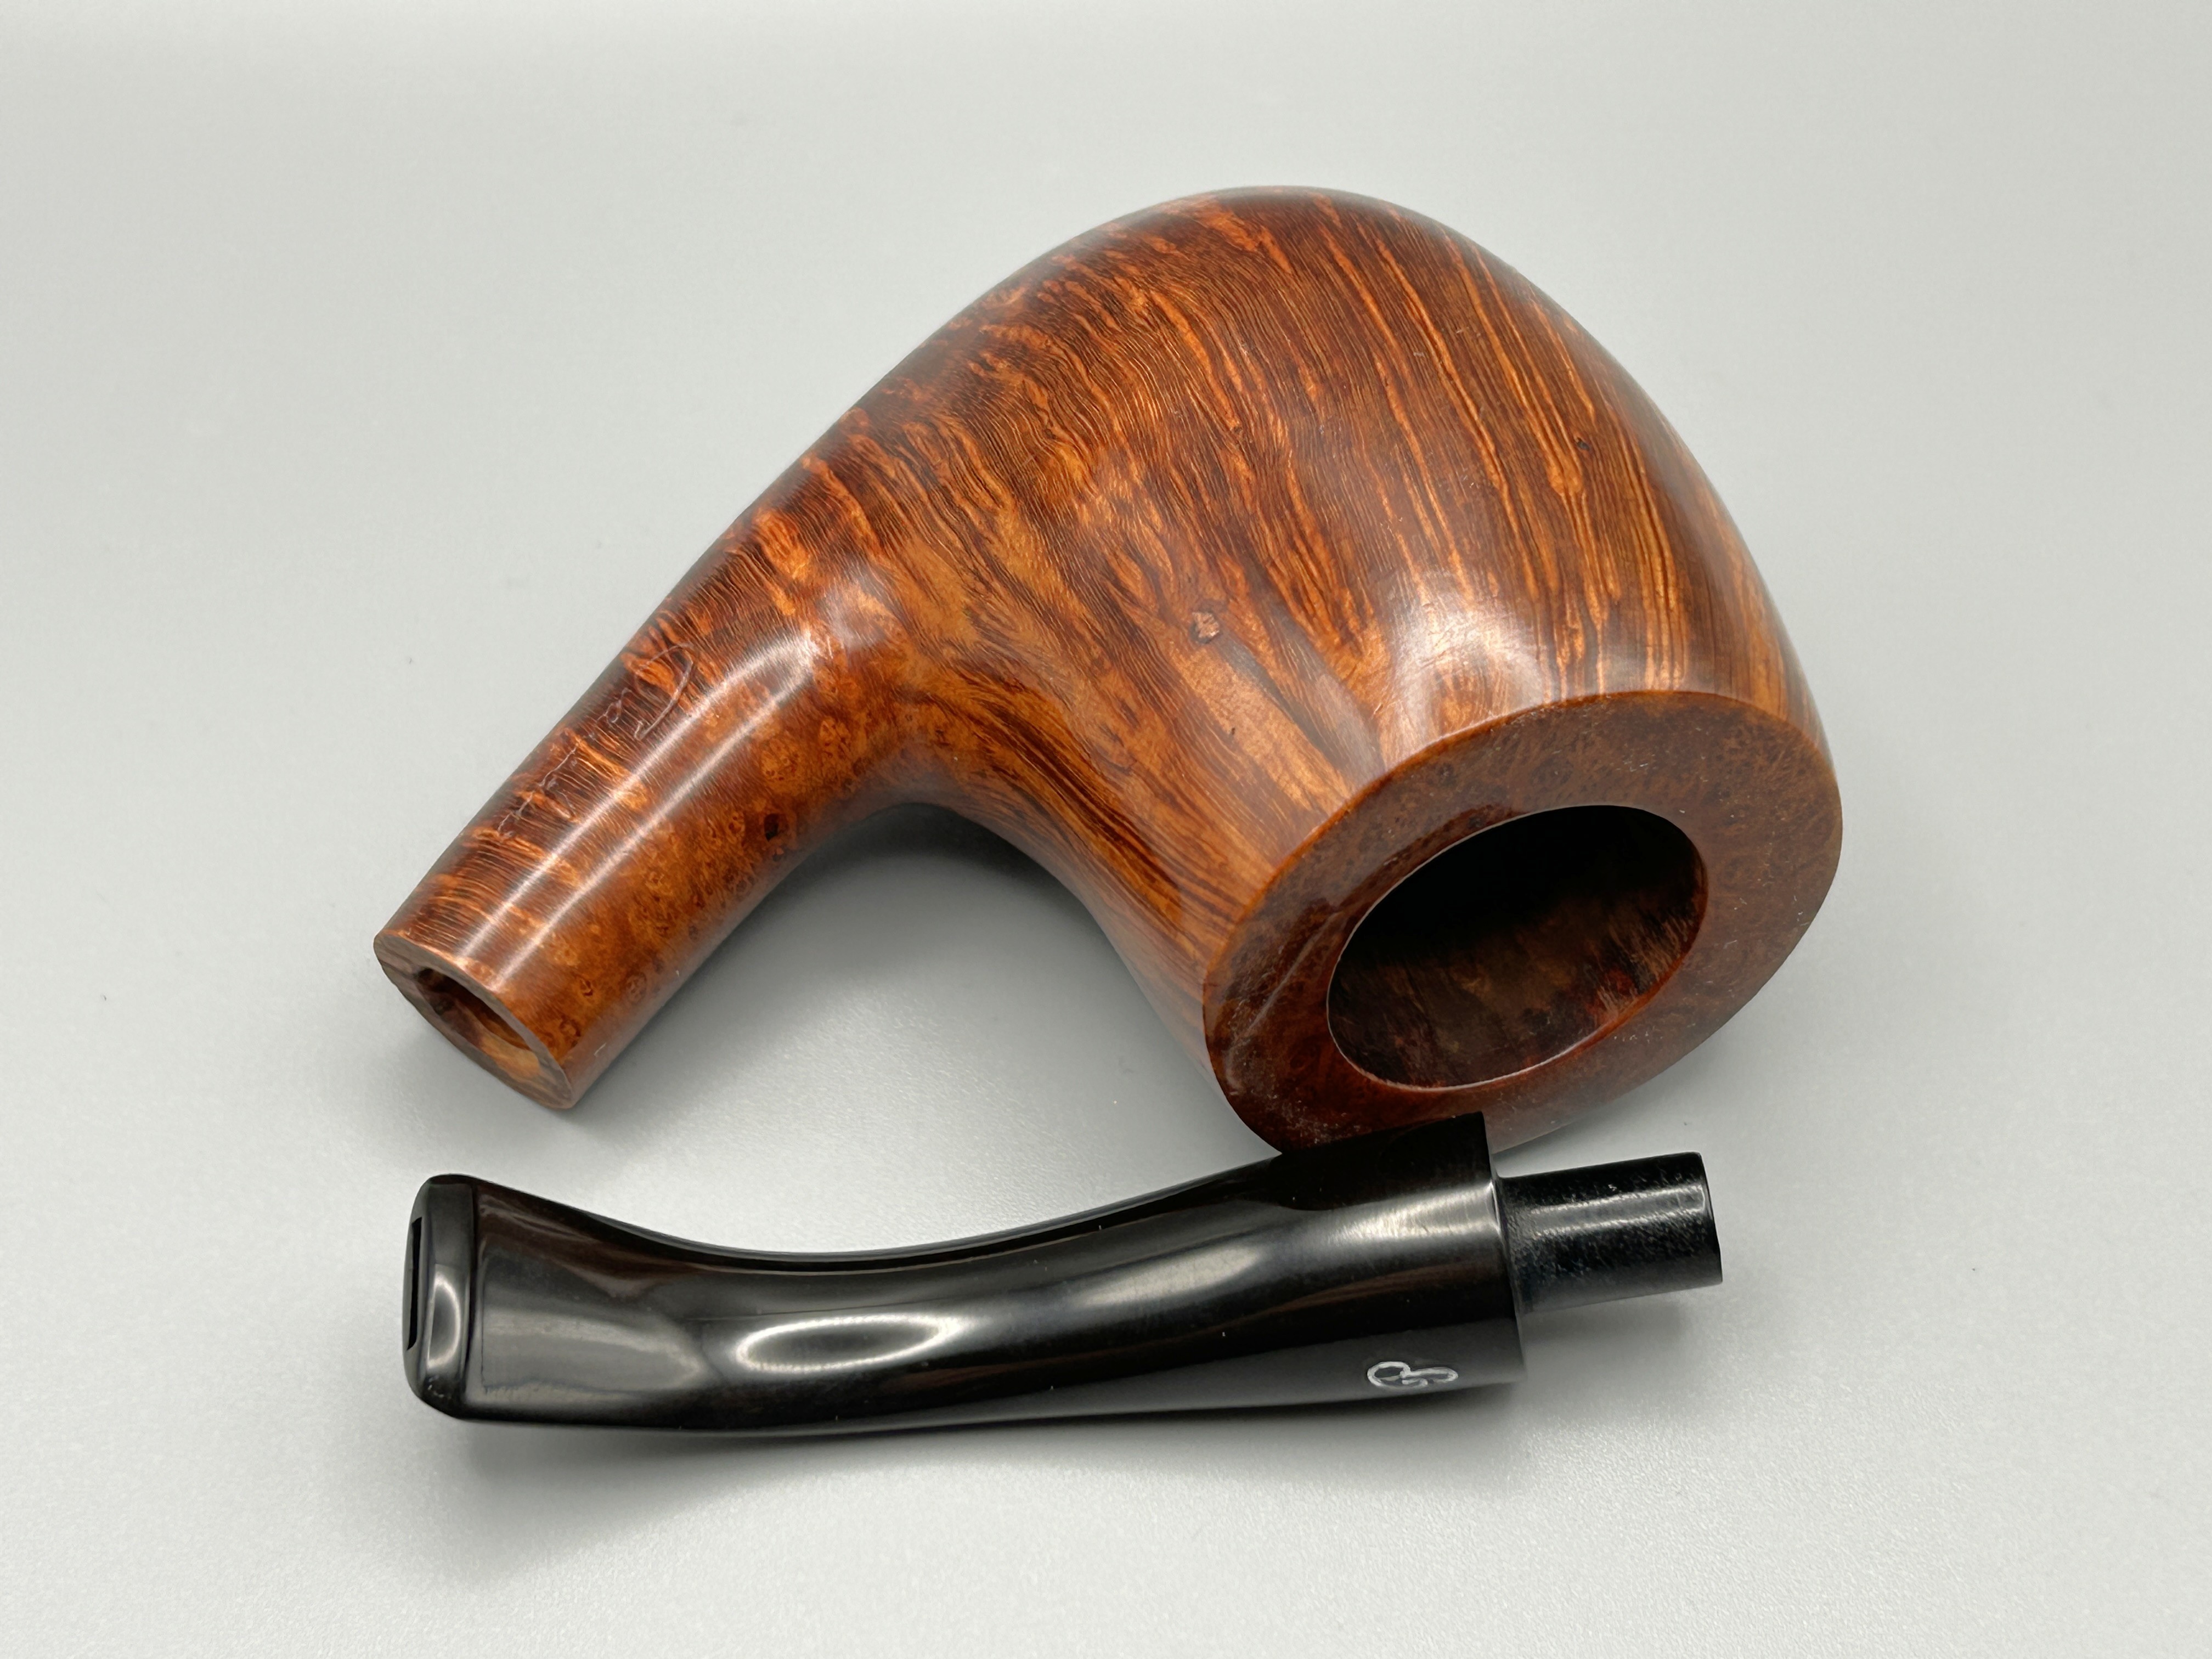
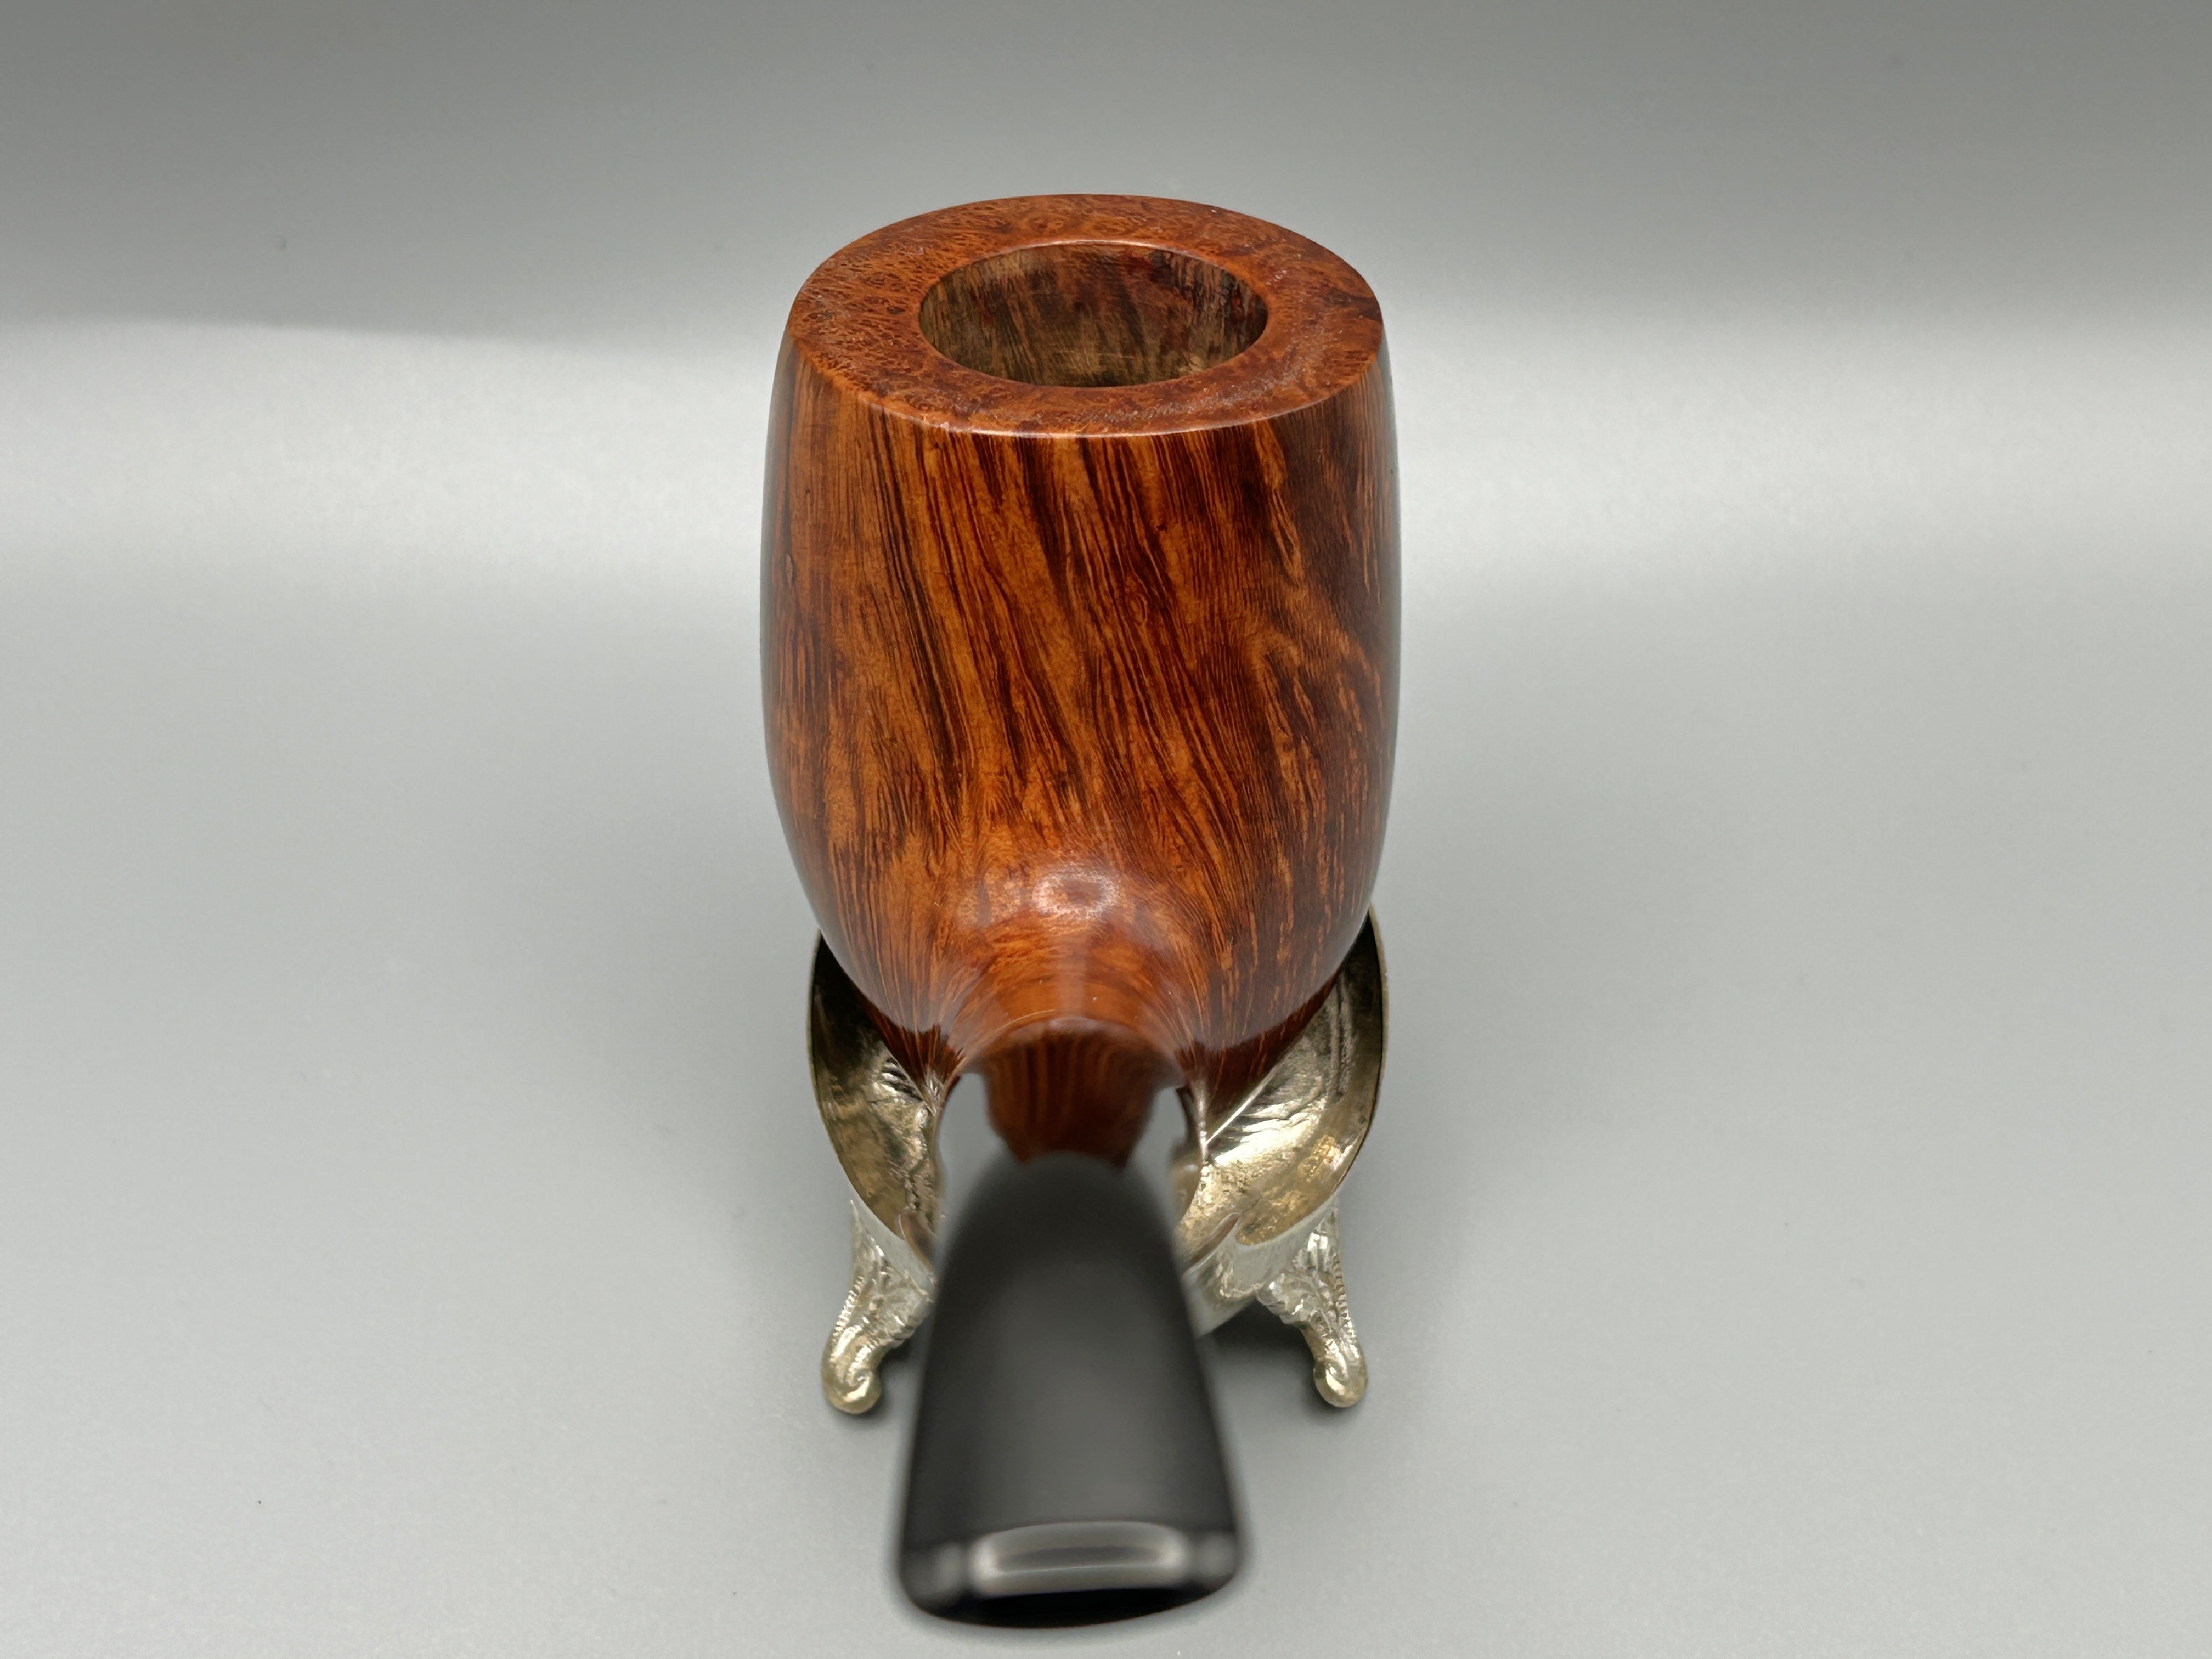
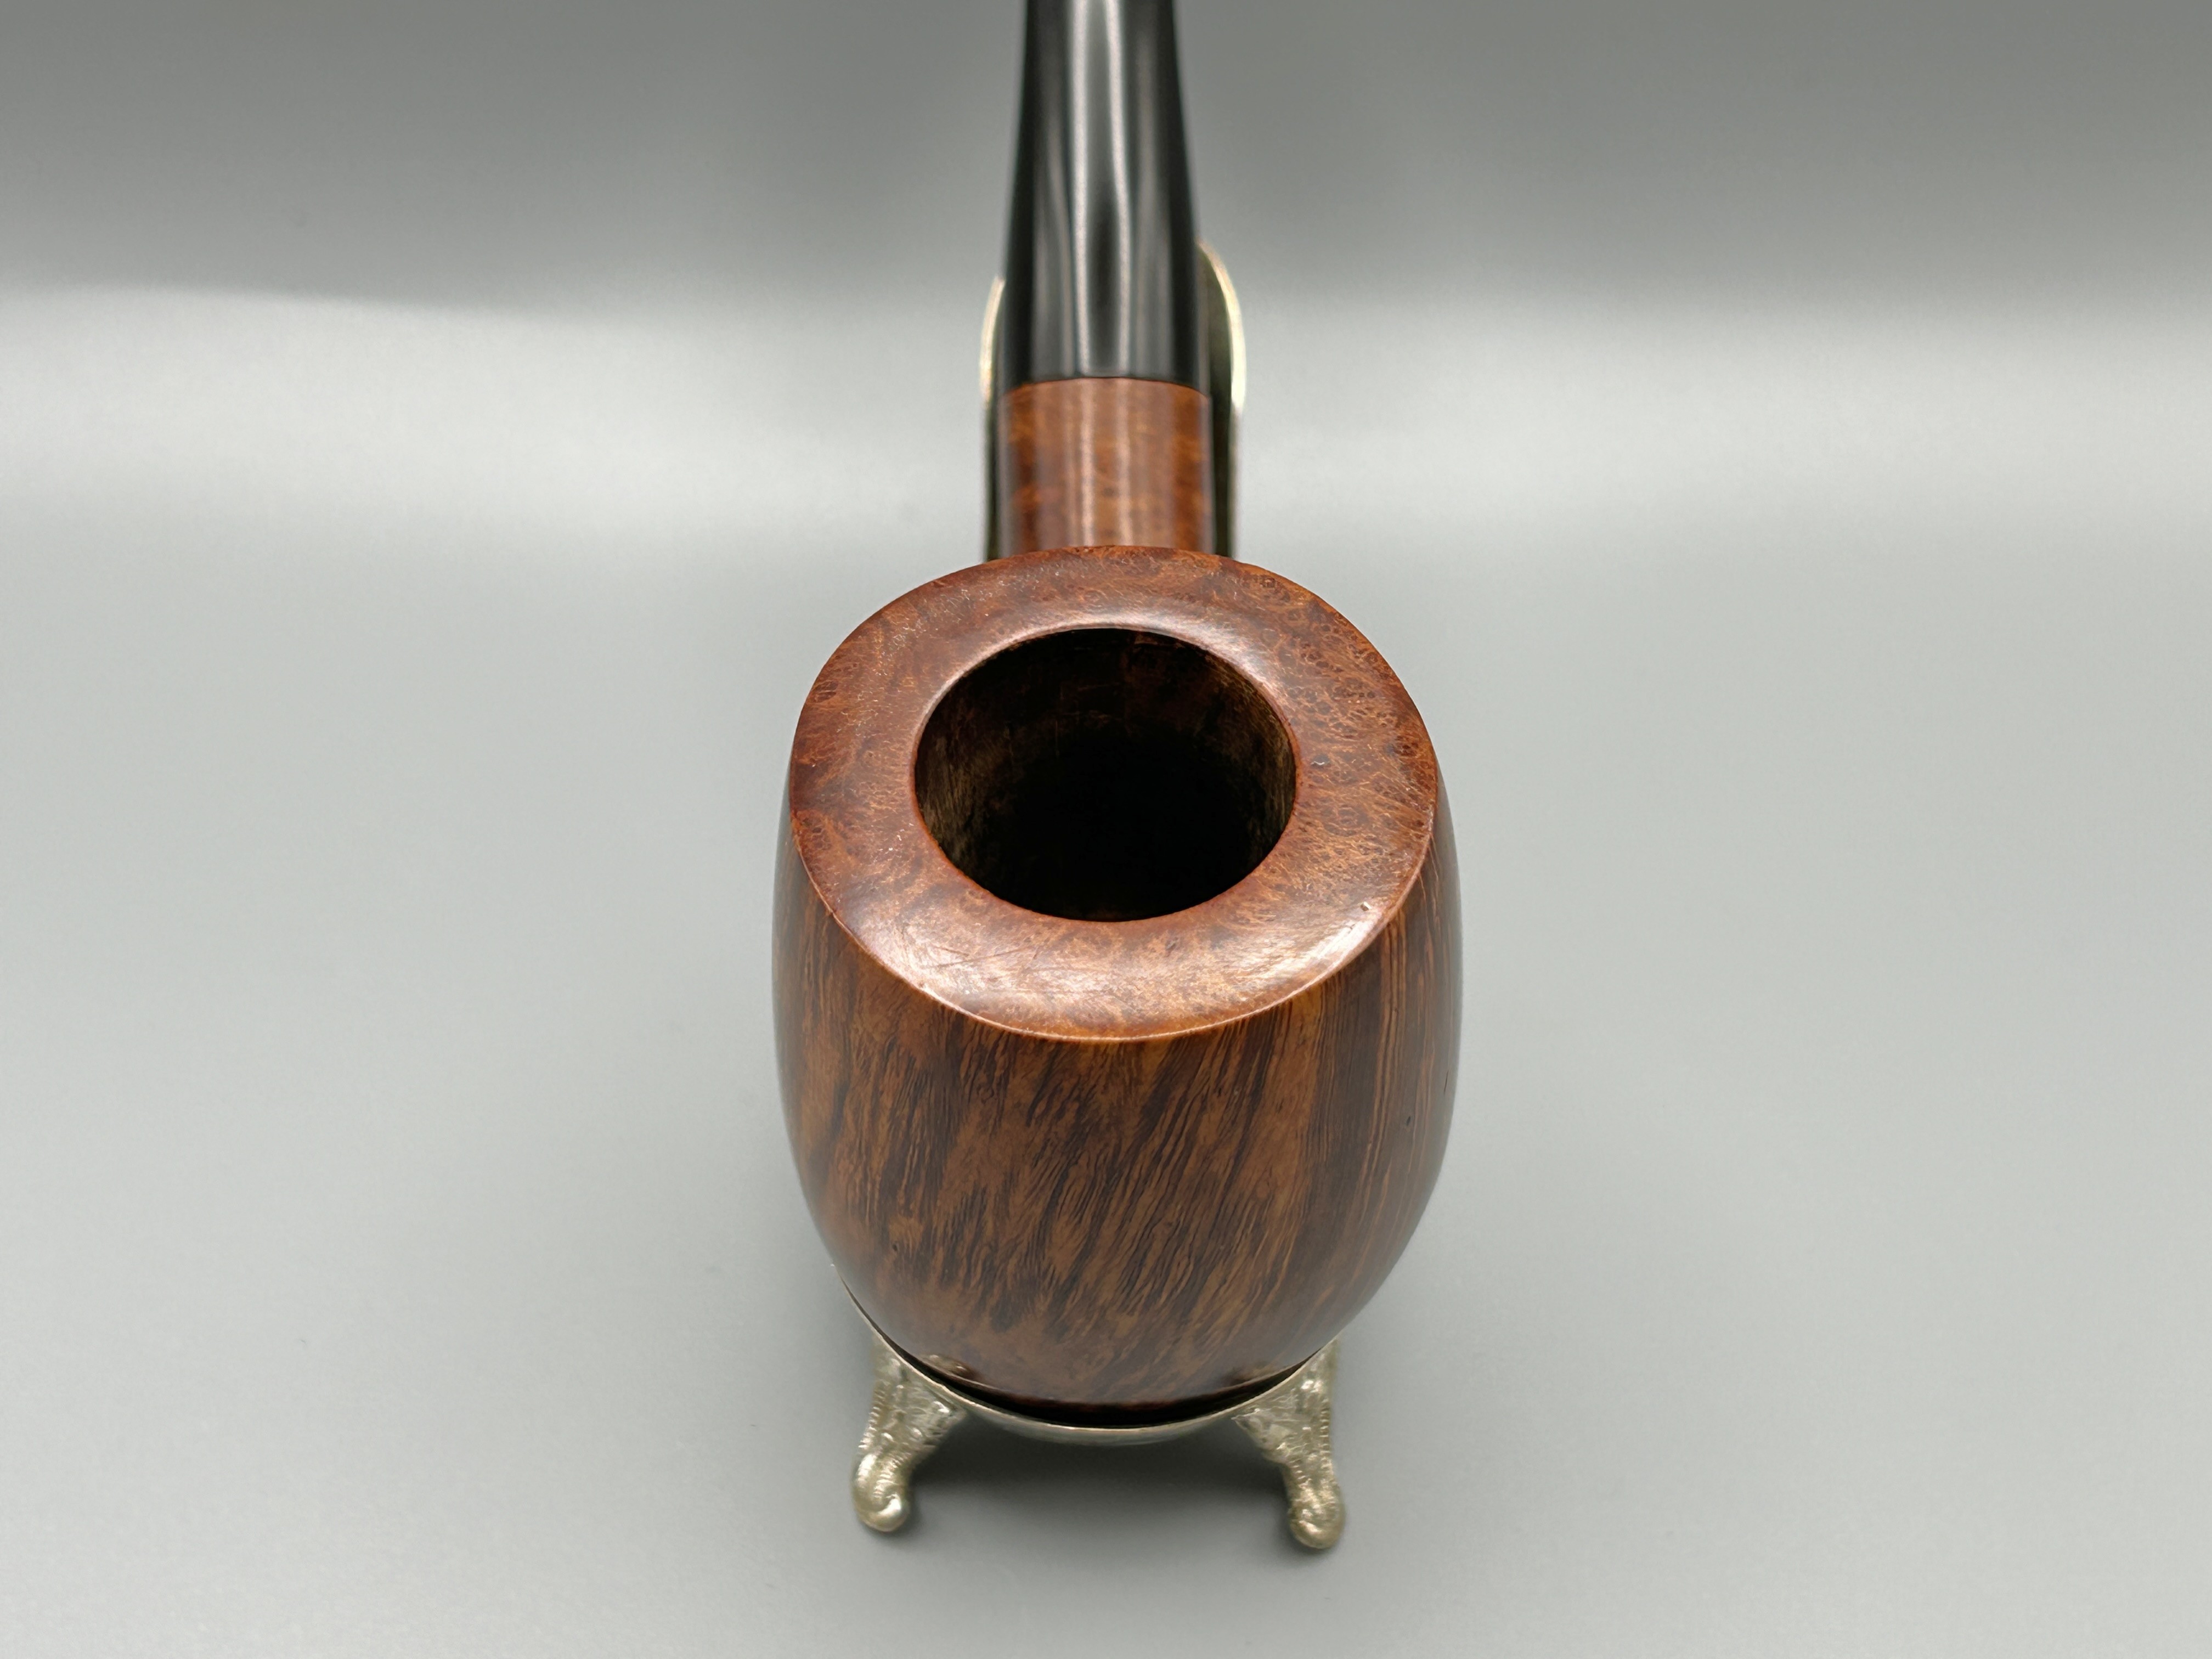
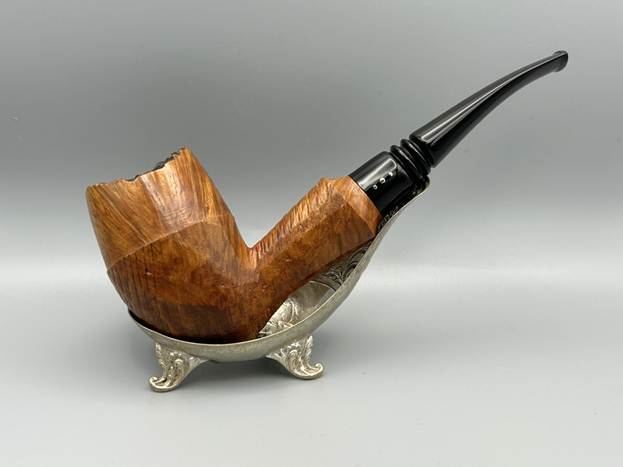
Is it a Brigham Sportsman? Yes. Is it a freehand? Yes. Is it a Brigham Norseman? Sort of. Is it a Brigham NorseSportsMan? Ok, I made that one up. This is a really interesting – and possibly experimental – Brigham pipe that was commissioned by a gentleman in Ontario. The light-coloured briar is quite attractive and has that distinctive rustication, typical of the Sportsman line. The tenon (which holds the maple distillator) on this pipe is made of aluminum – so it’s an older one. It’s been sitting in one of my boxes for a while and I’ve always had an eye on it. Its time in the spotlight is finally here.
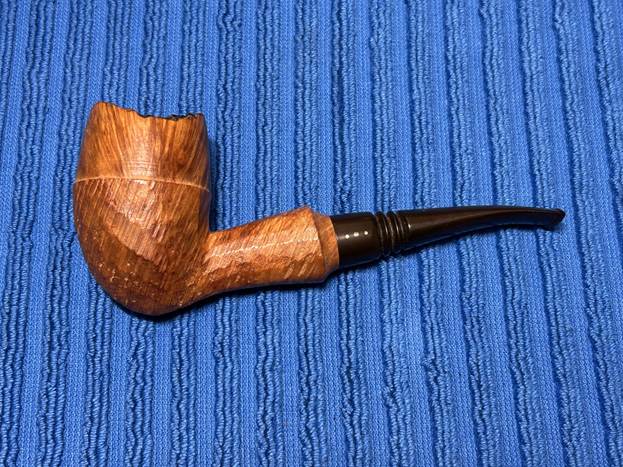
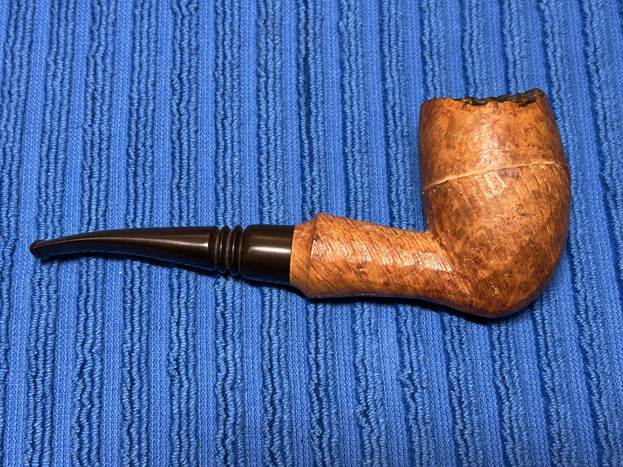
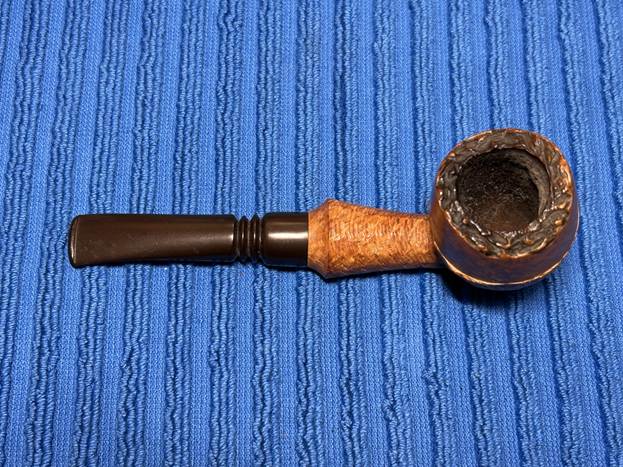
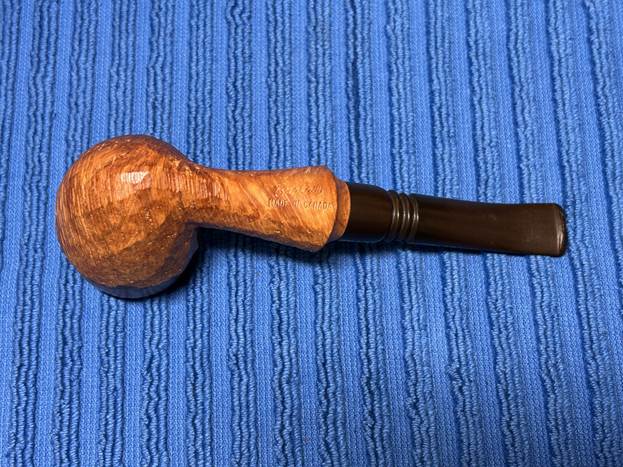
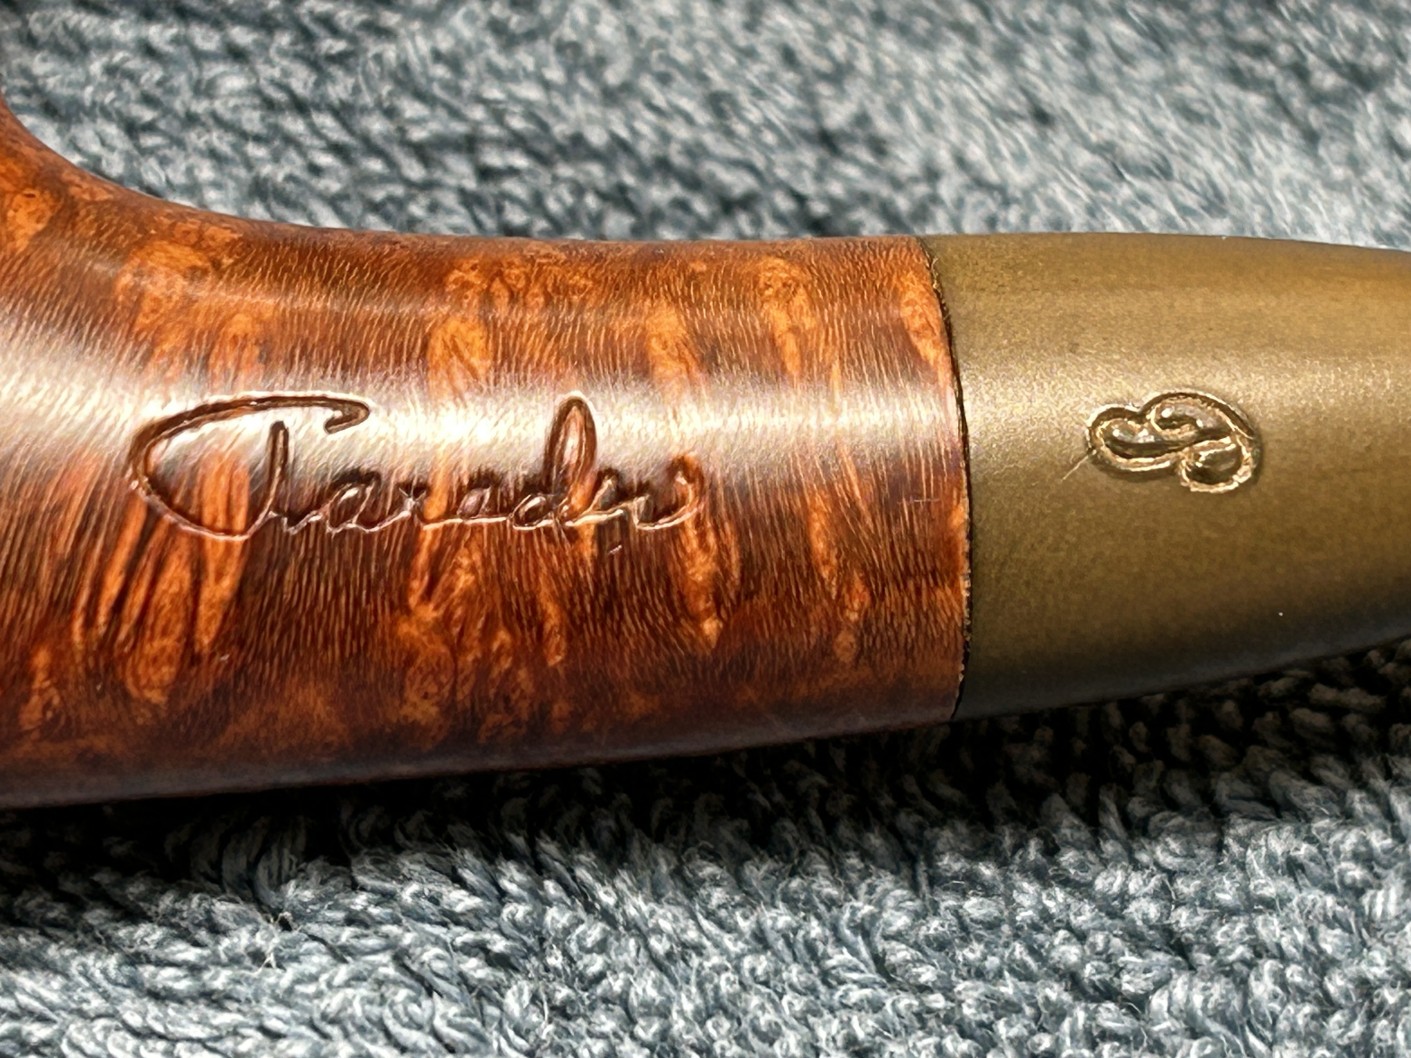
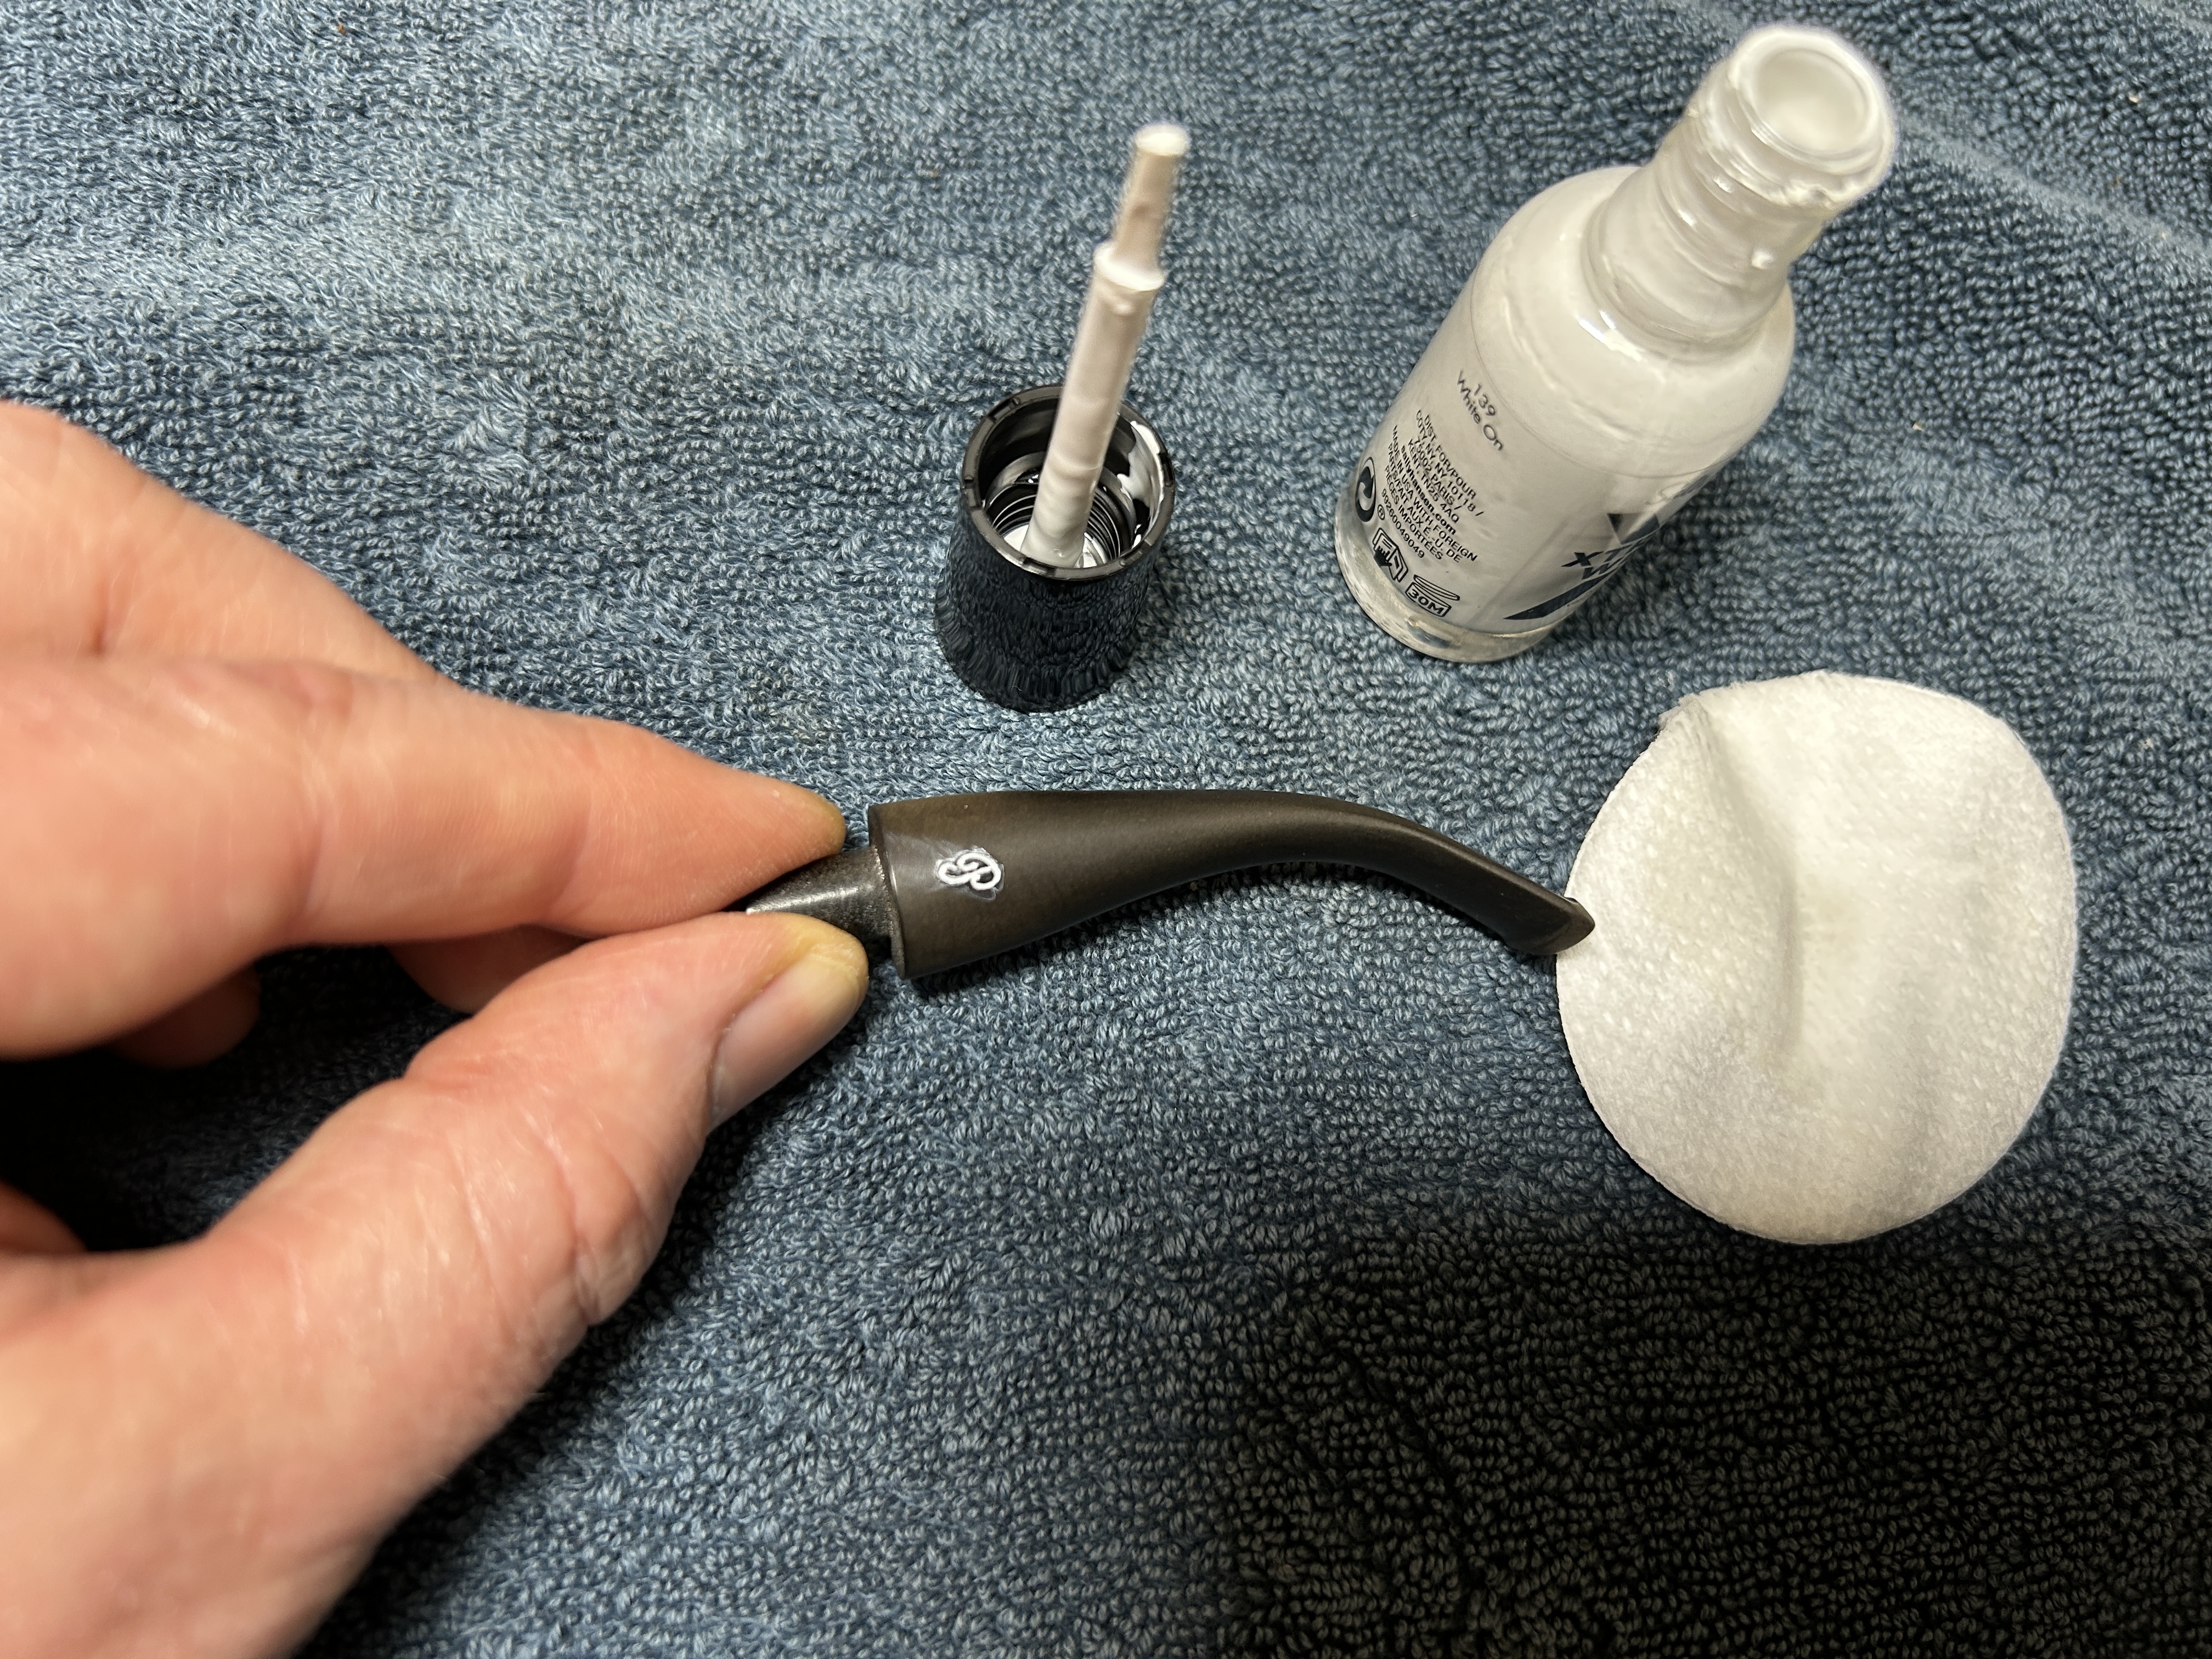
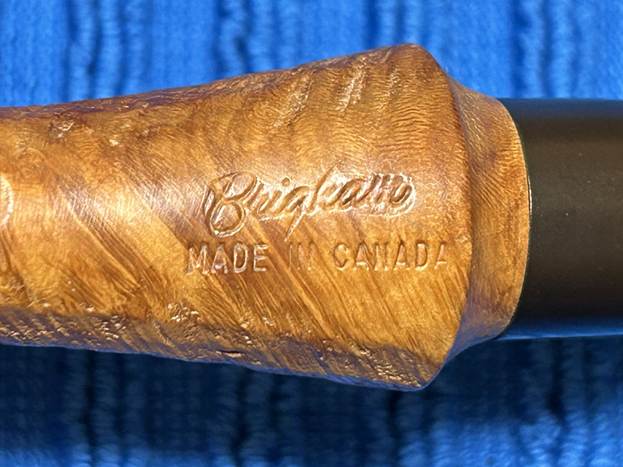
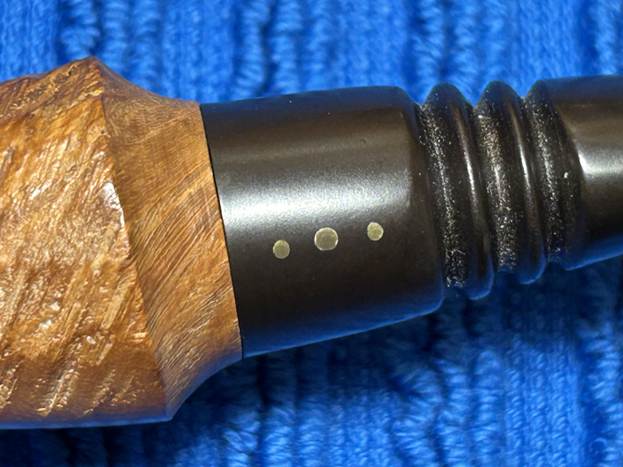
Let’s have a look at the marks on this pipe. On the underside of the shank, we read Brigham [over] Made in Canada. Of course, how those words are marked is what matters in dating Brigham pipes. I’ll get back to that. There are also three brass pins on the stem (a larger pin, flanked by two smaller pins) – typical of Brigham’s ranking system.
Thanks to Charles Lemon’s book, Brigham Pipes: A Century of Canadian Briar, dating this pipe was quite straightforward. Lemon writes,
With the expiry of the Brigham Patent in 1955, the CAN PAT stamp could no longer be used. Instead, pipes made between 1956 and roughly 1969 are marked with “MADE IN CANADA” in block letters. The Brigham logo was modernized, moving to a thinner script and losing the tail on the “m”.
Based on Lemon’s book, I can date this pipe to between 1956 and 1969. I looked thoroughly in the book’s Unofficial Brigham Shape Chart and this pipe was identical in shape to the Norseman 9W2. However, no hybrid Sportsman-Norseman was listed. I know that Brigham experimented with many shapes and styles over the years, so this might have been one of those.
A quick word about the Sportsman line. Later in Lemon’s book, we learn the following about the Sportsman:
The Sportsman pipes were essentially semi-shaped (or half finished) briar bowls with vulcanite stems, complete with the Brigham System. The smoking characteristics of Sportsman models were identical to regular Brigham pipes, and the rough exterior and simple wax finish gave the series a rugged, outdoorsy appearance that many pipe smokers found appealing.
So, what about the three pins? What do they mean in a Brigham context. Again, Lemon’s book provides the answer:
In the late 1950s or early 1960s Brigham expanded its regular pipe lineup to six quality levels introducing the “VIP” grade, pinned with yet another three-Dot pattern consisting of three pins in a horizontal line with the centre Dot larger than the two outside Dots – essentially the Brigham Executive grade pinning turned ninety degrees.
This pipe clearly has a Norseman shape, so here is a word about the Norseman line of pipes:
Norseman pipes were fully rusticated and pinned with the Brigham VIP 3 Dot horizontally aligned pattern, with the middle Dot larger than the other two. They were stamped with “9Wx”, where “x” indicated the shape number.
So, what does all this tell us? I think this pipe was some sort of experiment. It dates from 1956 to 1969. It has a Sportsman finish to be sure. It has the brass pins and shape of a Norseman, but does not have the rusticated finish of the Norseman. It is some sort of Sportsman-Norseman hybrid, or, as I joked earlier: a Brigham NorseSportsMan.
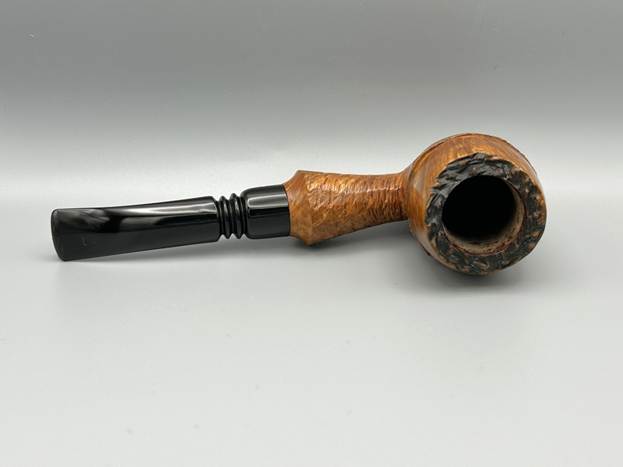
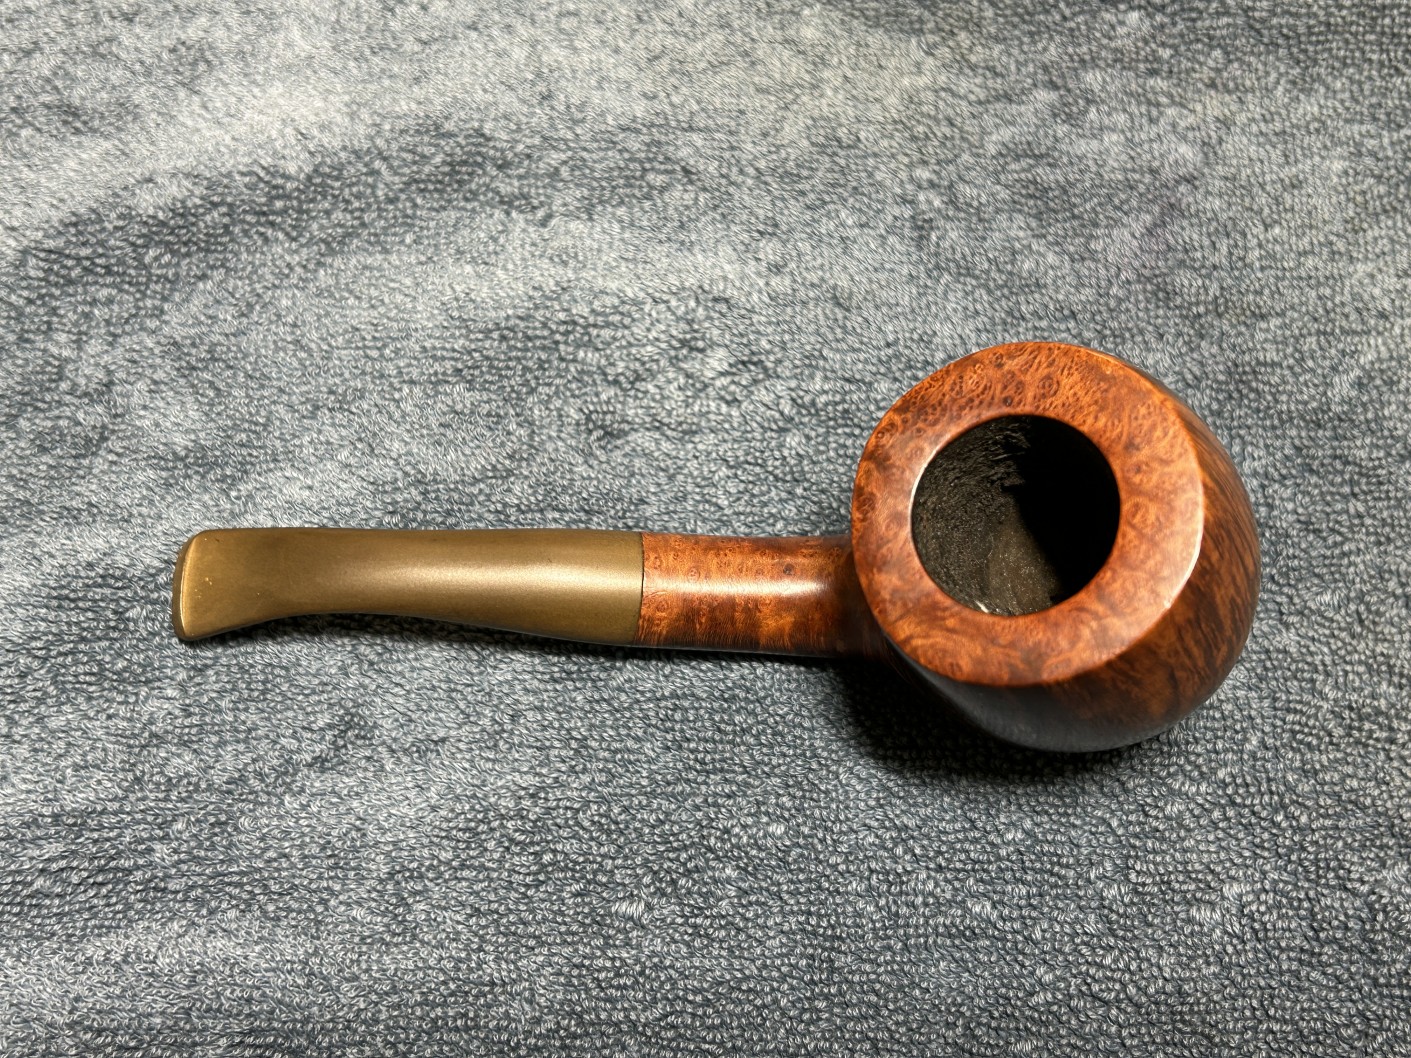
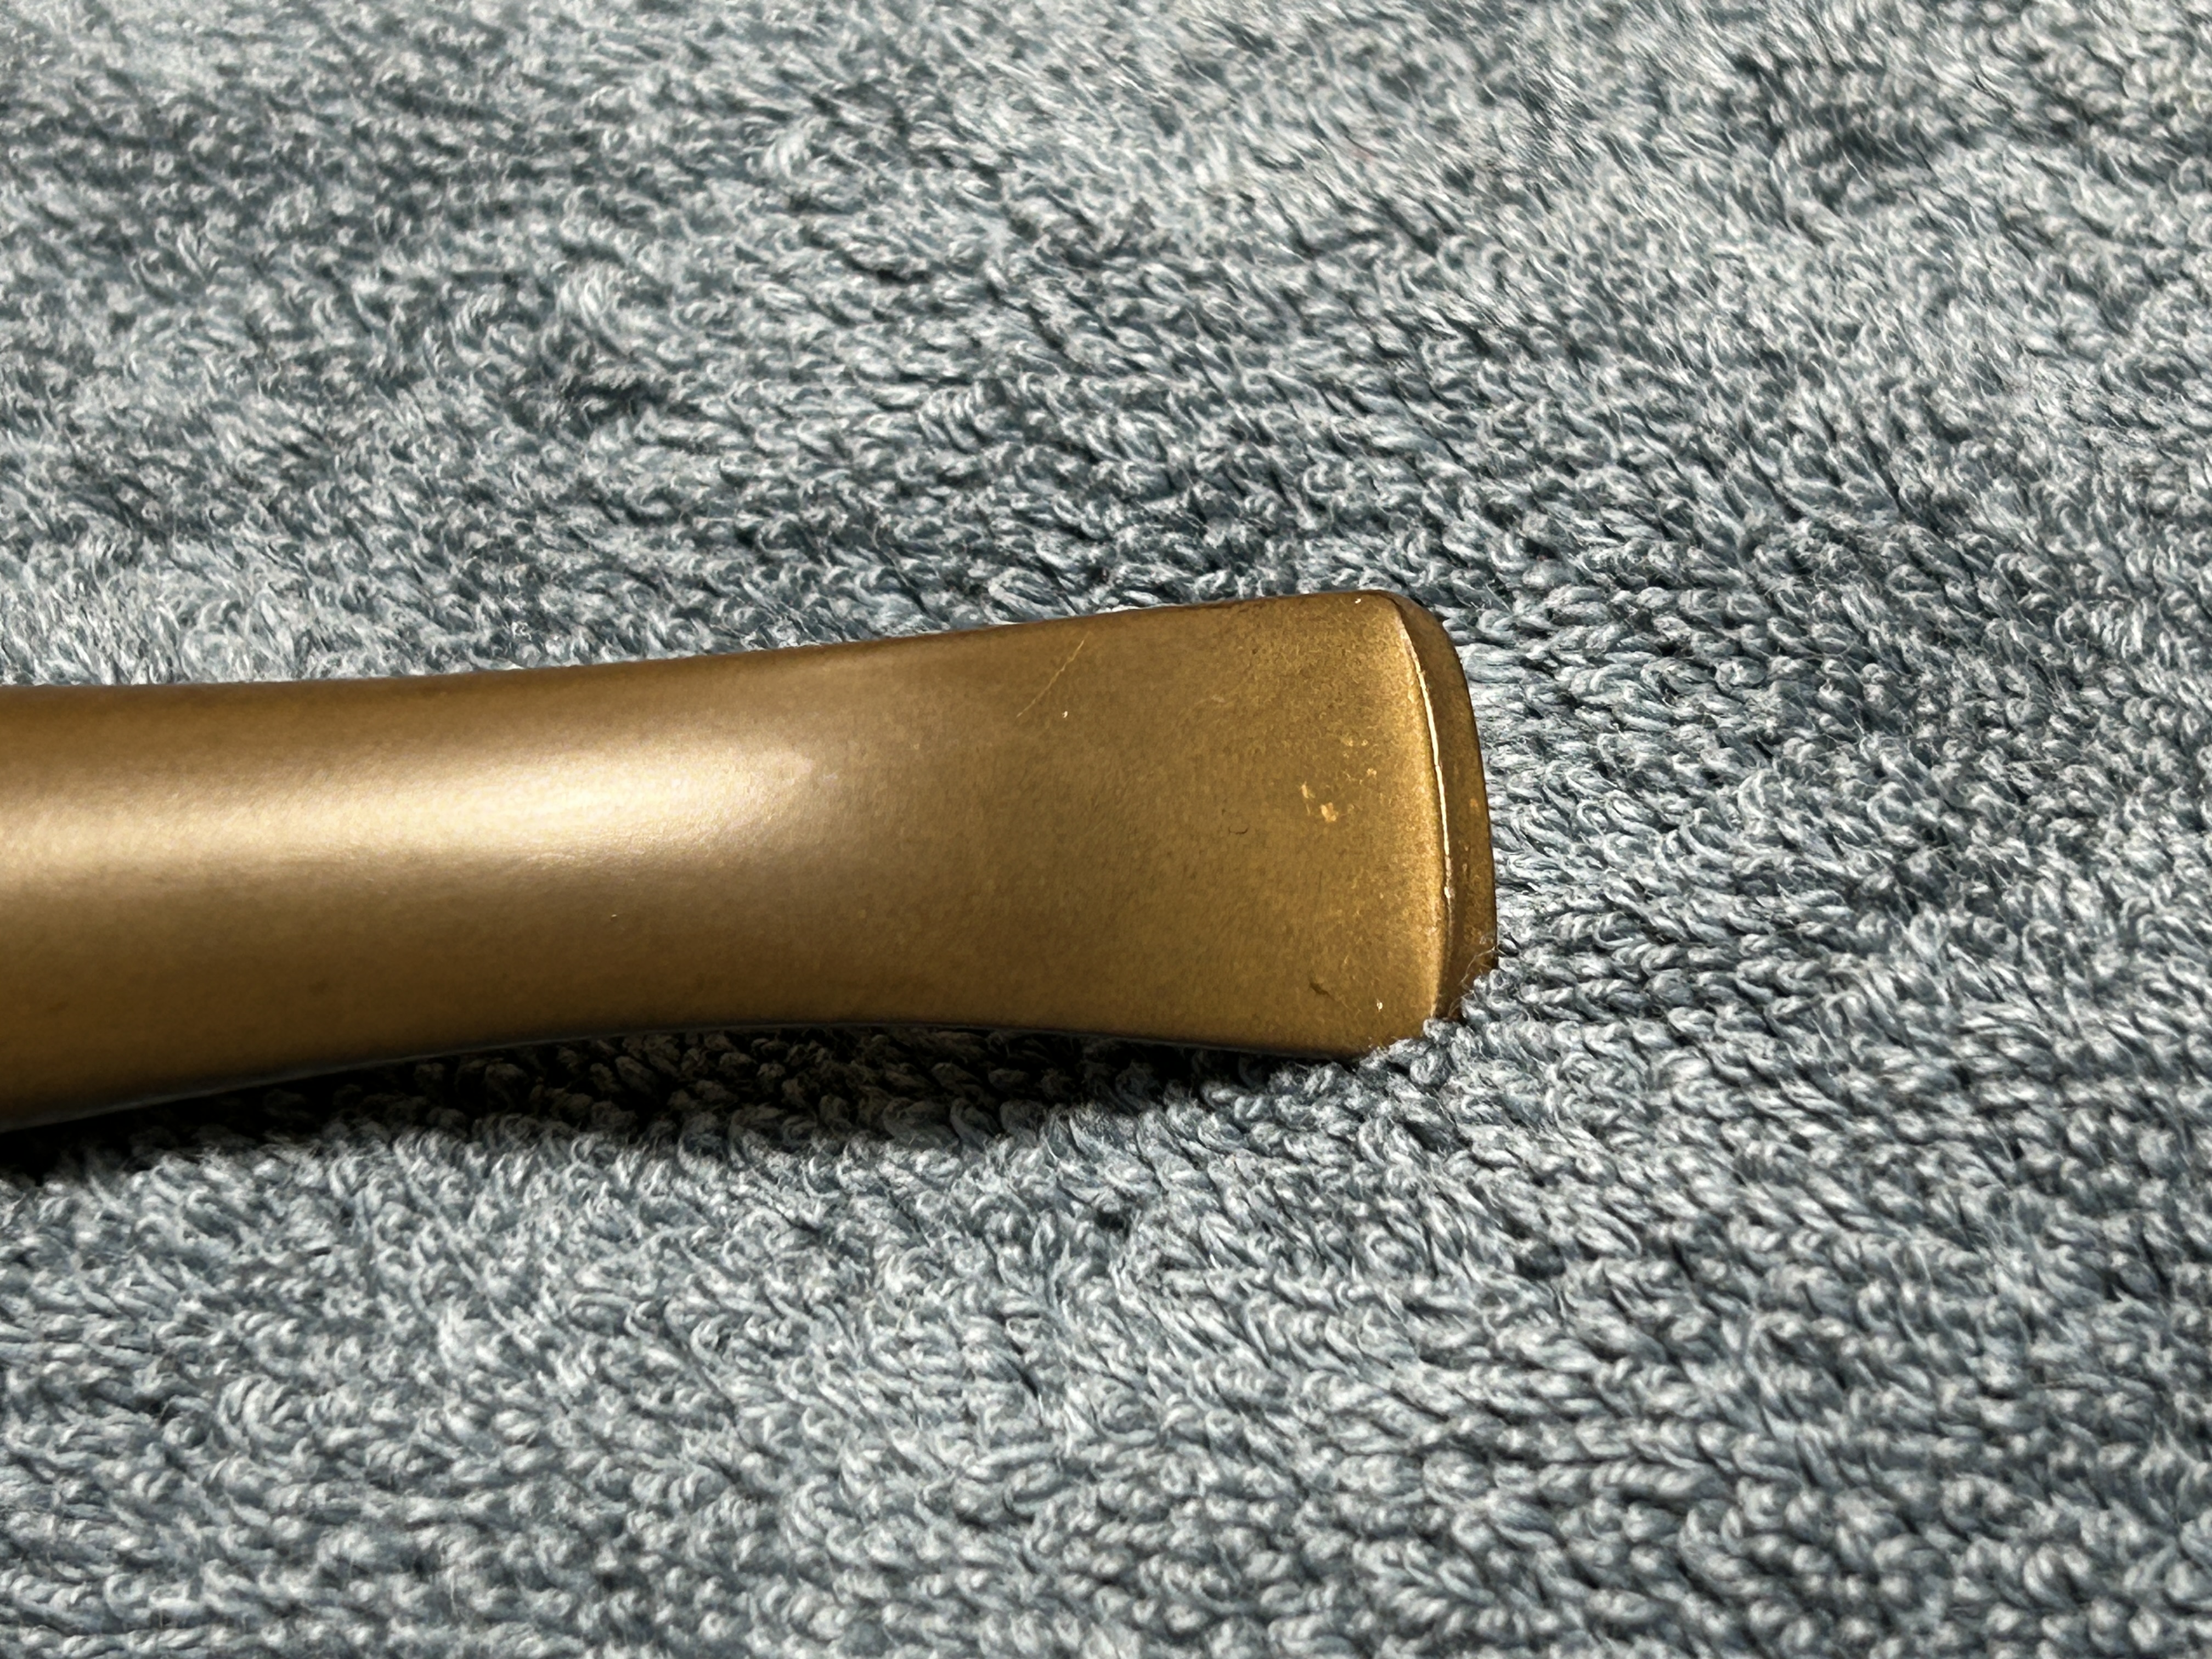
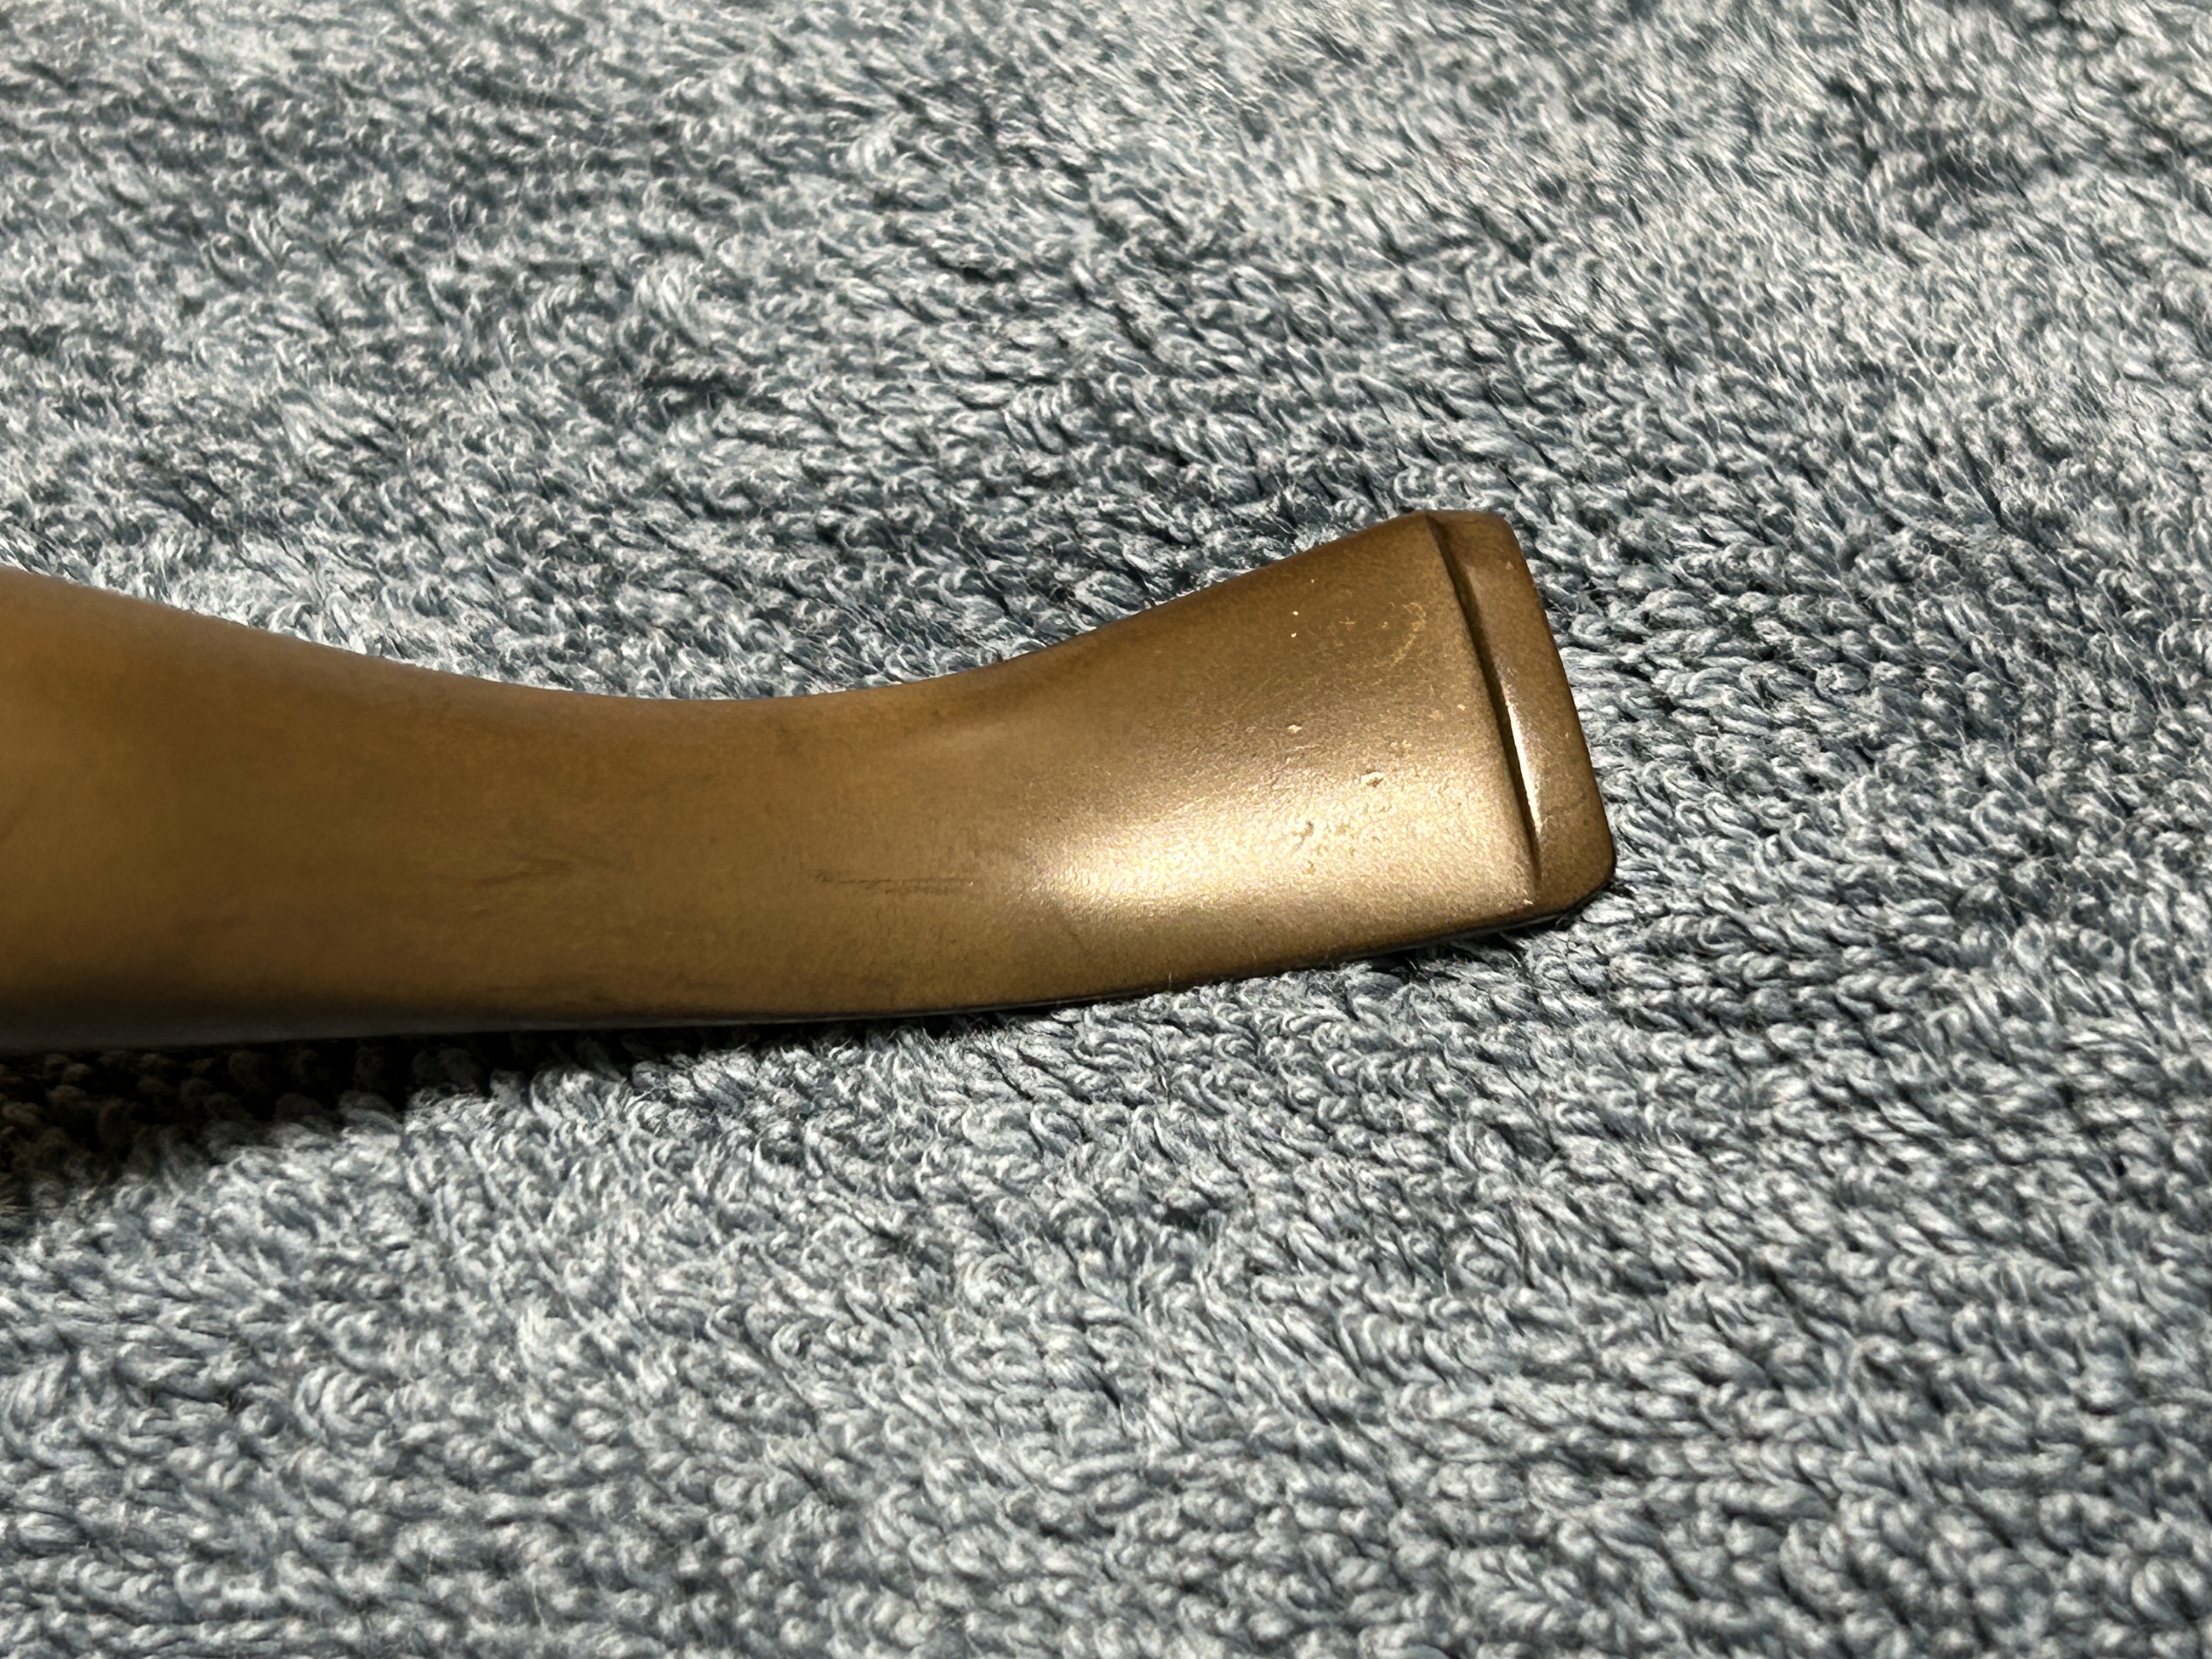
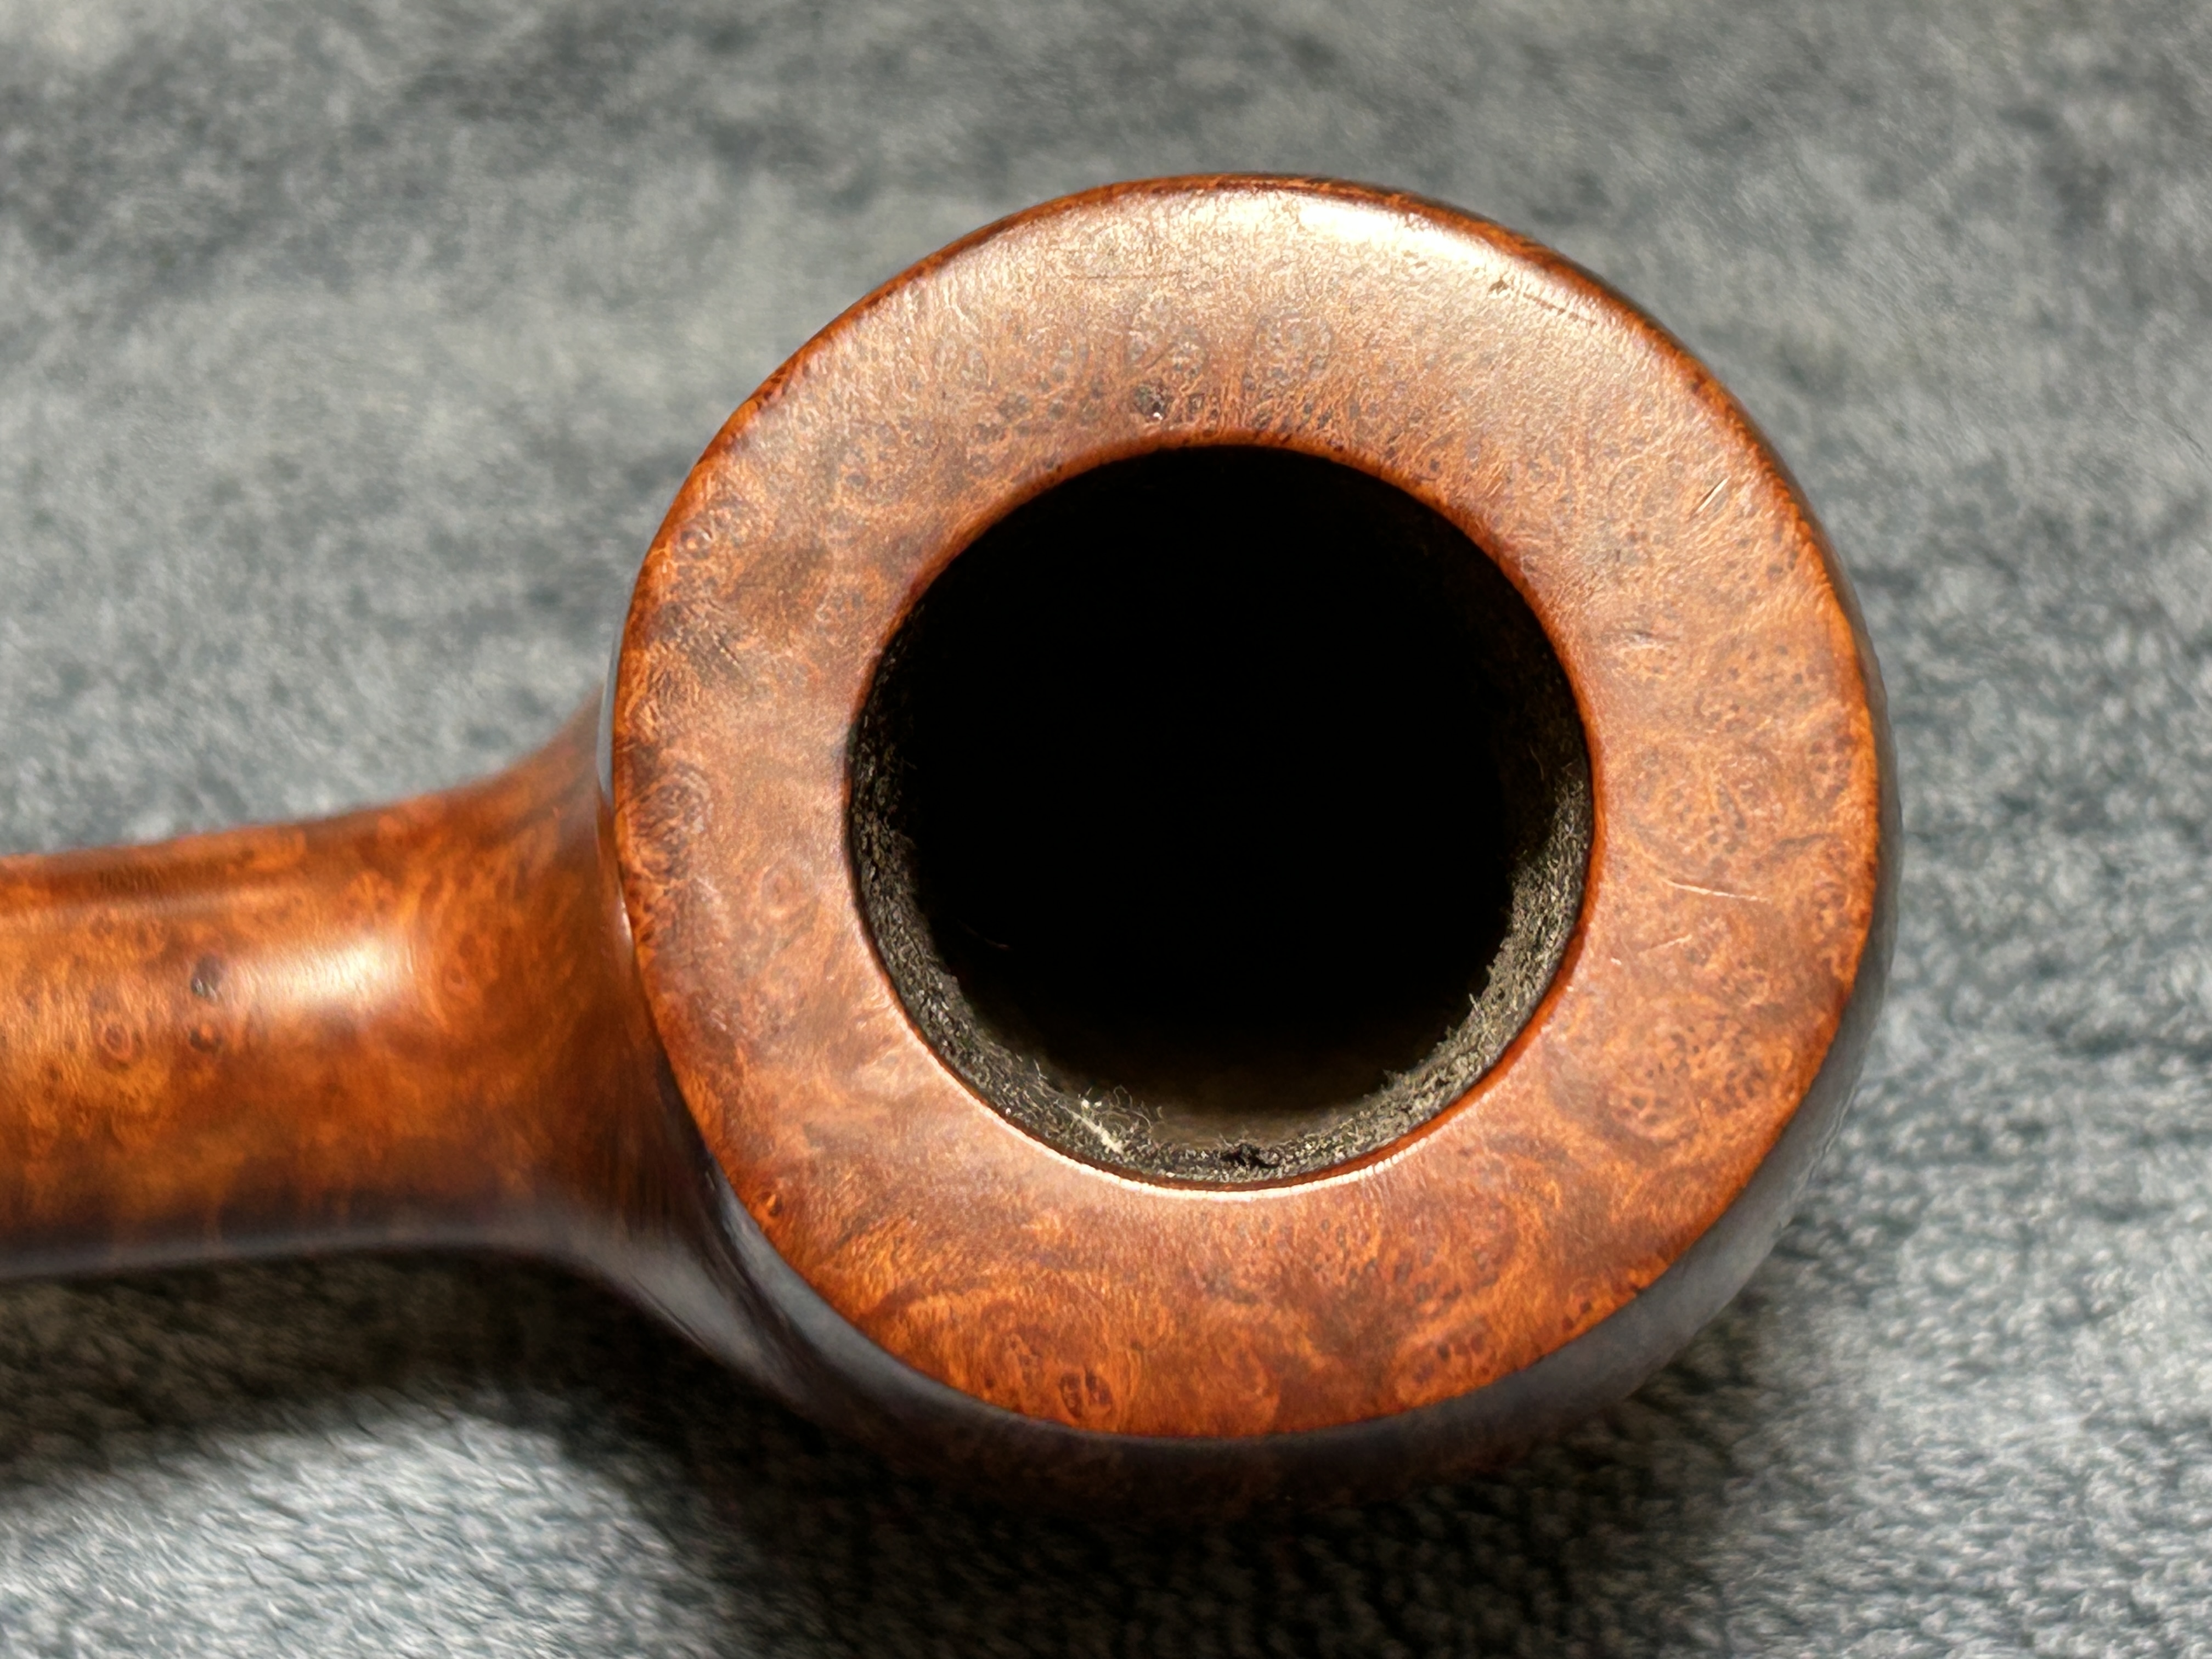
Let’s get on with the pipe. The first thing I noticed is that the pipe was obviously seldom smoked. That’s a bonus for me and a bonus for my customer. The stem has gathered some oxidation over the years and a couple of minor tooth marks, but nothing to worry about. The stummel is also in good shape. There is very little filth either inside or outside the bowl. All good news.
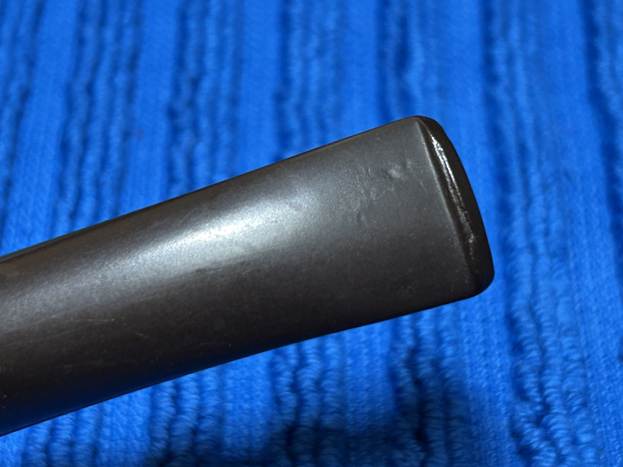
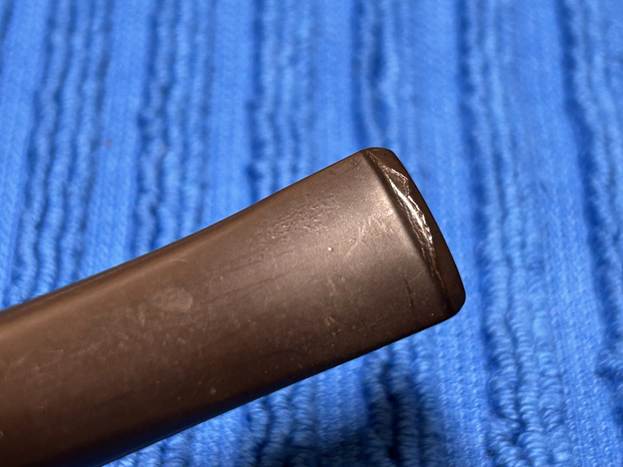
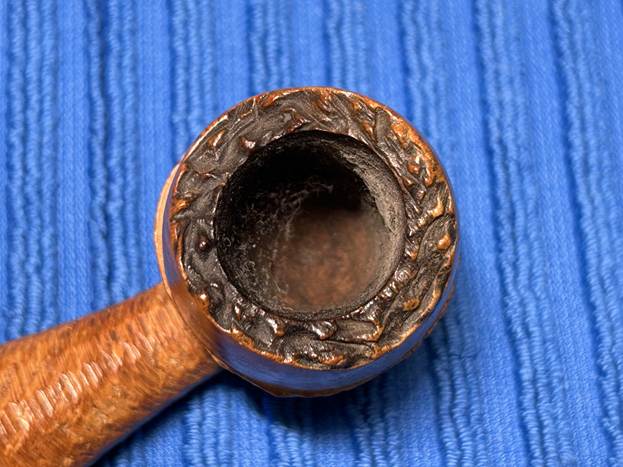
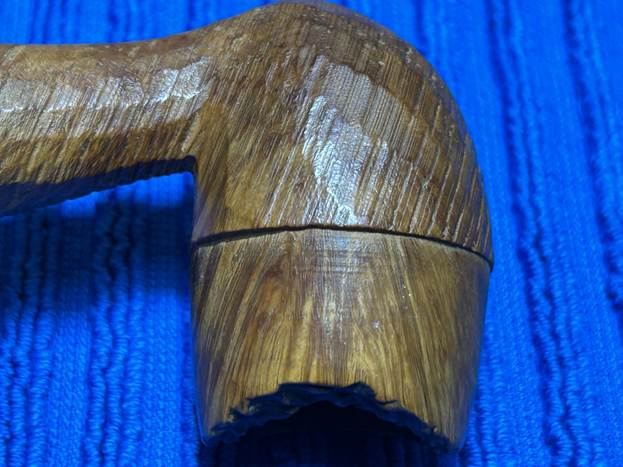
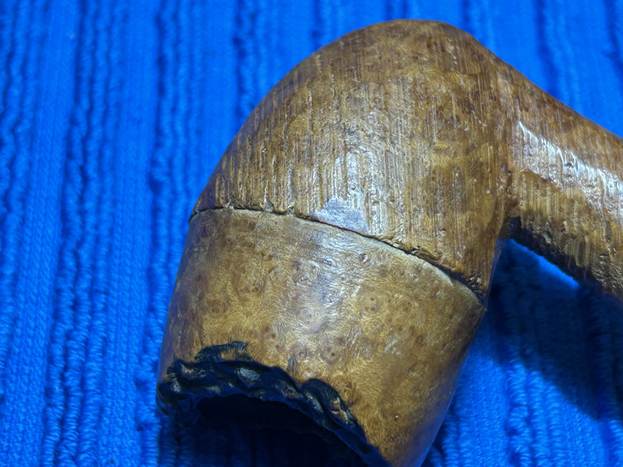
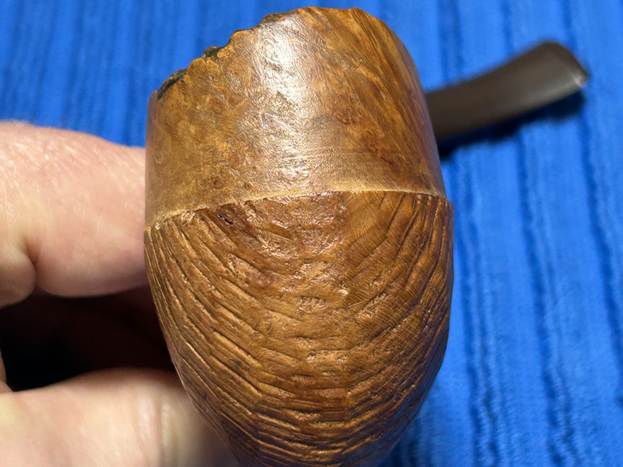
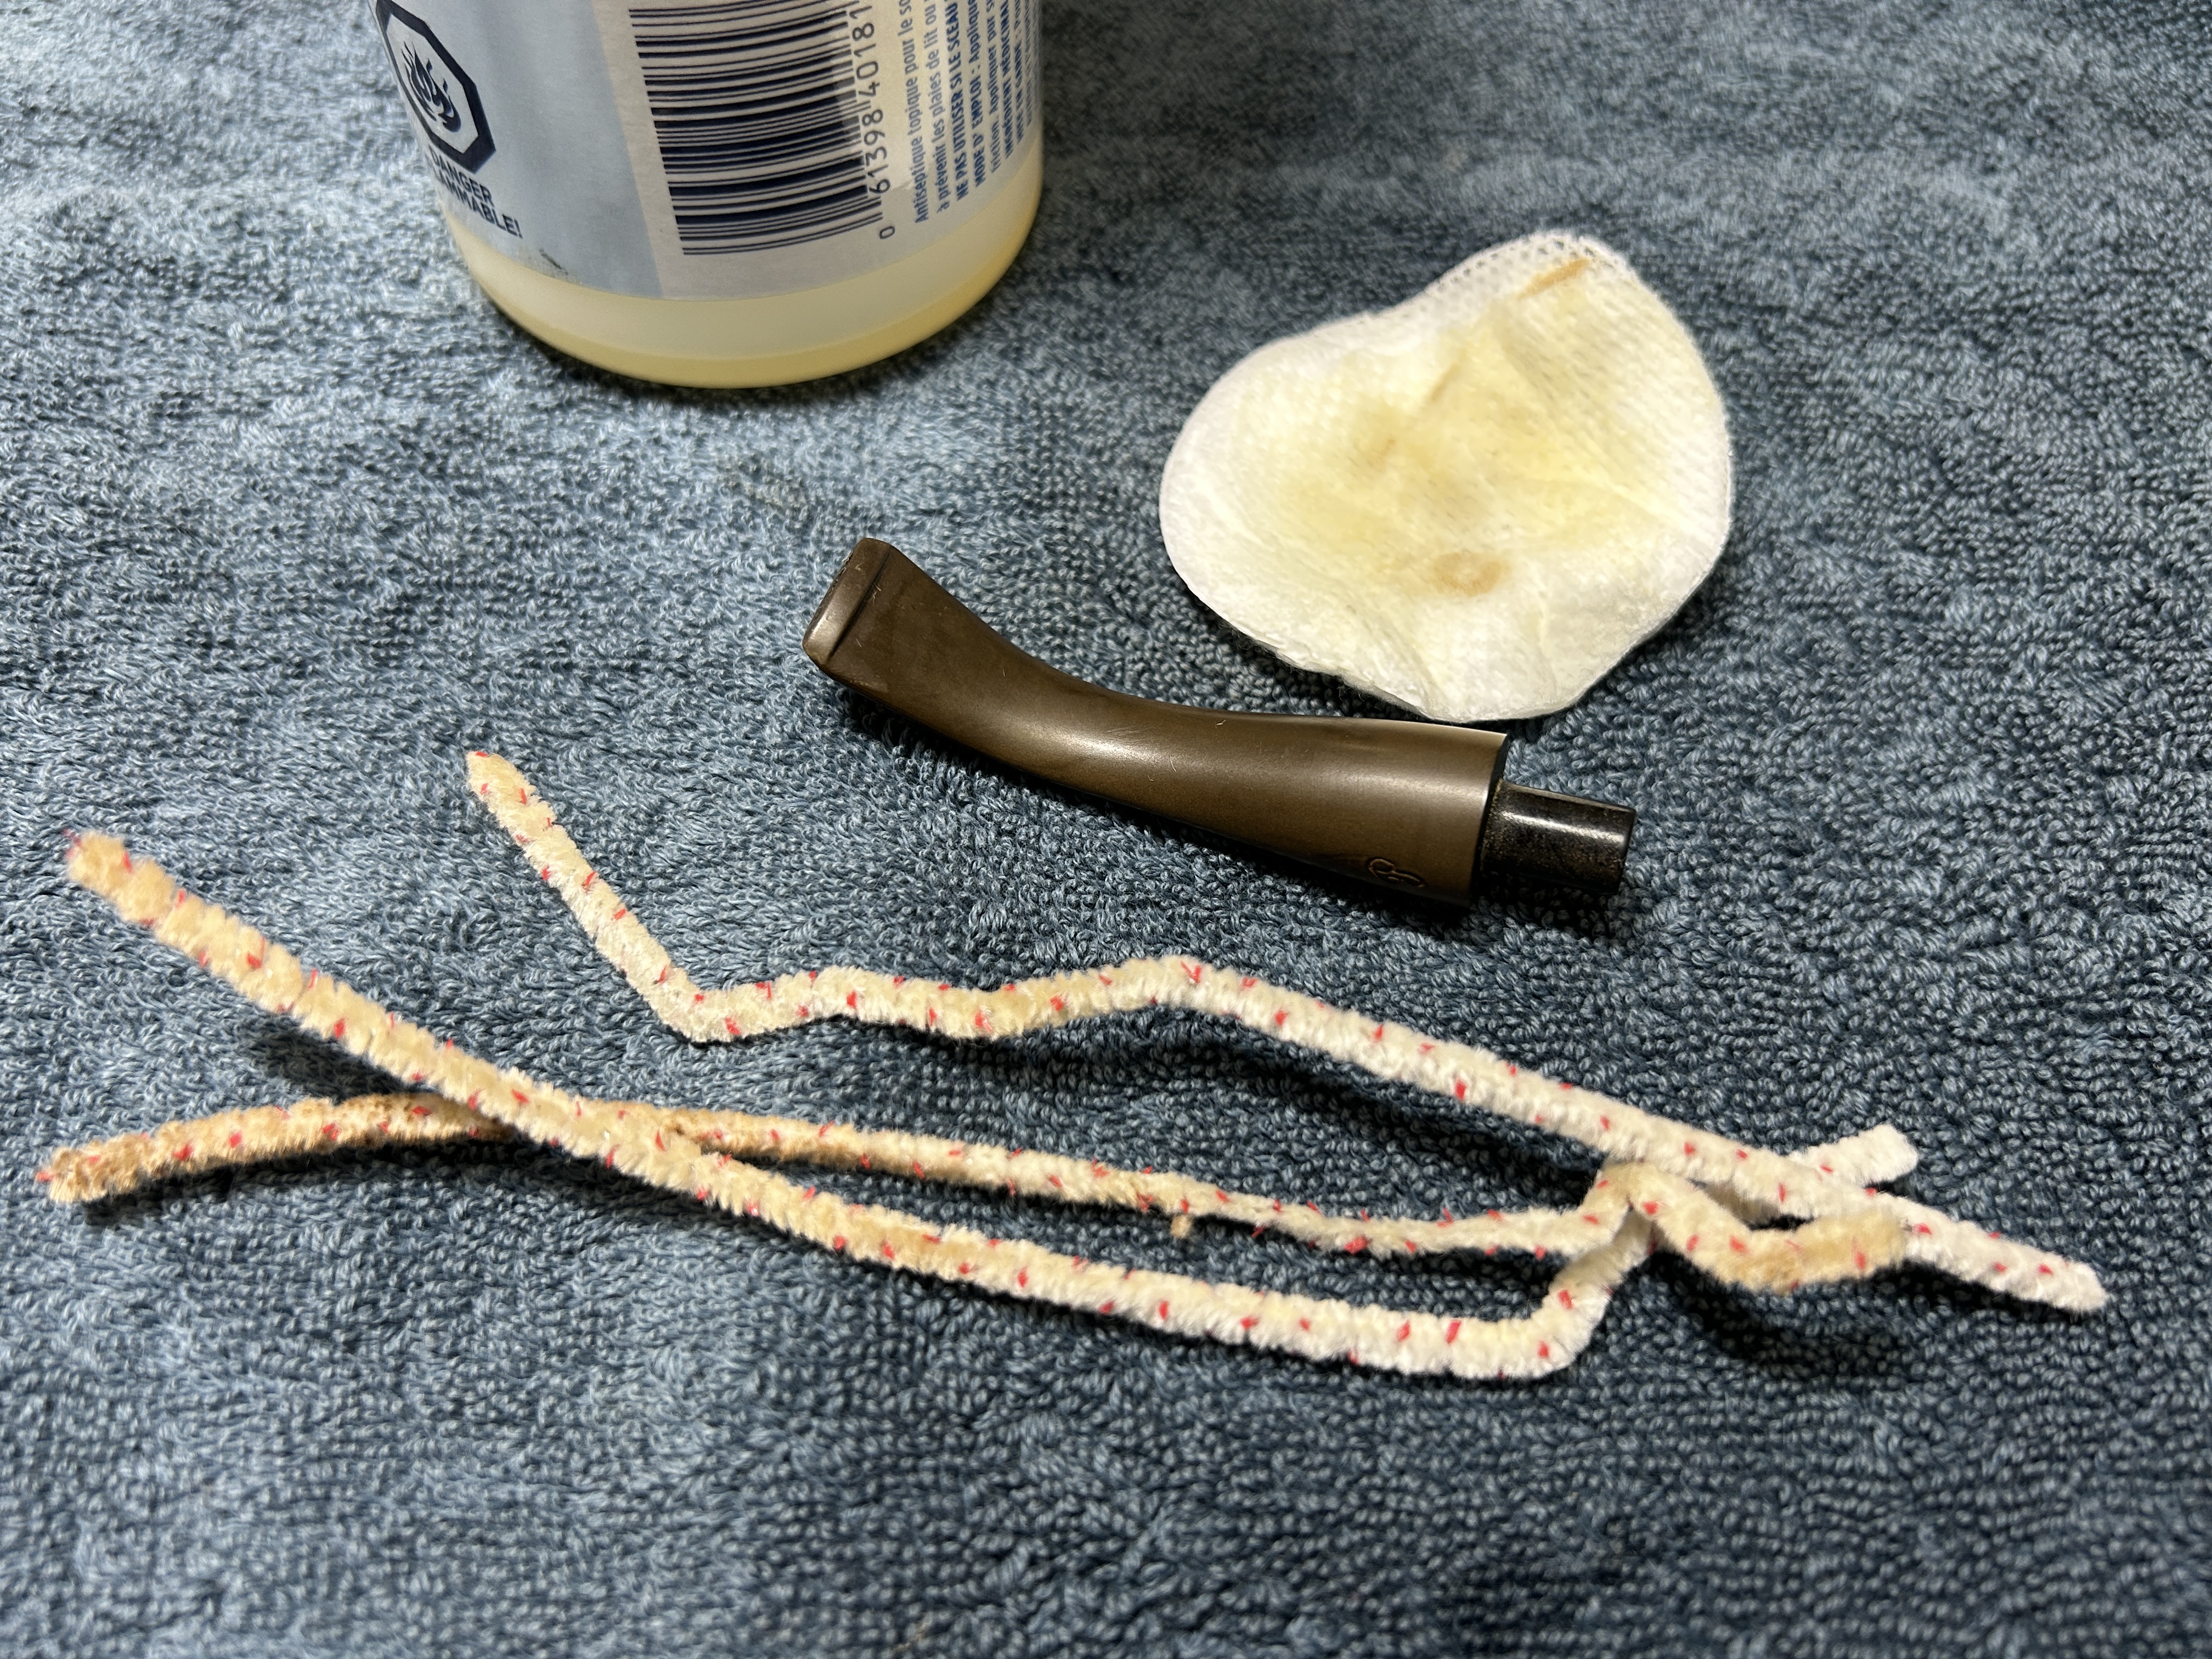
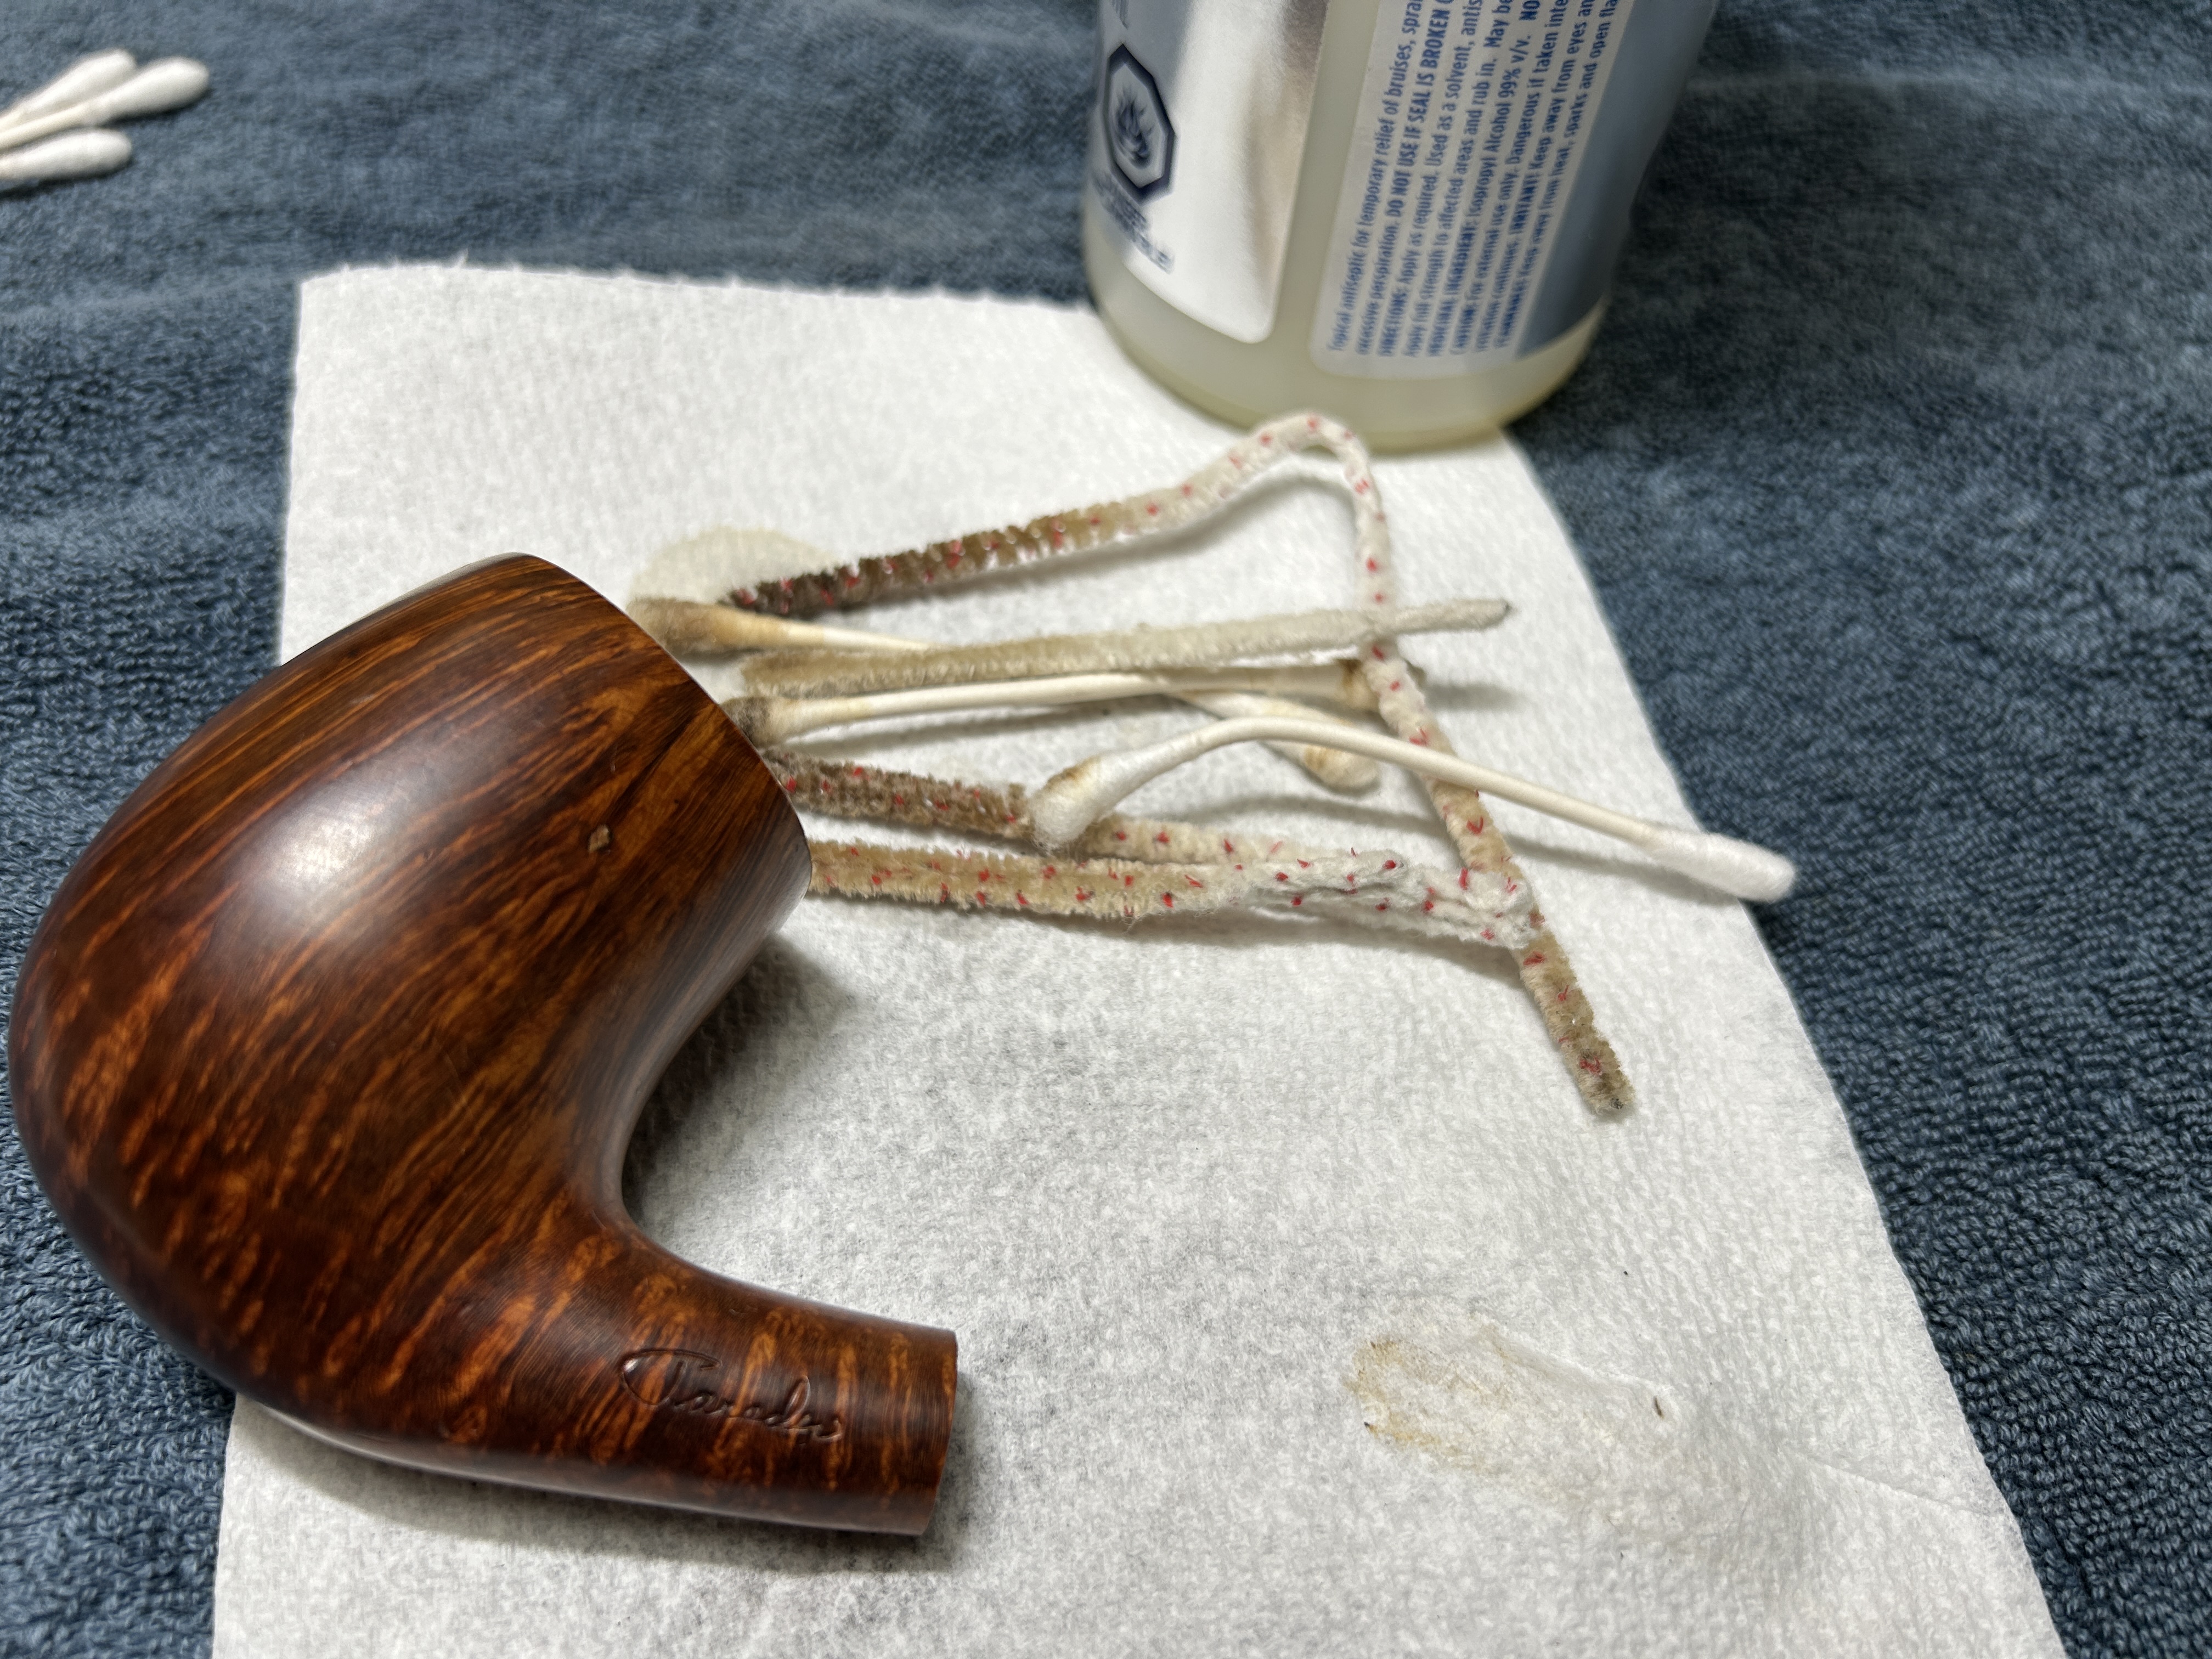
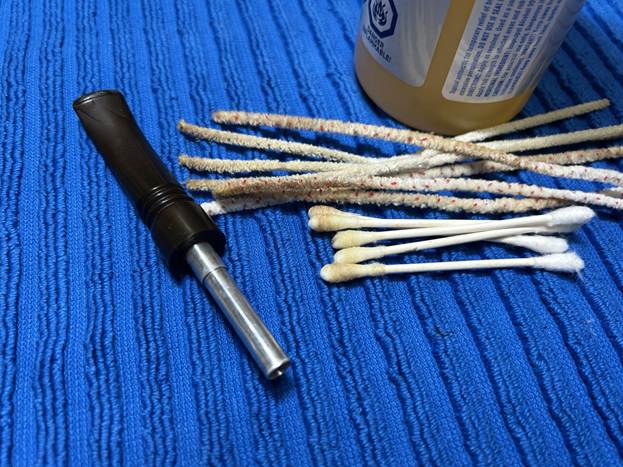
I used isopropyl alcohol on a few cotton rounds and wiped down the stem to provide an initial cleaning of filth before moving on to the next steps. The primary cleaning came next. I disinfected the inside of the stem with both pipe cleaners and cotton swabs dipped in lemon-infused 99% isopropyl alcohol.
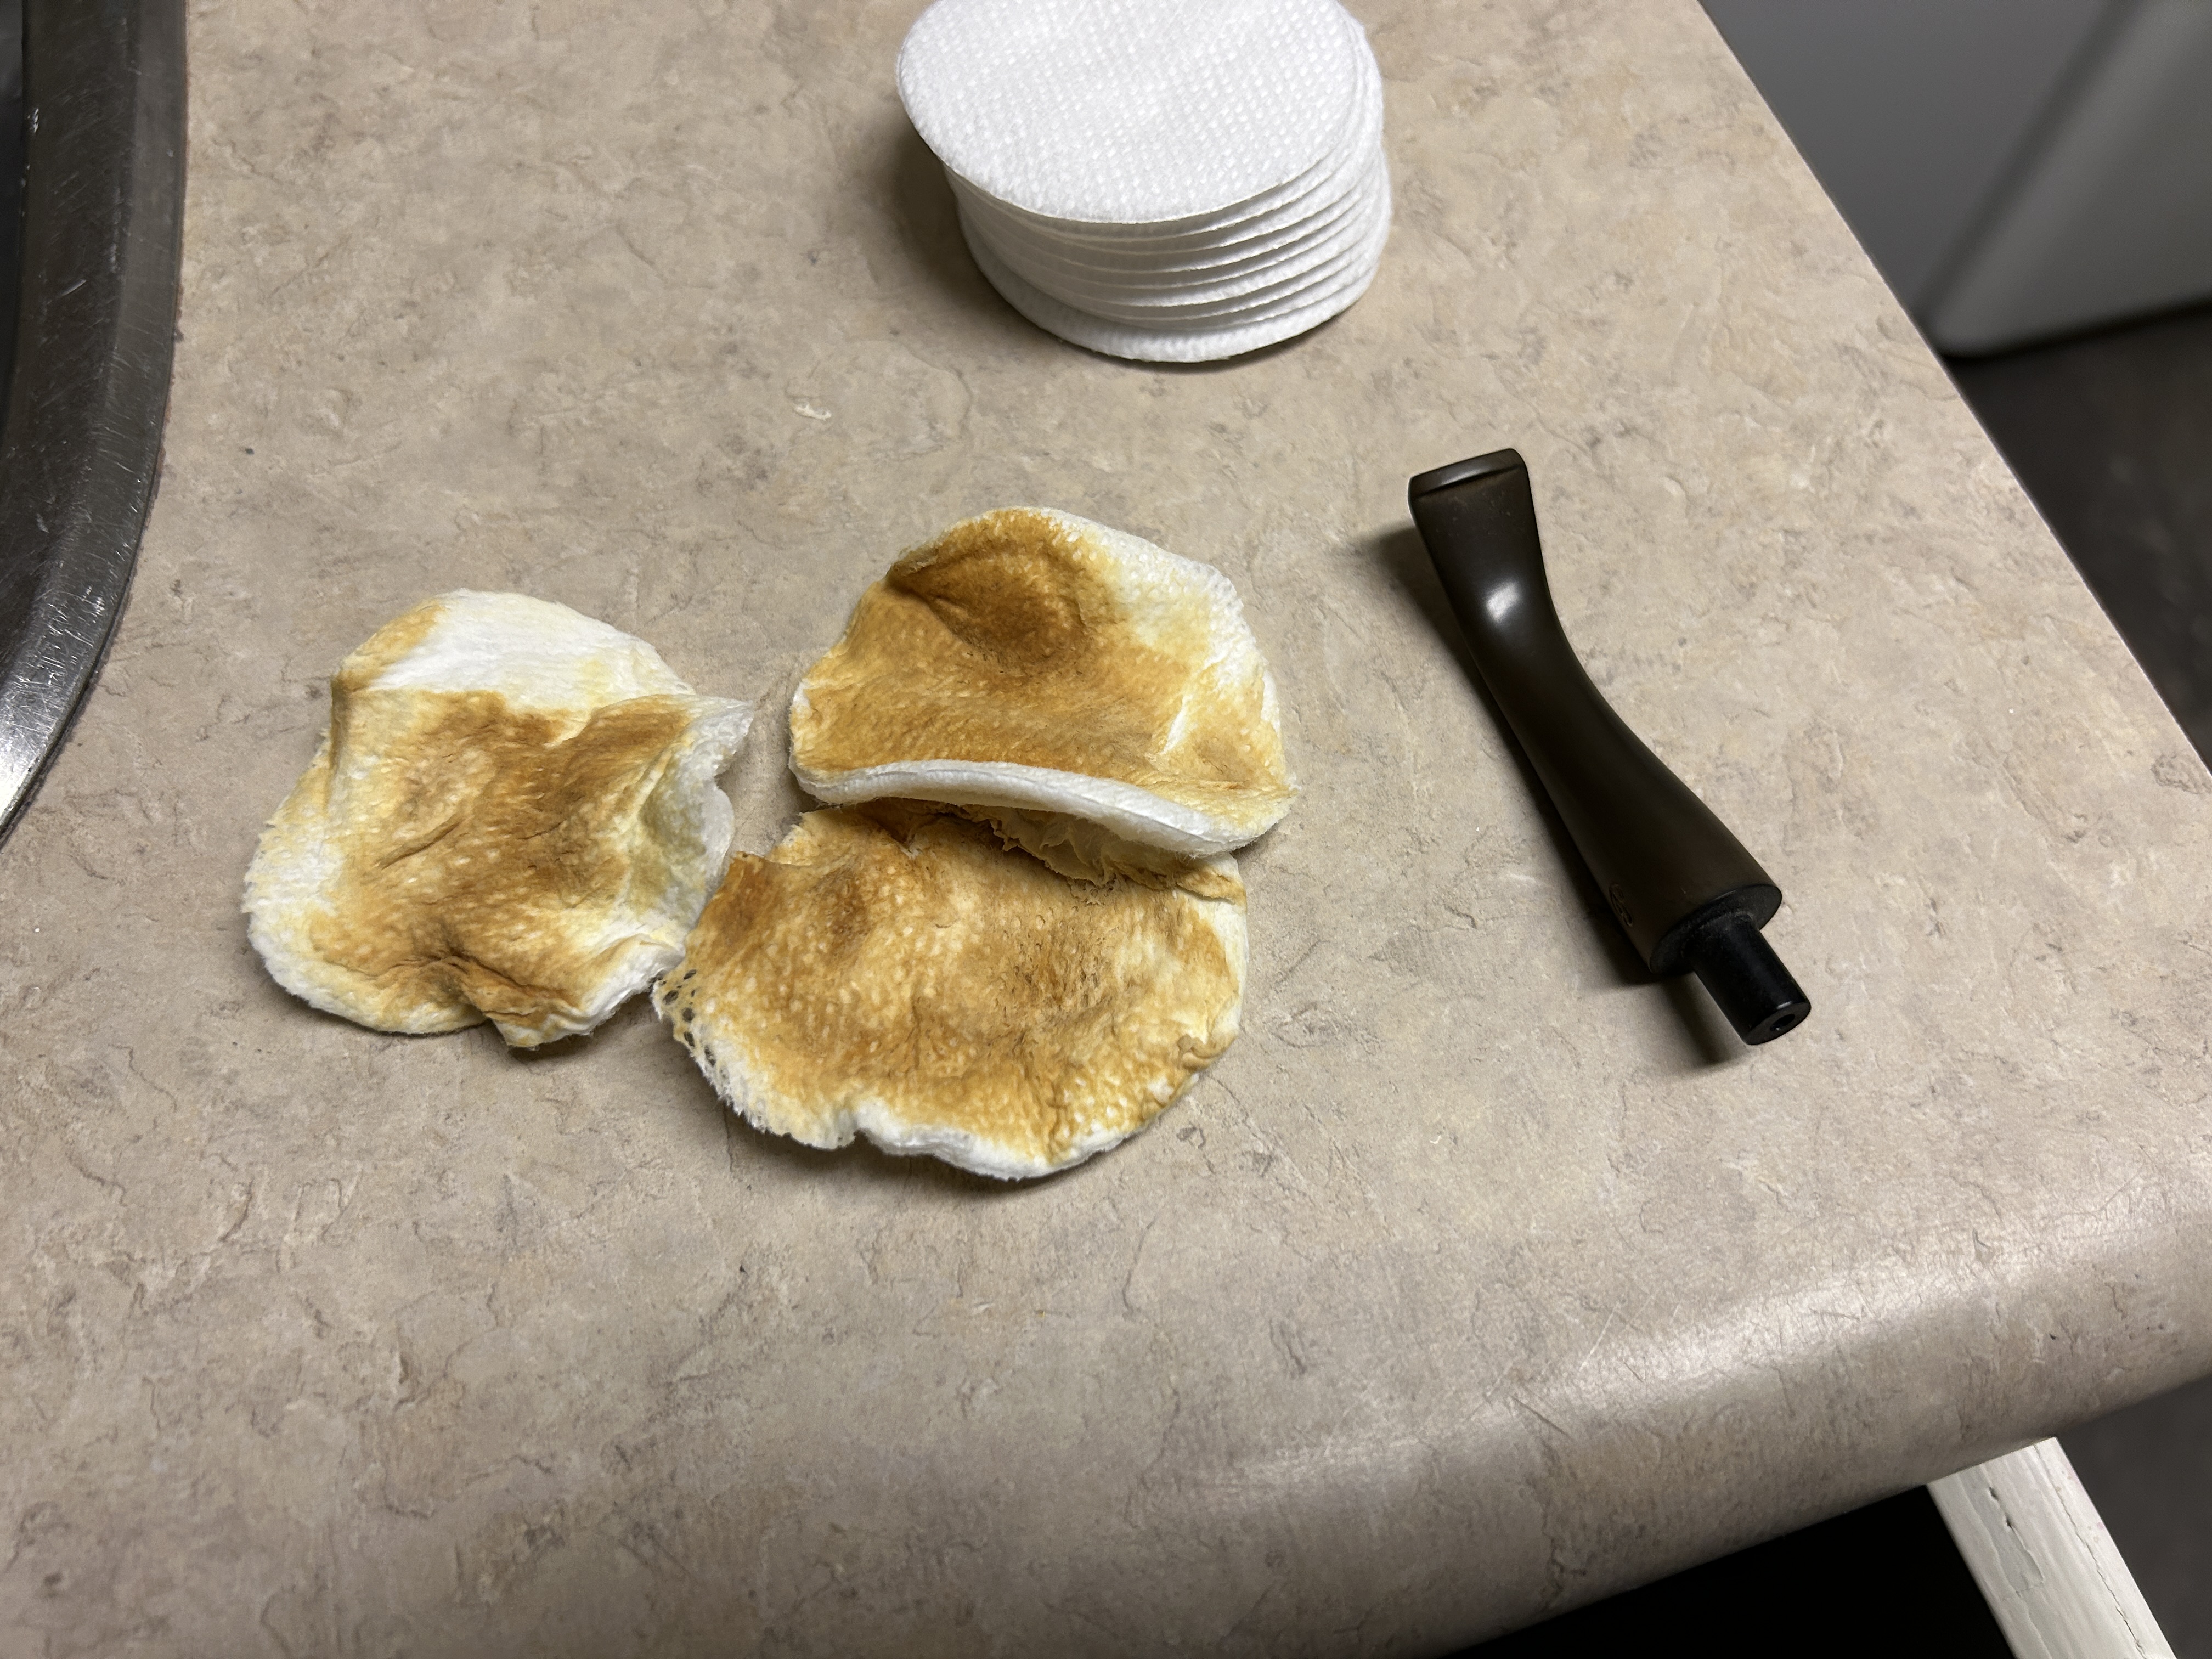
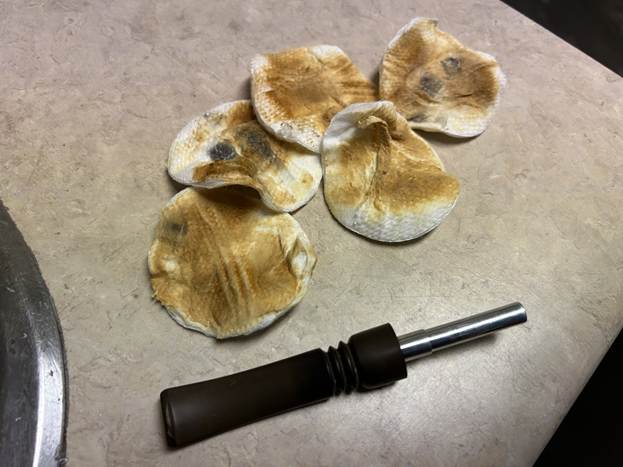
The goal of the next step is the removal (or minimization) of oxidation. Going to my sink, I used cream cleanser, cotton rounds, and a toothbrush, and scoured the stem to remove as much surface oxidation as possible. As the photos show, the result was a hideous, ochre-coloured mess – but better off the stem than on it.
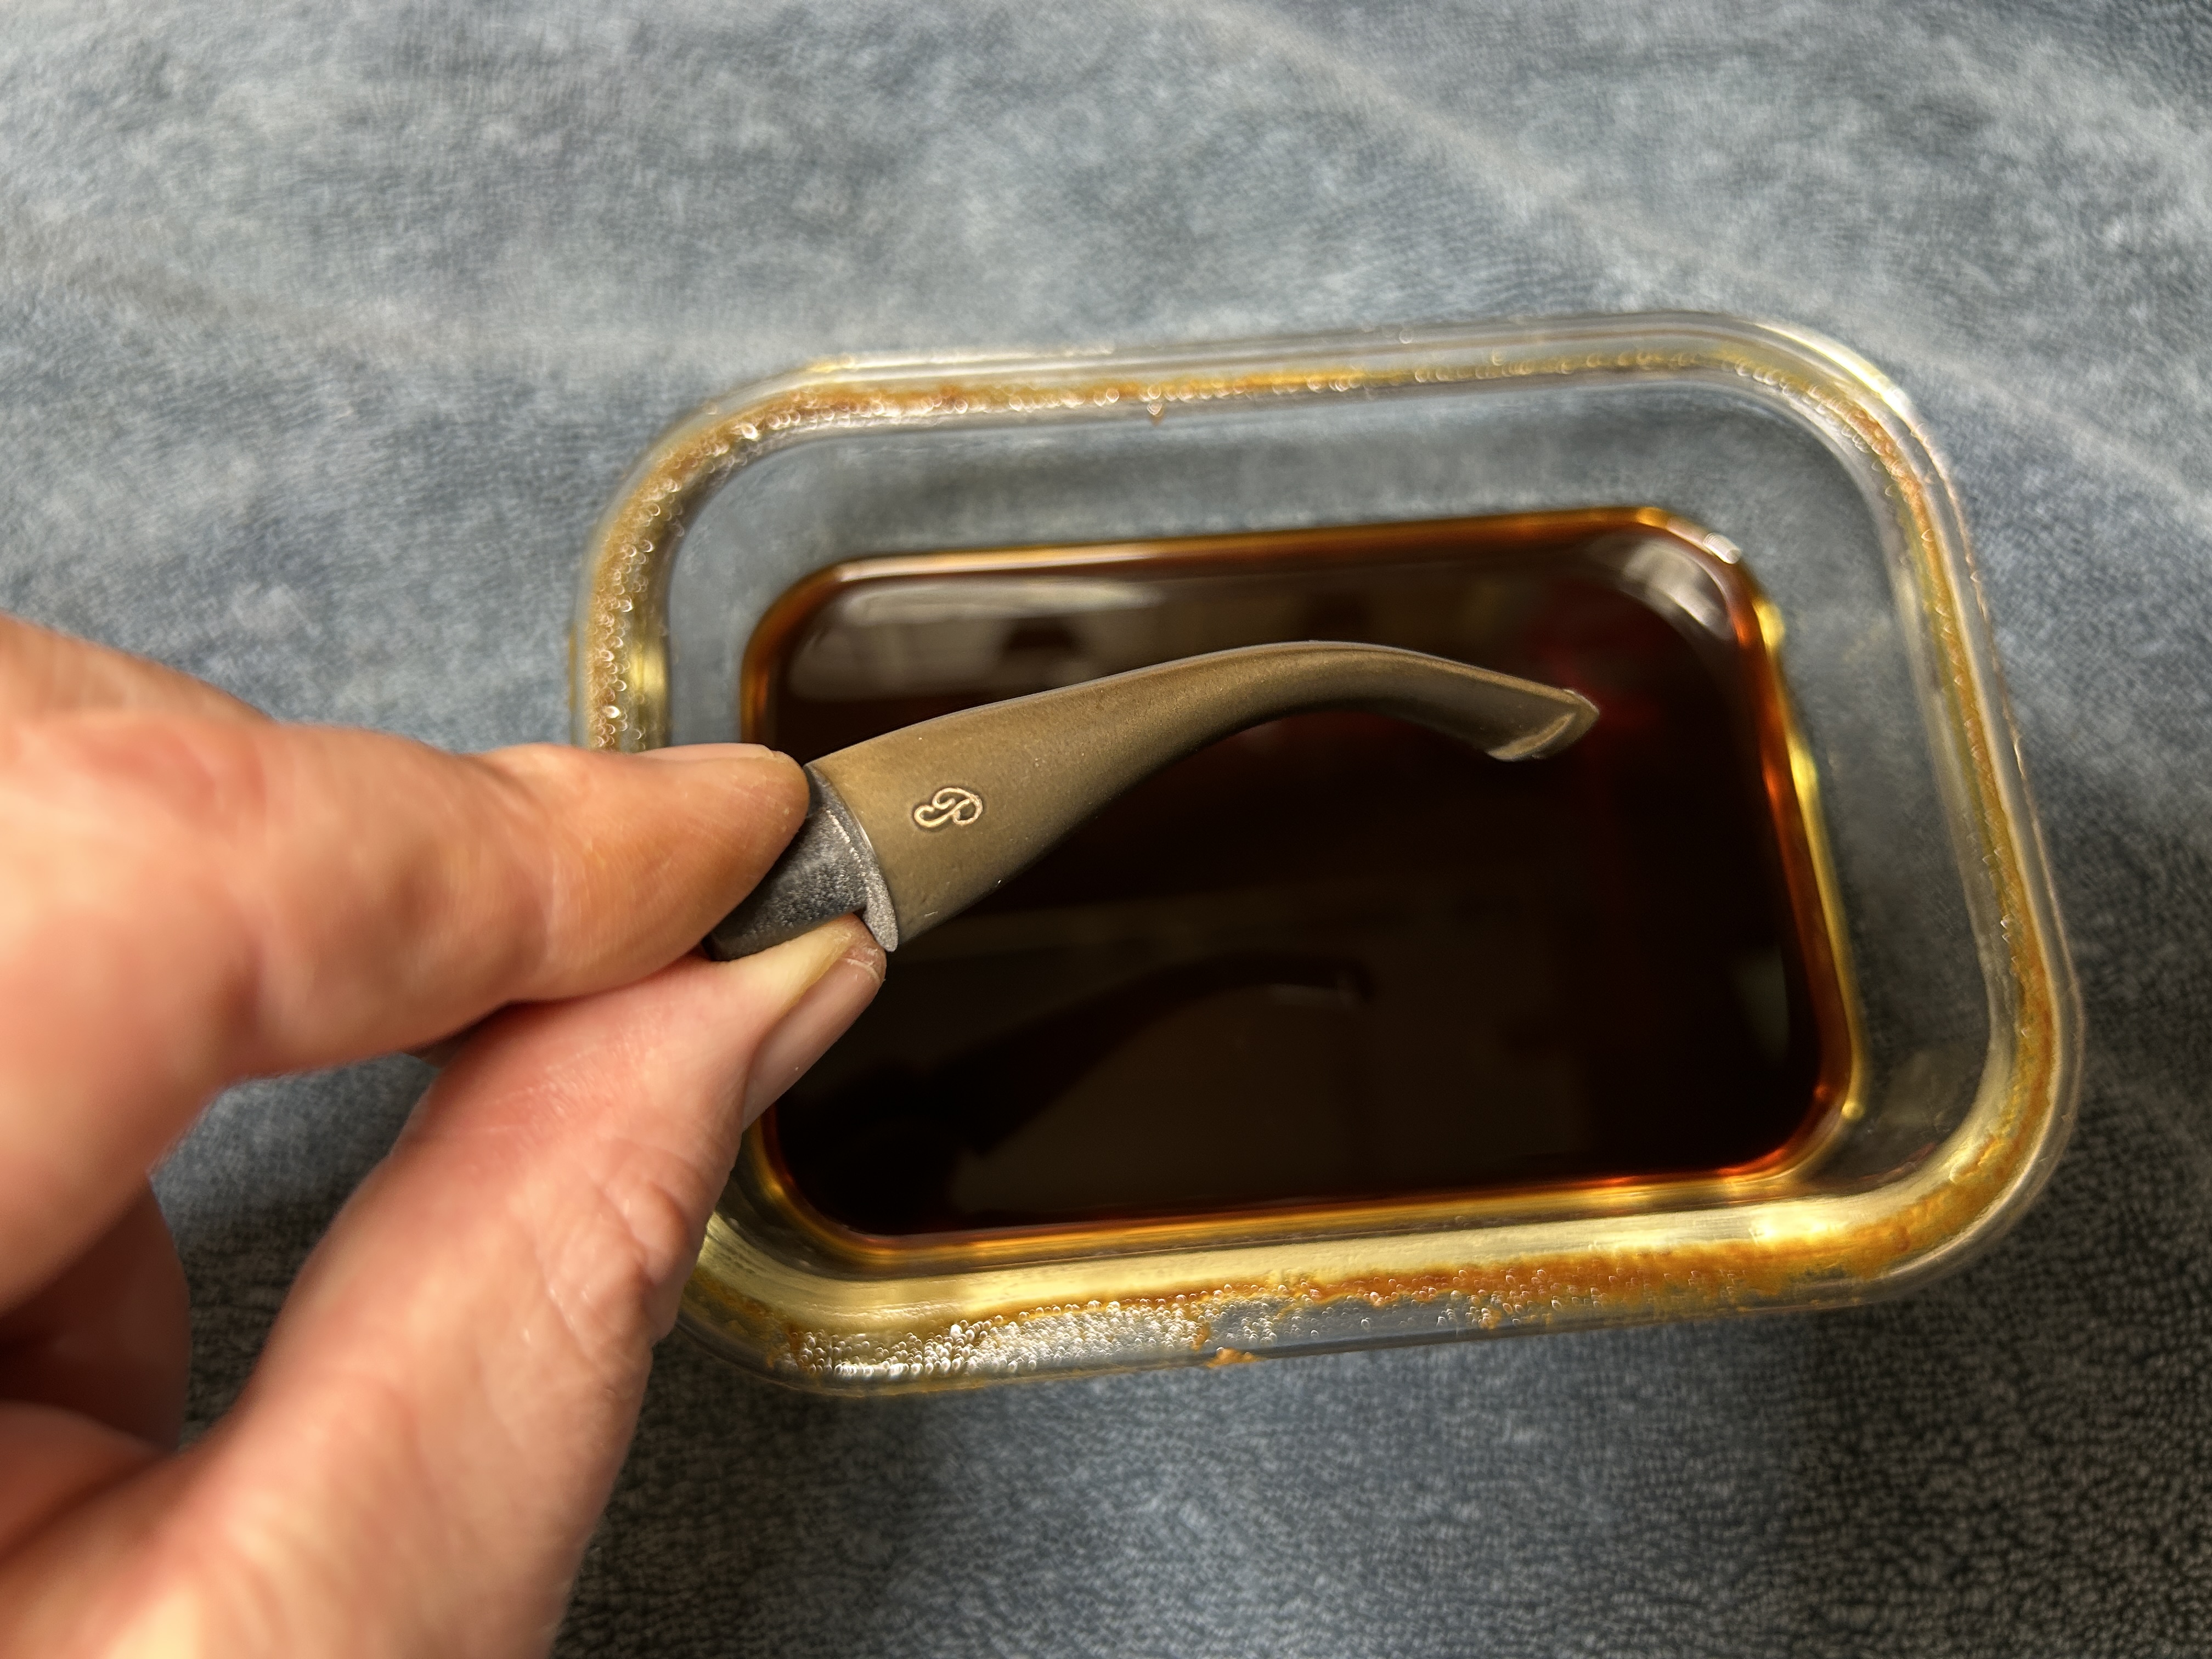
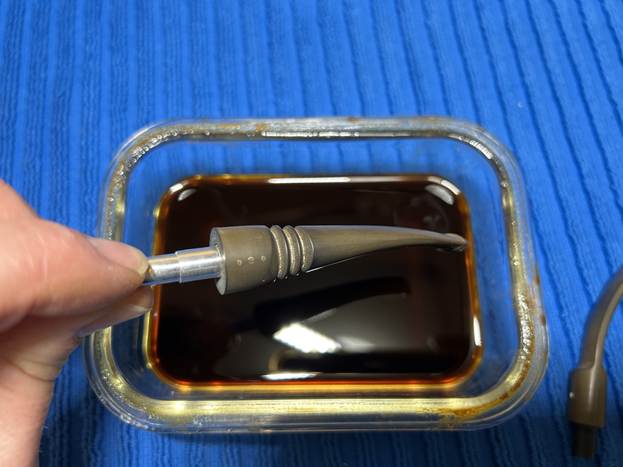
Once the stem was reasonably clean, I soaked it overnight in some Briarville Stem Oxidation Remover. This solution works to draw oxidation in the stem to the surface of the vulcanite. This is a major aid and an important step in ensuring a clean stem. The following day, I drew out the stem from its bath and scrubbed the lingering fluid with a toothbrush.
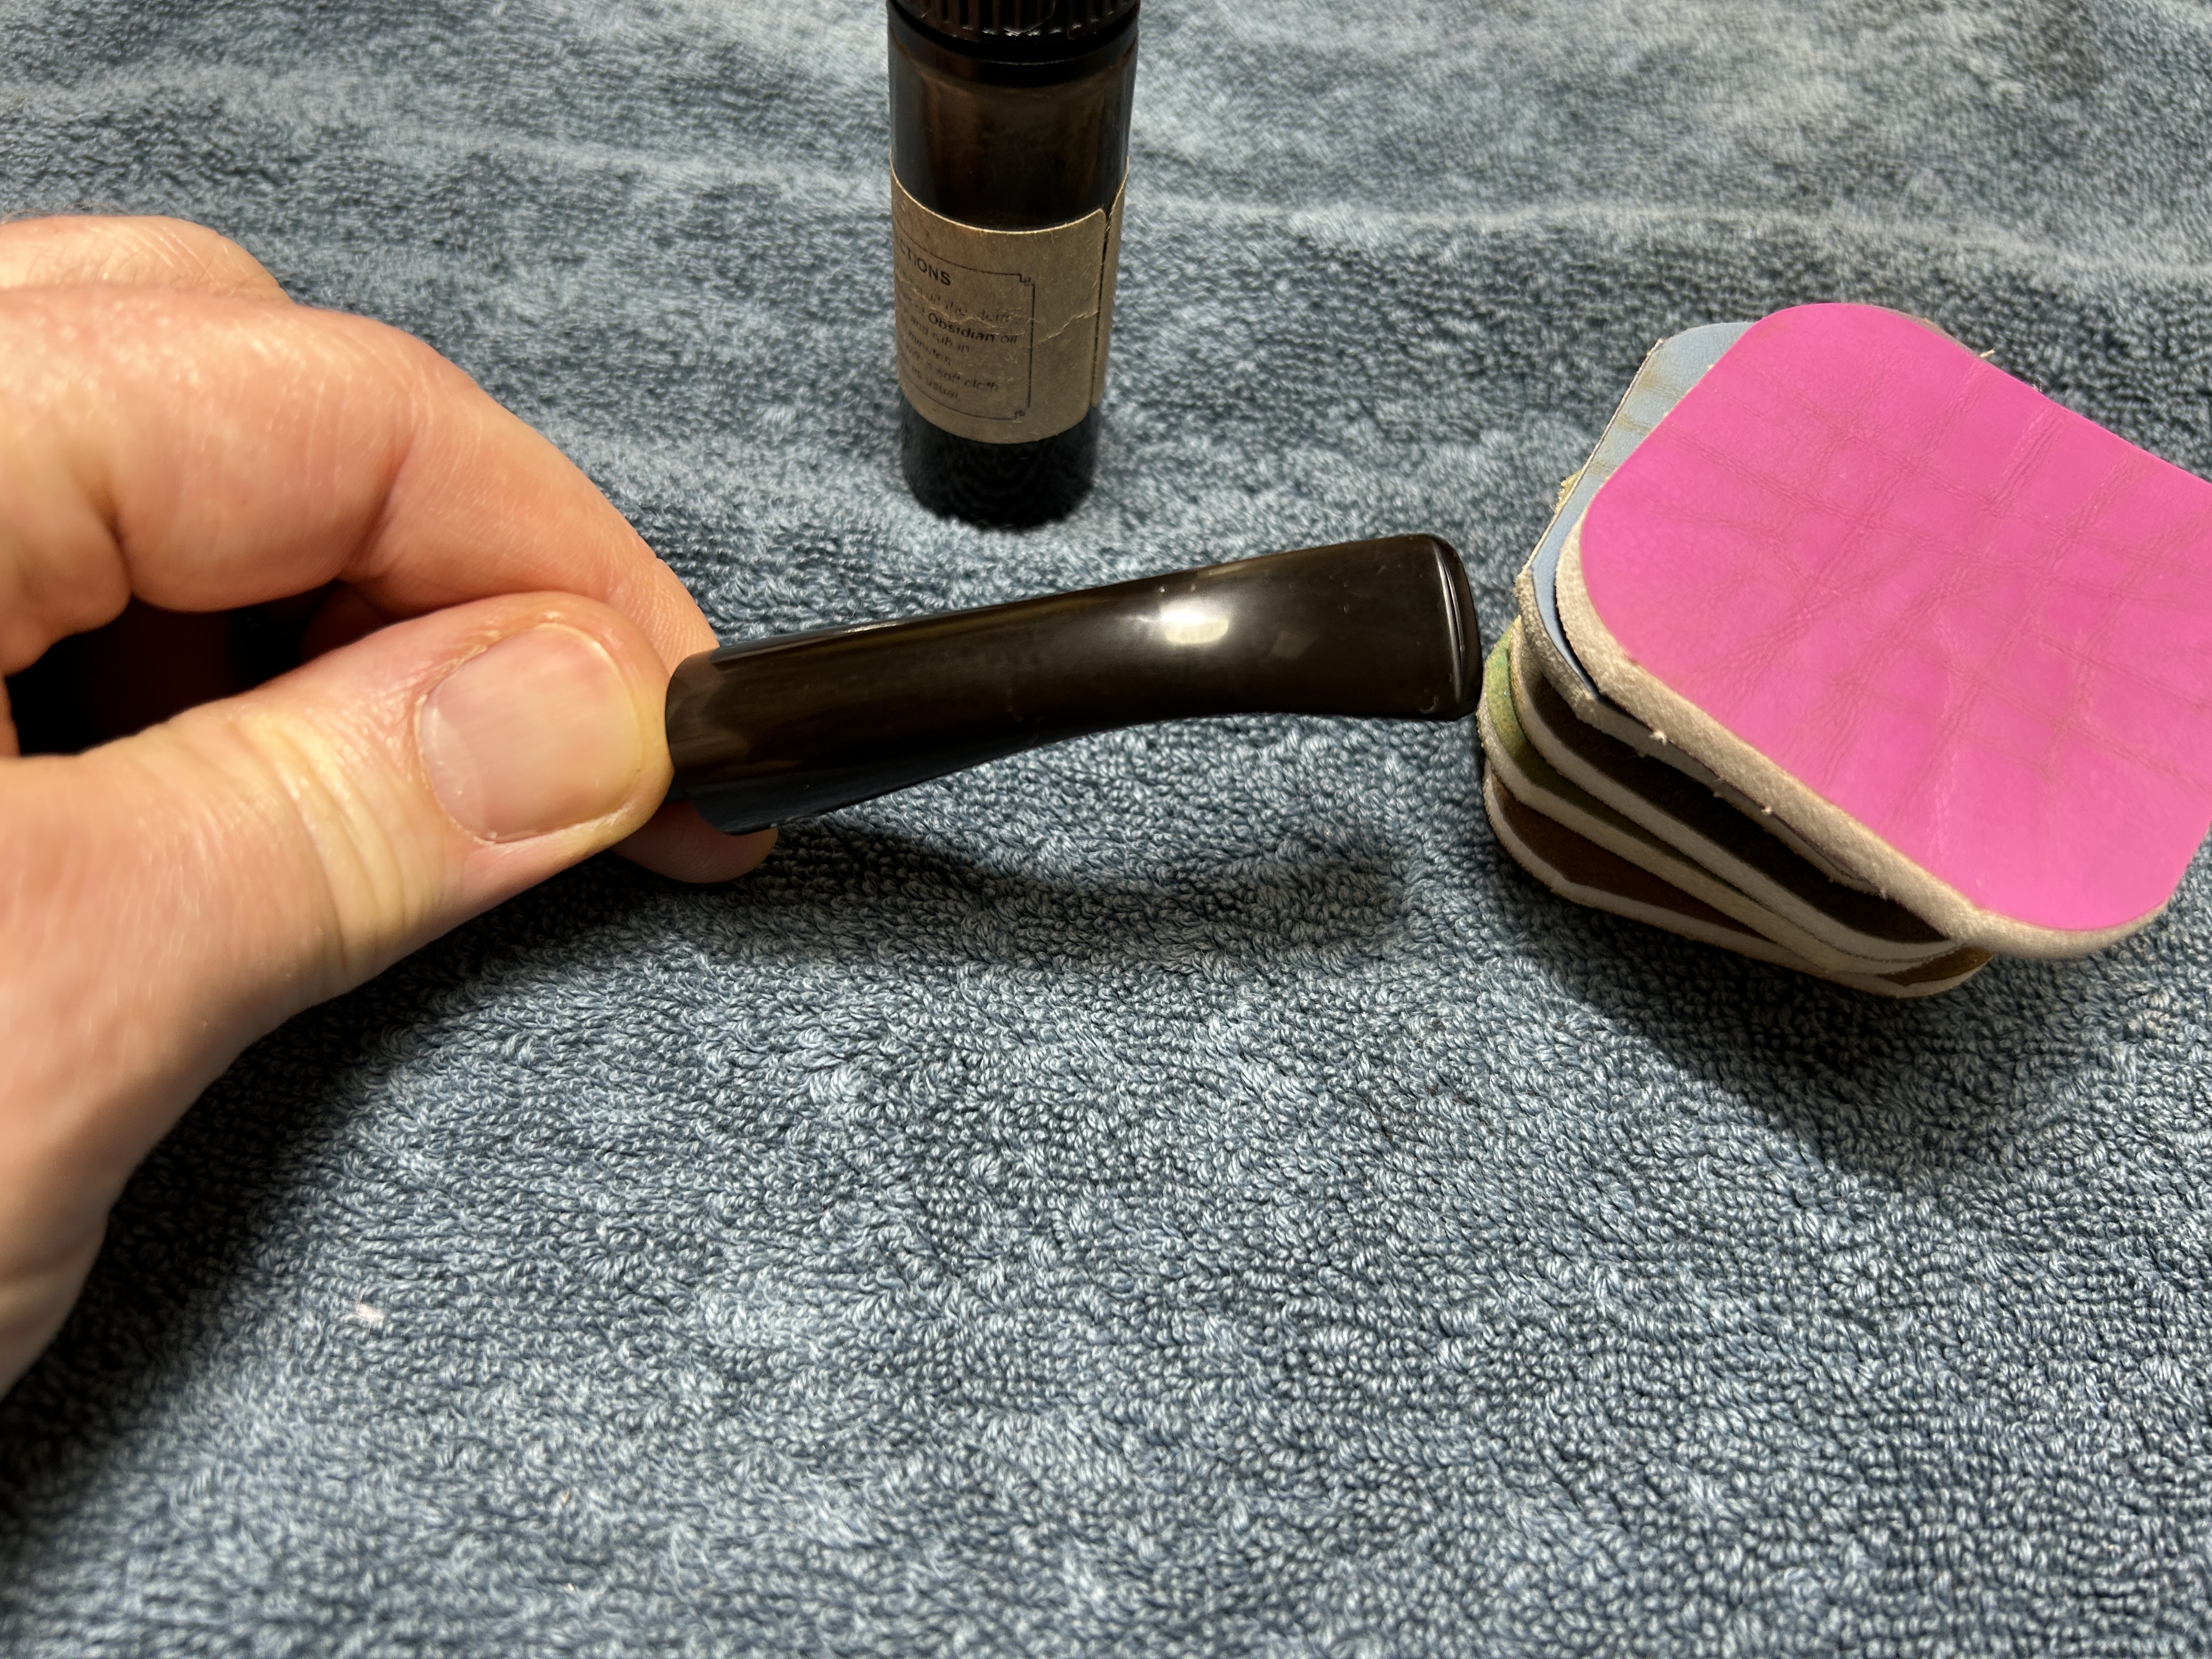
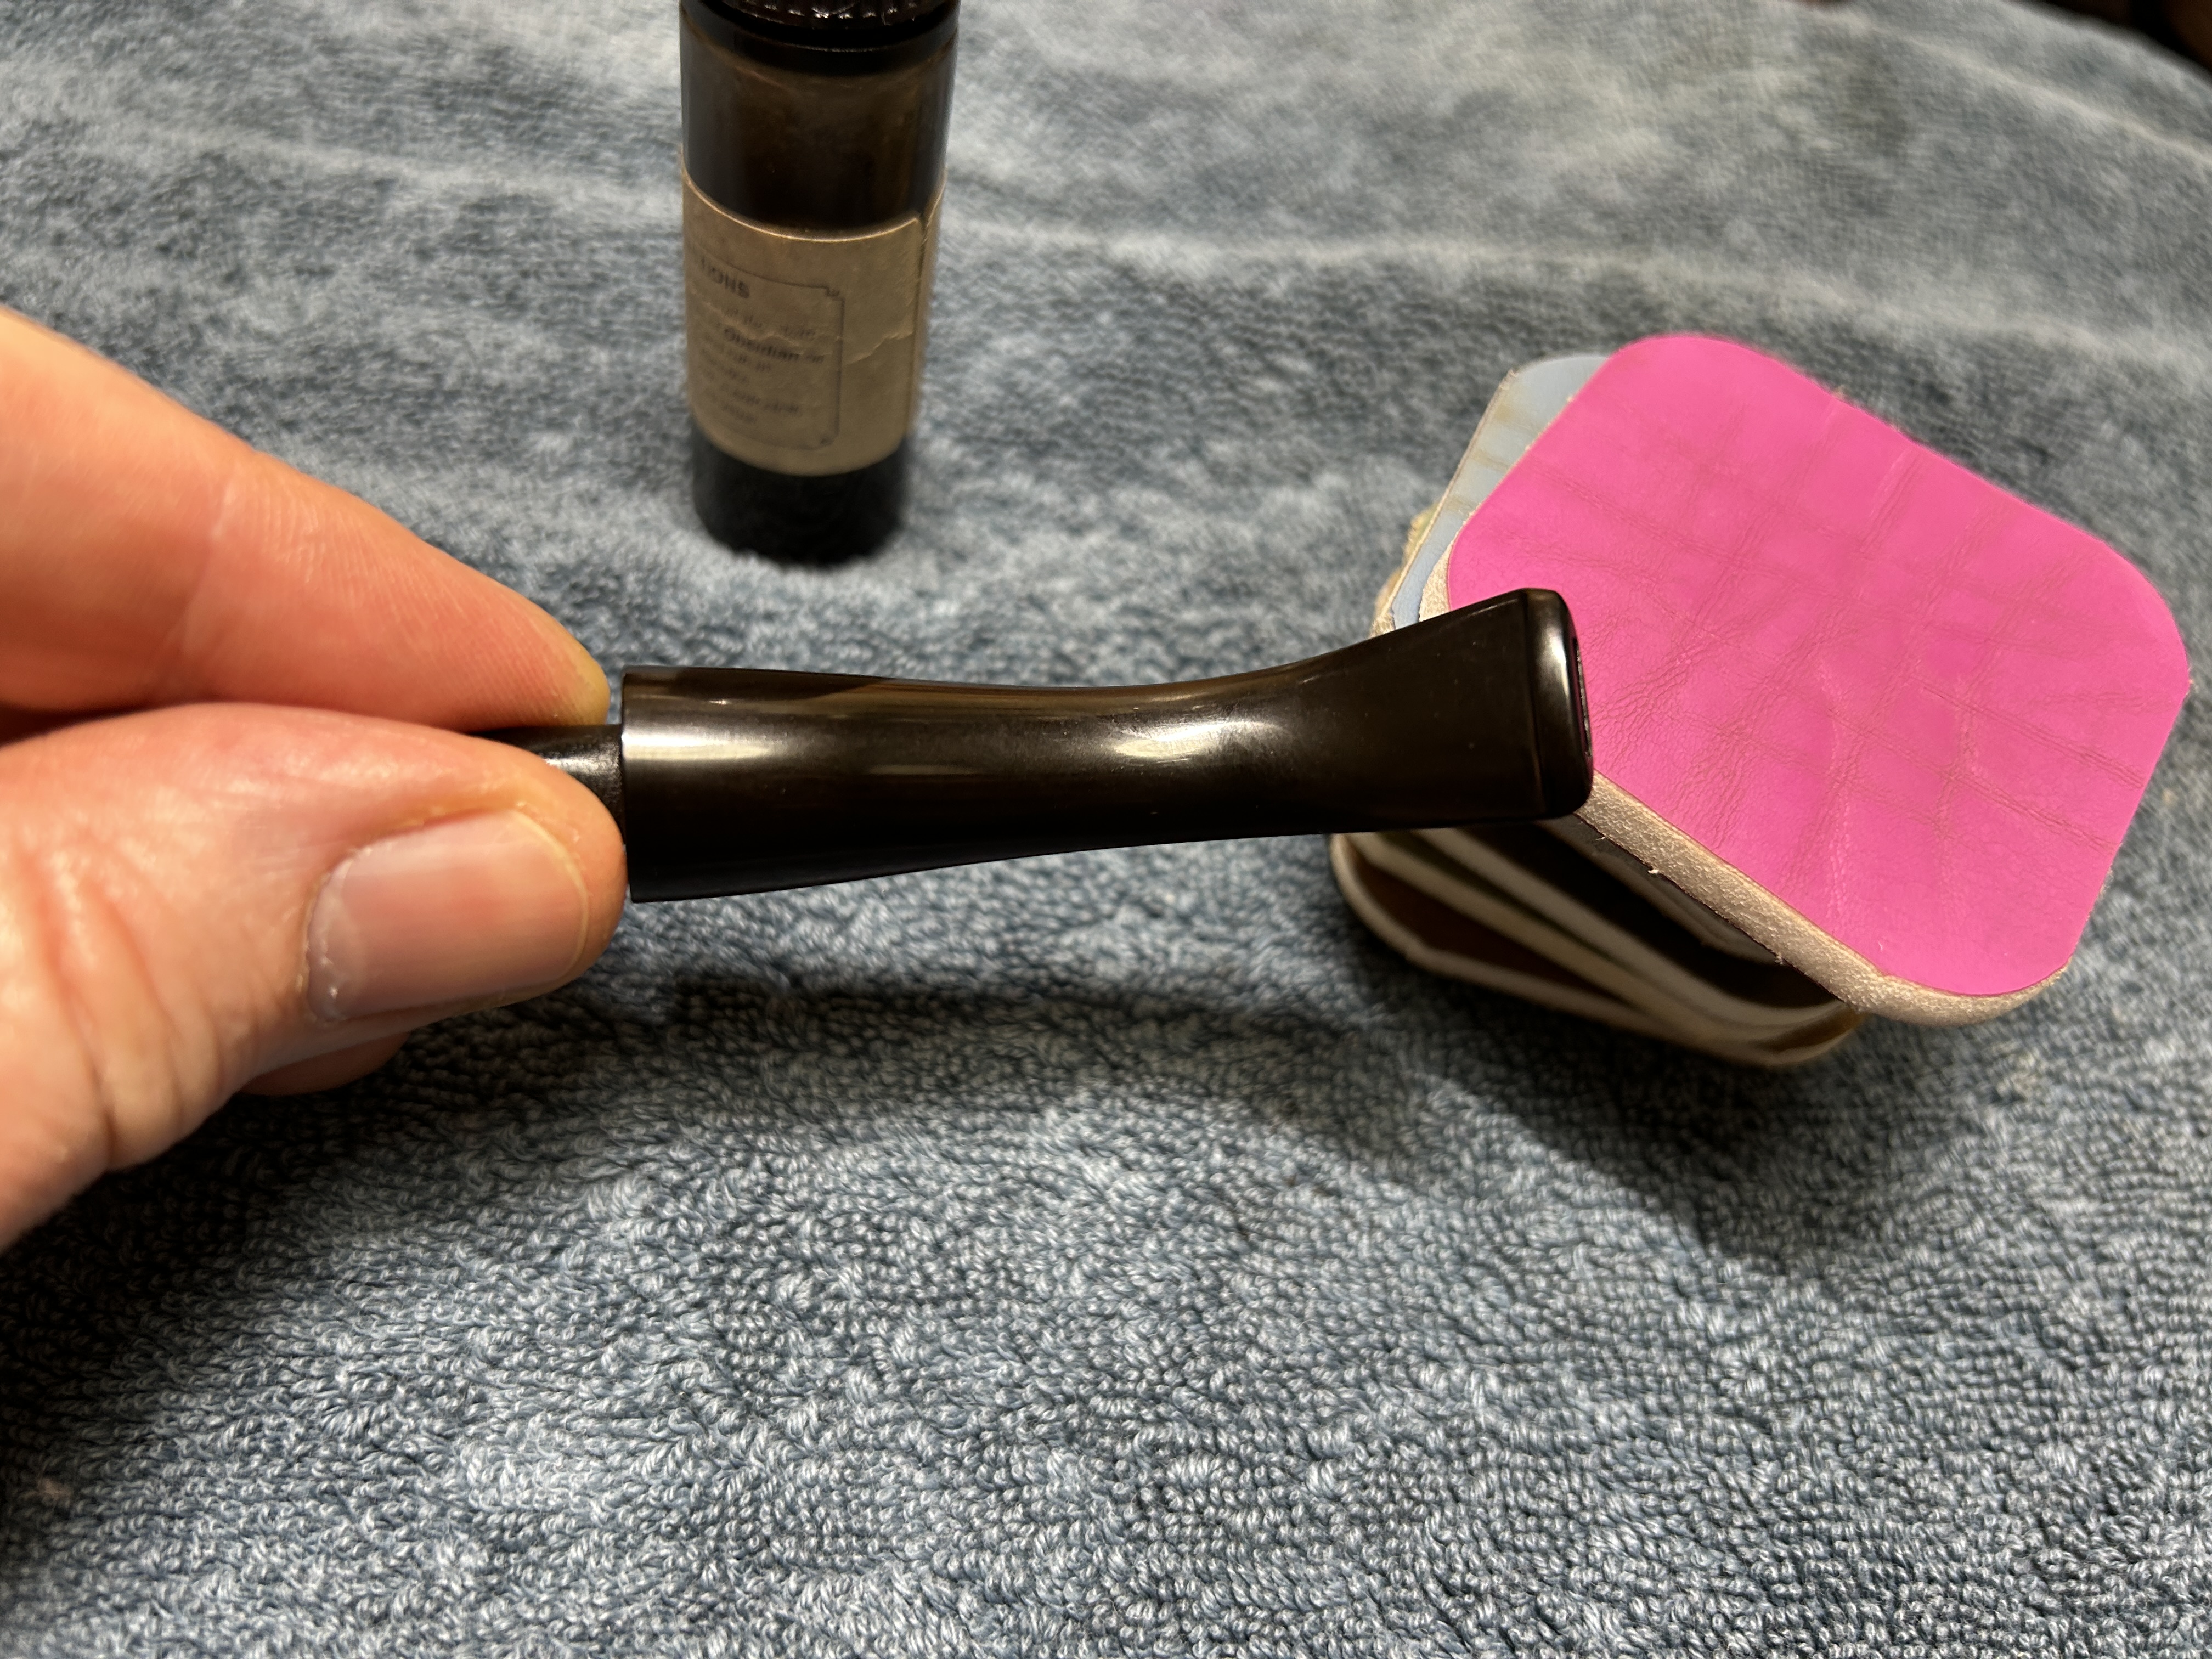
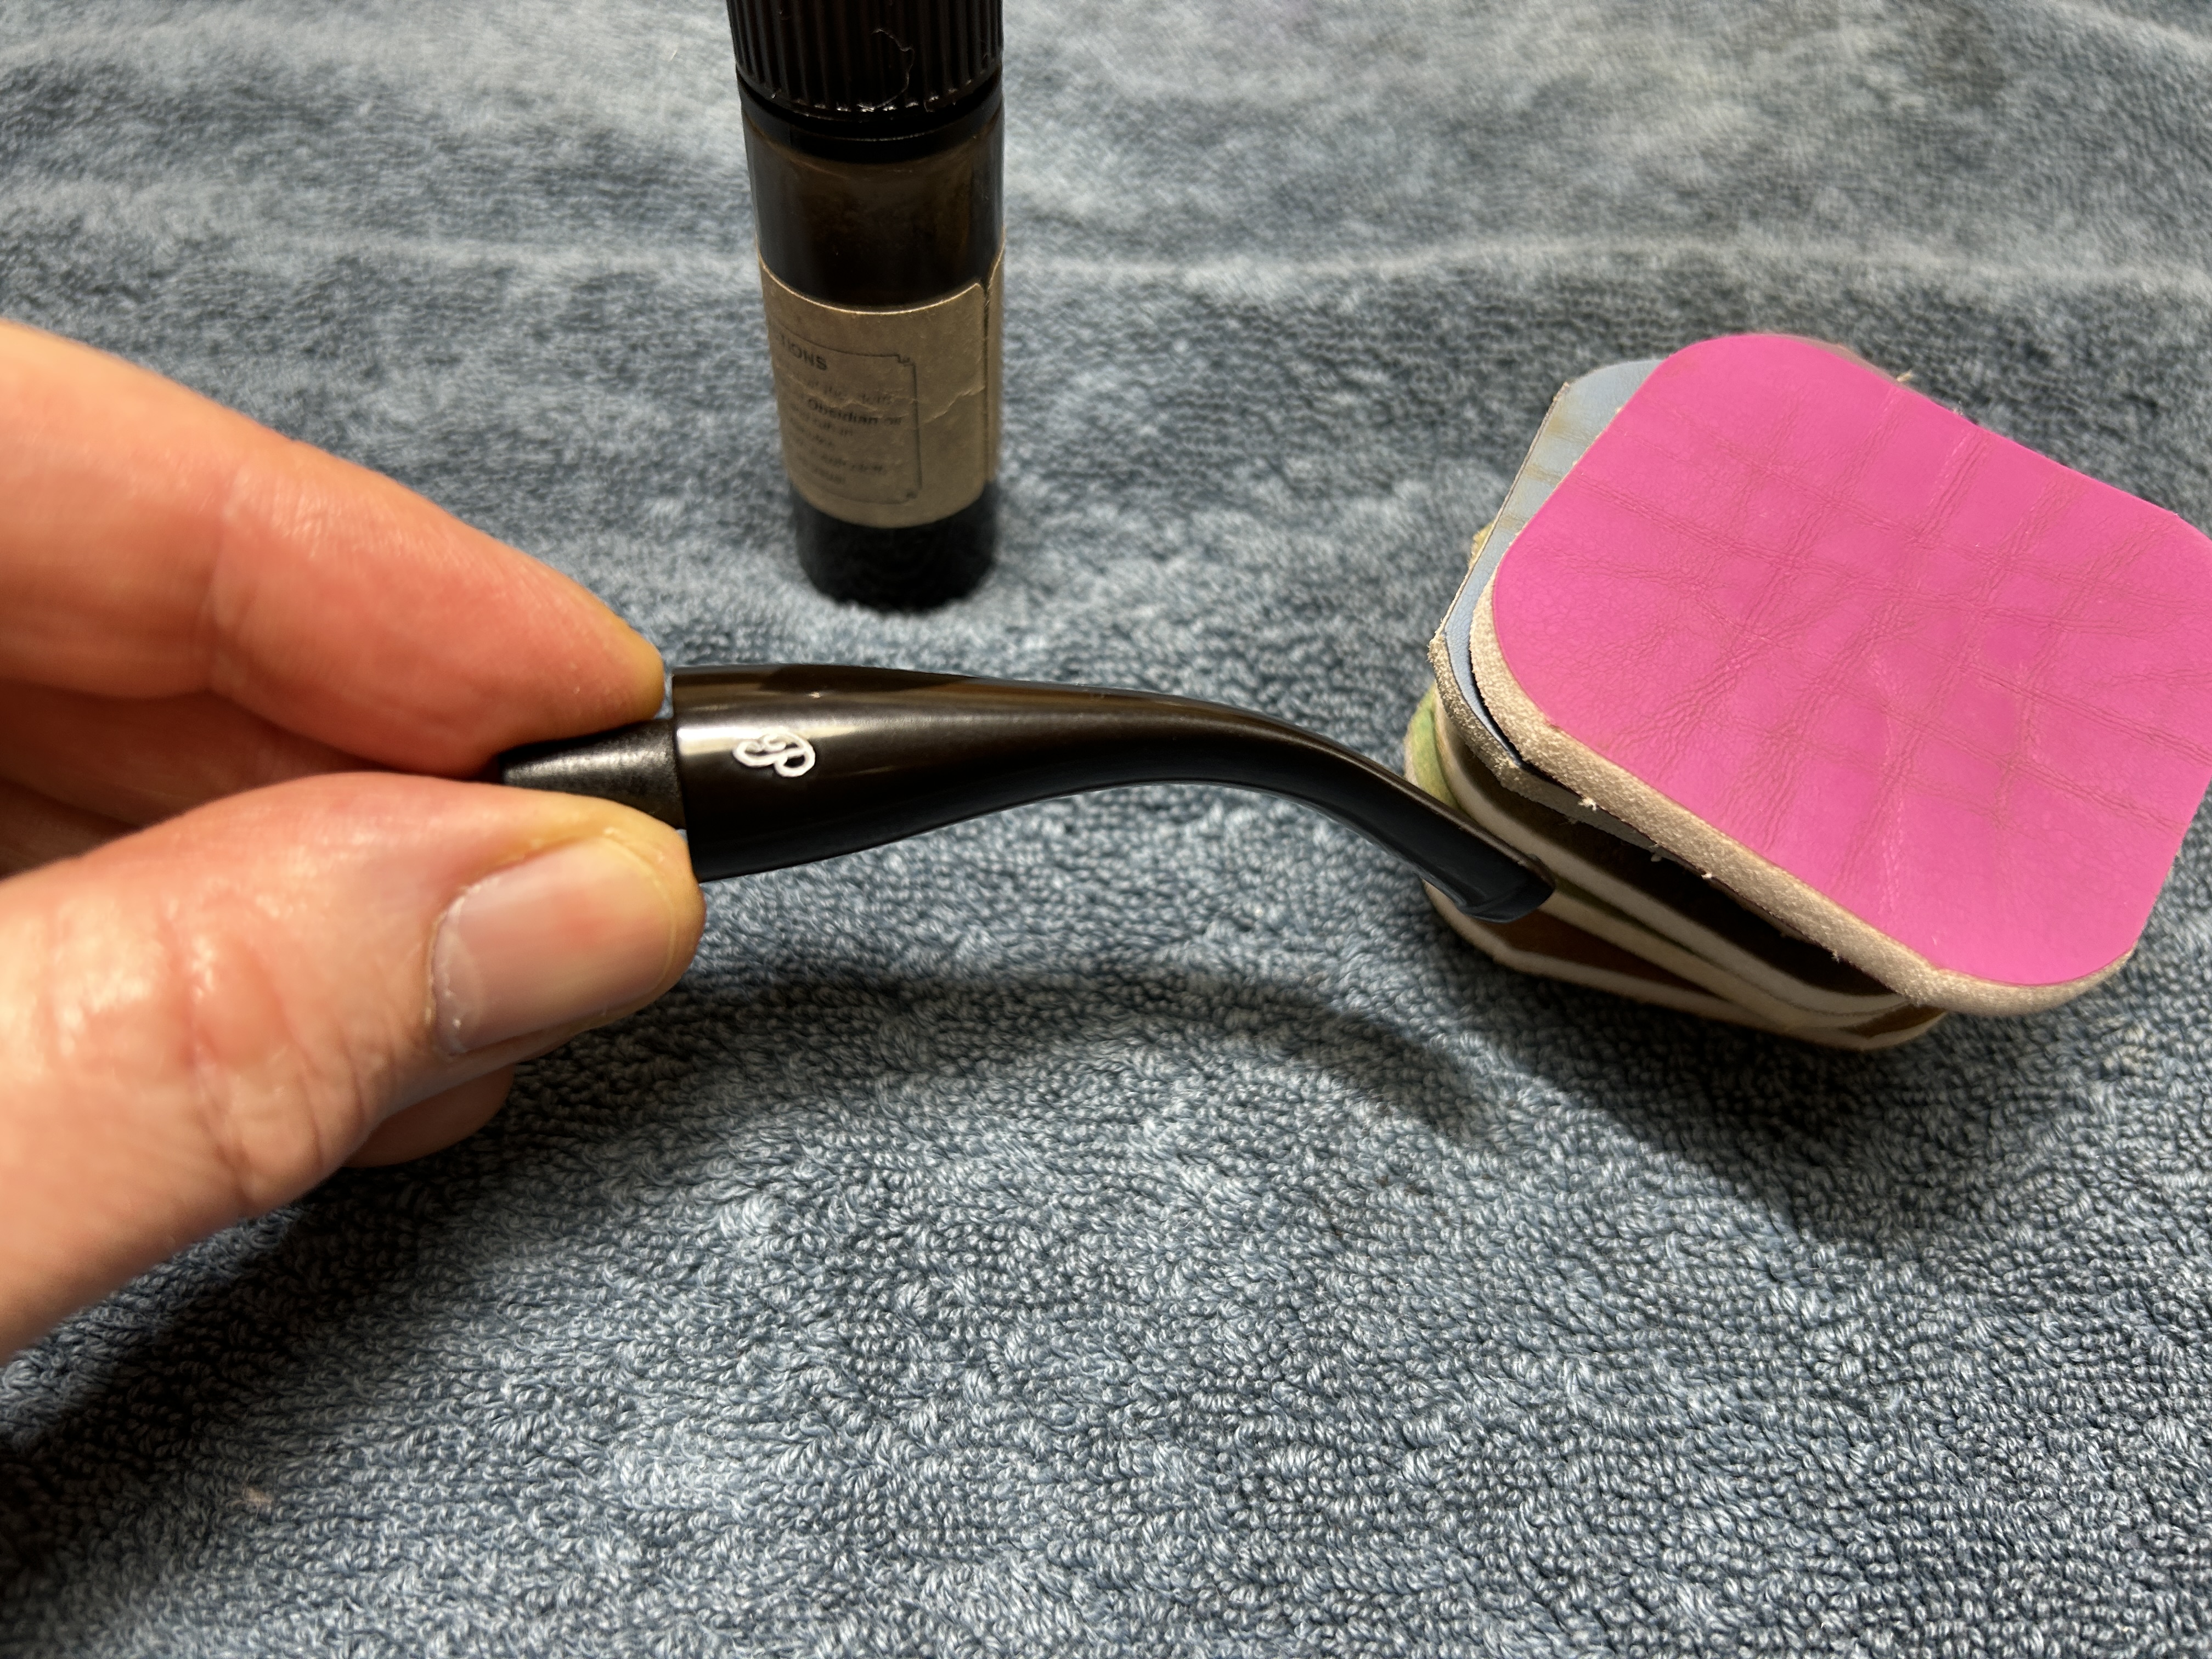
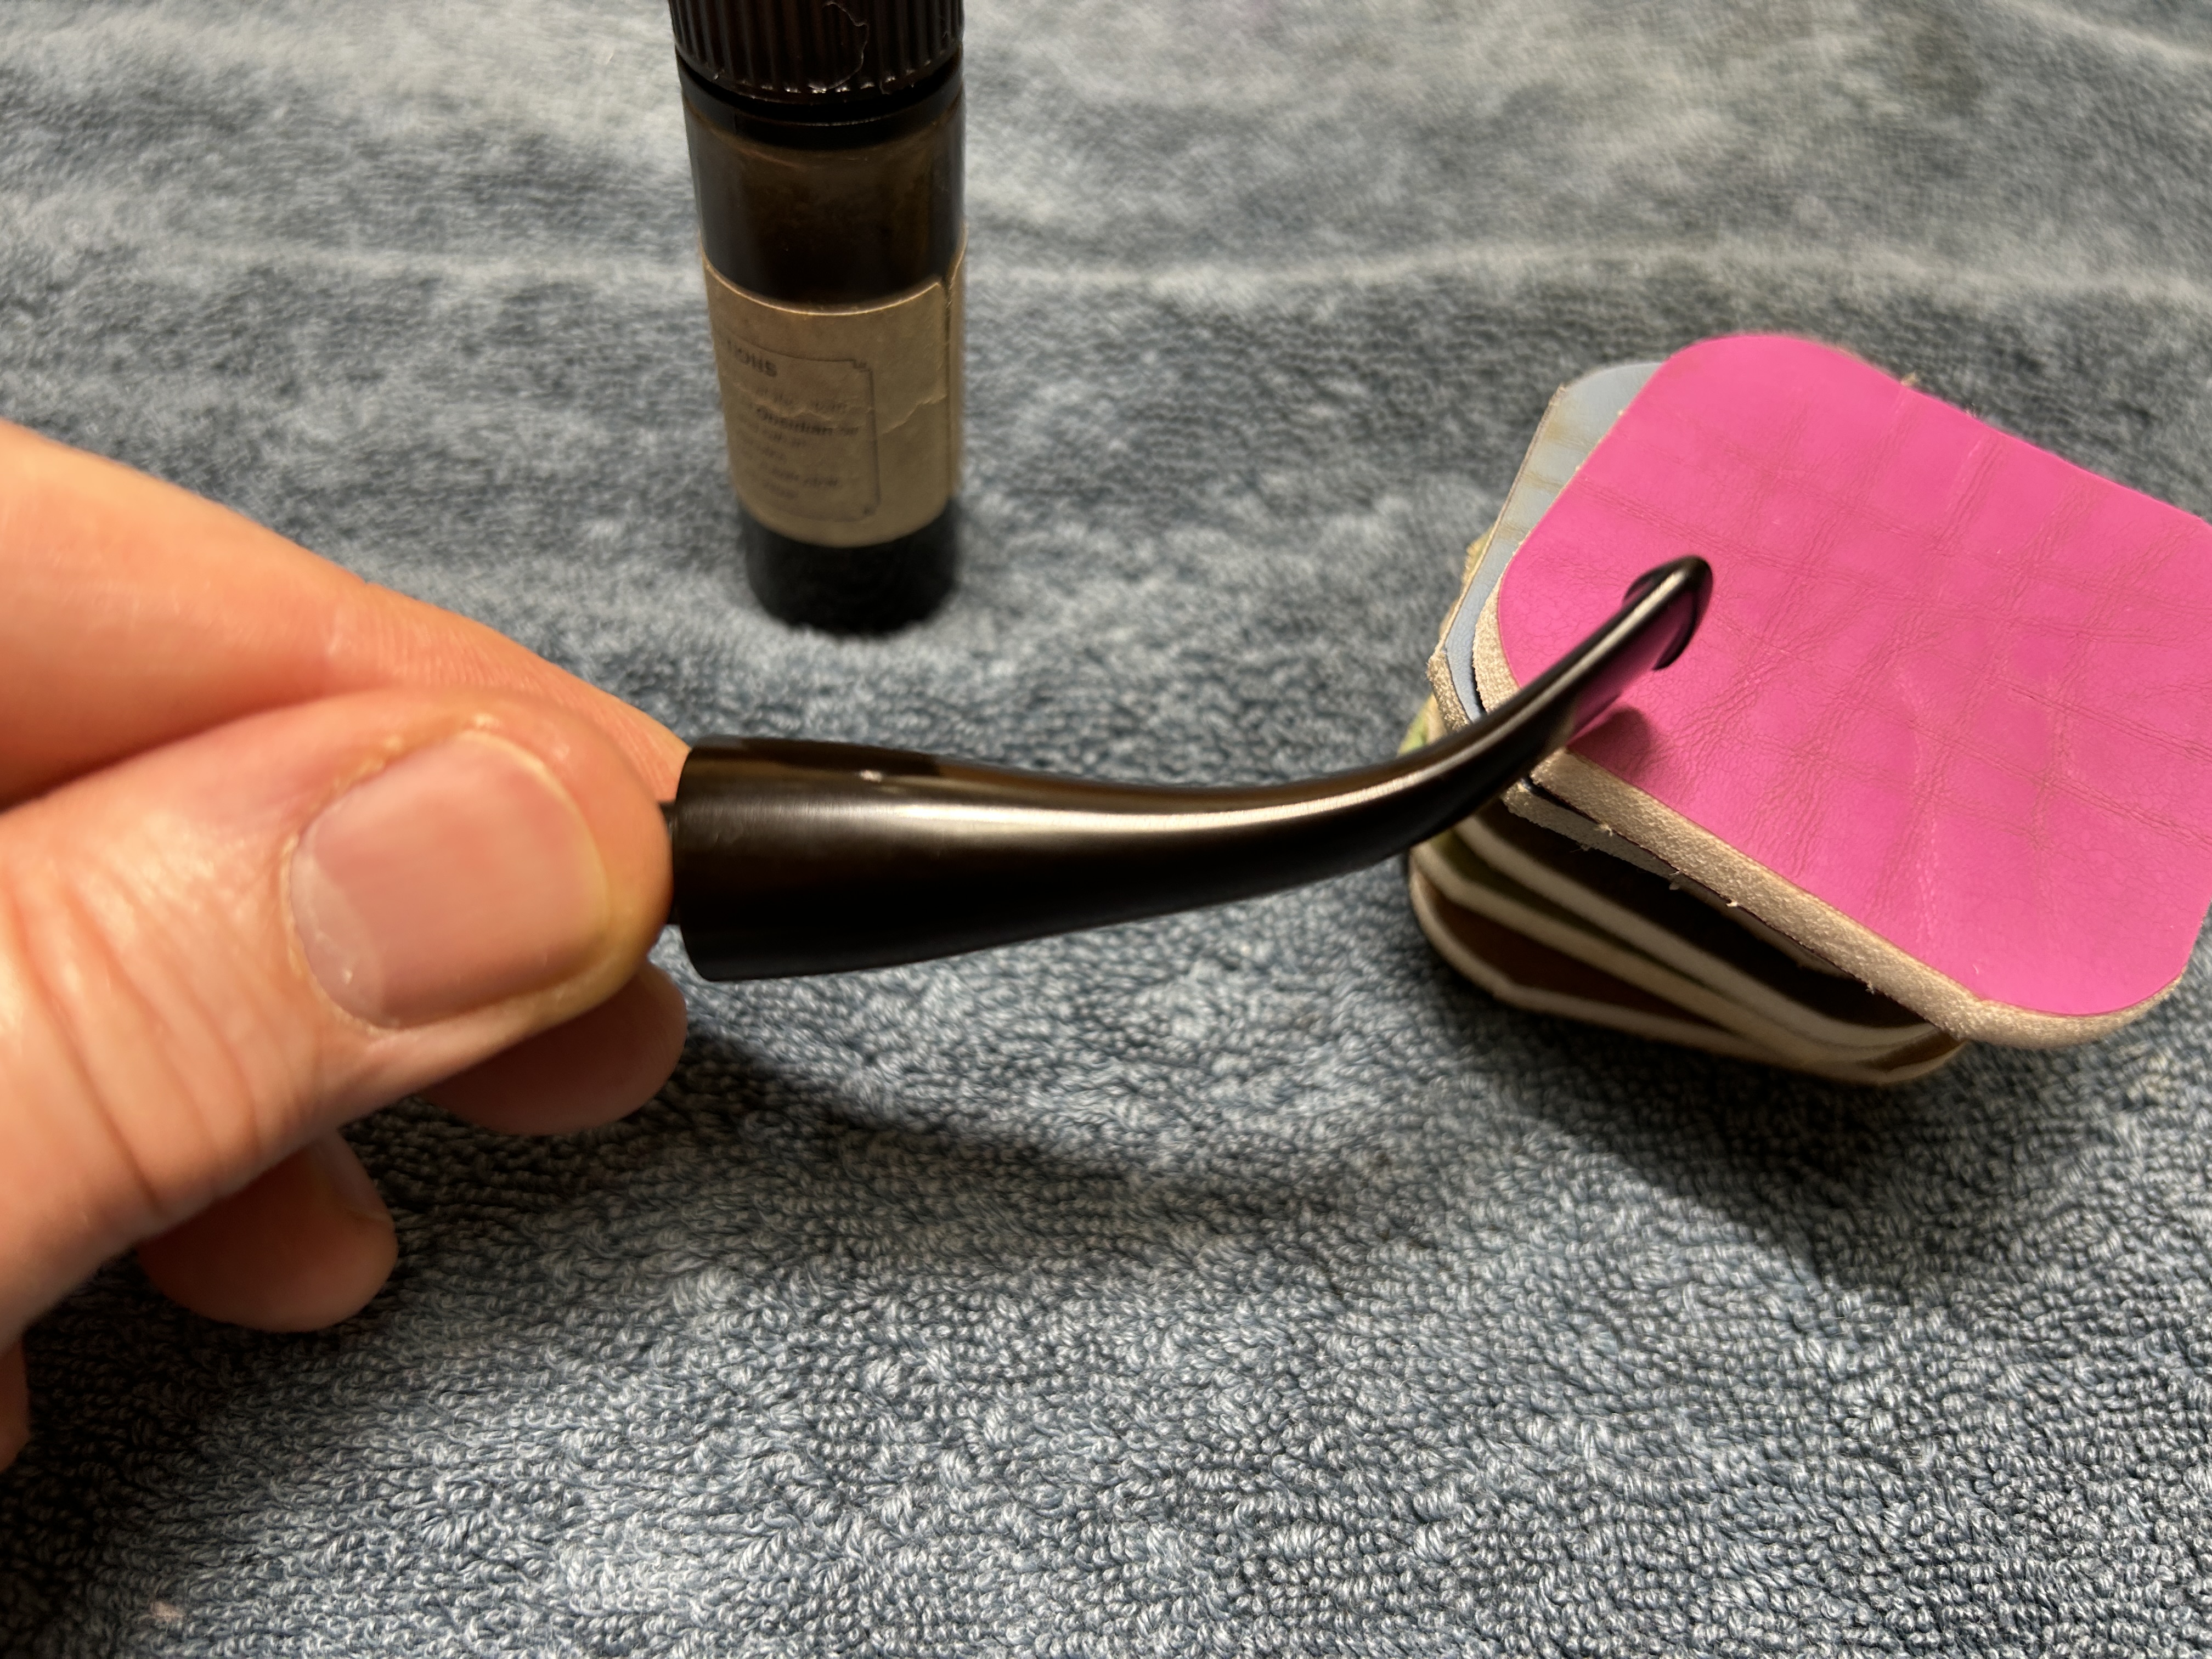
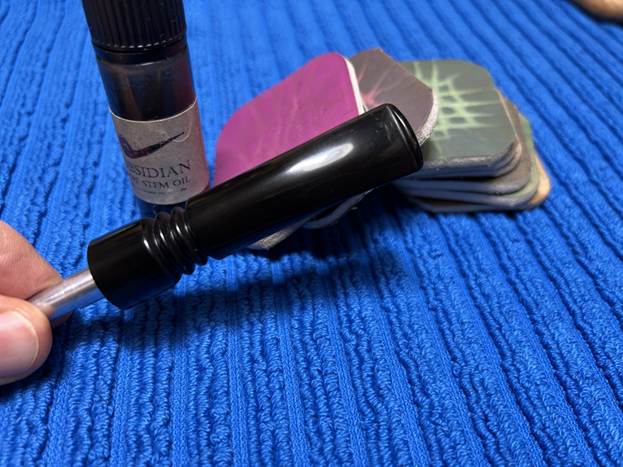
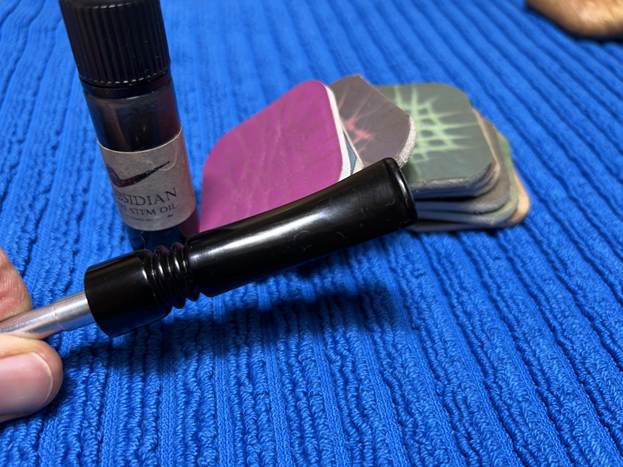
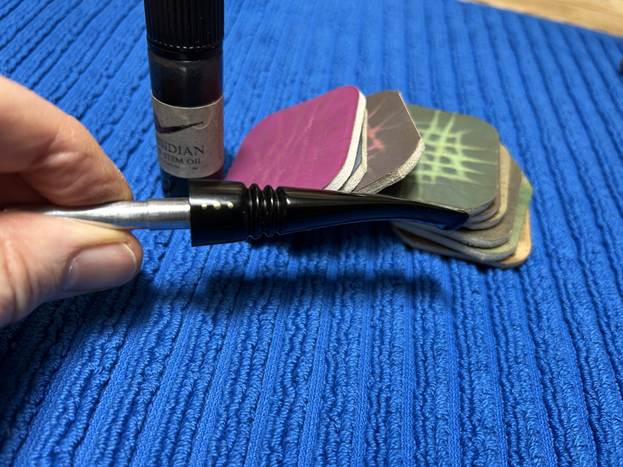
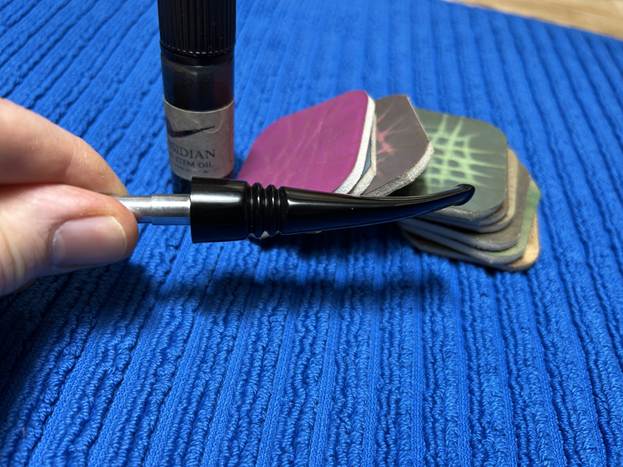
The penultimate step for the stem is sanding. I used all nine of the micromesh sanding pads (1,500 through 12,000 grit) to sand out flaws, even out the vulcanite, and provide gentle polishing of the finished surface. I also applied pipe-stem oil while using the last five micromesh pads. There was a wonderful, deep black shine to the stem when I was done.
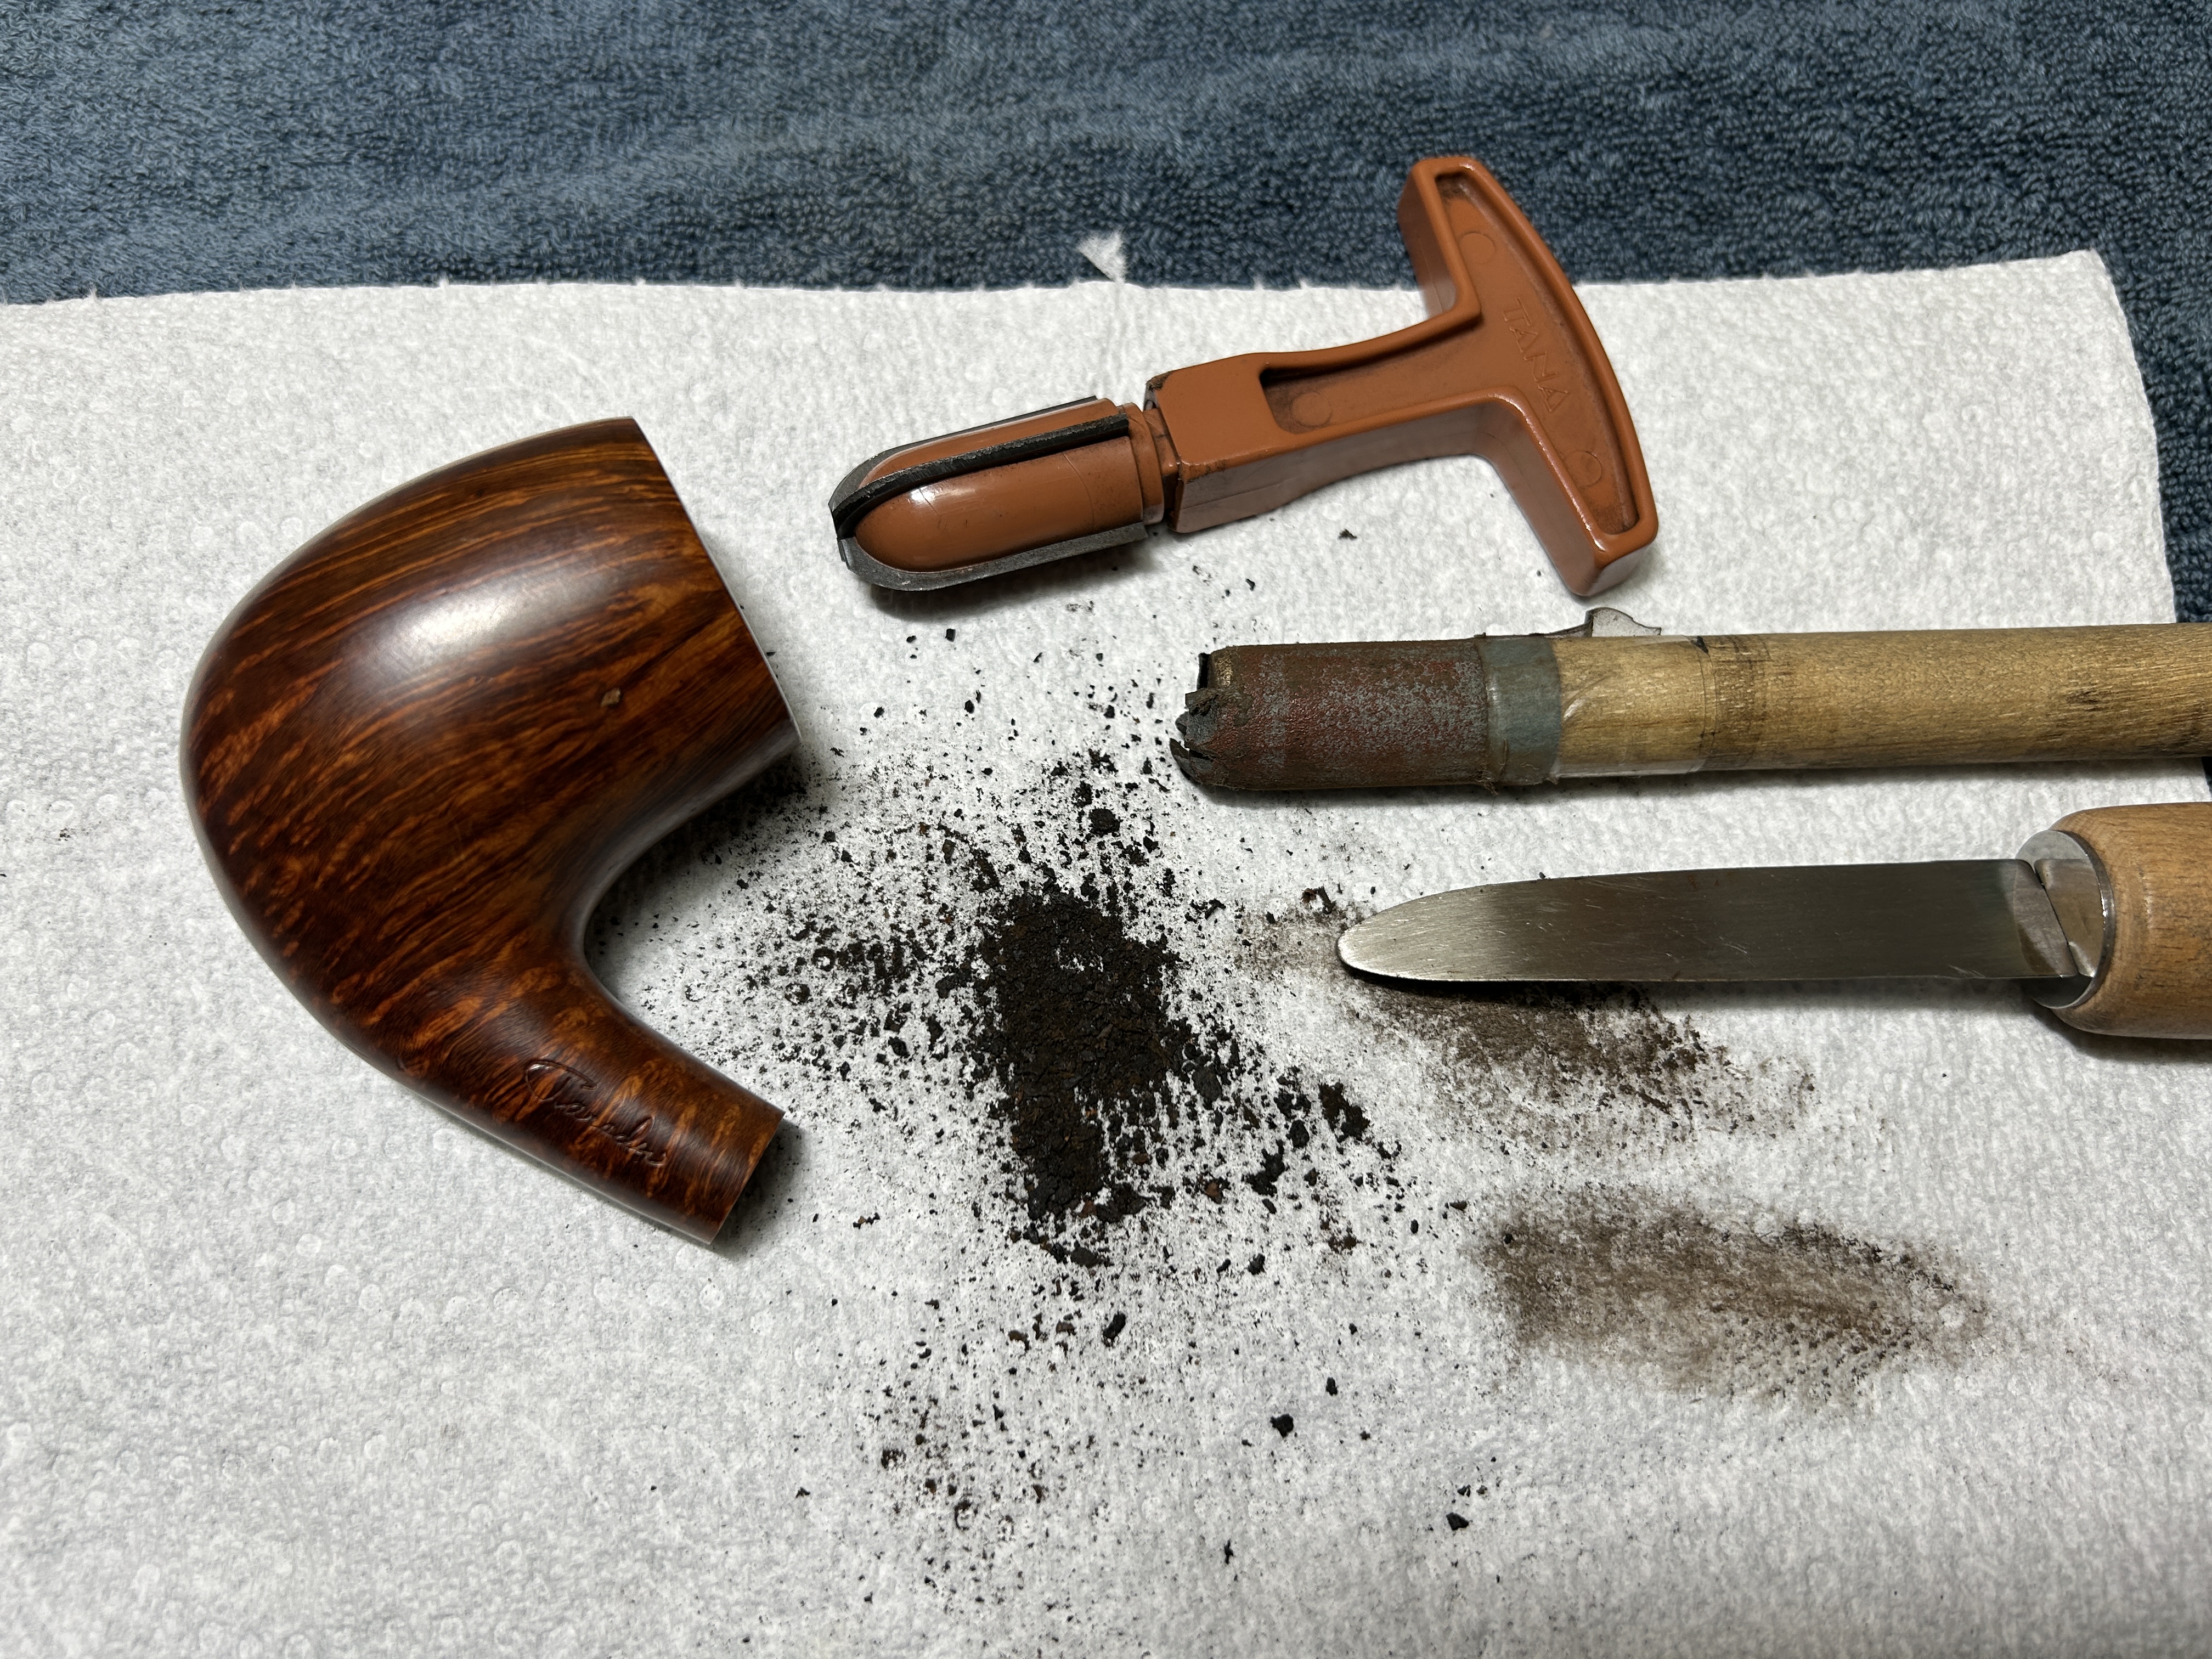
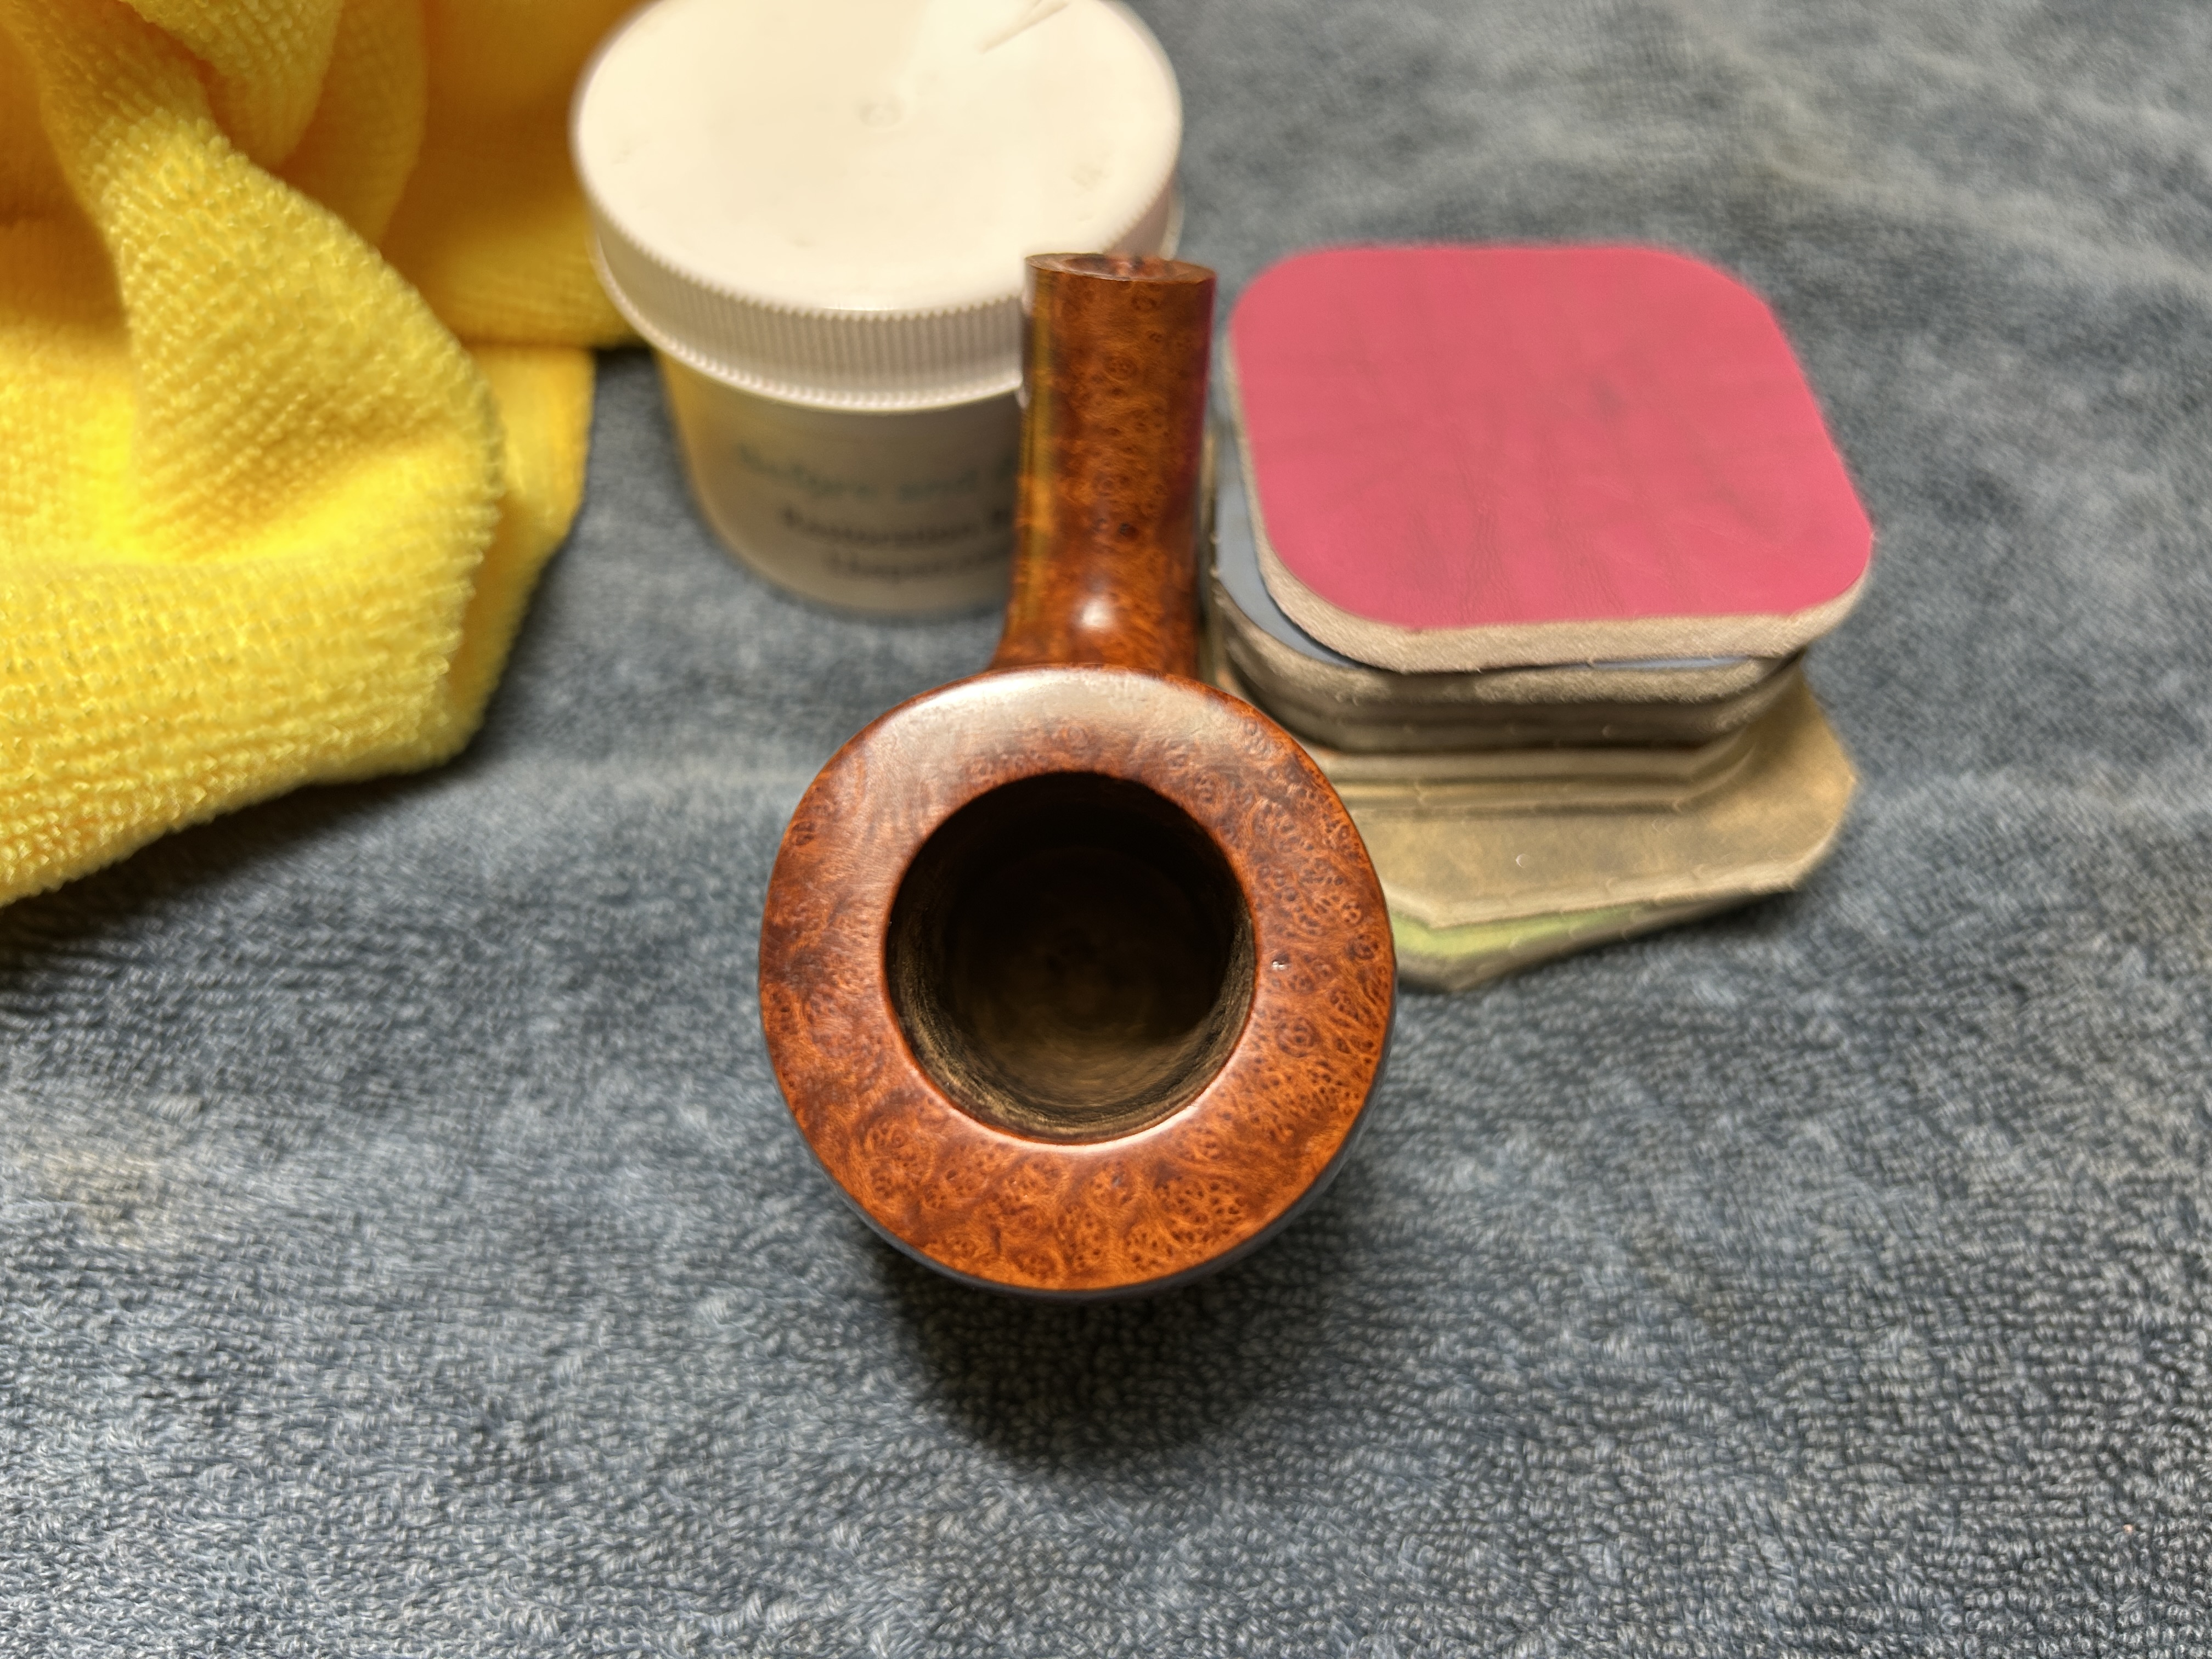
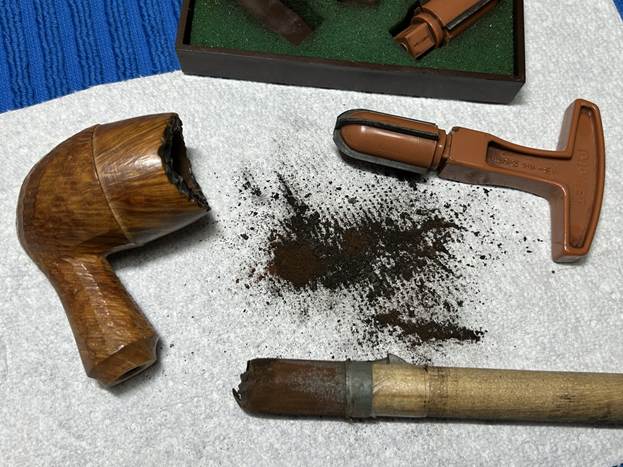
As the stem was (nearly) complete, I moved on to the stummel. The first step was to ream out the bowl – that is to say, remove all the cake inside the bowl. This accomplished a couple of things. First (and most obviously), it cleaned the bowl and provided a refurbished chamber for future smoking. Second, when the old cake was removed, I could inspect the interior walls of the bowl and determine if there was damage or not. I used a reamer, a pipe knife, and a piece of sandpaper taped to a wooden dowel. Collectively, these ensured that all the debris was removed. I’m pleased to report that there wasn’t much.
Similar to the stem, I then cleaned the stummel with both pipe cleaners and cotton swabs dipped in lemon-infused 99% isopropyl alcohol.
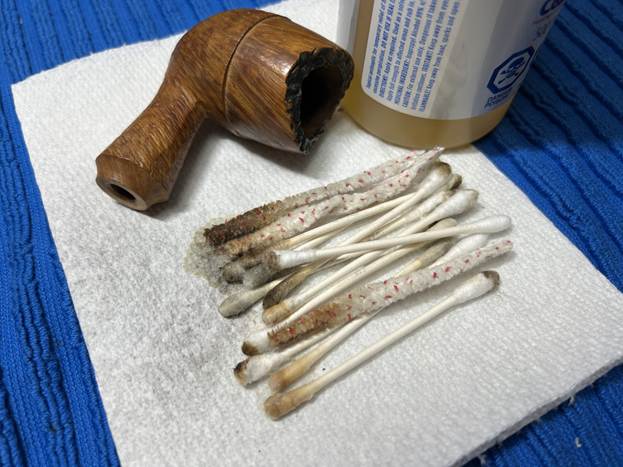
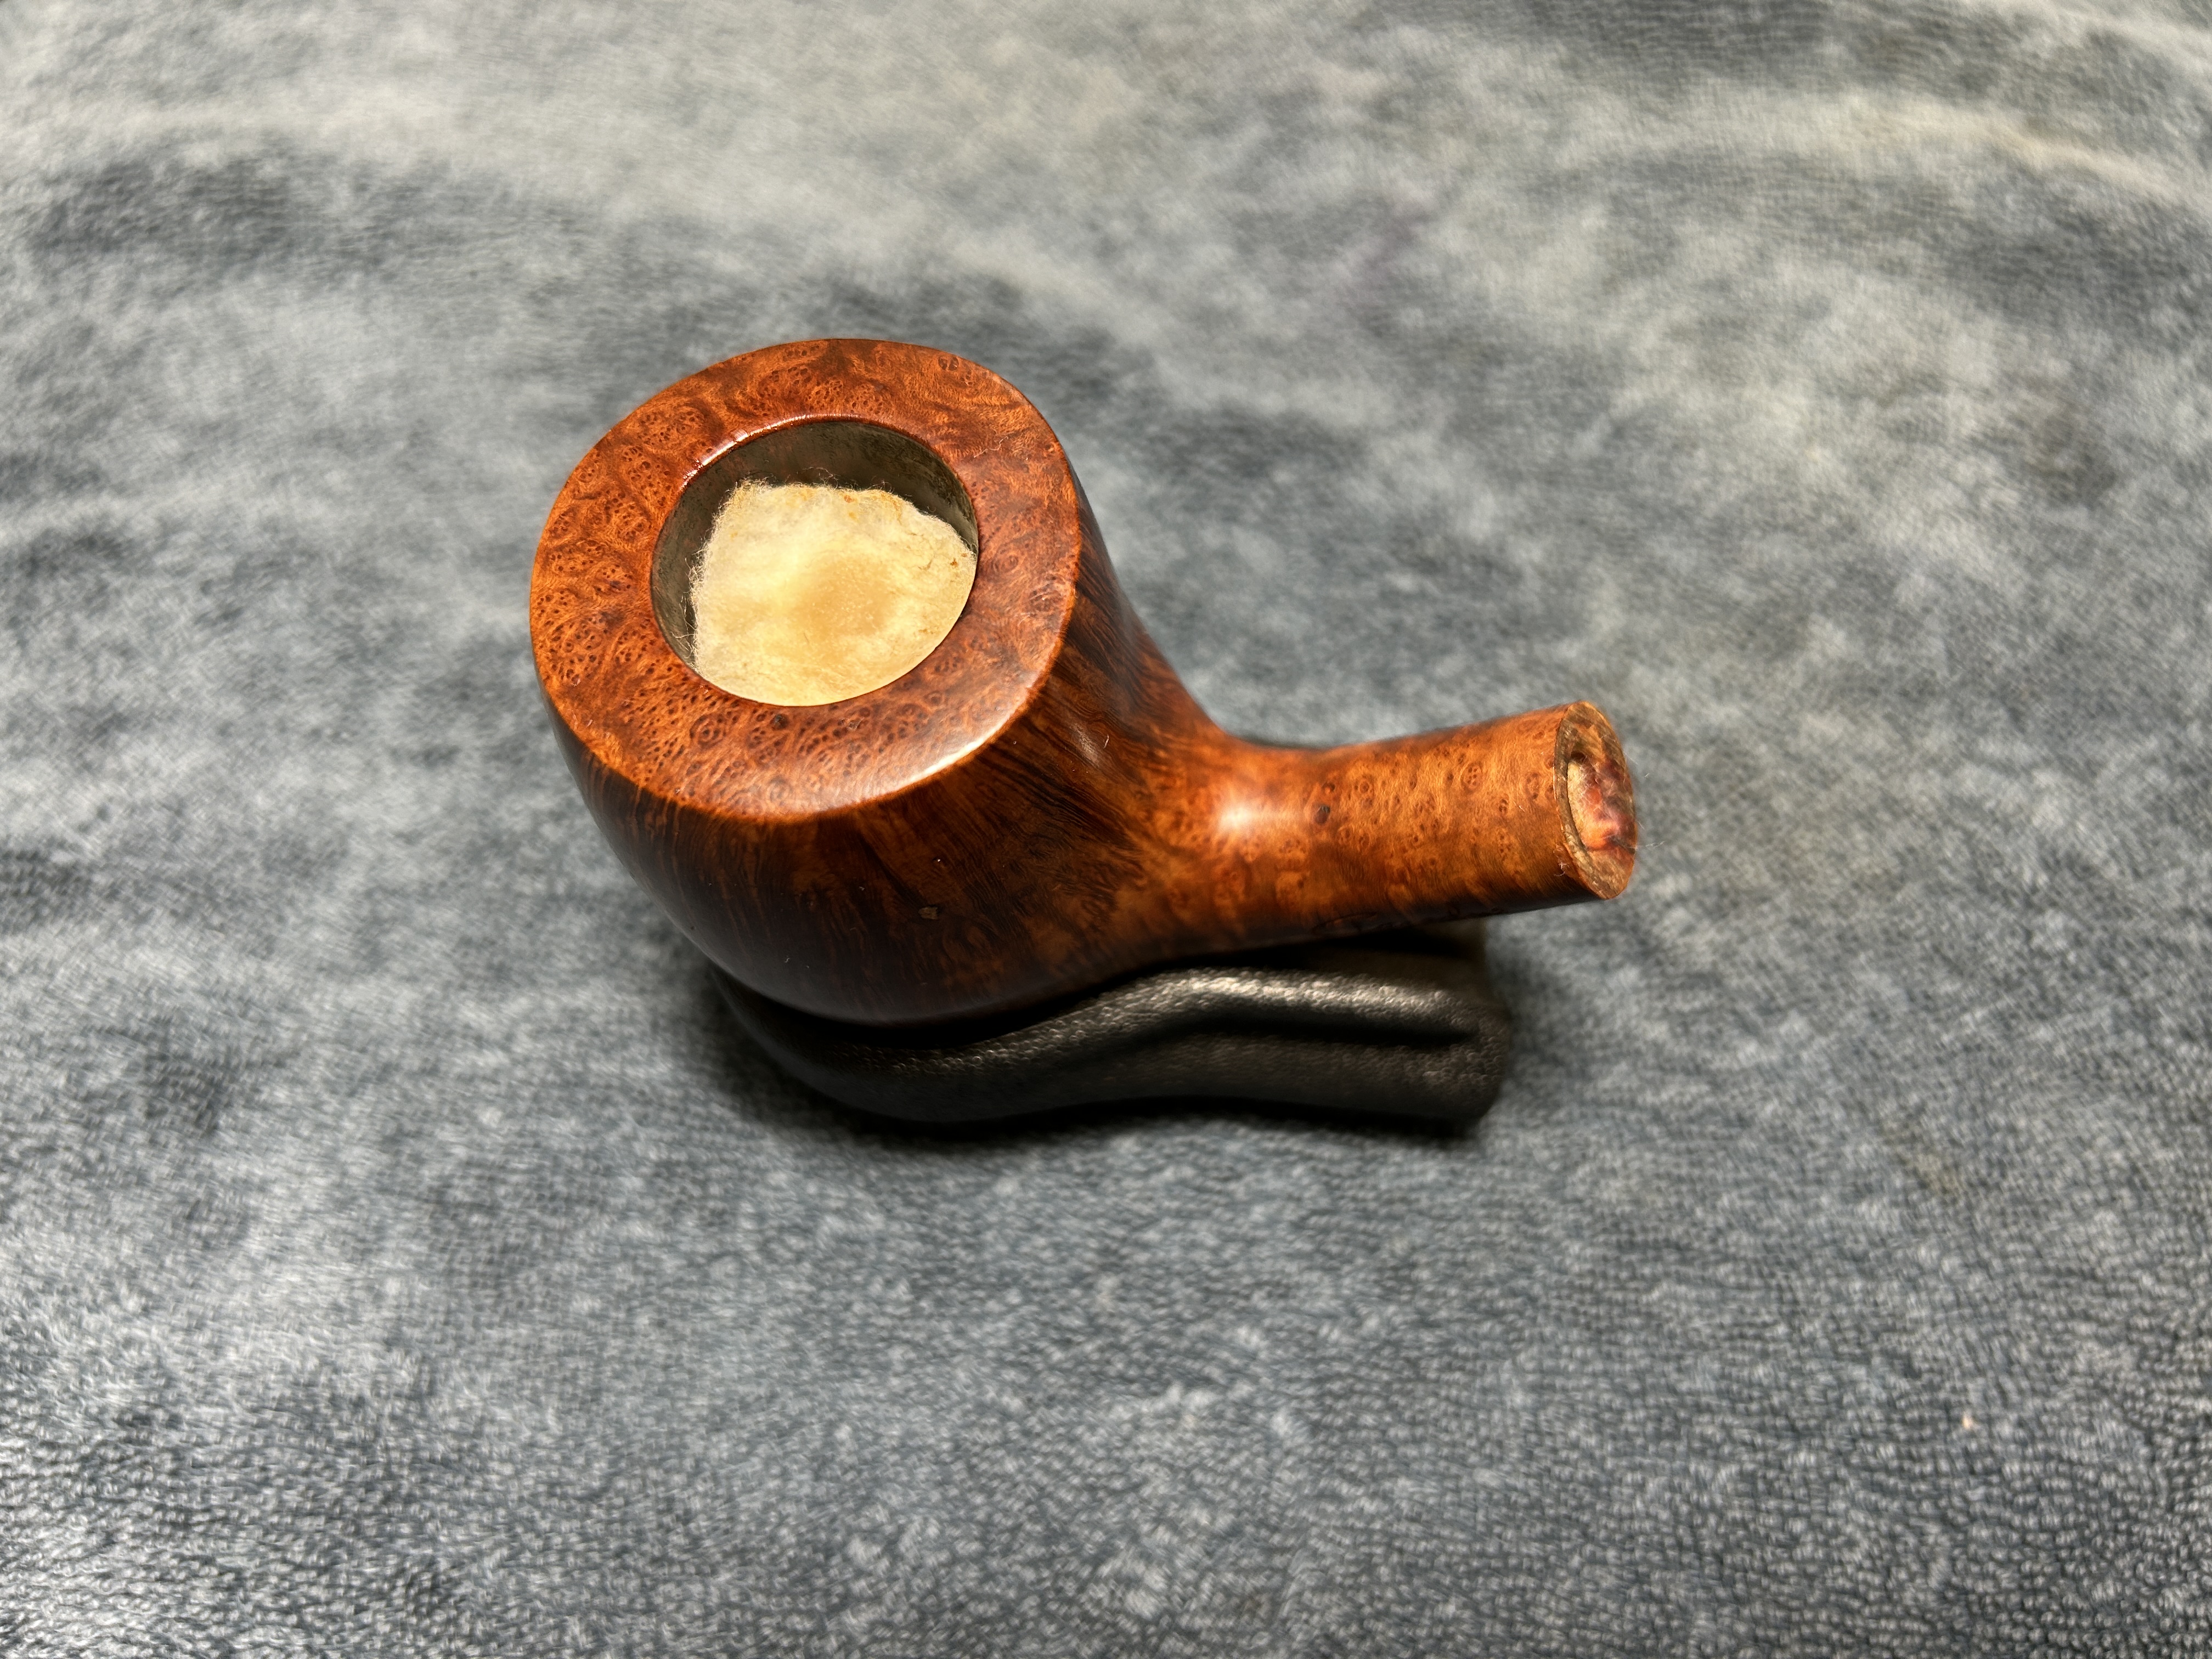
I then decided to ‘de-ghost’ the pipe – that is to say, exorcize the remaining filth from the briar. I filled the bowl and the shank with cotton balls, then saturated them with 99% isopropyl alcohol. I let the stummel sit overnight. This caused the remaining oils, tars and smells to leach out into the cotton.
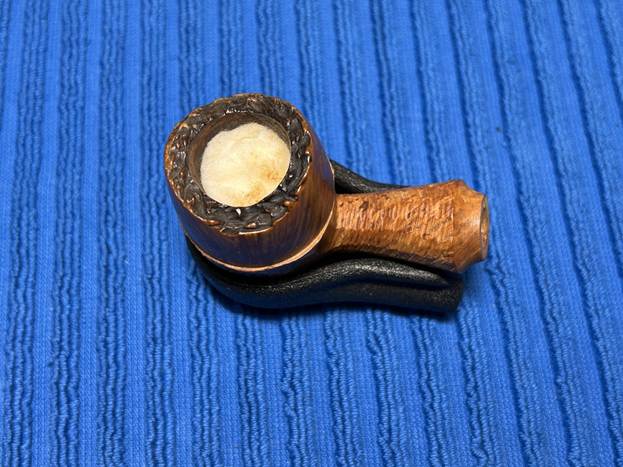
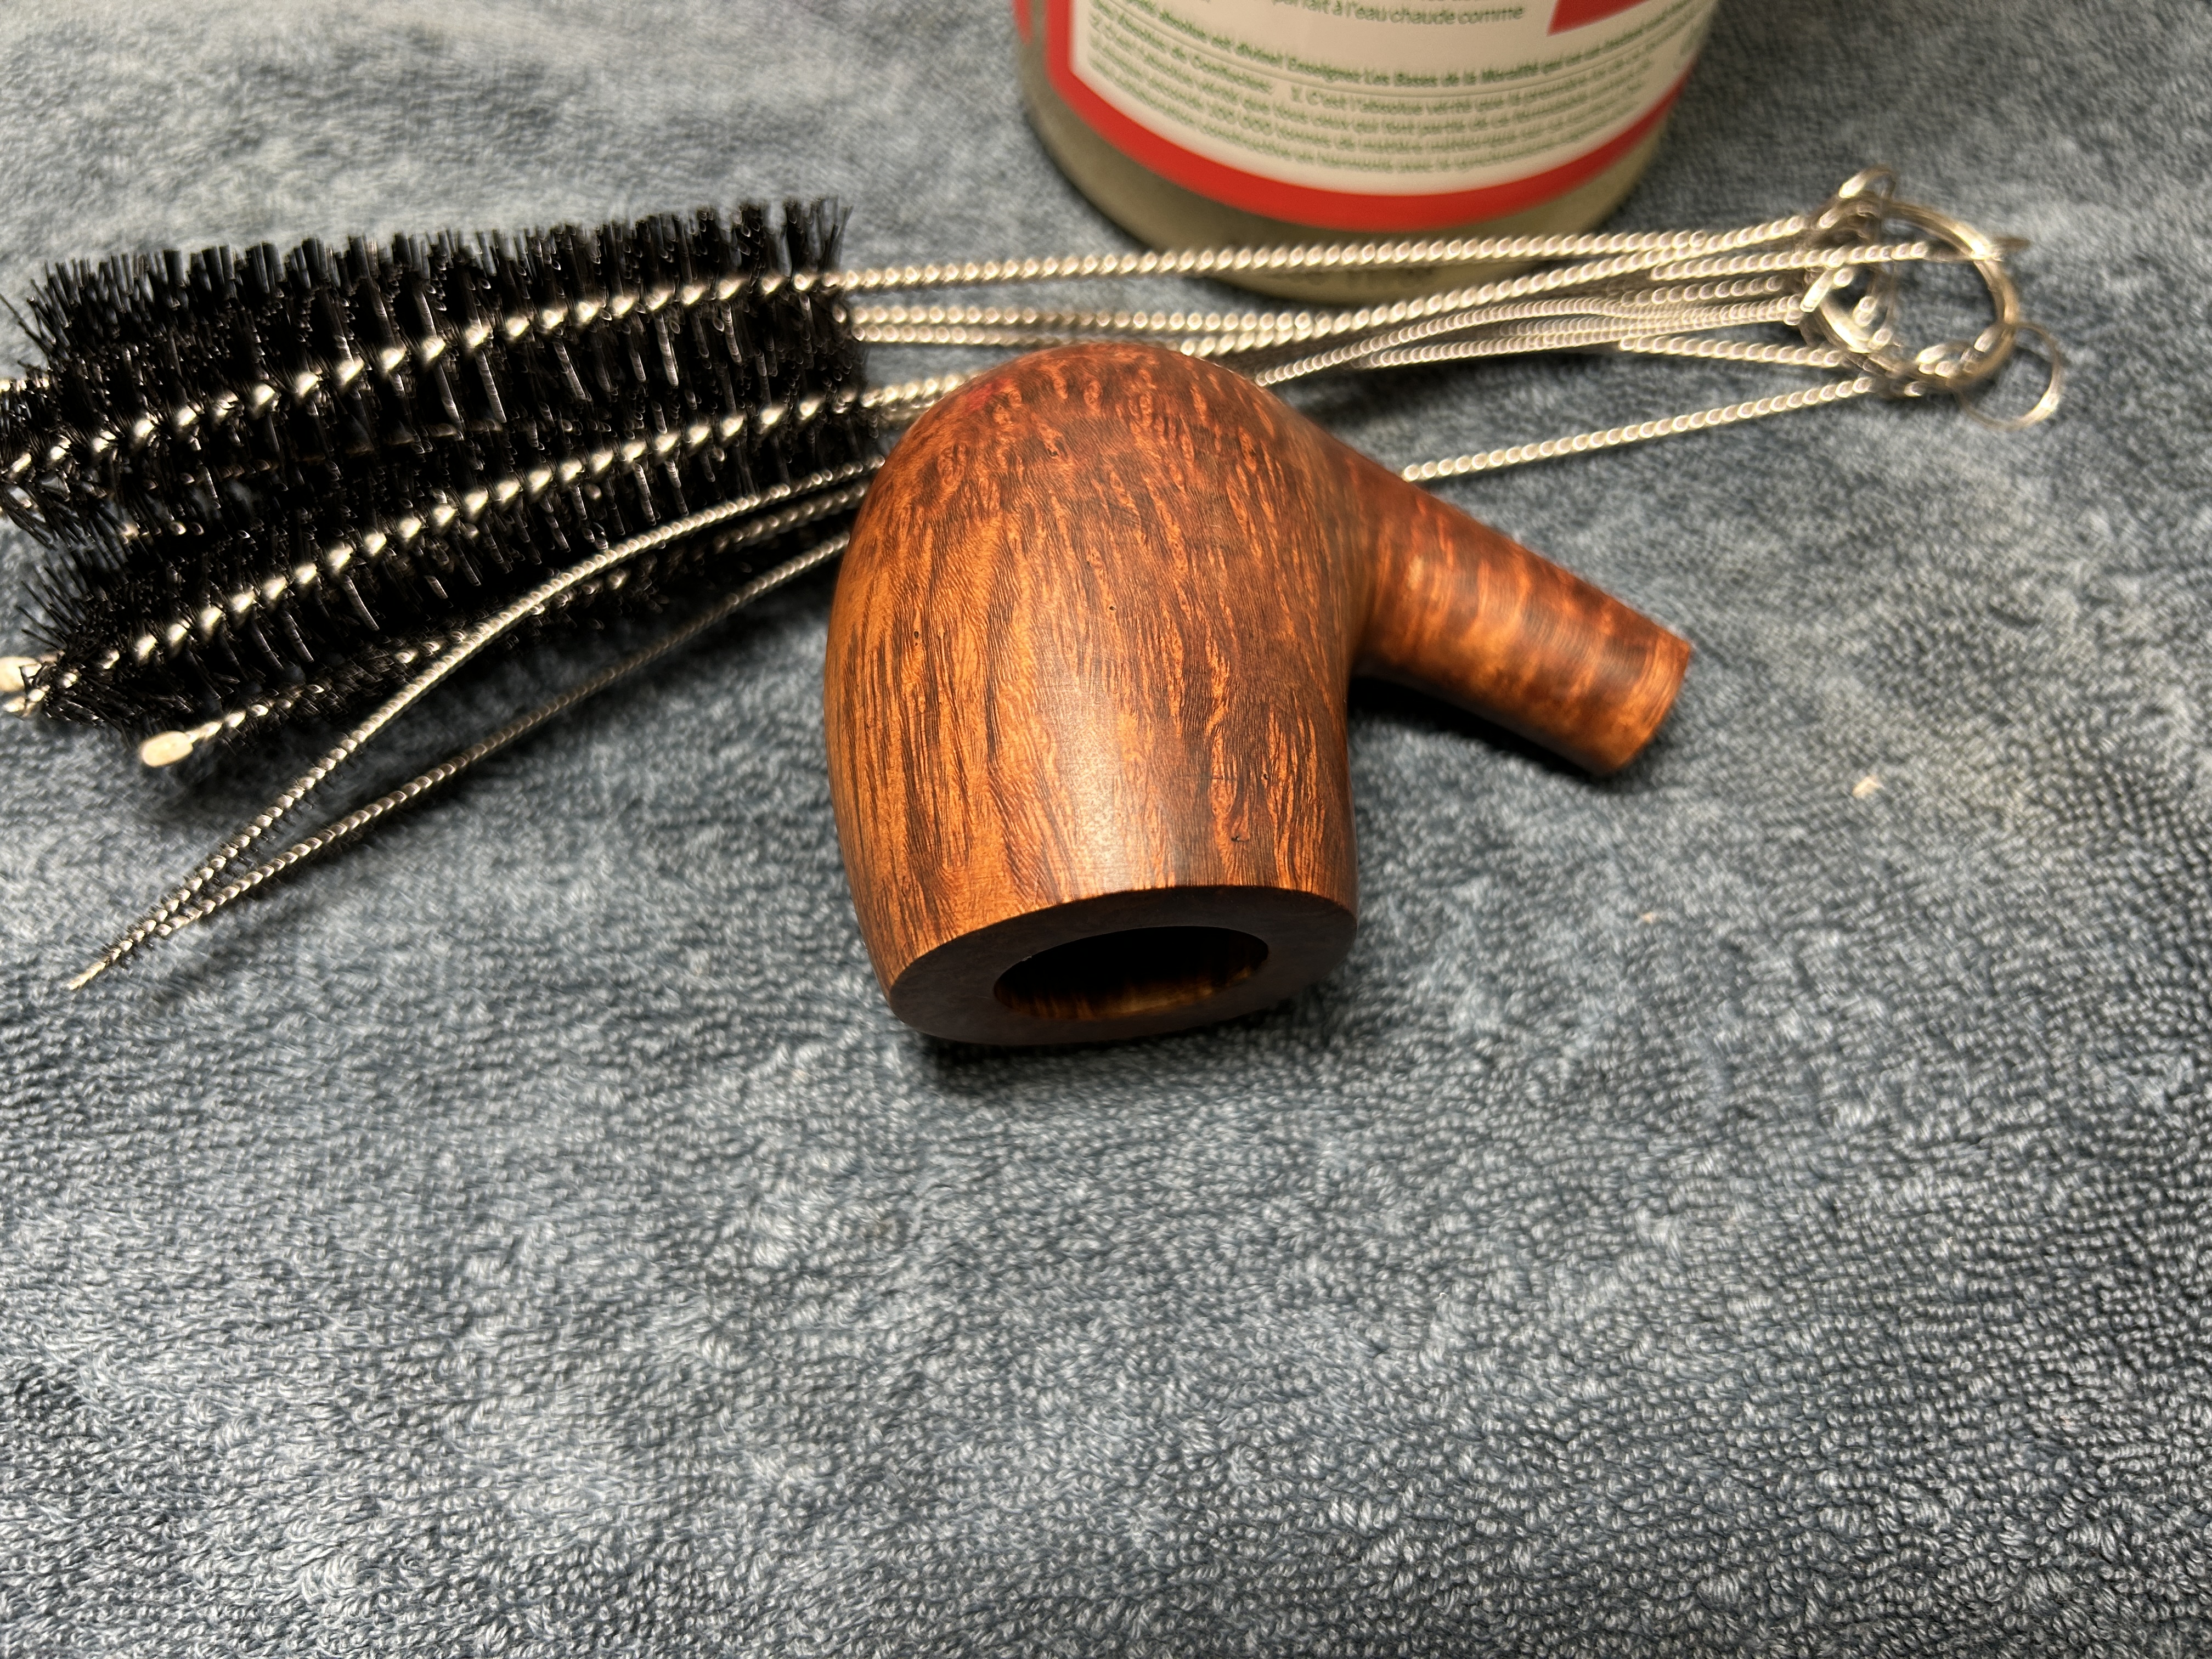
To tidy up the briar, I wiped down the outside, using a solution of a pH-neutral detergent and some distilled water, with cotton rounds. I also used a toothbrush in the crevices. This did a good job of cleaning any latent dirt on the surface of the briar. The last step of the cleaning process was to scour the inside of the stummel with the same mild detergent and tube brushes. This was the culmination of a lot of hard work in getting the pipe clean.
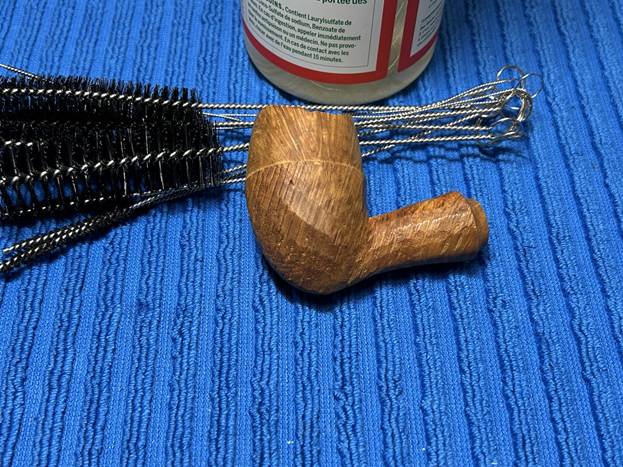
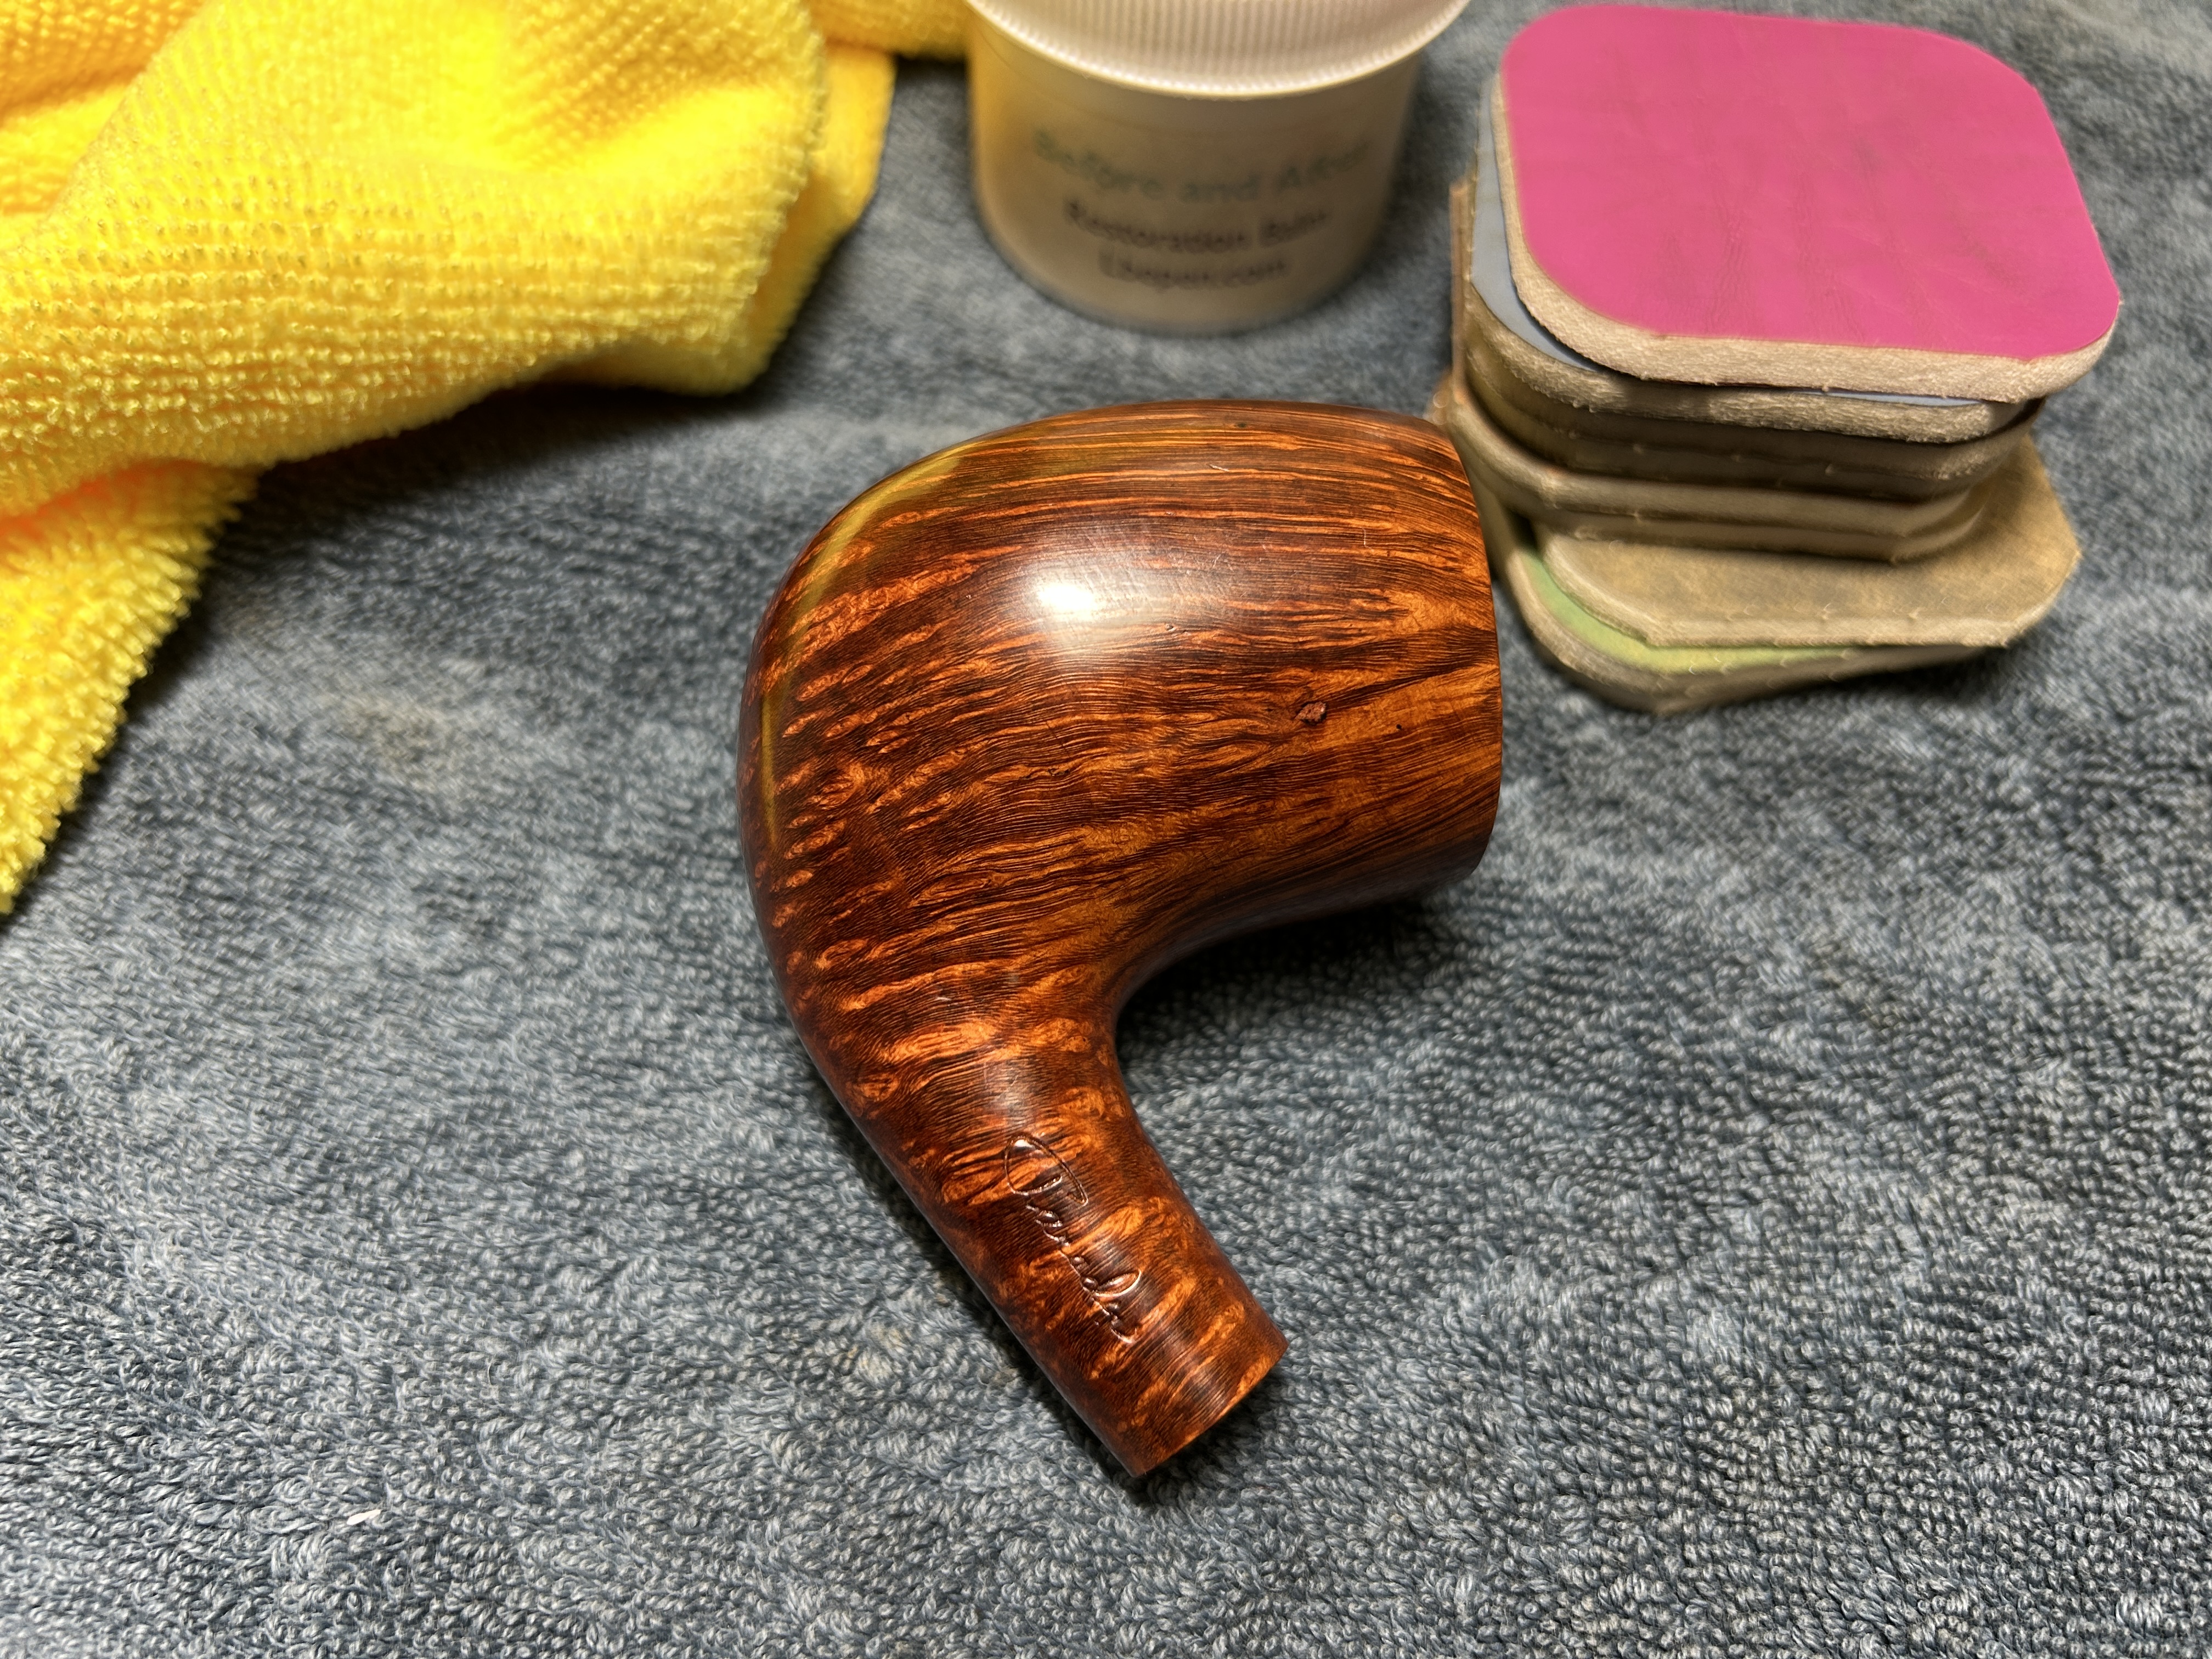
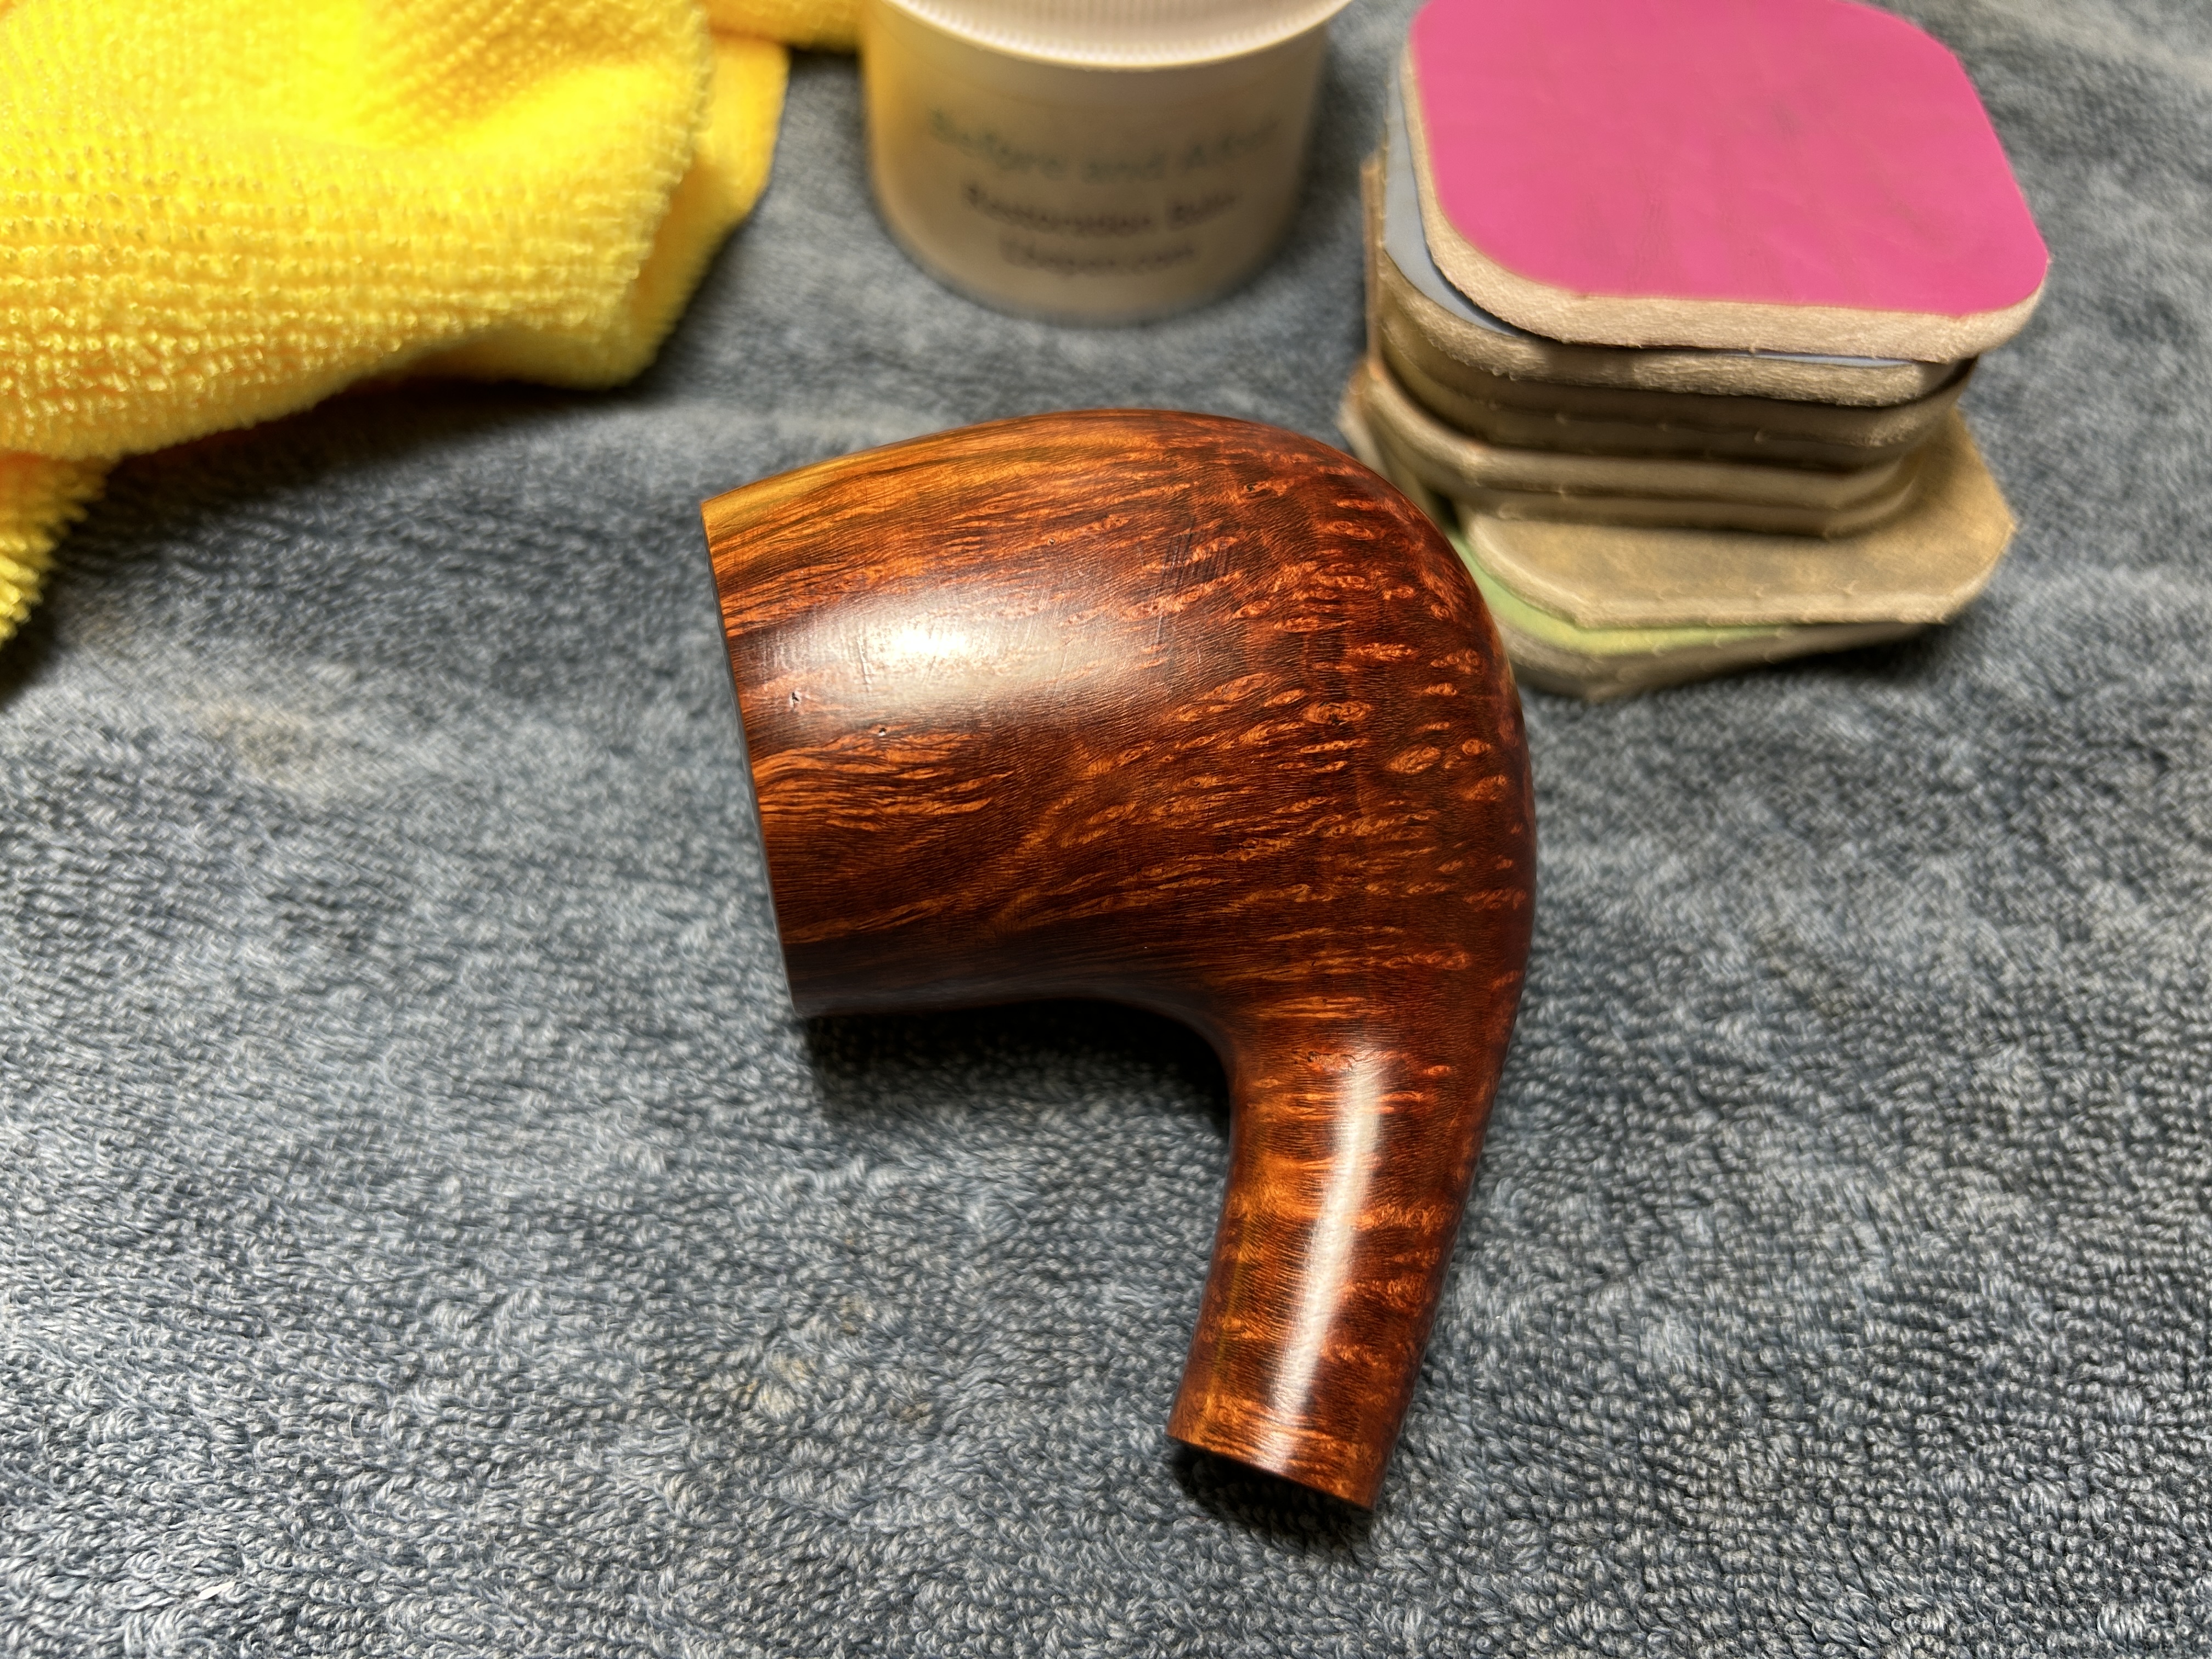
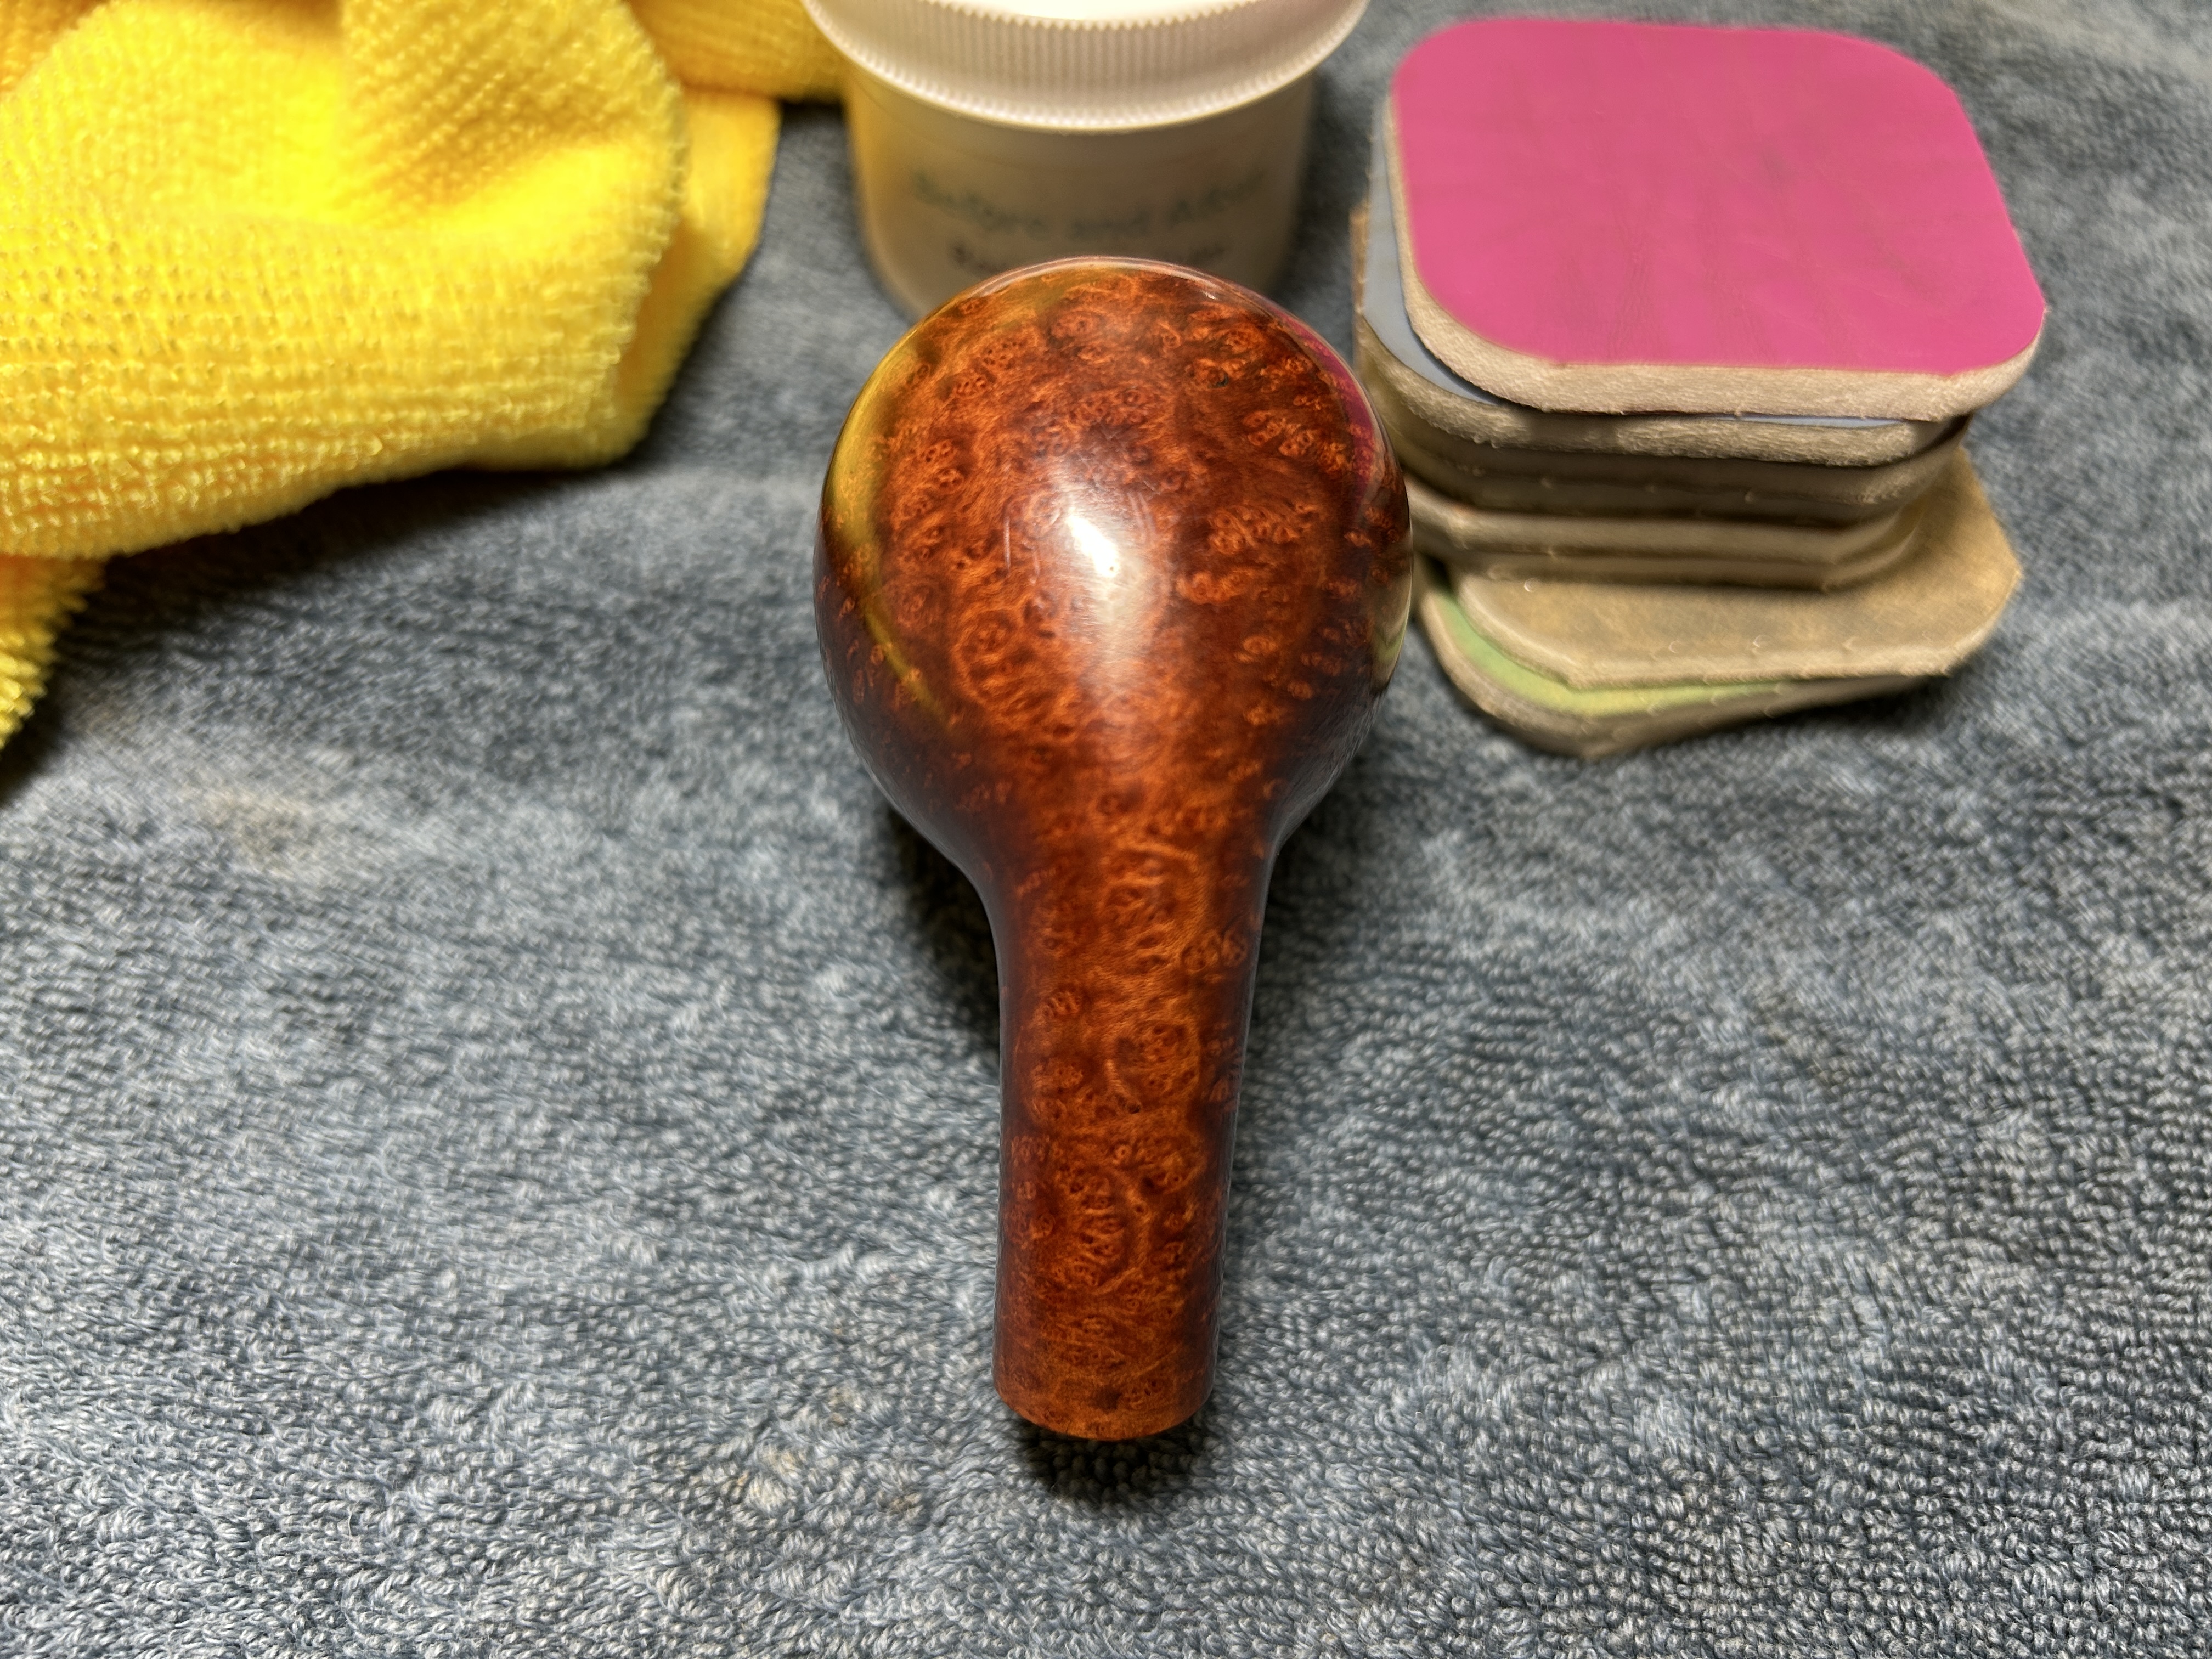
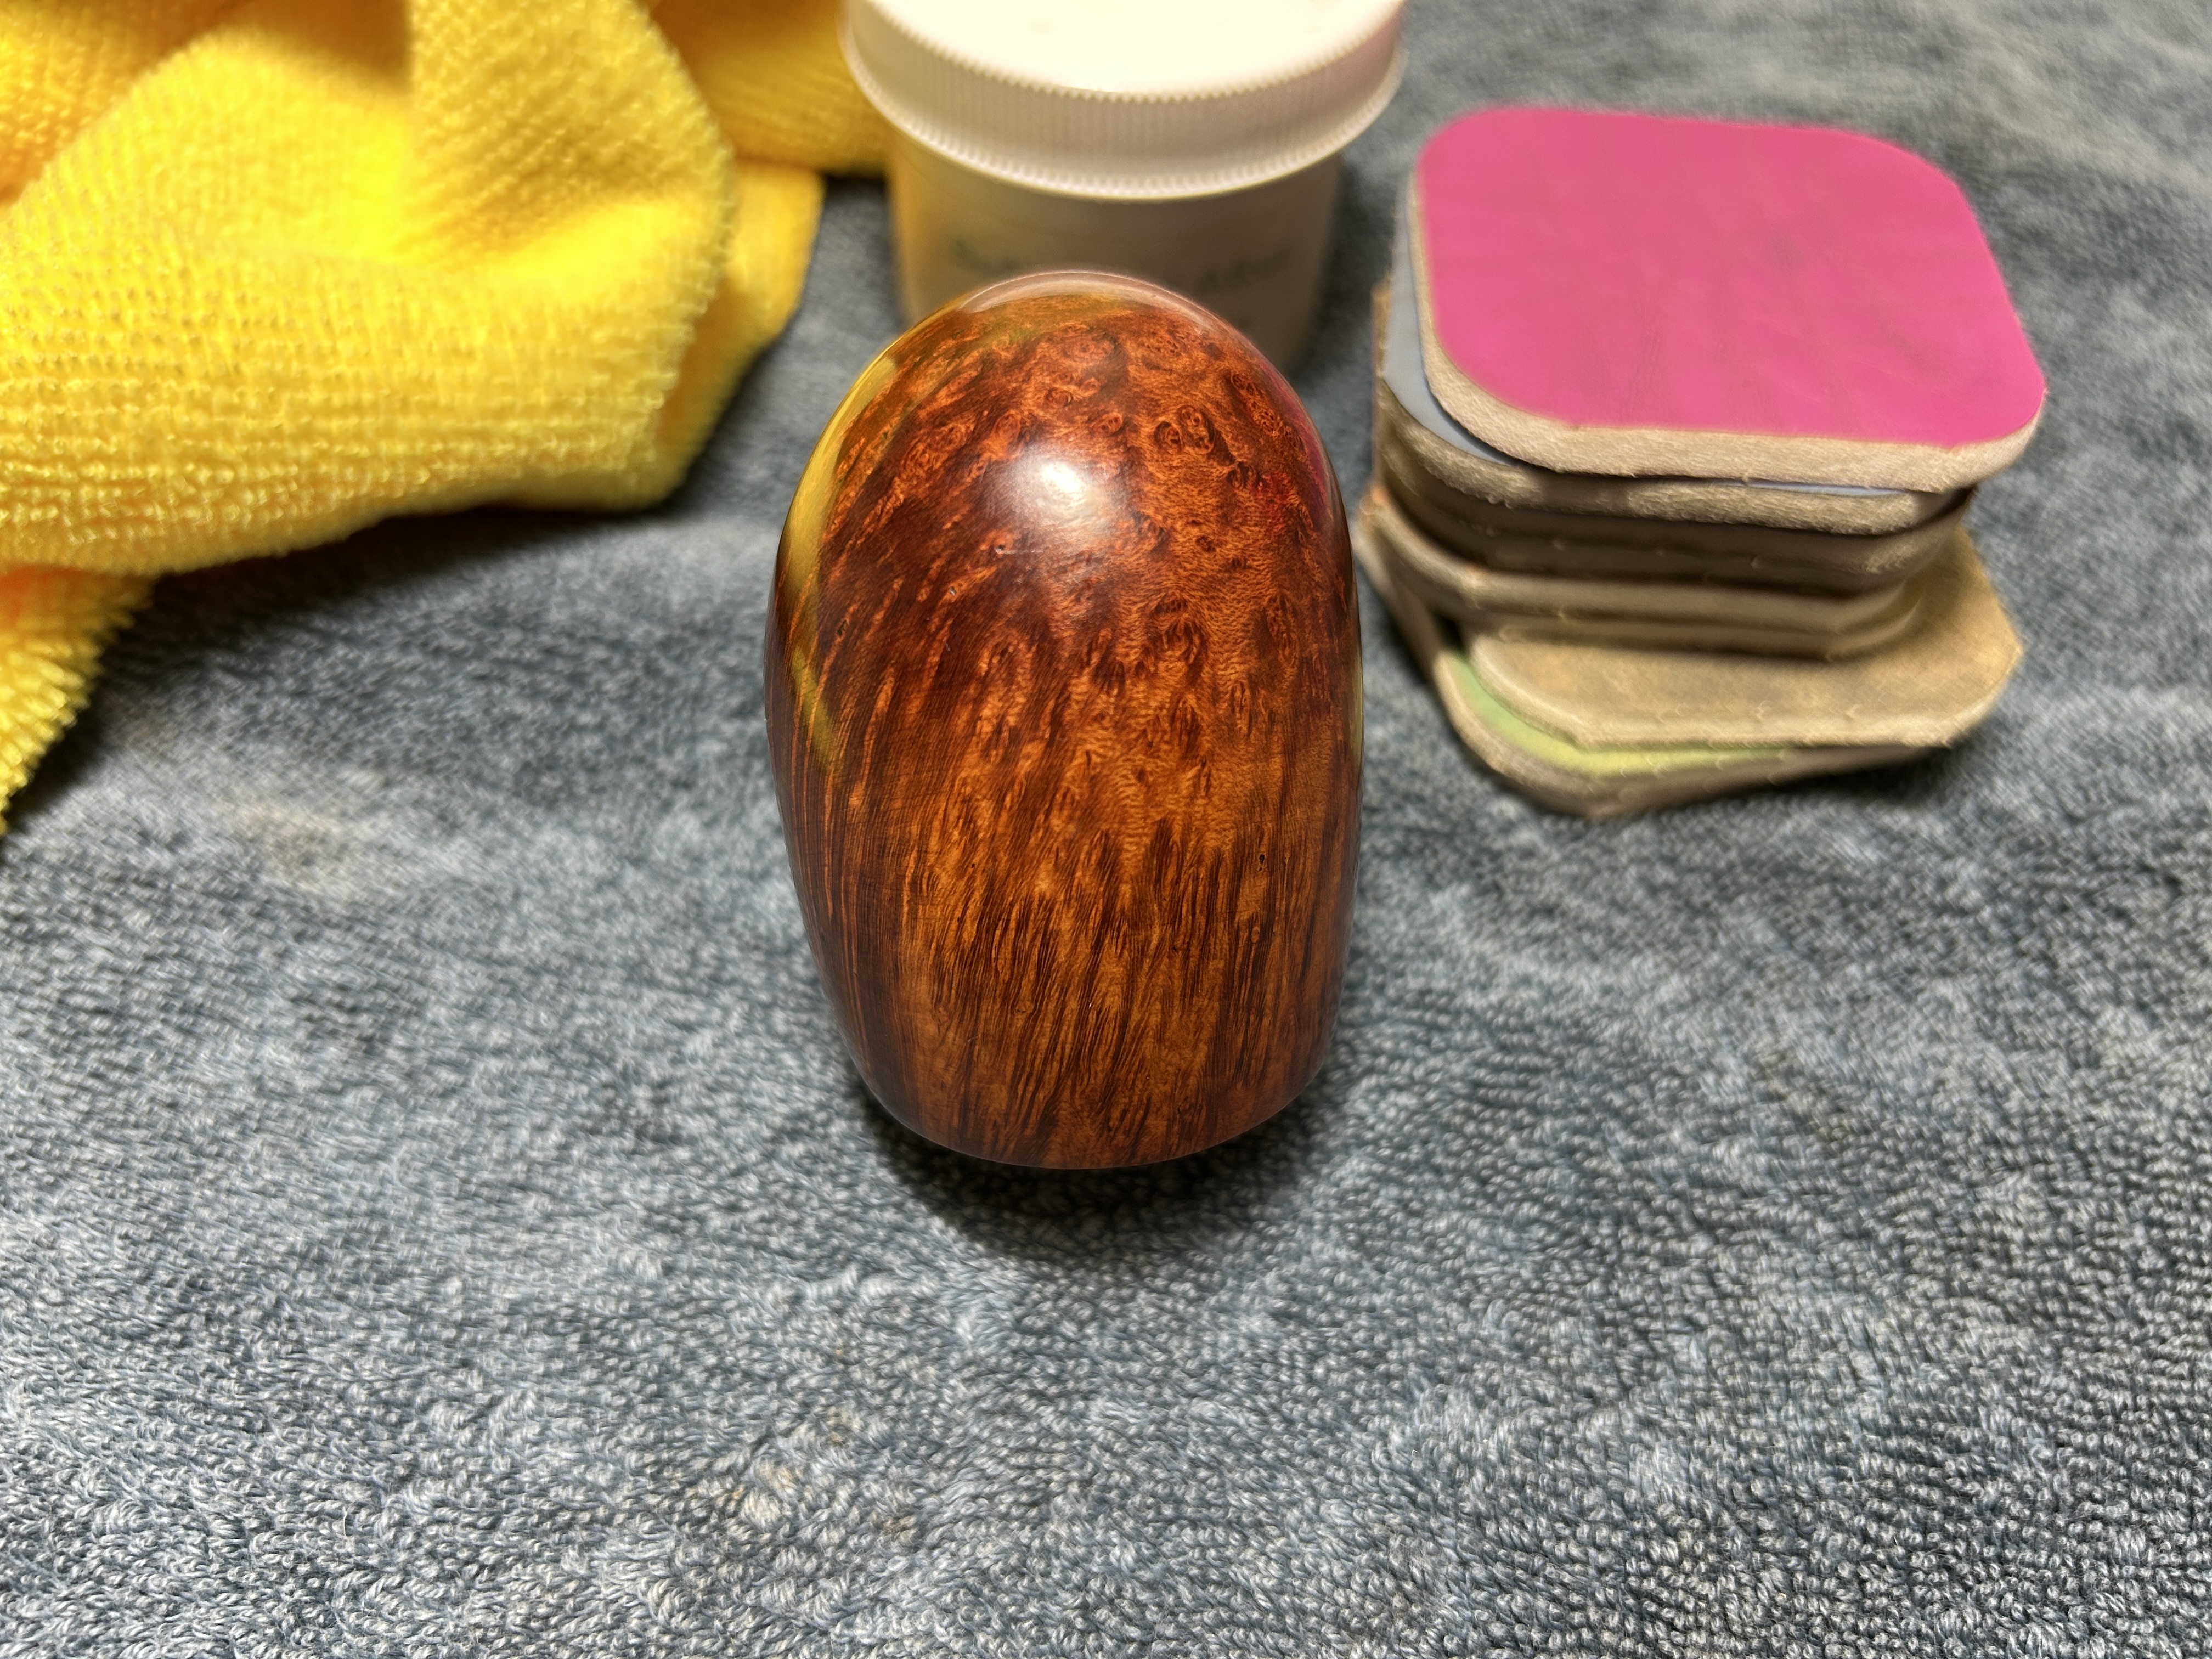
I used all nine micromesh pads (1,500 through 12,000 grit) to sand only the smooth parts of the stummel and finish it off. This sanding minimizes flaws in the briar and provides a beautiful smoothness to the wood. I rubbed some LBE Before & After Restoration Balm into the briar and let it sit for an hour or so. The balm moisturizes the wood and gives a beautiful depth to the briar. I then buffed the stummel with a microfibre cloth.
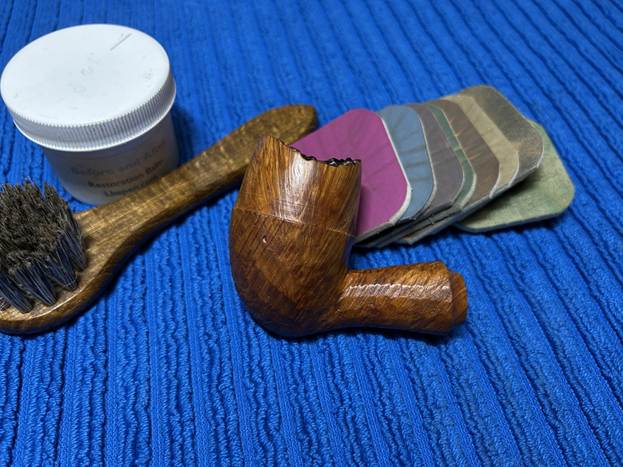
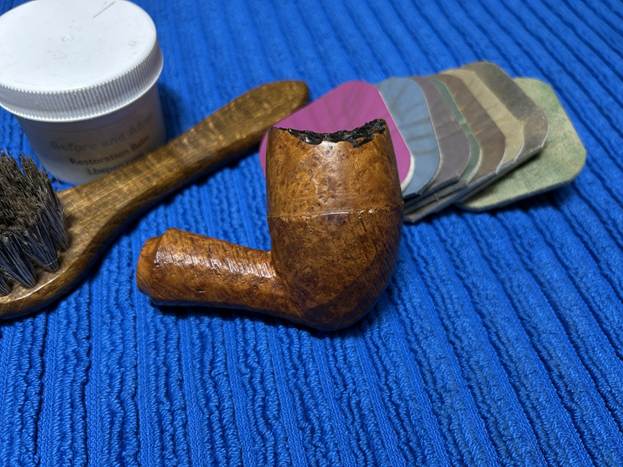
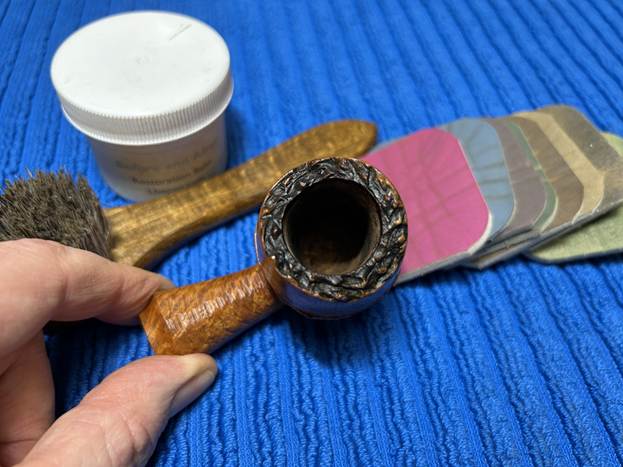
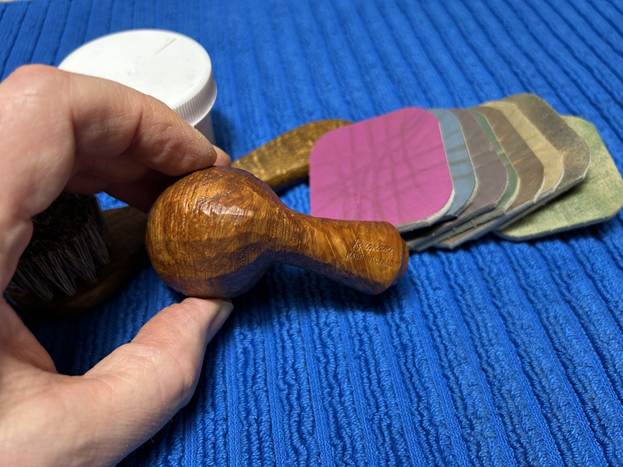
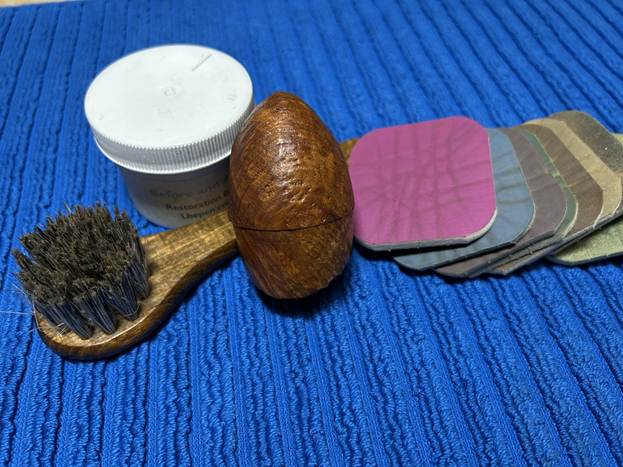
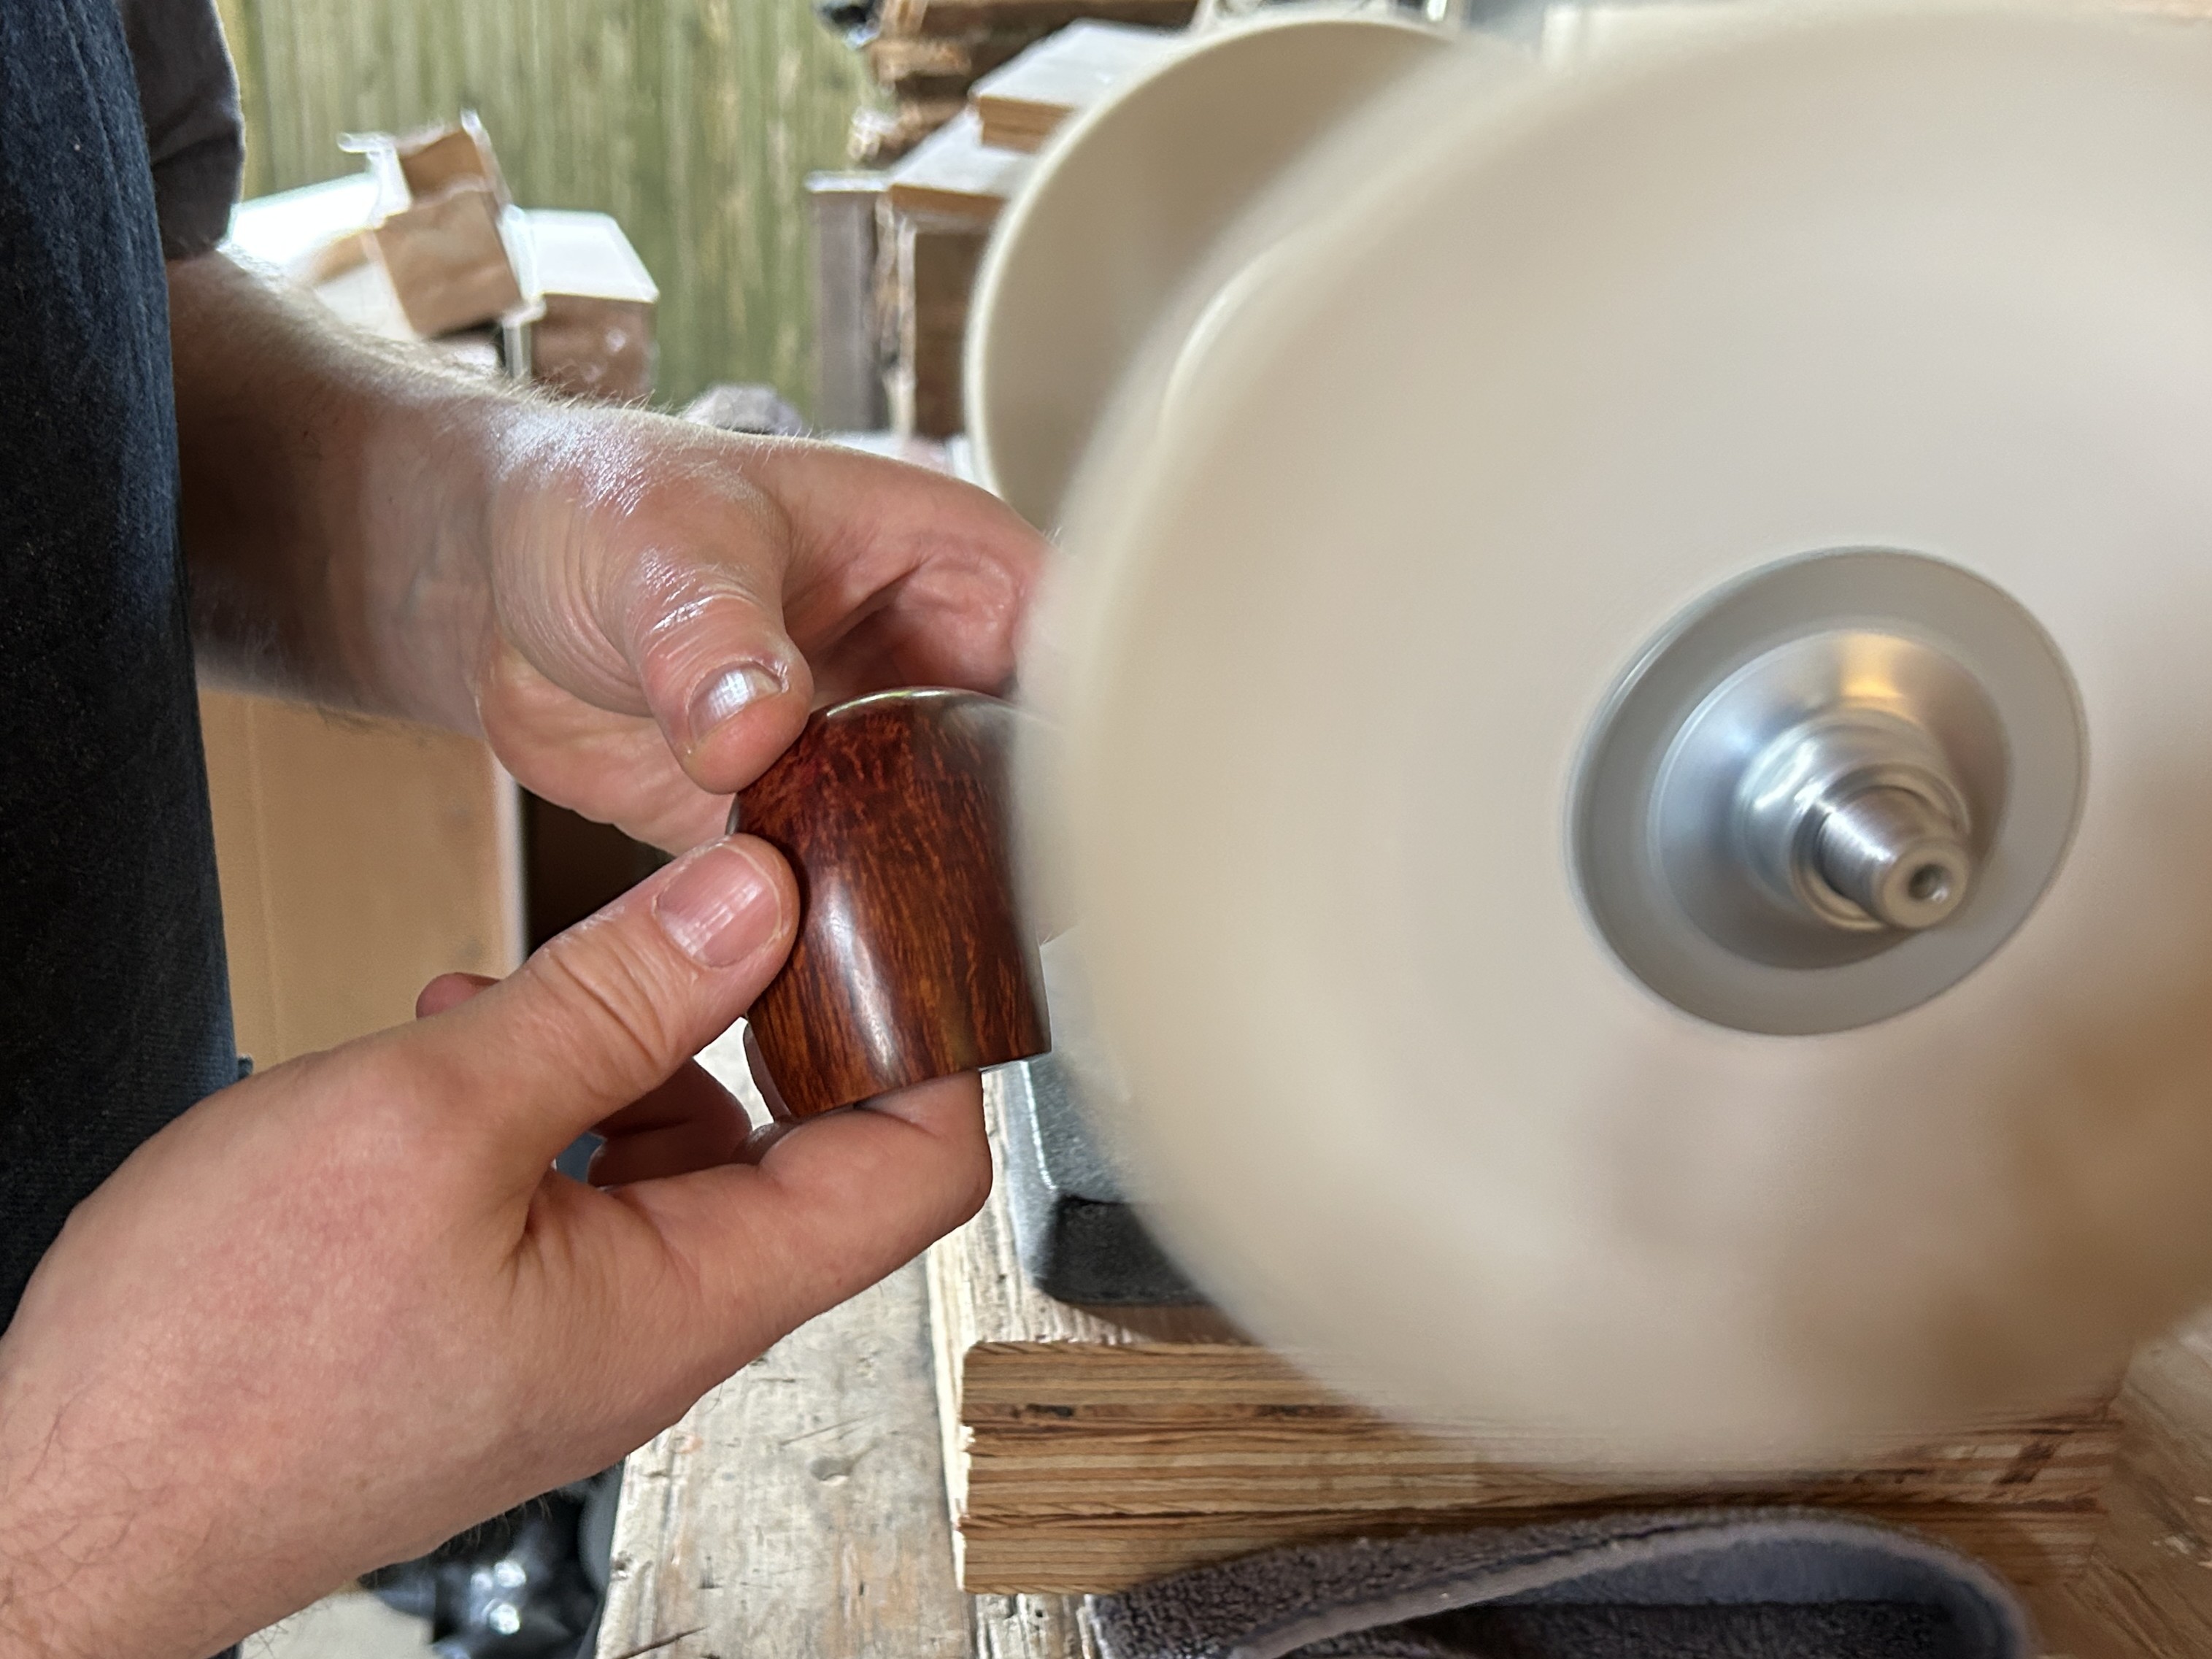
For the final step, I took the pipe to my bench polisher and carefully buffed it – first with a blue diamond compound, then with some carnauba wax. This procedure makes the pipe look its best – the stummel sings and the stem glows.
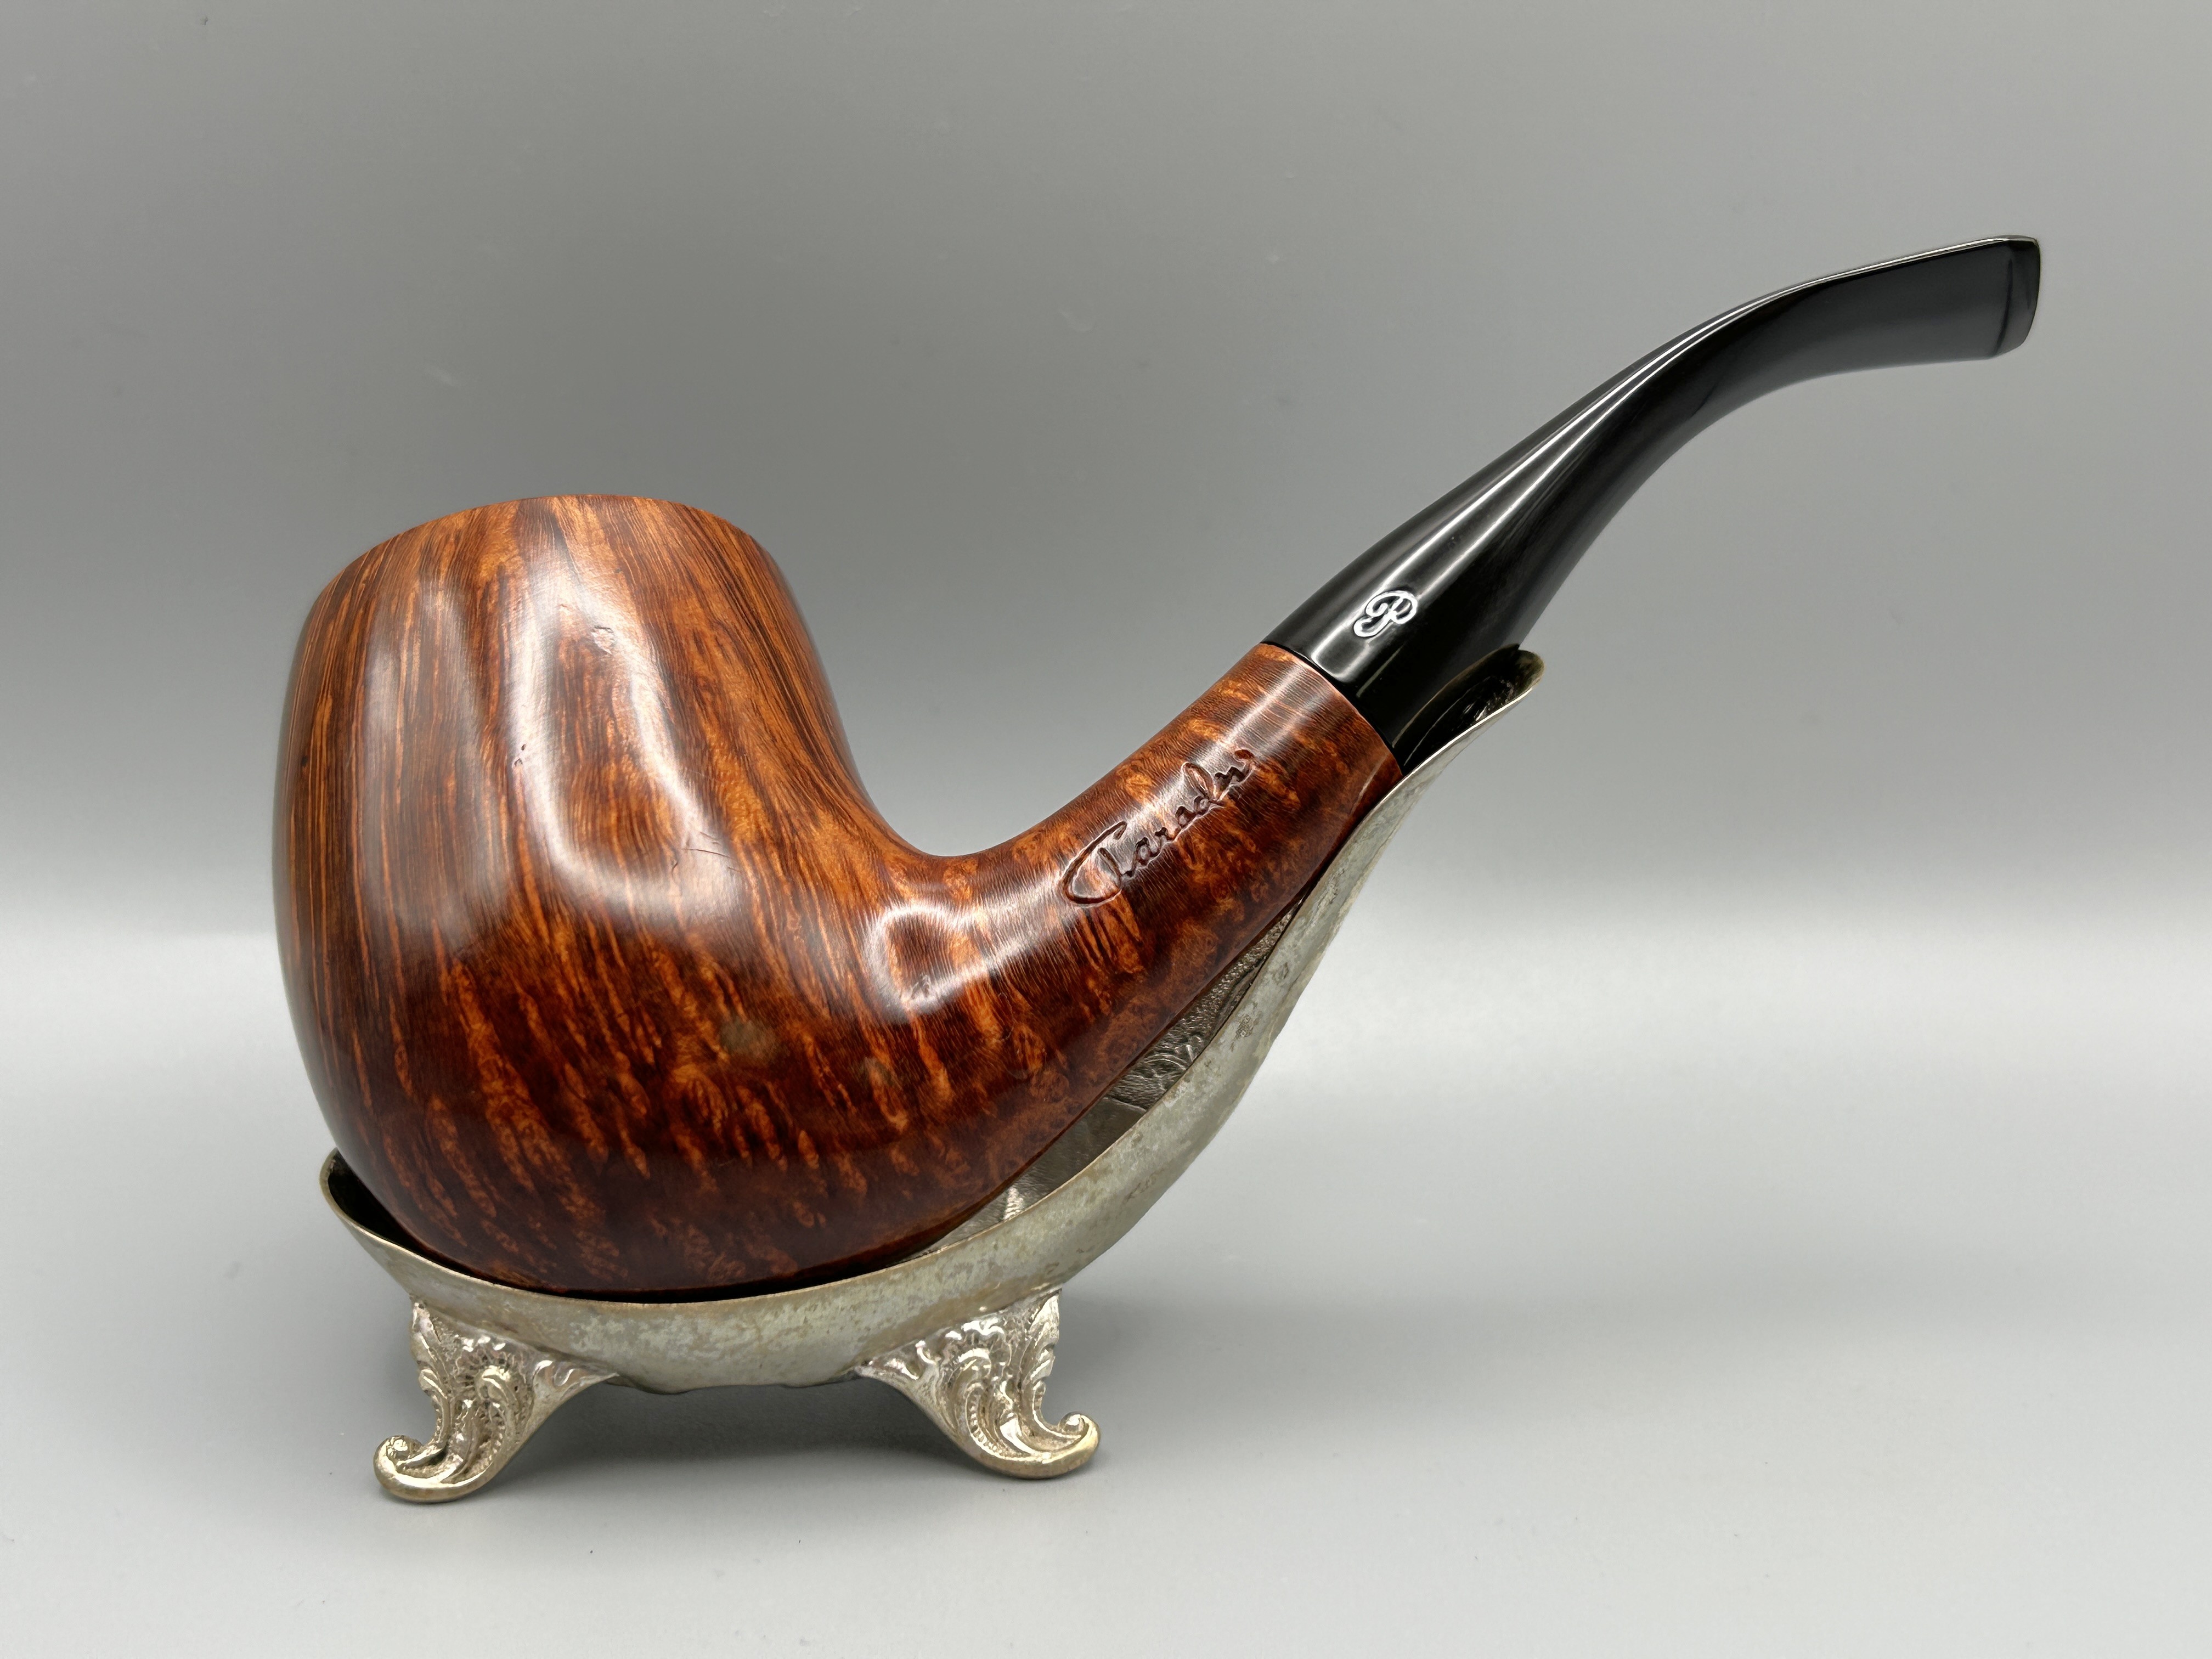
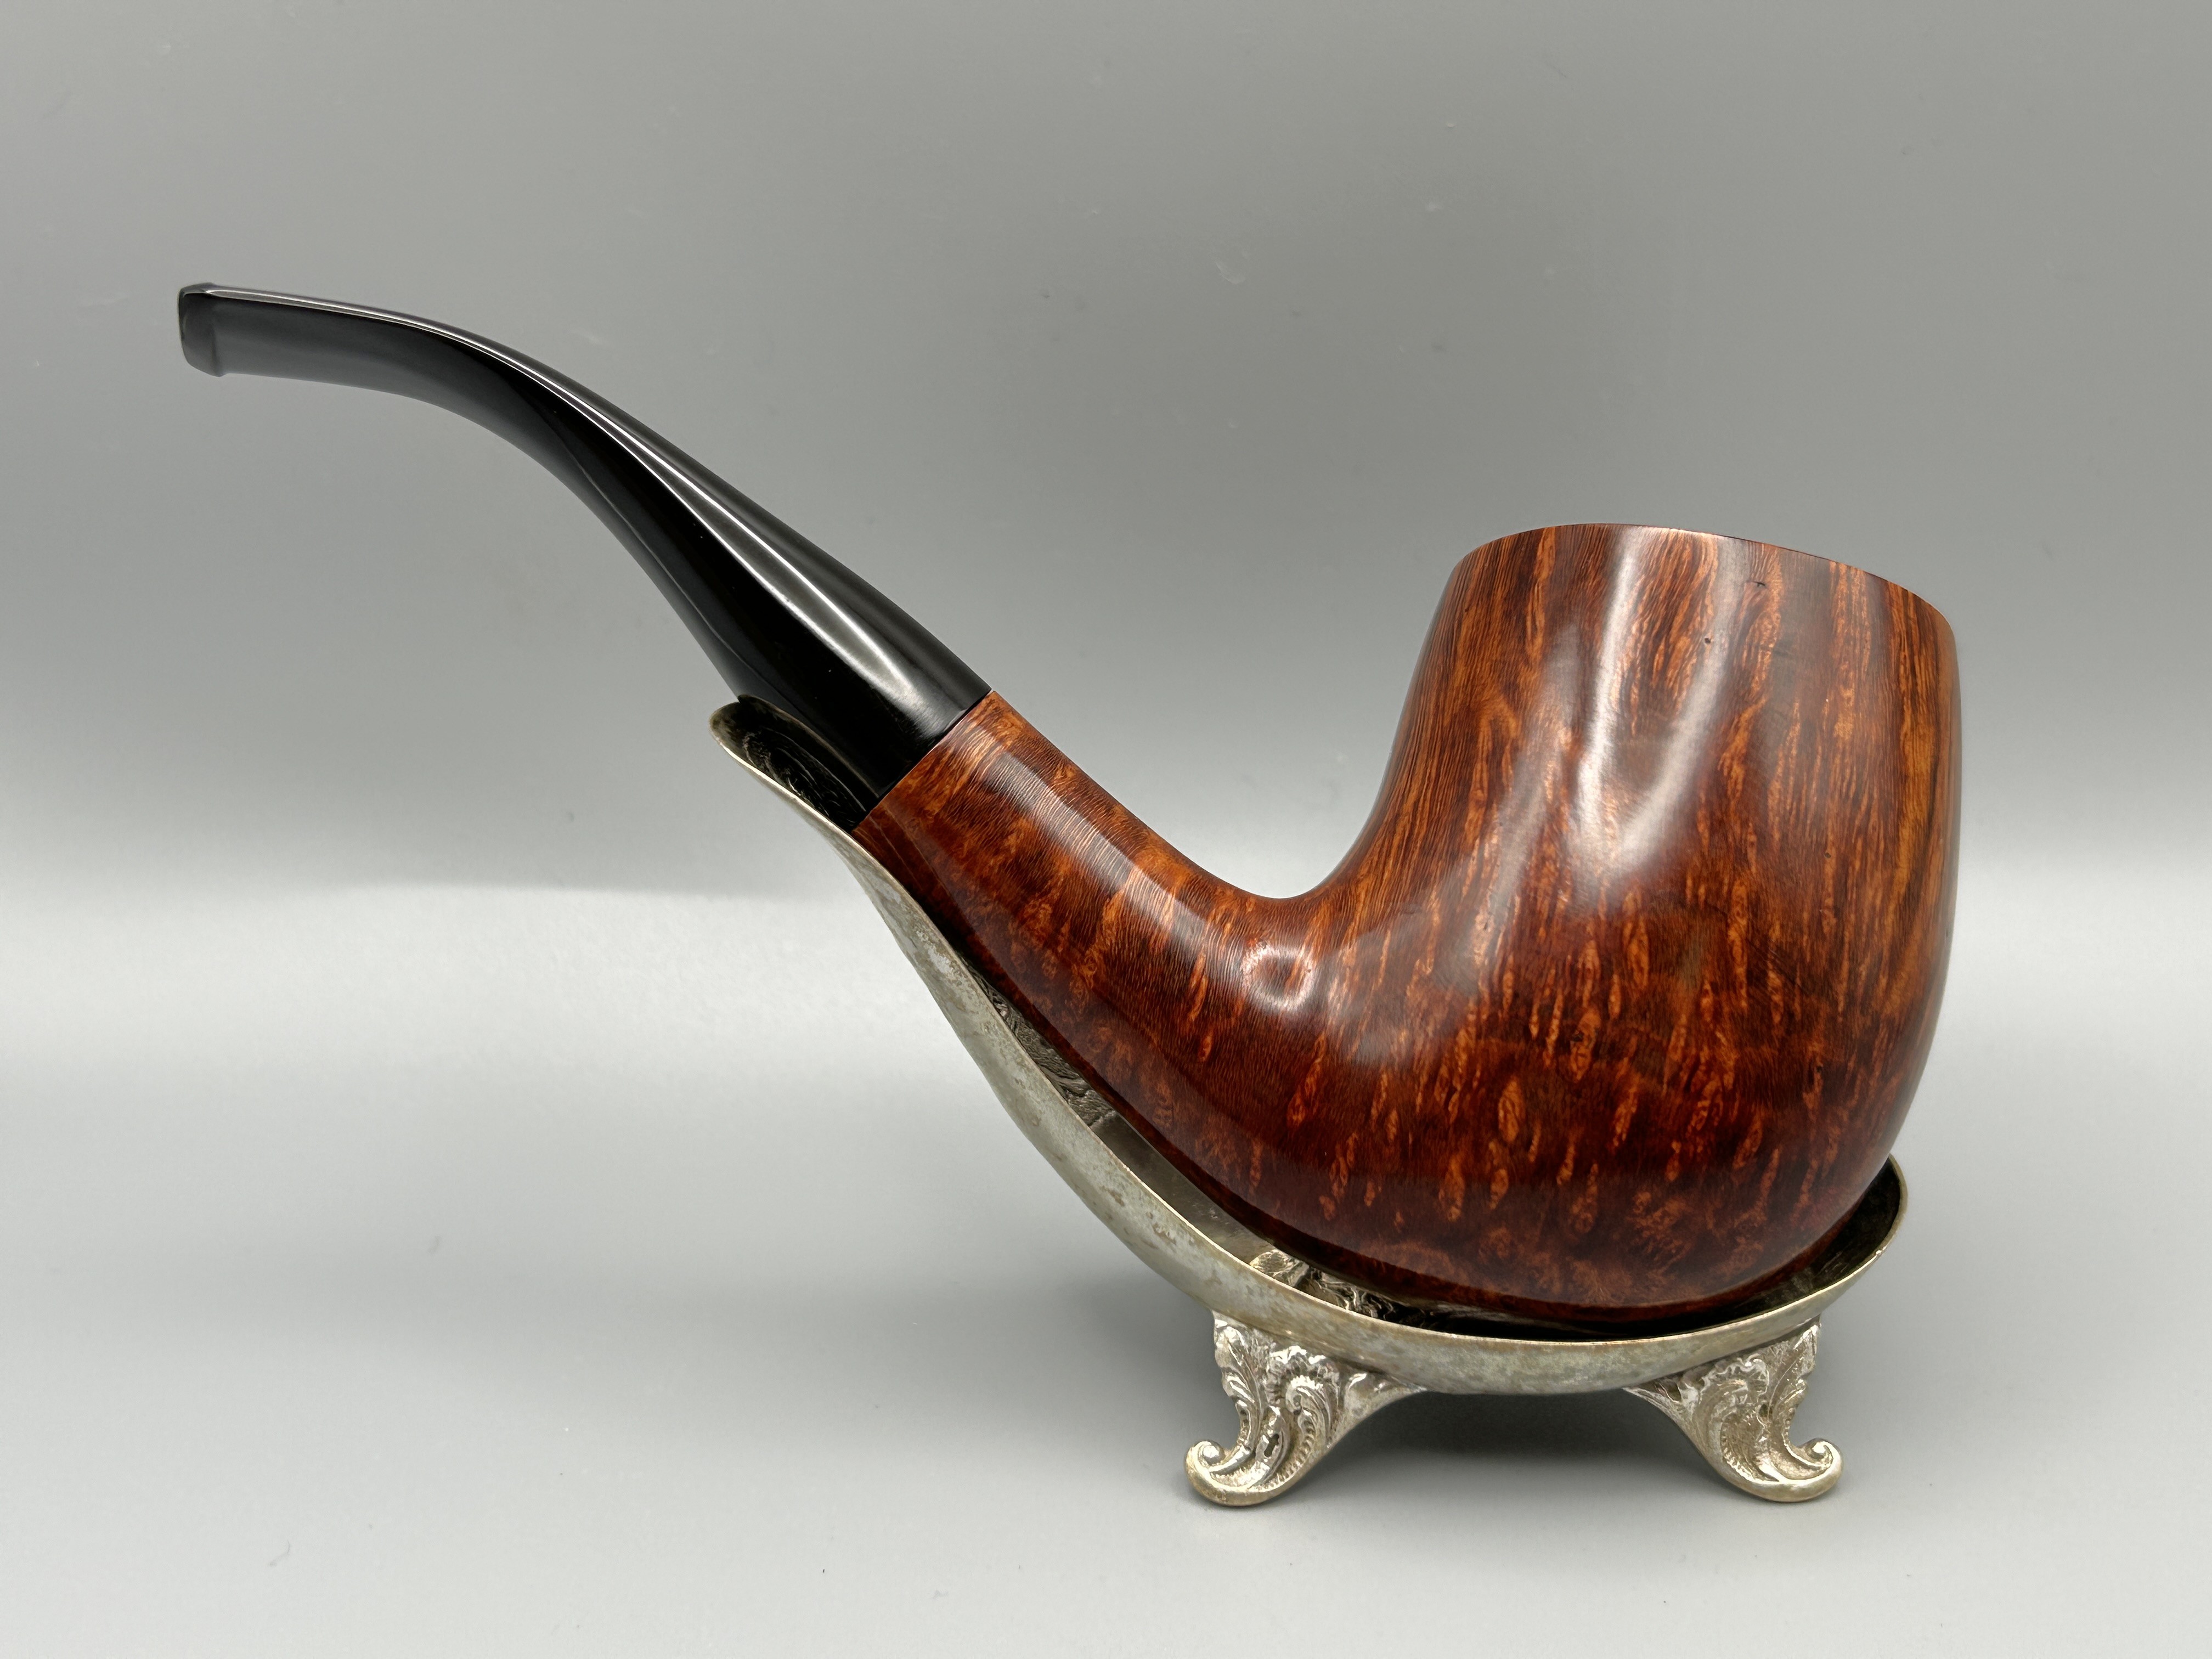
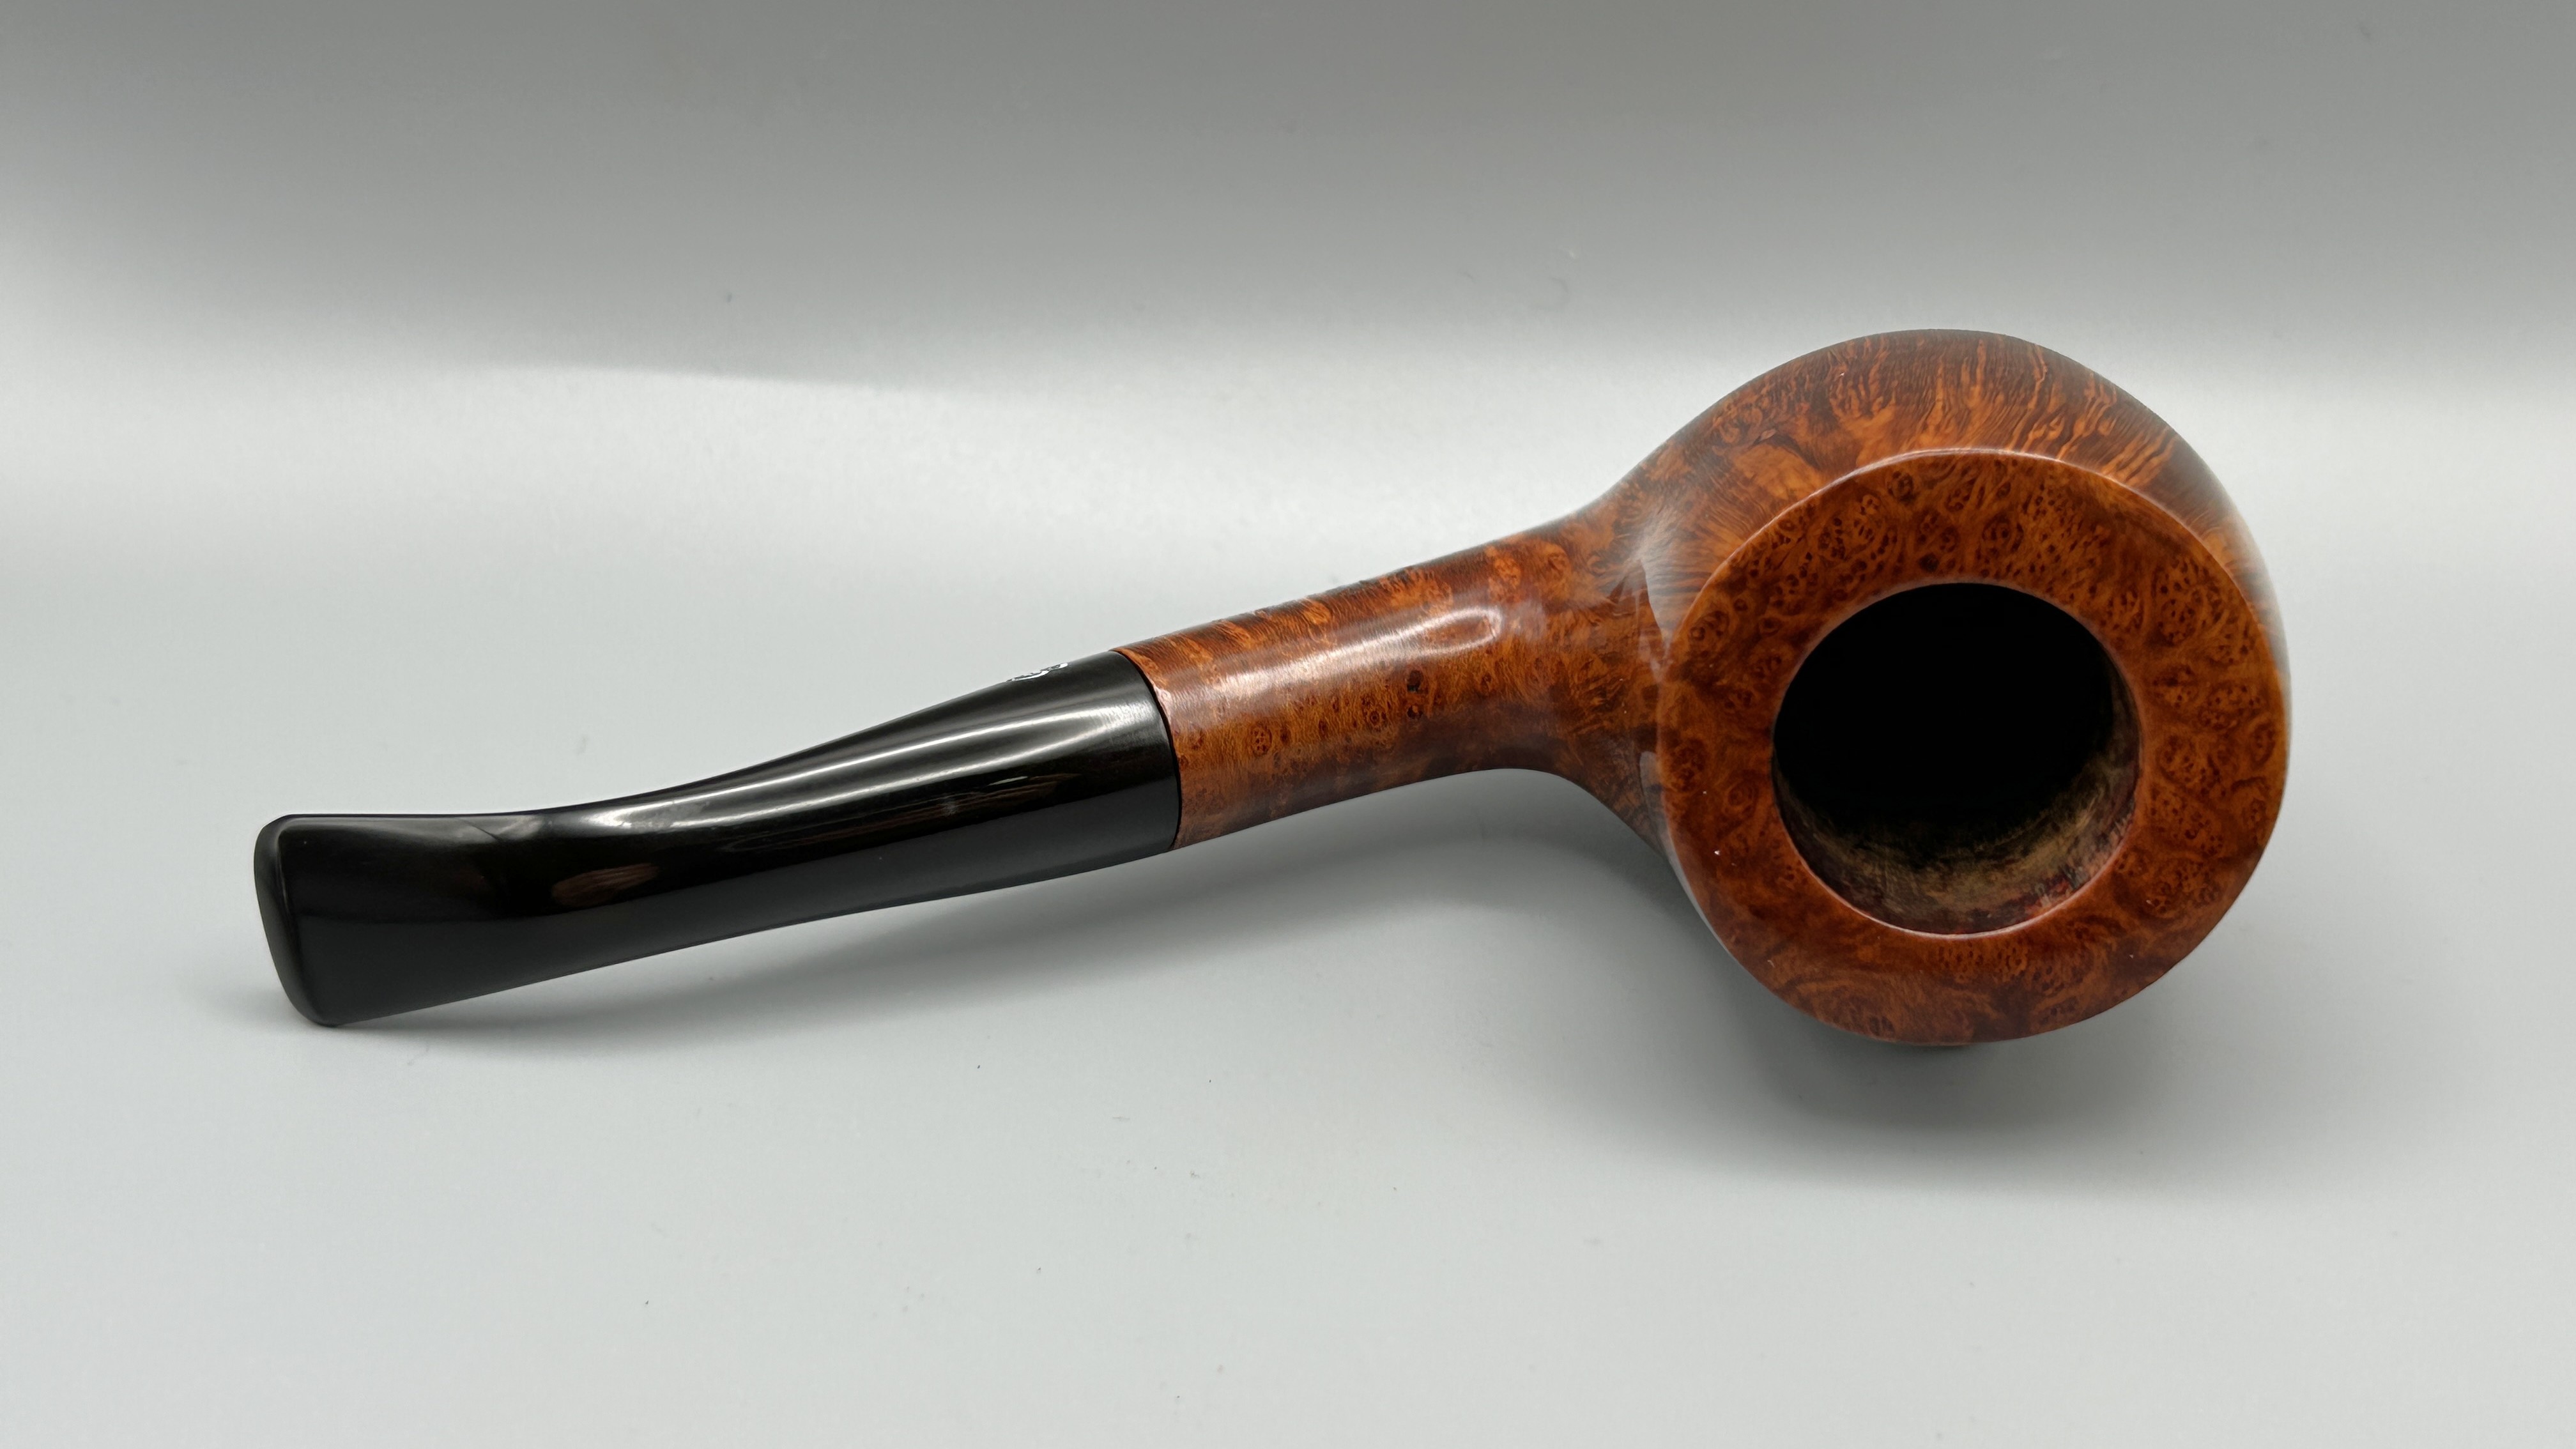
All done! This Cleaning Up a Fascinating Brigham Sportsman/Norseman freehand looks fantastic again and I am delighted with the results. I’m sure the gentleman in Ontario will be too. The approximate dimensions of the pipe are as follows: length 6 in. (154 mm); height 2¼ in. (58 mm); bowl diameter 1⅔ in. (41 mm); chamber diameter ⅞ in. (22 mm). The weight of the pipe is 2⅛ oz. (60 g). I hope you enjoyed reading the story of this pipe’s restoration as much as I enjoyed restoring it. If you are interested in more of my work, please follow me here on Steve’s website or send me an email at kenneth@knightsofthepipe.com. Thank you very much for reading and, as always, I welcome and encourage your comments.