
by Steve Laug
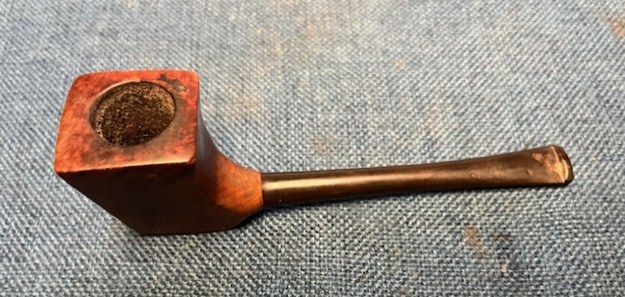
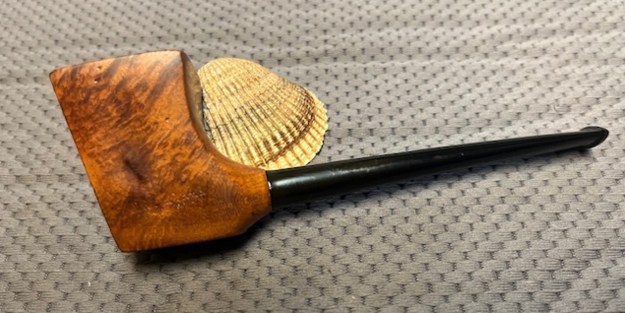
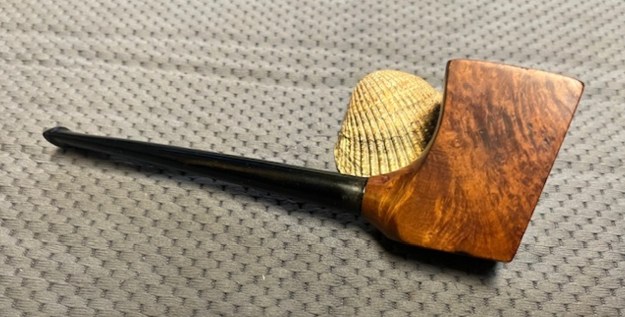
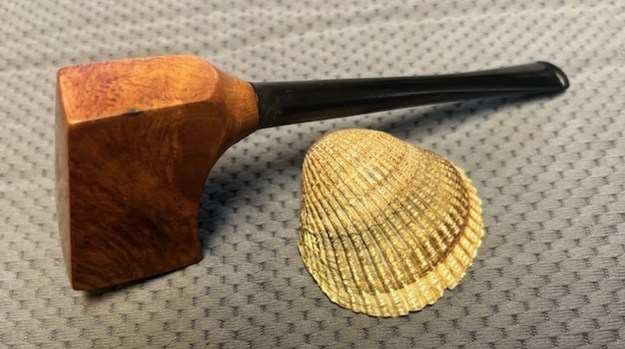
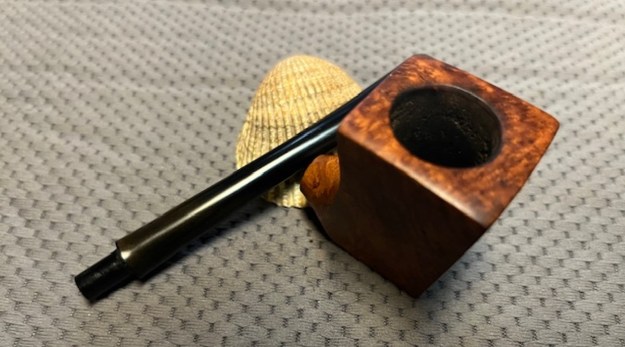
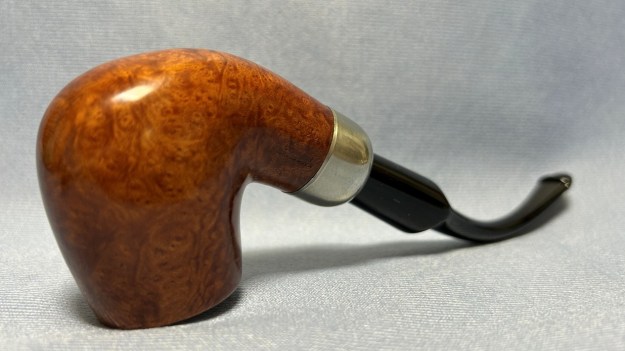
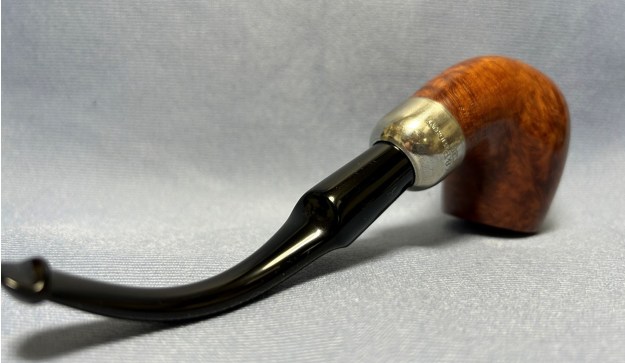
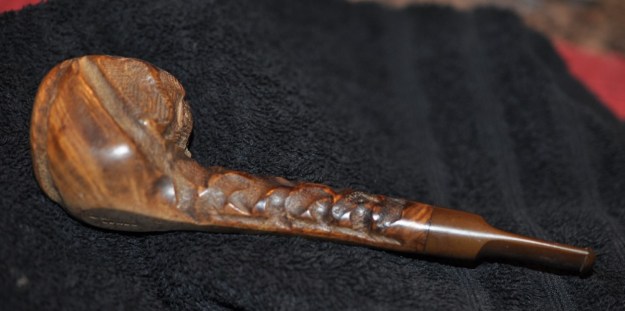
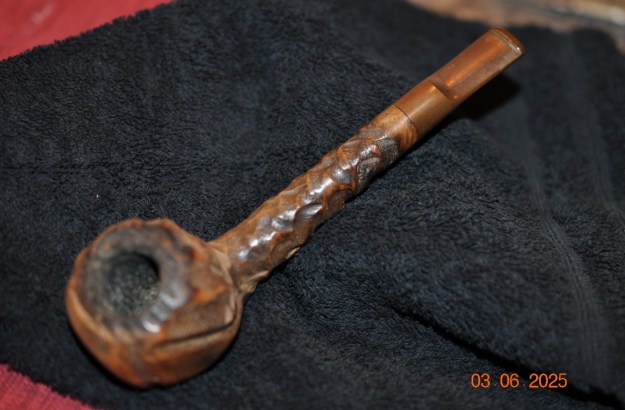
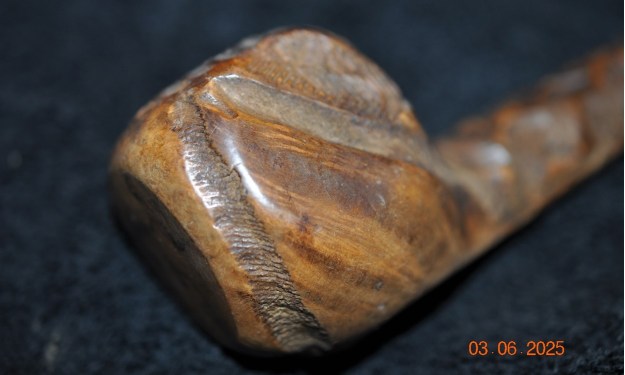
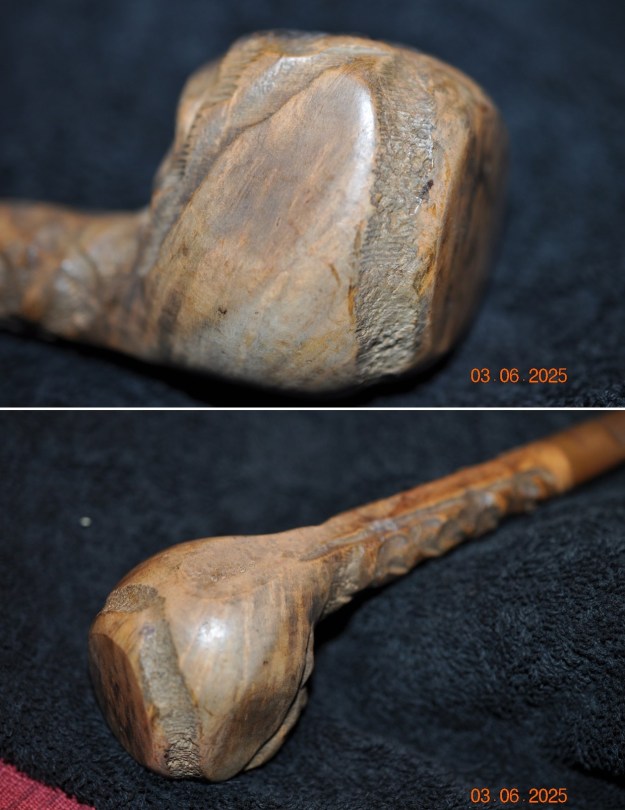
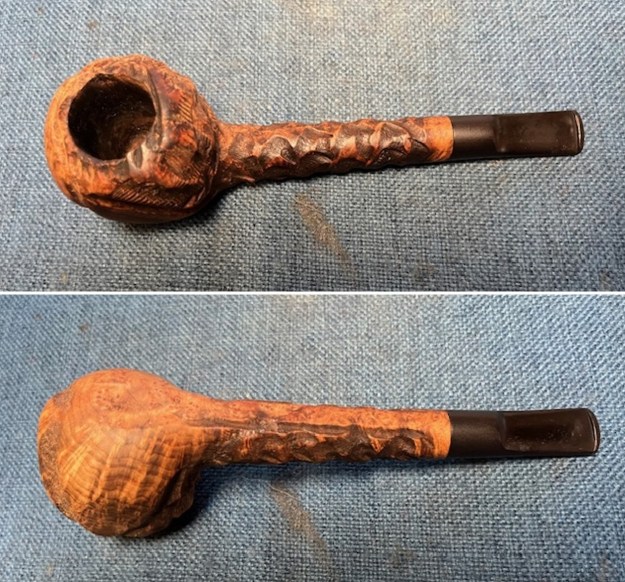
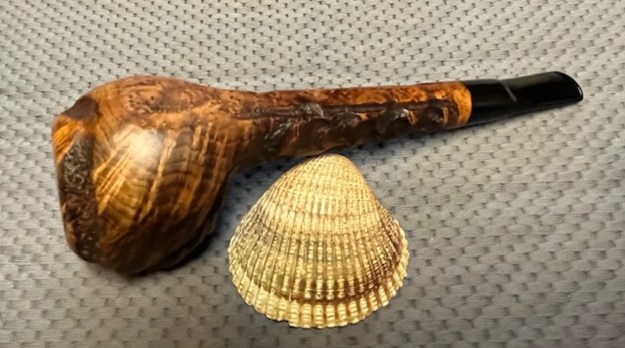
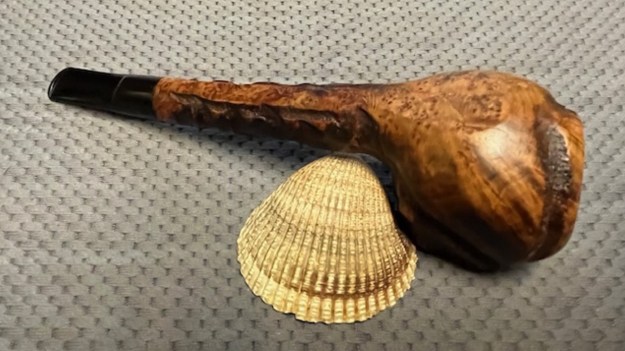
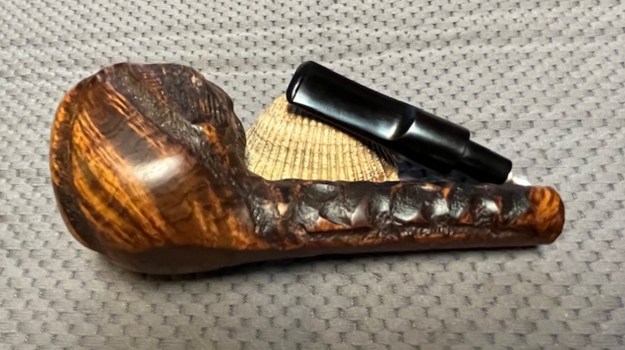
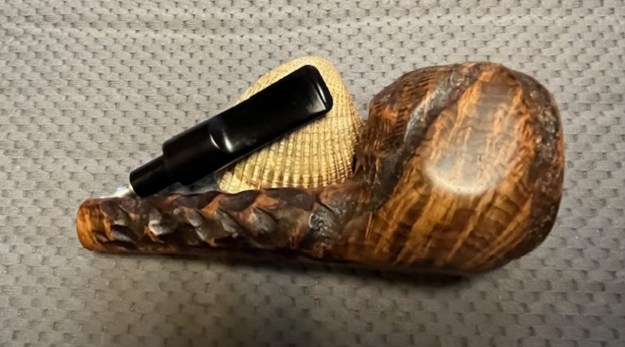
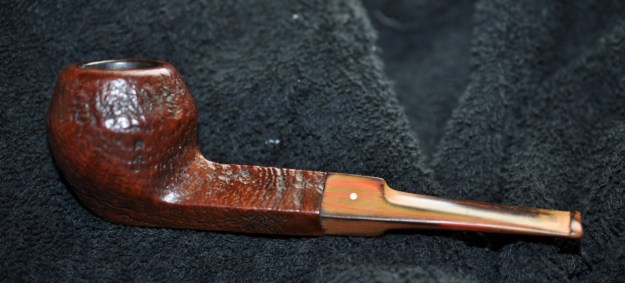
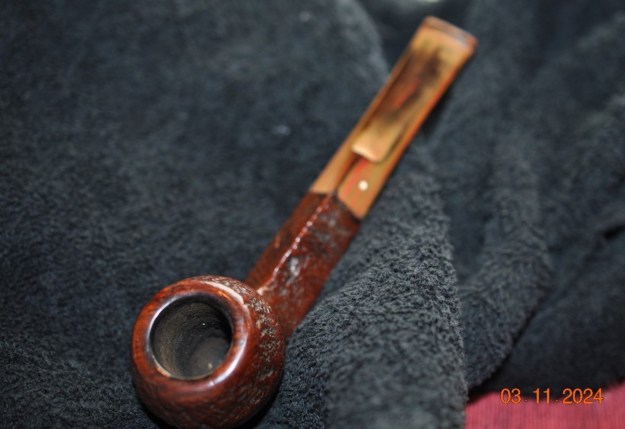
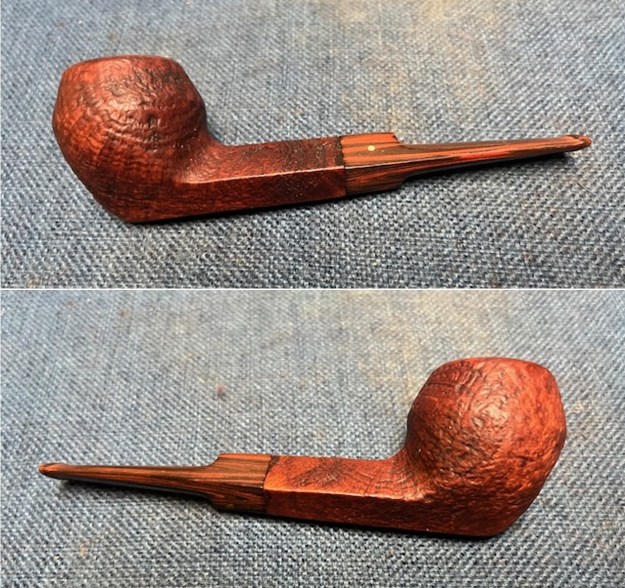
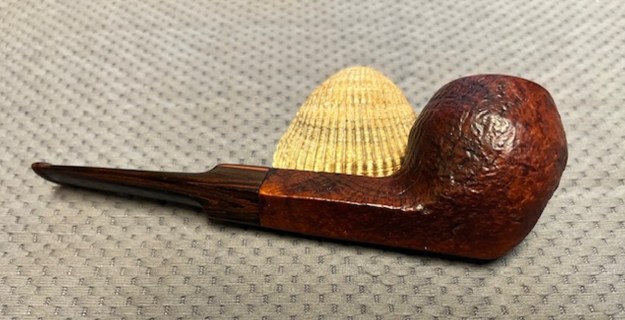
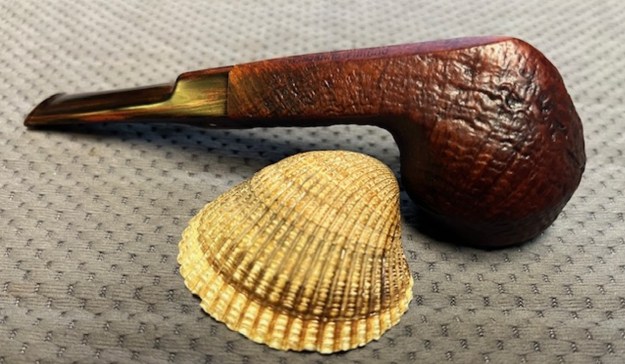
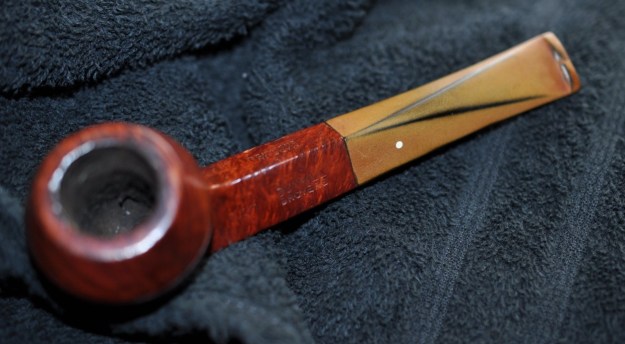
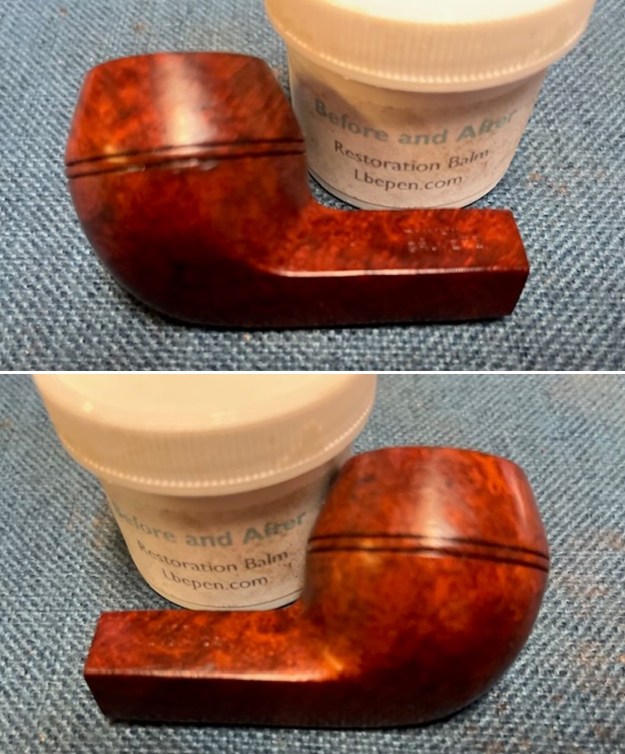
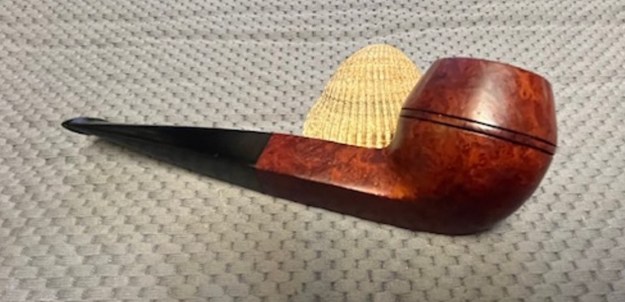
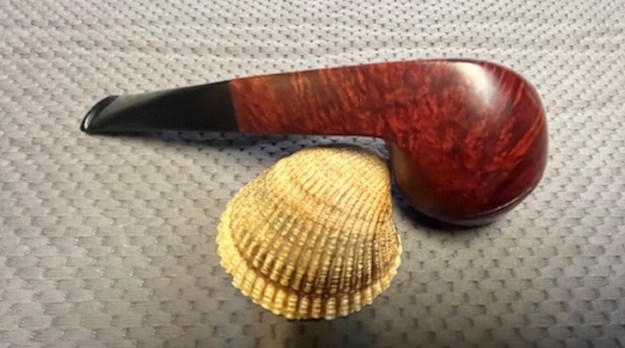
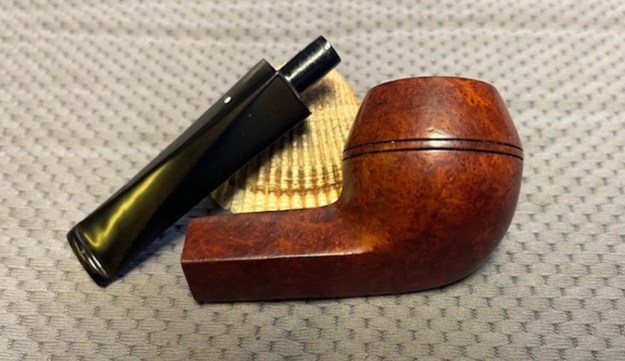
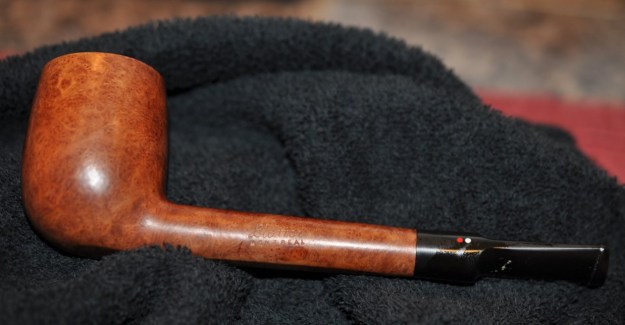
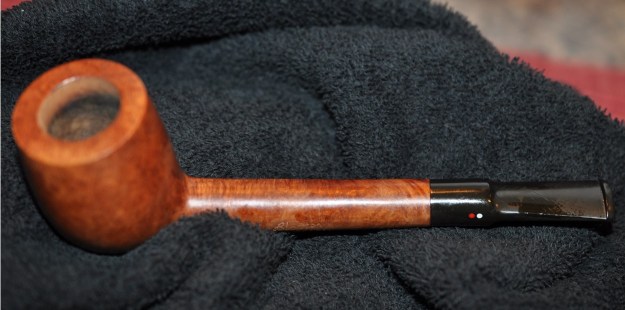
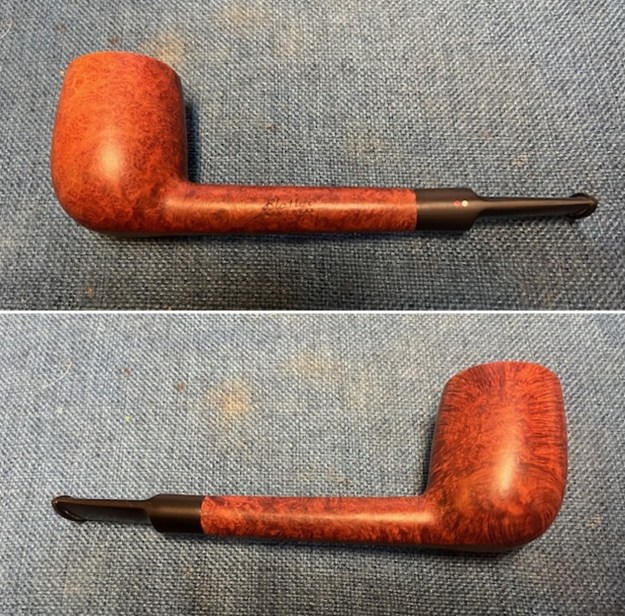
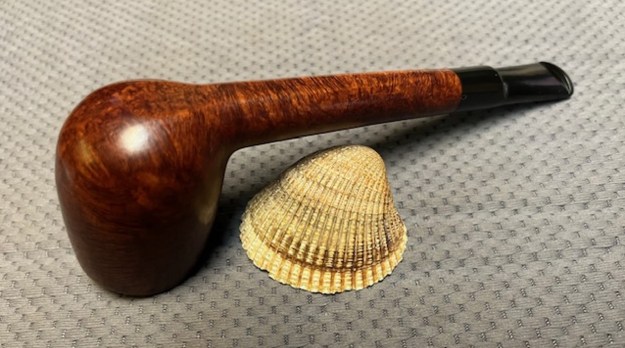
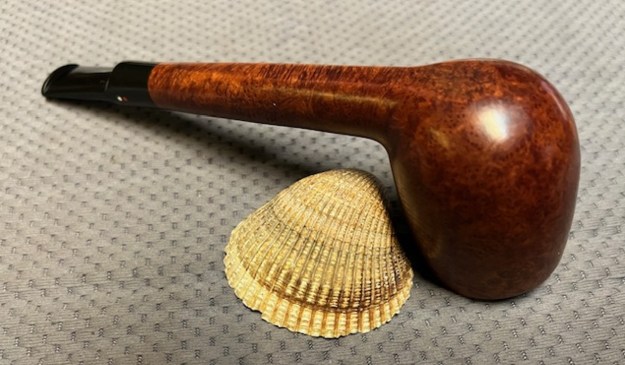
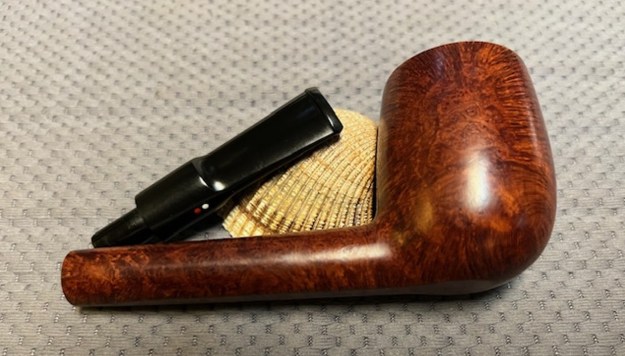
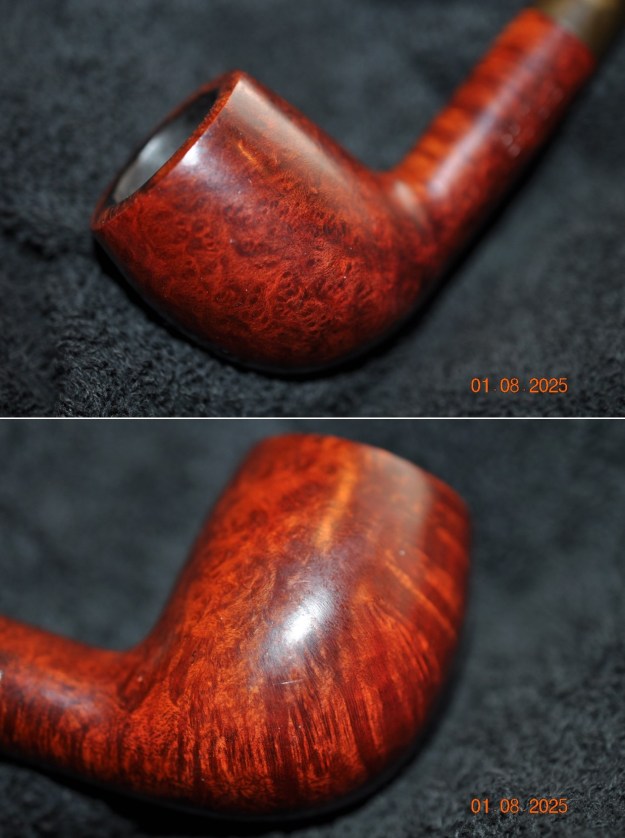
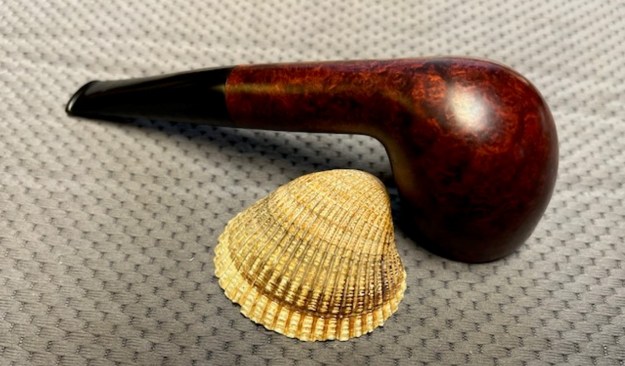
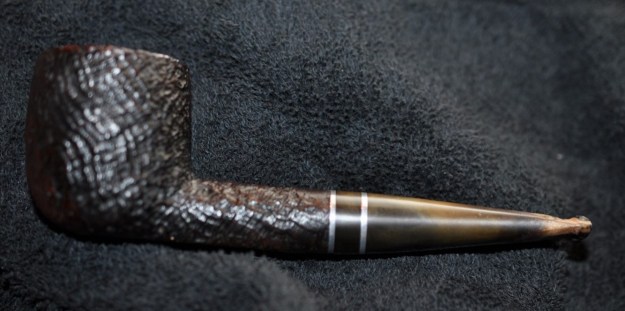
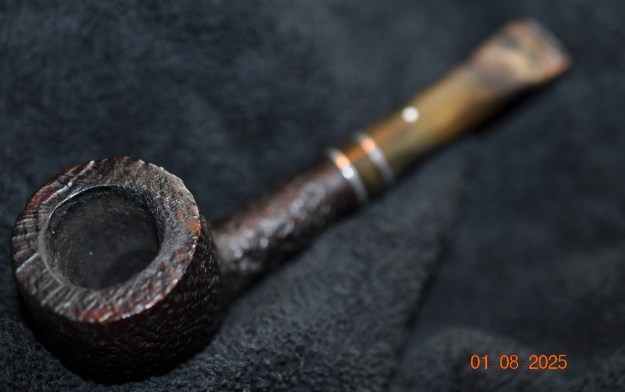
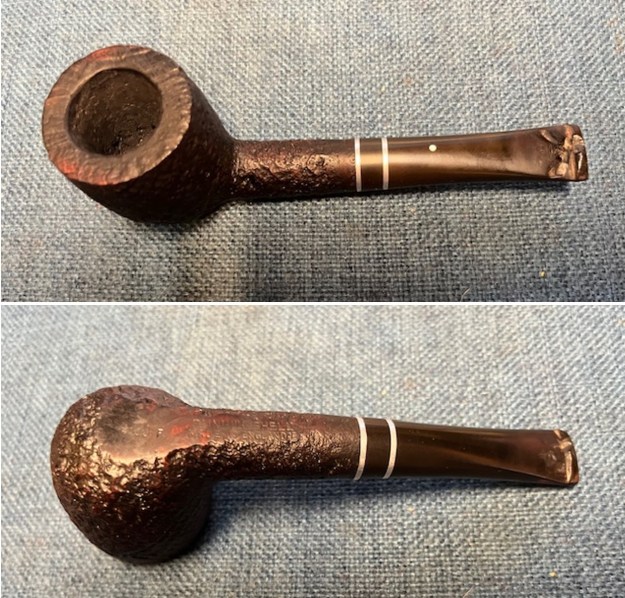
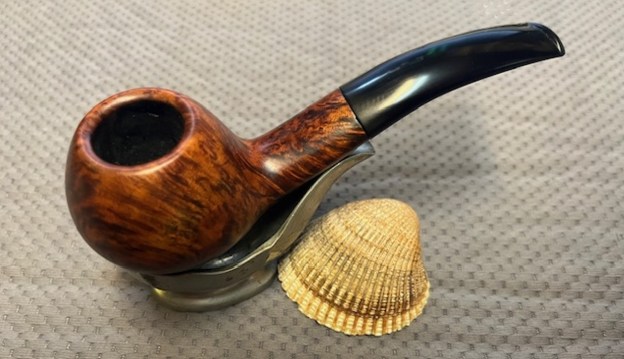
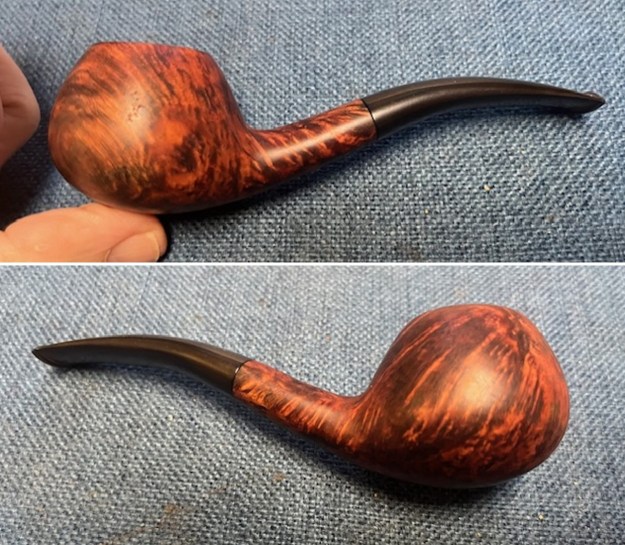
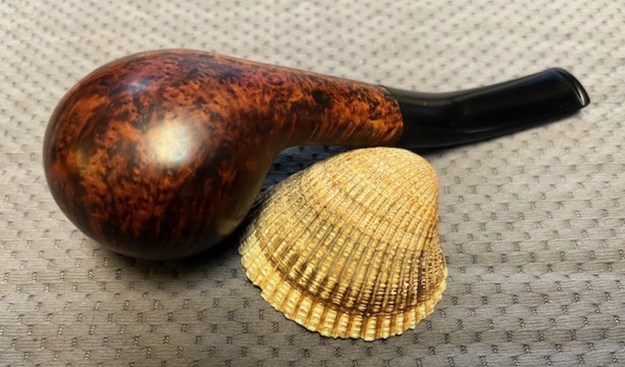
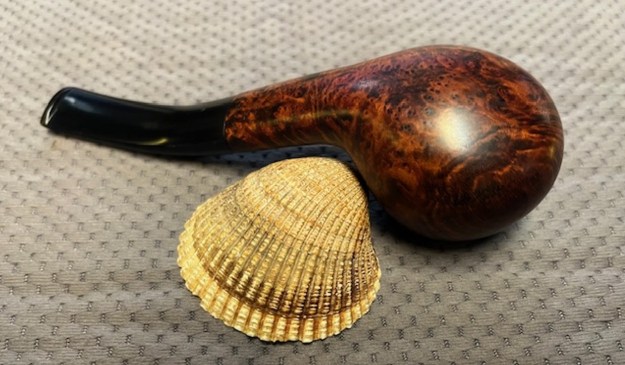
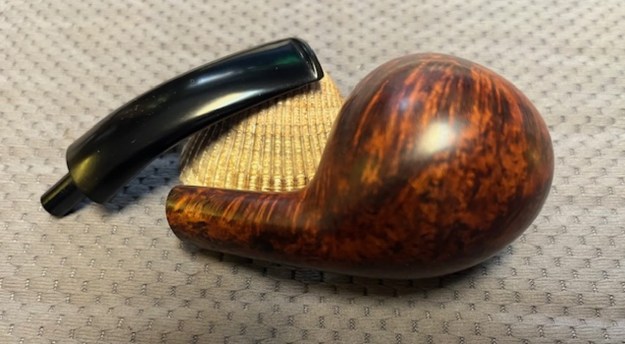
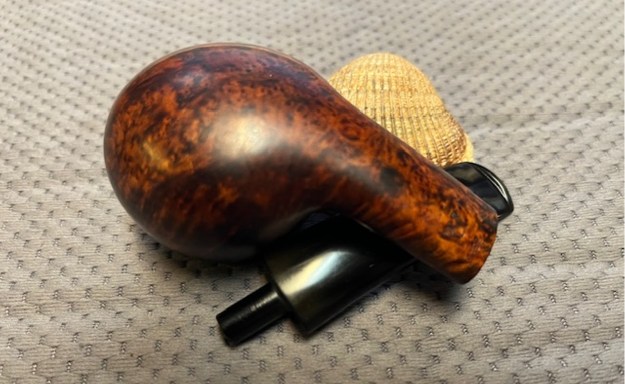
The next pipe on the work table is the first of three pipes sent to me by a fellow pipeman near Vancouver for restoration. It reminds me of the Caveman Pipes that I have worked on in the past. This one is basically a roughly cut Panel that is somewhat Dublin shaped. There is no real shank on the pipe but rather kind of a nipple that the stem was inserted into. The pipe is stamped on the left side of the bowl and reads Old England in an old English script [over] Genuine Briar. The bowl had a moderate cake in it and an overflow of lava on the rim top and inner edge that left it looking rough and out of round. The finish on the bowl was oily and there appeared to be a small hairline crack on the left side mid bowl. The stem was a long vulcanite taper that was oxidized and had some deep tooth marks on both sides ahead of the button. Both the stem and bowl were dirty. It should be an interesting and straightforward clean up. I took photos of the pipe before I started my cleanup work. (I missed a photo of the heel of the bowl prior to cleaning).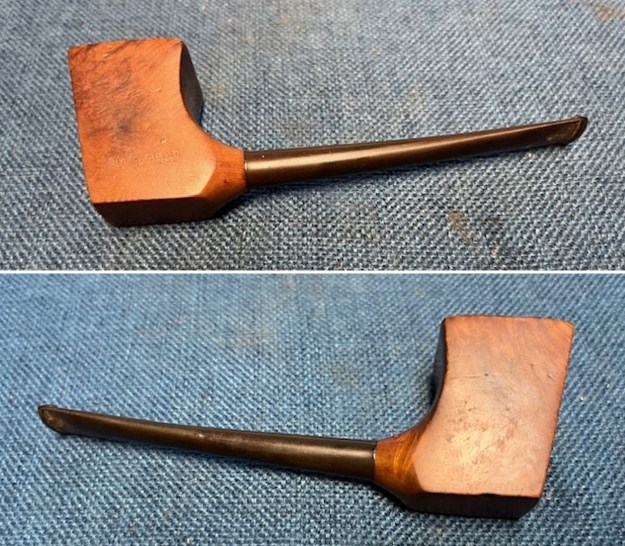
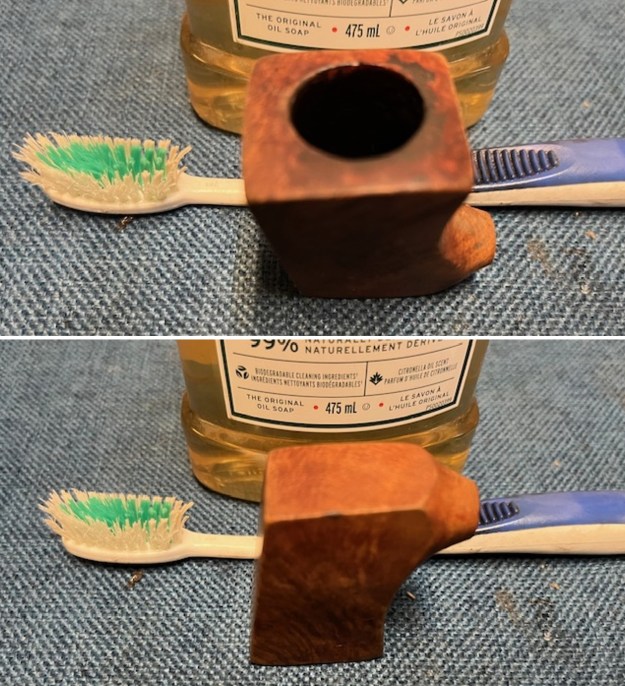
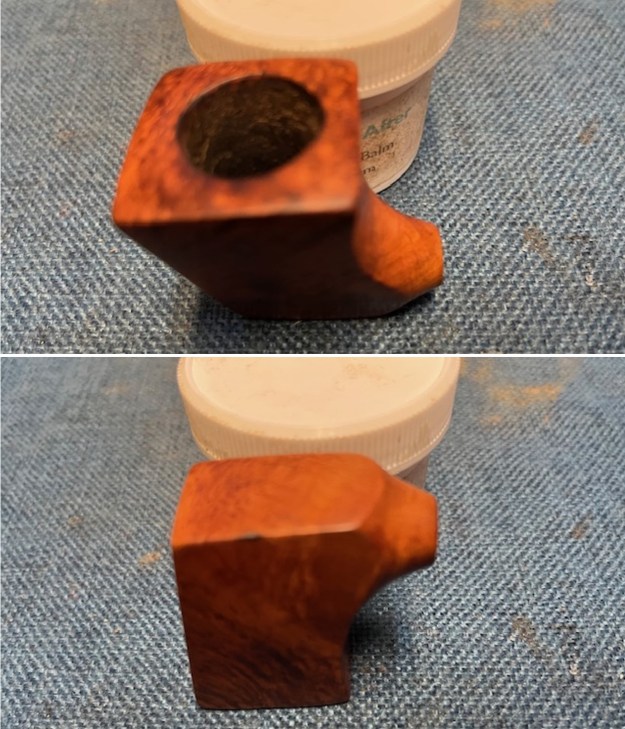
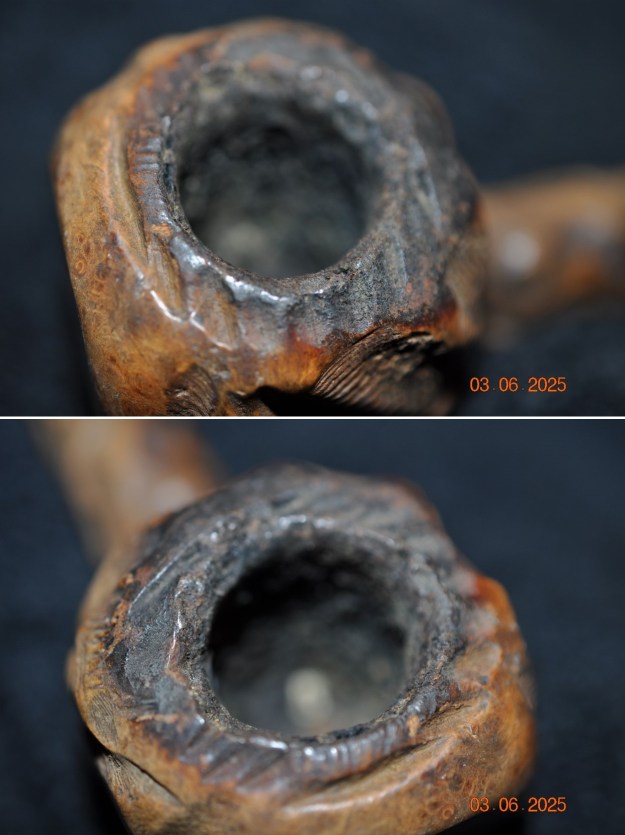
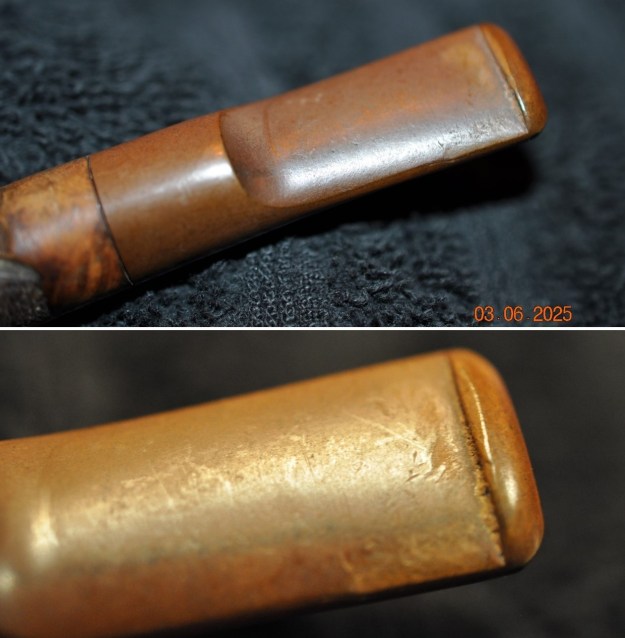
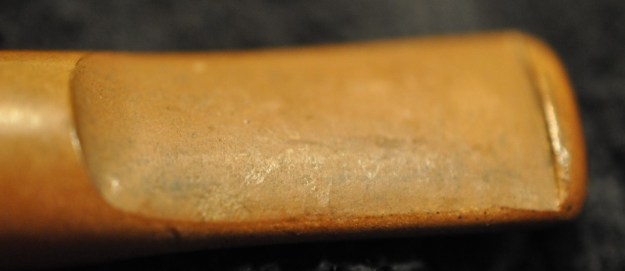
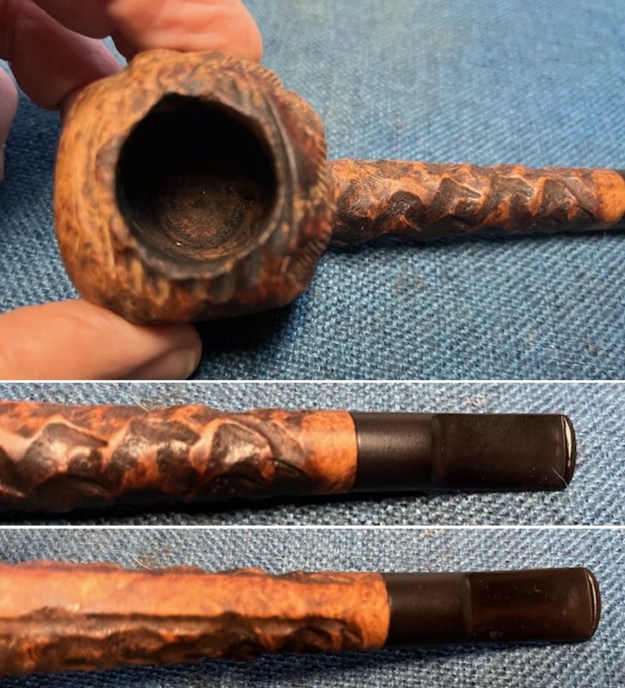
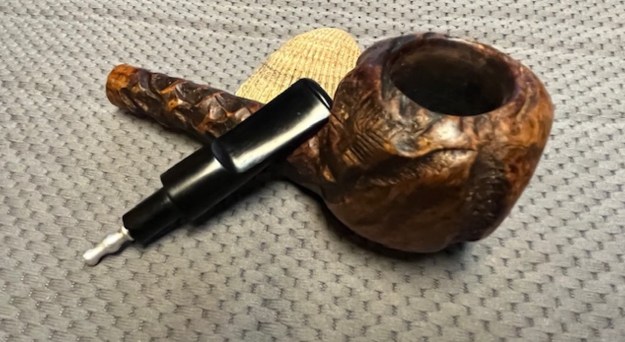
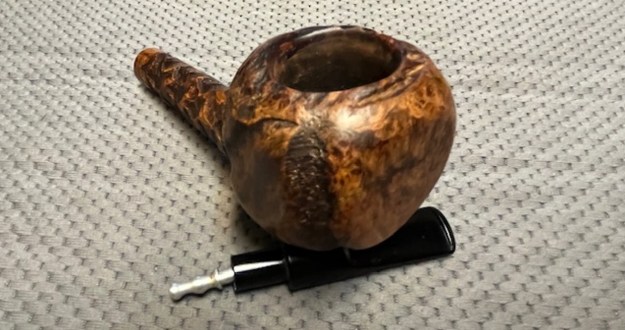
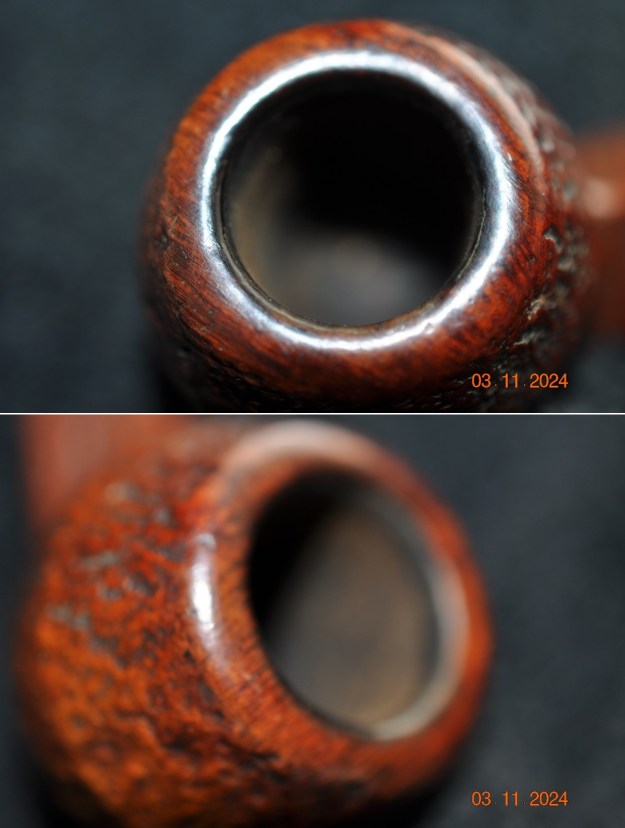
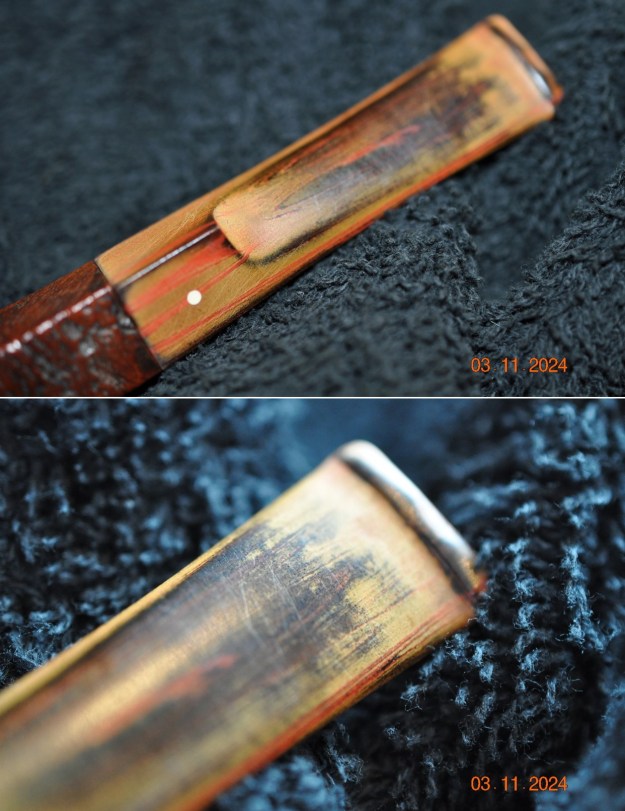
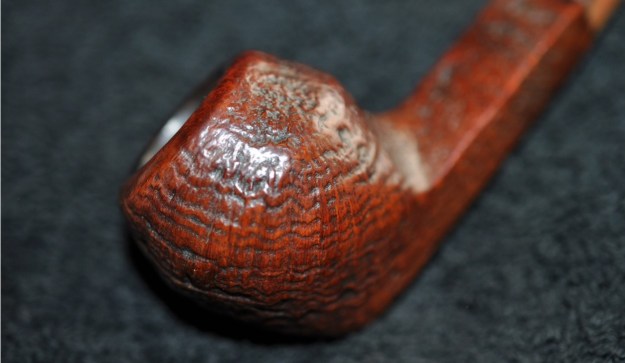
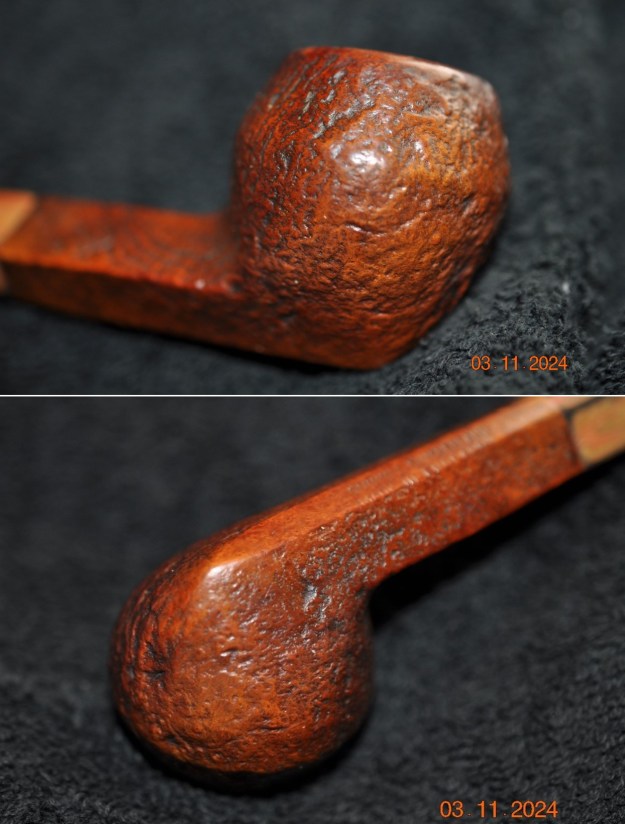
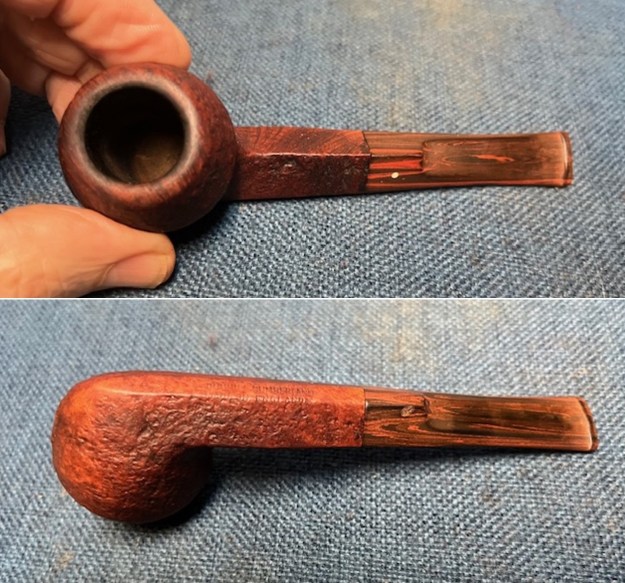
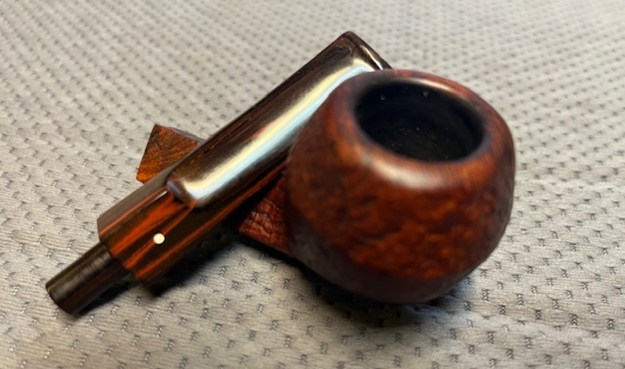
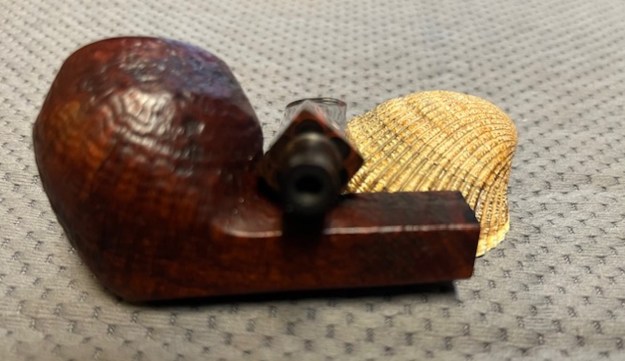
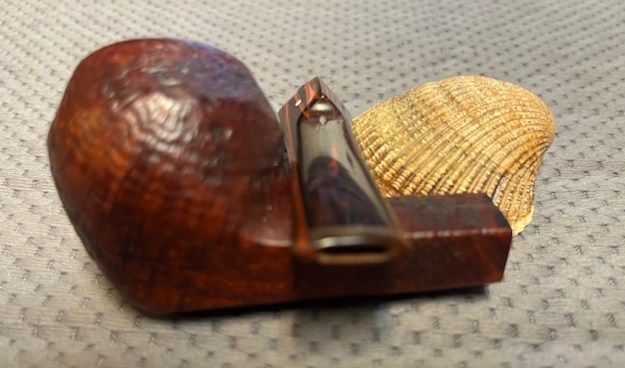
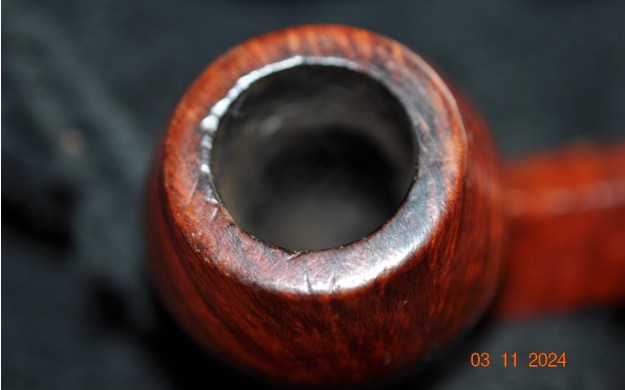
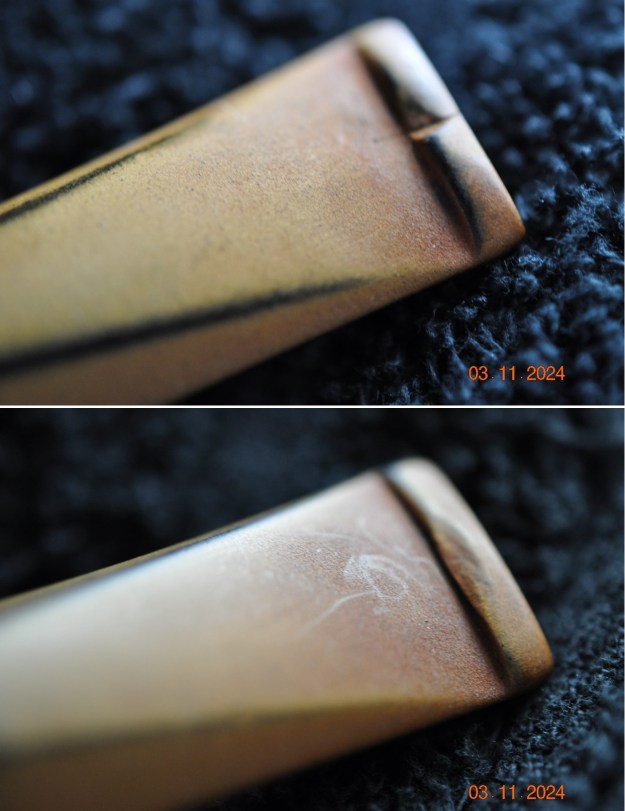
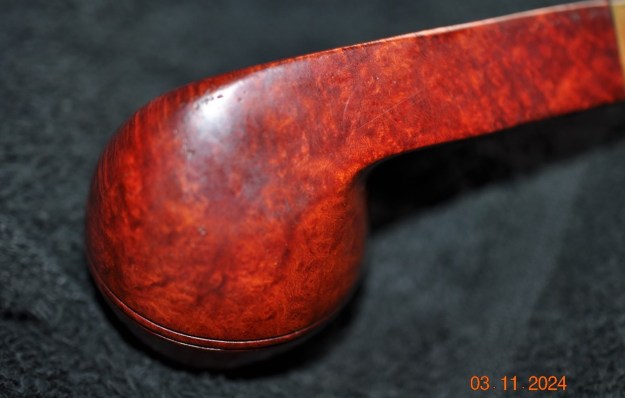
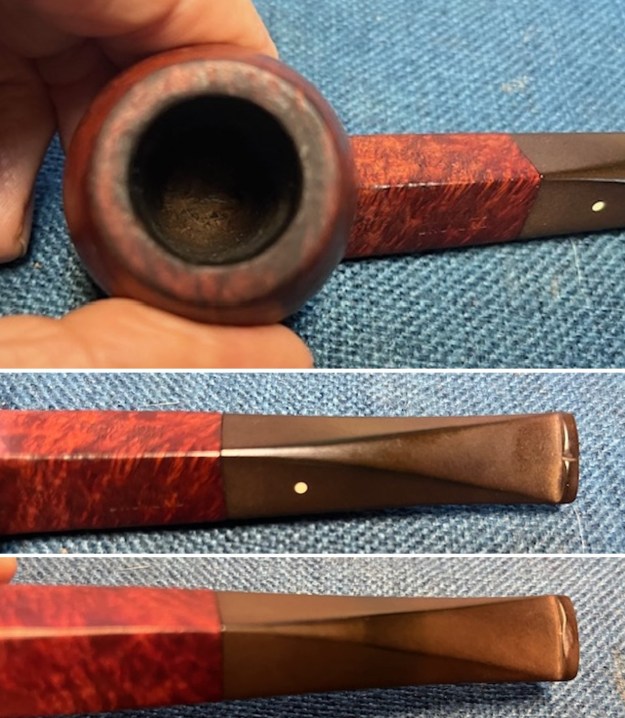
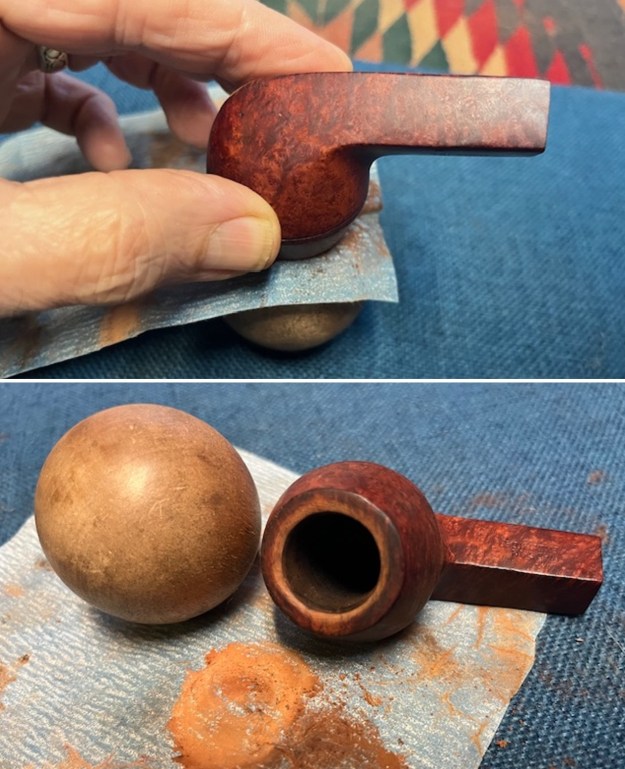
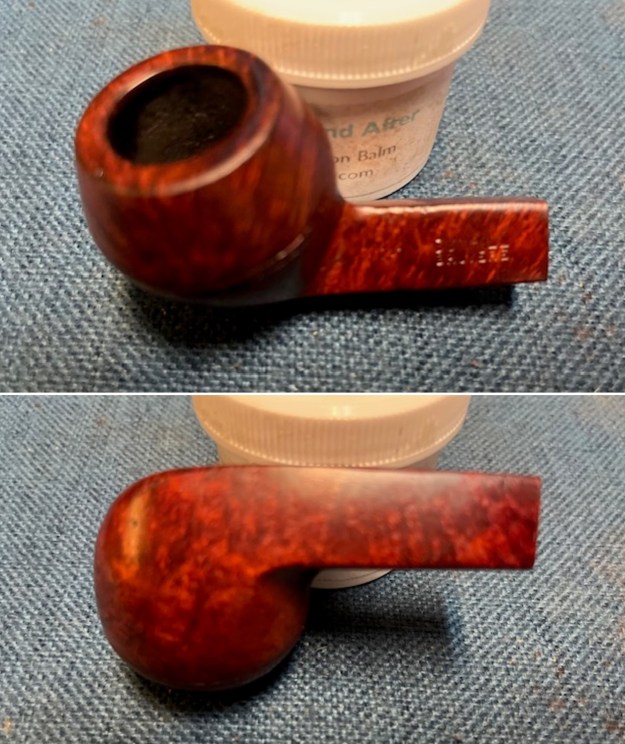
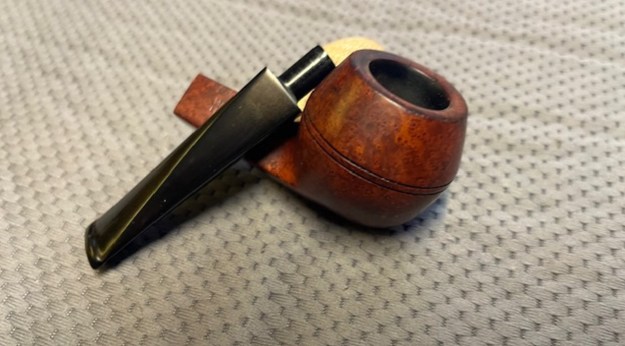
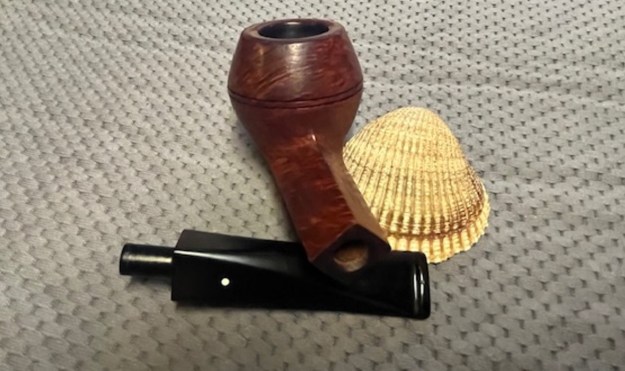
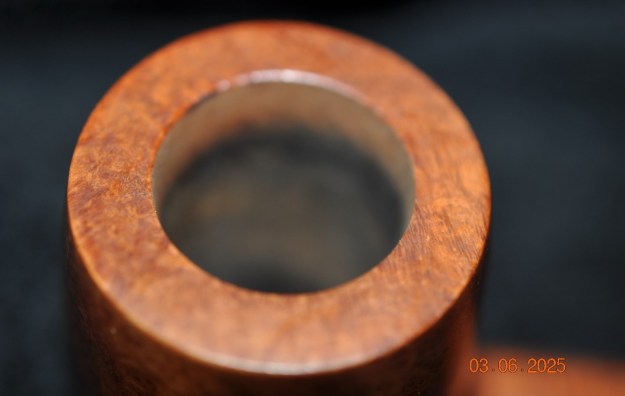
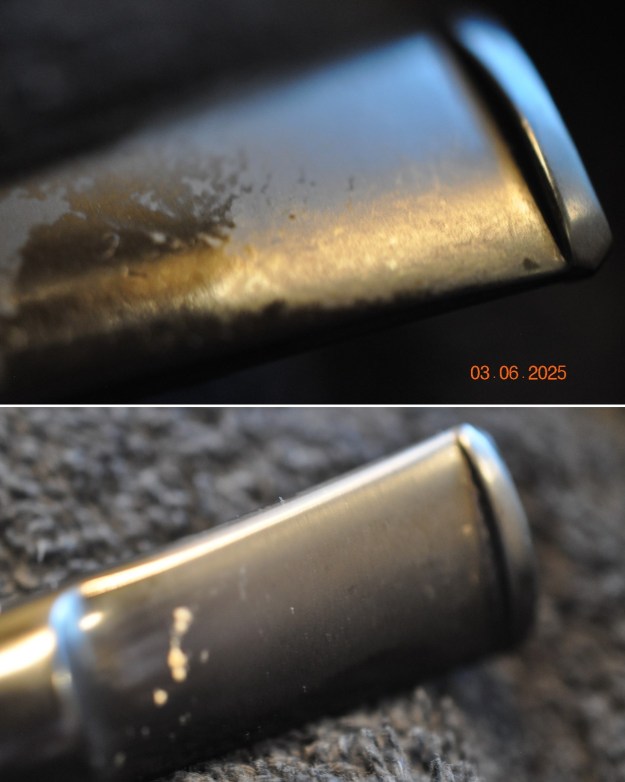
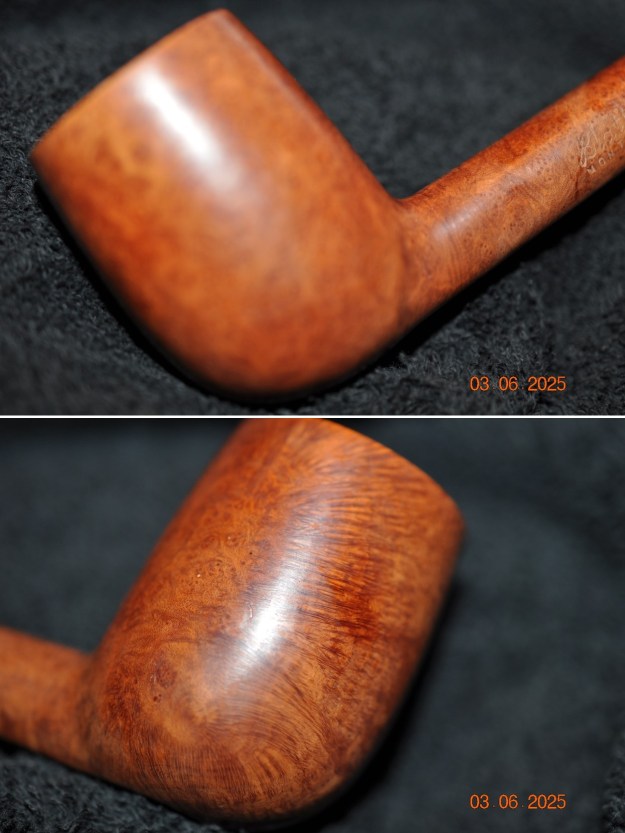
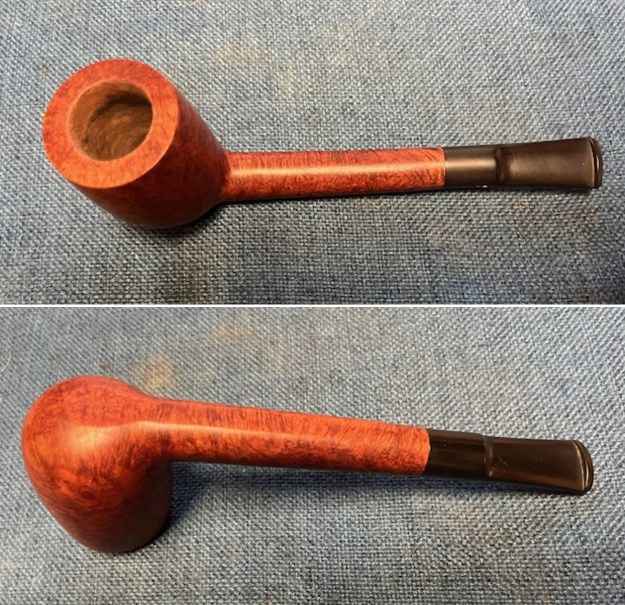
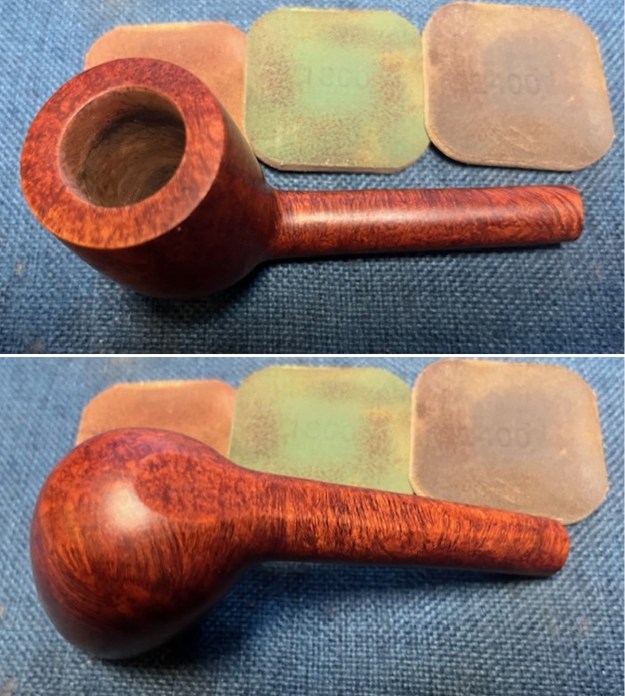
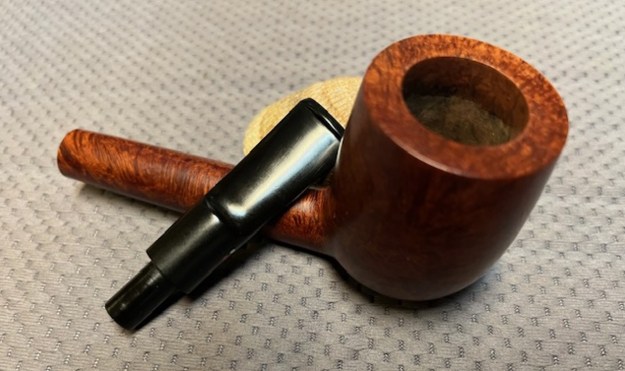
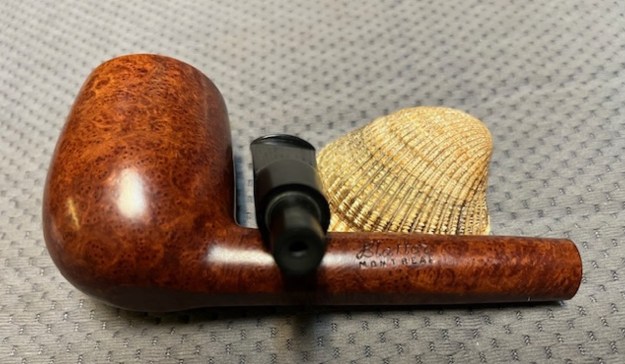
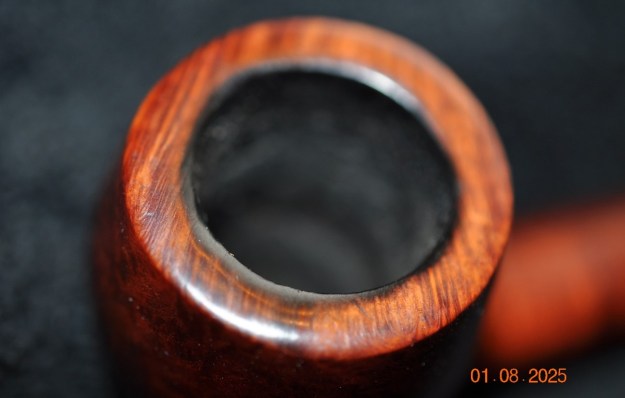
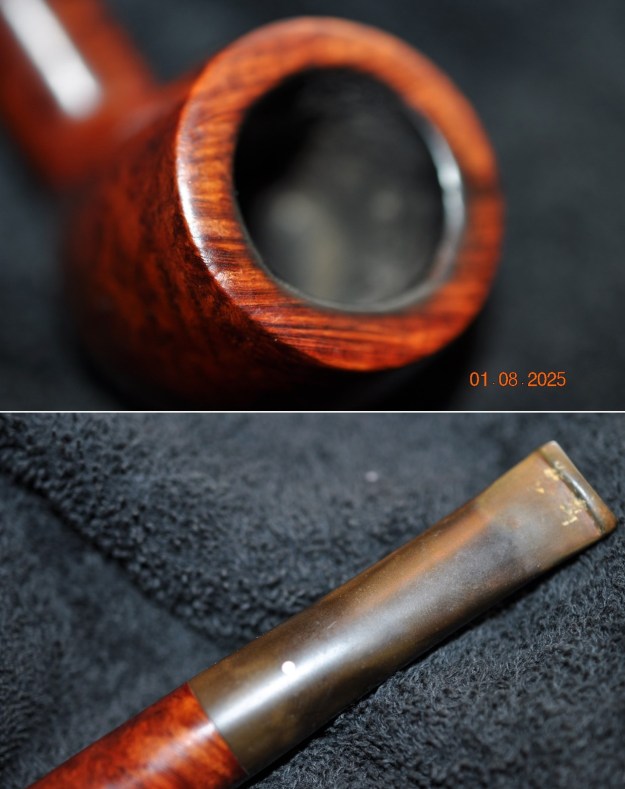
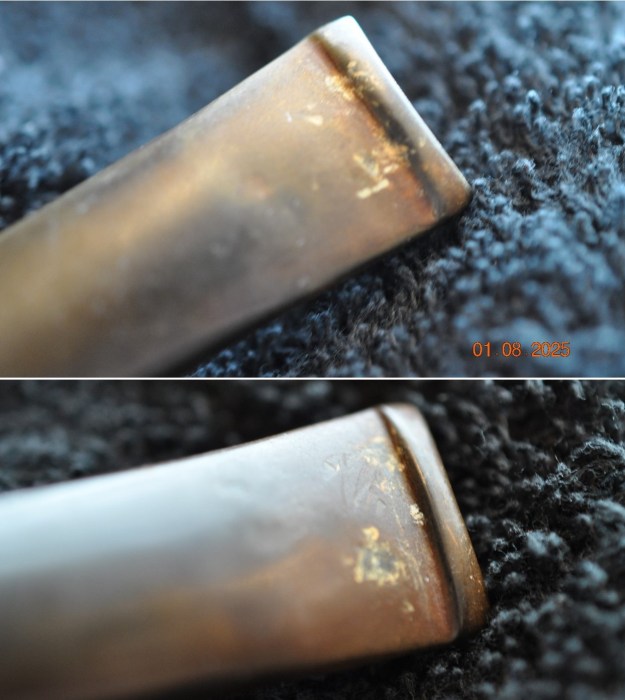
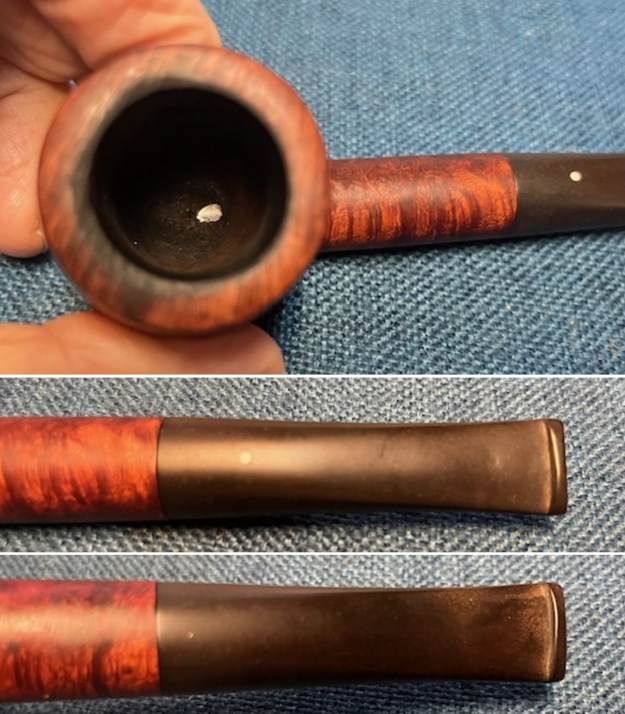
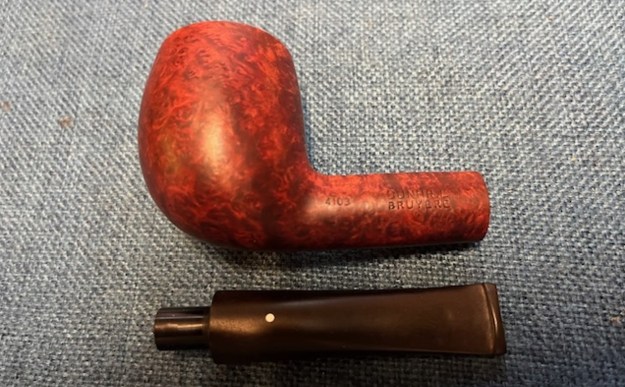
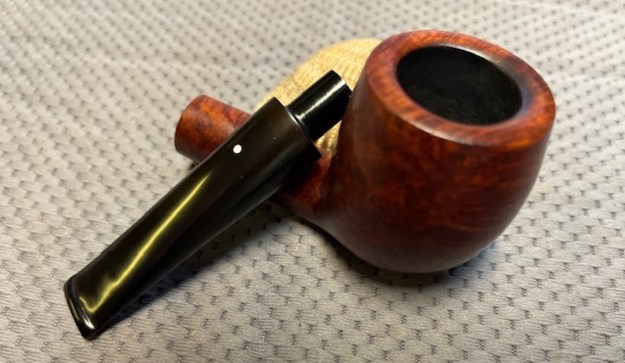
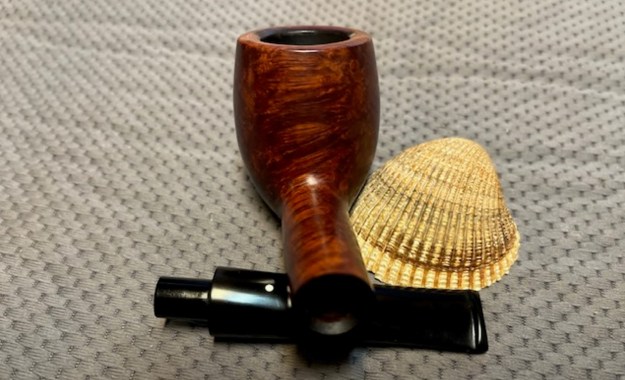
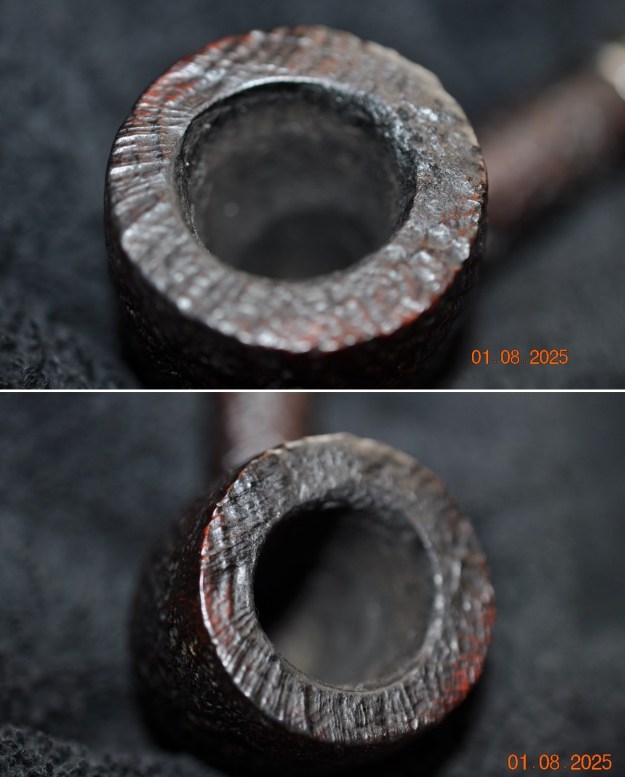
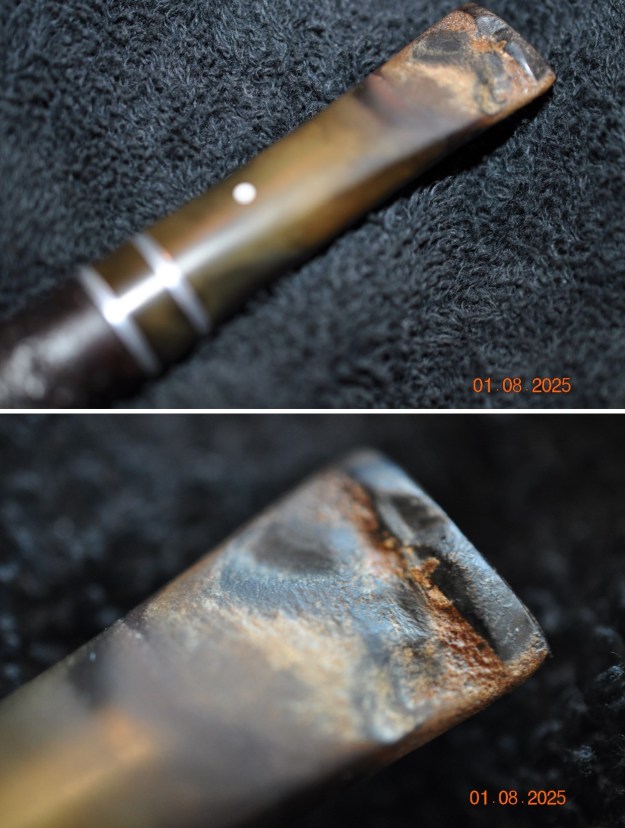
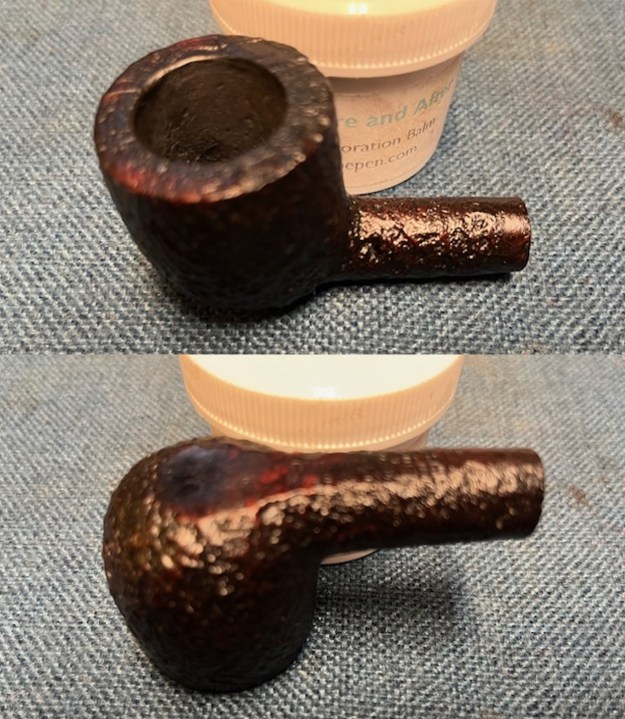
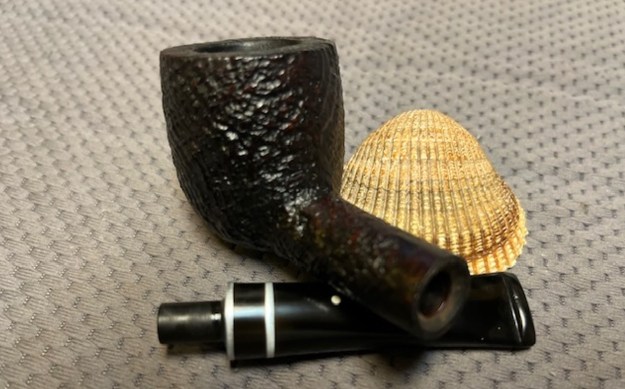
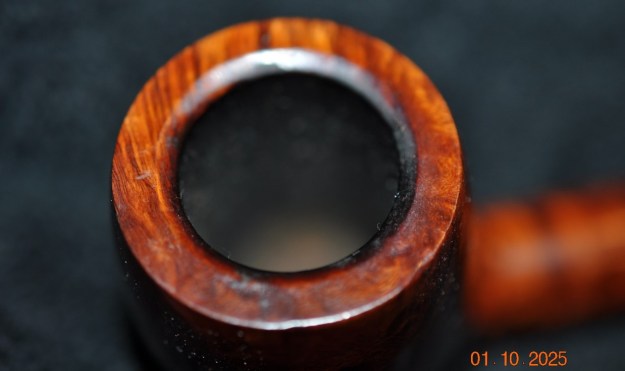
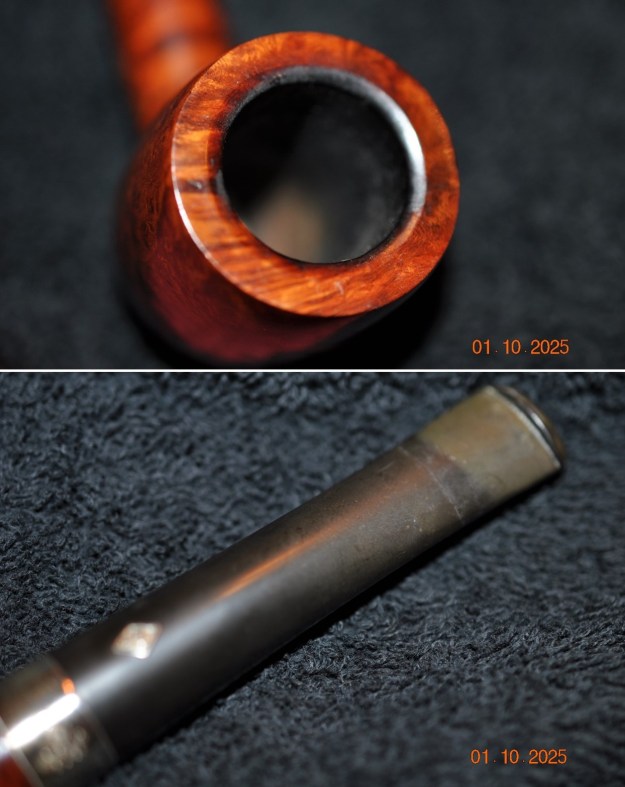
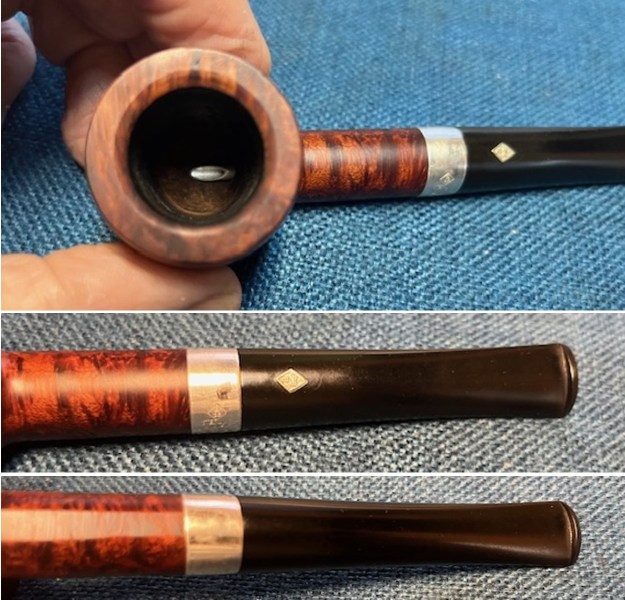
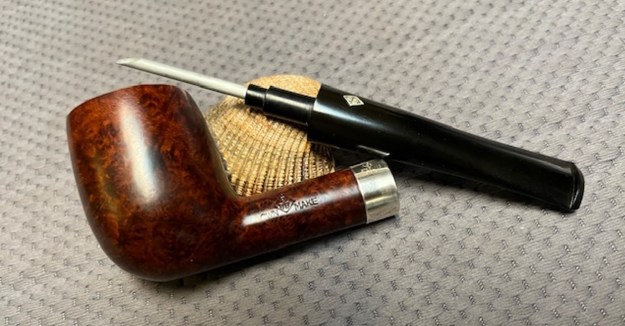
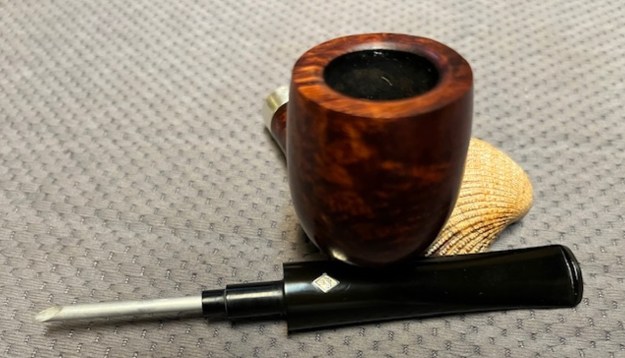
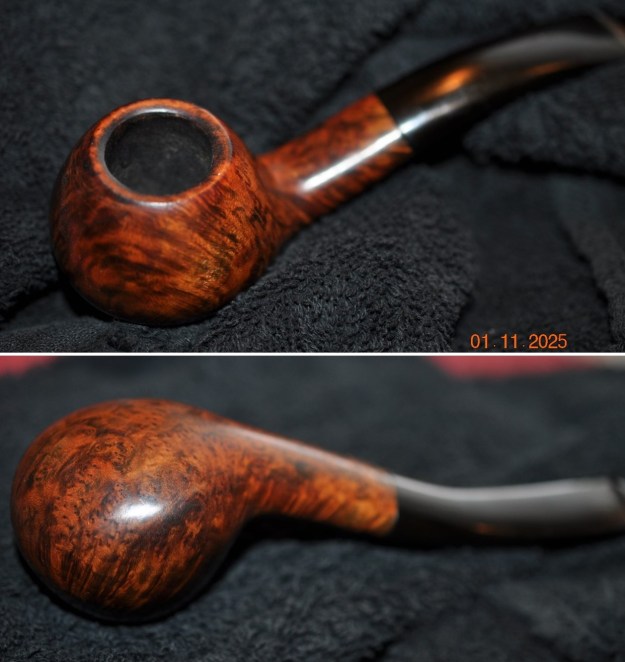
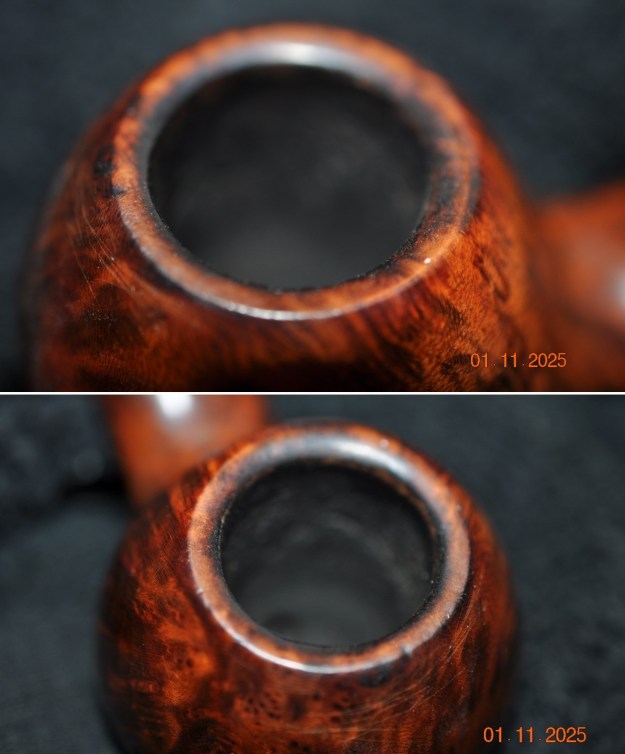
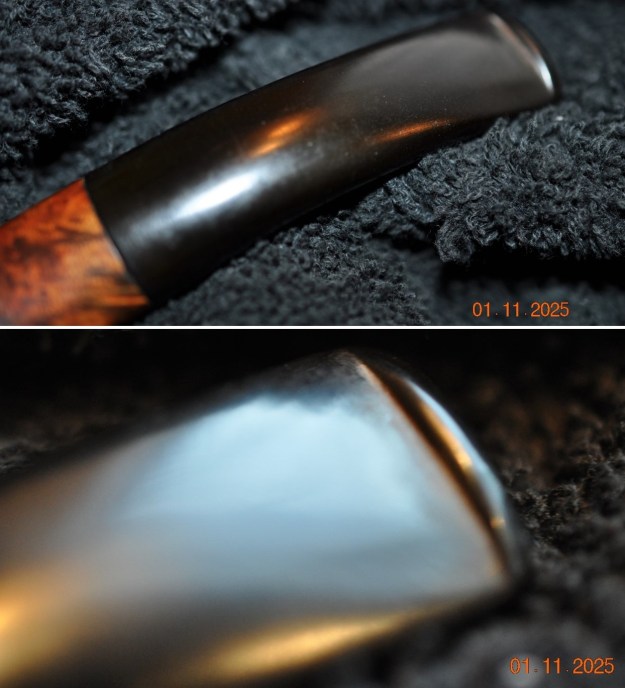
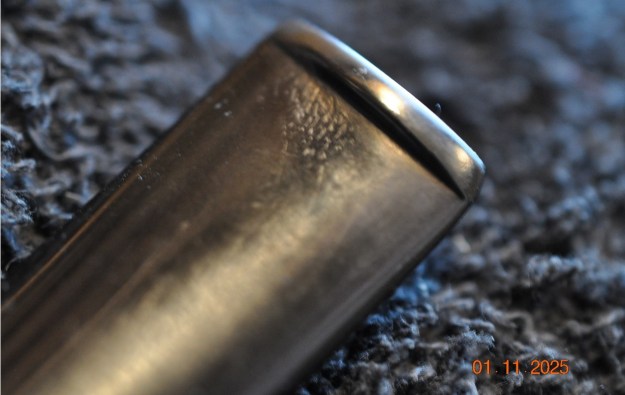
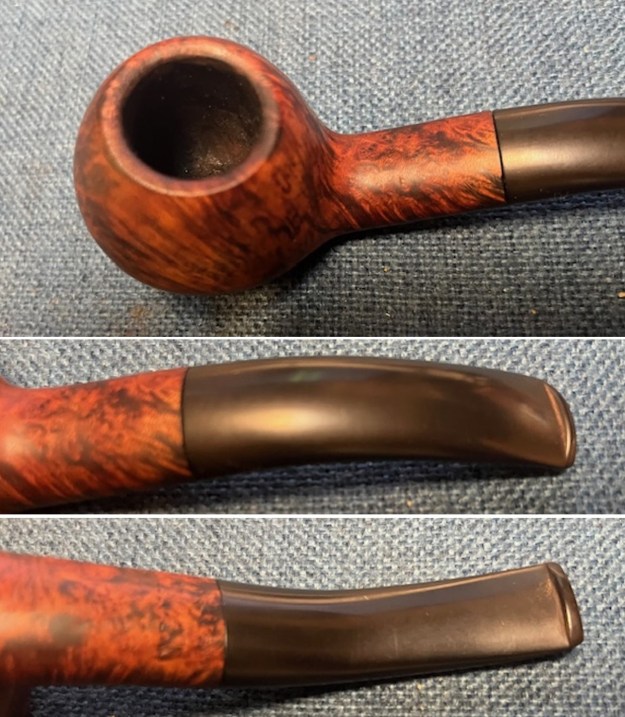
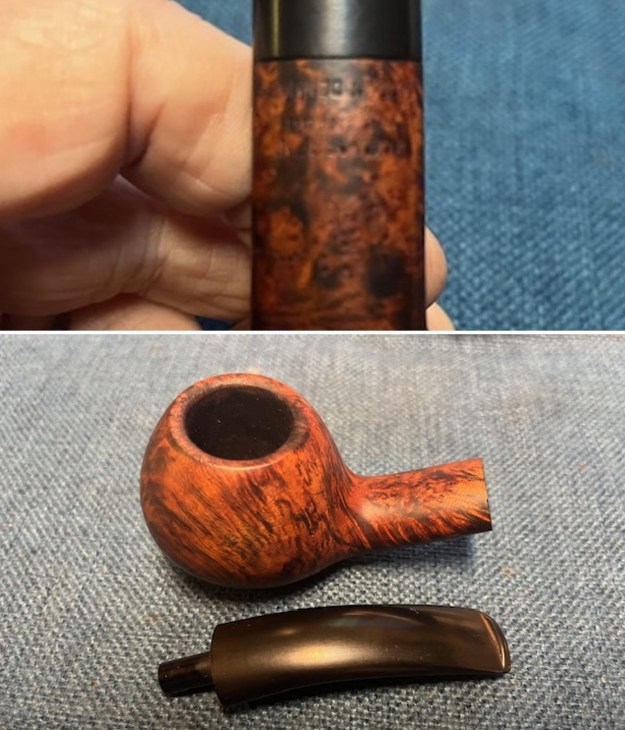
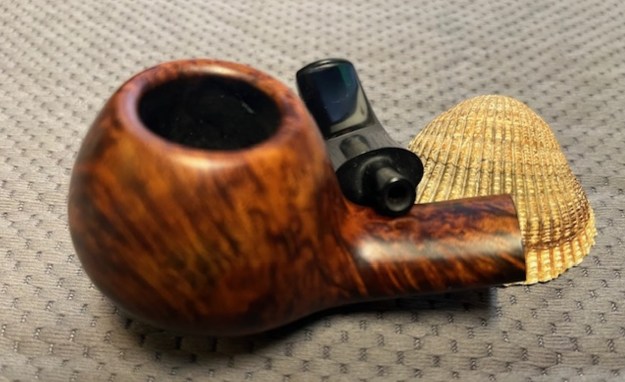
 I took a close-up photo of the rim top to show the condition of the bowl and inner edge of the bowl and the stem. You can clearly see the cake in the bowl and the damage on the inner edge. The stem photos show the tooth marks on both sides ahead of the button.
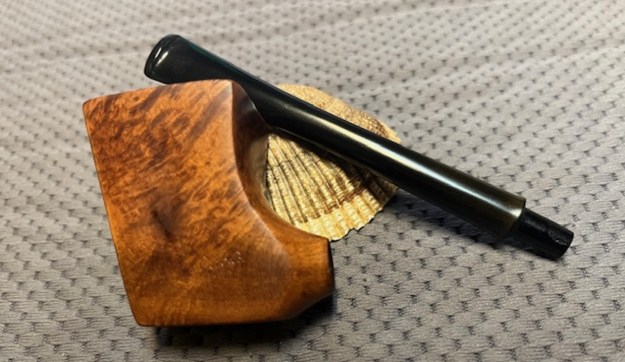
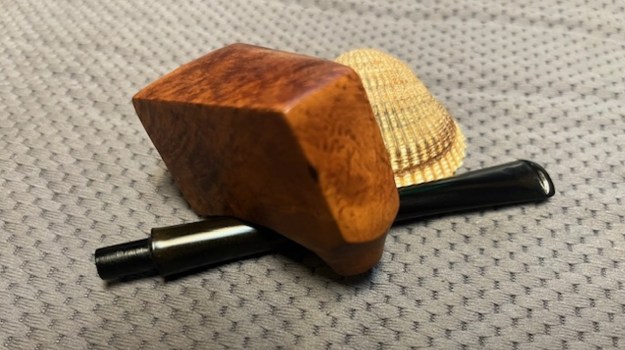
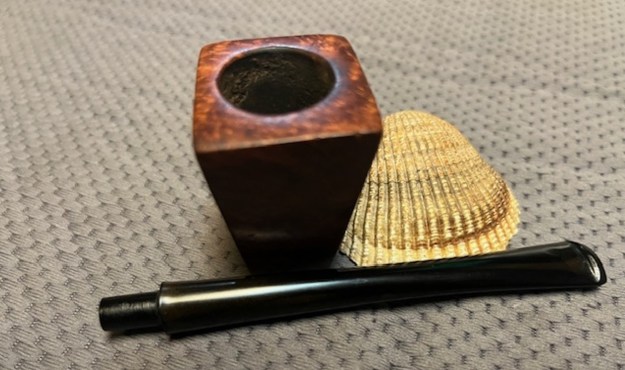
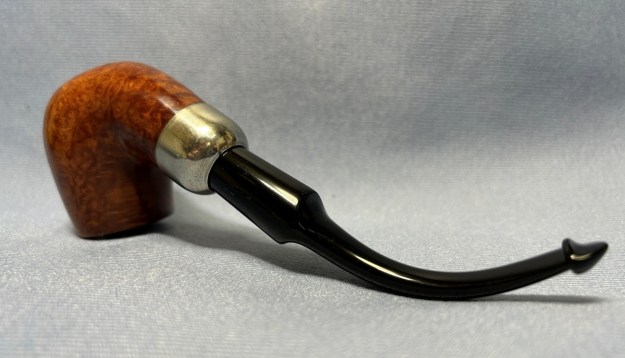
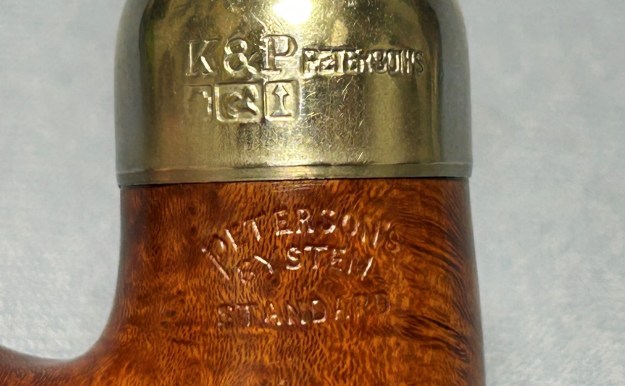
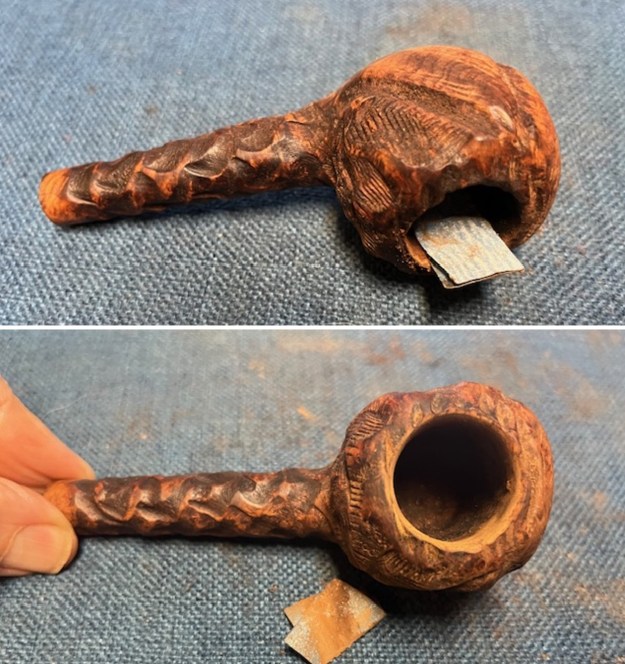
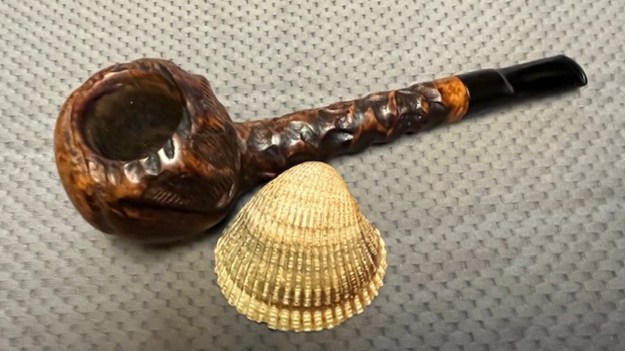
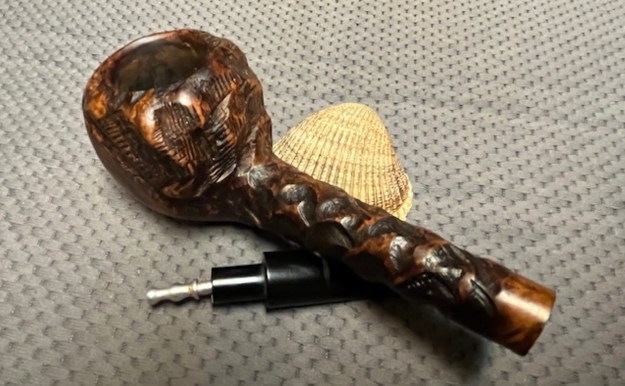
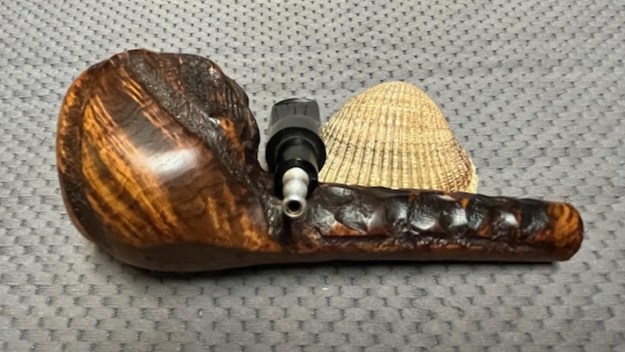
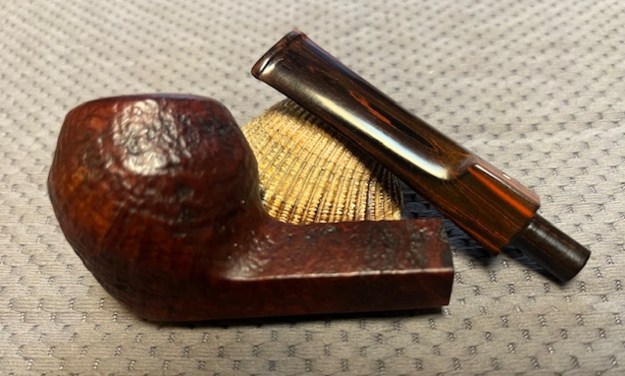
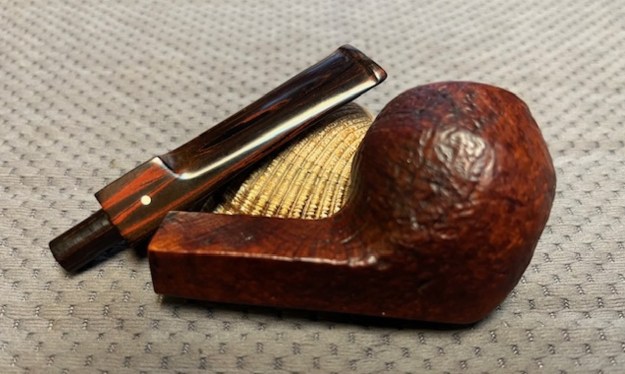
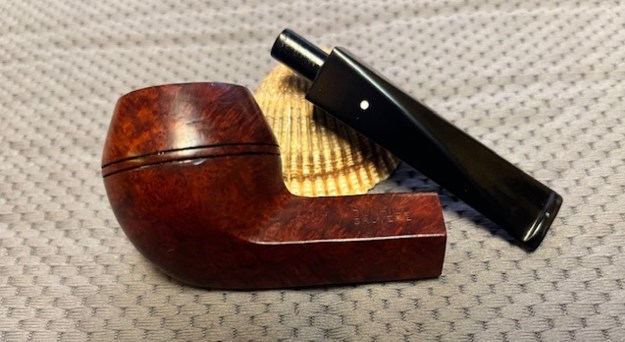
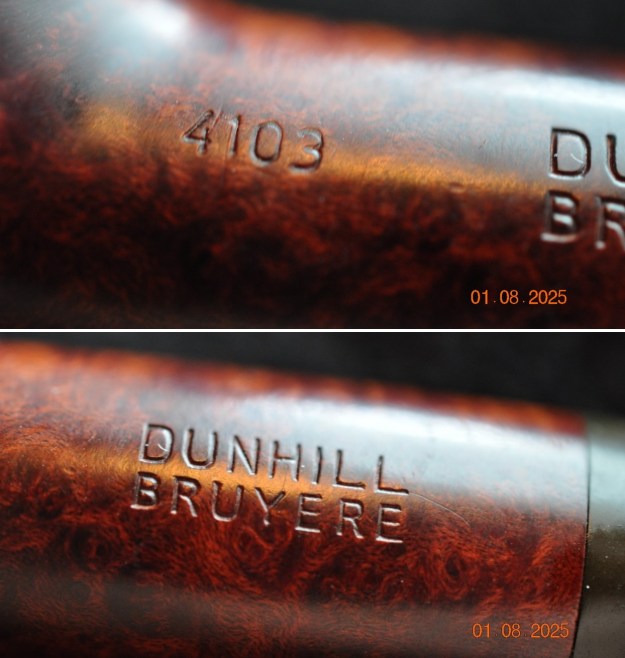
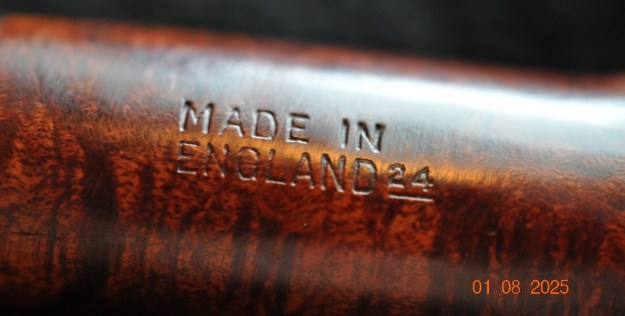
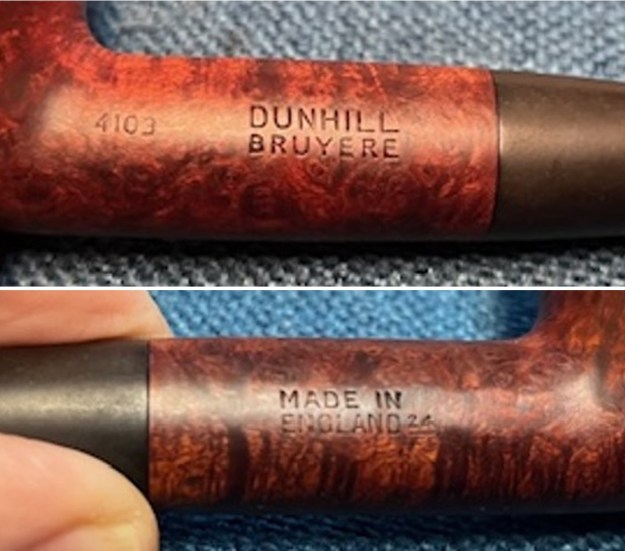
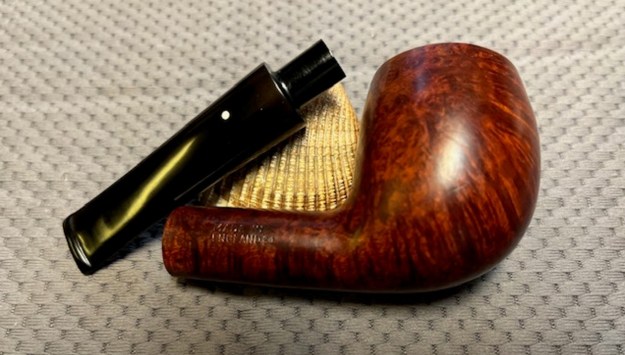
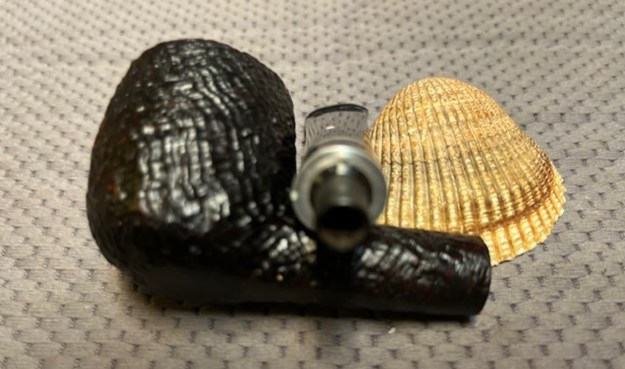
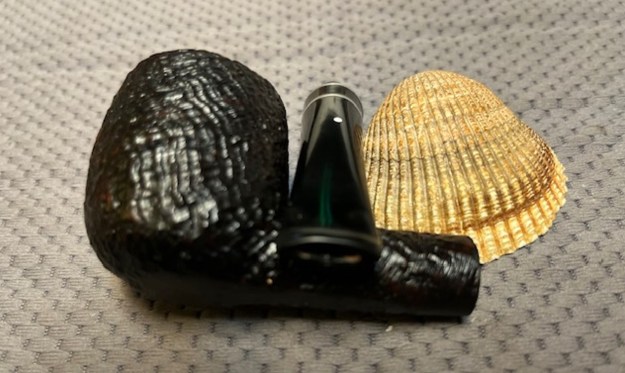
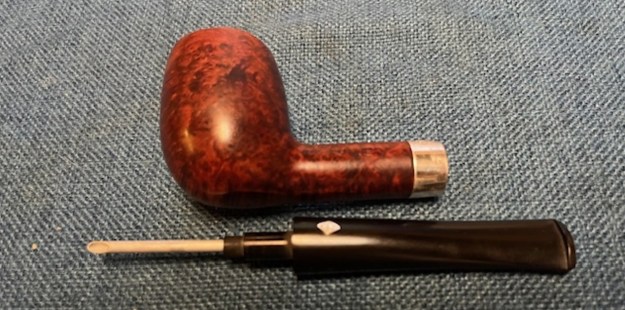
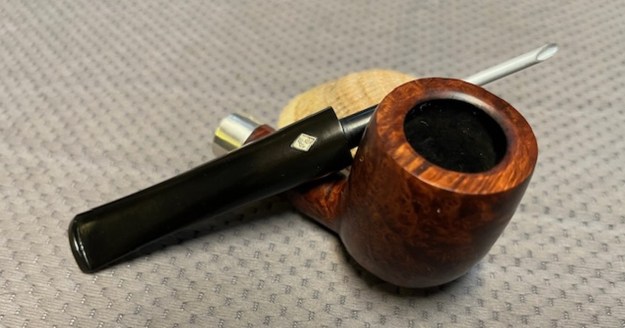
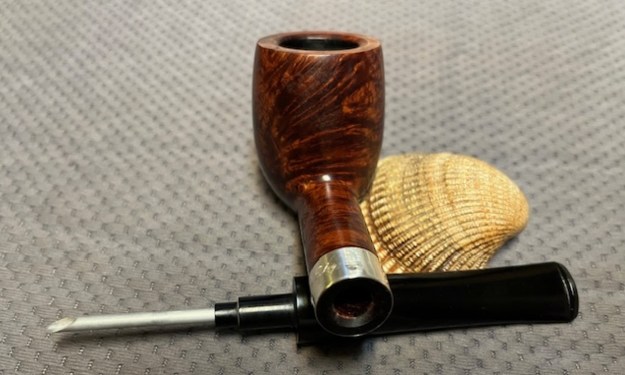
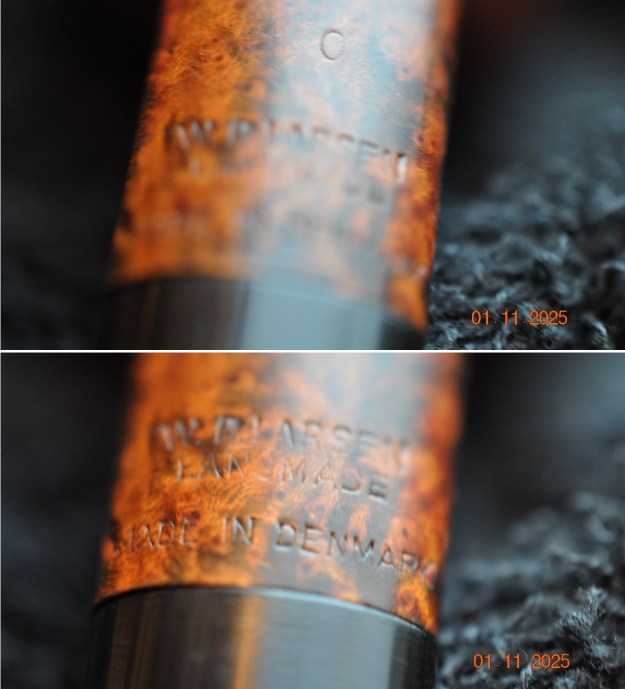
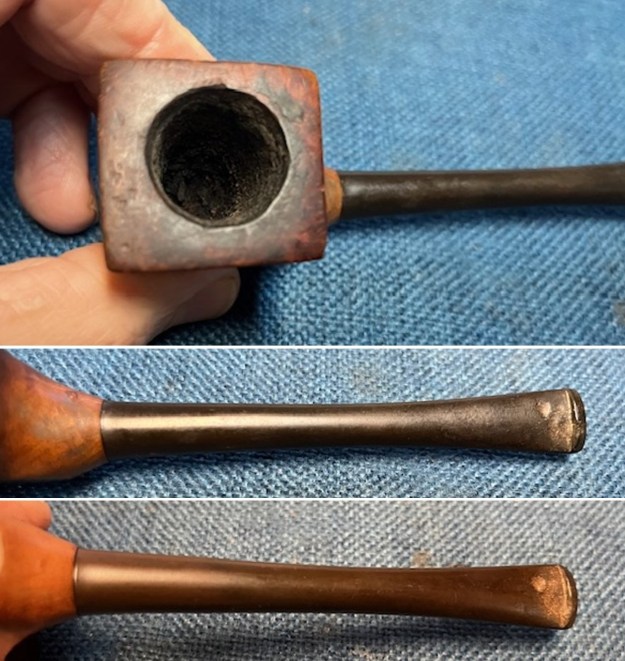 I took a photo of the stamping on the left side of the bowl toward the heel. It is clear and readable as noted above. I removed the stem and took a photo of the parts of the pipe. It is a unique and strangely pretty little pipe.
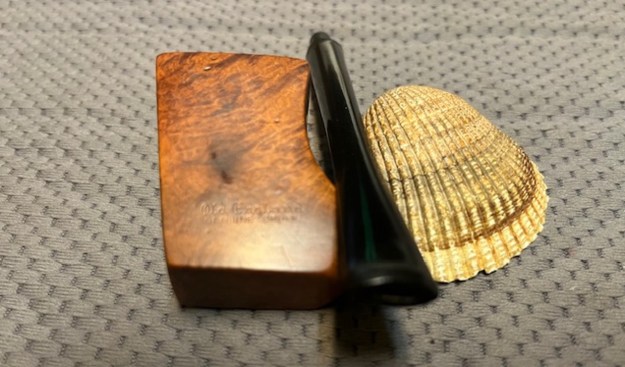
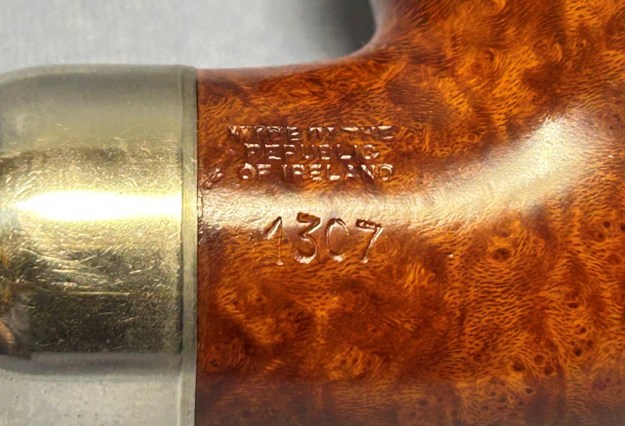
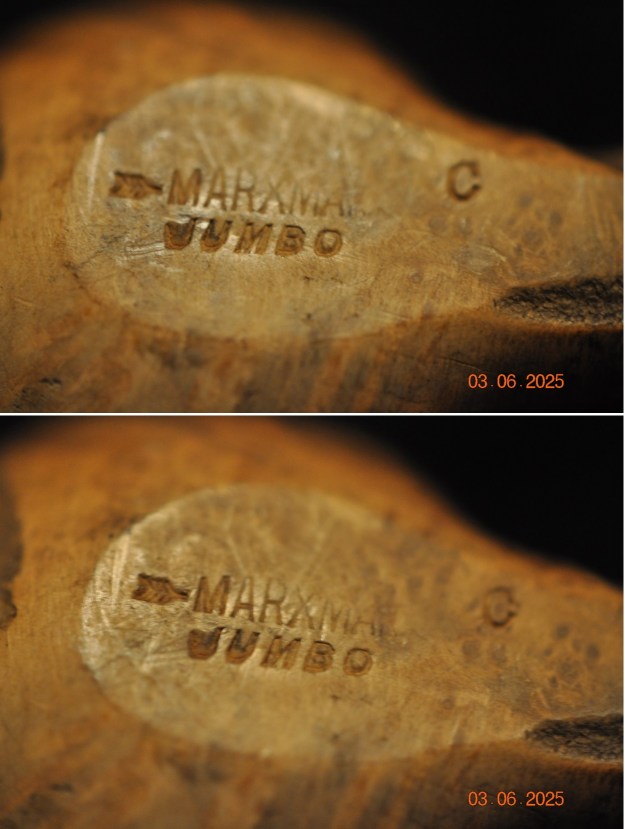
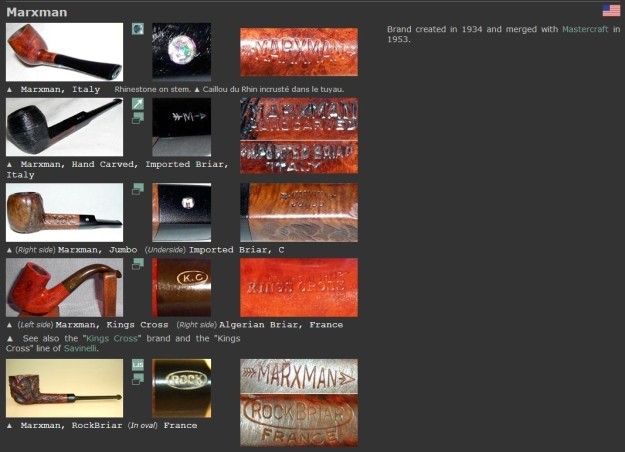
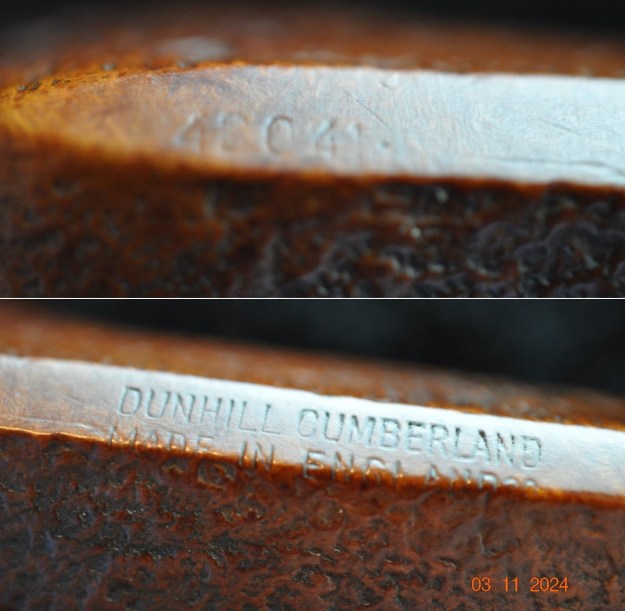
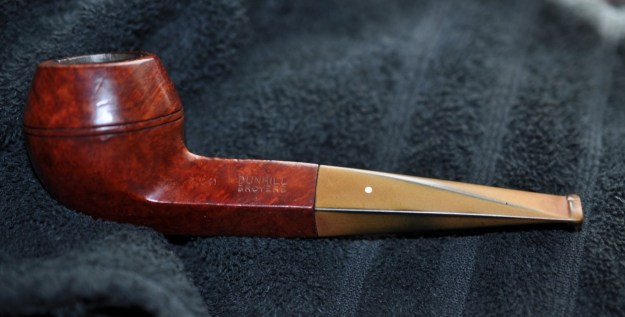
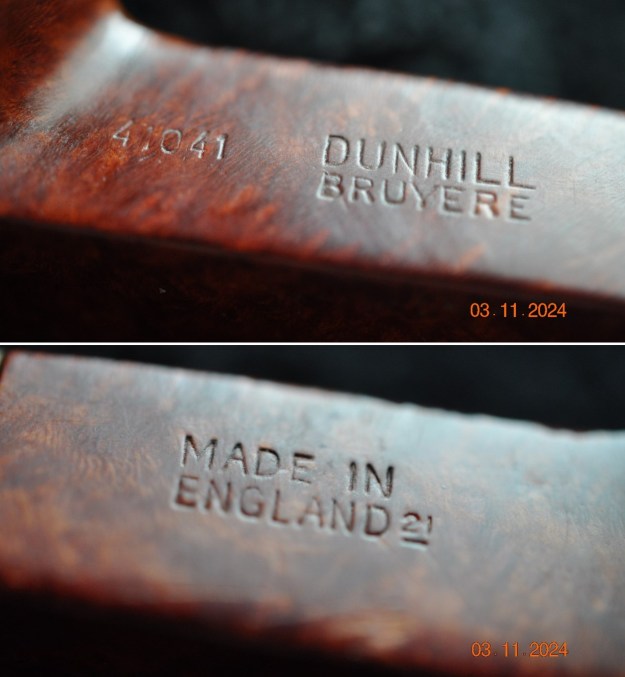
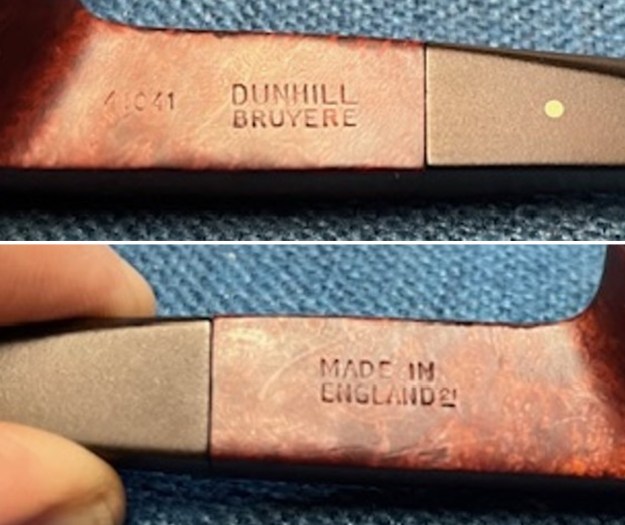
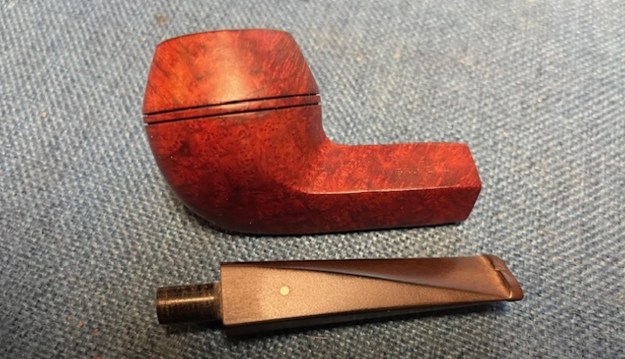
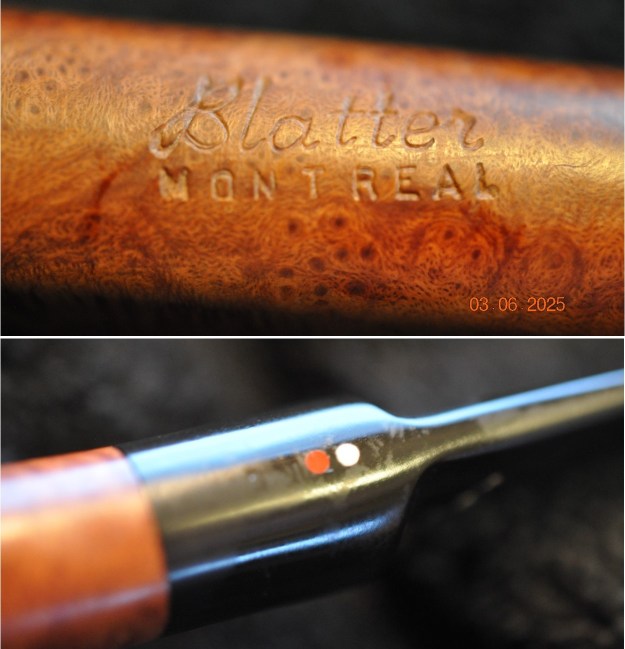
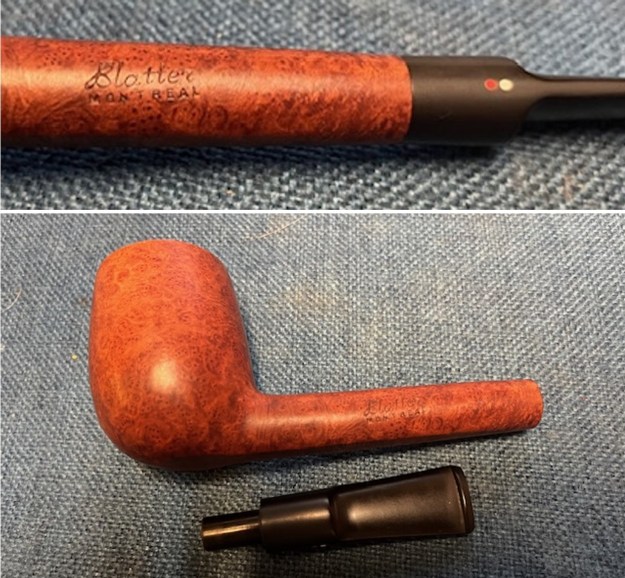
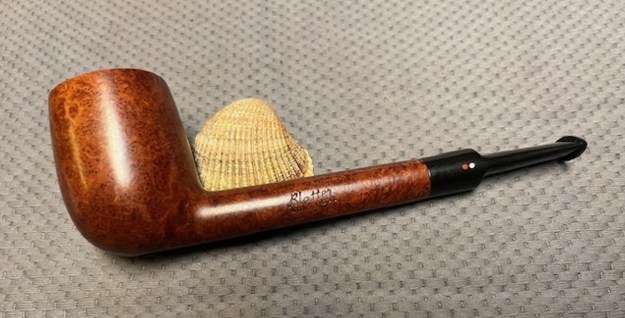
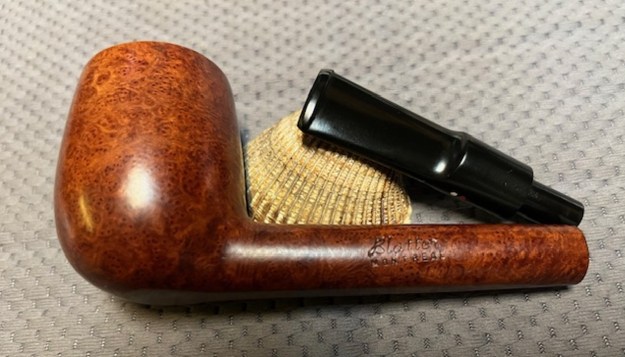
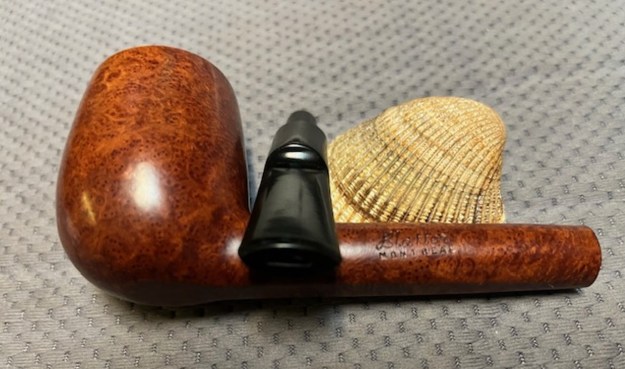
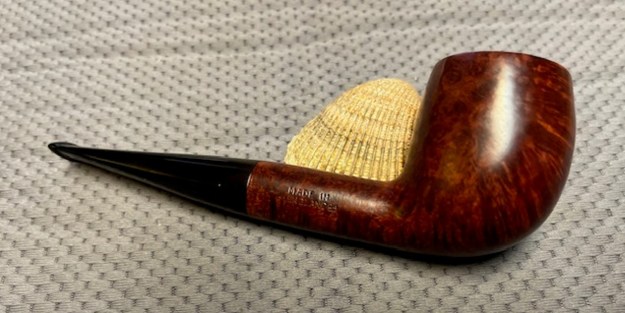
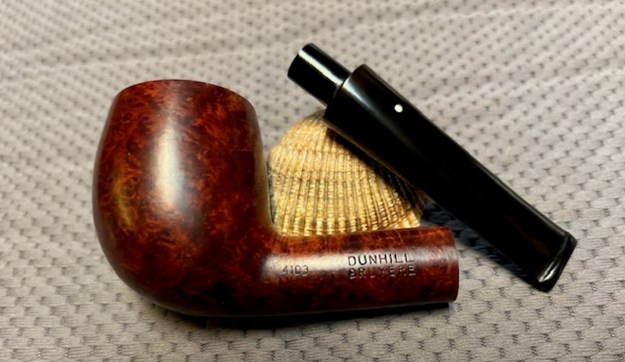
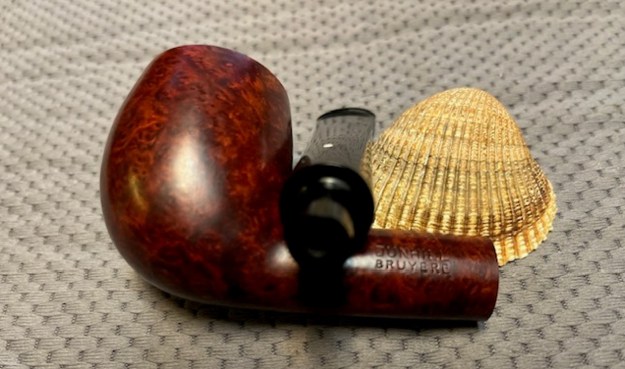
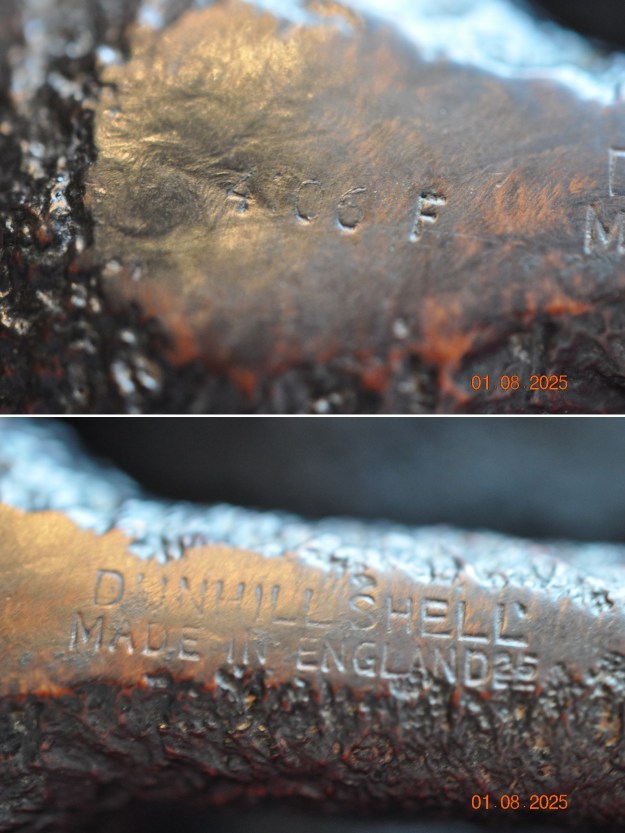
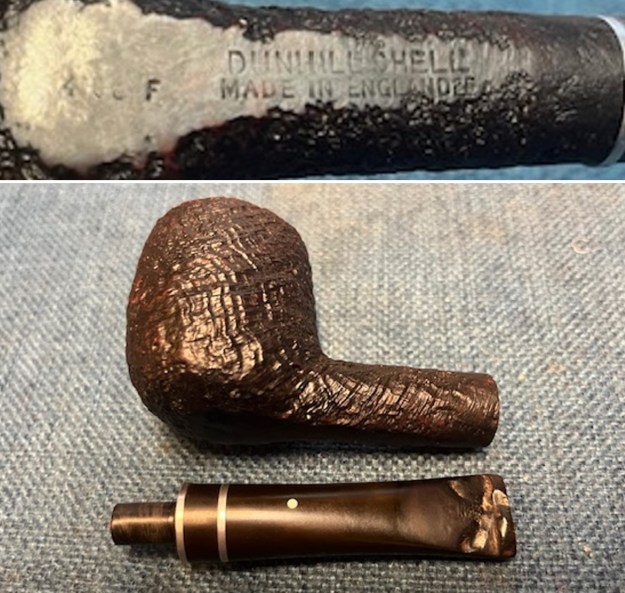
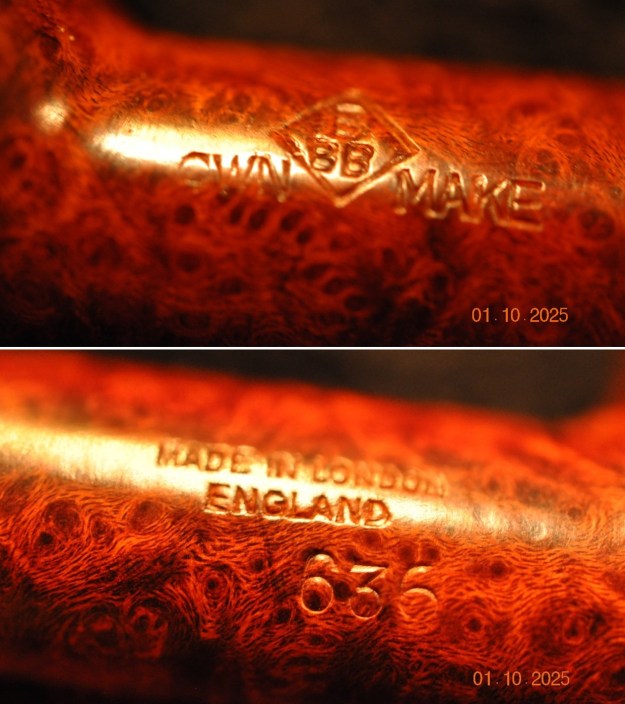
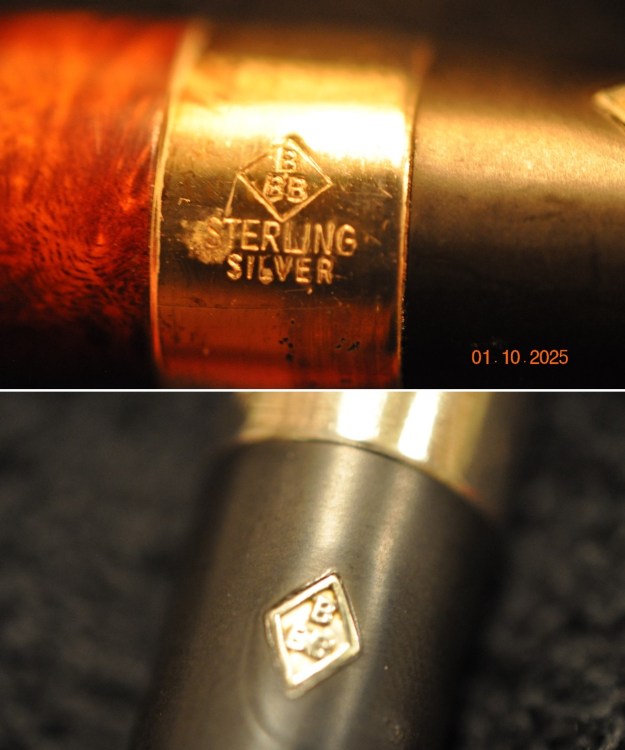
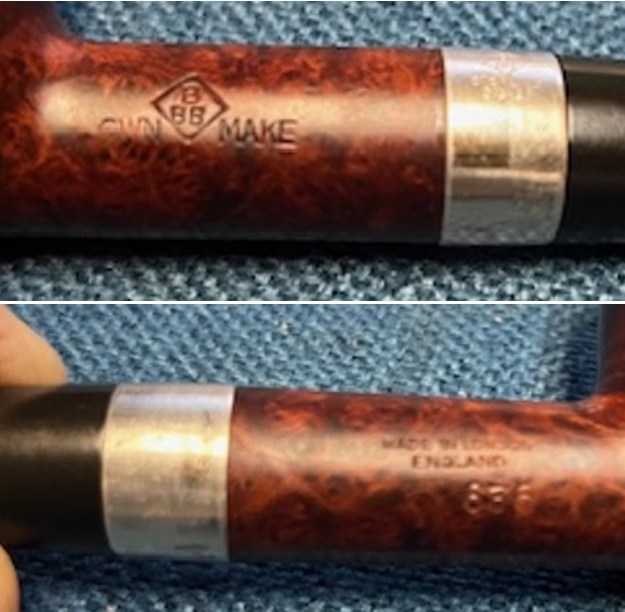
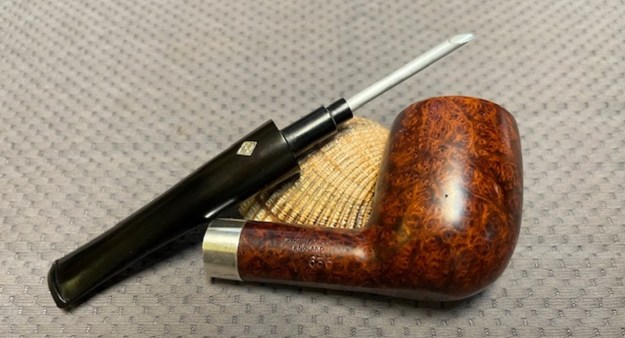
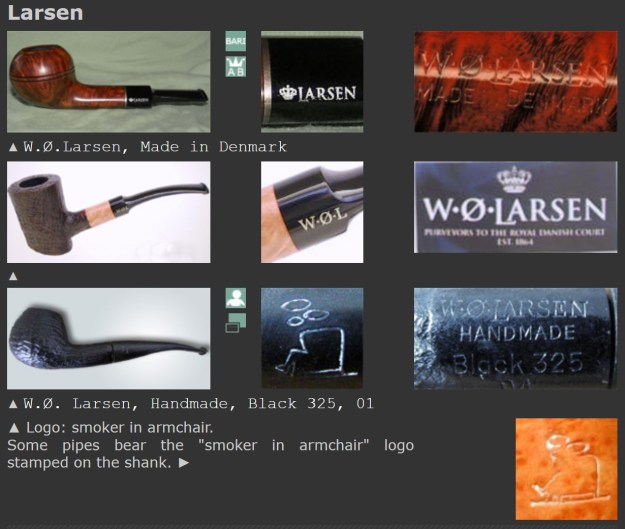
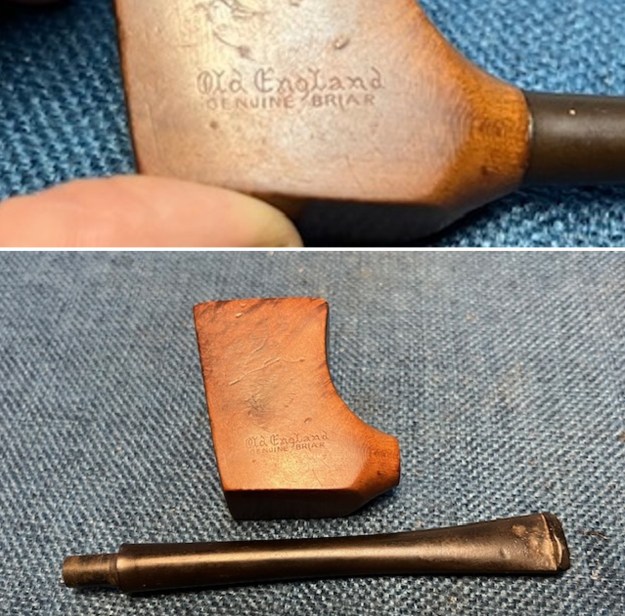 I did a bit of hunting on the brand and did not find any information on it. I did find a Sasieni Second brand with this stamping but the stamping was quite different from that on this one. The similarity is in the name of the brand. Nothing definitive was found but this could be something.
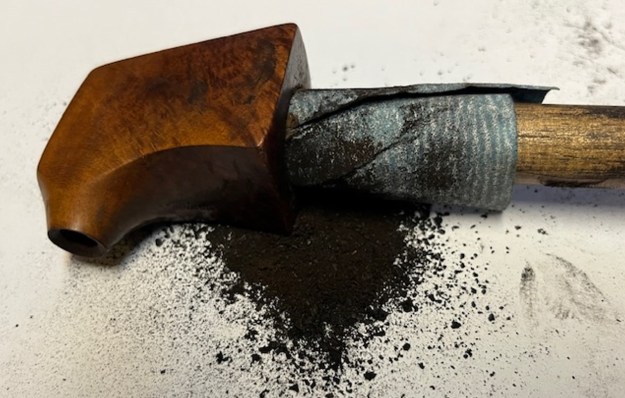
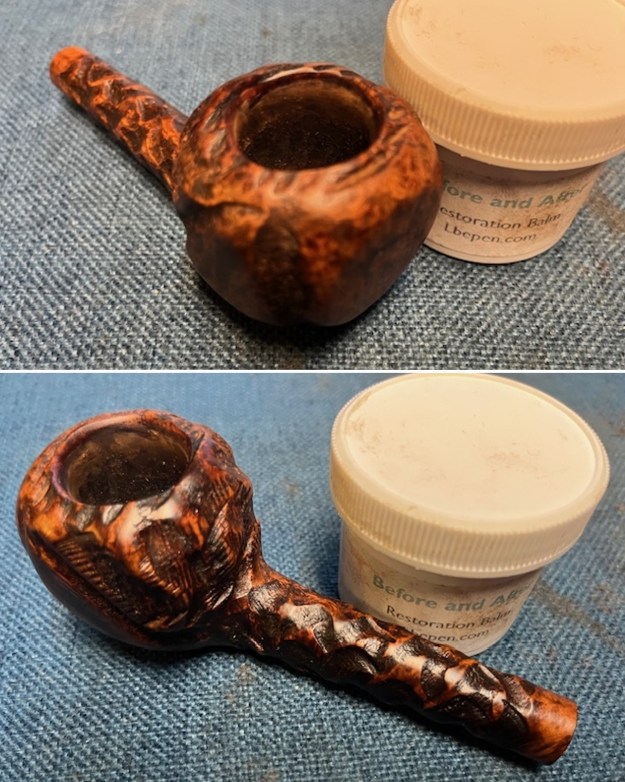
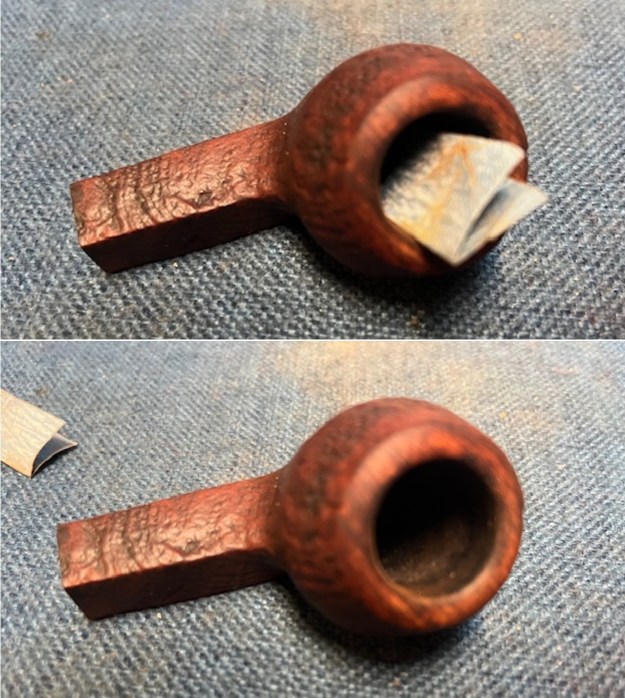
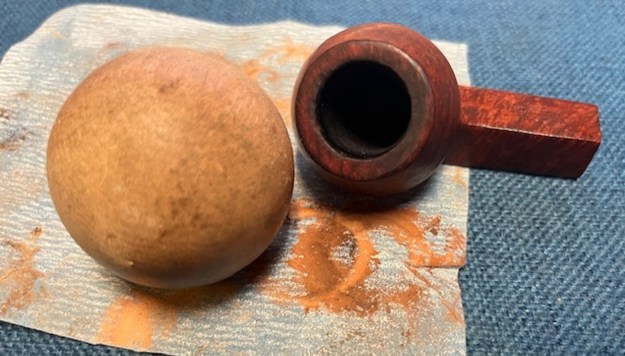
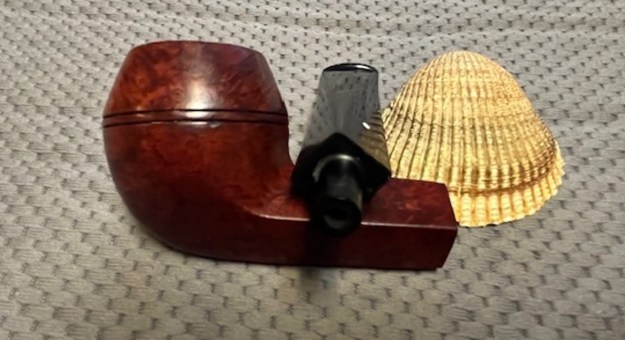
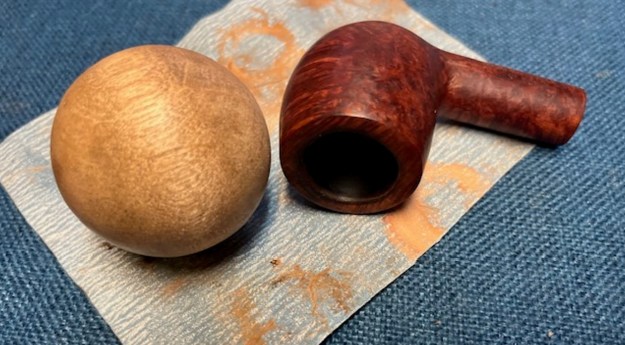
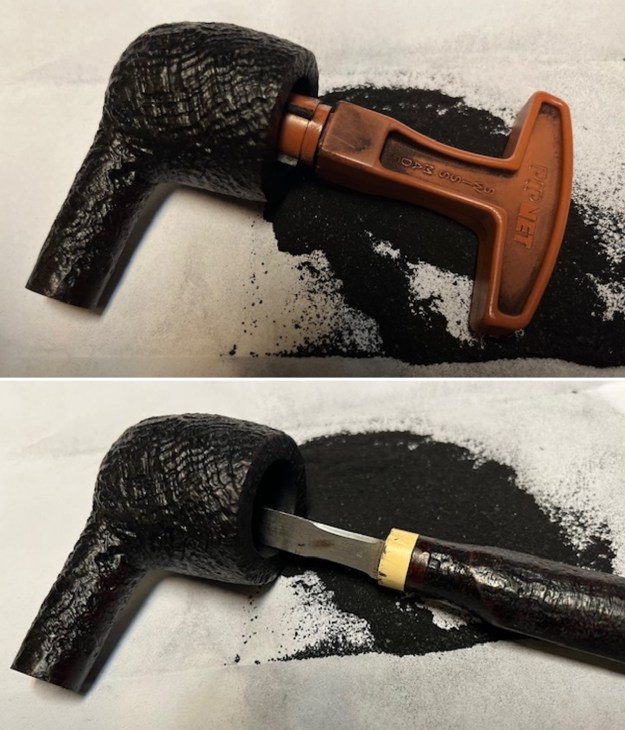
Now it was time to work on the pipe. I reamed the pipe with a PipNet reamer using the first and second cutting head. I took the cake back to bare briar. I cleaned up the reaming with a Savinelli Fitsall Pipe Knife to remove the remnants. I sanded the bowl with a piece of dowel wrapped with 220 grit sandpaper. It looked much better at this point.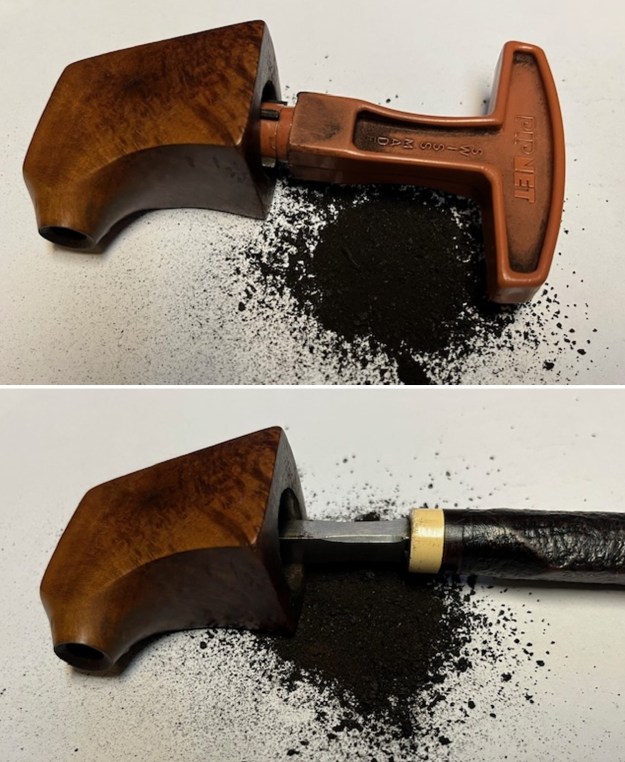
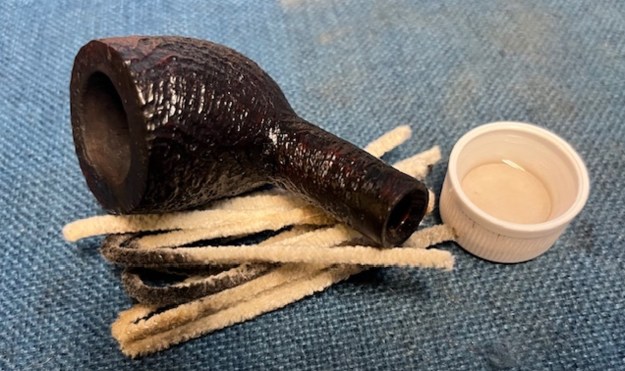
 I moved on to clean up the internals. The airway into the bowl was plugged so I broke it through with a paper clip. I cleaned out the airway and mortise with pipe cleaners, cotton swabs and alcohol. I cleaned out the airway in the stem at the same time. It was a dirty pipe but after this cleanup it was much better.
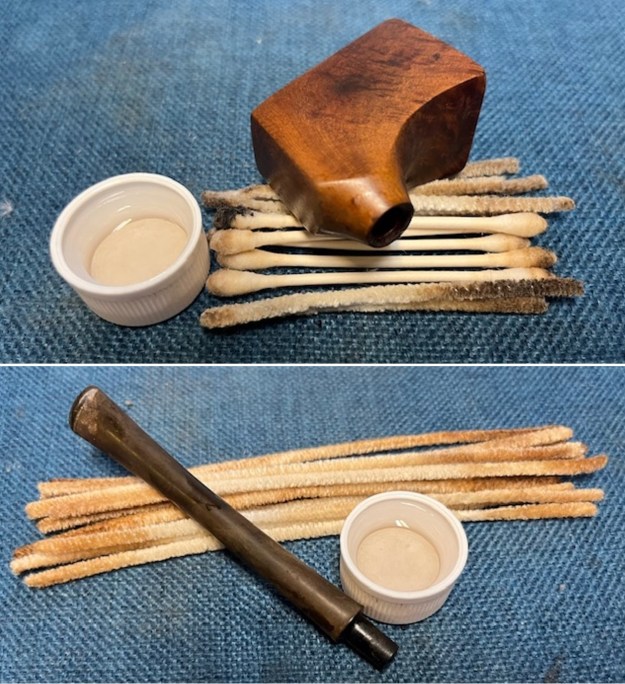 I scrubbed the externals of the pipe with undiluted Murphy’s Oil Soap and a tooth brush to remove the grime in the finish and on the rim top. I worked on it until it looked much better and then rinsed it off with warm water. I dried it off with a soft cloth.
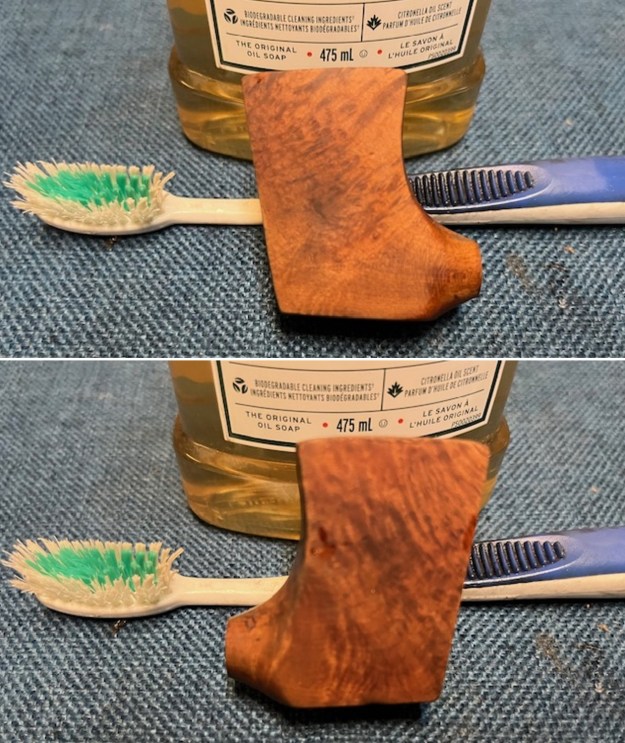
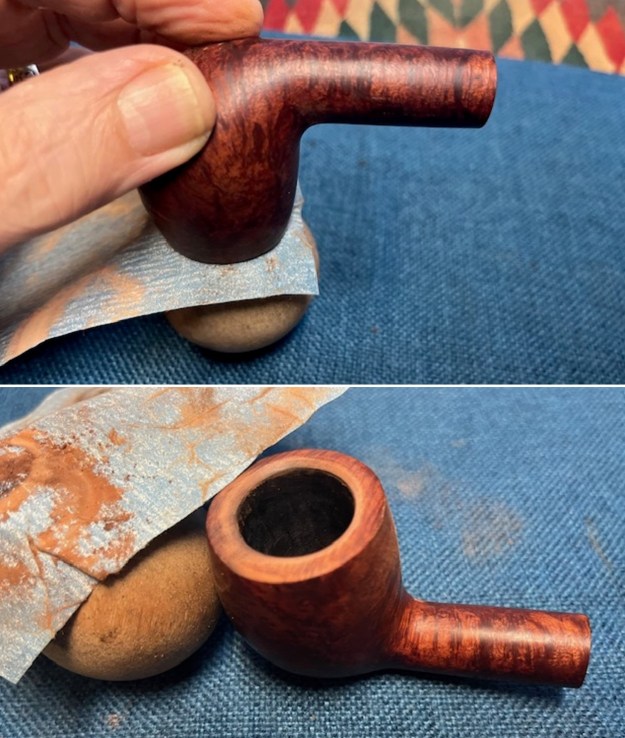
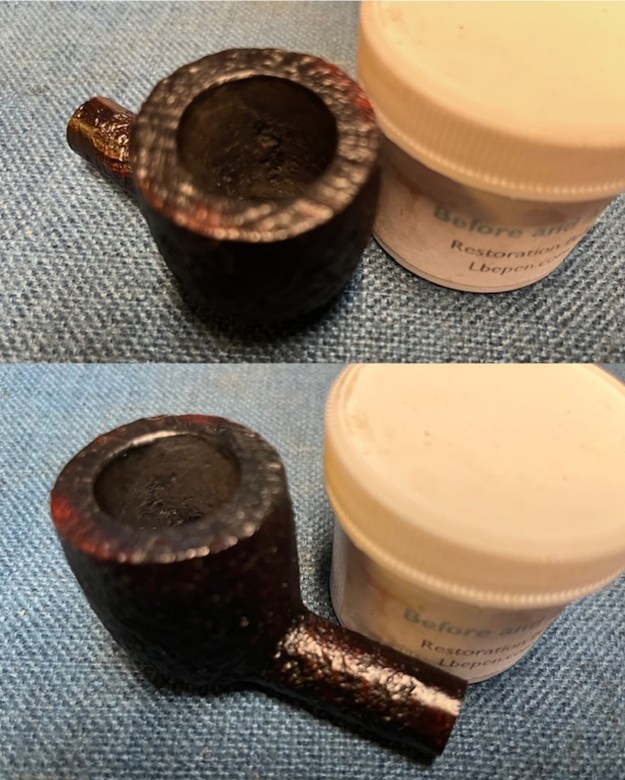
 I smoothed out the inner edge of the bowl and worked on the rim top with a folded piece of 220 grit sandpaper. It was beginning to look much better.
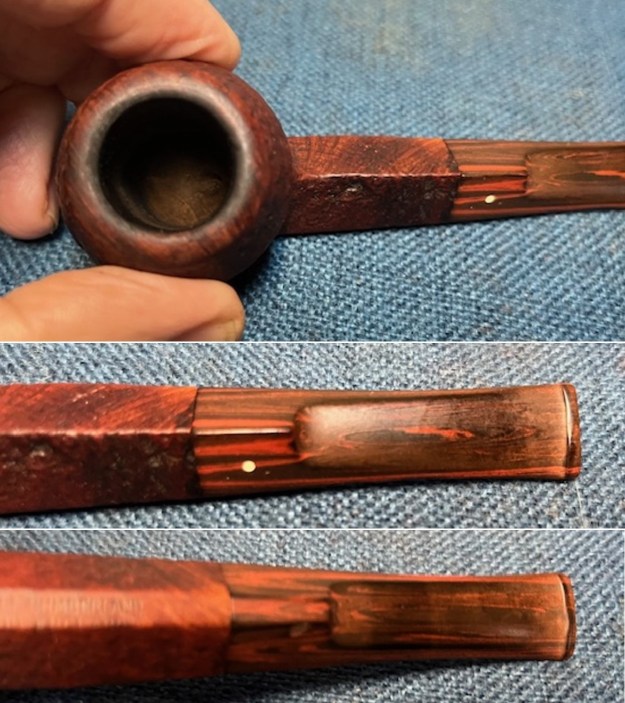
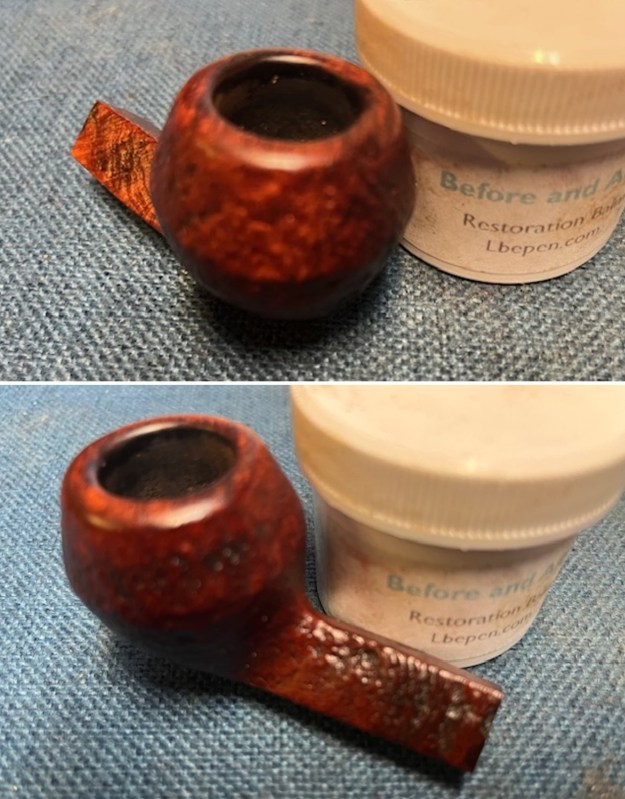
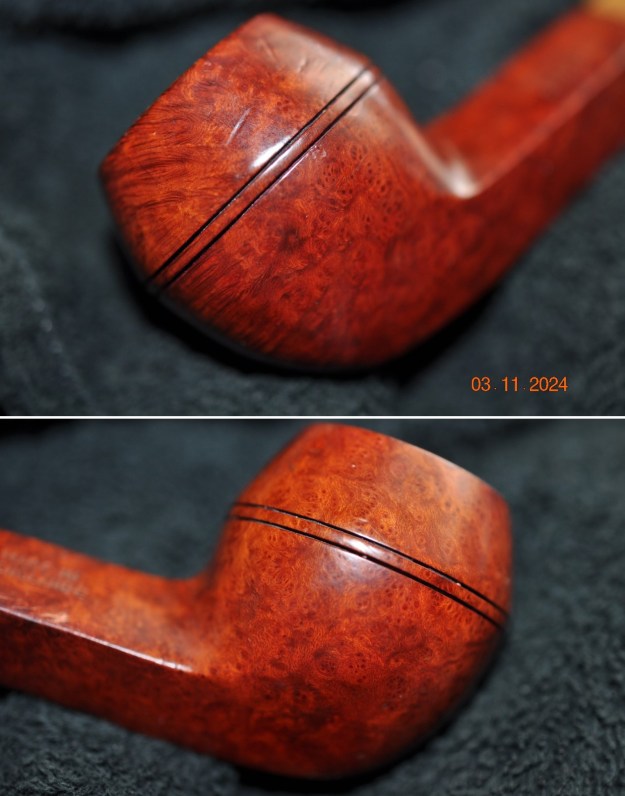
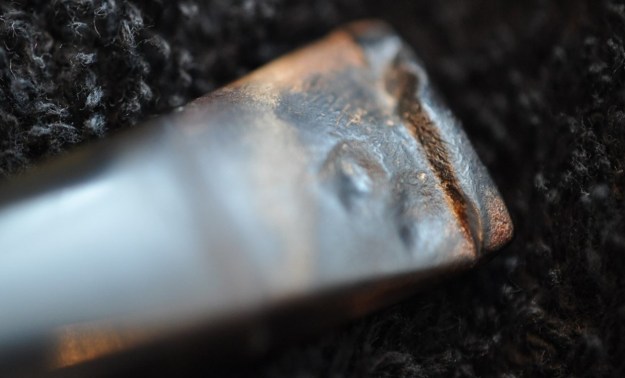
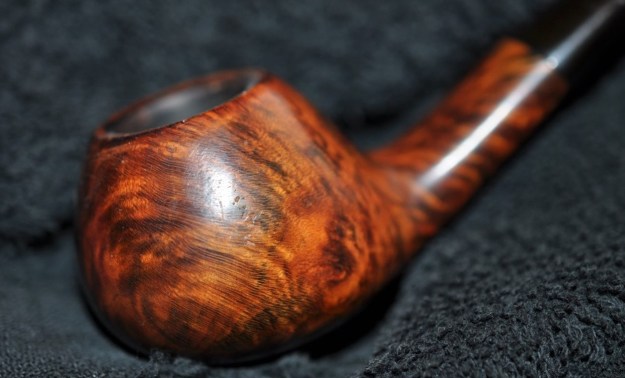
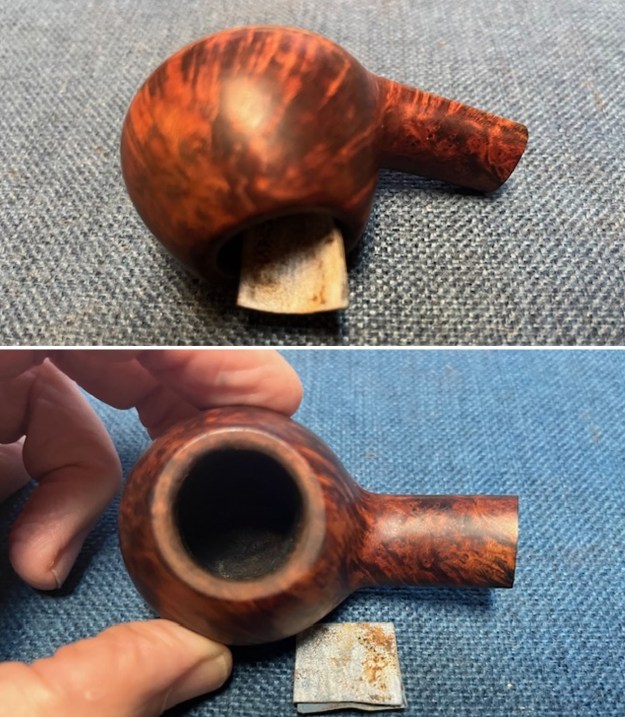
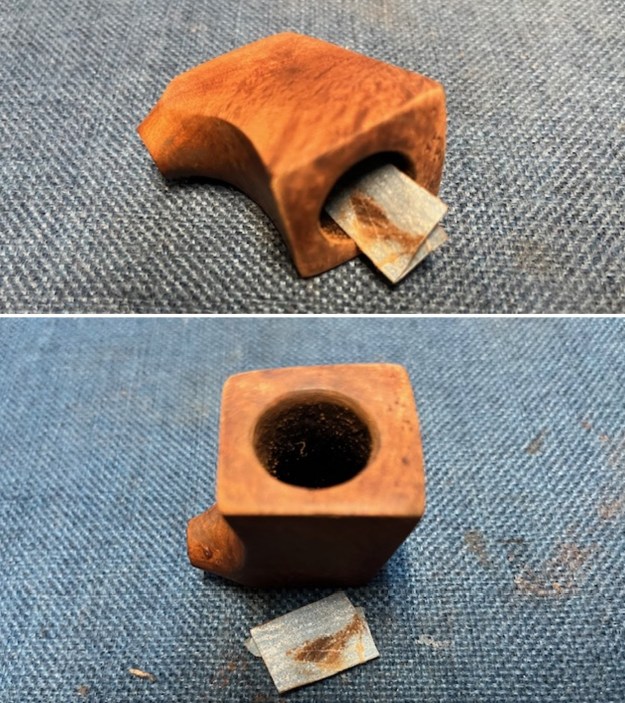 After I cleaned the bowl I found a small hairline crack on the left side of the bowl just below middle. I have circled it in the photo below. I put a bead of clear superglue on the crack to seal it. Once it cured I smoothed it out with 220 grit sandpaper.
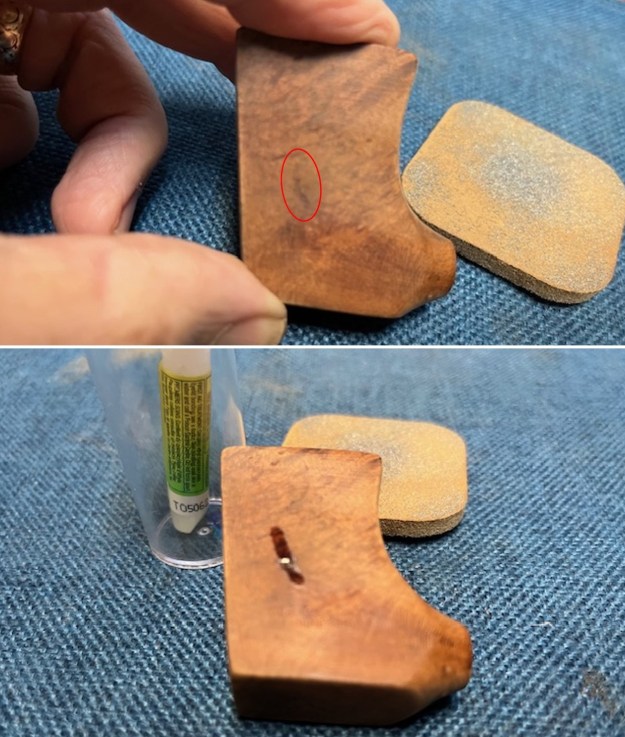
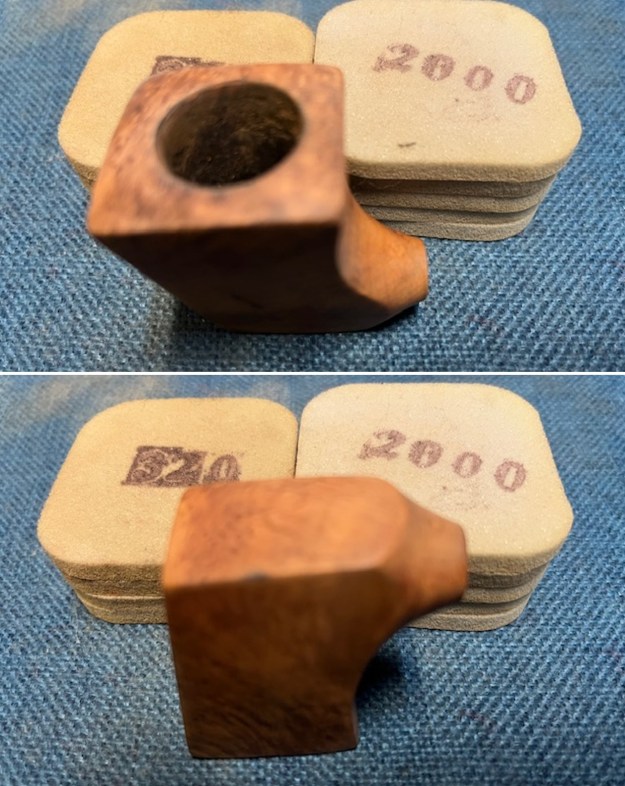
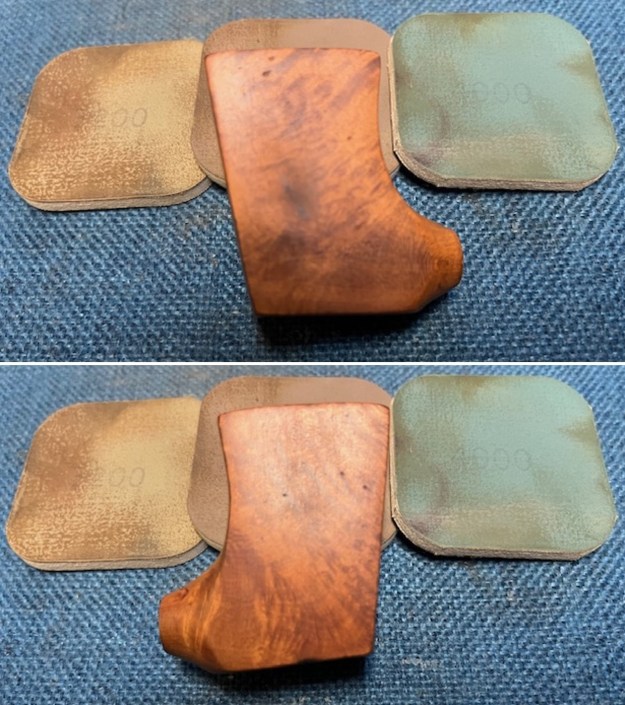
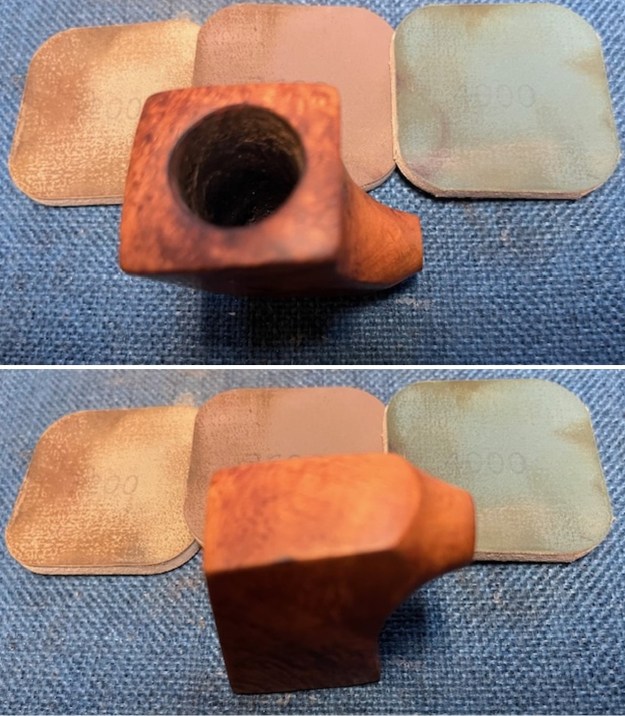
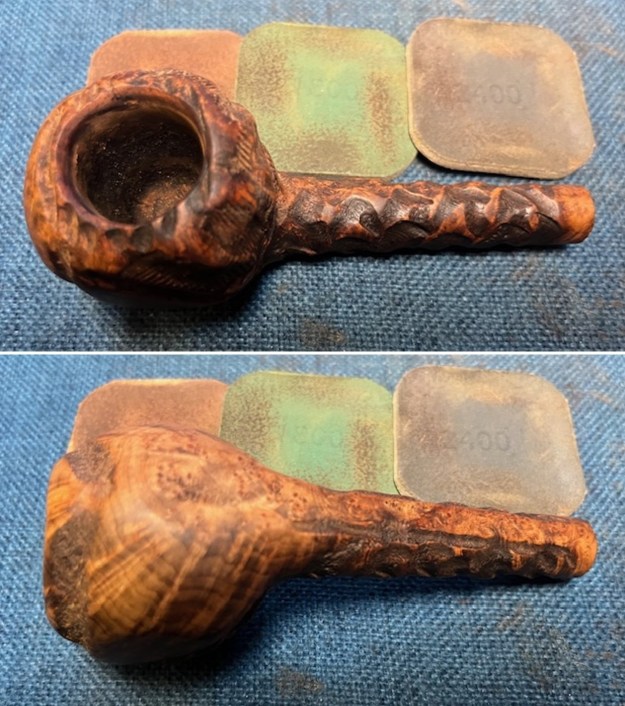
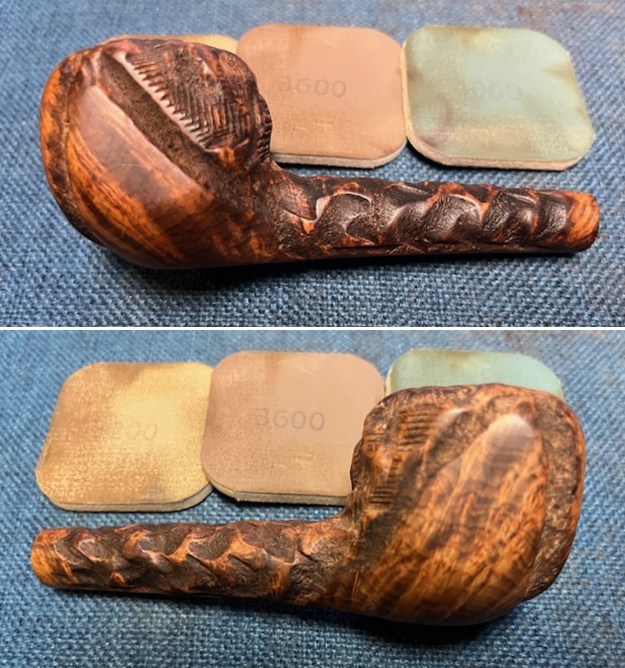
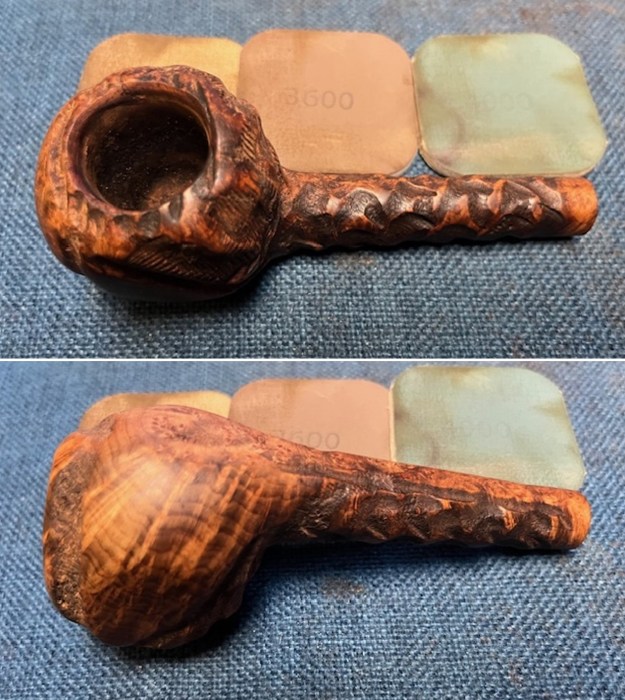
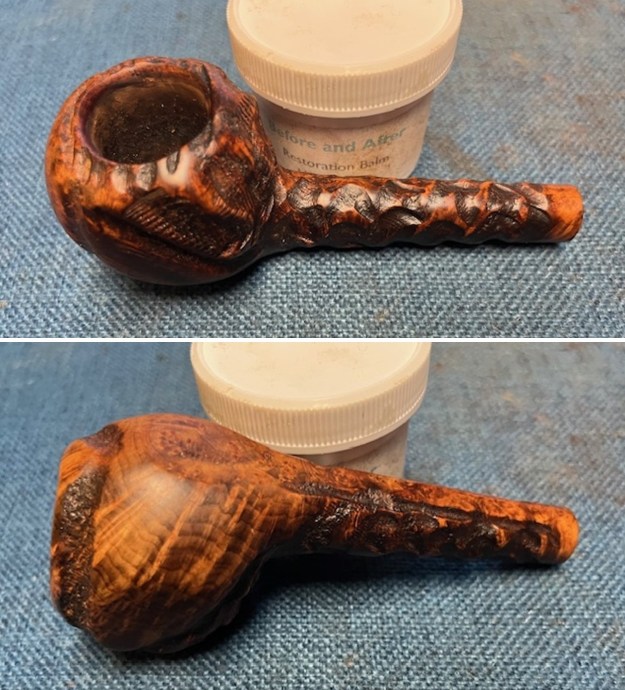
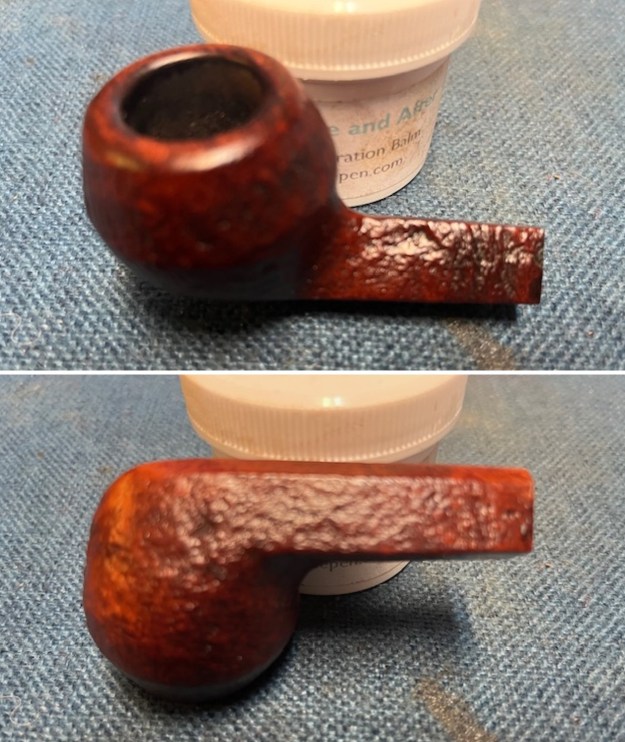
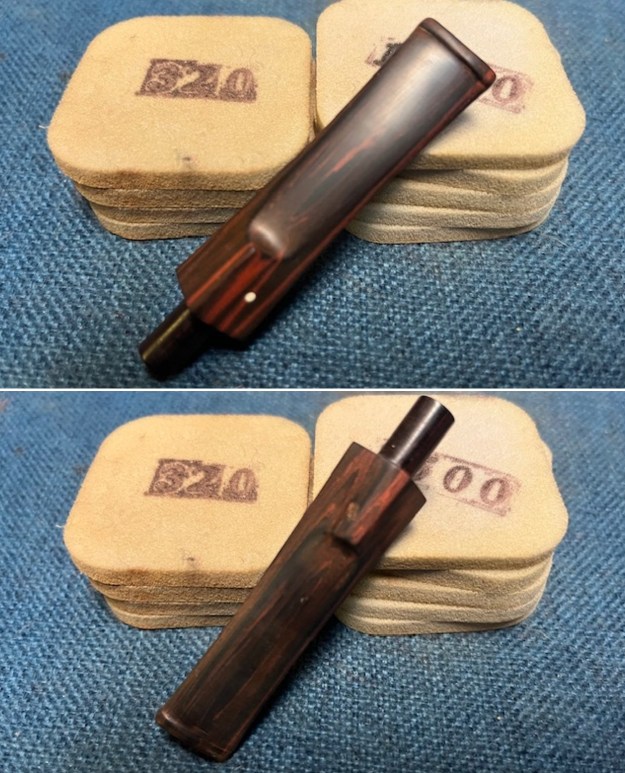
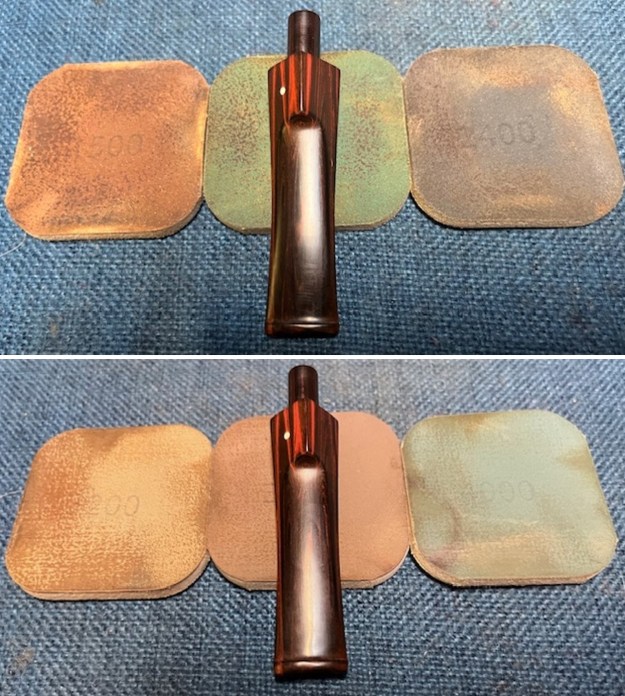
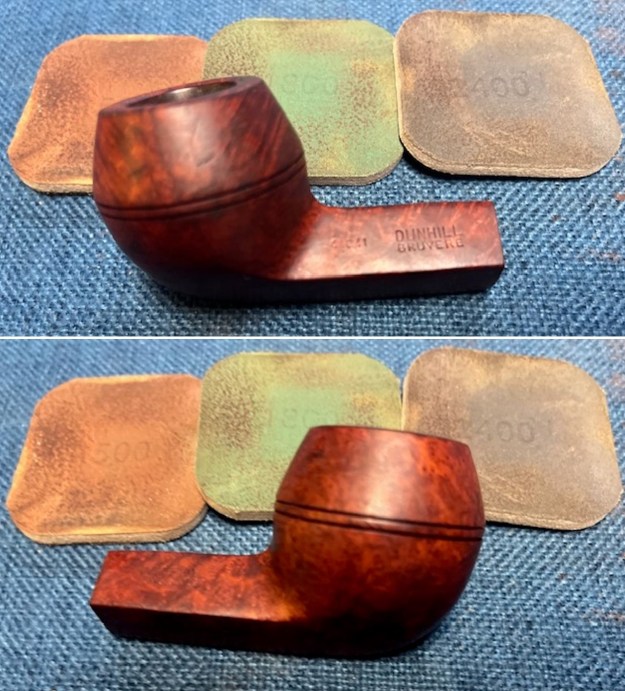
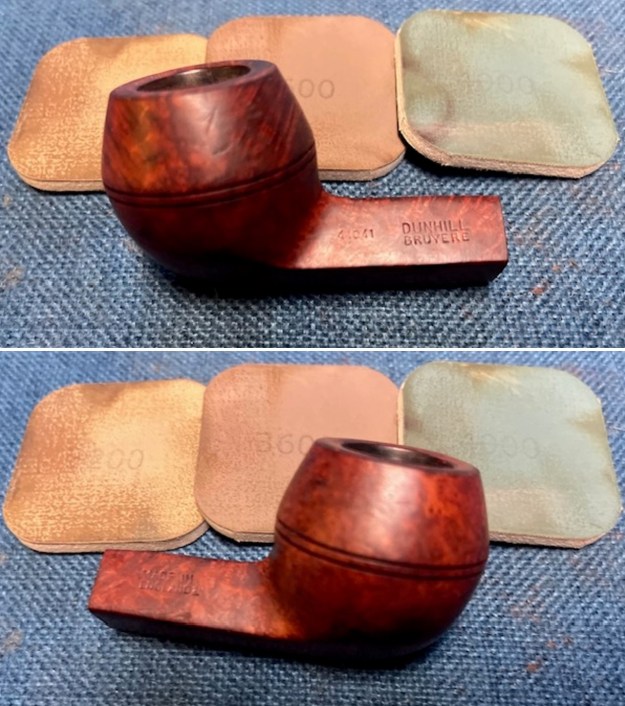
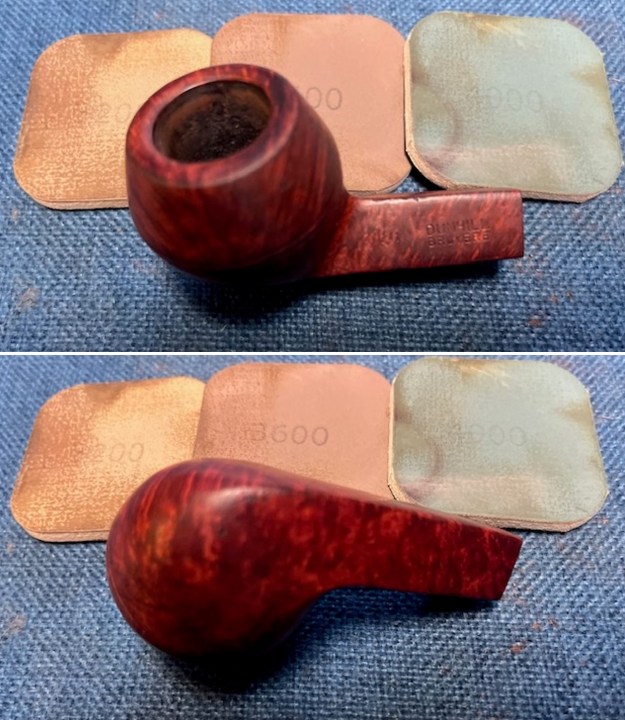
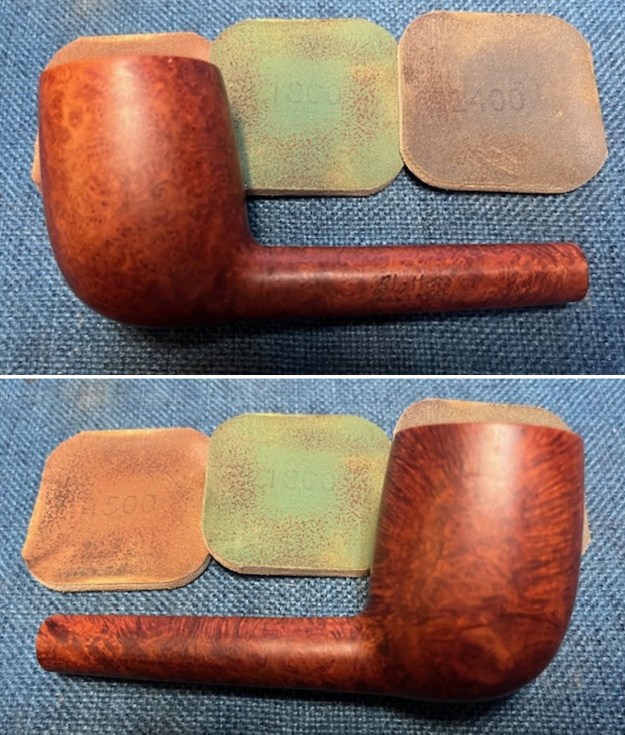
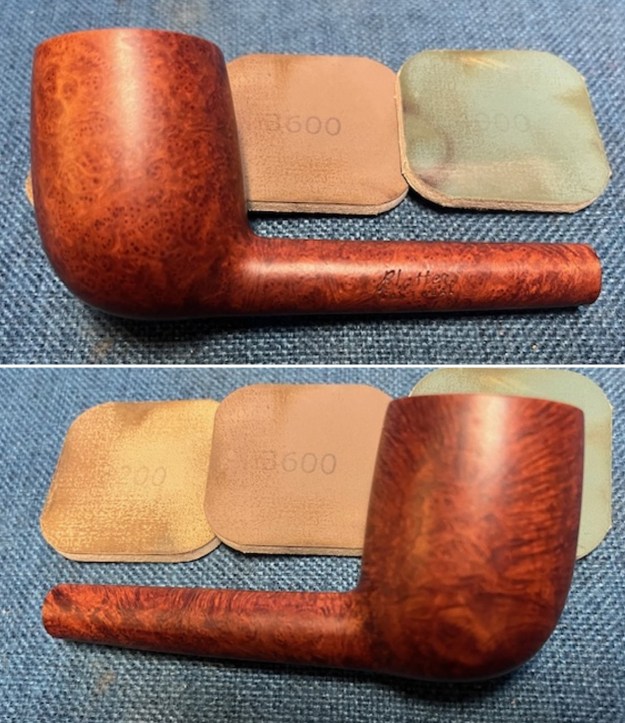
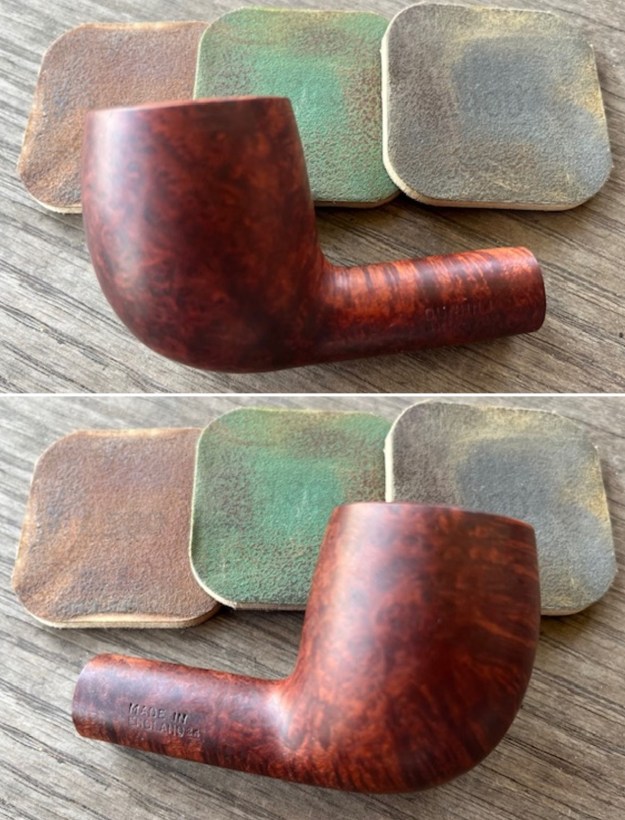
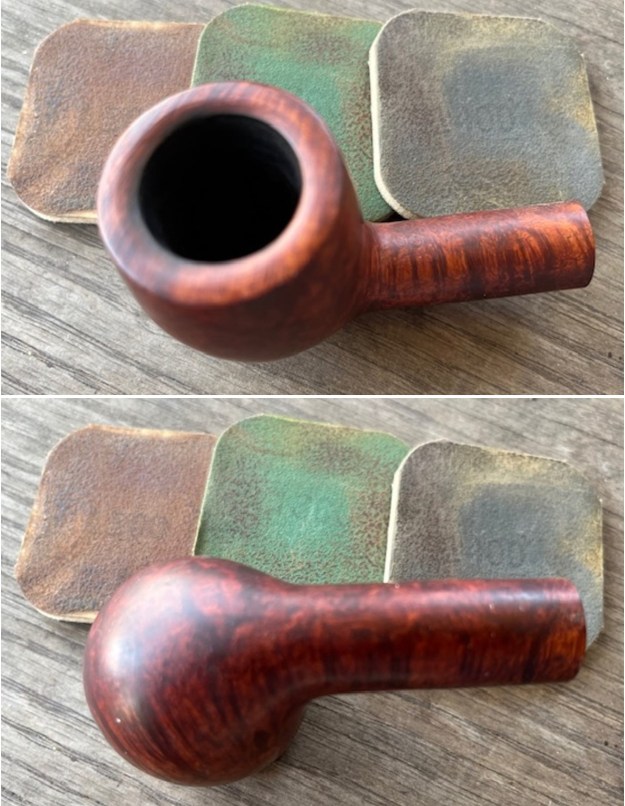
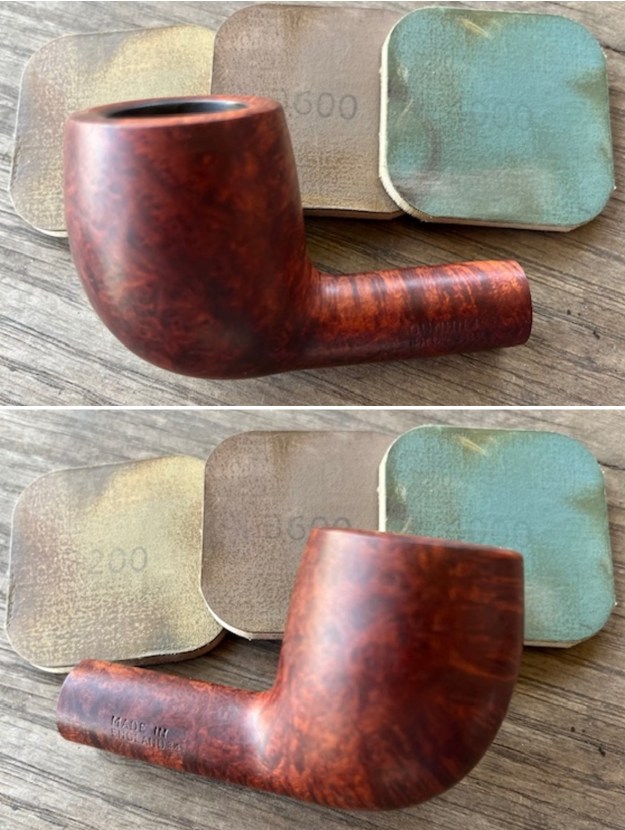
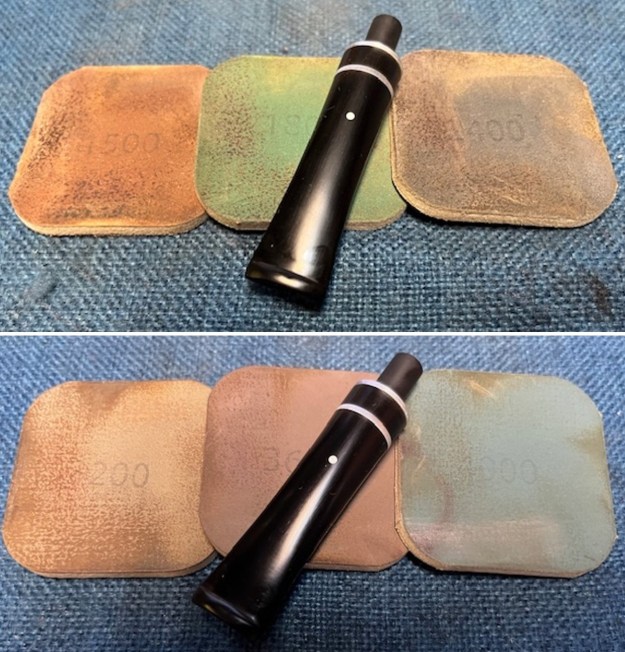
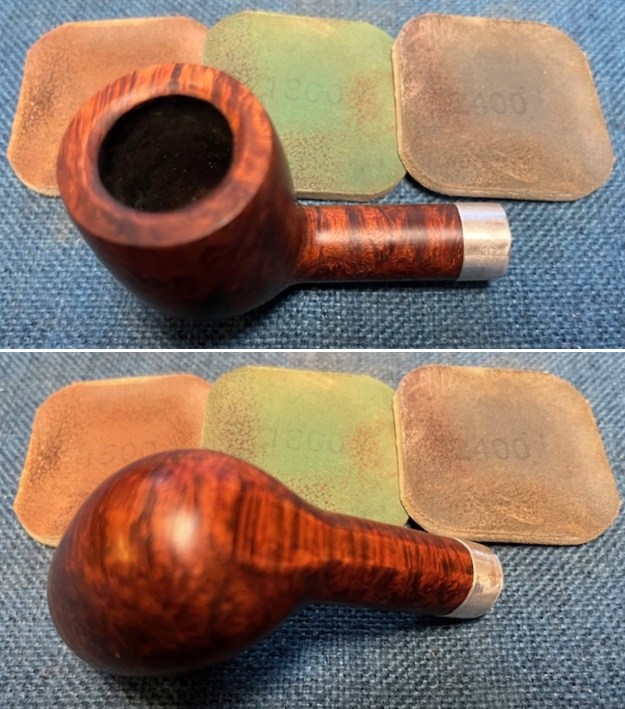
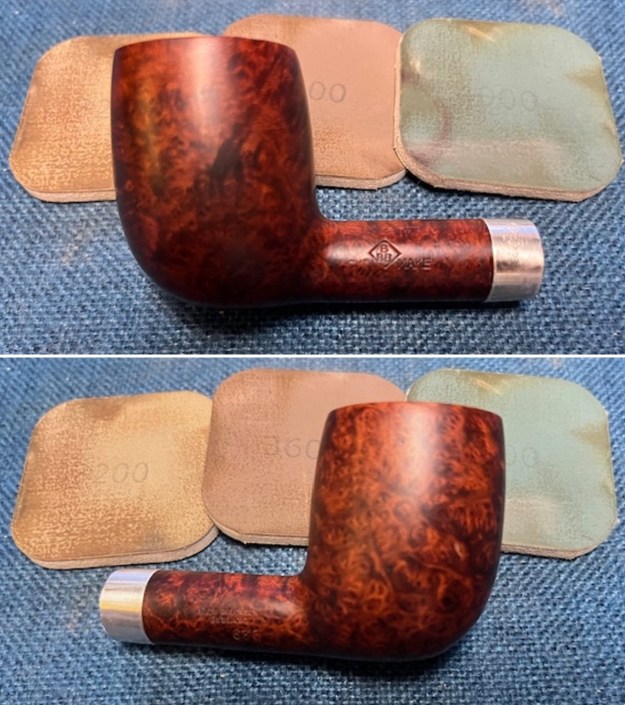
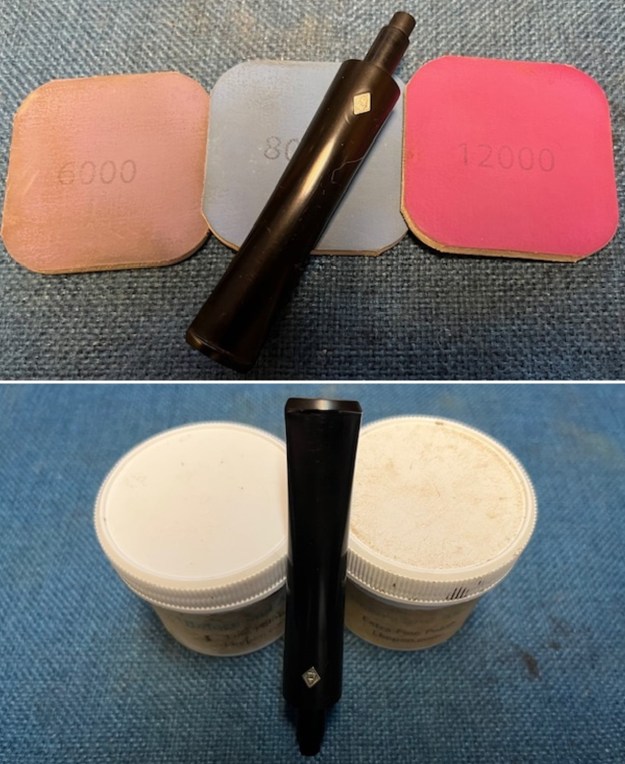
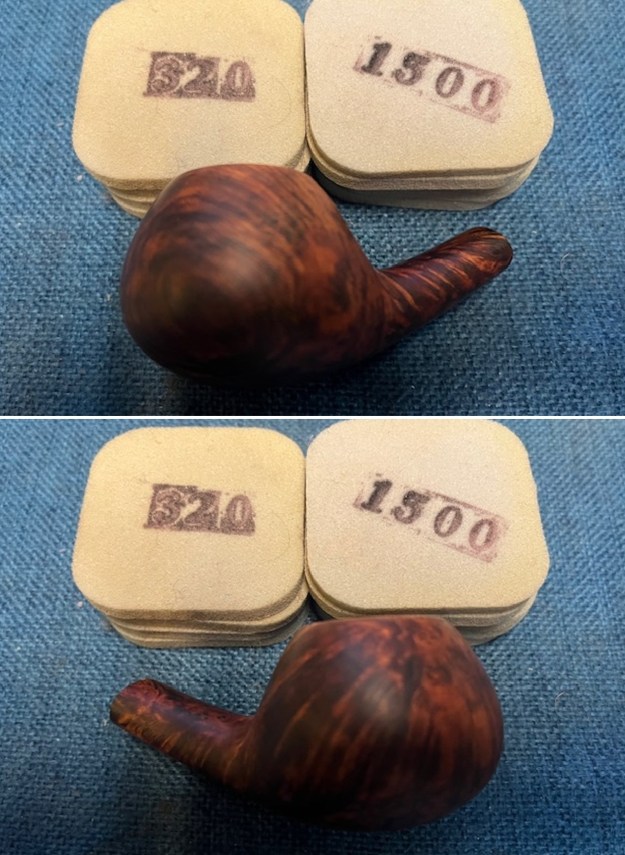
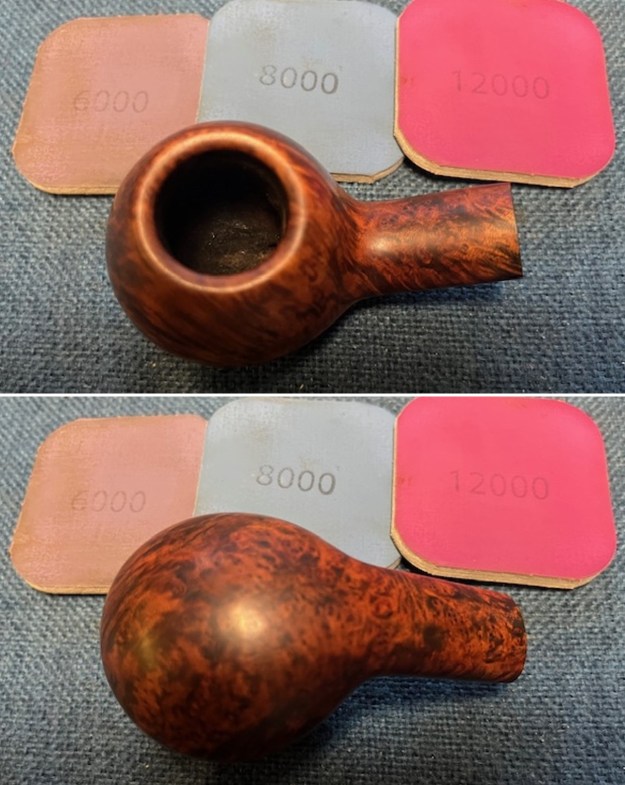
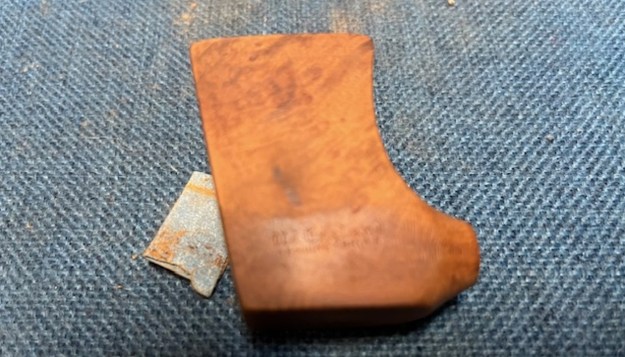 I sanded the exterior of the bowl with 320-3500 grit sanding pads to blend in the repair and clean up the surface of the bowl. I wiped it down with a damp cloth after each sanding pad to remove the sanding dust.
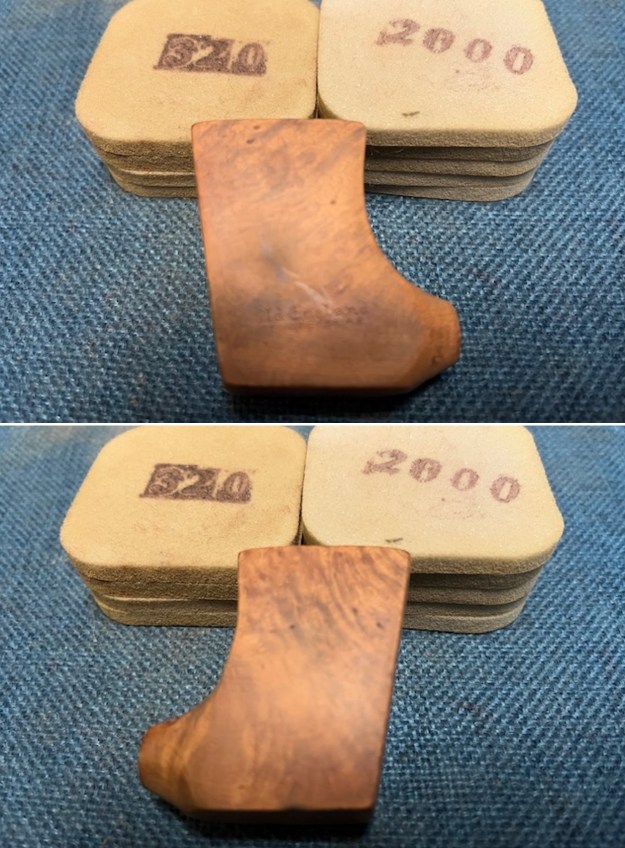
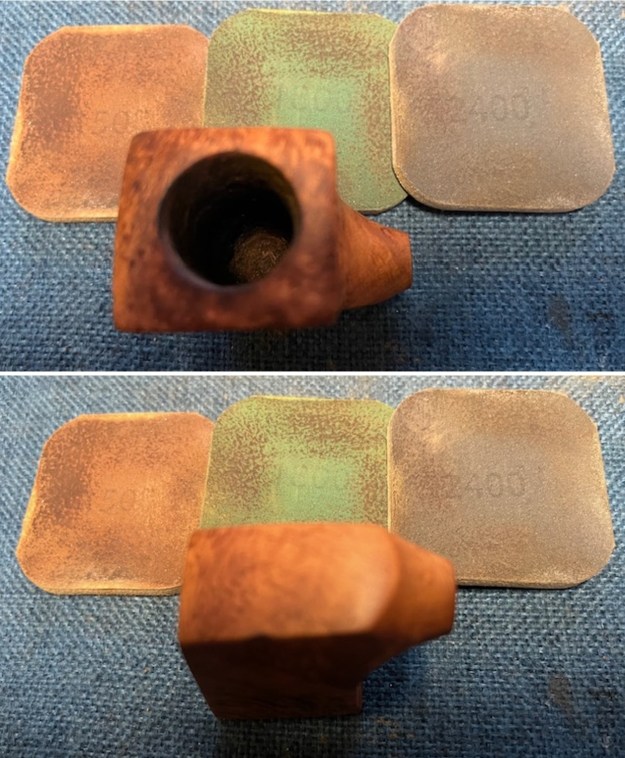
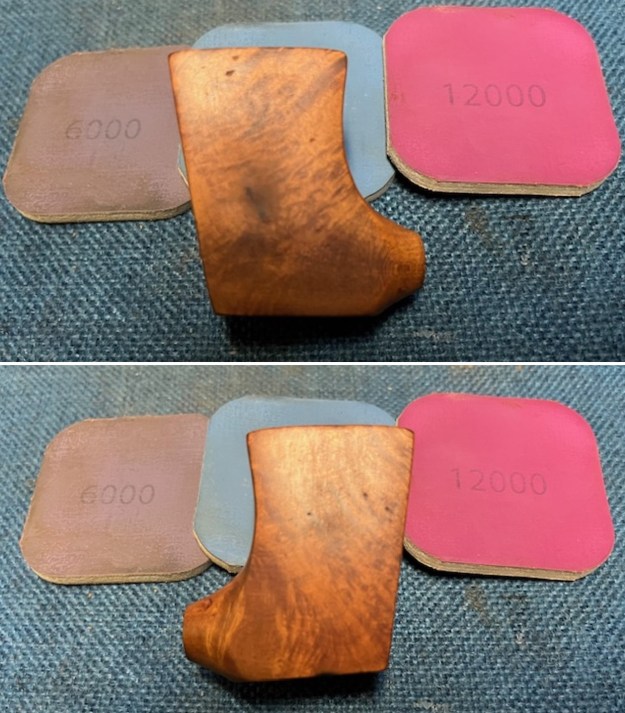
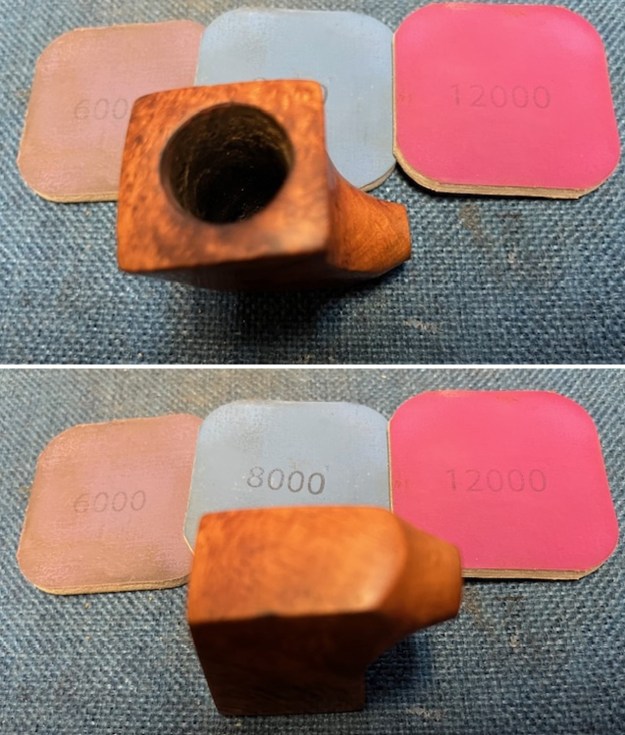
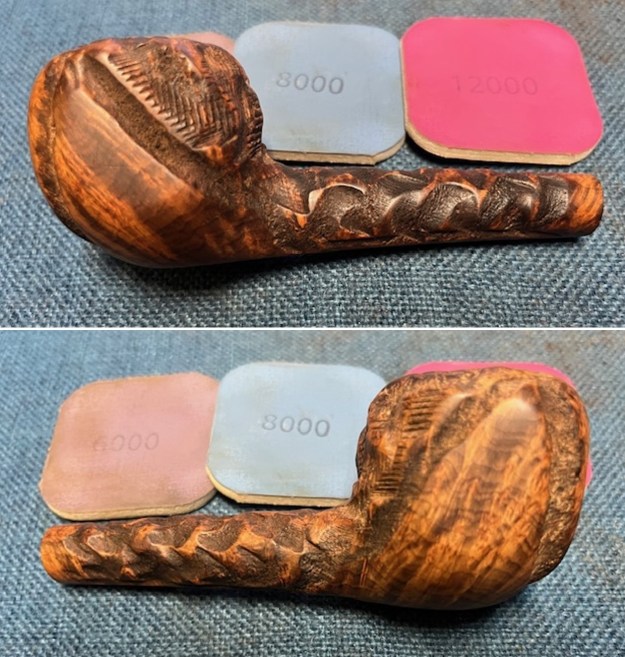
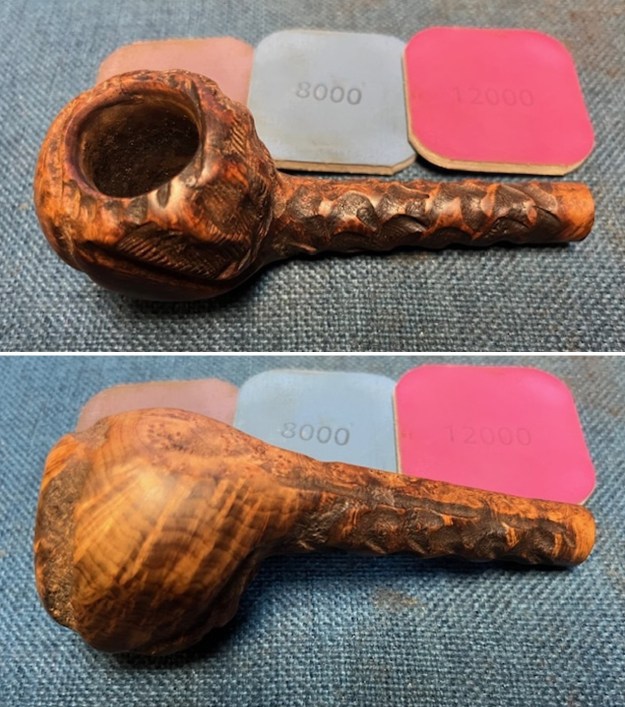
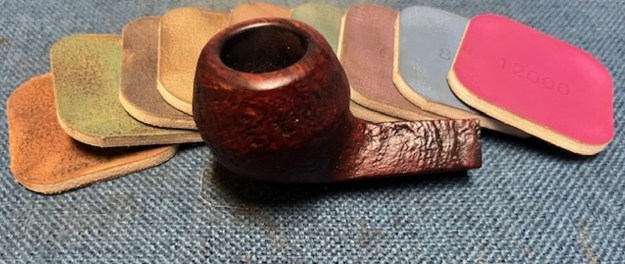
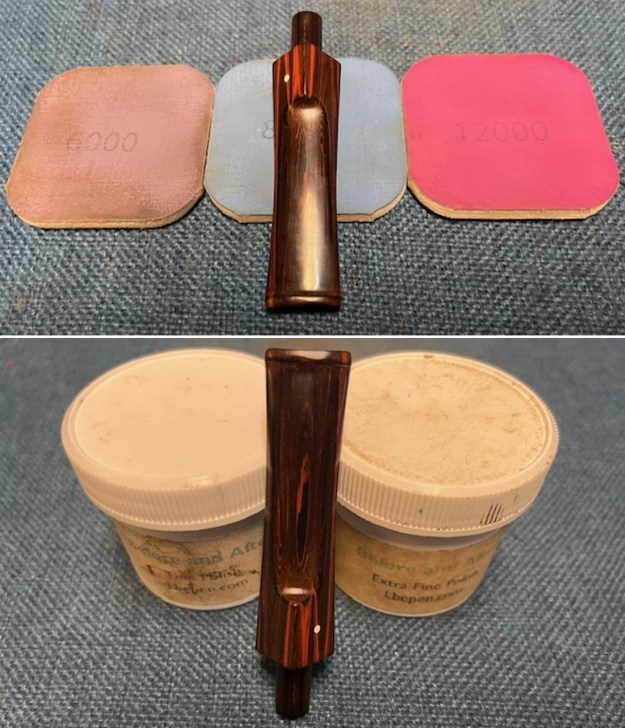
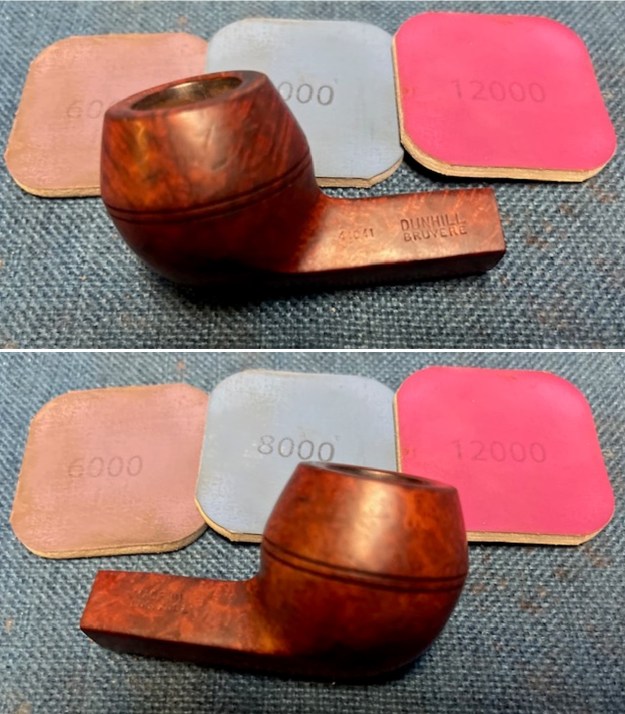
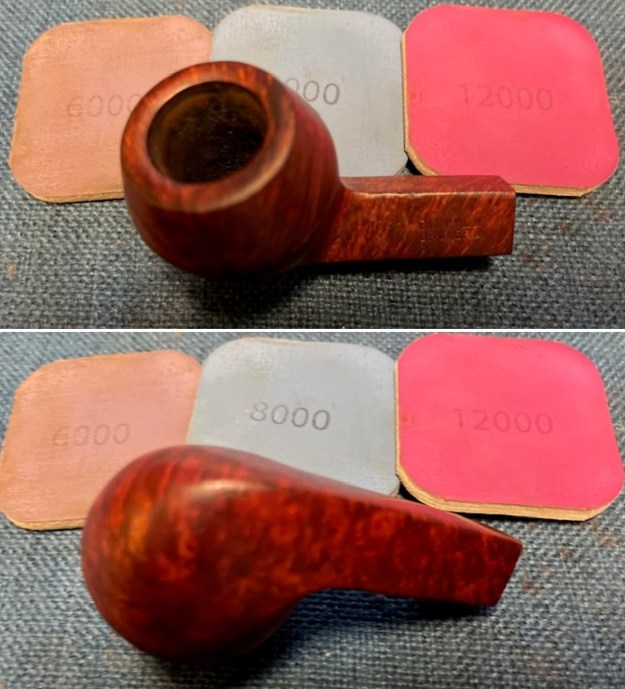
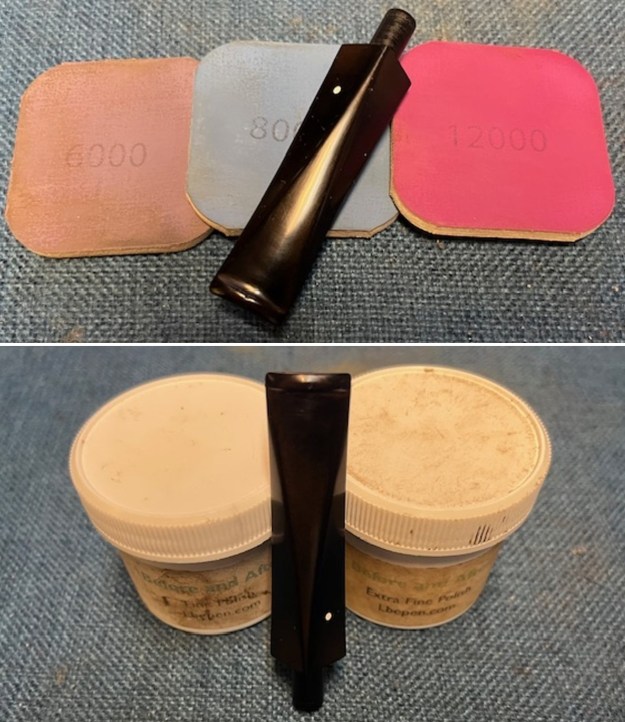
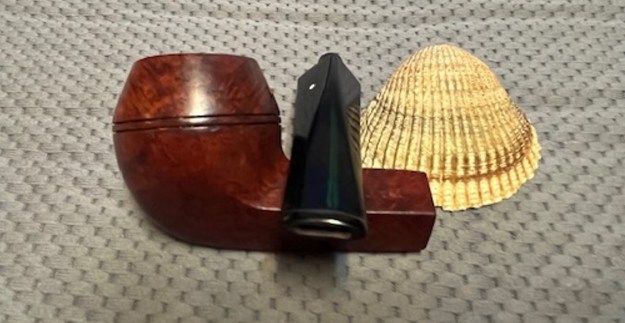
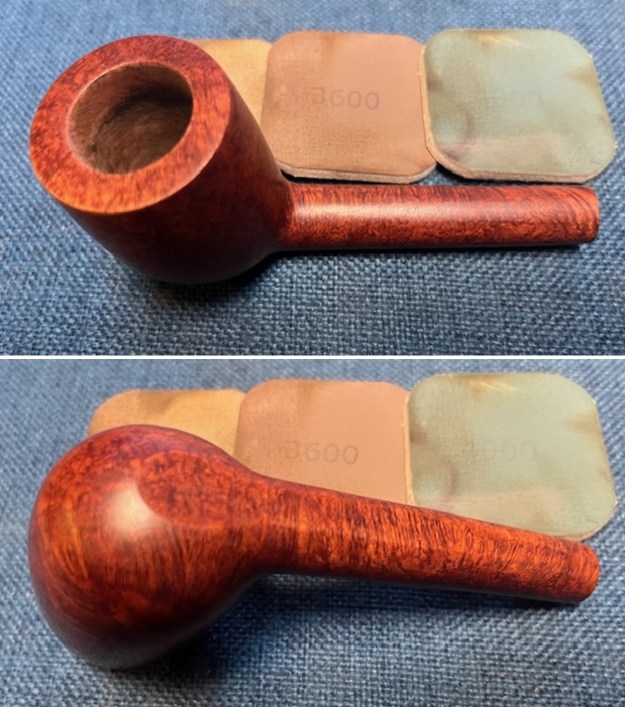
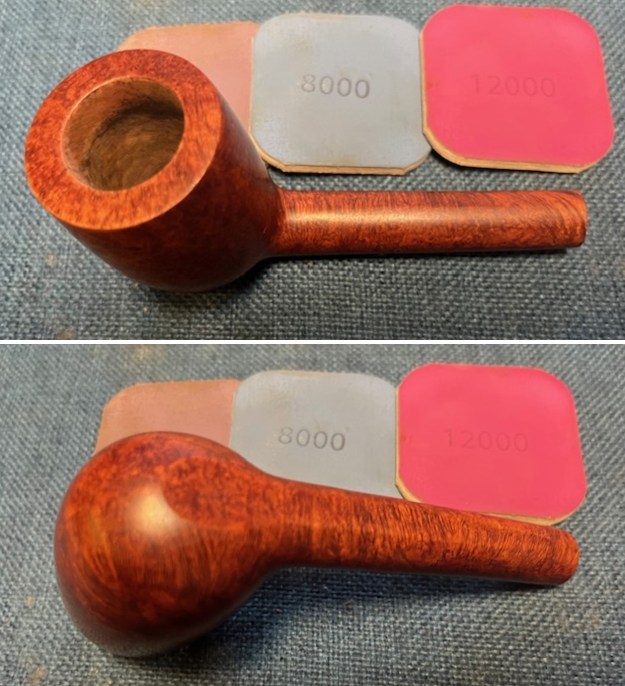
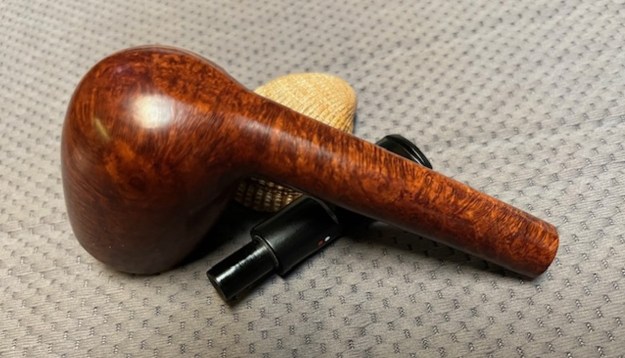
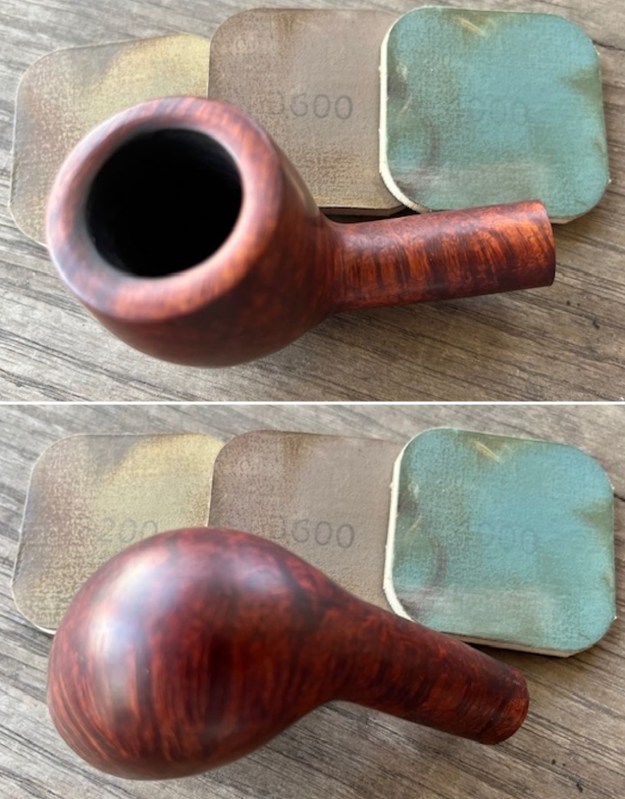
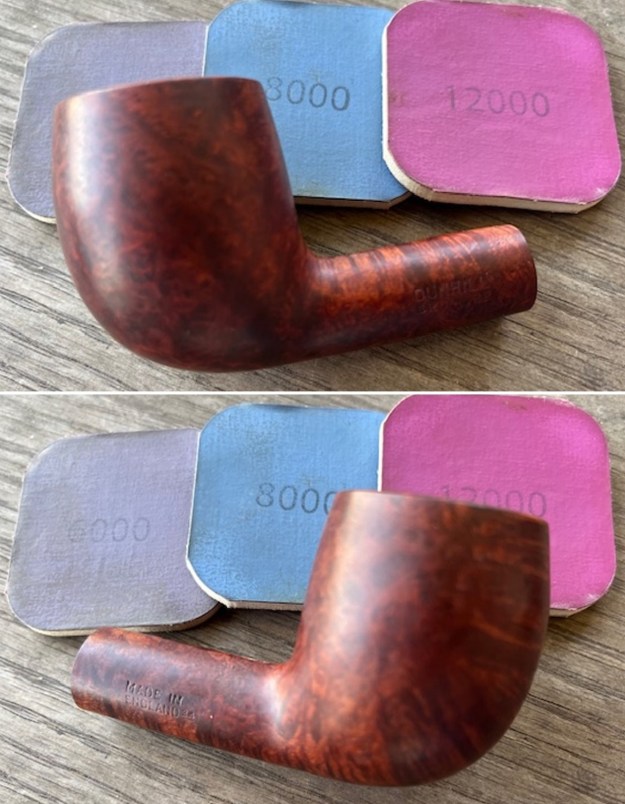
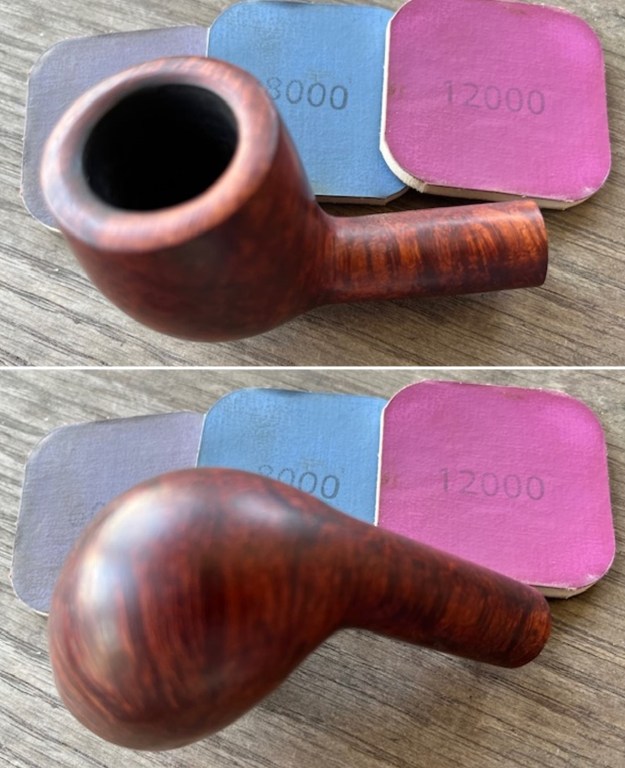
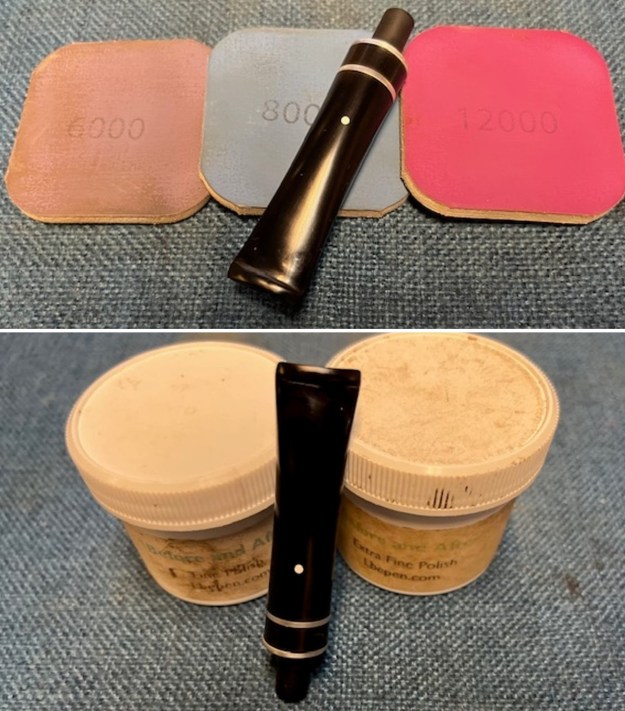
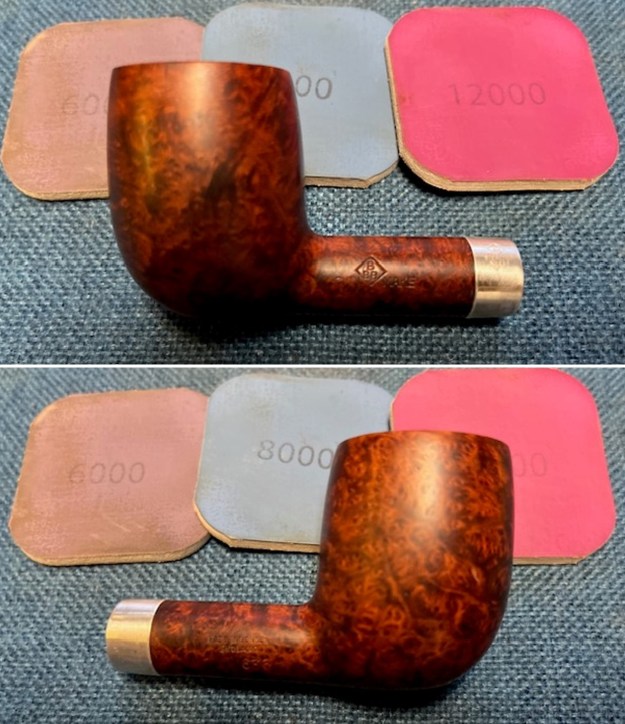
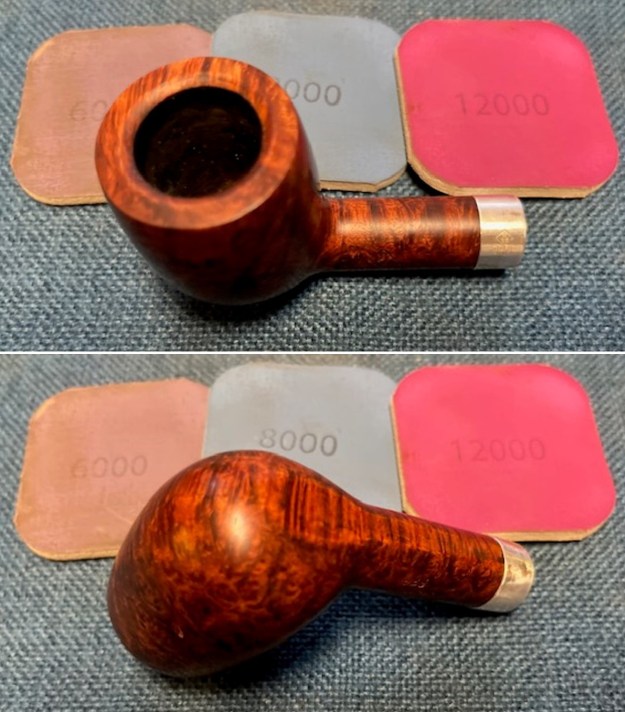
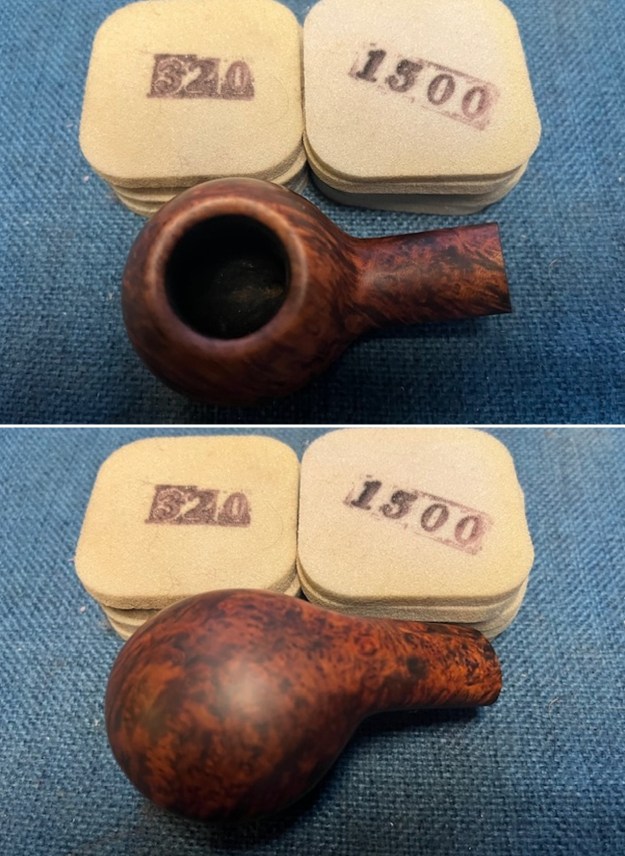
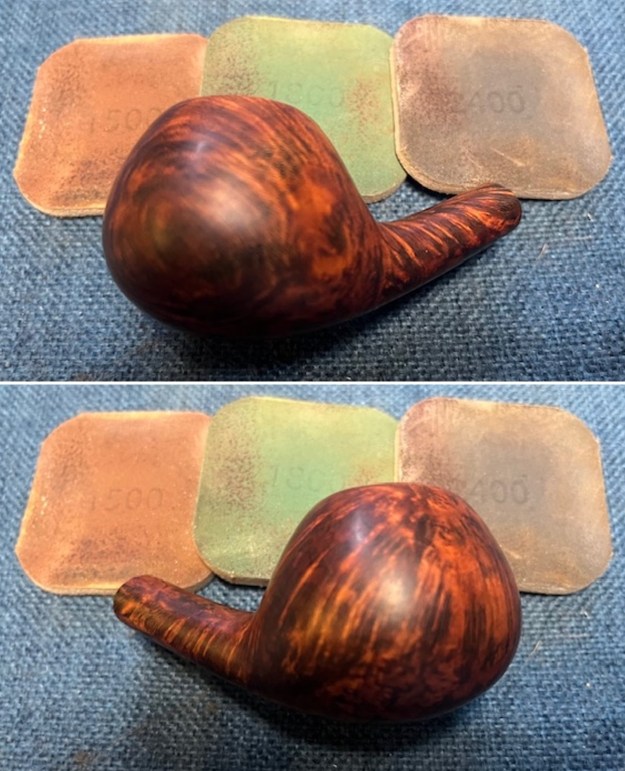
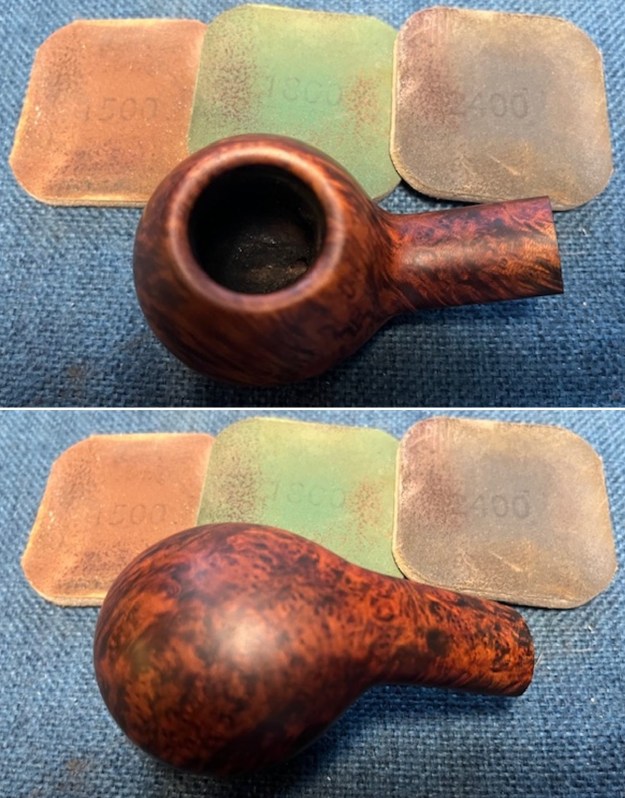
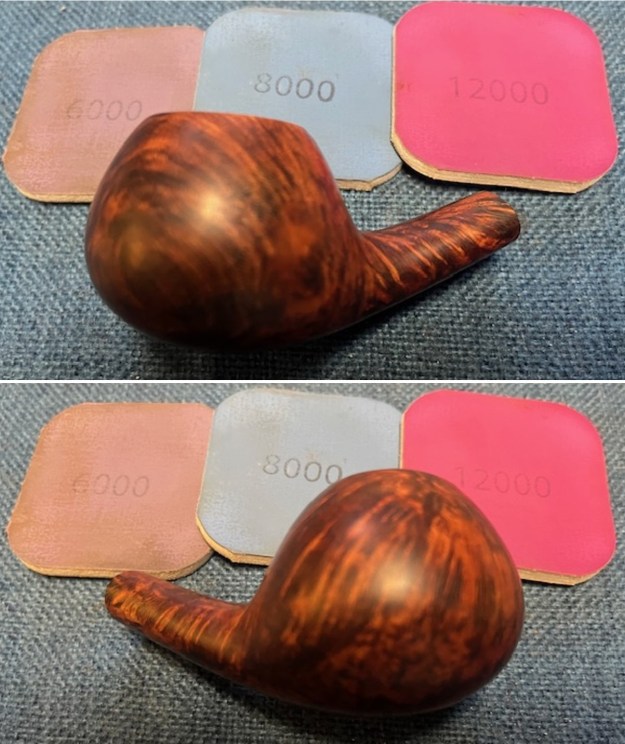
 I polished the bowl with micromesh sanding pads – dry sanding with 1500-12000 grit sanding pads. I wiped it down between pads with a damp cloth. It really began to take on a deep shine.
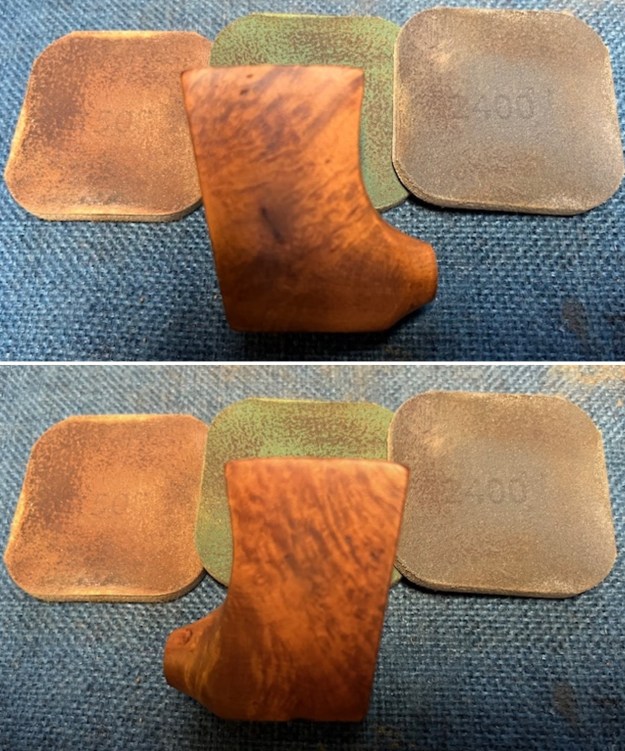
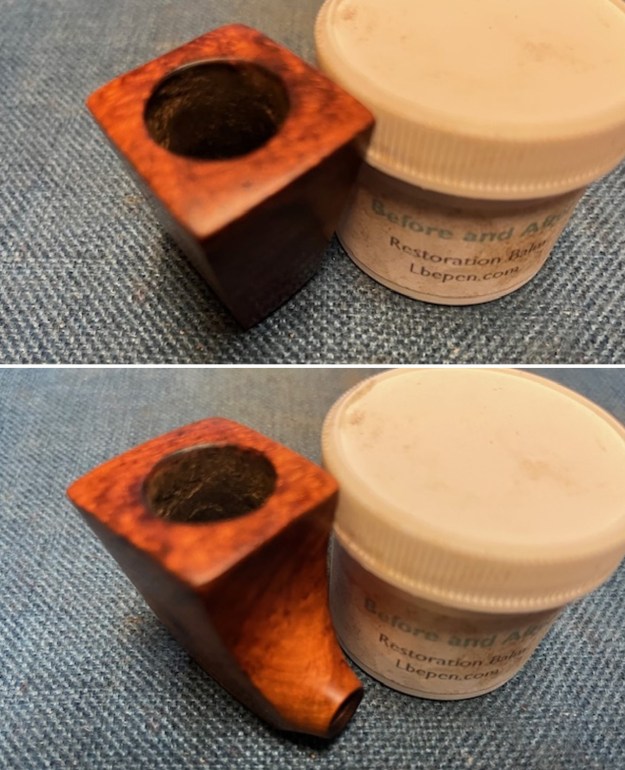
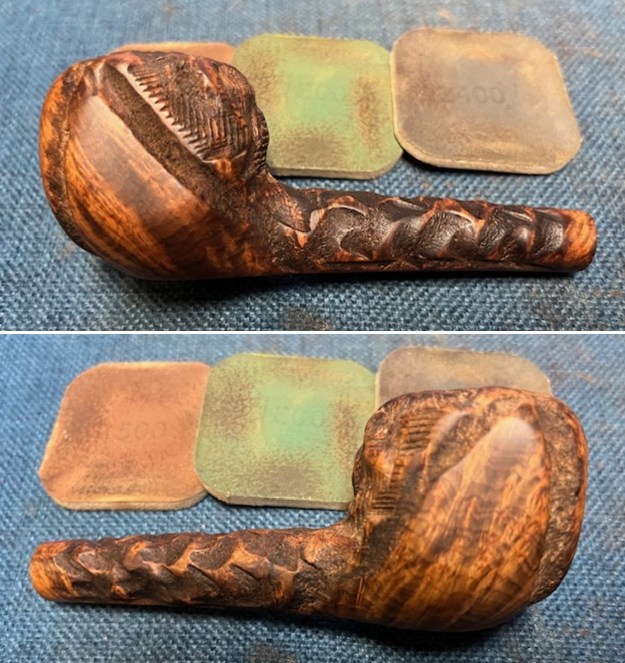
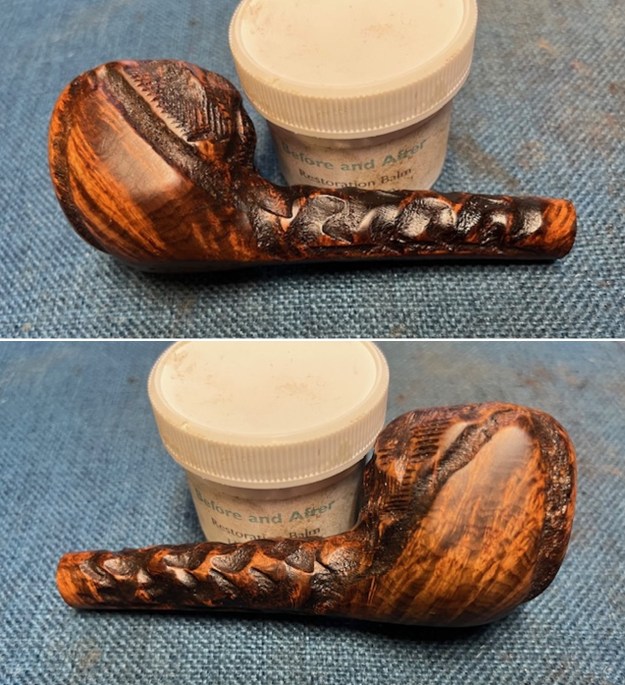
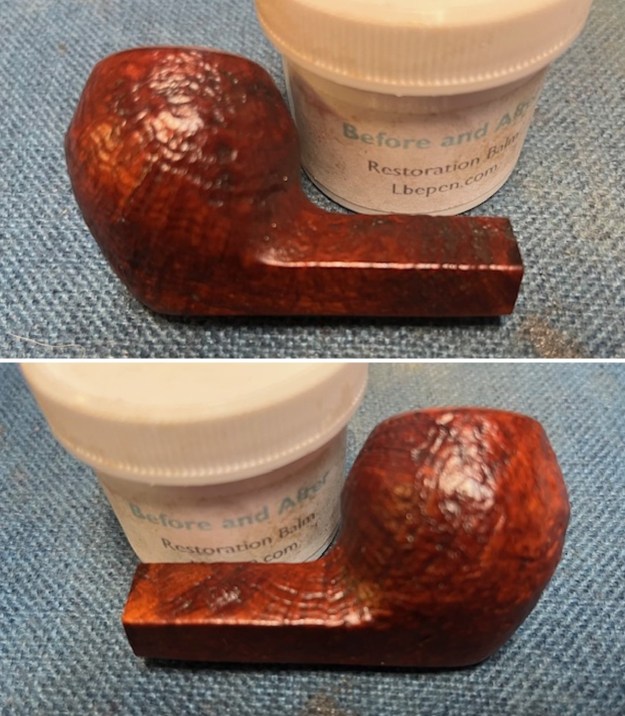
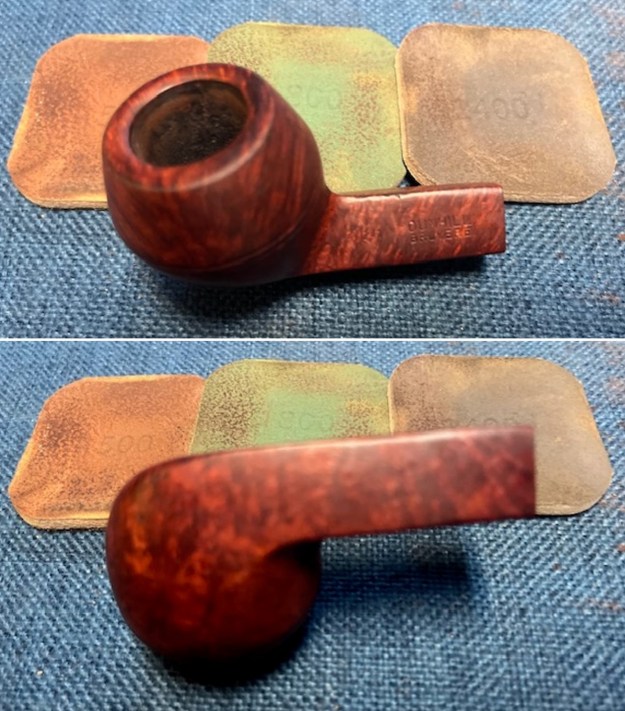
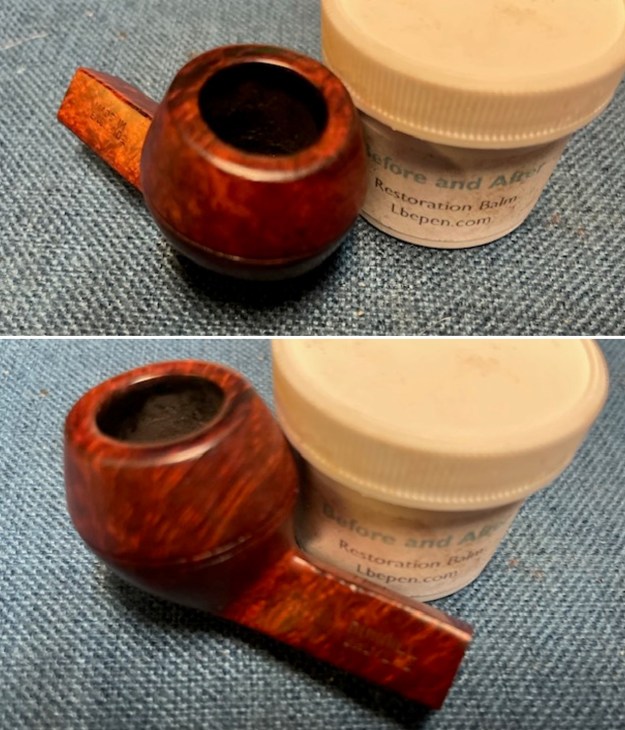
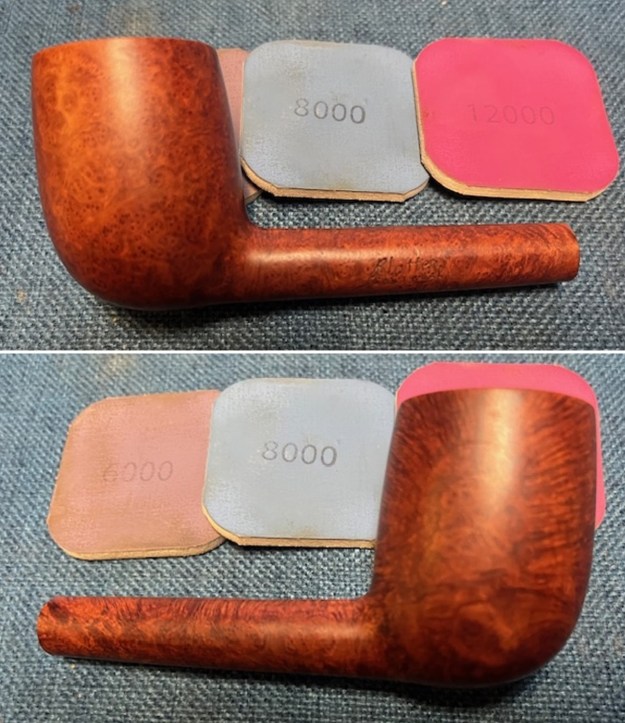
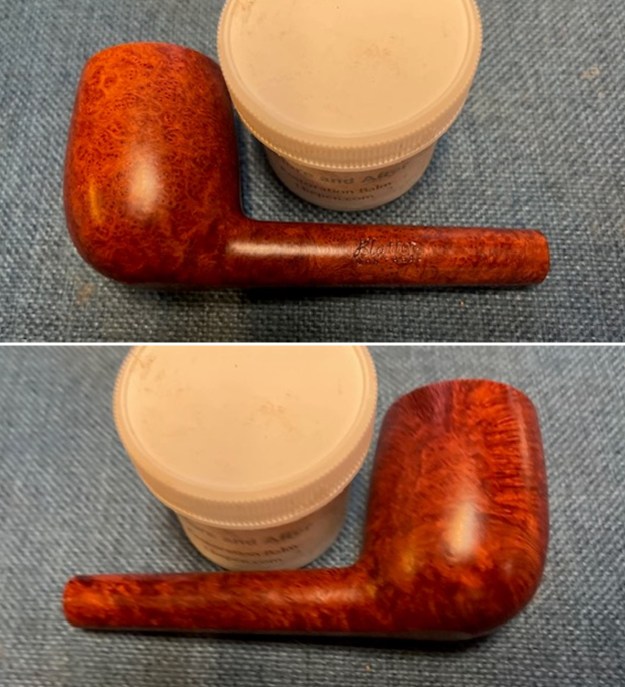
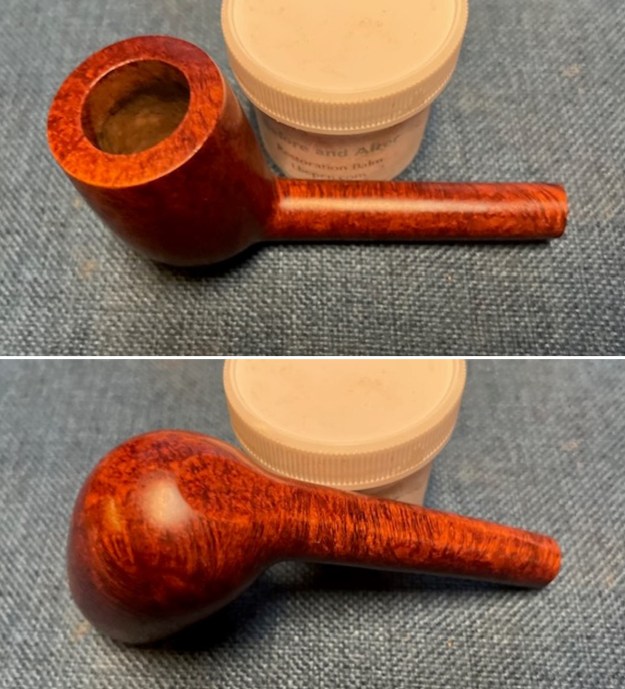
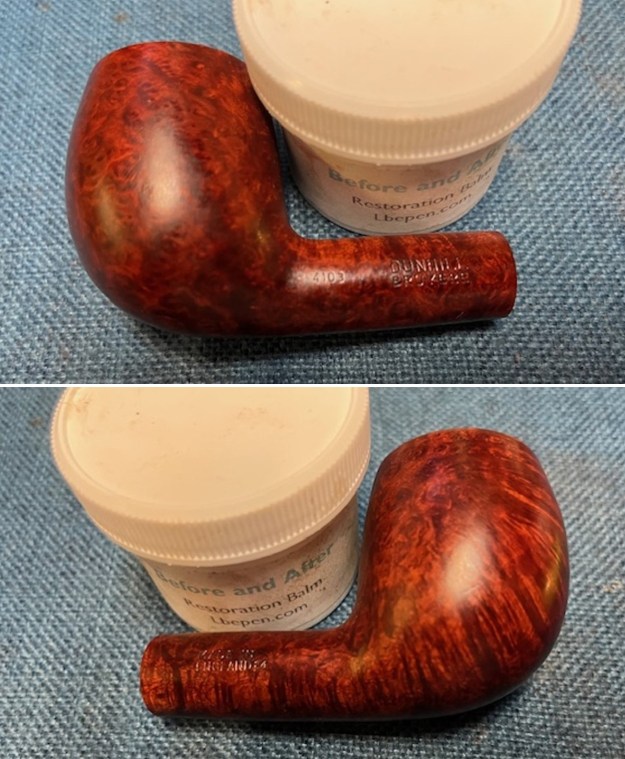
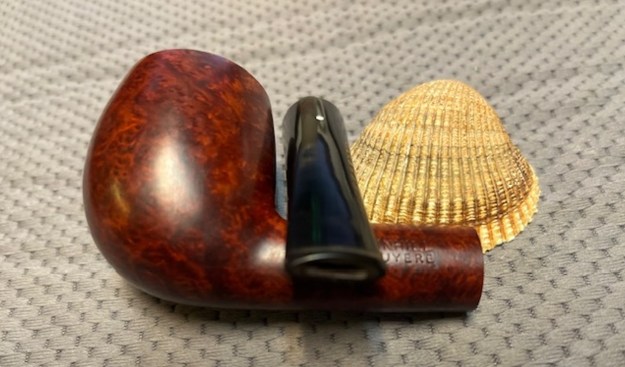
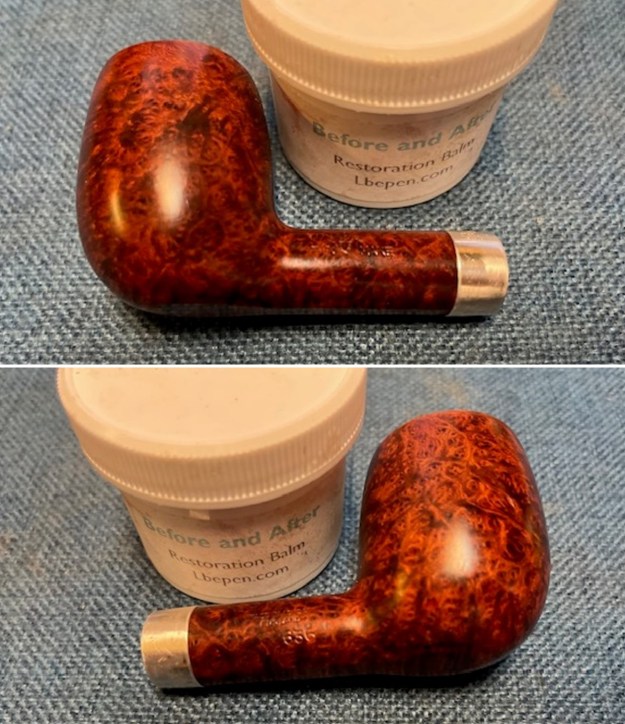
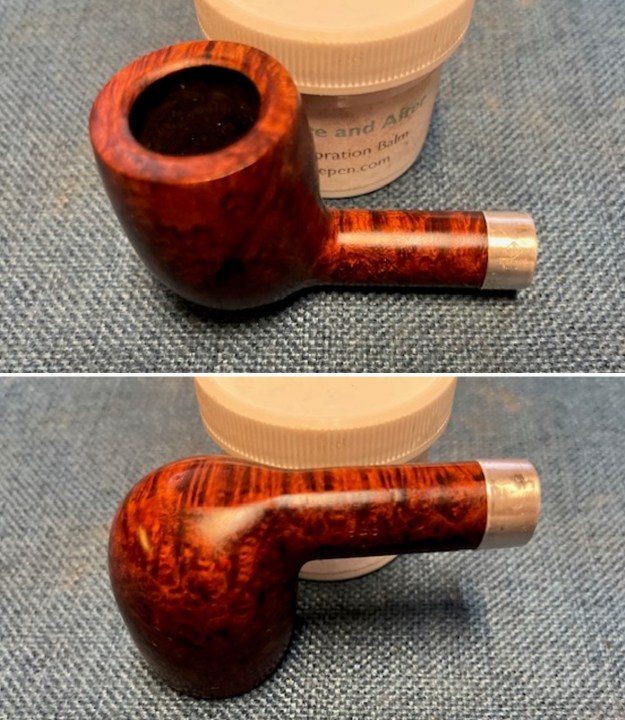
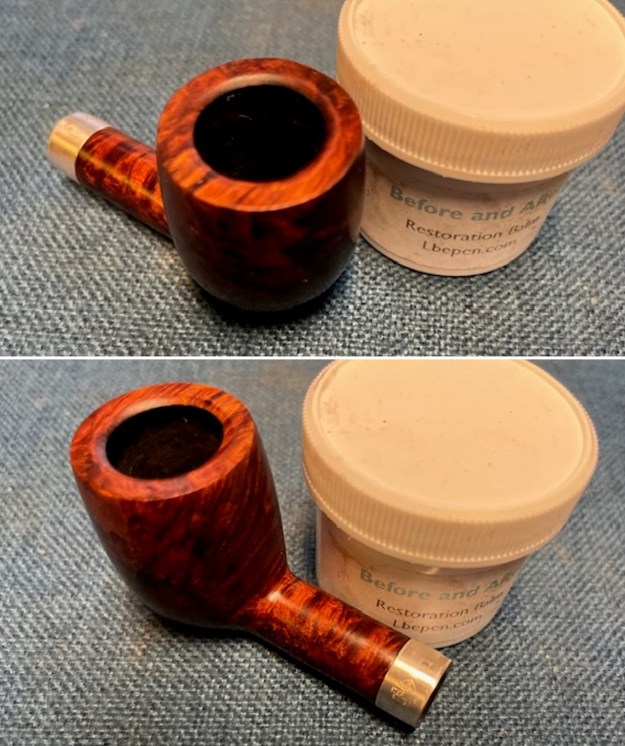
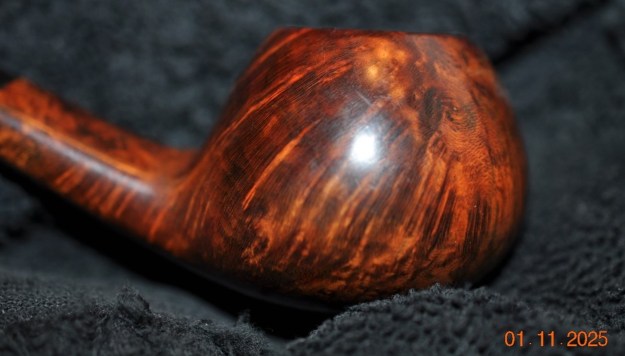
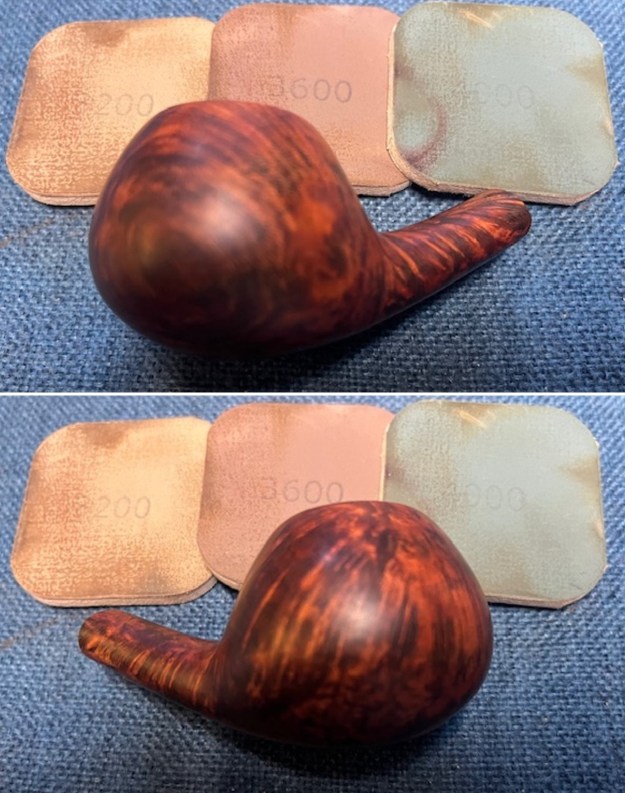
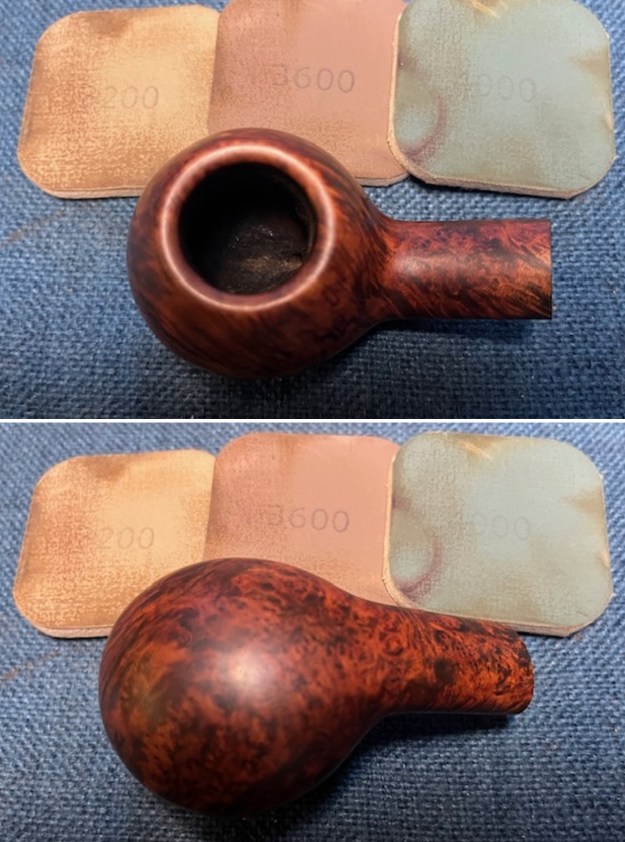
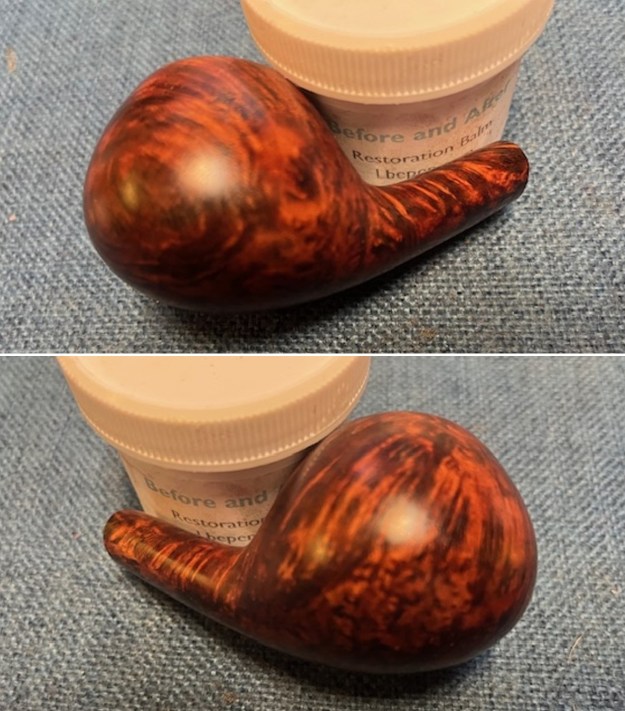
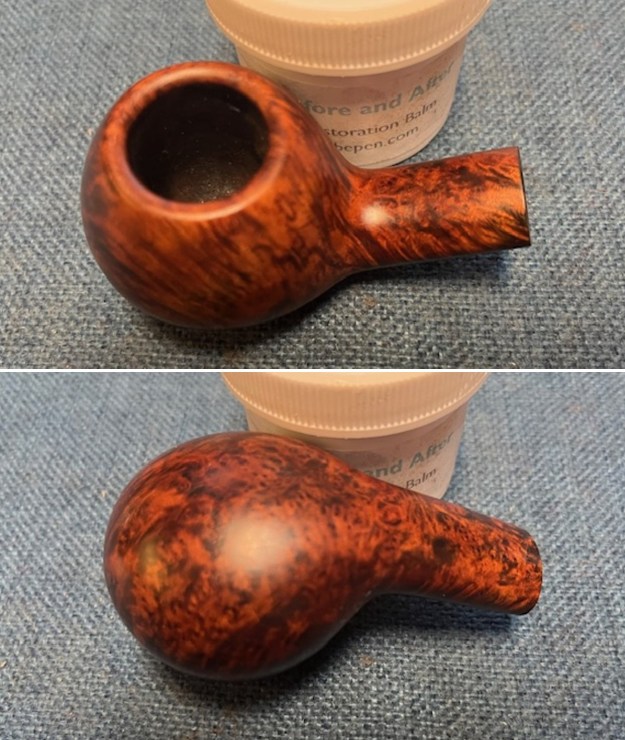
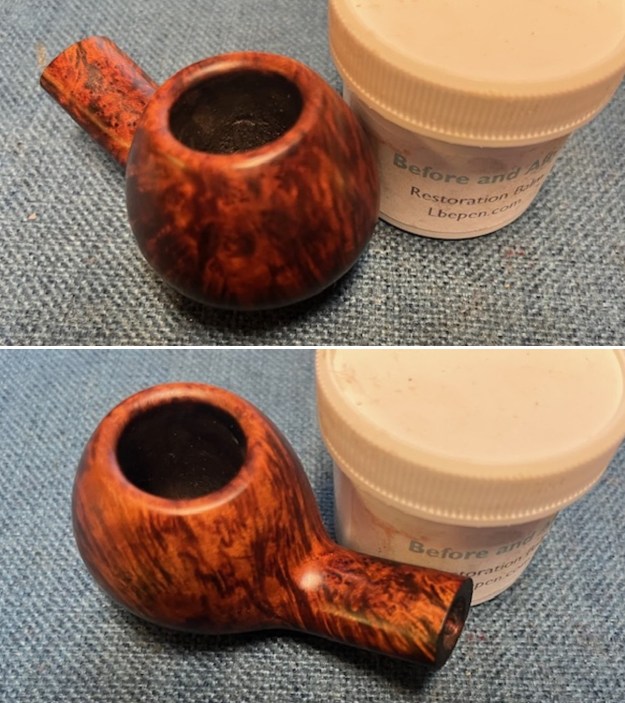
 The exterior of the bowl looks better after sanding. I worked some Before & After Restoration Balm into the briar with my finger tips. I let it sit on the bowl for 10 minutes and then buffed it off with a paper towel and soft cloth. The product is a great addition to the restoration work. It enlivens, enriches and protects the briar while giving it a deep glow. It is a product I use on every pipe I restore.
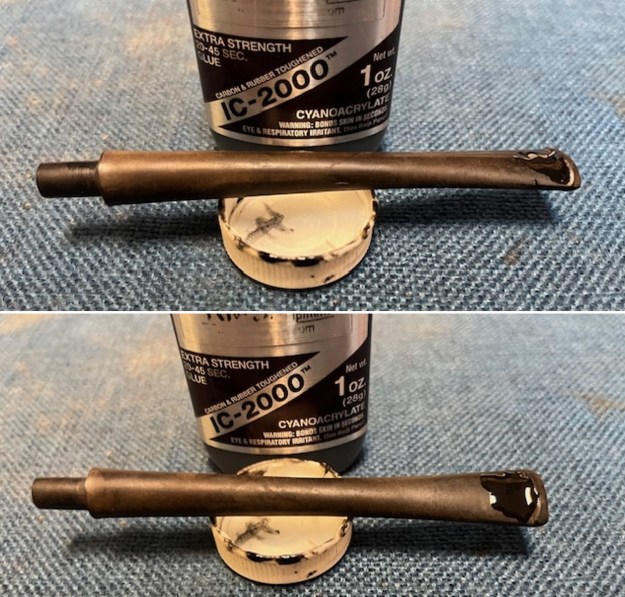
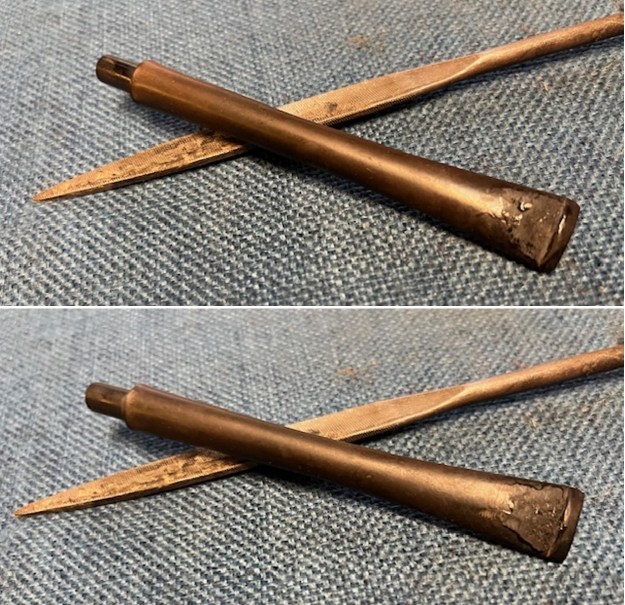
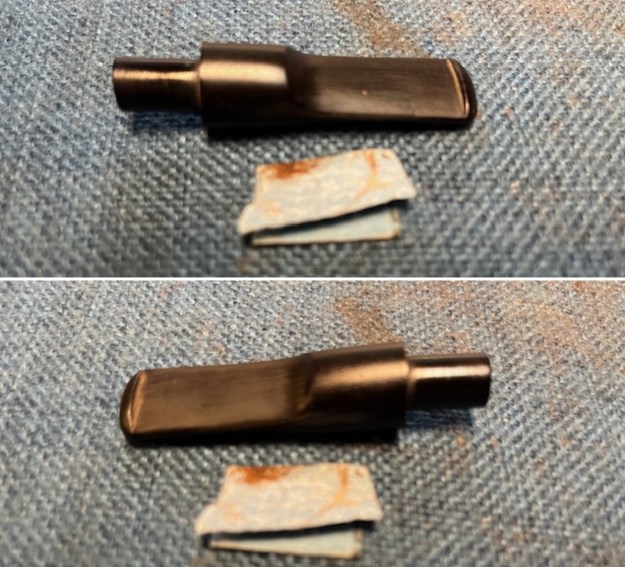
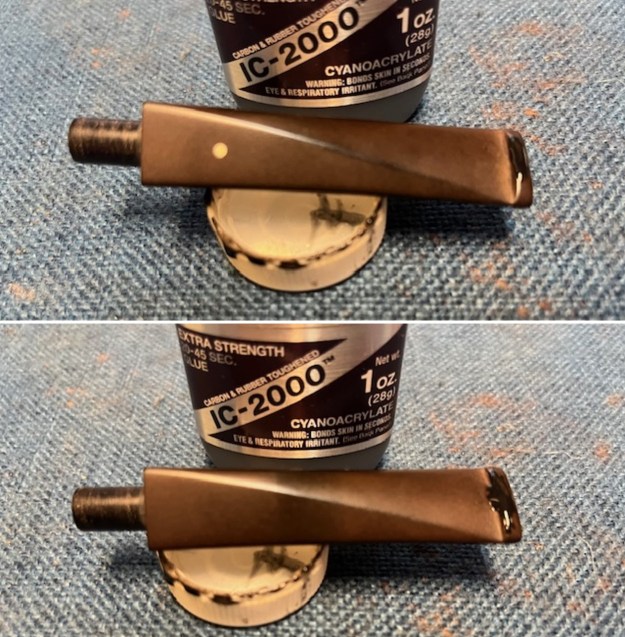
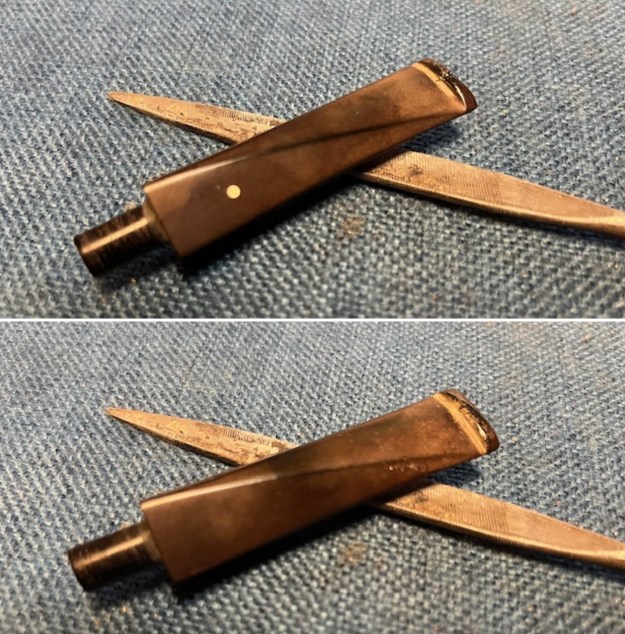
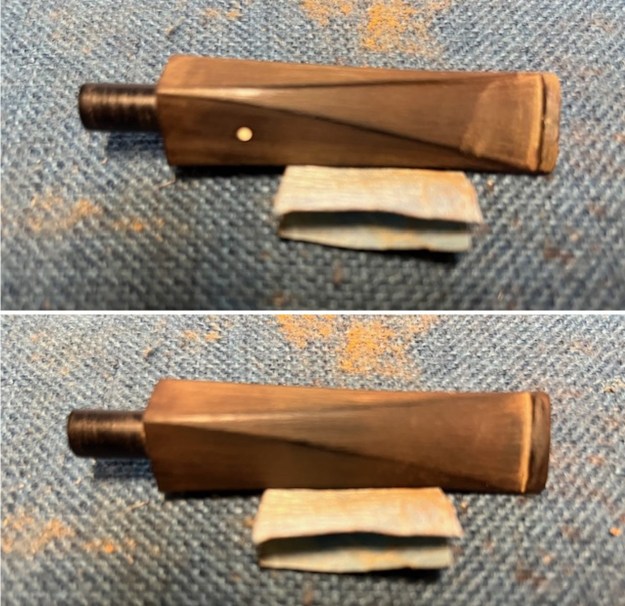
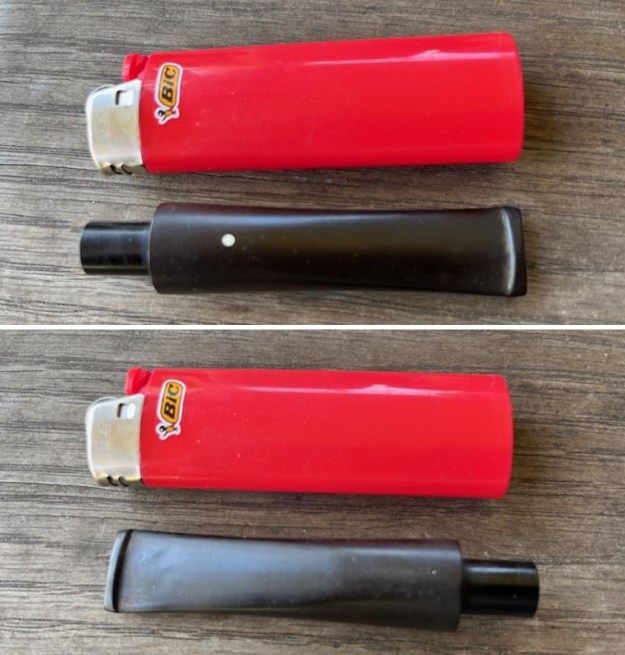
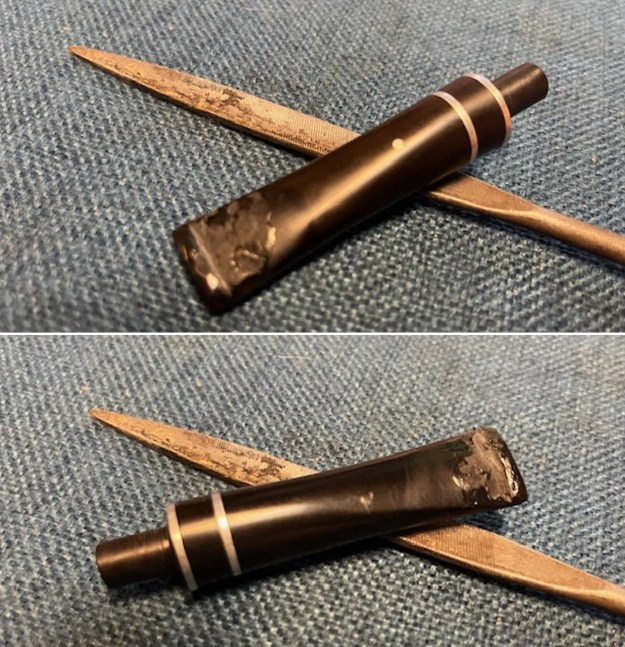
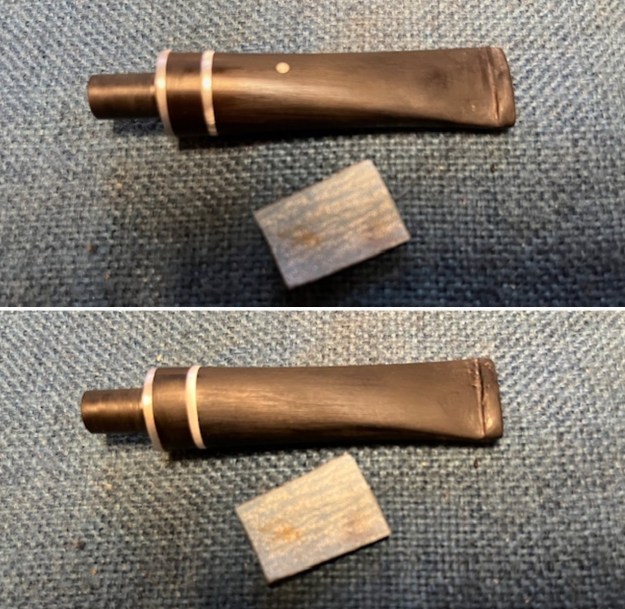
 I set the bowl aside and turned my attention to the stem. I “painted” the tooth marks with the flame of a lighter to lift them. The heat helped lift them but not enough. I filled in the tooth marks with black CA glue put in place with a tooth pick. I set it aside to cure. Once the repair cured I used a file to flatten out the repair and clean up the edge of the button. I sanded it further with a folded piece of 220 grit sandpaper to blend it into the surrounding vulcanite.
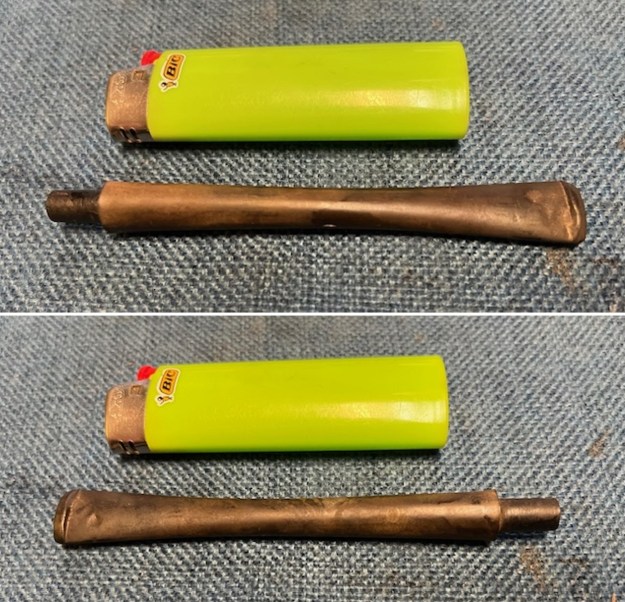
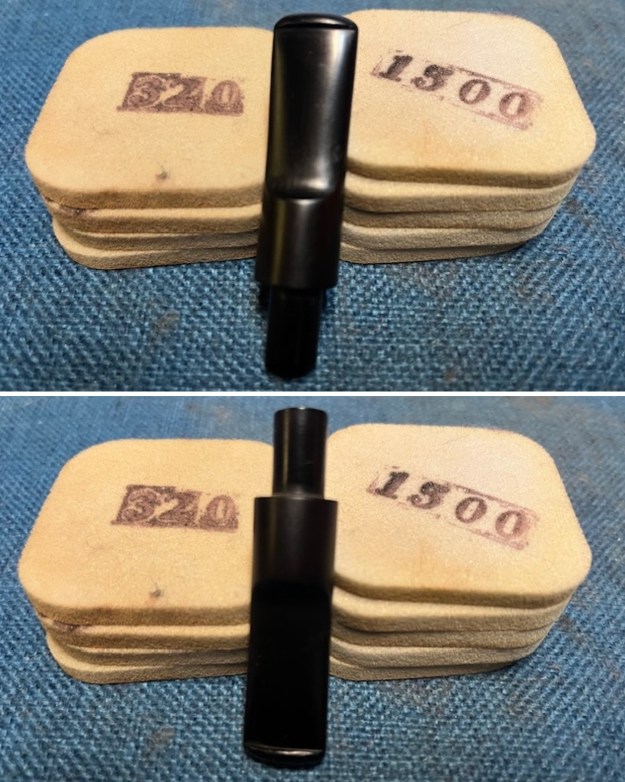
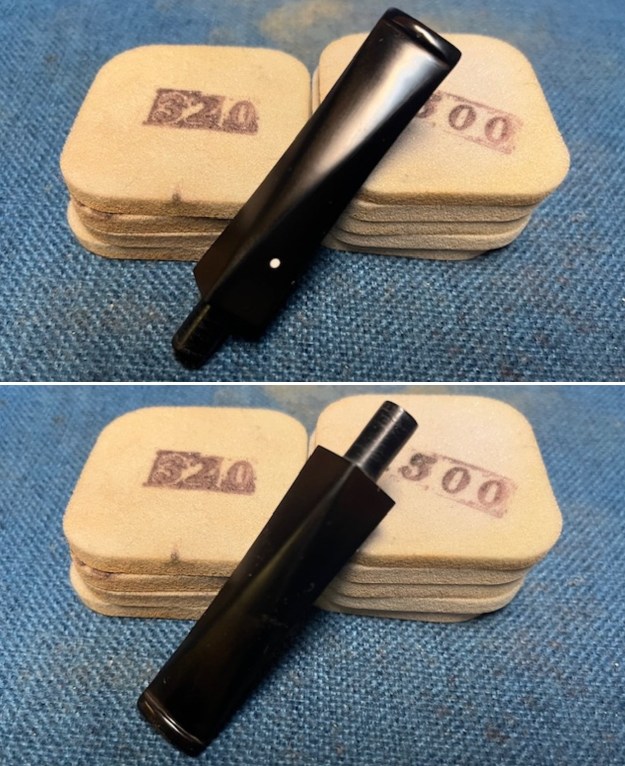
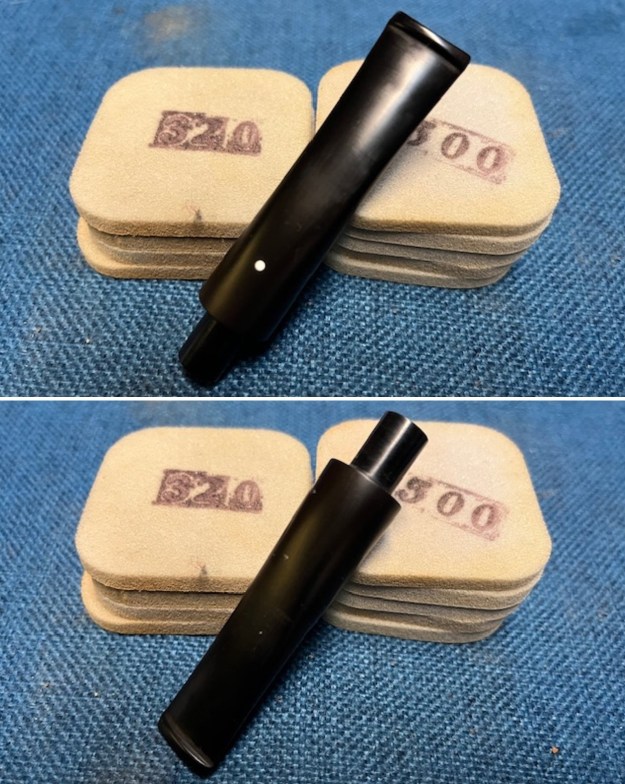
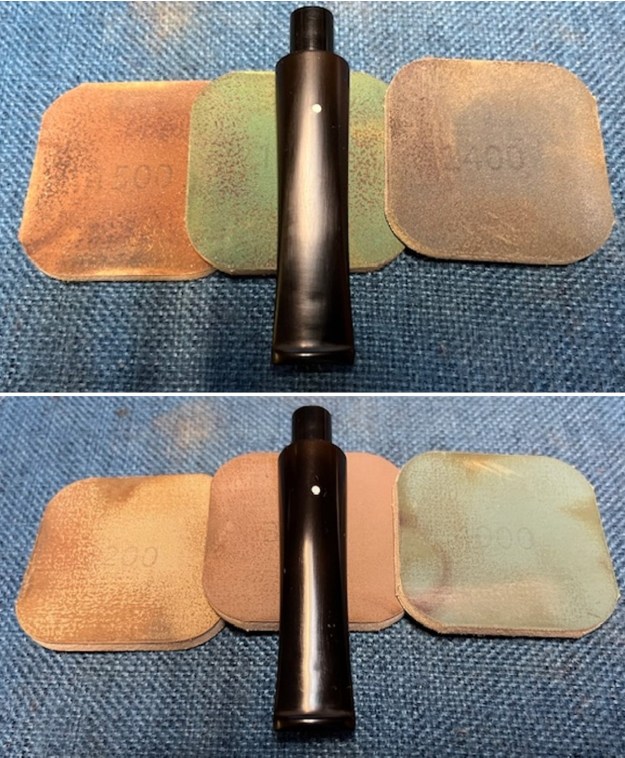
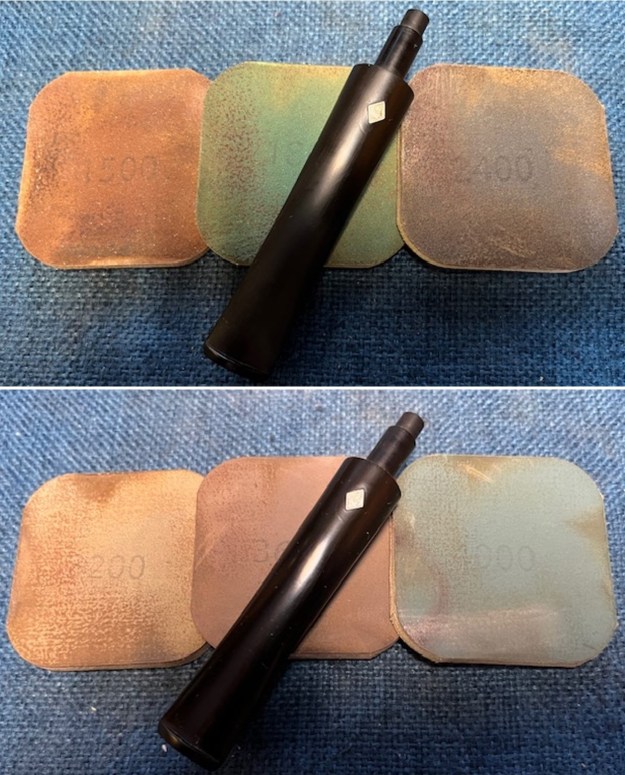
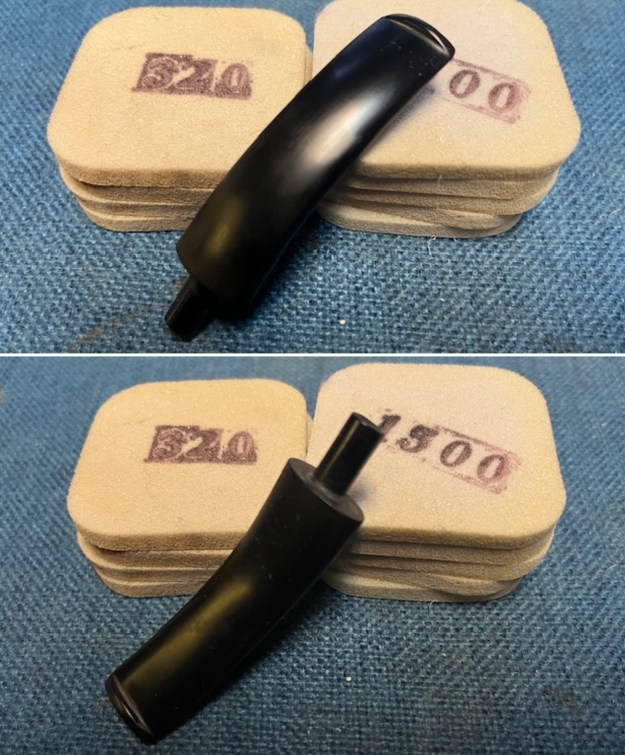
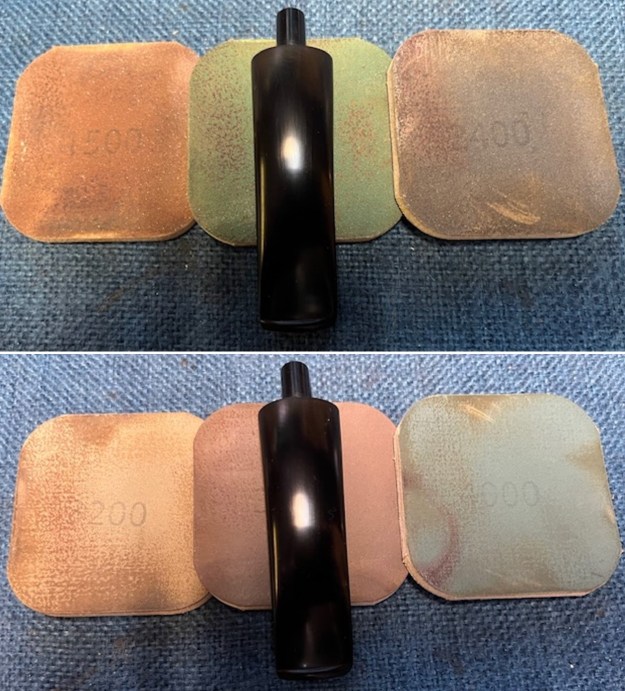
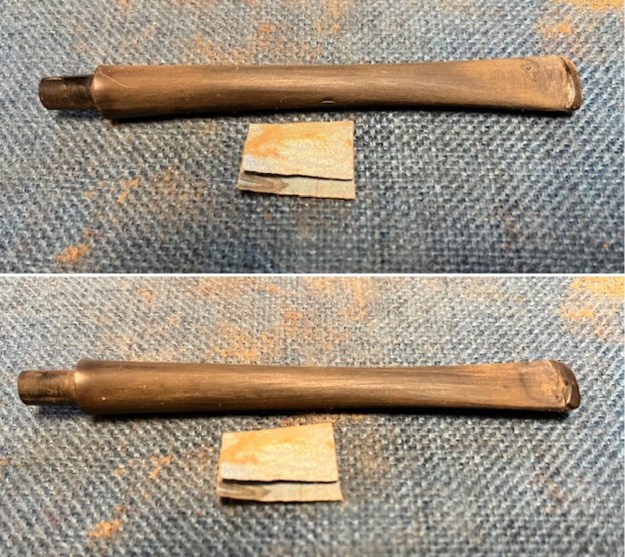 I sanded the stem with 320-3500 grit sanding pads and wiped it down with Obsidian Oil to remove the sanding dust.
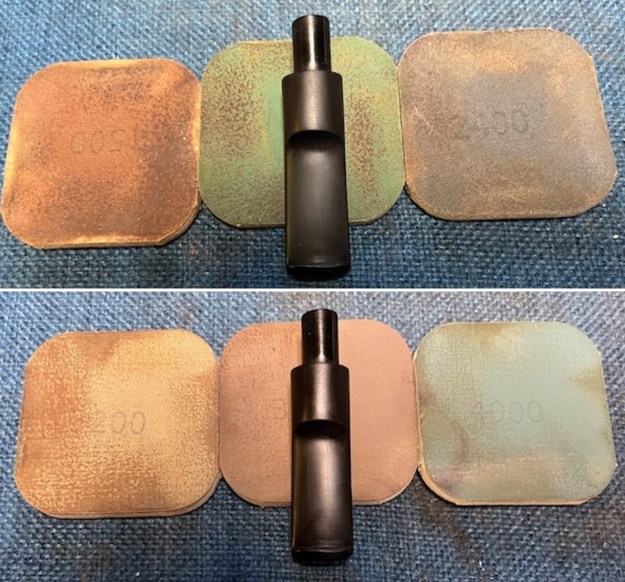
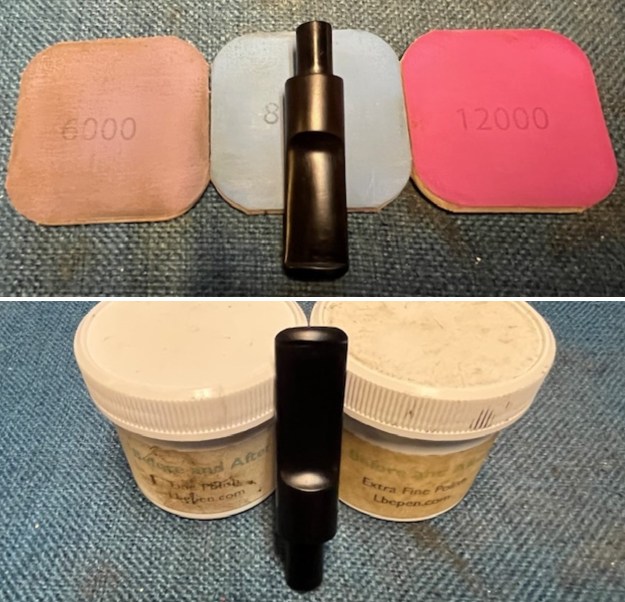
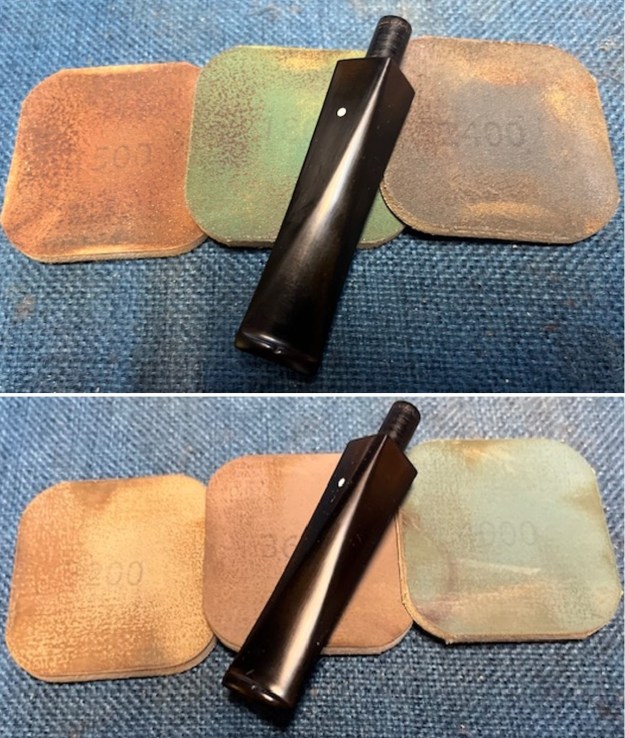
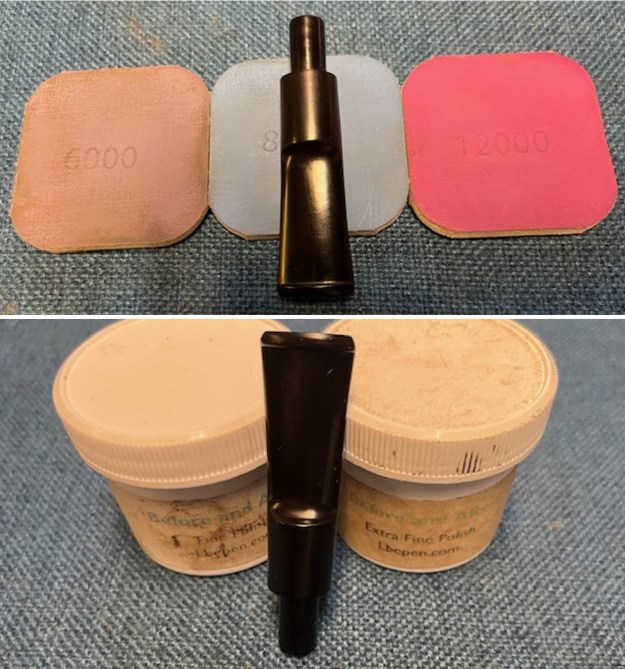
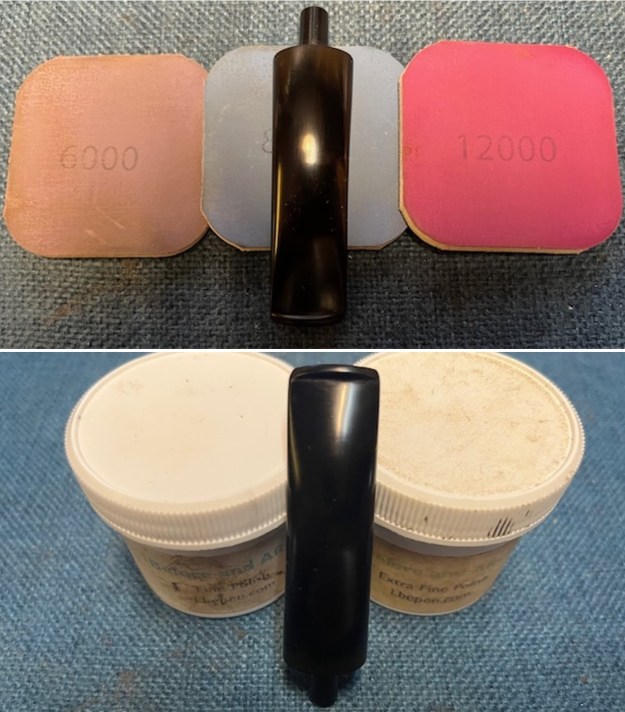
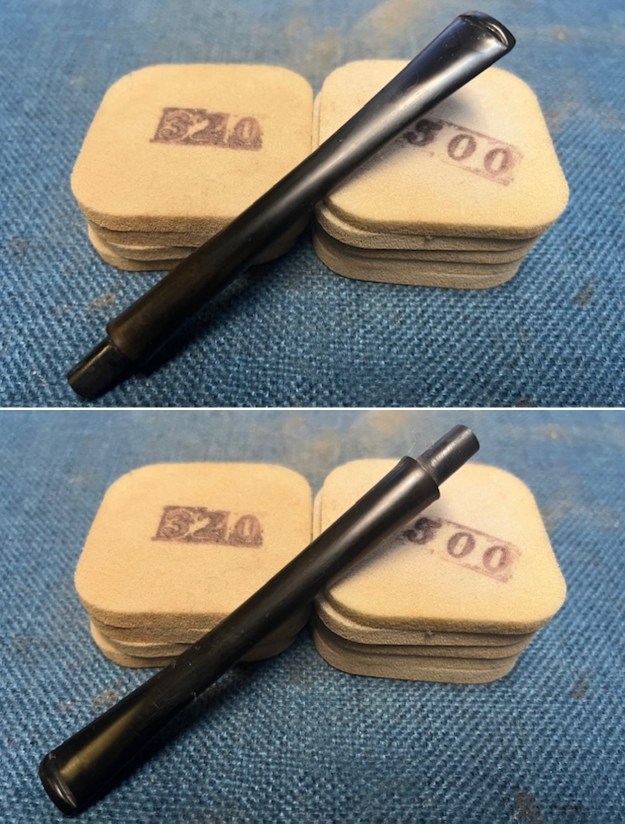 I polished the stem with micromesh sanding pads – dry sanding with 1500-12000 grit pads. I wiped the stem down after each sanding pad with Obsidian Oil to further protect the vulcanite surface. I finished the polishing with Before & After Pipe Stem Polish – Fine and Extra Fine. I wiped the stem down a final time with Obsidian Oil and a cloth. It really looks very good.
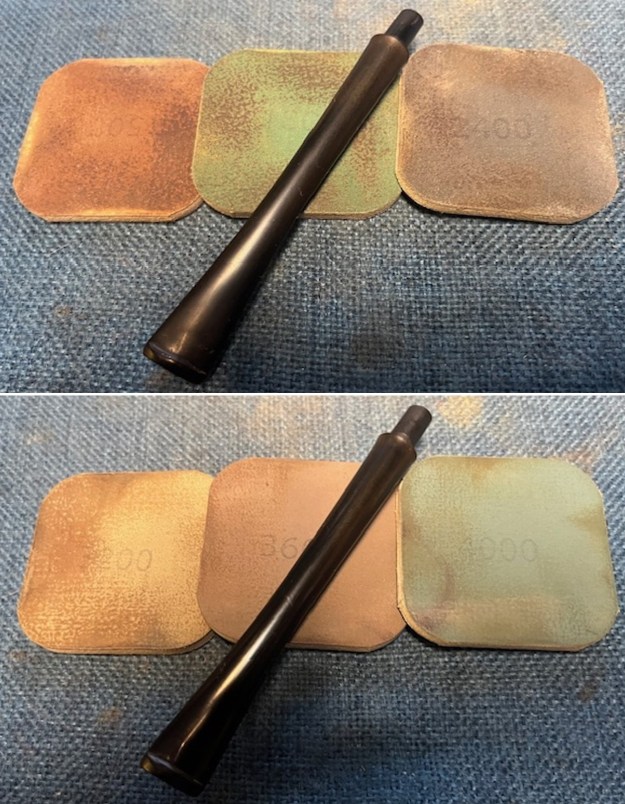
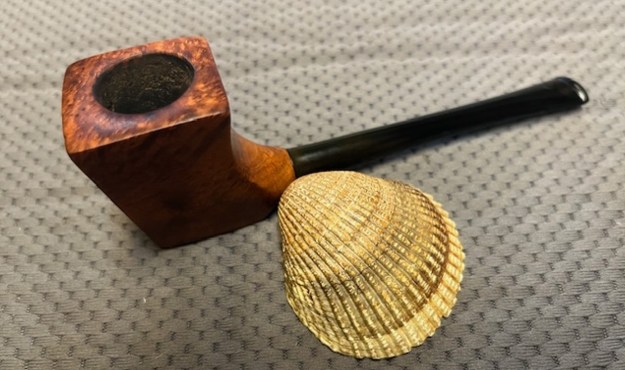
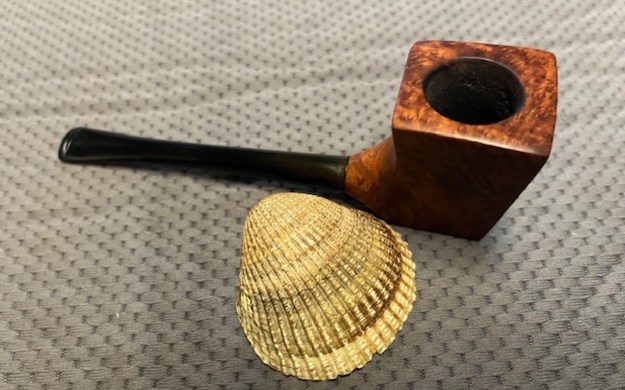
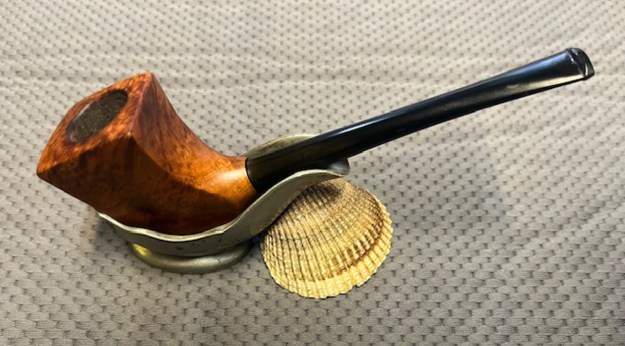
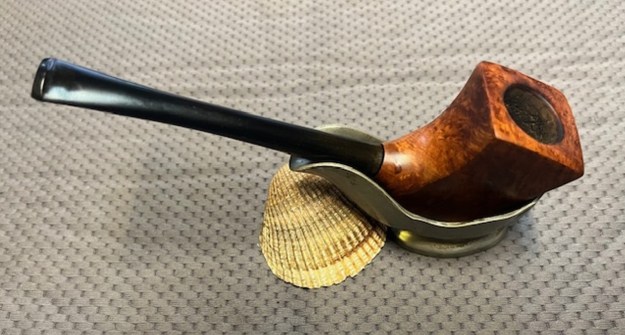
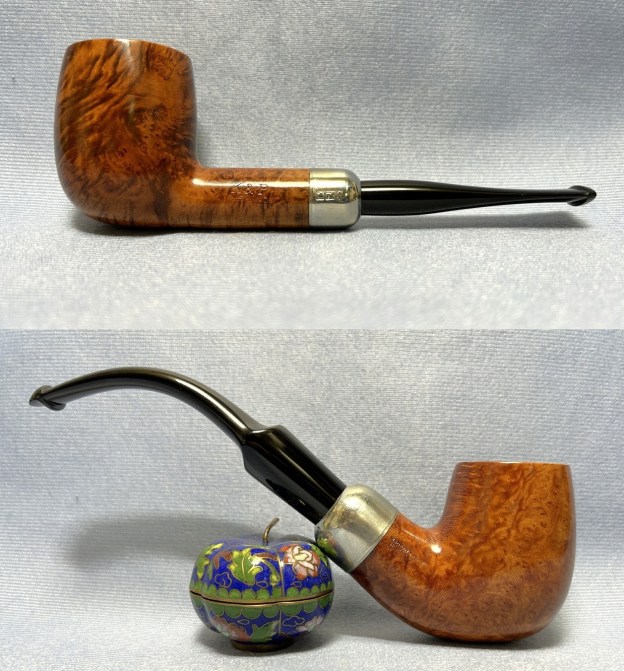
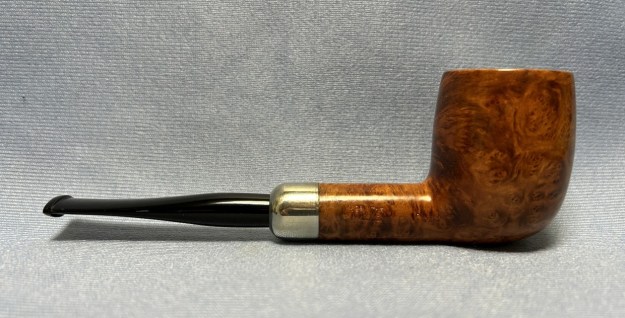
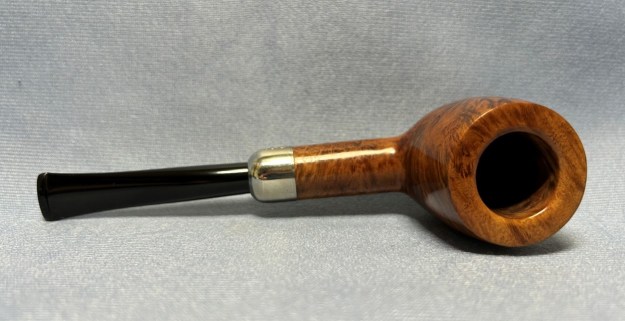
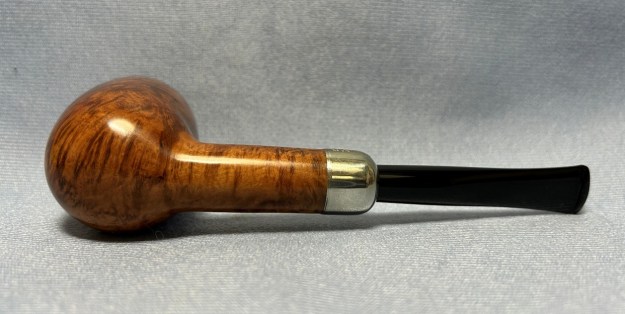
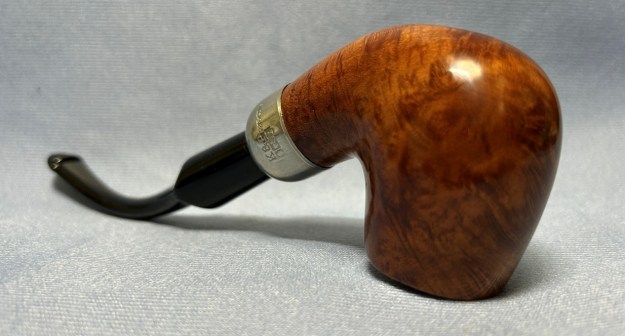
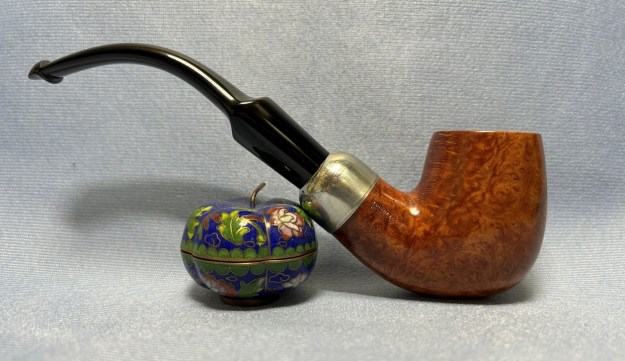
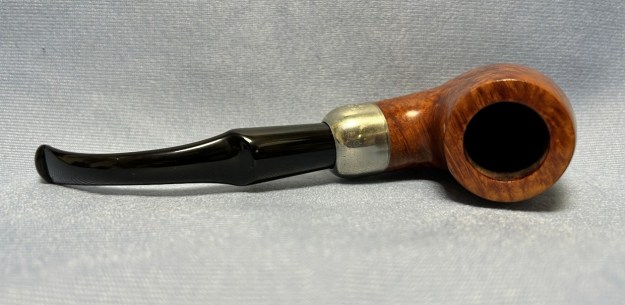
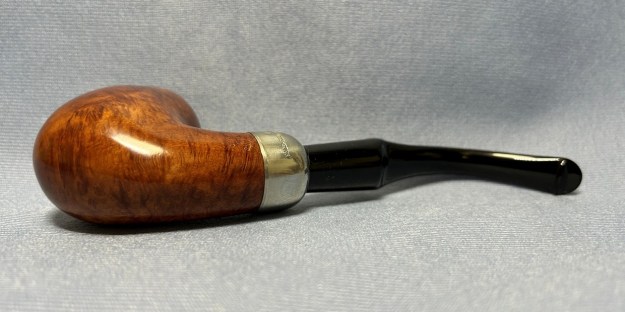
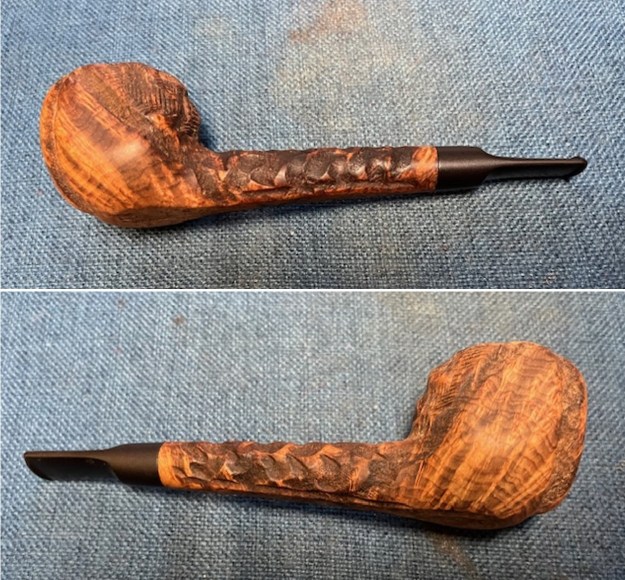
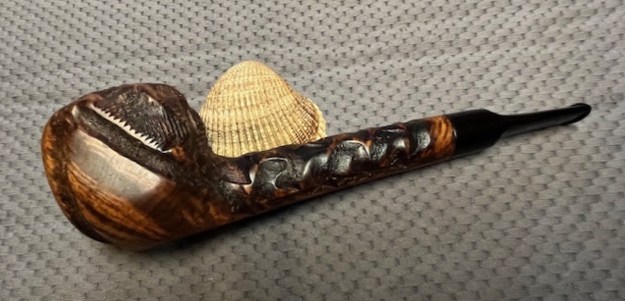
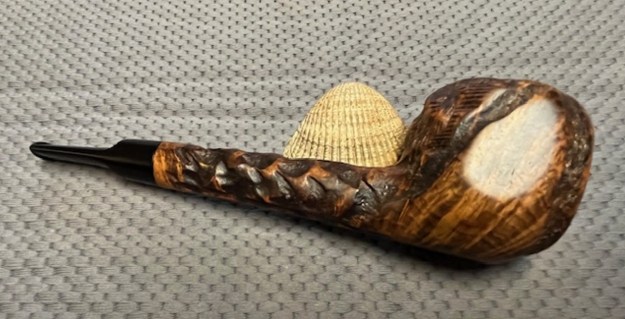
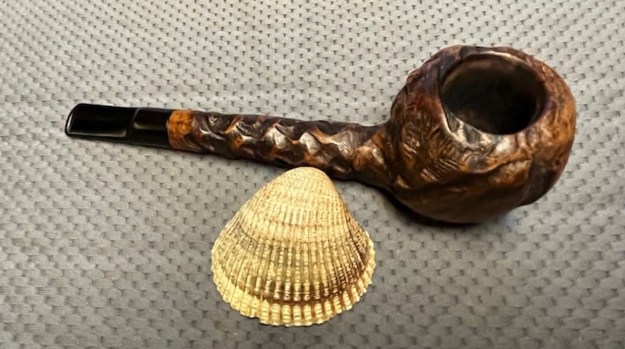
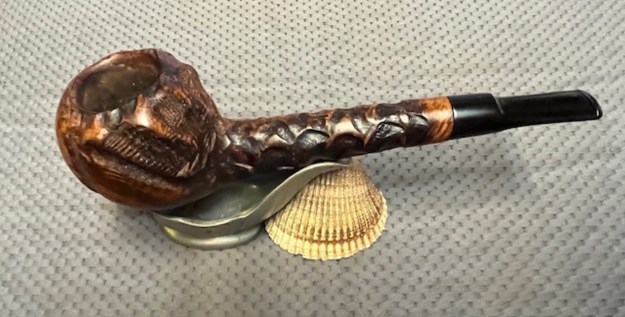
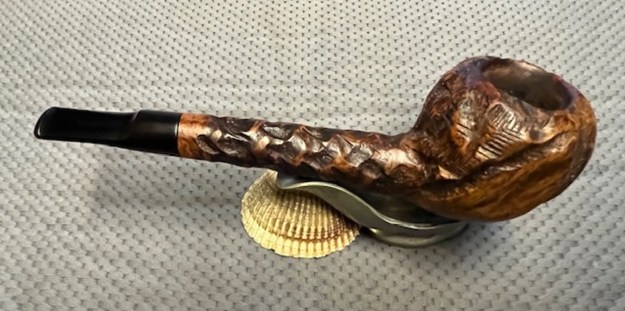
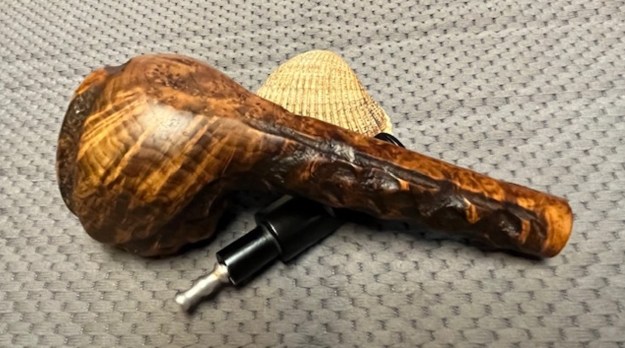
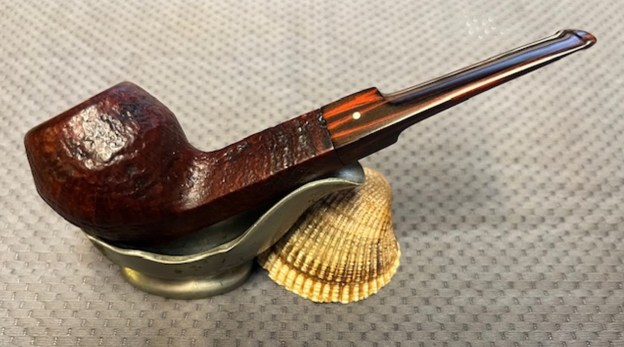
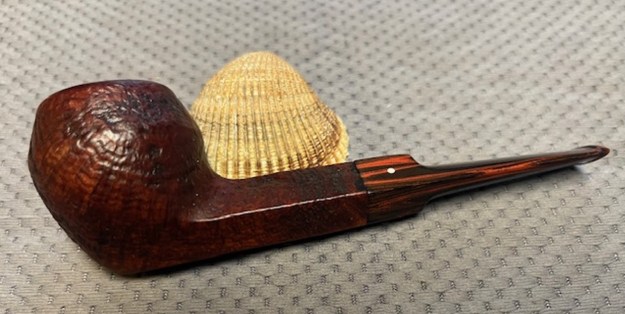
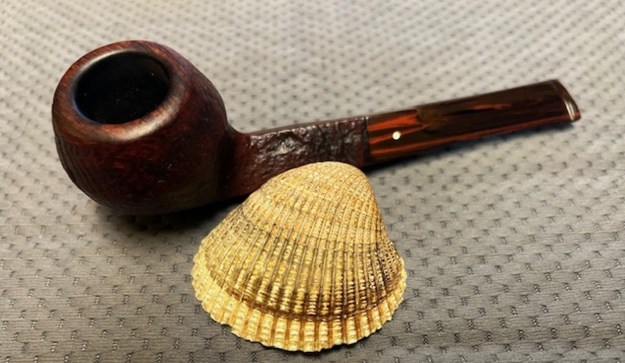
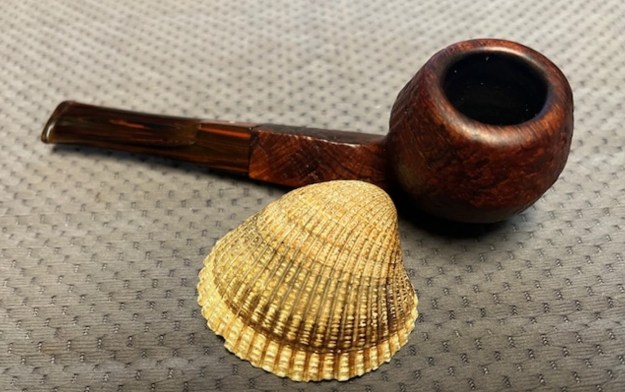
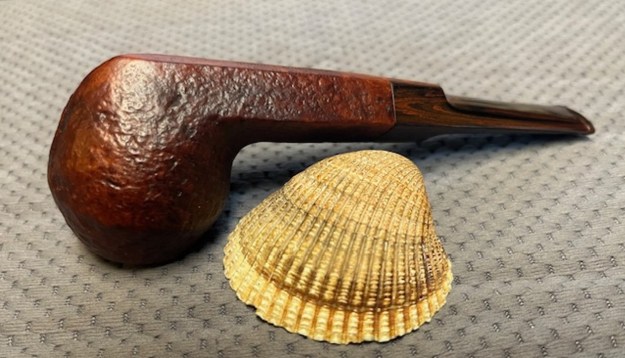
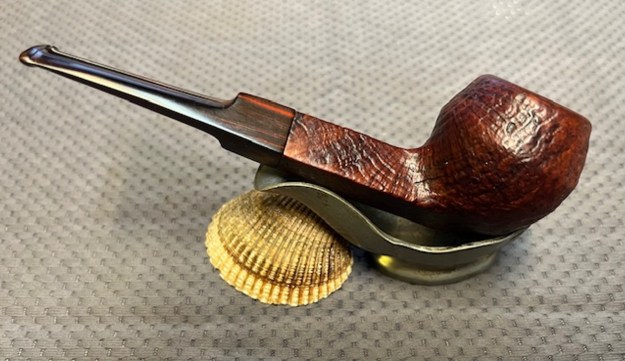
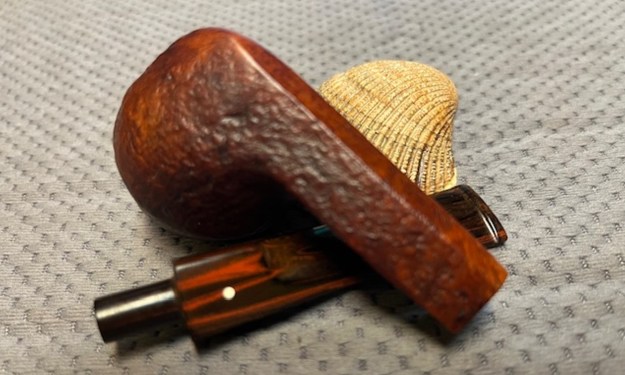
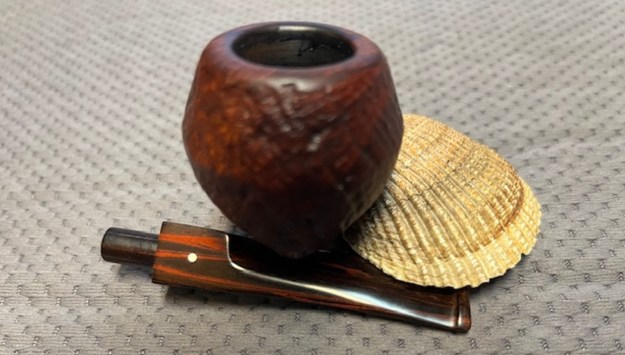
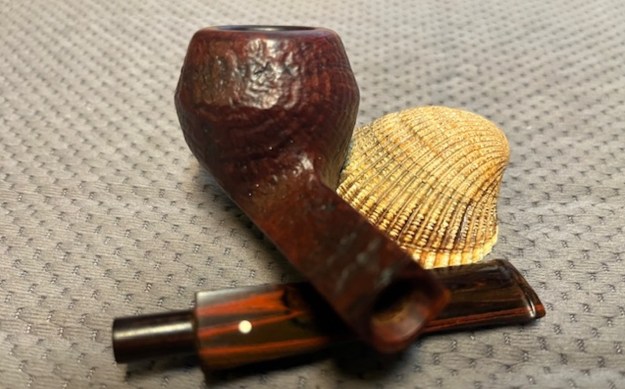
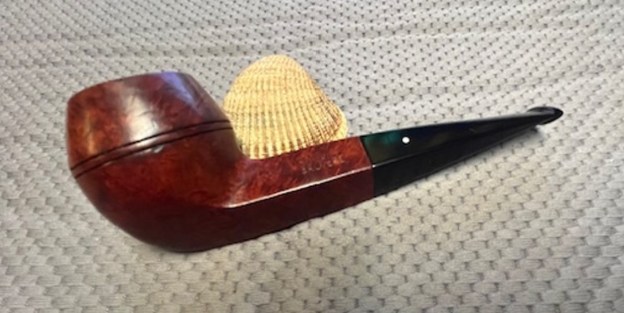
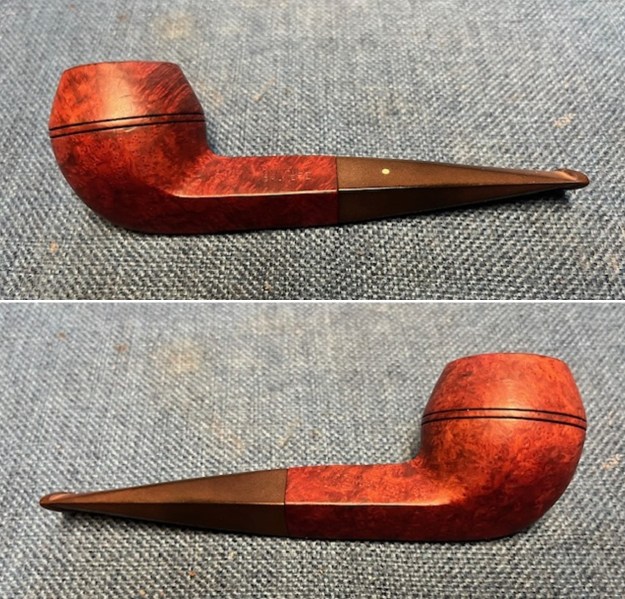
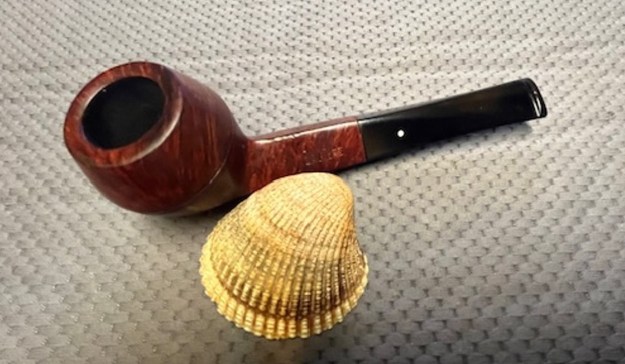
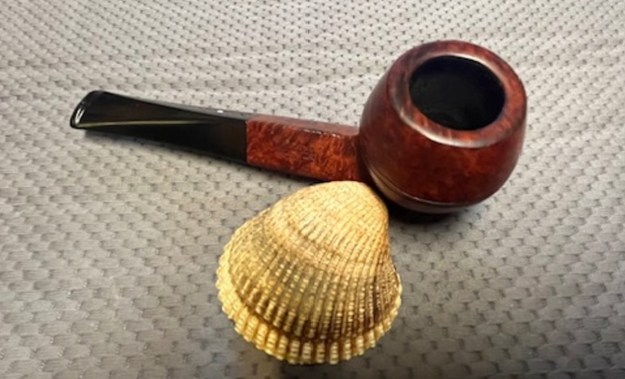
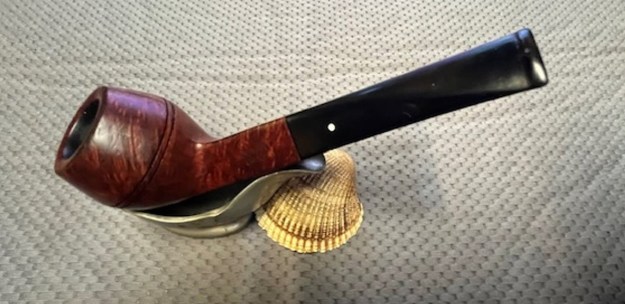
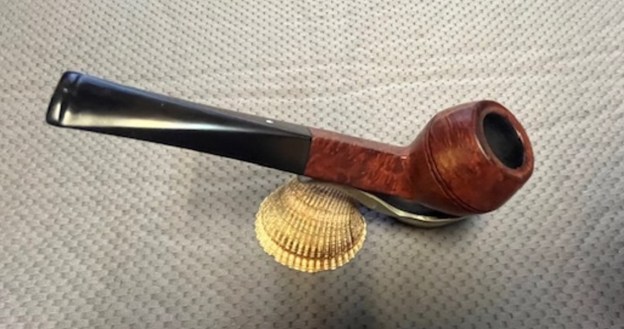
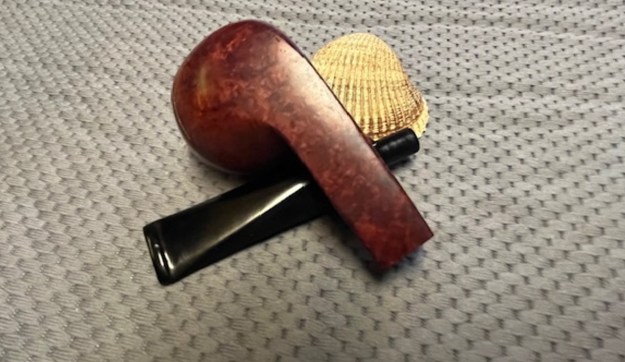
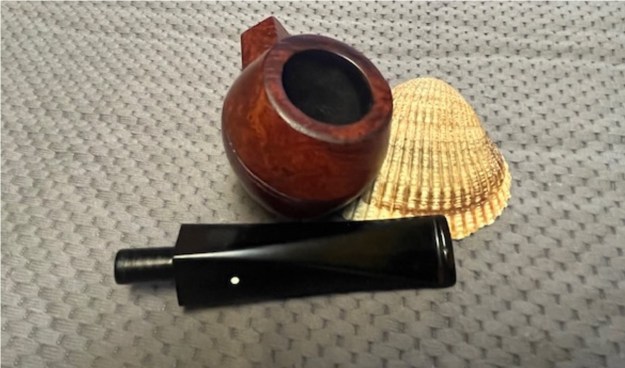
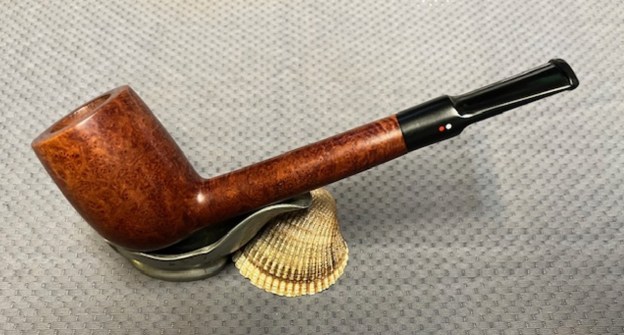
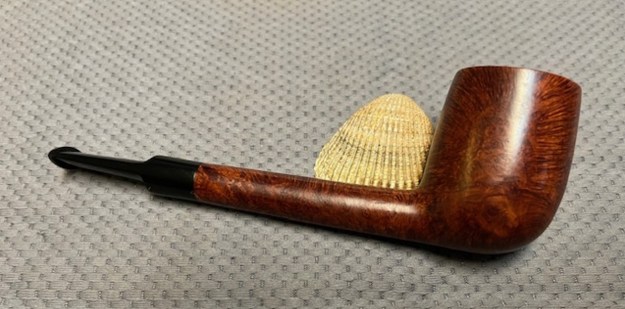
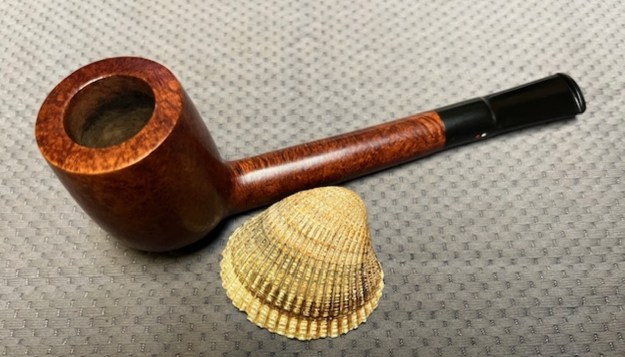
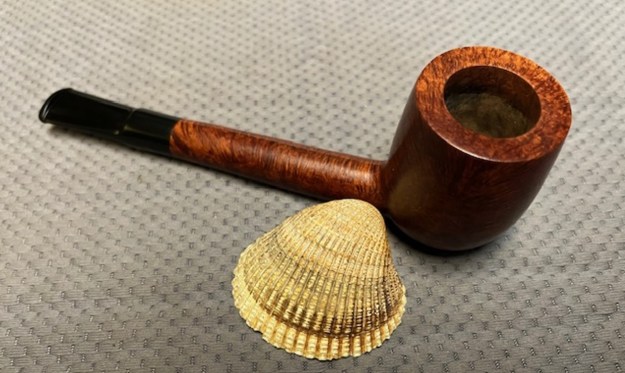
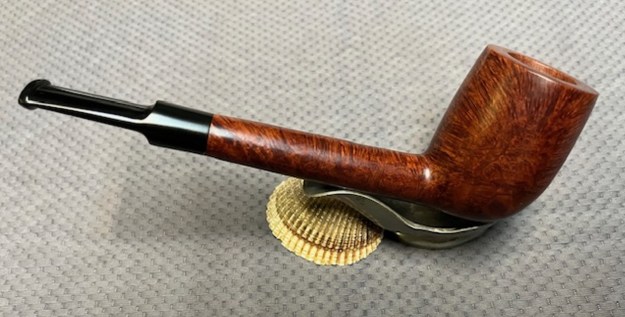
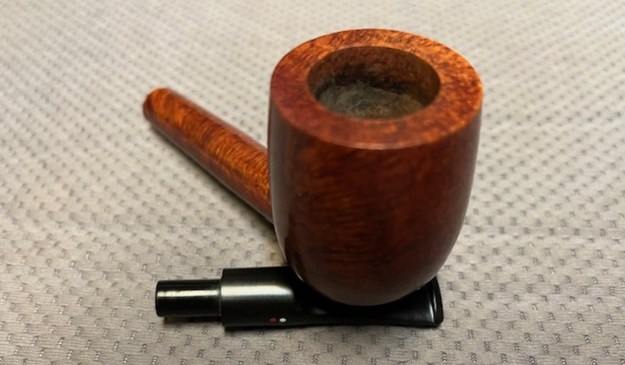
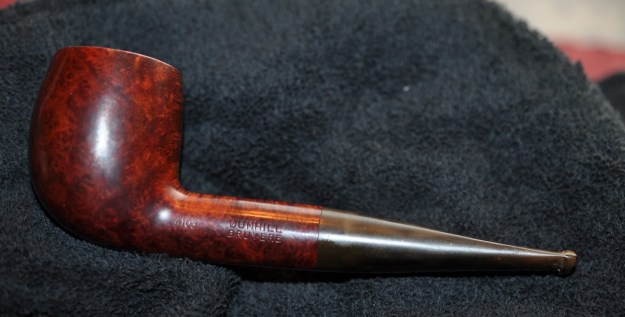
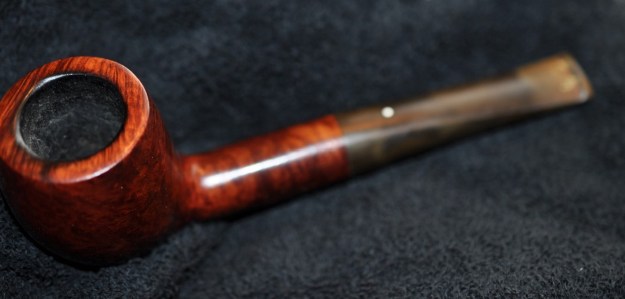
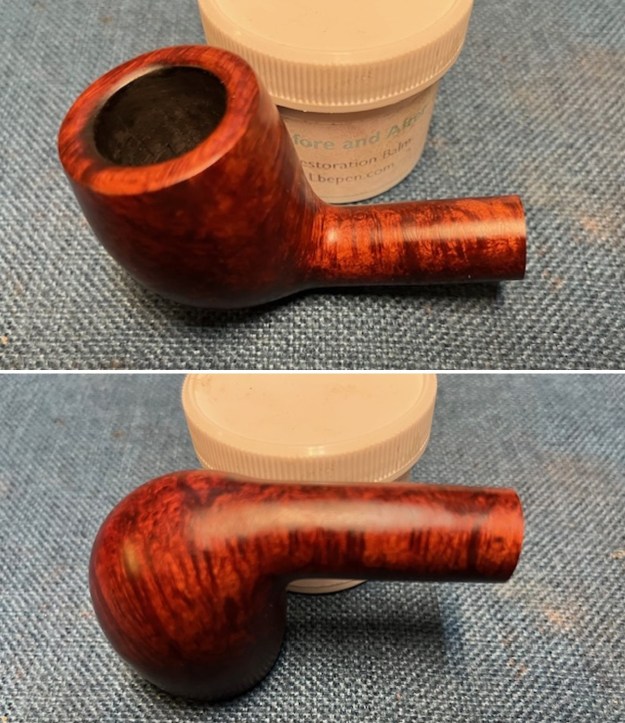
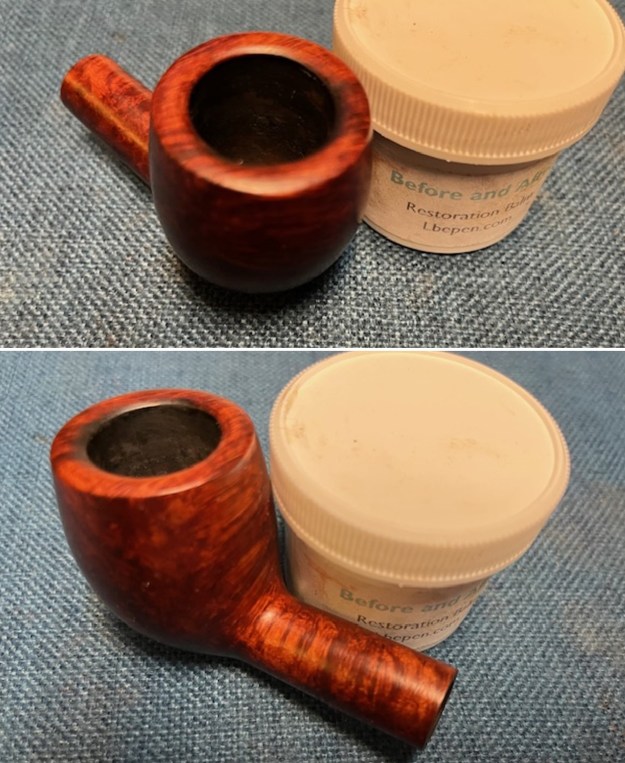
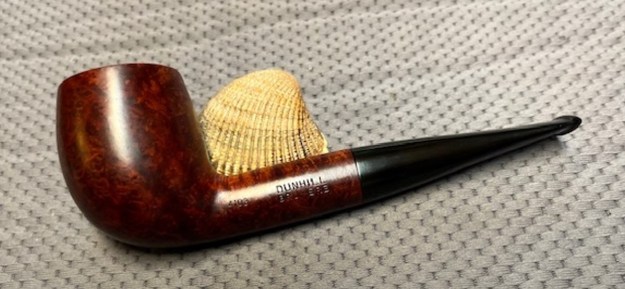
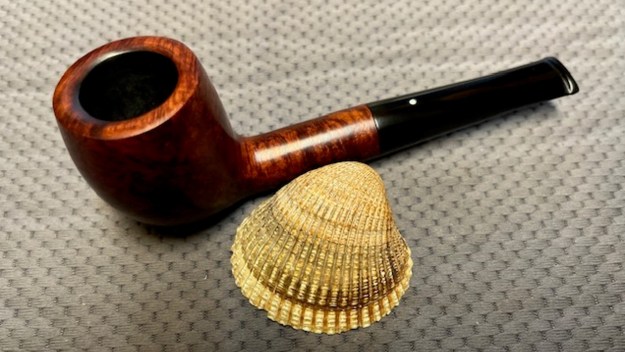
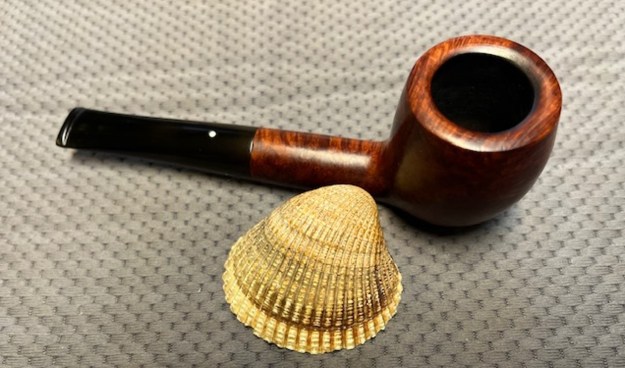
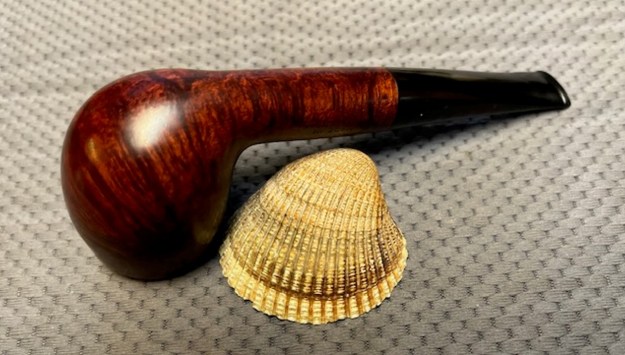
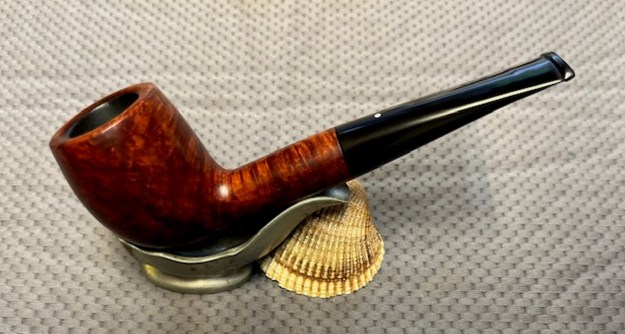
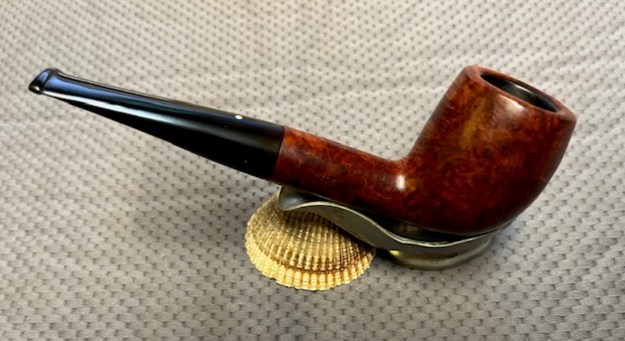
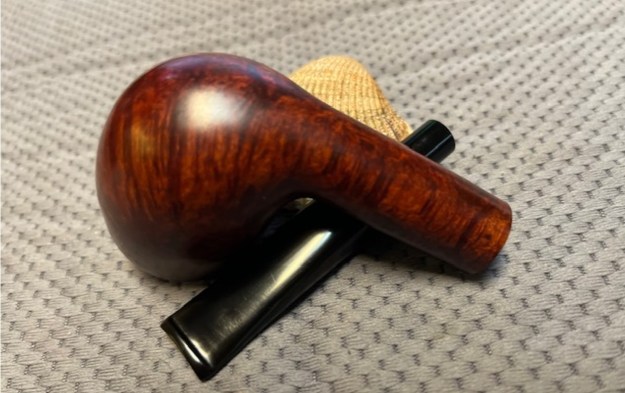
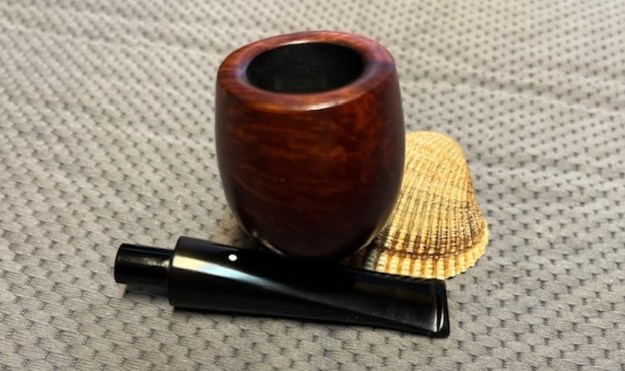
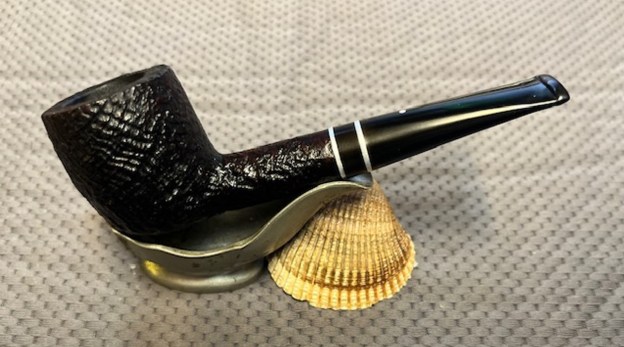
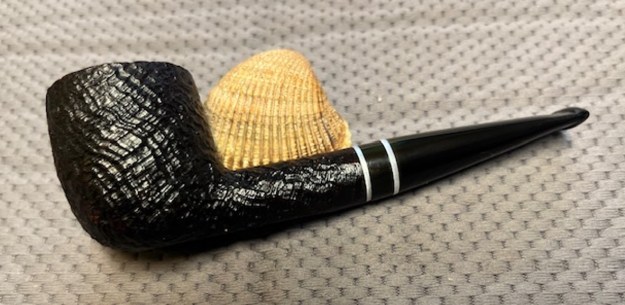
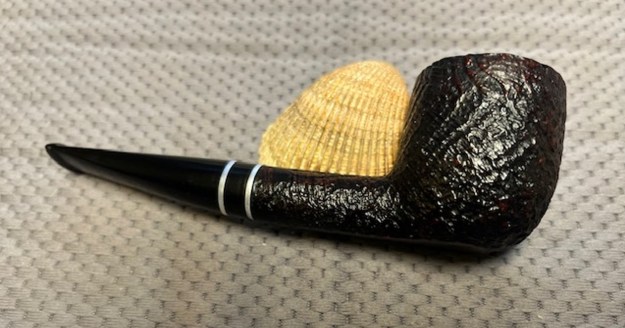
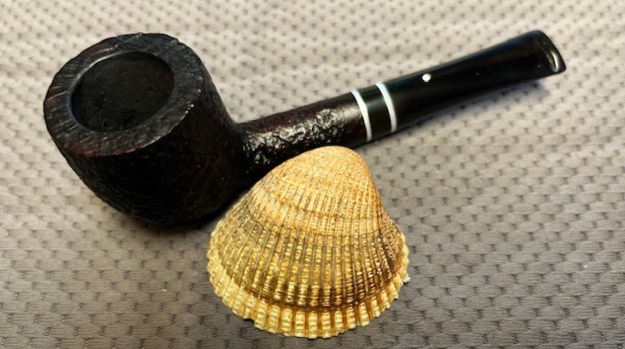
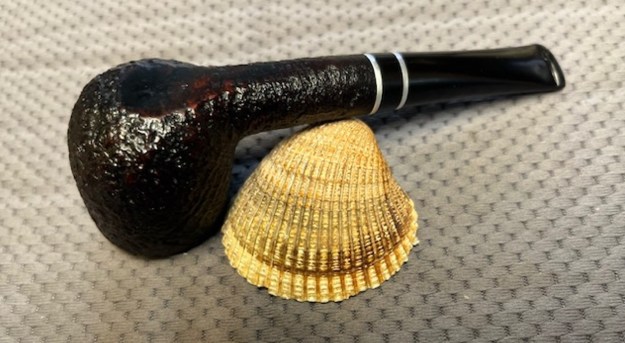
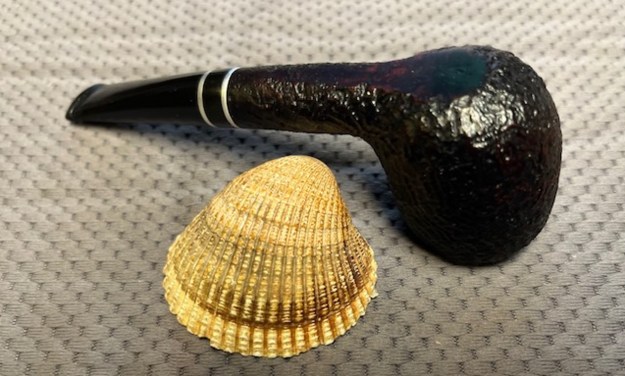
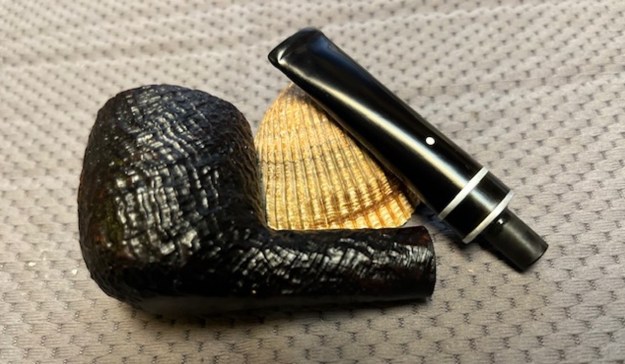
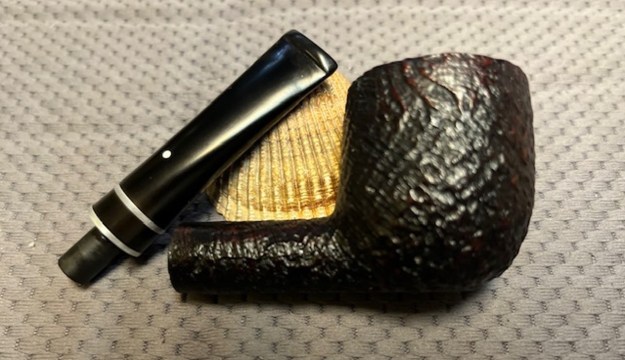
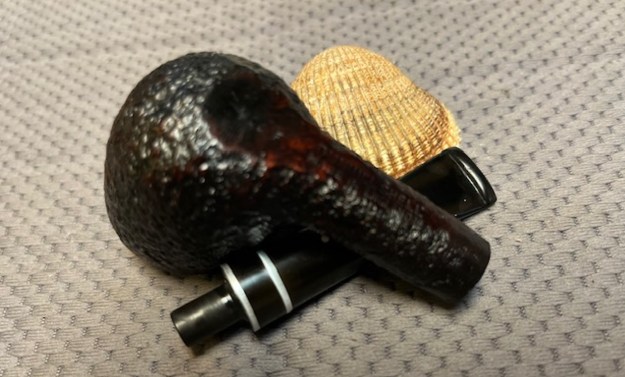
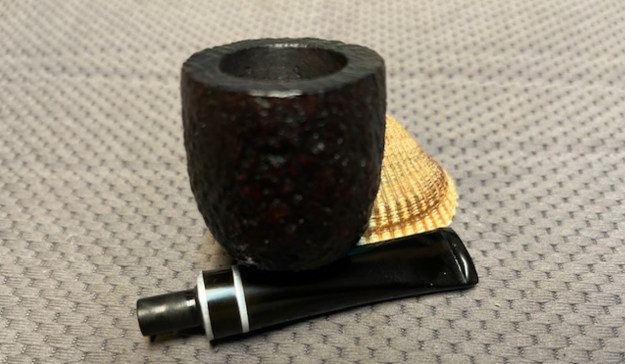
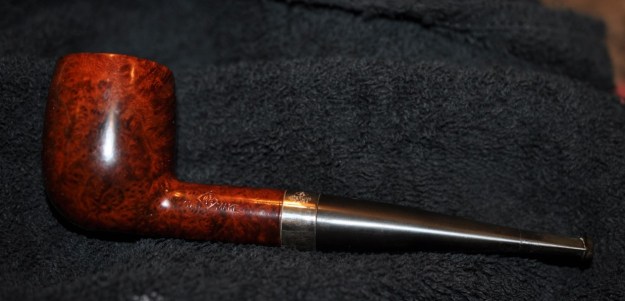
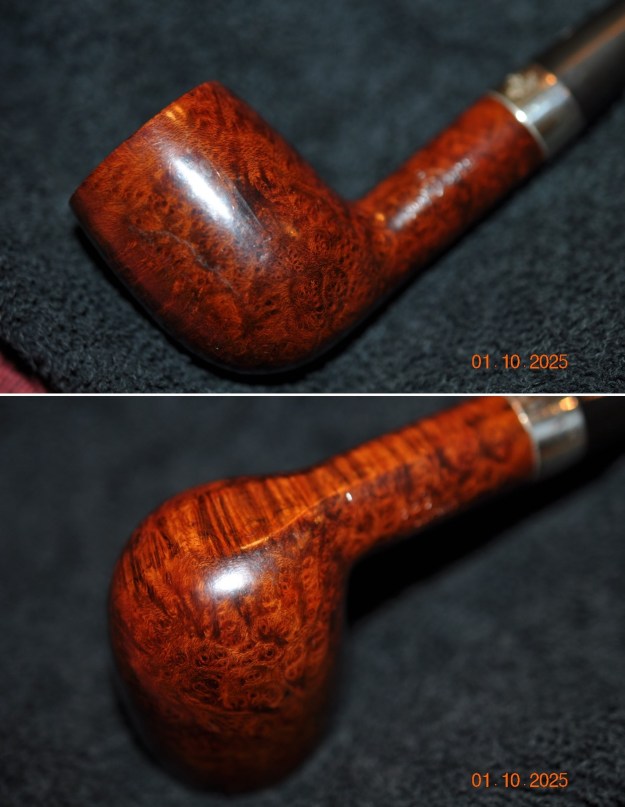
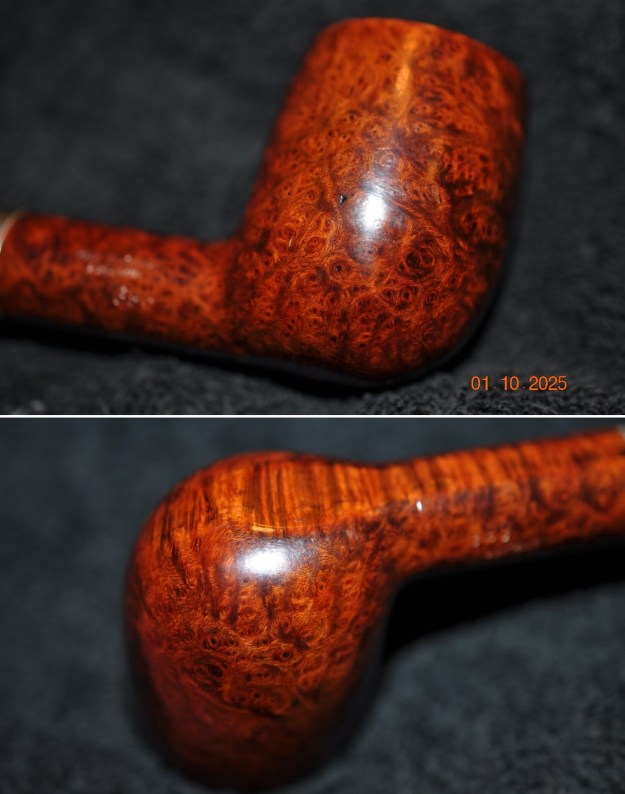
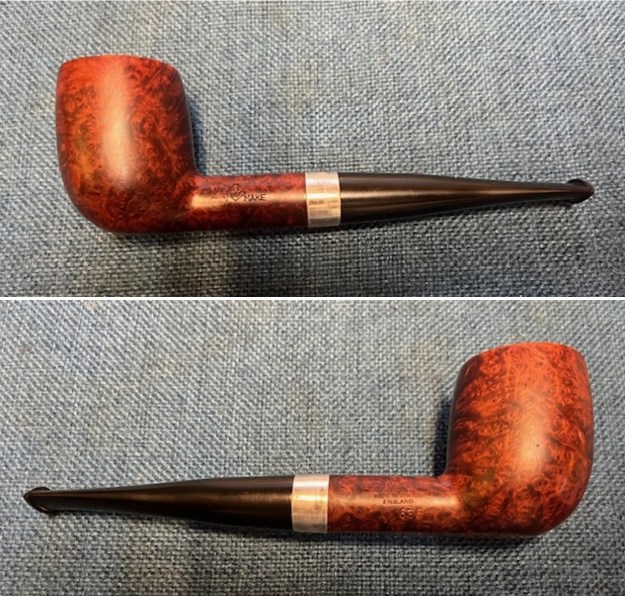
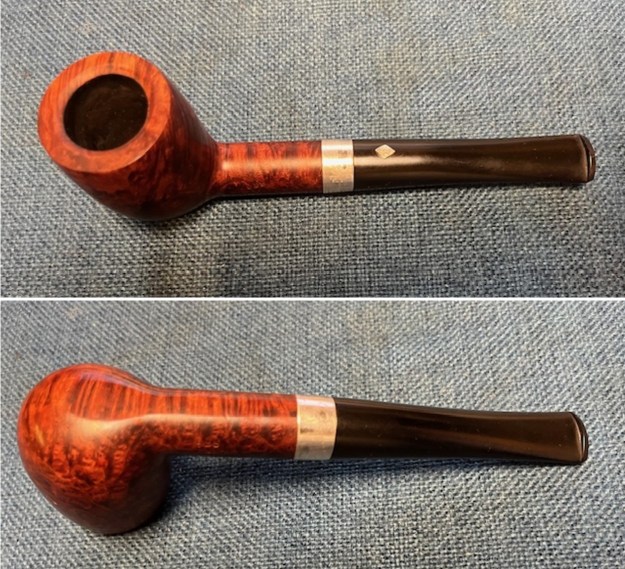
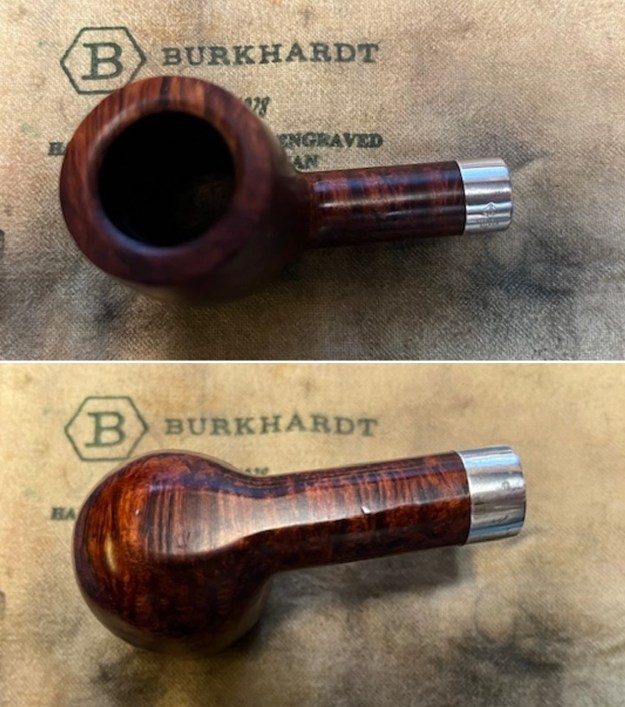
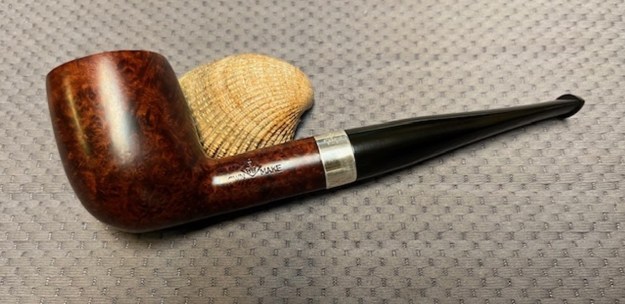
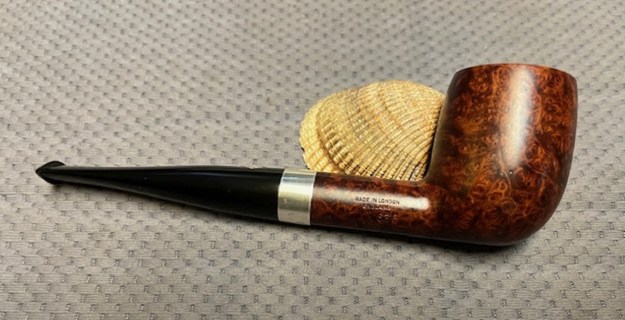
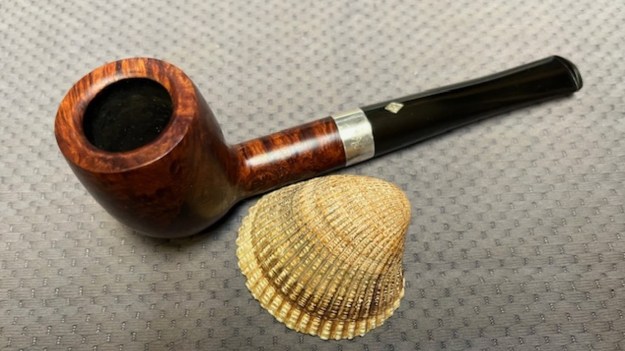
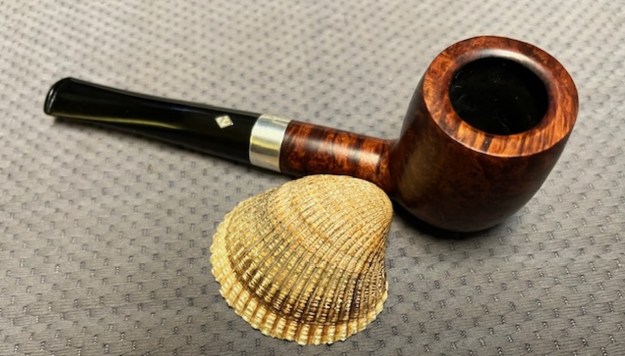
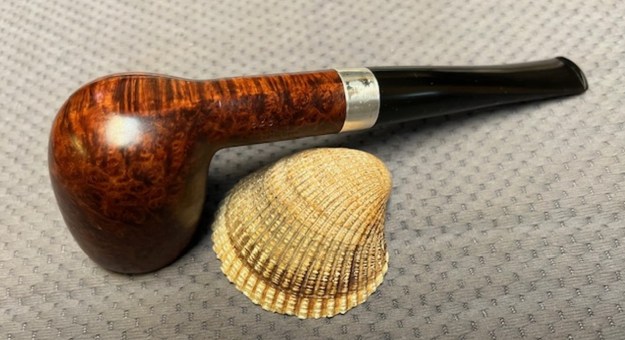
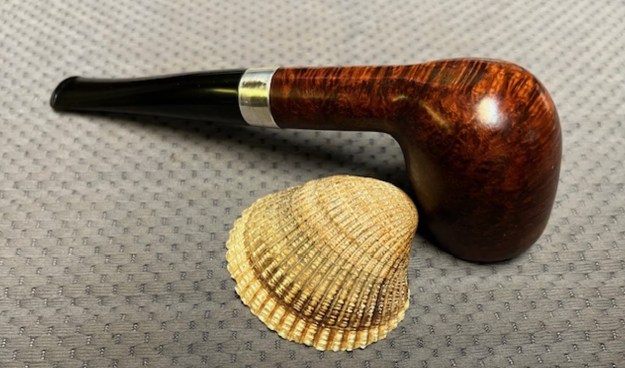
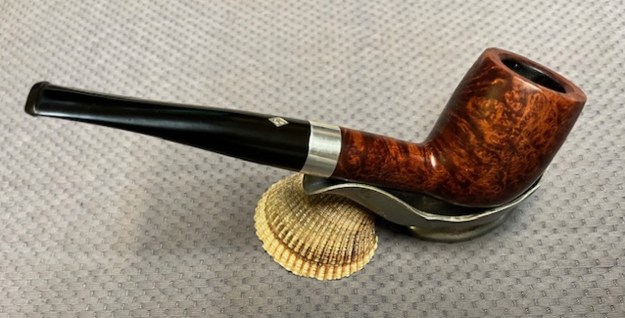
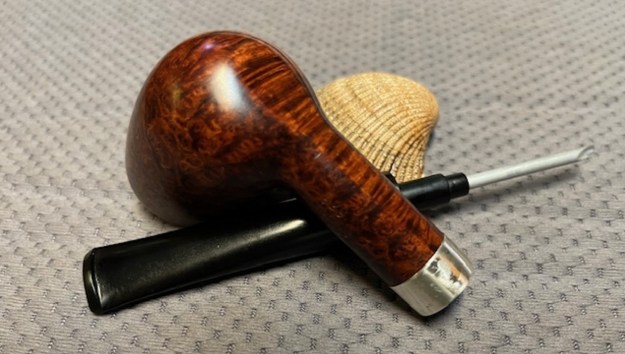
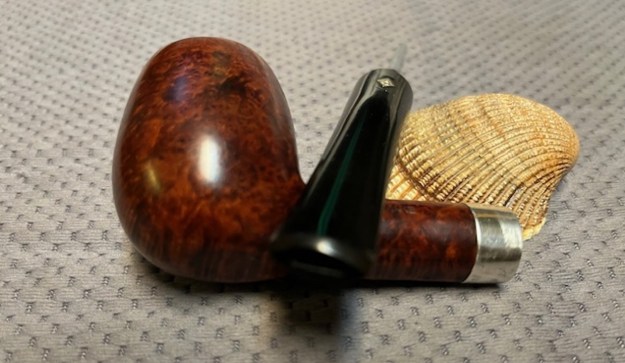
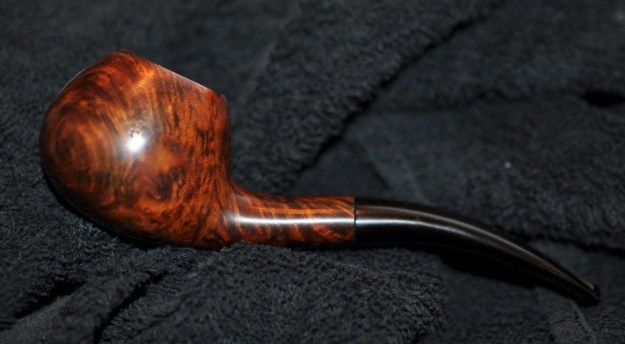
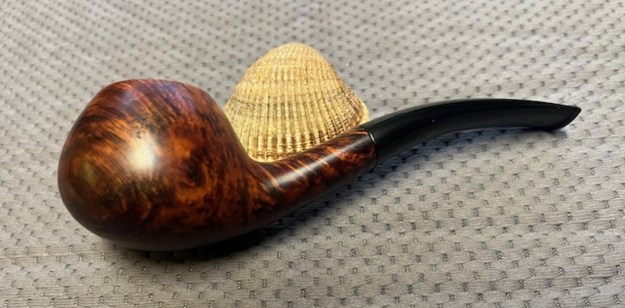
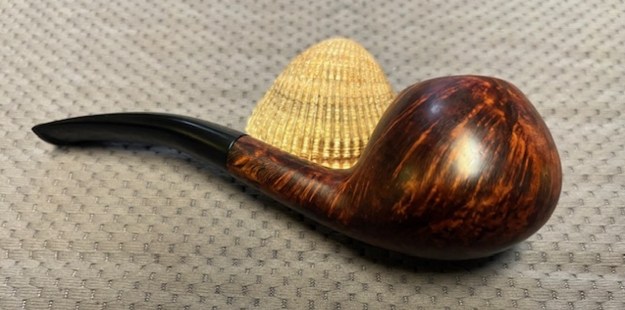
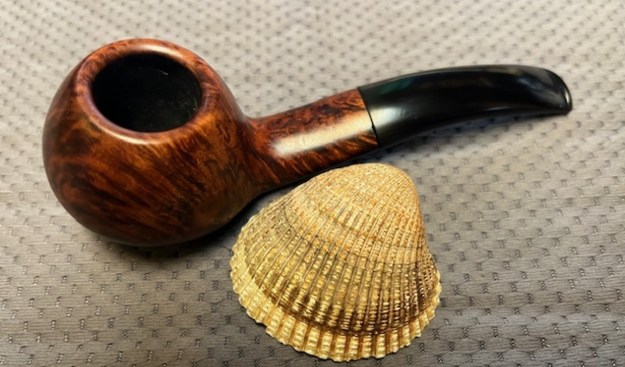
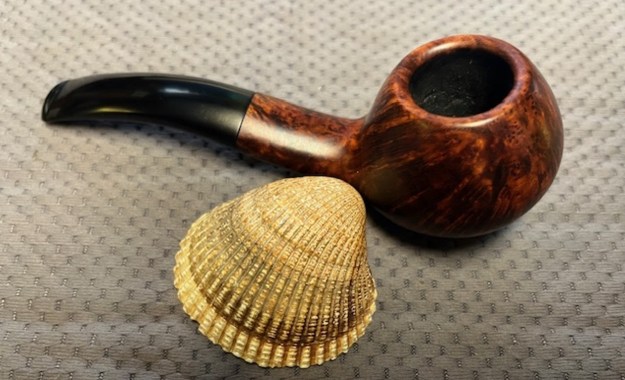
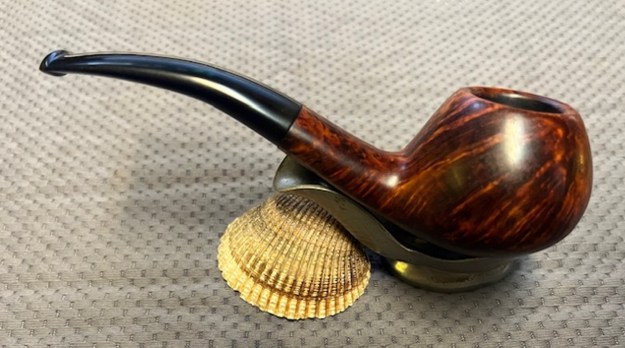
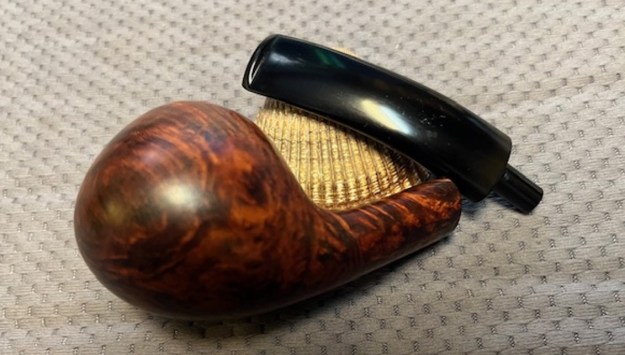
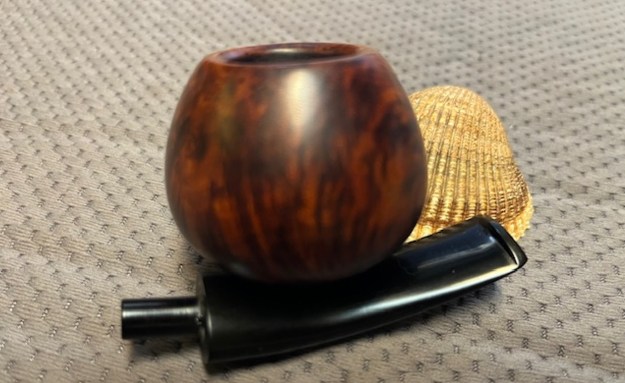
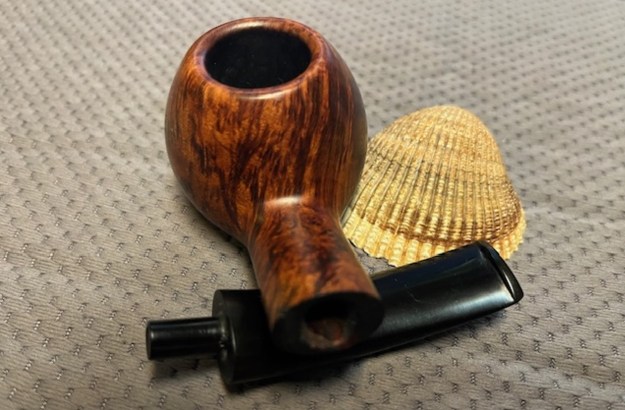
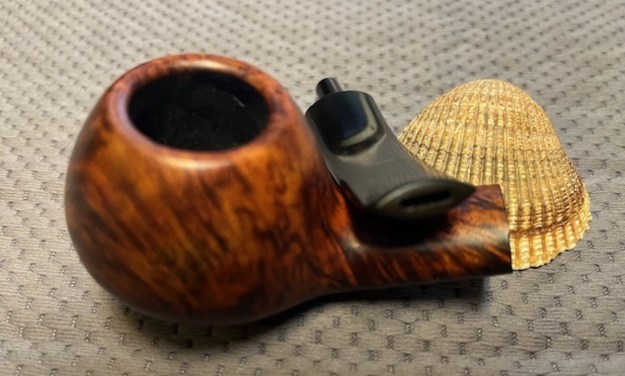
 It was great to finish the repairs and reshaping on this Old England Genuine Briar Freehand Panel Sitter. I put the pipe back together and buffed it with Blue Diamond on the buffing wheel. I gave the bowl multiple coats of carnauba wax. I buffed the pipe with a clean buffing pad to raise the shine. I hand buffed the pipe with a microfiber cloth to deepen the shine. It is fun to see what the polished bowl looks like with deep sandblast all around it. Added to that the polished black, vulcanite, taper stem was beautiful. This Old England Panel Sitter is great looking and the pipe feels great in my hand. It is light and well balanced. Have a look at it with the photos below. The dimensions are Length: 5 ½ inches, Height: 1 ¾ inches, Outside diameter of the bowl: 1 ¼ inches, Chamber diameter: ¾ of an inch. The weight of the pipe is 29 grams/1.02 ounces. It is the first of three pipes sent to me by the fellow near Vancouver. I have two more of his pipes to finish before I send them back to him.
As always, I encourage your questions and comments as you read the blog. Thanks to each of you who are reading this blog and following this restoration. Remember we are not pipe owners; we are pipe men and women who hold our pipes in trust until they pass on into the trust of those who follow us.


