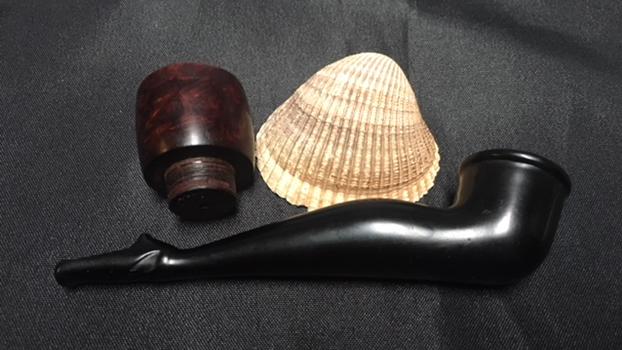
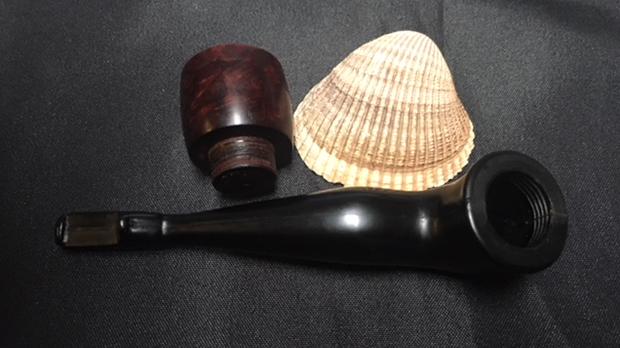
Tag Archives: oxidation

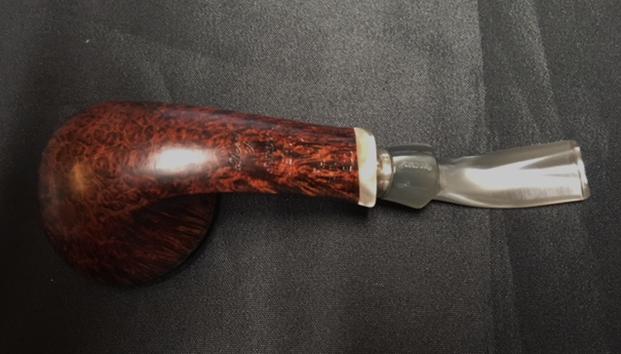
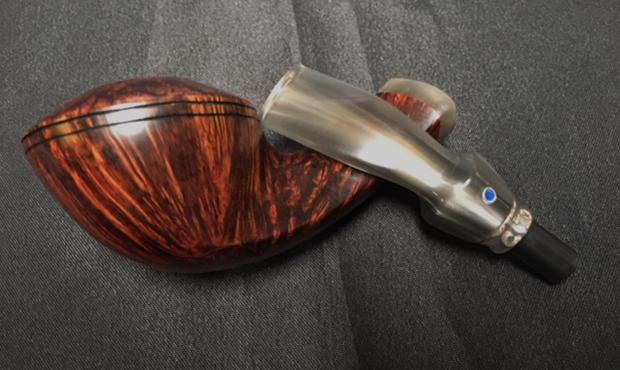
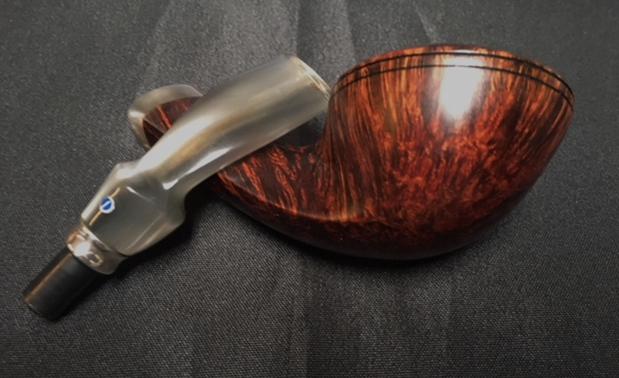
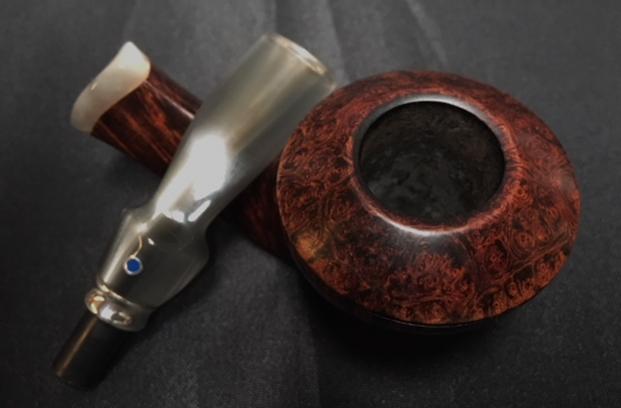
Refurbishing a Don Carlos Hand Made Ballerina


Blog by Steve Laug

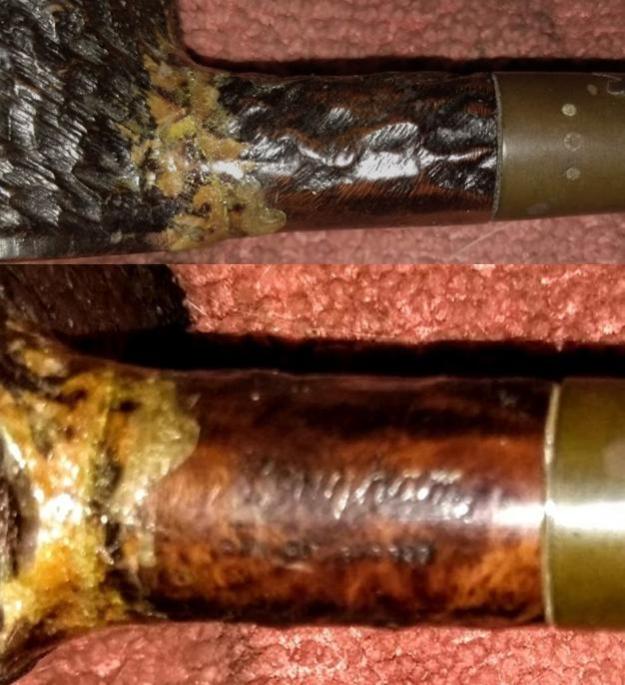
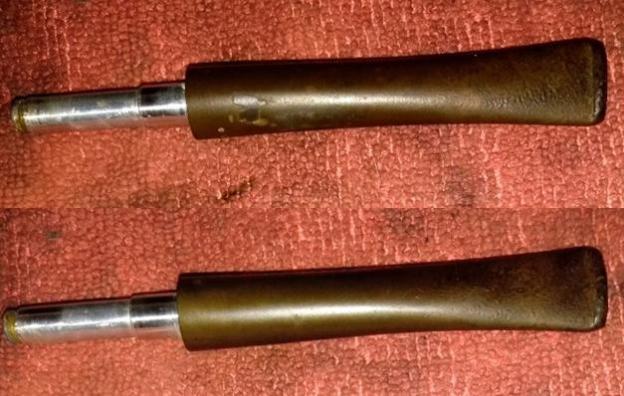
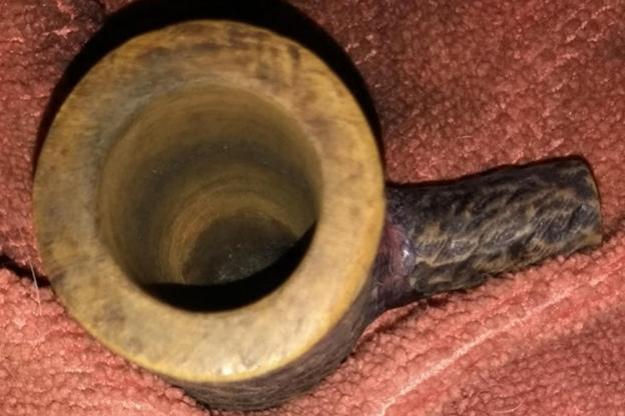
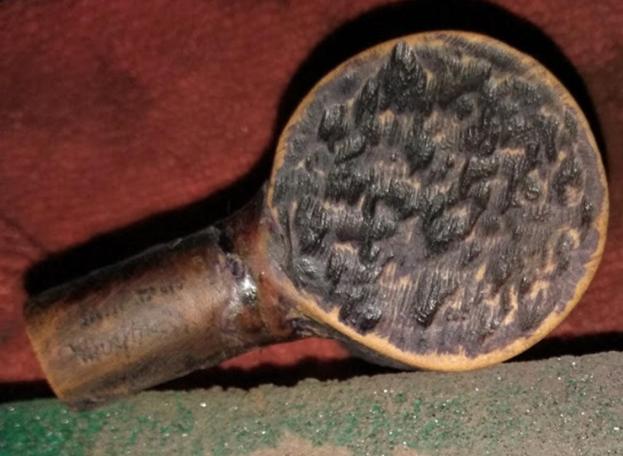
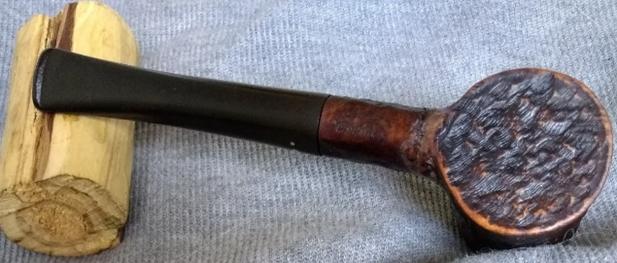
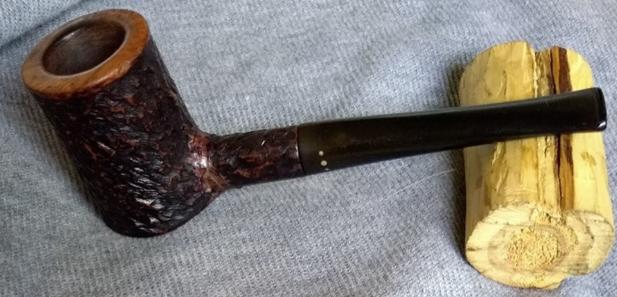
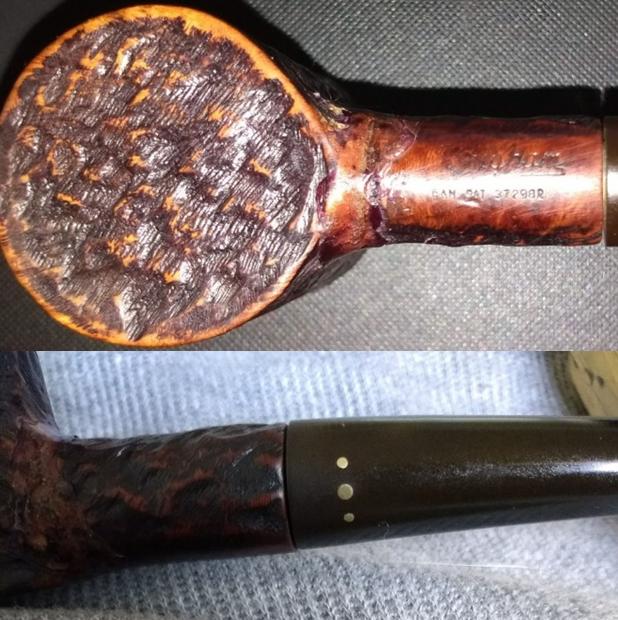
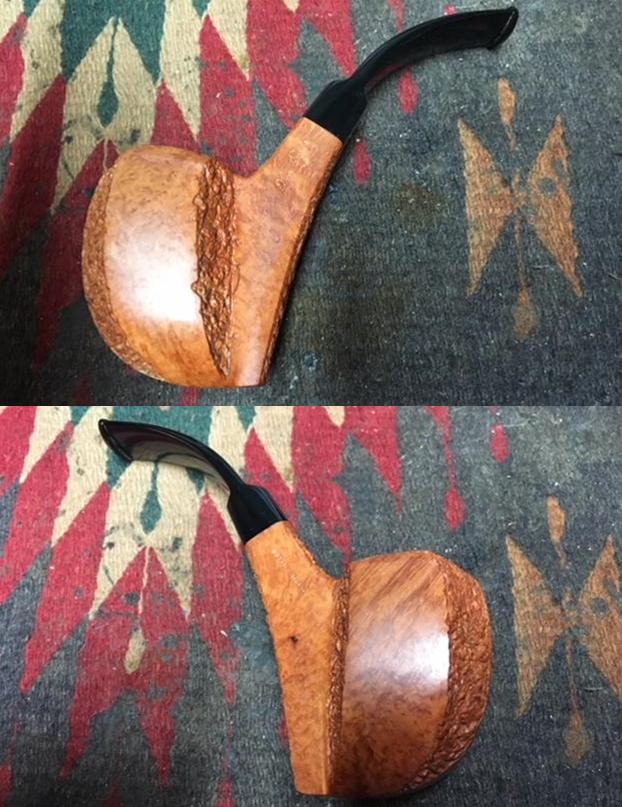
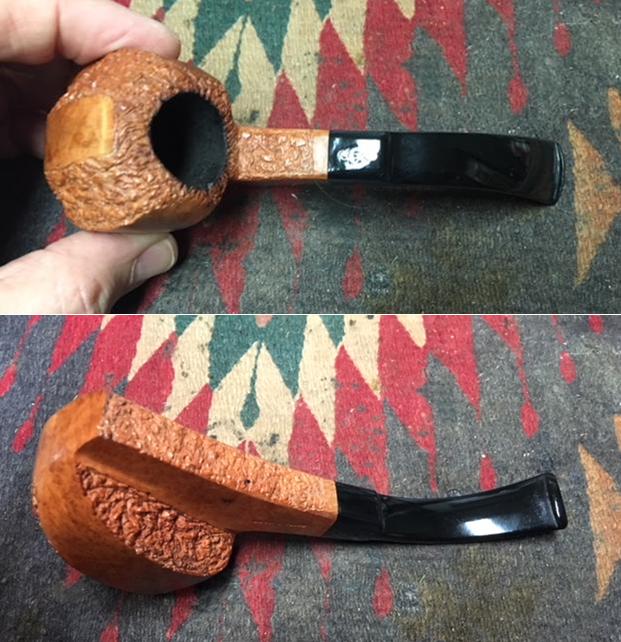
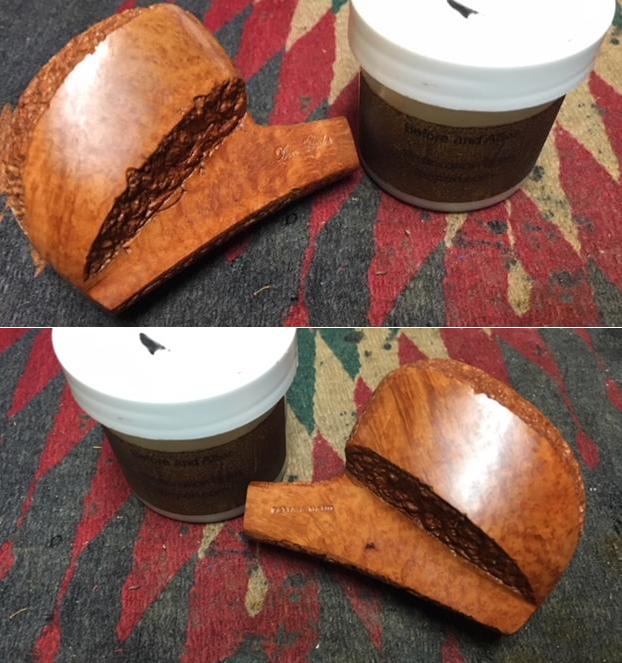
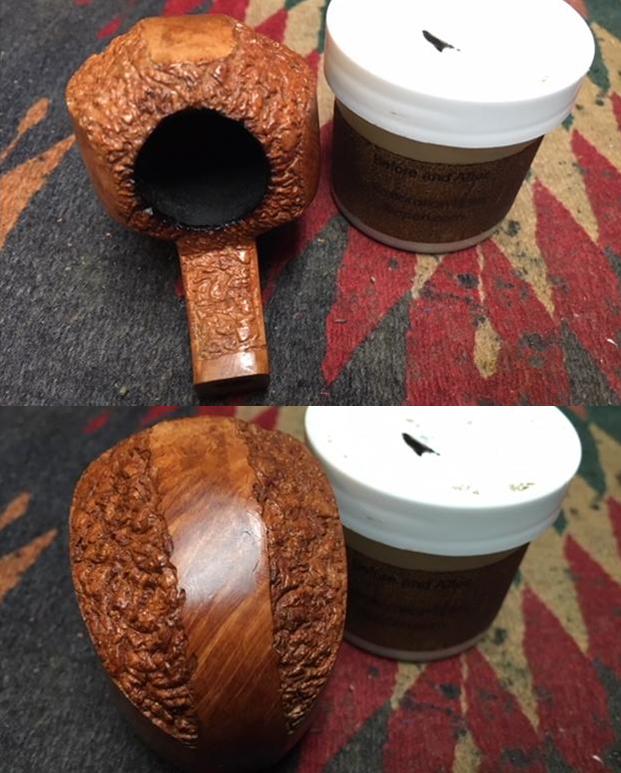
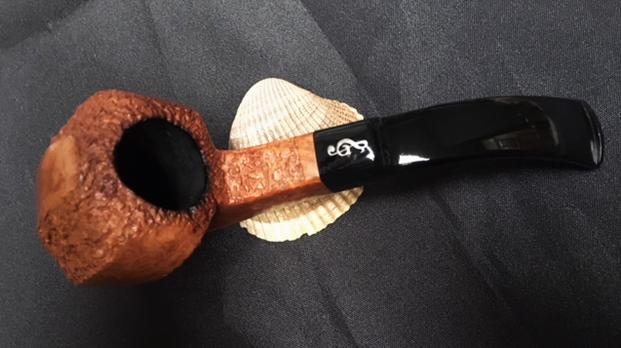
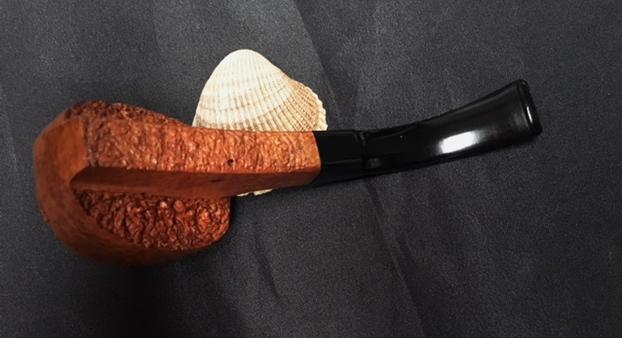
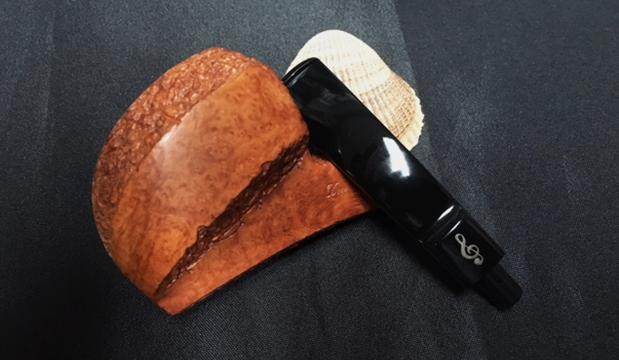
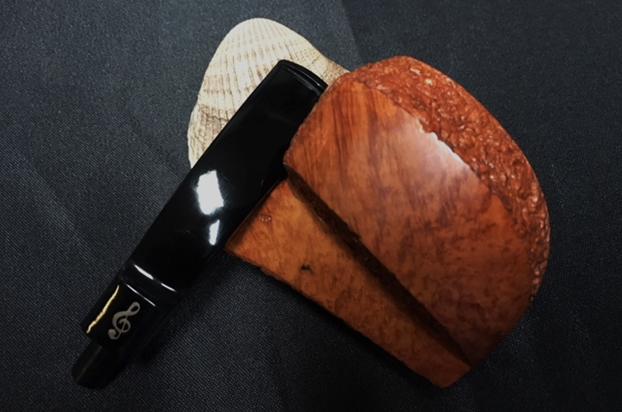
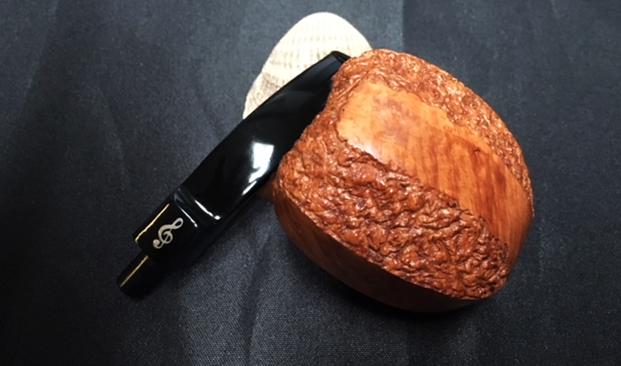
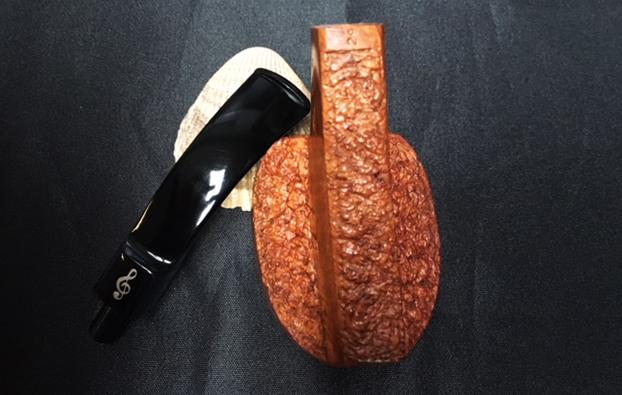
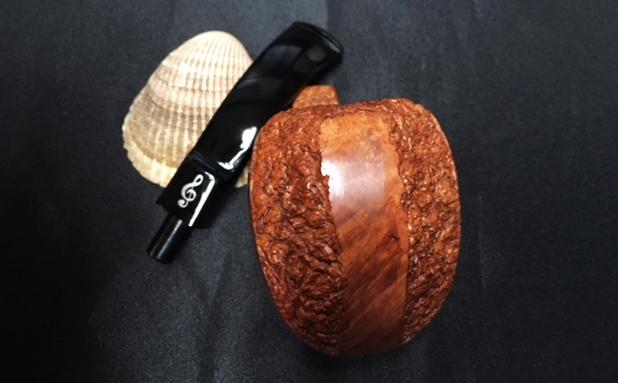
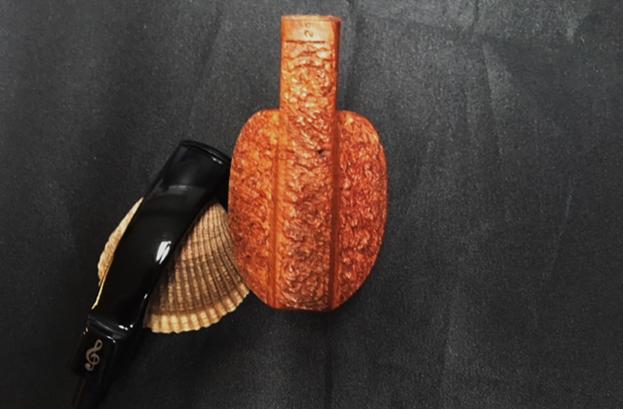
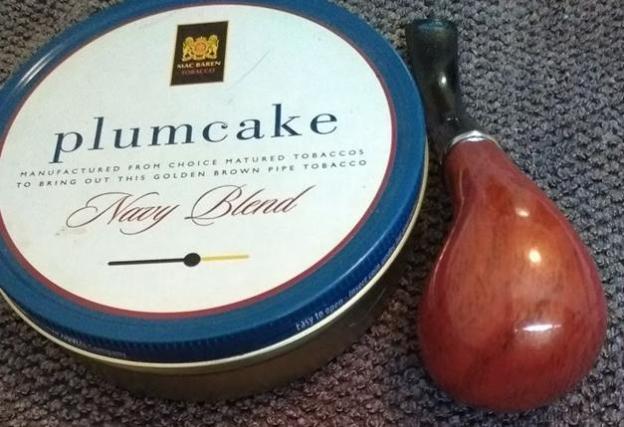
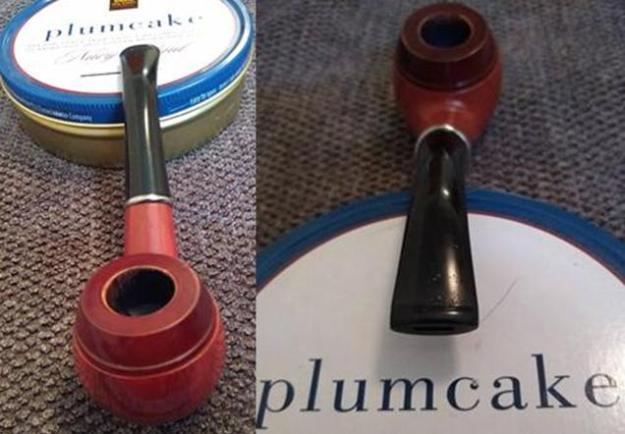
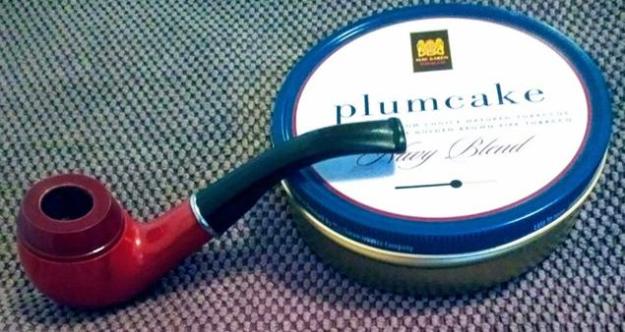
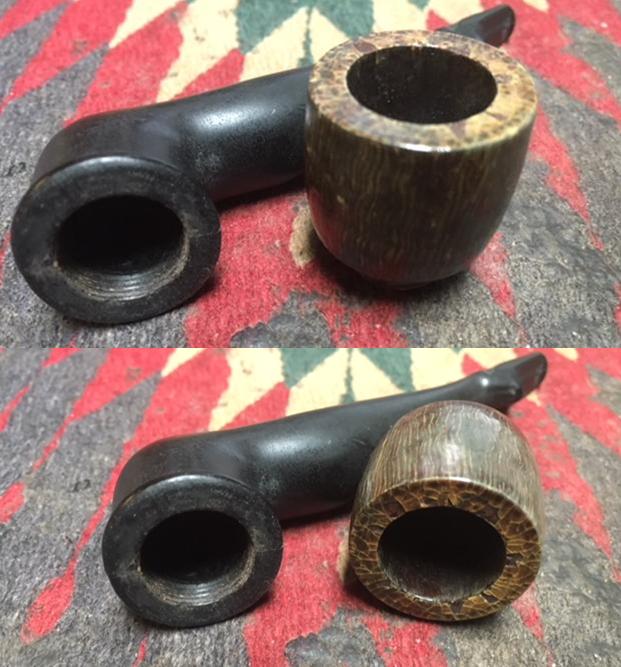
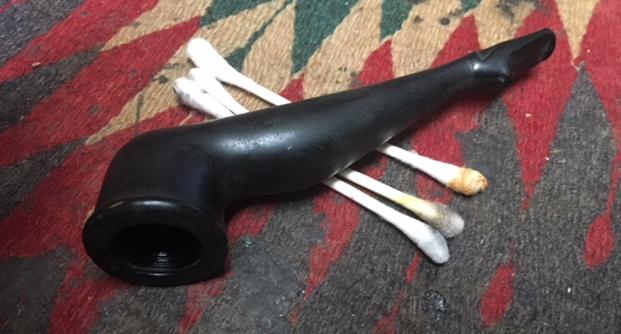
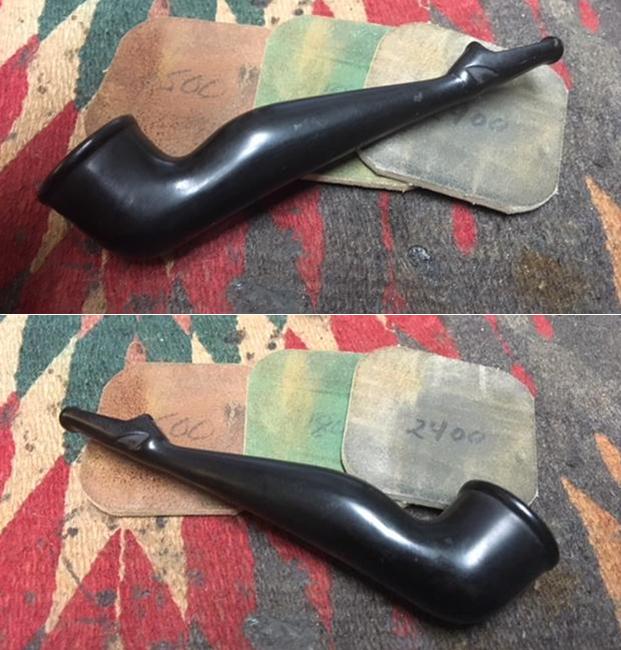
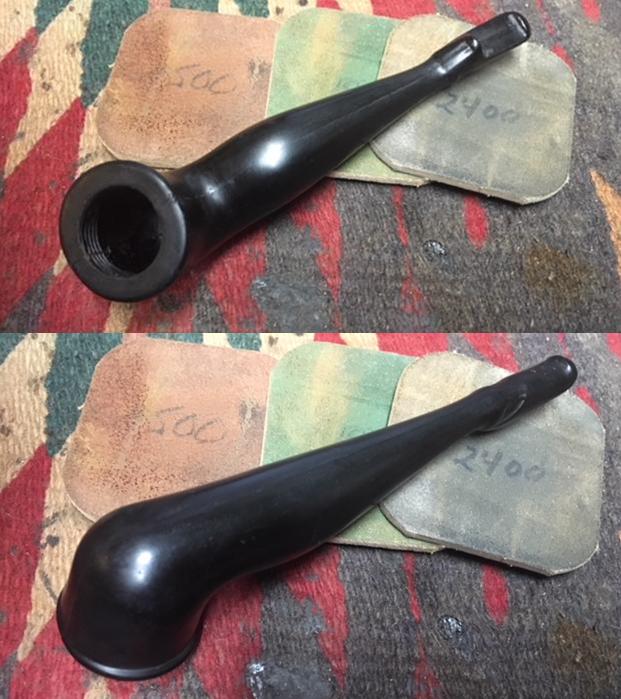
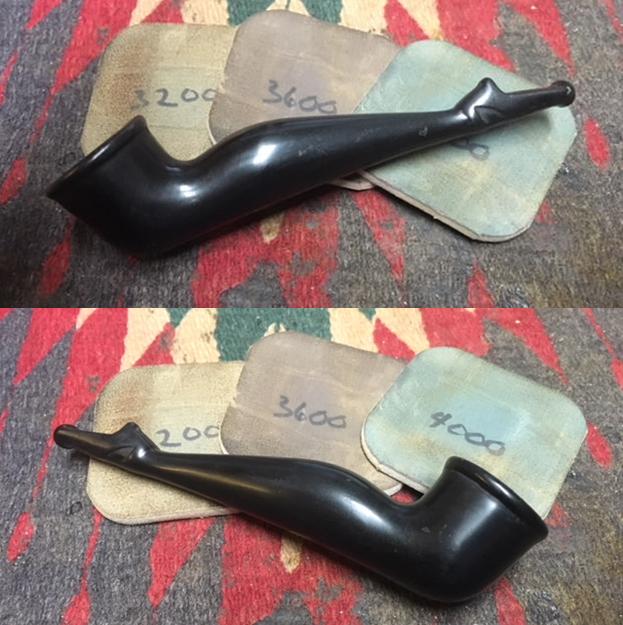
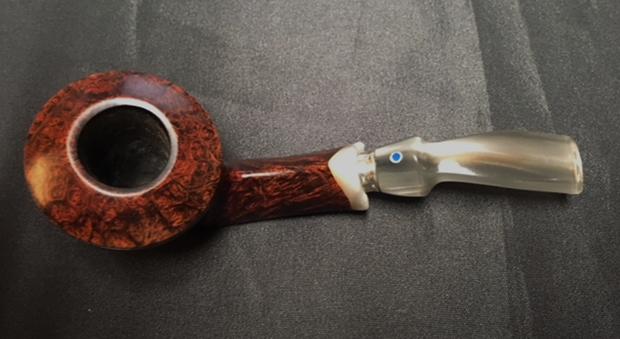
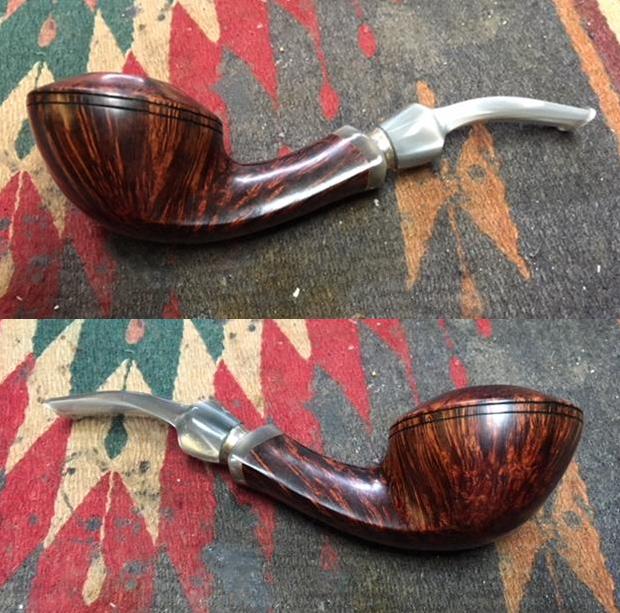
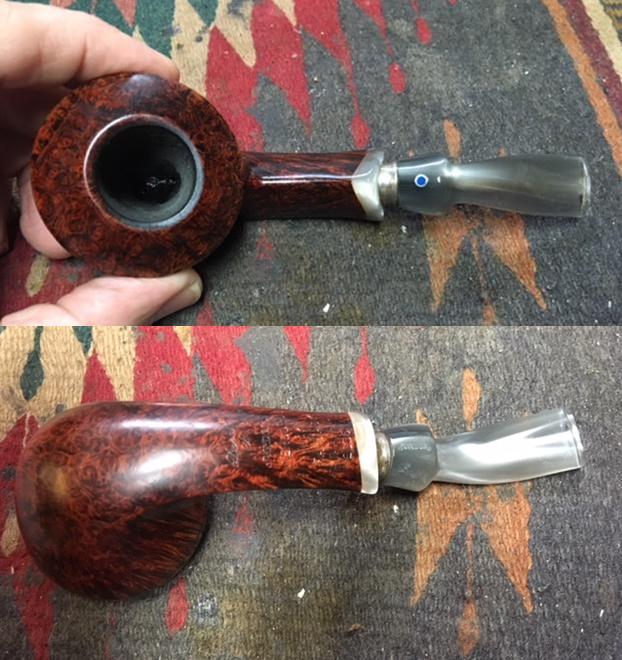
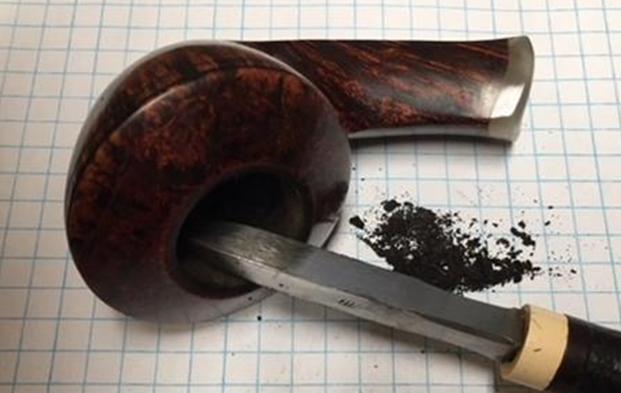
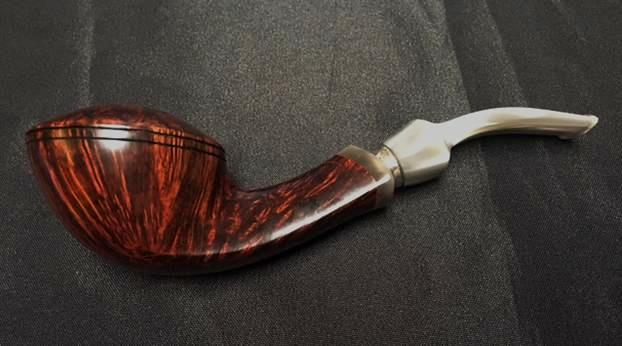
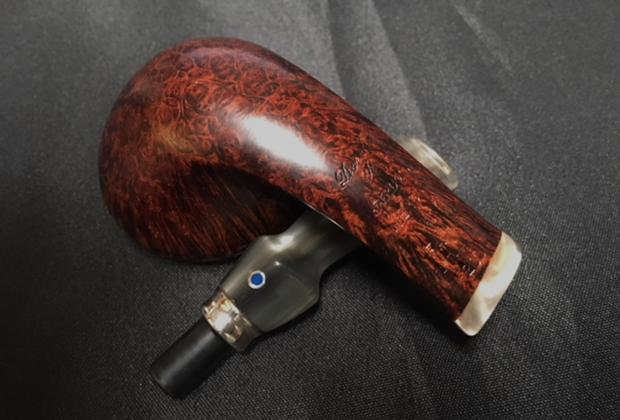
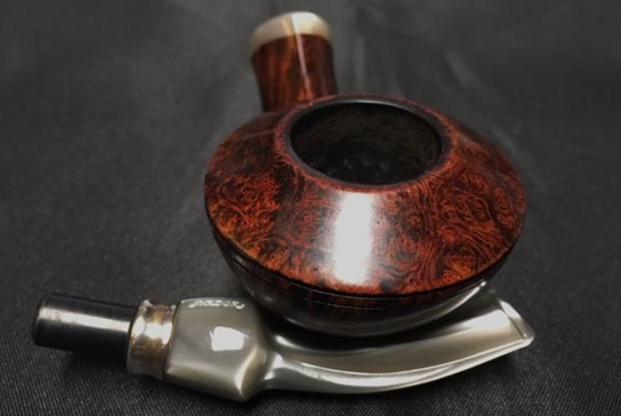
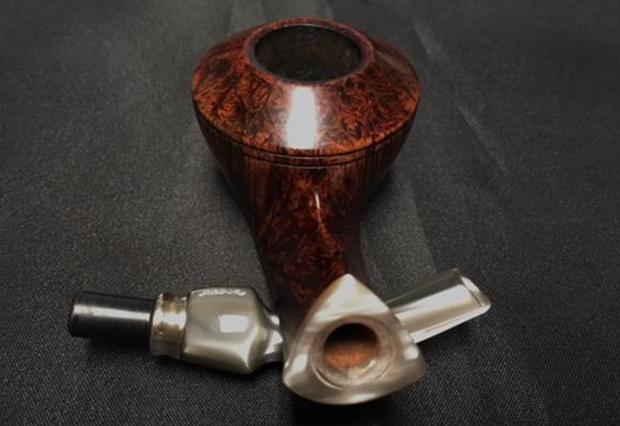
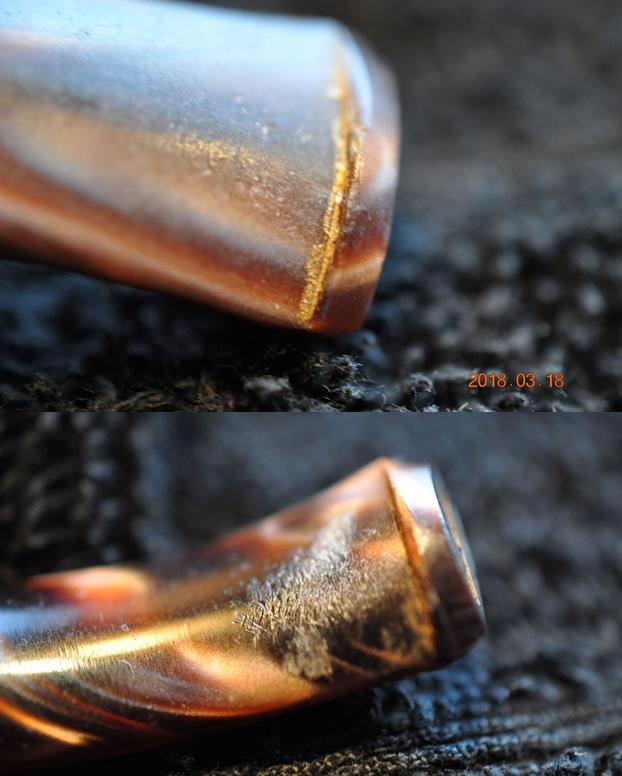
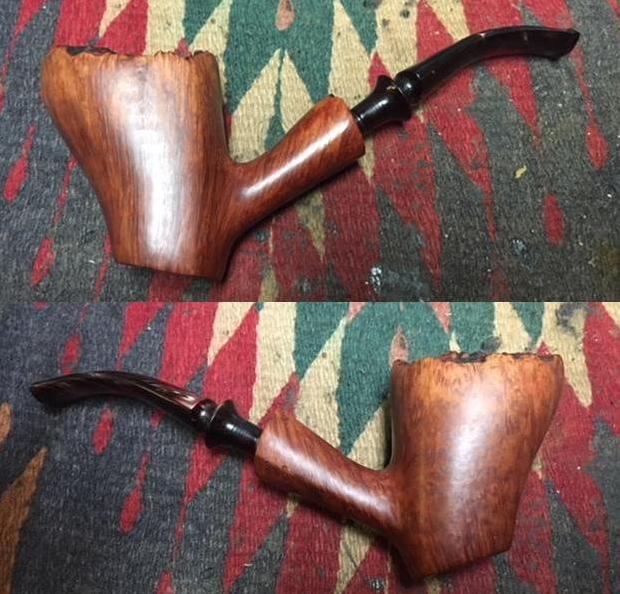
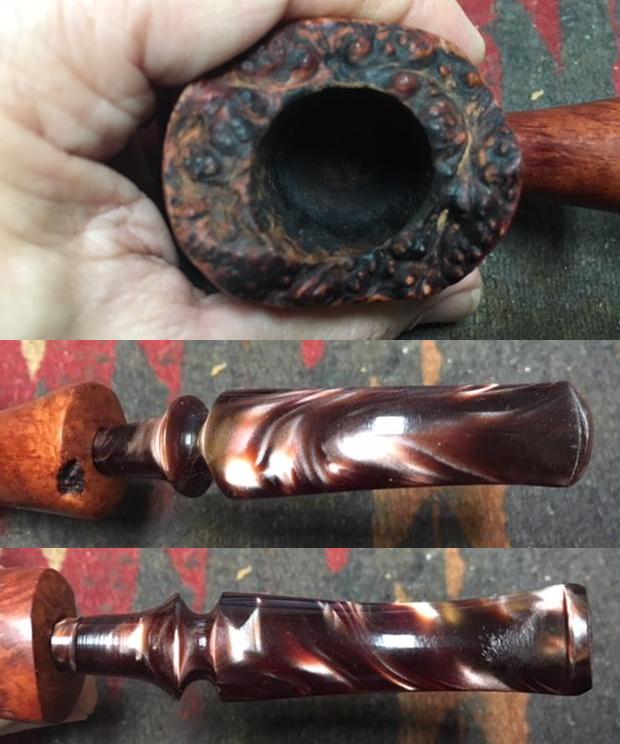
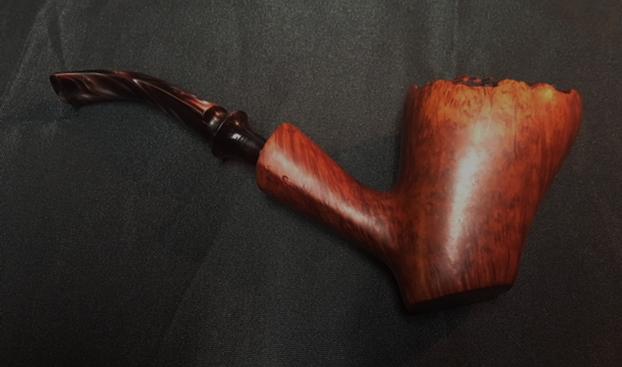
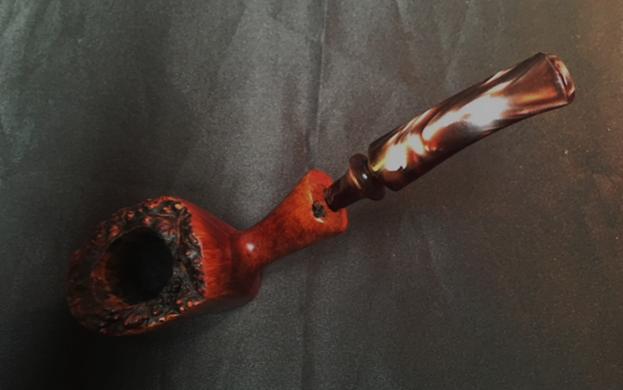
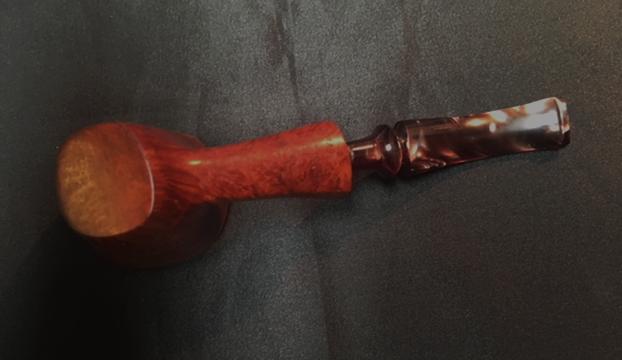
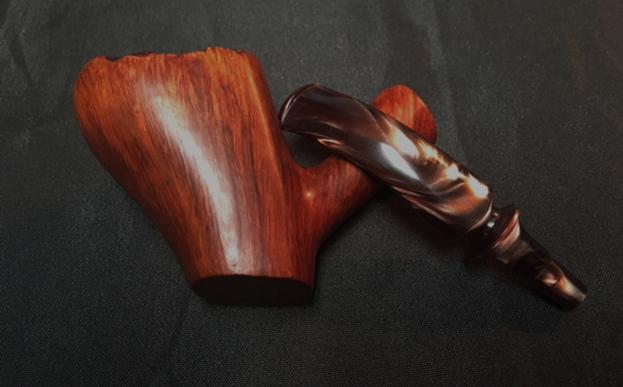
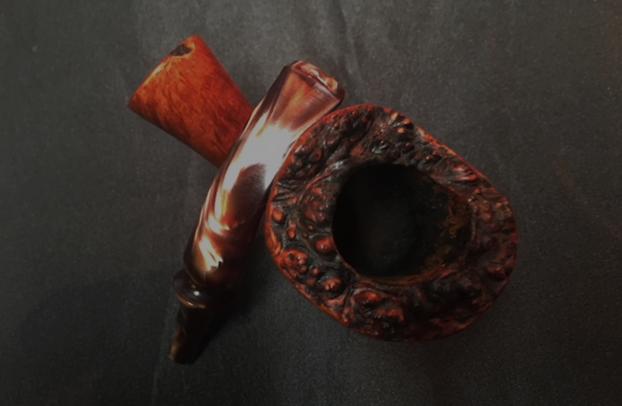
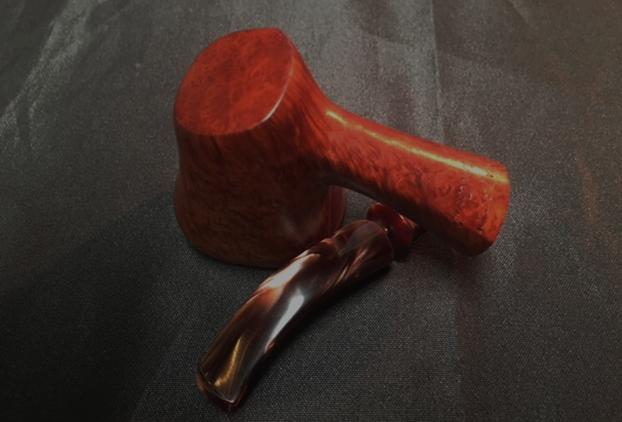
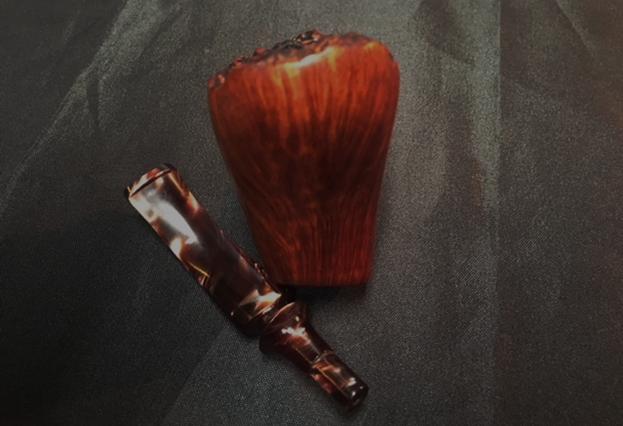
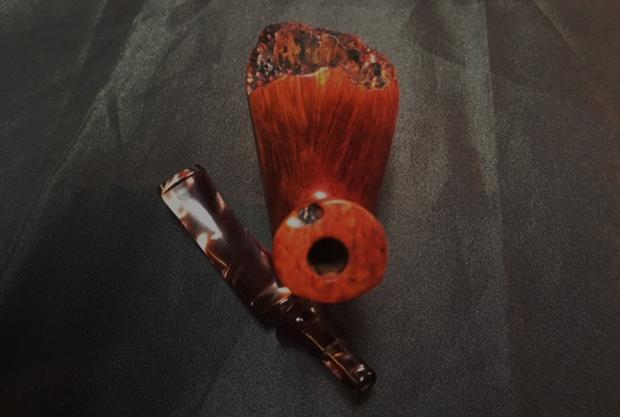
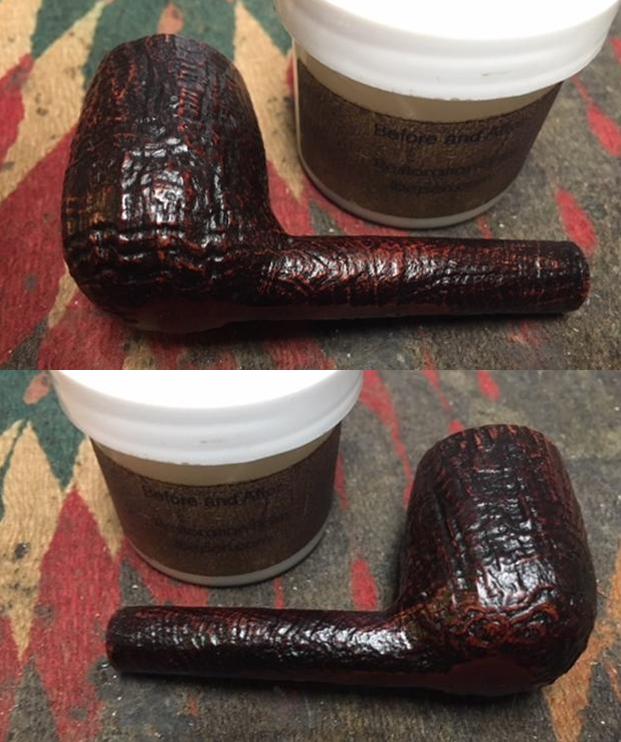
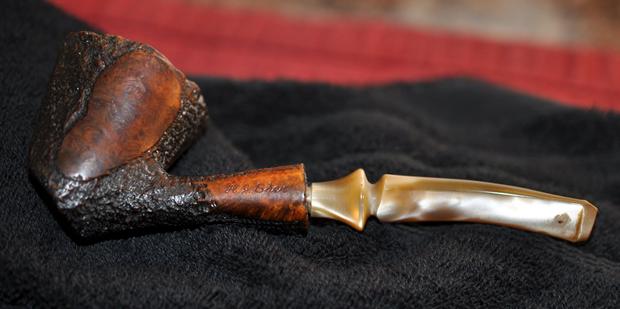
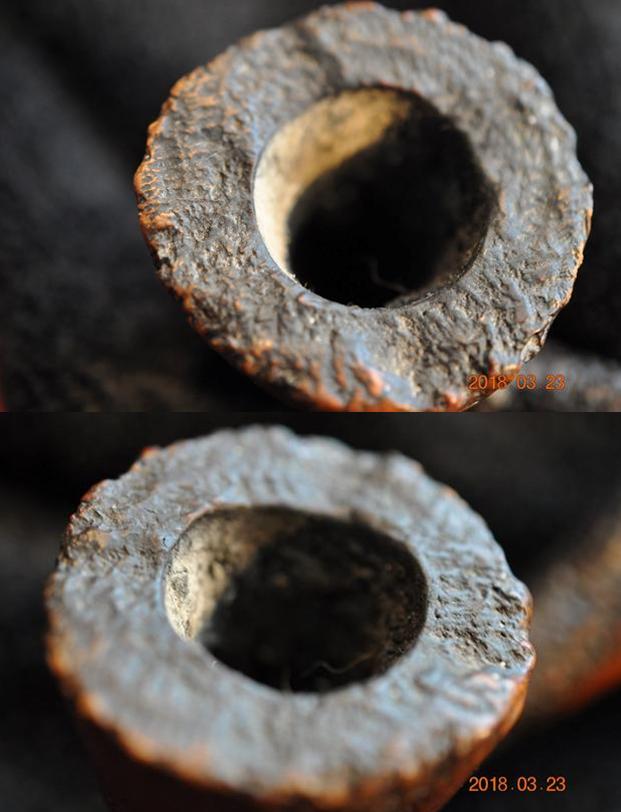
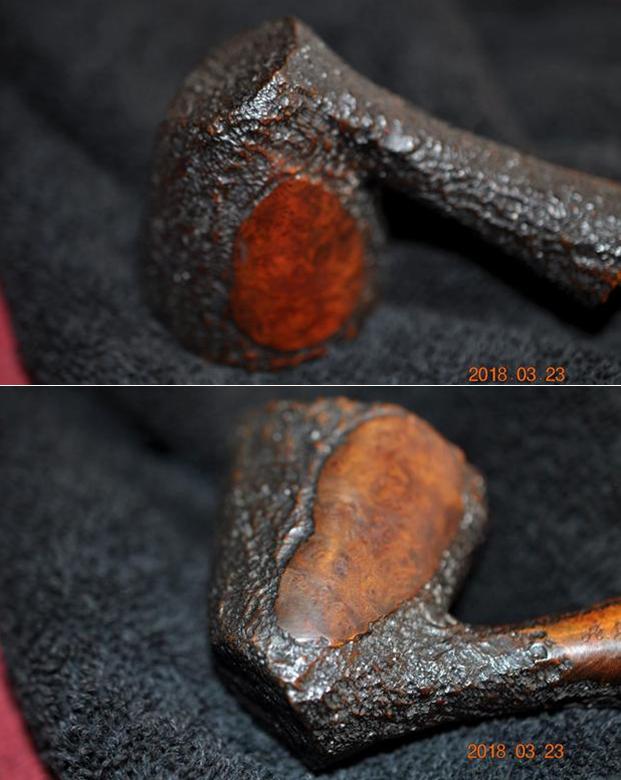
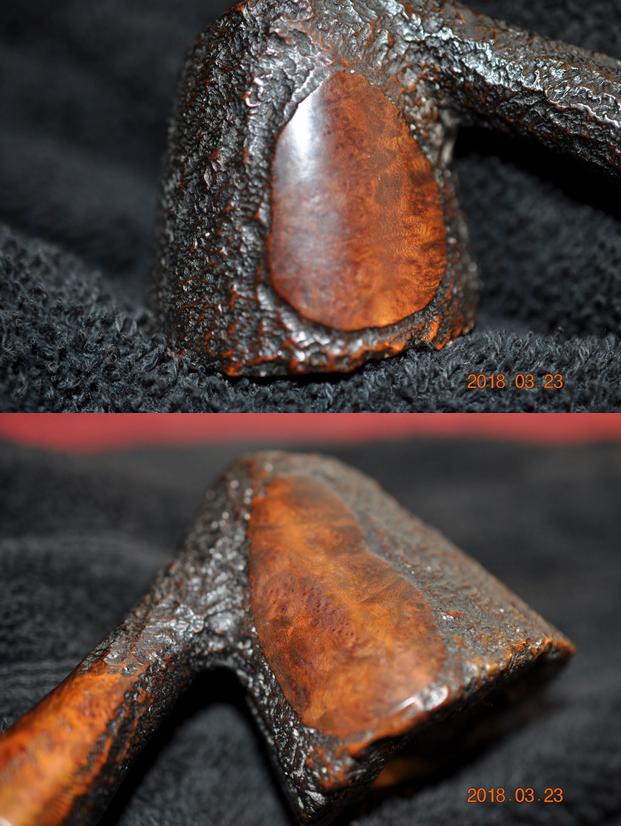
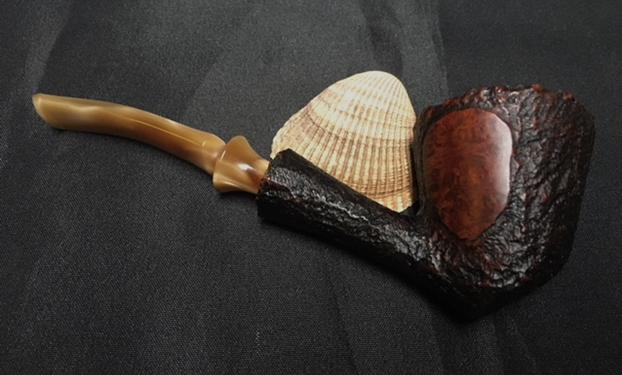
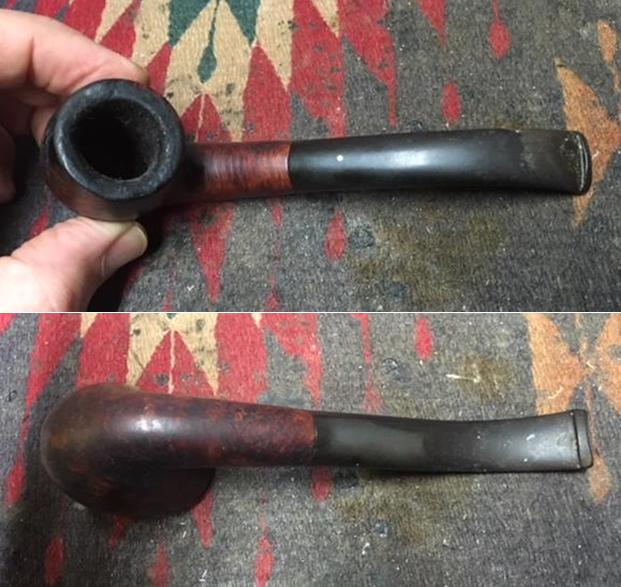
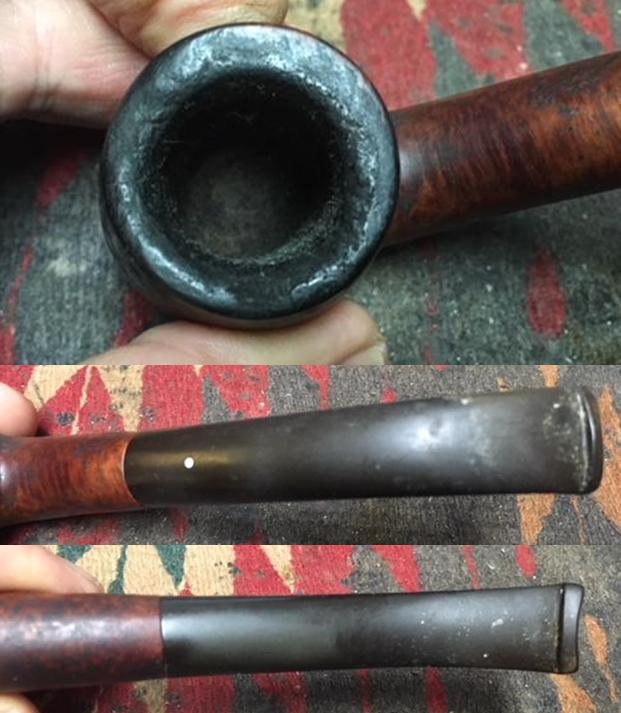
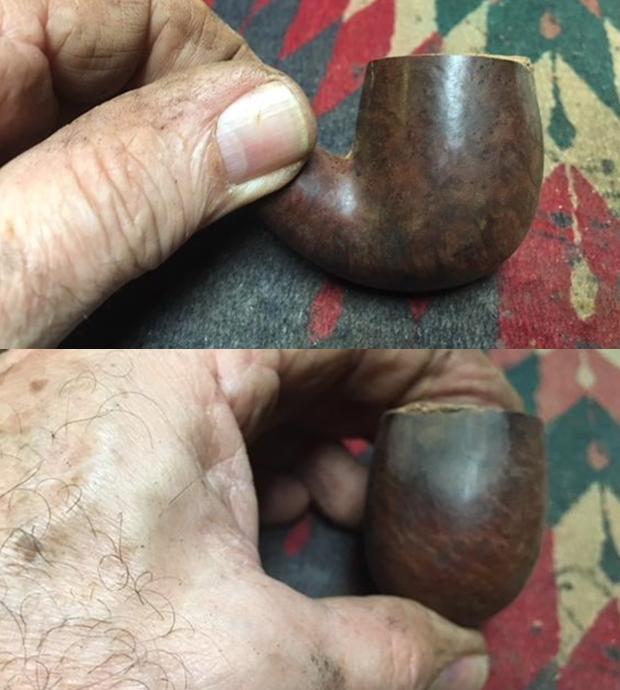
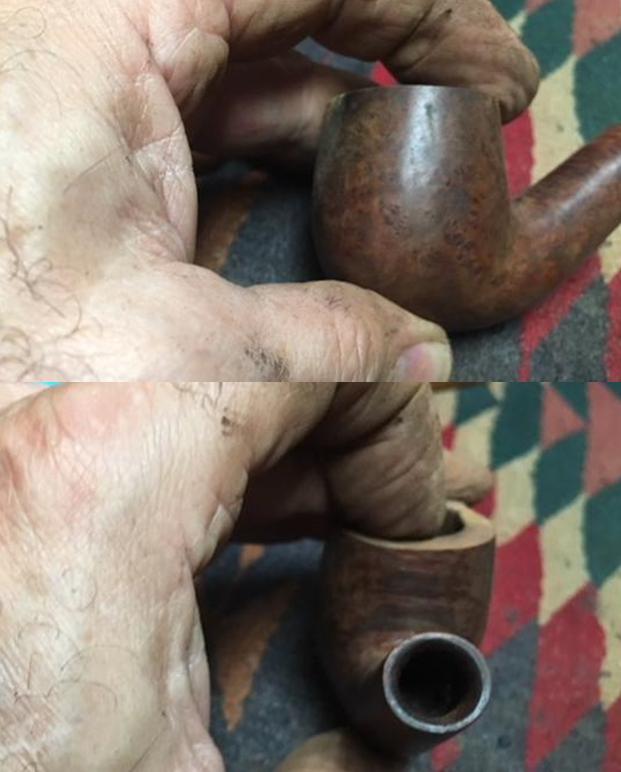
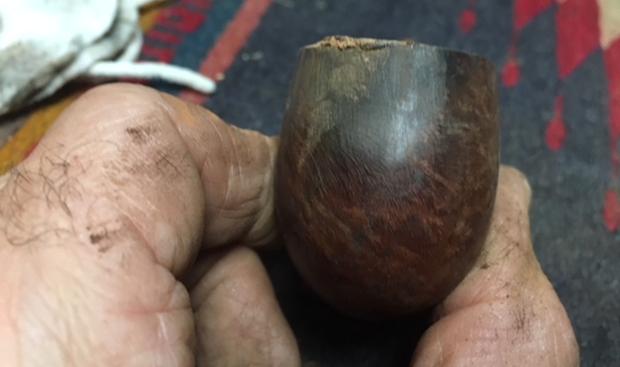
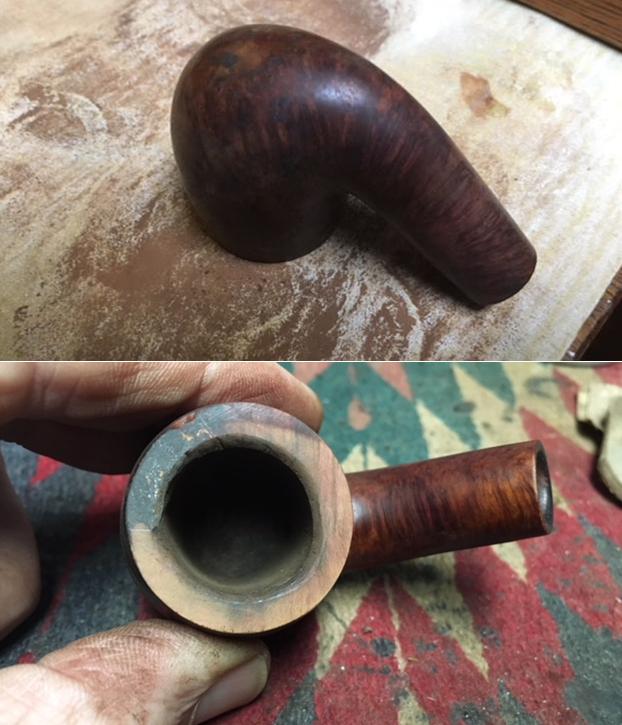
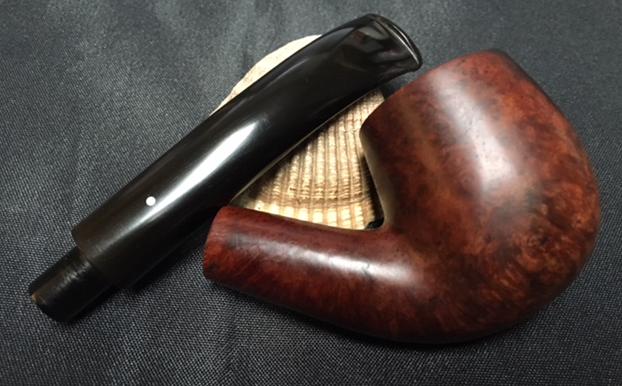
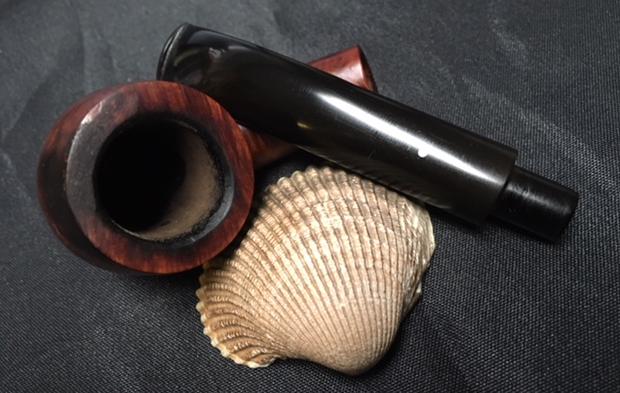
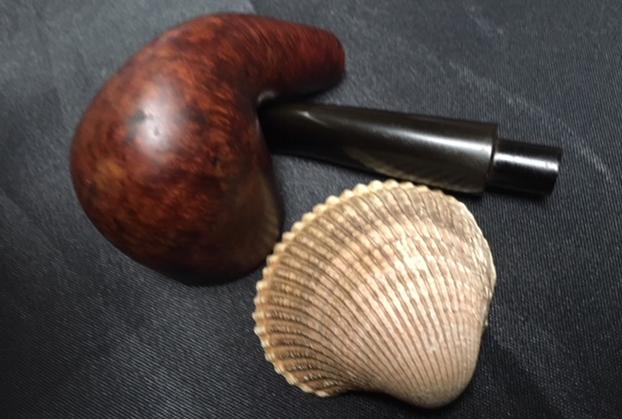
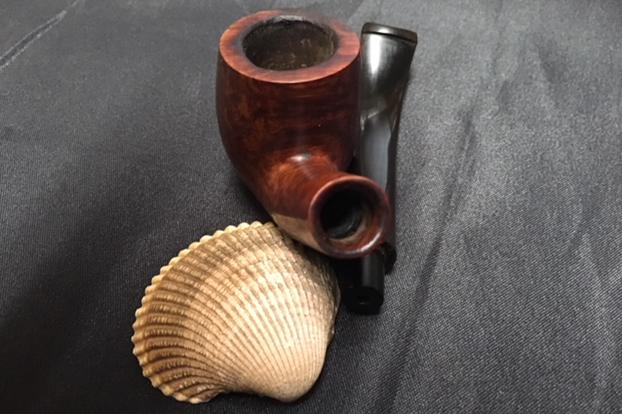
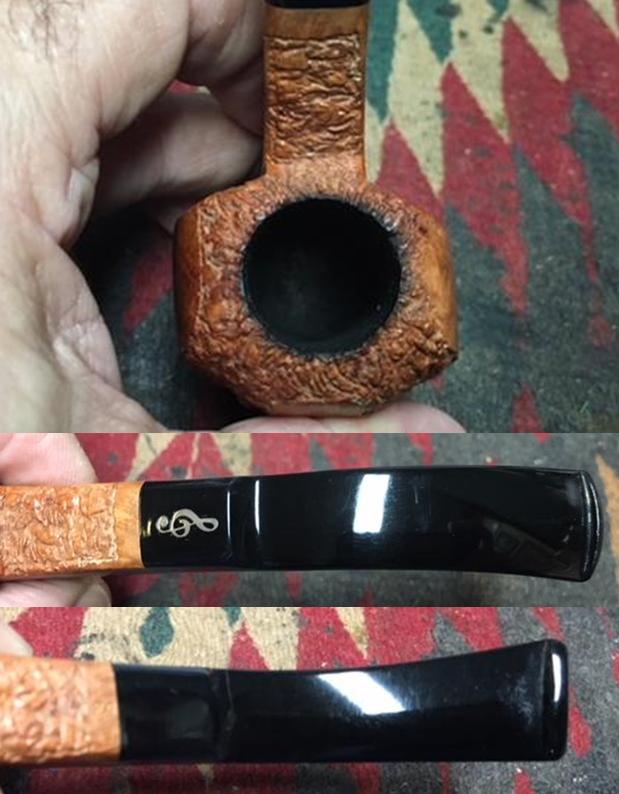
In the past weeks I finished up some pipes for a guy here in Vancouver and when he came to pick them up he brought some more for me to work on for him. I finished up some of the ones on the worktable so I decided it was time to work on these. The second of them is a Don Carlos Ballerina. It is another really beautiful pipe. The shape, the natural finish – combining a smooth and rusticated finish, the black acrylic stem and the treble clef mark that is the symbol of Don Carlos pipes all combine to make this a uniquely beautiful pipe. I have not worked on a Don Carlos product before this one and it was a beautiful pipe. The bowl was clean with very little cake – not enough to ream or remove. There was some slight darkening on the rim top. The inside of the shank was dirty and needed to be cleaned. The black Lucite stem had tooth marks and chatter on the top and underside of the stem near the button. The square saddle stem looked good otherwise. I took photos of the bowl and stem to give a clear picture of the condition of the pipe before I started to work on it.I did a quick review of the history of the brand by turning to Pipedia. Here is the link https://pipedia.org/wiki/File:DonCarlos.jpg. Courtesy of italianpipemakers.com – Don Carlos pipes are born of thirty-year experience, inspired by local tradition, when at the beginning of 1900, Primo Soriani was a pipe maker near Cagli. The briar used in Bruto Sordini’s workshop has been seasoned in an open place for two years at least. Each pipe, completely made by hand, is the result of a tidy selection of the rough material and then of elaboration of the shape. The chamber is always left natural, without coating, to allow the smoker the discovery of the interesting taste of briar. That’s because a pipe must be beautiful, but overall it must smoke in the best way.

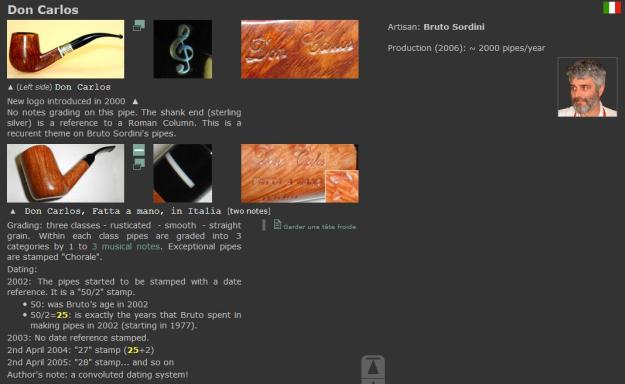
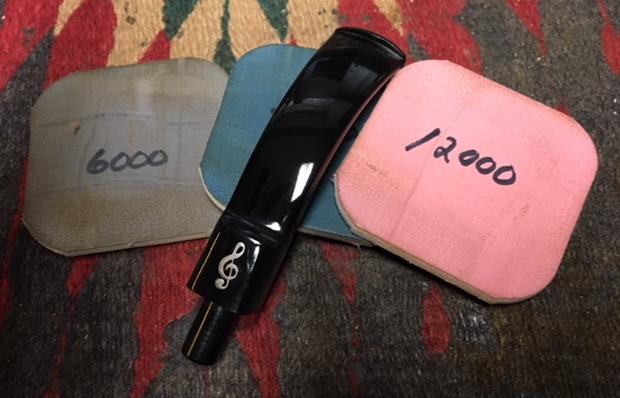
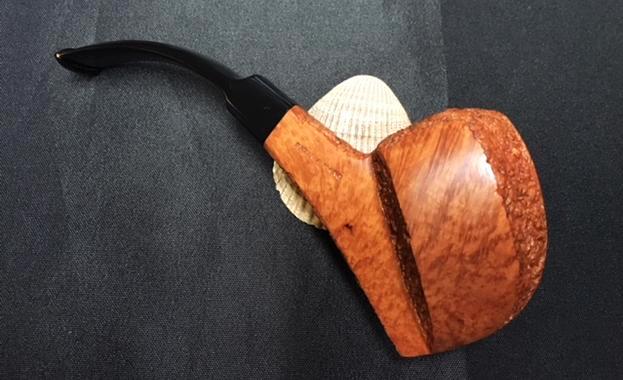
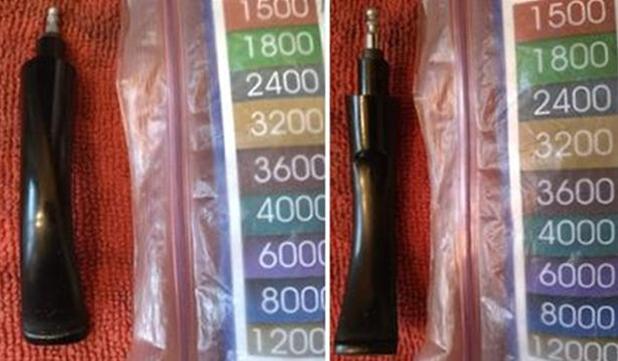
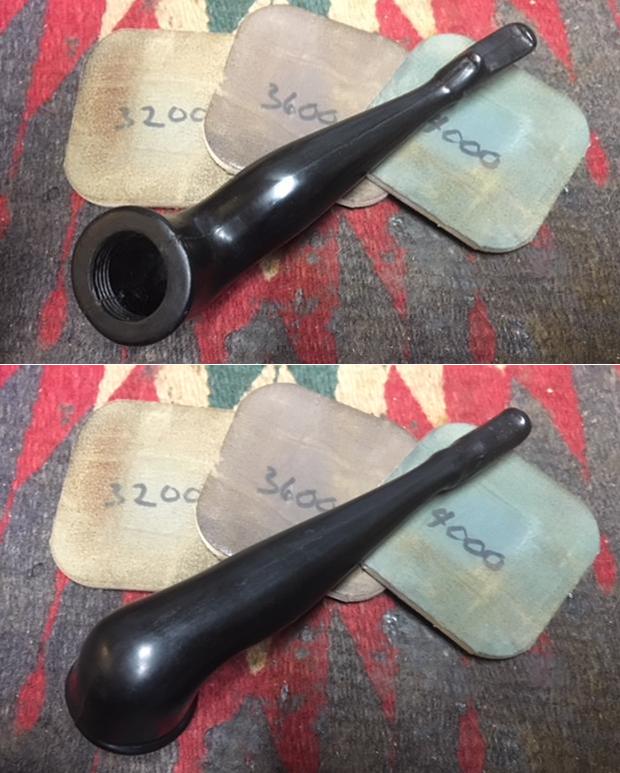
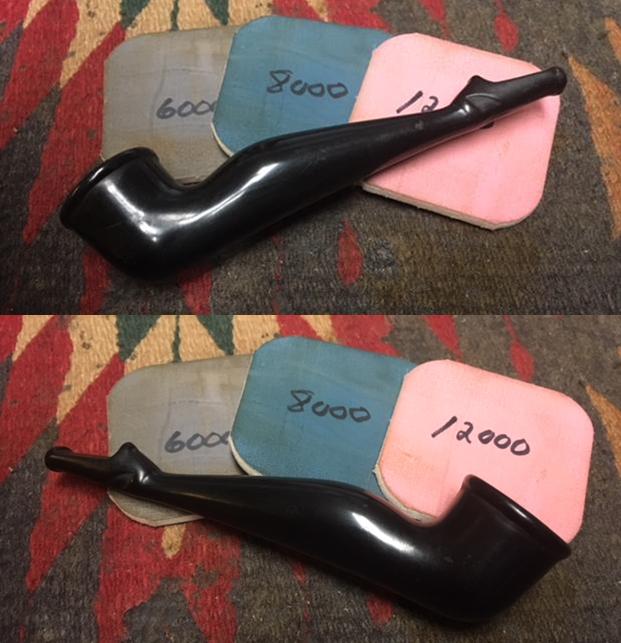
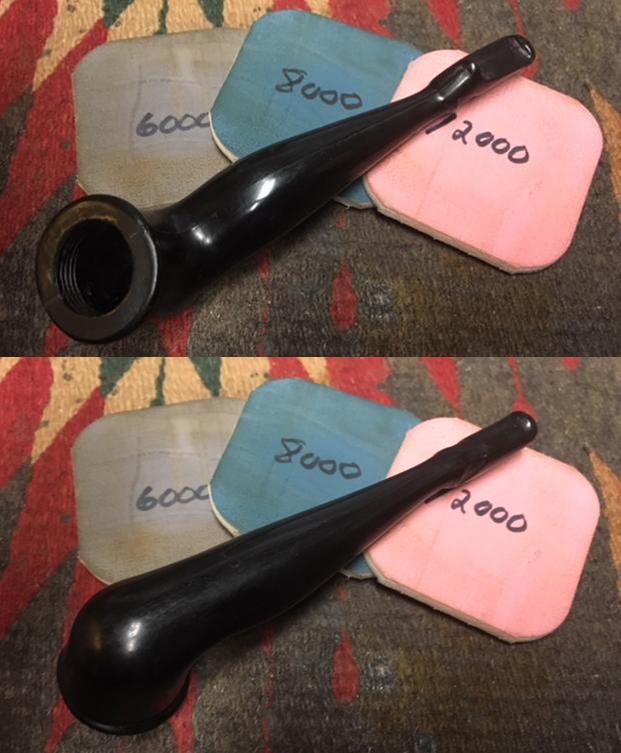
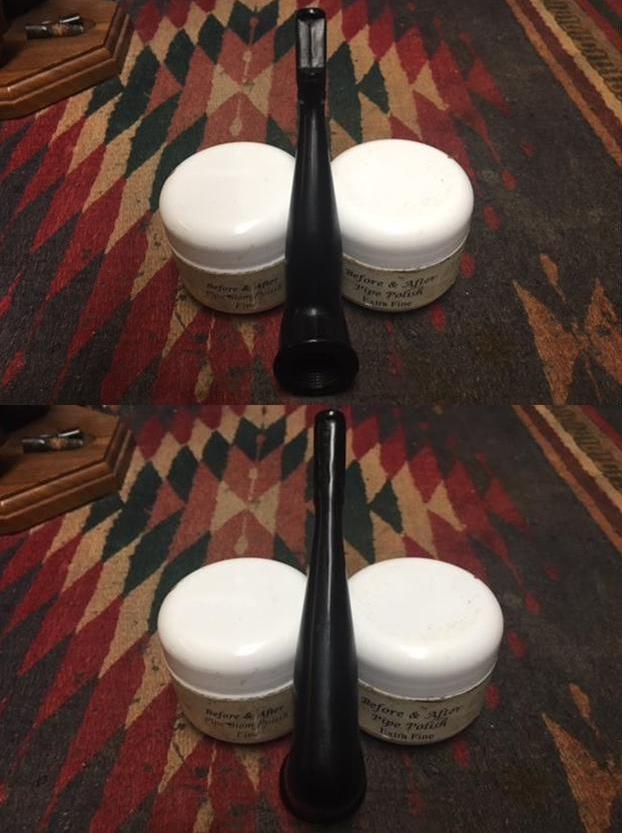
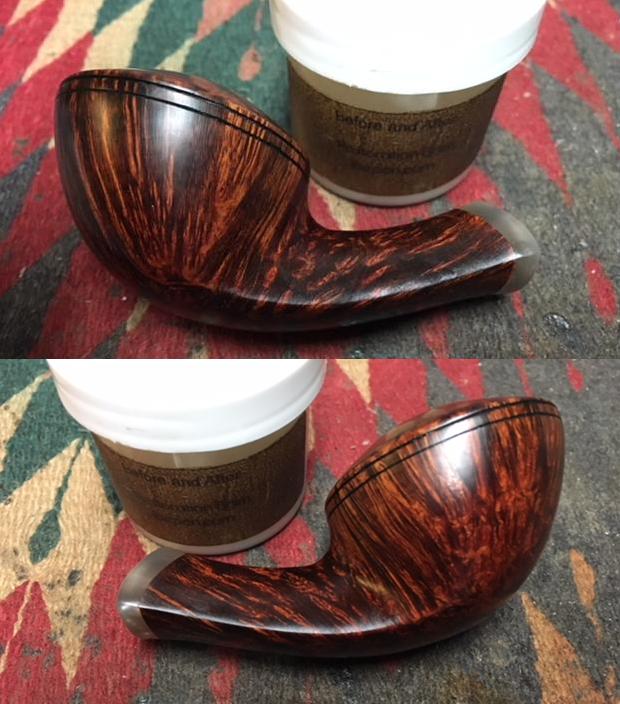
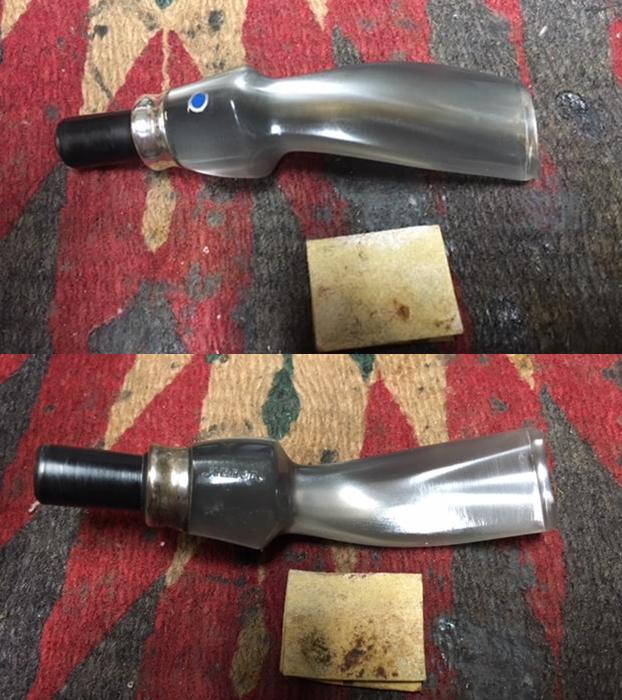
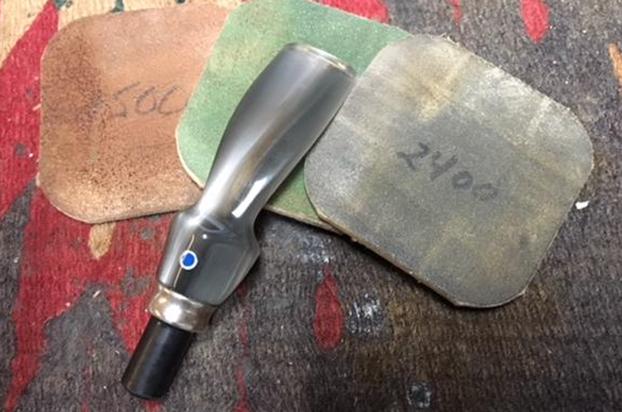
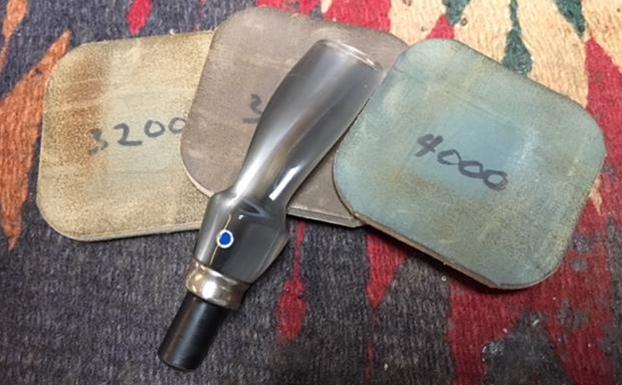
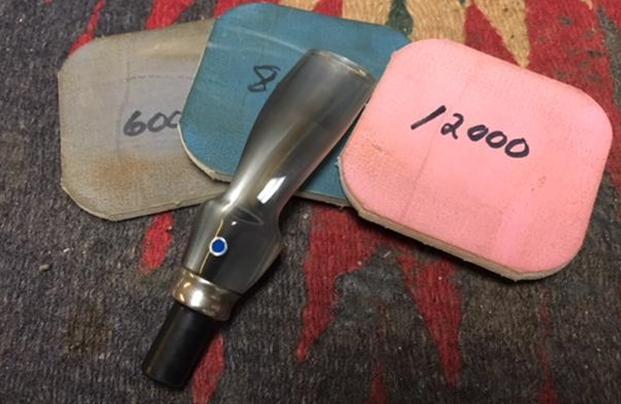
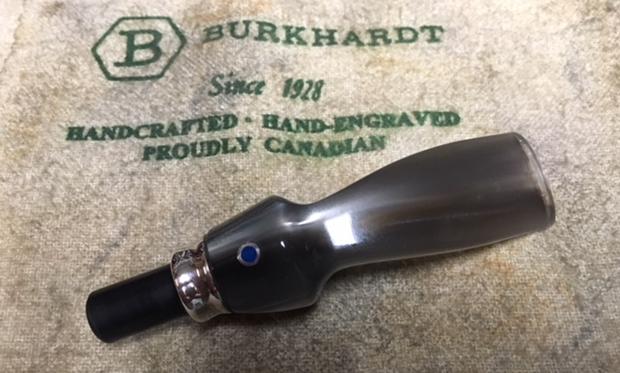
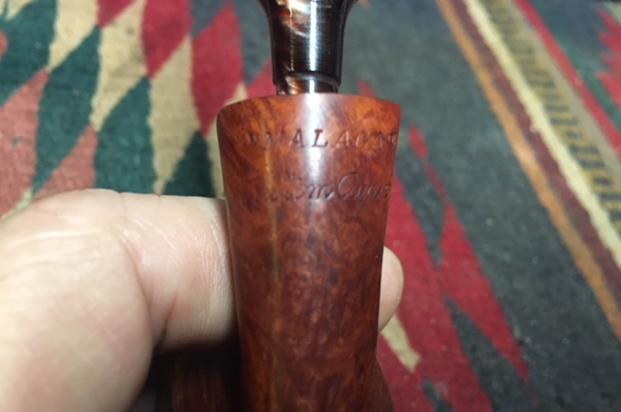
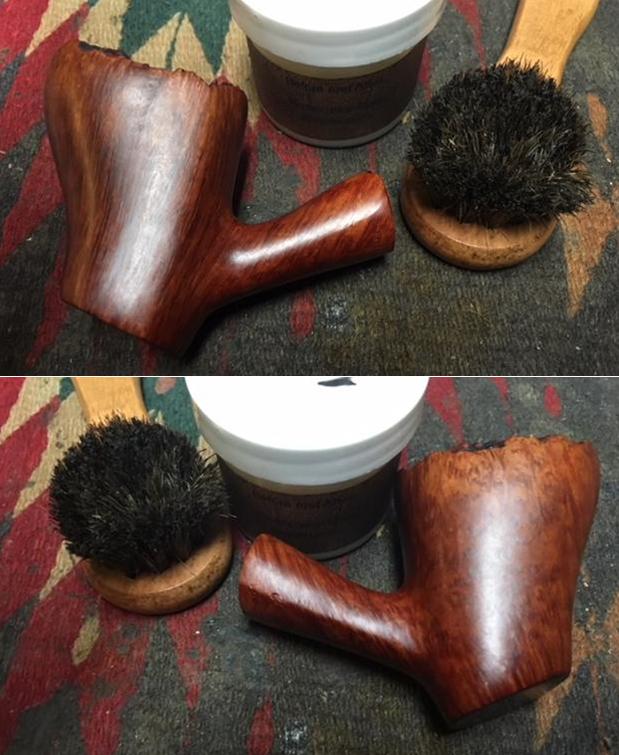
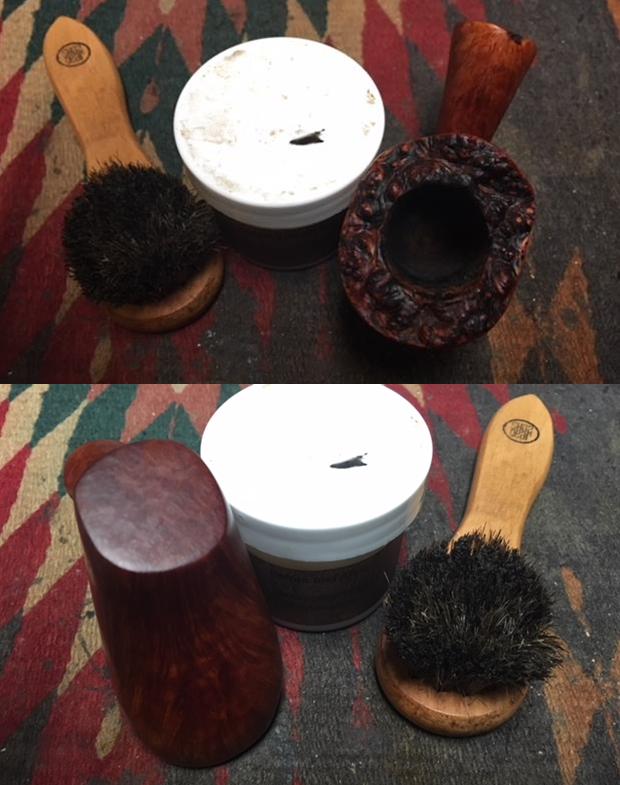
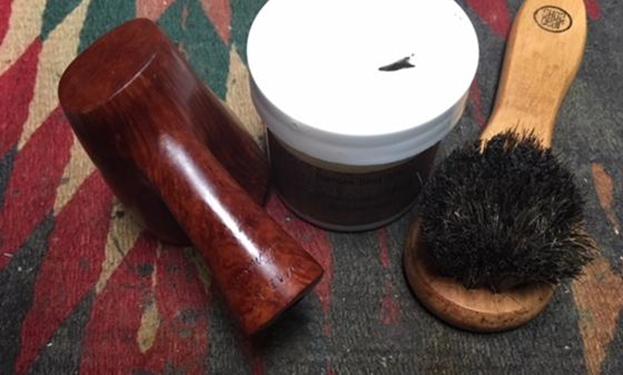
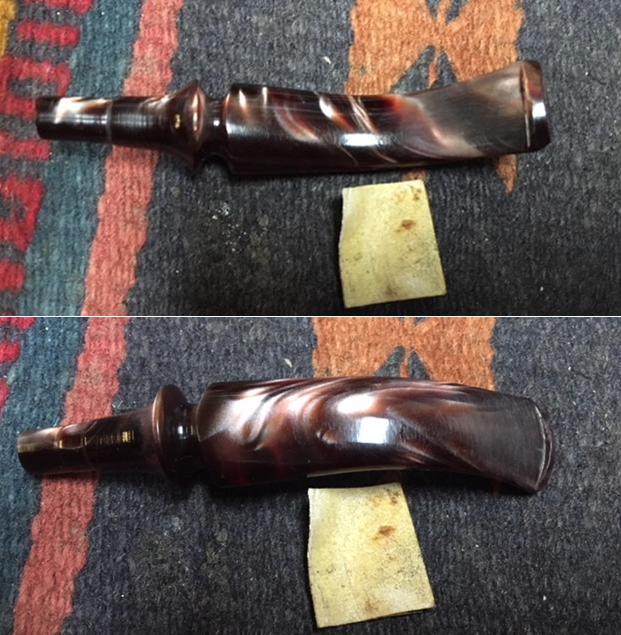
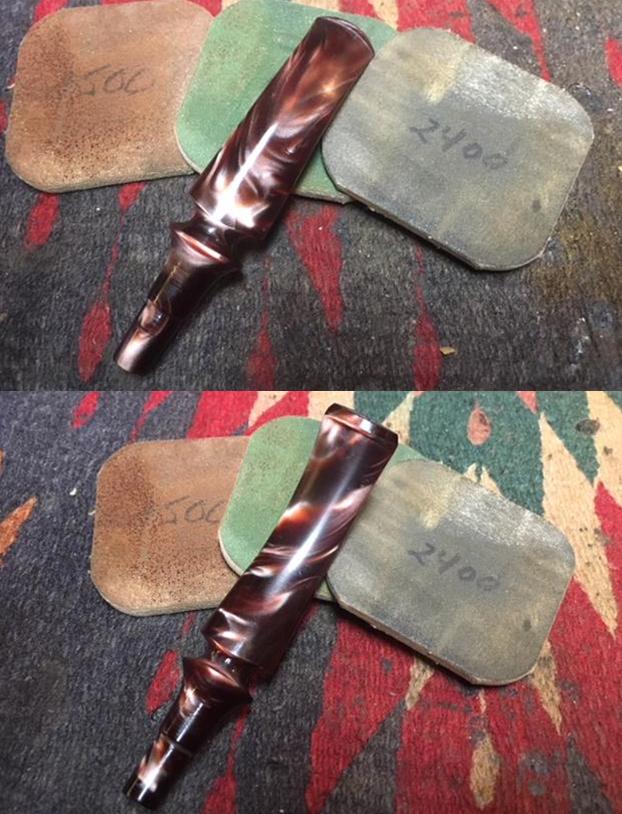
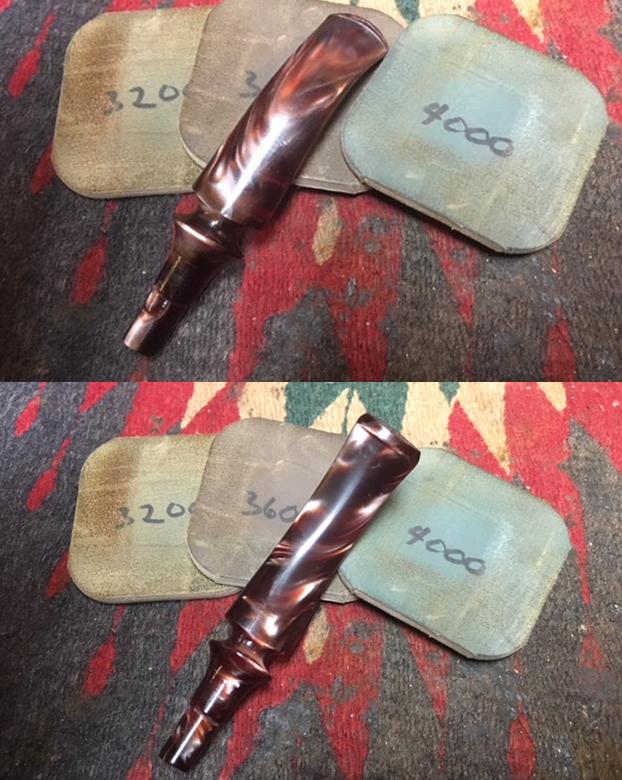
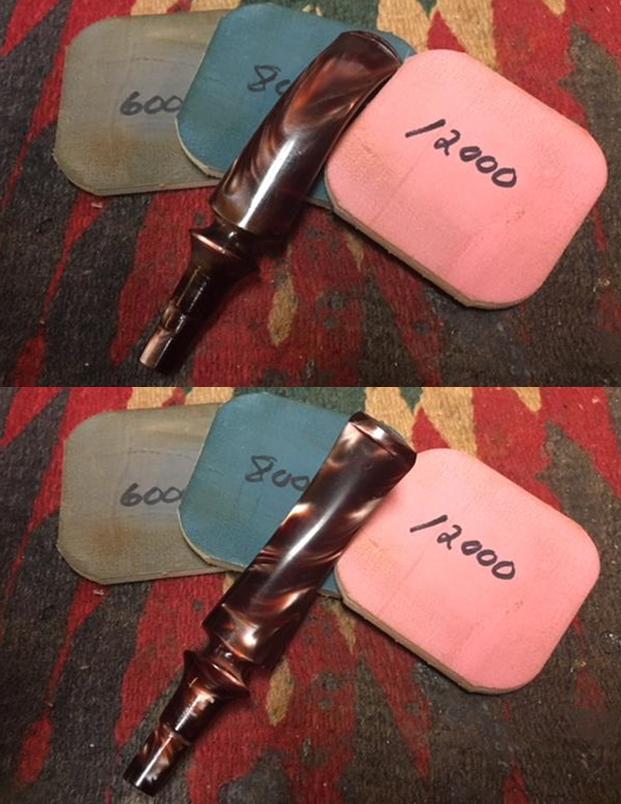
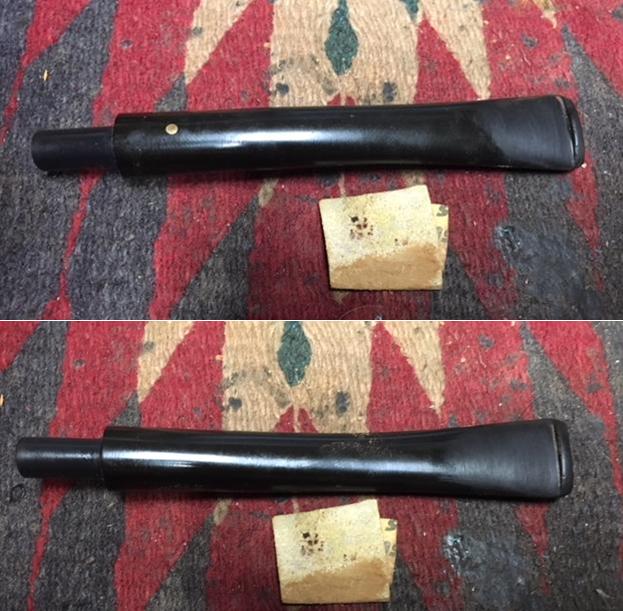
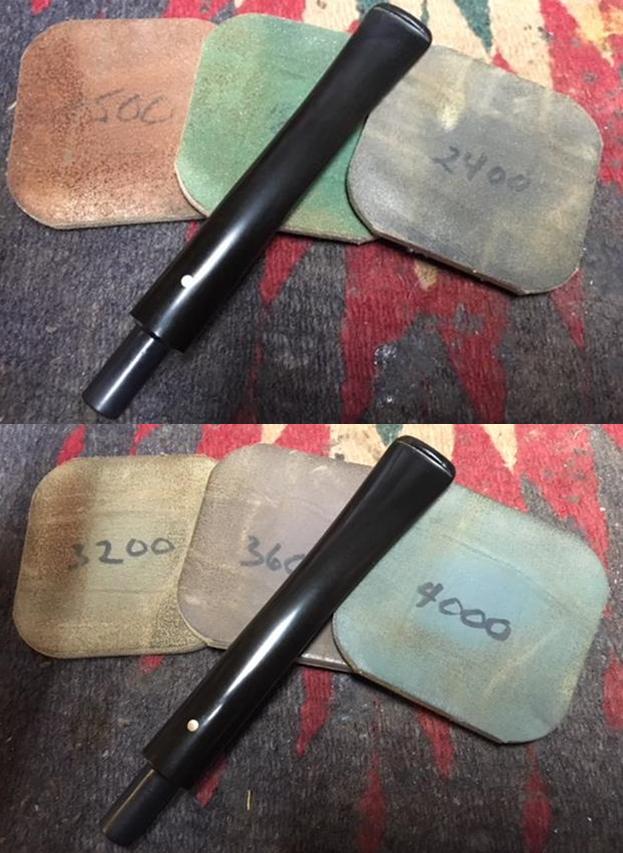
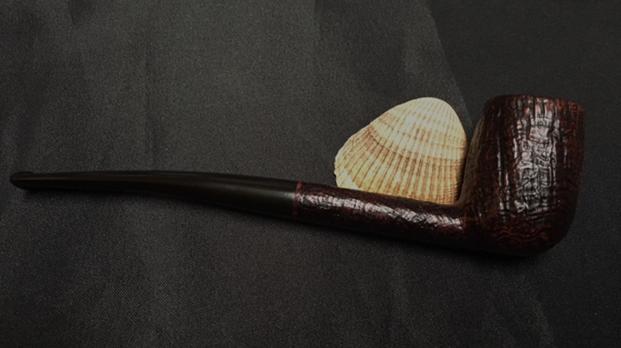
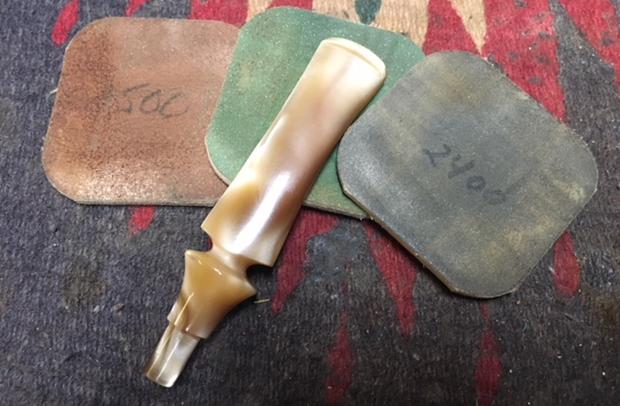
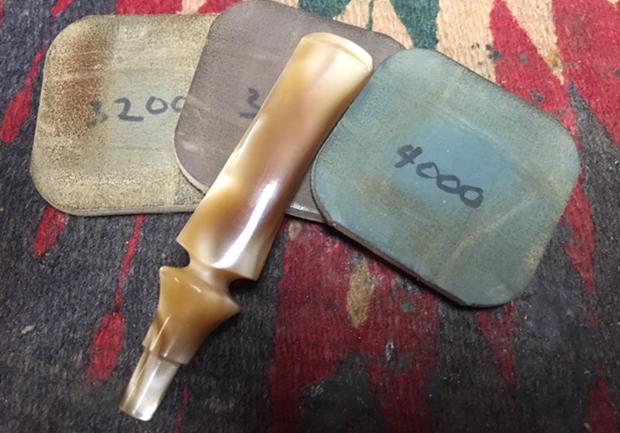
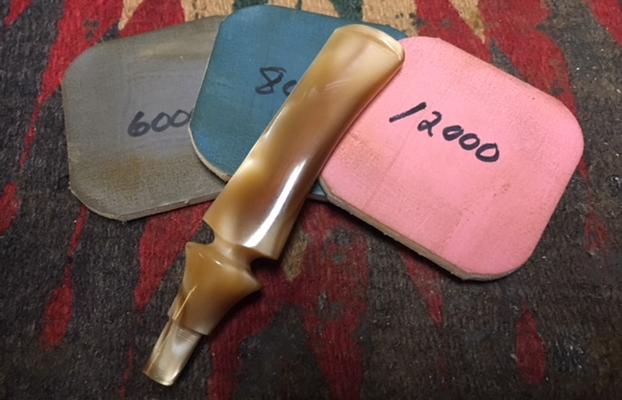
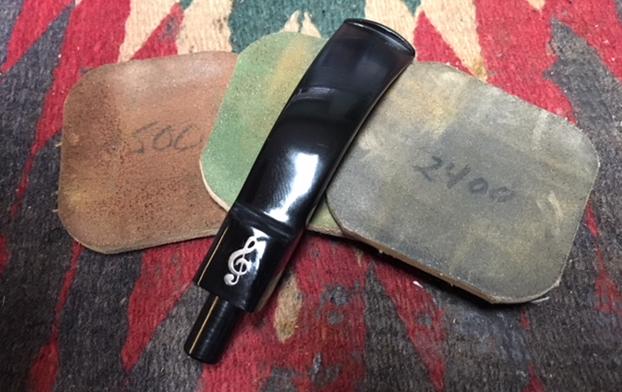
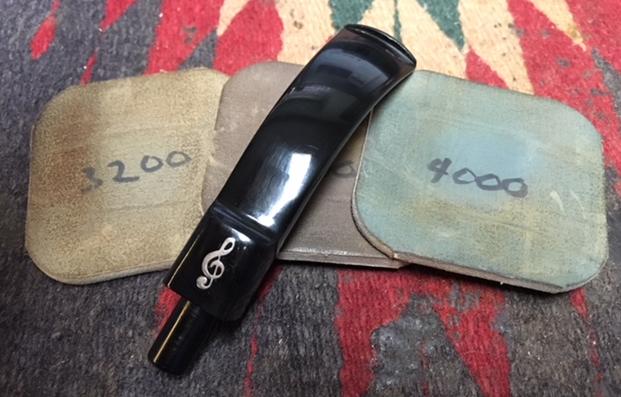
The photo below shows pictures of Bruto and Rosario Sordini. The photo is from the Pipedia article and come from Doug Valitchka as noted below the photo.I then turned to the Pipephil website – http://www.pipephil.eu/logos/en/logo-d7.html and did a screen capture of the article there on Don Carlos pipes. The information on that site will help me date the pipe that I am working on. It is stamped on the left side of the shank with the script of Don Carlos. On the right side of the shank it is stamped Fatta A Mano – Hand Made. On the underside of the shank it is stamped with the number 29 on a smooth band of briar. That number 29 tells me that it was made in 2006 (25+4).I started my clean up on this pipe by rubbing down the briar with Before & After Restoration Balm. I worked it into the rusticated finish with my fingertips and finished working it in with a shoe brush. I worked over the rim top to remove some of the darkening there. I could not remove it all but I was able to get rid of some of it. The balm works to clean, preserve and enliven the briar. I really like the effect of the product on briar so I took some photos of the pipe at this point. I cleaned out the airway in the stem and shank, the mortise and shank interior with pipe cleaners, cotton swabs and alcohol. It did not take as much as I expected to remove all the tars and oils in the shank and mortise. The stem had some debris in the edges of the slot in the stem.I set the bowl aside and turned to address the stem. I sanded the tooth marks and chatter out of the stem surface with some folded 220 grit sandpaper. I forgot to take photos of that part of the process and went on to polish the stem with micromesh sanding pads to remove the scratches in the acrylic. I wet sanded it with 1500-2400 grit pads and dry sanded it with 3200-12000 grit pads. I wiped the stem down with a damp cloth after each sanding pad. I put the stem back on the bowl and buffed the pipe with Blue Diamond polish on the buffing wheel. I carefully buffed the smooth portions of the bowl and lightly buffed the rusticated portions. I gave both the smooth parts of the bowl and the stem multiple coats of carnauba wax and buffed the pipe with a clean buffing pad. I gave the rusticated portions of the pipe multiple coats of Conservator’s Wax and buffed it with a clean buffing pad. I hand buffed it with a microfiber cloth to deepen the shine. The finished pipe is shown in the photos below. I have six more pipes to finish for him – two come from his personal rotation while four of them are some finds he made while pipe hunting. This is going to be a fun bunch of pipes to work on. I look forward to moving through the rest of them. Thanks for looking.

THE RHODESIAN CALABASH THAT LOST ITS GOURD


Blog by Robert M. Boughton

Copyright © Reborn Pipes and the Author except as cited
https://www.facebook.com/roadrunnerpipes/

6 And the LORD God prepared a gourd, and made [it] to come up over Jonah, that it might be a shadow over his head, to deliver him from his grief.  So Jonah was exceeding glad of the gourd  7 But God prepared a worm when the morning rose the next day, and it smote the gourd that it withered.  8 And it came to pass, when the sun did arise, that God prepared a vehement east wind; and the sun beat upon the head of Jonah, that he fainted, and wished in himself to die, and said, [It is] better for me to die than to live.

— The Holy Bible (KJV), 4:6-8

INTRODUCTION
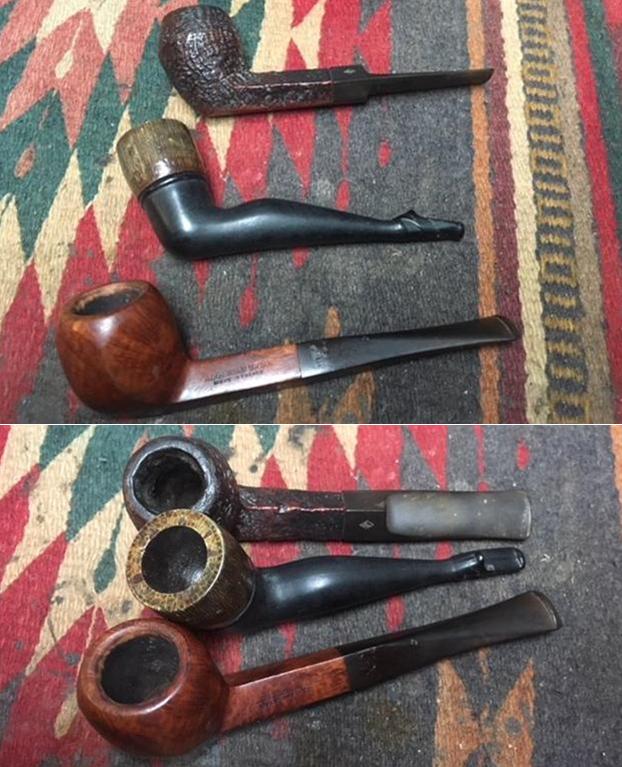
The unique and, one would not be out of line calling it, bizarre implement for enjoying pipe tobacco that is the subject of this post came to me in an estate lot of three “unbranded” examples.  That’s just a euphemistic way of saying no-names.  I never before bid on a lot with nothing but unknown pipes, much less heard of such a thing, but I wanted this lot so much I offered three times more than anyone in his right mind would even consider.  The tactic worked.  One other bidder offered 50 cents more than the price at the time and therefore drove the final cost up that much, but I would have loved to see the look on his face when the minimum bid popped up on his screen!  I’m a little evil that way, I know.

The price I paid for the three has already been compensated with the sale of the top pipe below, a frayed straight brandy I cleaned and dressed up in a shiny black finish and sold for more than the lot cost.  The African meerschaum in the middle that made me desire the lot at all is destined for my own collection.

Three no-name pipe lot courtesy adamcam1985_eBay


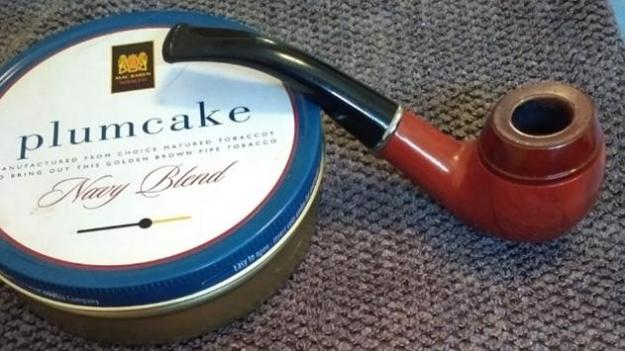
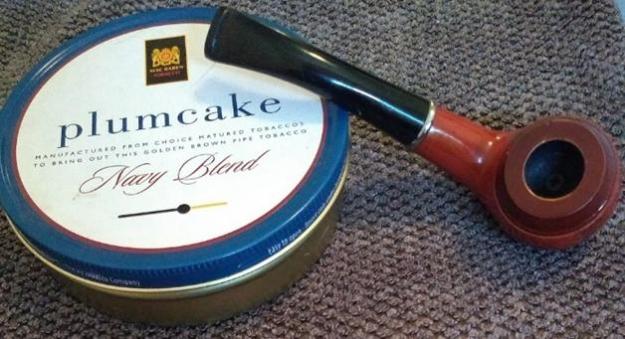
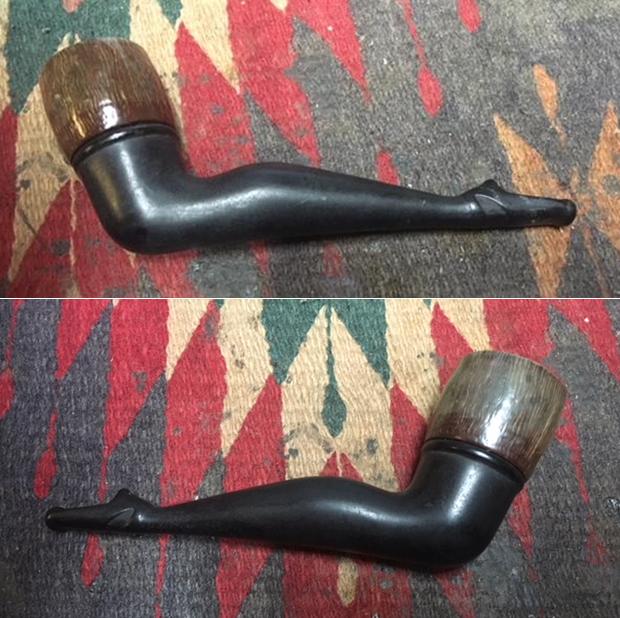
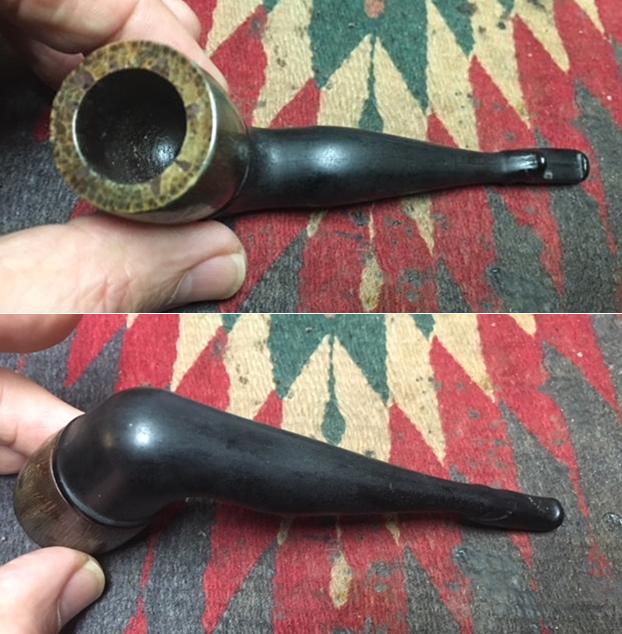
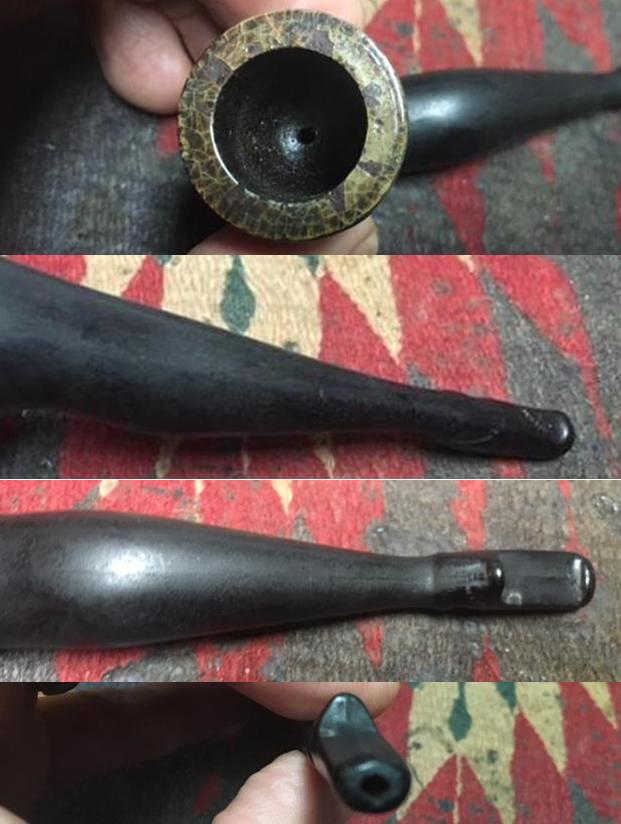
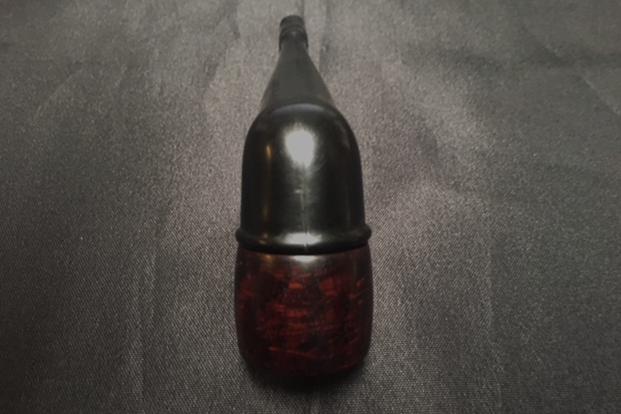
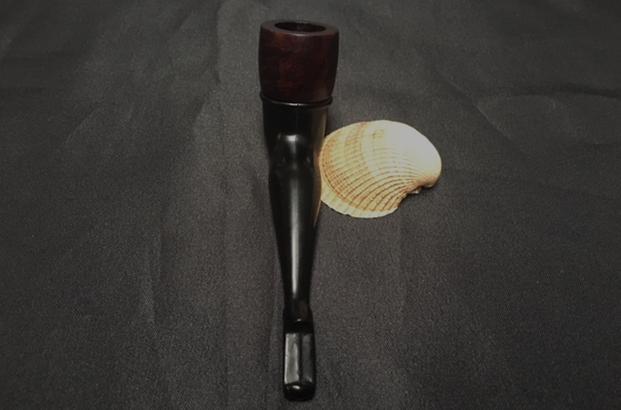
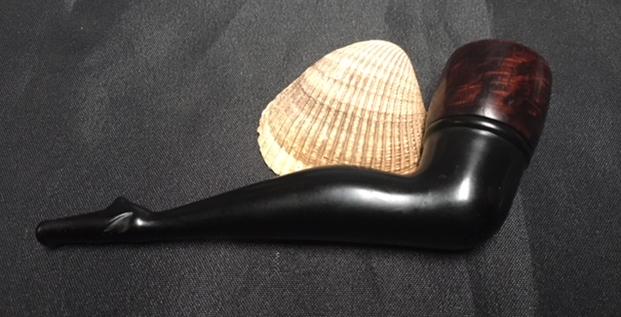
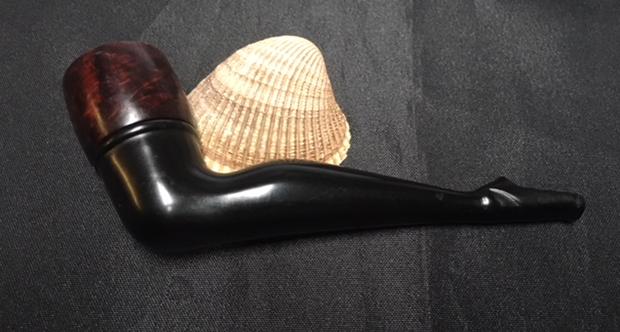
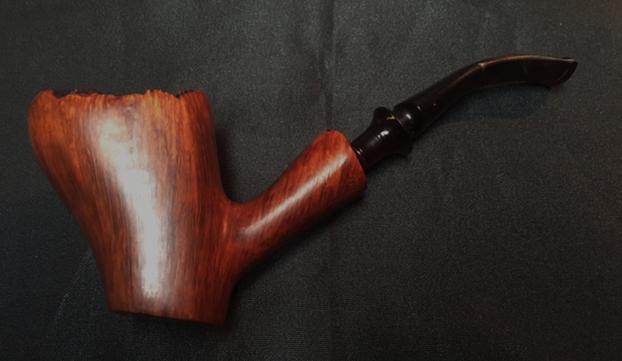
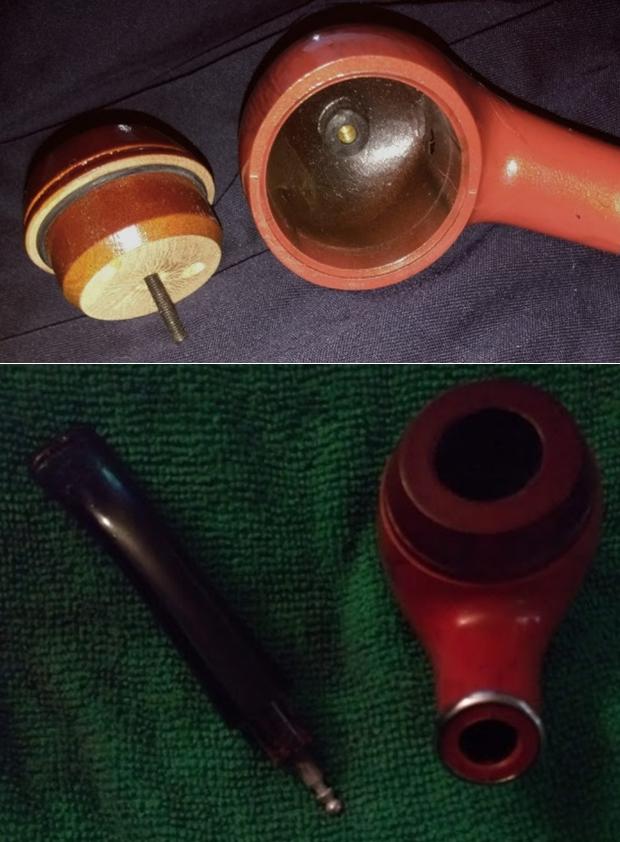
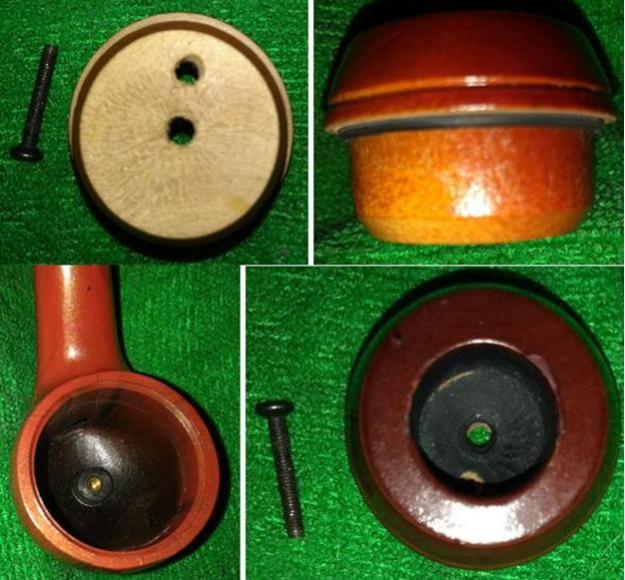
I have nothing against no-names.  In fact, some of them have been favorites of mine, one of which, below, I’m sure will shock some readers here.  Both of the no-names in the following photos came incidental to a couple of other lots filled with treasures the sellers could not have recognized, and they smoked as well as any pipe I’ve owned. And so, this is about the bottom pipe in the lot of no-names, a definite art deco wannabe that can only be described as a Rhodesian calabash, despite the lack of calabash gourd or anything like the traditional meerschaum bowl insert.  Instead, the “insert” is made of wood I believe to be Medium Density Fiberboard (MDF), similar to plywood only much denser and stronger, and something that looks and feels like some sort of metal and therefore probably is.  I’m sure it was made in China, if only because of the unmistakable color.

The refurbish was as easy as they come.

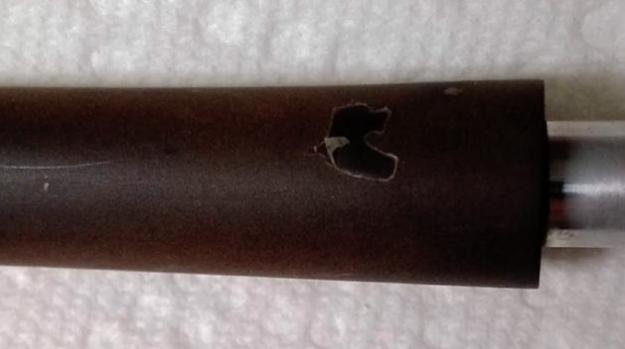
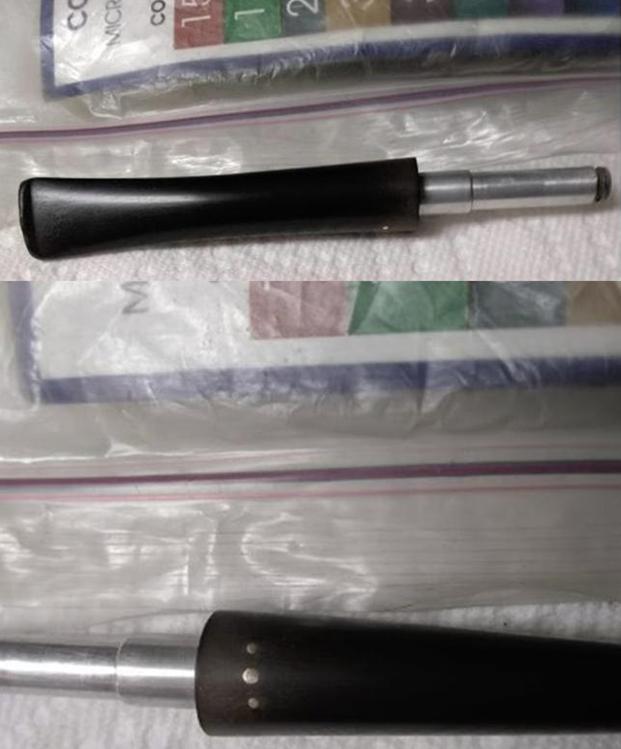
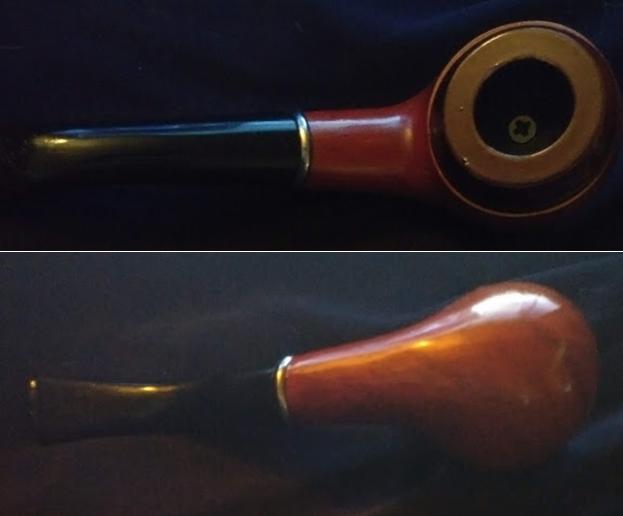
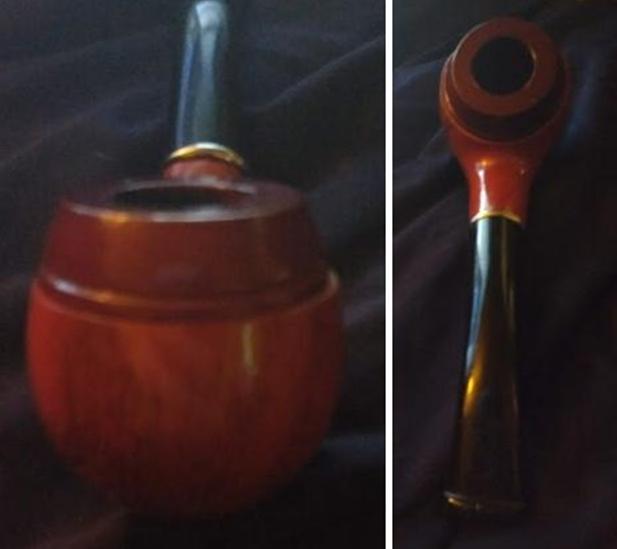
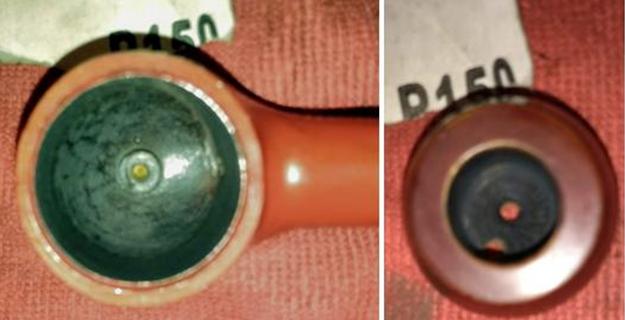
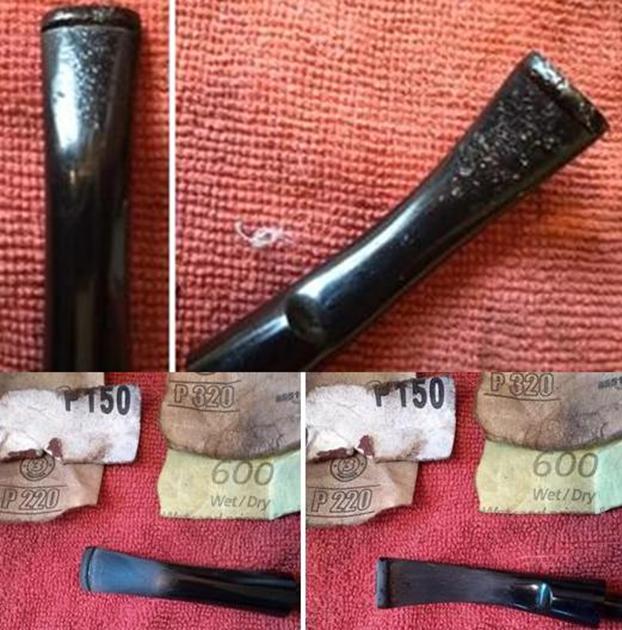
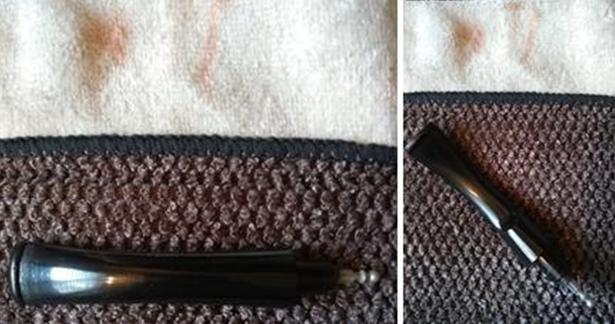
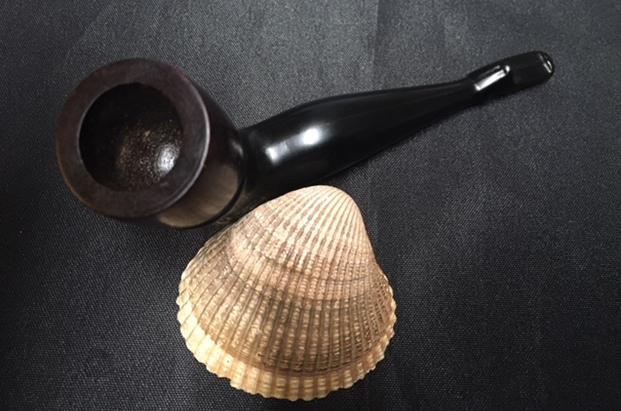
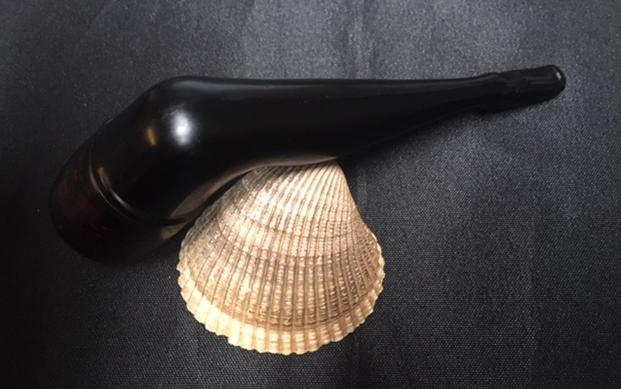
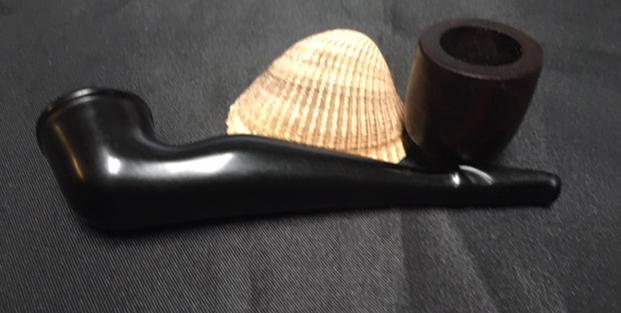
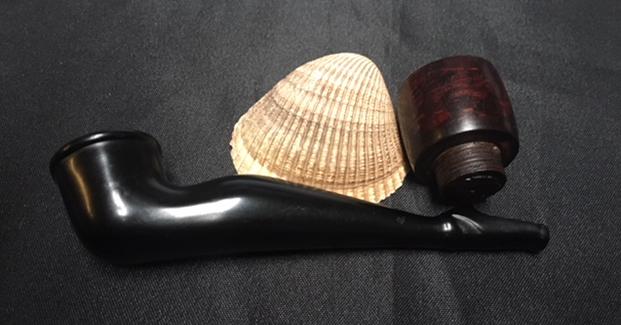
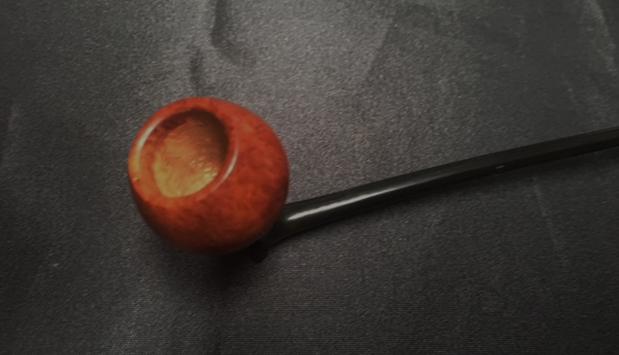
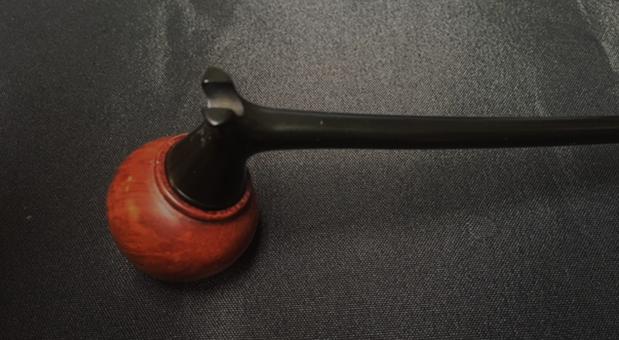
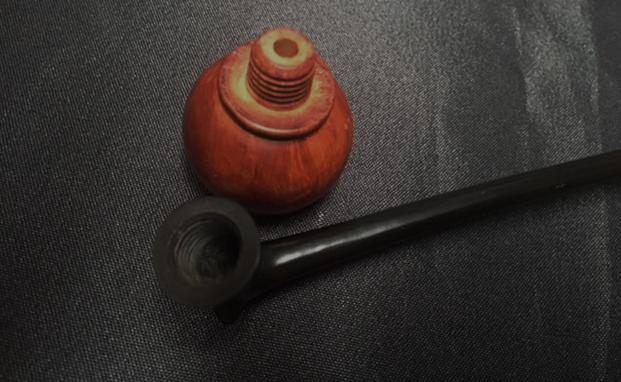
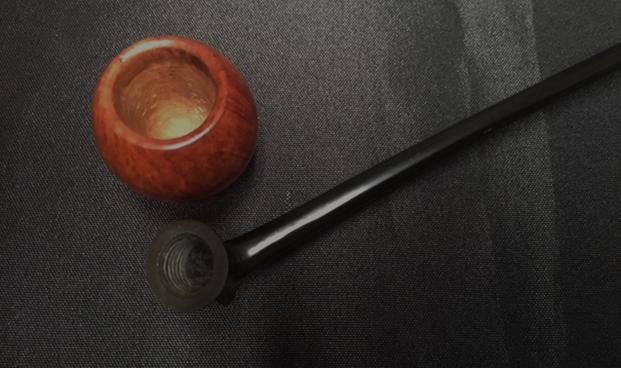
REFURBISH The newfangled calabash is comparable in size to other pipes in one way, having a length of 6”, but the chamber diameter is tiny at ⅝” x ⅝”.  When I first held the pipe and looked it over, I thought it was brand new (pun intended).  But closer examination showed carbon in the little insert bowl chamber and the larger enclosed bottom chamber, and the rim needed some work.  After more than a little consideration, I determined the insert is MDF coated almost all over with whatever maroon finish of which the Chinese are so fond.  It reminds me of a mushroom, truth be told. Unfortunately, after having no success removing the char from the bottom chamber with super fine “0000” steel wool, I escalated the process to 150-grit paper and took off enough of the Teflon-like red finish that there remained no reason not to finish the job.  The steel wool worked well on the rim, though.The plastic stem had been gnawed well below the lip until it was, well, gnarly.  I attacked it with a progression of 150-, 220-, 320- and 600-grit papers, followed by the full power of all nine micro mesh pads and, to finish it off, a buff on the wheel with red and white rouge.  I don’t really know if the last measure did any good.  You be the judge. And that, as they say, was that, except for a quick spin on the wheel to buff the rim.
CONCLUSION
All I want to know now is what’s up with the stinger?  And BTW, one reason I chose the Biblical quote at the beginning is that I suspect it might be the origin of the term “losing your gourd.”  I meant no blasphemy.

SOURCES
I do not believe there is a source for this perhaps – one at least would hope – unique pipe.  But everything deserves its day in the sun!

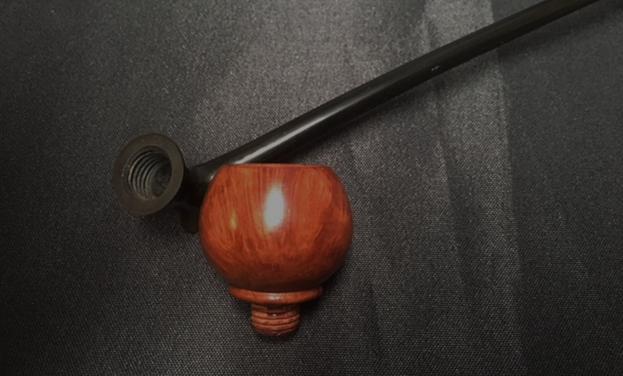
Restoring a Gutta-Percha Woman’s Leg Pipe with a Briar Bowl


Blog by Steve Laug

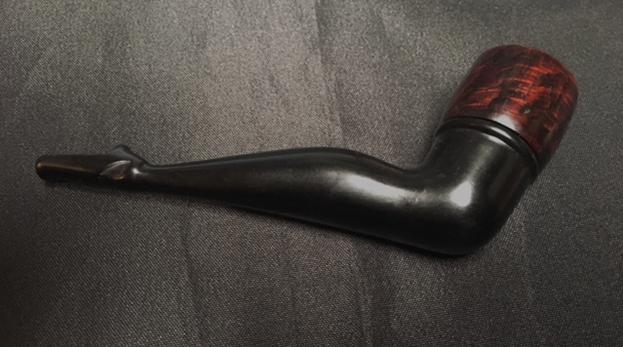
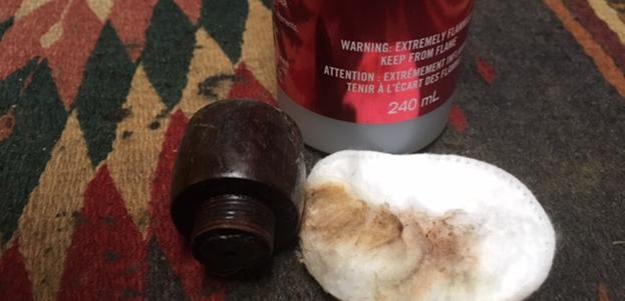
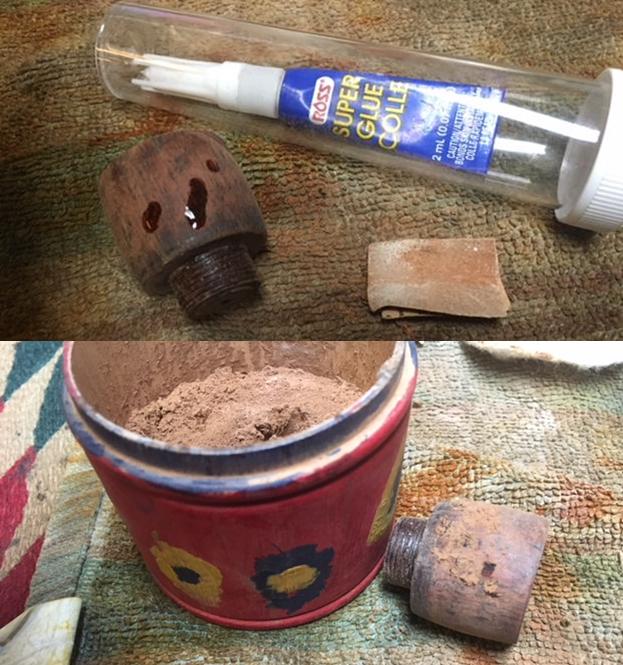
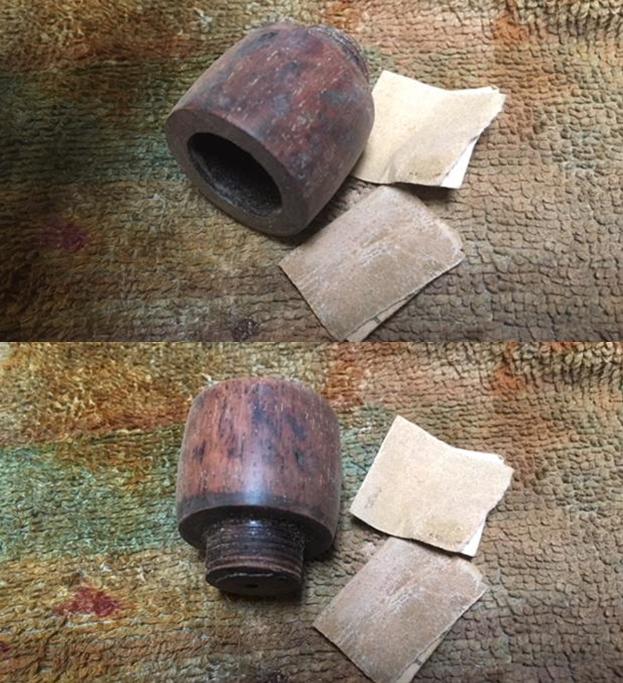
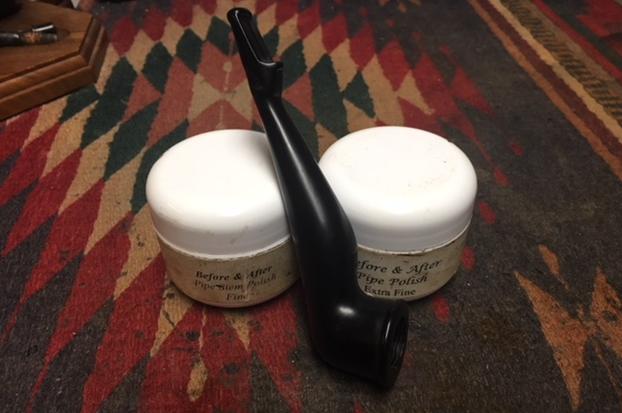
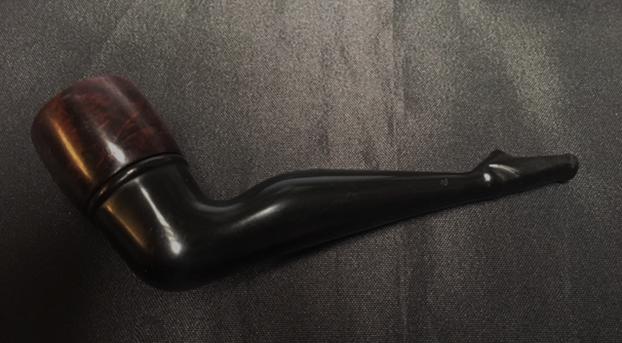
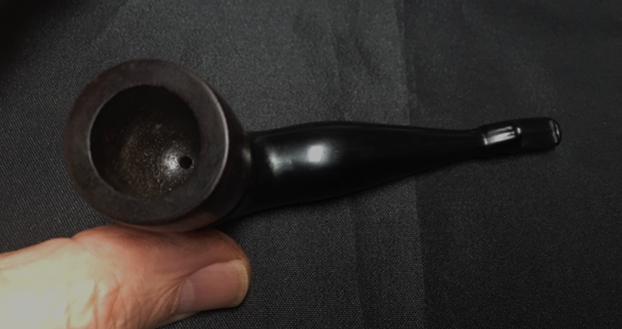
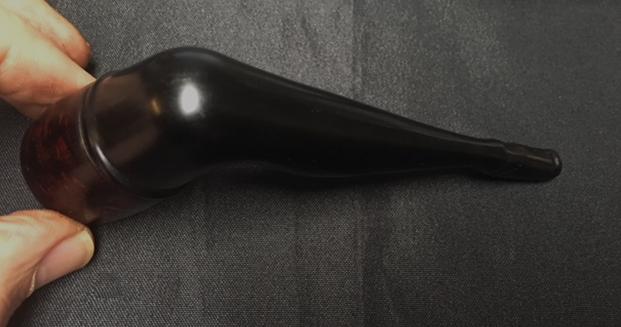
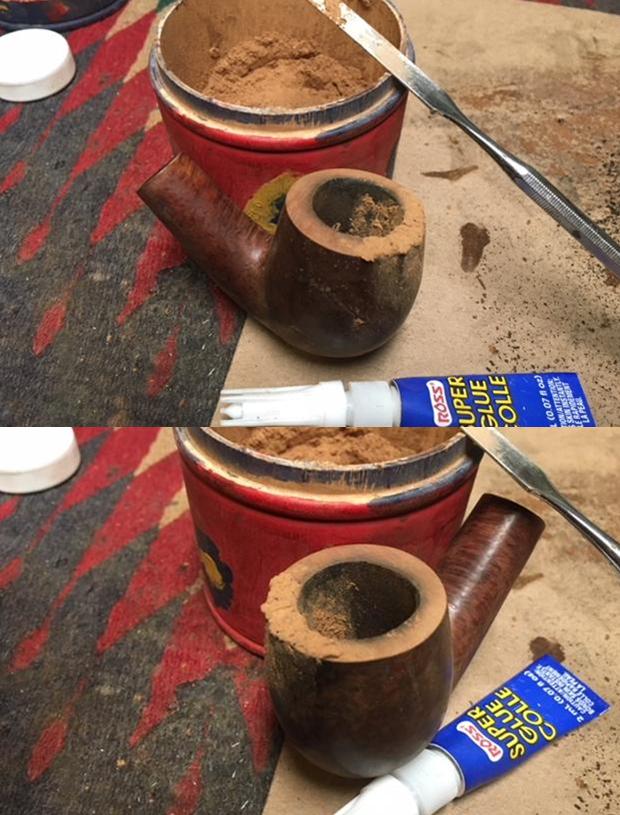
On Friday my wife and I took a drive out to one of our favourite spots near Vancouver to do a bit of walking and hunting. She likes looking for old cookbooks and I of course am always on the prowl for old pipes. We walked about for a while and enjoyed the beautiful day. We stopped by two antique malls and spent some time looking. She found nothing for her collection but I found three old pipes – A Parker Super Briar Bark 345 Bulldog in decent shape, a French Made Algerian Briar diamond shank Billiard and a Gutta-Percha Leg shaped pipe with a briar bowl. It was in the worst condition of the three pipes.The black cast/molded Gutta-Percha base was shaped like a female leg and even had a ballet slipper on the extended foot. The airway came out at the end of the toe. The base was nicked and dull looking with none of the rich glow that I know comes when the material is polished. But by far the worst part of the pipe was that some had dipped the briar bowl in a gold metallic paint rubbed it into the grain and then covered it with multiple layers of Varathane plastic coat. They had even dipped the threads on the nipple that screwed into the base in the plastic coat and painted the inside of the bowl as well. I say that was the worst part because otherwise the pipe was unsmoked. It would have been NOS (New Old Stock) before whoever did this abomination to the pipe. The bowl is normally a rich reddish brown colour in all the variations that I have seen on the internet so the gold and plastic finish would need to go. I took a close up photo of the rim top to show you the way it looked when I got it – I don’t know if some of you like the look – but I don’t. It is like painting an antique wooden piece with crackly gold paint to give it the look of hammered metal. It just does not work for me. I also took some photos of the base to show the condition of the mouthpiece end of the pipe. There were some nicks in the material but no tooth marks or chatter and the orific airway in the end of the toes was undamaged.I took photos of the bowl with it removed from the base to show how it had been painted with streaks to make it look like vertical grain – it was not as the wood was smooth and bits of it peaked through the gaudy gold finish. You can also see the thick plastic coat on the nipple that is threaded into the bowl almost filling in all of the threads. I topped the end of the nipple with 220 grit sandpaper on the topping board to remove the thick plastic coat that was not even smooth on that portion of the bowl. I did the same with the bowl to remove the plastic and metallic gold paint. Those areas definitely looked better to me but the bowl was a long way from looking normal.I tried wiping the bowl down with acetone to break through the plastic coat – no luck. The brown stains on the cotton pad come from the nipple end and the rim top where I had broken through the finish. There was only one way to remove this abominable coat of plastic and that was to sand it until it was gone… not my favourite thing. Think twice before any of you put that stuff on a pipe. It is truly awful and stops the wood from breathing.I sanded the bowl with 180 grit sandpaper and was able to break through the plastic coat and the gold coat. Underneath the bowl was nicked and damaged. The majority of the damaged spots were merely built up plastic coat and sanding them smoothed things out. But some of them were deep gouges in the wood. I sanded, cleaned with alcohol and filled those in with clear super glue and briar dust. When the repairs had cured I sanded them smooth with 180 and 220 grit sandpaper to blend them into the surface of the bowl. I sanded the bowl with a medium and a fine grit sanding sponge to remove the remnants of the repair and the plastic coat. It took a bit of sanding but the finish was finally smooth to touch. I sanded the bowl with micromesh sanding pads – wet sanding with 1500-2400 grit pads to smooth things out more.With the bowl smooth and clean I decided to stain it with the tan aniline stain I have. I am sure that it is mislabeled as it is far too red to be tan. I figured it would work well with this bowl.I wiped the bowl down with alcohol on cotton pads to even the stain coat and make it a bit more transparent. The trouble was that all of the flaws and nicks in the wood showed up then. I gave it a second coat of stain using a Mahogany stain pen to darken the overall surface of the bowl and still leave it transparent enough to see the grain in the wood. I rubbed some Before & After Restoration Balm into the surface of the bowl to enliven, clean and protect the newly stained bowl. I let it sit for a few moments then buffed it off with a cotton cloth. I took photos of the bowl at this point to show how things were developing. I set the bowl aside and worked on the base. I cleaned out the debris of time on the inside of the base with cotton swabs and alcohol. There were not a lot of tars as the pipe was unsmoked. But there was dust from sitting all these years since it was made.I polished the base with micromesh sanding pads – wet sanding with 1500-2400 grit pads and dry sanding with 3200-12000 grit pads. I wiped the base down after each pad with Obsidian Oil and rubbed it into the material. The pictures tell the story as the base begins to develop a shine. I further polished it with Before & After Pipe Polish – both Fine and Extra Fine to remove more of the scratches from the Gutta-Percha base. I rub the polish on with my fingertips and polish it with a cotton pad to raise the shine. I buffed the bowl and the base independently of each other with Blue Diamond on the buffing wheel to remove minute scratches and give the materials a shine. I gave both parts multiple coats of carnauba wax and buffed them with a clean buffing pad to raise the shine. I put the parts back together and hand buffed it with a microfiber cloth to deepen the shine. The photos below show the finished and restored pipe. I personally like the rich brown over the metallic gold on the bowl when I got the pipe. The dimensions of the pipe are petite – the length from thigh to tip of the toe is 5 ½ inches, the height from the knee to the thigh is 2 inches, the outer diameter of the thigh is 1 1/8 inches and the chamber diameter is 1 inch. It is a unique piece of pipe history and joins the rest of the Gutta-Percha pipes in my collection. Thanks for walking through the restoration of this leg pipe with me.

Refurbishing a KB&B Gutta Percha Marco-Polo Tavern Pipe


Blog by Steve Laug

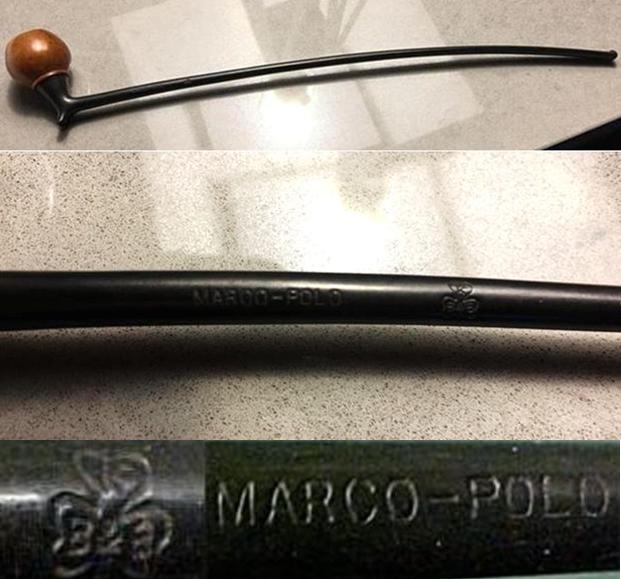
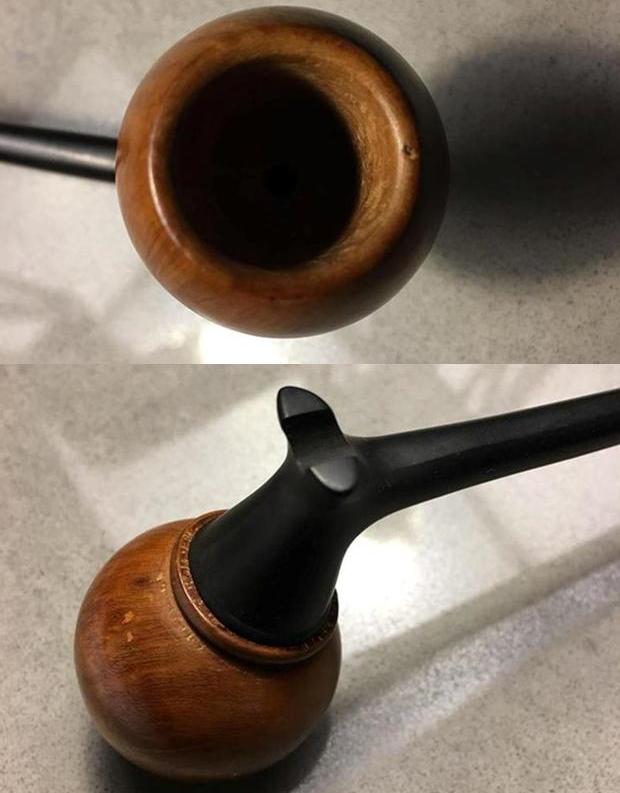
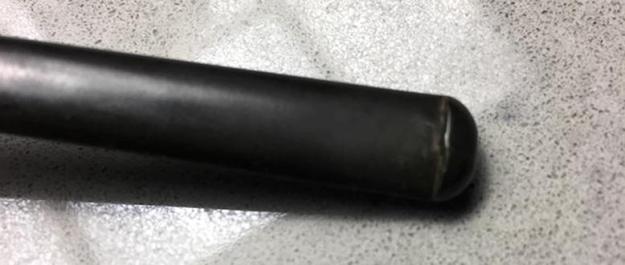
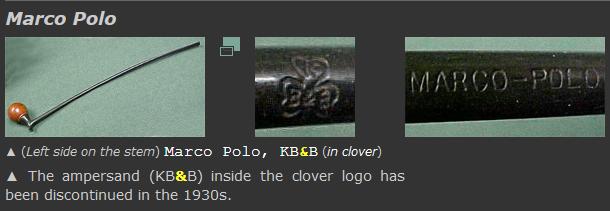
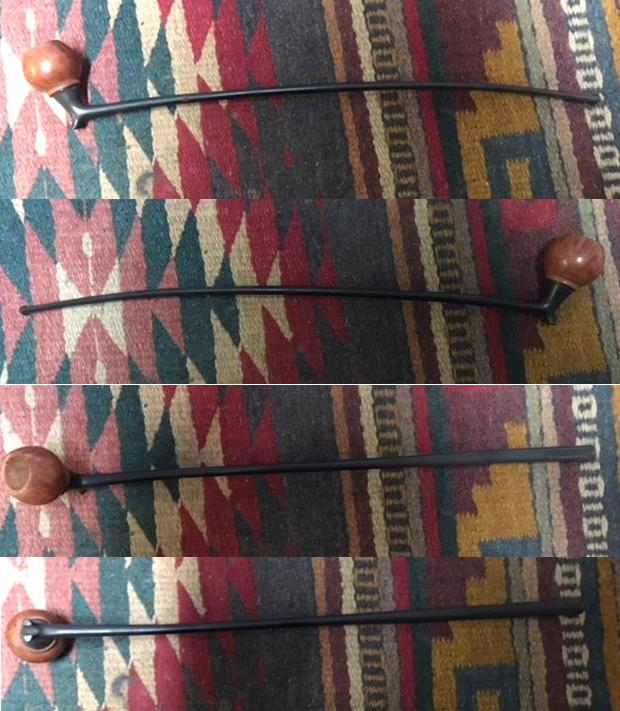
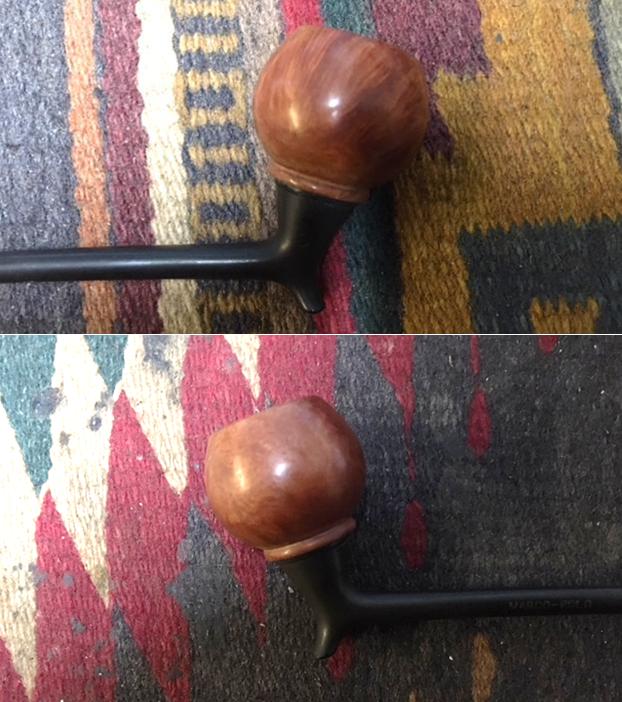
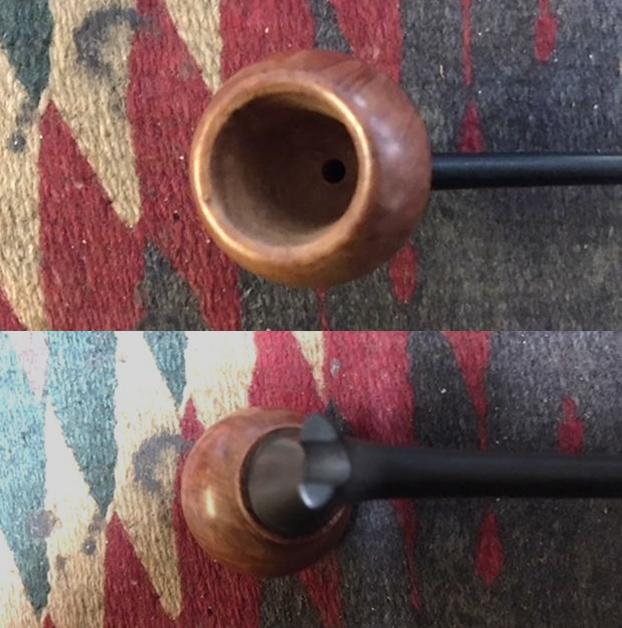
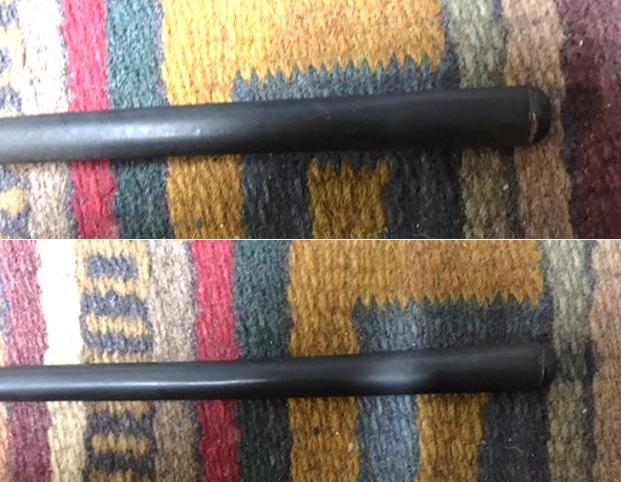
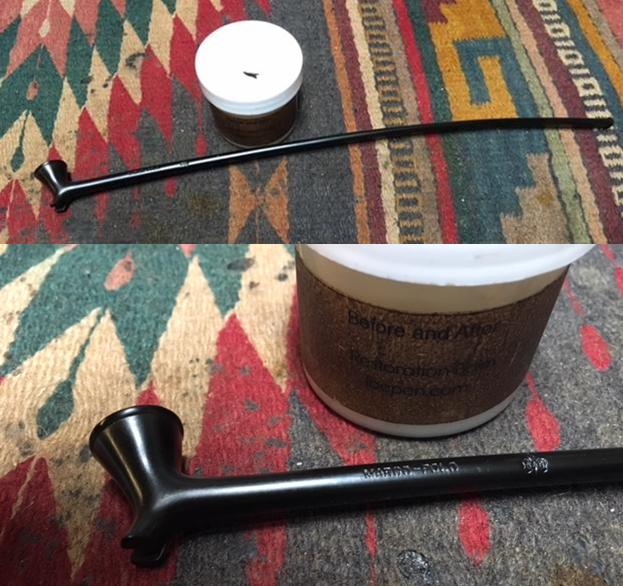
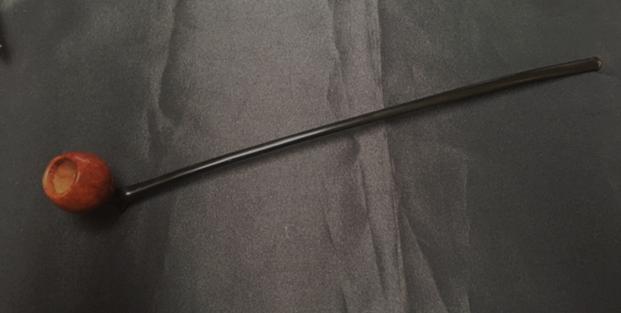
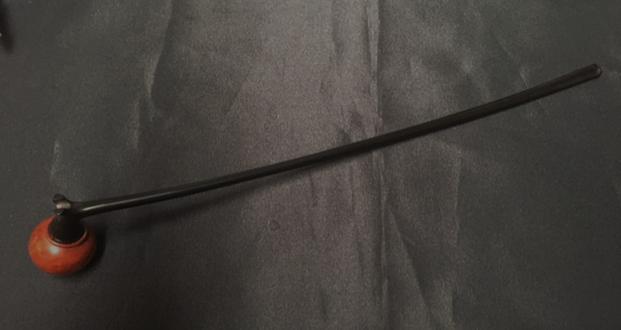
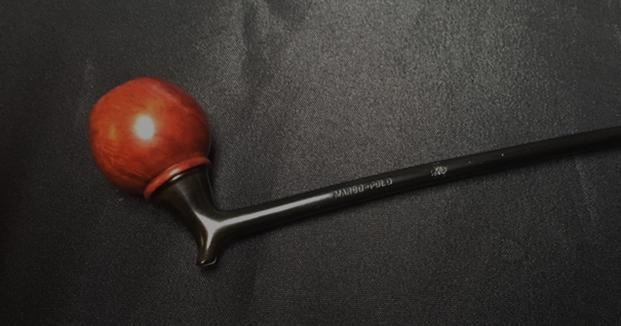
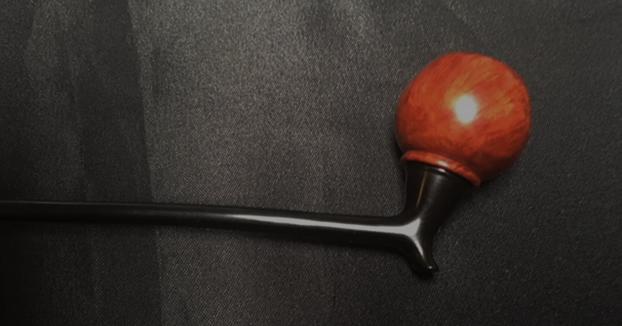
I have worked on quite a few Gutta Percha pipes over the years but for years had no idea what the material was. I had mistakenly called it Bakelite and other things until this past year when I was sent a suggestion. The pipe on the work table today came to me from my brother Jeff. Yet again he found an interesting pipe. It is made of that material and it is by far the longest pipe I have worked on. It is 13 inches long and 2 inches tall. The outer diameter of the bowl is 1 inch and the chamber diameter is 5/8 of an inch. The base and stem are Gutta Percha and the bowl is briar with a threaded nipple that screws into the base. The base is stamped on the left side of the shank near the bowl and reads MARCO-POLO followed by the KB&B cloverleaf logo. The pipe is NOS (New Old Stock) and thus is unsmoked. The bowl is pristine and the base and stem are very clean other than showing dullness from sitting around in the light since it was made. Jeff took the next photos to show what the pipe looked like when he received it. Jeff took a close up photo of the top of the bowl and the underside of the base. The bowl had a rounded edge with a small flaw toward the front. It was clean of any debris other than the dust and dullness of time. The base is a funnel or cone shaped cup that takes the threaded nipple on the briar bowl. It has two feet on the bottom that allow it to stand on a table or desk top.The mouthpiece end of the base was very clean with no tooth marks or chatter. There was some dust in the sharp edge of the button and the edge was lightly damaged over time.I went back to the blog I did on Gutta Percha and have included the link and some of the material I gathered at that point. I thought it would helpful for you if the material is a new thing to you. (https://rebornpipes.com/2017/12/08/59256/). I quote from there in what follows:

That led me to do some research on the web to see what I could find out about the material. (Honestly, I don’t know what I would do without Google. I don’t know how I survived college and graduate school without it.) The first link I found and turned to was on Wikipedia (https://en.wikipedia.org/wiki/Gutta-percha). I quote large portions of that article below to set the base for understanding the material’s composition and origin.

Scientifically classified in 1843, it was found to be a useful natural thermoplastic. In 1851, 30,000 long cwt (1,500,000 kg) of gutta-percha was imported into Britain.

During the second half of the 19th century, gutta-percha was used for myriad domestic and industrial purposes, and it became a household word (emphasis mine). In particular, it was needed as insulation for underwater telegraph cables, which, according to author John Tully, led to unsustainable harvesting and a collapse of the supply.

According to Harvey Wickes Felter and John Uri Lloyd’s Endodontology: “Even long before Gutta-percha was introduced into the western world, it was used in a less processed form by the natives of the Malaysian archipelago for making knife handles, walking sticks and other purposes. The first European to discover this material was John Tradescant, who collected it in the Far East in 1656. He named this material “Mazer wood”. Dr. William Montgomerie, a medical officer in Indian service, introduced gutta-percha into practical use in the West. He was the first to appreciate the potential of this material in medicine, and he was awarded the gold medal by the Royal Society of Arts, London in 1843.”

…In the mid-19th century, gutta-percha was also used to make furniture, notably by the Gutta-Percha Company (established in 1847). Several of these ornate, revival-style pieces were shown at the 1851 Great Exhibition in Hyde Park, London. When hot it could be moulded into furniture, decorations or utensils (emphasis mine).

It was also used to make “mourning” jewelry, because it was dark in color and could be easily molded into beads or other shapes (emphasis mine). Pistol hand grips and rifle shoulder pads were also made from gutta-percha, since it was hard and durable, though it fell into disuse when plastics such as Bakelite became available (emphasis mine). Gutta-percha found use in canes and walking sticks, as well.

The material was adopted for other applications. The “guttie” golf ball (which had a solid gutta-percha core) revolutionized the game. Gutta-percha remained an industrial staple well into the 20th Century, when it was gradually replaced with superior (generally synthetic) materials, though a similar and cheaper natural material called balatá is often used in gutta-percha’s place. The two materials are almost identical, and balatá is often called gutta-balatá.

I thought it would be good to refresh my thinking on the stamping of KB&B pipes and how it can help get a relative date on a particular pipe. I did a blog on that and quote part of that now. https://rebornpipes.com/tag/dating-kbb-and-kbb-pipes/. The KBB and KB&B stamping on these old timers is stamped in a cloverleaf on the side or top of the shank of the briar pipes. In more recent years the KBB and KB&B stamping is no longer present. Kaufmann Brothers and Bondy was the oldest pipe company in the USA, established in 1851. The Club Logo predated Kaywoodie with the “KB&B” lettering stamped within the Club, and a multitude of KB&B lines were in production long before “Kaywoodie” first appeared in 1919. I have several of these old timers including a Borlum that was made before Kaywoodie became the flagship name for pipes from Kaufman Brothers & Bondy (KB&B)… That information helps date pre-1919 KB&B pipes. There is still a long history following that for which I wanted further information.

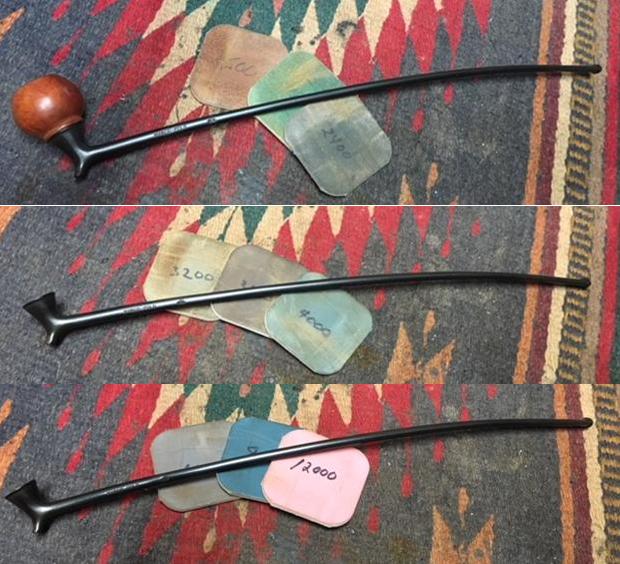
I found the Marco-Polo pipe listed on the pipephil site (http://www.pipephil.eu/logos/en/logo-kbb.html). The site says that the KB&B Clover Logo was discontinued in the 1930s. When Kaywoodie took over the line in 1919 the Kaywoodie name was often added to the stamping. So I can safely assume that pipe was made before the Kaywoodie name was added. That would make it pre-1919 or at least in the first few years following the acquisition by Kaywoodie.I took photos of the pipe after my brother had done his simple and thorough clean up on the pipe. It looked really good when it arrived. The Gutta Percha was dull and needed to be polished and the briar bowl was dull as well. Nothing that a little polishing would not change.I took some close up photos of the bowl to show the grain on the sides and interior of the bowl. The final photo shows the underside with the pair of feet that allows the pipe to stand on a table top. The stem end of the base was also dull but did not have tooth chatter or marks which matched the unsmoked bowl and confirmed the NOS designation that I gave the pipe above.I started the polishing of the Gutta Percha base and stem with micromesh sanding pads – wet sanding with 1500-2400 and dry sanding with 3200-12000 grit pads. I wiped the stem down after each pad with Obsidian Oil and after the last pad set the base aside to dry.I rubbed some Before & After Restoration Balm into the stem and base and let it sit for a little while. Then I buffed it off with a soft cloth. The Gutta  Percha really started to take on a shine at this point in the process.I rubbed the bowl down with Before & After Restoration Balm to clean, enliven and protect the briar bowl. I rubbed into the threads on the nipple with a cotton swab and let it site for a few moments. I buffed the balm off with a soft cotton cloth the photos below show the bowl at this point in the process. I buffed the bowl and stem separately using Blue Diamond on the buffing wheel. I gave both multiple coats of carnauba wax and buffed each with a clean buffing pad to raise the shine. I put the pipe back together and hand buffed it with a microfiber cloth to deepen the shine. The following photos show the completed pipe. It is really a beauty – quite delicate looking but comfortable in the hand and mouth. It was an interesting piece to work on and probably one I won’t see very often. Thanks for walking through the restoration with me.

RETURNING A CANADIAN POKER TO ITS RIGHTFUL GLORY


Blog by Robert M. Boughton
Copyright © Reborn Pipes and the Author except as cited
https://www.facebook.com/roadrunnerpipes/

I didn’t do it.  Oh, wait, THAT.  Yes, I did do THAT.
— An appropriate example of cheekiness

INTRODUCTION
Last November, in a rare, impulsive act of sheer gullibility, or maybe wishful thinking gone wild is a better way to put it, I made one of the oldest mistakes other people – but not I – can do: I snatched up a collection of odds and ends on eBay labeled “Lot 3 Vintage Tobacco Pipes-Tobacco Tins-& Bags-1 Box,” somehow rationalizing that they were all connected, or at least, maybe, the pipes and some of the bags and box (the three pipes matching the combined number of two sleeves and one box, although it still didn’t occur to me that one sleeve matched the box).  To compound the shame of this serious folly, I jumped on the great deal, at only $21.51 plus S&H, based on the following single blurry photo provided by the seller.
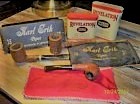
Credit omitted for obvious reasons

I mean, consider the clues my crazed mind somehow overlooked!  You can do it without my help, which I can’t bring myself to give anyway.  I won’t even claim I don’t know what I was thinking because it’s clear I wasn’t at all, in any sense of the word.  Okay, so the package came in the mail.  Well, indeed, there were three vintage pipes, a Grabow, a Yello-Bole and the poker I couldn’t then, in my bleary-eyed horror, identify; two sleeves, a Karl Erik and a Butz-Choquin; the one Karl Erik box, and the two olde-timey Revelation Smoking Mixture tins.  And so, I struggled to reason, I got exactly what I asked for!  God knows, and so do I, that I deserved it.  Still, in my defense, however lame it may be, the seller was more than a little disingenuous with his hazy portrayal of the goods and failure to point out that the Yello-Bole has a fatal crack extending a third of the way down the front of its 1.5” bowl.

[The Revelation tins, for those who haven’t heard the story, once contained a blend of red Virginia, cube cut Burley, Latakia and Perique made at the time by Philip Morris & Co. Ltd. Inc. and said to be Albert Einstein’s go-to.  The stuff looked like mulched, ancient twigs, tree and bush leaves, bark and other components one might find as groundcover in a forest as far from civilization as is still possible.  But Revelation switched from tins to soft packaging in 1957, so I attempted to console myself with the thought that the latest addition to my small tobacciana collection is at least 61 years old.  Then I realized that’s only five years older than I am.  Does that mean I’m vintage?  Needless to say, my attempt was a failure.]

Disheartened by my abject flop, I considered the options.  I could return the whole lot, pan the seller in my feedback or bite the bullet and get on with my life.  Not caring for any of these, I tossed all of it in disgust under my living room table with my stash of junk mail and old newspapers.  In the intervening months, the pile grew and hid all of the discarded items I had banished from my mind anyway, until one day about a week ago when gravity made the pile shift, and I spied the red Butz-Choquin sleeve.  So deep down had I stuffed the memory of the debacle that I didn’t recognize it, no joke.  Approaching the sleeve on hands and knees, like an archeologist digging for treasure, I liberated the sleeve from the heap and began removing layer after layer of the paper trash.

In this fashion revealing the pipes, sleeves, box and tins, and bagging the paper mountain to throw in the trash, I could not help laughing.  The poker caught my attention, and I remembered I had not established its maker but only assumed it was of the others’ ilk.  I wiped away some crud on the smooth bottom of the rustic pipe and used my magnifying glasses trying to decipher the nomenclature but was unable to do so.  Turning to the stem for a mark that might provide a clue, I saw what appeared to be three faded dots in a line from top to bottom, the middle one of them smaller than the others.  From Pipephil, I discovered the pipe was a Brigham of the 600 series, and to my surprise, from Canada.

My face flushed and misted over with sweat from a rush of blood as my mind’s eye teleported me backward in time a few years.  I’m sure Steve has forgotten all about this, having better things to store in his mind vault, but I’m cursed – or blessed – with total recall of every tasteless, fatuous or otherwise inappropriate thing I’ve ever said, for the most part well after the fact and only when something triggers a free association with the earlier mistake.

In this case, learning that Brigham is an old and respected Canadian pipe maker reminded me of an occasion several years back when I broke my usual habit of engaging my brain before my tongue, as my dear dad taught me.  Something prompted me to blurt to Steve, “Are there any Canadian pipe makers?”  I say blurt because such an ill-conceived question could not have been made in an email or else I would have researched it myself, but rather must have flown out of my mouth in a flash of cheeky, stupid impertinence during a telephone conversation.  I also remember Steve’s pause before he replied with tact, “Yes, there are a few.”

Having now made a quick, easy online inquiry into the subject, I found one good source listing 30 far North American pipe makers, including larger brands and artisans.  Brigham seems to be the biggest and best known.  Notable among the artisans is Michael Parks of Bowmanville, Ontario, whose work is astounding.  No doubt there are many more talented folks carving pipes in the vast Canadian provinces and territories, and to every one of them, I apologize for my ignorant question that now seems so long ago!

HISTORY
Roy Brigham must have been born with pipes in his genes.  After serving as an apprentice to an Austrian pipe repair master, Brigham opened his own shop in Toronto in 1906.  After 12 years, the venture included five other craftsmen and was already known across Canada for its excellent work.  In 1918, Brigham and his team started making the company’s first pipes, and again the reputation for high quality and value began to spread throughout the country’s 3.9 million square miles.

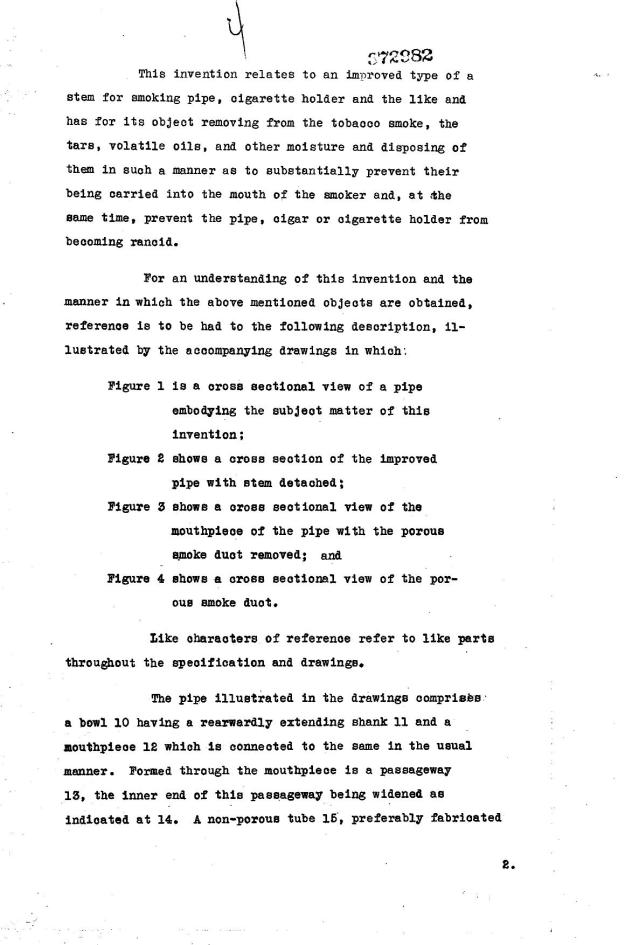
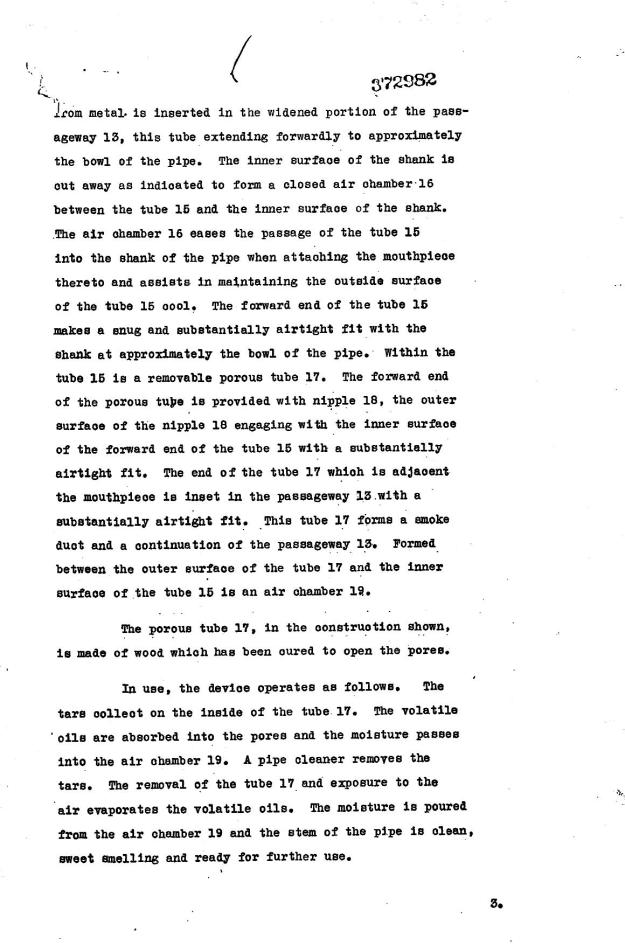
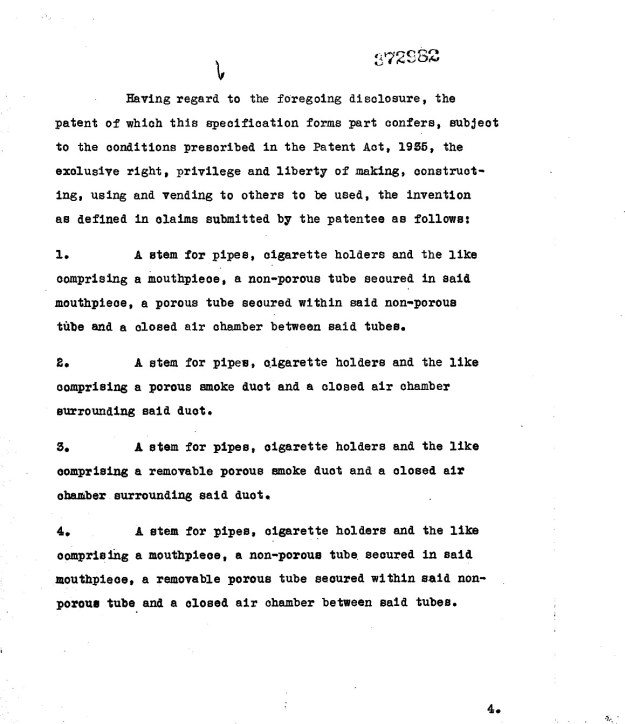
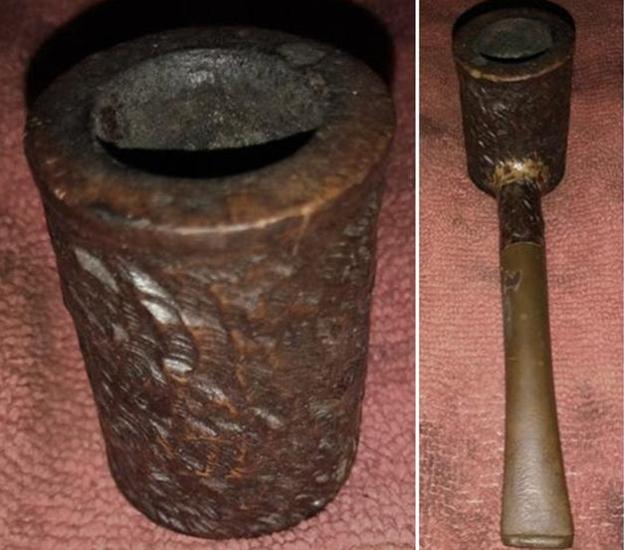
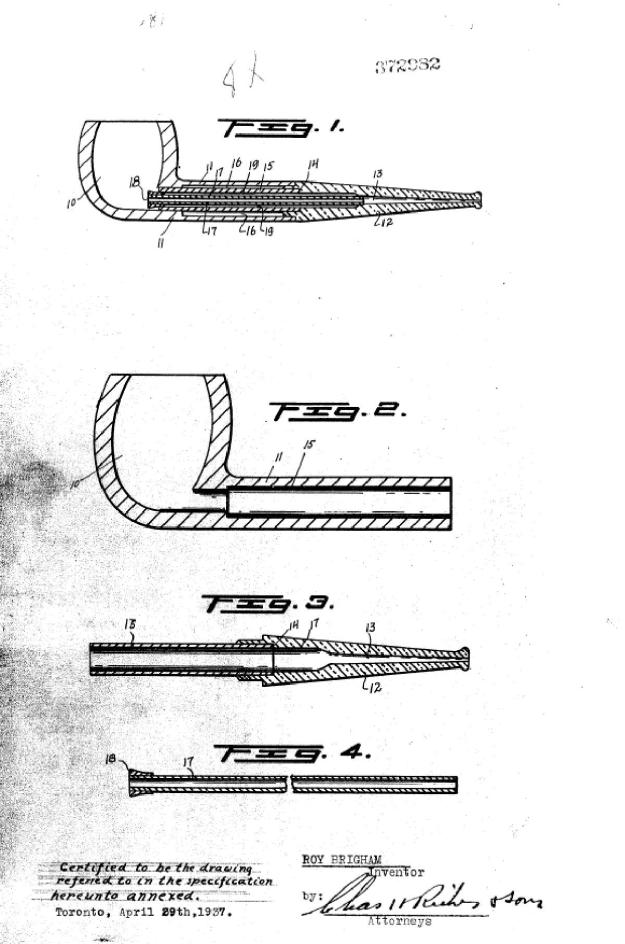
Brigham’s son Herb joined the business in 1935, and the two were known as Brigham & Son.  Together, they identified tongue bite, which at the time was thought to be caused by hot smoke from pipes, as the chief complaint of customers.  Determined to get to the bottom of the problem, father and son experimented and learned that the symptom was caused not by heat but mild burning from tars and acids in the smoke.  Trying various filters, they concluded bamboo and rock maple were the best materials.  Bamboo being much more difficult to obtain, they settled on rock maple, and in 1937 invented what they called the Distillator and applied for the Canadian patent, granted the following year.  That patent, №. 372,982, was for a metal insert in the mouthpiece which enclosed the non-porous rock maple insert that could be removed and cleaned several times before the effectiveness began to deteriorate.  The fourth page is a clarification made sometime after the Patent Act of 1955 cited in its text.CAN. PAT. 372982 is stamped on the smooth bottom of the poker’s shank, below the Brigham mark, but as future changes were gradual and relatively minor and finished in the late 1940s after Herb rejoined the business following service in World War II, they appear not to have been filed but were relied upon based on the protection granted to the one and only Brigham patent for the Distillator.  Therefore, a precise dating of the poker is impossible, although it looks to be made in the 1950s.  Brigham has a remarkable array of pipes varying from traditional shapes to freehands to some that are just plain unique.
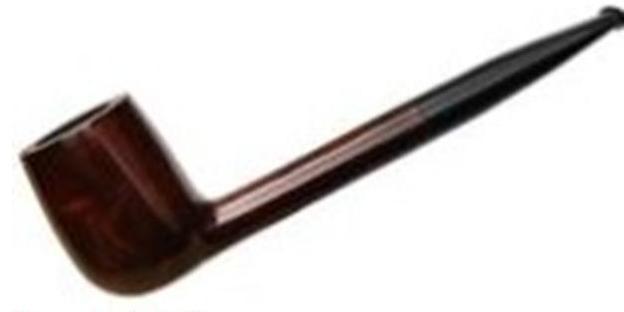
Canadian courtesy Smoking Pipes

Mike Brigham, Herb’s son, joined the family business in 1978 and began expanding the product list to include tobacco and accessories.  This is likely when the company became known as Brigham Pipes Ltd. Until 1995, when the present name of Brigham Enterprises Inc., its incarnation today.

RESTORATION
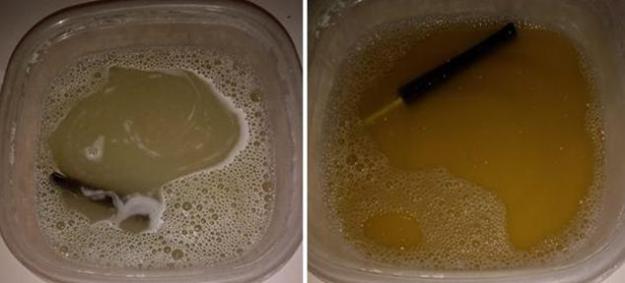
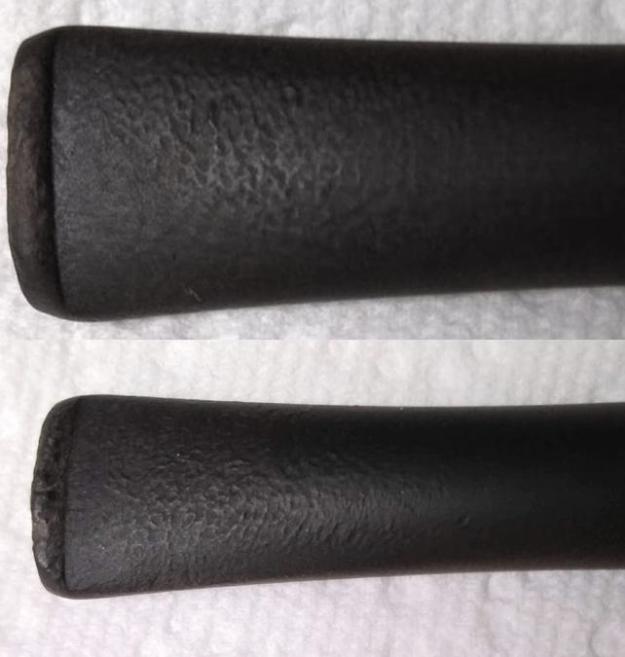
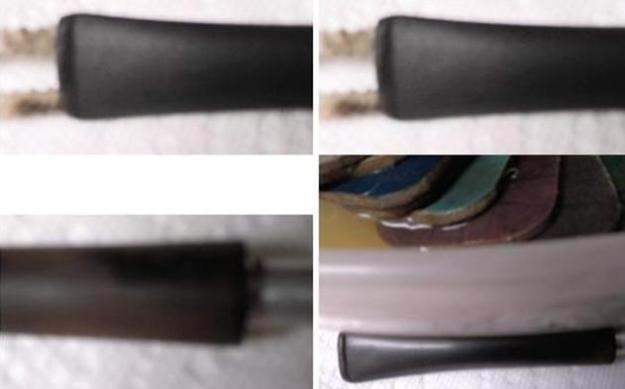
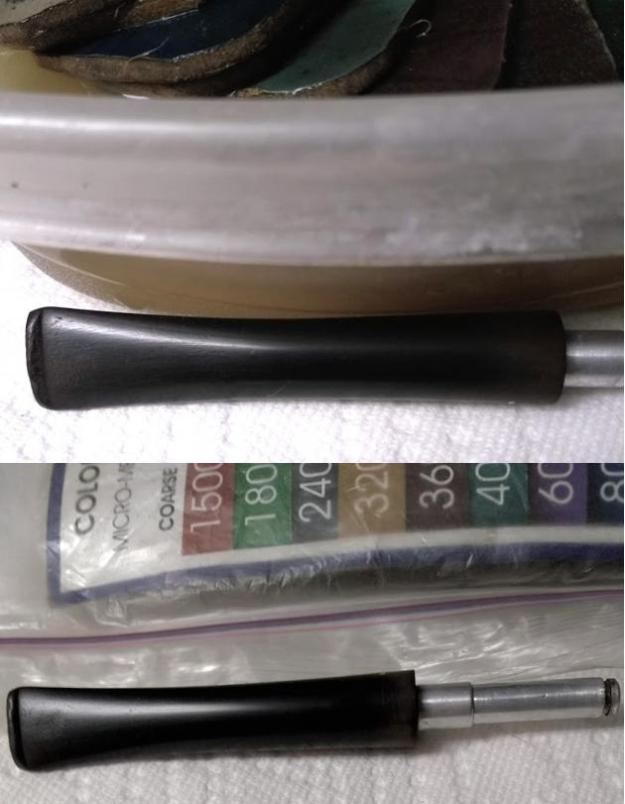
Here is the Brigham rusticated poker as I received it. The first orders of business were to soak the stummel in Everclear and ream the chamber.  After the soak, a light touch with super fine “0000” steel wool cleared the rim. I followed that with a double 150- and 180-grit sanding pad all around, the highlights of which are shown below.  The second photo was taken after sanding the chamber with 150-, 220-, 320-, 400- and 600-grit papers. Working on the rim with papers from 220-600 grit followed by micro mesh 1500-12000, it shined up pretty well.  While I was at it, I micro meshed the rest of the stummel, focusing on the rim, and the first and third photos following show the improvement. The next pics show how filthy an old, oxidized stem can be, and the aftermath of soaking in OxiClean.  I don’t know what the loose, plastic film-like stuff is in the last shot below and was worried it would become a problem. Sanding the lips and areas below them with 600-grit paper took off the roughness, and a full wet micro mesh progression followed by dry made the stems shine.  Also, the mystery film came off clean.  The last photo shows how my initial belief that the stem mark was faded dots that would require filling in was wrong.  They’re metal implants. Retorting the pipe was fast and easy since it was well prepped.Then it occurred to me I hadn’t removed the Distillator rock maple insert, which I did then.  Brigham’s use chart indicates by the darker brown color of the insert that the pipe was smoked about 20 times since the last filter was added.  I’ve ordered an 8-pack replacement box.My favorite part of most restores had arrived, in this case to buff the rustic area of the stummel with Halcyon II wax and the rim with White Diamond and carnauba.  I used red and white rouge on the stem for a change since I had used it for several special pipes I’ll be blogging ASAP. CONCLUSION
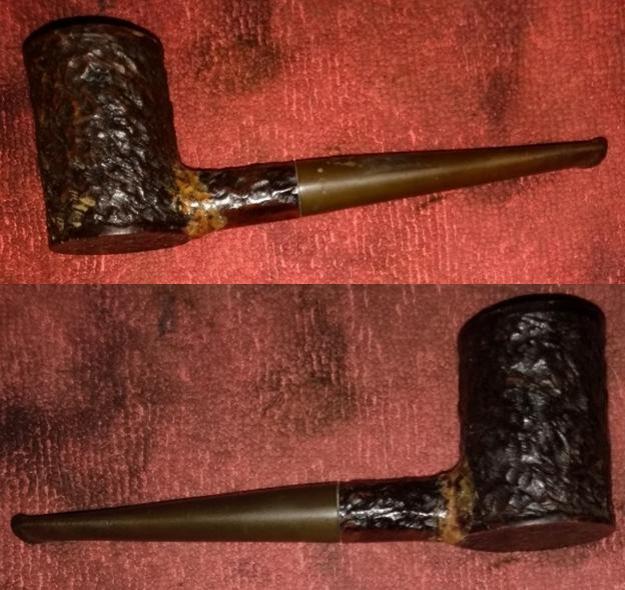
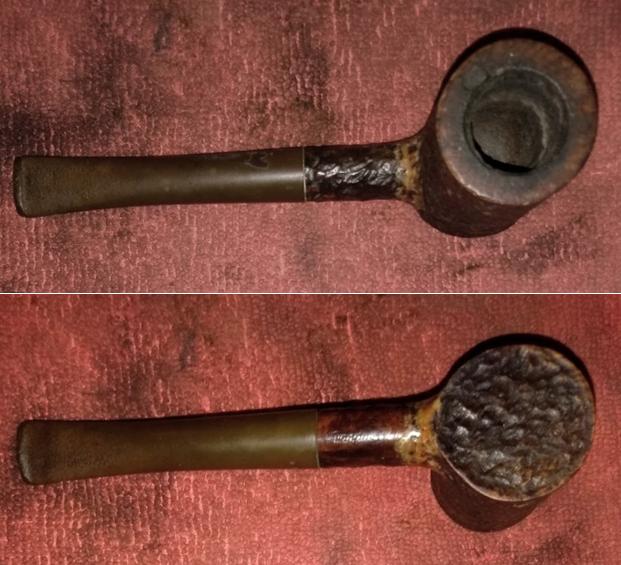
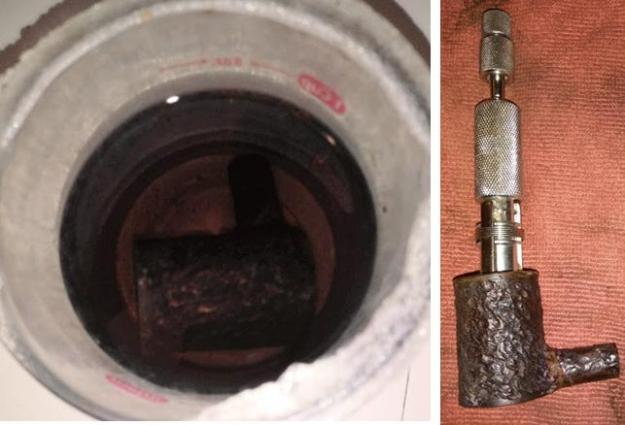
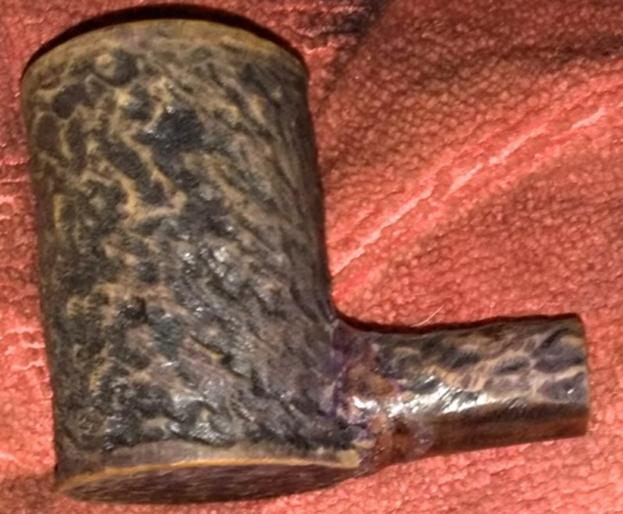
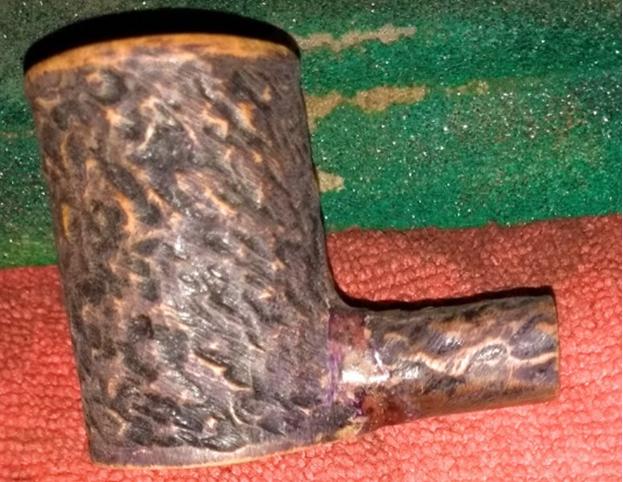
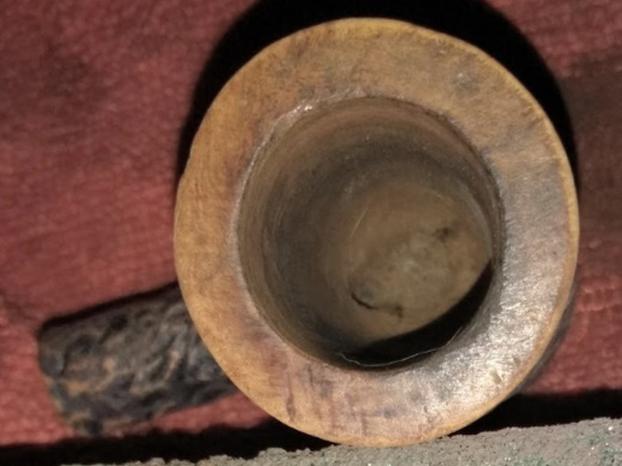
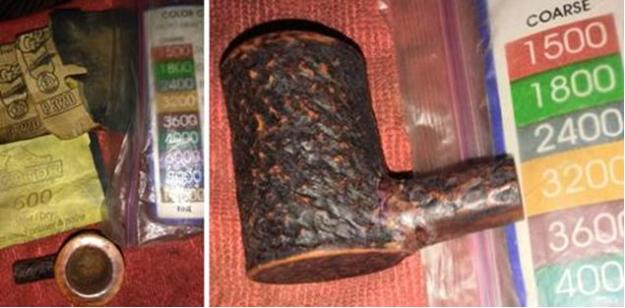
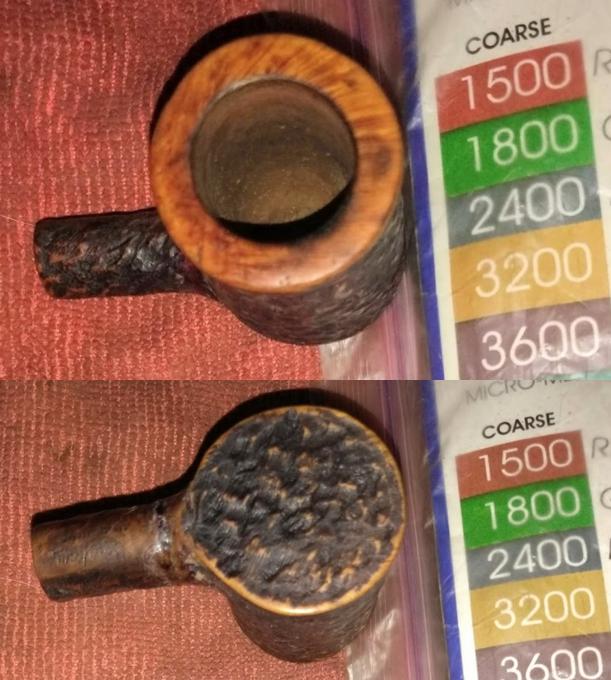
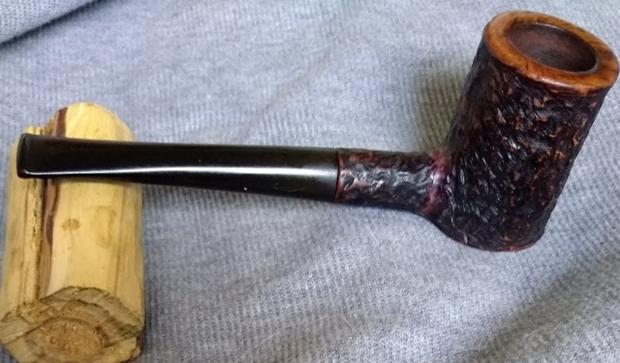
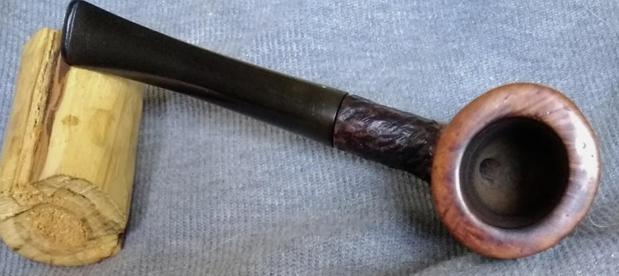
I learned quite a bit about our neighbor to the north and now have a firm grasp on the fact that Canadians indeed not only make pipes, but beautiful ones.  Nuff said about that.  But boy, am I happy I jumped on that otherwise misleading eBay lot!

SOURCES
https://www.brighampipes.com/our-system/
https://pipedia.org/wiki/Pipe_Brands_/_Makers#Canada
http://www.pipephil.eu/logos/en/logo-brigham.html
http://www.brothersofbriar.com/t17600-brigham-pipes-anybody-use-one
https://pipedia.org/wiki/Brigham_Pipes
http://www.ic.gc.ca/opic-cipo/cpd/eng/patent/372982/summary.html?type=number_search&tabs1Index=tabs1_1
https://www.brighampipes.com/

Refurbishing an Ardor Mercurio Fantasy 2006 Bulldog


Blog by Steve Laug

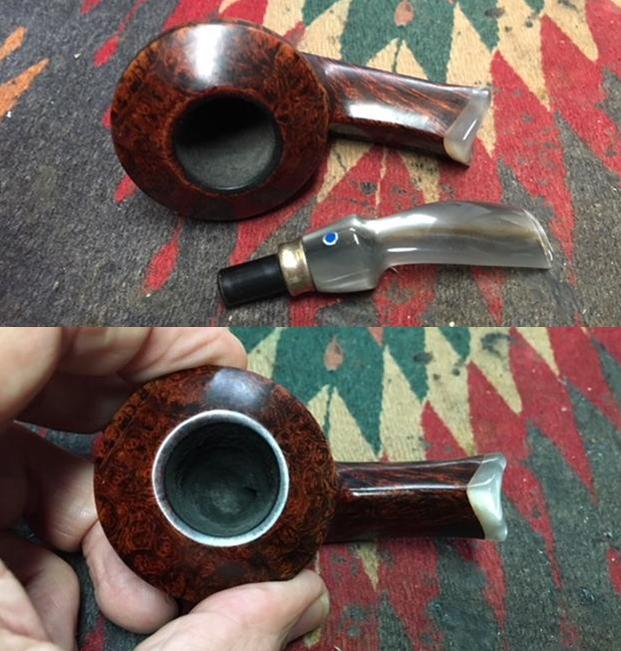
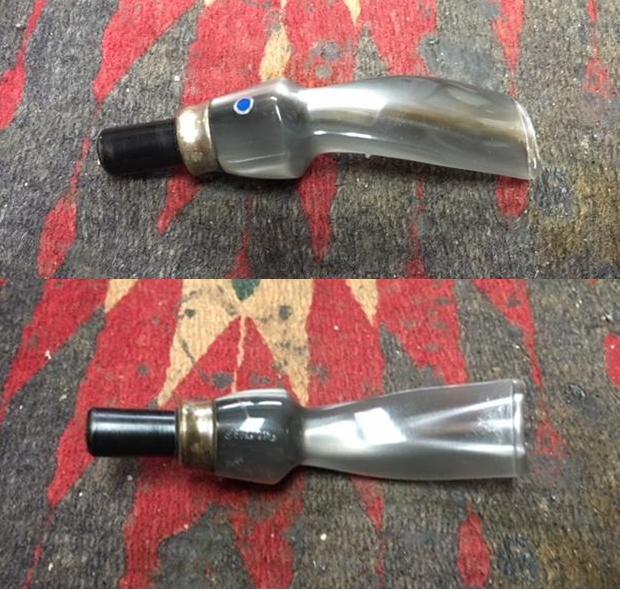
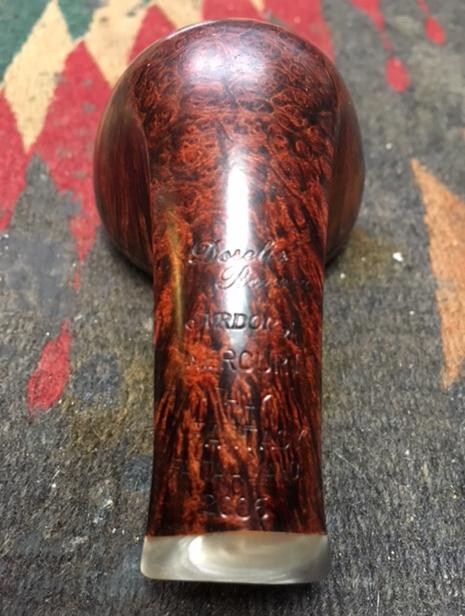
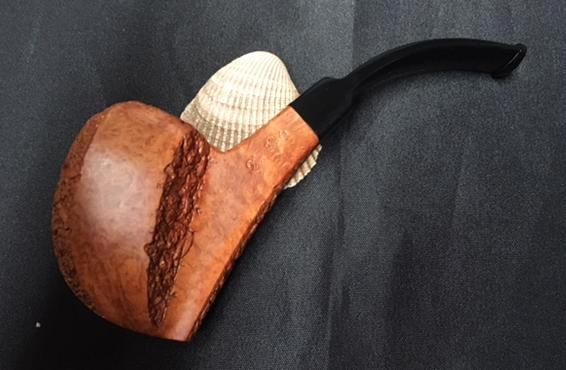
Last week I finished up some pipes for a guy here in Vancouver and when he came to pick them up he brought some more for me to work on for him. I finished up some of the ones on the worktable so I decided it was time to work on these. The first of them is the following Ardor Bulldog. It really is a beautiful pipe. The shape, the grain the colouration, the silver/grey acrylic shank end, the silver trim band on the stem and the silver/grey stem all make this a uniquely beautiful pipe. I have worked on one other Ardor that I added to my collection. I wrote about that restoration on the blog a few years back. While it was a rusticated Urano this one is a Mecurio. Here is the link – https://rebornpipes.com/2016/02/26/with-just-a-little-work-i-now-have-a-dr-ardor-urano-fantasy-apple/ The bowl had an uneven cake and there was some darkening on the rim top. The inside of the shank was dirty and needed to be cleaned. The silver on the stem was tarnished and dull looking. The Lucite stem had tooth marks and chatter on the top and underside of the stem near the button. There was also a tooth mark in the top of the button on the left side. I took photos of the bowl and stem to give a clear picture of the condition of the pipe before I started to work on it. I took a photo of the stamping to show what it looked like. The underside of the stem is stamped as follows – Dorelio over Rovera. Under that it is stamped Ardor over Mercurio. Under that it is stamped Italy then Fantasy. Under that is stamped Fatta A Mano and the year 2006.I did a quick review of the history of the brand by turning to Pipedia. The link there was an article that came from Italian Pipemakers.com. Here is the link – https://pipedia.org/wiki/Ardor. I quote part of the article that gives a quick view of the brands
Ardor Courtesy of italianpipemakers.com

In 1974 Dorelio Rovera, with his father Angelo, established the Ardor Pipe, name which comes from the “AR” (Angelo Rovera) and “DOR” (Dorelio Rovera), changing a medium quality level production into a completely handcrafted product, with a very high level of design and finishing.

[Editor’s Note: Angelo Rovera is the son of Francesco Rovera, who along with his brothers comprised Sociedade Rovera, a pipe company they founded in 1911.]

Dorelio personally chooses the briar which is left seasoning for at least 4 to 5 years before it is worked. It is stocked in particular baskets which leave the wood always visible and airy. The pieces chosen to become a pipe are cut with a circular saw to identify the model. Then each piece is rough hewn by hand with special files, definitely “dangerous” but very efficacious to give the shape to the wood.

Like most artisans, Ardor couples a classical style and a very original style with definite but free and fanciful lines, to offer and meet the largest number of requests, from the simple to the most complex. Ardor is a pipe company which is always looking for innovations, indispensable to collectors, but trying to offer a very high level product in the smoking aspect and performance of the briar, always dried and light for a higher comfort of the smoker.

With Damiano, Dorelio’s son, Ardor introduced the coloured methacrylate (acrylic) stems, really appreciated in the international markets. Damiano has been able to condition the Ardor style with new shapes and with a new mouthpieces style, having a modern point of view. His target is to keep up the interest of new generations, surely more variable in a shorter period.

The Ardor Urano Fantasy that I have was marked AR which told me it was made by Angelo while this pipe was made by his son, Dorelio. The coloured, interestingly shaped stems are obviously the additions of Damiano. The stems he does add a definite flair to the pipe that is unique.

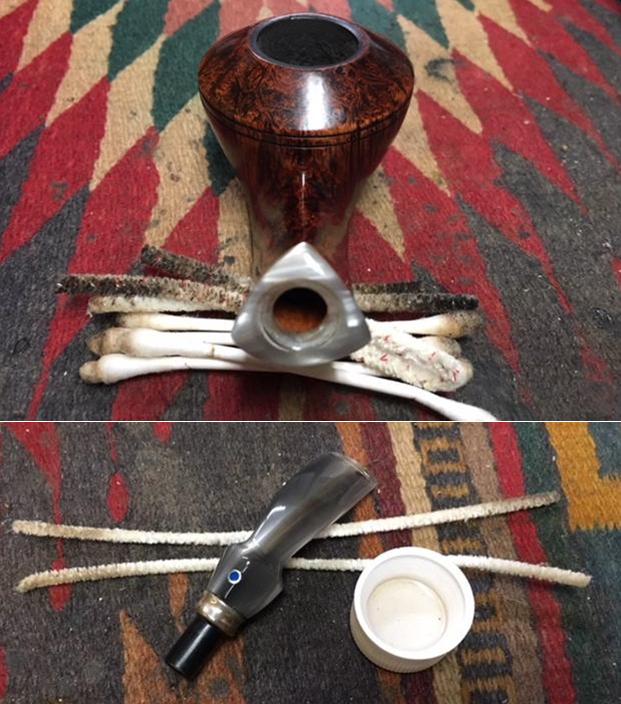
I started my clean up on this pipe by cleaning out the airway in the stem and shank, the mortise and shank interior with pipe cleaners, cotton swabs and alcohol. It did not take as much as I expected to remove all the tars and oils in the shank and mortise. The stem had some darkening in the airway and in the slot in the stem. I used pipe cleaners to clean out the debris that had collected in the edges of the slot and the darkening in the airway.I evened up the cake on the walls of the bowl with a Savinelli Fitsall Pipe Knife. I took the cake back to where there was a thin layer all around the bowl.I rubbed Before & After Restoration Balm into the smooth finish on the bowl and shank. The balm cleans the surface and enlivens and protects the briar. I worked it into the lines and the finish. I let it sit for a while and then buffed it off with a soft cloth and polished it. I took photos of the bowl at this point to give an idea of what it looked like at this point. I set the bowl aside and turned to address the stem. Once the repair on the top side of the stem button had cured I shaped it with some folded 220 grit sandpaper and sanded out the tooth chatter and marks on both sides.I polished the stem with micromesh sanding pads to remove the scratches in the acrylic. I wet sanded it with 1500-2400 grit pads and dry sanded it with 3200-12000 grit pads. I wiped the stem down with a damp cloth after each sanding pad. I polished the silver band with a jeweler’s cloth. I put the stem back on the bowl and buffed the pipe with Blue Diamond polish on the buffing wheel. I gave both the bowl and stem multiple coats of carnauba wax and buffed the pipe with a clean buffing pad. I hand buffed it with a microfiber cloth to deepen the shine. The finished pipe is shown in the photos below. I have seven more pipes to finish for him – three come from his personal rotation while four of them are some finds he made while pipe hunting. This is going to be a fun bunch of pipes to work on. I look forward to moving through the rest of them. Thanks for looking.
 

Kathy’s Dad’s Pipes #11 – Restoring a Beautiful Custom Carved Malaga Freehand


Blog by Steve Laug

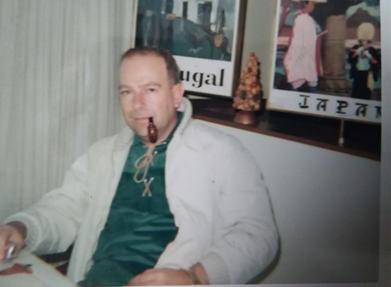
With this blog I worked on another of the Malaga pipes from Kathy’s Dad’s estate. This is the eleventh of the pipes from collection. For a reminder to myself and those of you who are reading this blog I will retell the story of the estate. Last fall I received a contact email on rebornpipes from Kathy asking if I would be interested in purchasing her late Father, George Koch’s estate pipes. He was a lover of “Malaga” pipes as well as others and she wanted to move them out as she cleaned up the estate. We emailed back and forth and I had my brother Jeff follow up with her as he also lives in the US and would make it simpler to carry out this transaction. The long and short of it is that we purchased her Dad’s pipes – Malagas and others. I have never seen this many “Malagas” together in one place in all of my years of pipe restoring and refurbishing. There are some beautiful pipes in that lot. The condition of all them varied from having almost pristine to gnawed and damaged stems that will need to be replaced. These were some well used and obviously well-loved pipes. Cleaning and restoring them will be a tribute to this pipeman. (Here is a link to some history of the Malaga Brand if you are interested: https://rebornpipes.com/tag/malaga-pipes/. There are also links there to a catalogue and the maker George Khoubesser.)Those of you who have followed me for a while know how much I love getting to know about the pipeman who held the pipes in trust before me. That information always gives another dimension to the restoration work. This is certainly true with this lot of pipes. I can almost imagine George picking out each pipe in his collection at the Malaga shop in Michigan. Once again, I am including that information so you can know a bit about the pipeman who held these pipes in trust before they are passed on to some of you. I include part of Kathy’s correspondence with my brother as well…. I may well be alone in this, but when I know about the person it is almost as if he is with me while I work on his pipes. In this case Kathy sent us not only information but also a photo of her Dad enjoying his “Malagas”.

Jeff…Here is a little about my dad, George P. Koch…I am sending a picture of him with a pipe also in a separate email.

Dad was born in 1926 and lived almost all his life in Springfield, Illinois. He was the youngest son of German immigrants and started grade school knowing no English. His father was a coal miner who died when Dad was about seven and his sixteen year old brother quit school to go to work to support the family. There was not much money, but that doesn’t ruin a good childhood, and dad had a good one, working many odd jobs, as a newspaper carrier, at a dairy, and at the newspaper printing press among others. He learned to fly even before he got his automobile driver’s license and carried his love of flying with him through life, recertifying his license in retirement and getting his instrumental license in his seventies and flying until he was grounded by the FAA in his early eighties due to their strict health requirements. (He was never happy with them about that.) He was in the Army Air Corps during World War II, trained to be a bomber, but the war ended before he was sent overseas. He ended service with them as a photographer and then earned his engineering degree from University of Illinois. He worked for Allis Chalmers manufacturing in Springfield until the early sixties, when he took a job at Massey Ferguson in Detroit, Michigan. We lived in Livonia, and that’s where his love for Malaga pipes began. After a few years he returned to Allis Chalmers and we moved back to Springfield. I remember that when we went back to Michigan to visit friends, Dad had to go to the Malaga store and acquire a few new pipes. Many a year I wrote to Malaga and they picked out a pipe for me to purchase that I could give Dad for a Christmas or birthday present. He was always pleased. His favorites were the straight stemmed medium sized bowl pipes, but he liked them all.  He had some other pipes, but the Malagas were his favorites. I remember him smoking them sitting in his easy chair after work, with feet up on the ledge by the fire burning in the fireplace.  Growing up it was my job to clean them and he liked the inner bowl and stem coated with Watkins vanilla, leaving a little of that liquid in the bowl to soak in when I put them back on the rack. Dad quit smoking later in life and so they’ve sat on the racks for many years unattended, a part of his area by his easy chair and fireplace. Dad passed when he was 89 years old and it finally is time for the pipes to move on. I’m very happy they are being restored by you and your brother and hope they find homes who enjoy them as much as Dad did. Thank-you for your care and interest. — Kathy, the oldest daughter

Kathy, once again I thank you for providing this beautiful tribute to your Dad. We will appreciate your trust in allowing us to clean and restore these pipes. I am also trusting that those of you who are reading this might carry on the legacy of her Dad’s pipes as they will be added to the rebornpipes store once they are finished.

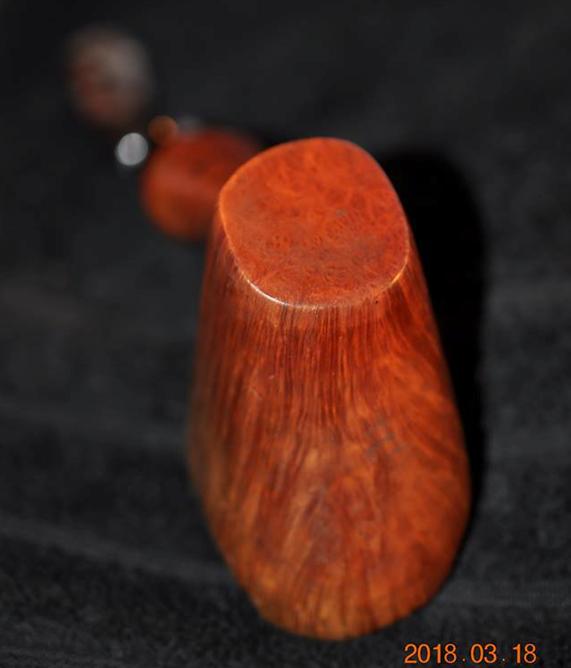
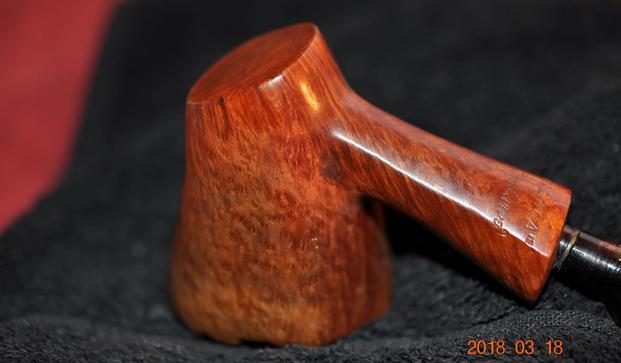
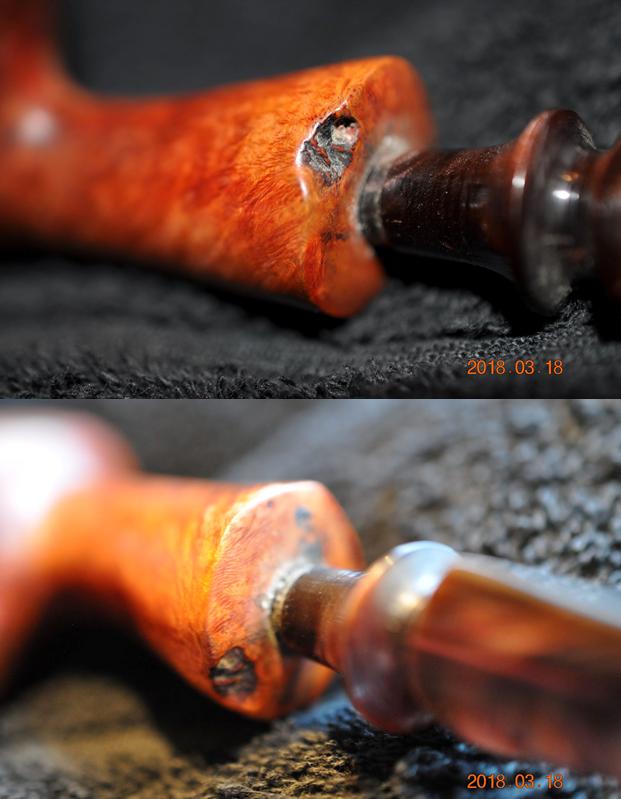
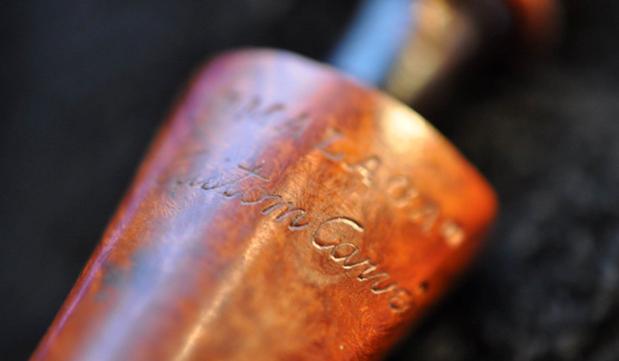
The eleventh of the pipes that I chose to work on is a nice looking Freehand with beautiful grain all around the bowl – straight, flame and birdseye. The top of the bowl is very rustic looking plateau briar that is filled with nooks and crannies. The end of the shank has one small spot of plateau that is almost a token piece. The plateau top was almost filled in with a heavy lava build up flowing from the bowl. It appeared that underneath the rim top was in good condition and the inner and outer edge of the bowl was in good condition. The stamping was on the underside of the shank and was clear and read “Malaga” over Custom Carved. The brown, swirled, pearlized Lucite stem had tooth dents and chatter on the top and the underside of the stem. The interior of the pipe was dirty. I could see that this was another pipe that George thoroughly enjoyed this pipe along with the others as is evidenced by the wear that all of them show. Jeff took these photos before he started the cleanup work on the pipe. Jeff took close up photos of the bowl and rim to show the condition of the pipe before he started to work his magic on it. The exterior of the bowl and shank were dirty. You can see the lava on the rim top, the thick cake and remnants of tobacco in the bowl. The second rim top photo shows the thick cake and debris in the bowl. It is dirty but in otherwise good condition.  He also took photos of the sides of the bowl and shank from different angles to show the condition of the design of the bowl. The pipe looked good. He took photos of the shank end to show what it looked like before cleanup.Jeff also took a photo to capture the stamping on the underside of the shank. The next two photos show the stem surface. There are tooth marks and chatter on both sides near the button. On the second photo below there appears to be a tooth mark/hole deep in the surface of the acrylic. I am hoping that it is not all the way the surface of the stem.Jeff cleaned this one up before he sent it my way. After having cleaned quite a few pipes lately, it was nice to work on another one that he had cleaned for me. He is really good at the cleanup work. He had reamed the bowl with a PipNet pipe reamer and followed up with a Savinelli Fitsall pipe knife to remove the cake. He scrubbed out the mortise and the airway in the shank and the stem with alcohol, cotton swabs and pipe cleaners. He scrubbed the exterior of the bowl, rim, shank and stem with a tooth brush and Murphy’s Oil Soap to remove the oils and tars on the bowl, plateau rim and shank. He rinsed it under running water. He dried it off with a soft cloth. The lava mess on the rim was thoroughly removed without harming the finish underneath it. Without the grime the finish looked really good. The Lucite stem would need to be worked on but I really like the thin profile it cast. I took photos of the pipe to show its condition before I started my work on it.   I took close up photos of the bowl and rim top as well as the stem. You can see the condition of the rim top and bowl in the first photo. The top was in excellent condition and Jeff was able to remove all of the lava and oils. He had scrubbed the bowl with a tooth brush and oil soap and it looked really good. The thin profile acrylic/Lucite stem had tooth chatter and some bite marks on the top and a deeper more prevalent tooth mark among the chatter on the underside of the stem just ahead of the button.The underside of the shank was stamped with “Malaga” over Custom Carved. I took a photo of the shank to show the stamping. I am not sure how far up the hierarchy of Malaga pipes this one comes. It is a beautiful piece of briar.I rubbed down the briar with Before & After Restoration Balm. I worked it into the plateau on the rim and the smooth portions to clean, enliven and protect the briar. I worked it into the plateau on the rim top and the shank end with my fingertips and the help of a horsehair shoe brush. I let the balm sit for a little wall and then buffed with a cotton cloth to raise the shine. There were some tooth marks and chatter on the top and more chatter and a deeper tooth mark on the underside of the acrylic stem at the button. I cleaned off the surface of the stem with alcohol and filled in the deep tooth mark with clear super glue. Once it cured, I sanded both sides smooth with 220 grit sandpaper to blend the tooth chatter and the repair into the surface of the stem. It did not take too much sanding to remove the marks and smooth out the stem surface. When it was sanded it was smooth and the marks were gone. I polished the acrylic stem with micromesh sanding pads – wet sanding with 1500-2400 grit sanding pads and dry sanding it with 3200-12000 grit sanding pads. I wiped it down after each sanding pad with a damp cloth. I the polished stem and lightly polished the bowl with Blue Diamond to polish out the remaining small scratches and raise the shine. I gave the bowl multiple coats of Conservator’s Wax and the stem several coats of carnauba wax and buffed the pipe with a clean buffing pad to raise the shine. I hand buffed it with a microfiber cloth to deepen the shine. The pipe polished up pretty nicely. This turned out to be a beautiful pipe in terms of shape and finish. This is the eleventh pipe that I am restoring from Kathy’s Dad’s collection. I am looking forward once again to hearing what Kathy thinks once she sees the finished pipe on the blog. The finished pipe is shown in the photos below. The dimensions are Length: 6 1/2 inches, Height: 2 1/2 inches, Outside diameter of the bowl: 1 3/4 inches wide and 2 inches long, Chamber diameter: 7/8 inches. Thanks for walking through the restoration with me as I worked over this Malaga from George’s estate. More will follow in a variety of shapes and sizes. I will be adding it to the rebornpipes store shortly so if you are interested in adding it to your collection and carrying on the trust from her father send me an email or a message on Facebook. Thanks for looking. 
An Easy Restoration – A Savinelli Sandblast Bing’s Favorite


Blog by Steve Laug

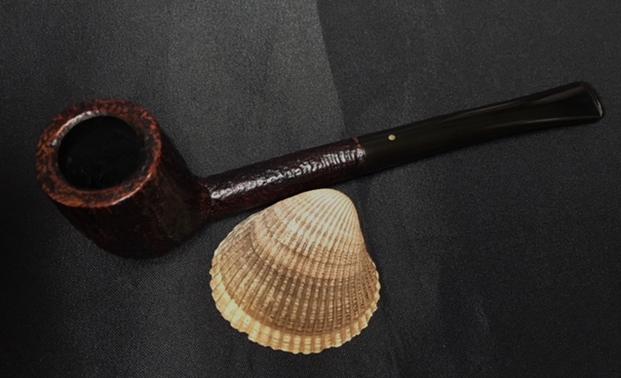
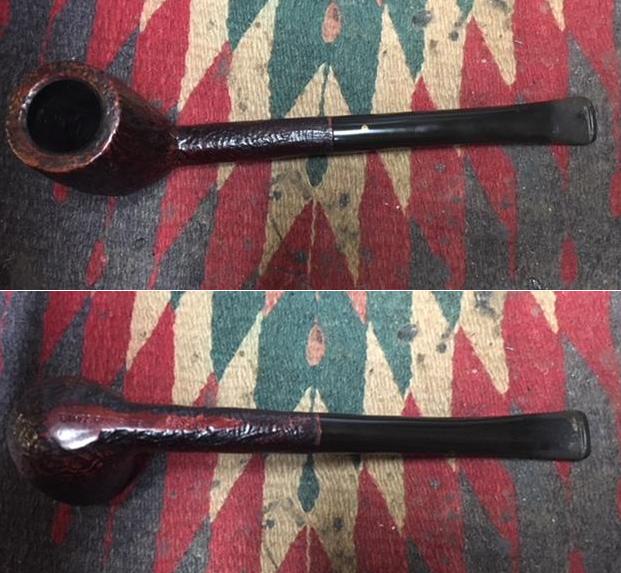
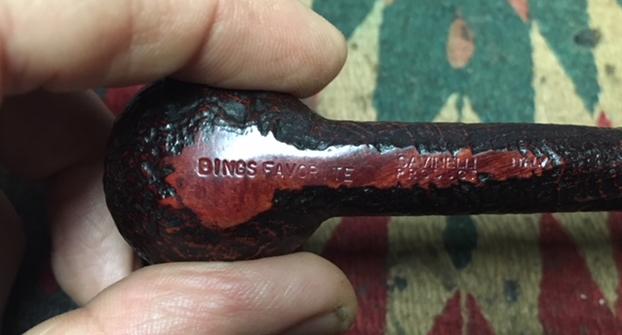
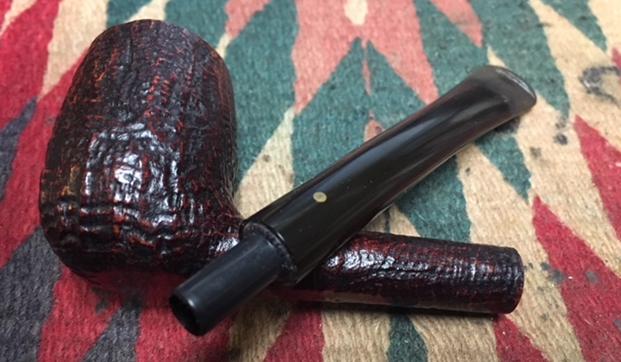
Yesterday was a great day. I finished working on three pipes, started a fourth and returned a group of four repairs to the pipeman who dropped them off for me to repair and refurbish for him. He loved the work and dropped off eight more pipes in various states from very nice and need a refresh to tired and worn. He also wanted to know if I would do a trade with him for part of the cost of labour. He had a pipe he no longer wanted in his collection so he was wondering. He took it out of his pipe bag and showed it to me. It was a Savinelli Bing’s Favorite in a sandblast finish with a vulcanite stem sporting a brass dot on the top. It was in great condition other than a little wear and oxidation on the stem. There was some light tooth chatter on both the top and underside of the stem near the button. It was drilled to take Savinelli Balsa filters or 6mm filters. I looked it over and we made a deal. I think that we were both pleased with the results. Here is what the pipe looked like when I received it. The combination of medium and dark brown stains on the bowl added a great contrast in the high and lows of the sandblast. The bowl was quite clean with very little cake. The aroma of good English tobacco lingered around the pipe and bowl. The rim top was very clean and the outer and inner edges of the bowl were in excellent condition. The stem had tooth chatter and tooth marks on both the top and underside near the button but none of them were too deep. I took close up photos of the bowl and stem to show the condition before I started the cleanup.I took a close up photo of the stamping on the smooth panel on the underside of the bowl and shank. It reads: BINGS FAVORITE followed by Savinelli Product and Italy. The stamping is clear and readable.I removed the stem to have a look at the 6mm filter tenon. It was pretty clean on the outside.I cleaned out the airway in the stem and shank and the mortise area with pipe cleaners – both regular and bristle as well as cotton swabs and alcohol. I cleaned out the wide open tenon with cotton swabs and alcohol as well. It was pretty clean so it did not take too long to clean those areas.I rubbed some Before & After Restoration Balm deep into the crevices and valleys of the sandblast, working it in with my fingertips. I buffed the bowl with a shoe brush to further work it into the finish. I buffed the bowl with a soft cloth to raise a shine. The photos below show the results at this point in the process. I set the bowl aside and turned my attention to the stem. I sanded out the tooth chatter and marks with 220 grit sandpaper blending the areas into the surround vulcanite stem. I sanded both the top and underside of the button as well to remove the light chatter on those areas as well.I polished the stem with micromesh sanding pads – wet sanding with 1500-2400 grit pads and dry sanding with  3200-12000 grit pads. I wiped the stem down with Obsidian Oil after each sanding pad. I rubbed it down with Before & After Pipe Polish – both Fine and Extra Fine to further polish the scratches. I gave it a final coat of Obsidian Oil and set it aside to dry. I have a few of the Savinelli Balsa filters around so I put on it the stem. It is a three sided stick of Balsa wood that absorbs tars and liquids on three sides. The fit is perfect. The tenon can also fit 6mm filters.I put the stem on the pipe and buffed the bowl and stem with Blue Diamond polish on the buffing wheel. I used a light touch on buffing the bowl so that the polish would not get into the sandblast. I gave the bowl several coats of Conservator’s Wax and the stem several coats of carnauba wax. I buffed the bowl and stem with a clean buffing pad to raise the shine. I hand buffed the bowl and stem with a microfiber cloth to deepen the shine. The contrasting brown stains look very good with the dark of the polished vulcanite stem. The brass dot stands out in stark contrast with the black. It is a beautiful pipe and in excellent condition. The measurements are – Length: 6 ¾ inches, Height: 1 ¾ inches, Outside Diameter of Bowl: 1 ¼, Chamber Diameter: ¾ inch. I will be putting it on the rebornpipes store shortly. If you would like to add it to your collection send me an email to slaug@uniserve.com or a message on Facebook. Thanks for reading through this restoration process. It was a fun one to work on.

Kathy’s Dad’s Pipes #10 – New Life for an A.J. Sher Freehand


Blog by Steve Laug

With this blog I am stepping back to work on the tenth of the pipes from Kathy’s Dad’s pipes. For a reminder to myself and those of you who are reading this blog I will retell the story of the estate. Last fall I received a contact email on rebornpipes from Kathy asking if I would be interested in purchasing her late Father, George Koch’s estate pipes. He was a lover of “Malaga” pipes as well as others and she wanted to move them out as she cleaned up the estate. We emailed back and forth and I had my brother Jeff follow up with her as he also lives in the US and would make it simpler to carry out this transaction. The long and short of it is that we purchased her Dad’s pipes. There are some beautiful pipes in that lot. The condition of all them varied from having almost pristine to gnawed and damaged stems that will need to be replaced. These were some well used and obviously well-loved pipes. Cleaning and restoring them will be a tribute to this pipeman.

Those of you who have followed me for a while know how much I love getting to know about the pipeman who held the pipes in trust before me. That information always gives another dimension to the restoration work. This is certainly true with this lot of pipes. I can almost imagine George picking out each pipe in his assortment at the Malaga shop in Michigan. I may well be alone in this, but when I know about the person it is almost as if he is with me work on his pipes. In this case Kathy sent us not only information but also a photo of her Dad enjoying his “Malagas”. Once again, I am including that information so you can know a bit about the pipeman who held these pipes in trust before they are passed on to some of you. I include part of Kathy’s correspondence with my brother as well…

Jeff…Here is a little about my dad, George P. Koch…I am sending a picture of him with a pipe also in a separate email.

Dad was born in 1926 and lived almost all his life in Springfield, Illinois. He was the youngest son of German immigrants and started grade school knowing no English. His father was a coal miner who died when Dad was about seven and his sixteen year old brother quit school to go to work to support the family. There was not much money, but that doesn’t ruin a good childhood, and dad had a good one, working many odd jobs, as a newspaper carrier, at a dairy, and at the newspaper printing press among others. He learned to fly even before he got his automobile driver’s license and carried his love of flying with him through life, recertifying his license in retirement and getting his instrumental license in his seventies and flying until he was grounded by the FAA in his early eighties due to their strict health requirements. (He was never happy with them about that.) He was in the Army Air Corps during World War II, trained to be a bomber, but the war ended before he was sent overseas. He ended service with them as a photographer and then earned his engineering degree from University of Illinois. He worked for Allis Chalmers manufacturing in Springfield until the early sixties, when he took a job at Massey Ferguson in Detroit, Michigan. We lived in Livonia, and that’s where his love for Malaga pipes began. After a few years he returned to Allis Chalmers and we moved back to Springfield. I remember that when we went back to Michigan to visit friends, Dad had to go to the Malaga store and acquire a few new pipes. Many a year I wrote to Malaga and they picked out a pipe for me to purchase that I could give Dad for a Christmas or birthday present. He was always pleased. His favorites were the straight stemmed medium sized bowl pipes, but he liked them all.  He had some other pipes, but the Malagas were his favorites. I remember him smoking them sitting in his easy chair after work, with feet up on the ledge by the fire burning in the fireplace.  Growing up it was my job to clean them and he liked the inner bowl and stem coated with Watkins vanilla, leaving a little of that liquid in the bowl to soak in when I put them back on the rack. Dad quit smoking later in life and so they’ve sat on the racks for many years unattended, a part of his area by his easy chair and fireplace. Dad passed when he was 89 years old and it finally is time for the pipes to move on. I’m very happy they are being restored by you and your brother and hope they find homes who enjoy them as much as Dad did. Thank-you for your care and interest. — Kathy, the oldest daughter

Kathy, once again I thank you for providing this beautiful tribute to your Dad. We will appreciate your trust in allowing us to clean and restore these pipes. I am also trusting that those of you who are reading this might carry on the legacy of her Dad’s pipes as they will be added to the rebornpipes store once they are finished.

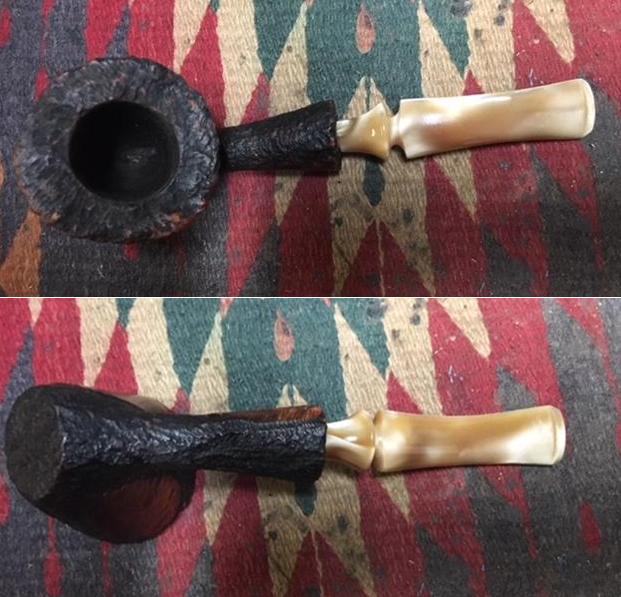
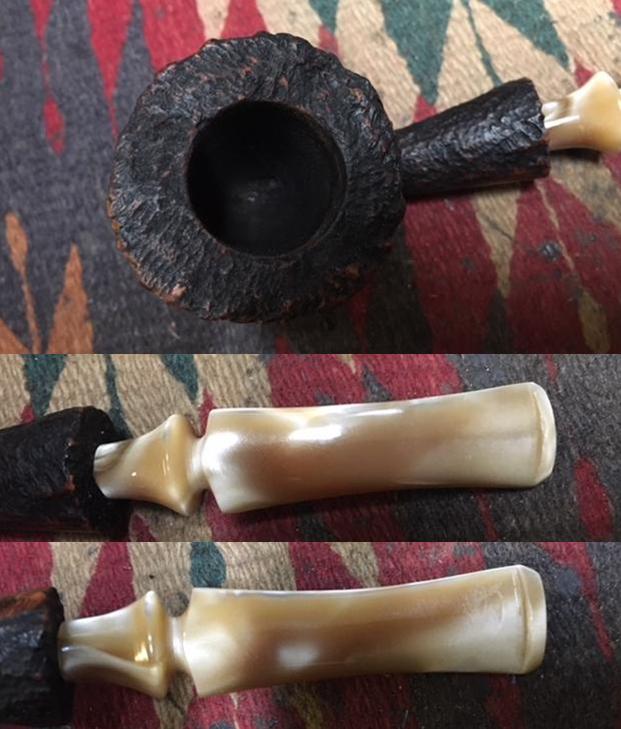
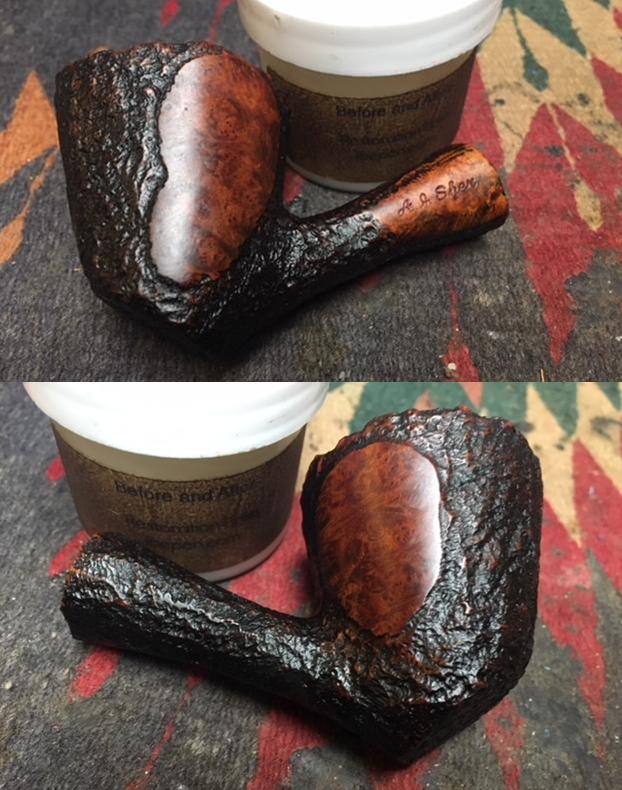
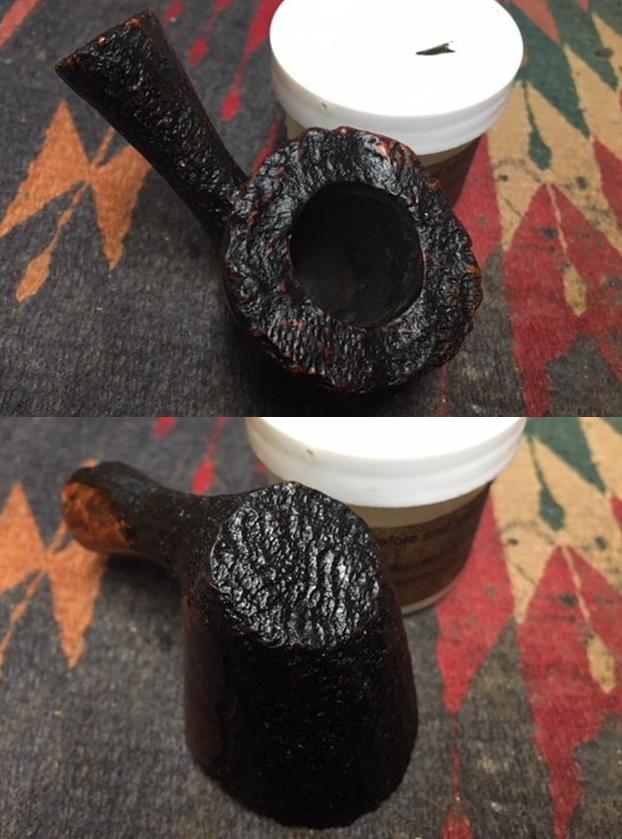
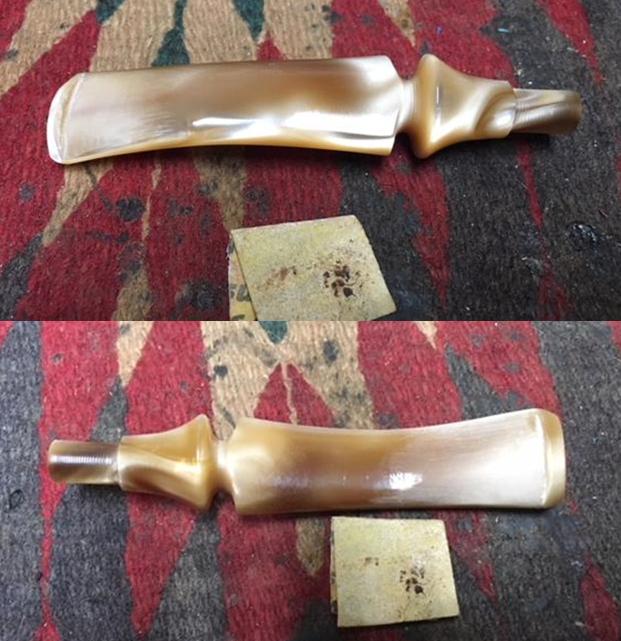
The tenth of the pipes that I chose to work on is a nice looking Freehand with a mix of sandblast and smooth patches on the sides of the bowl. The top of the bowl and the end of the shank have a faux rustication that makes it look like plateau. The Lucite stem had lots of tooth chatter and a few tooth marks on both sides near the button. Some great grain peeks through the grime around the bowl. The warm combination of dark and medium brown stain on the bowl appeared to be good condition under the dust and tars of time.

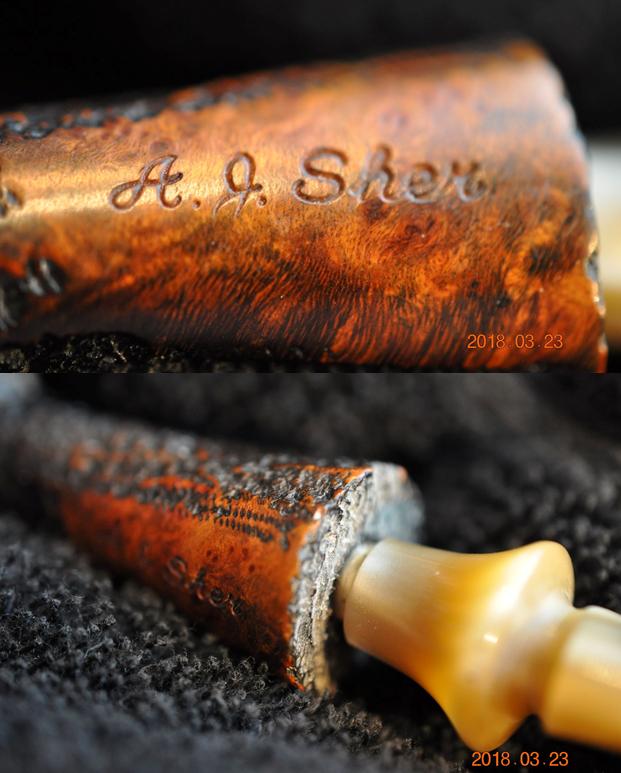
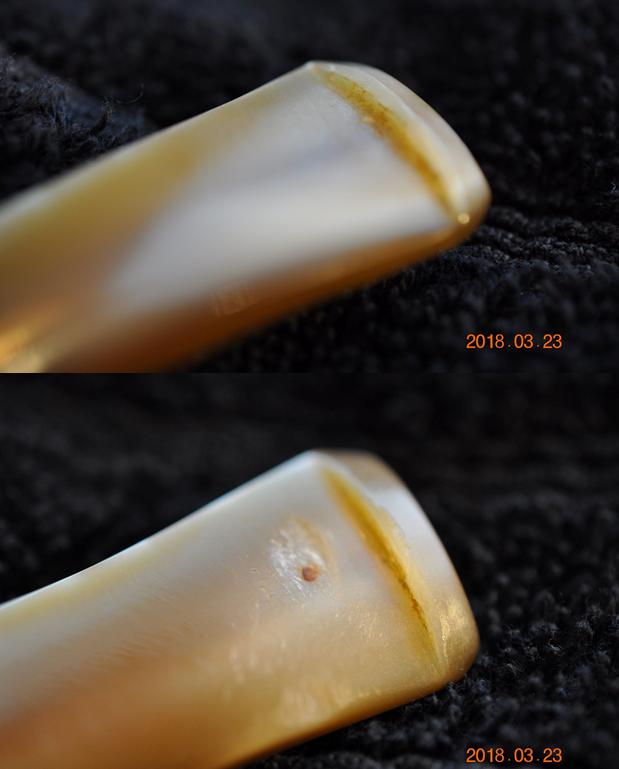
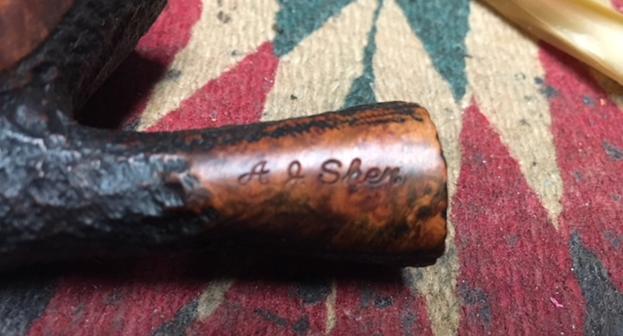
The mixture of sandblast and smooth on the bowl sides and the faux plateau on the rim top of this pipe was covered with dust and grime. The blast and rustication on the rim top was all but filled in with an overflow of lava from the thick cake in the bowl. It appeared that underneath the rim top was in good condition and the inner and outer edge of the bowl was in good condition. The stamping was on the left side of the shank and was clear and read A.J. Sher on a smooth panel. The pearlized Lucite stem had tooth dents and chatter on the top and the underside of the stem. The interior of the pipe was dirty. I could see that George thoroughly enjoyed this pipe along with the others as is evidenced by the wear that all of them show. Jeff took these photos before he started the cleanup work on the pipe. Jeff took close up photos of the bowl and rim to show the condition of the pipe before he started to work his magic on it. The exterior of the bowl and shank were dirty. You can see the lava on the rim top, the thick cake and remnants of tobacco in the bowl. The second rim top photo shows the thick cake and debris in the bowl. It is dirty but in otherwise good condition. He also took photos of the sides of the bowl and shank from different angles to show the condition of the design of the bowl. The combination of smooth panels and sandblast look good. He took photos of the stamping and the shank end to show what it looked like before cleanup.The next two photos show the stem surface. There are tooth marks and chatter on both sides near the button. On the second photo below there appears to be a tooth mark/hole deep in the surface of the acrylic. I am hoping that it is not all the way the surface of the stem.Jeff cleaned this one up before he sent it my way. After having cleaned quite a few pipes lately it was nice to work on one he had cleaned for me. He is really good at the cleanup work. He had reamed the bowl with a PipNet pipe reamer and followed up with a Savinelli Fitsall pipe knife to remove the cake. He scrubbed out the mortise and the airway in the shank and the stem with alcohol, cotton swabs and pipe cleaners. He scrubbed the exterior of the bowl, rim, shank and stem with a tooth brush and Murphy’s Oil Soap to remove the oils and tars on the bowl, rim and shank. He rinsed it under running water. He dried it off with a soft cloth. The lava mess on the rim was thoroughly removed without harming the finish underneath it. Without the grime the finish looked really good. The stem would need to be worked on. I took photos of the pipe to show its condition before I started my work on it.   I took close up photos of the bowl and rim top as well as the stem. You can see the condition of the rim top and bowl in the first photo. The top was in excellent condition and Jeff was able to remove all of the lava and oils. He had scrubbed the bowl with a tooth brush and oil soap and it looked really good. The acrylic/Lucite stem had tooth chatter and some bite marks on the top and the underside of the stem just ahead of the button. I was glad to see that there was no bite through on the underside of the stem. What had appeared as a hole in the above photos of the stem seemed to have cleaned off and all that was present was a large tooth mark.The left side of the shank was simply stamped with a signature line that read A.J. Sher. I took a photo of the shank to show the nature of the stamping. I cannot find any information on the brand on any of my usual information sites so I am asking you all to help with that. Any of you know the brand?I rubbed down the briar with Before & After Restoration Balm. I worked it into the sandblast finish and smooth portions to clean, enliven and protect the new finish. I worked it into the rim top and the shank end. Both had the appearance of plateau but I think they were carved to look like it. I let the balm sit for a little wall and then buffed it with a horsehair shoe brush. I buffed the bowl with a cotton cloth to raise the shine. There were some tooth marks on the top and underside of the acrylic stem at the button. Since there was not a hole in the stem it was a pretty easy clean up. I sanded them smooth with 220 grit sandpaper to blend them into the surface of the stem. It did not take too much sanding to remove the marks and smooth out the stem surface. When it was sanded it was smooth and the marks were gone.I polished the acrylic stem with micromesh sanding pads – wet sanding with 1500-2400 grit sanding pads and dry sanding it with 3200-12000 grit sanding pads. I wiped it down after each sanding pad with a damp cloth. I the polished stem and lightly polished the bowl with Blue Diamond to remove any remaining small scratches and raise the shine. I gave the bowl multiple coats of Conservator’s Wax and the stem several coats of carnauba wax and buffed the pipe with a clean buffing pad to raise the shine. I hand buffed it with a microfiber cloth to deepen the shine. The pipe polished up pretty nicely, it was a beautiful pipe in terms of shape and finish. I will definitely be keeping an eye out for more pipes by A.J. Sher. This is the tenth pipe that I am restoring from Kathy’s Dad’s collection. I am looking forward once again to hearing what Kathy thinks once she sees the finished pipe on the blog. The finished pipe is shown in the photos below. The dimensions are Length: 6 1/4 inches, Height: 2 inches, Outside diameter of the bowl: 1 7/8 inches, Chamber diameter: 7/8 inches. Thanks for walking through the restoration with me as I worked over this pretty Freehand. I will be adding it to the rebornpipes store shortly so if you are interested in adding it to your collection and carrying on the trust from her father send me an email or a message on Facebook. Thanks for looking. 
Farida’s Dad’s Pipes #5 – Restoring a Dunhill Root Briar 56 Bent Billiard


Blog by Steve Laug

I am back working on a of pipes that comes from the estate of an elderly gentleman here in Vancouver. I met with his daughter Farida last summer and we looked at his pipes and talked about them then. Over the Christmas holiday she brought them by for me to work on, restore and then sell for her. There are 10 pipes in all – 7 Dunhills (one of them, a Shell Bulldog, has a burned out bowl), 2 Charatans, and a Savinelli Autograph. His pipes are worn and dirty and for some folks they have a lot of damage and wear that reduce their value. To me each one tells a story. I only wish they could speak and talk about the travels they have had with Farida’s Dad.

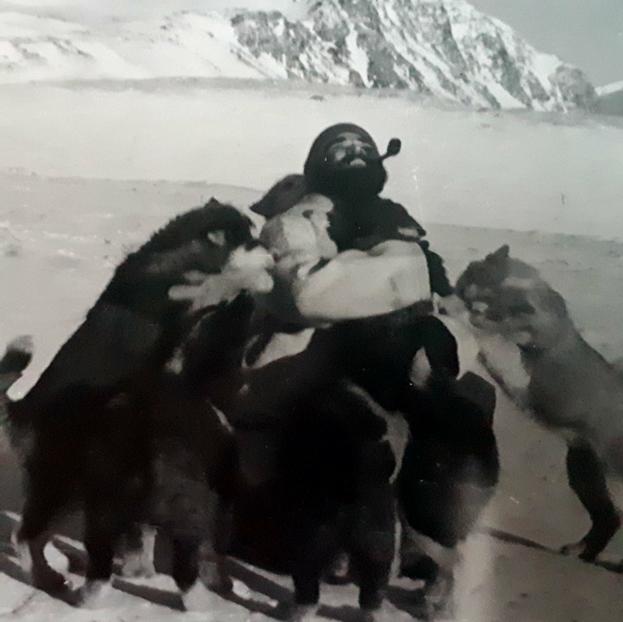
When I wrote the blog on the Classic Series Dunhill and thinking about its travels, Farida sent me an email with a short write up on her Dad. She remembered that I had asked her for it so that I could have a sense of the stories of her Dad’s pipes. Here is what she wrote: My dad, John Barber, loved his pipes. He was a huge fan of Dunhill and his favourite smoke was St. Bruno. No one ever complained of the smell of St. Bruno, we all loved it. I see the bowls and they’re large because he had big hands. When he was finished with his couple of puffs, he would grasp the bowl in the palm of his hand, holding the warmth as the embers faded. The rough bowled pipes were for daytime and especially if he was fixing something. The smooth bowled pipes were for an evening with a glass of brandy and a good movie. In his 20s, he was an adventurer travelling the world on ships as their radio operator. He spent a year in the Antarctic, a year in the Arctic and stopped in most ports in all the other continents. He immigrated to Canada in the mid-fifties, working on the BC Ferries earning money to pay for his education. He graduated from UBC as an engineer and spent the rest of his working life as a consultant, mostly to the mining companies. Whatever he was doing though, his pipe was always close by. 
She sent along this photo of him with his sled dogs in the Antarctic sometime in 1953-1954. It is a fascinating photo showing him with a pipe in his mouth. He is happily rough housing with his dogs. As a true pipeman the cold does not seem to bother him at all.Thank you Farida for sending the photo and the background story on your Dad for me to use on the blog. I find that it really explains a lot about their condition and gives me a sense of who Dad was. If your Dad was rarely without a pipe I can certainly tell which pipes were his favourites. As I looked over the pipes I noted that each of them had extensive rim damage and some had deeply burned gouges in the rim tops. The bowls seemed to have been reamed not too long ago because they did not show the amount of cake I would have expected. The stems were all covered with deep tooth marks and chatter and were oxidized and dirty. The internals of the mortise, the airway in the shank and stem were filled with tars and oils. These were nice looking pipes when her Dad bought them and they would be nice looking one more when I finished.

I finished two of the pipes and have written a blog on each of them. The first one was the Dunhill Shell with the oval shank pot (https://rebornpipes.com/2018/02/04/restoring-a-1983-dunhill-shell-41009-oval-shank-pot/) and the second was the Dunhill Classic Series Shell Billiard (https://rebornpipes.com/2018/02/08/faridas-dads-pipes-2-restoring-a-1990-lbs-classic-series-dunhill-shell-billiard/). The third pipe I restored from the estate was a Savinelli Autograph (https://rebornpipes.com/2018/02/15/faridas-dads-pipes-3-restoring-a-savinelli-autograph-4/). The fourth pipe of his that I worked on was a Dunhill Red Bark Pot that was in rough shape (https://rebornpipes.com/2018/03/10/faridas-dads-pipes-4-restoring-a-dunhill-red-bark-pot-43061/).

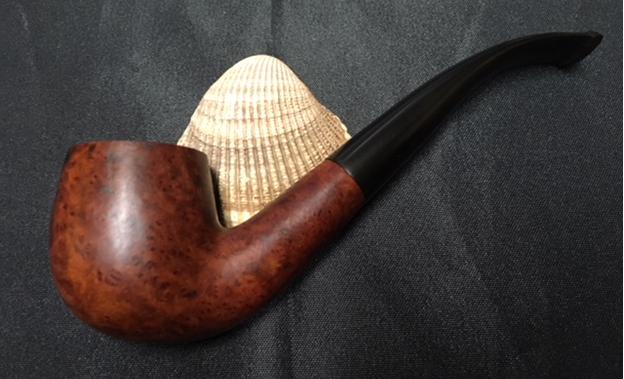
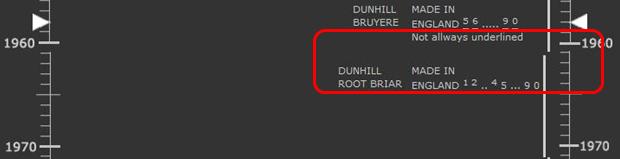
I went back to the remaining two Dunhills in the collection today and chose to work on a Dunhill Root Briar 56 Bent Billiard. It was so dirty it was hard to read the stamping on the sides. I could see that it was worn but I could not tell much else looking through the thick grime. The smooth finish sticky with oils and thick grime and the bowl felt oily to touch. I wiped off the oils and grime on the shank sides to see the stamping. It was worn but readable. On the left side of the shank it reads Dunhill over Root Briar. To the left of the stamping is the shape number 56. On the right side of the shank there is a faint stamp R with 4 in a circle. The rest of the stamping is very faint.
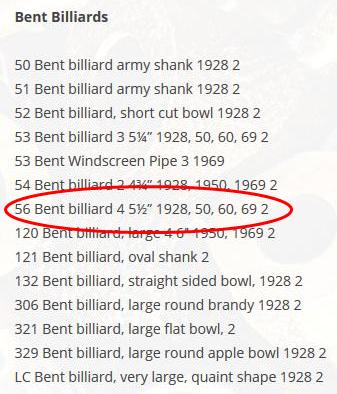
I turned to a blog I have on rebornpipes by Eric Boehme on Dunhill Shapes and looked for the shape number stamped on this pipe. Here is the link. https://rebornpipes.com/2012/11/01/dunhill-pipe-shapes-collated-by-eric-w-boehm/. I did a screen capture of the section on Bent Billiards and circled the pipe I have in hand in red. The shape number 56 is noted as a bent billiard size 4. It is noted as 5 ½ inches long just as the one I have is. It is listed as coming out in 1928, 1950, 1960 and 1969. The spread of dating was pretty large and the stamping so unreadable that I could not determine the date with that normal help. It was time to move on and look for other helpful information to see if I could narrow things down a bit.

I turned to another site that I use often – the pipephil website on Logos and Stampings because there is some really helpful information on when each of the lines of Dunhill pipes entered the market. Here is the link to the section of the site that I turned to, http://www.pipephil.eu/logos/en/dunhill/root-bru-guide.html. I did a screen capture of a portion of the chart that gave me the time frame for this particular pipe. I circled the date and brand in red in the photo below. It looks like the Root Briar came out between 1960 and 1970. Now I knew that one I was working on a pipe that came from that era – which incidentally matched the other pipes in Farida’s Dad’s estate collection.The bowl was thickly caked and the cake had flowed over onto the smooth Root Briar finish on the rim top forming hard lava that made the top uneven. The inner and outer edges of the rim were both damaged. On the right front of the bowl the rim had been scraped and damaged and then burned. On the back edge there was the same kind of damage that was on the other Dunhill pipes in this estate. This one however was not quite as deep so it would need to be dealt with a bit differently when I got to that point. The stem was lightly oxidized but otherwise in good condition. There were light tooth marks and chatter on both sides in front of the button. The Dunhill white spot was intact on the top of the stem. I took photos of the pipe to show what it looked like before I started the cleanup work. I took close up photos of the bowl and rim top as well as the stem. You can see the condition of the rim top and bowl in the first photo. The outer edge has damage on the front right – burn damage and wear that comes from lighting a pipe repeatedly in the same spot. The back left side also shows damage on the inner edge. There was damage from what looked like a poor rim job. The stem has tooth chatter and some bite marks on the top and the underside of the stem just ahead of the button.I reamed the bowl with a PipNet reamer and used two of the four cutting heads to clean out the cake. The bowl thickly caked so I started with the smaller of the two and worked my way up to the second one which was about the same size as the bowl diameter. I cleaned up the reaming with a Savinelli Fitsall Pipe Knife to remove the remnants of cake. I finished by sanding the inside of the bowl with a dowel wrapped in sandpaper. I scrubbed the surface of the briar with alcohol and cotton pads. I scrubbed until I had removed the sticky tars and oils on the finish. I worked on the top of the rim with the edge of the Savinelli Fitsall Pipe Knife. I scraped the heavy buildup that was there. I scrubbed the scraped rim top with alcohol and cotton pads to remove the debris. I dried off the bowl with a soft rag. The cleaned and scrubbed pipe really made the rim top damage very clear. It looked to me that I would need to top the bowl. I topped the bowl on a topping board with 220 grit sandpaper to remove the damage to the top surface of the rim and clean up the damage to the edges. I did not have to remove a lot and repeatedly checked it to make sure that I had removed enough but not too much. I wanted to take the top down until it was smooth up to the burn damaged area on the rim top.I wiped down the rim top with alcohol and cotton pads to remove the sanding dust. I built up the damaged area on the rim with clear super glue and briar dust. I layered it until the height of the damaged area was roughly equal to the rim top. The third photo below shows the top at this point in the process. I took photos of the repaired bowl from a variety of angles to show what the repair looked like before I sanded and cleaned it up. I would need to top the bowl again to smooth things out and work on the edges. I topped the bowl again to remove the excess repair material. I worked it over the sandpaper on the board until the surface was smooth. I used a folded piece of 150 and 220 grit sandpaper to bevel the inside edge of the bowl. With the externals clean it was time to clean out the mortise and shank and airway into the bowl and the airway in the stem with alcohol, cotton swabs and pipe cleaners. I scraped the mortise with a dental spatula to loosen the tars before cleaning. I worked on the bowl and stem until the insides were clean.I used a Cherry stain pen to touch up the rim and match the colour of the rest of the pipe.I rubbed down the briar with Before & After Restoration Balm. I worked it into the smooth finish to clean, enliven and protect the new finish. It also evened out the stain coat and gave the stain a dimensional feel. I let the balm sit for a little wall and then buffed it with a horsehair shoe brush. I buffed the bowl with a cotton cloth to raise the shine. There was some darkening on the bowl front but the briar was solid. Overall the bowl looked really good. I set it aside and turned my attention to the stem. I sanded out the tooth chatter on both sides with a folded piece of 220 grit sandpaper.I polished the stem with micromesh sanding pads – wet sanding with 1500-2400 grit micromesh sanding pads and dry sanding it with 3200-12000 grit pads. I rubbed the stem down with Obsidian Oil after each pad. I polished it further with Before & After Pipe Polish, using both the Fine and Extra Fine polishes to further protect and polish out the scratches. When I finished with those I gave it a final rub down with the oil and set it aside to dry.  With the stem polished I put it back on the pipe and lightly buffed the bowl with Blue Diamond. I buffed the stem with a more aggressive buff of Blue Diamond. I gave the bowl several coats of Conservator’s Wax and the stem several coats of carnauba wax and buffed the pipe with a clean buffing pad to raise the shine. I hand buffed it with a microfiber cloth to deepen the shine. The pipe polished up pretty nicely. The finished pipe is shown in the photos below. This is the fifth of Farida’s Dad’s pipes that I am restoring from his collection. I am looking forward to hearing what Farida thinks once she sees the finished pipe on the blog. This one is already sold to a fellow in India. It will soon be on its way to him to carry on the trust from Farida’s father. The dimensions are Length: 5 1/2 inches, Height: 1 3/4 inches, Outside diameter of the bowl: 1 1/8 inches, Chamber diameter: ¾ inches. Thanks for walking through the restoration with me as I worked over another of the Dunhills. More of his pipes will follow including some one more Dunhill and two Charatans. The last photo of the front of the bowl shows the darkening to the briar that remains. It is solid and the burn mark does not compromise the briar. It looks worse in this photo than it does in reality. It is a dark spot that is solid.