Blog by Steve Laug
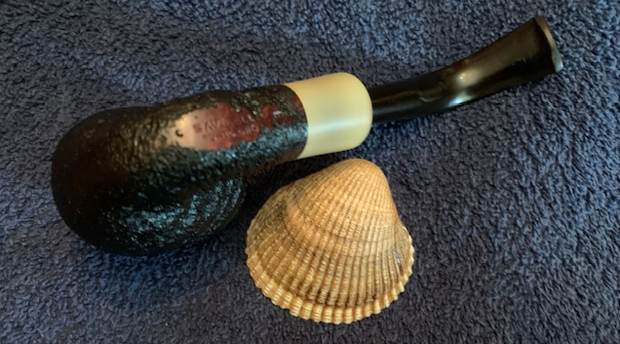
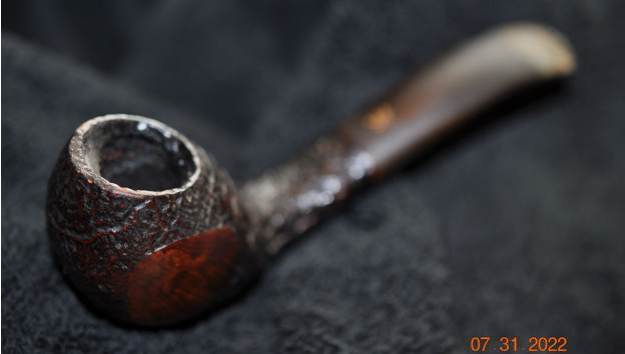
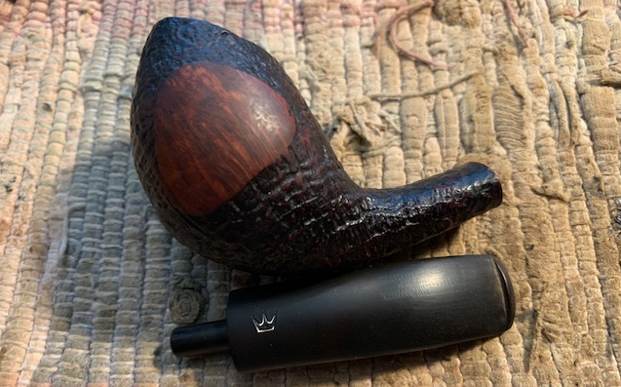
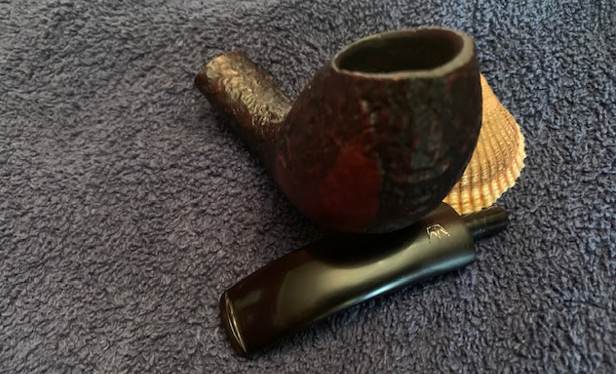
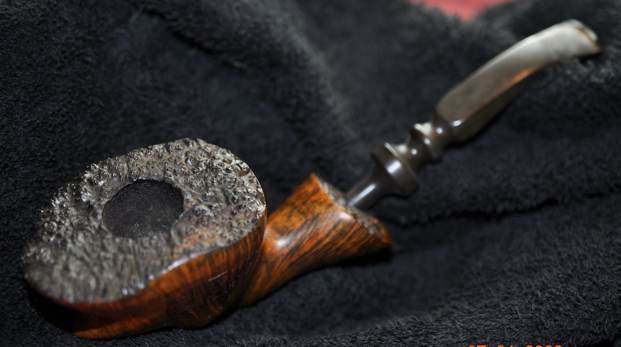
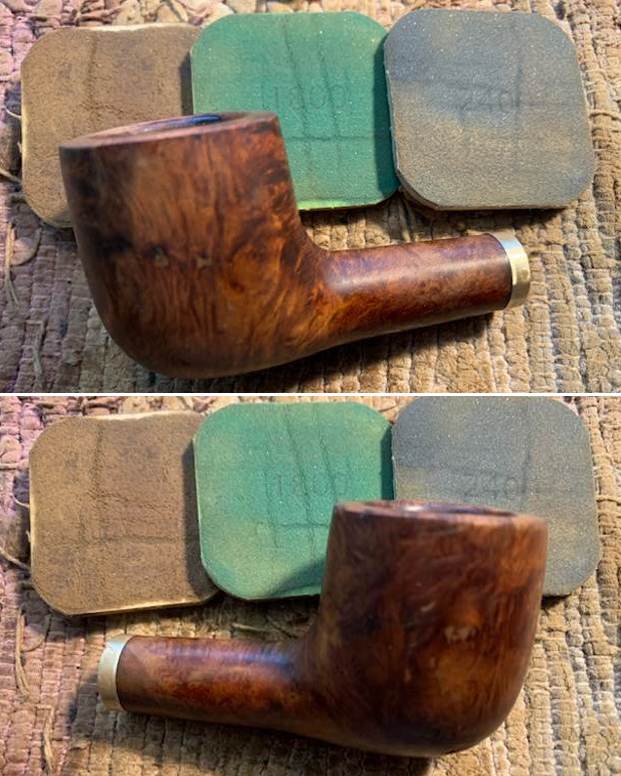
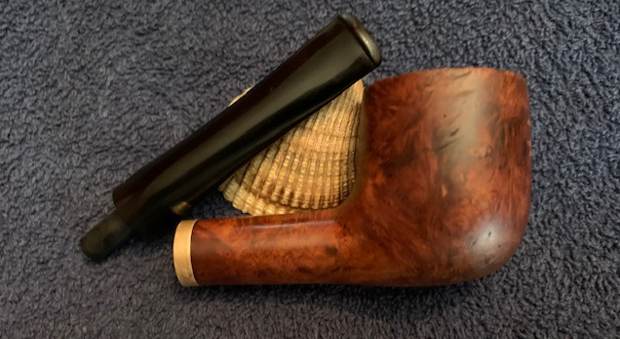
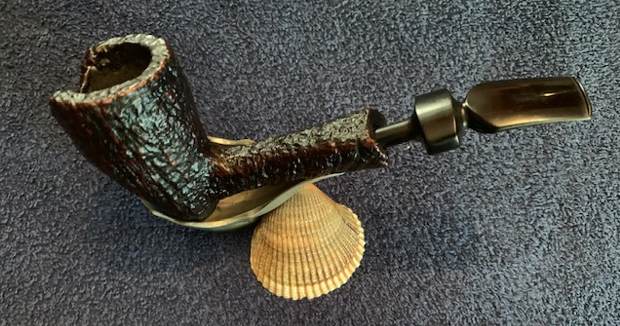
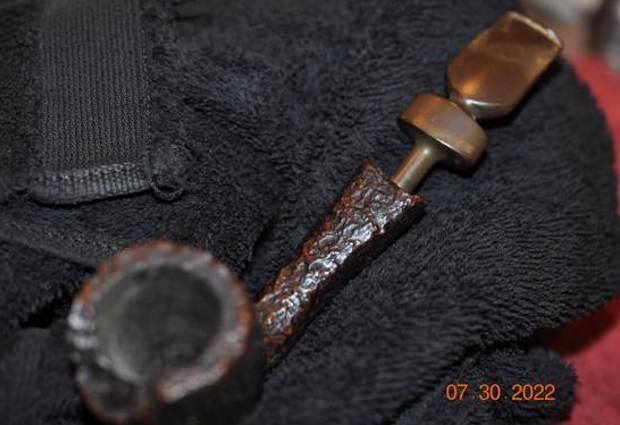
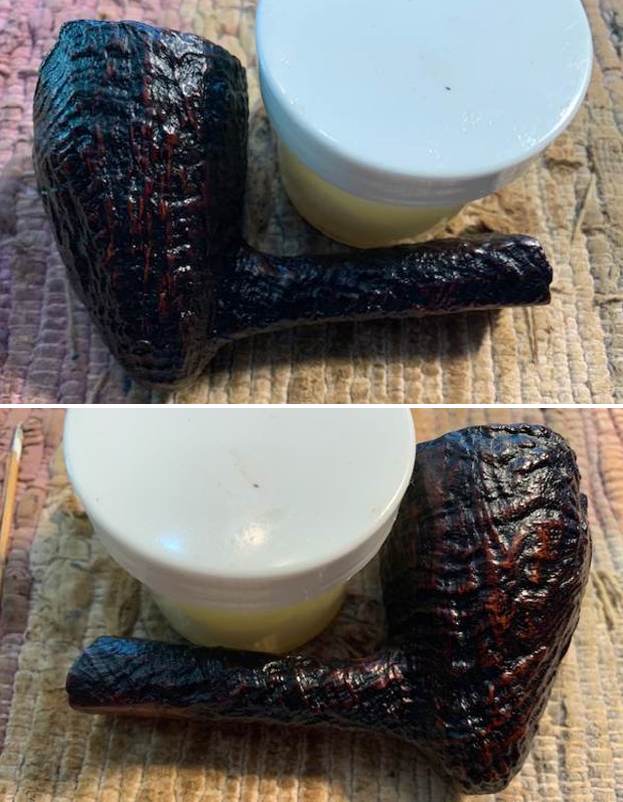
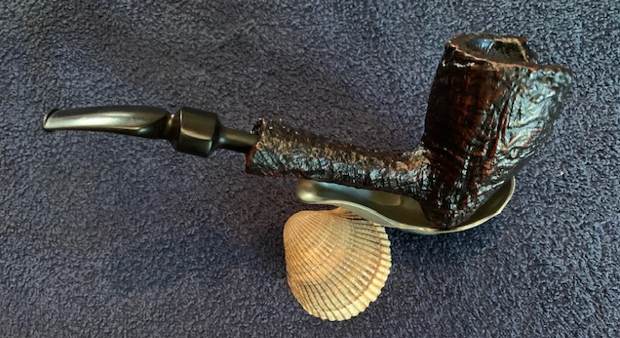
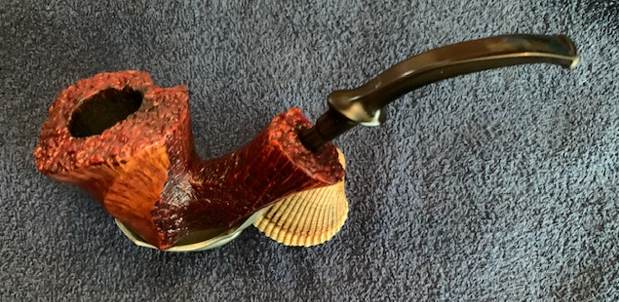
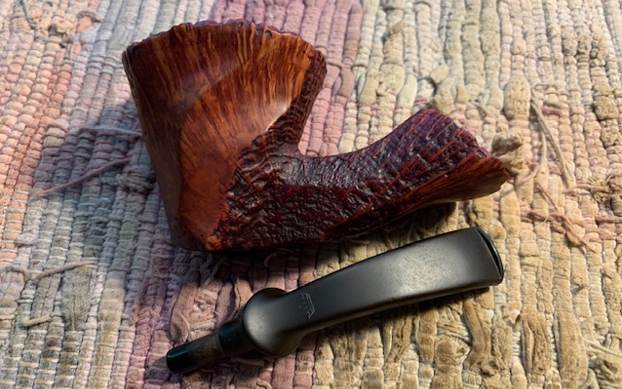
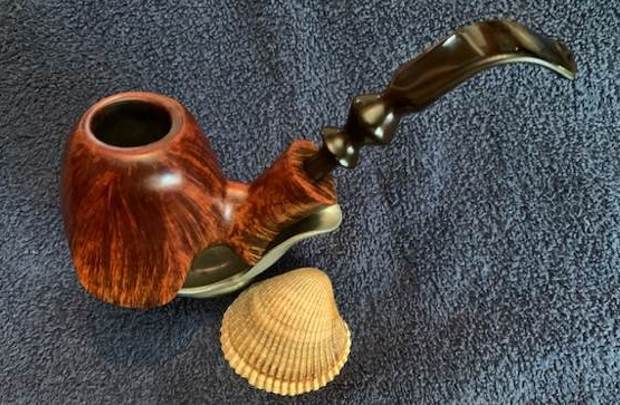
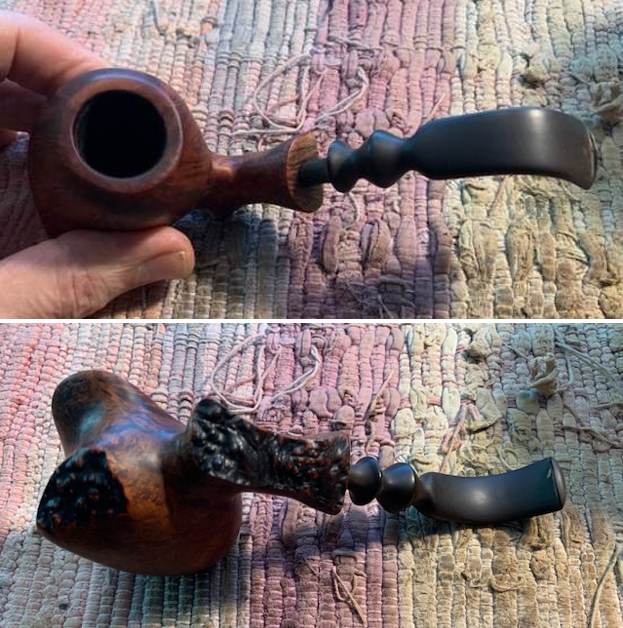
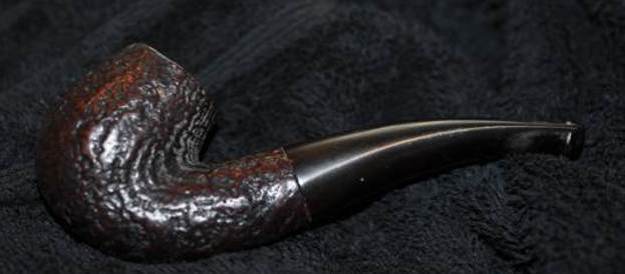
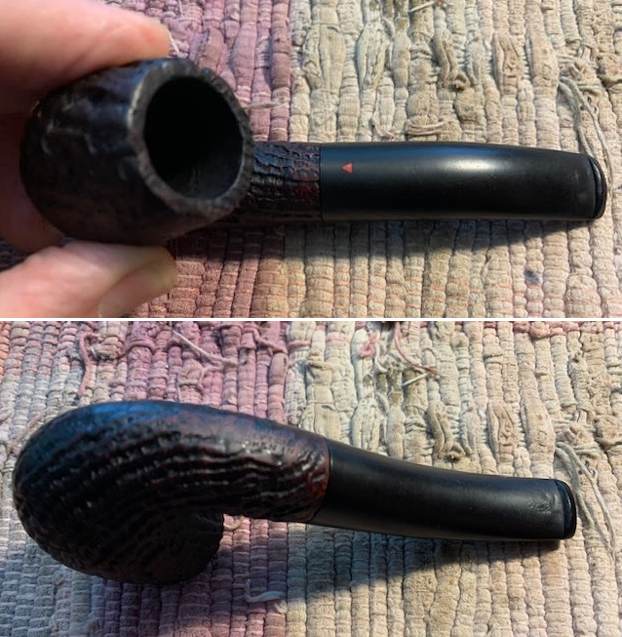
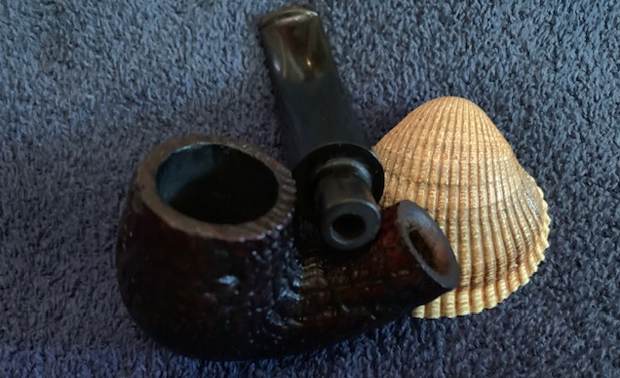
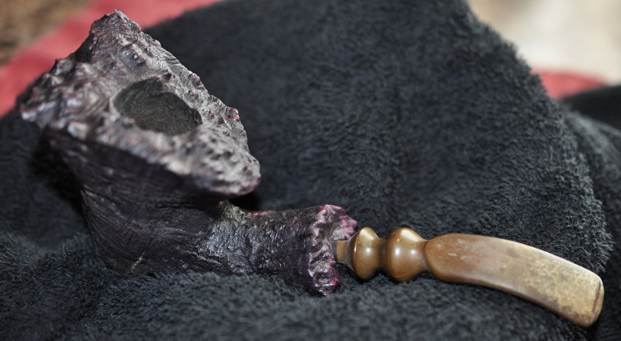
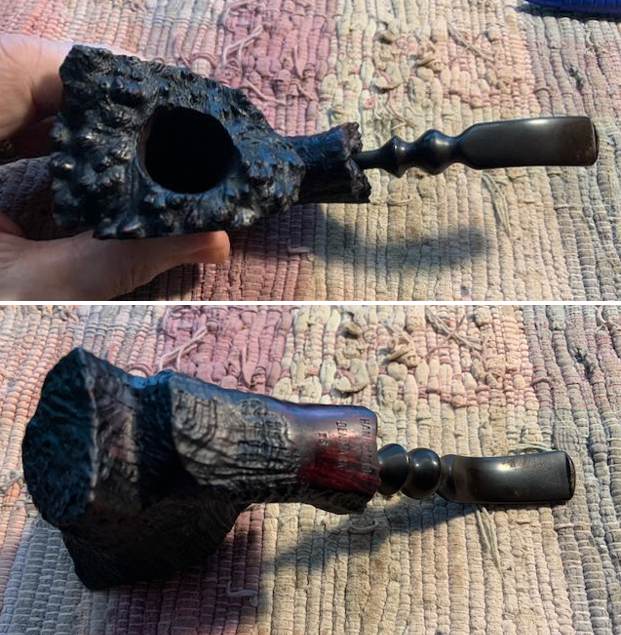
The next pipe on the table was purchased on 05/24/22 from an antique mall in Aurora, Oregon, USA. This Savinelli Full Bent Punto Oro has a rugged, swirling sandblast finish with lots of nooks and crannies in the briar. It is a beauty! The pipe is stamped on a smooth panel on the underside of the shank and reads Savinelli over Punto Oro. That is followed by the shape number that has a 6 but the other numbers are not clear [over] Italy. The shape number is buried in the sandblast finish so I will need to do some hunting online to identify the shape number. The valleys and ridges of the sandblasted grain showing through the grime and dirt are a mixture that leaves a rich texture. It had rich dark and medium contrasting brown stains that do not look too bad. There was a thick cake in the bowl with remnants of tobacco stuck on the walls. There was a lava overflow filling in the blast on the rim and covering the inner edge. It looked quite good. It was a beautiful pipe that was dirty and tired looking. The stem was oxidized and calcified toward the end. There were tooth marks and chatter on the stem near the button on both sides and some on the surface of the button as well. There is a small gold dot on the top of the stem identifying it as a Savinelli Punto Oro. Jeff took photos of the pipe before he cleaned it up.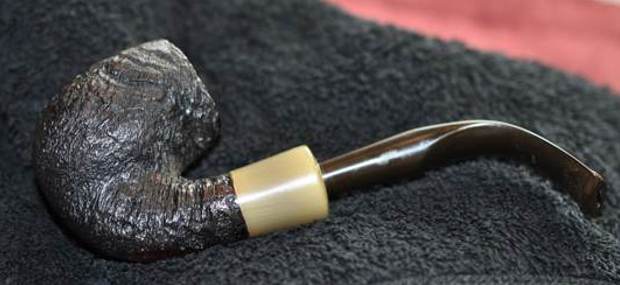
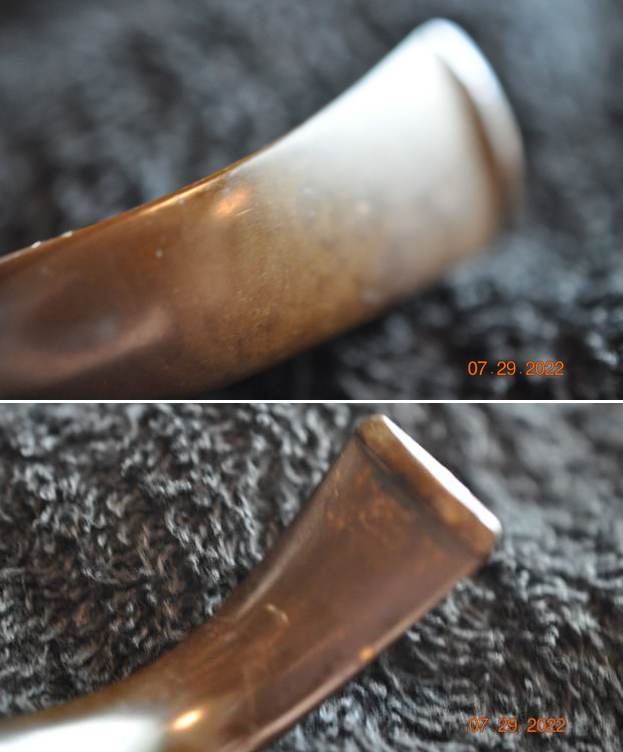
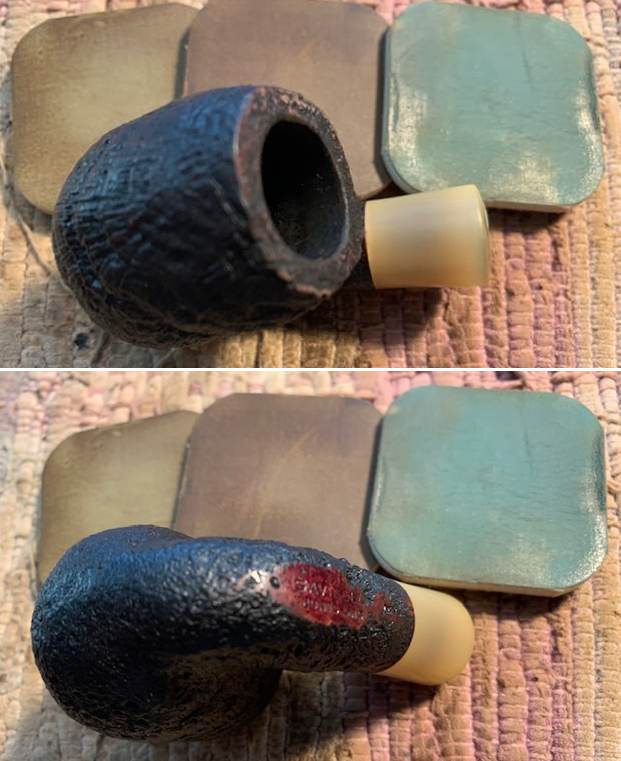
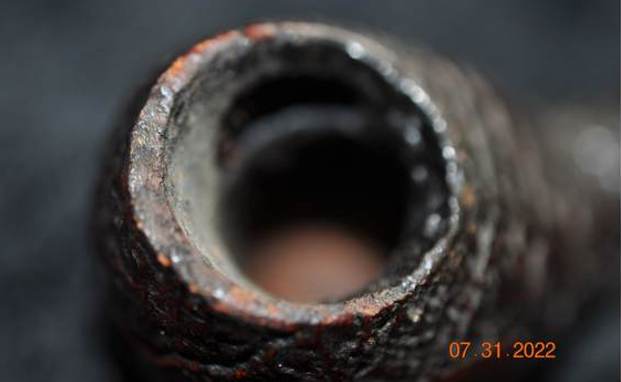
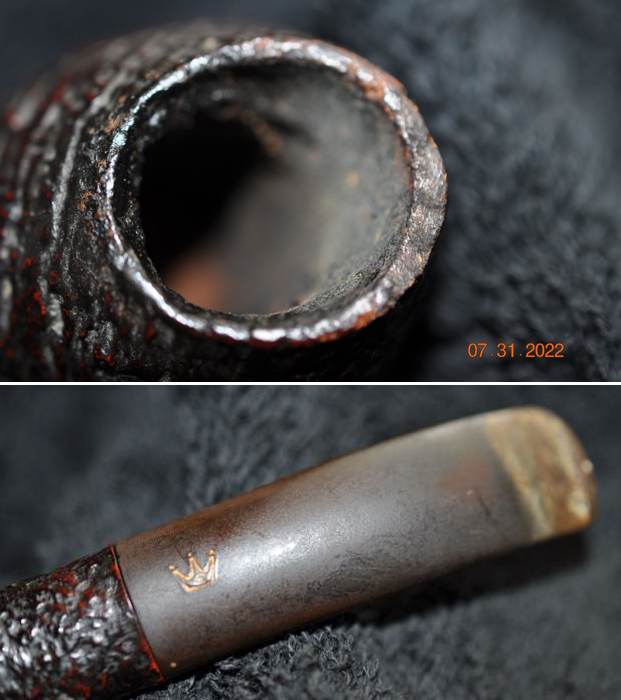
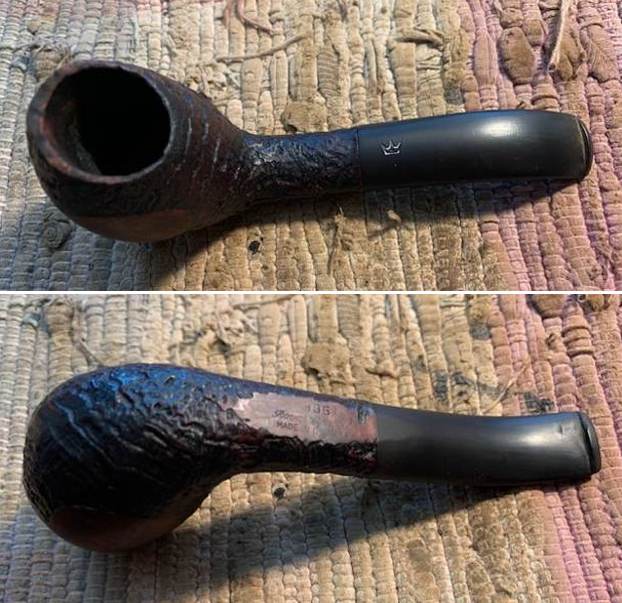
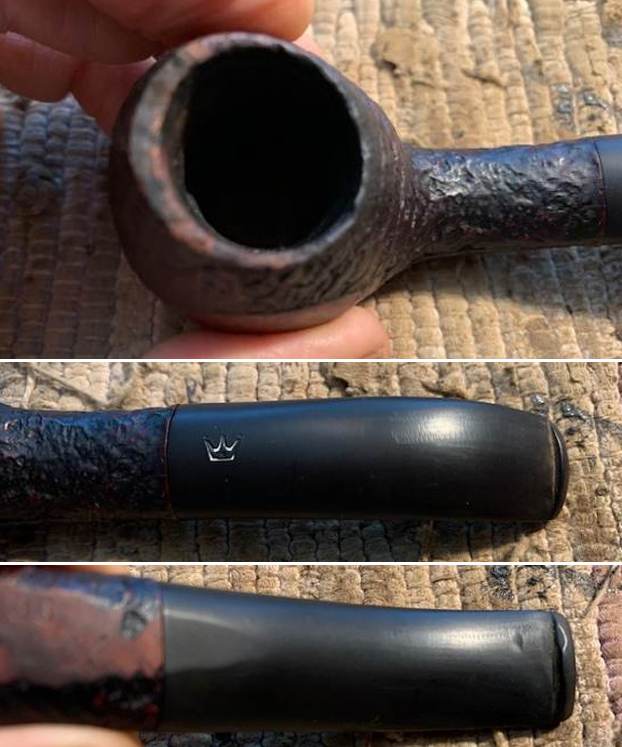
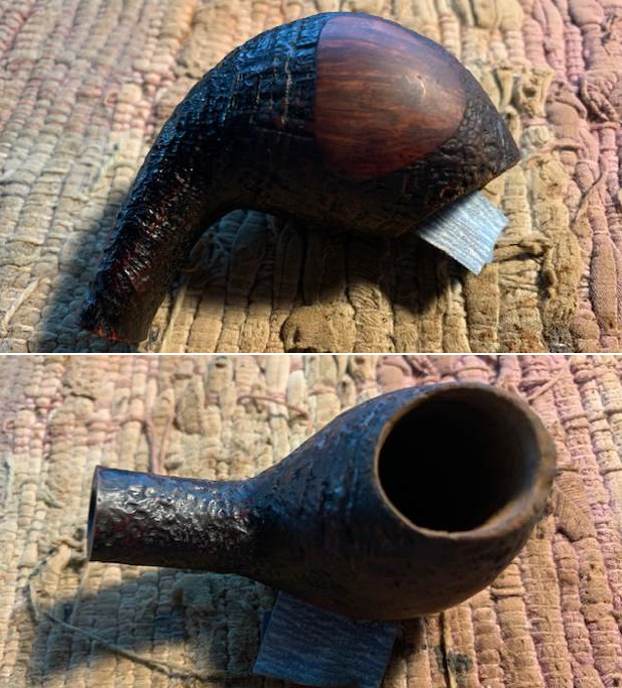
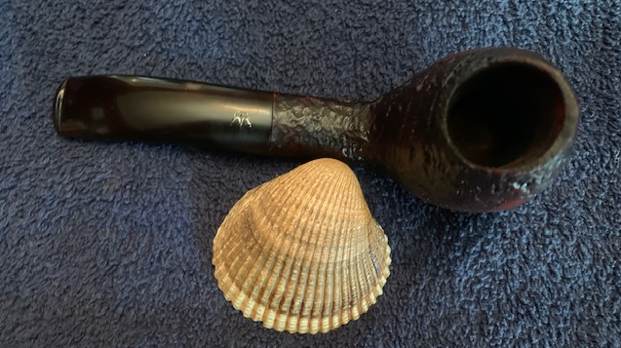
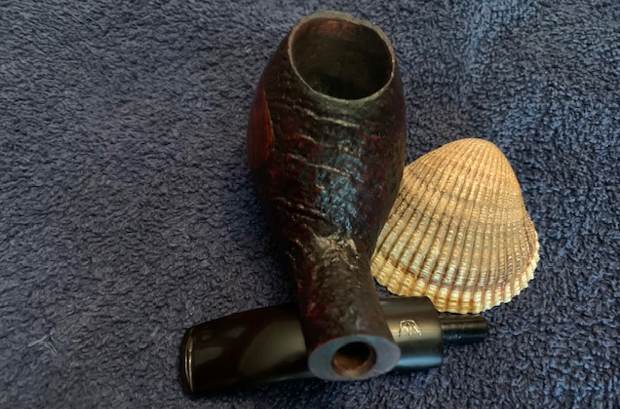
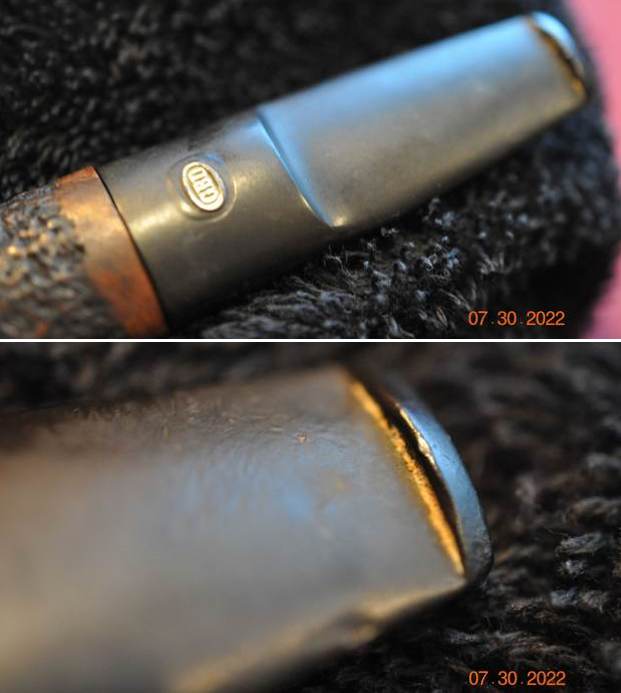
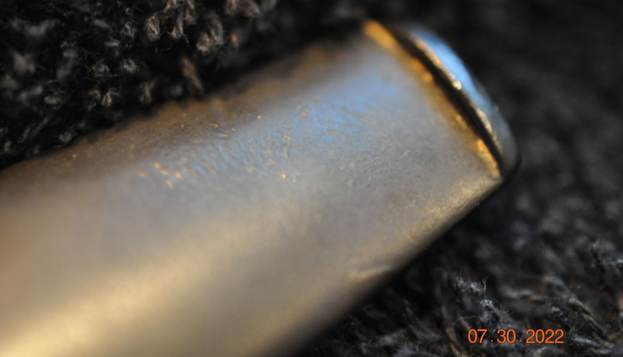
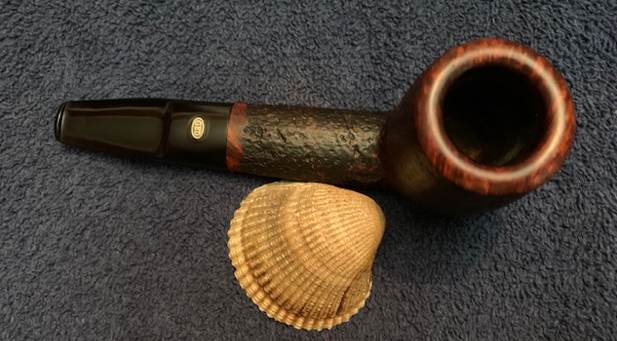
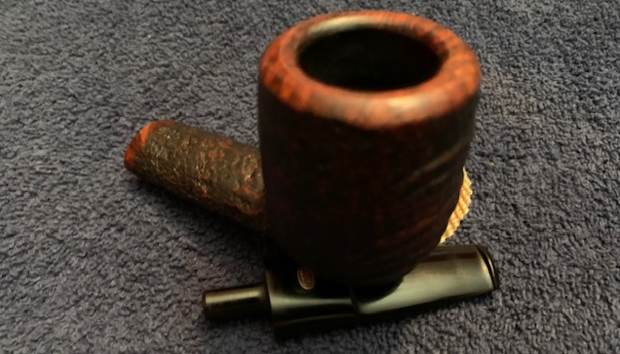
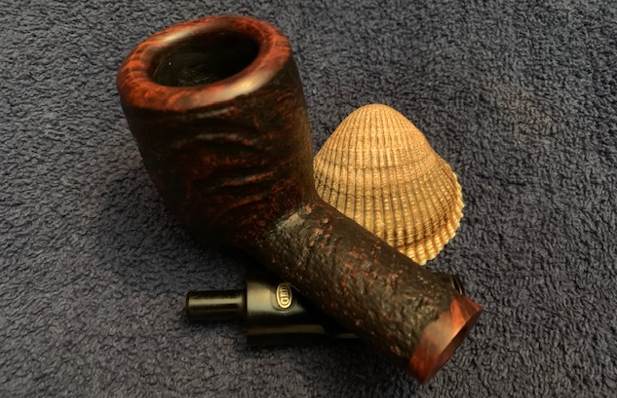
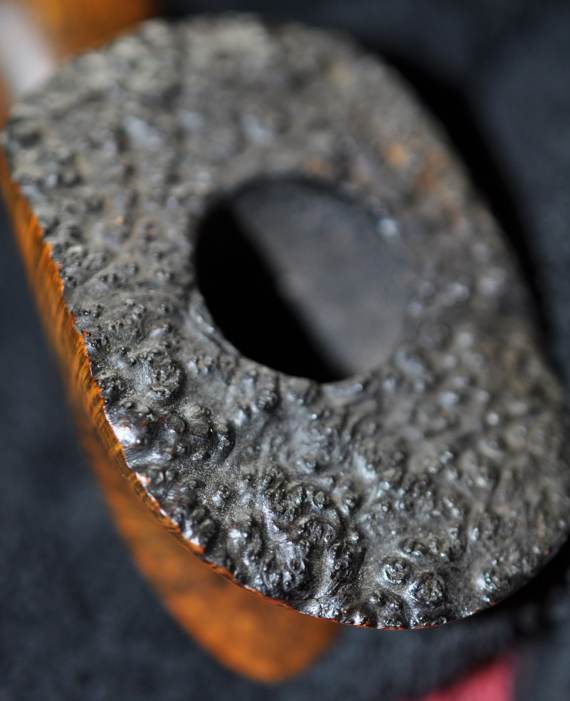
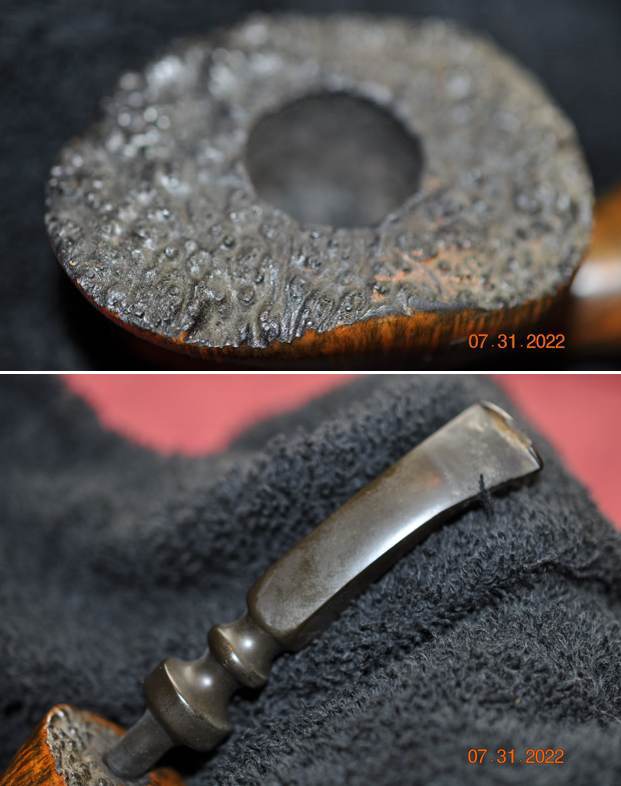
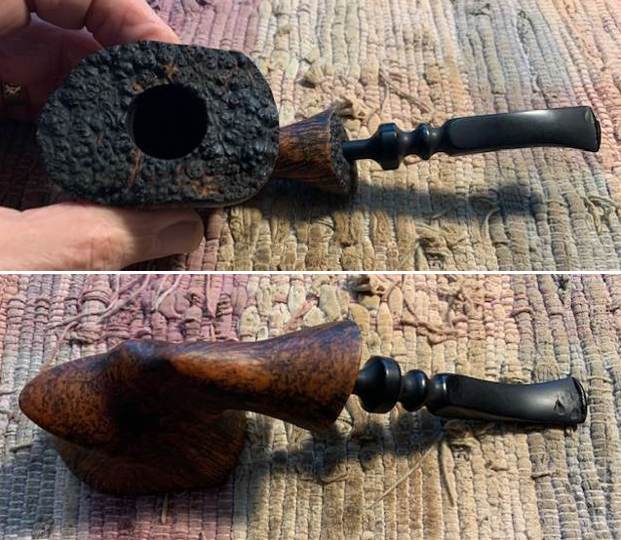
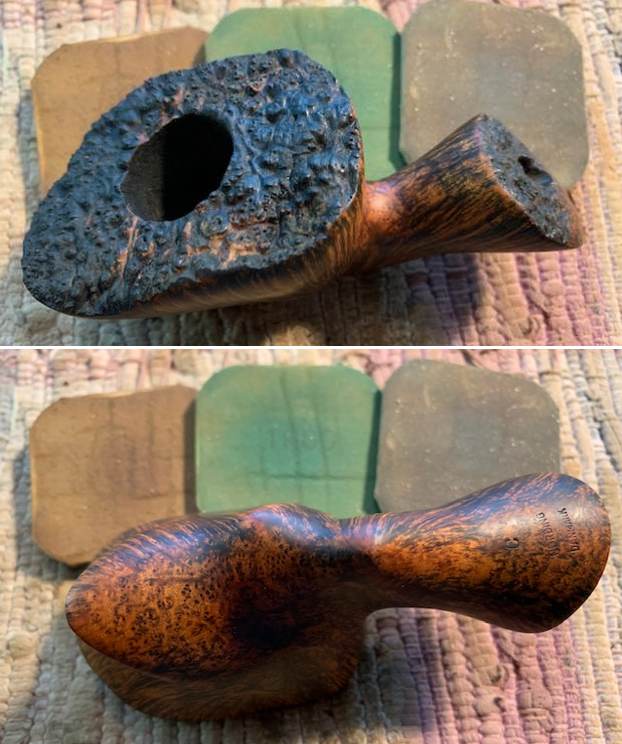
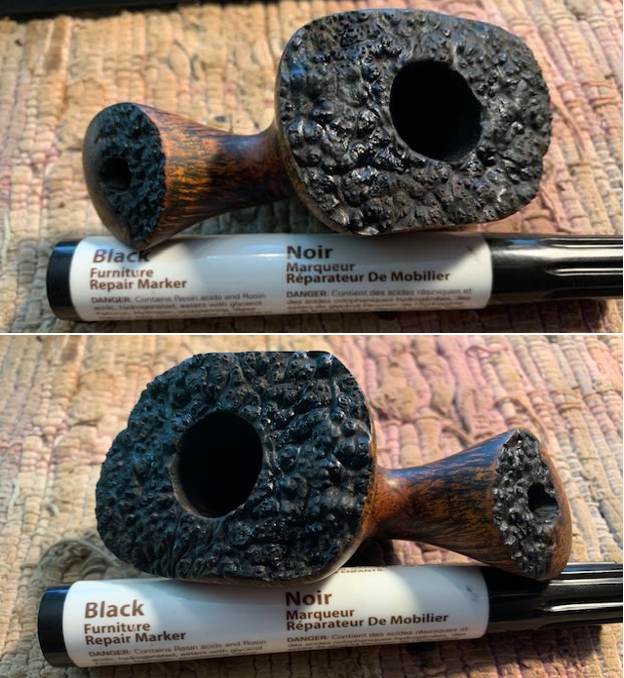
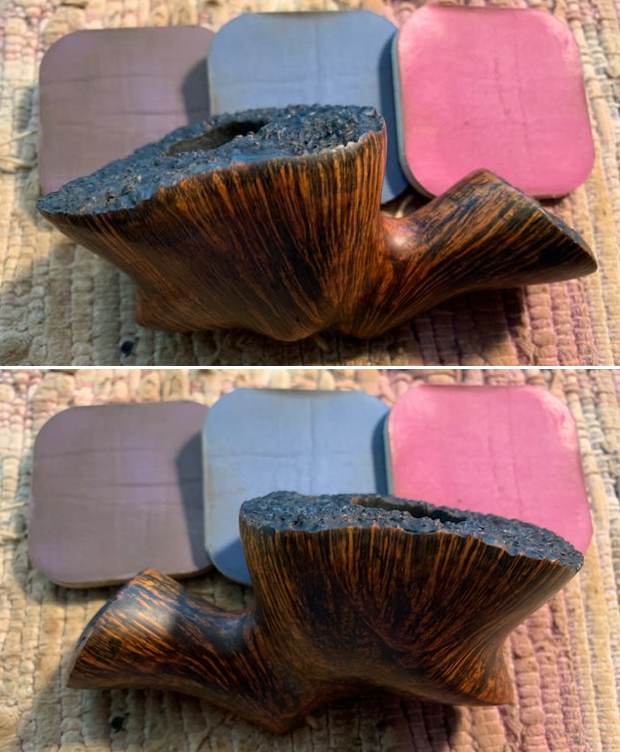
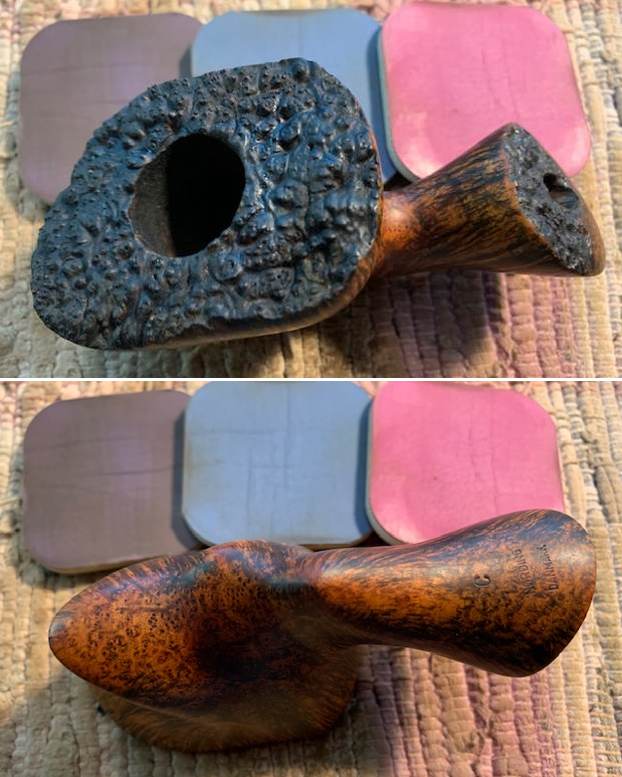
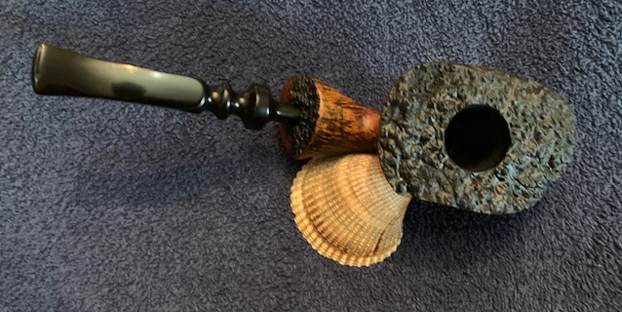
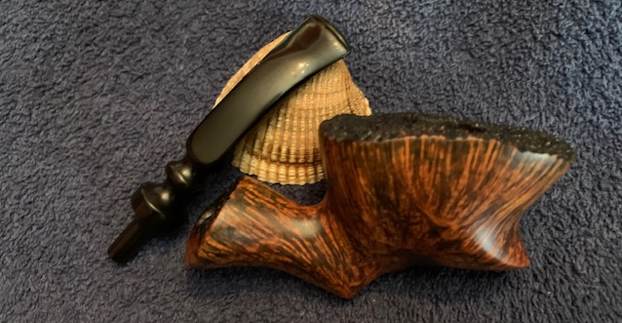
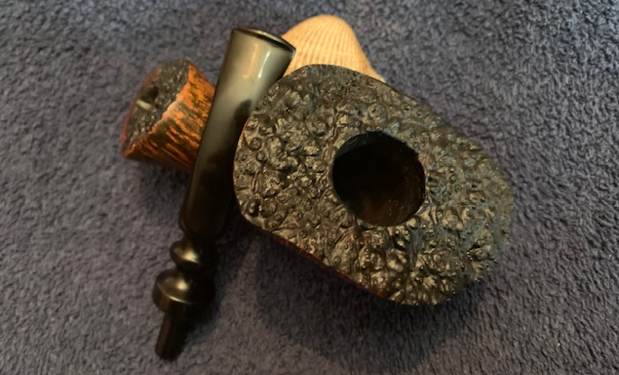
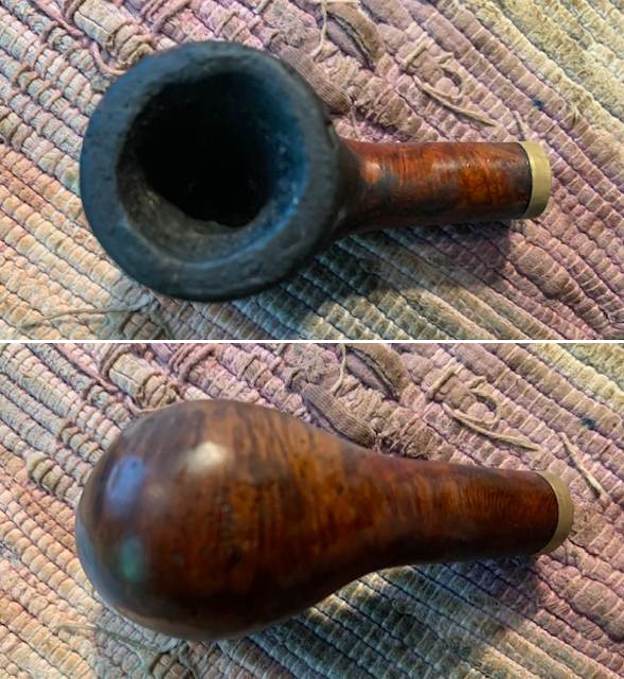
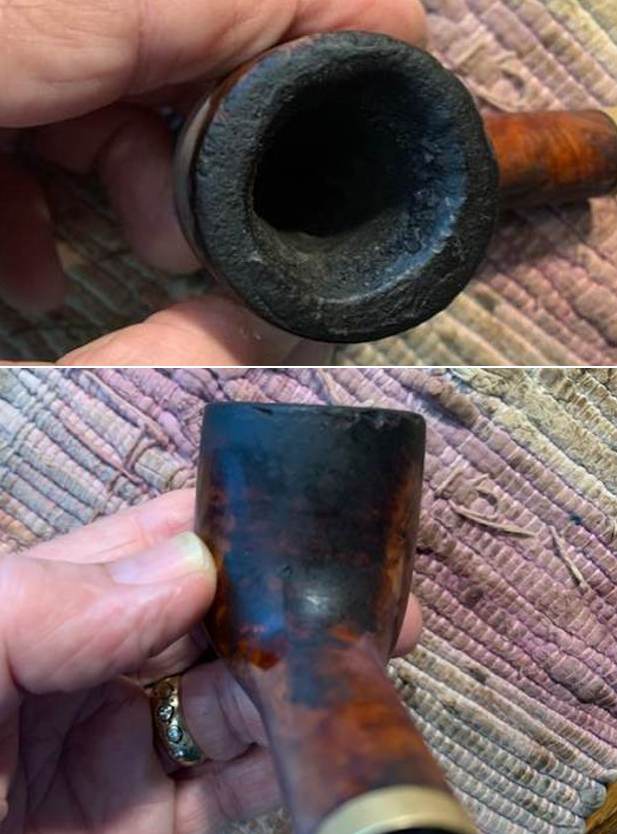
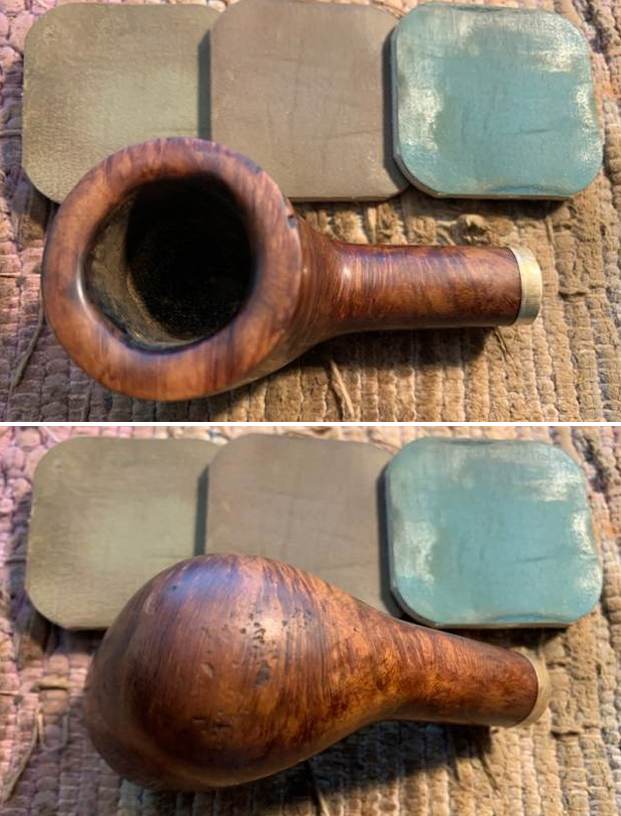
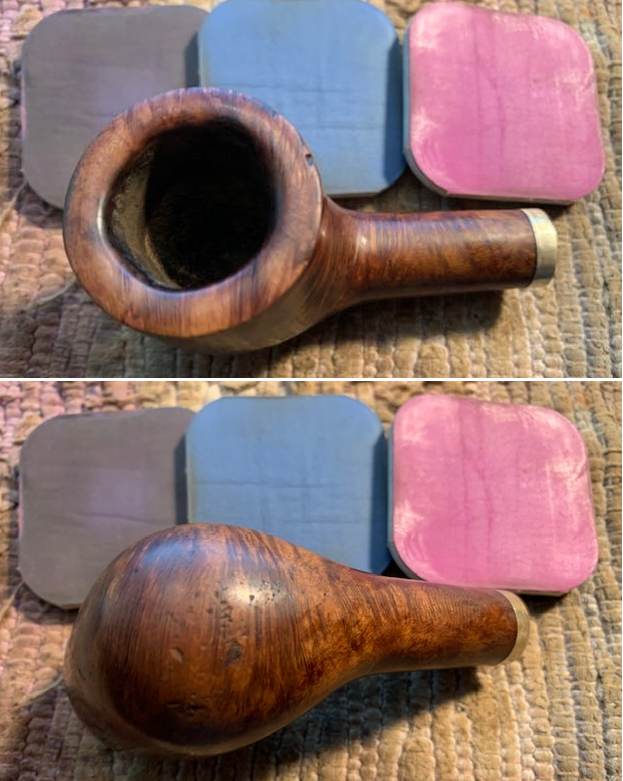
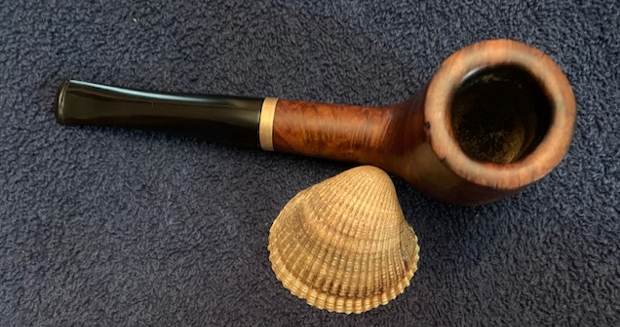
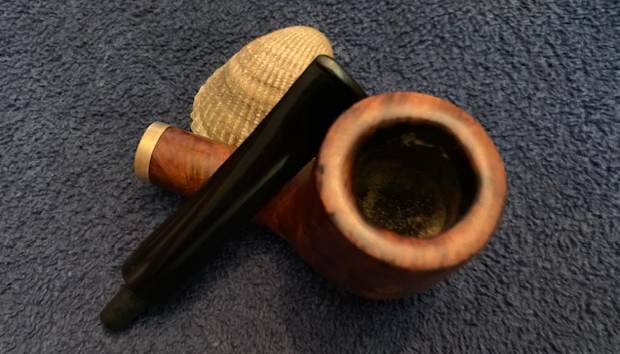
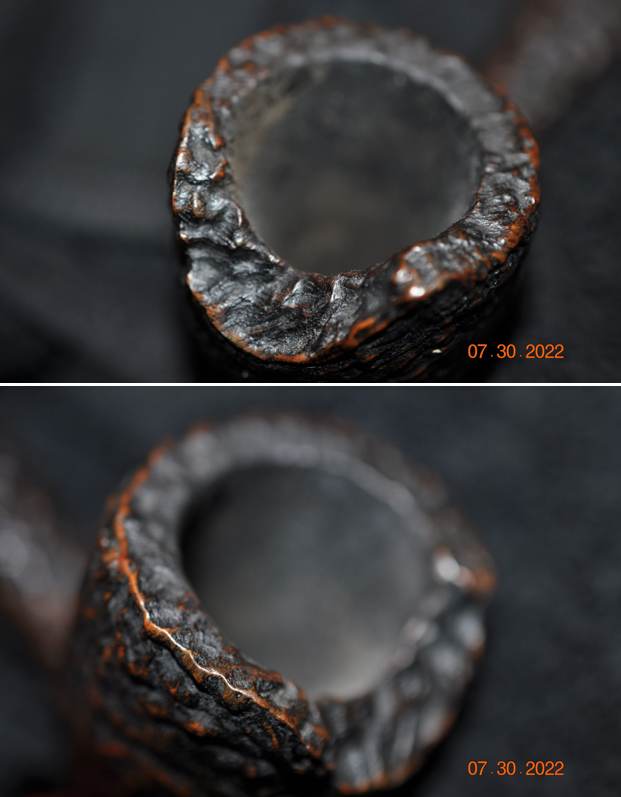
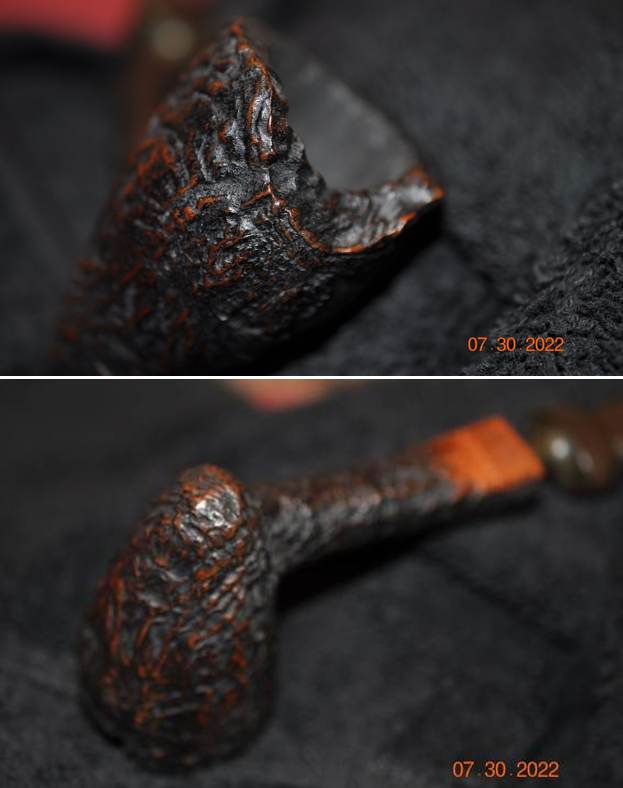
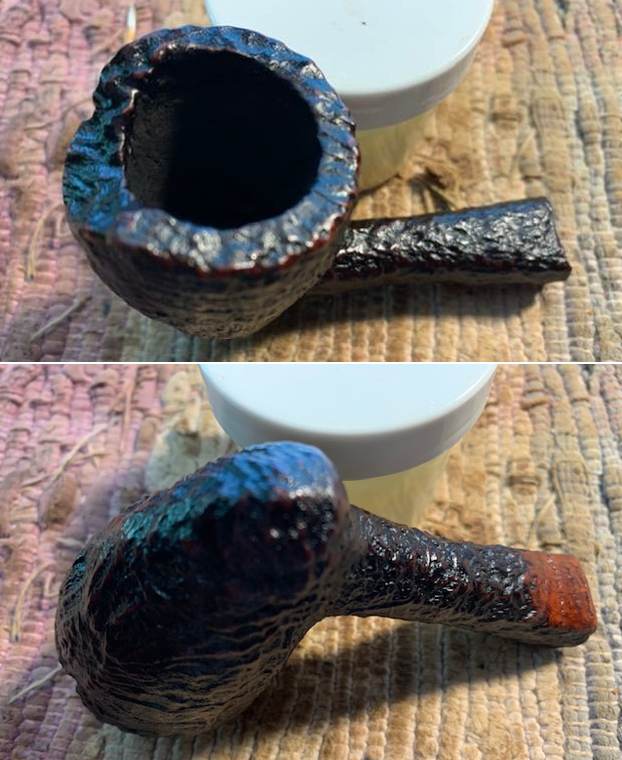
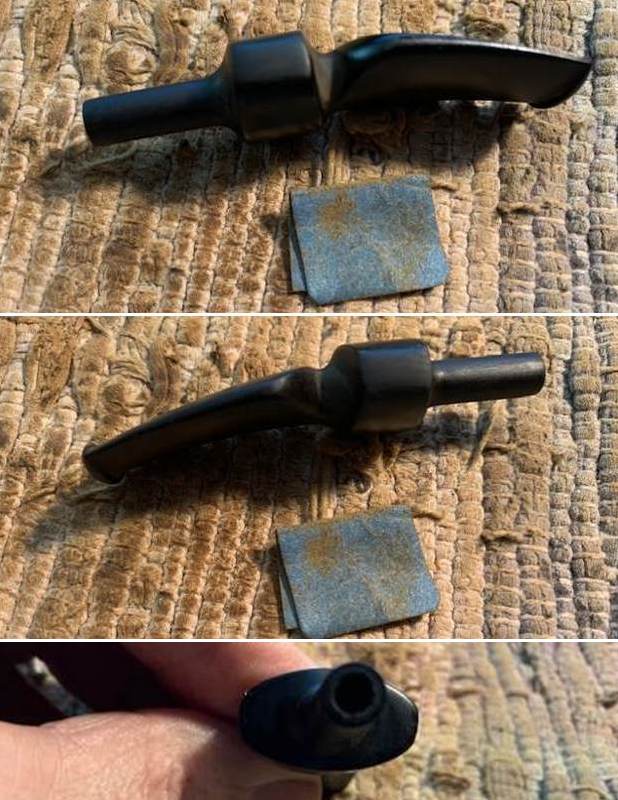
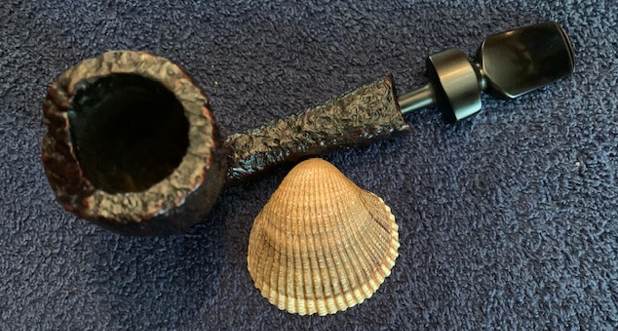
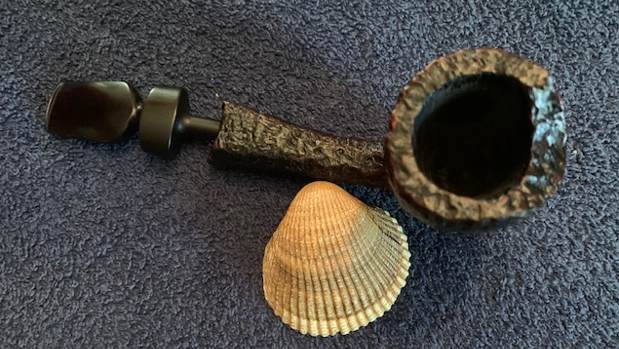
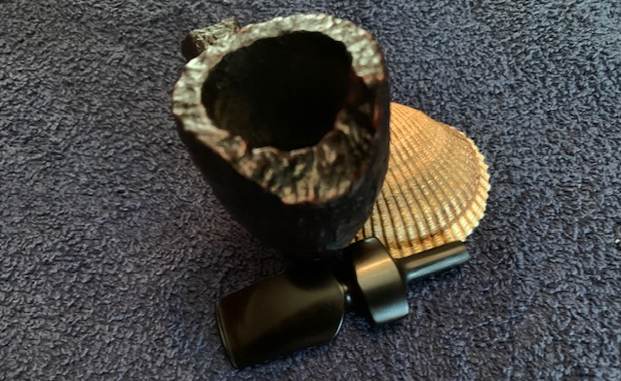
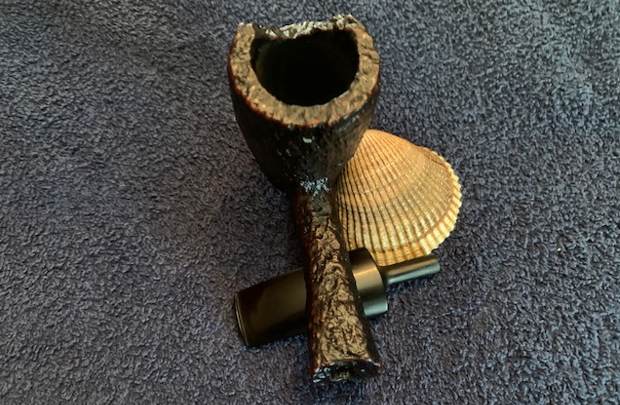
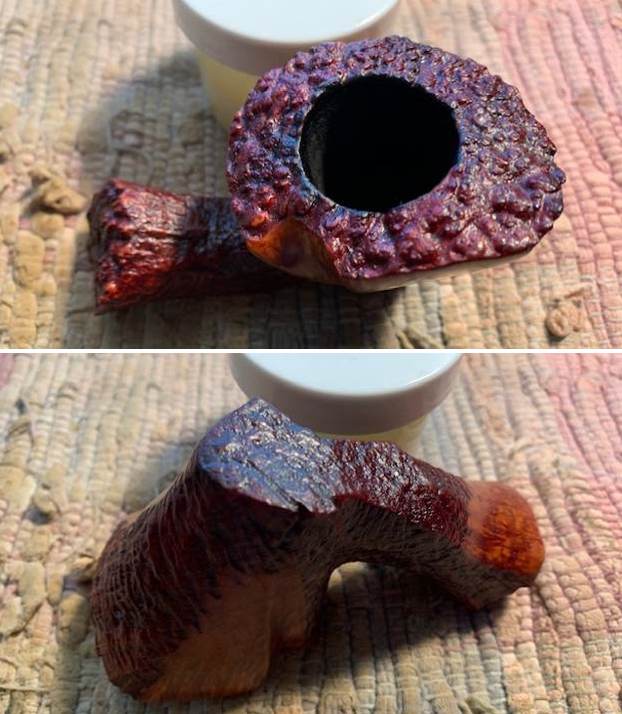
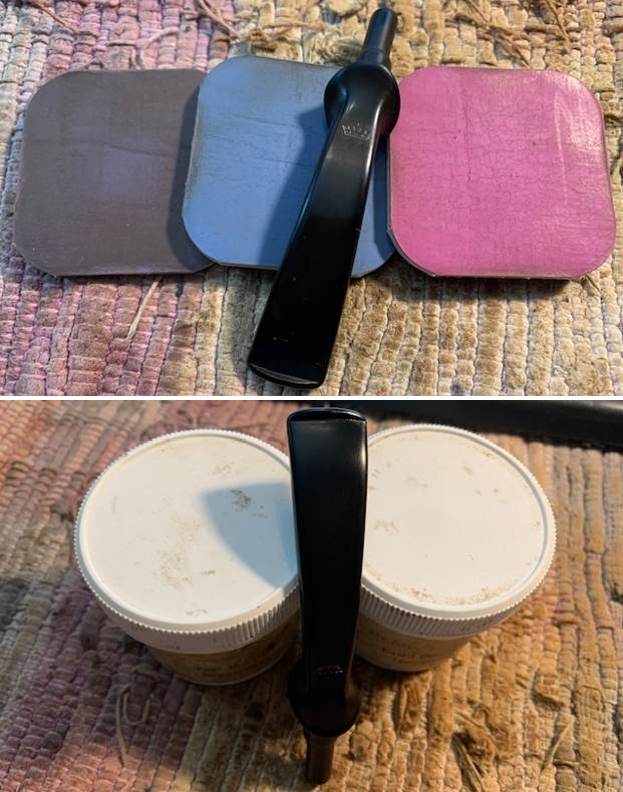
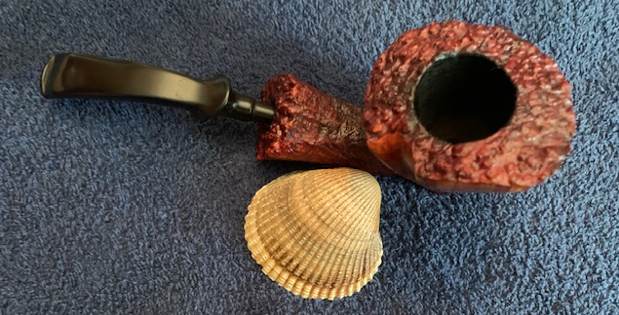
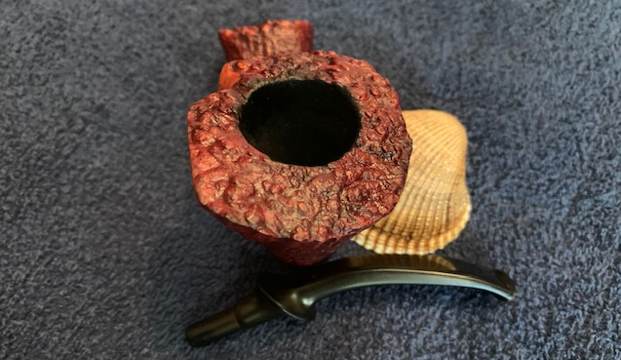
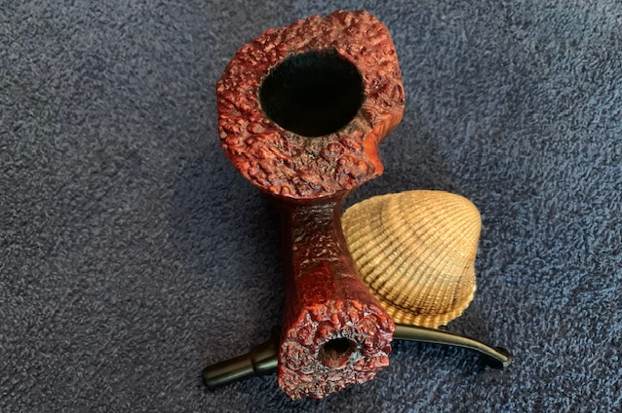
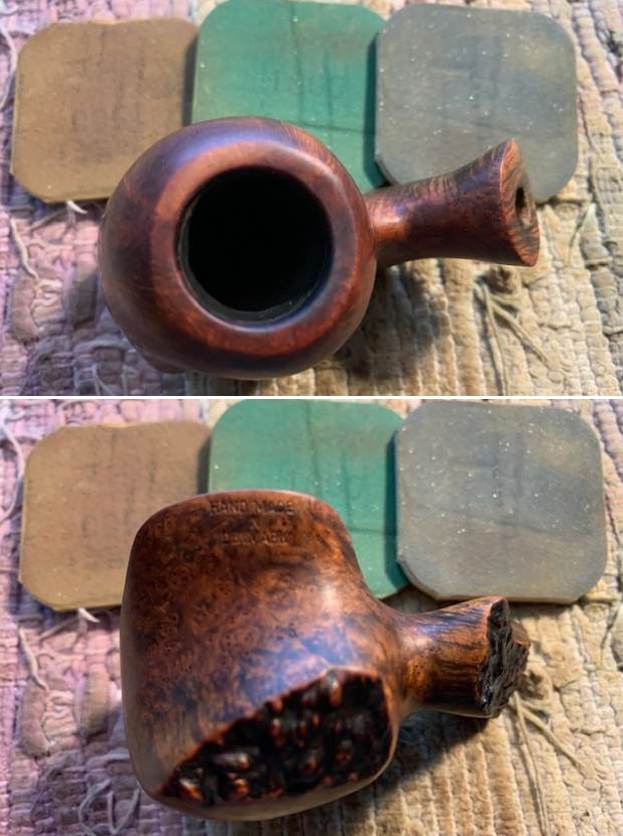
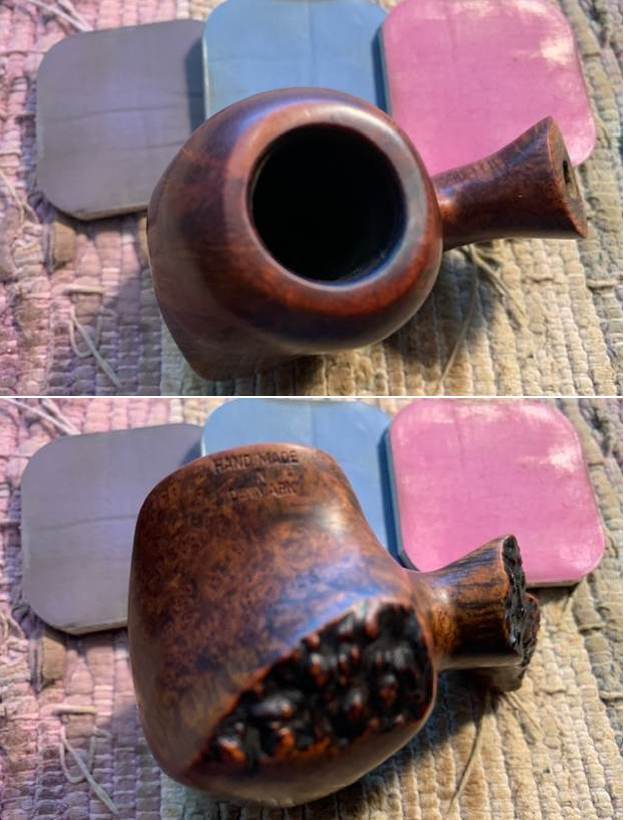
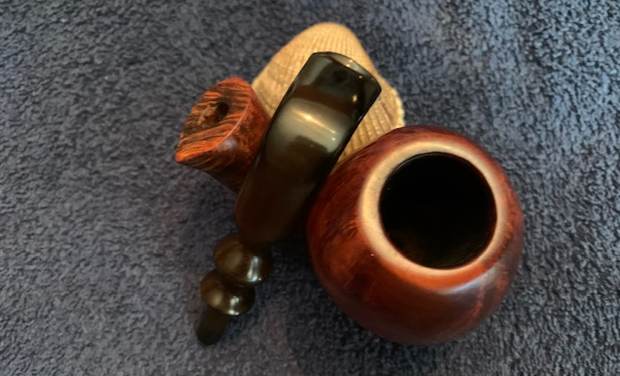
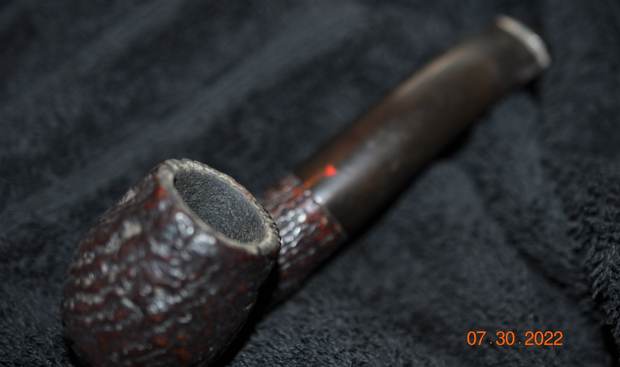
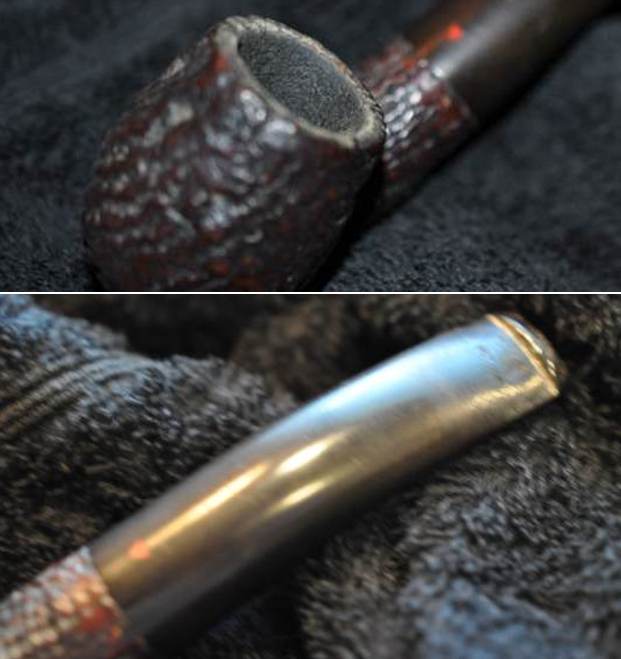
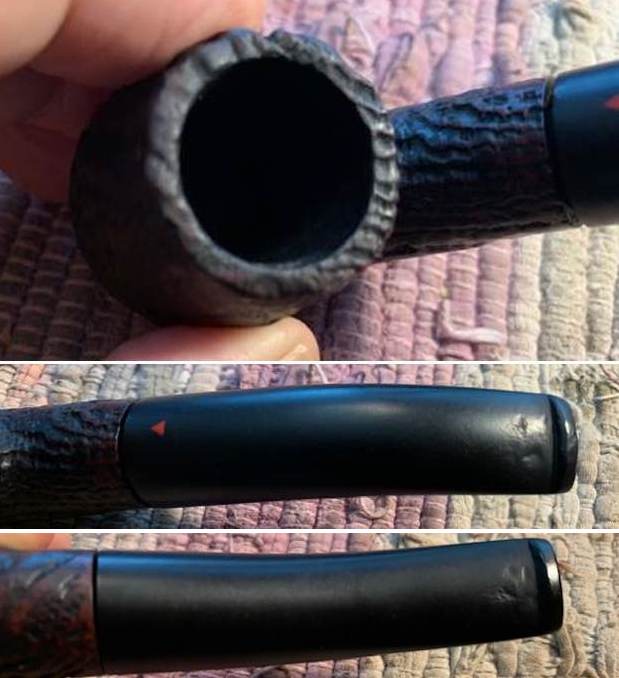
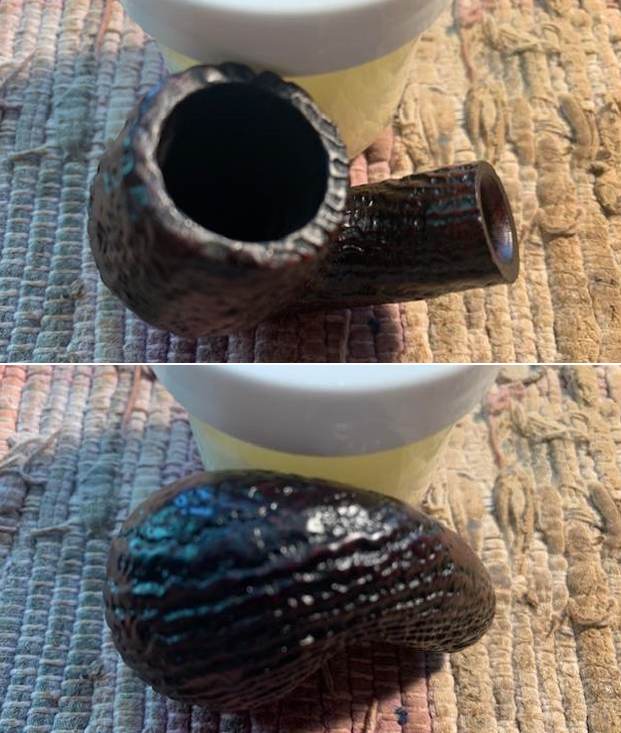
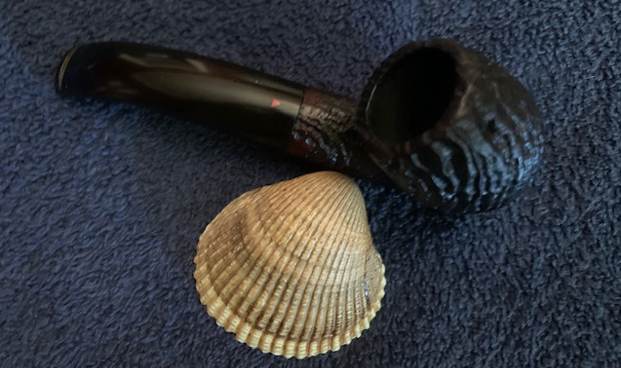
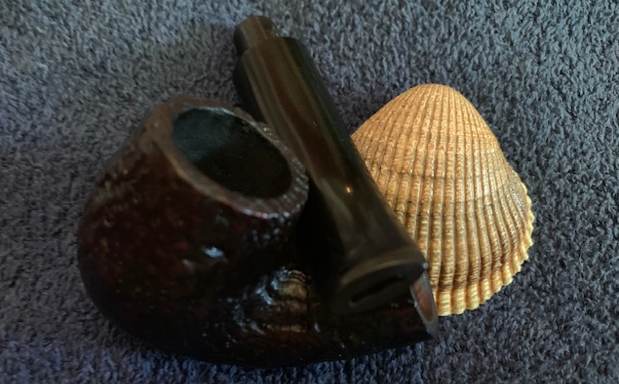
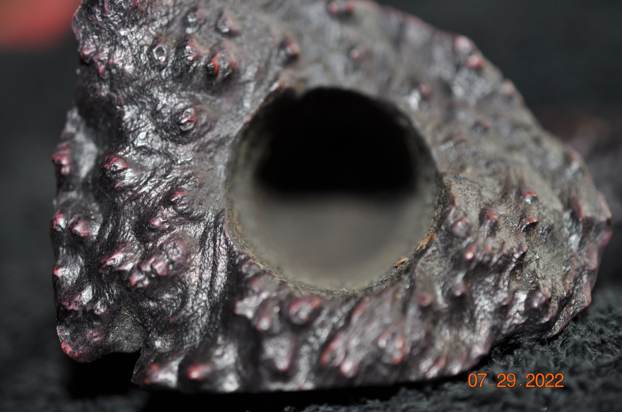
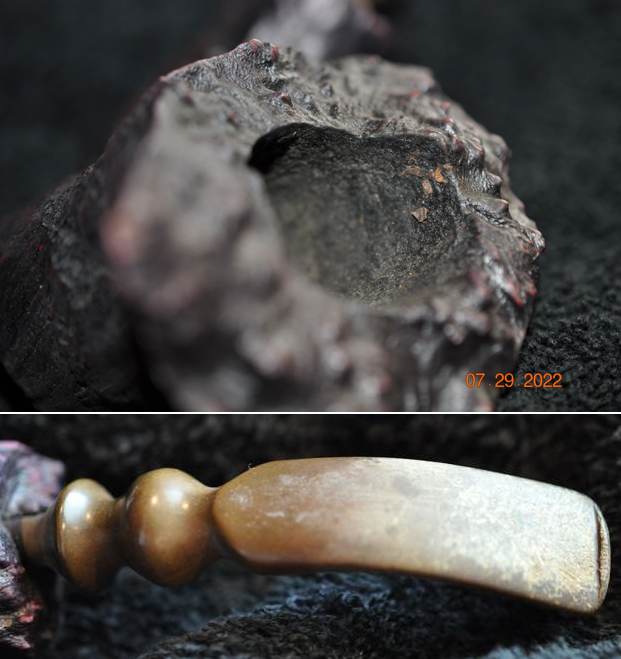
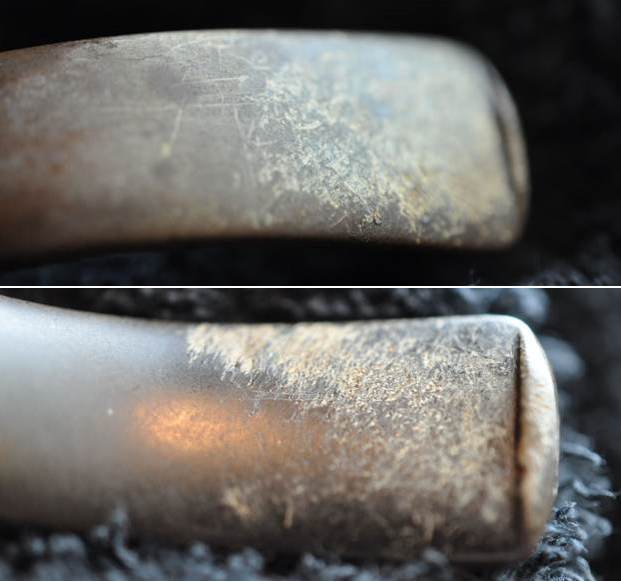
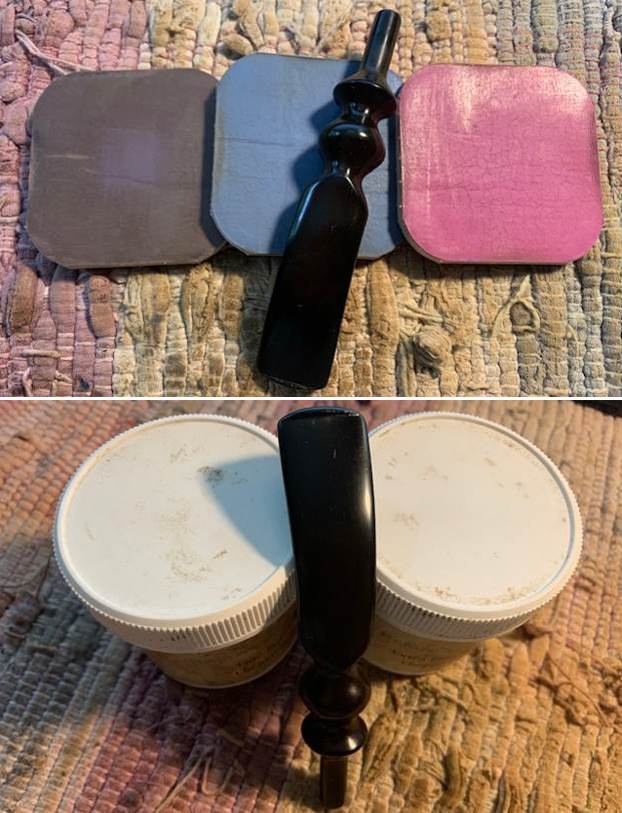
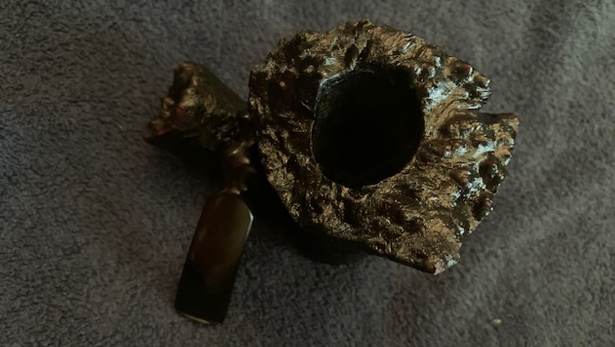
 He took photos of the bowl and rim top to show the cake in the bowl and the lava build up on the rim top and edges of the bowl. It was thick and hard but hopefully it had protected the rim and edges from damage. It was hard to know for sure from the photos. Jeff took photos of the top and underside of the stem showing the tooth chatter, scratching and oxidation on the stem surface and wear on the edges of the button.
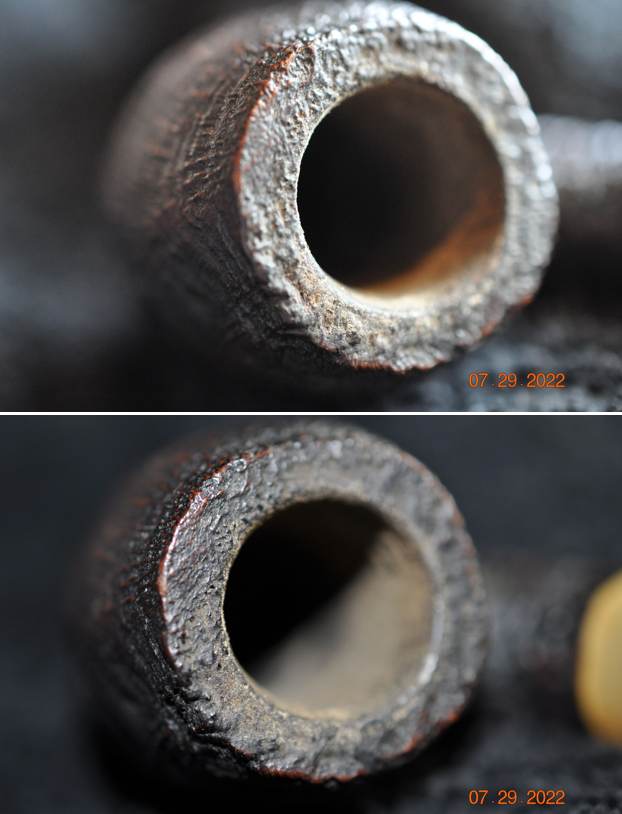
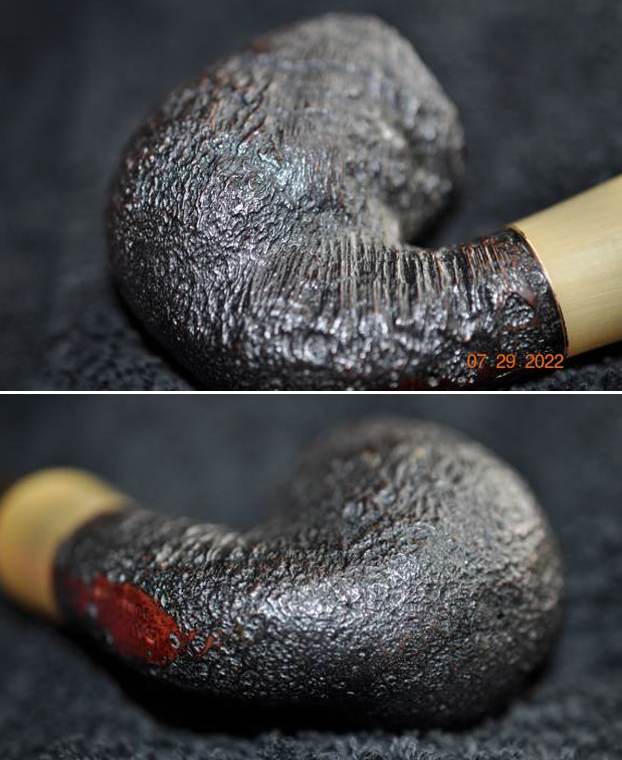
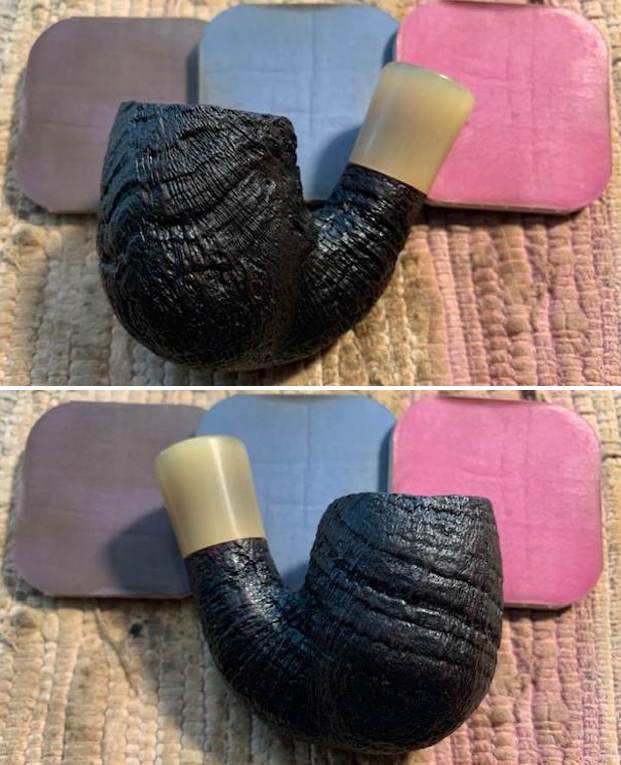
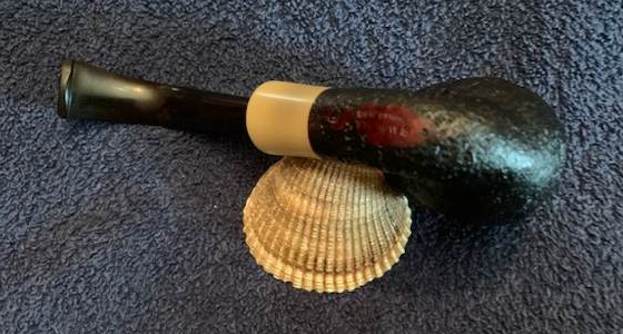
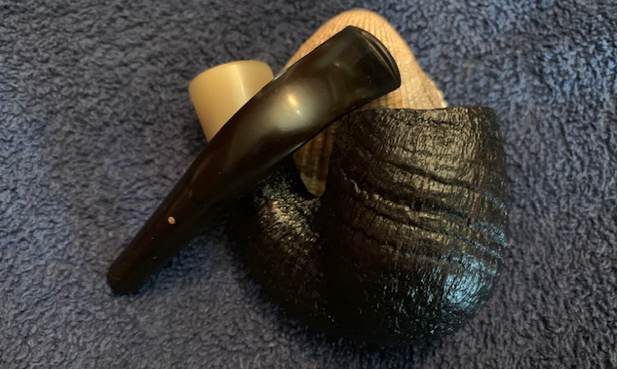
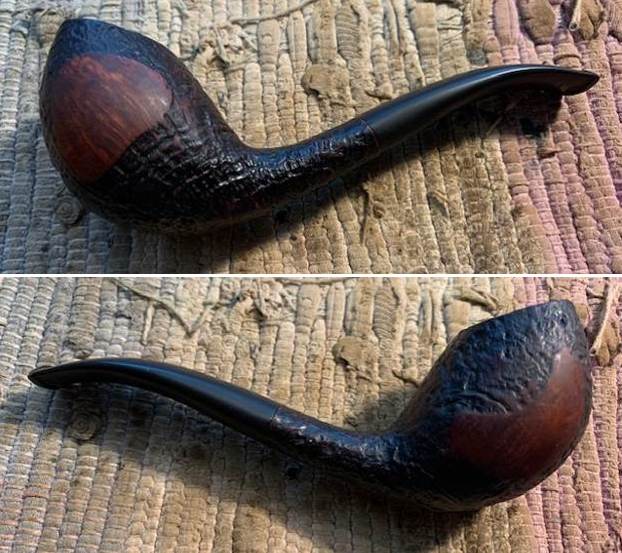
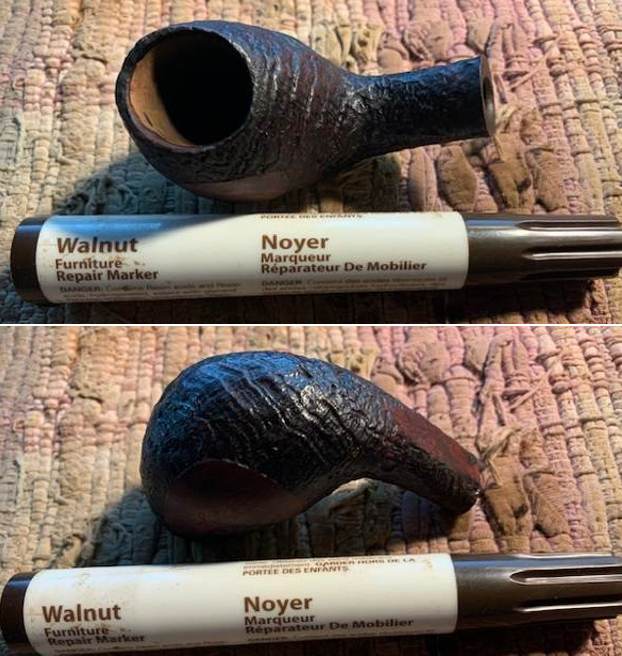
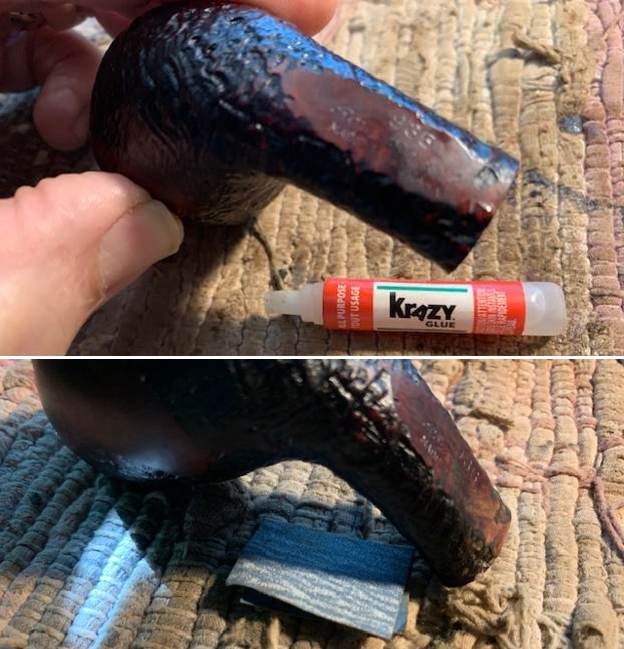
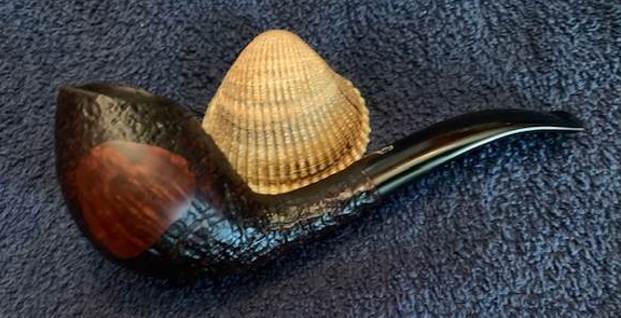
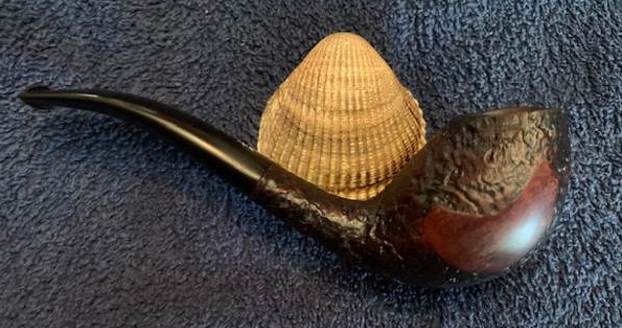
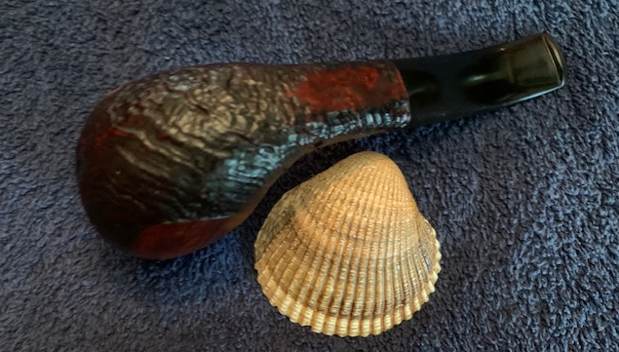
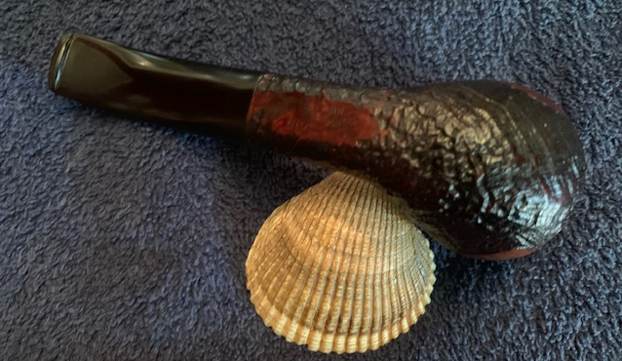
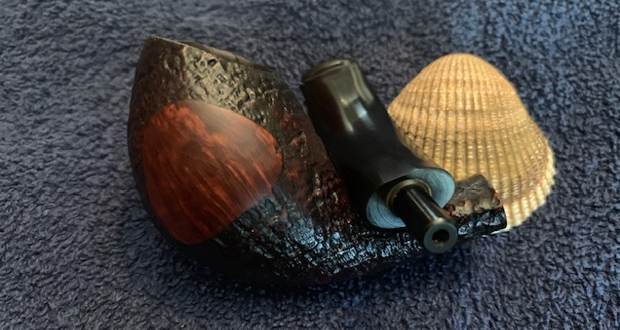
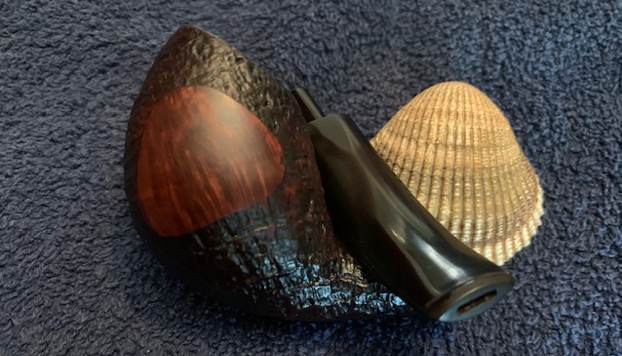
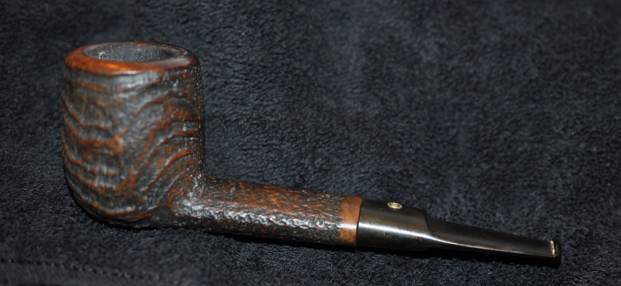
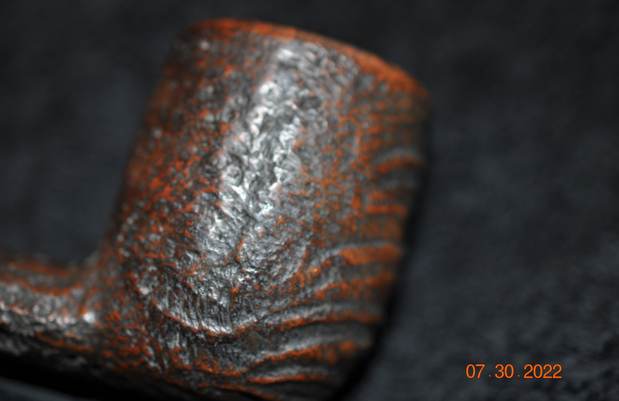
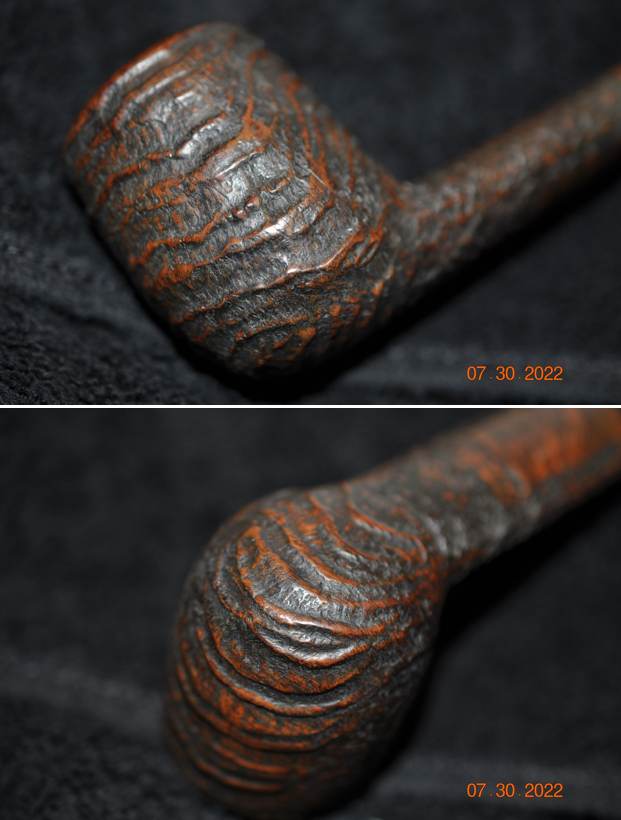
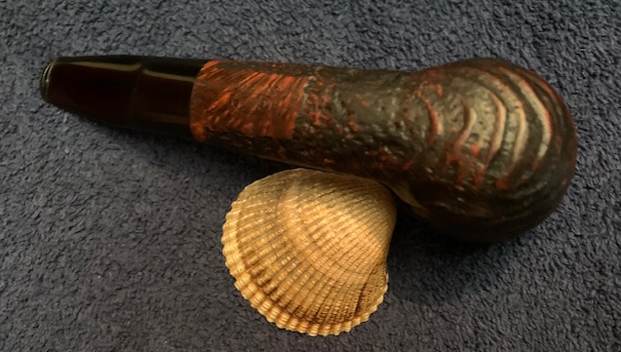
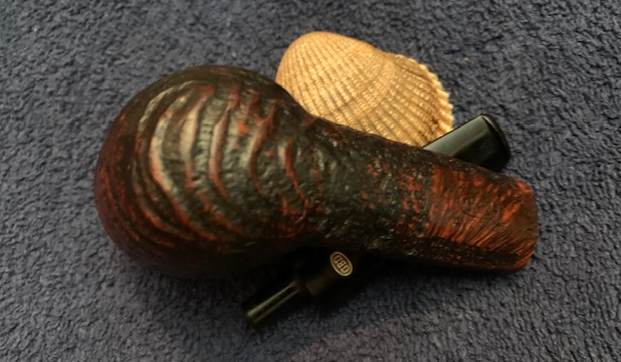
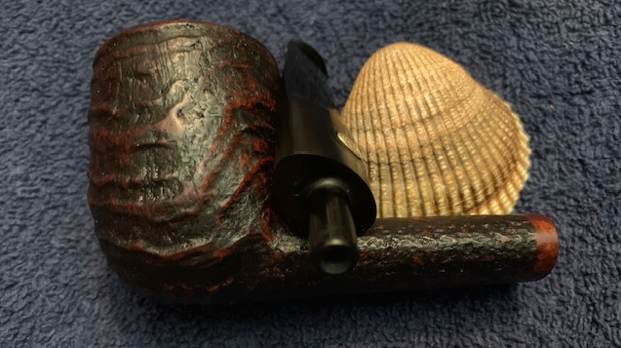
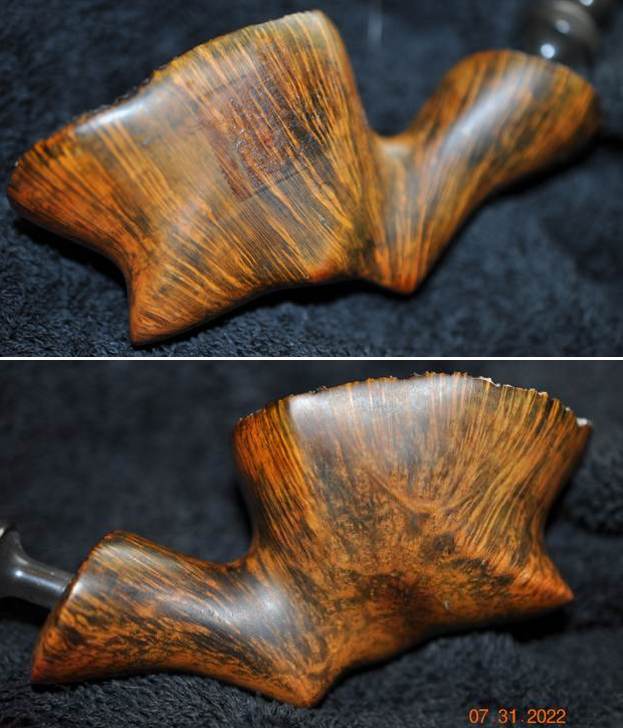
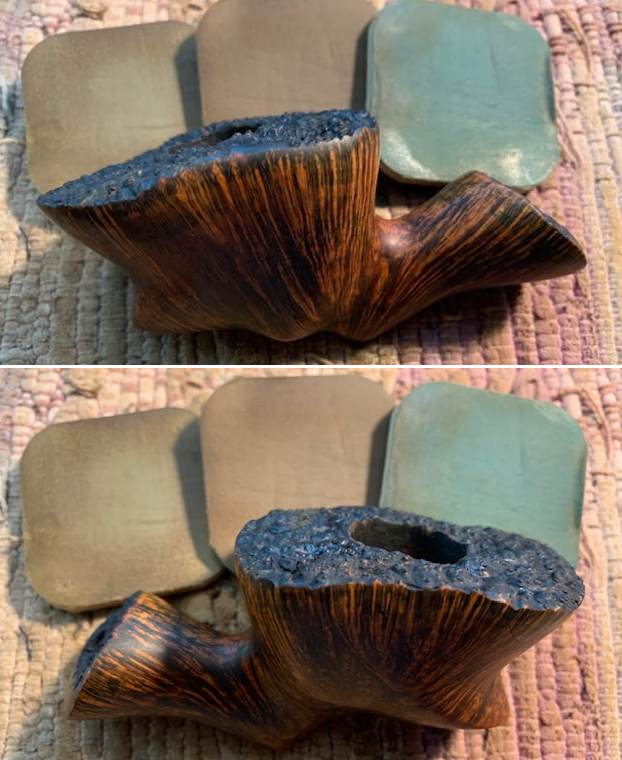
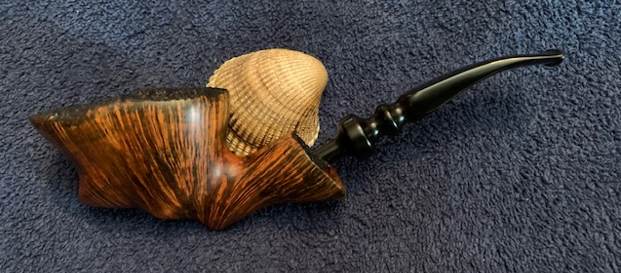
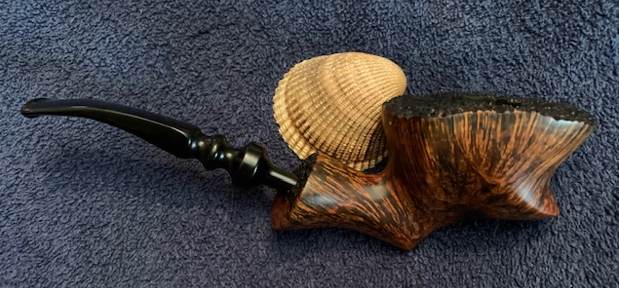
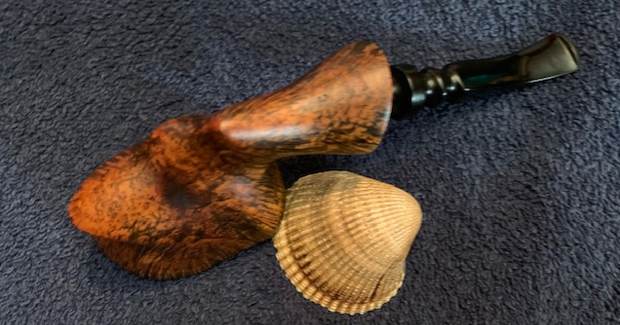
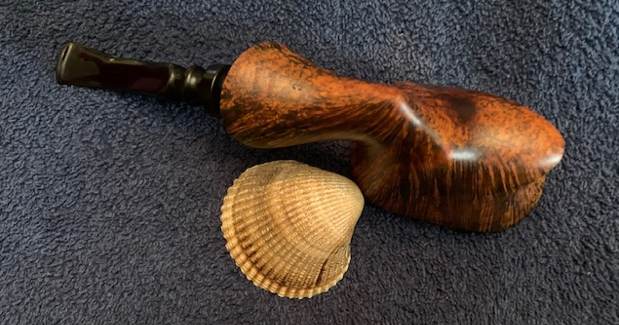
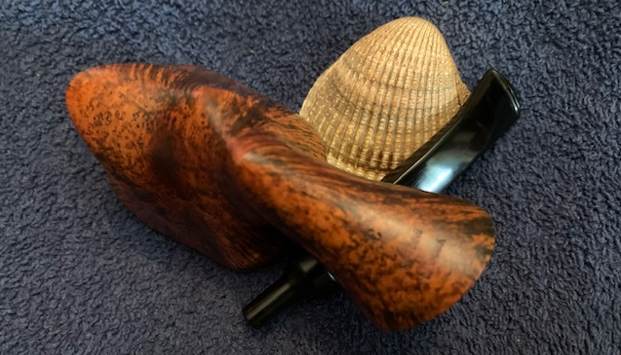
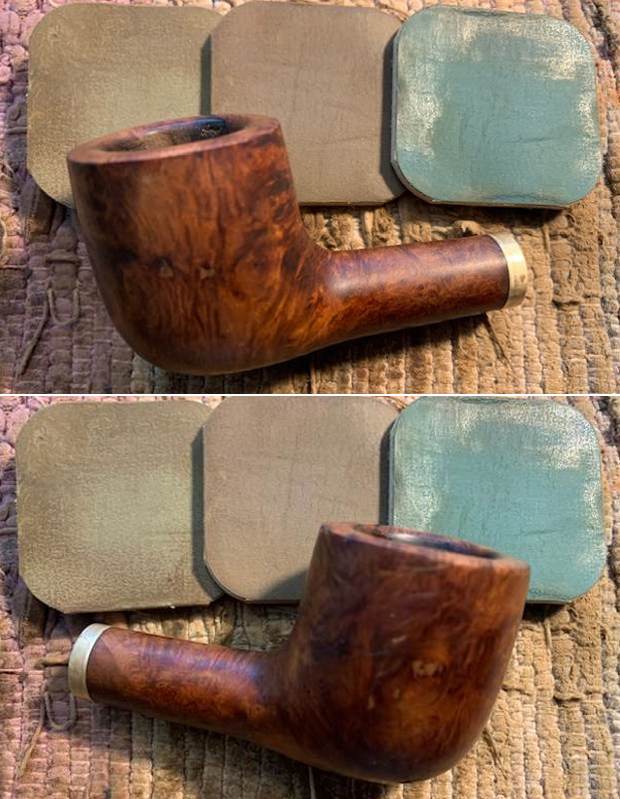
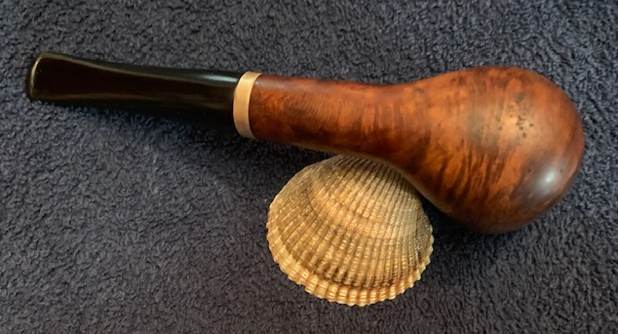
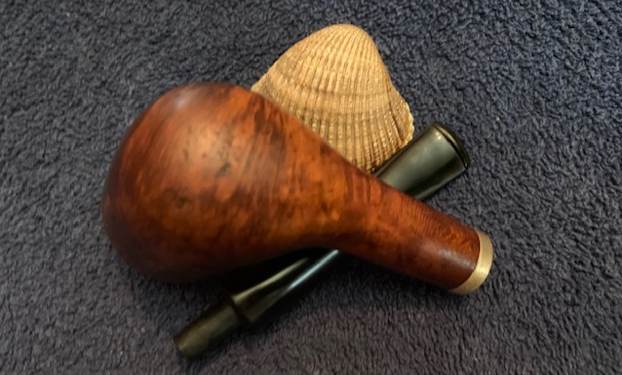
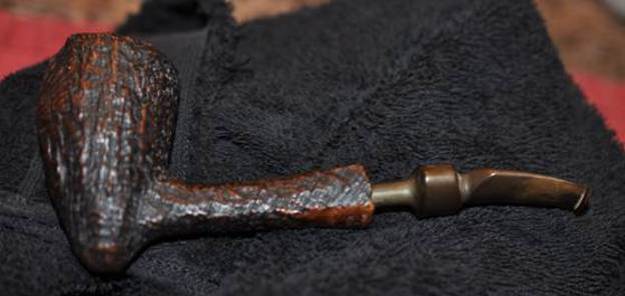
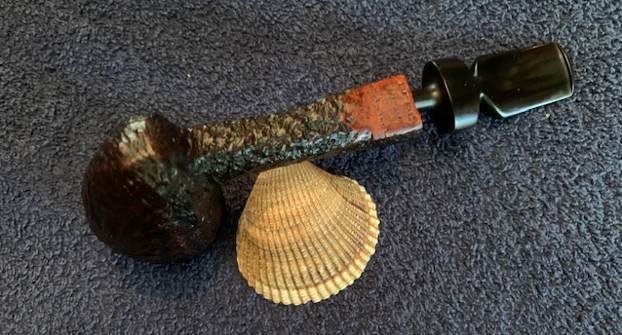
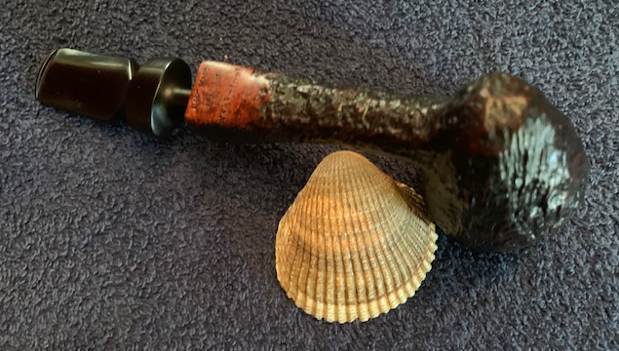
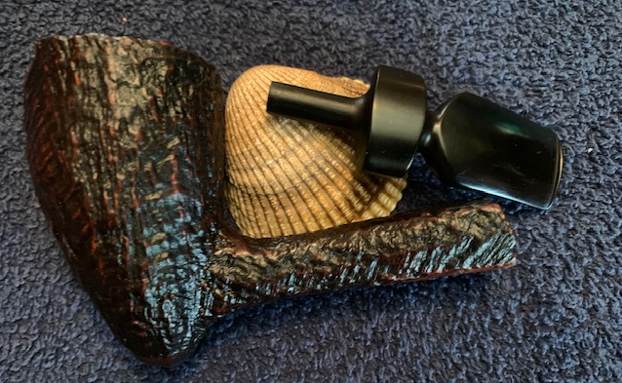
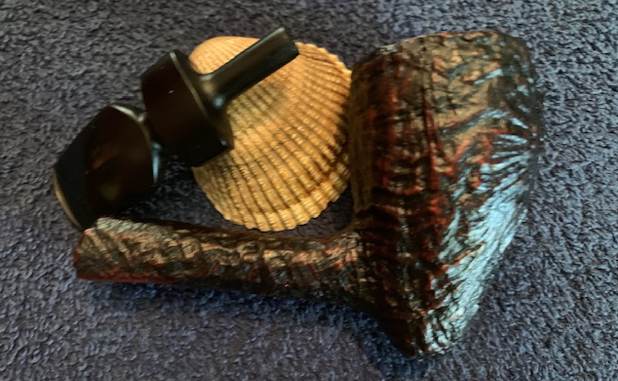
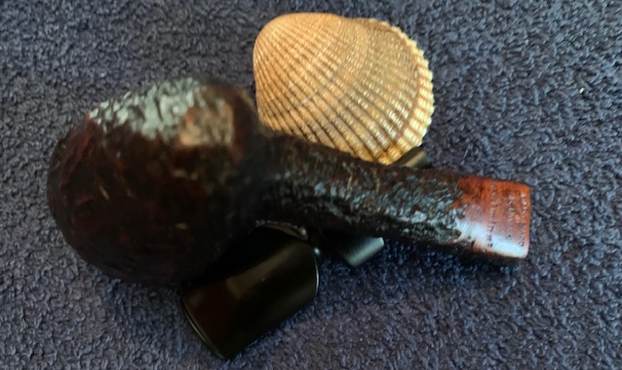
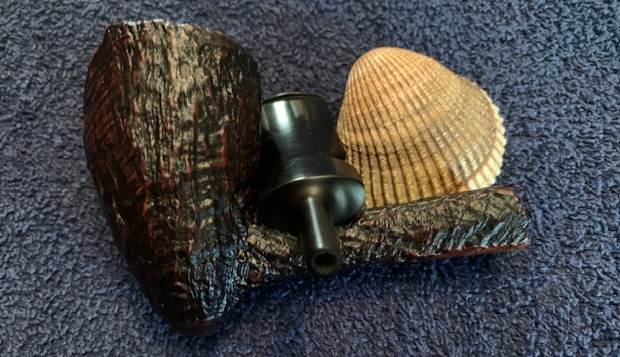
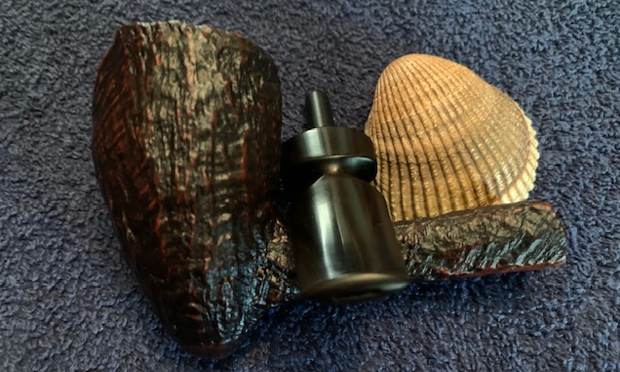
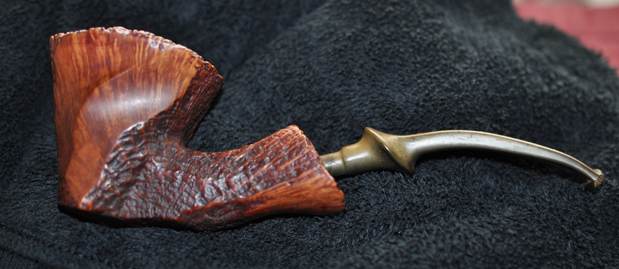
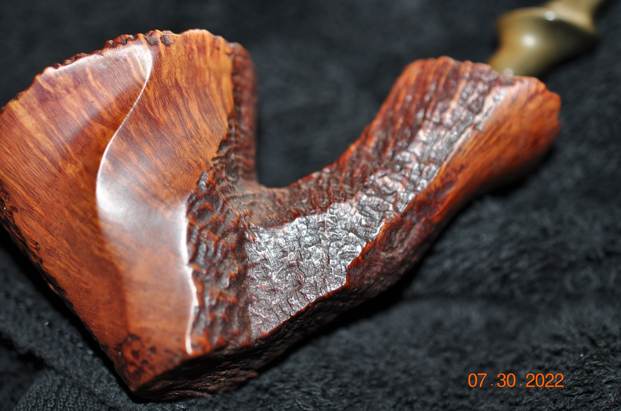
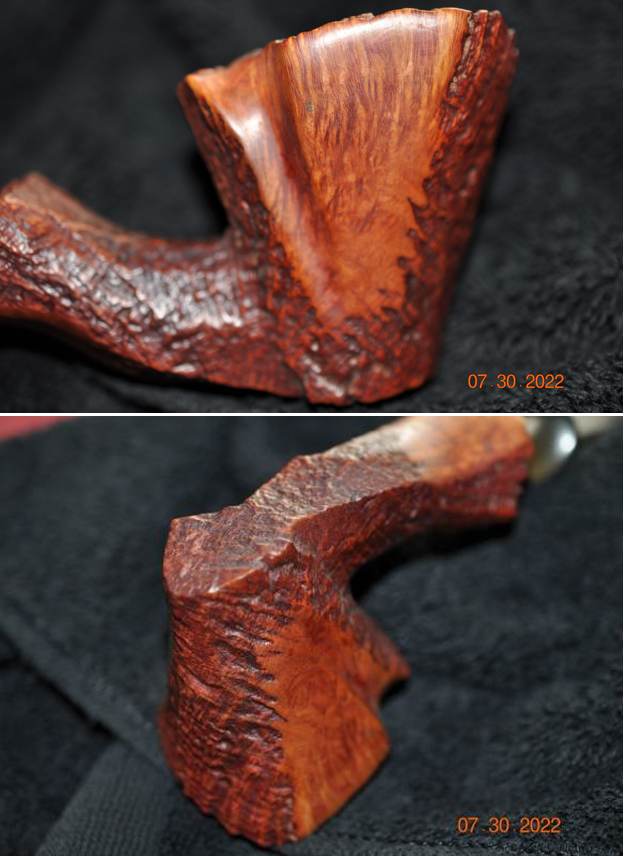
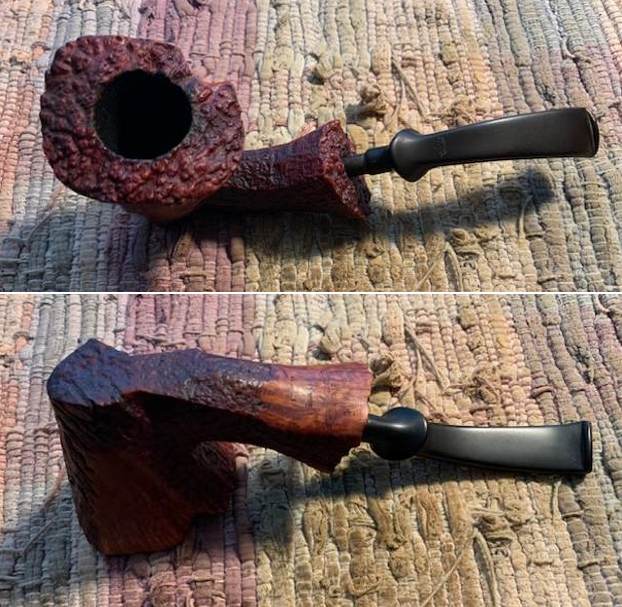
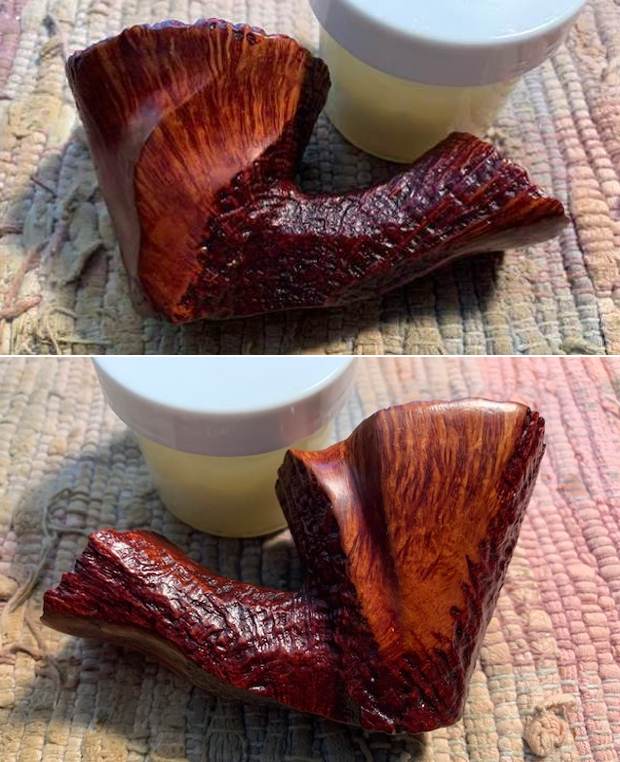
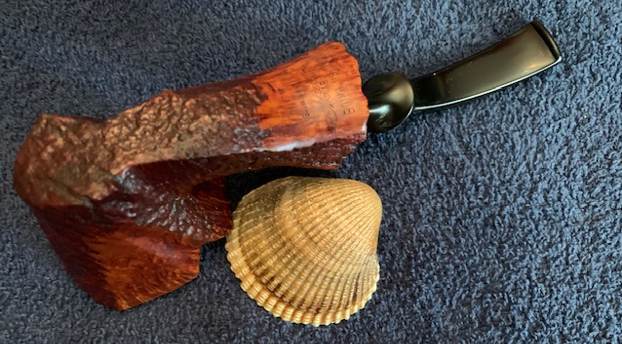
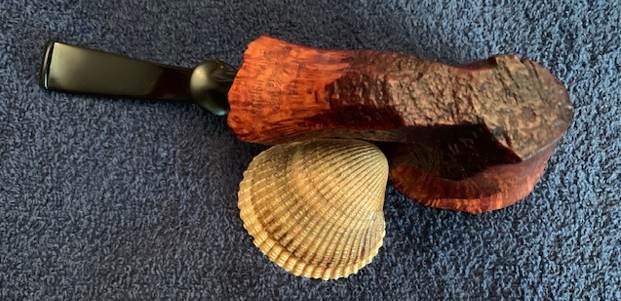
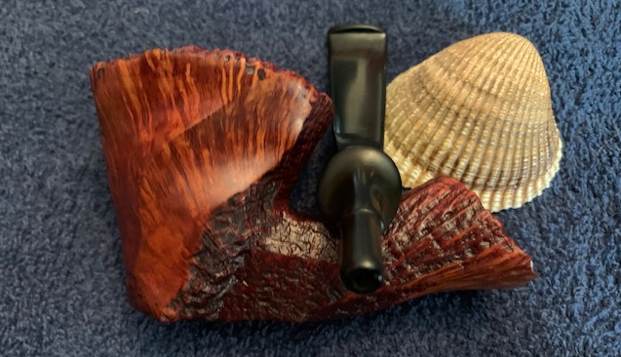
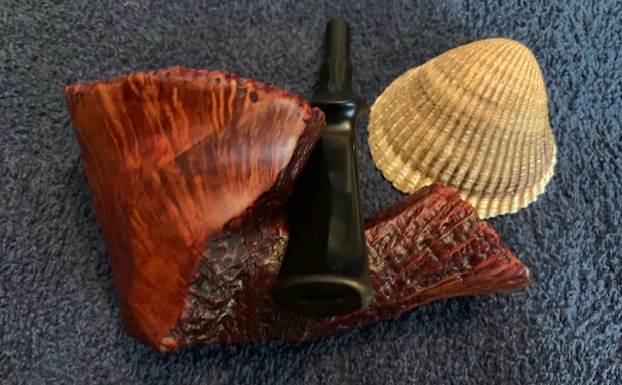
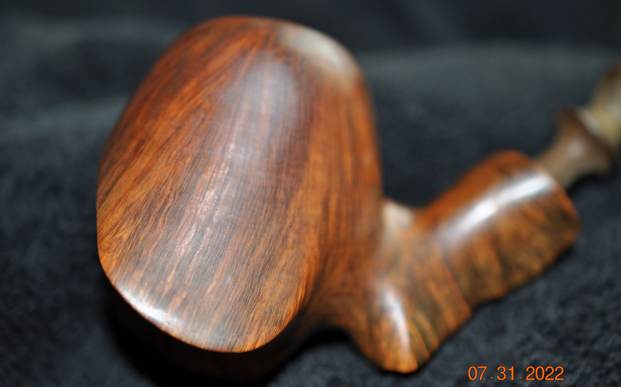
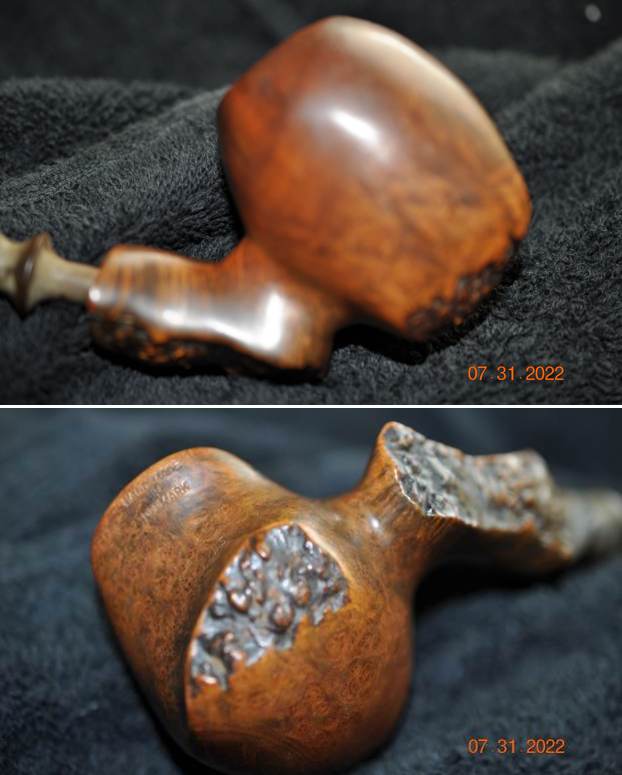
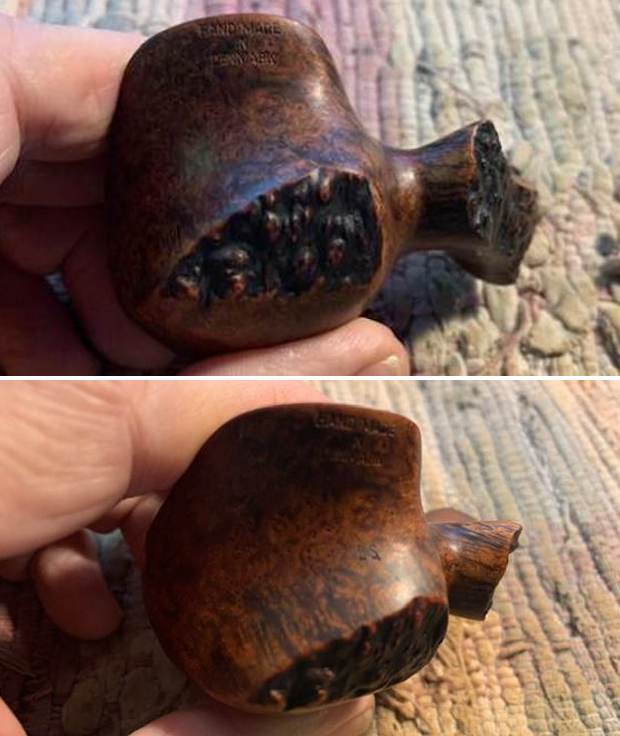
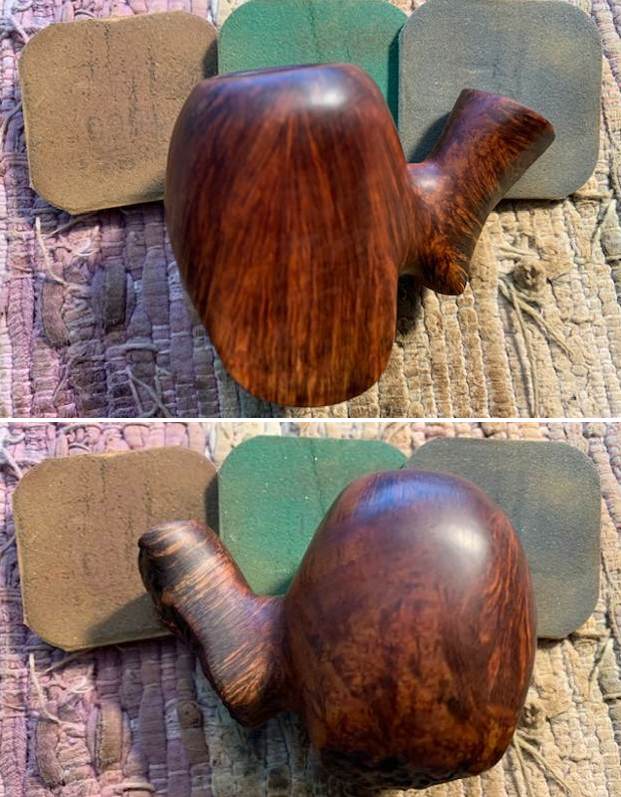
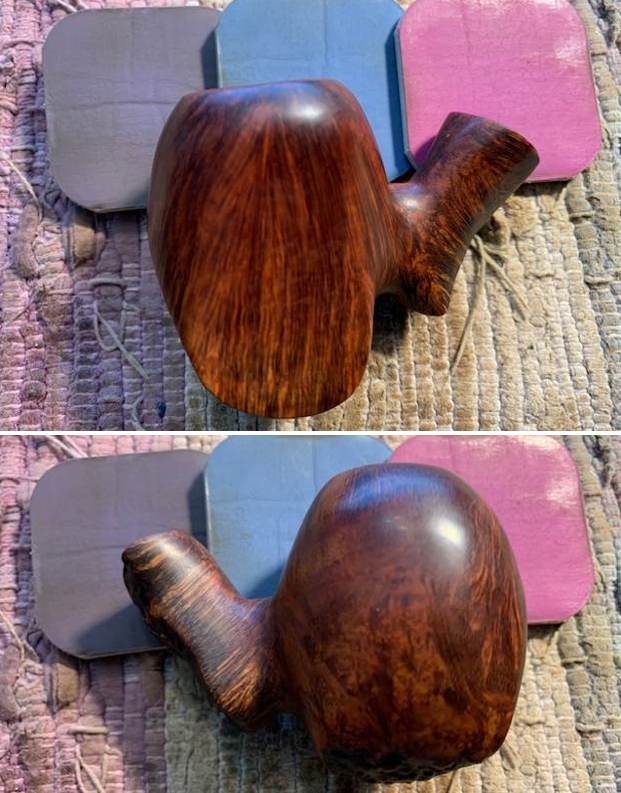
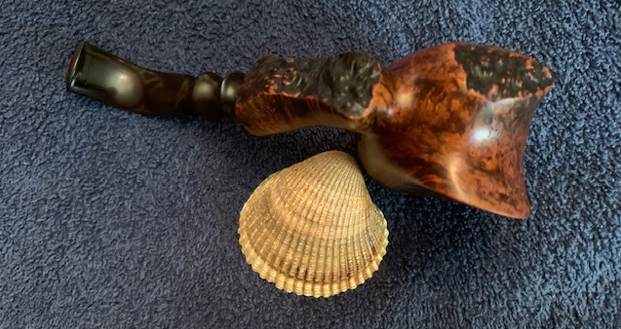
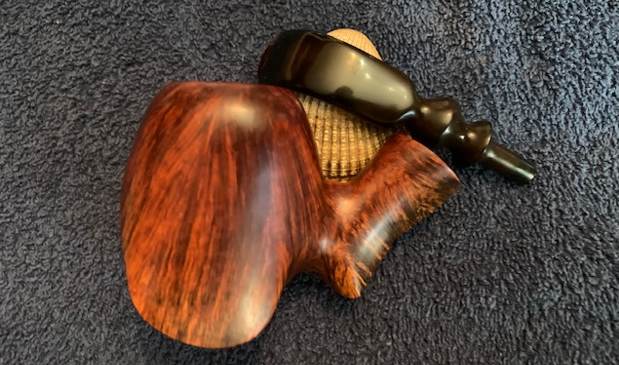
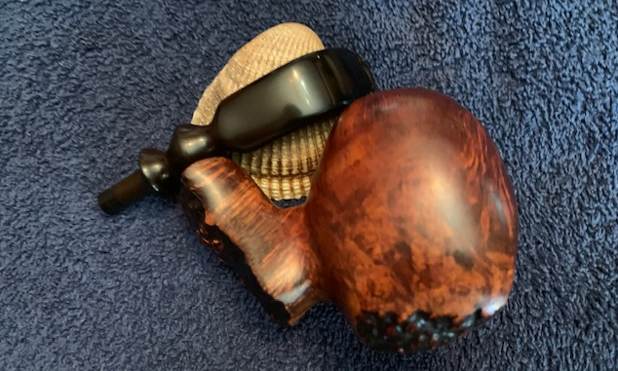
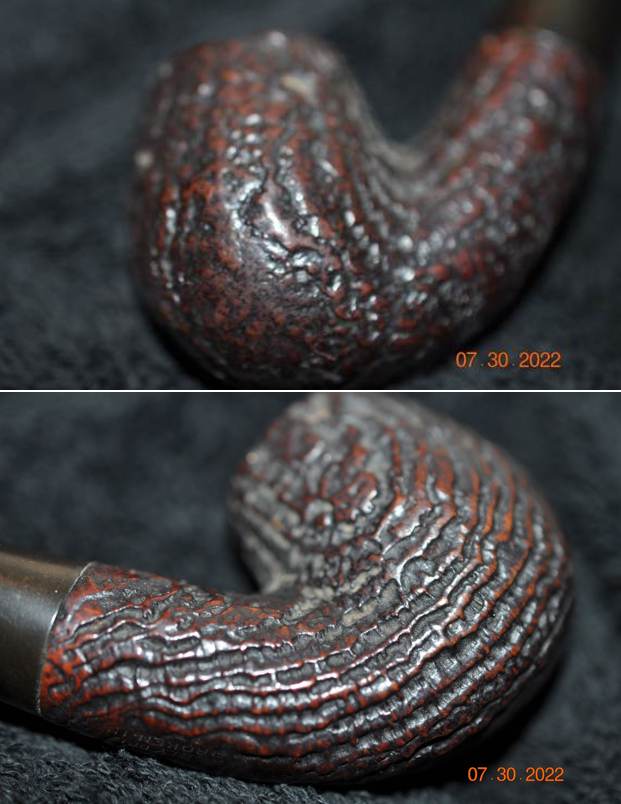
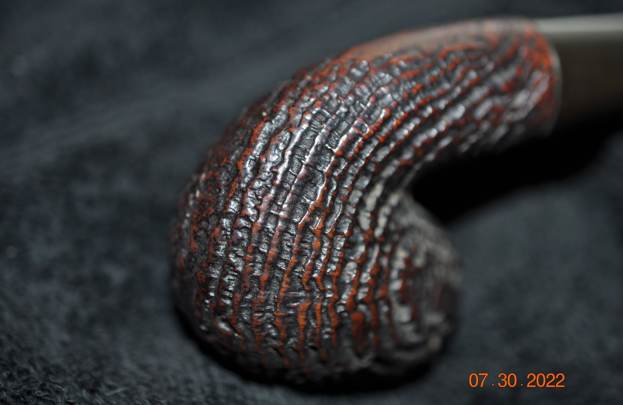
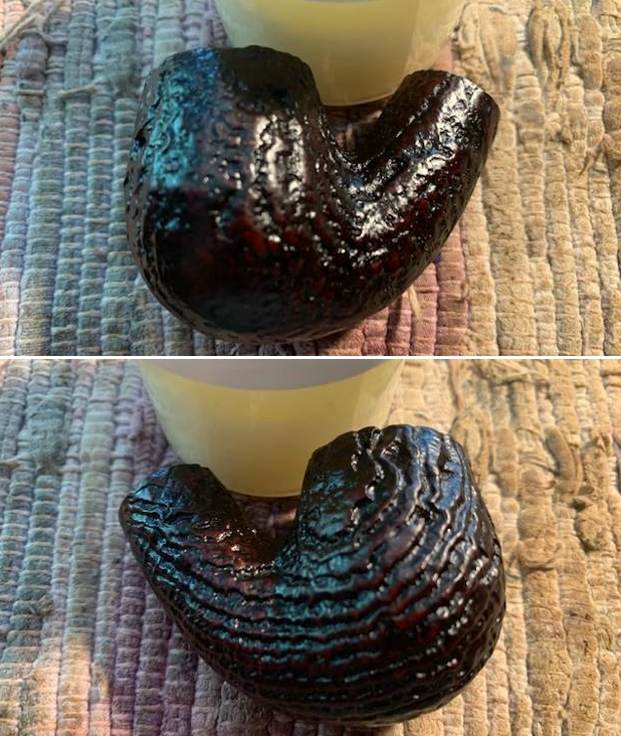
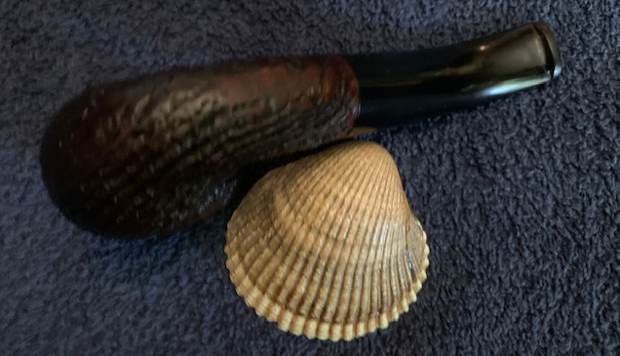
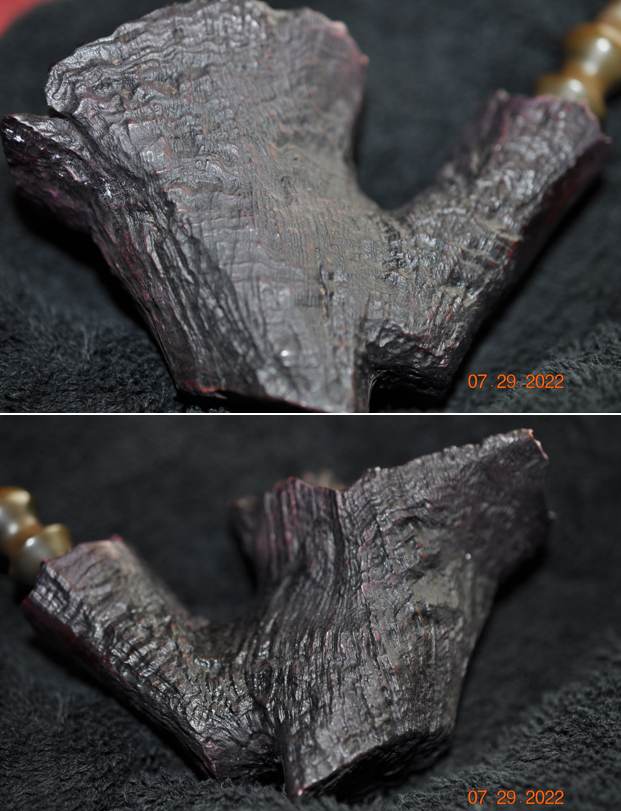
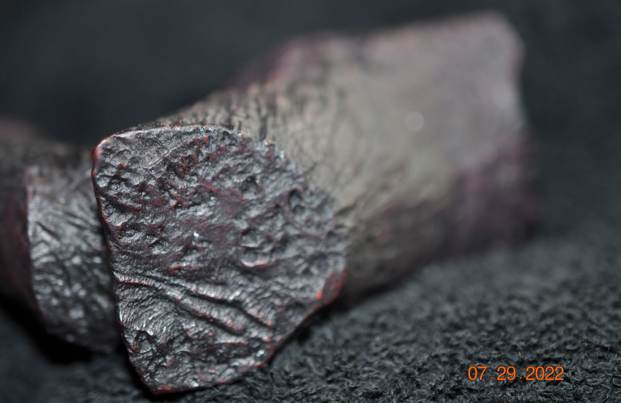
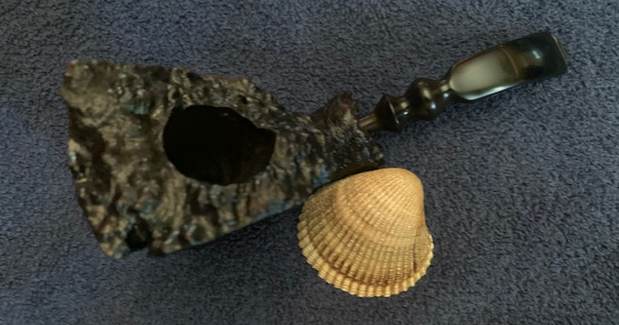
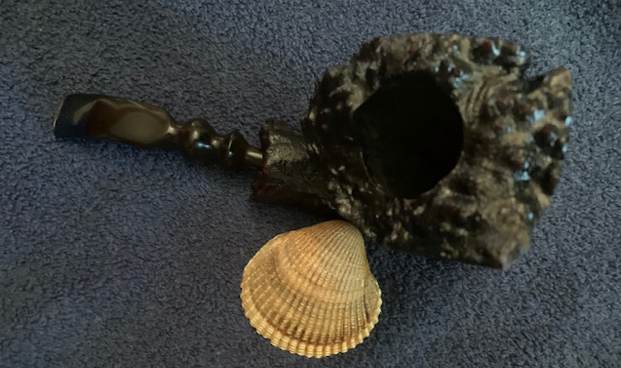
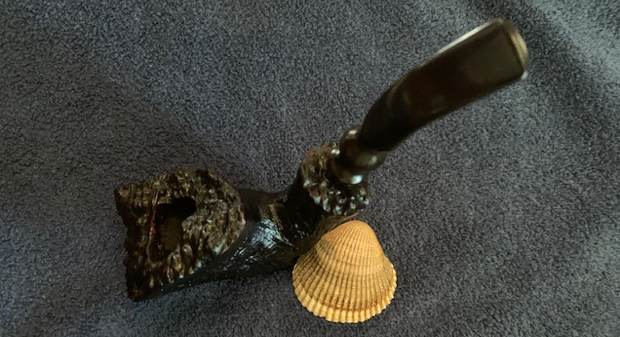
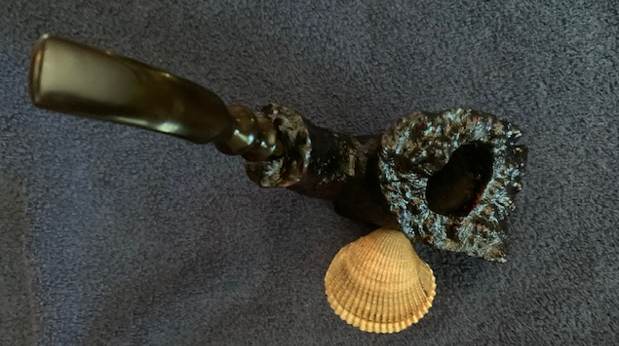
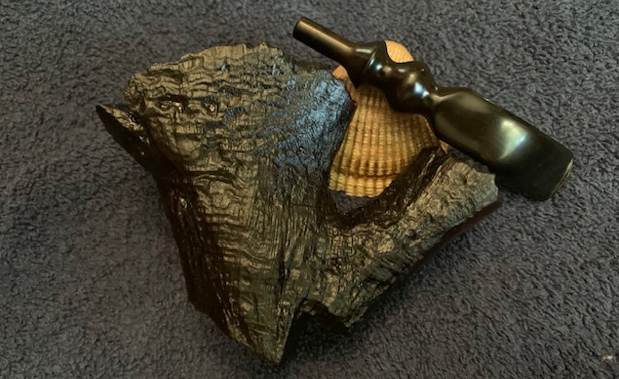
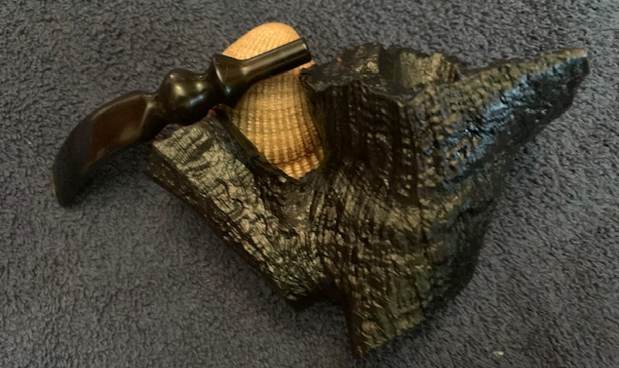
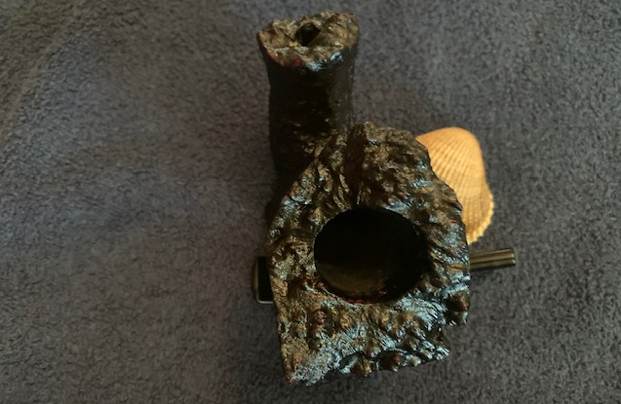
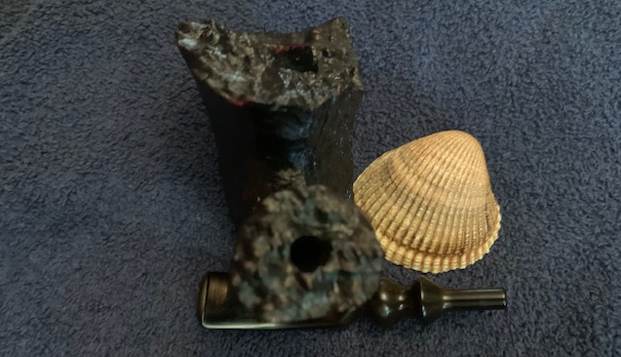
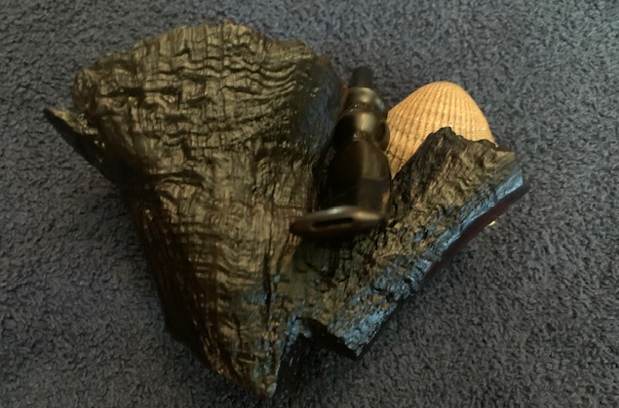
 Jeff took photos of the sides and heel of the bowl to show the condition of the finish. You can see the beautiful swirls of the sandblast. There is a lot of dust and grime filling in the valleys. There was also some dark strips of stain along the joint of the horn and the briar. It looked a bit ragged.
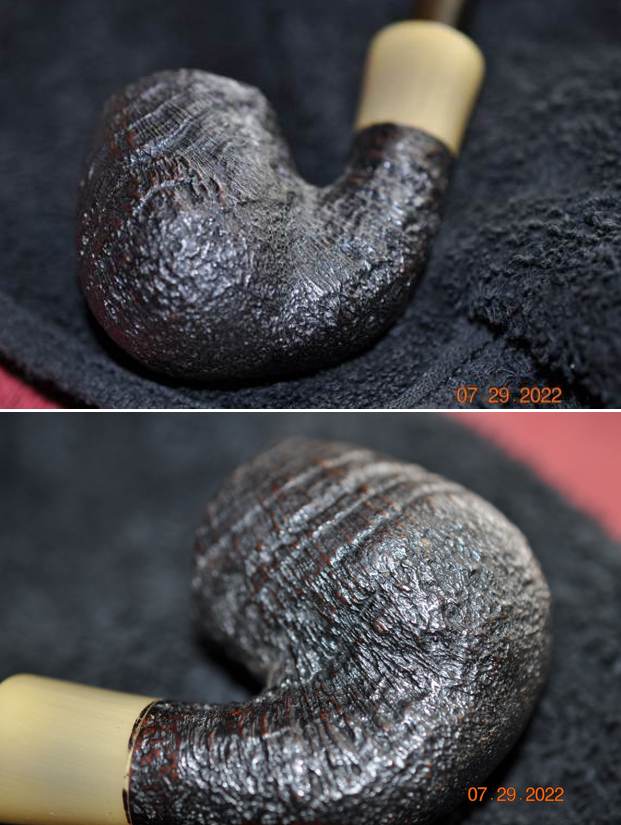
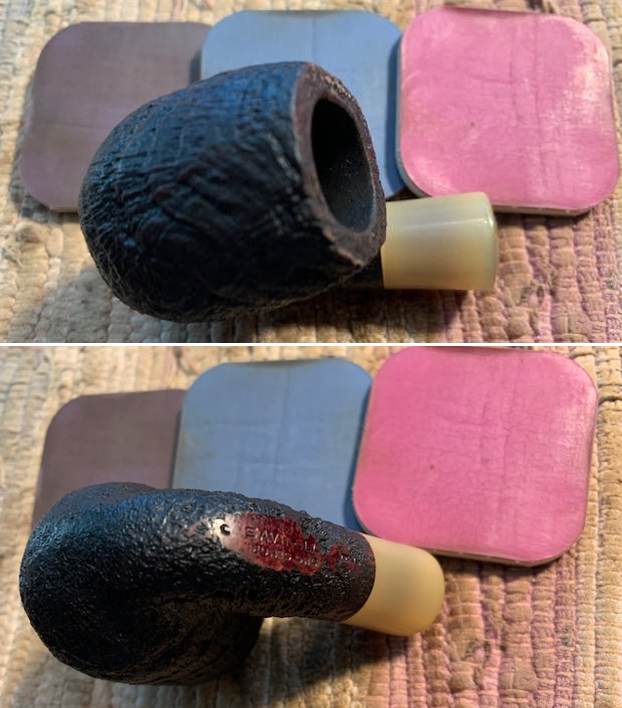
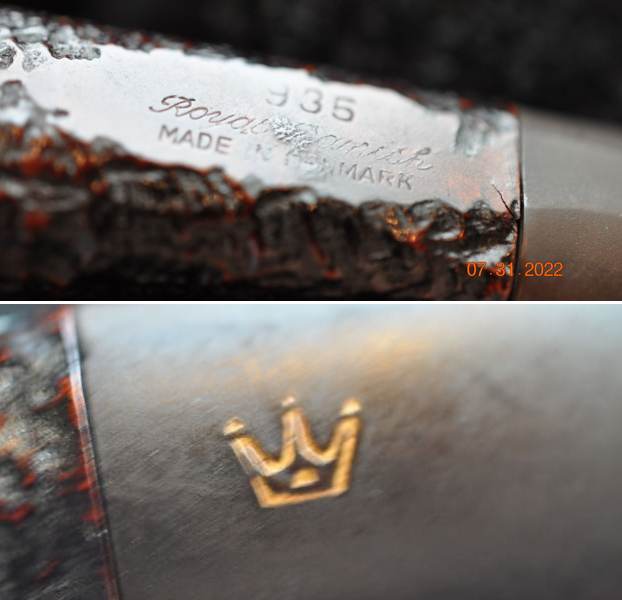
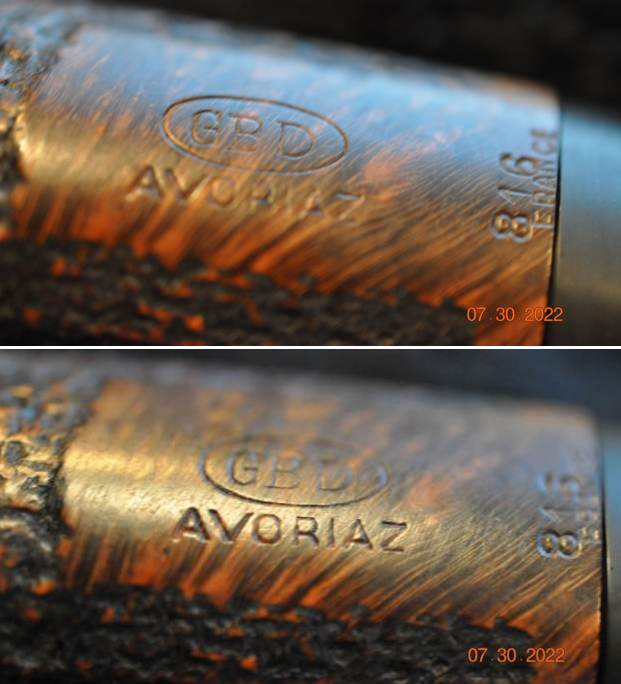
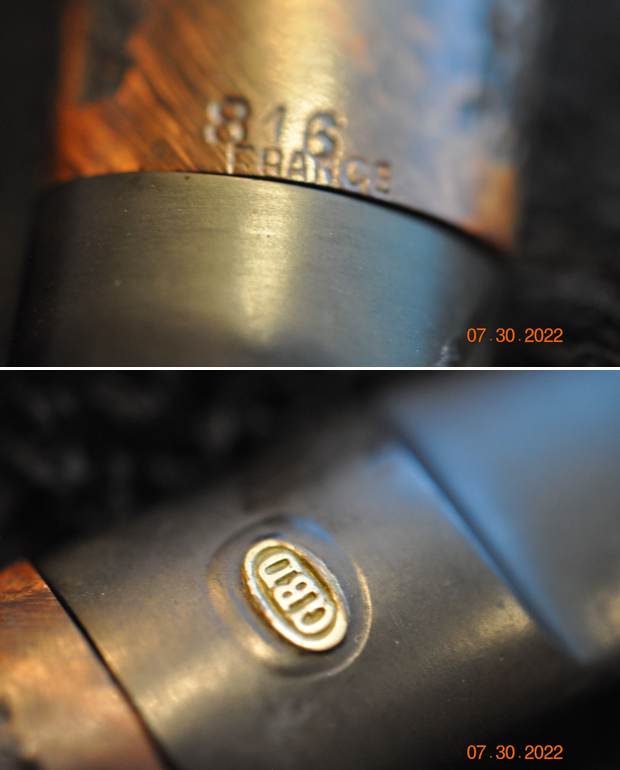
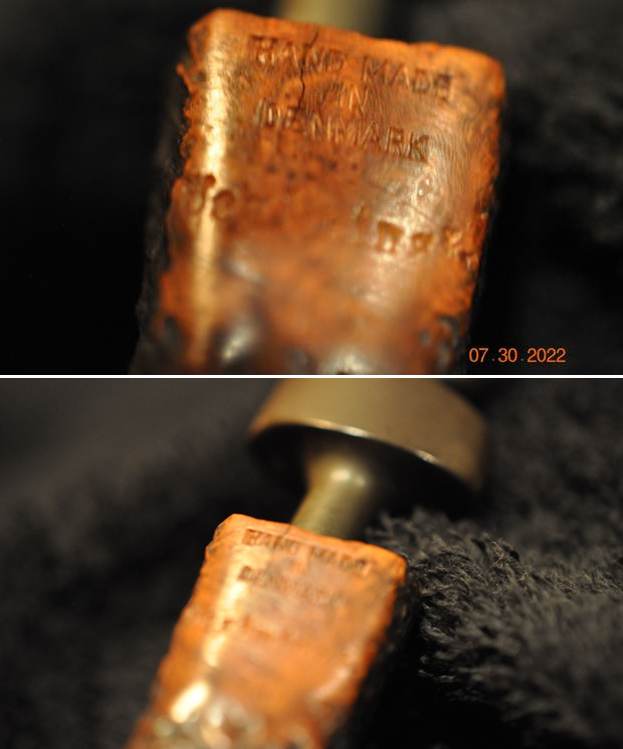
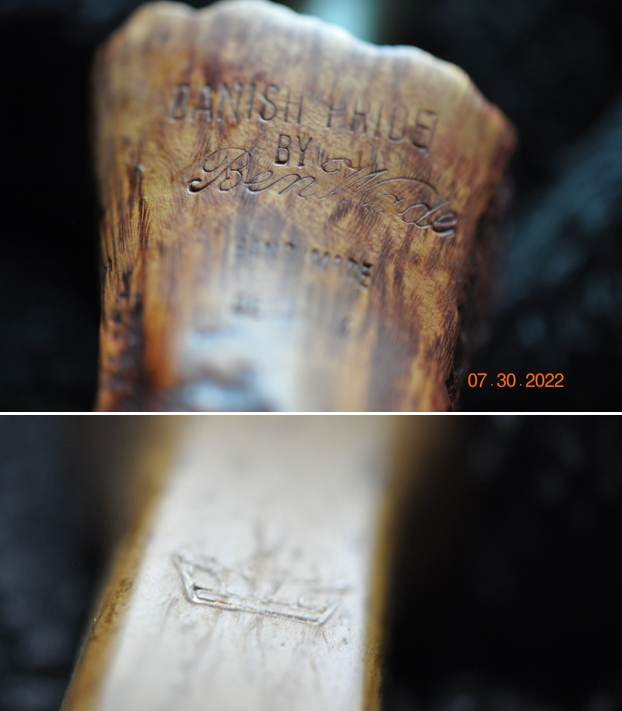
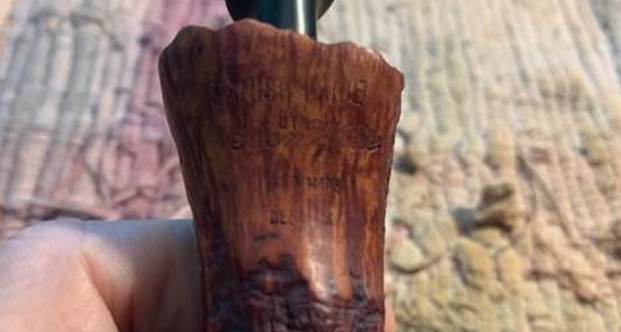
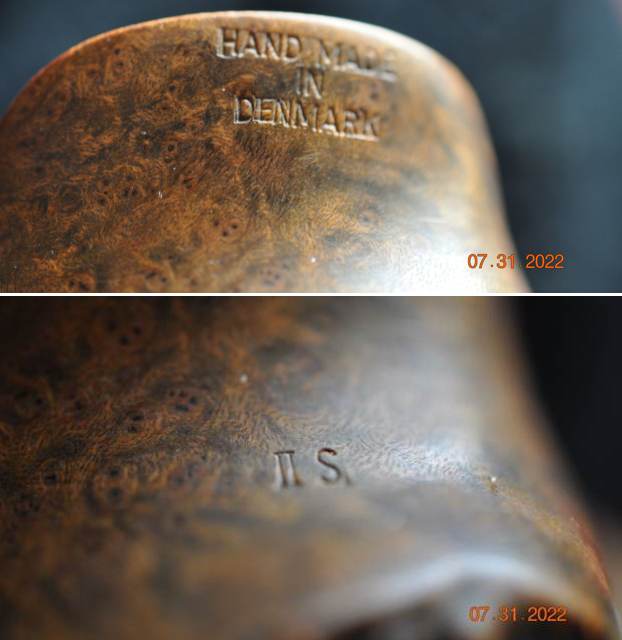
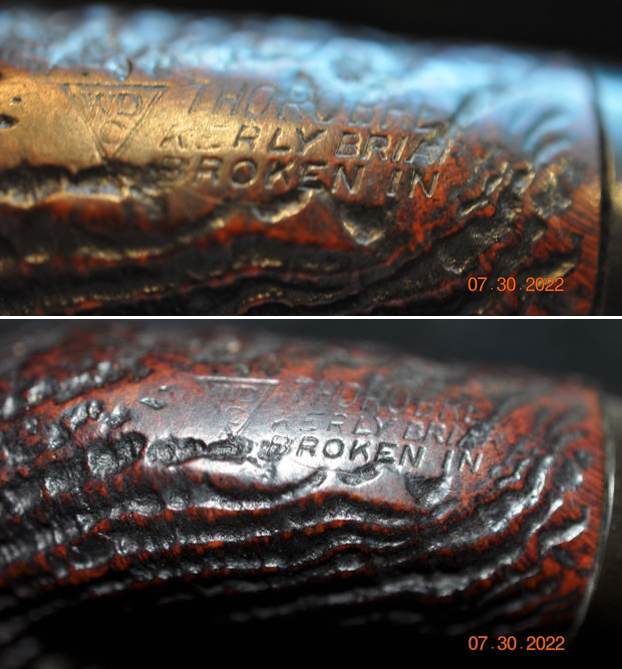
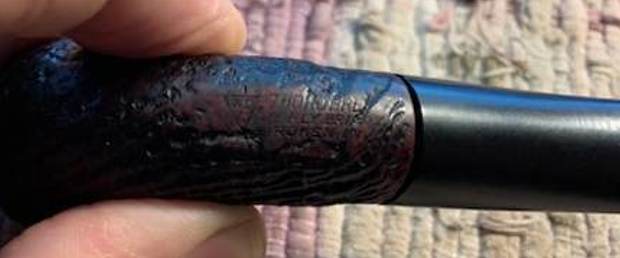
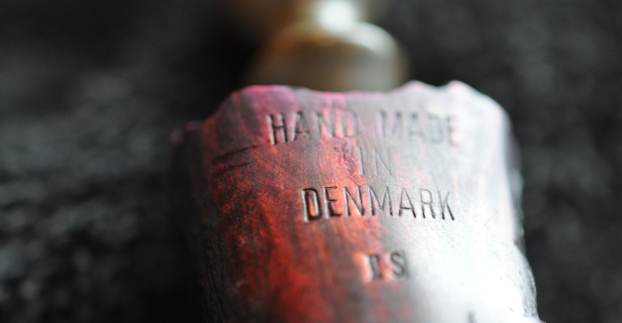
 He took a photo of the stamping on the smooth panel on the underside of the bowl and shank. The stamping was readable as you can see from the photos and read as noted above.
 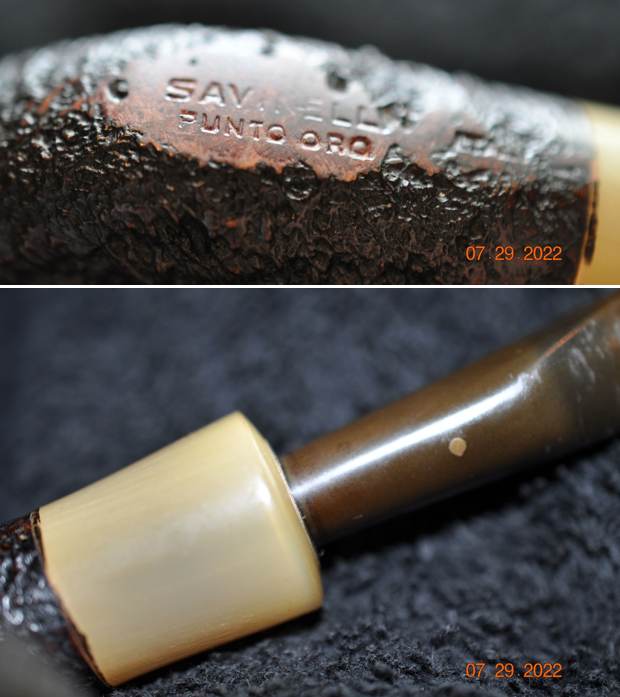 I turned to Pipephil’s site to get a feel for the Punto Oro line. I have worked on both smooth and sandblast finish Punto Oro pipes in the past. This was another sandblast one – this time a dark one rather than natural. Here is the link (http://www.pipephil.eu/logos/en/logo-savinelli3.html). I have included a screen capture of the pertinent information on the line below. It appears the line came out in both smooth and sandblast finishes.
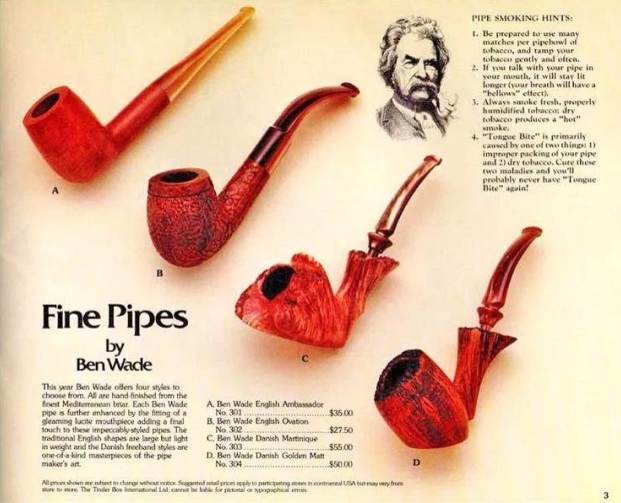
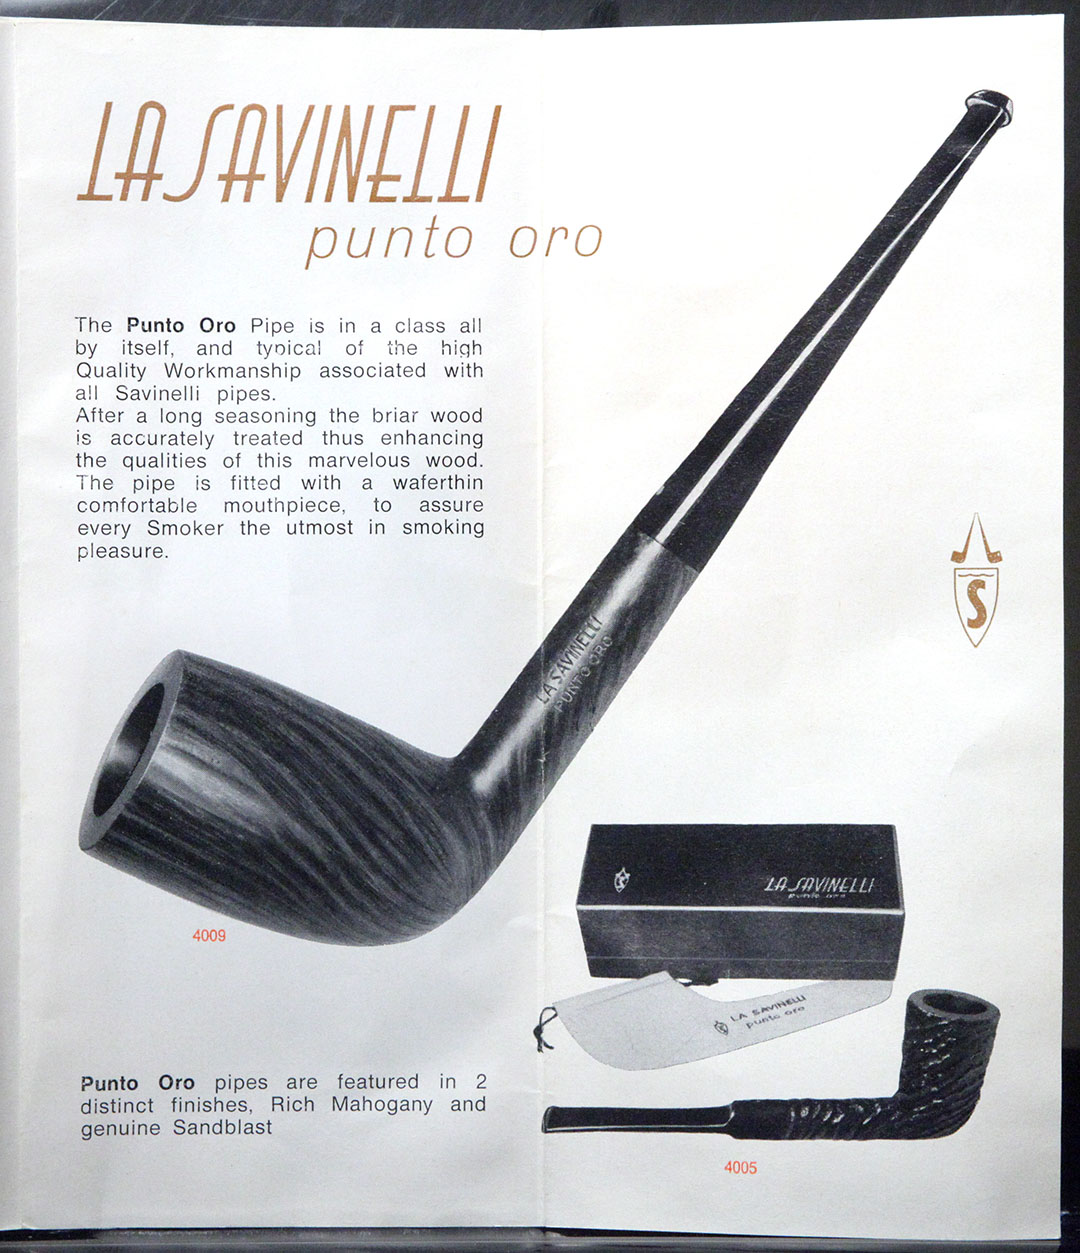
  I turned to Pipedia to look at what information they had on the brand. I found a catalogue page on the Punto Oro which confirmed what I had surmised about the line having both smooth and sandblast finished pipe (https://pipedia.org/images/d/db/Sav_Punto_Oro.jpg). I have included a screen capture of the page below. It says that the line was available in 2 distinct finishes – a rich Mahogany smooth finish and a genuine sandblast.
  The shape of the pipe matches most closely to the Savinelli shape number 614 on the Savinelli Shape Chart on Pipedia. It is close but the pipe in the chart is a standard mount with a saddle stem so my identification is not certain. I have included a screen capture of the chart below (https://pipedia.org/images/4/41/Sav_Shape_Chart_2017.jpg). I have drawn a red box around the 614 shape in the shape chart below.
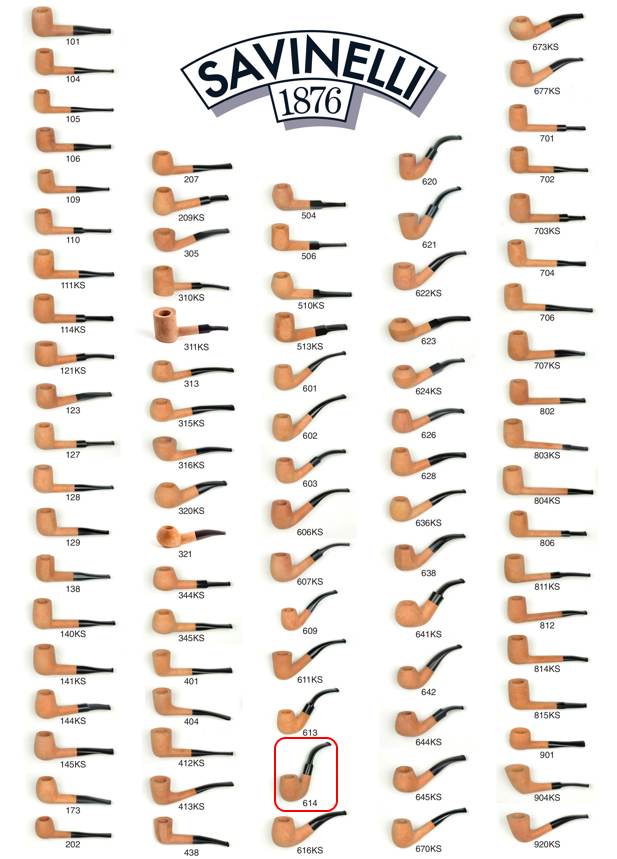 However the shape chart did not have one with a military style bit in full bent pipe with a horn shank extension (whether faux or genuine horn is not clear to me. I did a bit of further digging and found a pipe that was very similar on the smokingpipes.com site and have included the link (https://www.smokingpipes.com/pipes/estate/italy/moreinfo.cfm?product_id=44171). The description reads:
Italian Estates: Savinelli Punto Oro Sandblast Bent Billiard (615) Tobacco Pipe
The noble Savinelli Punto Oro (Gold Dot). This “615” is a decently sized, rather English shape chart oom-paul…
From the pipe pictured on the link I am pretty certain I am dealing with a Savinelli 615 Oom Paul shaped pipe rather than a 614. The shape matches the one I am working on and the stem and shank extension are similar.
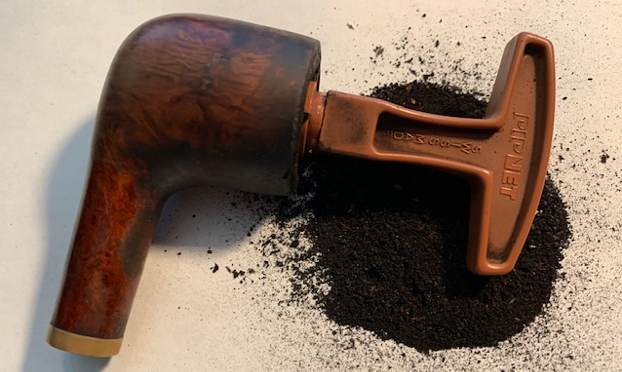
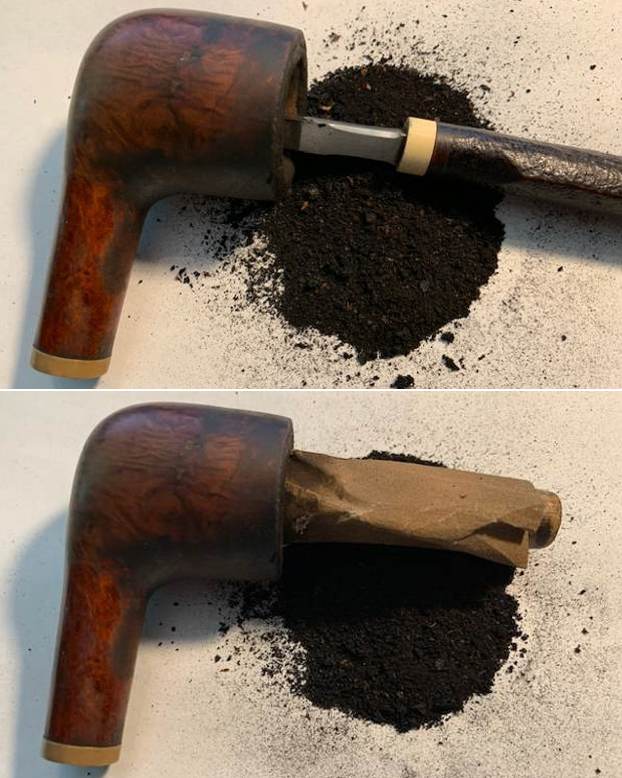
Now it was time to work on the pipe. Jeff reamed it with a PipNet pipe reamer and cleaned up the reaming with a Savinelli Fitsall Pipe Knife. He scrubbed out the internals with alcohol, pipe cleaners and cotton swabs until the pipe was clean. He scrubbed the exterior of the bowl with Murphy’s Oil Soap and a tooth brush to remove the grime and grit on the briar and the lava on the rim top. The finish looks very good with good looking sandblast around the bowl and shank. Jeff scrubbed the stem with Soft Scrub and soaked it in Briarville’s Pipe Stem Deoxidizer to remove the oxidation on the vulcanite and rinsed it with running water. He dried it off with a coarse cloth to further help remove the remaining oxidation. When the pipe arrived here in Vancouver for the second stop of its restoration tour it looked a lot better. The stem still had some light oxidation. I took photos before I started my part of the work. 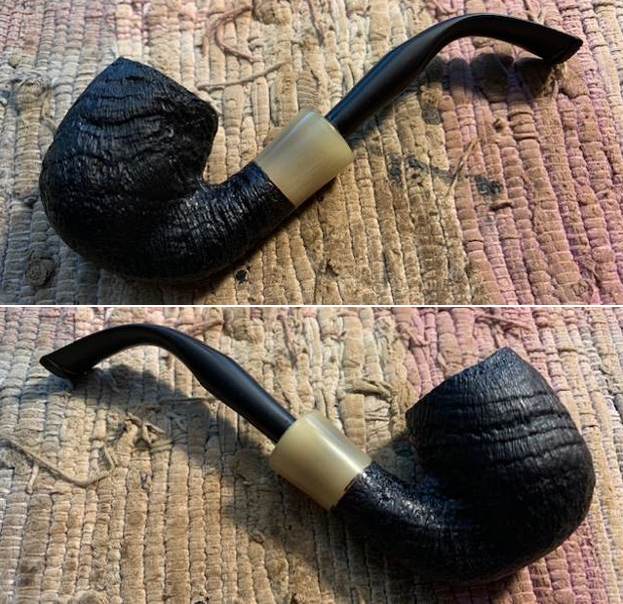
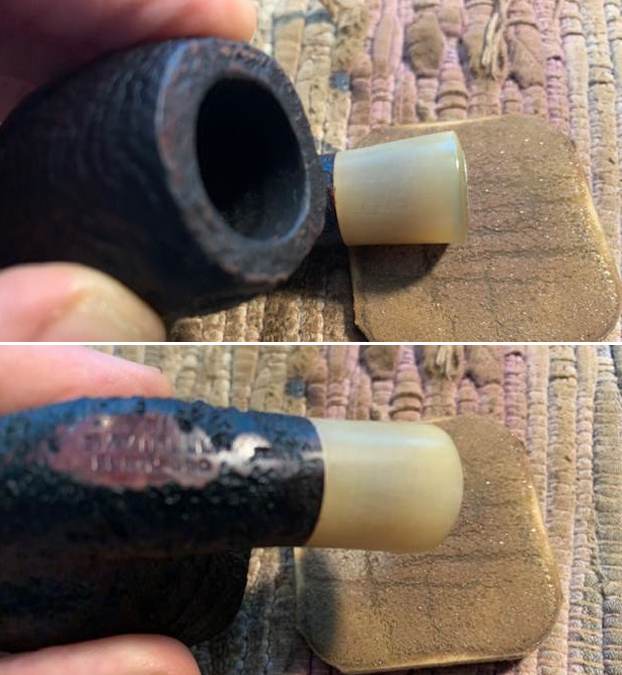
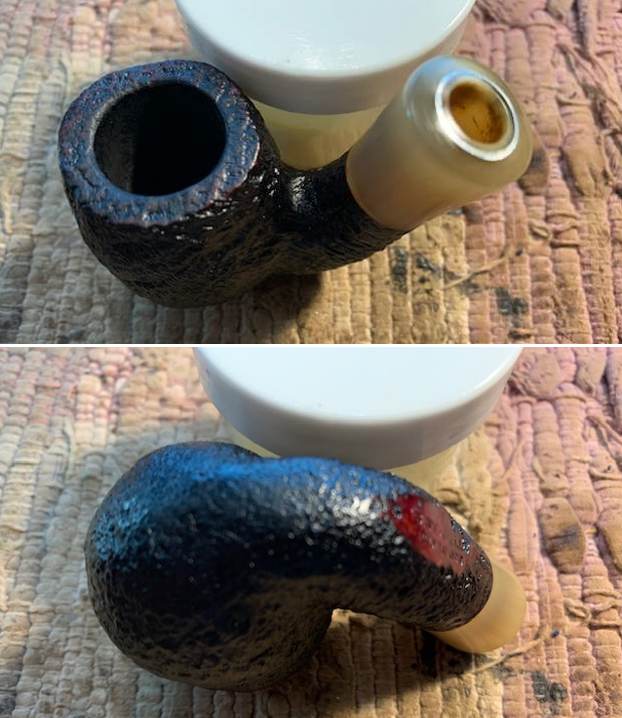
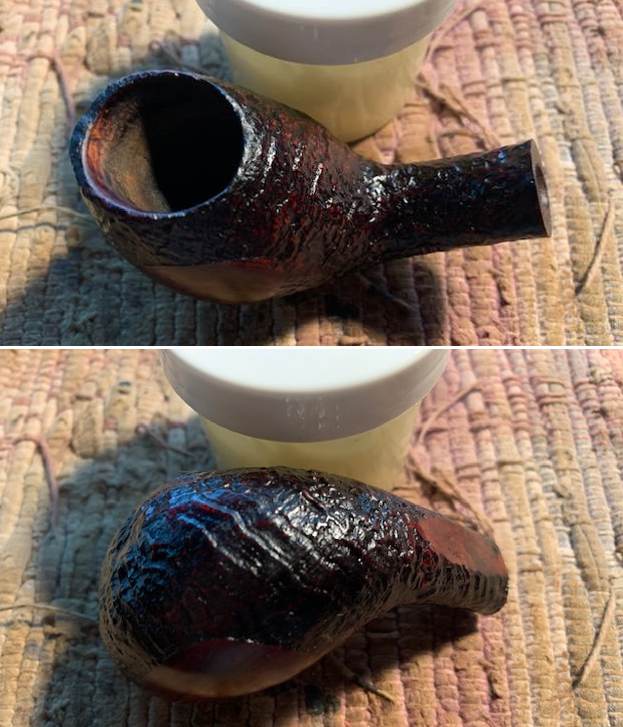
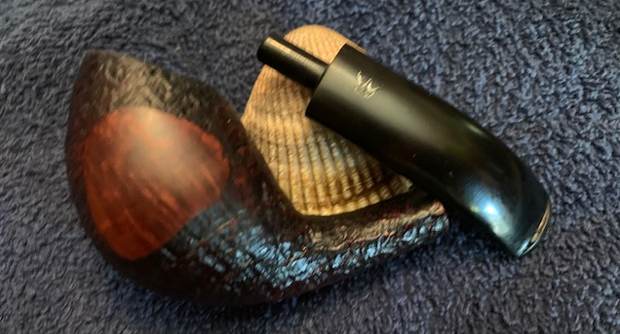
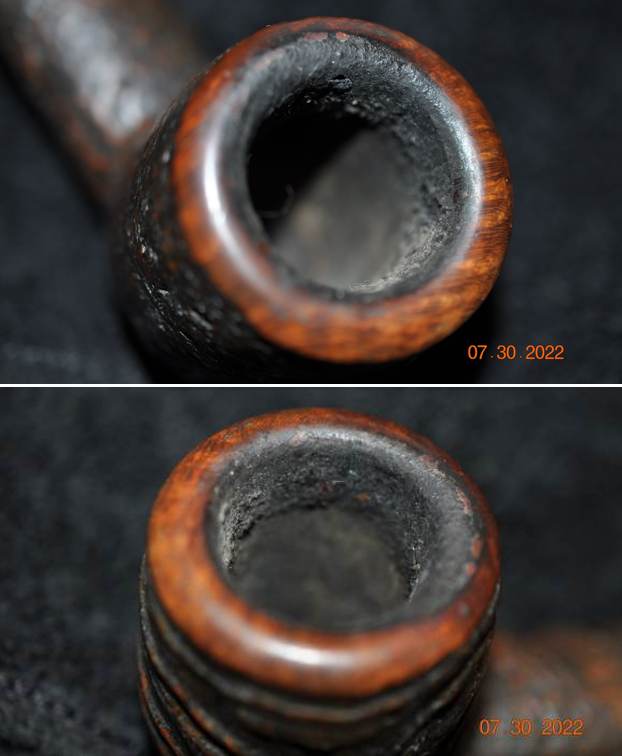
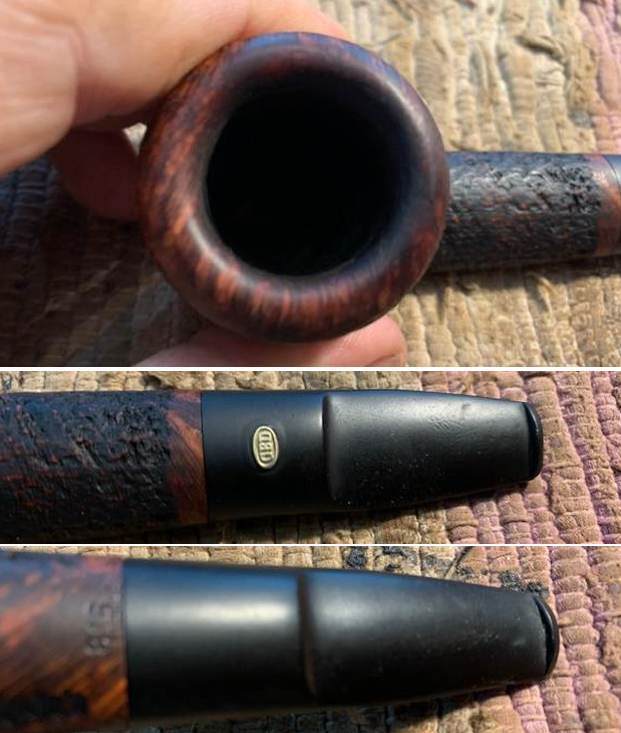
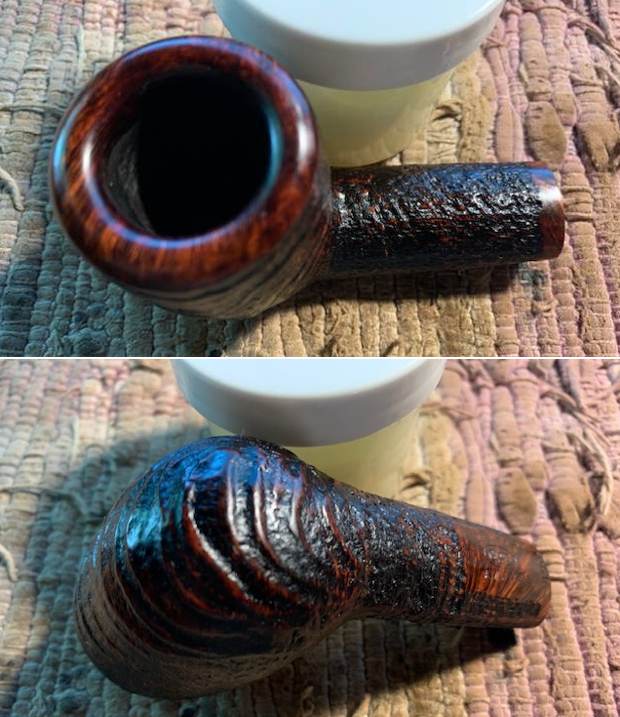
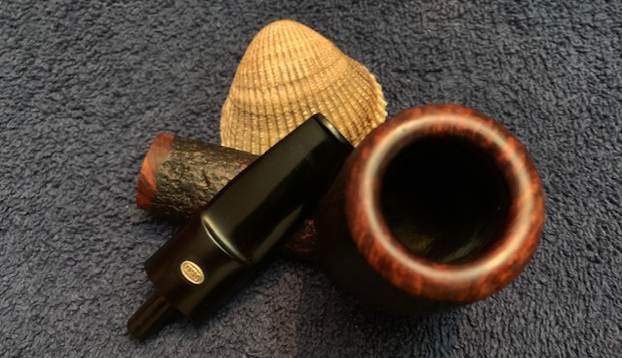
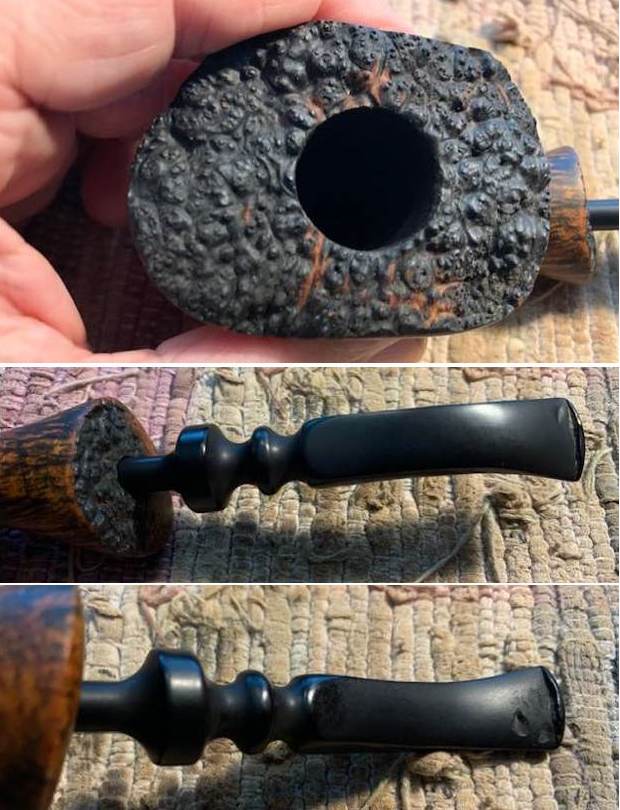
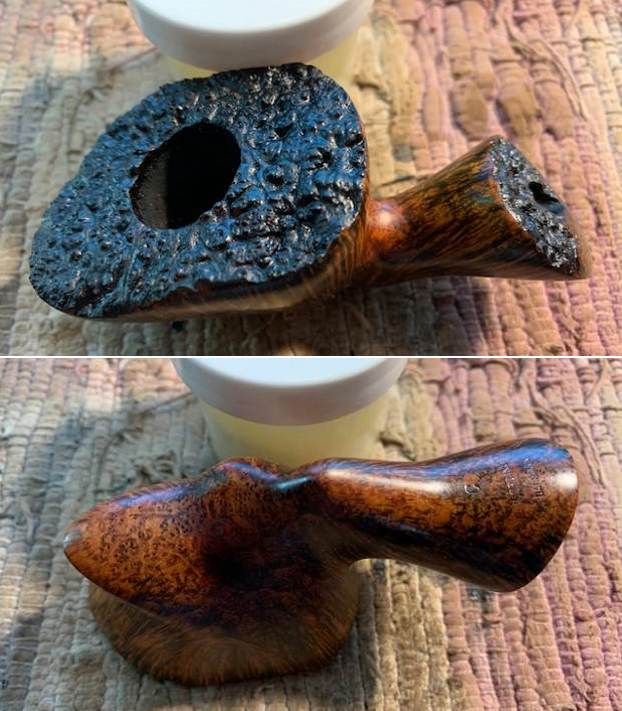
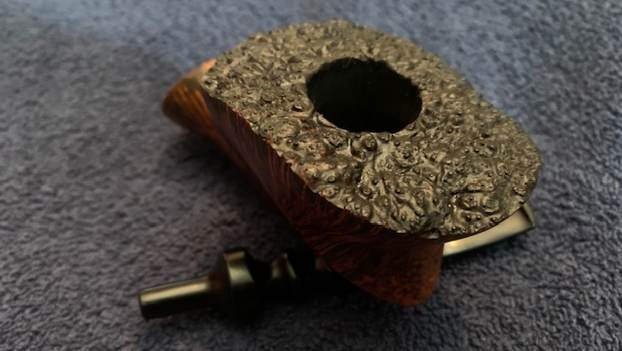
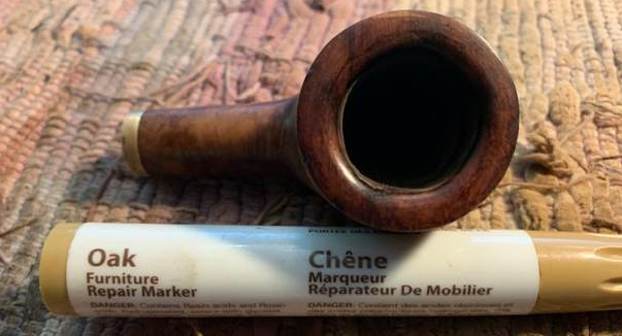
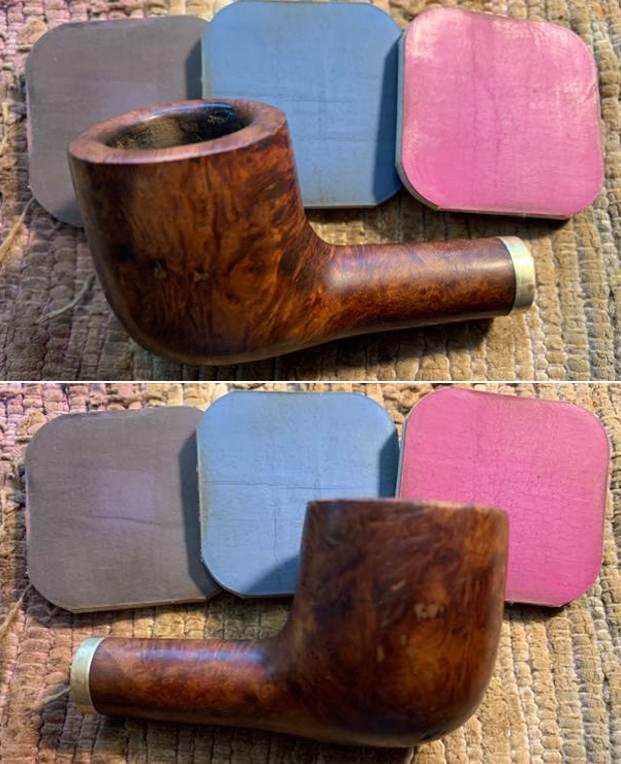
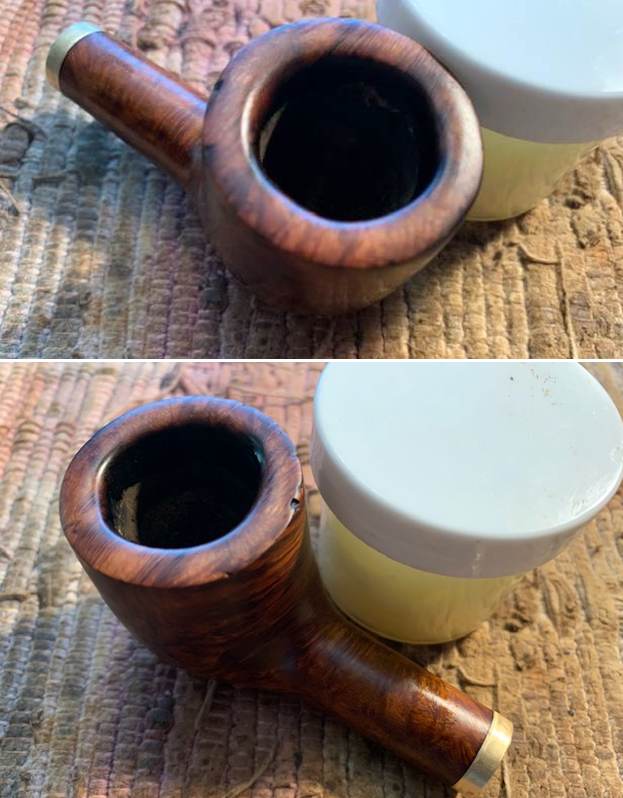
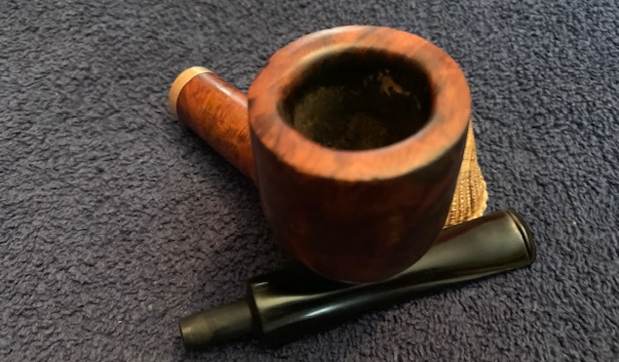
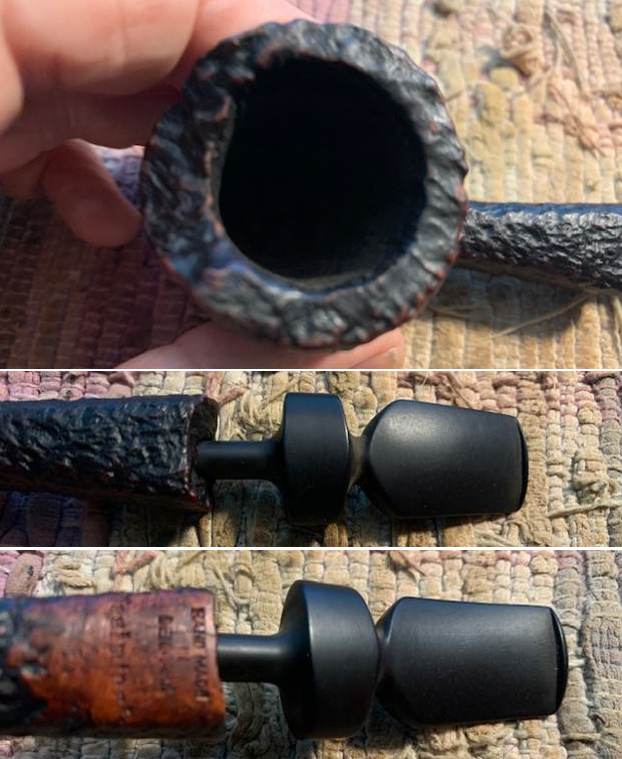
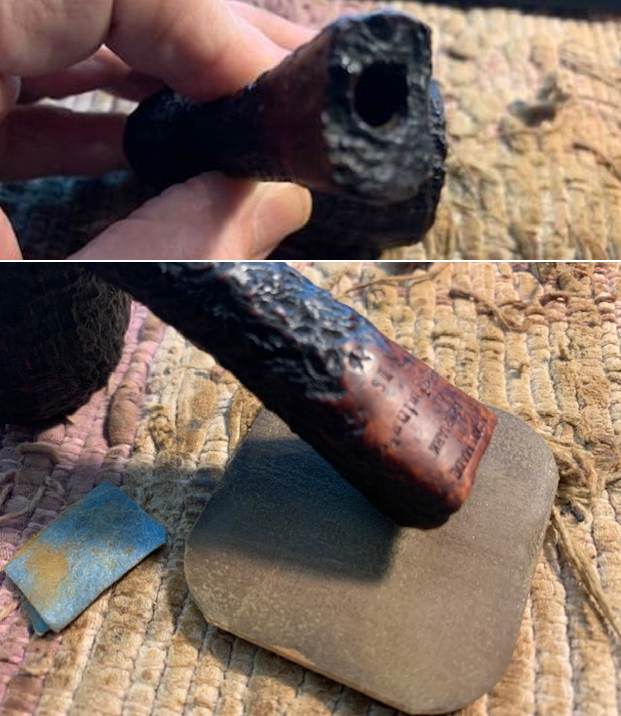
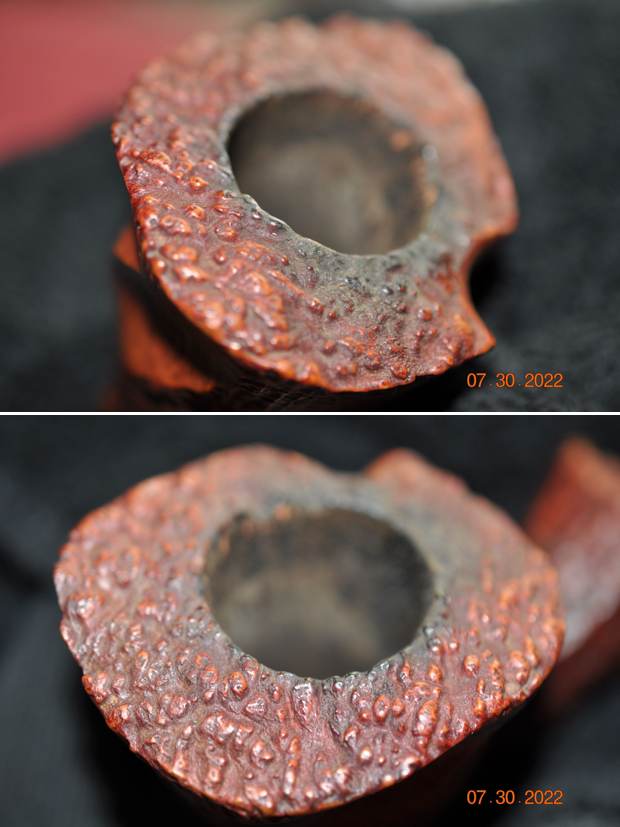
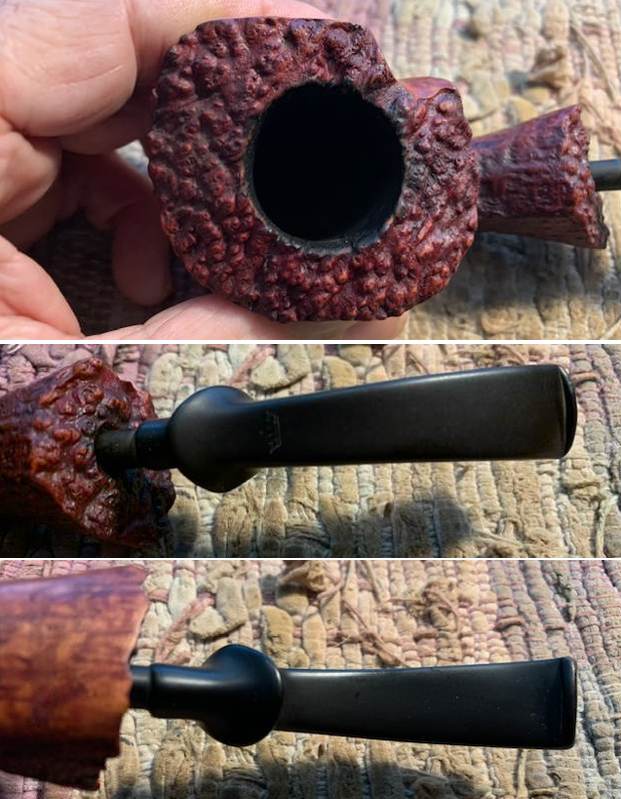
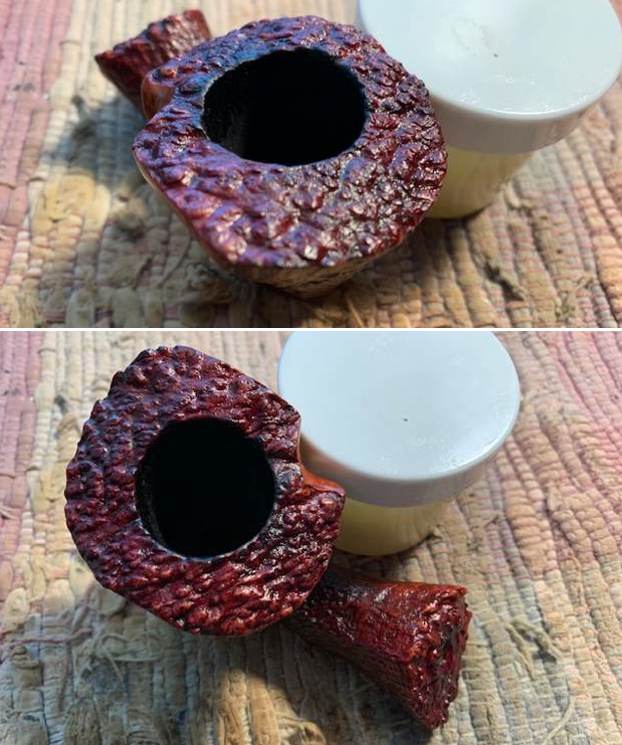
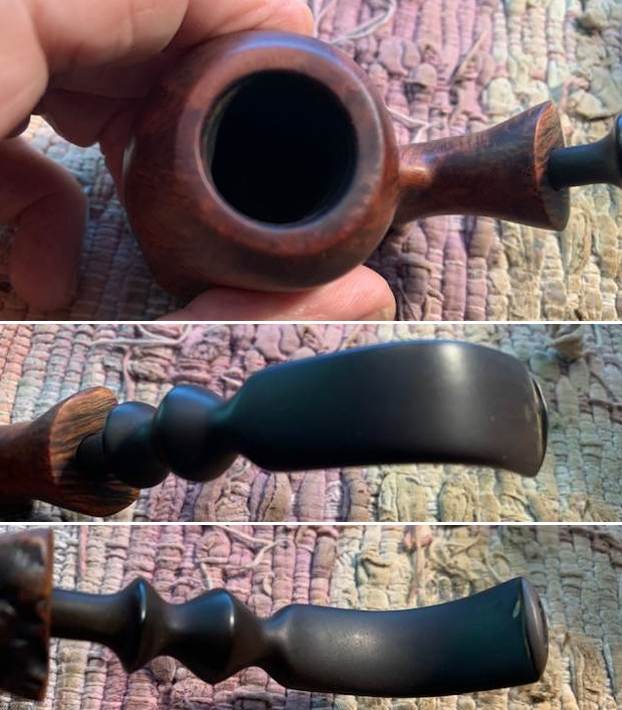
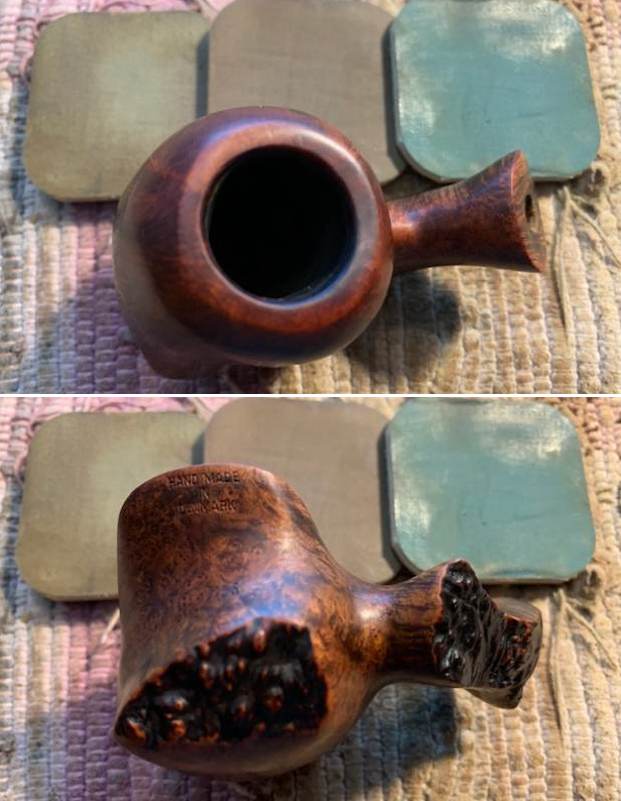
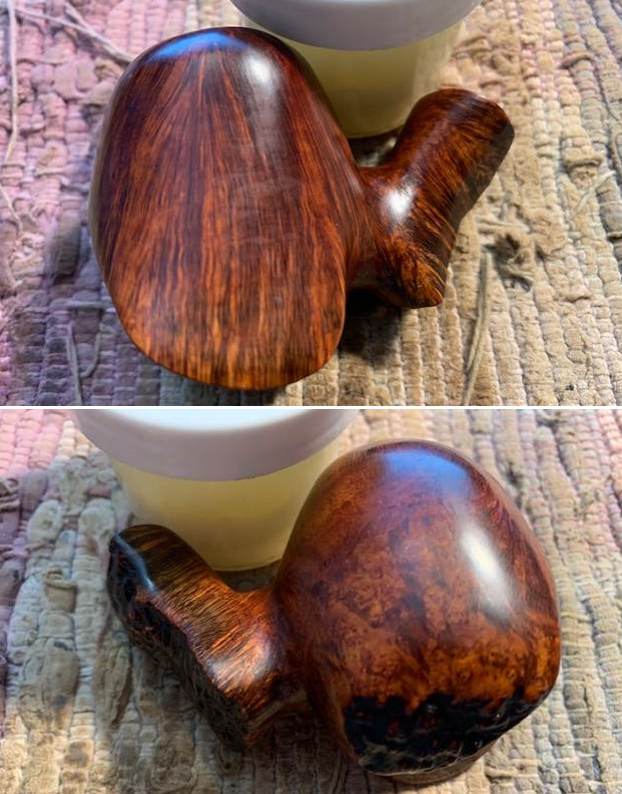
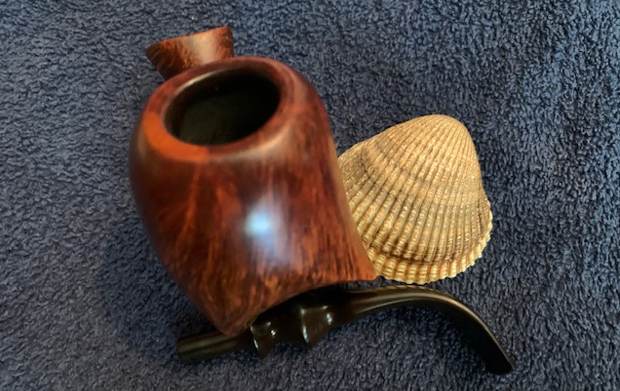
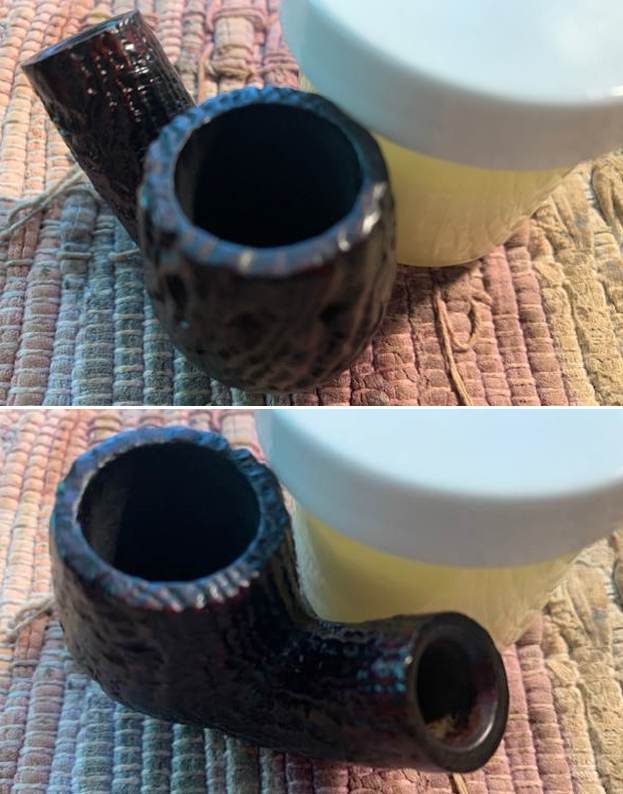
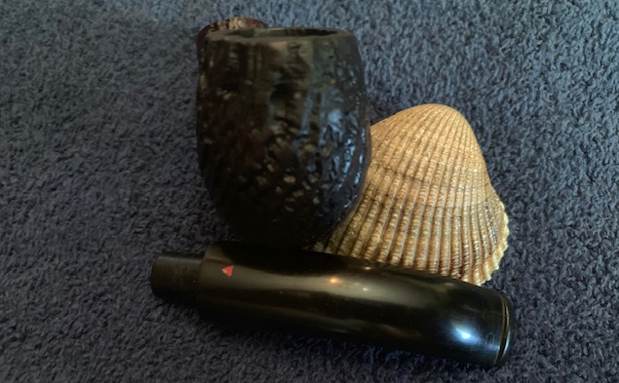
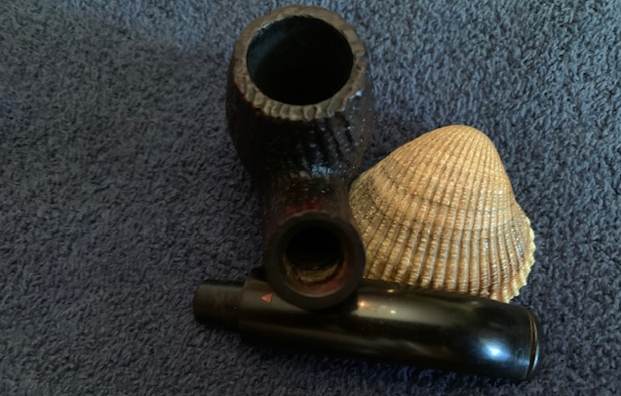
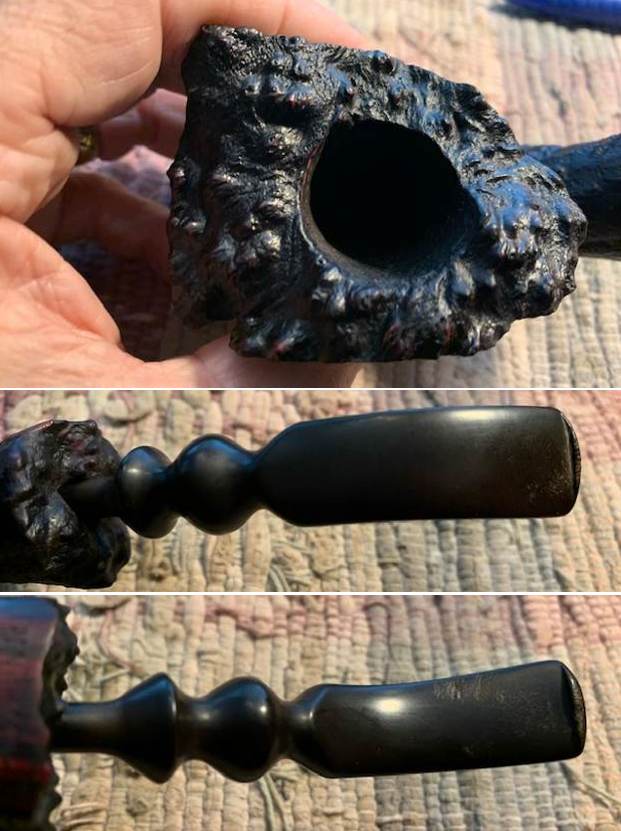
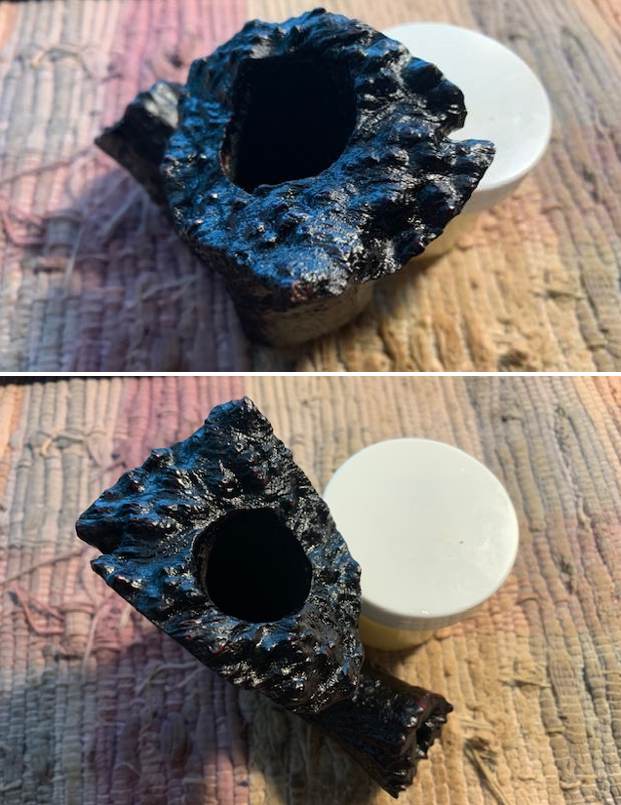
 I took some close up photos of the rim top and also of the stem surface. I wanted to show what cleaned bowl and rim top looked like. The rim top and edges looked very good. There was some wear on the stain on the right front rim top but otherwise the sandblast finish is very nice. I also took close up photos of the stem to show the light tooth marks and the remaining oxidation on the stem surface. Both are hard to see in the photos but they are present and will need to be dealt with in the restoration process.
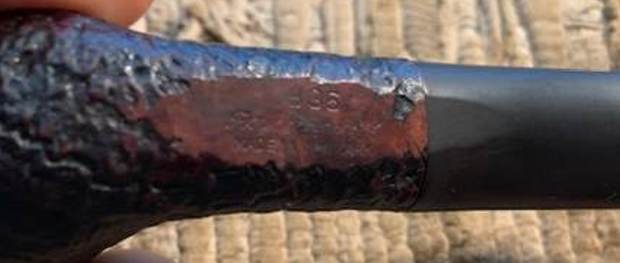
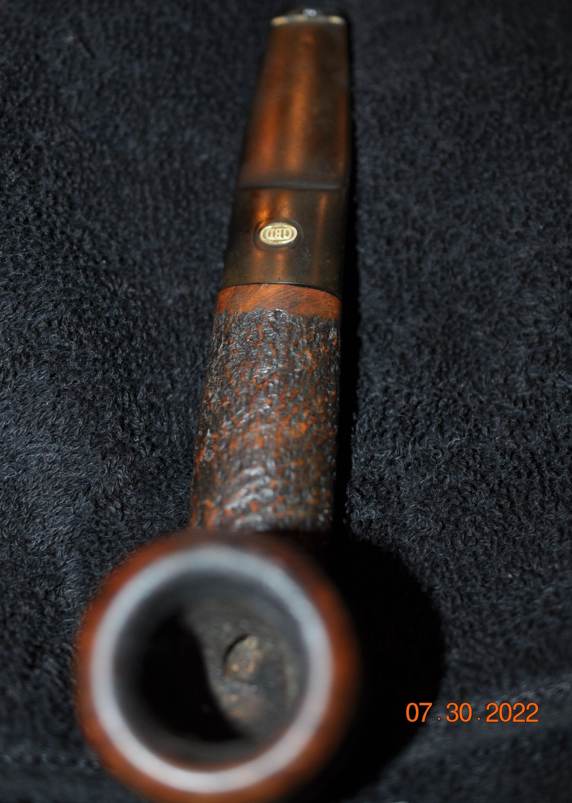
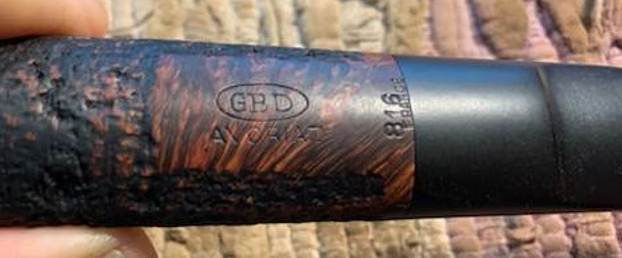
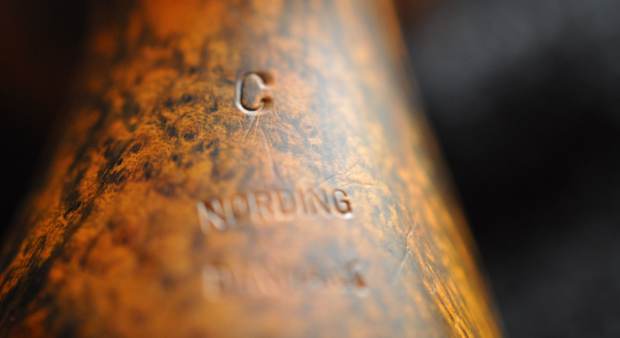
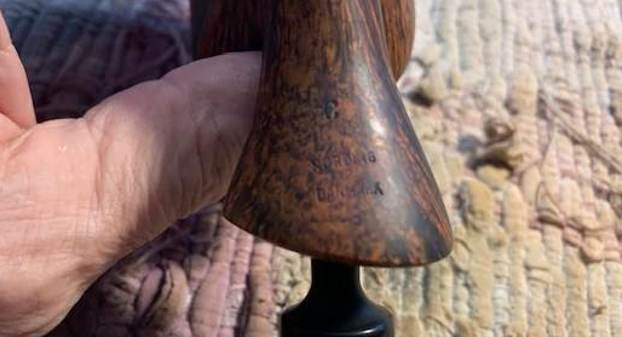
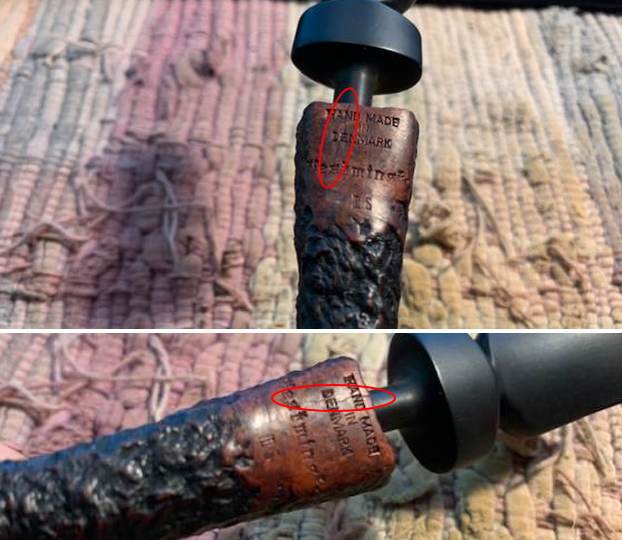
 I took a photo of the stamping on the underside of the shank and it is clear and readable for the most part. As noted above the shape number is stamped in the sandblast and therefore is very hard to read. My work above notes that the shape is a 615 though so that is good.
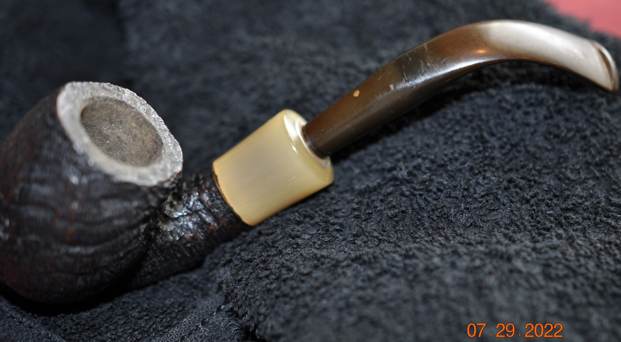
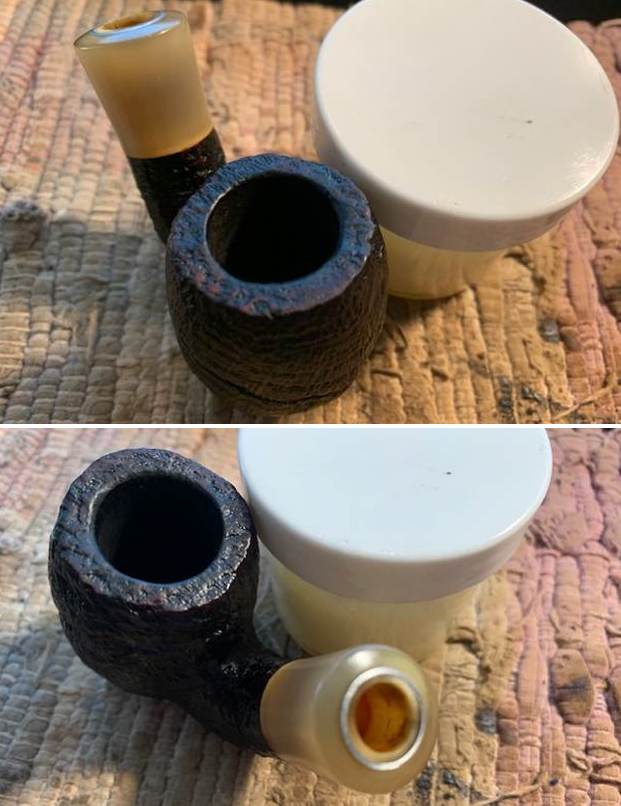
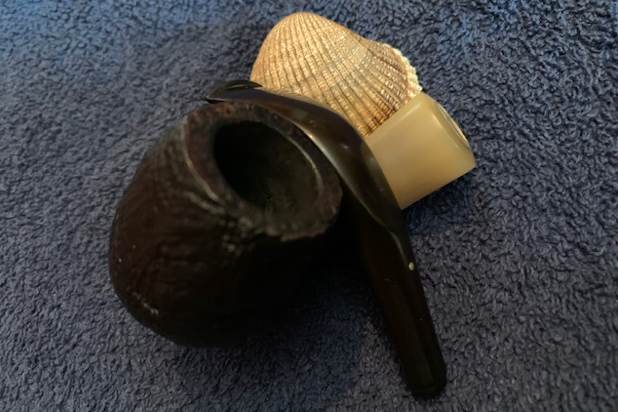
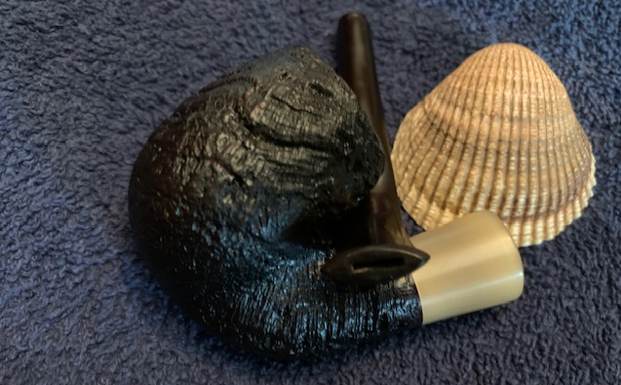
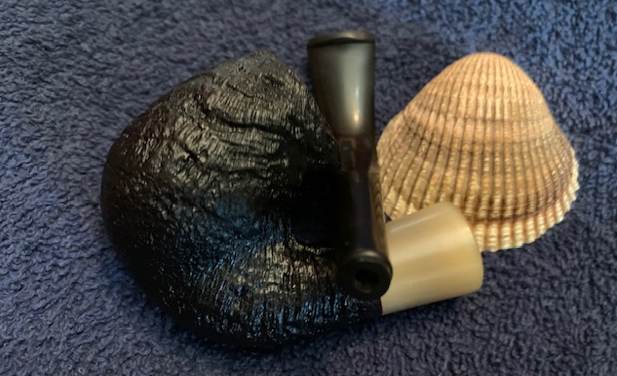
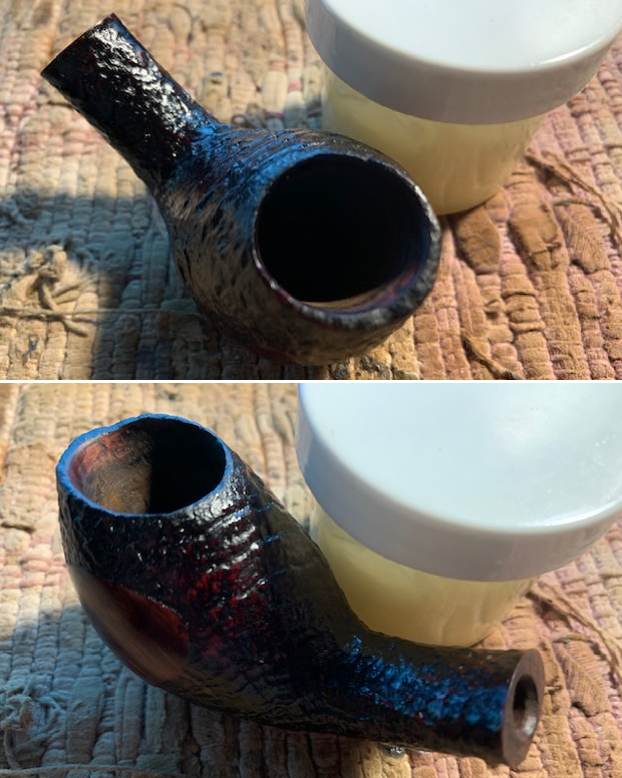
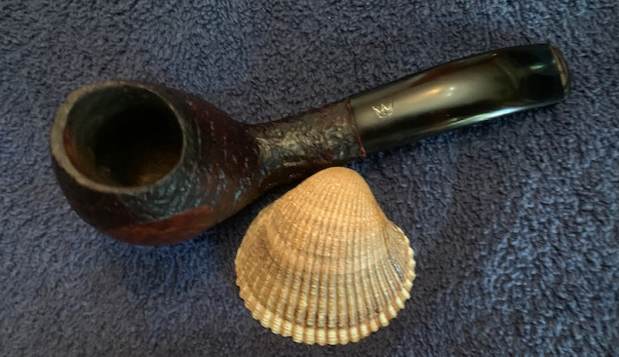
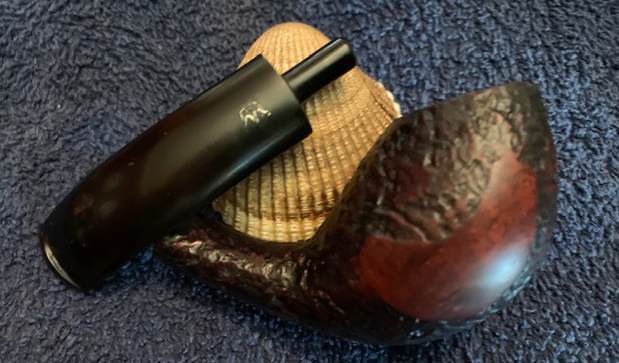
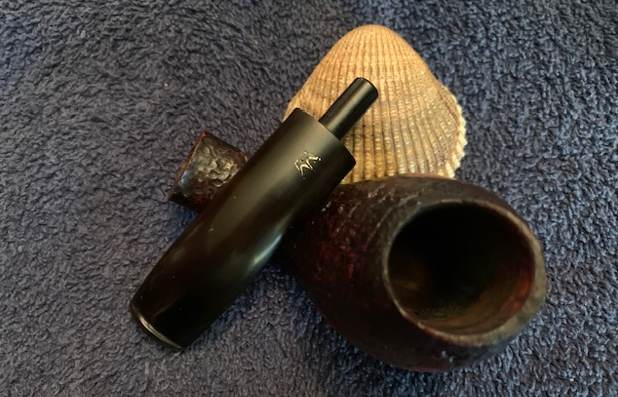
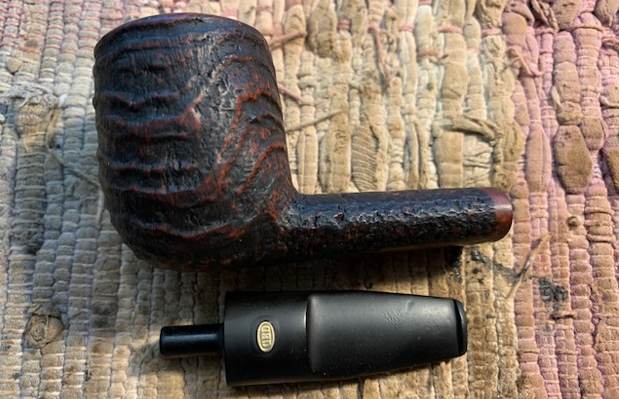
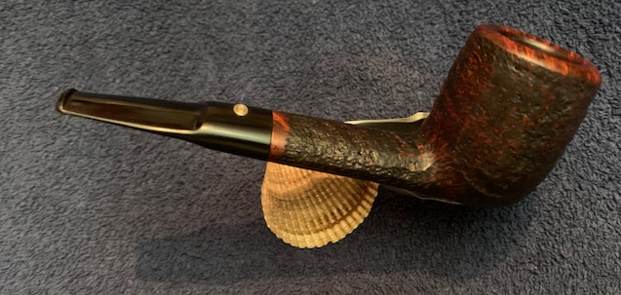
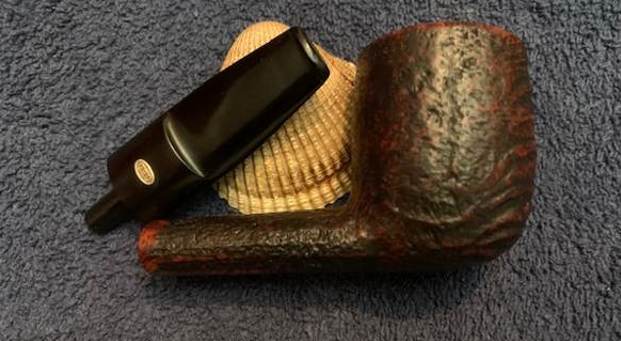
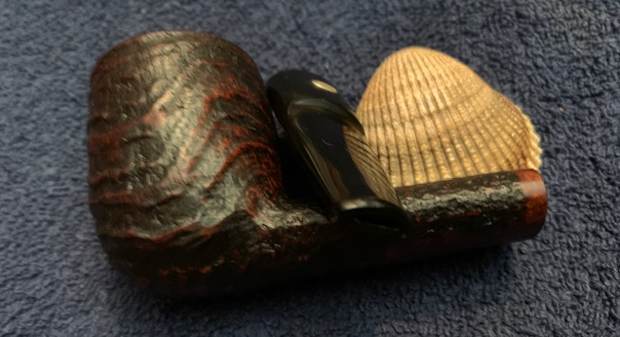
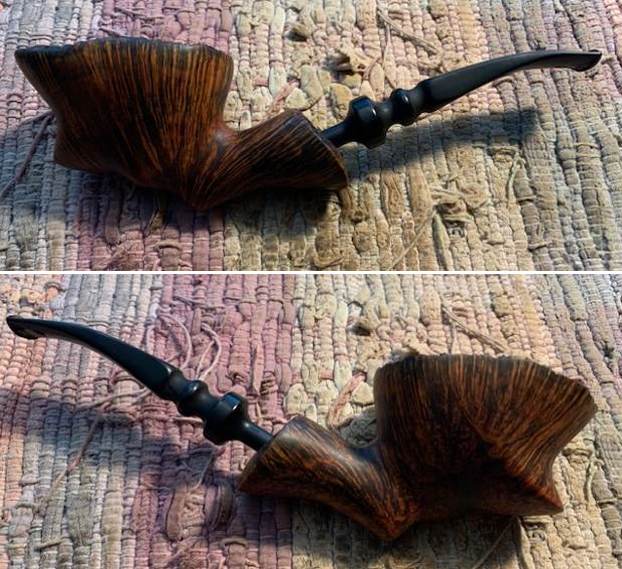
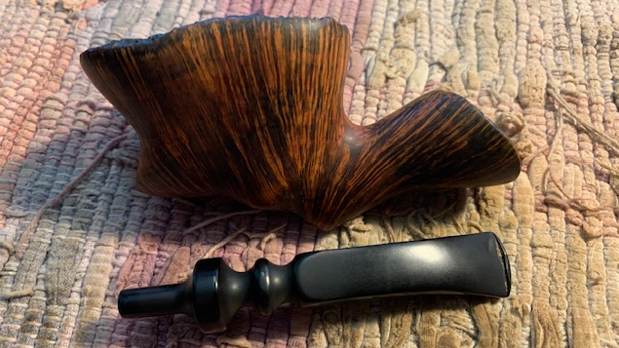
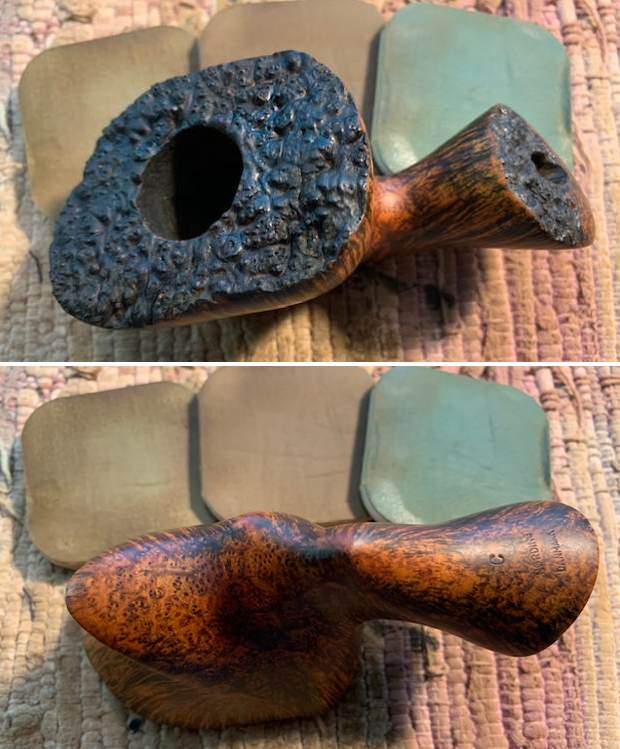
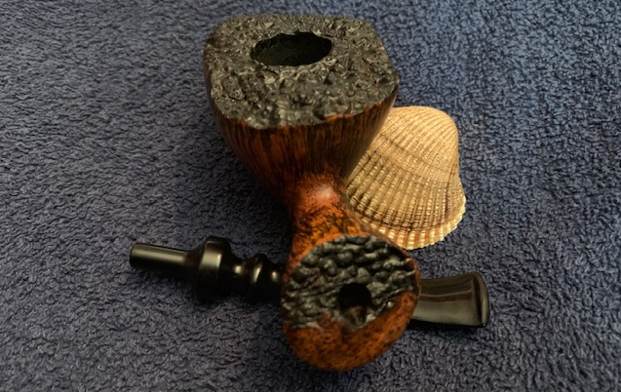
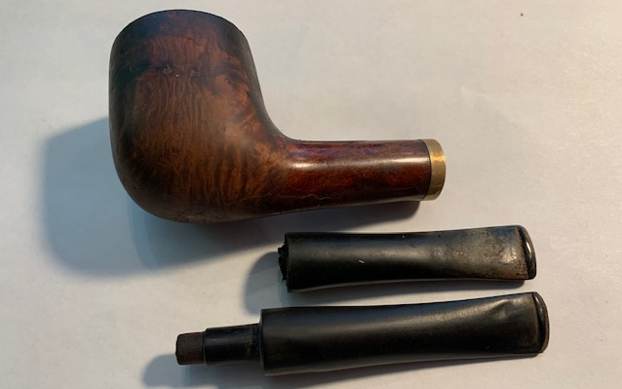
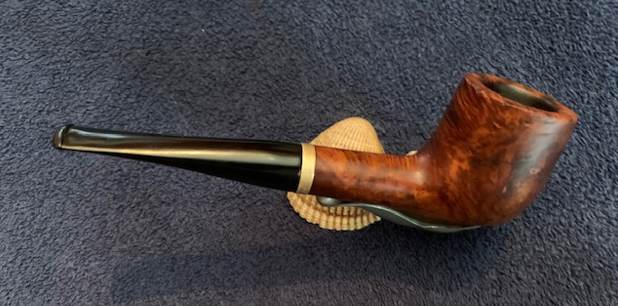
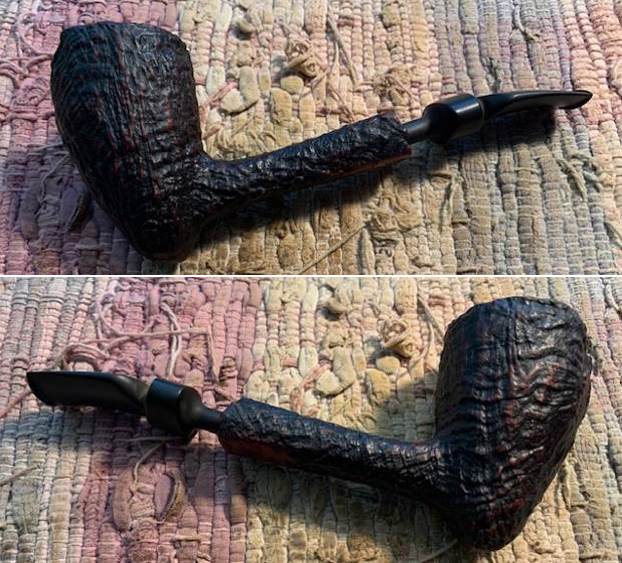
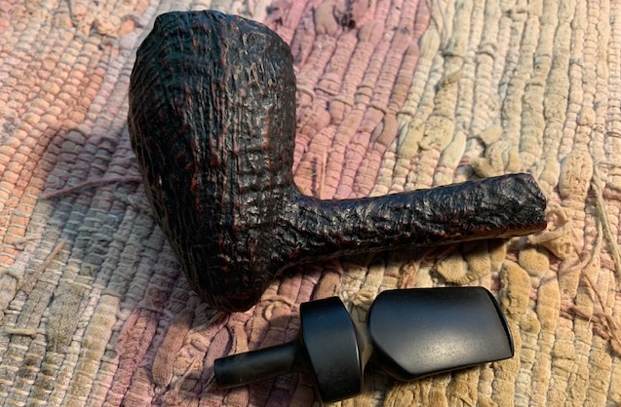
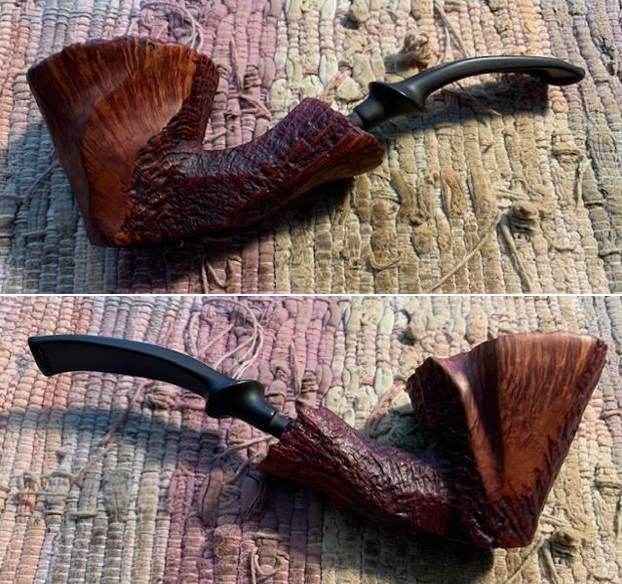
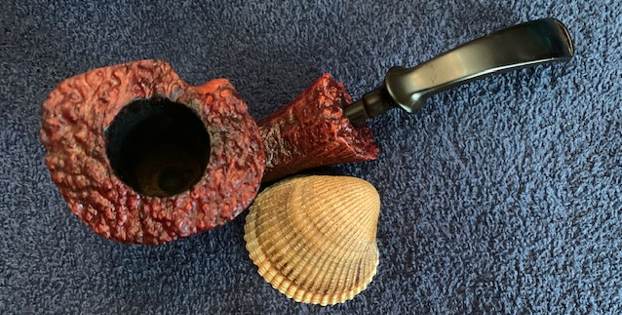
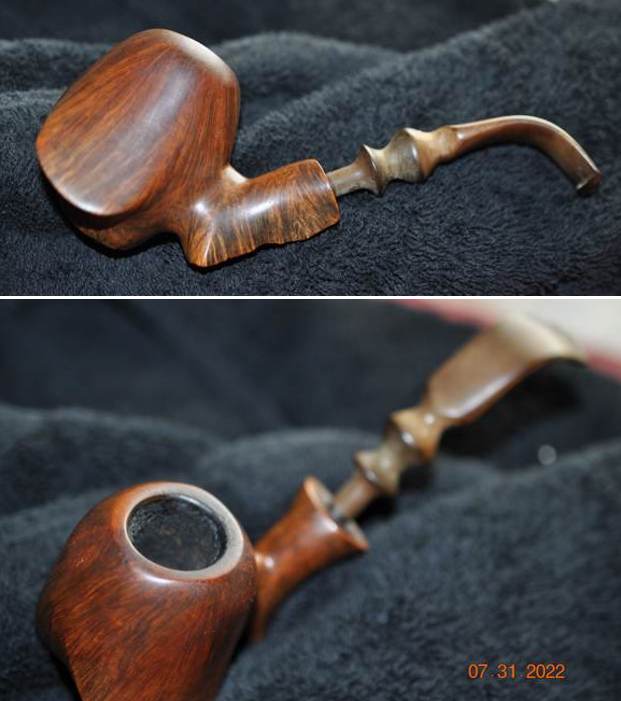
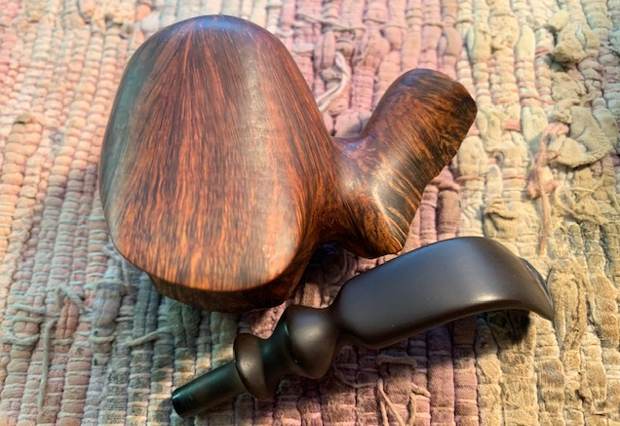
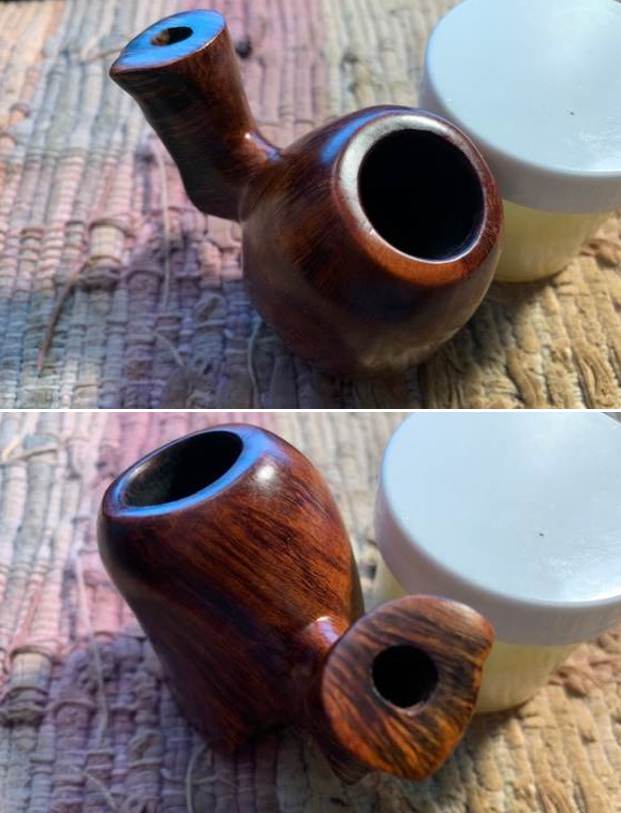
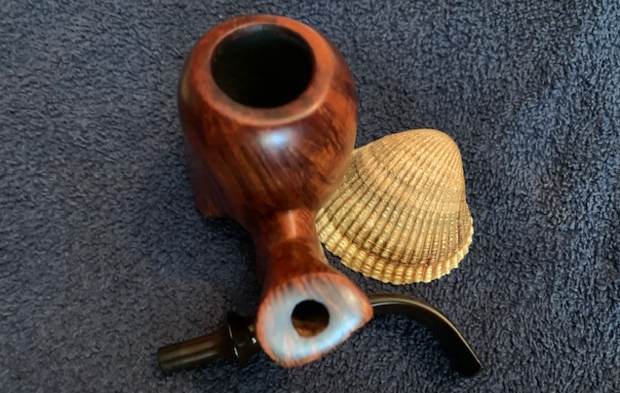
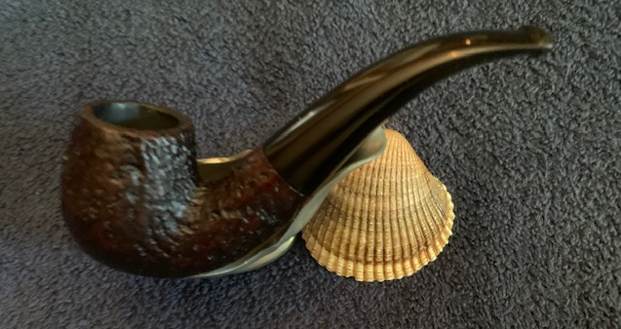
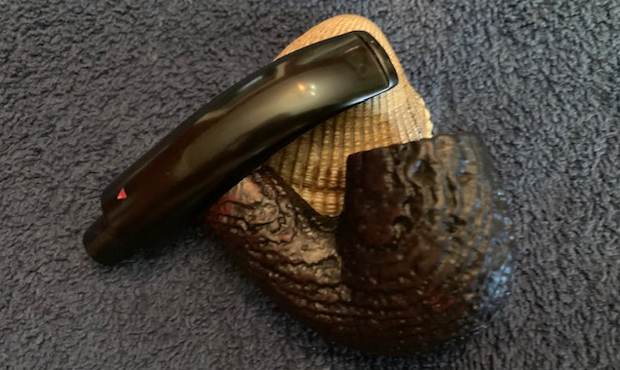
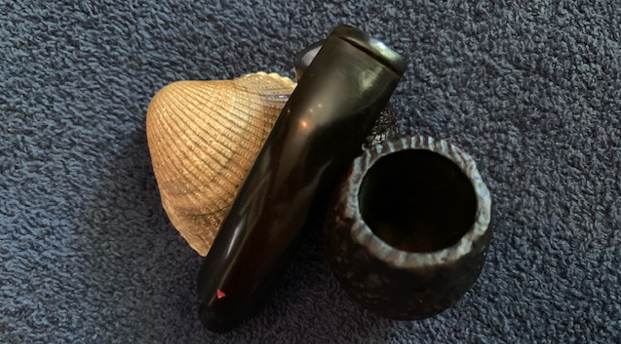
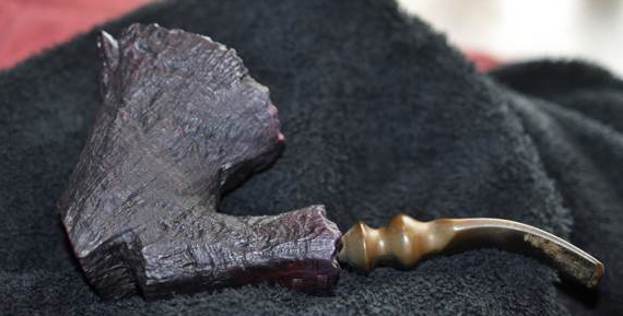
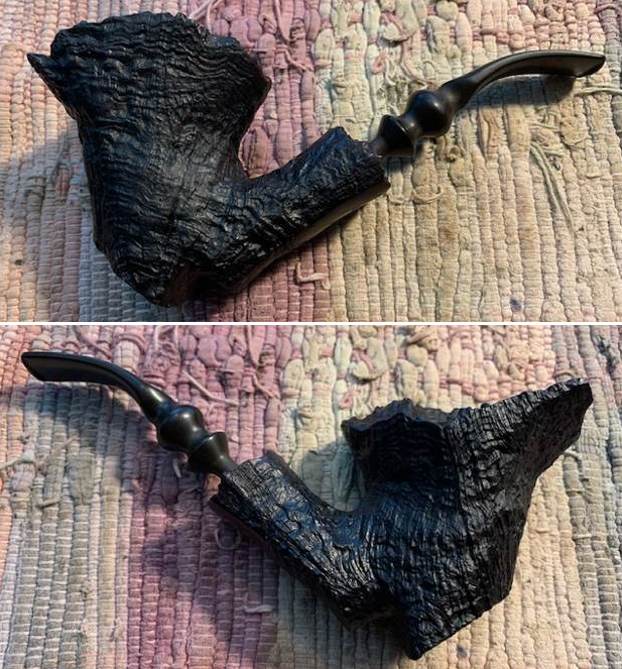
 I took the stem off the shank and took a photo to give a clear picture of the pipe from the left side profile and the top looking down. It is a really pretty pipe.
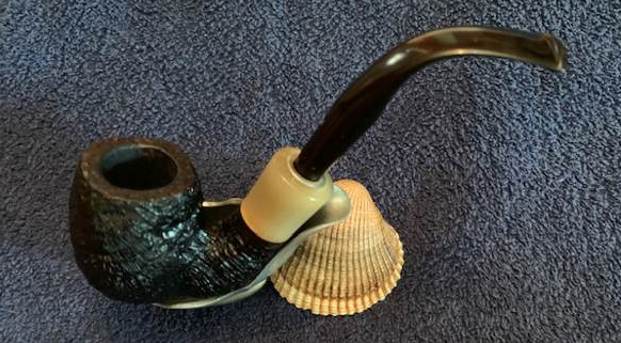
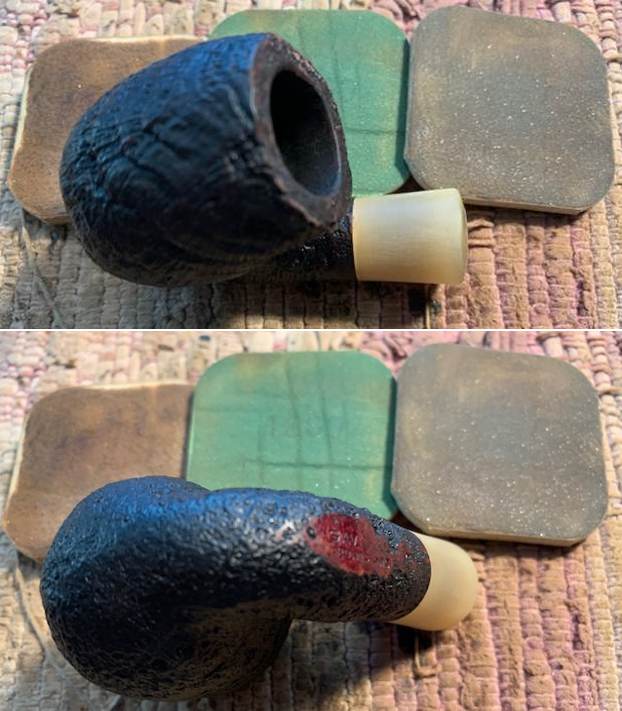
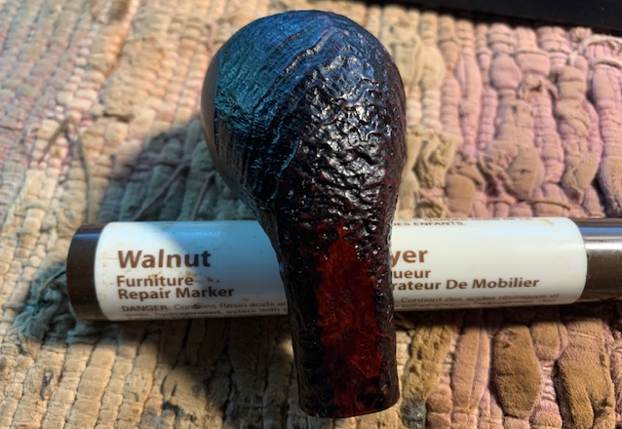
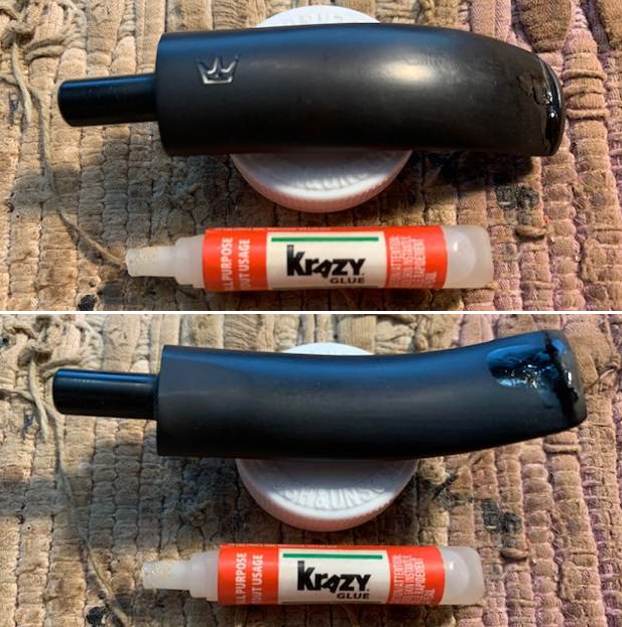
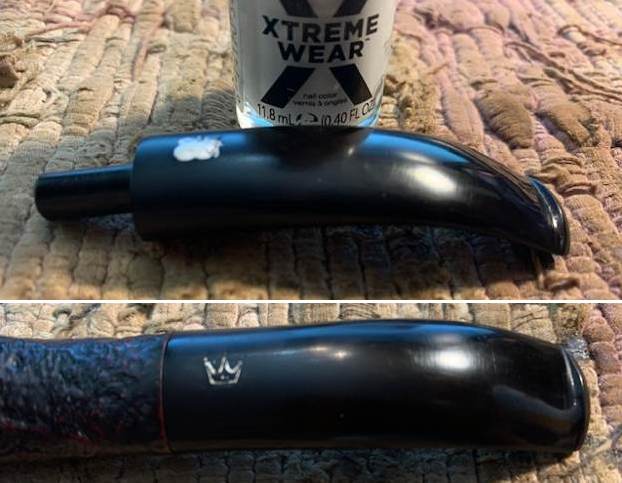
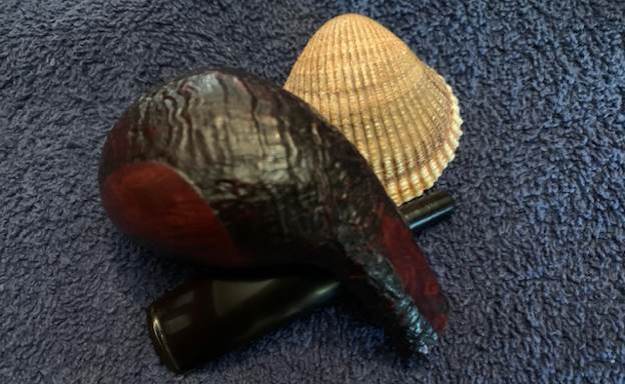
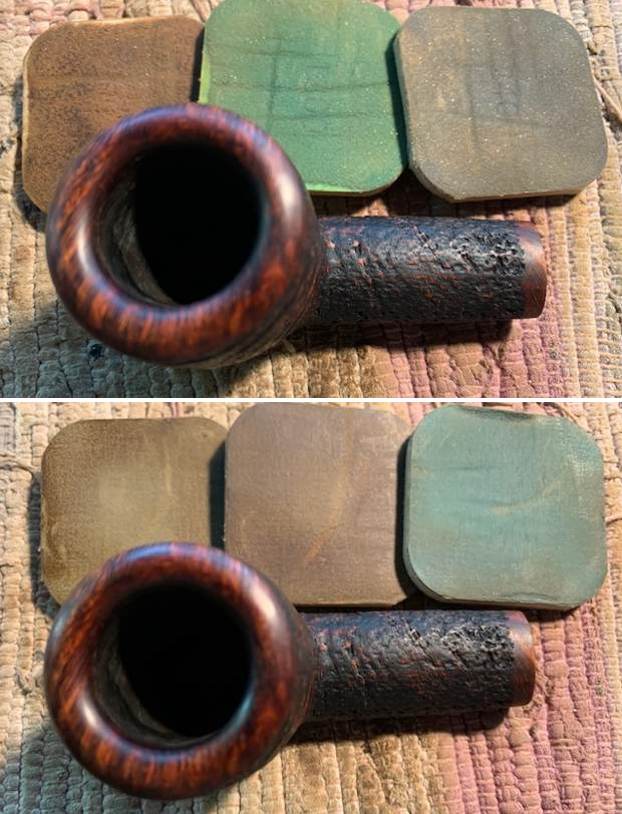
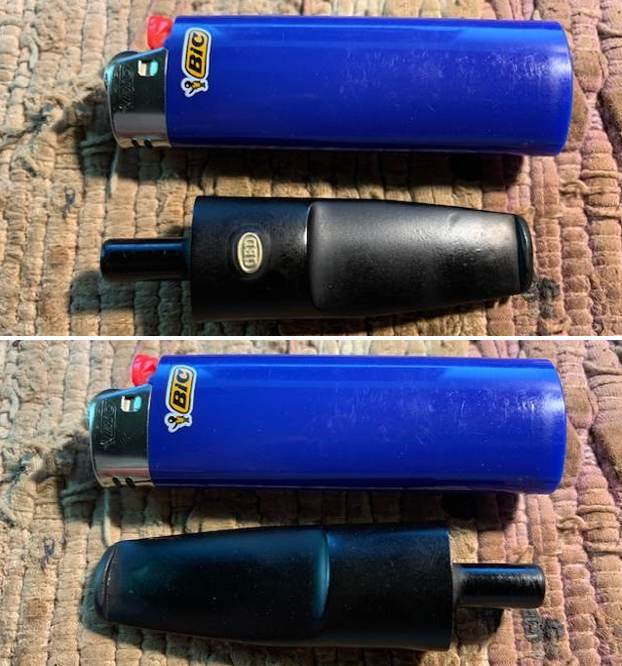
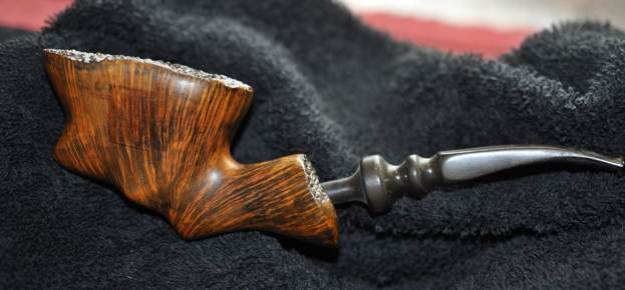
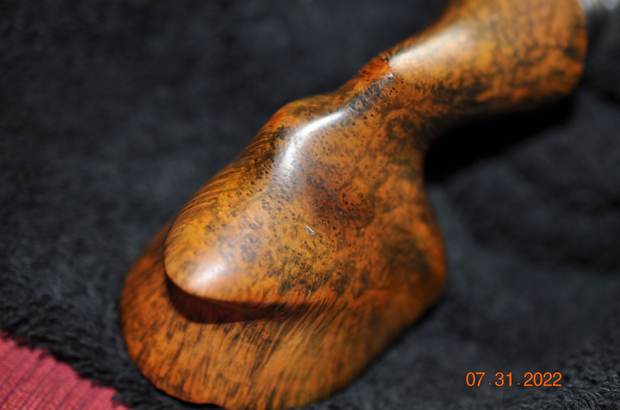
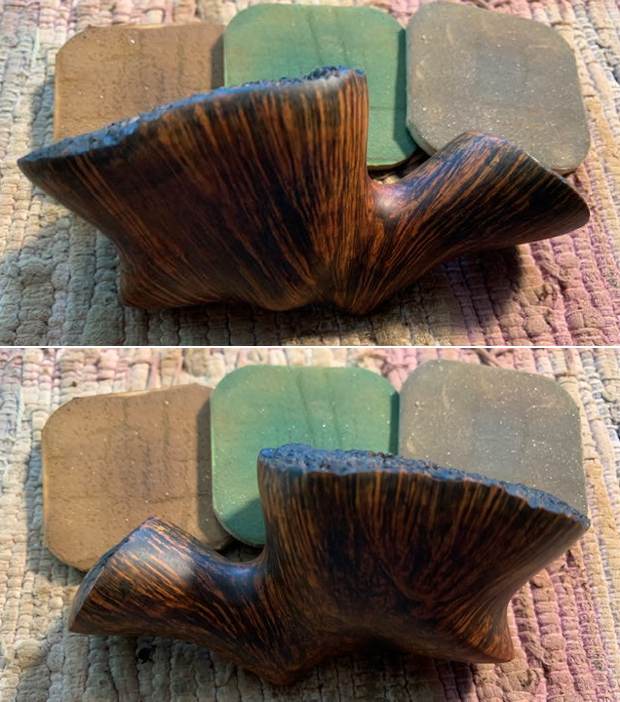
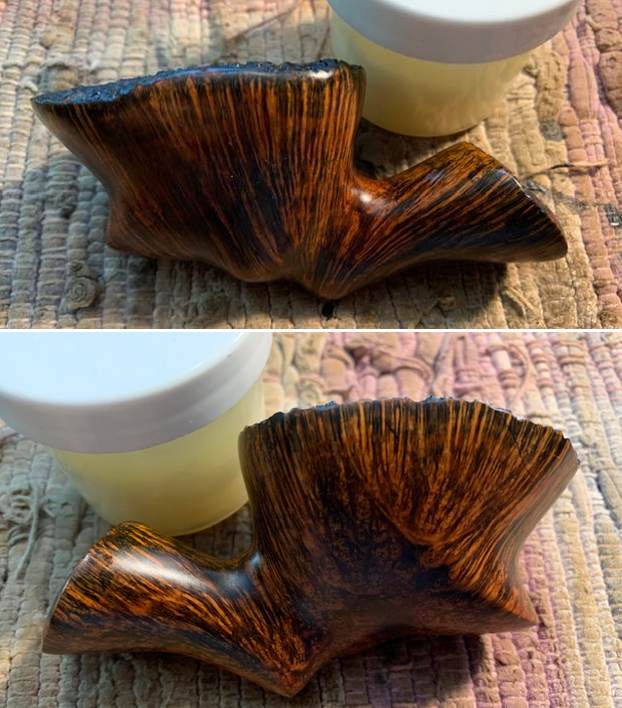
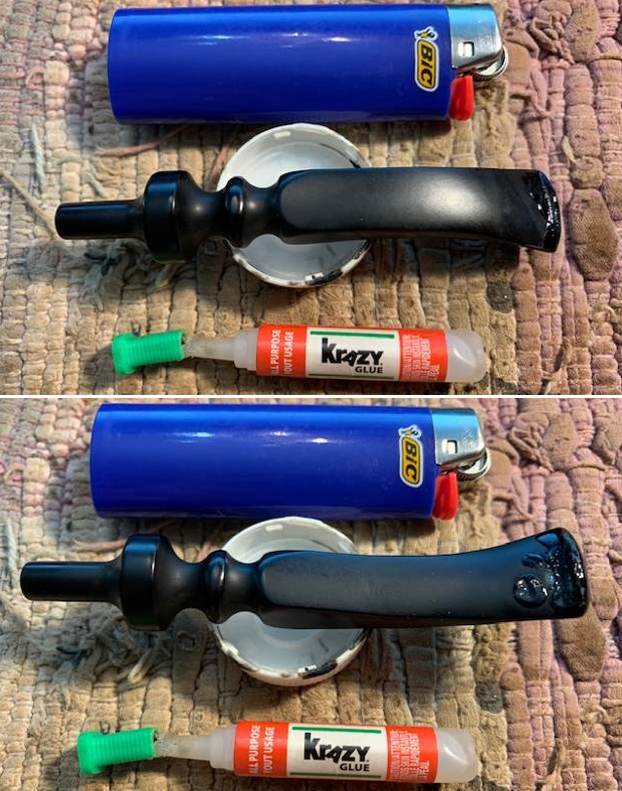
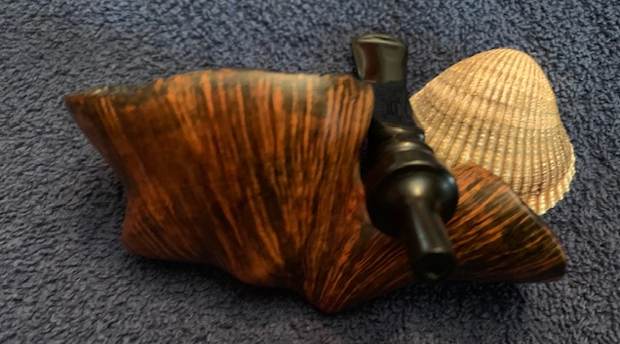
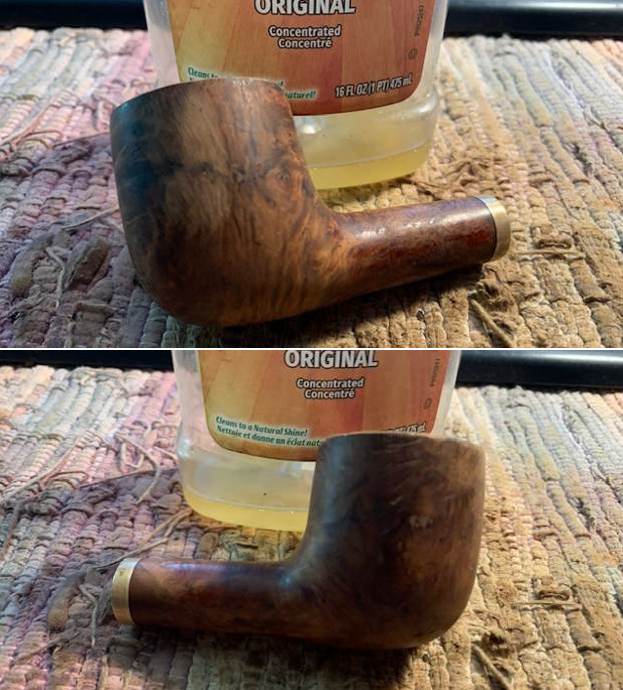
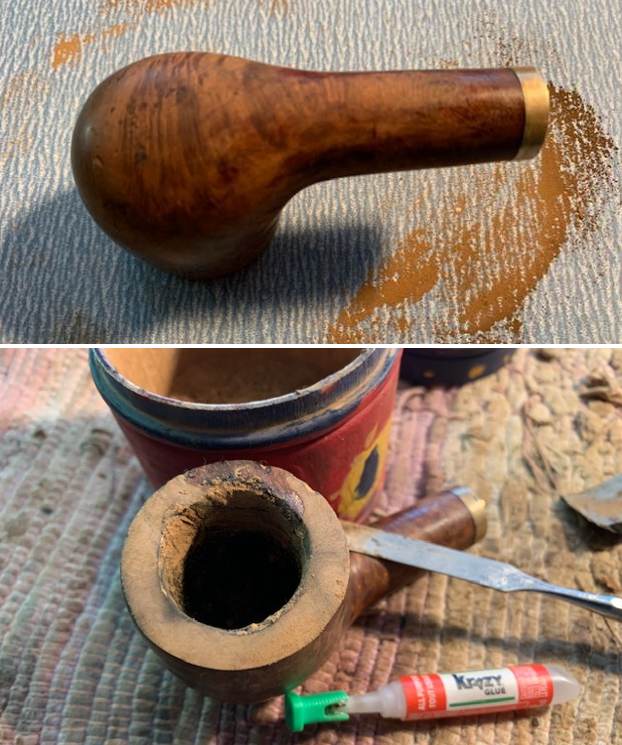
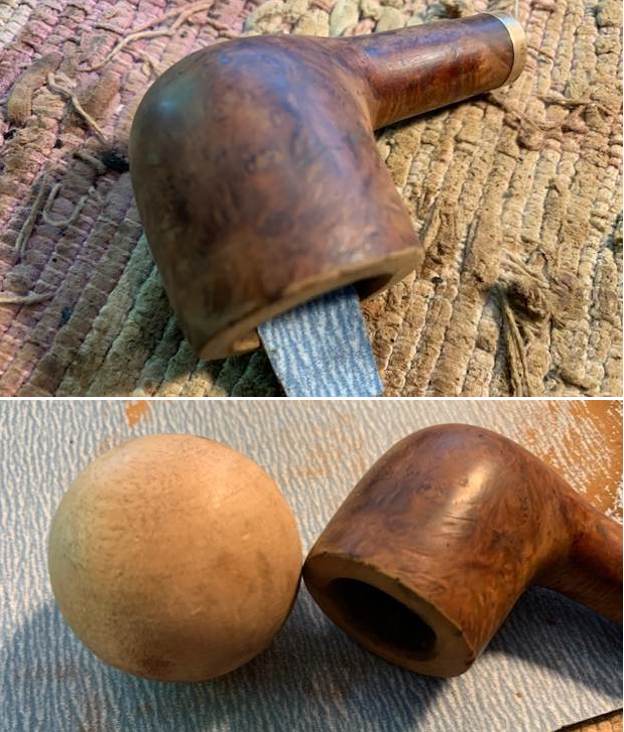
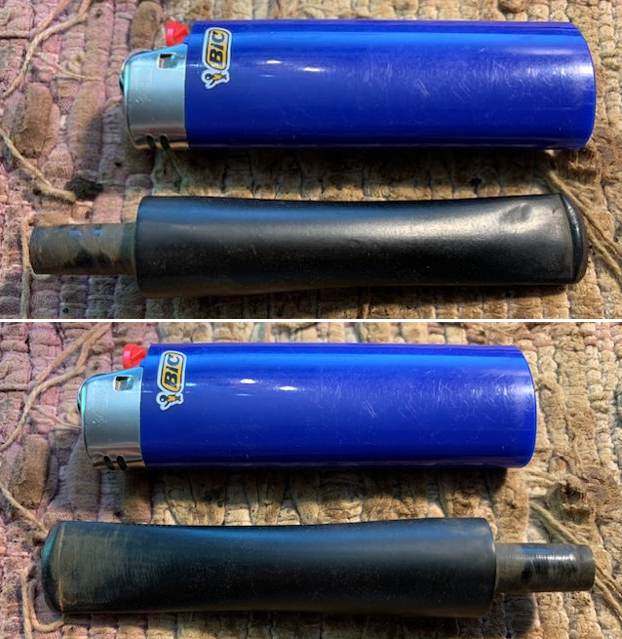
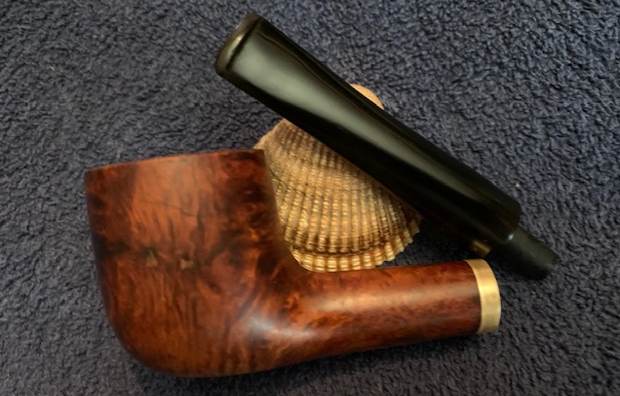
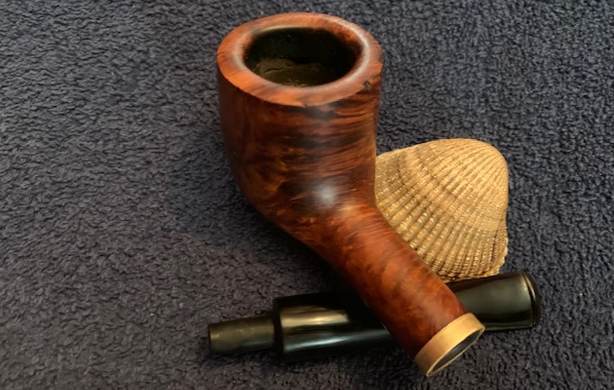
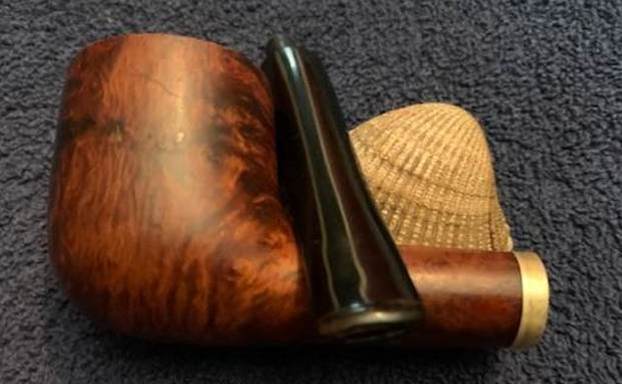
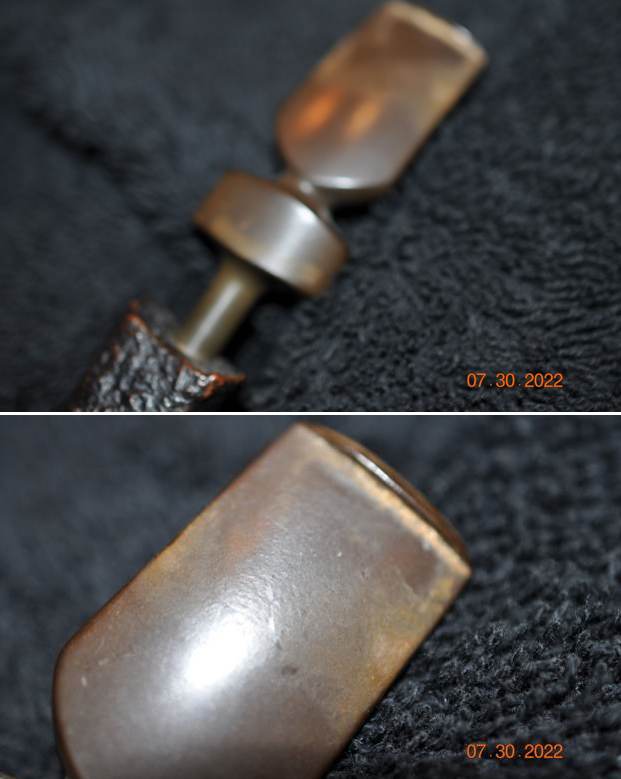
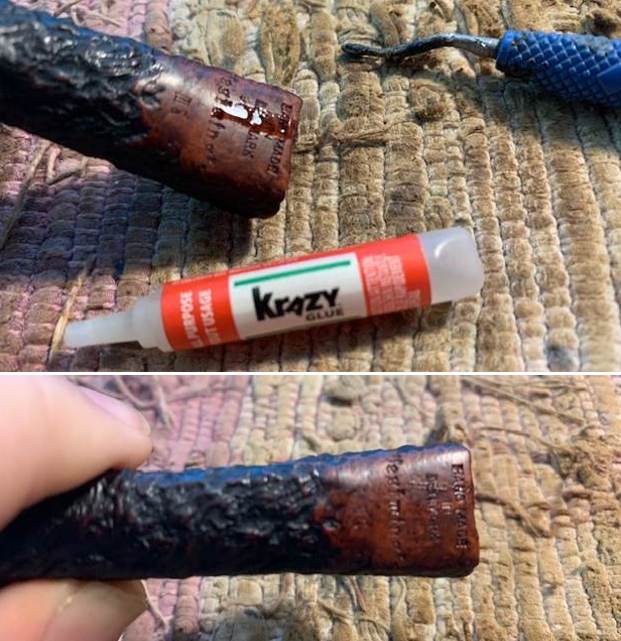
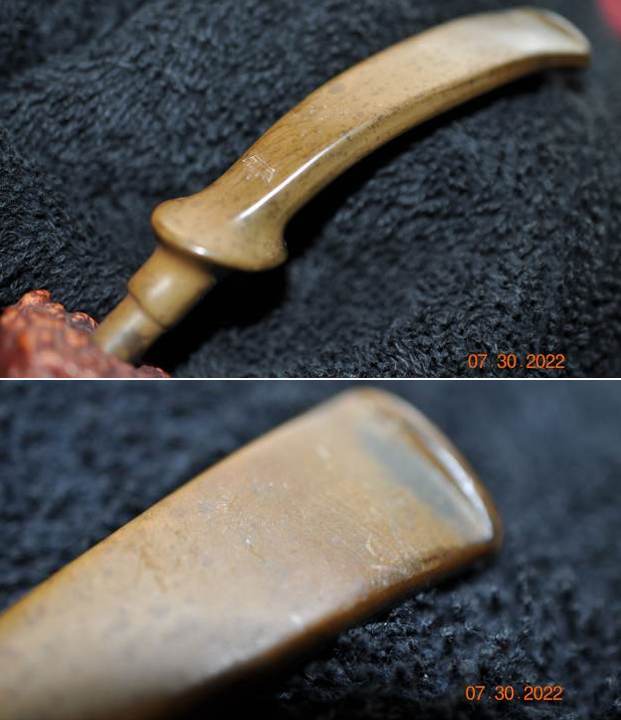
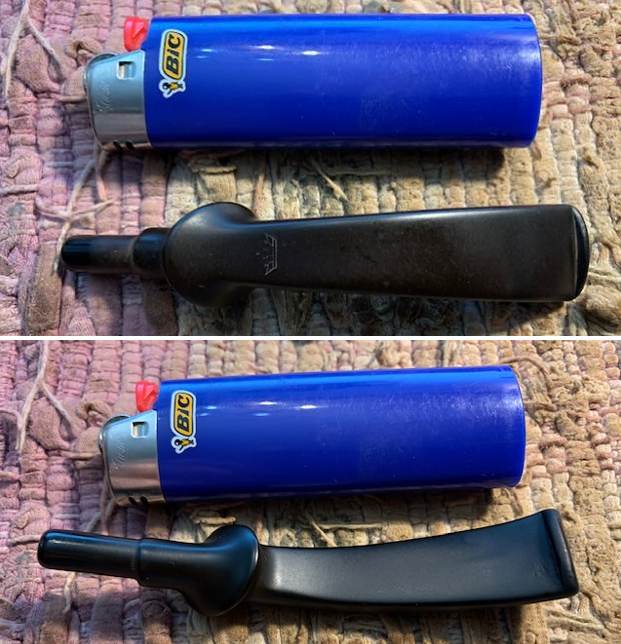
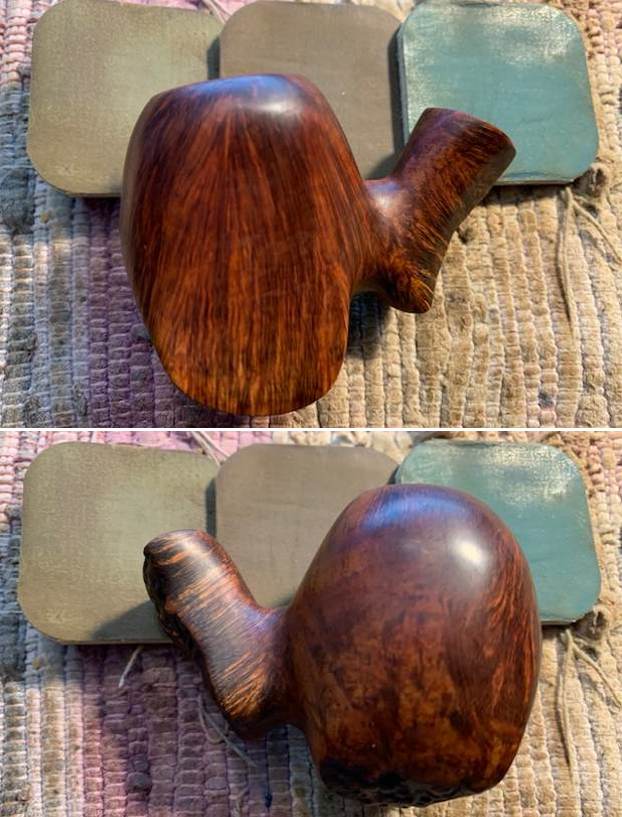
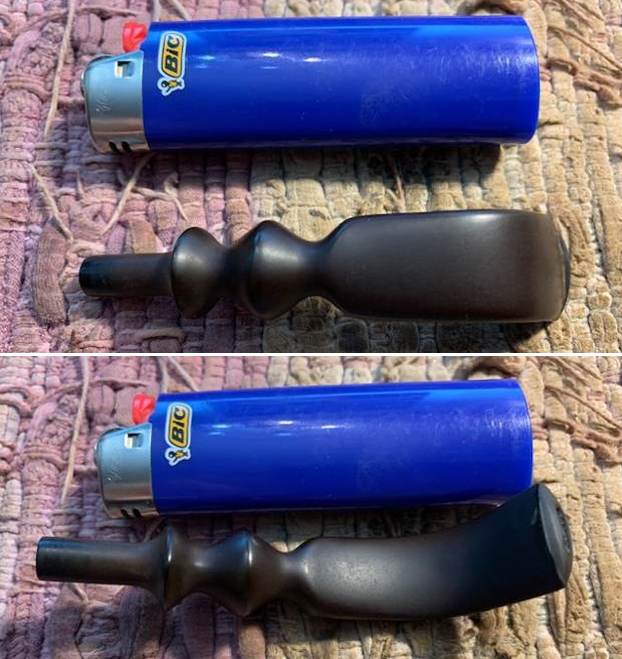
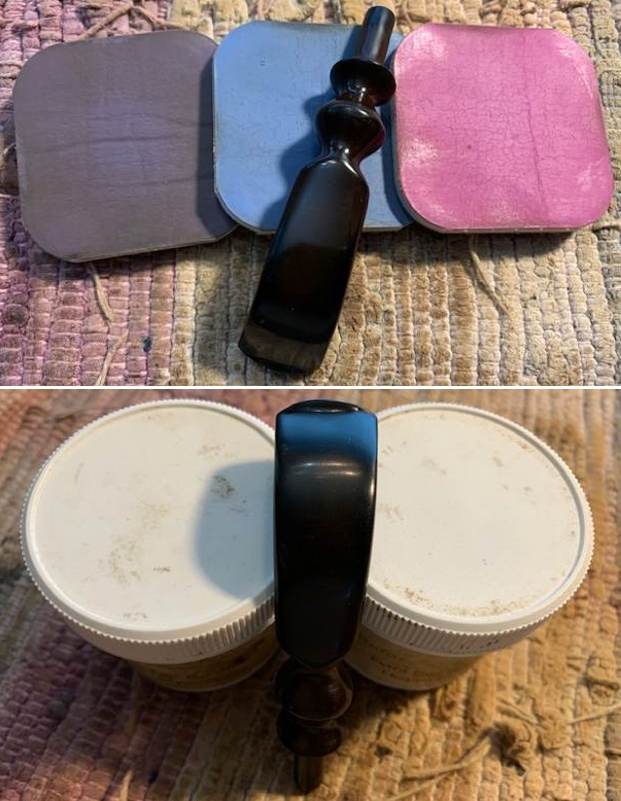
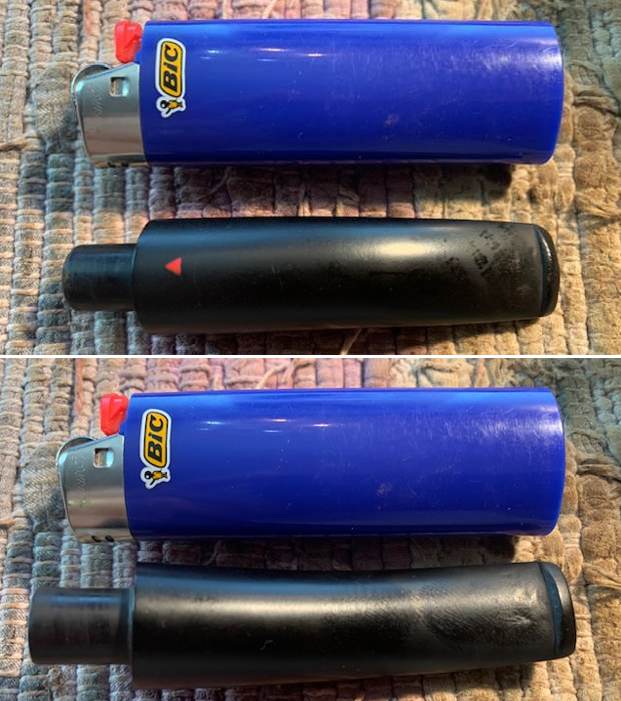
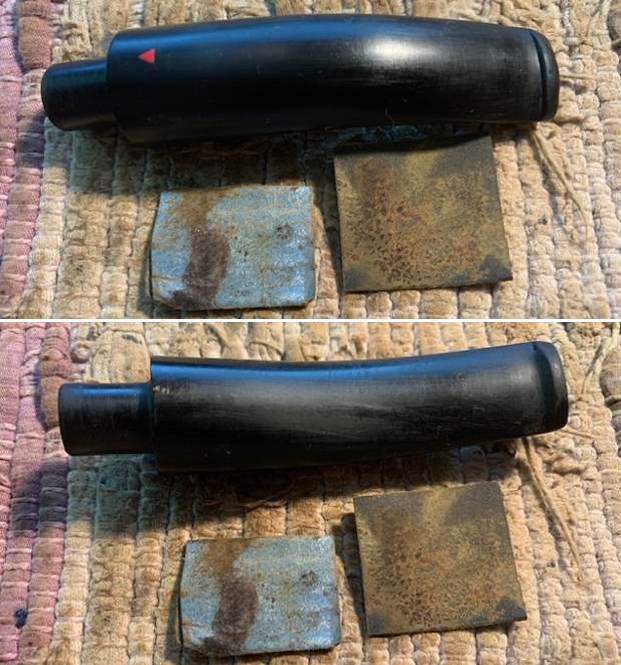
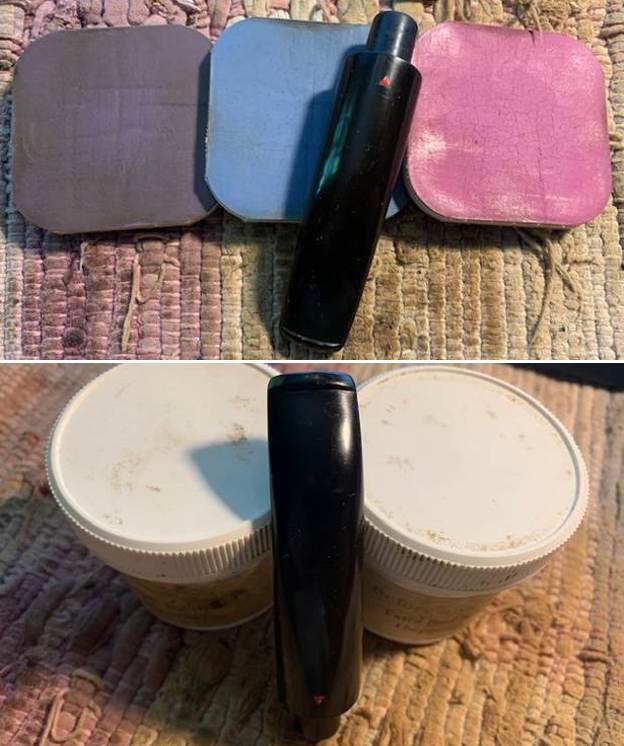
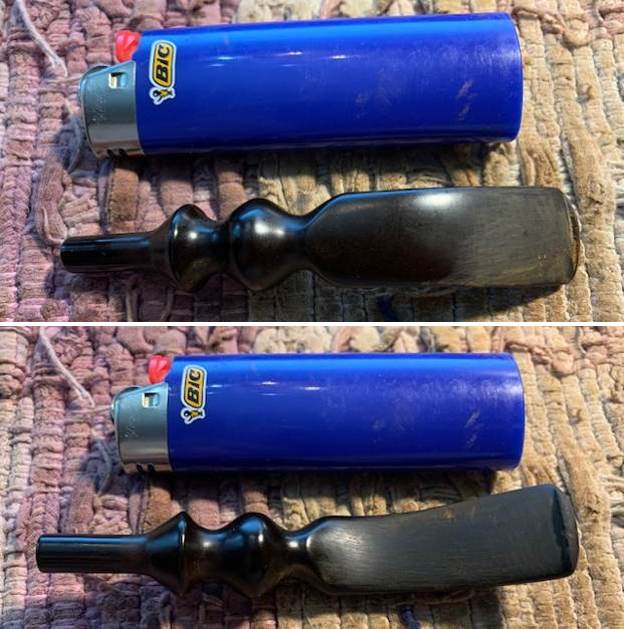
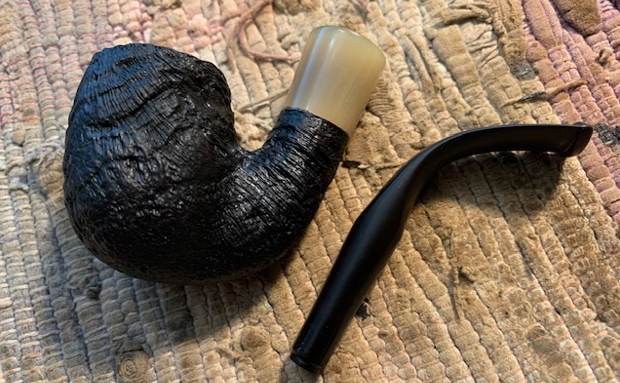 I decided to start my work on the pipe by dealing with the dark stain that was on the edge of the horn/acrylic shank extension where it joined the briar. It was sloppy and there were spots that you can see in some of the earlier photos that make it very apparent. I sanded the horn with a 1500 grit micromesh sanding pad and was able to remove all of the sloppy stain on it. Here are some photos of the polished extension. Is it horn or acrylic?
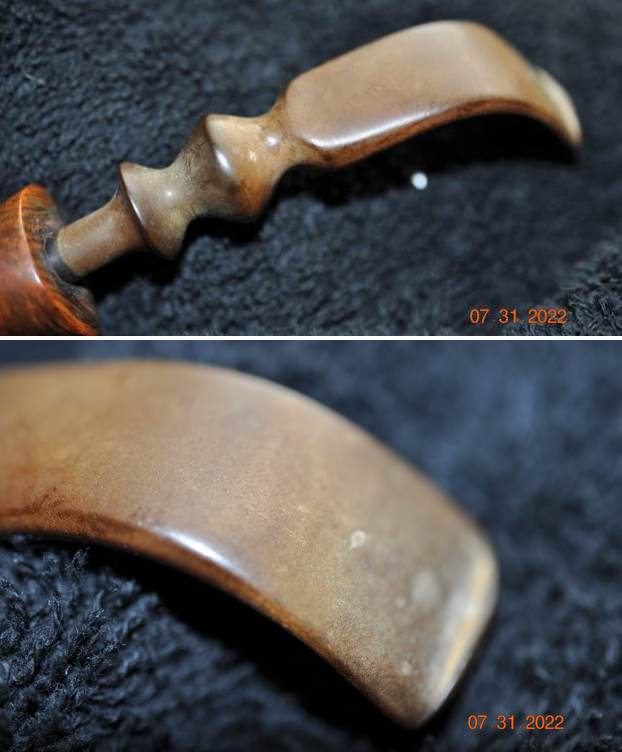
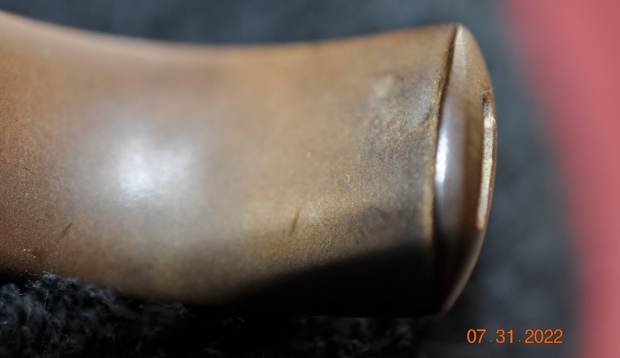
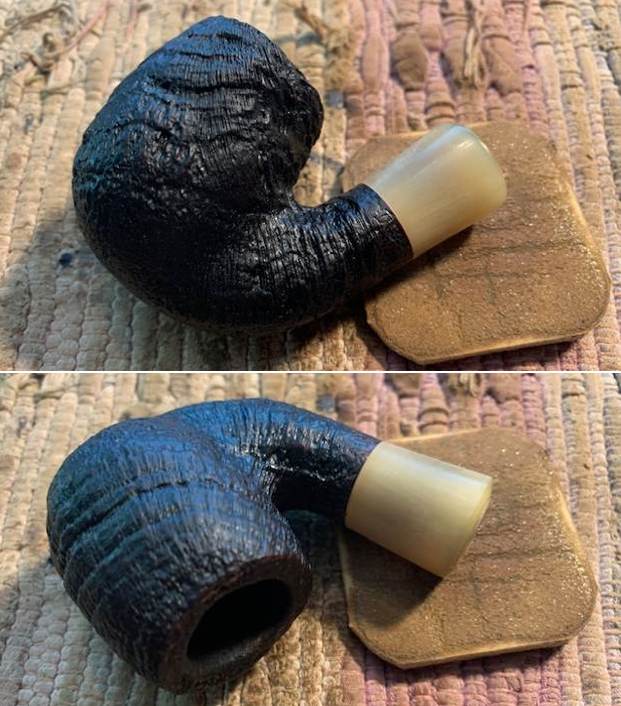
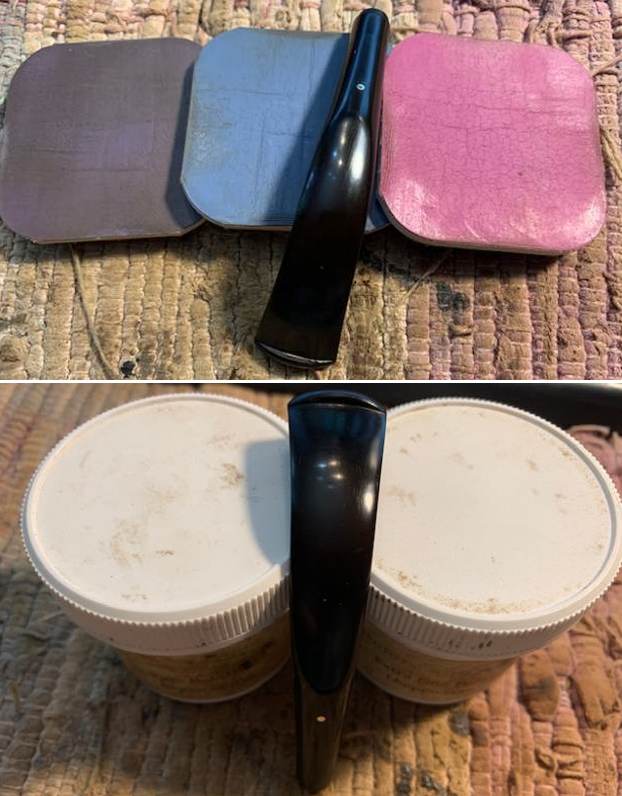
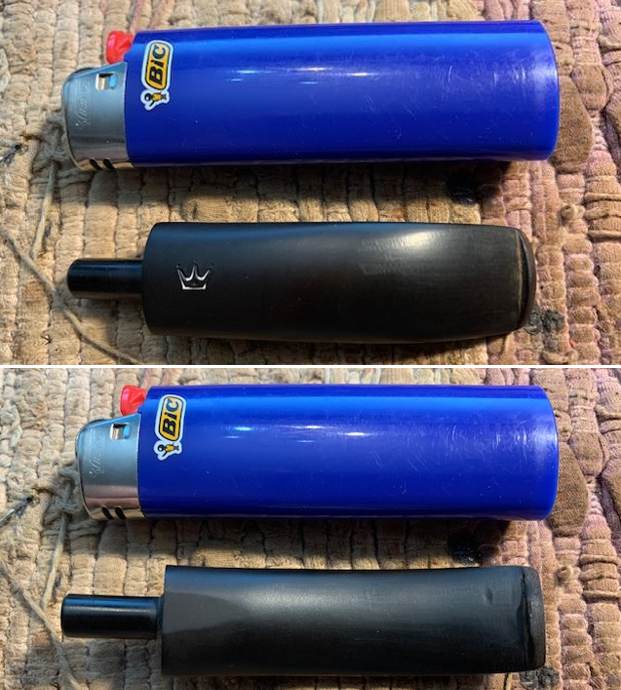
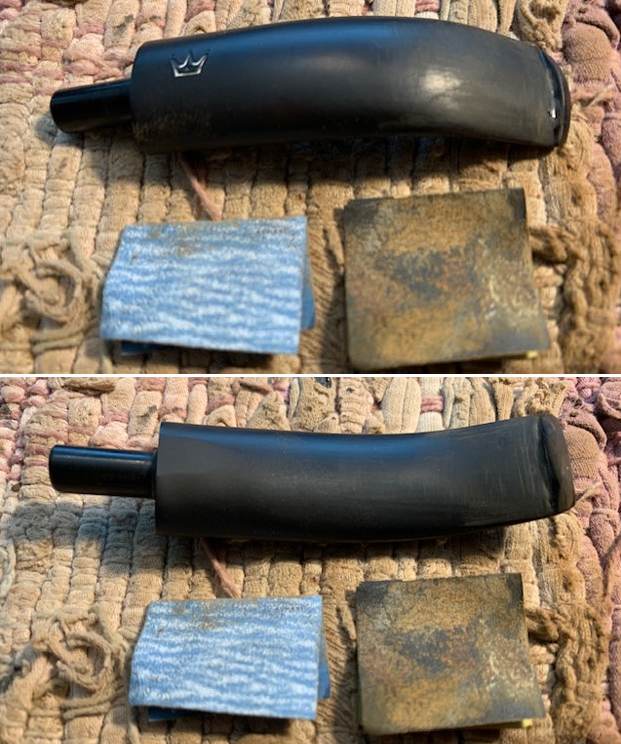
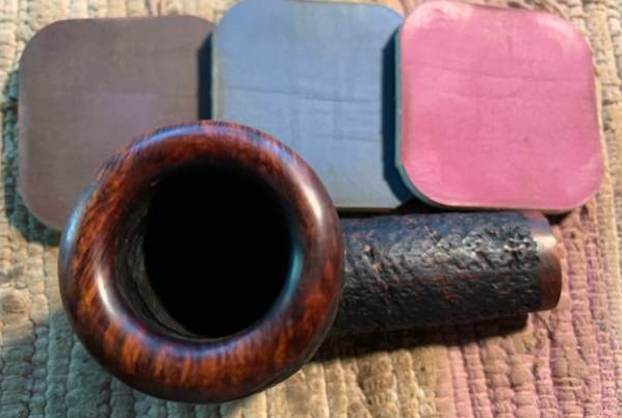
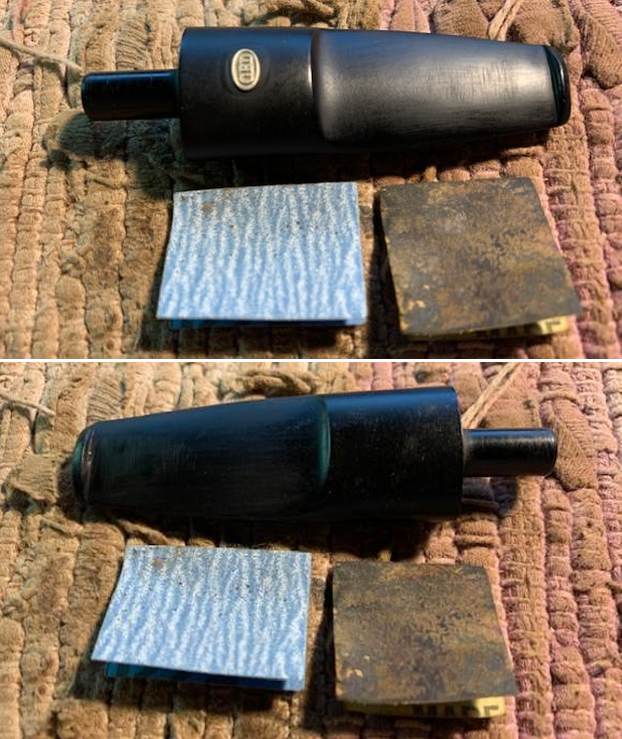
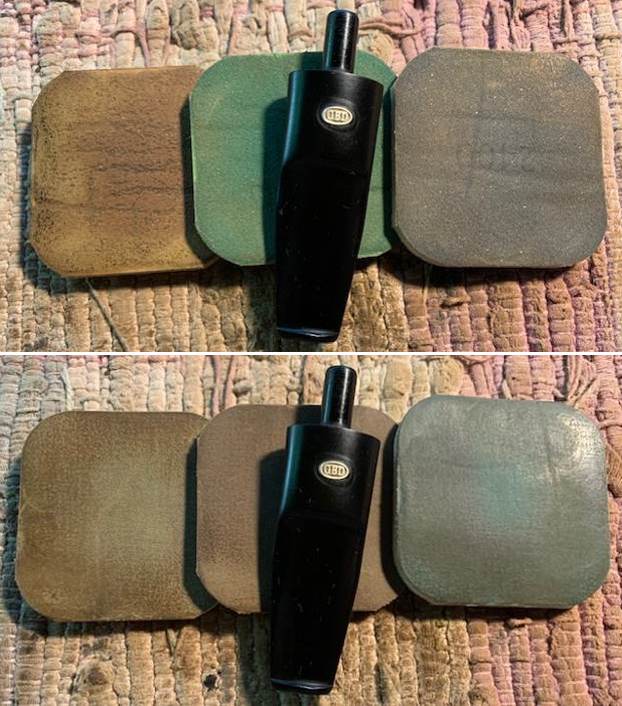
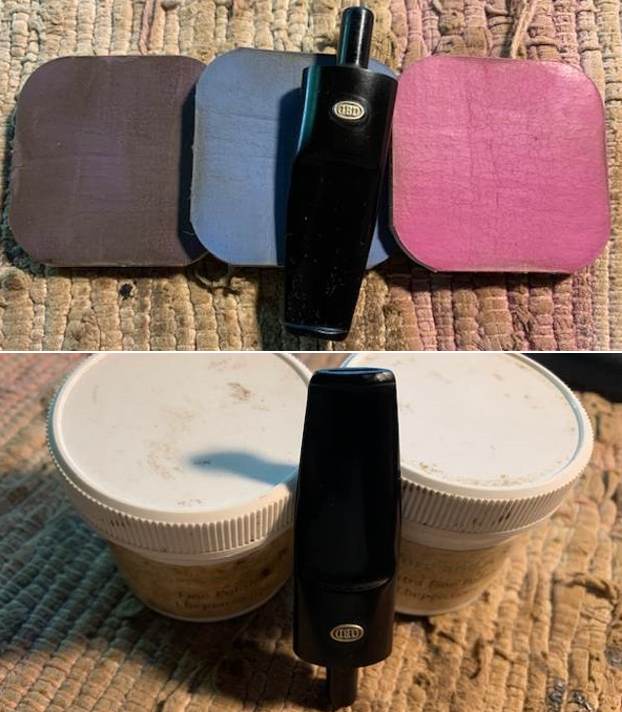
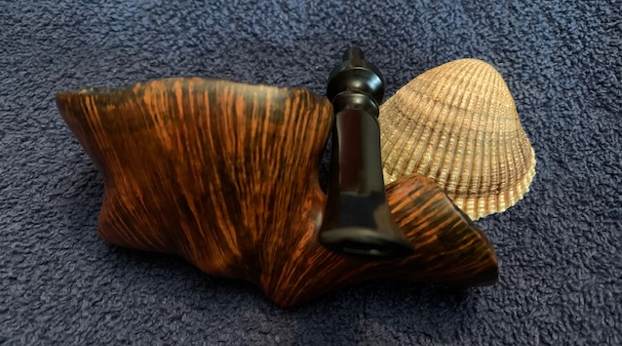
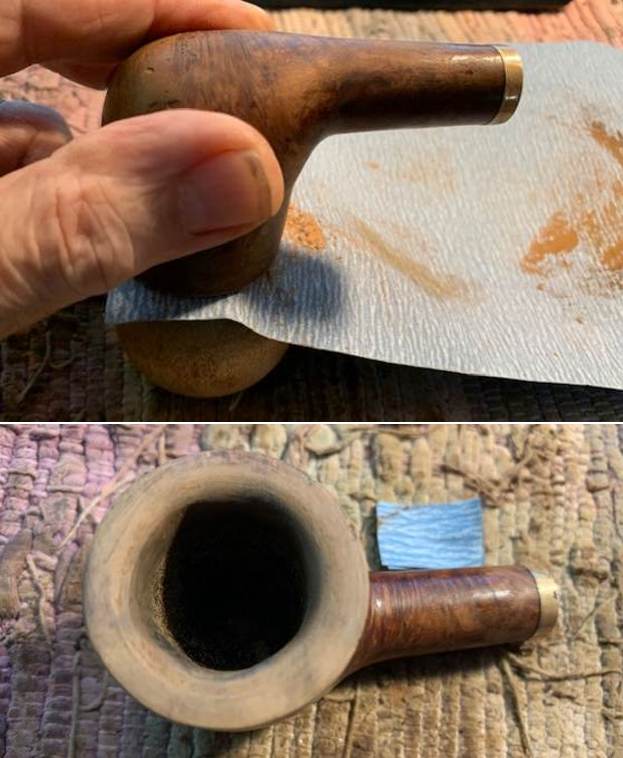
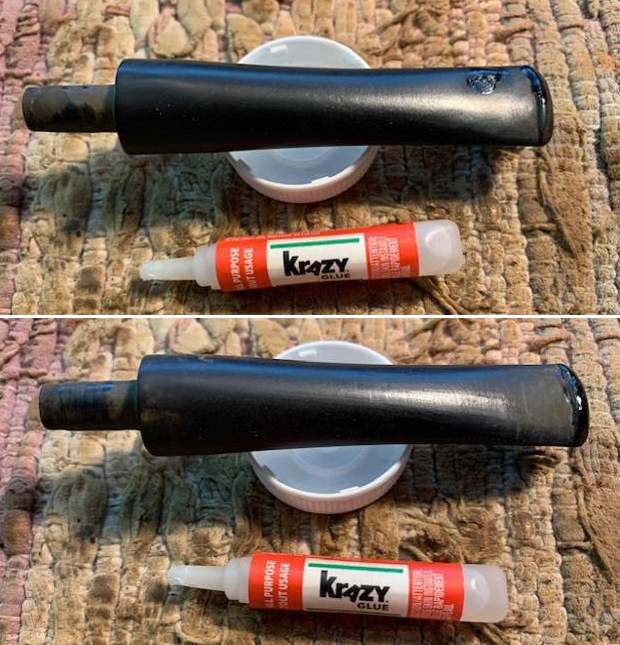
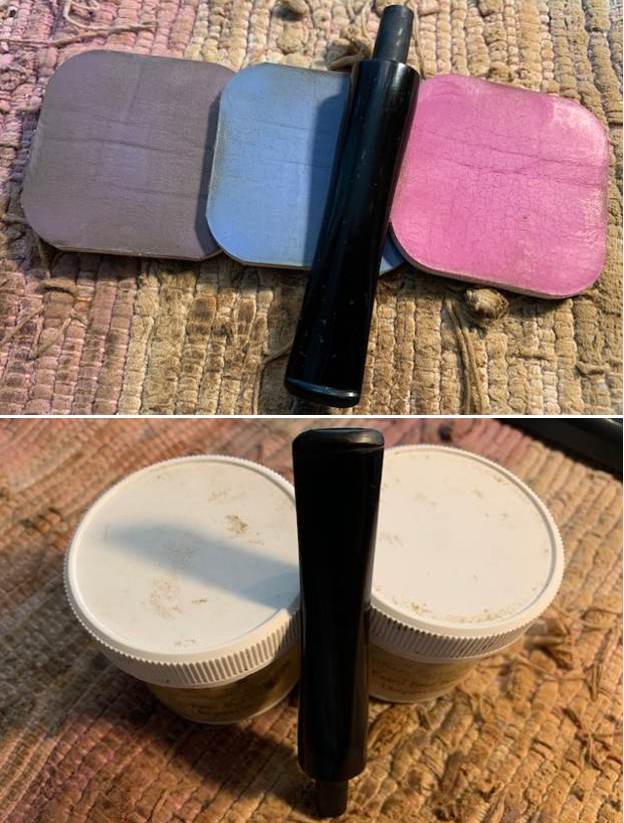
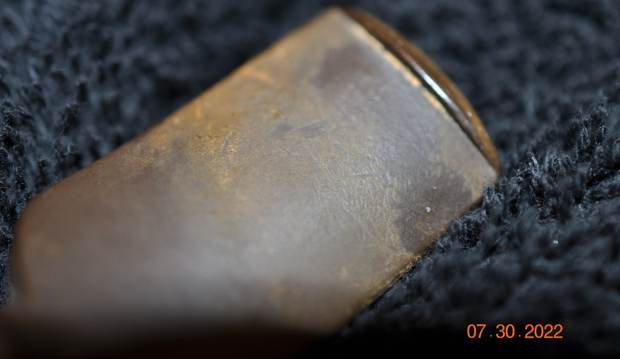
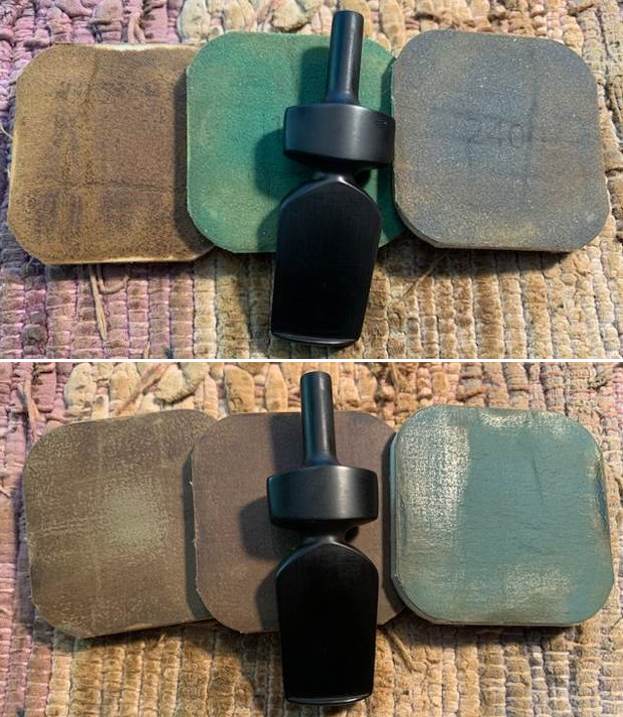
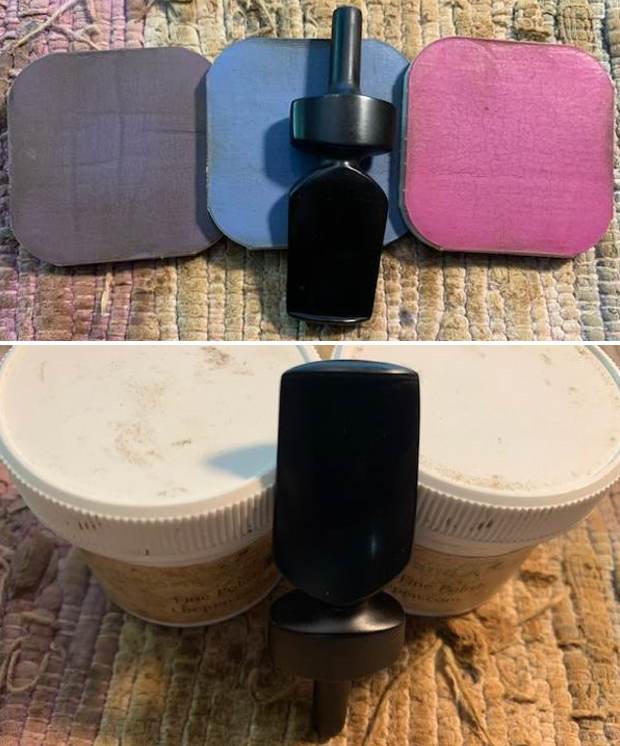
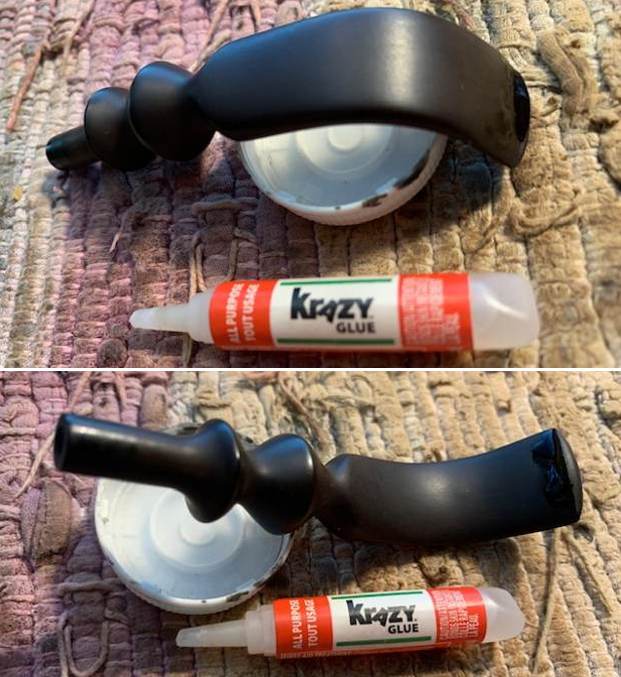
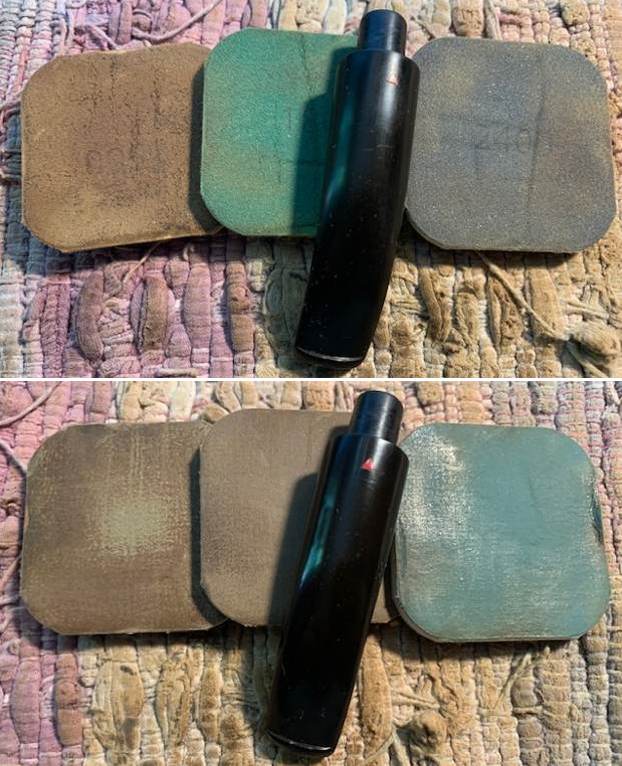
 I polished the extension with micromesh sanding pads – dry sanding with 1500-12000 grit pads. I wiped the surface off after each pad to remove sanding debris. It is becomes more shiny with each sanding pad.
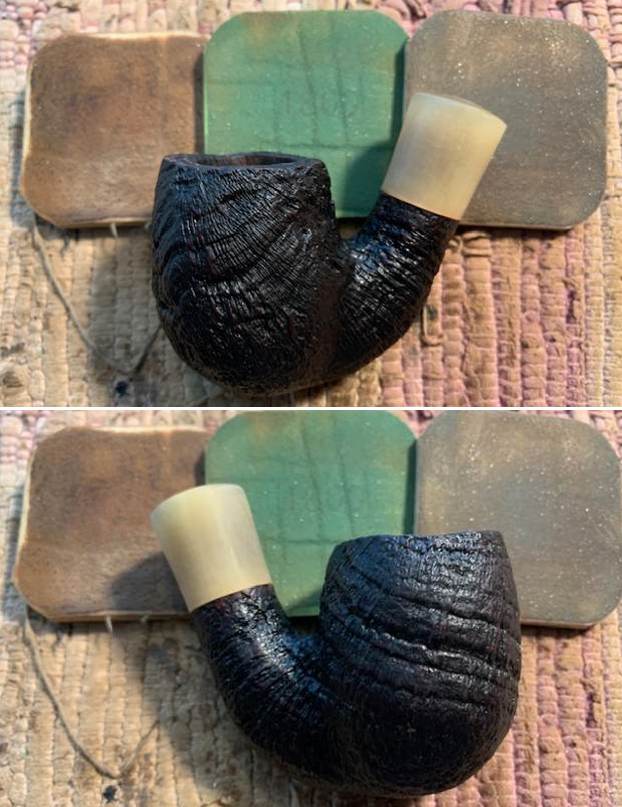
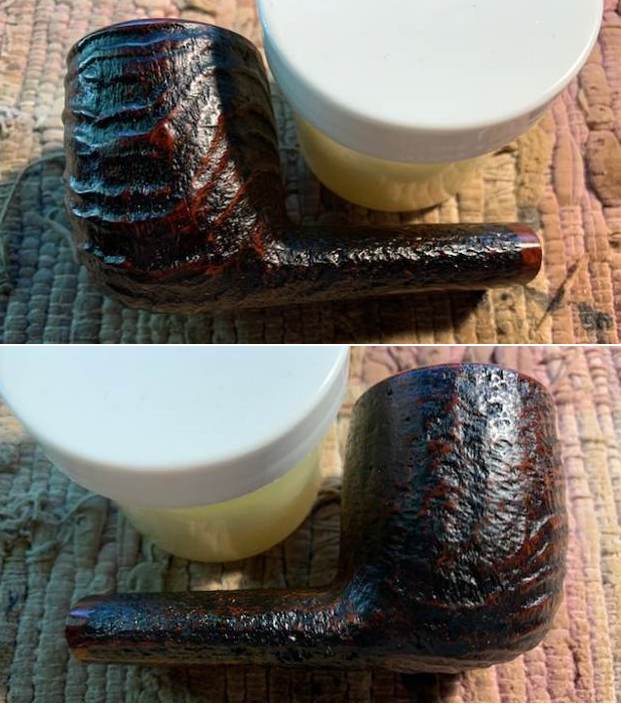
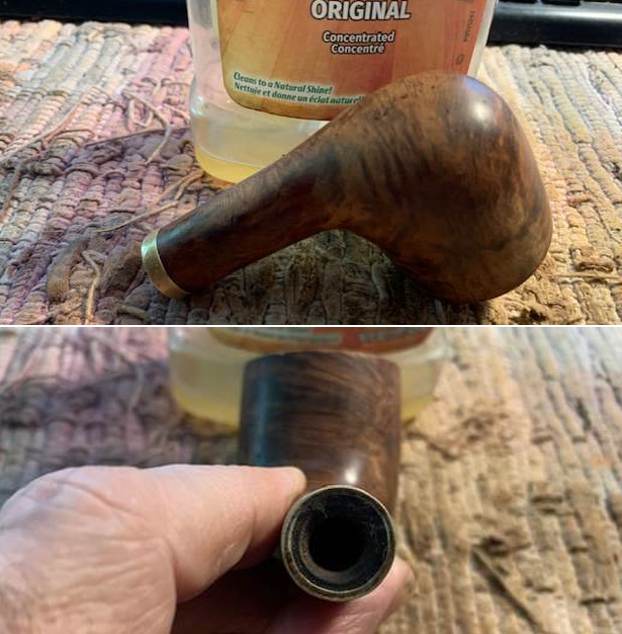
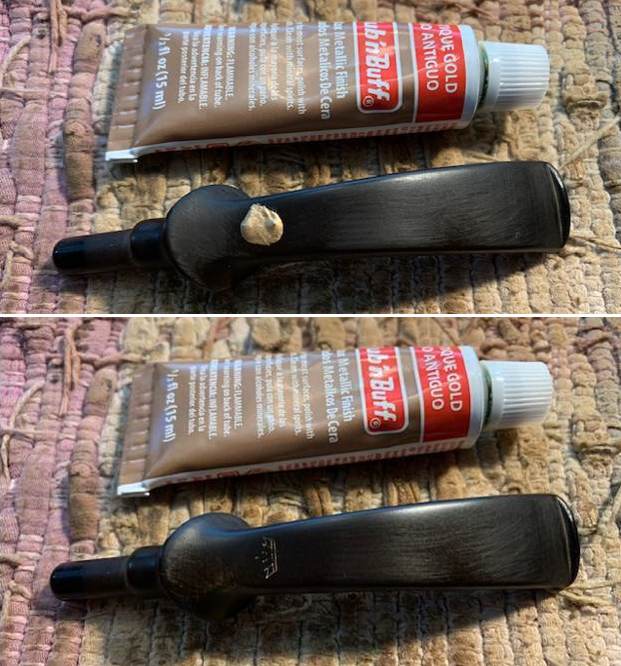
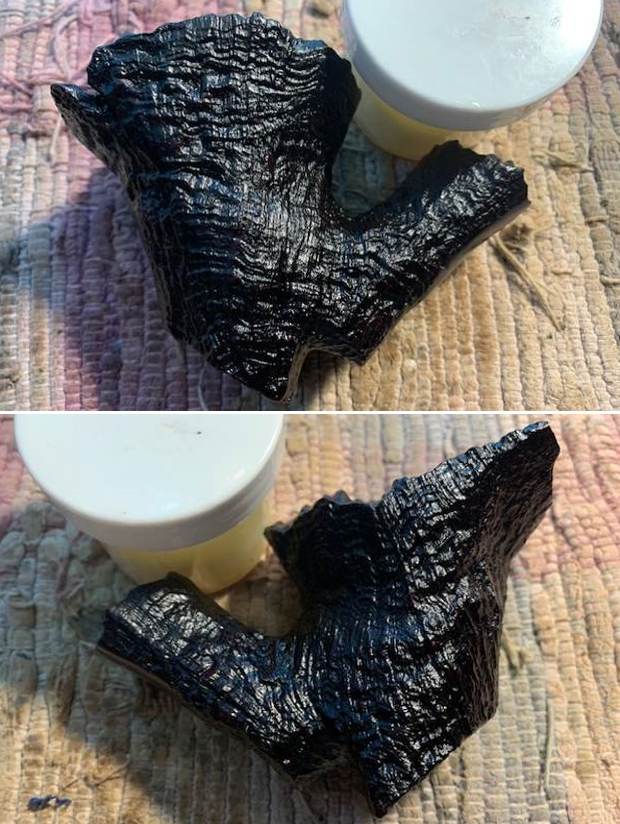
 I rubbed the bowl down with Before & After Restoration Balm. I worked it into the surface of the briar with my fingertips and a horsehair shoe brush to clean, enliven and protect it. I let the balm sit for 10 minutes and then buffed with a cotton cloth and shoe brush to raise the shine. Mark Hoover’s Balm is a product that I have come to appreciate and one I use on every pipe I have been working on.
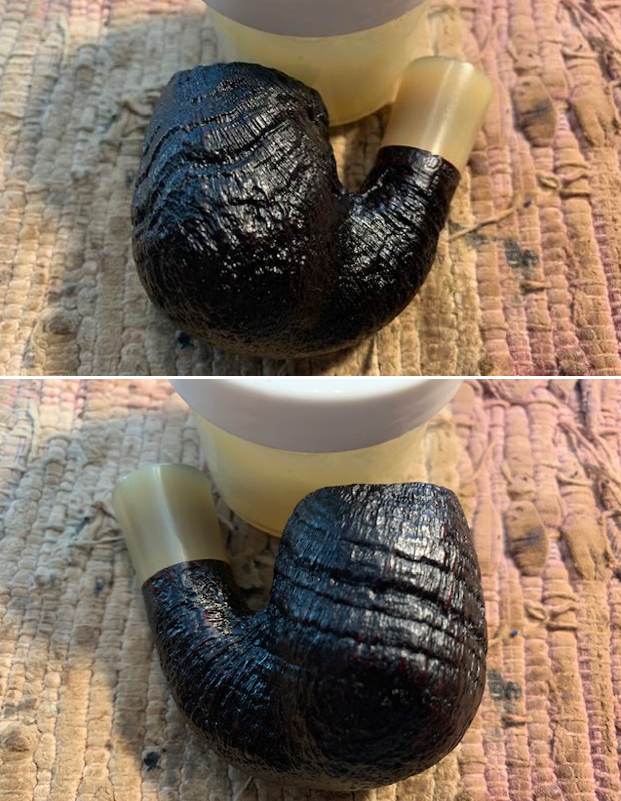
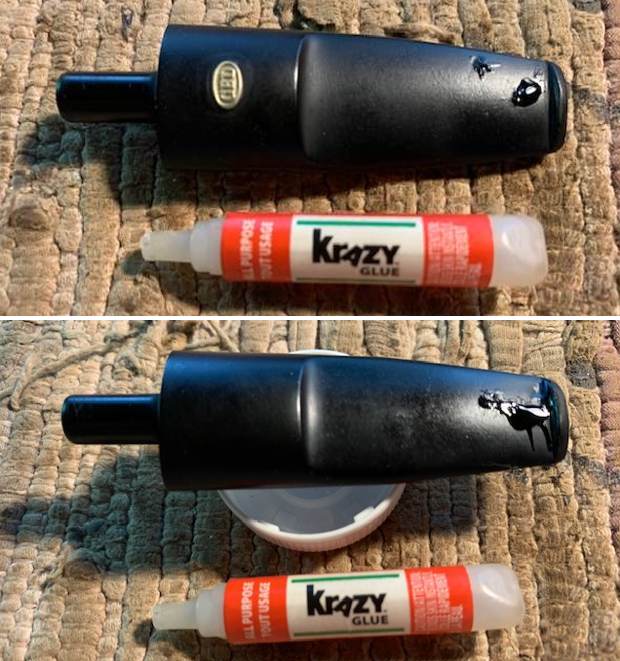
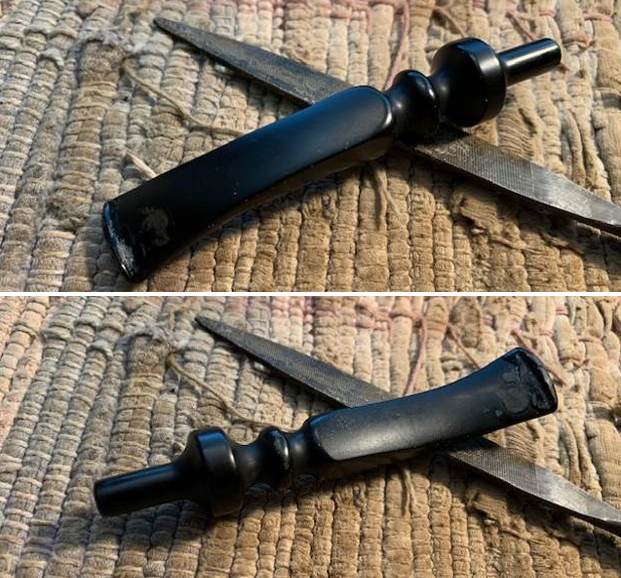
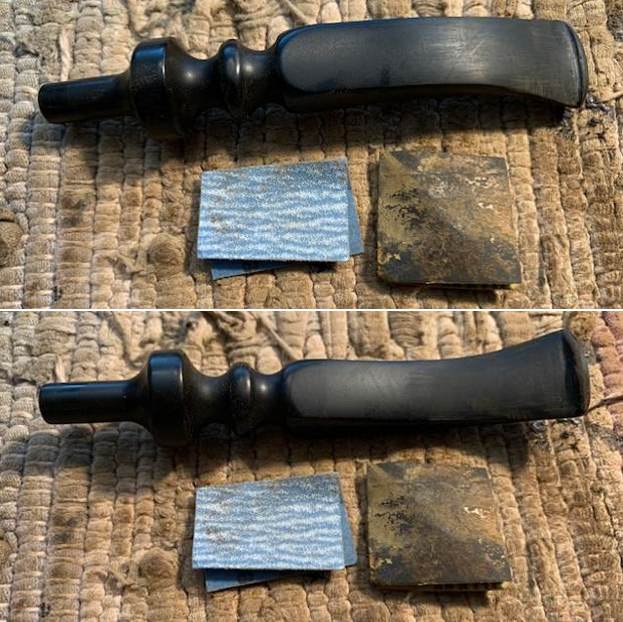
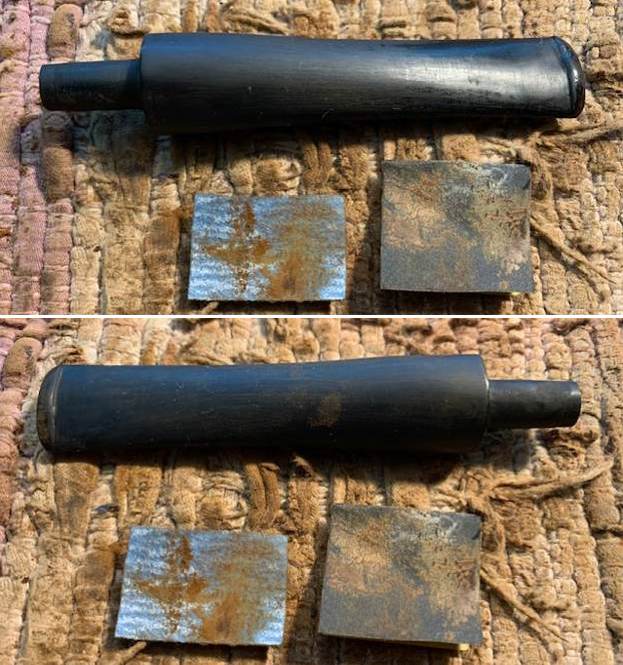
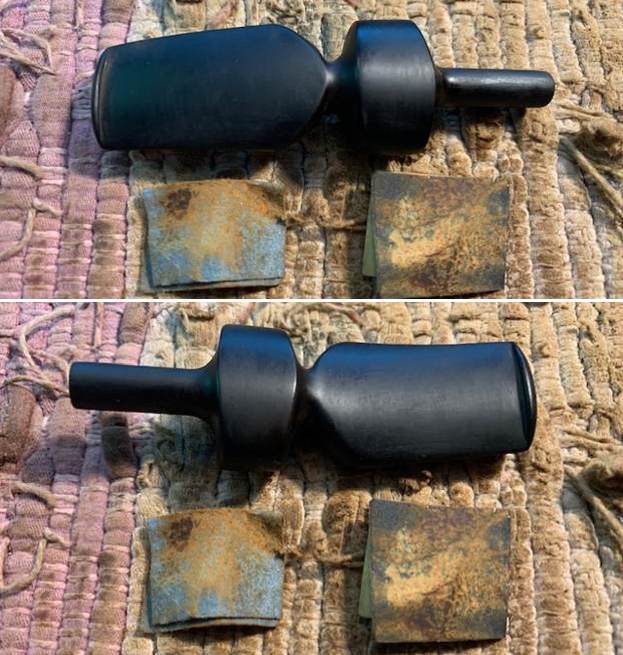
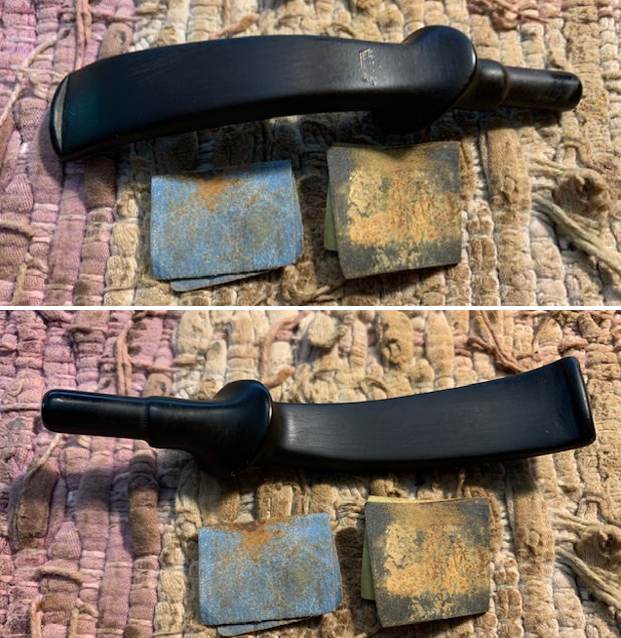
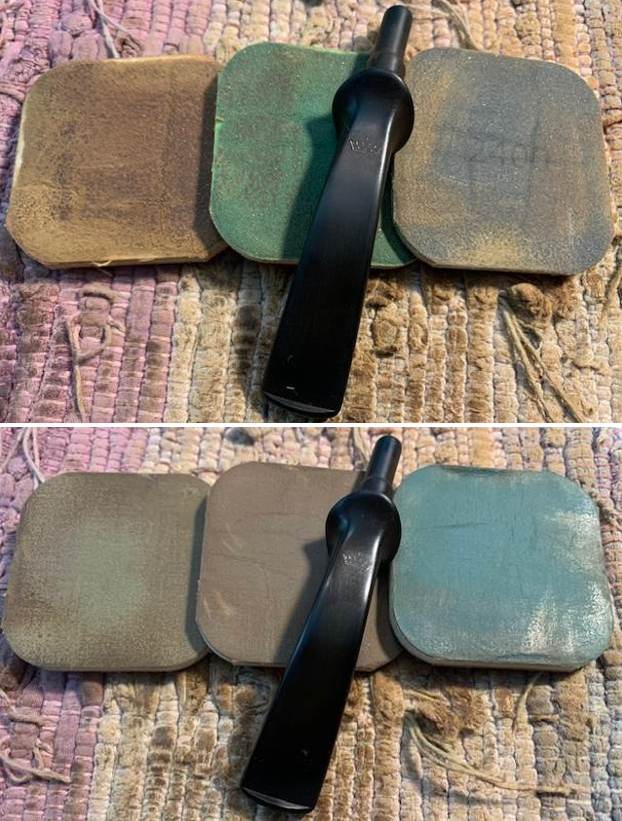
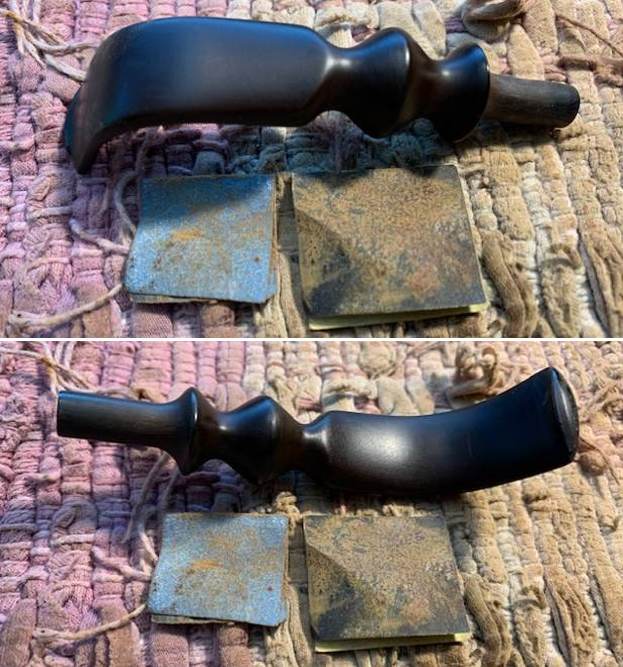
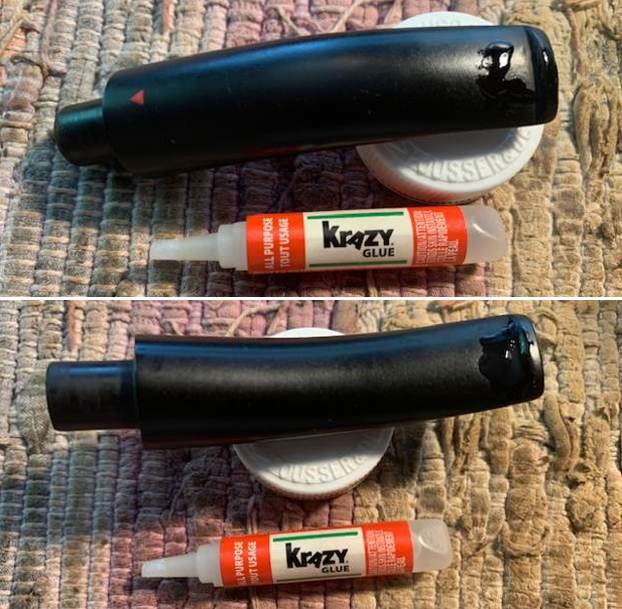
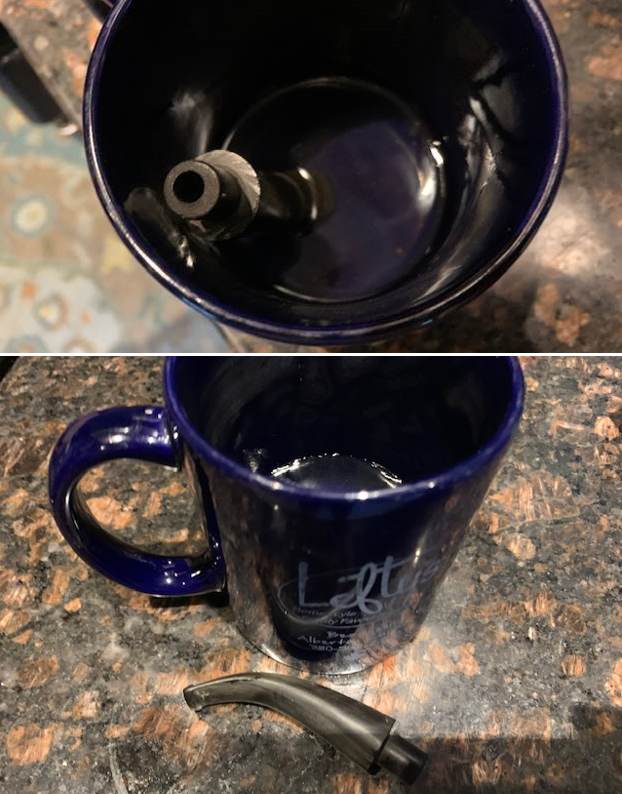
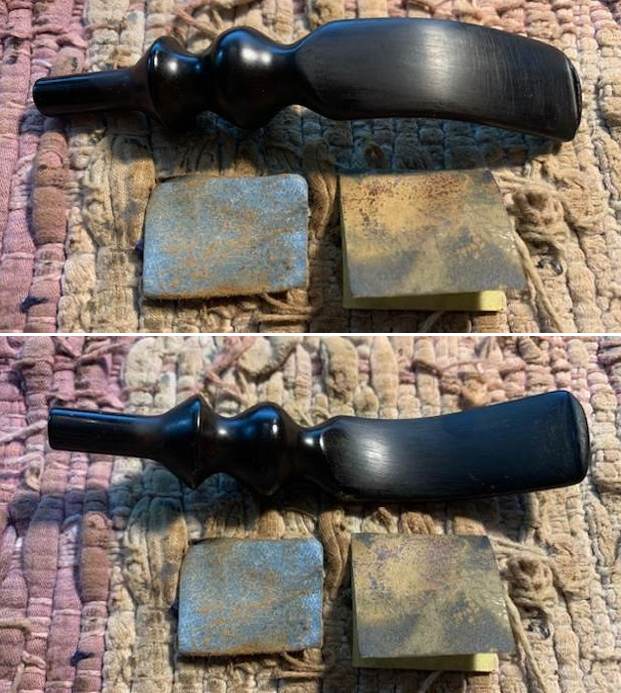
 I set the bowl aside and turned my attention to the still oxidized stem. I worked over the rest of the remaining oxidation and the tooth marks with 220 grit sandpaper. I started polishing the stem with 400 grit wet dry sandpaper. At this point it is starting to look much better.
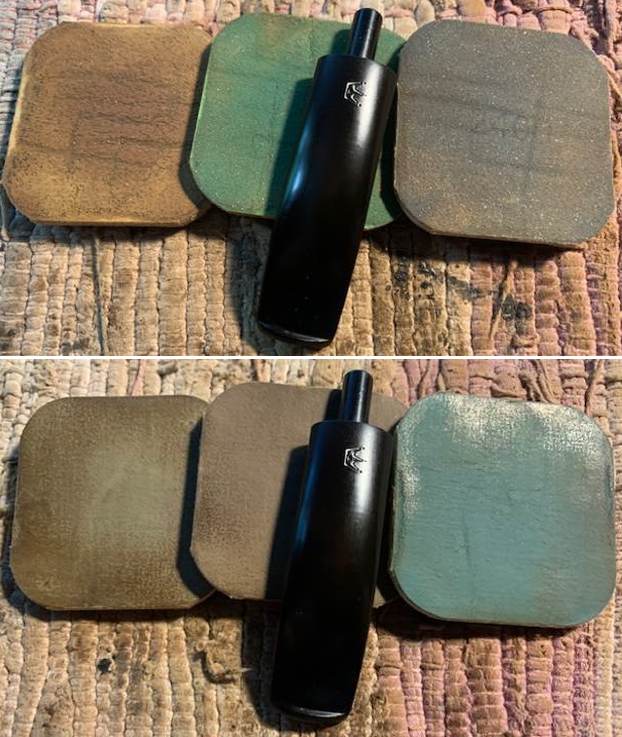
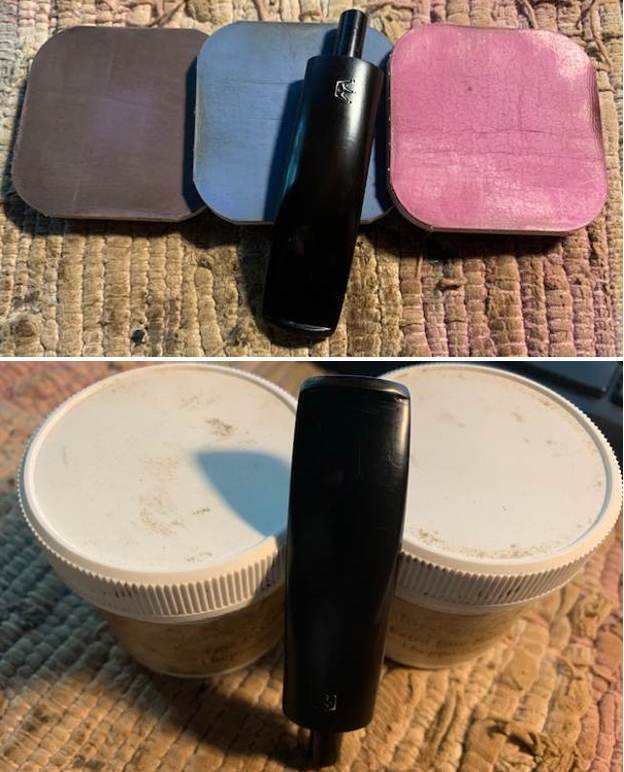
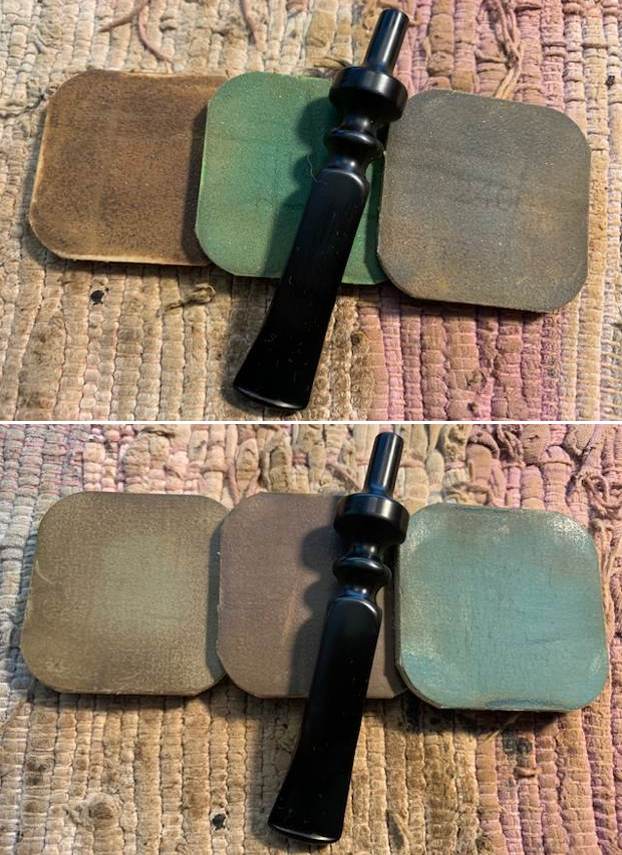
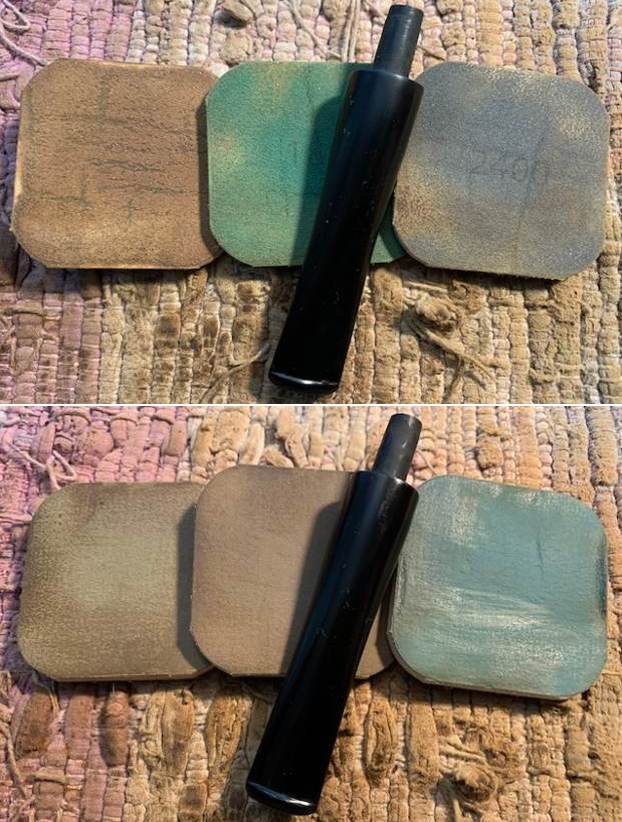
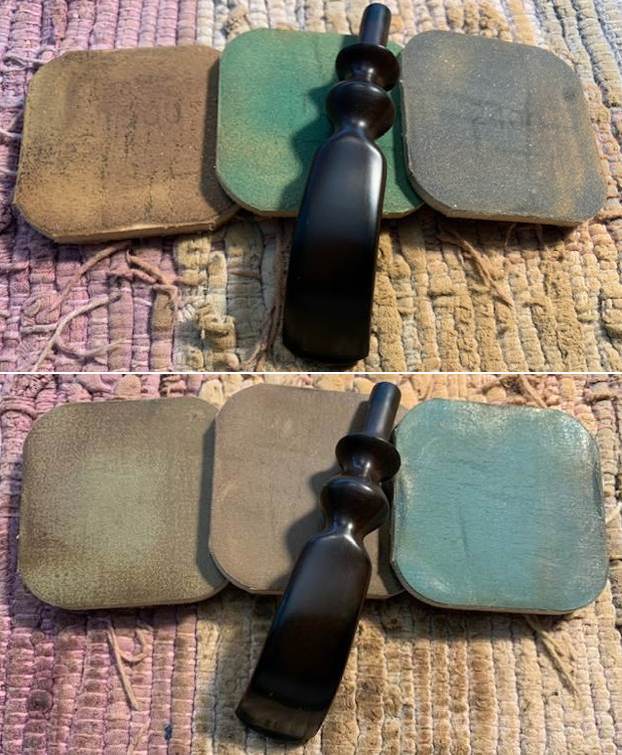
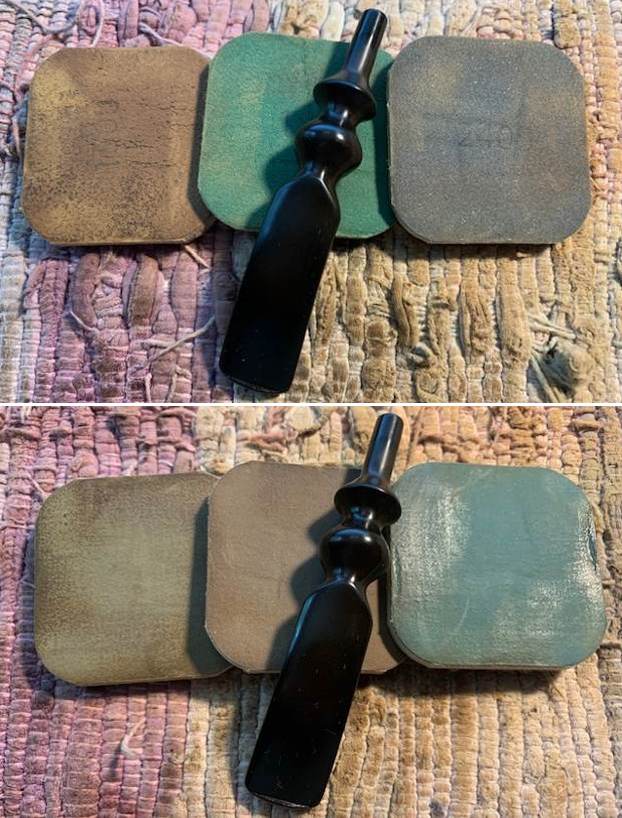
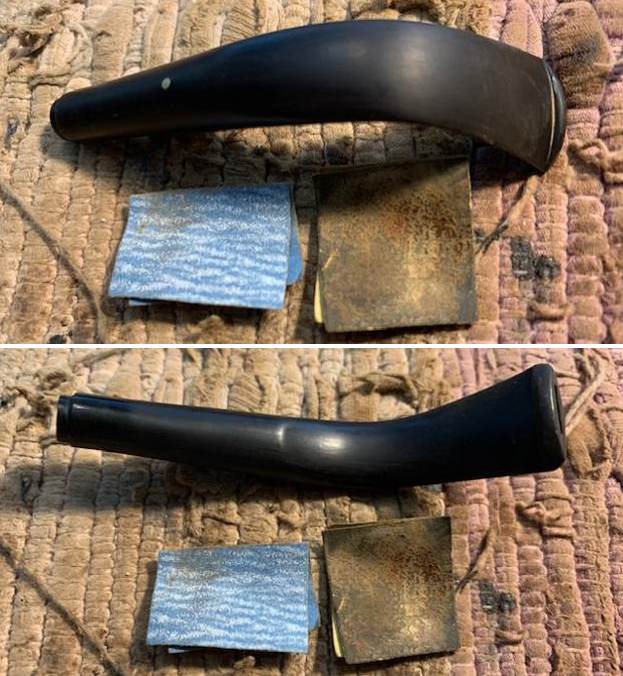 I polished the vulcanite with micromesh sanding pads – 1500-12000 grit pads. I wiped it down with a damp cloth after each sanding pad. I used Before & After Pipe Polish – both Fine and Extra Fine to further polish the stem.
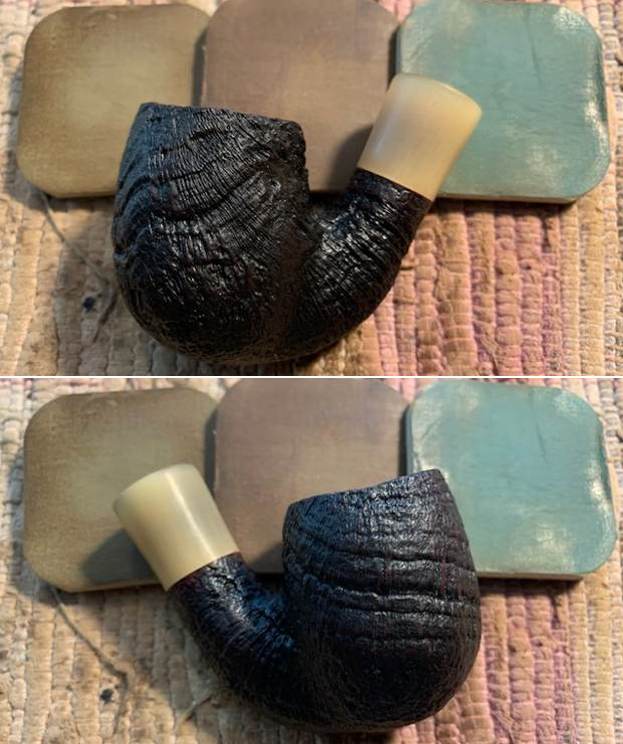
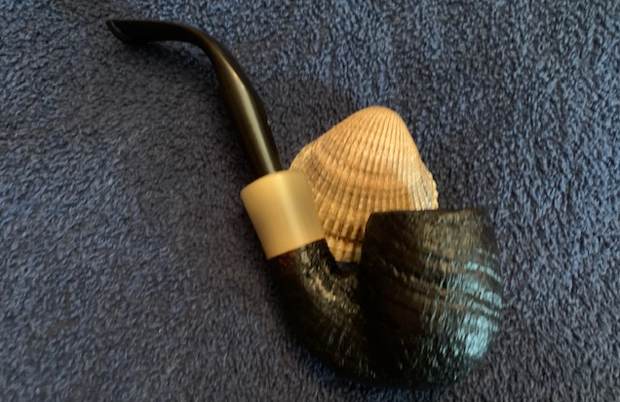
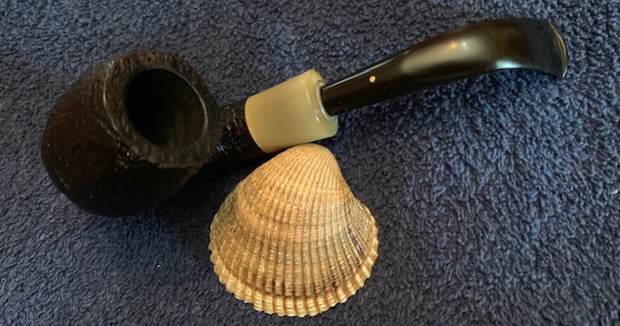
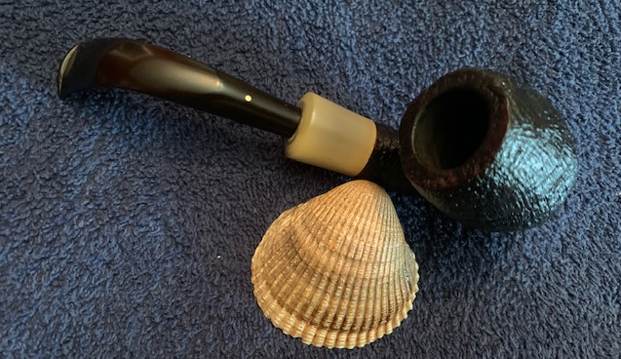
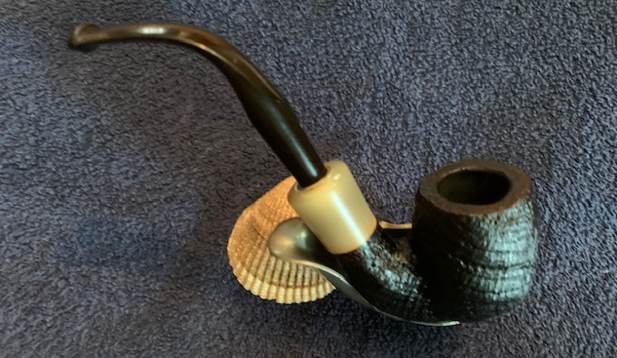
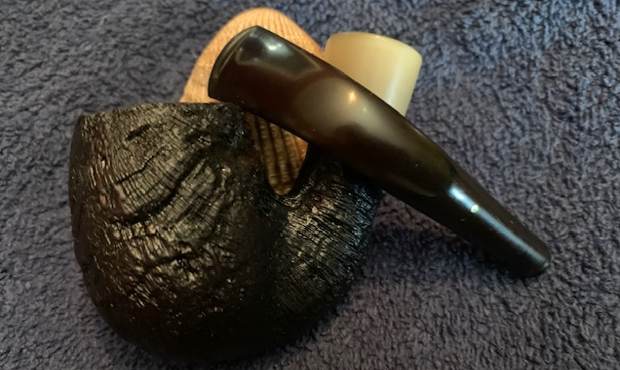
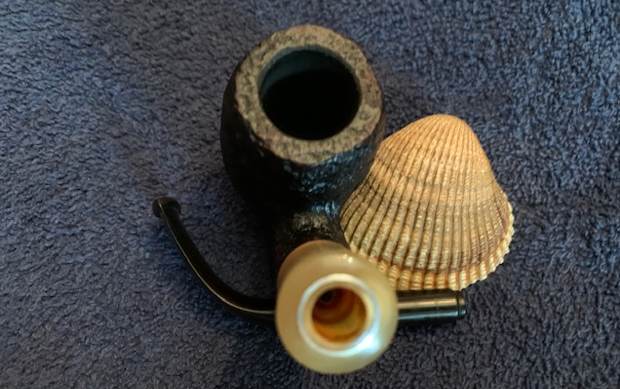
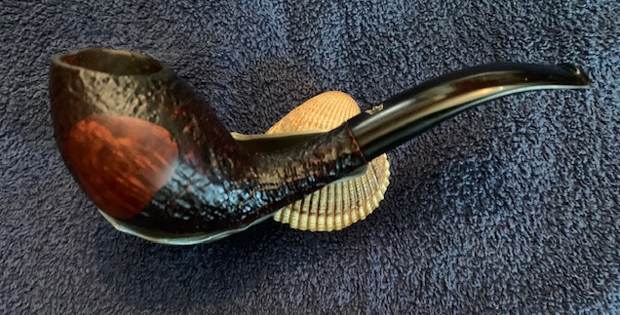
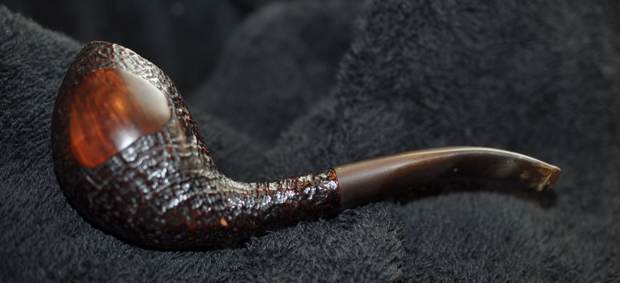
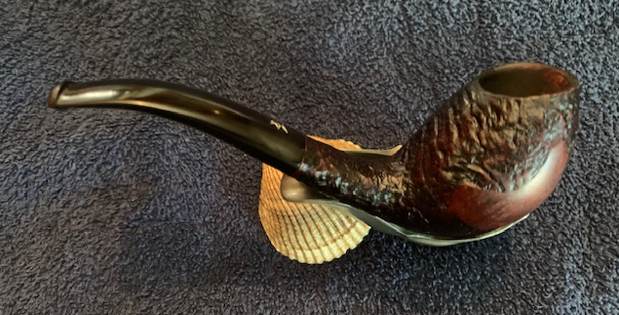
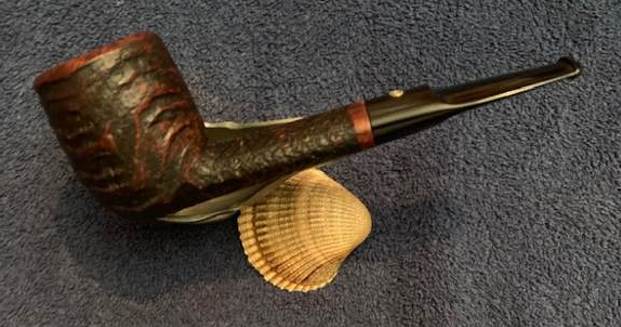
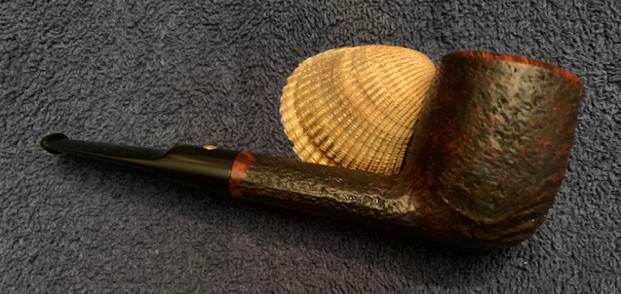
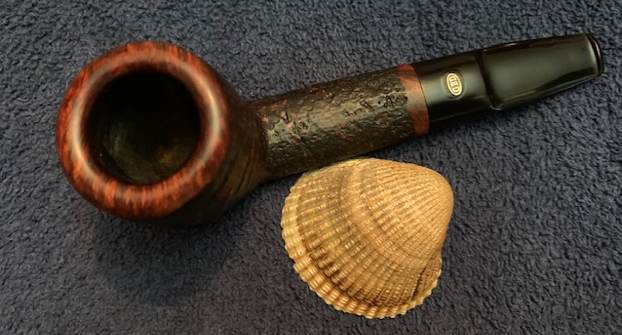
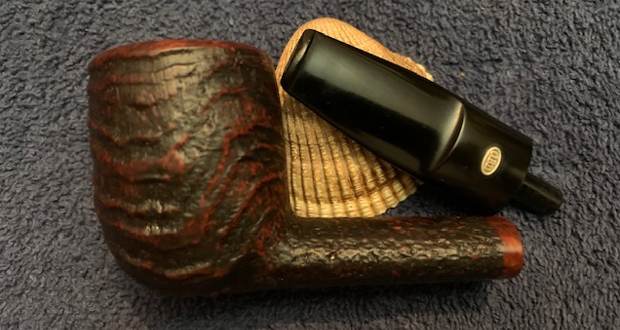
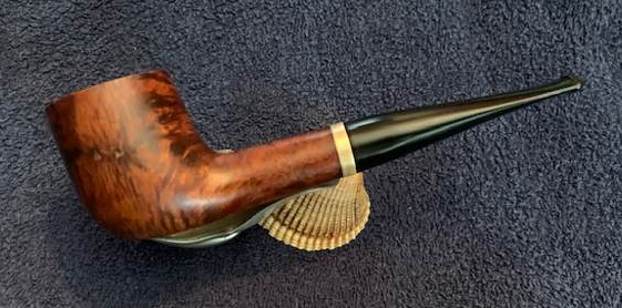
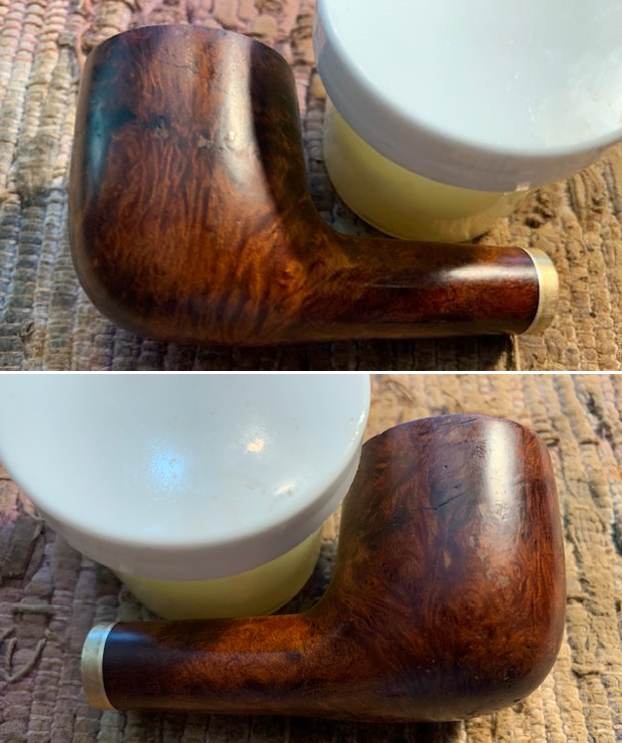
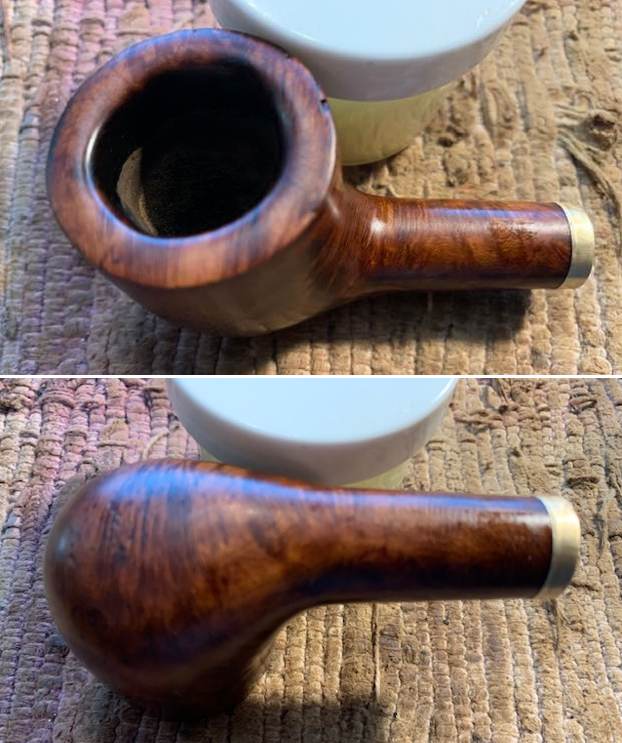
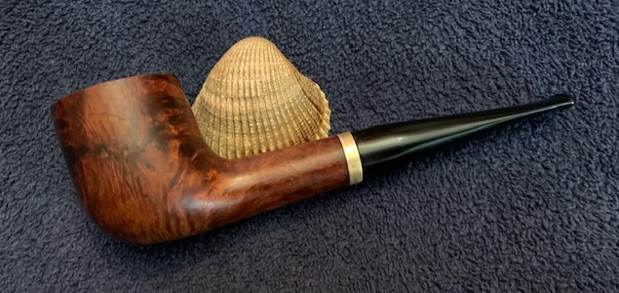
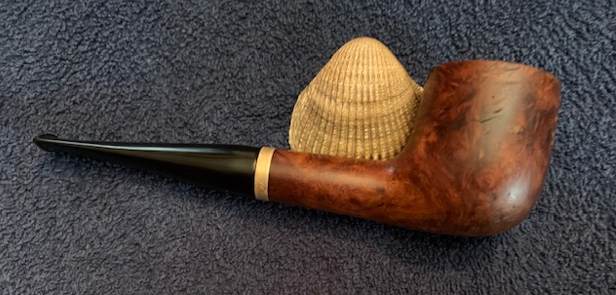
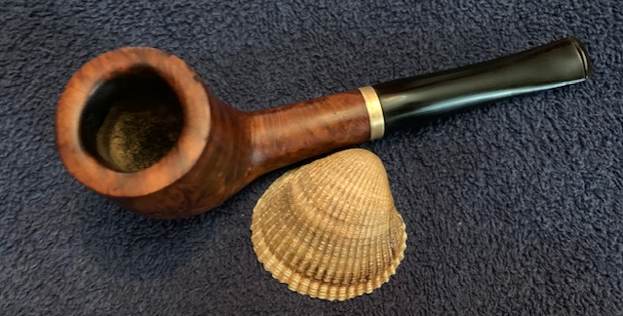
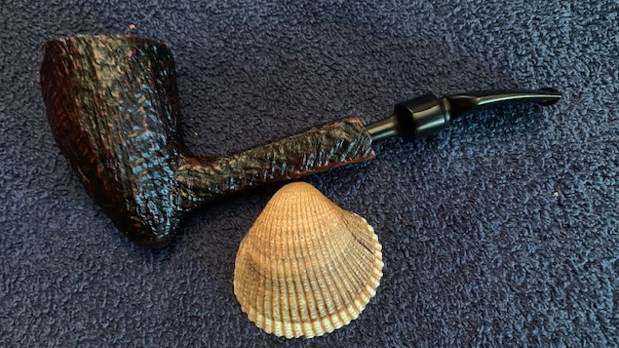
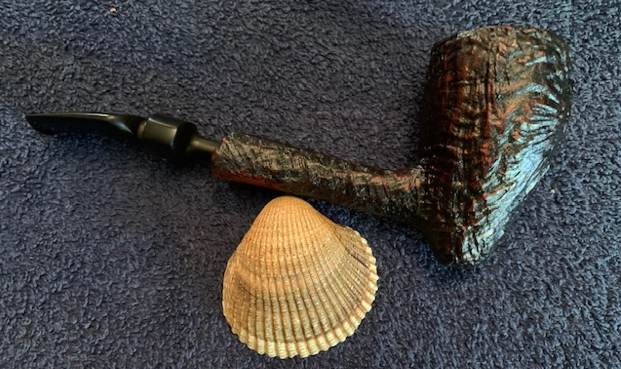
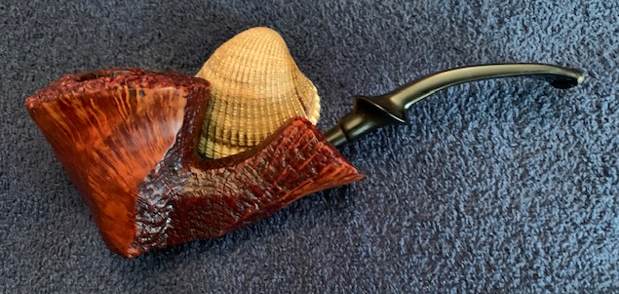
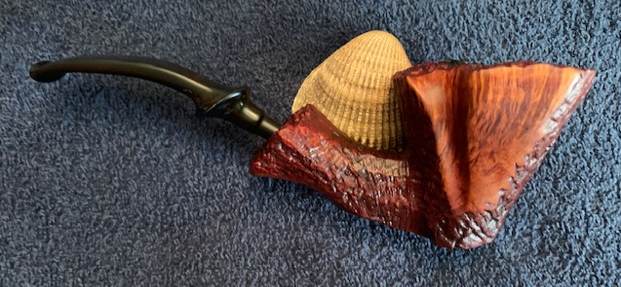
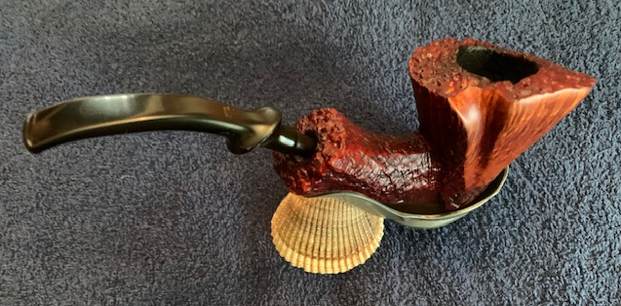
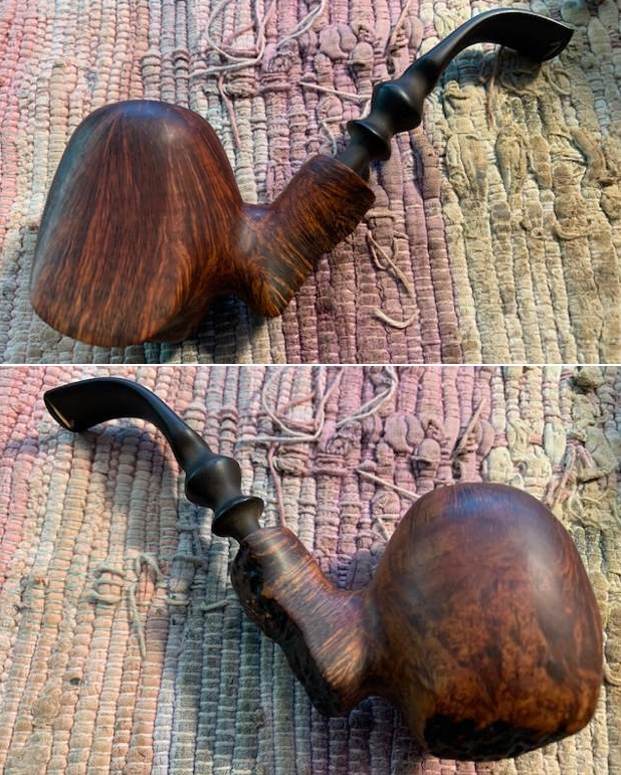
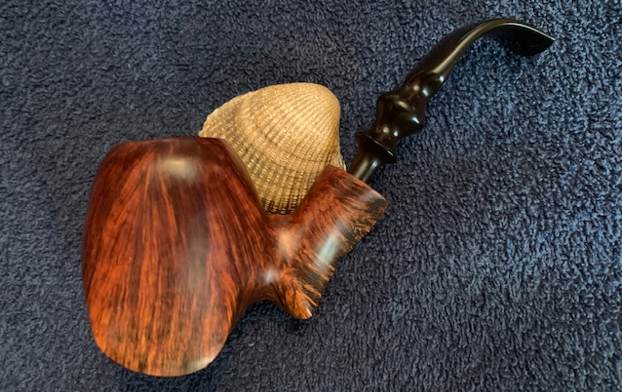
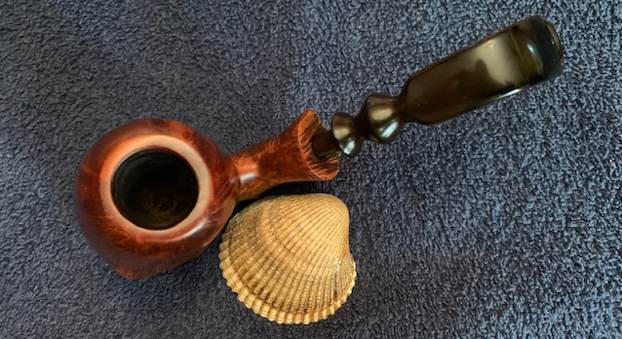
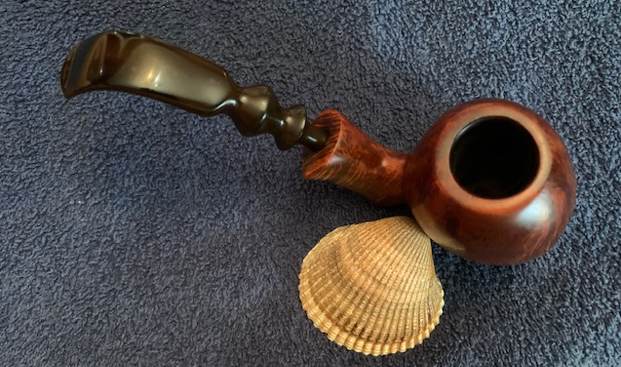
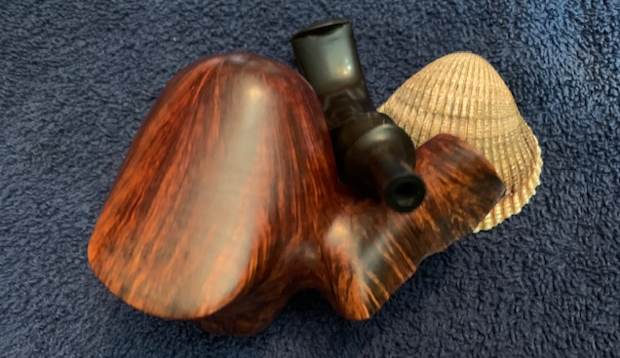
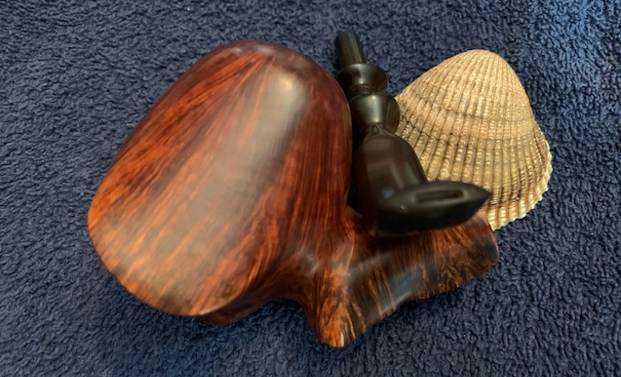
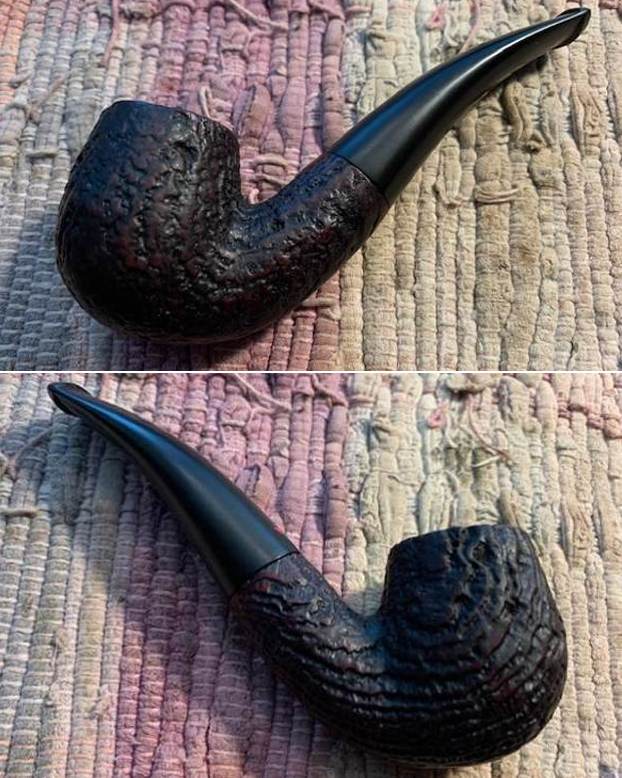
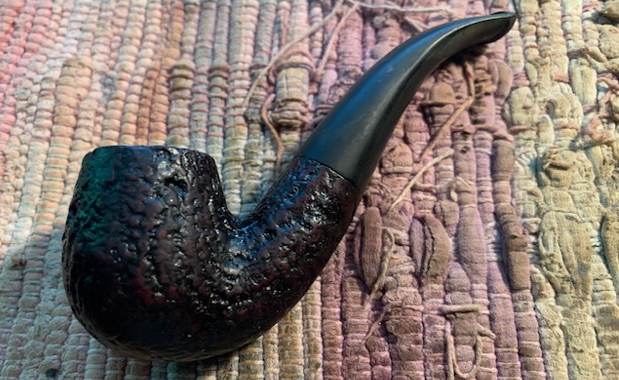
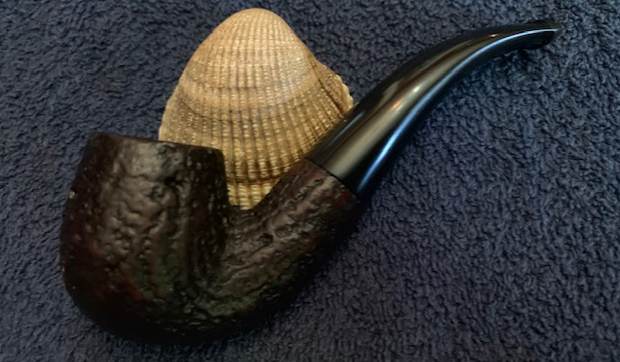
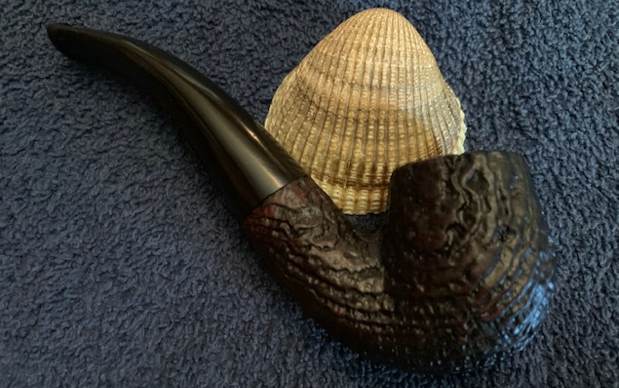
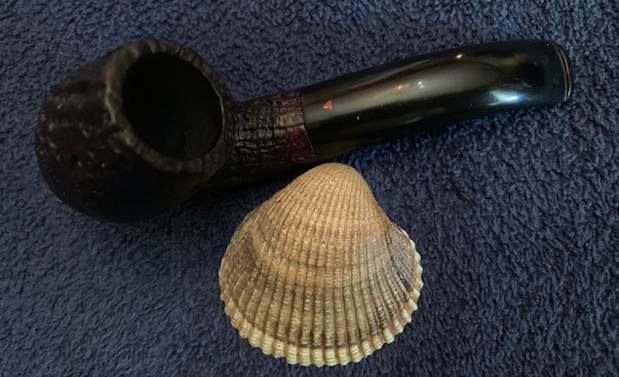
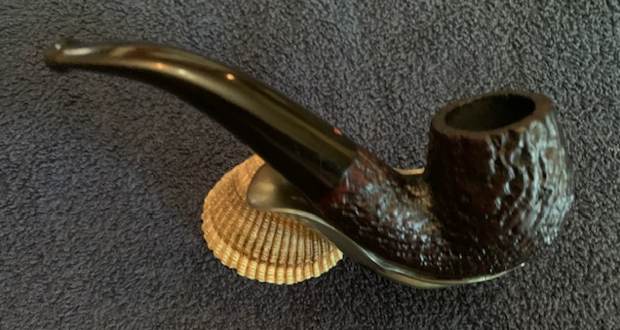
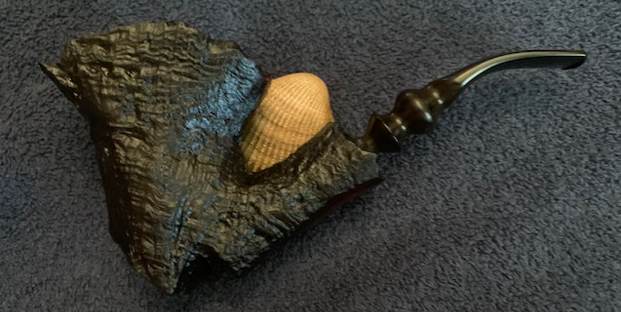
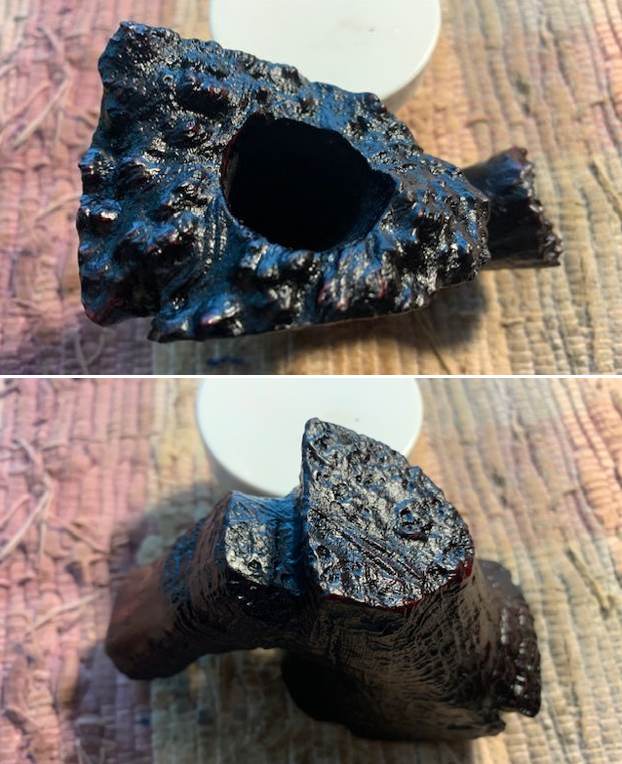
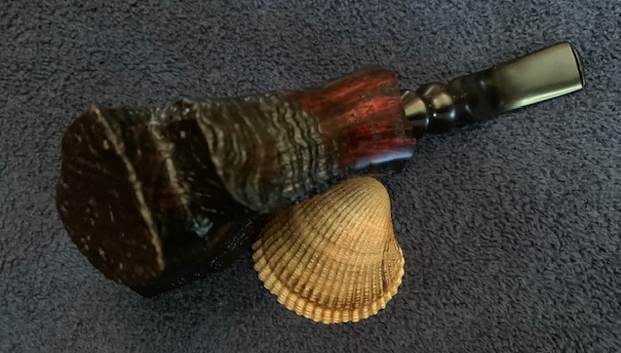
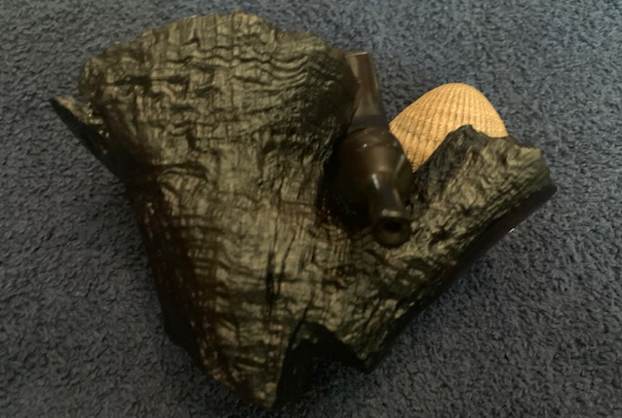
 This Savinelli Punt Oro 615 Full Bent Sandblast turned out to be a great looking pipe. The mix of dark stains highlights the sandblasted grain around the bowl sides, top and bottom. The “horn” shank extension works very well with the dark finish on the bowl and the polished vulcanite military style bit. I put the stem back on the bowl and carefully buffed the pipe with Blue Diamond on the buffing wheel using a light touch on the briar. I gave the bowl multiple coats of Conservator’s Wax and the stem multiple coats of carnauba wax on the buffing wheel. I buffed the entire pipe with a clean buffing pad followed by hand buffing with a microfiber cloth to deepen the shine. The finished full bent Savinelli Punto Oro fits nicely in the hand and feels great. Give the finished pipe a look in the photos below. The dimensions of the pipe are Length: 5 ½ inches, Height: 1 ¾ inches, Outside diameter of the bowl: 1 ¼ inches, Chamber diameter: ¾ of an inch. The weight of the pipe is 1.59 ounces/45 grams. If you are interested in carrying on the pipeman’s legacy with this pipe send me a message or an email. Thanks for reading this blog and my reflections on the pipe while I worked on it.
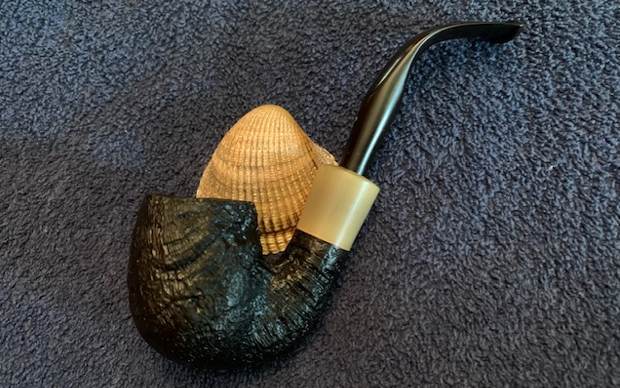


