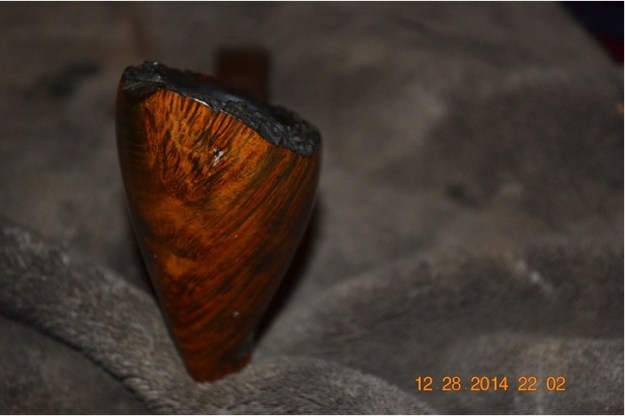
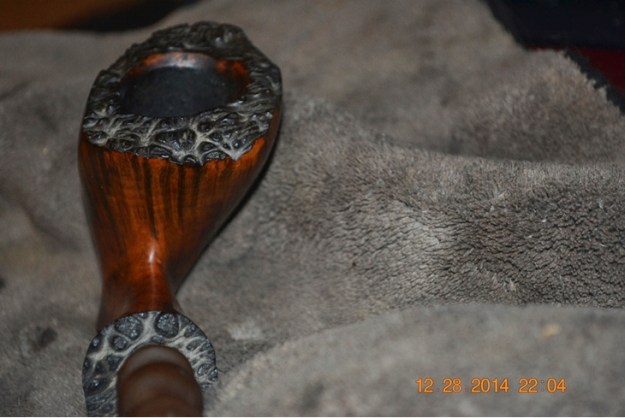
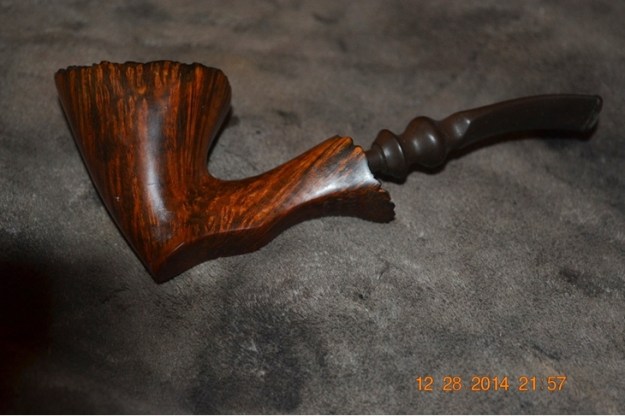
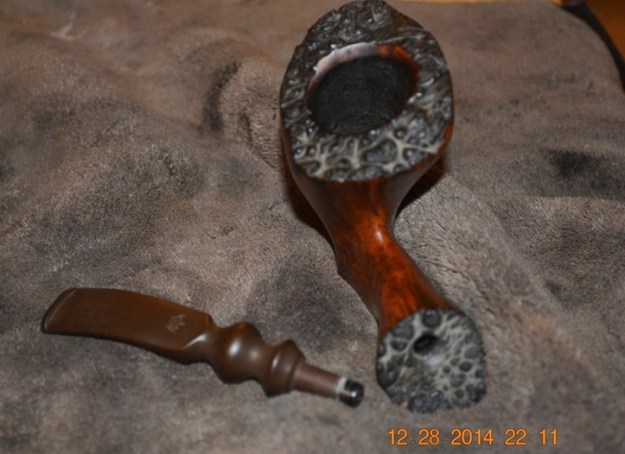
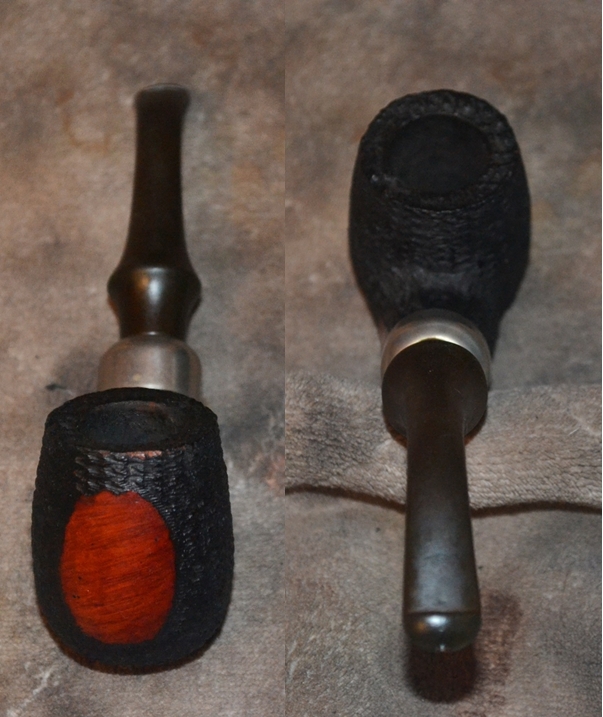
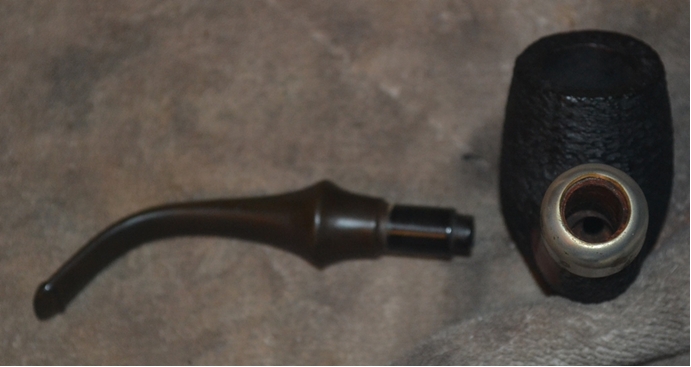
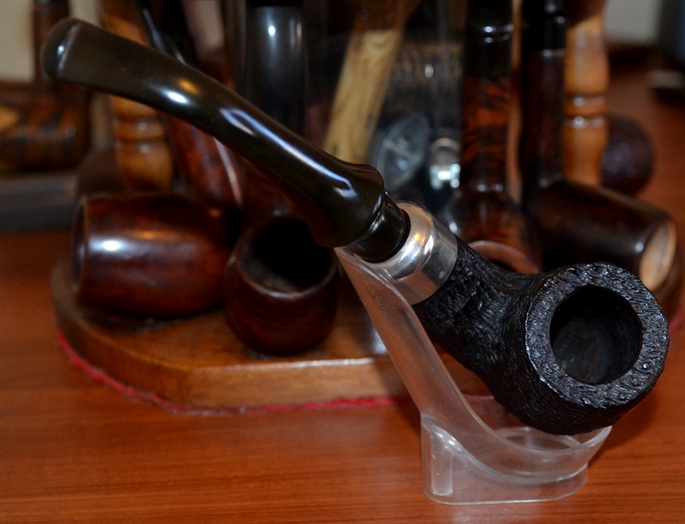
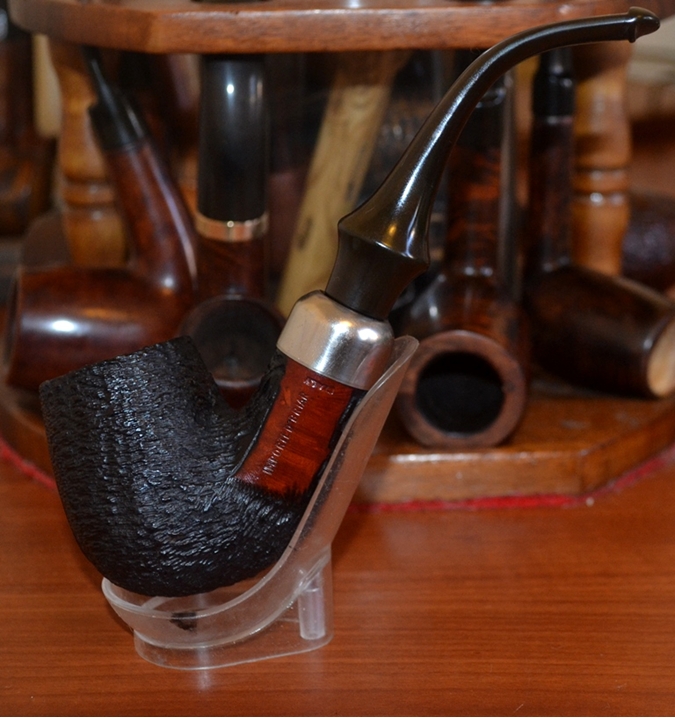
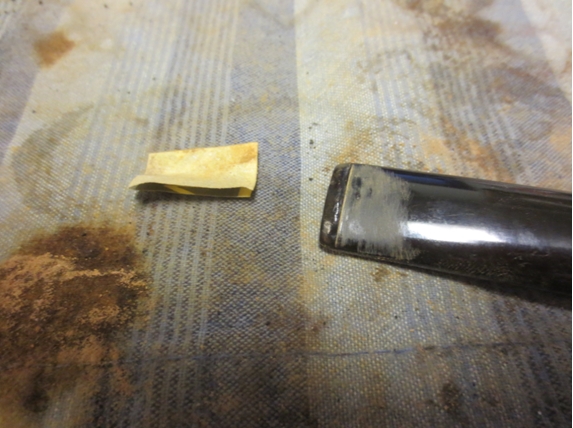
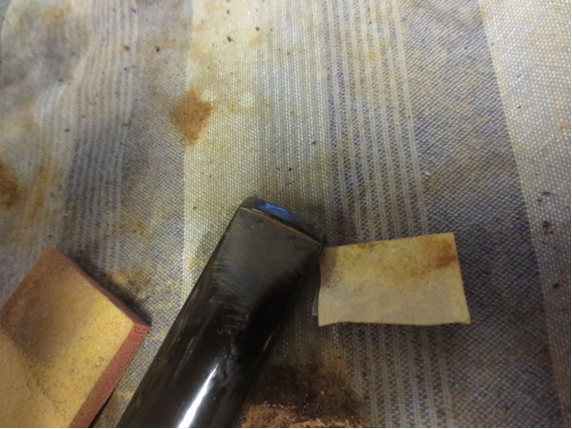
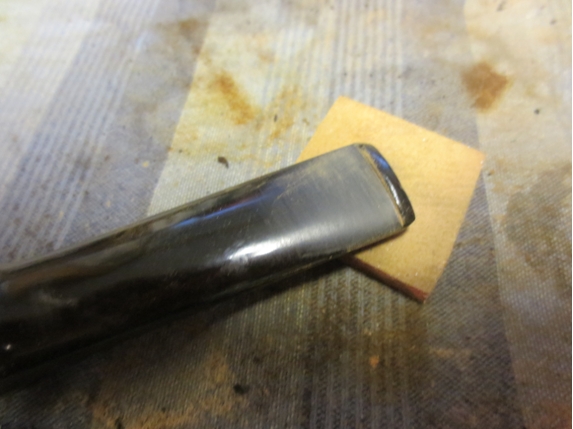
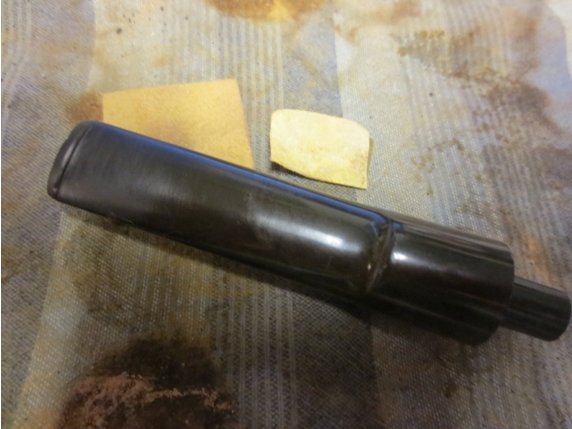
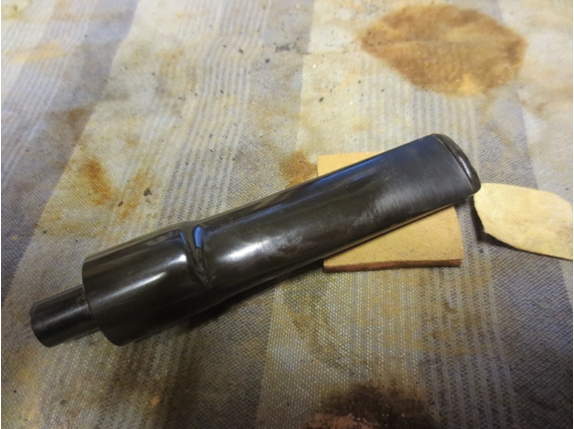
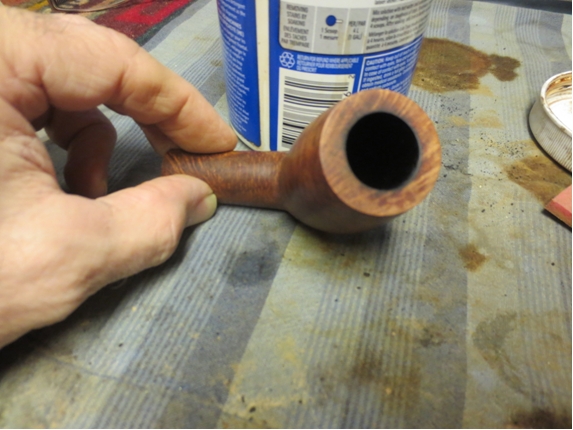
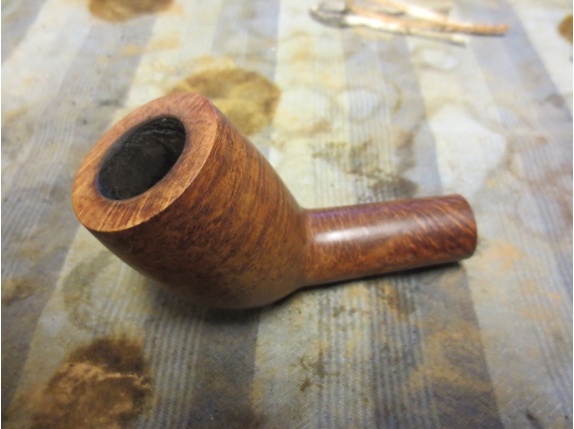
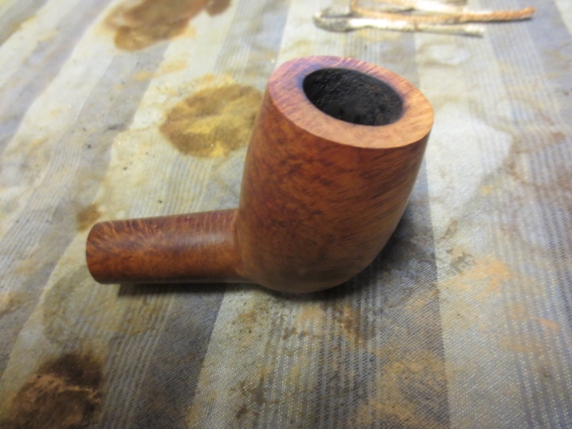
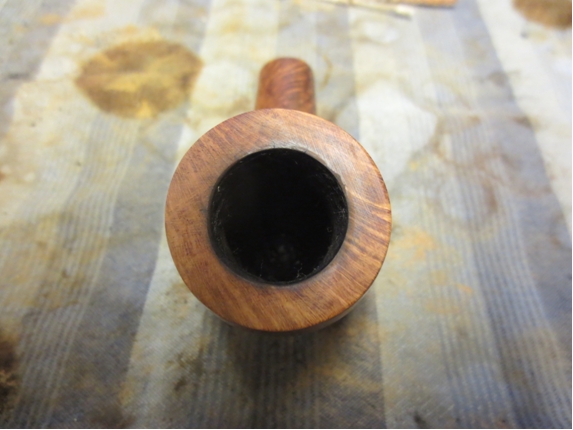
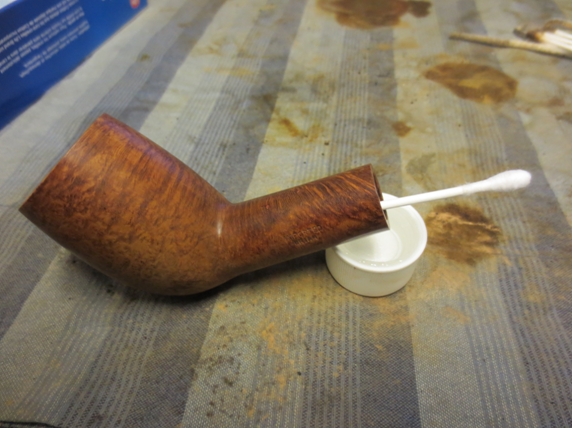
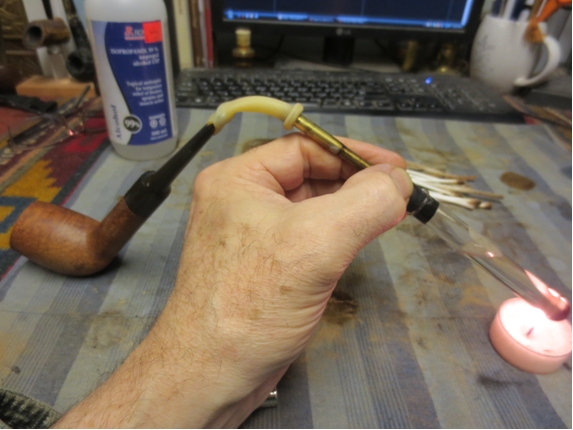
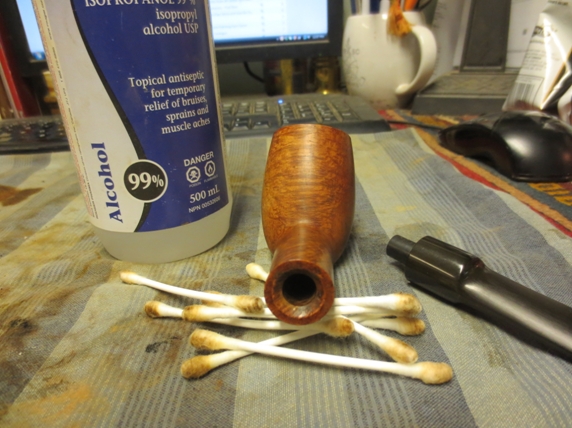
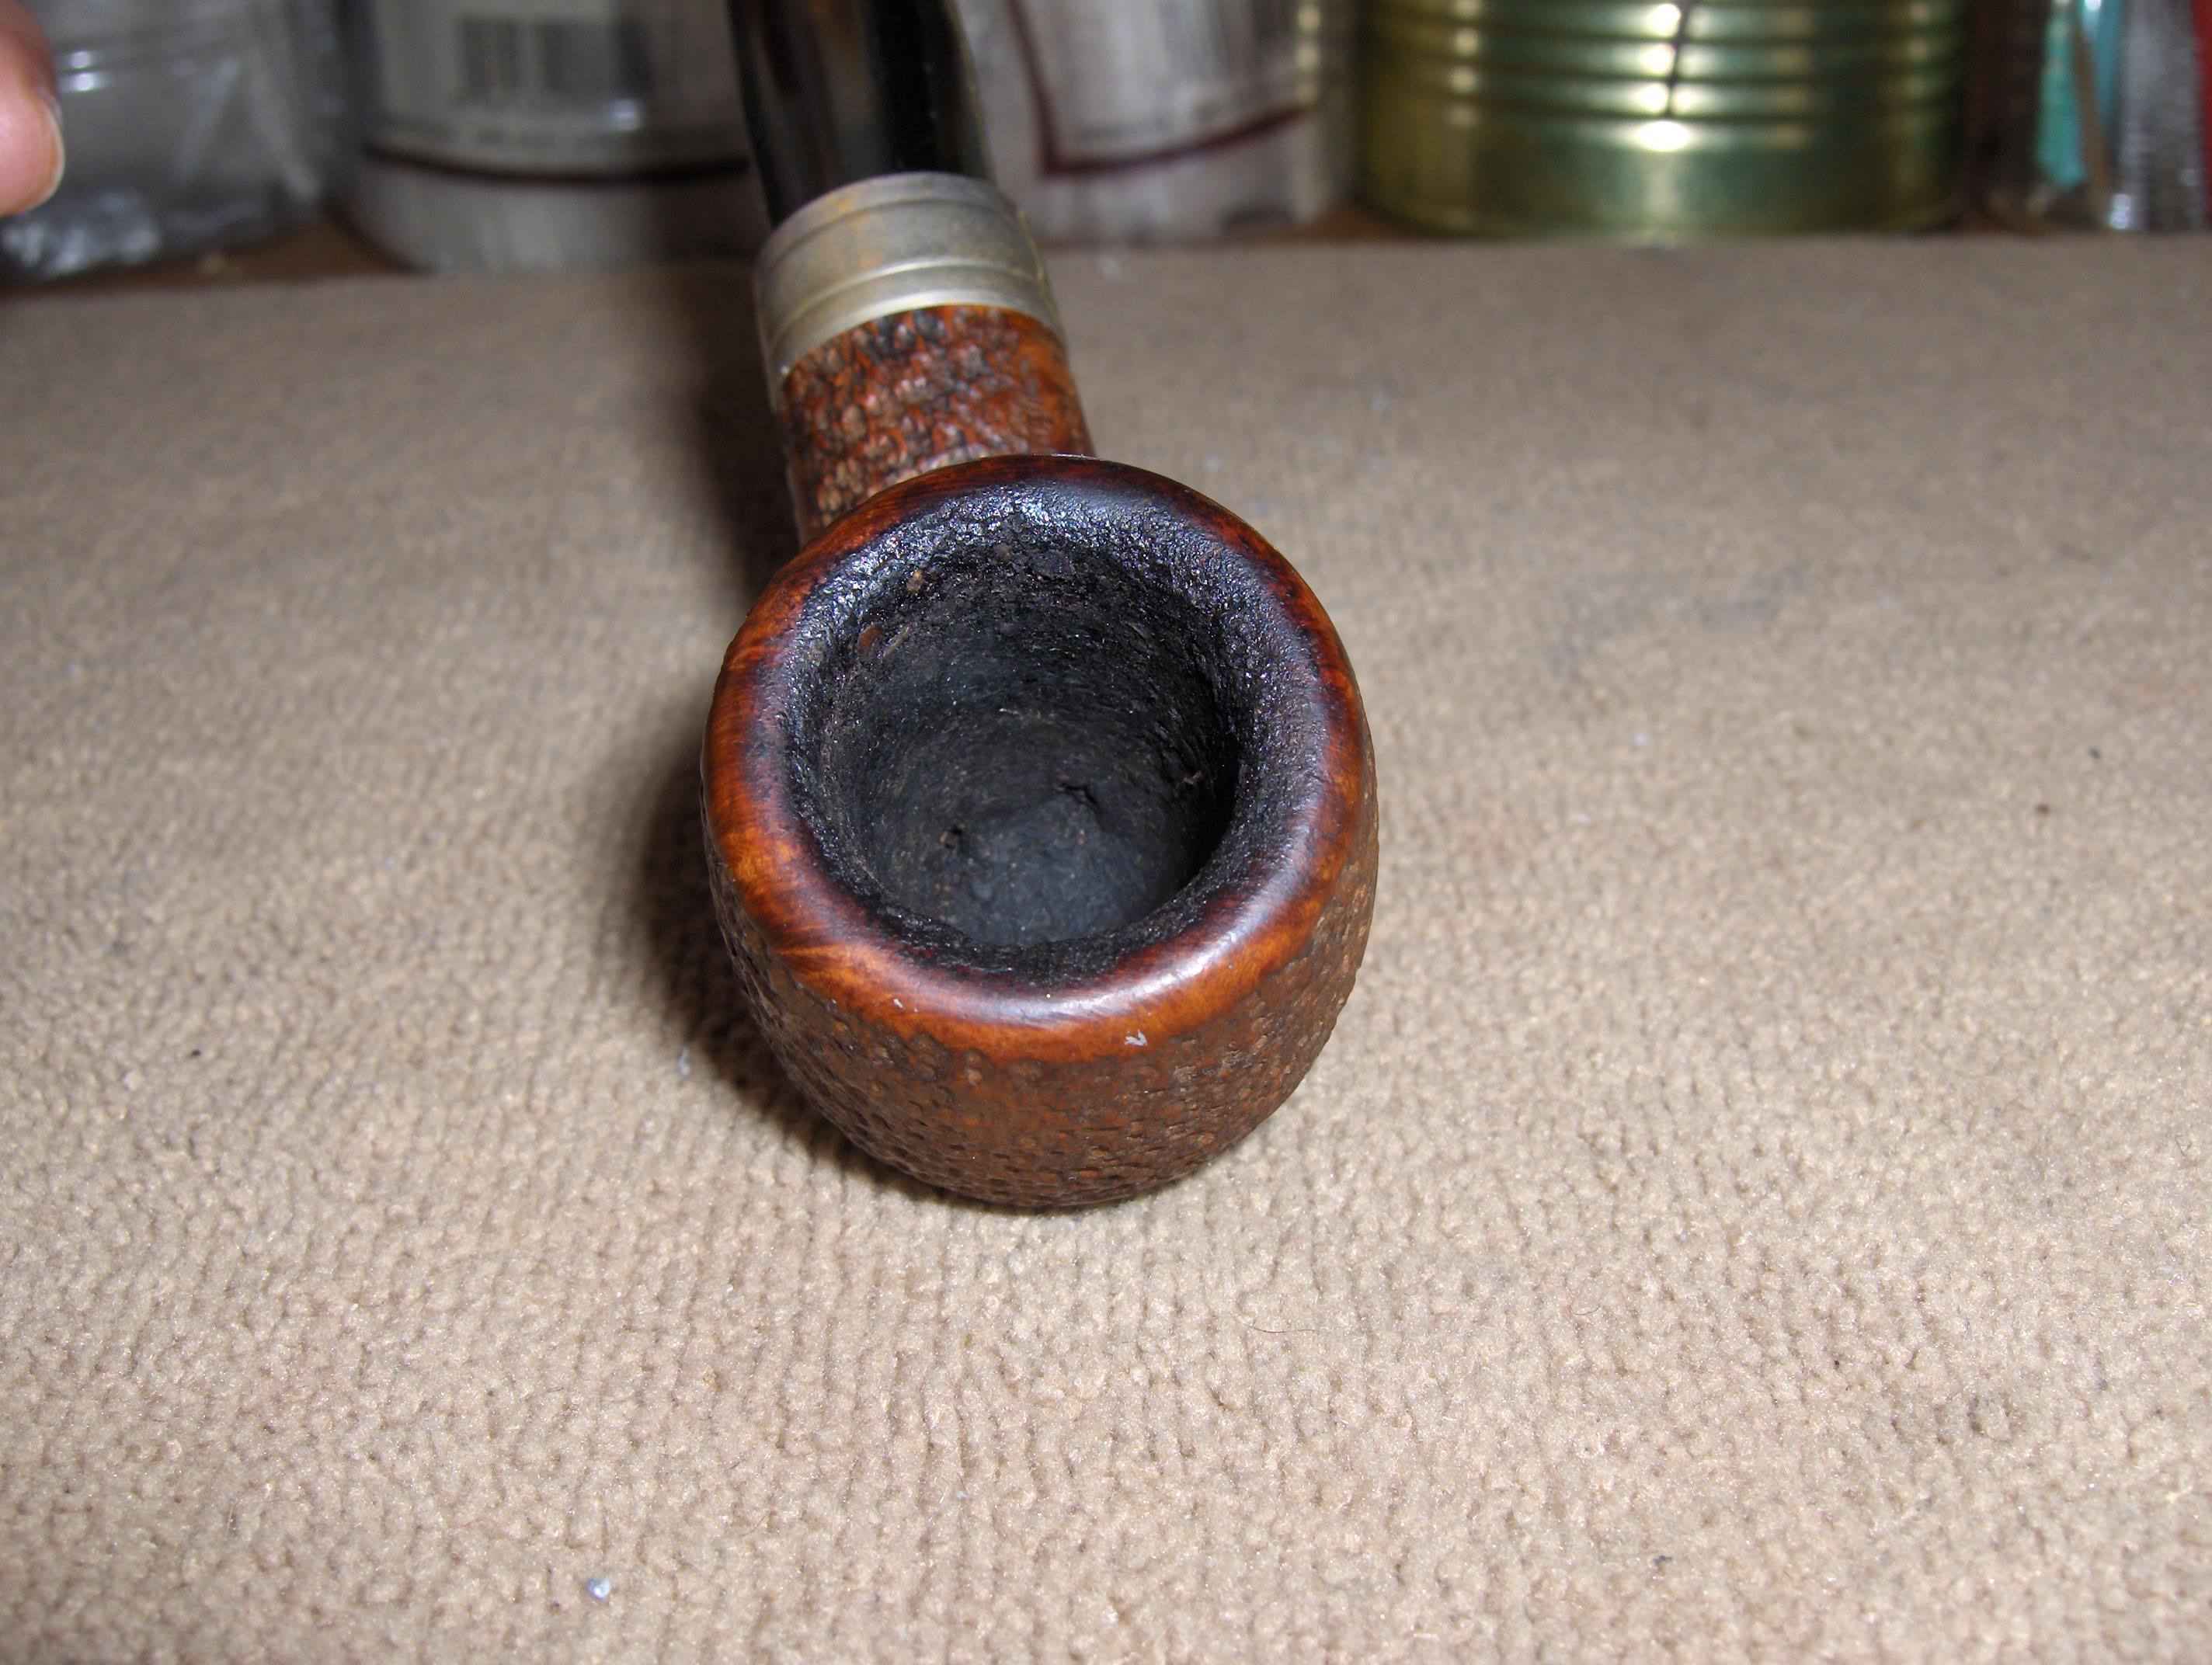
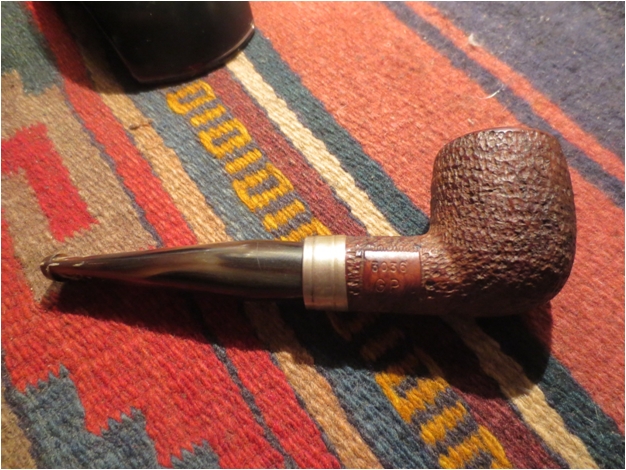
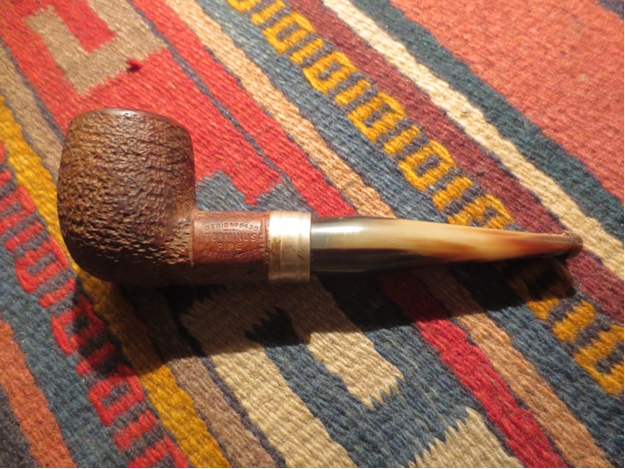
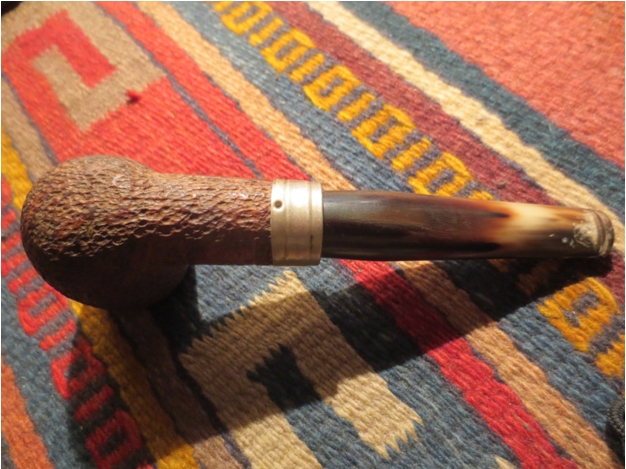
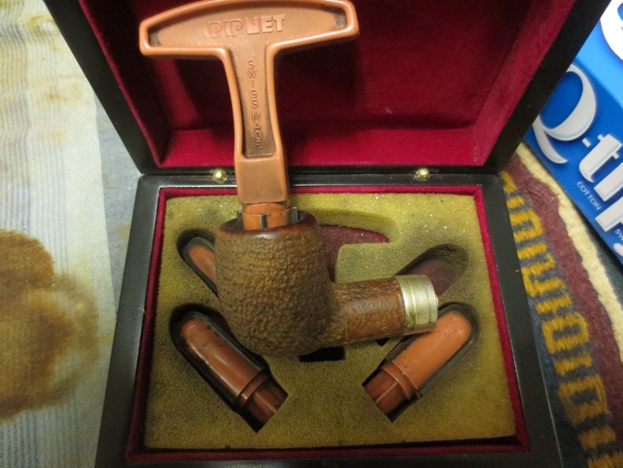
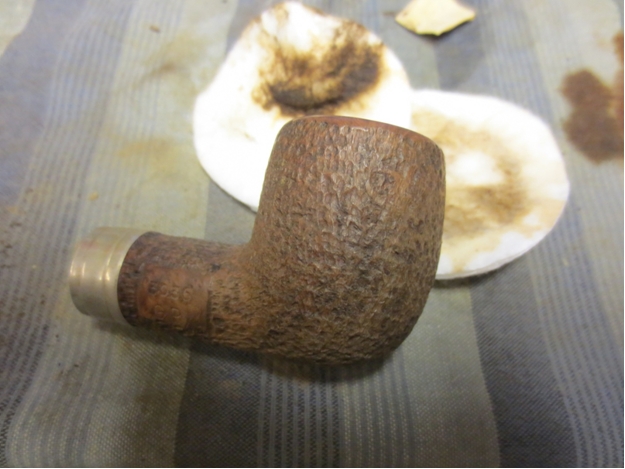
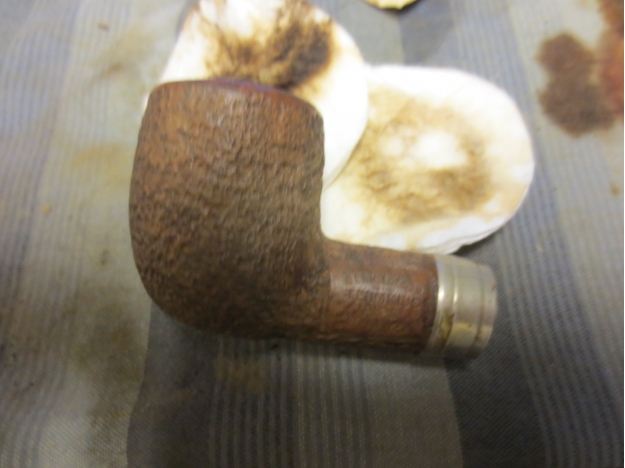
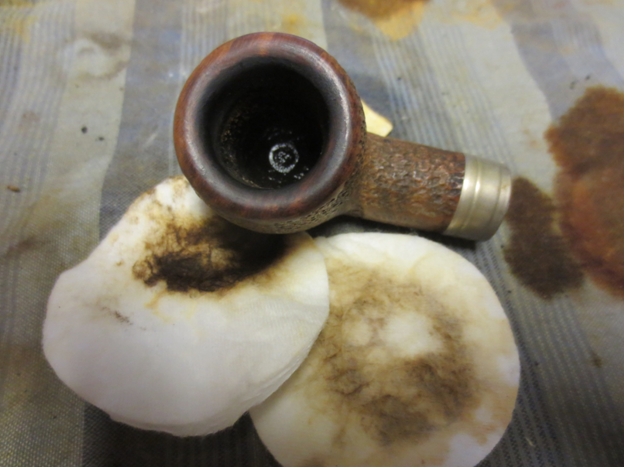
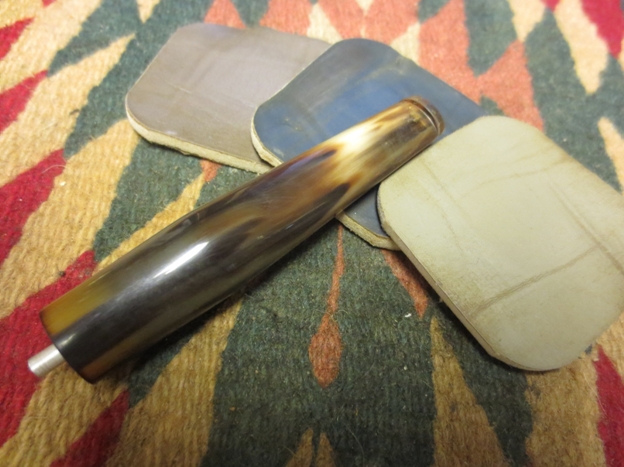
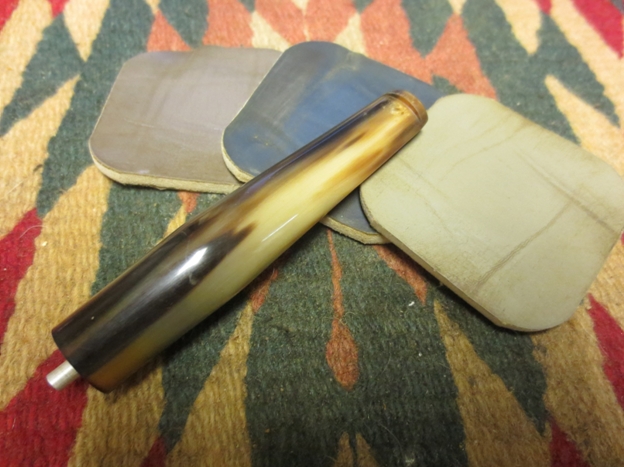
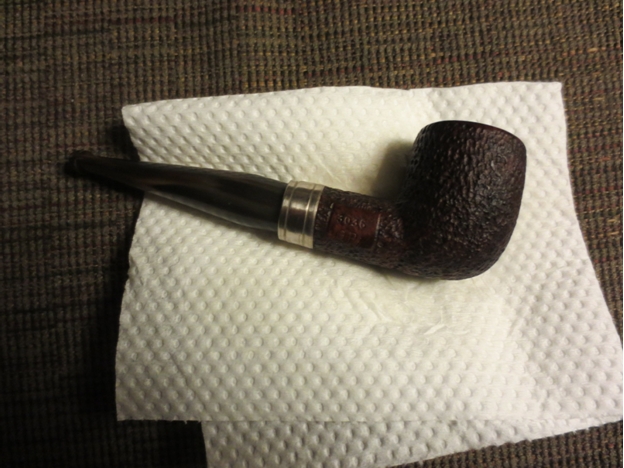
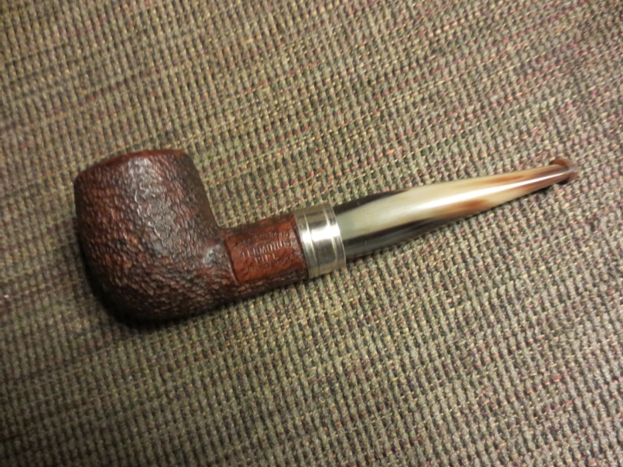
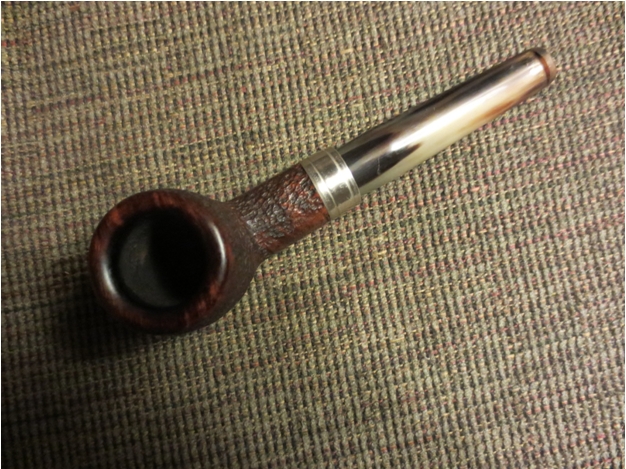
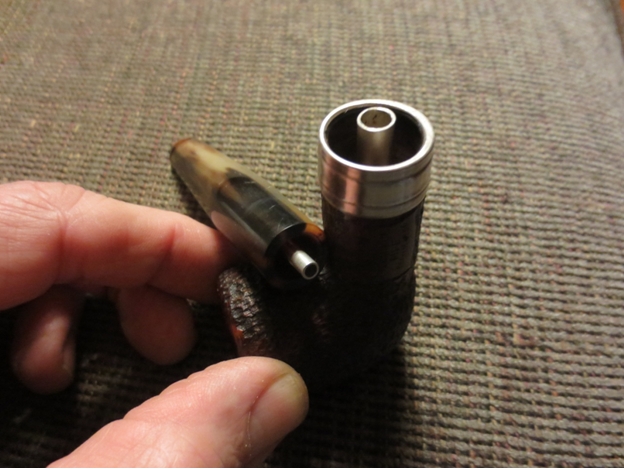
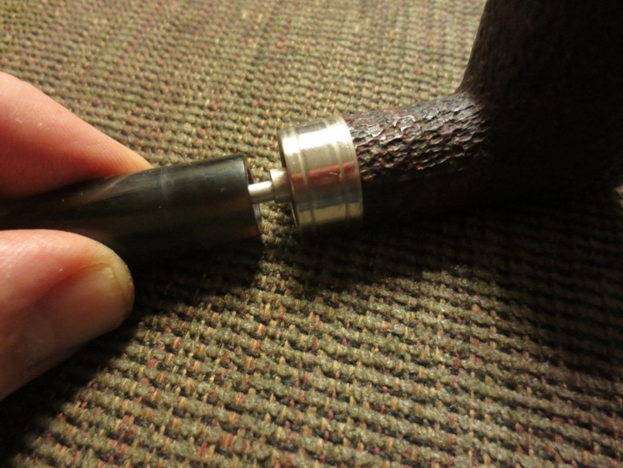
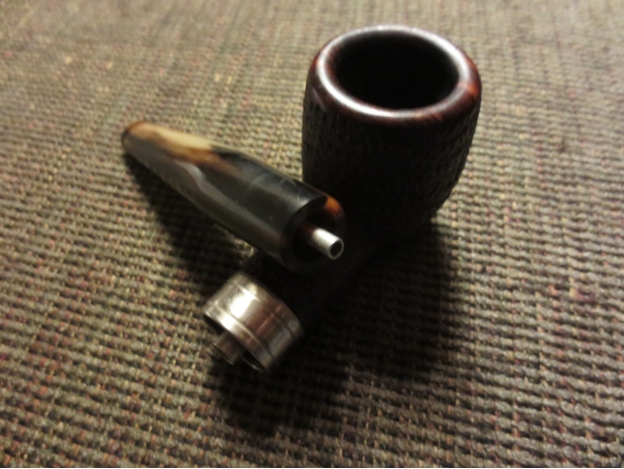
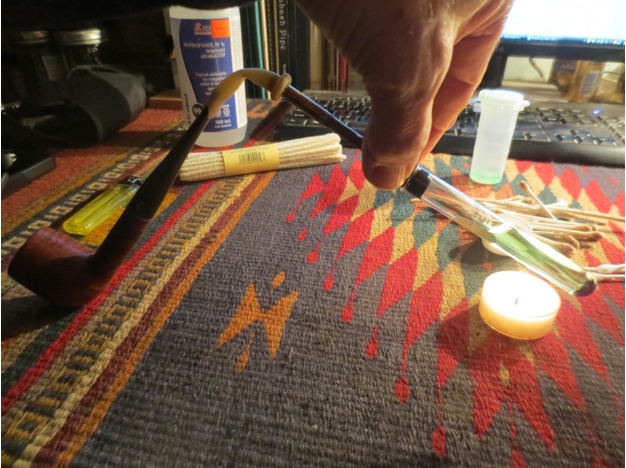
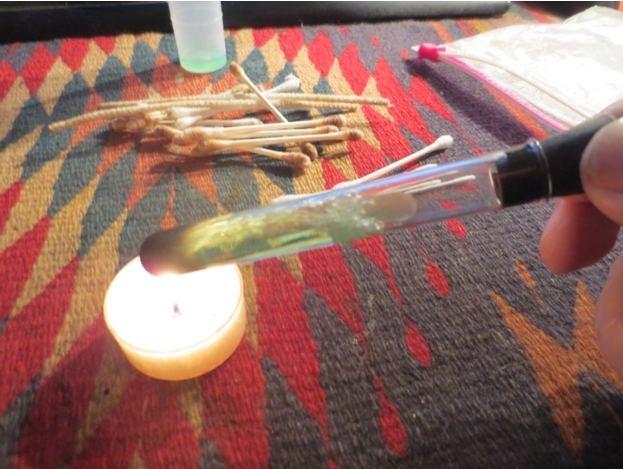
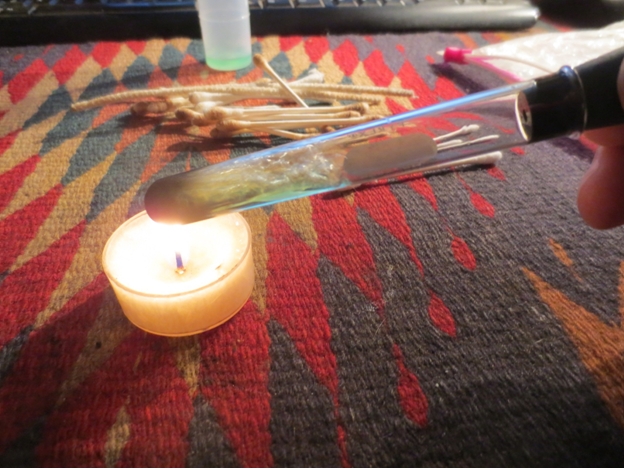
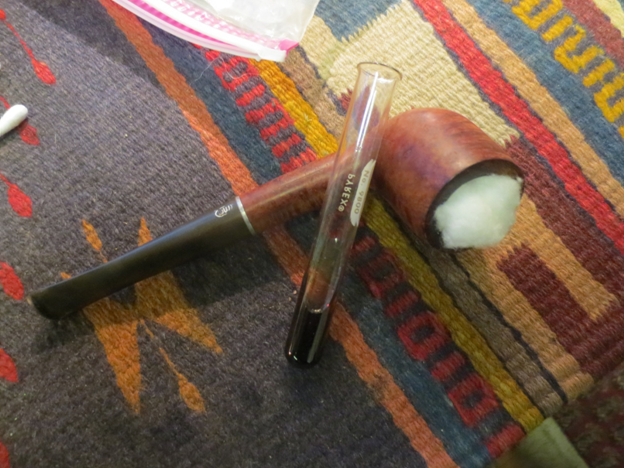
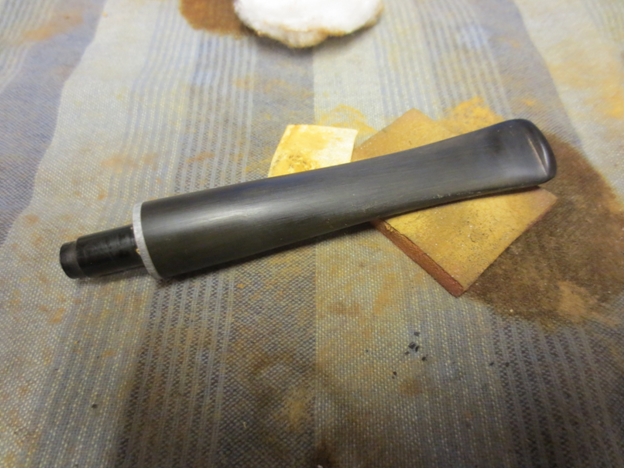
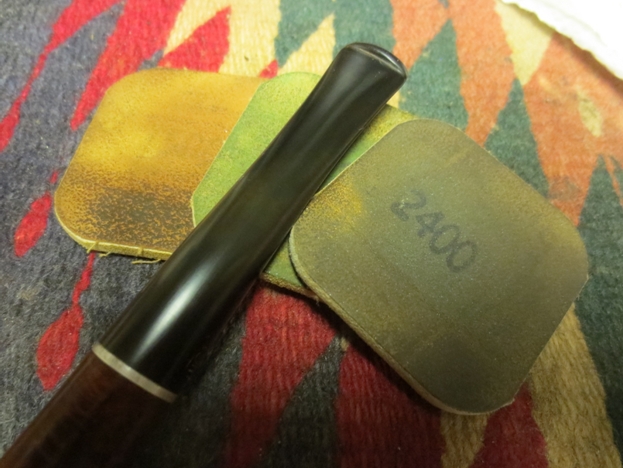
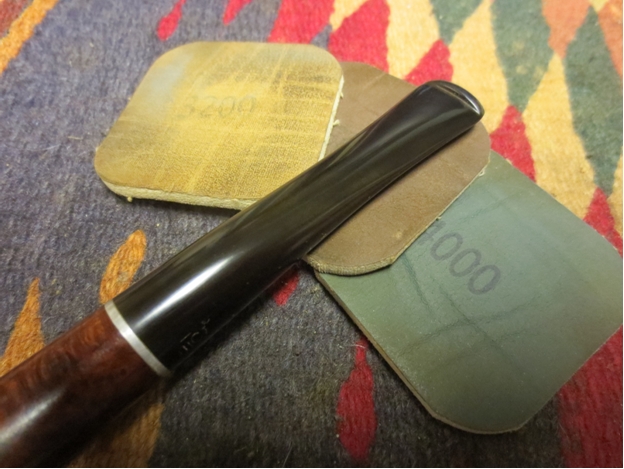
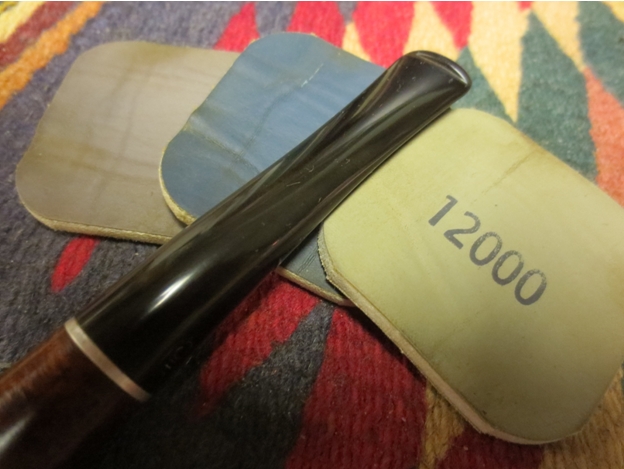
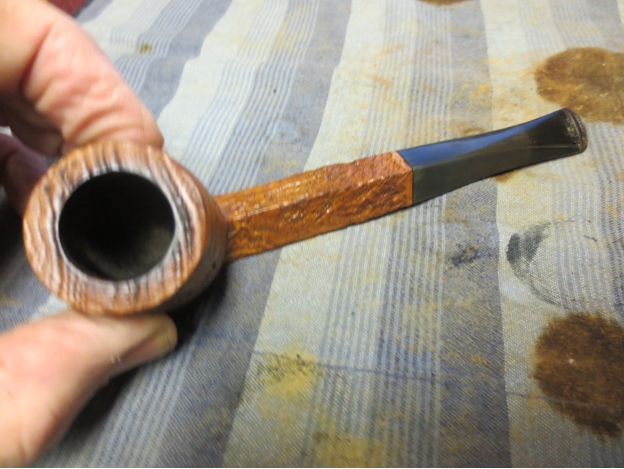
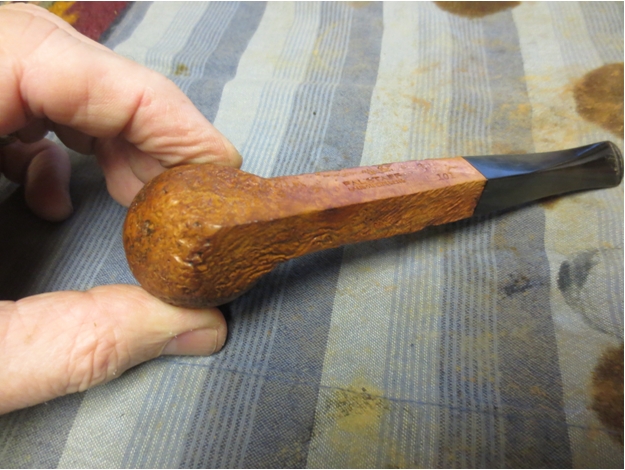
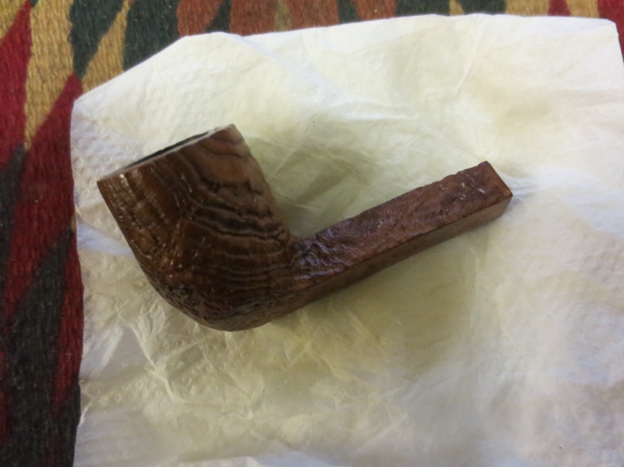
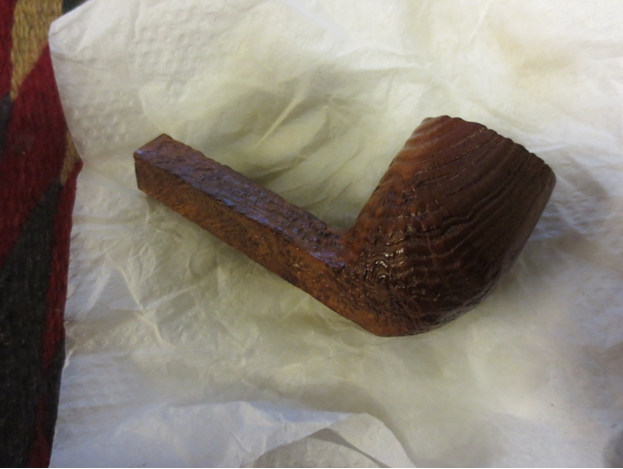
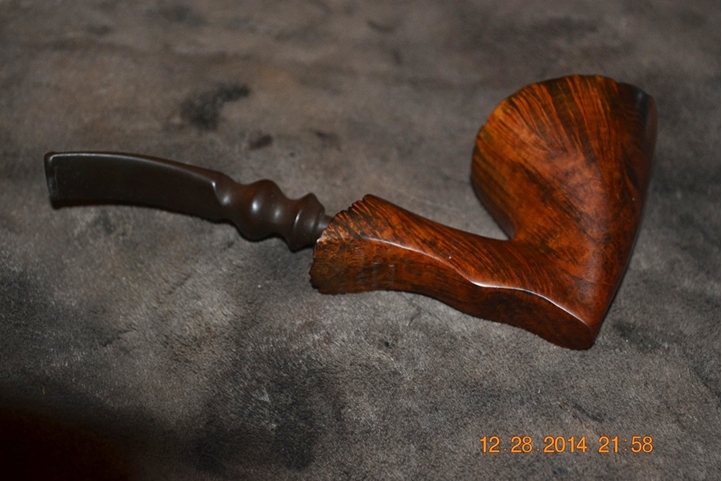
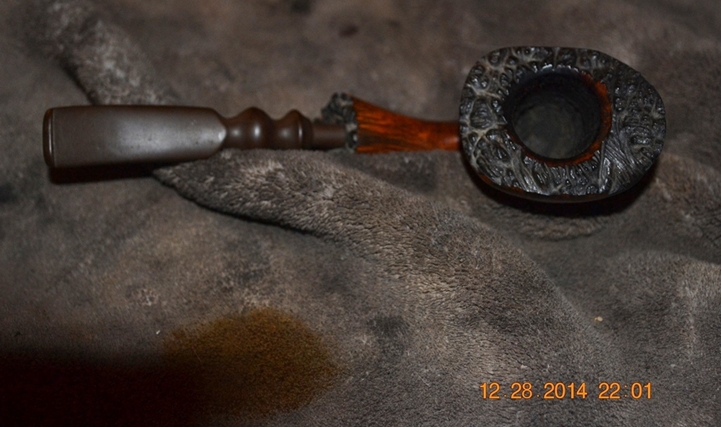
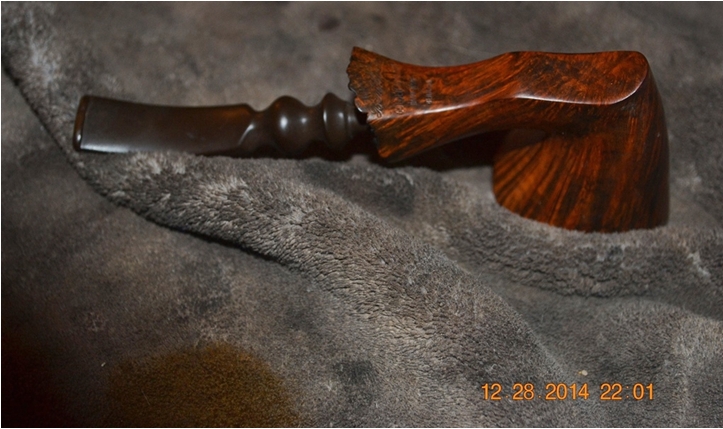
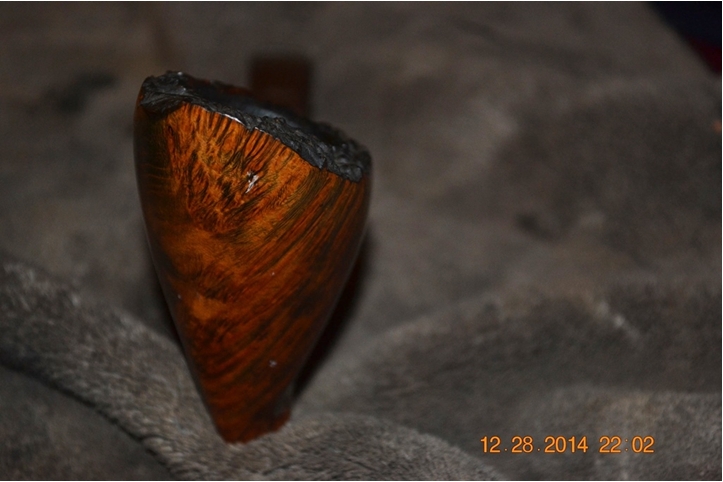
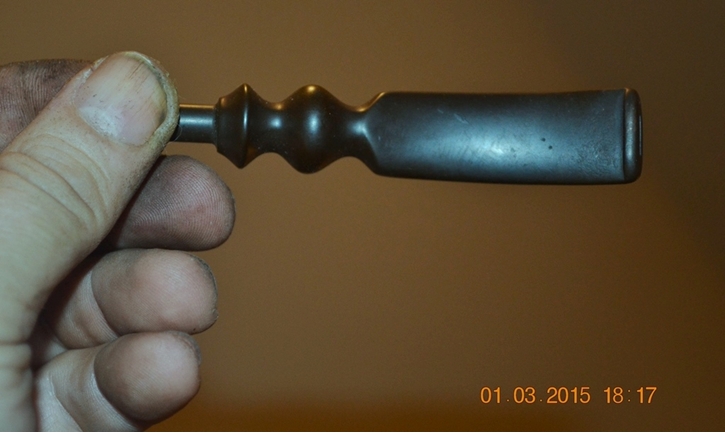
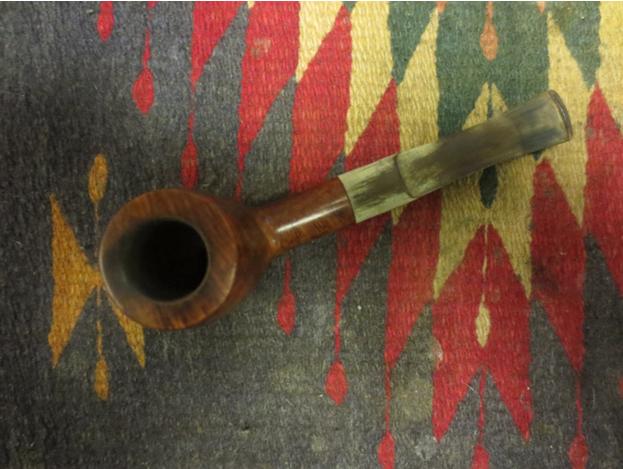
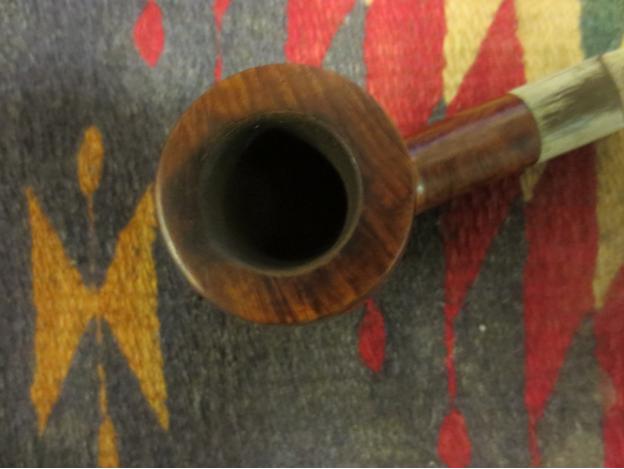
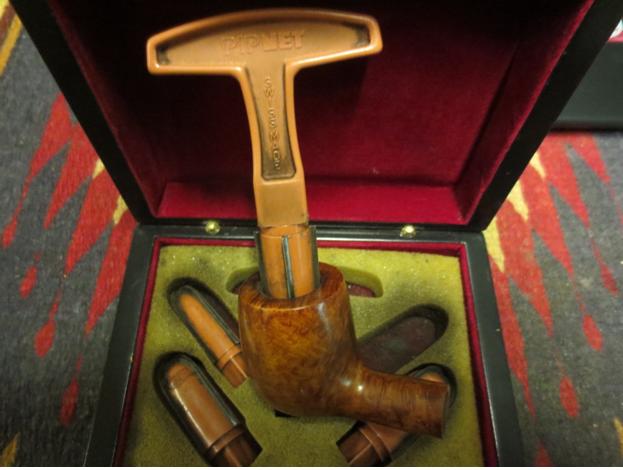
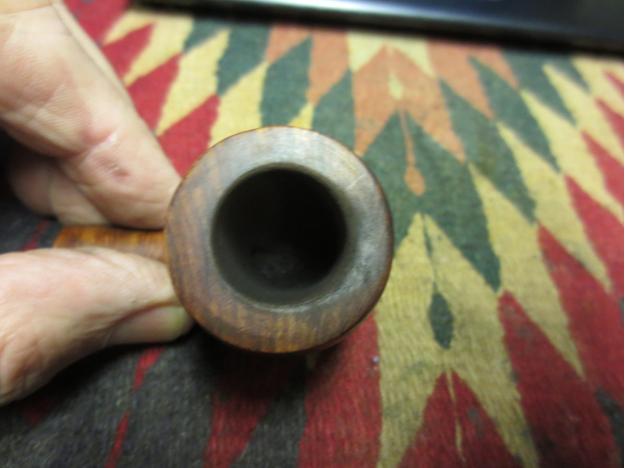
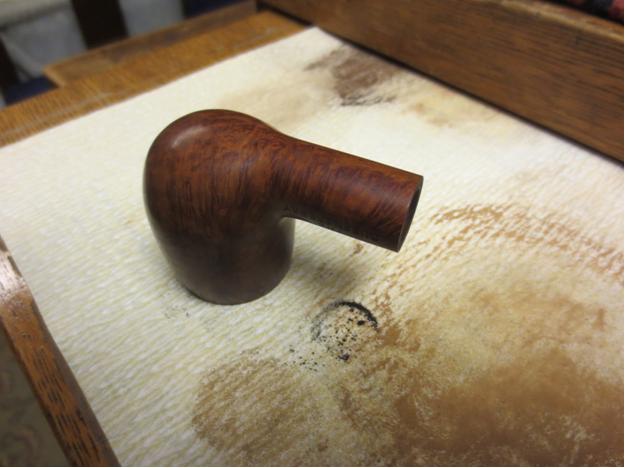
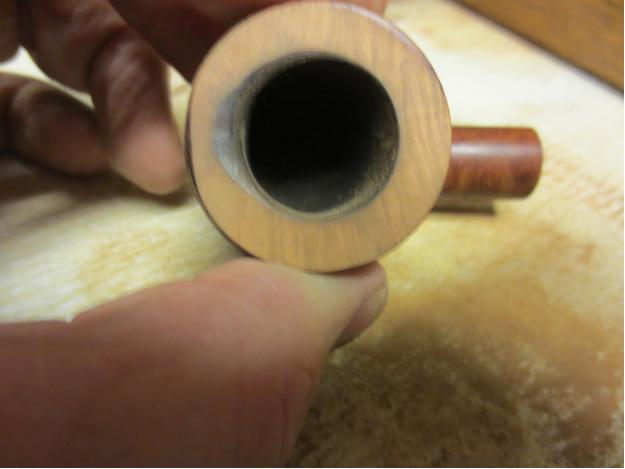
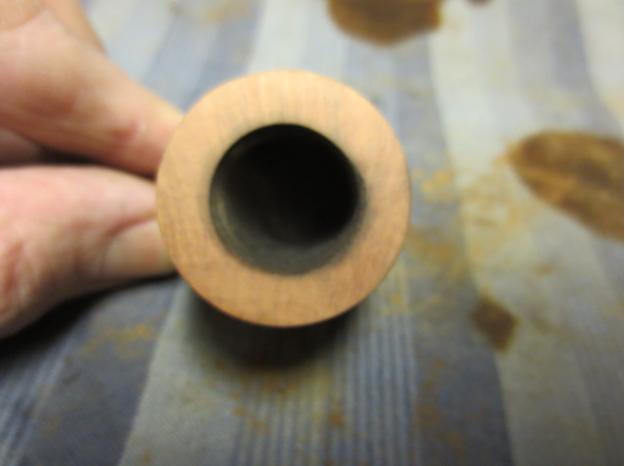
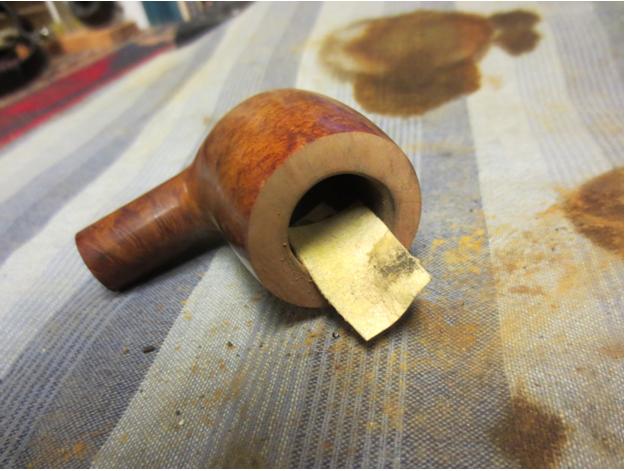
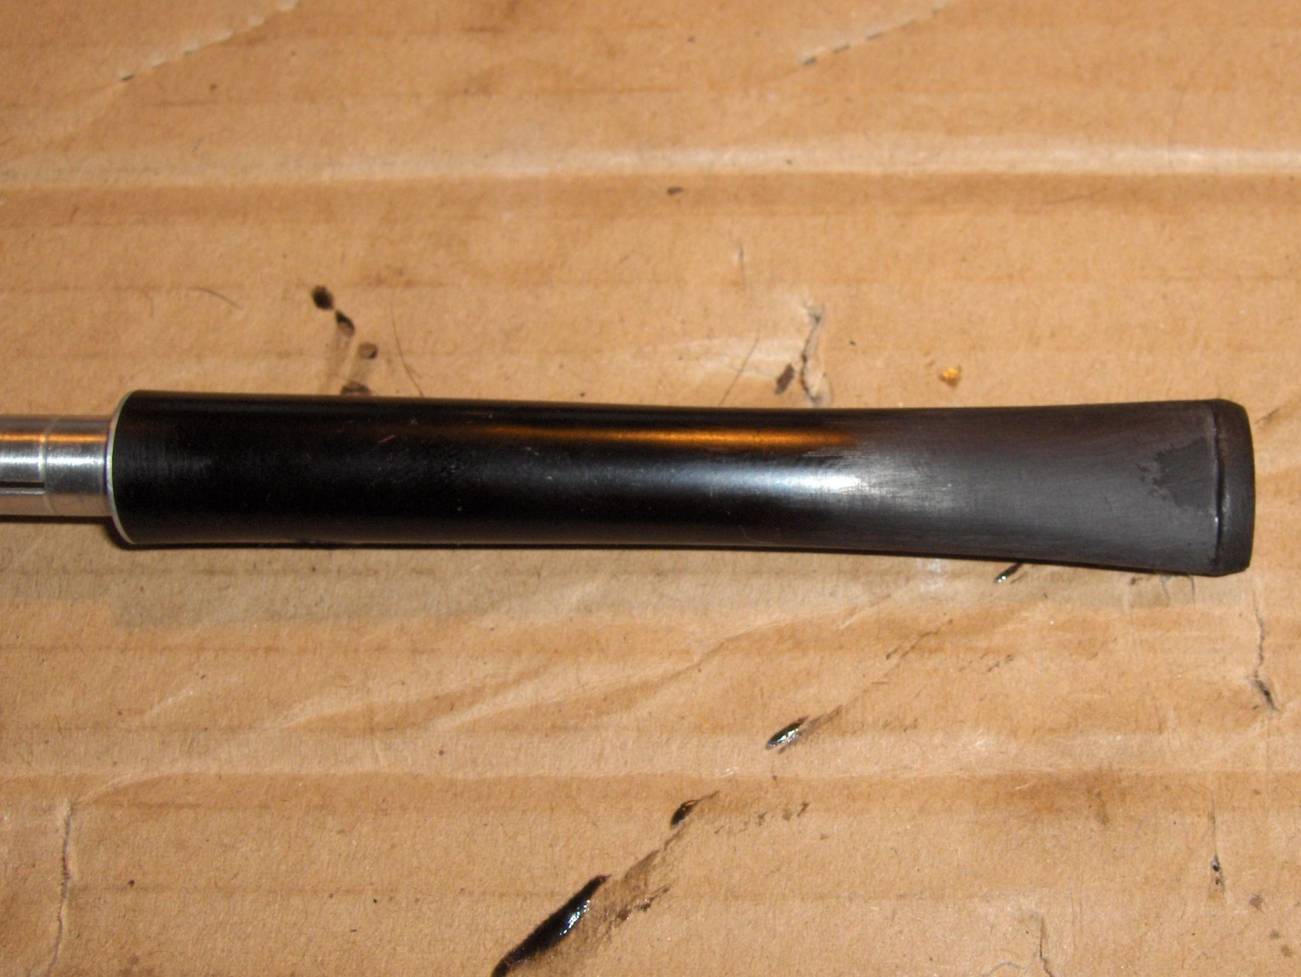
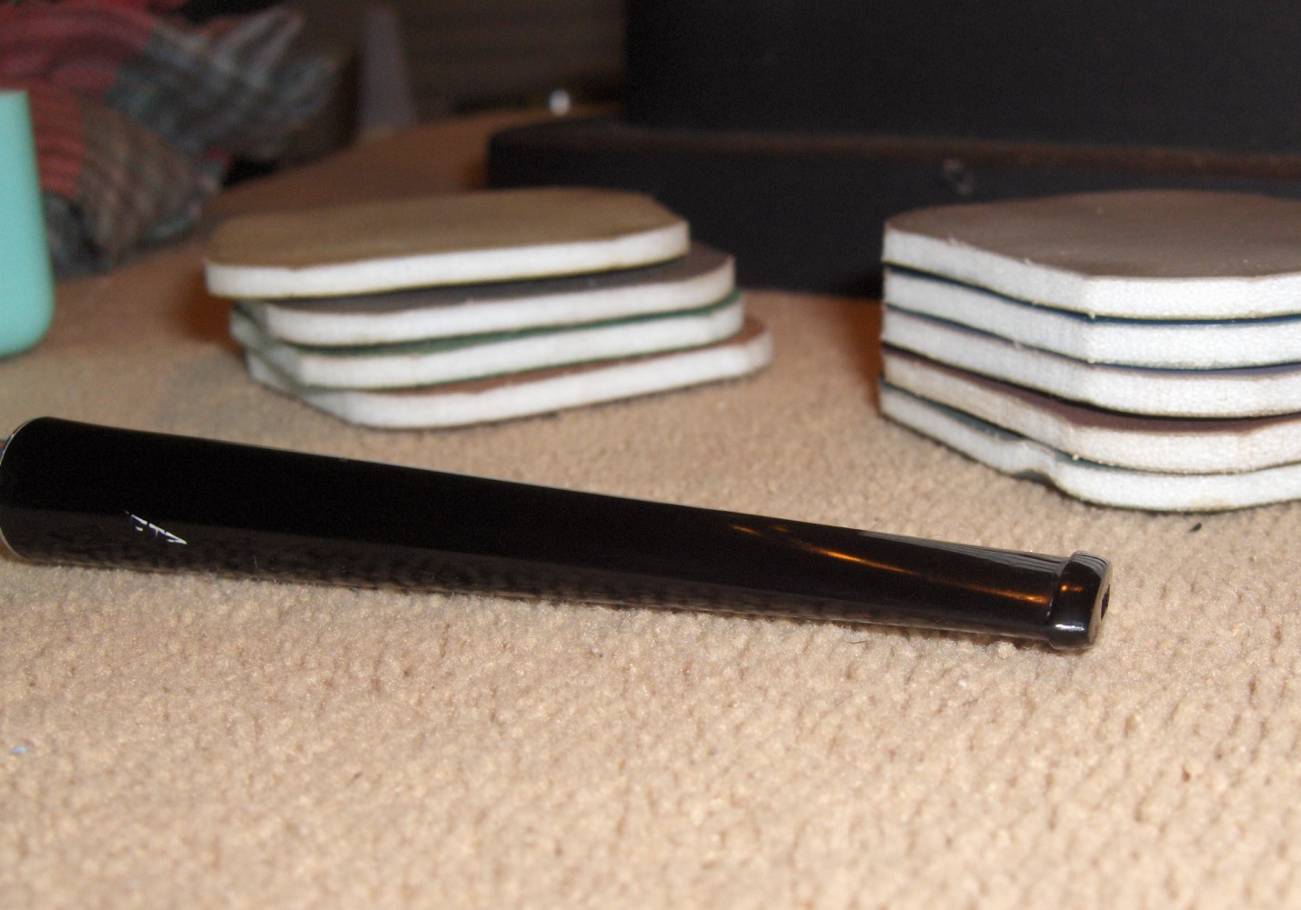
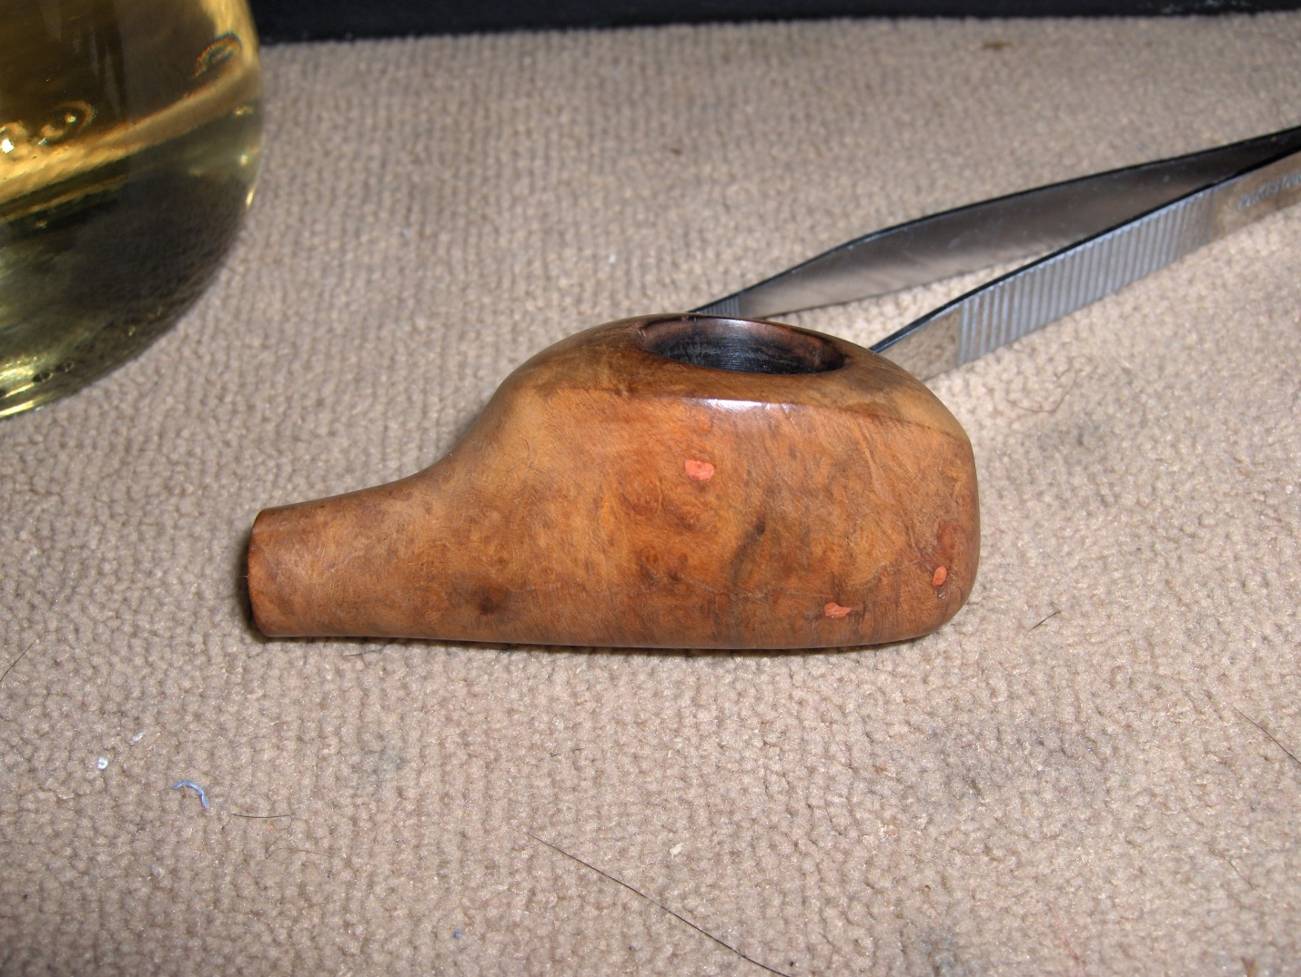
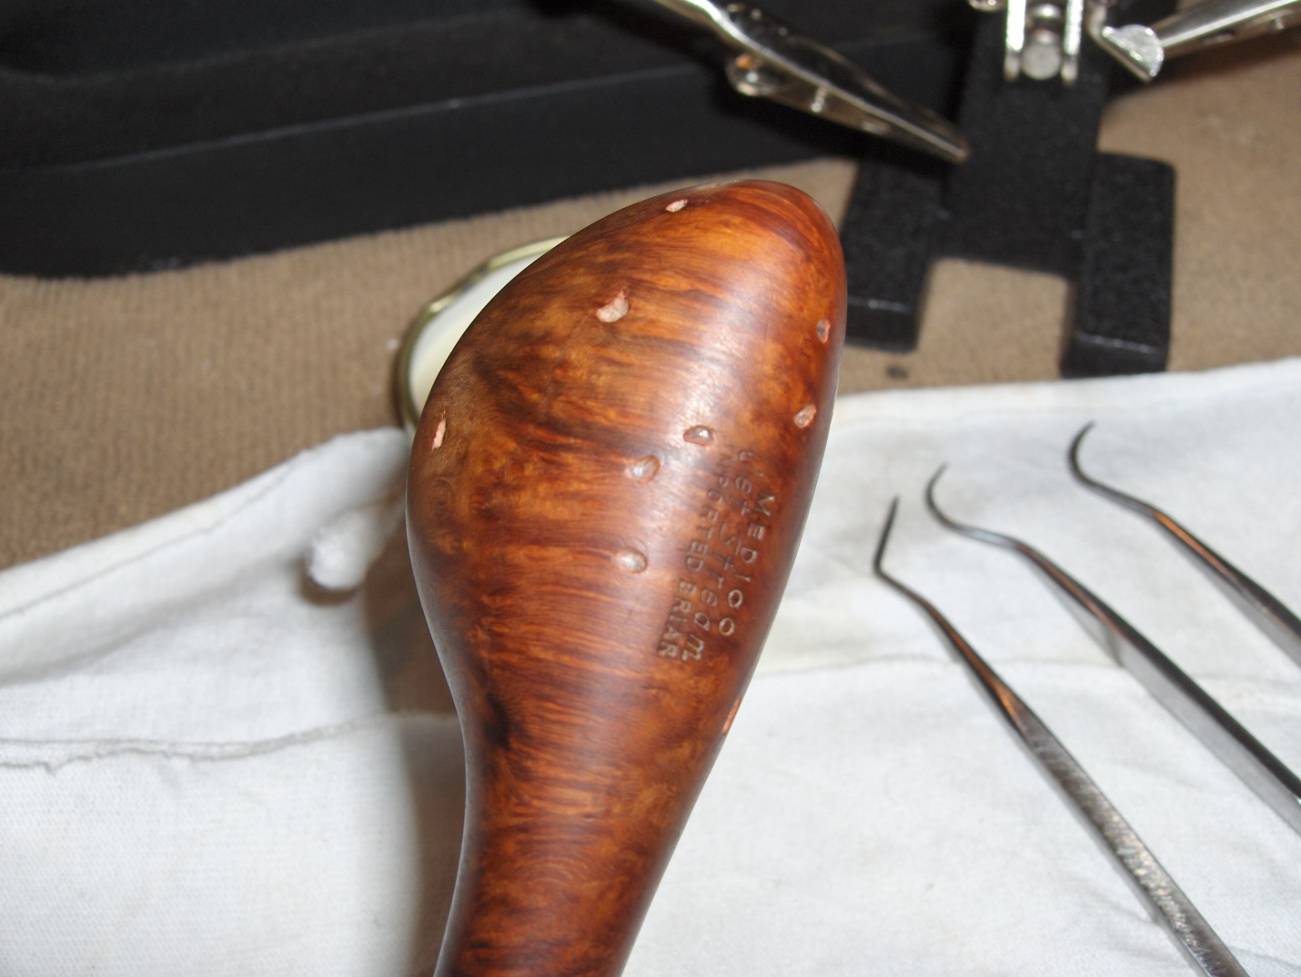
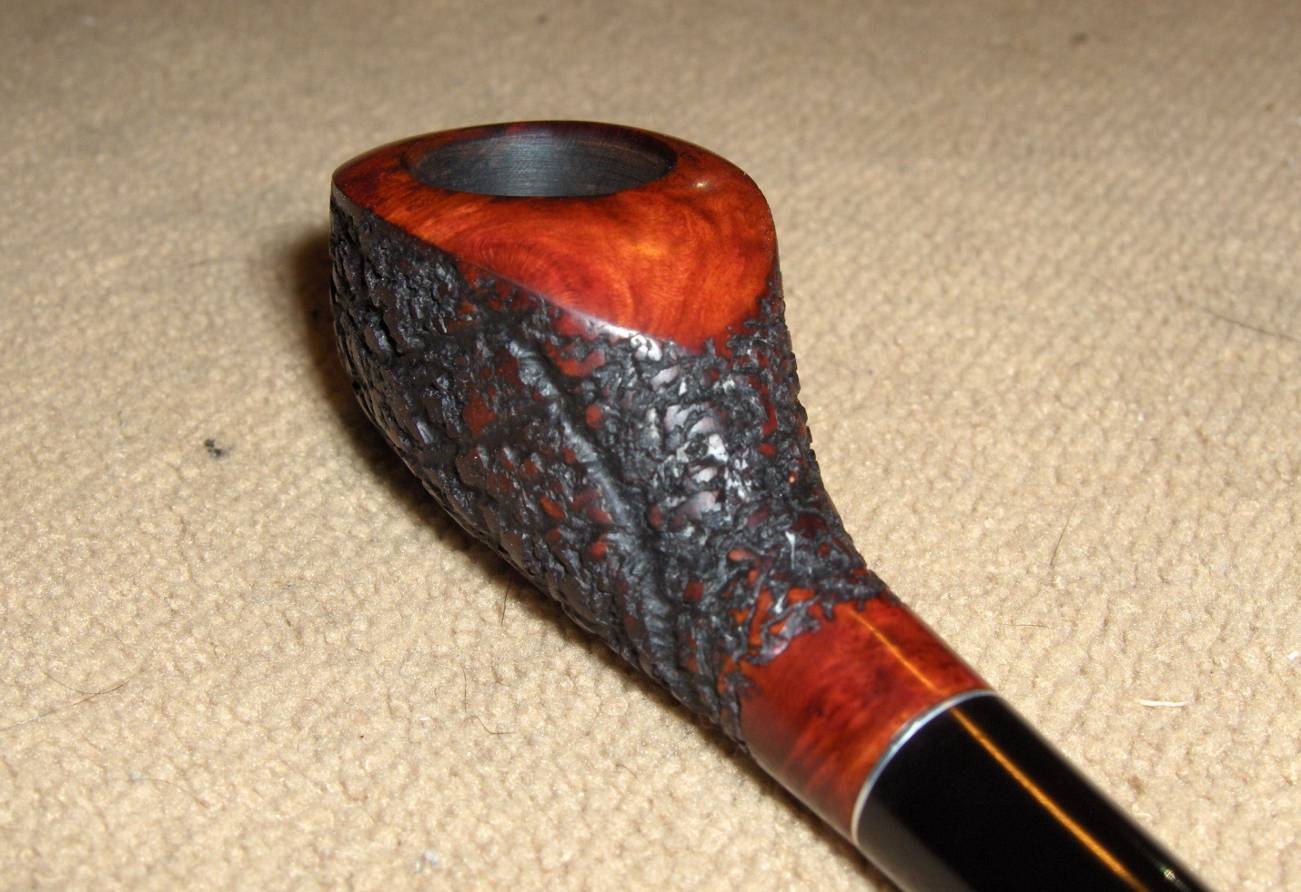
Tag Archives: micromesh sanding pads

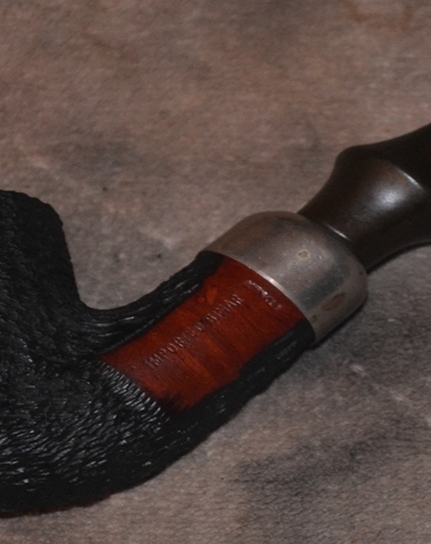
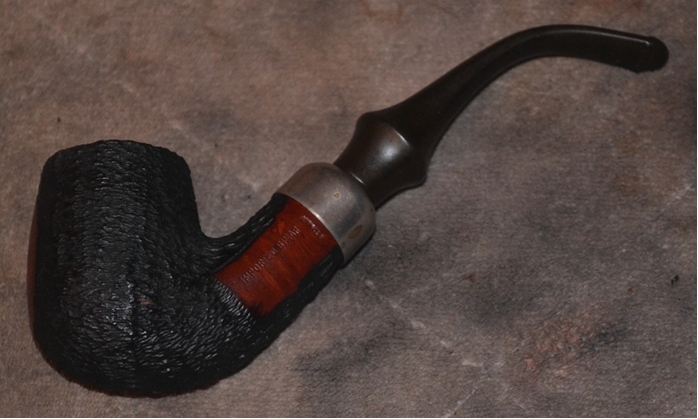
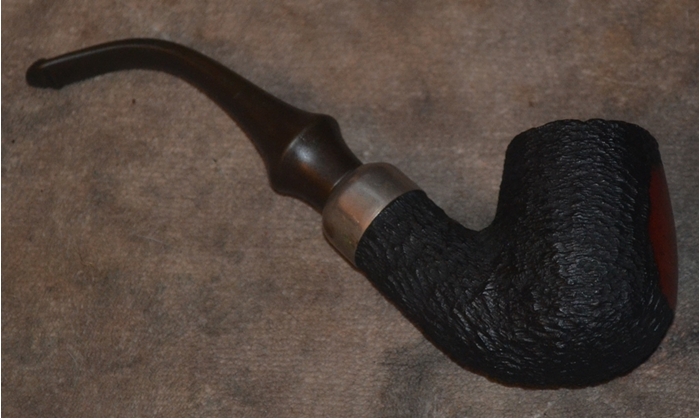
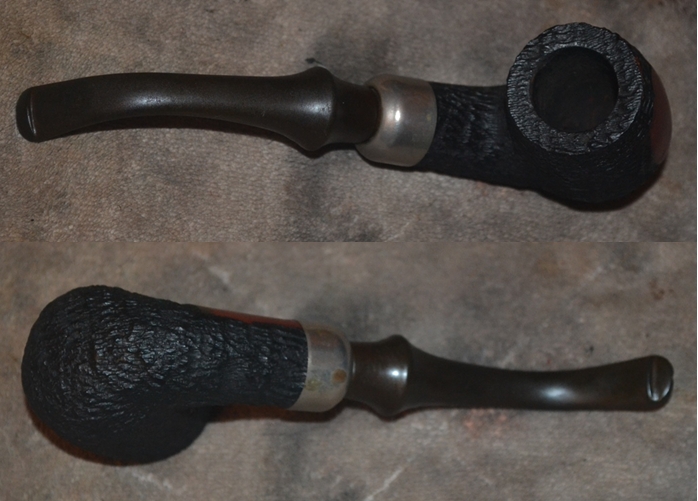
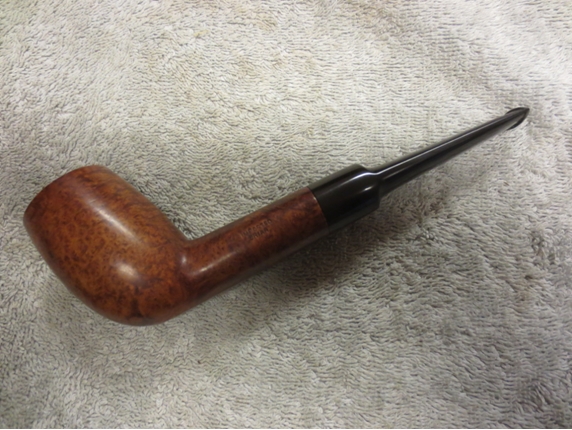
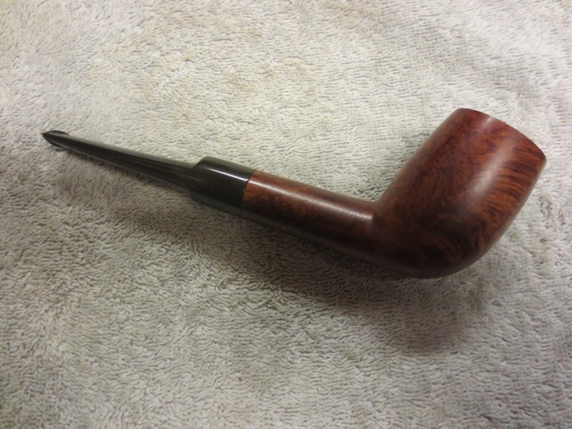
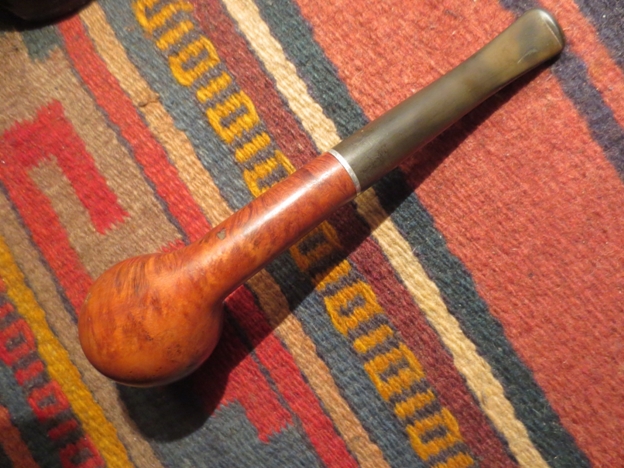
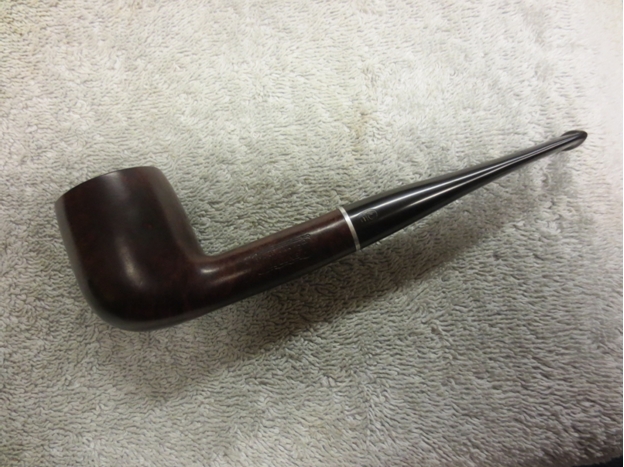
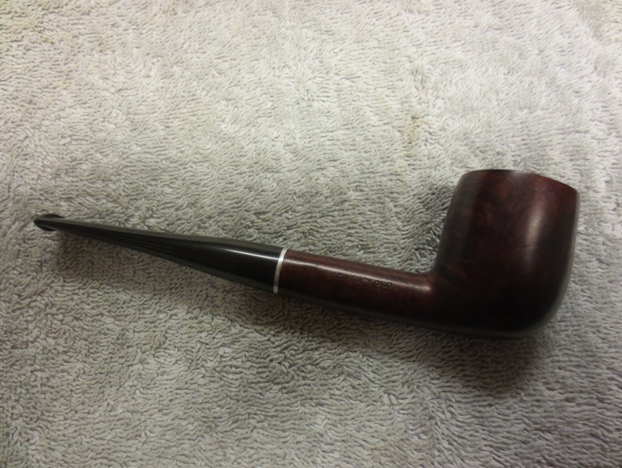
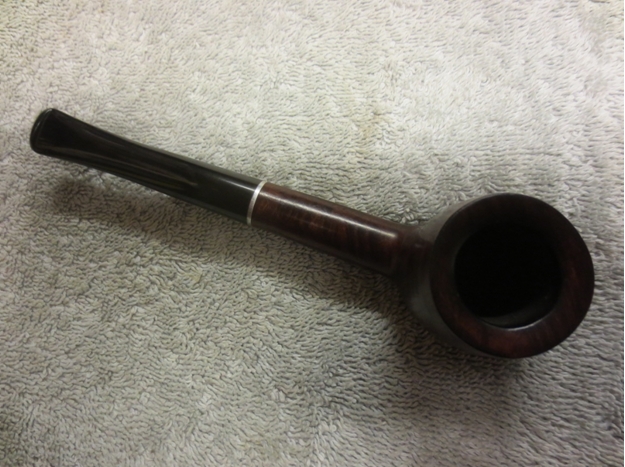
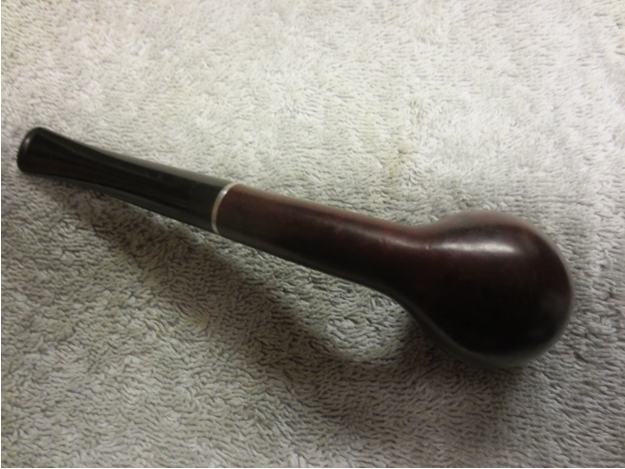
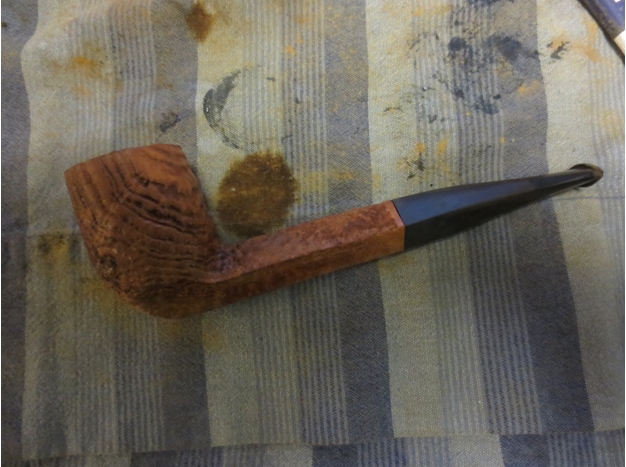
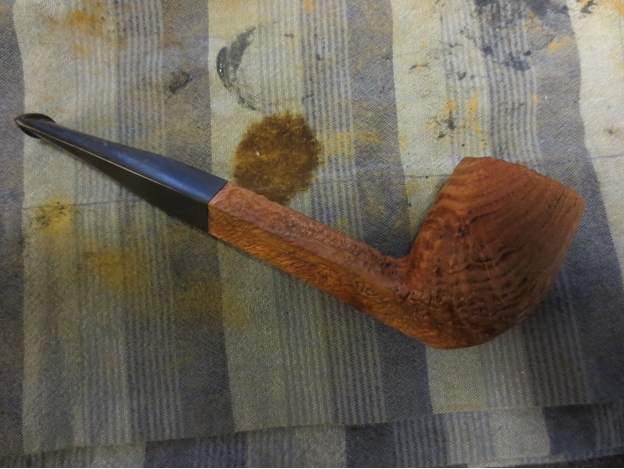
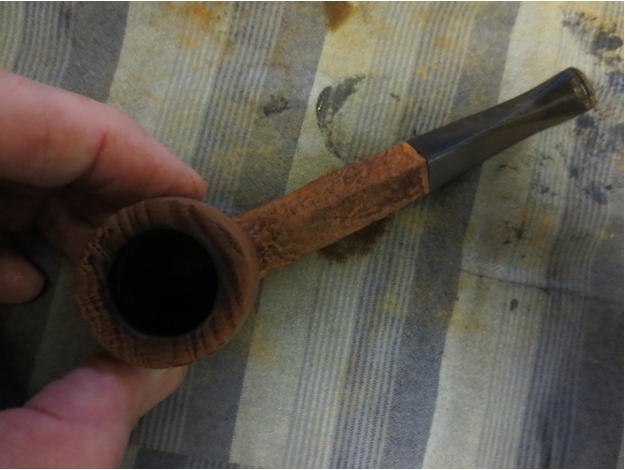
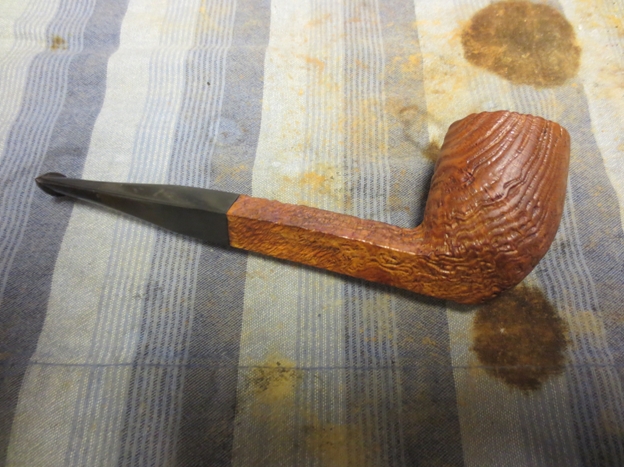
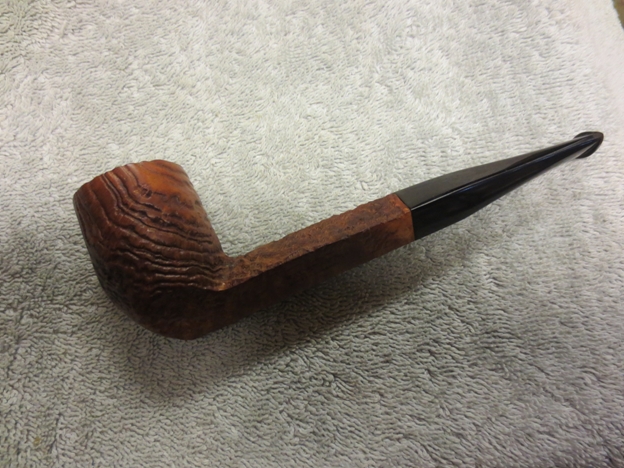
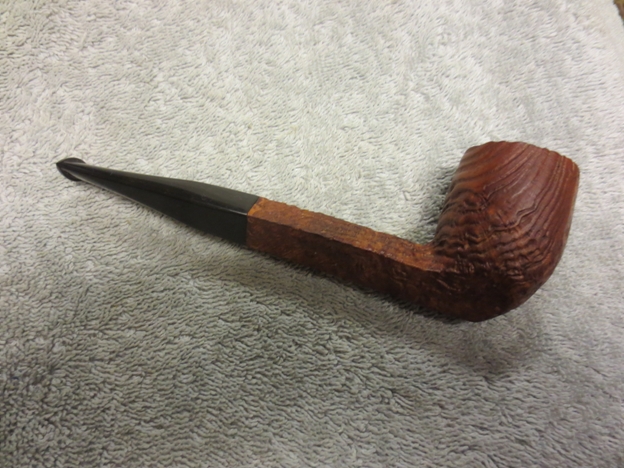
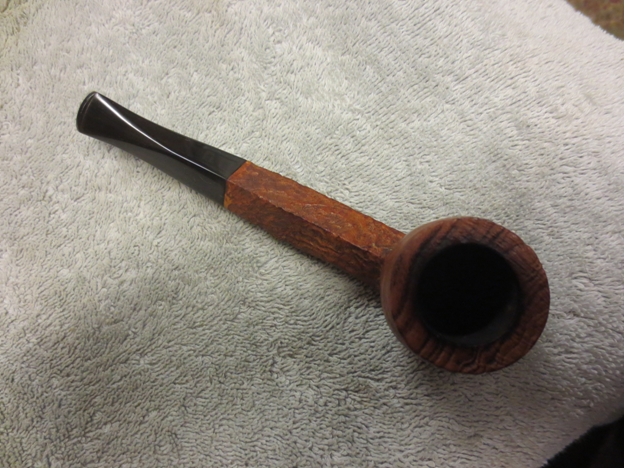
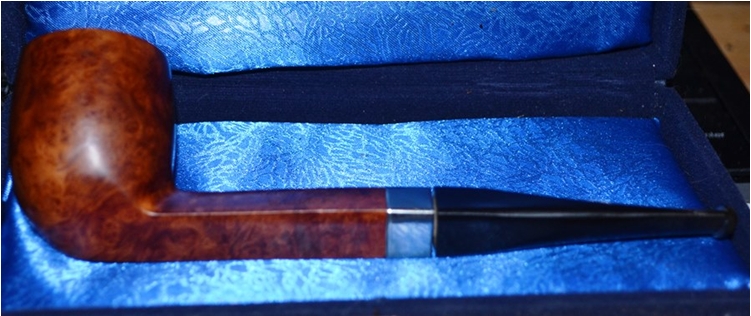
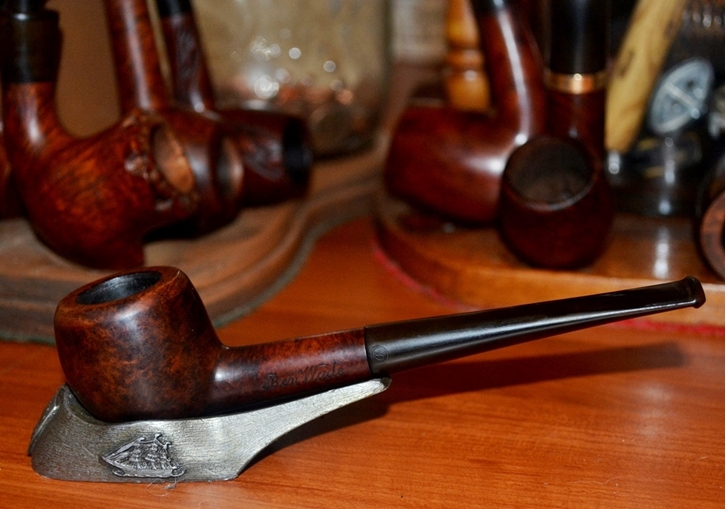
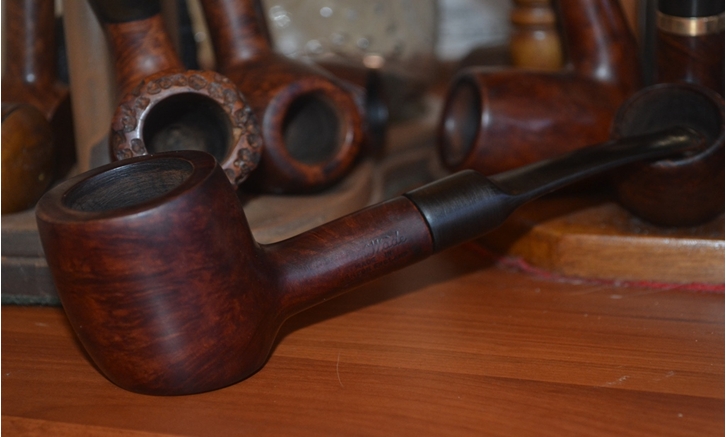
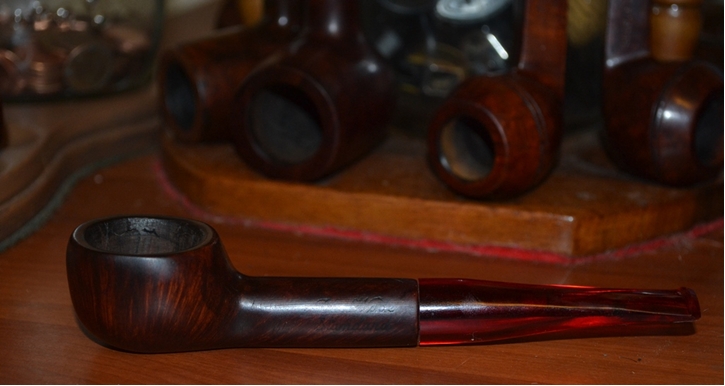
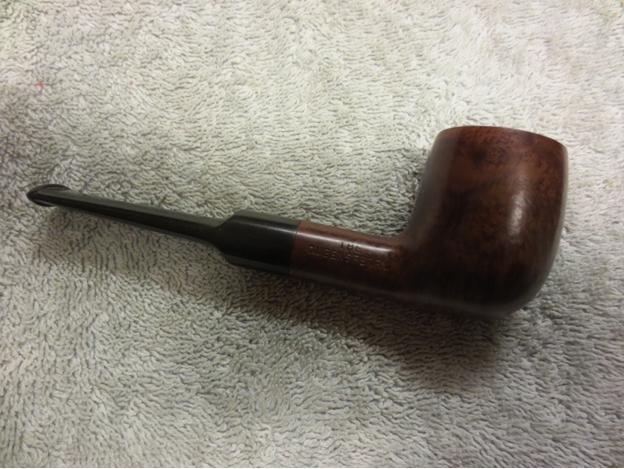
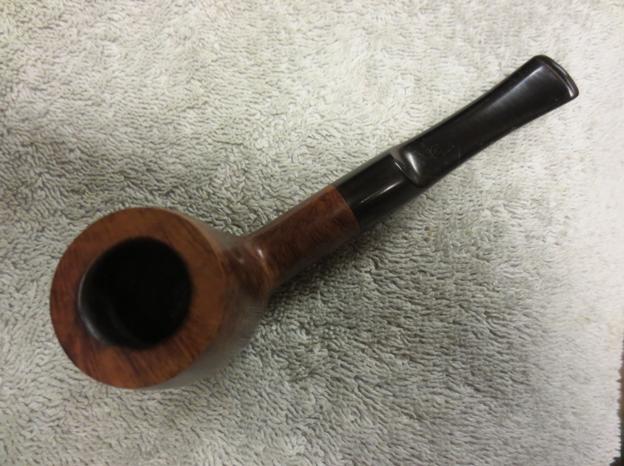
Parker Super Bruyere Straight Billiard


Guest Blog by Robert M. Boughton
Member, North American Society of Pipe Collectors
http://www.naspc.org
http://www.roadrunnerpipes.com
http://about.me/boughtonrobert
Photos © the Author

I have made it a rule never to smoke more than one cigar at a time. I have no other restriction as regards smoking. I do not know just when I began to smoke, I only know that it was in my father’s lifetime, and that I was discreet. He passed from this life early in 1847, when I was a shade past eleven; ever since then I have smoked publicly. As an example to others, and not that I care for moderation myself, it has always been my rule never to smoke when asleep, and never to refrain when awake.
― Mark Twain (Samuel L. Clemens, 1835-1910), U.S. author, humorist and critic, at his 70th Birthday Speech, 1905

INTRODUCTION
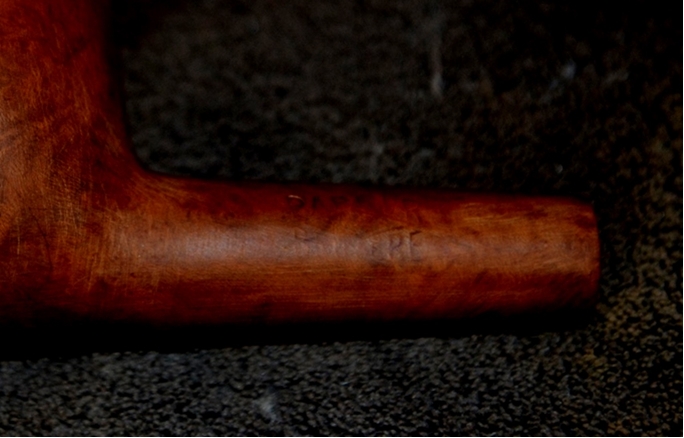
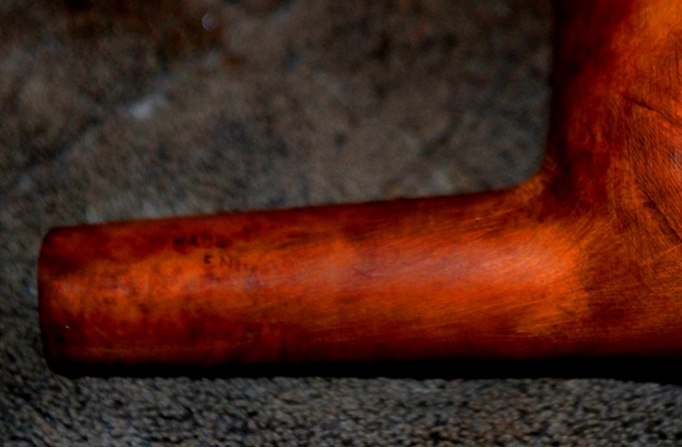
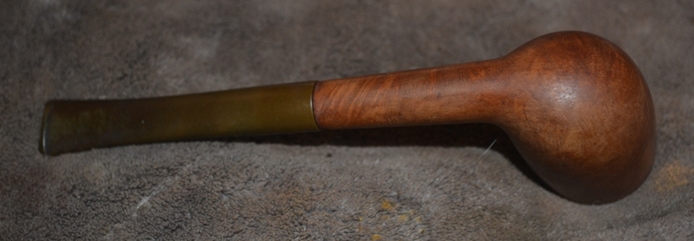
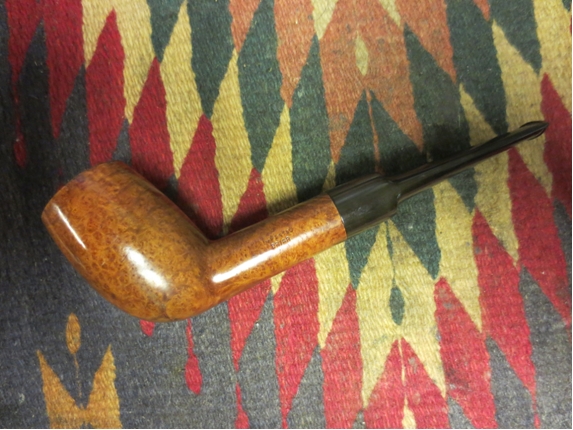
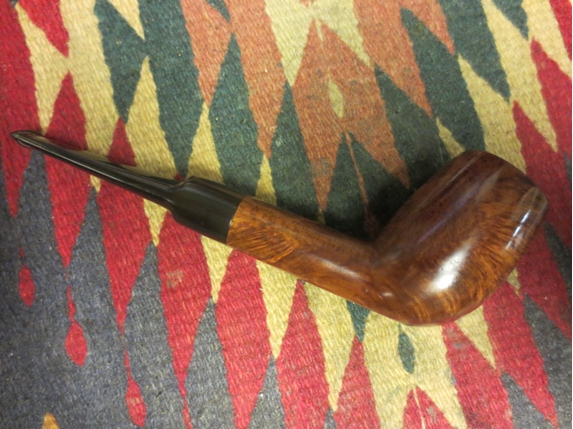
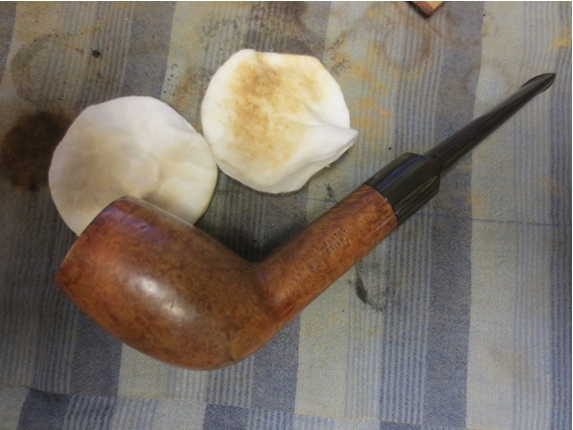
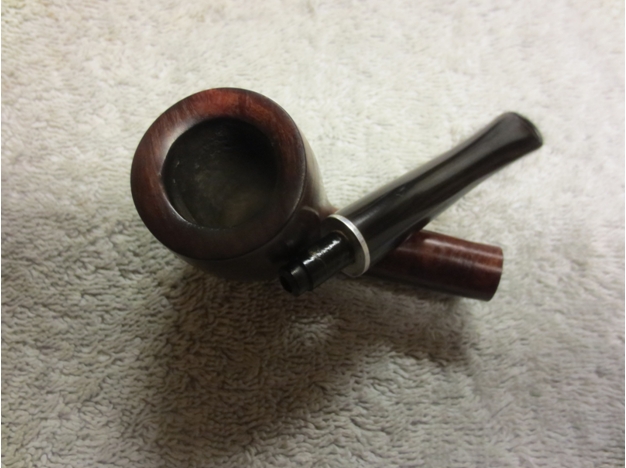
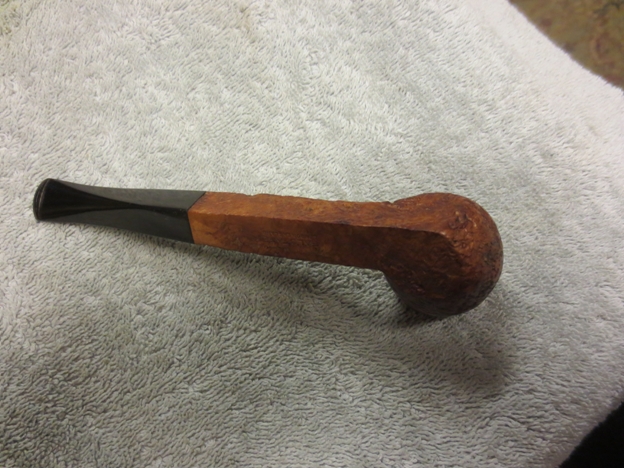
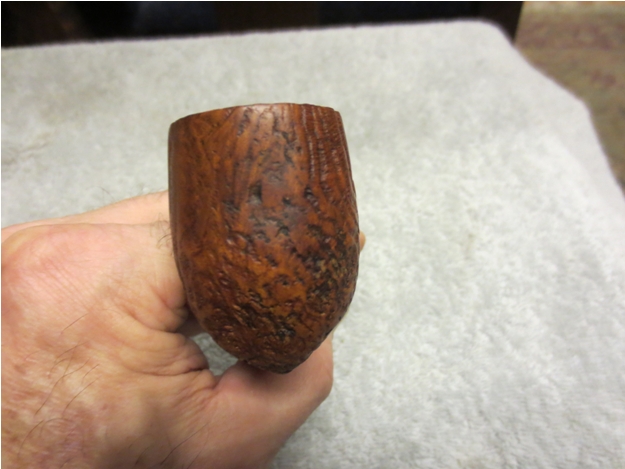
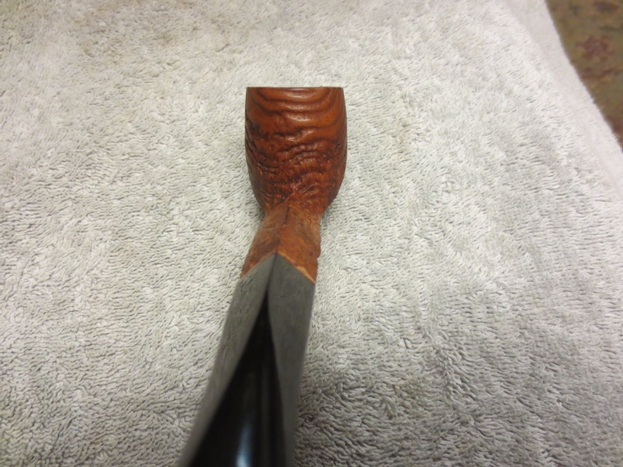
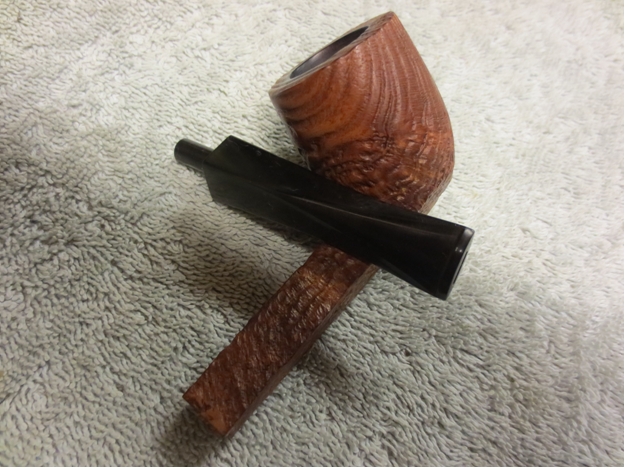
The nomenclature on this Parker Straight Billiard is worn beyond much recognition, but certain details stand out enough under the closest of scrutiny to make me confident it is a Super Bruyere, Made in London England. The following pictures, “enhanced” by various means with photo editing, are all I have to go with.Parker1

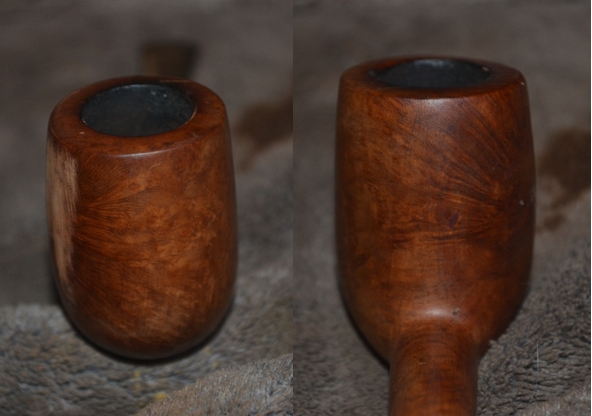
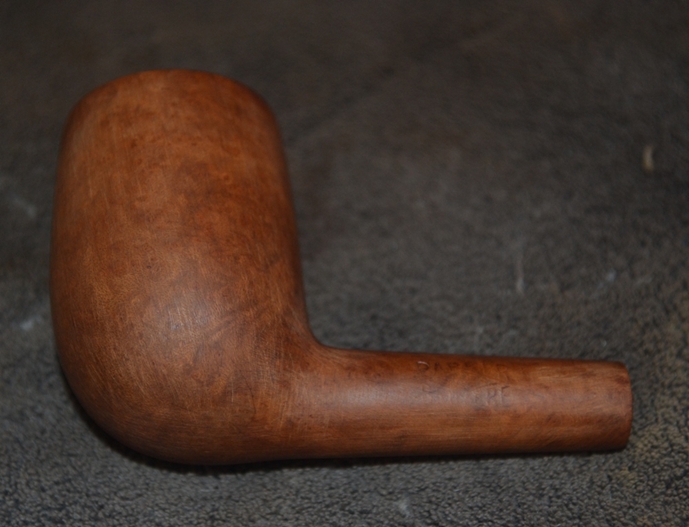
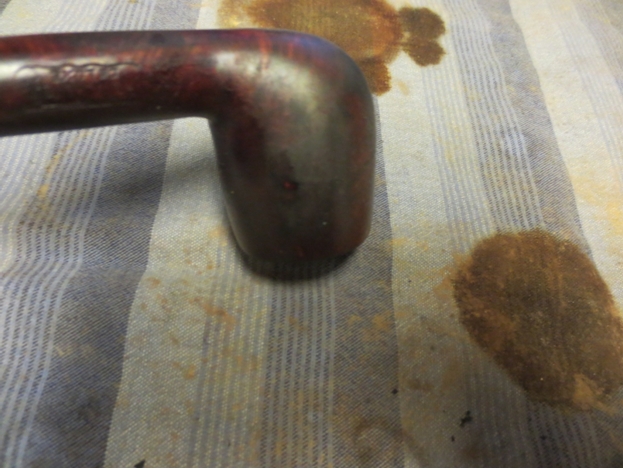
Parker2 On the left, the words Parker at the top followed in the middle with a clear enough trademark diamond and on the bottom a definite, fancy Bruyere can be made out. This combined with the very rough yet apparent Made in London England in the photo to the right seem to compare on pipephil.eu only to the Super Bruyere.

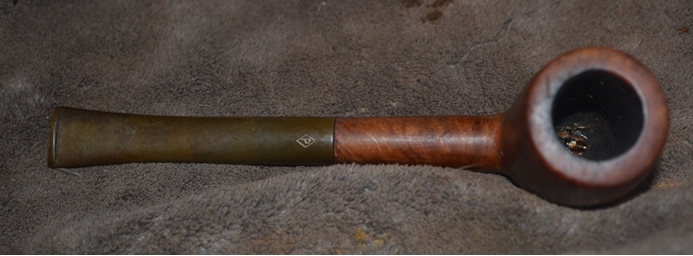
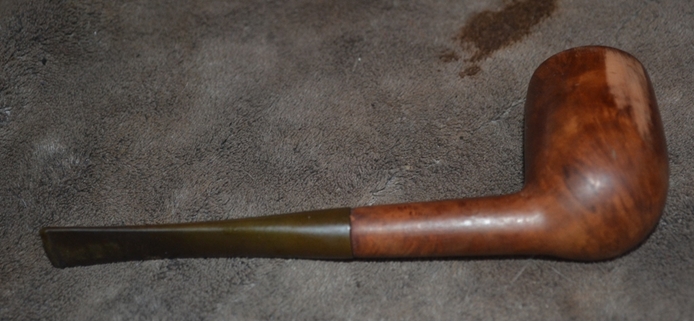
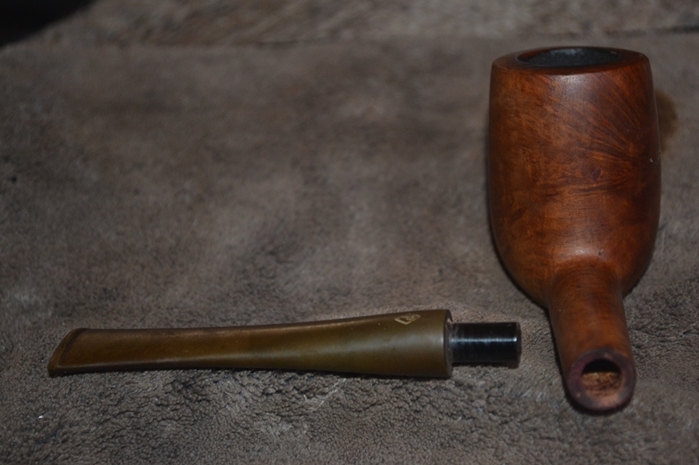
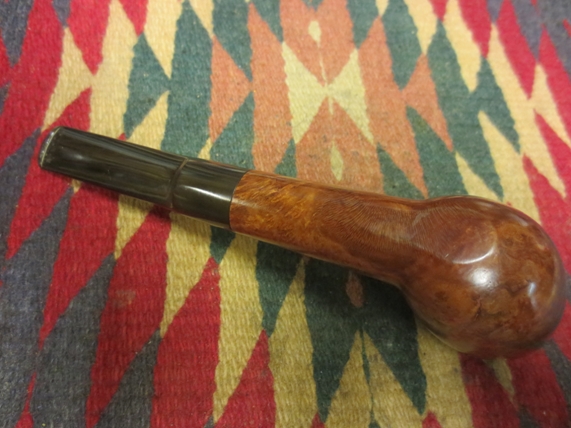
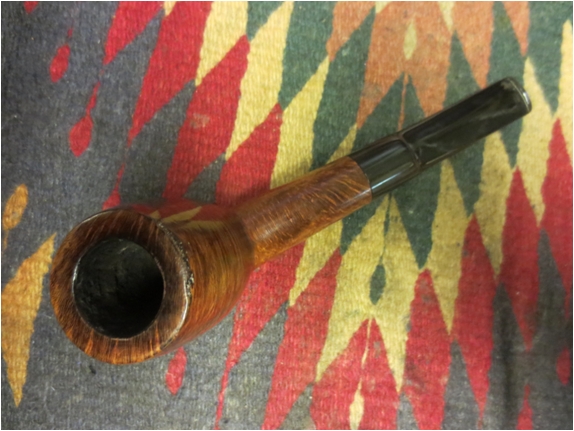
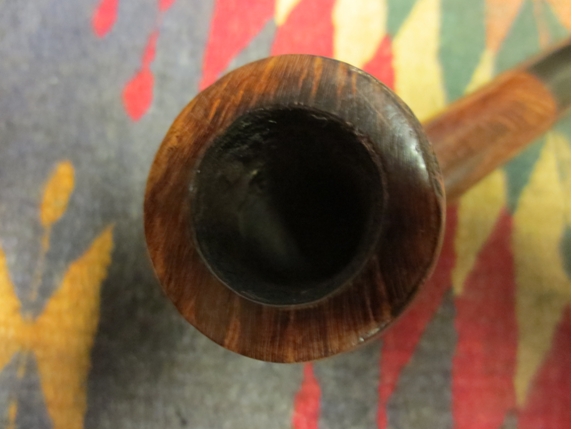
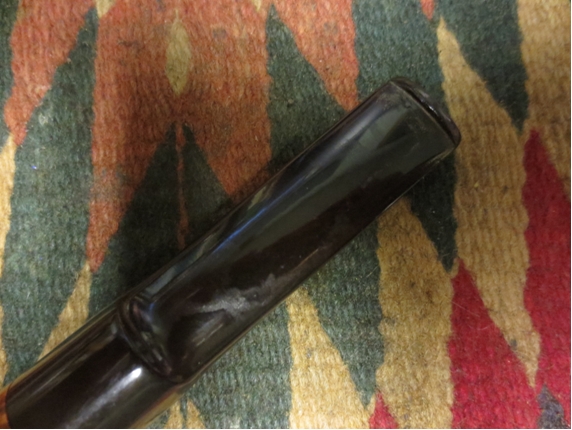
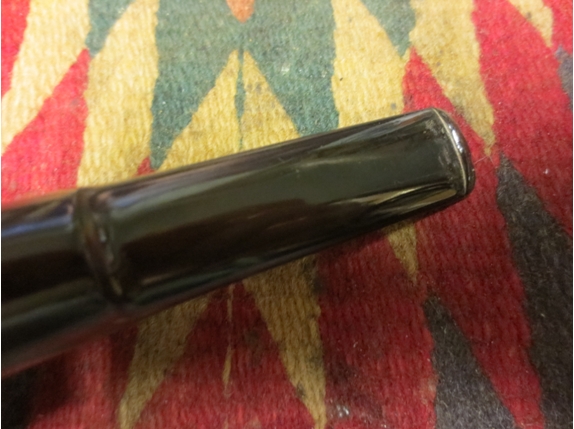
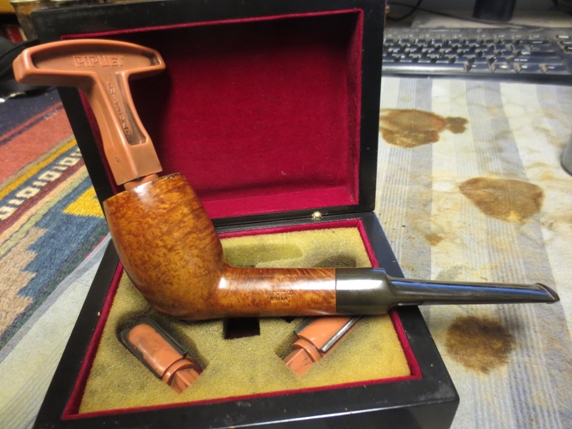
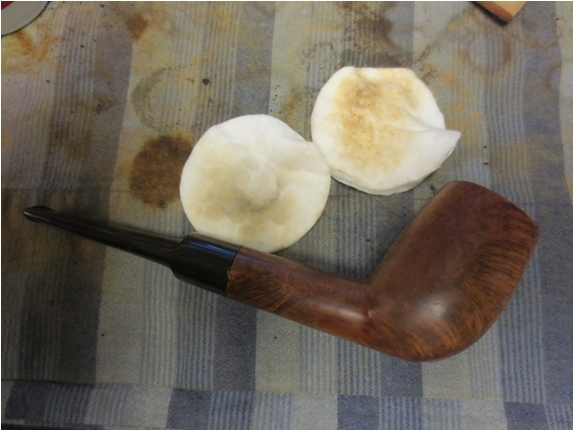
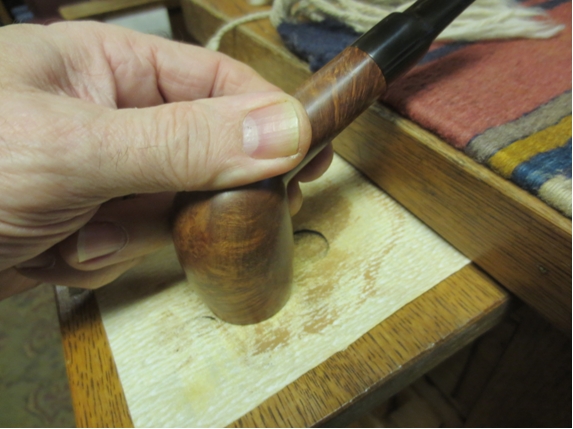
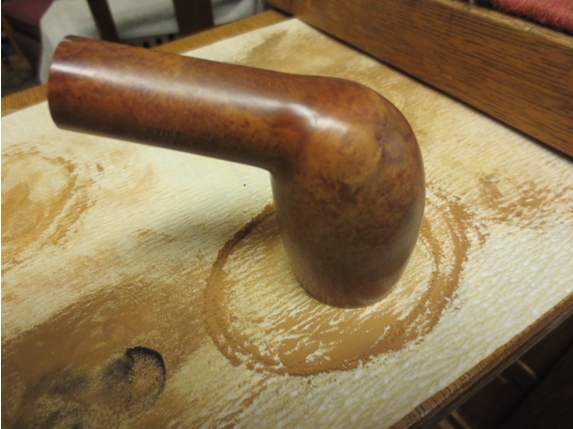
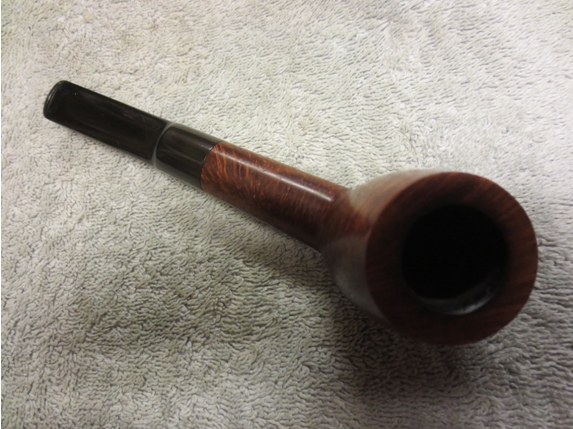
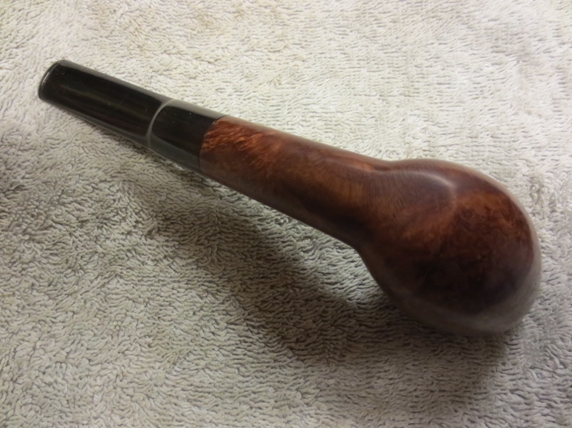
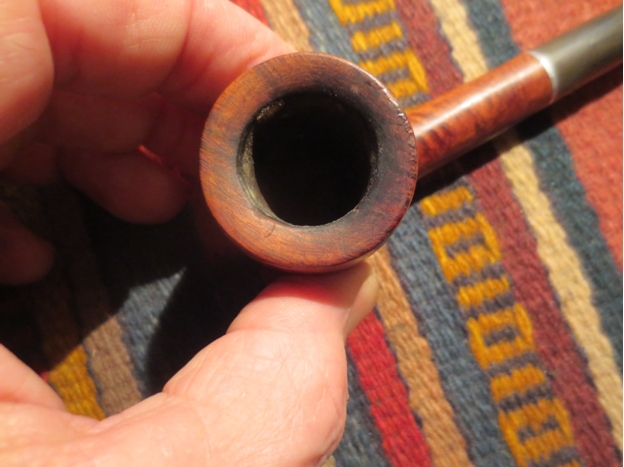
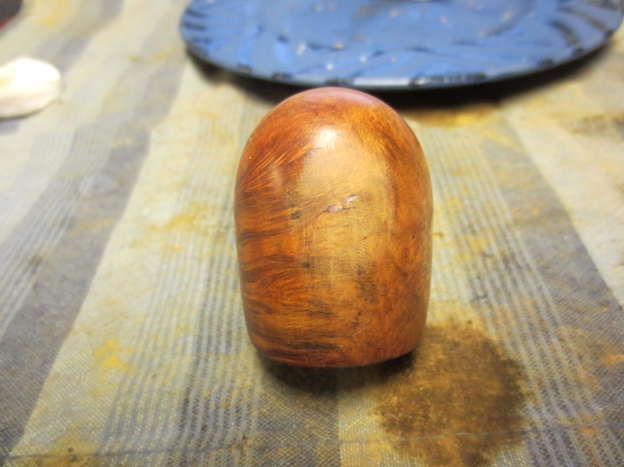
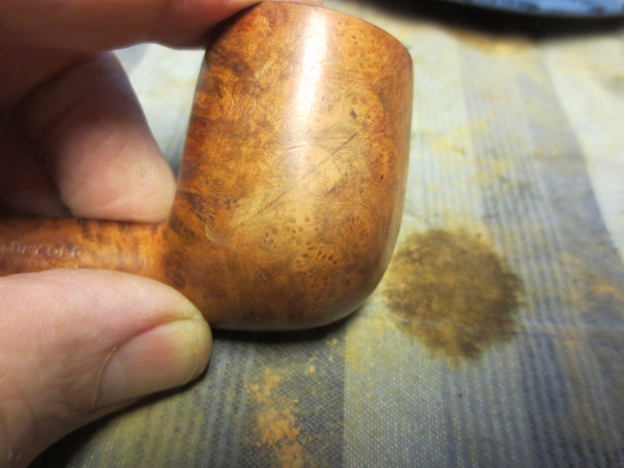
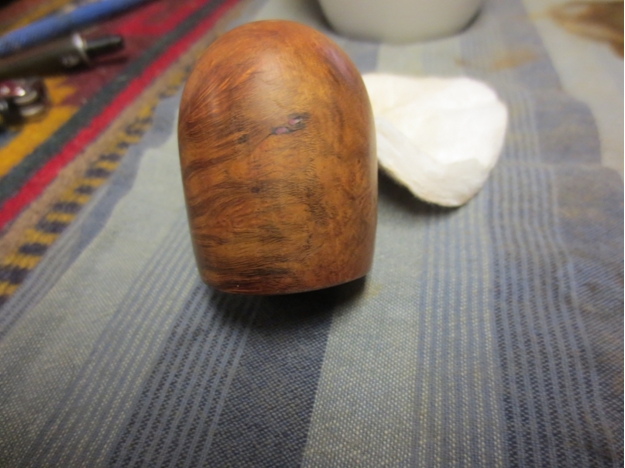
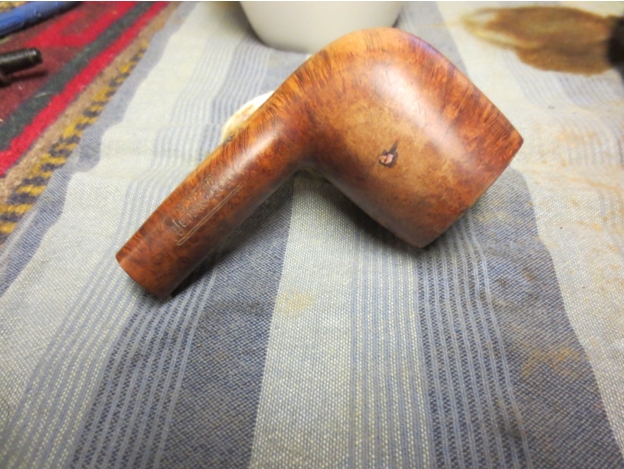
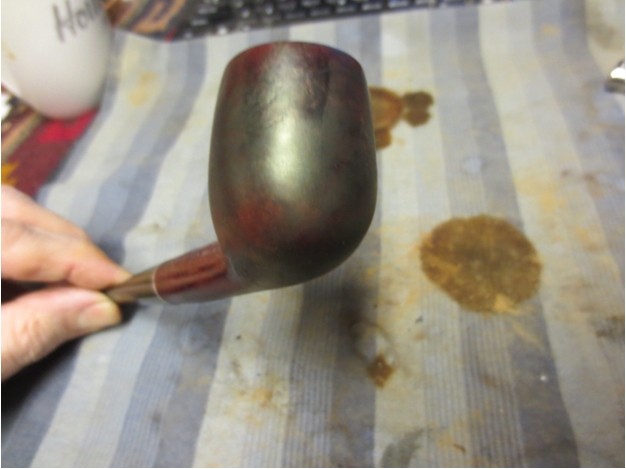
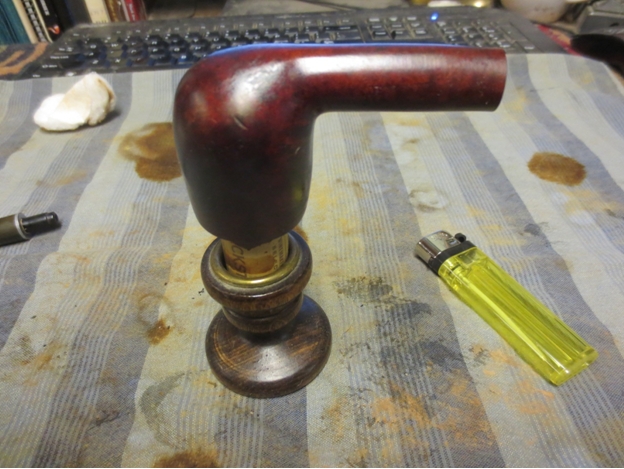
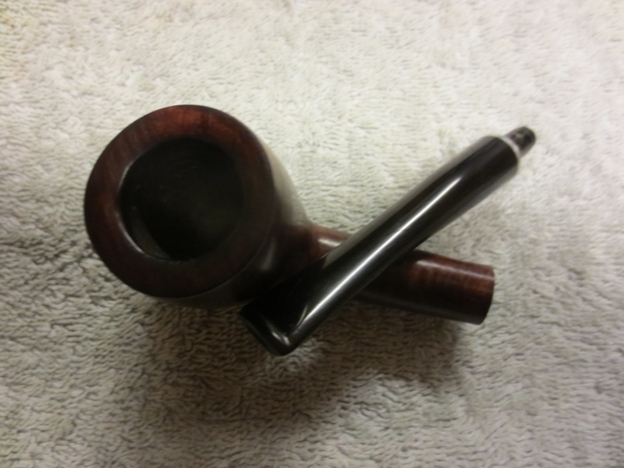
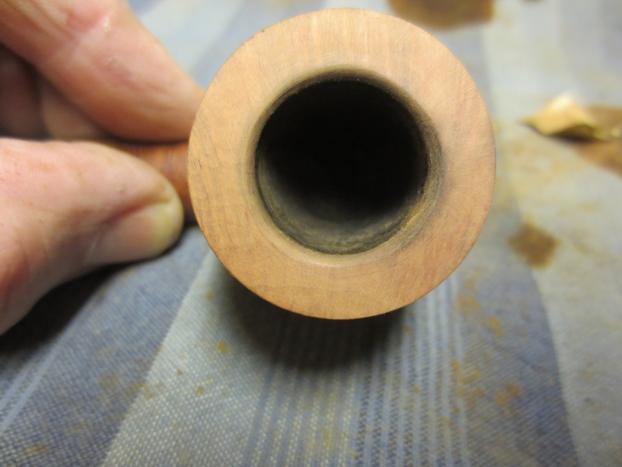
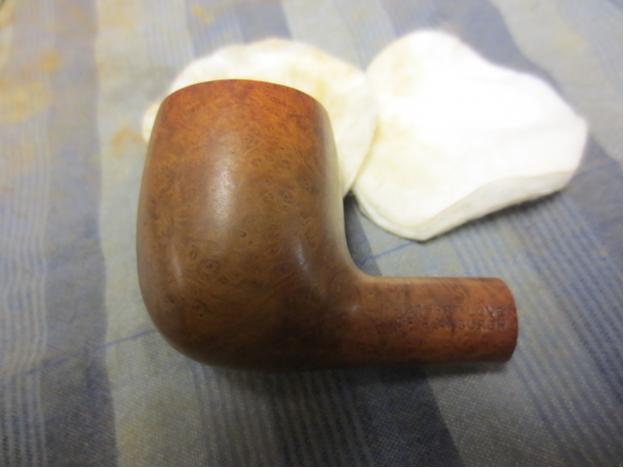
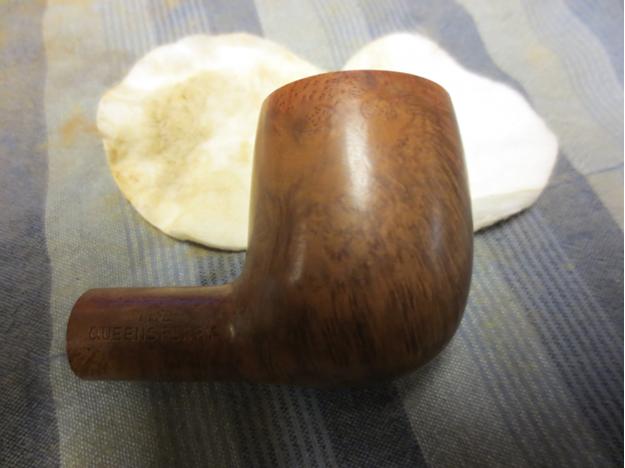
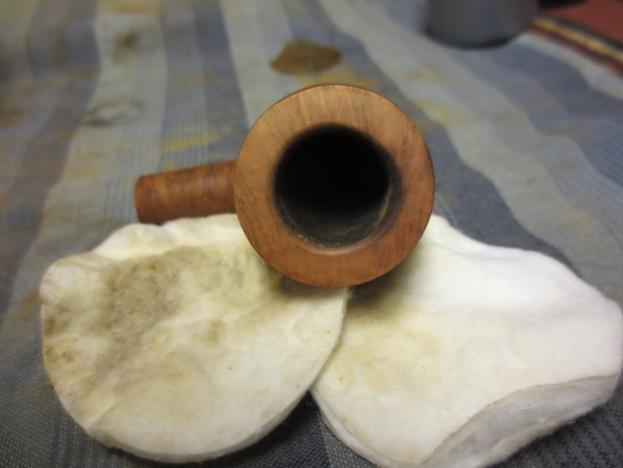
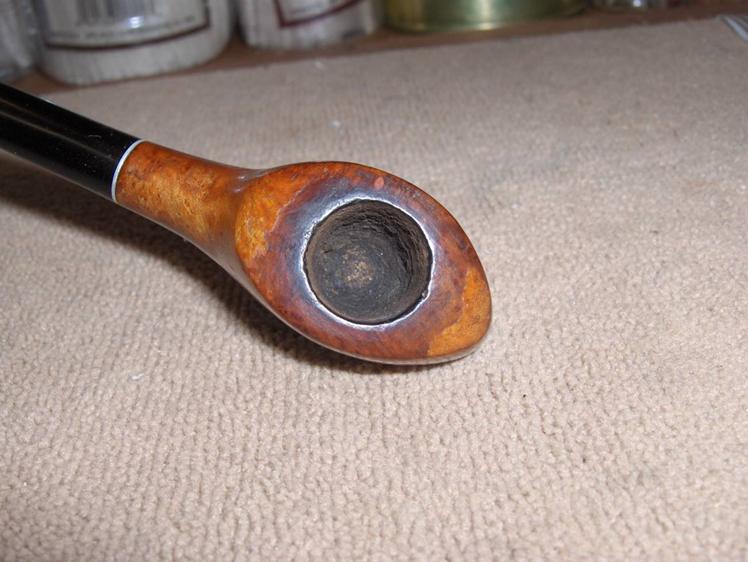
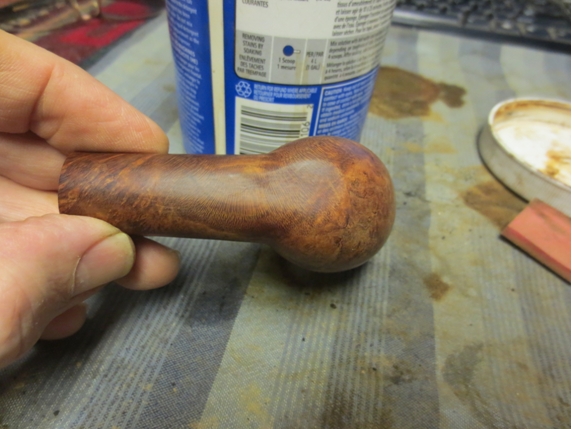
That said, the other most notable condition of the pipe as I received it, other than fading of the original stain, was the actual presence of a small amount of tobacco in the bottom of the chamber. That was a somehow endearing quality I had never before seen.Parker3 This angle also shows the majority of the kind of work I needed to do to make the once precise pipe presentable again. The stem was discolored and scratched with minor chatter but no teeth marks. There were also slight dings around the inside of the rim and some blemishes on its top that appeared elsewhere throughout the pipe’s outer area.Parker4

Parker5

Parker6

Parker7

Parker8 I apologize for jumping the gun on the sanding away of one patch of bad pits on the right side before even documenting its original state.

THE RESTORATION
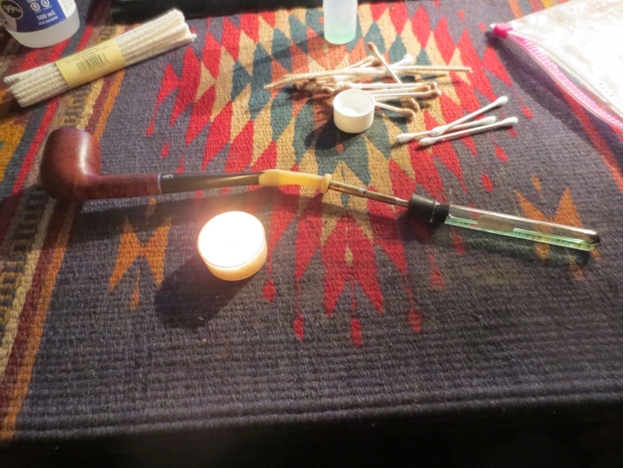
The chamber needed considerable reaming, which also removed the dings in the rim diameter, before sanding with 150-grit paper followed by 200 and 320. I swabbed it with small Everclear-soaked cotton cloths, scoured the shank over and over again with a wire-handled cleaner dipped in the alcohol, did a preliminary cleaning of the stem’s air-hole and retorted the pipe.

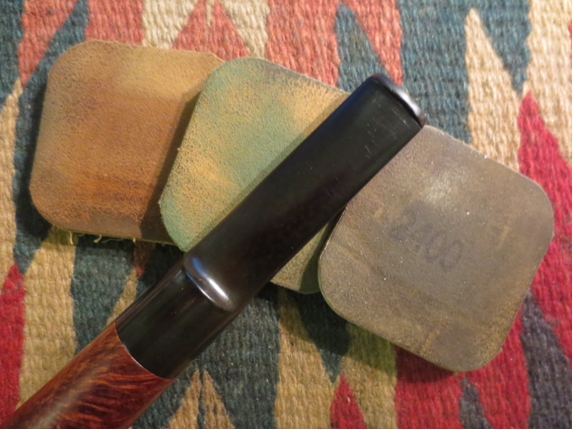
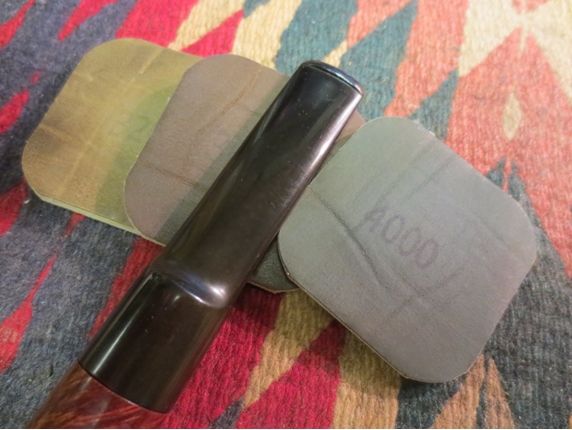
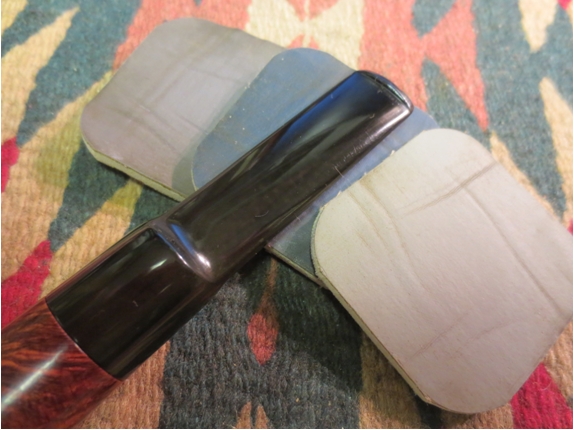
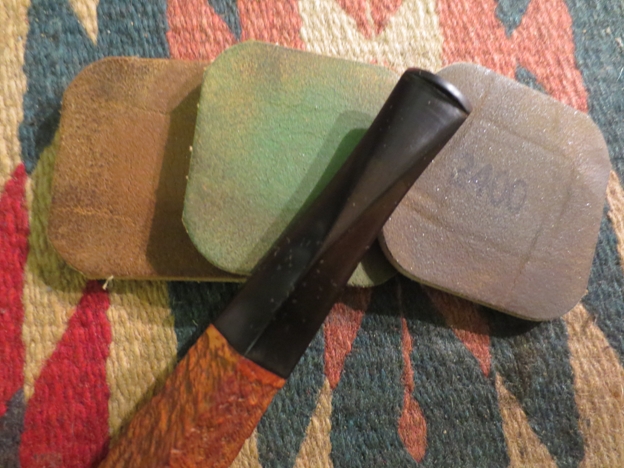
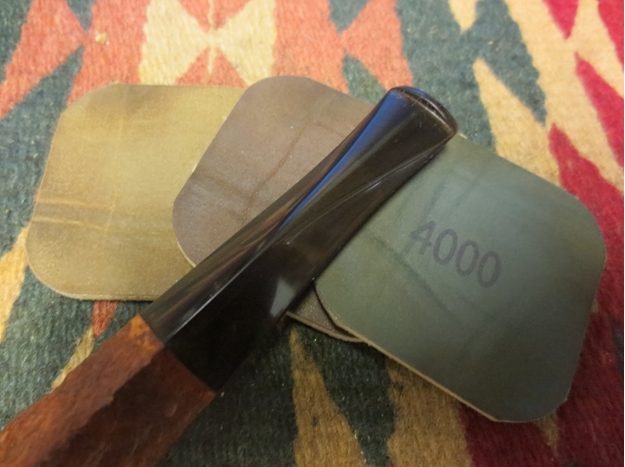
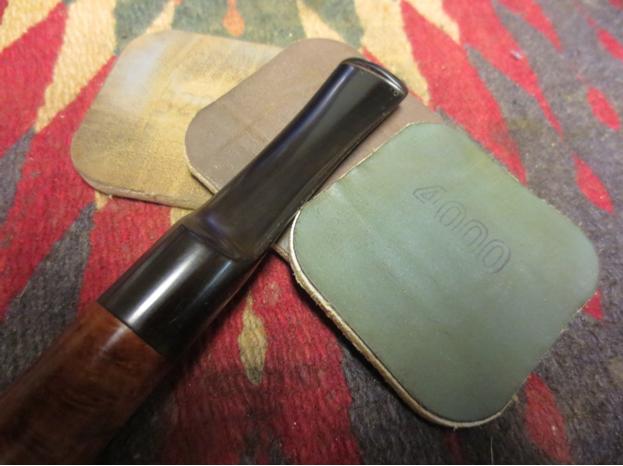
After those steps, I sanded the top of the rim with 200 paper, eliminating the scratches there. I followed that with 320 paper over the entire bowl and shank and buffing with super fine steel wool, then 1500, 3200, 3600 and 4000 micromesh.Parker9

Parker10 As much as I liked the lighter color of the briar, I concluded that re-staining with medium brown boot dye seemed the best course. I flamed it, let the wood cool and buffed with 3200 micromesh.

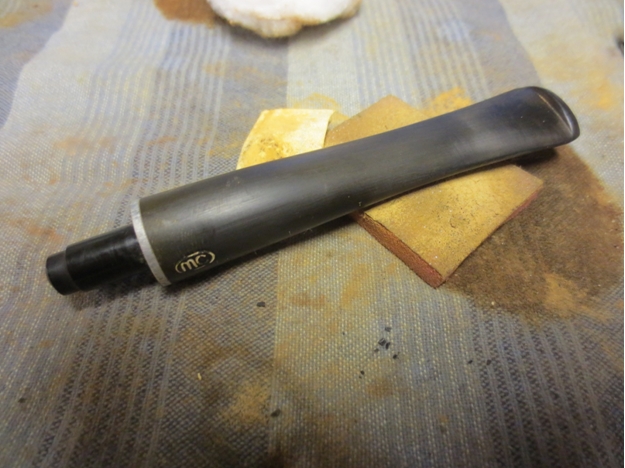
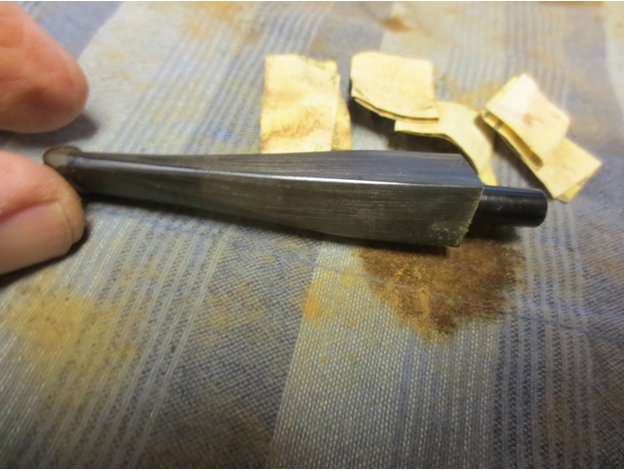
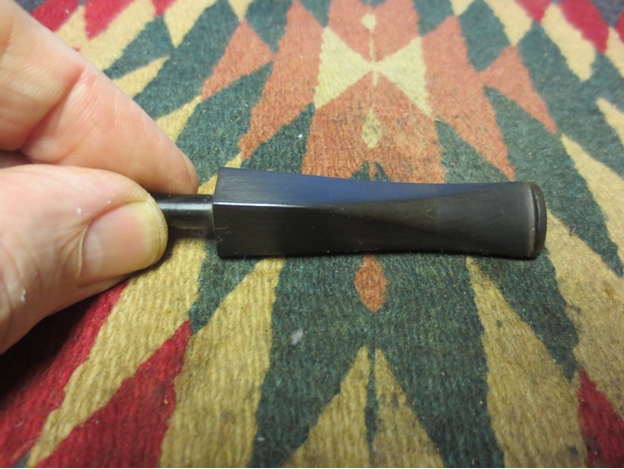
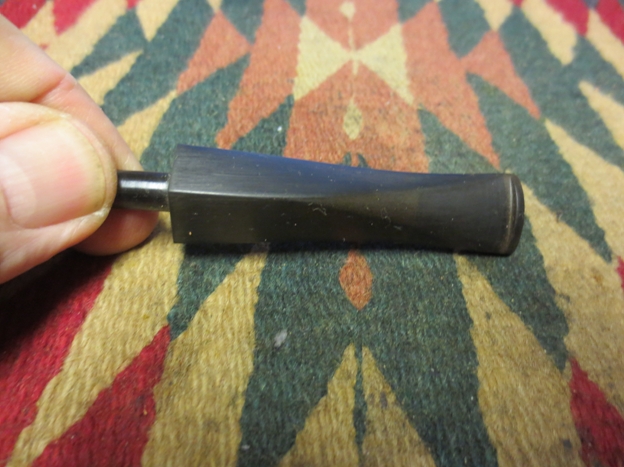
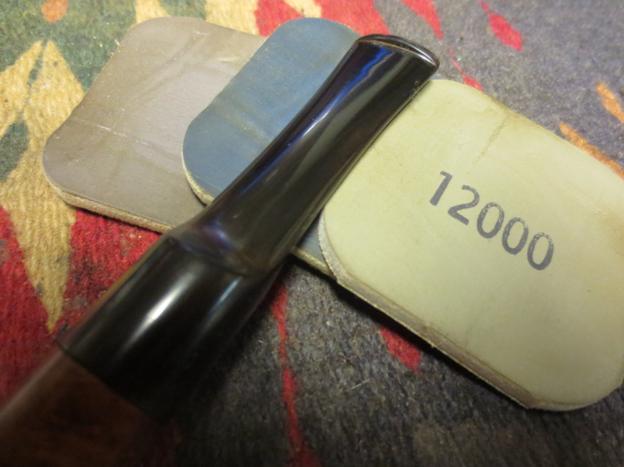
The stem needed 200-grit paper before micro-meshing with 1500, 3200, 3600 and 4000 grades.

To finish, I buffed the stem with red Tripoli and White Diamond, and the wood with red and White Tripoli, White Diamond and carnauba.Parker11

Parker12

Parker13

Parker14

Parker15

Parker16 The last touch was to refill the Parker “P” in a diamond on the stem with a white marker.

CONCLUSION

This restore, I’m happy to report, went without a hitch, although that does leave me with a rather unexciting blog. I almost wish something exciting had gone wrong and required a clever solution!

An Unknown Italian Full Bent Billiard by Any Other Name Would Smell as Sweet


Guest Blog by Robert M. Boughton
Member, North American Society of Pipe Collectors
http://www.naspc.org
http://www.roadrunnerpipes.com
http://about.me/boughtonrobert
Photos © the Author

’Tis but thy name that is my enemy;
Thou art thyself though, not a Montague.
What’s Montague? it is nor hand, nor foot,
Nor arm, nor face, nor any other part
Belonging to a man. O! be some other name:
What’s in a name? that which we call a rose
By any other name would smell as sweet;
So Romeo would, were he not Romeo call’d,
Retain that dear perfection which he owes
Without that title. Romeo, doff thy name;
And for that name, which is no part of thee,
Take all myself.

― William Shakespeare (1564-1616), English playwright and poet, in “Romeo and Juliet,” Act II, sc. 2, 1597

INTRODUCTION
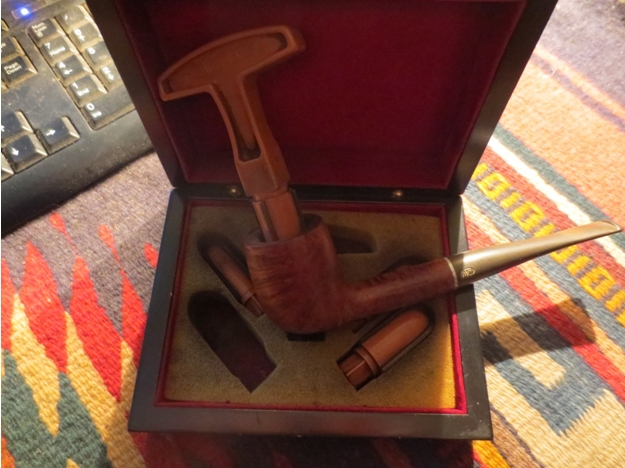
This splendid rusticated full bent billiard somehow overshadowed the other pipes in one of the many estate lots I purchased in rapid succession some months past, despite my inability to identify its brand in the group photo. Of course, being also a system pipe, the slim chance that it was a Peterson’s crossed my mind, but I was more than doubtful. When the lot arrived, I was eager to see who made it and set aside the others of known make and quality in a rush to examine the nomenclature of the mysterious new addition to my pipes to be restored for resale. I was surprised and intrigued to find it was a no-name Italian.It1 I began showing the unusual pipe to some of my friends more familiar with Italian crafters than I. The first of these was my mentor, Chuck Richards, as he was present at our tobacconist just after the package arrived when I tore my way past the over-taping that is the bad habit of so many shippers. His own exquisite pipe of the day in mouth, Chuck examined the specimen with the quick thoroughness of which he is capable, squinting and pursing his lips, but offered nothing by way of a comment, which in itself spoke volumes of his appraisal. In this way Chuck’s style is much like that of New Yorker Magazine reviews, which, if they have nothing at all good to say about a book, condemn the work to a brief blurb citing only its name, author and other trivial information.

Undaunted, perhaps or perhaps not with an undue sense of romanticism, I held onto my suspicion that the no-name bent billiard system was the reject of a well-known company such as Savinelli, Ser Jacopo, Castello or Velani – though I could not suspect a Romeo.

I can only add now that the bella pipa’s origins remain secret, but like Juliet in the Bard’s famous tragedy, I care not for its name.

Needing to know how this pipe smoked before the refurbish, I gave it a good initial cleaning with Everclear. I noted the ease with which the several pipe cleaners – that’s right, this pipe was so well cared for that I did not need to use half a pack of bristly cleaners just to test it with safety – passed through the stem and well-aligned shank opening and draught hole.It2 After letting it have plenty of time to dry out, I loaded a bowl and relaxed on my couch. Soon I drifted into abstracted musing.

By the time I returned to the present space-time continuum, a half-hour had passed. Faint drifts of smoke wafting upward, I realized the tobacco had not yet extinguished, yet the bowl, still in my hand, was cool. The taste of the tobacco remained fresh, without a hint of wetness to the draw. I reached for my tamper and, still puffing, found that less than a quarter of the bowl had turned to ash.

Whoever crafted this pipe, I knew, was a true artist by any name.

THE REFURBISH
Finished with my one and only enjoyment of this wonderful no-name, I turned it again in my hands for another look-over.It3

It4

It5

It6

It7 There was not a thing wrong with it that minimal cleaning and shining would not fix. The rim showed no burn. The rusticated majority of the bowl and shank was faded black from age. The deep red natural wood in two spots had but the faintest scratches. The stem was impeccable if lusterless. The steel band was in good shape. The chamber, even, was as smooth as almost any I have ever seen.

And so I began with a gentle ream of the chamber followed by a scouring using 320-grit paper to remove the mild buildup of cake. As always, I followed this by soaking a couple of small squares of cotton cloth in Everclear and washing away the carbon residue.

The next logical step was to retort the pipe. This, in fact, proved to be the step that took the most time (maybe 10 minutes), despite the previous owner’s excellent care but apparently frequent enjoyment of the bent billiard.

Following the retort, I gave the briar bowl and shank with the band, along with the stem, a bath with purified water. This revealed the minor scrapes on the patches of natural wood, which I removed with progressive increases of micromesh 1500, 2400, 3600 and 4000. I made the band sparkle with a light buff of super fine steel wool, leaving no scratches, and used the same progression of micromesh on the stem.

And that was all, other than buffing the stem with red and white Tripoli and White Diamond, and then the bowl and shank with the last of the Halcyon II I had on hand.It8

It9

It10

It11

It12

It13 CONCLUSION
The strain of my well-known pipe acquisition disorder almost proved too much to overcome with my intense and somewhat inexplicable desire to add a no-name Italian pipe to my collection that already overflows the boundary of a stand-up case with shelves of excellent examples of some of the best brands made. But such is the obsessive-compulsive beast of P.A.D. that the beauty of the pipe itself and the nagging doubt as to the mere possibility of a greater pedigree proved to be a great trial.

The tribulation ended with the wise arbiter of such matters, whence its powers are derived no serious pipe collector can say, granting me at least a reprieve. With every ounce of willpower I could summon, I listed the No-Name Italian Rusticated Full Bent Billiard for sale.

A glooming peace this morning with it brings;
The sun, for sorrow, will not show his head:
Go hence, to have more talk of these sad things;
Some shall be pardon’d, and some punished:
For never was a story of more woe
Than this of Juliet and her Romeo.

— Id., Act IV, sc. 3

Giving a Large No Name Imported Briar Cutty a New Look


Blog by Steve Laug

In the box of pipes that I was gifted was a large cutty shaped pipe that looked to be in pretty decent shape. It appeared that it did not need a lot of work to bring it back. The finish looked pretty good with birdseye on the sides and cross grain off to one side of the front and back of the stem. The grain followed a similar pattern on the shank. The bottom of the bowl had some mixed grain patterns. The stem was not oxidized. The bowl had a minimal cake in it. The only issue appeared to be the outer edge of the rim. On the back side it was very beat up and the briar was broken and nicked. All of this is what I assumed when I took it out of the box and took a closer look at the pipe.Cutty1

Cutty2

Cutty3

Cutty4 The pipe is large, at least for me. It is seven inches long from button to the front of the bowl. The bowl is 2 ¼ inches tall. The chamber is ¾ inch in diameter. Proportionally it is a well made pipe. There are no fills in the briar. There are no sandpits. But there were issues! The bottom of the bowl had been flattened but the flattened portion was not centered on the bowl and shank bottom. It was off to one side. This gave the bowl and pipe a distinct cant to the right. The damage to the rim was deep on the back outer edge. The stem had tooth marks on the top and bottom sides next to the button. All of these would need to be addressed in a restoration of this pipe.Cutty5

Cutty6

Cutty7 I reamed the bowl with the PipNet reamer. I seem to default to this T handled reamer as first choice in most of the refurbishing that I do. It is an easy tool to use. The T handle is small enough in diameter at the junction of the cutting head that it can be pushed deep into the bowl which was necessary with this pipe.Cutty8 Since I was planning on topping the bowl to repair the rim damage I decided to remove the finish from the pipe so that matching stain would not be necessary. I wiped it down with acetone on cotton pads. The finish dulled but it did not completely come off the bowl. It has the feel of a Urethane coat. Once I topped the bowl I would deal with that issue.Cutty9

Cutty10 I set up my usual topping board with 220 grit sandpaper. I would need to remove quite a bit of briar from the surface of the rim to take care of the damage. I also found that the cant on the bowl and shank left me with a canted bowl top as well. I sanded the bottom of the shank until the pipe sat upright and then had to work on the rim to make it horizontal without a slant. As usual I collected the briar dust for later use on fills and repairs.Cutty11

Cutty12

Cutty13

Cutty14

Cutty15

Cutty16 I used a folded piece of sandpaper to smooth out the inner edge of the rim and lightly bevel/chamfer it and remove the charring.Cutty17

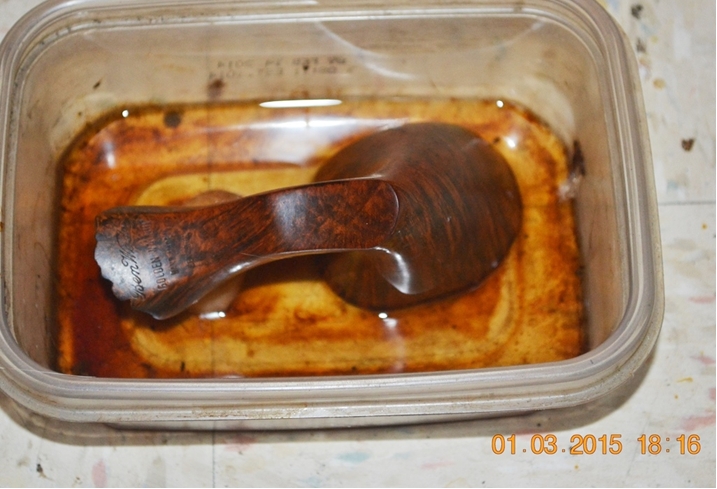
Cutty18 I sanded the bowl and shank with a medium grit sanding sponge to break through the urethane finish. I wiped it down further with acetone until it was gone. I decided to drop the bowl in my alcohol bath to soak while I worked on the stem. I have found that the stain darkened alcohol bath works really well to give some patina to briar once the finish has been opened up. For such a large piece of briar the bowl was surprisingly light weight and it floated on the surface of the bath.Cutty19 I sanded the bite marks on the stem with 220 grit sandpaper until they were removed. I followed that by sanding the stem surface with a medium and a fine grit sanding sponge to minimize the scratches in the stem.Cutty20

Cutty21

Cutty22

Cutty23

Cutty24 I rubbed the stem down with Obsidian Oil and set it aside. I took the bowl out of the bath. The finish had completely disappeared with the soak and the entire bowl, including the rim had picked up a nice patina. The grain just popped in the clean surface of the bowl. It would be easy to stain and polish.Cutty25

Cutty26

Cutty27

Cutty28 The colour of the topped rim matched the bowl colour perfectly – in fact it matched so well that I was unsure that I would even stain it. The next photos show the bowl as it stood after the soaking and drying. I love the way that the grain stood out.Cutty29

Cutty30

Cutty31 I ran a few pipe cleaners and cotton swabs soaked in isopropyl alcohol through the shank to clean it out. I was surprised with how dirty the shank was. The buildup of tars and oils was heavier than I expected. I set up a retort and boiled alcohol through the pipe until the alcohol came out clean.Cutty32

Cutty33 After the retort I used a few pipe cleaners and cotton swabs to remove the alcohol and remaining tars from the shank.Cutty34 With the bowl and shank clean and ready to go it was time to finish the stem. I sanded it with micromesh sanding pads – wet sanding with 1500-2400 grit pads and dry sanding with 3200-12,000 grit pads. I rubbed the stem down with Obsidian Oil between each set of three pads. When I finished sanding with the 12,000 grit pad I gave it a final coat of oil and let it dry.Cutty35

Cutty36

Cutty37 I gave the bowl a light coat of olive oil to highlight the grain. I did not stain the bowl as I really liked the natural look of the briar. I gave it a buff with White Diamond and did the same with the stem. I then gave the pipe several coats of carnauba wax and a buff with a soft flannel pad. I took the photo below to give some idea of the size of this pipe. It is sitting next to the Kaywoodie Prime Grain Lovat that I finished restoring recently.Cutty38 The finished pipe is shown below. The first four photos show the overall look of the pipe. The last three photos give a close up view of the bowl and stem. The pipe is like new. The new finish is far better than the one that came with the pipe. The look of the grain and the way the bath and olive oil highlights it is quite stunning. This pipe will make someone a great addition to their rack and should be a great smoking pipe. It is too large of a pipe for me at this phase of my pipe smoking. I am much more drawn to smaller bowls and lighter pipes, but that being said, the grain on this one makes it very tempting.Cutty39

Cutty40

Cutty41

Cutty42

Cutty43

Cutty44

Cutty45

Restoring a Kaywoodie Prime Grain 40 Saddle Stem Billiard??


Blog by Steve Laug

In my gift box of pipes to refurbish there was a small Kaywoodie pipe that I would have called a Lovat but as I learned in looking up the line and shape number I would find that Kaywoodie called it something different. The red arrow points to the KW shape 40. KW

It is stamped on the left side of the shank Kaywoodie over Prime Grain over Imported Briar. On the right side of the shank it is stamped with the shape number. The stem was a short saddle stem. The pipe is in decent shape – certainly restorable. The finish was gone but there was some great grain on the back, front and sides of the bowl. The rim was a mess – out of round, scratches and knocked about enough to lose its sharp profile and edges. The bowl looked as if it had been reamed with a pocket knife. There was an oddly formed cake due to the scraping with the knife. The stem was clean but the button was misshapen with a large part of the top edge missing. The inside of the shank was dirty and the threaded tenon was black with a tarry build-up.KW1

KW2

KW3

KW4 Holding the pipe in hand I would call it a Lovat. Look at the pictures above and see if you would not agree to the shape designation. The problem is I turned to the Kaywoodie shape and line chart below and found that pipe shape #40 is designated as a saddle stem billiard. The first red arrow in the first shape chart below highlights the description on the catalogue picture. The second red arrow points out the line – Prime Grain – a mid-priced pipe in the KW line. So it looks like the pipe is a saddle stem billiard – even though personally I would still call it a Lovat.KW5 The next photo is a close of the state of the rim. You can see the knife damage on the inner edge of the rim and the scratches, dents, rounding that has been done to the top and outer edge of the bowl. The rim really was the part of this pipe that was in the worst condition.KW6 The next photo shows the rounded outer edges of the rim and the state of the KW thread stinger apparatus. It is a three hole stinger even though the inlaid black cloverleaf in white seems to point to an early era KW pipe.KW7 To begin work on repairing the rim edges I needed to ream the bowl. I used a PipNet reamer to take the bowl back to bare wood. I find that doing that gives me a clean surface to work on with the inner rim edge. The second photo below shows the freshly reamed bowl.KW8

KW9 With the bowl reamed it was time to top the bowl. This would be a fairly serious topping job – not a light one. There was a lot of damage to remove and it would take a fair bit of sanding to bring the top back to flat with sharp outer edges. I used my normal topping board and 220 grit sandpaper to top the bowl. I sand it in a clockwise circular motion.KW10 I checked my progress quite often as I topped the bowl. I sanded until the damage to the top of the rim and outer edge were gone. The process also cleaned up much of the damage to the inner edge of the rim as well.KW11 I wiped the stinger and the bowl down with acetone on cotton pads to clean up the aluminum stinger and to remove the remaining finish on the bowl and shank.KW12 The stem was overclocked about a ¼ turn. I used a lighter to heat the stinger until the glue was warm in the stem and then turned it back into the mortise and realigned the stem.KW13

KW14 The bowl had some deep, sharply edged dents in the briar. I cleaned them out and then used clear super glue and briar dust collected from topping the bowl to fill the dents.KW15

KW16

KW17 I sanded the patches with 220 grit sandpaper and then with medium and fine grit sanding sponges to remove the excess and blend them into the surface of the briar.KW18

KW19

KW20 I built up the top of the button with black super glue until it was close to the original thickness. I would sand and reshape it once it had cured.KW21 I stained the bowl with a dark brown aniline stain thinned 3 parts to 1 part alcohol. I flamed it and restained until the finish had an even coverage.KW22

KW23 I hand buffed the bowl and shank with a cotton cloth that served to give it a light polish and also smoothed out the stain on the surface of the bowl, rim and shank.KW24

KW25

KW26

KW27 The stain was still too opaque to my liking and hid the grain on the pipe so I wiped it down with isopropyl alcohol on cotton pads to remove some of it and allow the grain to show through the finish.KW28

KW29

KW30

KW31 The photo below shows the pipe when I had finished wiping it down with alcohol. The finish is exactly what I was aiming for. I wanted it to be a warm brown that hid the repairs to the dings in the finish. It worked well.KW32 I sharpened the edge of the button with a needle file and then sanded the stem with 220 grit sandpaper and a medium and fine grit sanding sponge.KW33

KW34

KW35 I continued to sand with micromesh sanding pads – wet sanding with 1500-2400 grit pads and dry sanding with 3200-12,000 grit pads. Between each set of three pads I rubbed the stem down with Obsidian Oil and then continued with the next set. When I had finished sanding with the 12,000 grit pad I rubbed it down a final time and then buffed it with White Diamond on the buffing wheel.KW36

KW37

KW38

KW39

KW40 I buffed the bowl and stem with White Diamond, cautiously around the stamping on the shank. I gave it multiple coats of carnauba wax and lightly buffed the pipe with a soft flannel buff. The finished pipe is shown below.KW41

KW42

KW43

KW44 In the process of repairing the inner edge of the rim I used a folded piece of sandpaper to bevel the inner edge to bring it back to round and to deal with the divot out of the left side of the edge. The finished rim is shown in the close up photo below. The inner edge is better than it was when I started and looks close to round. I have included a variety of photos of the rim and the stem for your viewing. This should be a great smoking old Kaywoodie.KW45

KW46

KW47

Restoring a Horn Stem Terminus Apple – An Early Version of a Reverse Calabash


Blog by Steve Laug

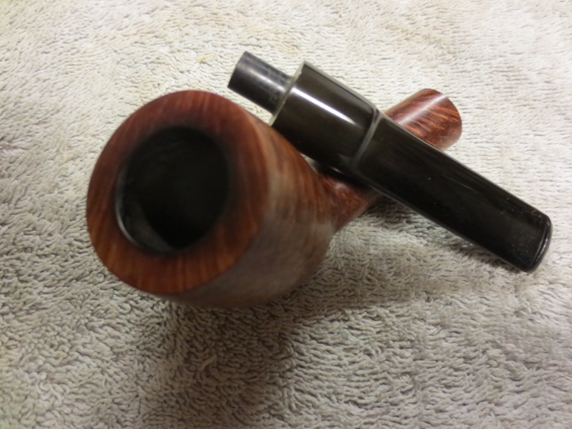
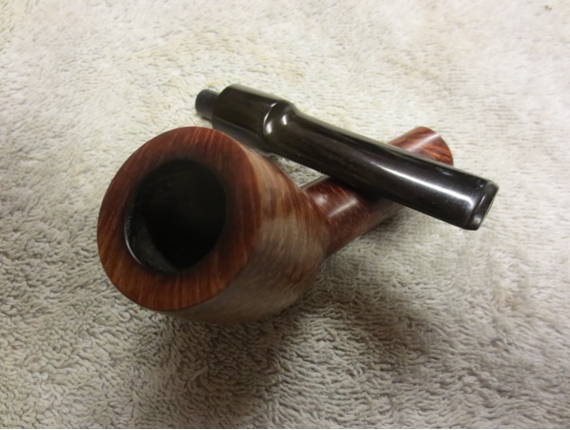
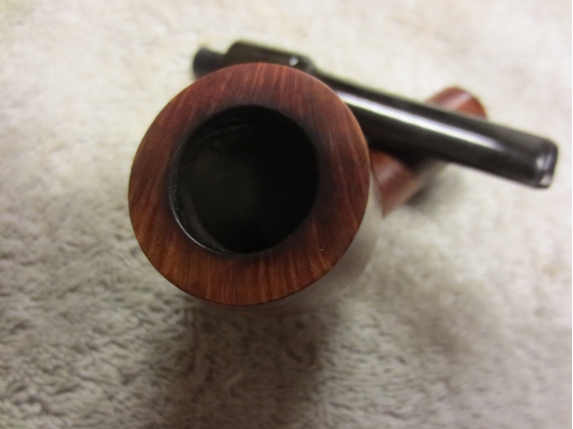
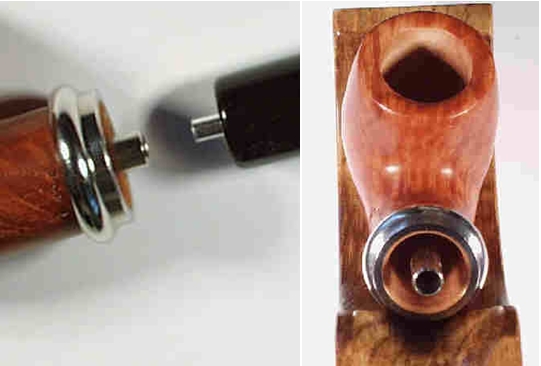
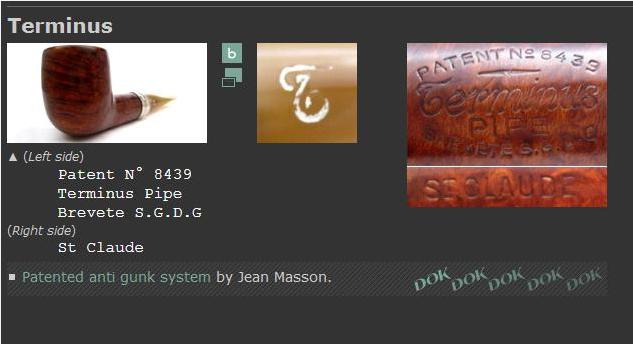
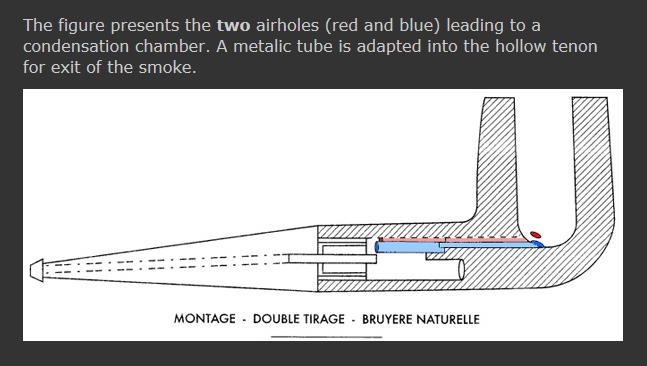
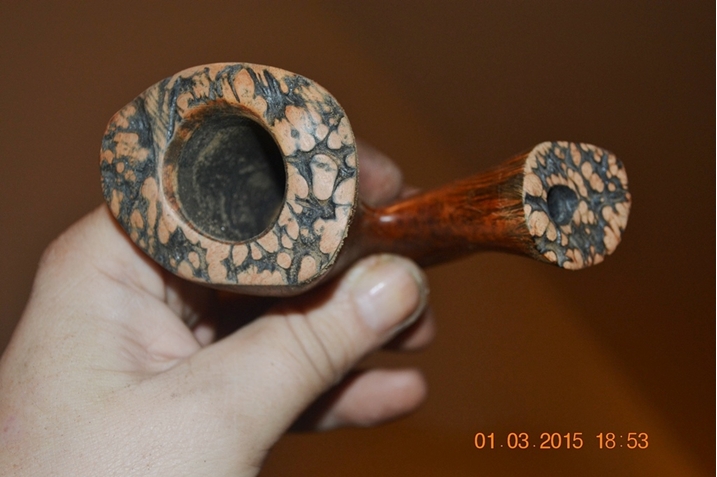
Terminusa I was gifted a beautiful rusticated Terminus apple from Anthony Cook. At least it has the potential to be a beautiful pipe to my eye. I have kept an eye out one of these old system pipes for a long time. They are like an early reverse calabash design. From my reading and observation it is both similar and different from the Keyser Hygienic pipes that I have written about before on the blog. It is similar in that it has an aluminum condensing contraption in the mortise of the shank with a centre tube that extends about ¼ inch beyond the end of the shank and rests in a larger tube in the military mount stem. This is the similarity – tubes, condensing contraption and the military mount stem. The dissimilarity is that at the end of the mortise where the flat base of the condensing unit sits there are two airway entries toward the top on either side of the centre tube. In the bowl there are also two airways at the bottom of the bowl. I found an online photo of the apparatus in the mortise and also how the stem and shank fit together. The Terminus I have is older than the one in the photo but the design is the same.Terminusb Terminus was a St. Claude, Francepipe maker. This is one of the early models, dating from the beginning of the 20thCentury.The patent was for an inner tube in the shank with two draw holes either side and a smaller inner tube in the stem, thus keeping “gunk” to a minimum.A straight apple with cow horn saddle bit.5.25 inches (13.5cms) long. Bowl height 1.75 inches (4.5cms). Looking up the name on Pipephil Logo and Stampings website I found the following information.Terminus4 On the screen capture from the site above you will note the phrase patented anti gunk system by Jean Masson. I clicked on that and was taken to the following information.Terminus4a There are several differences that I can see between this diagram (pictured below) and the pipe I have in hand. The first difference is that the back end of the condensing chamber is flat and does not have an extension or well on the bottom side of the chamber. The entire chamber extends the length of the mortise up to the two airways. The second difference is that the condensing chamber actually continues in the stem and there is a larger draw tube that the smaller tube in the mortise rests in. The third difference is that the stem is military mount and fits into the mortise around the smaller tube in the mortise. The tube seems to extend as far up the airway in the stem as I can see with a flash light.Otherwise the diagram gives an approximate idea of how the system fits together.Terminus5 Anthony sent me several pictures of the Terminus Pipe he was sending to give me a feel for what was coming. Overall it looked to be very workable. There was nothing in the pictures that gave me pause in terms of what it would take to clean it up. It appeared that the finish was basically gone – or it may have been a natural finish it was hard to tell. The horn stem looked interesting. It looked to be quite large and the taper on it was unique to the horn stems that I have worked on and kept in my collection. The tars on the rim did not seem to hide damage to the inner or outer edge of the bowl. The twin draught holes in the bottom of the bowl seemed to be hidden in the cake on the sides of the bowl. The condensation chamber in the mortise had a thick build-up of tars and oils that would be a challenge to get out.Terminus1

Terminus2

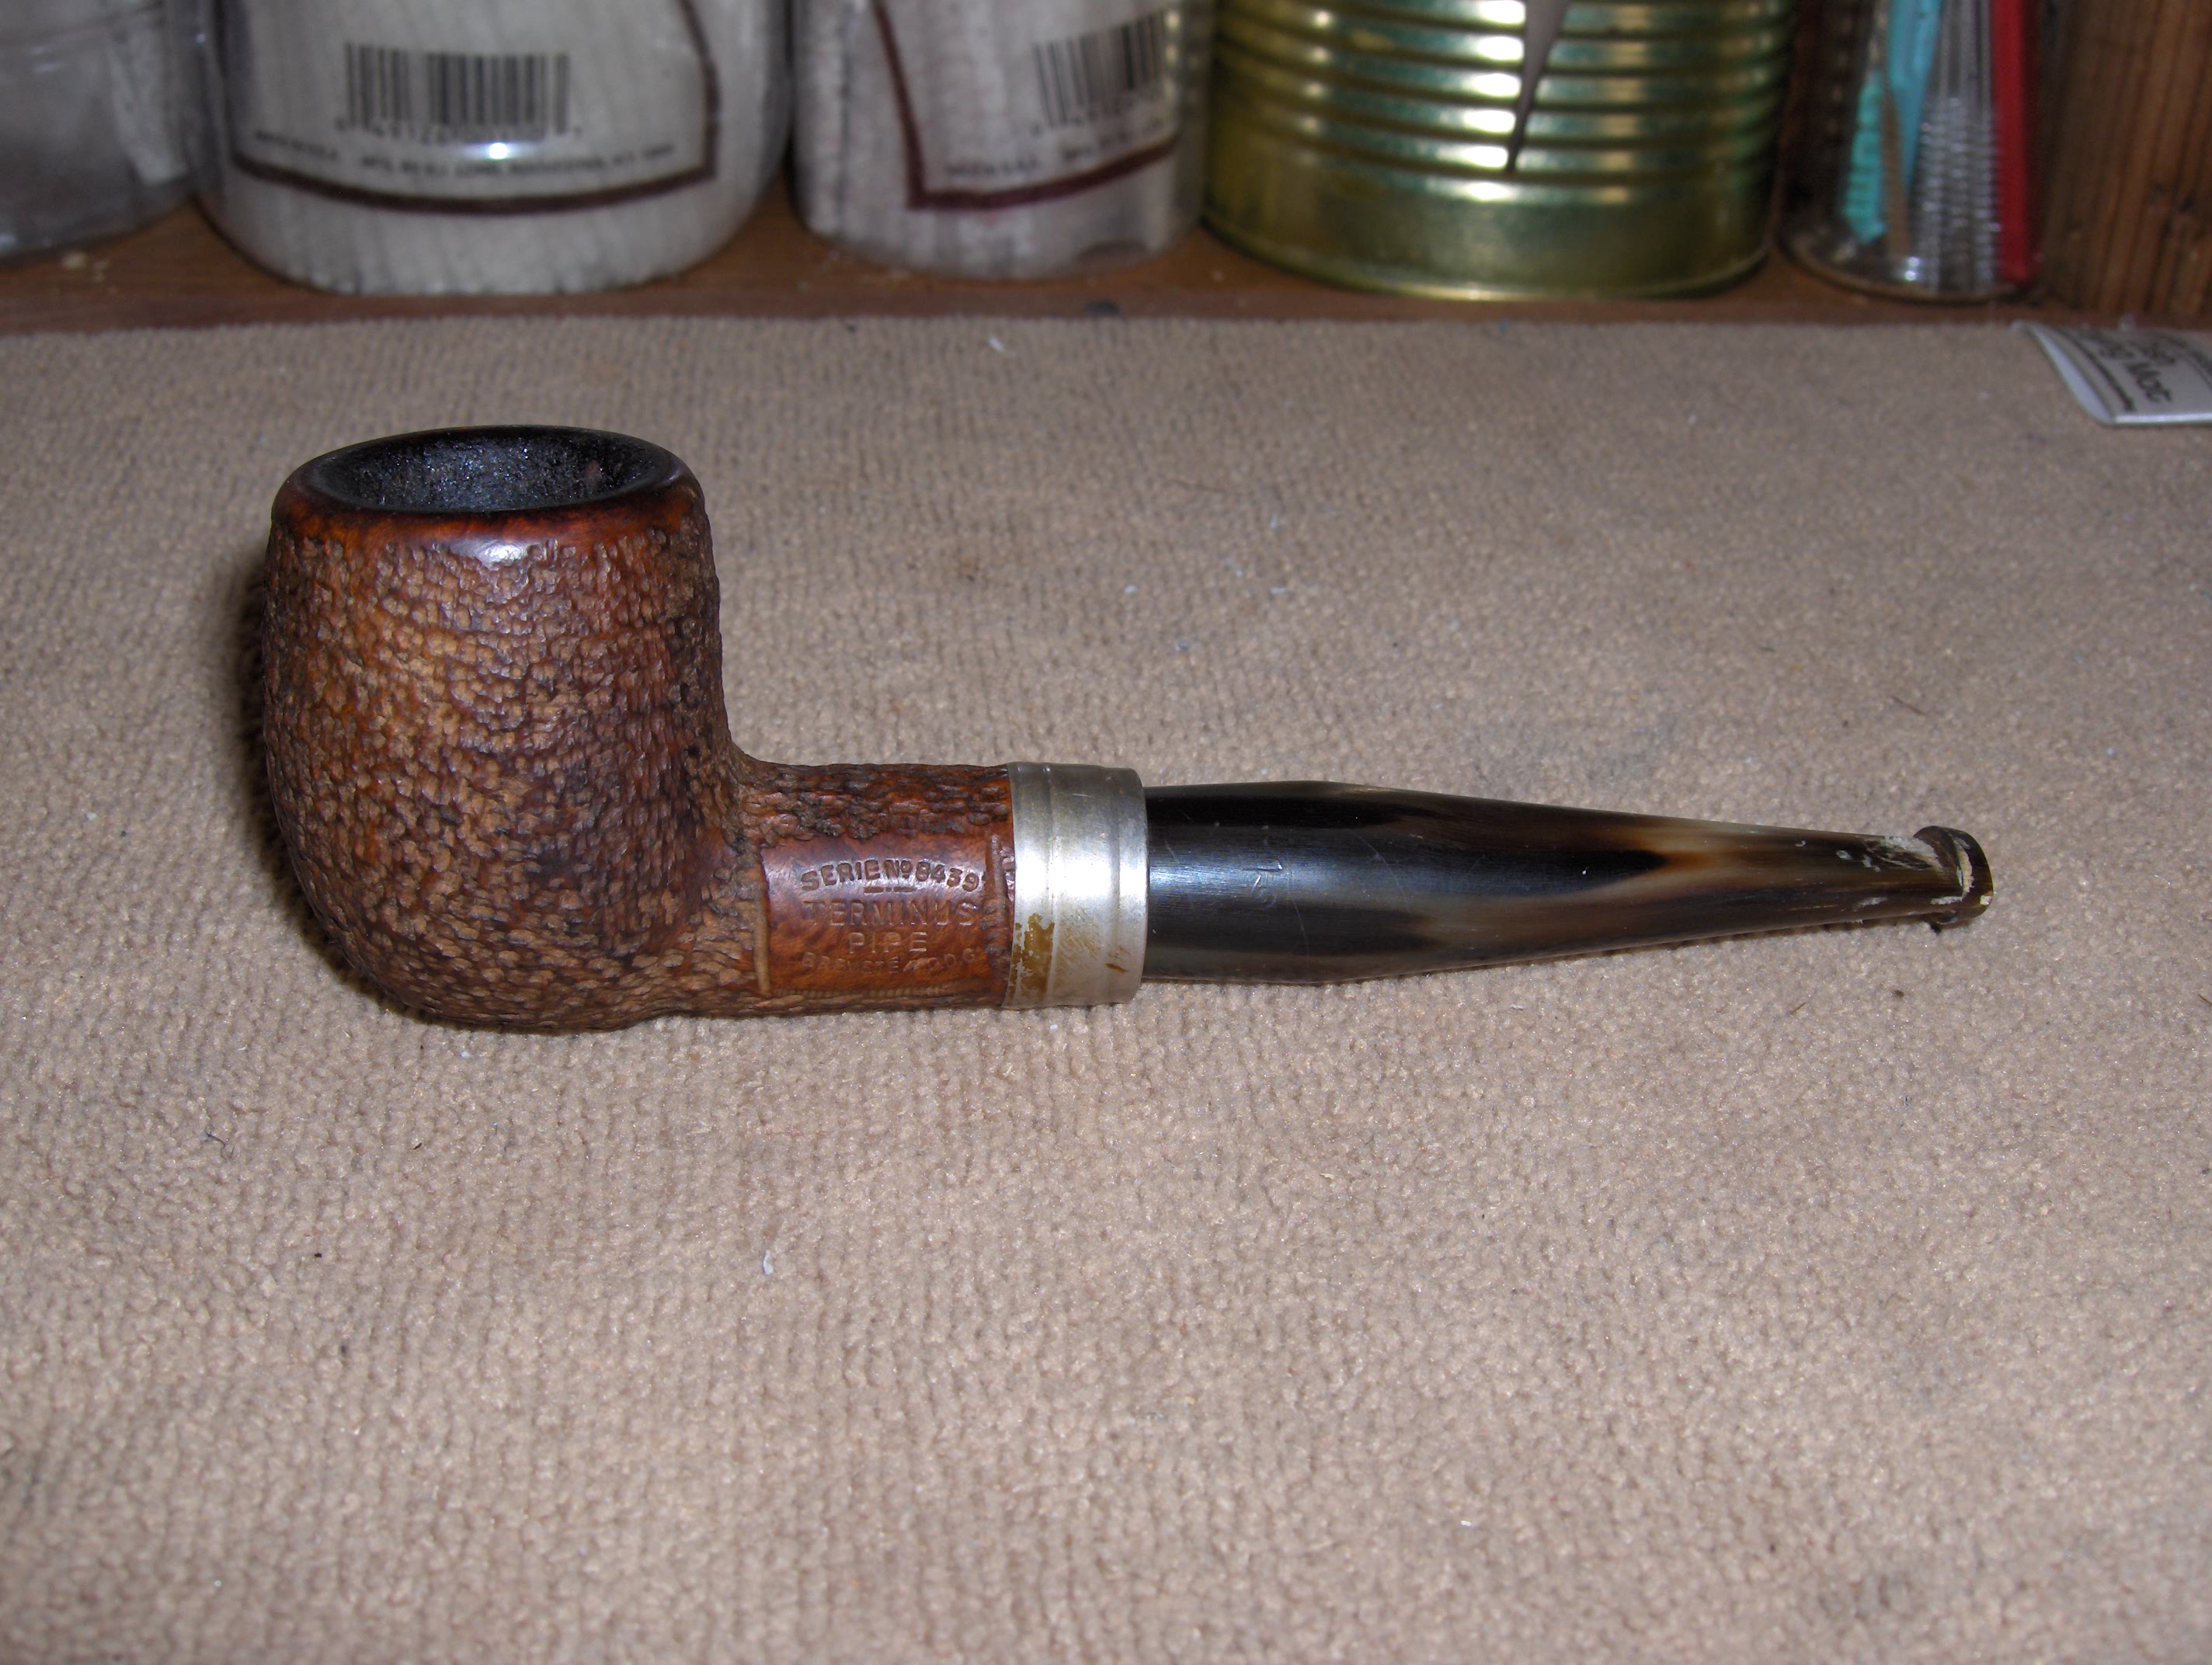
Terminus3 When the package arrived I quickly unwrapped it and took out the pipe. I really like the look and feel of it. It was comfortable in the hand and showed a lot of potential under the worn finish and dirt. It is stamped on a smooth rectangle on the left side of the shank with Serie No. 8349 in an arch over Terminus over Pipe. Under that it is stamped Brevete S.G.D.G. in a reverse arch. On the right side of the shank is a matching rectangle that is stamped 3036 over GP.The first four photos below show the pipe as it appeared to me fresh out of the box. The finish was slightly worn but underneath the tight rusticated pattern (almost a blast) was some beautiful ring grain that shone through the rustication. The bowl appeared to be unstained natural briar and would clean up very nicely. The stem was horn and had some tooth chatter on the top and bottom sides and also a deep tooth mark on both. The colour of the horn varied from a cream colour to a dark brown and seemed to move in waves that ran the length of the stem. When polished this stem would be beautiful.Terminus8

Terminus9

Terminus10

Terminus11 The next two photos are close-ups of the top and bottom of the stem and show the tooth chatter and the deep bit mark on both sides.Terminus12

Terminus13 I decided to address the chatter and bite marks on the stem first. I sanded the stem with 220 grit sandpaper to smooth out the tooth chatter and the wear around the button. I also wanted the surface of the stem smooth before I repaired the bite marks. I sanded the stem with a medium and a fine grit sanding sponge to smooth out the surface then wiped it down with a damp cloth to remove the sanding dust. I used a drop of clear super glue to fill the holes on the top and bottom. And set it aside for ½ hour for the glue to cure.Terminus14

Terminus15 When the glue had cured I sanded the two patches with 220 grit sandpaper to blend them into the surface of the stem. The two photos below show the patches after sanding and before I worked over the stem with the medium and fine grit sanding sponge.Terminus16

Terminus17 I sanded the stem with medium and fine grit sanding sponges to further blend in the repairs and smooth out the nicks in the surface of the horn.Terminus18

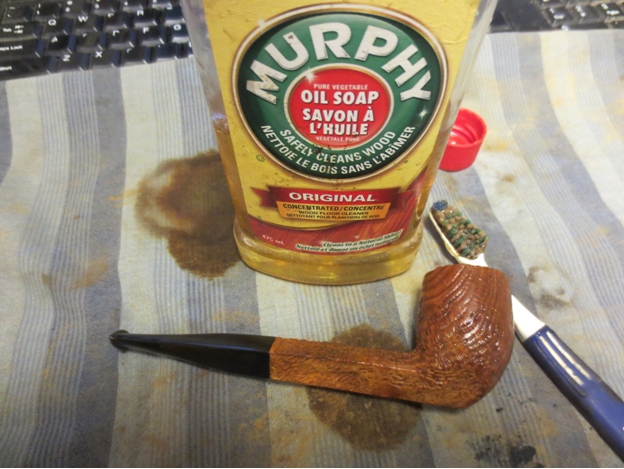
Terminus19 I cleaned out the shank, condensing chamber in the shank and stem and the airway in the stem and two airways in the end of the shank using alcohol, cotton swabs and pipe cleaners. I did not use the retort on this one as I am not clear on how the boiling alcohol would affect the horn stem. It took a lot of soaking and scrubbing before the aluminum chamber in the mortise and the chamber in the stem were clean and shiny once more I reamed the pipe back to bare wood and the used a dental pick to clean out the debris from the twin airways in the bottom of the bowl.Terminus20 I scrubbed the surface of the bowl with Murphy’s Oil Soap and a tooth brush and then rinsed it off with running water. I dried it off then wiped the bowl down with acetone on cotton pads to further clean the dirt and wax from the bowl surface. I scrubbed the aluminum shank band with silver polish and then lightly sanded it with the 1500 grit micromesh sanding pad.Terminus21

Terminus22 I worked on the tars and oils on the rim with saliva on a cotton pad and then used acetone on a cotton pad and was able to remove all of the build up. The grain really stood out on the rim and was a nice contrast to the rusticated pattern of the bowl.Terminus23 With the mortise and airways cleaned out I decided to use the cotton ball and alcohol treatment on the bowl to remove the heavy aromatic tobacco smell that still hung onto the pipe. I stuffed the bowl with cotton balls and used and ear syringe to fill it with isopropyl alcohol. I let it sit all day while I was at work. When I returned in the evening the oils had wicked out of the briar into the cotton. Once I removed the cotton and the bowl dried out the smell was gone and the bowl was fresh.Terminus24 I sanded the stem with micromesh sanding pads – wet sanding with 1500-2400 grit pads and dry sanding with 3200-12,000 grit pads. I rubbed the horn down with Obsidian Oil in between the sanding and while the oil was drying continued to sand with the pads. I find that the oil gives the micromesh the kind of bite on the horn stem that really raises the shine and removes the scratches and marks left behind from age.Terminus25

Terminus26

Terminus27

Terminus28

Terminus29

Terminus30 After polishing with the micromesh I buffed the stem with White Diamond and then gave it several coats of carnauba wax to protect it. I decided to rub down the bowl with some olive oil on a paper towel. I rubbed over the surface of the bowl so that oil went down into the grooves and soaked in. Once the oil had penetrated the briar I wiped it off with a soft cotton cloth and hand buffed it with a shoe brush.Terminus31 This morning I gently buffed the pipe and stem a final time and gave it a light coat of carnauba wax. I finished by buffing it with a soft flannel buff to give it a shine and make the horn material glow. To me there is nothing more beautiful on these old pipes that the warm luminescence of polished horn. In this case the variations in colours from cream to dark brown and everything in between gave the stem an almost three dimensional look. The oil enlivened the old briar without muting the ring grain that shone through the rustication. To me this old pipe just glows with deep inner warmth that will make it a pleasure to smoke. I am looking forward to the interesting smoke that the twin airway in the bowl and the condensing chamber in the pipe and stem will provide. The draught on the pipe is quite open so it should smoke well. My guess is that it will deliver a cool smoke. The horn stem provides a unique feel in the teeth and mouth that nothing quite rivals. The finished pipe is shown below.Terminus32

Terminus33

Terminus34

Terminus35 The final photos give a close up view of the parts of the pipe beginning with the cleaned and polished rim and walking you through the condensation chamber and a photo of how the two tubes intersect when the stem is in place.Terminus36

Terminus37

Terminus38

Terminus39

Breathing New Life into a Mastercraft De Luxe


Blog by Steve Laug

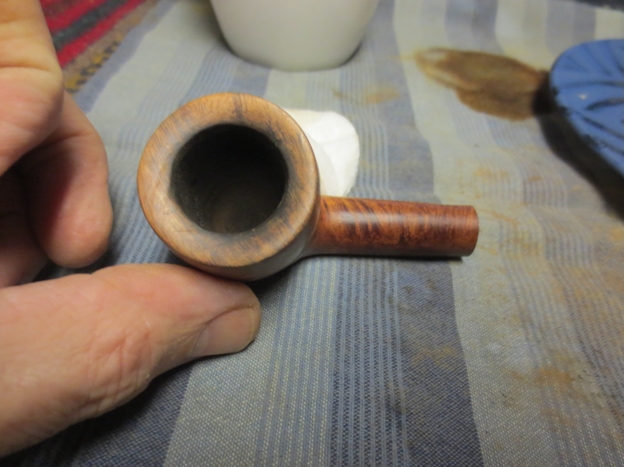
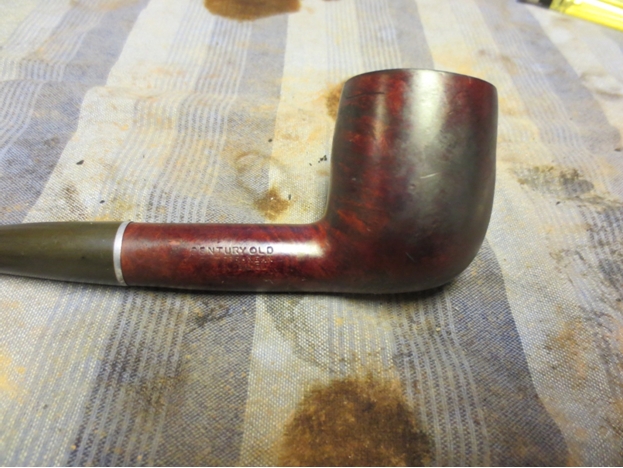
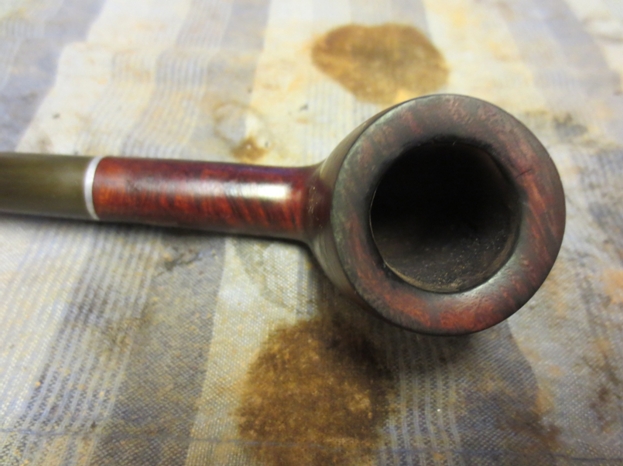
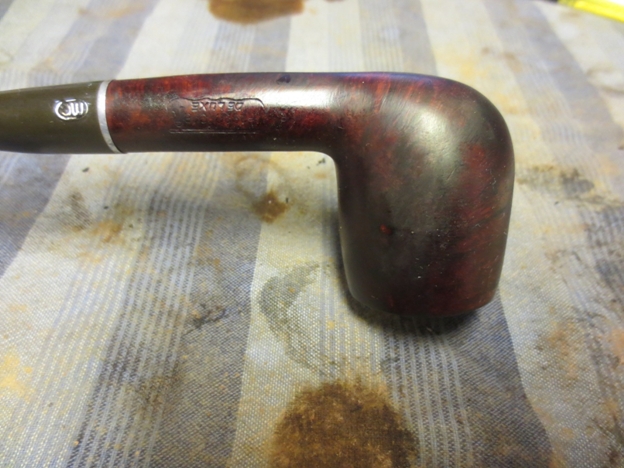
MC1Another one of the gift pipes that caught my eye was one stamped on the left side of the shank Mastercraft De Luxe in the shield like the one on the left. On the right side it is stamped Century Old Mediterranean Briar Israel. I have worked on quite a few Mastercraft pipes and know that the company never made pipes itself but had makers in Italy and other places make the pipes for them. I have written another blog on the lines within the Mastercraft hierarchy and know that the De Luxe was pretty high up the list of their pipes. Here is the link to the hierarchy blog https://rebornpipes.com/2014/06/23/a-mastercraft-pipe-lines-hierarchy/

When I took the pipe to the worktable my first impressions were that it was in pretty decent shape. But as I looked more closely I could see the issues that were there. The bowl had some fills in the surface on the front, left side and the underside of the shank that had shrunk and were pitted pink putty. The right side of the bowl had a deep scratch in the briar at a diagonal to the bowl that cut through the finish. The varnish coat that was on these older MC pipes was flaking around the damaged rim and around the pitted fills. The rim had some charring and darkening that would need to be addressed. When I took out the stem a previous owner had coated the entire tenon with very soft waxy substance that had gone rancid. It was all over the mortise and inside and outside of the tenon. It was thick and not easily removed. The stem was oxidized and the stamping on the side had been put on at an angle which meant that the whitening only was on one side of the MC oval. The aluminum band on the stem that fit against the end of the shank had marks on it like it had been turned with a pair pliers. It was more of a mess than first met the eye.MC2

MC3

MC4

MC5 The next photo is a close-up of the rim to show some of the damage to the outer edge and the beveled top that would need to be addressed. This would be slightly more complicated than just topping the bowl and resurfacing things. I would have to hand sand the bevel and the edges to minimize the charring and the dents on the back outer edge. I would also need to work on the inner edge of the rim to bring it back into round condition.MC6 To facilitate the clean up on the rim I reamed the bowl back with the third cutting head of my PipNet reamer. The bowl is quite large with a diameter of 7/8 inches. I took the cake completely out of the bowl and took it back to bare wood in order to work on the inner edge of the rim.MC7 The next photo shows how the reaming with the cutting head smoothed out the surface of the inner rim considerably and made my work simpler.MC8 I decided to try to whiten the stamping on the stem (for a bit of a break from working on the bowl). I wanted to see if I could gain anything from the lighter stamping on the one side of the oval. I used a liquid white-out to fill the stamping and when it dried rubbed off the excess. It looked good initially but the stamping on the topside and the left leg and top of the M was too shallow to hold much of the whitener.MC9 I scrubbed out some of the mortise and airway in the stem with alcohol, cotton swabs and pipe cleaners to remove the rancid smelling waxy substance (the more I worked with the more it smelled and worked like lard). It took quite a bit of scrubbing to remove the thick coat of this substance. I then used a retort on the bowl and stem and boiled it out three times before I was greeted with clean alcohol. The first boil the alcohol came out black, the second time it came out amber and finally the third time it came out clean. I scrubbed out the airway and the shank a final time with the pipe cleaners and cotton swabs and the shank and stem were finally clean.MC10

MC11

MC12

MC13

MC14

MC15

MC16 With the interior cleaned out it was time to work on the exterior of the bowl. I scrubbed the surface of the bowl with acetone on cotton pads to remove the varnish topcoat and the grime from the finish. Then I picked out the pink putty fills and replaced them with briar dust and super glue. I put a drop of glue in the pit, tamped in dust and then a bubble of glue on top of the patch. The next two photos show the patches after they had dried and before I sanded them.MC17

MC18 I sanded the patches with 220 grit sandpaper and followed that with a medium and fine grit sanding sponge to blend it into the surface and remove the scratches. Strangely the briar dust and super glue patch did not turn black this time as I was counting on. It was almost tan coloured. I would have to use a black permanent marker to etch in lines to match the grain around the repair and then sand them lightly to blend them in. I also sanded the horizontal scratch on the right side of the bowl until it was smooth. When I had finished sanding I scrubbed the bowl another time with acetone on the cotton pads.MC19

MC20

MC21

MC22 I sanded the bevel on the rim and the inner and outer edges of the rim with a folded piece of 220 grit sandpaper and then with the sanding sponges to minimize the damage and bring the bowl back into round. I wiped down the rim with the acetone to clean up the dust.MC23 I decided to stain the pipe with a dark brown aniline stain thinned 3:1 (3 parts stain to 1 part alcohol). I wanted the stain opaque enough to cover the fills and mask them so that they did not stand out but also did not totally hide the bird’s eye and cross cut grain on the shank and bowl. This mixture of stain worked well.MC24

MC25

MC26

MC27

MC28 After I had flamed the stain to set it I rubbed the bowl and shank down with a coarse cotton cloth to blend the finish and hand buff it. I wanted to remove some of the opaqueness on the sides of the bowl and lighten the finish slightly. Once it was done I set the bowl on a cork to dry while I worked on the stem.MC29 I lightly sanded the stem with 220 grit sandpaper to remove the tooth chatter and some of the oxidation. I used the lighter to paint the flame across the surface of the stem to burn off the oxidation and also heat the tooth marks to lift them. I was able to raise all of the tooth marks using this method. The key is to keep the flame moving across the surface and to not stop in any one place too long. Once I had flamed the stem I wiped it down and sanded it with the medium and fine grit sanding sponges. I also sanded the aluminum ring to smooth out the damage on its surface and prepare it for polishing.MC30

MC31 With the oxidation removed I sanded the stem with micromesh sanding pads – wet sanding with 1500-2400 grit pads and dry sanding with 3200-12,000 grit pads. In between each set of three pads I rubbed the stem down with Obsidian Oil before moving on to the next set of pads. When I finished sanding with the 12,000 grit pad I rubbed it down a final time with the oil and when it dried put the stem on the pipe and took it to the buffer.MC32

MC33

MC34 I buffed the pipe with White Diamond and gently buffed around the stamping on the shank and the stem. I gave it multiple coats of carnauba wax and buffed it with a soft flannel buff to raise the shine. The finished pipe is shown in the photos below. The last two photos below show a close-up of the rim to show how the beveling and shaping worked to restore the look of the top of the pipe. It is ready to re-enter a life of usefulness for its next companion. It should be a great smoking pipe for whoever takes on the trust next.MC35

MC36

MC37

MC38

MC39

MC40

Cleaning up a Falstaff Diamond Shank Billiard 101


Blog by Steve Laug

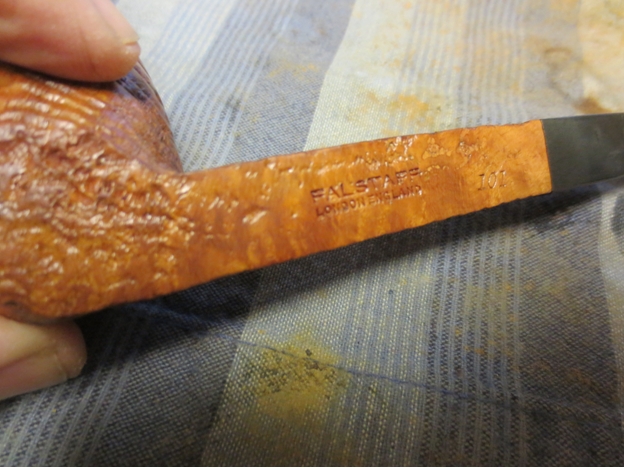
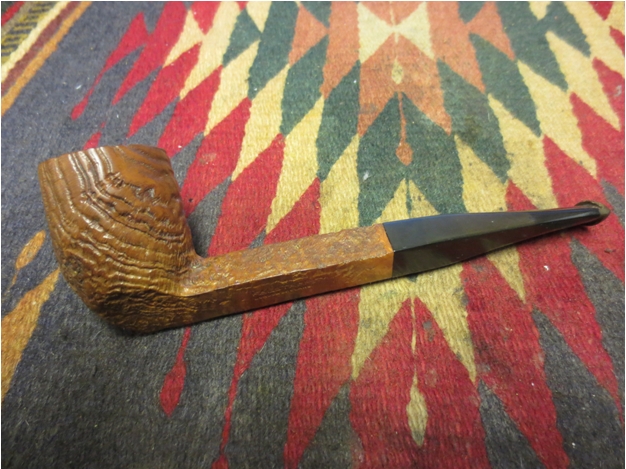
The second pipe I chose to work on from the gift lot of pipes I received was a long shank billiard that is stamped FALSTAFF over London England on the bottom left side panel of the diamond shank. The panel of the diamond with the stamping is smooth with the rest of the pipe being sand blasted. Next to the stem shank union there is a shape number on the same panel that reads 101. The photo below sows the stamping on the shaft. The pipe was relatively clean with no cake and the interior looked clean. The finish was natural though dirty, spotty and dry. The stem had some light oxidation and tooth chatter at the button.Falstaff1 In my search for information I posted about the pipe on Pipe Smokers Unlimited and received a response from Dave (dmcmtk). Dave is a great source for information on British pipes so I was hoping he would have something to offer regarding the brand. To my eye the pipe had a bit of a Charatan look but I could not be sure. Dave did not let me down, here is his reply:

“The Falstaff looks like a nice pipe. My first thought, seeing the square shank and COM was Charatan’s. From Pipedia’s Charatan page
Sub-brands/Seconds
Mountbatten
London Straight Grain
Falstaff
Samirva
Vauxhall
Britannia”

The next series of four photos shows the pipe as it looked when I brought it to the worktable. I took some photos of the pipe right out of the work box. It has an interesting shape and blast to it. I like the intentional smoothing of the high ridges on the blast. I don’t think this is from wear as the pipe is virtually unsmoked.Falstaff2

Falstaff3 There is a slight rim darkening but the bowl is not caked and there was bare briar from mid bowl down to the bottom of the bowl.Falstaff4

Falstaff5 I took a close up photo to show the state of the bowl and rim. This was going to be a relatively easy clean up.Falstaff6 I scrubbed the briar down with Murphy’s Oil Soap and a tooth brush to get into the crevices and remove the dust and grime that was deep in them. I rinsed the bowl off with running water from the tap and dried it off with a cloth.Falstaff7 The clean bowl is shown below after the scrub and rinse. The oils and waxes are gone and the finish is clean and dry.Falstaff8

Falstaff9

Falstaff10

Falstaff11 I gave the pipe a light buff with White Diamond.Falstaff12

Falstaff13

Falstaff14

Falstaff15 I lightly rubbed the bowl and shank down with some olive oil on a soft paper towel to get deep into the grooves and bring some life back to the dry briar. Once the bowl is rubbed down I set it aside to let the oils penetrate and dry off before I rub it down with a soft flannel cloth and give it a coat of Halcyon II wax.Falstaff16

Falstaff17

Falstaff18

Falstaff19 I sanded the stem with 220 grit sandpaper to remove the surface oxidation and tooth chatter around the button on the top and bottom sides.Falstaff20

Falstaff21

Falstaff22 I followed that by sanding with 400 grit wet dry sandpaper and then a fine grit sanding sponge to remove more of the scratching.Falstaff23

Falstaff24

Falstaff25 I sanded the stem with micromesh sanding pads next – wet sanding with 1500-2400 grit pads and dry sanding with 3200-12,000 grit pads. Between each set of three pads I rubbed the stem down with Obsidian Oil before sanding with the next three grits of pad. When I had finished with the 12,000 grit pad I rubbed it down a final time with the oil and let it dry.Falstaff26

Falstaff27

Falstaff28 Once the Obsidian Oil was dry I buffed the stem with White Diamond and then gave it multiple coats of carnauba wax. I gave the bowl several coats of Halcyon II wax and then buffed the pipe with a soft flannel buff. The finished pipe is shown below.Falstaff29

Falstaff30

Falstaff31

Falstaff32 The next two photos give an idea of the shape of the pipe. It is quite unique in terms of the diamond shank but the diamond shape carries through the bottom of the bowl. The first photo below shows the shape of the pipe from the front. The second shows the shape from the rear, looking down the stem and shank.Falstaff33

Falstaff34 I took the final two photos to give a close up view of the pipe and stem and show the blast finish on the pipe. It is a beautiful looking pipe and one that should serve well for many years to come. I don’t intend to leave it in its almost unsmoked condition but will break it in and enjoy the craftsmanship that made it what it is – a smoking instrument.Falstaff35

Falstaff36

Grooming a Ben Wade Golden Walnut Danish Freehand


Guest Blog by Robert M. Boughton
Member, North American Society of Pipe Collectors
http://www.naspc.org
http://www.roadrunnerpipes.com
http://about.meboughtonrobert
Photos © the Author

“There is nothing like being left alone again, to walk peacefully with oneself in the woods. To boil one’s coffee and fill one’s pipe and to think idly and slowly as one does it.”
― Knut Hamsun (1859-1952), Pulitzer Prize winning Norwegian author

INTRODUCTION
When, a few years back, I became serious about collecting pipes, it was for the most part all about anything made by Peterson’s and Savinelli in particular and meerschaums in general, with an emphasis on the latter. While these pipes formed the basis for what has become a rather large, P.A.D.-fueled assemblage, I have, since those earliest days, branched out, so to speak, into many other fine brands.

Some of the brands of which I have various models greater than one include Barling, Butz-Choquin, Comoy’s, Dunhill, GBD, Karl Erik, Kaywoodie, V. Rimkus, Ropp, Stanwell and Don Warren, which do not include the large selection of individuals such as a Cavicchi 4C Silver Band Freehand, Burgundy Falcon, Charatan Make Deluxe Prince and Stefano FX Bean Pot. In short, I have become, as time passes, more attuned to the endless variety of great pipes out there, not to mention a few of more dubious origin such as a “The Pipe” (which nevertheless, in my opinion, no true collection should lack at least one sample) and a recent, still to be restored but excellent example of the odd but unique Doodler.

To use a term I recently coined in a previous blog, I am an omnitobacarius-phile, or lover of all things tobacco-related, at least as far as smoking pipes are concerned.

And, of course, there is my growing assortment of Ben Wade pipes, the latest addition to which this blog concerns.

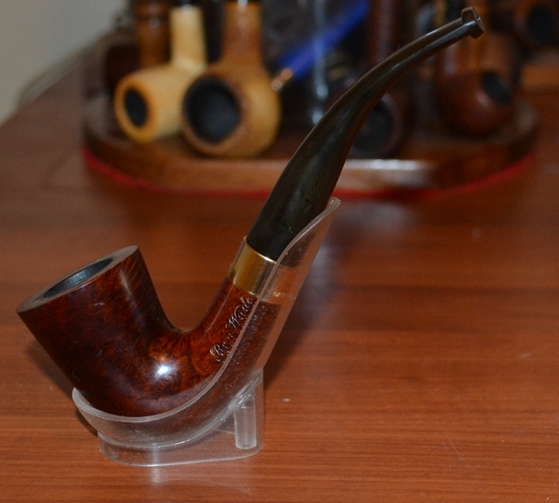
Here are my other BW pipes, in order: a Town and Country Bent Dublin London Made with a 14K gold “Barling” band (don’t ask me how), Cheltenham Straight Billiard, Selected Grain Short Apple, London Made Dublin, Blue Diamond and Tall Canted Poker. There is also a BW that was once a Tall Straight Billiard but, due to extreme abuse by some unknown villain, suffered a large and fatal crack from the top of the bowl about halfway down, requiring a radical change in shape to a squat pot, as I call it. The result of that surgery is now a very special shop pipe.Ben1
Ben2

Ben3

Ben4

Ben5

Ben6

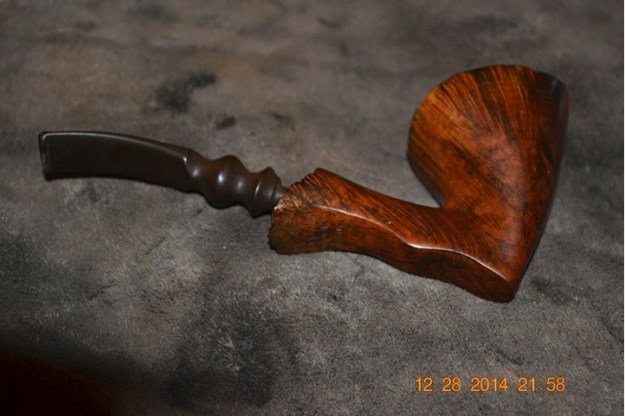
Ben7 What, you might well ask, do all of these pipes have in contrast to the one of which I will describe the light refurbish in this blog? They were all made in England, where BW is best known for its production, although it has also made pipes in France and Denmark. The uncommon country of origin, the unusual wood and the beauty of the freehand itself wangled my mind around the idea that I truly needed this fine specimen. Of course, I was also very strongly attracted to the Danish golden walnut freehand.

Of an incidental reason for my appreciation of this pipe, I came to suspect, during the research phase, that the beauty was crafted by the late great pipe maker, Preben Holm, who sometimes made his services available to BW. One reason is the inclusion of “Hand Made” in the nomenclature of another golden walnut freehand that Hr Holm just happened to make for BW, while a briar plateau freehand the master carver created for BW bore only the stamp “Made in Denmark.” For the rest of my reasoning, see http://www.pipephil.eu/ logos/en/logo-benwade.html to start, and click on the link to Preben Holm for more examples of his distinctive work and style.

THE GROOMING

Honestly, this was one of the few almost ready to enjoy pipes I have ever bought online. The only completely restored, cleaned and sanitized pipe I purchased by this medium was a Ropp Deluxe Cherrywood #901. I sold it for less than my cost to a prospective basic cleaning customer in Scottsdale, Arizona whose #815 of the same brand and general look was delivered to another Post Office Box holder who seems to have the deficient morals needed to abscond with it. What can I say? It seemed to be the right business thing to do, and the buyer of the 901 wrote that its condition upon arrival was “fantastic” and promised to send me future estate pipes he finds for cleaning. He will not, however, be sending them via USPS. And yo! To the deadbeat out there who stole the 815, if you’re reading this, feel free to let me do the cleaning it likely still needs, and I’ll give you the deal you deserve.

But returning to my subject, had our excellent host, Steve, not wanted to see what became of the pipe he explained was made from a piece of plateau walnut, so simple was the “refurbishing” process that I never would have bothered with a blog on it. Still, given that the Danish freehand did need slight chamber work, re-staining of the plateau rim and shank opening, minor scratch removal, retorting and stem shining, I could not help giving the pipe attention I have to rank even below refurbishing: what I call here a grooming, much as an unruly lad sometimes needs his face wiped, hair combed and shirt tucked in.Ben8
Ben9

Ben10

Ben11

Ben12

Ben13

Ben14

Ben15

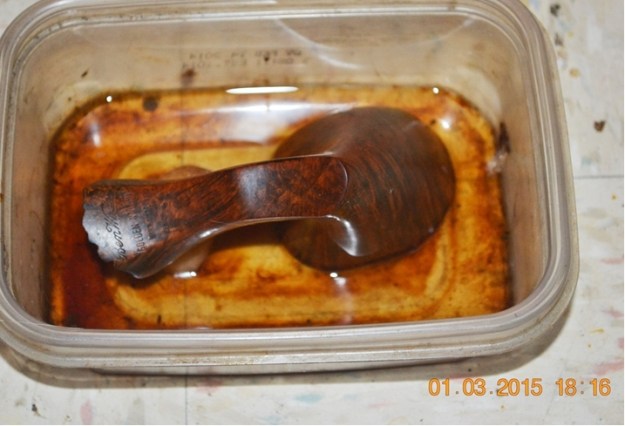
Ben16 Making the dulled black stain of the plateau rim and shank opening the first order of business, I decided to remove the stain with a localized soak in Everclear.Ben17 I had hoped that removing the old plateau stain would reveal a rim suitable for buffing in its natural state and color, but such was not the case. And so I re-stained it.Ben18
Ben19 A small but clear rectangular pattern of black pits near the upper right area of the right side of the bowl annoyed me.Ben20 Trying 1500 micromesh, I was able to lessen the downgrade the presence of the pits to dots, but 800 was needed to get rid of them altogether. A quick buff with superfine steel wool returned the natural golden glow of the walnut.
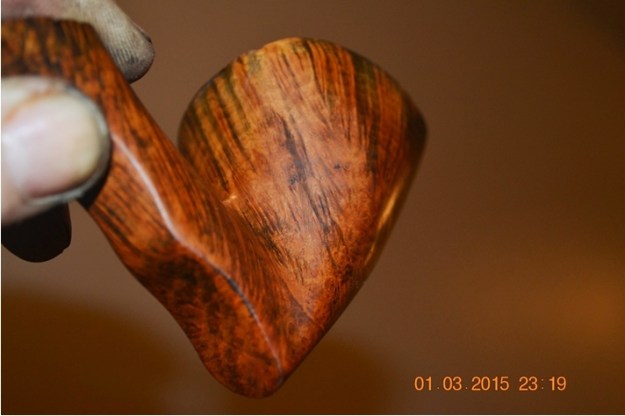
There were other small defects on the bowl too small even to show up in photos, but my eye saw them, and that was what mattered. I gave the entire bowl a going over with micromesh from 2400 through 4000 and found the walnut as smooth and fresh as could be.

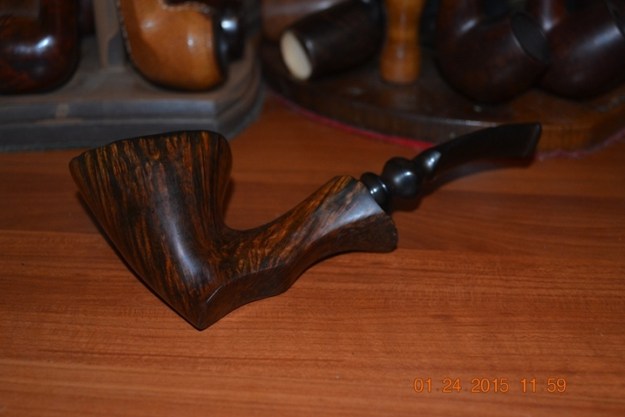
Last of all, I attacked the stem. Although I like the look of the freehand style stem, in particular this one with two rounded bulges, for lack of a better term at the moment, near the shank opening, they are always more of a bother to sand away discoloration. I always have to do the process in stages, sanding the entire stem with 200-grit paper, wiping it down with a soft cloth, then focusing on the harder areas, sometimes three or even four times until the color is uniform. Then I apply the micromesh, starting with 1500 and progressing upward to 4000.

Ready for the final buffing, I used red and white Tripoli followed by White Diamond on the stem and those waxes plus a final coat of carnauba on the bowl and shank, including the black plateau spaces. I worried – as I perhaps too often do – that the resulting shininess of the plateaus was a bit much, but that’s my nature.Ben21
Ben22

Ben23

Ben24

Ben25

Ben26 CONCLUSION
So there it is. After writing this up, I realize there was more work than I remembered, but then this pipe presented itself to me in such glory that I never considered the task as anything more than that.

I kept this one, as you might have surmised. I have come to have a genuine respect and weakness for the wonderful variety of pipes made by Ben Wade and their consistent quality of engineering, grace and high-grade pleasure of smoking.

ADDITIONAL PHOTOS AND INFORMATION

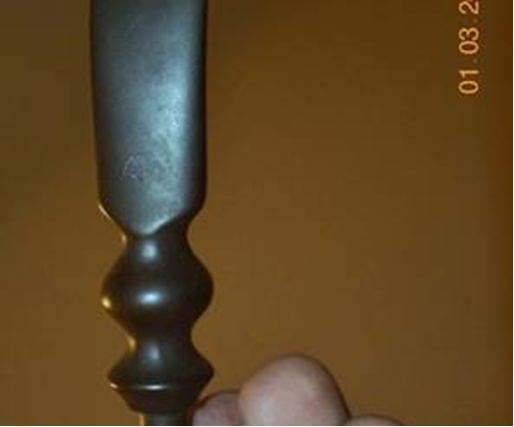
I made a comment on the blog thanking Steve for the great history he emailed me and the confirmation of the Preben Holm connection. I was troubled by not seeing the stem etching the pipephil.eu photos showed and then noticed on the pictures of the stem in my blog that the etch was still there! After filling in with a marker, I was able to make out the mark better. Here are the new before and after photos (the after shot, obviously, being before cleaning up the stem again):Robert1 Robert2
Bringing a Herbert Love of Edinburgh The Queensferry Billiard 422 back to life


Blog by Steve Laug

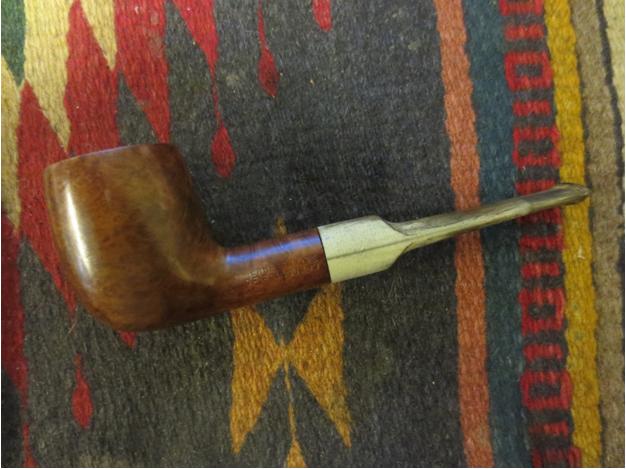
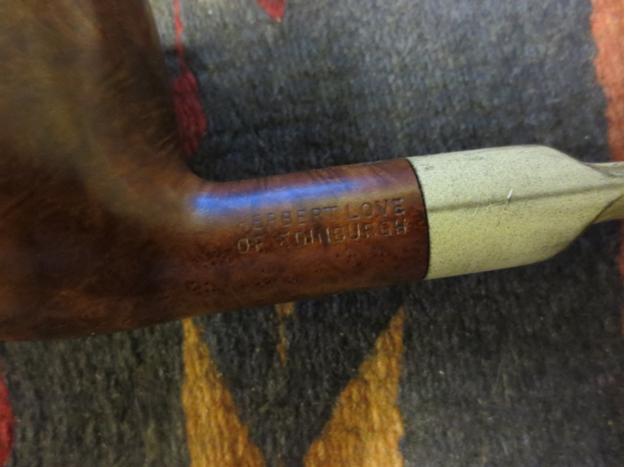
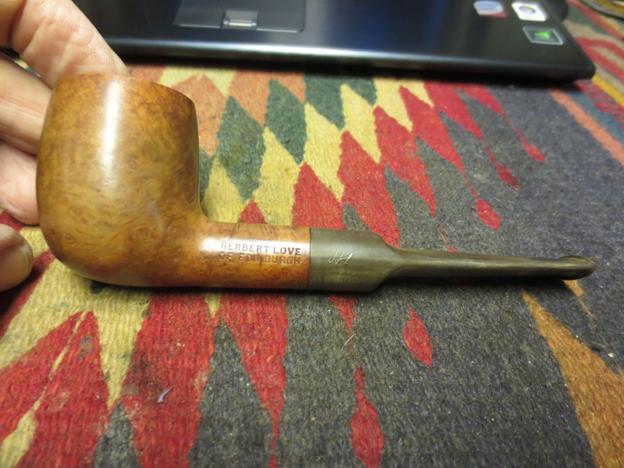
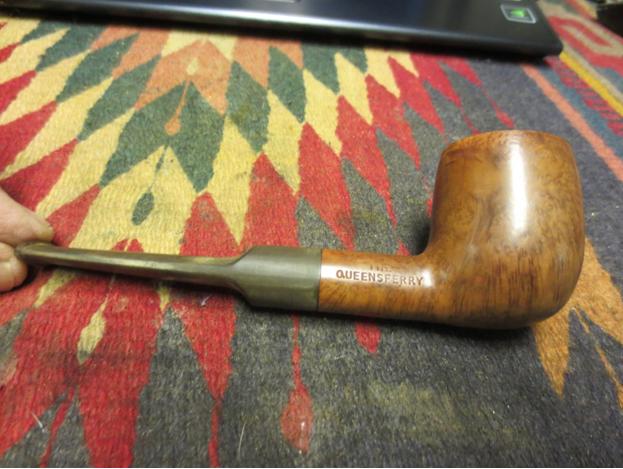
I received a gift box of pipes from a friend on Smokers Forums this week and it contained 23 pipes that presented a variety of challenges for repairs. Looking them over, I found that there were quite a few pipes with stampings that I was unfamiliar with. There were brands and sub-brands that were new to me. I chose to work on one of those I knew nothing about first. I had never heard of the Herbert Love Shop of Edinburgh. The stamping intrigued me. On the left side of the shank it was stamped Herbert Love of Edinburgh and on the right side it was stamped The Queensferry. On the underside of the shank it was stamped horizontally along the shank with the shape number 422. On the left side of the saddle portion of the stem it had a faint HL stamping.

I did my normal search on Pipedia and Pipephil’s site to see if I could find the stampings or the cursive HL on the saddle of the stem. There was nothing to be found. I posted a request for information on Pipe Smoker’s Unlimited Forums specifically asking several of the members there that are from Edinburgh to see if they had any information. I received a response from a collector of English pipes that included the photo and article on another Herbert Love Tobacco Shop in Glasgow. I also received a response from one of the Edinburgh folks, Chris with this information: … it closed down many years ago. It was on Queensferry St. (the road to the old ferry across the Forth before the rail and road bridges were constructed) at the West End, handily situated next to the iconic ‘Old Man’s Pub’, “Mather’s Bar”. At that time there were three pipe shops in Edinburgh (HL’s, one on George 1V Bridge and another in Leith); now only the latter exists… All I remember about the shop itself, apart from it being very old-fashioned, was that they used some interesting old scales for weighing out the loose tobaccos.

Here is the link to the article that I received about the closure of the Glasgow shop. http://www.heraldscotland.com/last-smokers-paradise-closes-1.828258 Sadly I could find no photos or information online regarding the now close Edinburgh shop to include in this post. If anyone reading has information be sure to let us know in the comments section below. Thank you.

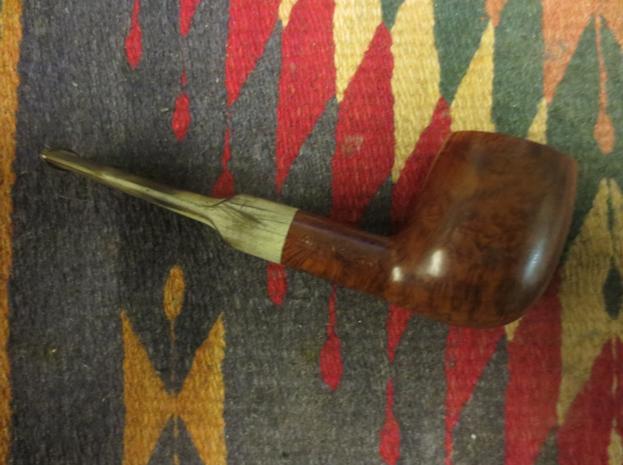
When I brought the pipe to the worktable it is in pretty rough shape. The finish was damaged and spotty. The rim had a burn spot on the inner edge and the top at the front of the bowl. This damage also made a dip in the surface of the top of the rim. The bowl was filled with a crumbling cake that was uneven. The stem was oxidized and looked greenish yellow in colour. There were bite marks and tooth chatter on the top and bottom sides of the stem next to the button. The internals of the stem and shank were not too dirty and would clean up quite easily. There was no sweet smell of aromatics or the smoky smell of Latakia in the bowl so ghosting would not be an issue. Love1

Love2 I took close-up photos of the shank on both sides to show the stamping. The left side bore the Herbert Love of Edinburgh and the right side the Queensferry. From my queries I had learned that the Queensferry was actually the street the shop was located on. Herbert Love Tobacconists seemed to be quite widespread in Scotland – I found them in Aberdeen, Glasgow, Aylesbury, and Edinburgh. There were also hints of it being found in other locations as well.Love3

Love4 I scraped some of the oxidation away on the left side of the saddle stem and found that underneath was some faint stamping that read HL in script. I checked the right side and top and bottom for further marks and found none.Love5

Love6

Love7

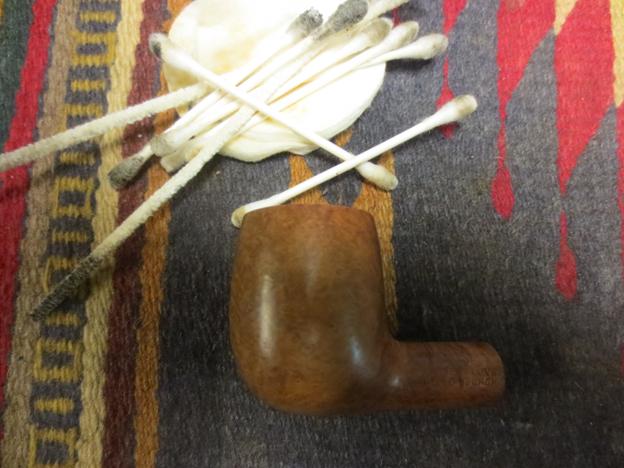
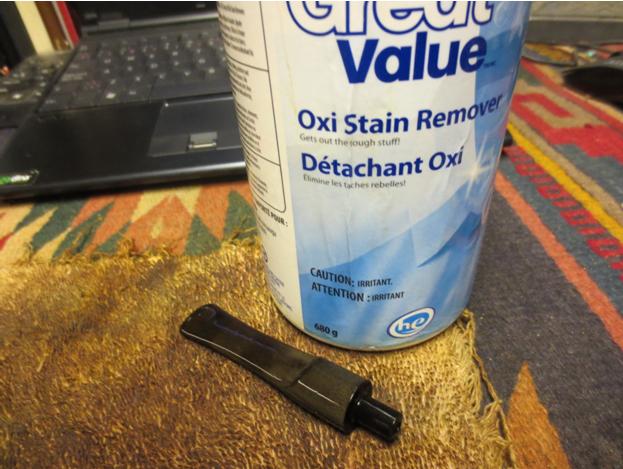
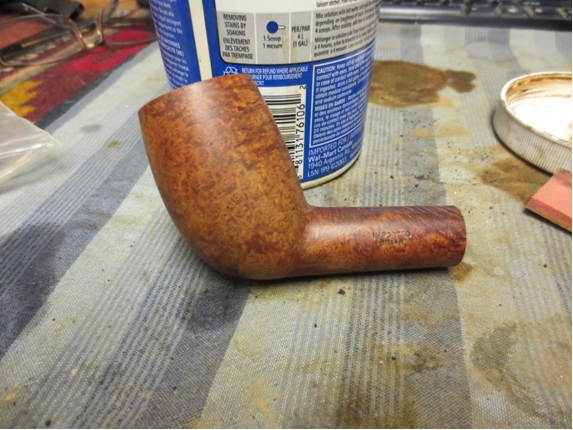
Love8 I took a close up photo of the rim and bowl to show the damage from the burn on the surface. You can see that it is deeper than the surface of the rim and extends from the inner edge to the outer edge of the rim.Love10 I reamed the bowl with a PipNet reamer using the cutting head that fit the bowl properly. I took the cake back to bare wood on all sides of the bowl so that I could address the rim damage on an even and hard surface.Love11 The next photo shows the cleaned up bowl and further shows the damage to the inner edge and top of the rim.Love12 The first step in addressing this kind of rim damage is to top the bowl to even out the dip from the burn. I wanted the top surface to be smooth so that I could then chamfer the inner edge of the rim with a slight bevel to deal with the burned front edge. I used a flat board and a piece of 220 grit sandpaper to top the bowl. I sanded until the top of the rim sat flat against the board. As usual I collected the briar dust in my box for repurposing on fills and repairs.Love13 The next photo shows the top of the bowl after sanding and smoothing out the rim. It really shows the extent of the damage on the rim.Love14 I decided to keep topping the bowl until I had evened out the rim and removed as much of the top damage as possible without dramatically changing the profile of the bowl. The next photo shows the bowl rim after I had finished topping it with the 220 grit sandpaper. It still would be sanded with 400 grit wet dry and fine grit sanding sponges before the surface was finished. While I worked on the bowl the stem was soaking in a bath of OxyClean to soften the oxidation.Love15 With the top of the rim smoothed out I worked on the inner edge with a folded piece of 220 grit sandpaper. I chamfered or beveled the inner edge to minimize the damage and to give the entire inner edge a similar look.Love16 The next photo shows the beveled inner rim and how that process served to minimize the effect of the burn mark.Love17 With the repair to the rim finished I wiped down the bowl with acetone on cotton pads to remove the finish and facilitate matching the restain on the rim with the colour of the rest of the bowl. It also removed the damage and spotty finish that covered the bowl. It appeared to have a thin varnish coat over the stain that came off quite easily with the acetone.Love18
Love19

Love20

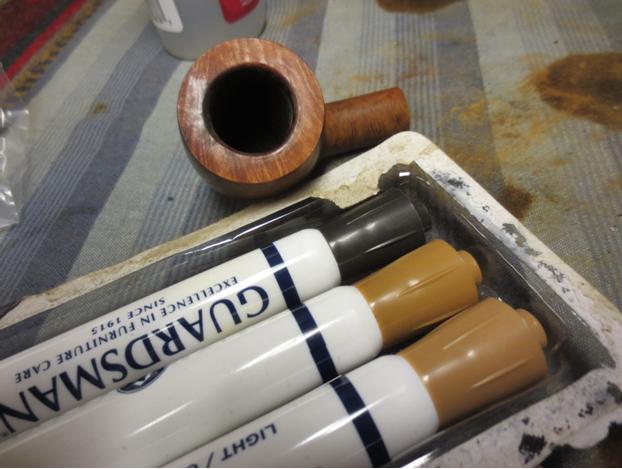
Love21 I used the Guardsman stain touch up pens to stain the rim. I chose the lightest coloured stain to get a proper match for the first coat of stain. When it dried I would then stain the entire pipe with a medium walnut aniline stain. The stain pen was the first step in matching the colours of the bowl.Love22 I cleaned out the shank with pipe cleaners, cotton swabs and isopropyl alcohol to remove the tars and oils in the shank. It was an easy clean up so I decided not to use a retort on this one. It took very few swabs and pipe cleaners before the mortise and airway was clean.Love23 With the bowl at this point in the process I set it aside and took the stem out of the OxyClean bath. It had been soaking for several hours while I had worked on the bowl. The bath had done its magic and when I rubbed it down to dry it much of the surface oxidation came off and the deeper oxidation would easily be removed with a light sanding.Love24 I put the dried stem back on the bowl so that I could finish staining the bowl. I used a medium walnut aniline stain, applied it and flamed it. I lightly buffed the bowl with White Diamond to even out the stain coat. I took some photos to show the progress. Note in the first photo the HL cursive stamp that is on the surface of the stem.Love25

Love26

Love27

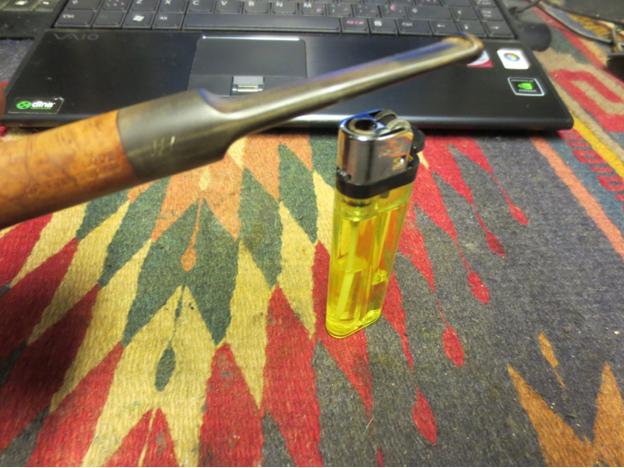
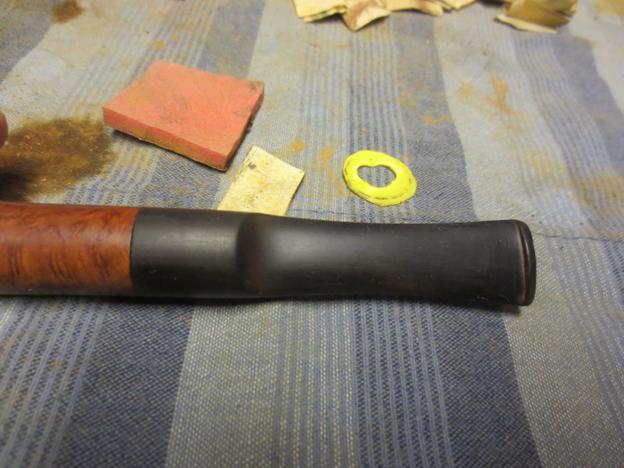
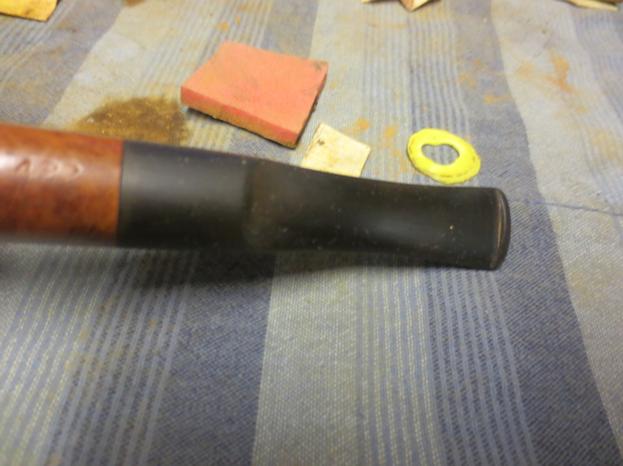
Love28 I decided to use the Bic lighter trick that I have written about in other articles on the blog and painted the stem with the flame of the lighter to burn off more of the oxidation. It also helped to raise the tooth dents on the top and bottom of the stem next to the button.Love29 I put the plastic washer on the tenon between the stem and shank so that I could sand the stem and not damage the shoulders of either shank or stem. I lightly sanded the stem with 220 grit sandpaper and then with a medium and a fine grit sanding sponge to remove the remaining oxidation and tooth chatter.Love30

Love31

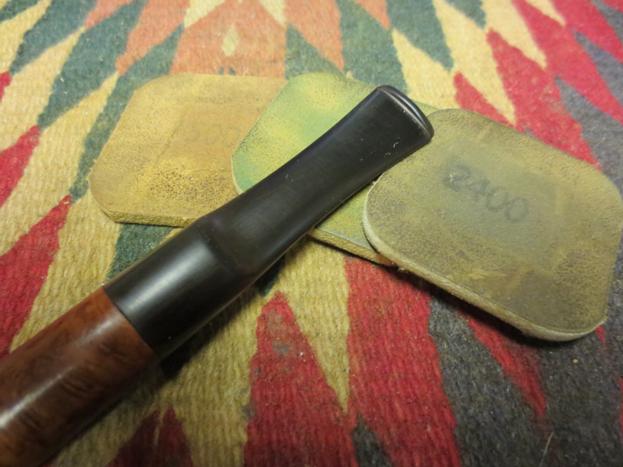
Love32 I sanded the stem with my usual micromesh sanding pads – wet sanding with 1500-2400 grit pads and dry sanding with 3200-12,000 grit pads. I rubbed the stem down with Obsidian Oil between each set of three pads. When I finished sanding with the 12,000 grit pad I rubbed it down one last time with the oil.Love33

Love34

Love35 I buffed the pipe with White Diamond and then gave it multiple coats of carnauba wax and buffed it with a soft flannel buffing pad to raise the shine. The stamping on the stem was very faint to begin with and when I removed the oxidation it is still present but is not deep enough to repaint.Love36

Love37

Love38

Love39 The last three photos give a closer picture of the top of the pipe – showing the rim edges and surface more closely. In comparison with where I started with this pipe the new look is dramatically better. The burn mark is much less visible and the grain on the rim looks sharp. The outer and inner edge are clean and crisp.Love40

Love41

Turbulence: Rusticating a Medico Jet Stream


Blog by Anthony Cook

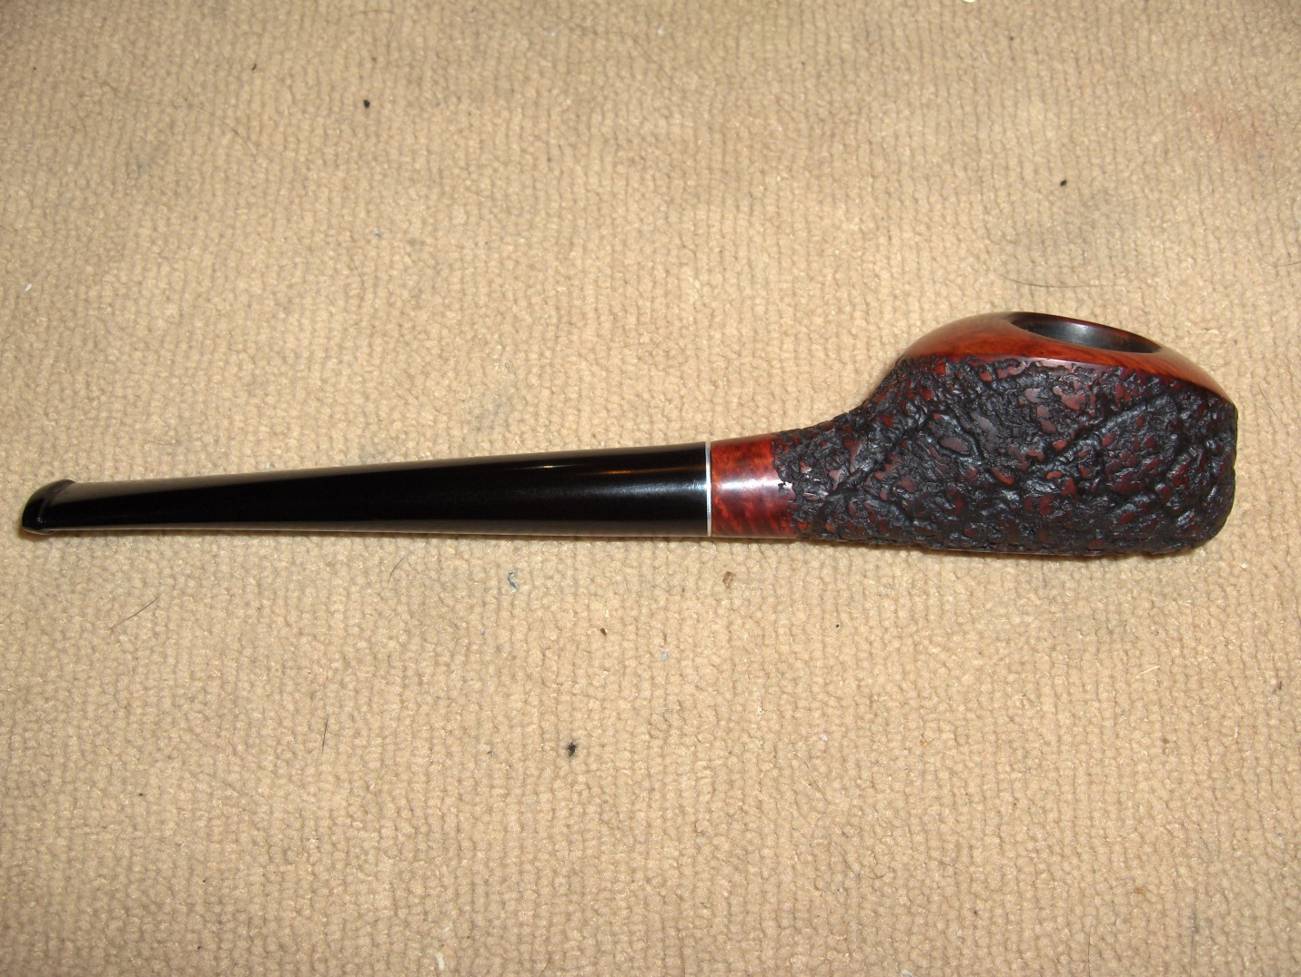
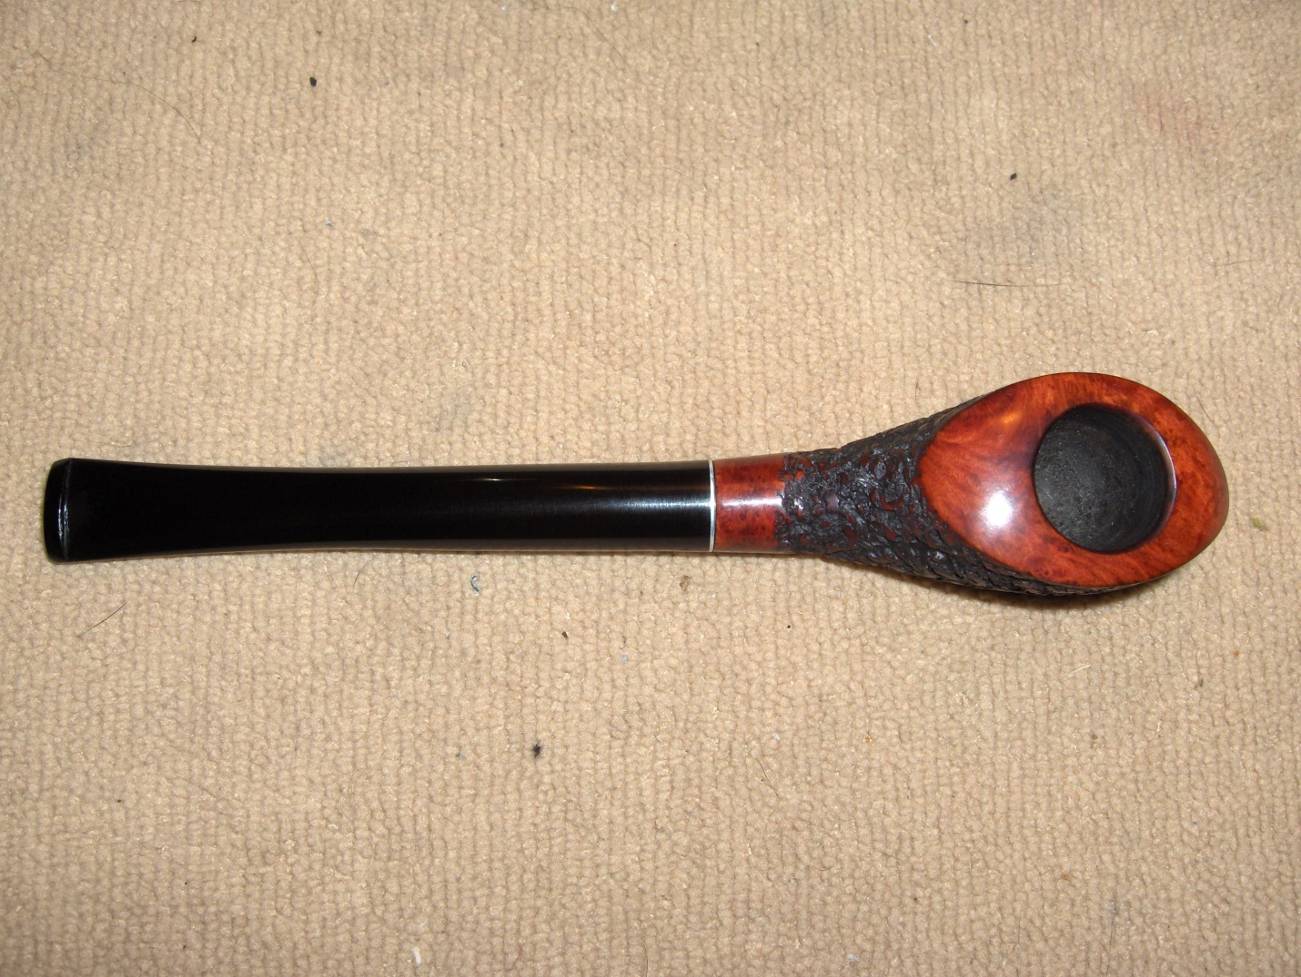
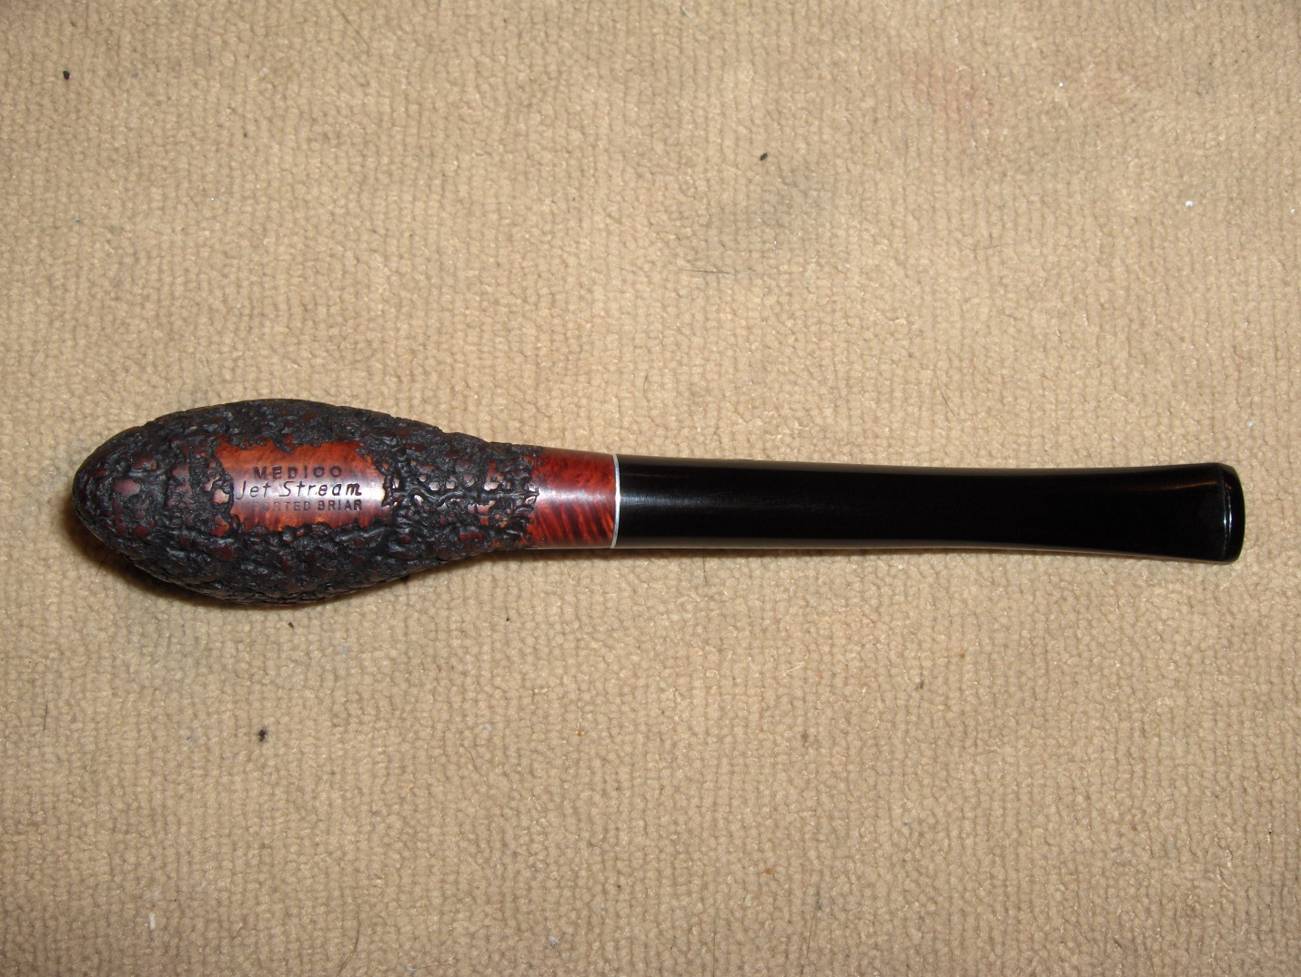
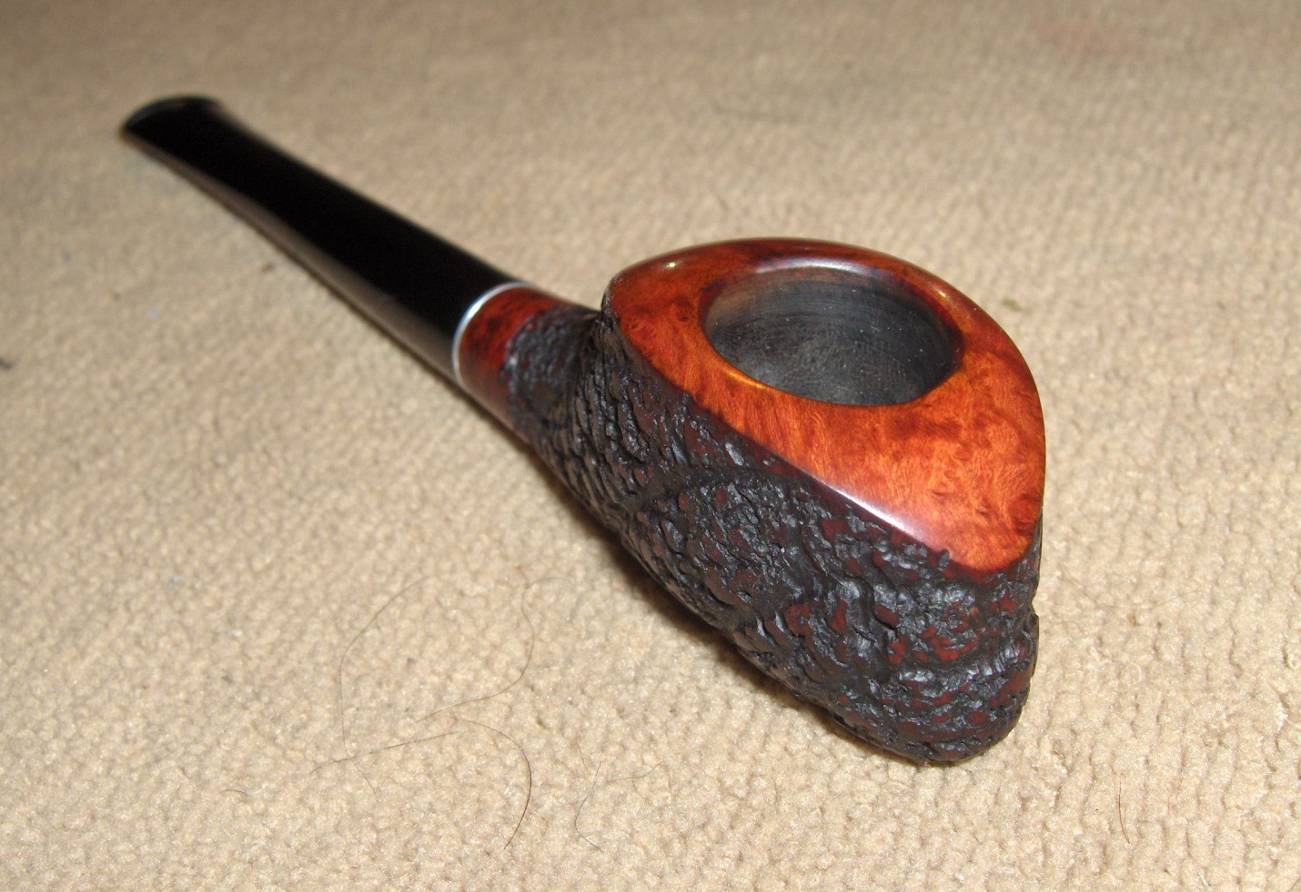
I recently completed work on another pipe in the batch that was sent to me by an online friend. This time, it was a Medico Jet Stream. These were produced by Medico from sometime around 1965 until 1971. There were a couple of shapes in the line and each was quite a departure from the classic forms. This one is by far my favorite. I think it has a nice, streamlined flow to it. The pipe is right at six inches long with a small bowl that is barely more than inch tall. Mechanically it was sound but it was obvious that it had let itself go cosmetically in its 44 years (at minimum) of existence.

There were no deep dents or scratches in the stummel, but it did have some light charring and a few nicks around the rim. It was coated with a thick layer of deeply tinted lacquer that had been worn to bare wood in spots. It looked like there might be some interesting grain under there, but the fills… Oh, Jeeze! The fills!!! It was so riddled with them that it looked like it had the pox. The nylon stem was in predictable shape for a pipe of this age with jagged chatter and tooth dents on both sides. You can see the condition of the pipe when it arrived in the following photos.Jet1

Jet2

Jet3

Jet4 I began by cleaning the internals of the pipe. The cake in the bowl was light and reamed out easily enough. I think removing the old cake really helps to eliminate any ghosting issues that a pipe may have. So, I took it down to bare wood. I made a surprising and disappointing discovery at that point. The fills did not stop on the outside of the bowl. There were at least two fills in the inside of the chamber. Oh, Medico, say it ain’t so!

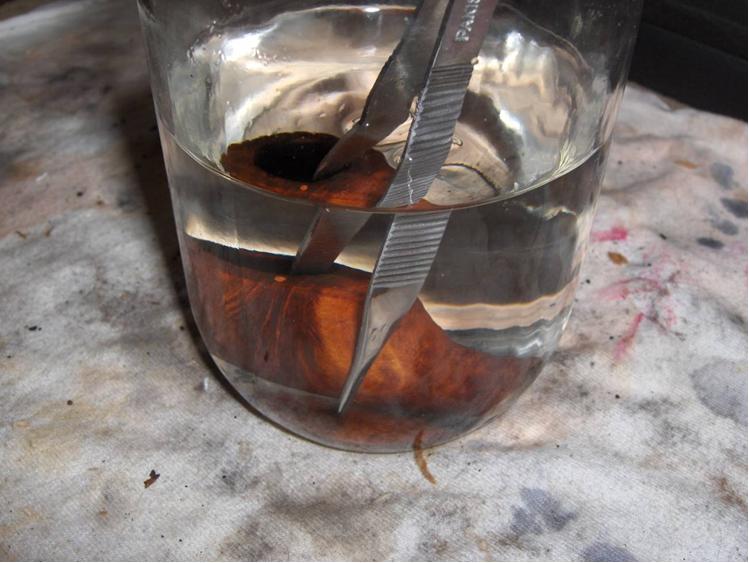
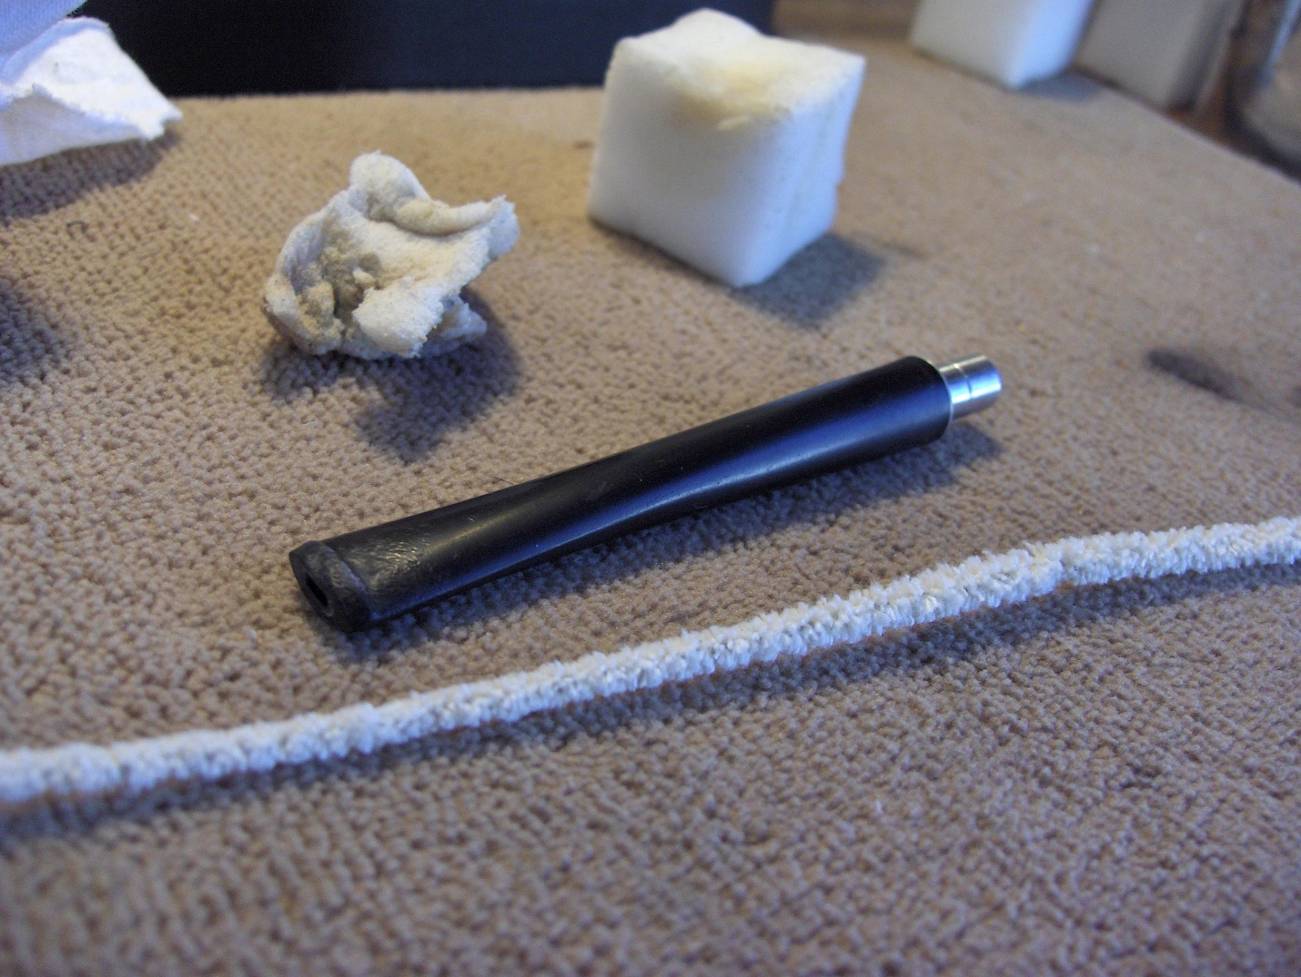
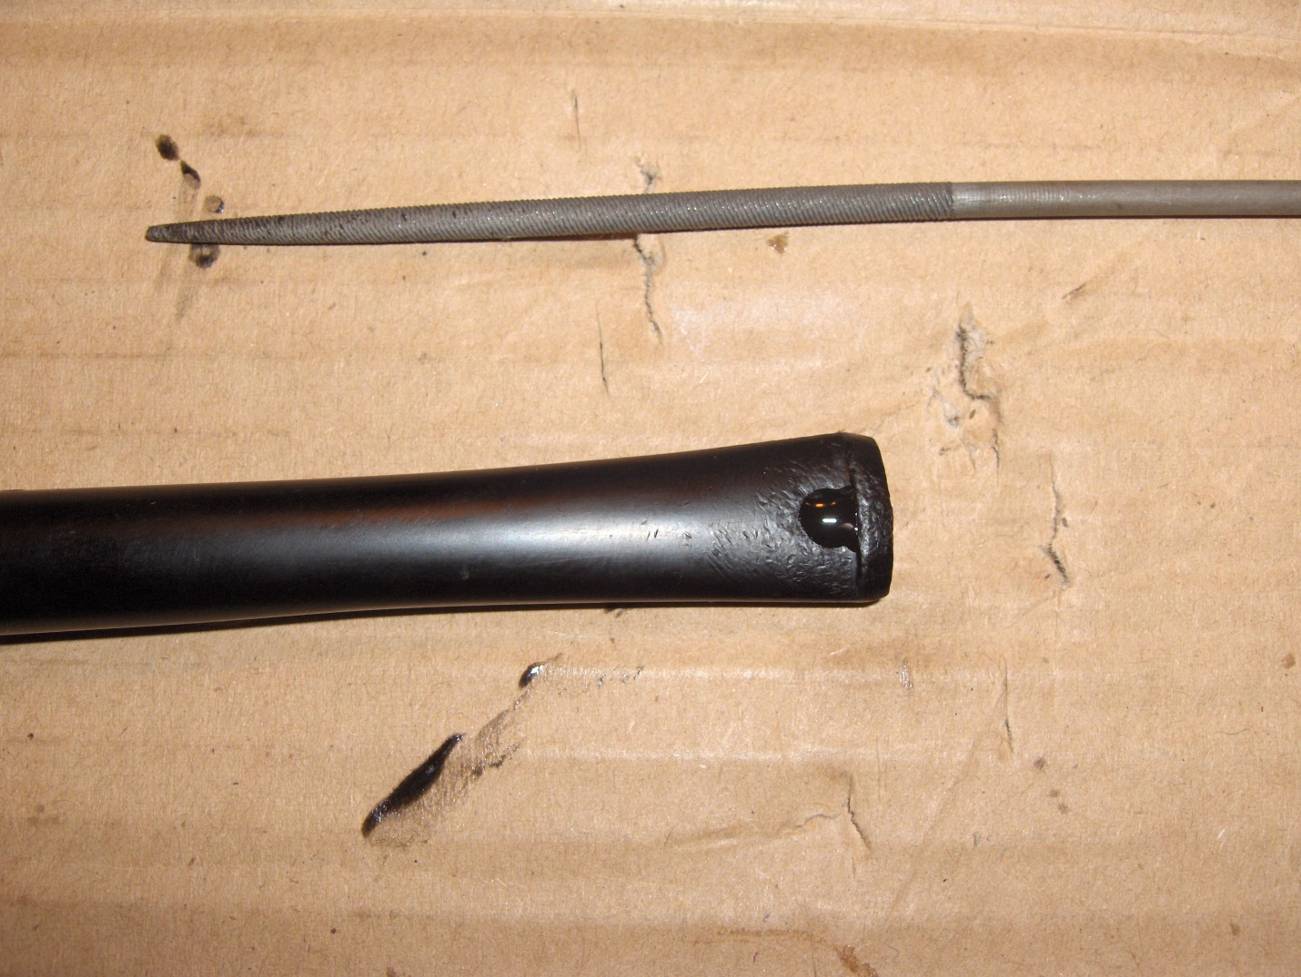
I took the opportunity to sand out a few of the nicks on the inner rim while I was working in the area, and then moved on to the rest of the pipe. There turned out to be quite a bit of residue inside the shank and stem. I took care of that by running a variety of alcohol soaked pipe cleaners, cotton swabs, and shank brushes through until they came out clean.Jet5 When I was satisfied that the internals were clean, I gave the stummel an acetone wipe-down to get rid of the spotty lacquer coat, and then dropped it into an alcohol bath to remove the remaining of the finish. Usually, there’s a satisfying Ker-Plink! when I do this and the stummel goes right to the bottom. Not this time. This one actually floated belly-up like a dead fish. I had to put tweezers in to hold it down to make sure the entire thing was submerged. I’m guessing that it was the fault of the fills, but it’s a good thing that we weren’t in Salem, Massachusetts. If we were, I would have had to get out the pitchfork and call the Witch Finder General.Jet6 While the stummel enjoyed a pleasant soak, I went to work on the nylon stem. The first step was to clean the surface with citrus cleaner and cubes cut from a Magic Eraser. There really wasn’t very much filth to remove and it cleaned up quickly. The photo below shows the stem after the surface cleaning.Jet7 Next, I set out to remove the dents and chatter around the button. I began by roughing up the area around the dent with the point of needle file to give the patch a better surface to cling to, and then filled the dents with a drop of black CA glue (seen in the first picture below). When the glue had dried, I sanded it back with 220-grit paper and refilled the area with glue. I did this on both sides of the stem until the dents were filled and level with the rest of the stem surface. I then sanded out the high spots of the chatter with 320-grit paper (seen in the second picture below) and followed that with 400-grit, then 600-grit to give the area a completely smooth surface.Jet8

Jet9 With the dents filled and the chatter removed, I lightly sanded the entire stem with 1200-grit paper to even out the surface. Then, I used the full complement of micromesh sanding pads 1500-12,000 to polish the stem. You can see the results of the finished stem in the photo below.Jet10 The stem work was all wrapped up. So, I pulled the stummel out of the alcohol bath to see what I had to work with. The bath had done an excellent job of removing the old finish and exposing the briar wood. Unfortunately, it has also done an excellent job of exposing all of the fills. I counted fifteen of them in all and that’s not counting the ones in the chamber.Jet11 After using a pick set to remove all of the pink fill material on the outside stummel surface, it looked like a block of Swiss cheese. At that point, I had to admit that I didn’t see any way that I could fill all of those pits and hope to have them blend them into the final pipe without the benefit of the tinted lacquer to cover them.Jet12 Rustication seemed like my best way forward, but I really didn’t want to go that way. I felt that it would really break up the great flow of the shape and stop the movement. I know when I’m whipped, though, and with all of the pits it appeared to be partially rusticated already.

I decided to leave the rim, the shank end, and the area around the stamping smooth. That meant that I would have at least one pit on the rim to fill. I packed it with briar dust that I have gathered from work on other pipes, and then dripped a small dab of clear CA glue into the dust. When the glue was dry, I sanded it level with the surface. With that out of the way, I prepared to rusticate the surface.

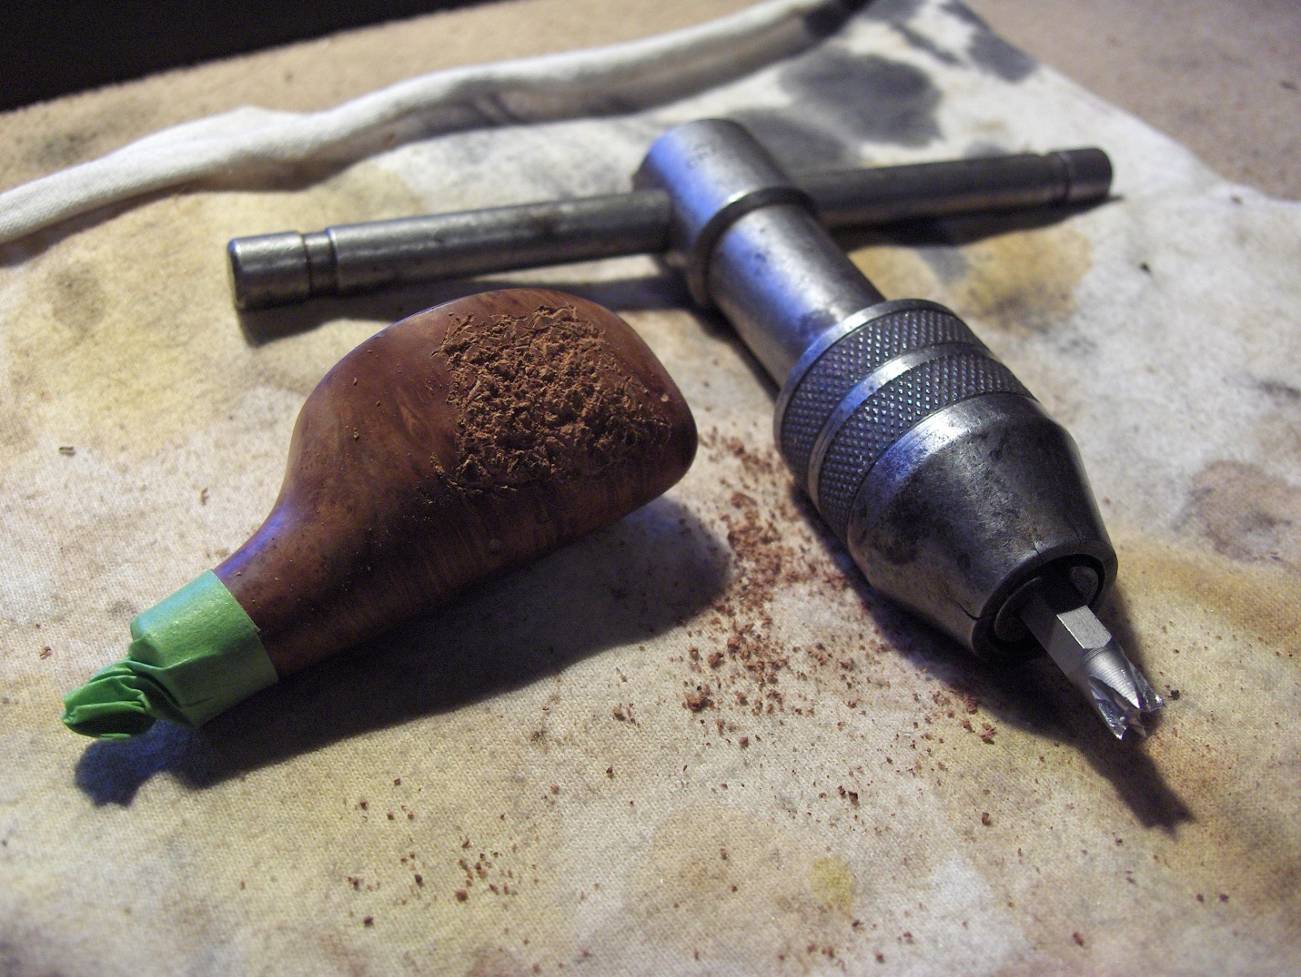
I have a variety of tools that I use to carve into the briar. Some of them are handmade and others are off-the-shelf tools, but my favorite is an old Craftsman T-handle tap wrench. It has a chuck on the end that will accommodate any ¼”–½” bit. It makes it very easy to switch out any of the several bits of various sizes and shapes that I have modified for carving different textures. The chuck provides a tight grip without any of the “wobble” that I’ve encountered when using a bit in a standard driver.

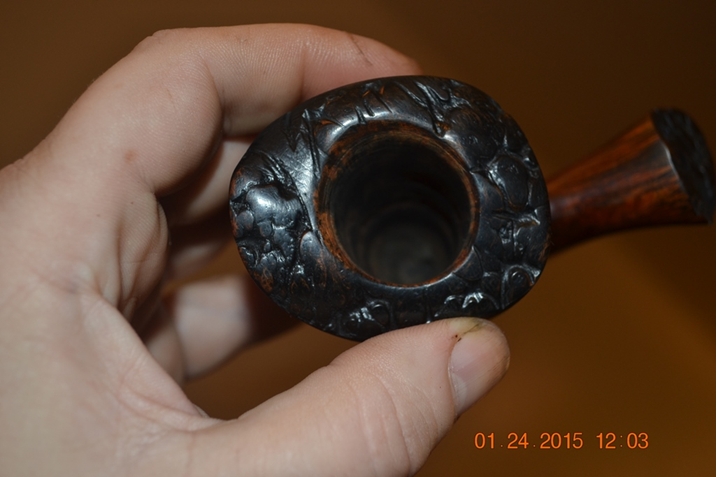
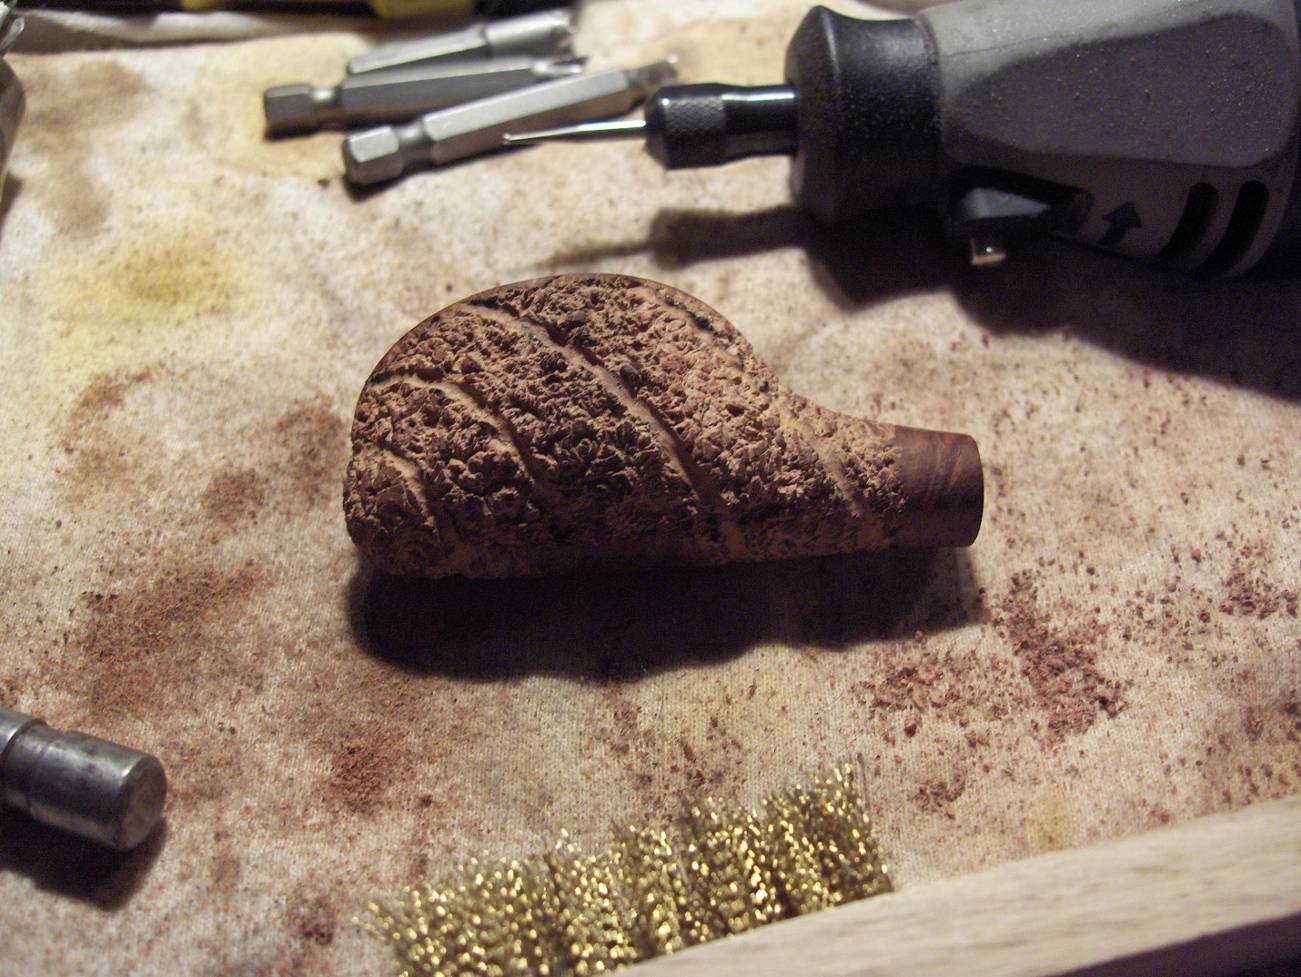
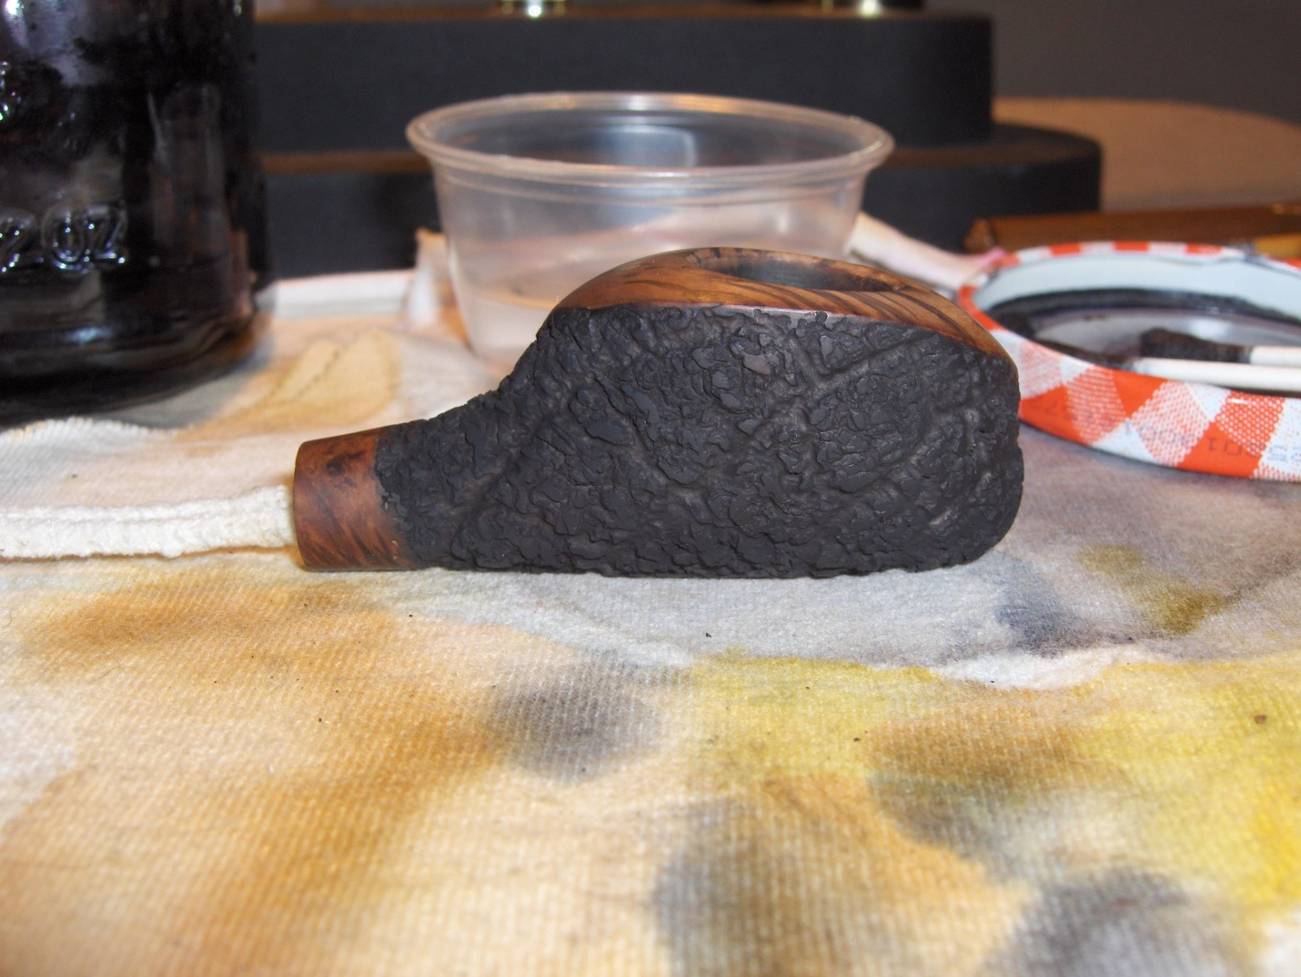
For this project, I began by using modified Phillips bits similar to what Steve has previously detailed here. First, I taped off the end of the shank with painter’s tape to make sure that I didn’t carve into that area. Then, I used a #2 bit to carve around the stummel, twisting and turning as I went. I wanted a deep, craggy texture to give some good contrast with the smooth areas. I switched to a smaller #1 bit for a little more control while I edged up to the smooth areas. The photo below shows the tool and the stummel after I had just started carving.Jet13 After carving with the bits, I used a wire brush to remove any loose material in the texture. Then, I had the idea that I might be able to restore some of the movement in the shape by carving a few deep “waves” into the rustication. I used a Sharpie pen to sketch some curved lines onto the texture to test out my idea and to give me something to follow should I choose to go that way. I liked it well enough and decided to go ahead. I never pass up an opportunity to break out my trusty Dremel (it really is an addictive tool). So, I fitted it with a #107 engraving bit and etched in the lines that you see in the following photo.Jet14 I then used a smaller #108 engraving bit to etch a few divergent “cracks” off of the curved lines. This was followed up with some more work with hand carving tools to give it a more natural, less machined, look. I went over it again with the wire brush, and then used 400-grit paper to slightly smooth the peaks for a better tactile feel. You can see the final rustication texture in the photo below (the dark spots are the remains of my Sharpie lines).Jet15 Then it was time to stain. I used isopropyl alcohol to thin some black Fiebing’s leather dye 3 to 1, applied it to rusticated area with a cotton swab, and flamed it. Then, I heated the wood with a heat gun until it was very warm to the touch and used a 20/0 liner brush to paint the dye across the grain in the smooth areas.Jet16 After allowing the stain to set, I lightly sanded the entire stummel with 600-grit paper. This included sanding the surface of the rusticated areas to give it some highlights to accent the darker crevices. I then gave the entire stummel two coats of dark brown stain thinned with alcohol, and flamed it between each one.Jet17 The stummel was hand-buffed with a cotton cloth. The smooth areas were then lightly sanded with 1200-grit. I also lightly and strategically sanded a few of peaks in the rustication around the smooth areas to allow one texture to fade into the other a bit. I then used micromesh pads 1500-2400 in the same manner.

Another couple of stain coats were then applied to the stummel using the same mix and technique that I had used earlier. This time, it was an ox blood stain to add some brightness. Then, I continued with the remaining grits of the micromesh pads. When done with the pads, I gave the stummel a couple of coats of Halcyon wax to wrap up the work.

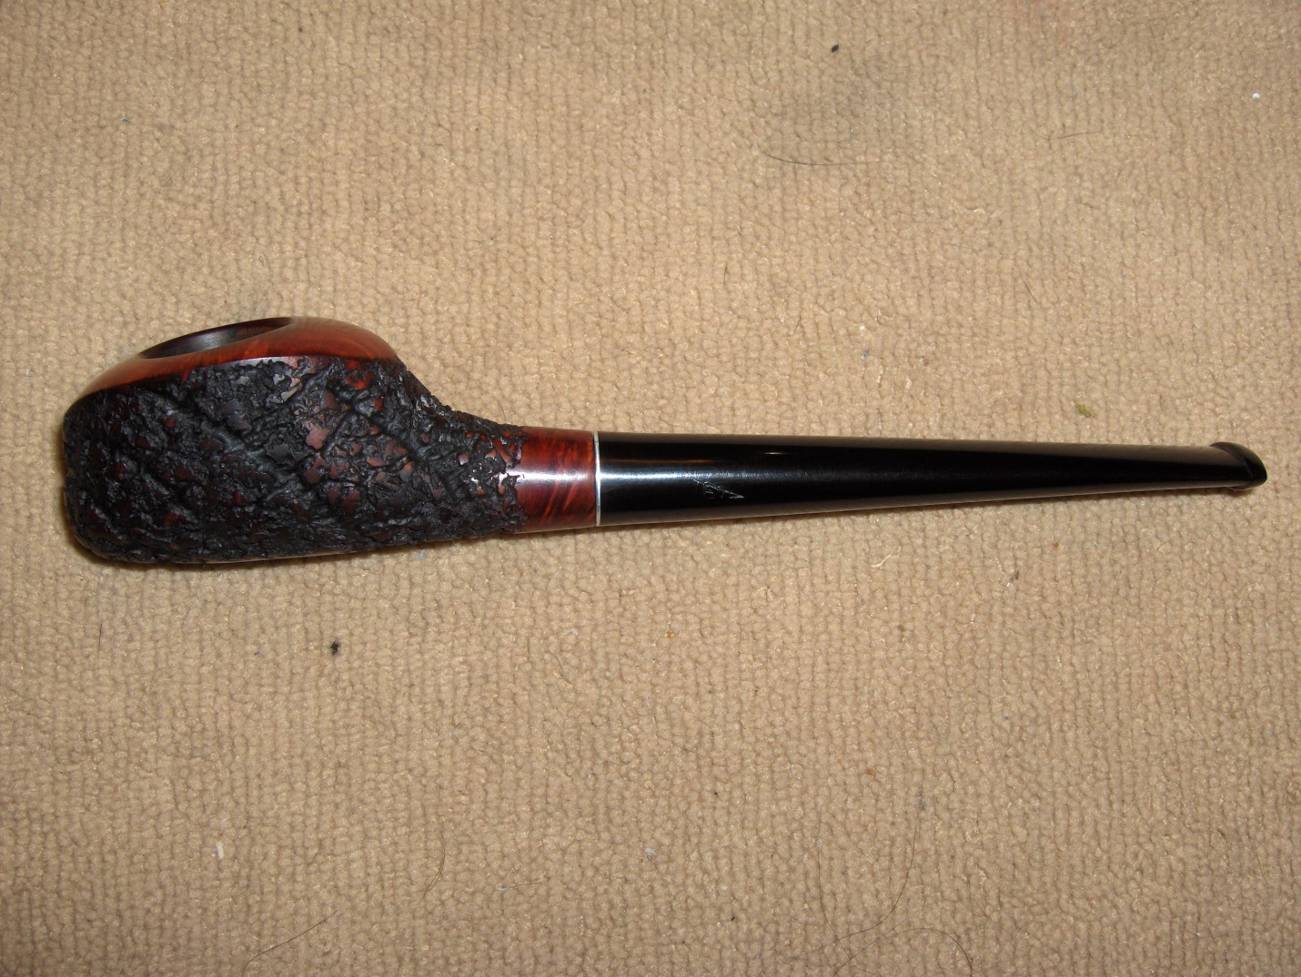
I think the rustication worked out fairly well and it has a great feel in the hand. You can judge for yourself from the photos of the completed pipe below. I’ll always wonder what could have been if I had left it smooth, though. I guess I’m on the hunt for another Jet Stream so that I can find out!Jet18

Jet19

Jet20

Jet21

Jet22

Jet23