by Kenneth Lieblich
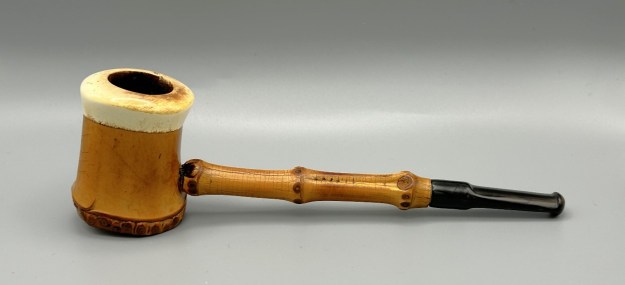
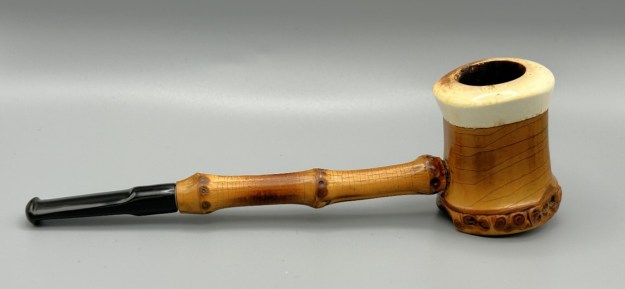
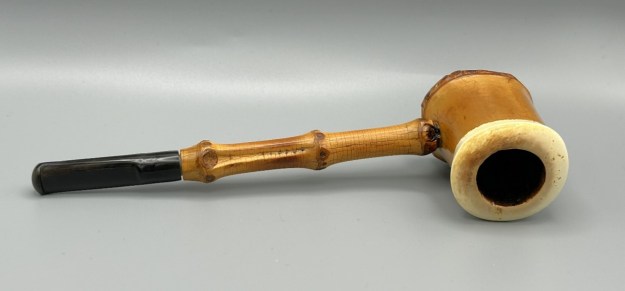
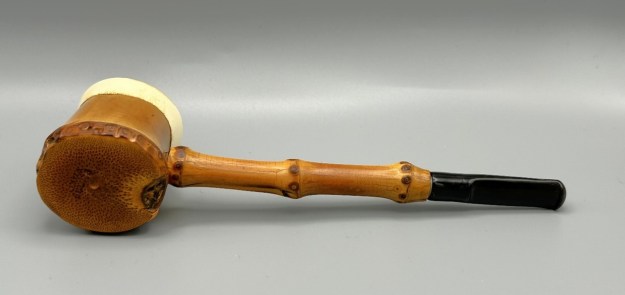
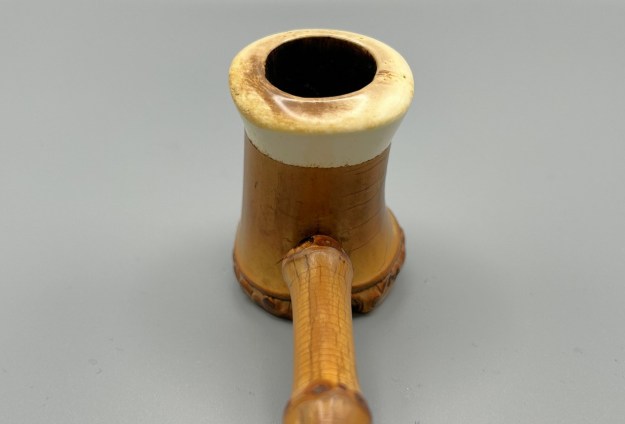
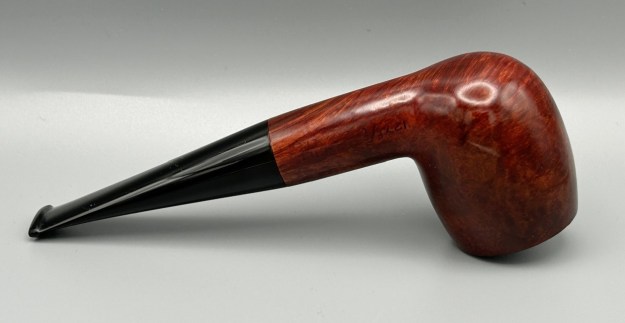
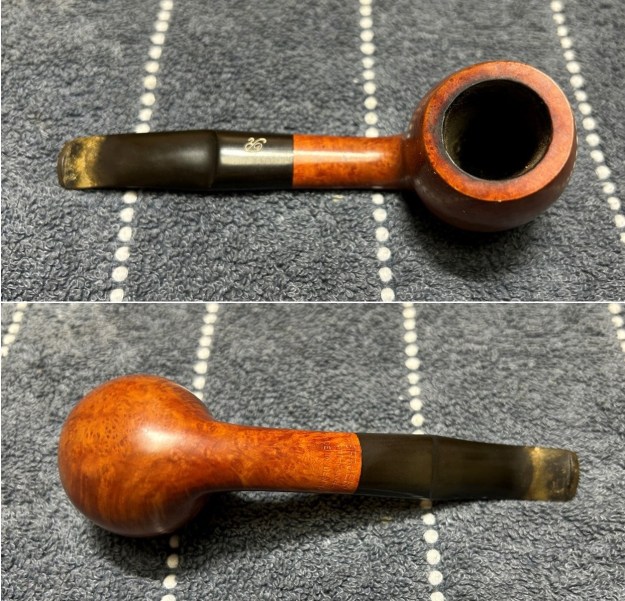
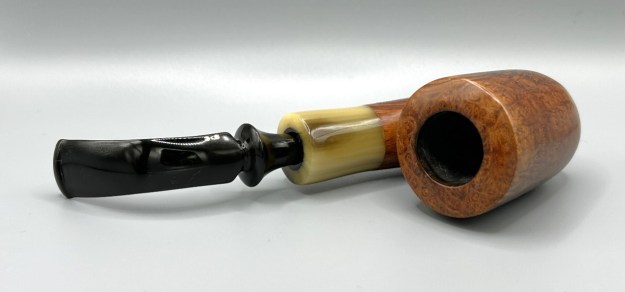
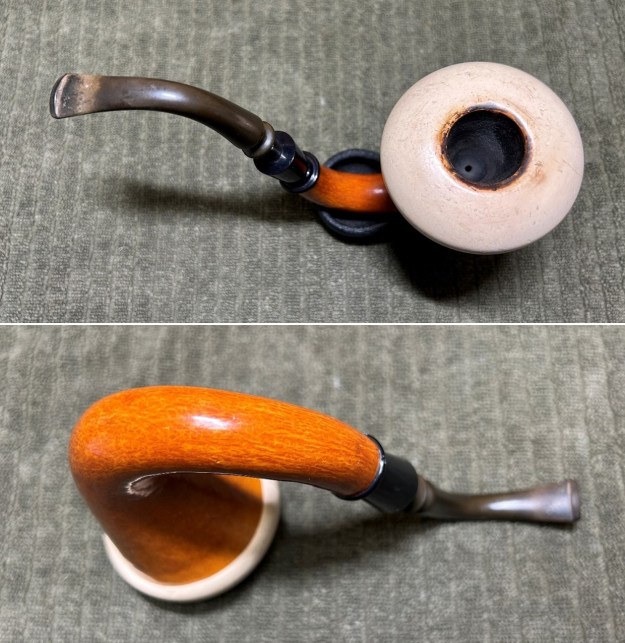
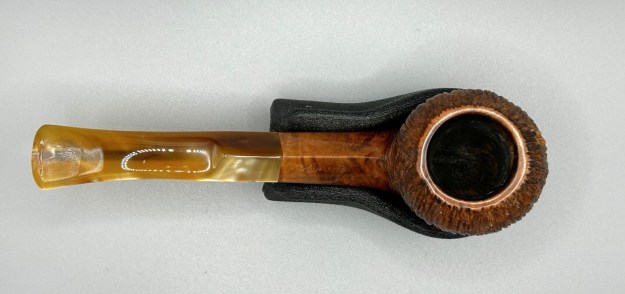
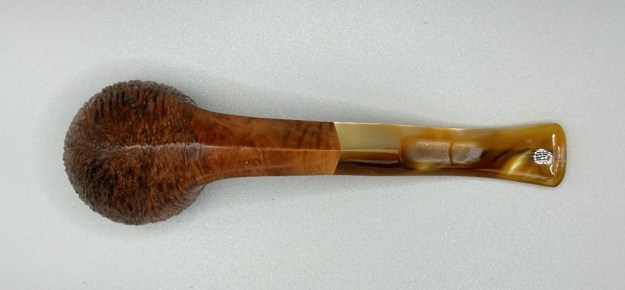
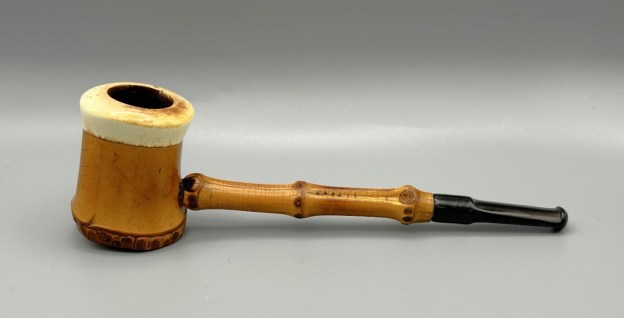
This is an odd pipe, to be sure – but a charming one. A few years ago, I acquired it in a large batch of very old French pipes. There was a mix of lovely and dreadful in that batch – and this pipe was a part of it. It had a meerschaum bowl and rim, with a bamboo stummel (holding the meerschaum) and a bamboo shank. I could see a bone tenon emerging from the shank, but – alas – the stem was missing. I could tell just by sight that the bamboo was old and beautifully worn. I always had this pipe in the back of my mind and it sat in my boxes for a long time. Finally, I came up with a plan to restore it and give it a new lease on life. I think the results are terrific. I hope you will too.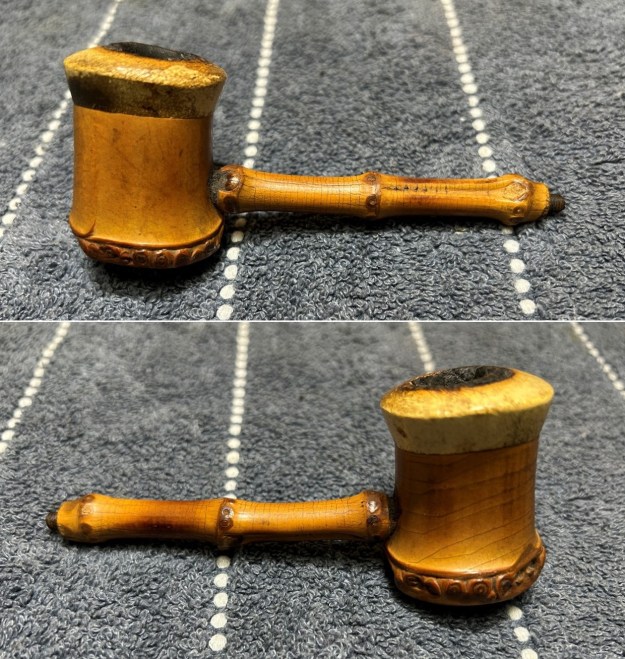
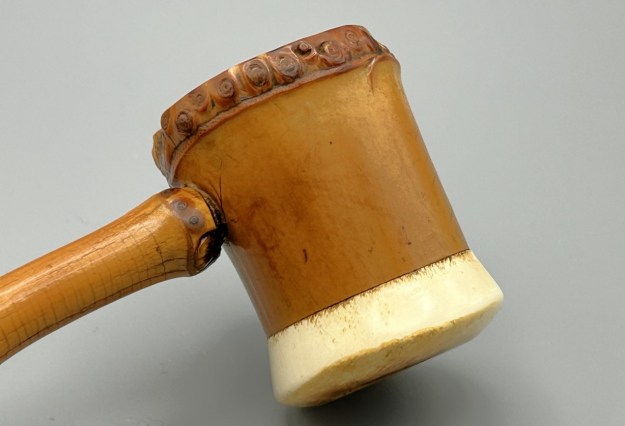
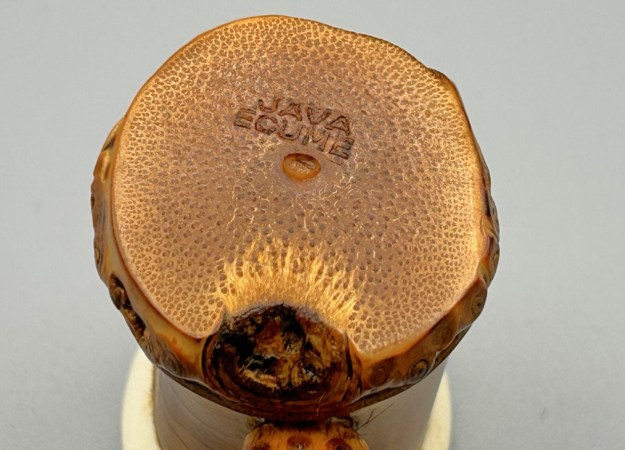
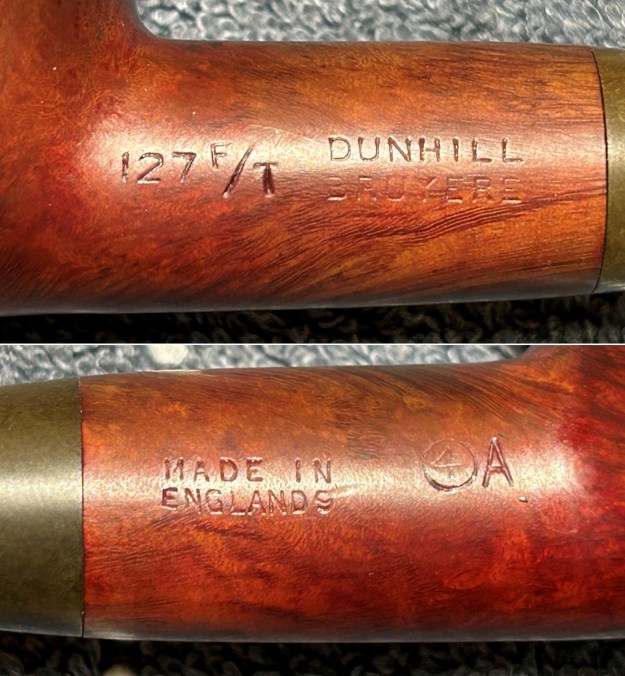
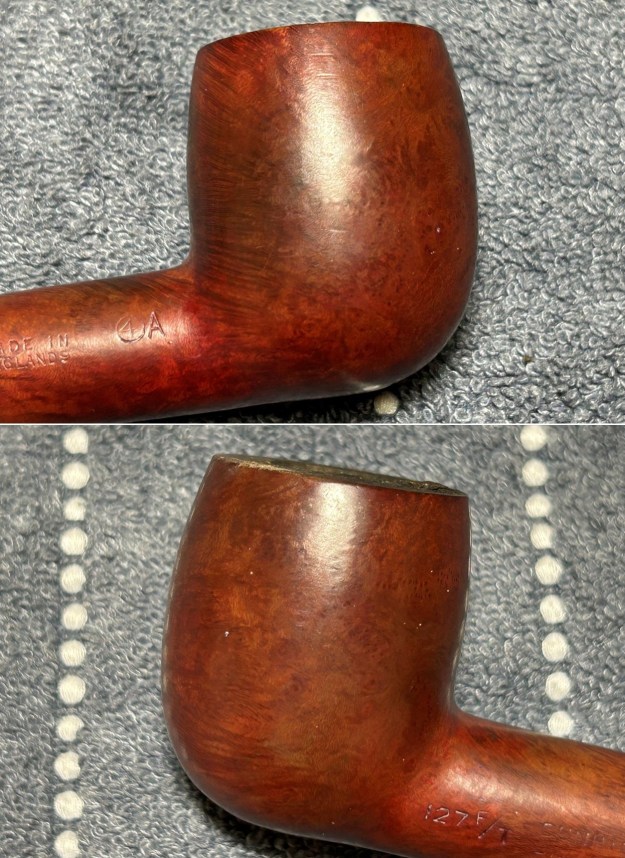
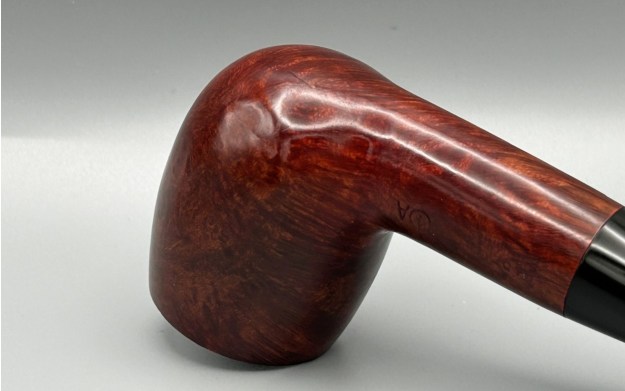
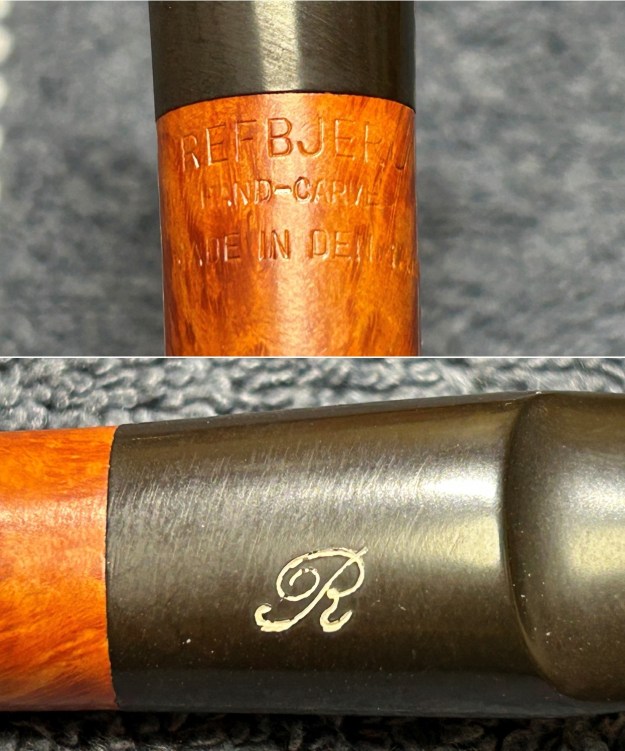
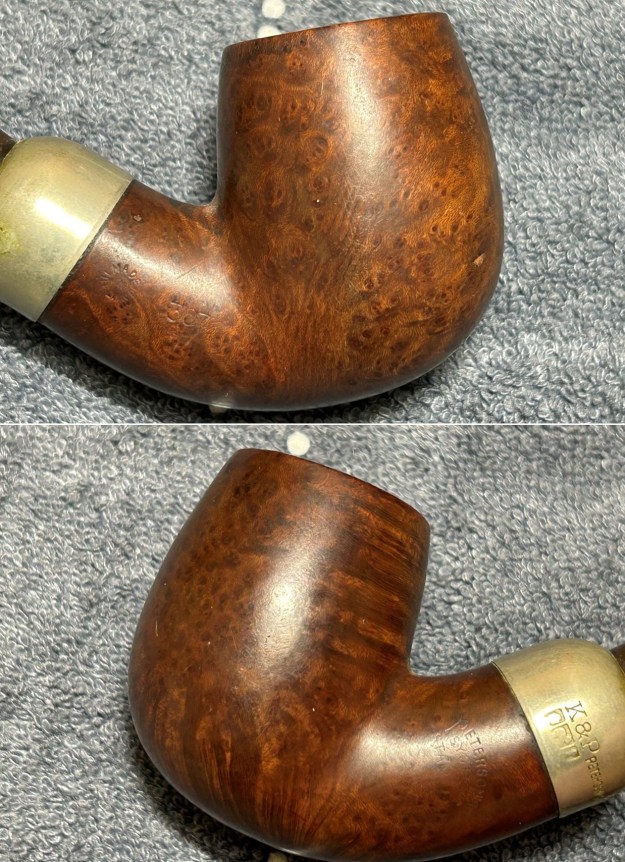
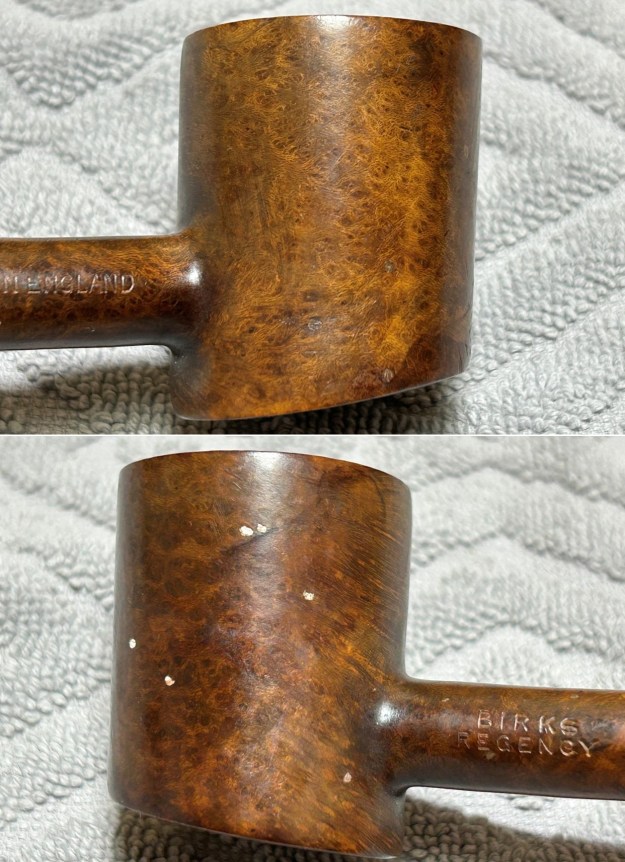
 The markings on this pipe are intriguing, if somewhat unhelpful. On the underside of the bamboo bowl, we see the words JAVA [over] ECUME. I searched extensively for these words in a pipe context, but found nothing specific. However, I think we can figure it out. Let’s work backwards. The French word, écume, most generically, means ‘foam’. However, in this instance, it is also the French word for meerschaum. That makes sense. As I’m sure you know, meerschaum is a German word which literally means ‘sea foam’ (meer = sea and schaum = foam). Incidentally, schaum is also where we get the English word scum from. But where did the Germans get the meerschaum word from? Obviously, meerschaum is so called because it is white and light, but the Oxford Dictionary of Etymology further explains that the term is itself a translation of the Persian word kef-i-daryā – literally meaning ‘foam of sea’. Now you can impress friends at your next cocktail party.
 Meanwhile, the word Java made me think immediately of the Indonesian island, but I wasn’t sure if there was ever an Indonesian pipe company with that name. I certainly couldn’t find any evidence of one. There have been pipe makers in Java, but I don’t think this pipe was made there. Having said that, however, I don’t think the reference is too mysterious. The island of Java is replete with bamboo – in fact, there are approximately sixty species of bamboo on the island. I think it stands to reason that the use of the name Java is simply a reference to the origin of the bamboo or an attempt to provide an oriental name to the pipe.
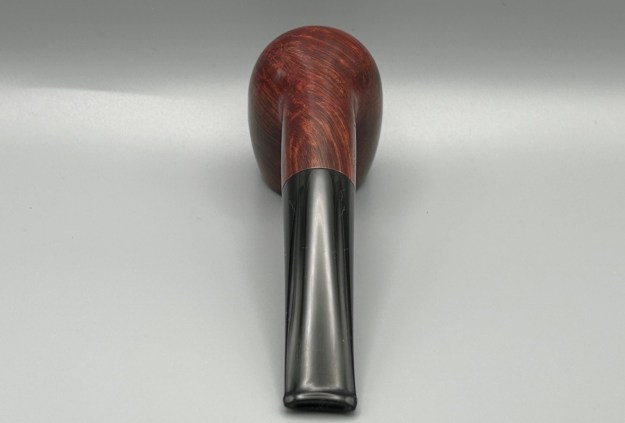
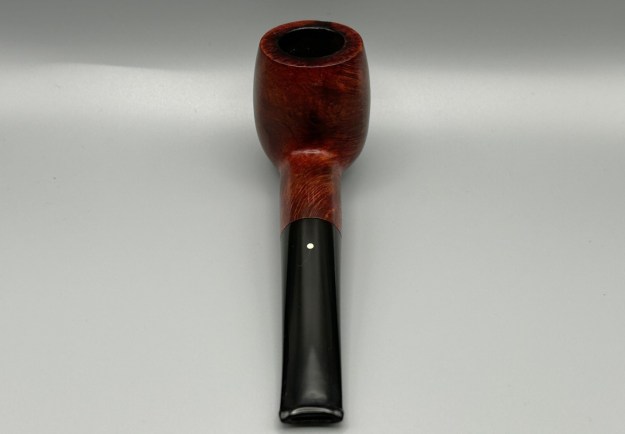
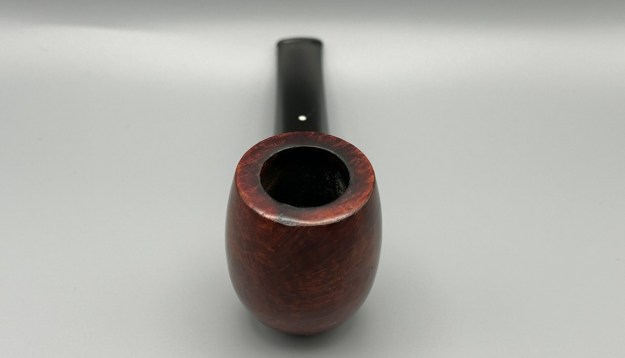
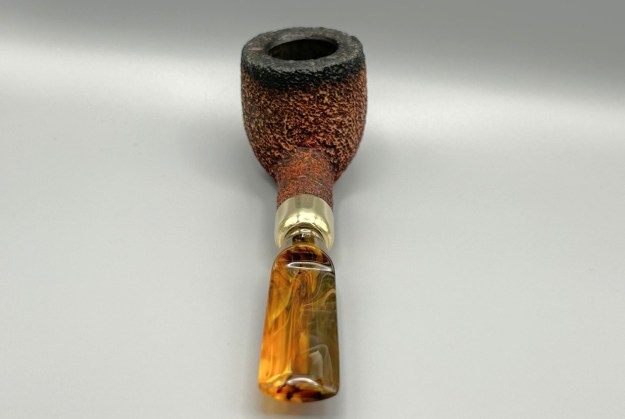
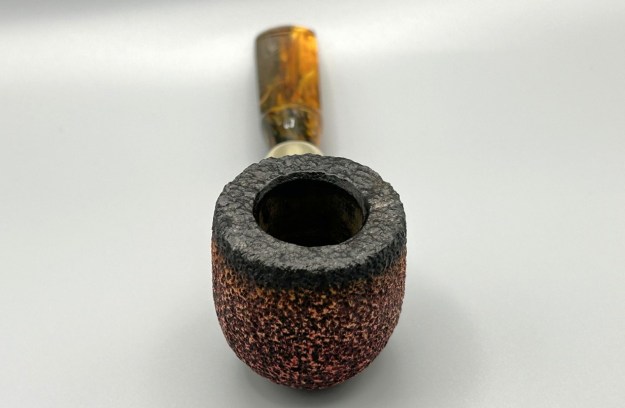
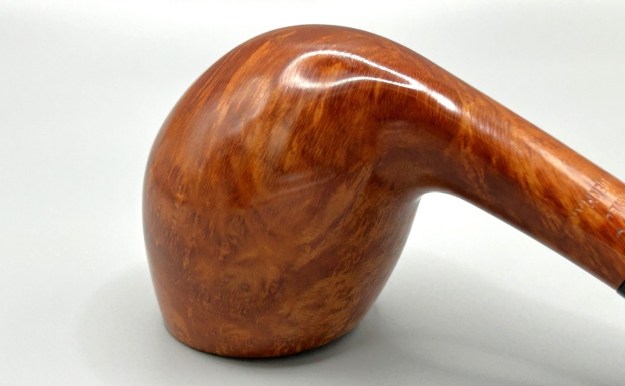
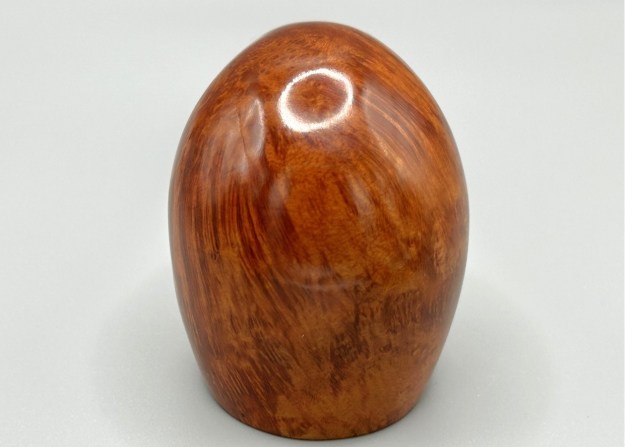
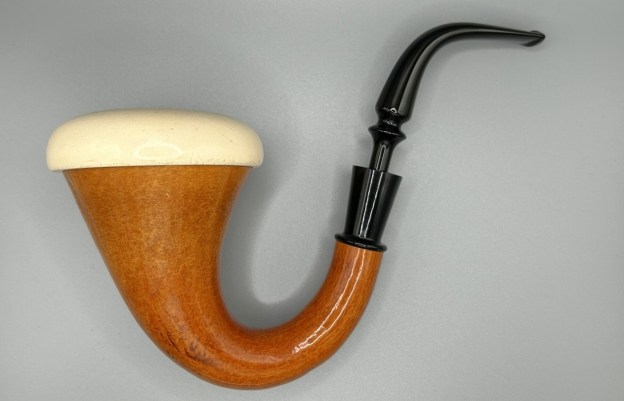
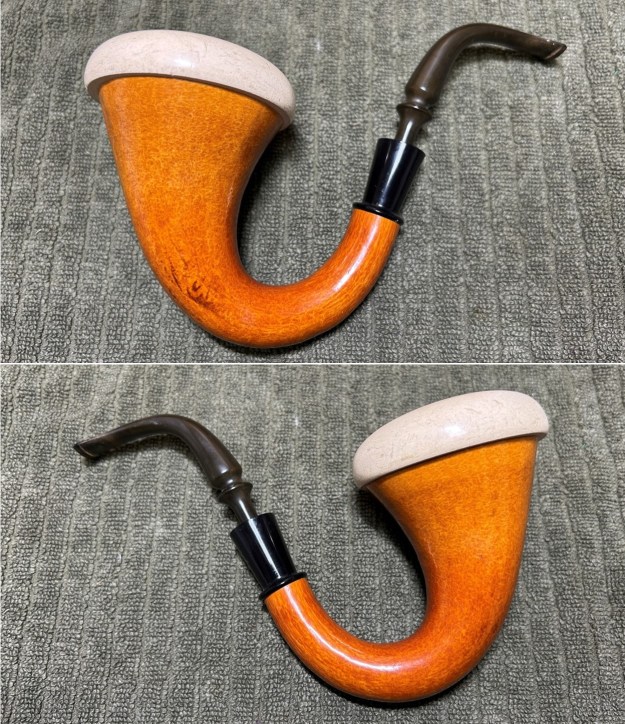
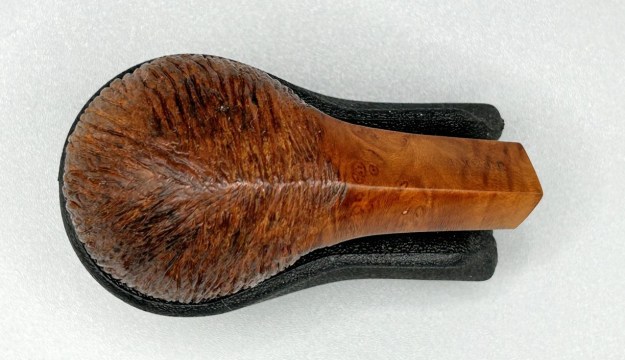
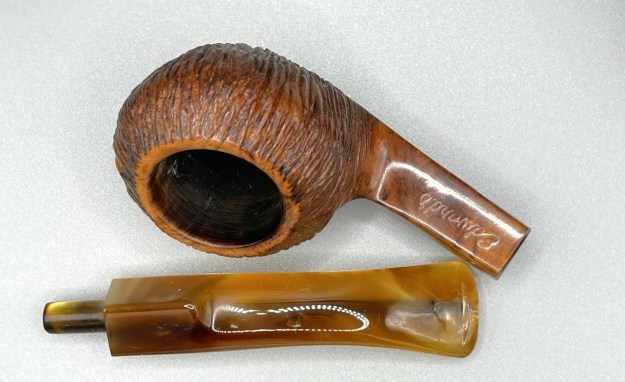
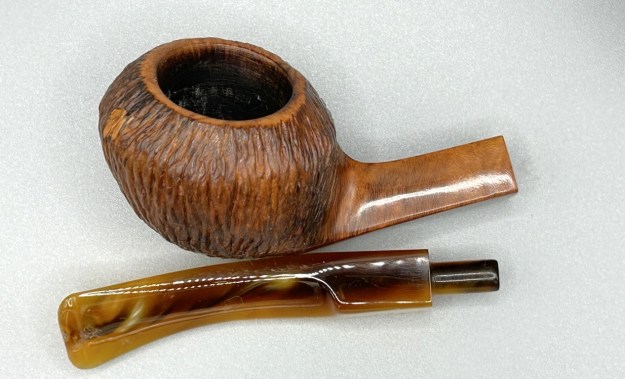
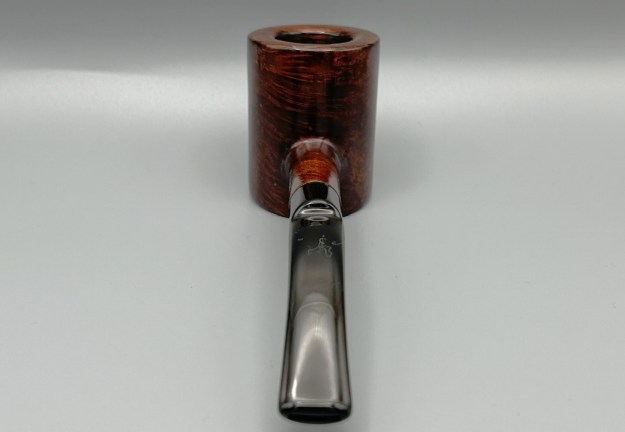
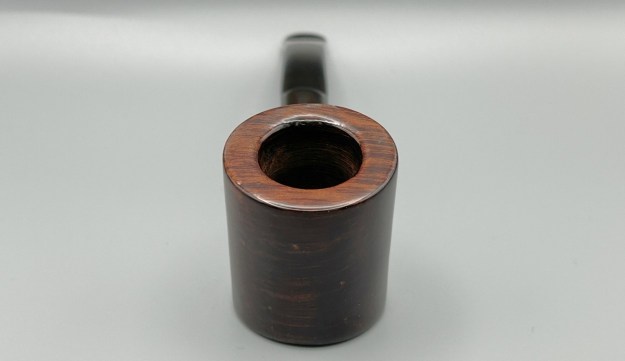
Last year, I restored a meerschaum and bamboo pipe, and I mused about that particular mixture of materials – and I will muse about it again now. Meerschaum and bamboo pipes are certainly not unprecedented, but it isn’t that common either. Here is an example of an unbranded bamboo meer found on eBay. Not only does the pipe have no identifying marks, but the seller had no information about it either.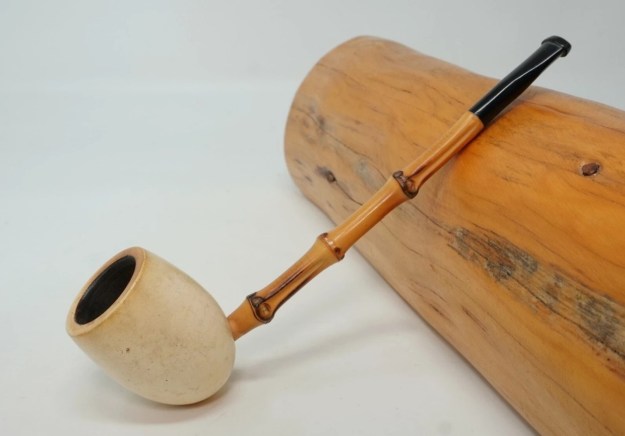 One can find some spectacular examples of meerschaum and bamboo in pipes from Walt Cannoy, Ryan Alden, and the famous Turkish maker, Said Altınay. Here is a beautiful example from him:
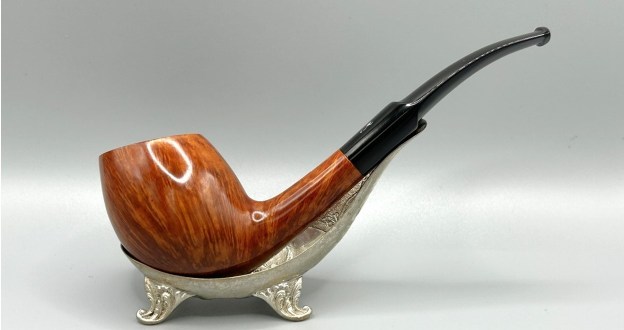
 As a side note, Altınay’s website includes an interesting note on the history of bamboo in pipe-making. I provide a brief quotation:
Bamboo began appearing in briar pipe construction in the early 20th century. The earliest known pioneer of this style is believed to be Sixten Ivarsson, the Danish pipe-making legend, who introduced bamboo shanks in the mid-1900s as both an aesthetic and practical innovation. The concept soon spread, embraced by artisans such as Tom Eltang, Tokutomi, and Takahiro Hibi, who elevated the use of bamboo into a form of fine art. Its appeal was twofold: the natural lightweight strength and the distinctive, organic appearance. While traditional briar offered durability and familiarity, bamboo introduced character, contrast, and subtle resilience — giving each pipe a unique signature.
Obviously, the pipe I have is not on the order of a Cannoy, Alden, Altınay, or Ivarsson! But I also feel comfortable in saying that this pipe is a lot older than those fellows’ pipes. I would be interested in hearing from you if you know more about the marriage of meerschaum and bamboo in pipe-making. Thank you kindly.
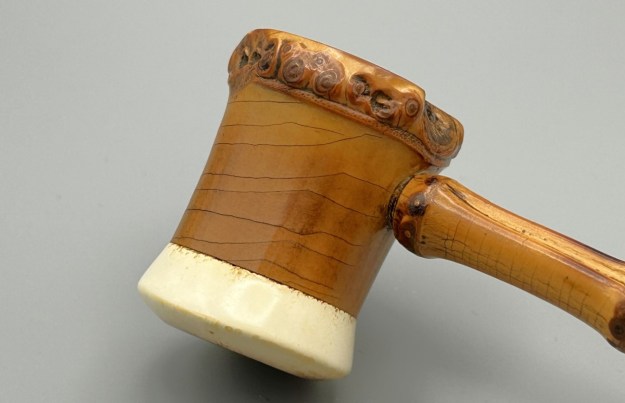
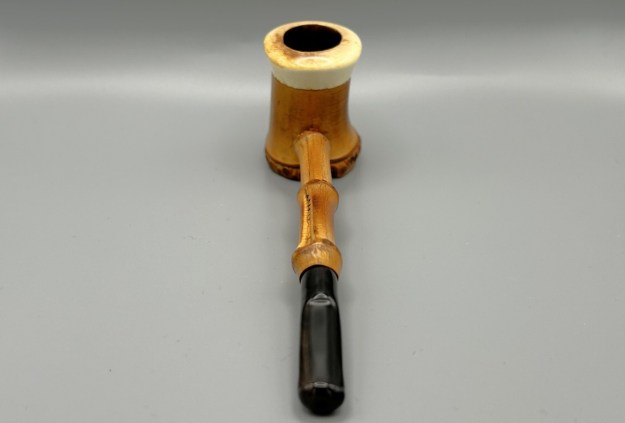
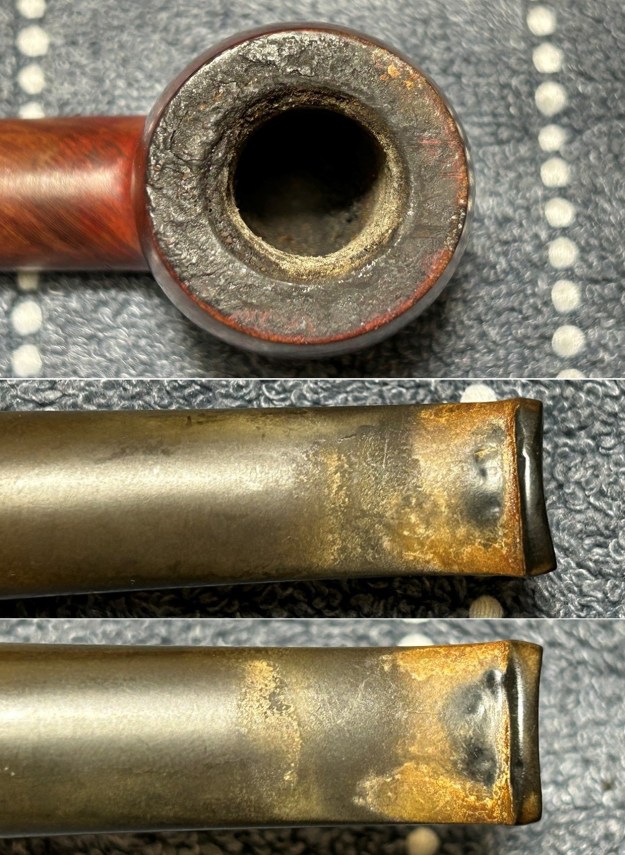
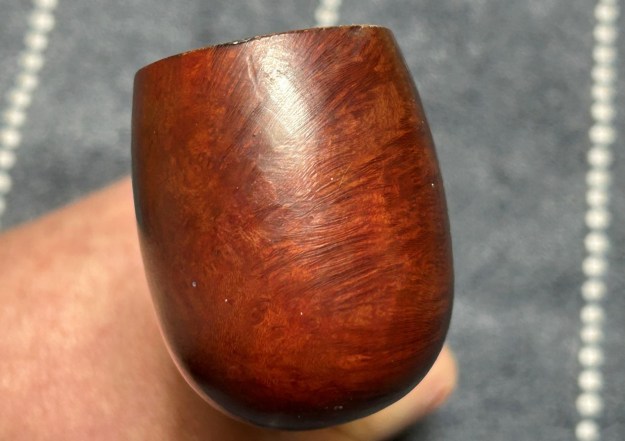
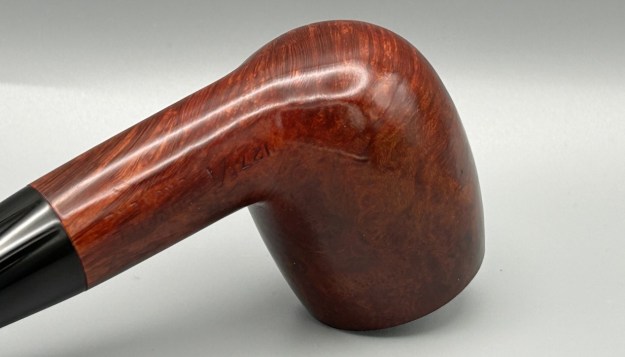
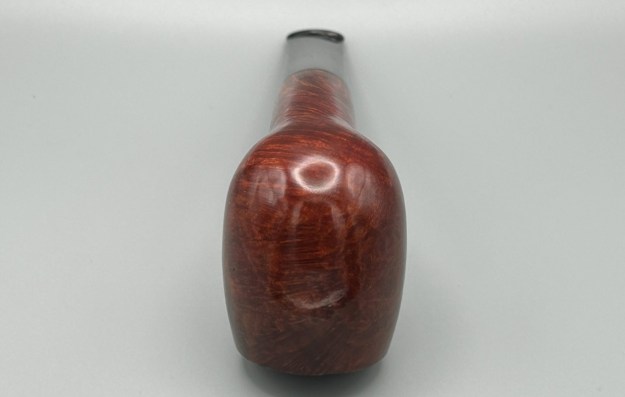
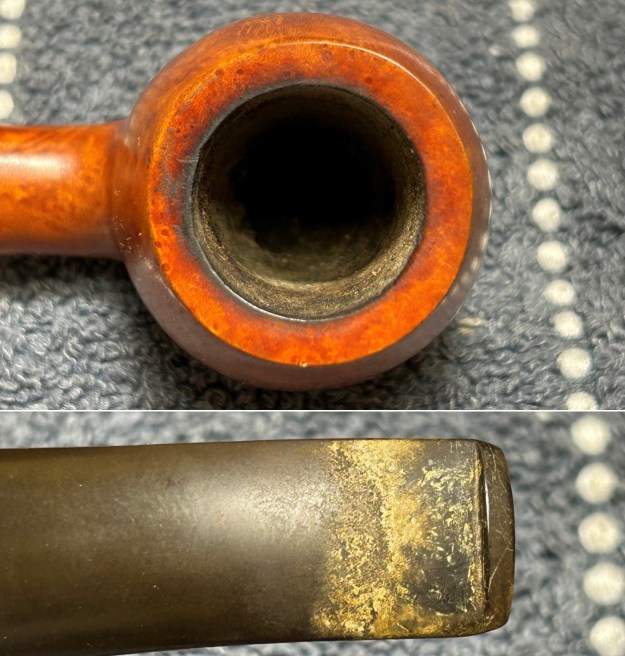
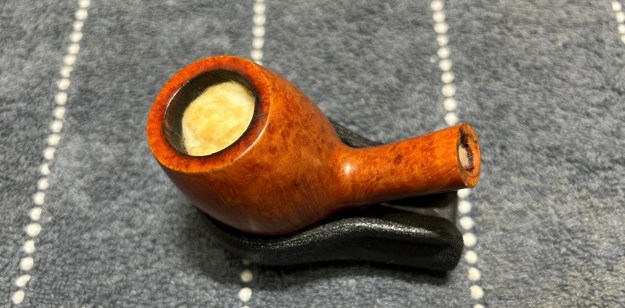
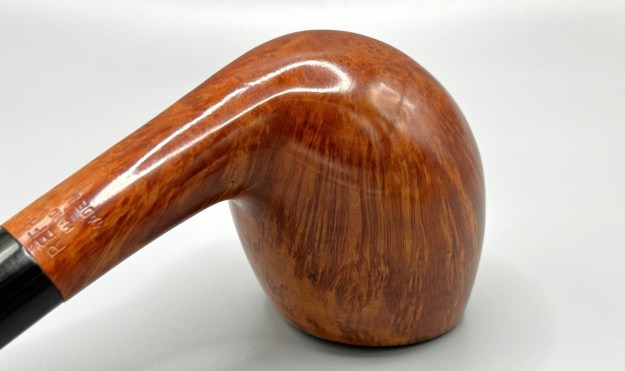
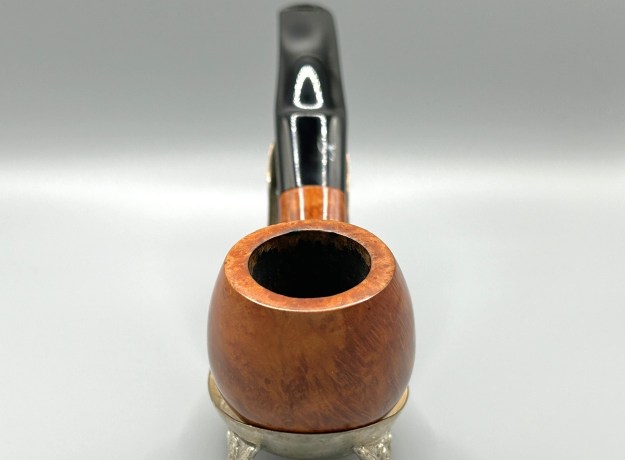
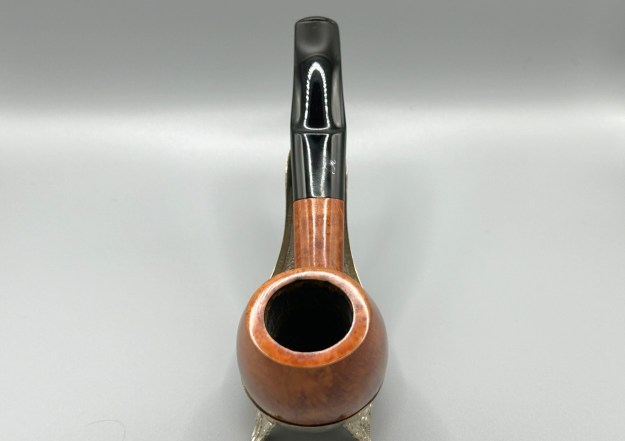
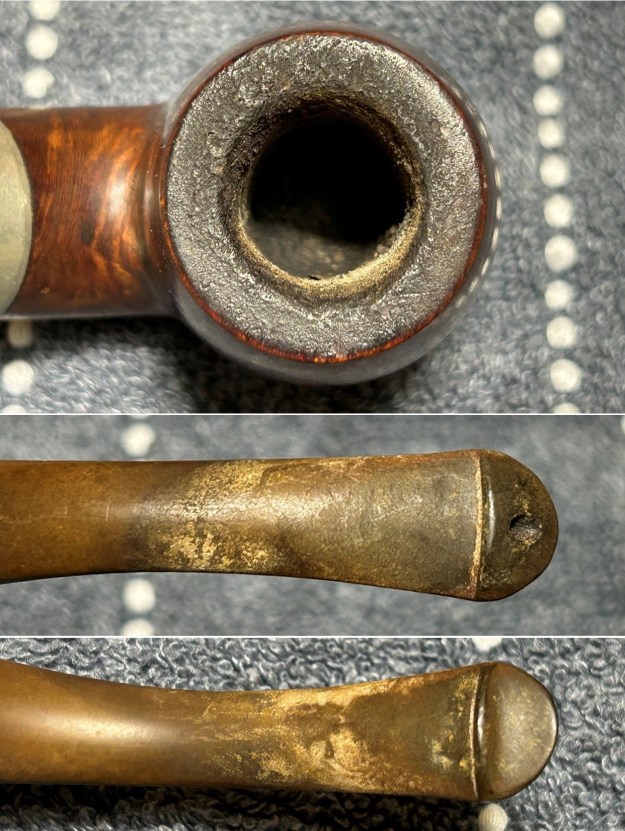
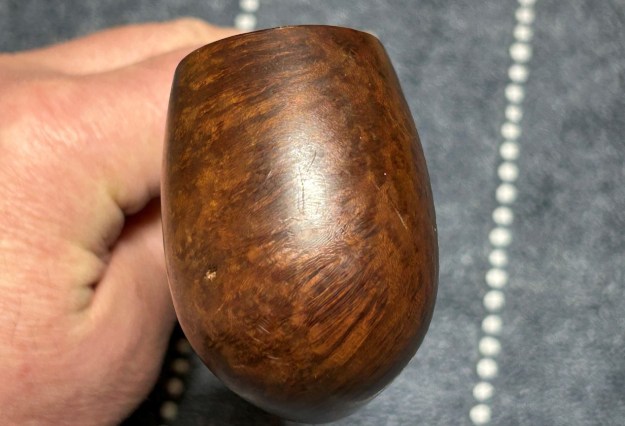
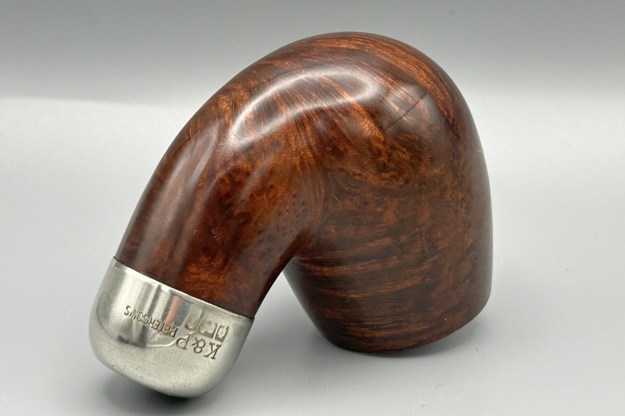
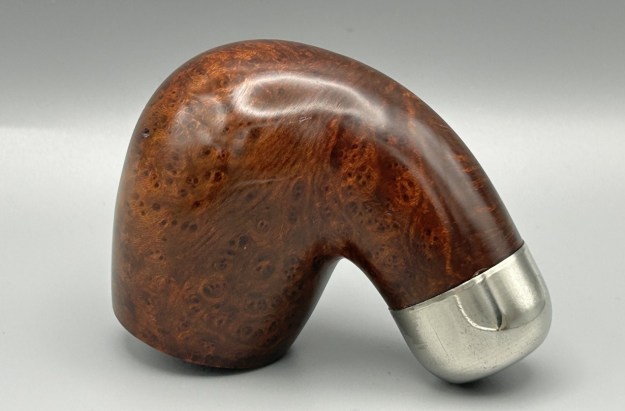
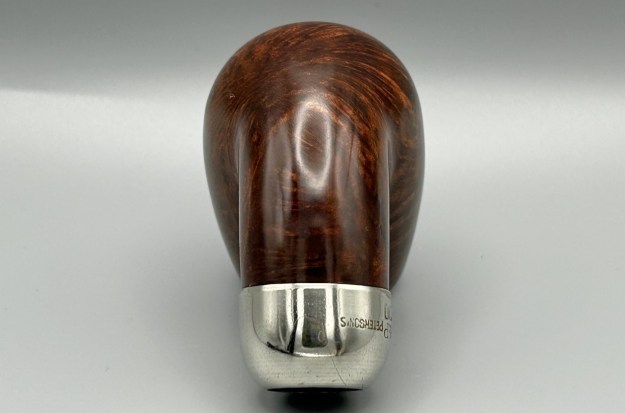
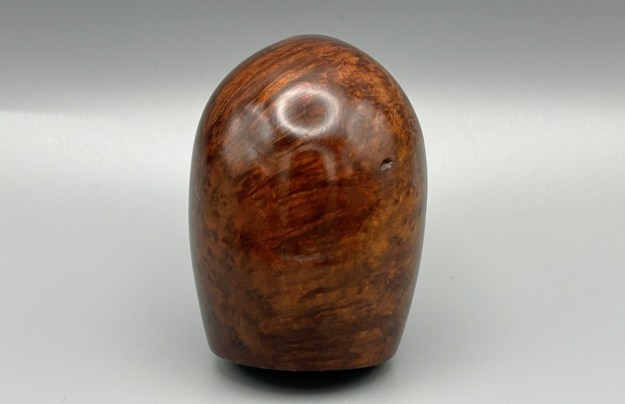
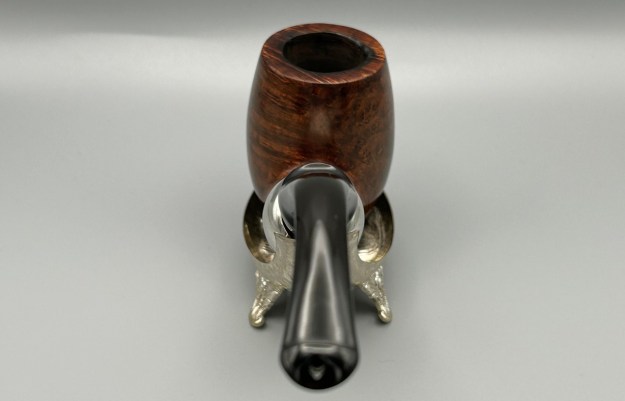
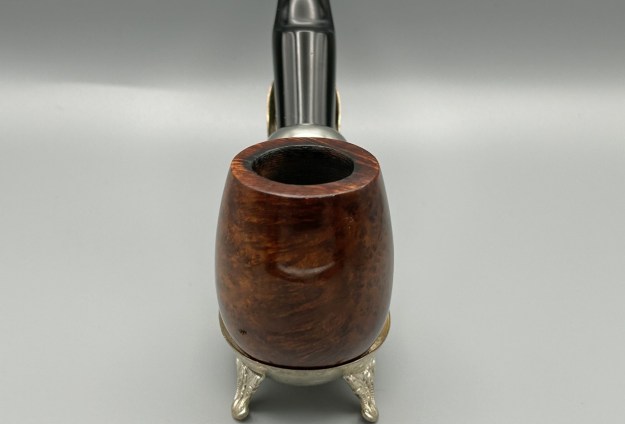
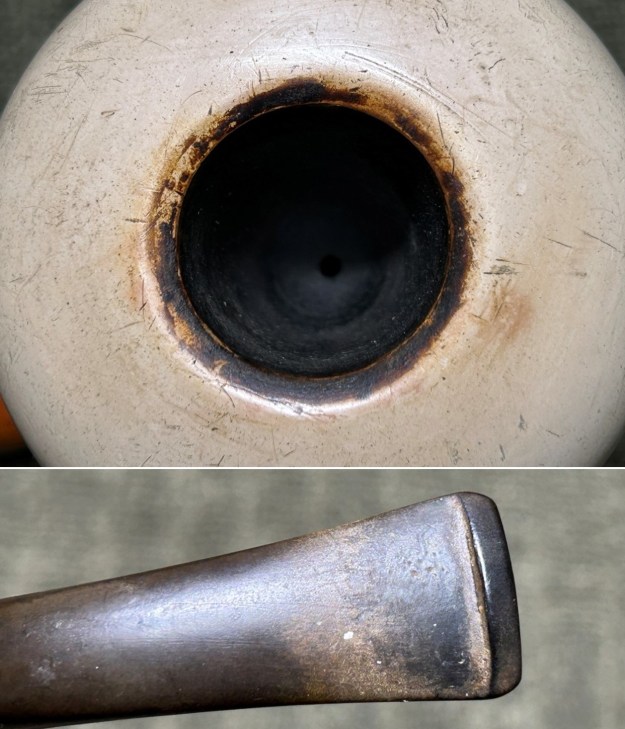
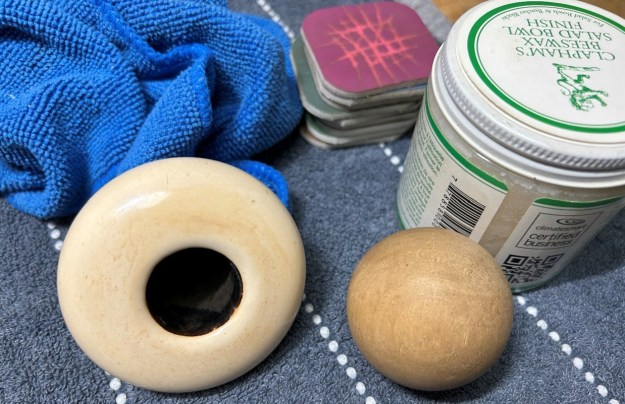
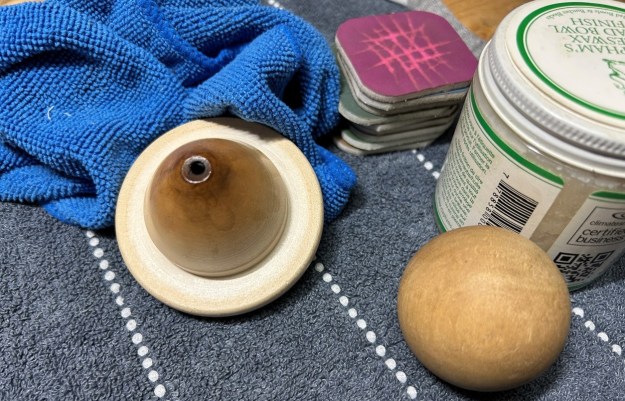
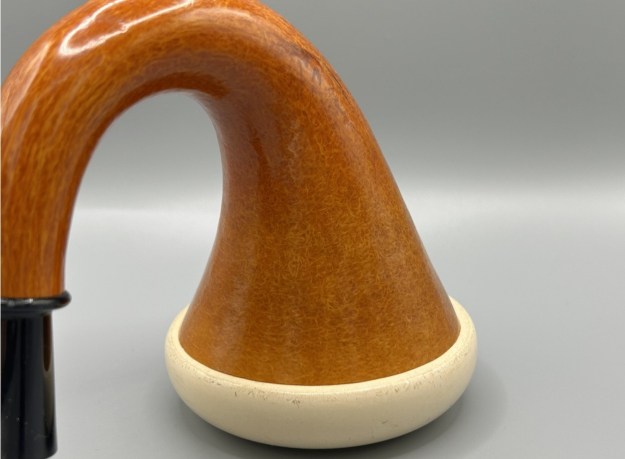
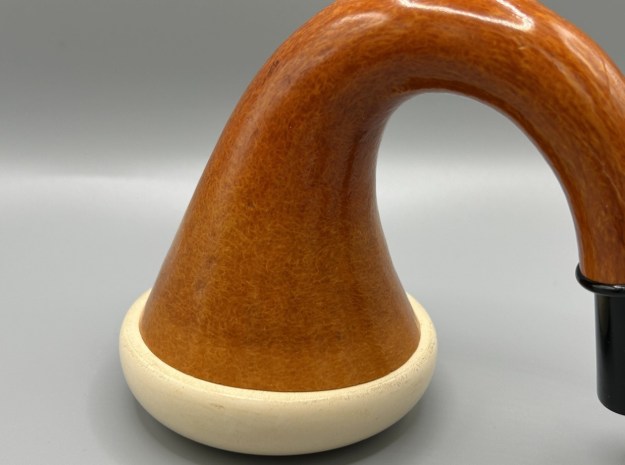
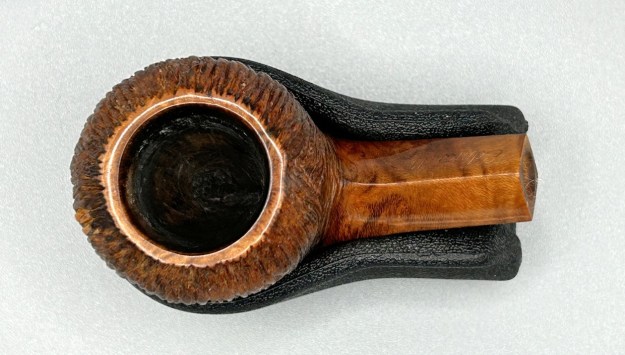
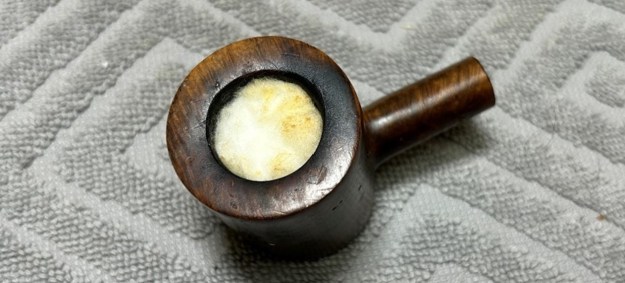
Let’s examine the condition of this pipe. The bone tenon is soiled and cracked, so that will have to be changed. The shank’s bamboo is sound – and very attractive. It’s quite dirty inside, but I am confident that we can resolve that. The bamboo part of the stummel is equally sound and beautiful. The meerschaum is very nice, but – wow – the cake on the inside of the bowl is thick and oppressive. Meanwhile, there is some nice staining to the meerschaum and that adds character.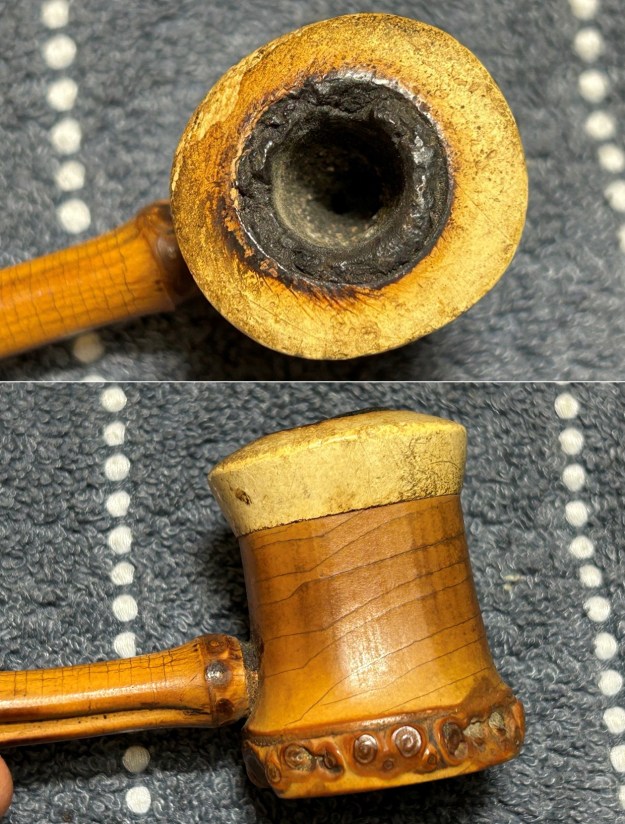
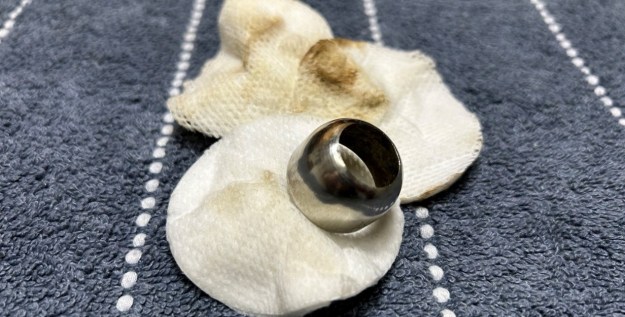
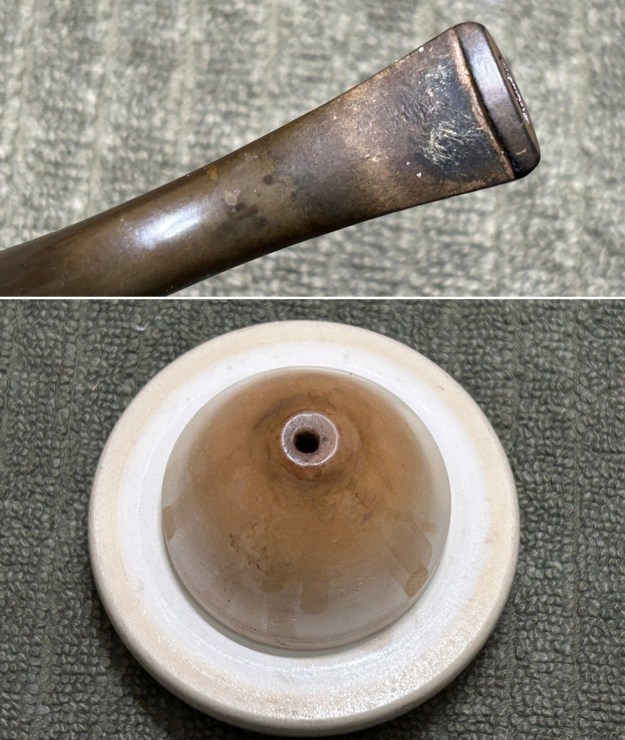
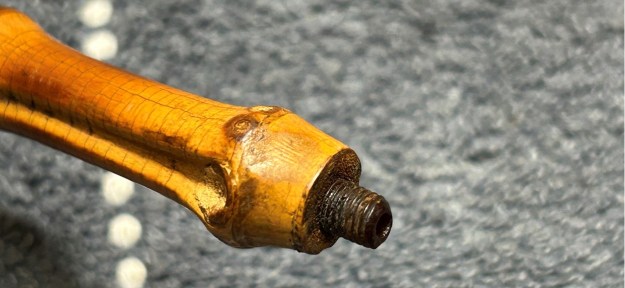 First things first. I couldn’t get the tenon out of the shank, so I took my heat gun and warmed them both. After a while, the goo inside loosened up sufficiently for me to extract it. As I mentioned, it was cracked – so I will find another one in my boxes. Later.
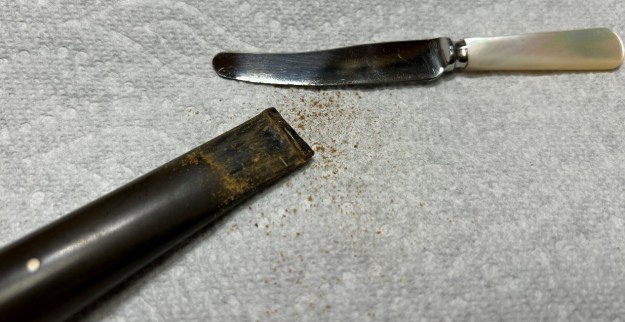
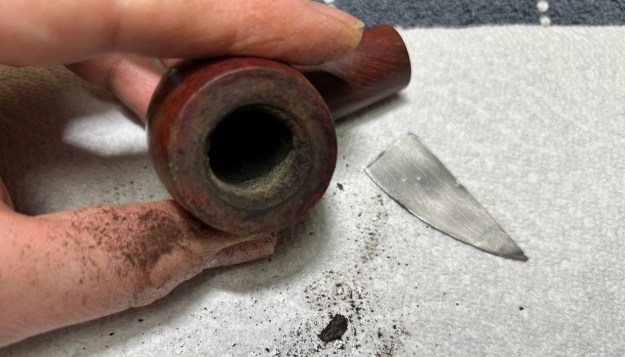
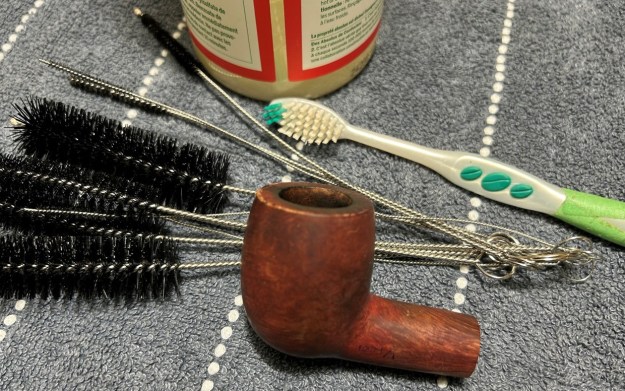
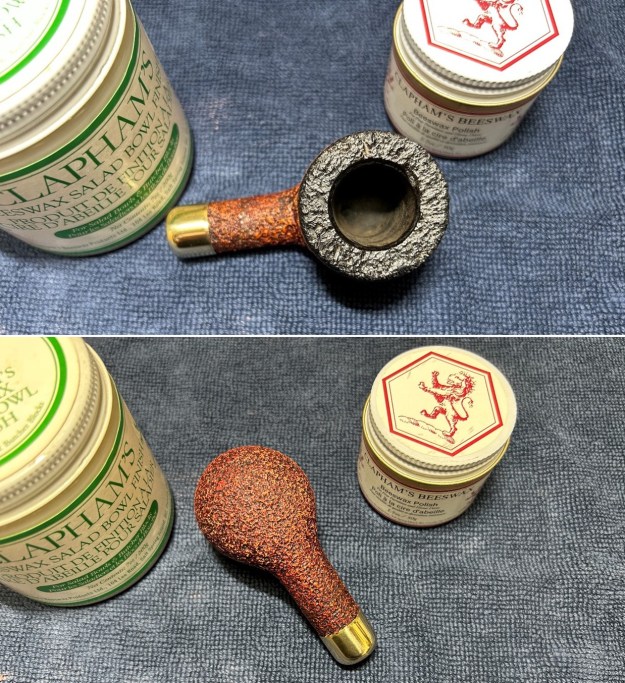
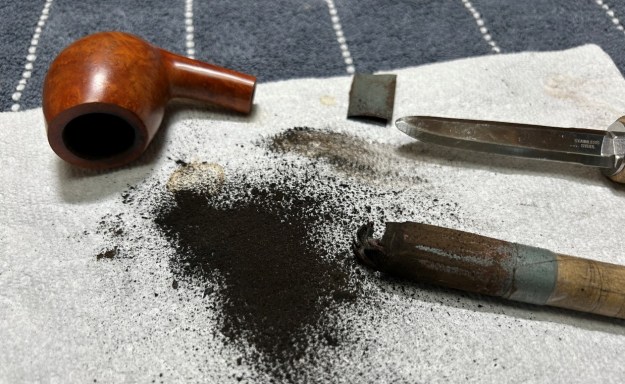
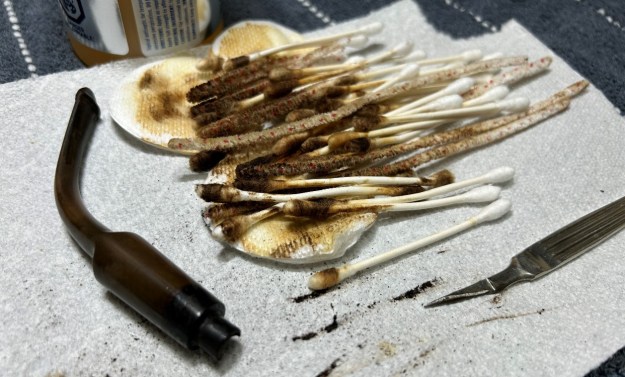
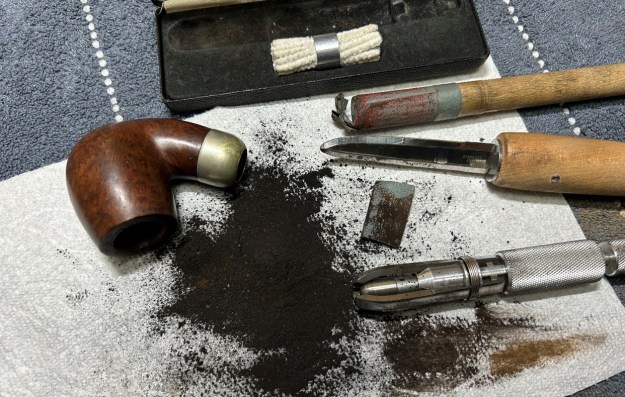
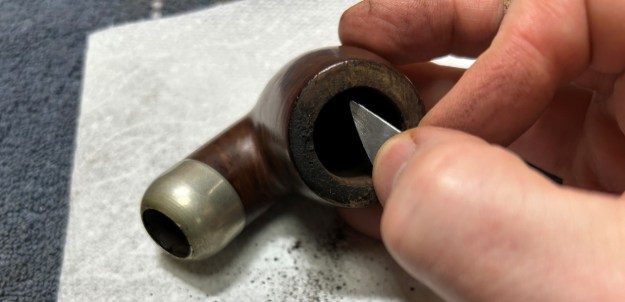
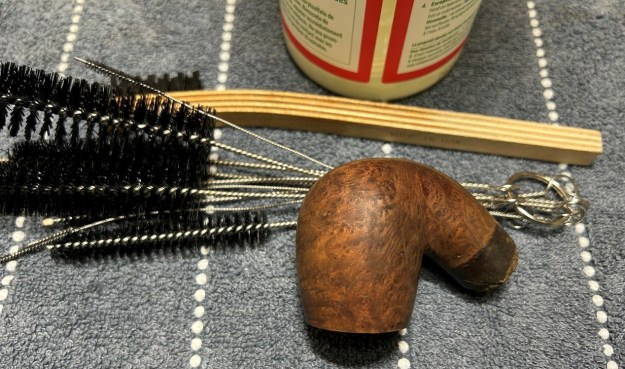
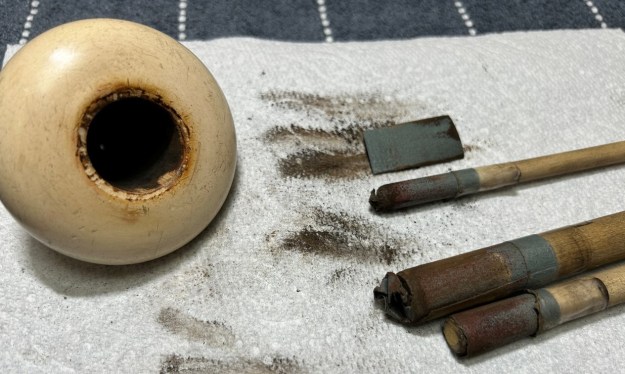
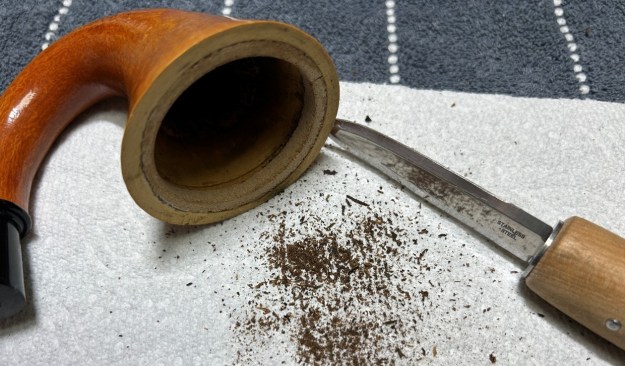
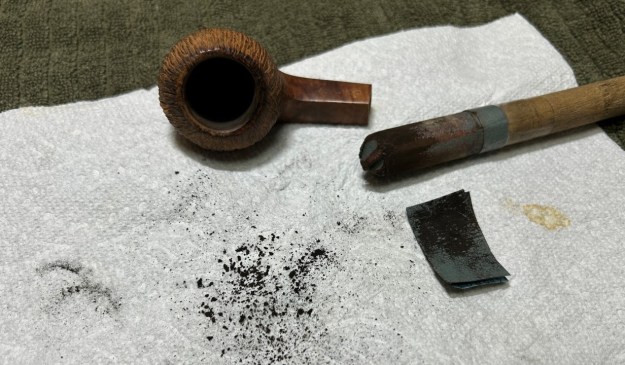
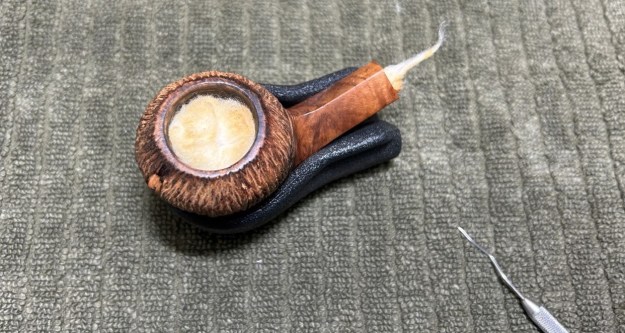
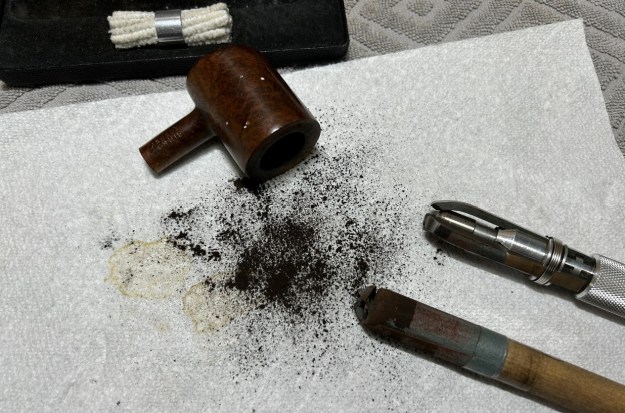
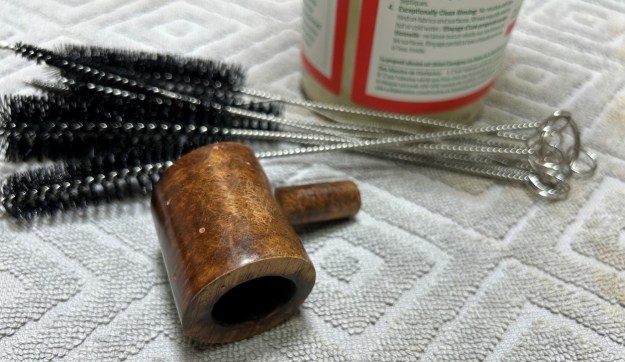
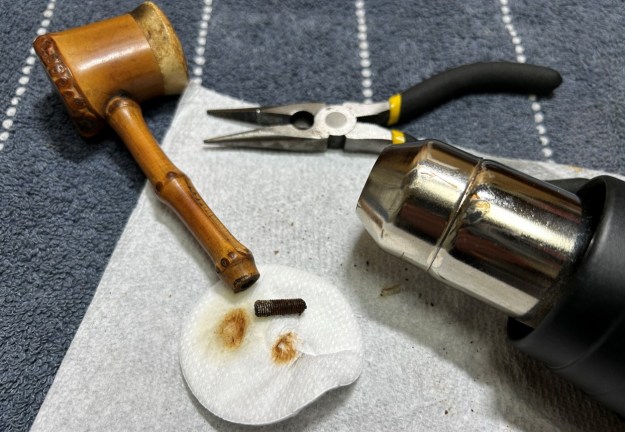 Next, I removed the cake from the inside of the bowl. I cannot adequately express how challenging this was. The cake seemed as hard as granite – and I had to be so careful with the extraction because the meerschaum is comparatively fragile. I used a pipe knife and some dental tools, and cautiously, agonizingly scraped and chipped away at the cake. I am not exaggerating when I tell you that it took me 45 minutes to empty the bowl properly.
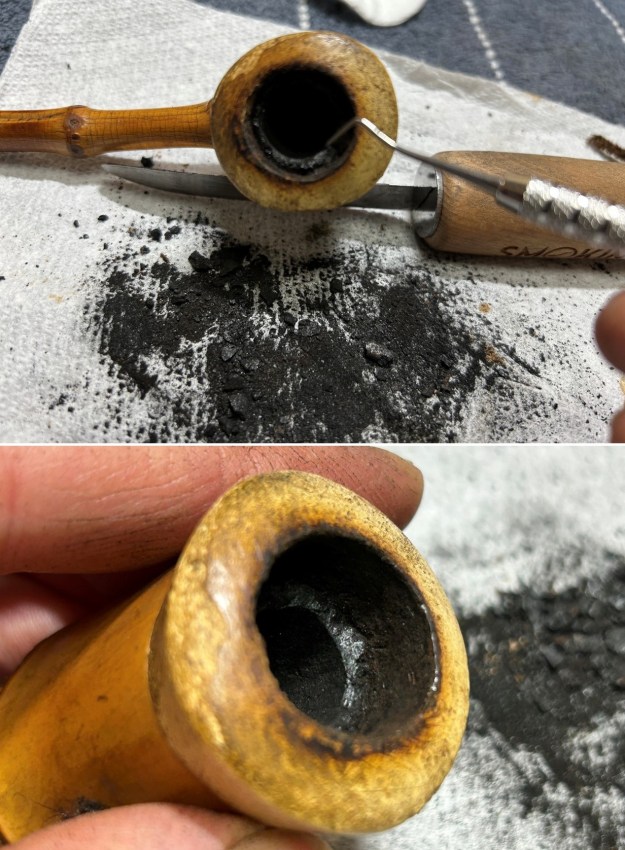
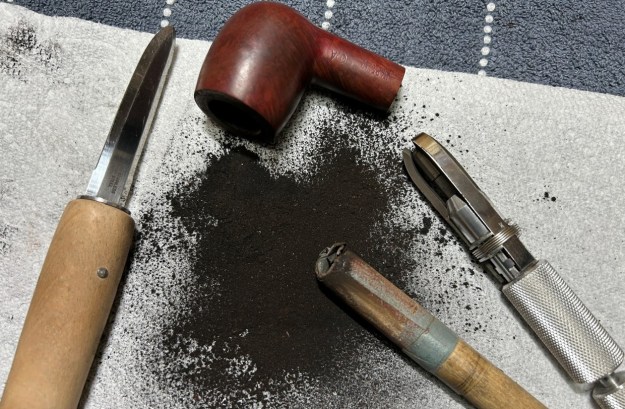
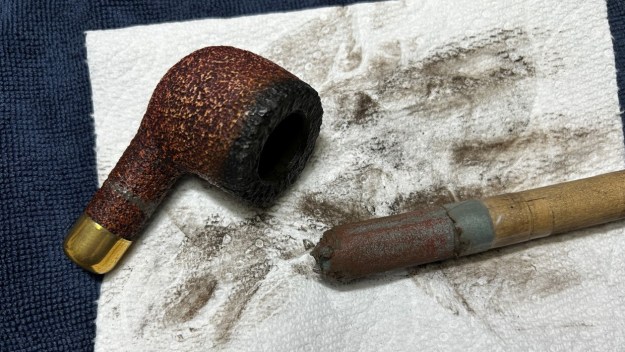
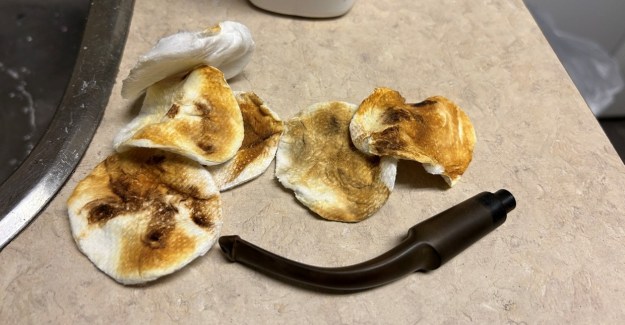
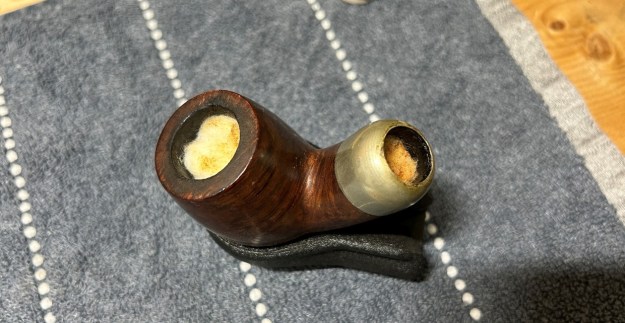
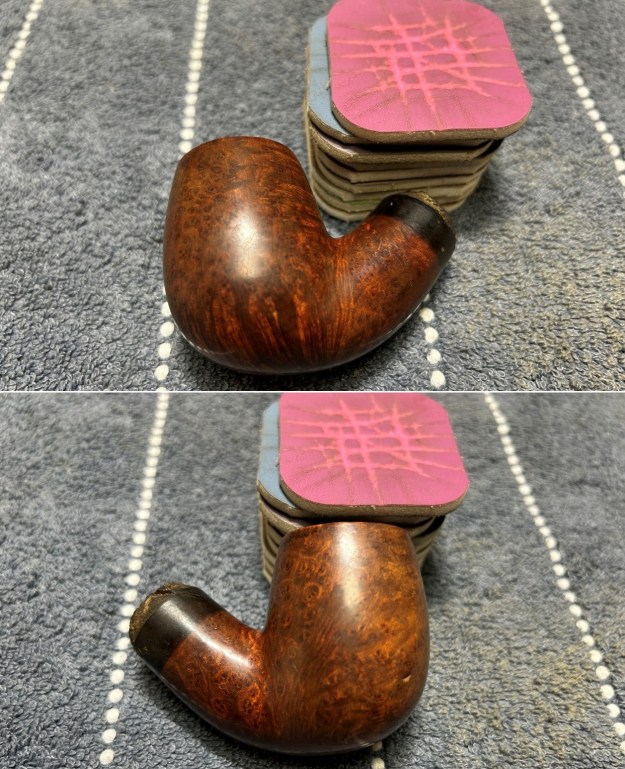
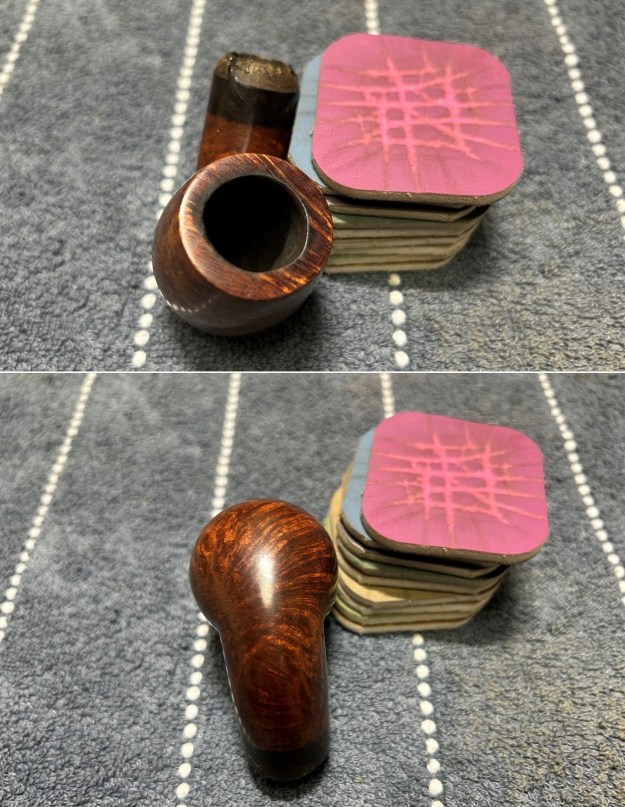
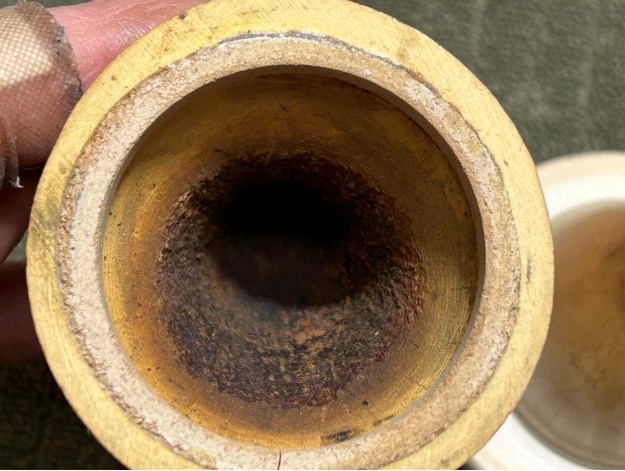
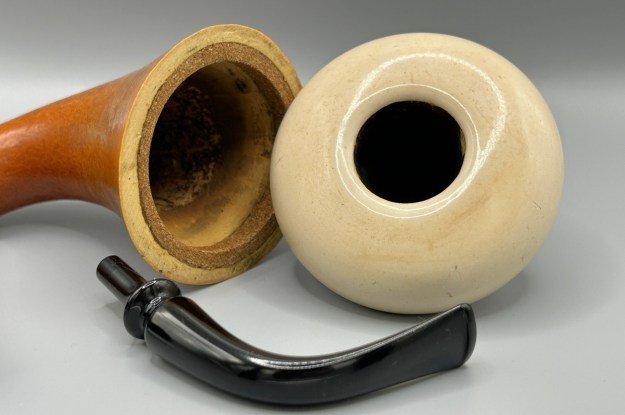
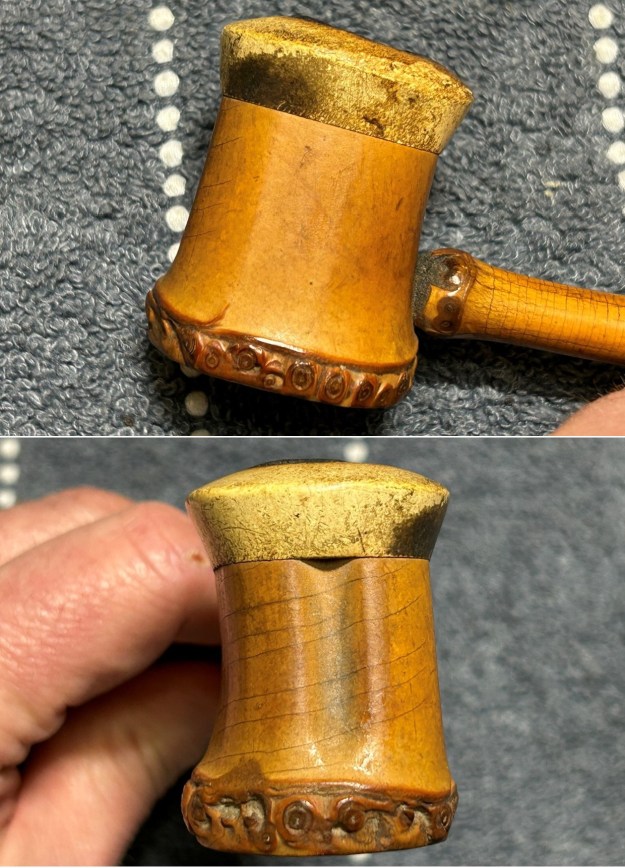
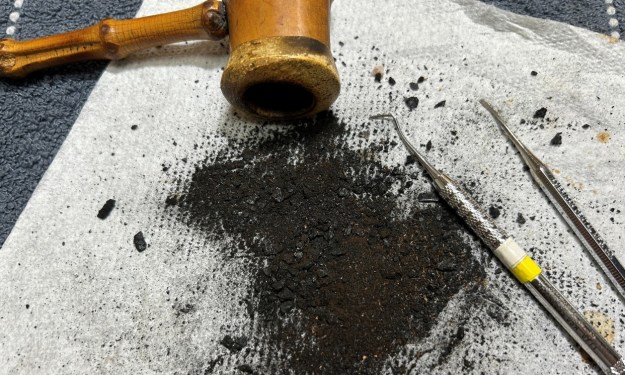 Once complete, I gently separated the shank from the bowl. The photos show how dirty everything was. Obviously, if the bowl was as bad as indicated, you can just imagine what the inside of the shank was like.
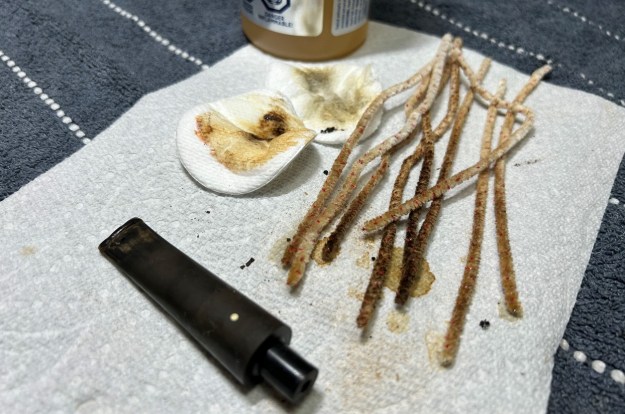
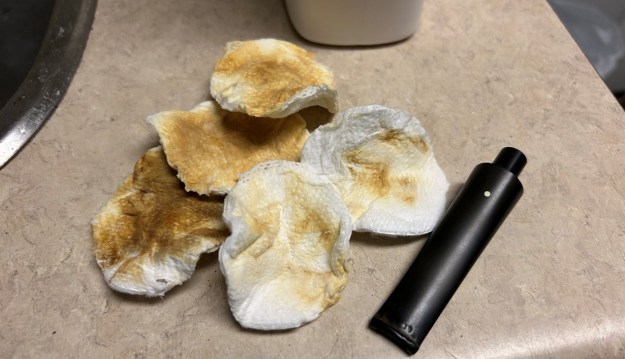
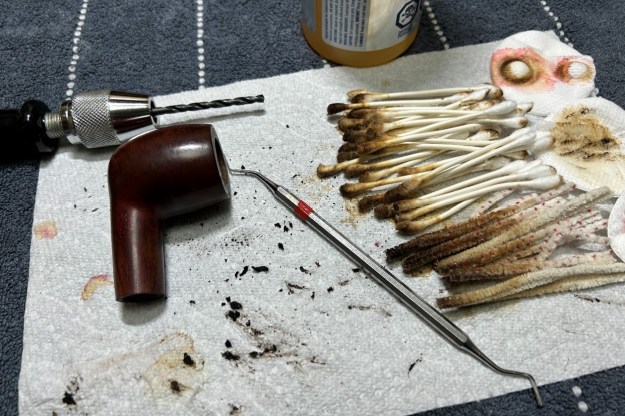
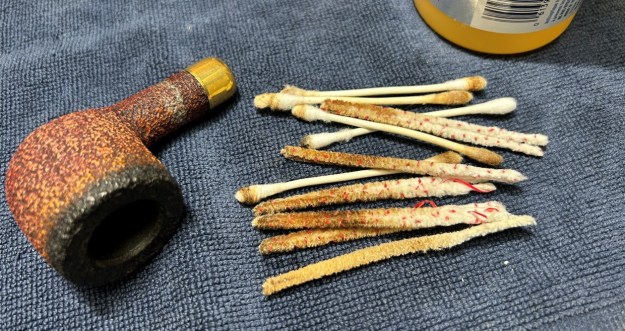
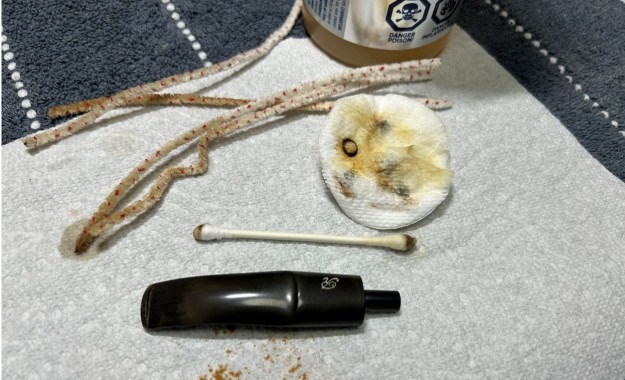
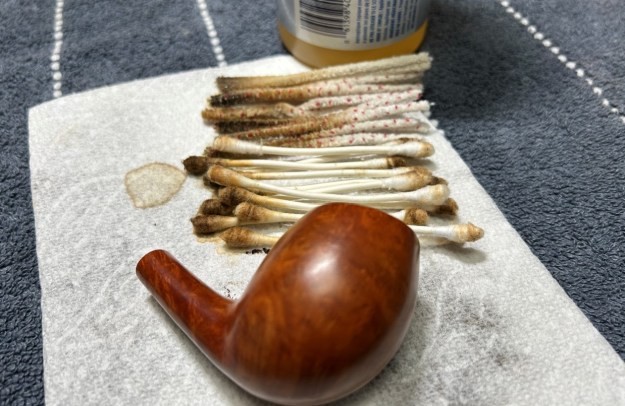
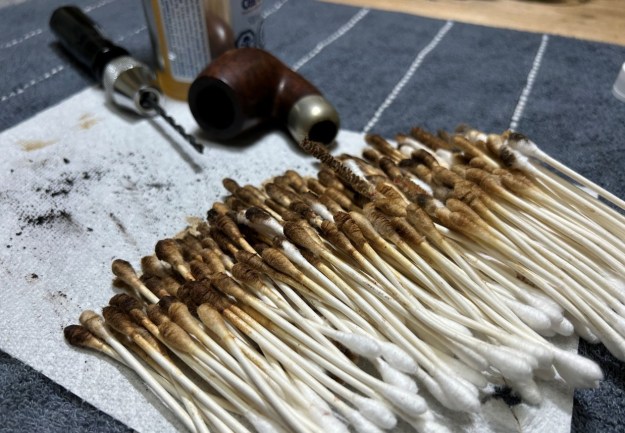
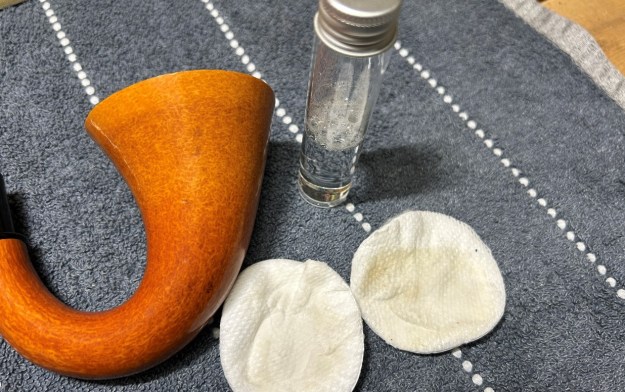
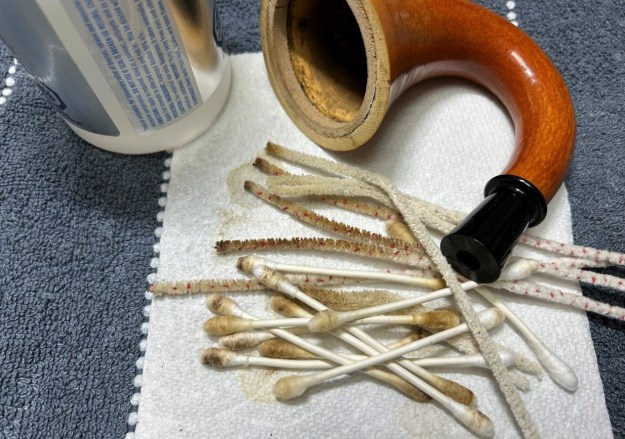
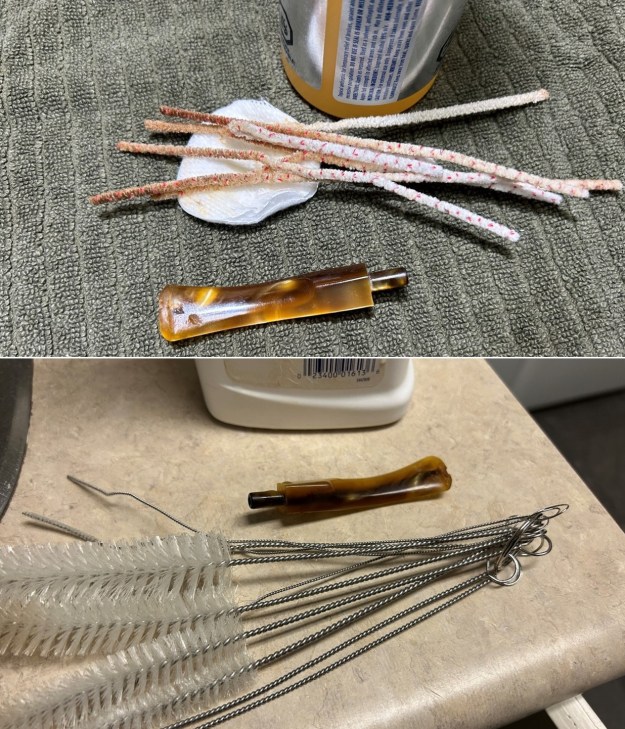
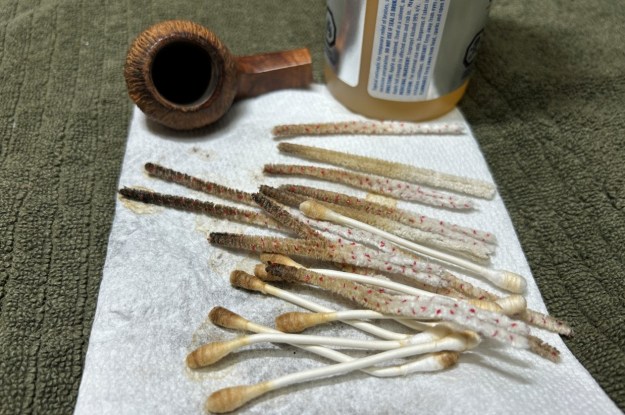
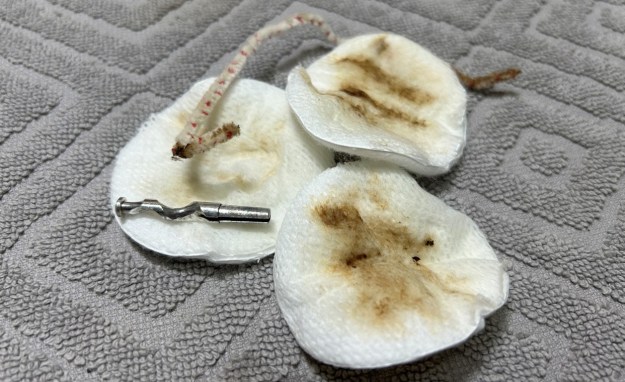
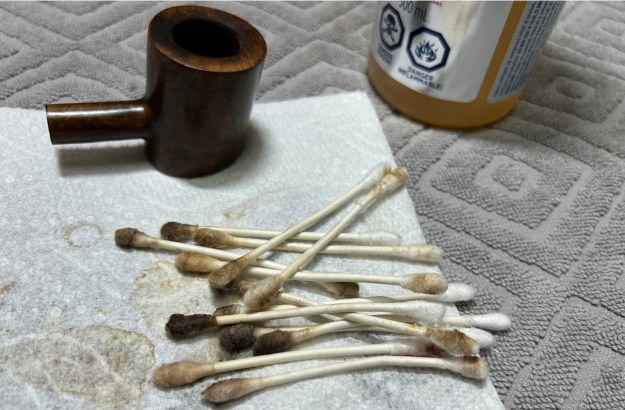
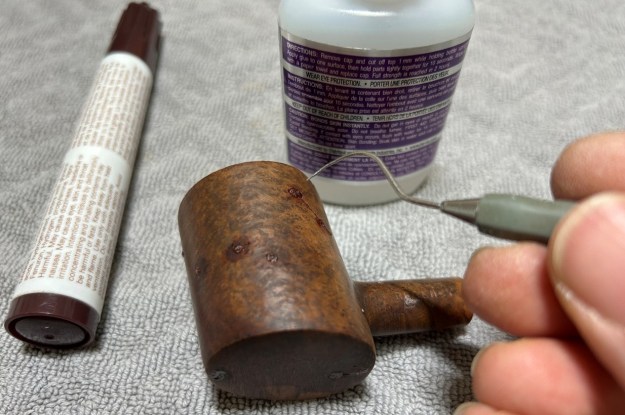
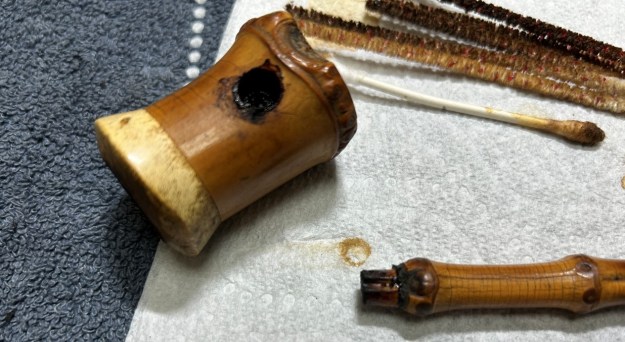 I disinfected the inside of the shank and the mortise entrance to the bowl with pipe cleaners and cotton swabs dipped in lemon-infused 99% isopropyl alcohol. I scrubbed thoroughly to make sure the interior was very clean. I used a ton of pipe cleaners and cotton swabs. I did this carefully because too much soaking can cause meerschaum to soften. I worked quickly, nothing softened, and everything turned out well.
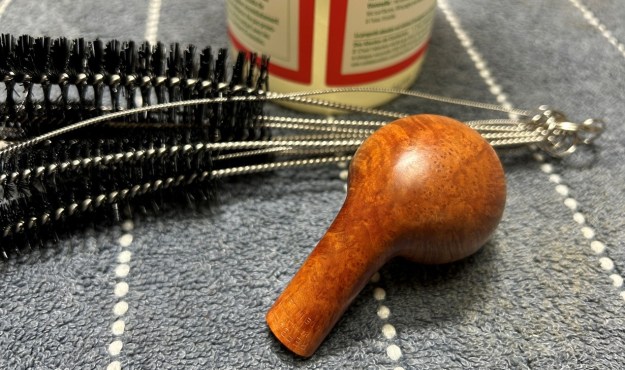
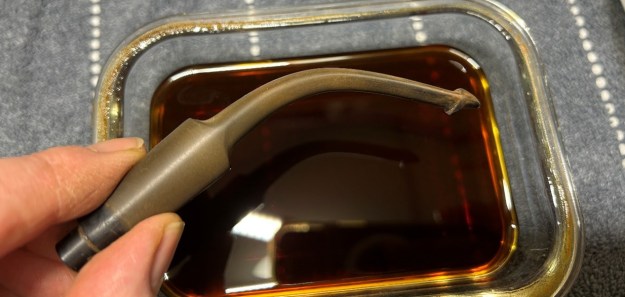
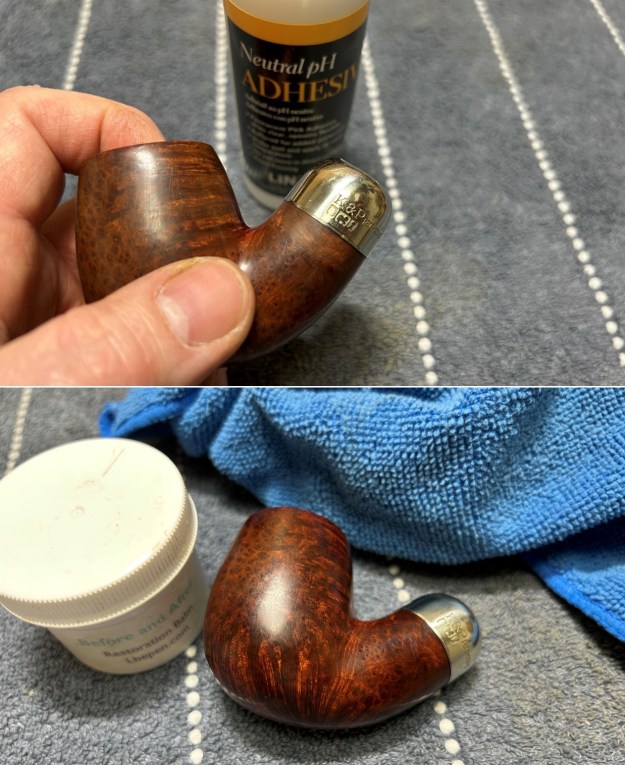
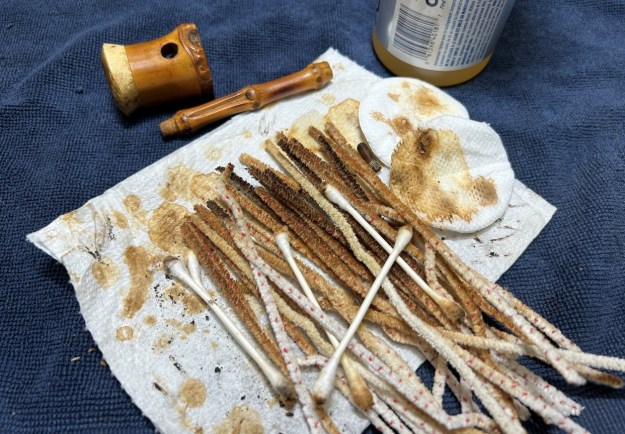 To tidy up the bamboo, I delicately wiped down the outside, using a solution of a pH-neutral detergent and some distilled water, with cotton rounds and cotton swabs (in the crevices). This did a good job of cleaning any latent dirt on the surface of the bamboo.
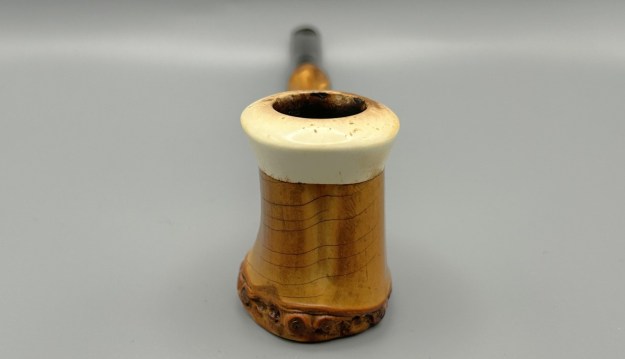
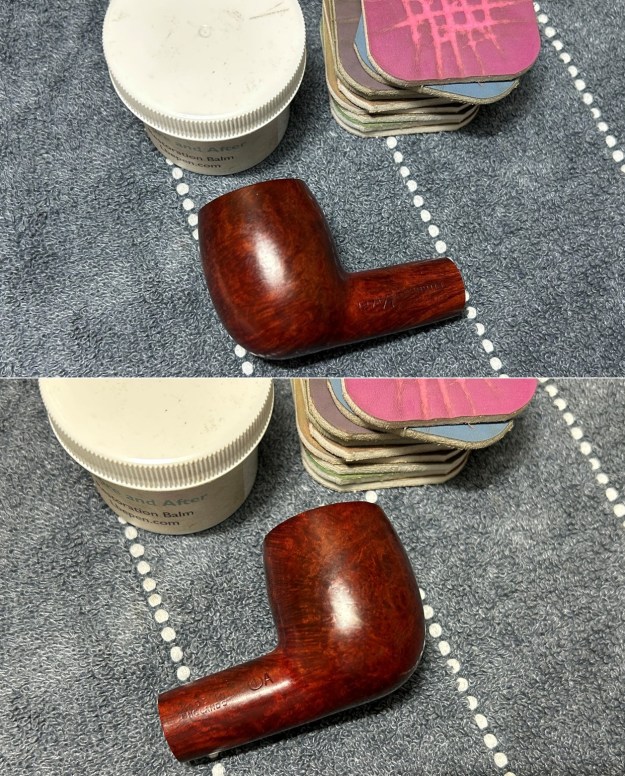
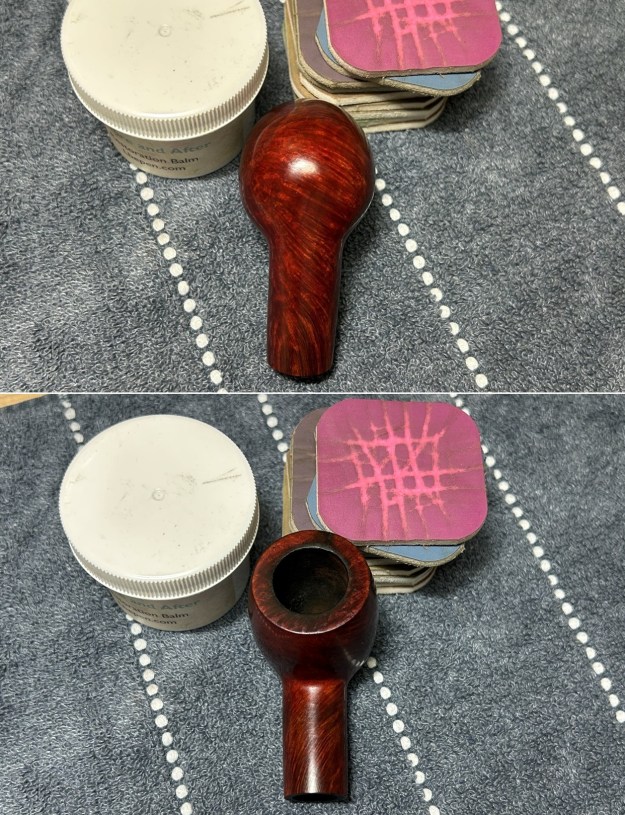
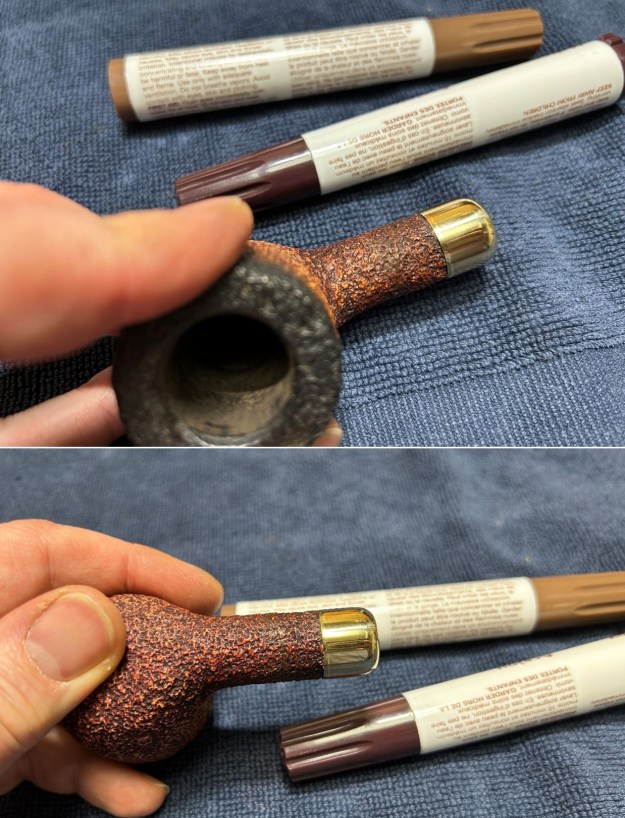
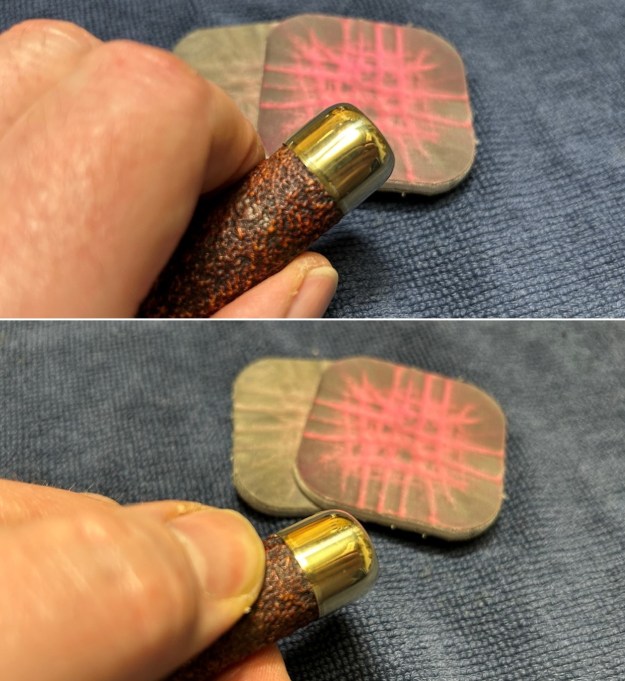
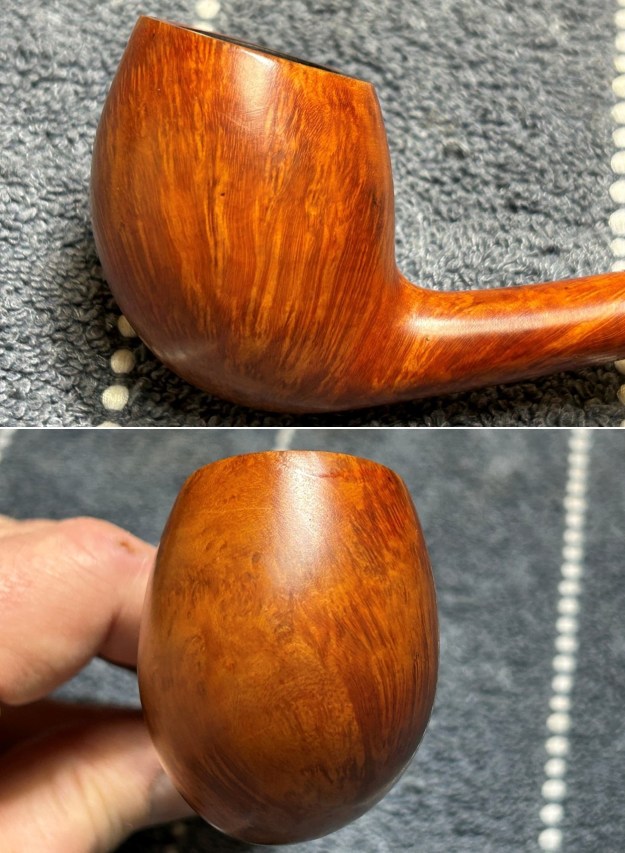
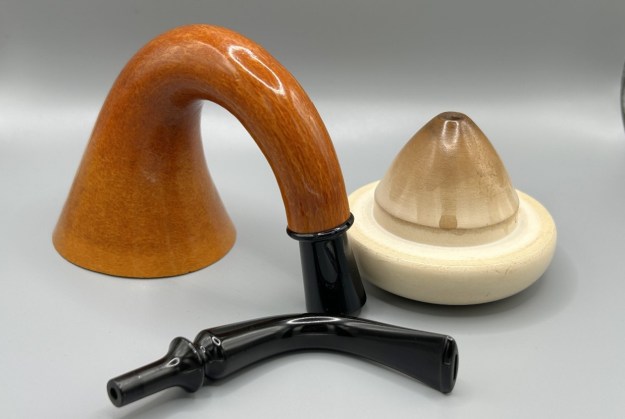
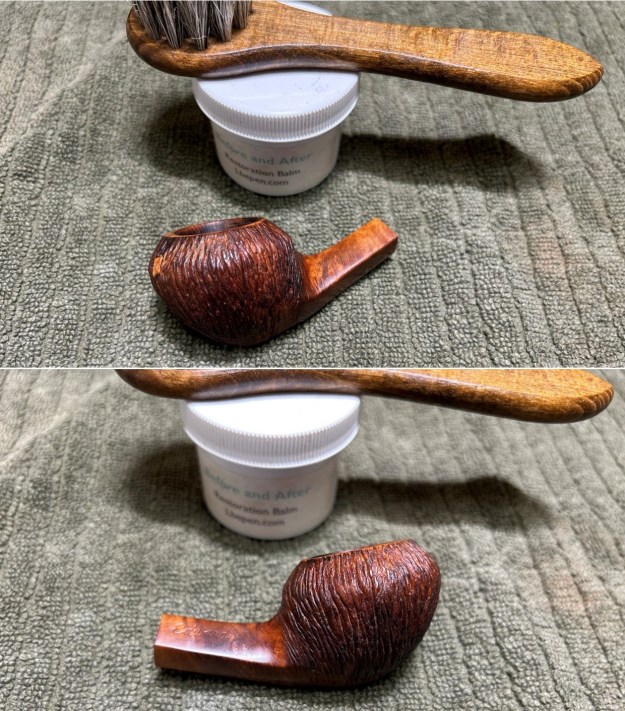
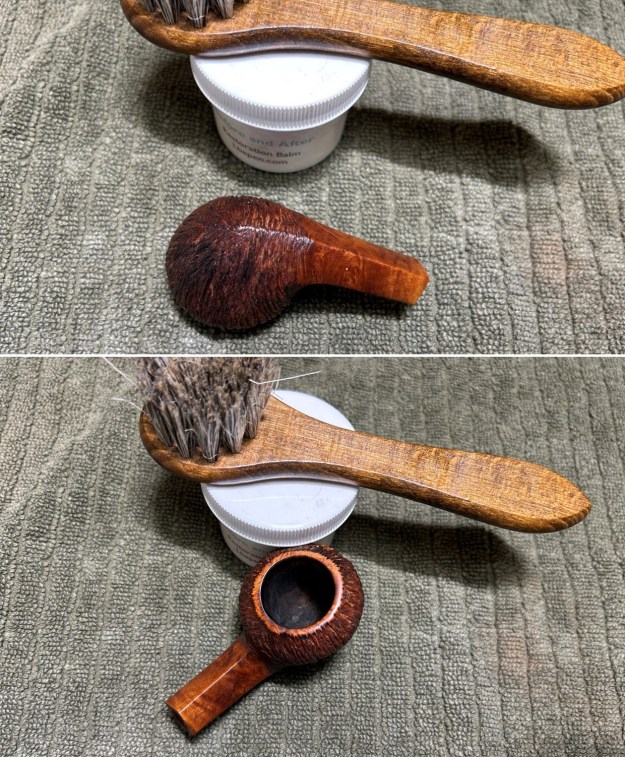
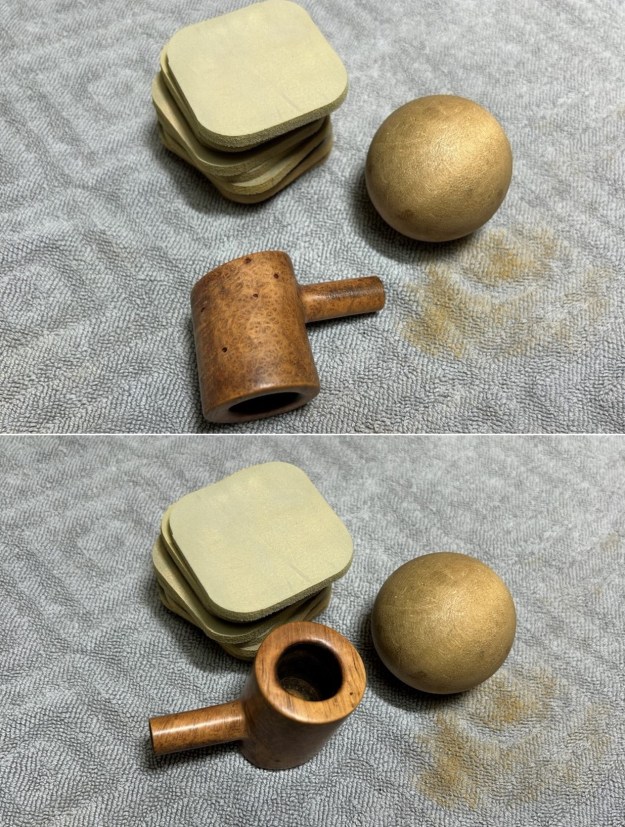
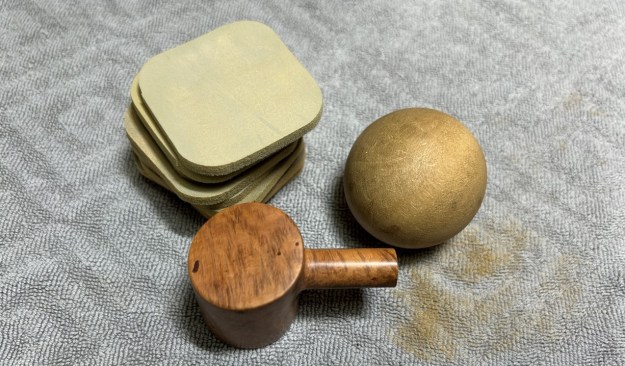
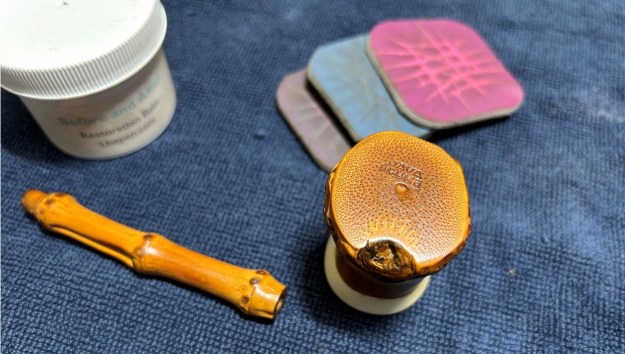
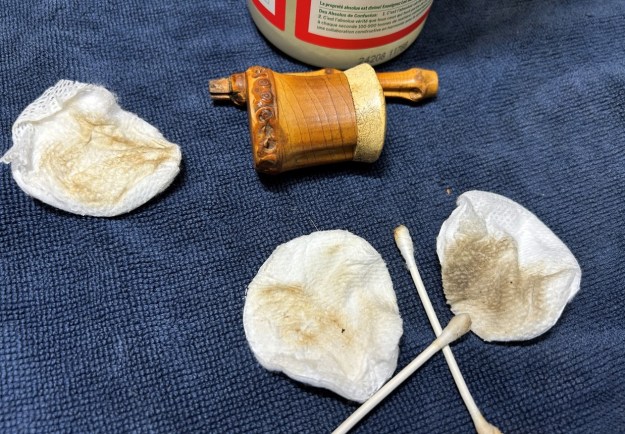 I used all nine micromesh pads (1,500 through 12,000 grit) to sand the meerschaum part of the bowl and finish it off. This sanding minimizes flaws in the meerschaum and provides a beautiful smoothness to it. As the photos show, I masked the bamboo portion of the bowl with tape so as not to damage it while sanding.
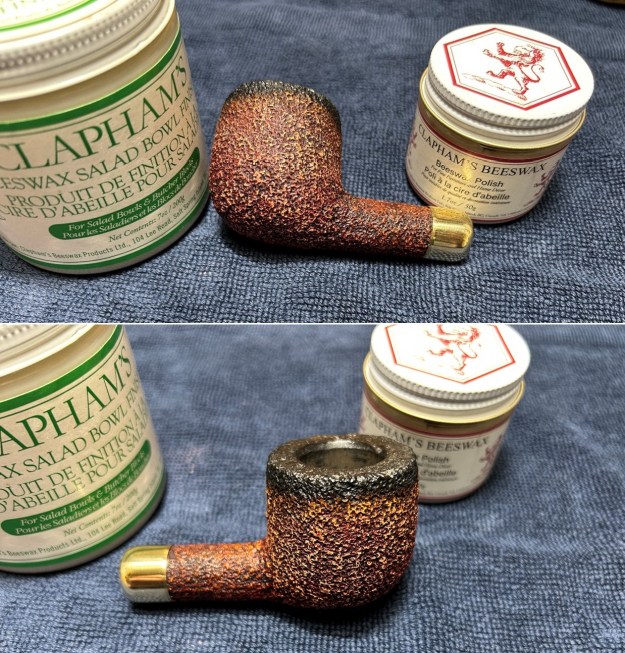
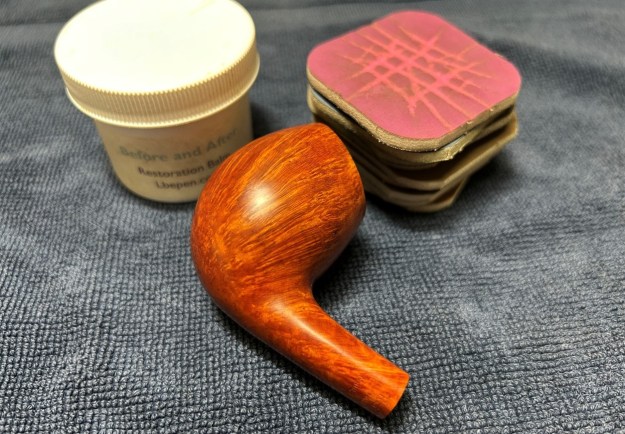
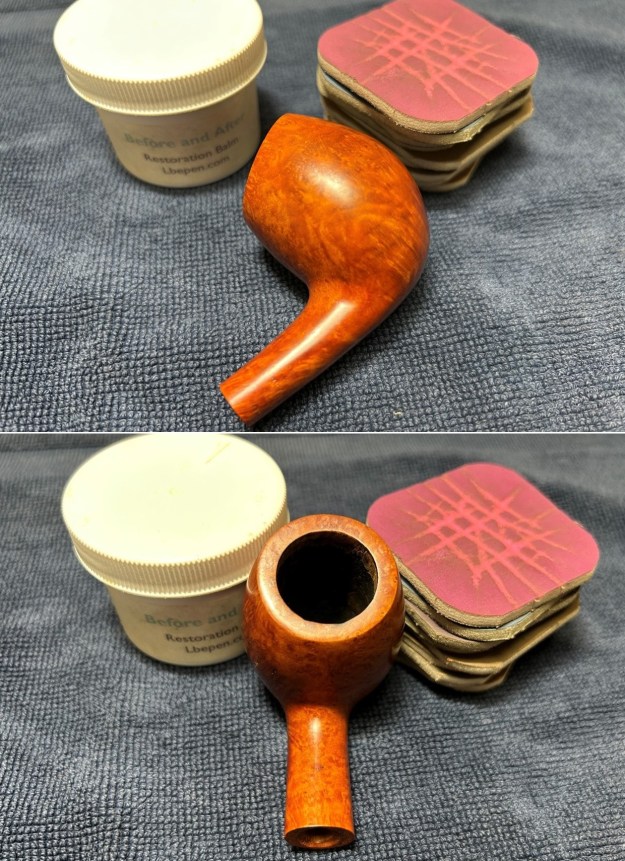
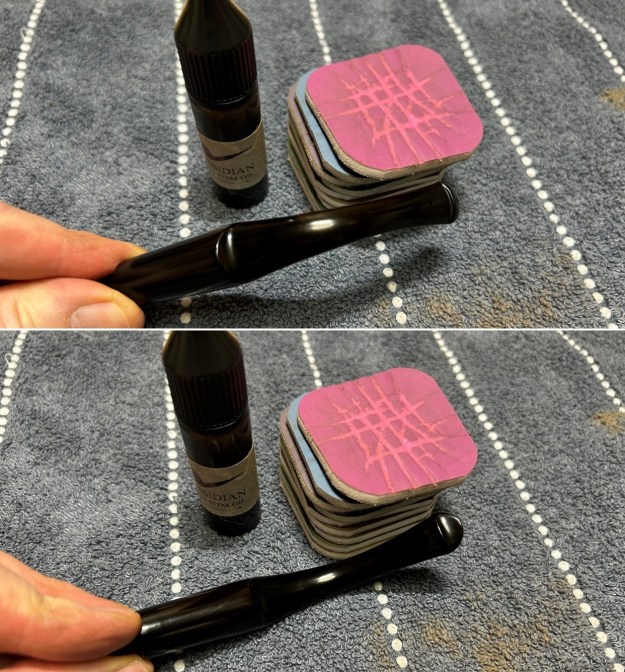
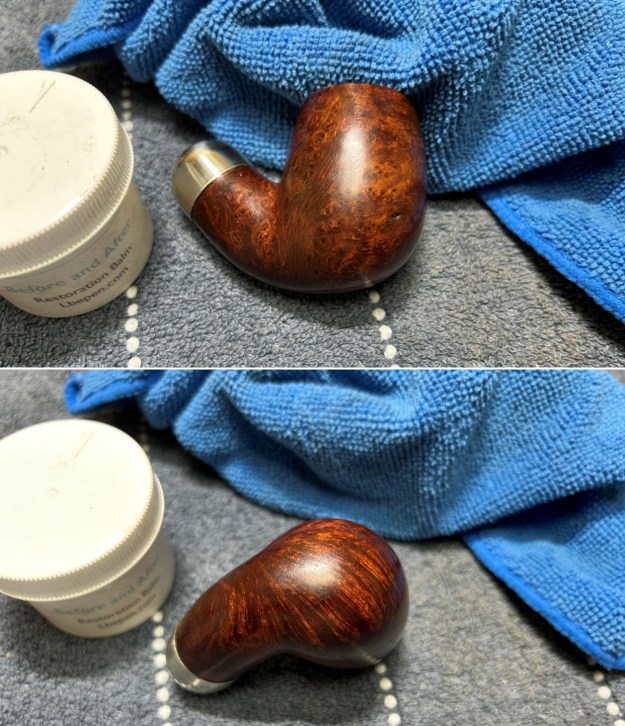
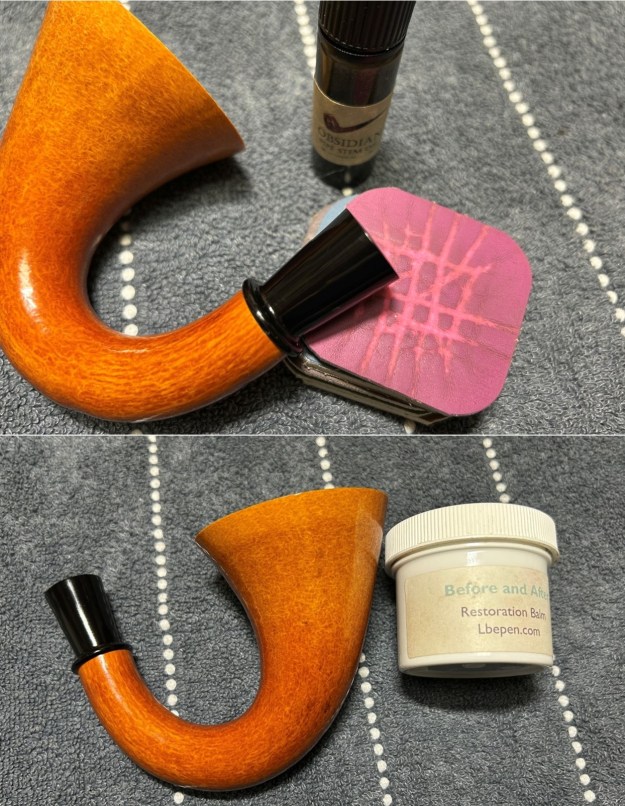
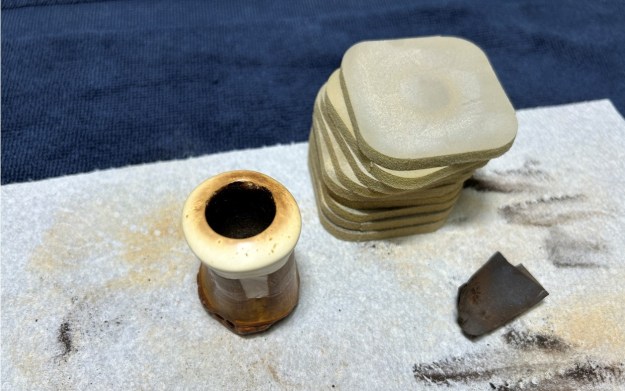 I only sanded the bamboo with the three finest micromesh pads. Then I rubbed it all with some LBE Before & After Restoration Balm and let it sit for 30 minutes or so. The balm moisturizes the bamboo and gives a beautiful depth to it. I then buffed the whole thing with a microfibre cloth.
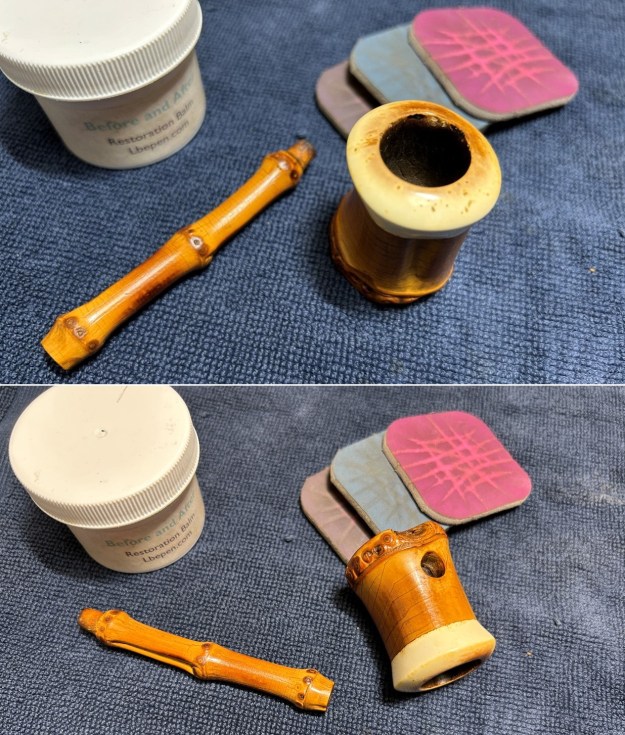
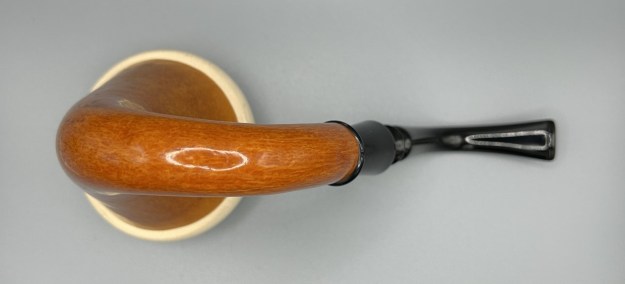
 Next step was to reattach the bowl and shank. I carefully applied some wood glue into the mortise and replaced the shank precisely. As a measure of caution, I also stuck a pipe cleaner in the draught hole to prevent any glue getting in there.
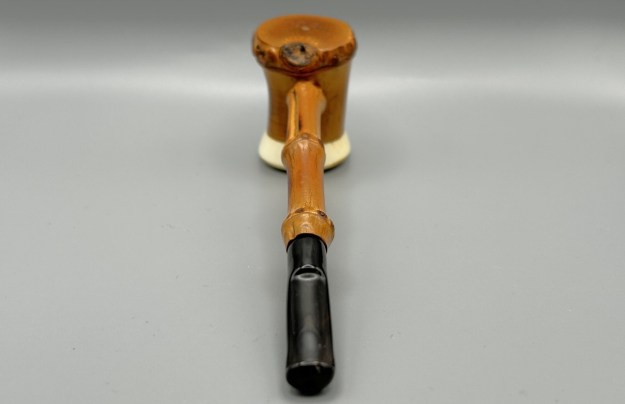
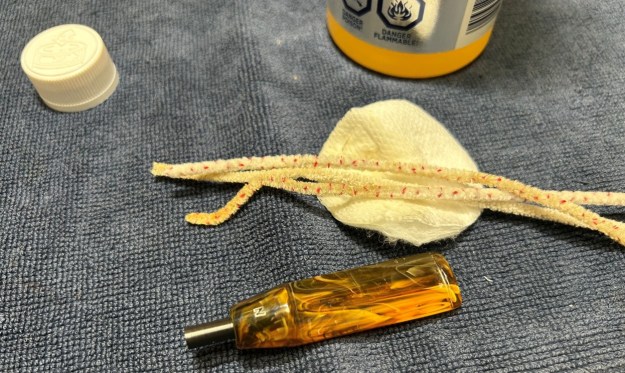
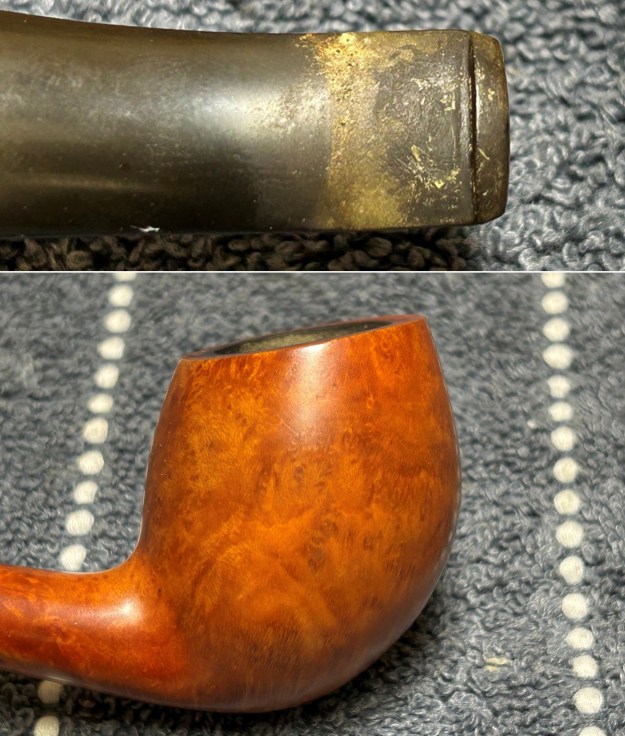
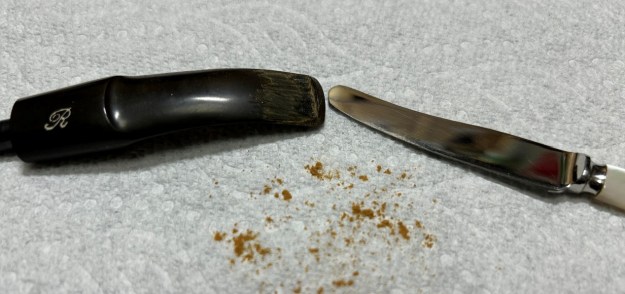
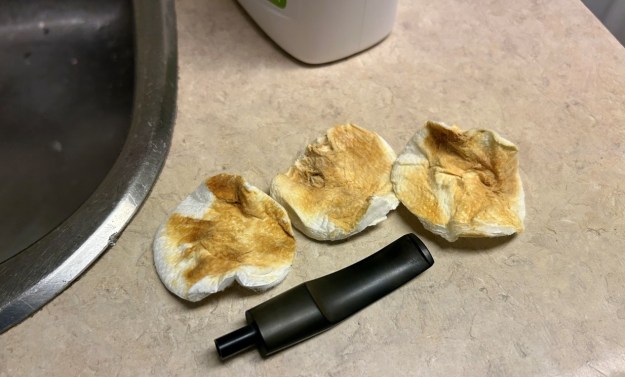
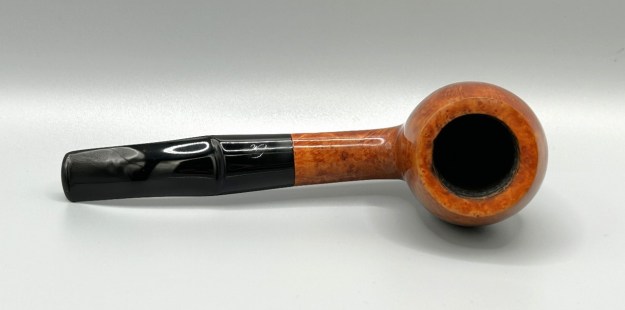
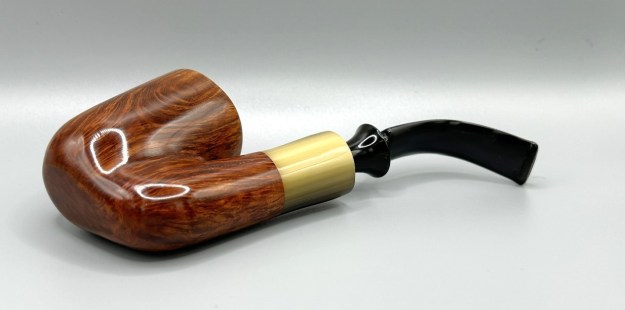
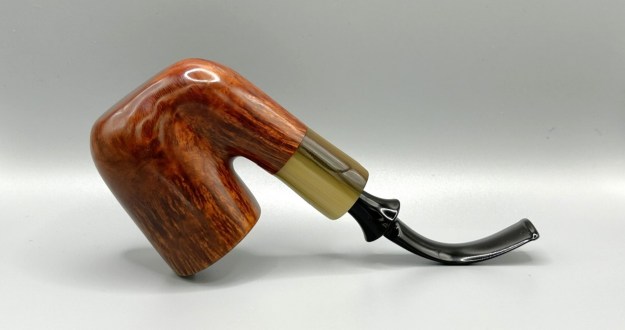
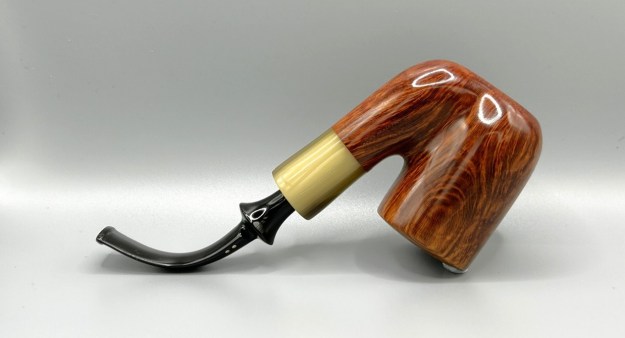
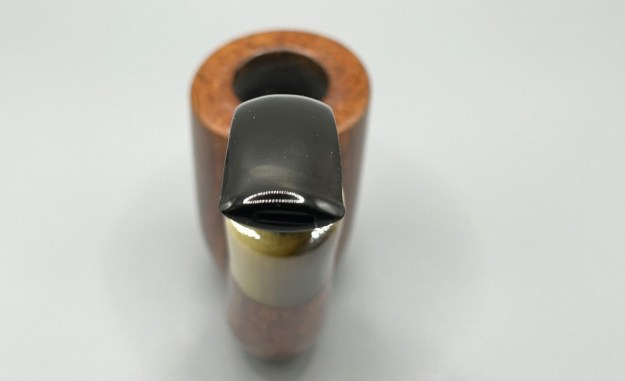
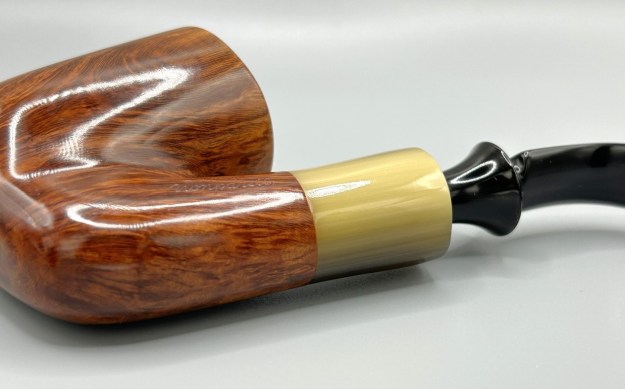
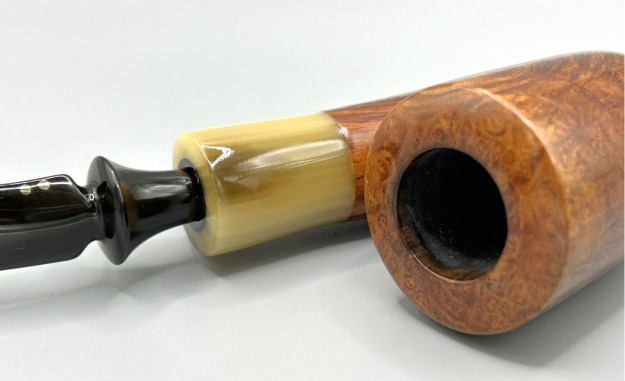
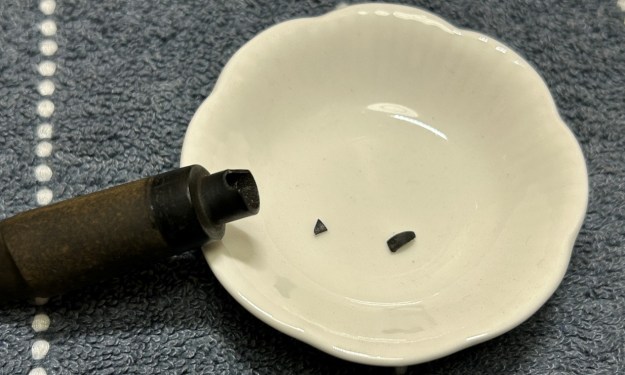
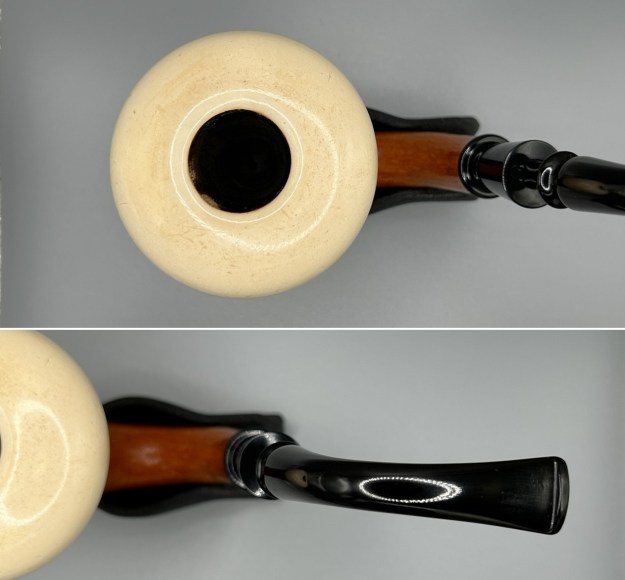
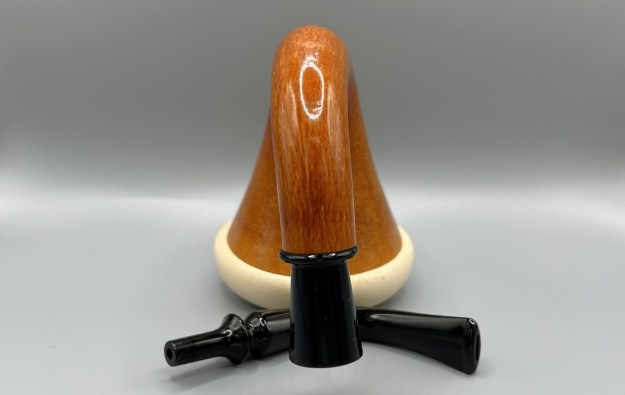
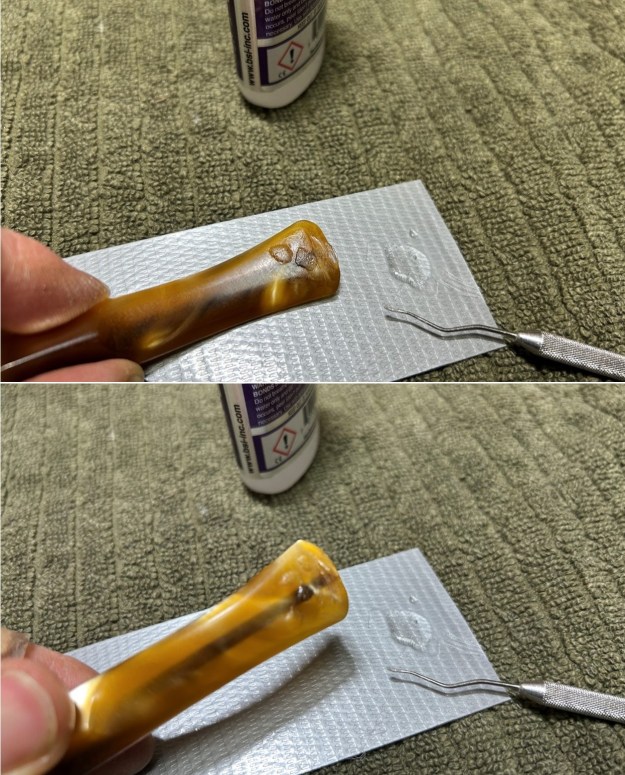
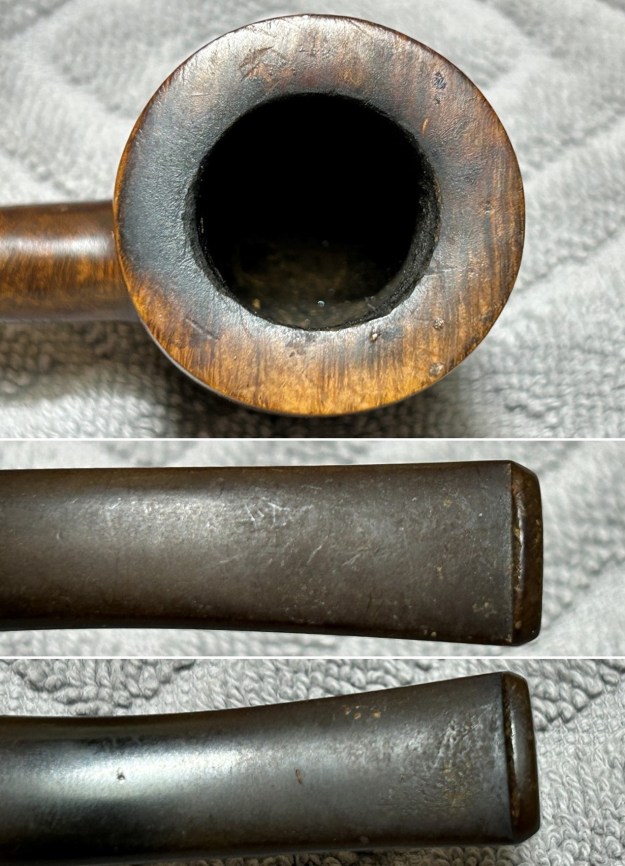
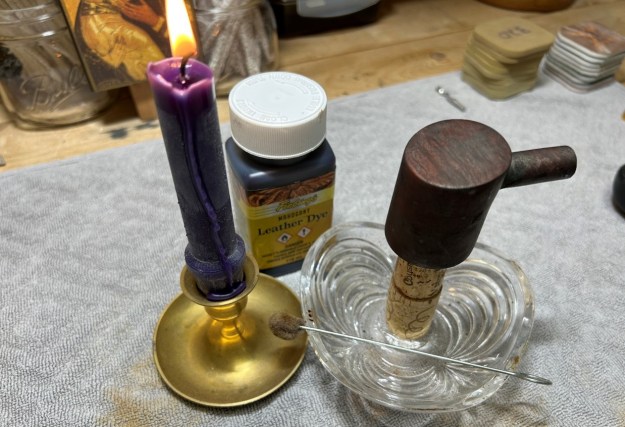
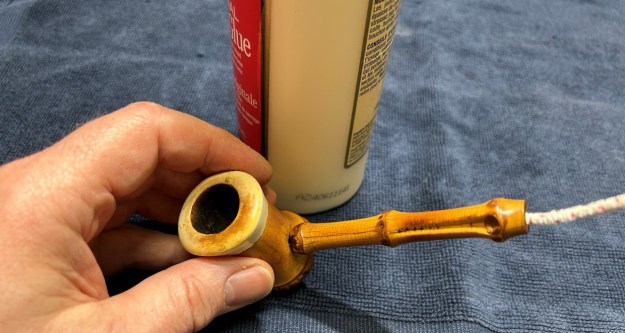 On to the stem and bone tenon. I found a stem in my workshop drawers that worked well with this pipe. I should point out that the stem is actually horn. I know that it looks like vulcanite in the photos, but it is dark horn. After settling on that, I dug through my boxes of bone tenons and found one that fit both ends. Then I set about sanding down the stem to ensure that it fit.
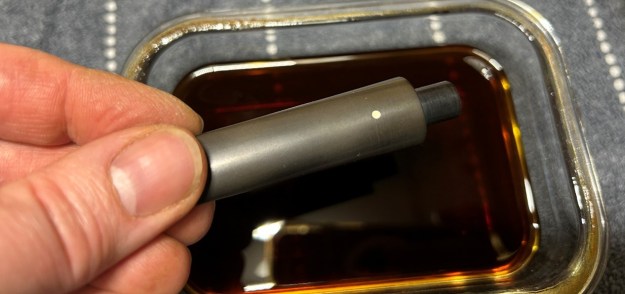
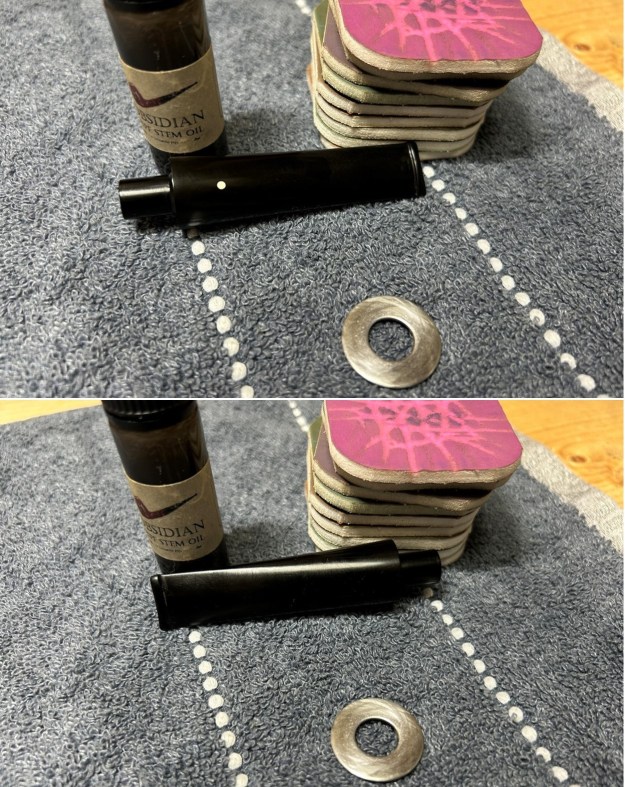
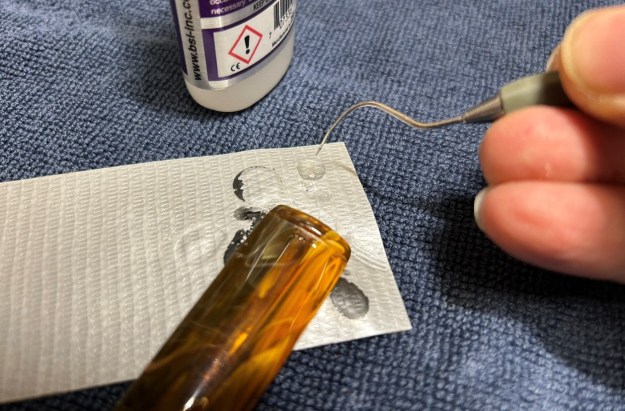
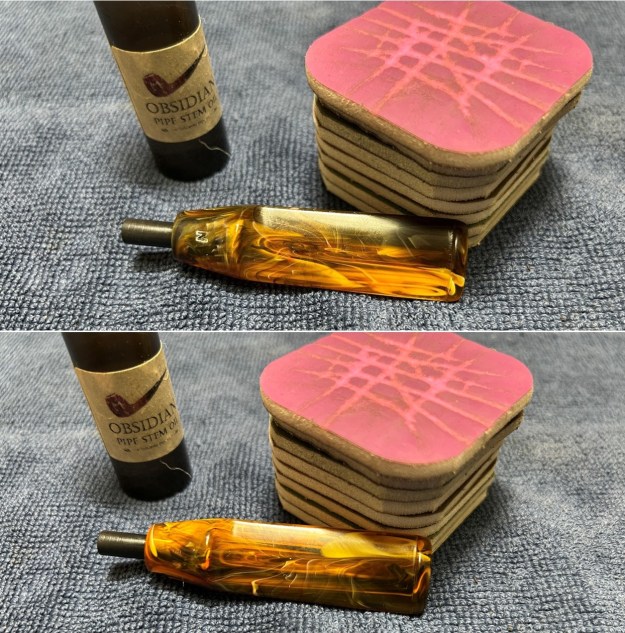
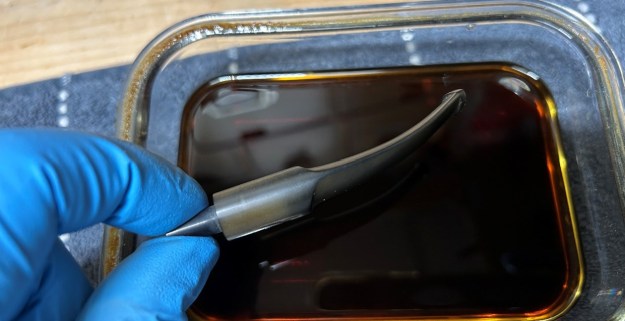
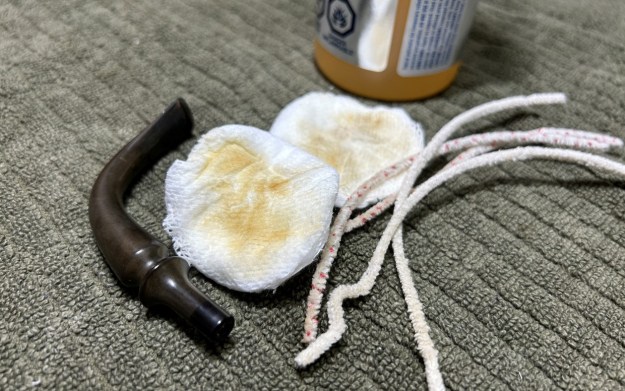
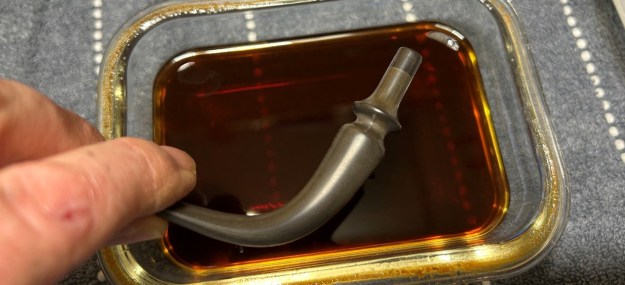
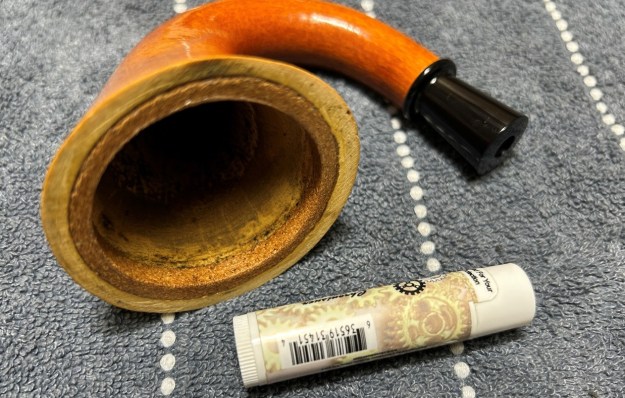
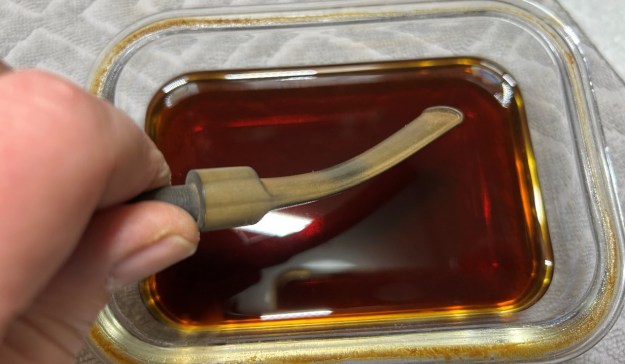
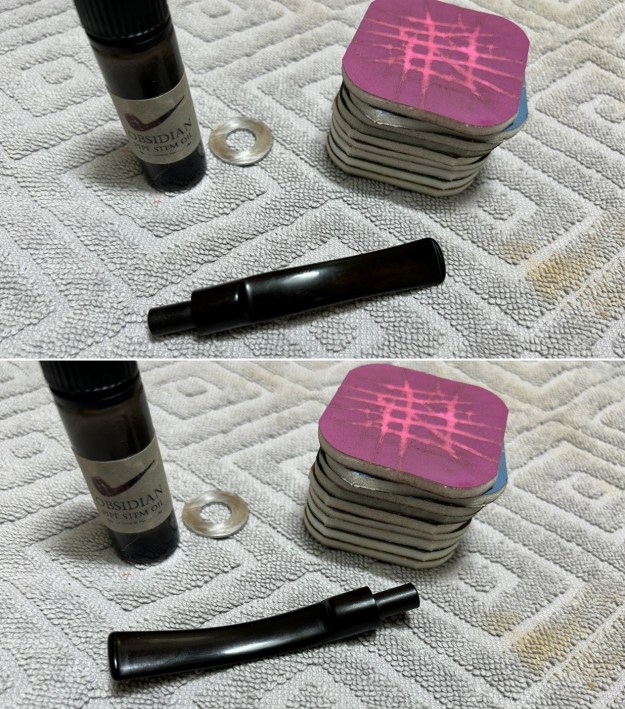
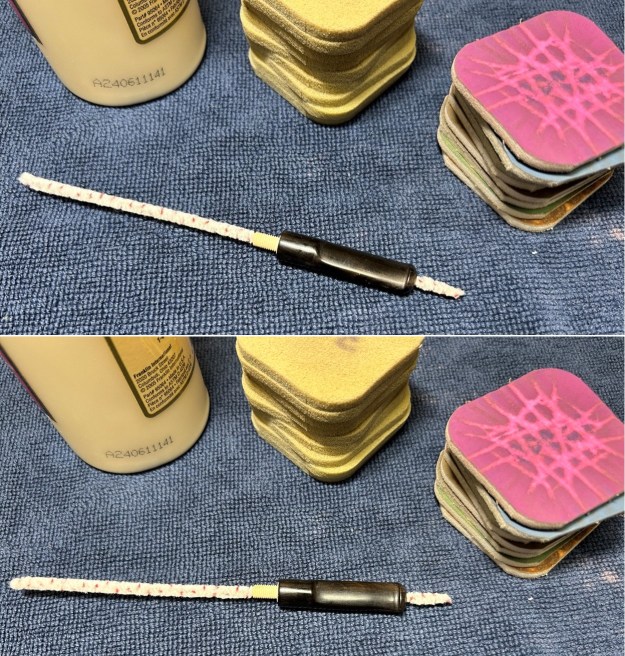
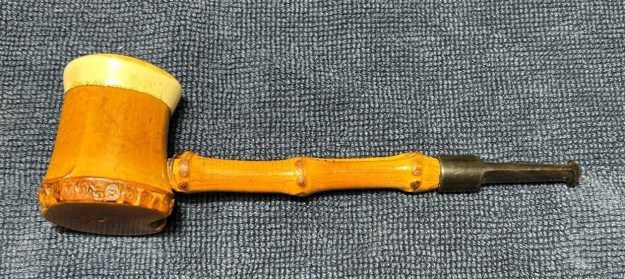 I took my rotary tool to take off the bulk of the excess material. Then I sanded and sanded and sanded with my various micromesh pads. I neglected to photograph this process, so you’ll just have to take my word for it. As I was nearing completion, I applied pipe-stem oil with the last few micromesh pads. There was a wonderful, deep black shine to the stem when I was done. I also glue the tenon into the stem for safety’s sake.
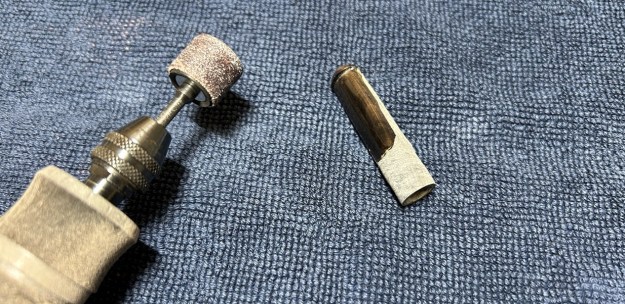
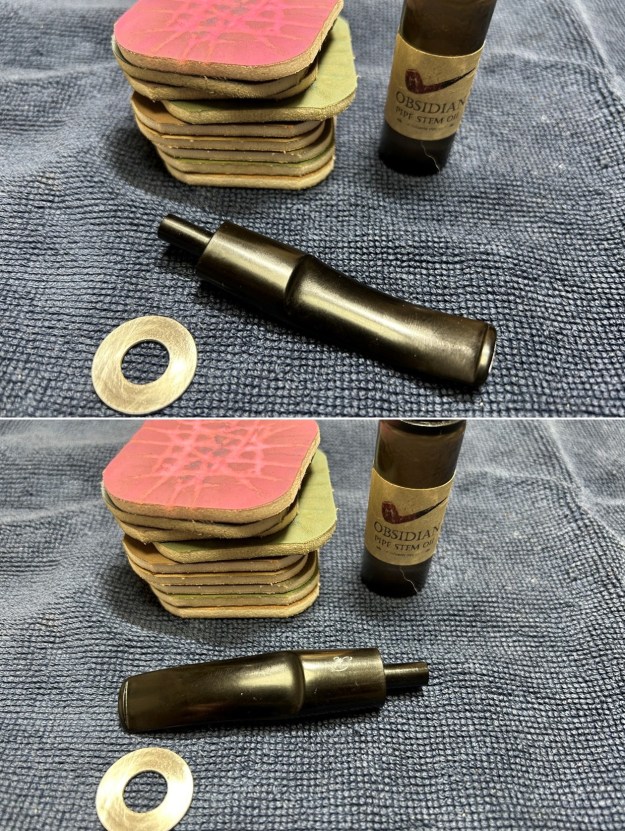
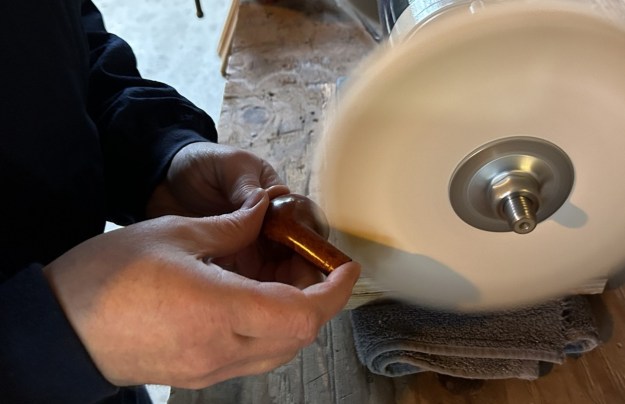
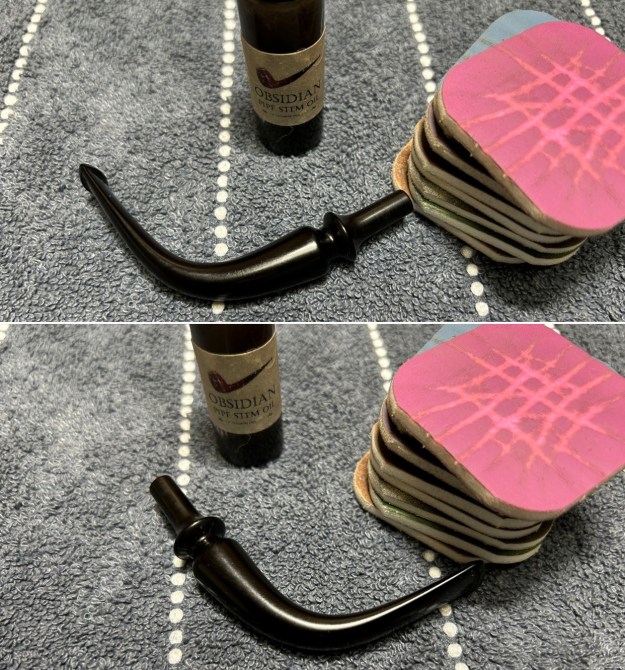
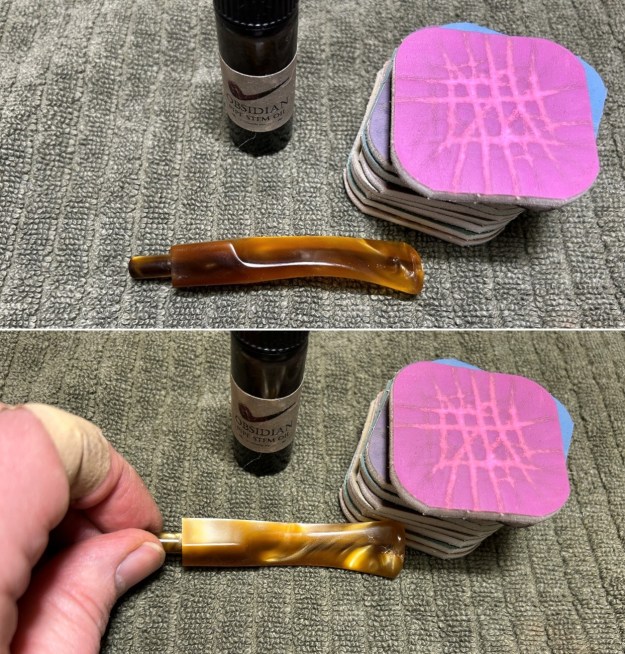
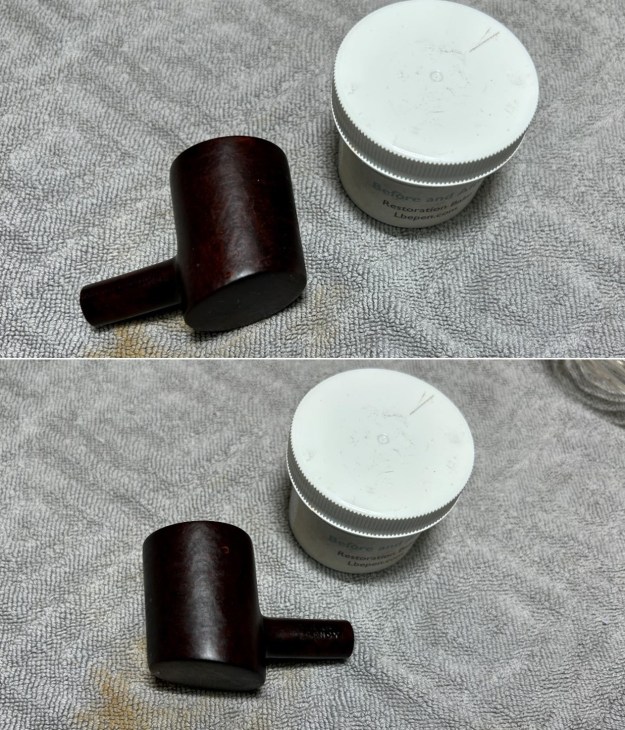
 For the final step, I took the stem (only) to my bench polisher and carefully buffed it – first with a blue diamond compound, then with carnauba wax.
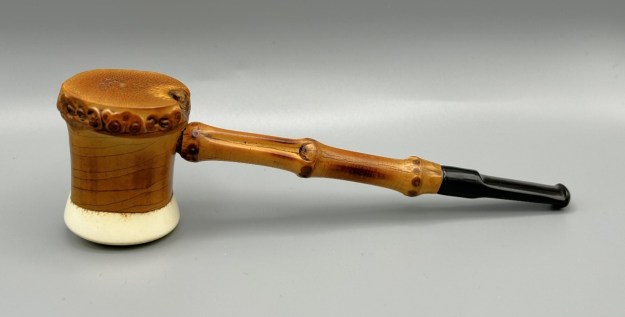
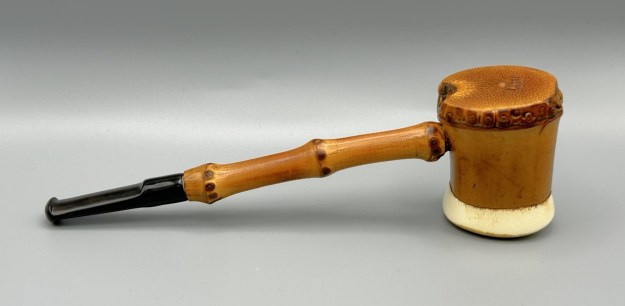
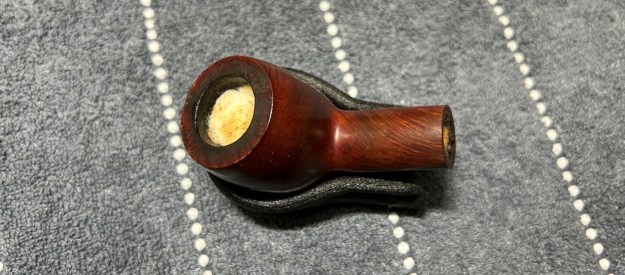
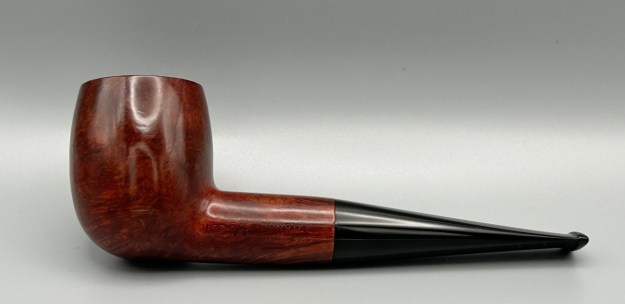
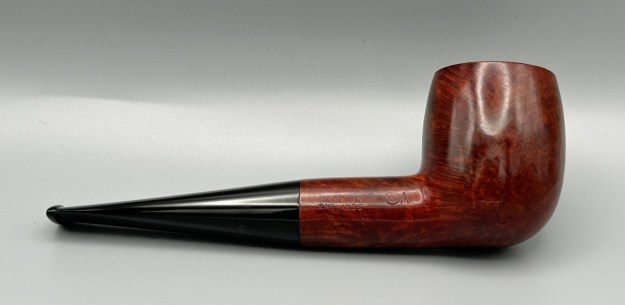
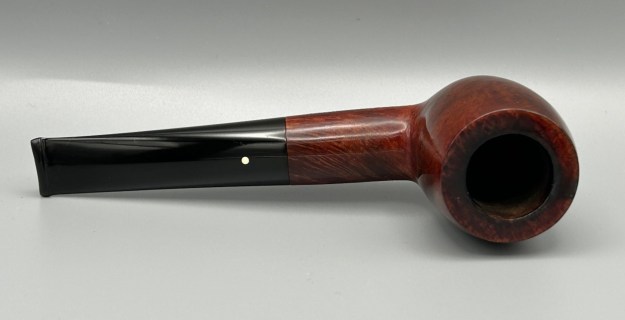
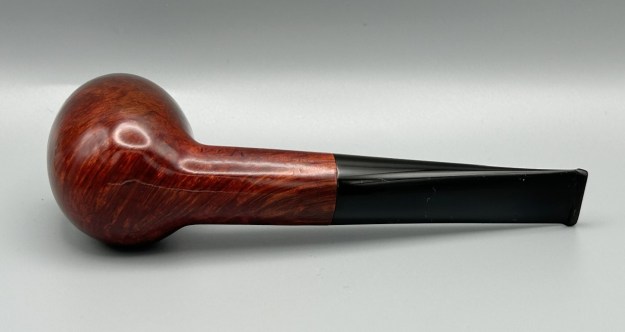
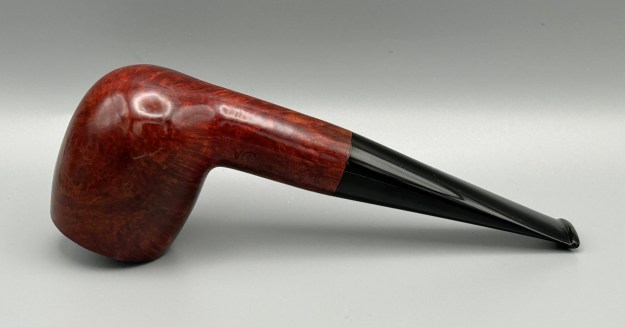
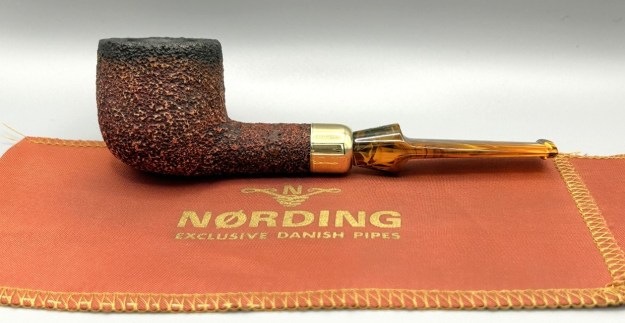
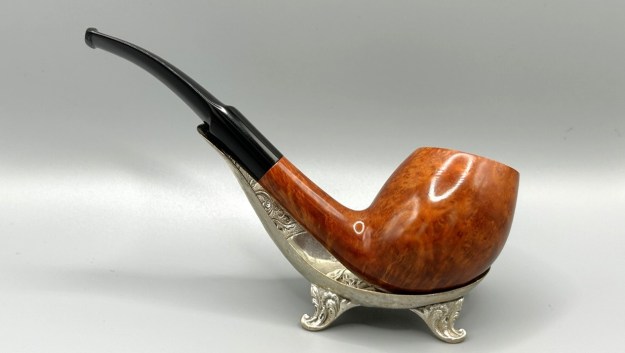
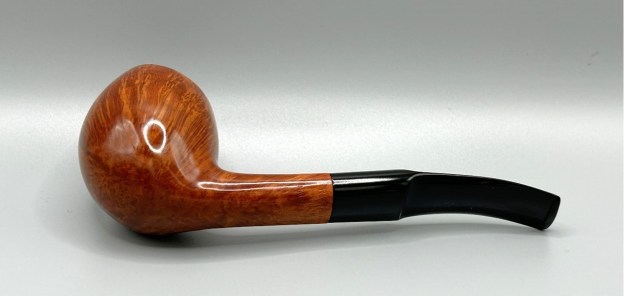
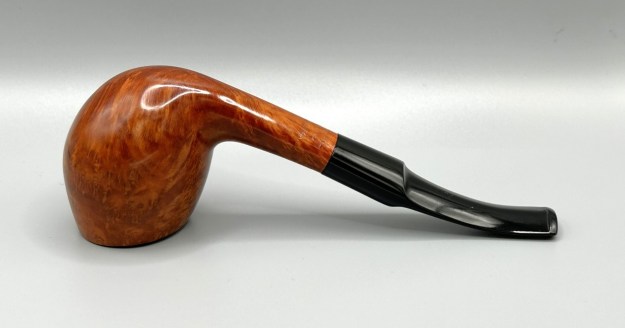
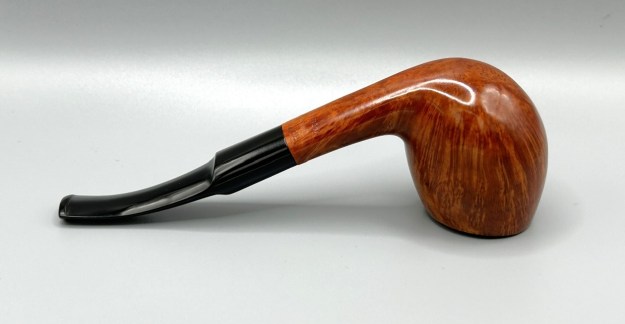
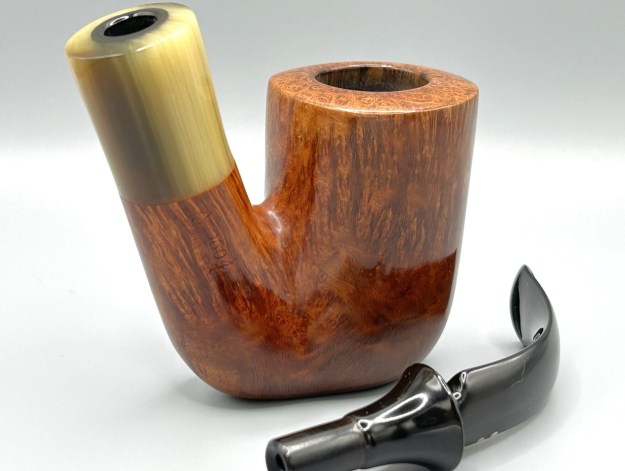
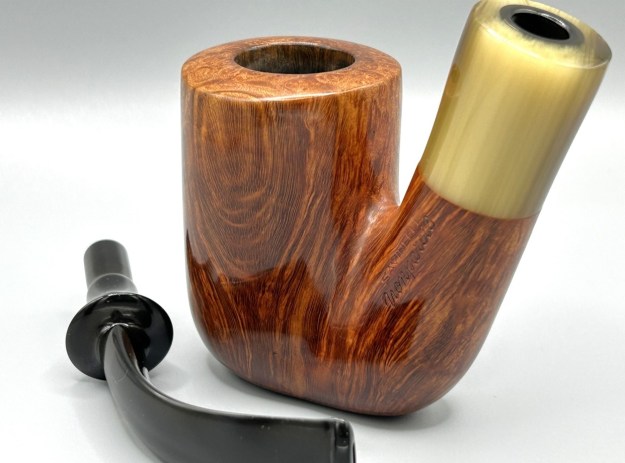
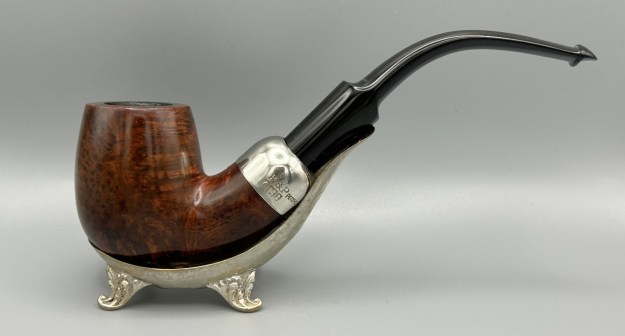
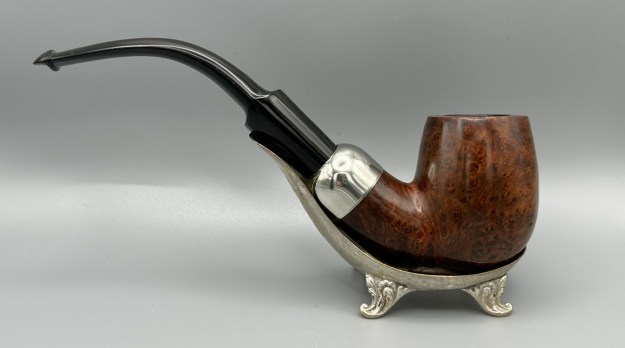
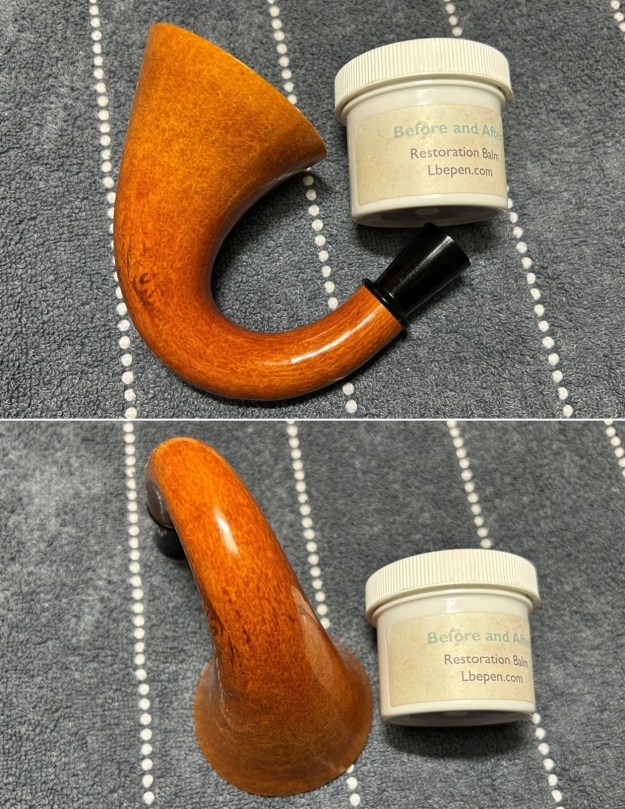
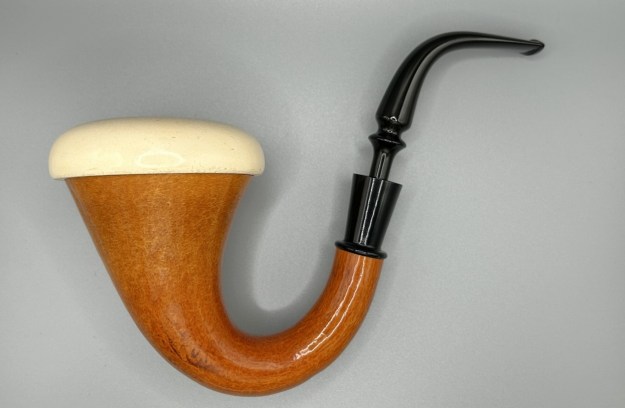
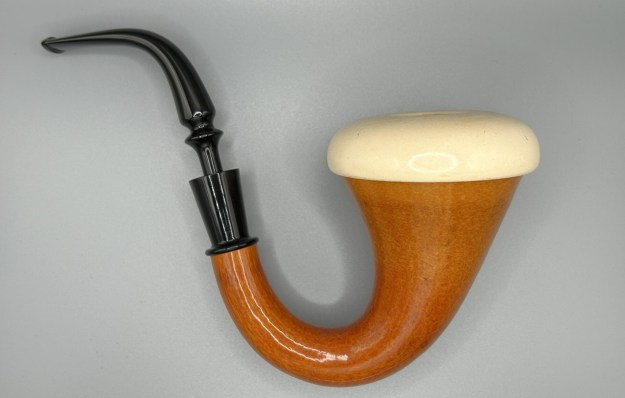
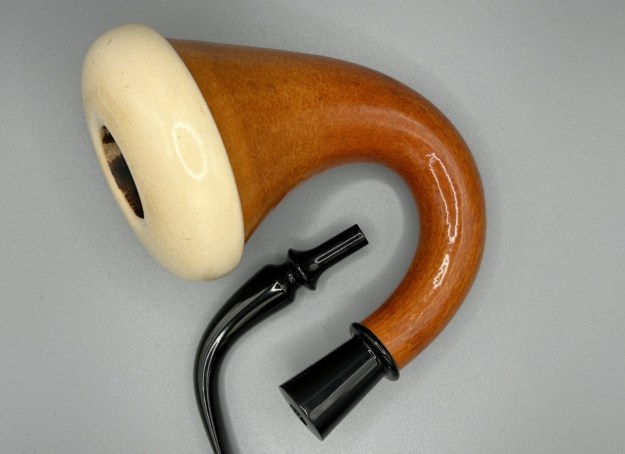
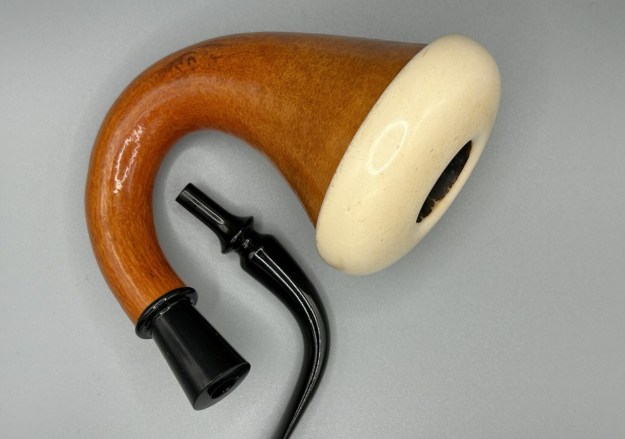
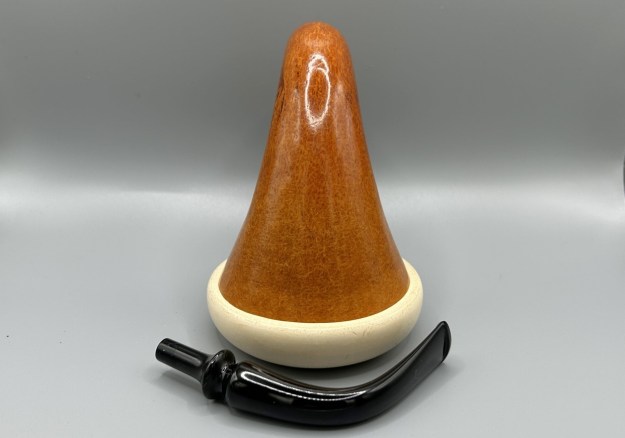
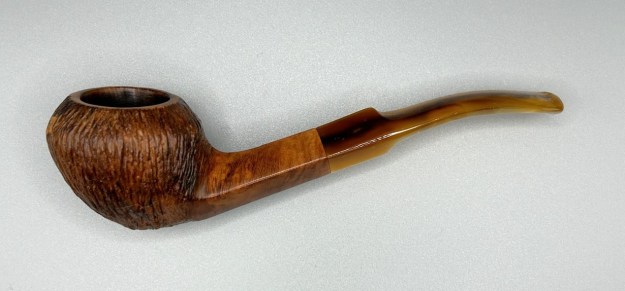
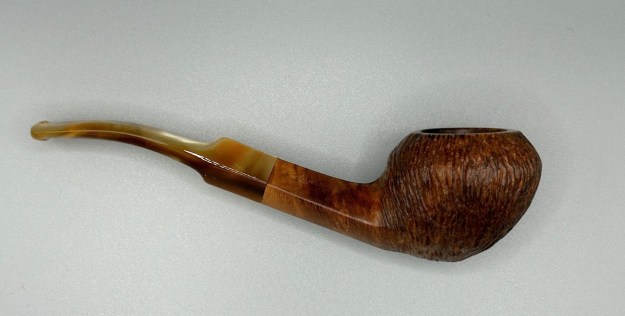
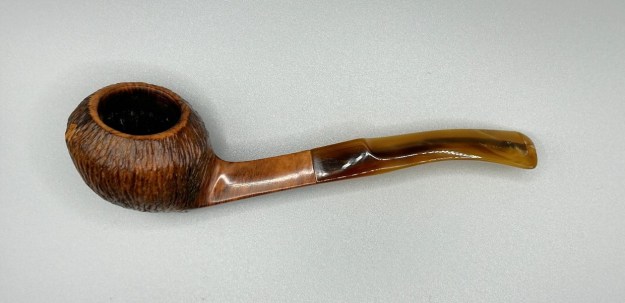
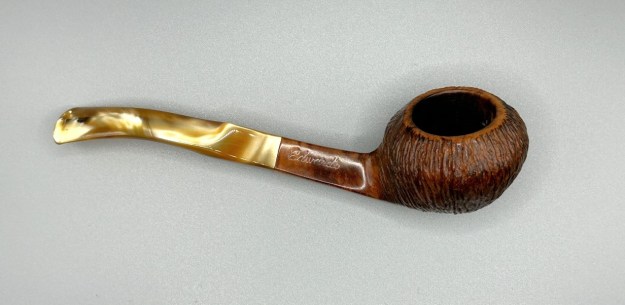
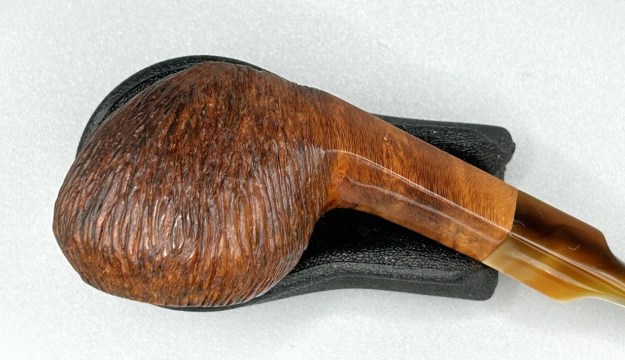
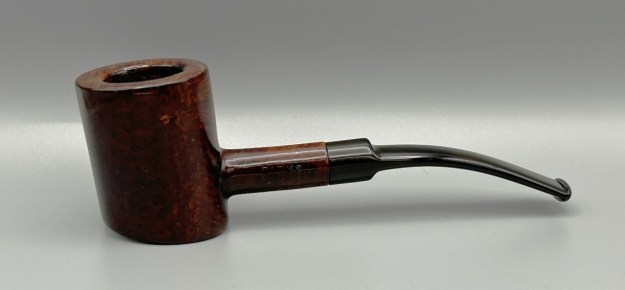
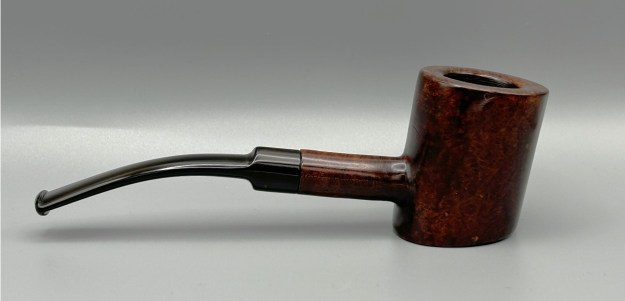
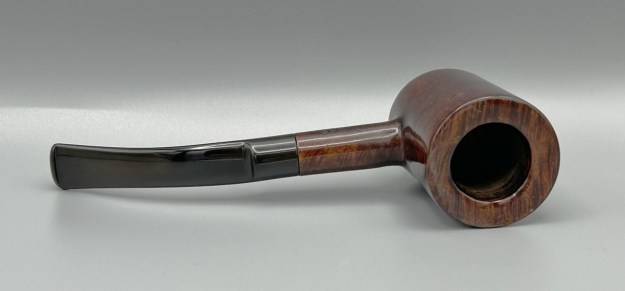
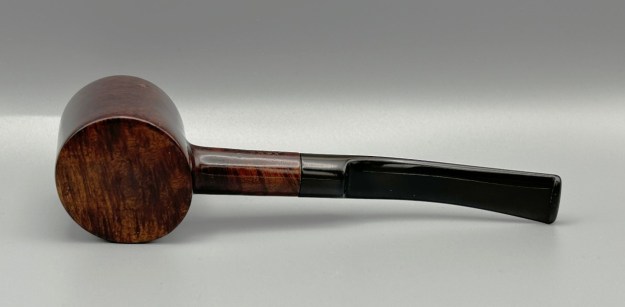
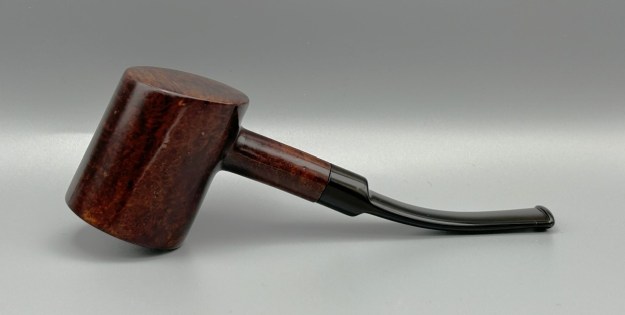
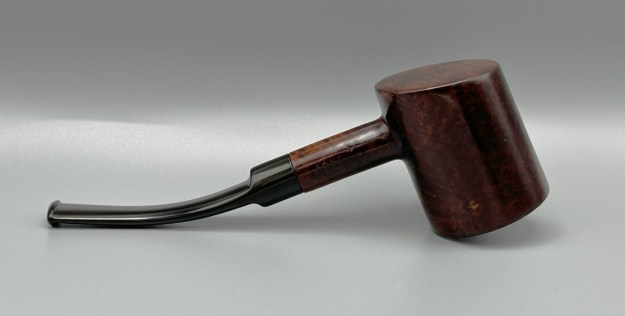
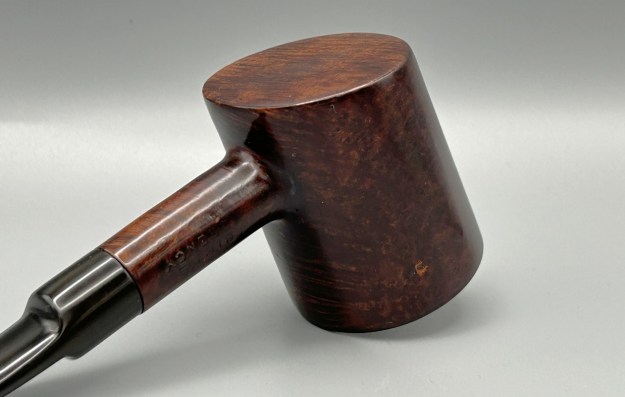
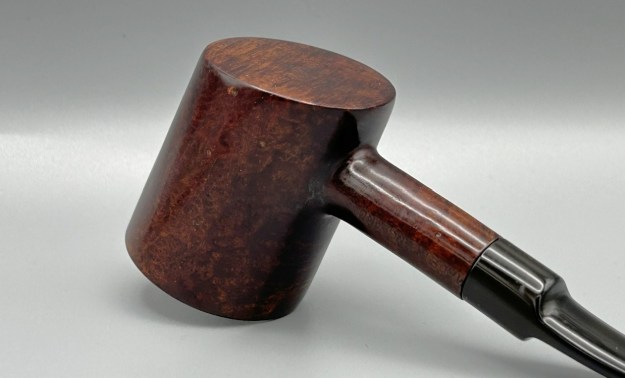
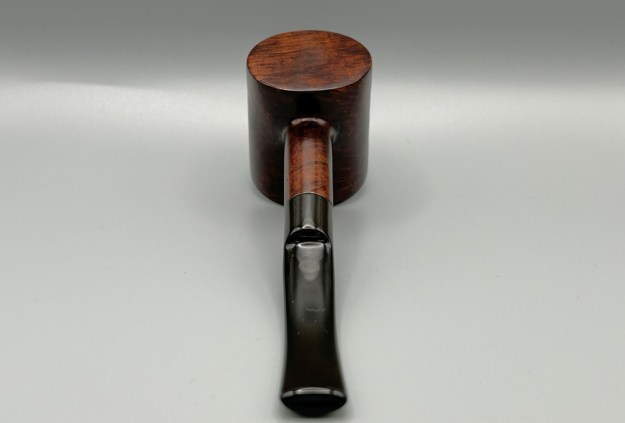
All done! This bamboo meerschaum sitter looks fantastic after a lot of hard work, and is ready to be enjoyed by its next owner. I am pleased to announce that this pipe is for sale! If you are interested in acquiring it for your collection, please have a look in the ‘Meerschaum’ section of the store here on Steve’s website. You can also email me directly at kenneth@knightsofthepipe.com. The approximate dimensions of the pipe are as follows: length 6 in. (153 mm); height 1⅞ in. (47 mm); bowl diameter 1¼ in. (32 mm); chamber diameter ¾ in. (19 mm). The weight of the pipe is ⅞ oz. (26 g). I hope you enjoyed reading the story of this pipe’s restoration as much as I enjoyed restoring it. If you are interested in more of my work, please follow me here on Steve’s website or send me an email. Thank you very much for reading and, as always, I welcome and encourage your comments.