Blog by Steve Laug
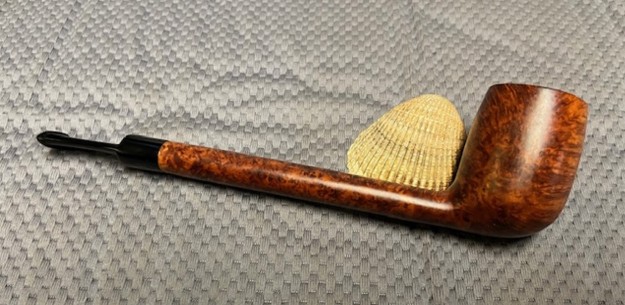
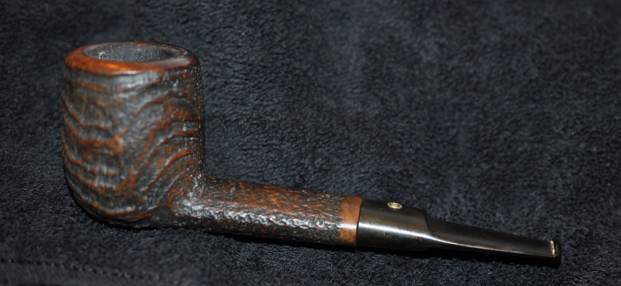
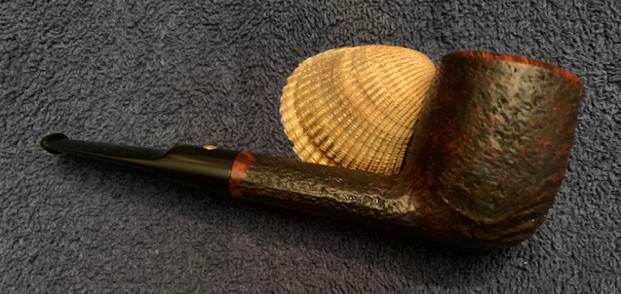
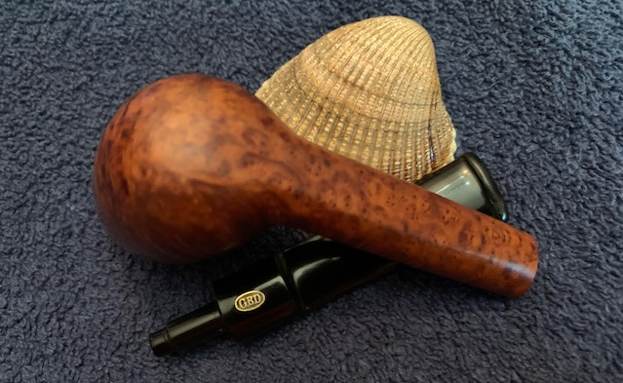
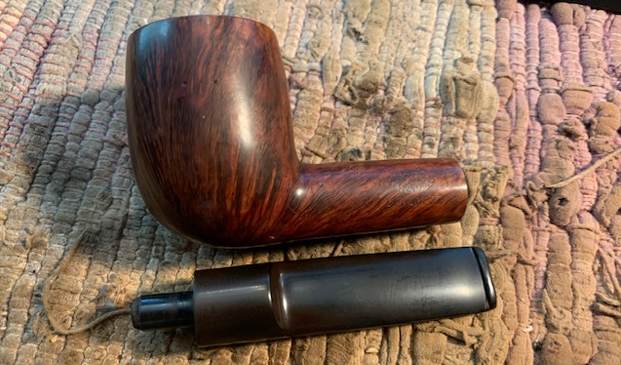
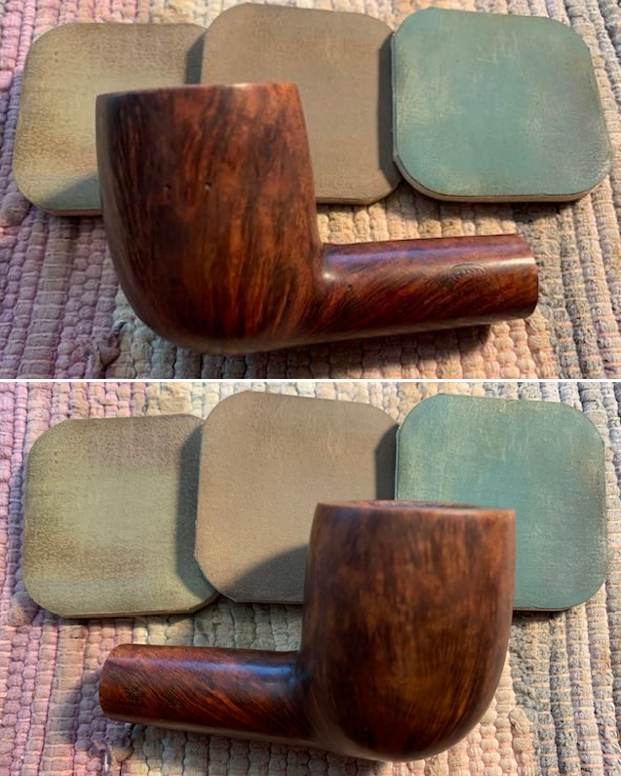
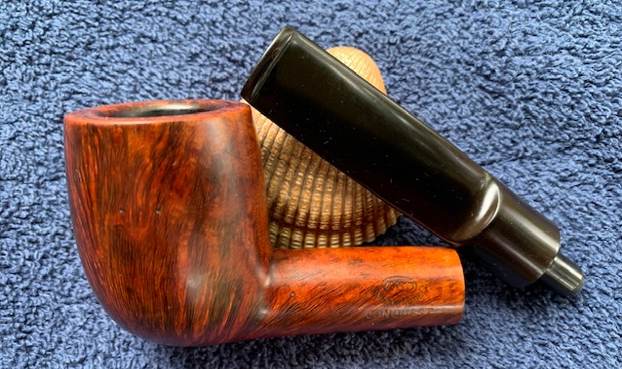
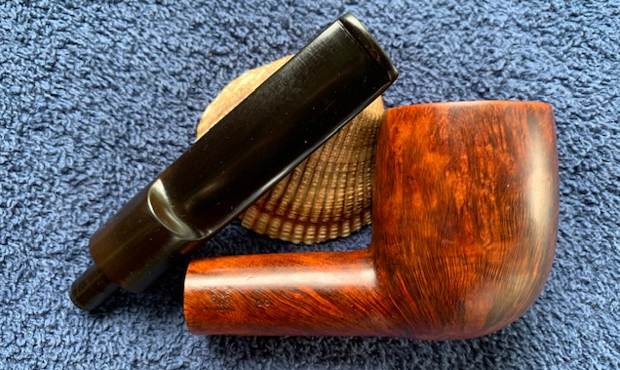
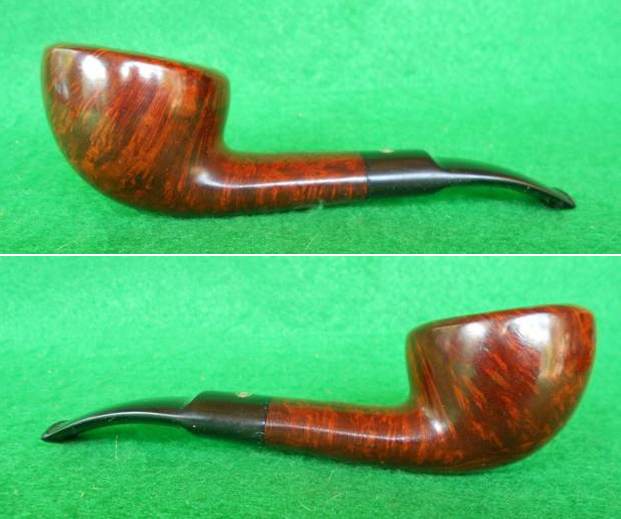
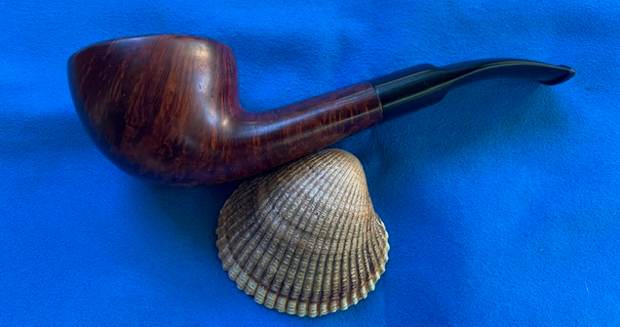
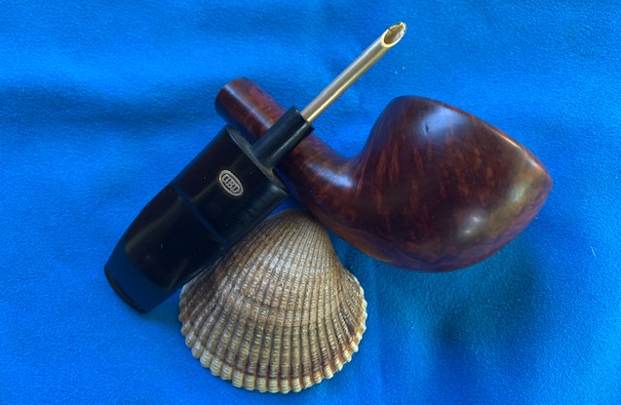
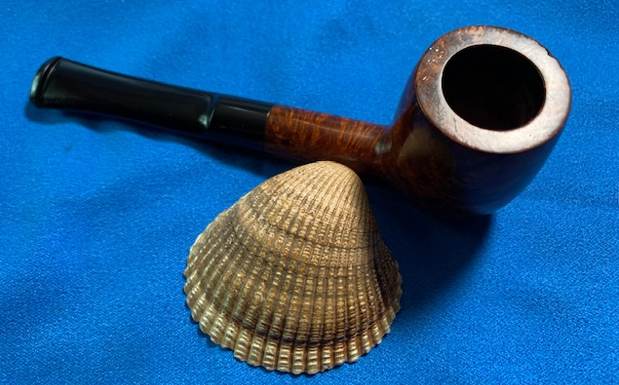
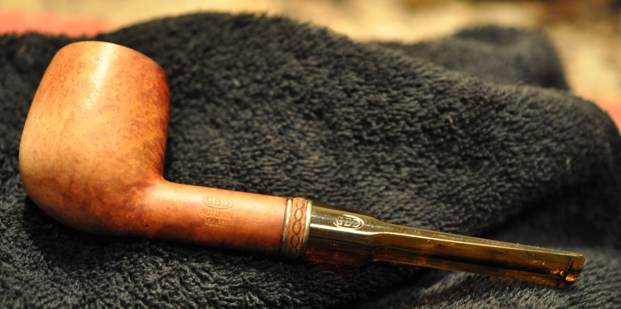
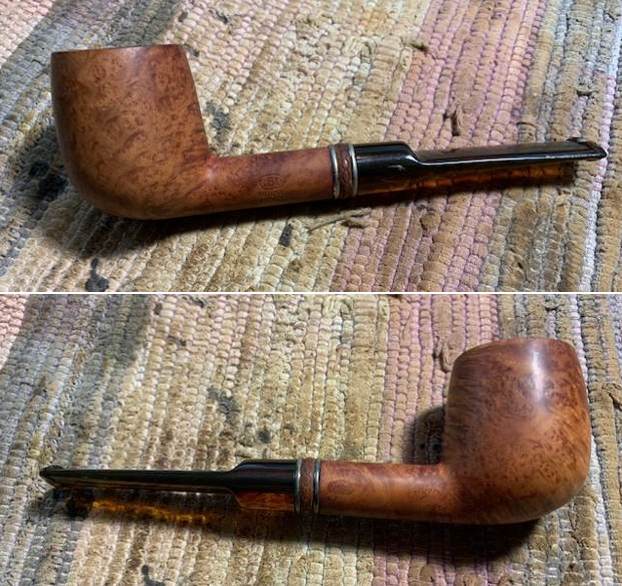
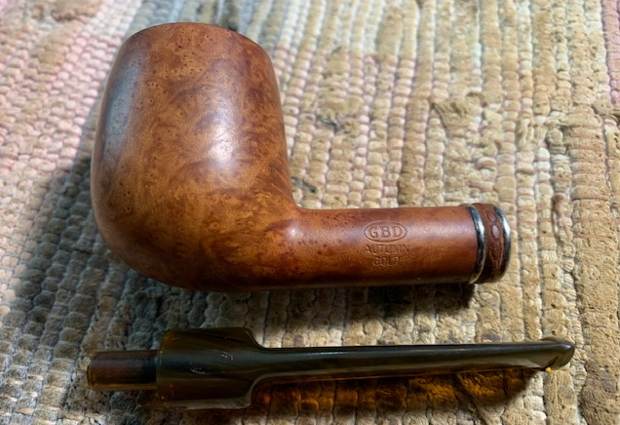
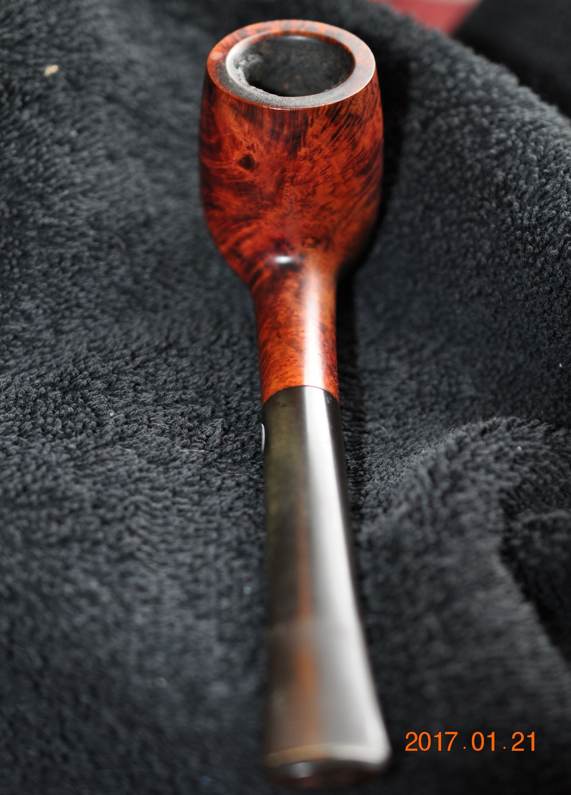
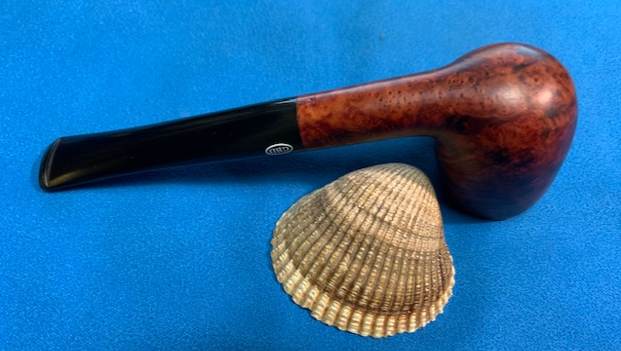
The next pipe on the work table is long and classic looking smooth finish long shank possible Canadian. It is stamped on the topside of the shank and clearly reads GBD in an oval [over] International [over] London Made [over] Colossus in script. On the underside of the shank it is stamped London England [over] the shape number 264. It came from a lot we purchased on 03/21/2024 from an estate in Oregon City, Oregon, USA. It is Canadian/Lumberman shaped pipe with some great grain and only lacking the original vulcanite stem. The shape of the new stem would be determined by the what I could find out about the shape 264. If a Canadian then it would have a new taper stem. If it was a Lumberman then it would have a short saddle stem.The bowl has a thick cake and some lava overflow in the finish on the rim top and inner edge. The finish looked quite good in terms of wear and tear but there was dirt and hand oils in the finish. But under the grime the finish looked very good and highlights some beautiful grain. Jeff took photos of the pipe before he started his cleanup.
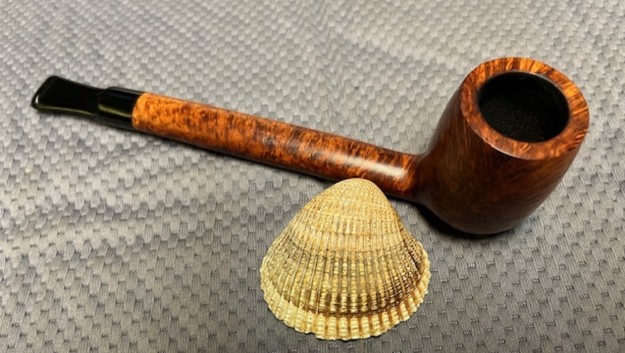
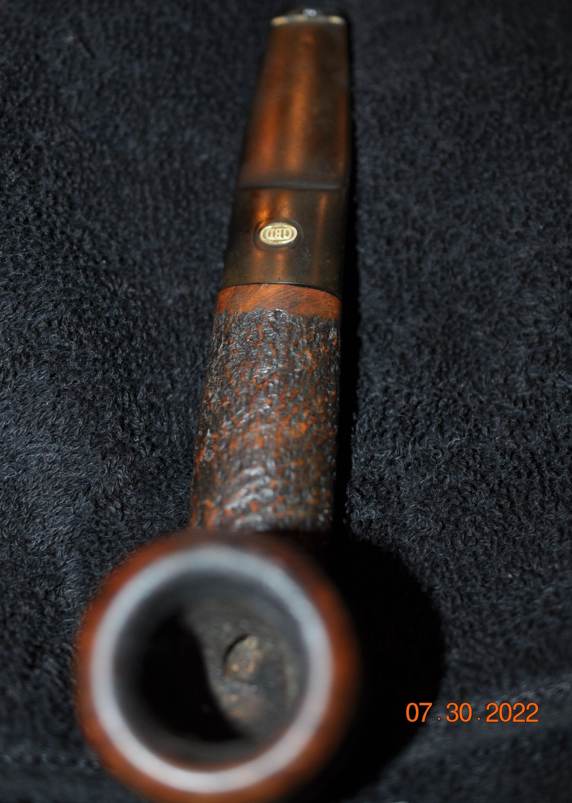
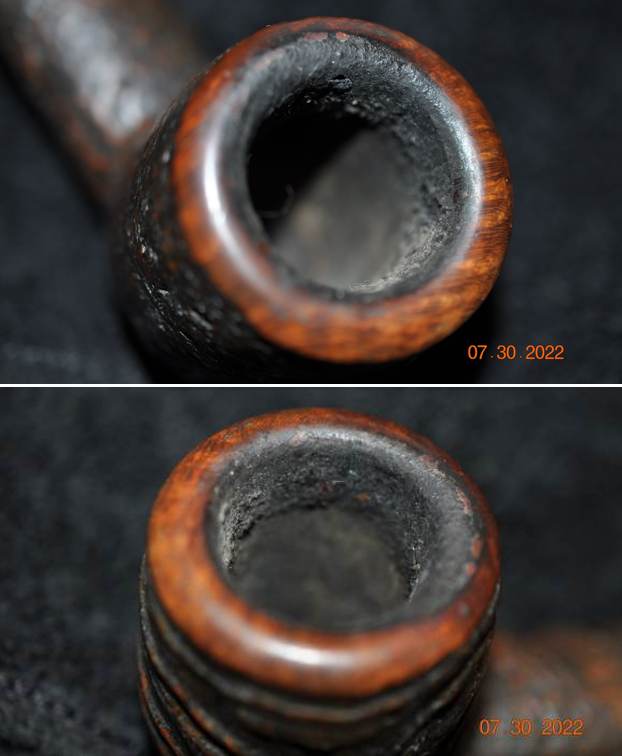
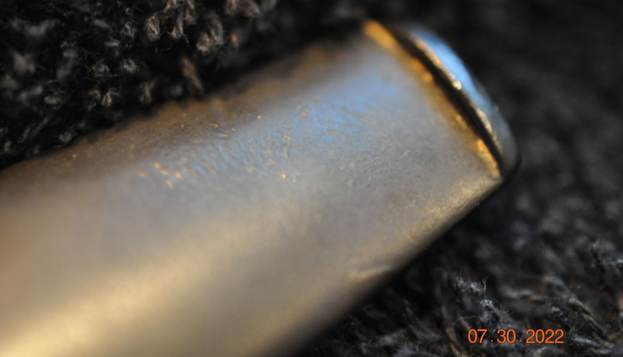
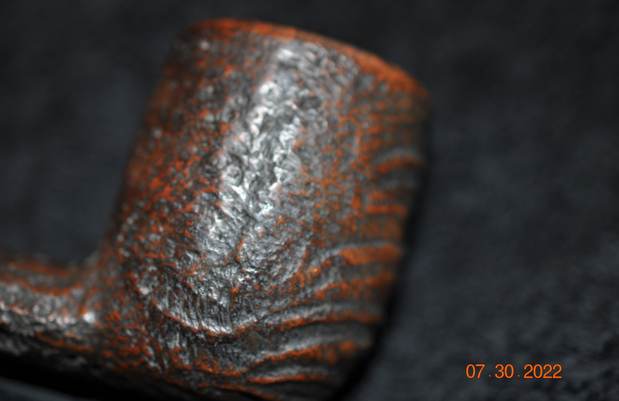
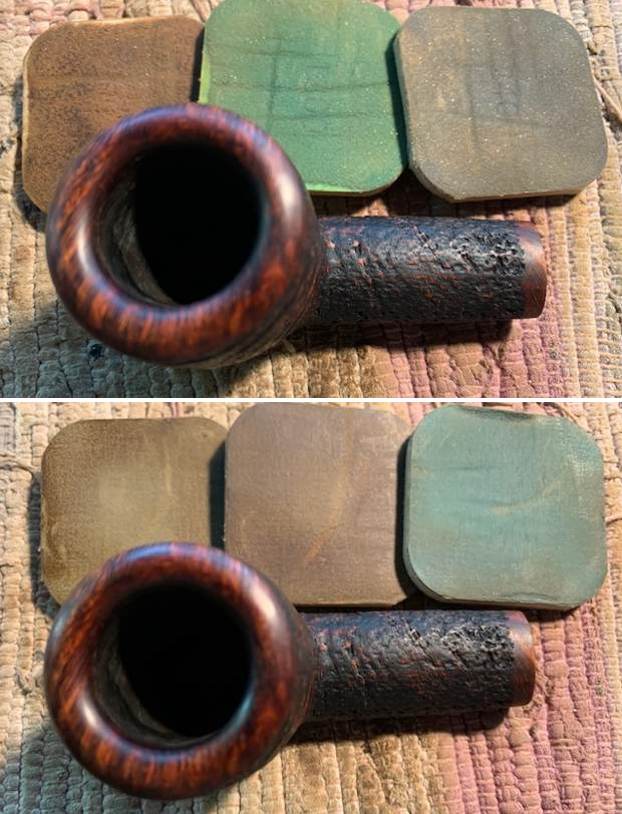
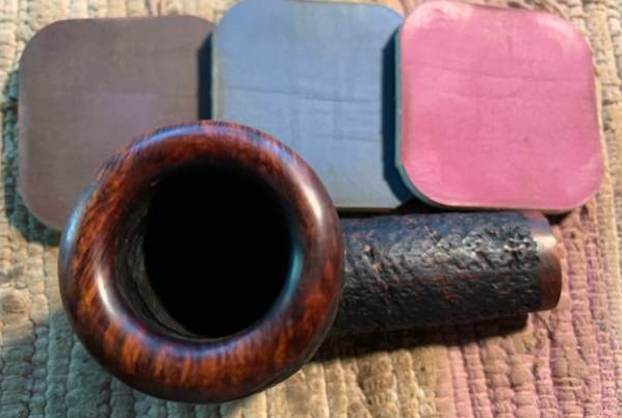
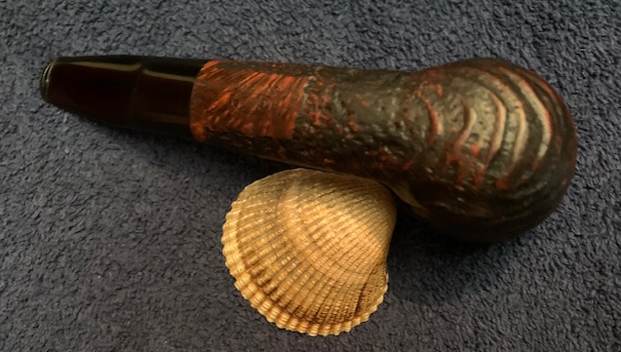
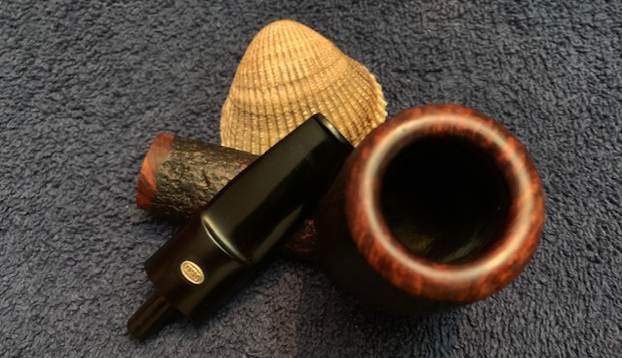
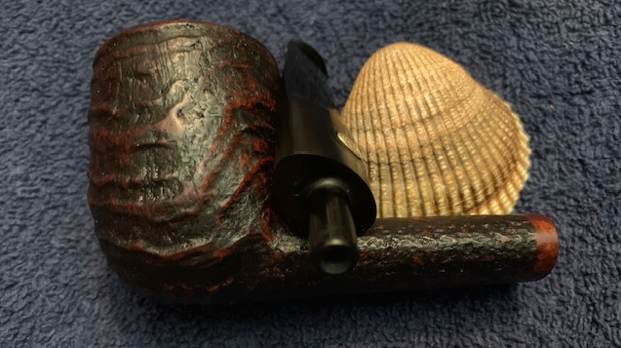
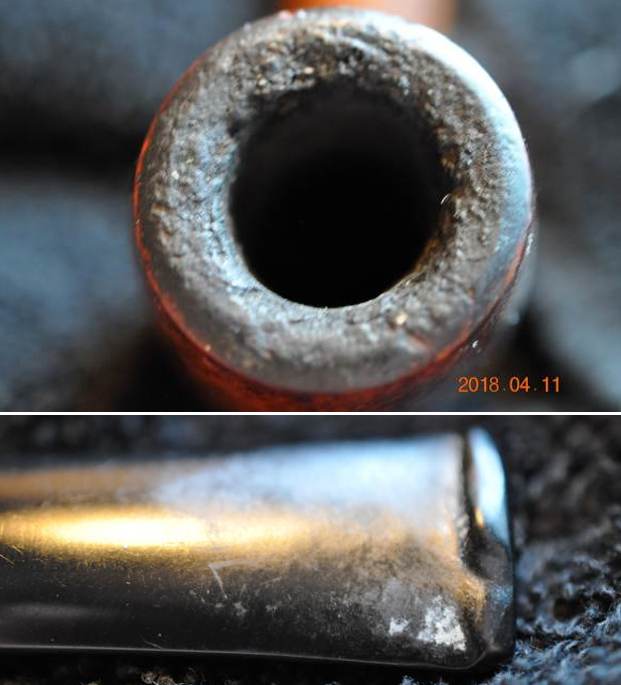
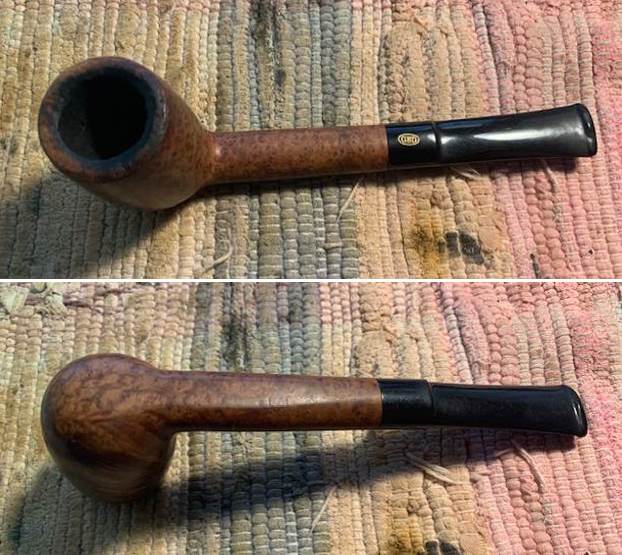
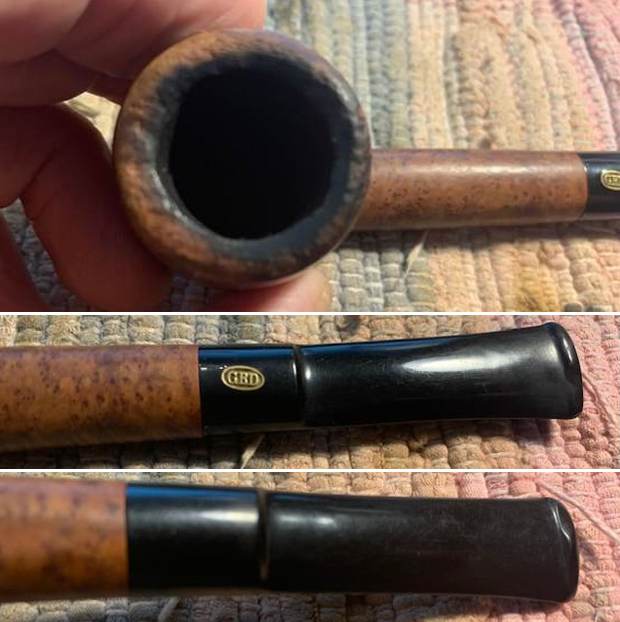
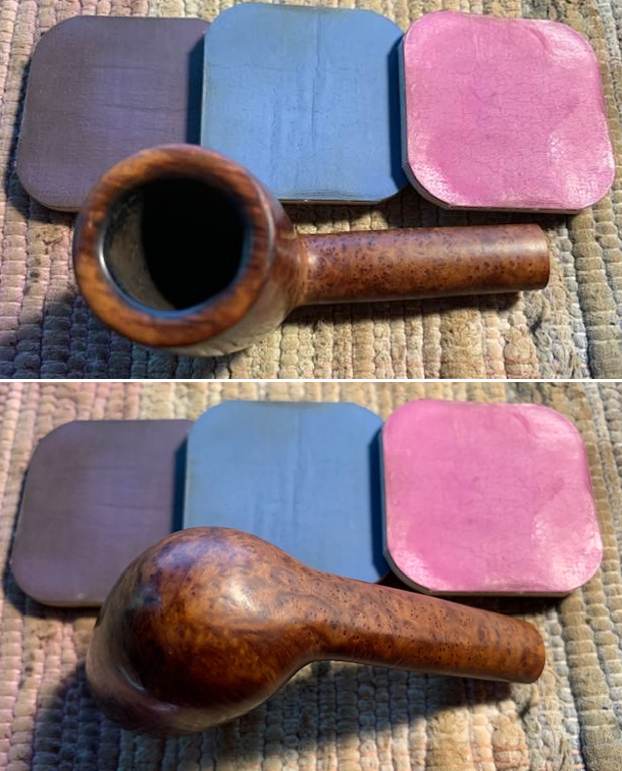
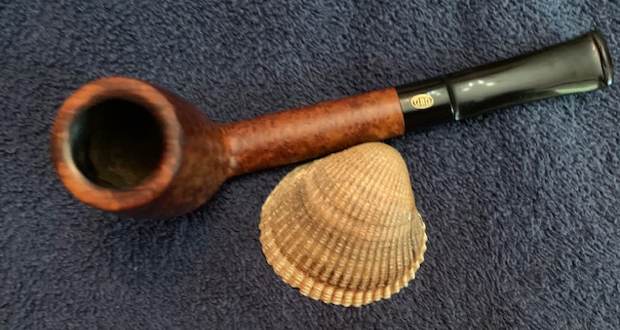
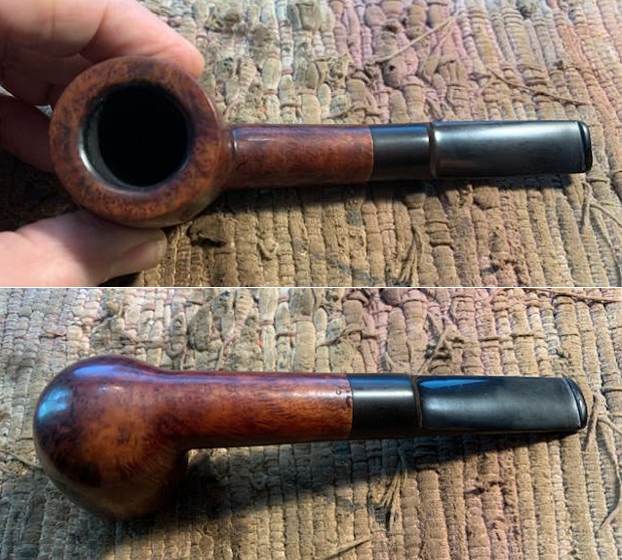
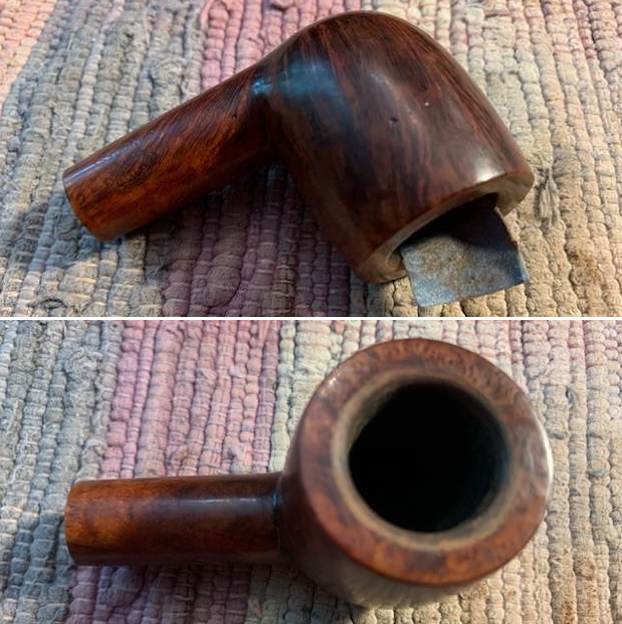
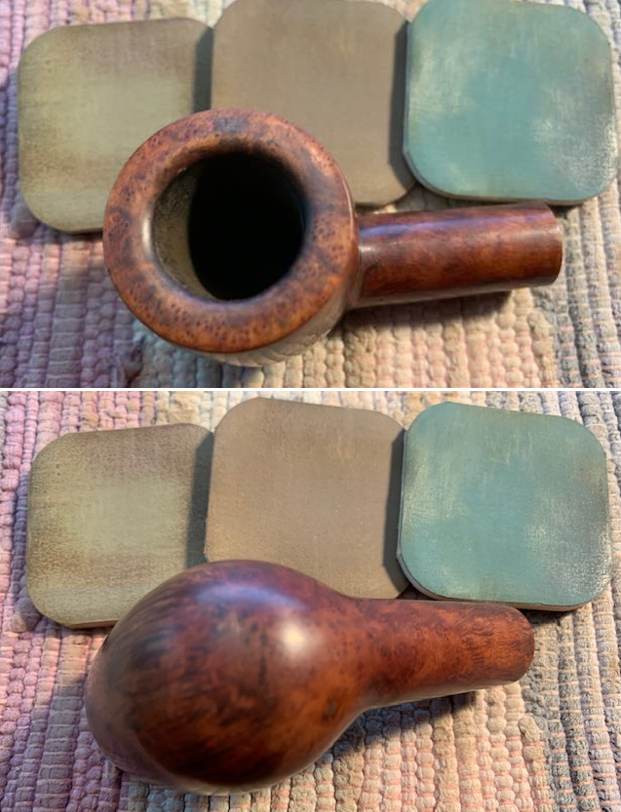
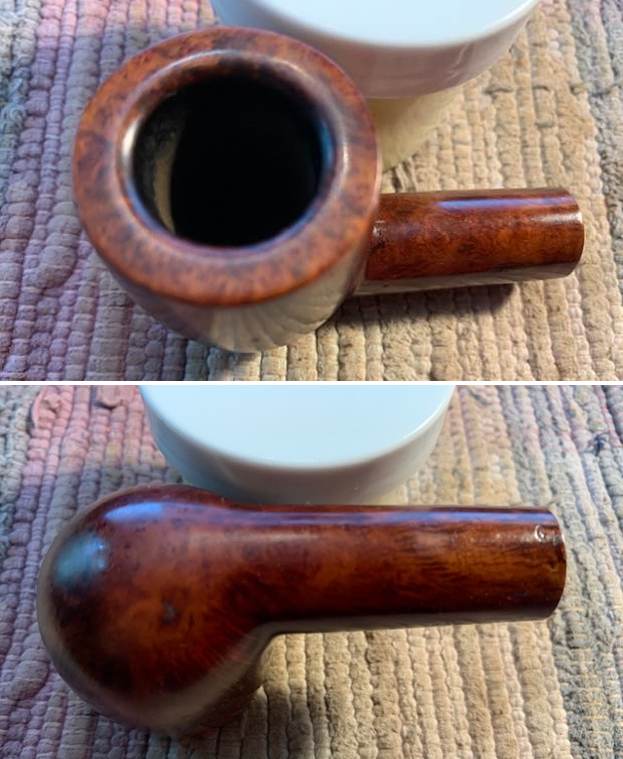
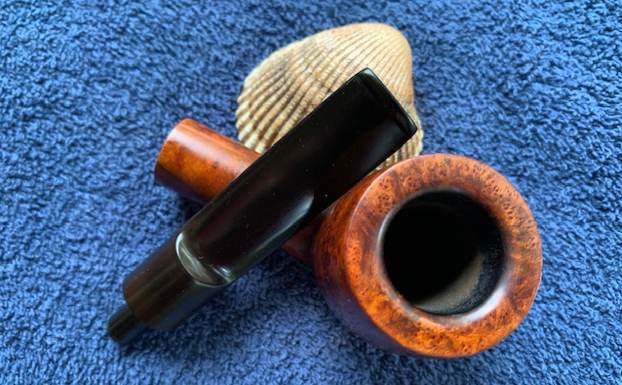
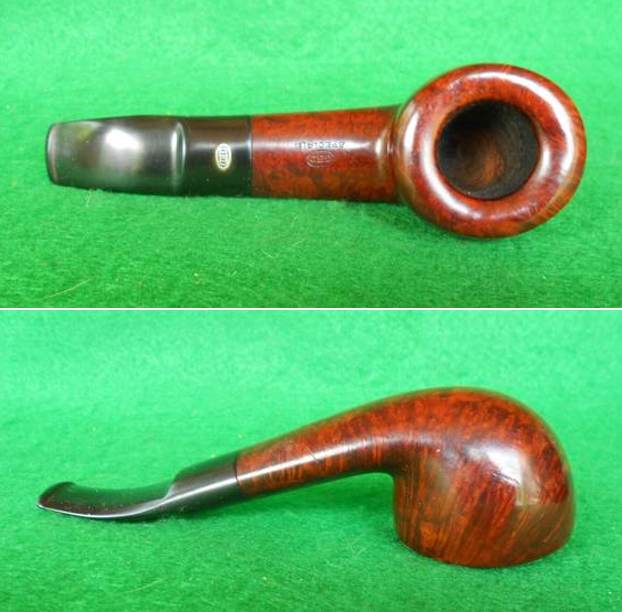
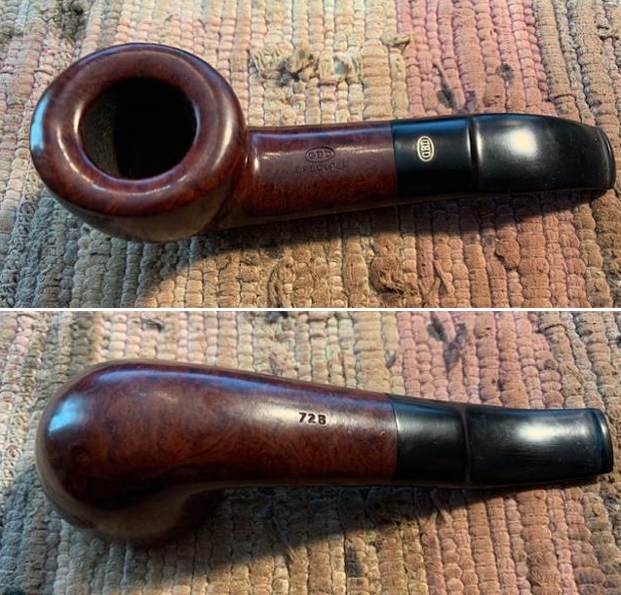
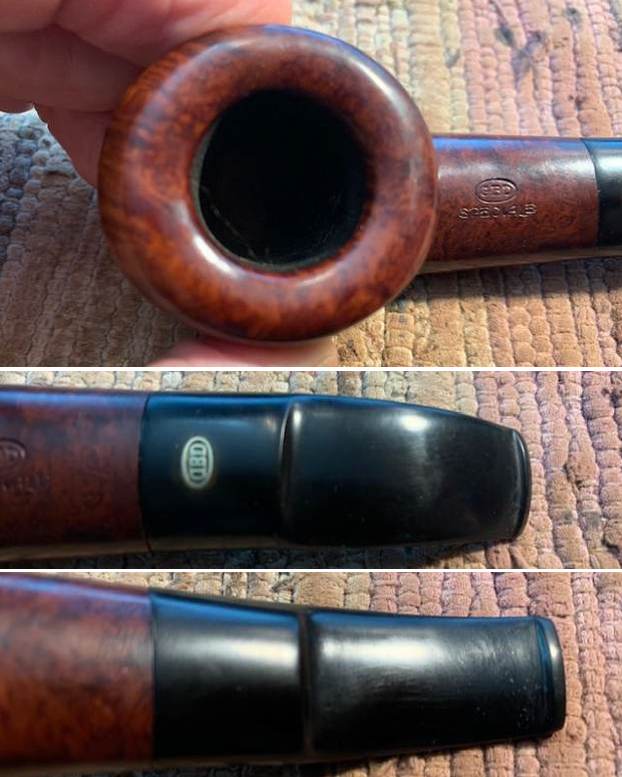
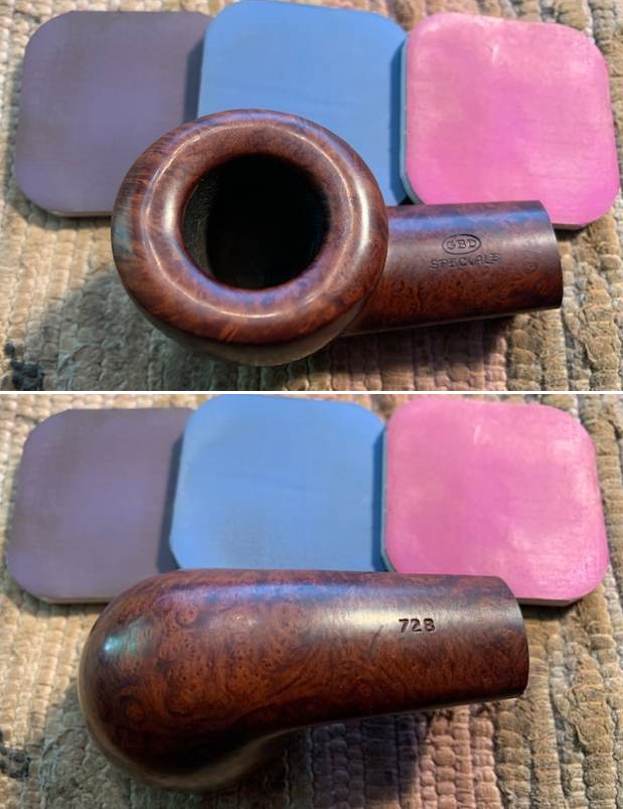
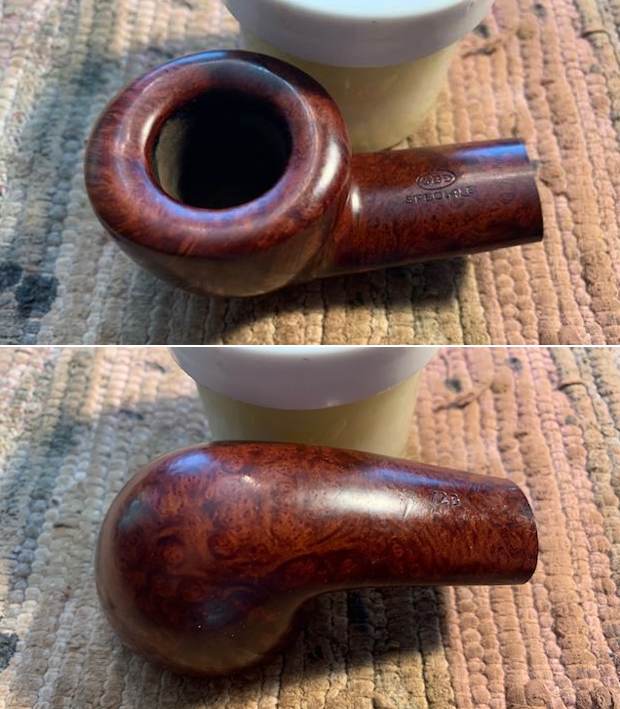
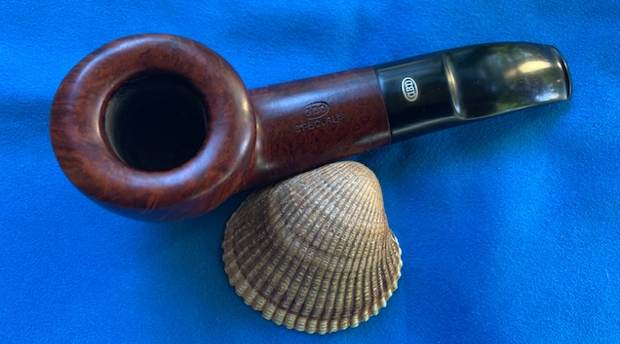
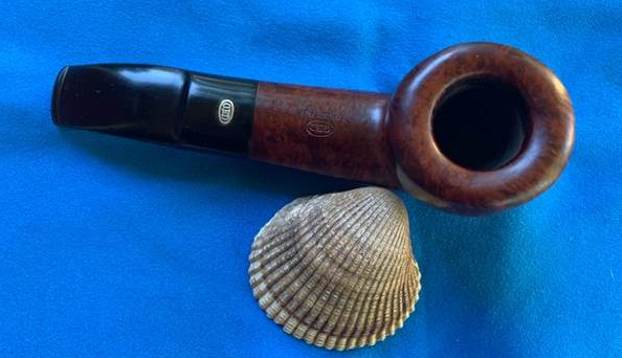
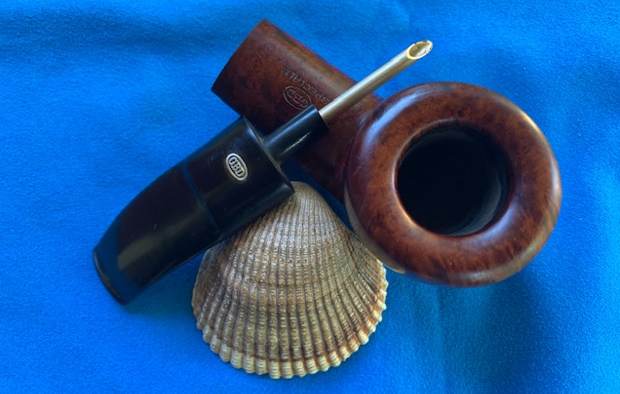
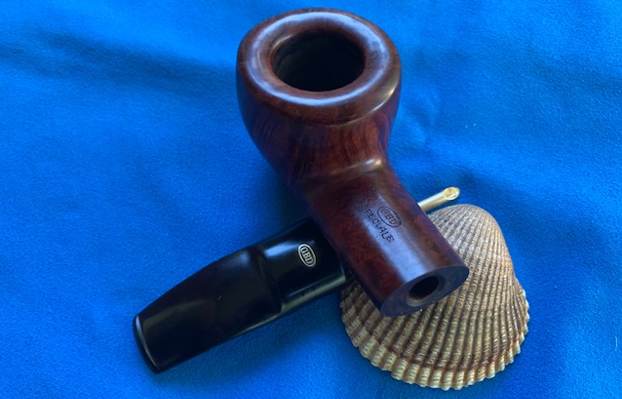
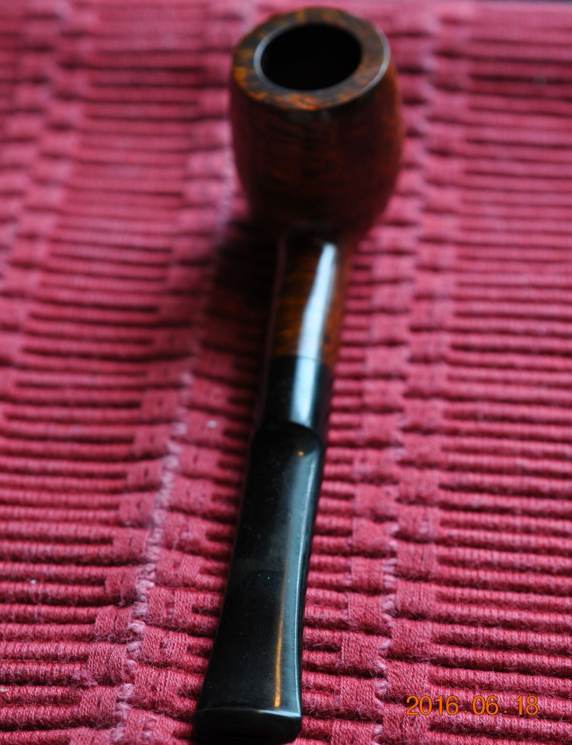
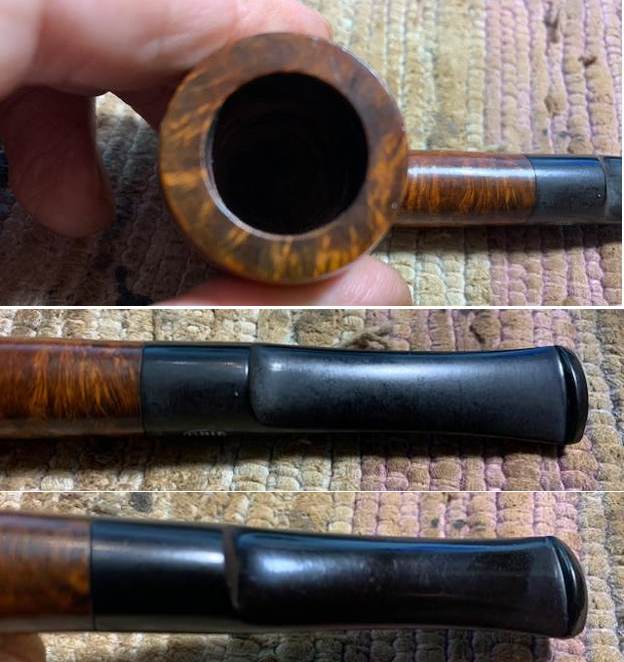
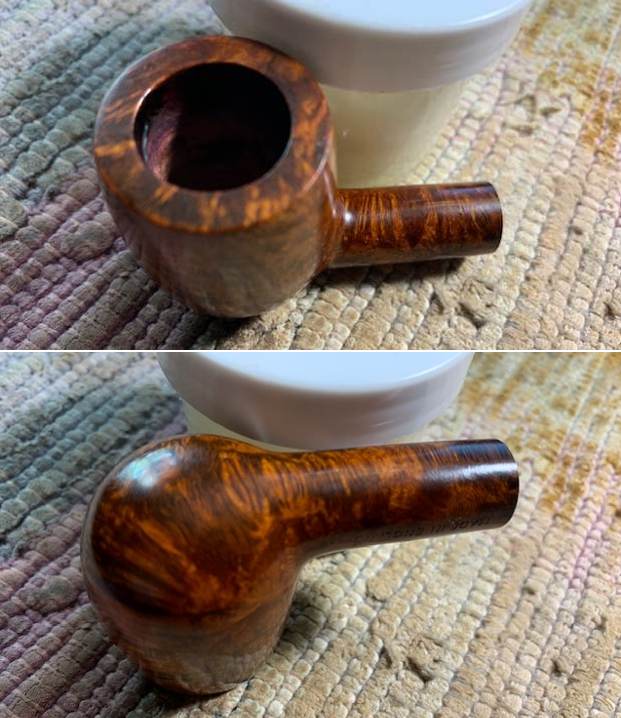
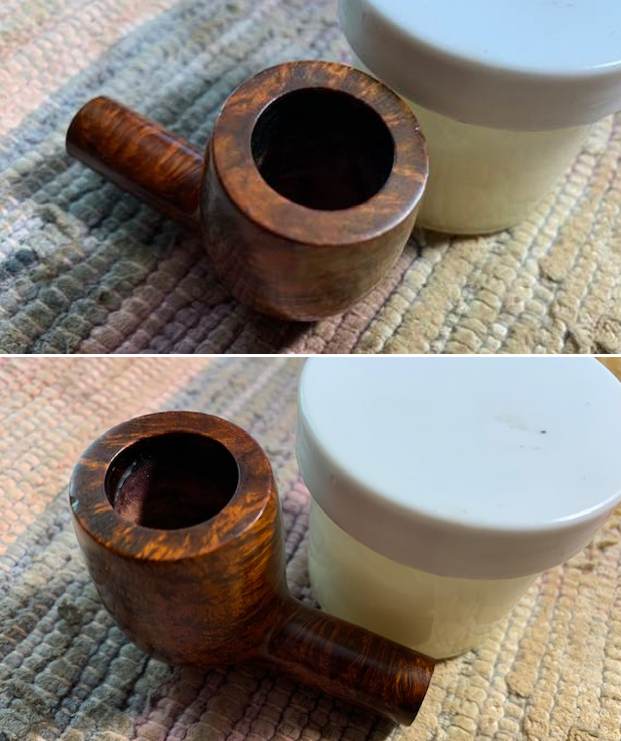
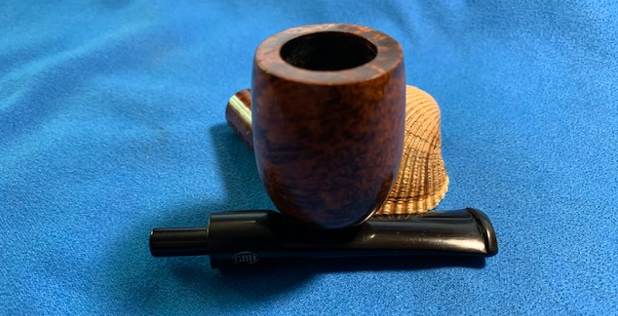
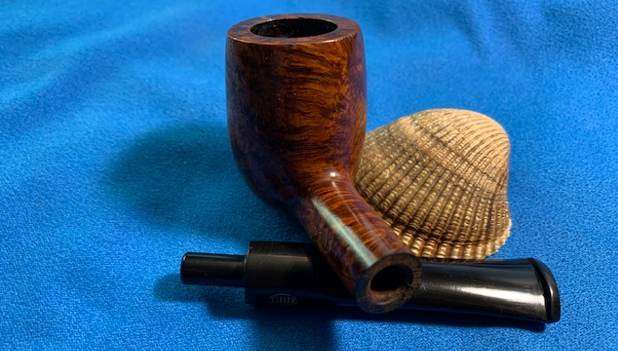
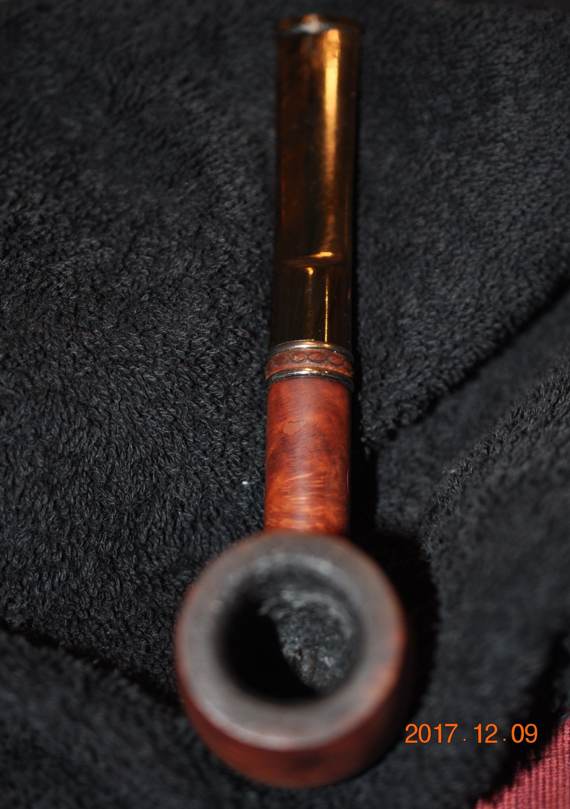
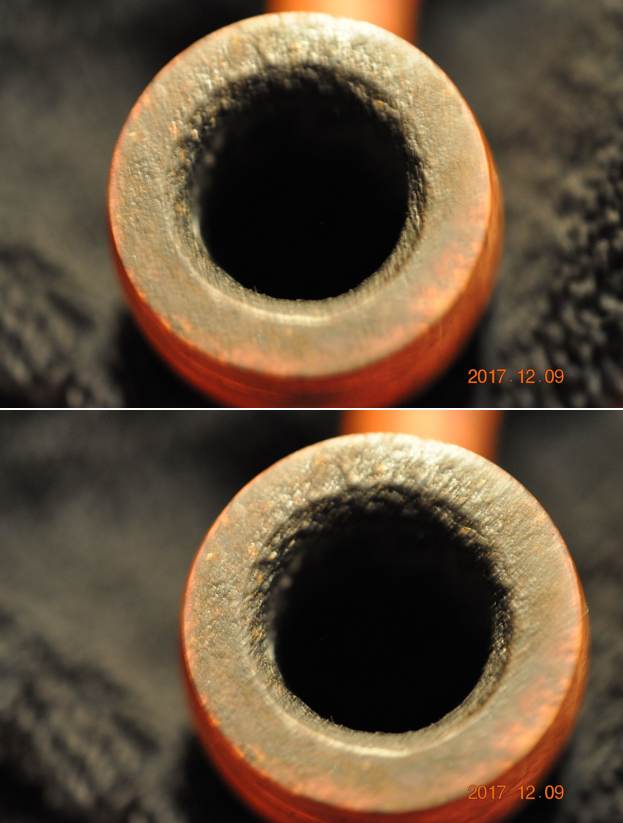
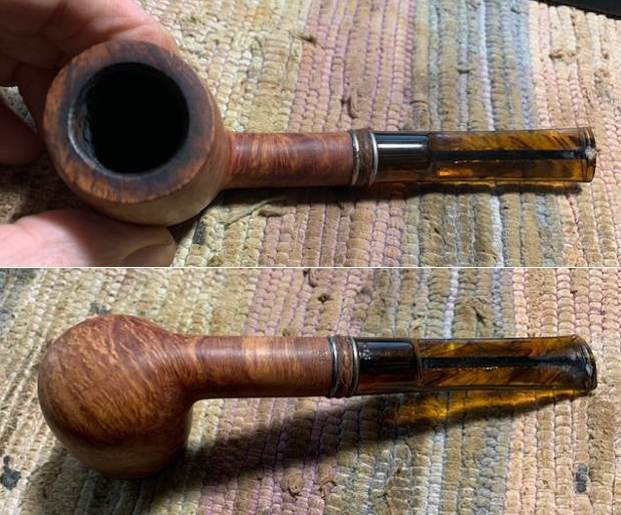
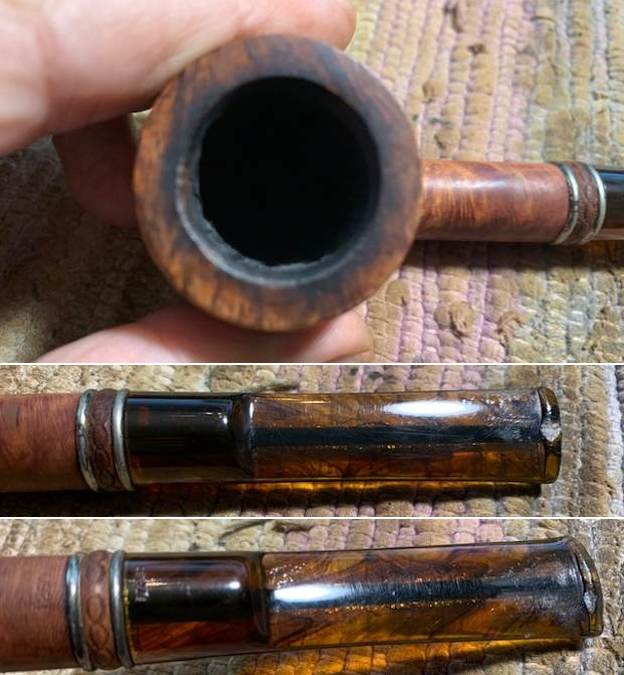
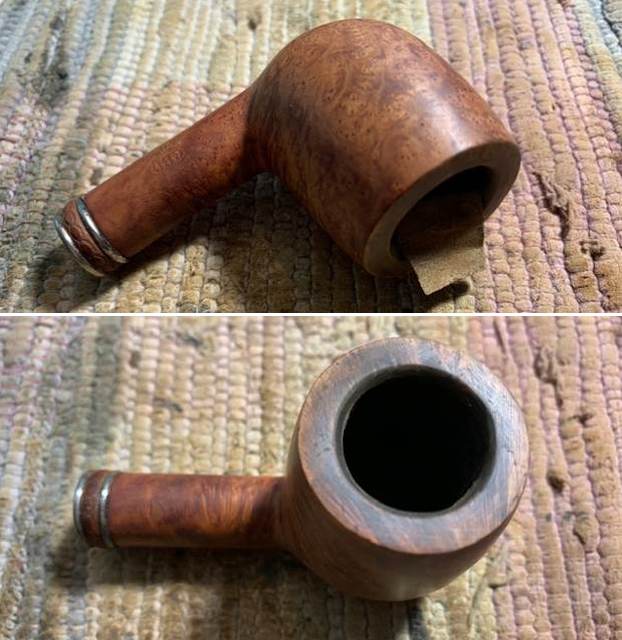
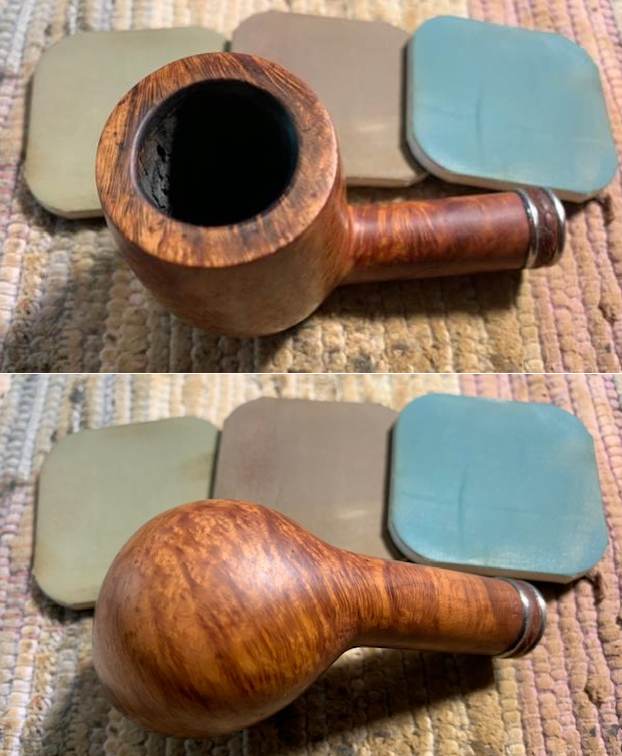
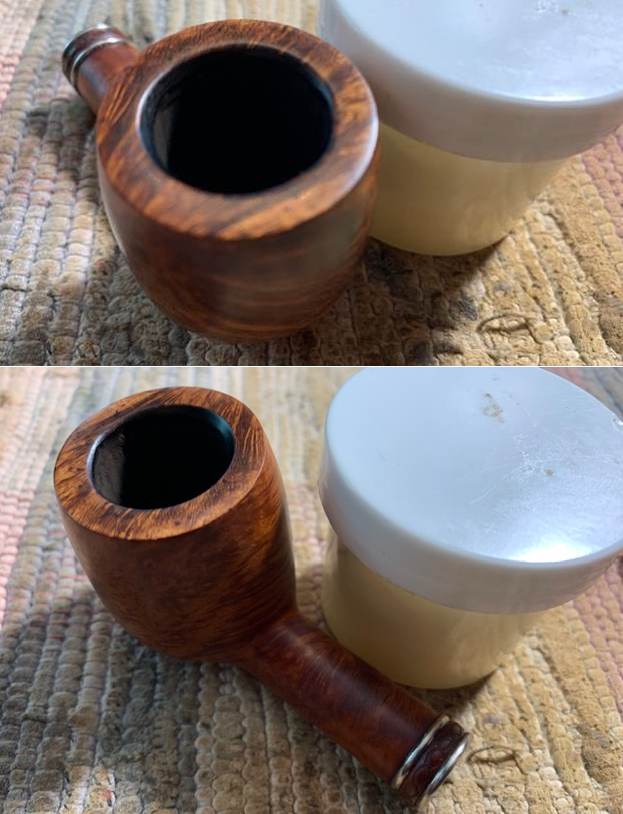
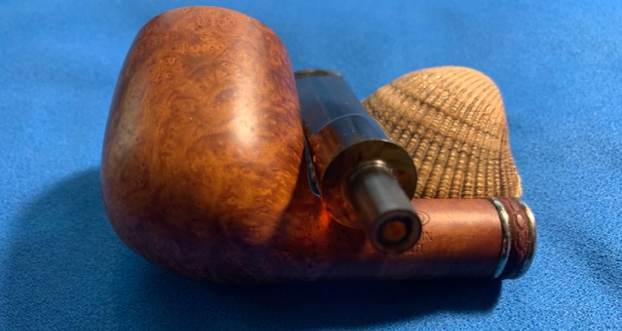
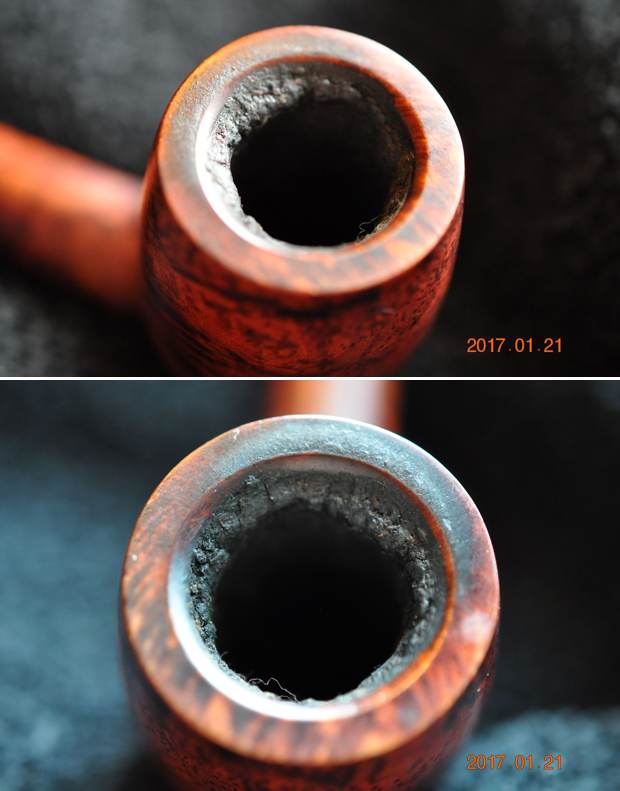
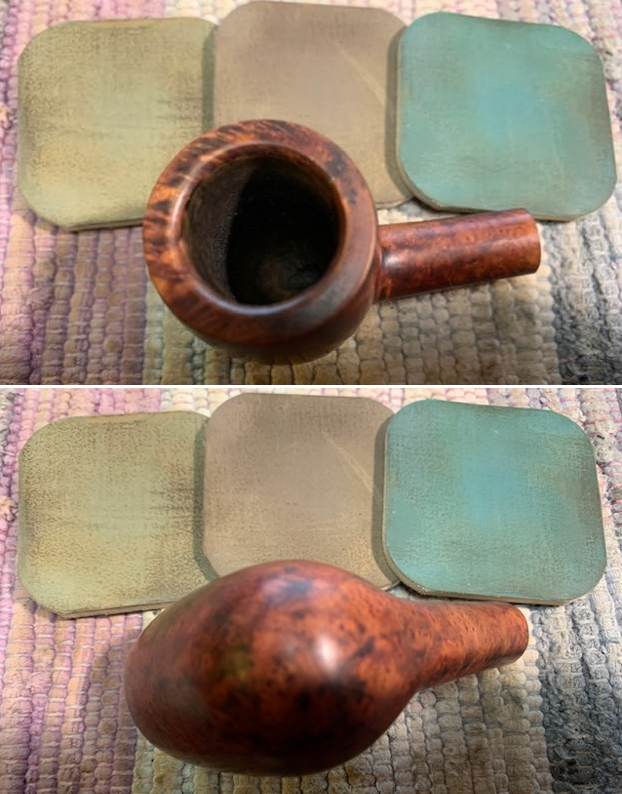
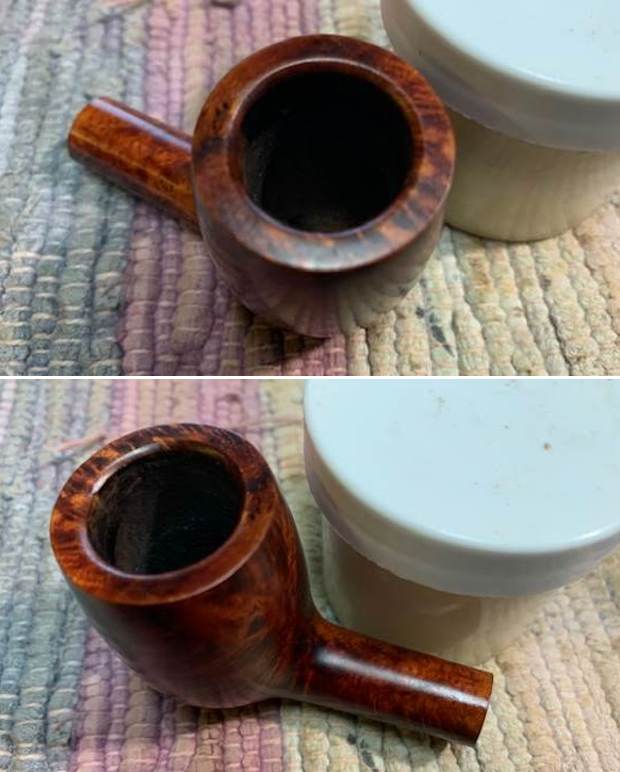
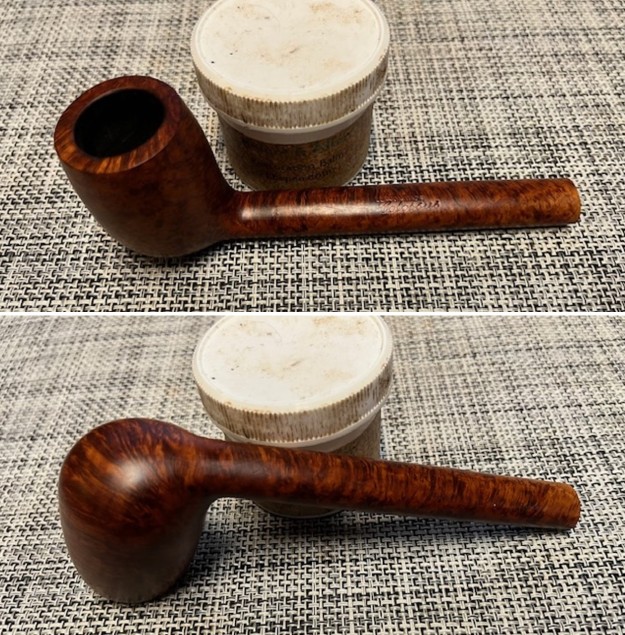
 He took photos of the pipe’s bowl and rim top to show the cake in the bowl and the lava coat overflowing onto the top and over the edges. It is another dirty pipe.
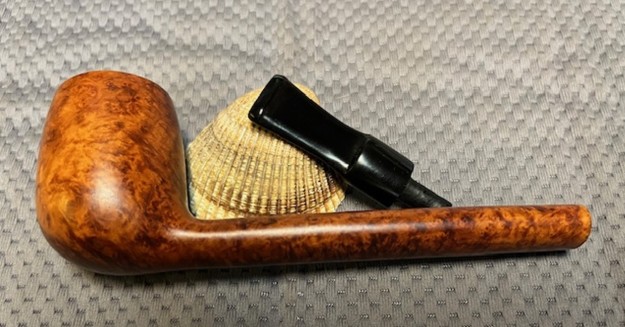
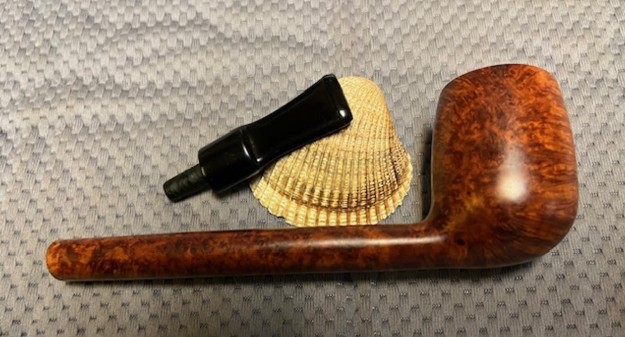
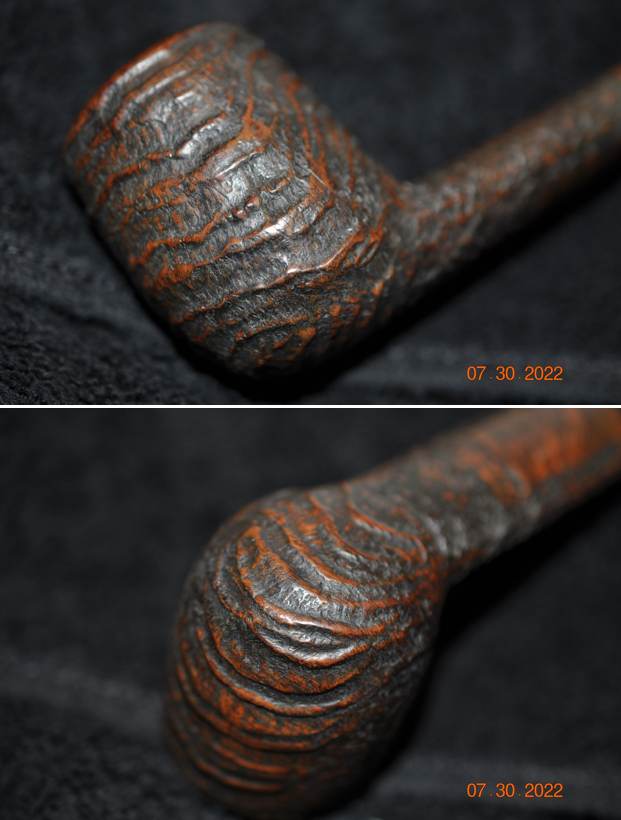
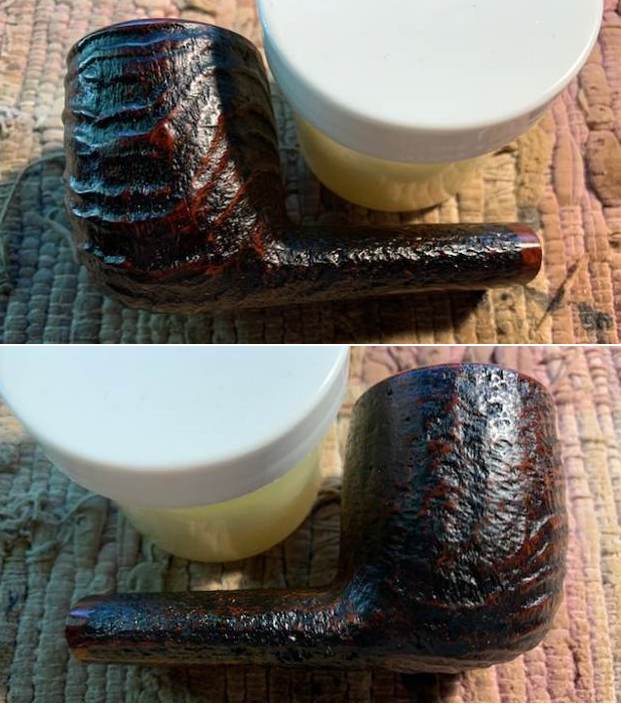
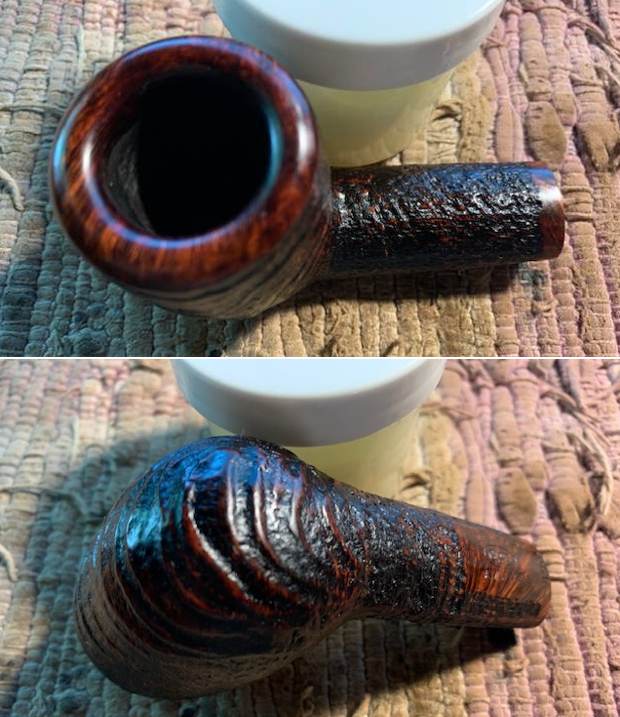
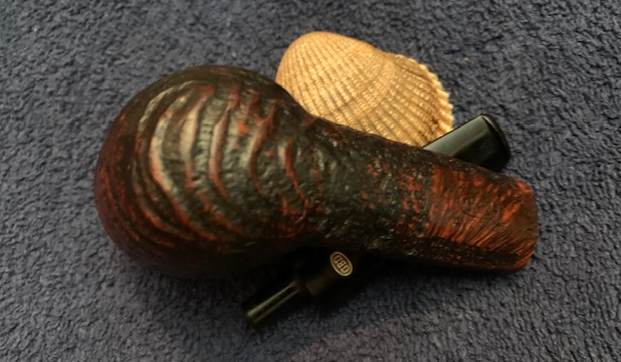
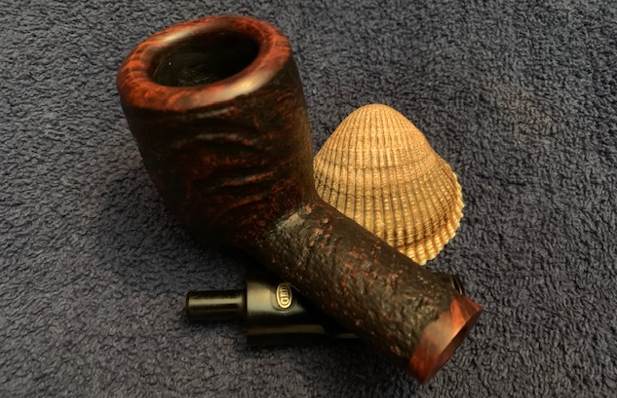
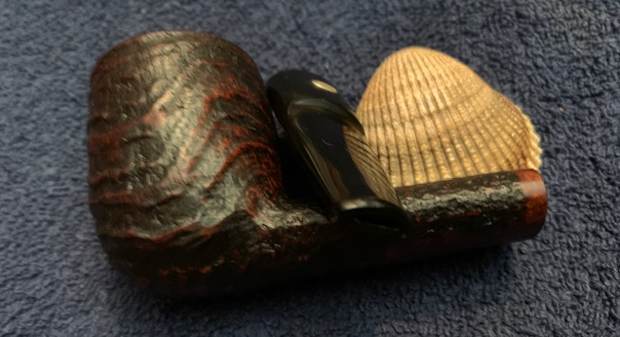
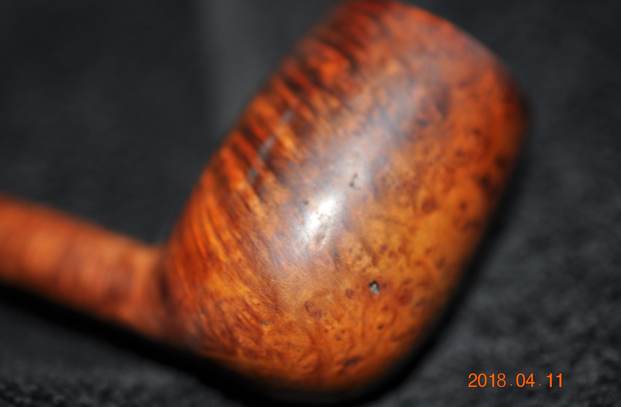
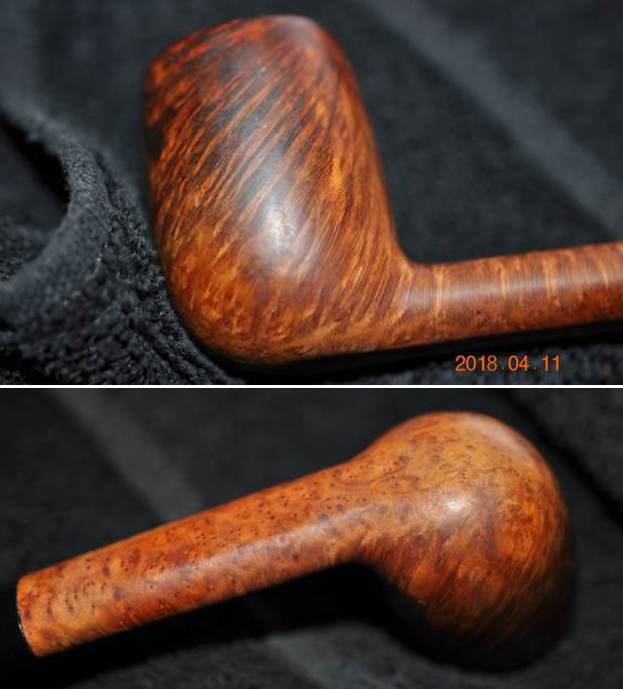
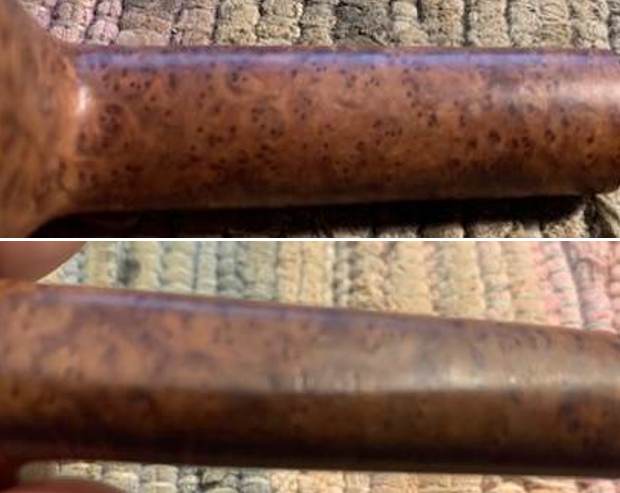
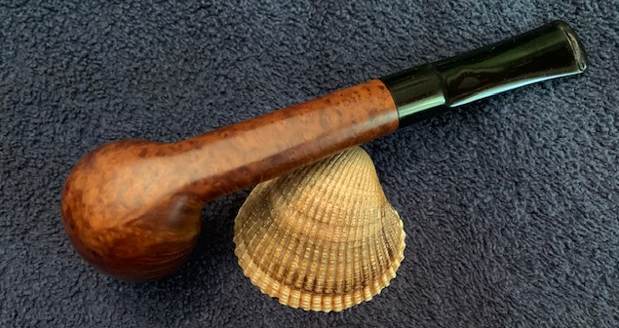
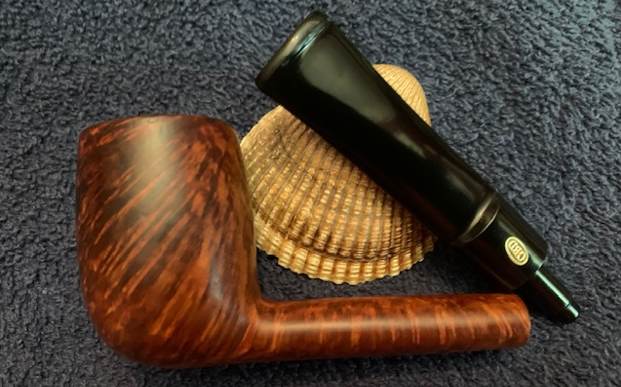
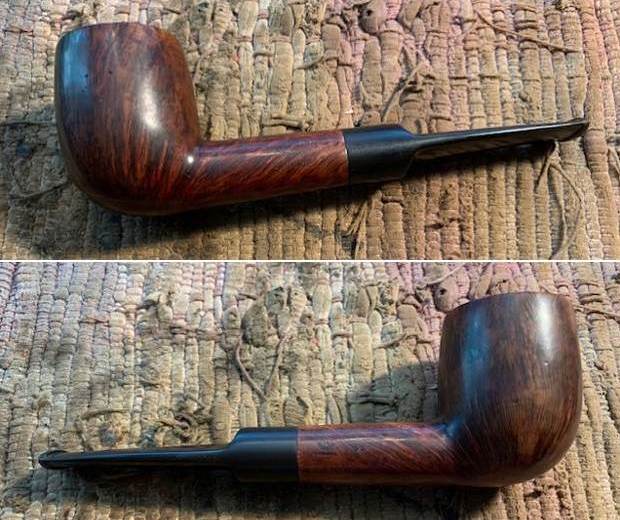
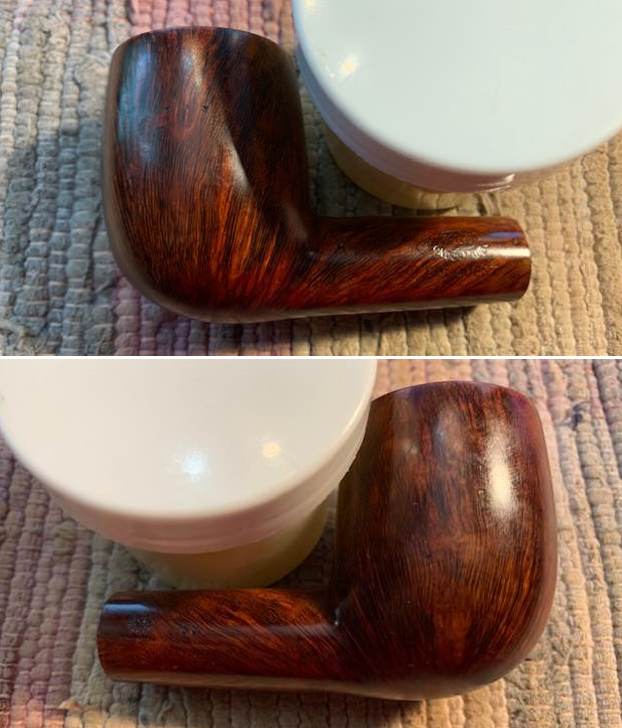
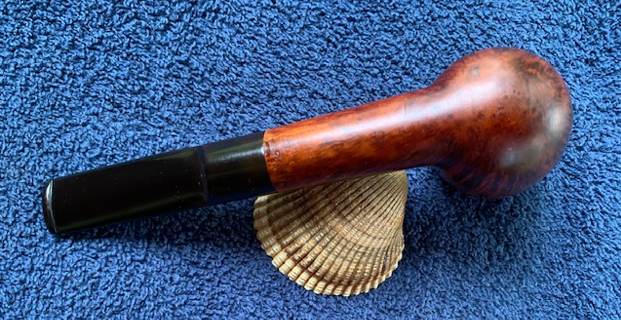
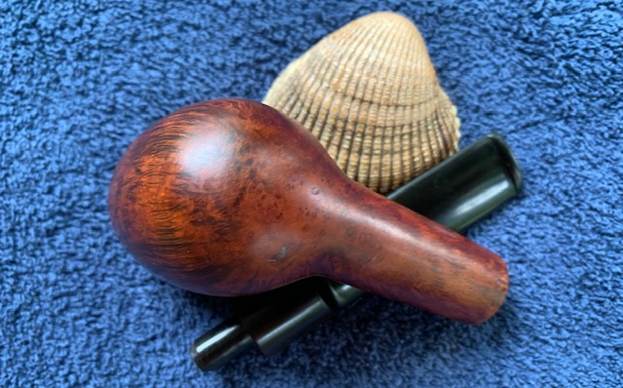
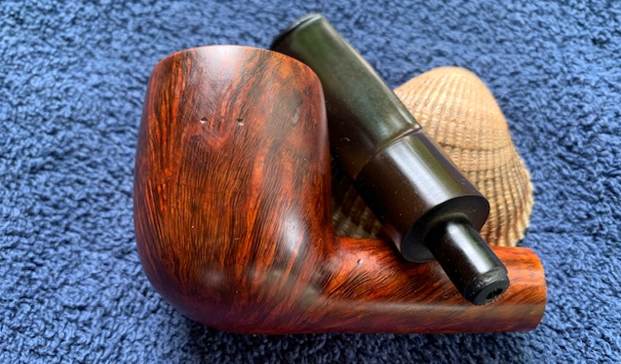
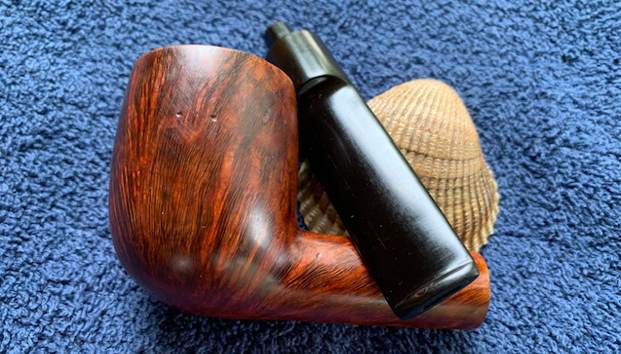
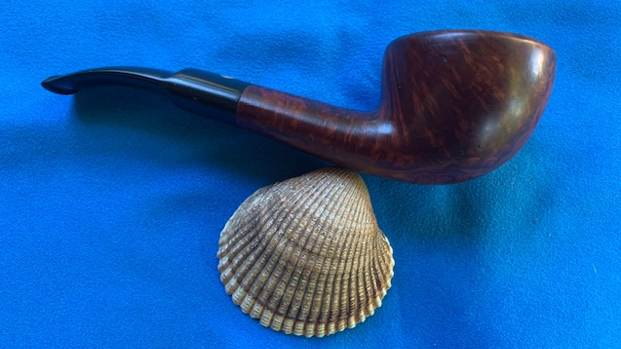
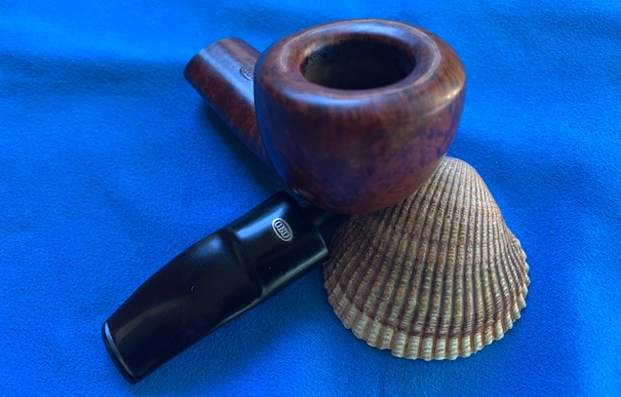
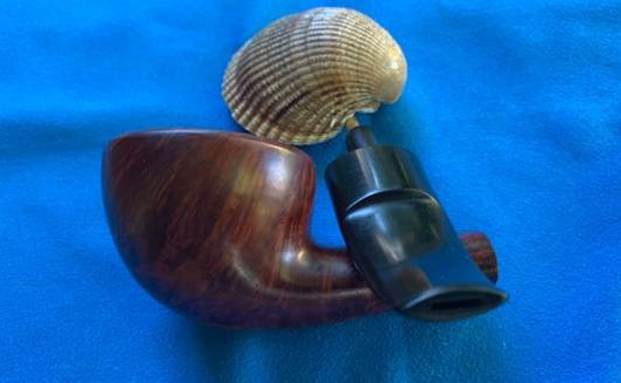
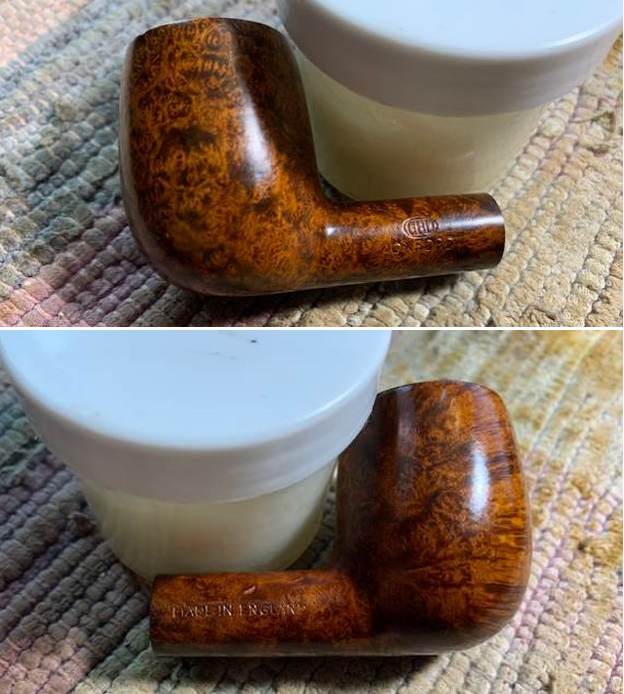
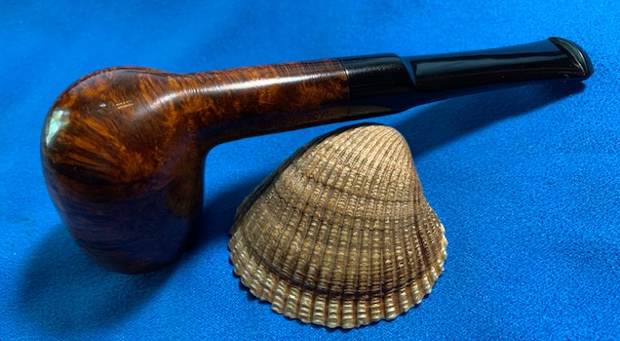
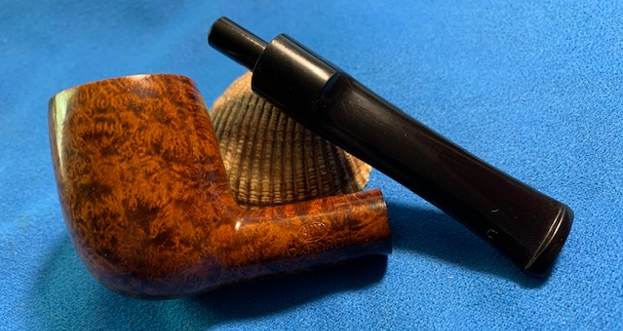
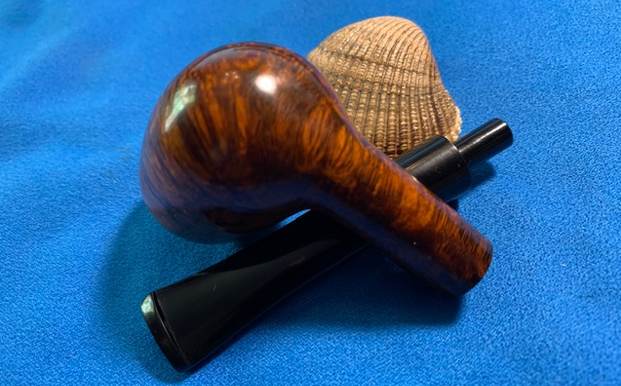
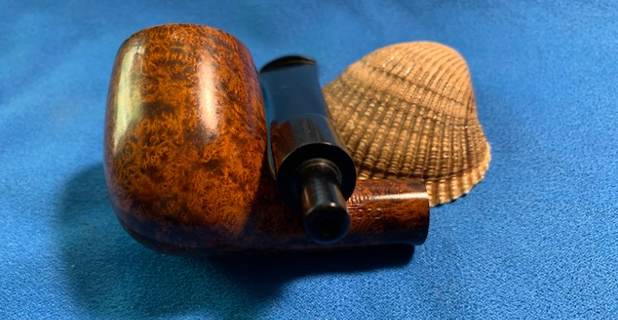
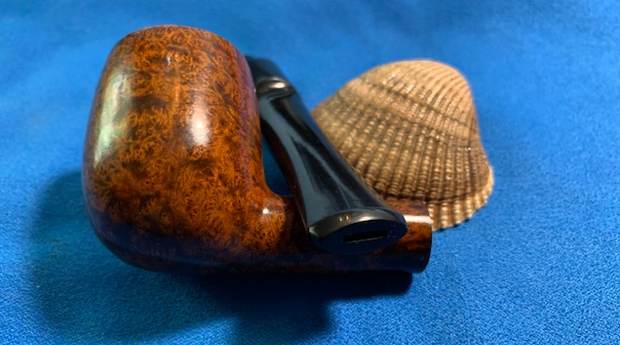
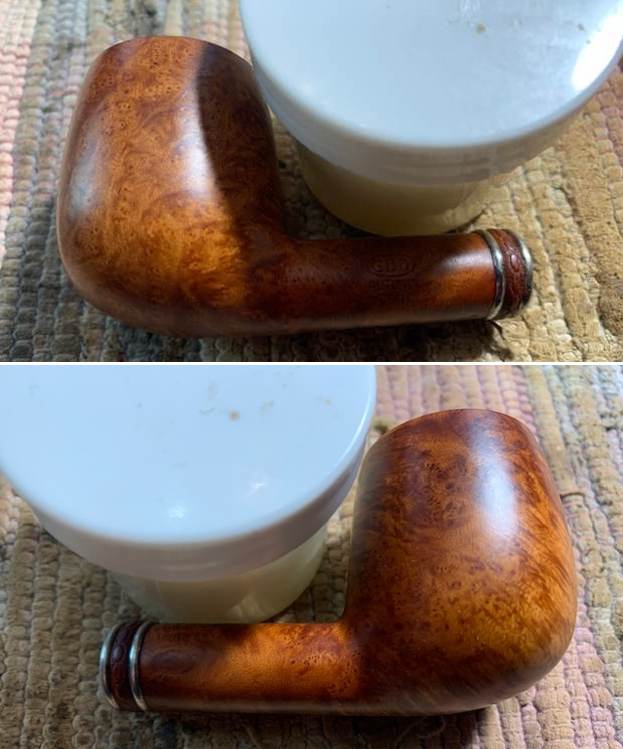
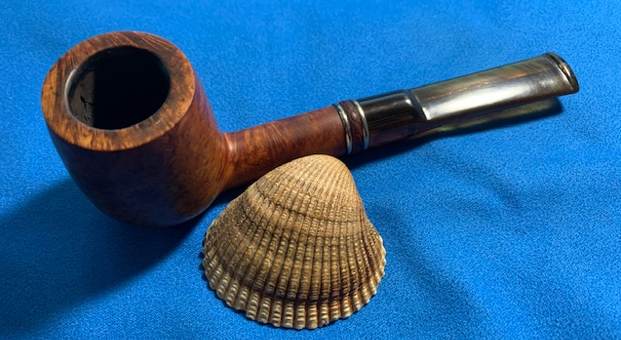
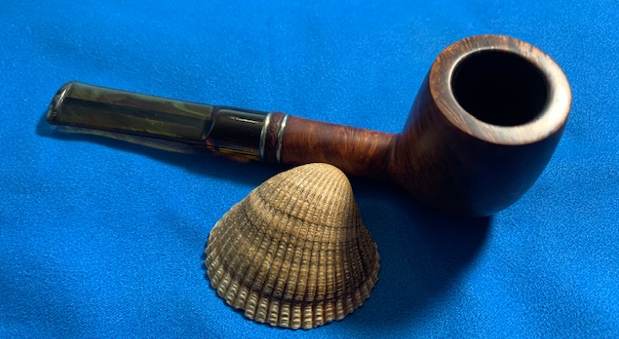
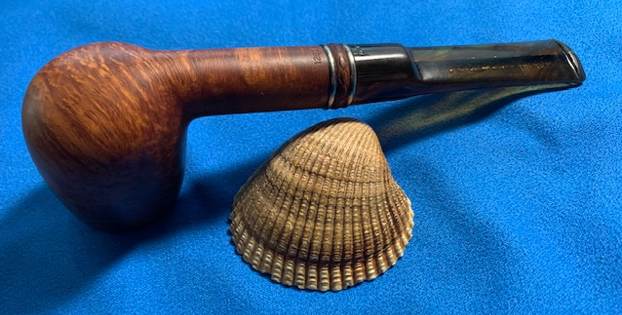
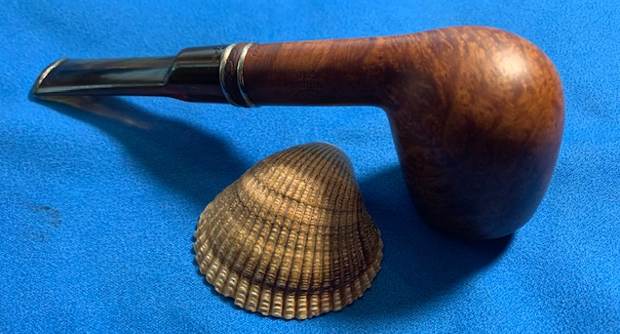
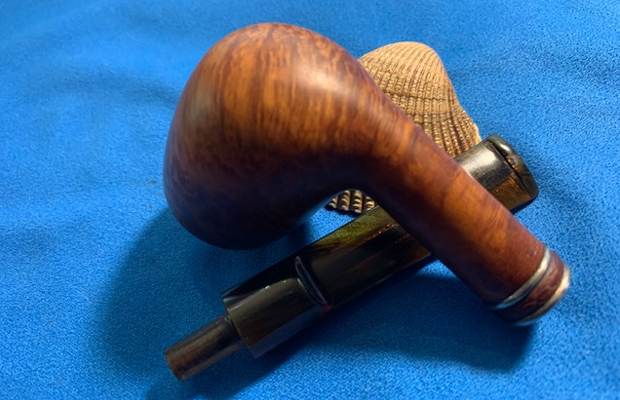
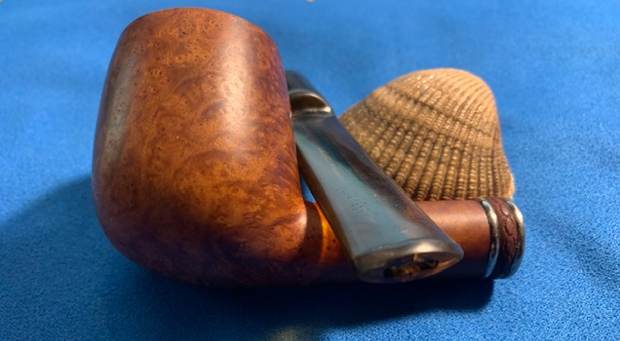
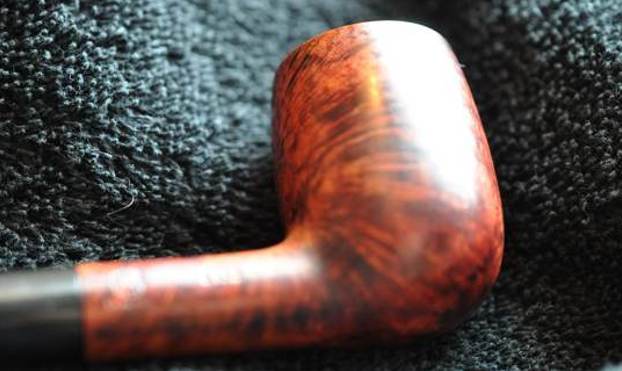
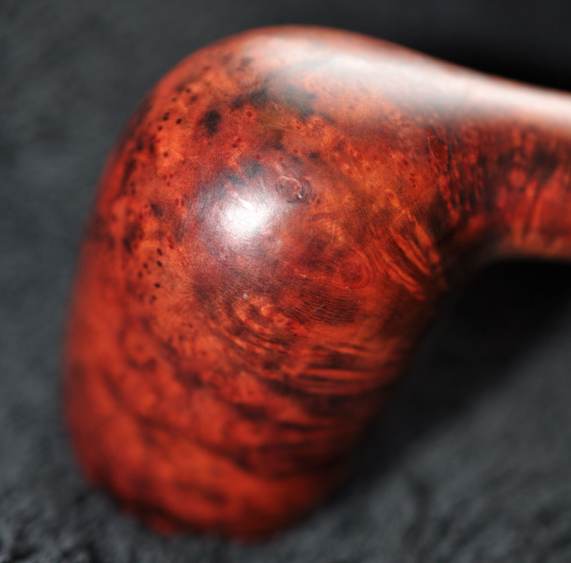
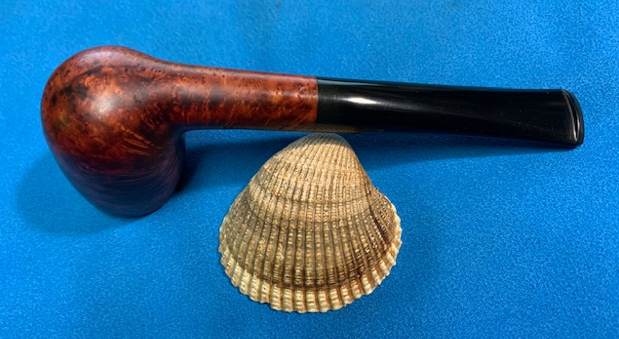
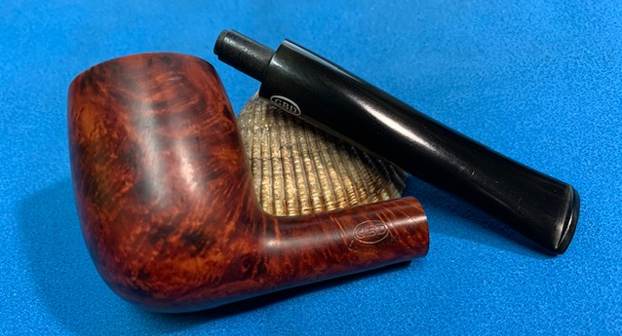
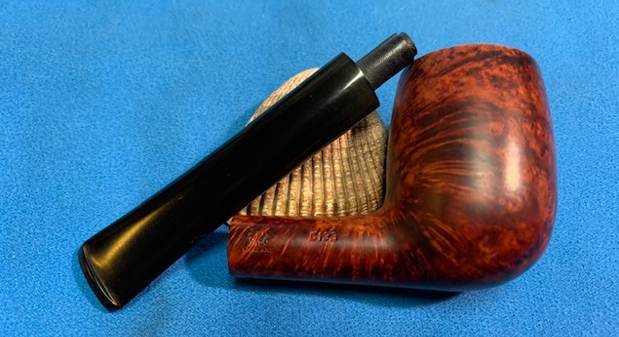
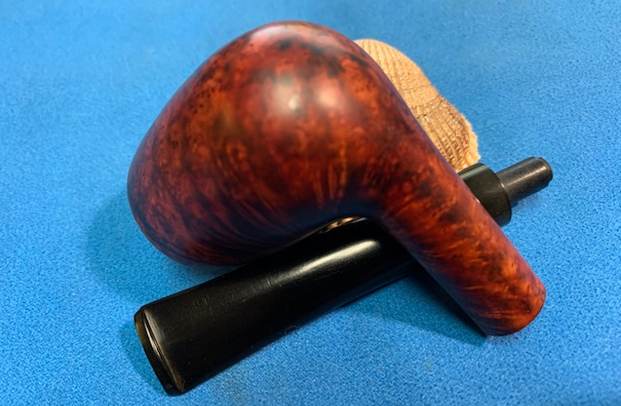
  He took photos of the sides and the heel of the bowl to give a sense of the condition of the pipe and the interesting grain around the sides and heel. It really is a beautiful pipe bowl.
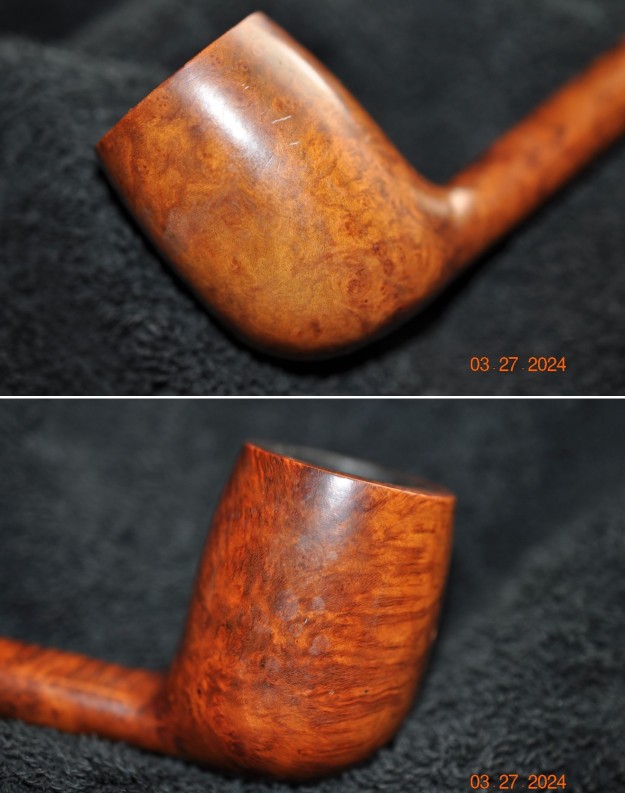
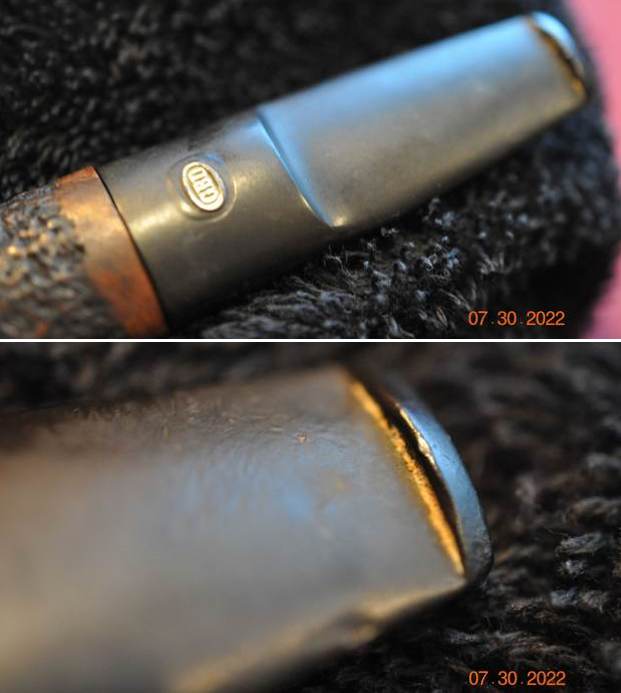
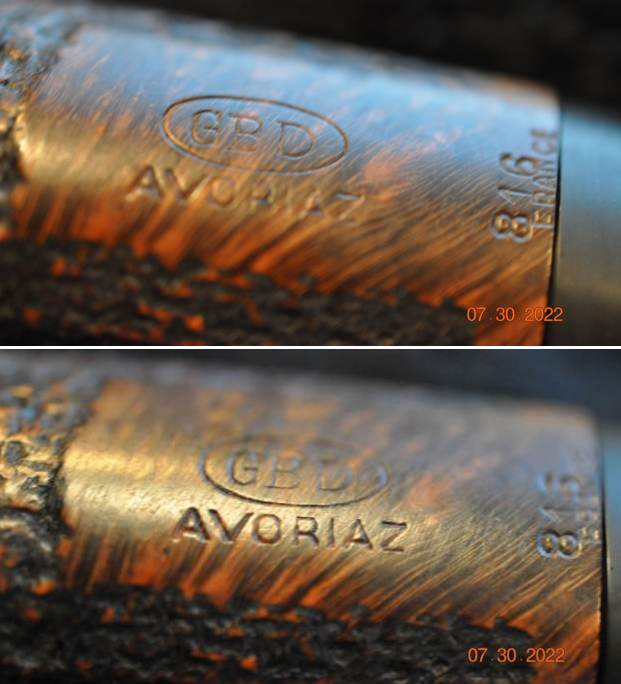
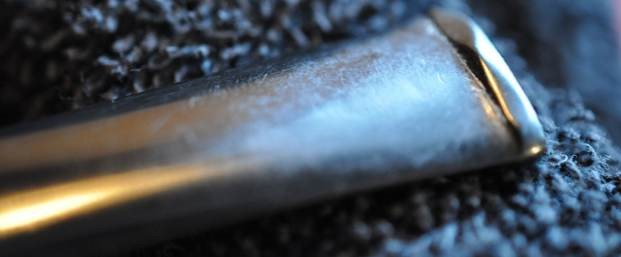
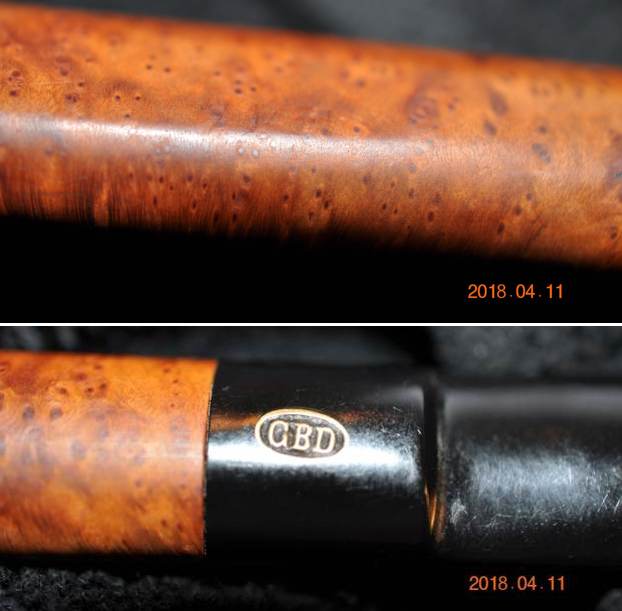
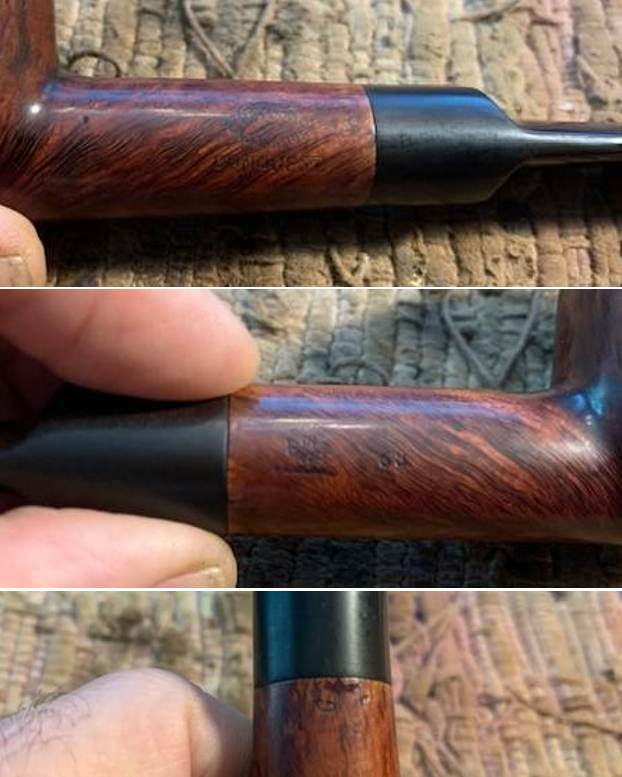
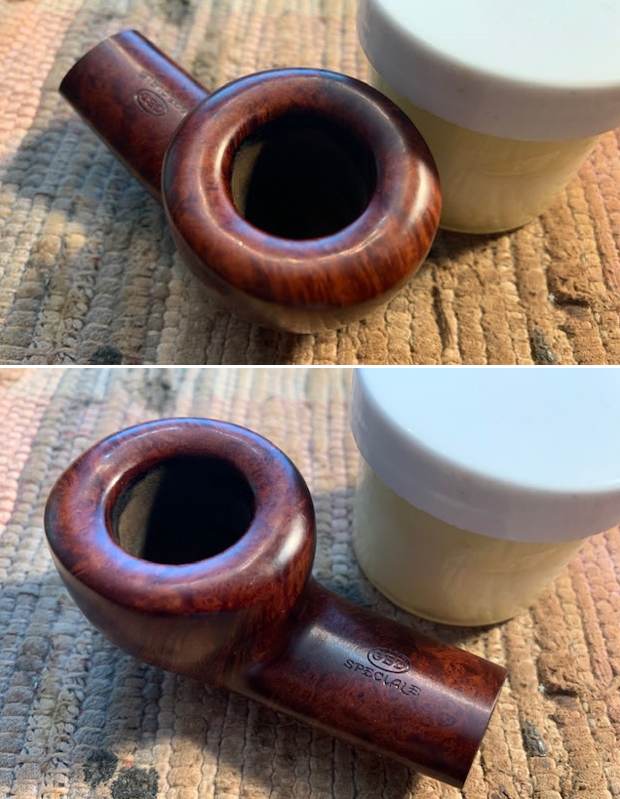
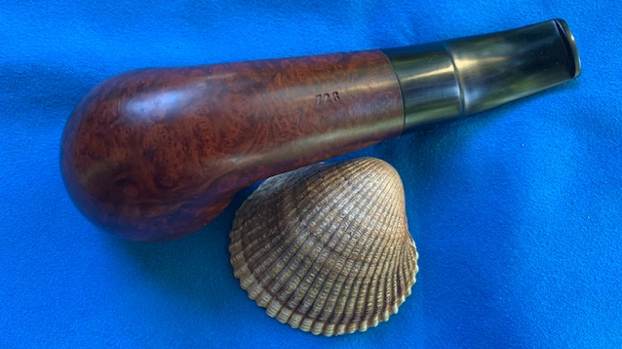
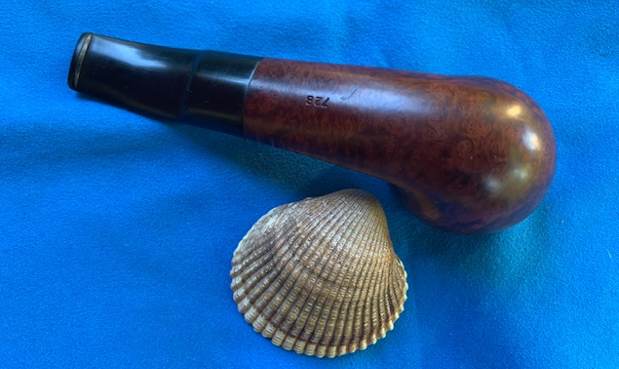
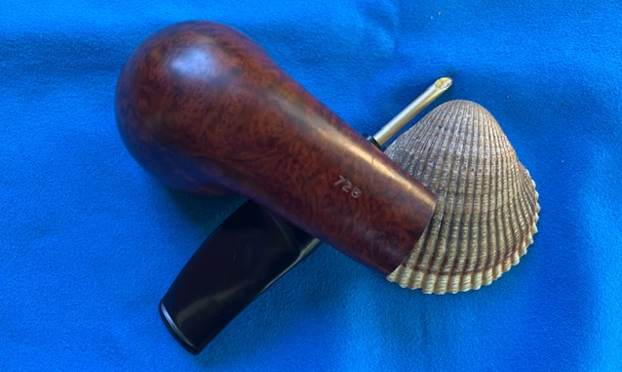
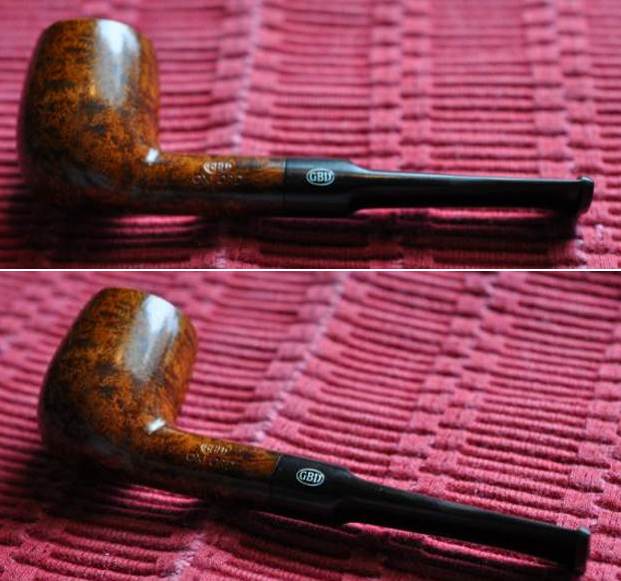
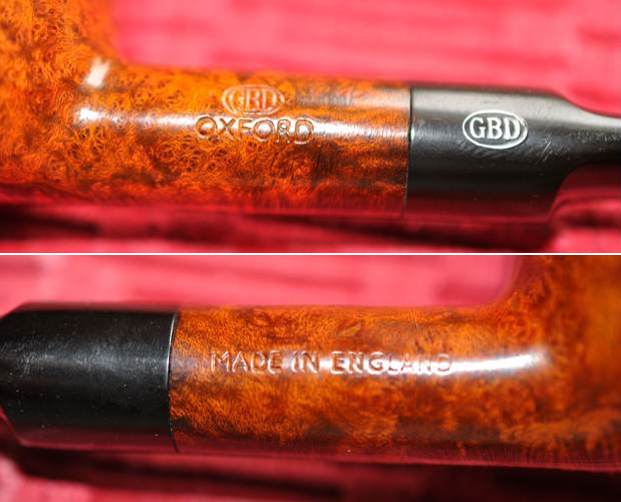
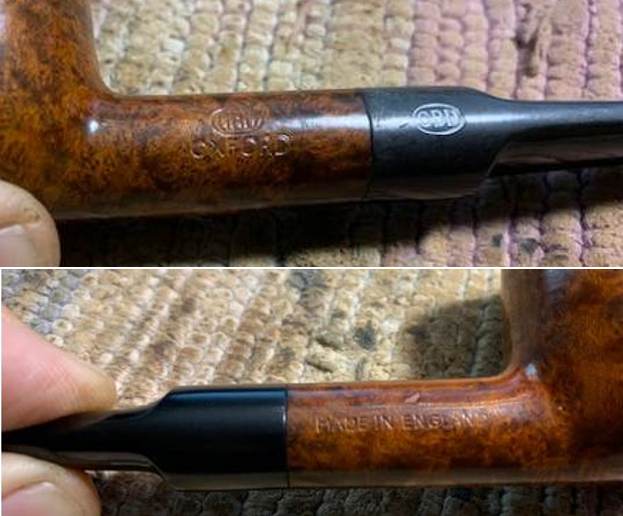
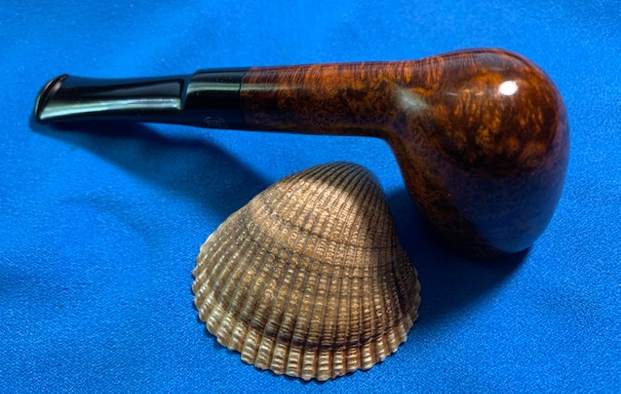
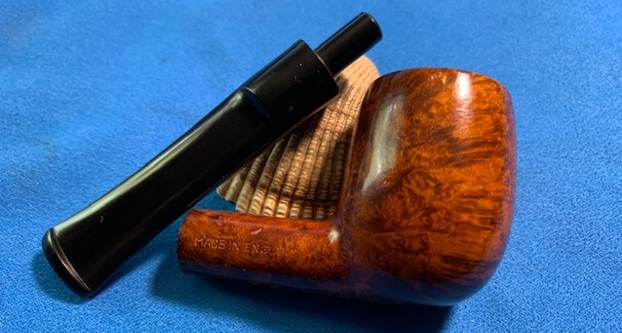
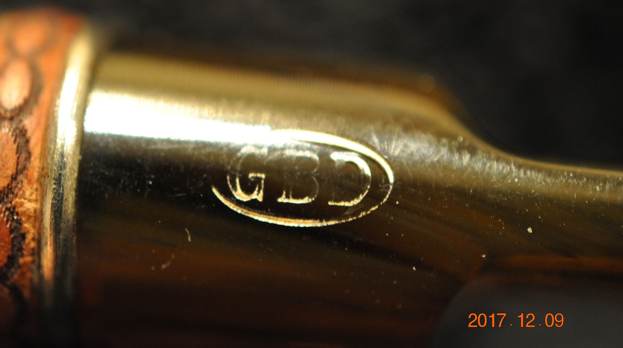
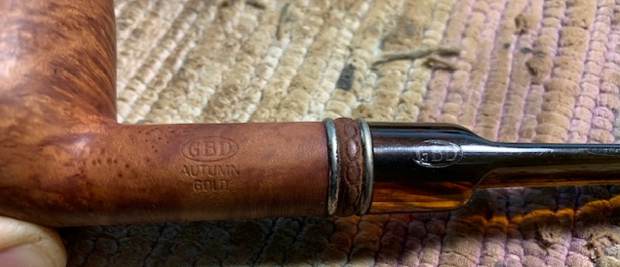
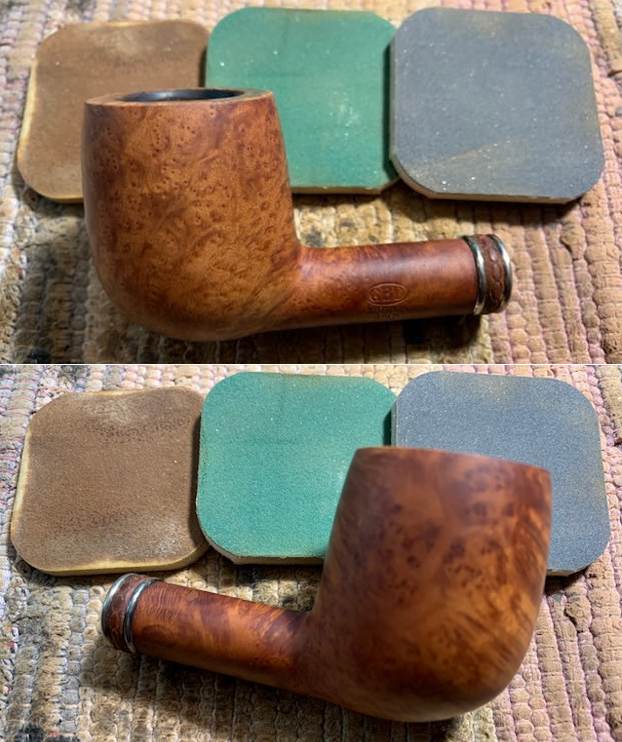
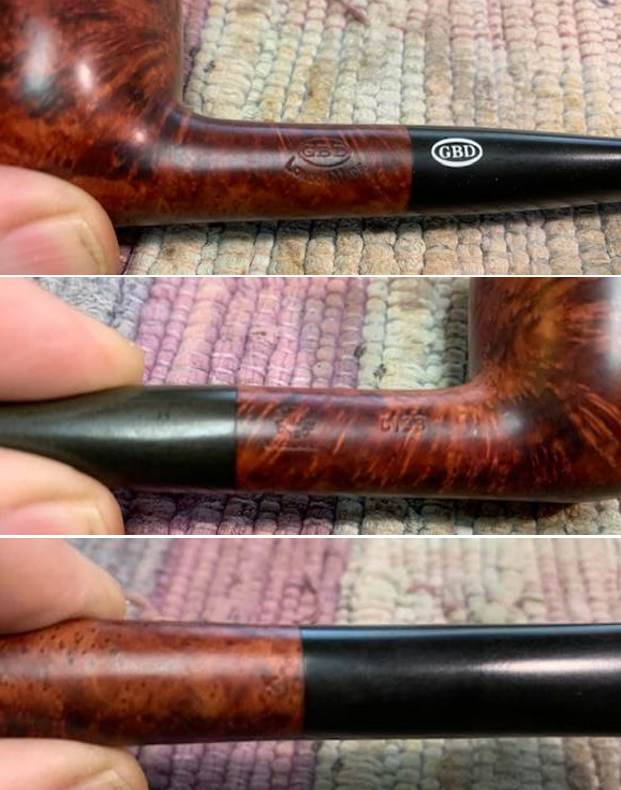
 Jeff took photos of the stamping on the top and underside of the shank and it is clear and readable as noted above. It is a bit faint on the top edges of the stamp and the lower edges on both the top and bottom shank.
 I remembered that Kenneth had restemmed a GBD International London Made Colossus and generally he does some work on the brand to understand the background of the pipe that he is working on. I googled and found the link to the blog he had written on rebornpipes about his Calabash pipe (https://rebornpipes.com/tag/gbd-international-london-made-pipes/). I followed the link to his blog and reread his work on it. I quote the interesting info on the line that he had included. I quote below:
This pipe is a calabash-shaped GBD Colossus. As the photos show, it is stamped on the left side of the shank with GBD [over] International [over] London Made [over] Colossus. On the right side it is stamped Made in London [over] England [next to] 9552 – this, of course, is the shape number. There is quite a bit of information on GBD on the Internet – they have a long and storied history in pipemaking. In this case, I was curious about International and Colossus. The main Pipepedia article on GBD tells us about their origins:
In 1850 three gentlemen got together in Paris to establish a firm dedicated to the fabrication of Meerschaum pipes – a courageous step in politically restless times. Ganneval probably came from the area of Saint-Claude where he had learned making wooden pipes. Bondier’s family obviously came from Paris and had emigrated in 1789 to Geneva. He himself had worked as a wood turner in the clay and china pipe industry in and around Saint-Claude making stem extensions etc. Donninger was an Austrian or Swiss and had worked in Vienna, the world’s center of the Meerschaum pipe. They agreed on the acronym GBD selecting the initials of their surnames.
The Pipedia article provides a lot more information on their interesting history. I would encourage you to read on here. The shape number 9552 corresponds correctly with GBD’s identification of this pipe as a calabash. The page on GBD models states the following concerning the International line and the Colossus size:
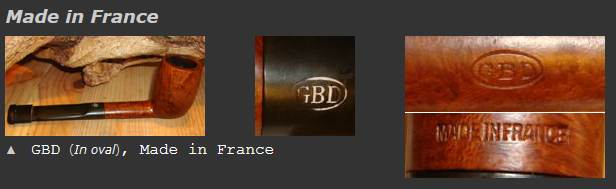
International – France and England made: medium brown smooth, carved top rim, rim stained black. In addition to the pipe line and shape information stamped on the pipe, GBD also had codes for plus sized pipes. These codes in ascending order of size were Conquest, Collector, Colossus.
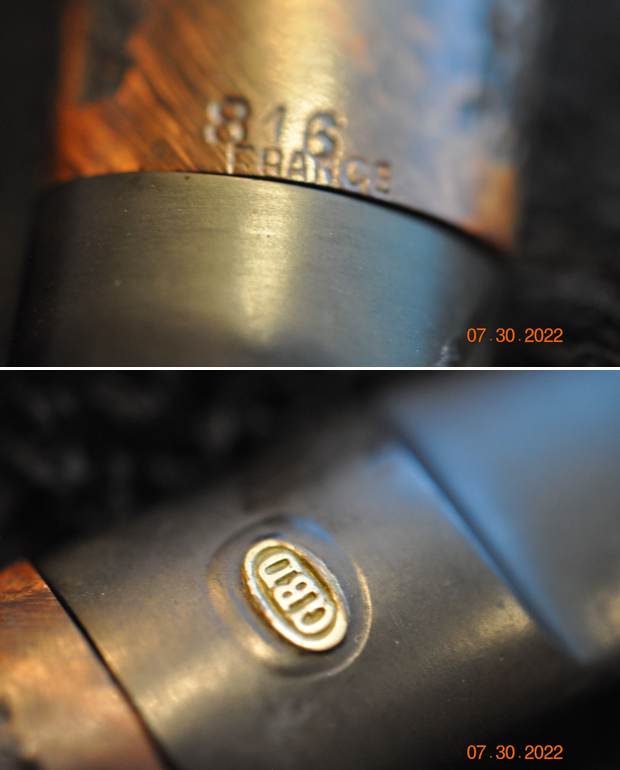
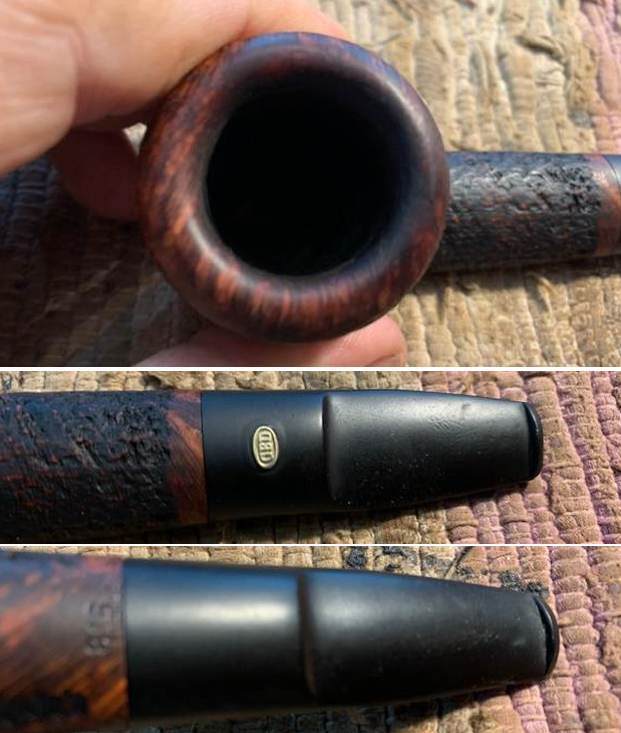
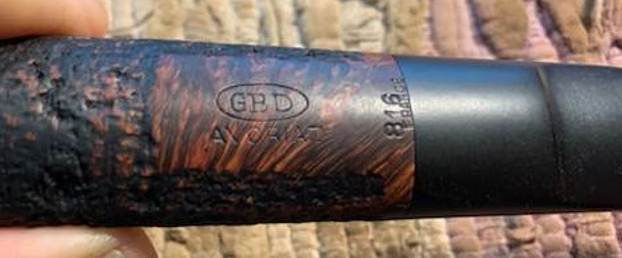
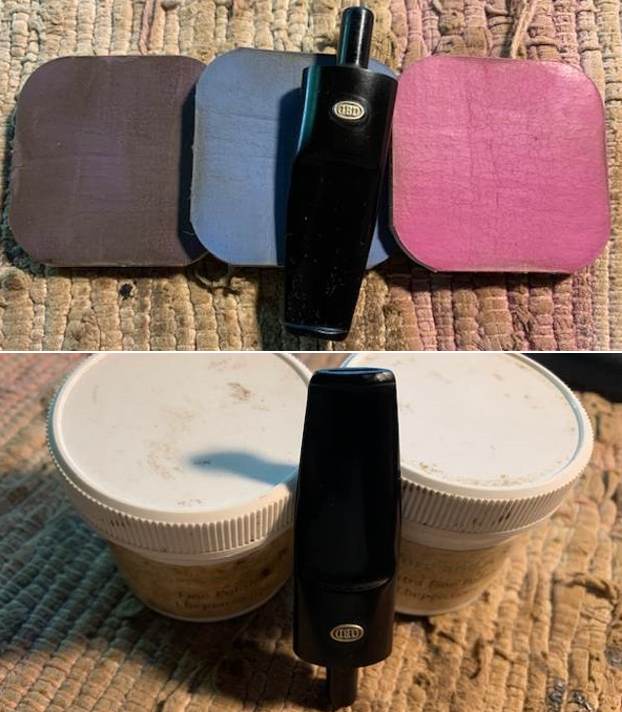
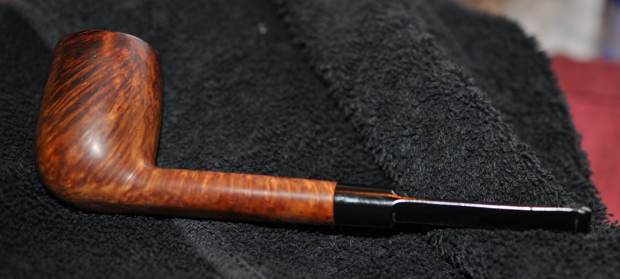
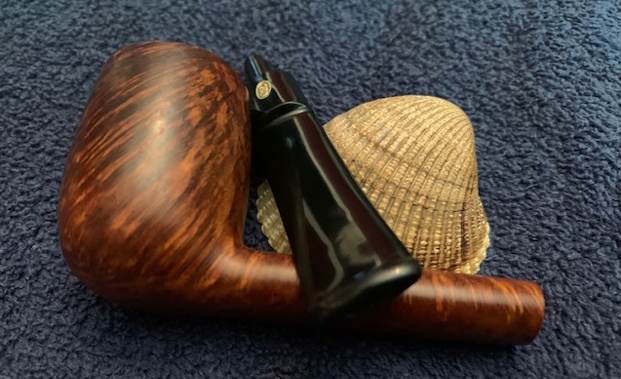
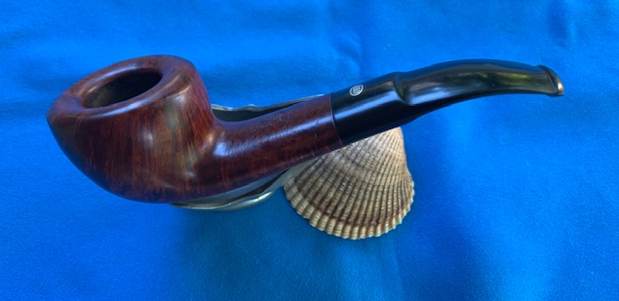
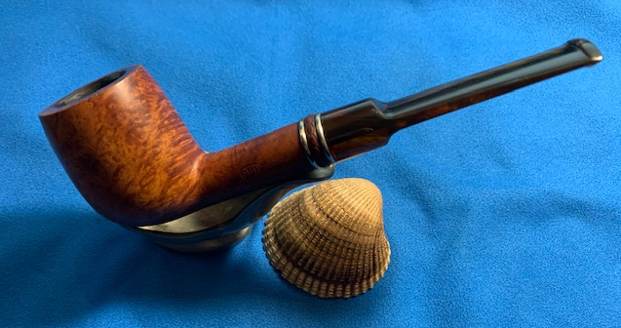
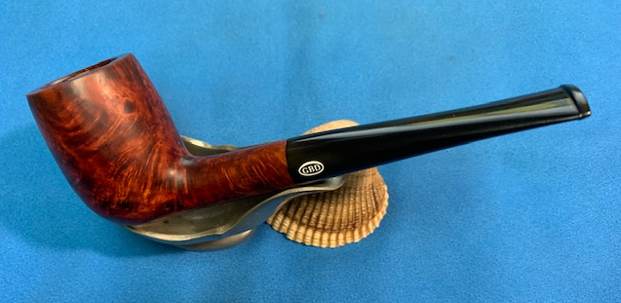
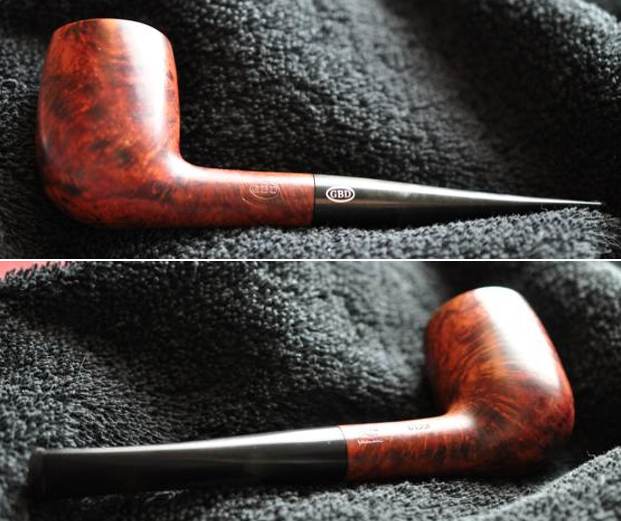
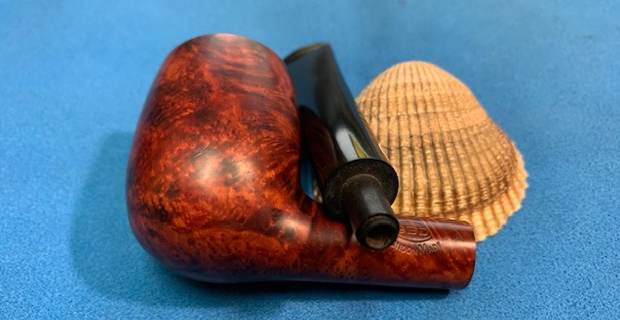
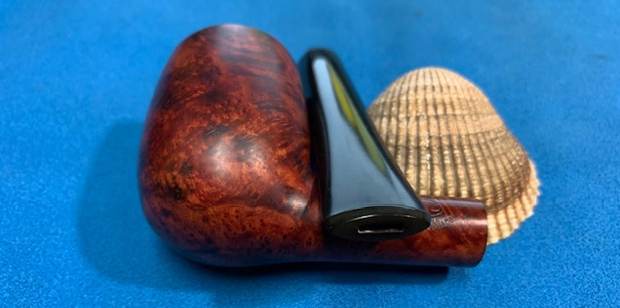
He also included a screenshot from Pipephil: I did some more work on the shape 264. Without the stem I was not sure I was dealing with a Canadian or a Lumberman – same family different stem. I did a Google search on the GBD shape number 264. I did not find the shape number on the shape list so I did a bit more digging. I found a link on Smokingpipes.eu to a GBD Premier Colossus Lumberman (264) (O) (pre-1980)(https://www.smokingpipes.eu/pipes/estate/england/moreinfo.cfm?product_id=168478). The one I am working on is an International while this one is a Premier but the shape number is identical. The pipe is identified as a Lumberman 264 and the photo below (from that site) tells me that the pipe had a saddle stem. Now I knew what I needed for a new stem on the pipe.
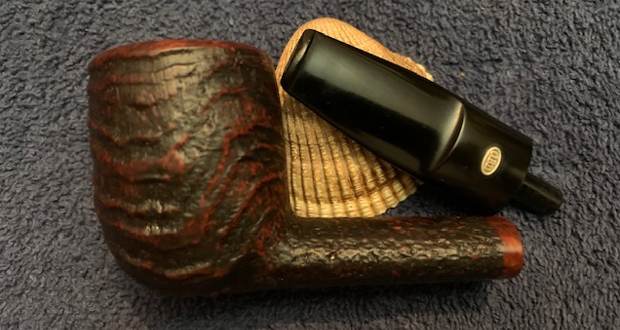
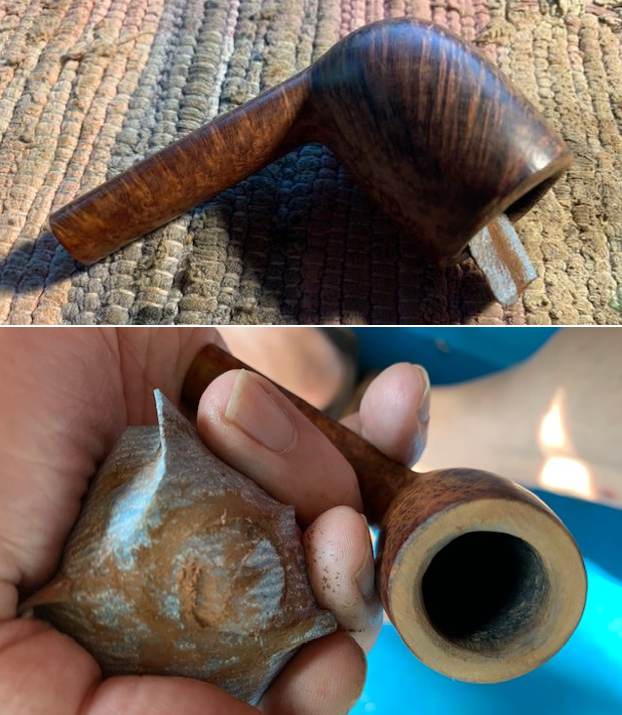
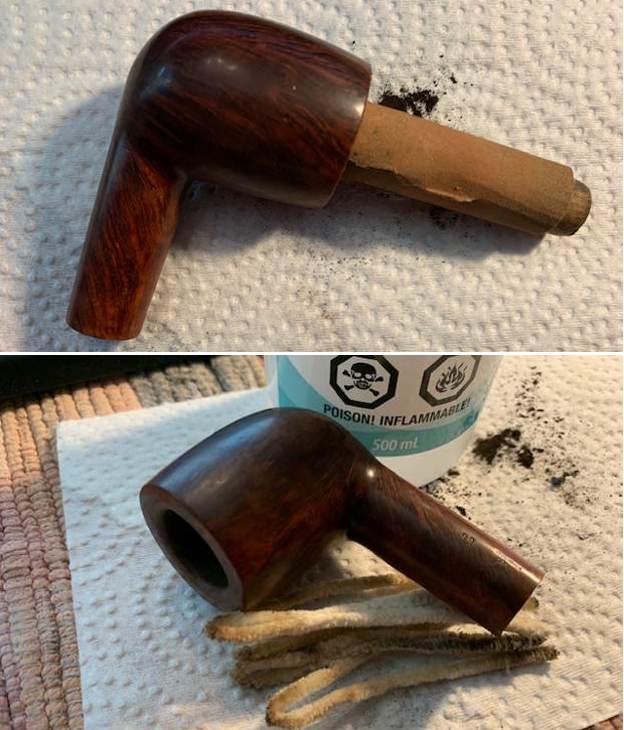
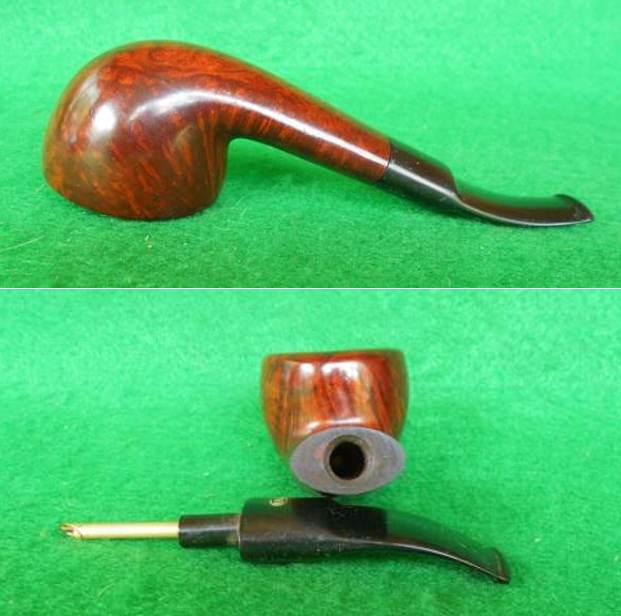
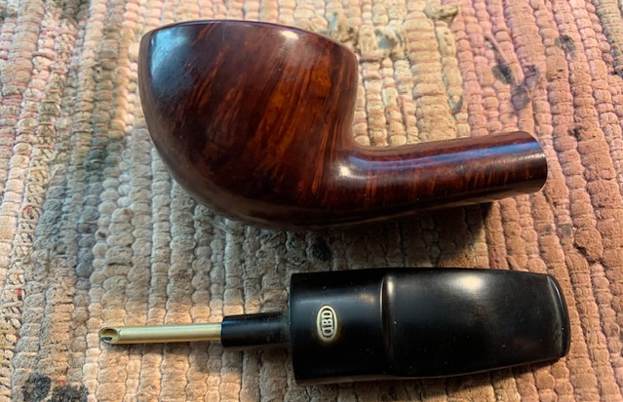
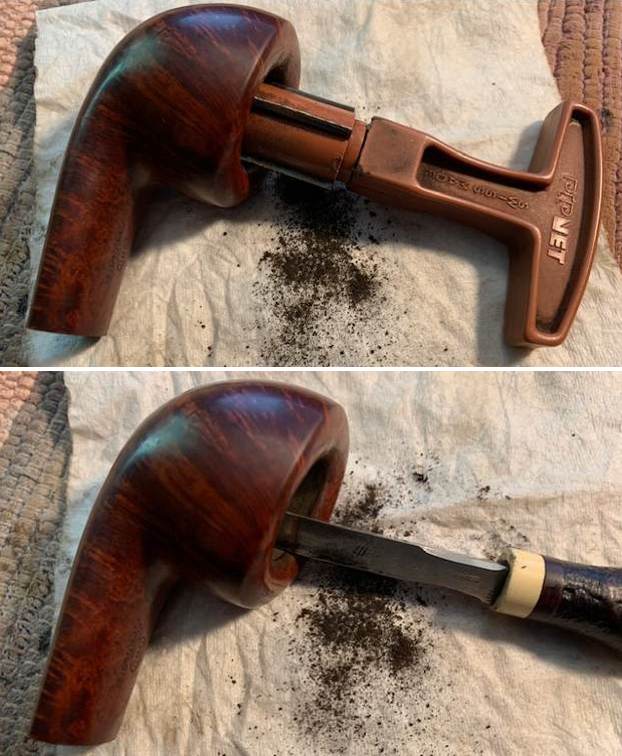
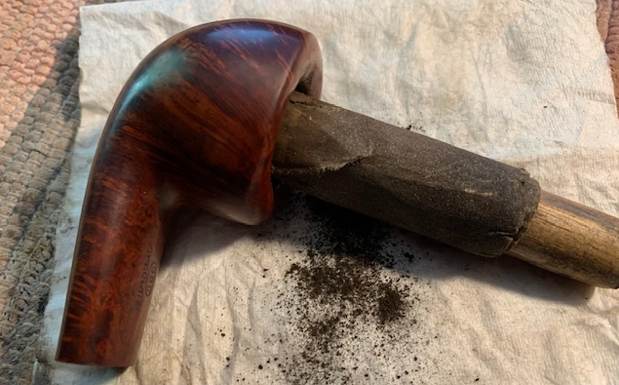
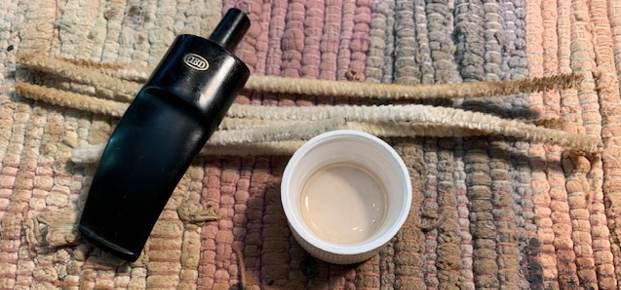
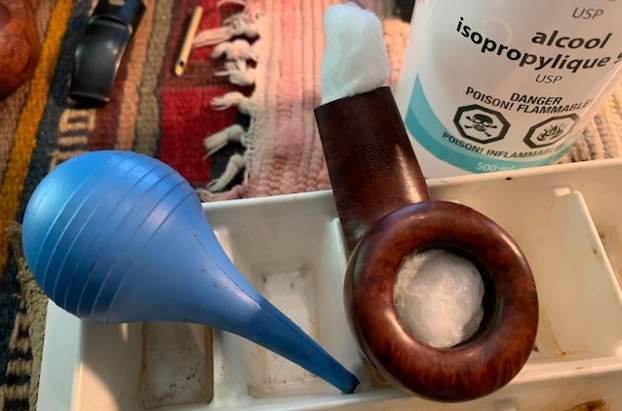
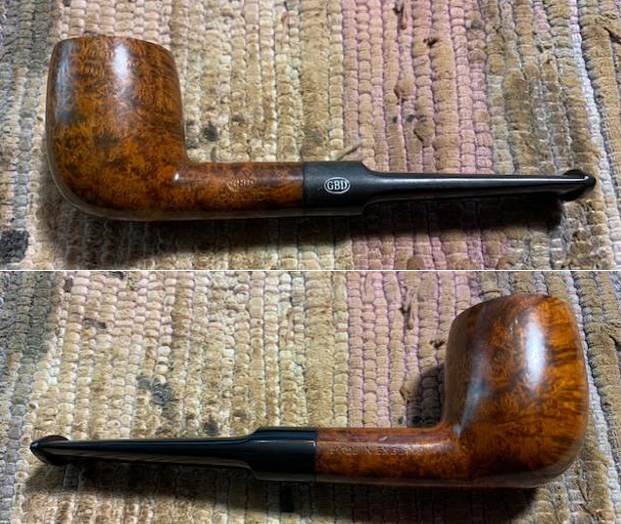
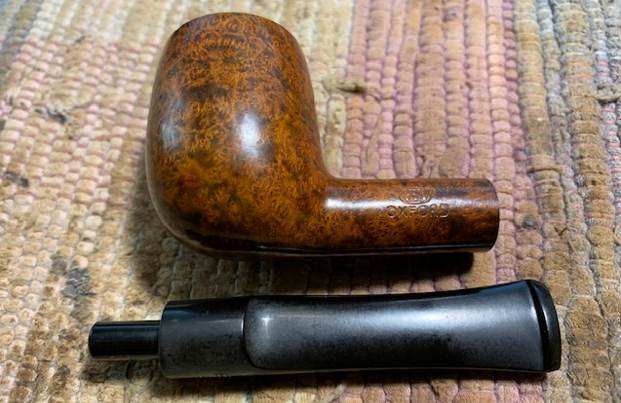
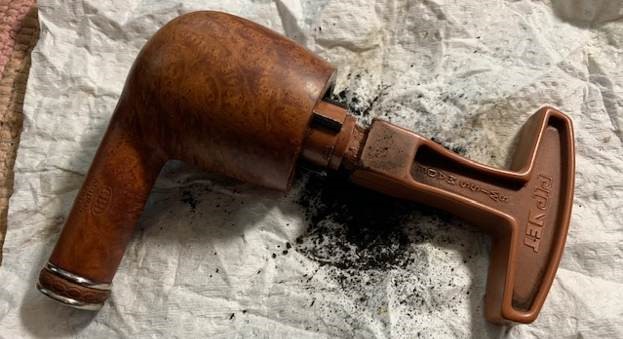
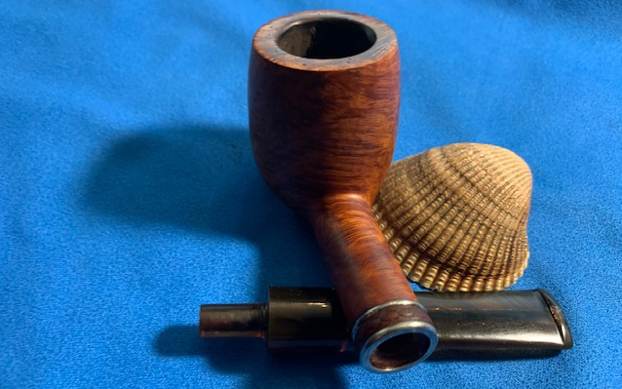
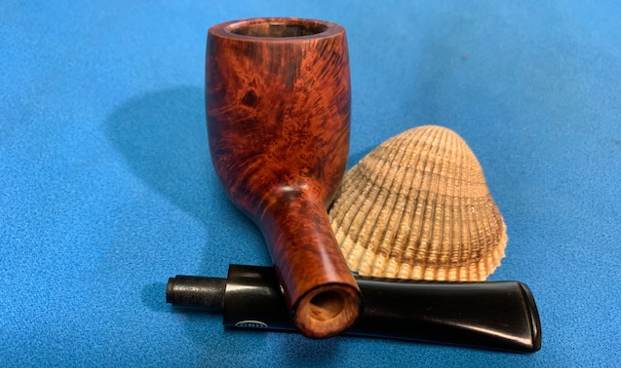
 I turned to work on the pipe itself. Jeff had done an amazing cleanup of the pipe. He reamed the cake with a PipNet reamer and cleaned up that with a Savinelli Fitsall Pipe Knife. He scrubbed the internals of the bowl and stem with alcohol, cotton swabs, pipe cleaners and shank brushes. He scrubbed the externals with undiluted Murphy’s Oil Soap and rinsed the bowl off with running water. He was able to remove the lava on the rim top and edges and the grime from the bowl. The pipe looked better when I received it. I took photos of the pipe before I started my work on the restoration and restemming.
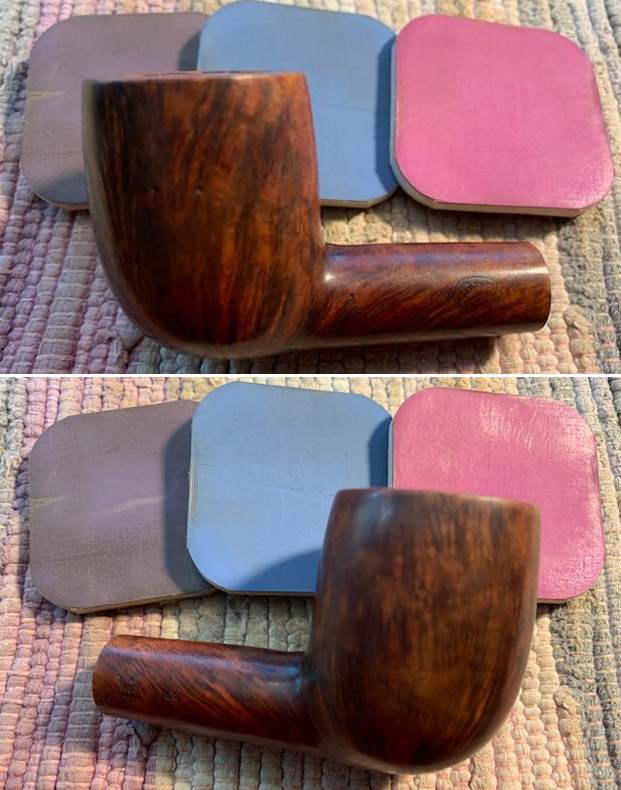
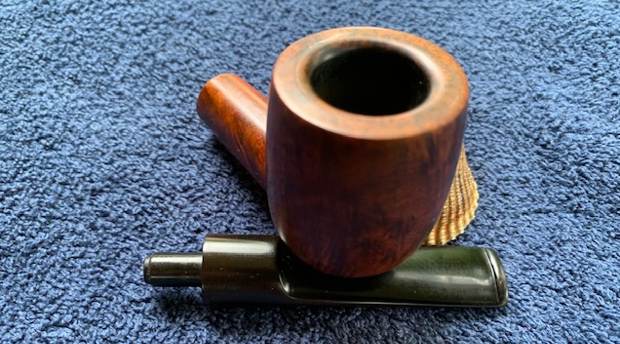
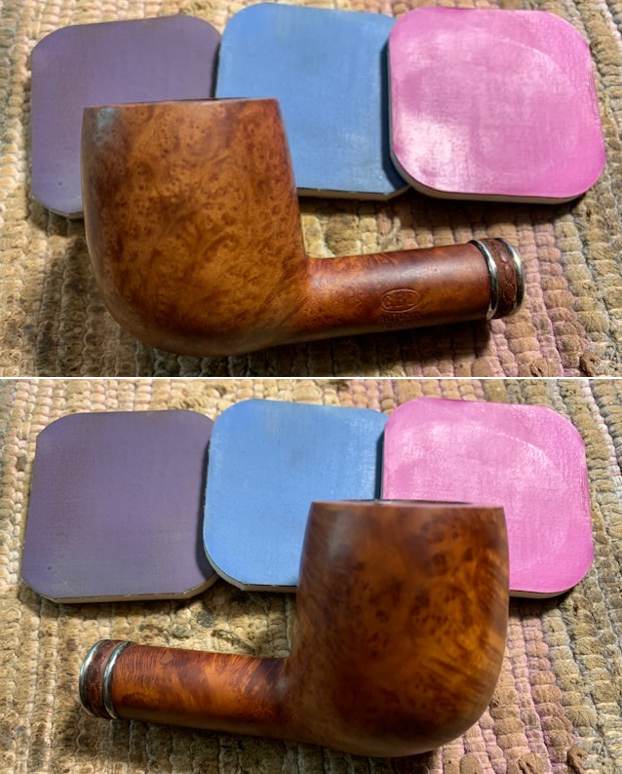
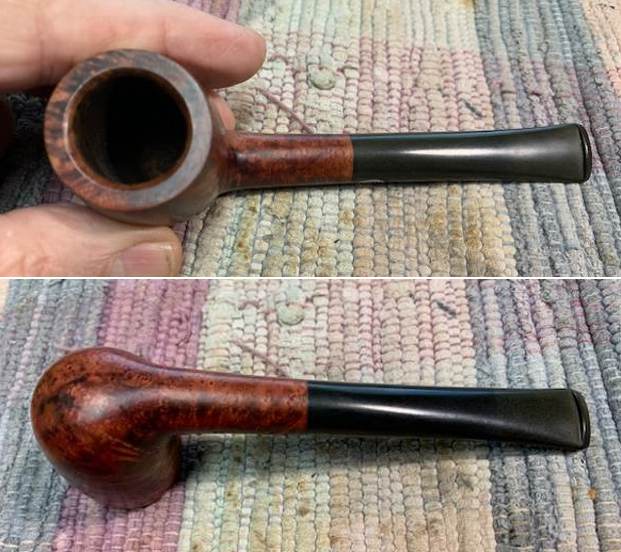
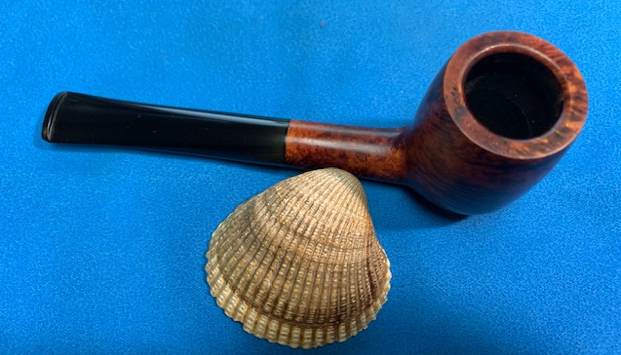
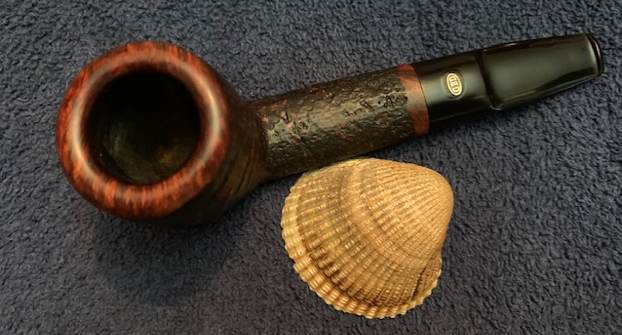
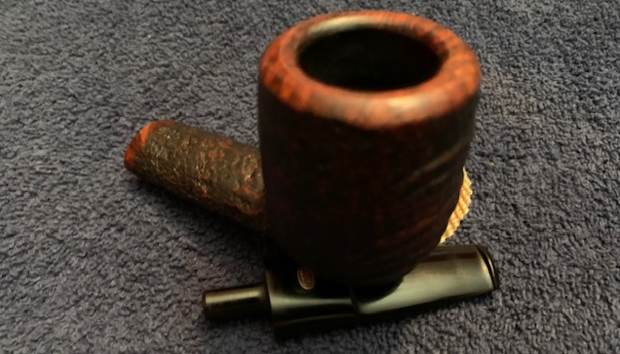
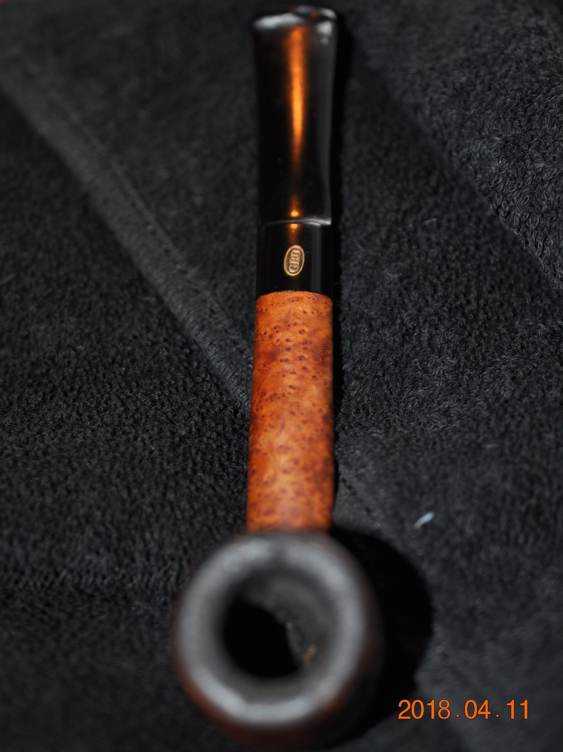
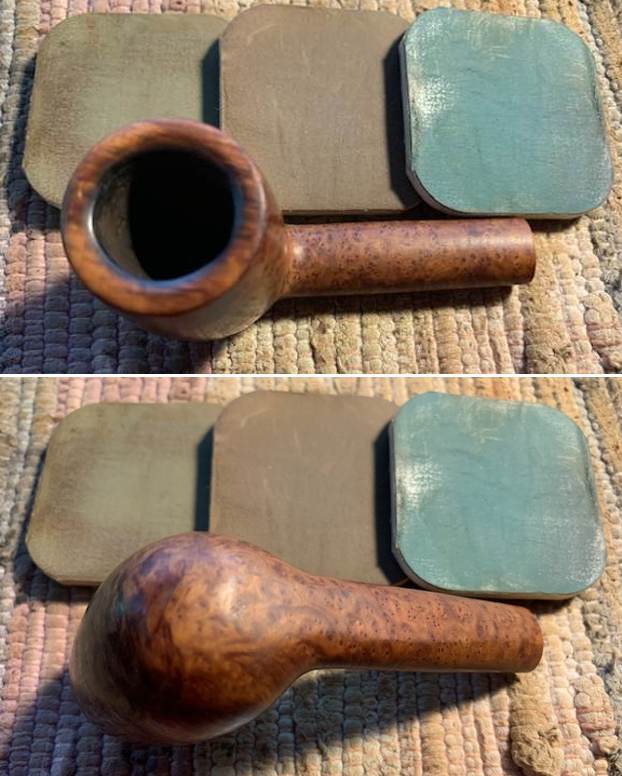
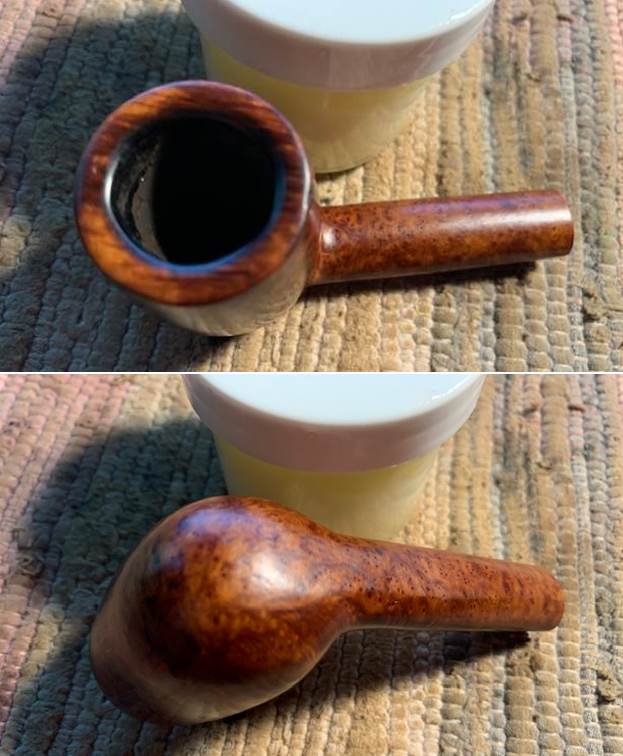
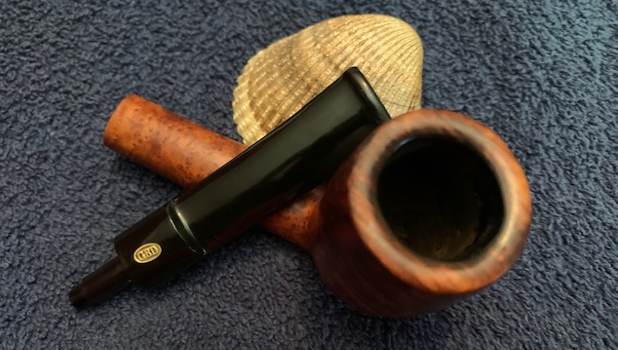
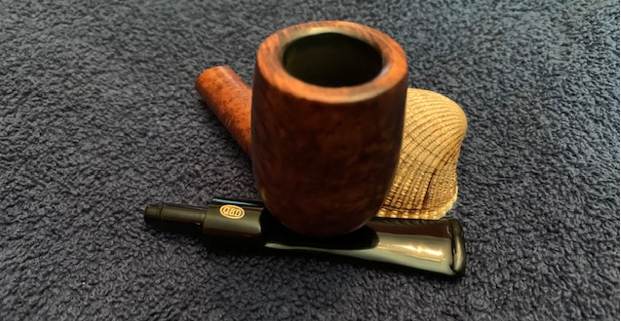
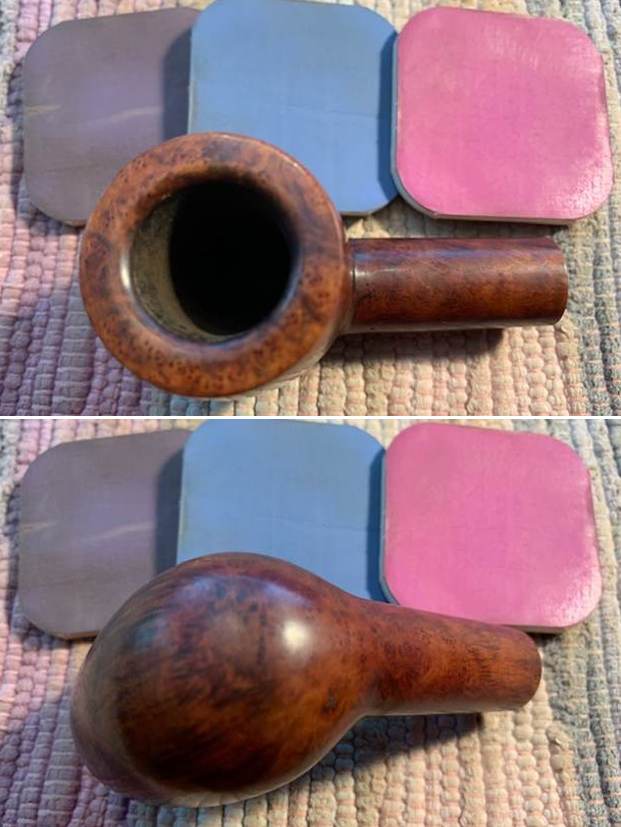
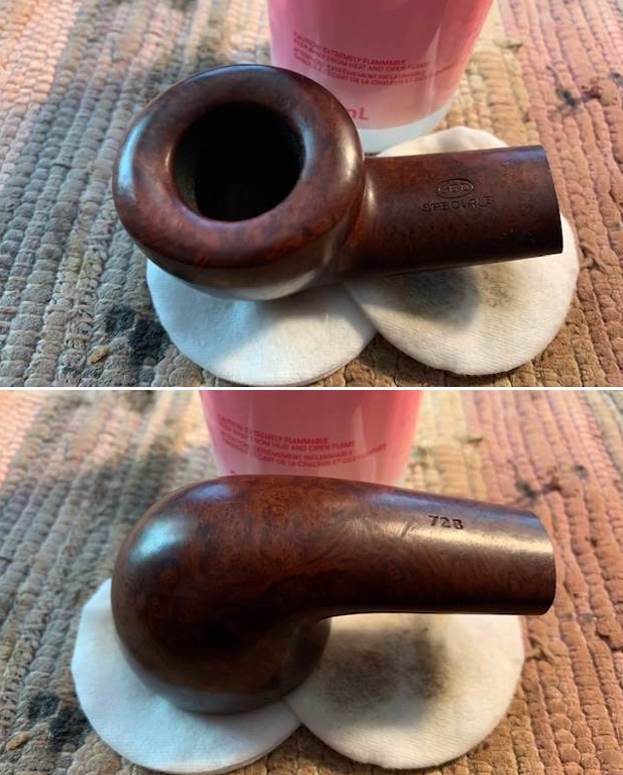
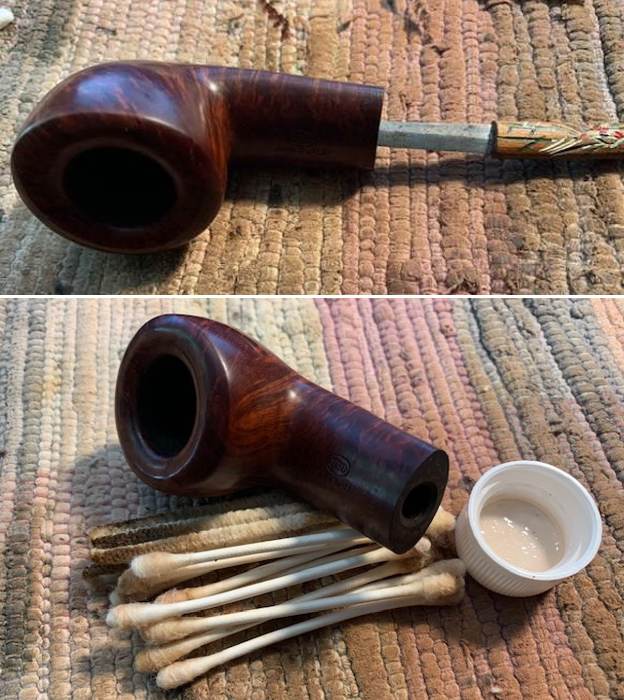
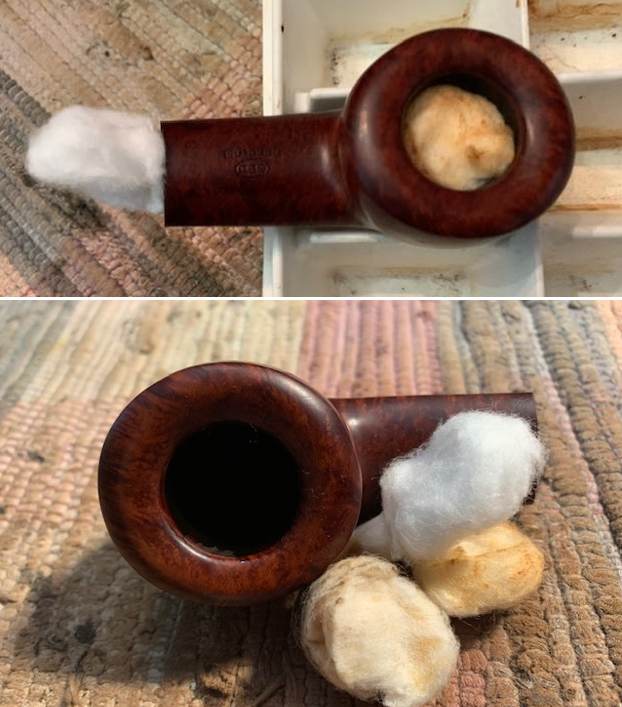
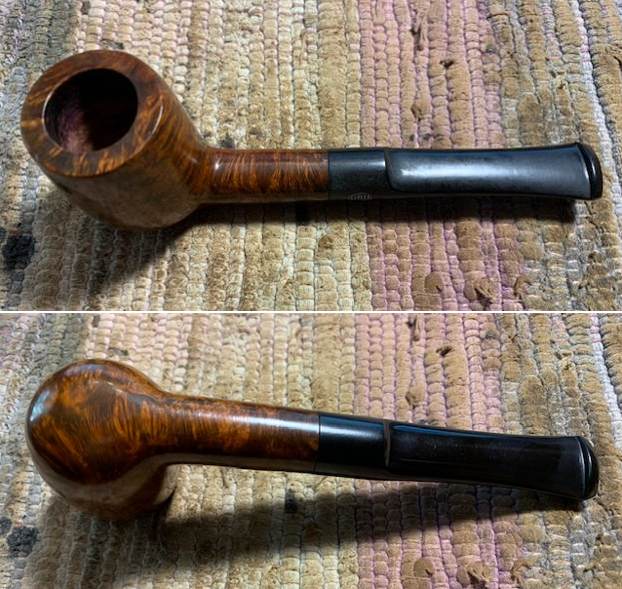
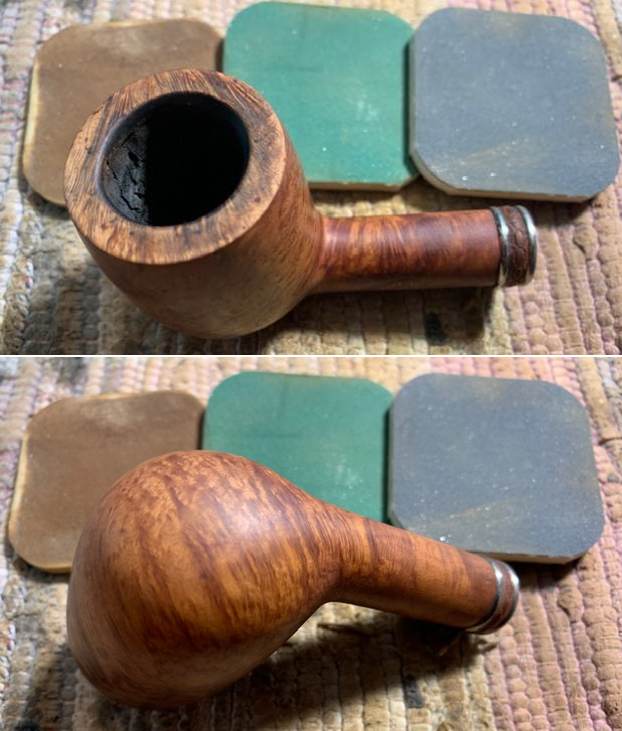
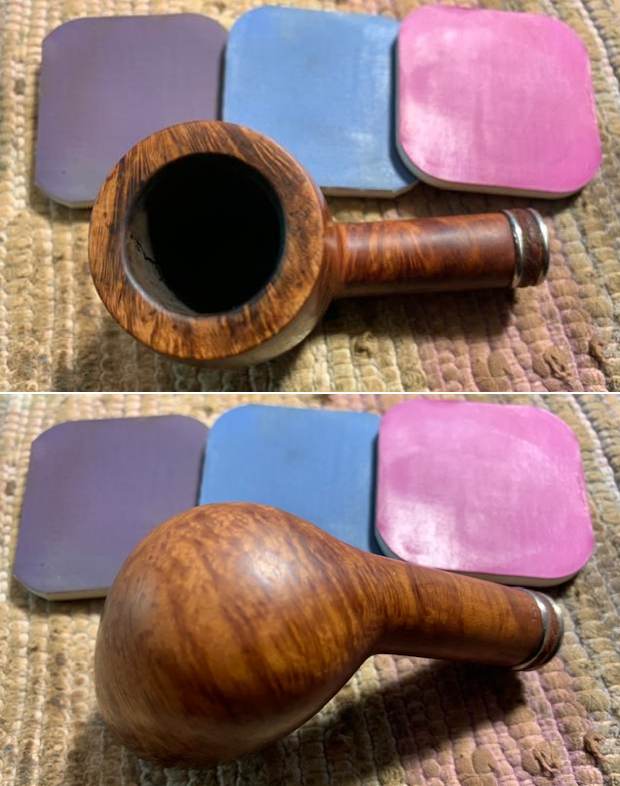
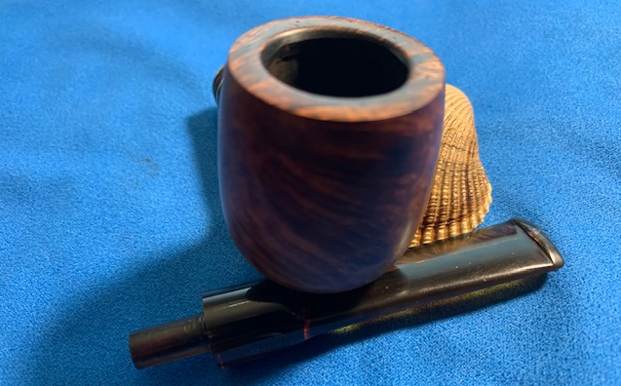
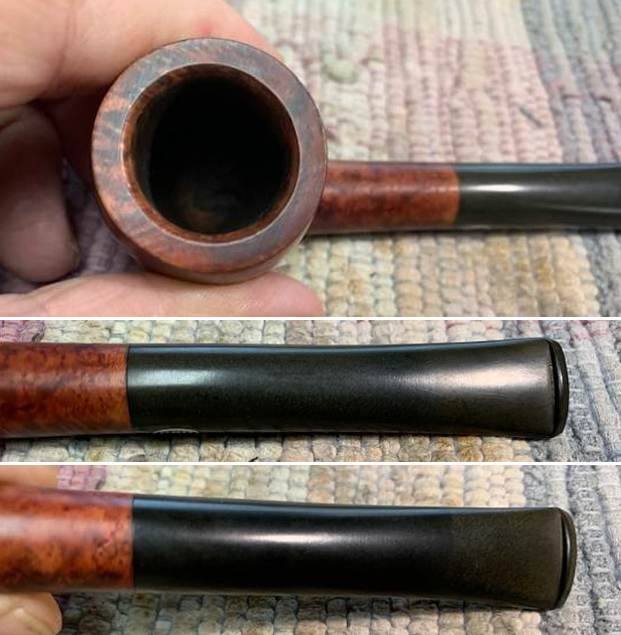
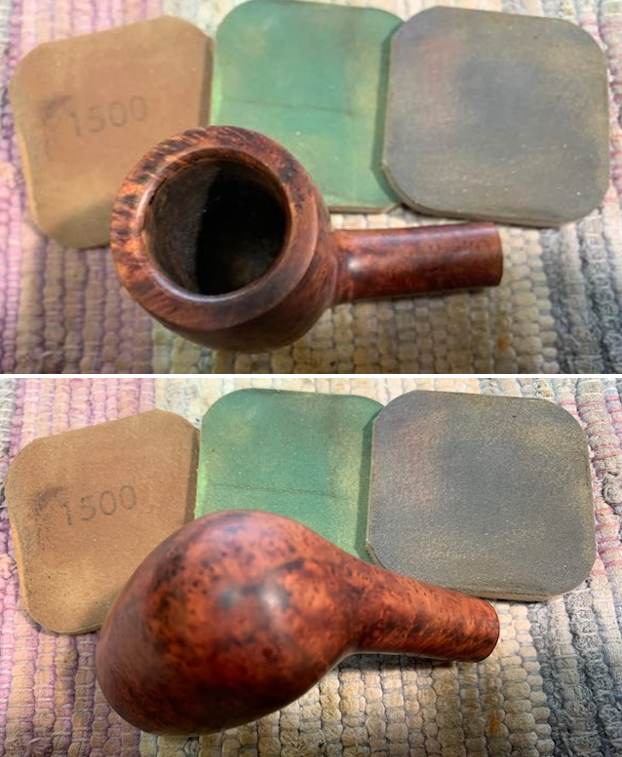
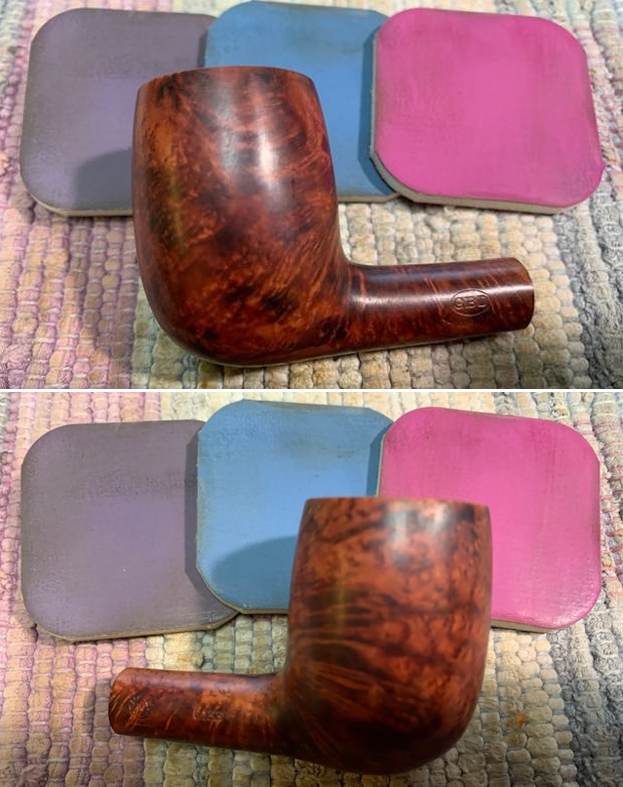
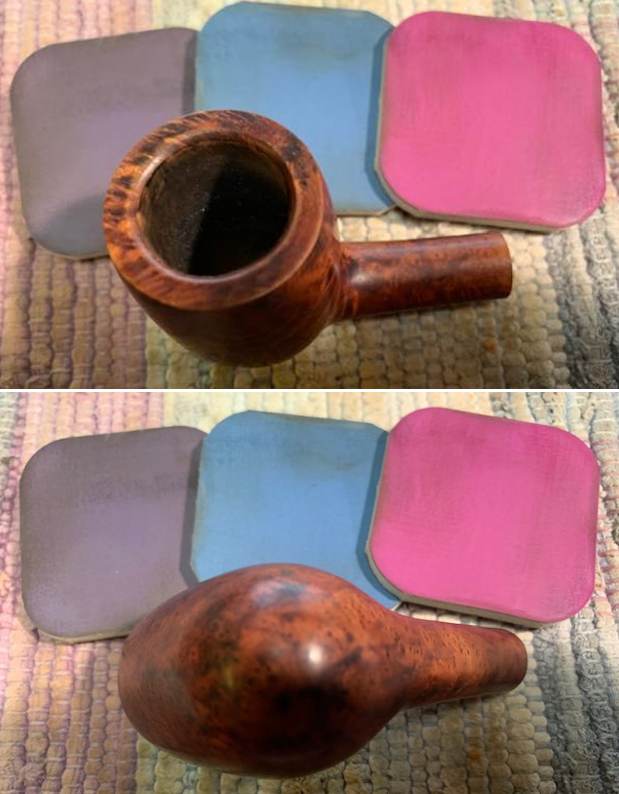
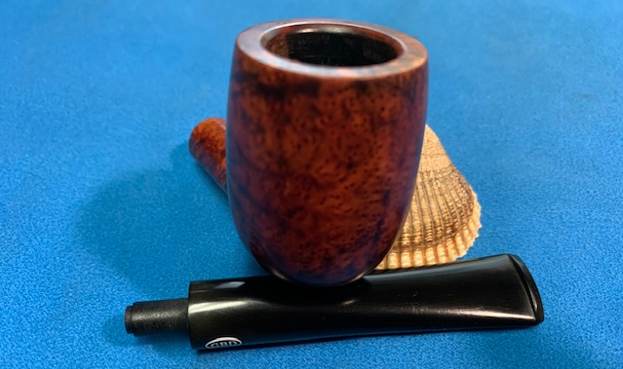
 I took a photo of the rim top to show the condition. It looks good with the tars and oils removed from the rim top. The condition of the bowl and rim top were very good. There was some damage on the inner edge at the back of the bowl.
  I took photos of the top and underside of the shank to show the stamping. The stamping is very clear and reads as noted above. It was hard to capture in the photos.
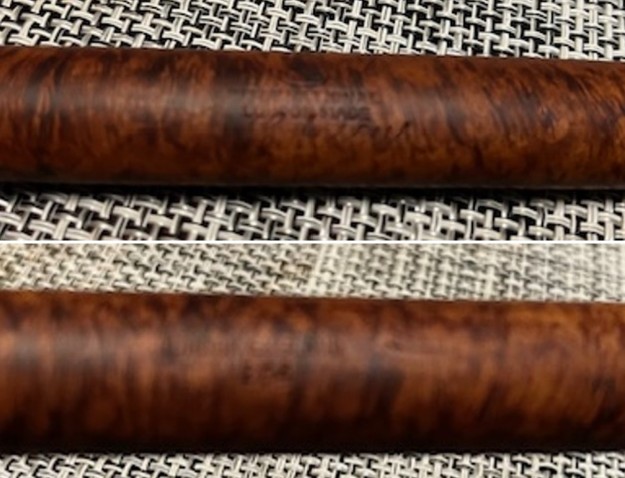 I used a folded piece of 220 grit sandpaper to smooth out the inner edge of the rim. I gave the rim a slight bevel to minimize the burn damage. It looked much better once it was smoothed out.
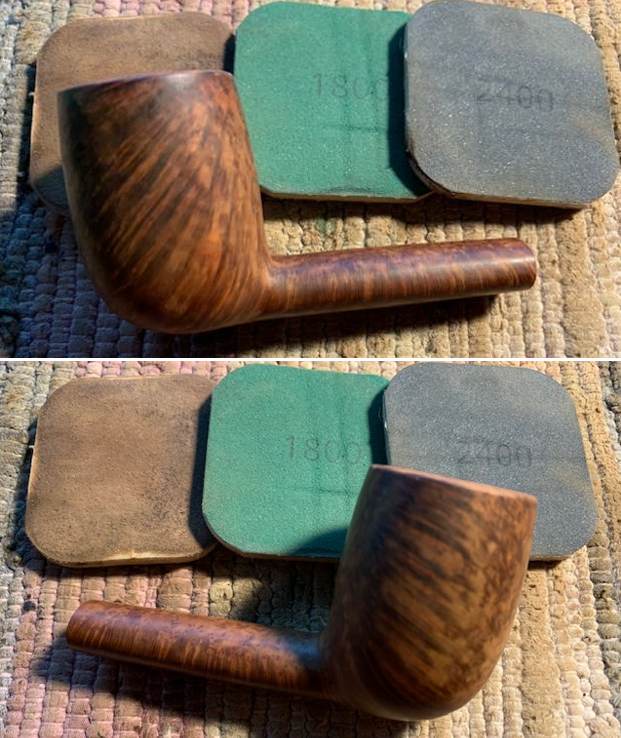
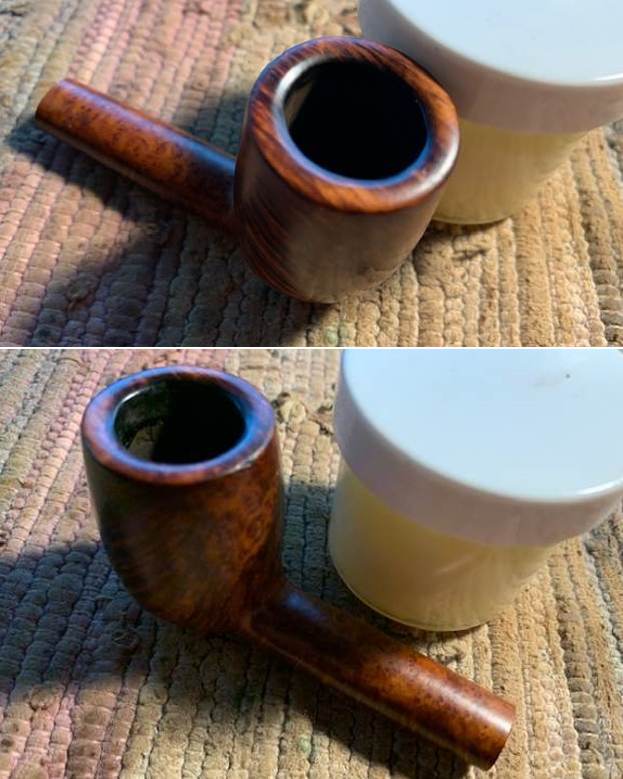
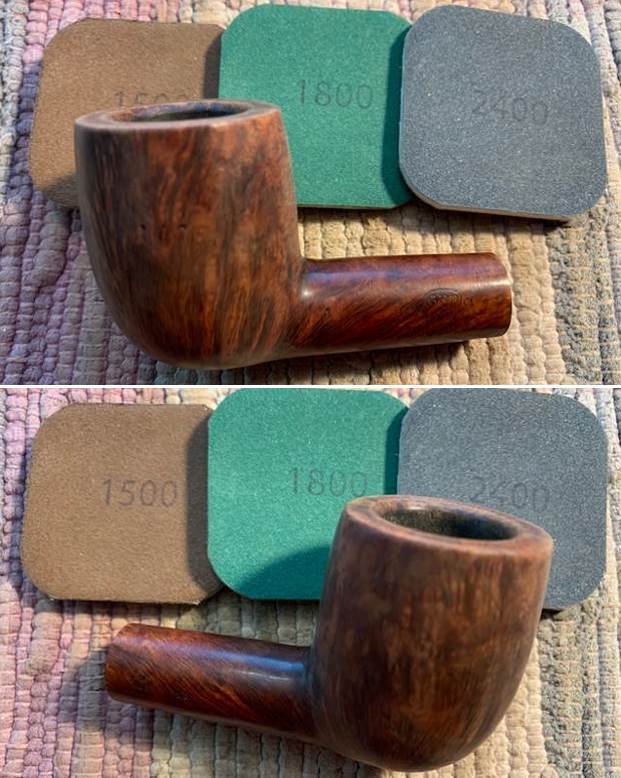
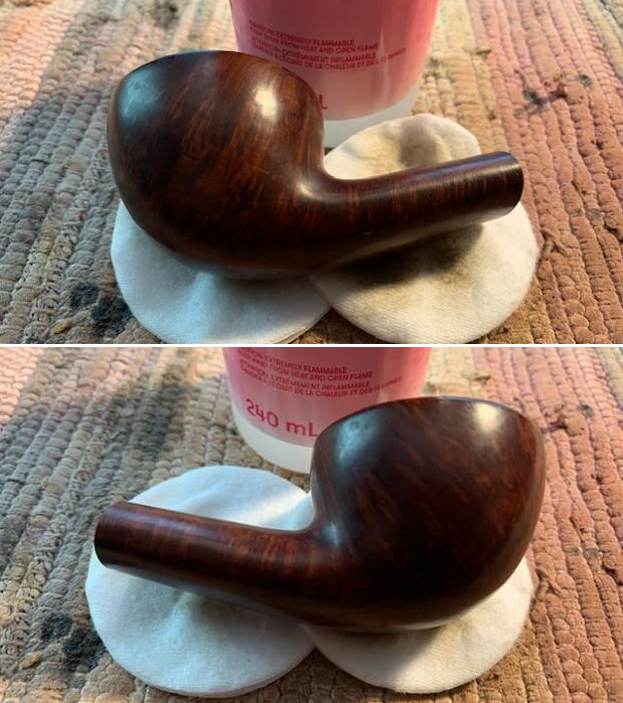
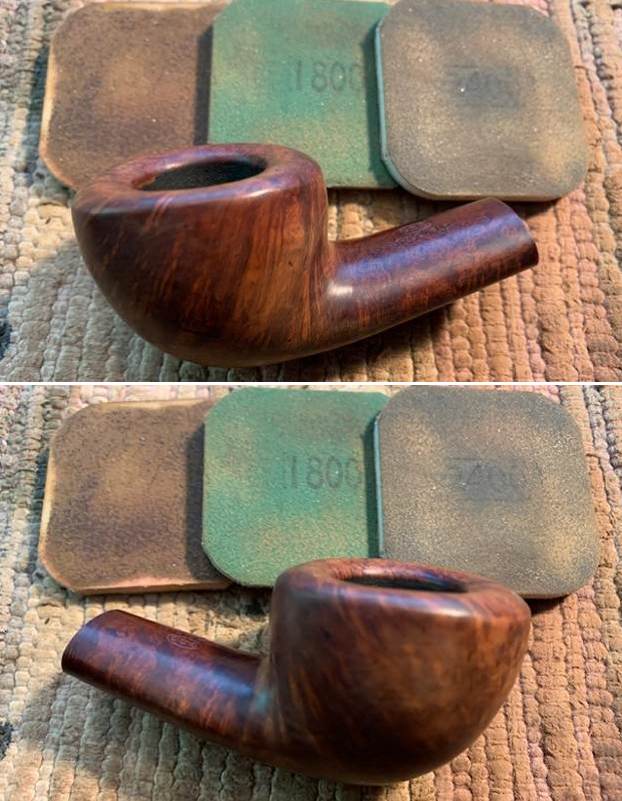
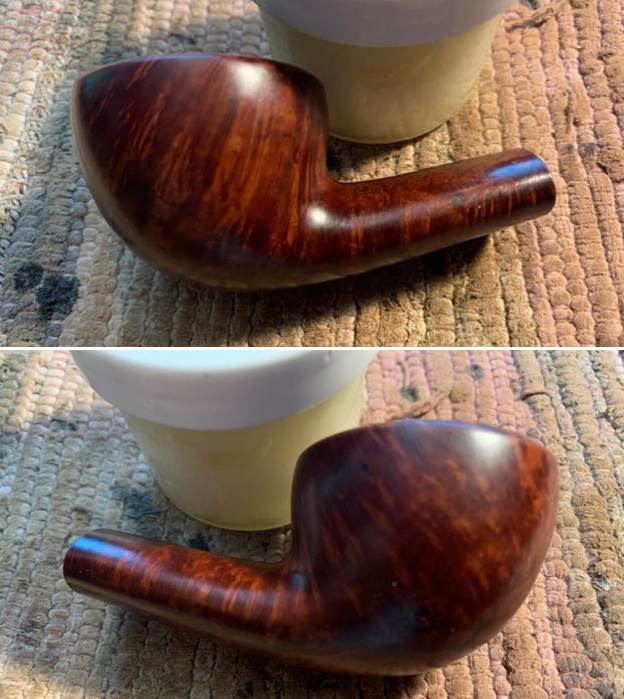
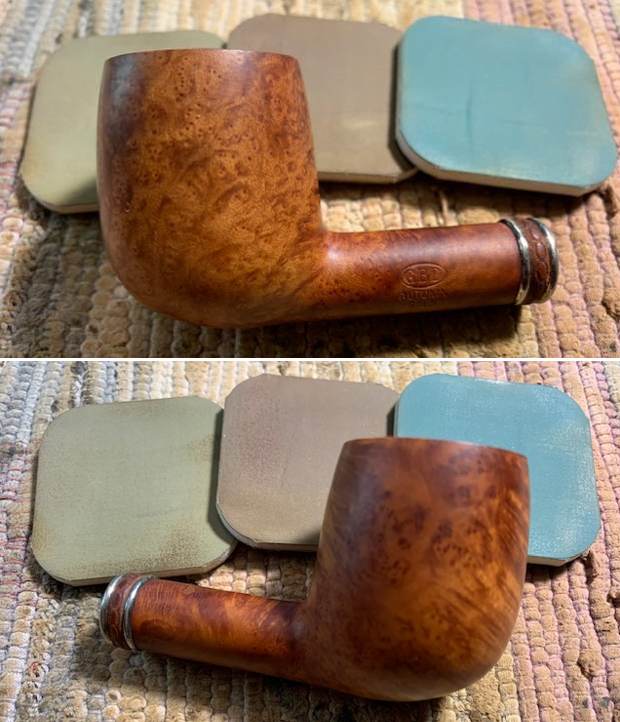
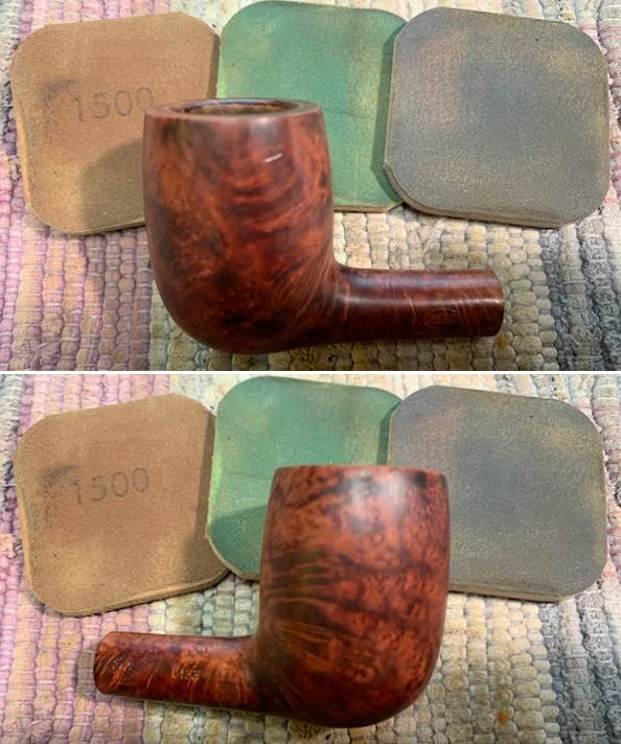
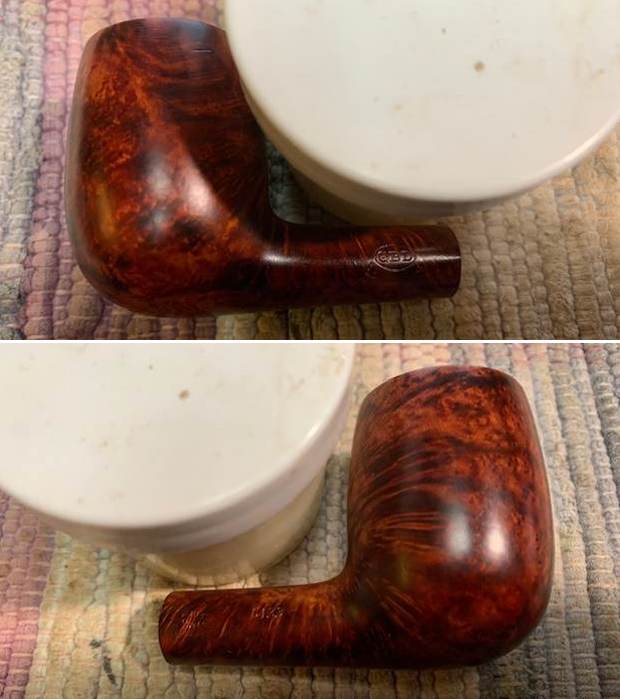
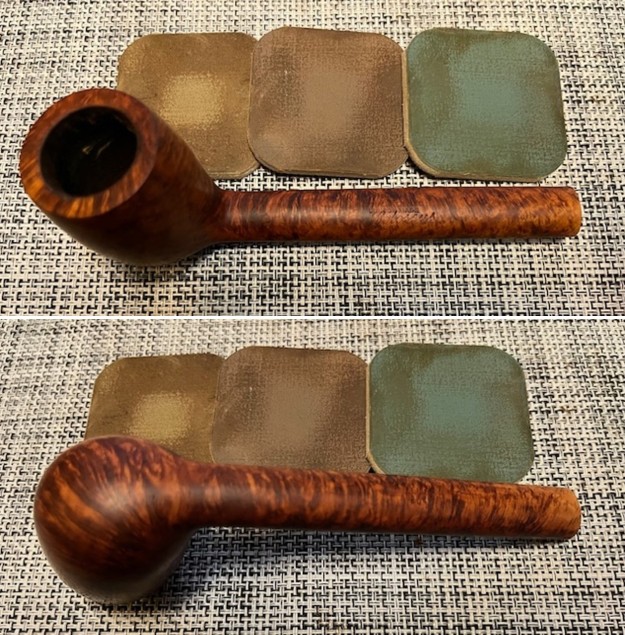
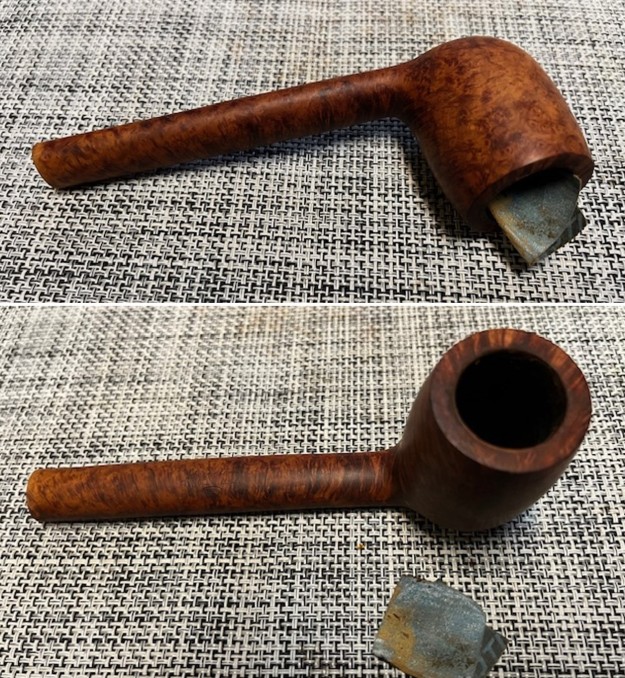 I polished the briar on the bowl and shank with micromesh sanding pads – dry sanding it with 1500-12000 grit sanding pads. I wiped the briar down after each pad with a damp cloth to remove the sanding dust.
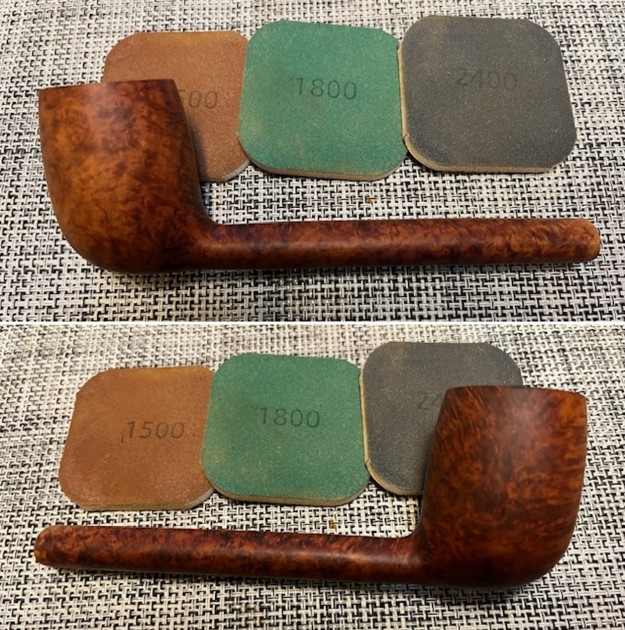


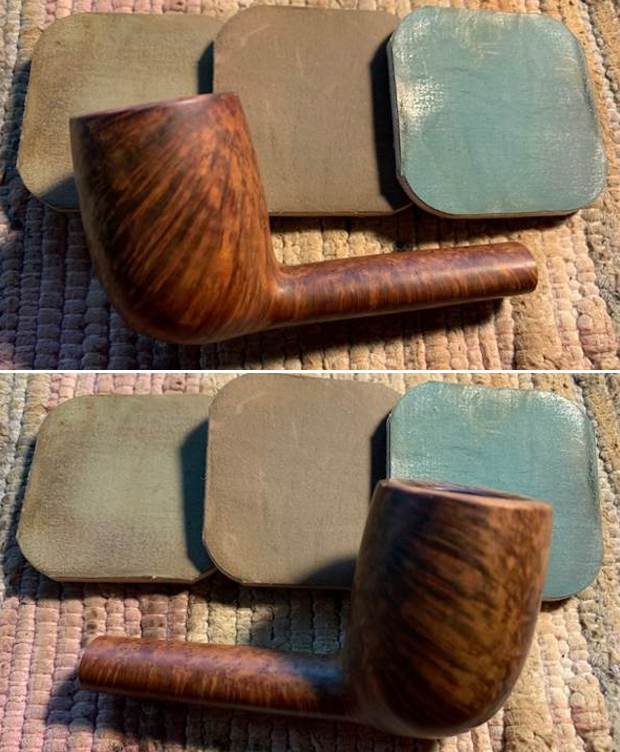
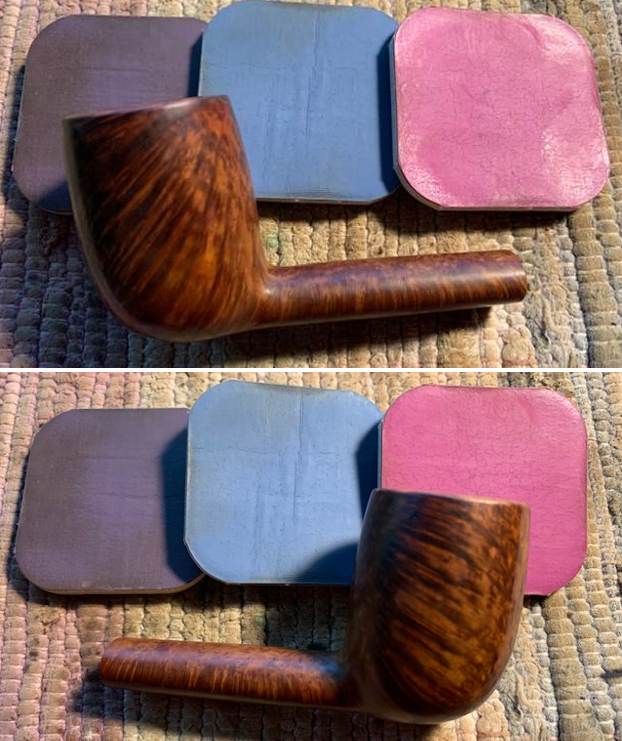
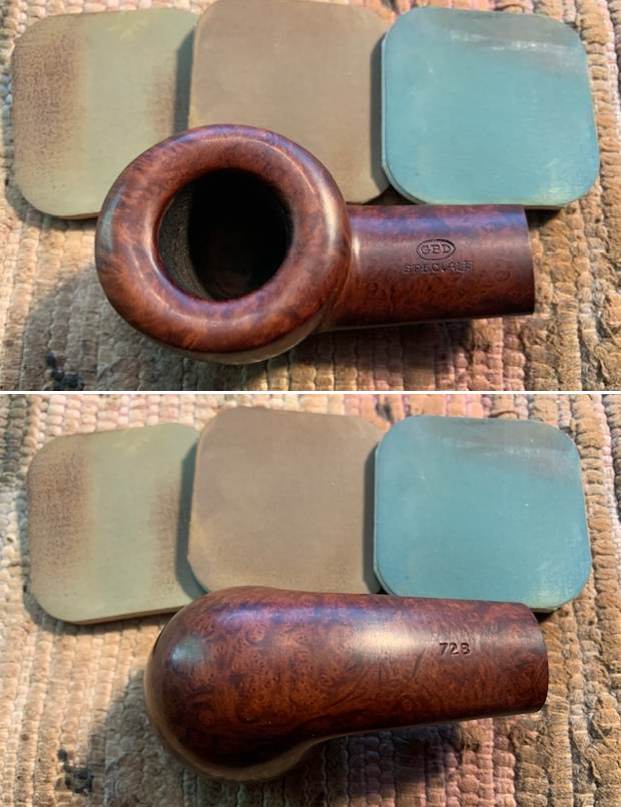
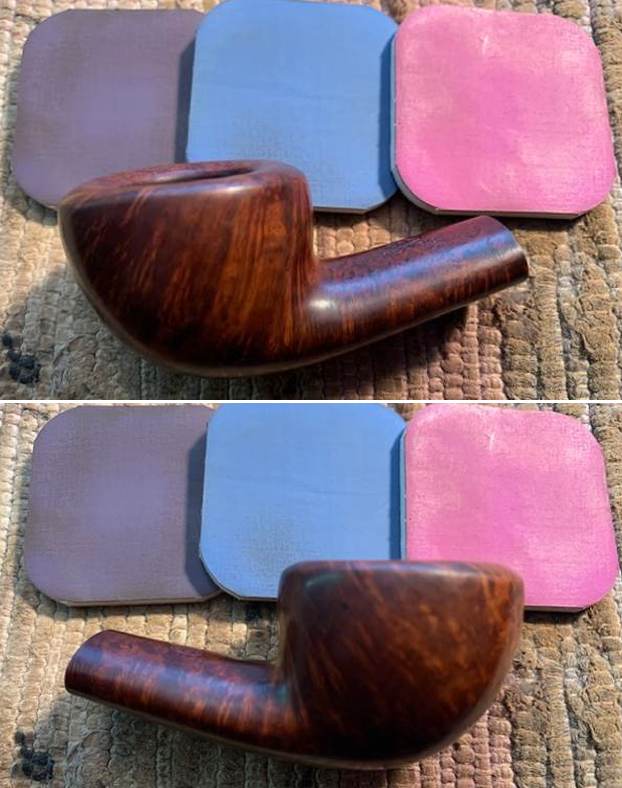
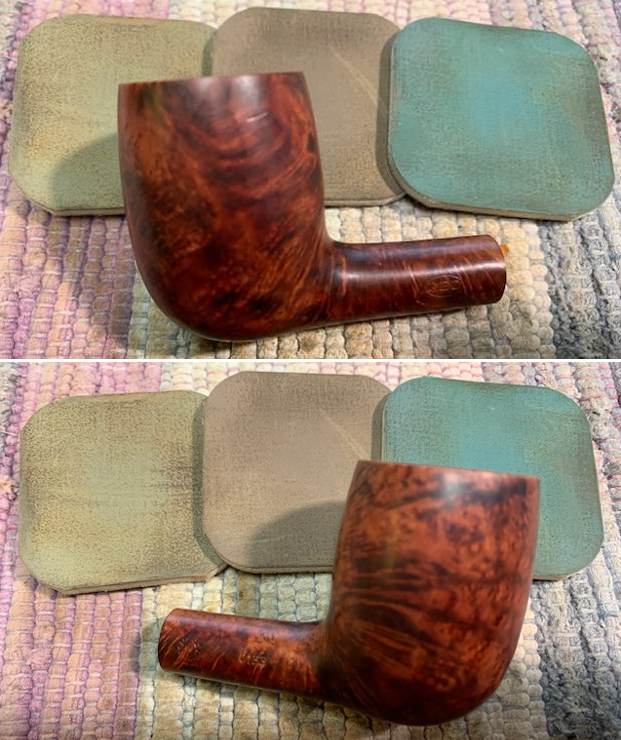
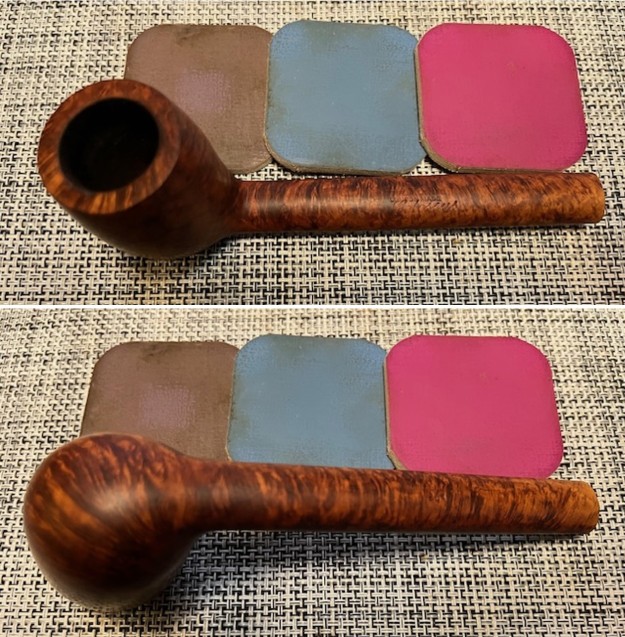 I rubbed the bowl and shank down with Before & After Restoration Balm. I worked it into the surface of the briar with my fingertips to clean, enliven and protect it. I let the balm sit for a little while and then buffed with a cotton cloth to raise the shine. Mark Hoover’s Balm is a product that I have come to appreciate and one I use on every pipe I have been working on.
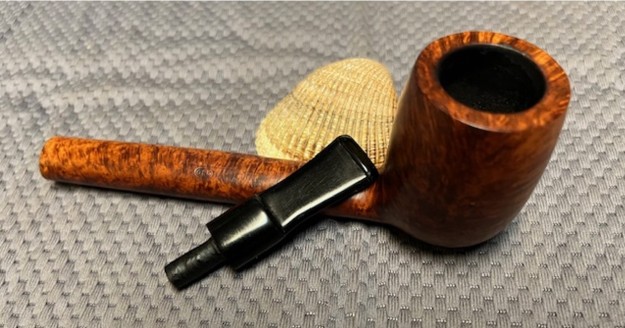
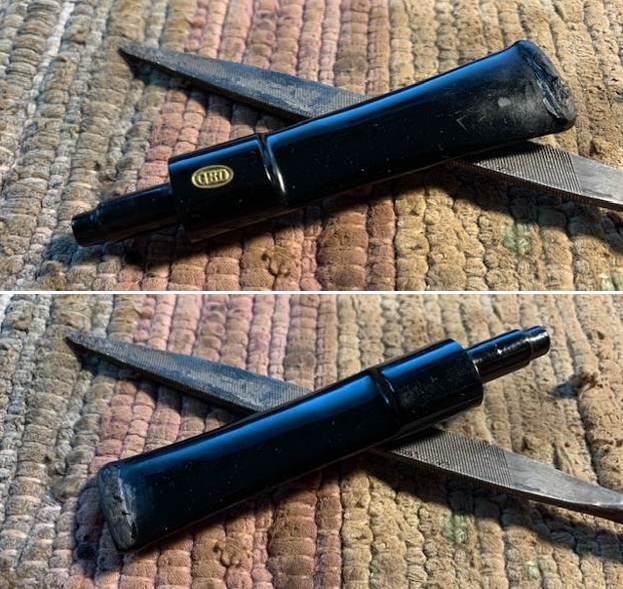
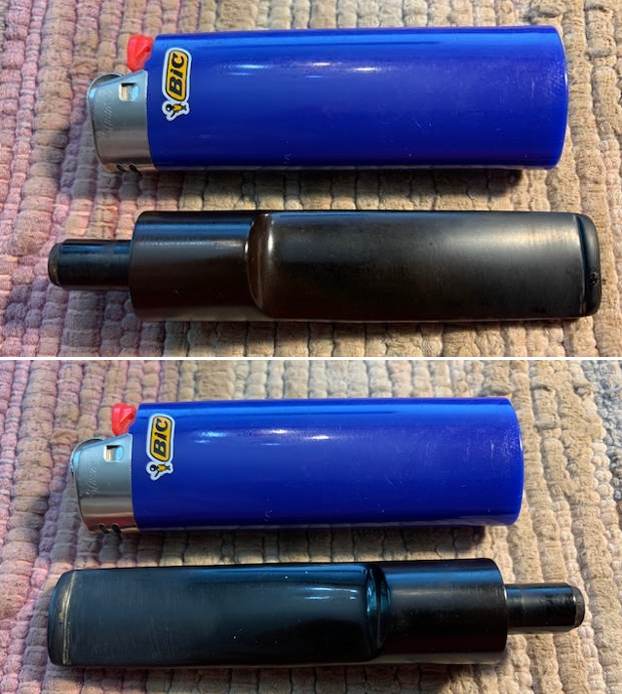
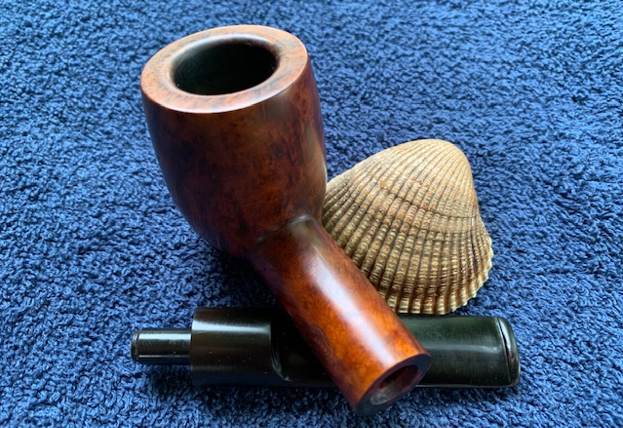
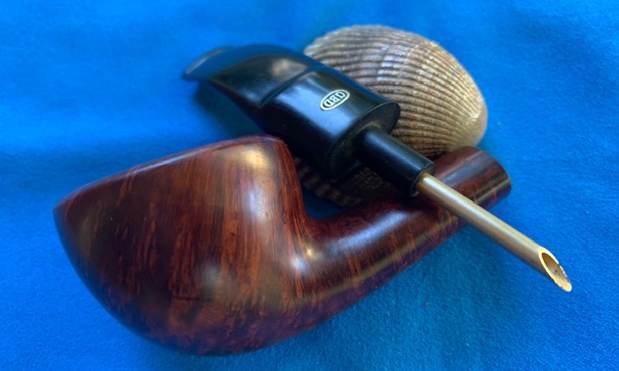
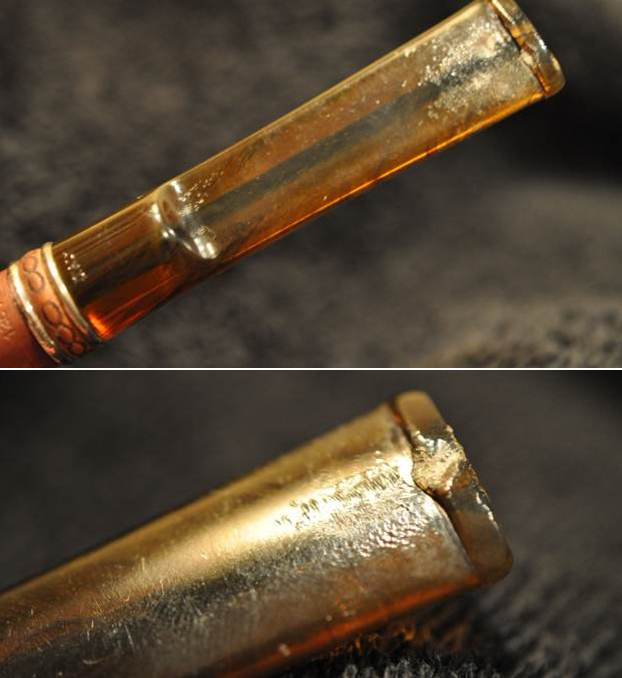
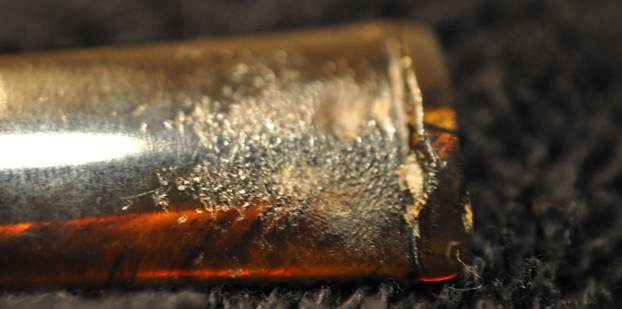
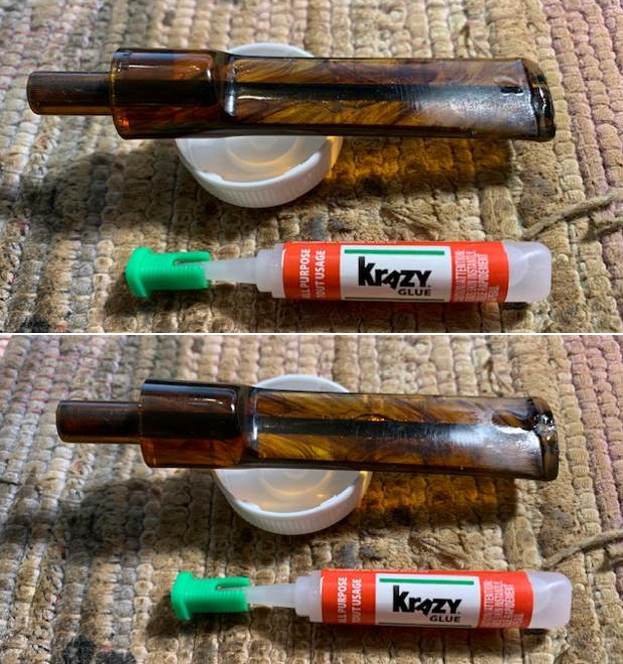
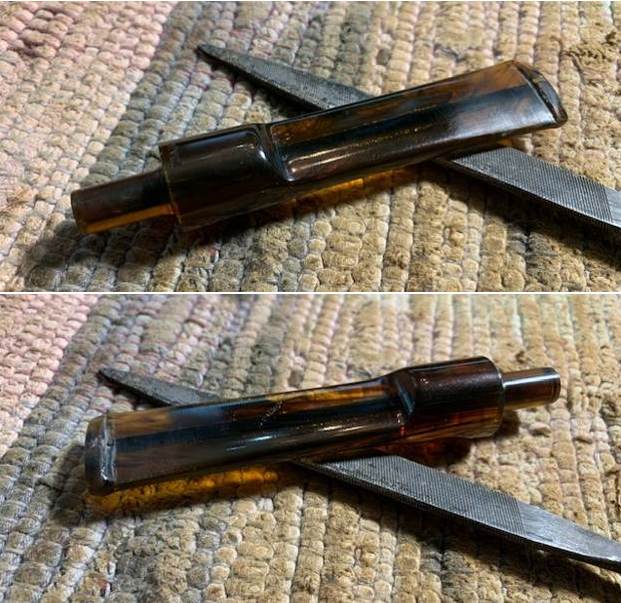
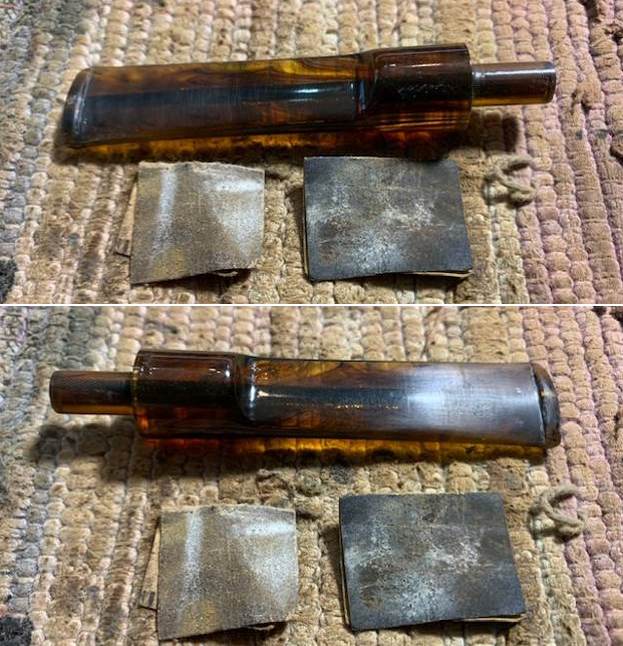
 With the bowl finished it was time to find a stem. Earlier today I assumed the pipe was a Canadian so I fit a taper stem to the shank. I liked the look of the pipe with the taper stem. Then on a whim I looked up the information I quoted above on the shape 264. It made it immediately clear to me that the pipe was not a Canadian but was a Lumberman. I started over to find one like that in the photo of the GBD 264 from Smokingpipes above. I would completely need to start over. Oh well! I went through my stem bins and found an oval saddle style stem that would work for this one. I needed to fit the stem to shank. With a little adjustment the tenon fit perfectly to the shank end. It was a snug fit. The diameter of the stem is slightly larger all the way around and would need to be reduced. I used my Dremel and sanding drum to start the process of shaping the saddle portion of the stem to fit the shank. Once I had it close I continued the fitting with a file. I also smoothed out the ridges and casting marks on the blade of the stem to round them out and shape them to be similar to the one on the photo that I found. I put it back on the shank and continue to shape the saddle portion of the stem. It is starting to look much better.
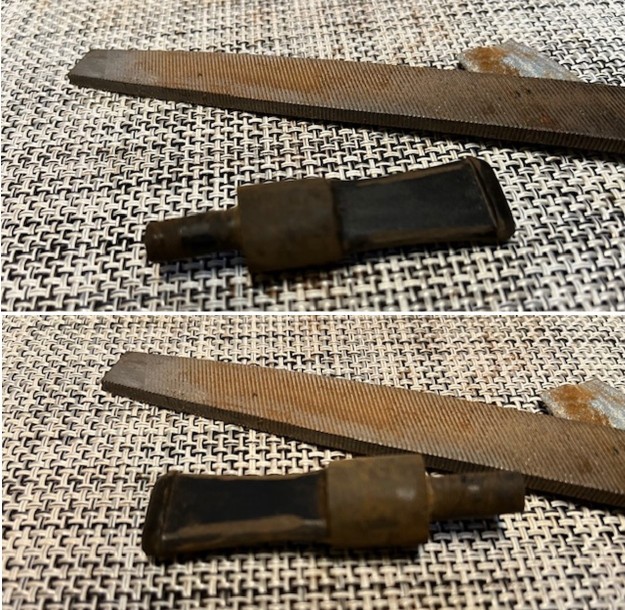
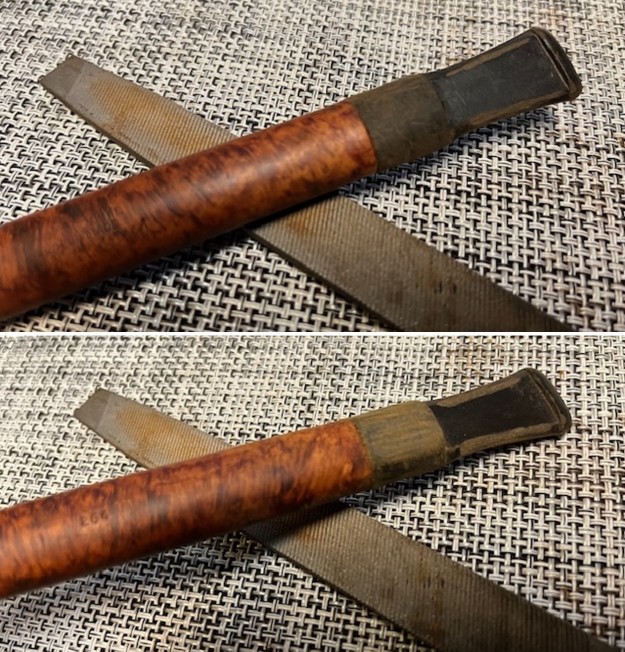
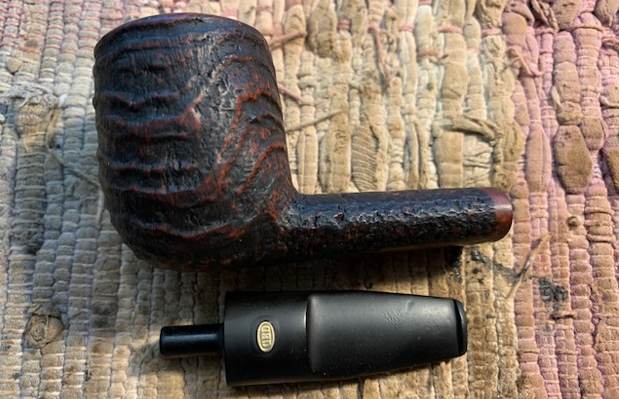
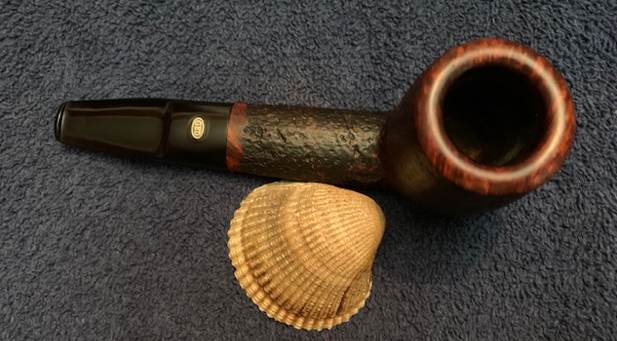
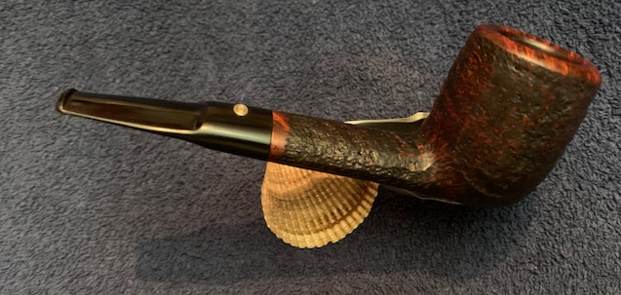
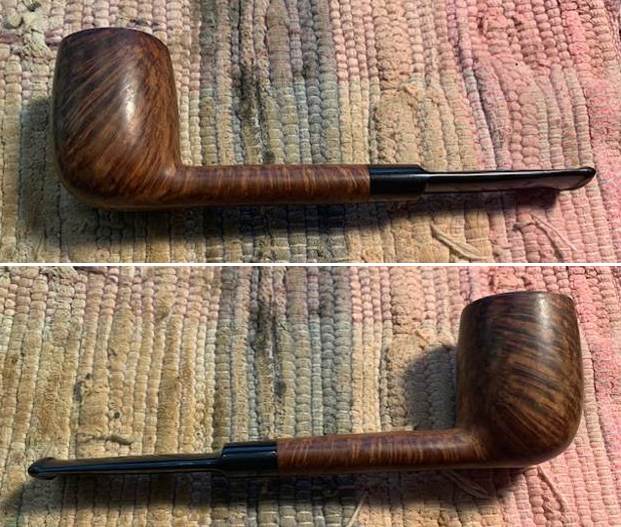
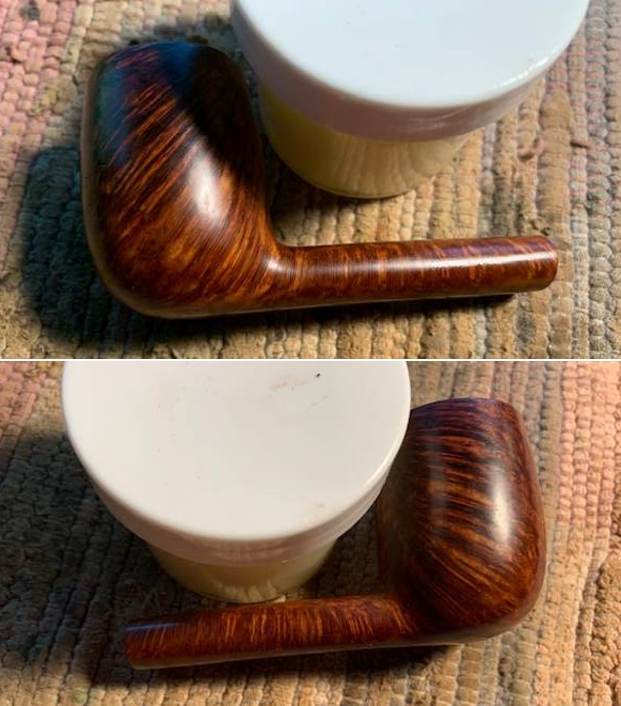
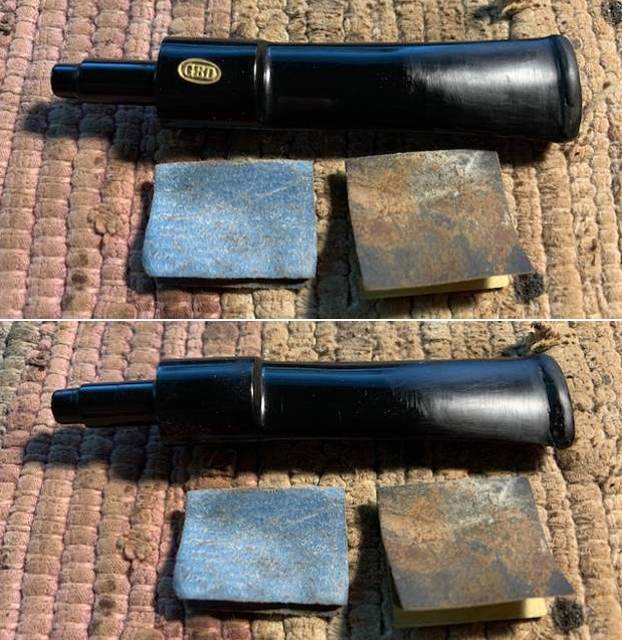
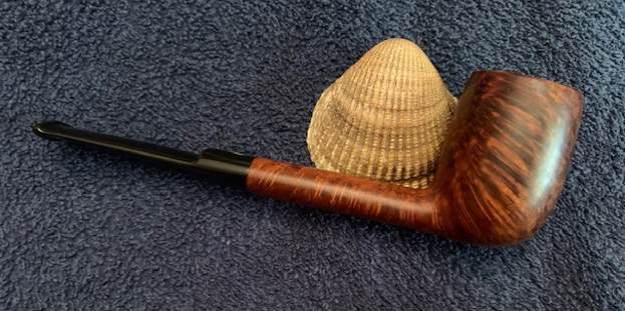
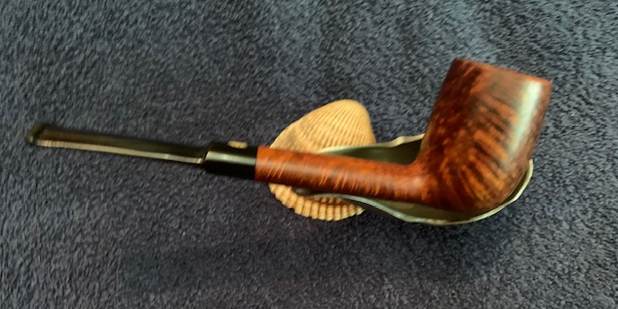
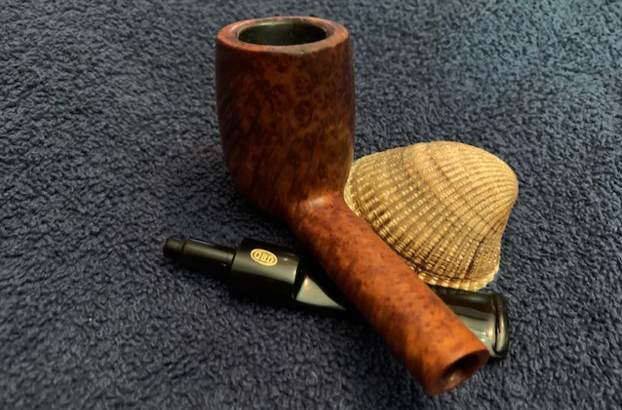
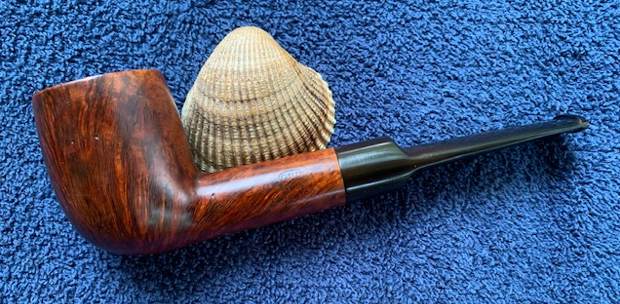
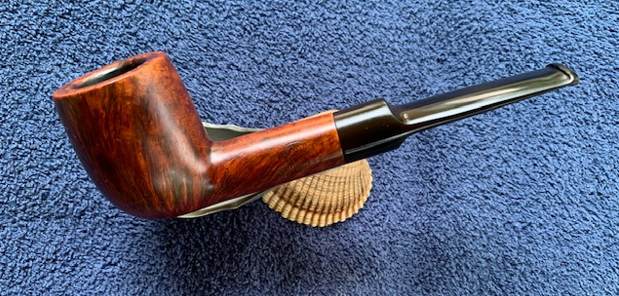
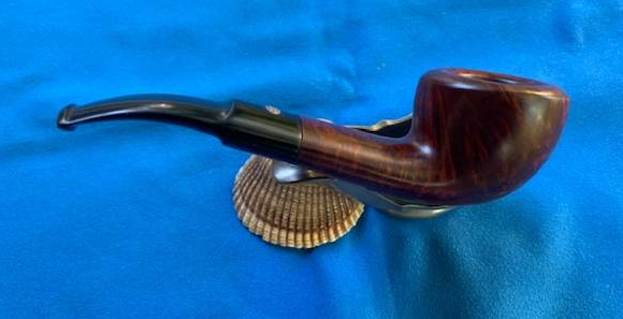
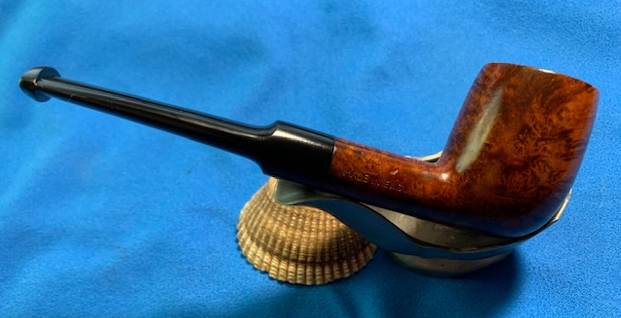
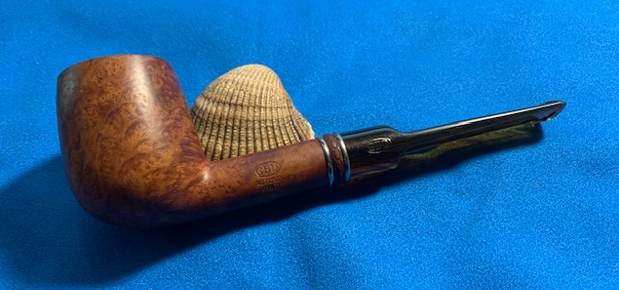
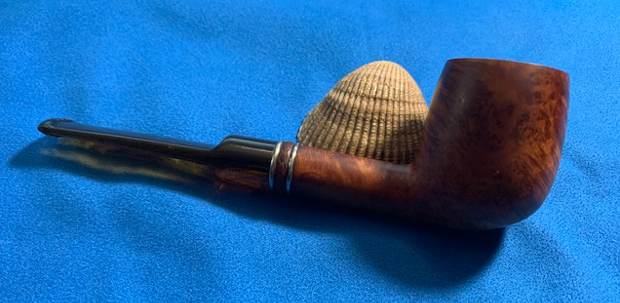
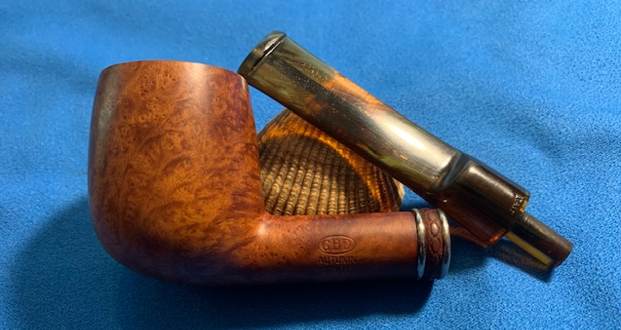
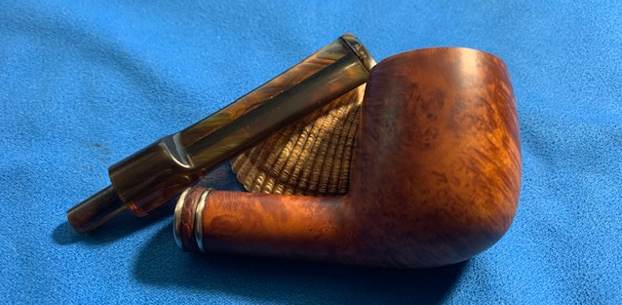
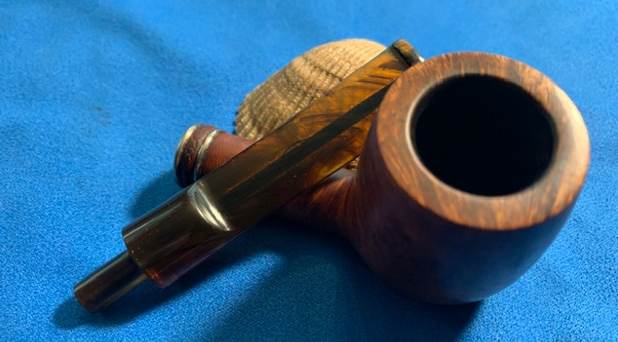
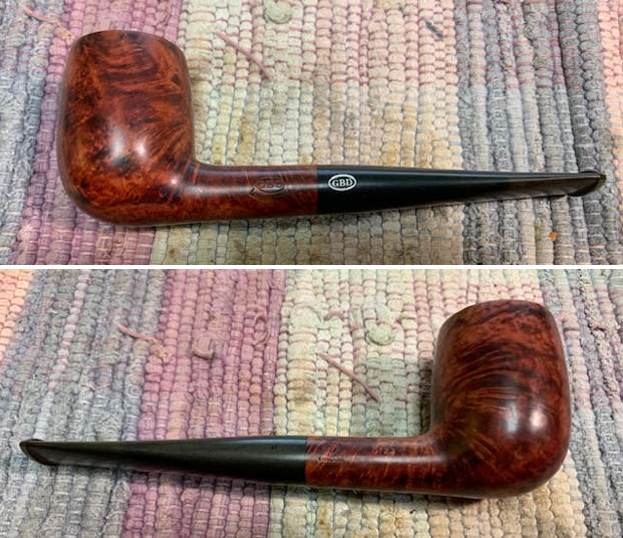
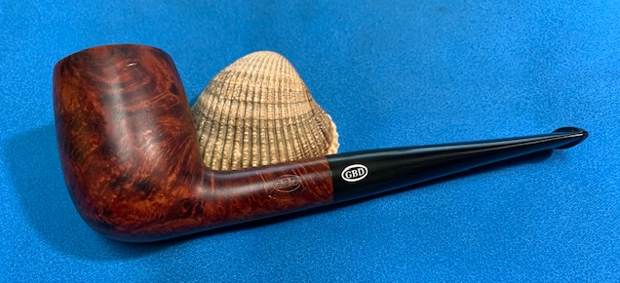
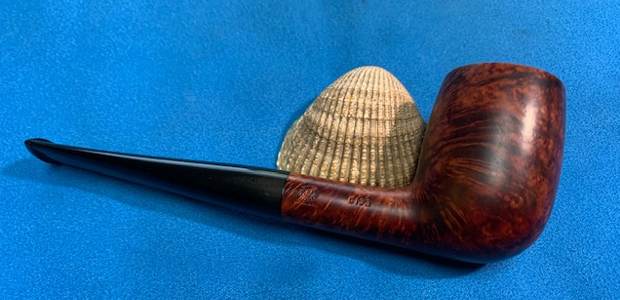
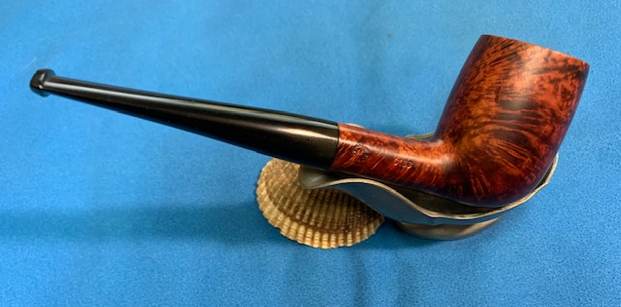
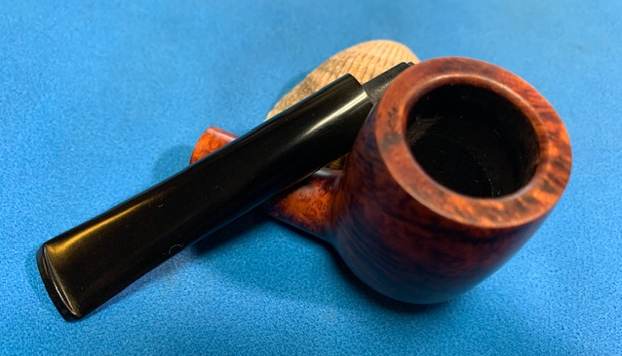
 I fine tuned the fit with 220 grit sandpaper. I removed all of the remaining excess with the sandpaper. Once I finished the transition between the stem and the shank it was smooth and the fit was snug in the shank. I put the stem and took photos of the pipe with the fit. It looks very good.
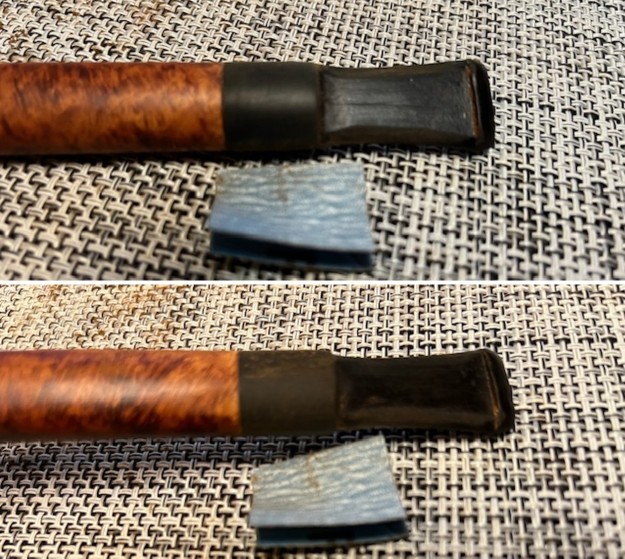


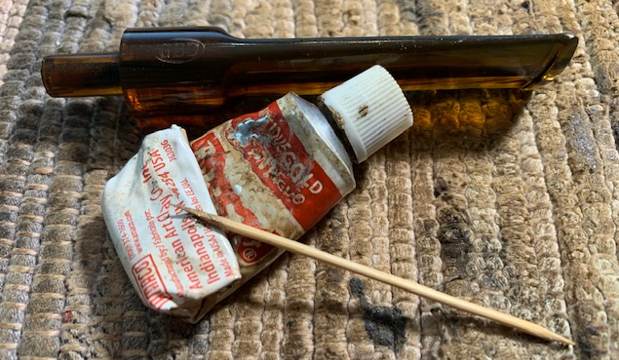
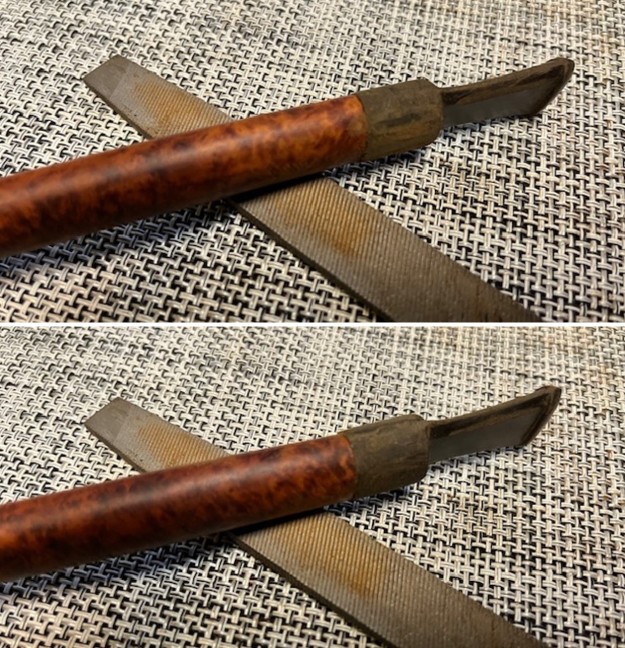
 I touched up the stain on the shank end to cover the lighter areas and match it to the rest of the shank. I used a Cherry Stain Pen to match it. The stain was a perfect match. It looked good.
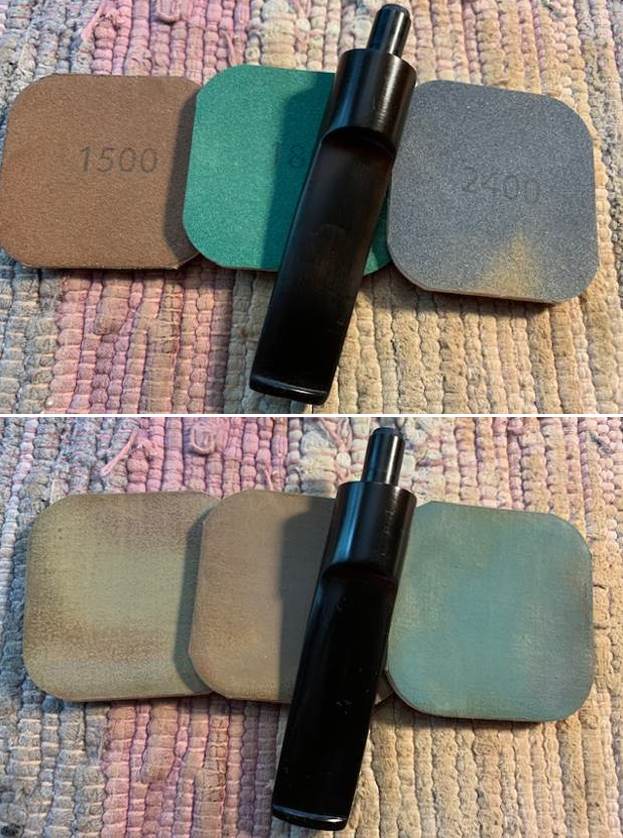
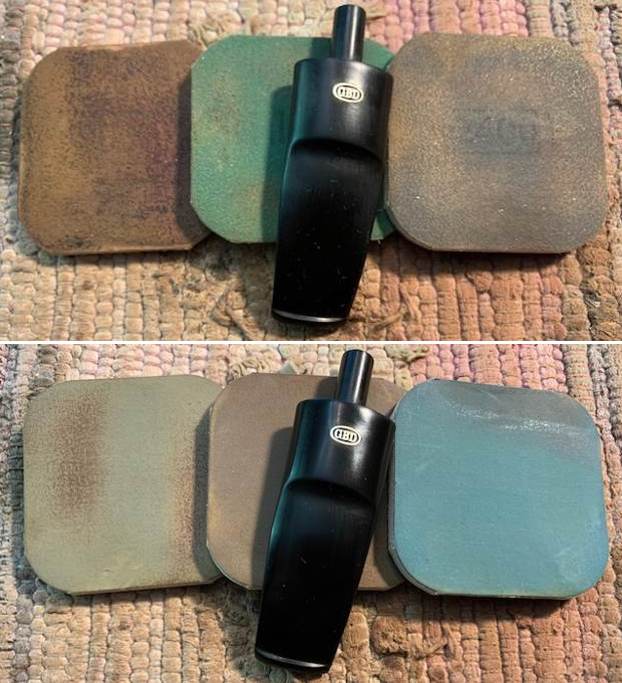
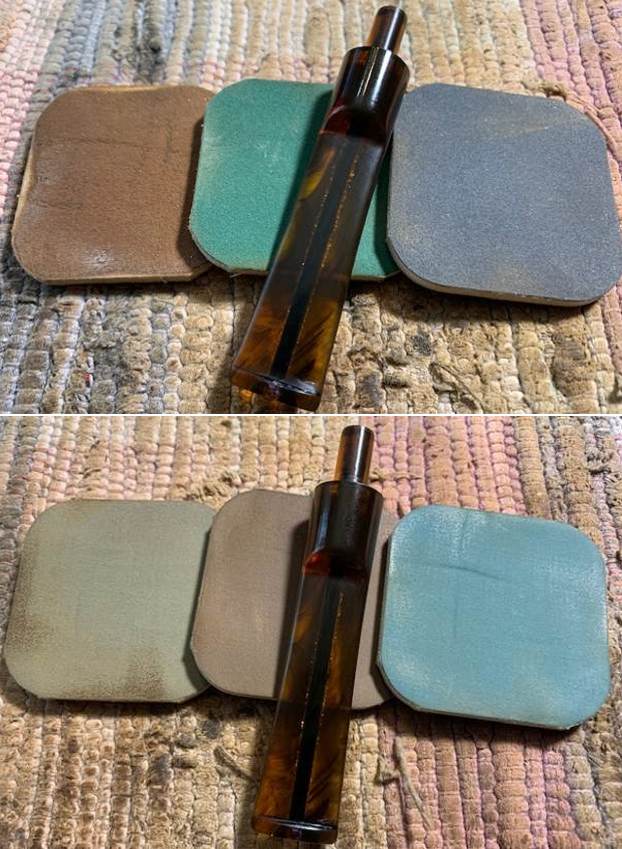
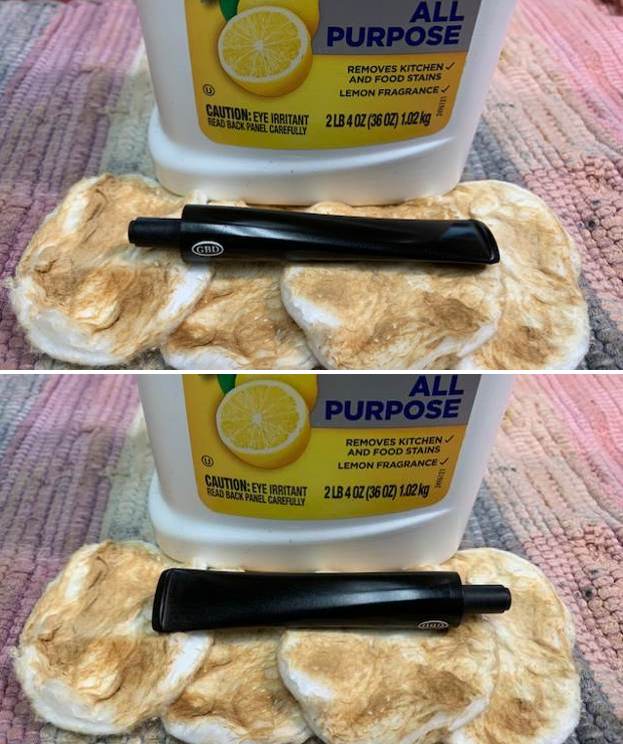
 I sanded the stem with 320-1500 grit sanding pads. I dry sanded and after each pad wiped the stem down with a cloth impregnated with Obsidian Oil. By the final pad the stem looked very good and the fit was perfect.
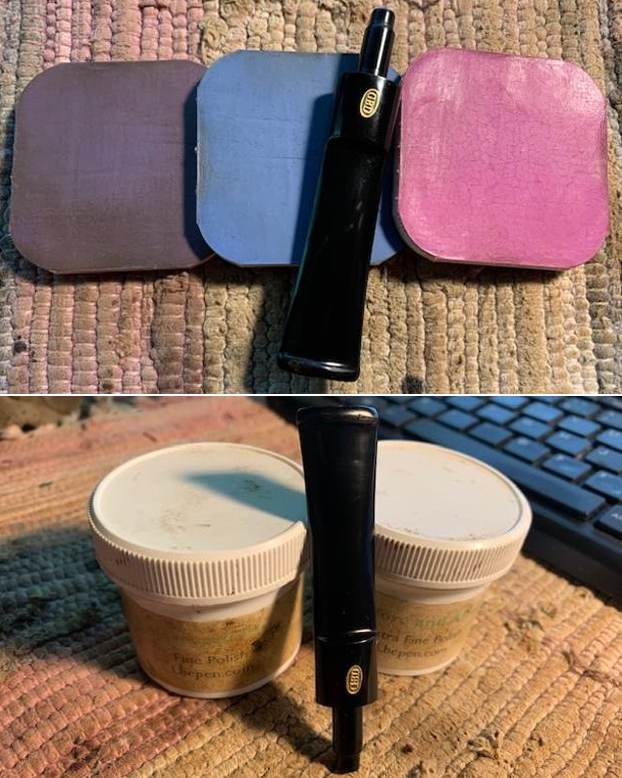
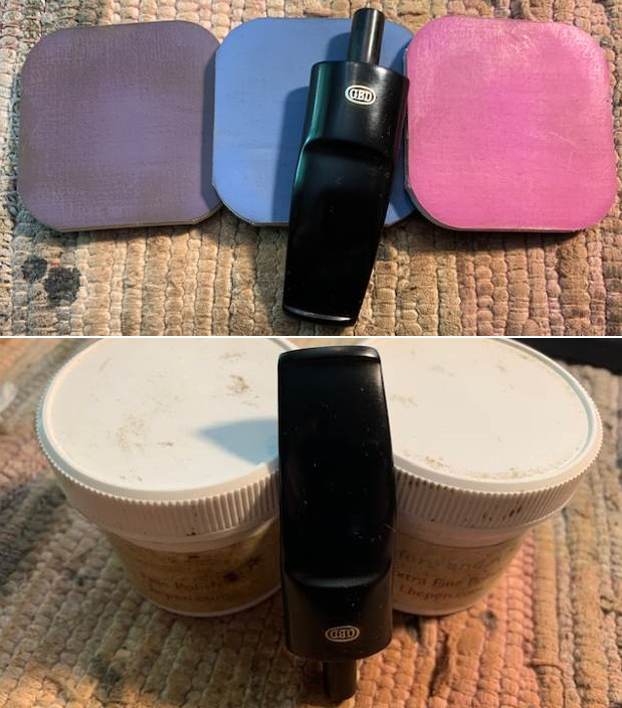
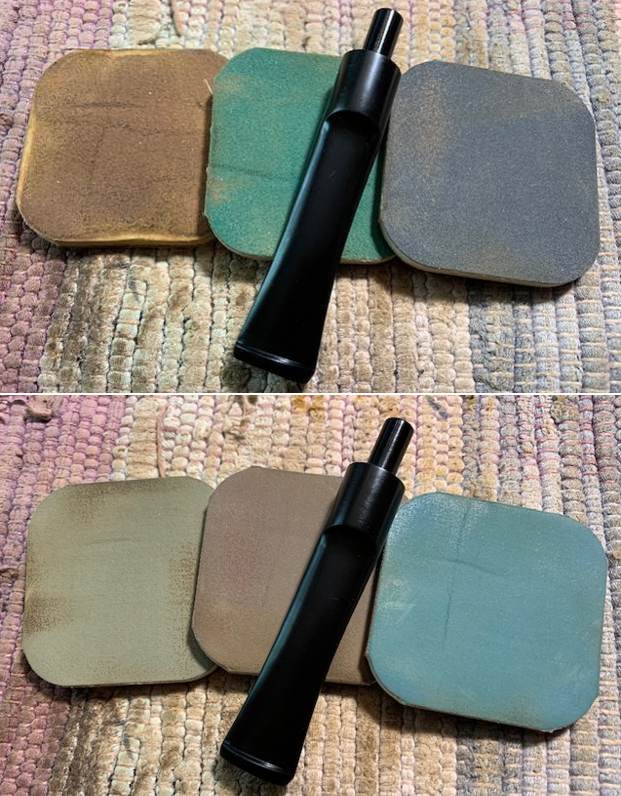
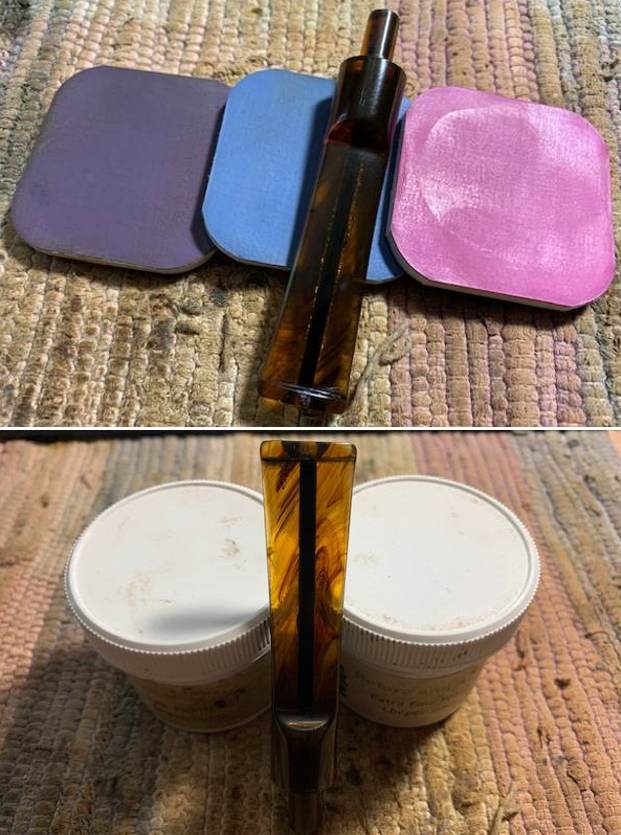
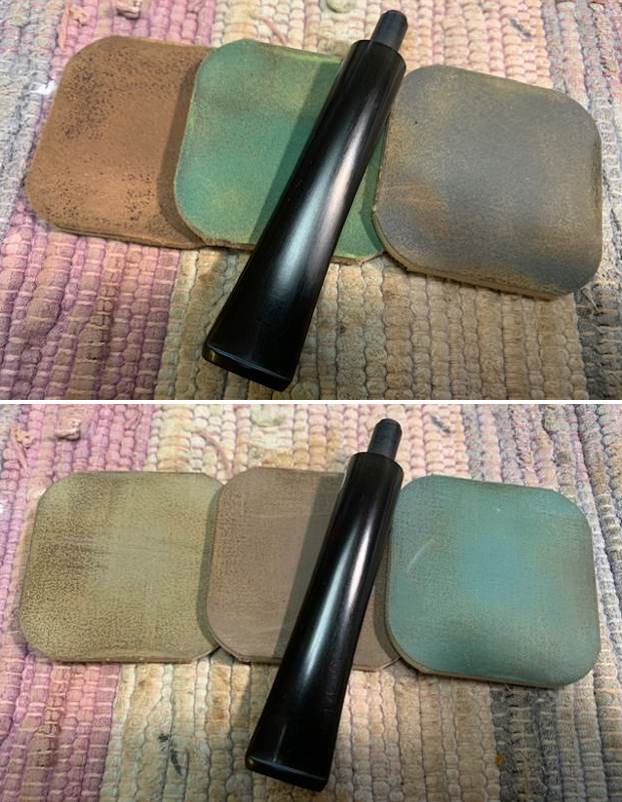
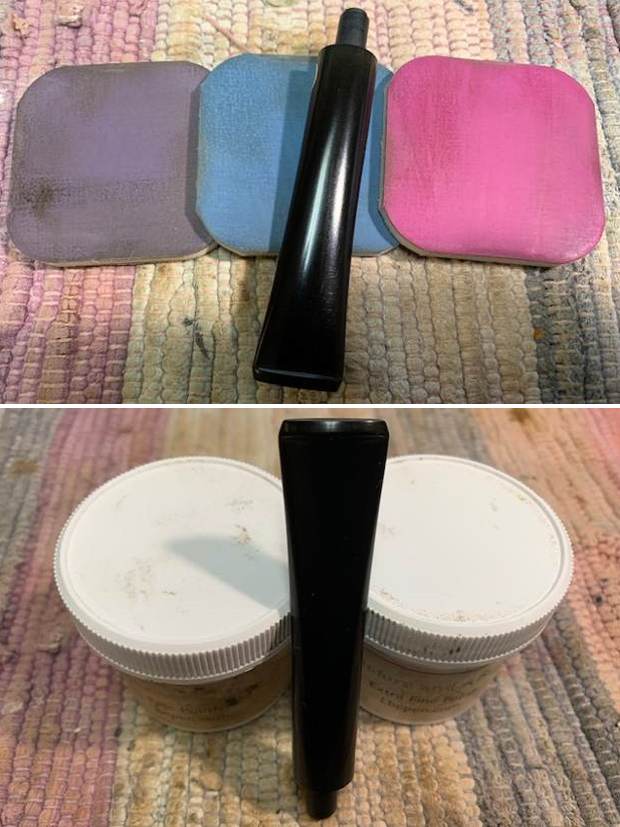
 I polished the stem with micromesh sanding pads – wet sanding it with 1500-12000 grit pads. I polished it further with Before & After Pipe Stem Polish – both fine and extra fine. I finished by wiping it down with Obsidian Oil and buffing it to a shine.
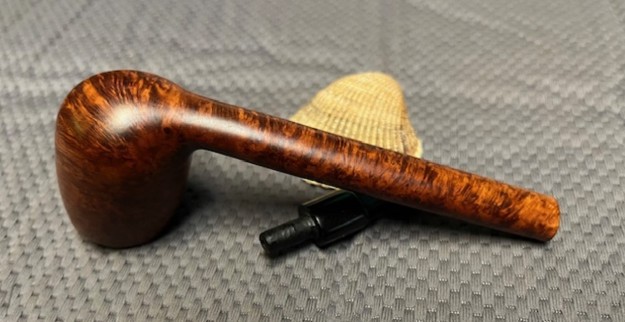
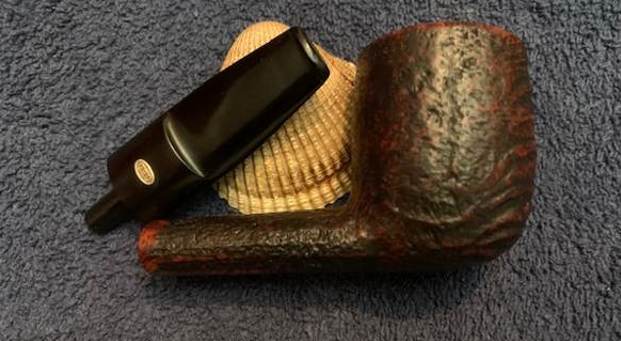
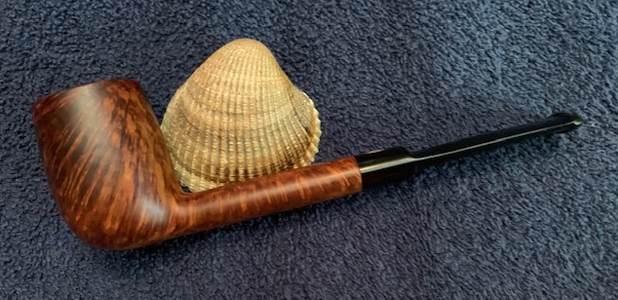
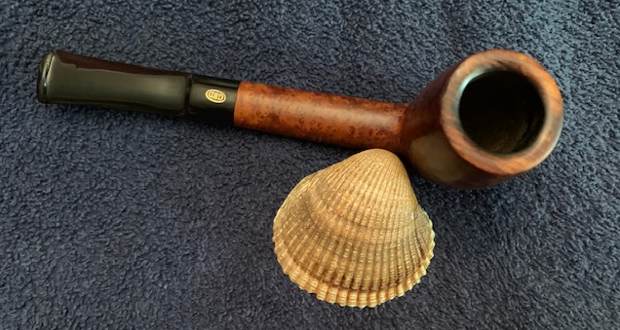
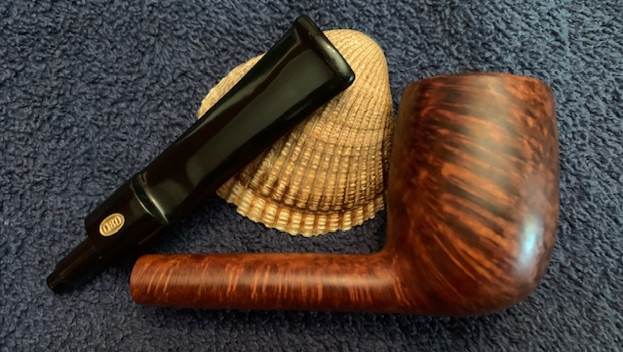
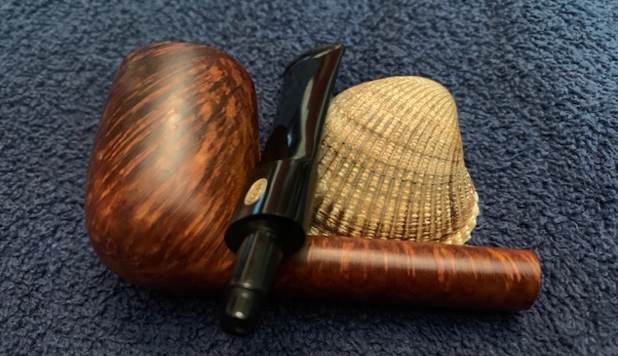
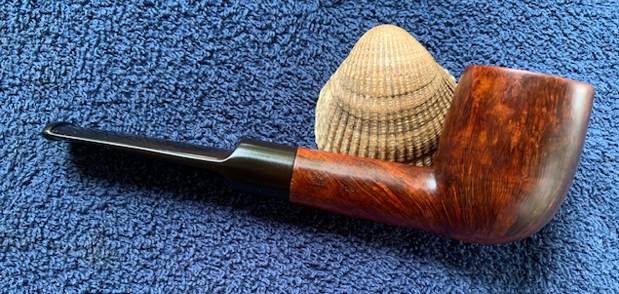
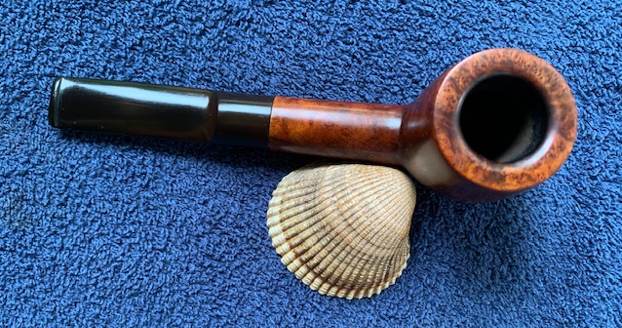
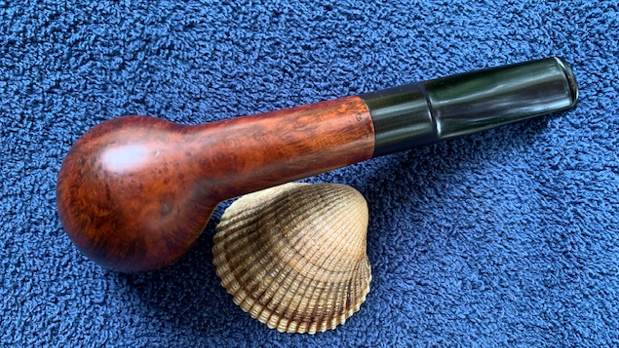
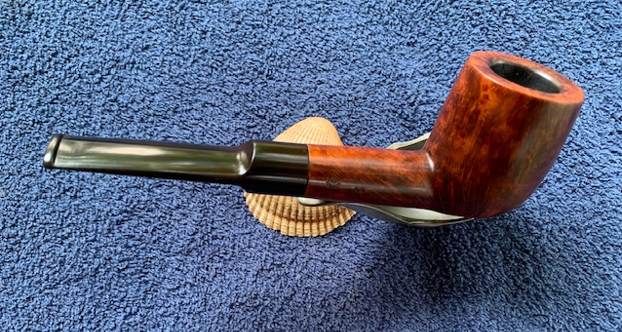
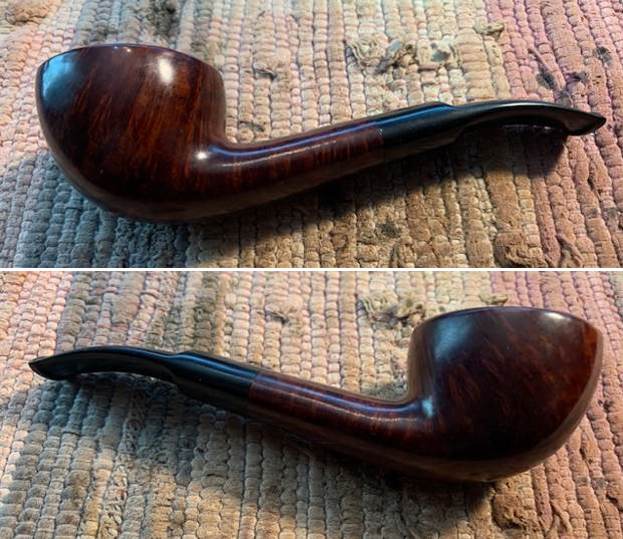
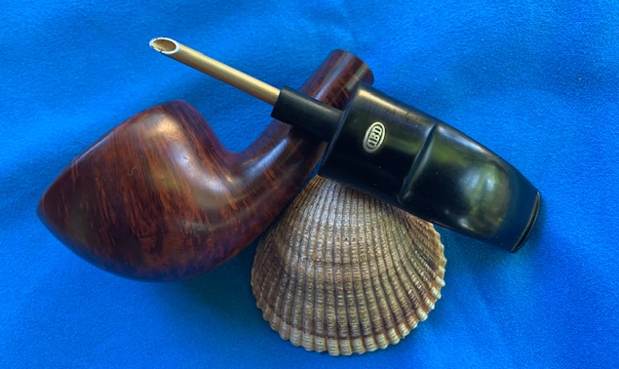
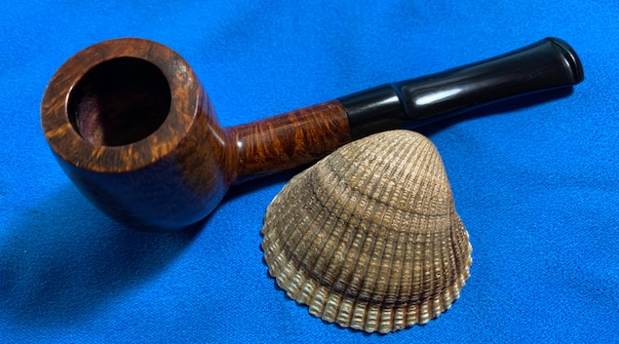
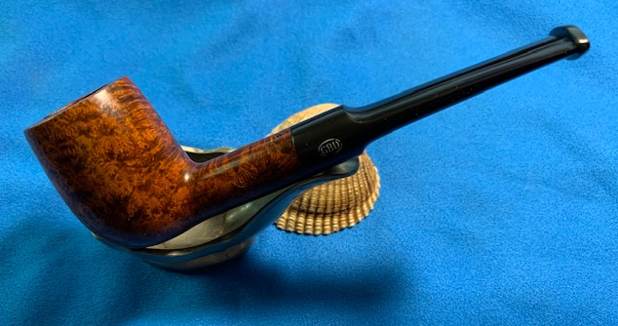
 I always look forward to this part of the restoration when all the pieces are put back together. I put the GBD International London Made Colossus 264 Lumberman back together and carefully buffed the stem with Blue Diamond on the buffing wheel. I gave the bowl and the stem multiple coats of carnauba wax. I hand buffed the pipe with a soft cloth to raise the shine. It is fun to see what the polished bowl looks like with the new black vulcanite saddle stem almost glowing. This GBD International London Made Colossus Lumberman is nice looking and feels great in my hand. It is one that could be clenched and smoked while doing other things as it is very light weight and well balanced. It must have been a fine smoking pipe judging from the condition it was when I received it. Have a look at it in the photos below. The dimensions are Length: 7 inches, Height: 1 ¾ inches, Outside diameter of the bowl: 1 ¼ inches, Chamber diameter: ¾ of an inch. The weight of the pipe is 1.52 ounces/43 grams. I will be putting it in the English Pipemakers Section of the rebornpipes store soon. This will make a great addition to someone’s pipe collection. Thanks to each of you who are reading this blog. Remember we are not pipe owners; we are pipemen and women who hold our pipes in trust until they pass on into the trust of the next pipeman or woman.