Blog by Steve Laug
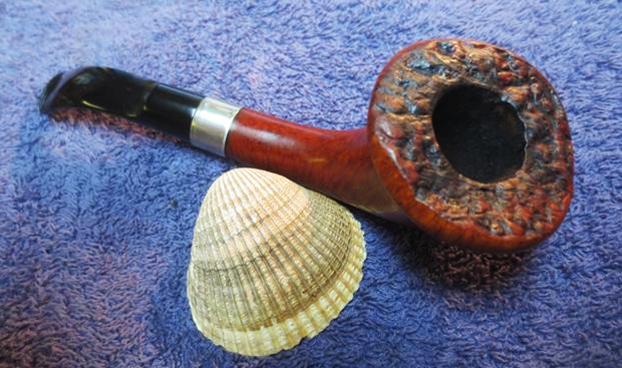
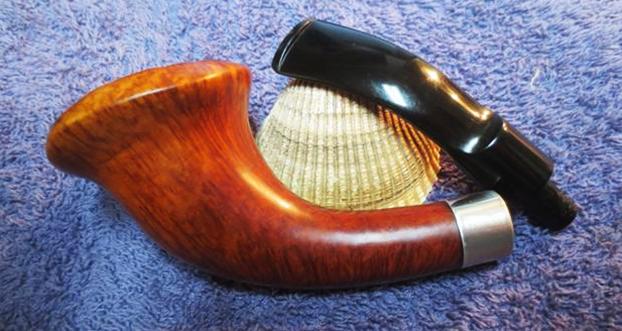
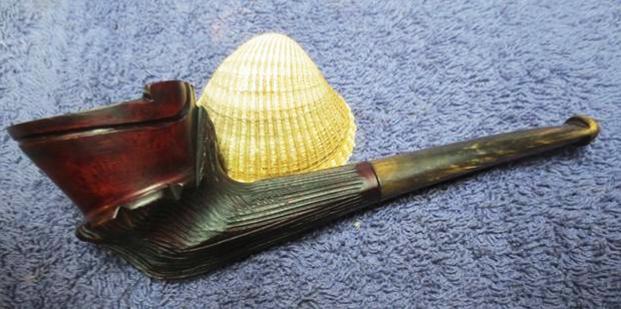
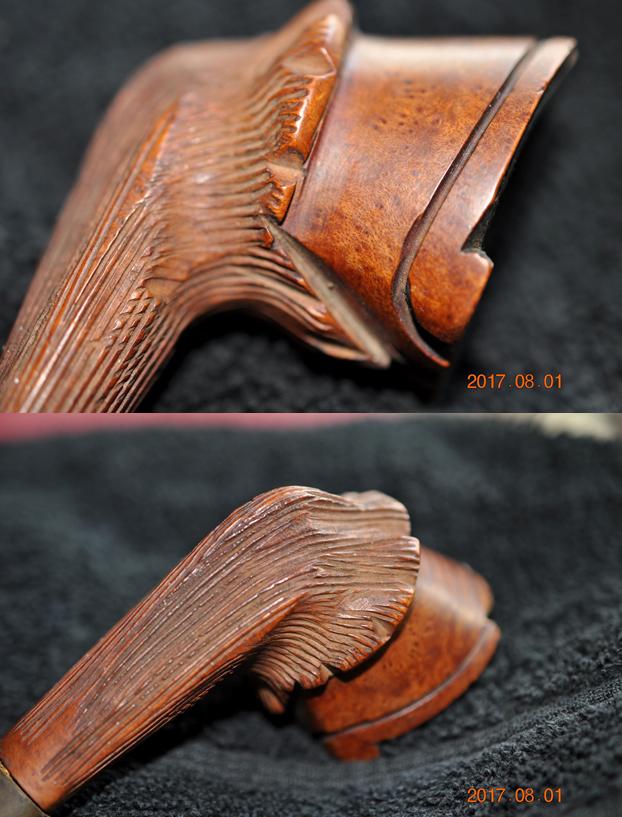
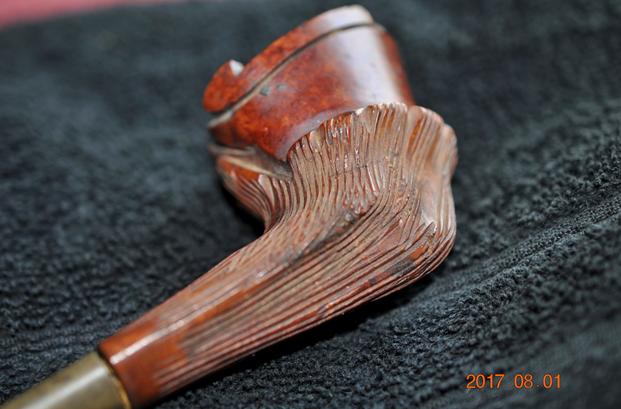
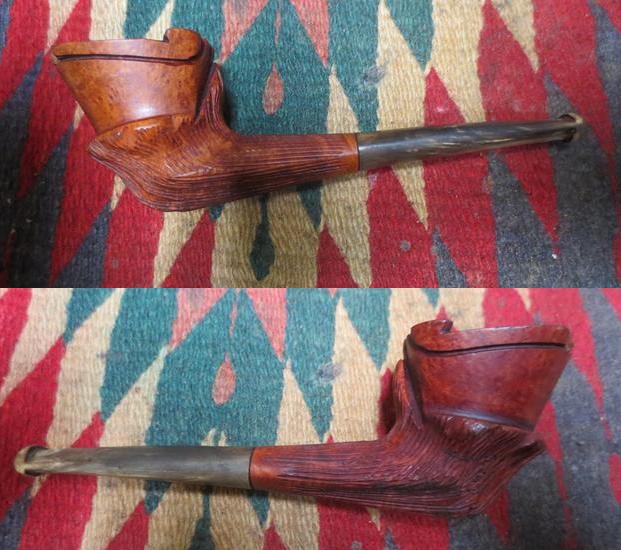
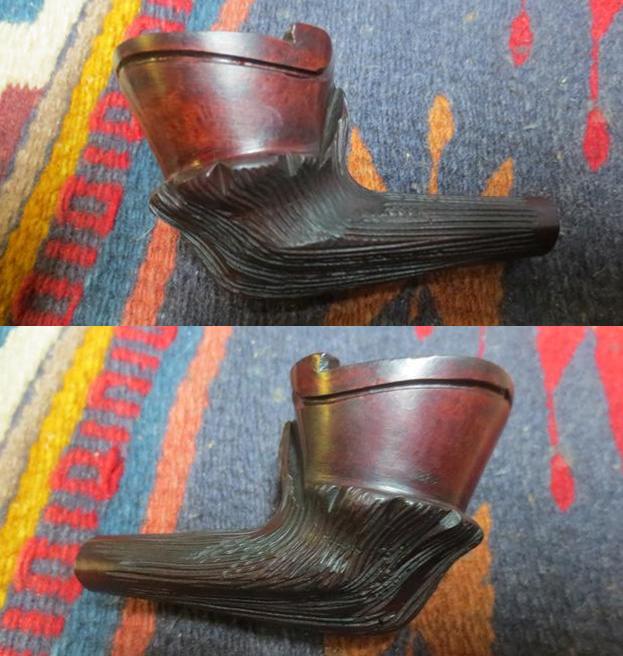
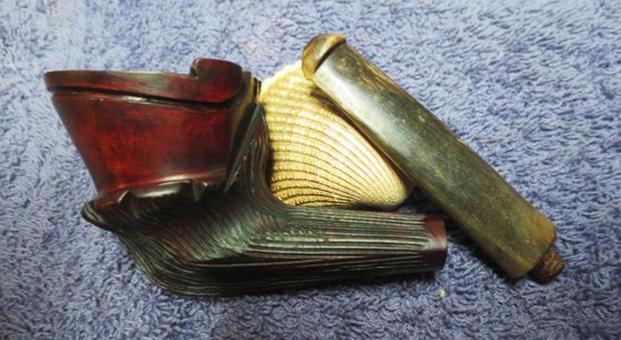
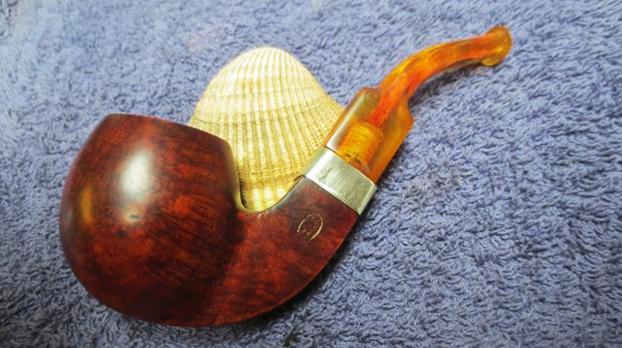
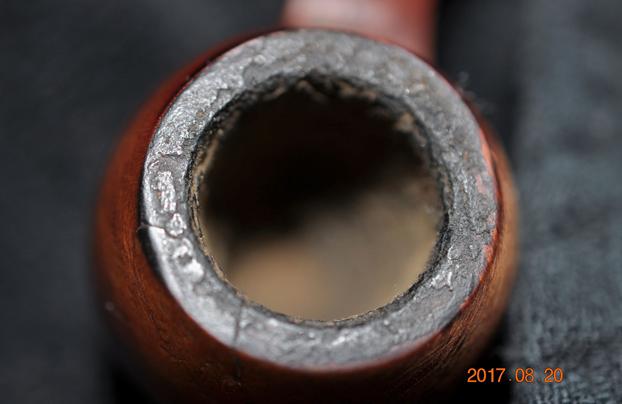
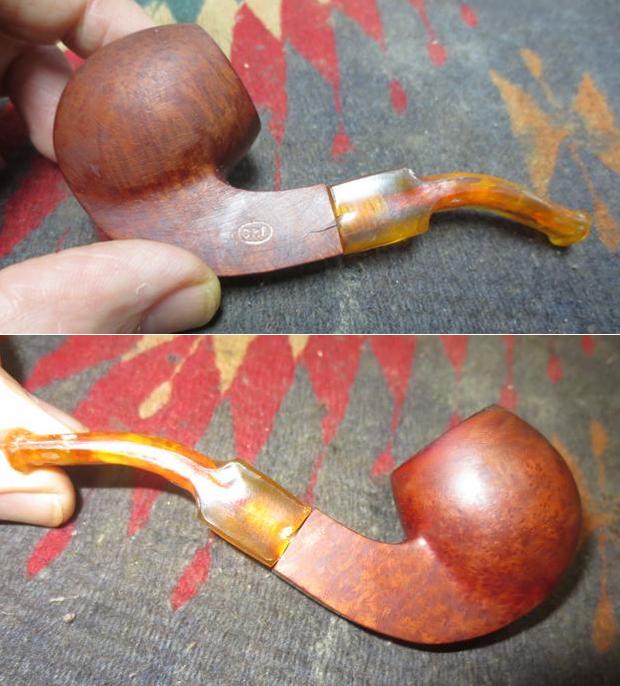
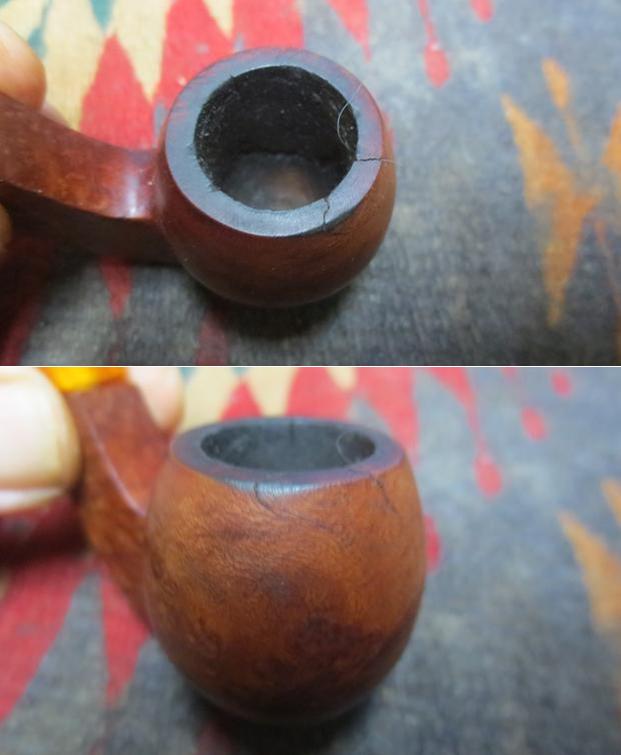
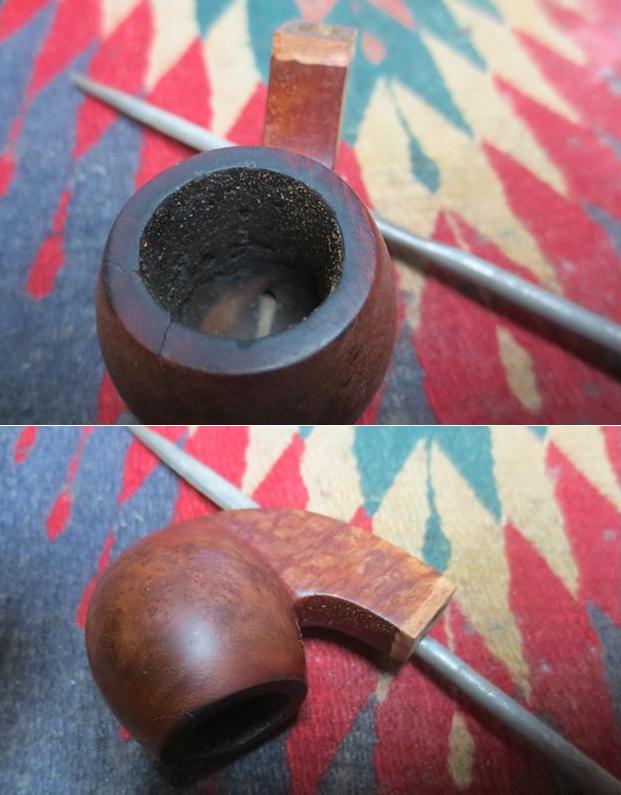
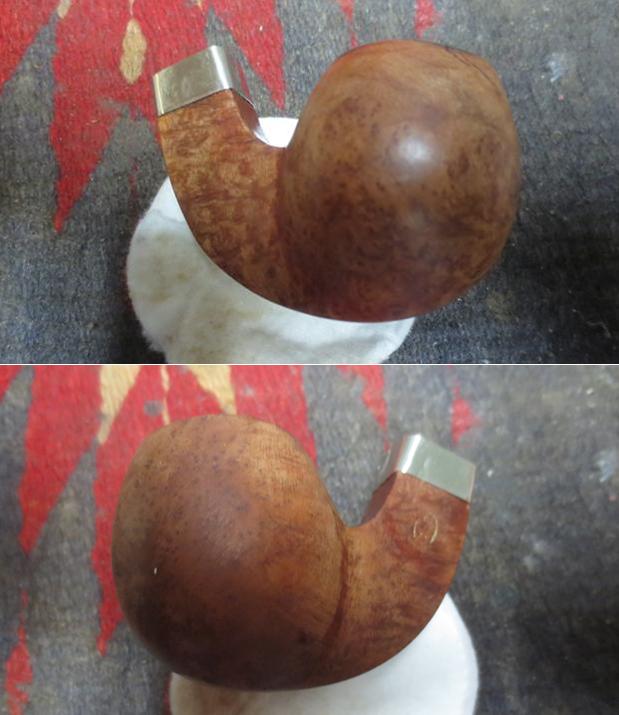
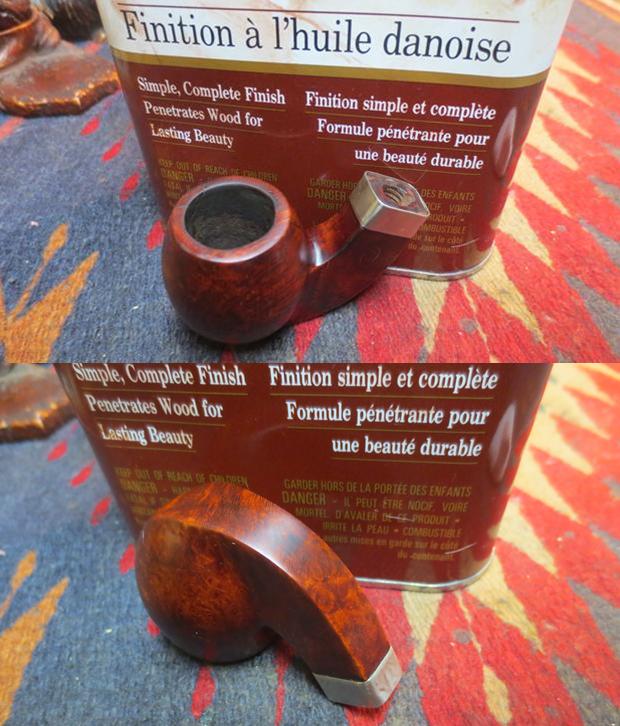
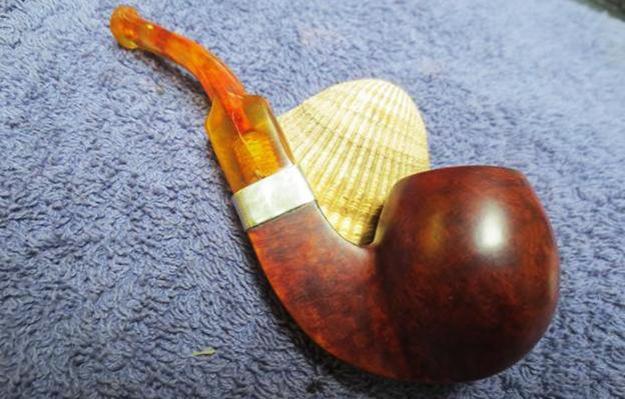
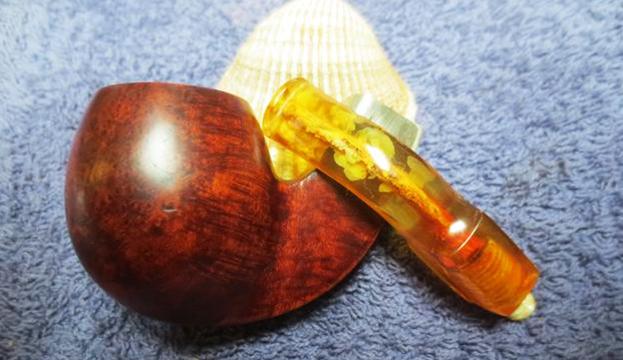
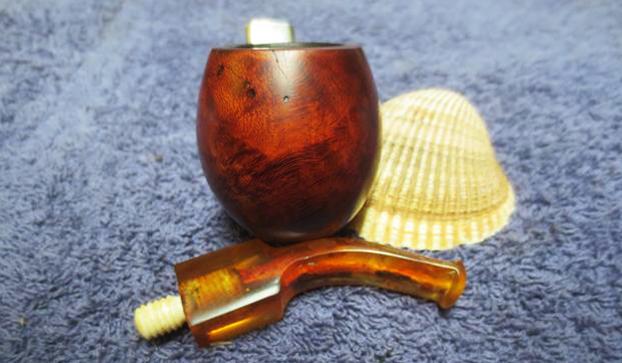
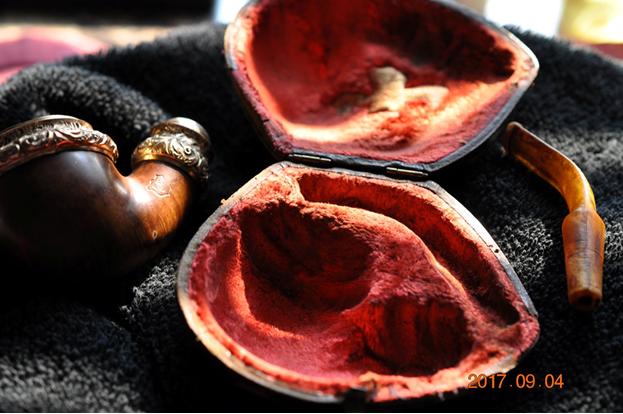
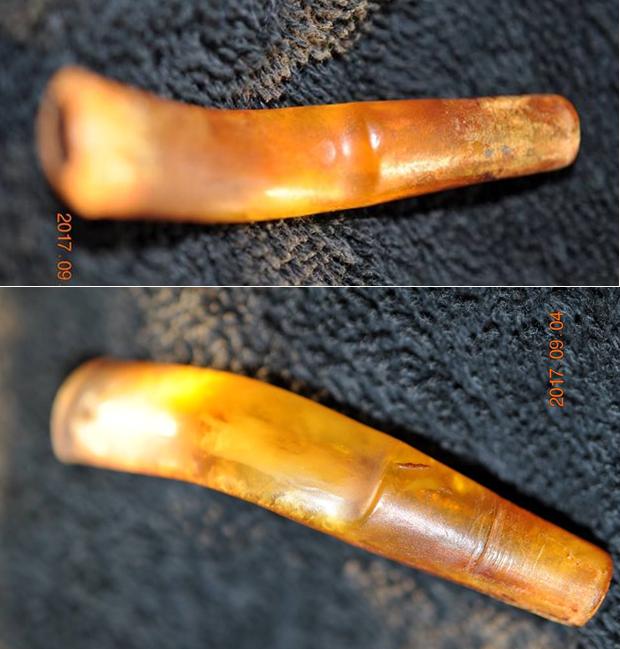
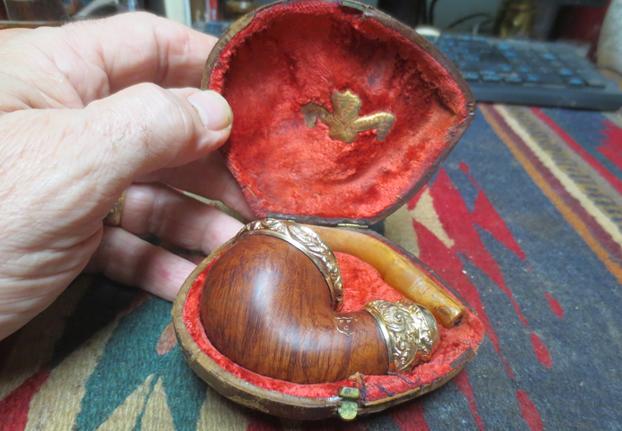
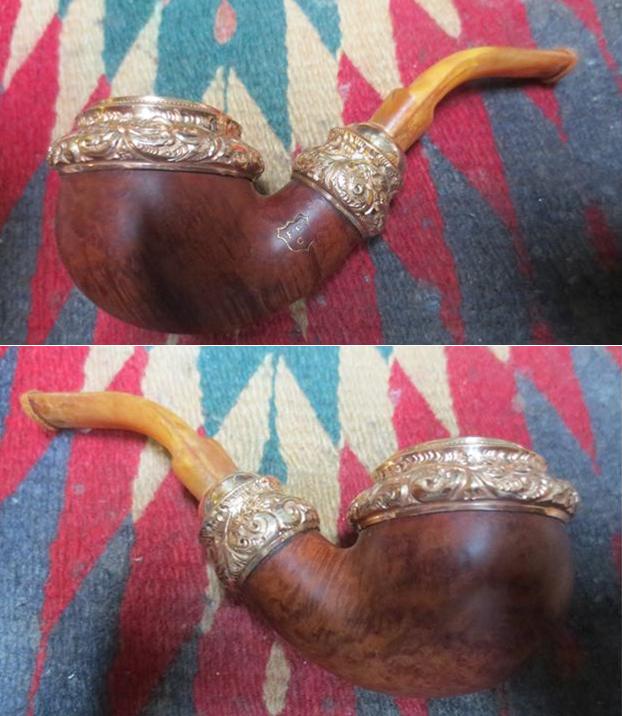
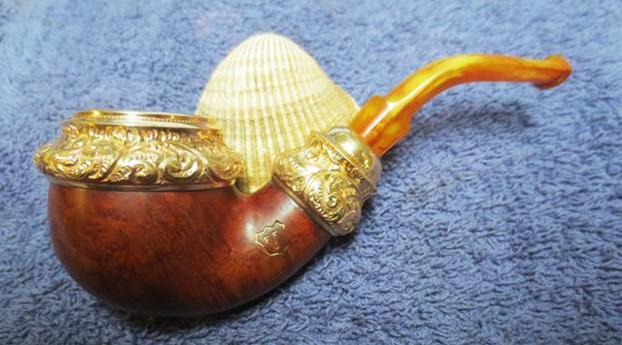
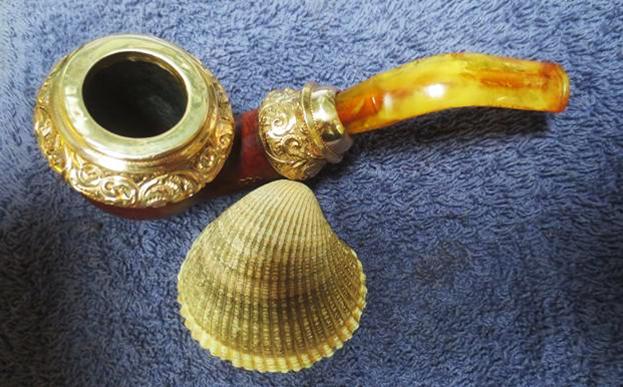
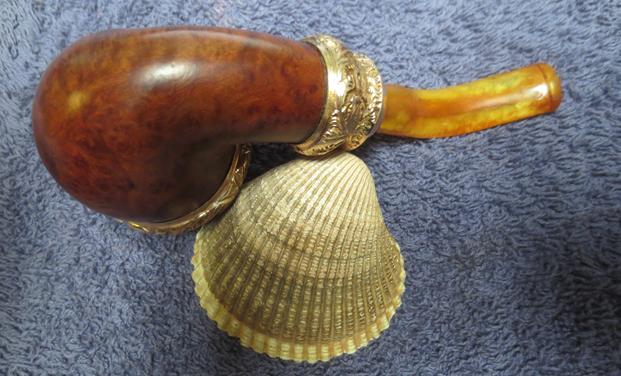
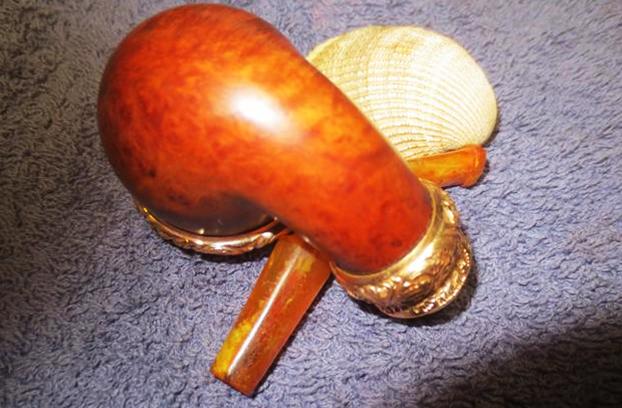
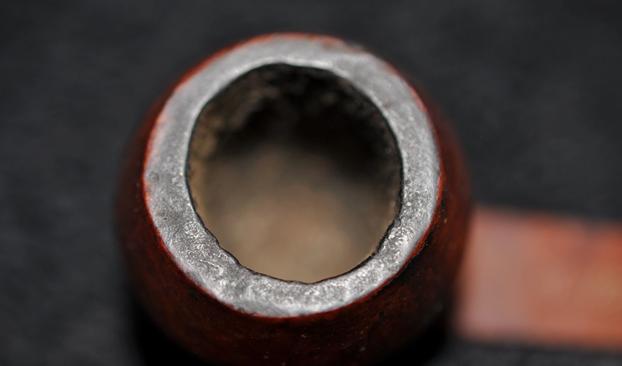
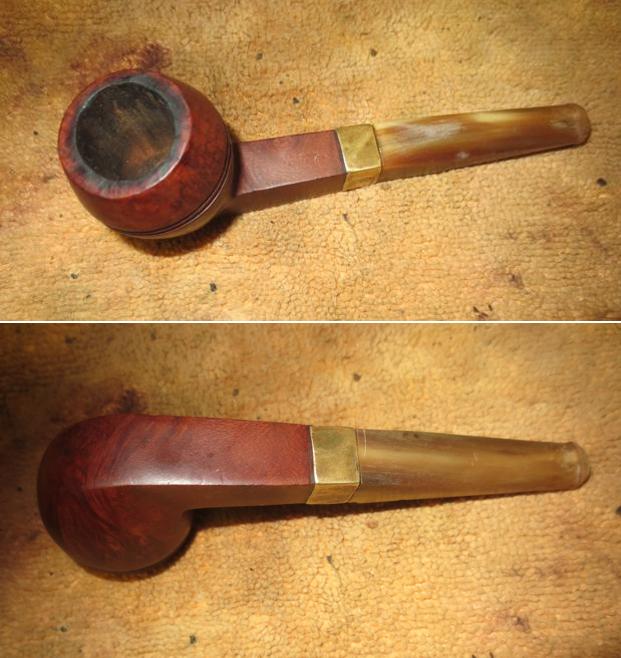
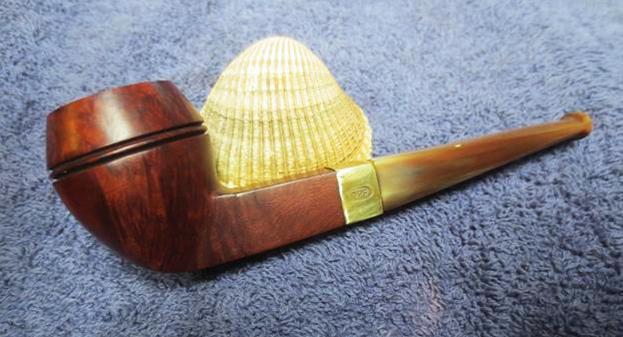
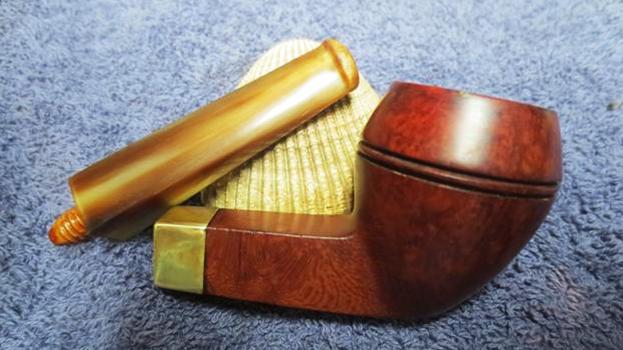
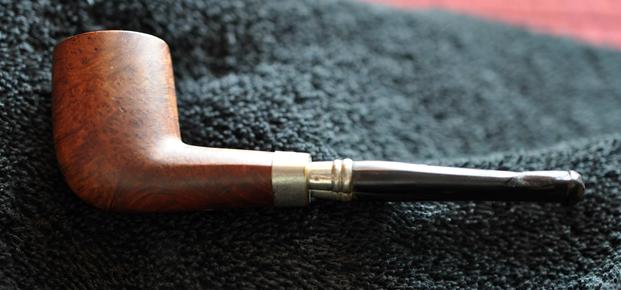
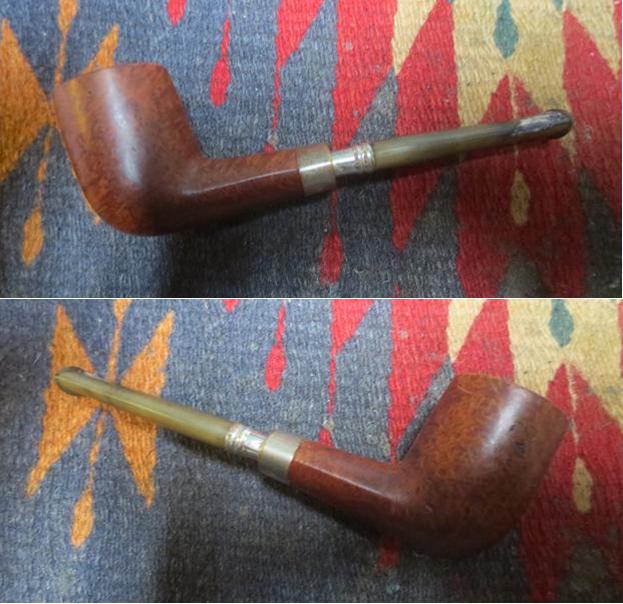
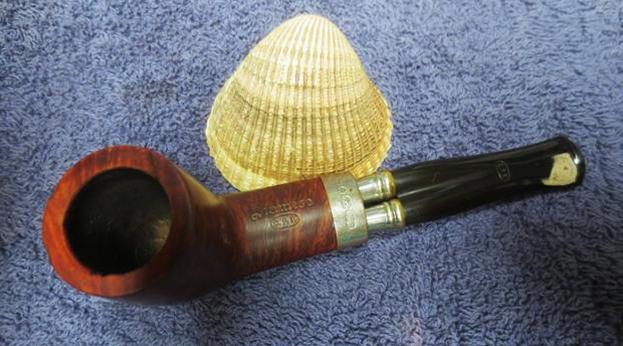
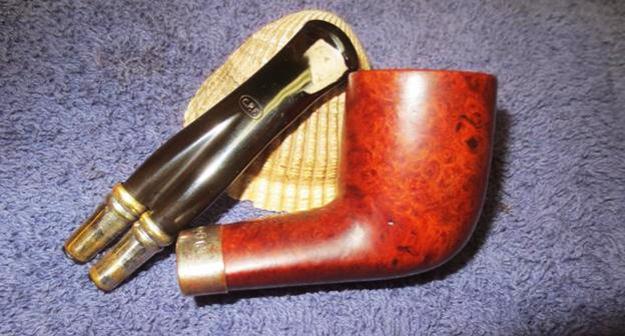
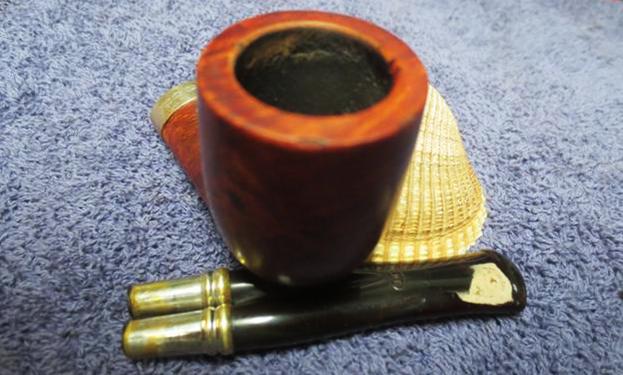
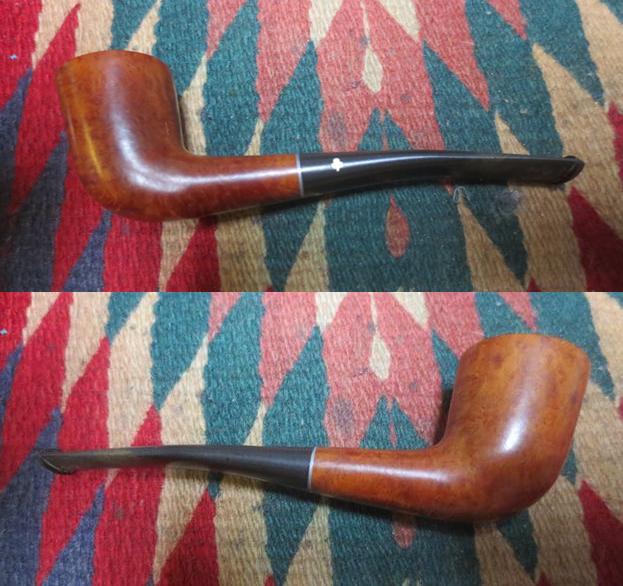
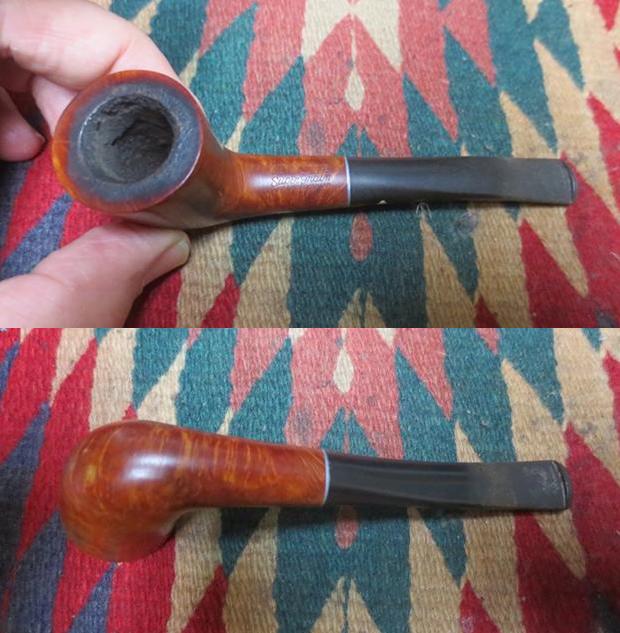
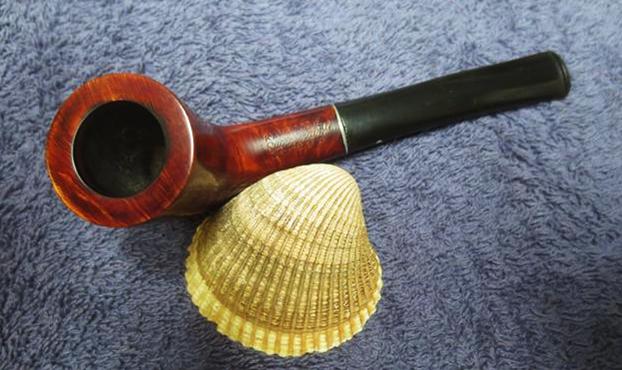
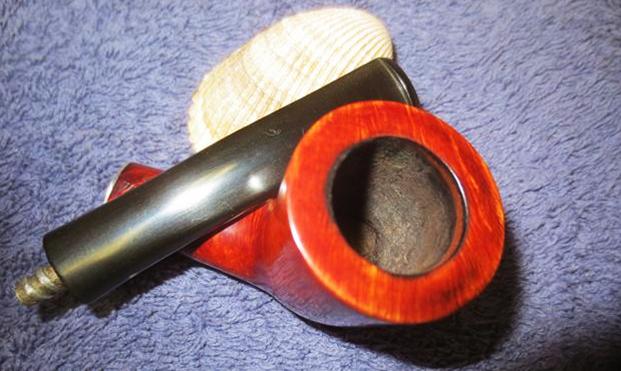
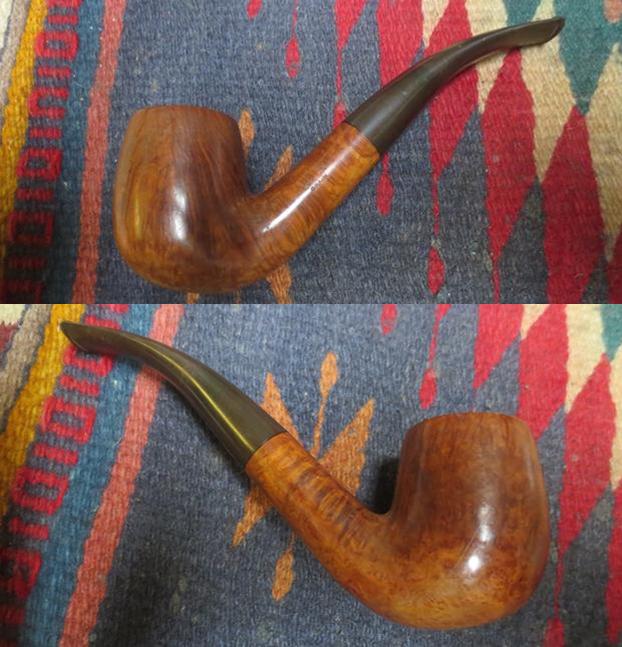
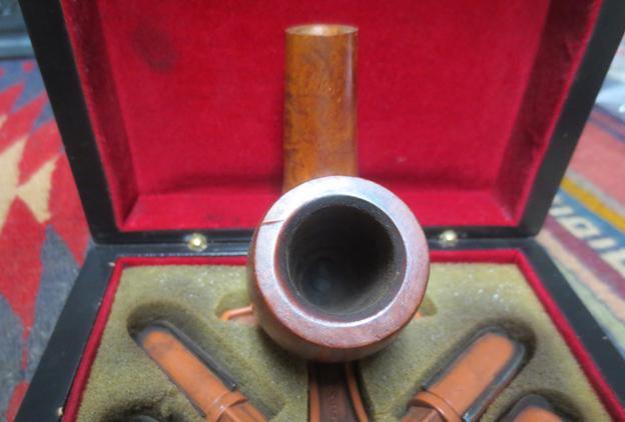
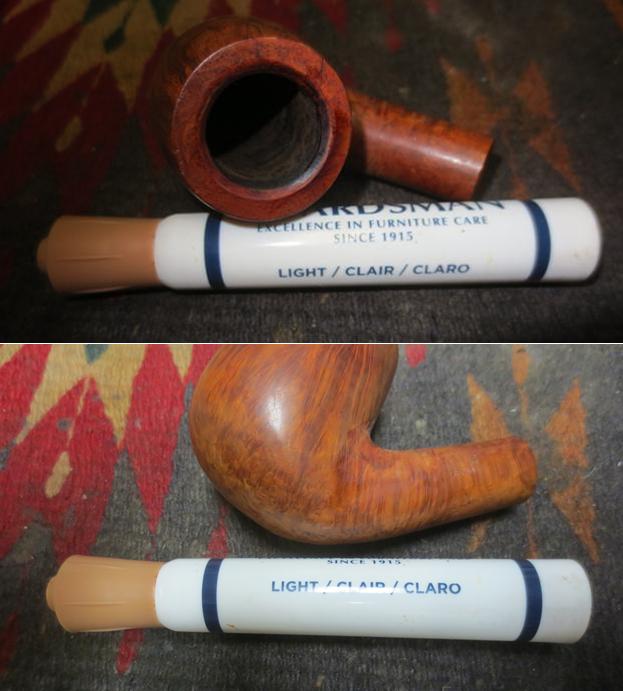
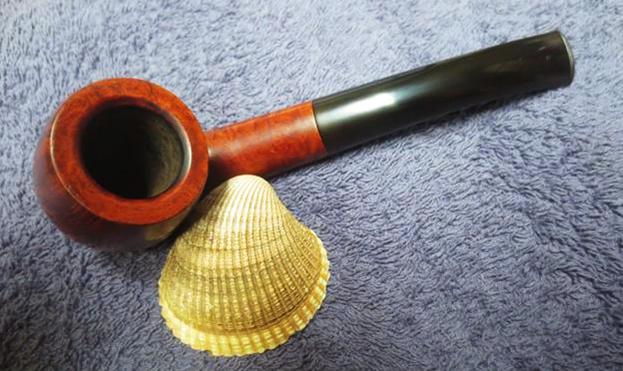
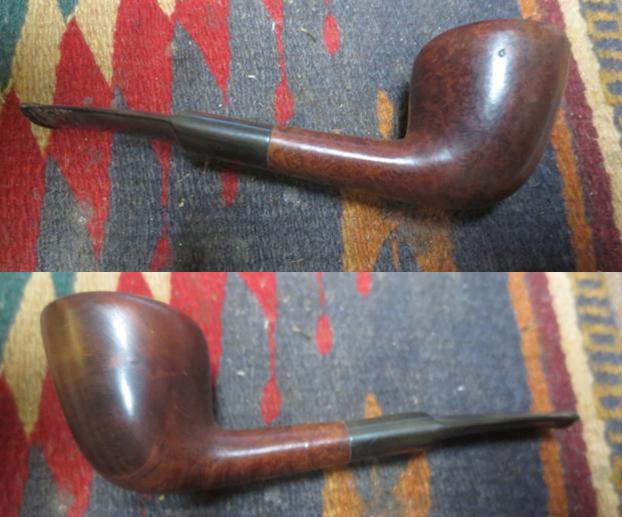
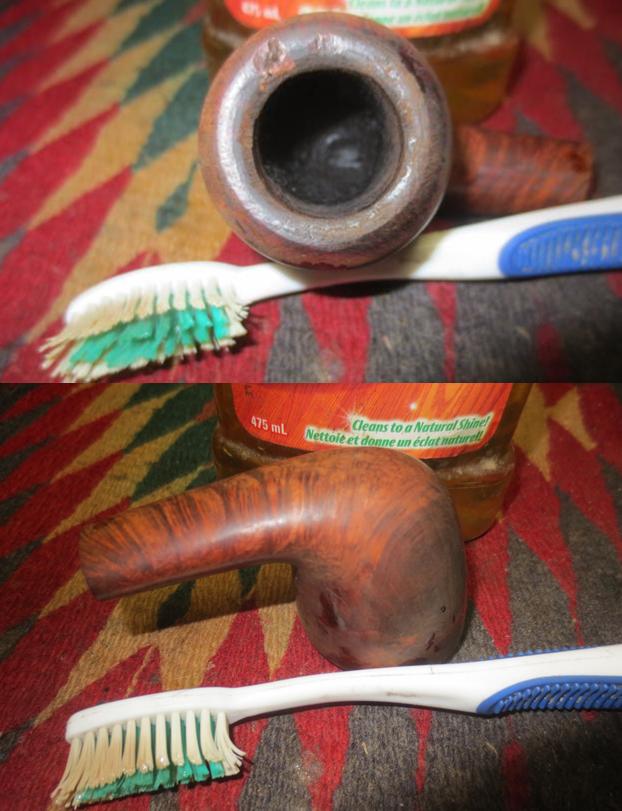
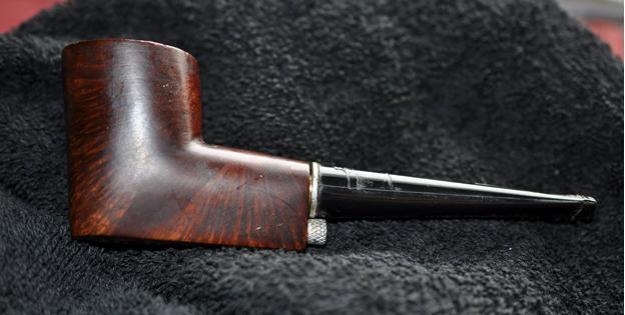
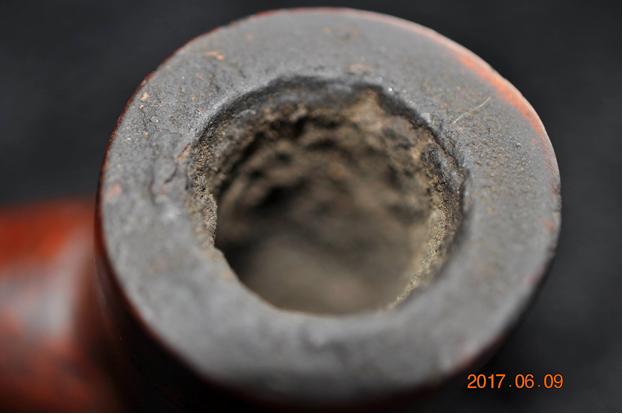
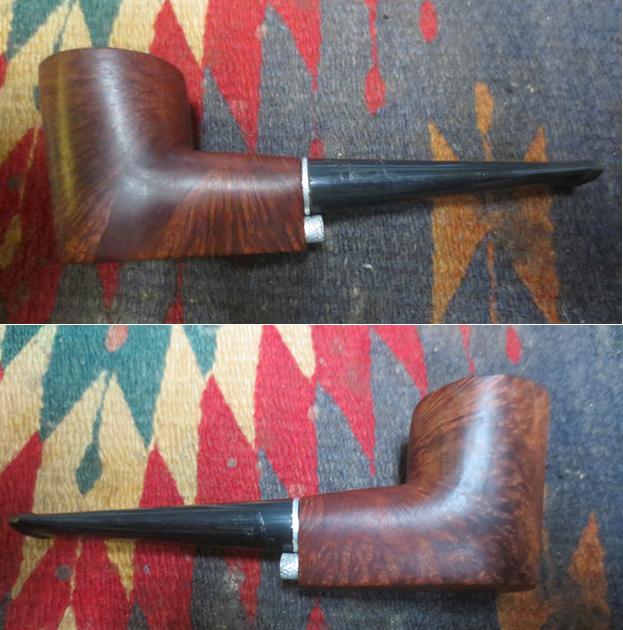
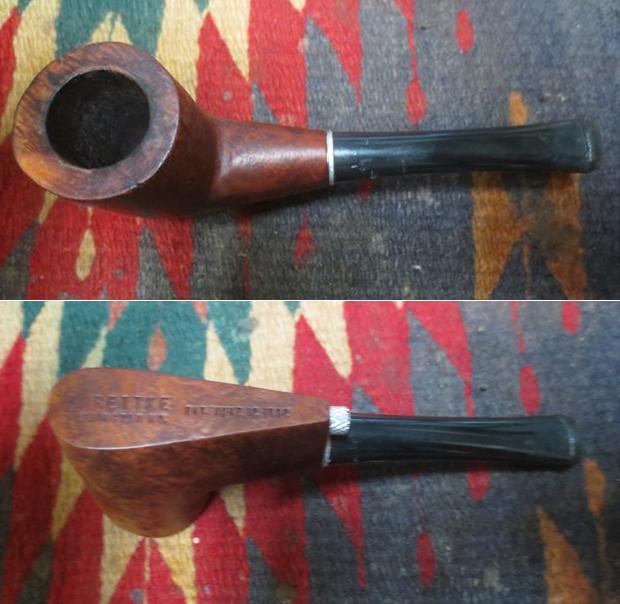
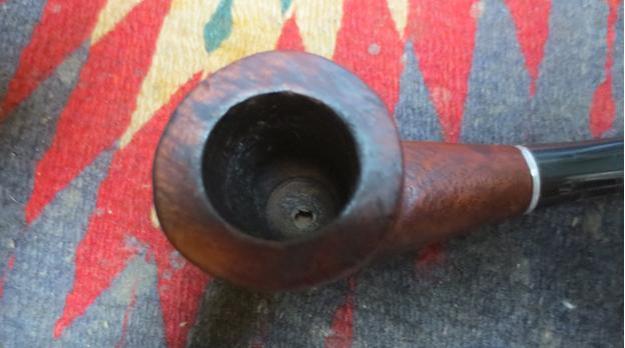
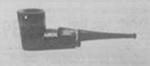
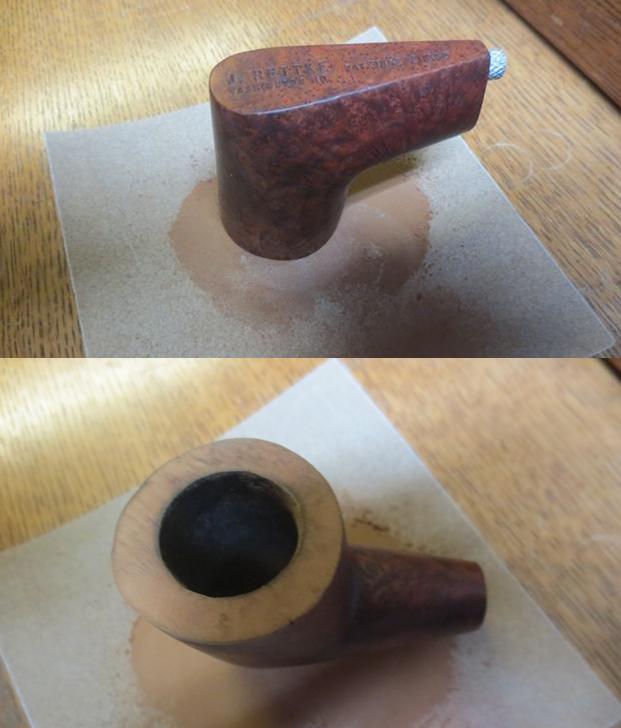
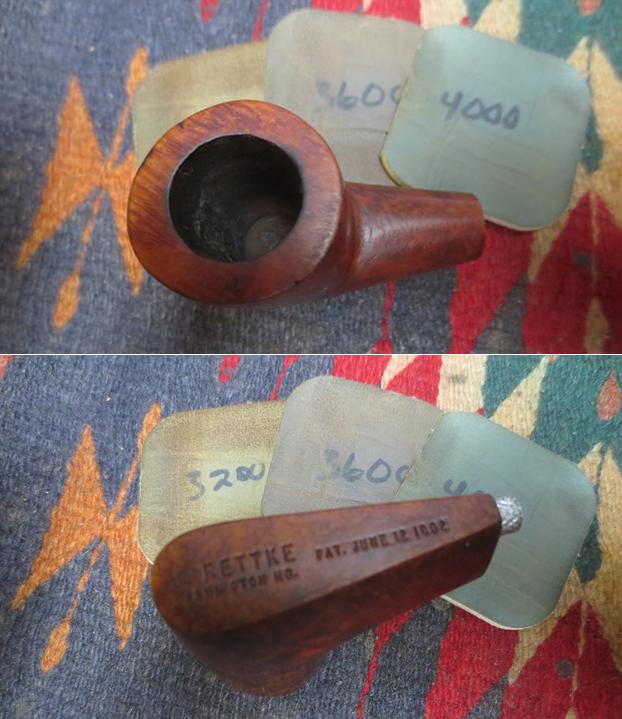
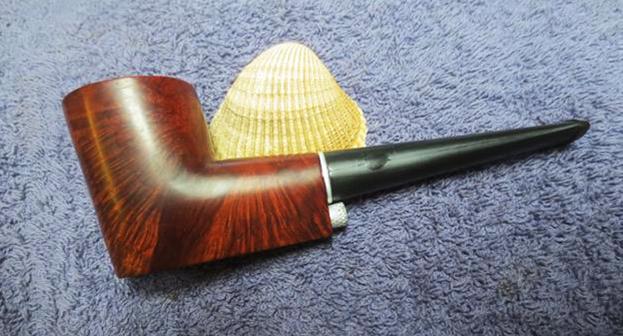
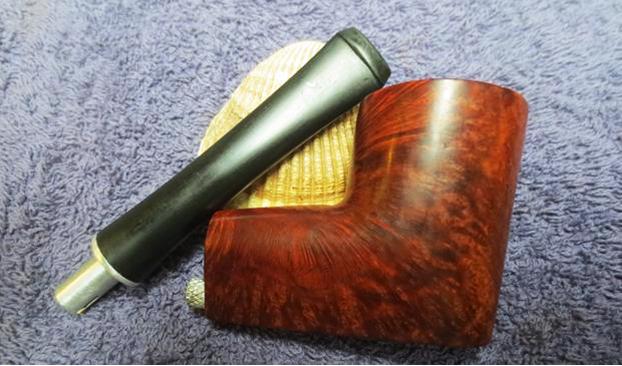
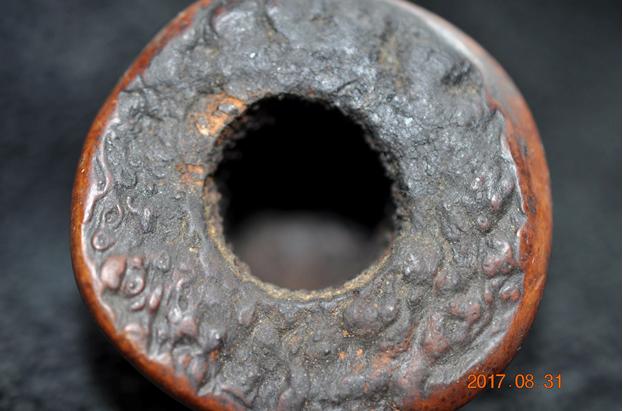
When my brother sent me photos of this particular pipe I could not see what he saw in it. It was just ugly in my opinion. The shank was crooked, the plateau crown had been sanded slightly, the shank was cracked and missing a chunk of briar, the copper ferrule looked like it fit better under a sink than on the shank and the finish had warts in it all around the bowl. To top it off the stem was clunky, thick Lucite and had lots of divots and tooth marks. It did not look like it belonged at all. The entire pipe looked like a failed shop project to me – one that took its own direction as it was being made. He purchased it and took photos of it before he cleaned it up thinking I might be charmed by it as he was.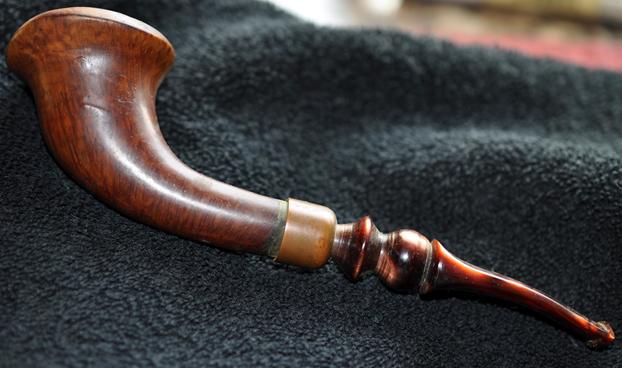 The next photo from the top shows the bow in the shank. I figured that the drilling would be way off once I got it and took it apart. I was pretty certain this one was going to interesting to work on to see if I could get anything resembling a nice looking pipe out of the concoction that it was in the photos. Note also the thick cake in the bowl and the overflow of lava on the rim filling in the smoothed out plateau. It was hard to know at this point if there was damage to the inner edge of the rim because of the thick cake and lava. Only a thorough clean up would reveal the condition.
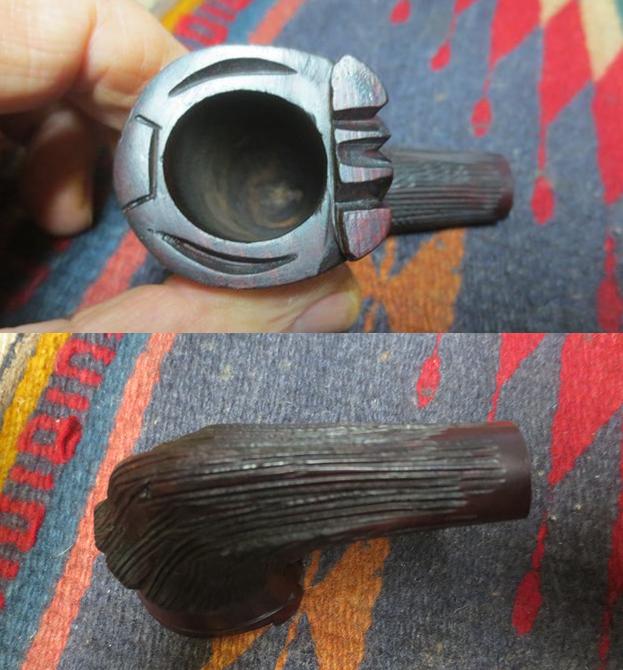
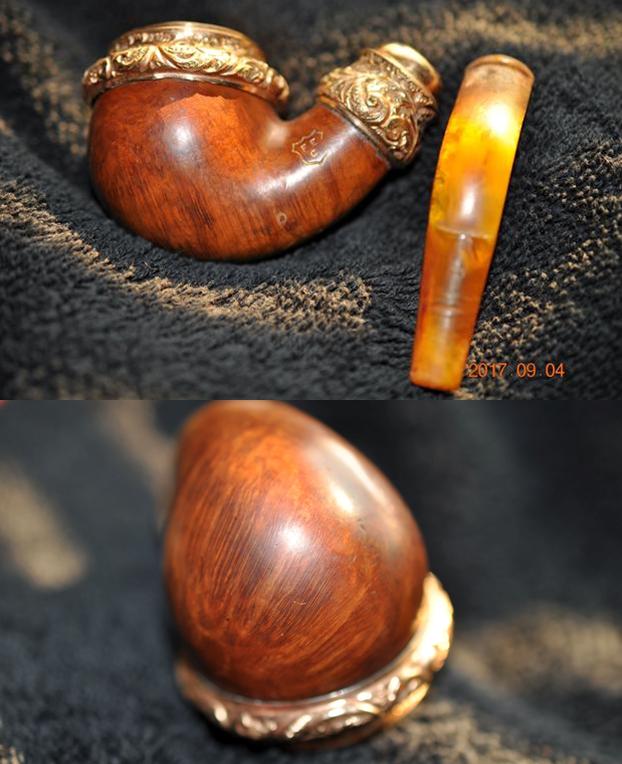
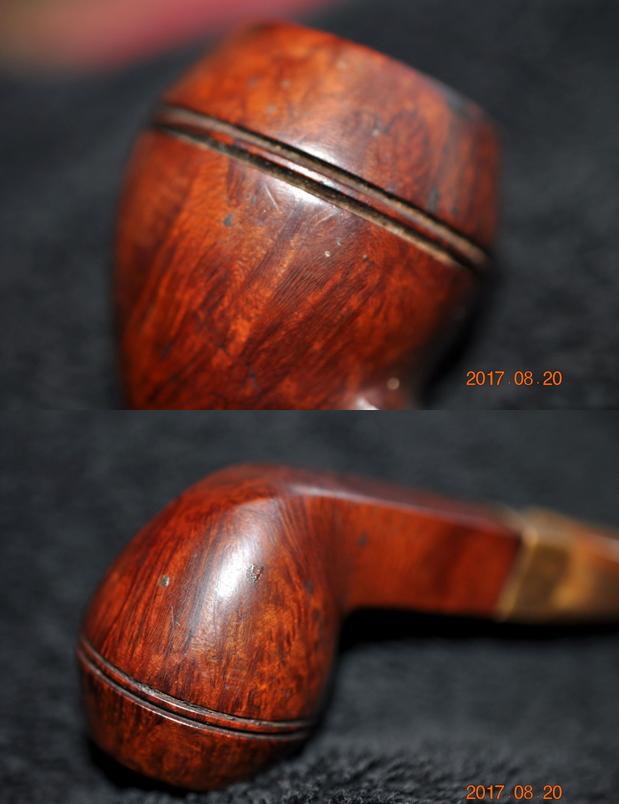
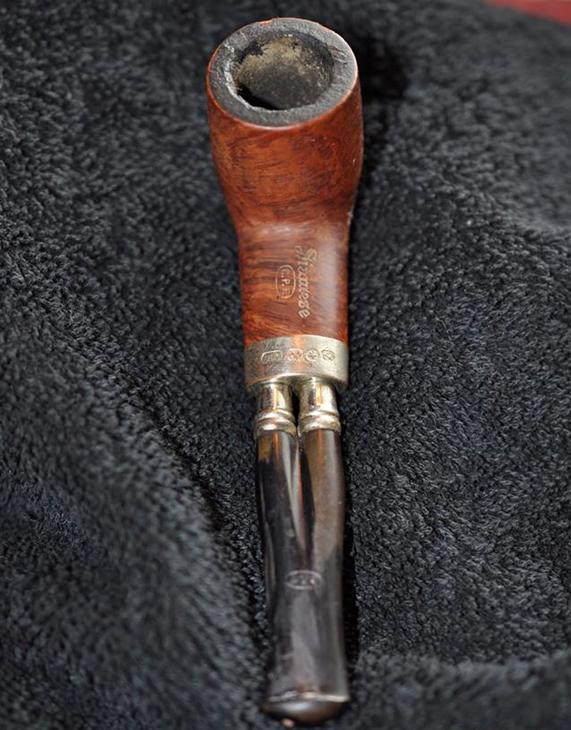
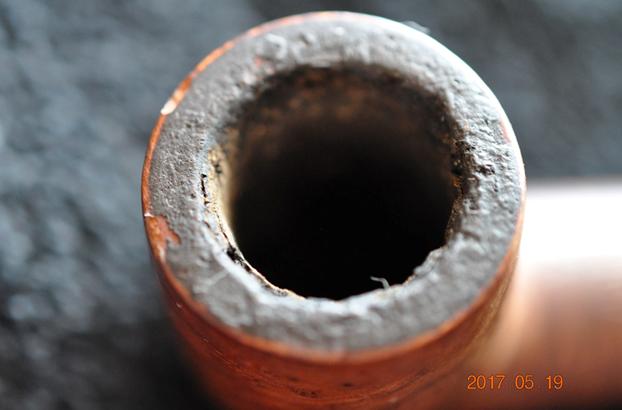
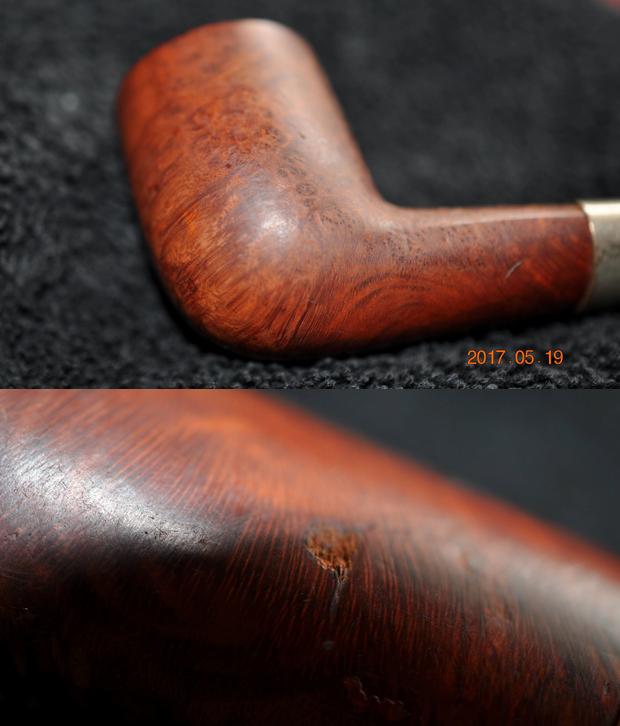
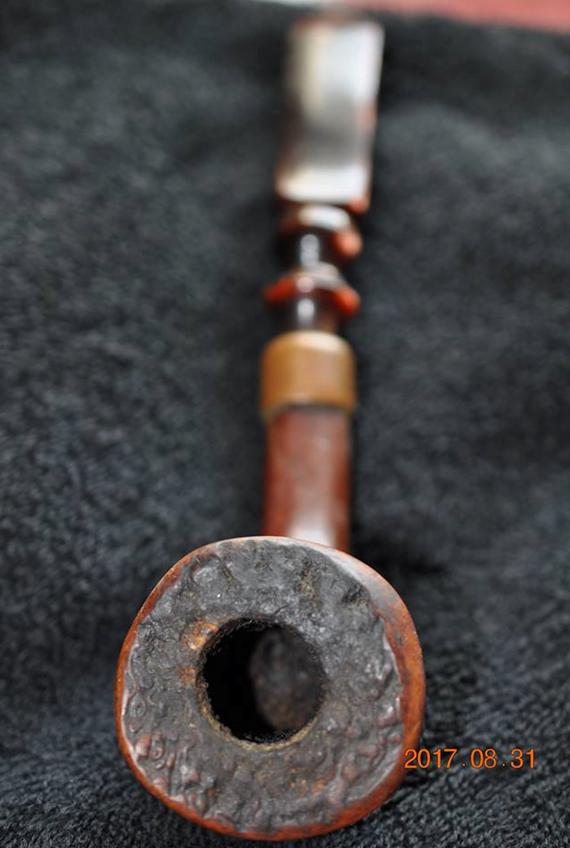
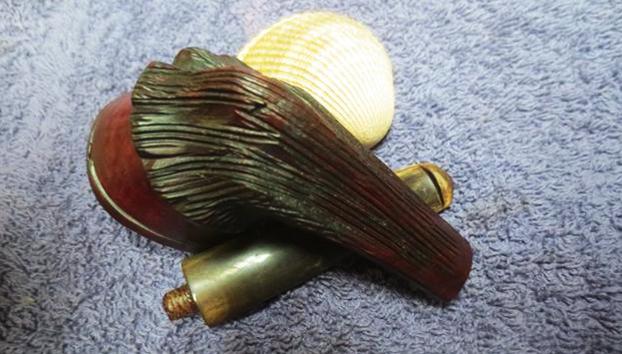
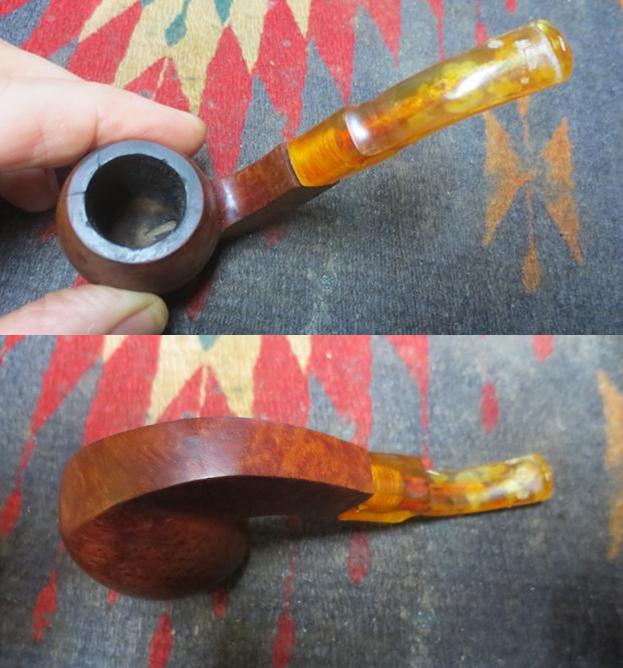
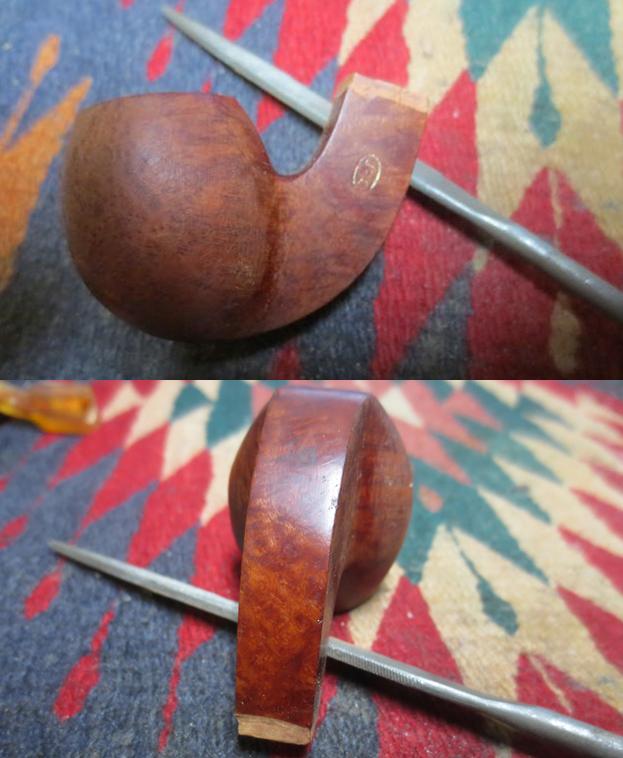
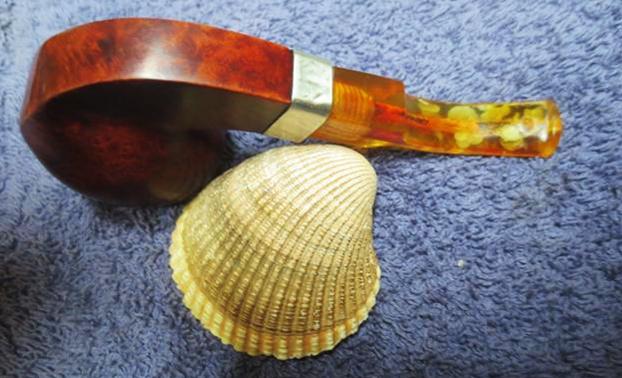
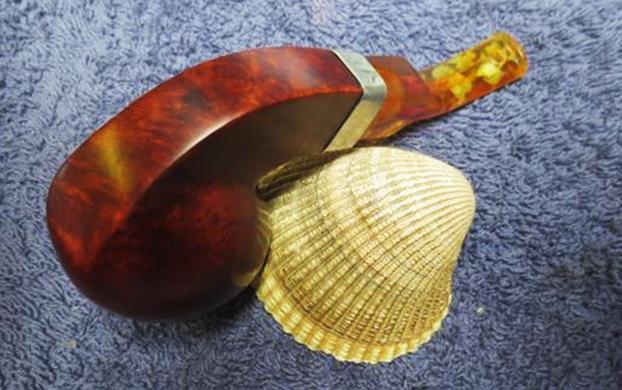
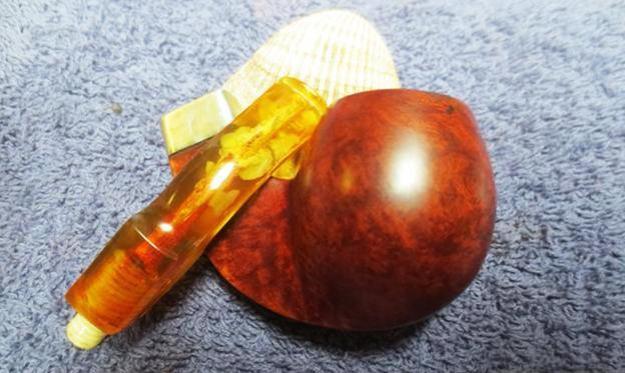
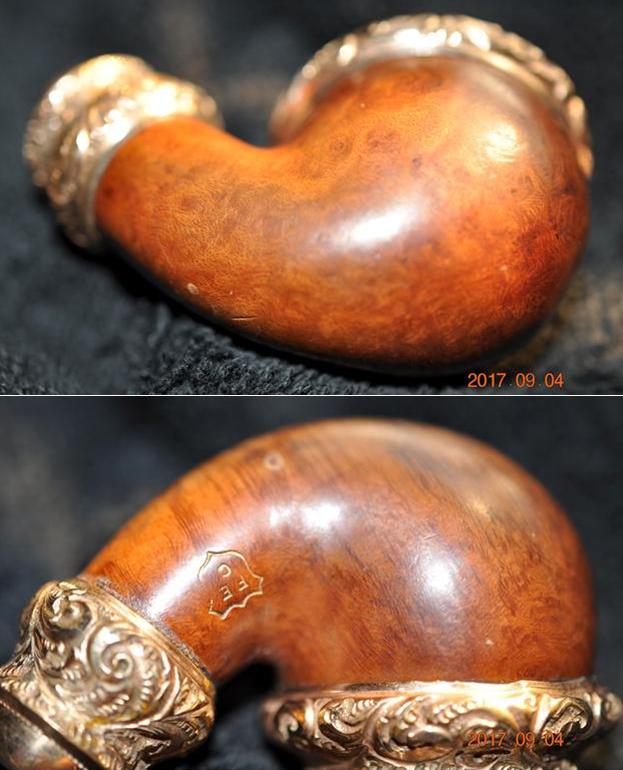
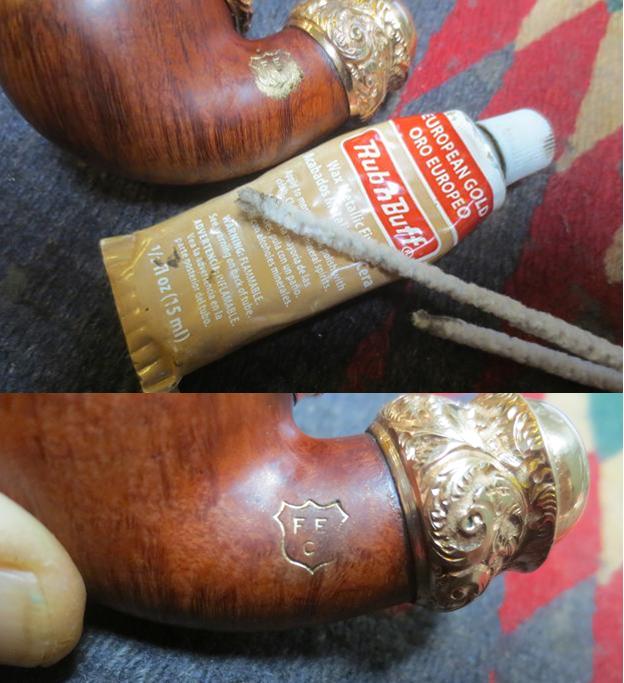
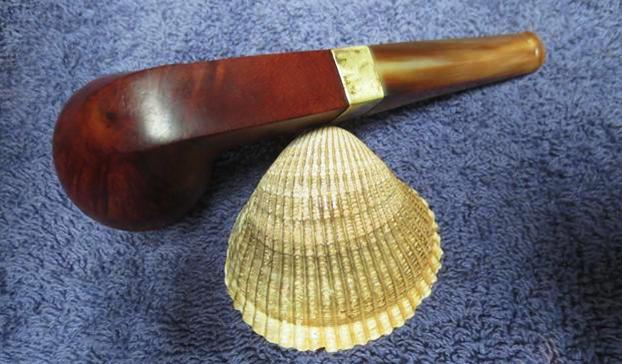
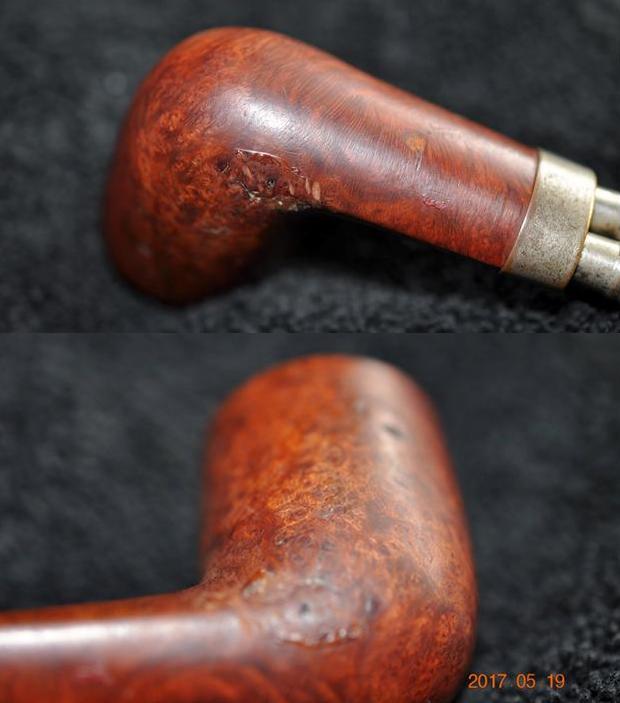
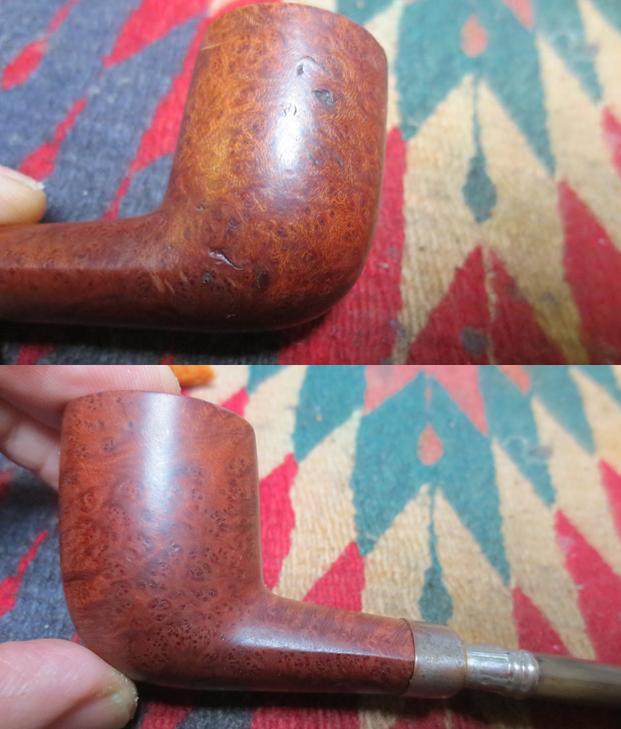
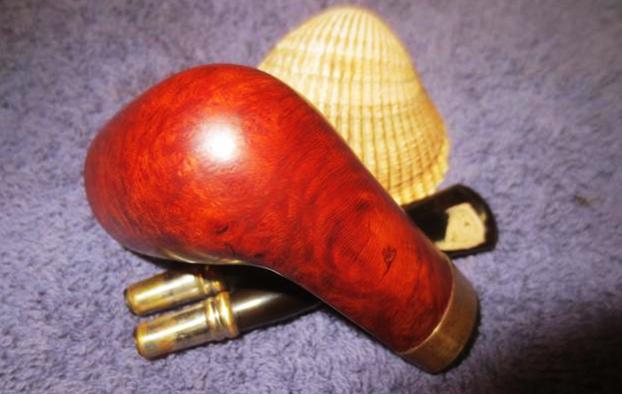
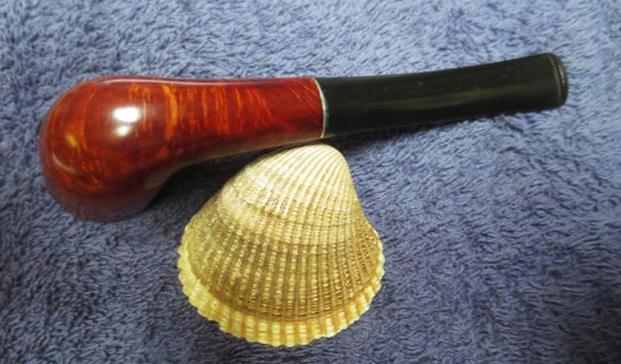
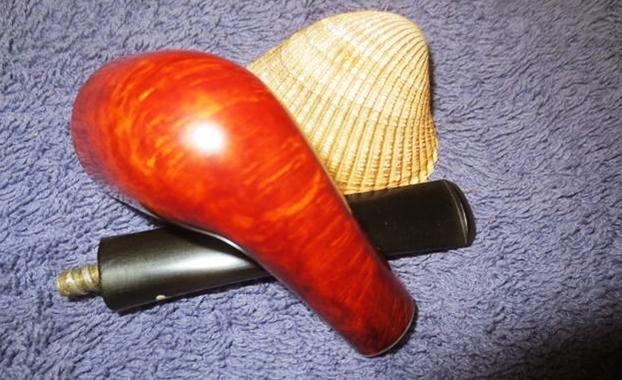
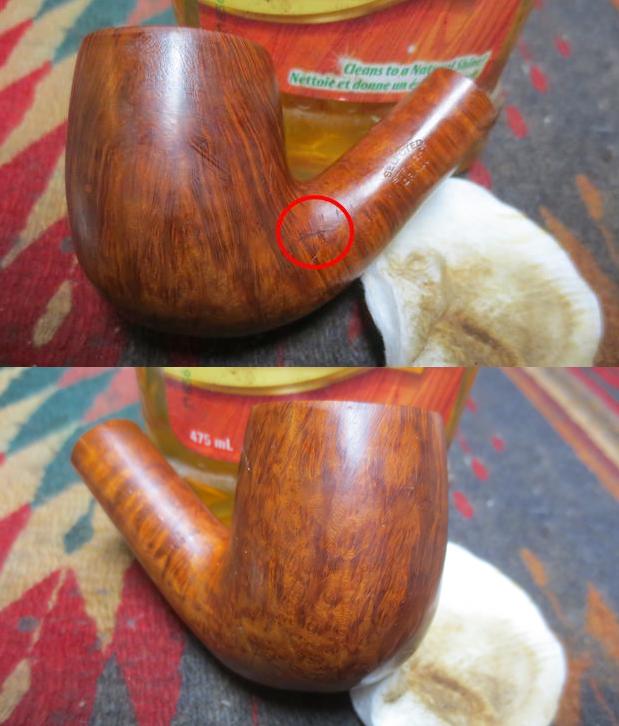
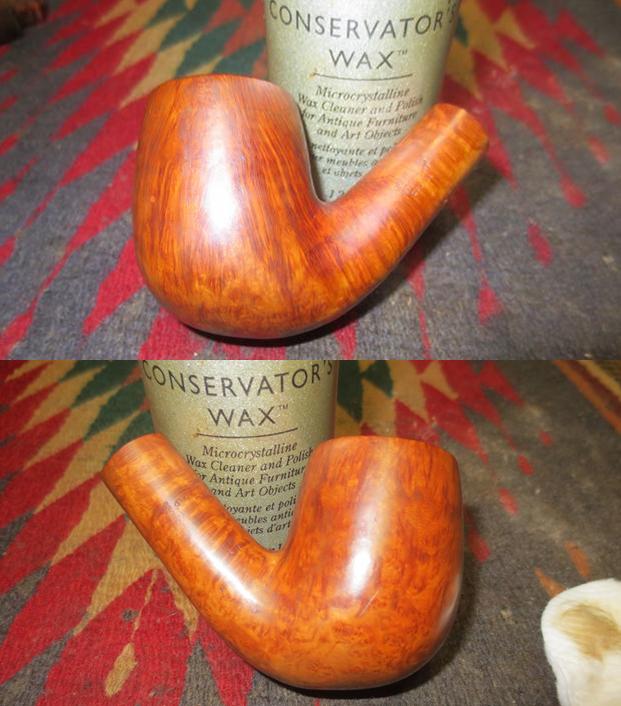
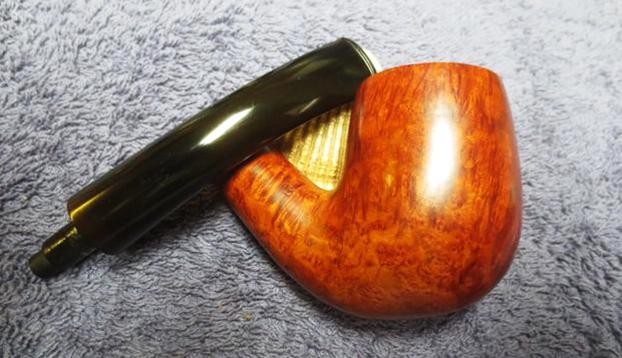
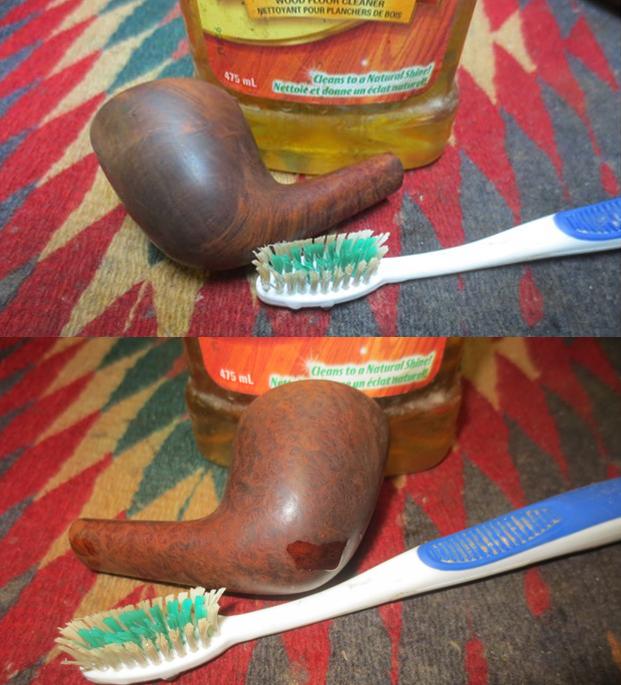
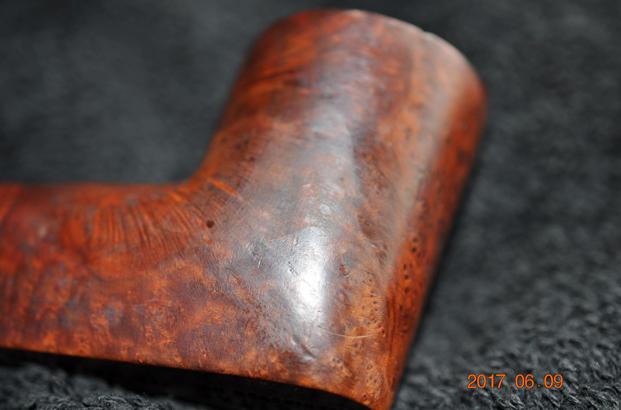
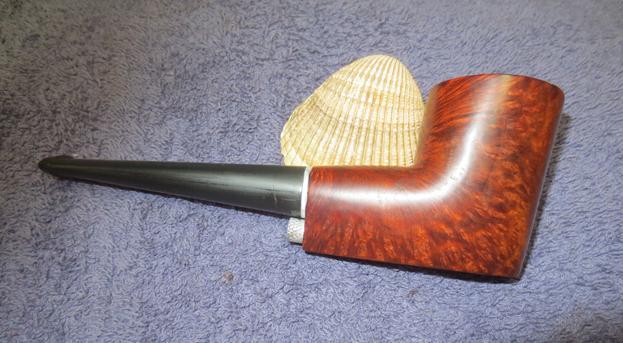
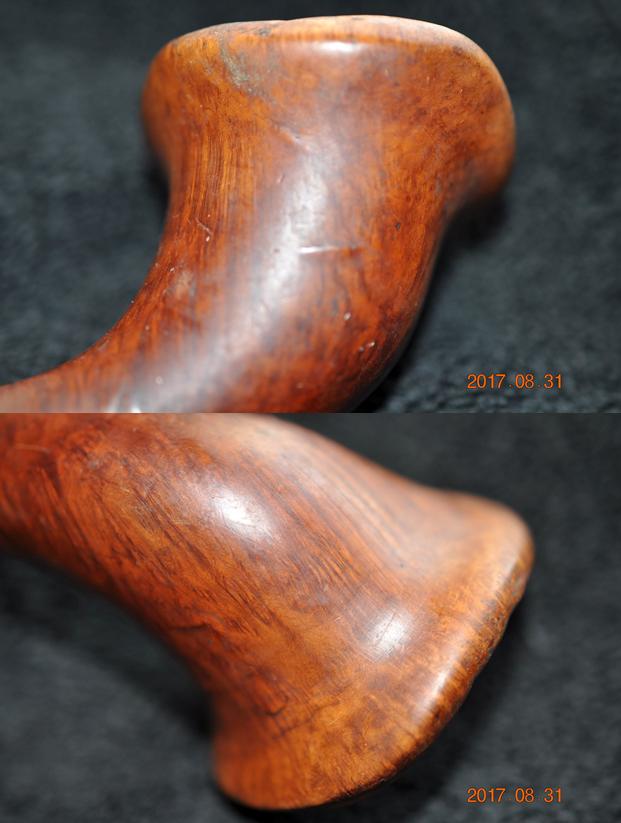
 The next three photos show the warts on the sides of the bowl. The finish was rough. It was hard to tell if these were fills or if the pipe had not been sanded smooth when it was originally finished. In the photos, they look like scratches but they are actually standing above the finish on the briar. Some of them have scratches around the edges on the surface of the bowl. As I looked at the horn, I had to admit there was something strangely alluring to the shape and it was growing on me.
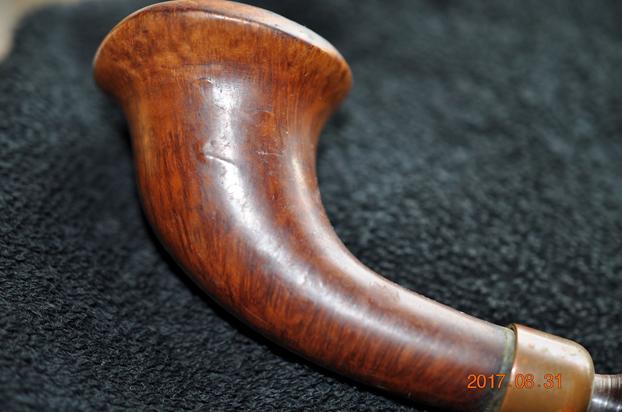
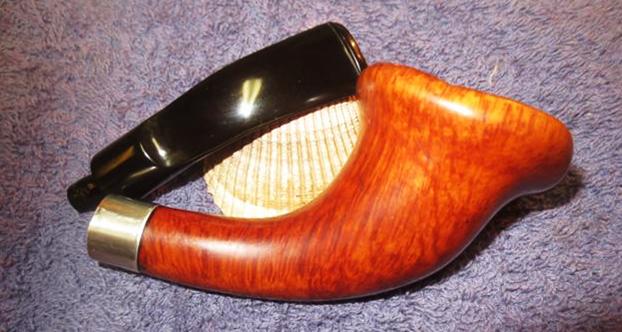
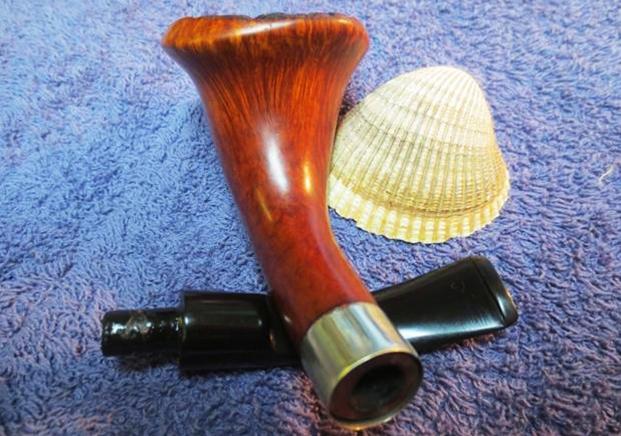
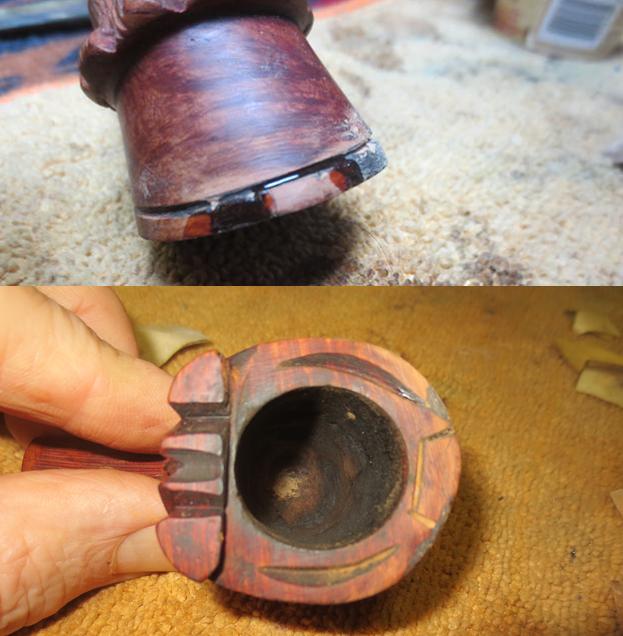
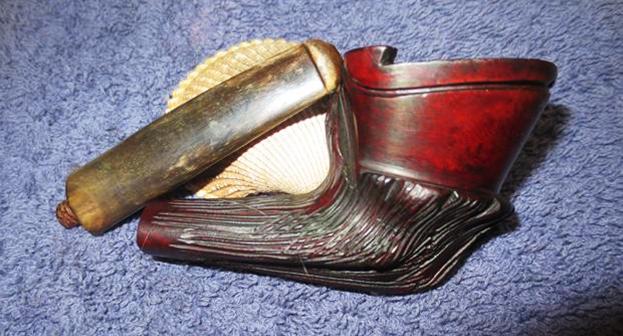
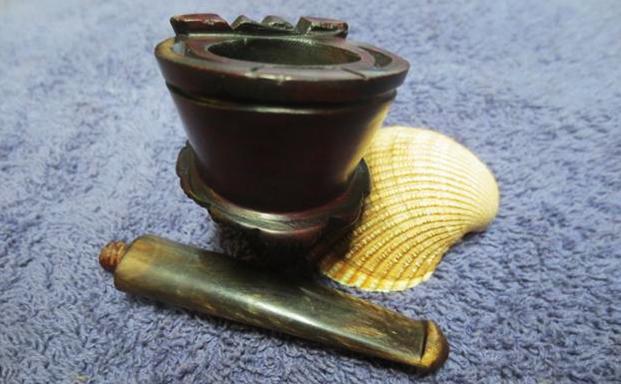
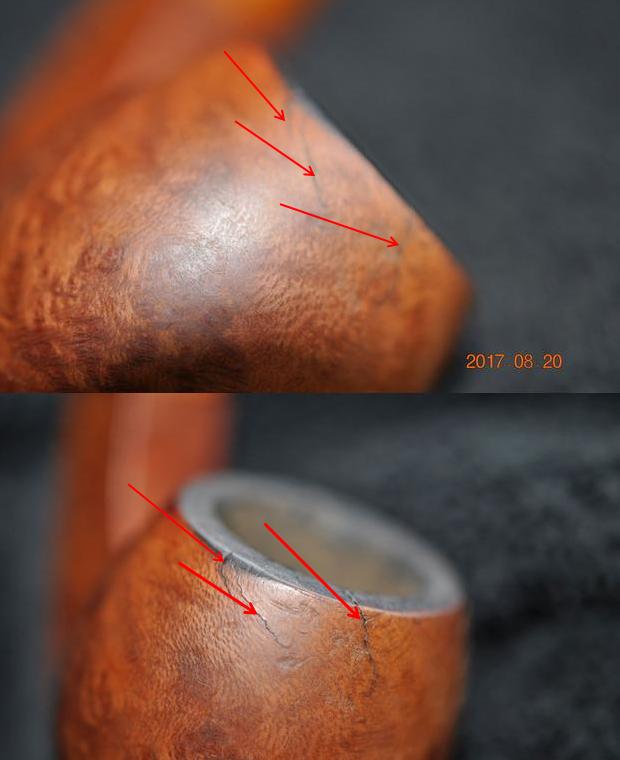
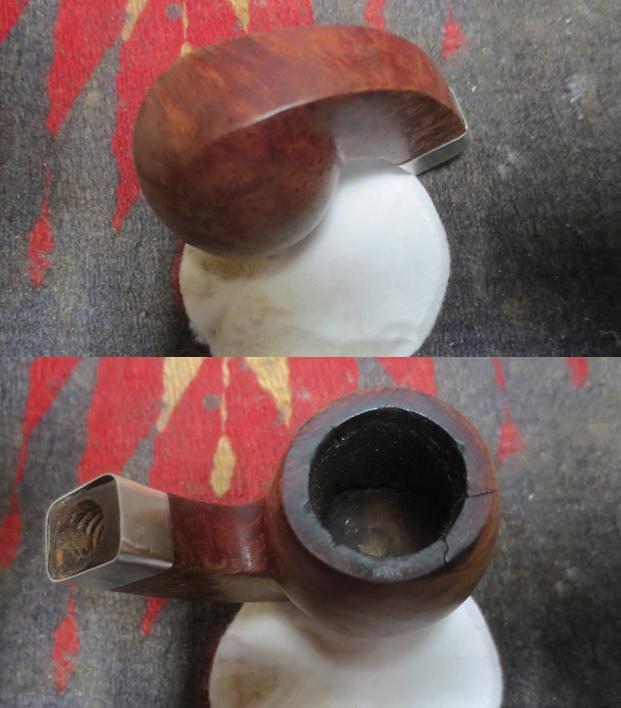
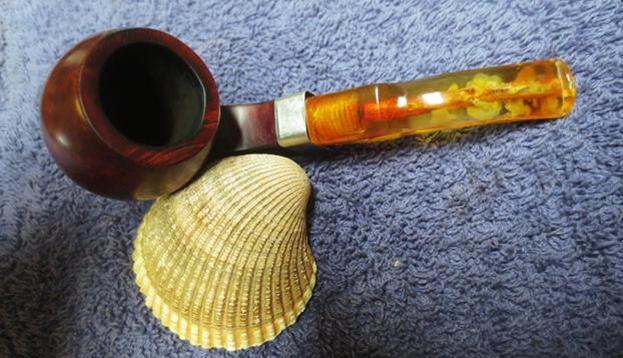
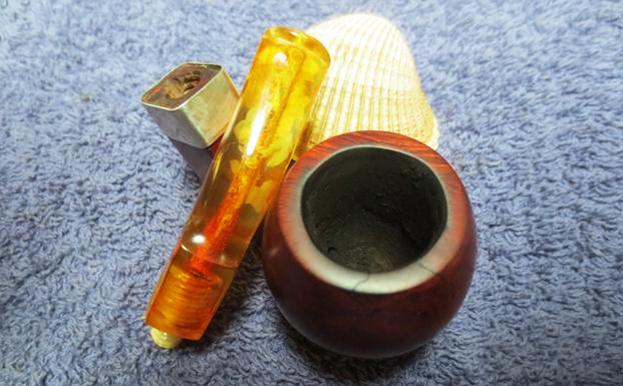
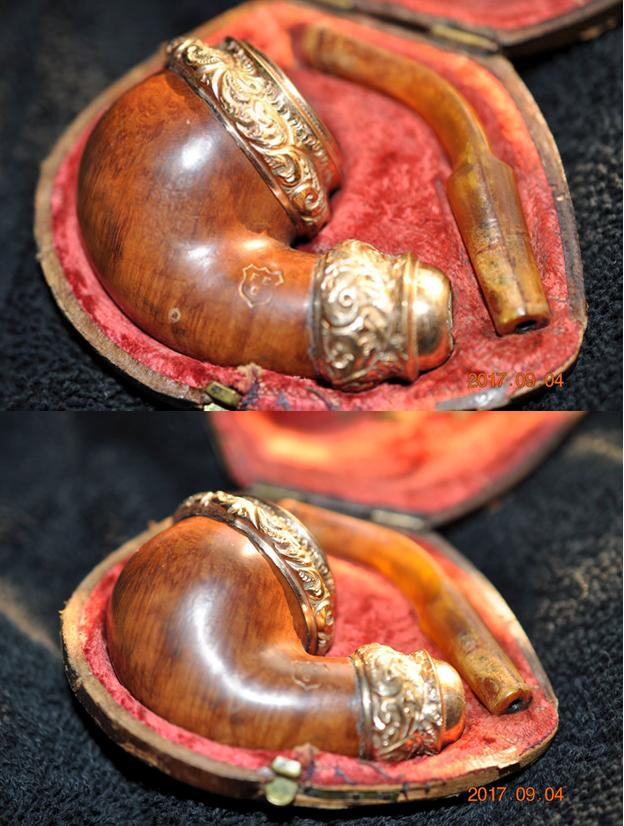
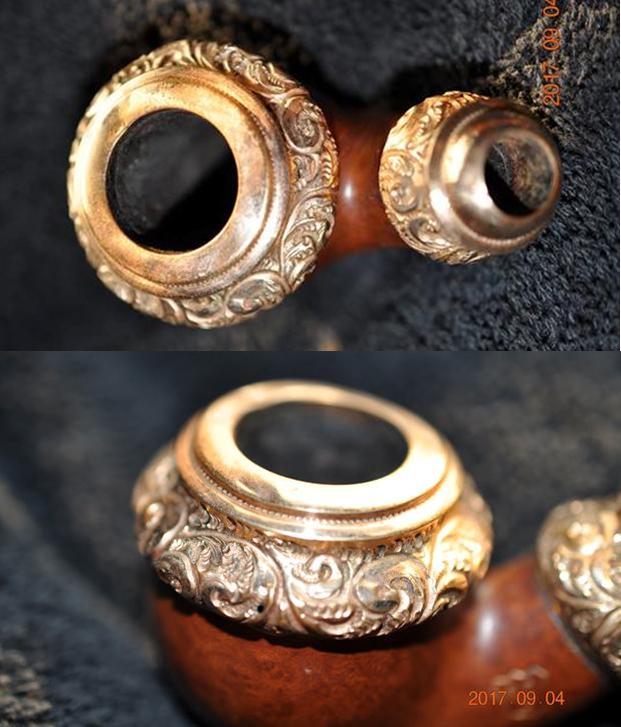
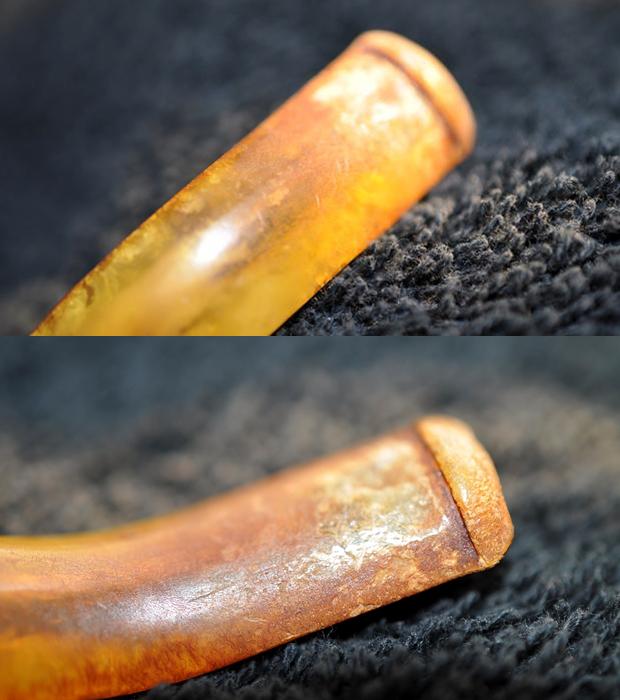
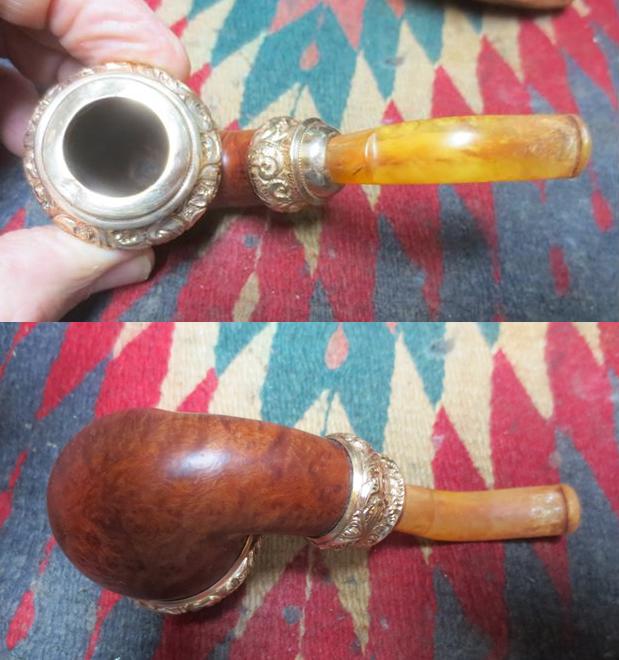
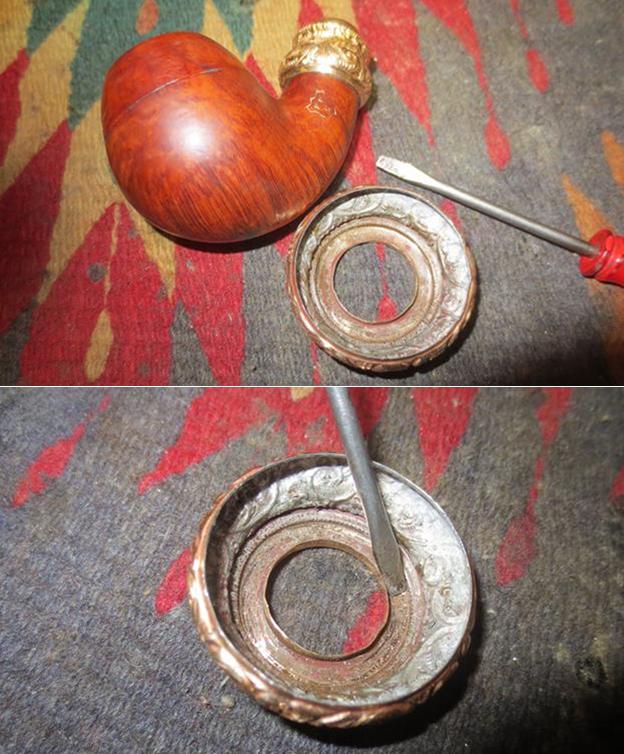
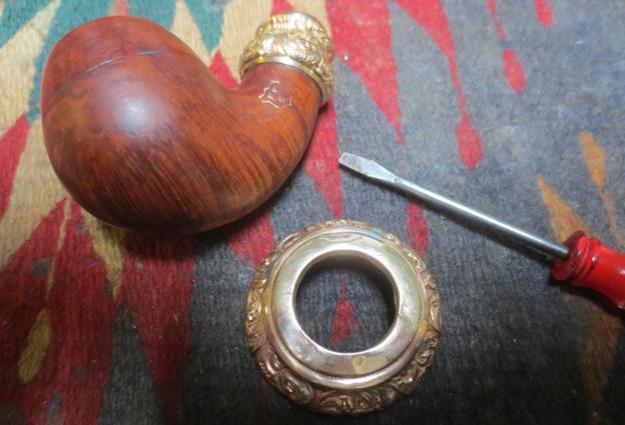
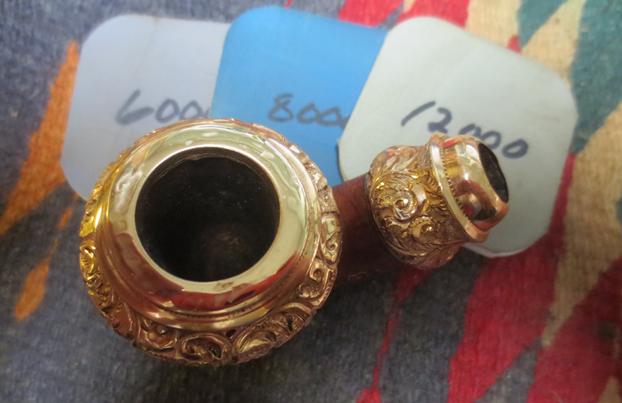
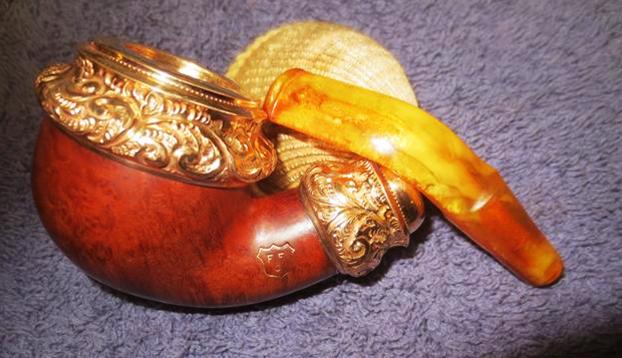
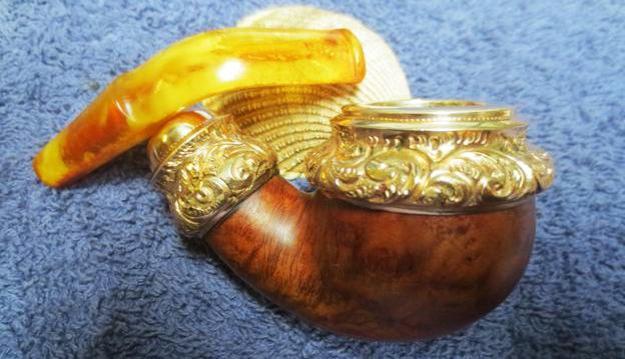
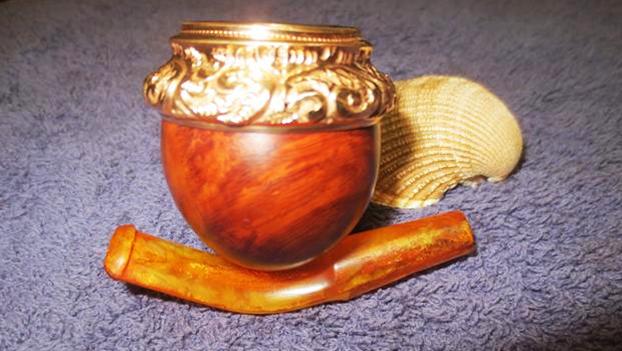
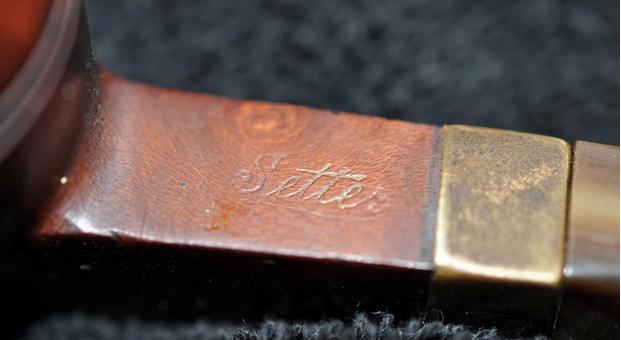
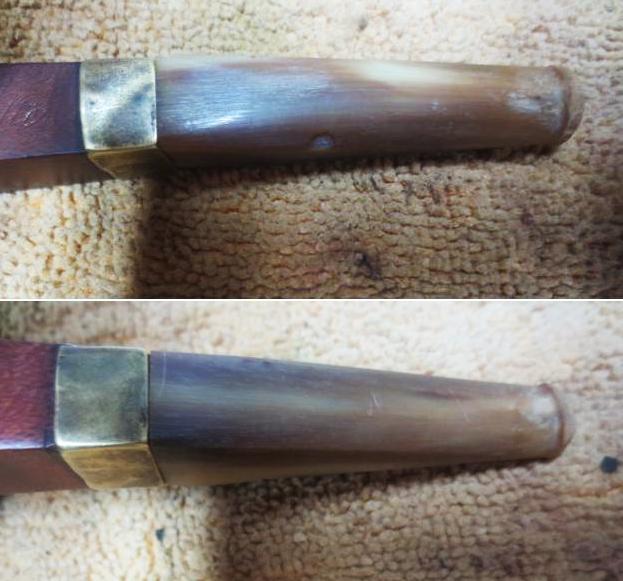
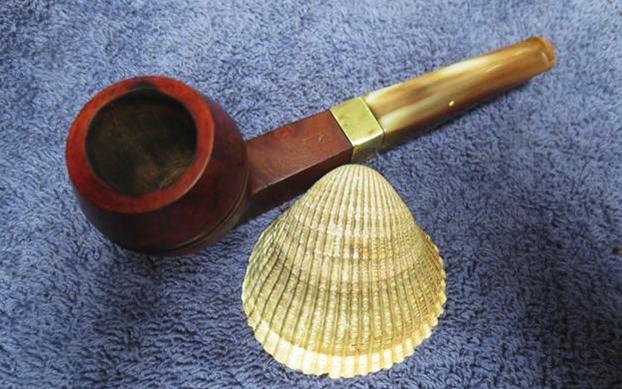
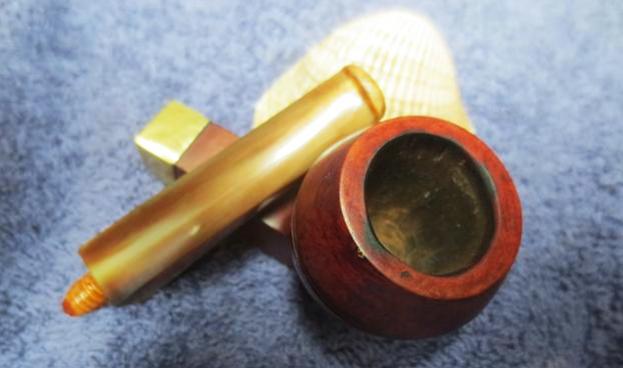
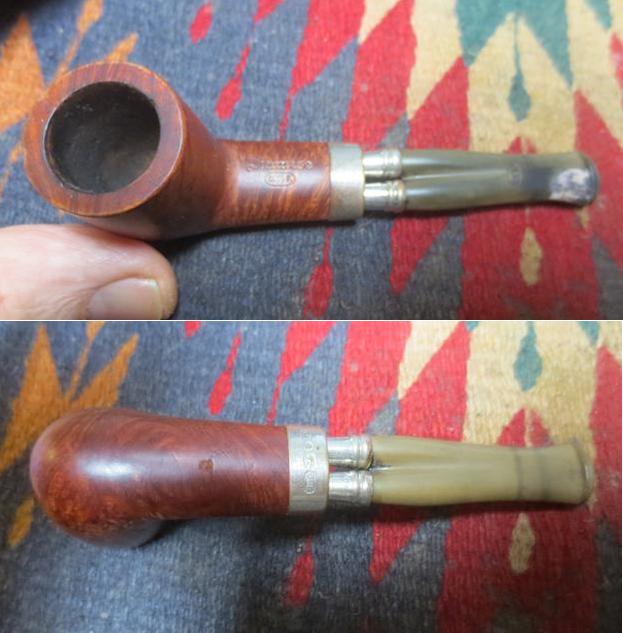
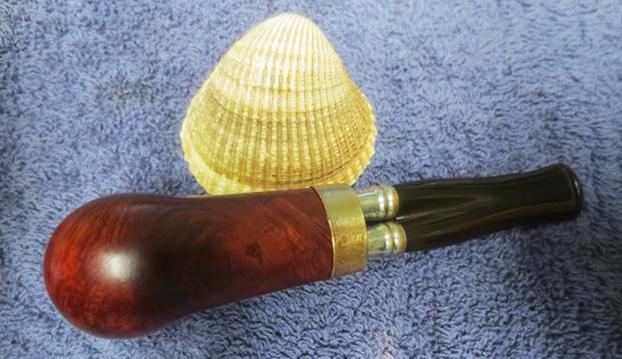
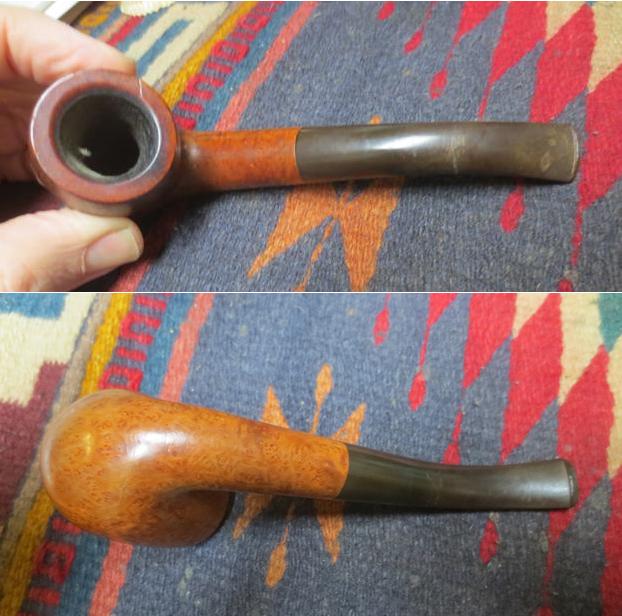
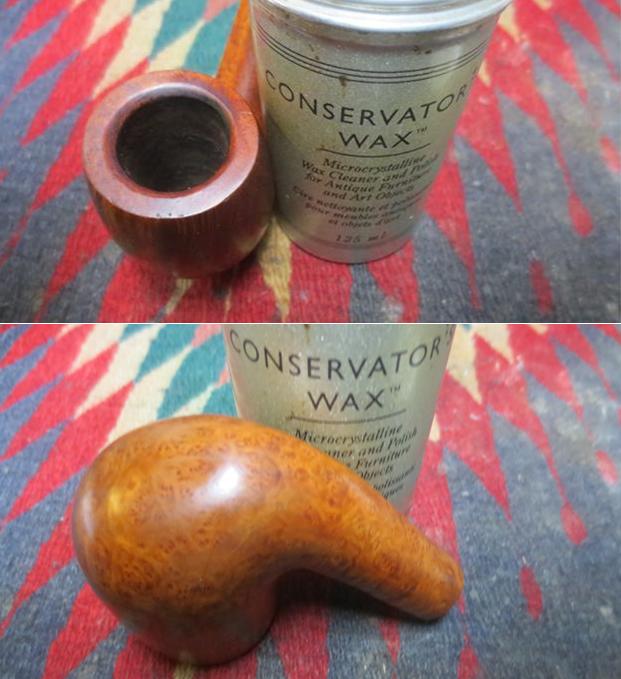
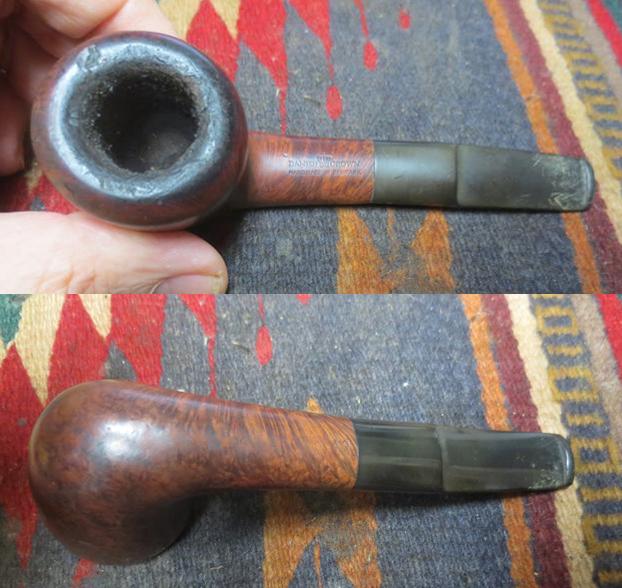
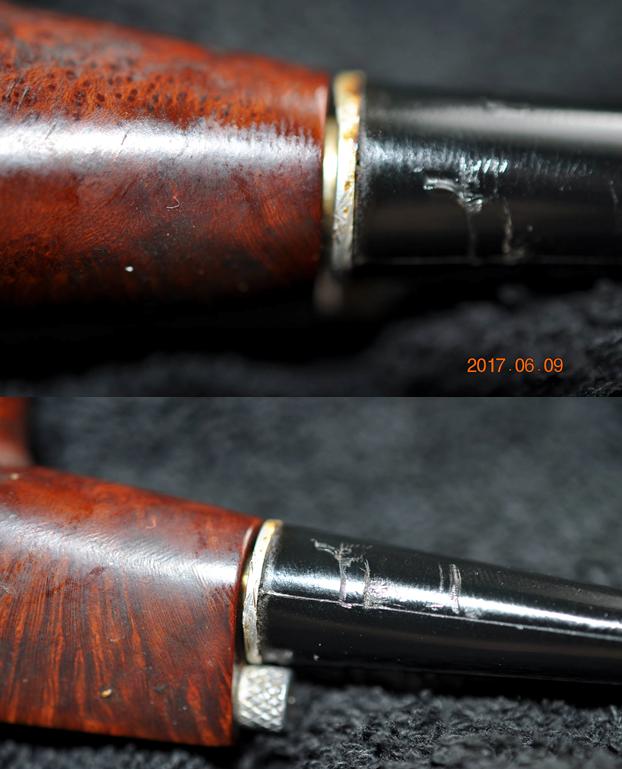
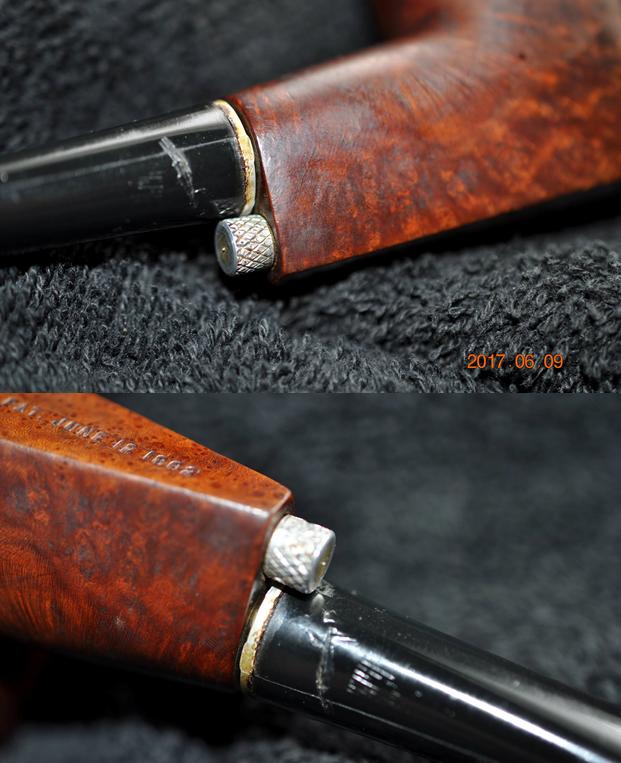
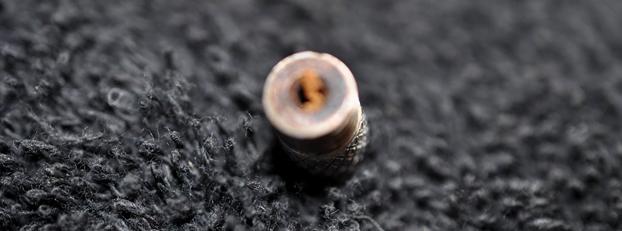
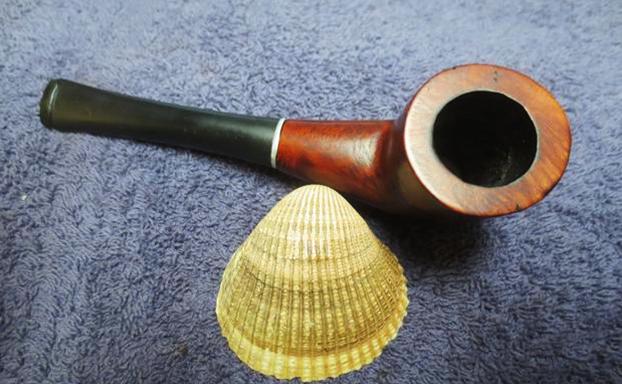
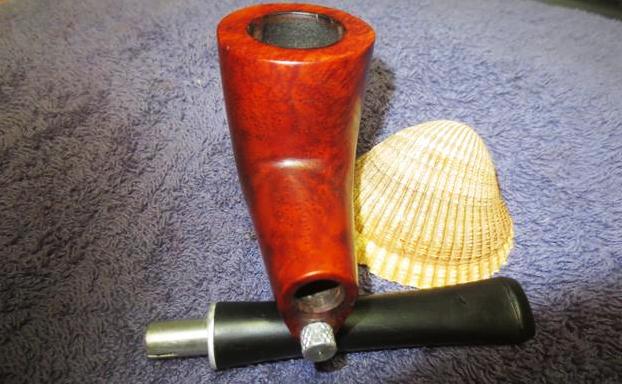
 The copper fitting is not snug on the shank it rattles around and is only held in place by the stem. You can see the gap between the cap and the shank. The shank under the band is coated with grime and there is a dark oxidized buildup.
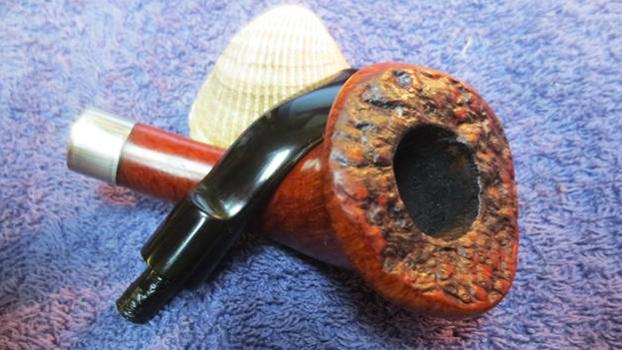
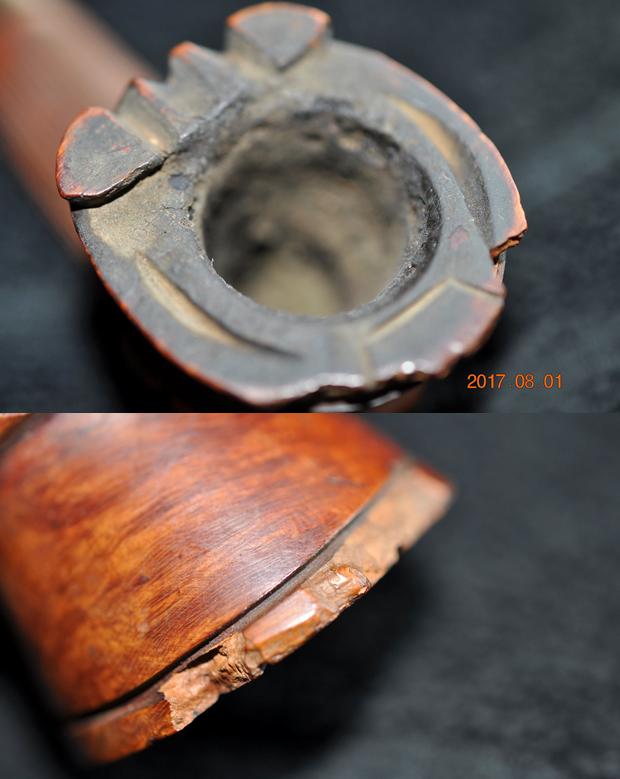
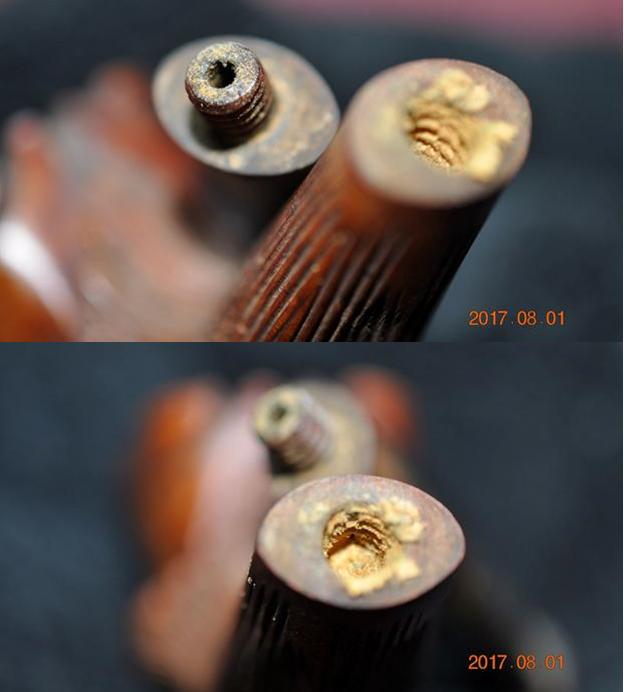
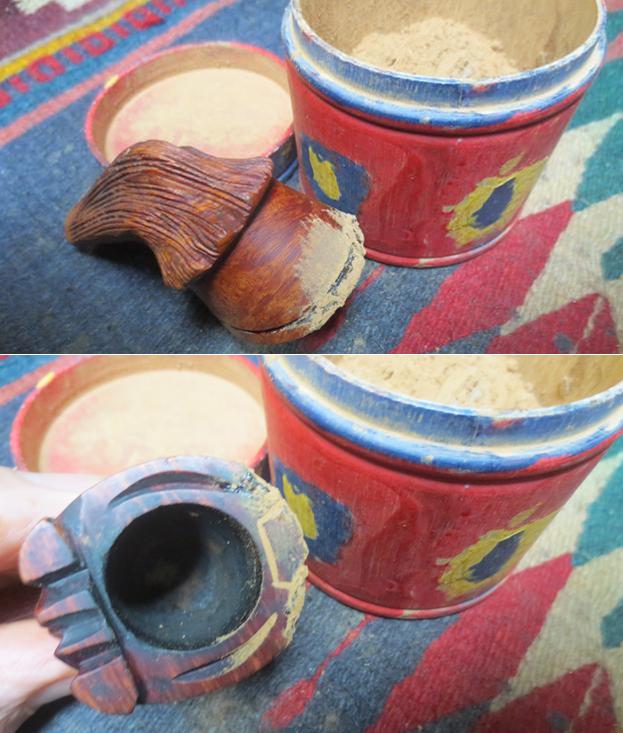
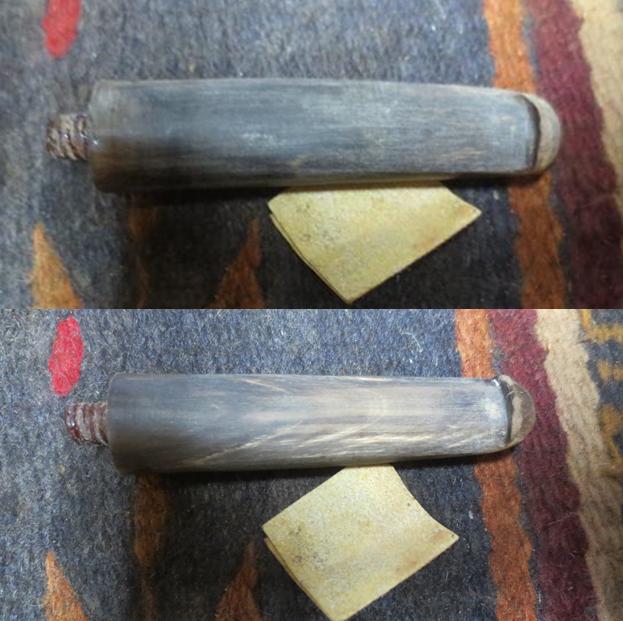
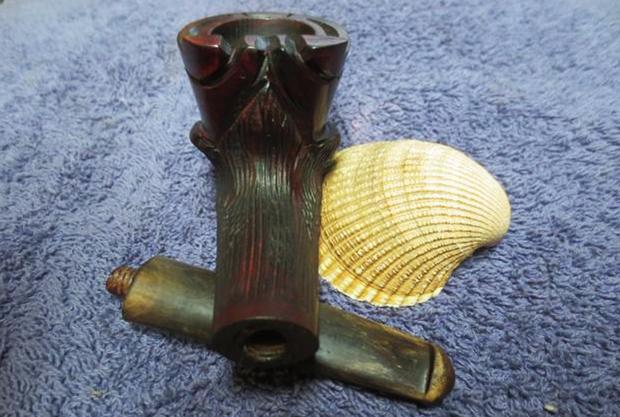
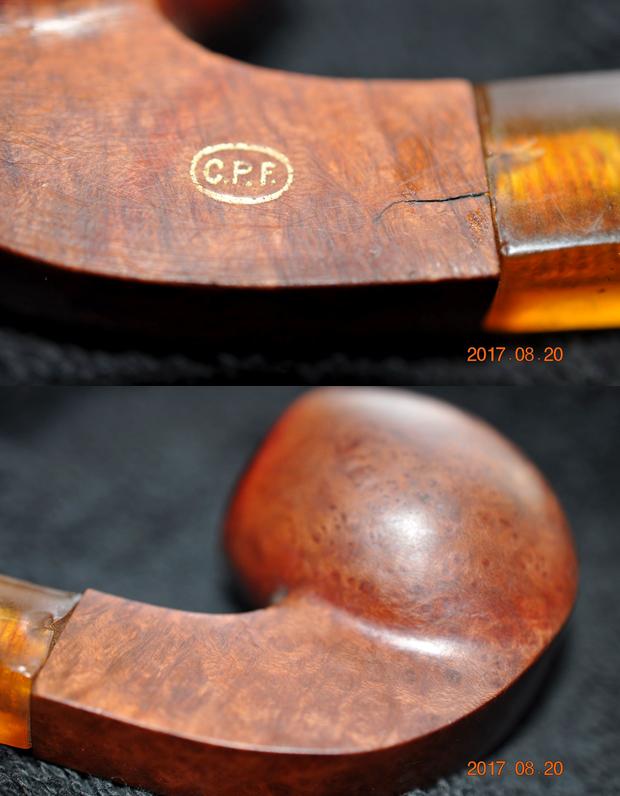
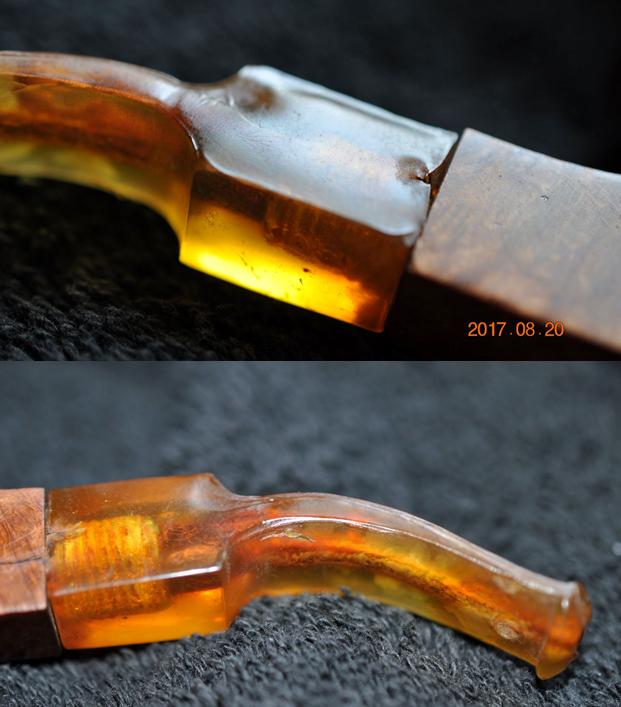
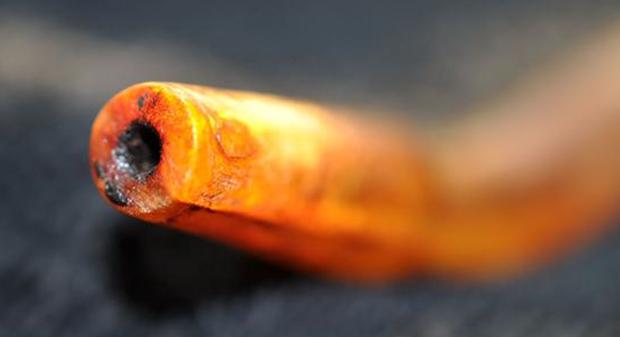
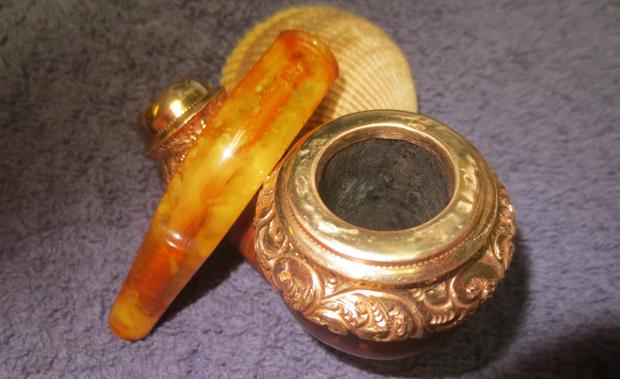
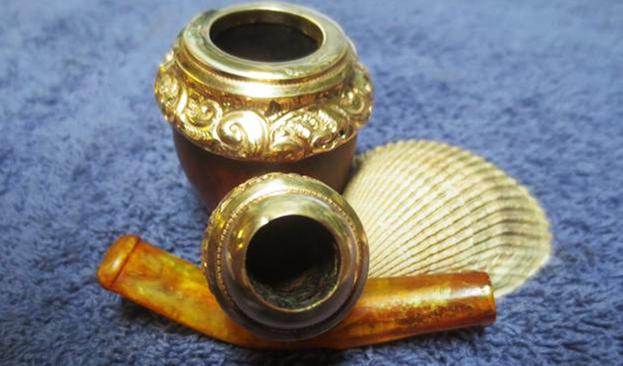
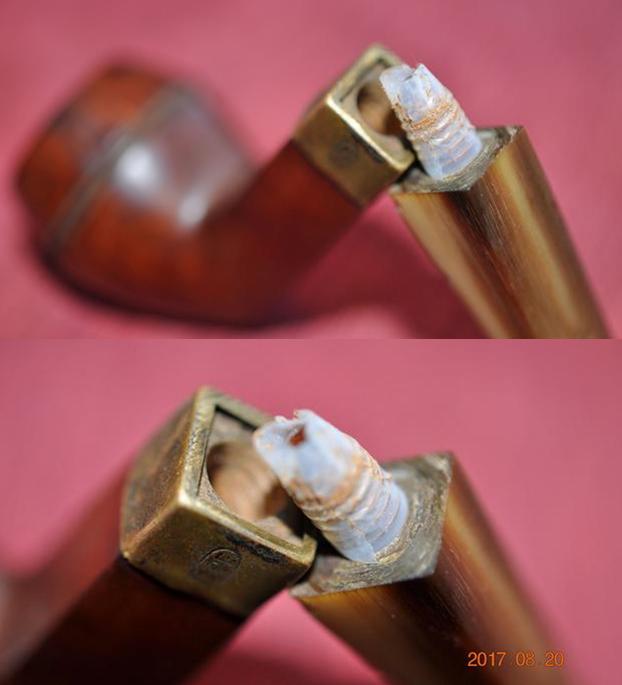
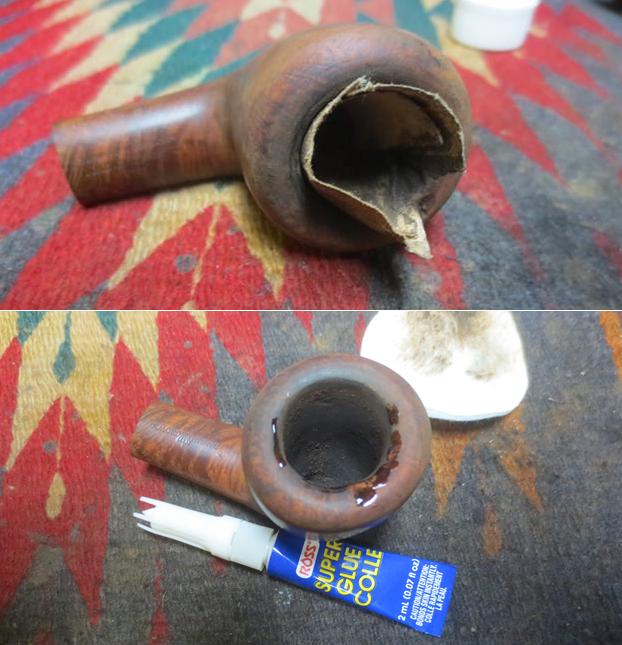
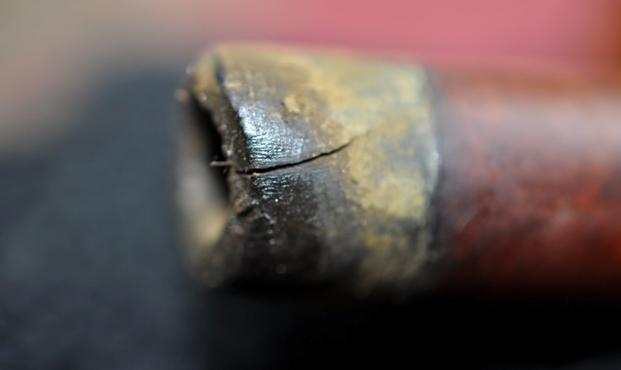
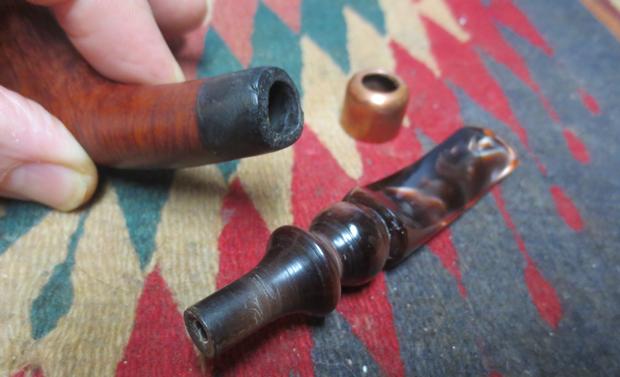
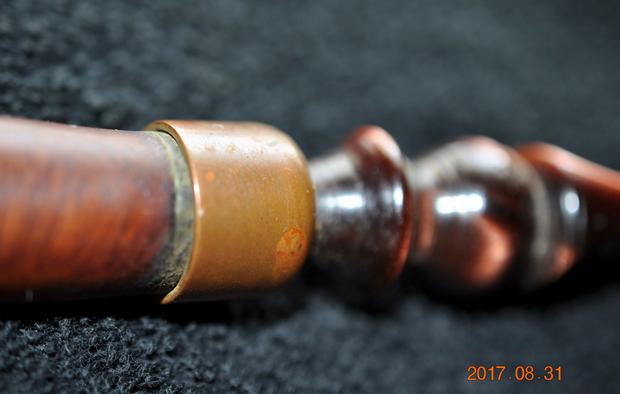 When the stem is removed the cap falls off and reveals the damaged shank. You can see the crack in the shank end and up the side on the right side of the photo below. The tars and oils that have built up on the end of the shank and in the mortise are quite thick. In the second photo below you can see the missing piece of briar. The third photo is a close up of the shank end. It shows the damage clearly as well as thick tars on the shank under the cap.
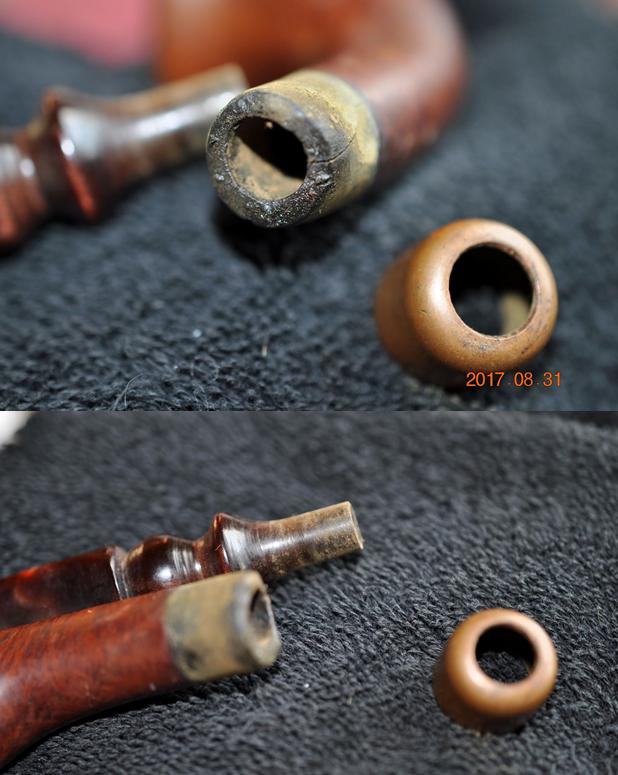
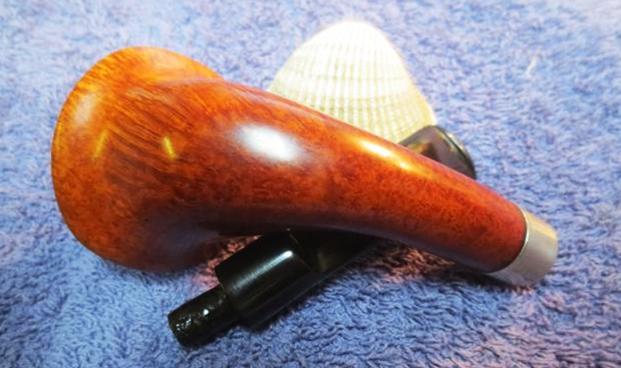
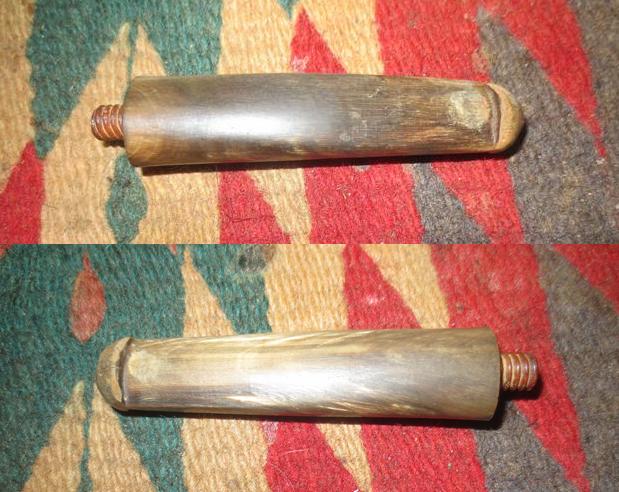
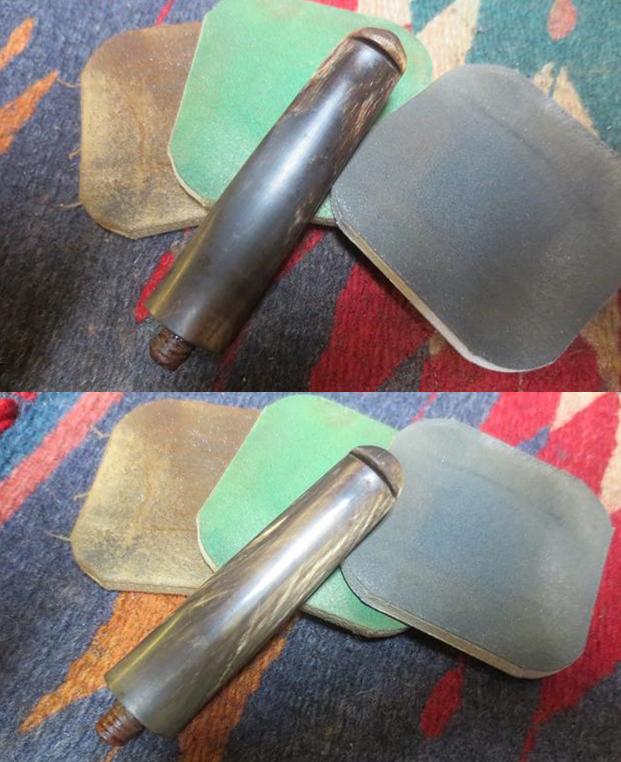
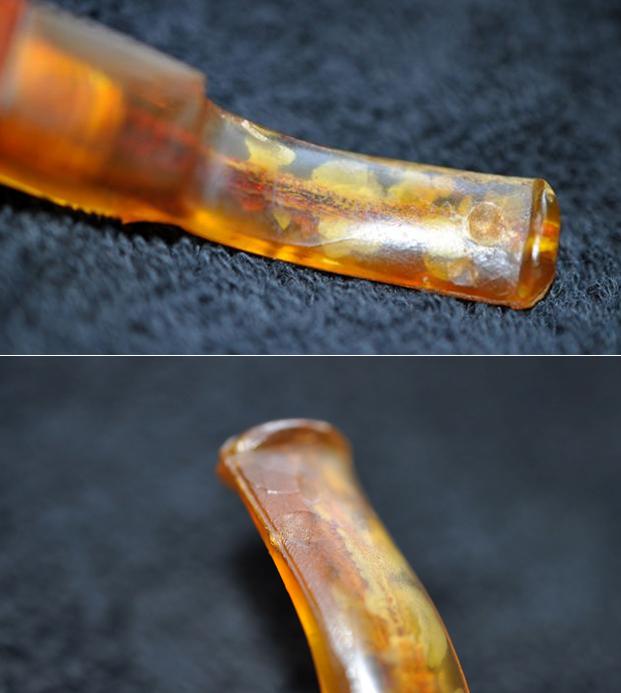
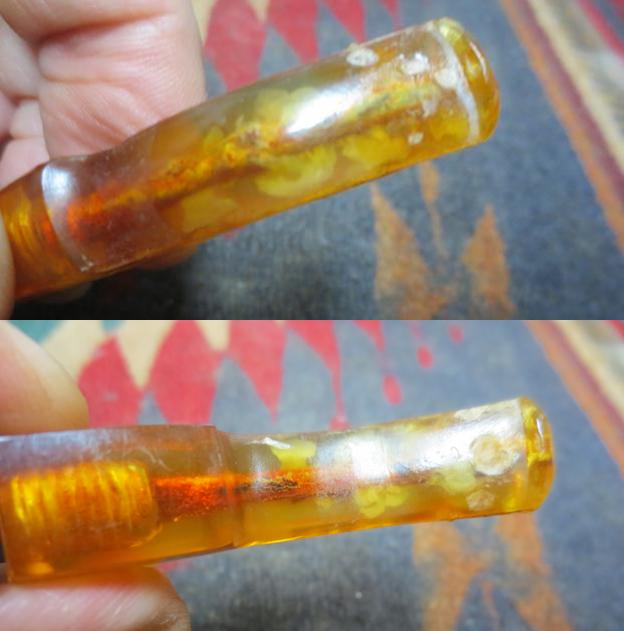
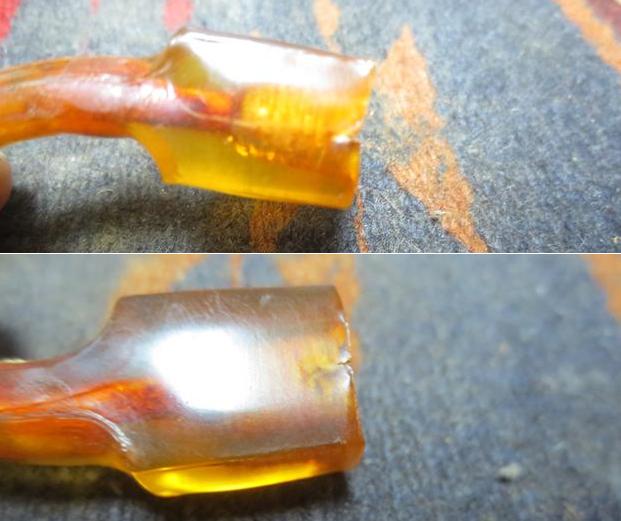
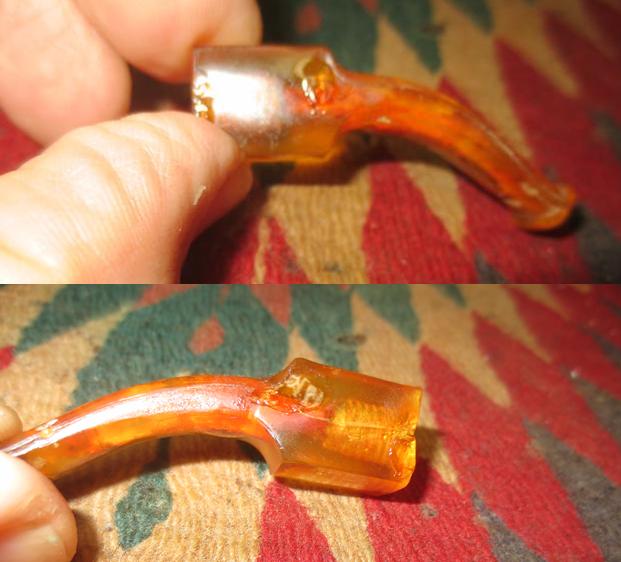
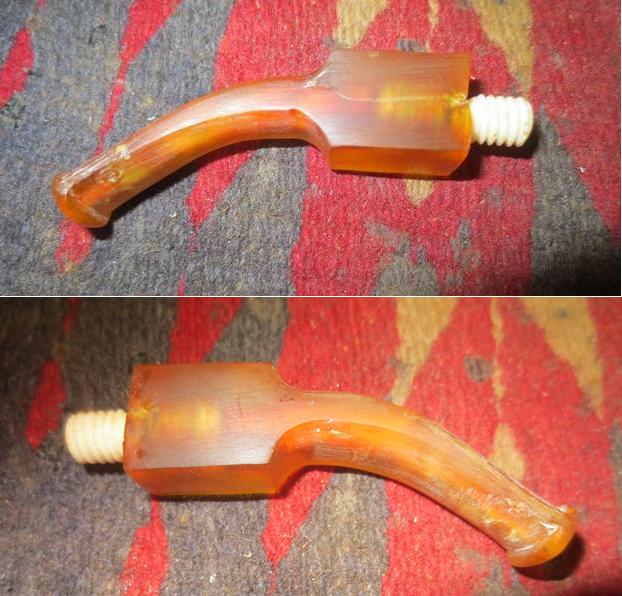
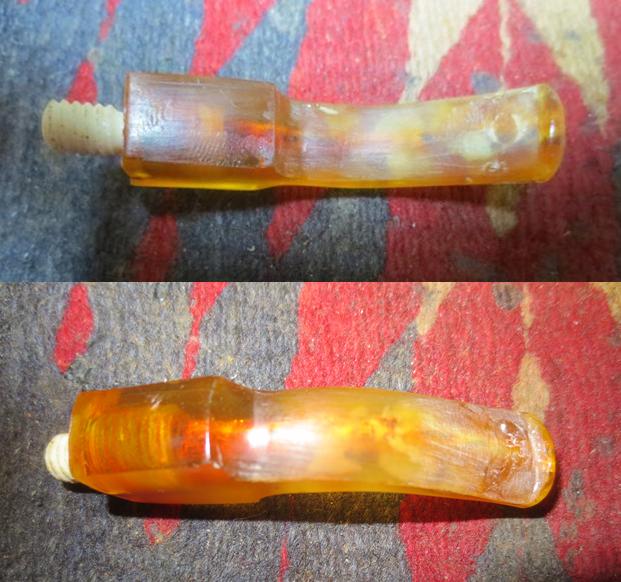
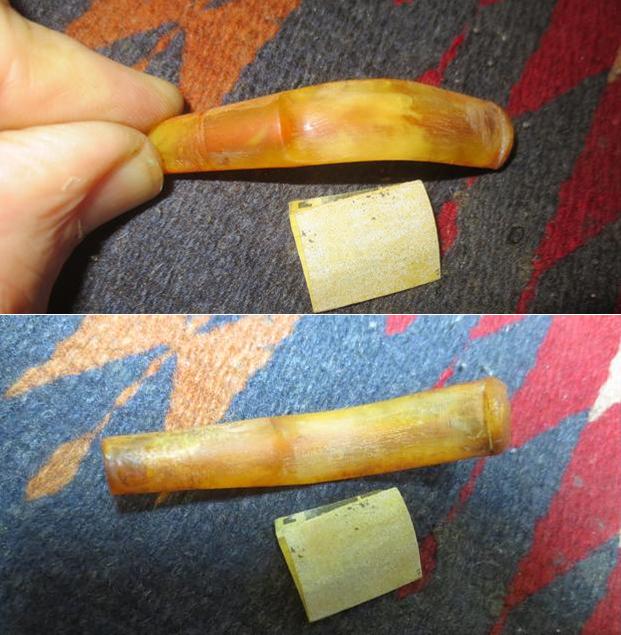
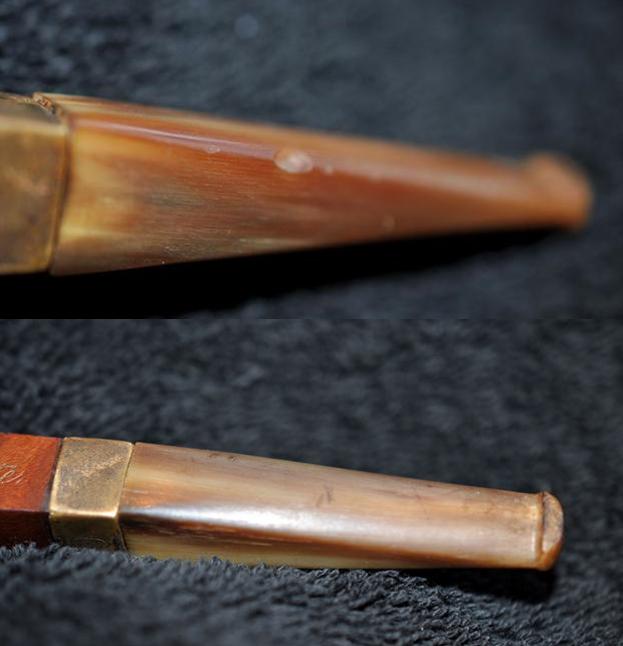
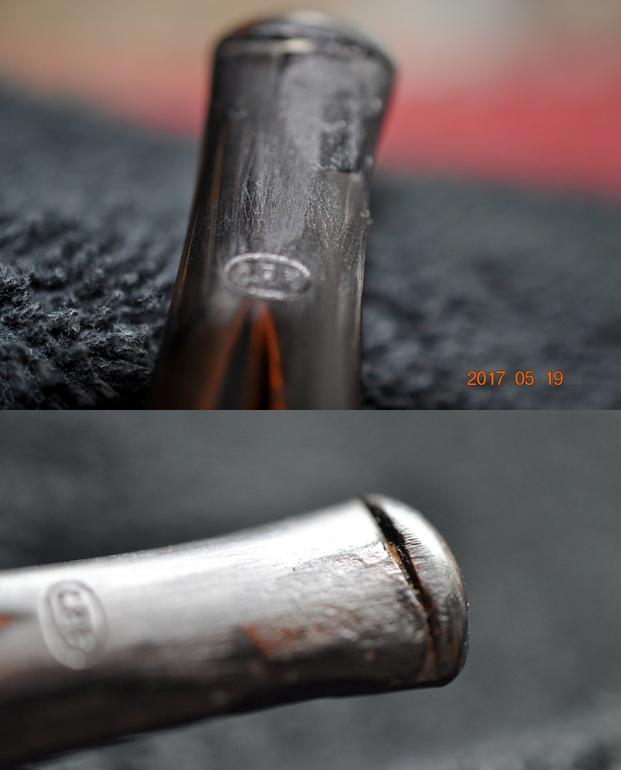
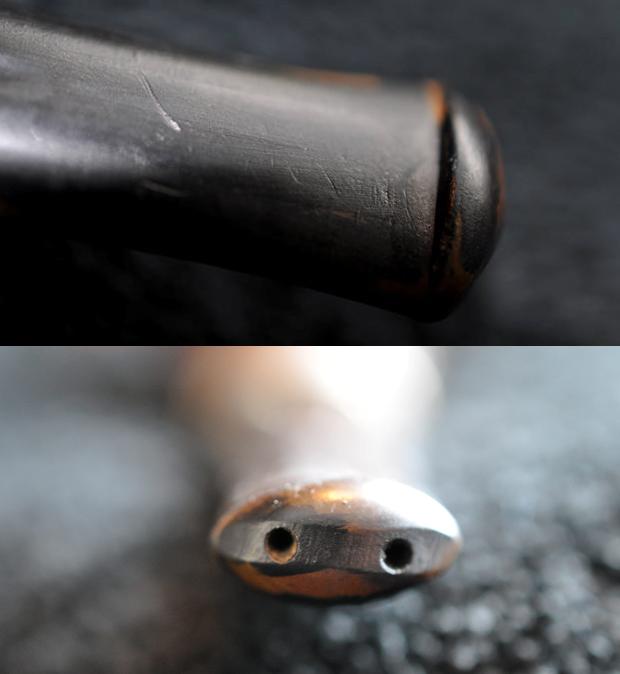
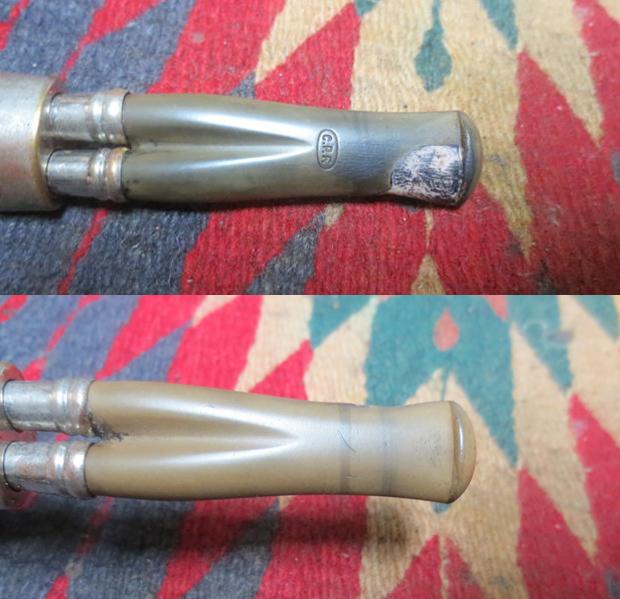
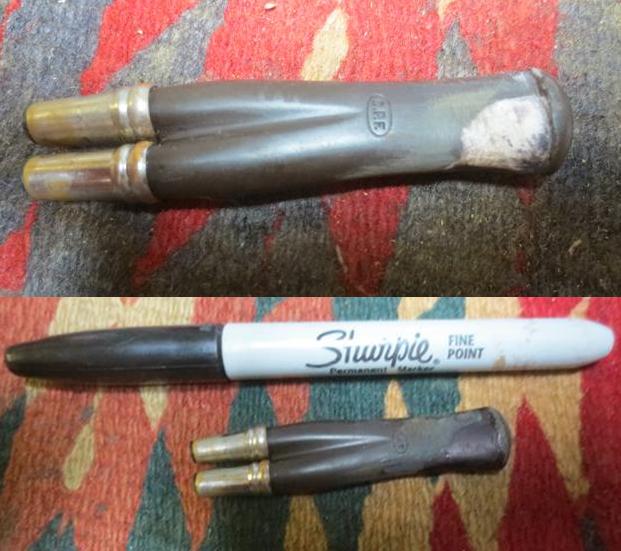
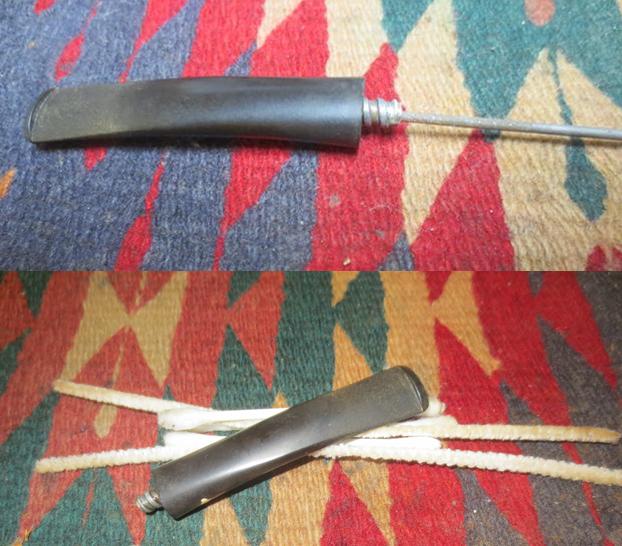
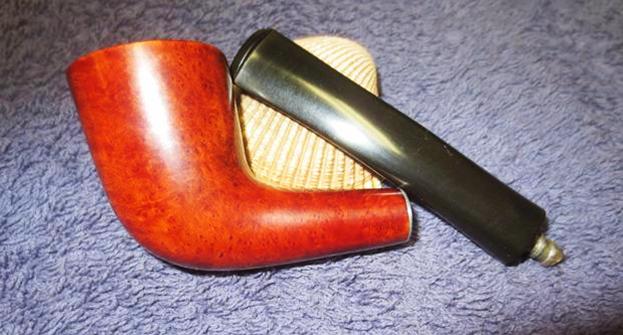
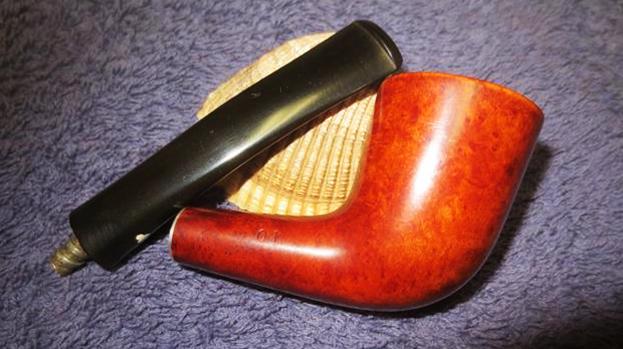
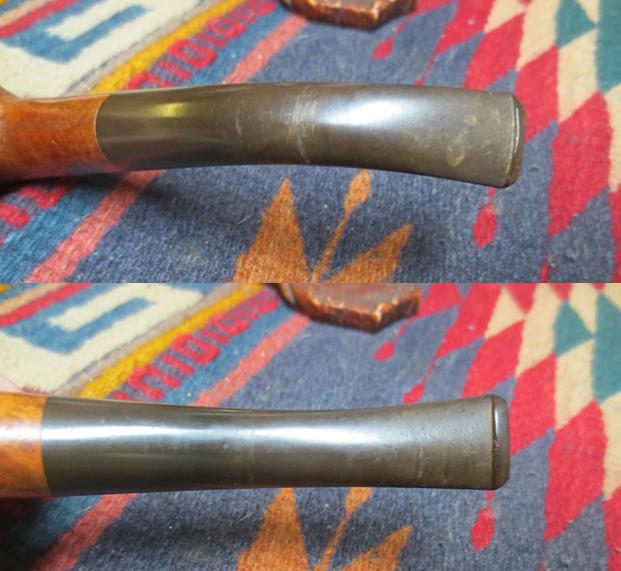
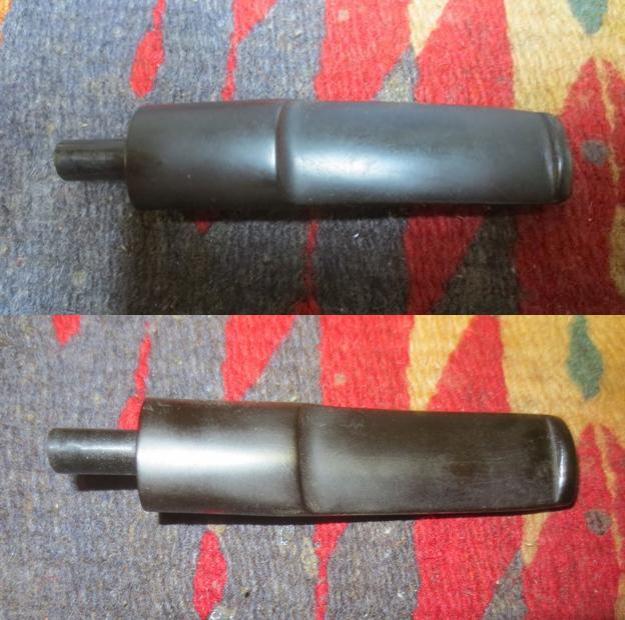
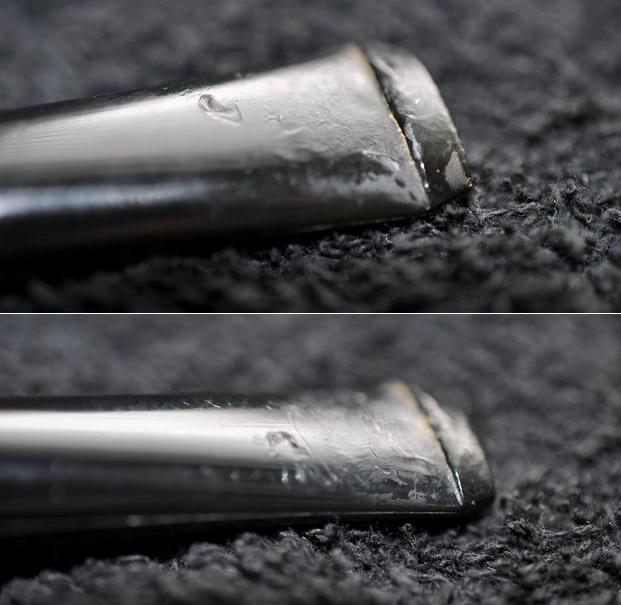
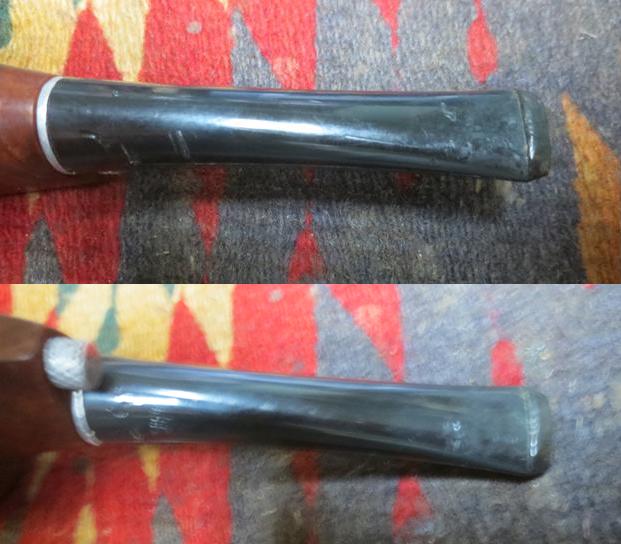
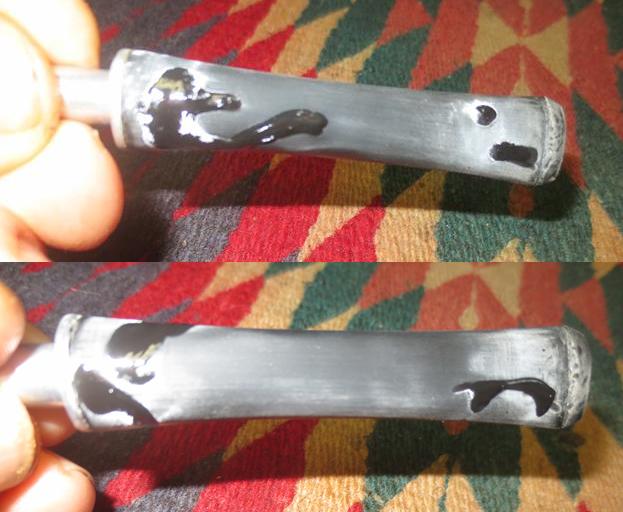
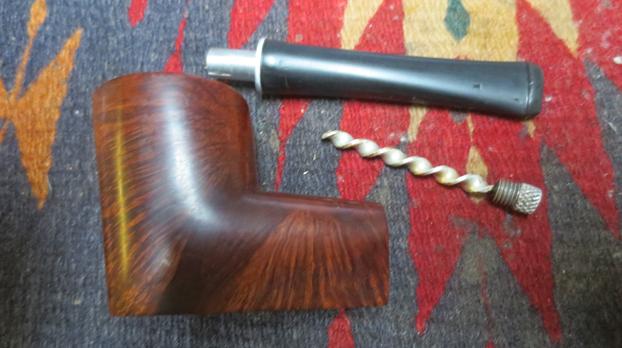
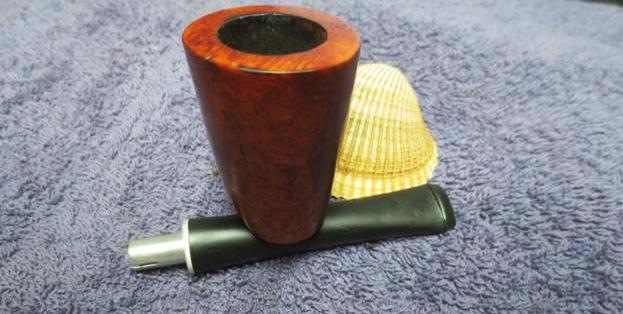
 The stem is Lucite and in rough condition. It is the thick kind of stem that came out when Lucite first came on the market. It thick and poorly shaped. There are major dents in the surface and many tooth marks and chatter on both sides of the stem at the button. I do not intend to reuse the stem as it is not my kind of stem. I will replace it with a vulcanite stem and fit it to the shank.
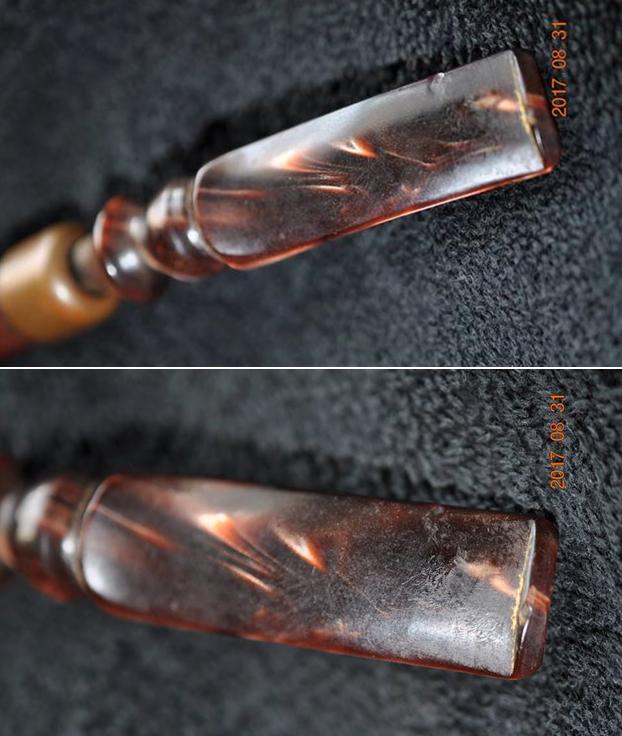
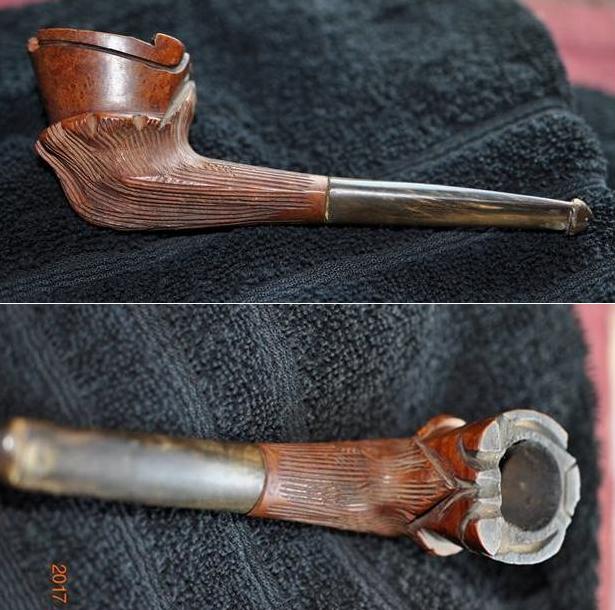
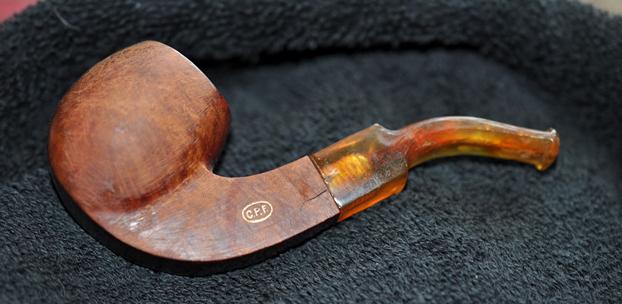
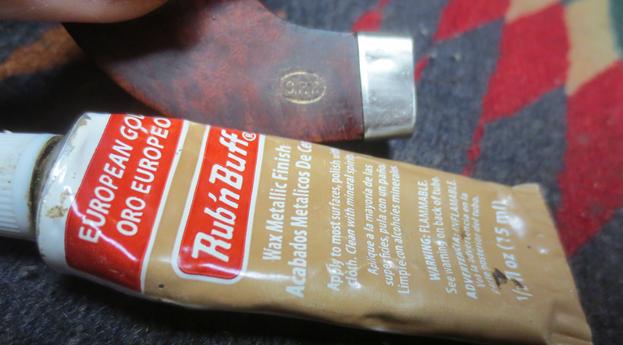
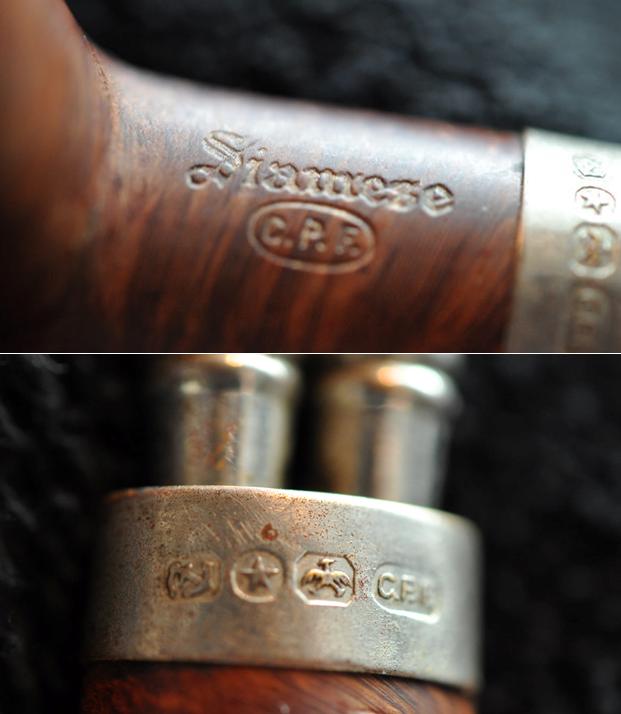
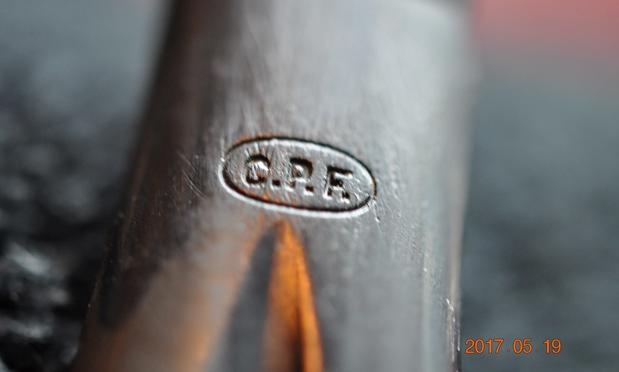
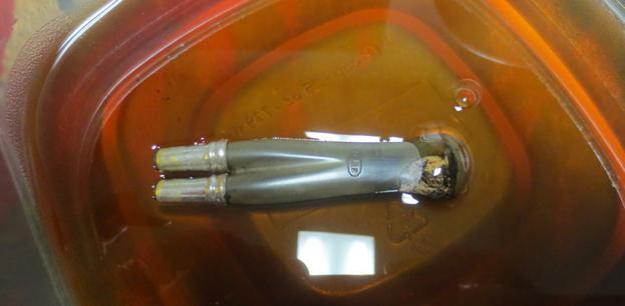
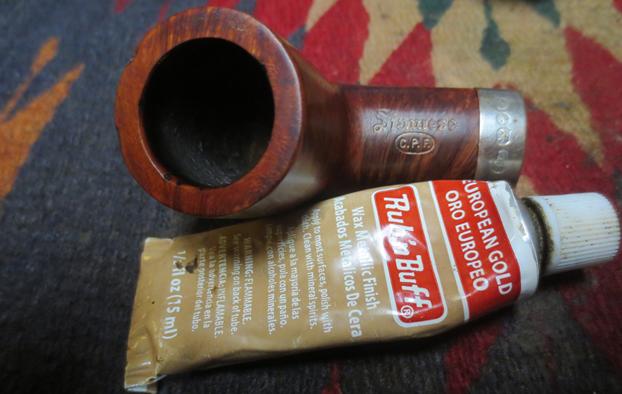
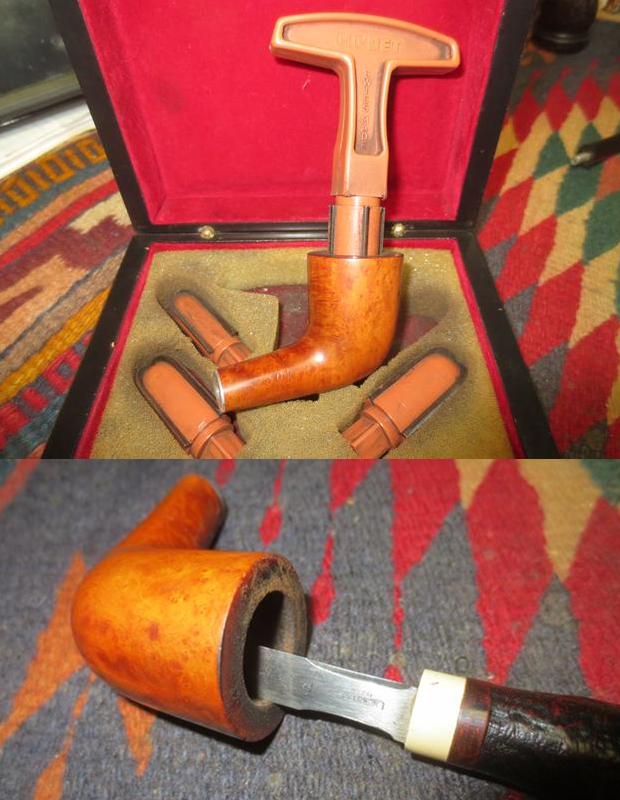
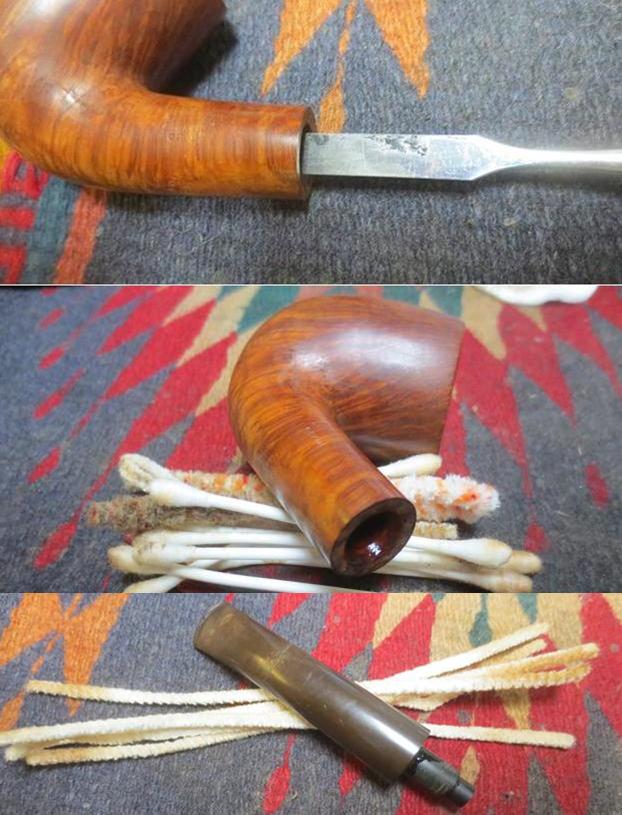
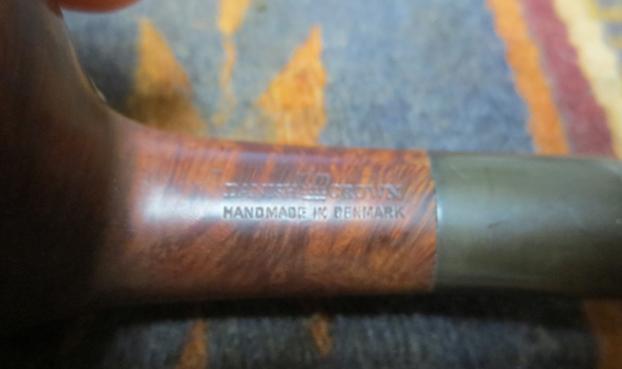
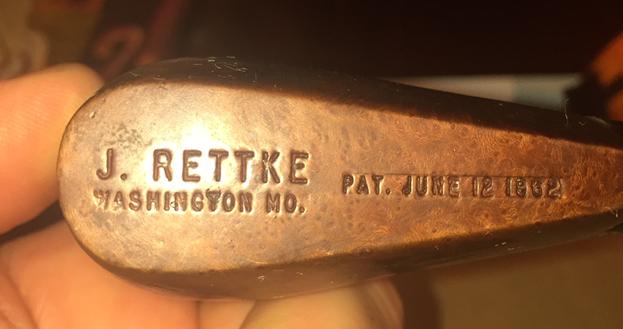
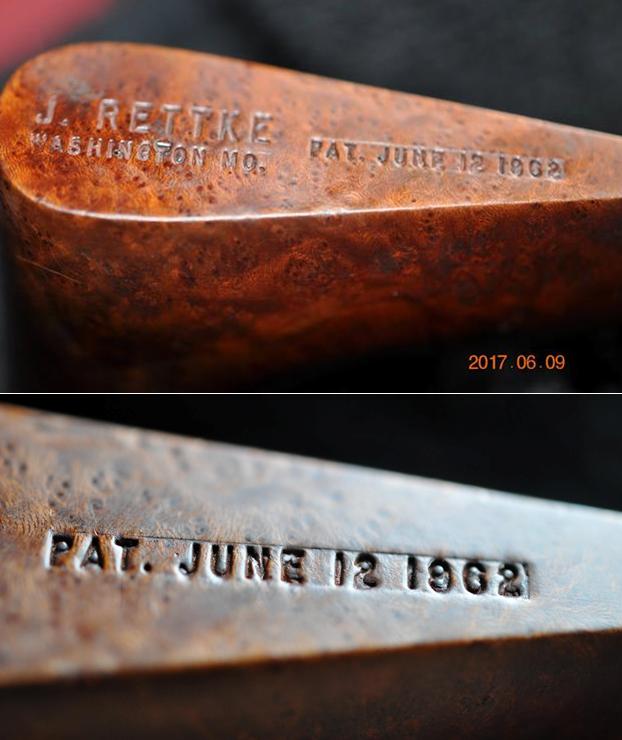
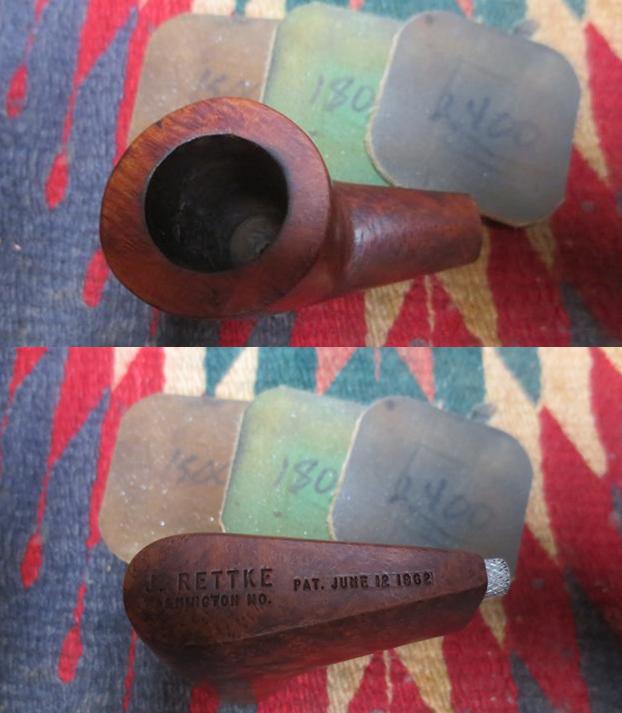
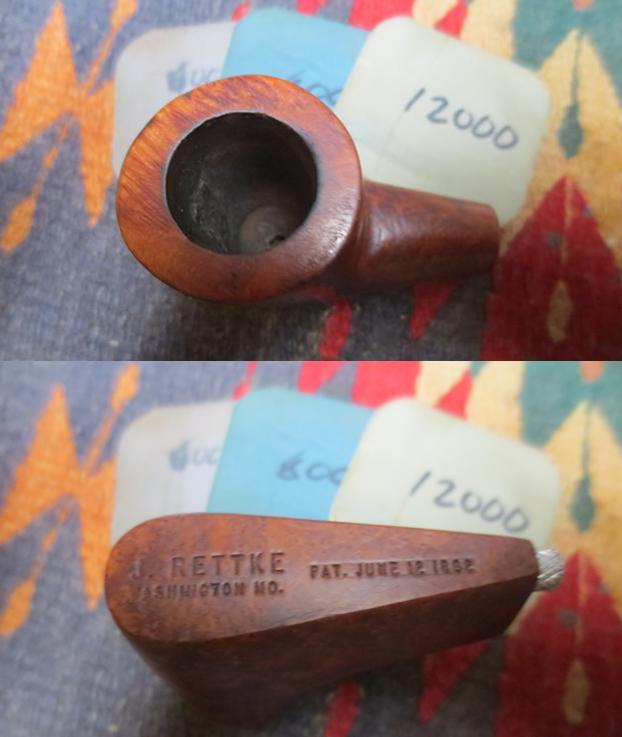
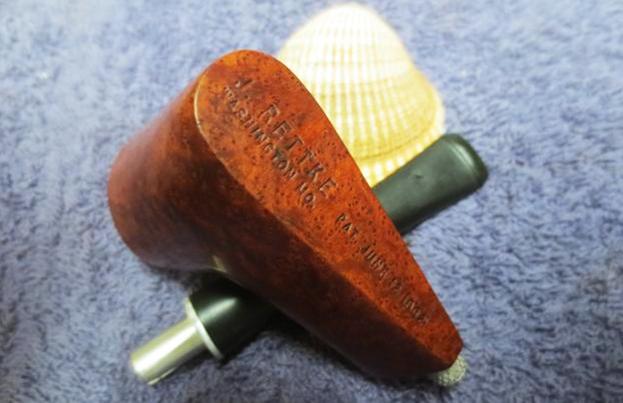
 Jeff did his usual thorough clean up even on this ugly, old pipe. He reamed it with a PipNet reamer and cleaned up the remnants with a Savinelli Fitsall pipe knife. He scrubbed out the mortise and the airway in the shank and the stem with alcohol, cotton swabs and pipe cleaners. He scrubbed the exterior of the bowl and shank with a tooth brush and Murphy’s Oil Soap and rinsed it under running water. He scrubbed the rim on the bowl to clean out the lava on the plateau. It took much scrubbing to get it free of the tars. He dried it off with a soft cloth. The bowl itself was very light weight. It is a good looking piece of briar and has flame grain all around the bowl and shank with some birdseye on the shank top and bottom. He cleaned up the Lucite stem with the oil soap as well and was able to remove much of the debris. There were tooth marks and tooth chatter on both sides of the stem. The freehand style stem had a tapered tenon that sat tightly in the copper end cap. The copper cap was loose and fell off when the stem was removed from the pipe. I spent time turning the pipe over to see if I could find any identifying stamping that would help me know who made it and when it was made. There was nothing there. It was an unstamped pipe by an unknown maker at an unspecified point in time. I took photos of the pipe to show its condition before I started my work on it.
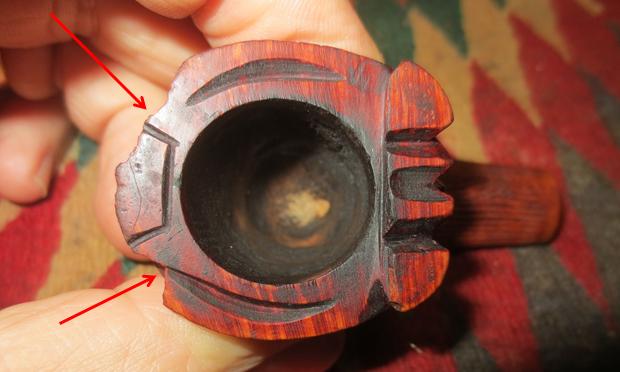
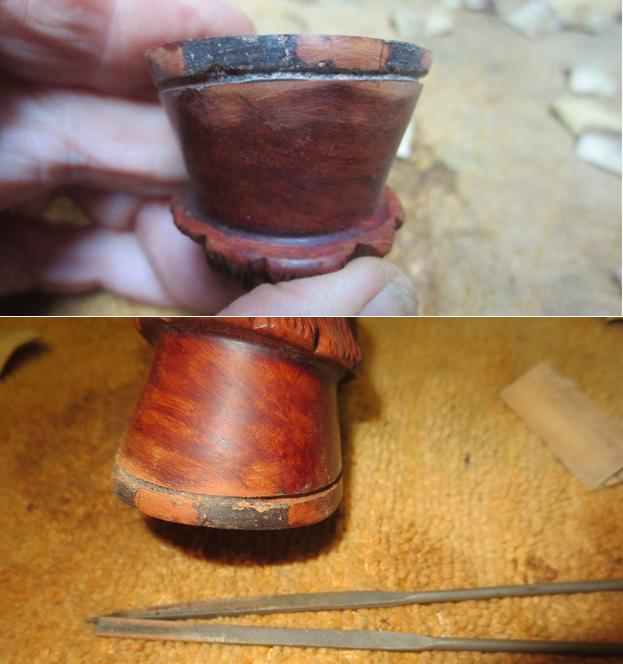
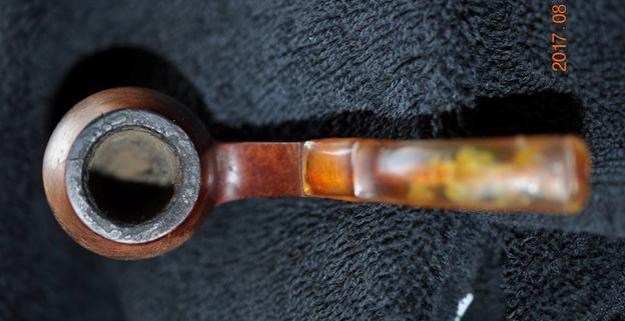
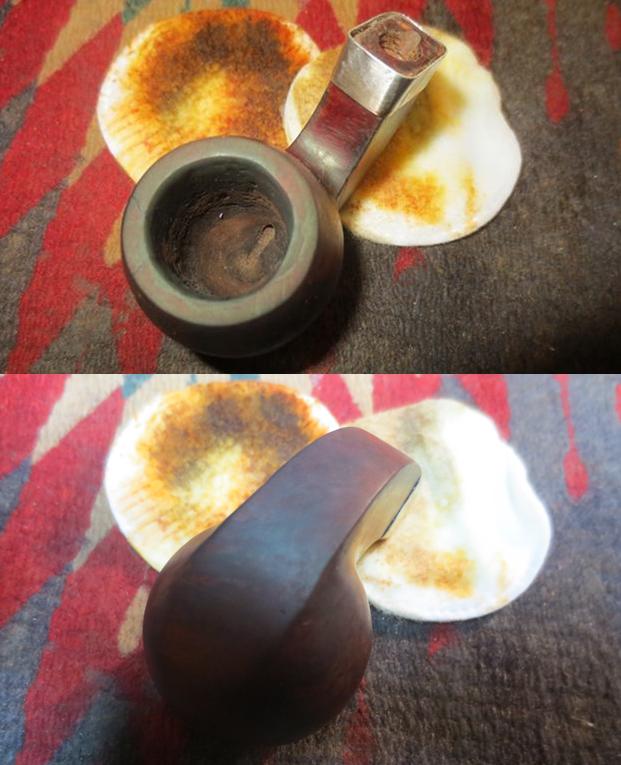
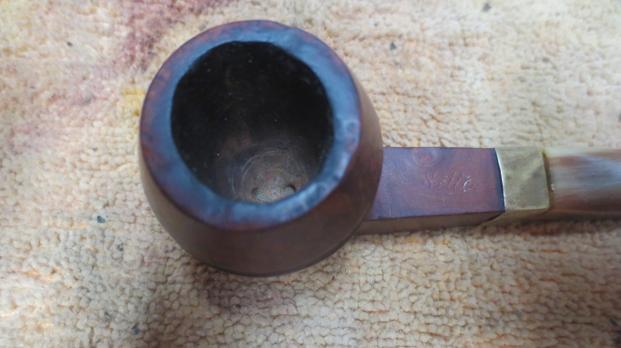
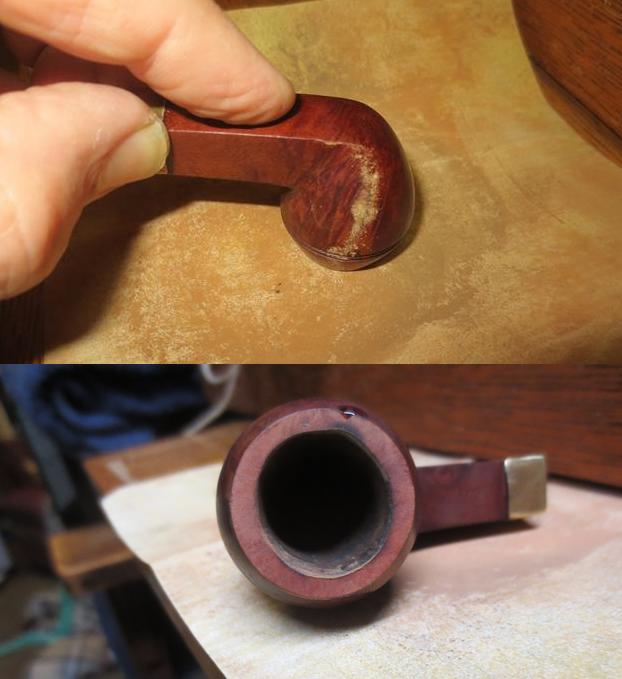
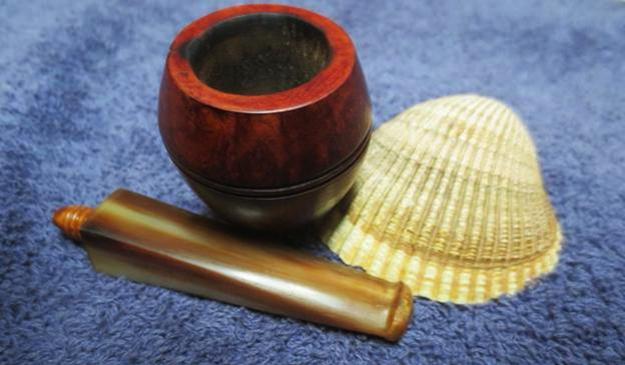
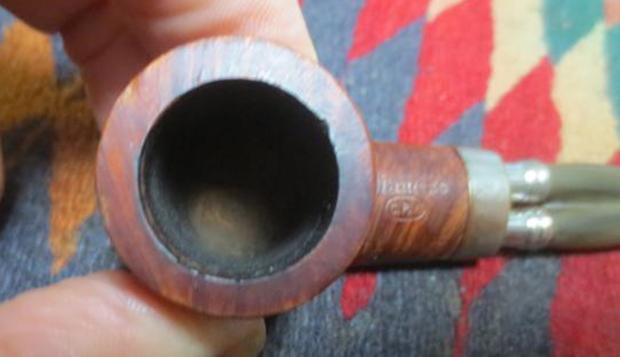
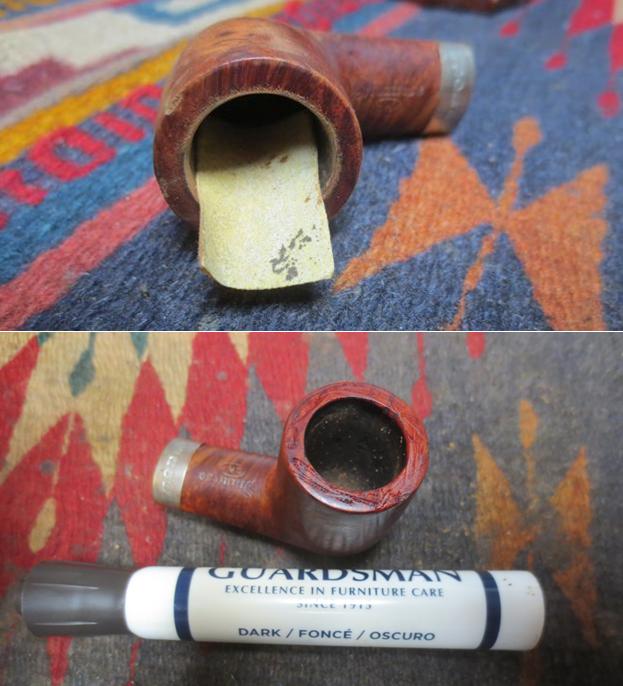
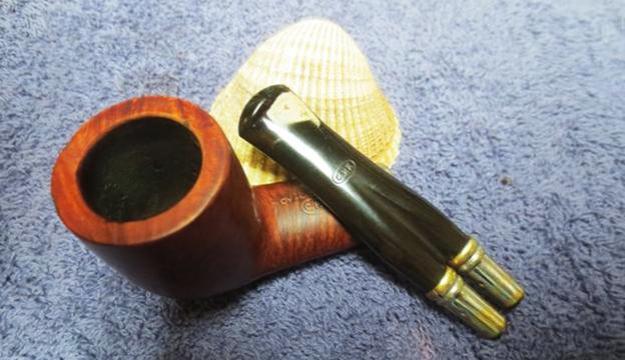
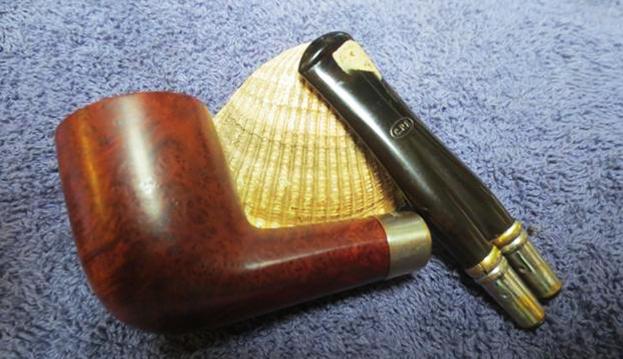
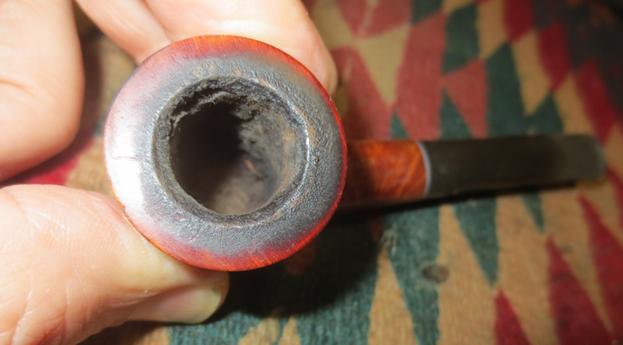
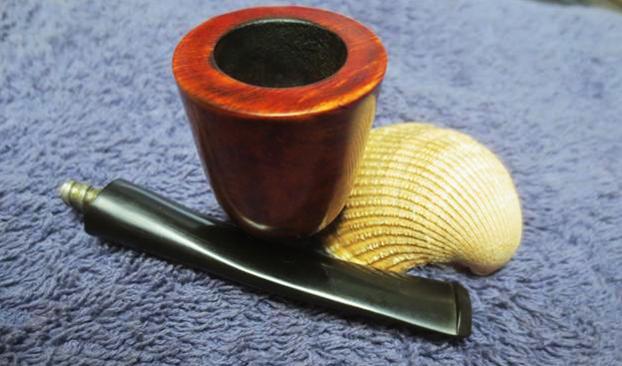
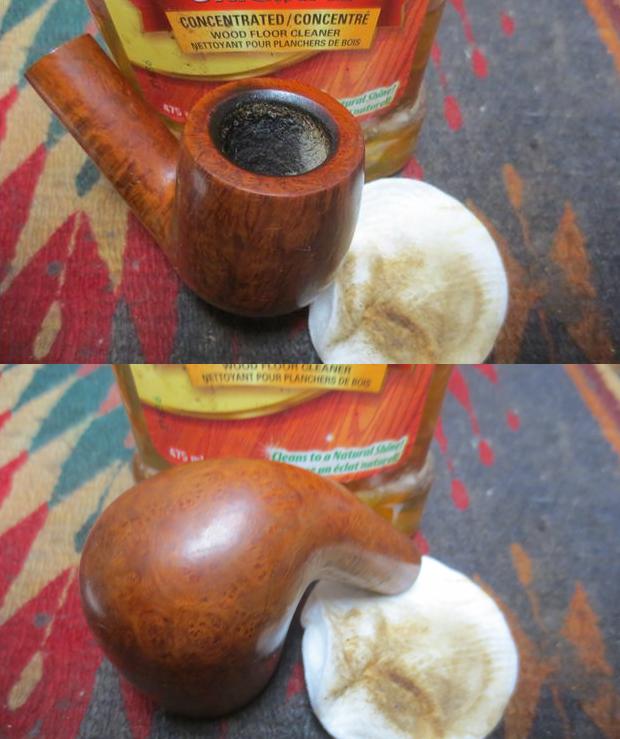
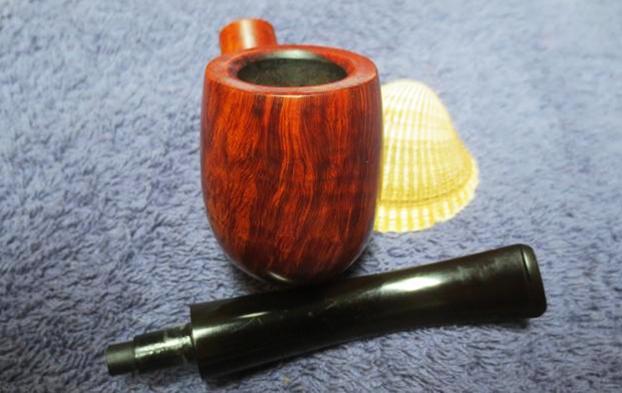
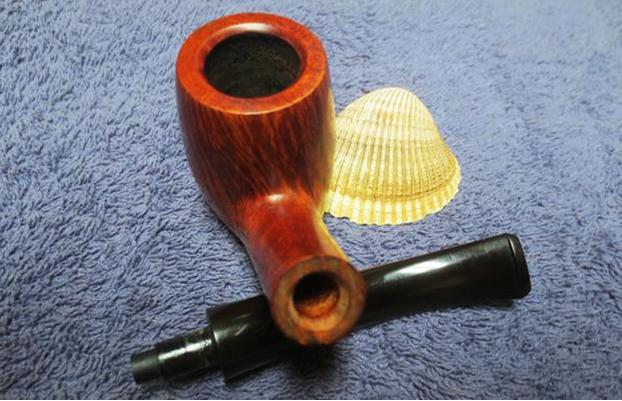
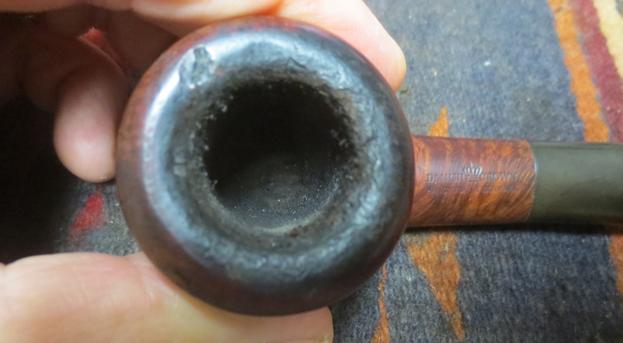
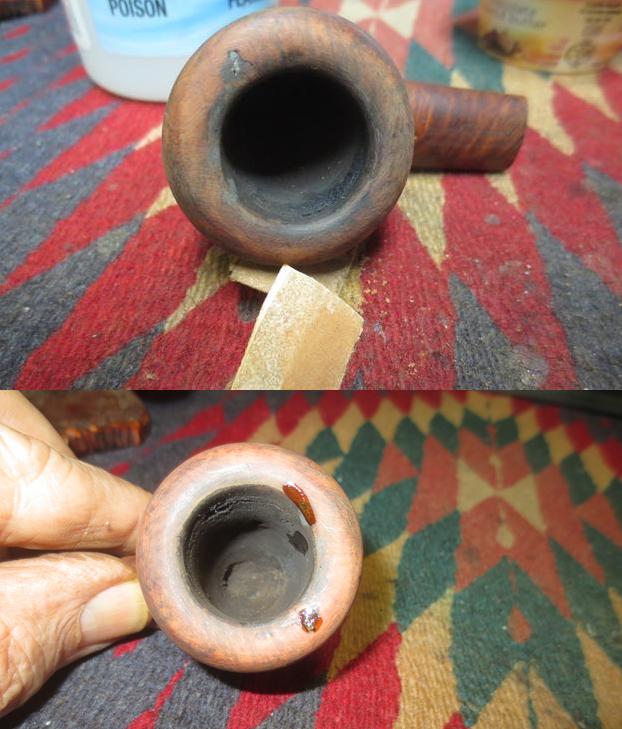
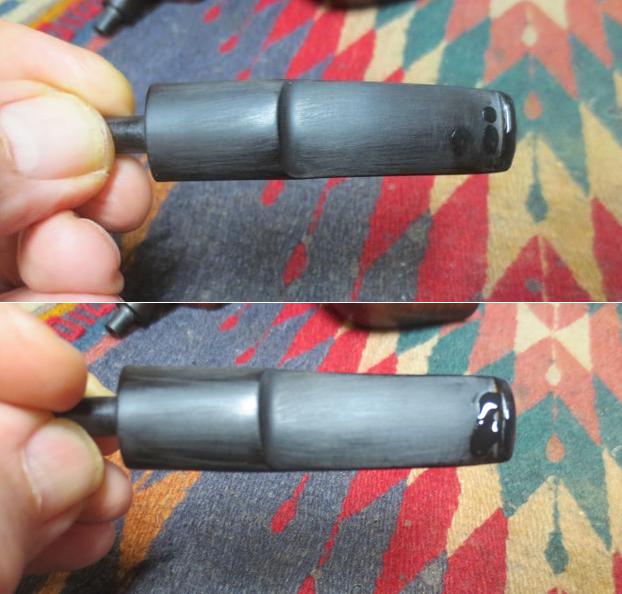
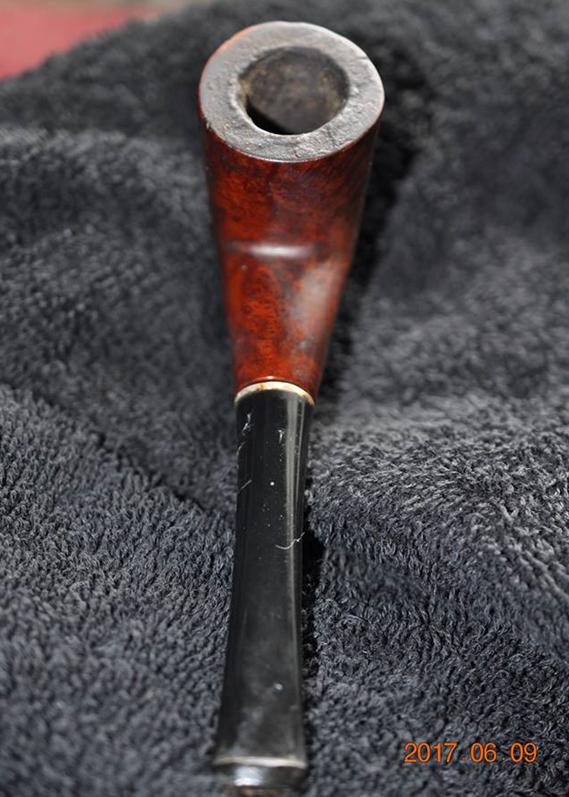
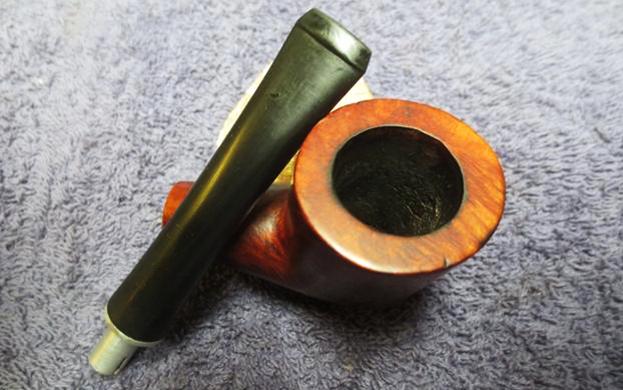
 Jeff did a great job on the rim top and the bowl. The inner edge of the rim was in good condition with little damage. There was still a little lava on the back side of the rim top that would need to be taken care of.
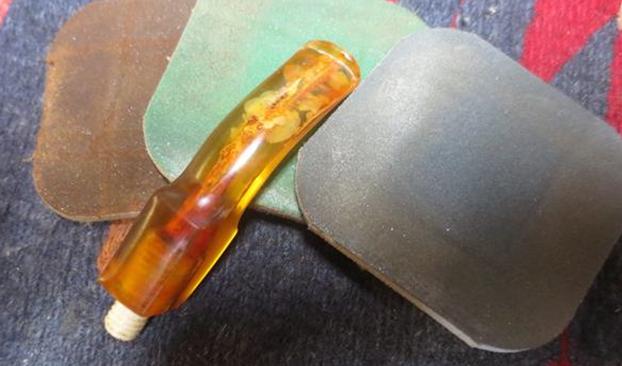
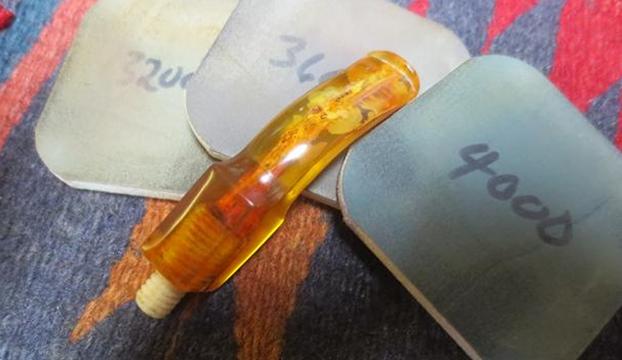
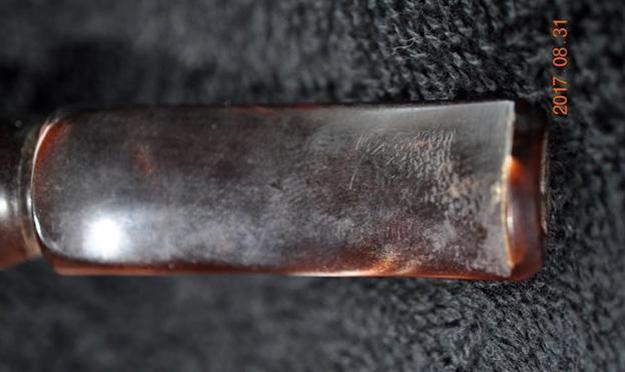
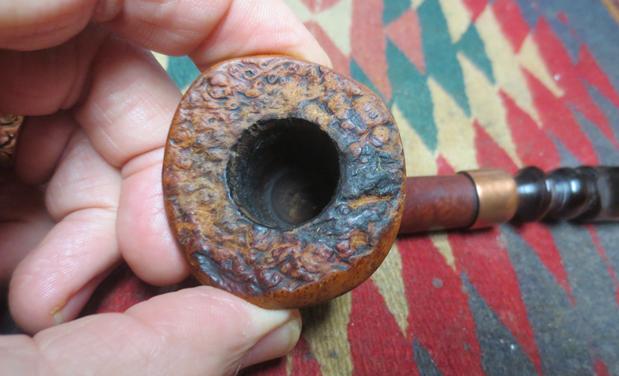 The Lucite stem was clean but looking at it close up I knew that I did not want to keep the stem. I would need to go through my can of stems to find one that would work on this pipe.
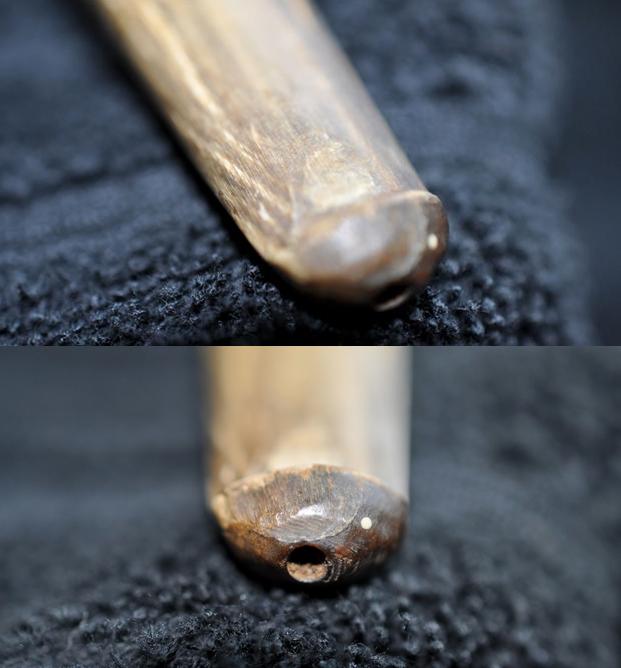
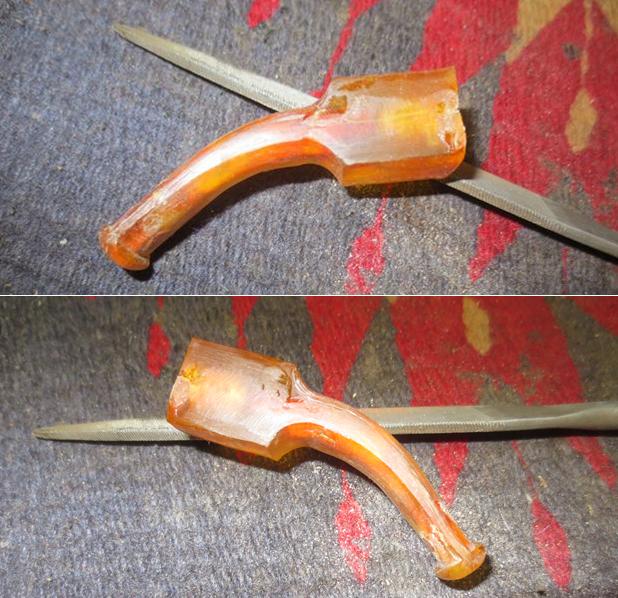
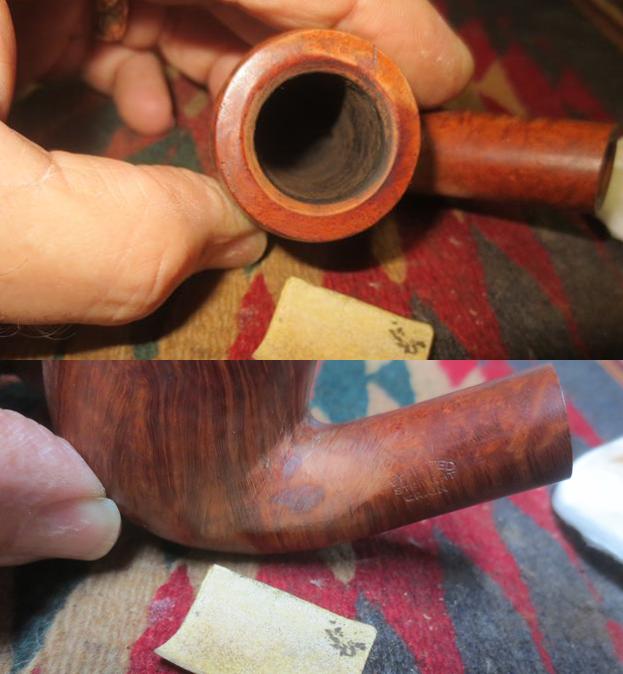
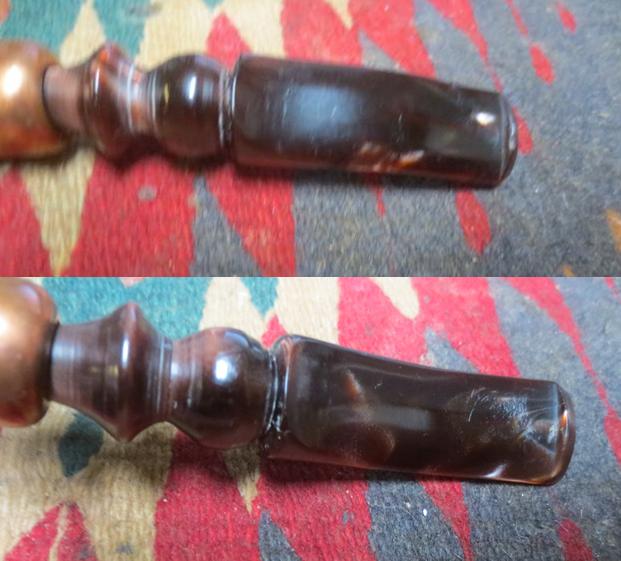 I removed the stem and the end cap and looked closely at the damage to the end of the shank. Once Jeff had cleaned it up the damage was really clear. The end of the shank had deteriorated and chunks of briar were missing. The surface of the shank end was rough and damaged. There was a large crack on the right side near the underside going from the shank end up the shank for ½ inch.
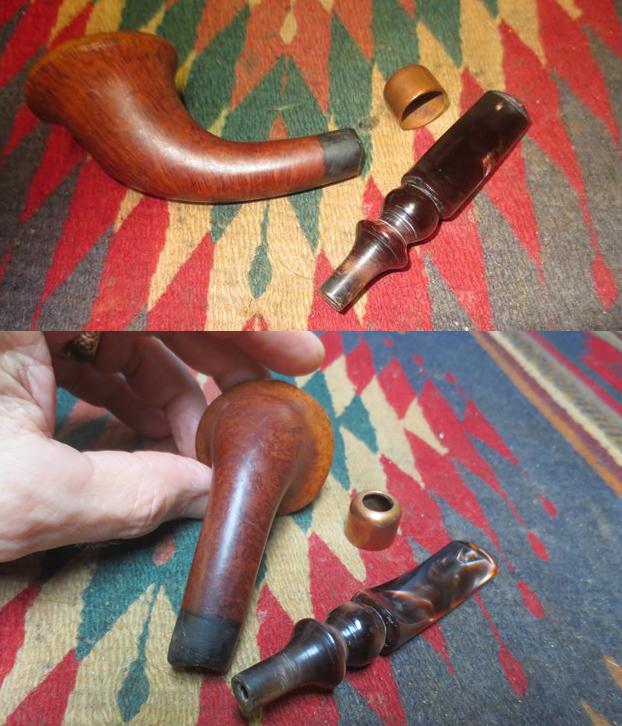
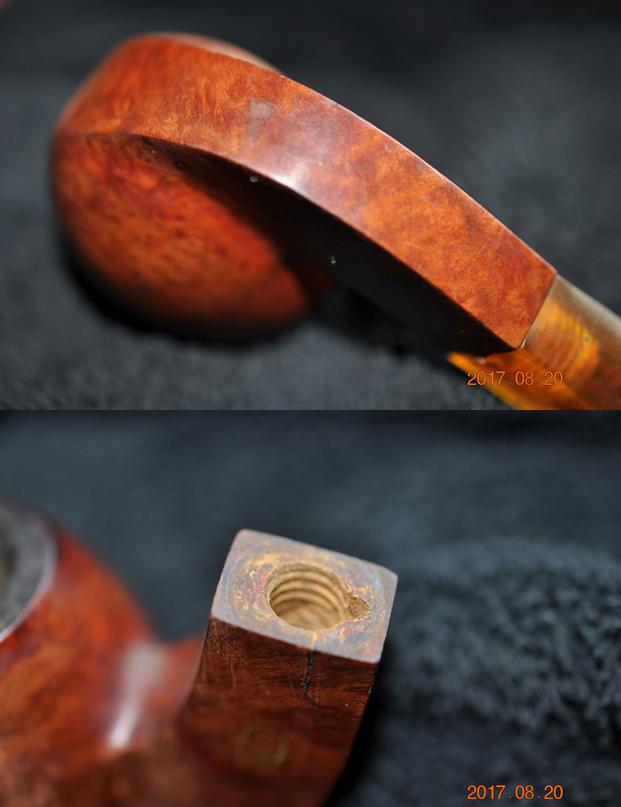
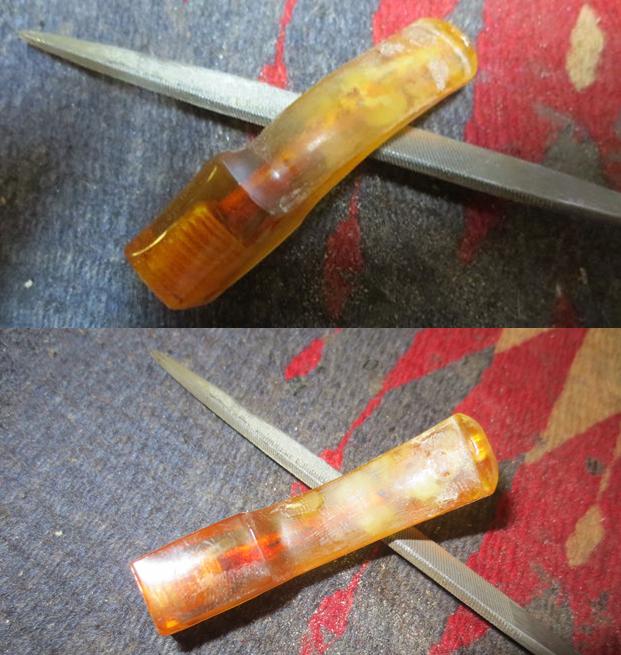
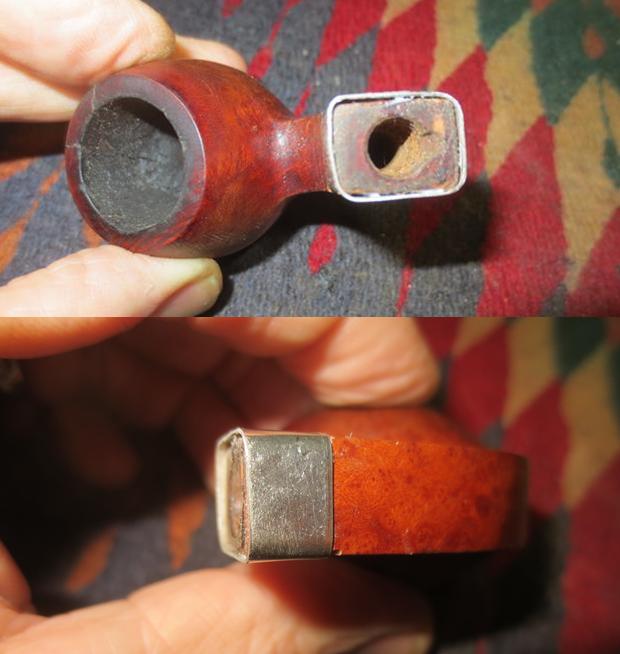
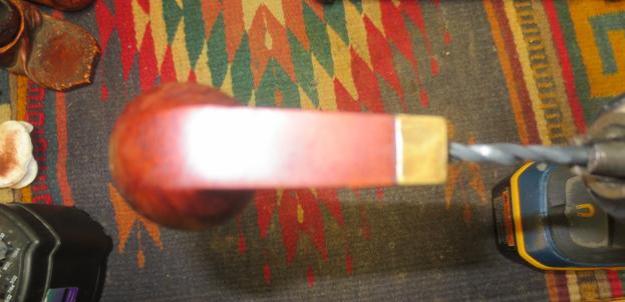
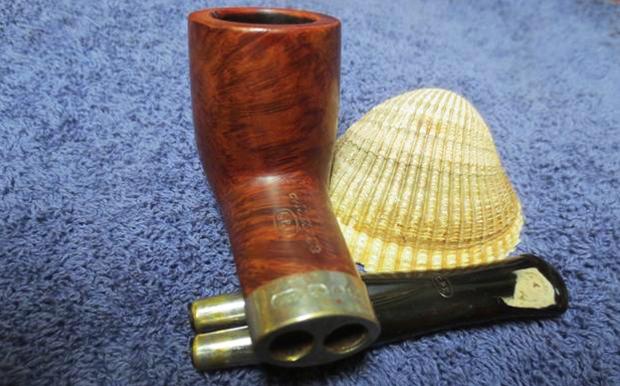
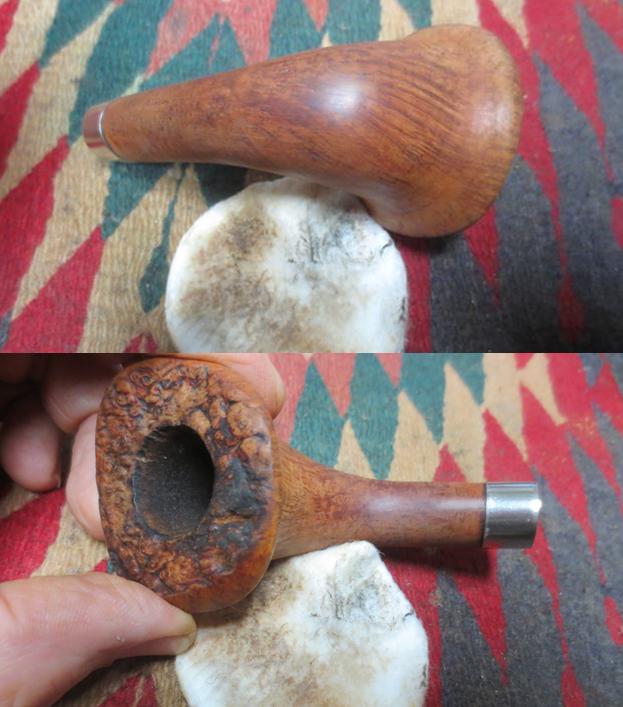
 I used a Dremel and sanding drum to remove the damaged shank end. I evened up the end of the shank and took off all of the compromised briar. I cleaned up the end so that a regular stem would work with it. I smoothed out the inside of the mortise. During this cleanup is when I discovered that the mortise and the airway in the shank were drilled at an angle. The airway was high in the end of the mortise and came out at the bottom of the bowl. The mortise itself curved and was poorly drilled in the shank.
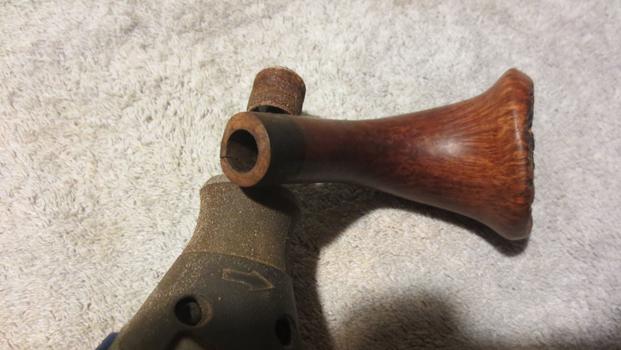
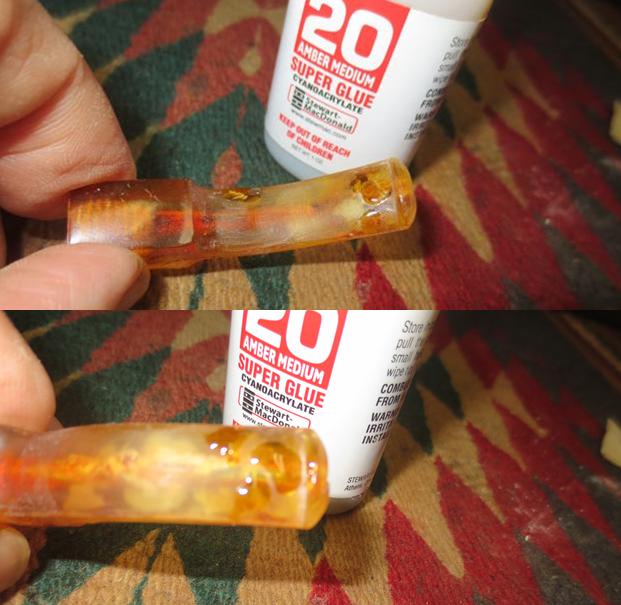
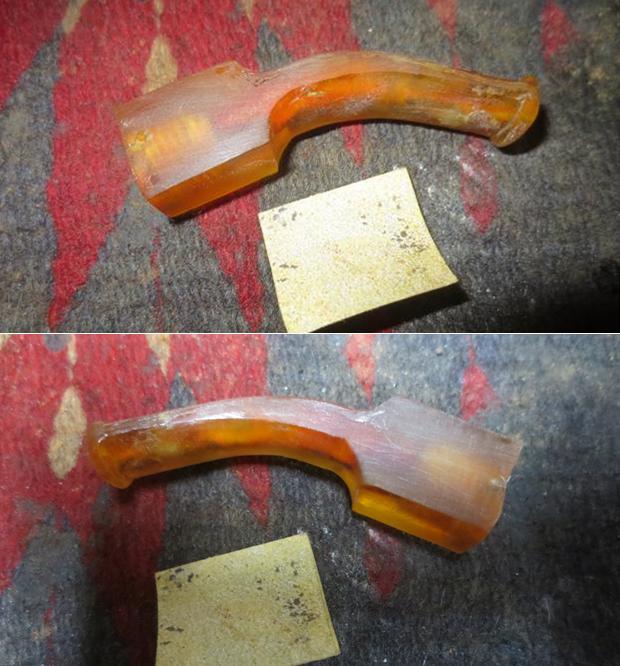
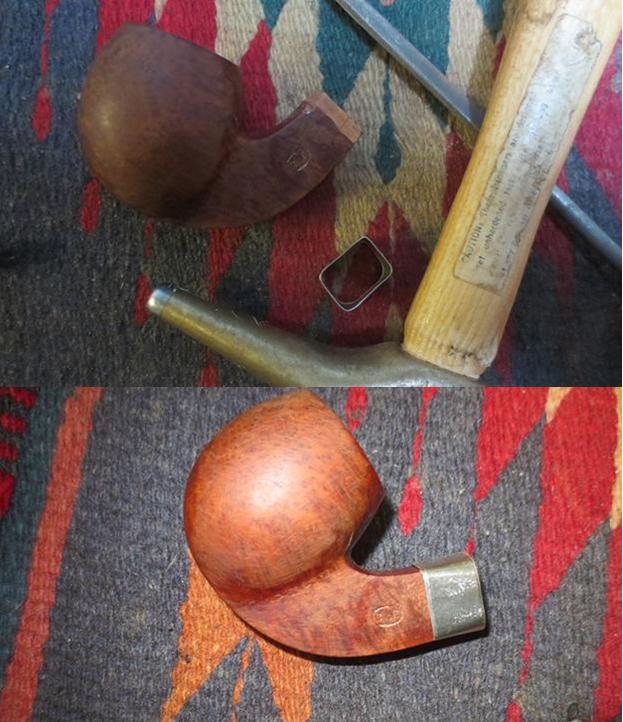
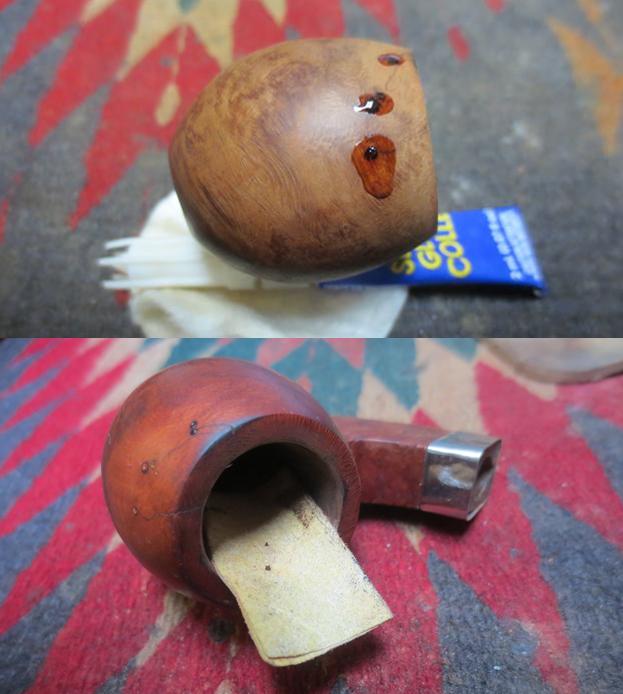
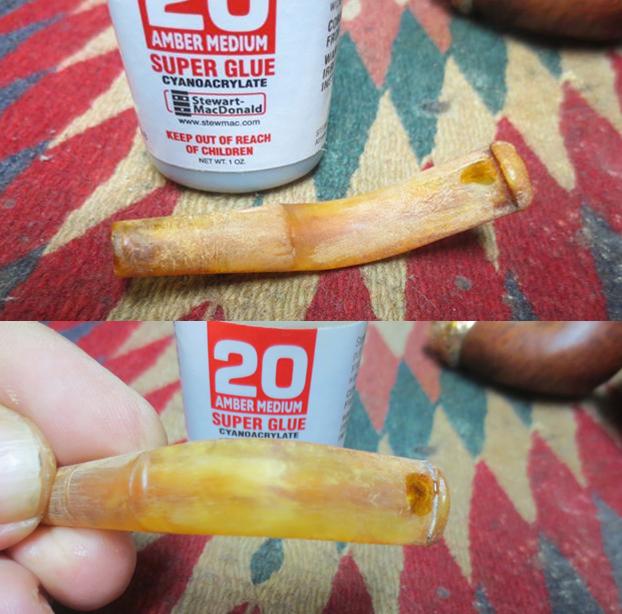
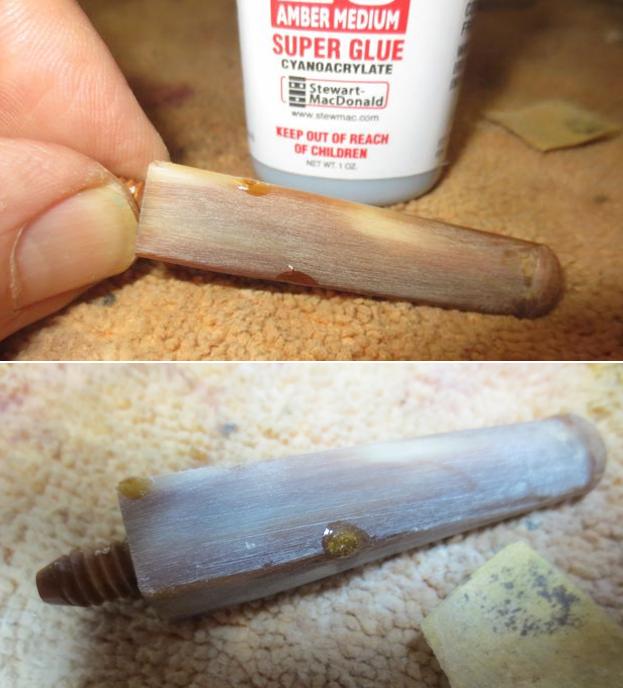
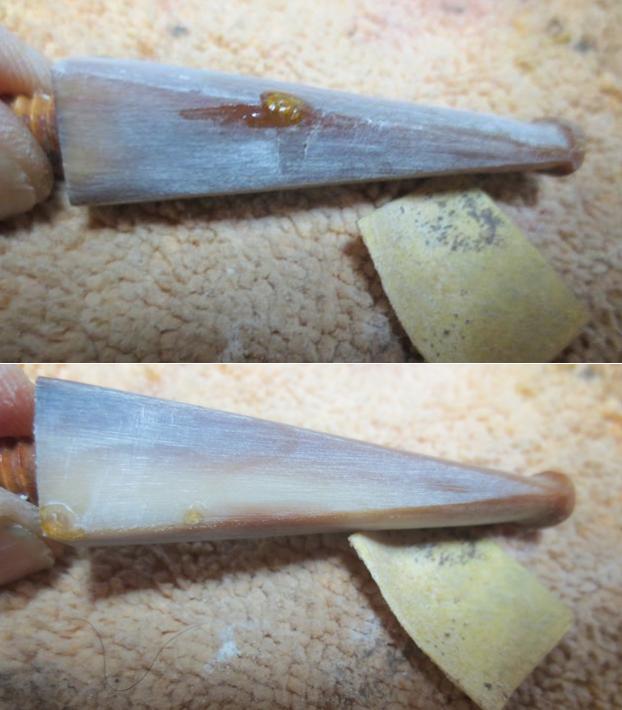
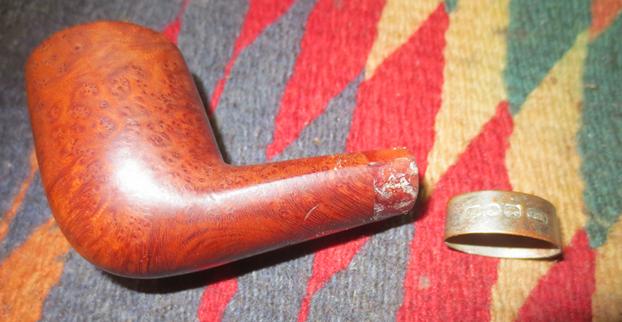
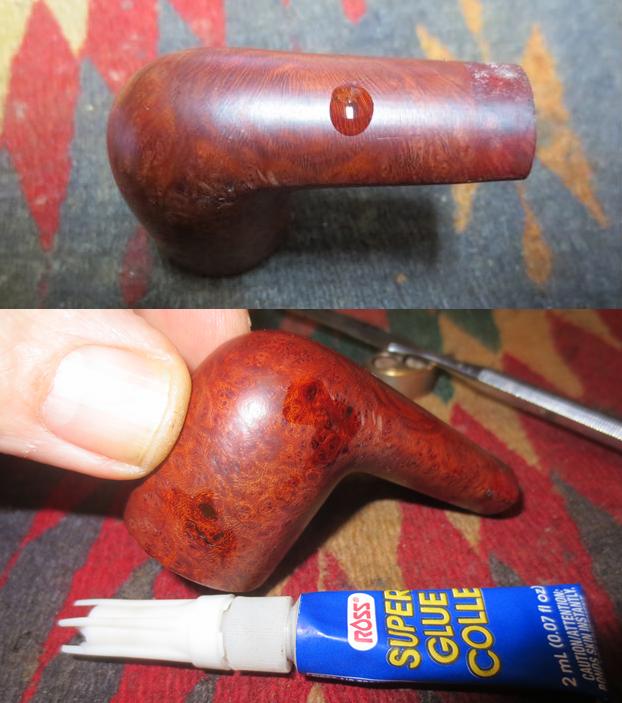
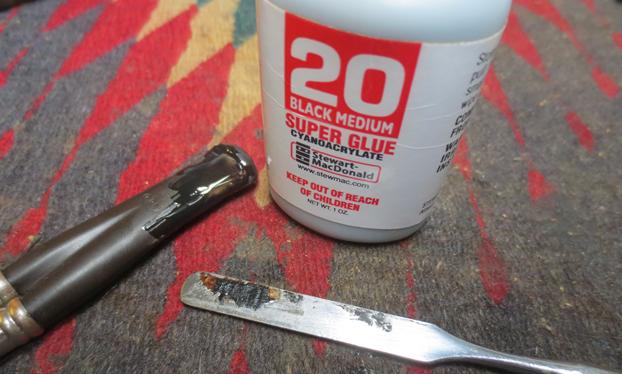
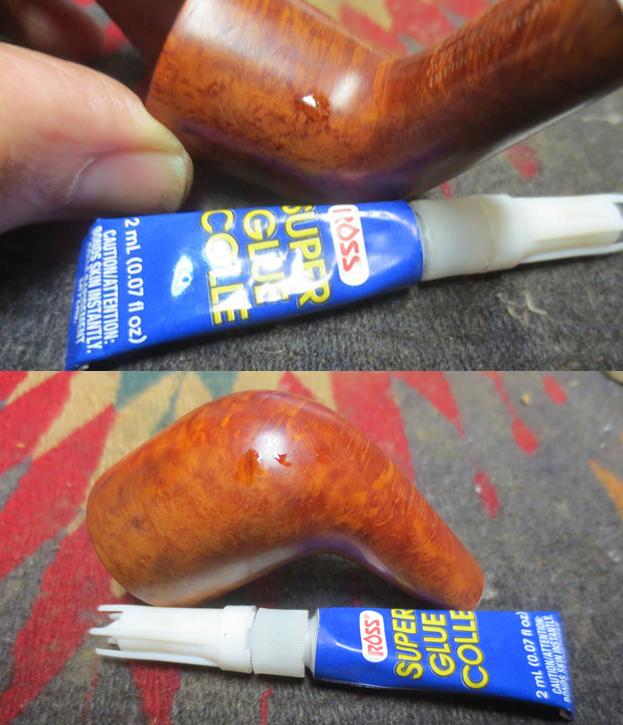
 I cleaned up the briar that had been under the copper band. The briar was black with the colour going deep in the briar. I sanded it smooth and used a microdrill bit to drill a pin hole at the end of the crack to stop it from spreading further. I filled in the hole and the crack with clear super glue and let it cure.
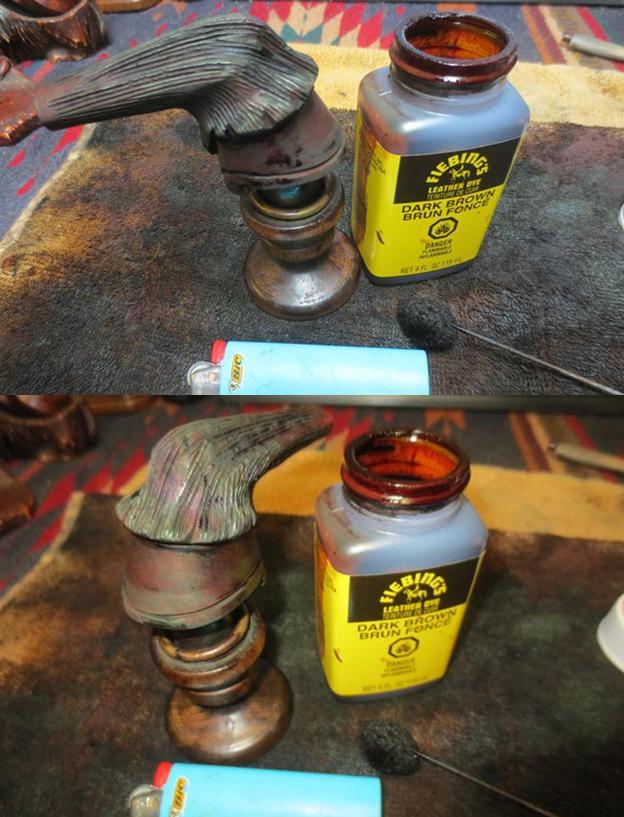
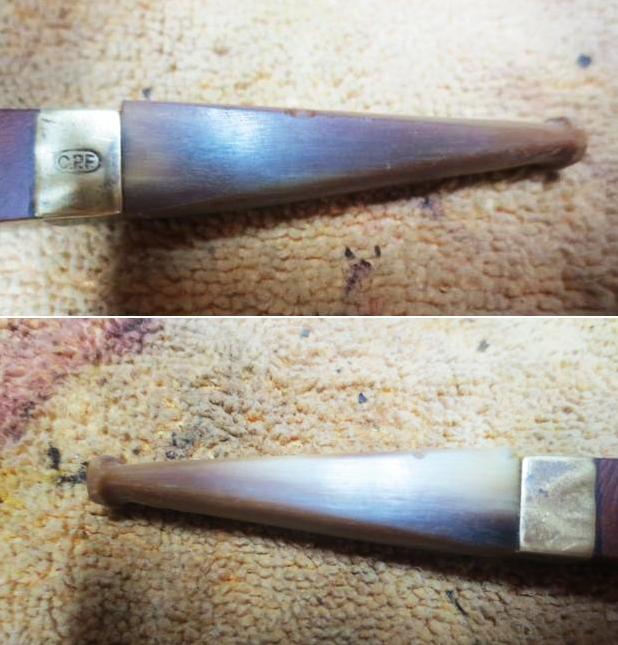
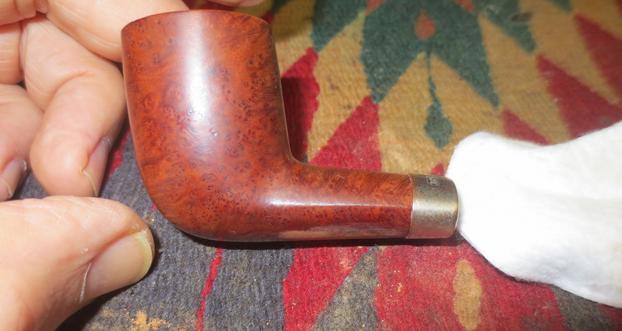
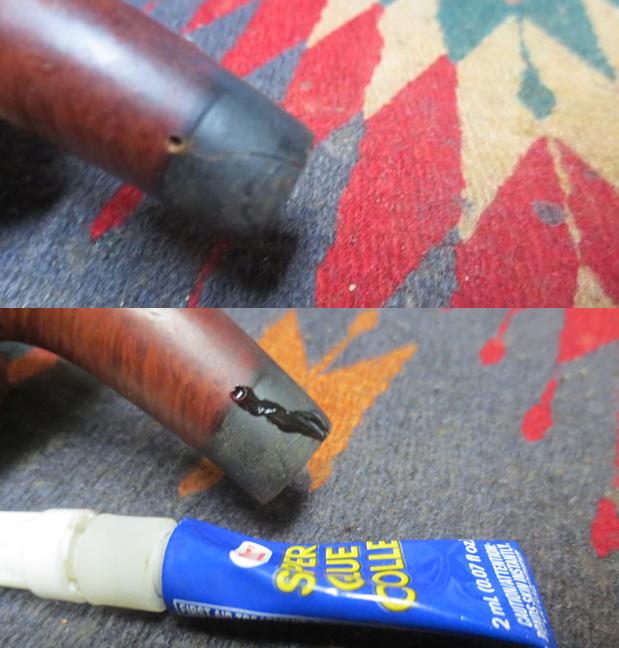 When the glue repair had dried, I sanded it smooth and pressure fit a nickel band over the end of the shank. I heated the band with a lighter to expand it and pressed the shank end and band so that the band went up the shank to cover the crack and the repair. I think that the band was a far better look for the pipe than the copper shank cap had been.
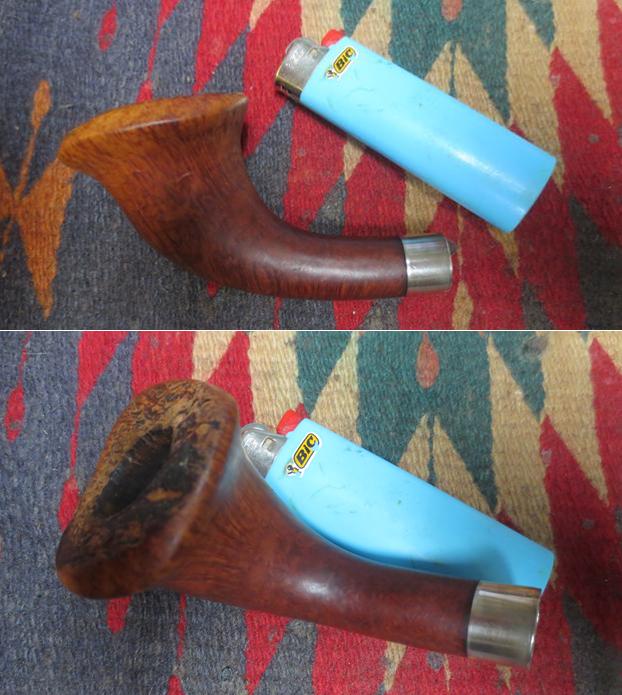
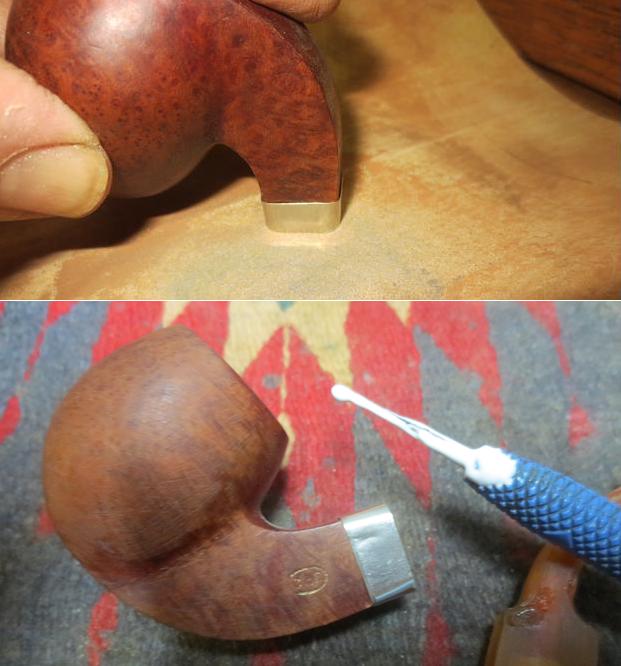
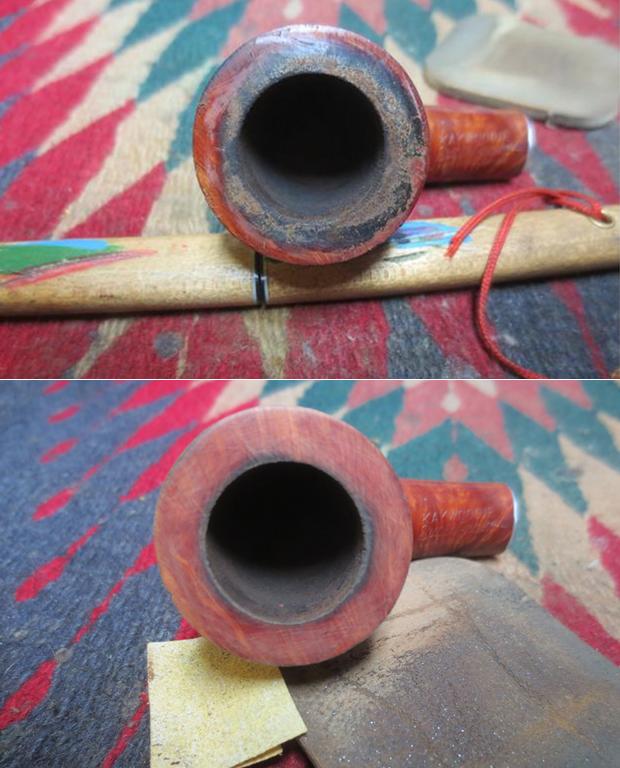
 I scrubbed the plateau top with a brass bristle tire brush to remove the remaining lava in the crevices of the surface. I worked on it until the rim top was clean.
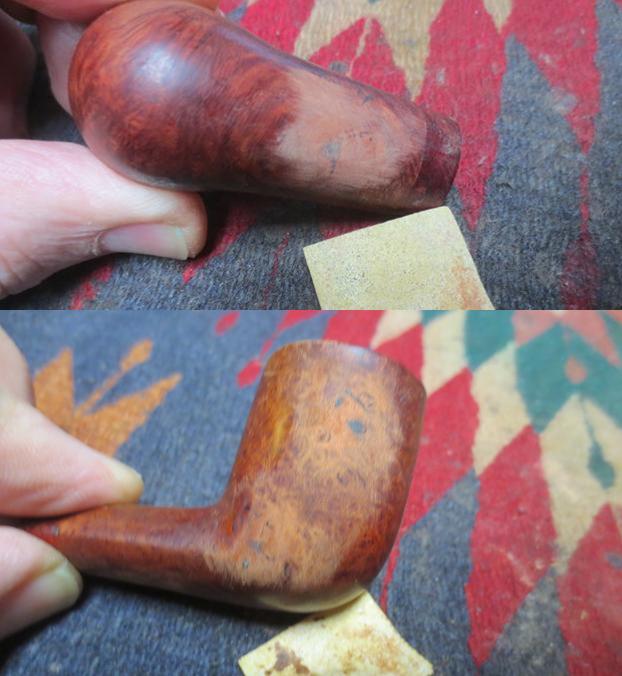
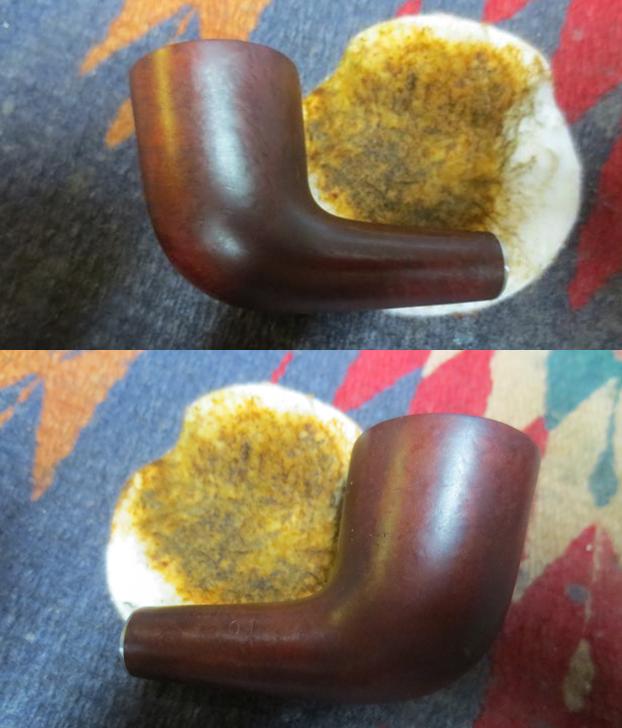
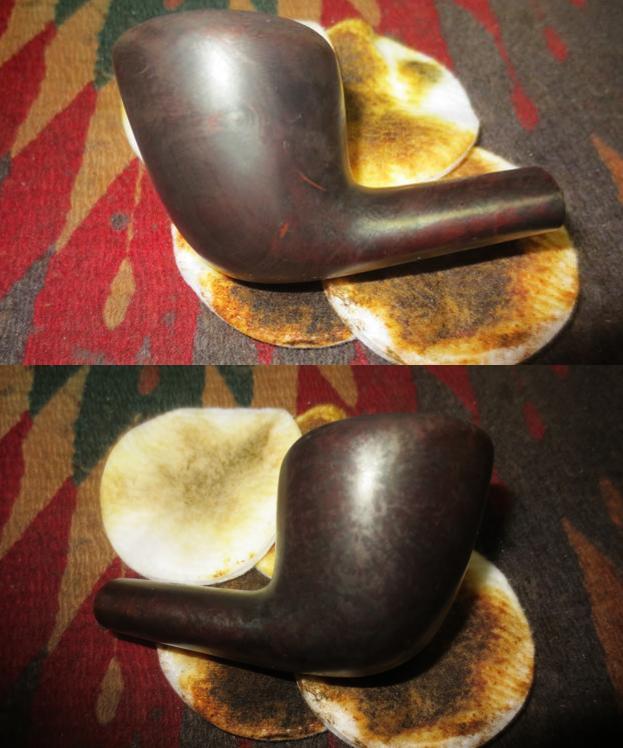
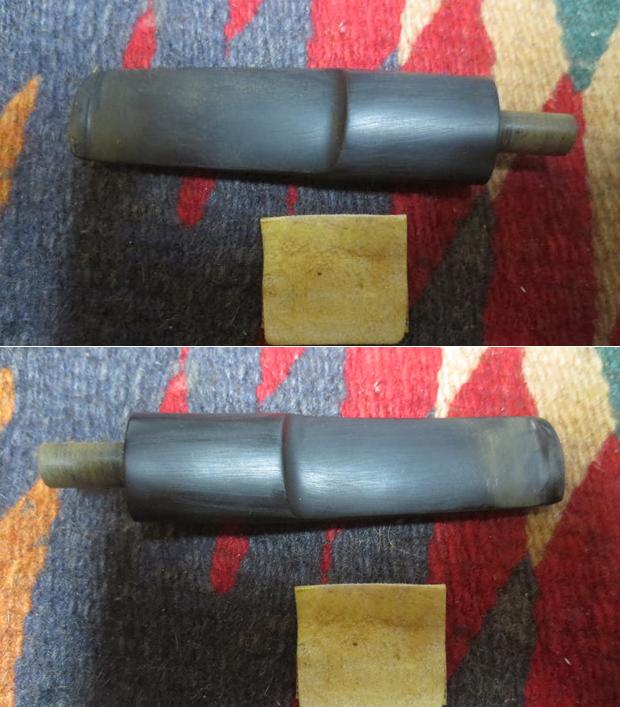
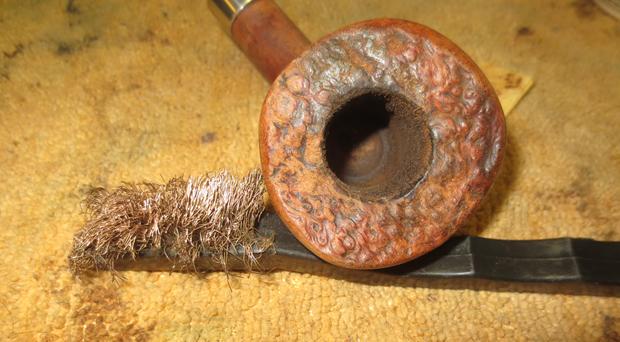 I sanded the bowl with 220 grit sandpaper to remove the warts from the surface and smooth out the scratches and dents. I wanted the surface to be smooth the way it should have been when the pipe was made. I worked on it until it was smooth to the touch. When I finished I washed the surface of the bowl and shank with acetone on a cotton pad to remove the last of the dust and the remaining finish from the briar.
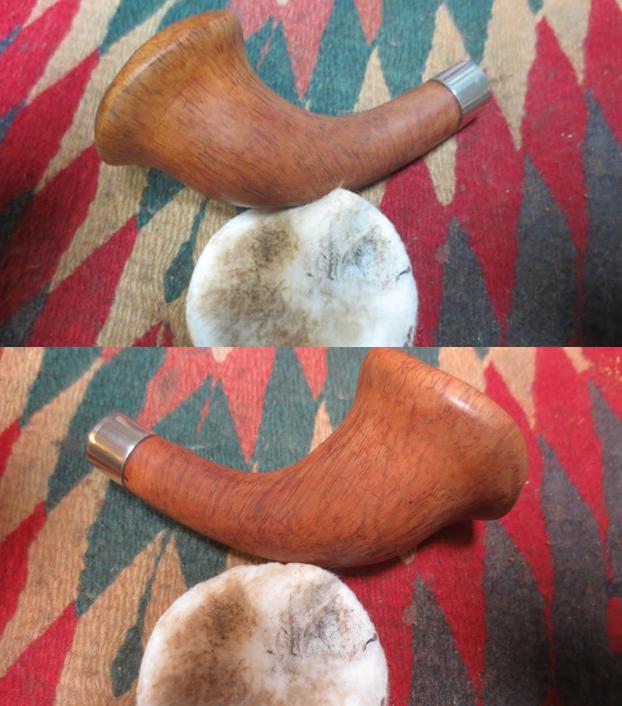
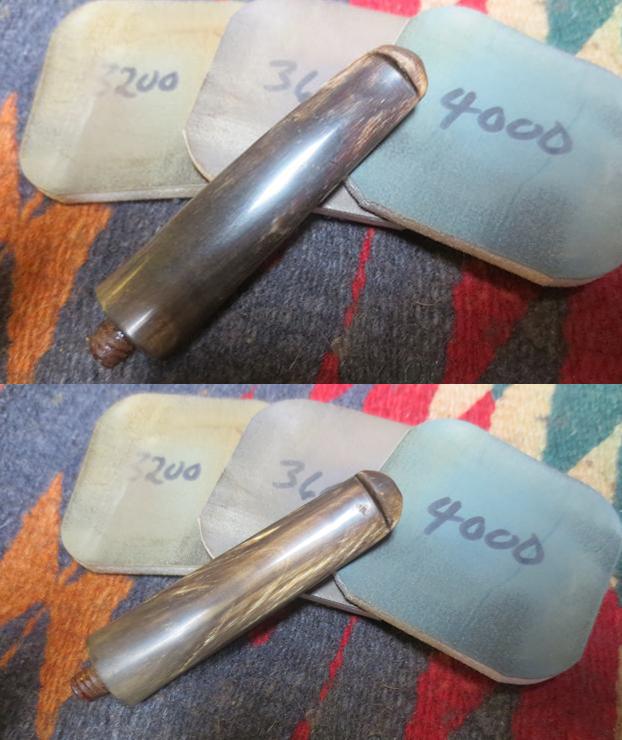
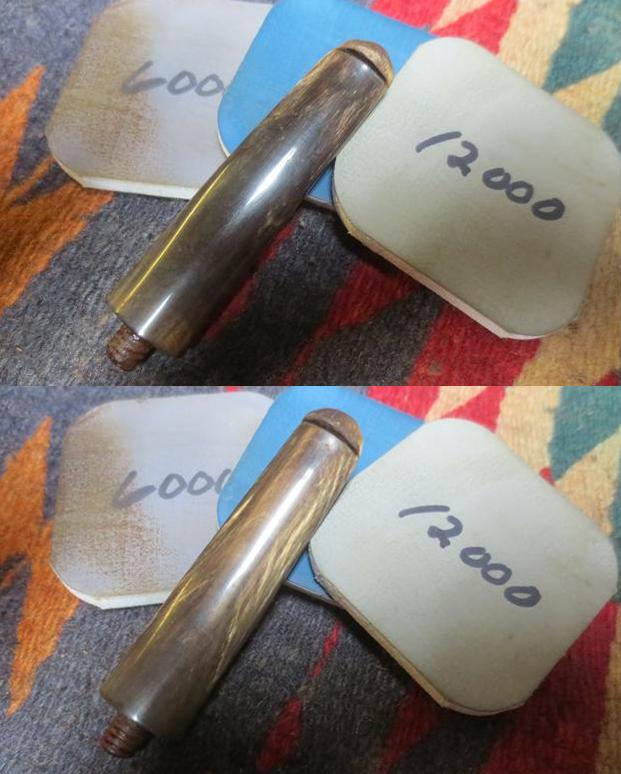
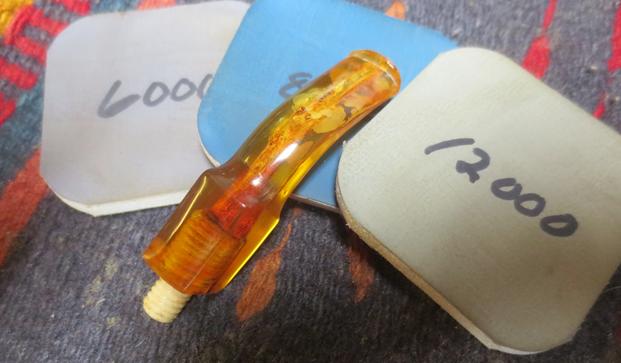
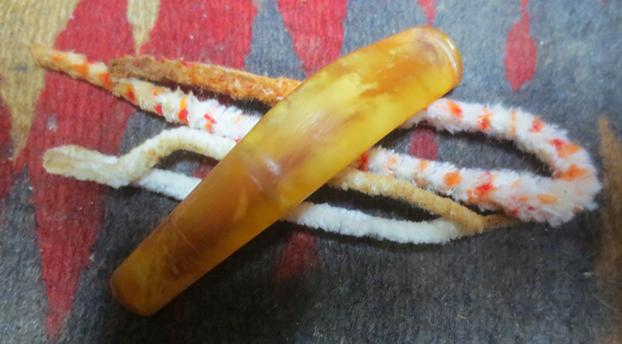
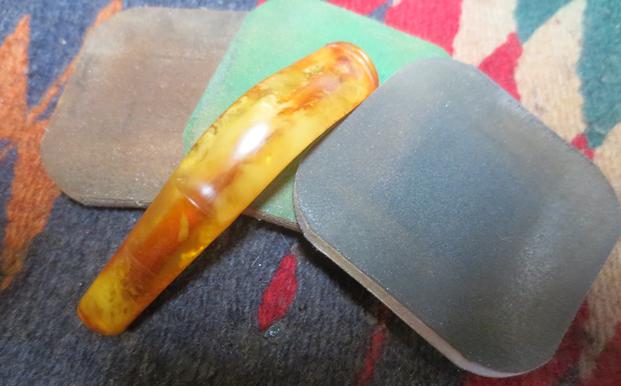
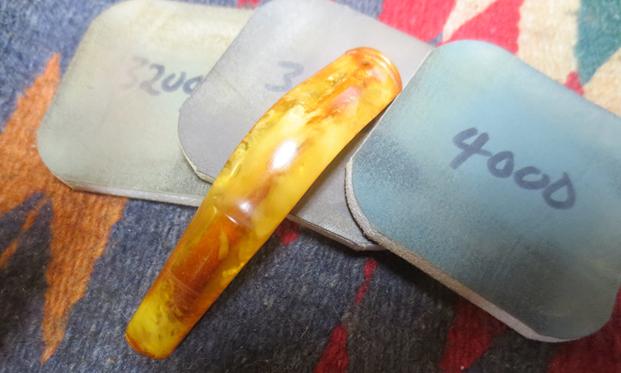
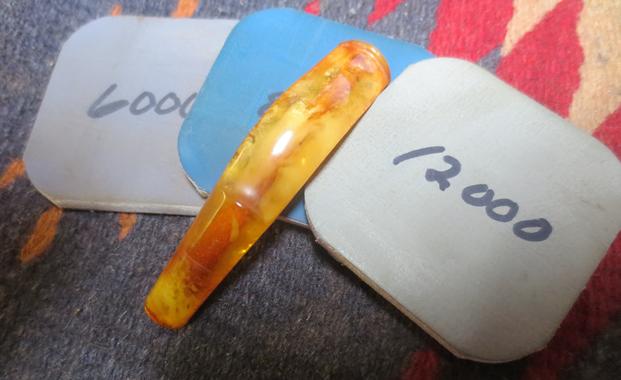
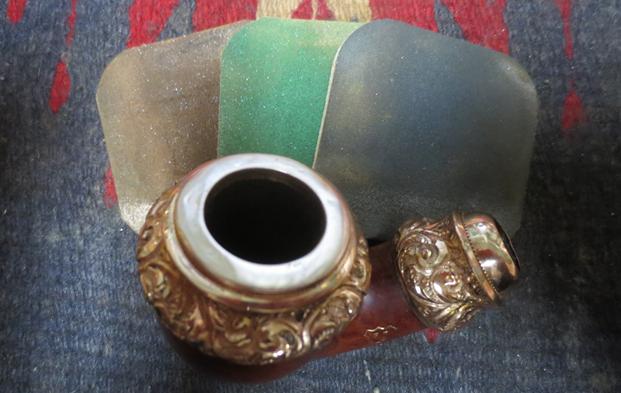
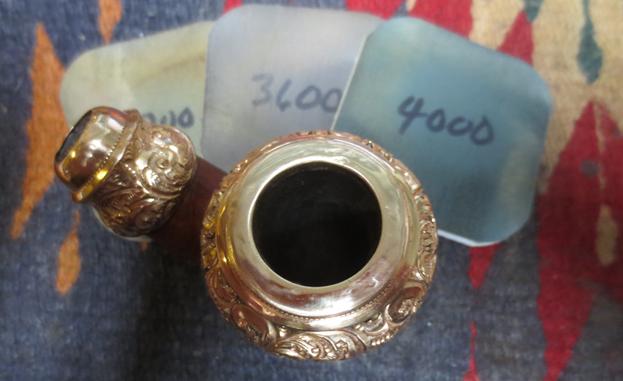
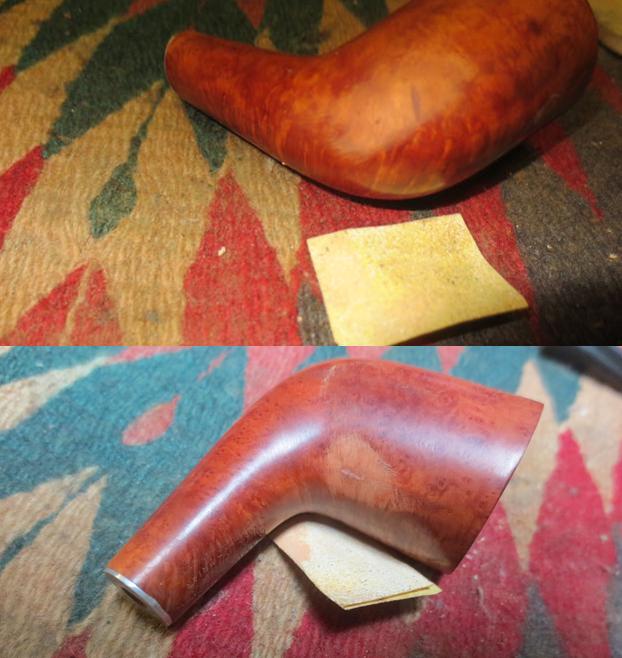
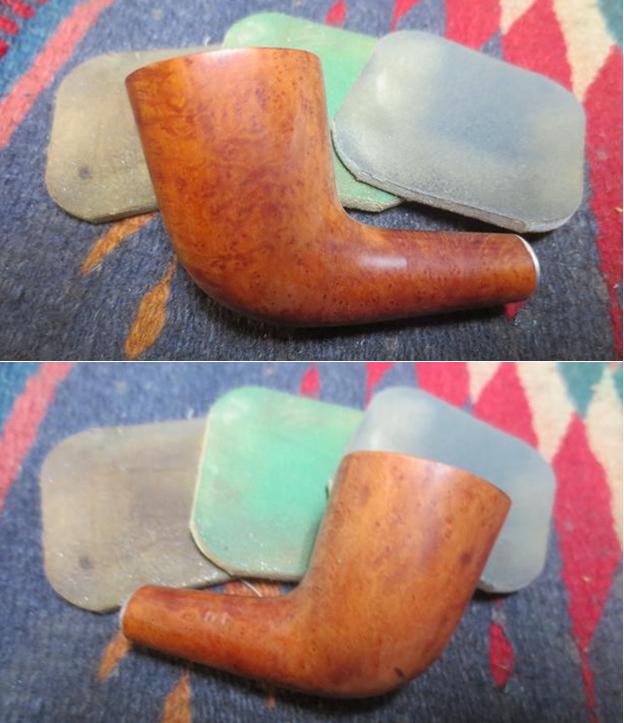
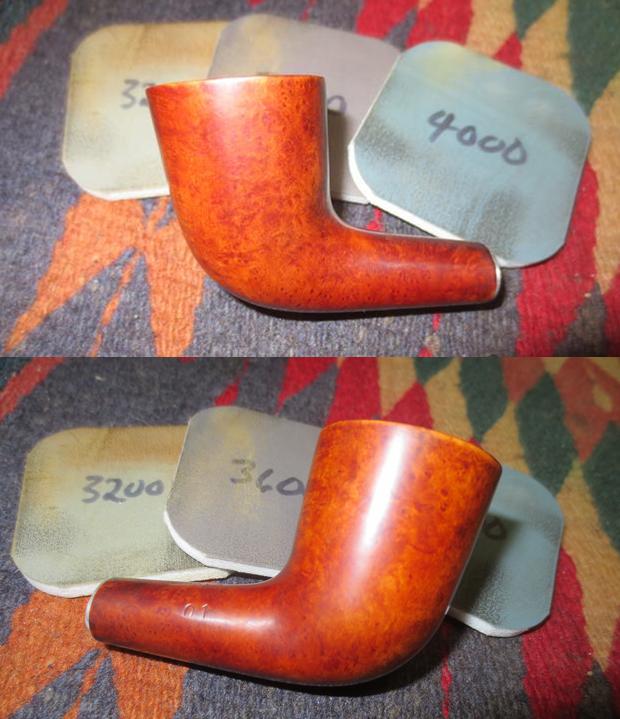
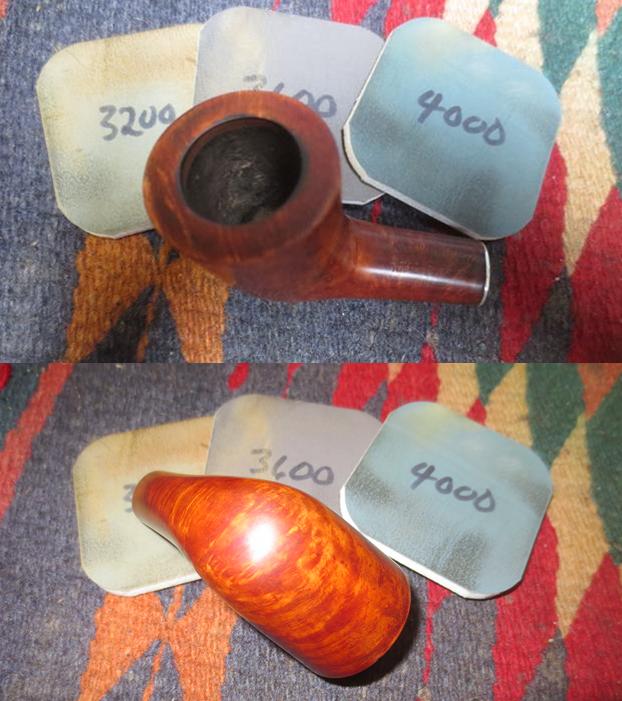
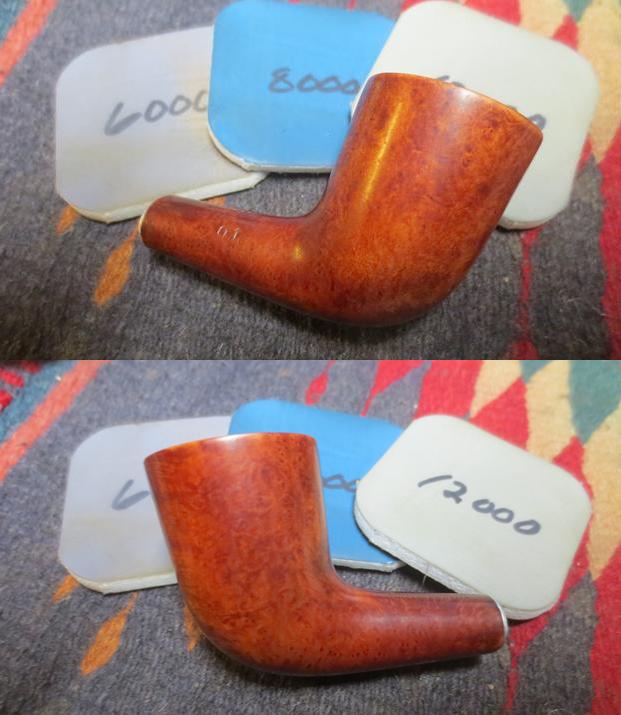
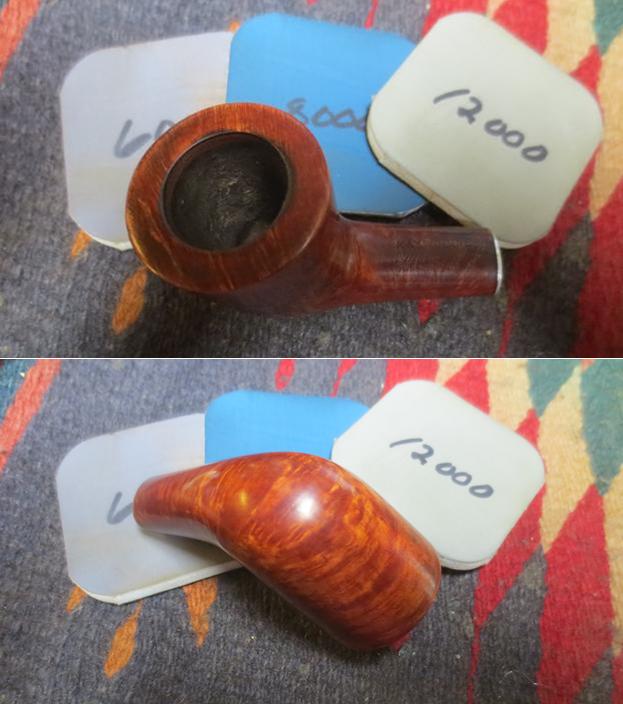
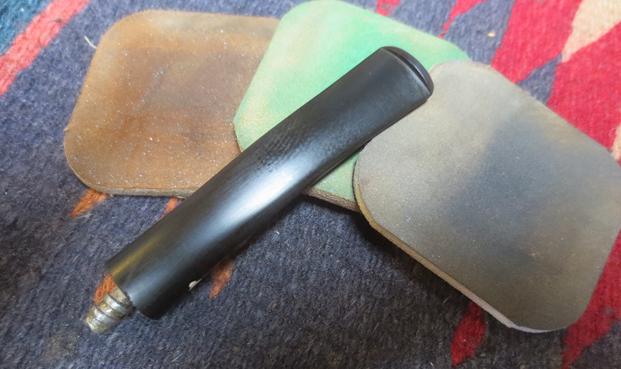
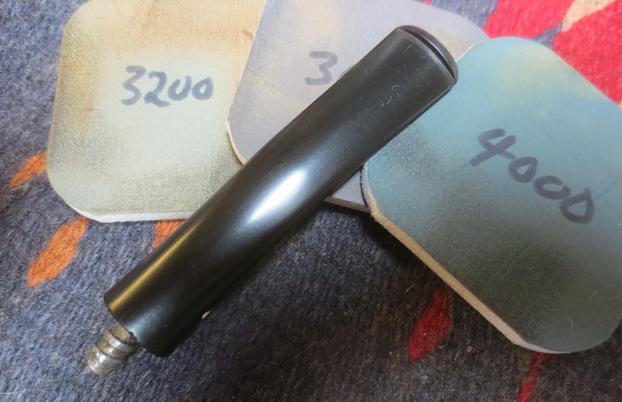
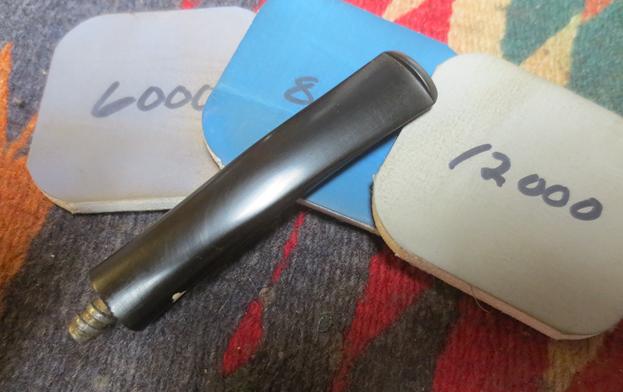
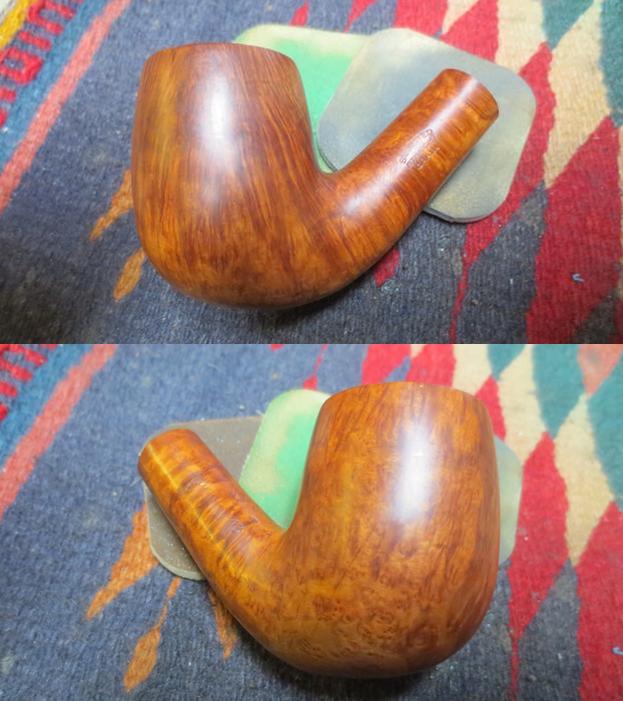
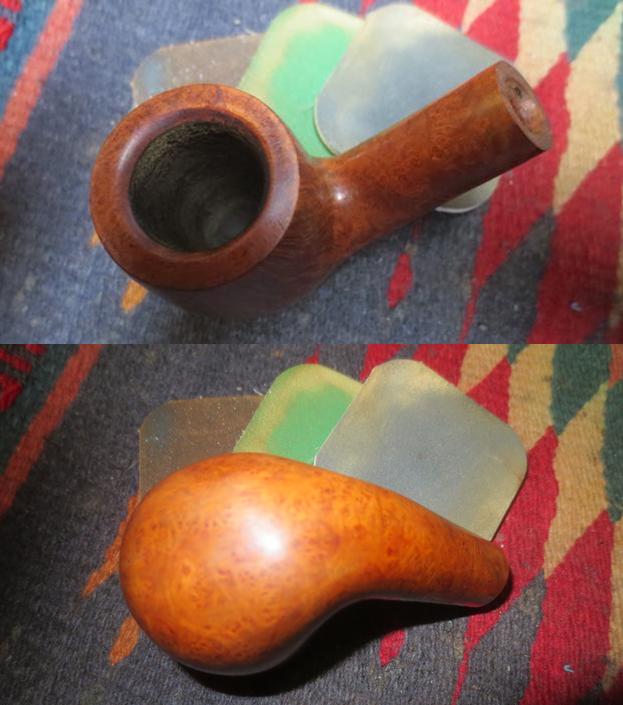
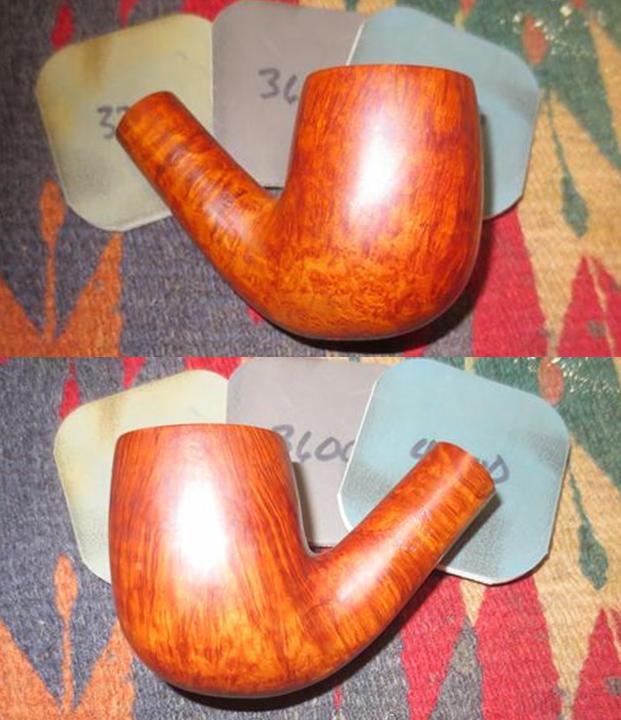
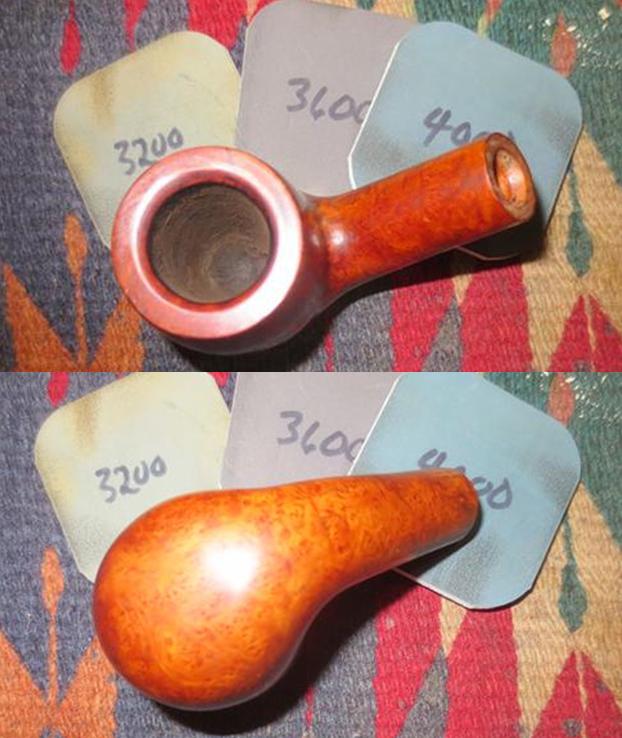
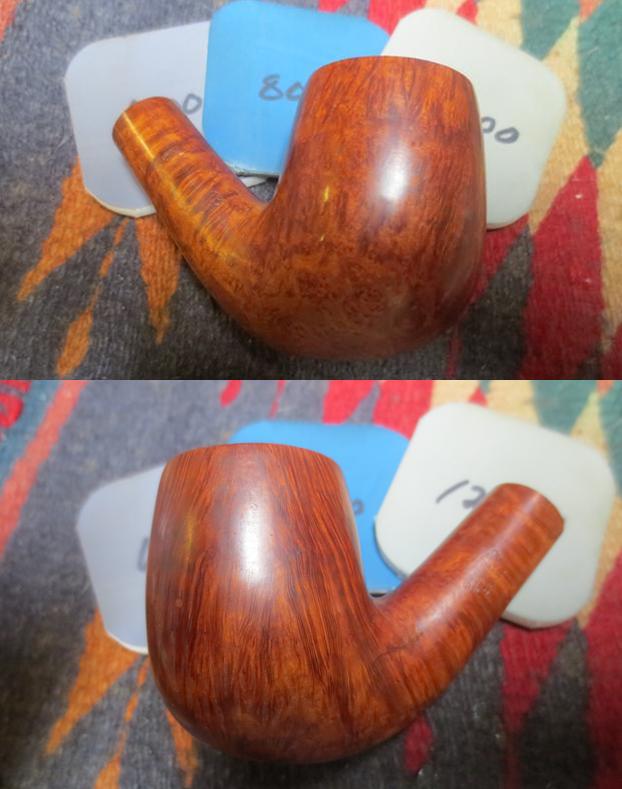
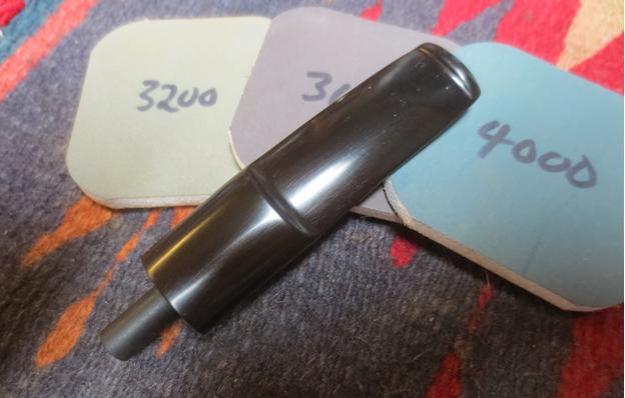
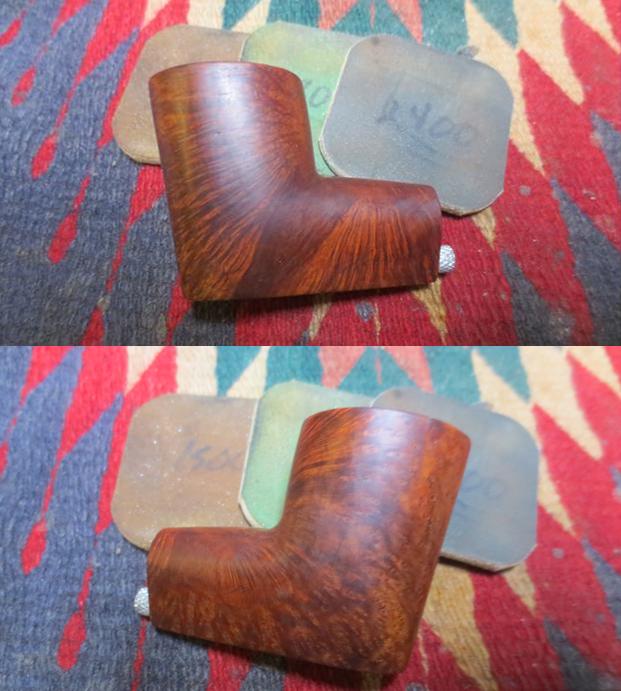
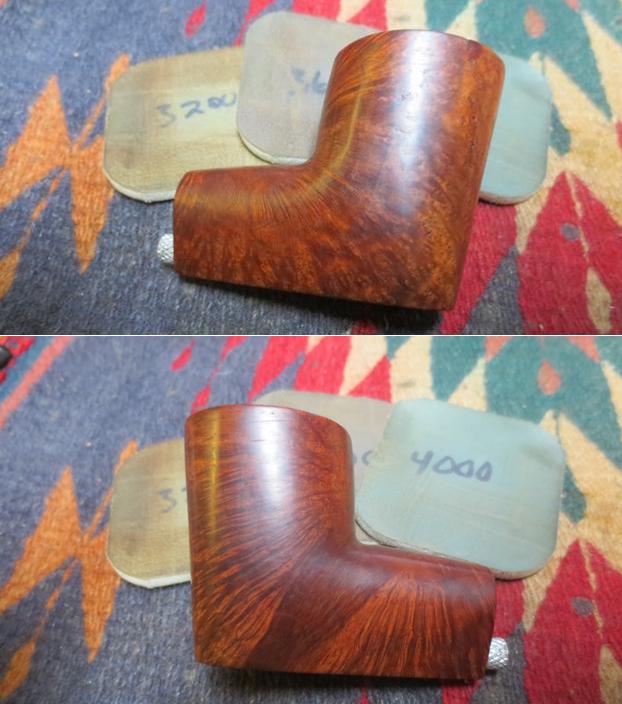
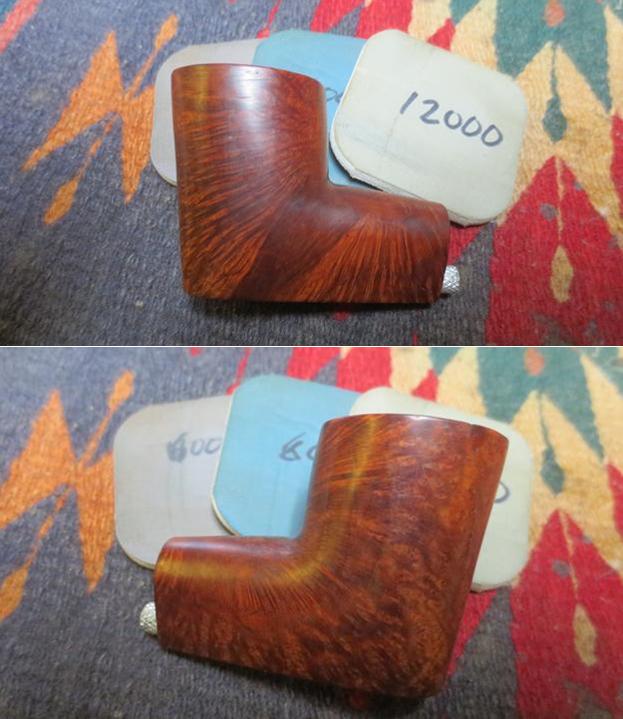
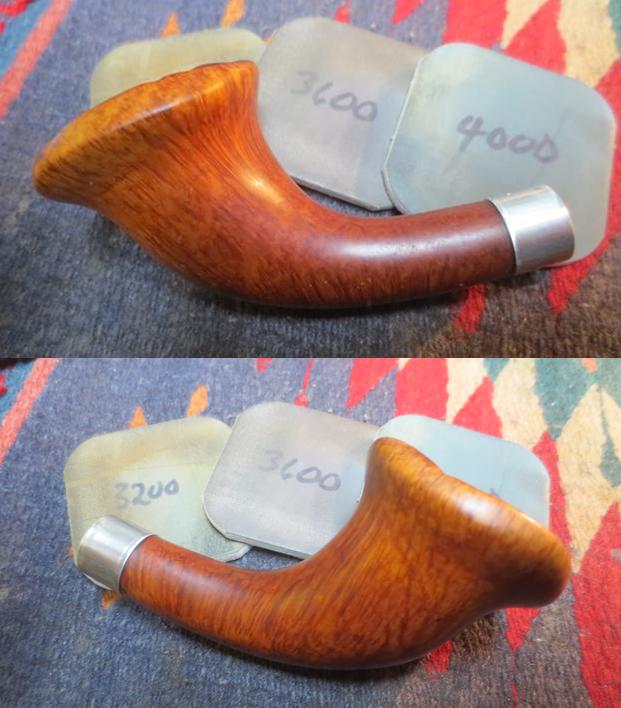
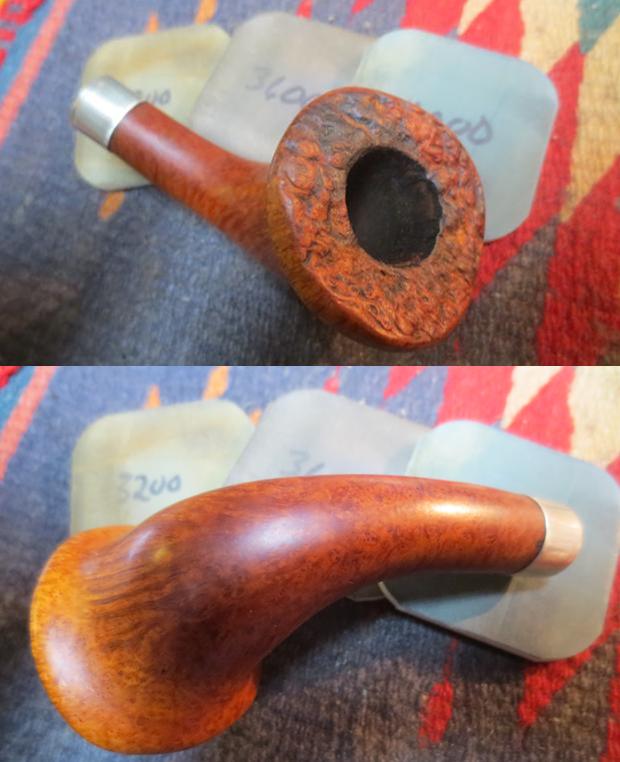
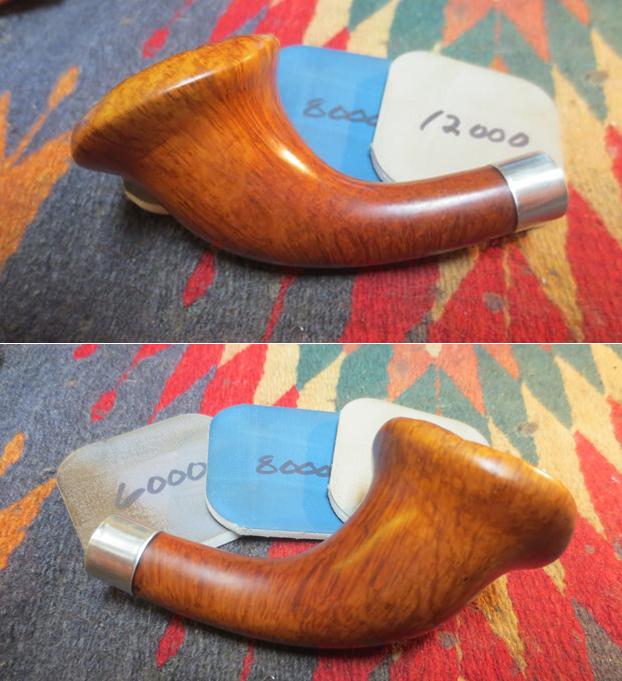
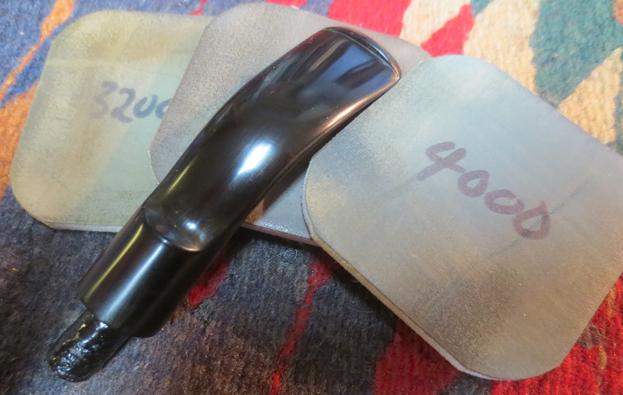
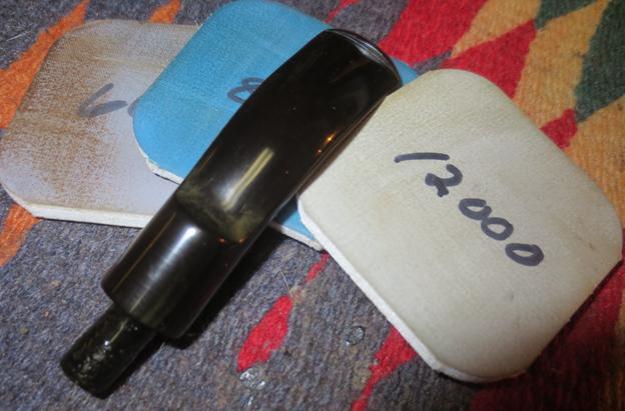
 I buffed the bowl with Blue Diamond to polish it a bit and see where I needed to do some work before the final buff. I hand polished the briar with micromesh sanding pads – wet sanding with 1500-2400 grit pads and dry sanding with 3200-12000 grit pads. I wiped the bowl down with a damp cloth after each buffing pad. I hand buffed it with a microfibre cloth after the 12000 grit pad. The pictures below show the progress of the polishing on the briar.
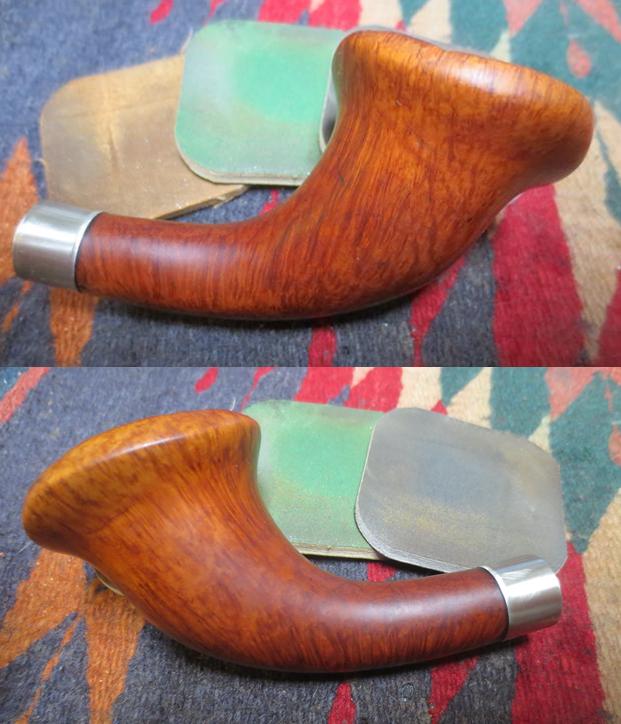

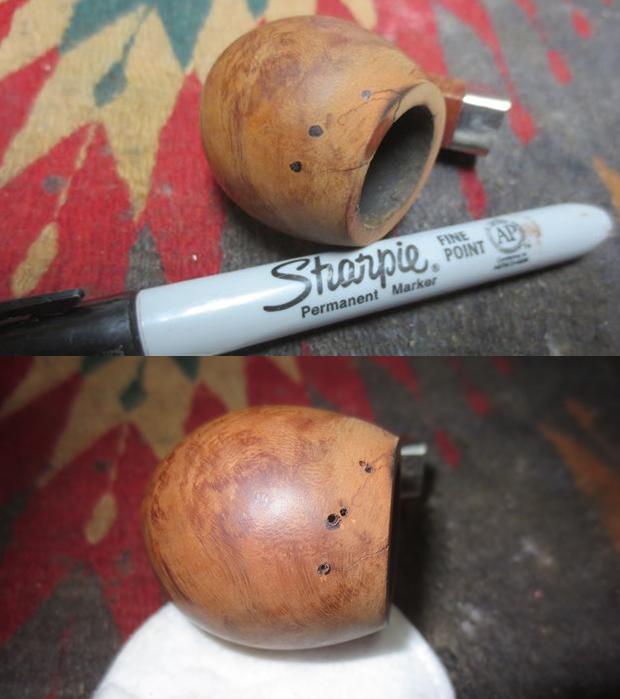
 I used a black Sharpie Pen to colour in the crevices on the plateau top. I wanted the smooth high spots to shine through the deep black in the grooves. The contrast would look really good once the pipe was given a finish coat of stain and was buffed and waxed.
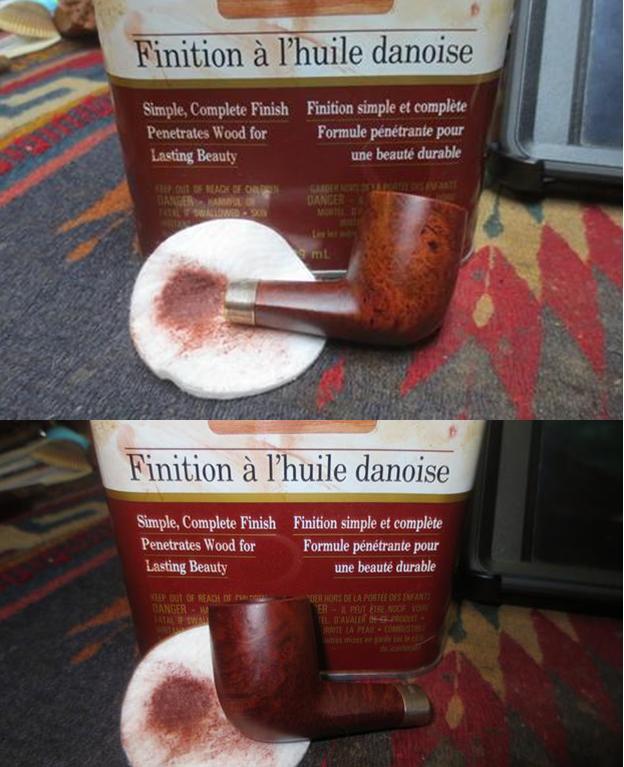
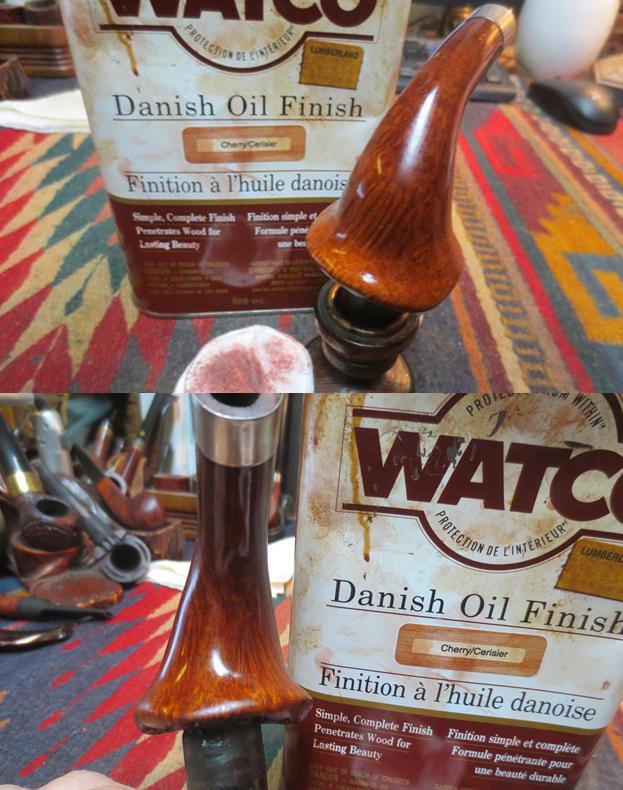
 I stained the briar with a Danish Oil Cherry stain to highlight the red colours in the briar and bring about a contrast with straight grain. I stained the plateau as well to give red hues to the high spots and contrast with the black of the crevices on the top.
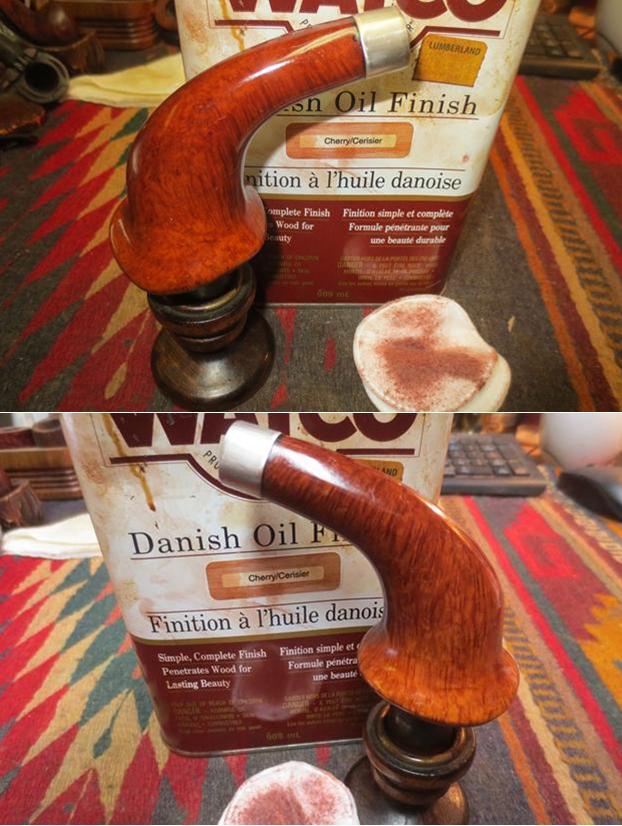
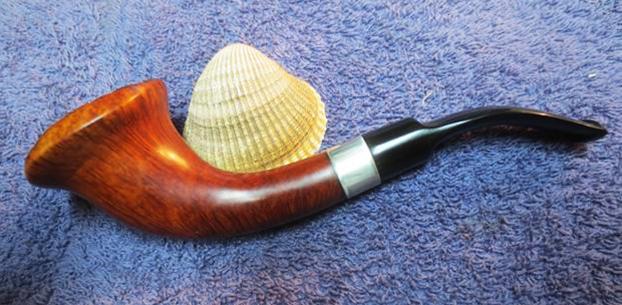
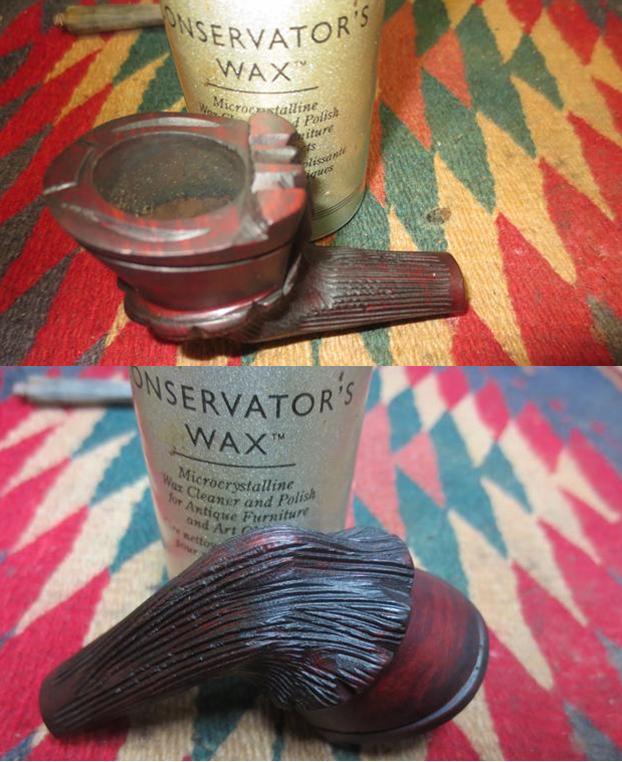
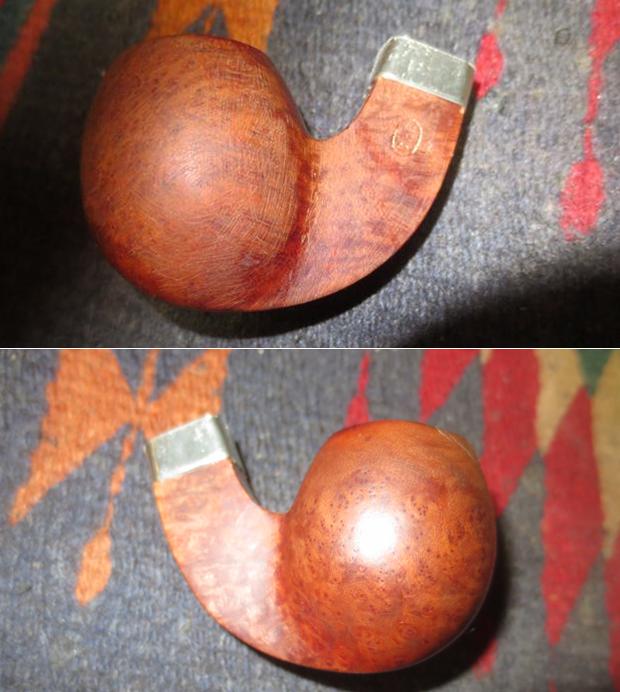
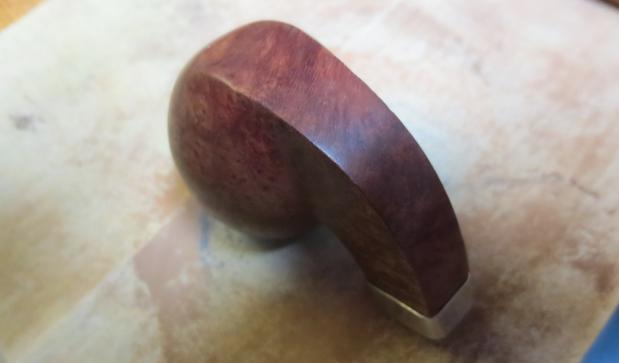
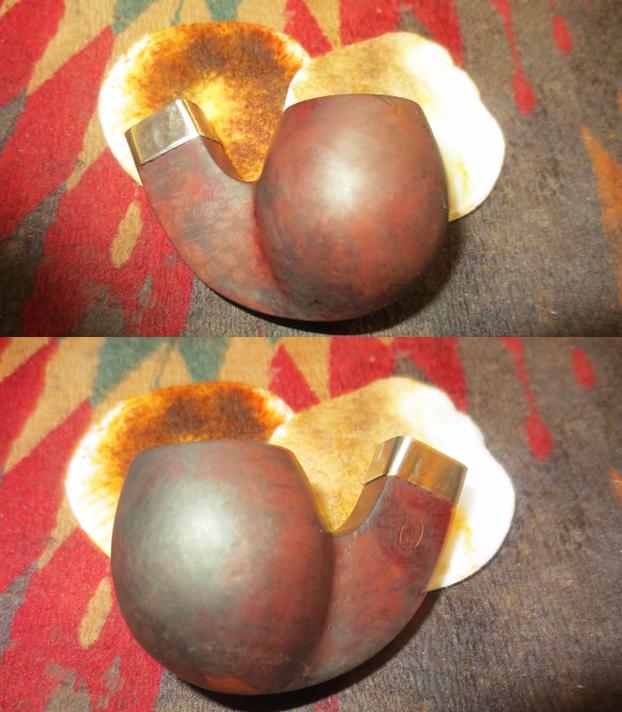
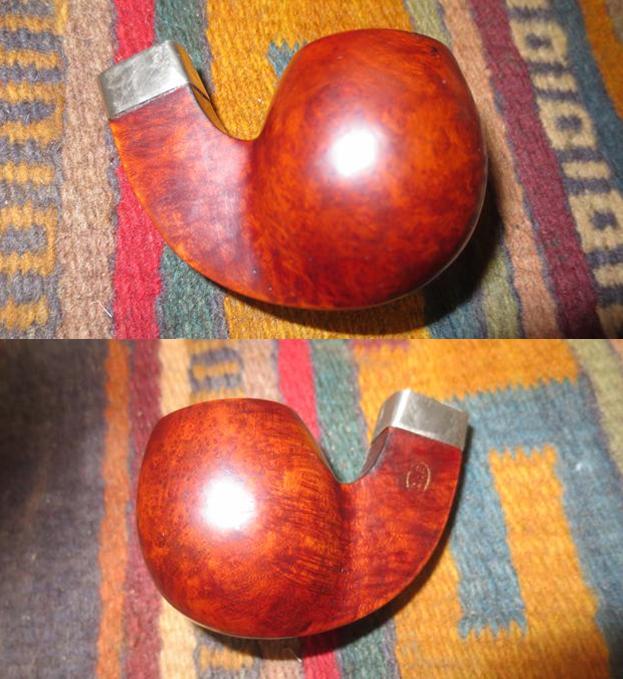
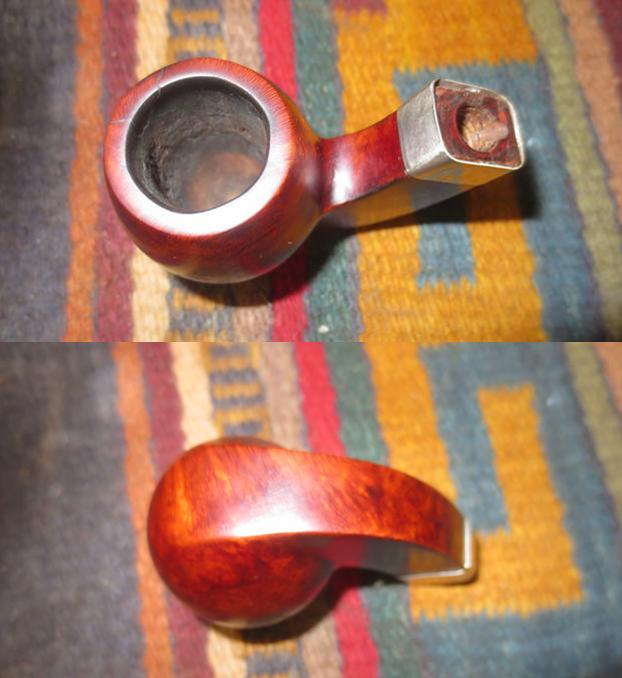
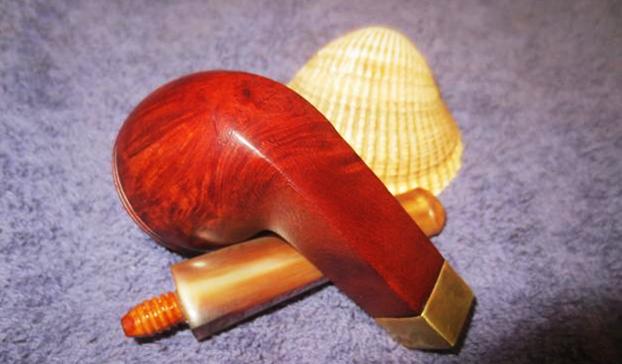
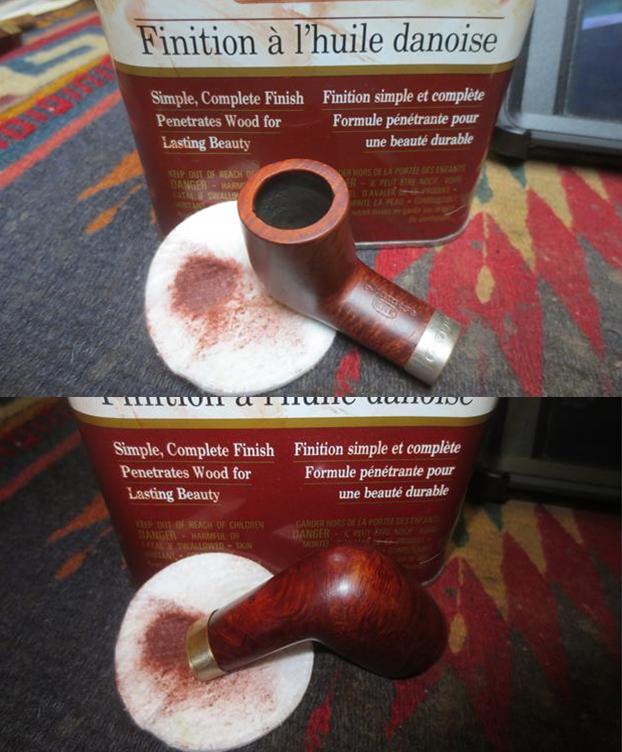
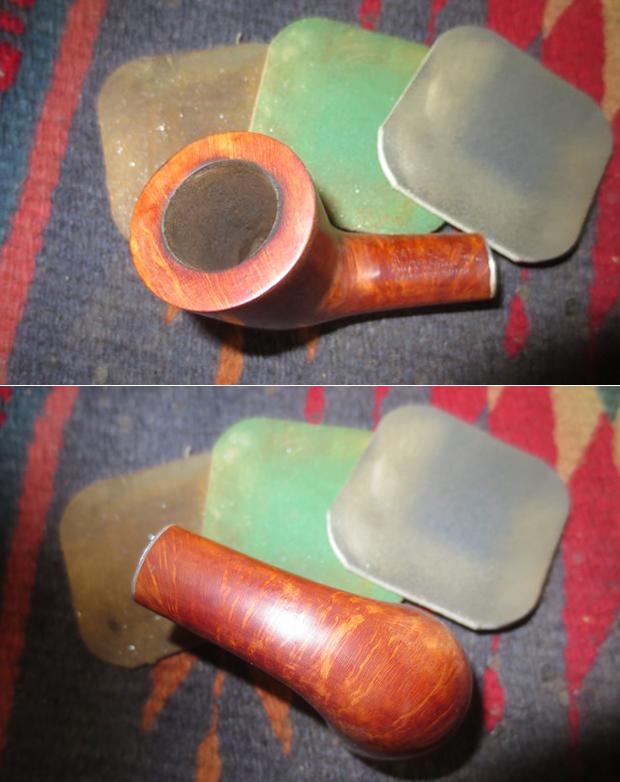
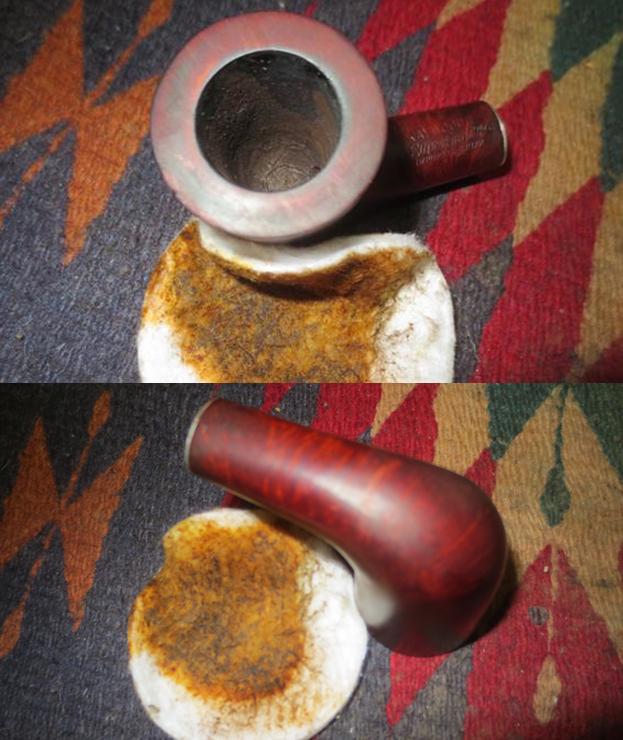
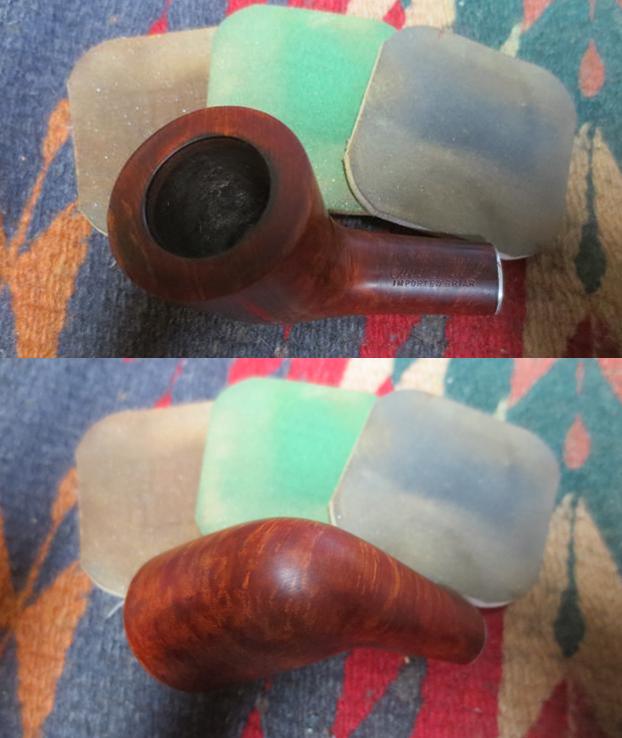
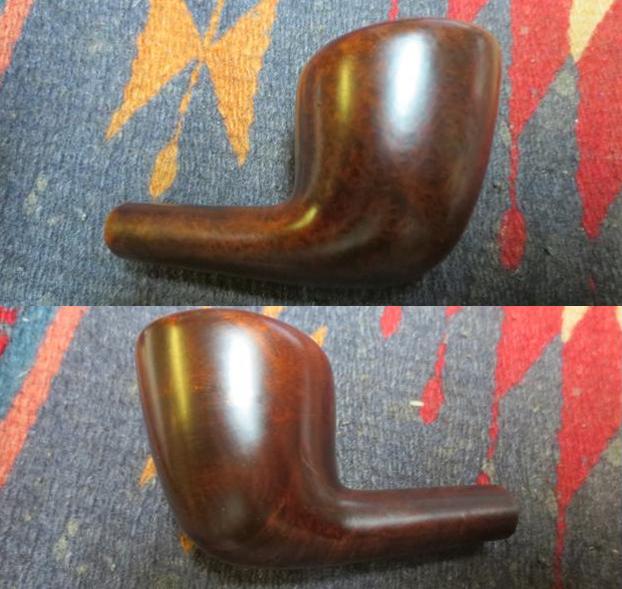
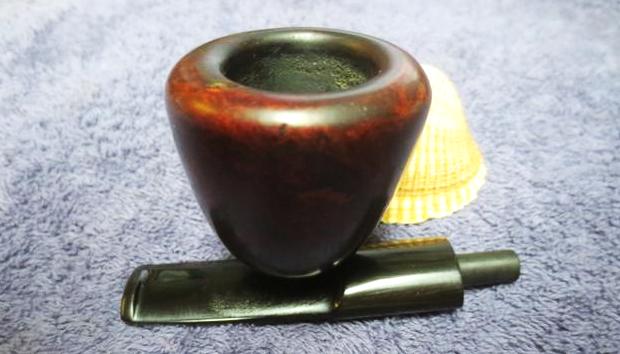
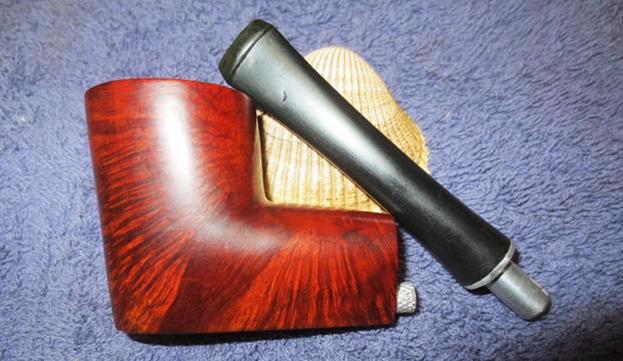
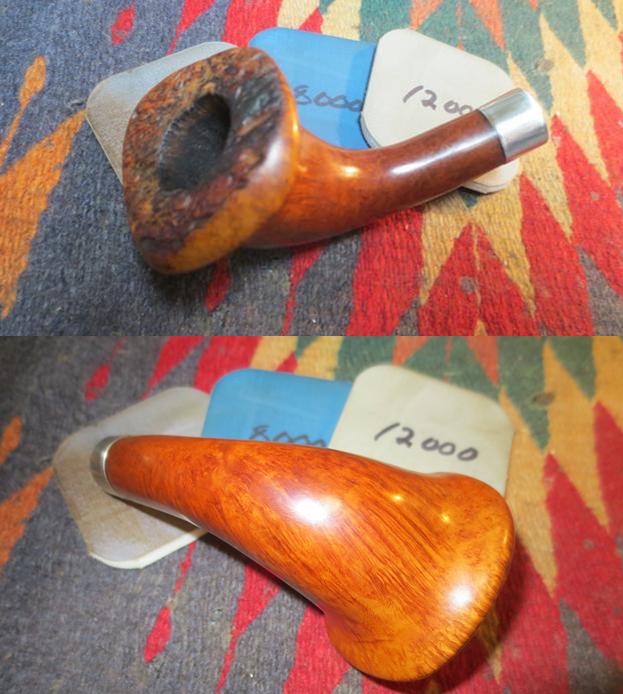
 I hand buffed the bowl with a soft cotton cloth and then with a microfiber cloth to raise the shine. The bowl looks really good and the grain stands out. The straight grain all around the bowl sides looks really good.
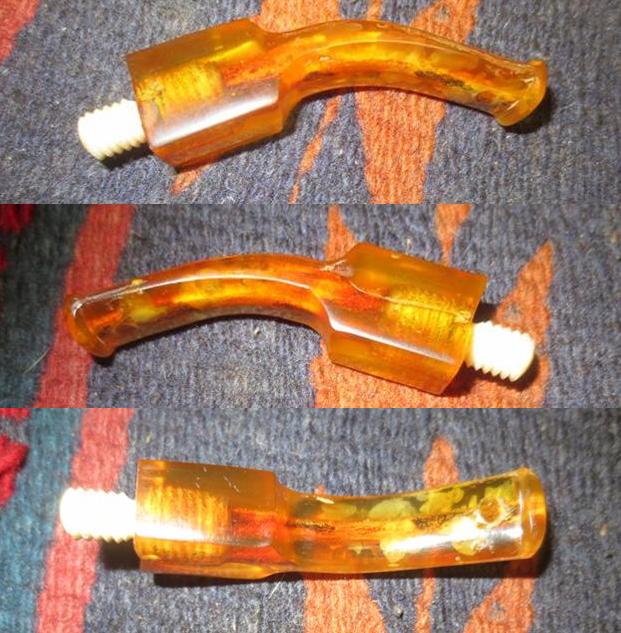
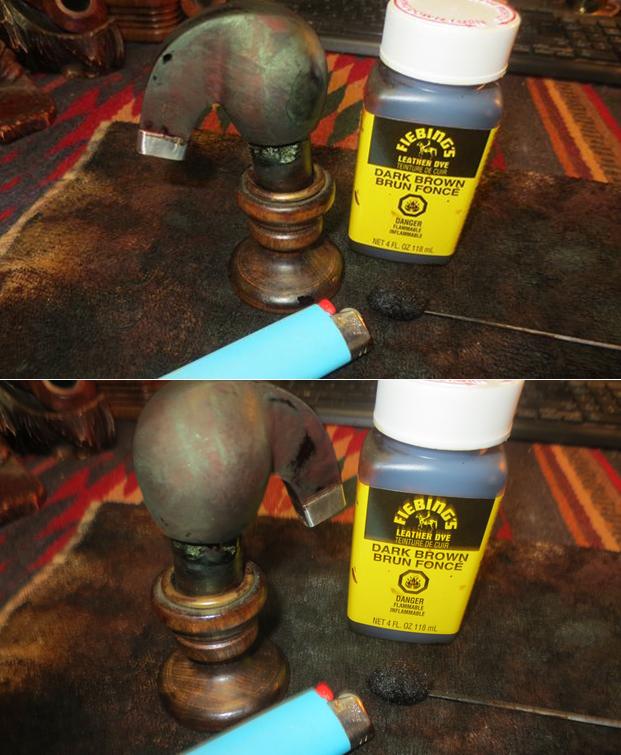
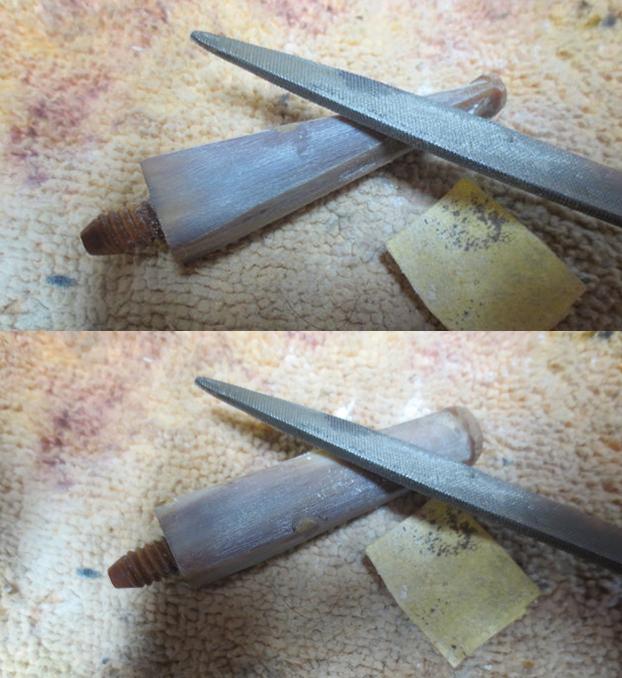
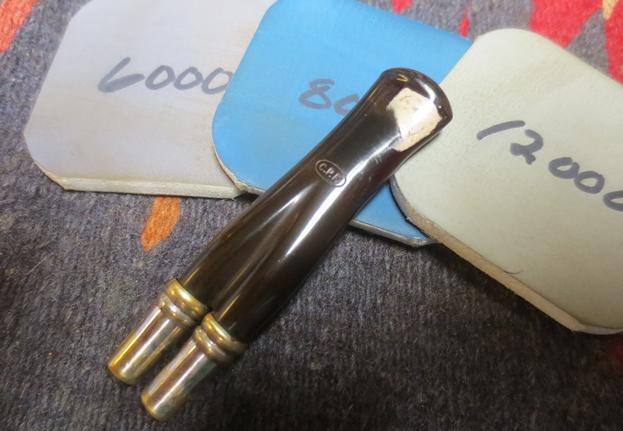
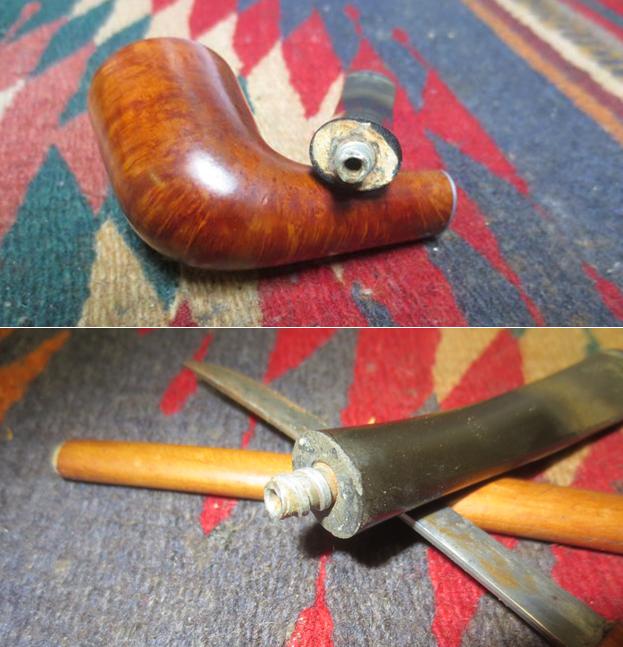
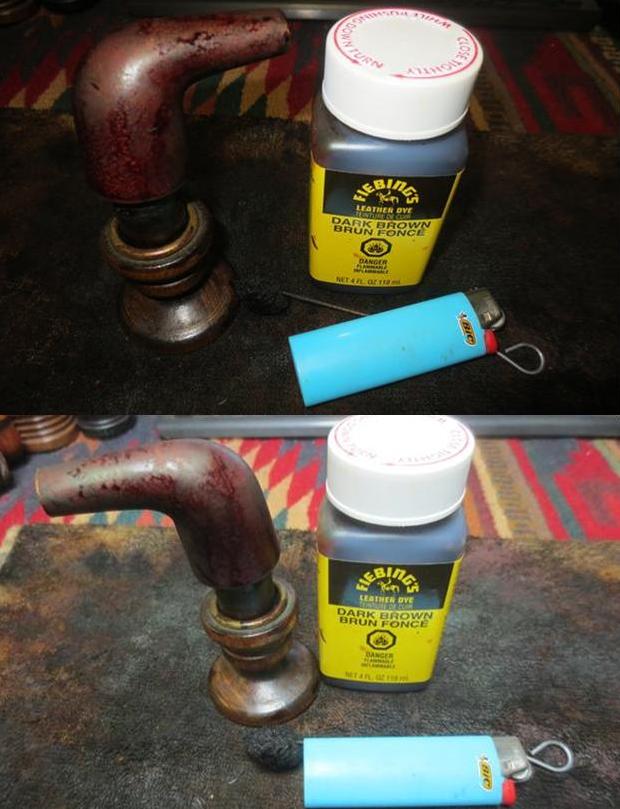
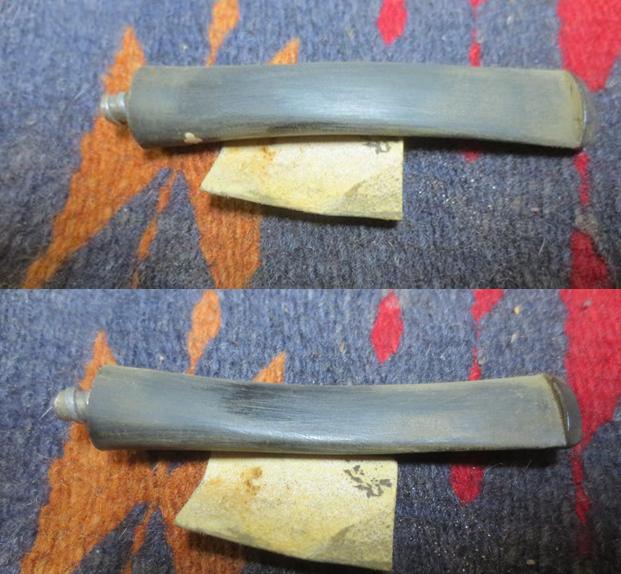
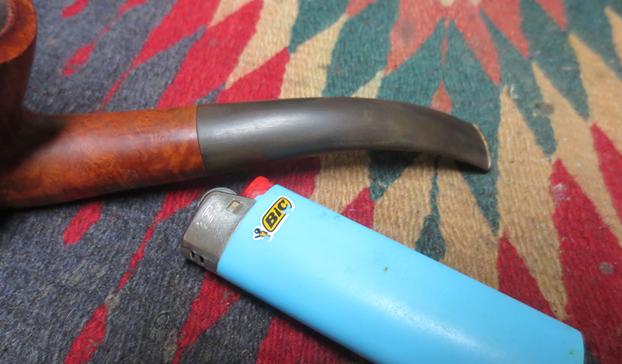
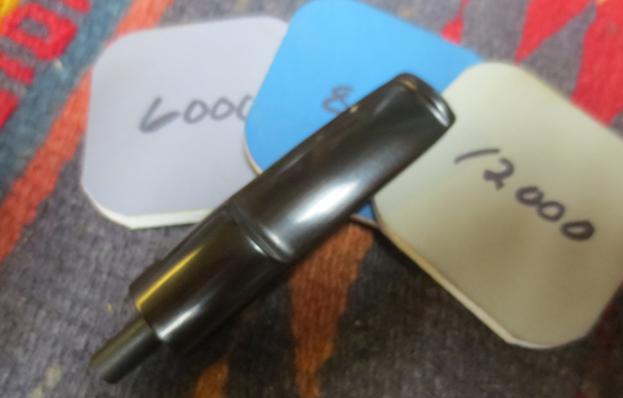
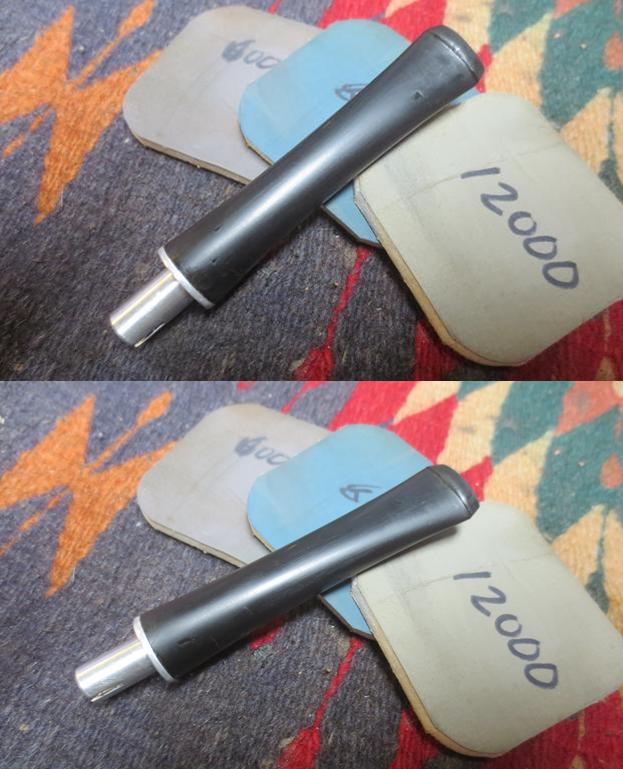
 I chose a vulcanite saddle stem for the replacement for the Lucite stem. I knew it would be a bit of work to get things lined up because of the drilling in the shank. I measured the angles in the shank and figured I would need to bend the tenon at the angle shown in the photo. I heated the tenon and put it in the shank while it was still pliable and set the angle to match the angle of the mortise. The photo below shows the angle on the tenon. Bent at that angle the stem sits tight against the mortise. It gives you a good idea of the how poorly drilled the pipe was and what measures I had to take to line things up. I gave the tenon a coat of clear fingernail polish to make it fit snug in the mortise and let it dry. I roughened it up with the edge of a needle file to give it a bite in the shank. I tried the fit and all was well.
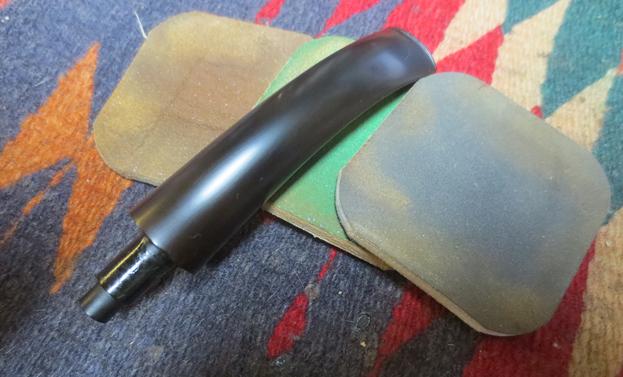
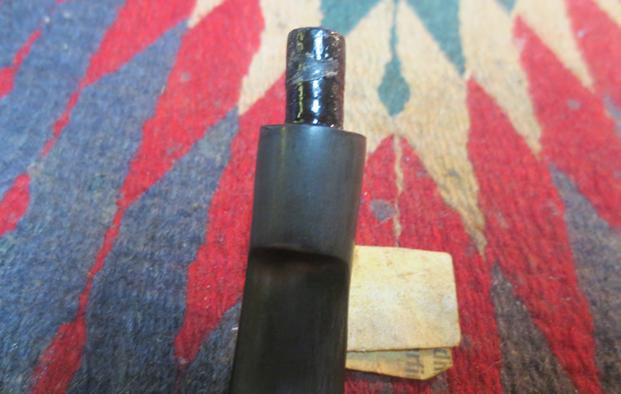 I sanded the stem surfaces with 220 grit sandpaper to remove the light oxidation and the tooth marks and chatter on both sides of the stem. I worked on it until it was black and there was no remnant of oxidation or tooth marks.
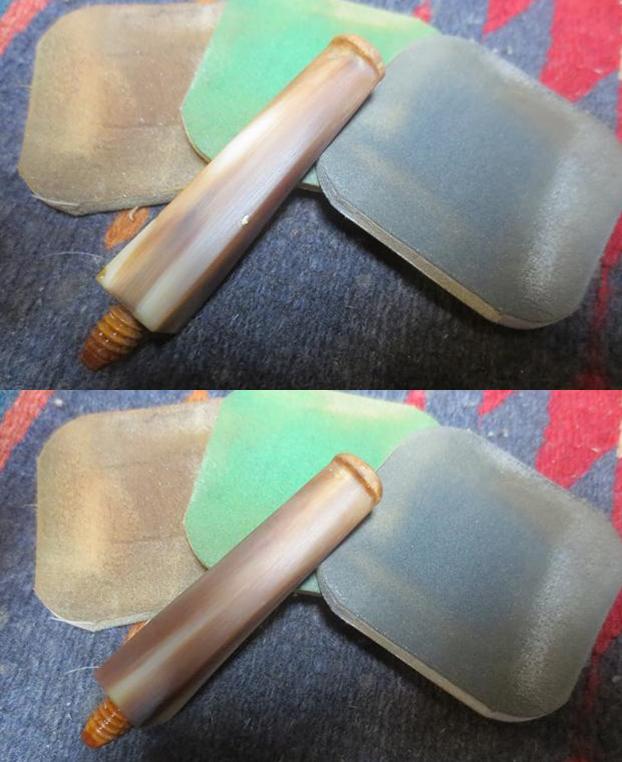
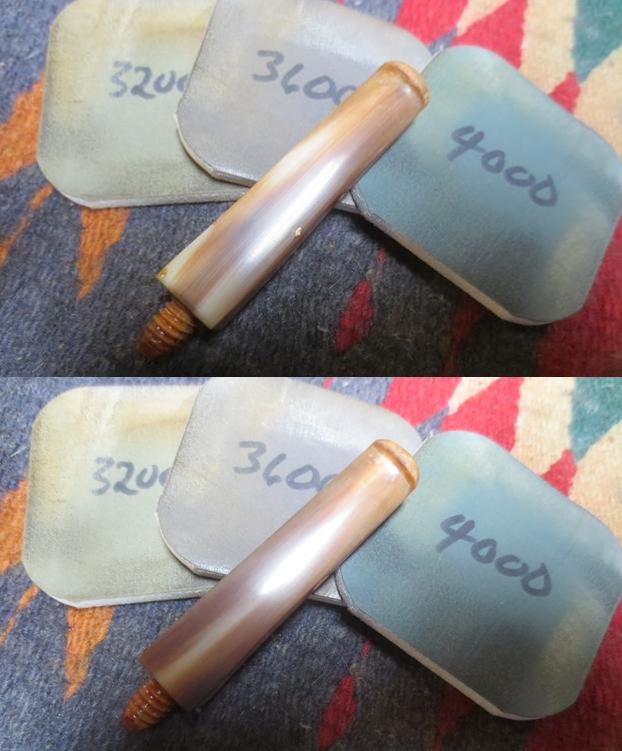
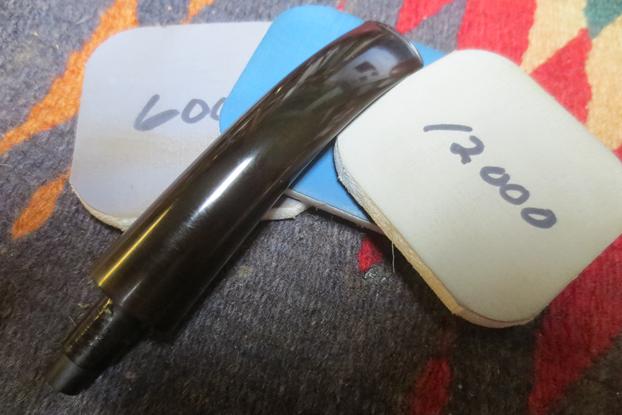
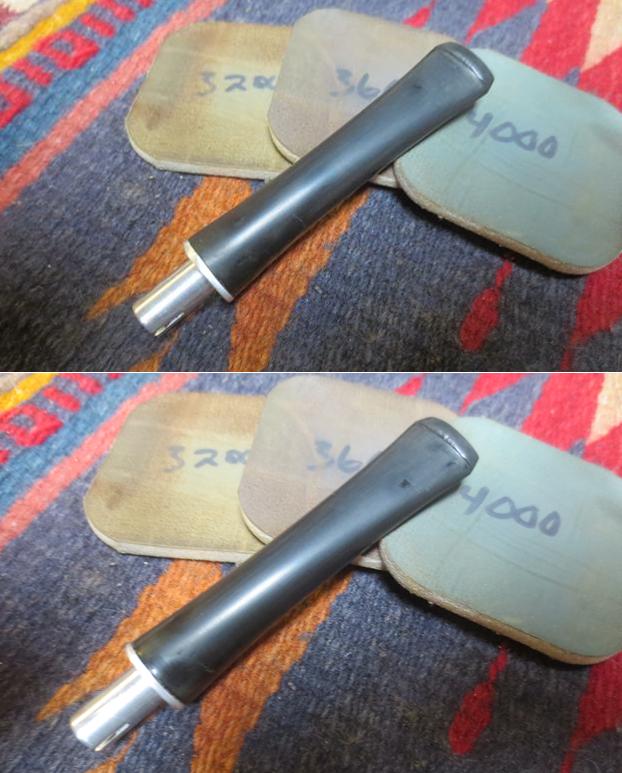
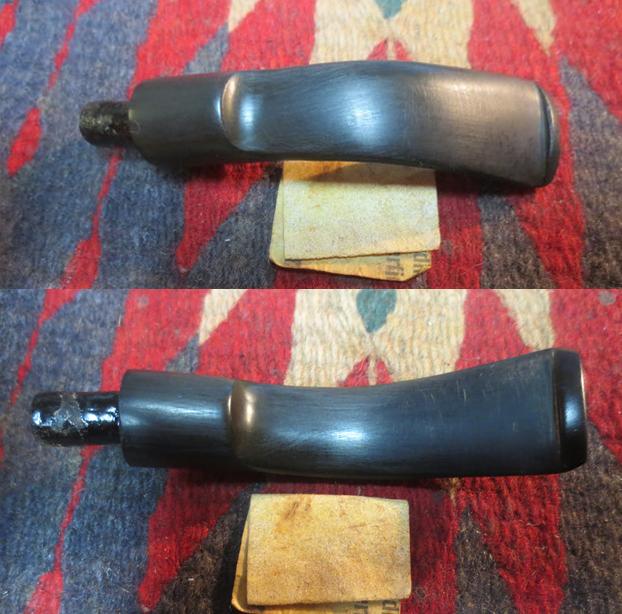 I polished the stem with micromesh sanding pads – wet sanding it with 1500-2400 grit pads and dry sanding it with 3200-12000 grit pads. I rubbed the stem down with Obsidian Oil after each pad to give traction to the next pad and also bring a little life to the vulcanite stem. After the final pad I gave it a last coat of the oil and set it aside to dry. I left the tenon with a few ridges to add bite to the inside of the mortise and hold it firmly in place.
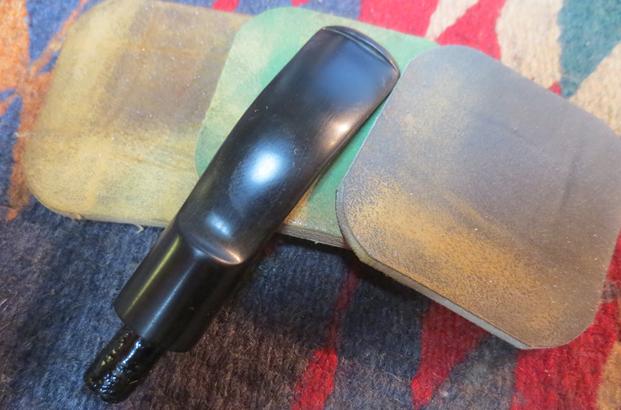
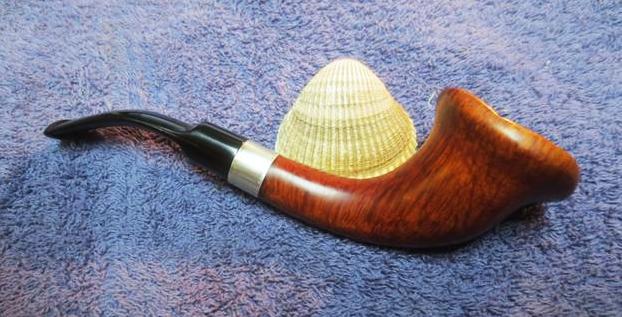
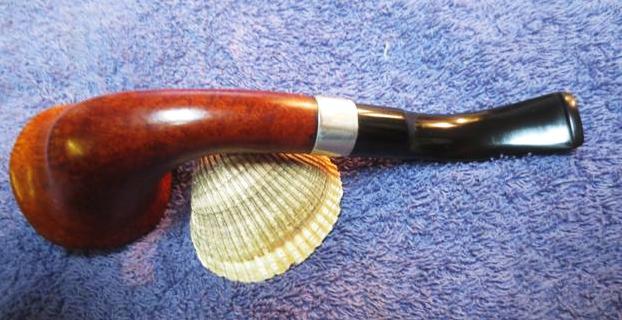
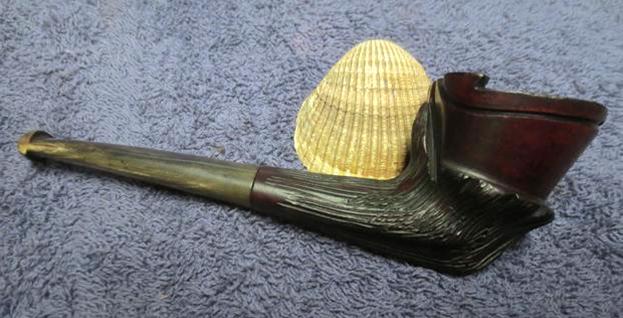
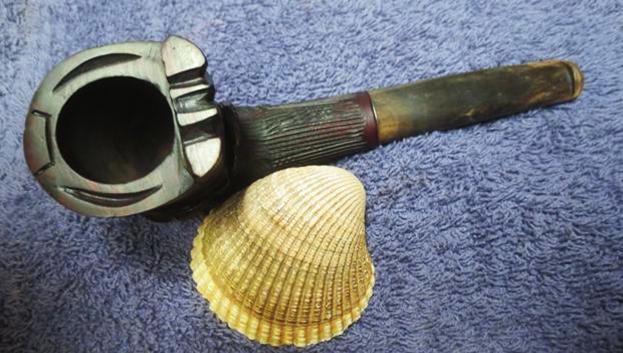
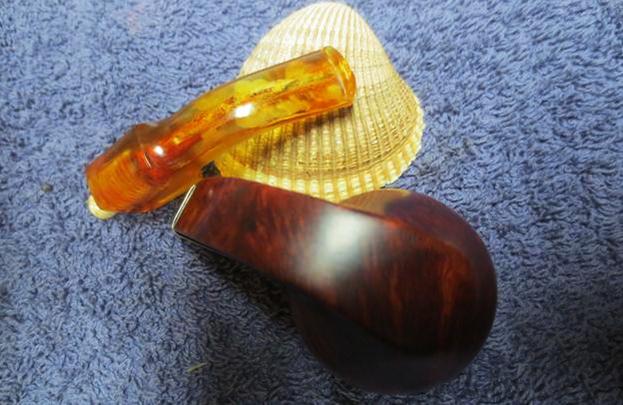
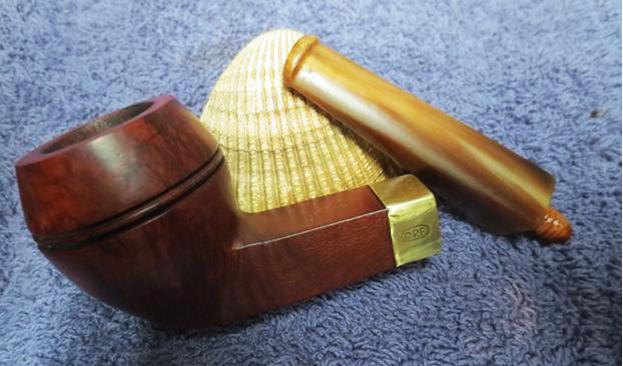
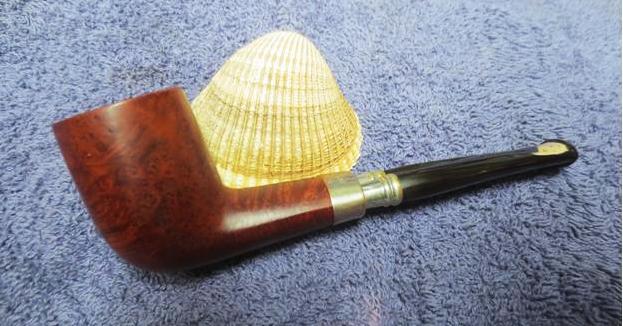
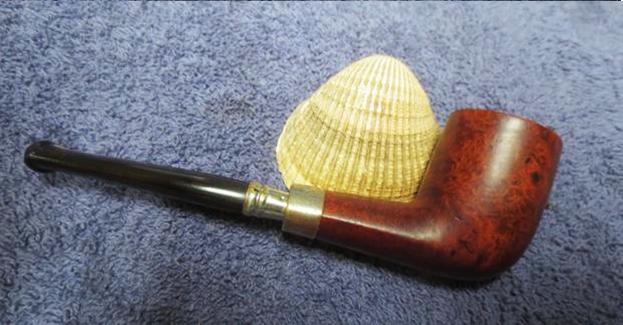
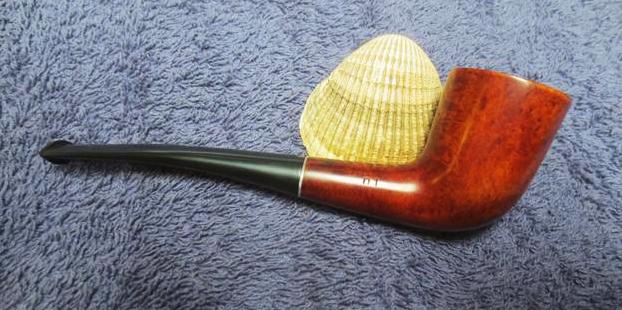
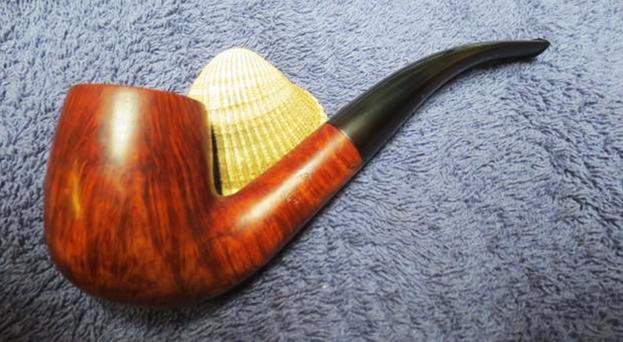
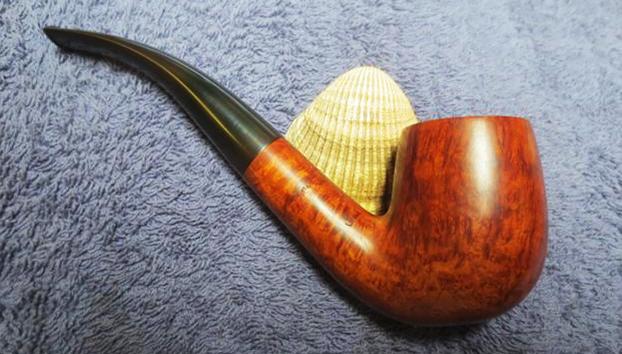
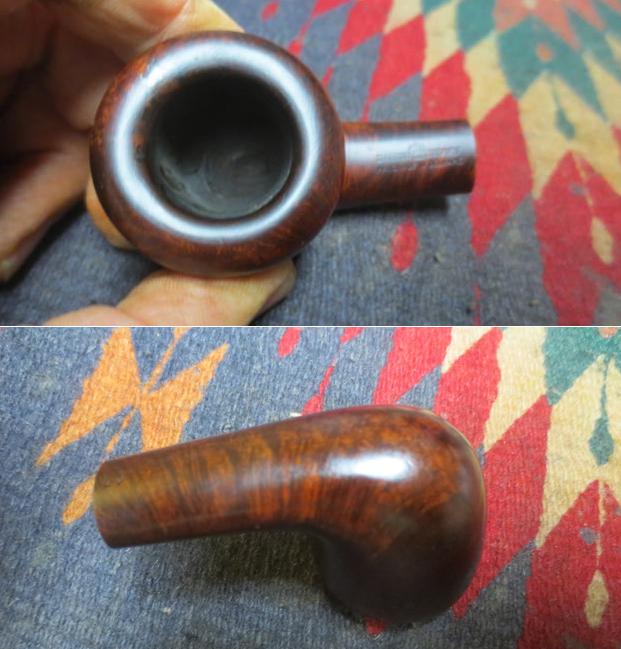
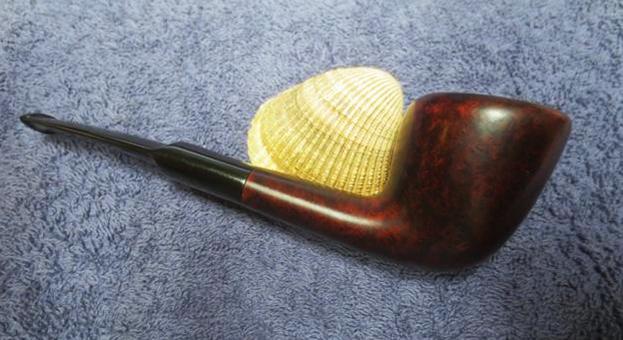
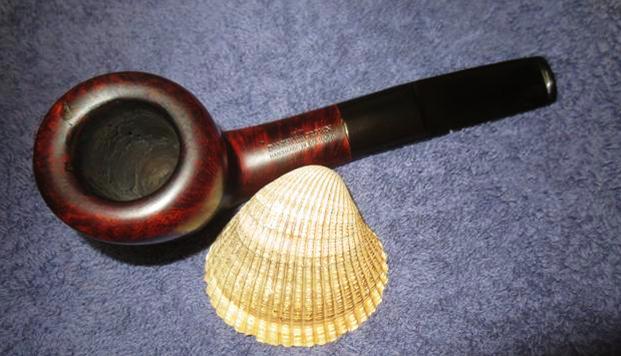
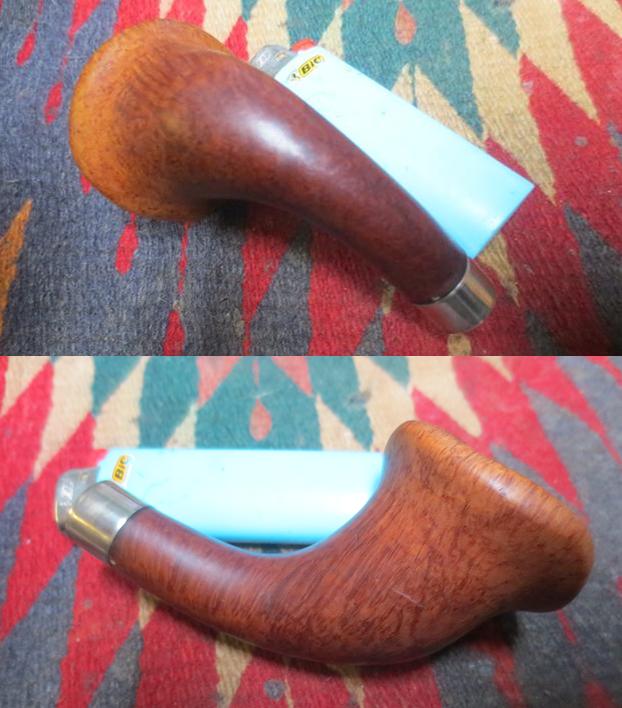
 Some oxidation showed up on the top side of the stem near the saddle in the photos above so I worked it over in that area once again. When I finished I buffed the pipe on the wheel using Blue Diamond Polish and worked over the stem and bowl to remove any remaining scratches. I buffed the nickel band to give it a shine. I gave the pipe multiple coats of carnauba wax and buffed it with a clean buffing pad to raise a shine. I hand buffed it with a microfiber cloth to deepen the shine. The warts and nicks that I had sanded out were gone and the grain just popped on this old pipe. The new stem, with the angled tenon brought things into line and to me the pipe looked much better. The black of the polished vulcanite and the polished briar work well together to present a beautiful pipe. The finished pipe is shown in the photos below. It really is a beauty. Thanks for looking.