Blog by Steve Laug
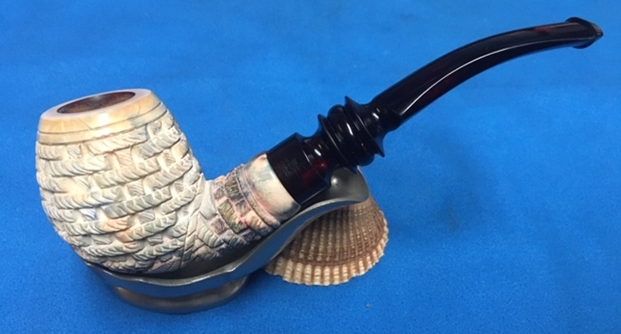
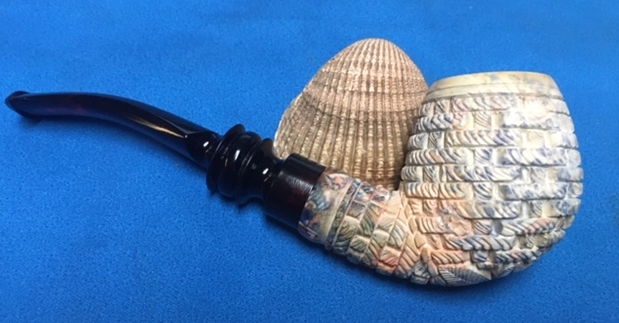
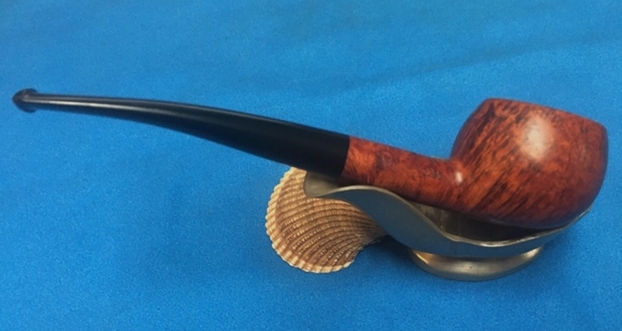
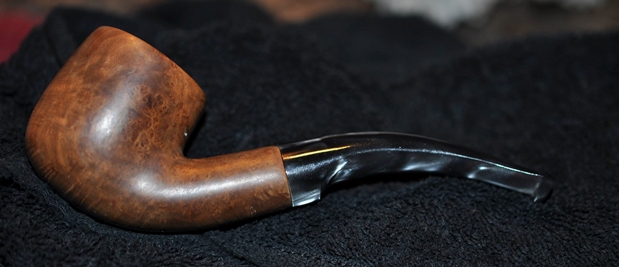
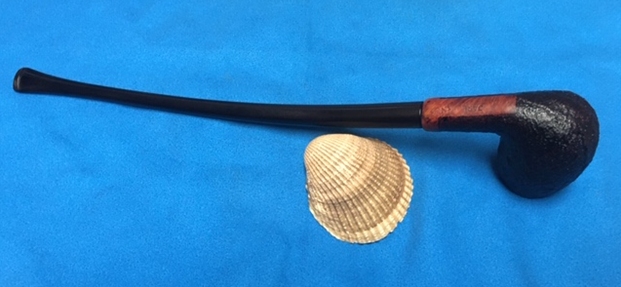
This is one of those pipes that have to be seen to truly appreciate the craftsmanship that went into it. In my title for this blog I called Crème de la crème which in French literally means ‘cream of the cream’. It is an idiom meaning “the best of the best”, “superlative”, or “the very best”. You may not like the shape; I have to admit I did not when I first saw it. My speechlessness at first was over how odd and ugly the pipe was at first glance. It is not one that I would naturally gravitate to that is for sure. However, you cannot deny the sheer craftsmanship that went into this pipe as you turn it in your hands and look at all the various angles and asymmetrical twists in the bowl and stem. It is quite singularly stunning and certainly a pipe that I did not expect to see or work on. The pipe is stamped Butz Choquin over Cybele 3 on the heel of the bowl and underside of the shank.
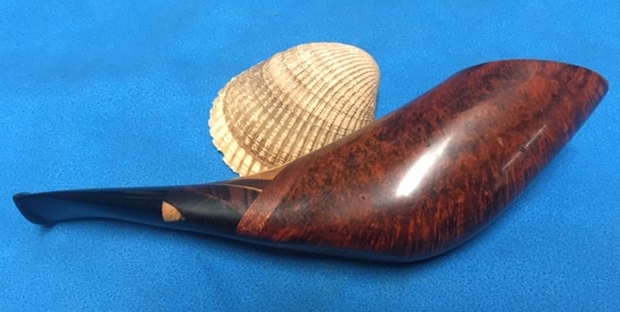
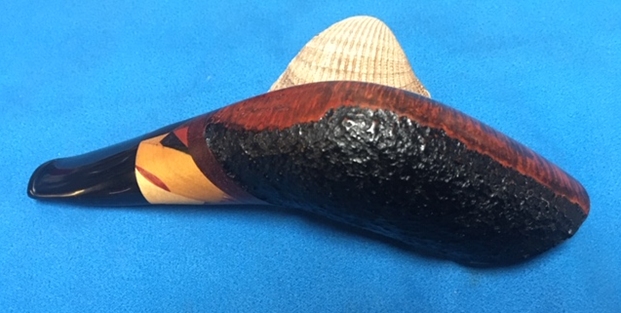
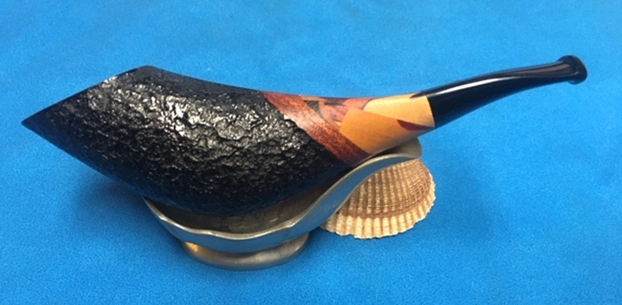
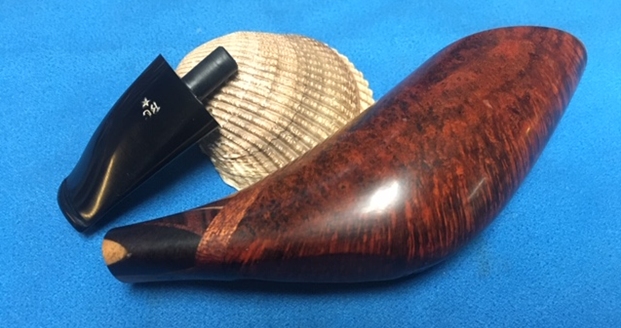
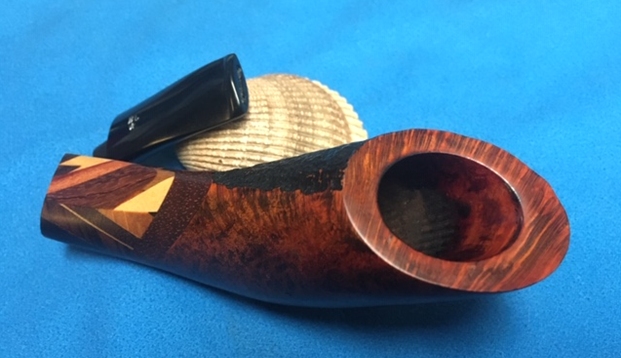
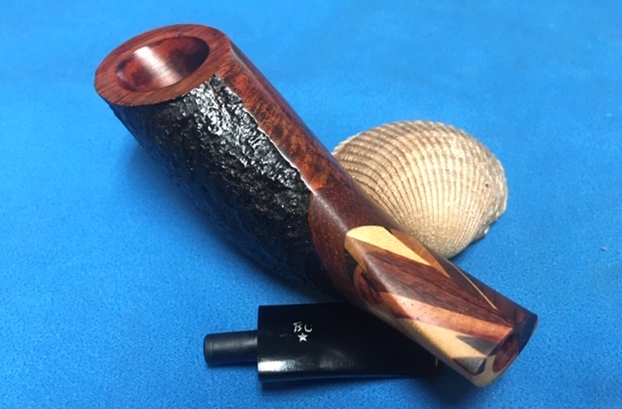
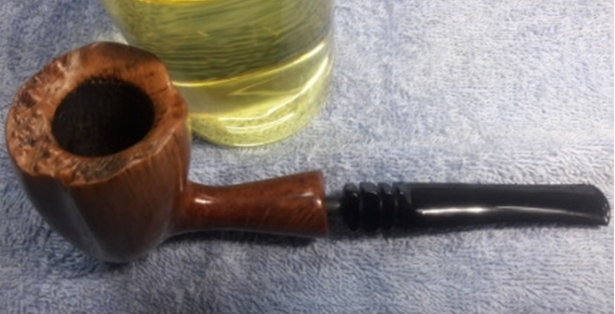
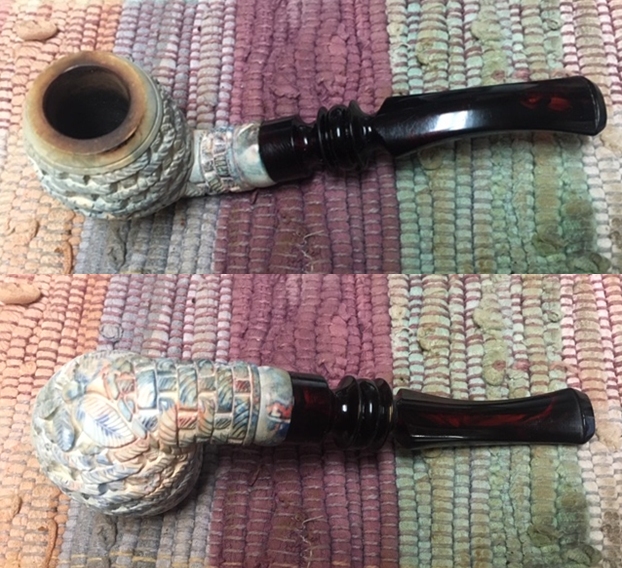
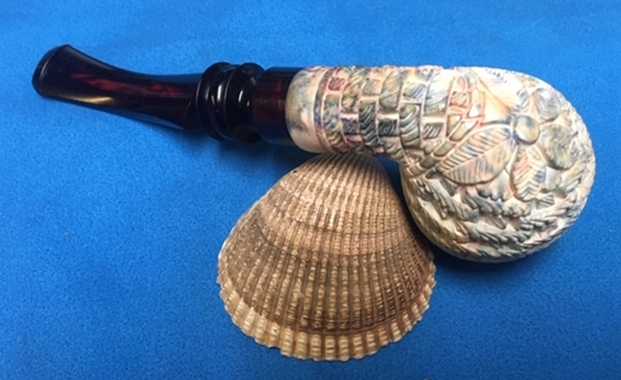
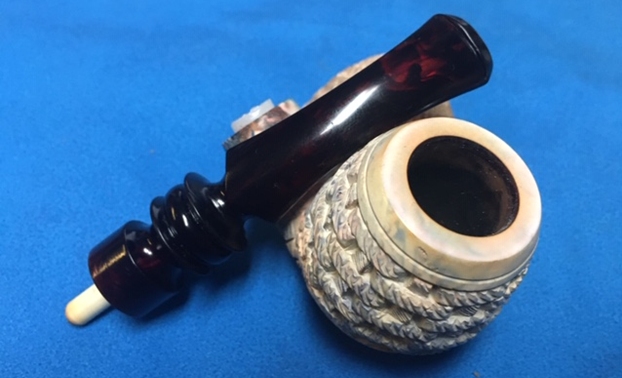
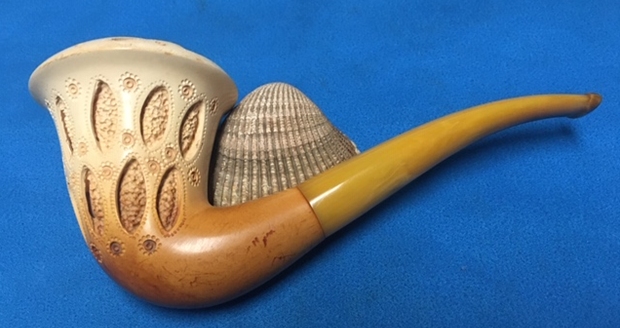
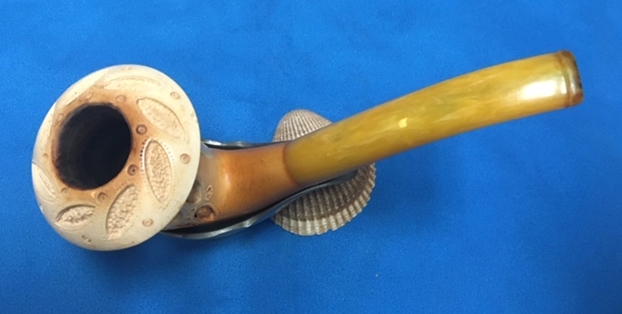
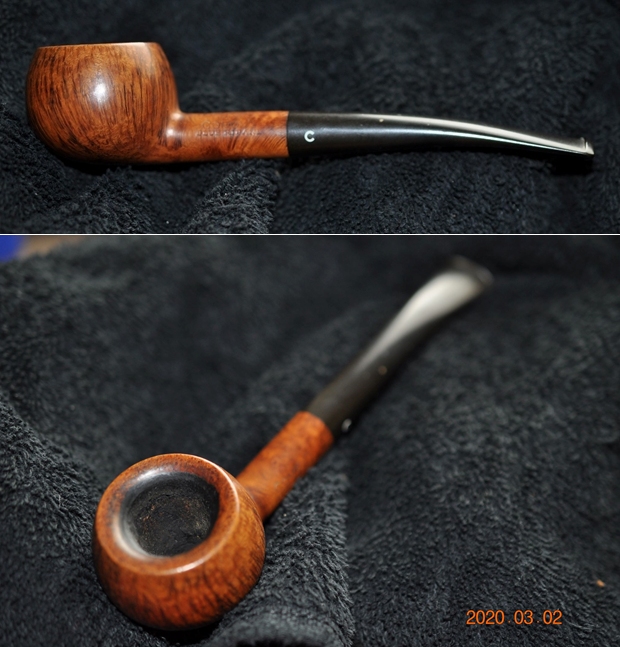
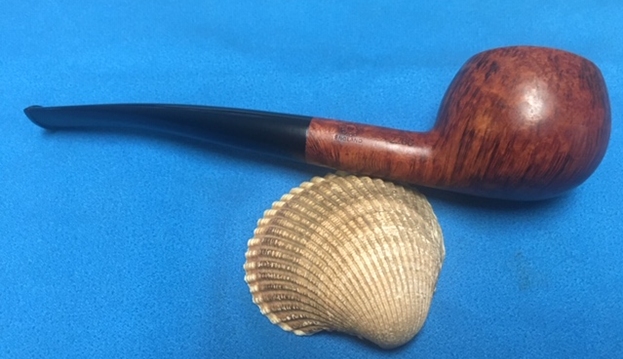
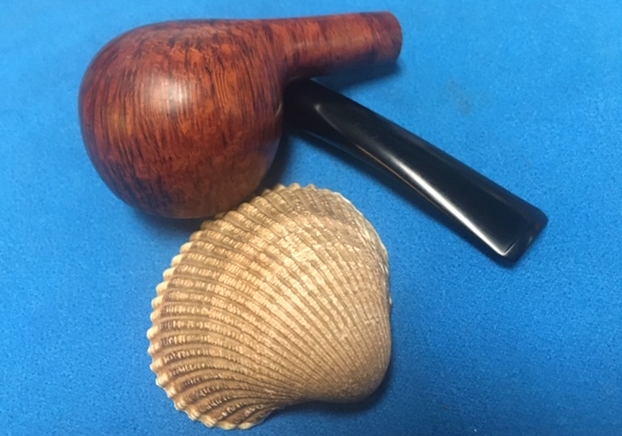
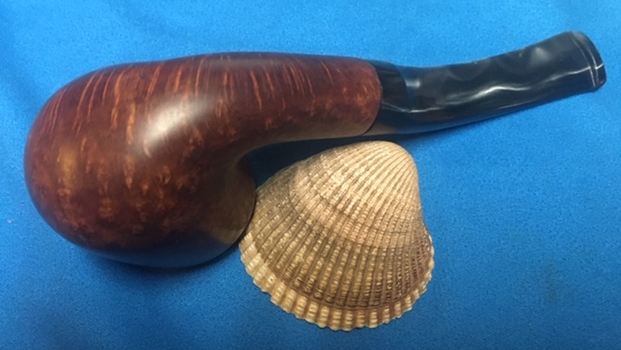
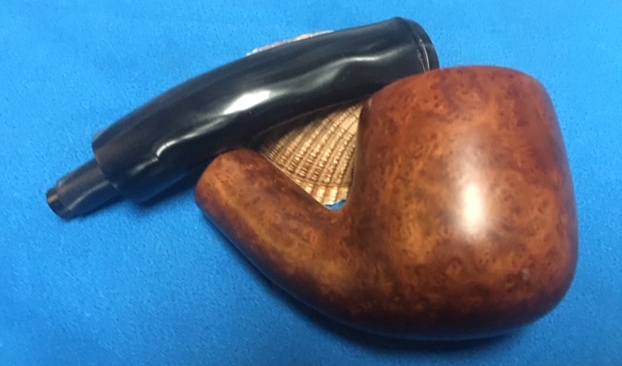
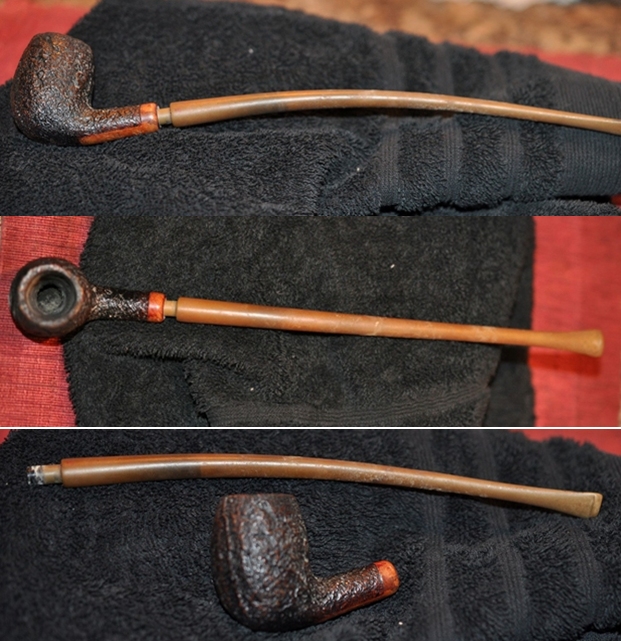
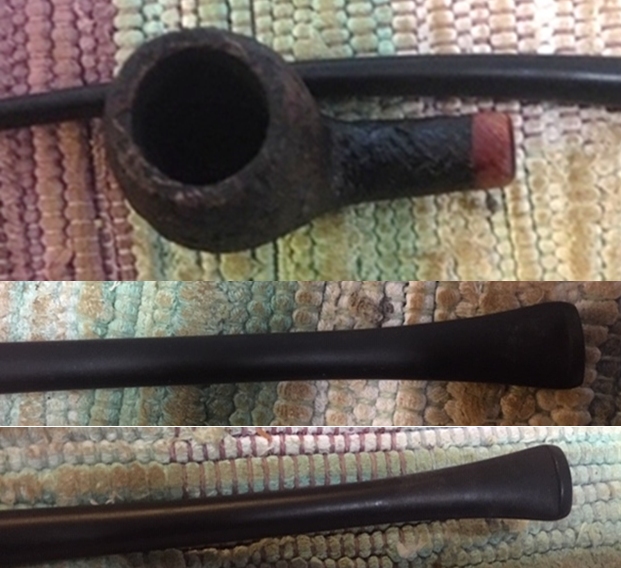
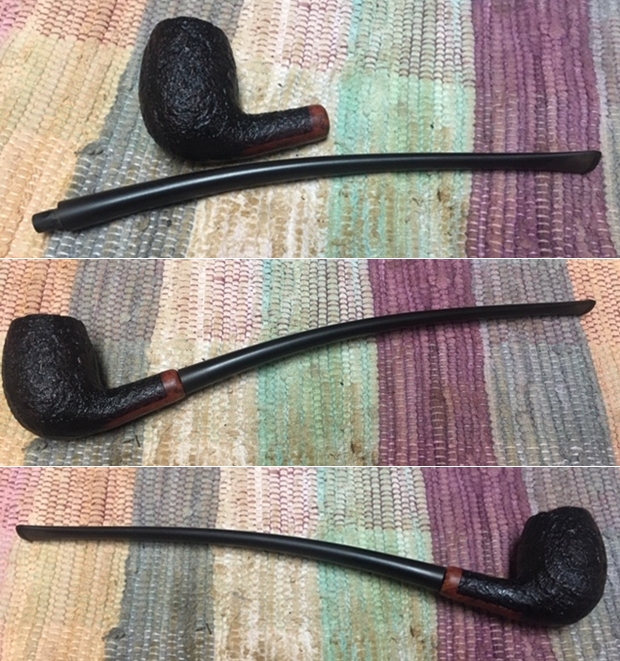
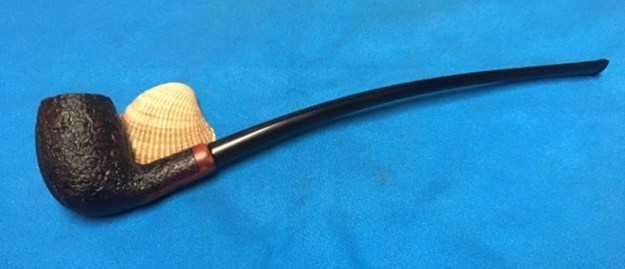
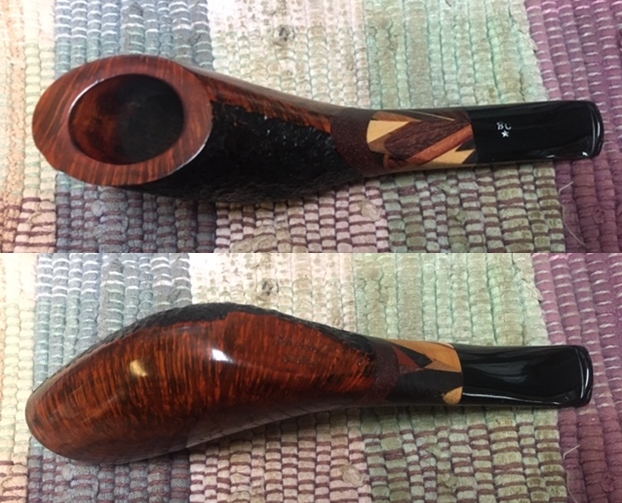
How to describe this pipe? That is certainly a hard this to capture the craftsmanship with words. But I will try! The left side of the pipe is sandblast and literally the blast covers roughly the left half of the bowl. The rim top is smooth as is the right side of the pipe. The shank which flow directly out of the combined finishes is a mosaic of inlaid hard woods of varying colours and grains. The only pattern to them is really a lack of pattern. Looking down the pipe from the stem to the front of the bowl you can see that the shank takes a decided twist to the left and flattens out on the right. It ends at the shank end in an oval shape. The stem is acrylic and also carries the twist even farther. It has a silver BC and inlaid star on the top of the stem. When sight down the stem from the button you will see that it is actually tipped very slightly to the left though appears to be aligned with the rim top. Jeff took photos of the pipe from a variety of angles to capture what I have tried to describe.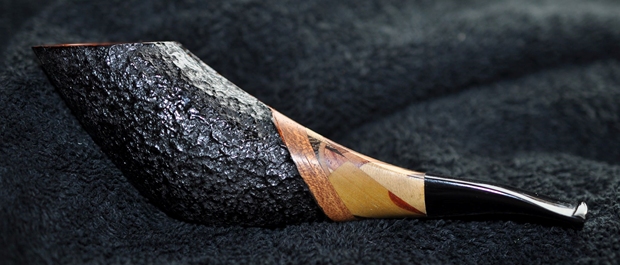
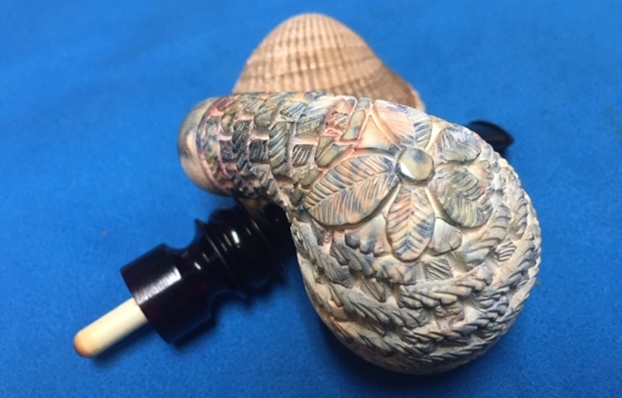
 He took a photo of the inlay work on the shank showing it from the right side. Some of you probably can name the various woods that are included in the shank but I cannot. I am fairly certain that there is a briar core and these are like a shank extension over that. They appear a bit rough in the photo and marred but all of that will be remedied in the restoration.
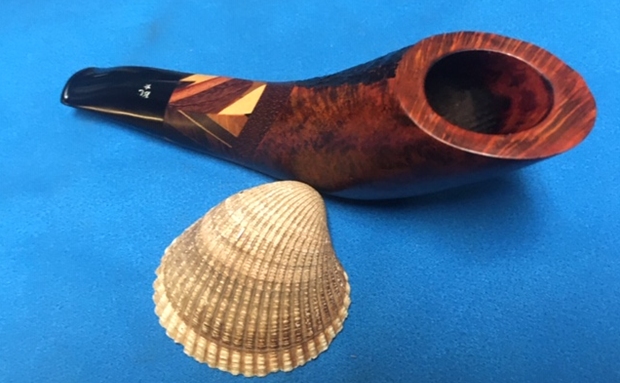
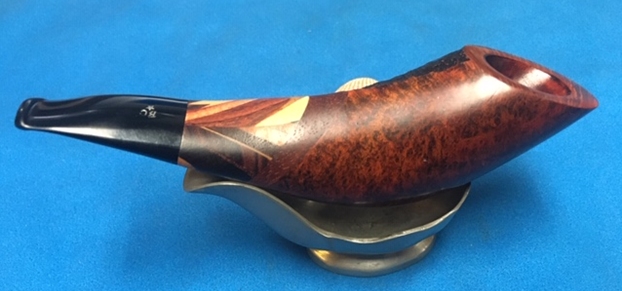
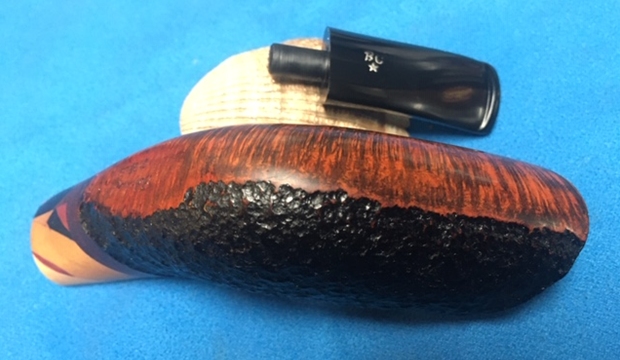
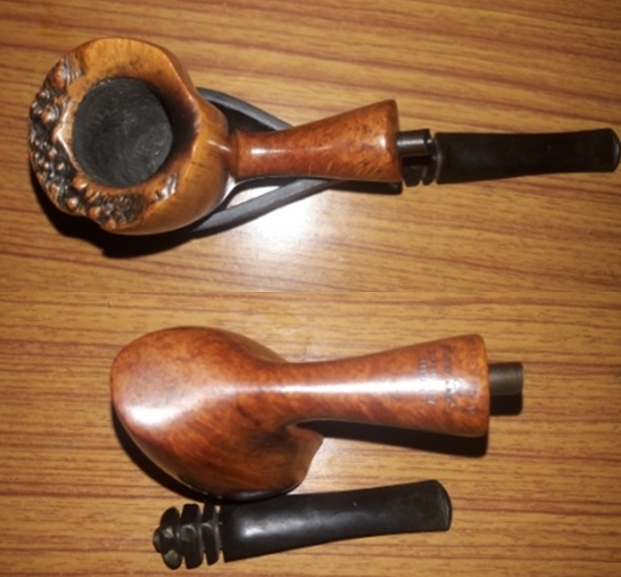
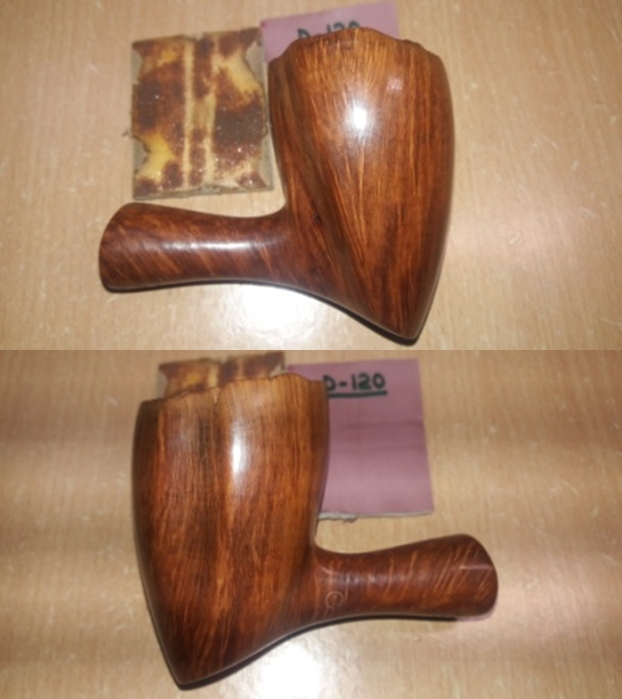
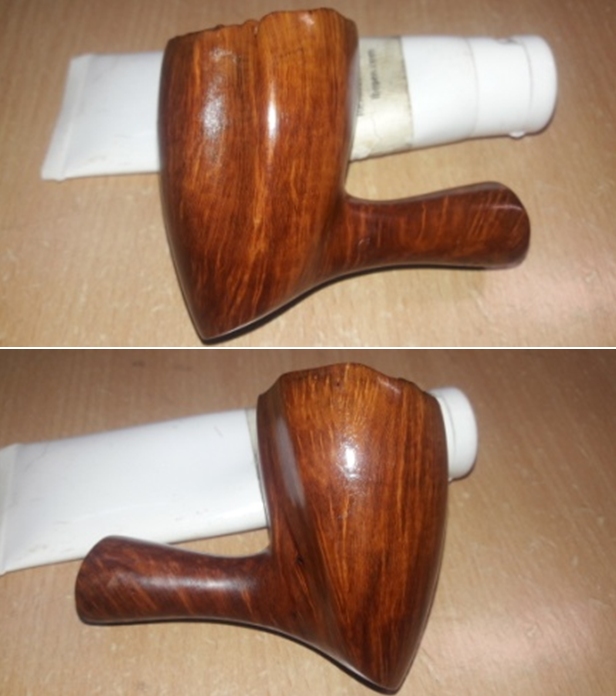
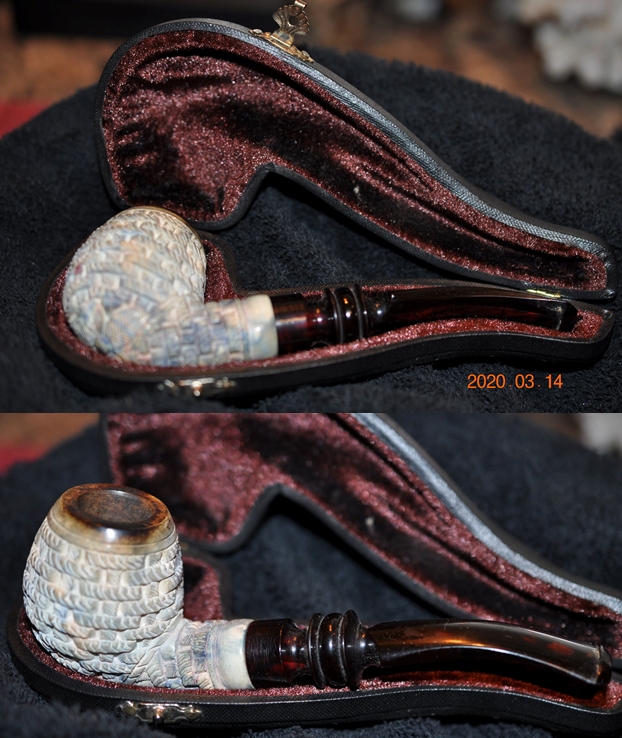
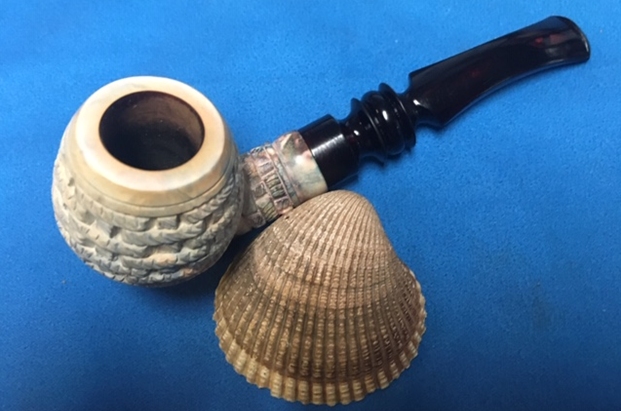
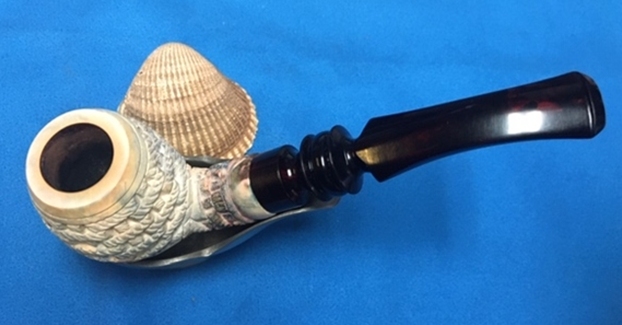
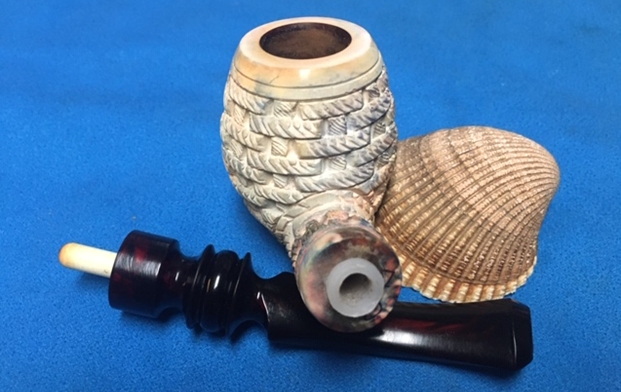
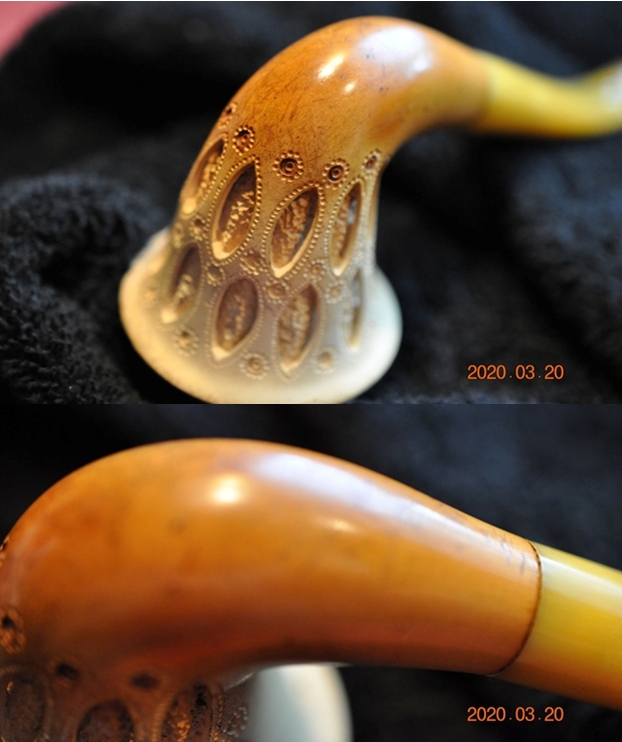
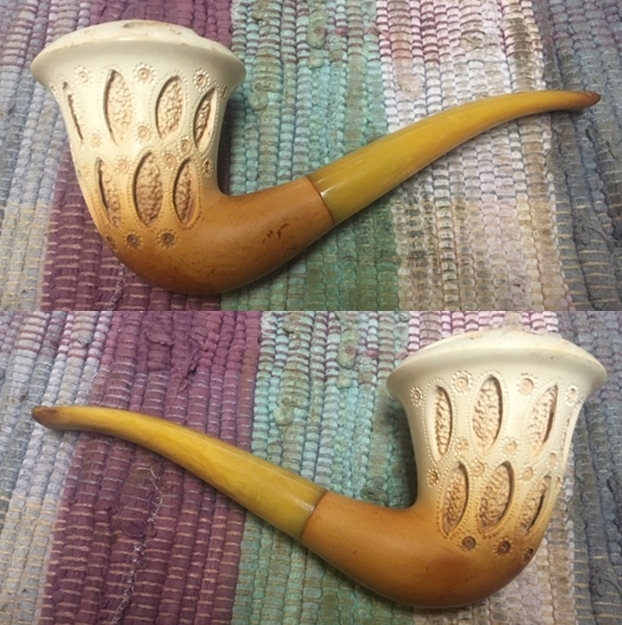
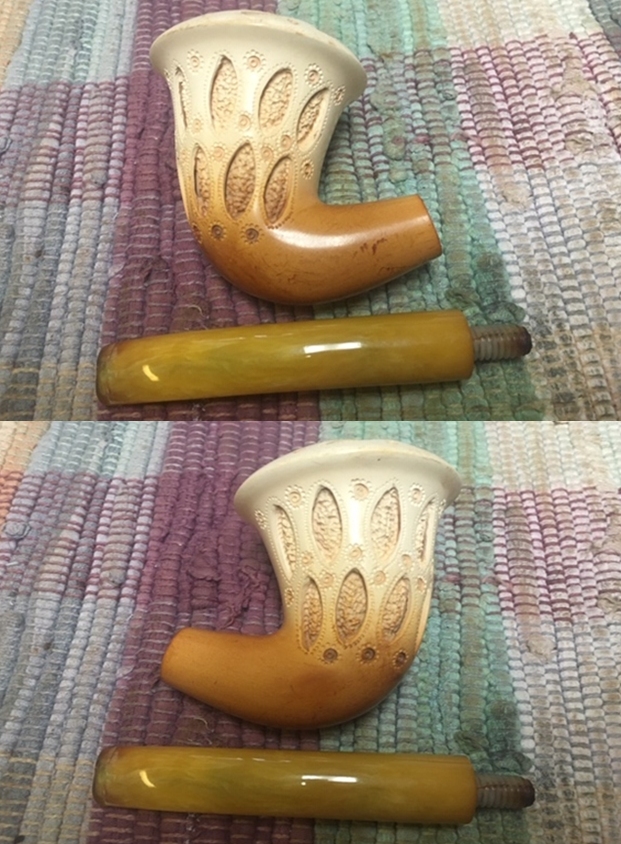
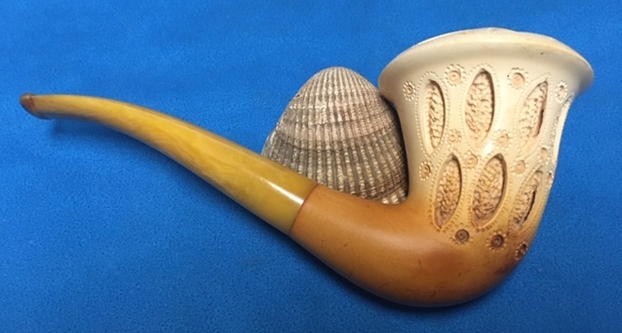
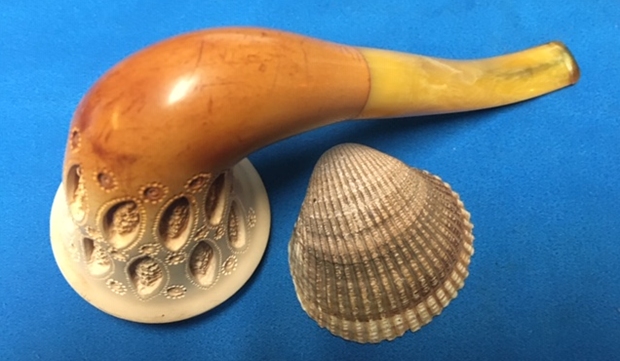
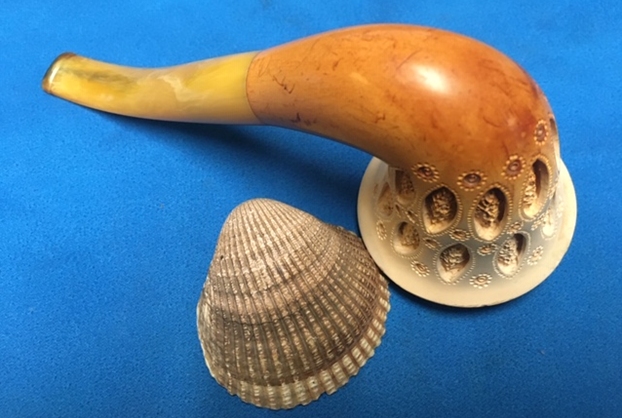
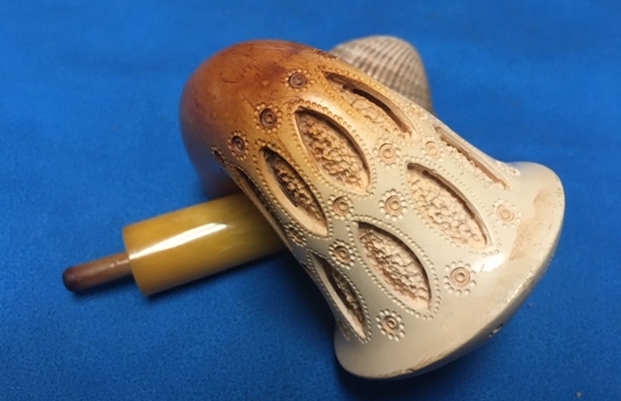
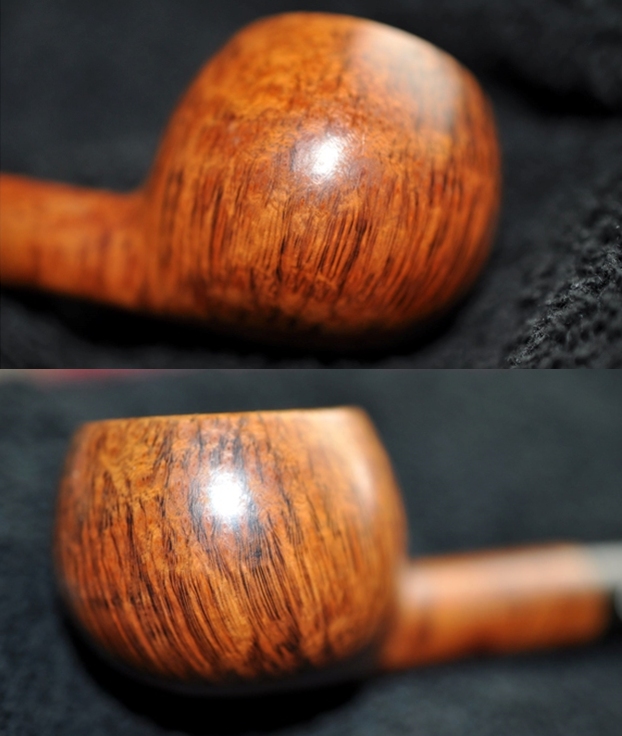
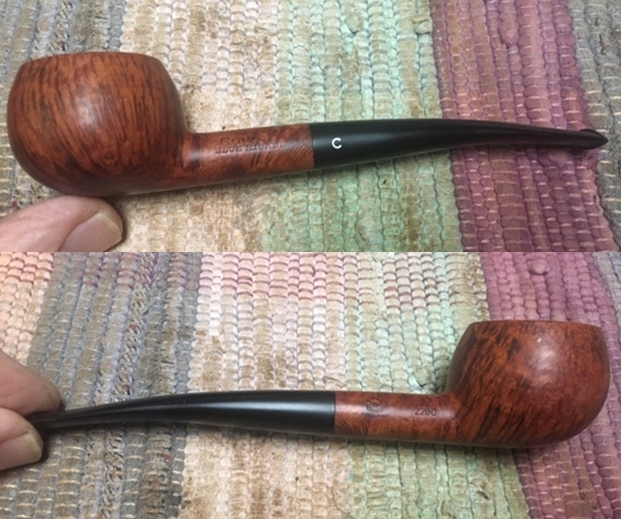
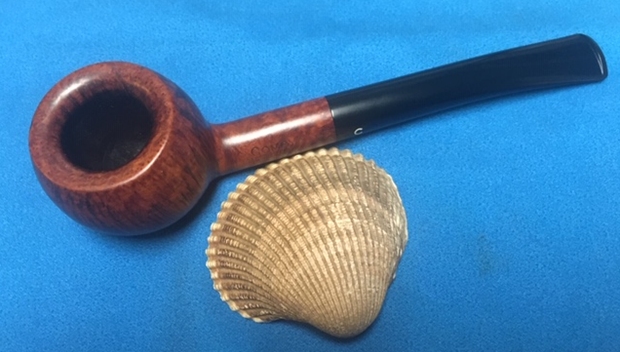
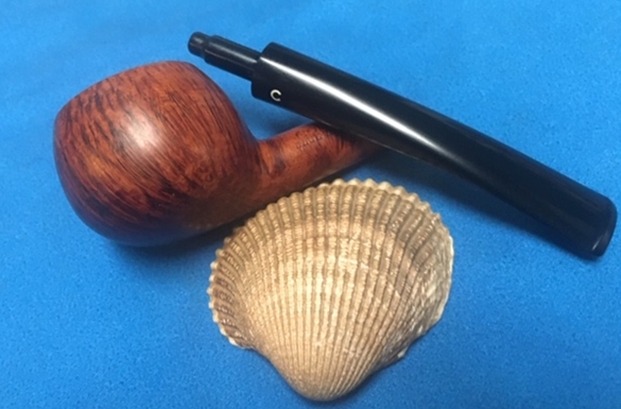
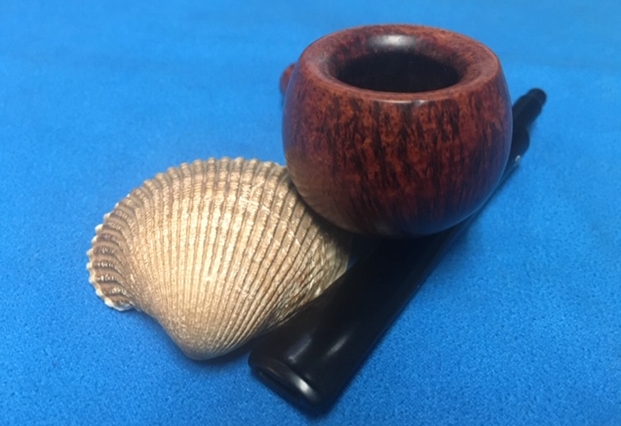
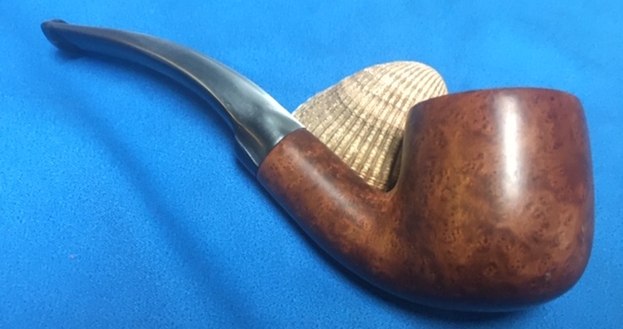
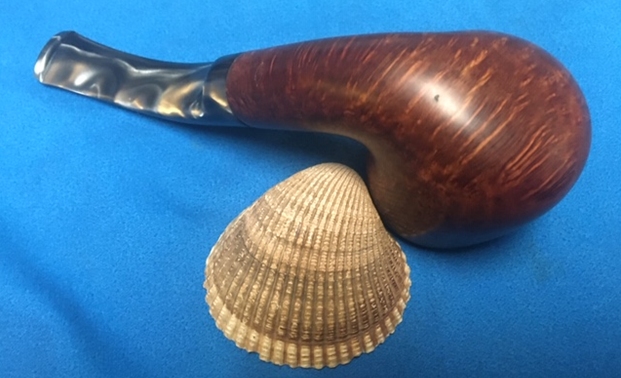
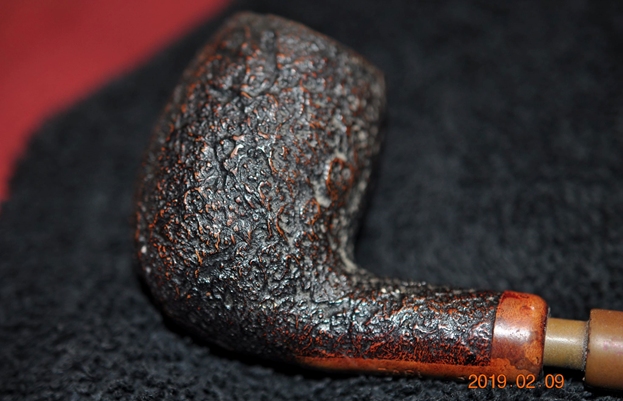
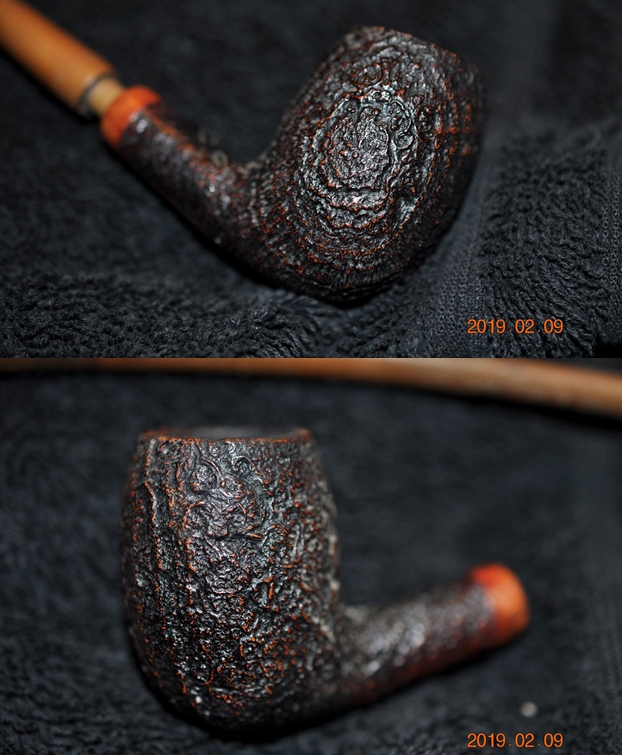
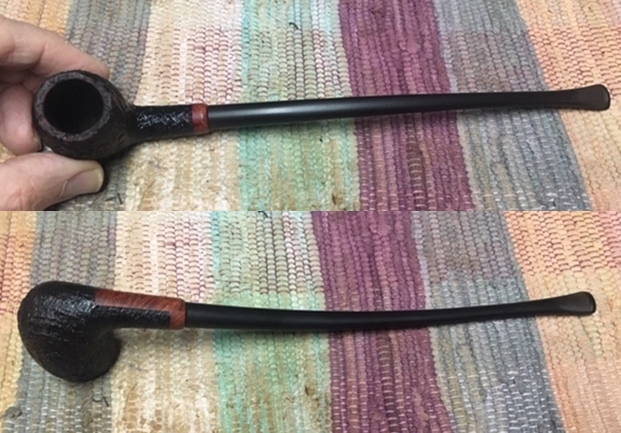
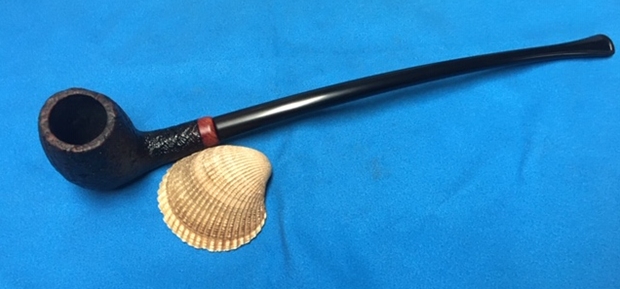
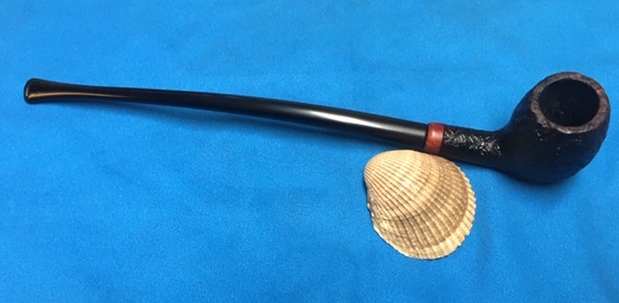
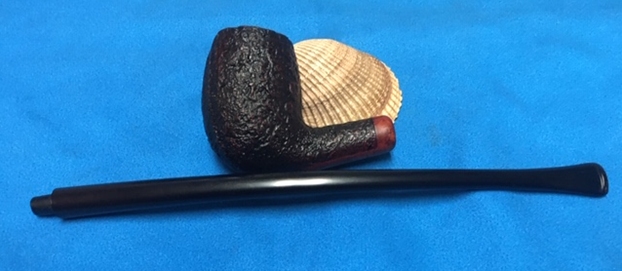
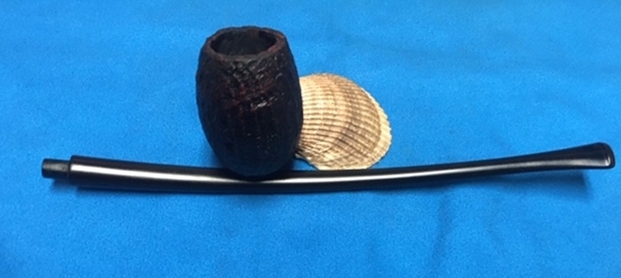
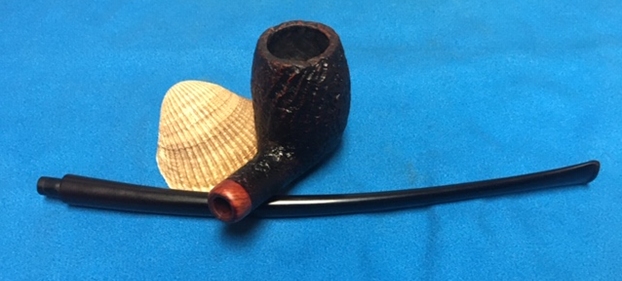
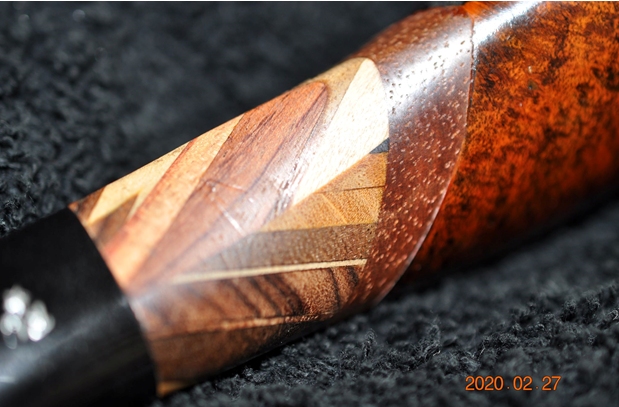 Jeff took a photo of each side of the bowl to give an idea of the sheer contrast in terms of finish and also colour. The first shows the left side the second shows the right side. You can see the nicks in the finish on the right side as well as some potential fills.
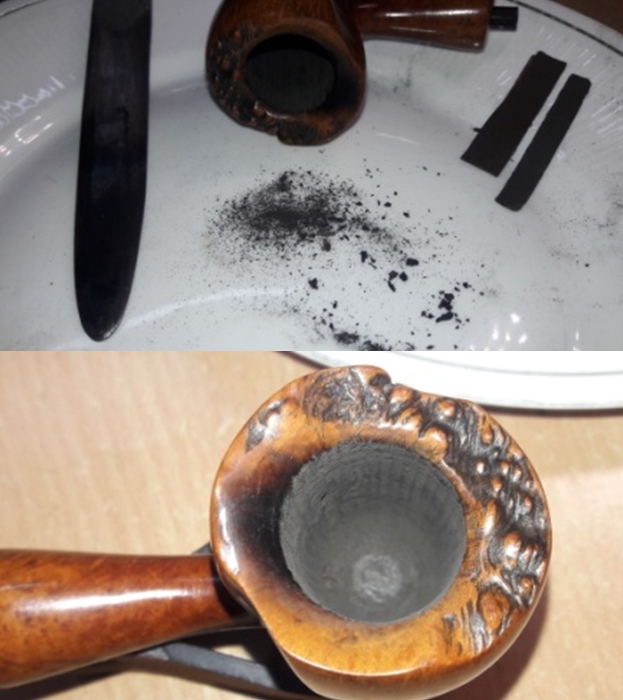
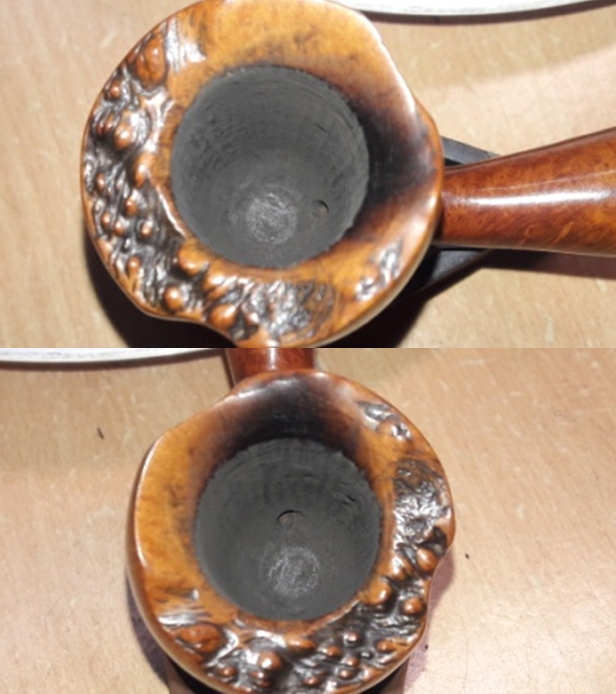
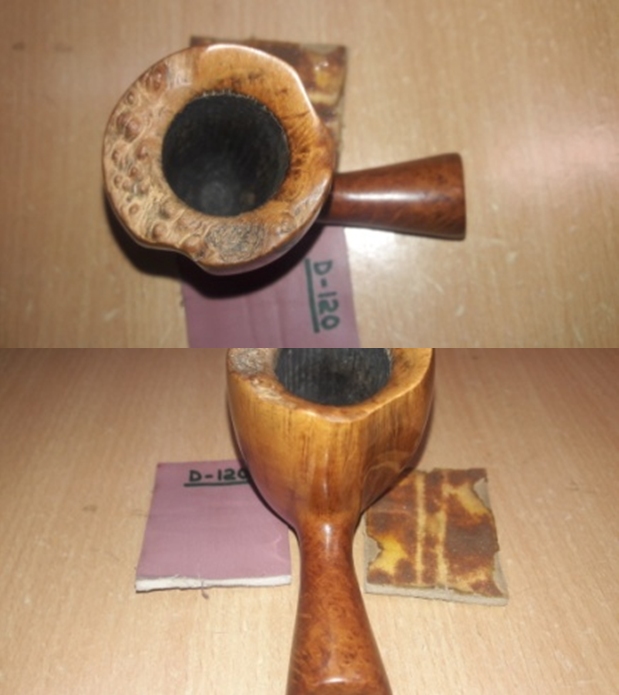
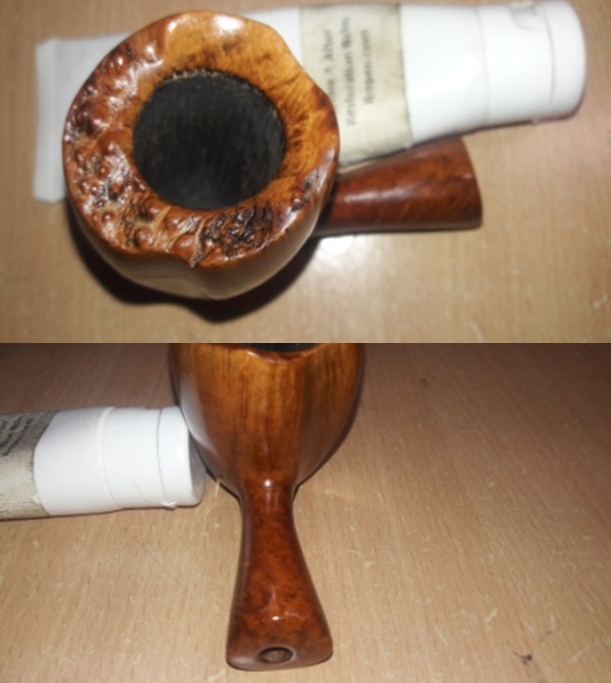
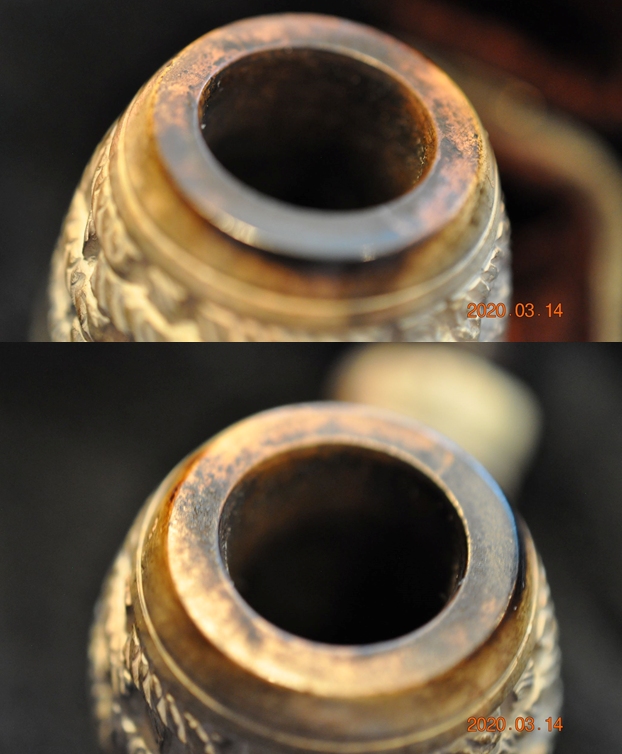
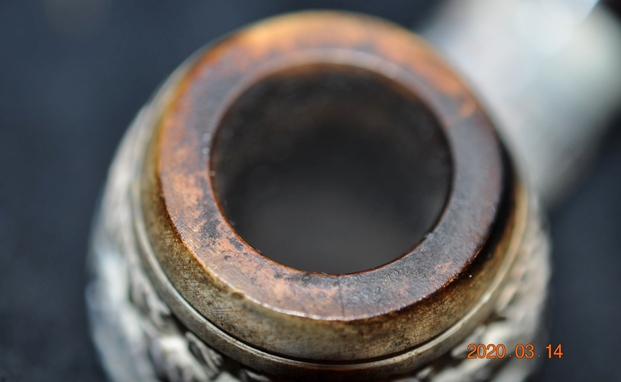
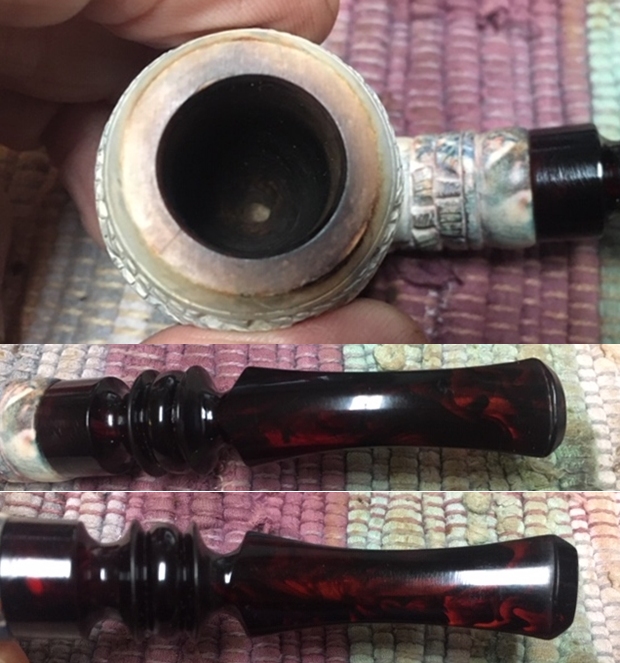
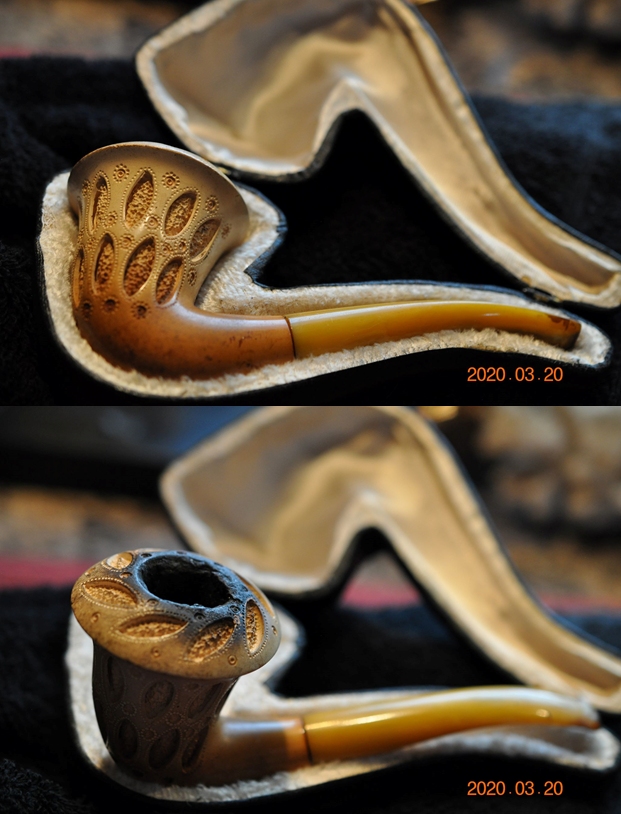
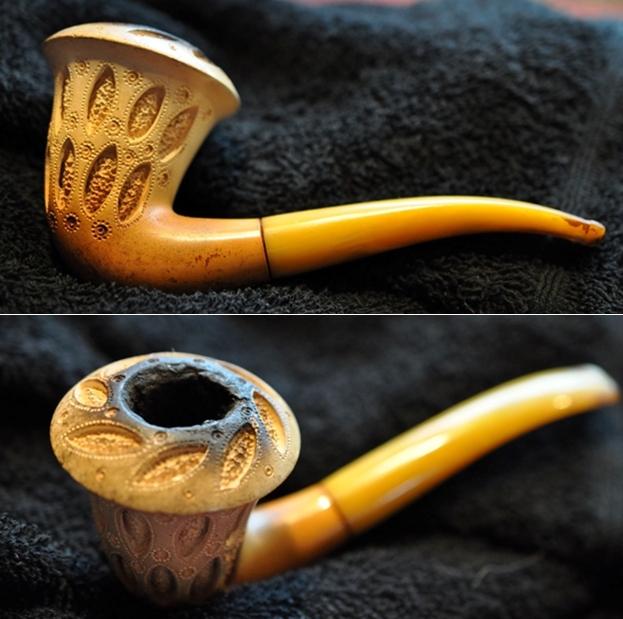
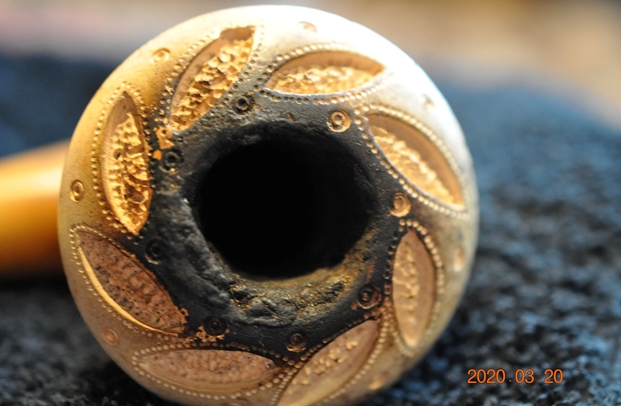
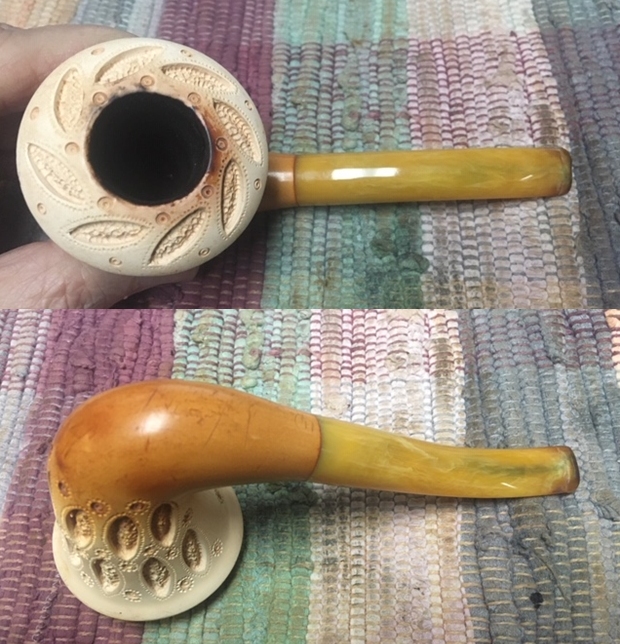
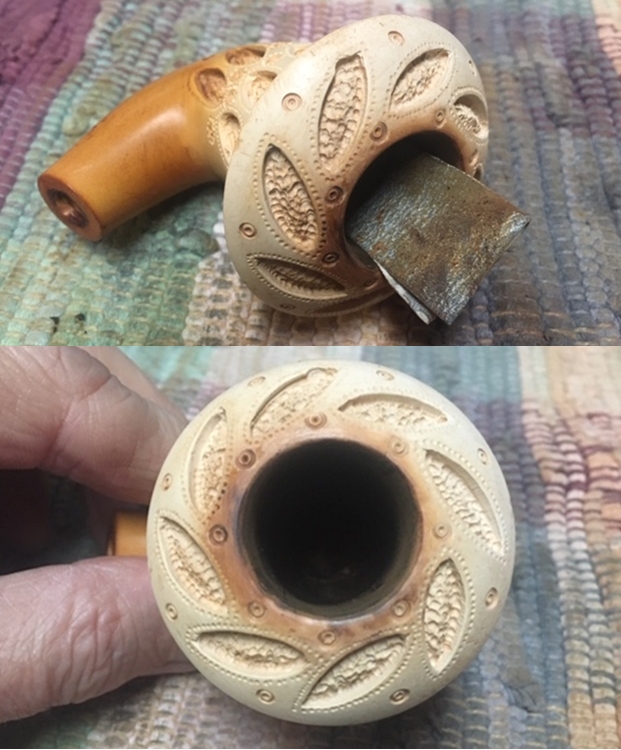
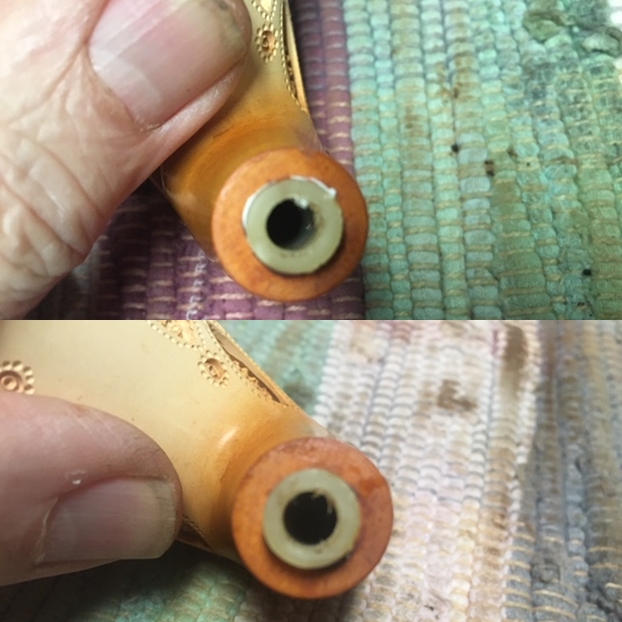
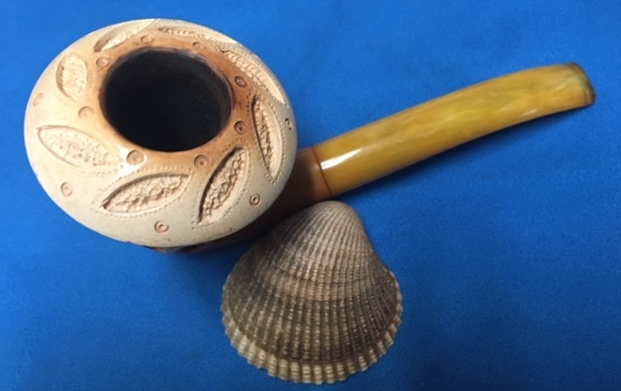
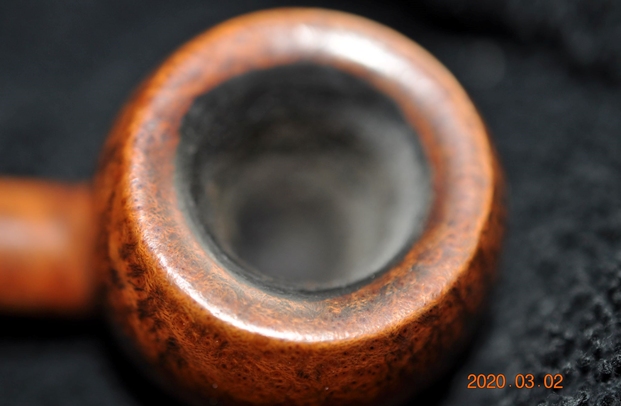
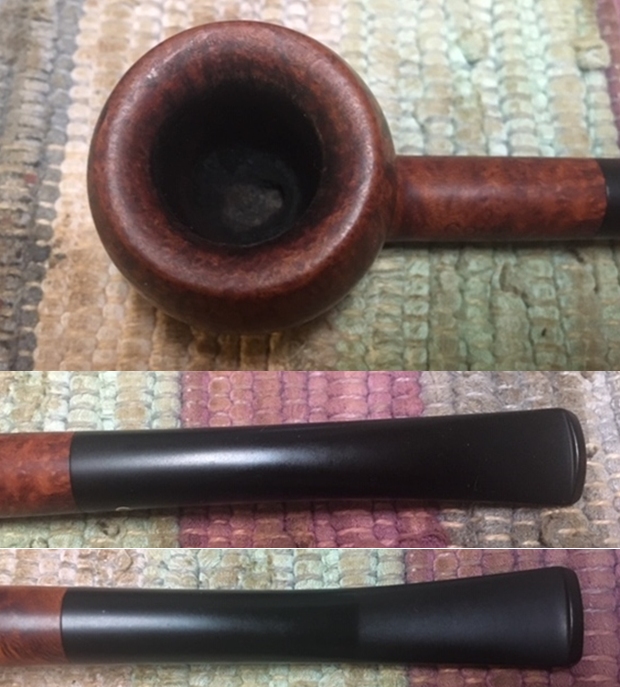
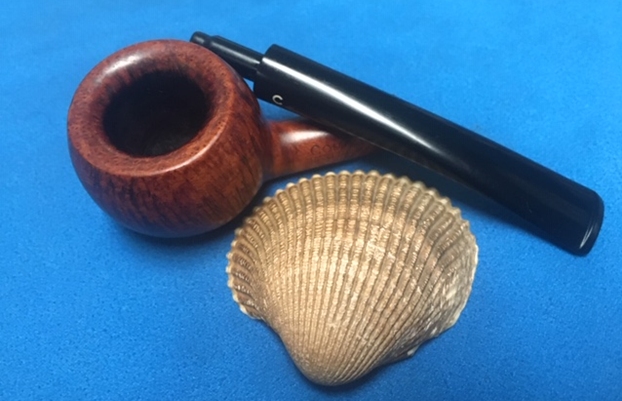
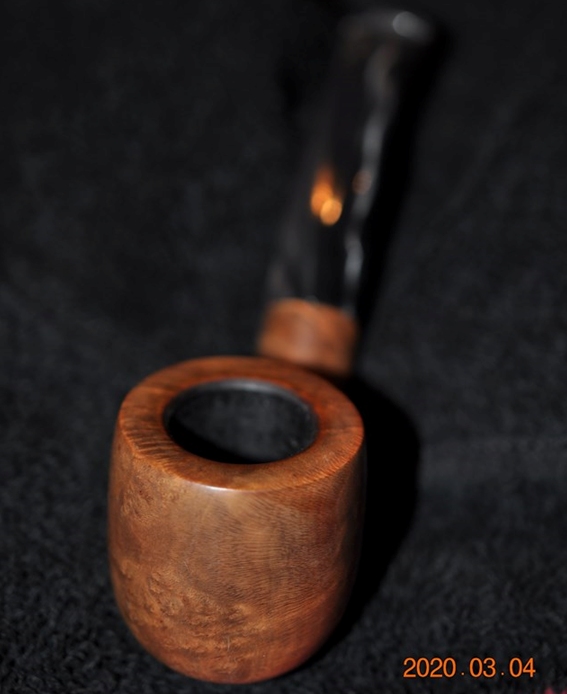
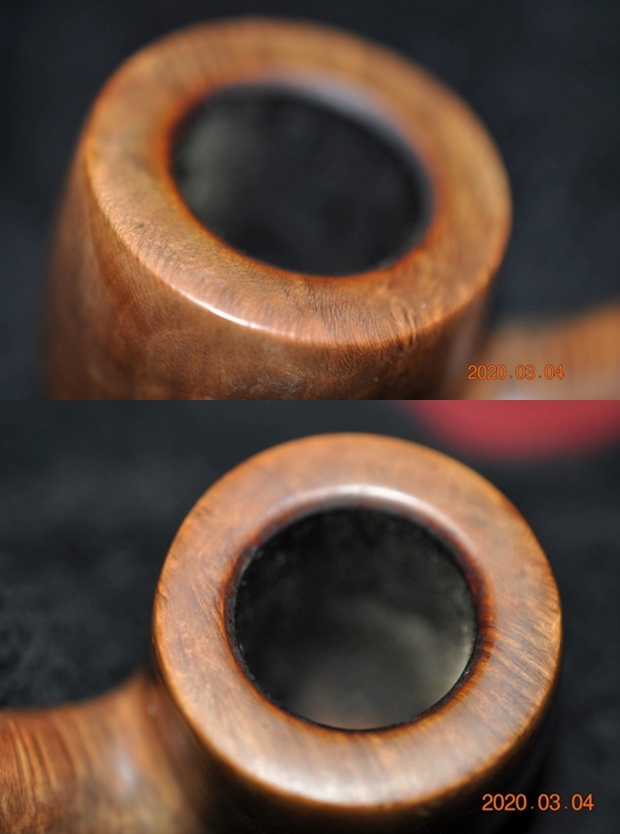
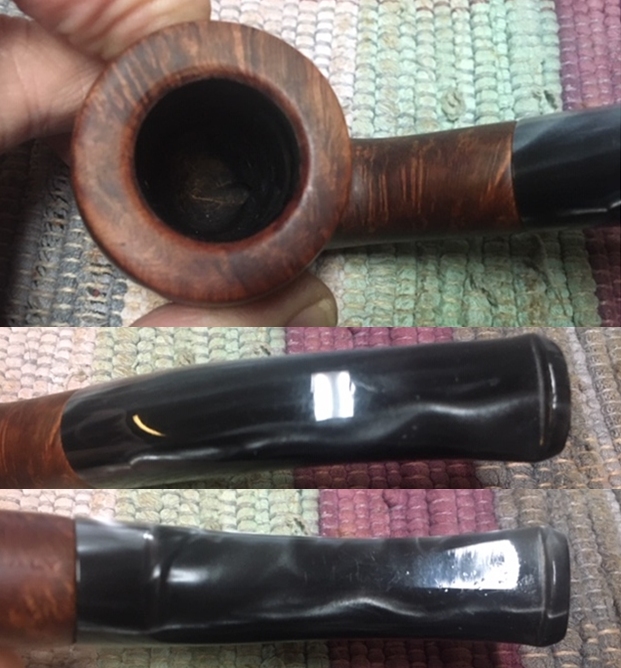
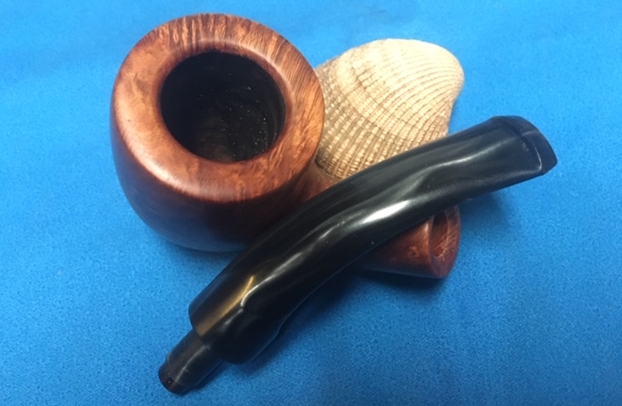
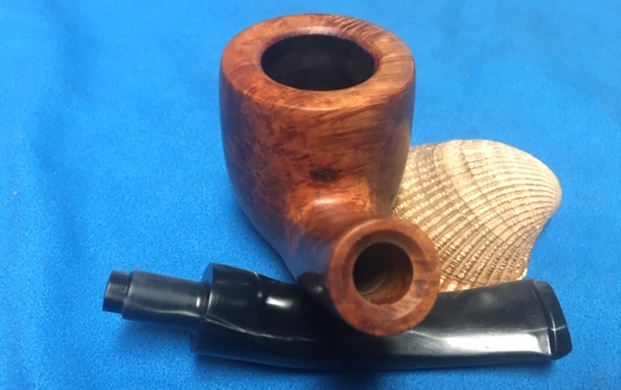
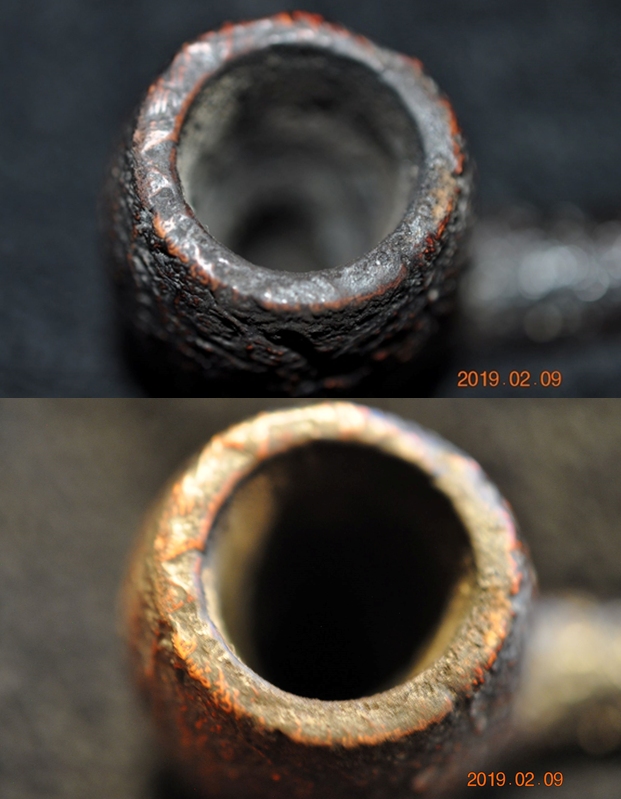
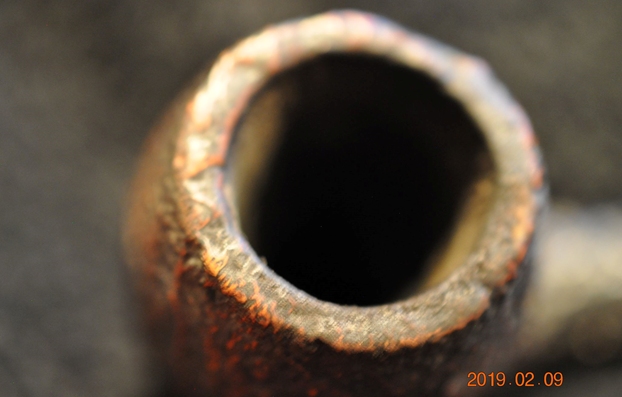
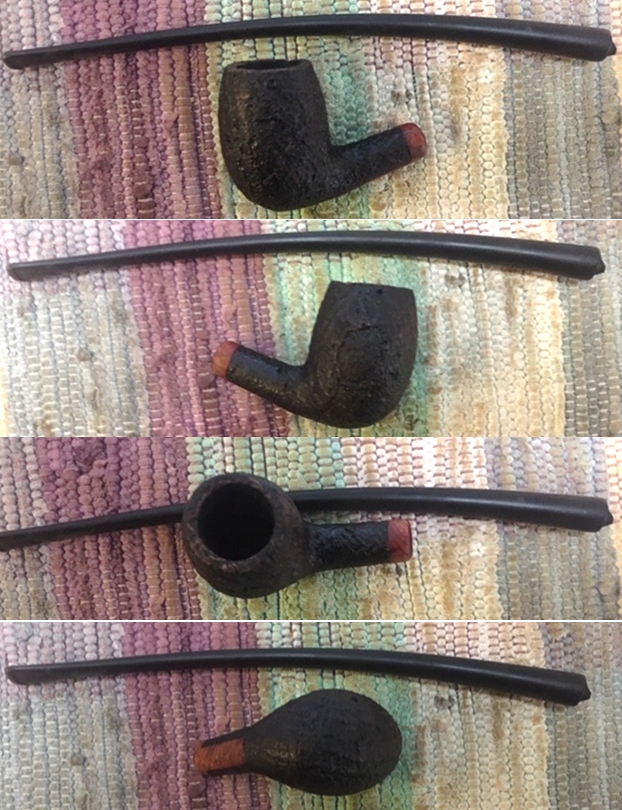
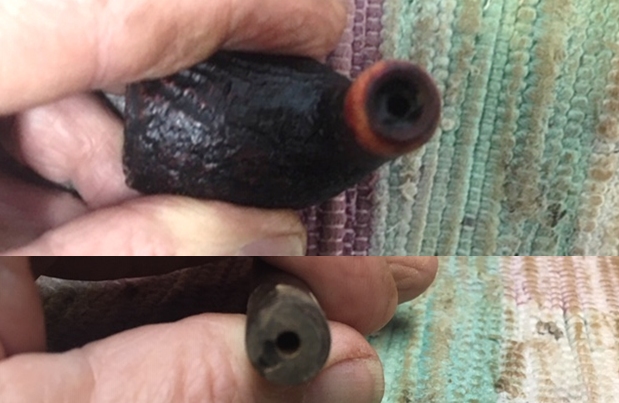
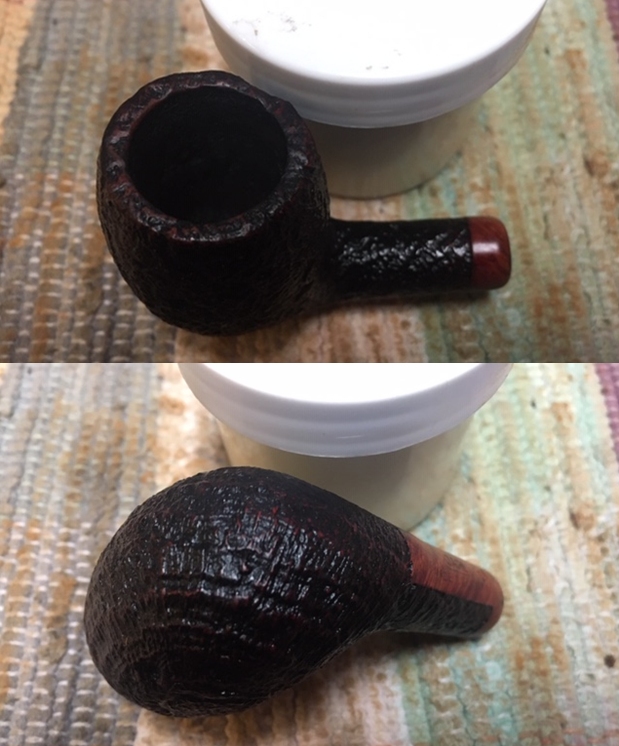
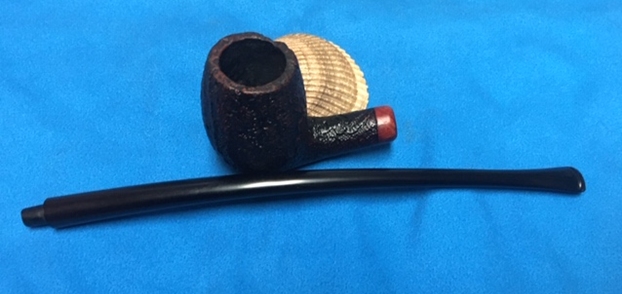
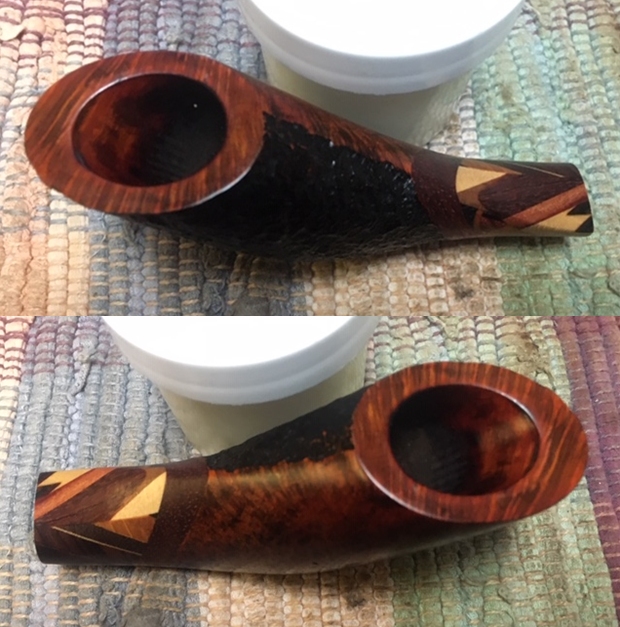
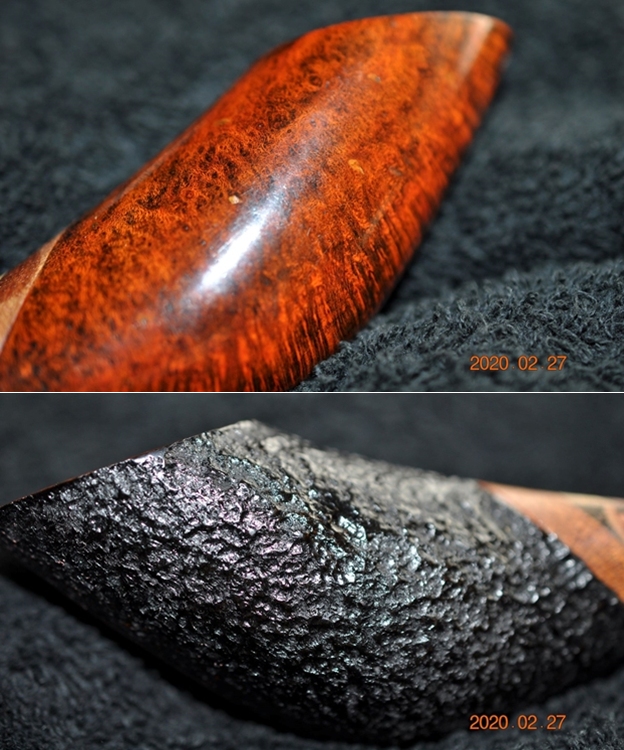 I realize as I get to this point in the blog that I have yet to describe the condition of the pipe. Okay let me do that now. I have been so caught up in trying to describe the craftsmanship and uniqueness of the design that I honestly forgot! To be honest the pipe is filthy! The sandblast portion has dust and debris in the finish. The rest of the bowl is dirty. The wood inlays are scratched, dented and the finish that protected them is worn off. The rim top has some marks and scratches in the surface. The inner edge of the bowl has some darkening and some tars and lava. The inside of the bowl appears a little odd to me. There is a cake in the bowl but what is shown in the two photos below looks like some bowl coating on the top portion that is peeling away with cake on top of it. That is strange. The stem is also dirty with tooth marks and chatter around the button on both sides.
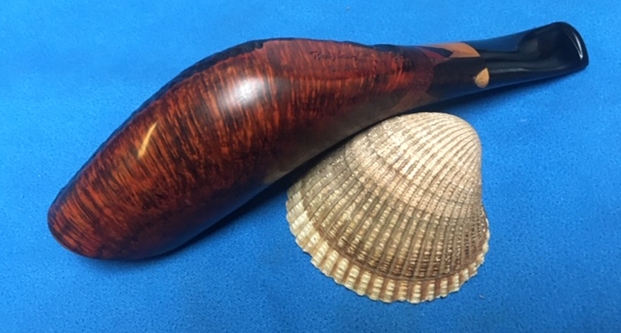
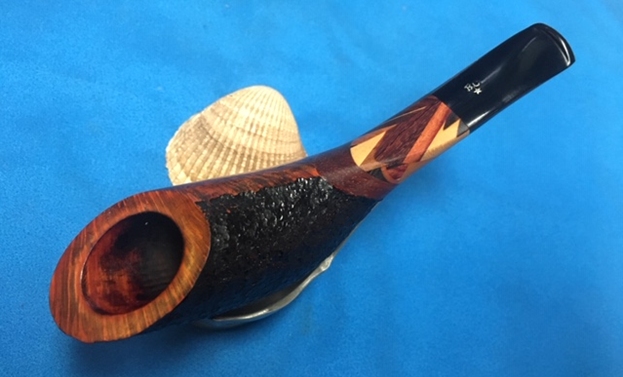
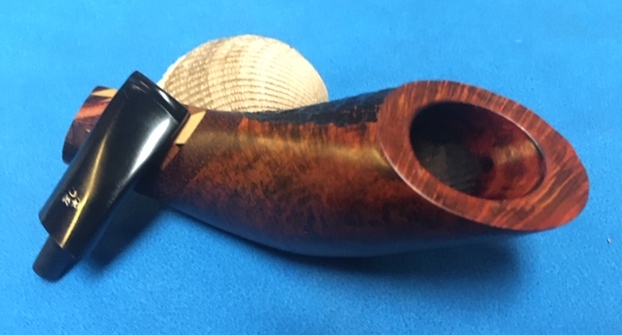
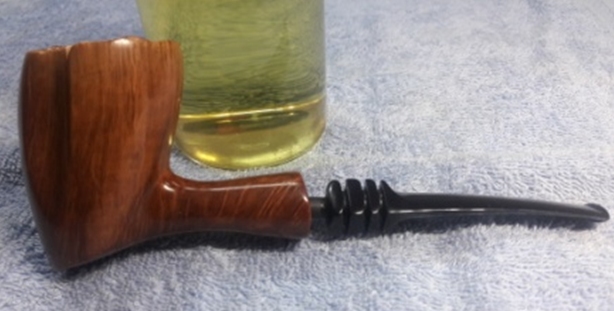
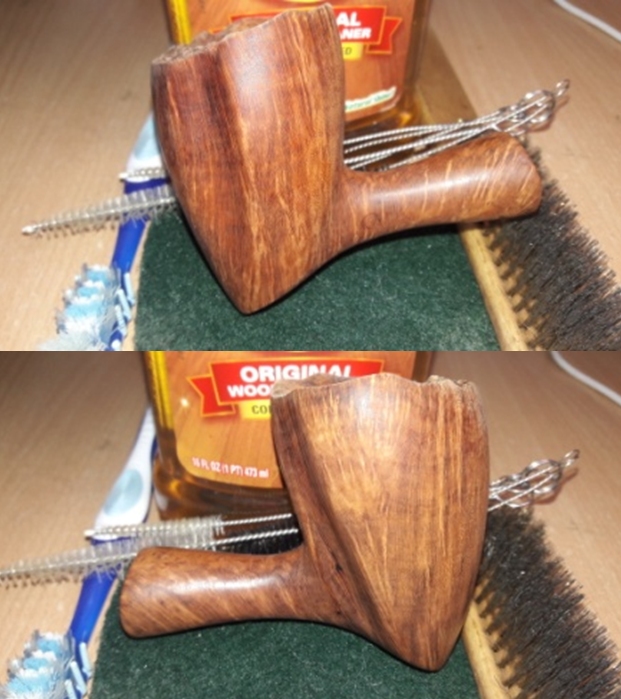
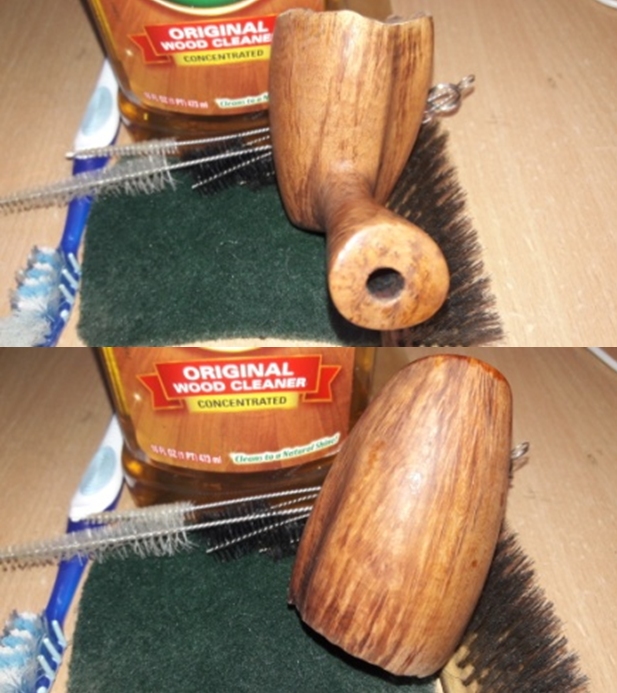
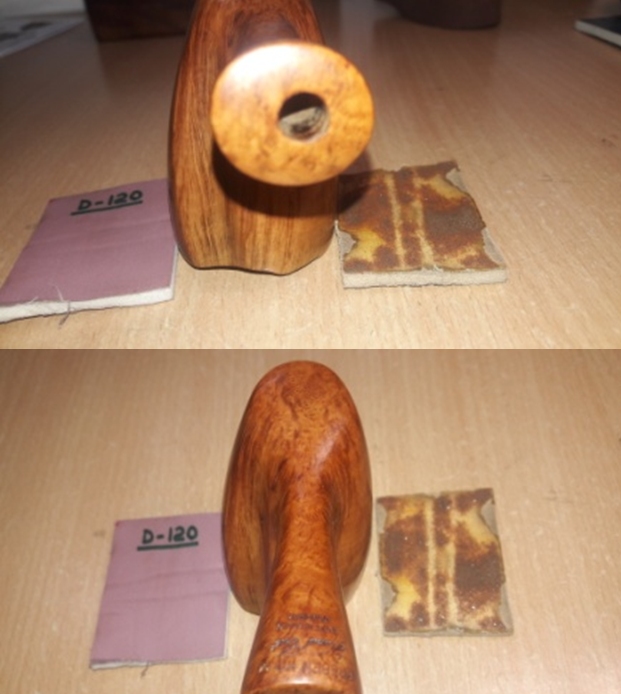
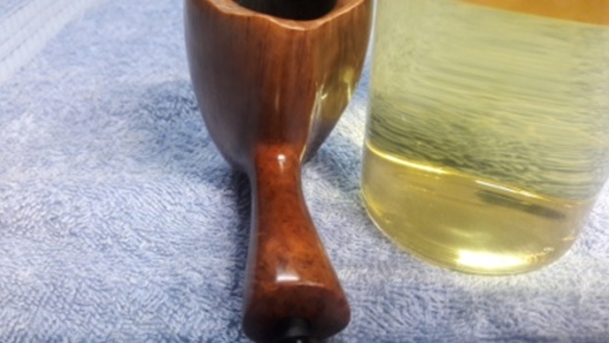
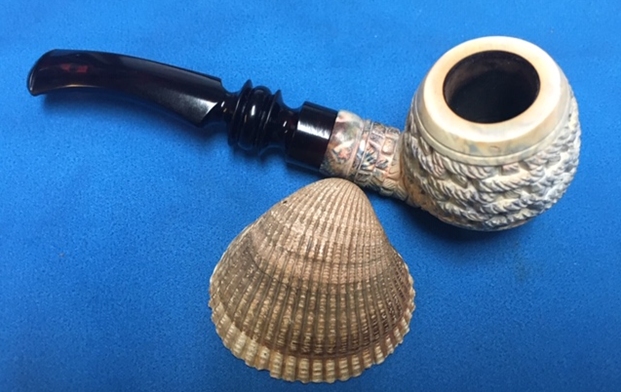
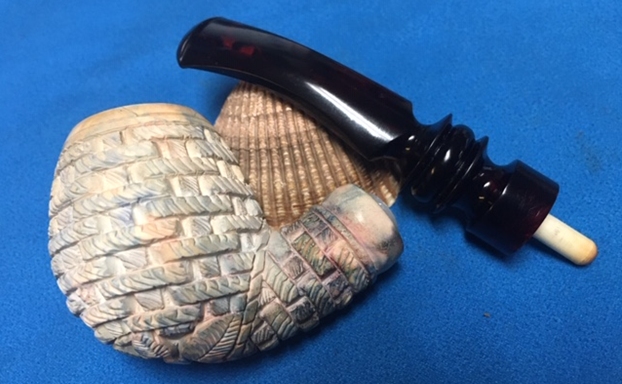
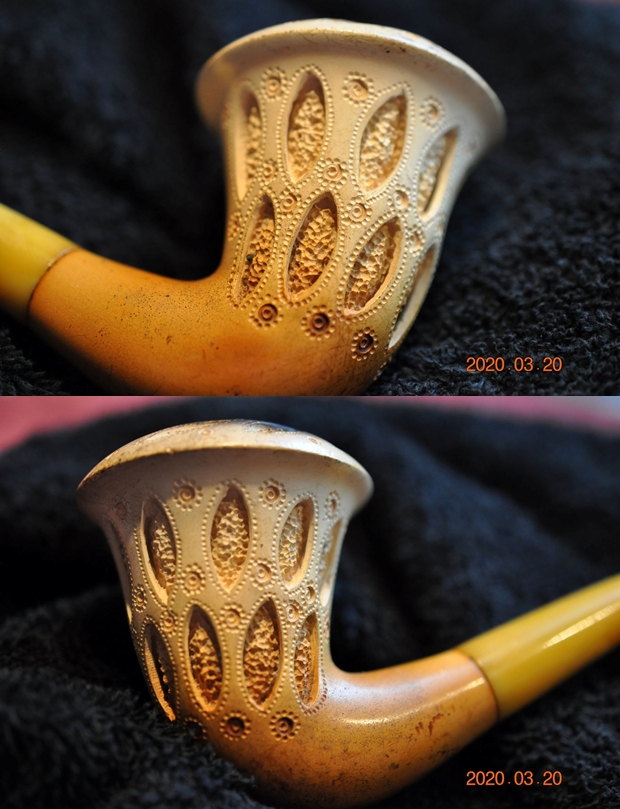
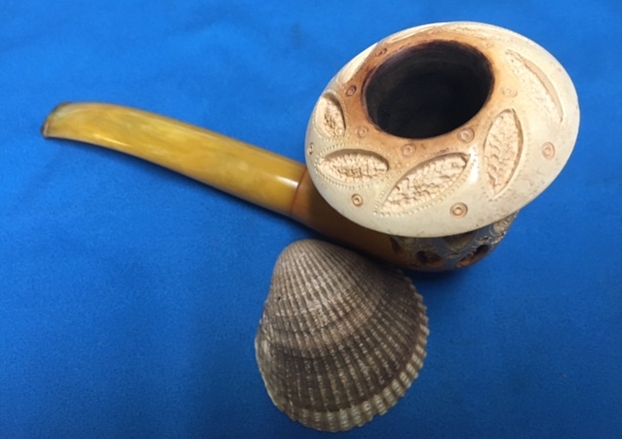
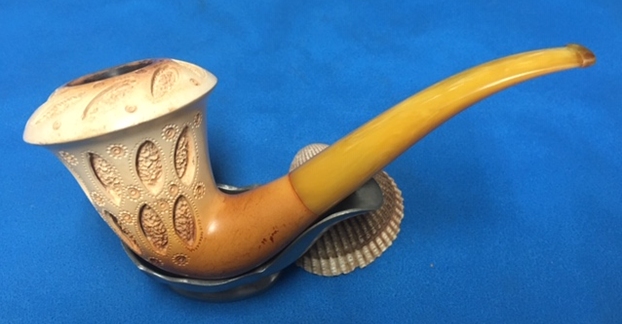
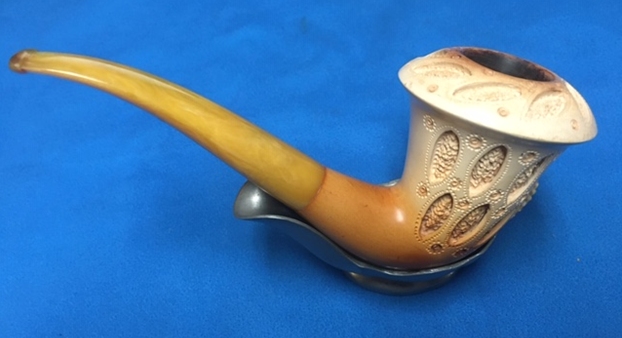
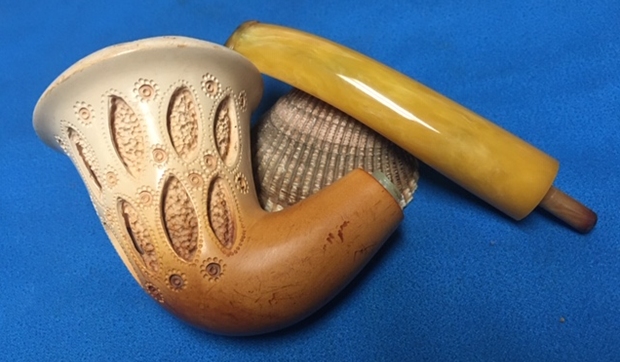
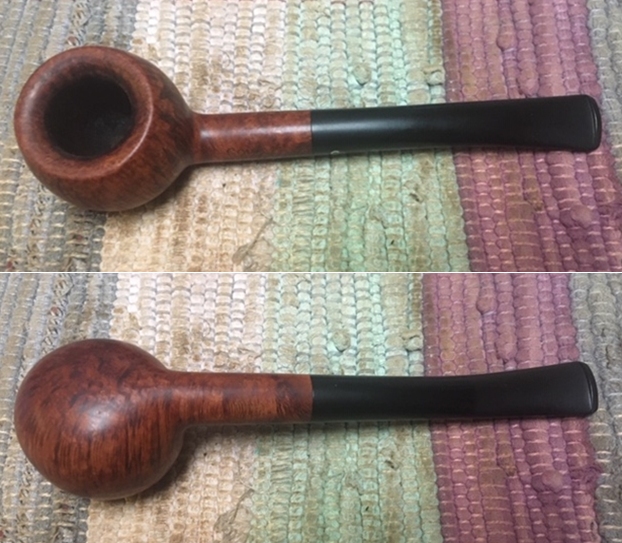
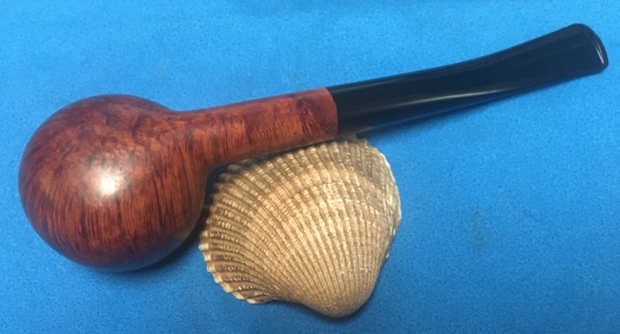
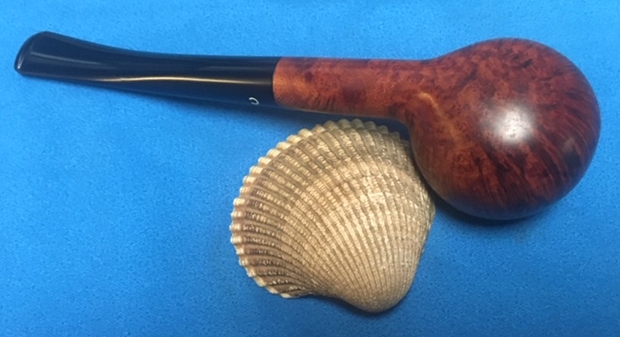
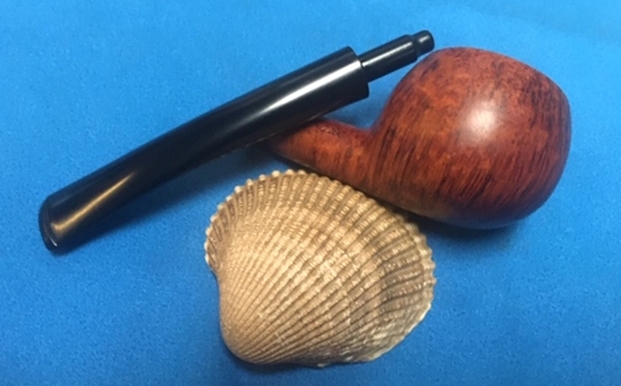
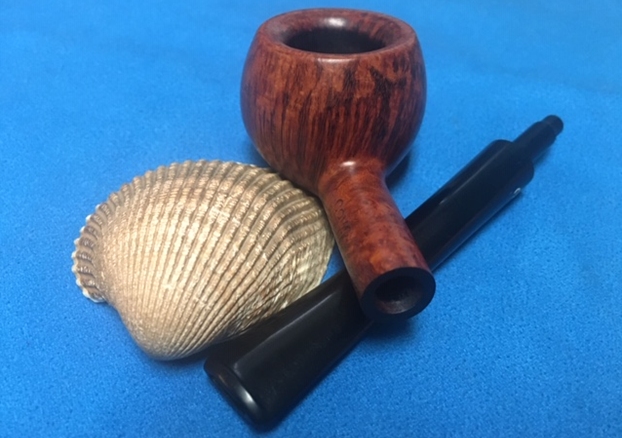
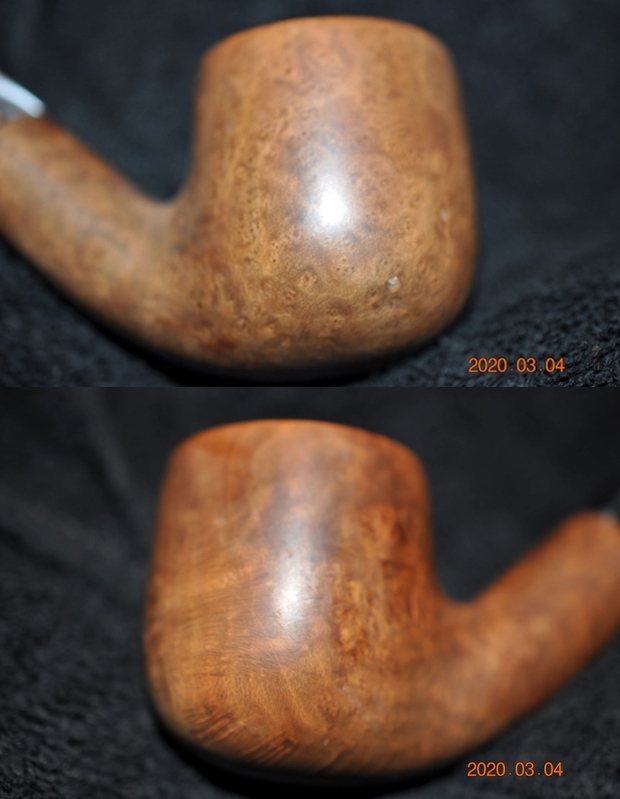
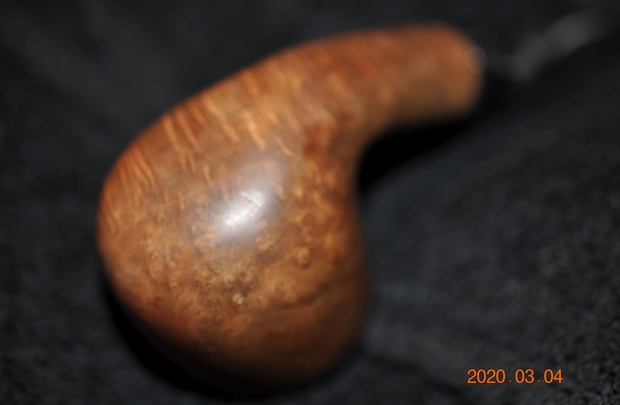
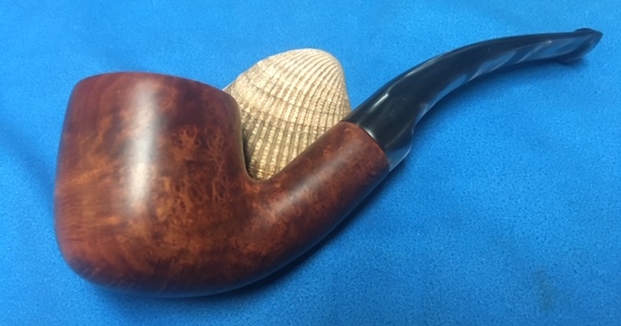
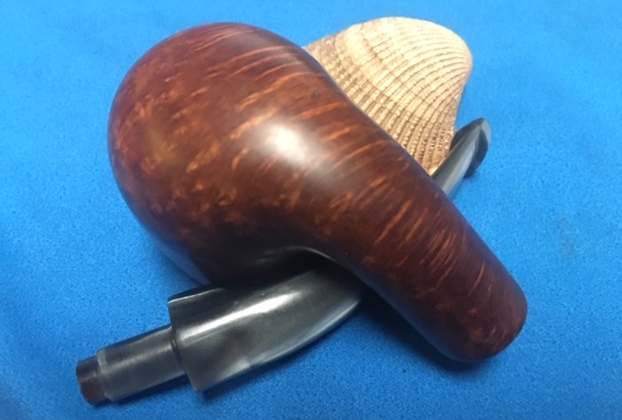
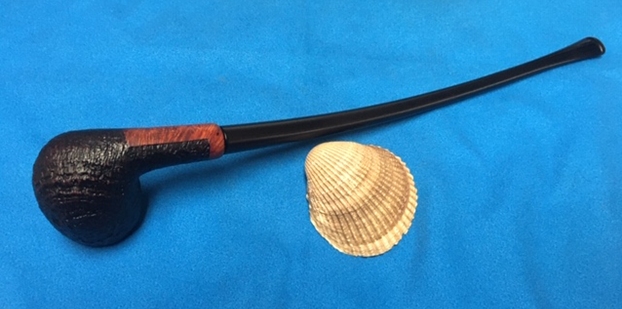
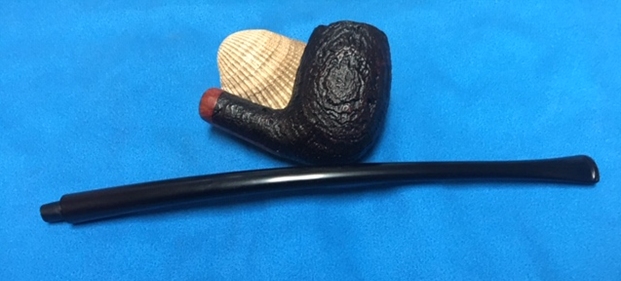
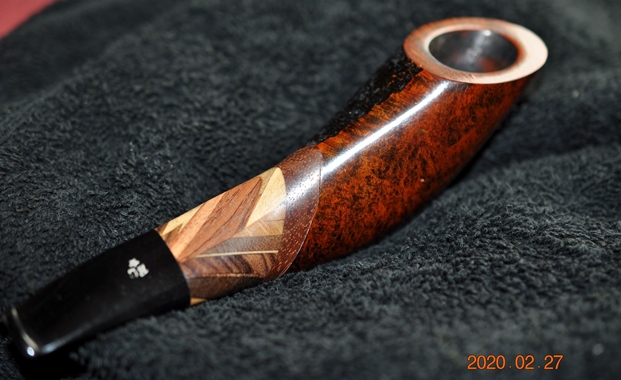
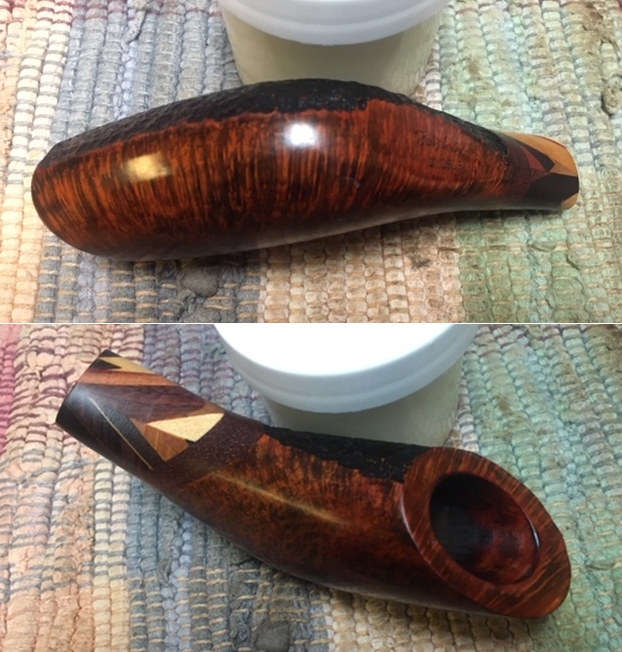
 Jeff took some photos of the front of the bowl the grain on the smooth portion is really nice cross grain. The line running between the sandblast and the smooth portion is flowing and almost alive looking. It is rough because of the merging of the two finishes.
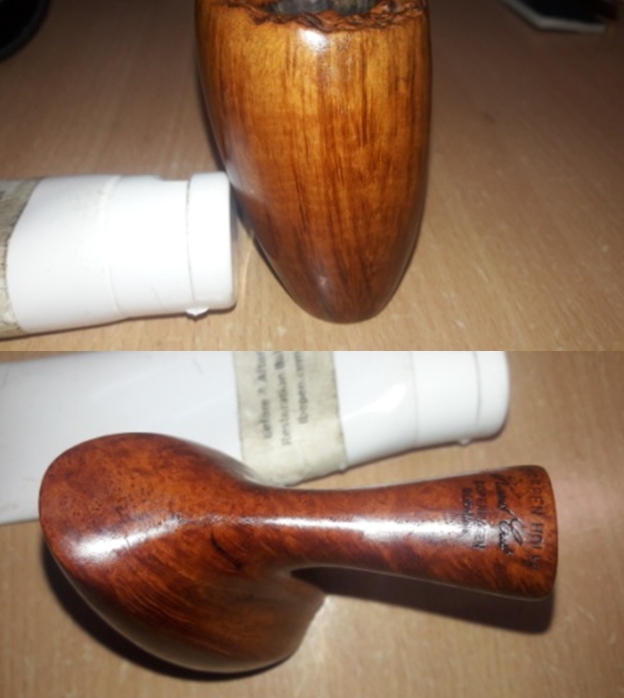
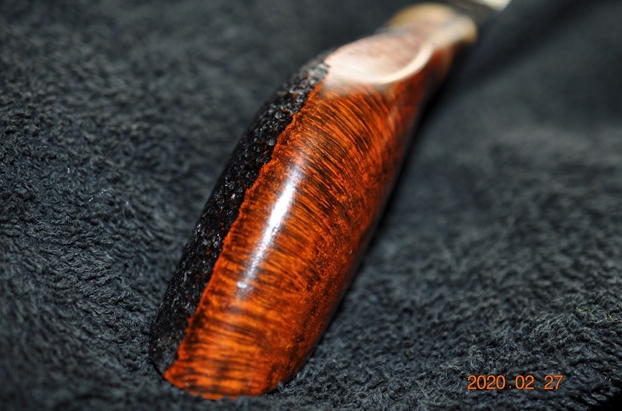
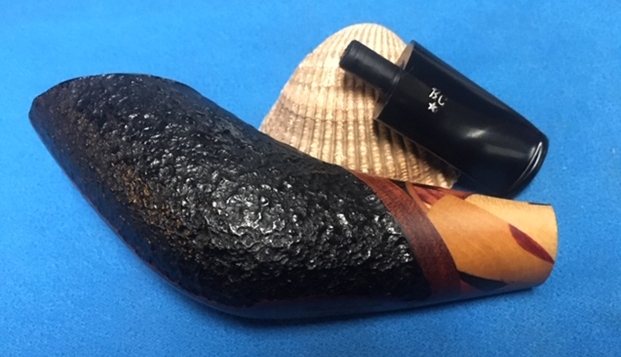
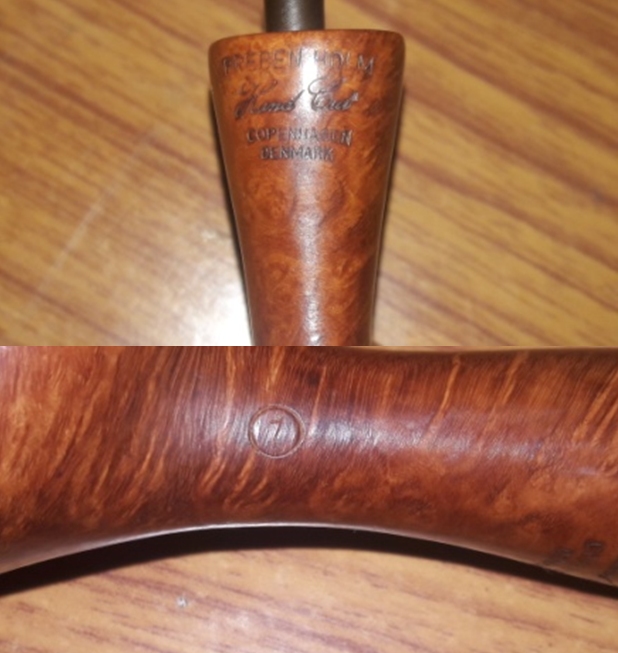
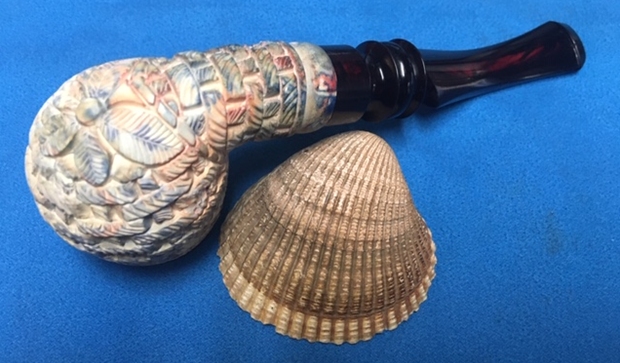
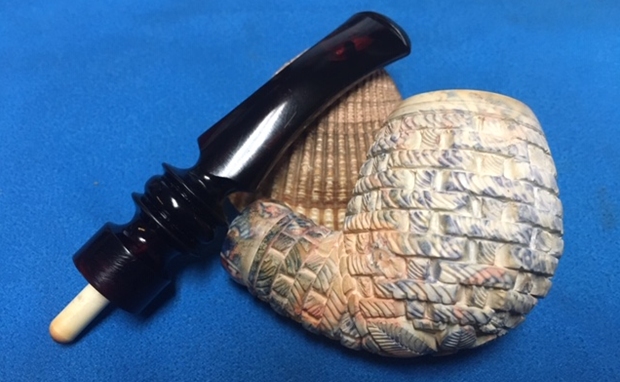
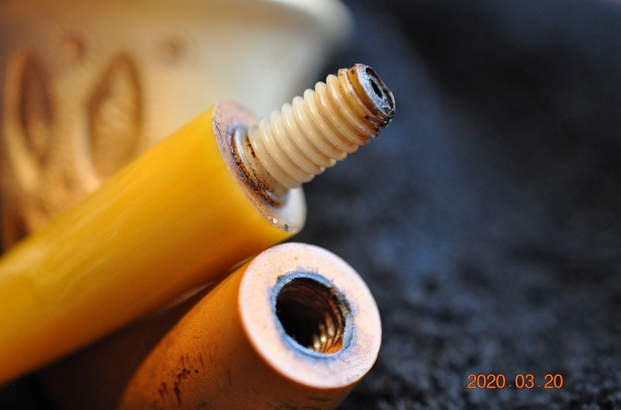
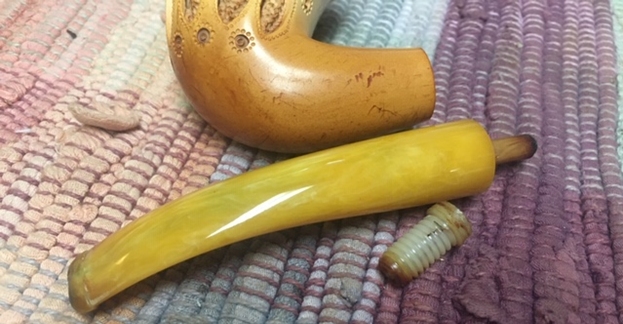
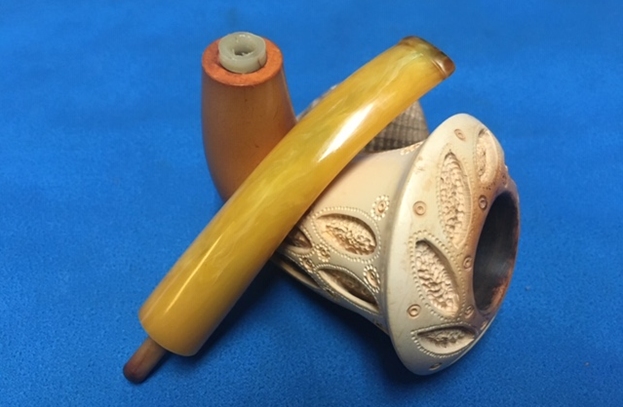
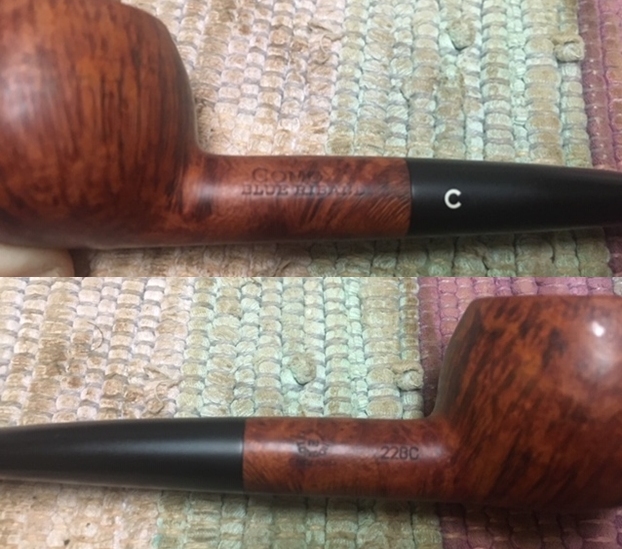
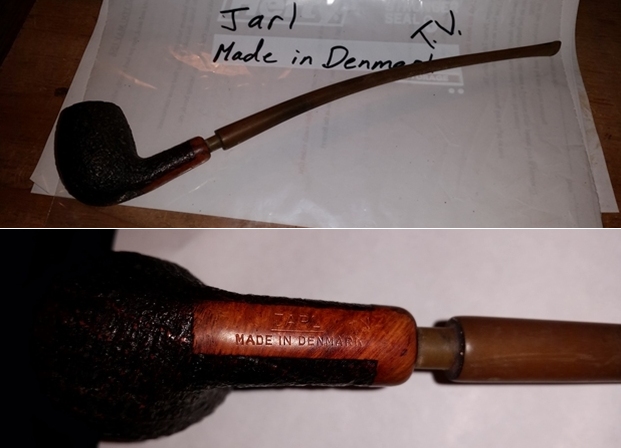
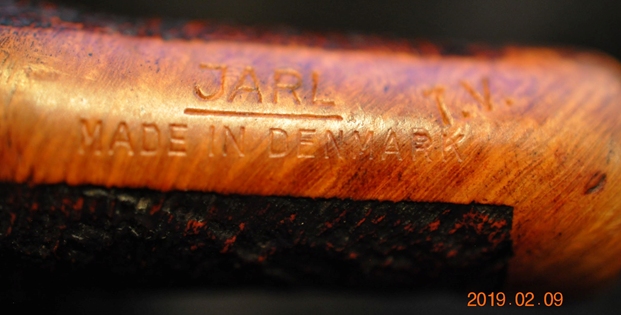
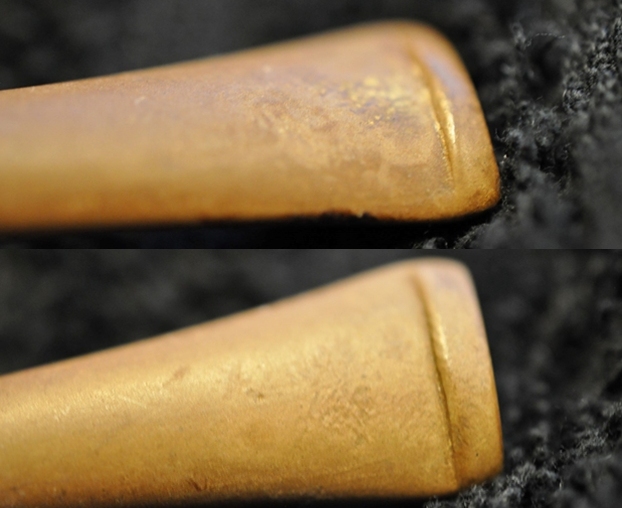
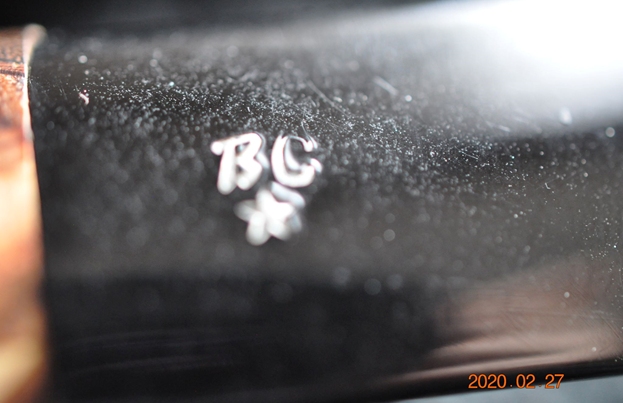
 Jeff took two photos of the stamping on heel and shank. The first photo shows the stamping clearly and the joint between the briar and the inlaid woods. The inlaid words are shown more clearly in the second photo. The woods are dull and lifeless looking up close. They are also rough to the touch. The stamping on the stem appears to be white but it is actually silver and is a inlaid into the acrylic.
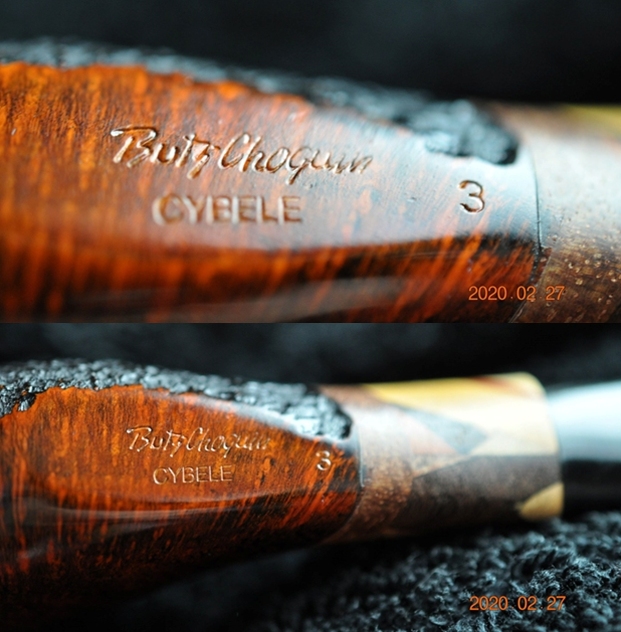
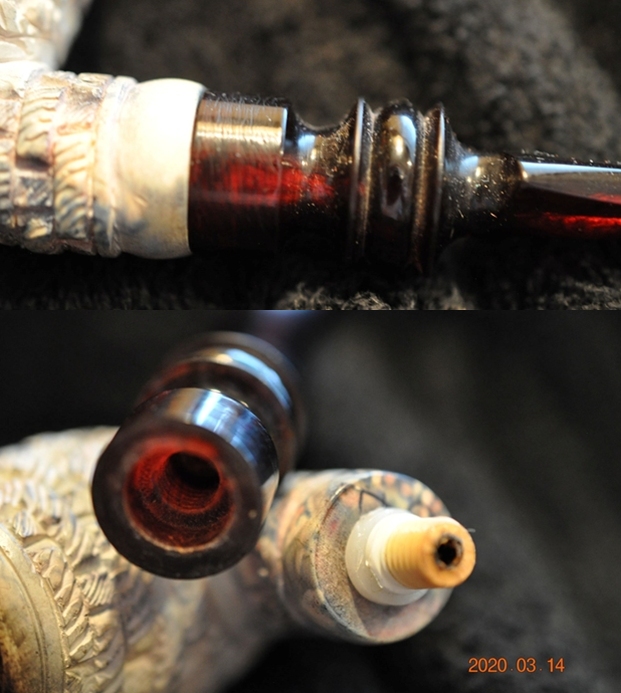
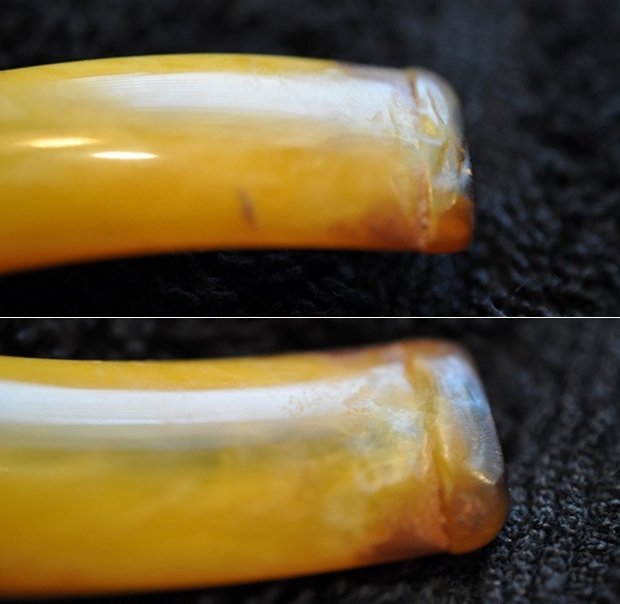
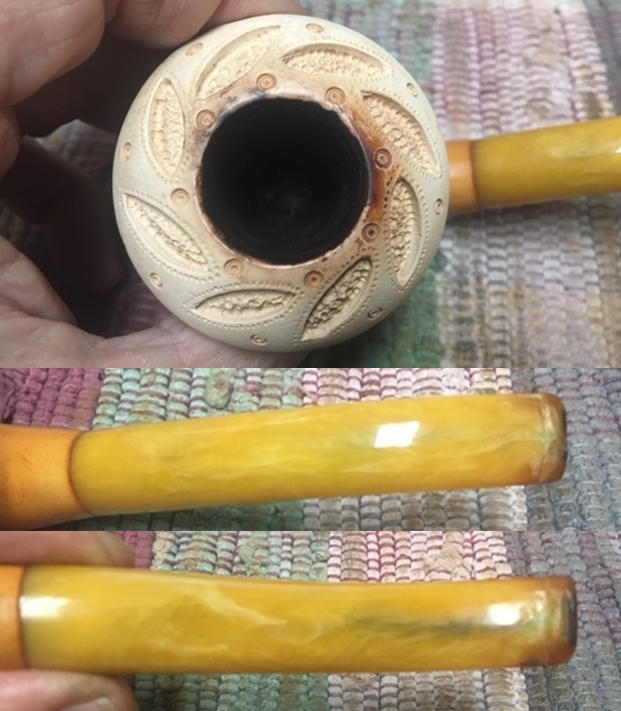
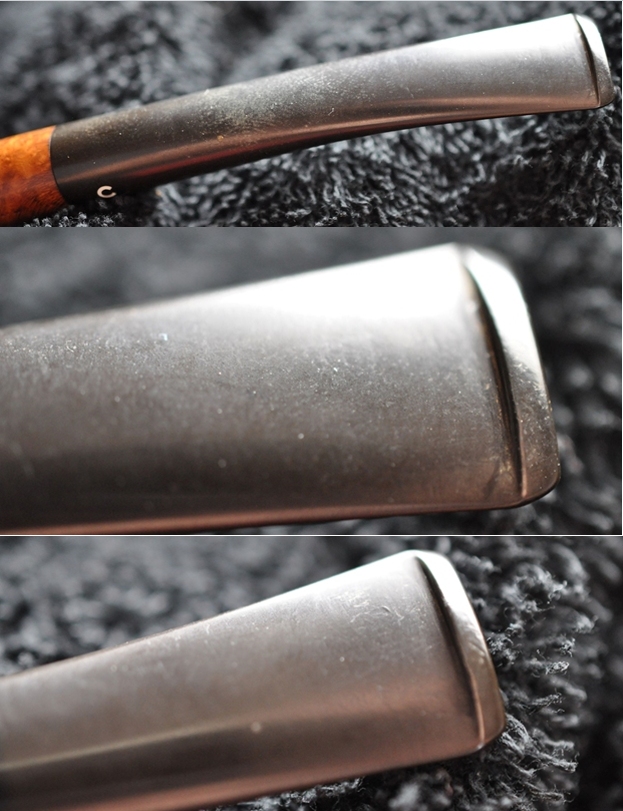
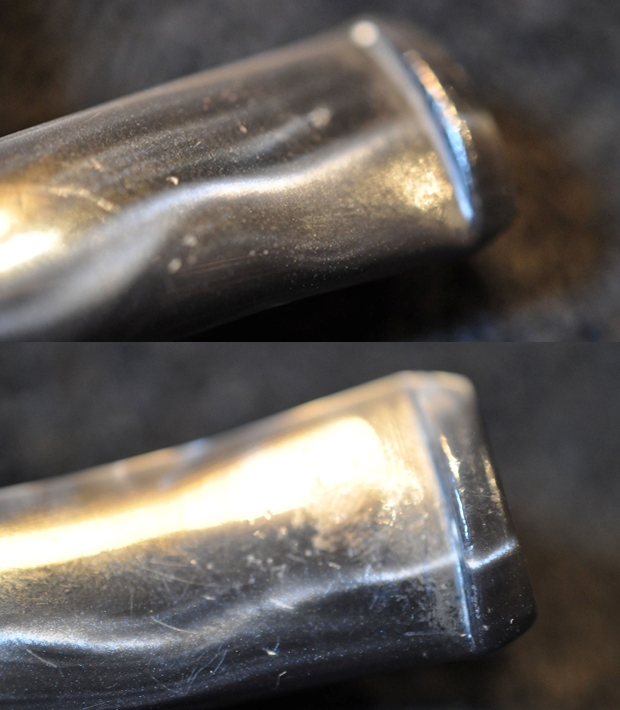
 The stem is dirty and there is light tooth chatter and marks on both sides. There is also some scratching in the acrylic that is visible in the photos.
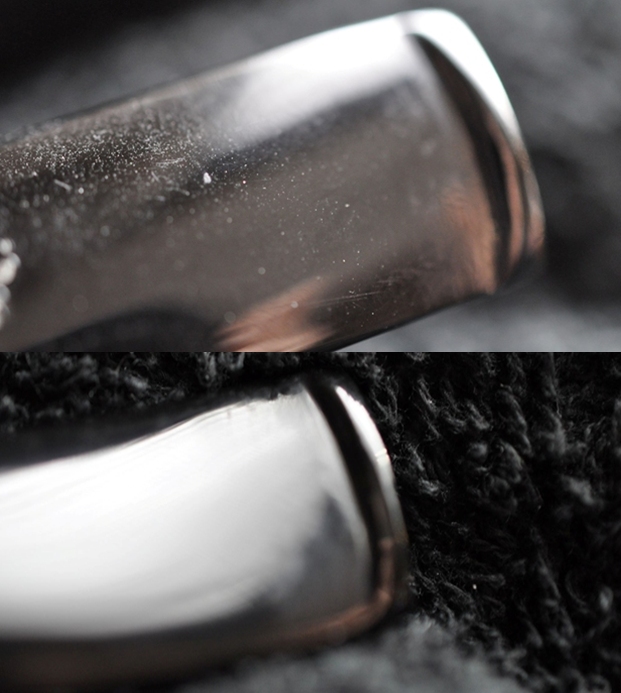 I turned to Pipephil’s site to see what he had to say about this particular line of Butz Choquin pipes (http://www.pipephil.eu/logos/en/logo-butzchoquin.html). He gives me a quick summary of the history of the brand. He also says that “the Cybele model has always the same shape with a shank extension of reconstructed exotic woods”.
 At this point I did some research on the name Cybele. I googled the name and found a link to smokingpipes.com that was written by Eric Squires describing the name of the pipe what he thought of the pipe he was looking at. (https://www.smokingpipes.com/pipes/estate/france/moreinfo.cfm?product_id=189504). I quote:
Cybele’s role in her native Anatolian remains an unknown. Most of what we know of her comes through the ancient Greeks worshiping her as an exotic deity, or the Romans’ later adoption of her as the Magna Mater. But what’s with this pipe? Given just how exotic its shaping is, and the sweeping nature of it, I would think it was inspired by the wilder rites that came to be associated with the goddess of enigmatic origins. Definitely this is one of the stranger designs I’ve seen by B.C., but that said it does still sit well.
I also googled the goddess Cybele to get a bit broader picture of what she was about in the Greek pantheon (https://www.theoi.com/Phrygios/Kybele.html).
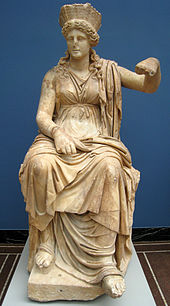 KYBELE (Cybele) was the ancient Phrygian Mother of the Gods, a primal nature goddess worshipped with orgiastic rites in the mountains of central and western Anatolia. The Greeks identified her with their own mother of the gods–the Titaness Rhea.
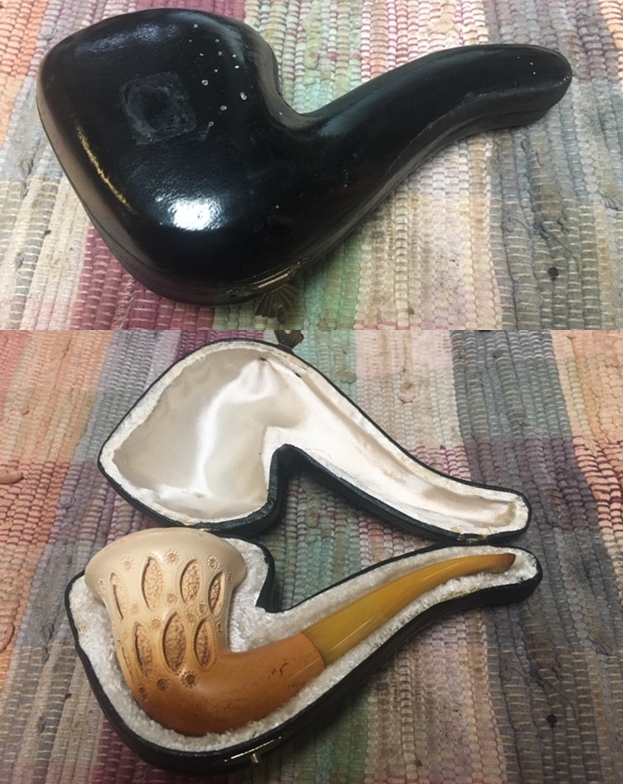
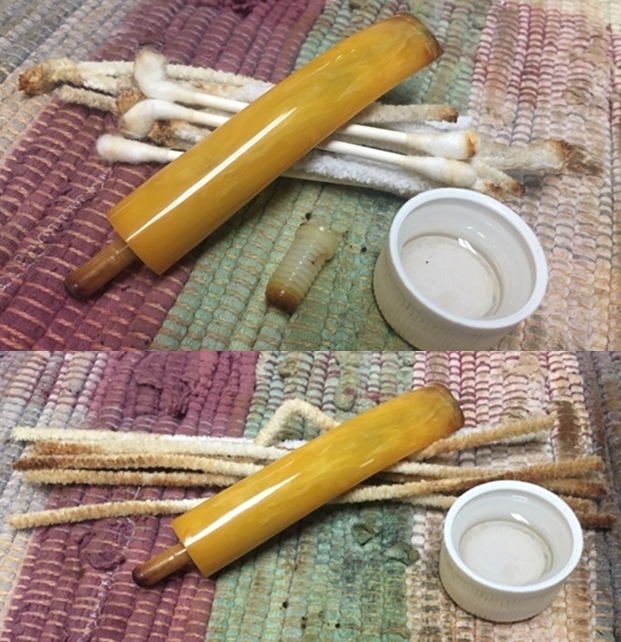
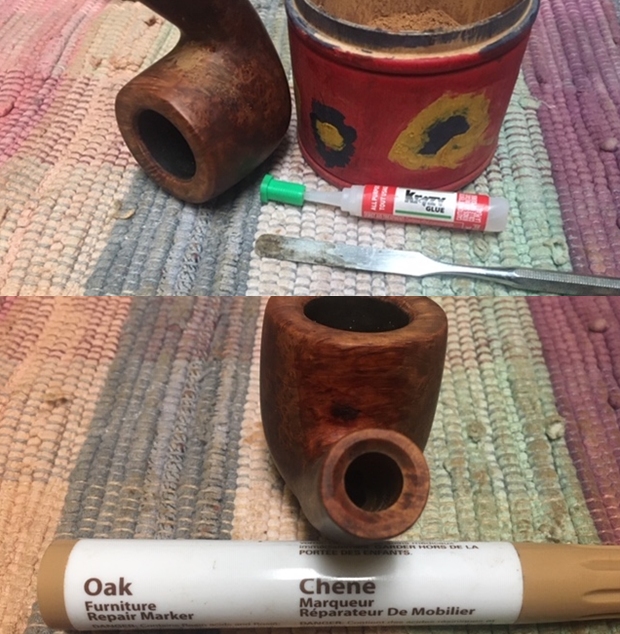
Interesting information by it really did not help me understand why Butz Choquin had named their pipe Cybele. But I think I will leave that for now and move on to the restoration work on the pipe. Jeff had done his usual thorough cleanup of the pipe. He had reamed it with a PipNet reamer and cleaned up the reaming with a Savinelli Fitsall pipe knife. He scrubbed the internals of both the shank and he stem with alcohol, cotton swabs and pipe cleaners. He scrubbed the externals with undiluted Murphy’s Oil Soap and a tooth brush. He cleaned the stem with Soft Scrub and let the pipe dry thoroughly before putting it back together and sending it to me. I took some photos of the pipe when I unpacked the box.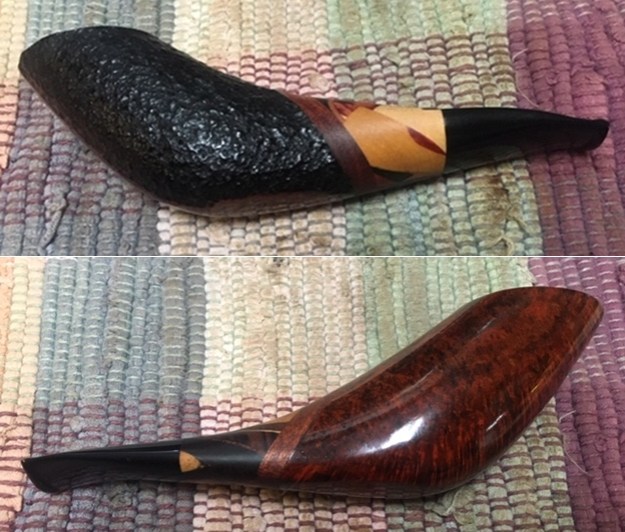
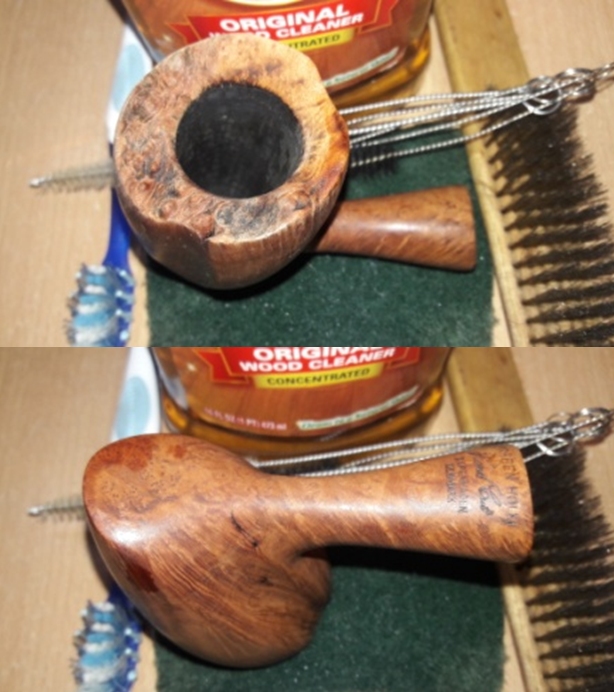
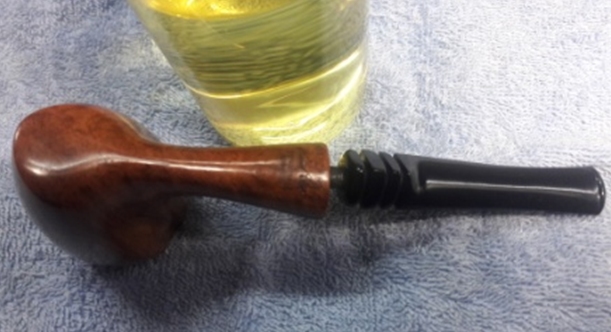
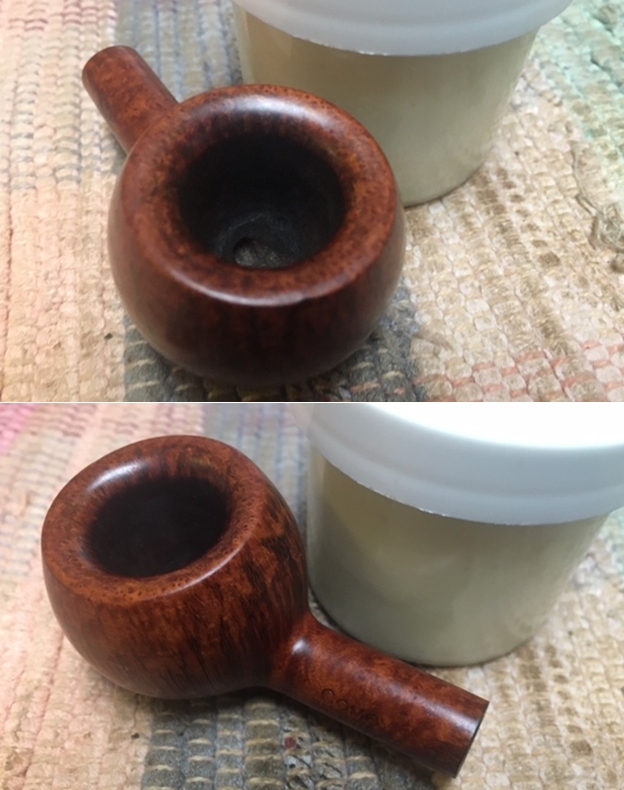
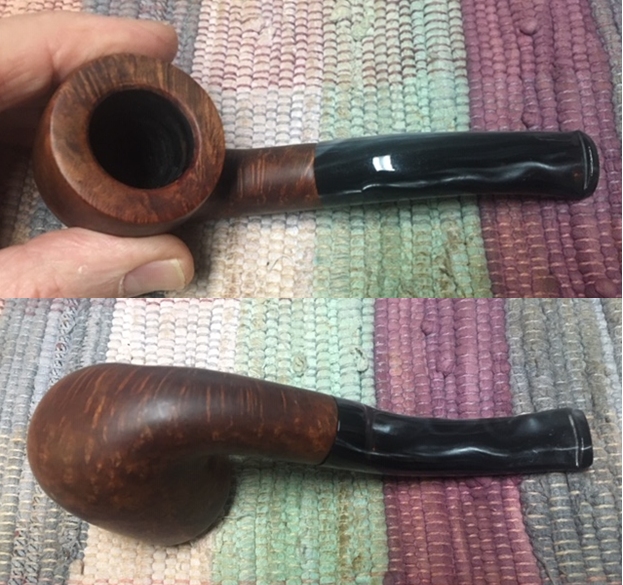
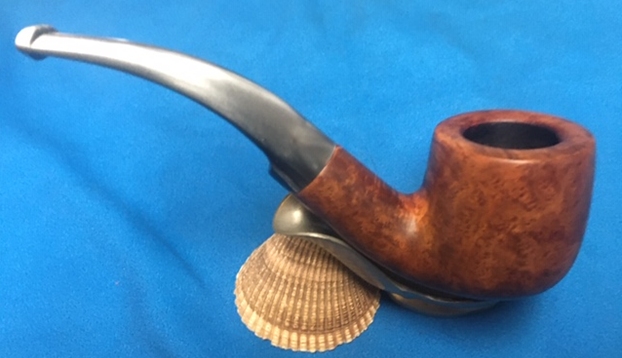
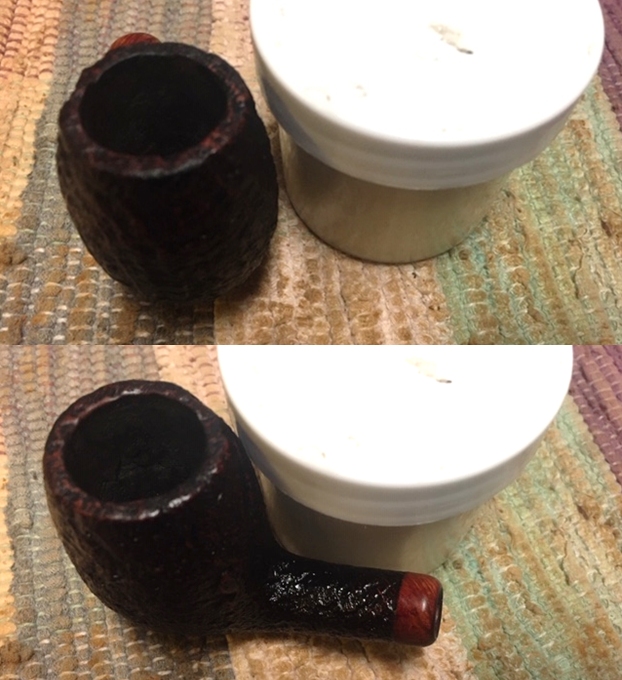
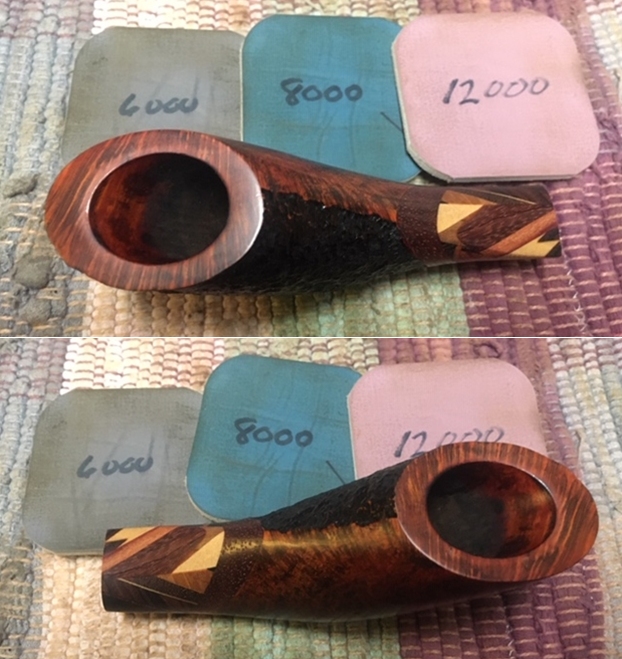
 I took photos of the bowl and rim top to show the difference the cleaning had made. There are a few nicks in the surface of the rim top but the edges look very good. The stem also looks much better. There are a few light tooth marks in the surface of the stem on the top and underside near the button.
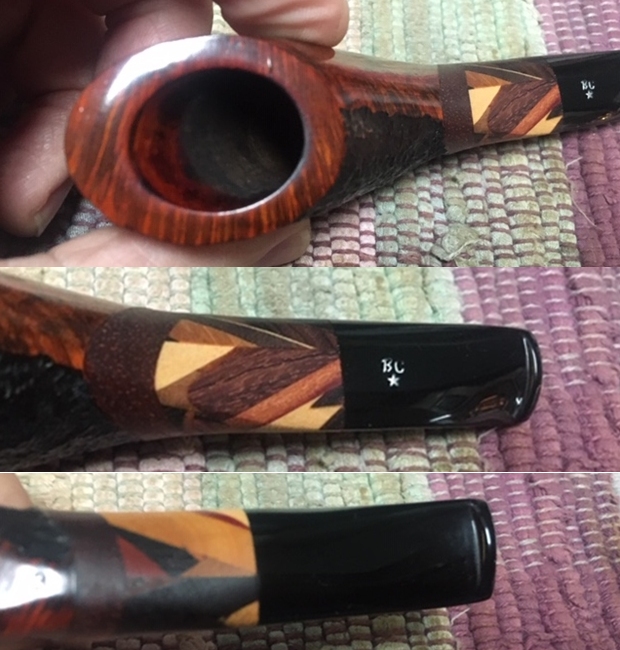 The stamping looked very clear and the scratching on the wood inlay section looked better.
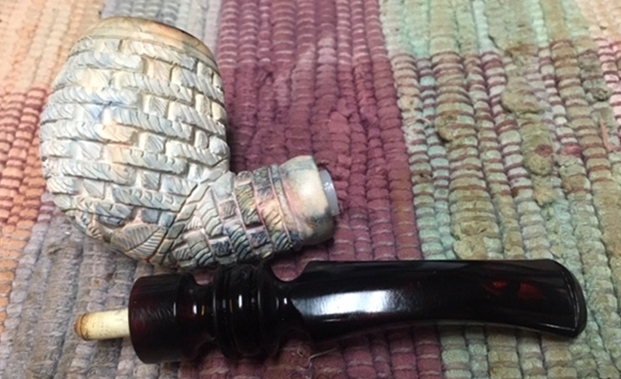
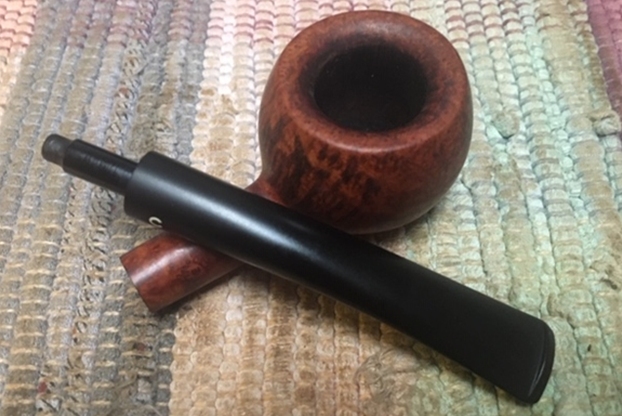
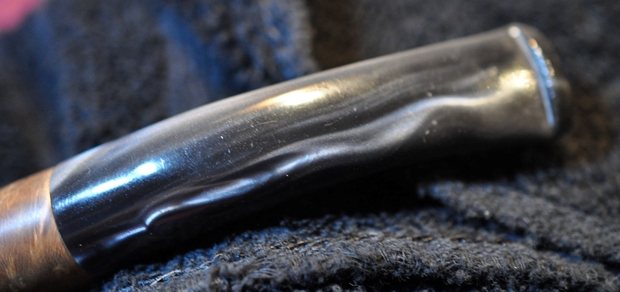
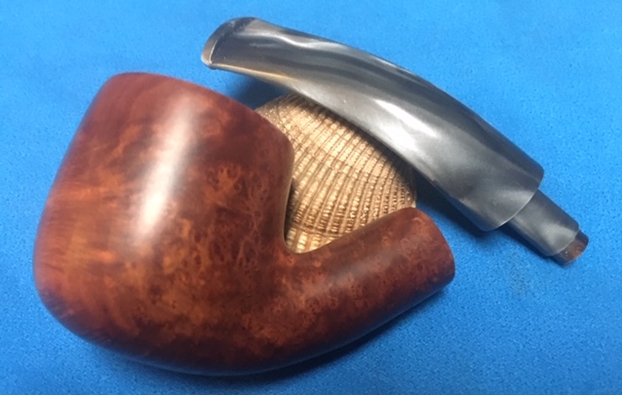
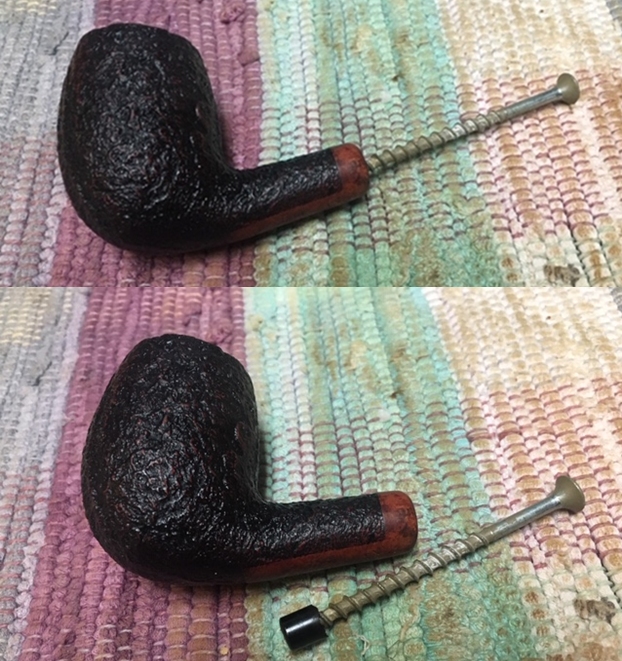
 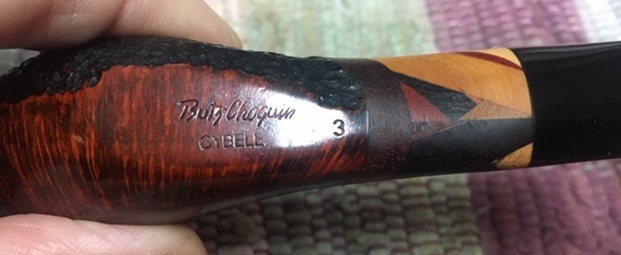 I took the stem off the bowl and took some pictures.
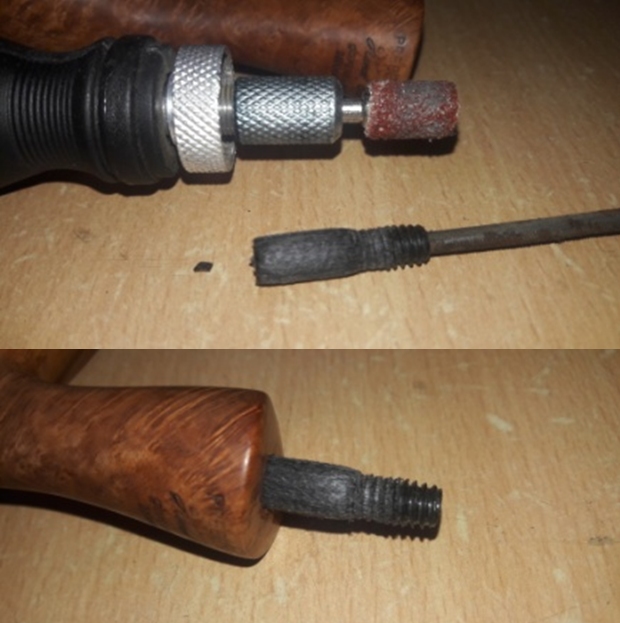
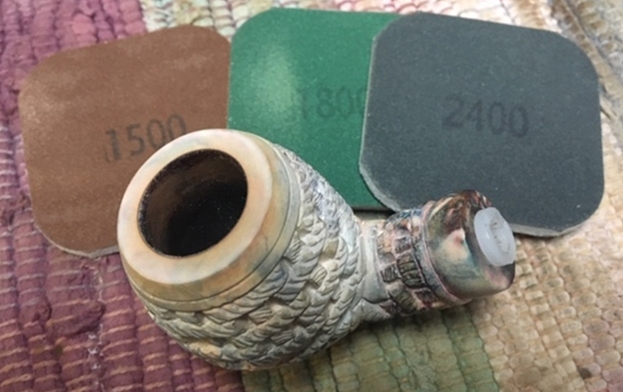
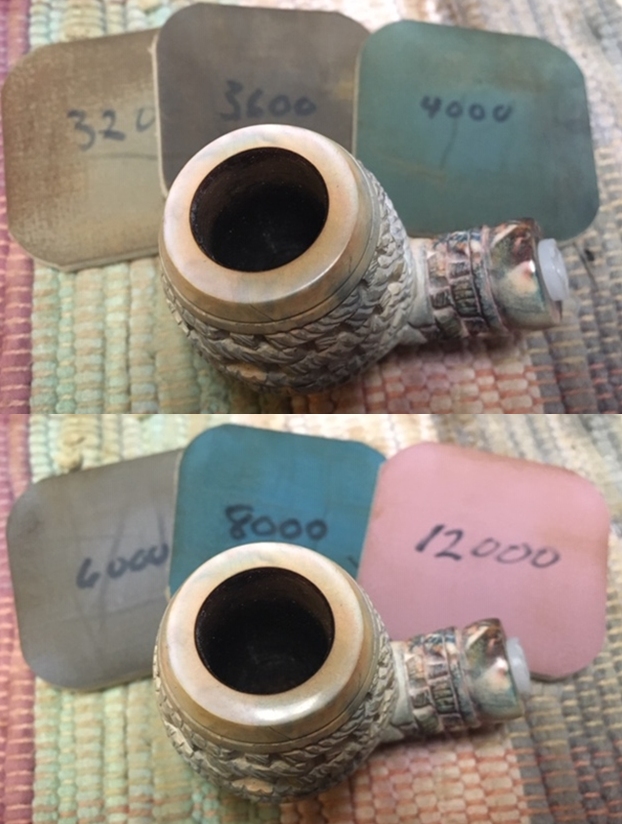
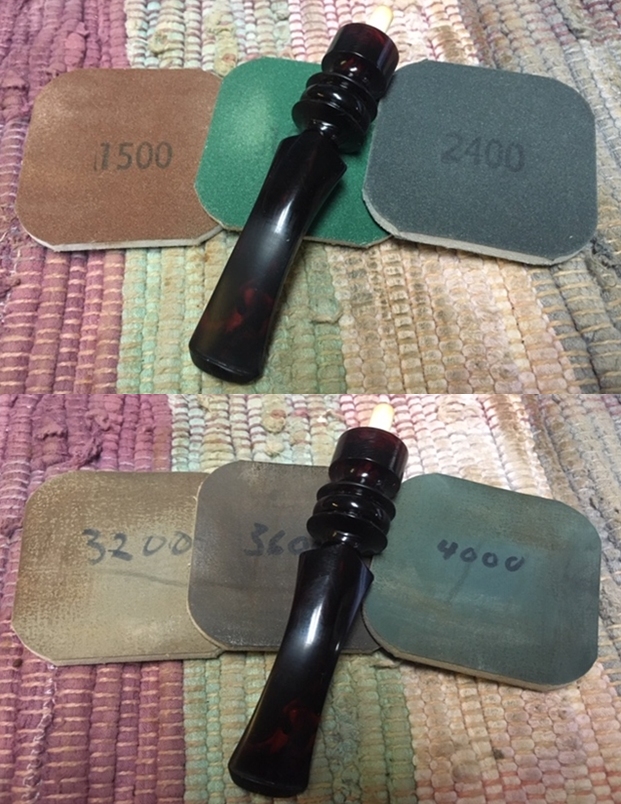
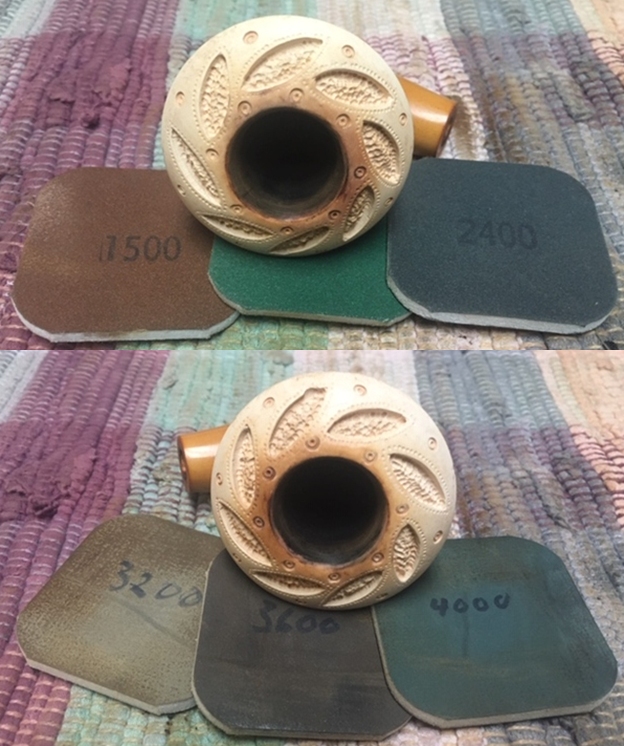
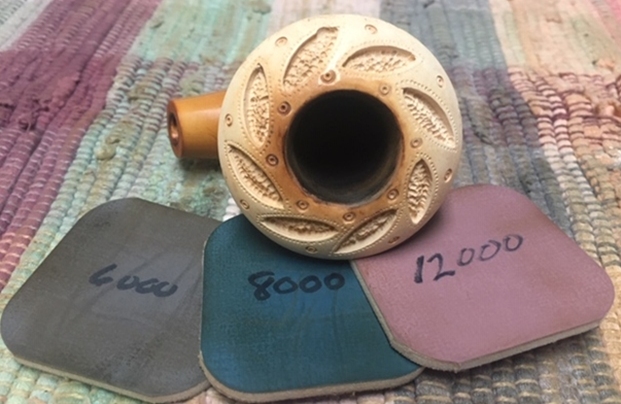
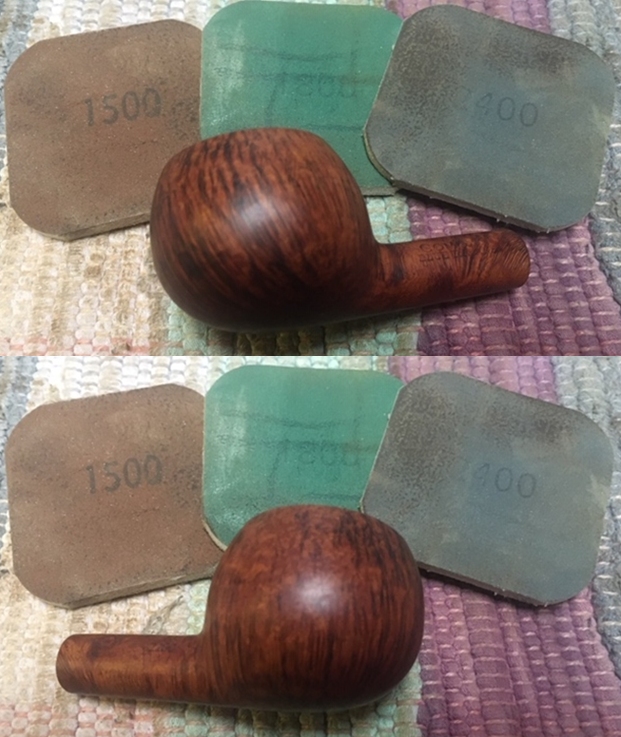
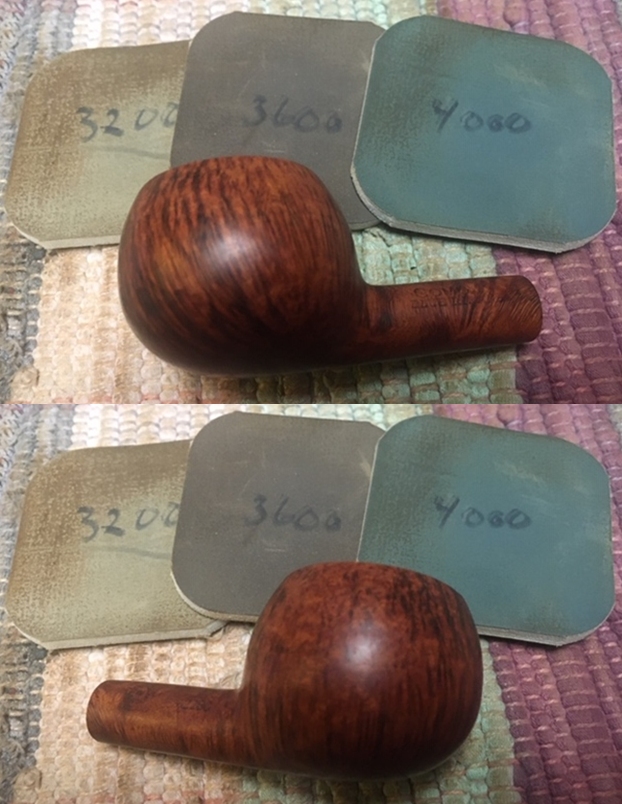
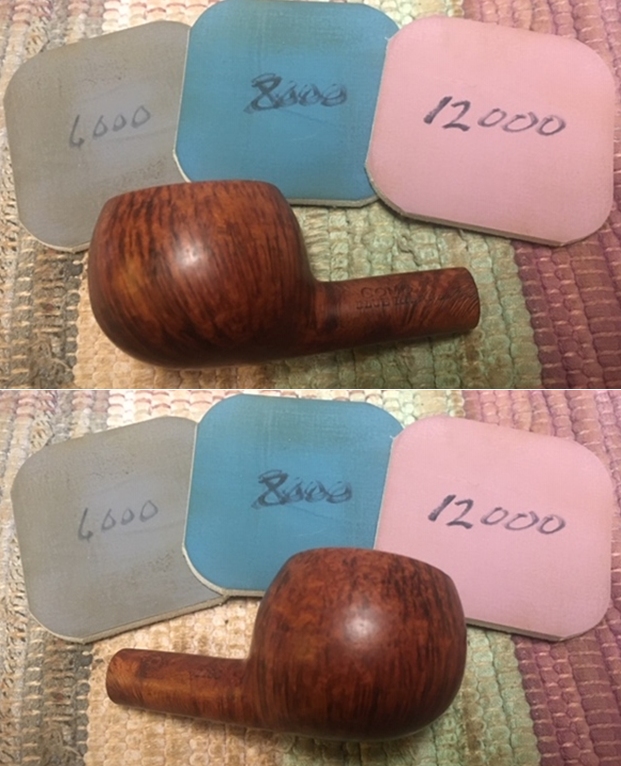
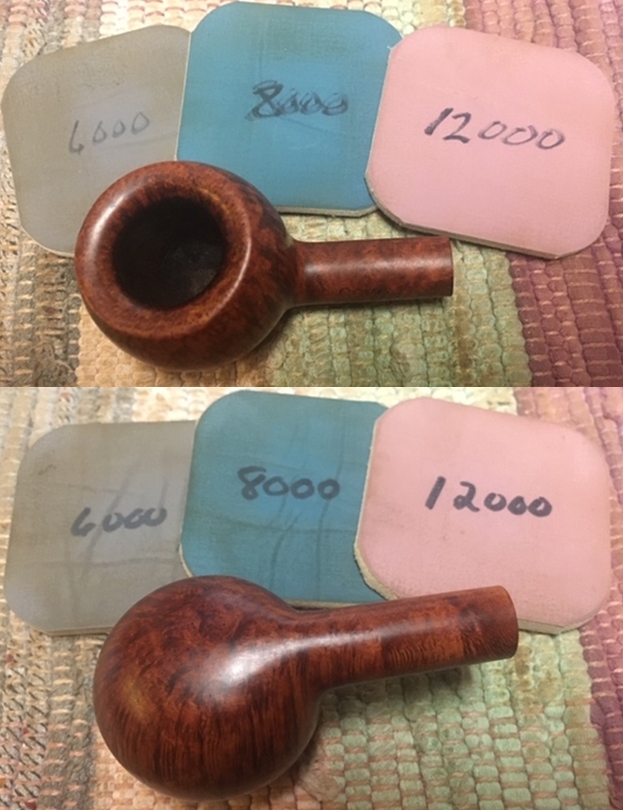
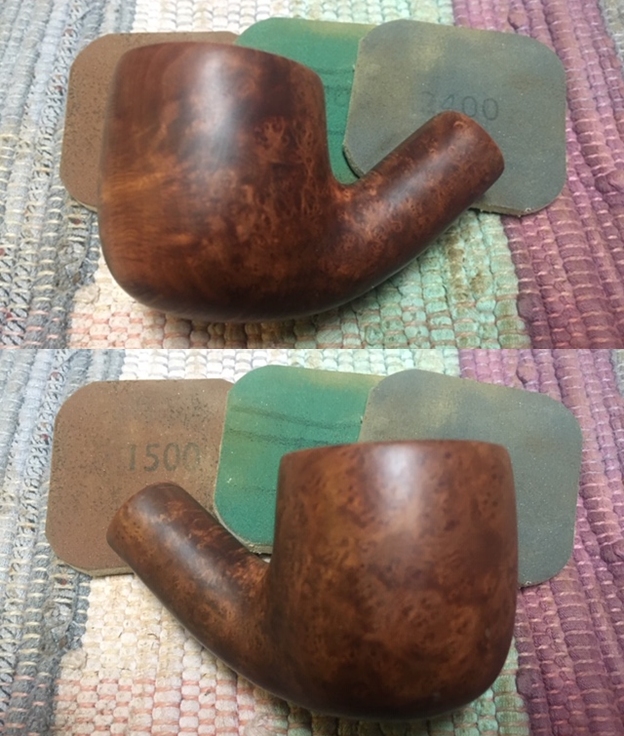
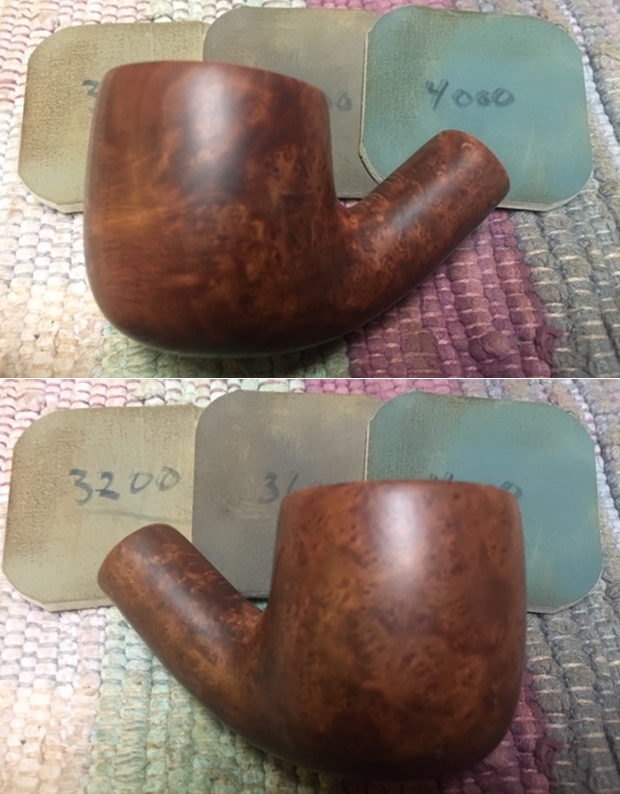
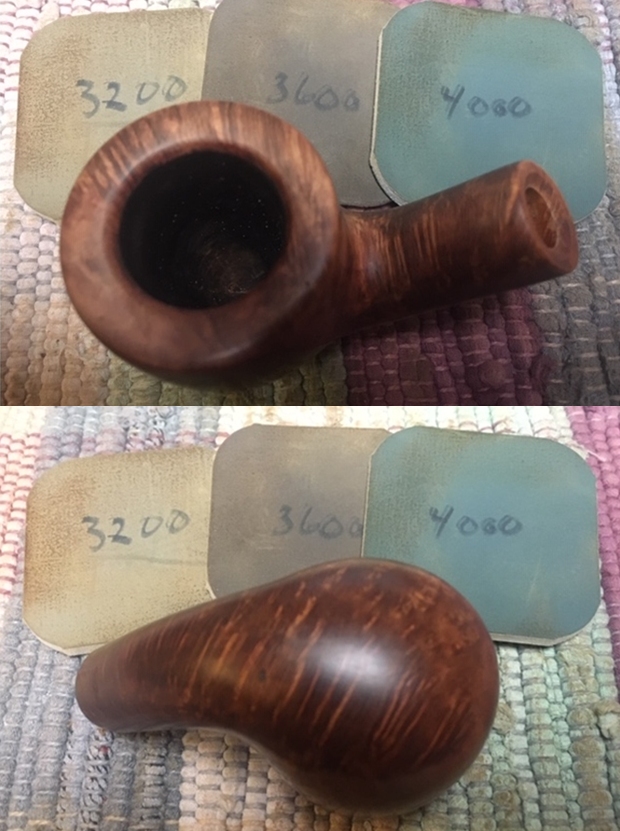
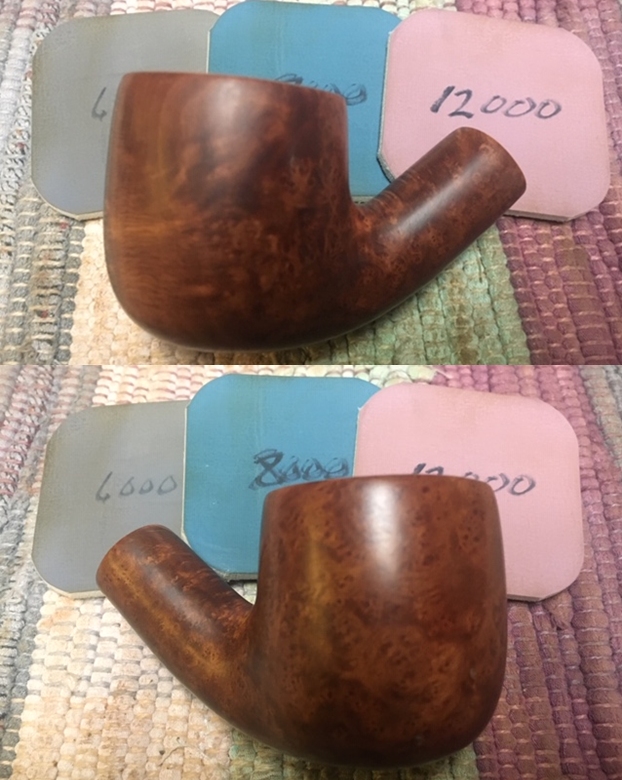
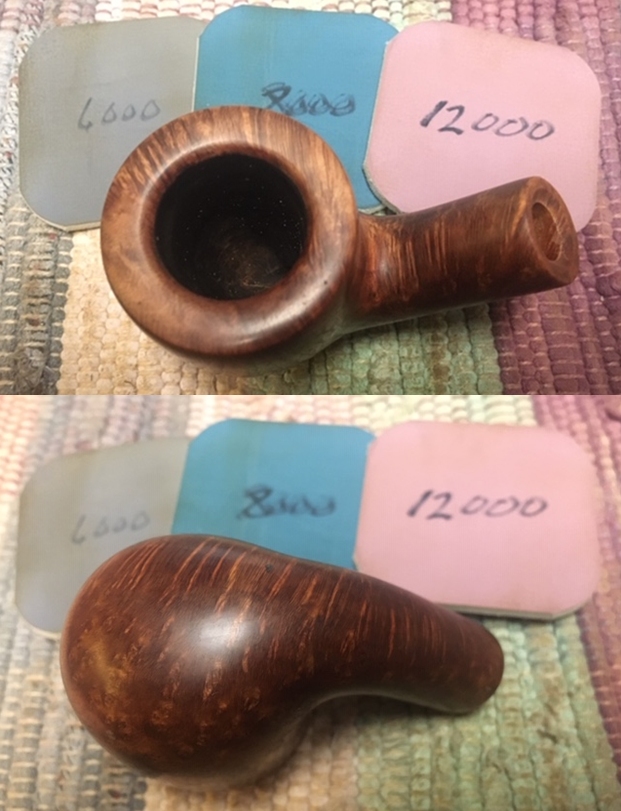
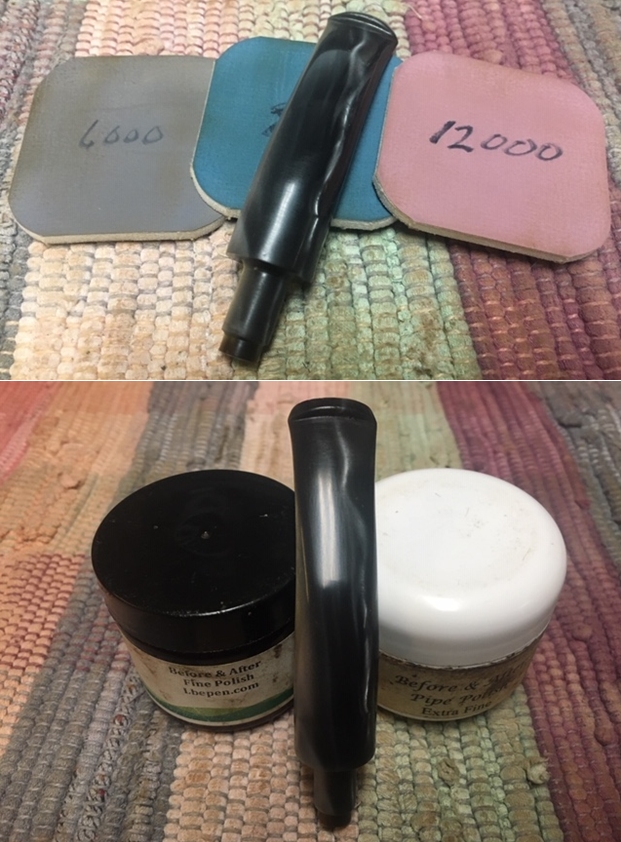
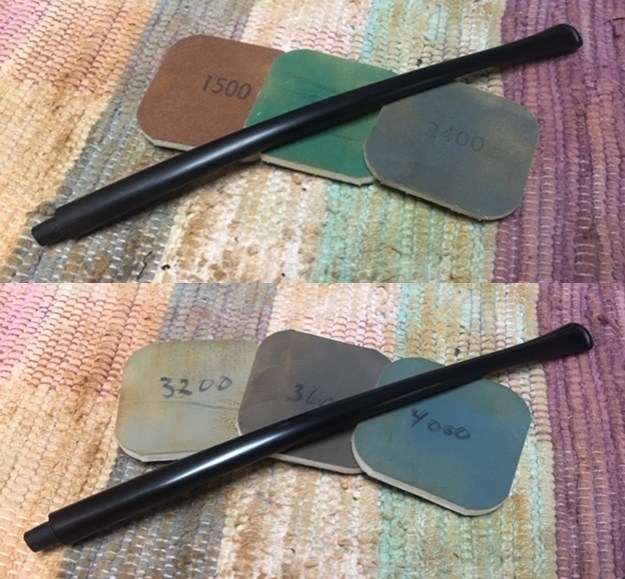
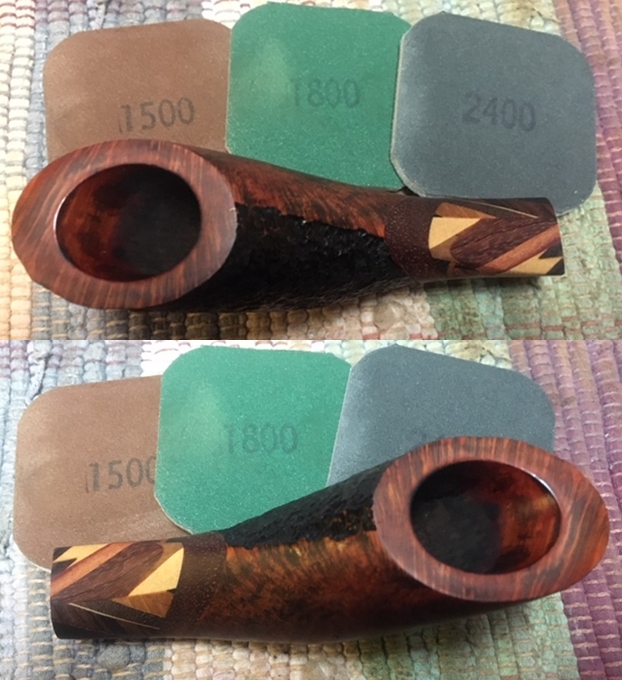
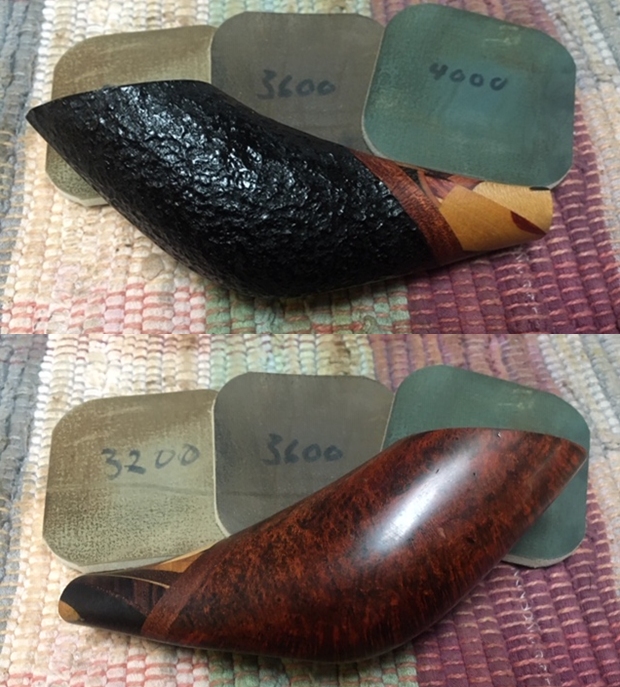
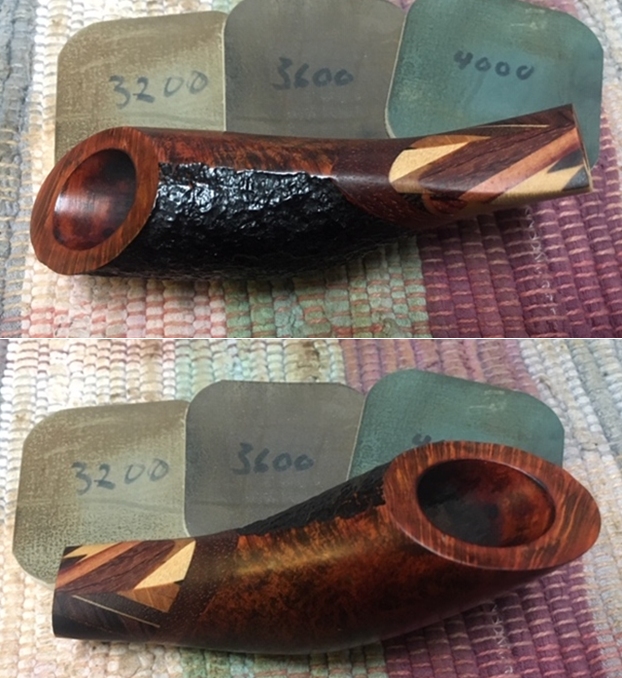
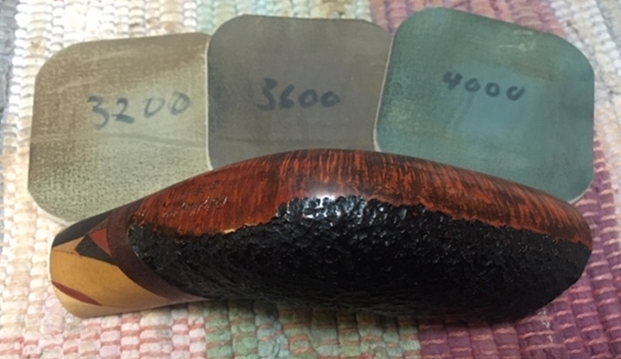
 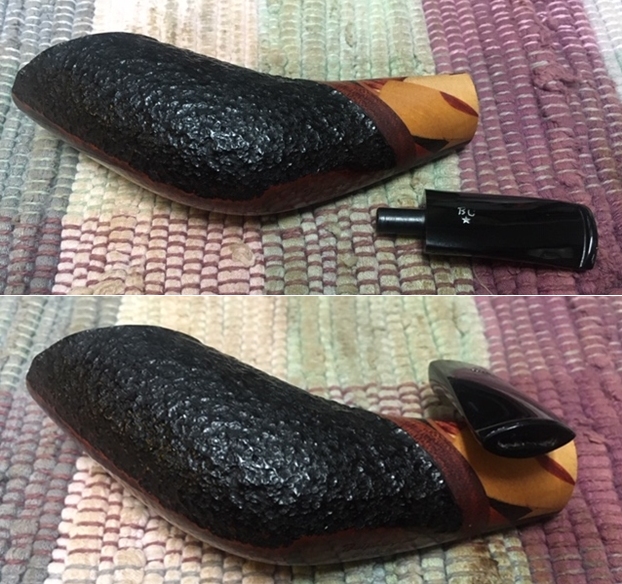 I decided to polish out the scratches in the smooth parts of the bowl and the wood inlaid shank first so I used micromesh sanding pads. I dry sanded with 1500-12000 grit sanding pads and wiped the bowl down after each sanding pad to get a sense of progress.
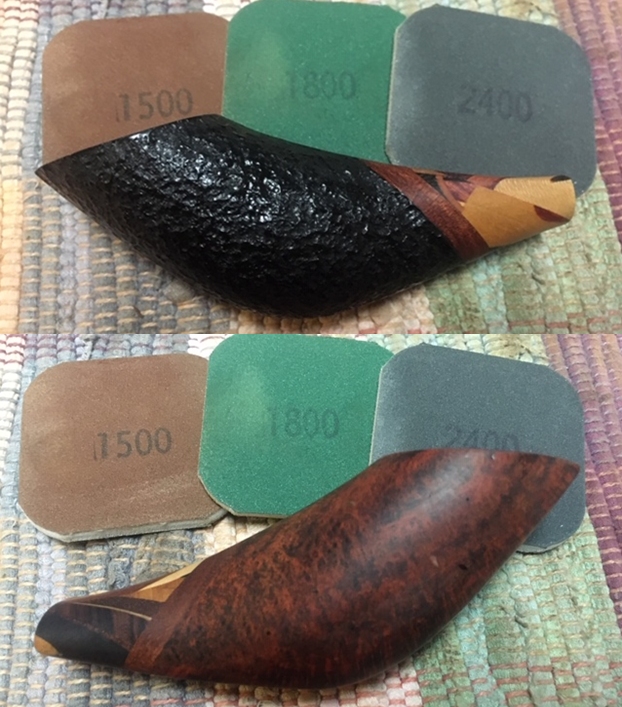

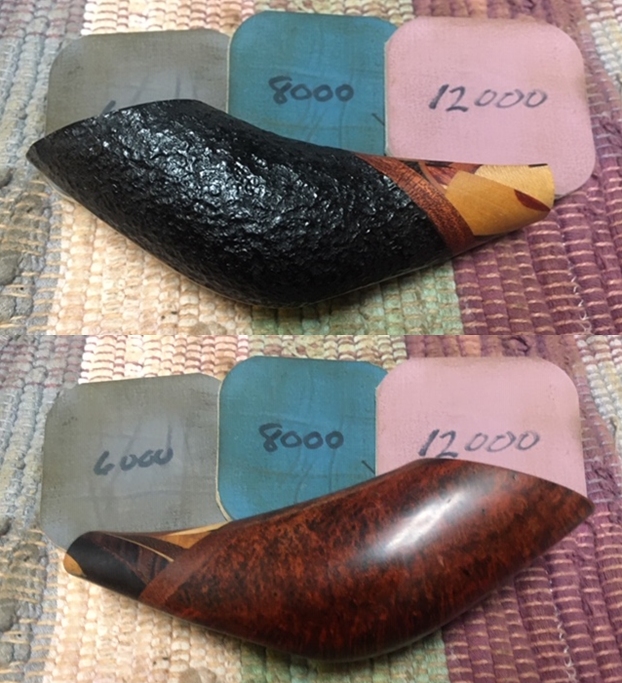
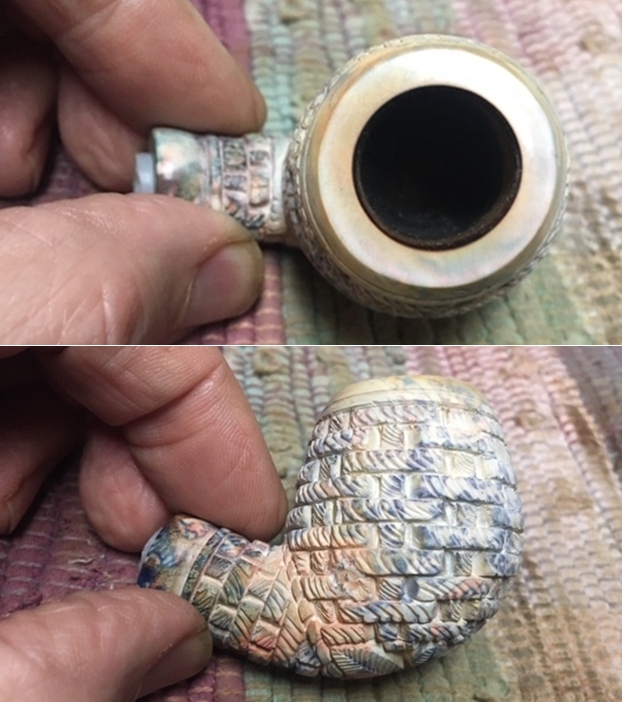
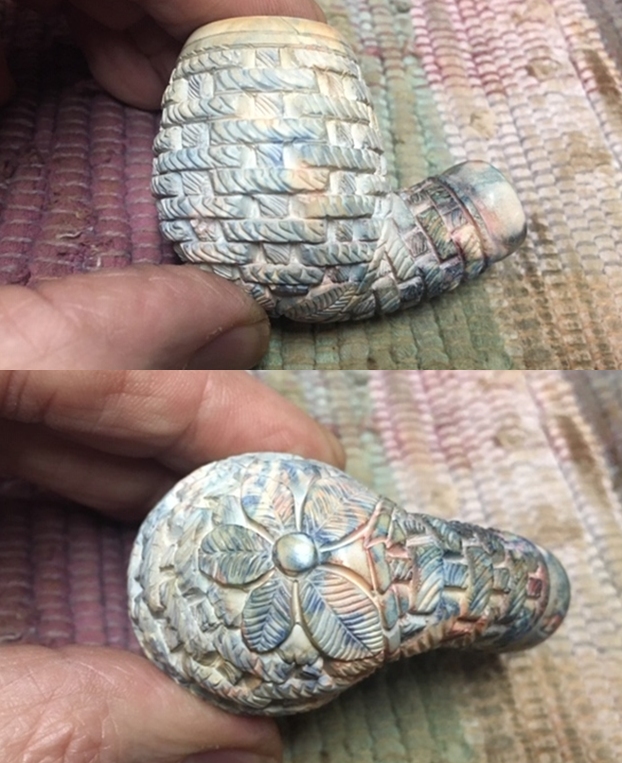
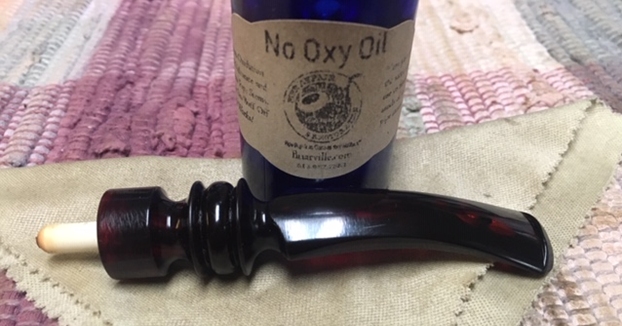
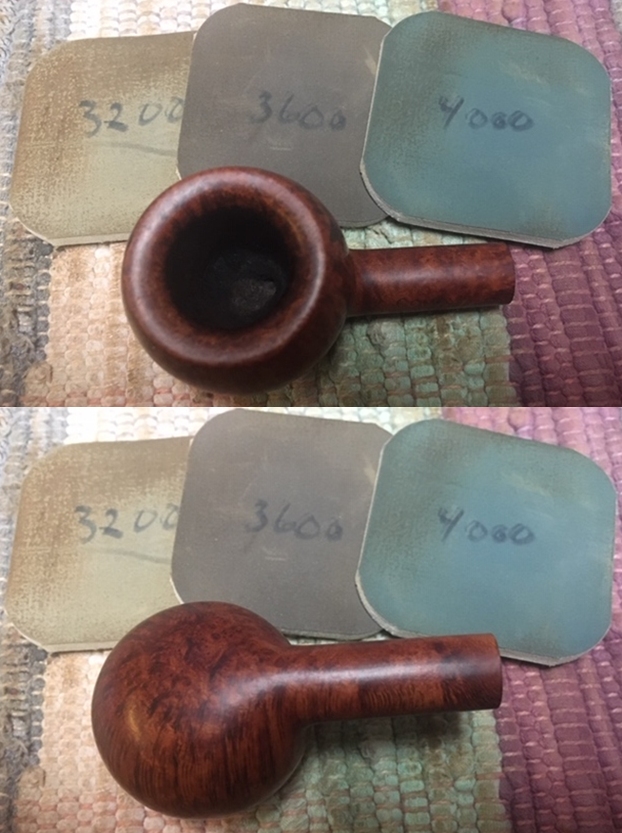
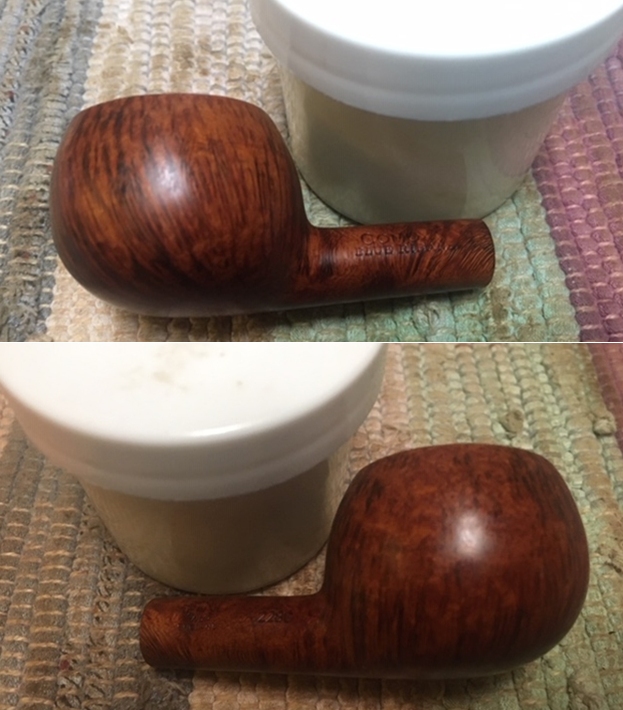
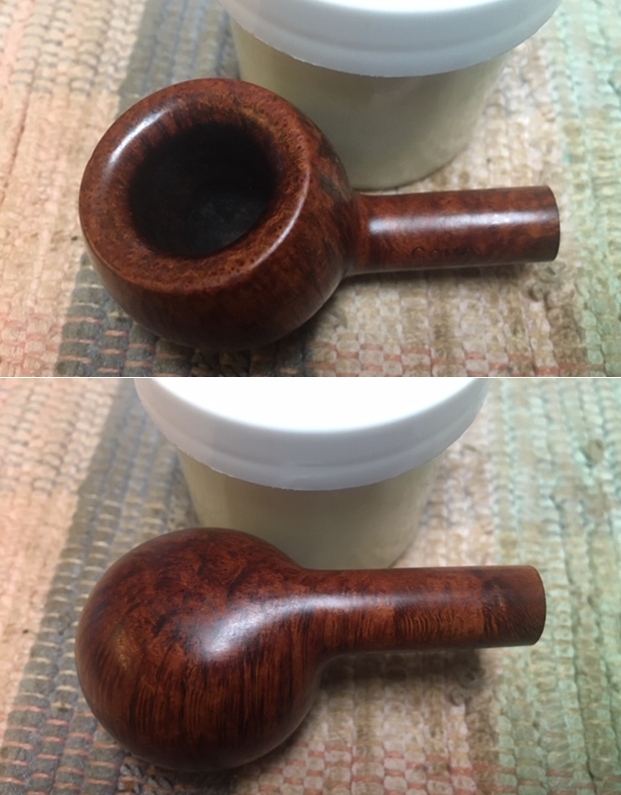
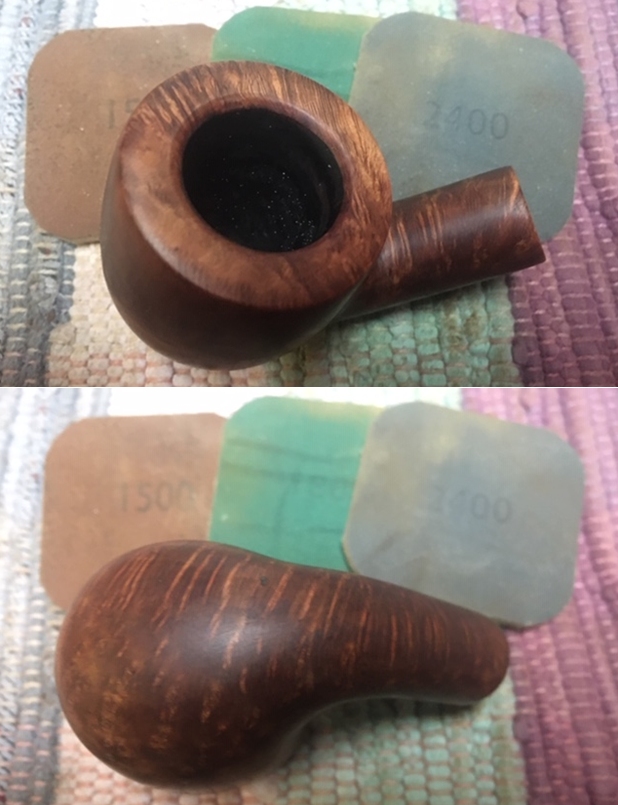
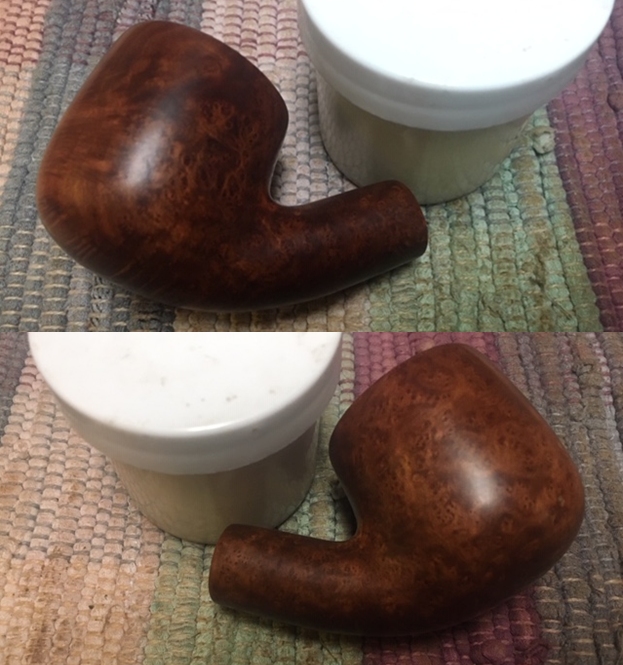
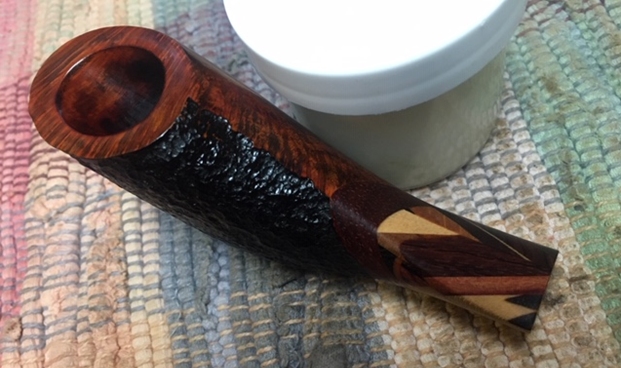
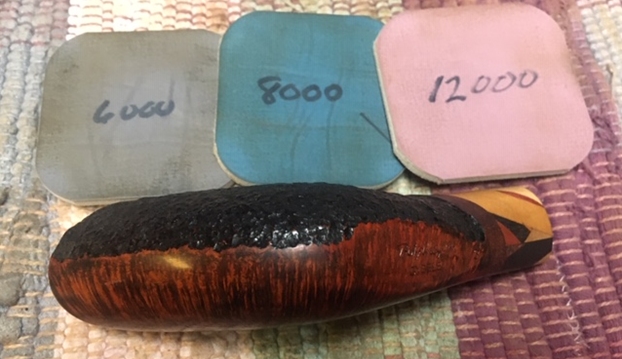 I worked some Before & After Restoration Balm into the surface of the briar with my fingertips and a horsehair shoe brush to get in the nooks and crannies of the blast. The product works to clean, enliven and protect the briar. I let the balm sit for about ten minutes and then buffed with a cotton cloth to raise the shine. The photos show the bowl at this point in the restoration process.
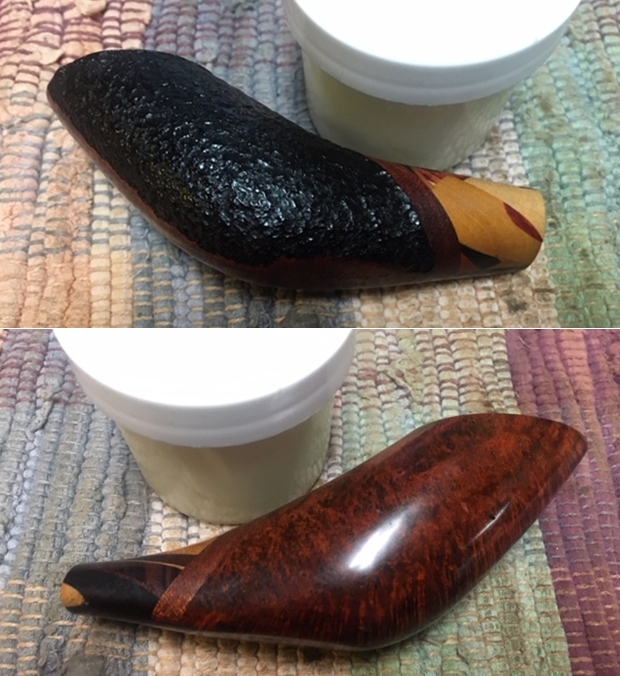
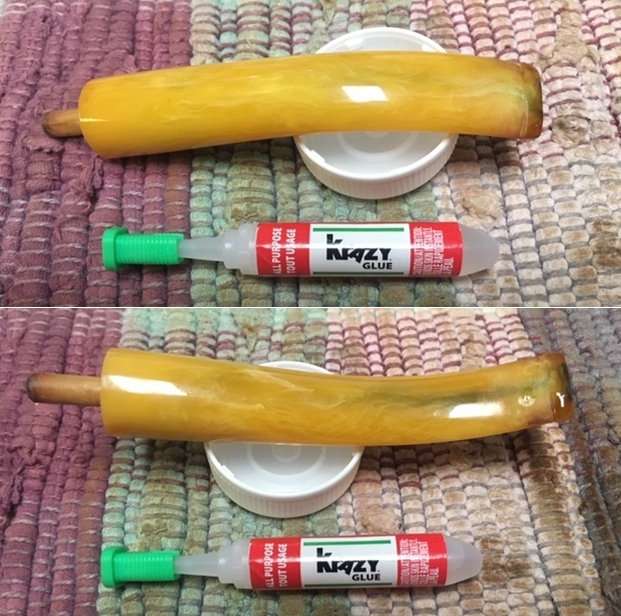
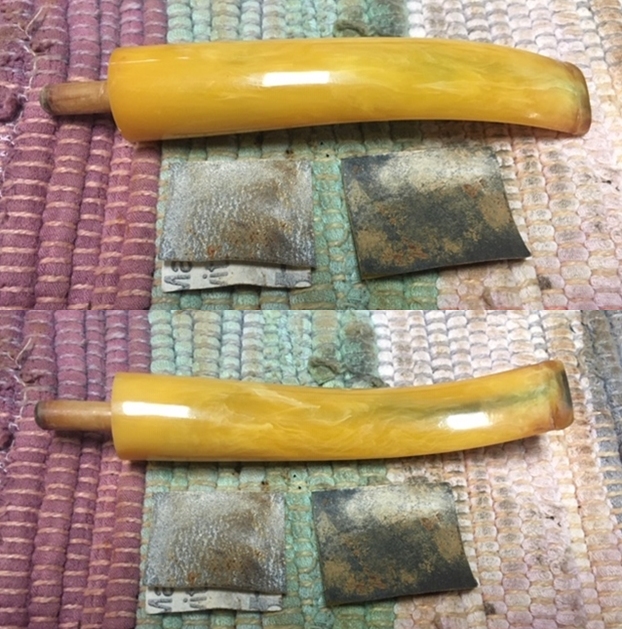
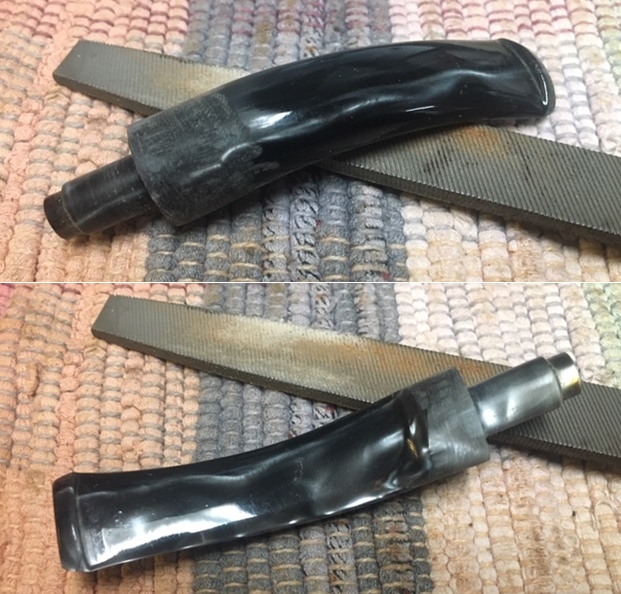
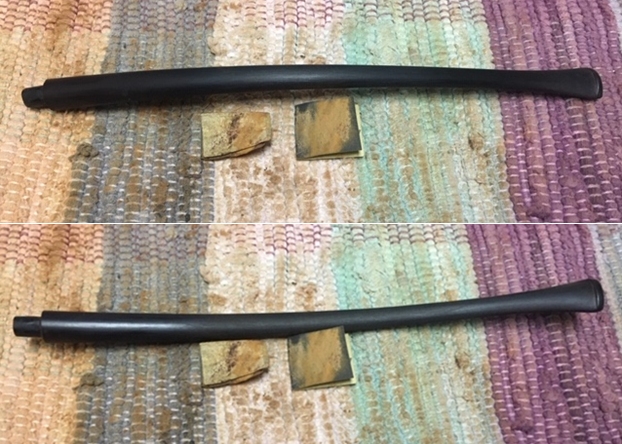
 I set the bowl aside and turned my attention to the stem. I sanded out the tooth chatter and blended in the repairs with 220 grit sandpaper and started to polish it with a folded piece of 400 wet dry sandpaper. Once it was finished it was smooth.
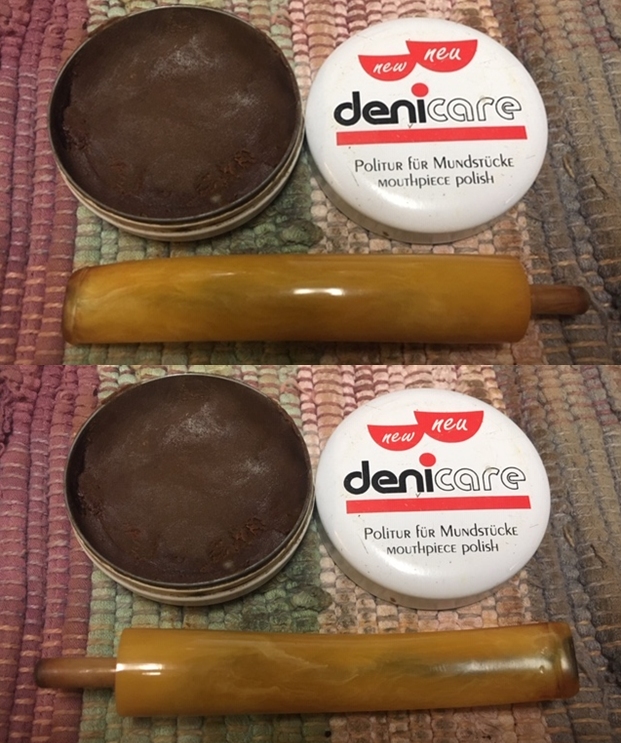
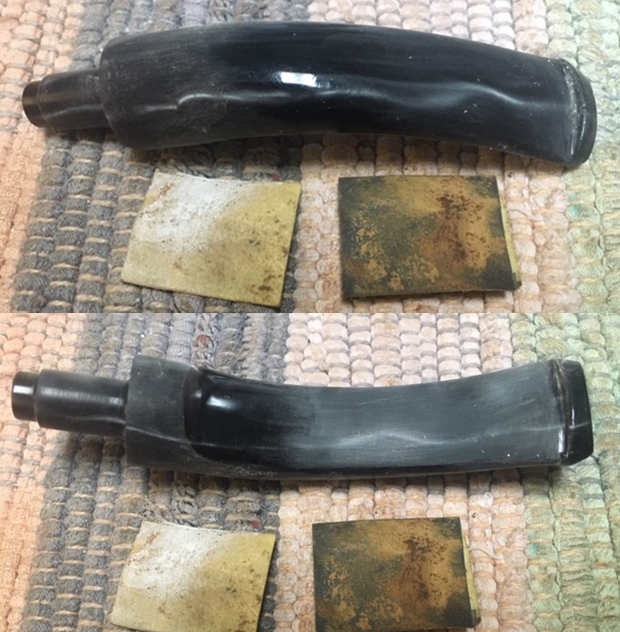
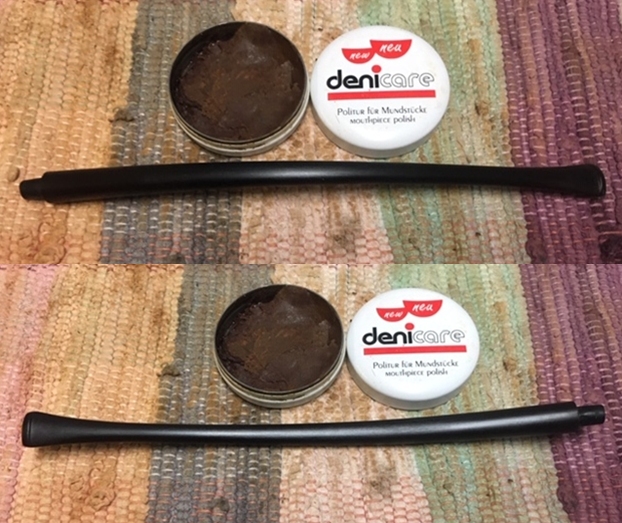
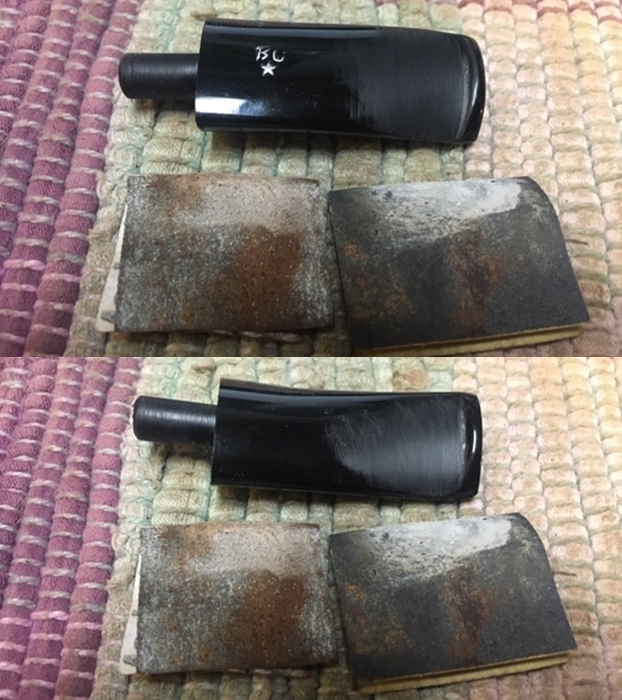 I used some Denicare Mouthpiece Polish that I have in my kit to start polishing out some of the scratches and remaining stains on the surface of the stem. I rubbed it in with a cotton pad and my finger tip and buffed it off with a cotton pad.
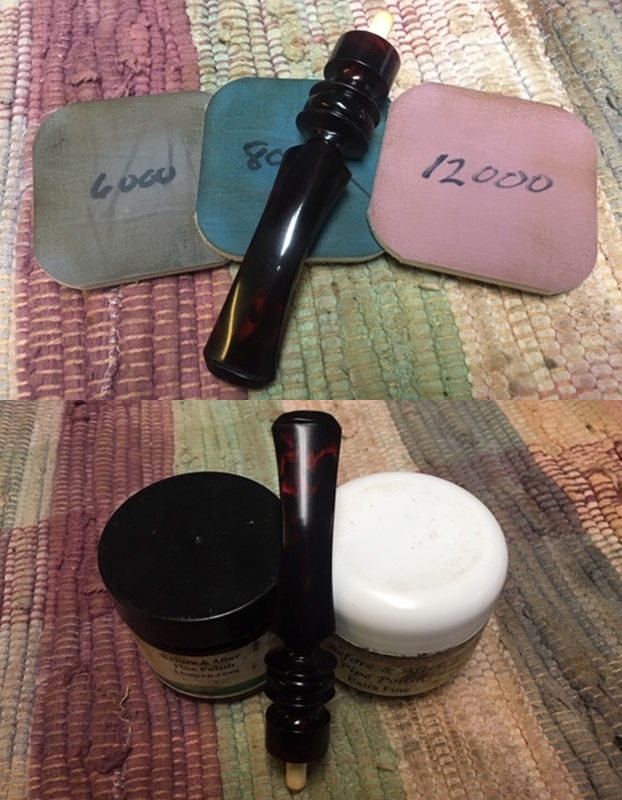
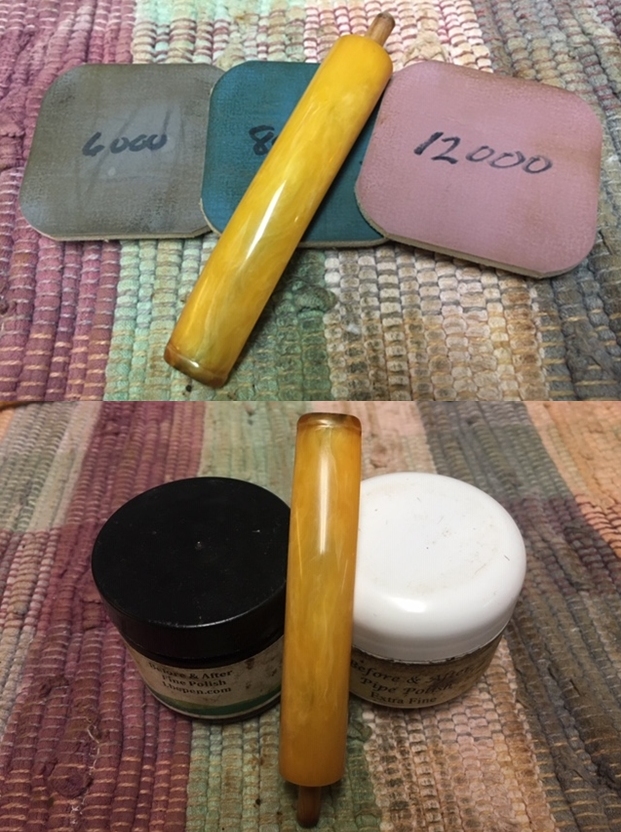
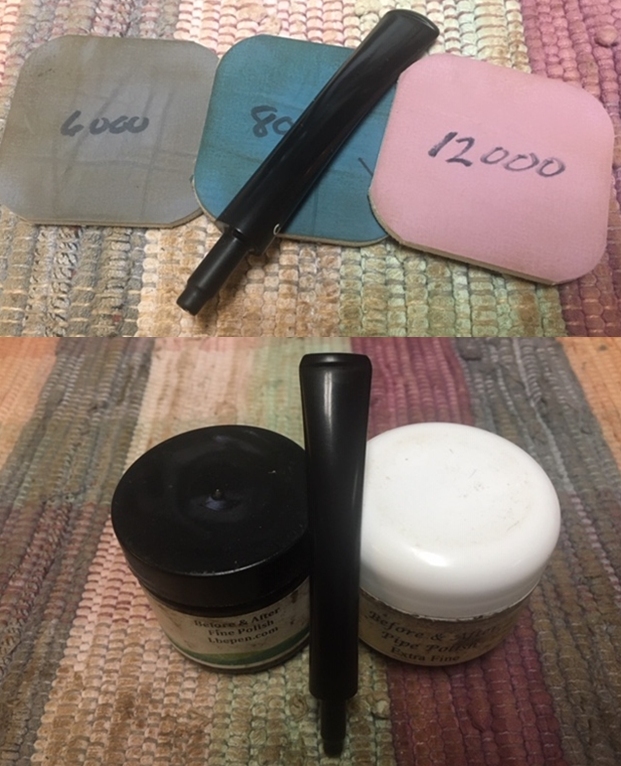
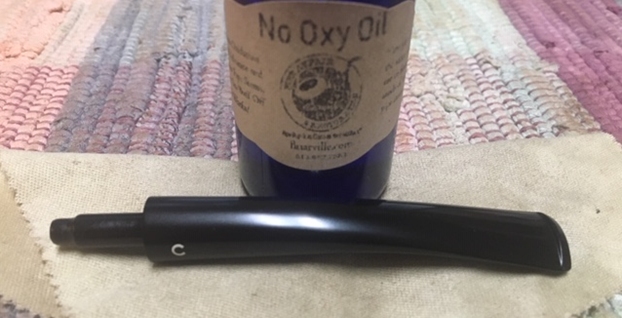
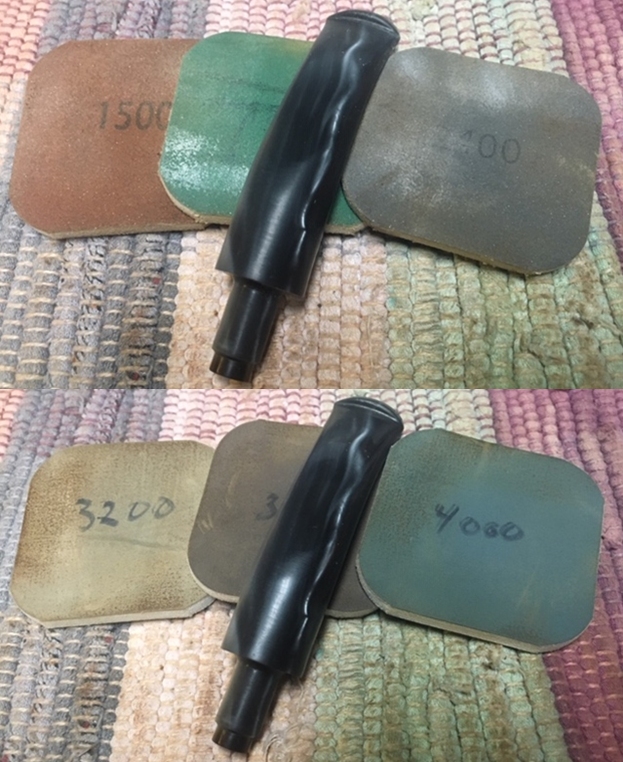
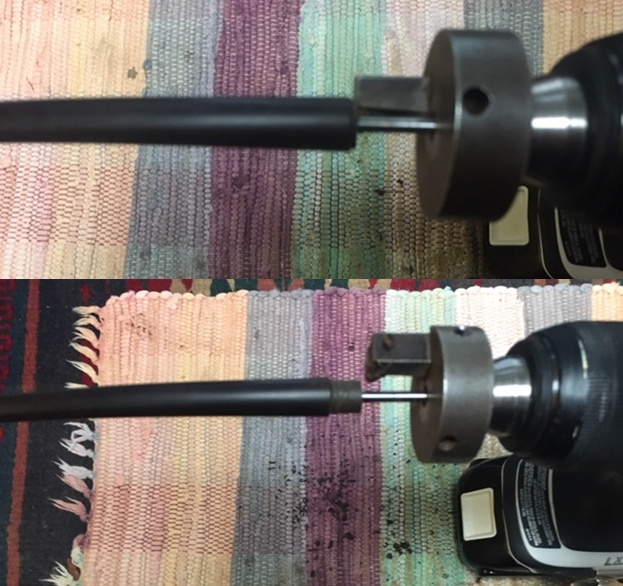
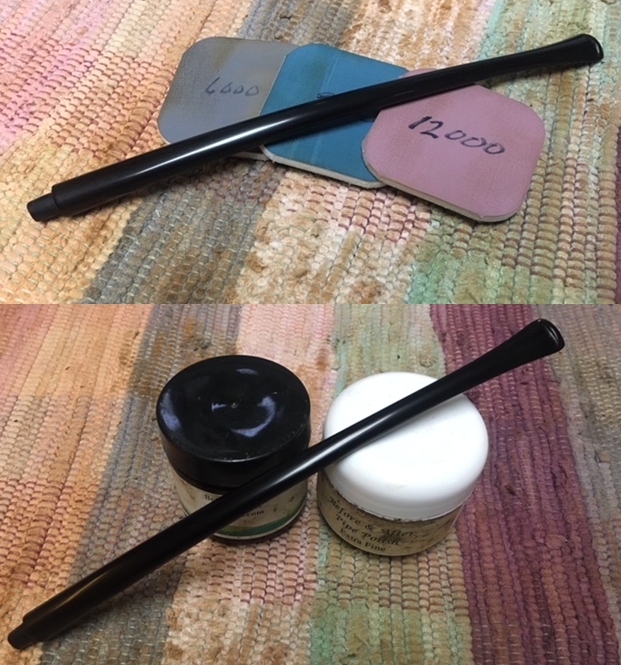
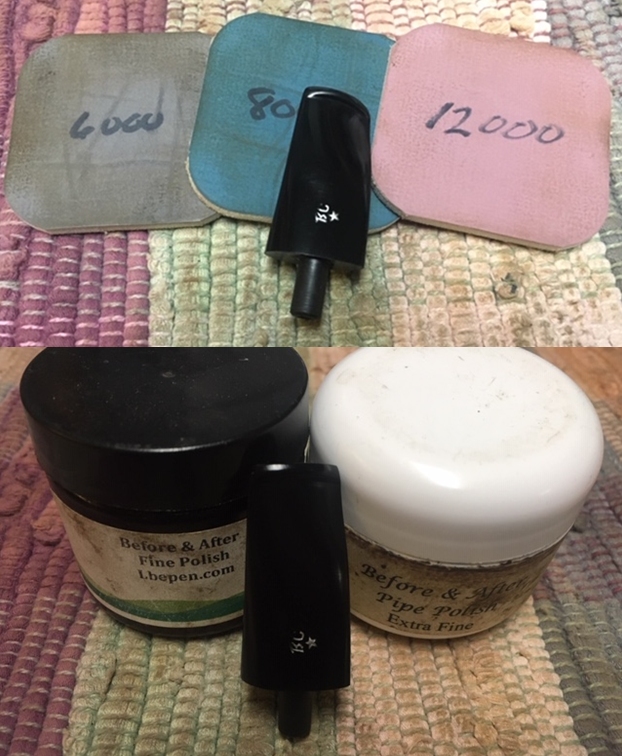
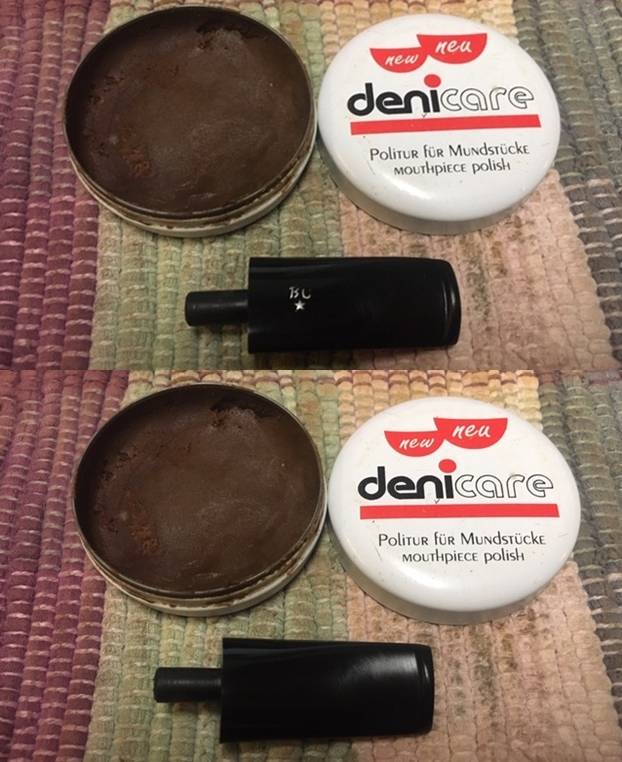 I polished the stem with micromesh sanding pads – dry sanding with 1500-12000 grit sanding pads. I wiped it down after each sanding pad with a cloth containing some Obsidian Oil. I finished polishing it with Before & After Pipe Stem Polish – both Fine and Extra Fine and buffed it off with a cotton cloth.
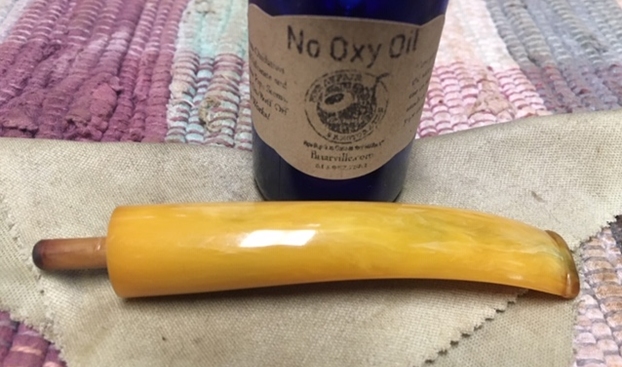
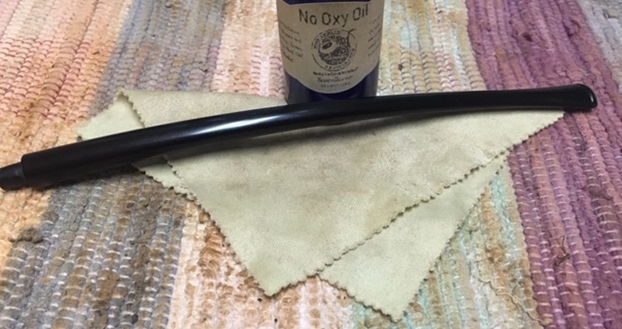
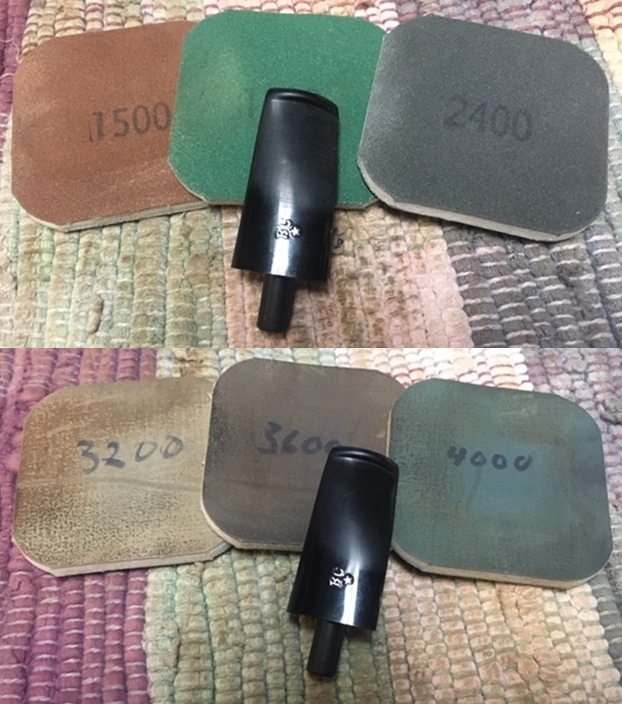
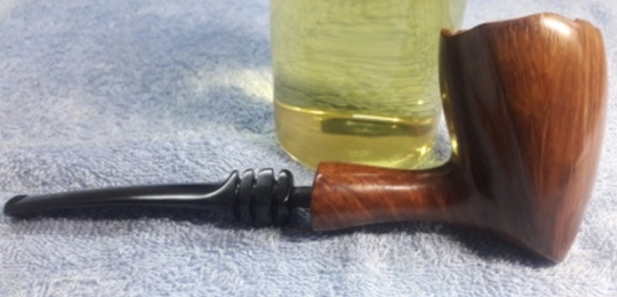
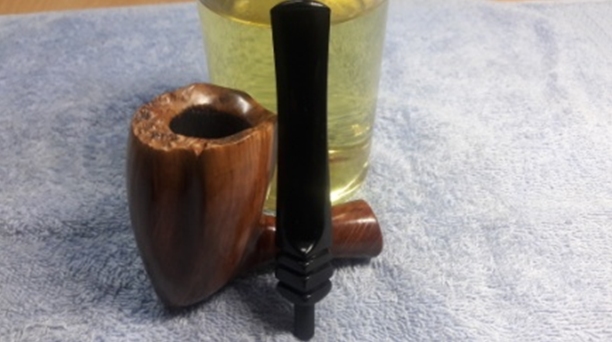
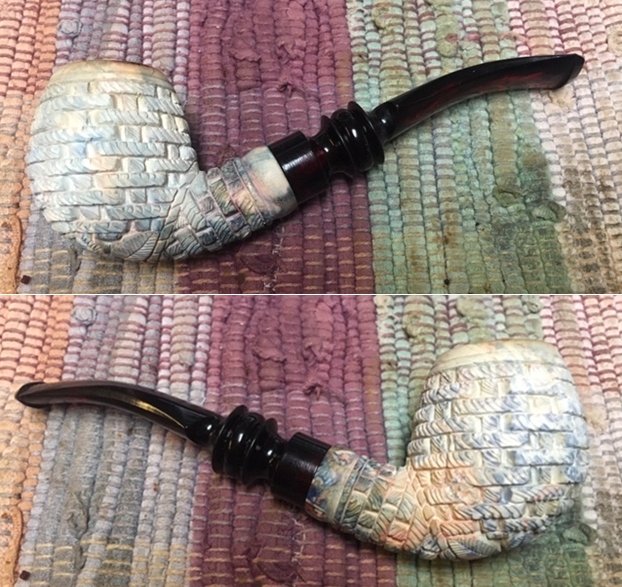
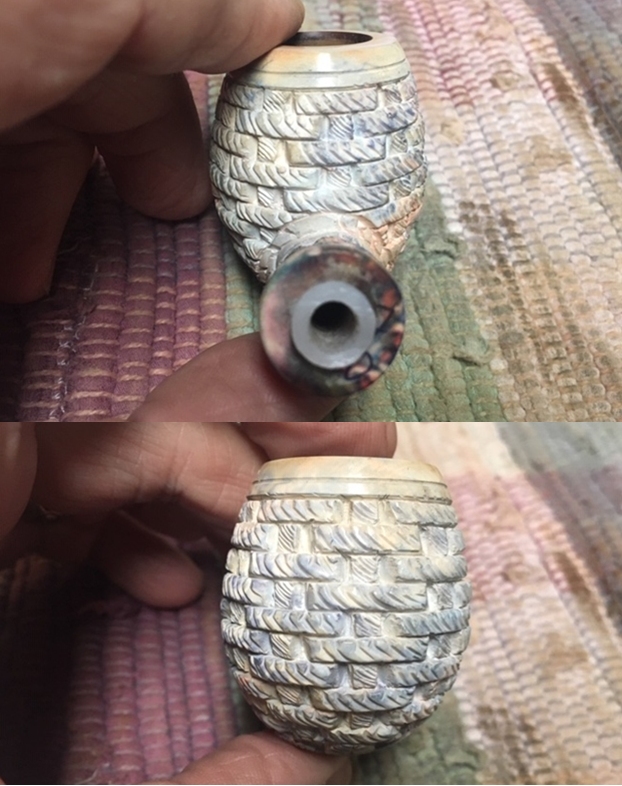
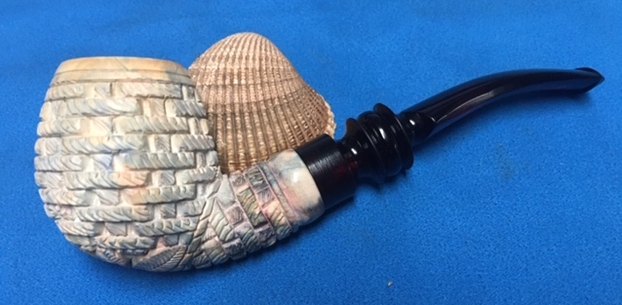
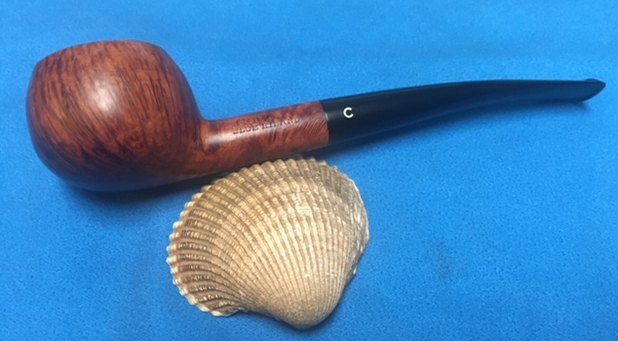
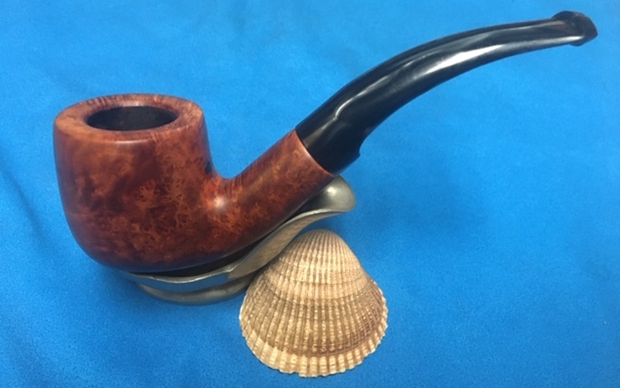
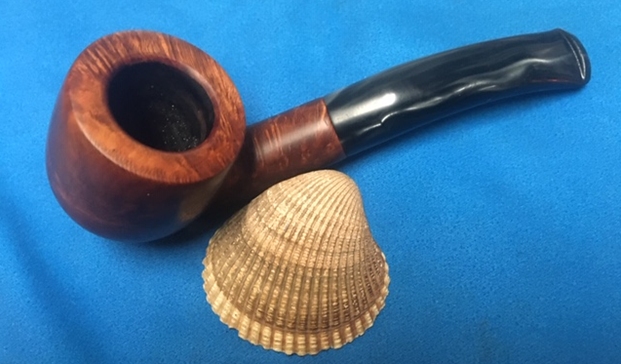
 This was an interesting pipe to work on and each step brought more life and colour to it. I put the stem back on the bowl and buffed the pipe lightly with Blue Diamond on the buffing wheel. I carefully avoided the stamping on the underside of the shank during the process. I gave the bowl and stem multiple coats of carnauba wax on the buffing wheel and followed that by buffing it with a clean buffing pad on the buffer to give it a shine. I hand buffed the pipe with a microfiber cloth to deepen the shine. The finished pipe is a very interesting example of the creativity and craftsmanship of Butz Choquin in France. The sandblast grain on the left side of the bowl and the smooth grain on the briar and the inlaid woods look great and seem to follow the flow of the briar. This is the first BC Cybele pipe I have seen or worked on it was an interesting piece. Give the finished pipe a look in the photos below. I can only tell you that it is much prettier in person than the photos capture. The dimensions of the pipe are Length: 6 inches, Height: 2 inches, Outside diameter of the bowl: 1 ¼ inches wide x 1 ½ inches long, Chamber diameter: ¾ of an inch. This French Made Butz Choquin Cybele came out looking great and it is in excellent condition. Thanks for walking through the restoration with me as I worked over another beautiful pipe. This one will be going on the rebornpipes store soon if you are interested in adding it to your collection. Thanks for your time.