Blog by Steve Laug
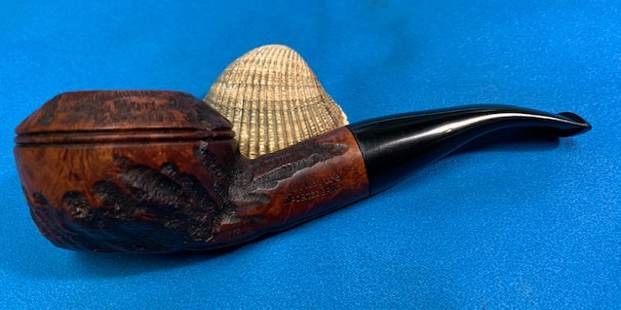
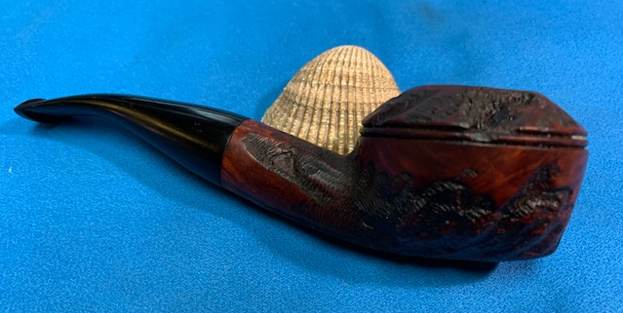
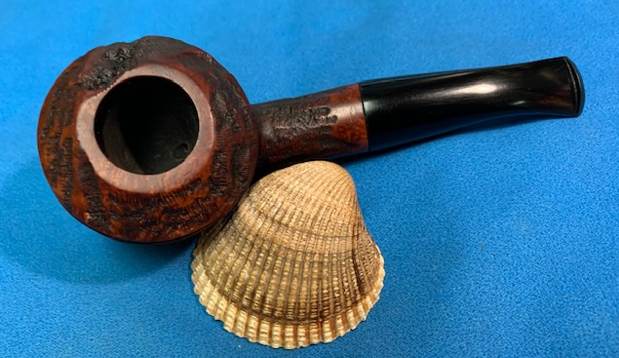
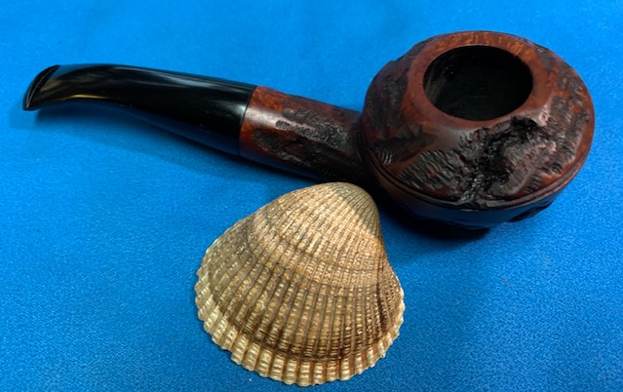
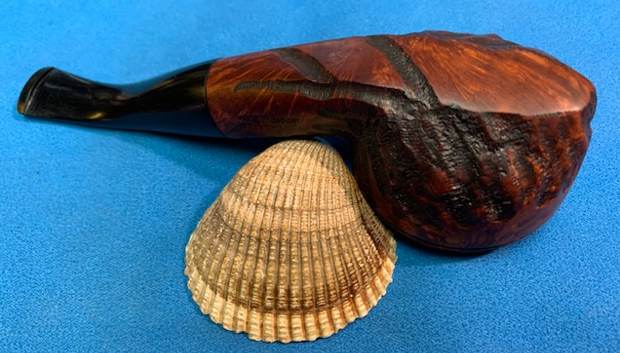
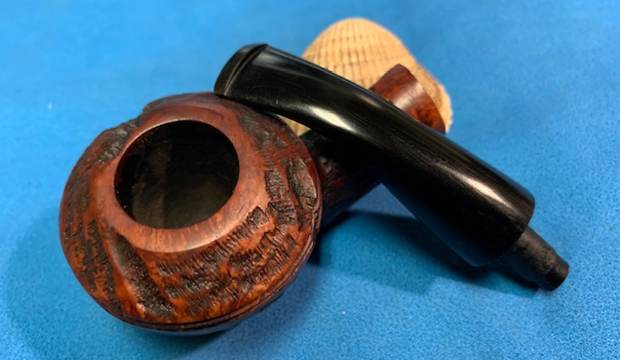
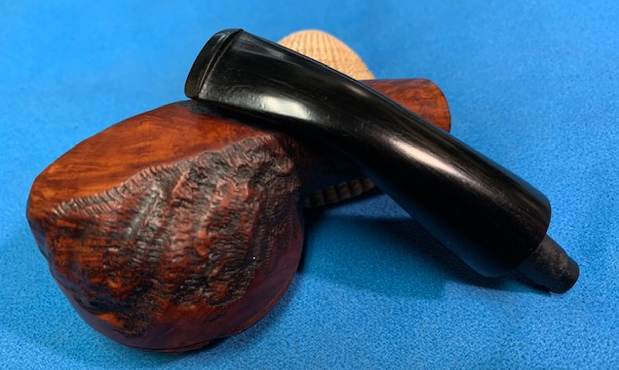
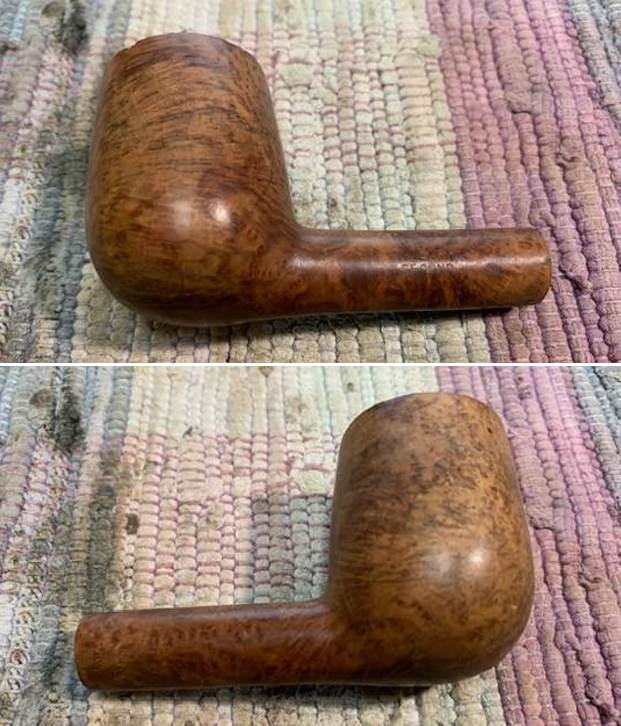
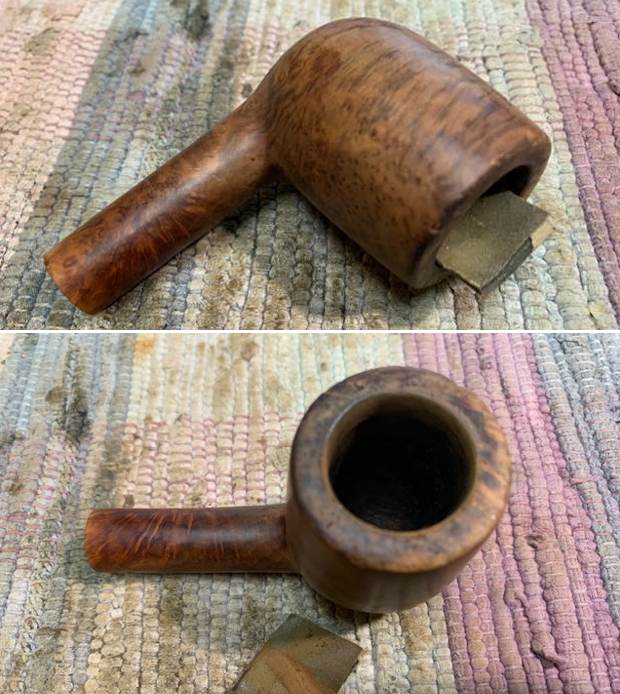
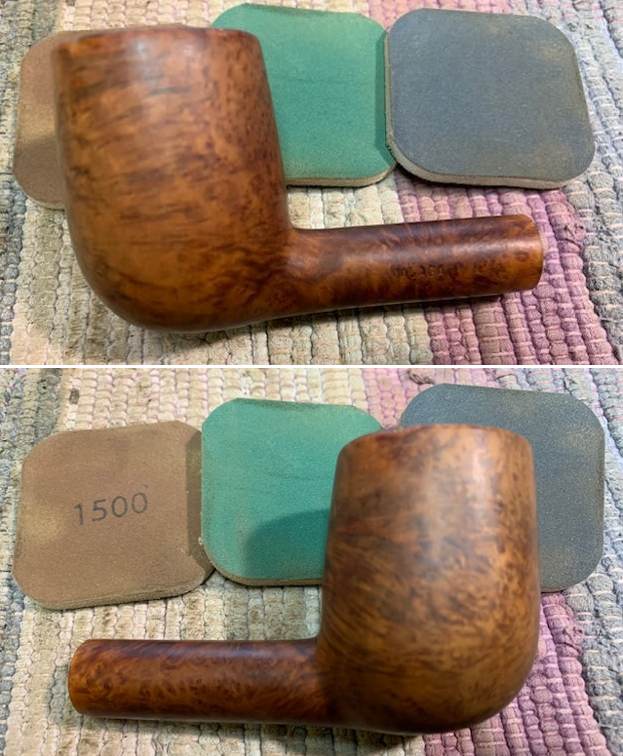
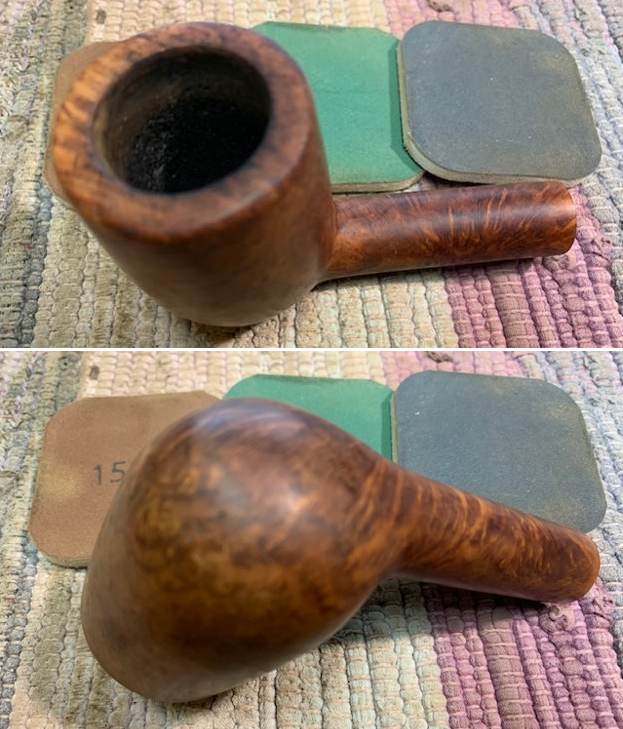
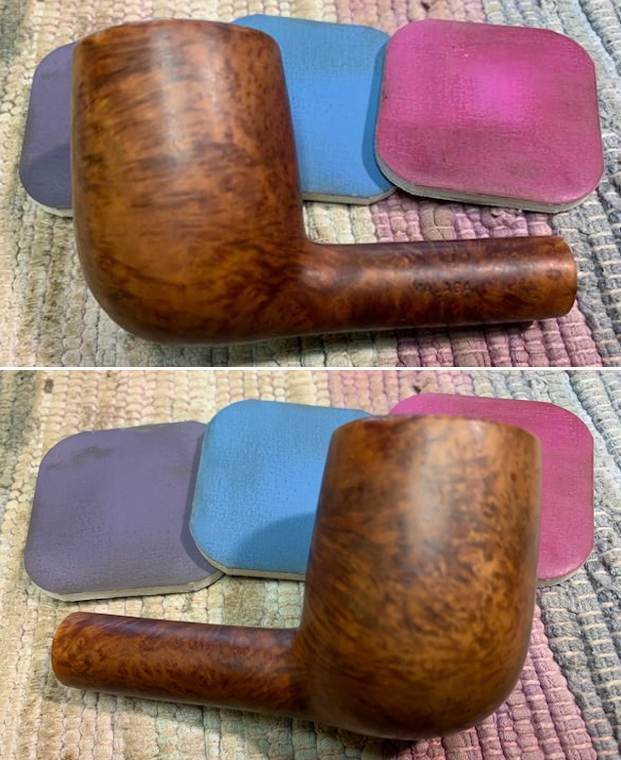
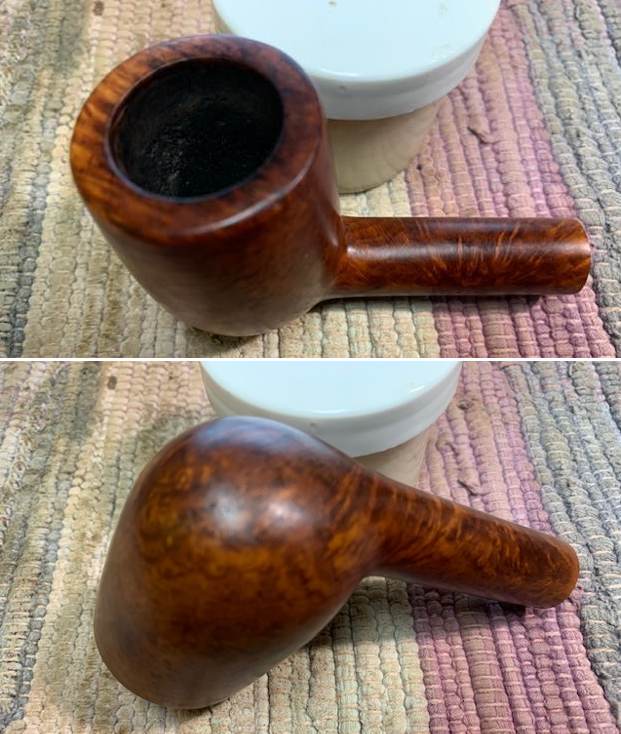
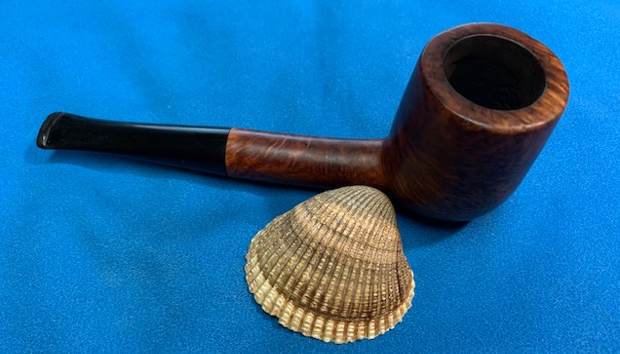
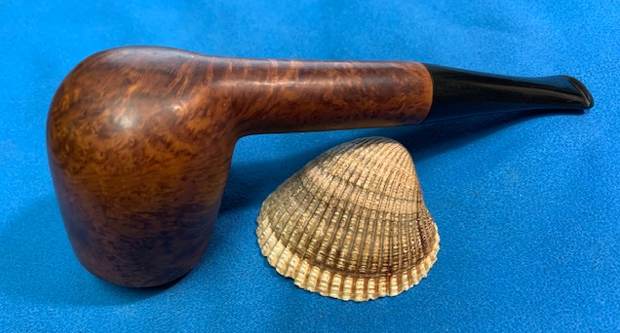
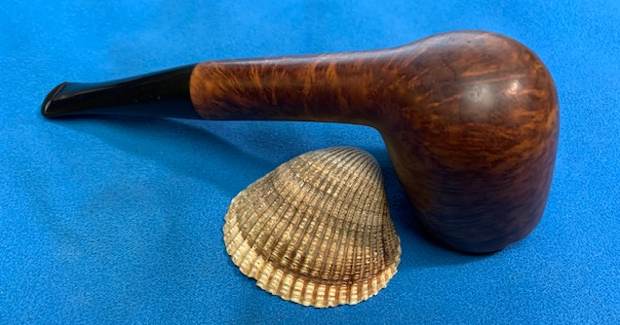
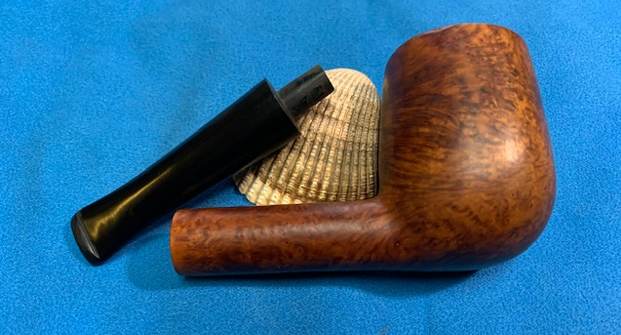
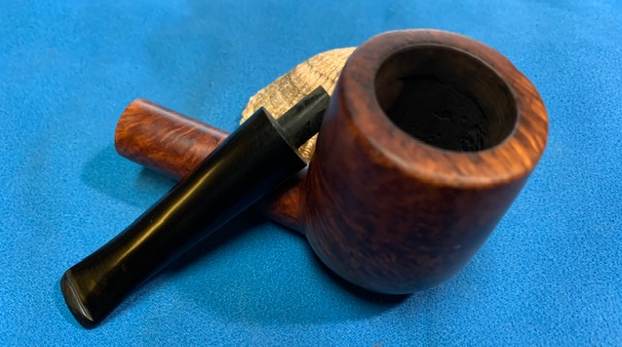
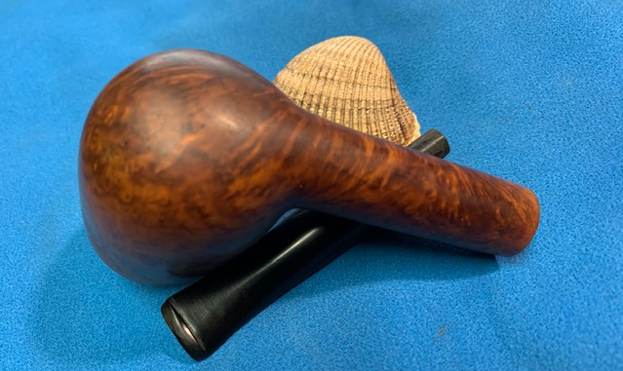
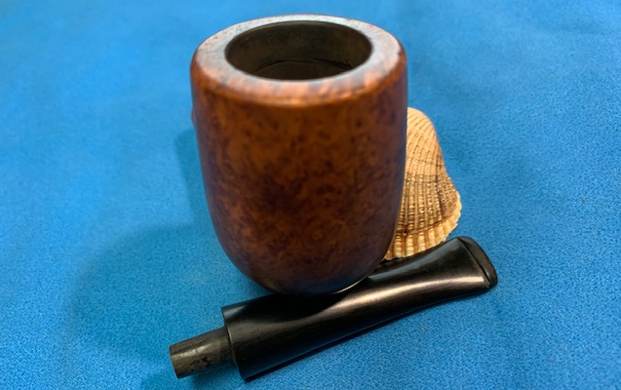
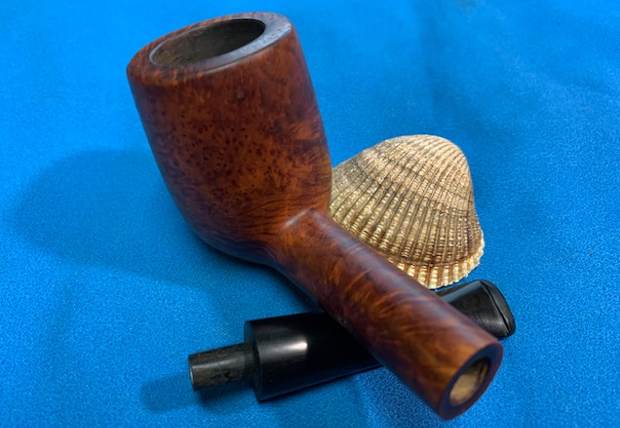
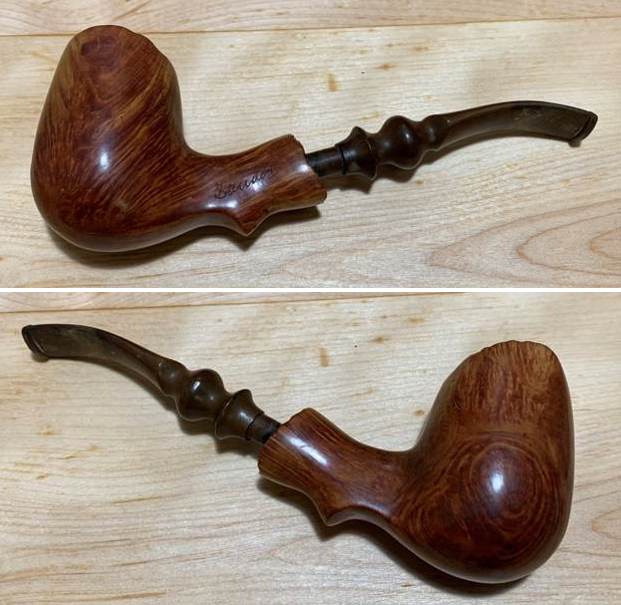
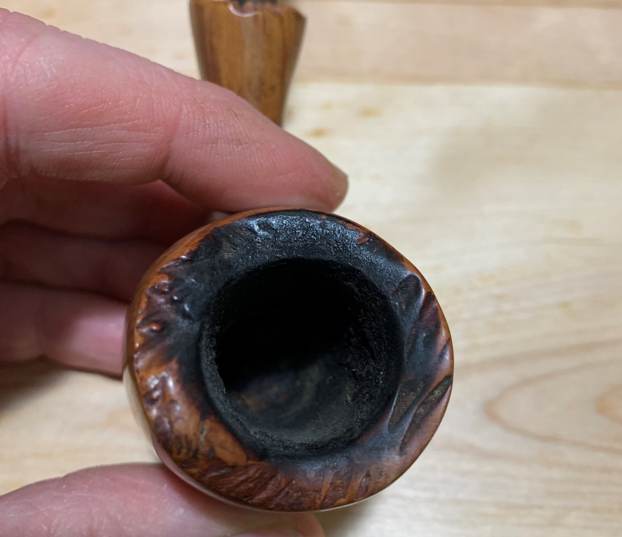
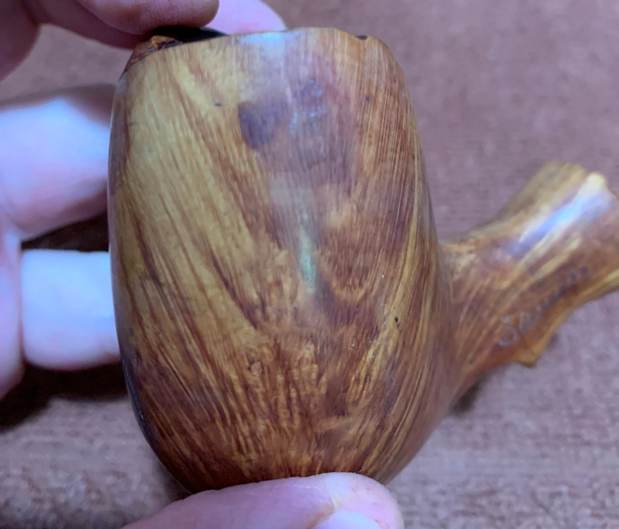
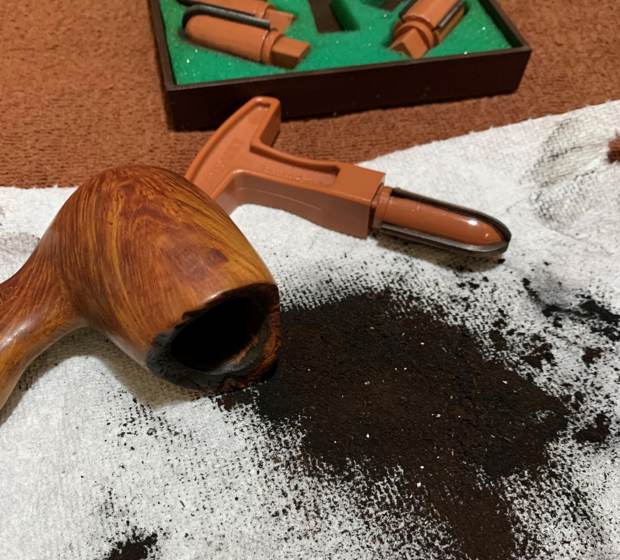
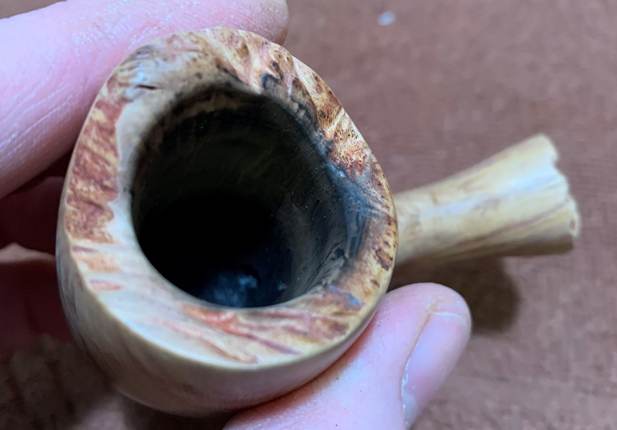
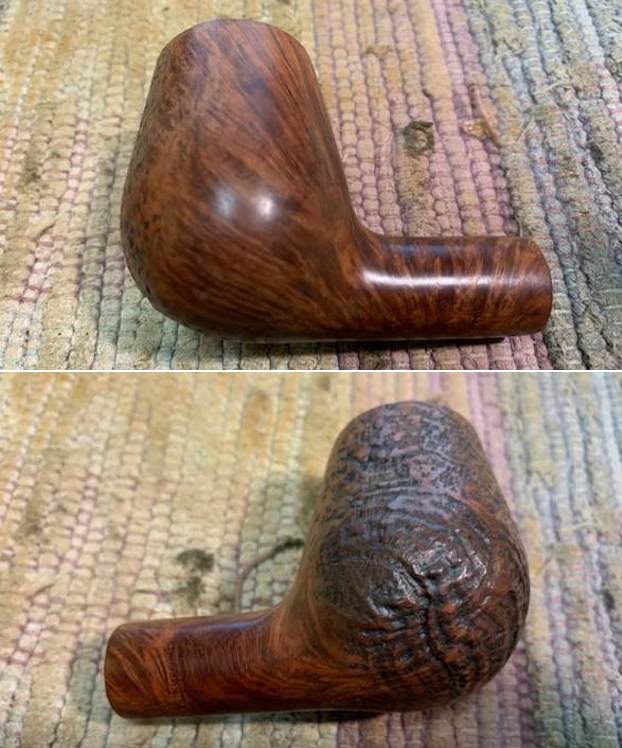
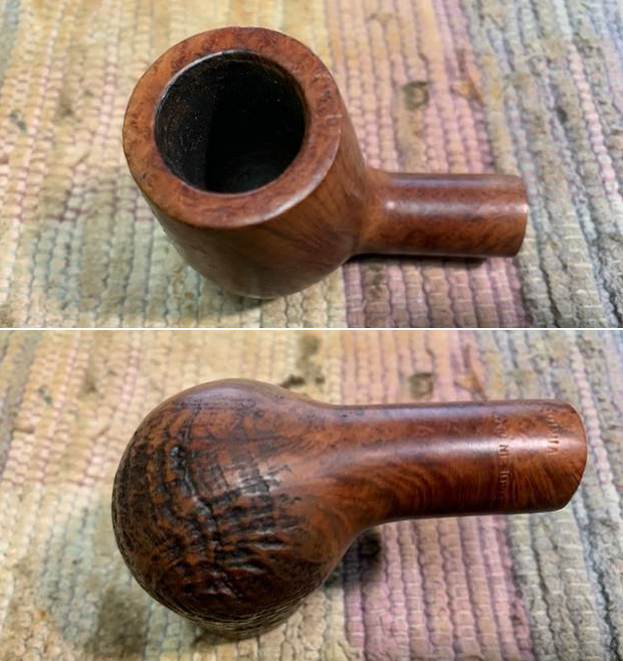
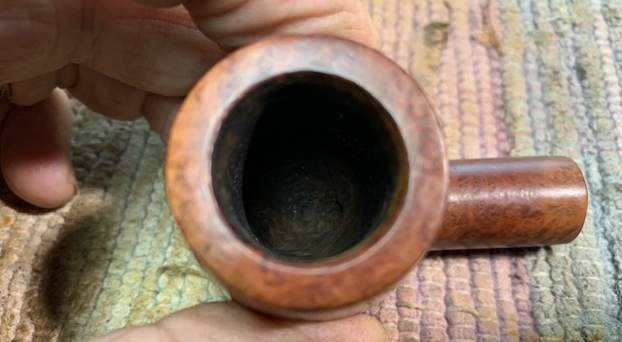
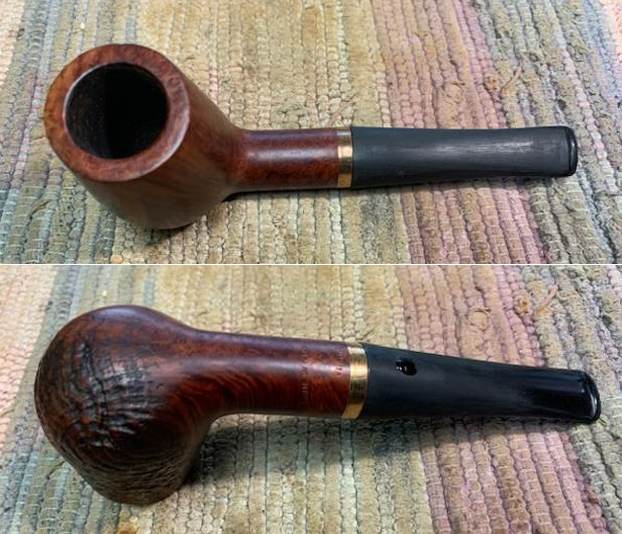
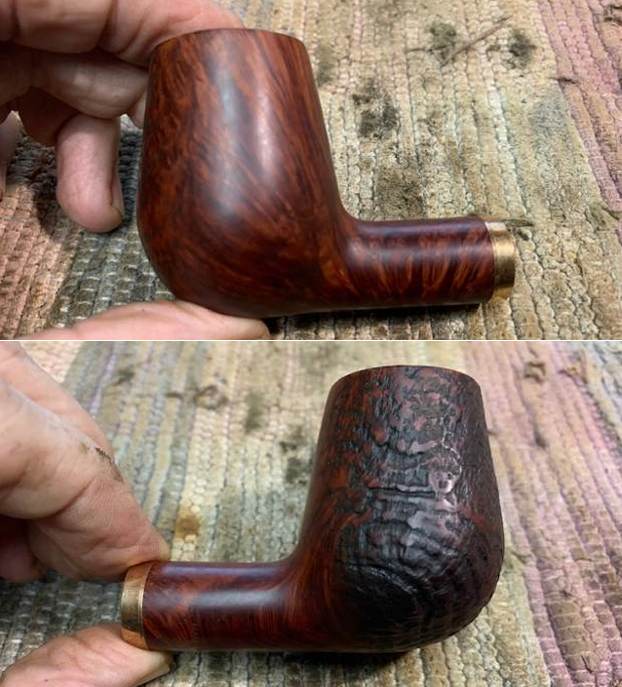
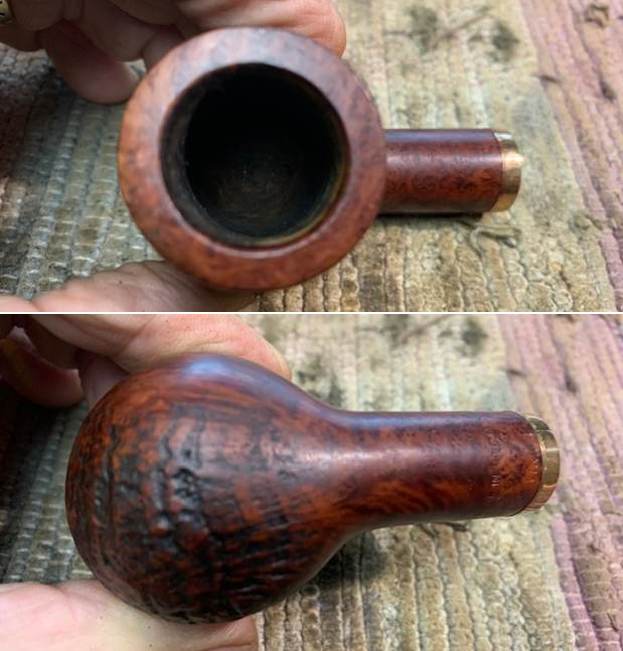
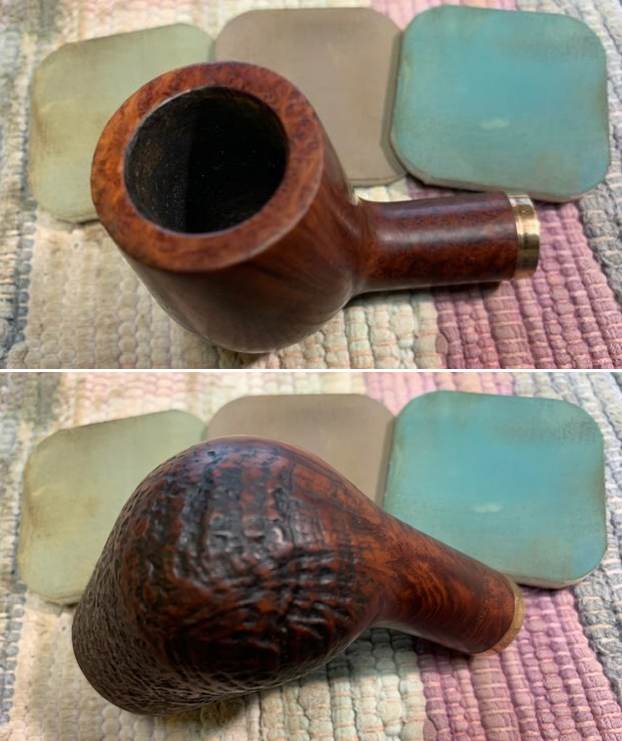
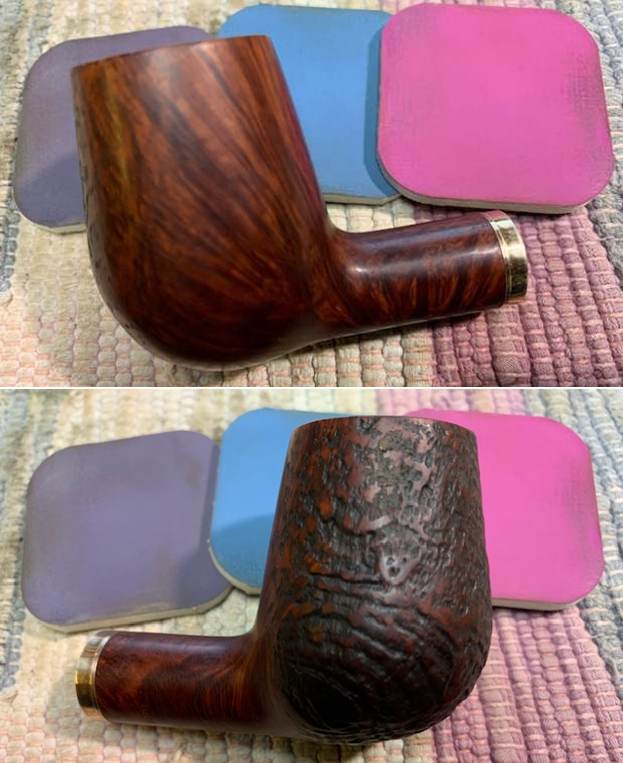
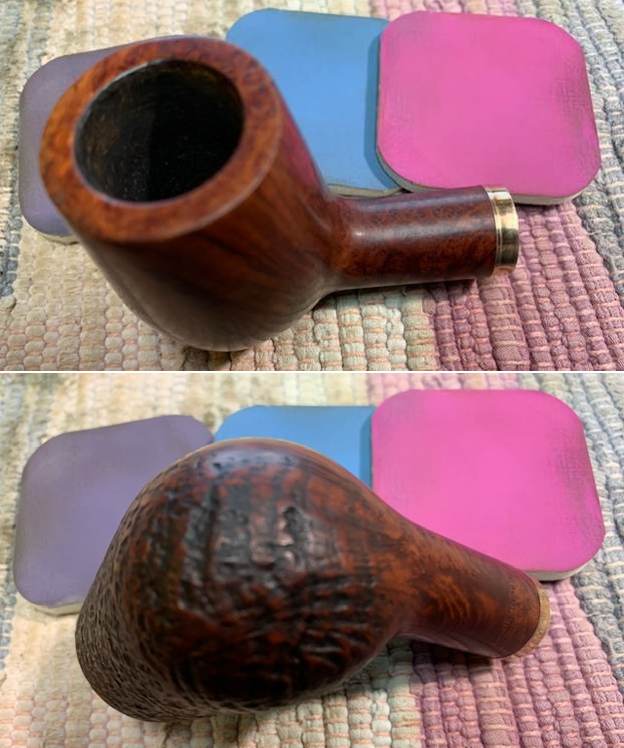
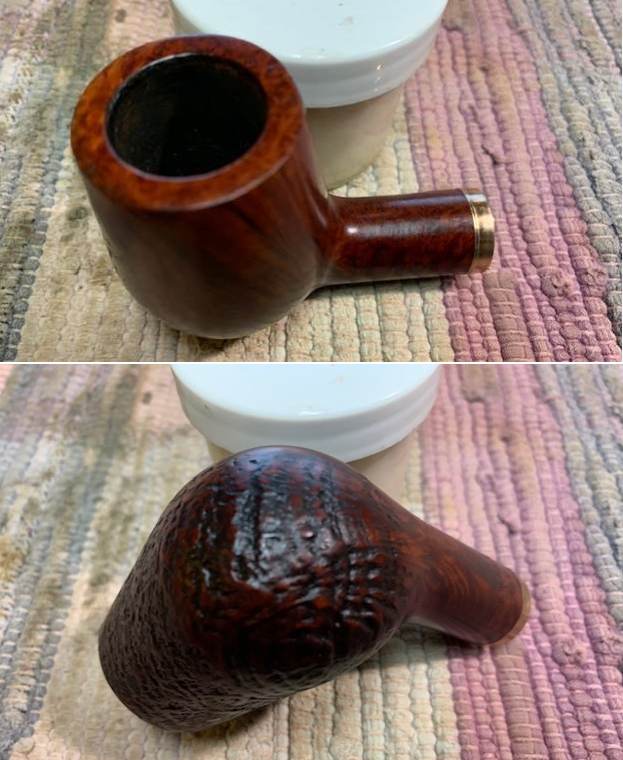
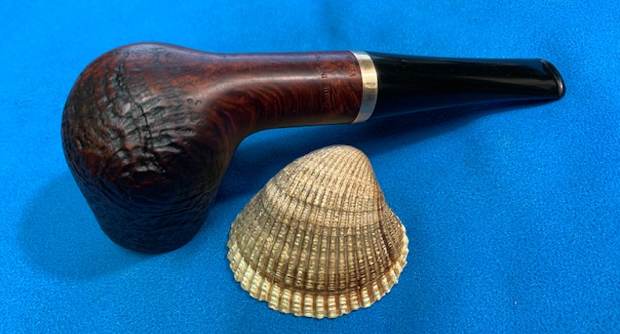
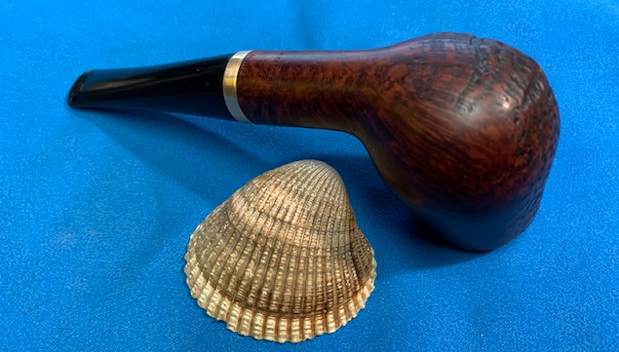
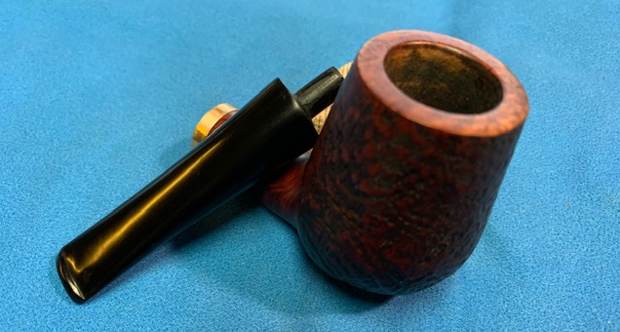
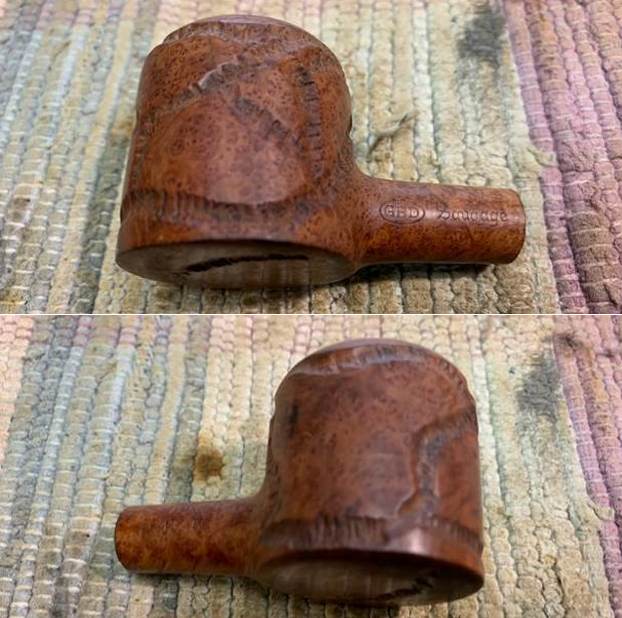
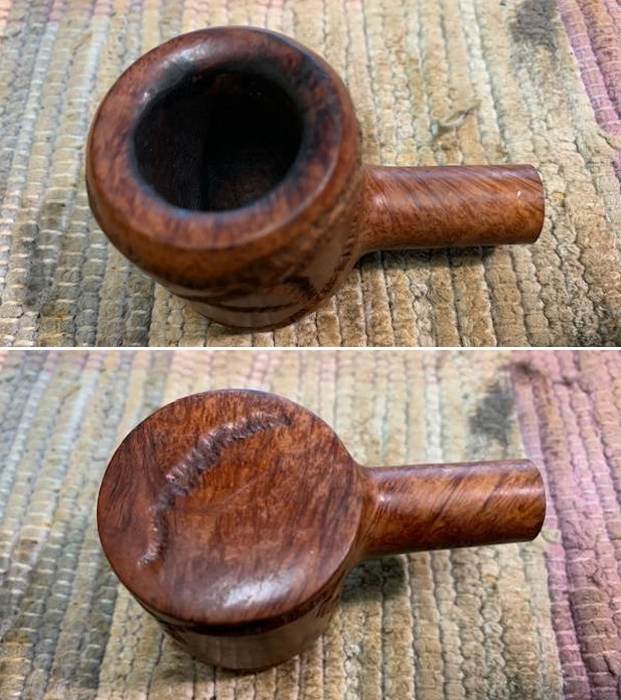
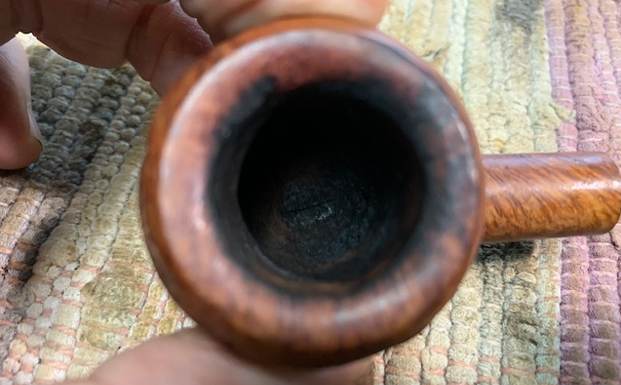
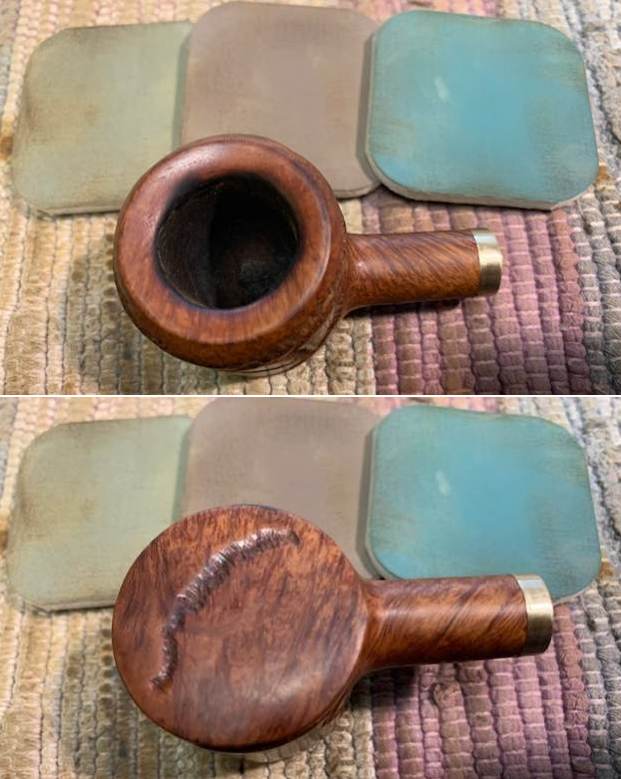
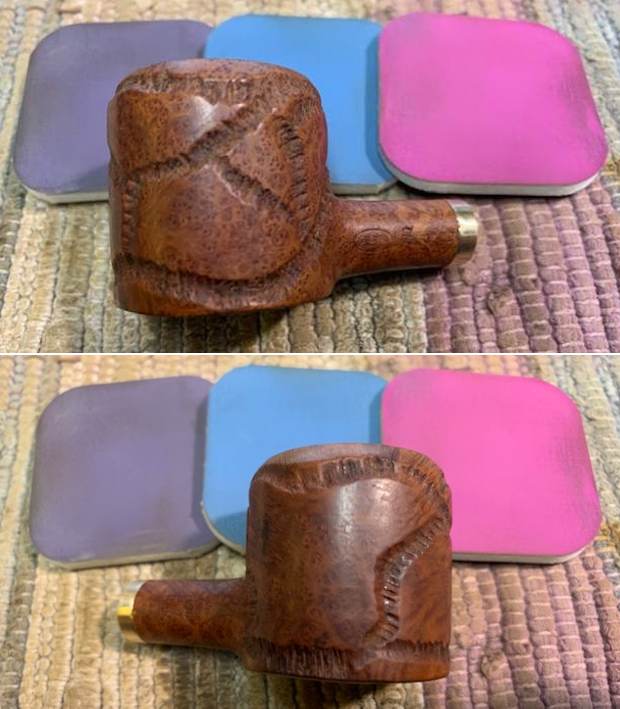
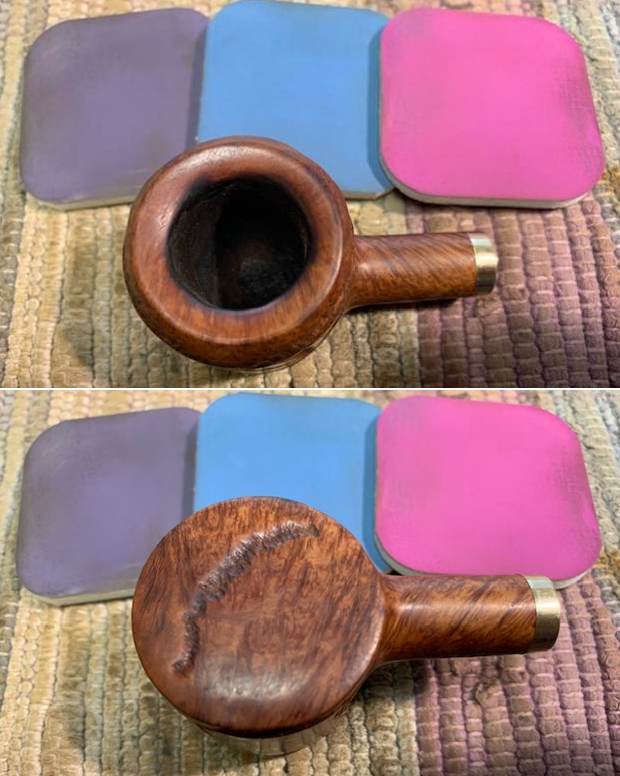
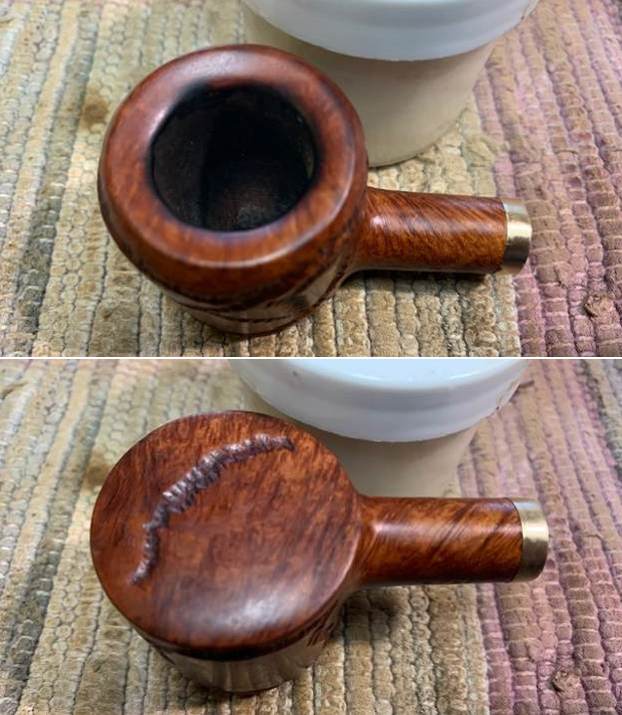
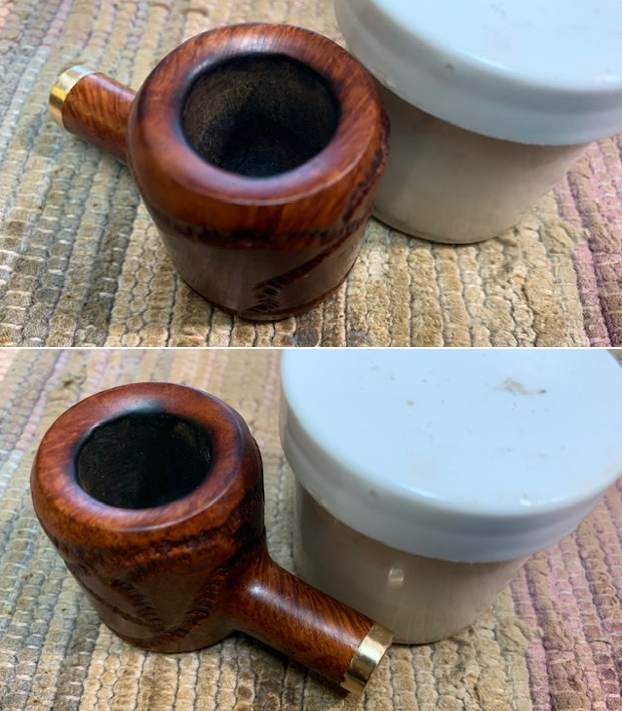
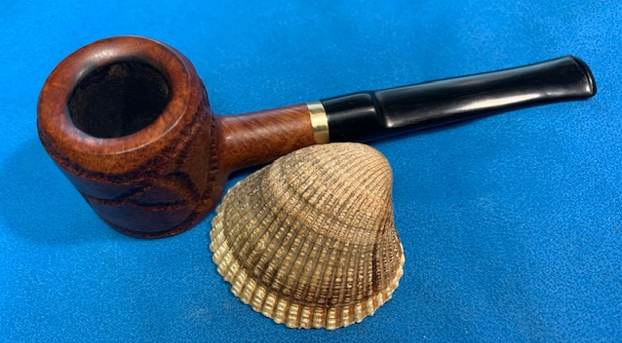
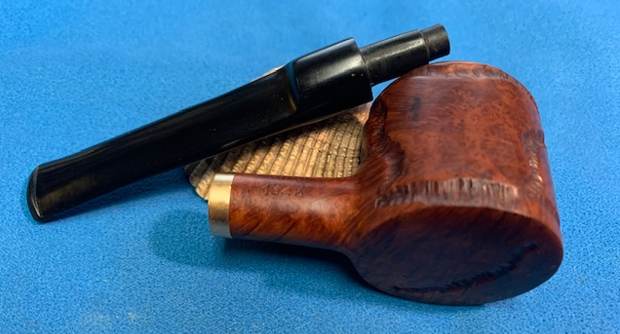
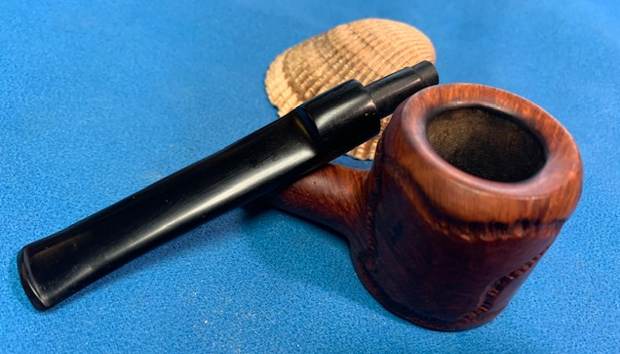
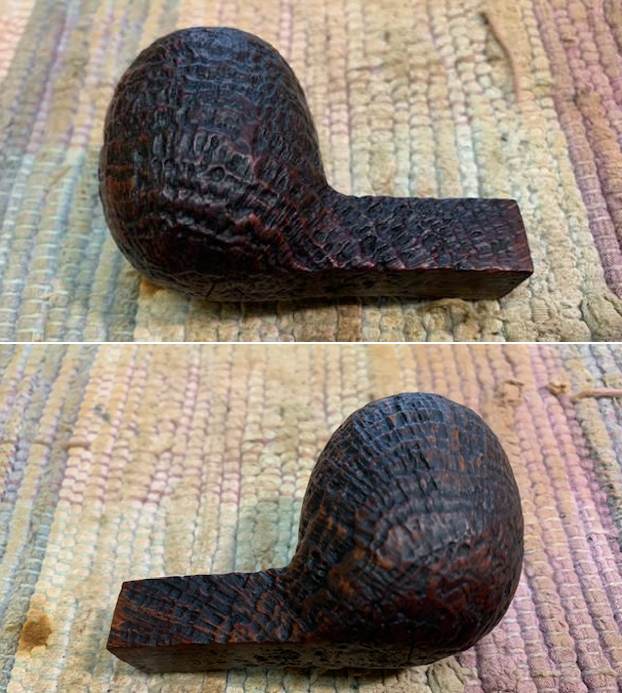
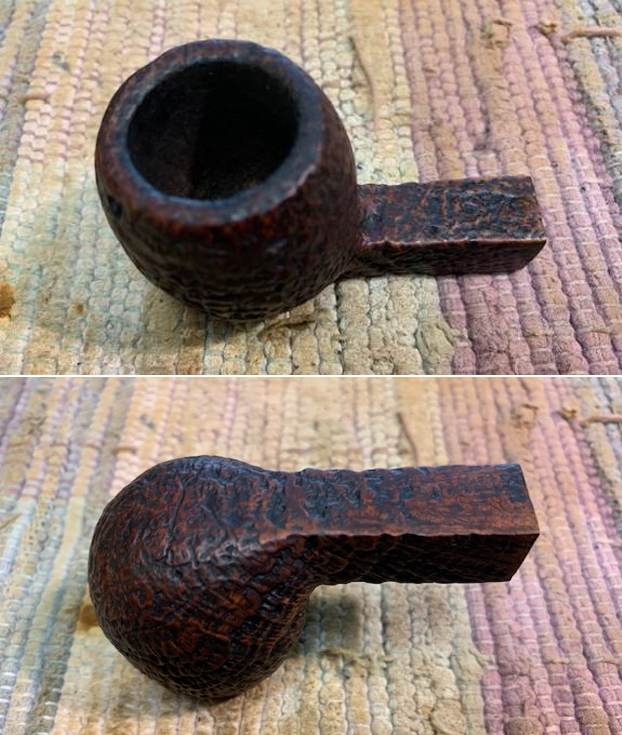
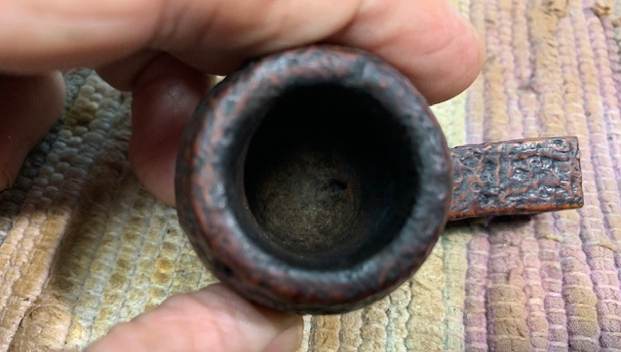
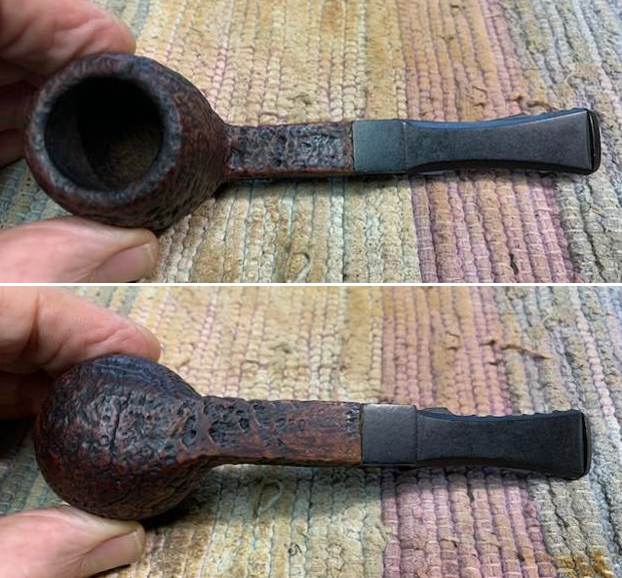
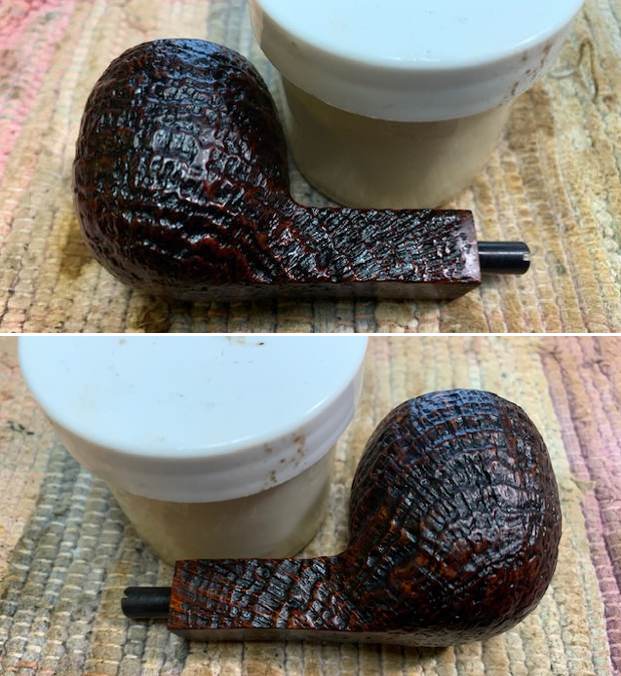
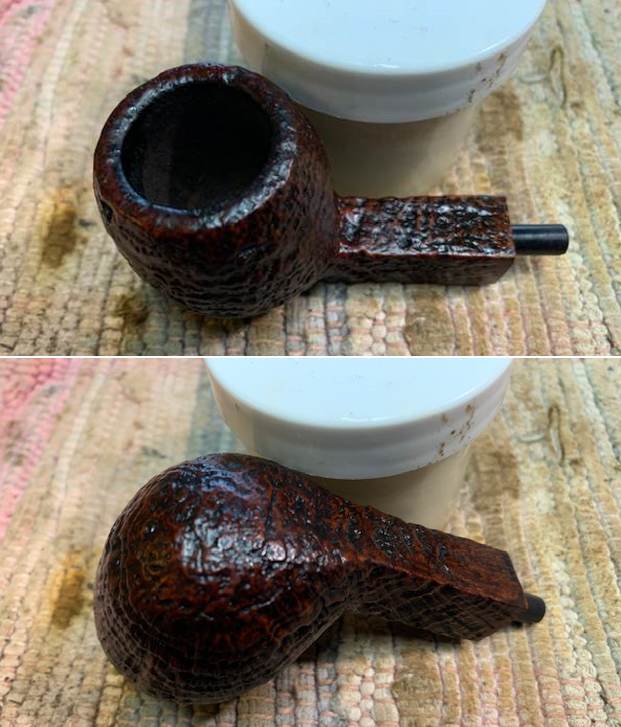
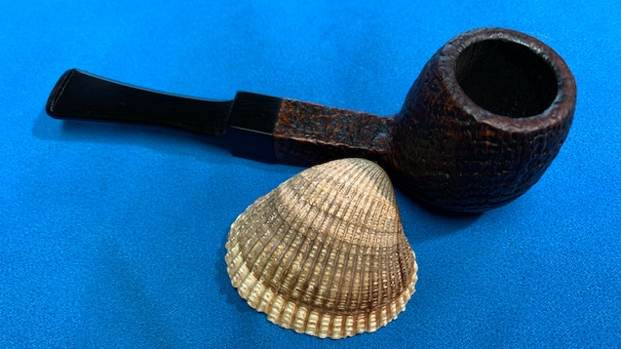
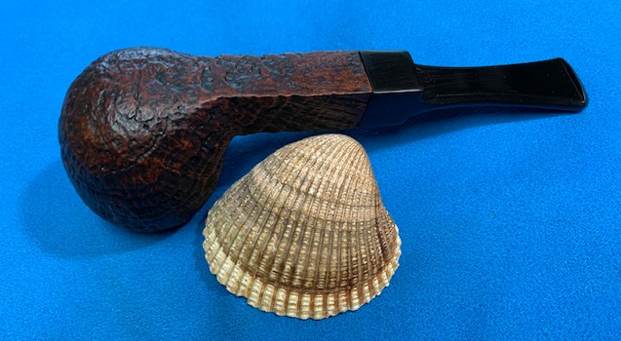
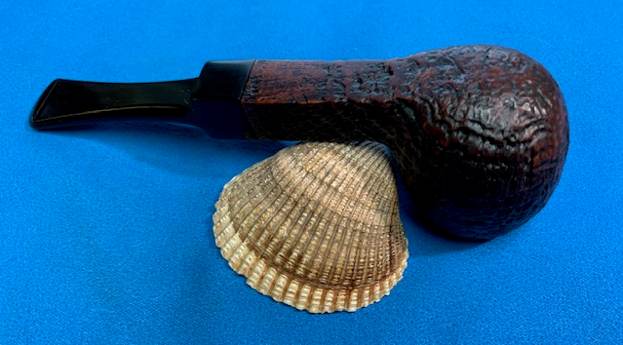
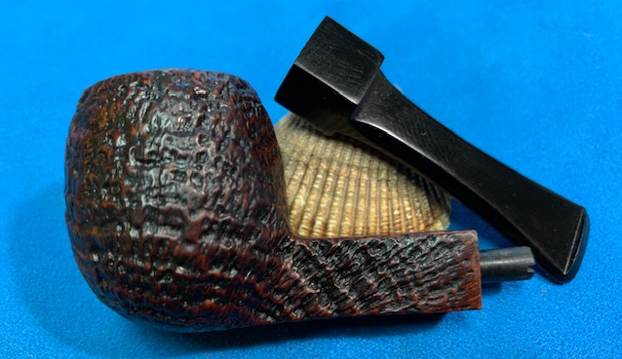
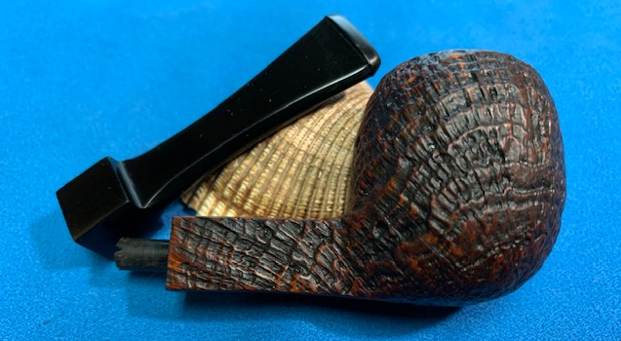
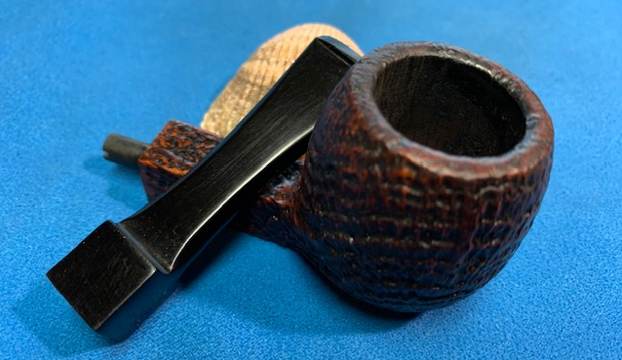
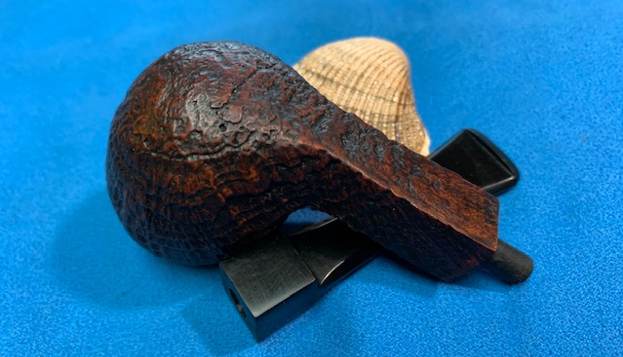
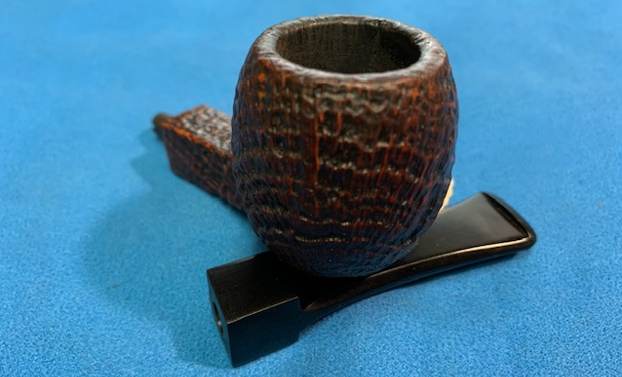
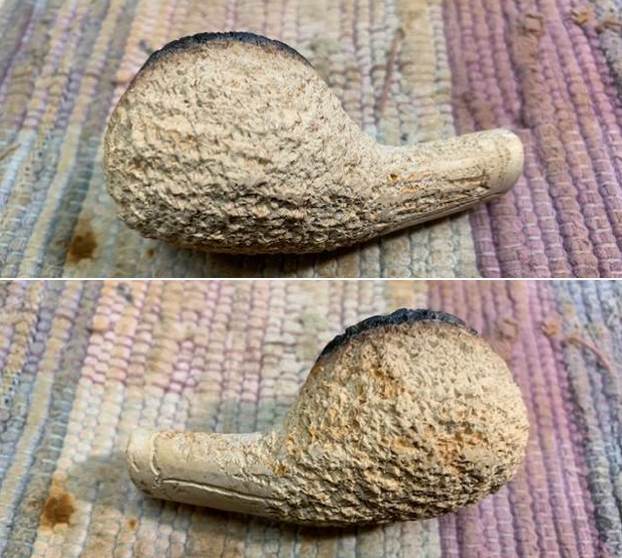
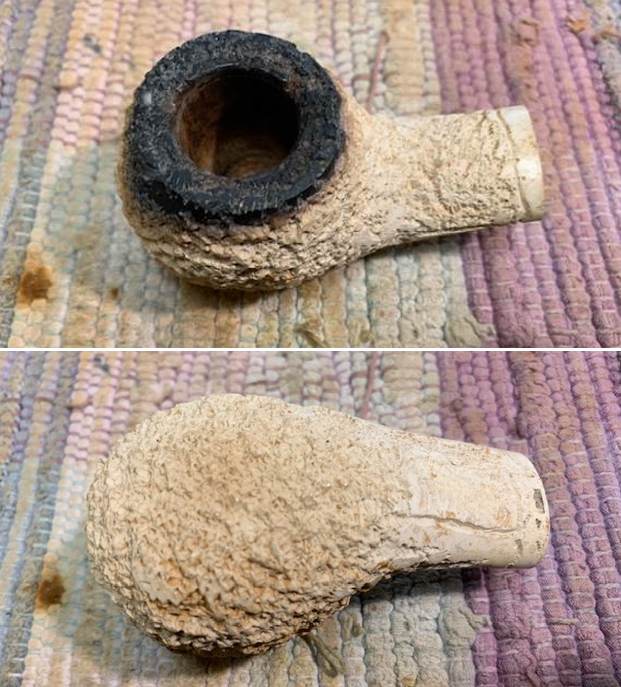
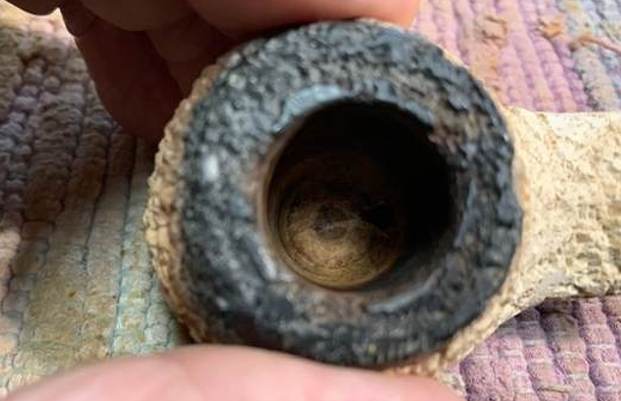
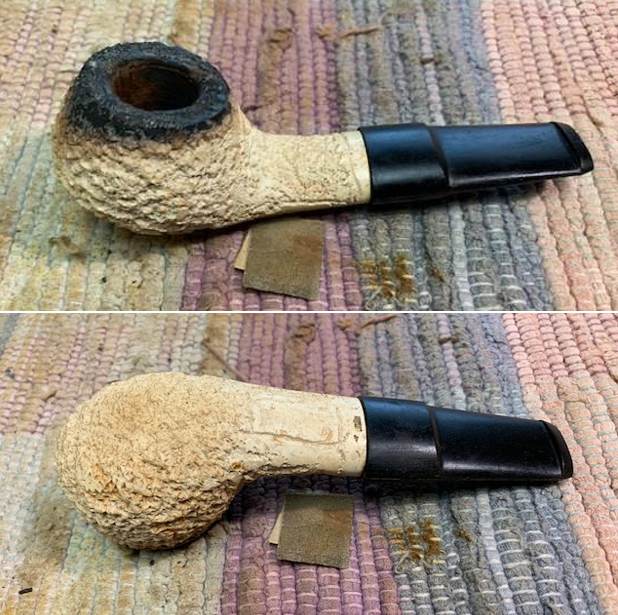
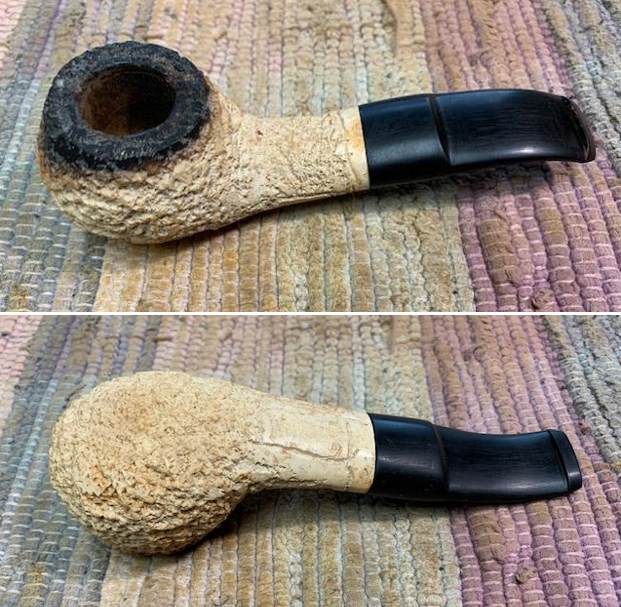
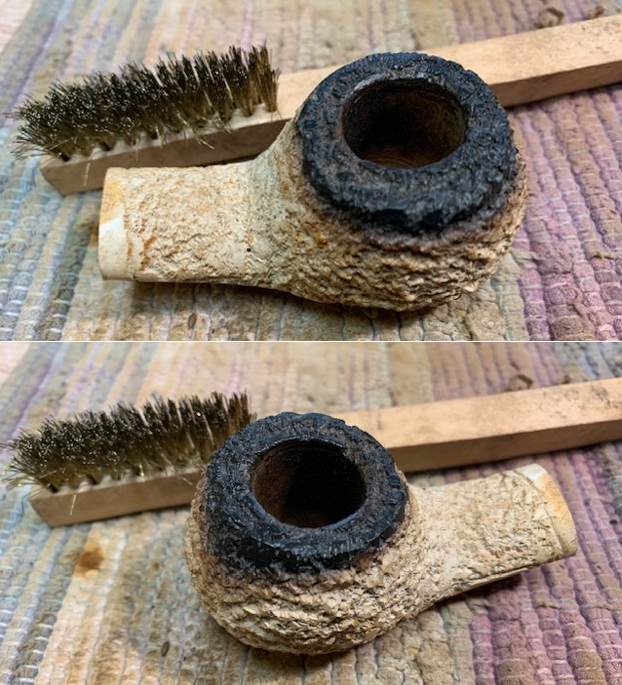
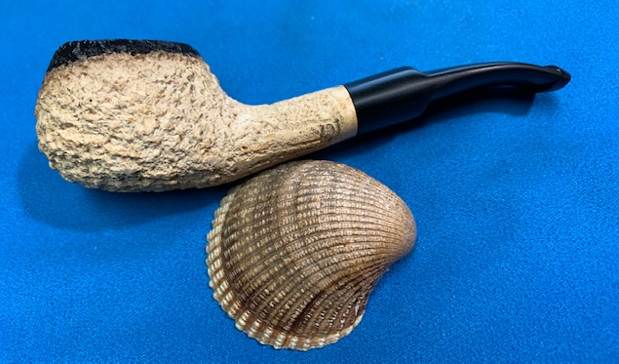
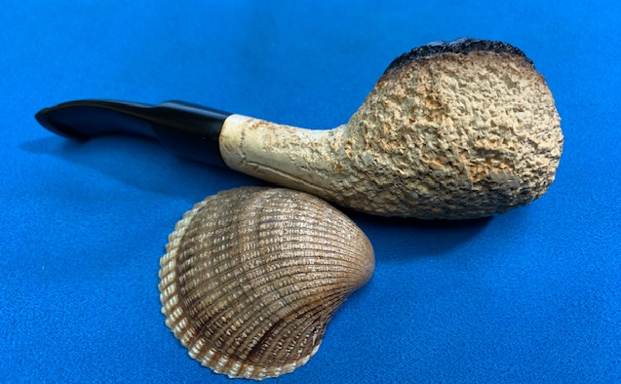
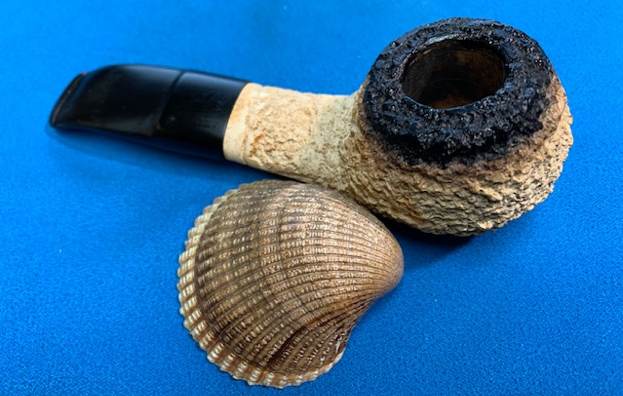
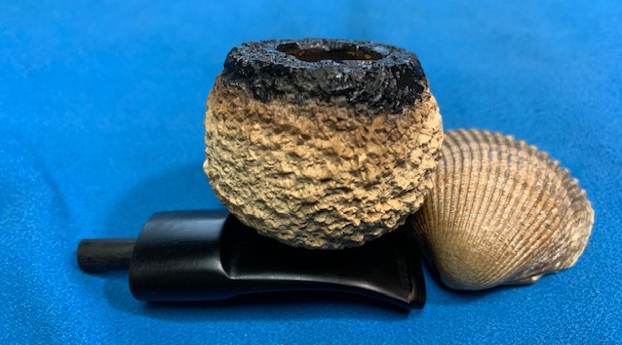
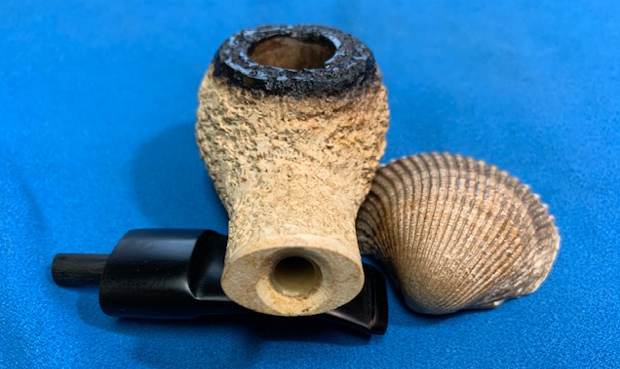
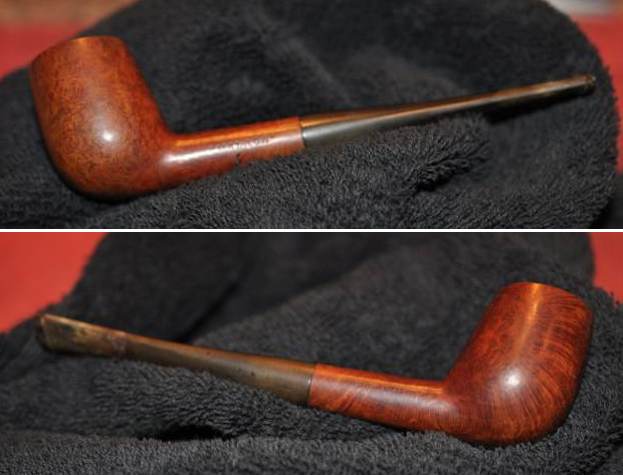
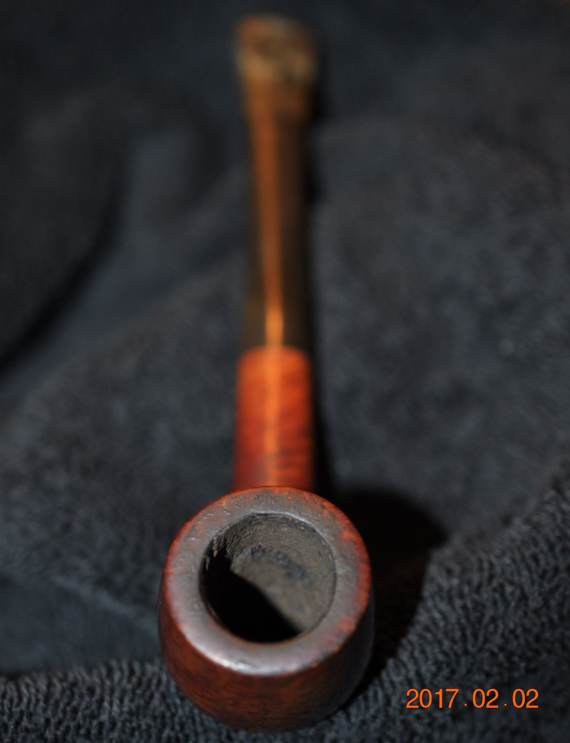
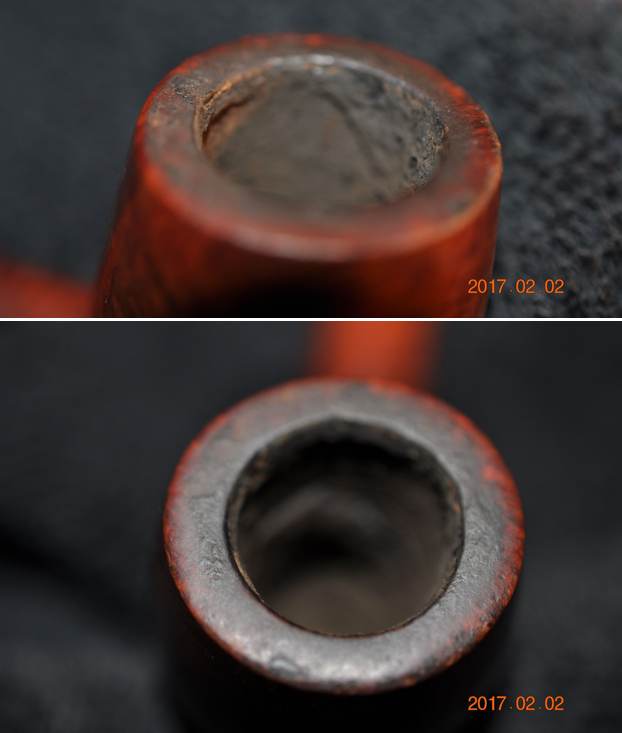
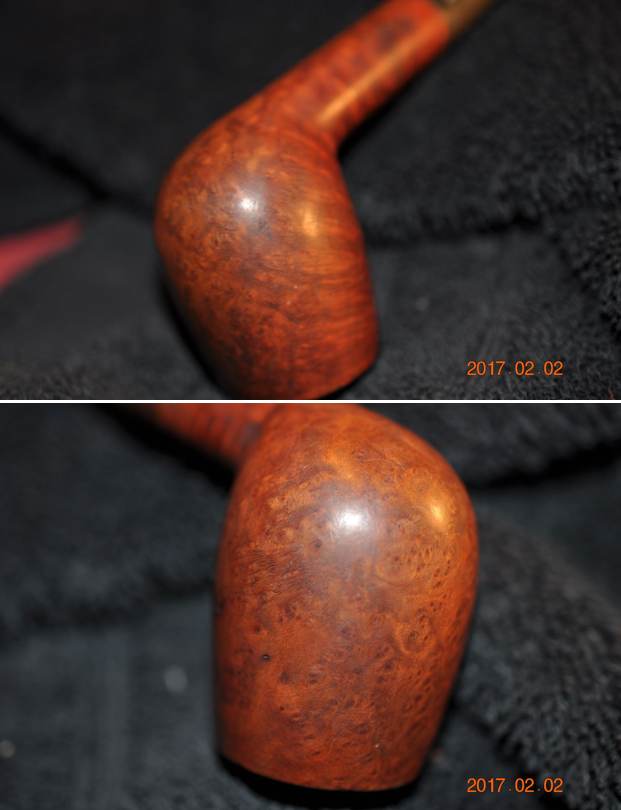
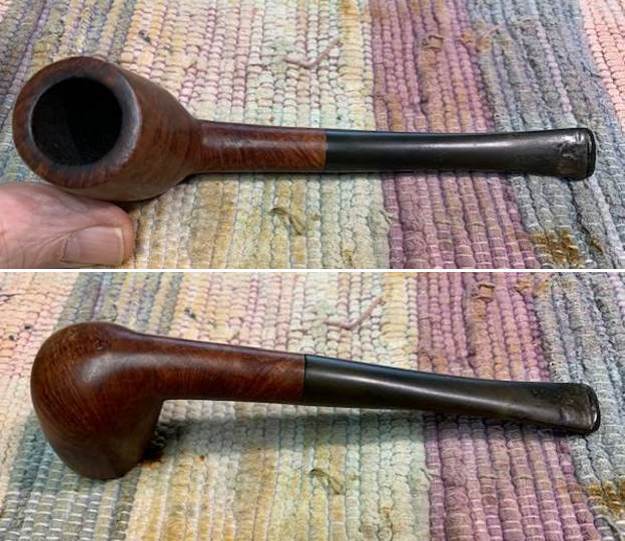
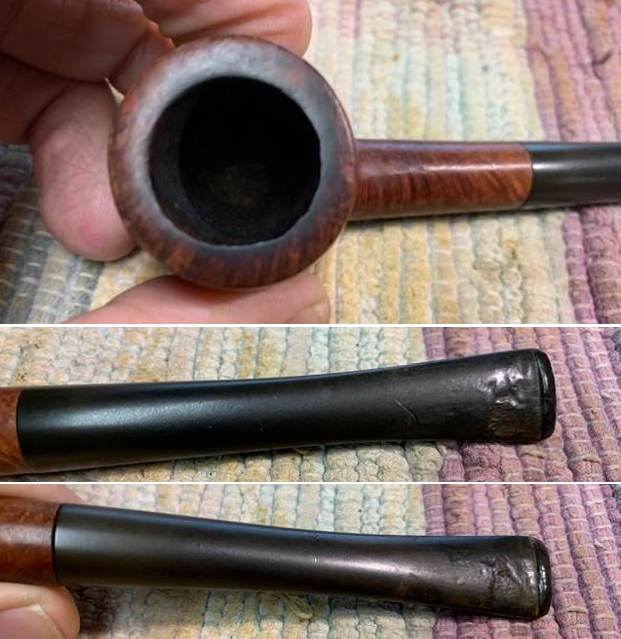
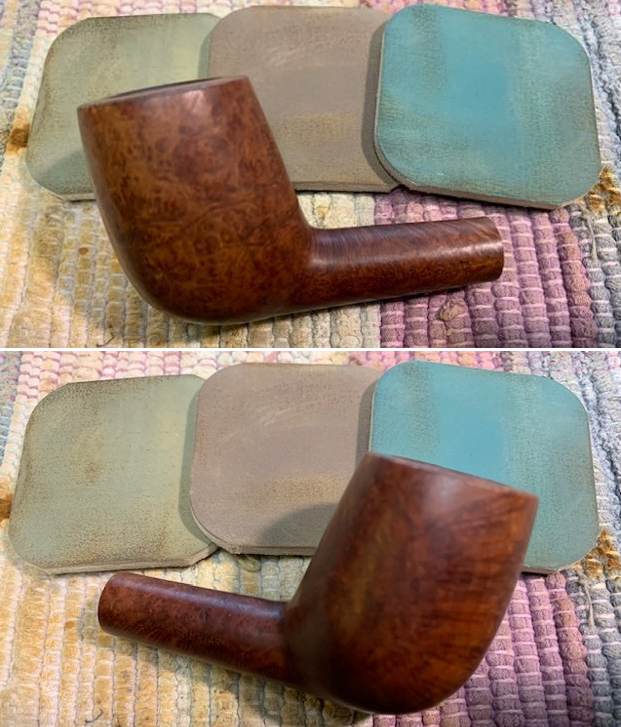
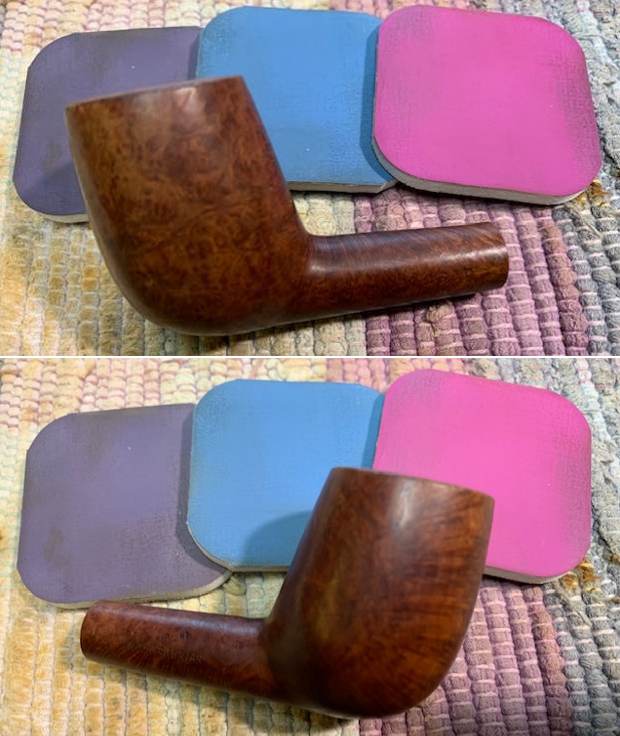
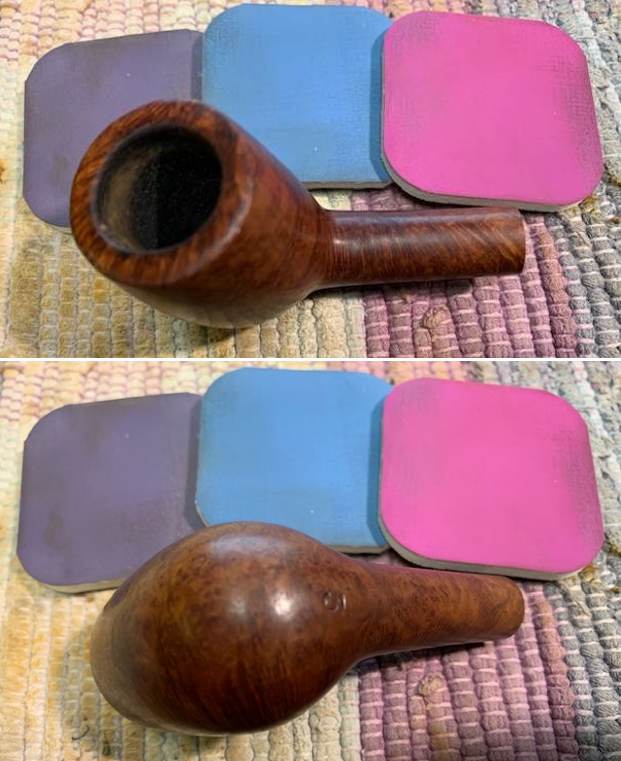
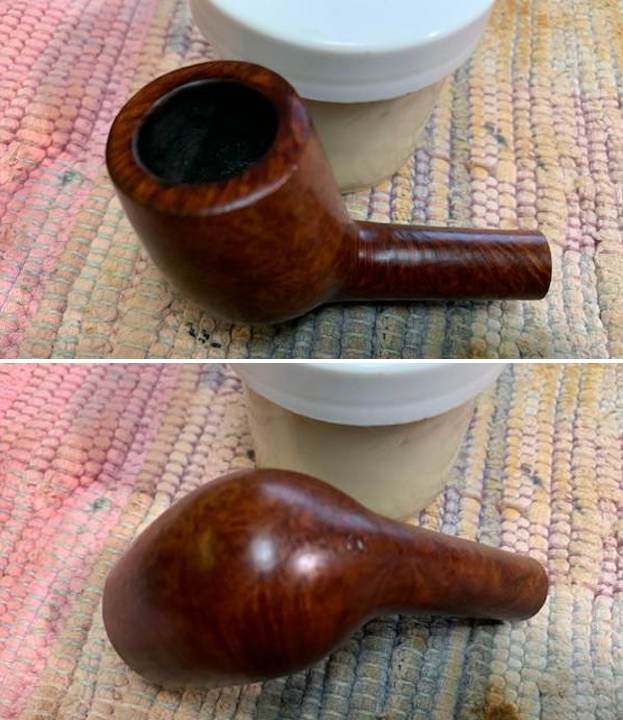
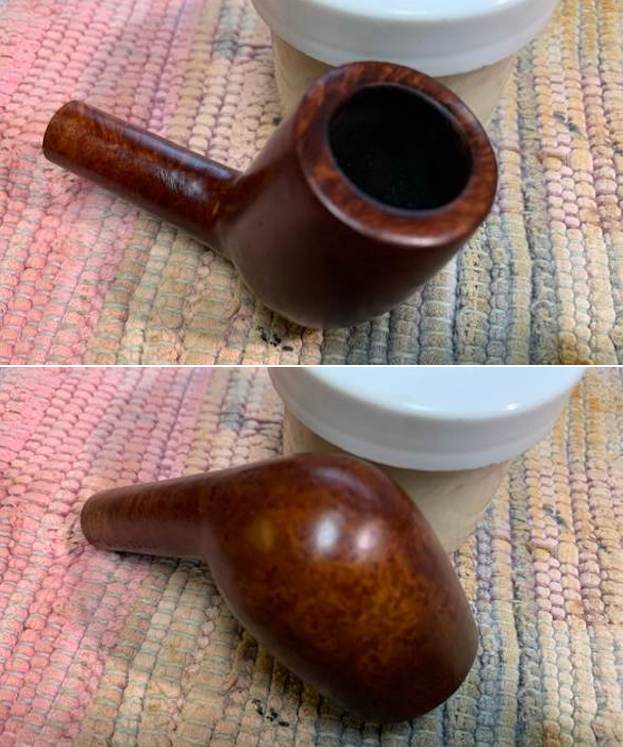
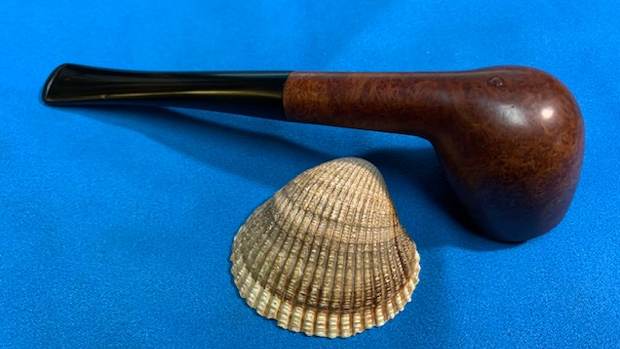
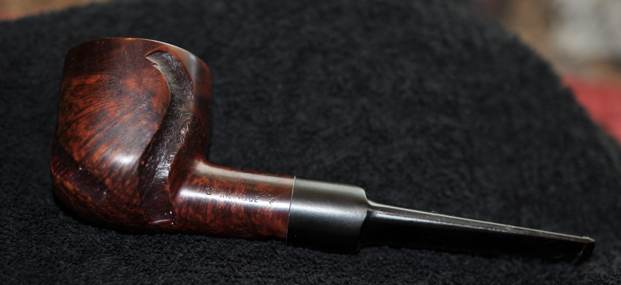
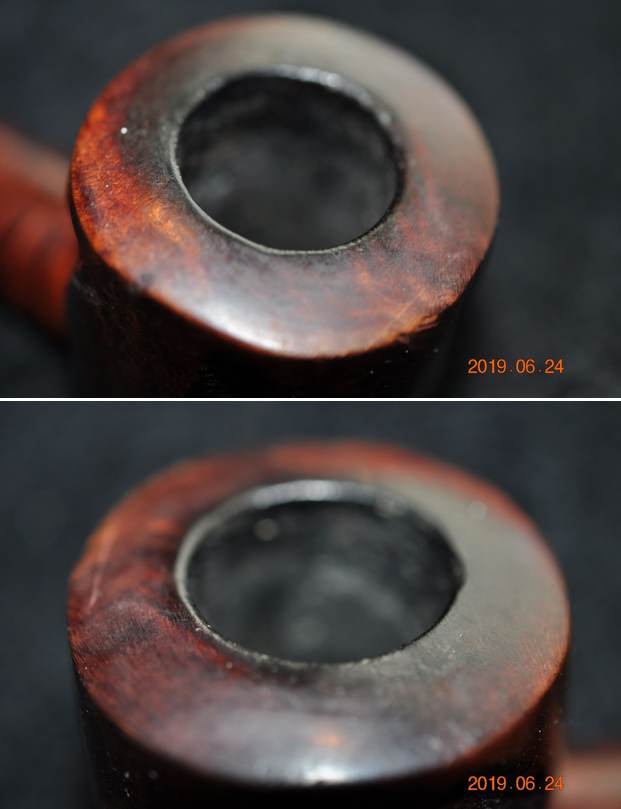
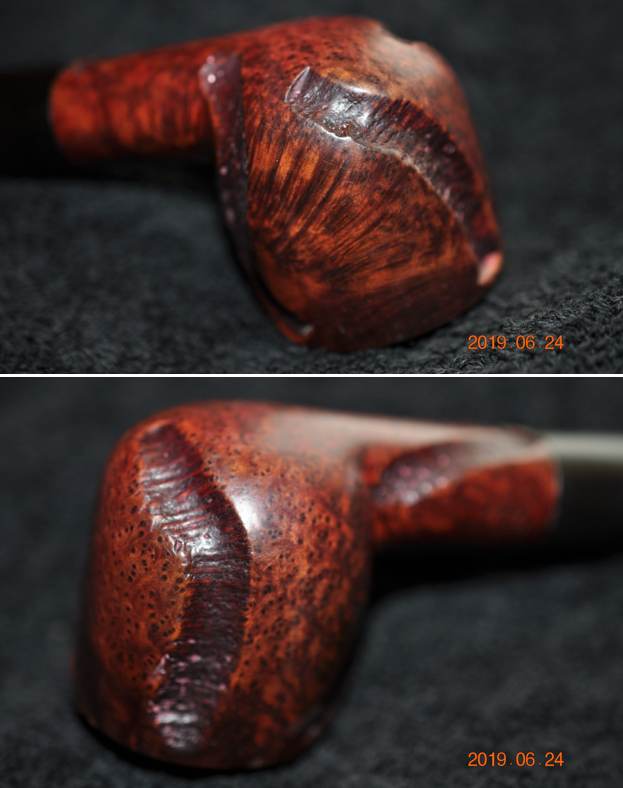
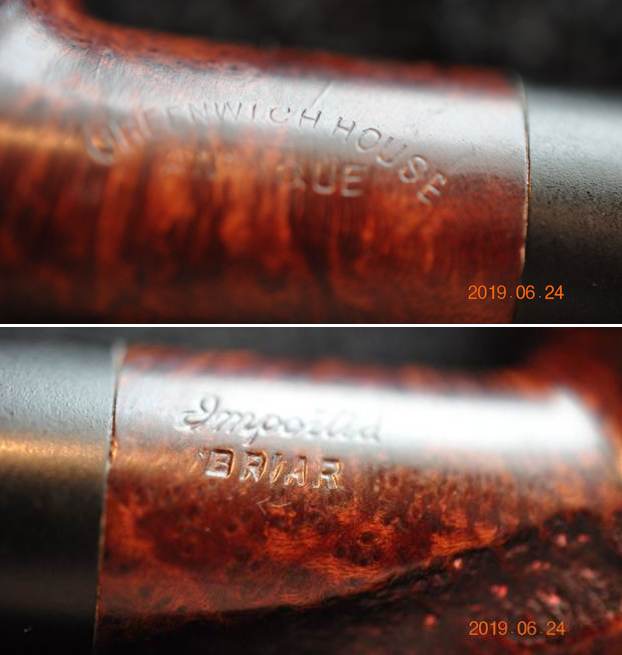
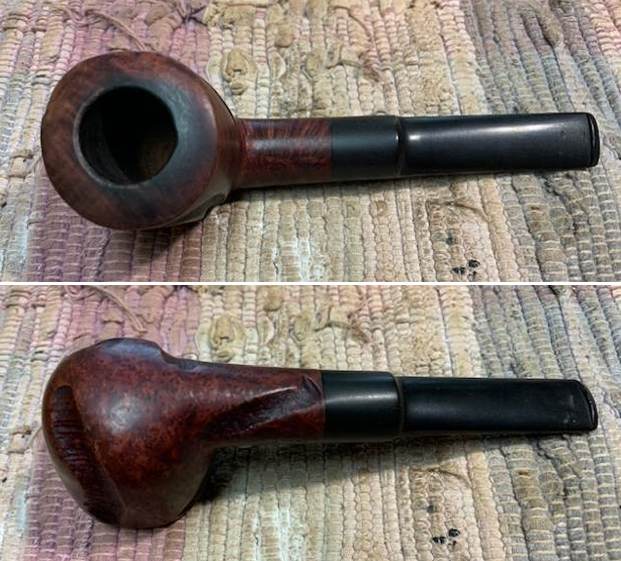
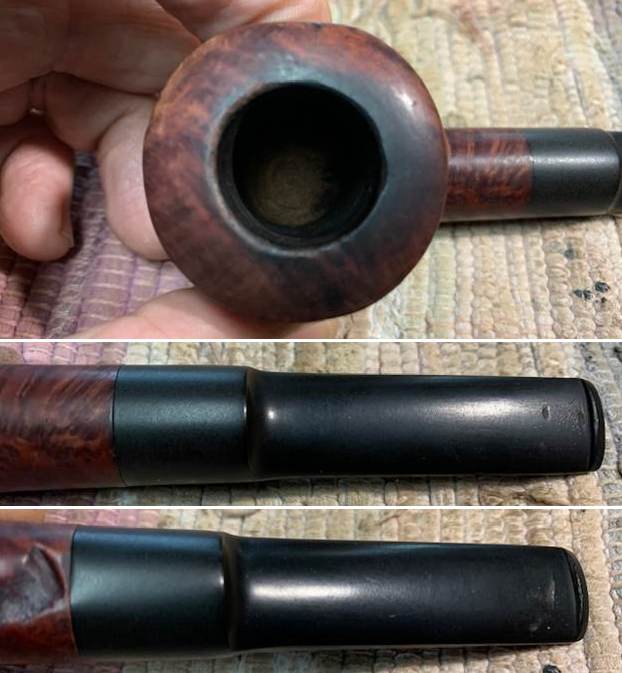
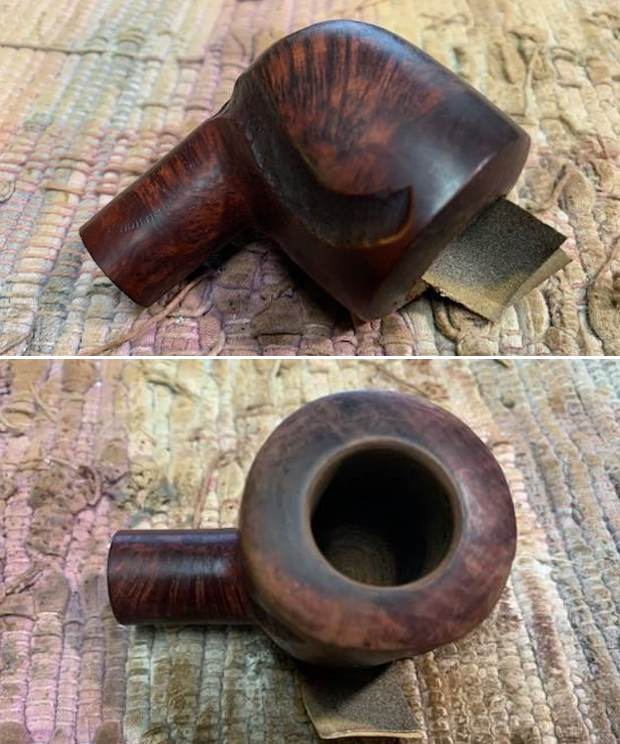
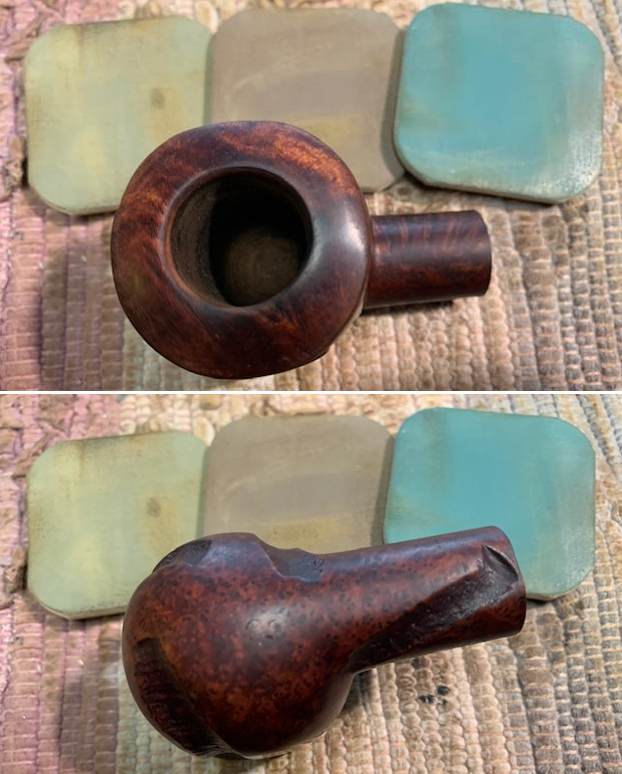
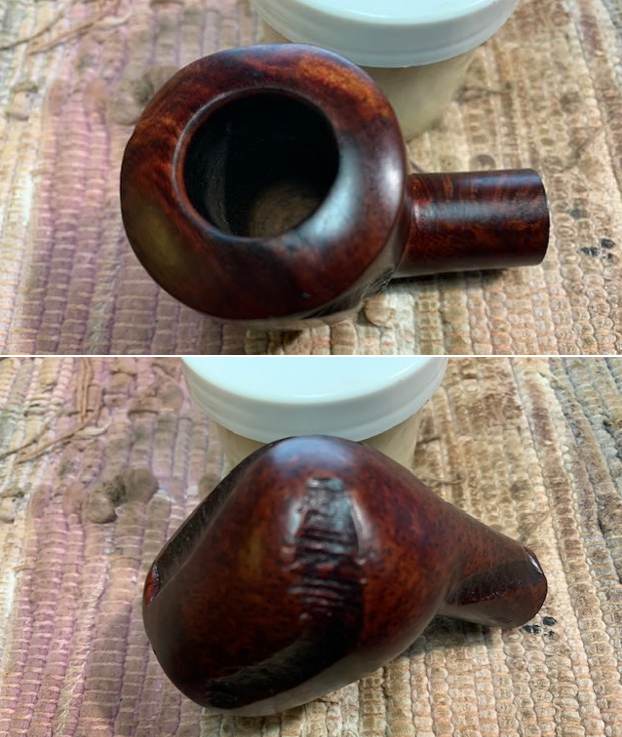
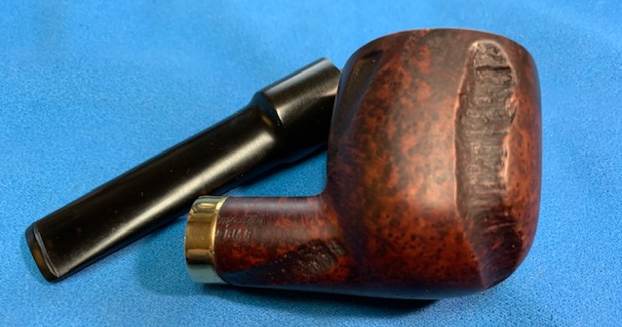
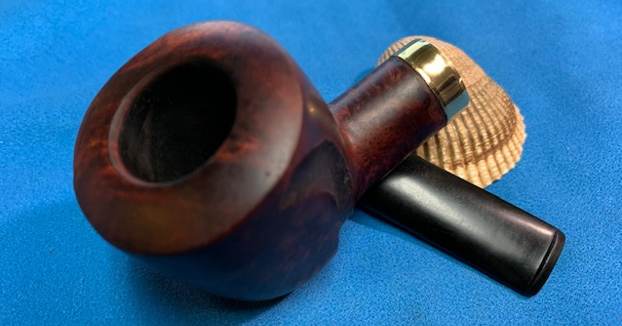
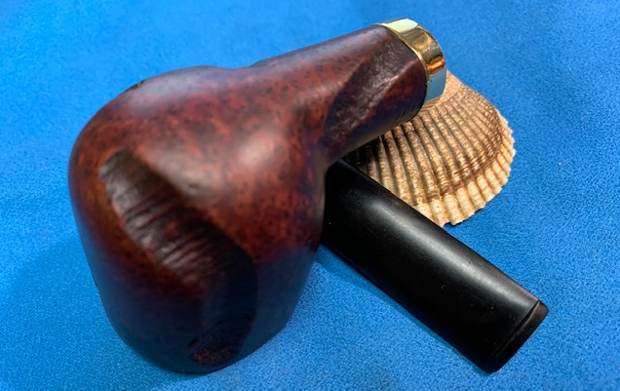
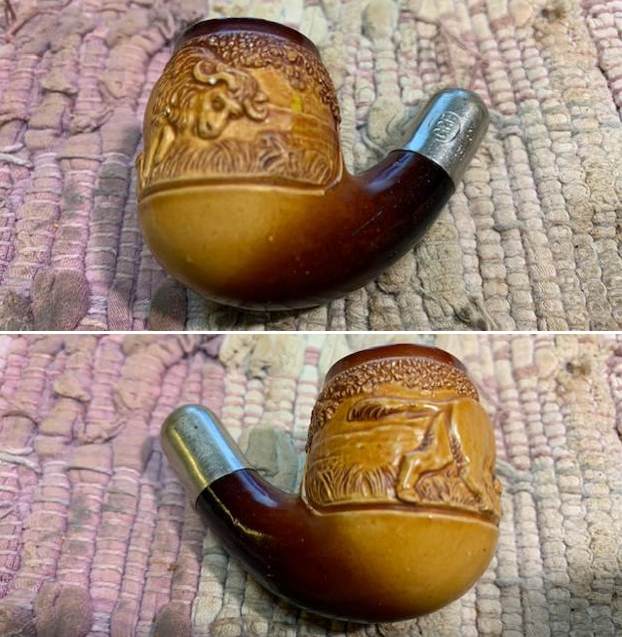
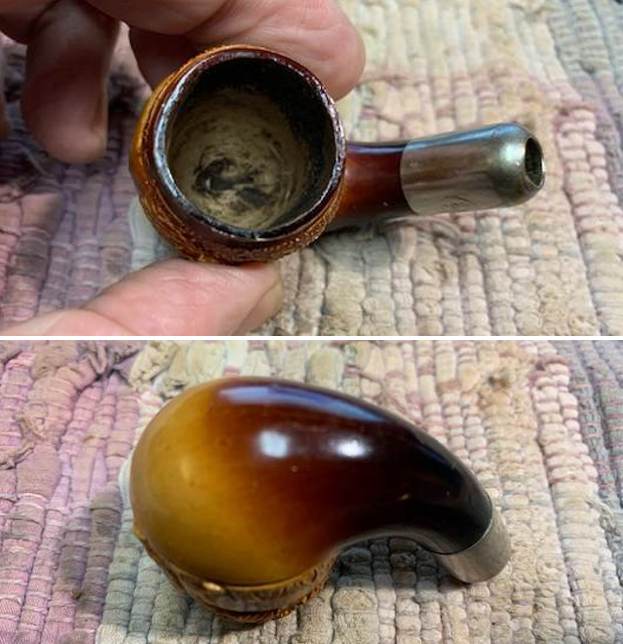
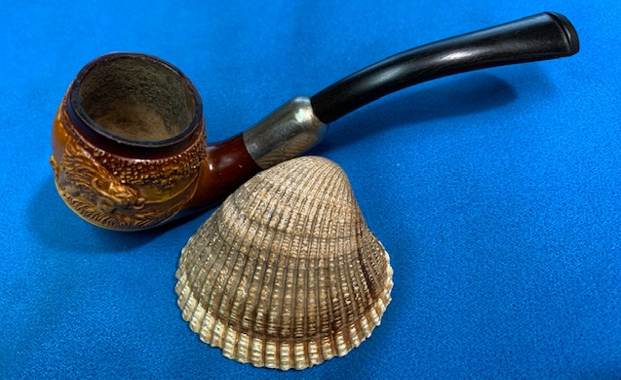
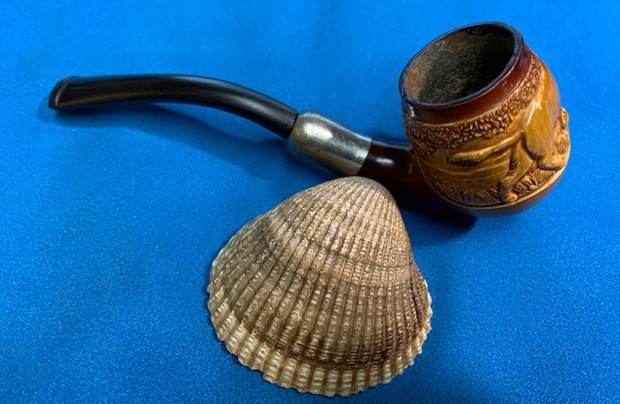
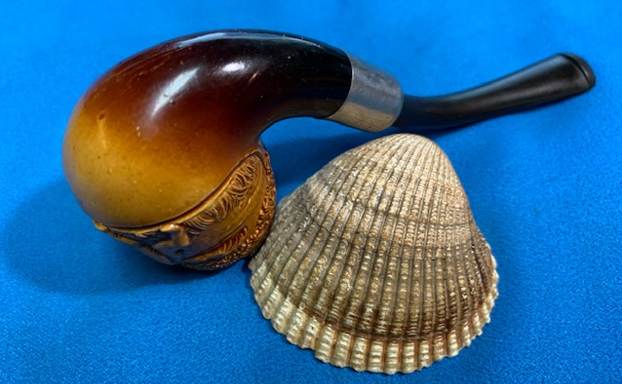
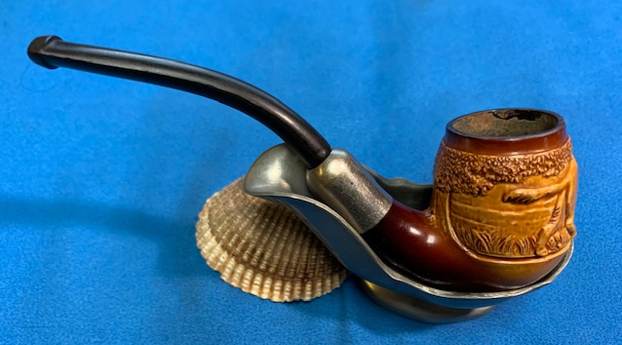
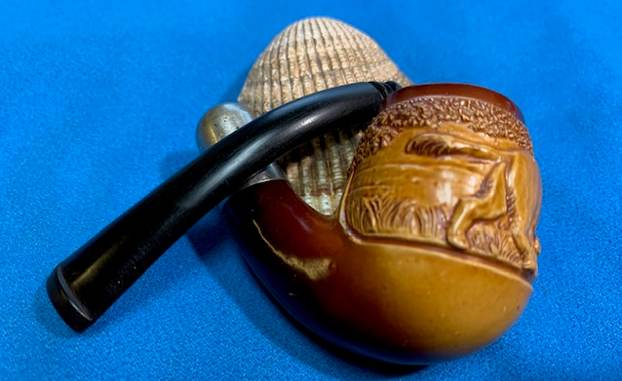
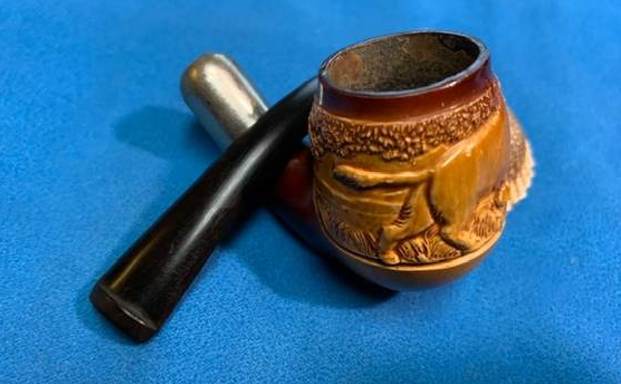
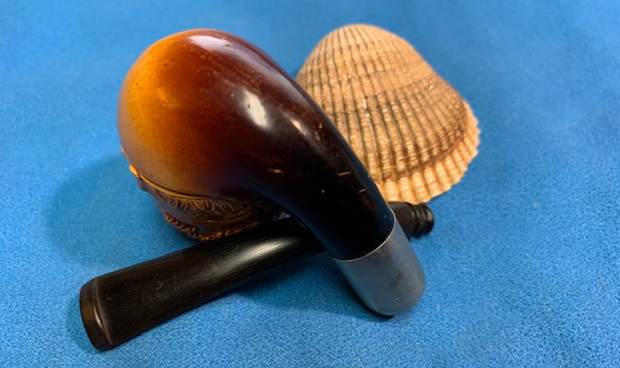
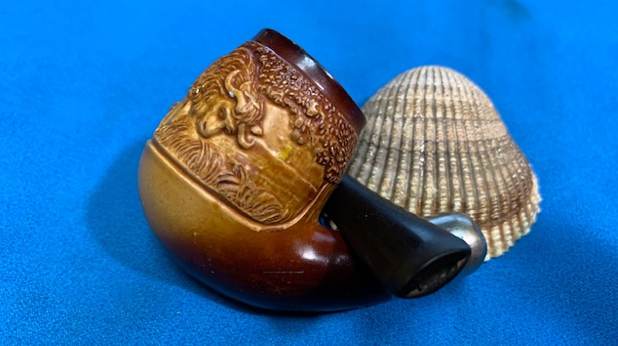
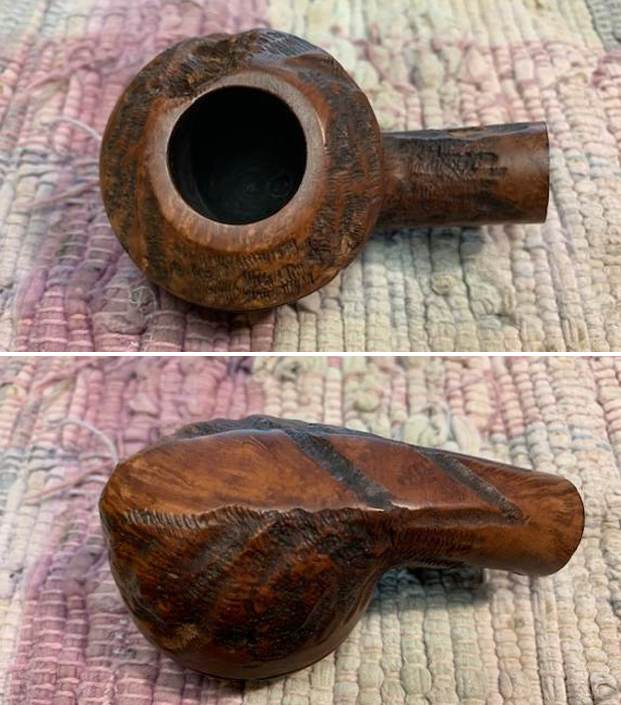
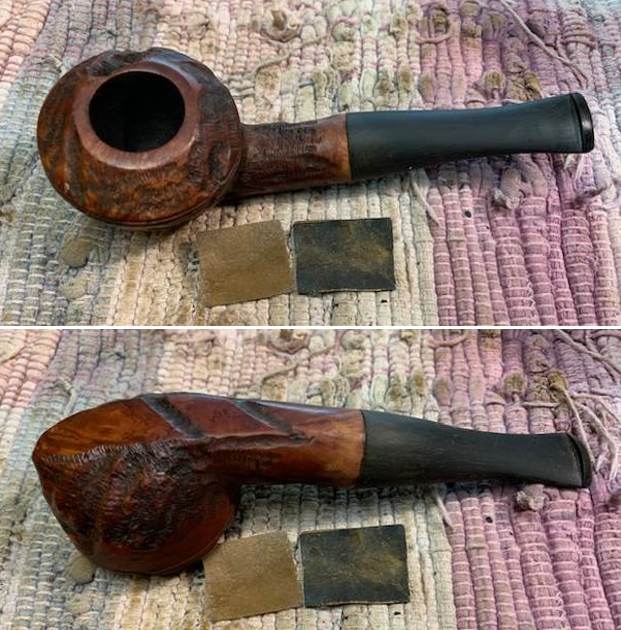
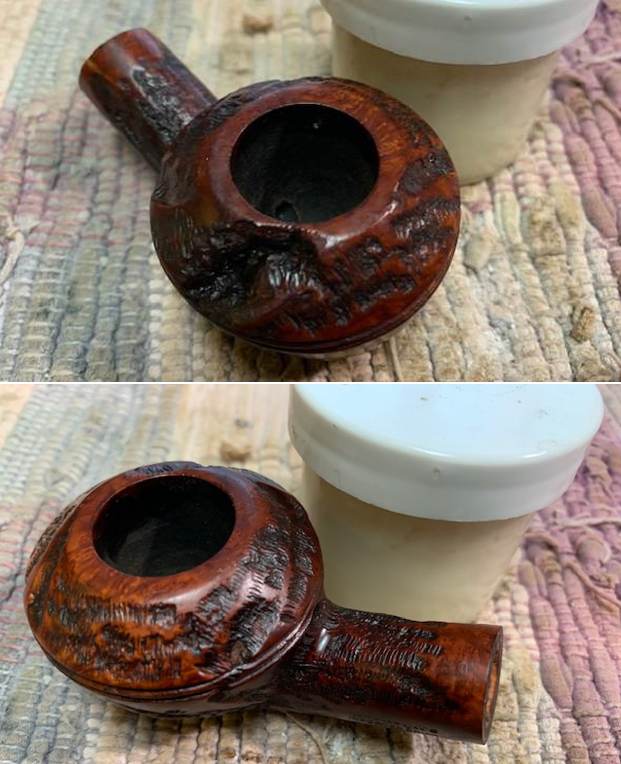
I continue on a restemming binge. I have a box of stummels (bowls) here that I periodically go through and see if I have a potential stem that would fit them. This is the second of the three stummels that took out to restem. The first one was the Malaga Second (https://rebornpipes.com/2022/01/20/restemming-restoring-a-malaga-second-long-shank-billiard/). This particular bowl was a bit of a mystery to me. I honestly don’t remember where or when we picked it up but we had reamed and cleaned it before boxing it. It has a mix of smooth and Custom-Bilt style rustication on the bowl and shank. There were some deep groves and valleys around the bowl and rim. The grain on the smooth portions was quite nice worked well with the deep worm trail style rustication and craters. The rim top and edges were in good condition. The interior of the bowl was clean and there were not any chips, cracks or checking on the walls. The mortise was clean and well drilled with no issues. The finish was clean and the fills in the rustication stood out clearly in contrast to the dark stain. The stamping was clear and readable. On the left side it read Yorkshire (in old English Script) [over] Imported Briar. I took photos of the bowl before I started to work on it. 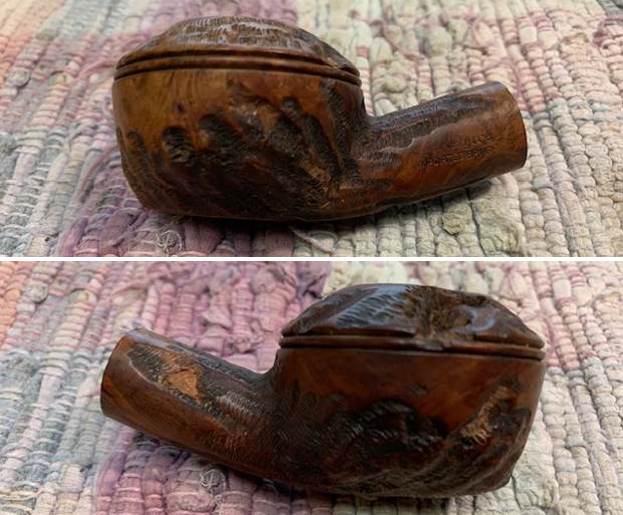
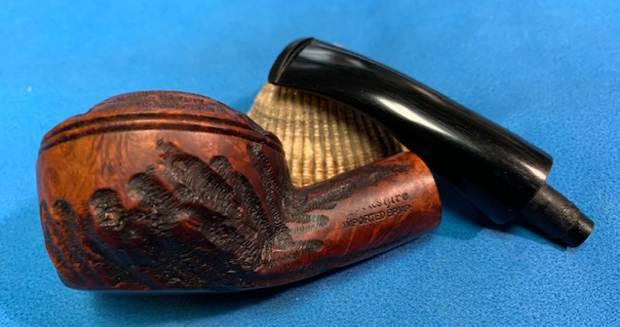
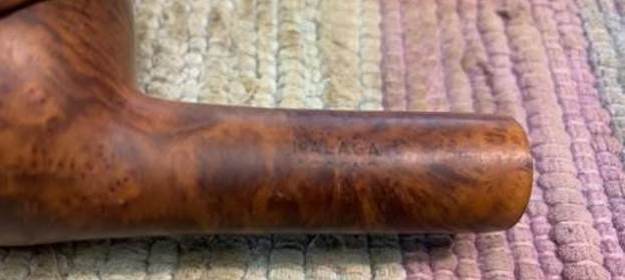
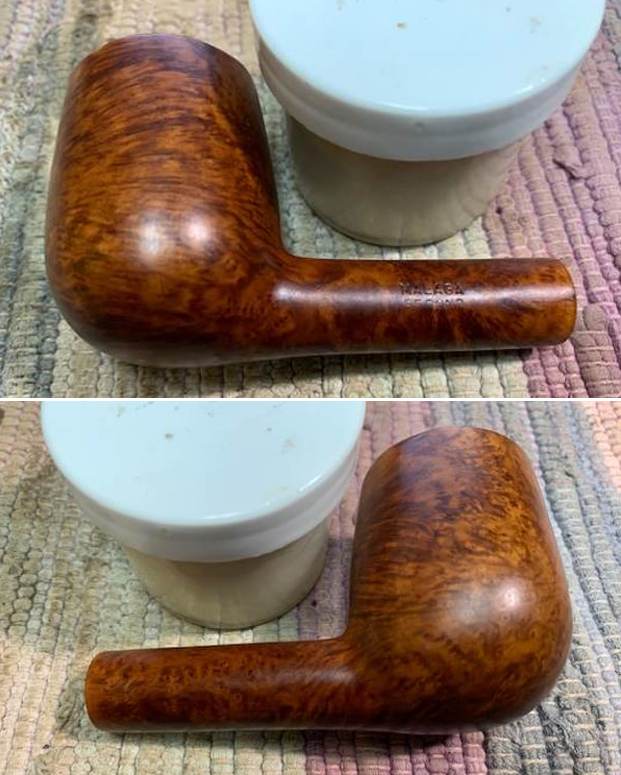
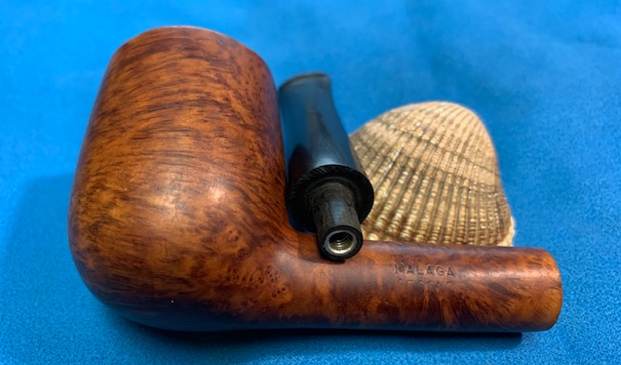
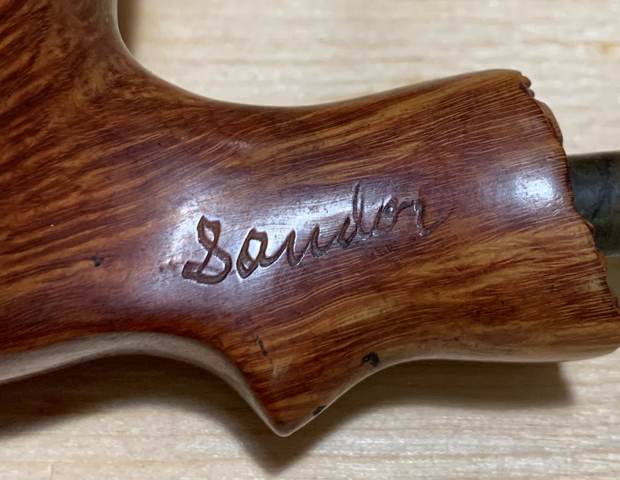
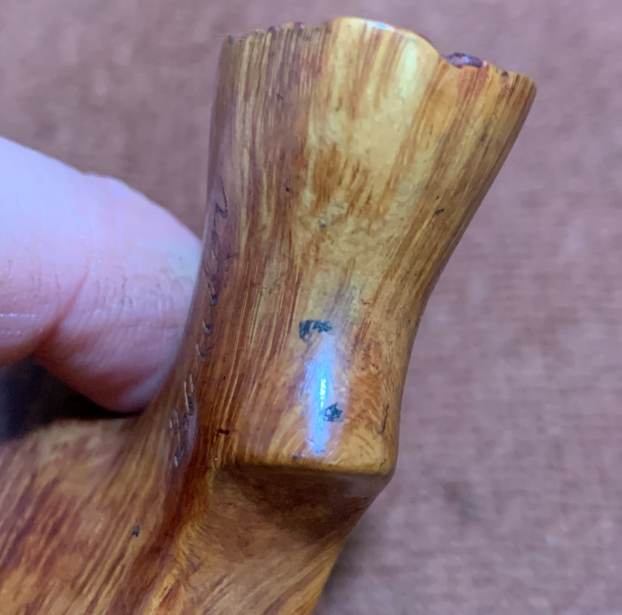
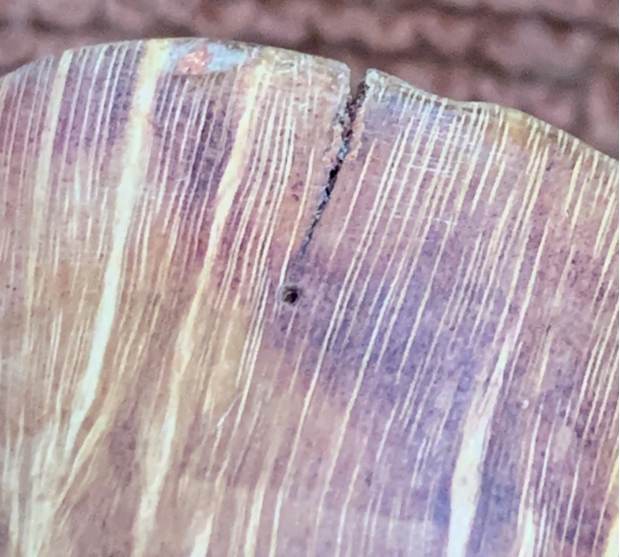
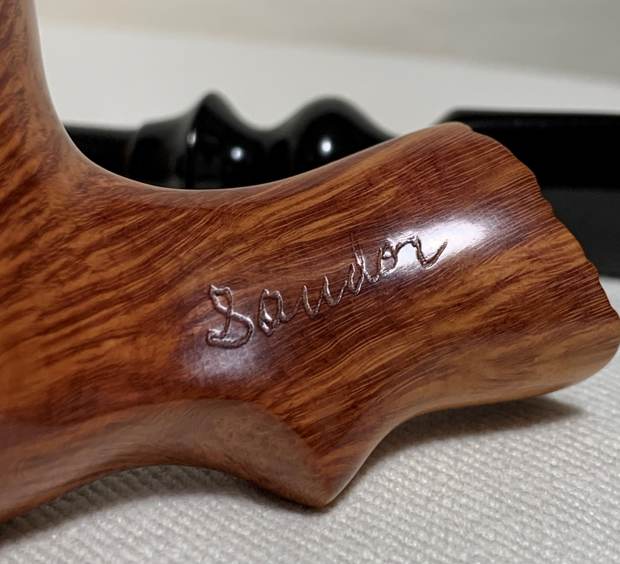
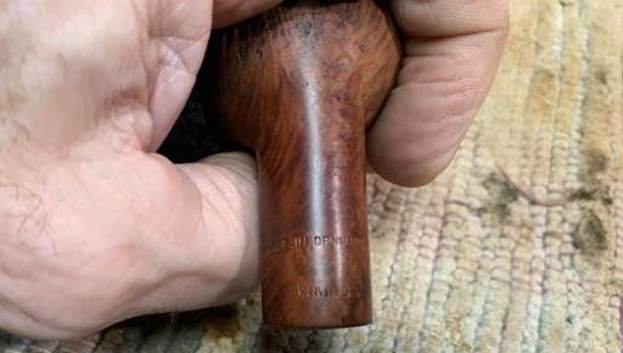
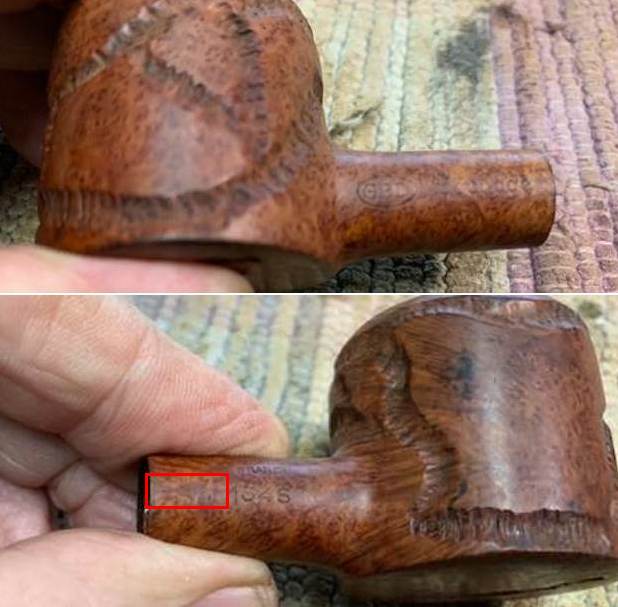
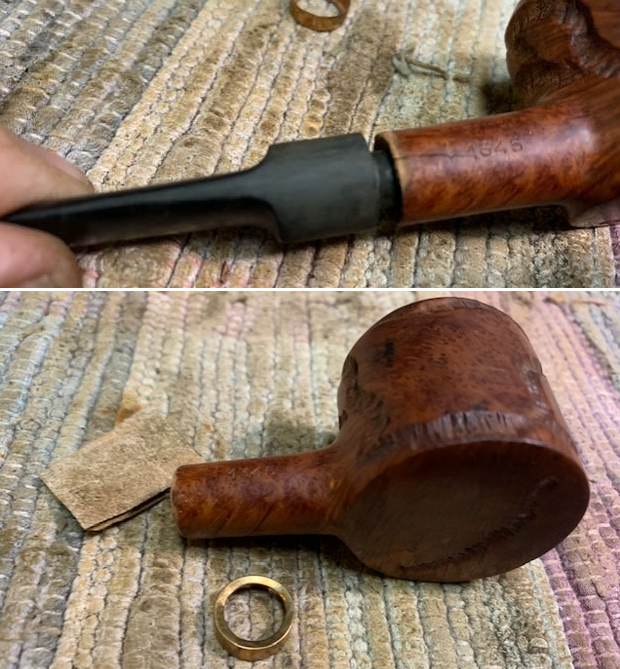
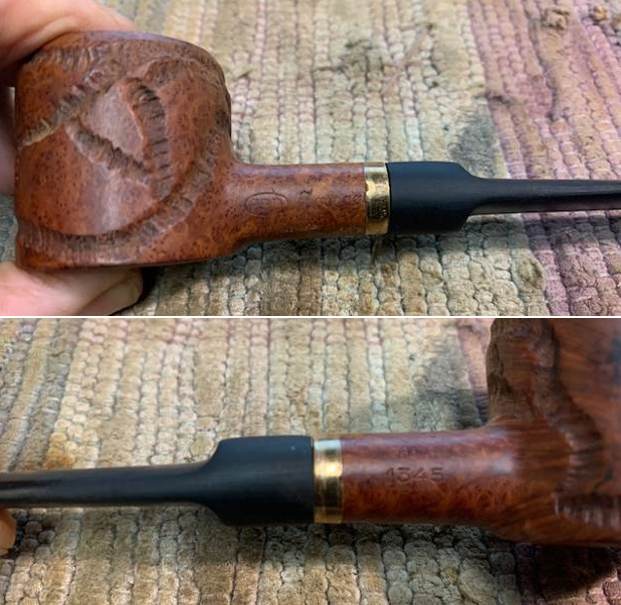
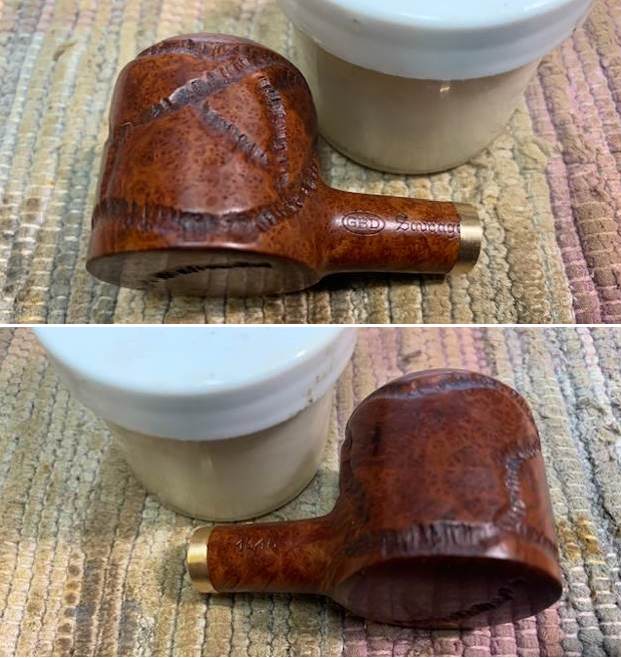
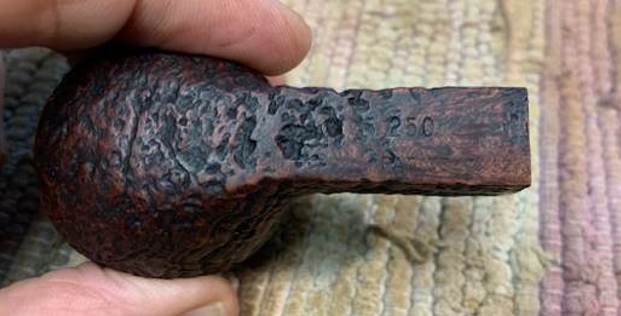
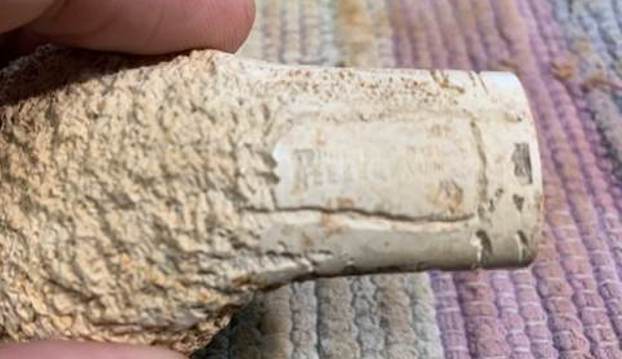
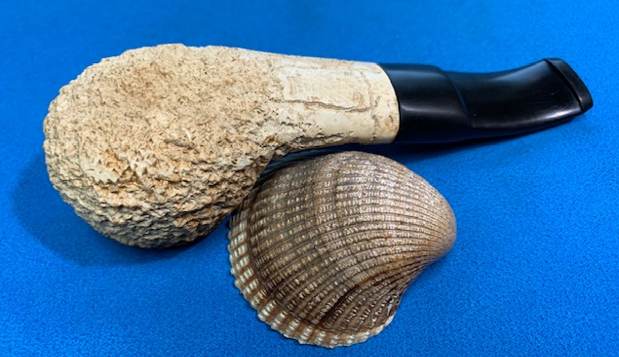
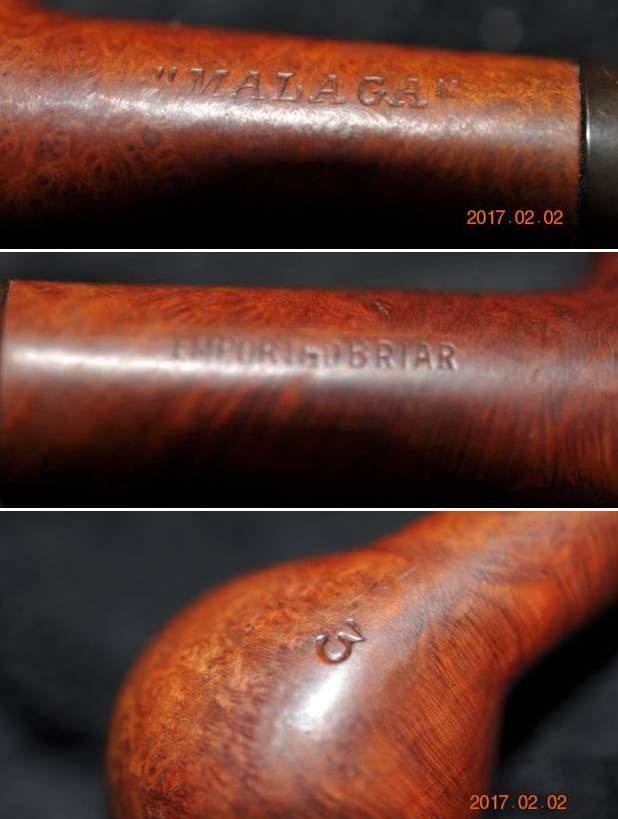
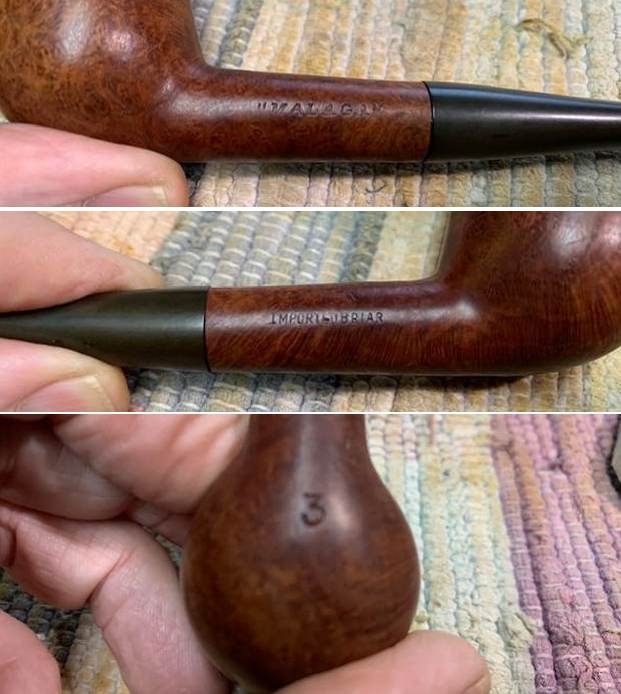
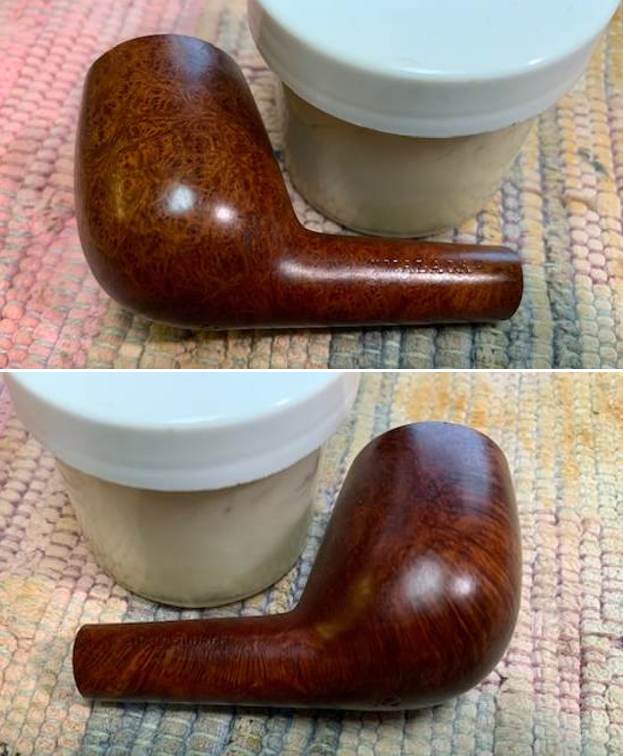
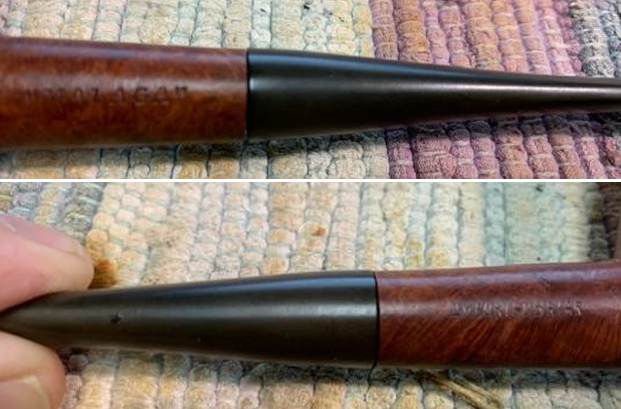
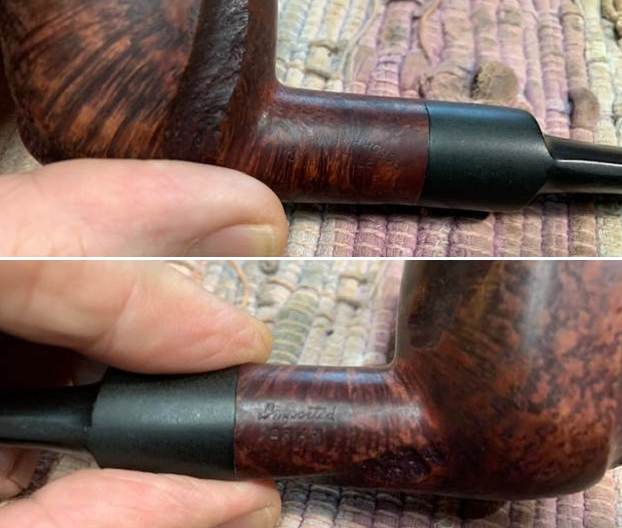
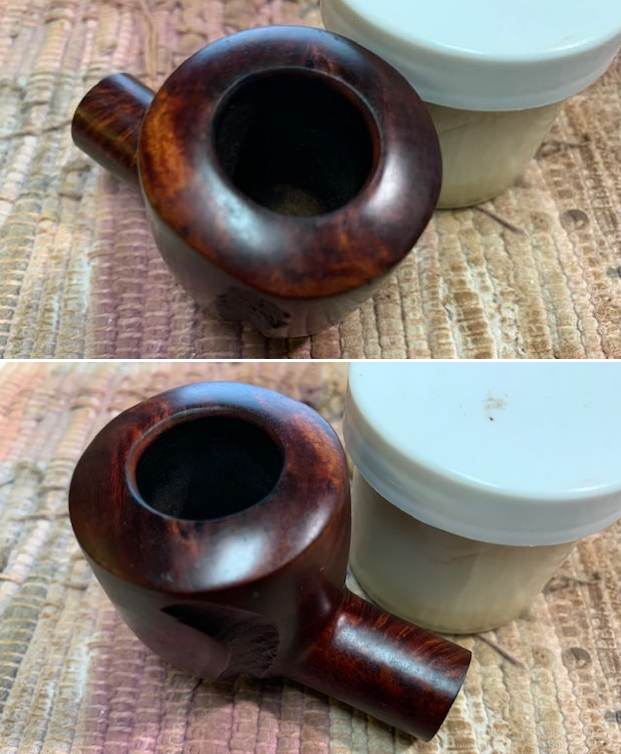
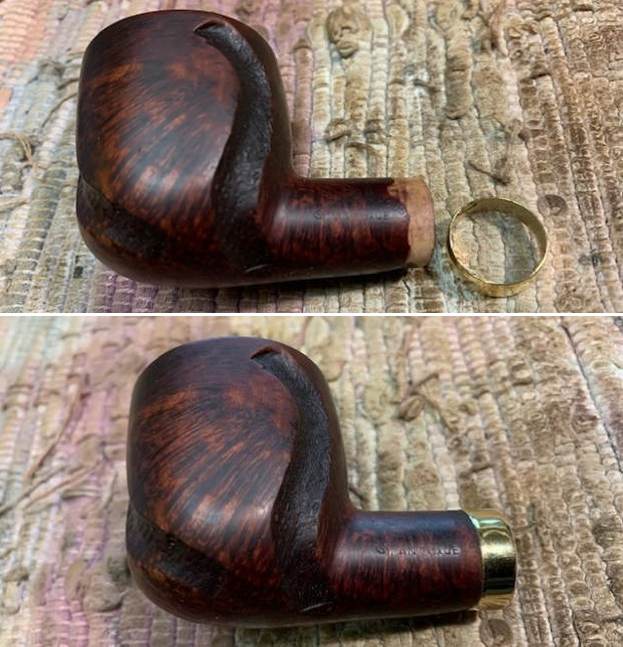
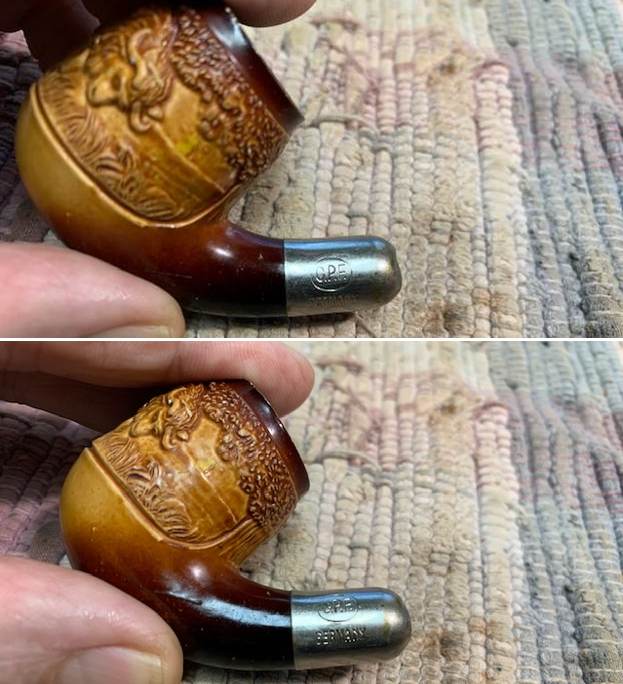
 I took a photo of the stamping on the side of the shank. It reads as noted above and is clear and though the Yorkshire stamp is faint it is still readable.
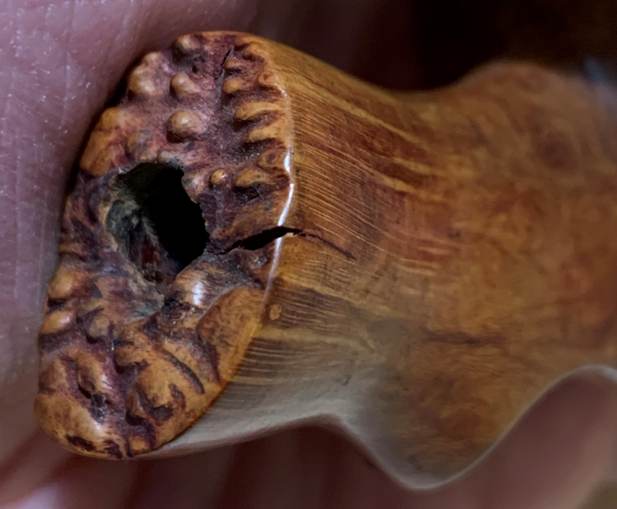
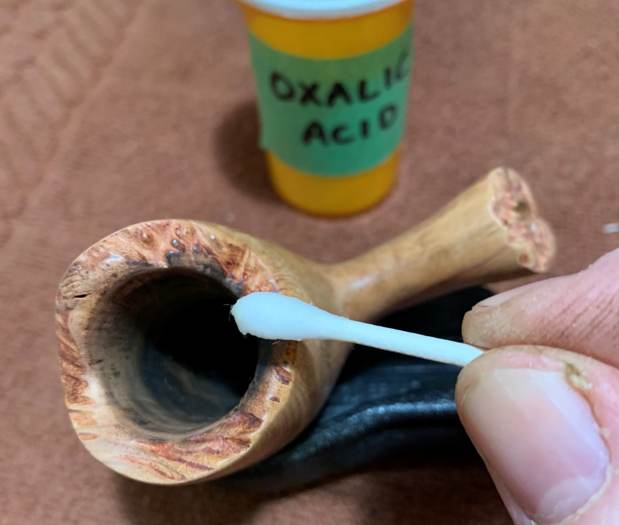
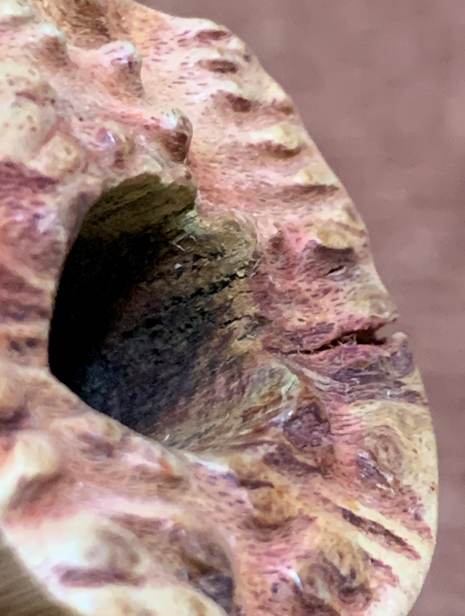
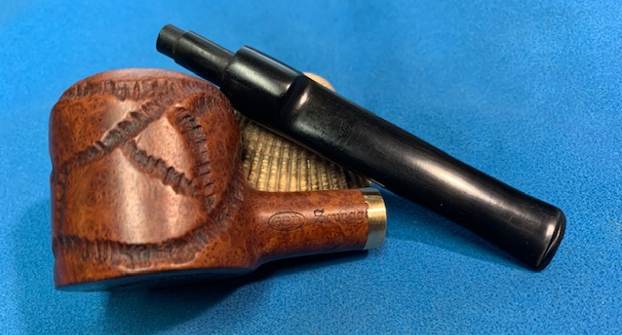
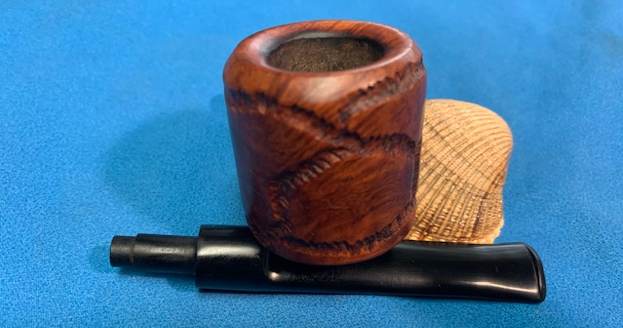
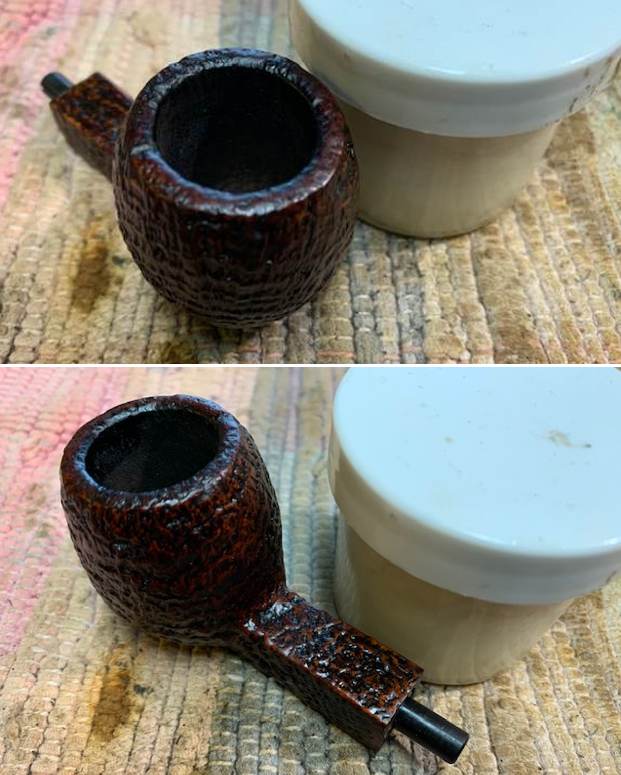
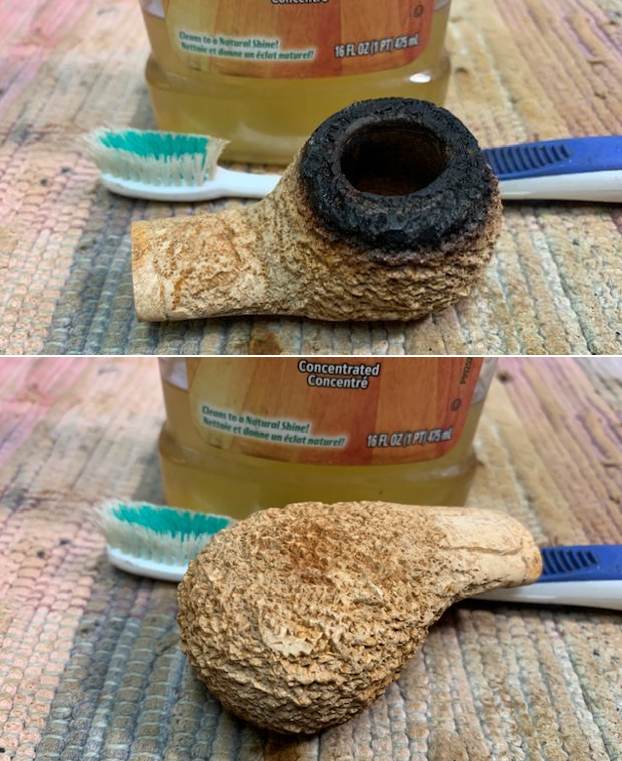
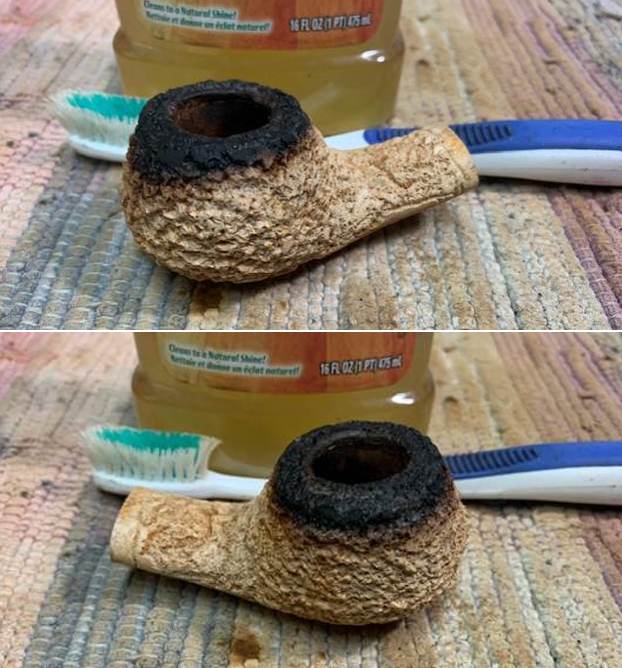
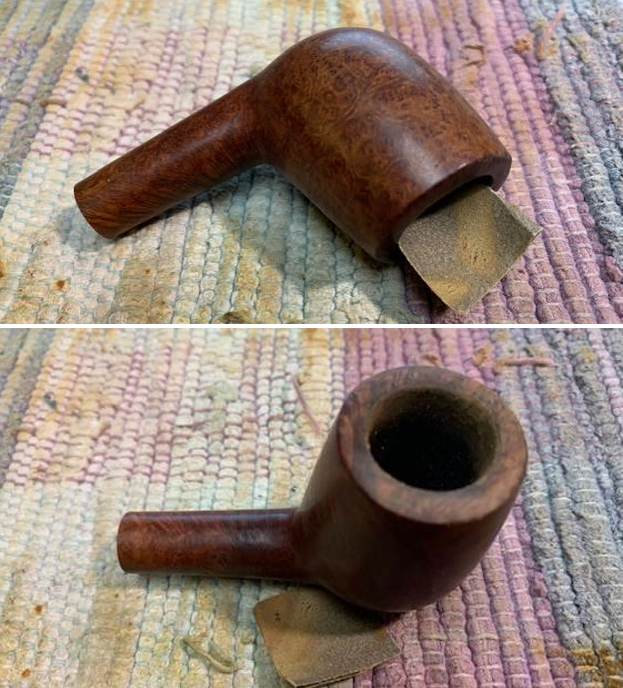
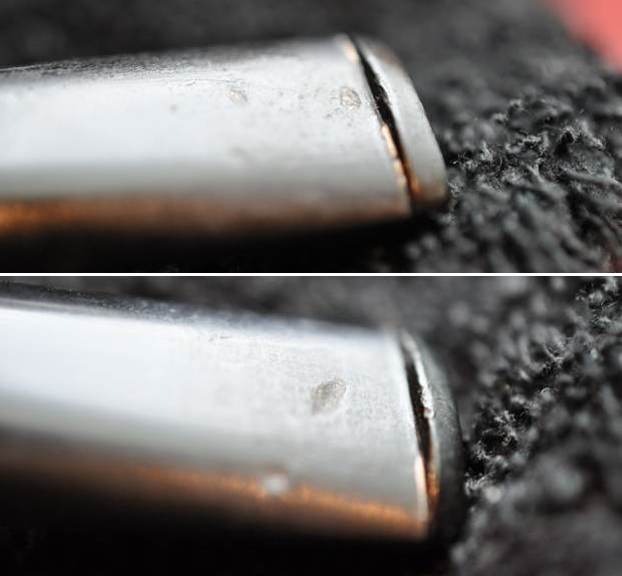
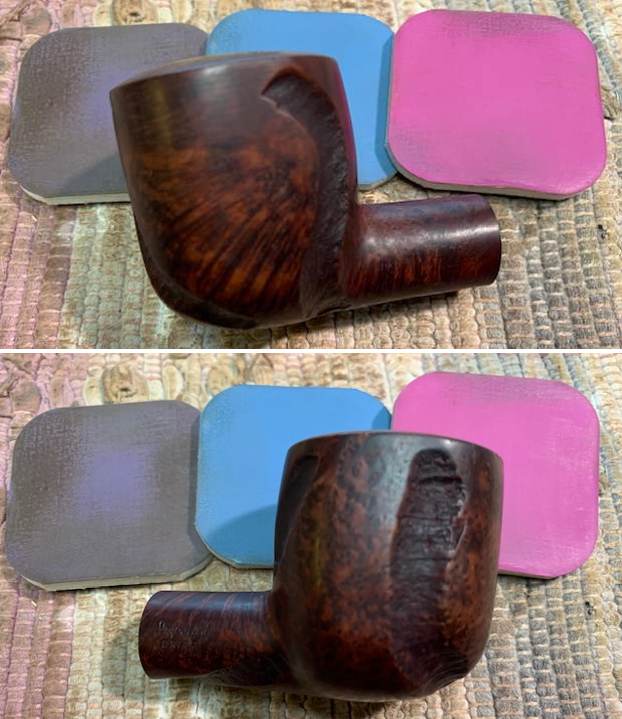
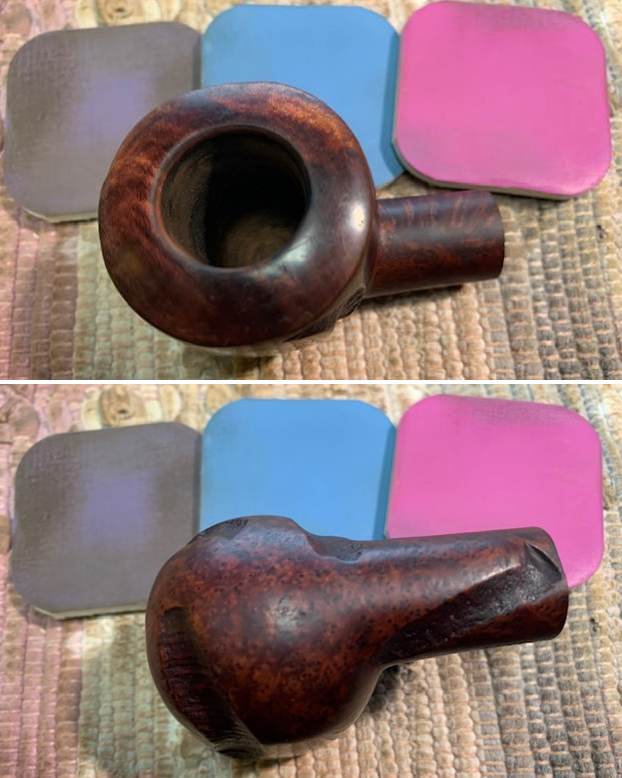
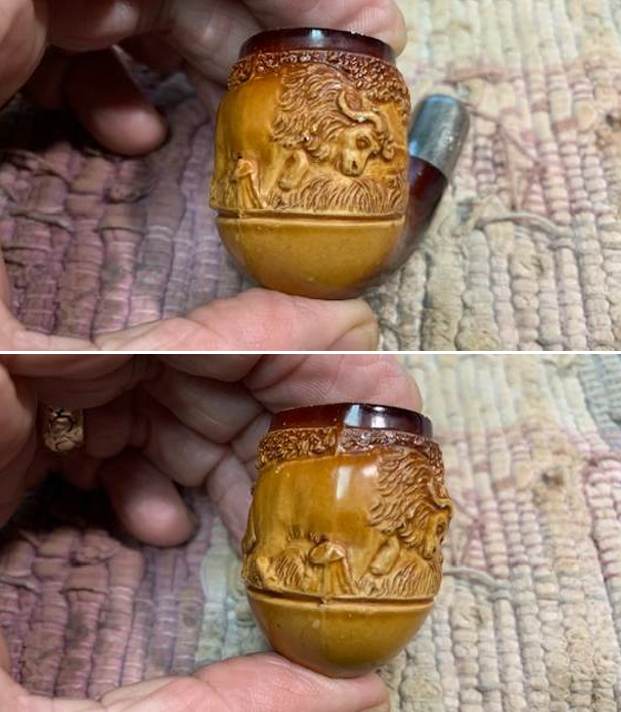
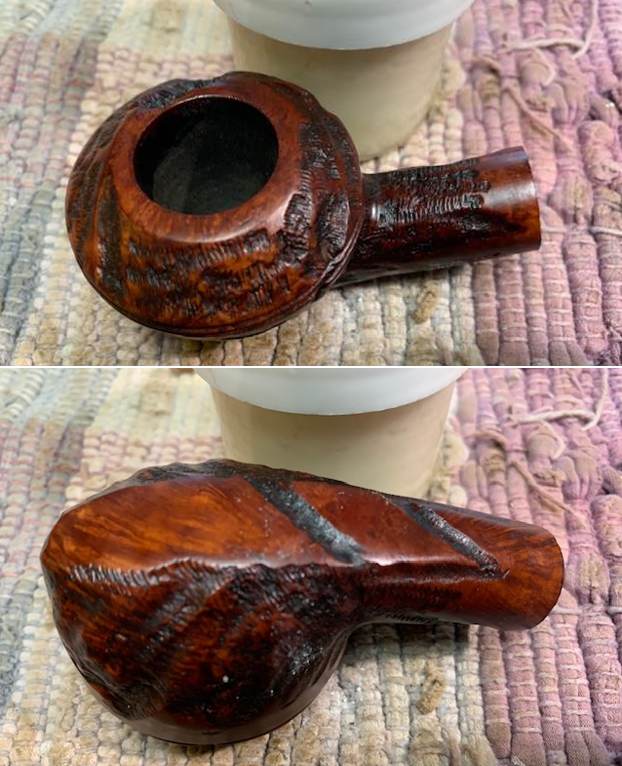
 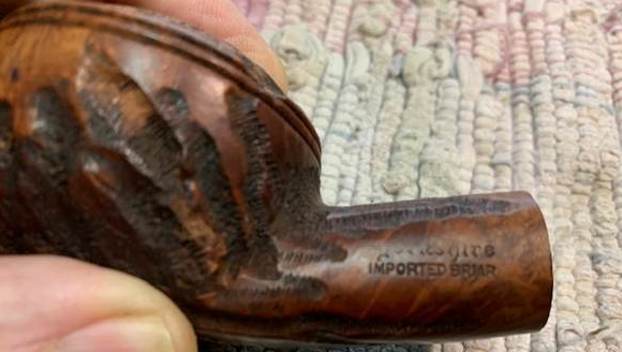 I took some photos of the putty fills around various parts of the bowl and shank. Interestingly they were in the rusticated portions of the bowl – probably by design. They would need to be stained to blend them into the surrounding briar.
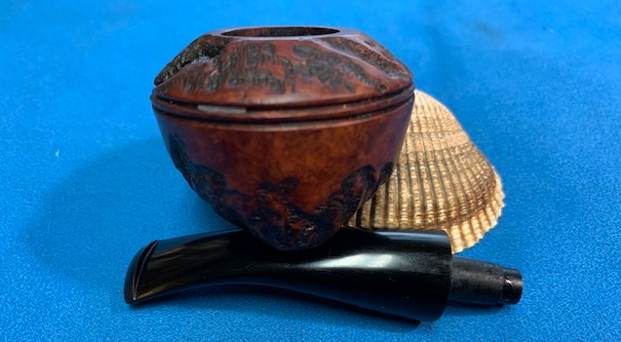
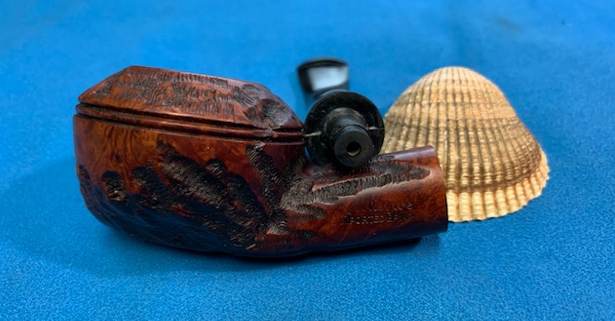
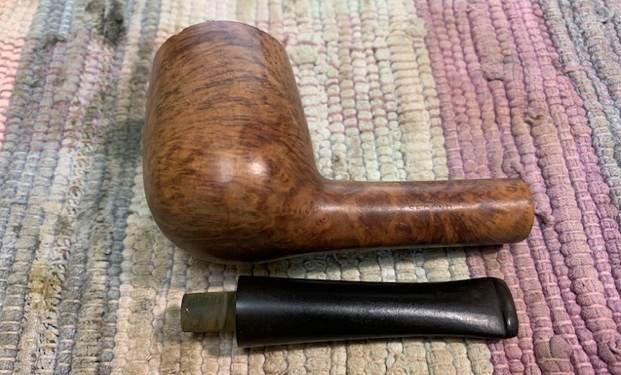
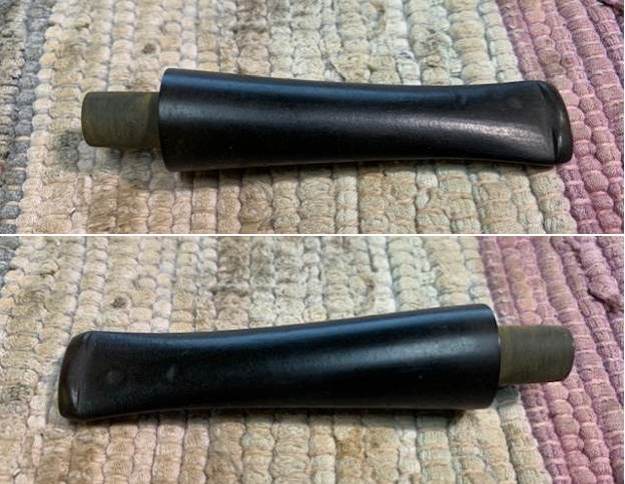
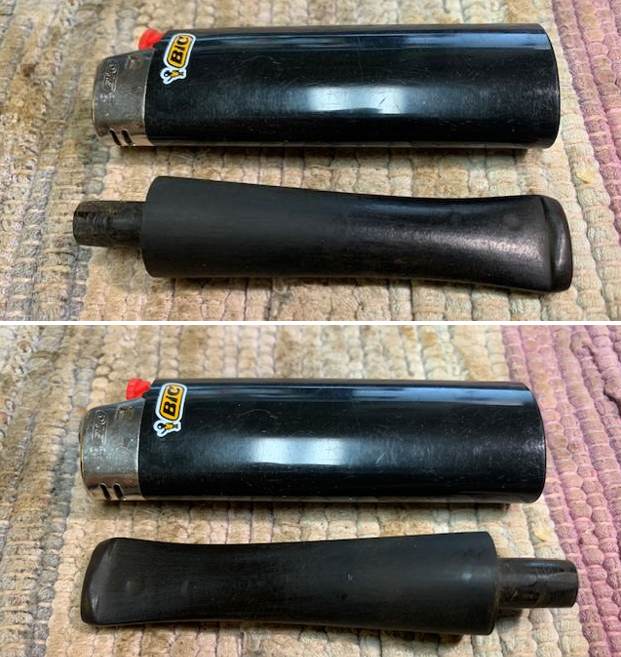
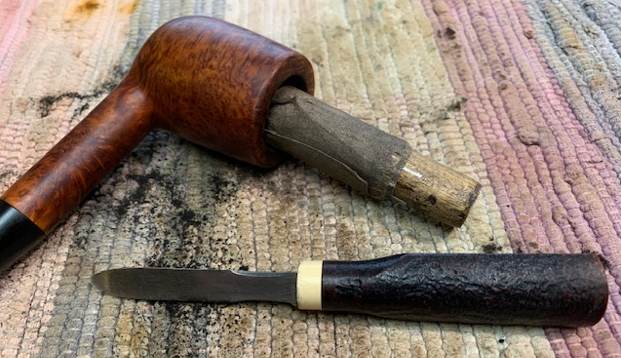
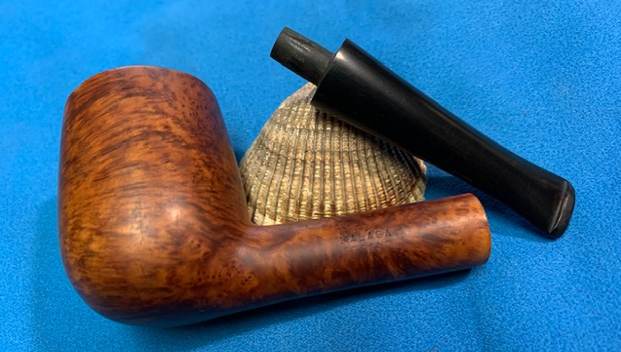
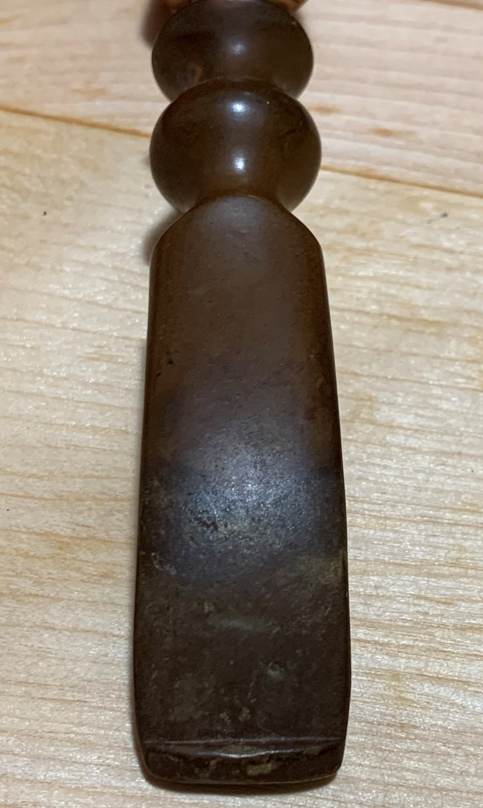
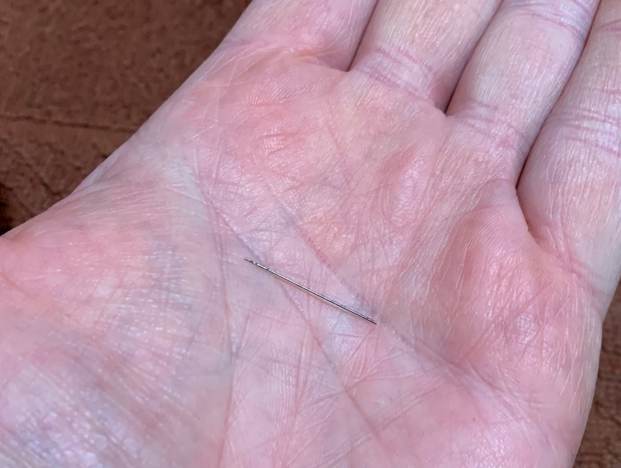
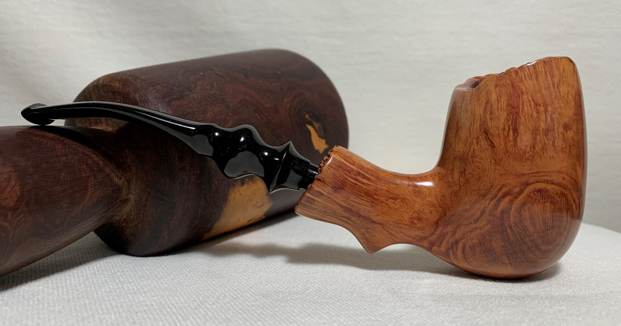
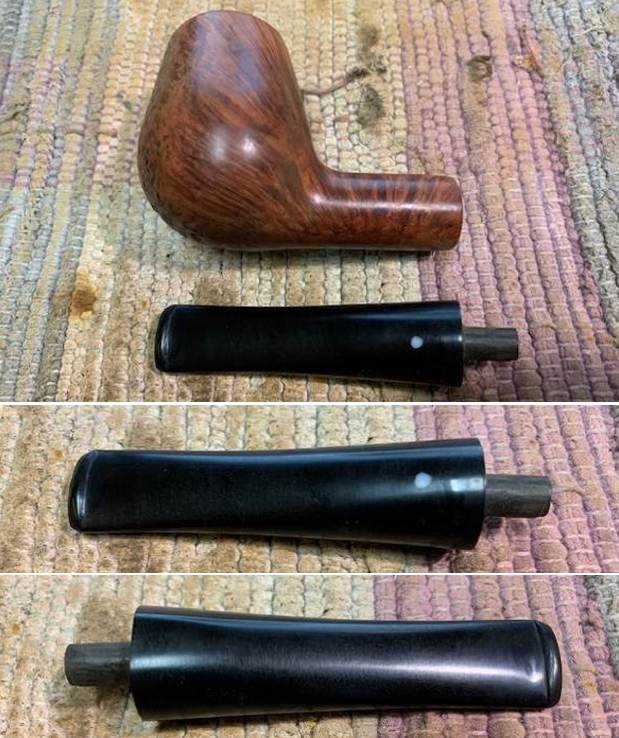
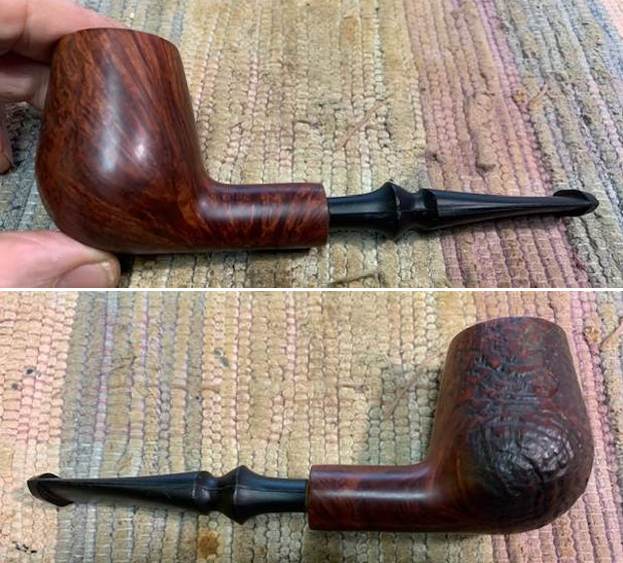
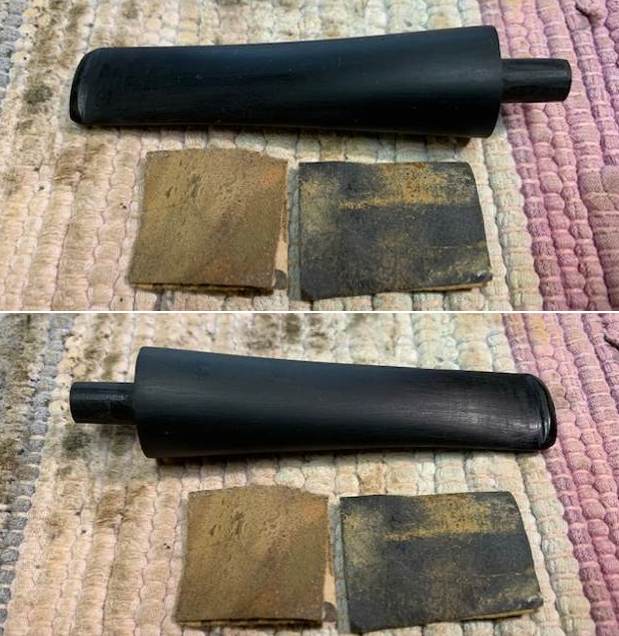
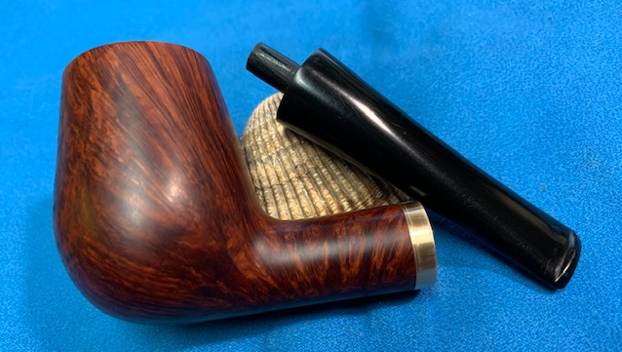
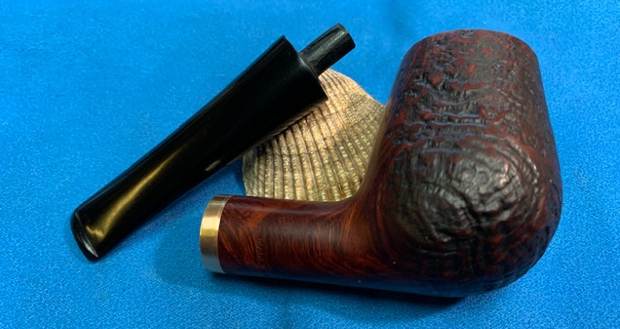
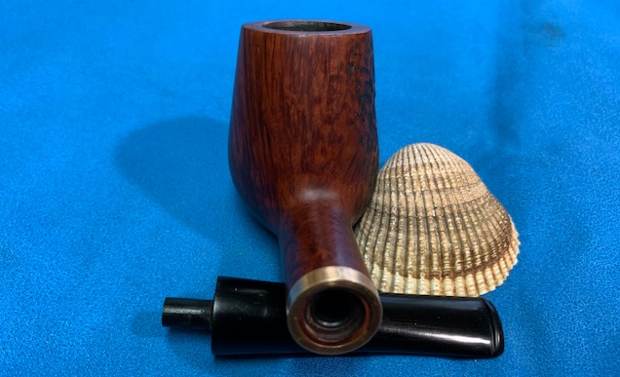
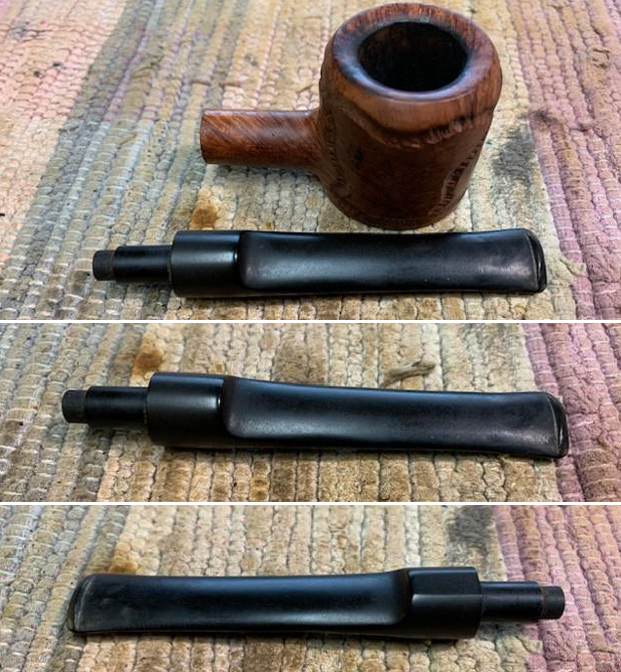
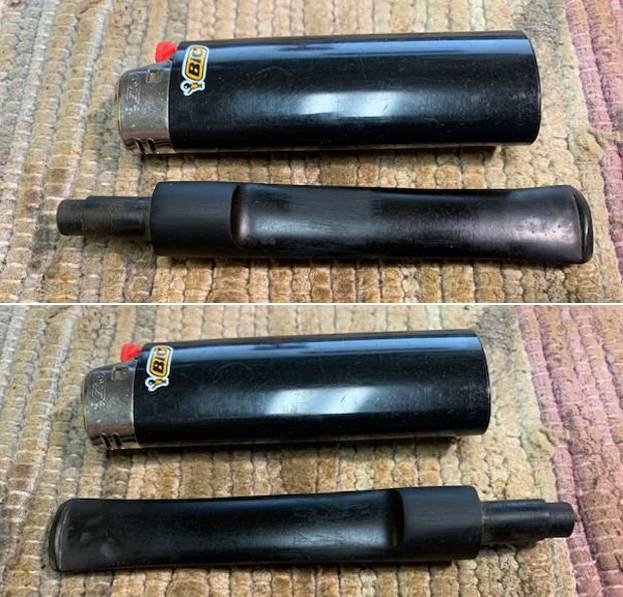
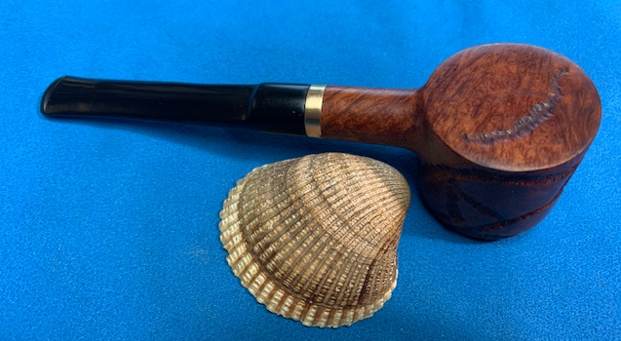
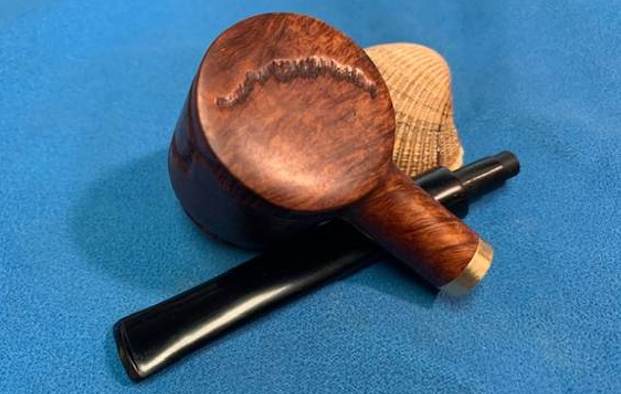
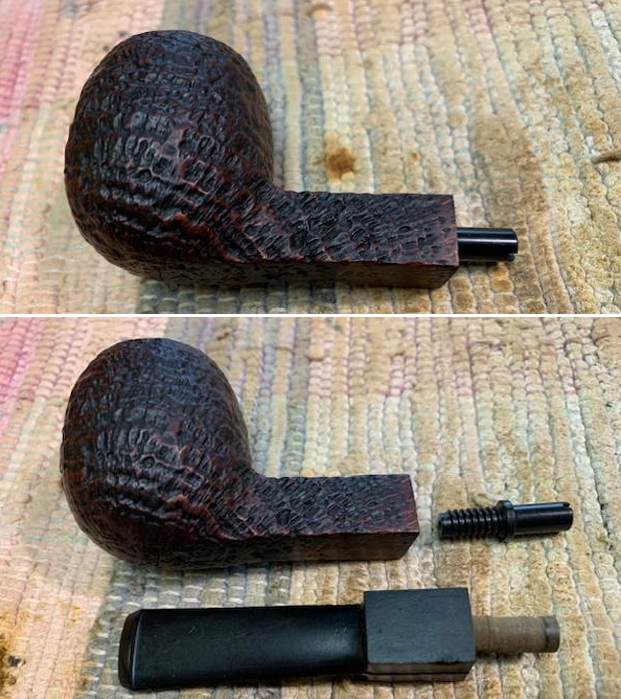
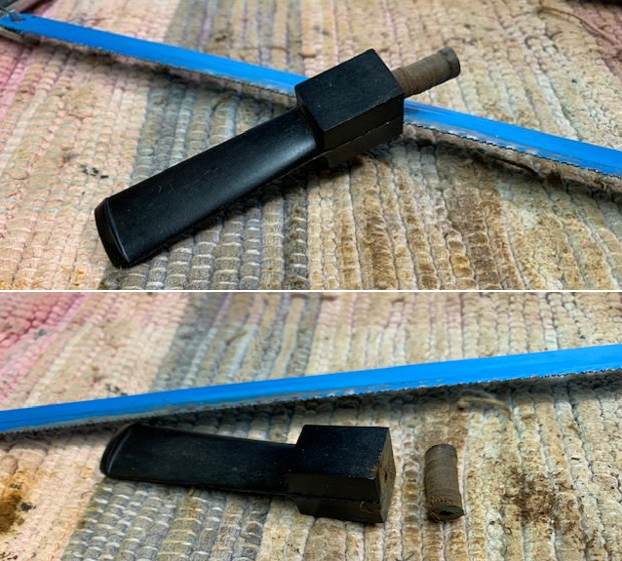
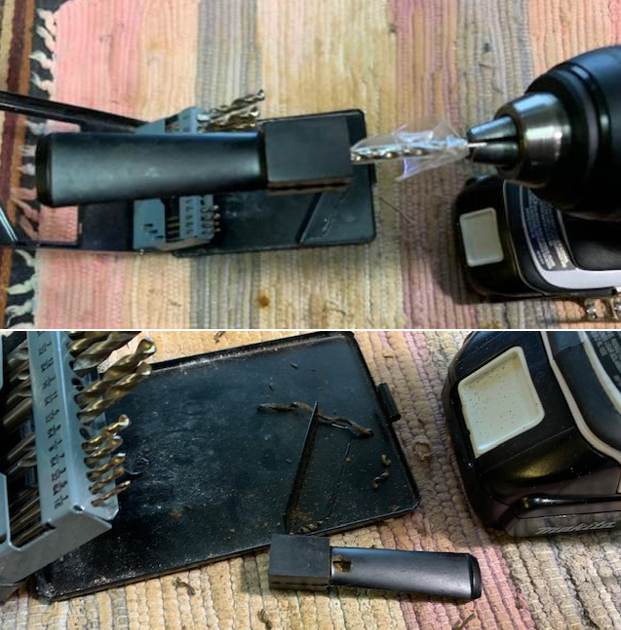
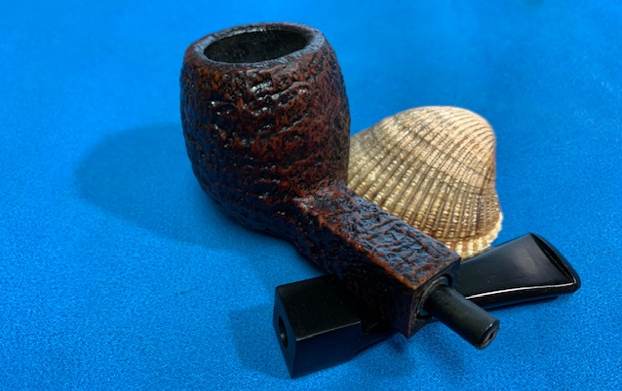
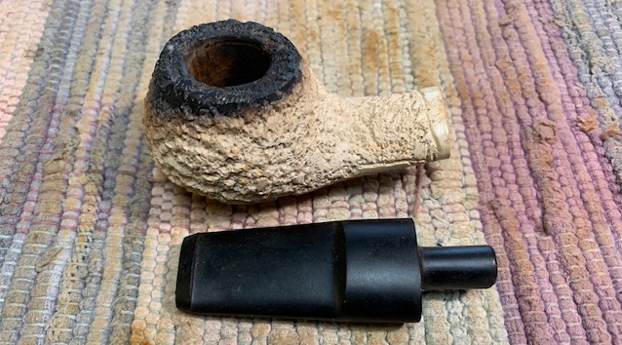
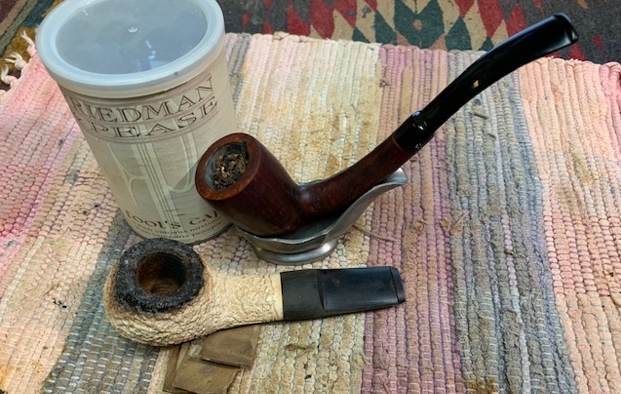
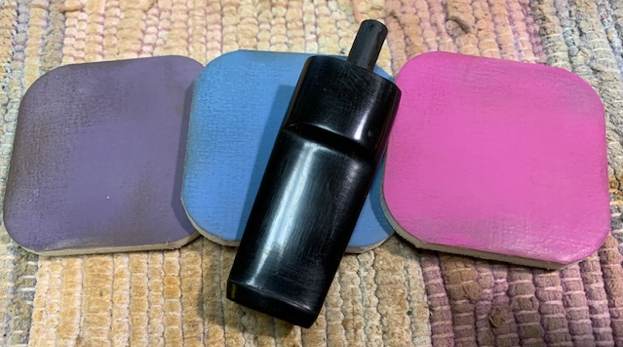
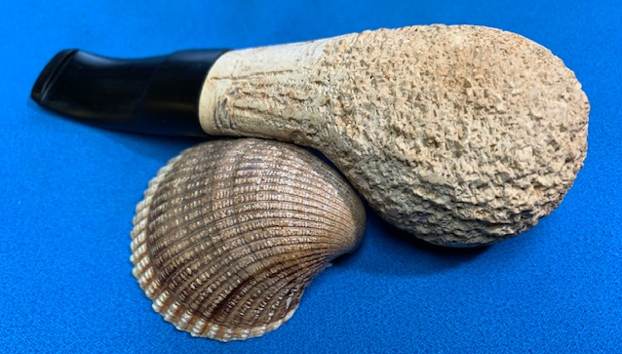
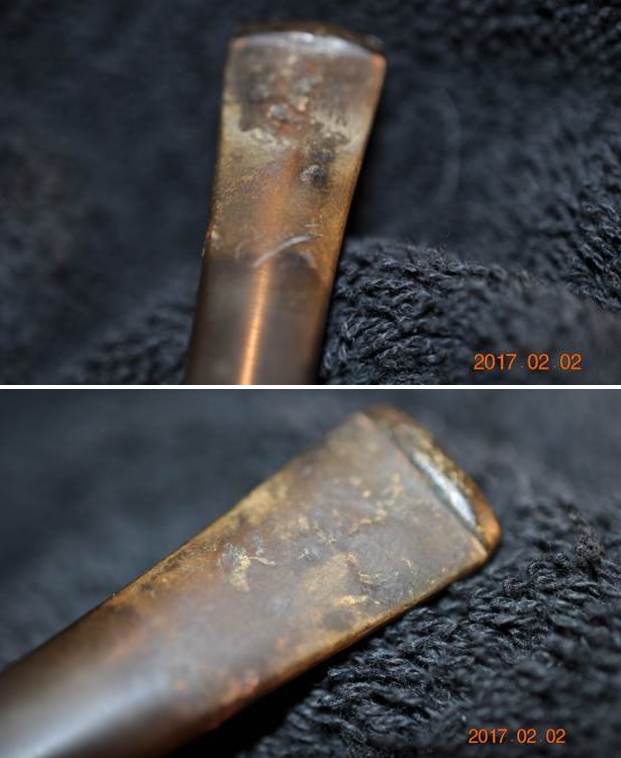
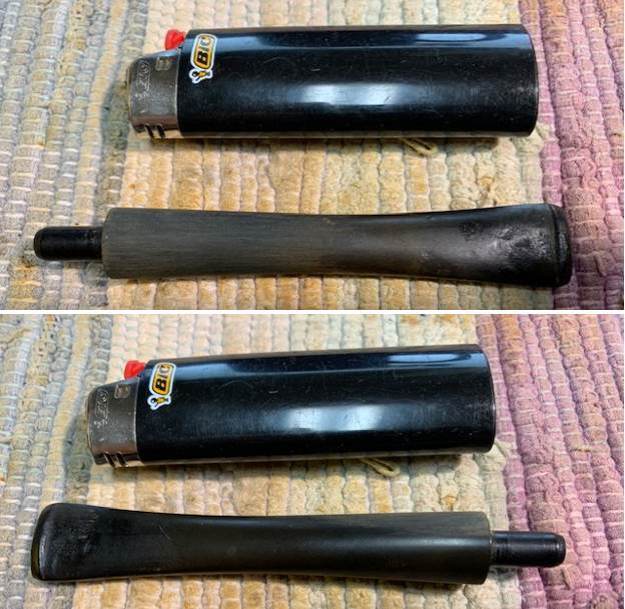
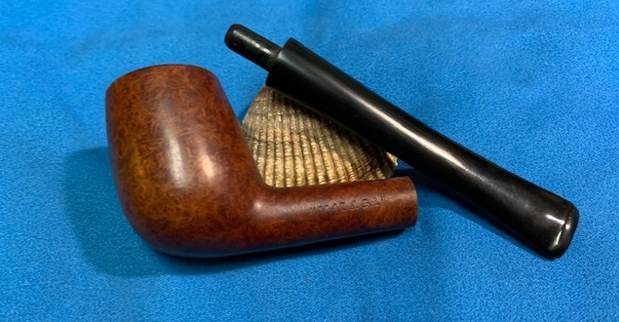
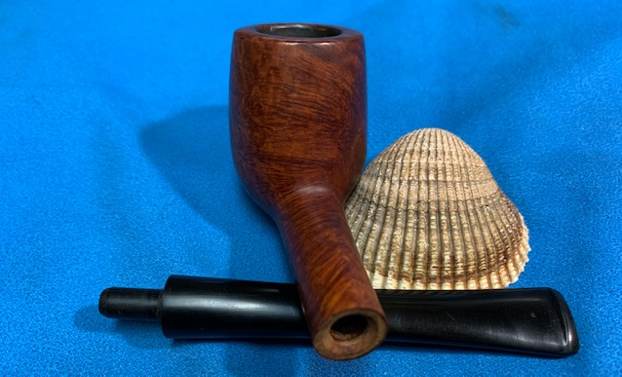
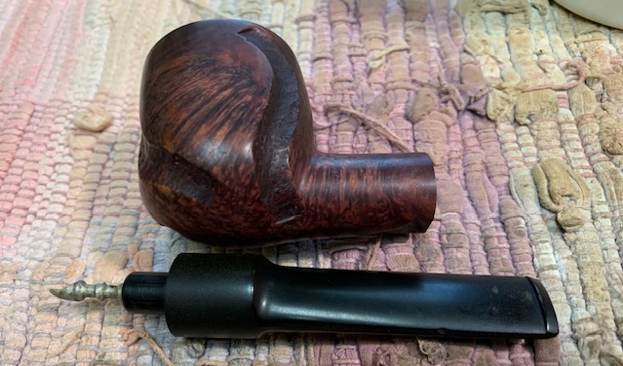
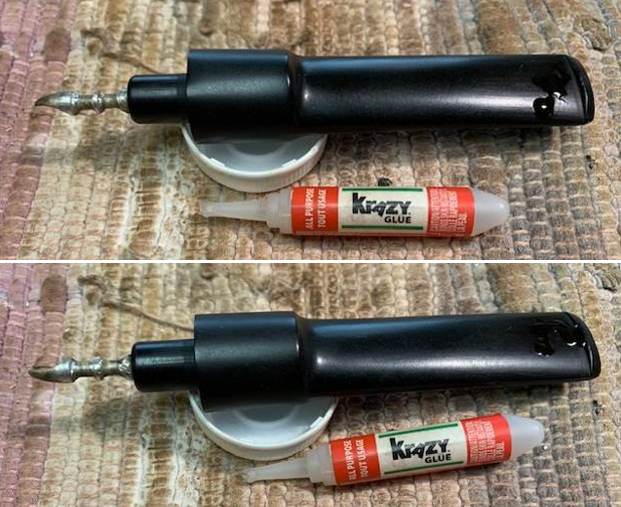
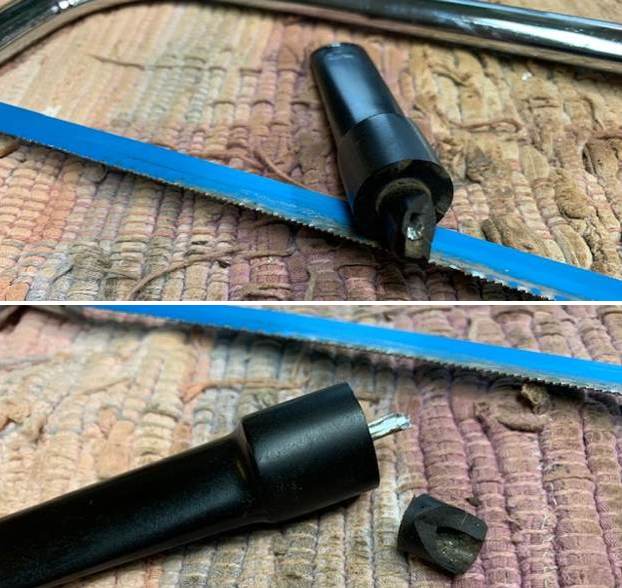
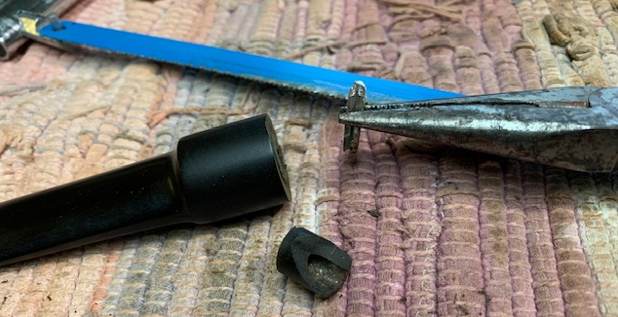
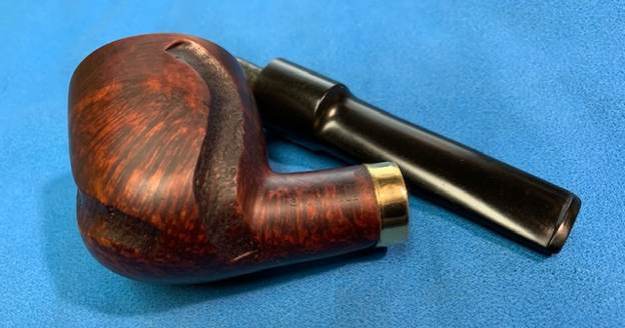
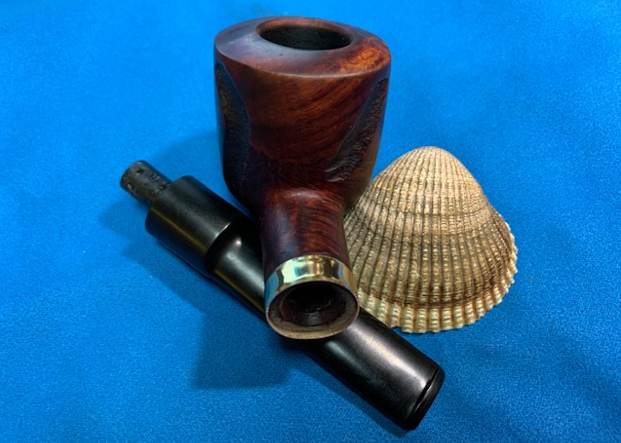
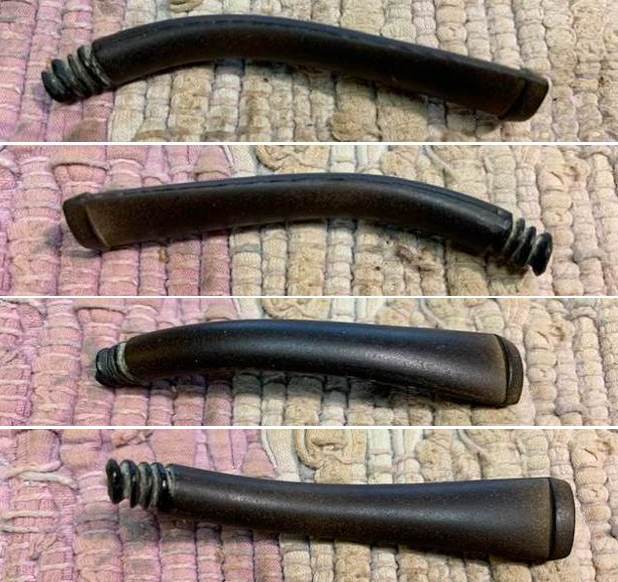
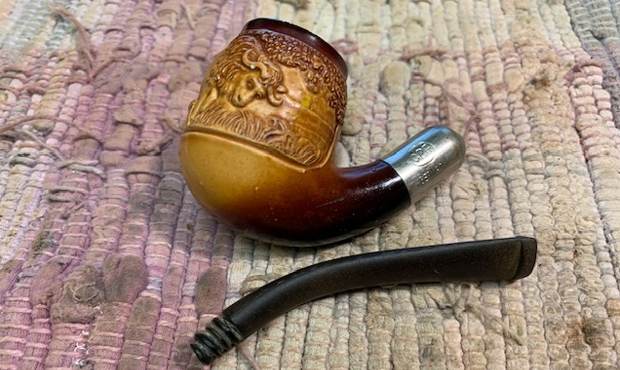
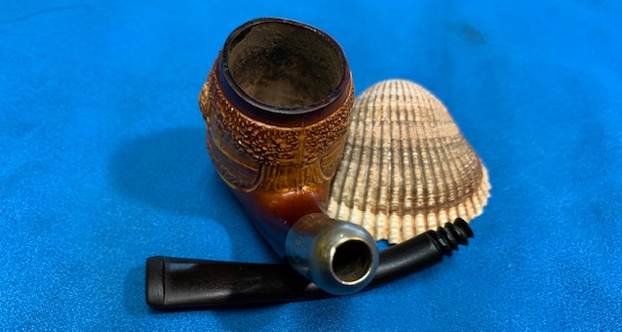
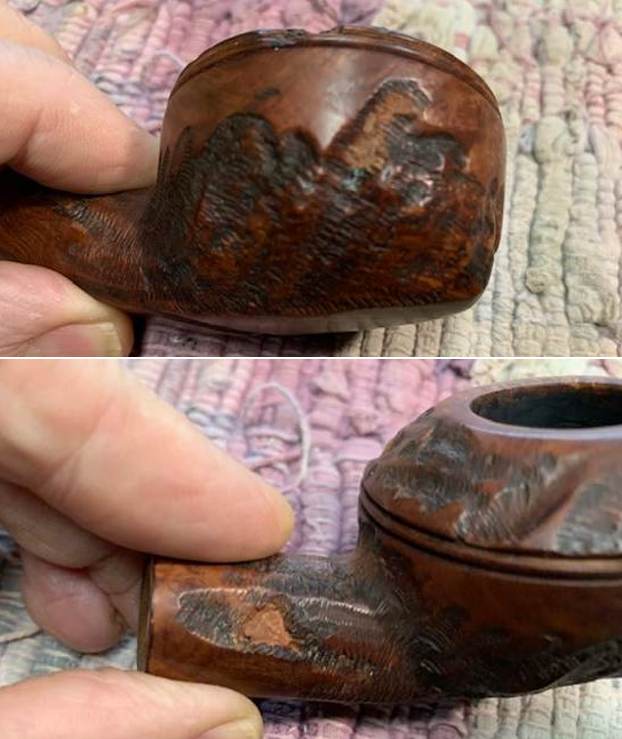 I went through some of stems and found this nice looking taper stem blank that would work with the bowl. It had already been turned with a tenon tool so that portion of the work was finished. I would need to strip back the casting materials on the button and sides of the stem and reduce the tenon diameter slightly but the diameter of the stem itself was very close to that of the shank.
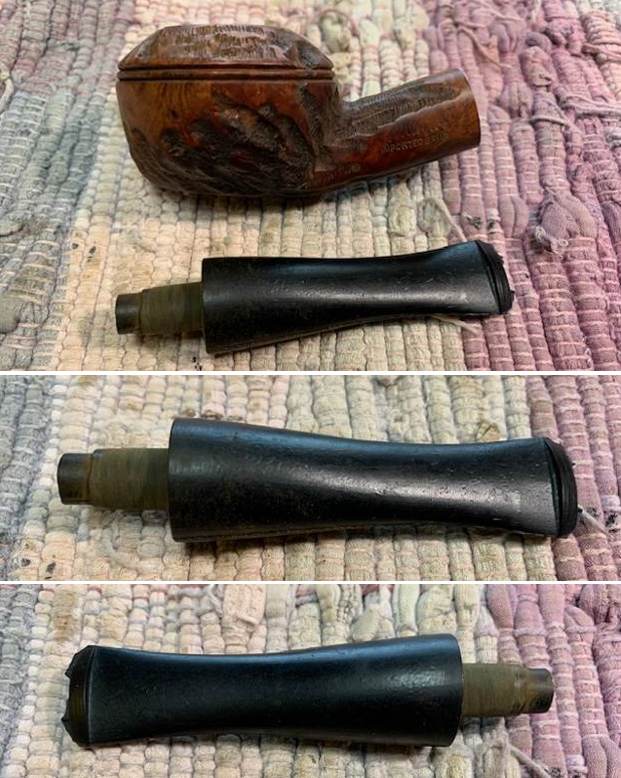 I decided to see what Pipephil’s site had on the brand (http://pipephil.eu/logos/en/logo-y.html) and interestingly found two different Yorkshire Brands. The first had a plain stamp on the side of the shank that did not match the one I was working on. The second on had the same Old English Style stamp over Imported Briar. The difference of course was the one in the photo below was an all briar pipe. The one I had was a Custom-Bilt style that would have had a vulcanite stem.
 I followed the clue on the above screen capture and turned to the section on Barnaby Briars (http://pipephil.eu/logos/en/logo-b1.html#barnaby). There I found out that the company was a Smoking Pipe Retailer located at 28 Powell Str., Brooklyn (NY). They must have had the pipes made by someone else but they carried both the Barnaby Briar and the Yorkshire Imported Briar.
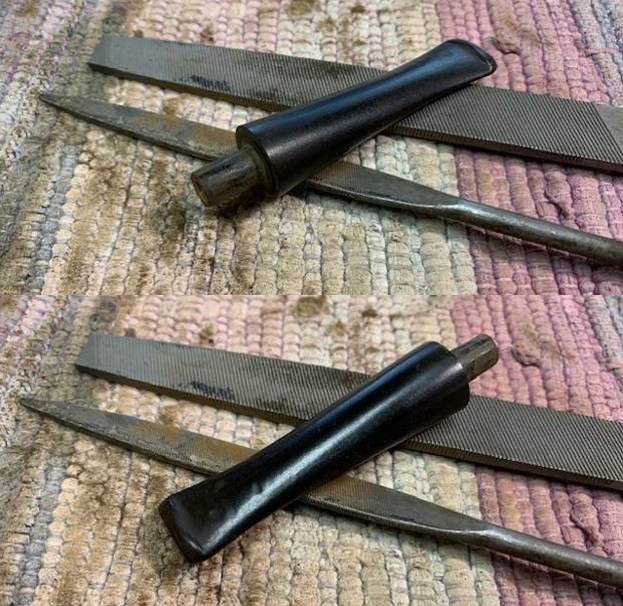
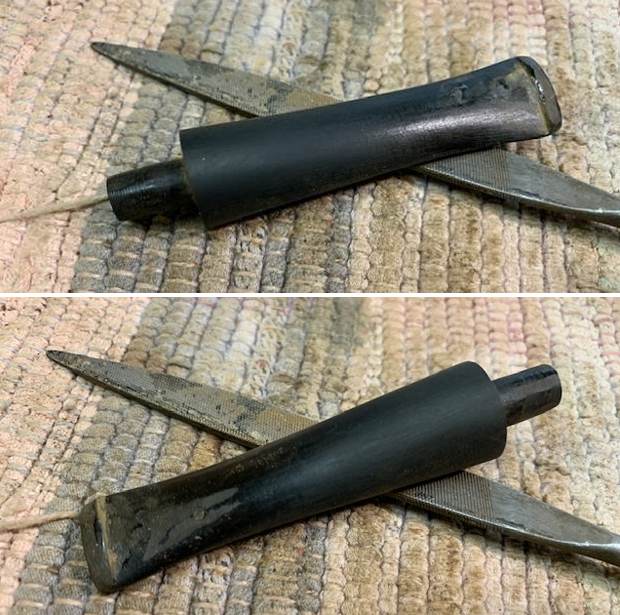
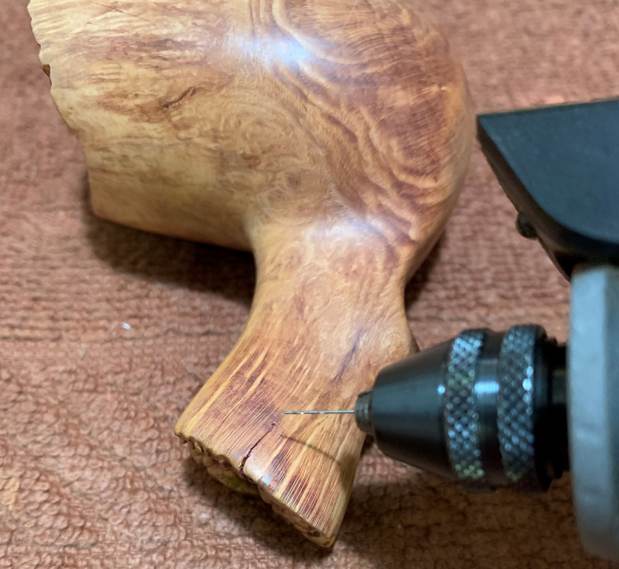
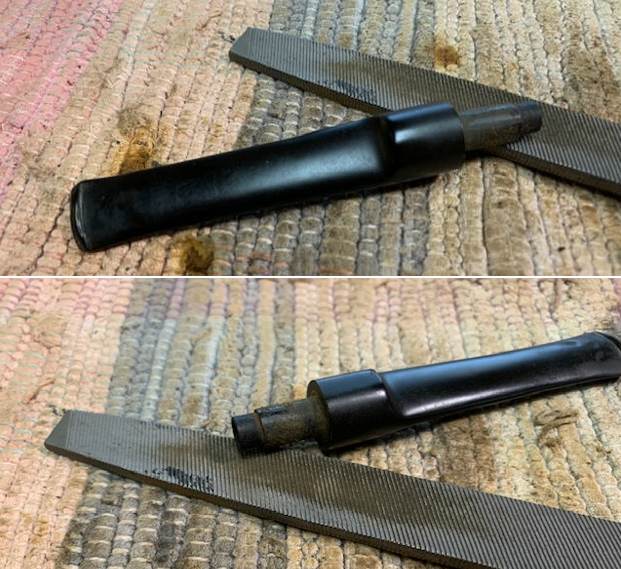
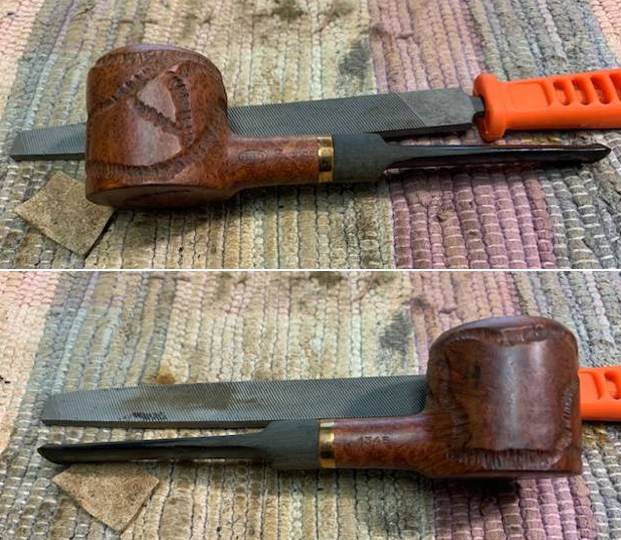
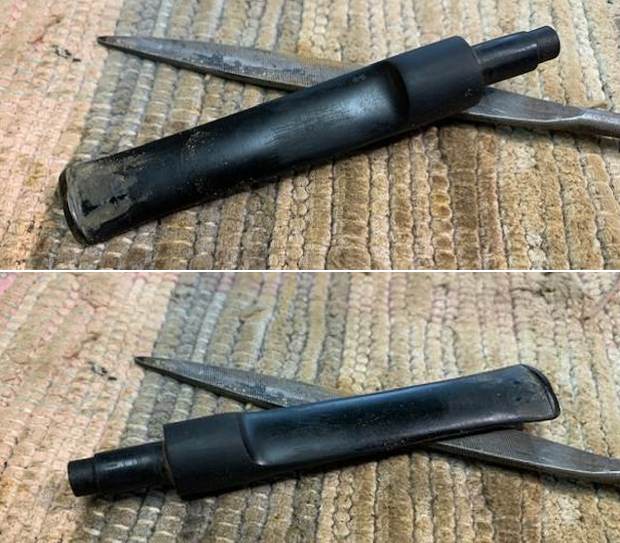
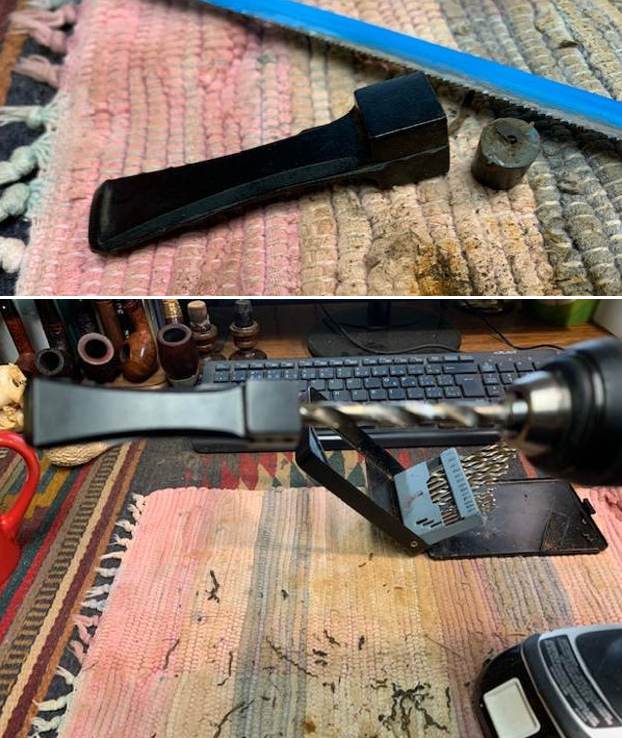
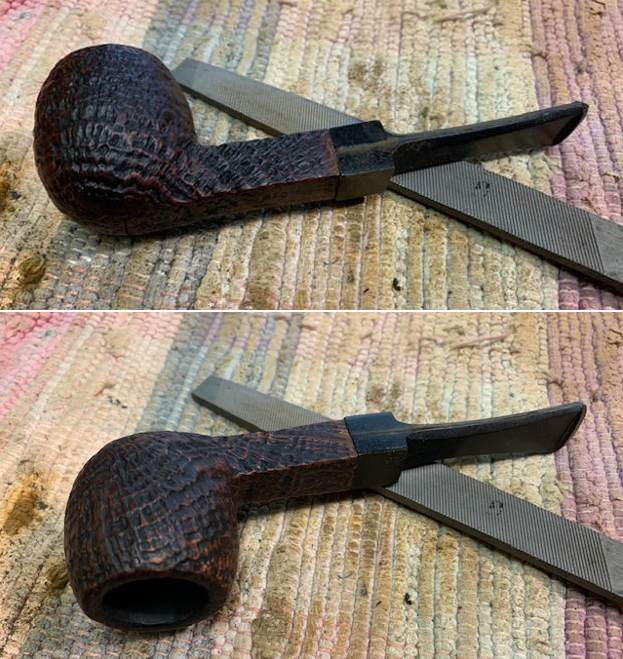
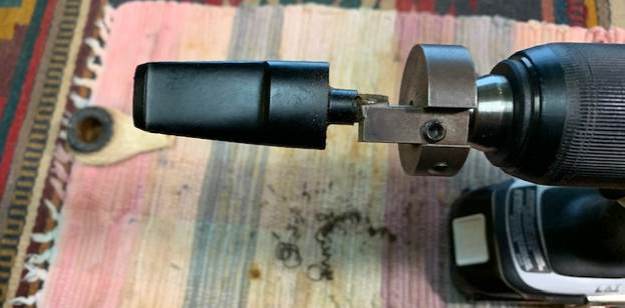
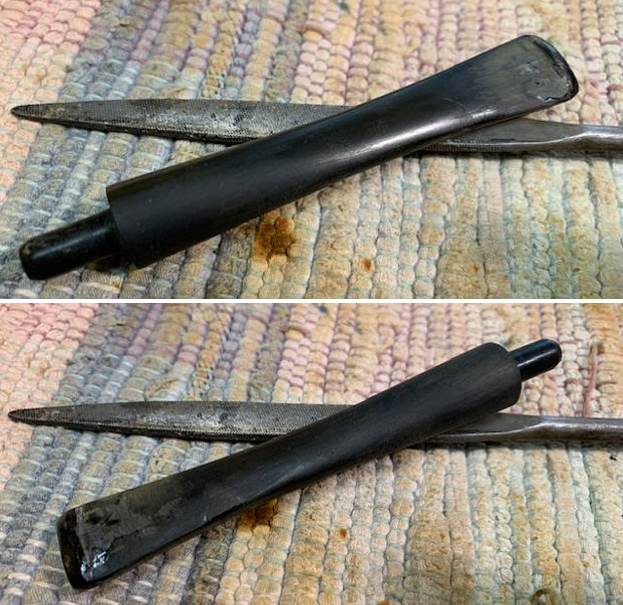
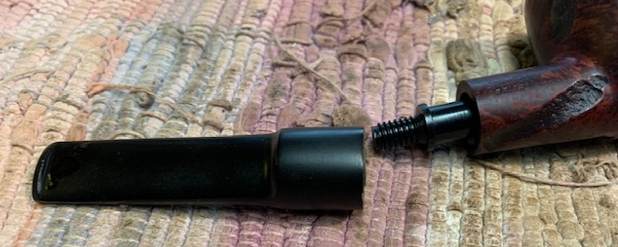
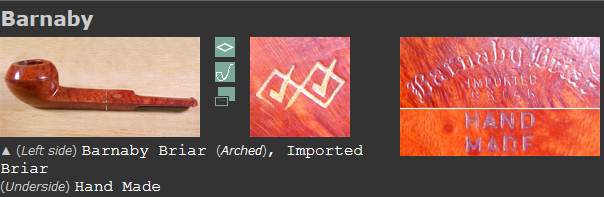 Now it was time to work on the stem and fit it to the shank of the pipe. The diameter of the tenon was close. I used a flat file that I have here that works well for me to do the fine tuning of the fit. I used it to straighten out the sides of the tenon next to the surface that face the shank. It worked well and looked much better.
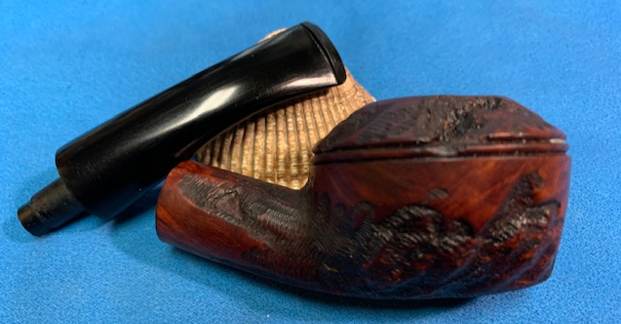
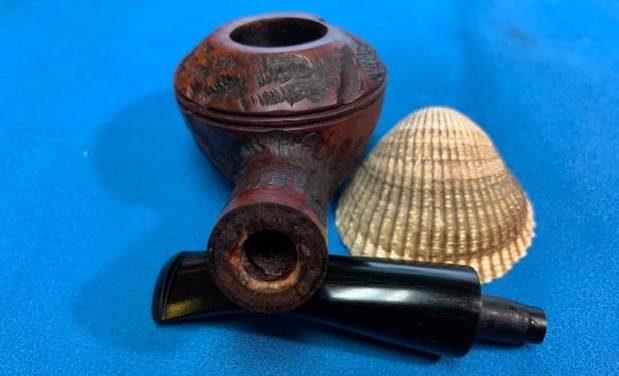
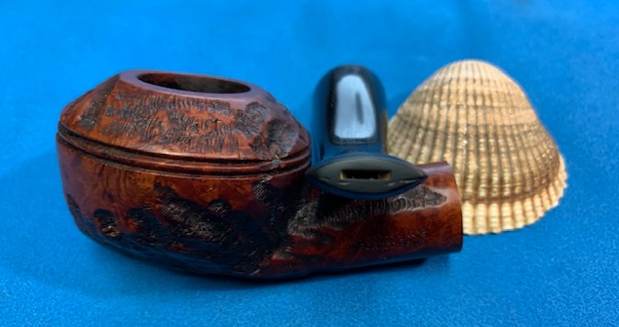
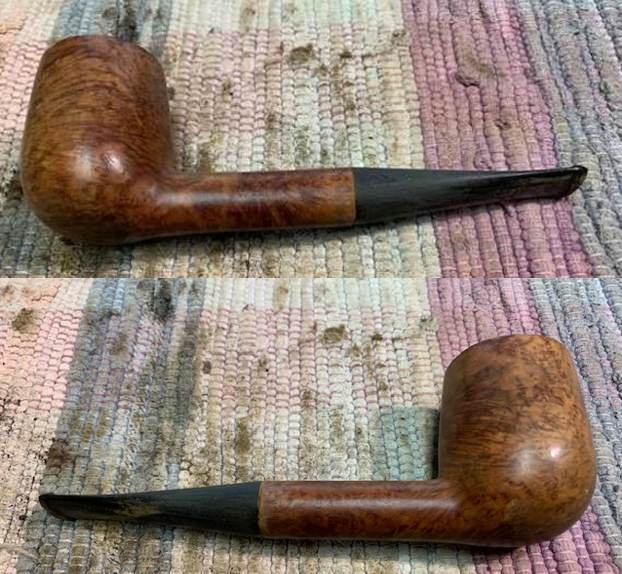
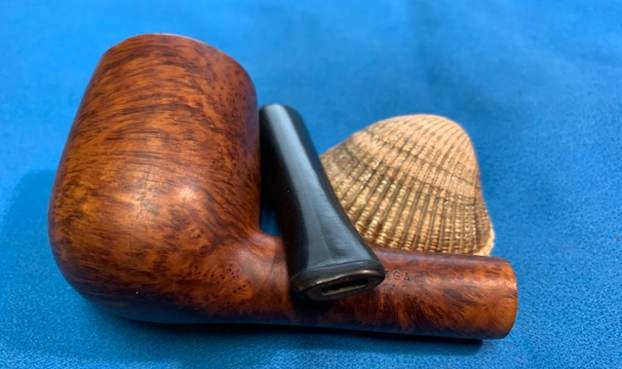
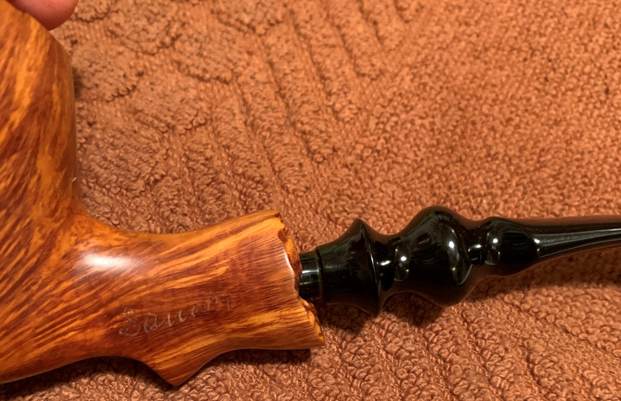
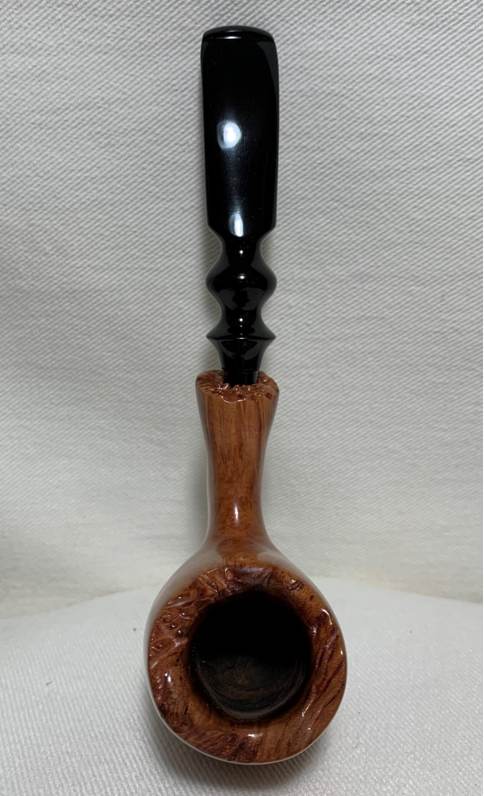
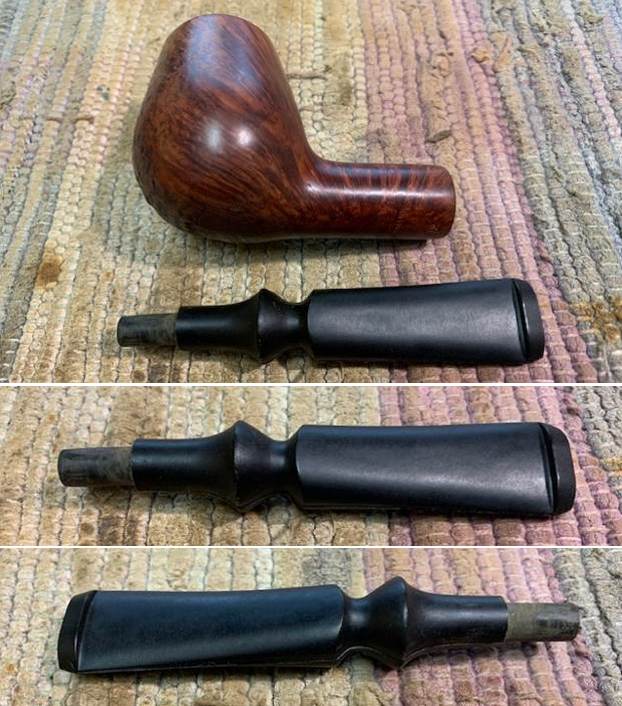
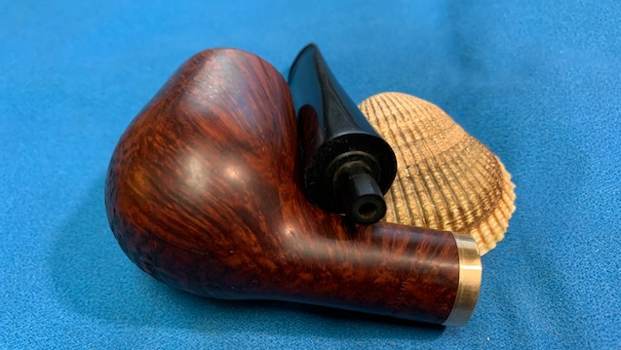
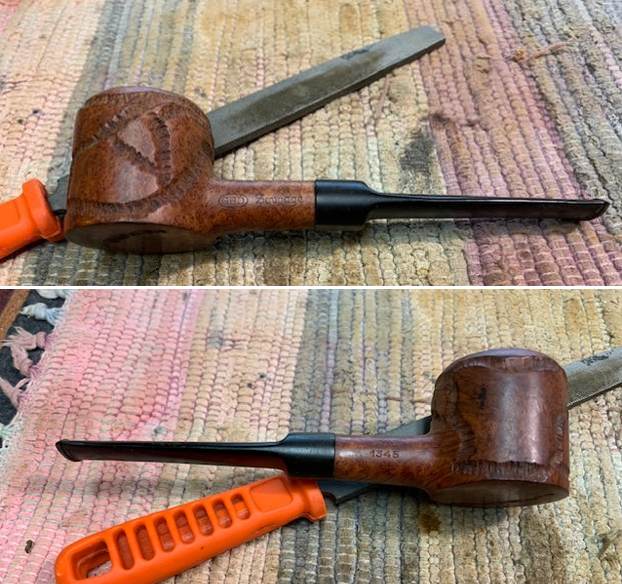
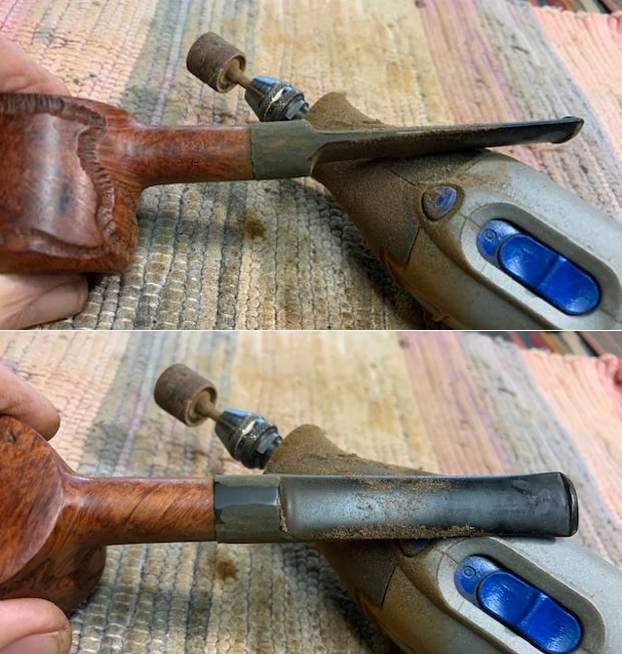
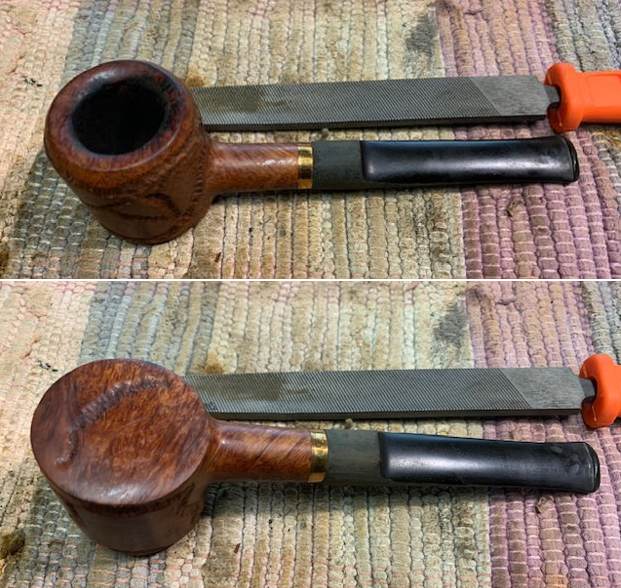
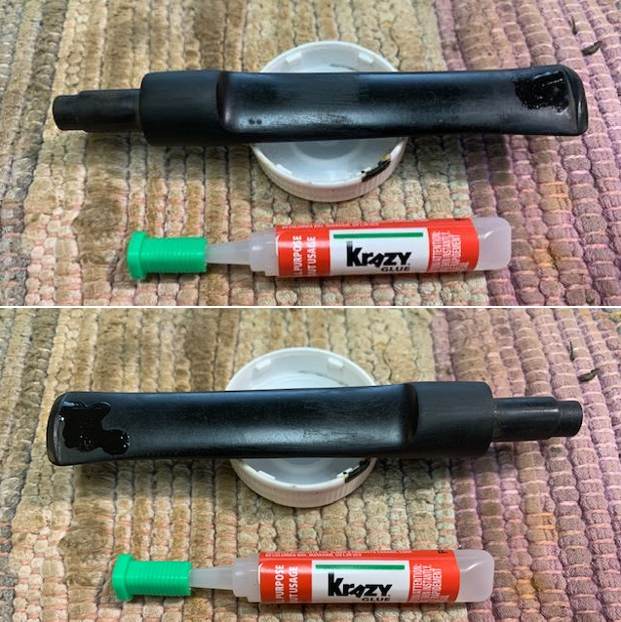
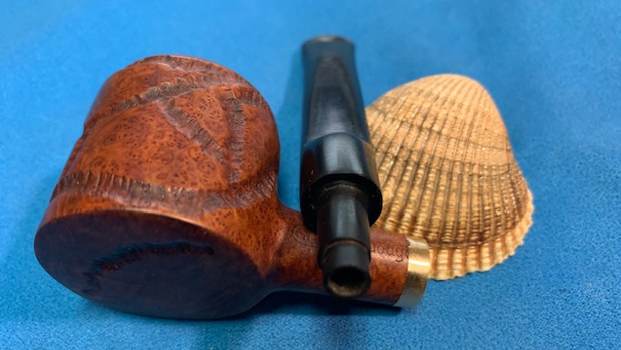
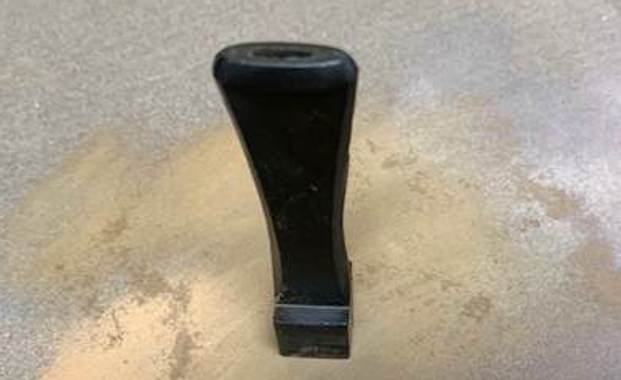
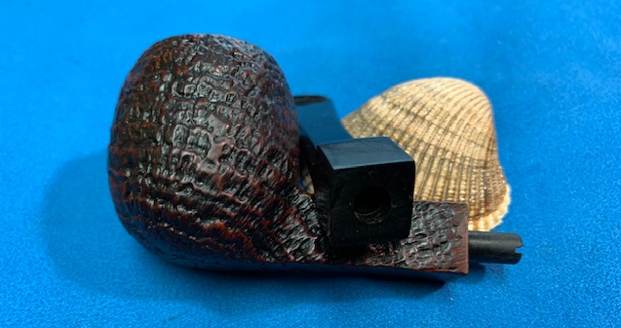
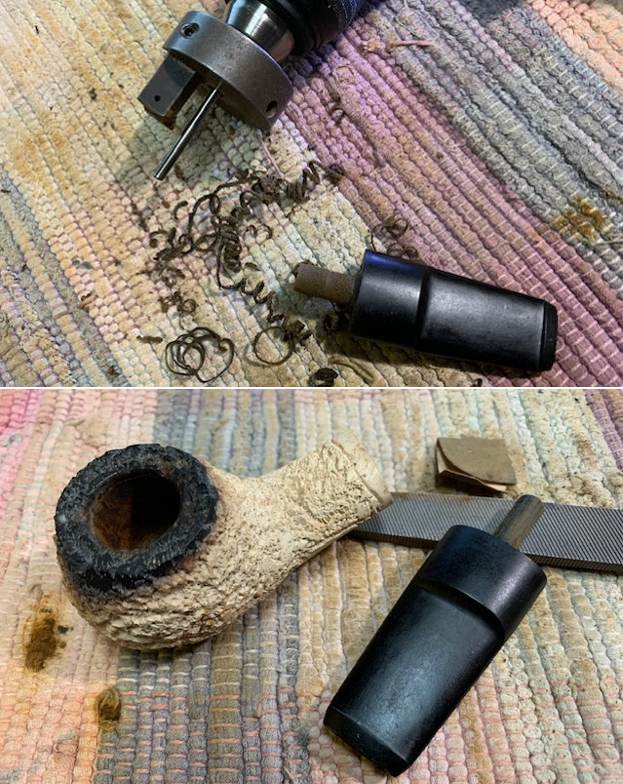
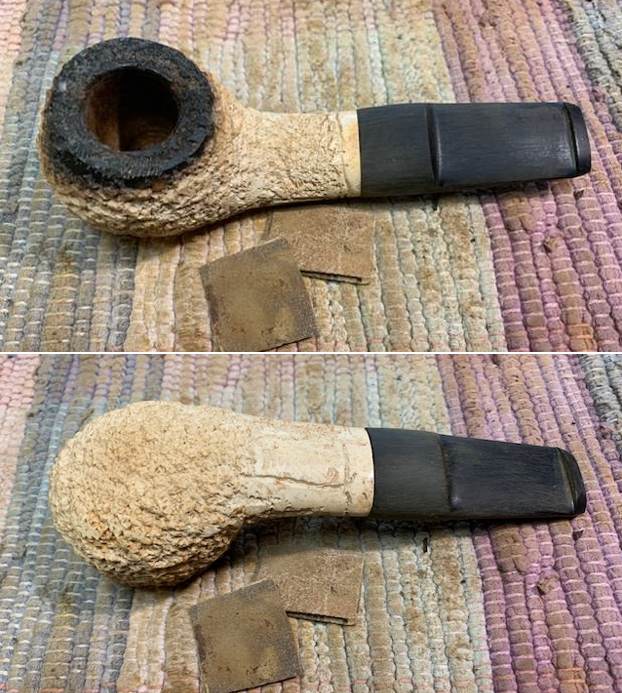
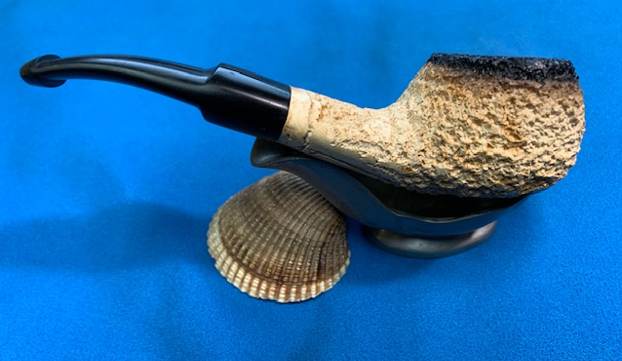
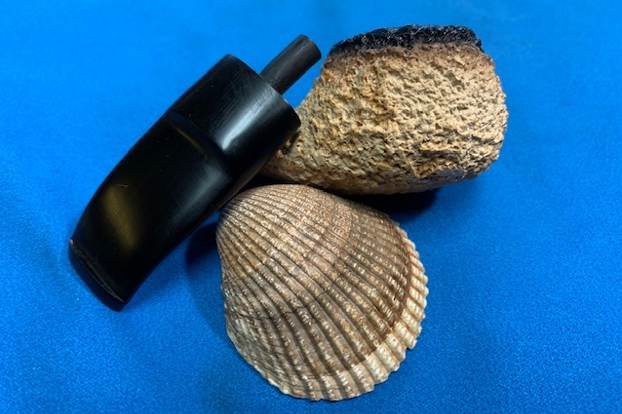
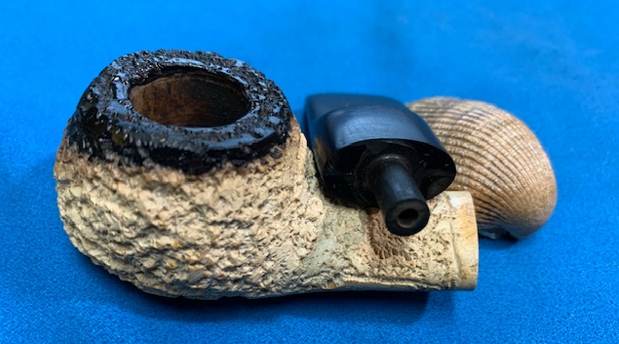
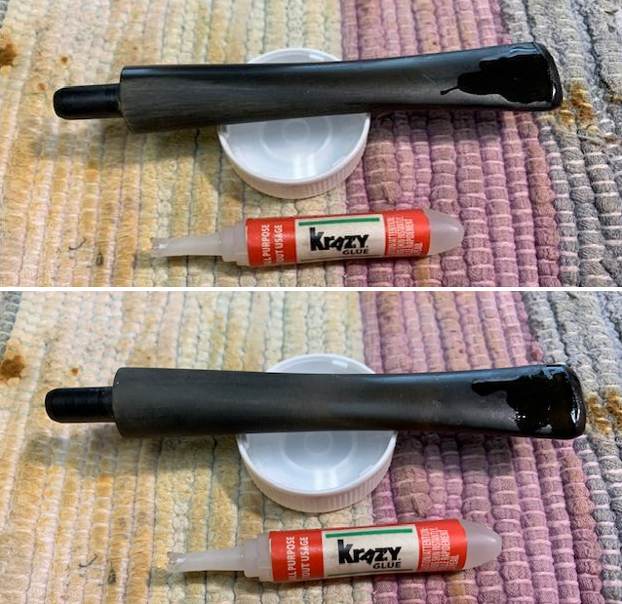
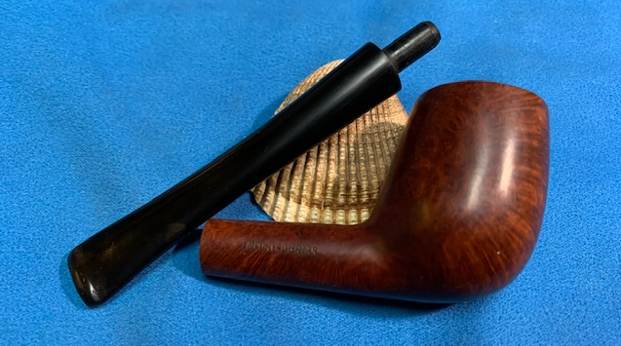
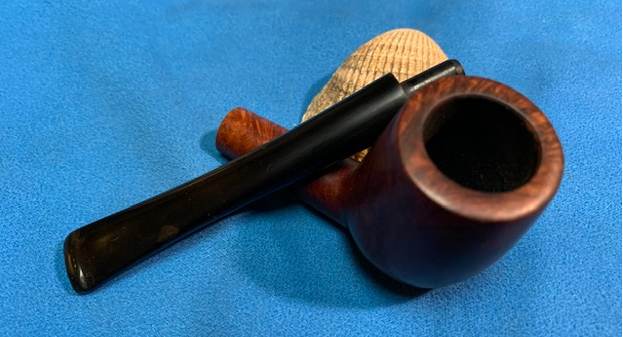
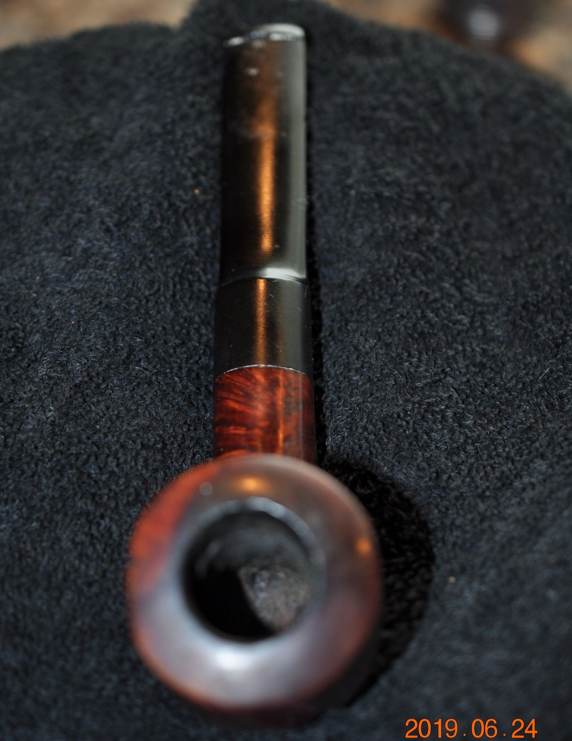
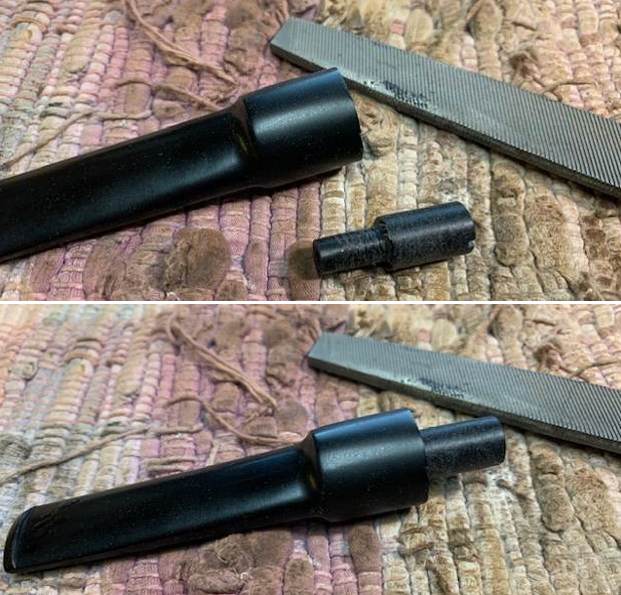
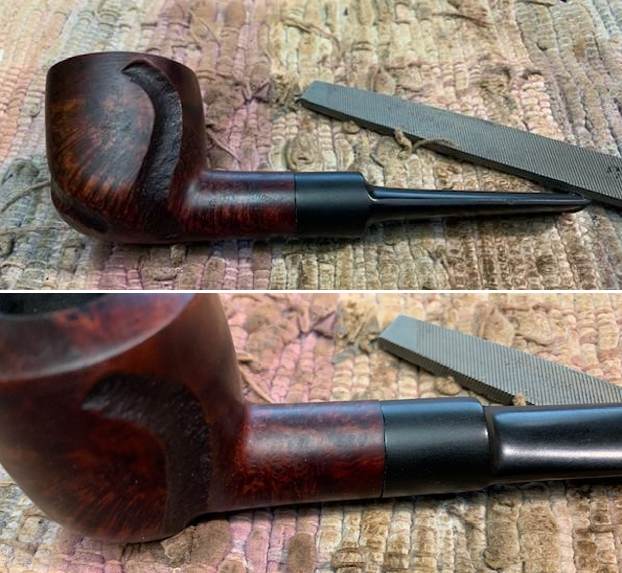
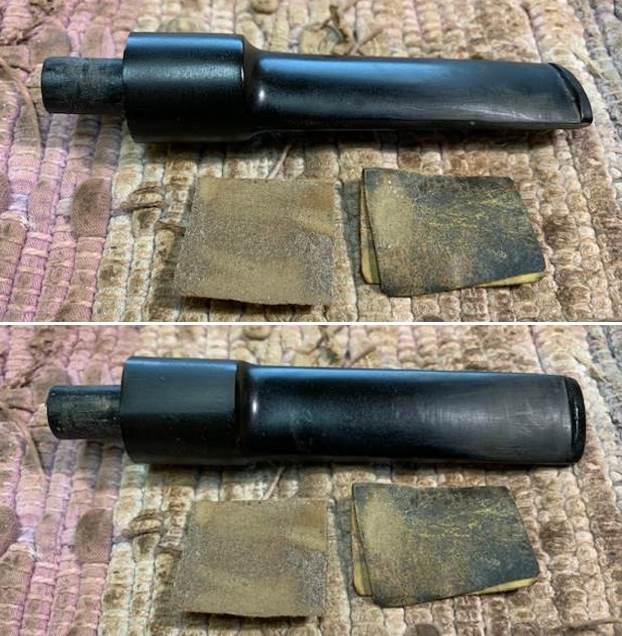
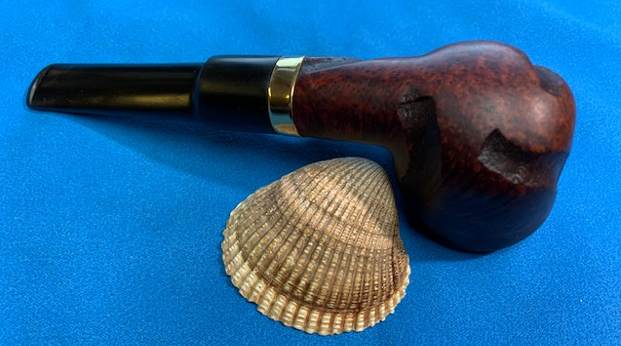
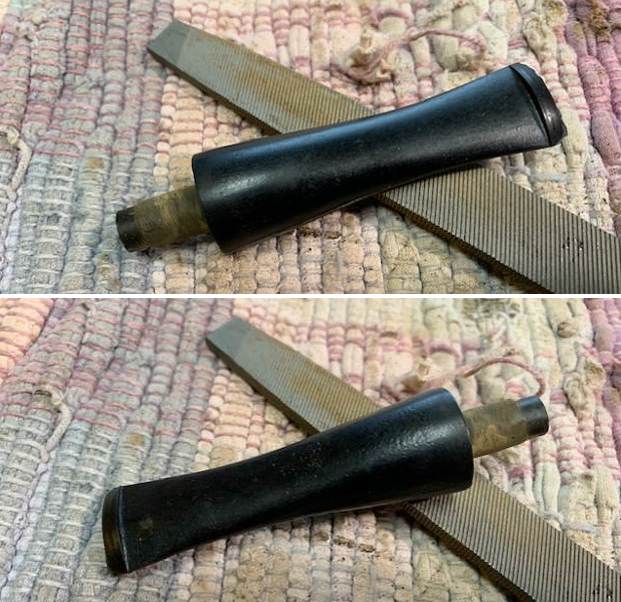 I cleaned up the file marks with 220 grit sandpaper and the tenon fit well in the mortise. The fit against the shank was clean but there were spots where the stem diameter was slightly larger than the shank diameter. I worked these over with the file to clean up the transition. The photos below show the fit at this point. Looking better but still a long ways to go.
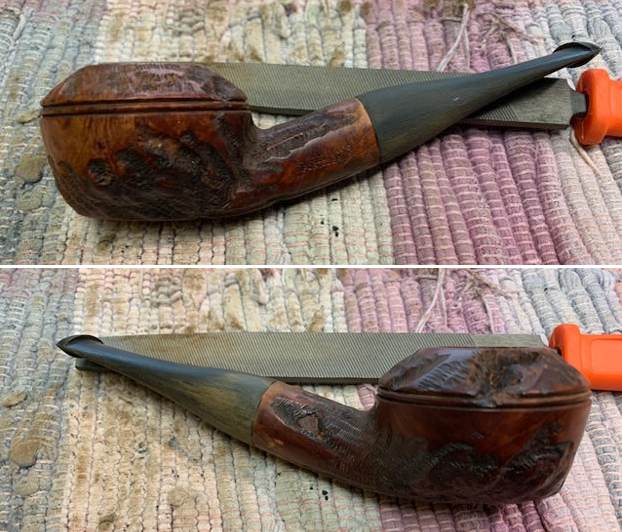
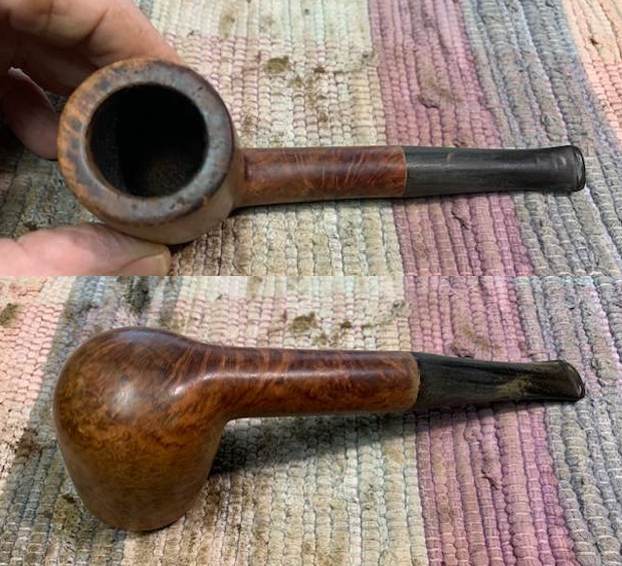
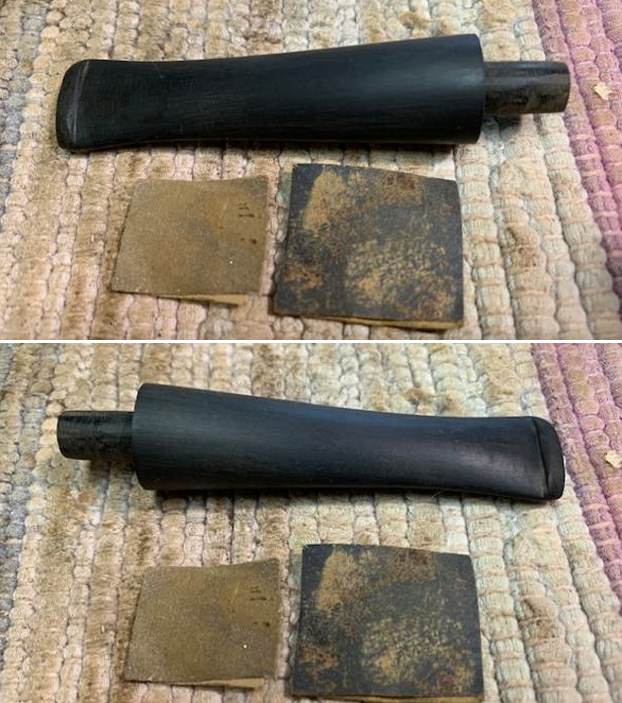
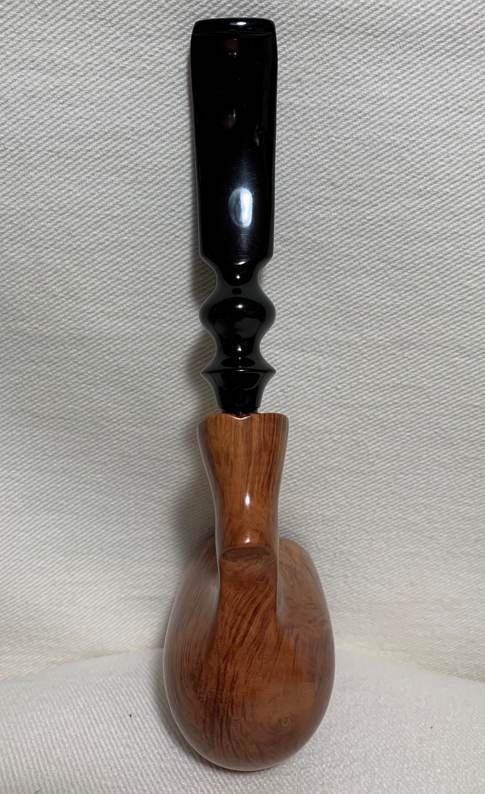
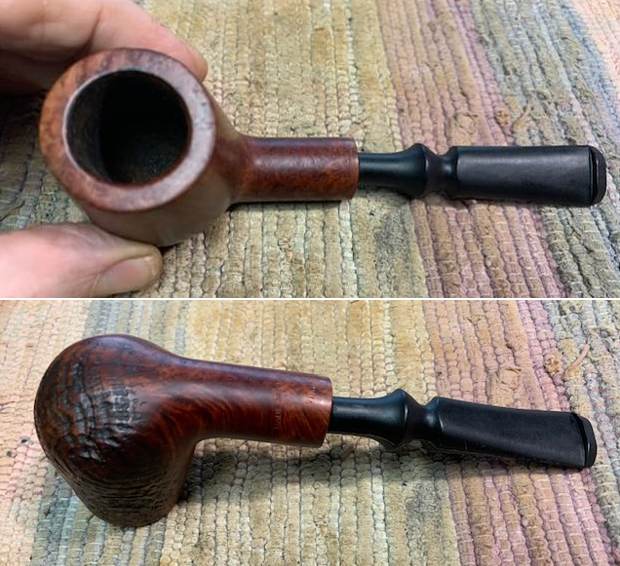
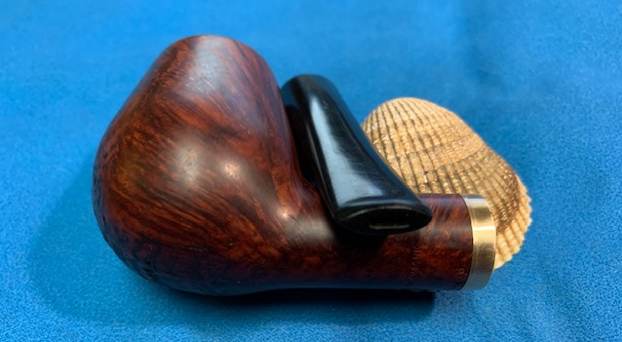
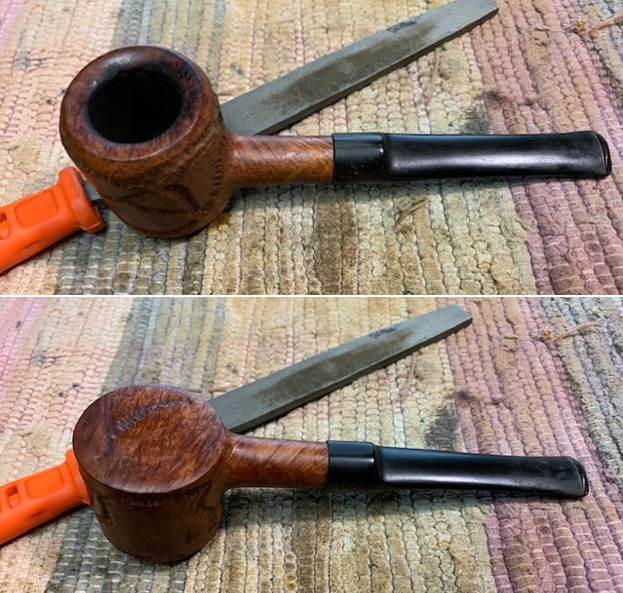
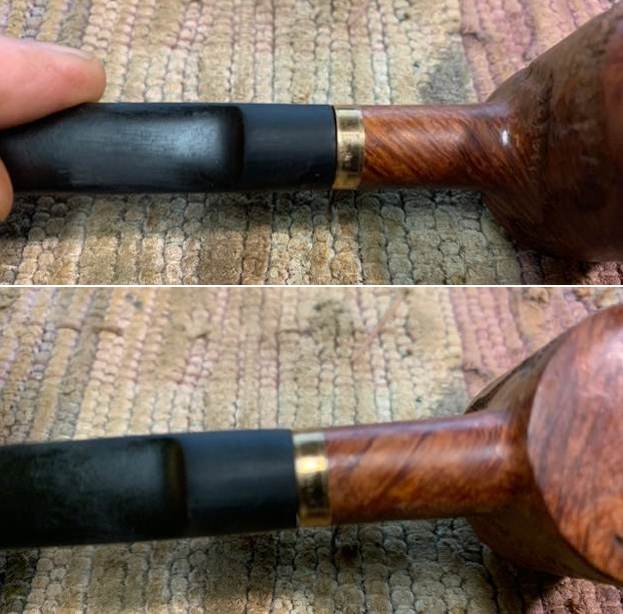
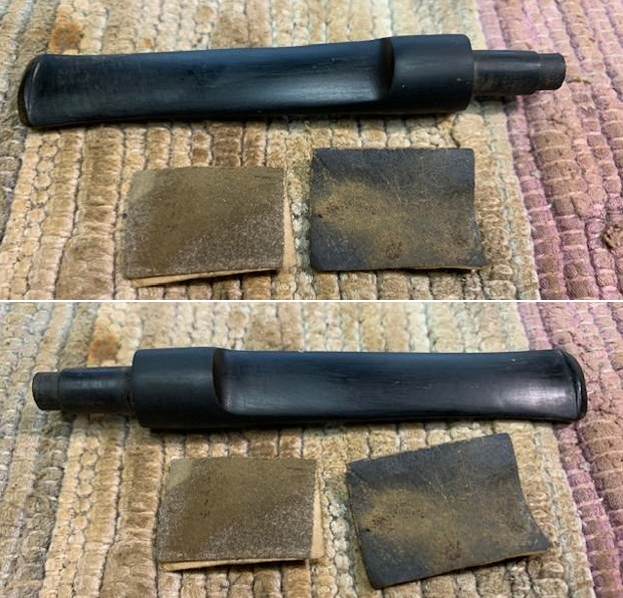
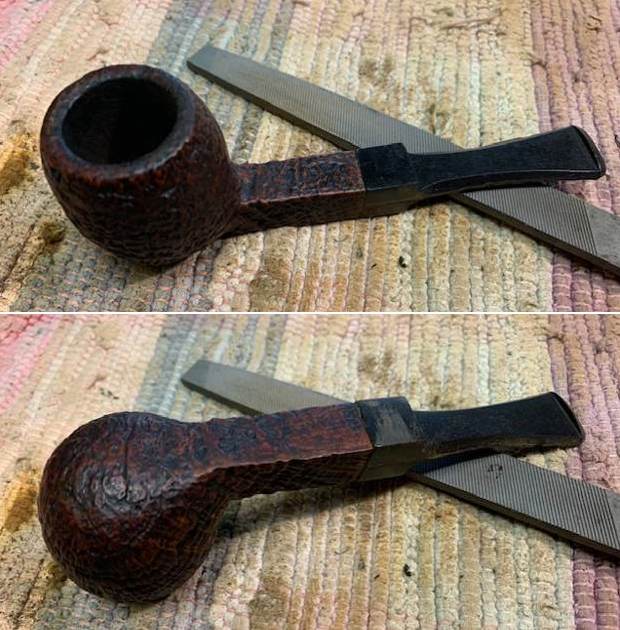
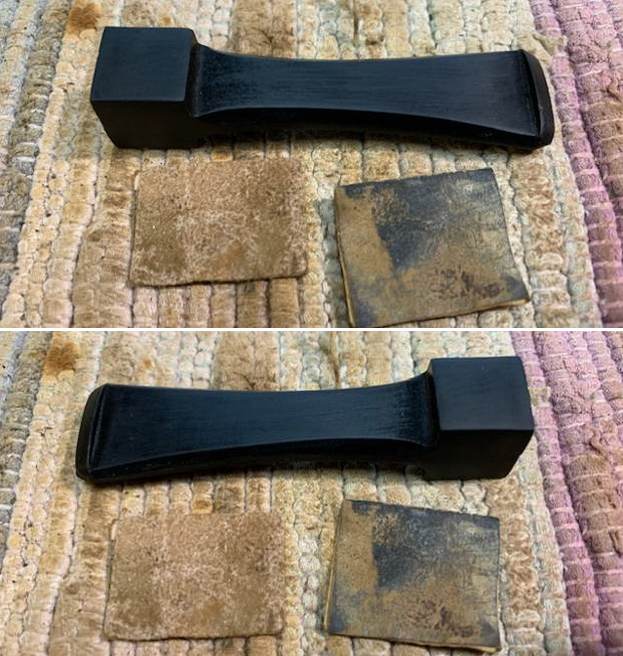
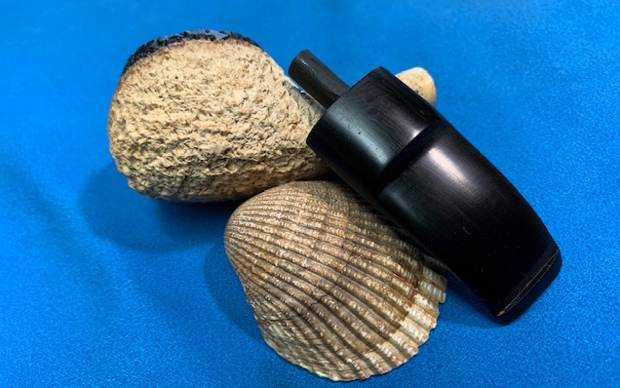
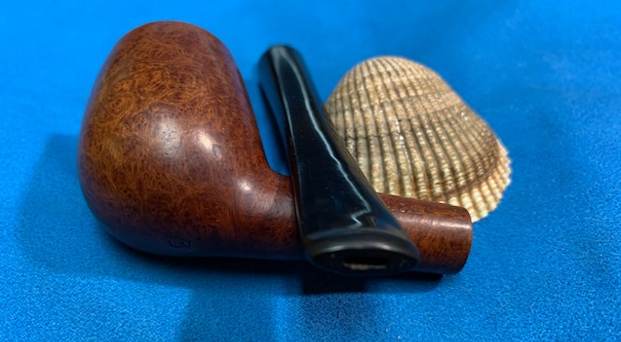
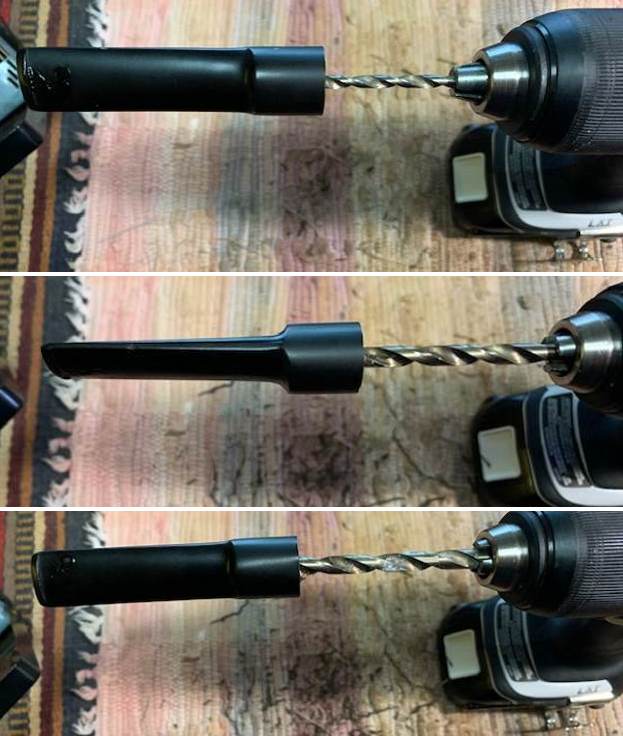
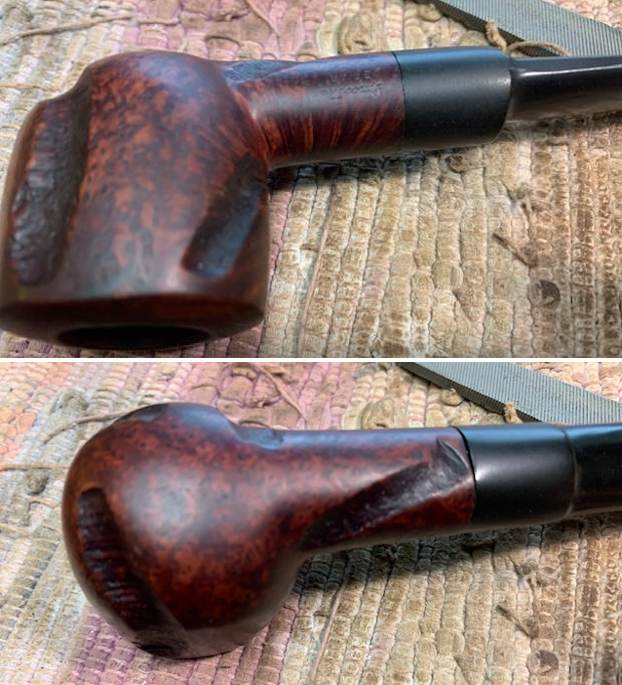
 The fit against the shank was better. There were spots where the stem diameter and the shank diameter did not match were greatly reduced. I used a folded piece of 220 grit sandpaper to smooth out the transition even more between the two. I started polishing it with 400 grit wet dry sandpaper.
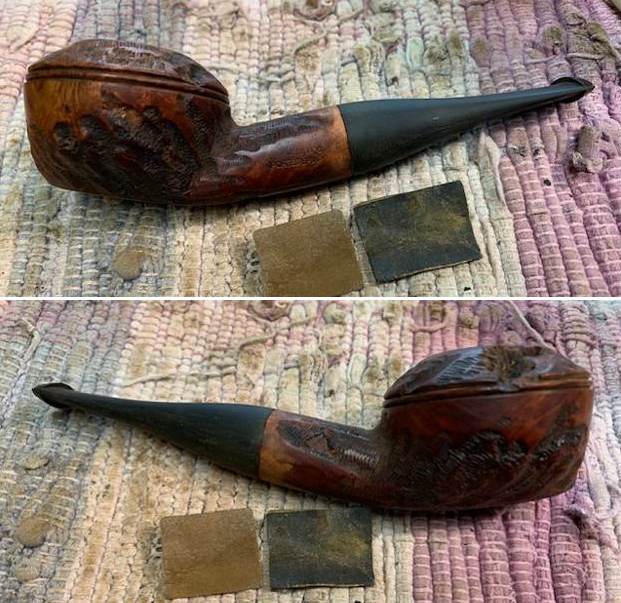
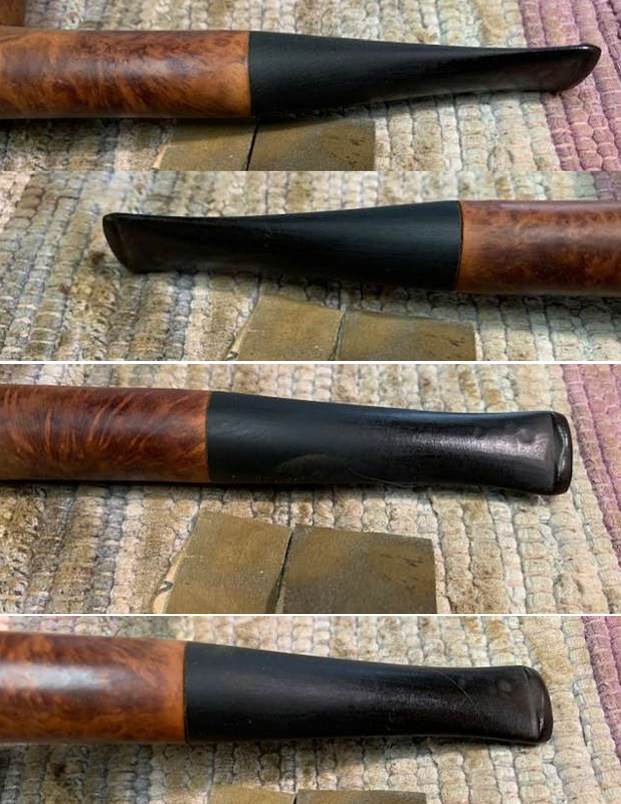
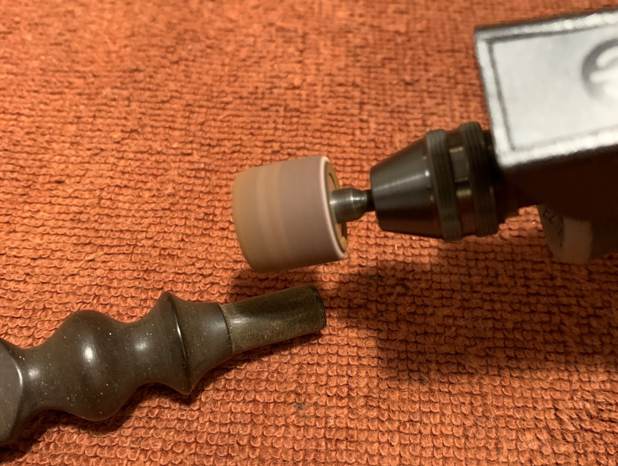
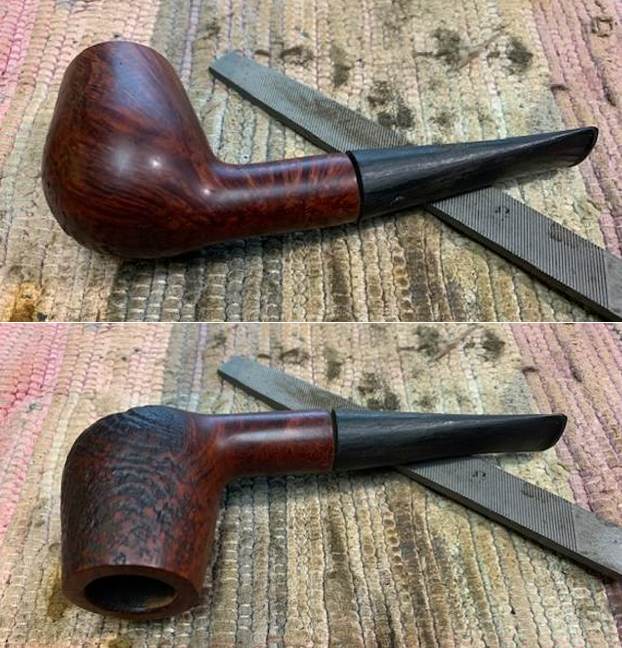
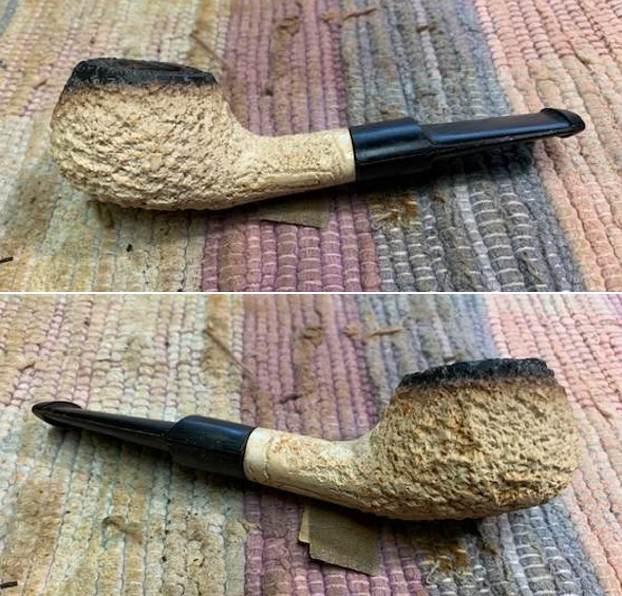
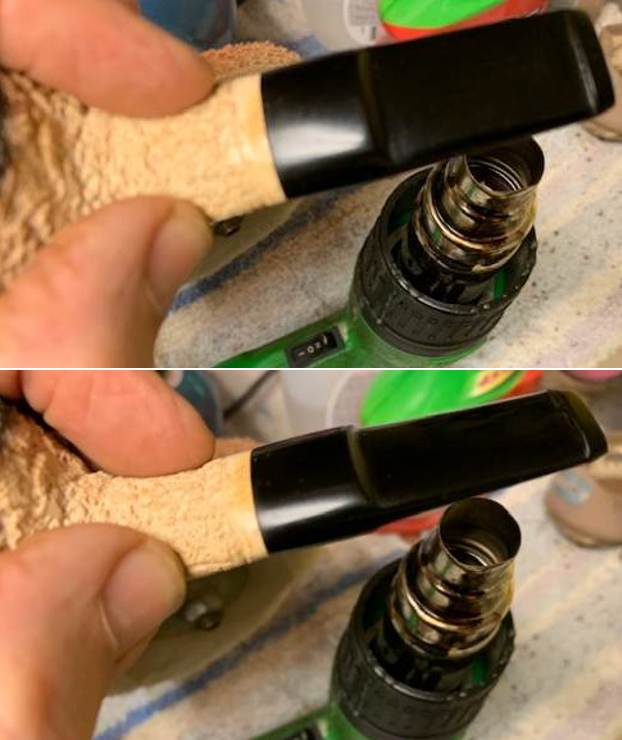
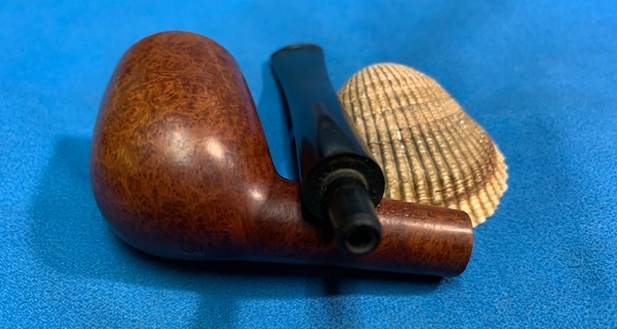
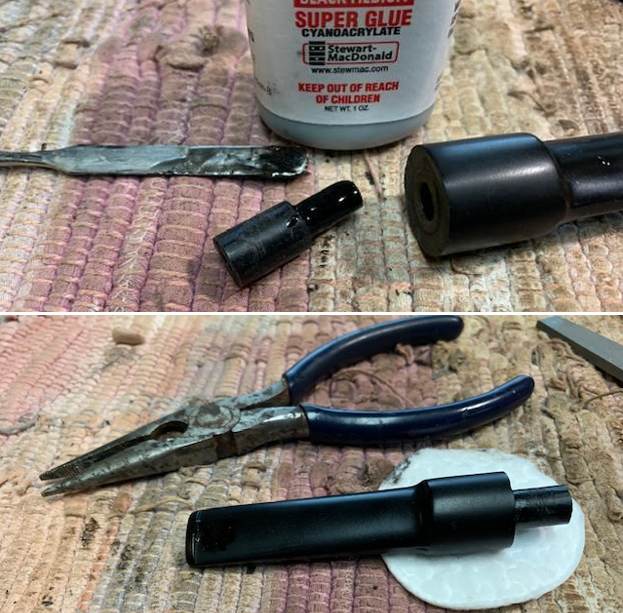
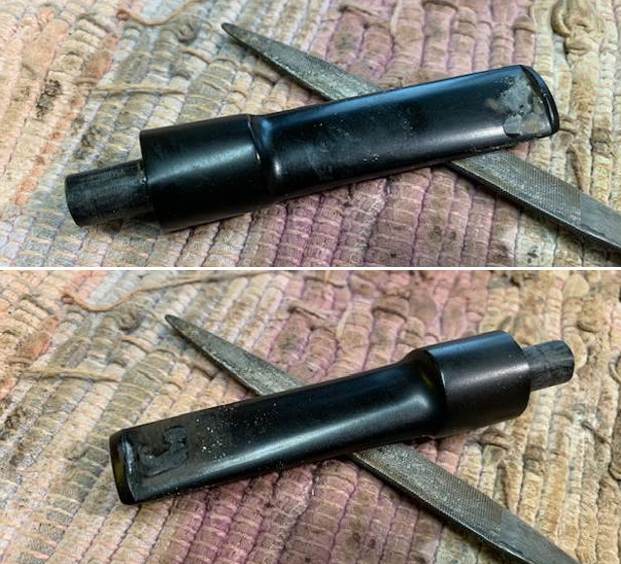
 With the fit against the shank and diameter corrected and the stem sanded with 220 and 400 grit sandpaper it was now time to bent the stem to fit the flow of the pipe. I heated the stem with a heat gun on the low setting until the vulcanite was pliable. I bent it to proper angle and then set it with cool water.
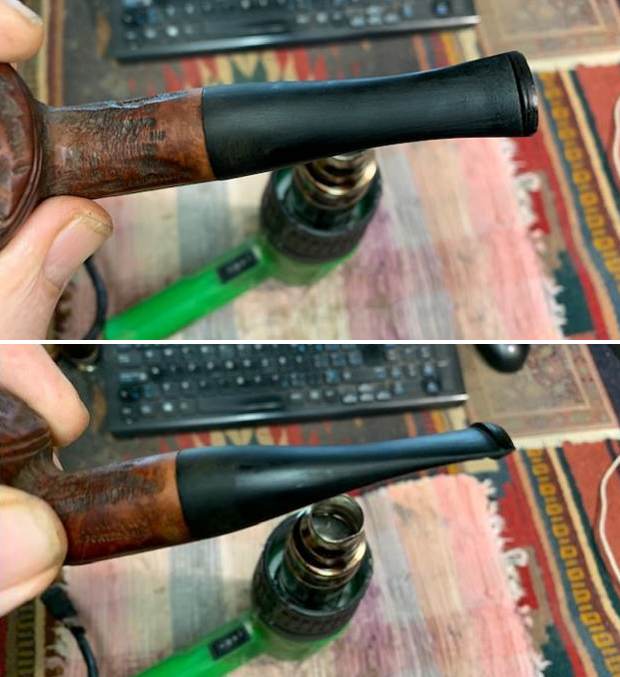
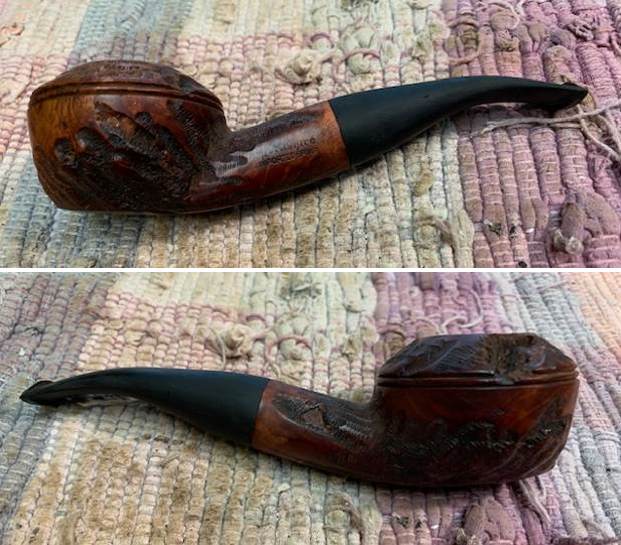
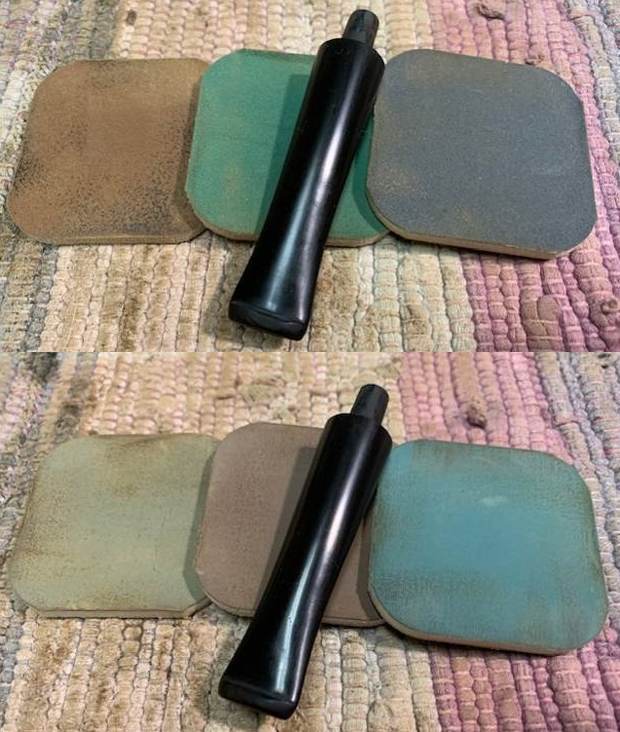
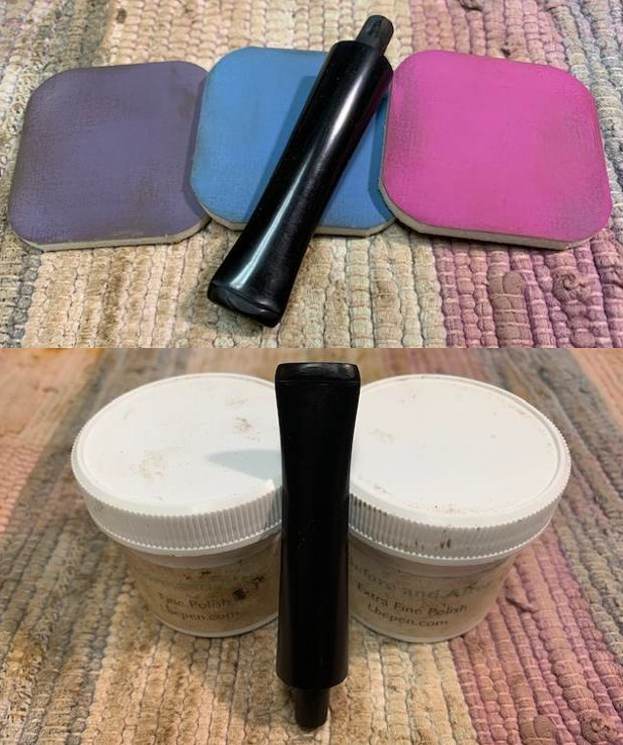
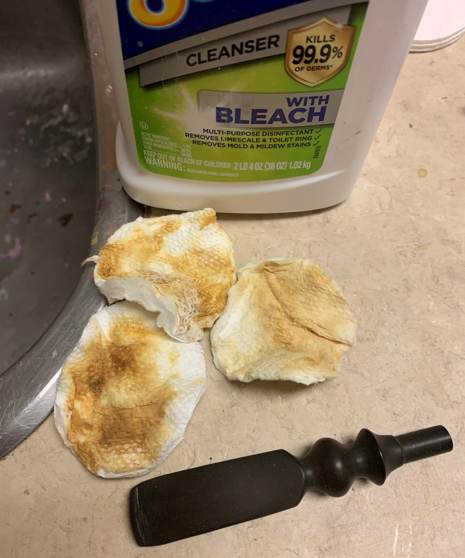
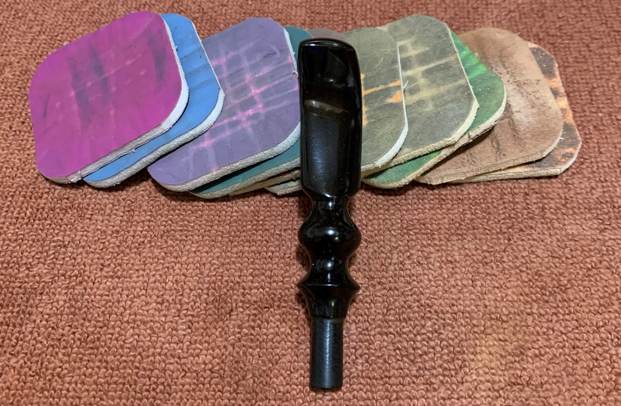
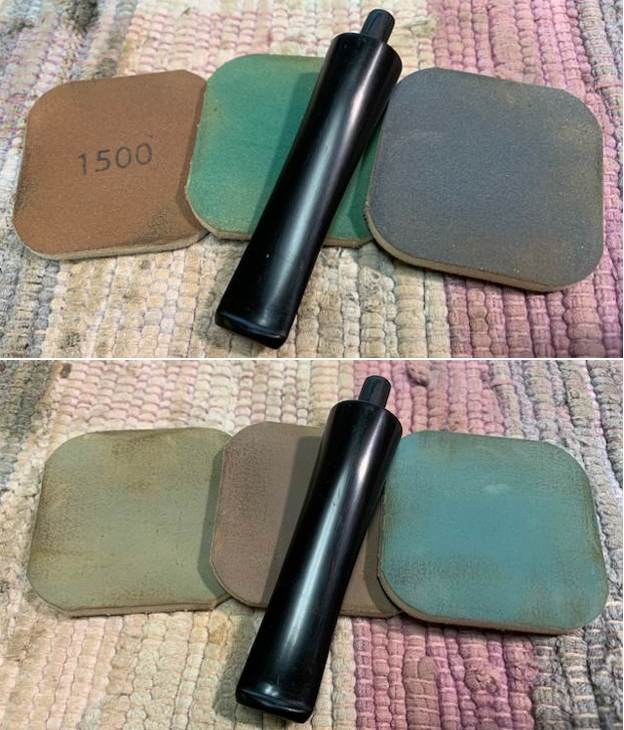
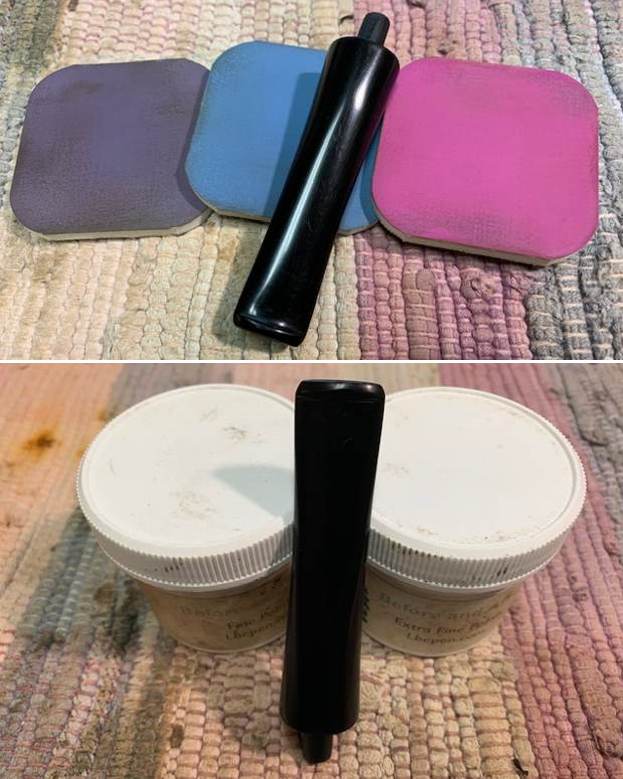
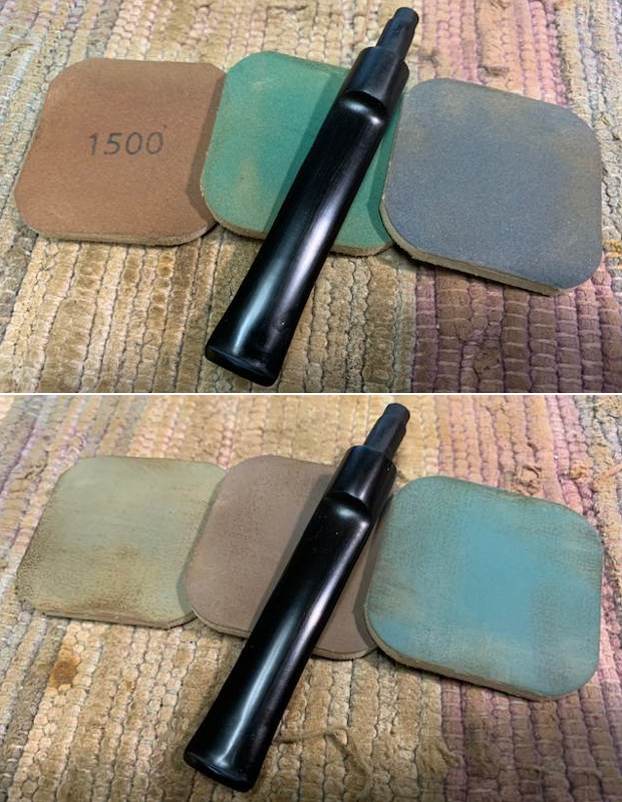
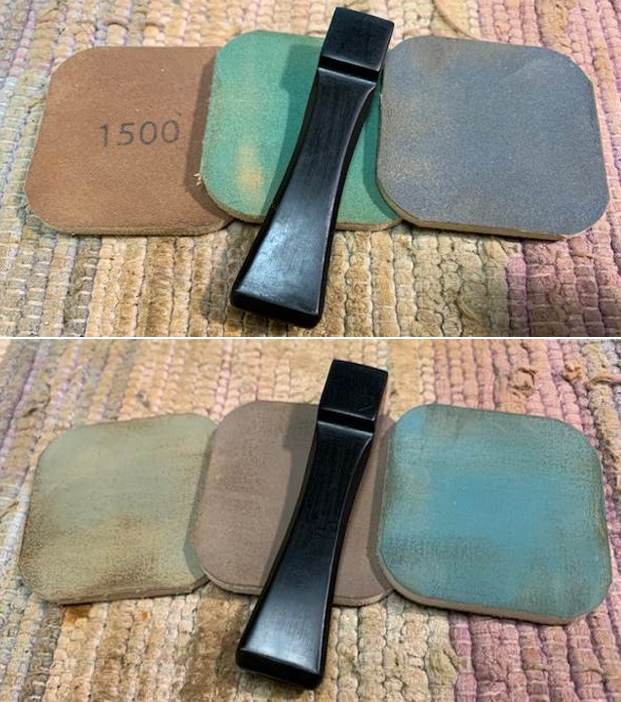
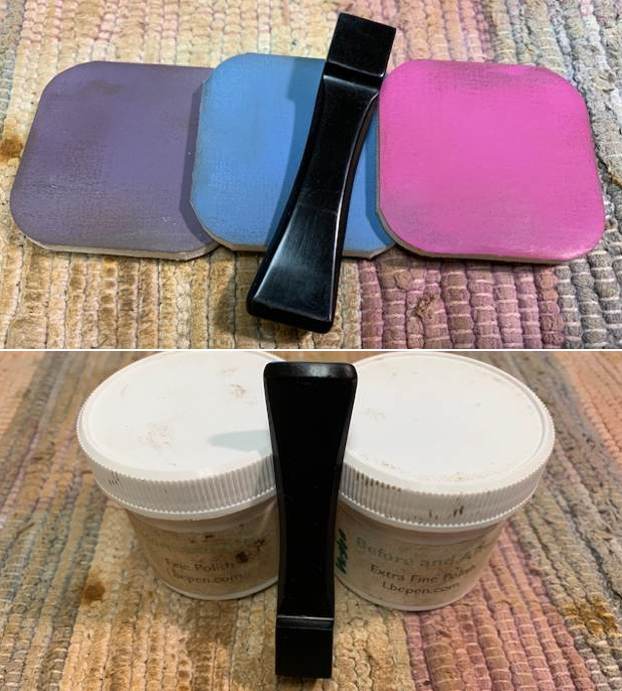
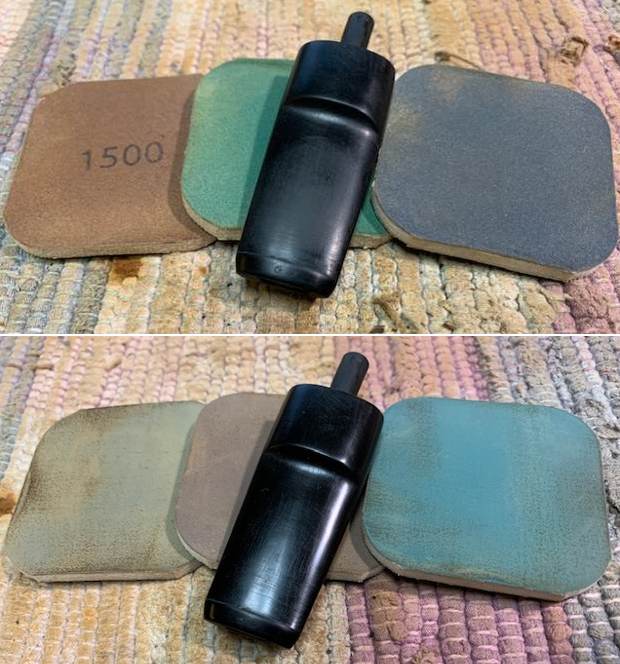
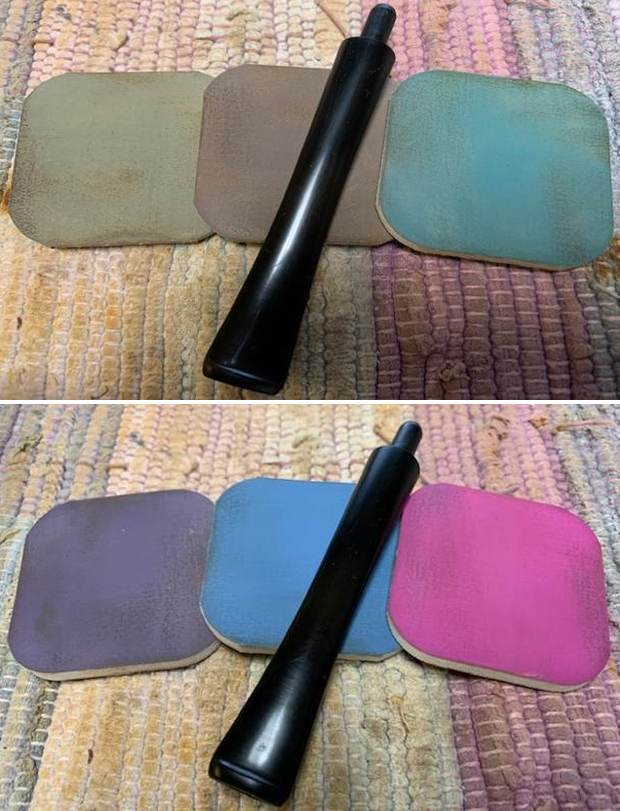
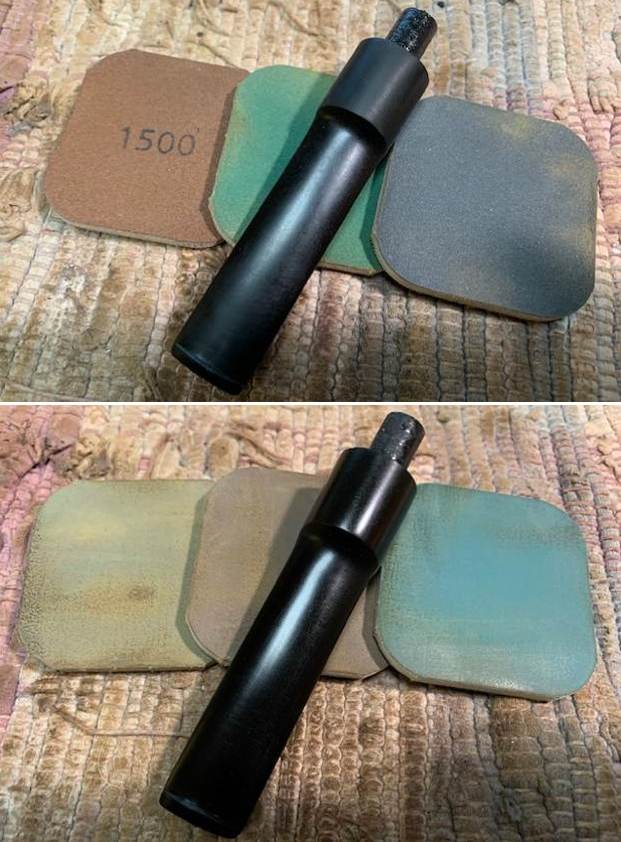
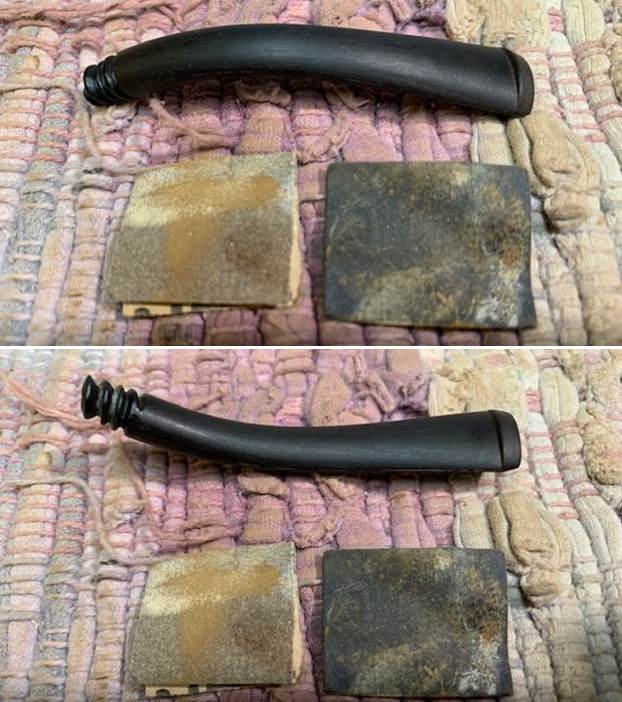
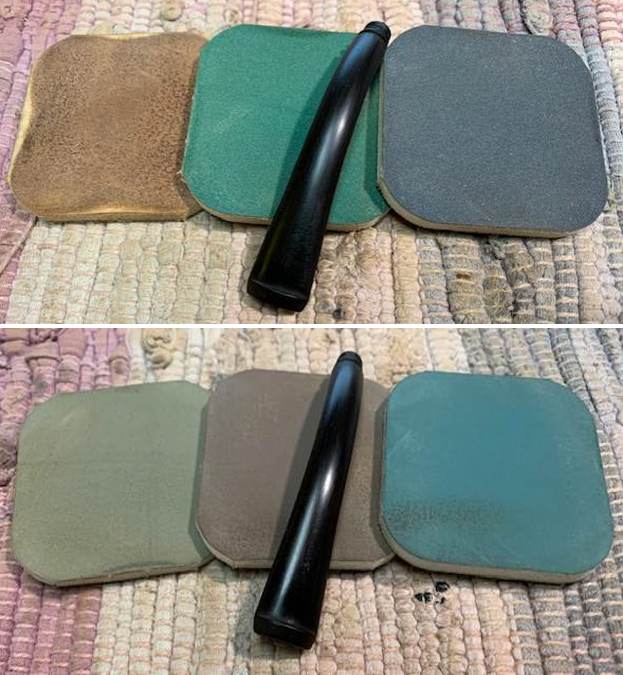
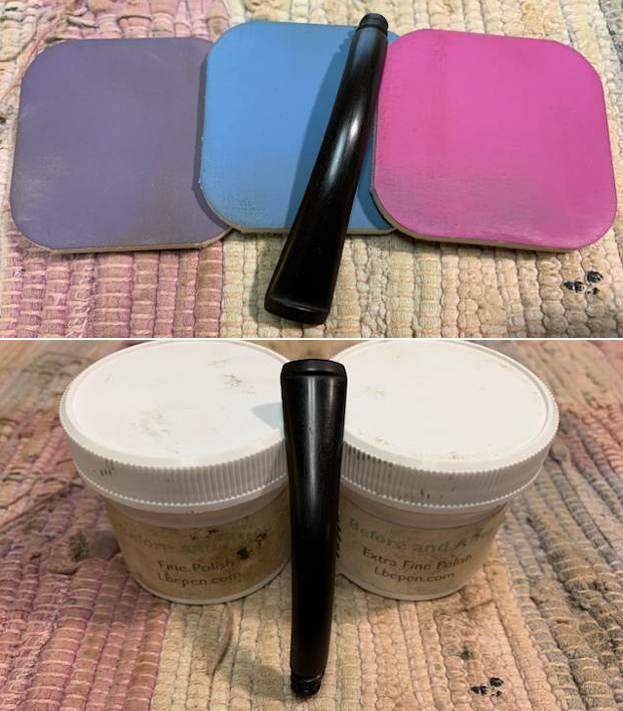
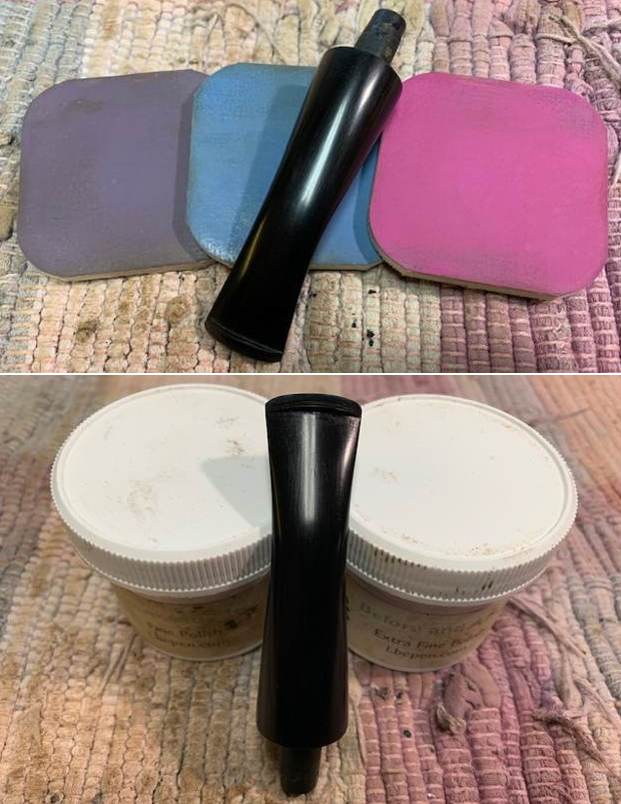
 I polished the stem with micromesh sanding pads – dry sanding with 1500-12000 grit pads. I wiped the stem down after each pad with a cloth and Obsidian Oil. I finished the polishing with Before & After Pipe Stem Polish – both Fine and Extra Fine. I gave it a final coat of Obsidian Oil.
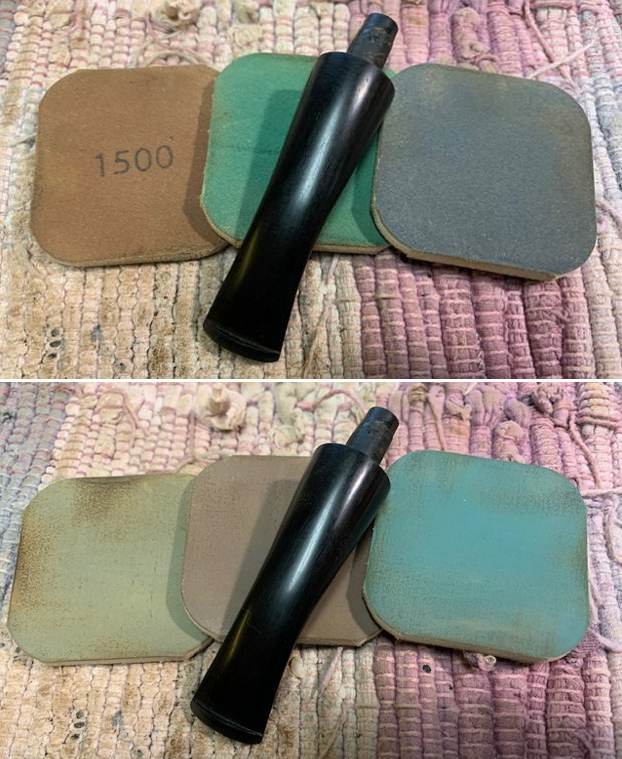
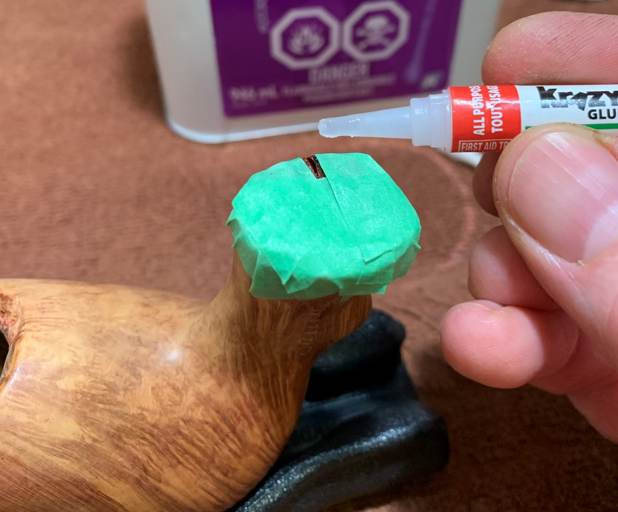
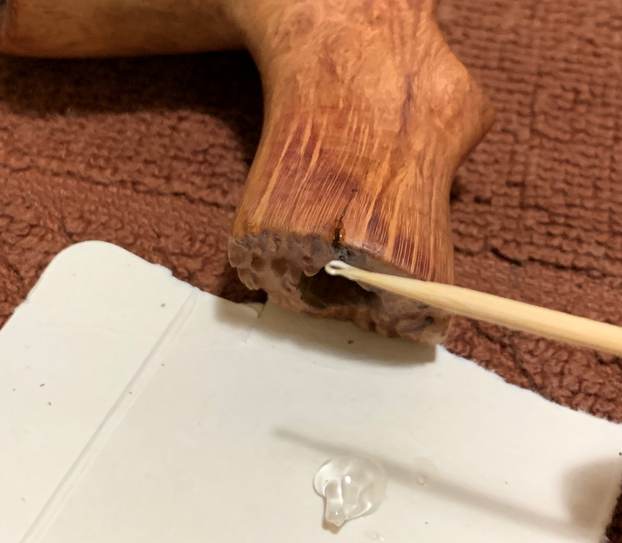
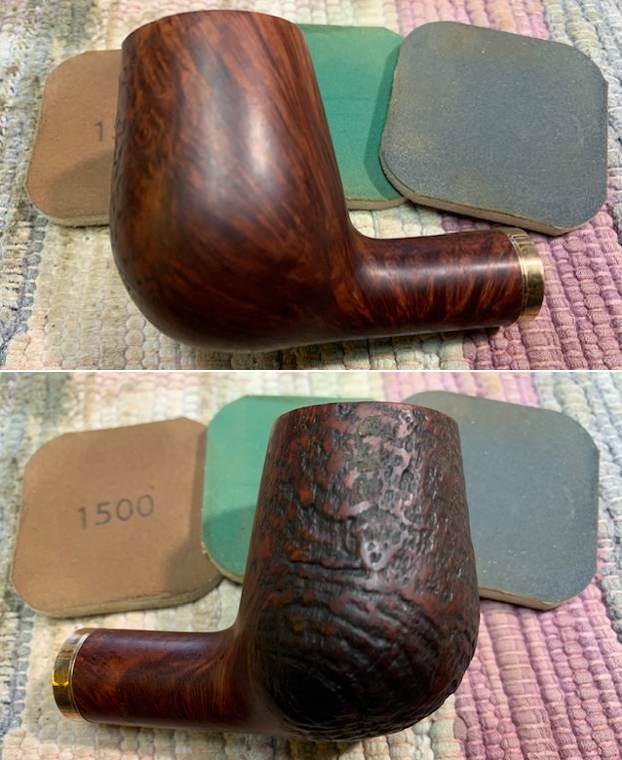
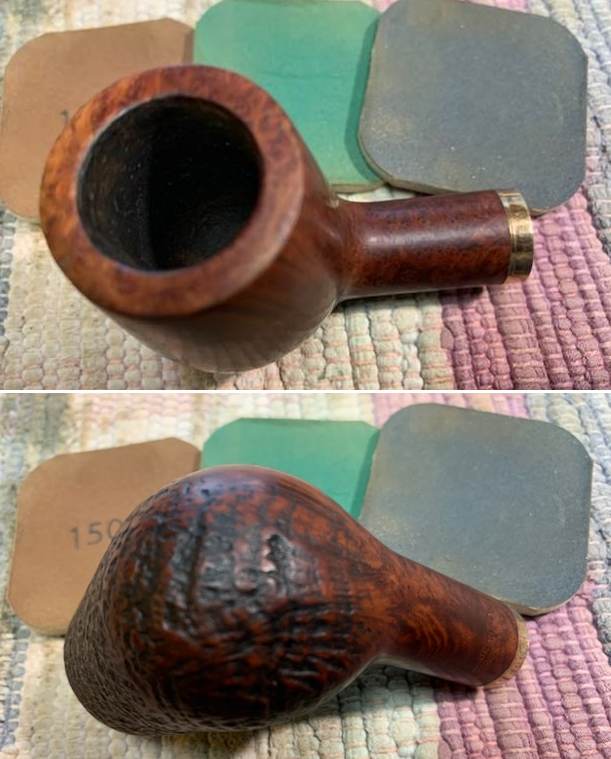
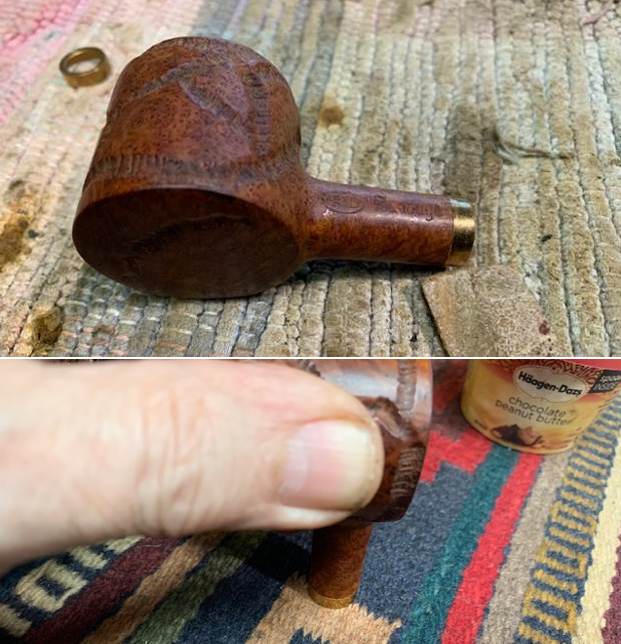
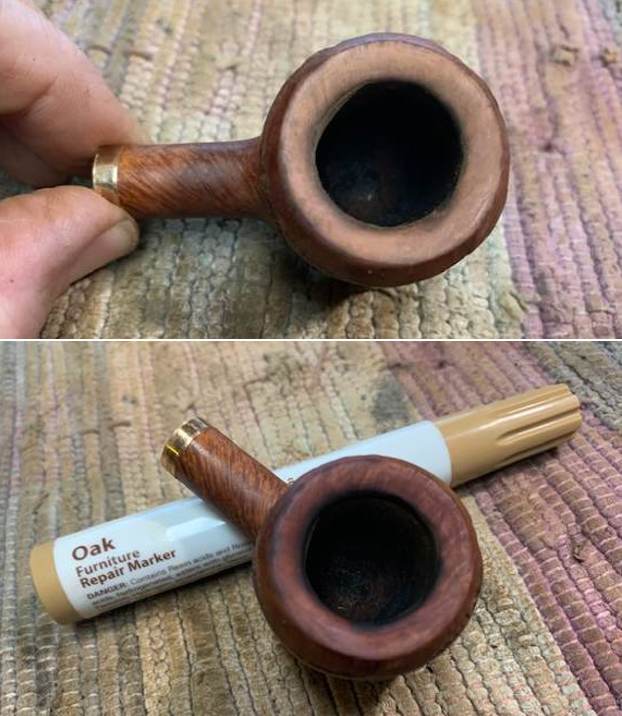
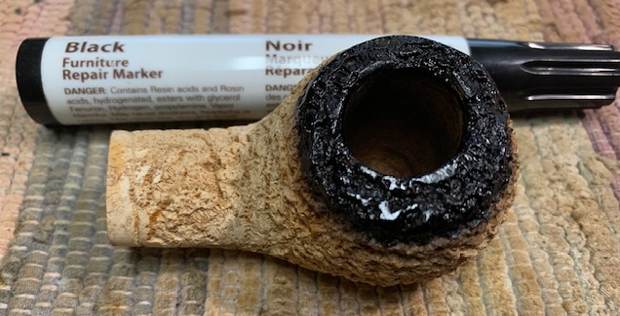
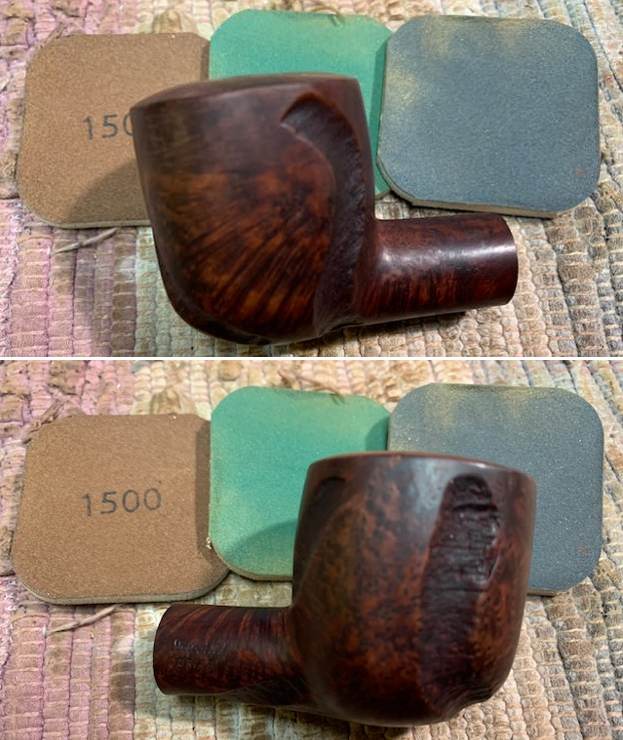
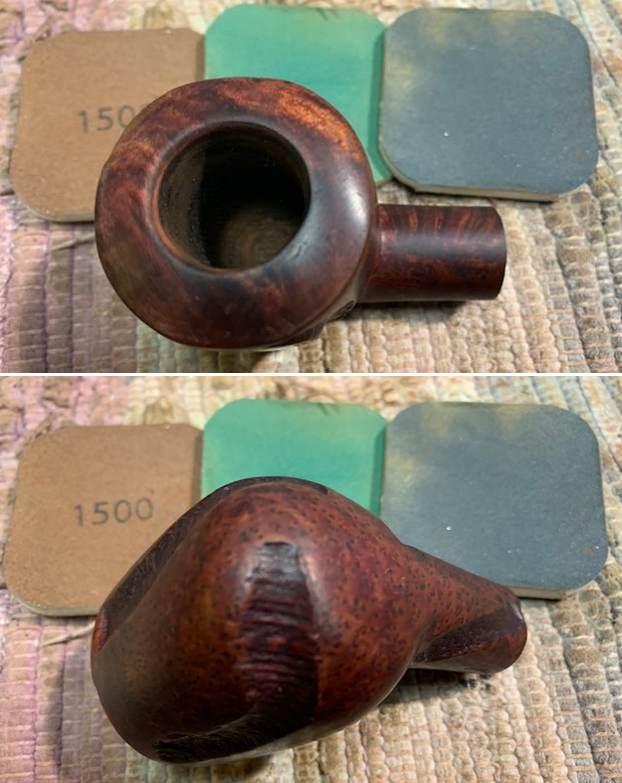
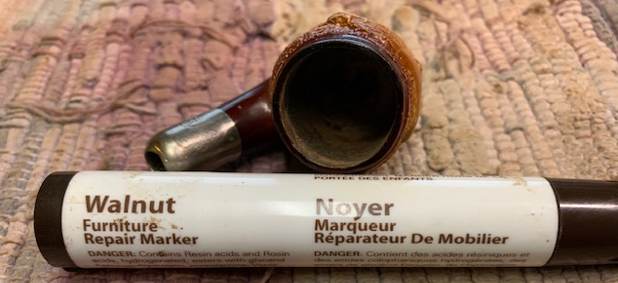
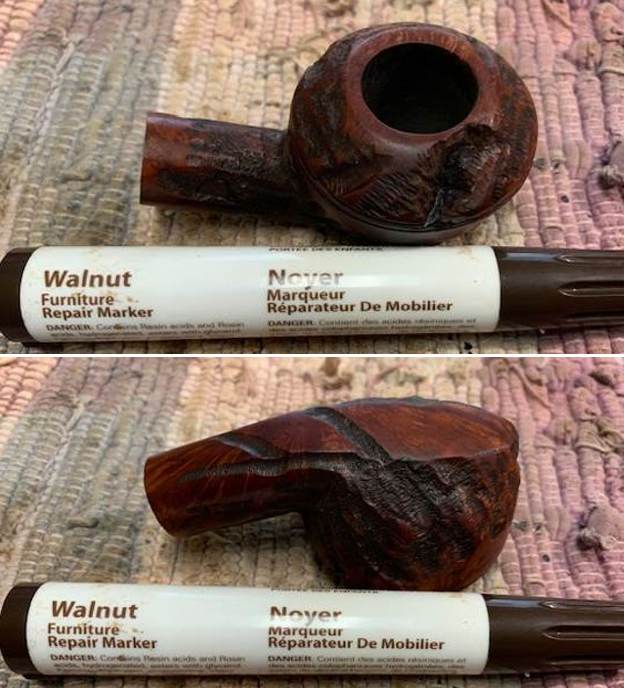
 I set the stem aside and turned my attention to the bowl. I started by touching up the visible fills. I used a Walnut Stain Pen to fill them in to match the other worm trail rustication around the shank and bowl sides. Once it dried the match was perfect.
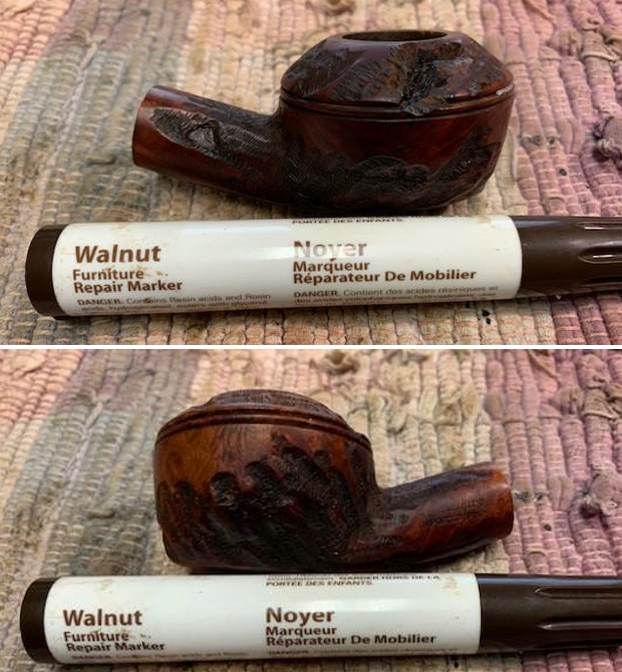
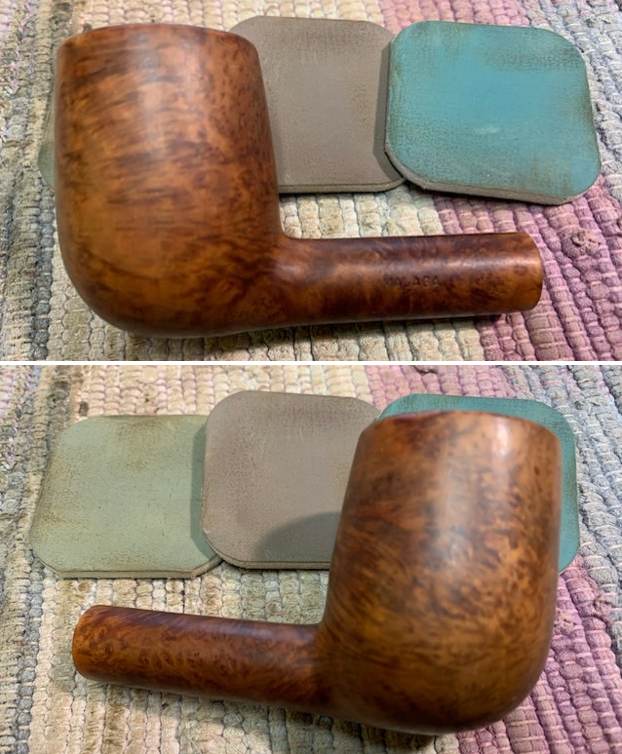
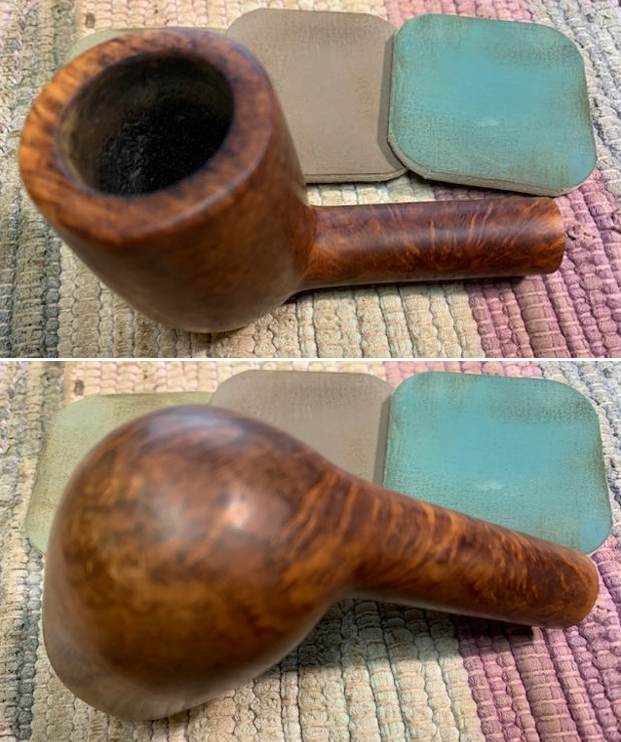
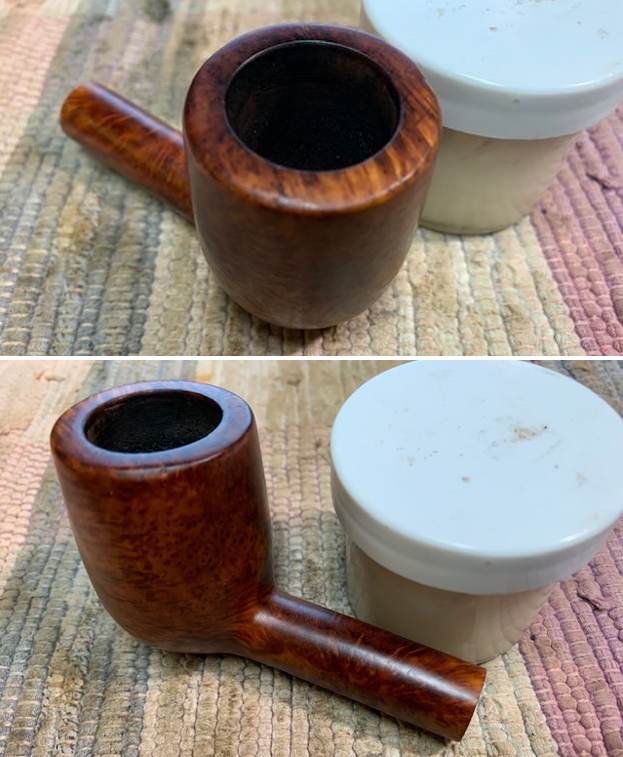
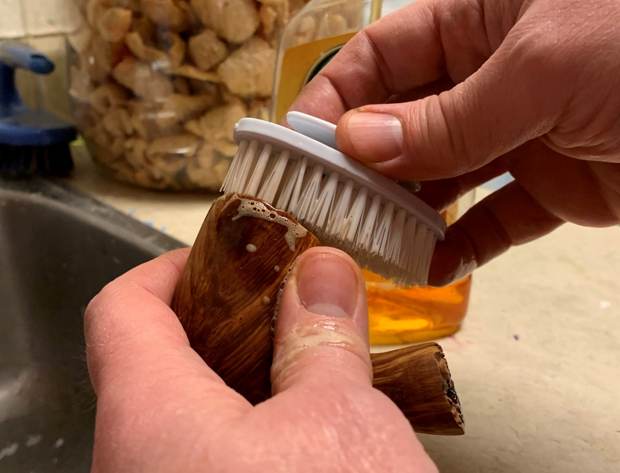
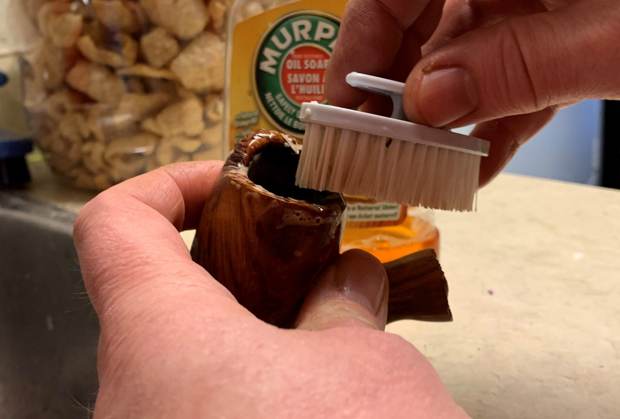
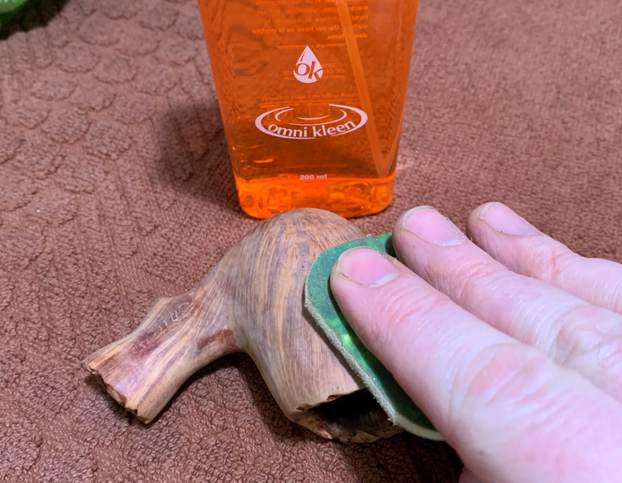
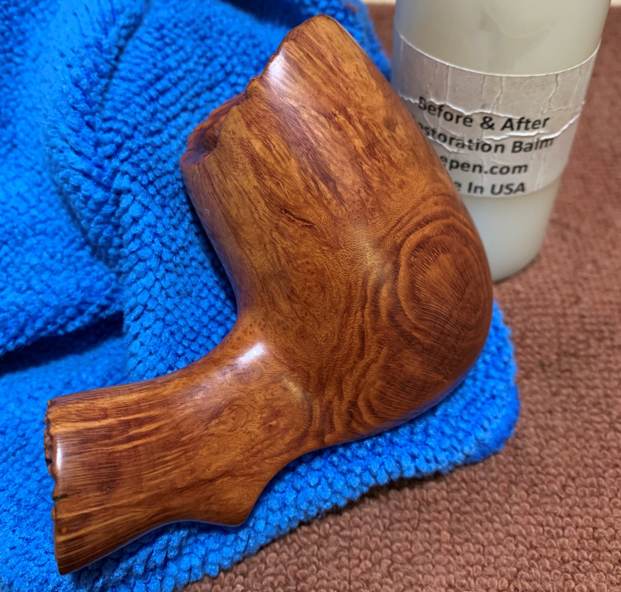
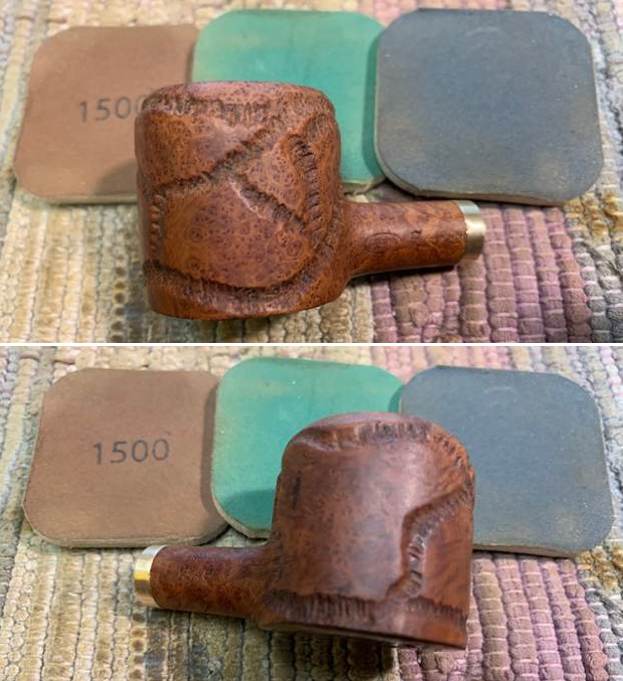
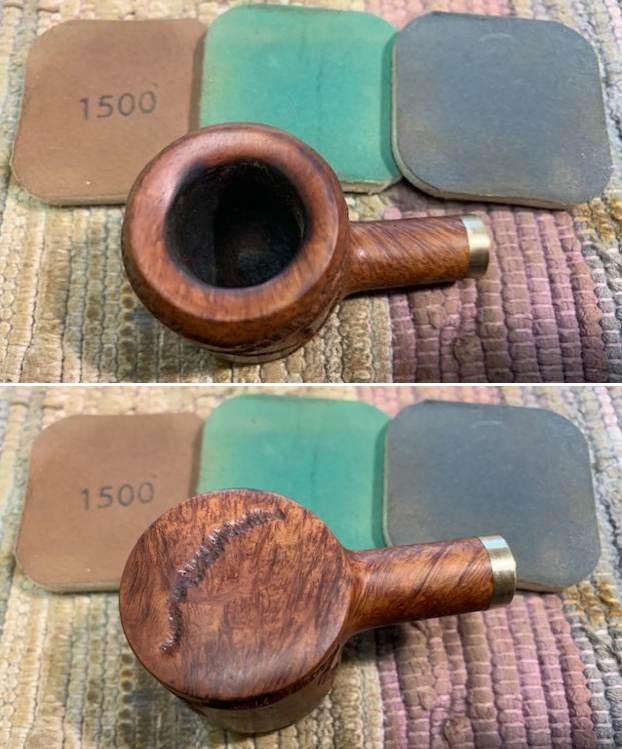
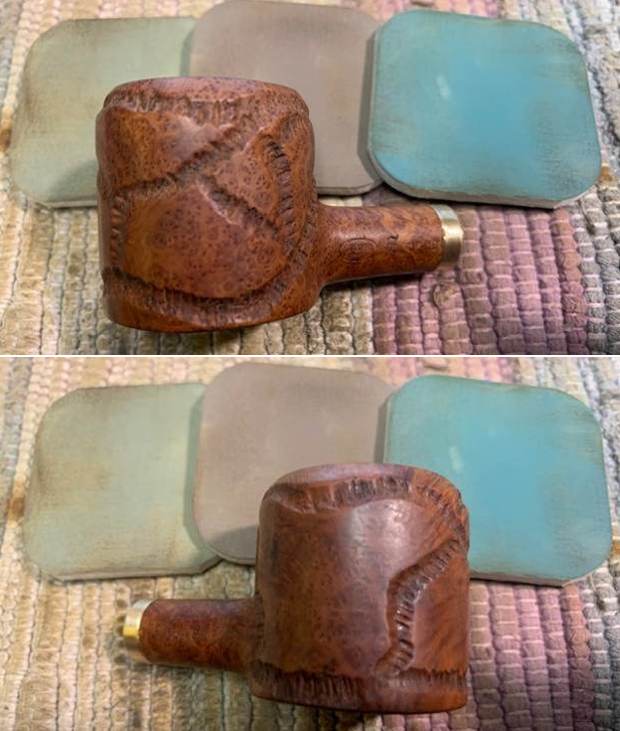
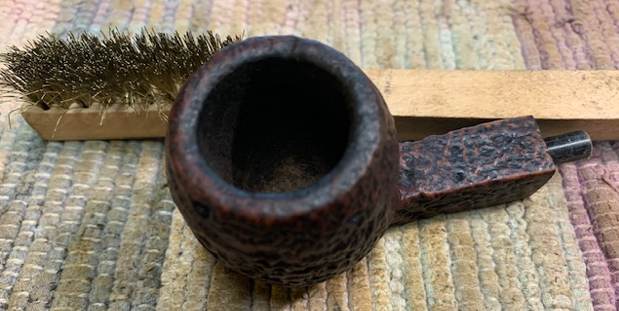
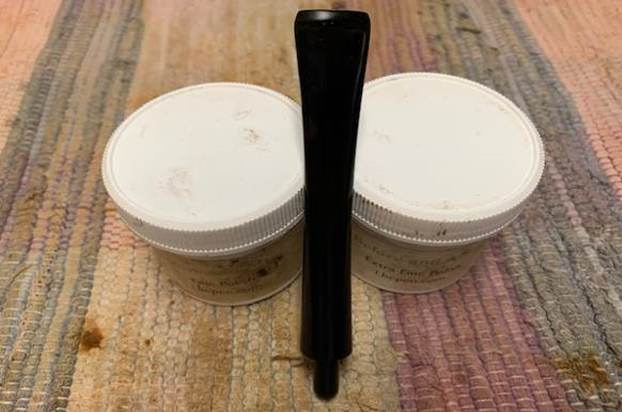
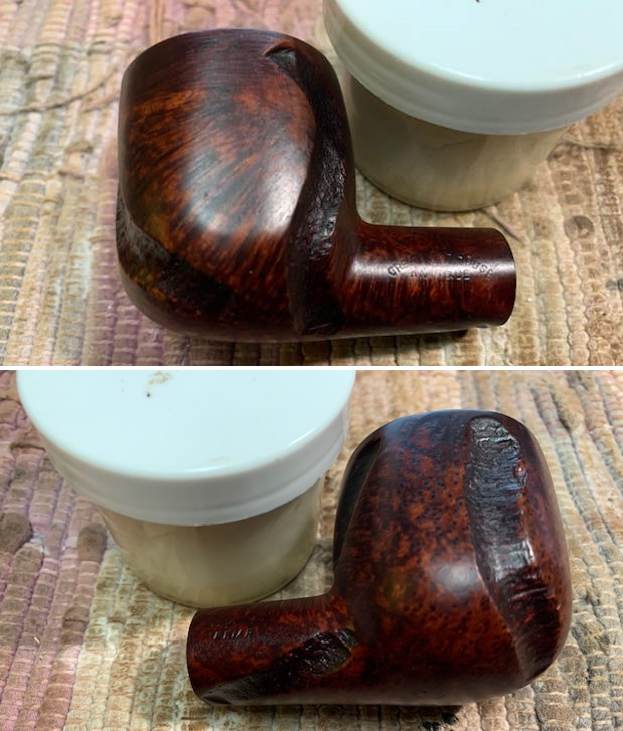
 I worked some Before & After Restoration Balm into the surface of the smooth briar with my finger tips and a horsehair shoe brush. The product is amazing and works to clean, enliven and protect the briar. I let it sit on the briar for 10 or more minutes and then buff it off with a soft cloth. It really makes the grain sing.
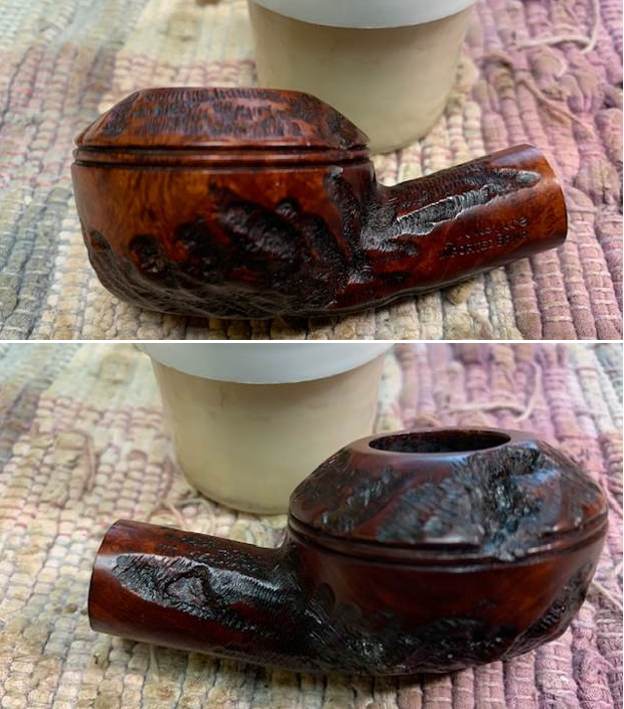
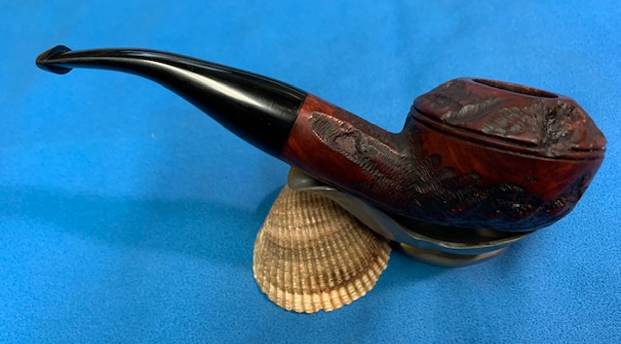
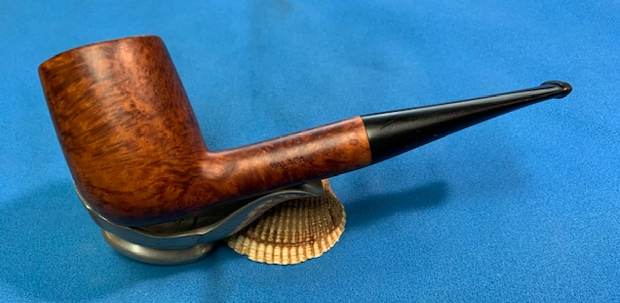
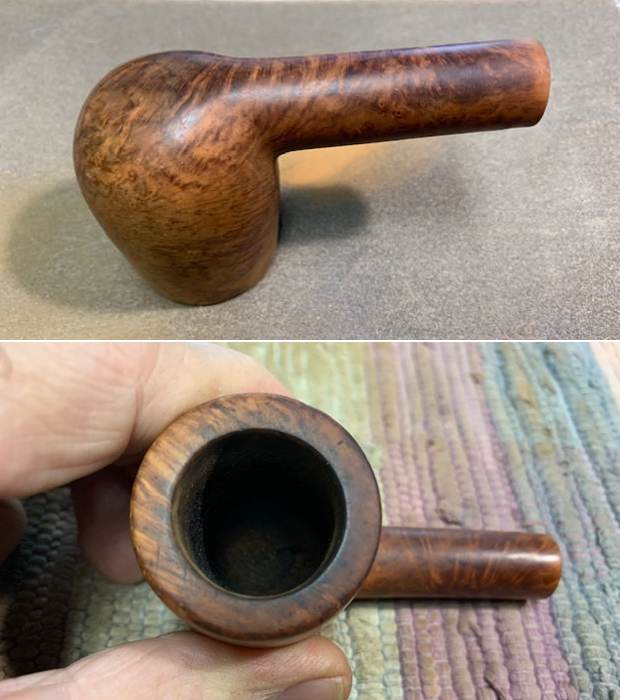
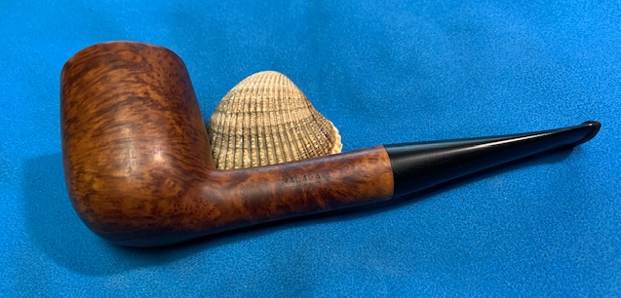
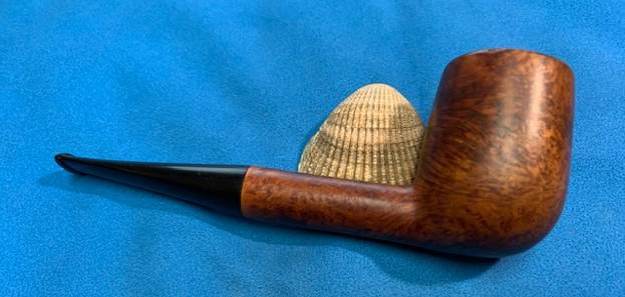
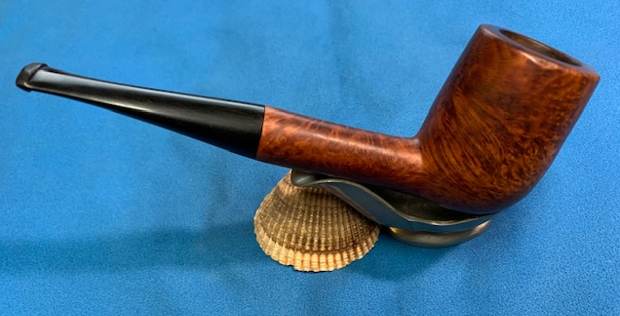
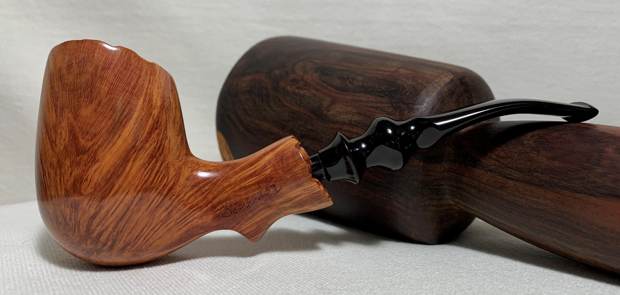
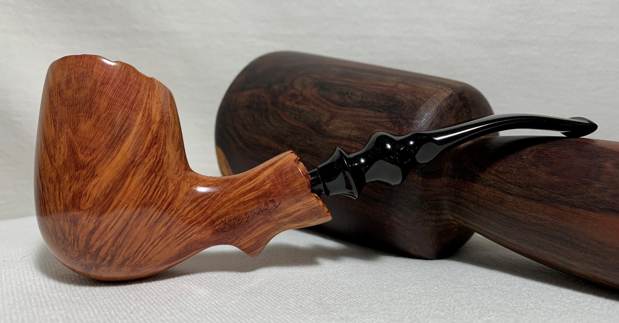
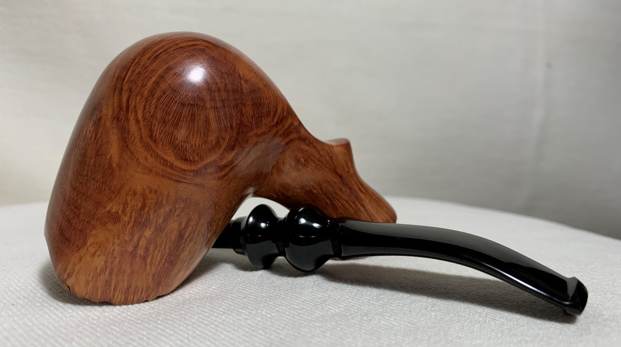
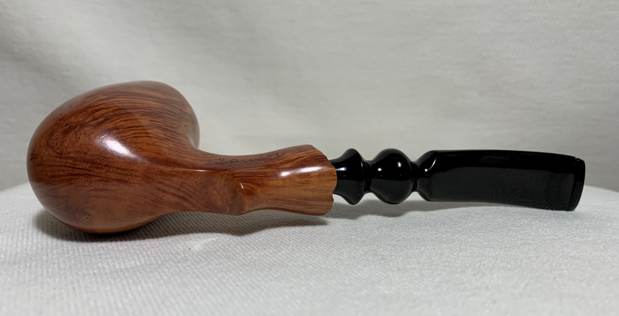
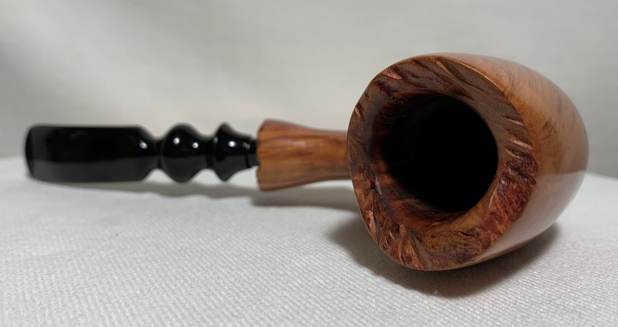
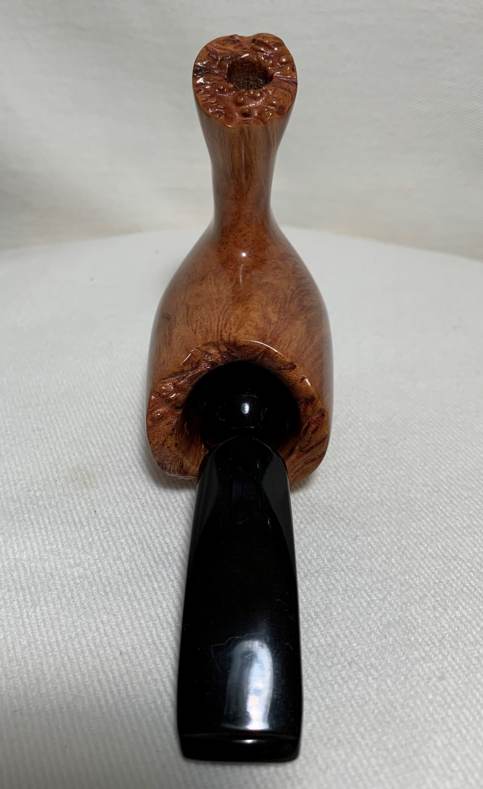
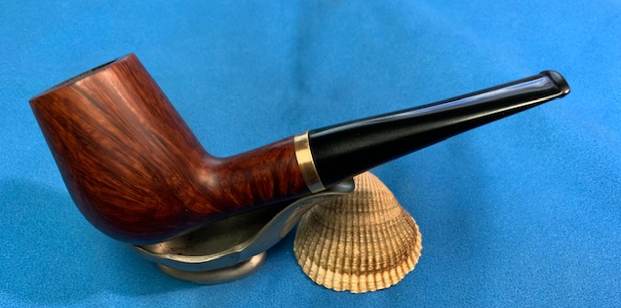
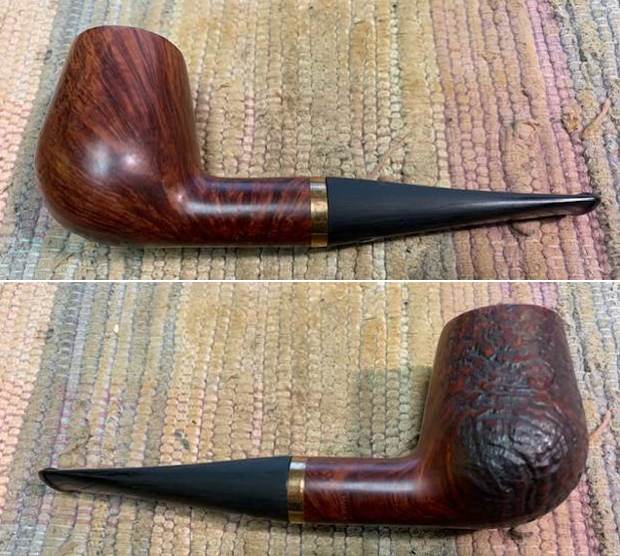
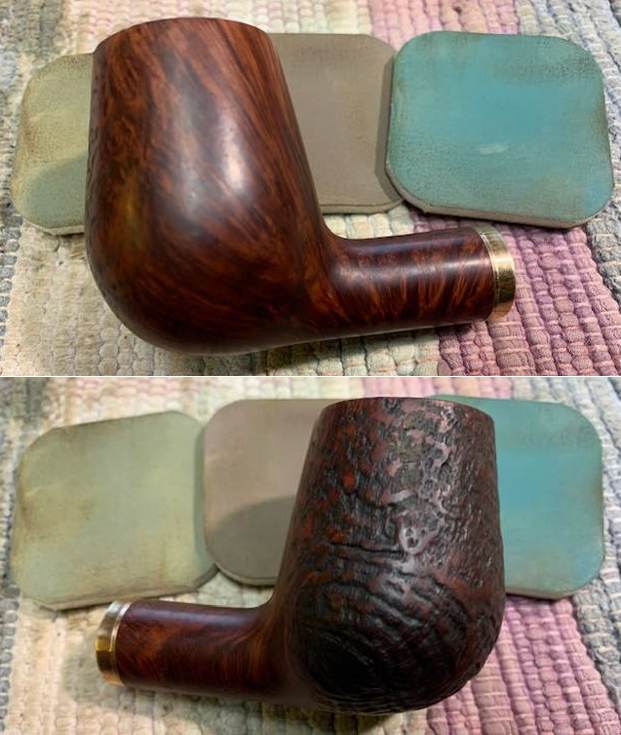
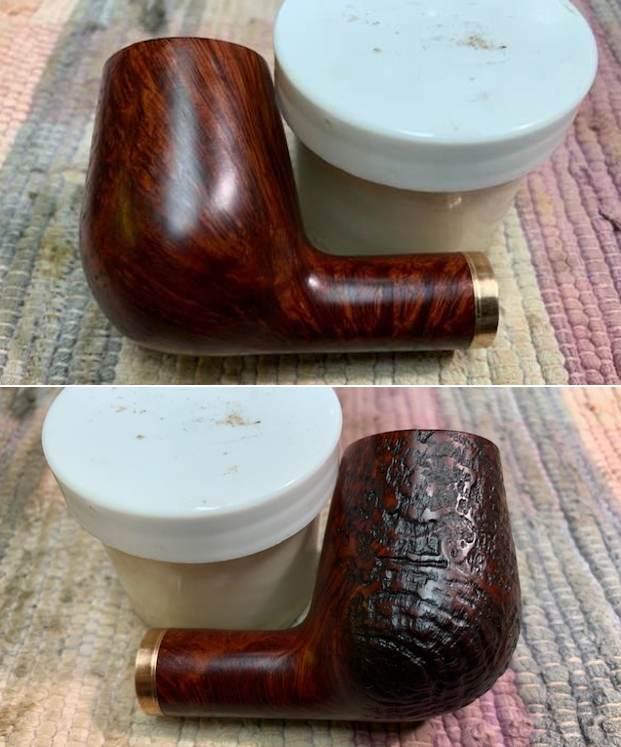
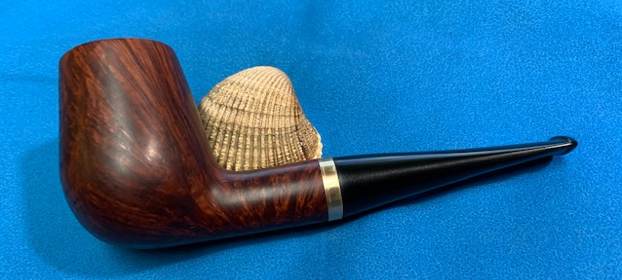
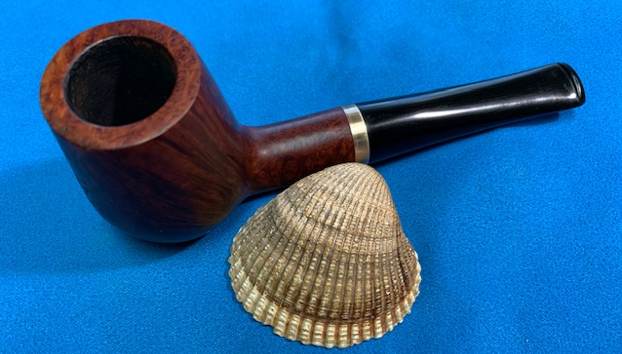
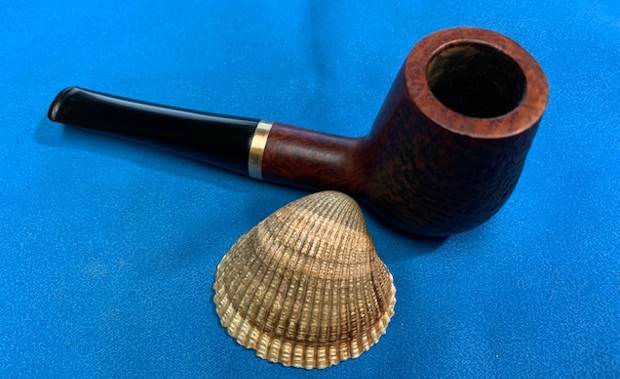
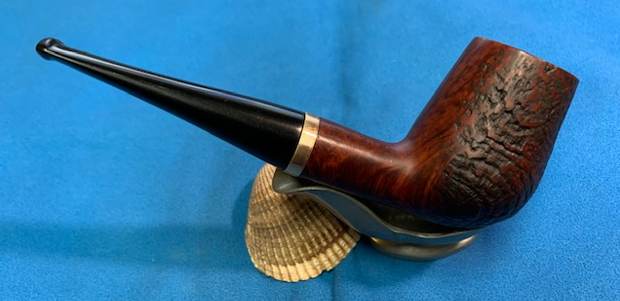
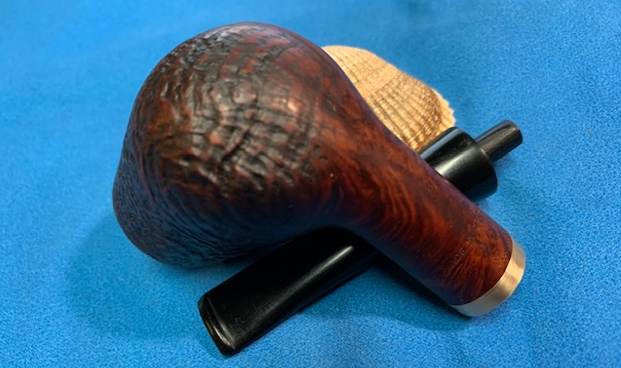
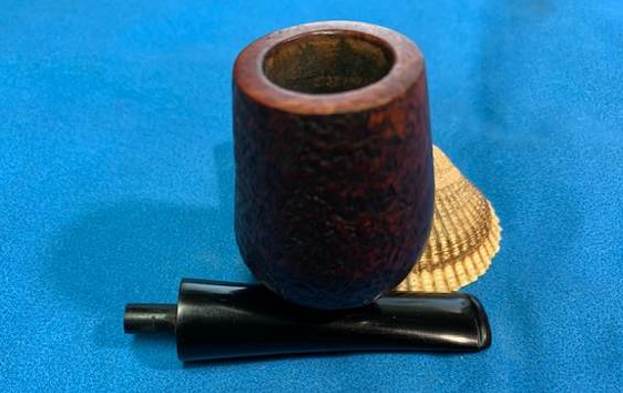
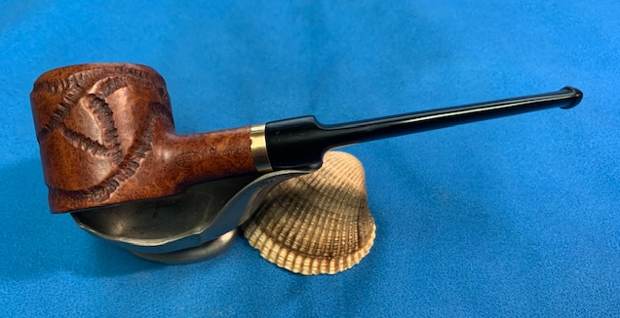
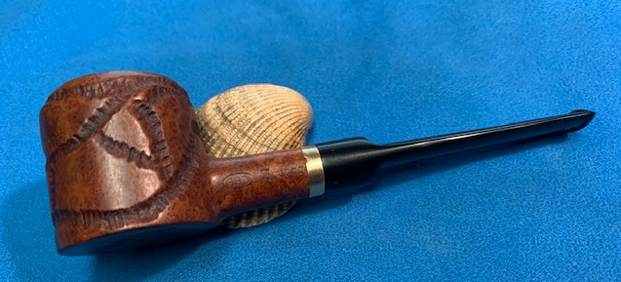
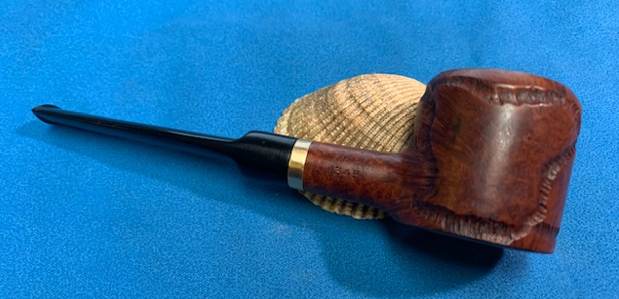
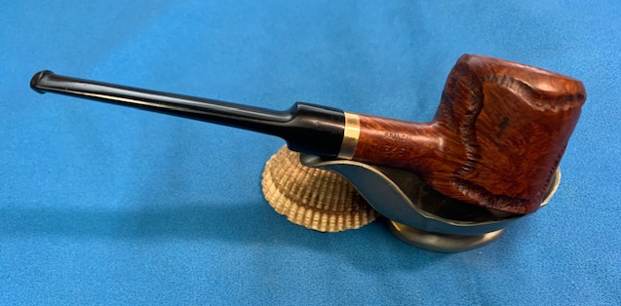
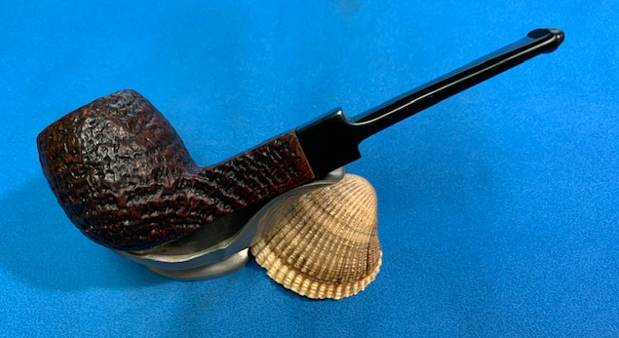
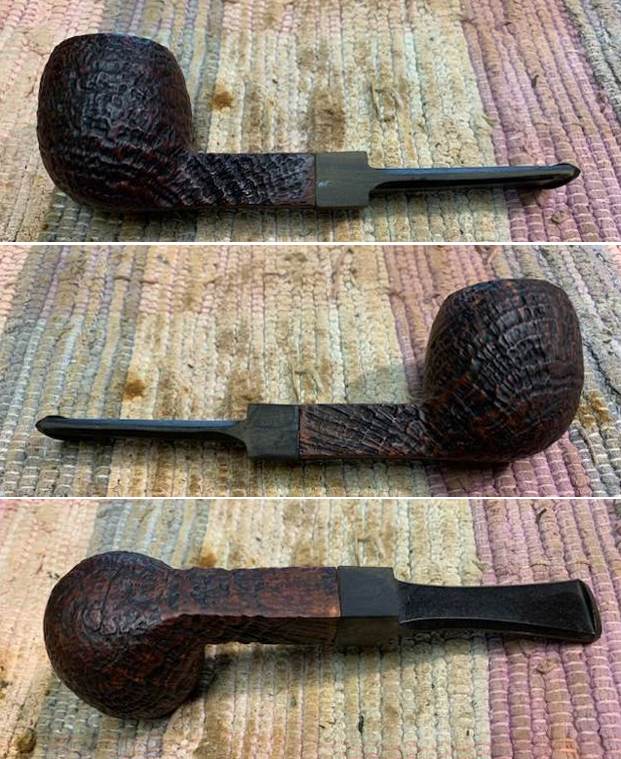
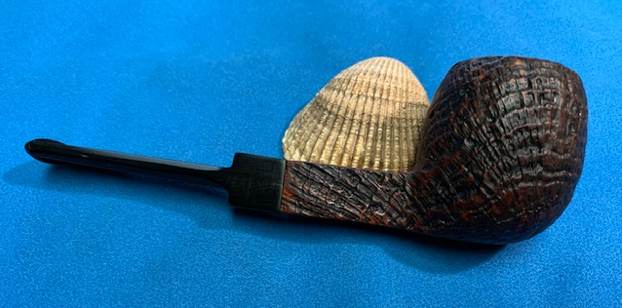
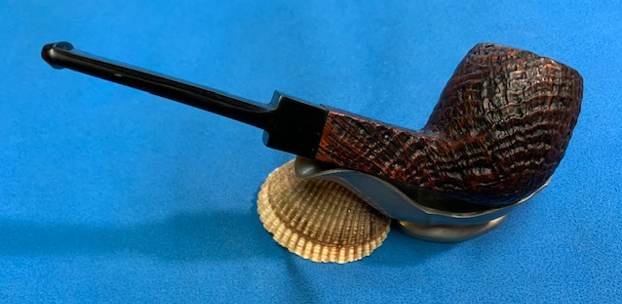
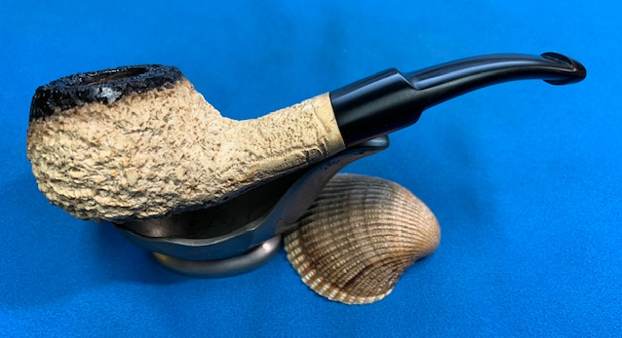
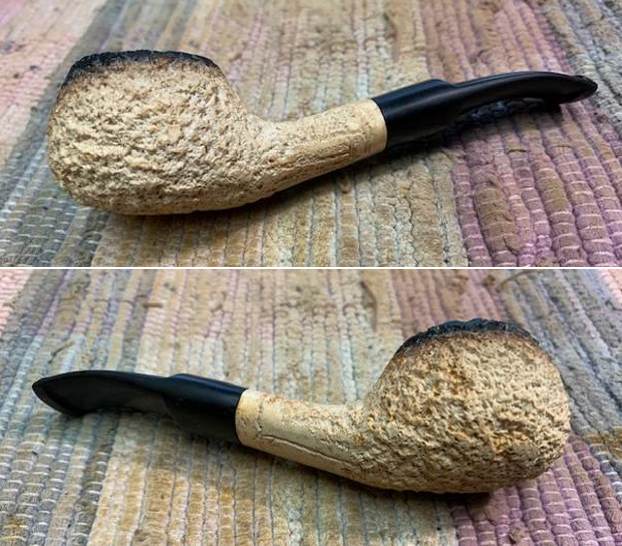
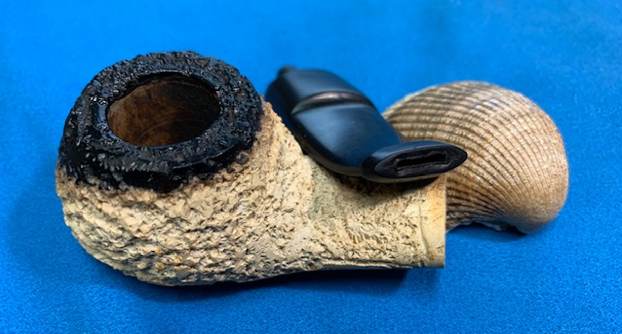
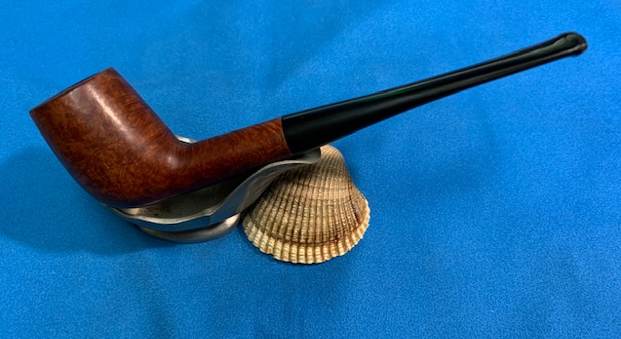
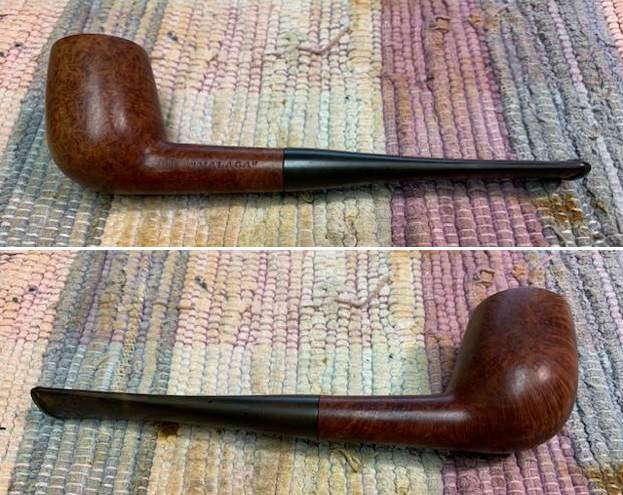
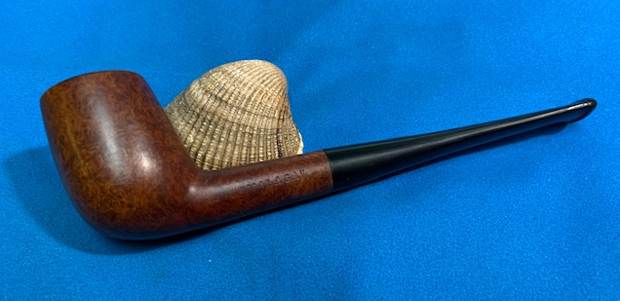
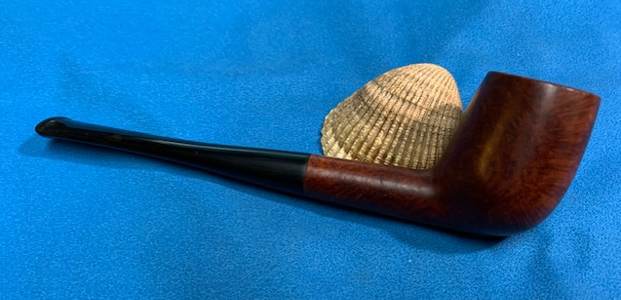
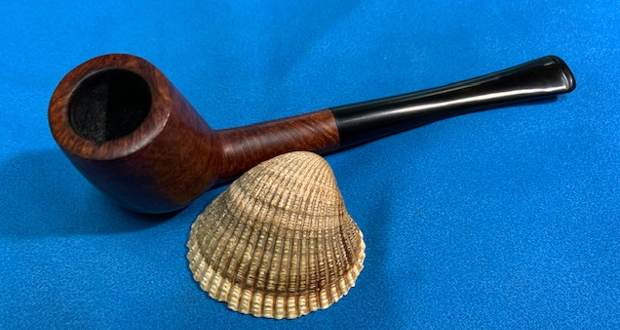
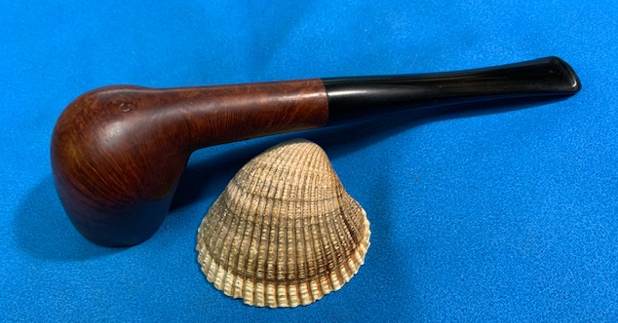
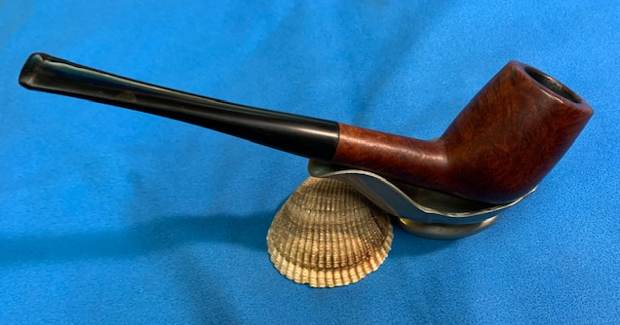
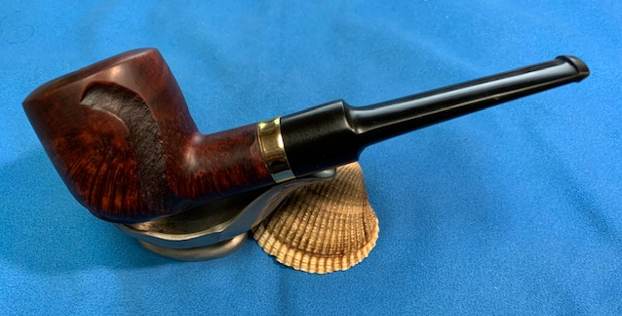
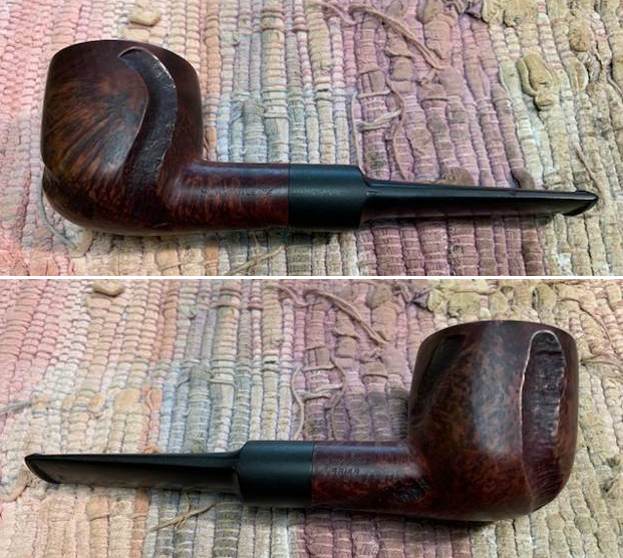
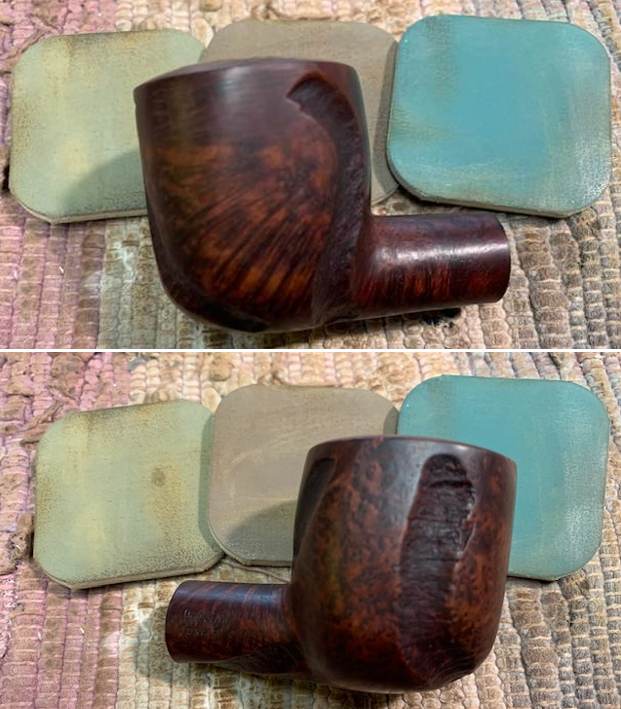
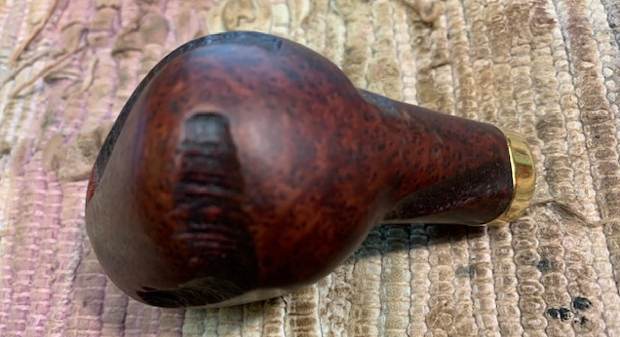
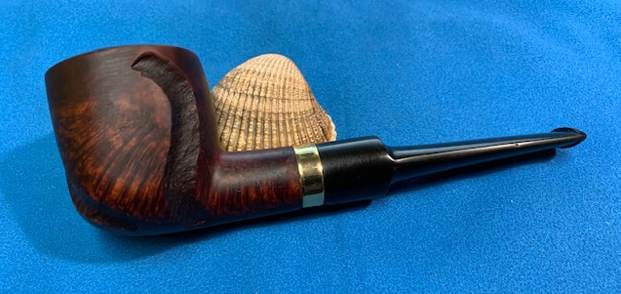
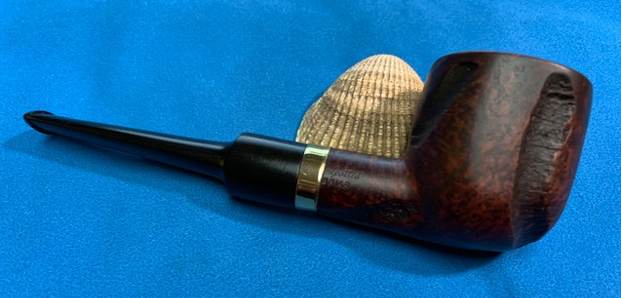
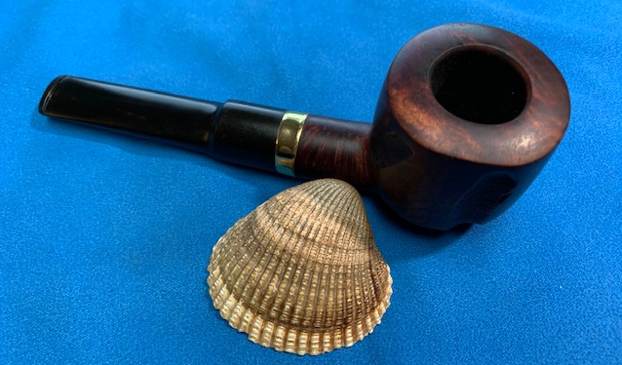
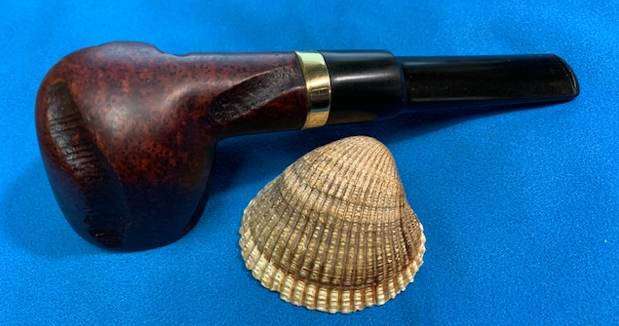
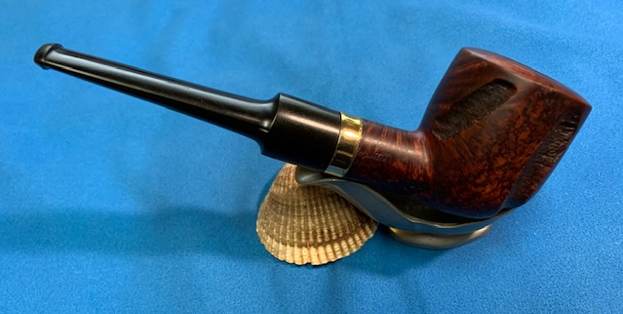
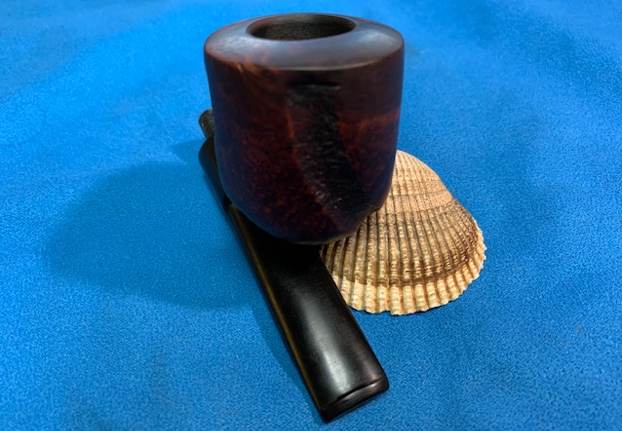
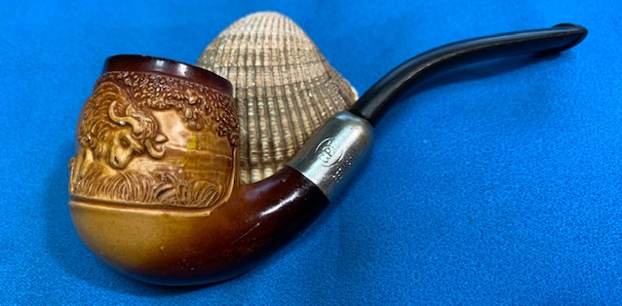
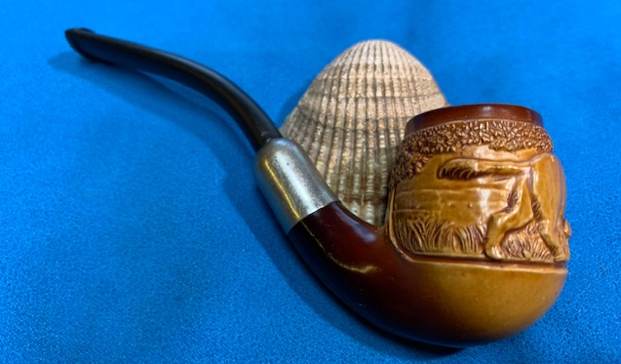
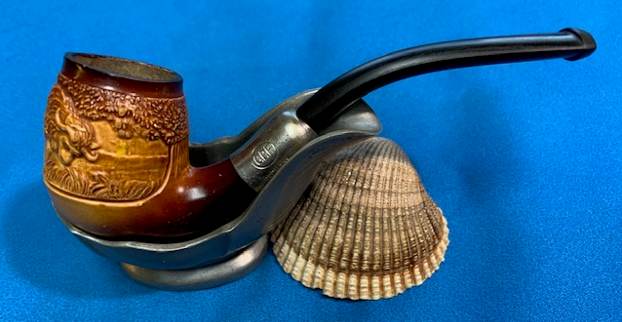
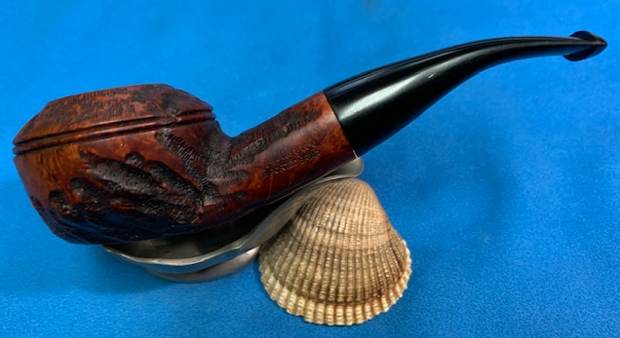
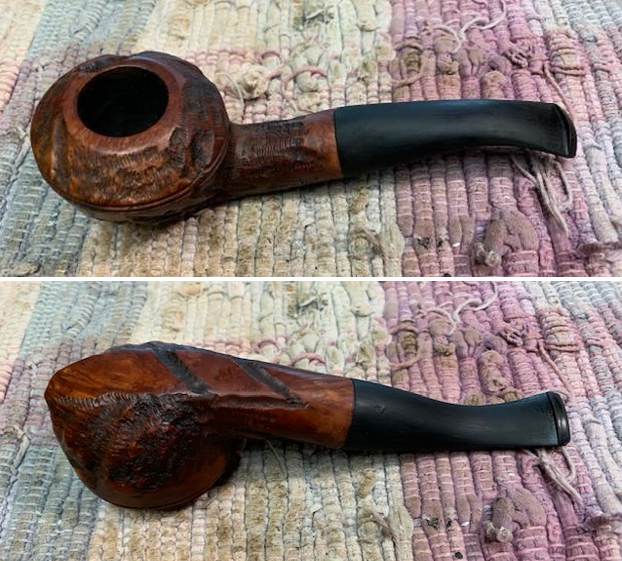
 I put the pipe back together – the bowl with its new stem. This restored Partially Rusticated Yorkshire Bullmoose is a real beauty and the chosen stem works well with it. I don’t have a lot of information on the maker other than it is American made. The grain on the smooth portions of the bowl is quite beautiful and the deep worm trails and rugged crevices came alive with the buffing. I used Blue Diamond on the buffing wheel on both the bowl and stem. I gave both multiple coats of carnauba wax on the wheel then buffed it with a clean buffing pad to raise the shine. I hand buffed it with a microfibre cloth to deepen the shine. The Yorkshire Bullmoose feels great in the hand. It is lightweight and the contrast in the browns of the briar and the polished vulcanite stem is quite amazing. The dimensions of the pipe are Length: 6 inches, Height: 2 inches, Outer diameter of the bowl: 1 ½ inches, Chamber diameter: 7/8 of an inch. The weight of the pipe is 2.19 ounces/63 grams. It really is a beauty. I will be putting it on the rebornpipes store in the American (US) Pipe Makers section shortly if you are interested in adding it to your collection. Thanks for walking through the restemming and the restoration with me. Cheers.