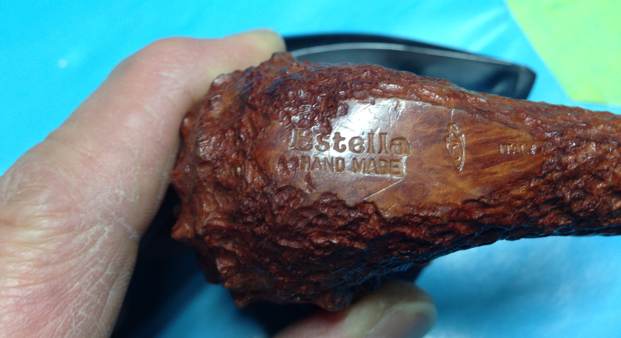
Blog by Steve Laug
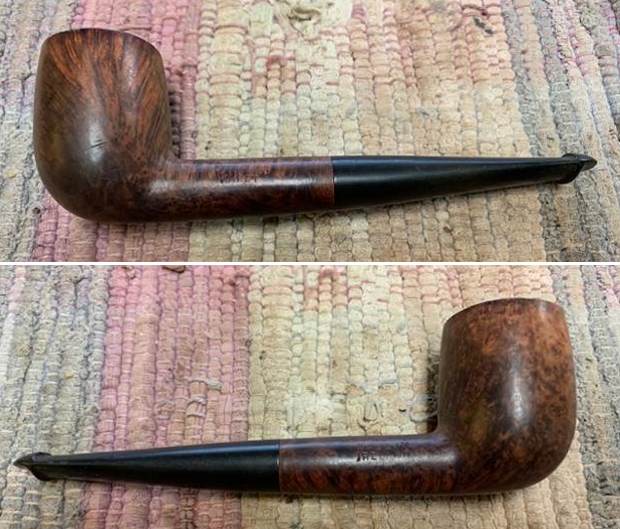
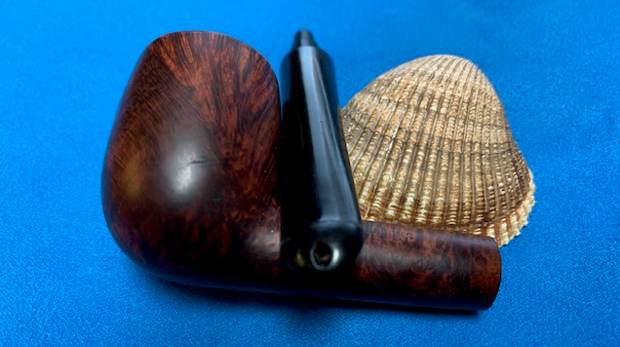
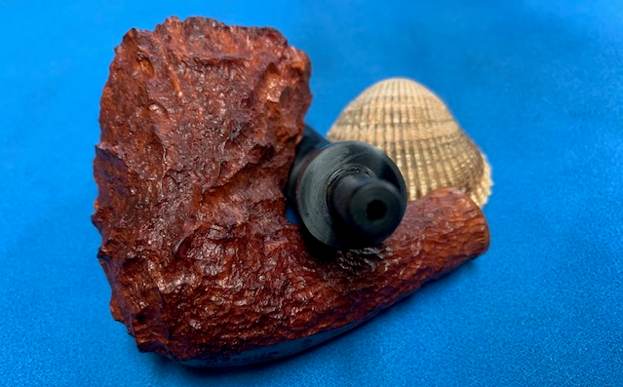
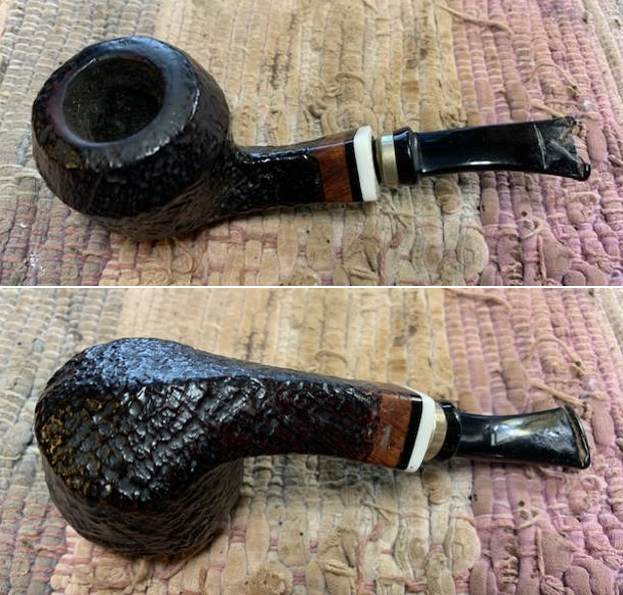
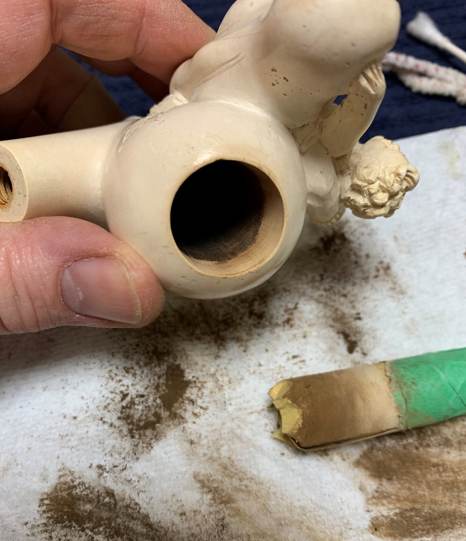
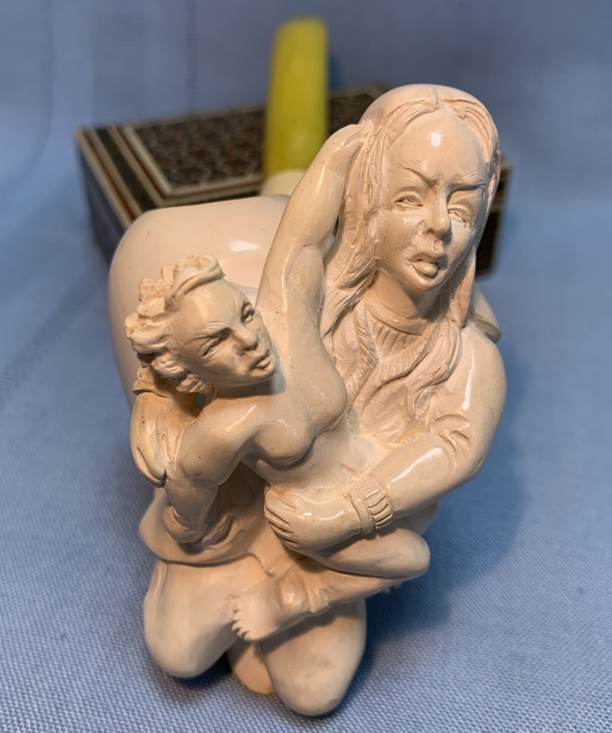
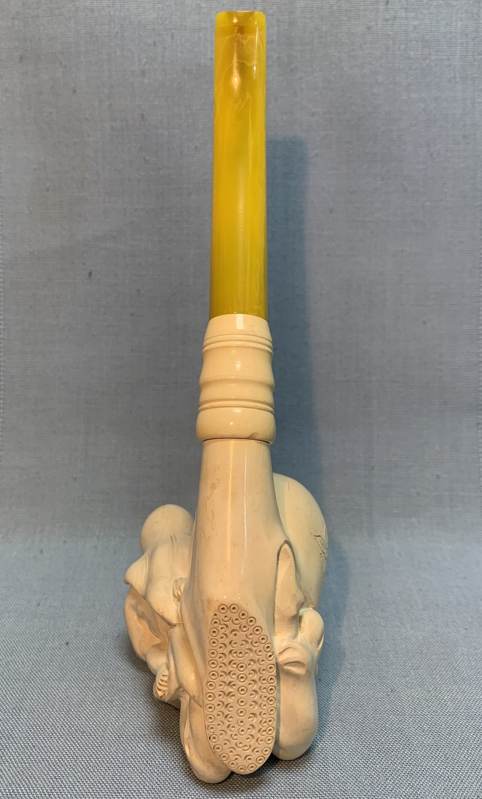
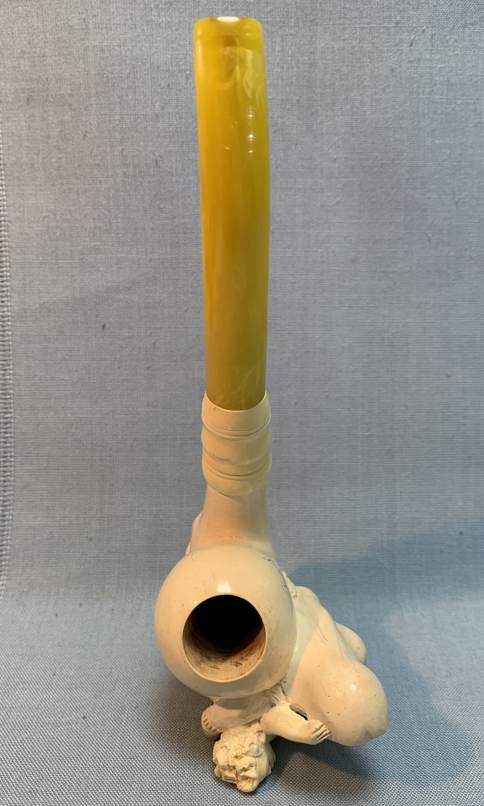
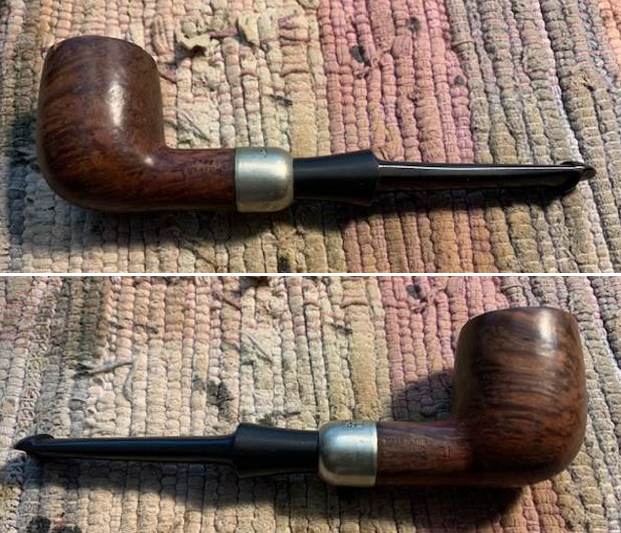
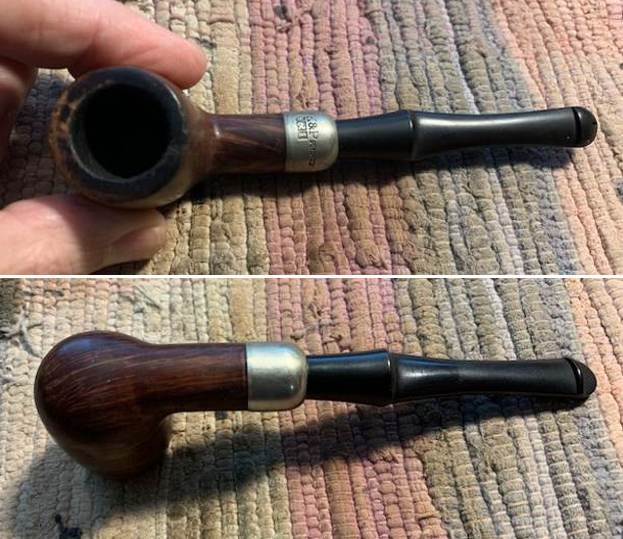
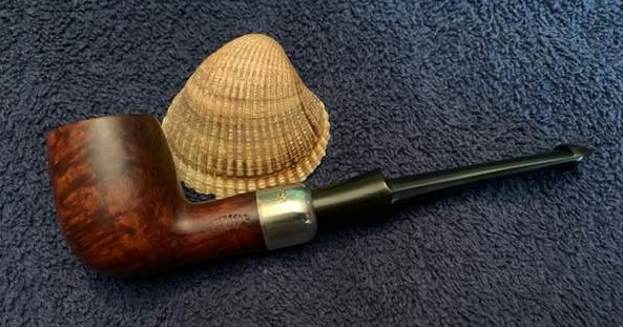
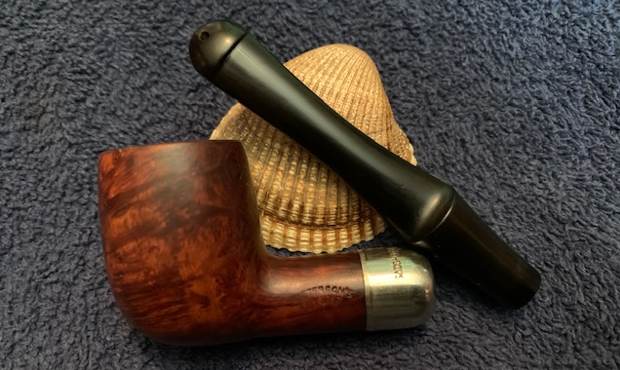
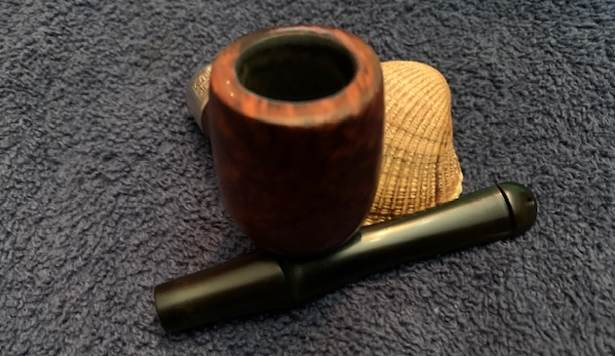
This afternoon I decided to work on the another one of the Peterson’s Pipes that I have still to work on from a variety of places. This pipe was also purchased as part of an estate on 03/30/2022 from Plano, Texas, USA. It is a larger bent pipe that is stamped on the sides of the shank. On the left side it read Peterson’s [over] De Luxe. On the right side it is stamped Made in the Republic of Ireland (three lines) [over] the shape number 4S. There is a very tarnished Sterling Silver band on the shank. It is stamped Peterson’s [over]Dublin on the top of the shank band. Next to that it is stamped Sterling [over] Silver followed by three hallmarks. The first mark is the seated woman Hibernia, the second is a Harp, and the final one, the date stamp is buffed off and illegible. The pipe was a well used pipe when Jeff received it. There was dust and grime ground into the finish. The mixture of brown stains highlights some beautiful grain under the dirt. The bowl was heavily caked and there was an overflow of lava on the rim top. It is hard to know what the edges looked like at this point but time would tell. The vulcanite stem was oxidized and dirty with tooth marks and chatter on both sides ahead of the button and on the button itself. There is a faint “P” stamp in the vulcanite on the left side of the saddle P-lip stem. Jeff took photos of the pipe before he started his clean up work on it.
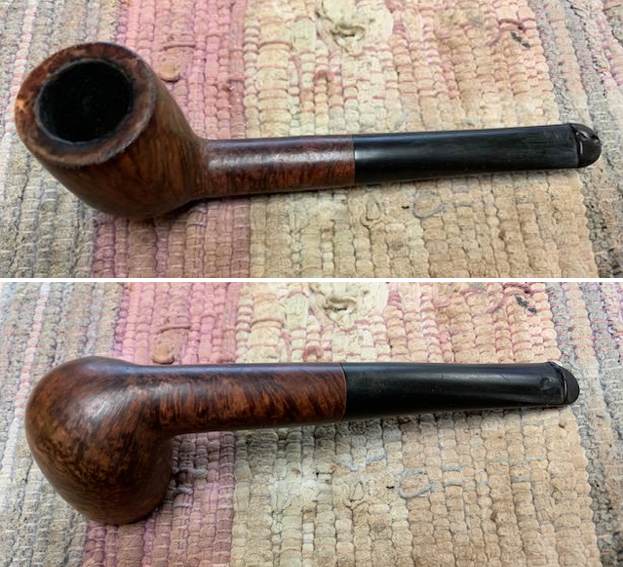
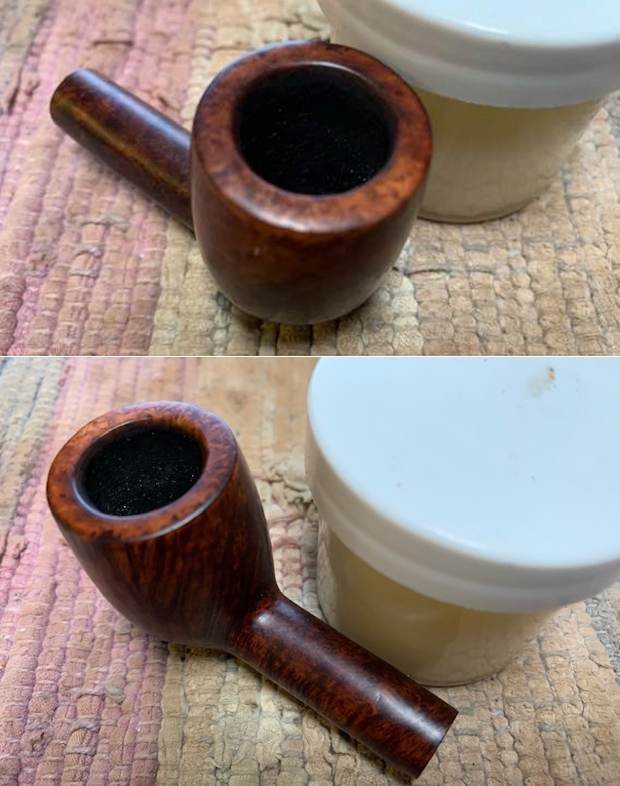
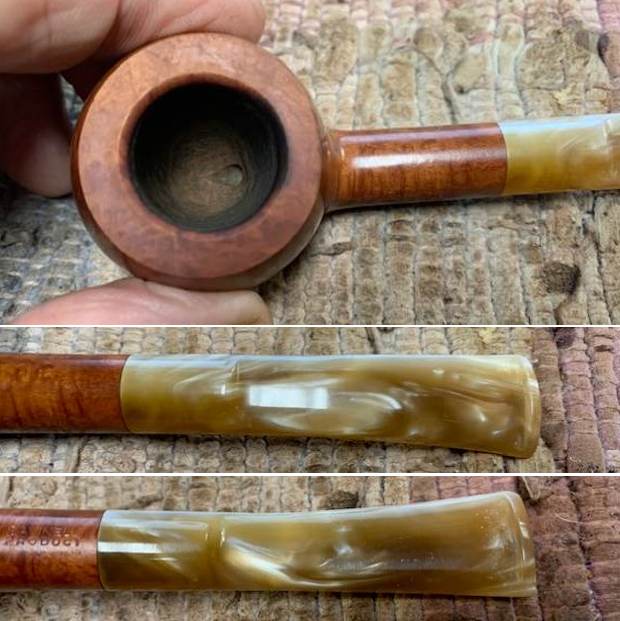
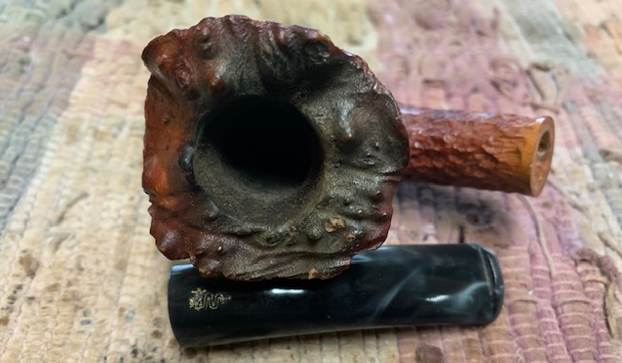
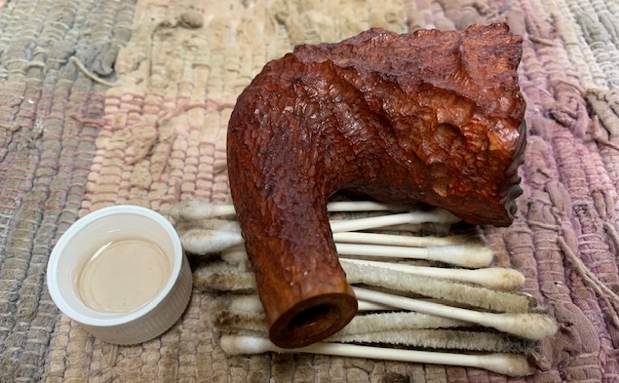
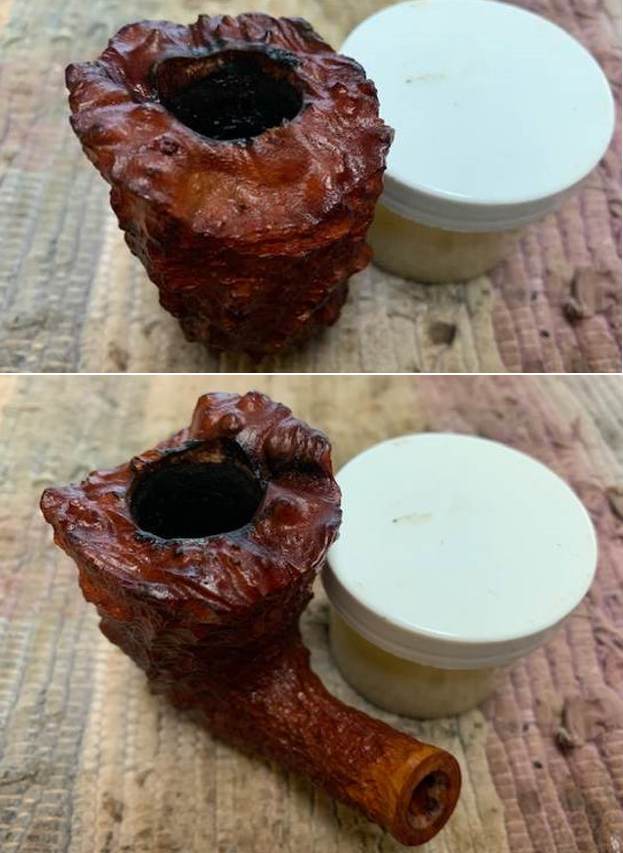
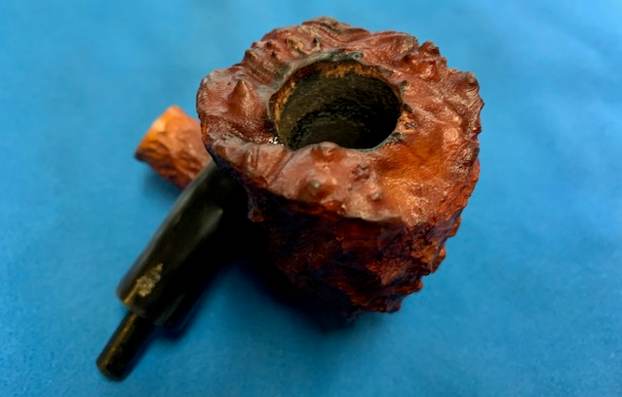
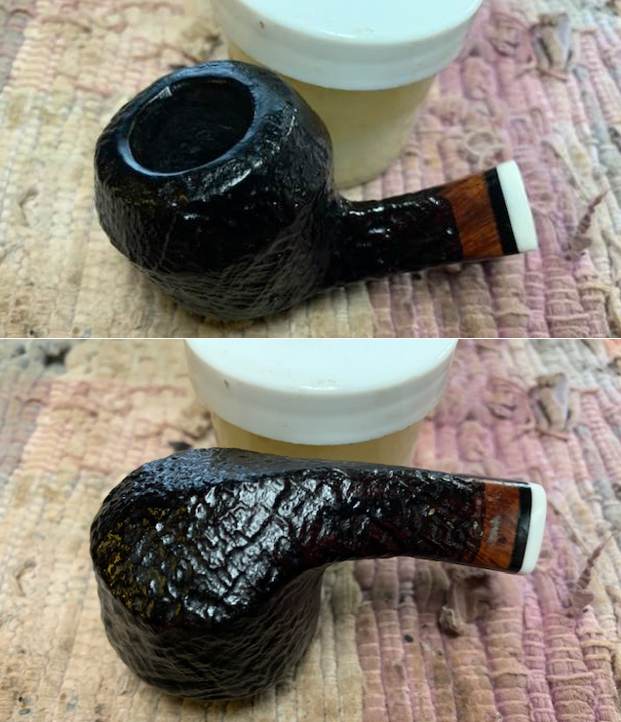
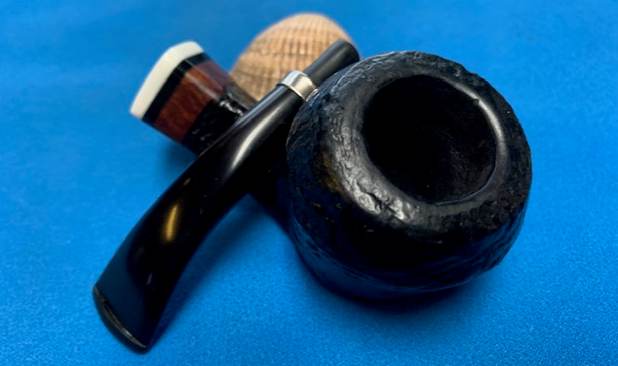
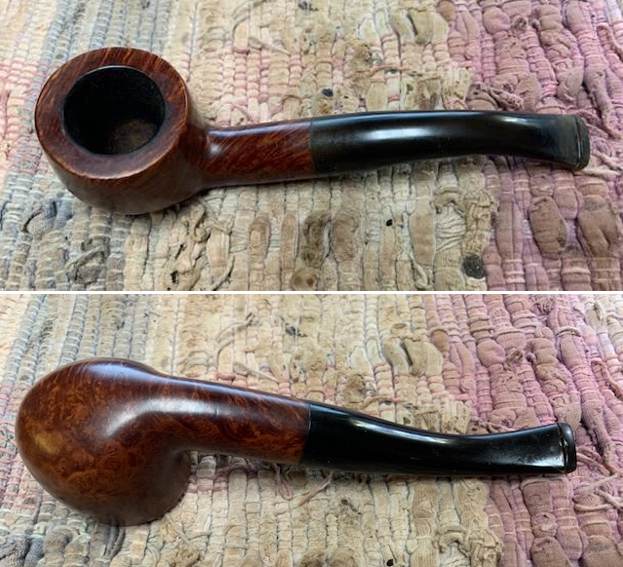
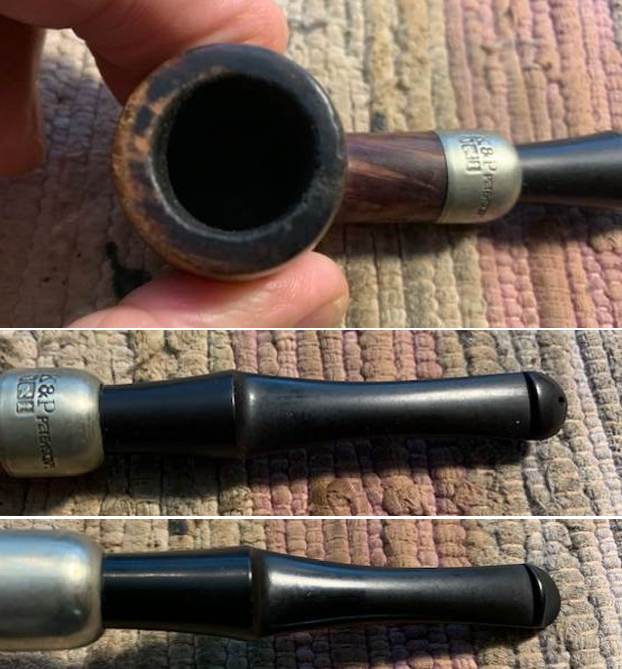
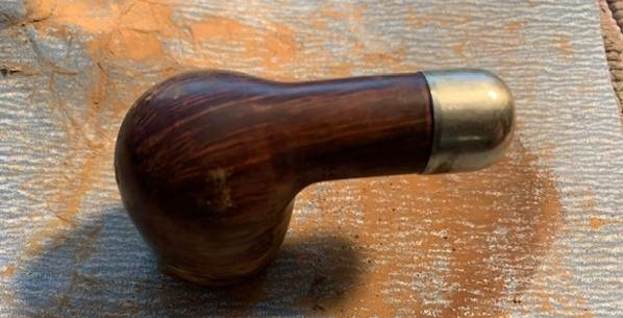
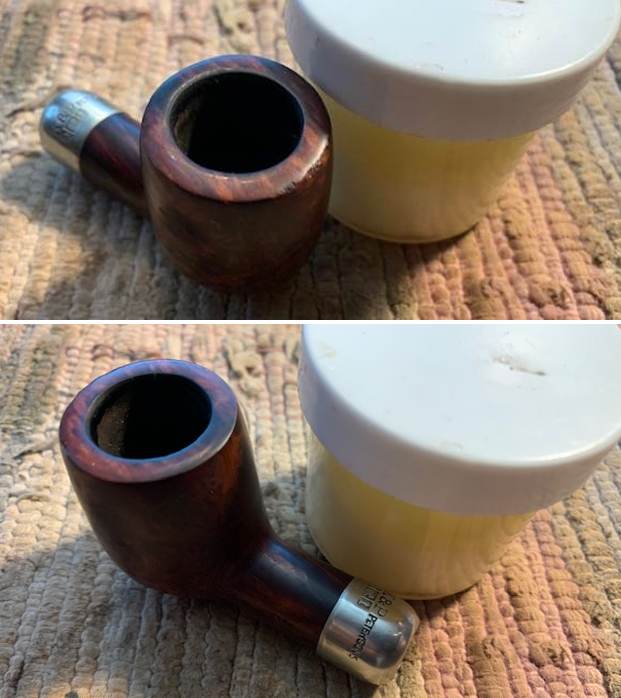
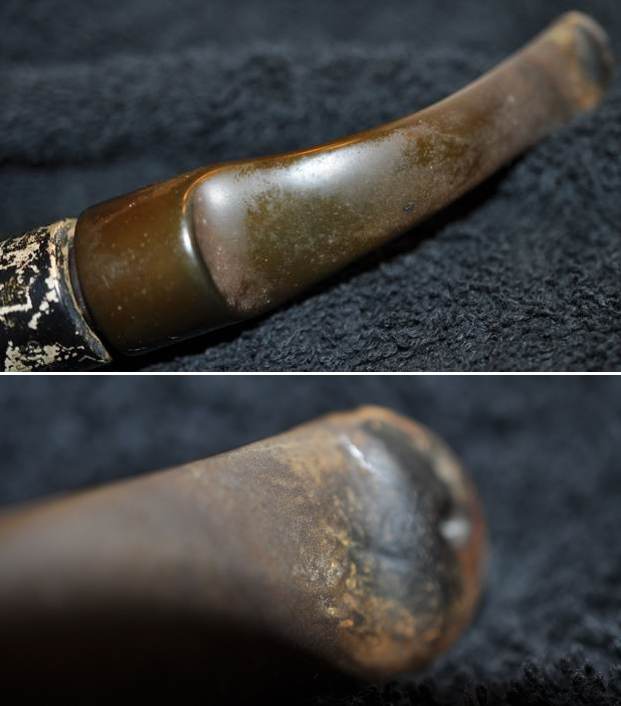
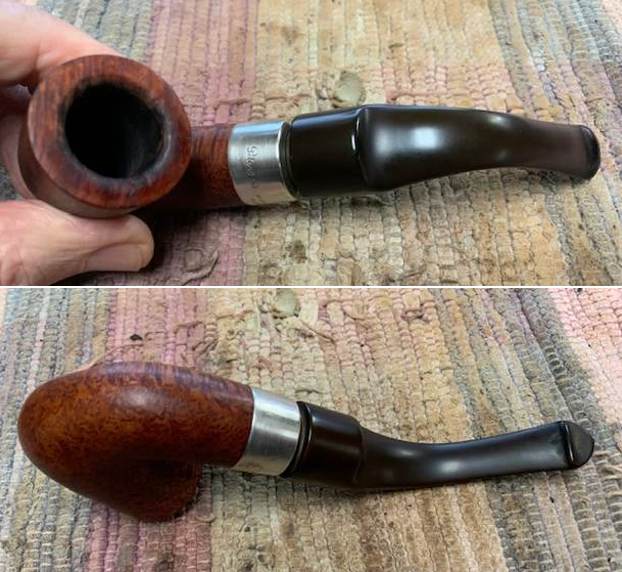
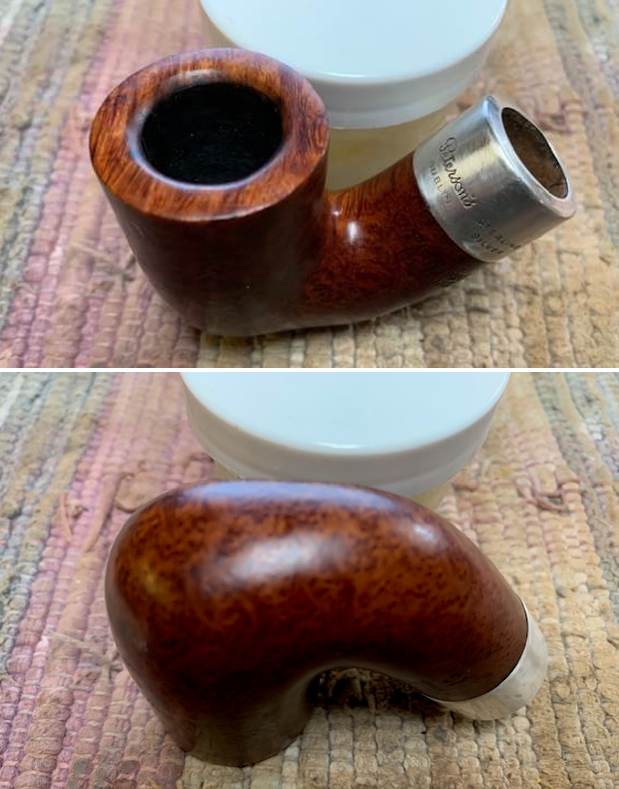
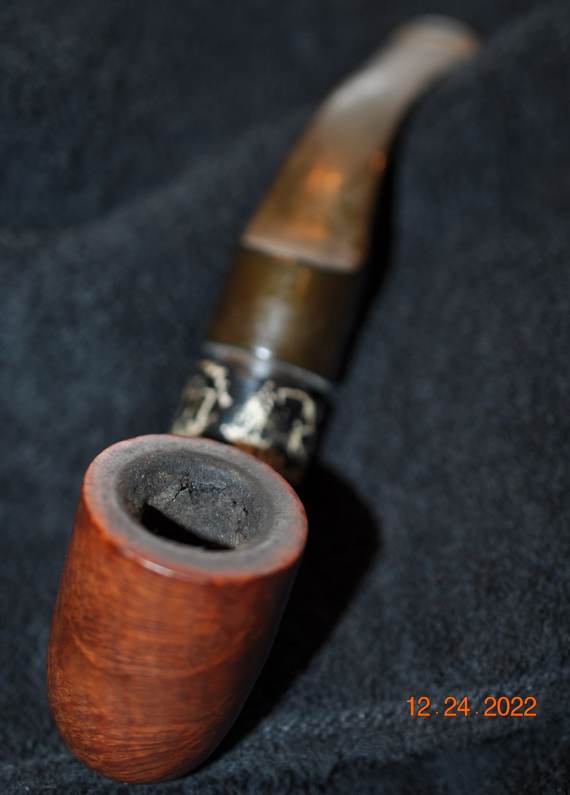 He took photos of the bowl and rim top to show what they looked like before his clean up. He also took some of the stem to show the condition of both sides.
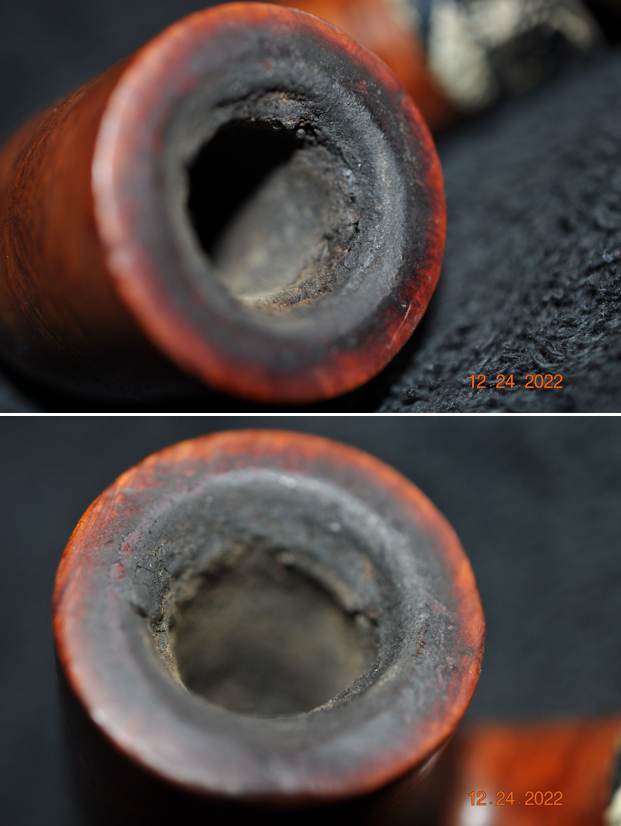
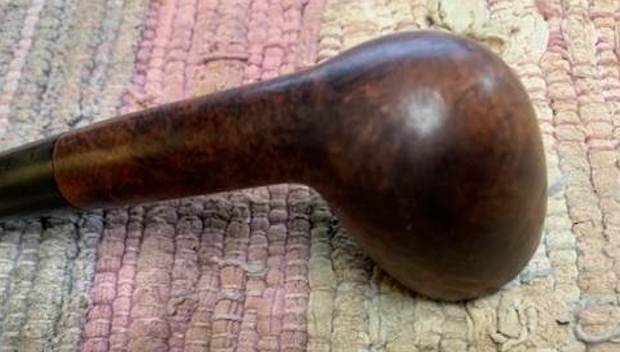
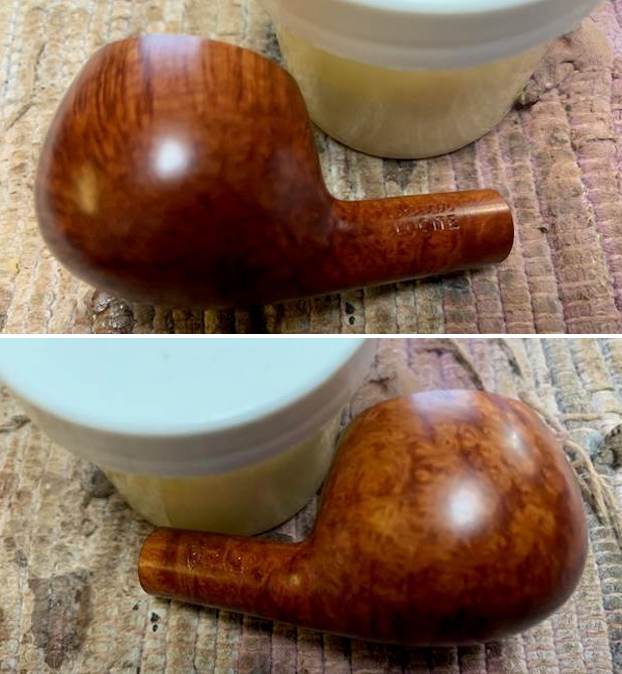
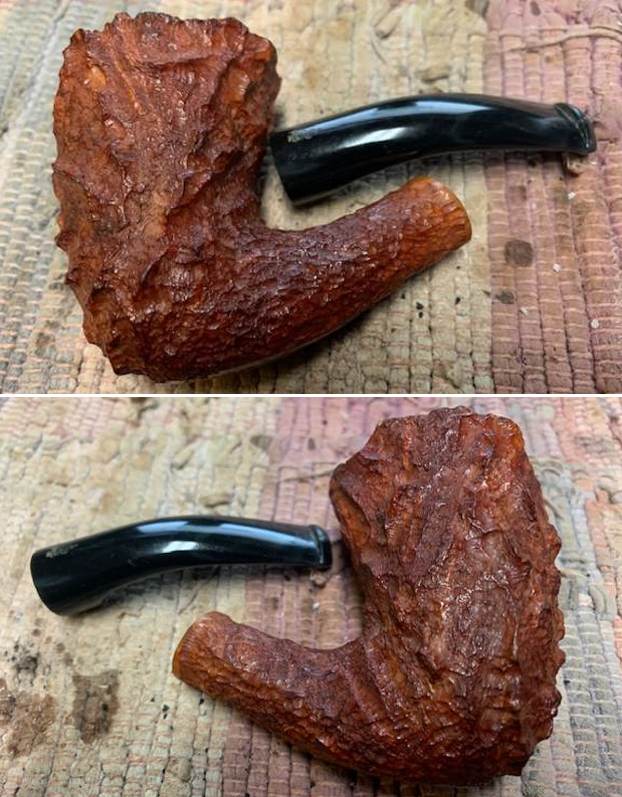
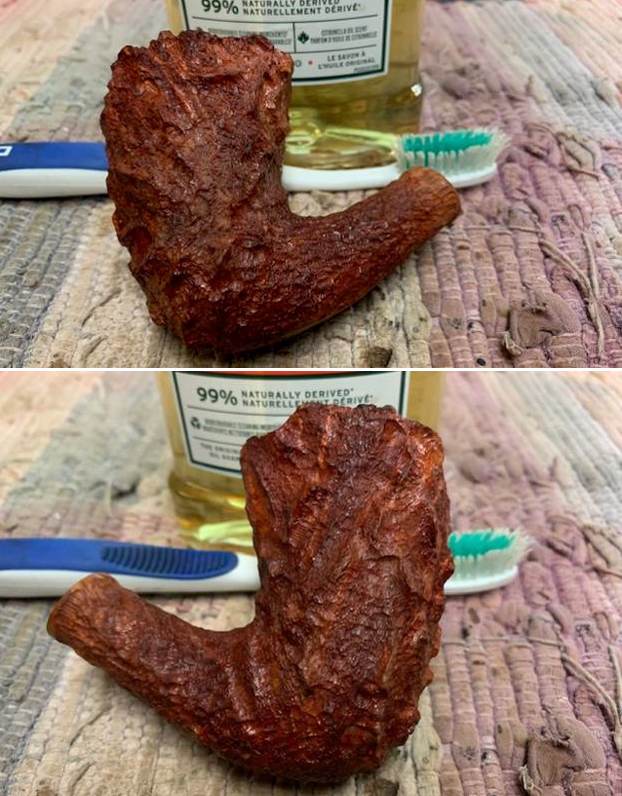
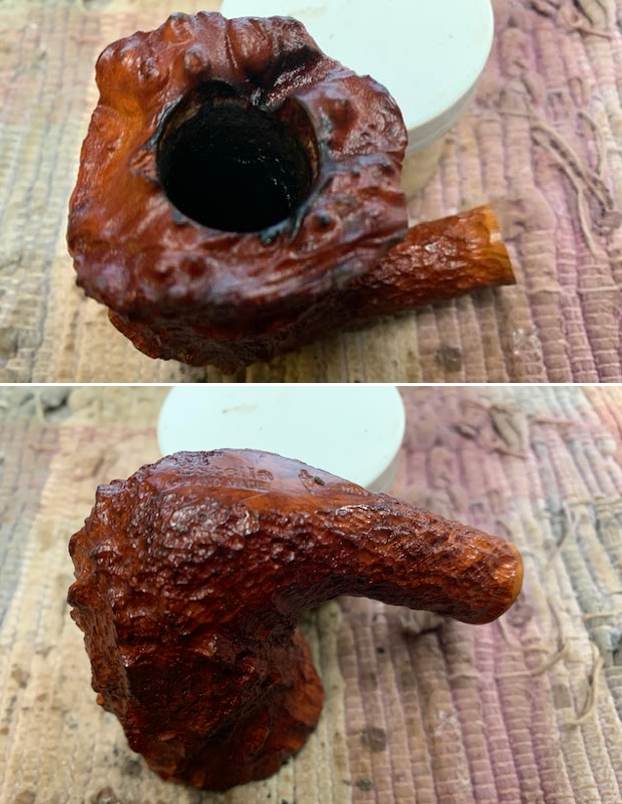
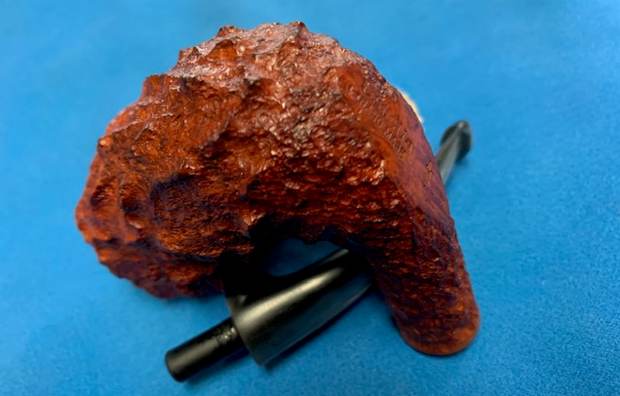
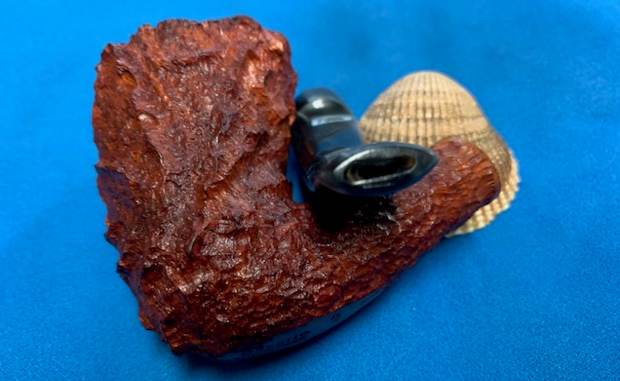
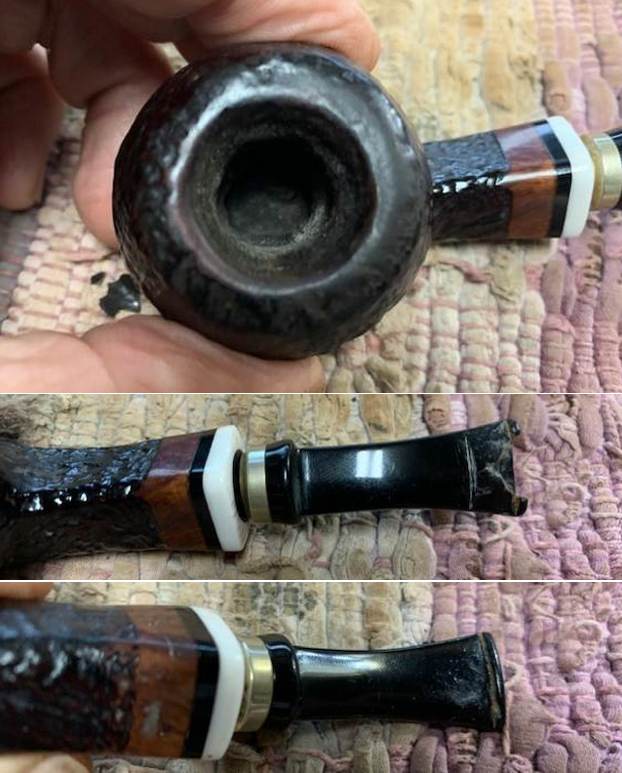
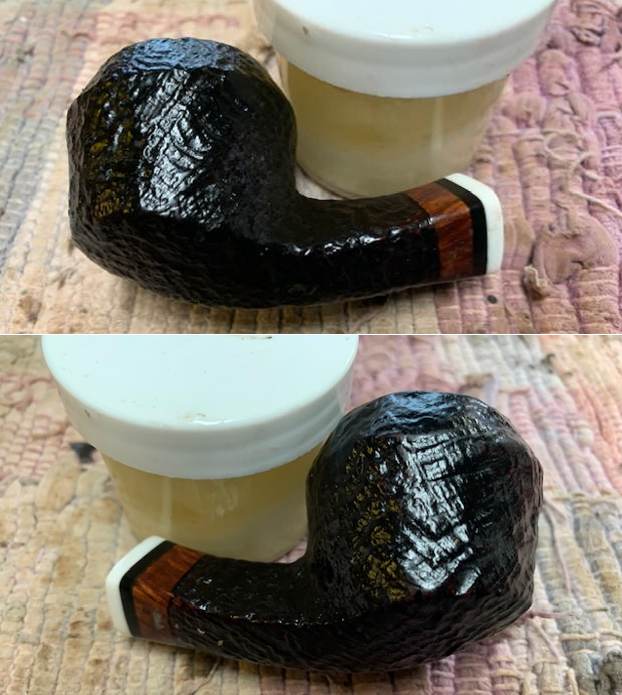
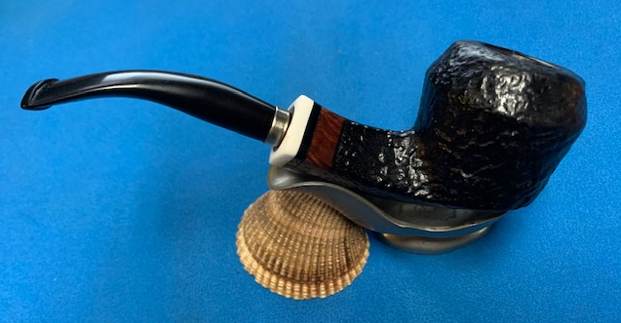
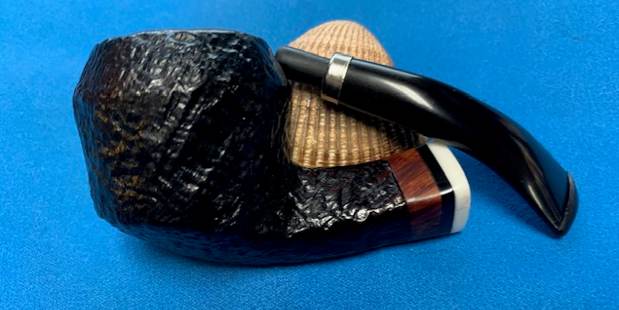
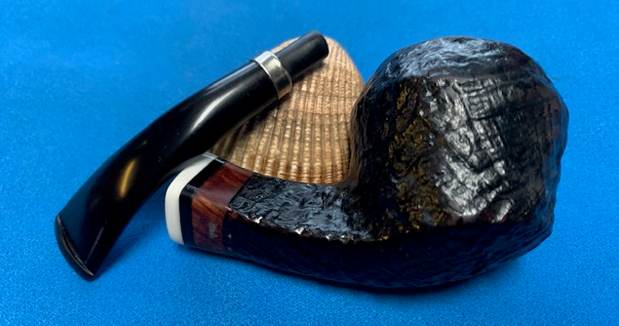
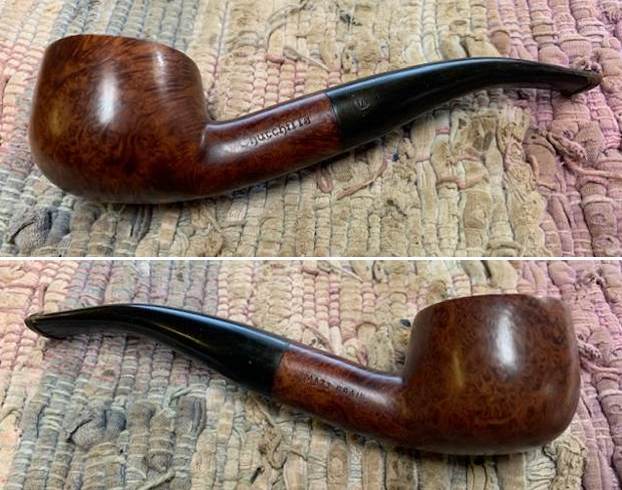
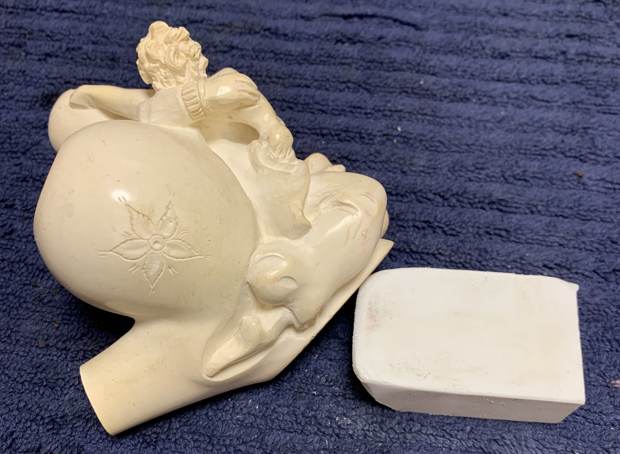
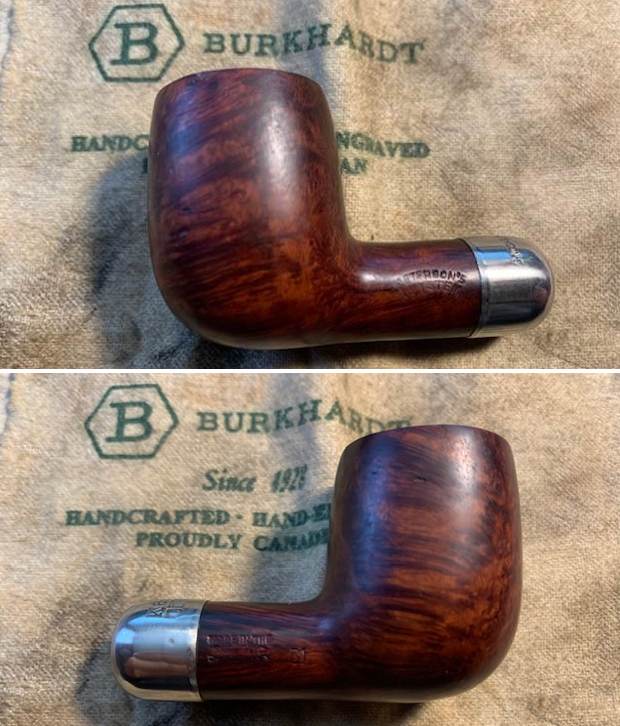
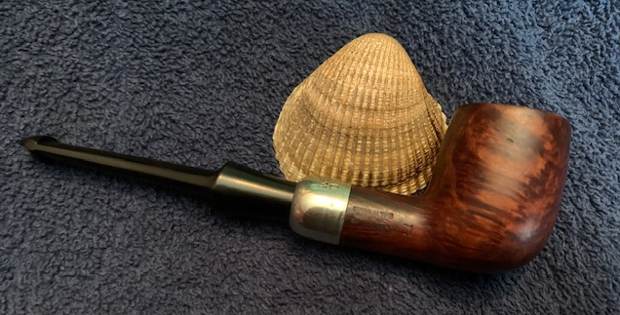
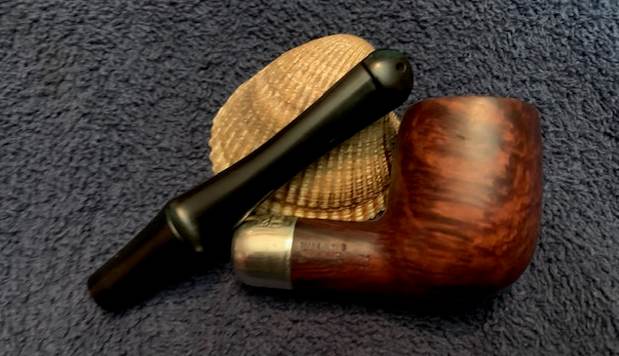
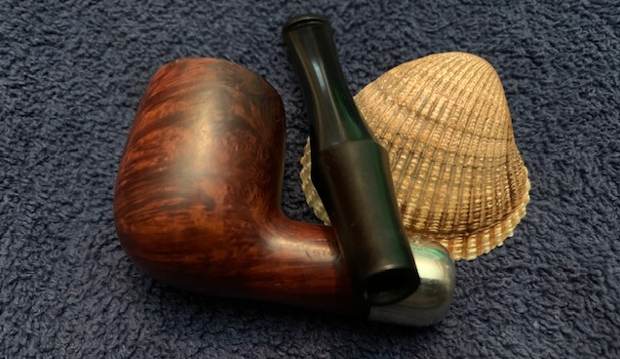
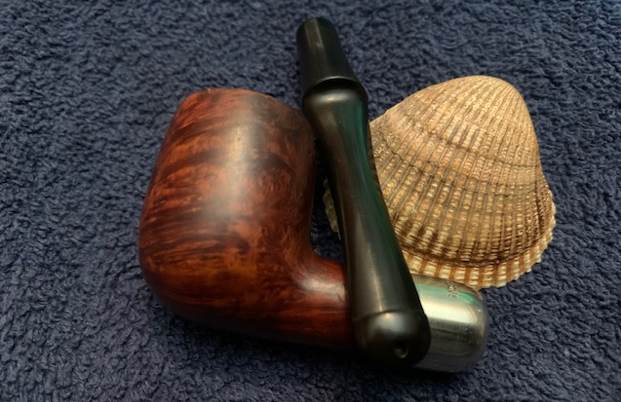
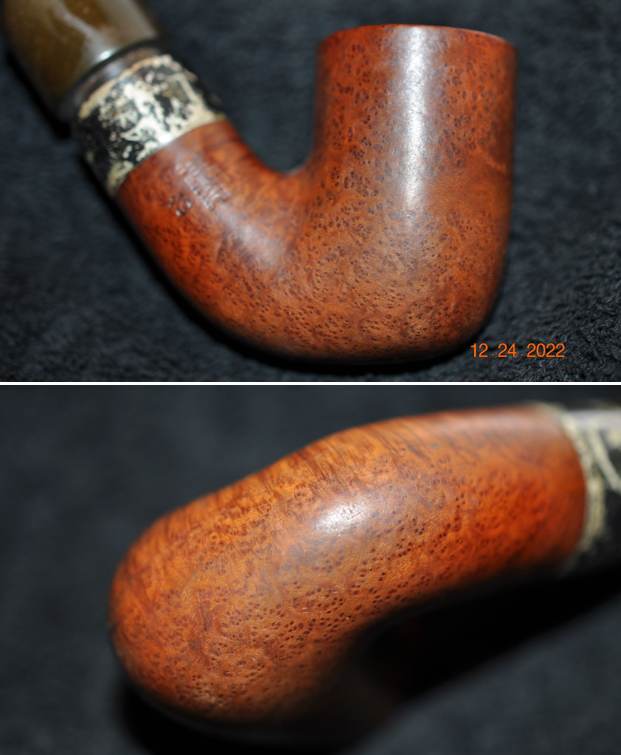
 The photos of the sides and heel of the bowl show the amazing grain around the bowl and shank. The mixture of brown stains adds depth finish on the pipe. Even under the grime it is a real beauty.
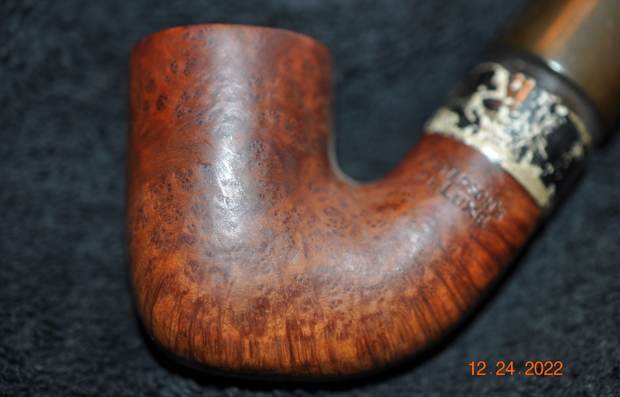
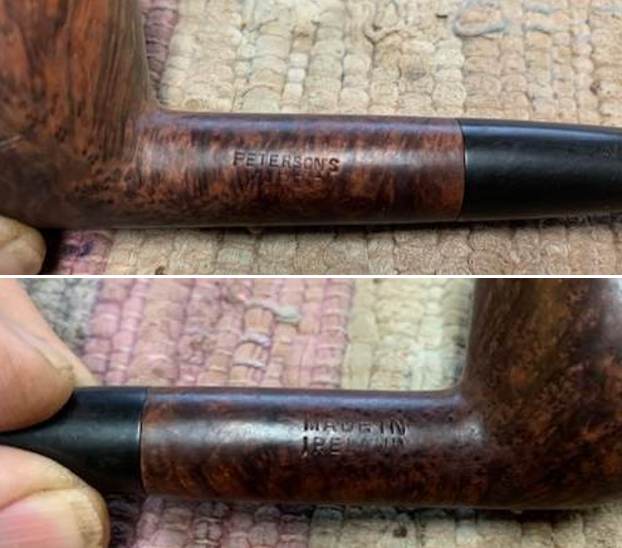
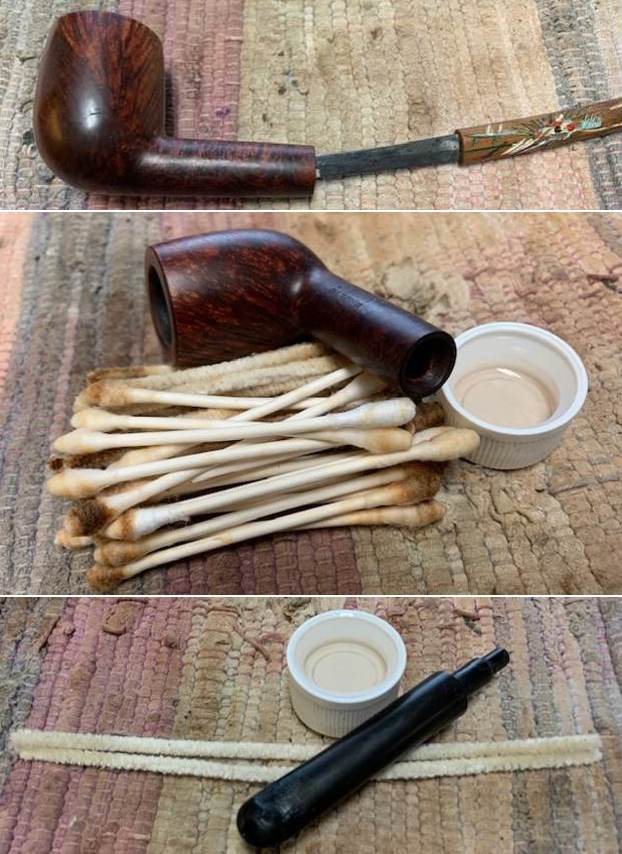
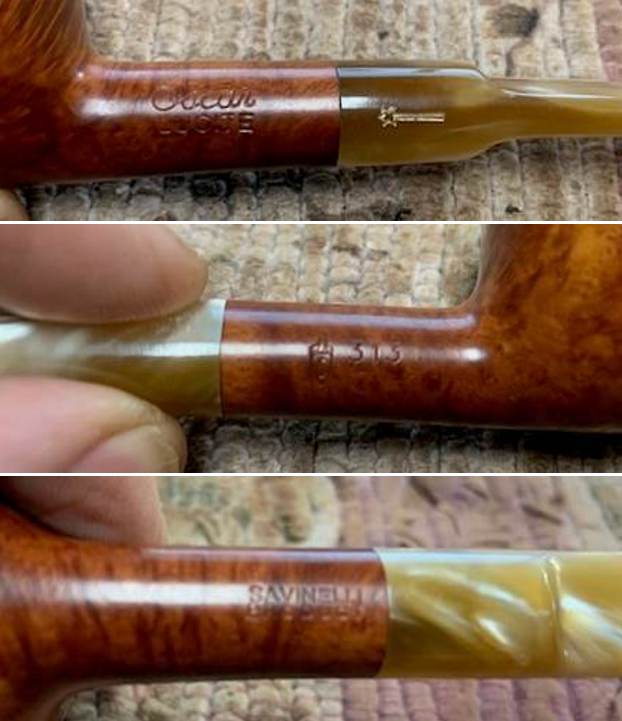
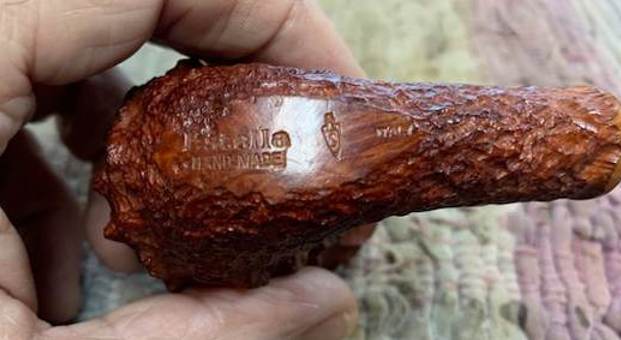
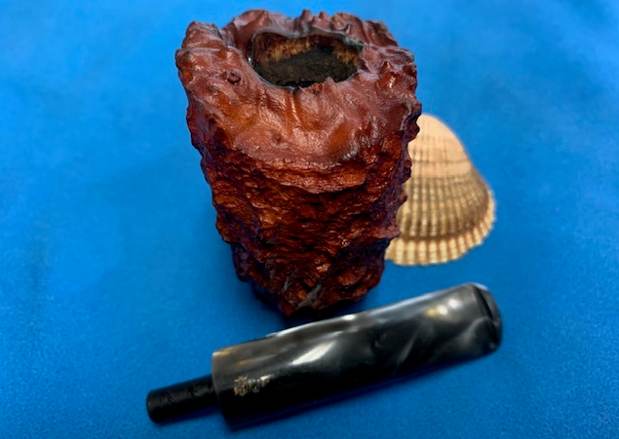
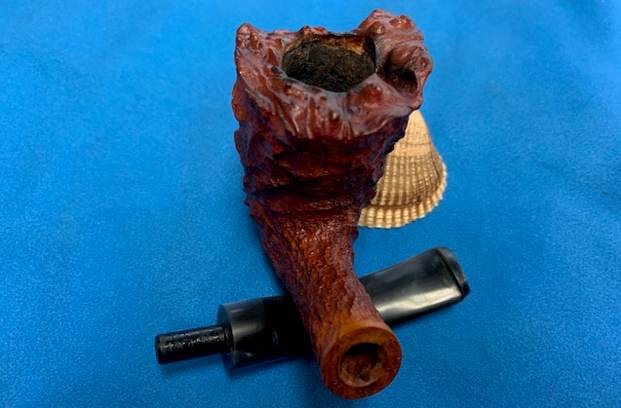
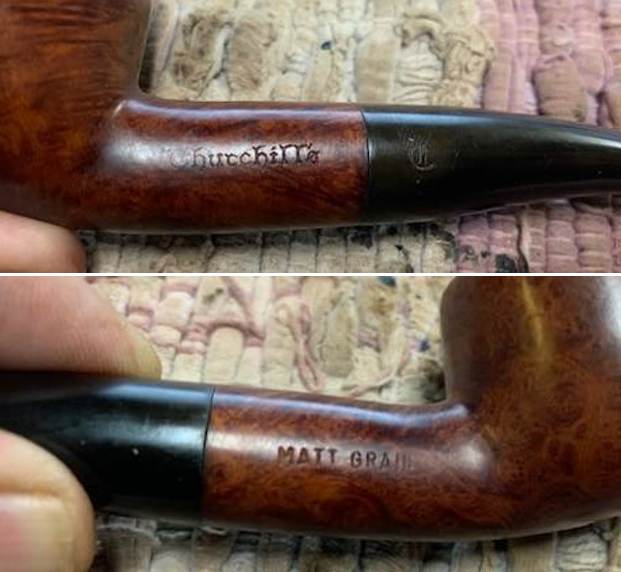
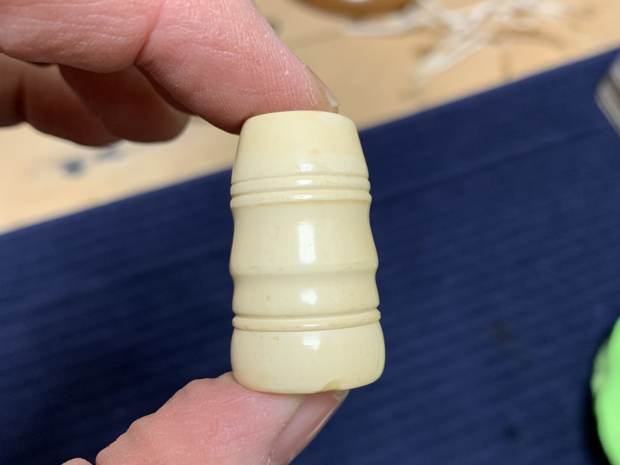
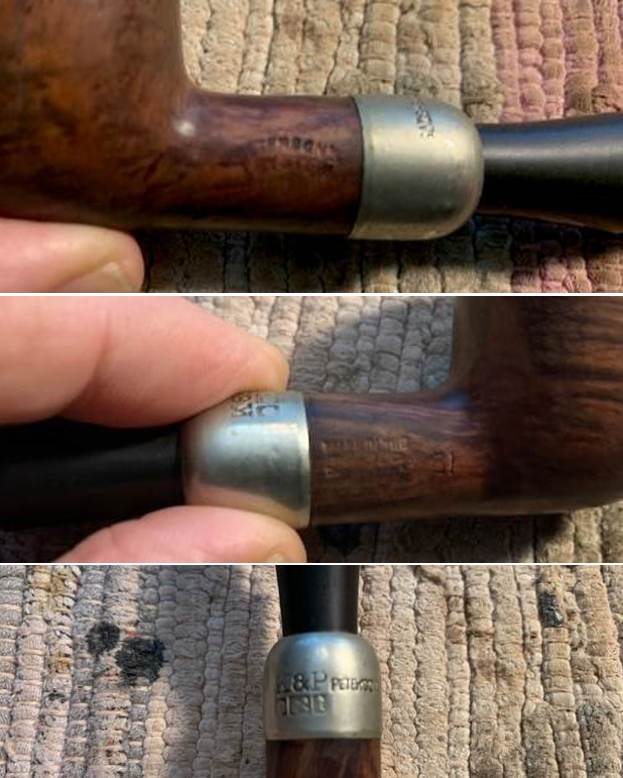
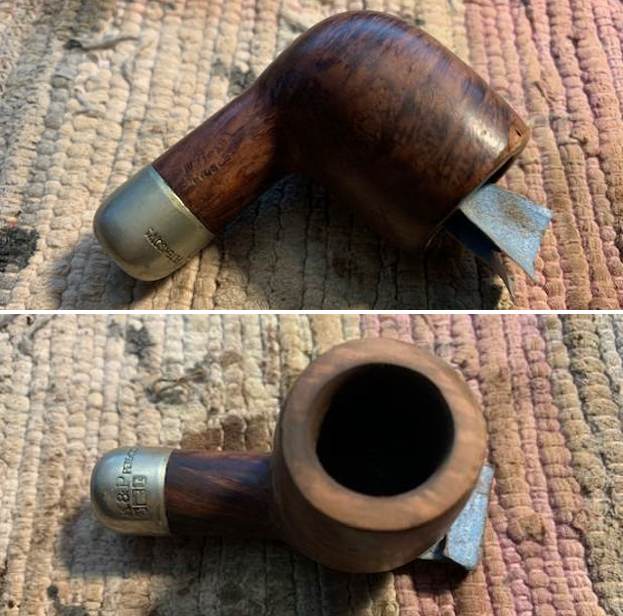
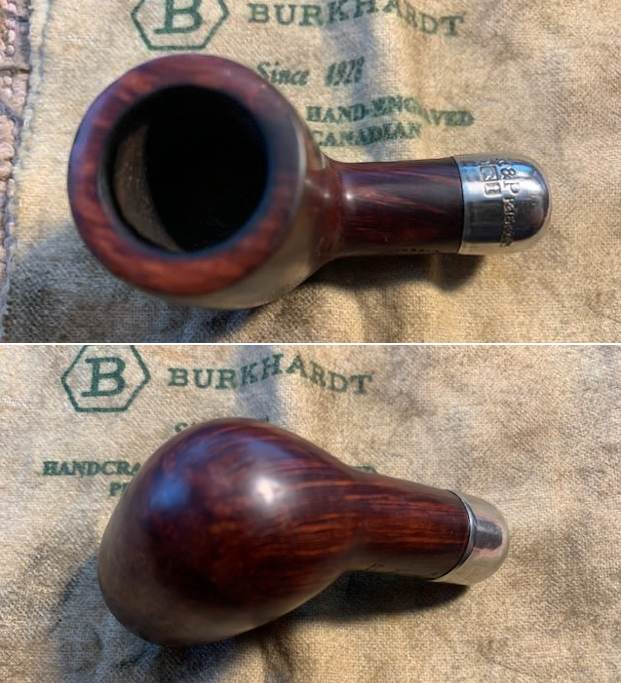
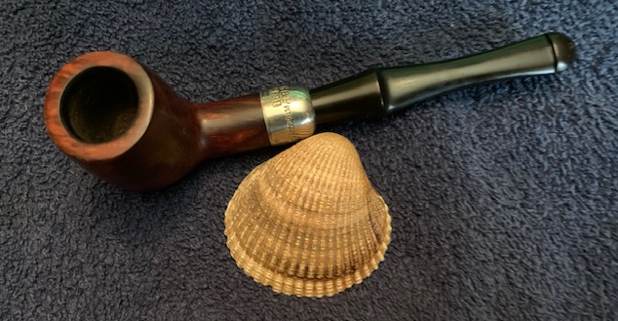
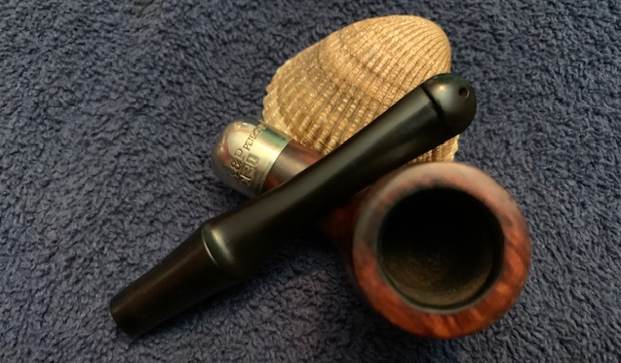
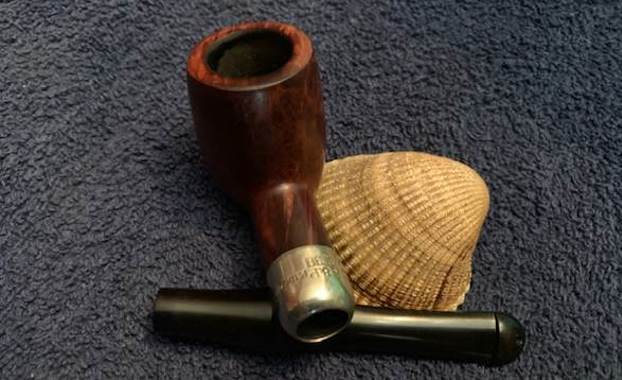
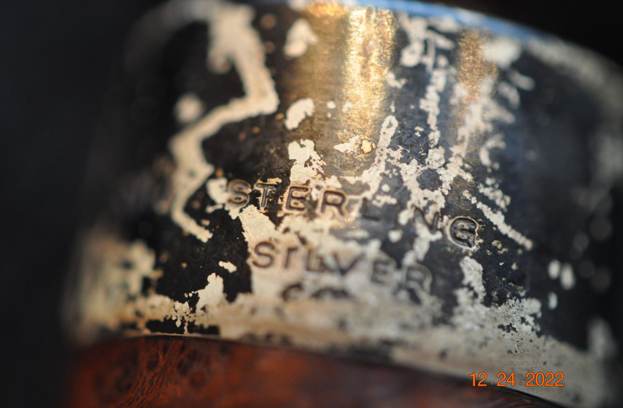
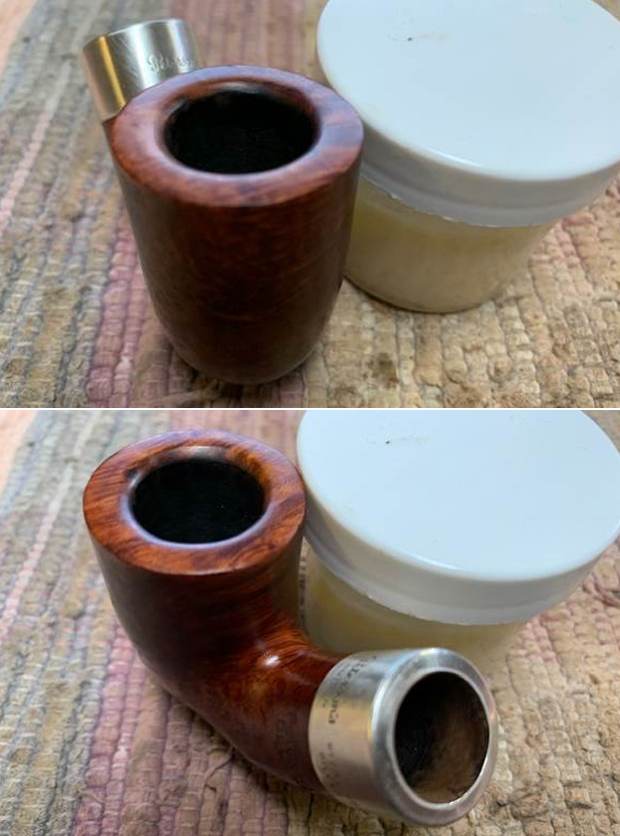
 The stamping on the sides of the shank are shown in the photos below. The are clear and readable as noted above. He also took a photo of the very tarnish shank band/ferrule. Jeff captured the detail in the photo below.
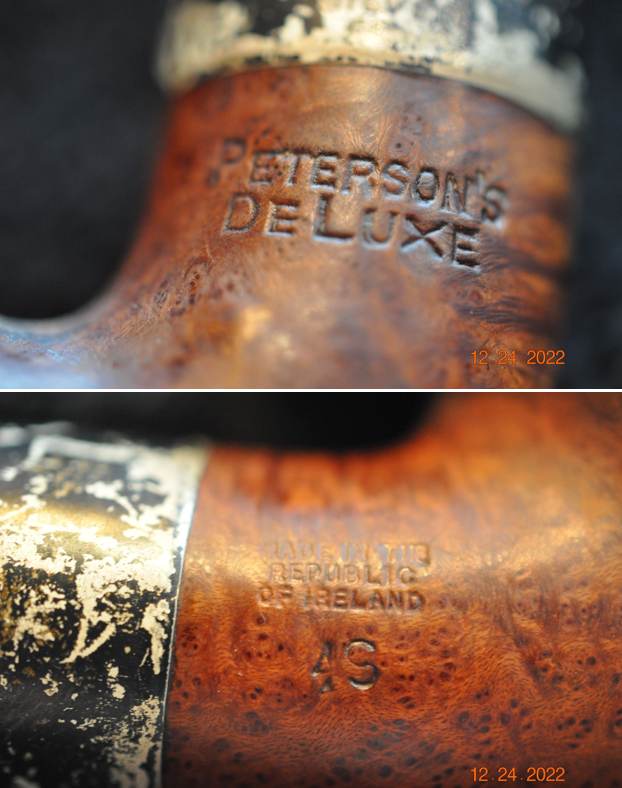
 I am including the information from Pipedia’s article on Peterson pipes. It is a great read in terms of the history of the brand (https://pipedia.org/wiki/Peterson). I have included a bit of the pertinent history here.
1950 – 1989 The Republic Era – From 1950 to the present time, the stamp for this era is “Made in the Republic of Ireland” in a block format generally in three lines but two lines have been used with or without Republic being abbreviated.
During the 1950’s and 60’s the Kapp & Peterson company was still in the ownership of the Kapp family. However 1964 saw the retiral of the company Managing Director Frederick Henry(Harry) Kapp.
I then turned to The Peterson Pipe – The Story of Kapp & Peterson to look up information on the DeLuxe line. There on page 297 I found this information:
De Luxe (1915-) Introduced in newspaper advertising in 1916, production of this high grade smooth finish model may have been stalled by the Great War and domestic disturbances. It will not appear in Peterson’s catalogs until ’37. Specimens documented from 1915 to the 30s are extremely rare and confined to extra-large house pipes and occasionally medium sized pipes with unconventional shapes. Specimens from 1930-50 in a wide selection of Classic Range shapes, often as Canadians. Catalogs from 1937-50 list it as “the finest possible quality obtainable.” After ’50 the Supreme would supplant the De Luxe as the top of the line model, and to this day the De Luxe is a high quality pipe but not the highest. Early models often have no COM. Models from the twenties until the sixties will be stamped Irish over Free State, Eire, London Made over England, Made in over Ireland (forming a circle) or Made in the over Republic over Ireland. The last three COM stamps, used from’38 through ’68 when no hallmarks were stamped on the Peterson mountings can never be precisely dated. If a De Luxe was made in ’69 or later it will be hallmarked with the date designator and always have a Republic COM.
With that information in hand I knew what I was dealing with in terms of the stamping and the age of this pipe. I knew from the information that the pipe was made during the Republic Era between 1950 and the present day. The COM stamp on the shank and the hallmarks (even though unreadable in terms of the date stamp) help me to know that the pipe came out after 1969. Now it was time to work on the pipe.
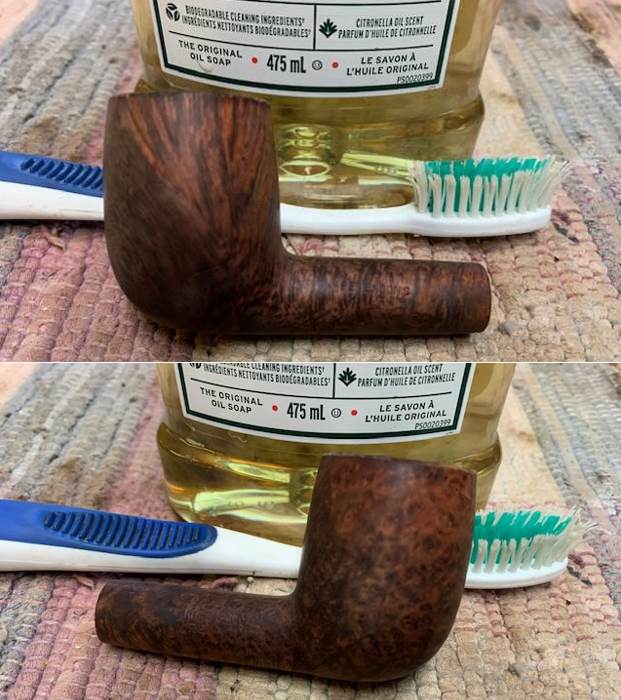
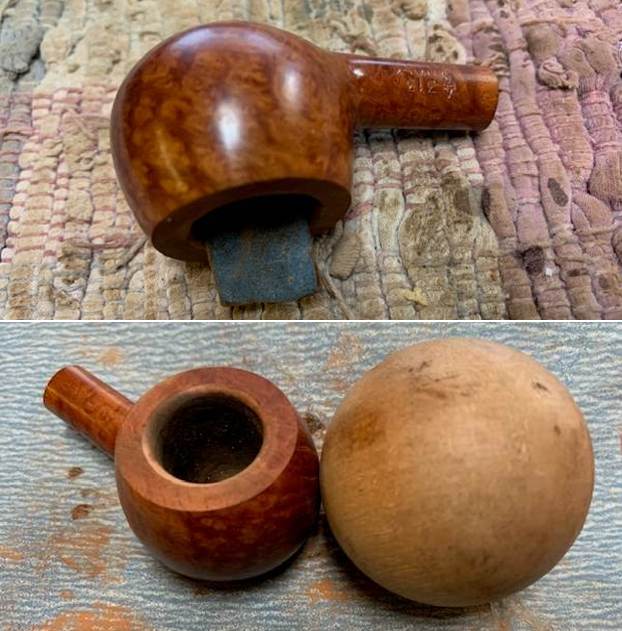
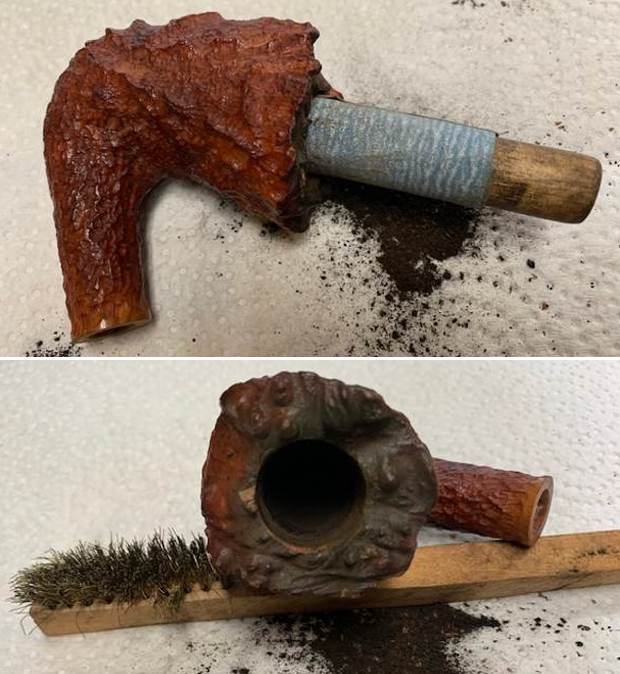
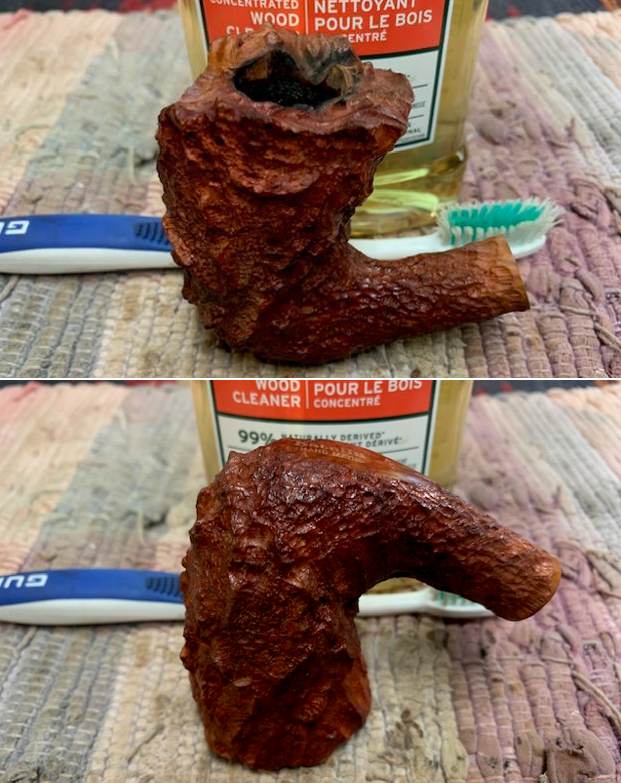
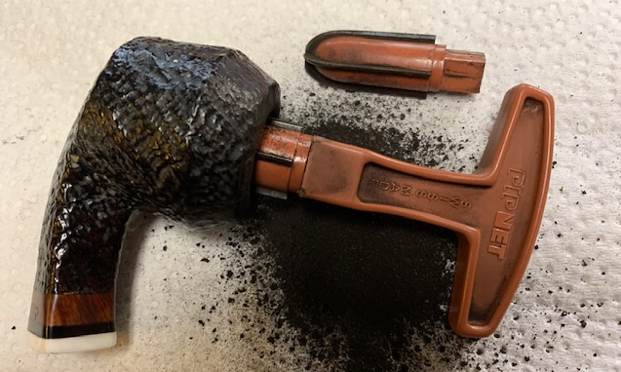
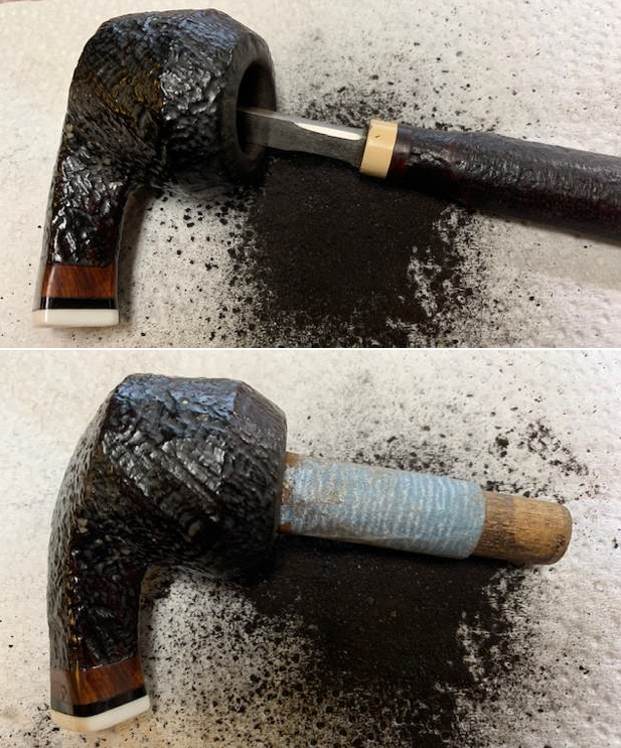
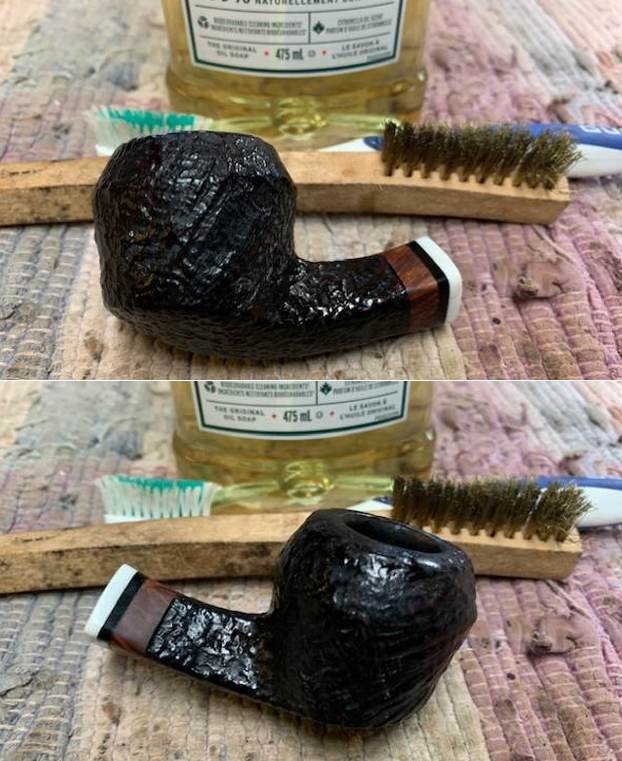
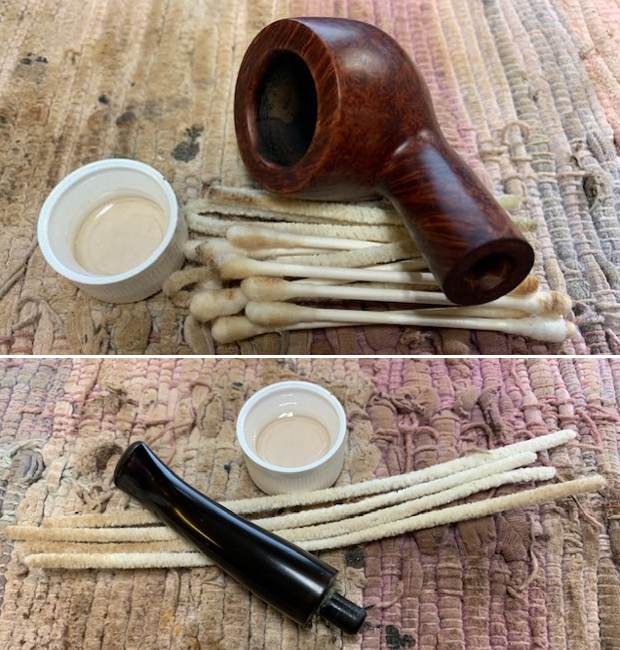
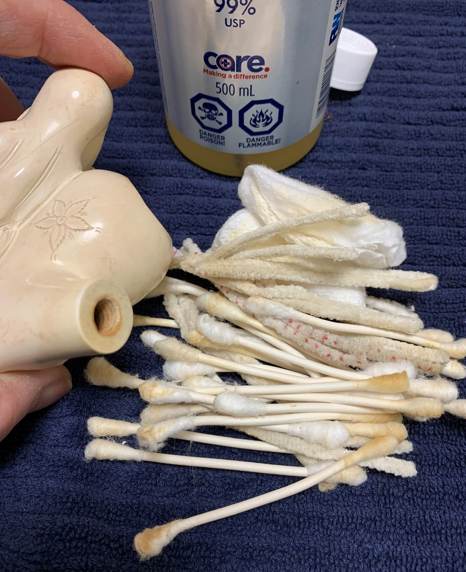
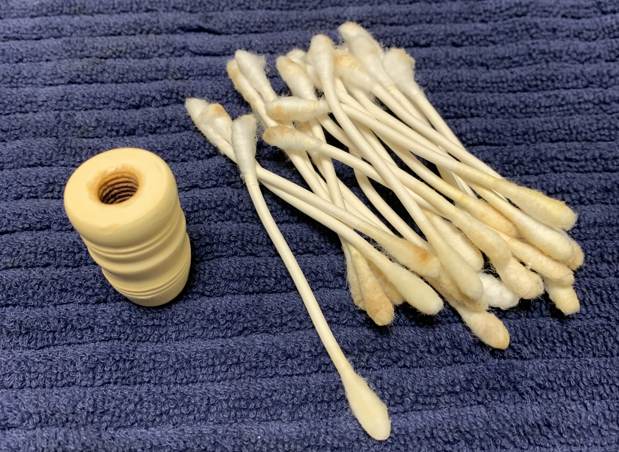
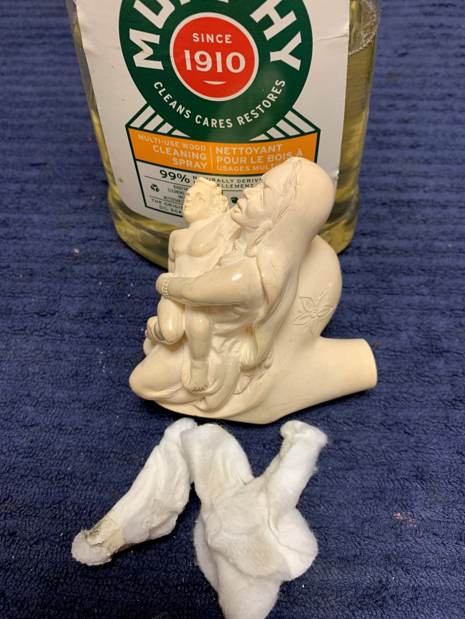
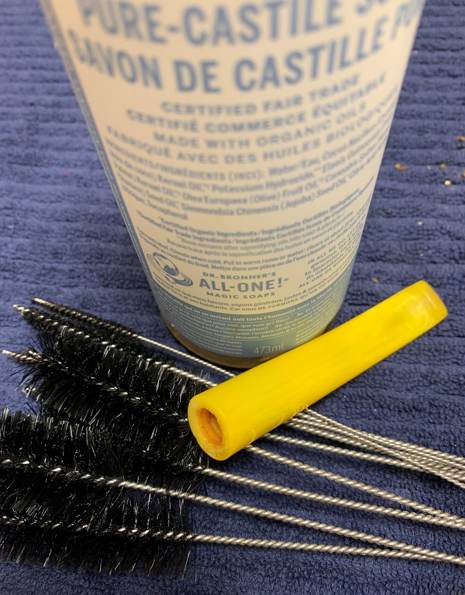
Jeff had thoroughly cleaned up the pipe. He reamed the pipe with a PipNet Pipe Reamer and cleaned up the remnants with a Savinelli Fitsall Pipe Knife. He scrubbed the bowl with undiluted Murphy’s Oil Soap with a tooth brush. He rinsed it under running warm water to remove the soap and grime. He cleaned out the inside of the sump in the shank and the airway in the stem with alcohol, cotton swabs and pipe cleaners. He scrubbed the exterior of the stem with Soft Scrub to remove as much of the oxidation and calcification as possible. He soaked the stem in Before & After Deoxidizer and rinsed it off with warm water. 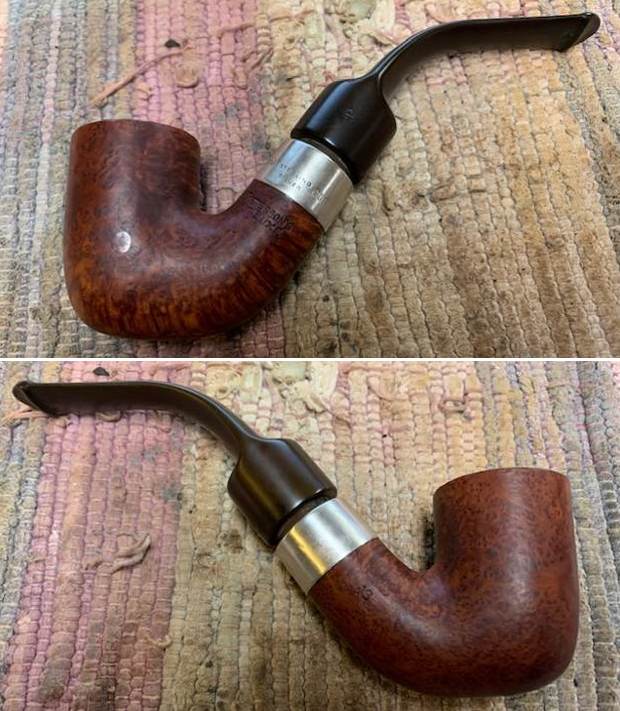
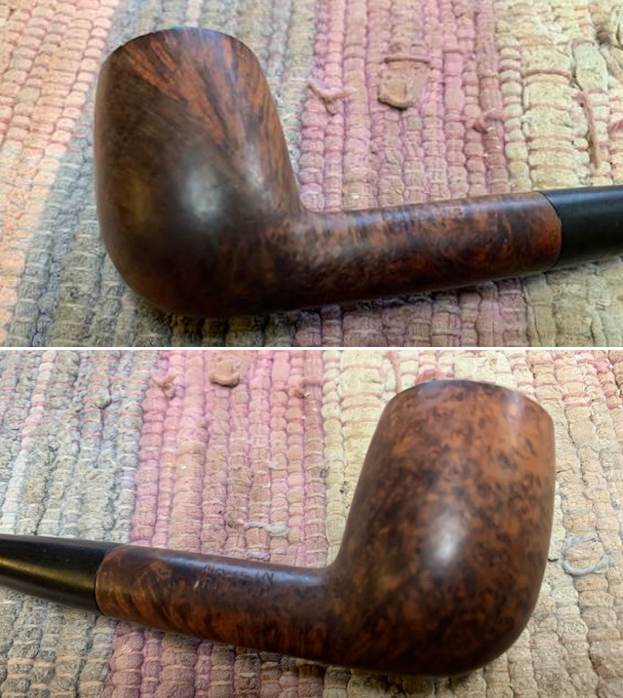
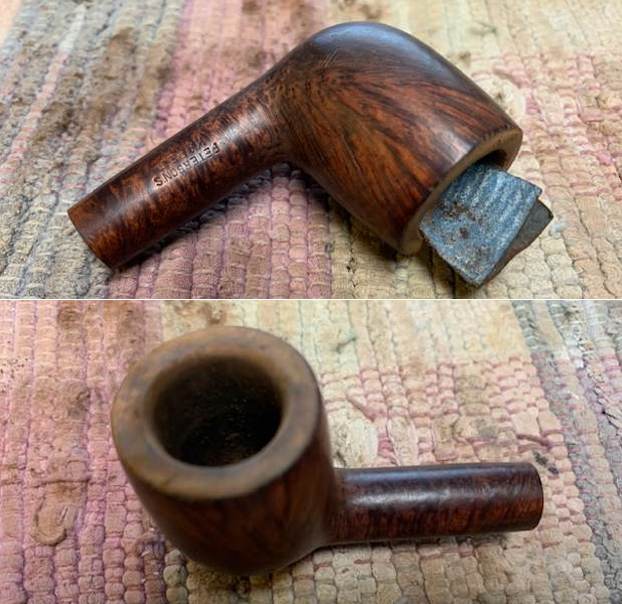
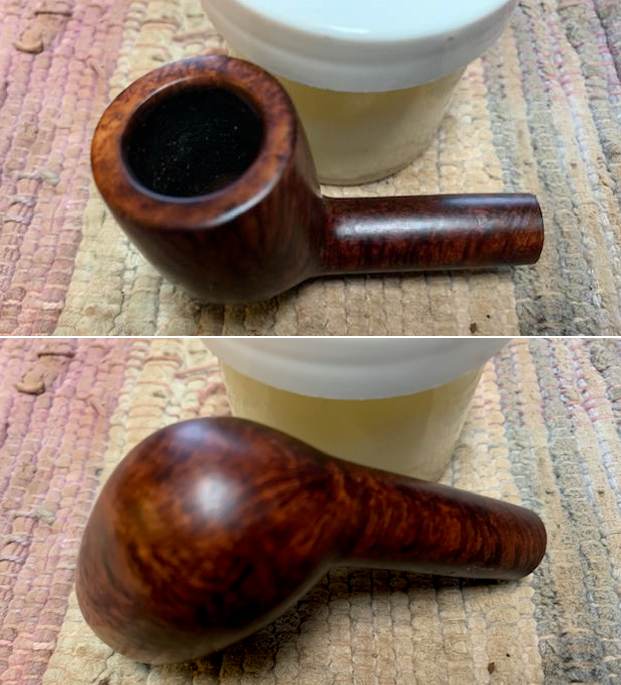
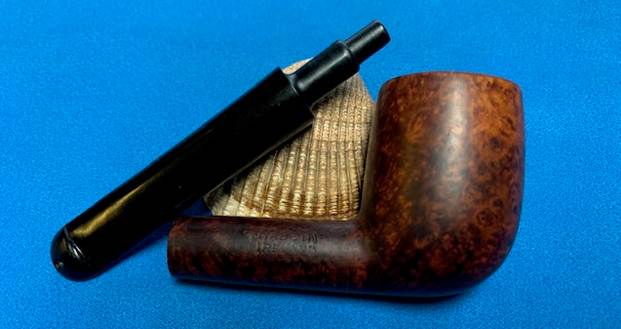
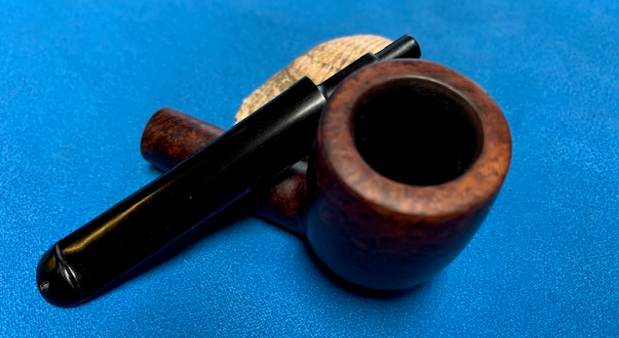
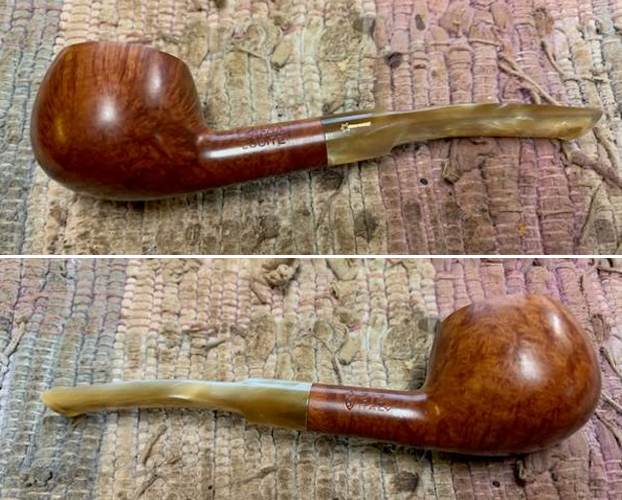
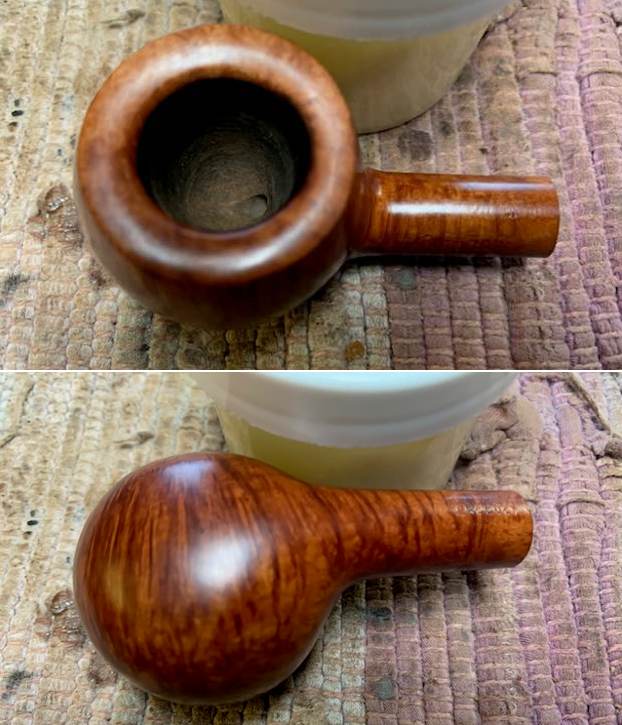
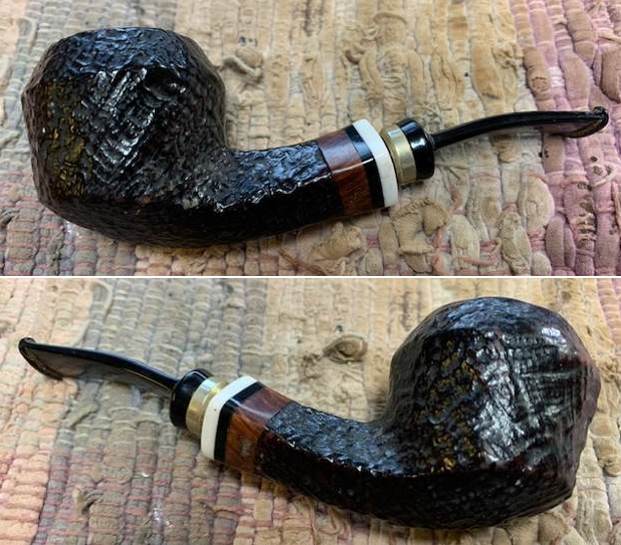
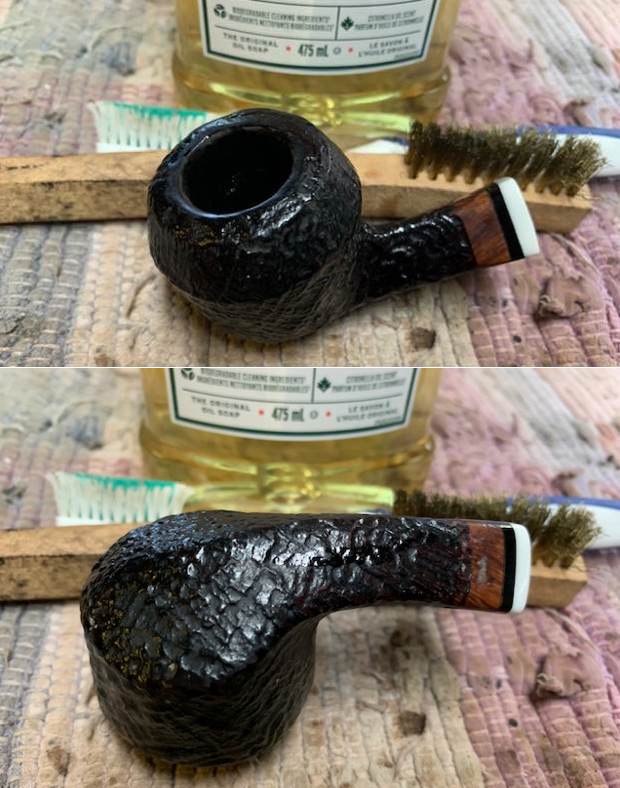
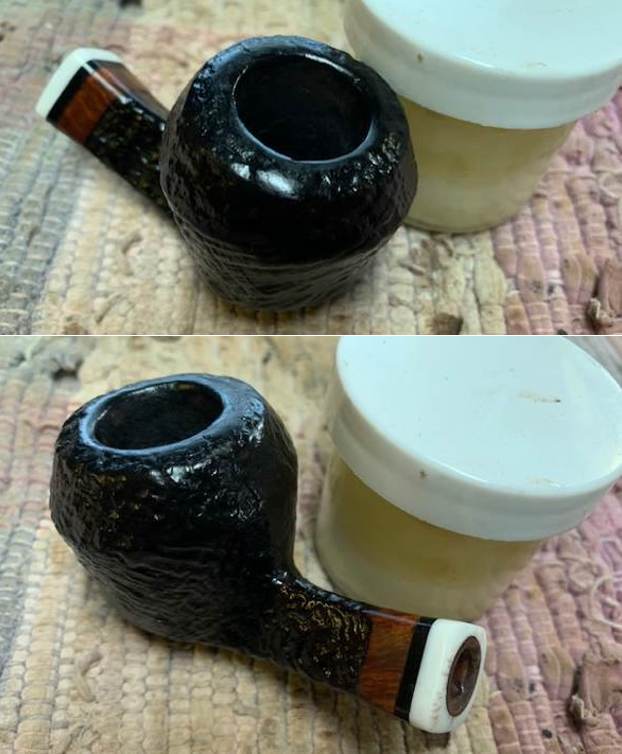
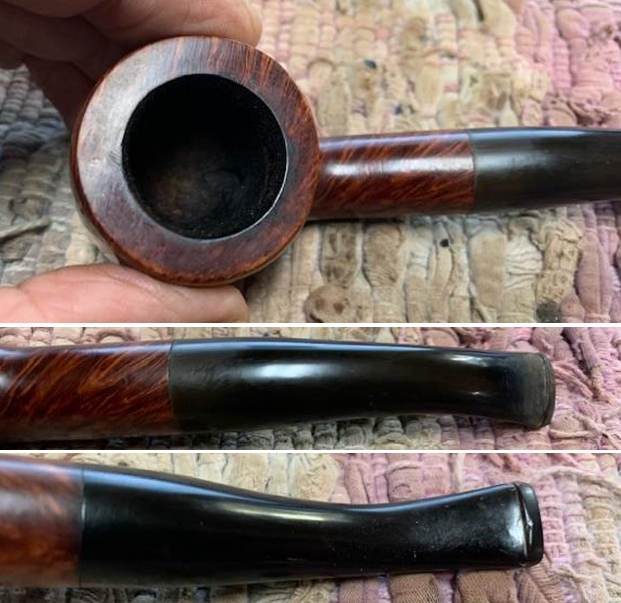
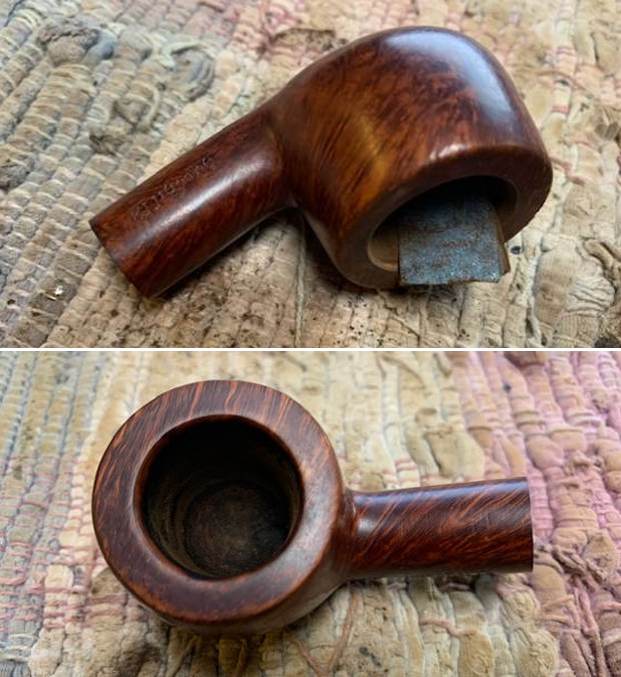
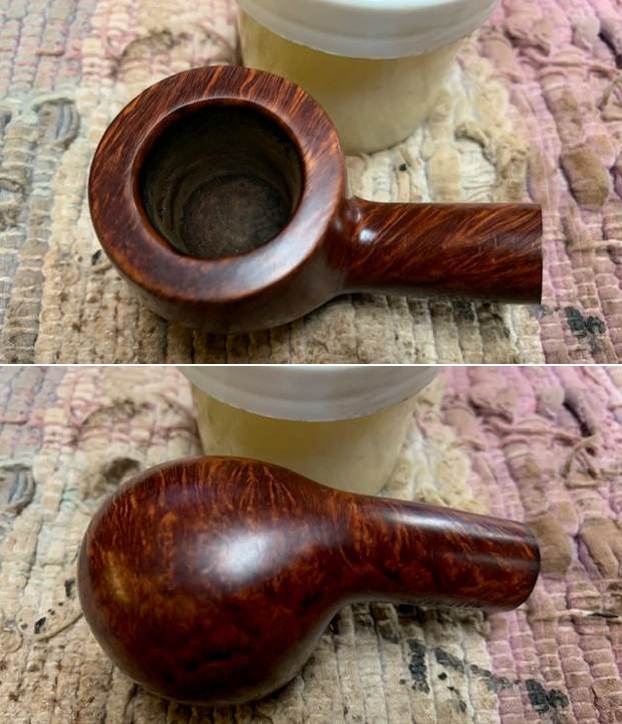
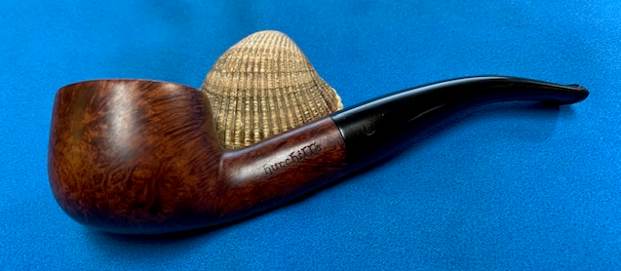
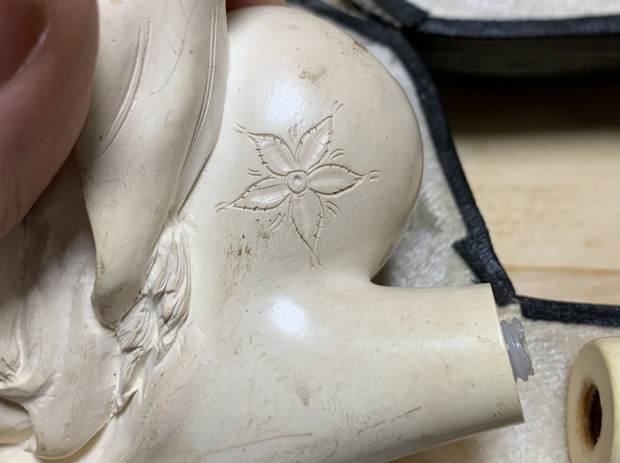
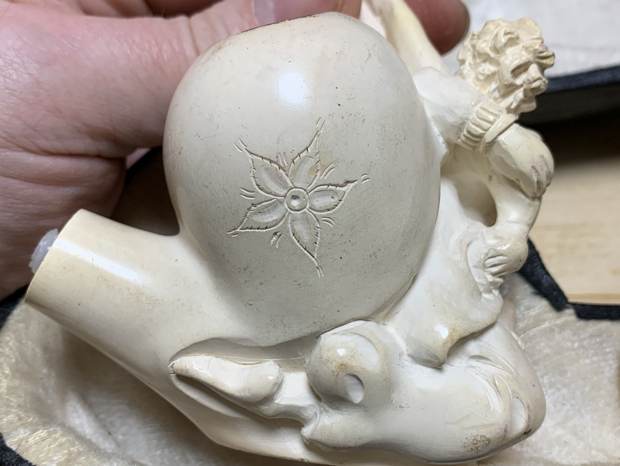
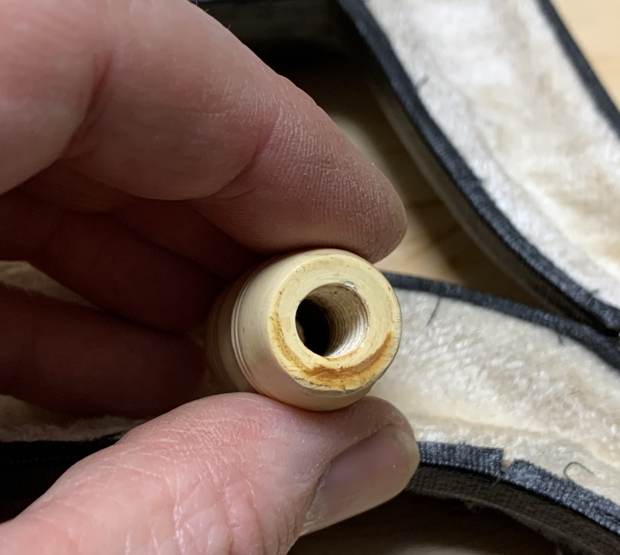
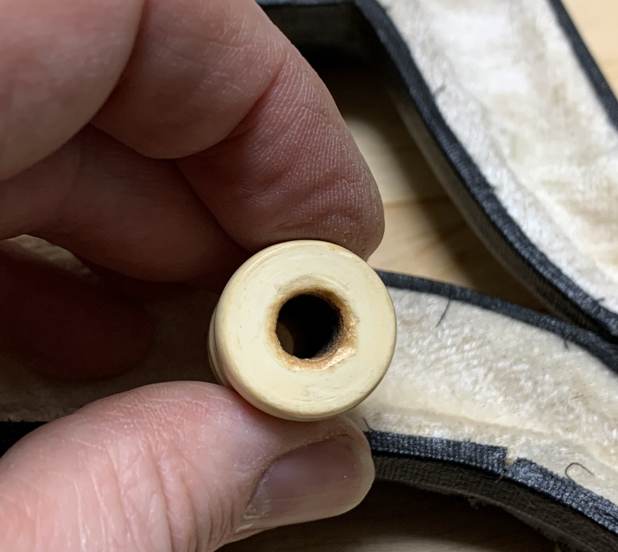
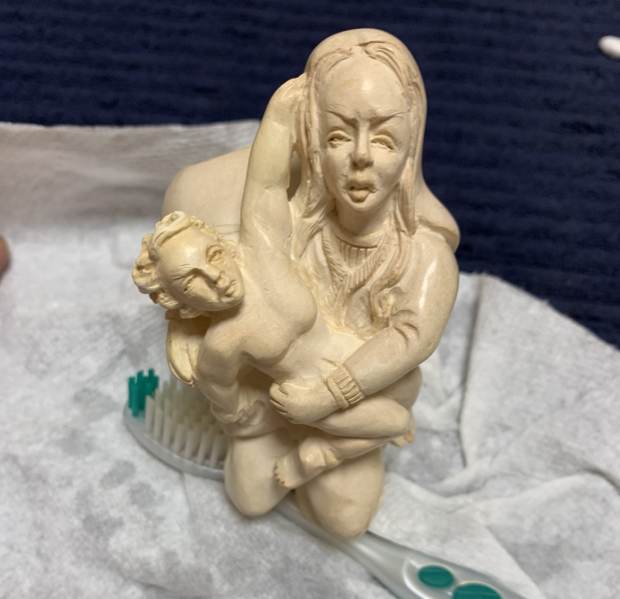
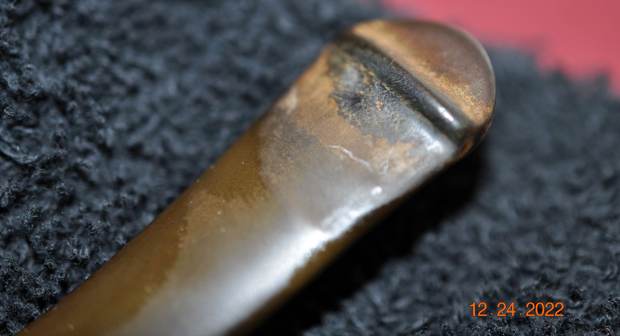
 I took close up photos of the bowl, rim and the stem. You can see how clean the bowl and rim top and edges are. There is some slight damage on the inner edge and scratches on the rim top. The stem is in good condition with tooth marks and some chatter as noted above.
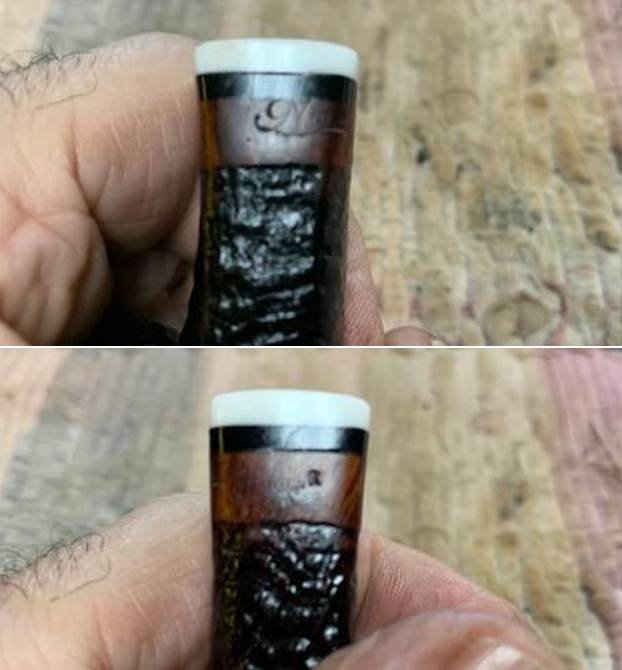
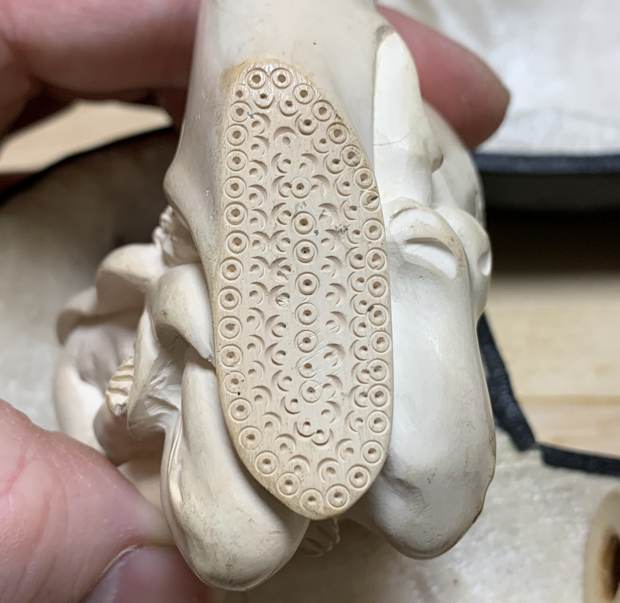
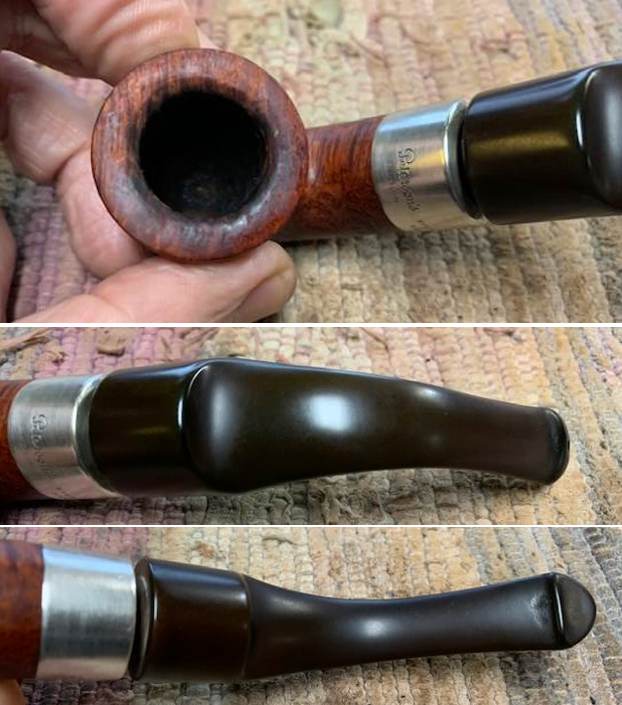 I took photos of the stamping on the sides of the shank. All are clear and readable as noted above. You can see the faint P stamp on the left side of the stem in the first photo below.
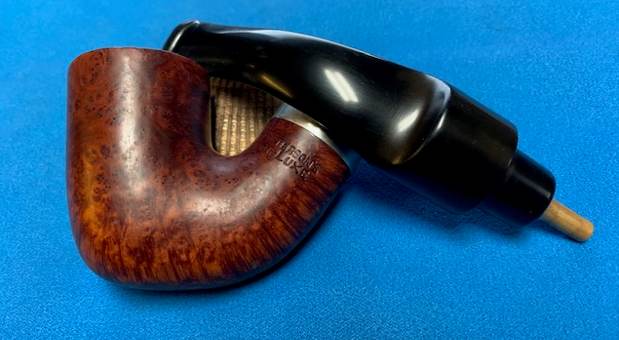
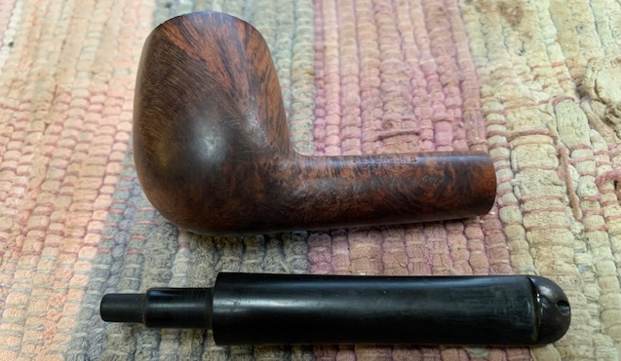
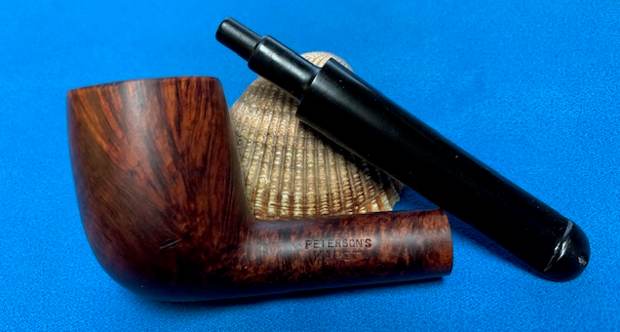
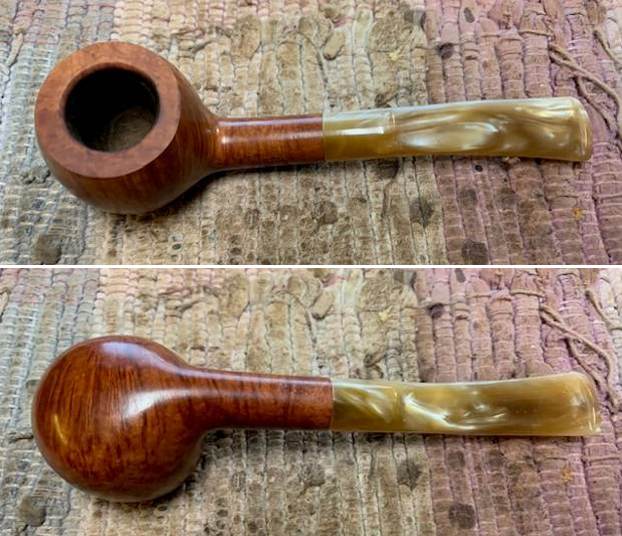
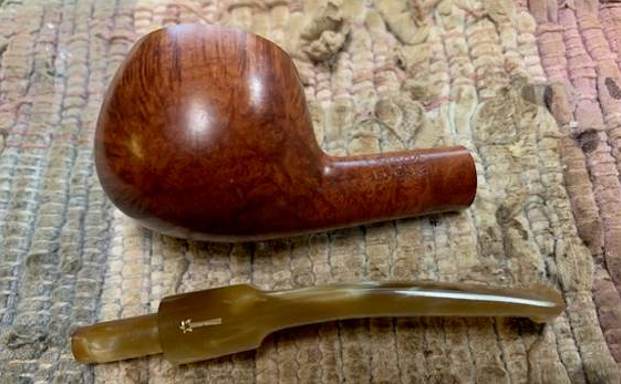
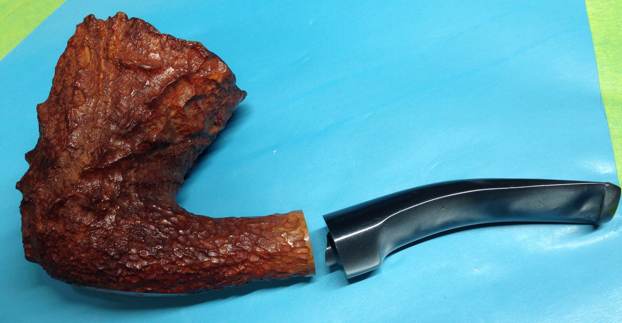
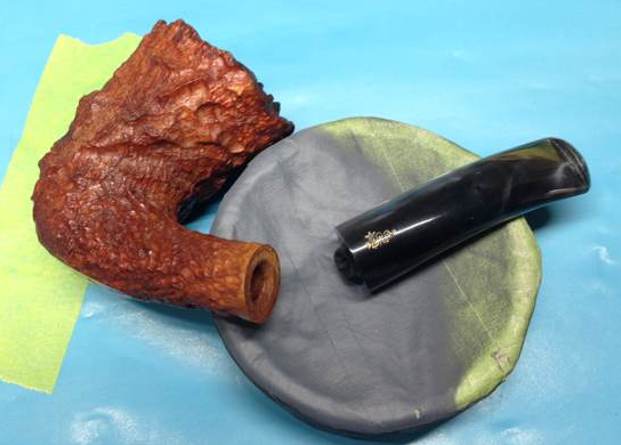
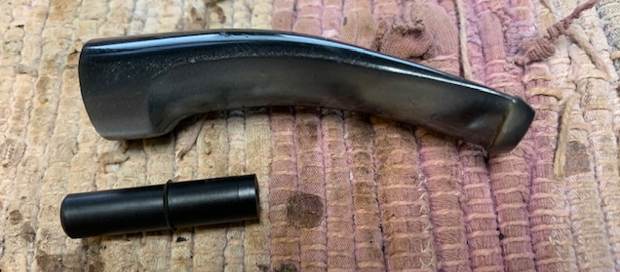
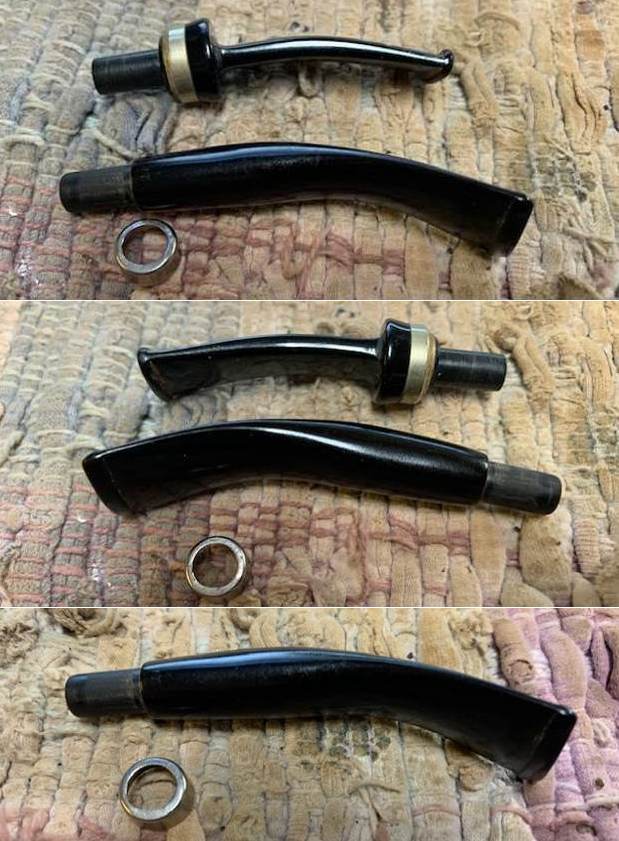
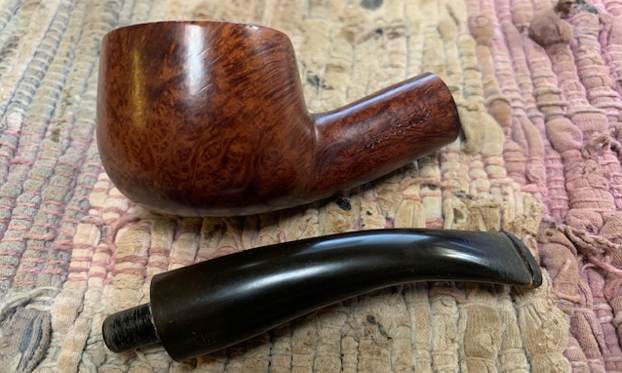
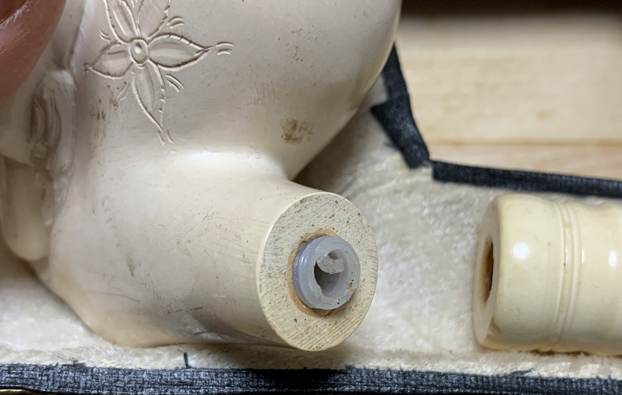
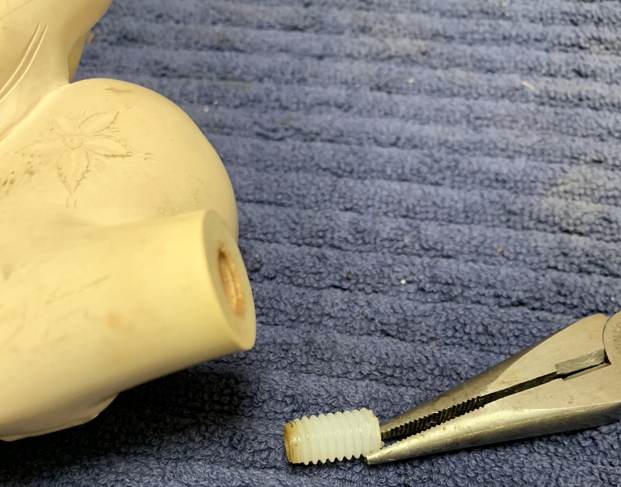
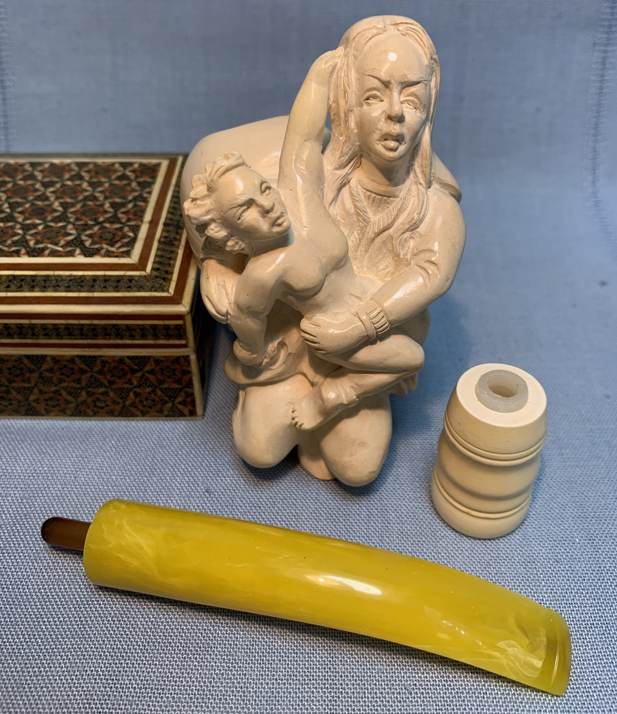
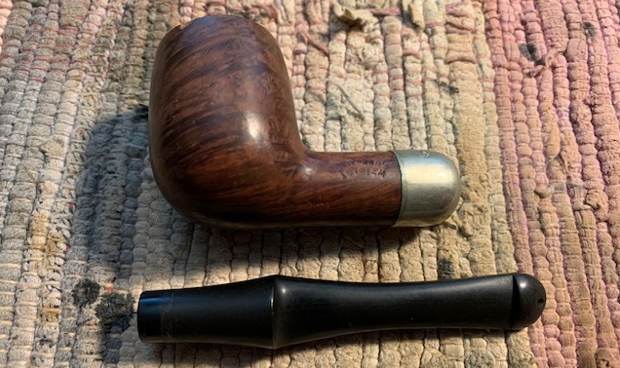
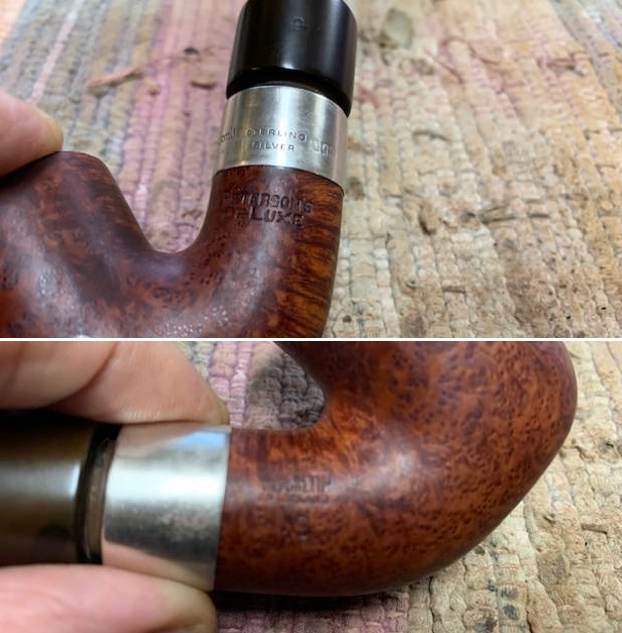 I removed the stem from the shank and took a photo to give a sense of the proportions of the pipe. The chunky shank and stem together make for a classic Peterson’s Pipe.
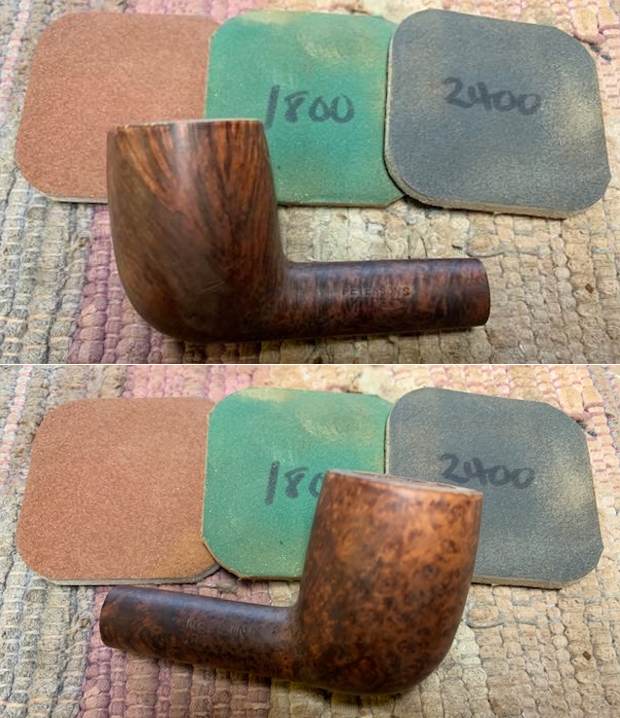
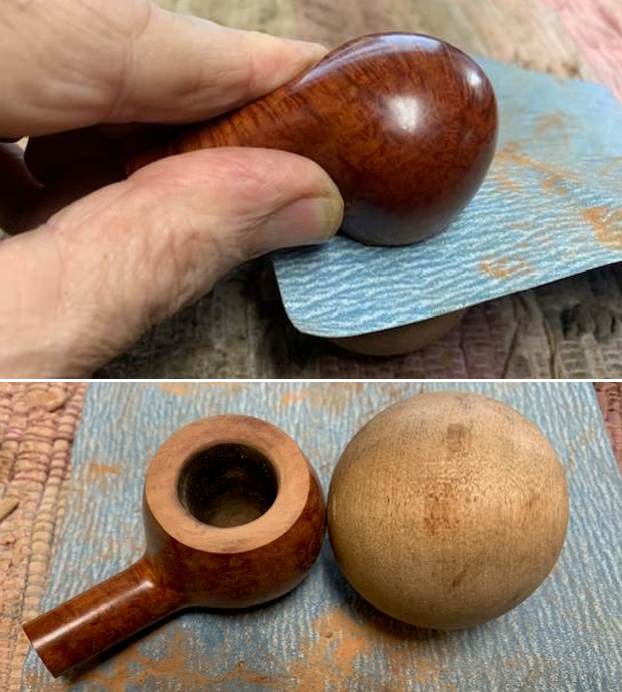
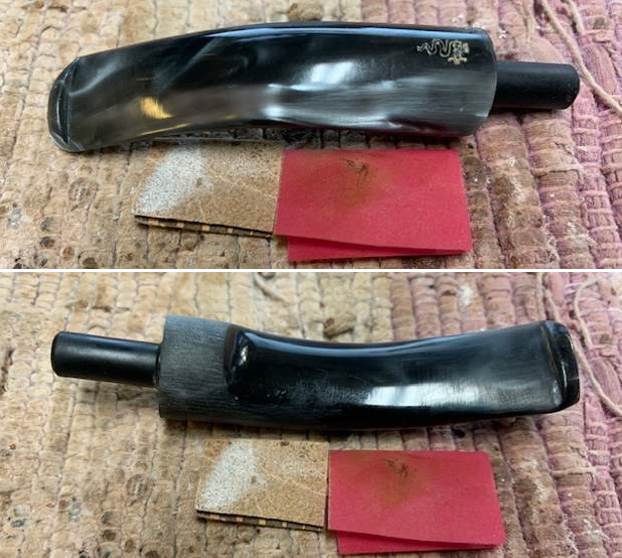
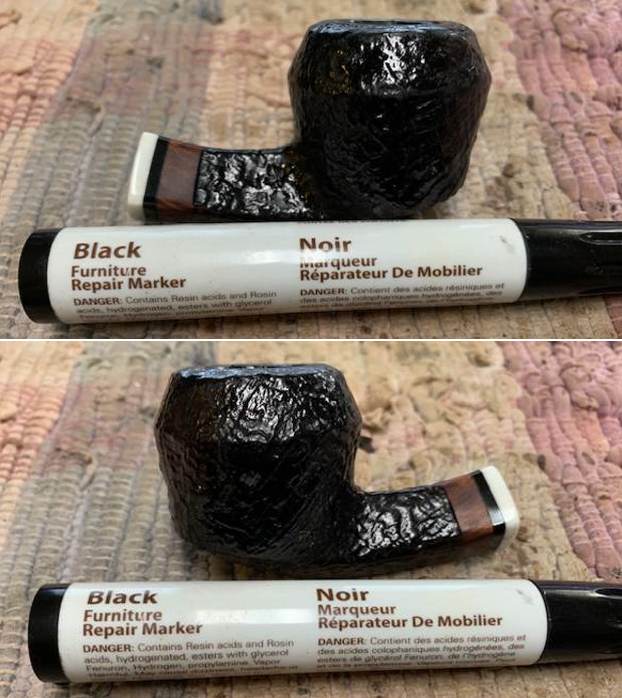
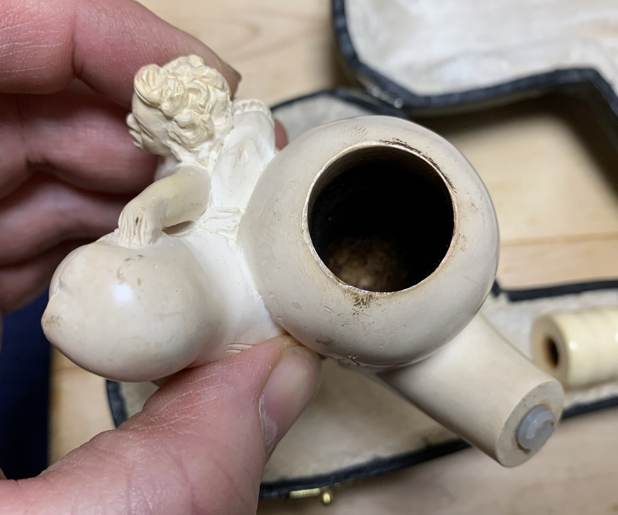
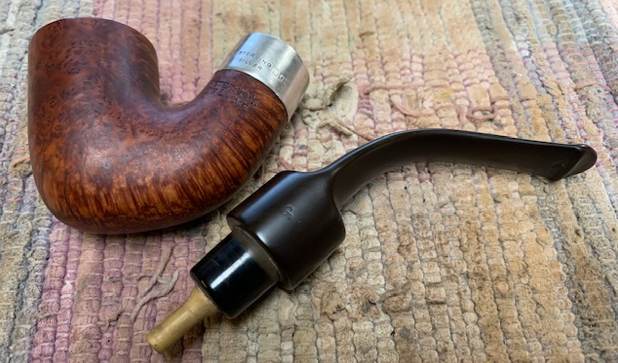 I decided to work on the damage on the top and the inner beveled edge of the bowl first. I started the work with a folded piece of 220 grit sandpaper to clean up the rim top and the inner edge of the rim. Once I had finished I think that it looked much better.
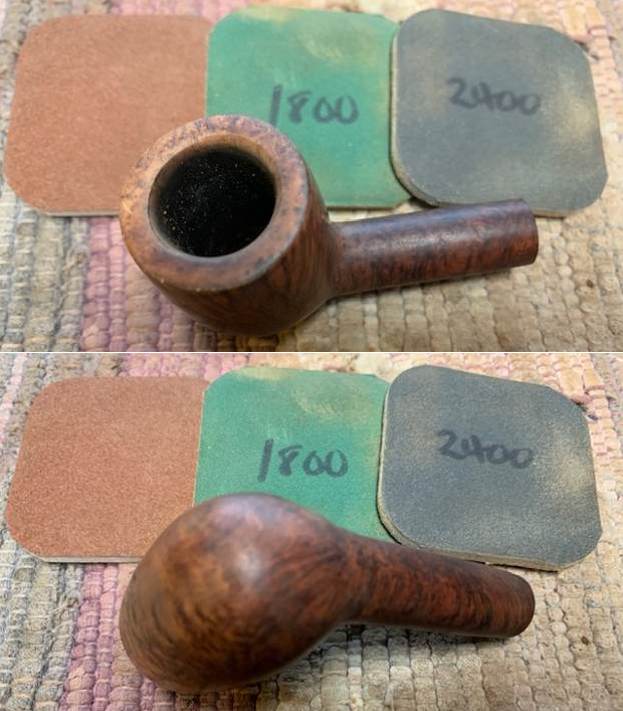
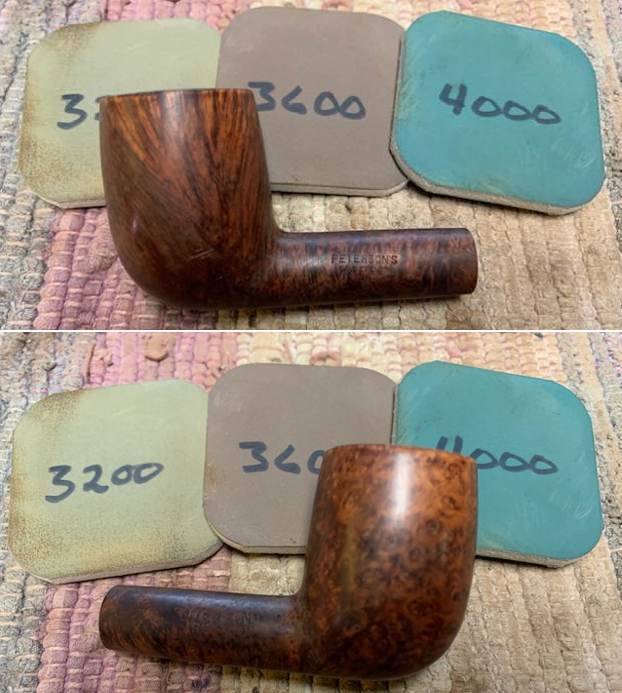
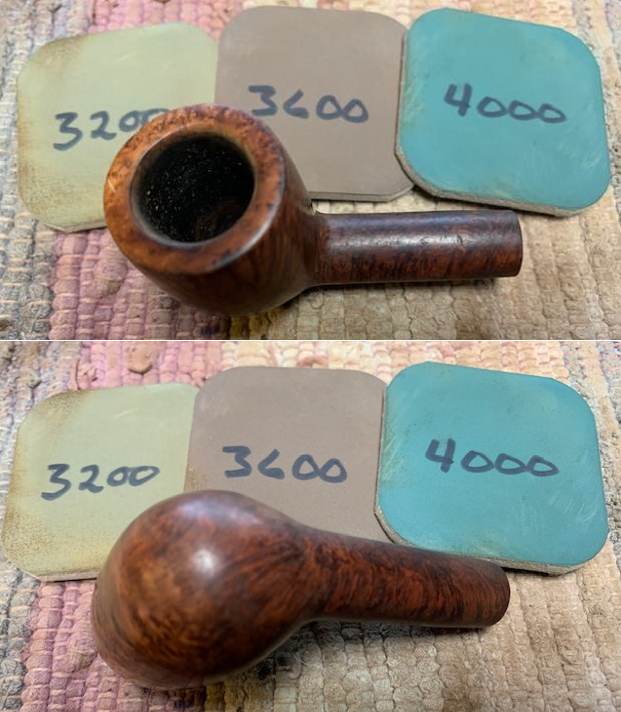
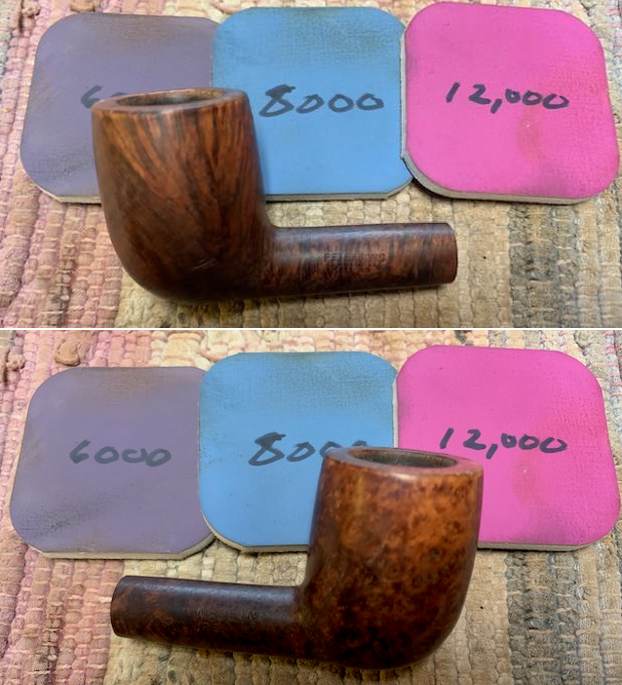
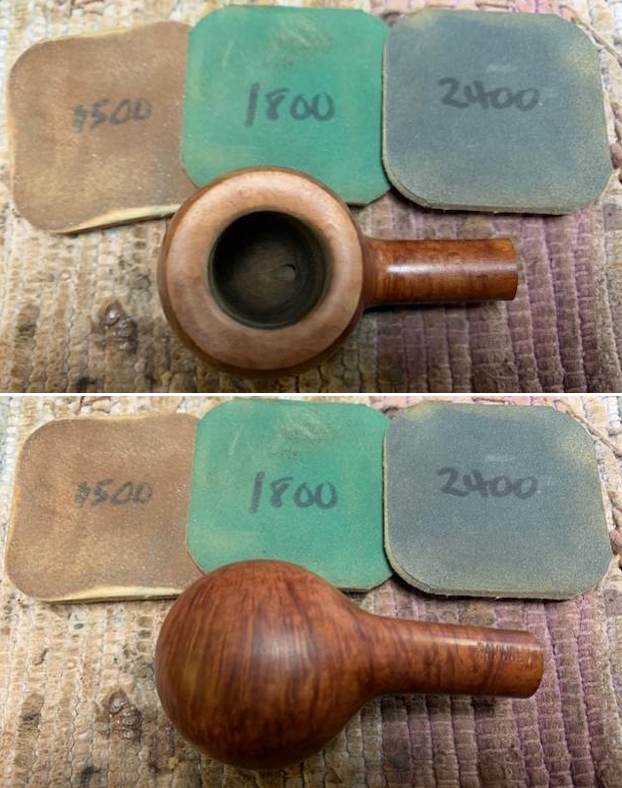
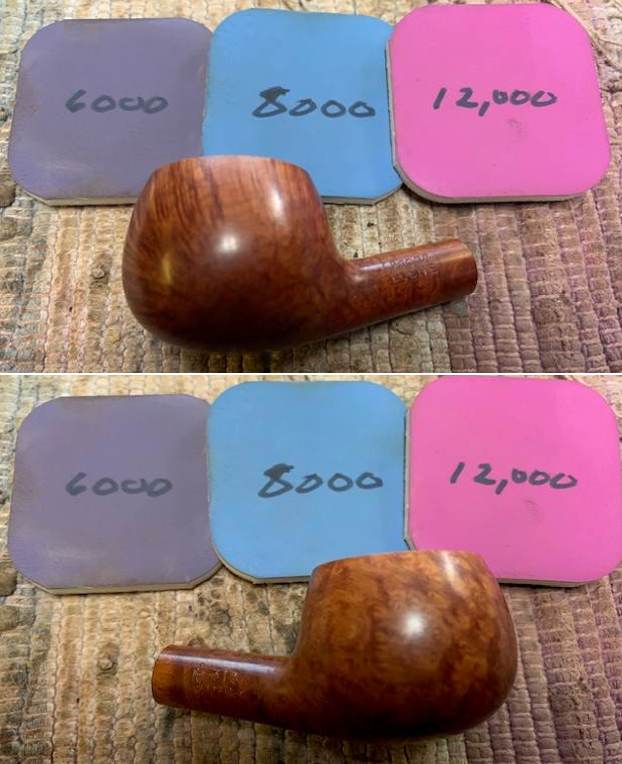
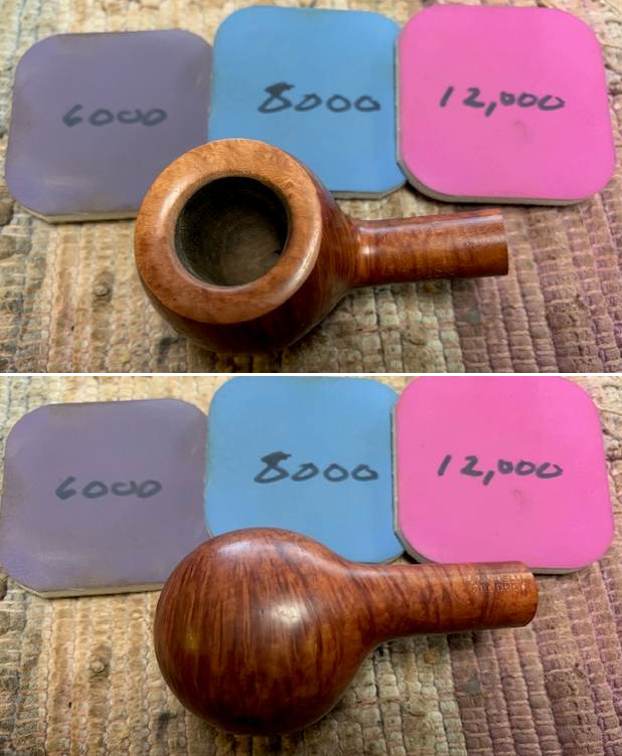
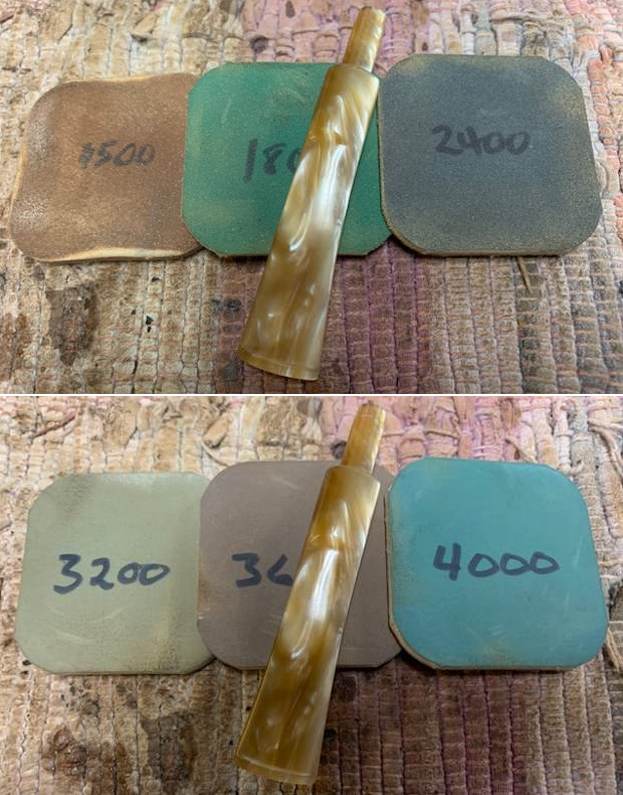
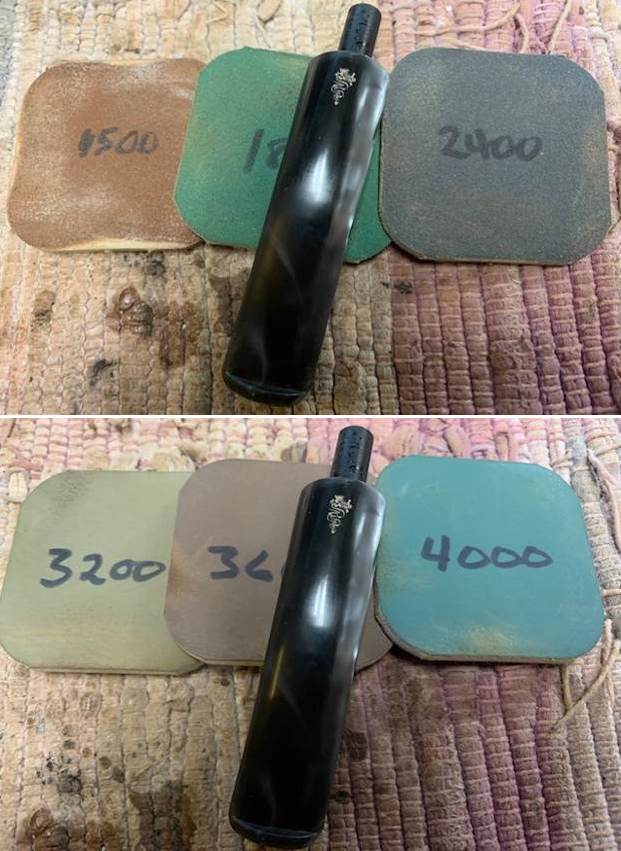
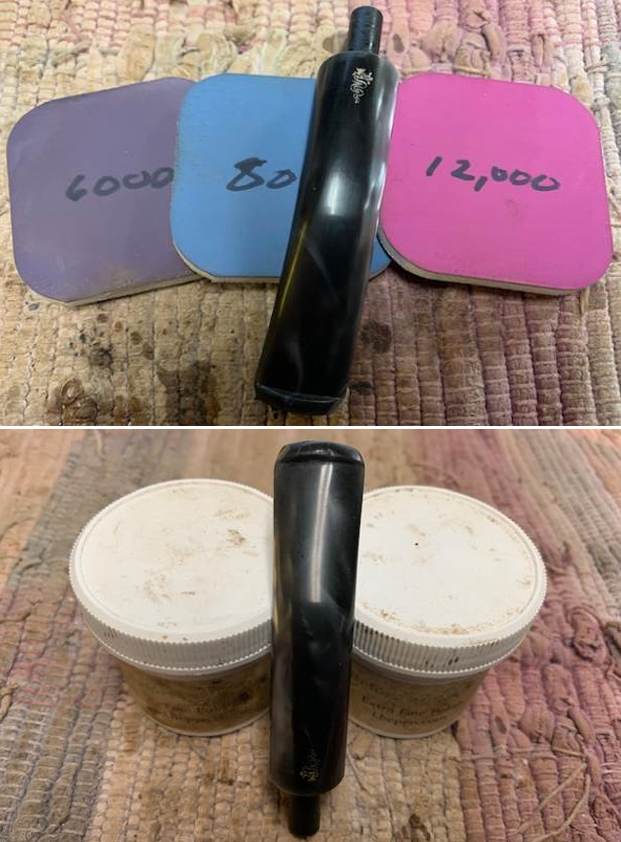
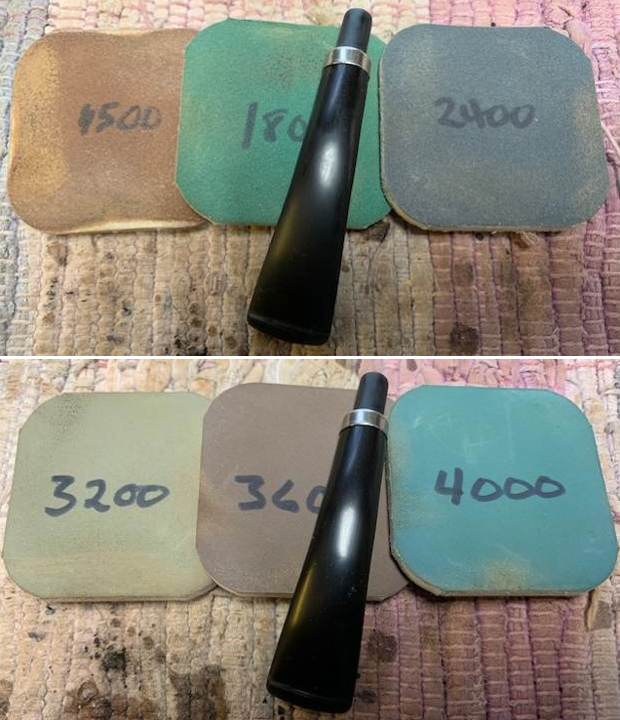
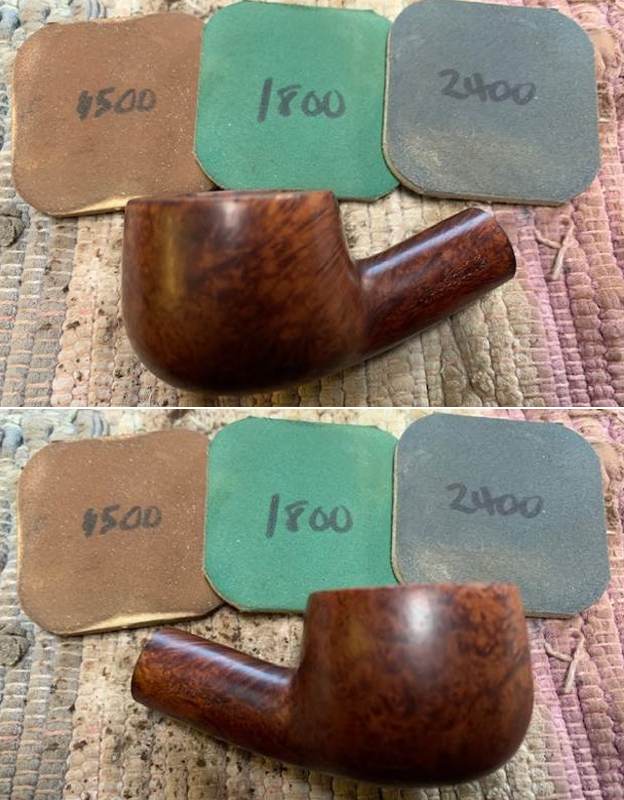
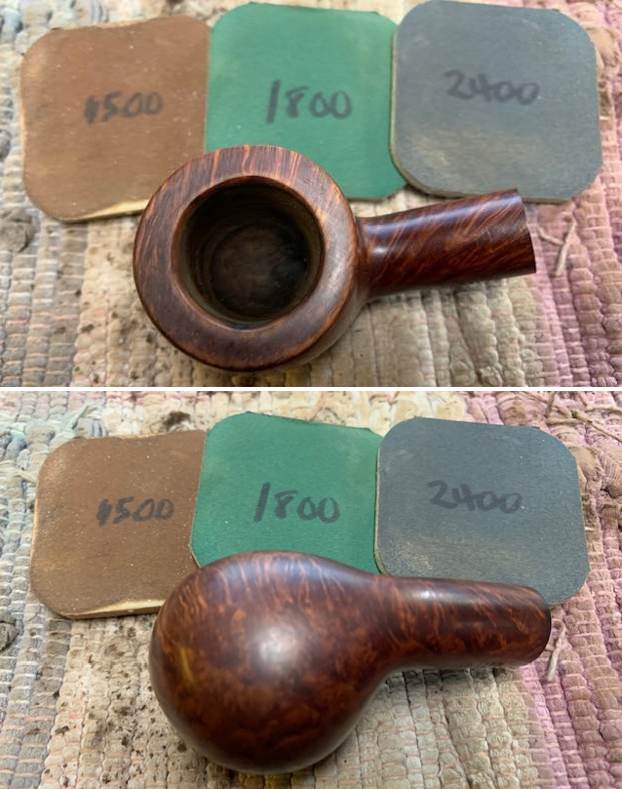
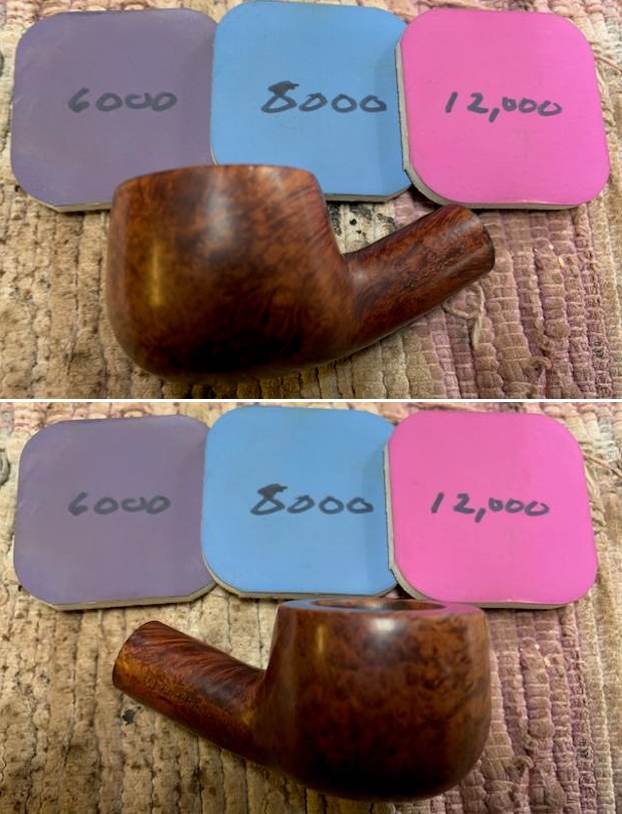
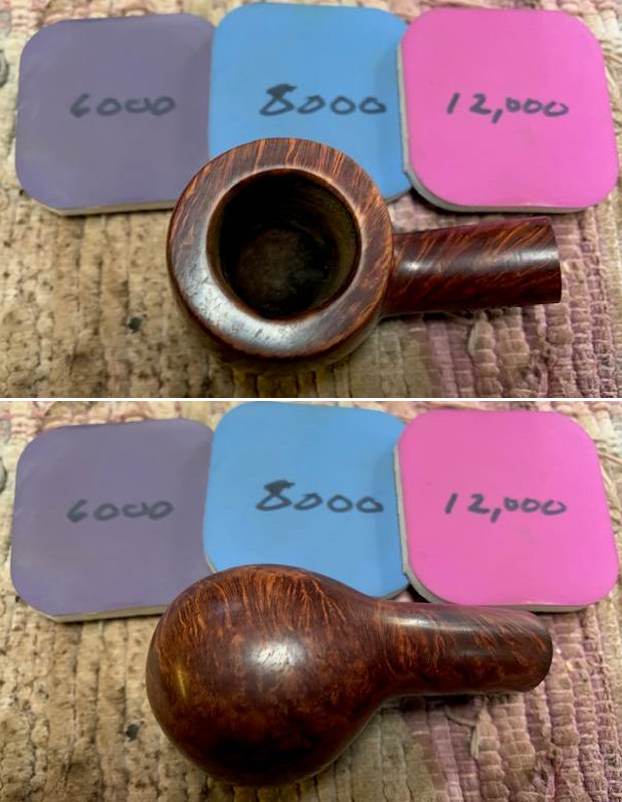
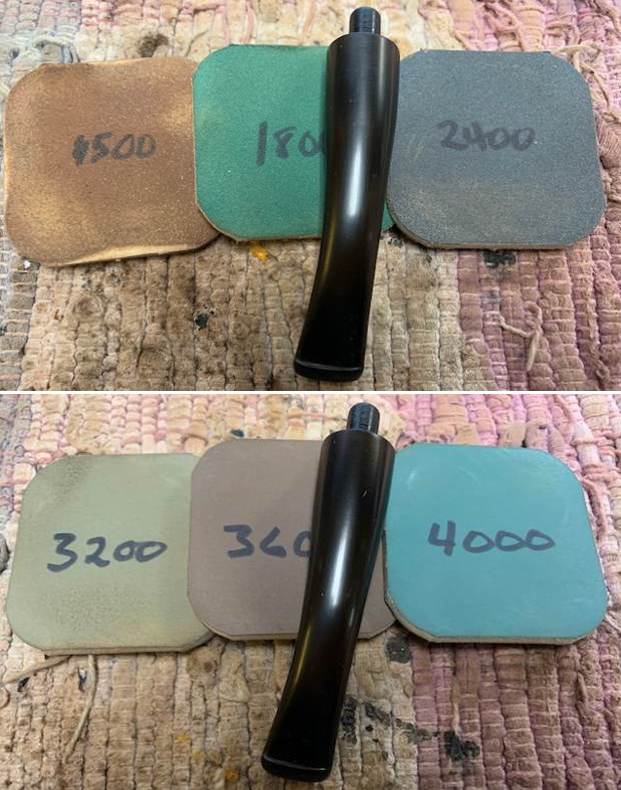
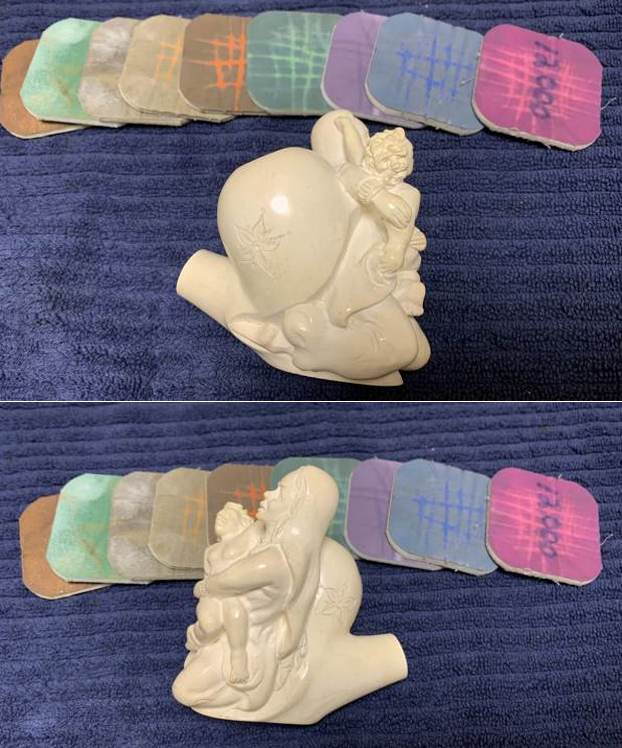
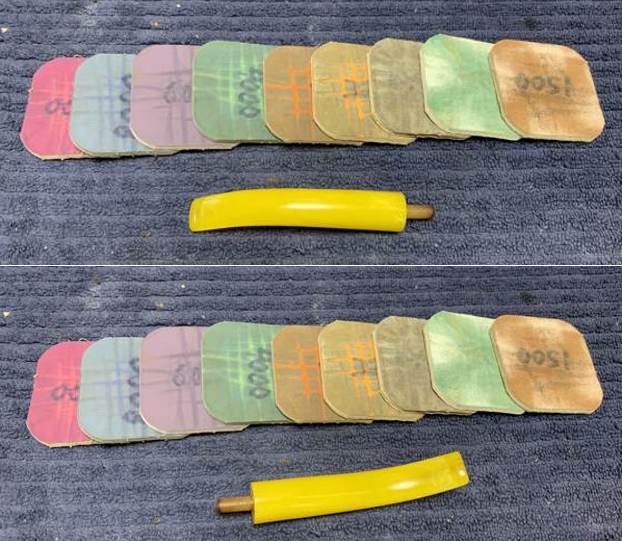
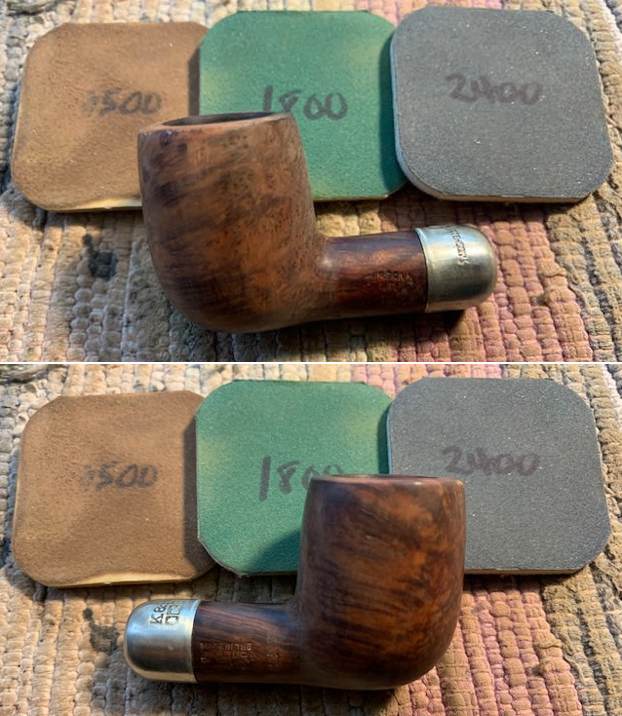
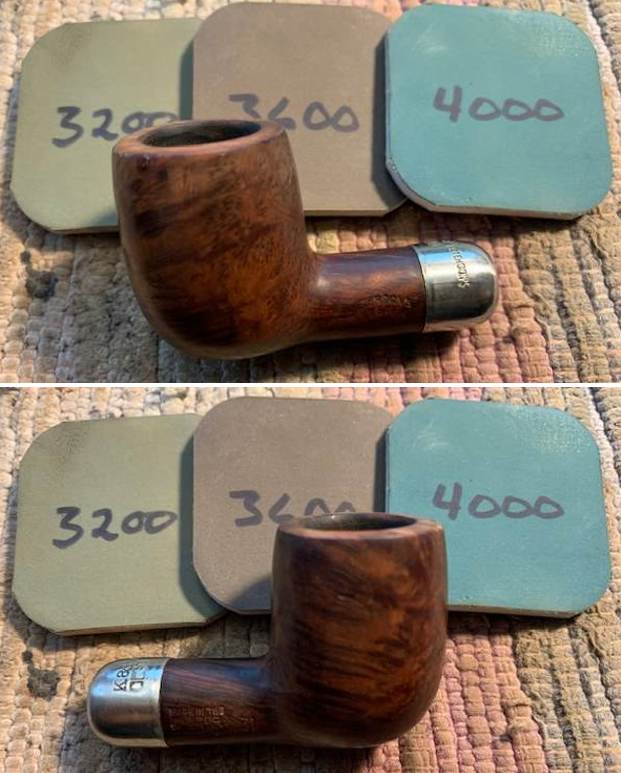
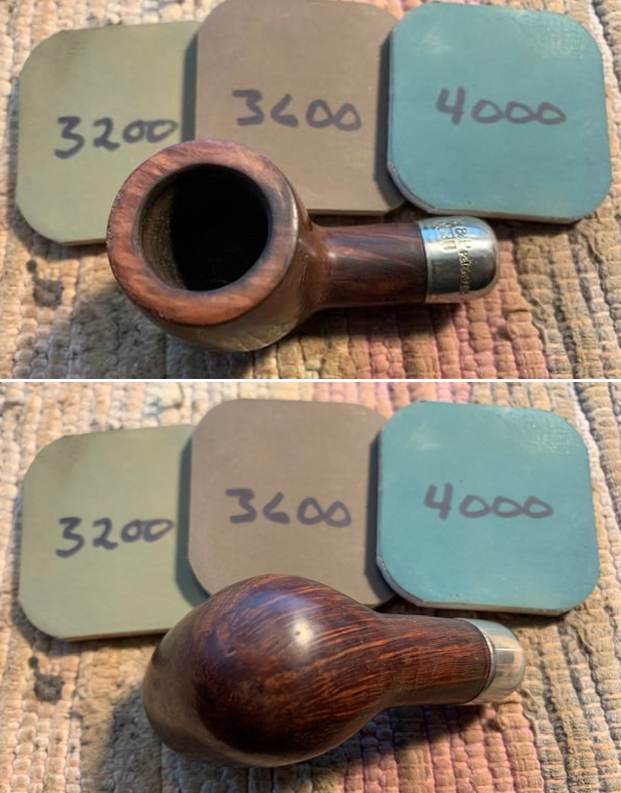
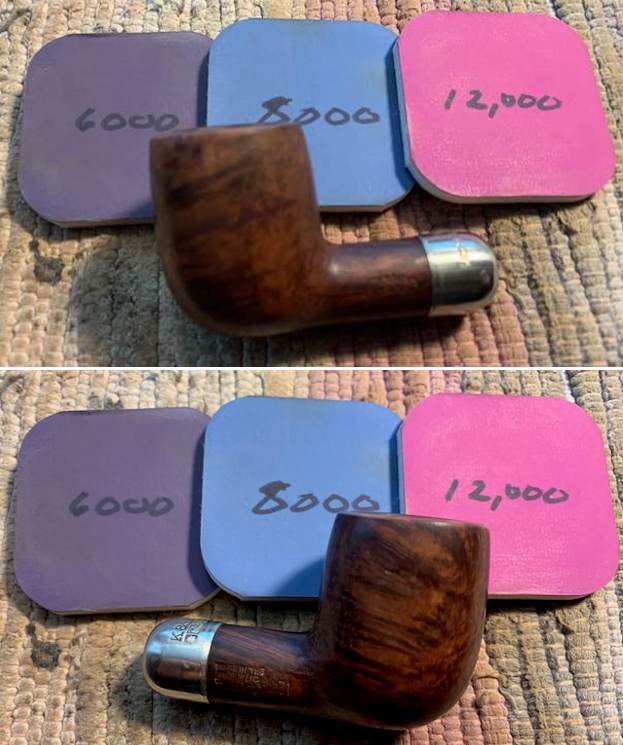
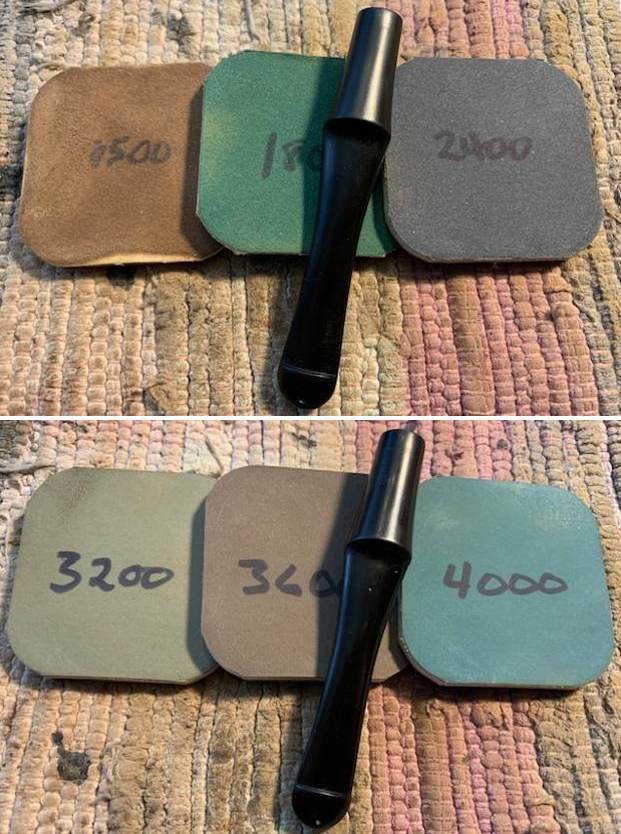
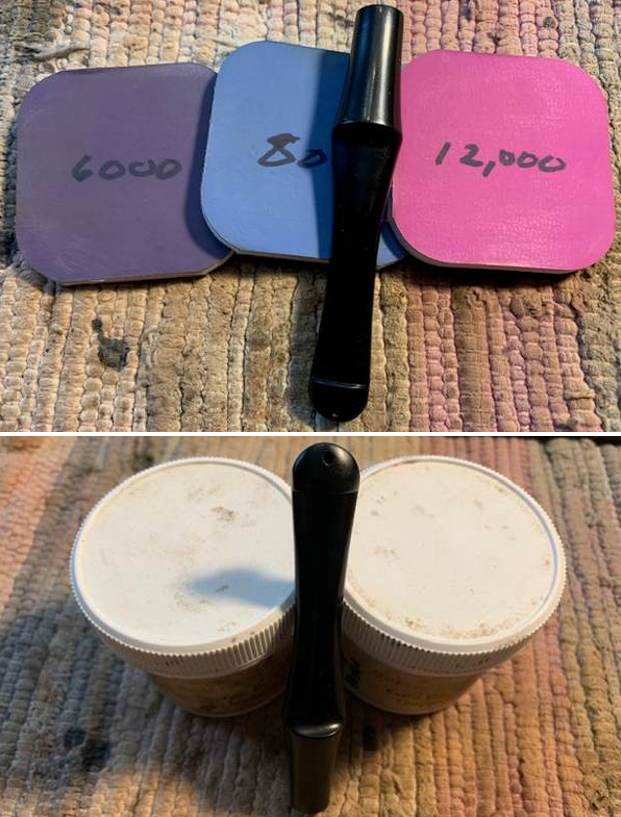
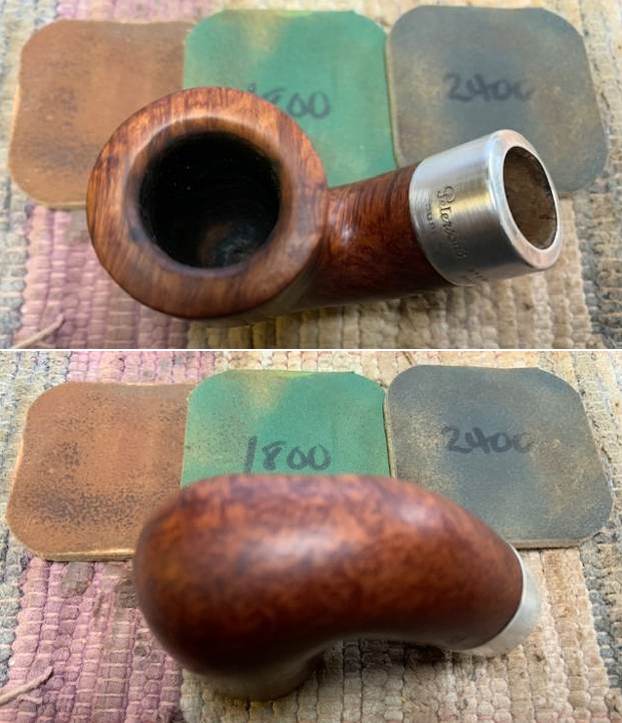
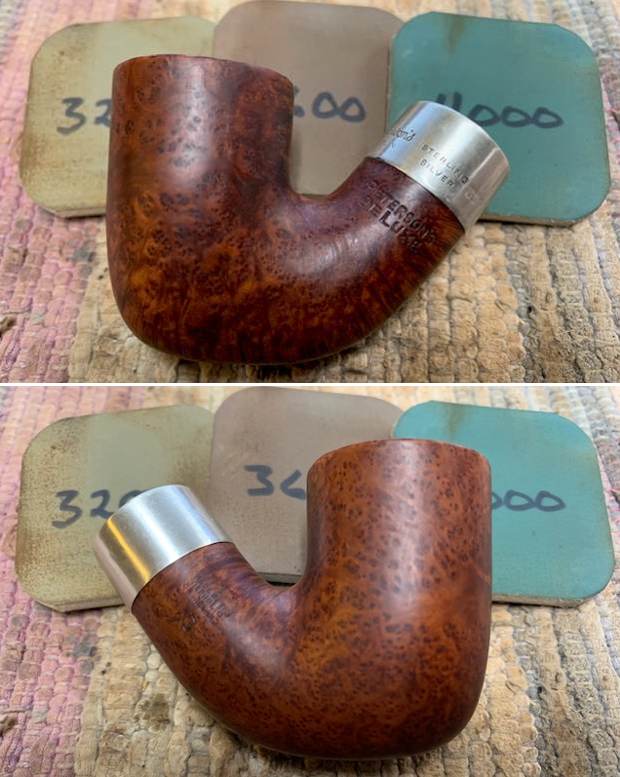
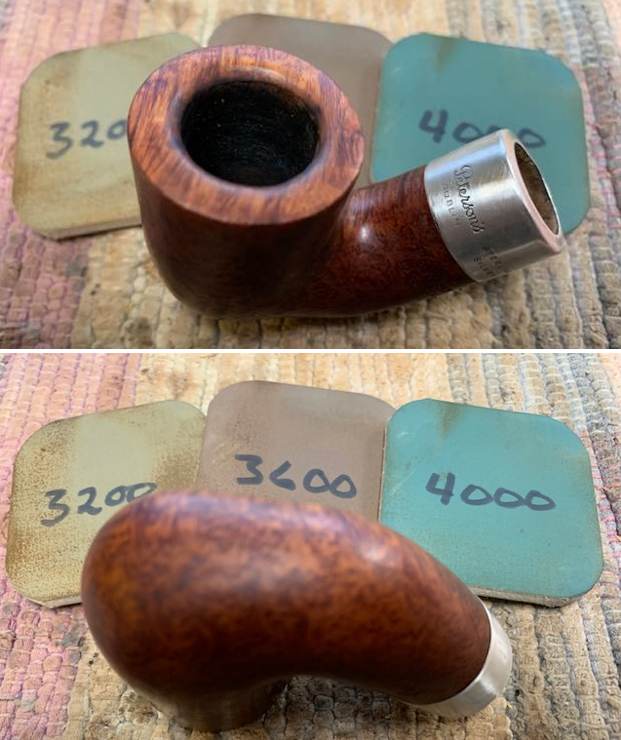
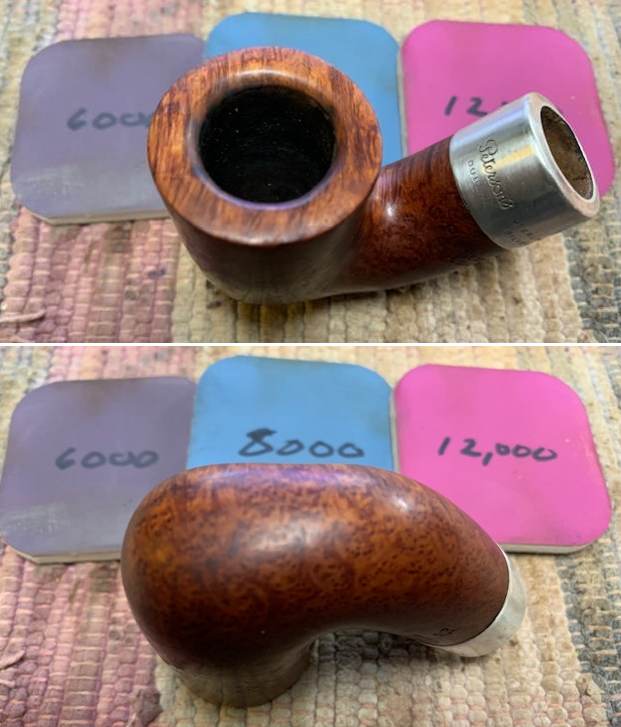
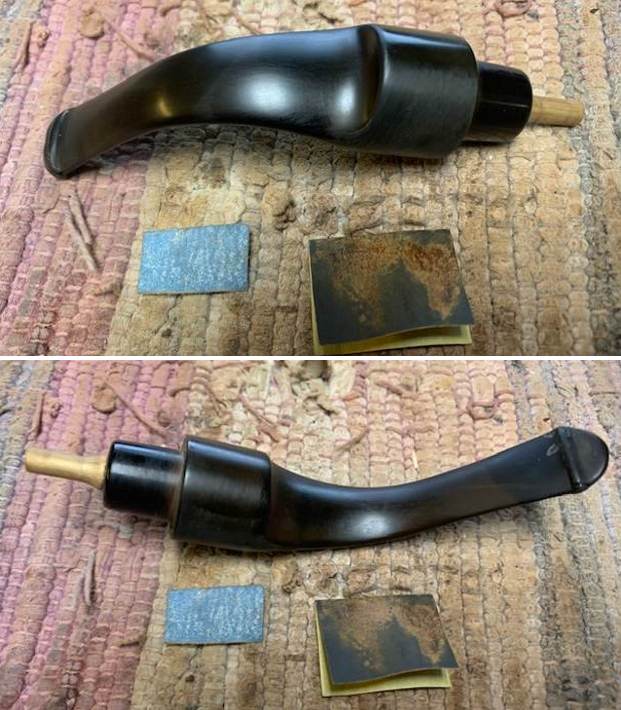
 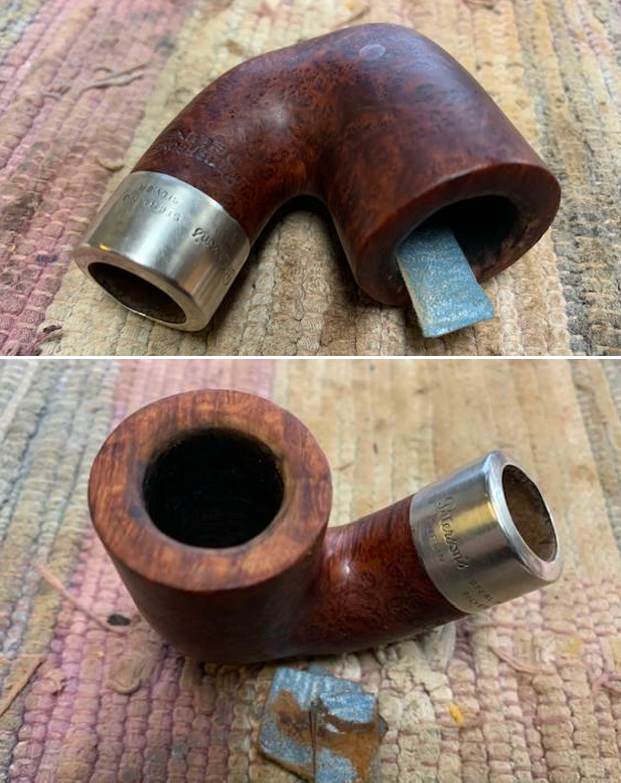 I polished the briar with micromesh sanding pads – dry sanding with 1500-12000 grit pads. I wiped the bowl down after each pad to remove the grit. The bowl began to take on a rich shine. It is going to be a beauty.
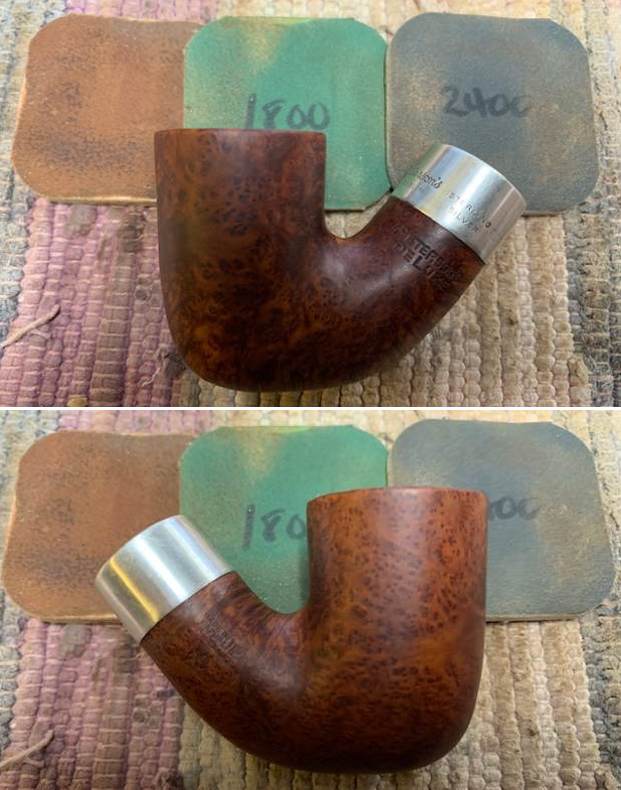

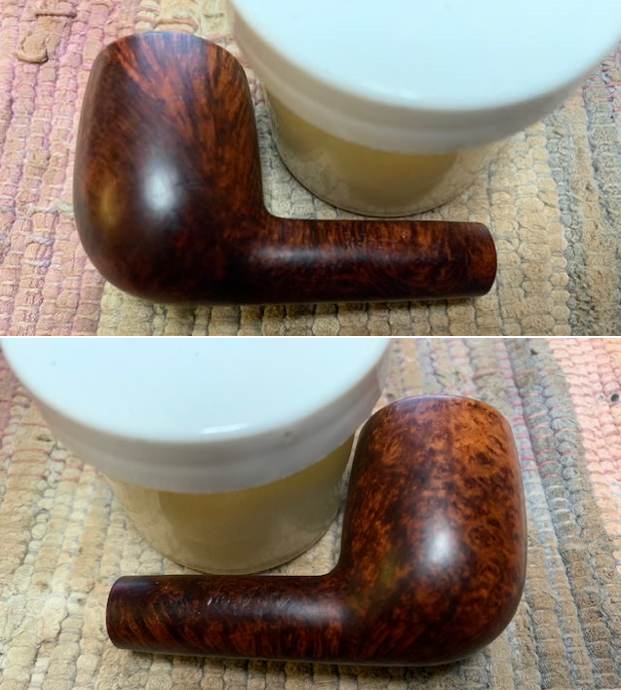
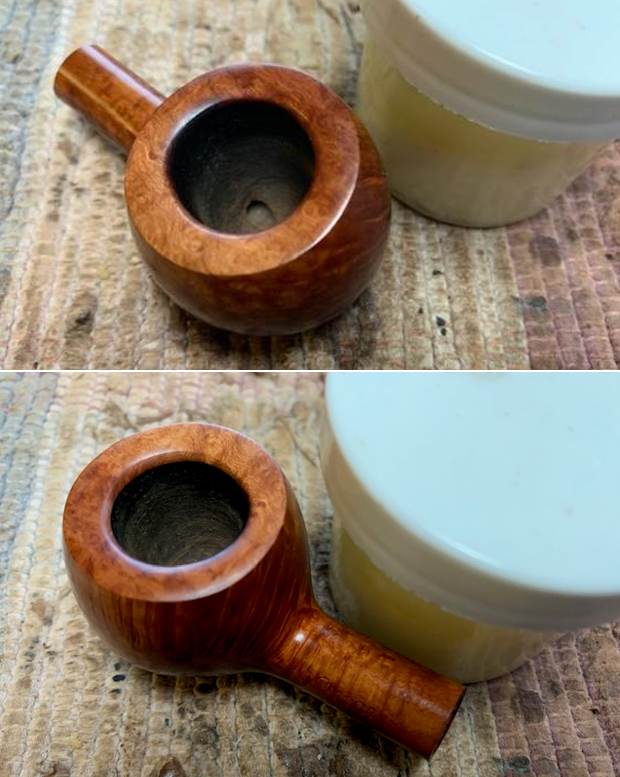
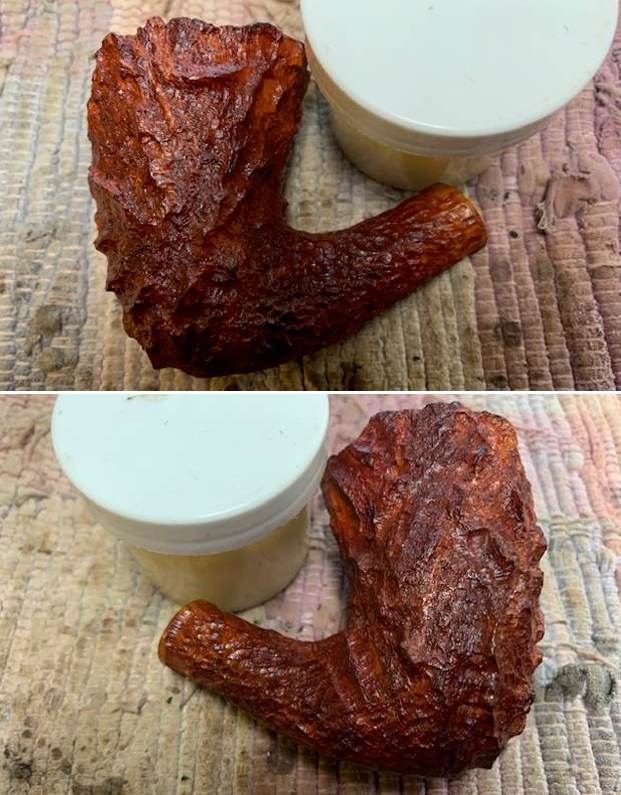
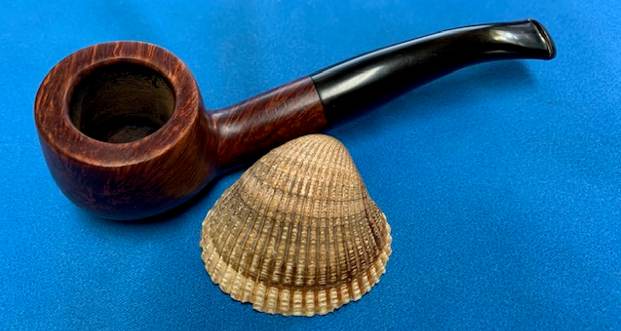
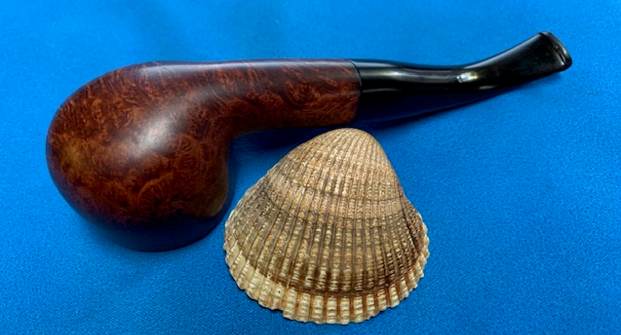
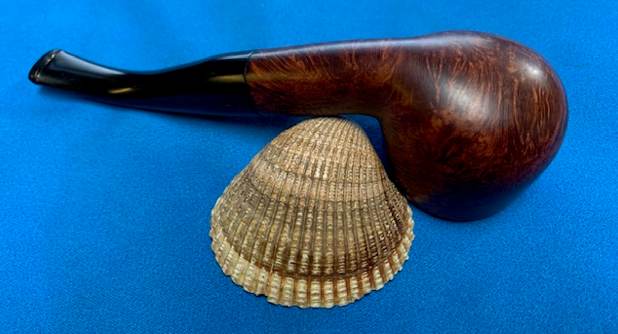
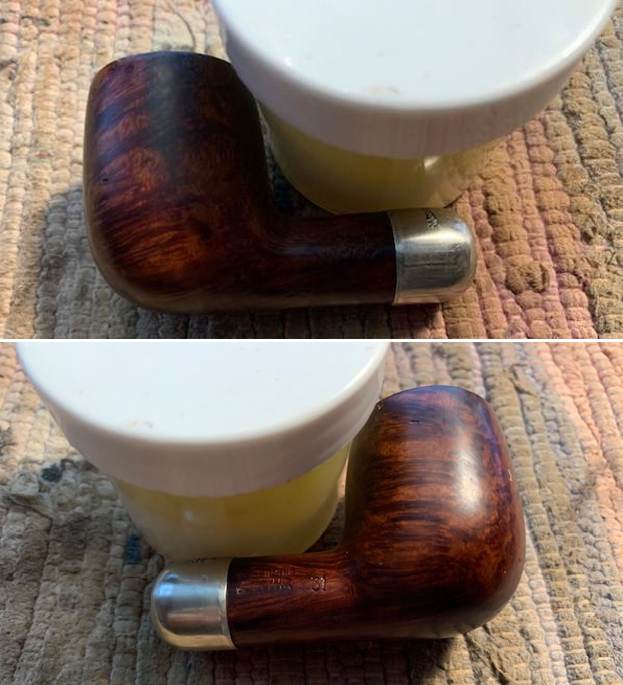
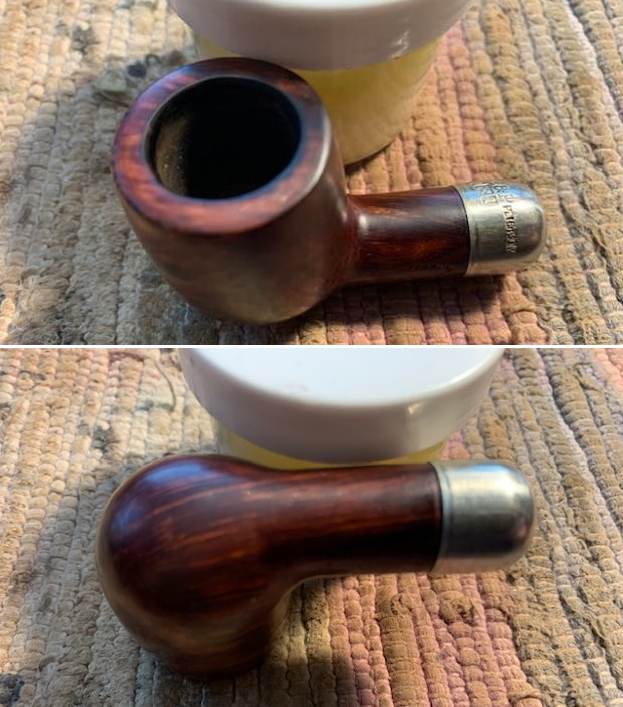
 I rubbed the bowl down with Before & After Restoration Balm. I worked it into the briar with my finger tips. I let it sit for 10 minutes and the Balm did its magic. It enlivens, cleans and preserves the briar. It certainly brought this bowl back to life. I buffed it off with a clean cloth and took the following photos.
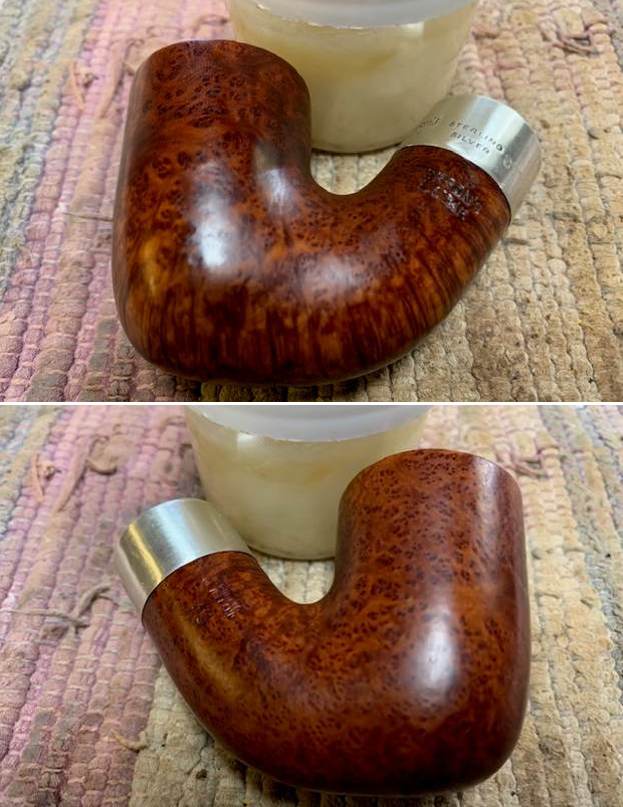
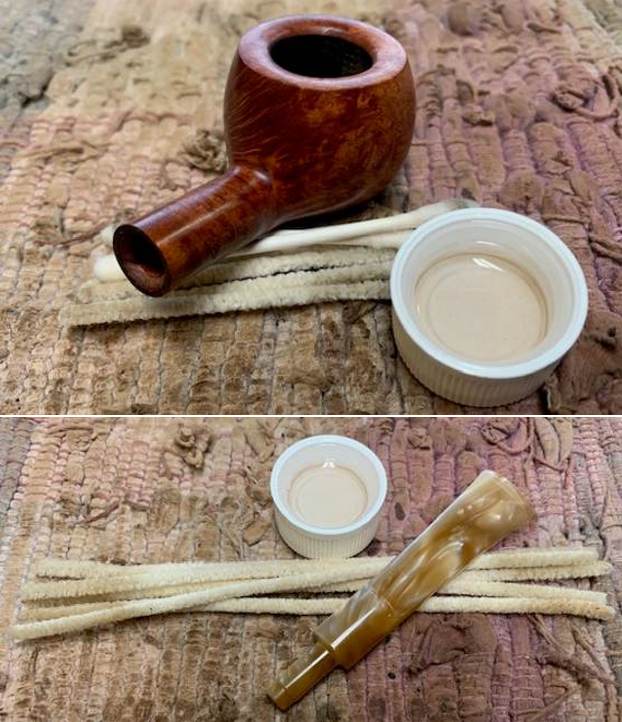
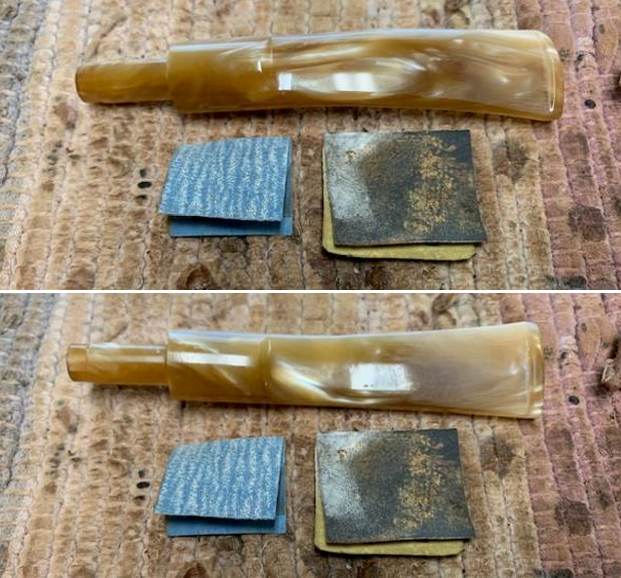
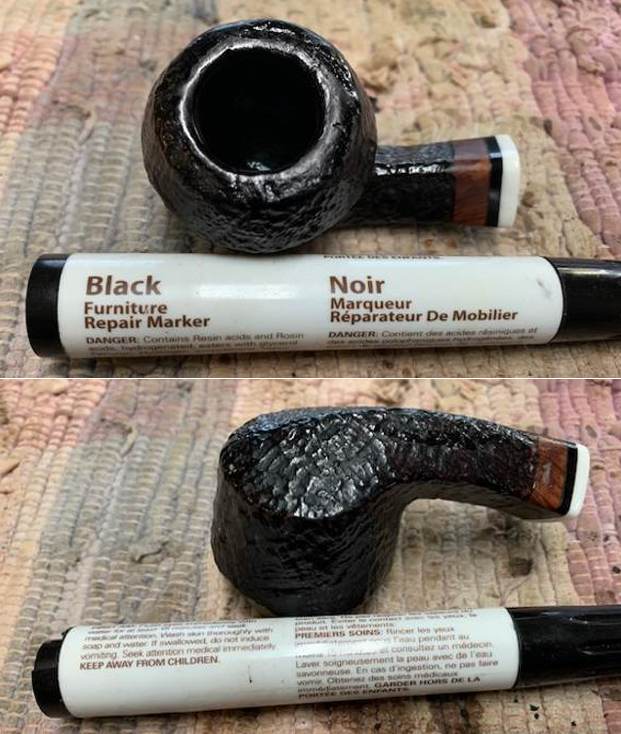
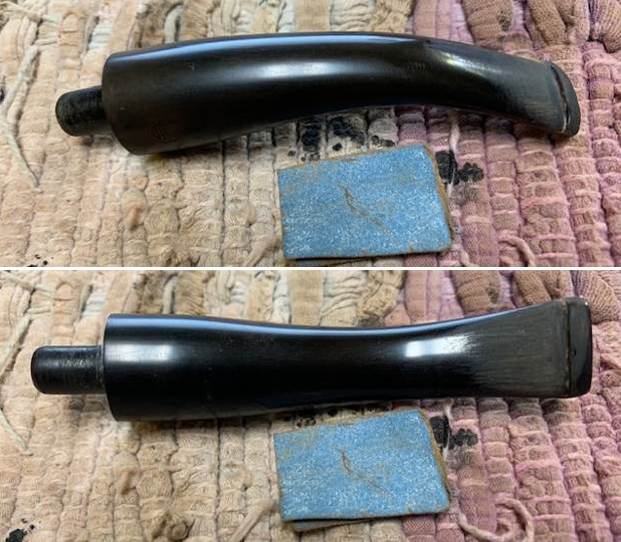
 I set the bowl aside and turned to work on the stem. I worked on the deep oxidation with Soft Scrub and cotton pads to remove more of the deep oxidation. It worked very well.
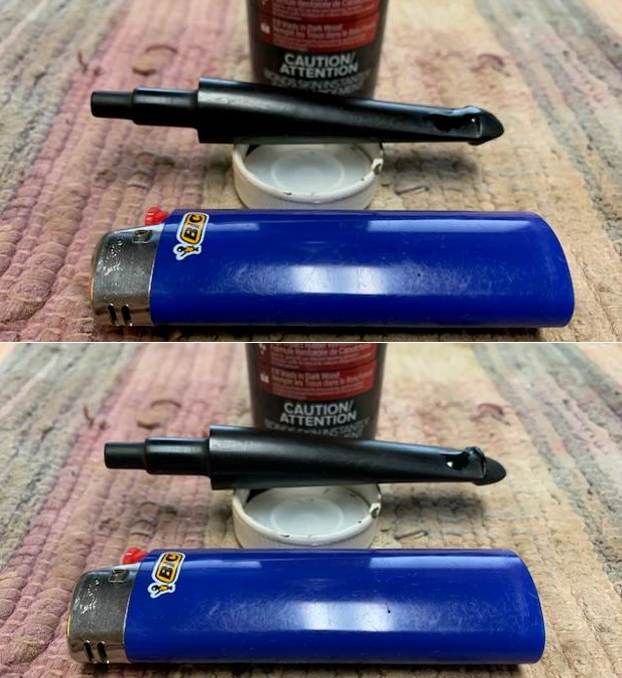
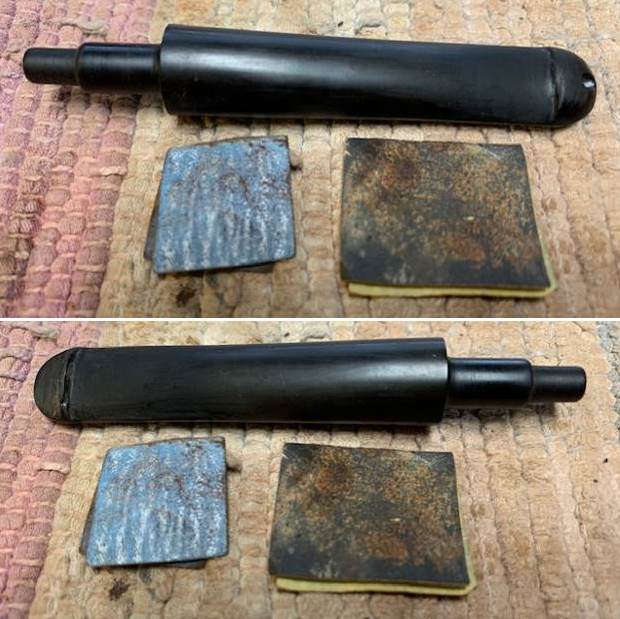
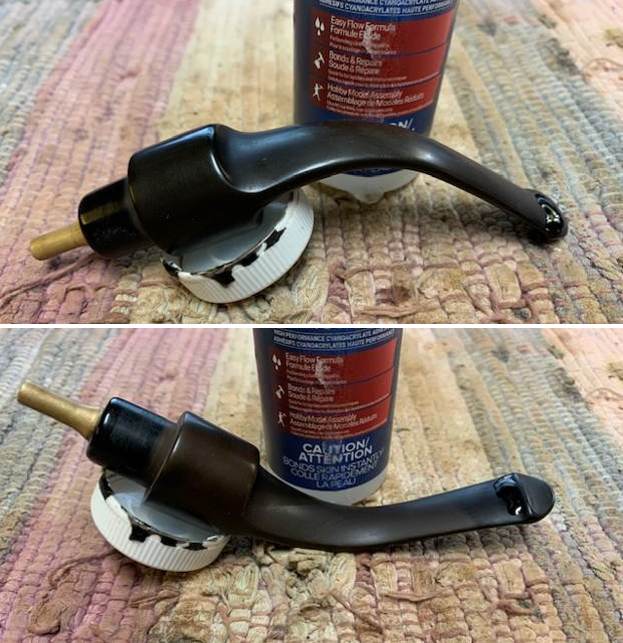
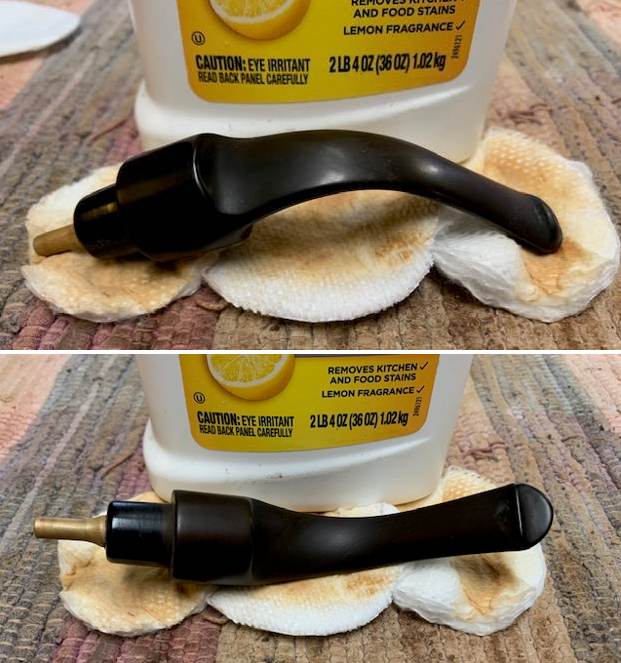 I “painted” the tooth marks on the stem with the flame of a Bic Lighter to lift them. I was able to lift them all to some degree. I filled in those that remained with clear CA glue. I used a small file to flatten the repairs. I sanded stem surface repairs smooth with 220 grit sandpaper. I started polishing the stem with 400 grit wet dry sandpaper.
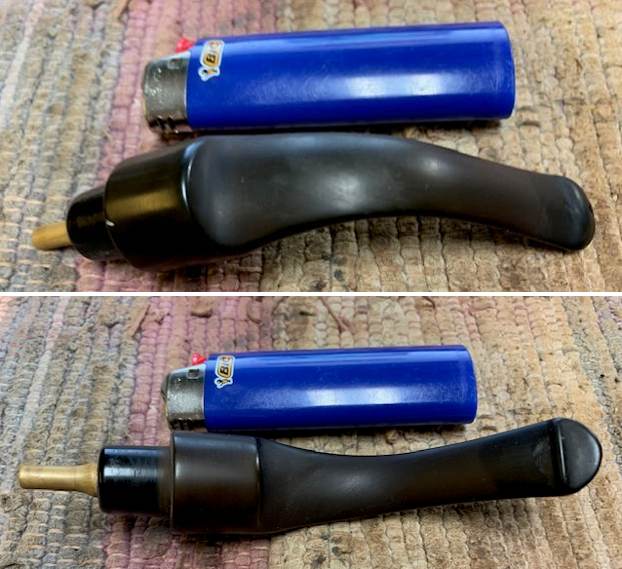
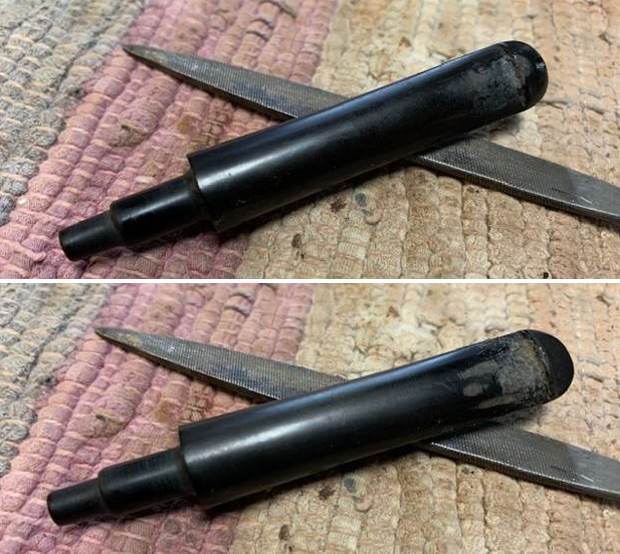
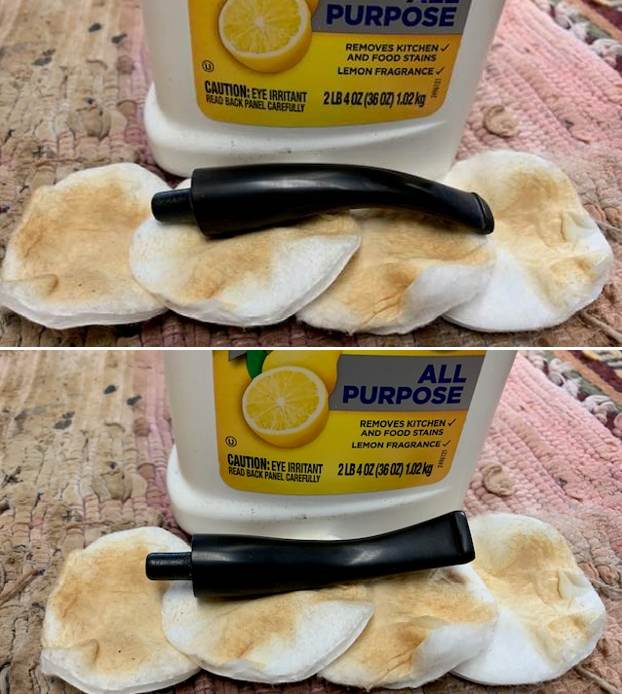
 I soaked it again in Briarville’s Deoxidizer for several hours to further remove the deep oxidation. I removed it, rinsed it and dried it with a coarse cloth.
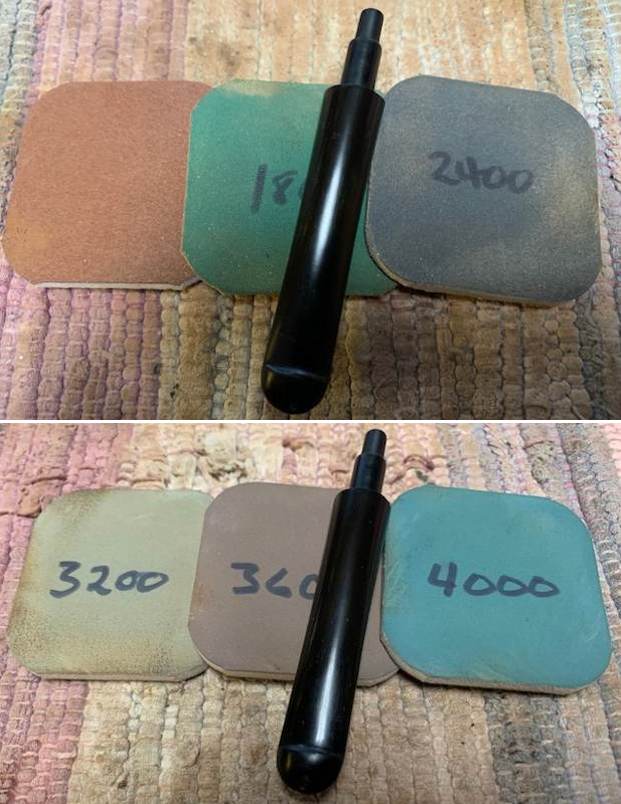
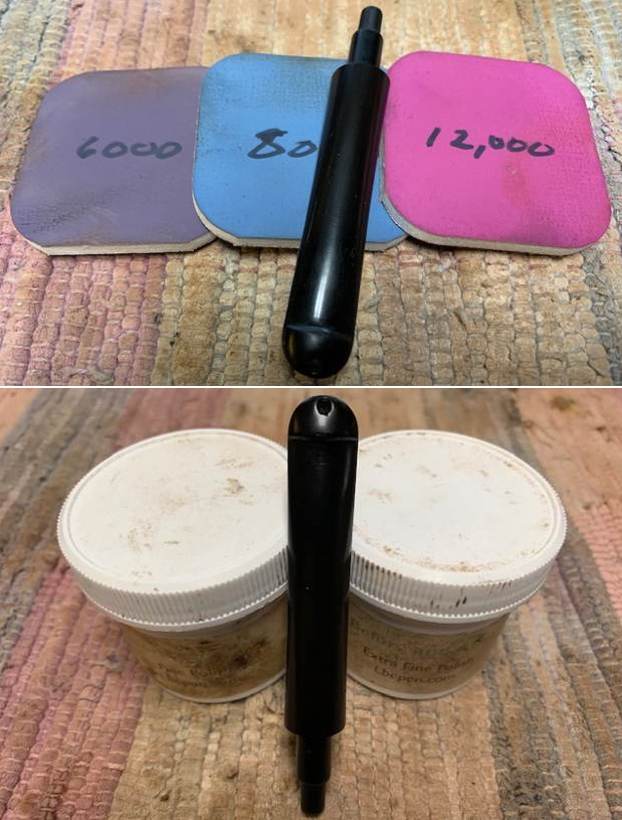
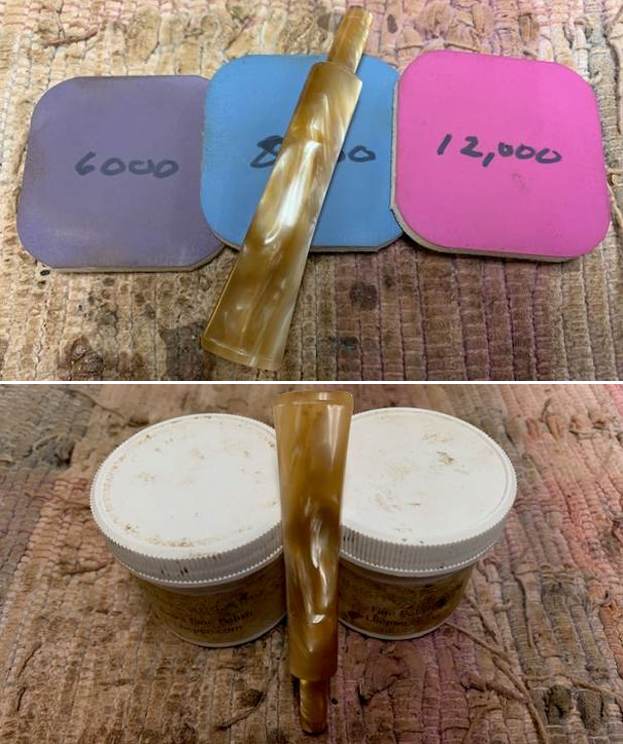
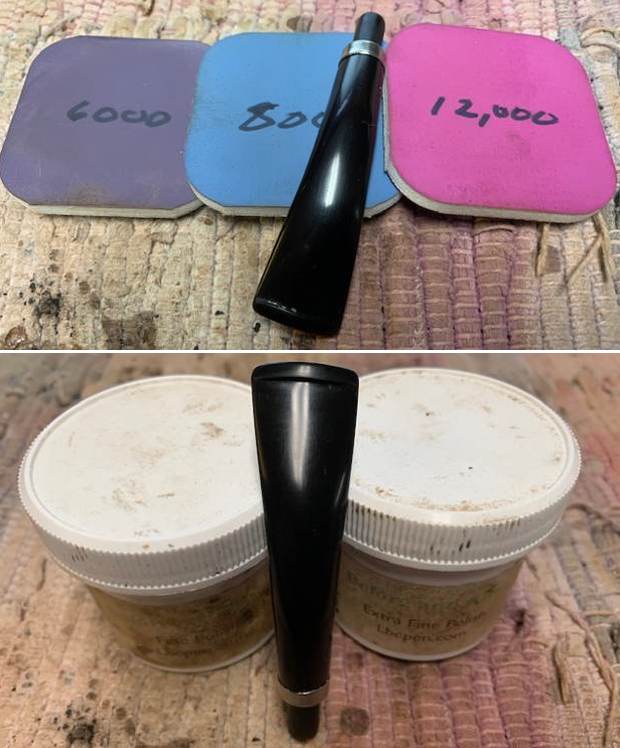
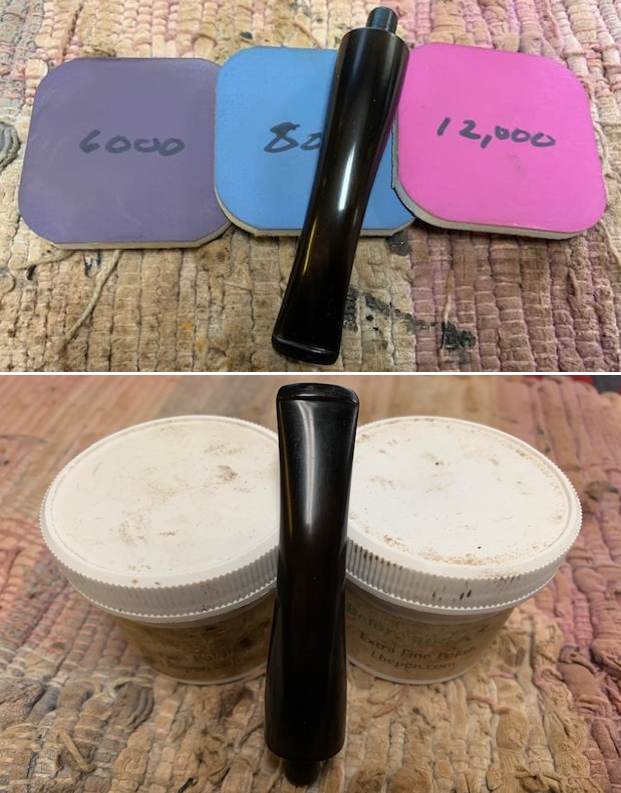
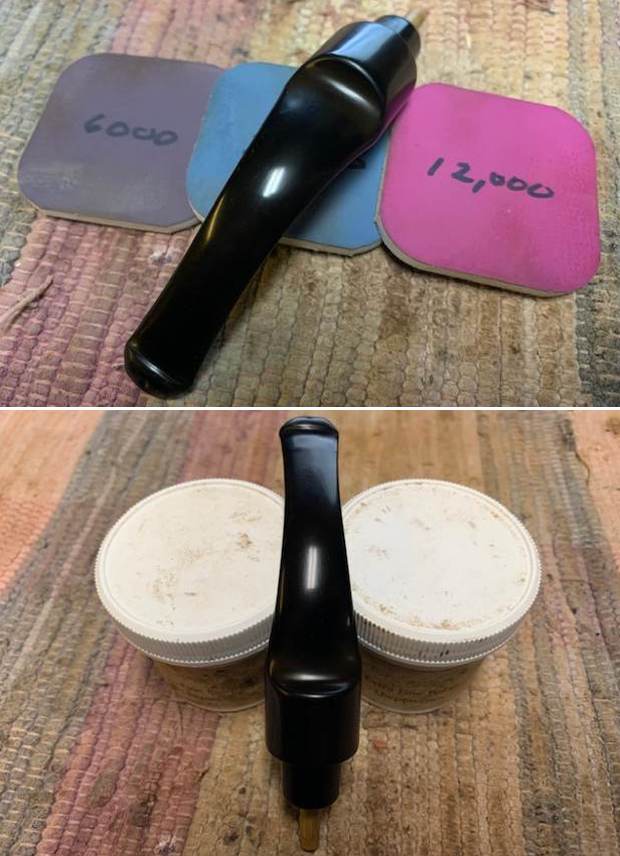
 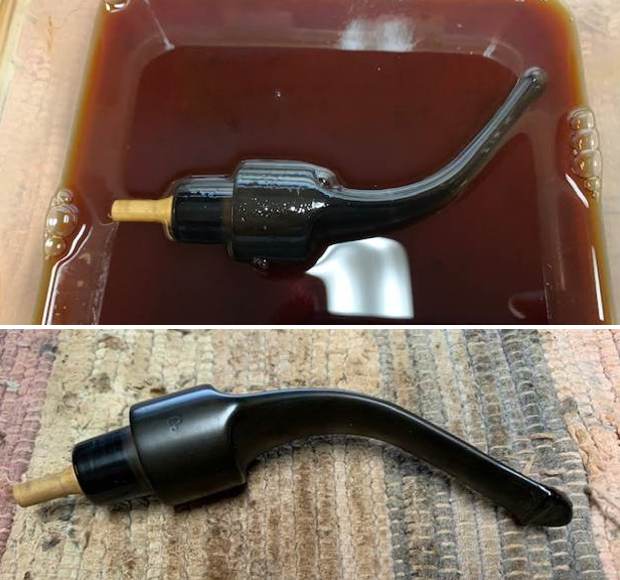 I polished the vulcanite stem with micromesh sanding pads – 1500-12000 grit pads. I wiped it down with a damp cloth after each sanding pad. I used Before & After Pipe Polish – both Fine and Extra Fine to further polish the stem.
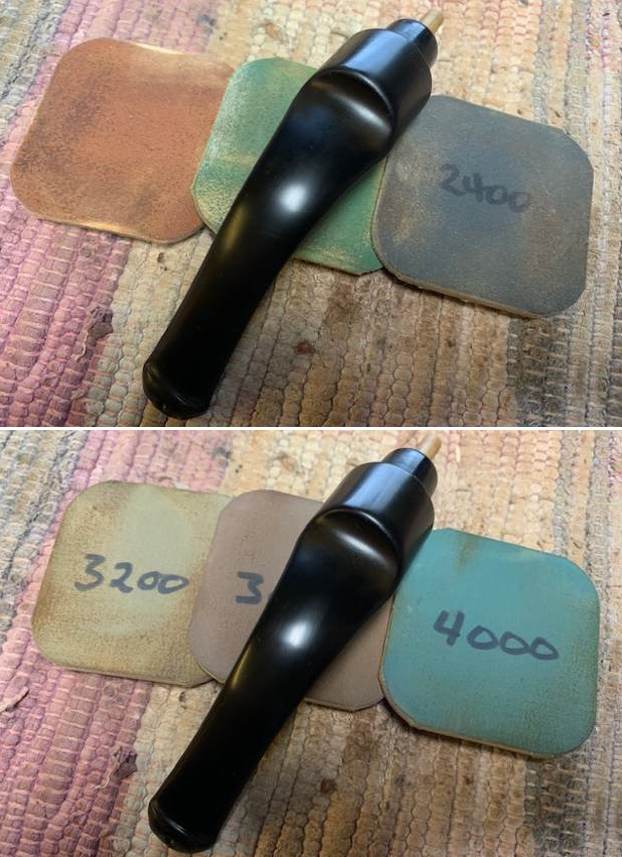
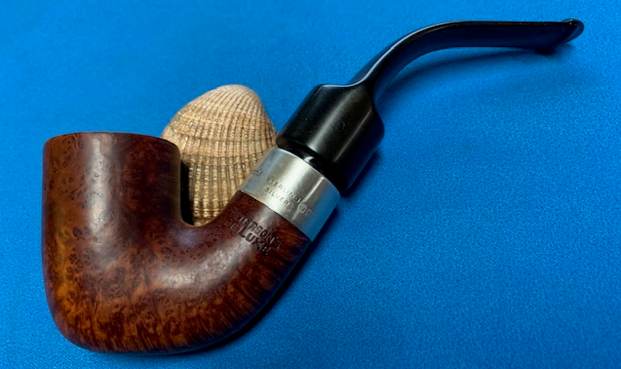
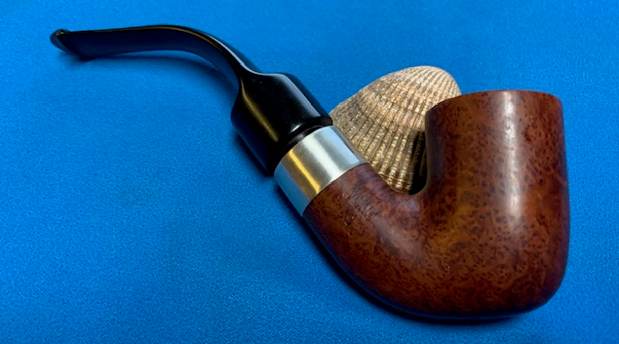
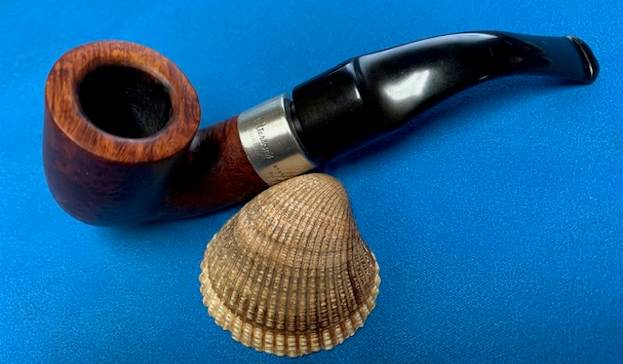
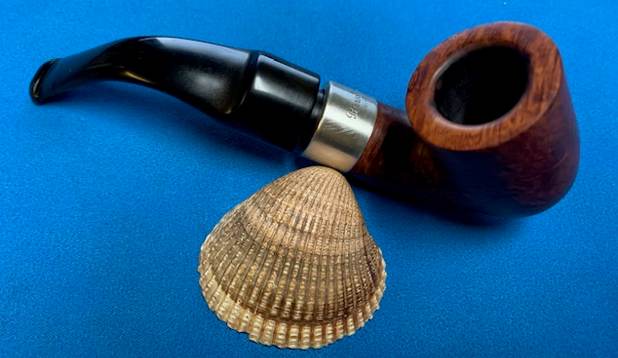
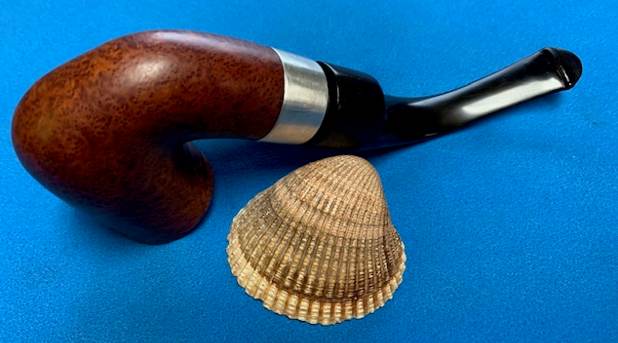
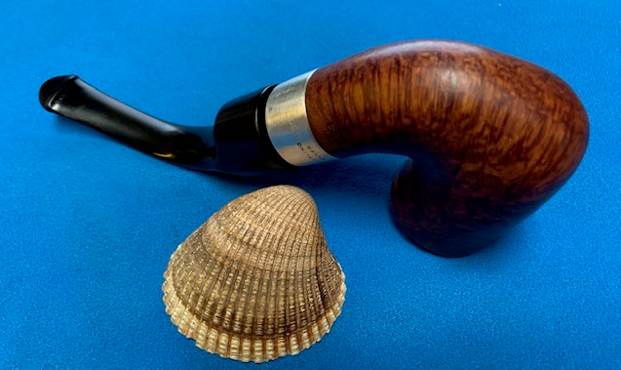
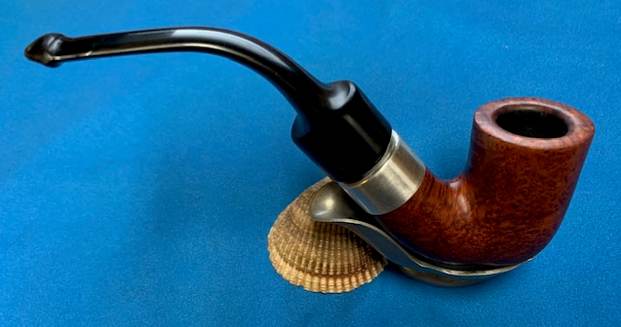
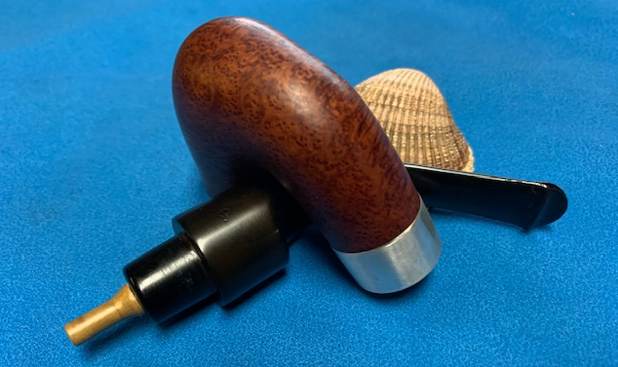
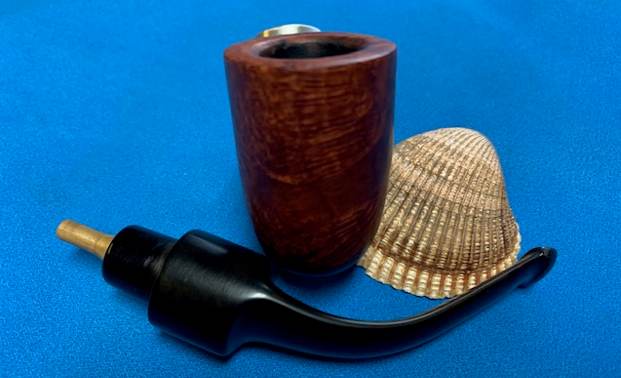
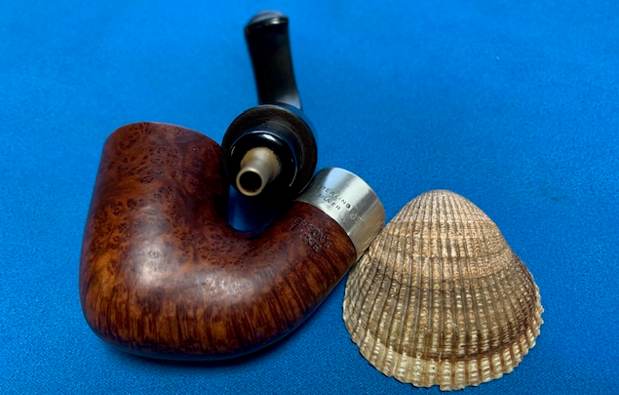
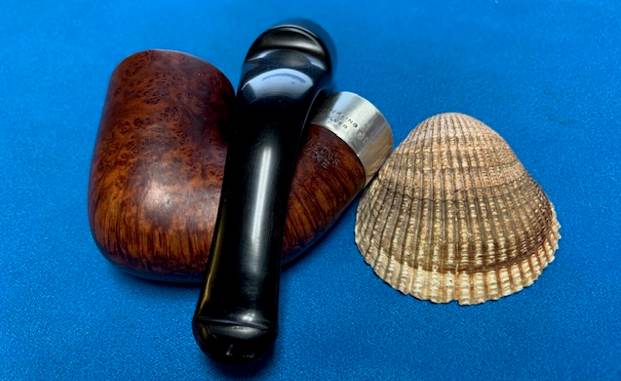
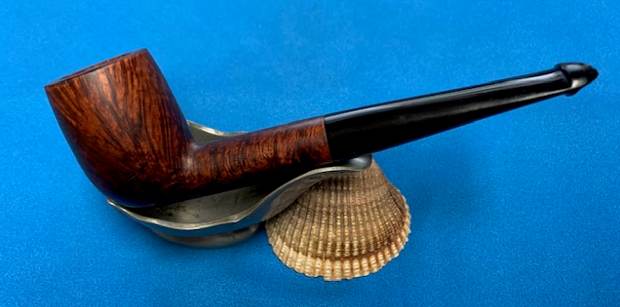
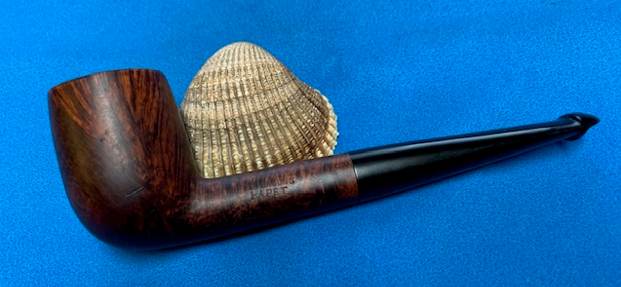
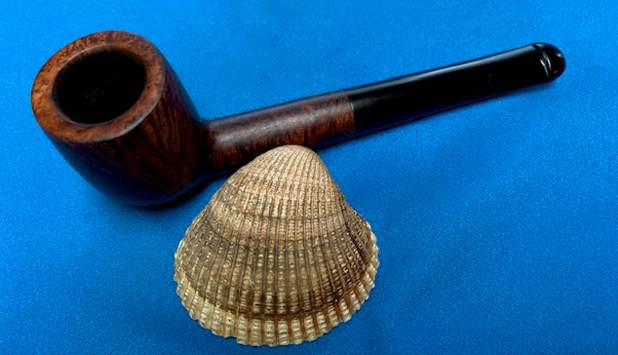
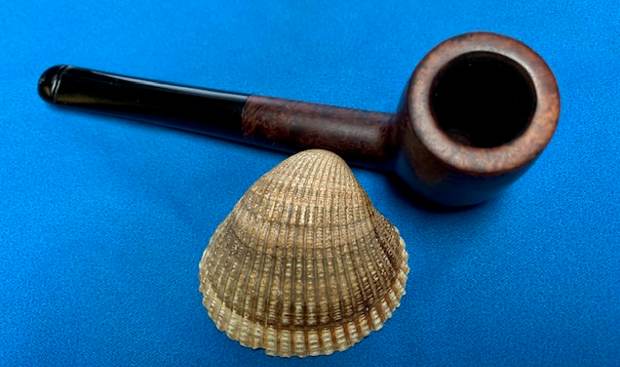
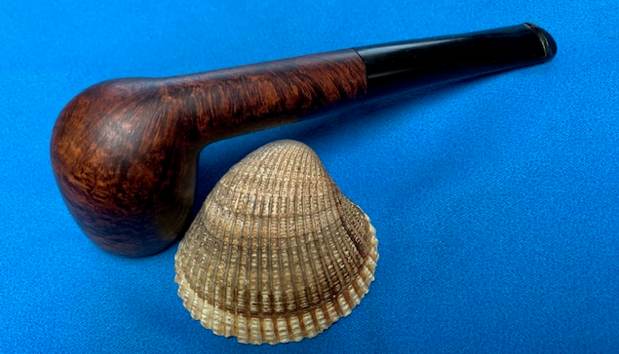
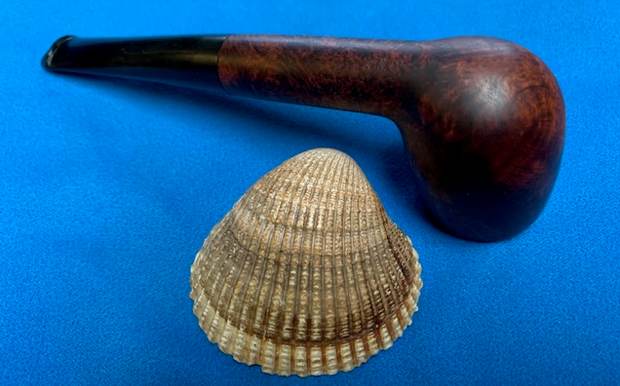
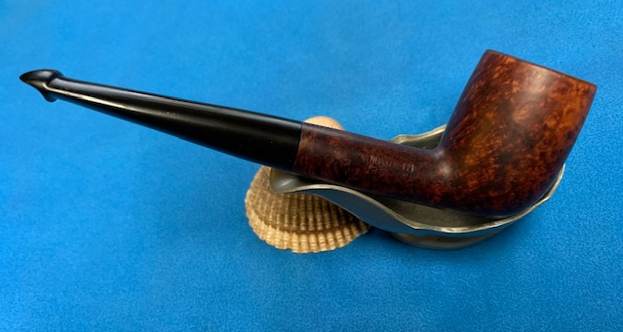
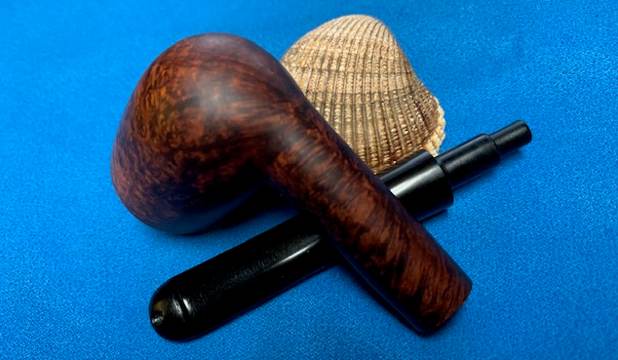
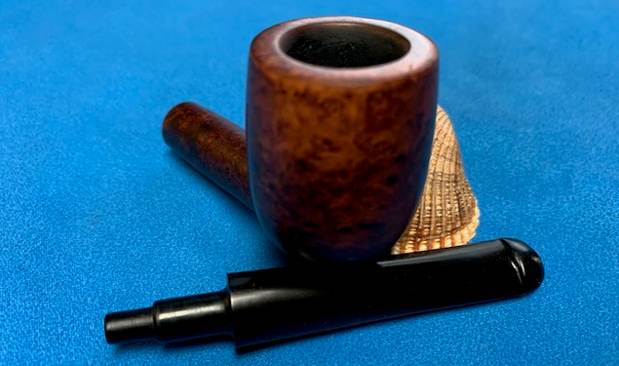
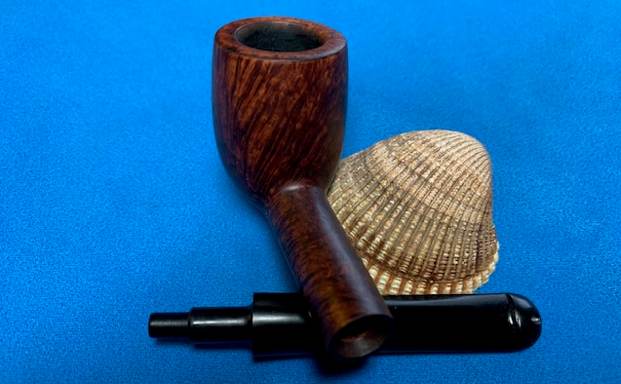
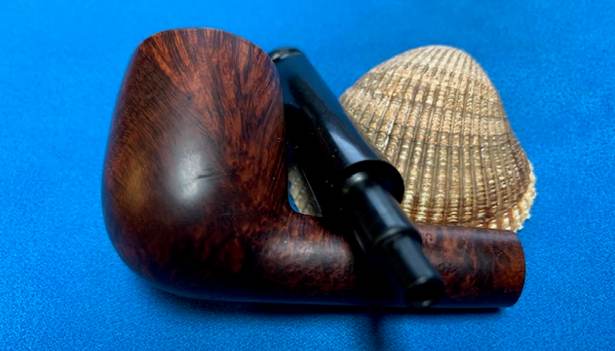
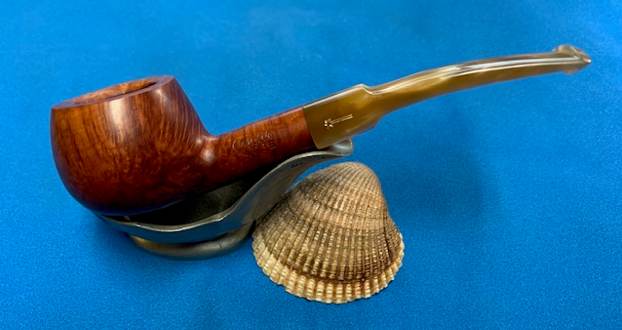
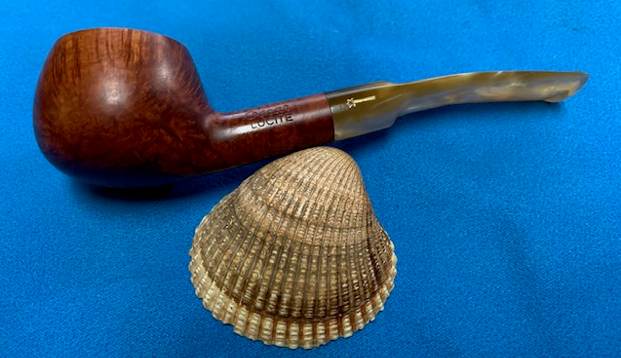
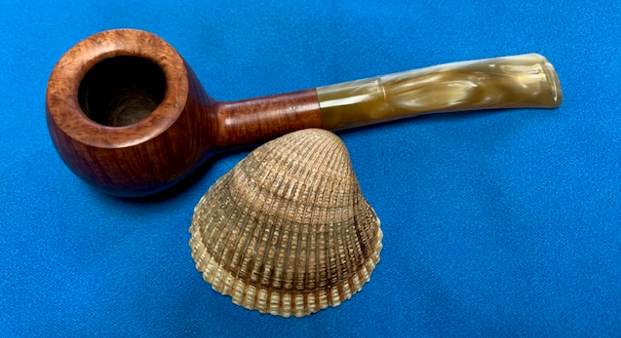
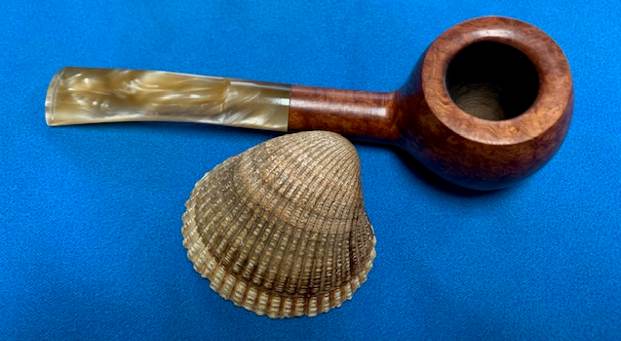
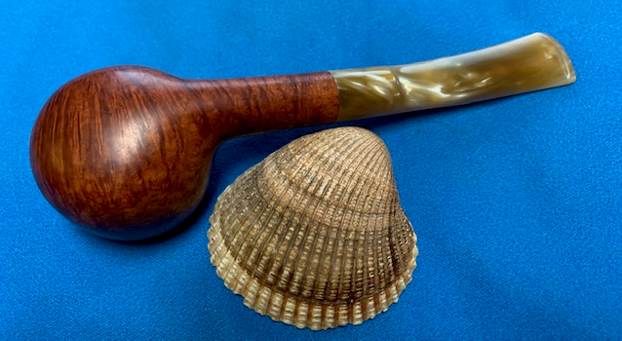
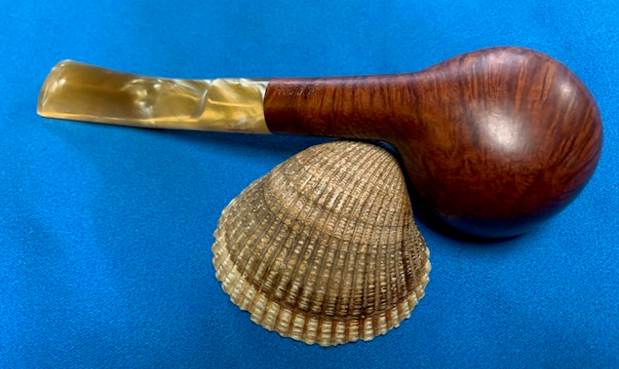
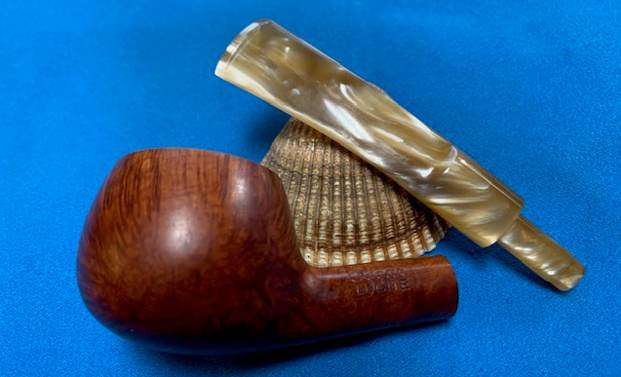
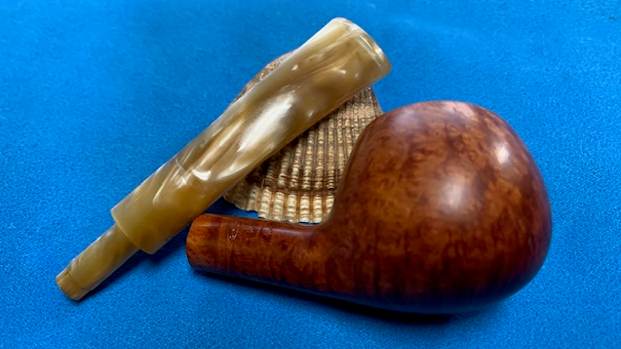
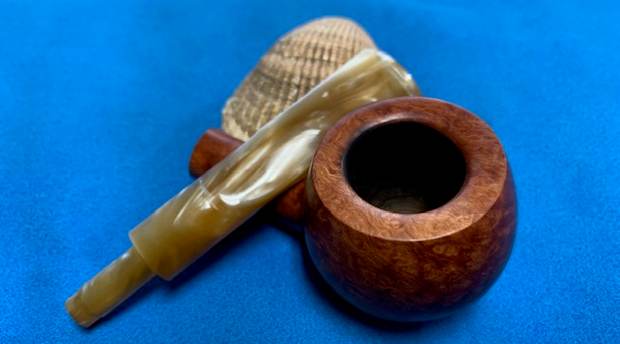
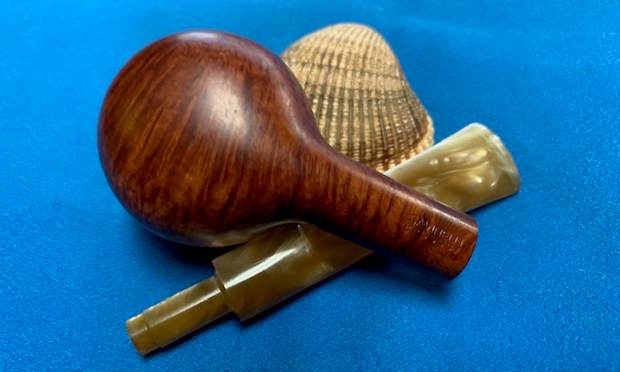
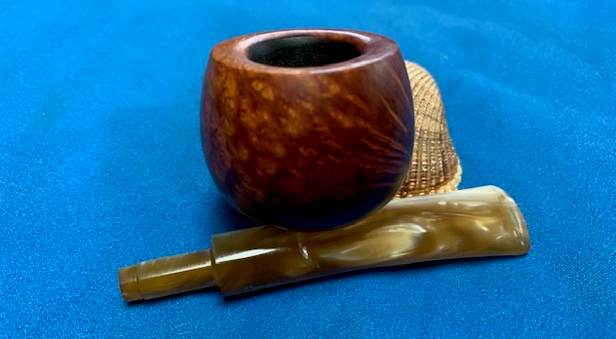
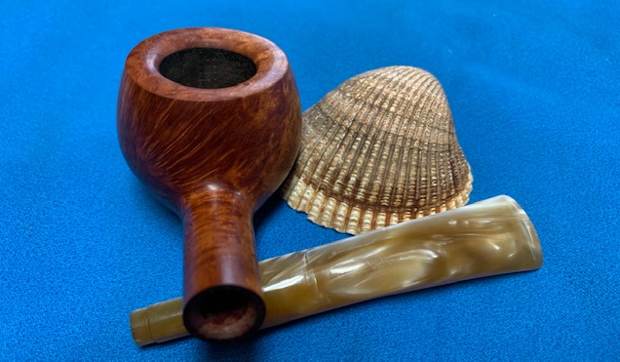
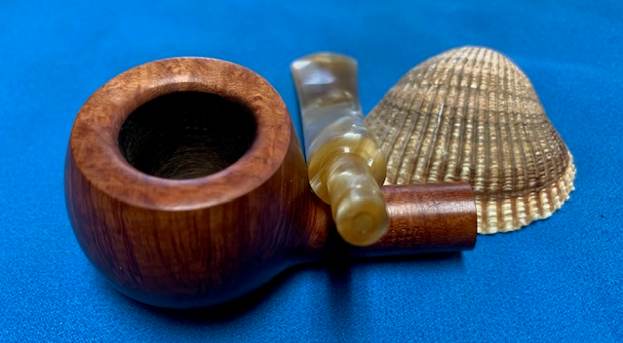
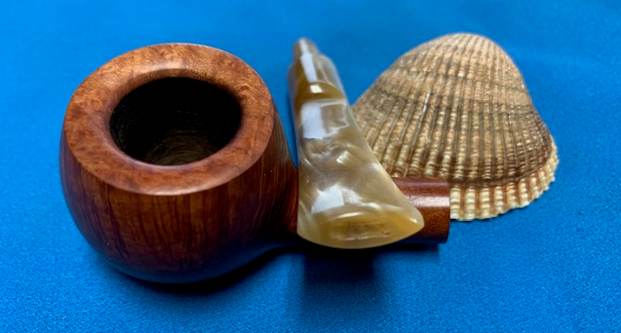
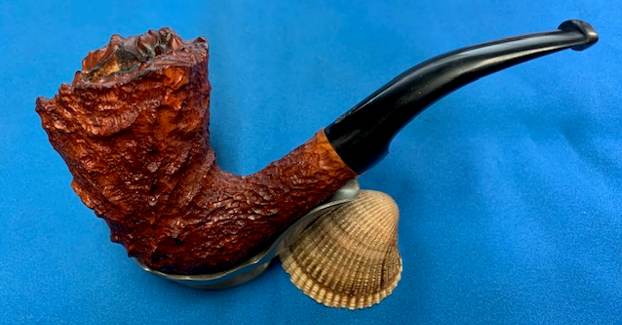
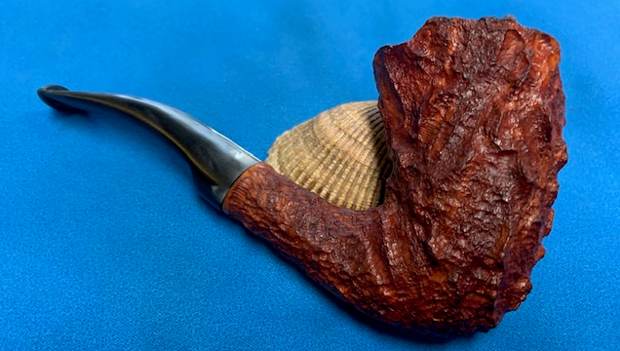
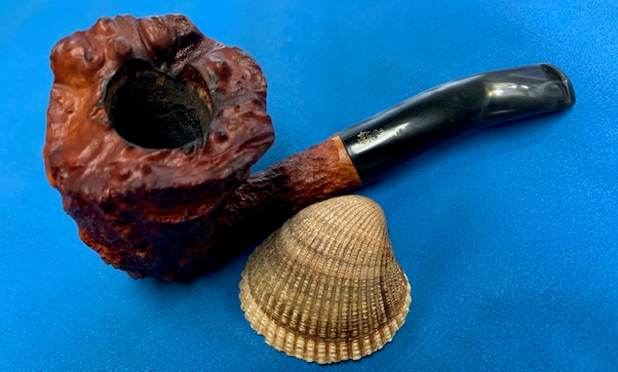
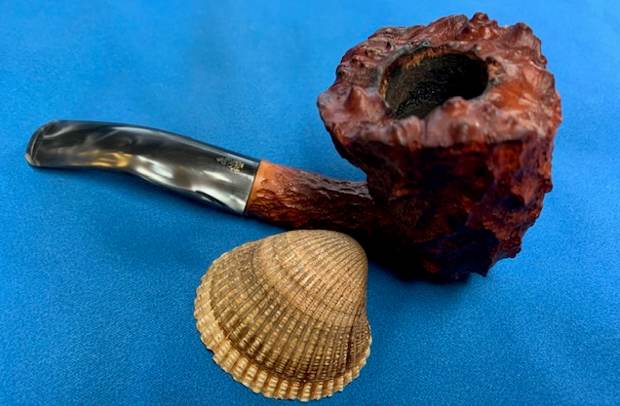
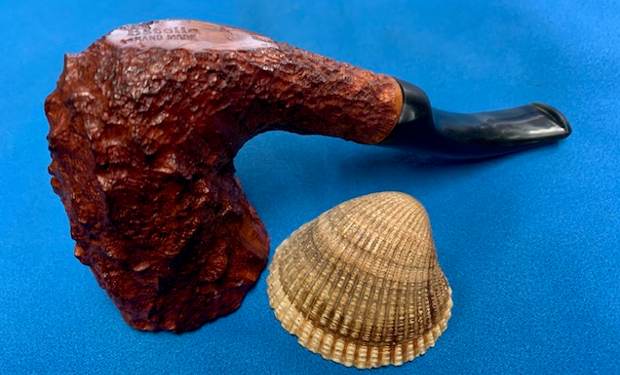
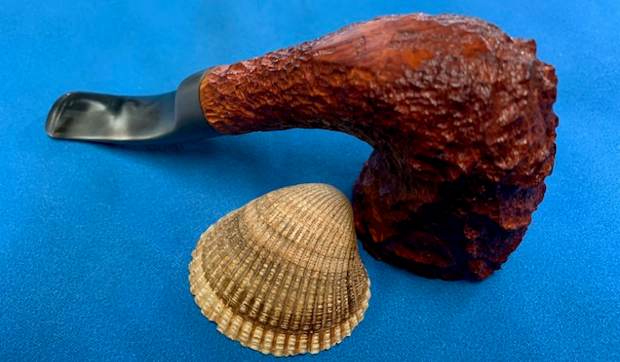
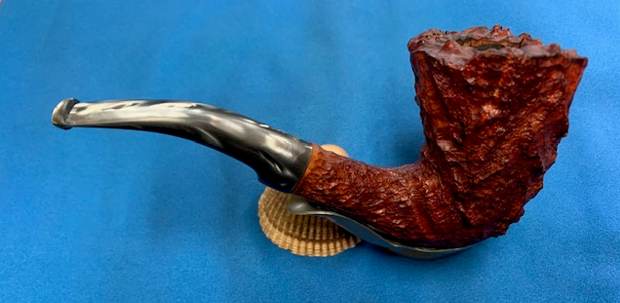
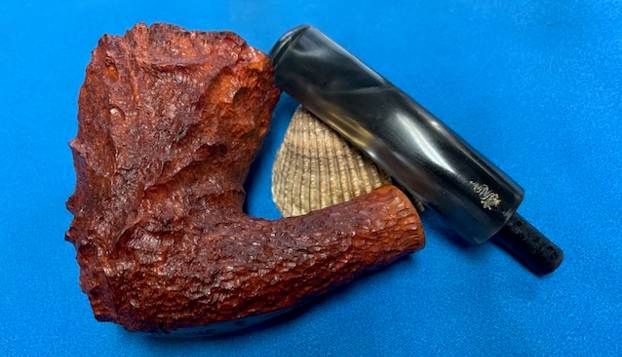
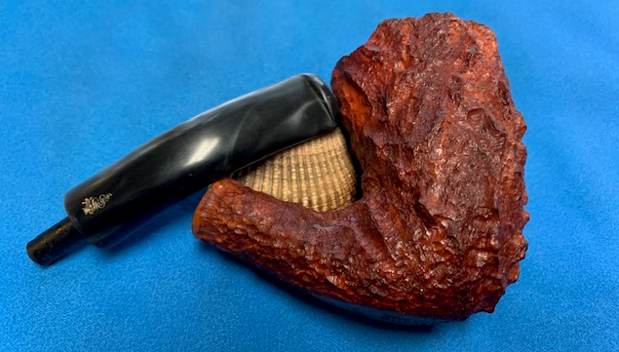
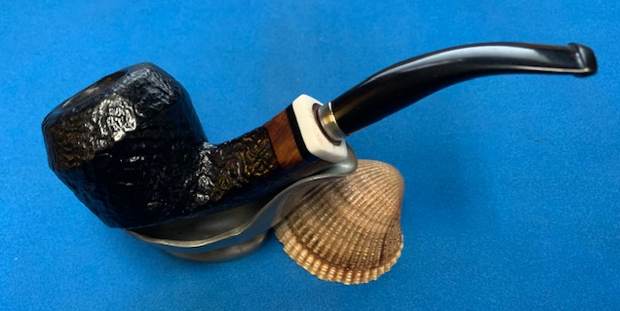
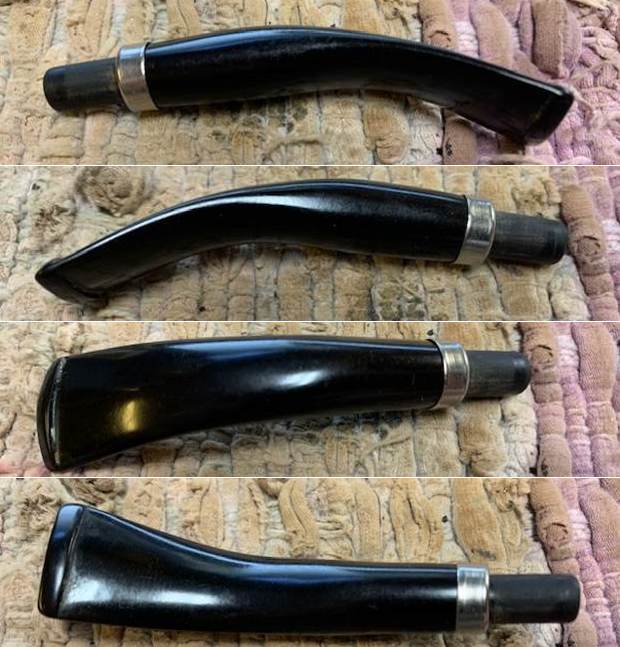
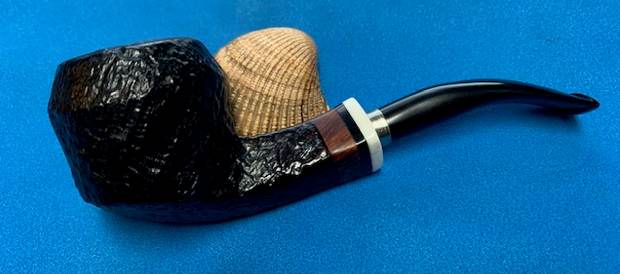
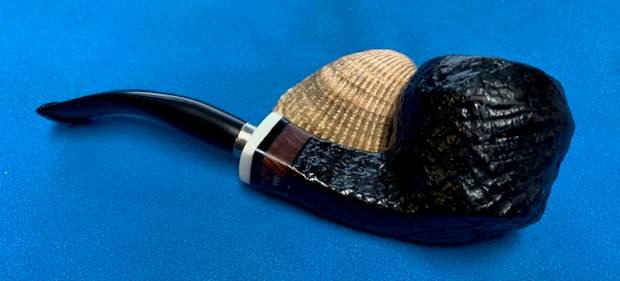
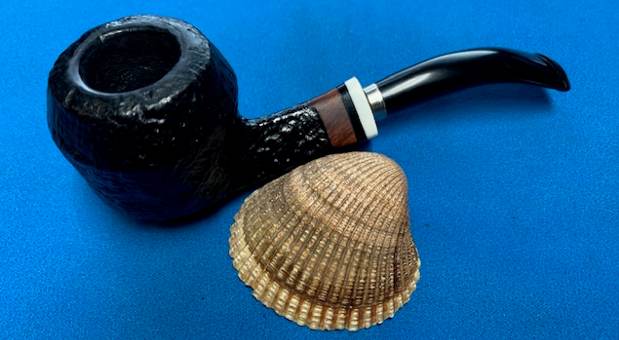
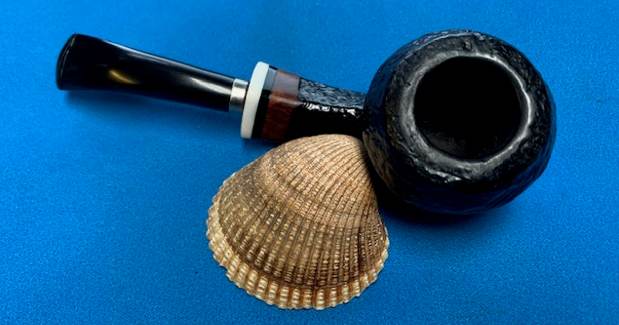
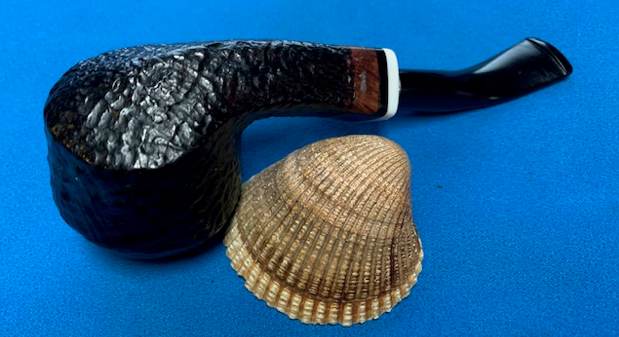
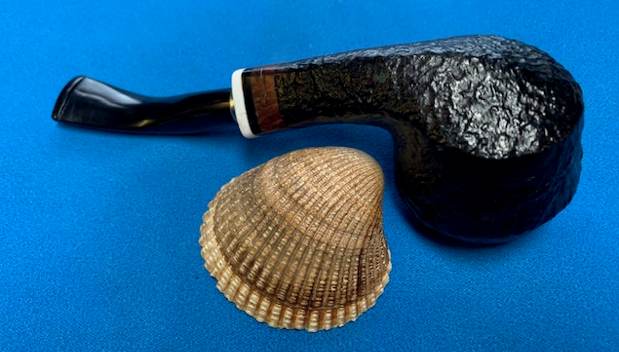
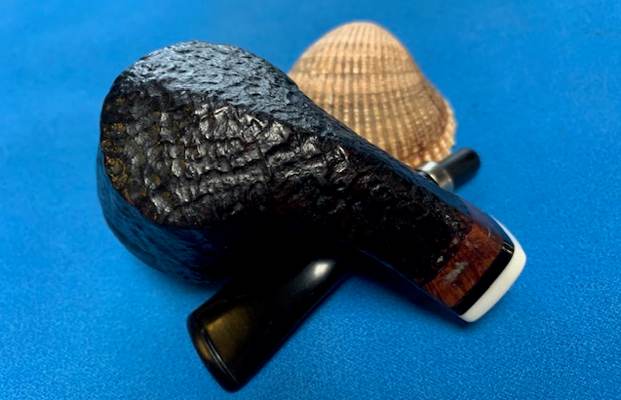
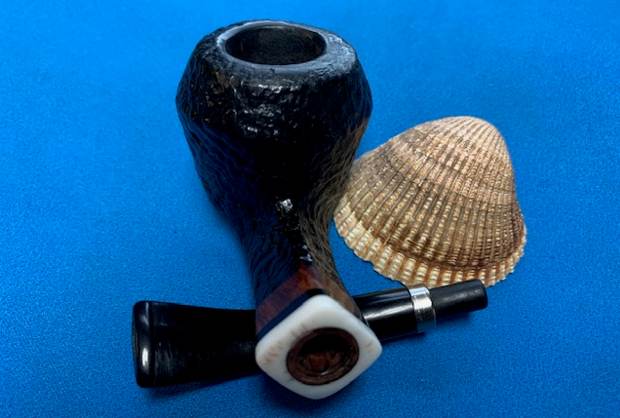
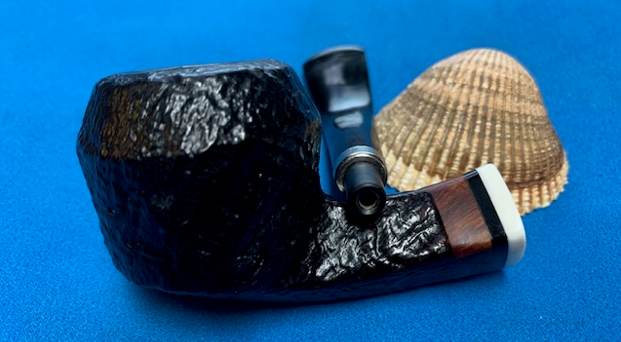
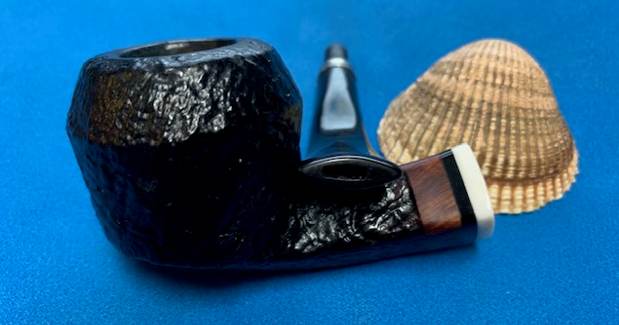
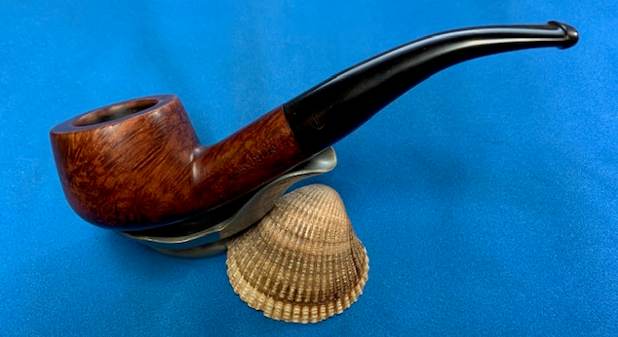
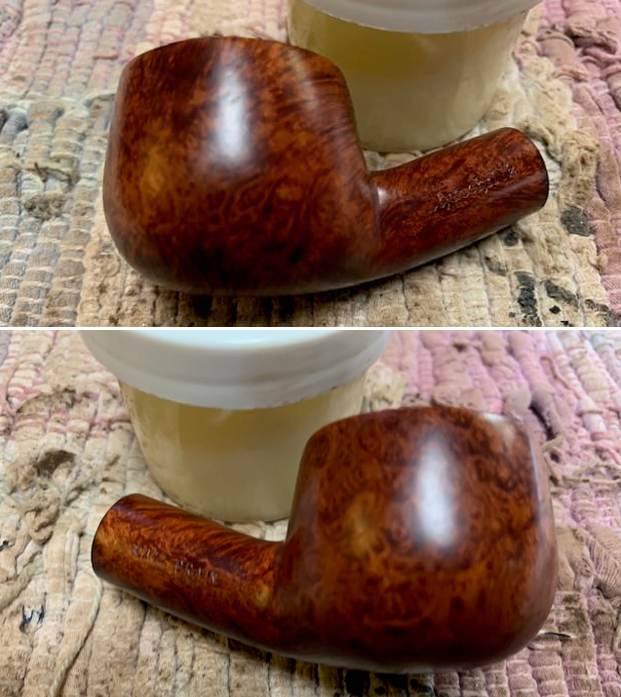
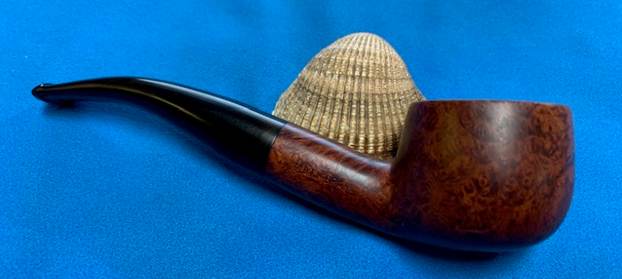
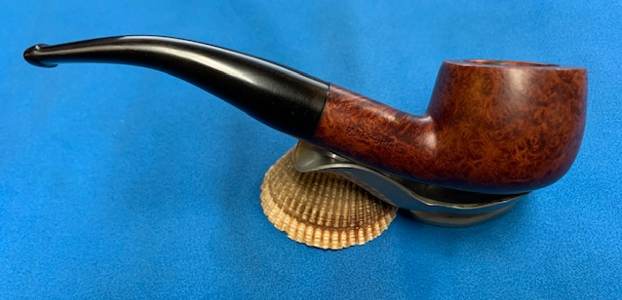
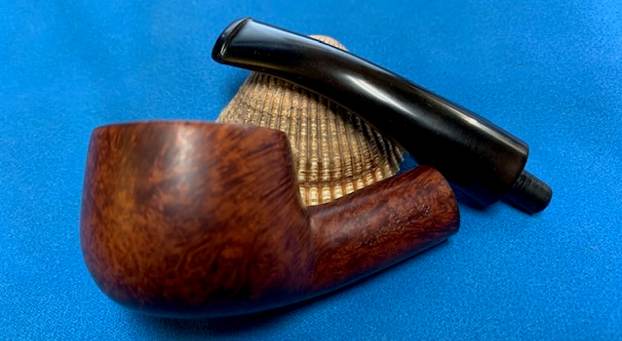
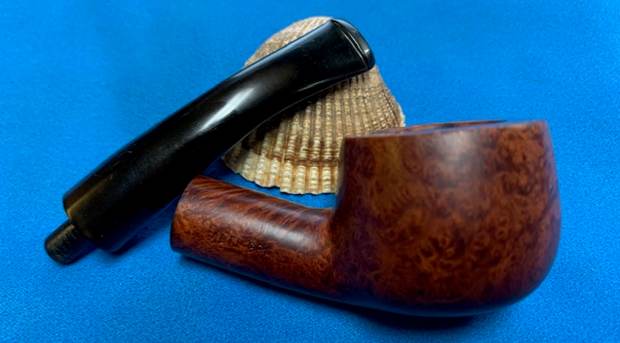
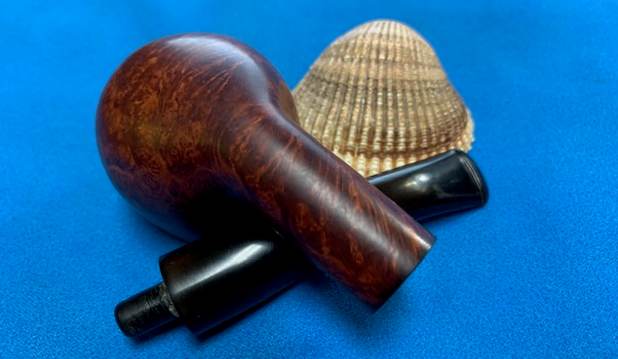
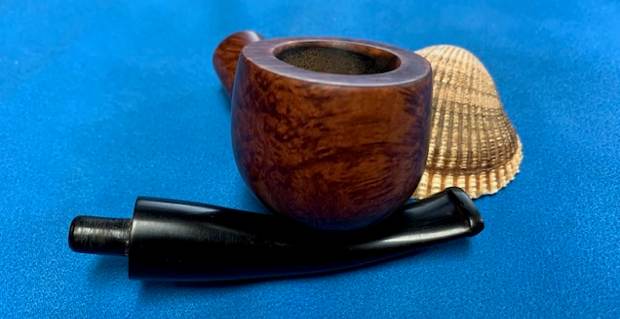
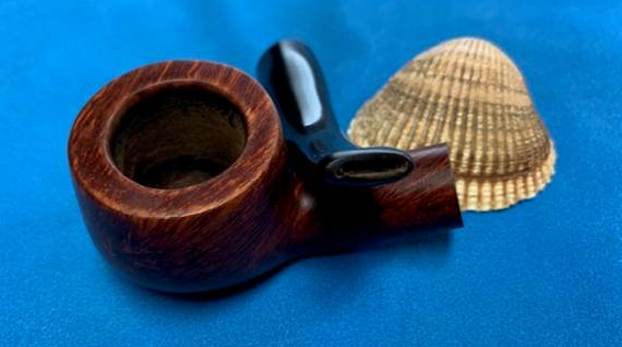
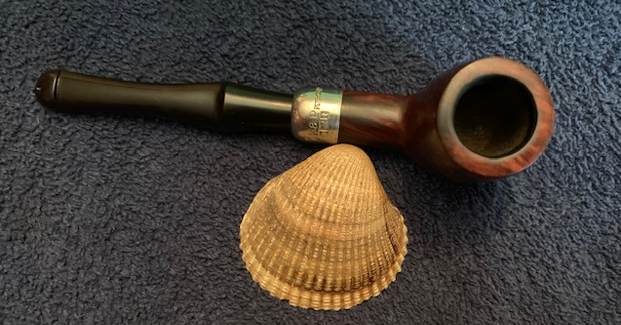
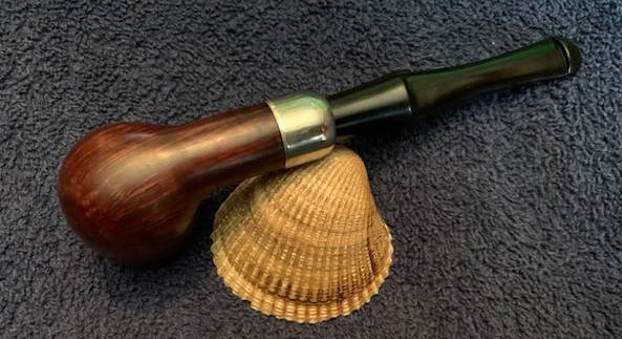
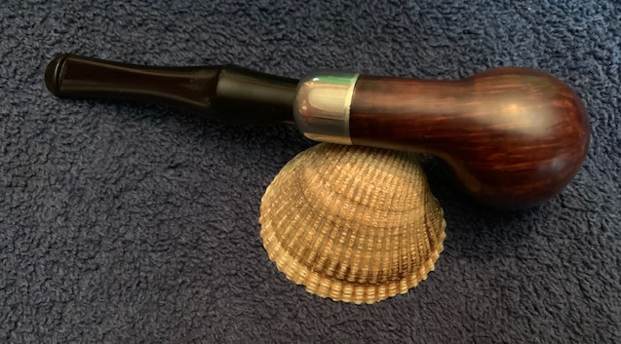
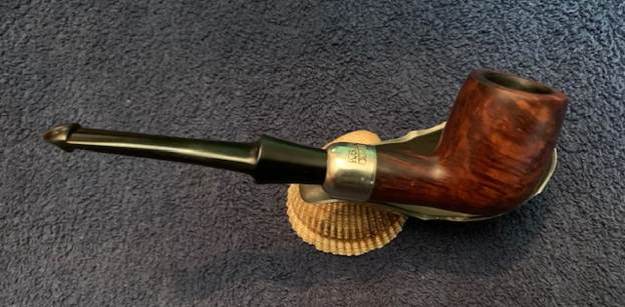
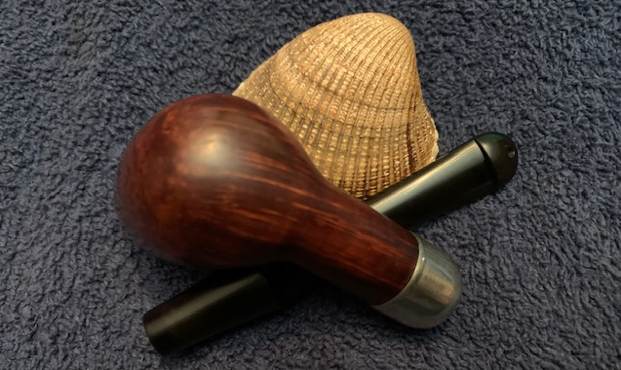
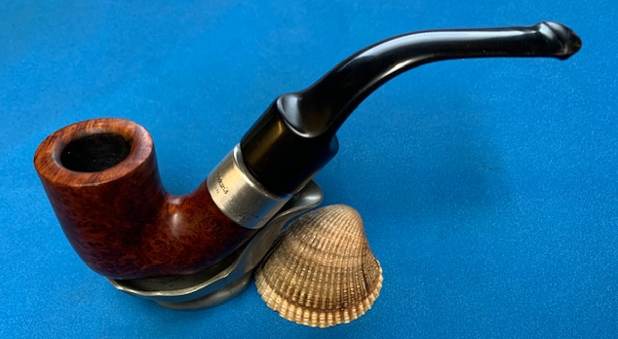
 This Republic Era Peterson’s De Luxe 4S Bent Billiard and a vulcanite, saddle P-lip stem is a great looking pipe now that it has been restored. The beautiful finish really highlights the grain and the polished finish is stunning. I put the stem back on the bowl and carefully buffed the pipe with Blue Diamond on the buffing wheel. I gave the bowl and the stem multiple coats of carnauba wax on the buffing wheel and followed that by buffing the entire pipe with a clean buffing pad. I hand buffed the pipe with a microfiber cloth to deepen the shine. The finished Peterson’s De Luxe 4S Bent Billiard fits nicely in the hand and feels great. Give the finished pipe a look in the photos below. The dimensions of the pipe are Length: 6 inches, Height: 2 inches, Outside diameter of the bowl: 1 ¼ inches, Chamber diameter: ¾ of an inch. The weight of the pipe is 57 grams/2.01 ounces. I will be adding the pipe to the Irish Pipe Makers Section of the rebornpipes store. If you are interested in purchasing this pipe send me a message or an email. Thanks for reading this blog and my reflections on the pipe while I worked on it.