
by Steve Laug
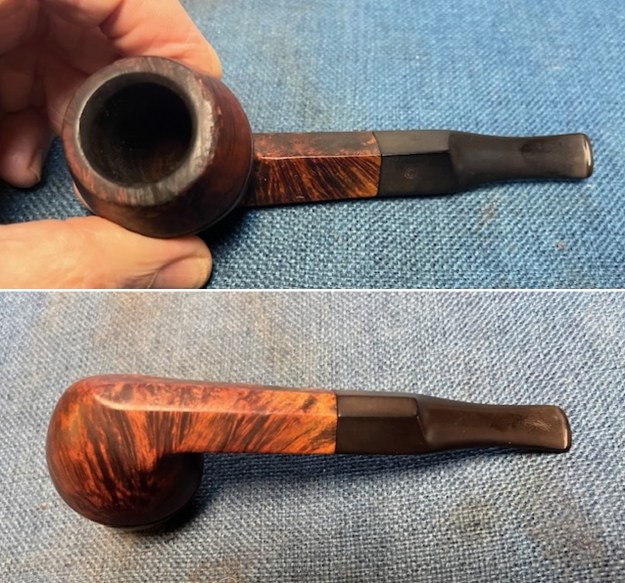
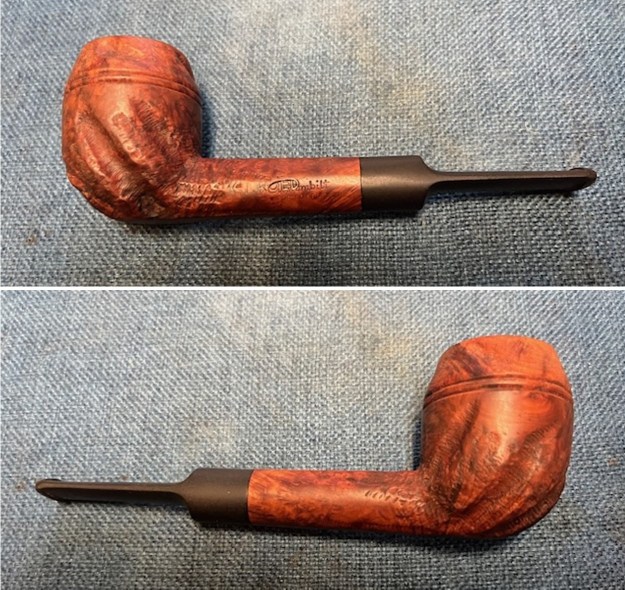
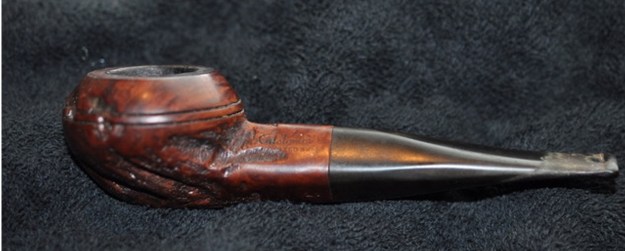
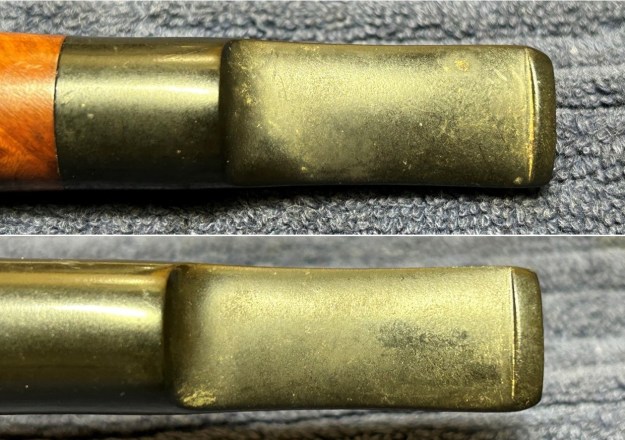
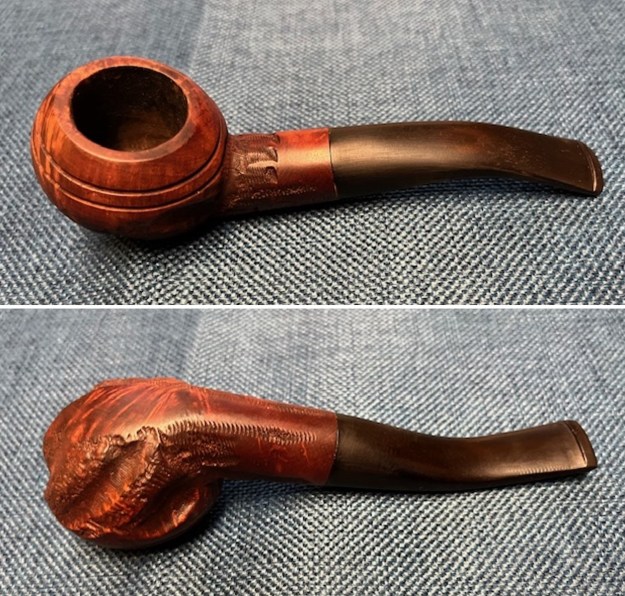
I picked some older pipes to work on next. The next of these is a Classic, Smooth Straight Bulldog with a Saddle Stem. We purchased this one on 09/20/2023 from a seller in Portland, Oregon, USA. The is a large straight Bulldog that is stamped on the top left side of the shank and reads Conway [over] Aristocrat. On the left side it is stamped Made in England. On the top left side of the saddle stem the Circle C logo of Conway was stamped. The pipe was well used. The finish was dirty with dust and debris in the smooth briar and in the twin rings around the rim cap. The bowl had a thick cake in it and heavy lava on the rim top and the inner edge. There was some damage on the left back of the rim top and om the bevelled inner edge of the bowl. The vulcanite stem was oxidized, calcified and had some tooth marks on the surface ahead of the button. Jeff took photos of the pipe before he started his cleanup work. 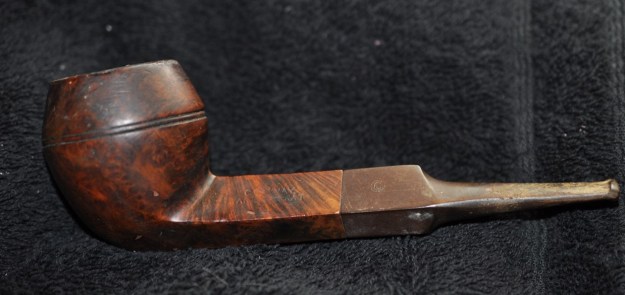
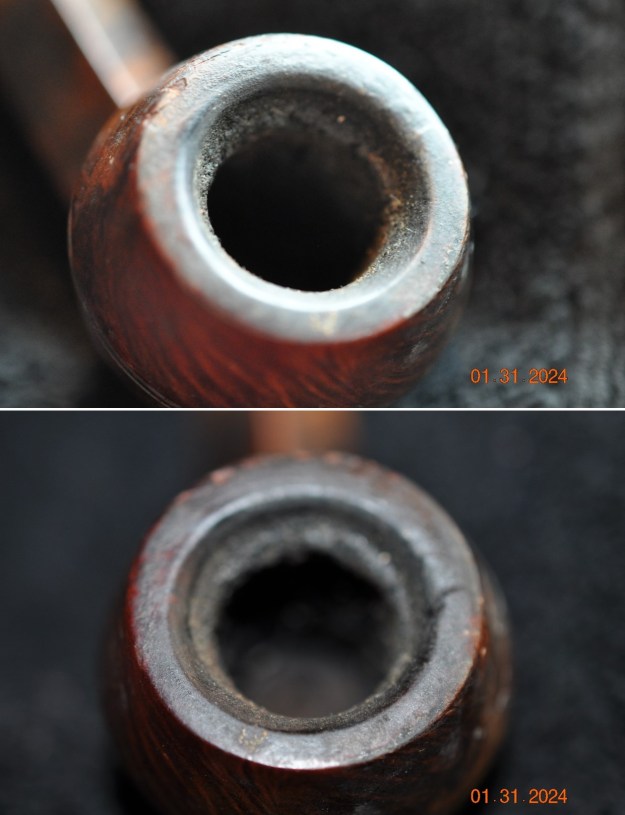
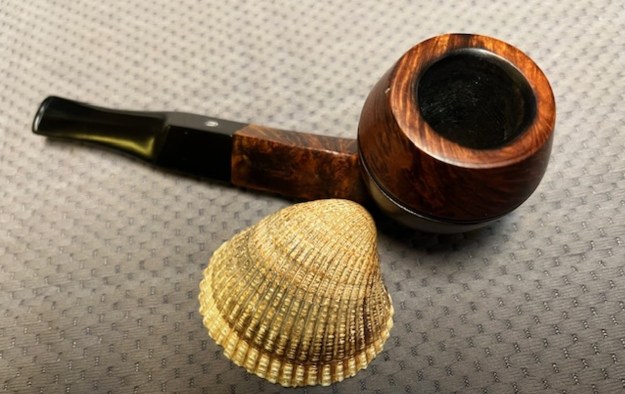
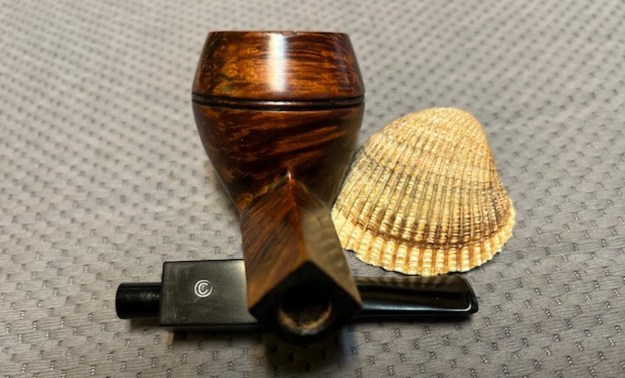
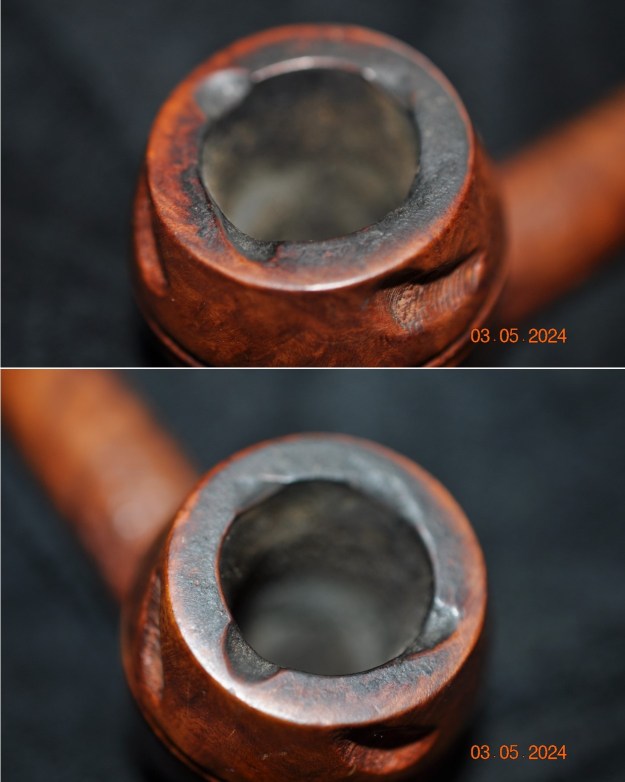
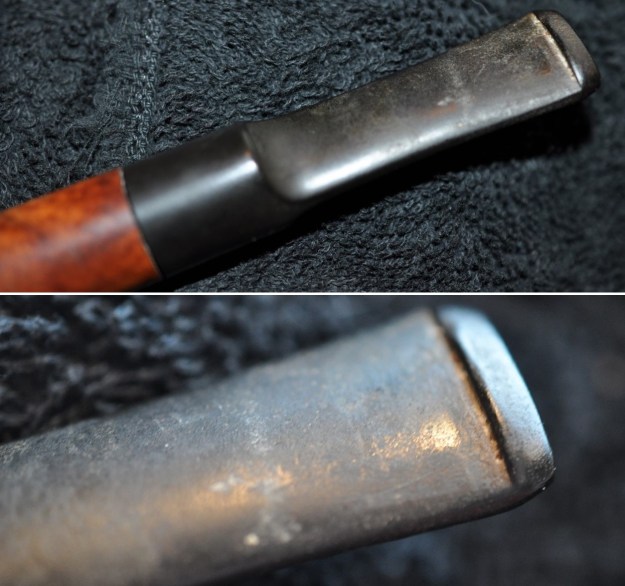
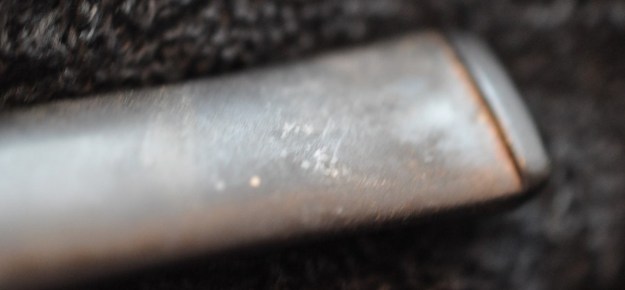
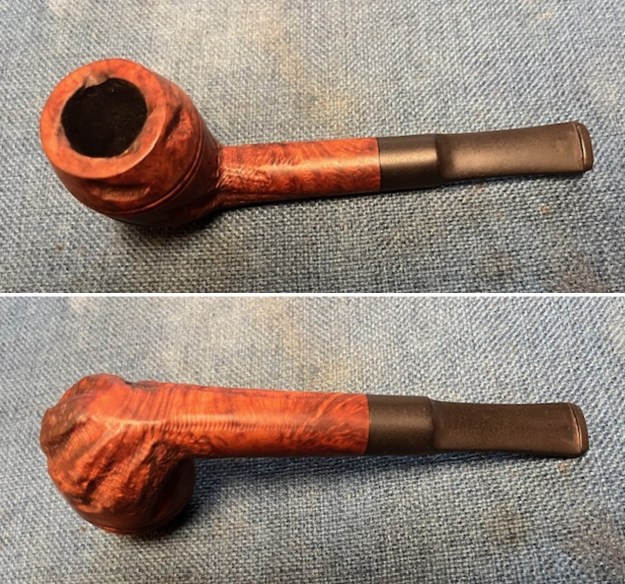
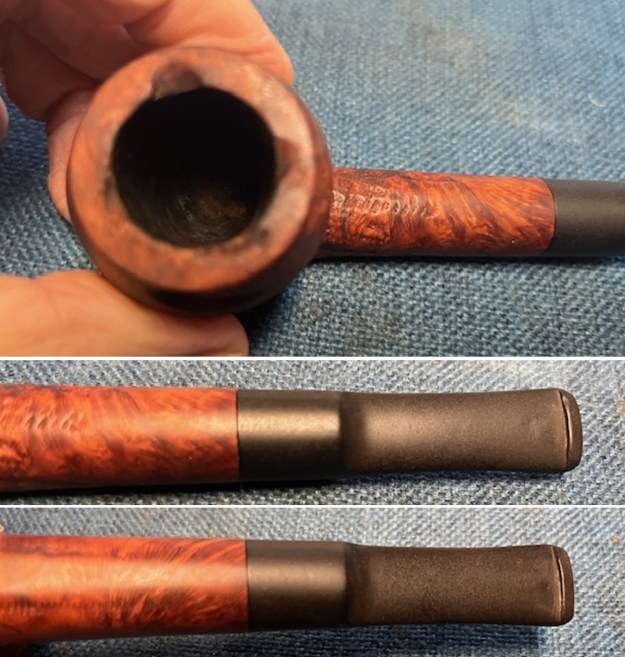
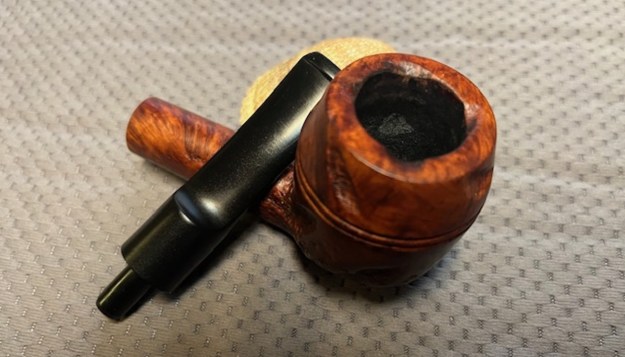
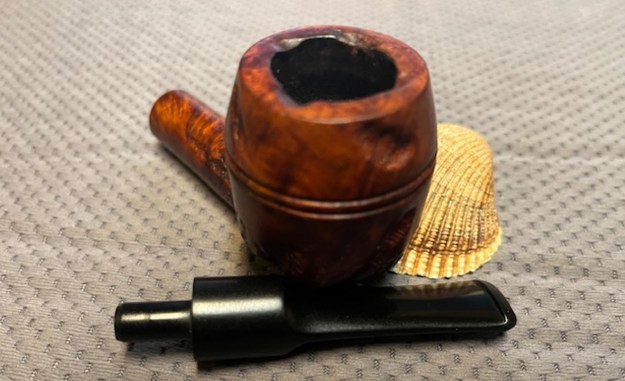
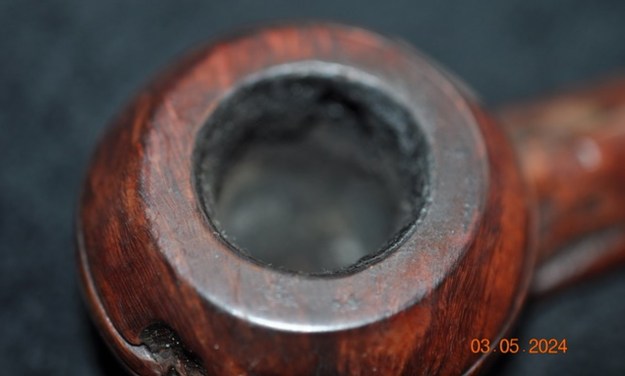
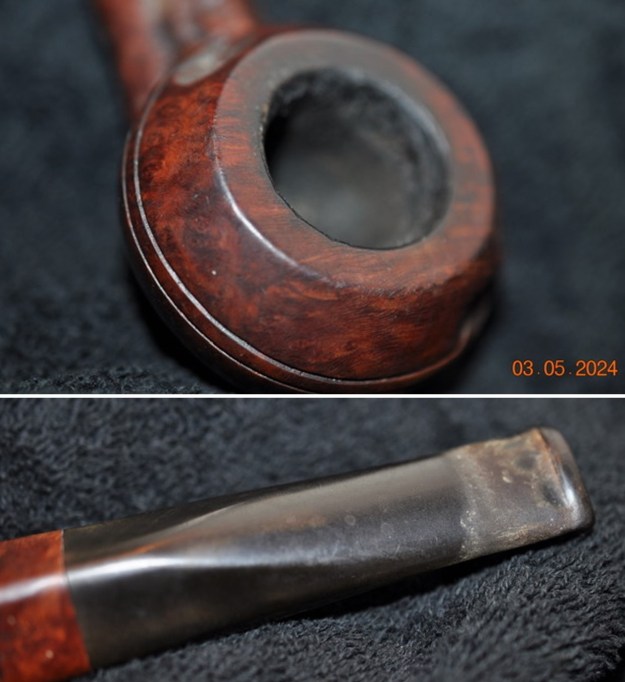
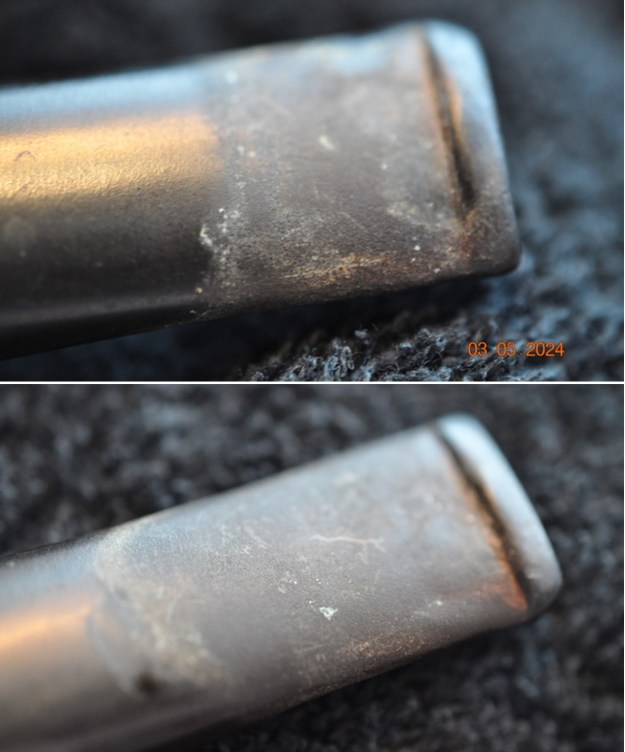
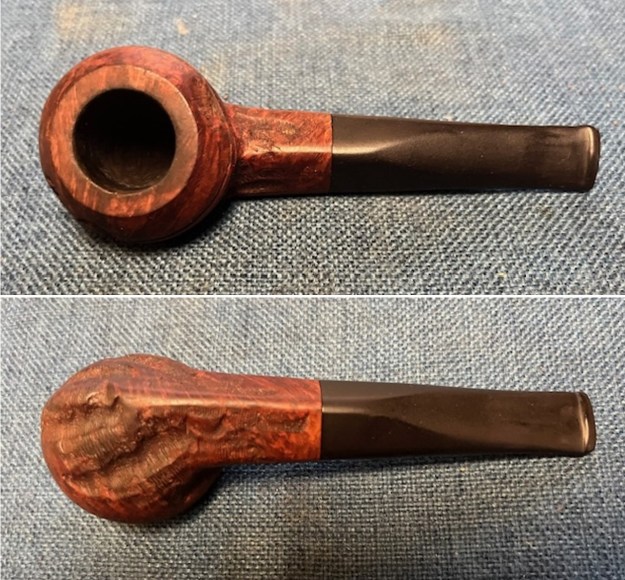
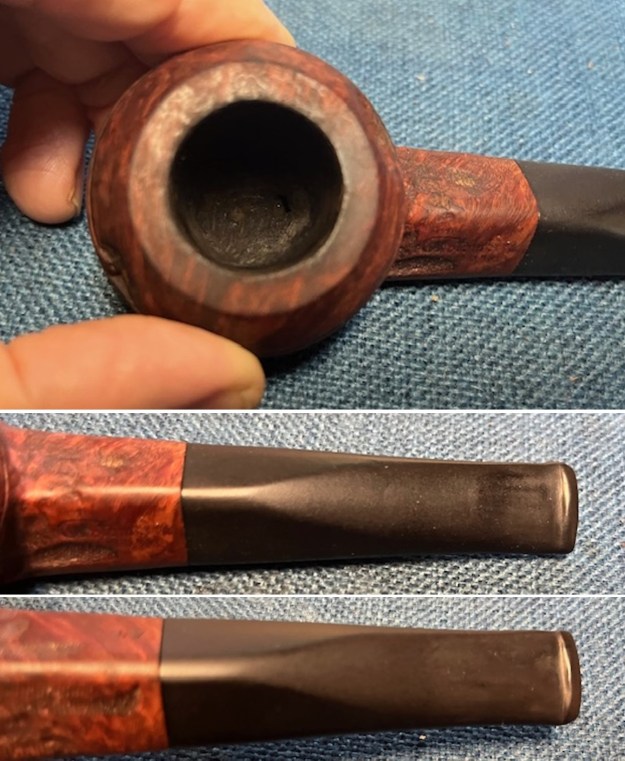
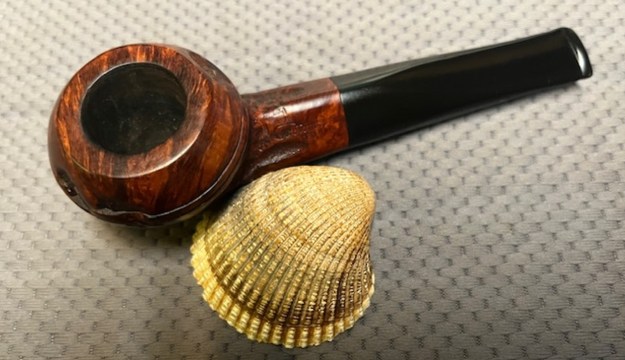
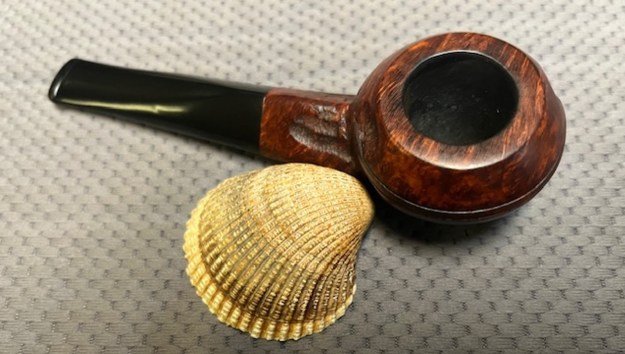
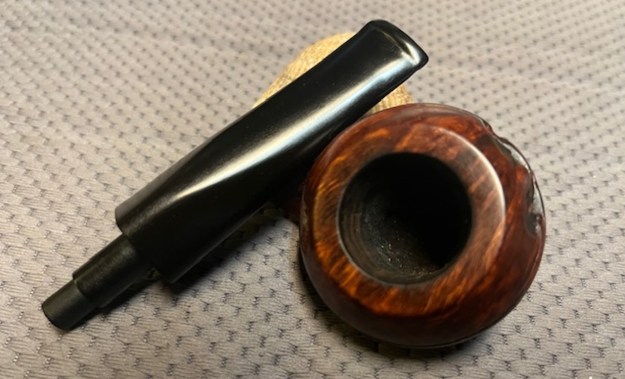
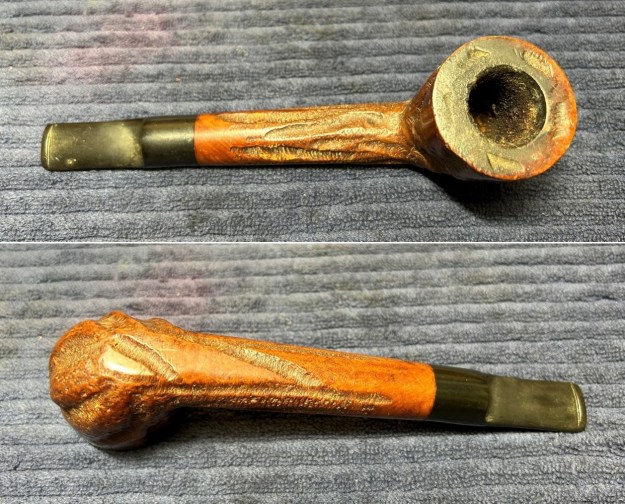
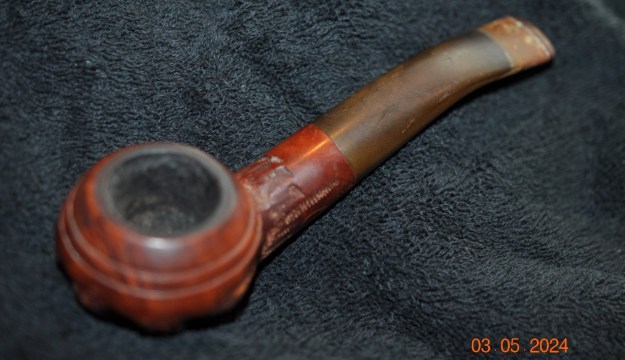
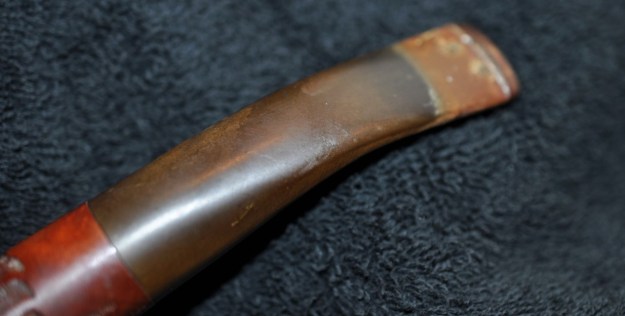
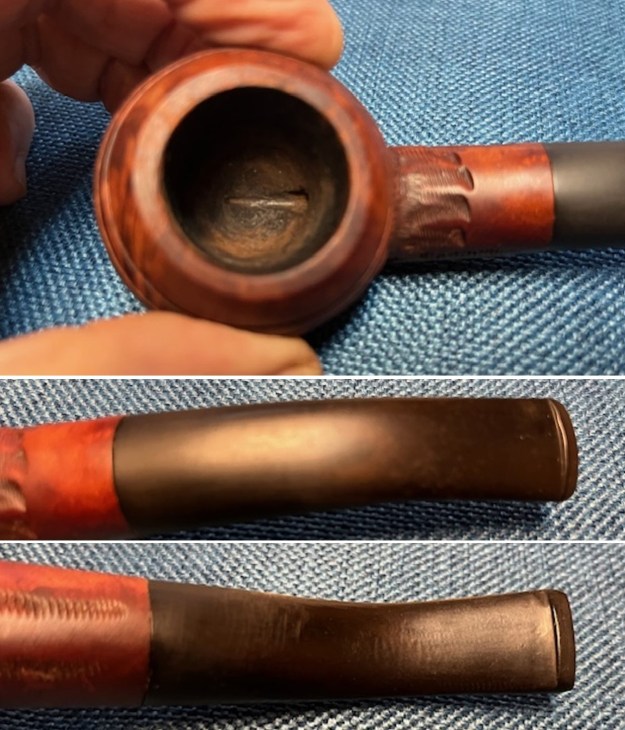
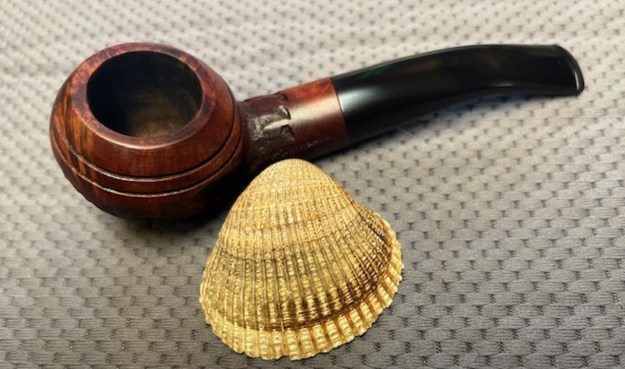
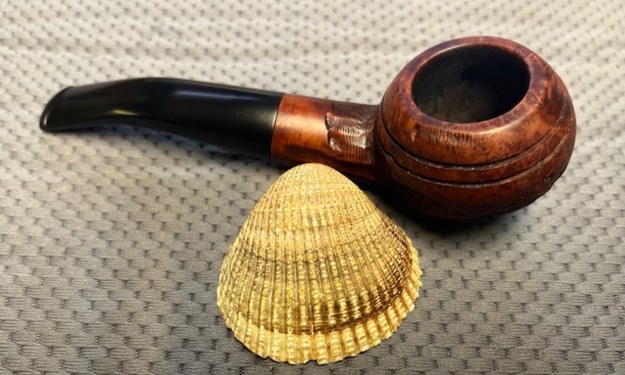
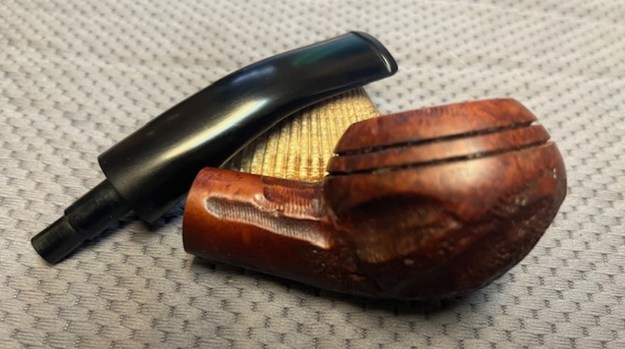
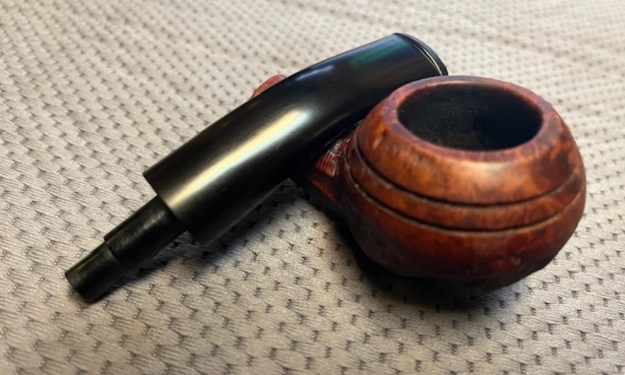
 He took some closer photos of the rim top and bowl to show the condition. You can see the thick cake in the bowl and the lava on the rim top and inner edge. You can see the chip on the outer edge at the back of the rim top. It is hard to know for certain but it looks like there is some roughening on the back inner edge. He also took photos of the stem to show its condition. You can see the oxidation, calcification and tooth marks and chatter.
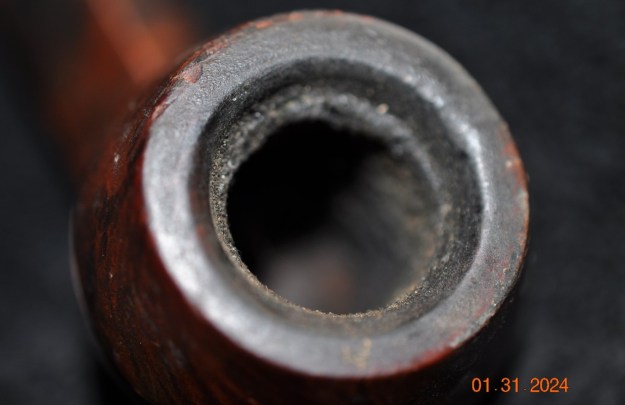
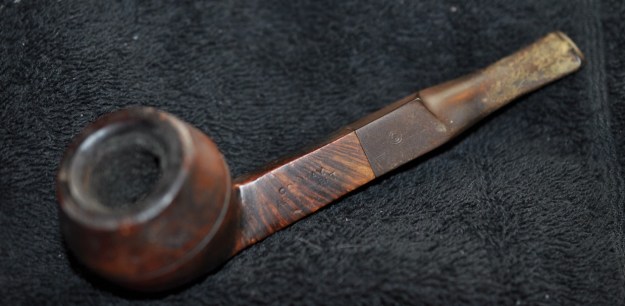
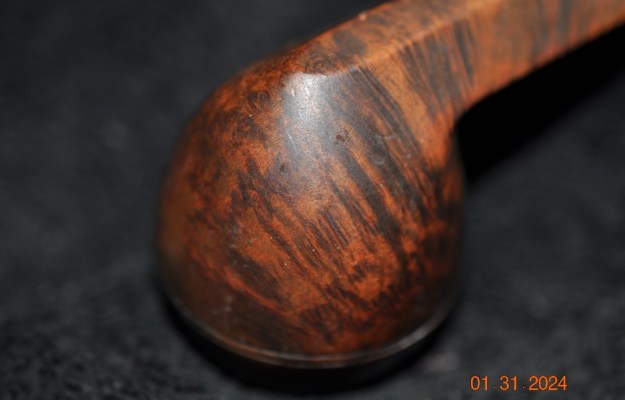
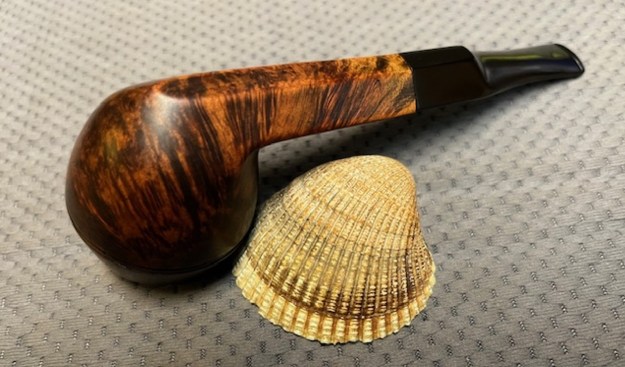
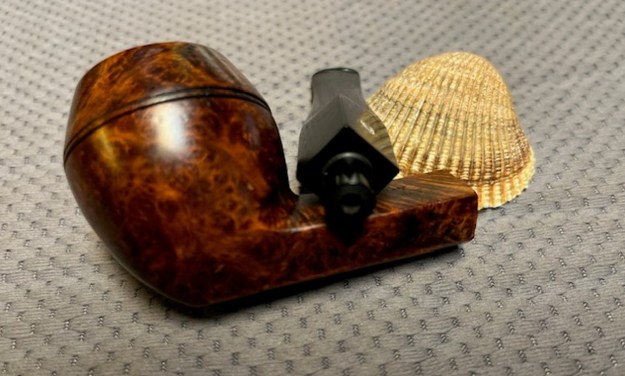
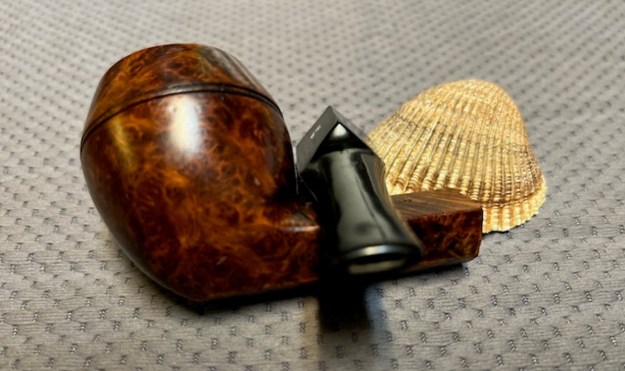
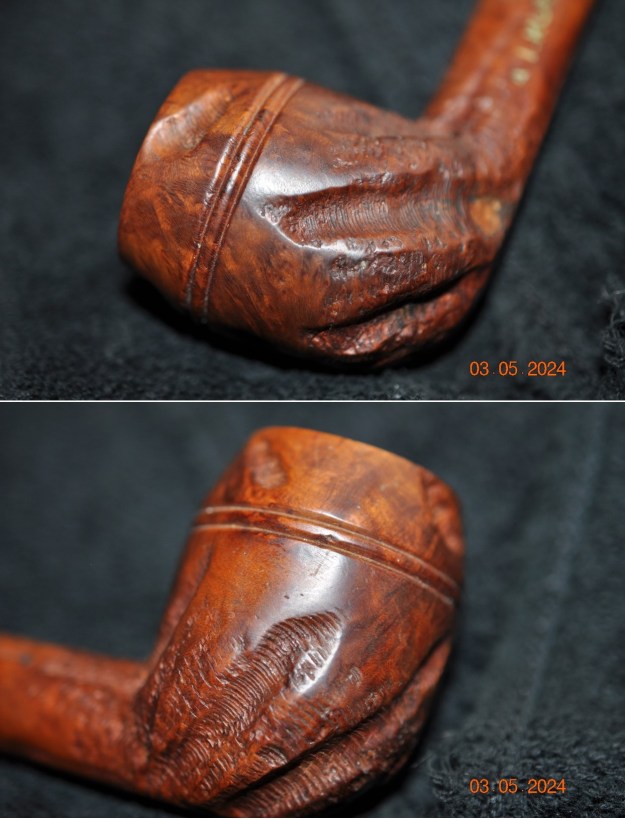
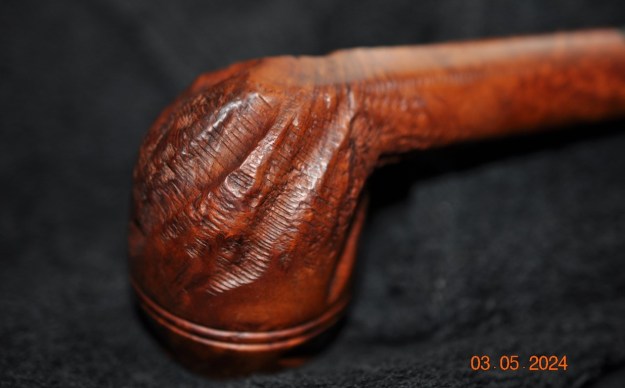
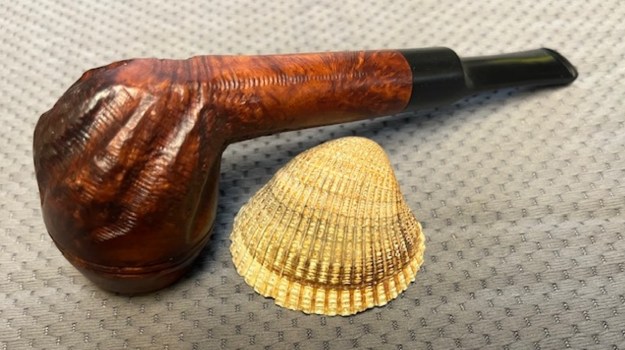
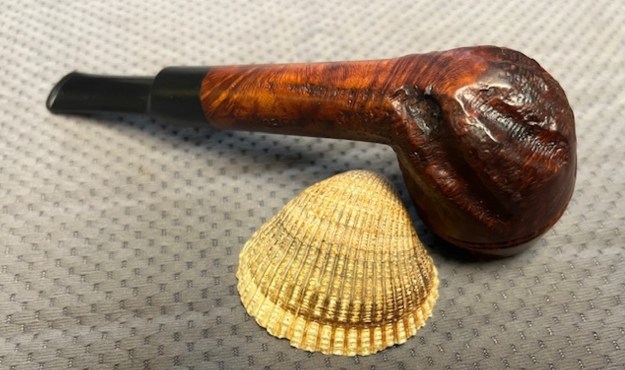
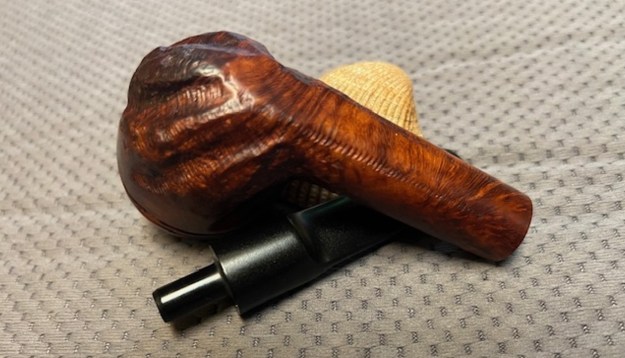
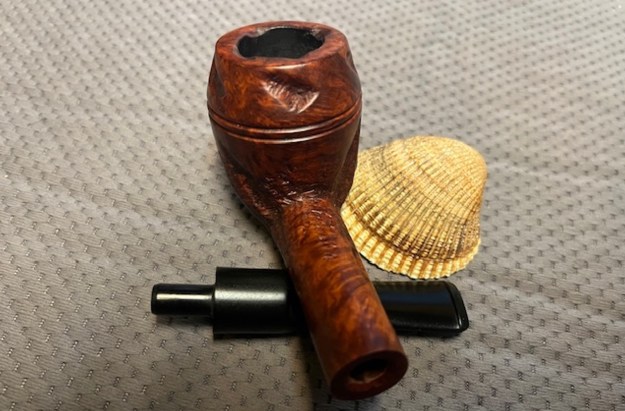
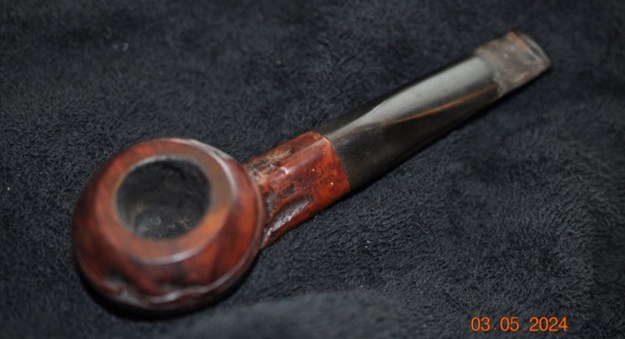
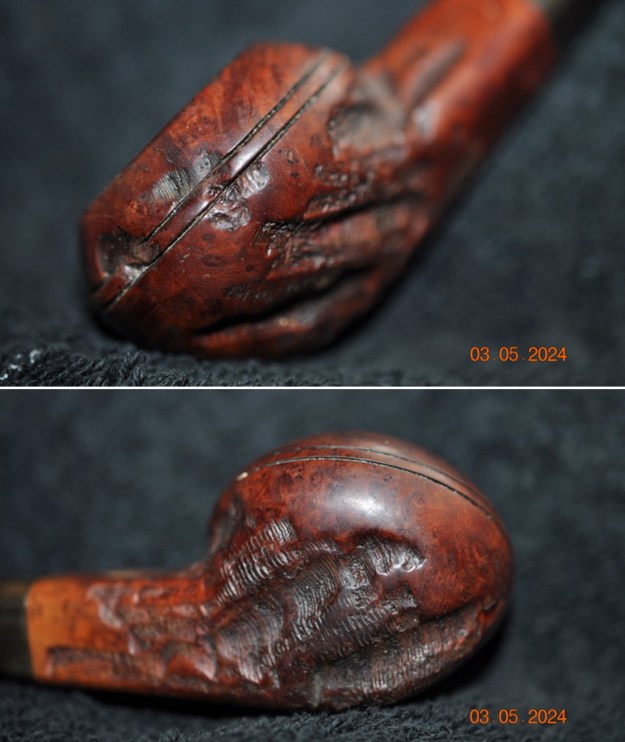
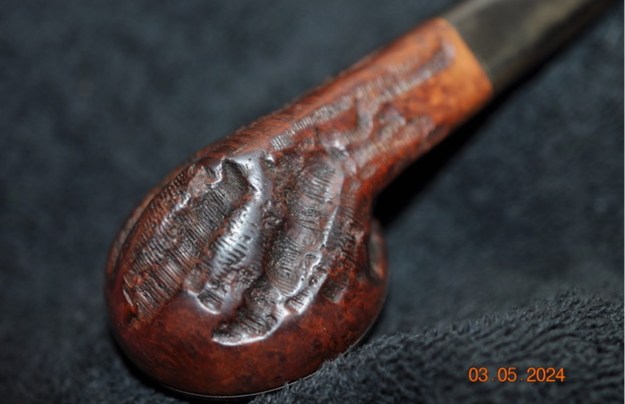
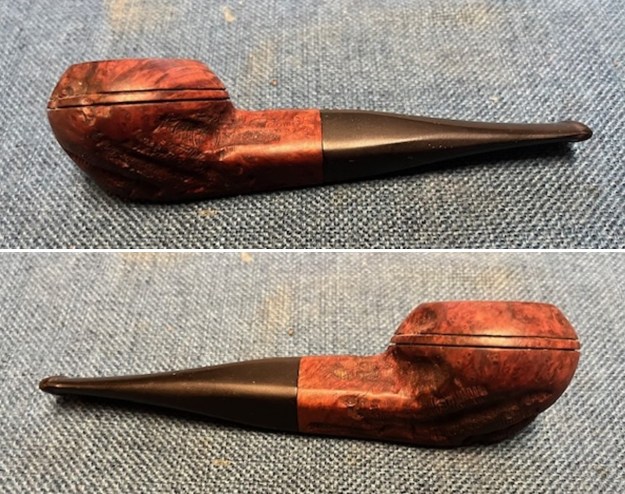
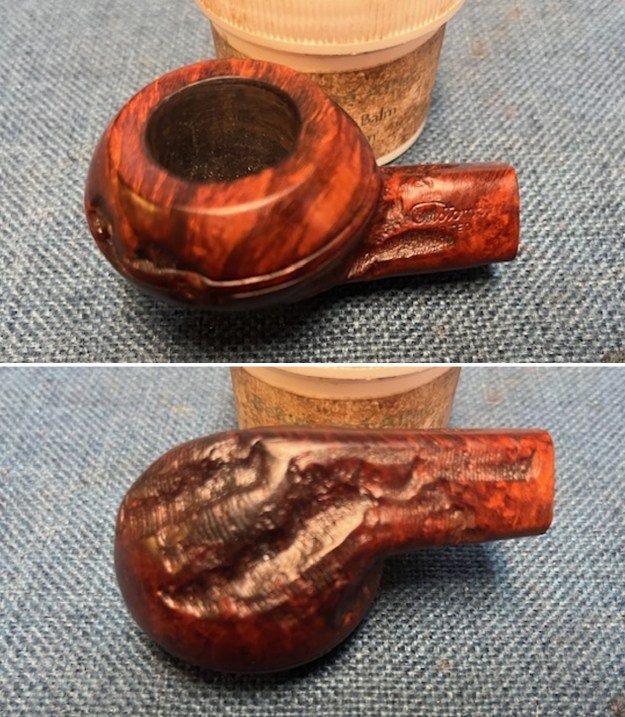
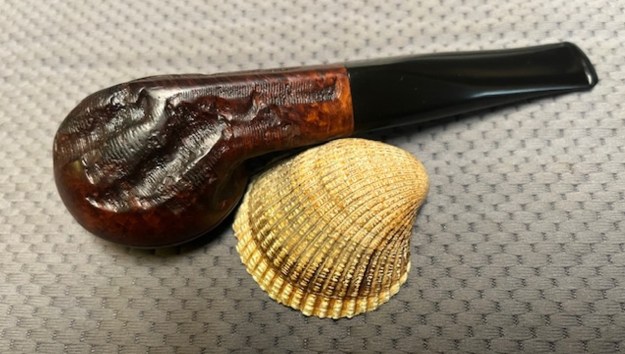
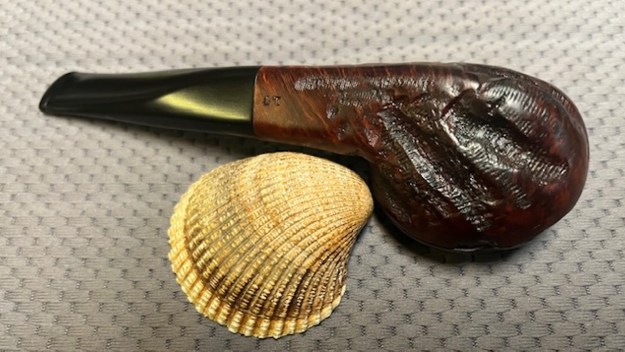
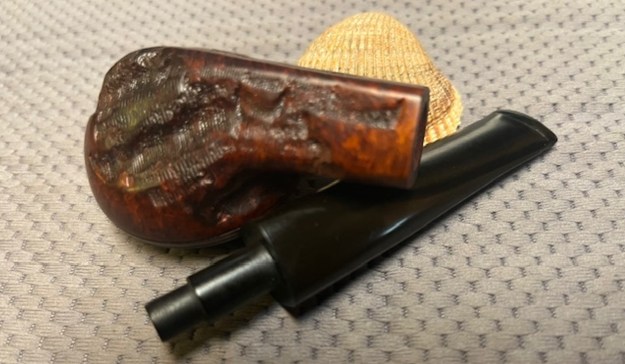
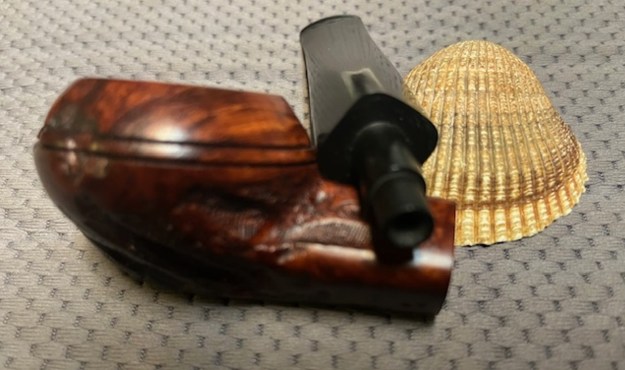
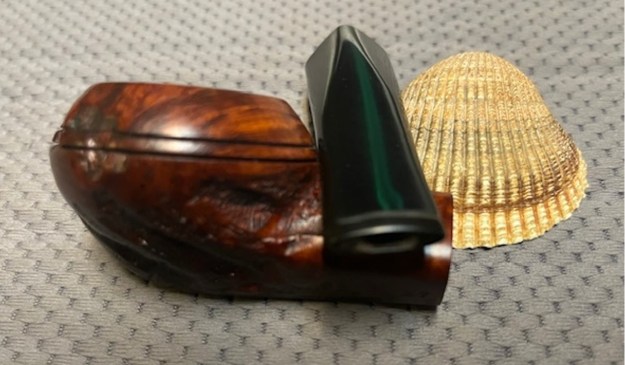
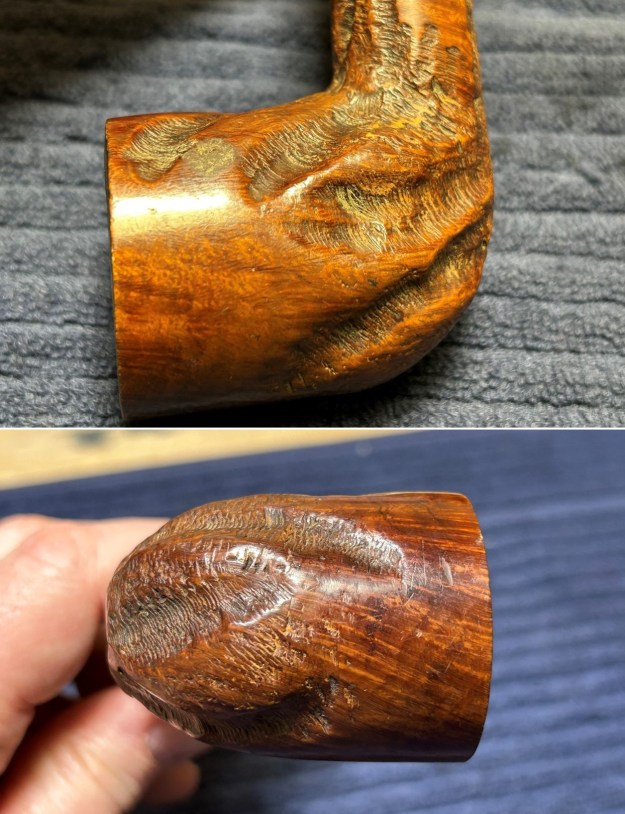
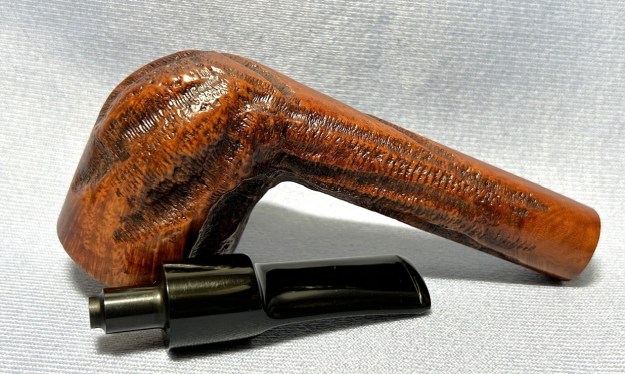
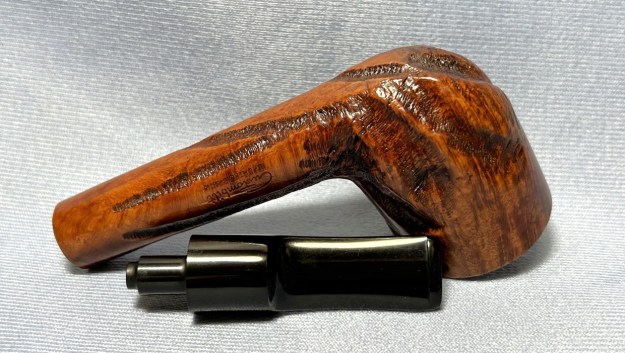
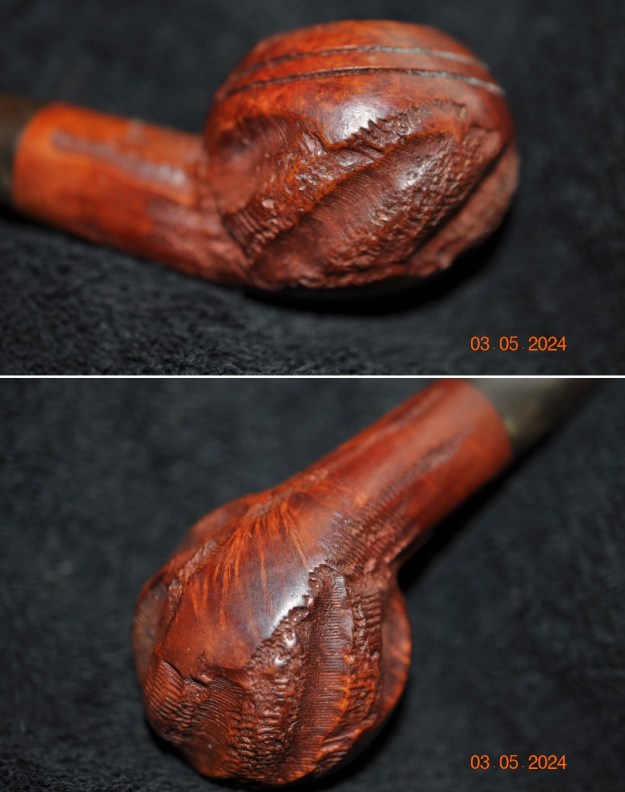
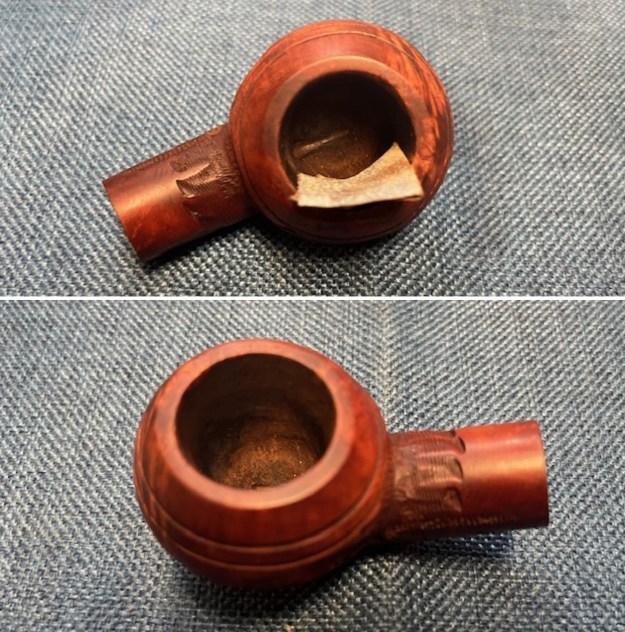
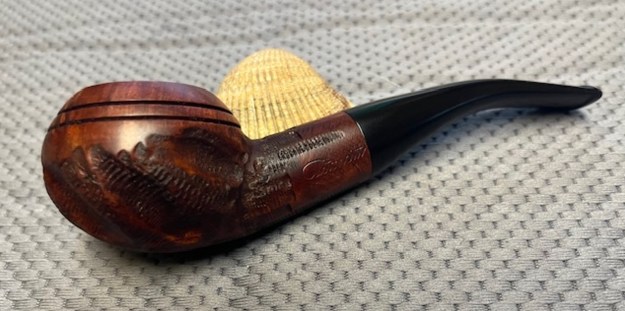
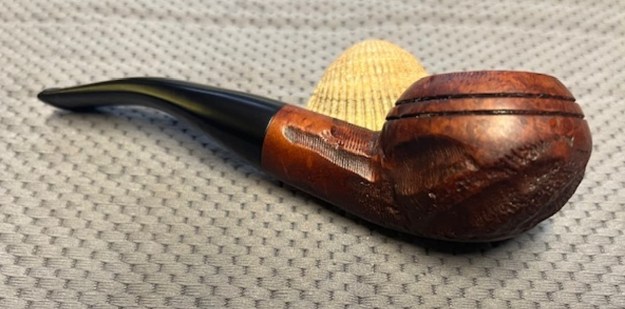
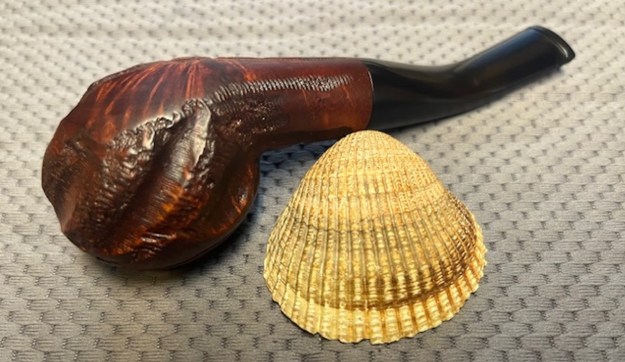
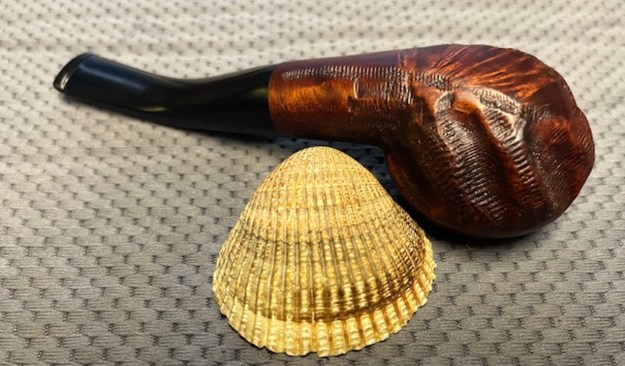
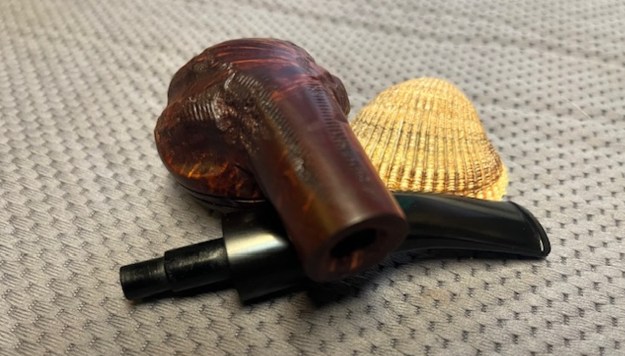
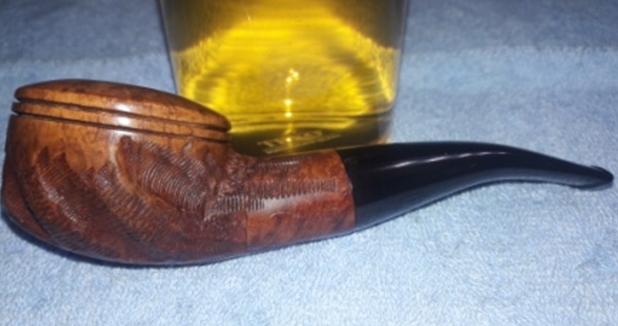
 Jeff took some photos of the sides and heel of the bowl to show the condition of the finish on the bowl. The twin rings and bowl cap are quite well done and you can see the nicks and damage in the briar.
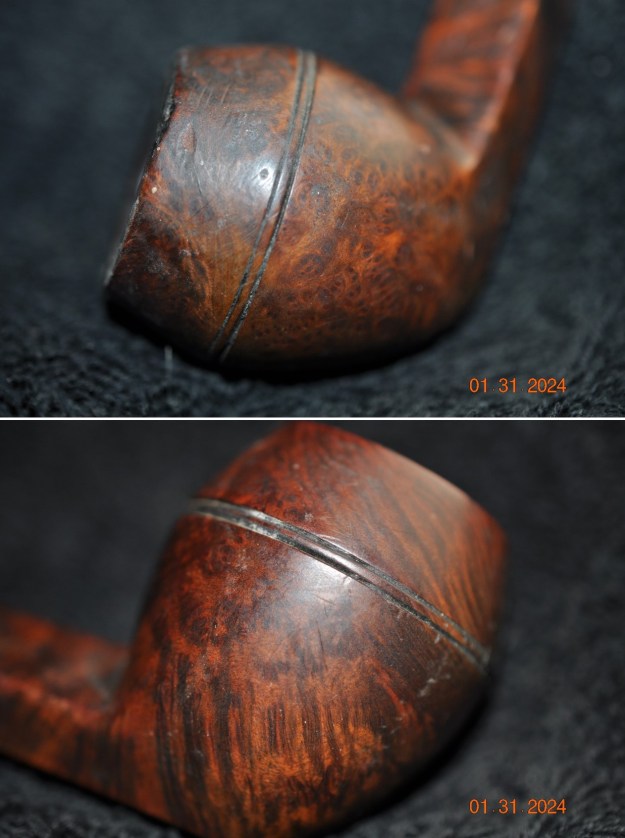
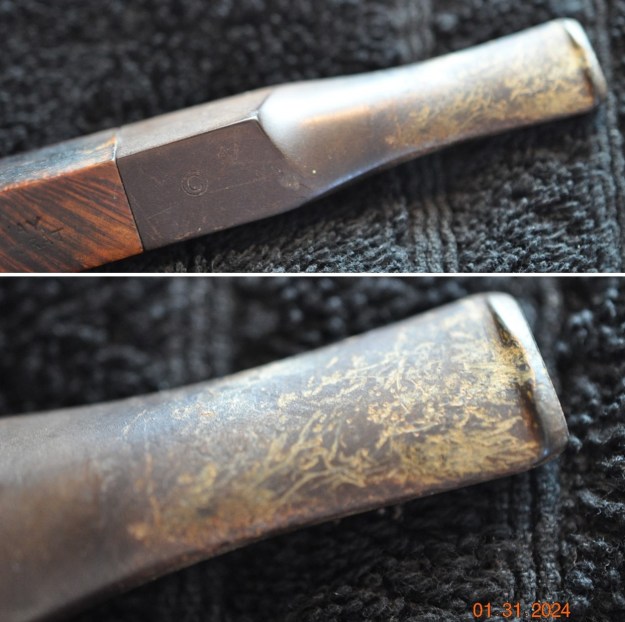
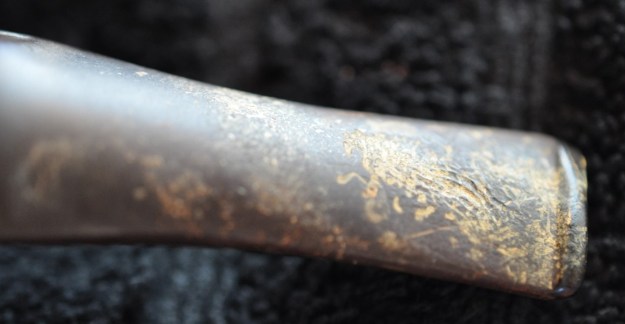
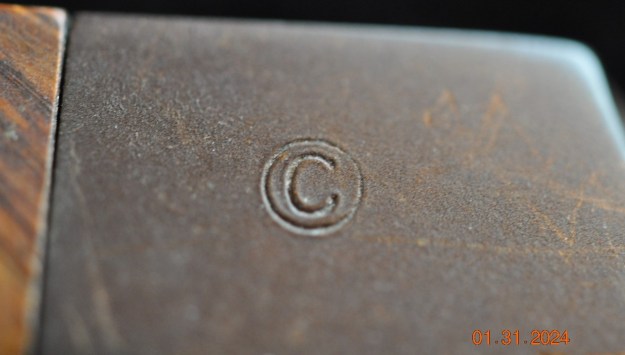
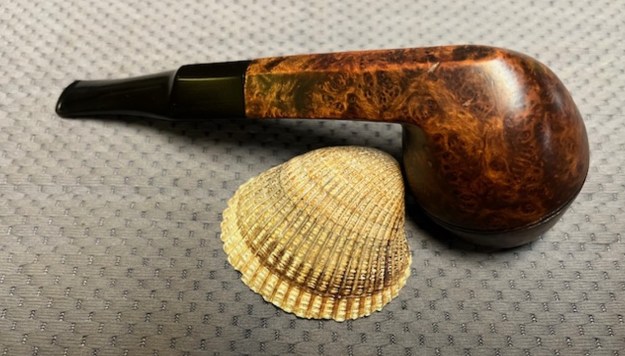
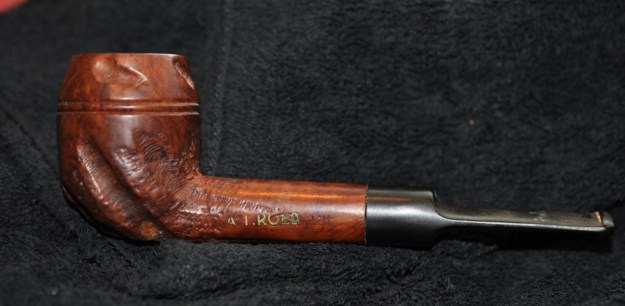
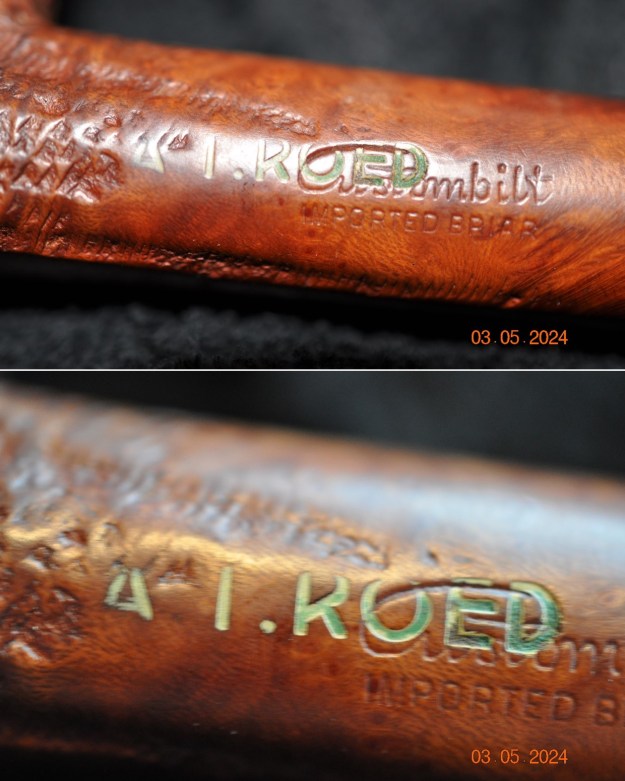
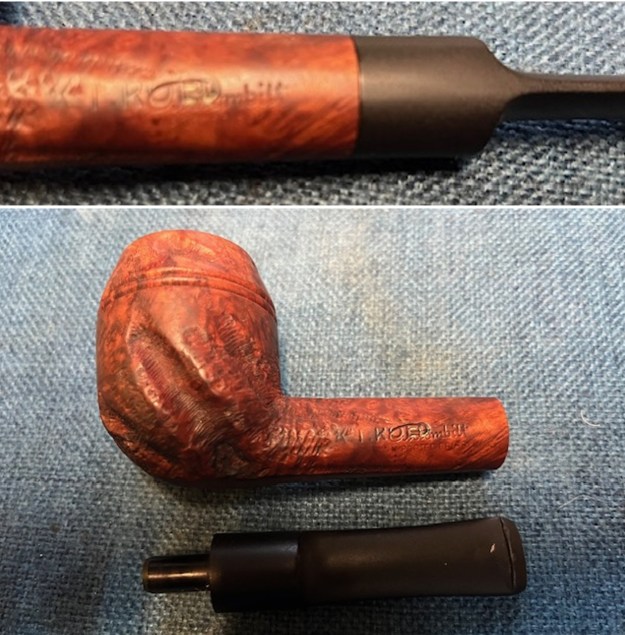
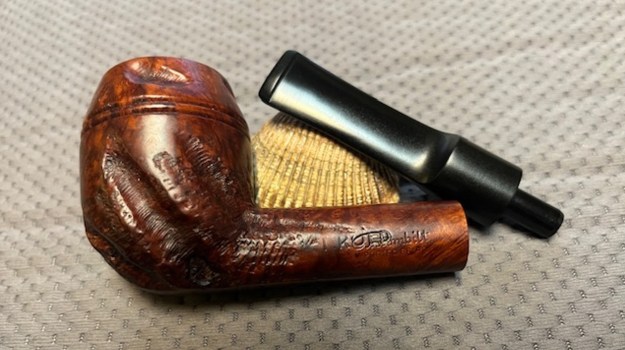
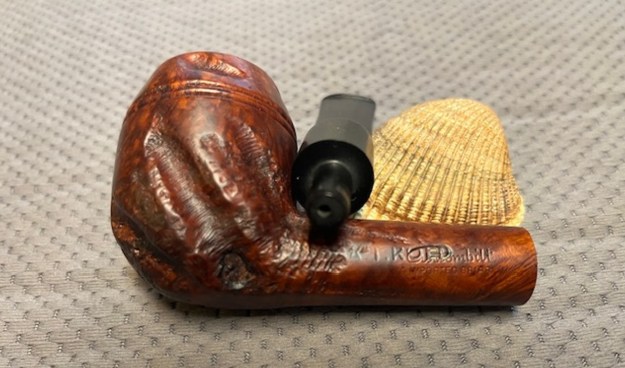
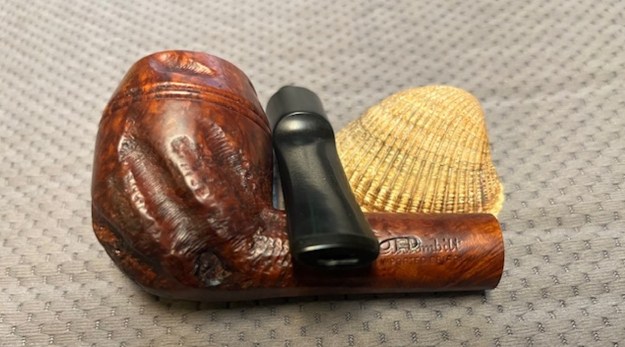
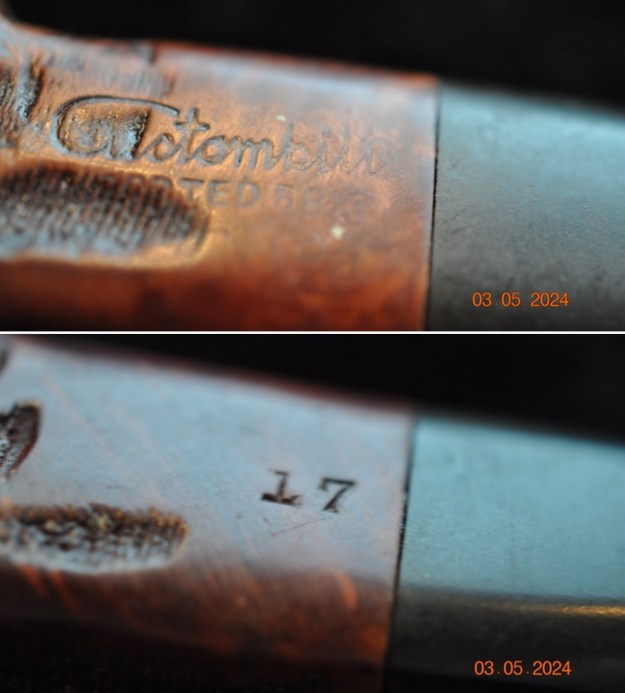
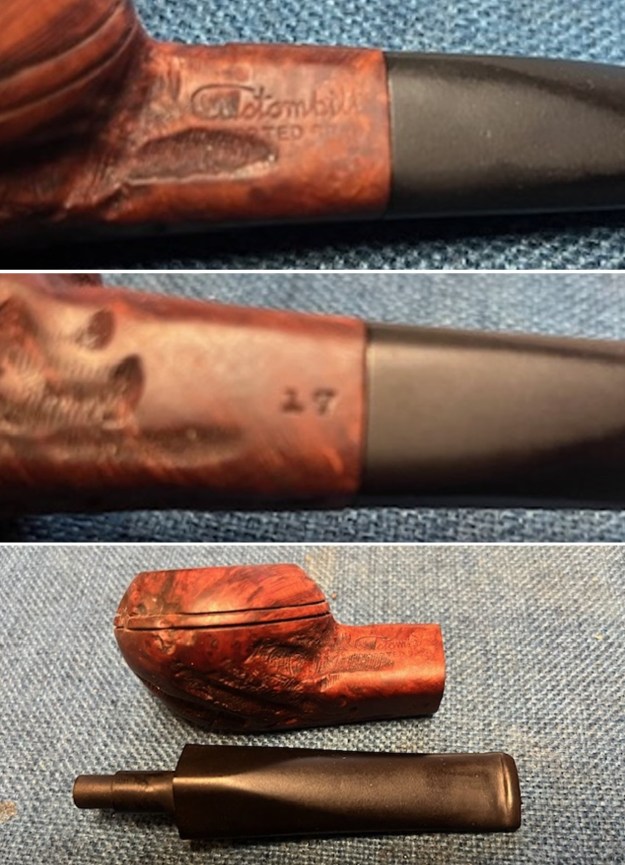
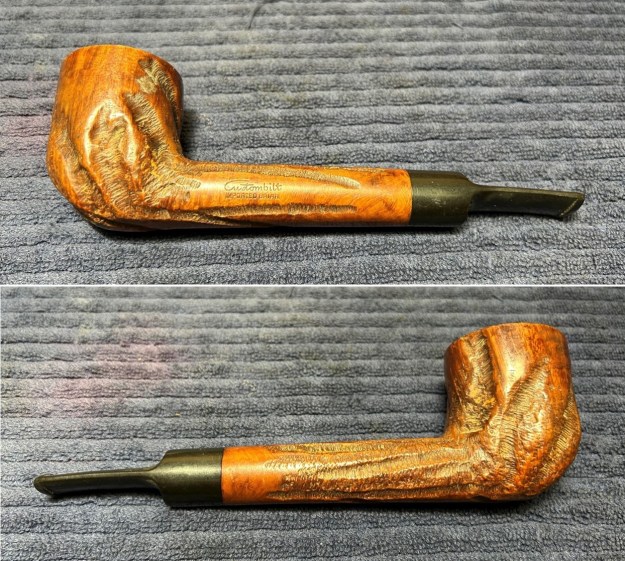
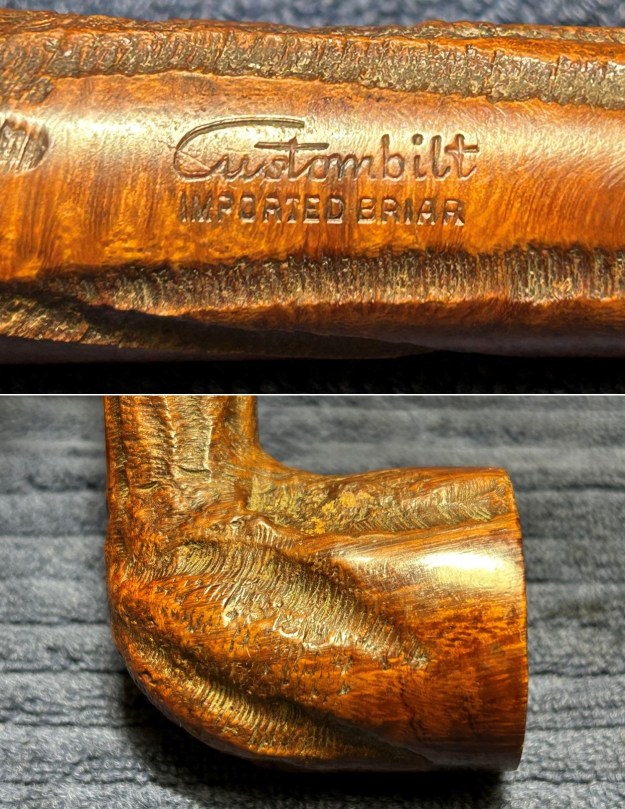
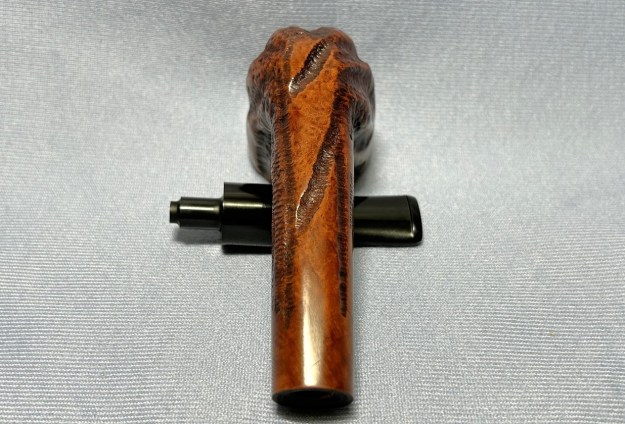
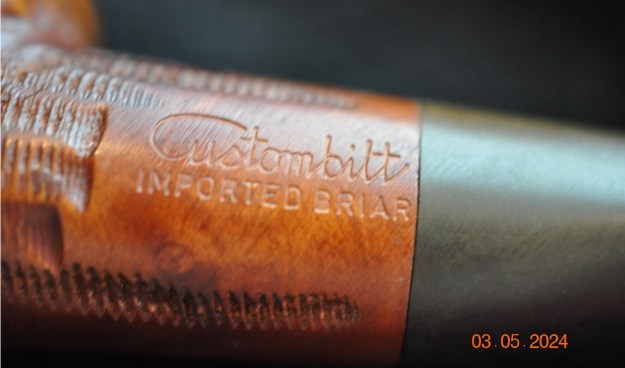
 He captured the stamping on the left top and right top side of the diamond shank. It is faint in spots but reads as noted above. It is interesting to note the nicks on the shank. The circle C logo stamped on the left side of the saddle stem is faded but the stamp is quite deep.
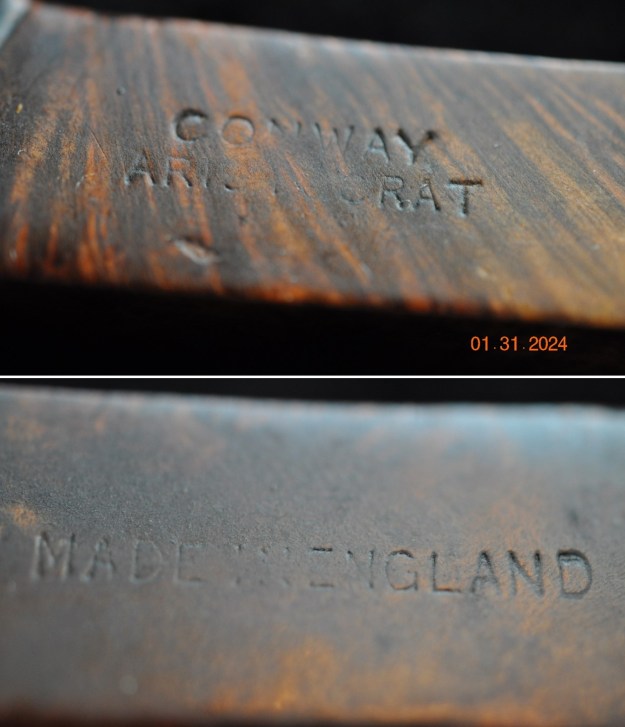
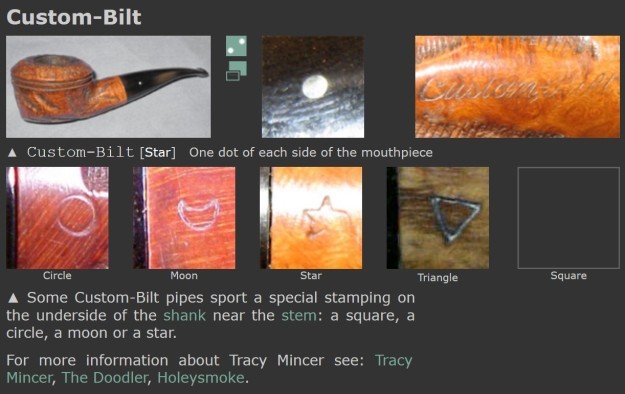
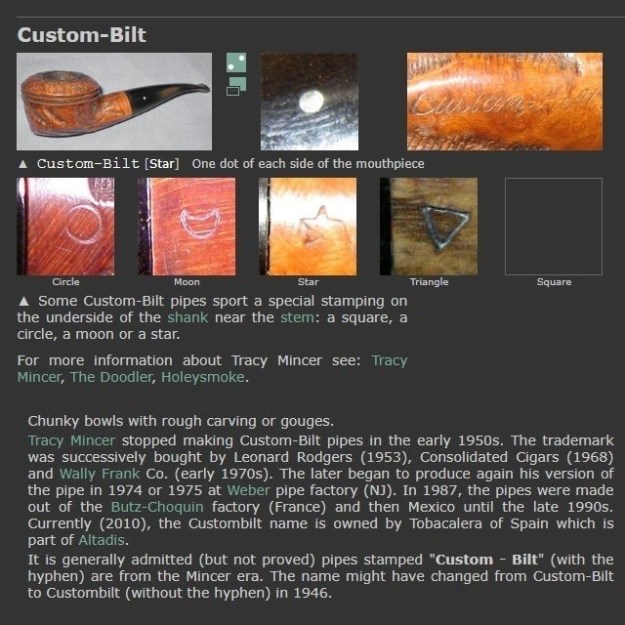
 I turned to Pipephil’s site (http://www.pipephil.eu/logos/en/logo-c6.html) to see what I could find out on the brand. I did a screen capture of the section on the site on the Conway label. It is a pipe that bears the same stamping as the one in hand here other than the shape number. I also copied the sidebar information below the screen capture.
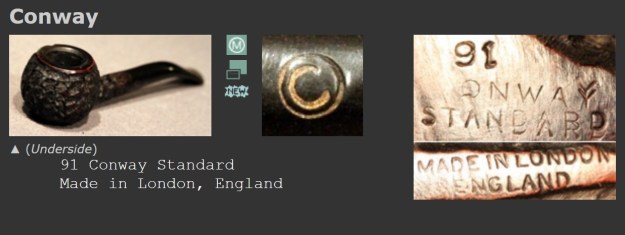 Conway pipes were most probably made by Singleton & Cole. If the pipe is stamped with a shape number this probability almost becomes a certitude. According to Wilczak & Colwell (op. cit.) Loewe had a line named Conway.
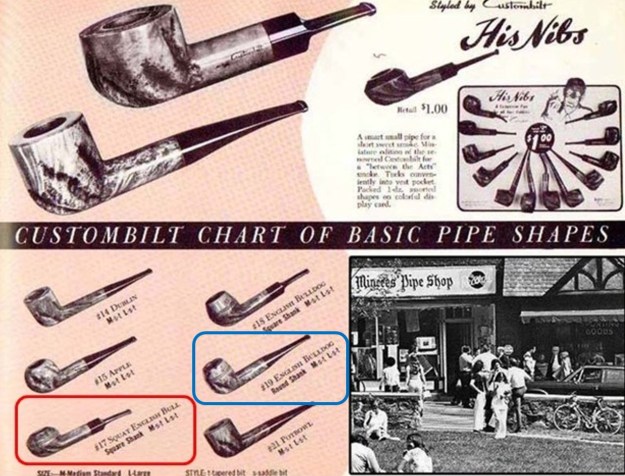
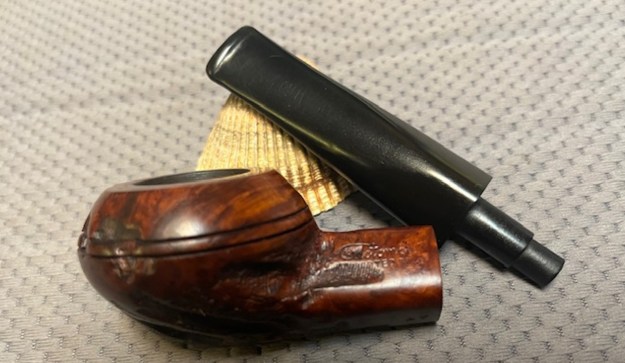
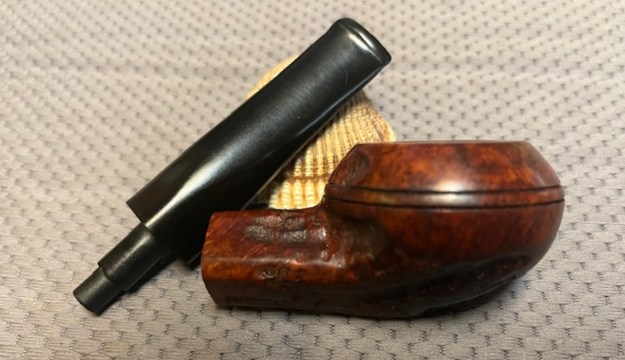
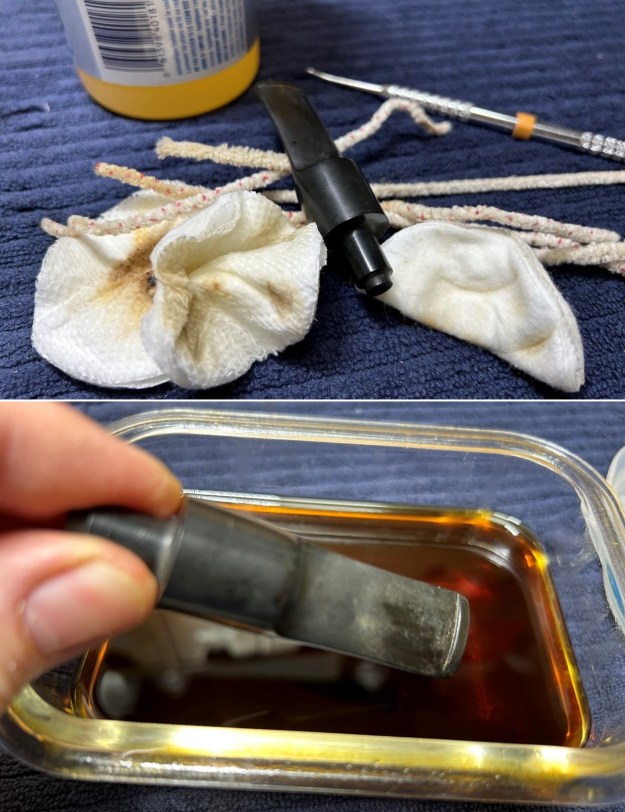
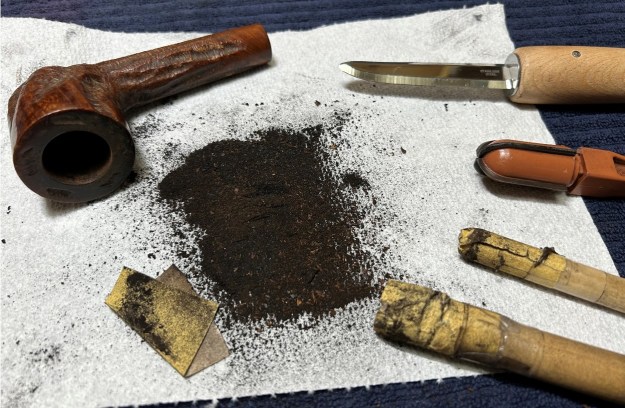
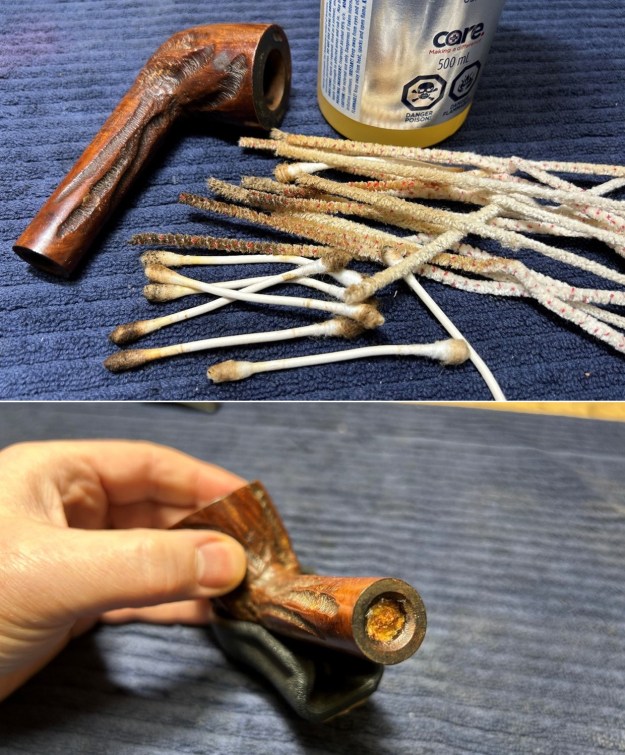
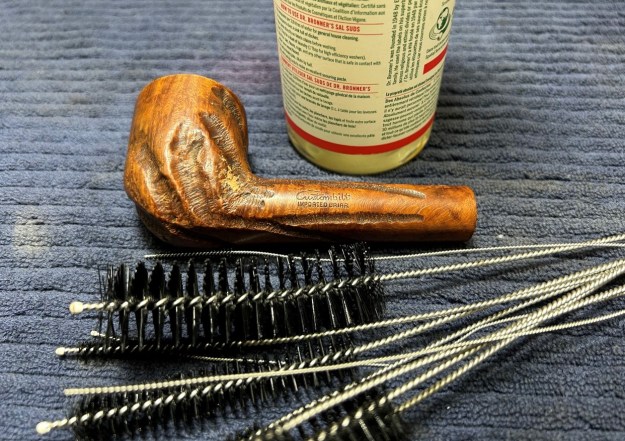
I turned to a link on Pipedia hoping for more information (https://pipedia.org/wiki/Conway). Sadly the only information was a mention of the information on Pipephil’s site. There were some amazing photos of the brand on the site. There was one that included an unsmoked Apple with a box and pipe sock as well as a brochure. The interesting point is that it was also an Aristocrat.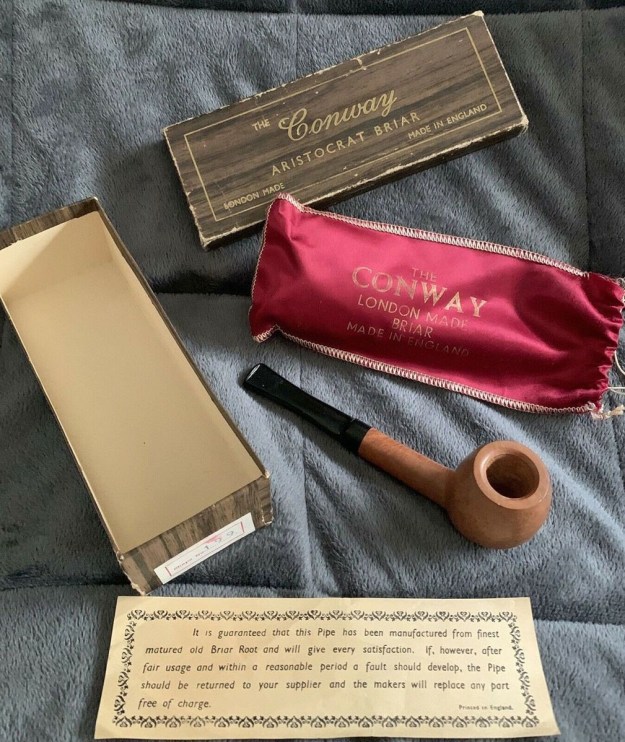 Armed with that information that pipe was probably made by Singleton & Cole in London, England. I turned to work on the pipe itself. Jeff had cleaned up the pipe and it looked very good. He reamed the pipe with a PipNet pipe reamer and removed the rest of it with a Savinelli Fitsall Pipe Knife. He scrubbed the bowl with undiluted Murphy’s Oil Soap with a tooth brush. He rinsed it under running warm water to remove the soap and grime. He cleaned out the inside of the shank and the airway in the stem with alcohol, cotton swabs, shank brushes and pipe cleaners. He soaked the stem in Briarville’s Stem Deoxidizer and rinsed it off with warm water. I took photos of the pipe before I started my part of the restoration work.
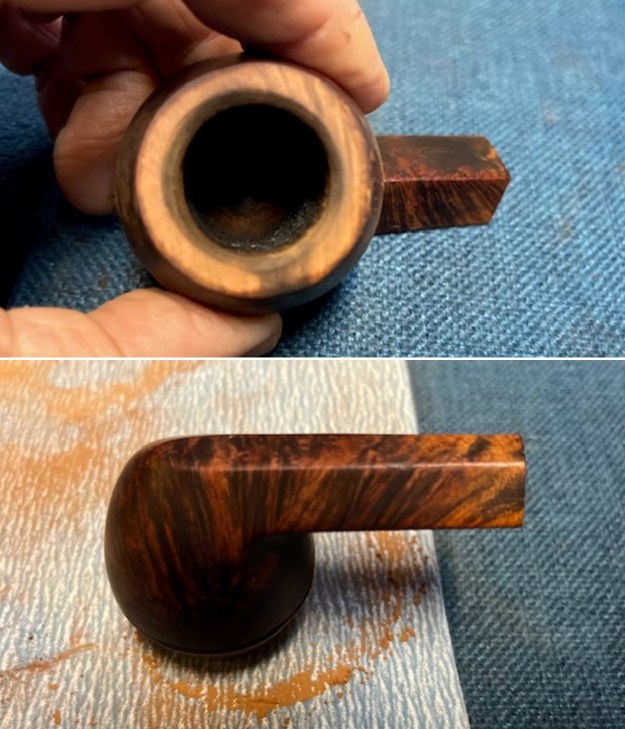
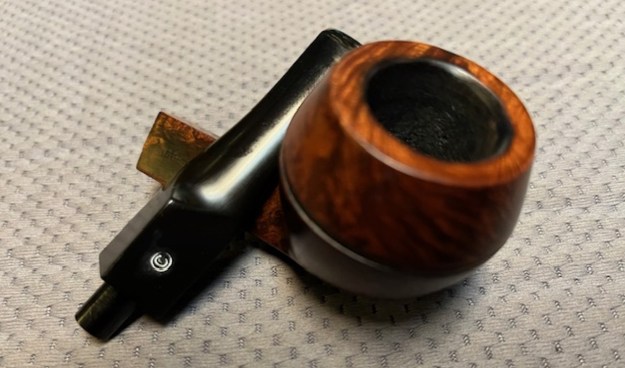
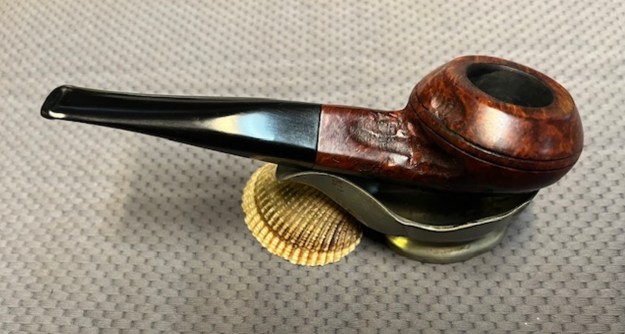
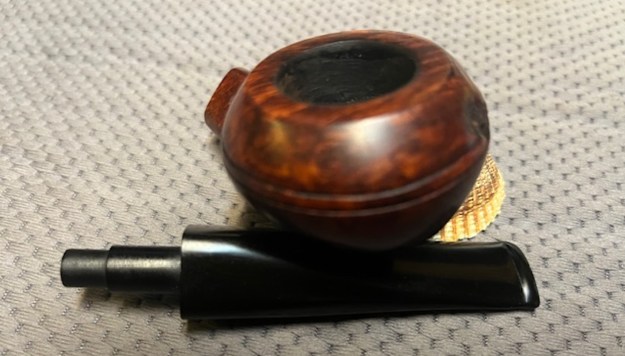
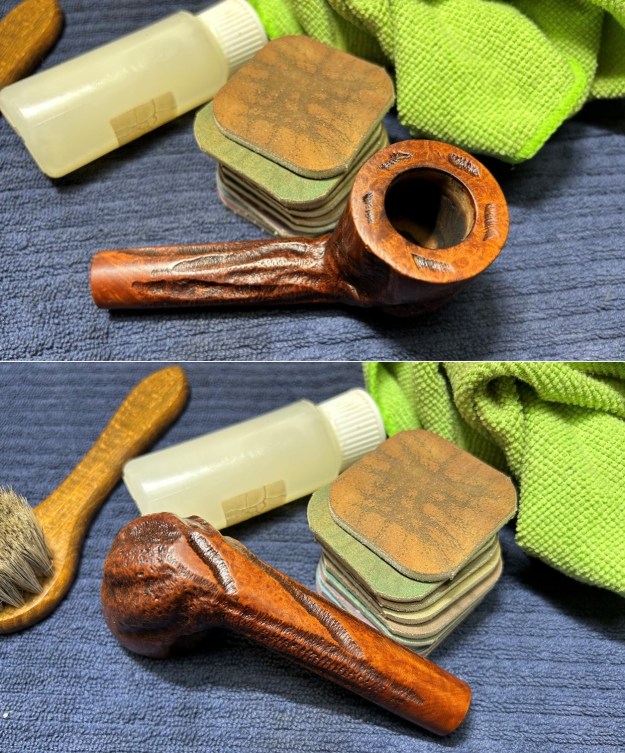
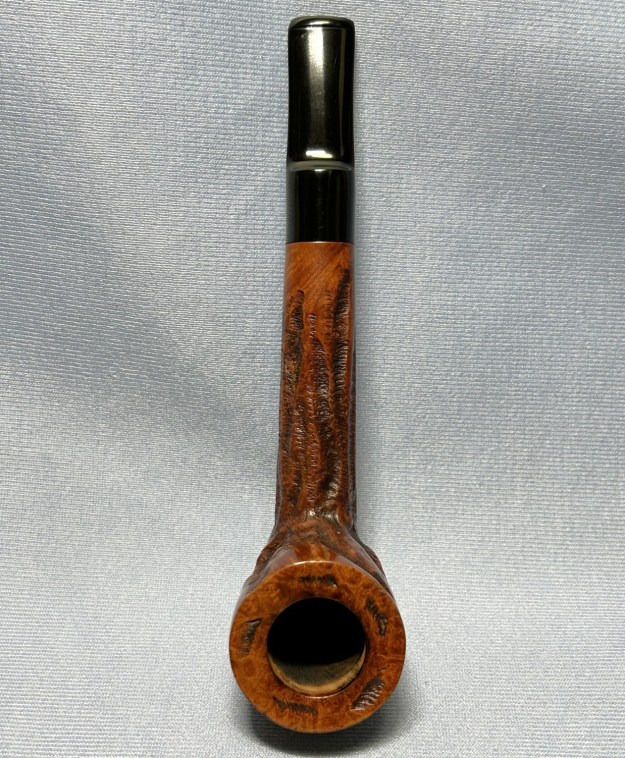
 The rim top cleaned up really well. The rim top had some damage on the back left side of the top. The outer edge of the bowl look very good. The inner bevelled edge was clean but had some darkening all around the bowl. The stem surface was clean but the oxidation was still visible and calcification was gone. Overall it looked very good with a few tooth marks and chatter on both sides near the button.
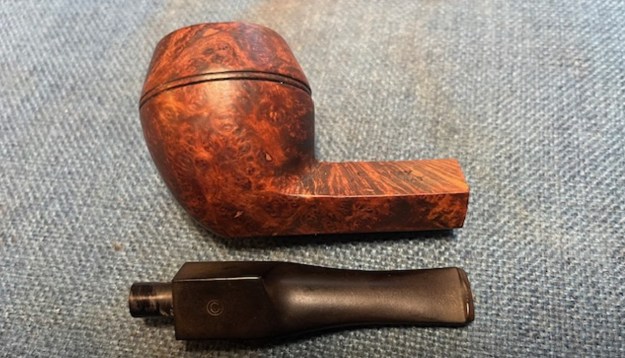
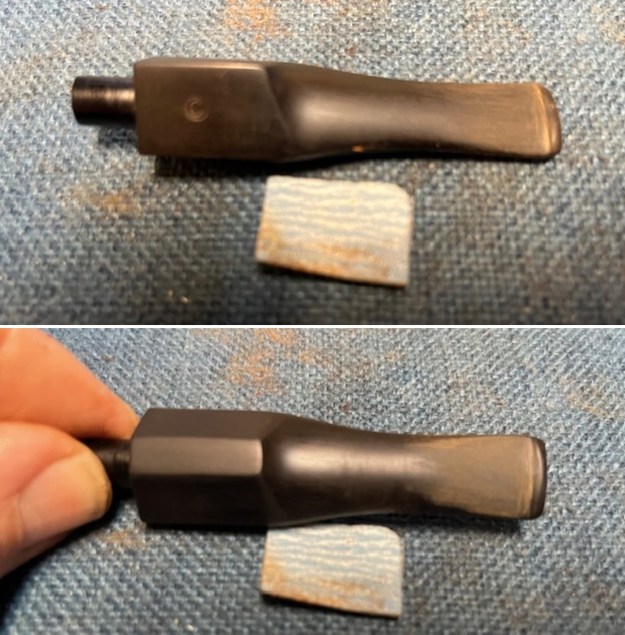
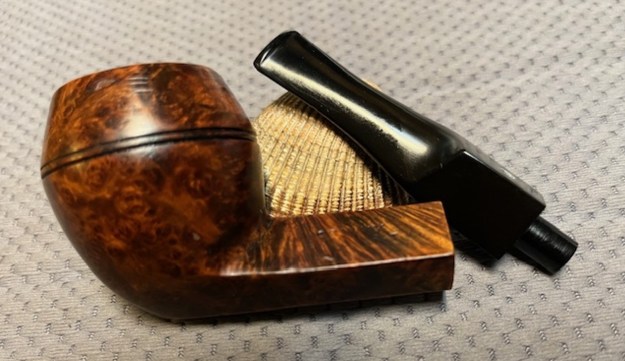
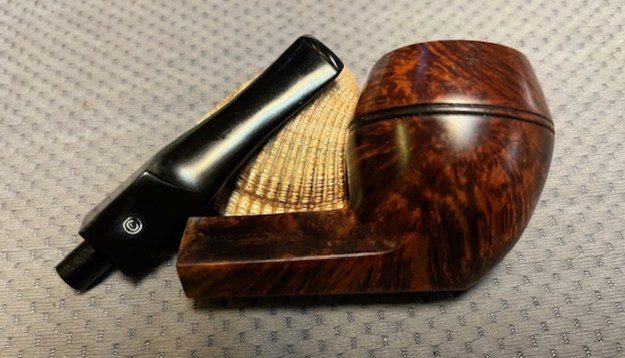
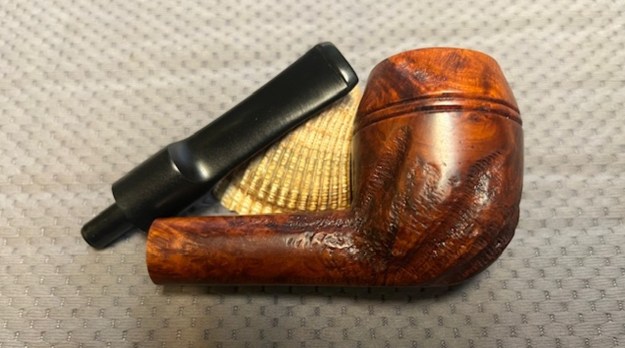
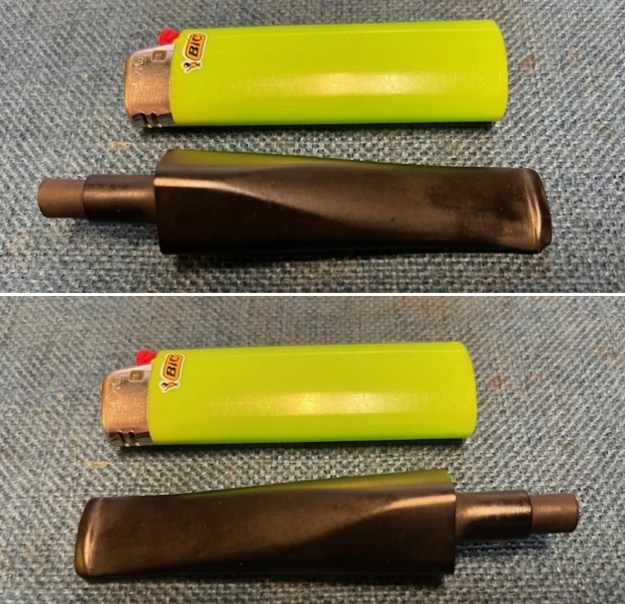
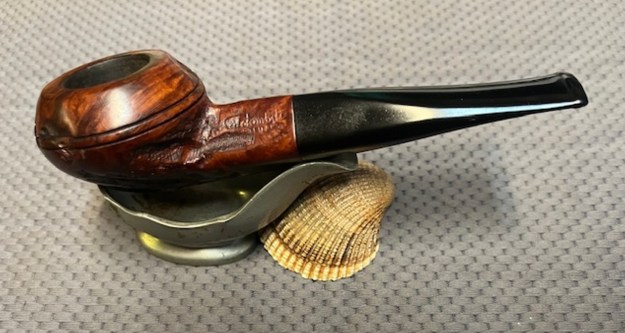
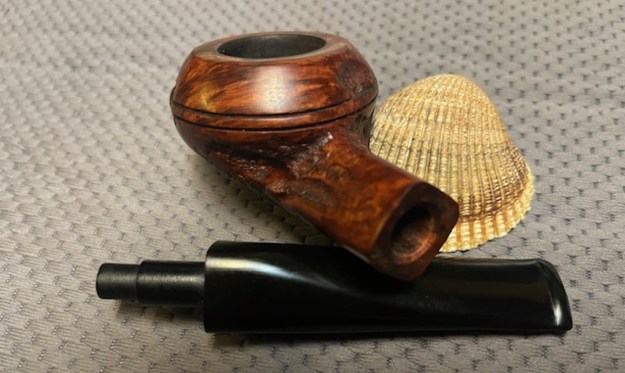
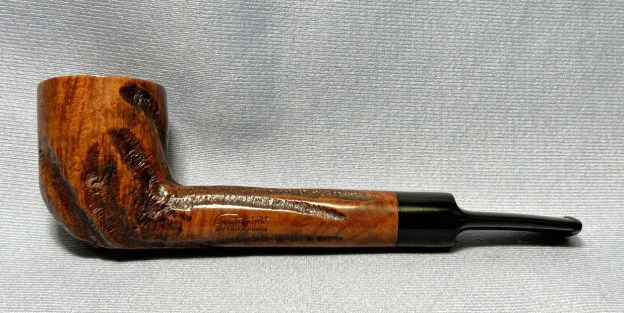
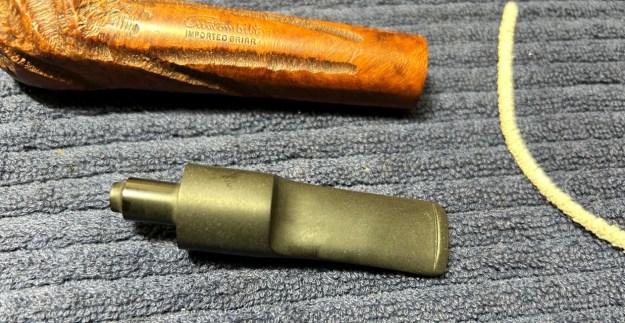
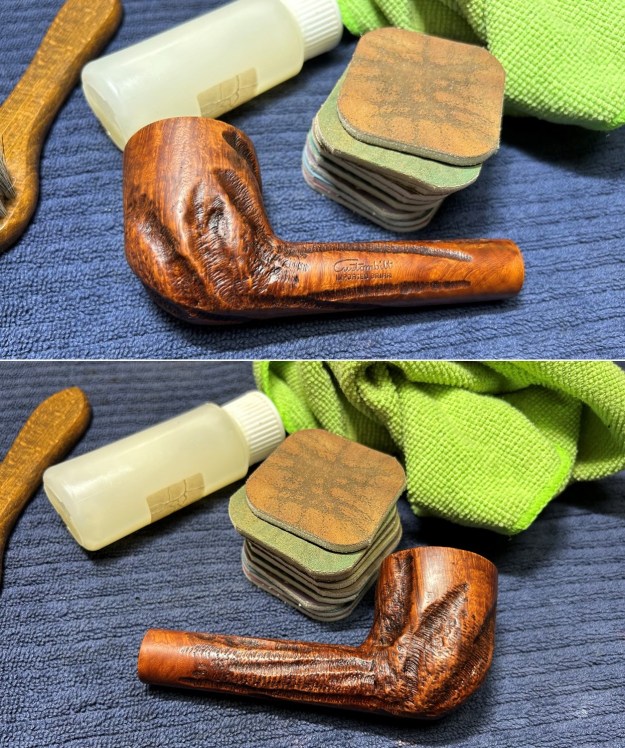
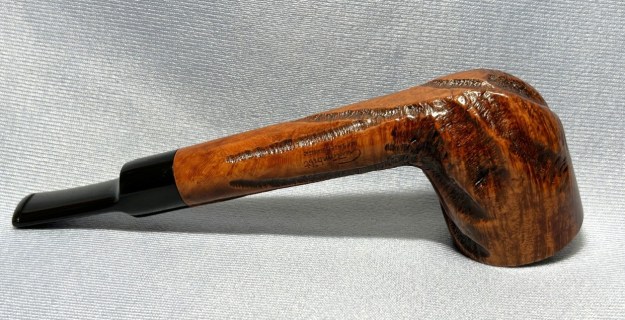
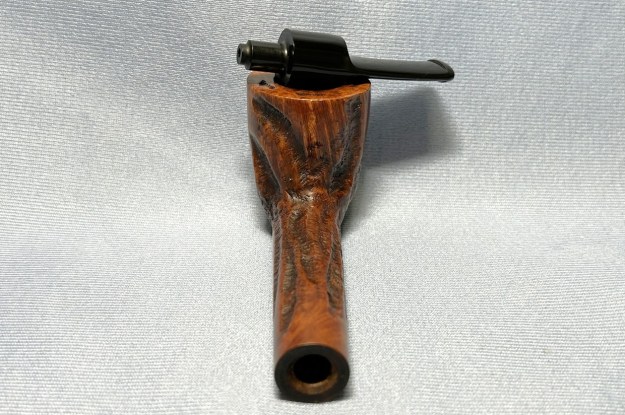
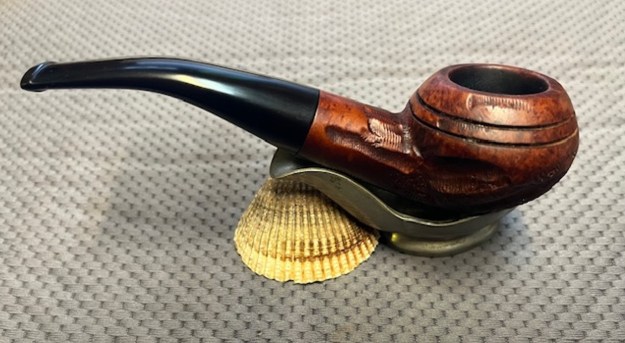
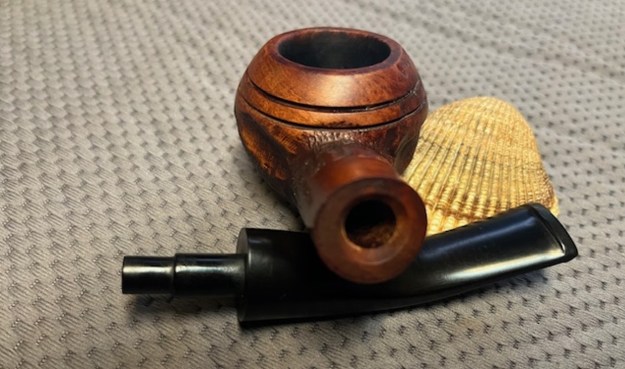
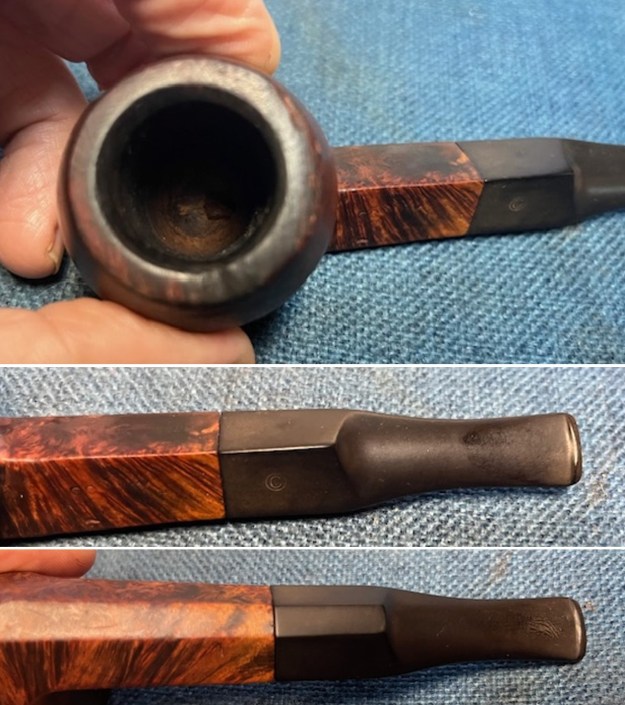 The stamping on top left side of the shank and the top right side is clear and readable. It is stamped as noted above. It is faint in spots but still clear. The logo on the left topside of the saddle is also clear. I removed the stem and took a photo of the pipe to give a sense of the whole. The wide taper stem is nice and the photo shows the proportions of the pipe.
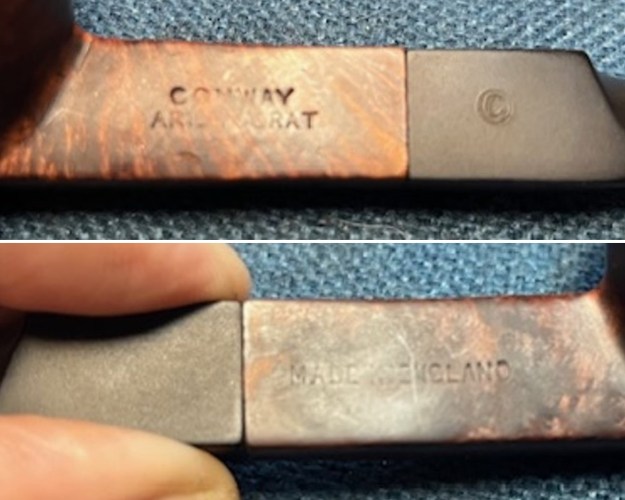
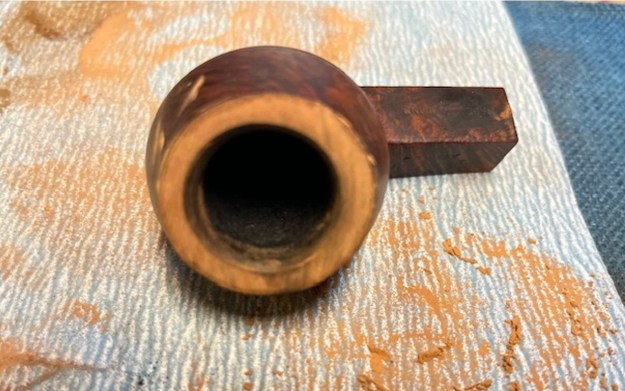
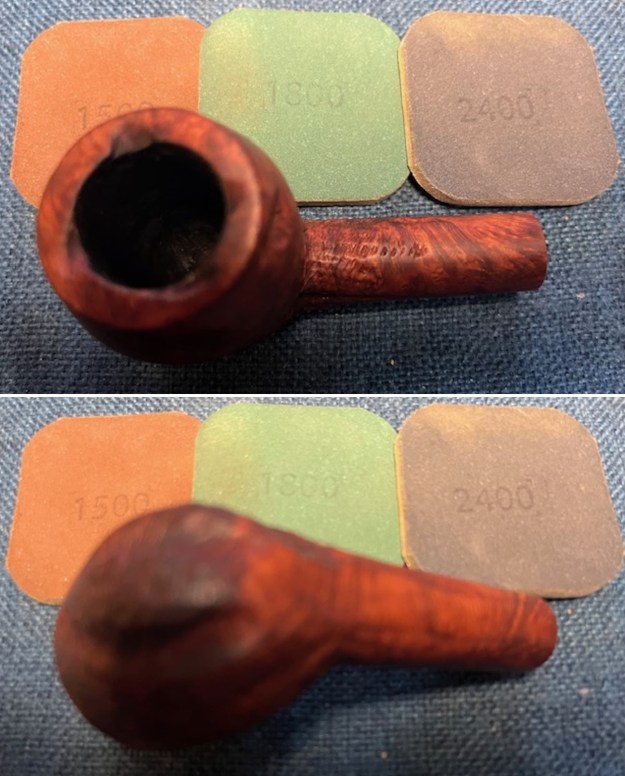
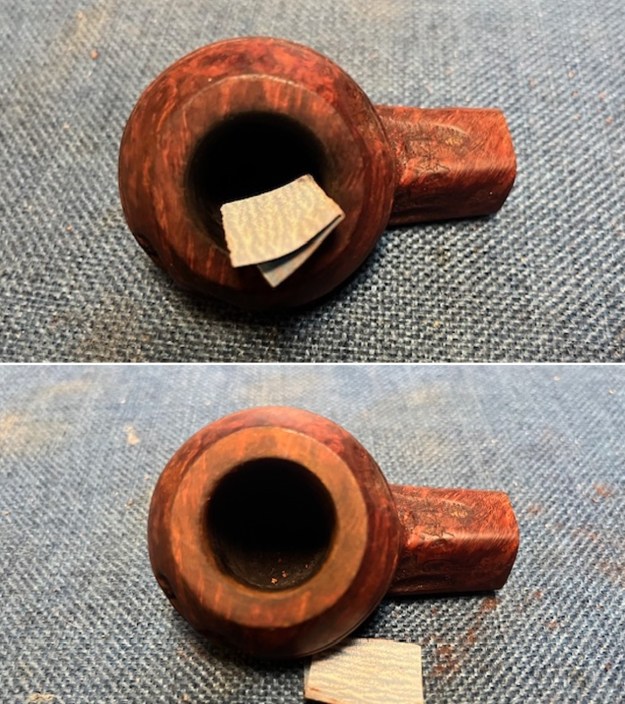
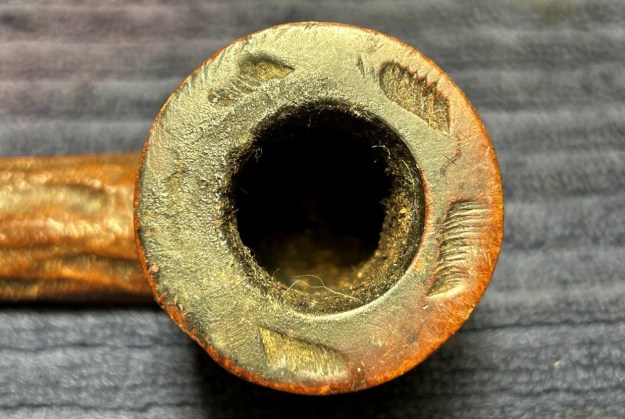
 I used a wooden half sphere and a piece of 220 grit sandpaper to clean up the rim top and the bevel on the bowl. Once finished the inner edge looked better. I then topped the bowl with 220 grit sandpaper to remove the damage to the left side of the rim top. I took a photo of the top after this part of the work as well.
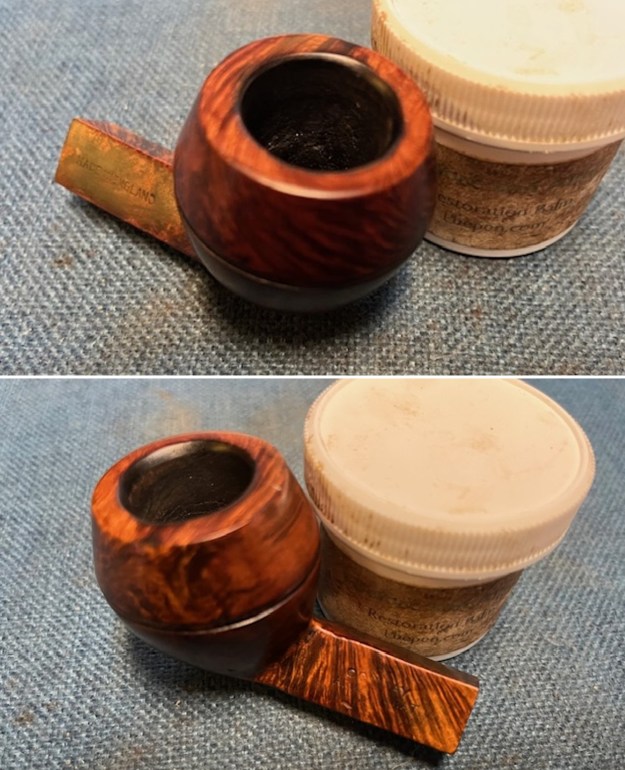
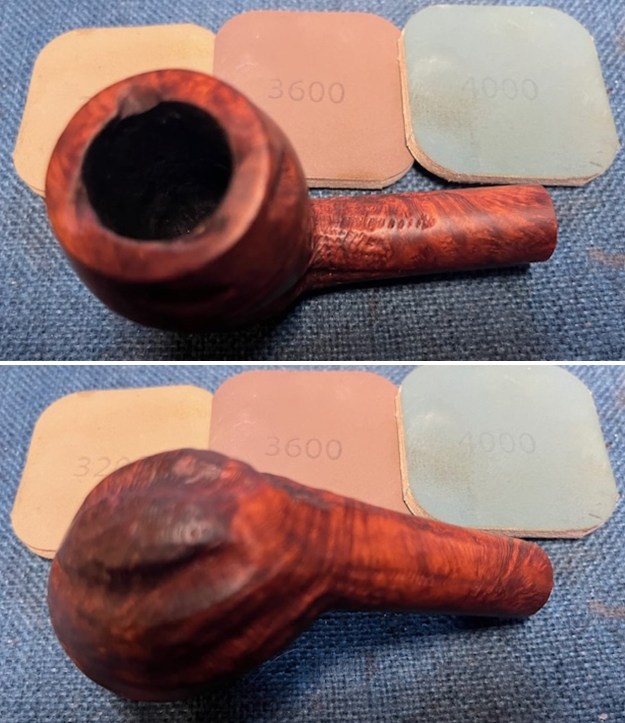
 I washed the bowl with cotton pads and acetone to remove some of the opaqueness of the stain. Once I washed it down it looked much better. The grain really stood out and I was able to add a bit of colour to the sanded rim top.
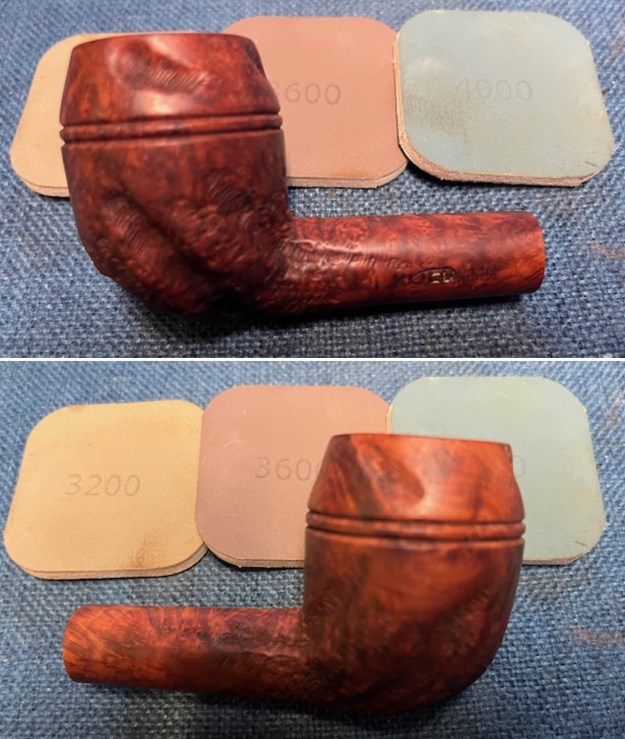
 I touched up the stain on the rim top with a Walnut stain pen to match the rest of the bowl colour. It matched well and once it was polished and buffed it would be perfect.
 I sanded the bowl and shank with 320-3500 grit sanding pads. I wiped the bowl down after each sanding pad to remove the debris. The pipe was beginning to look much better.
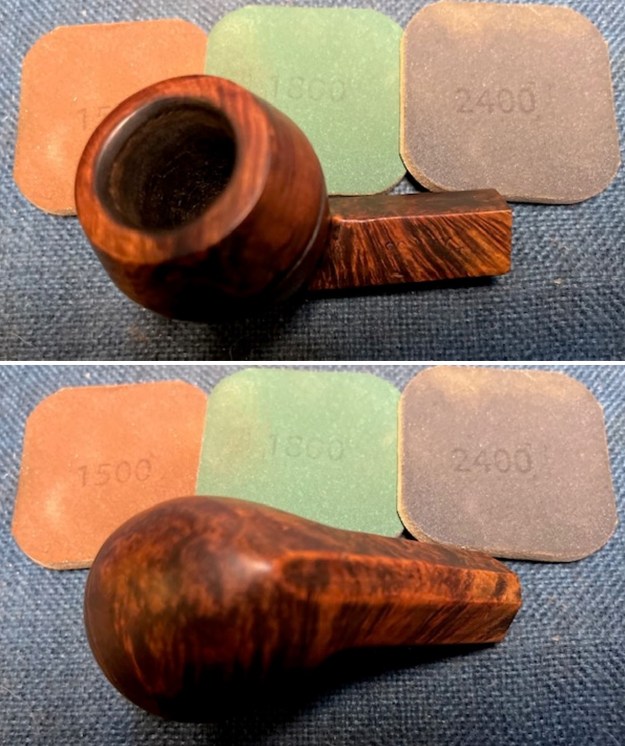
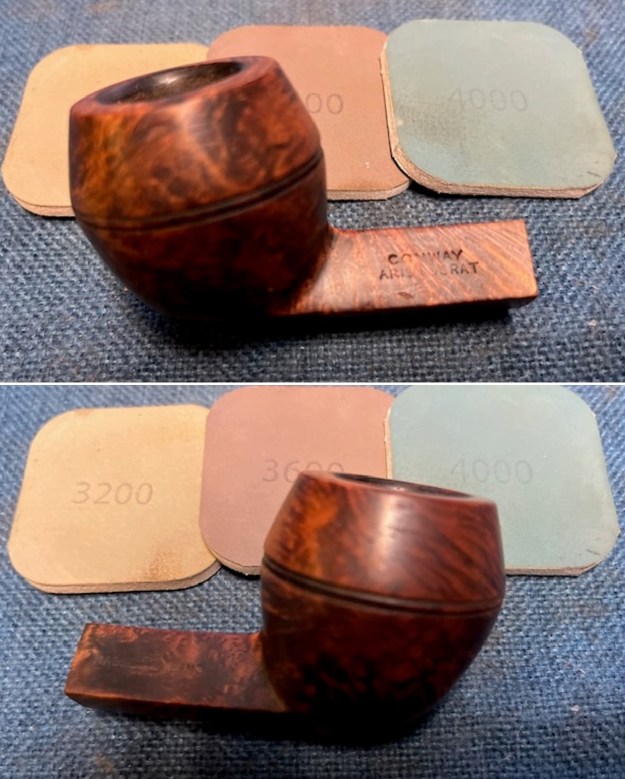
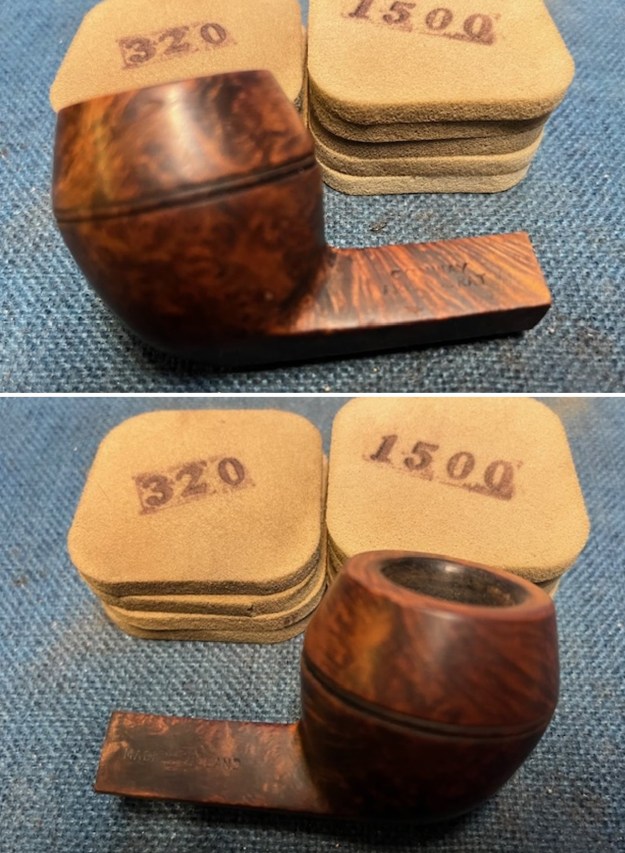
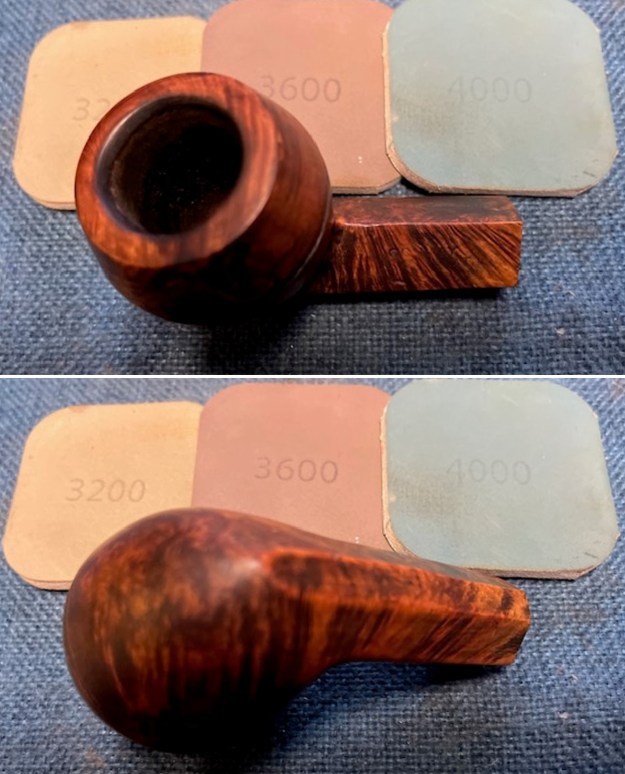
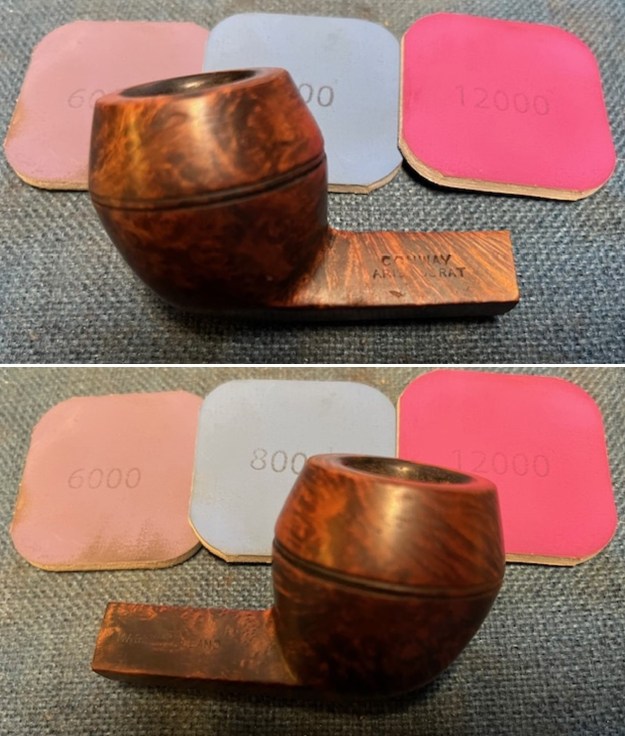
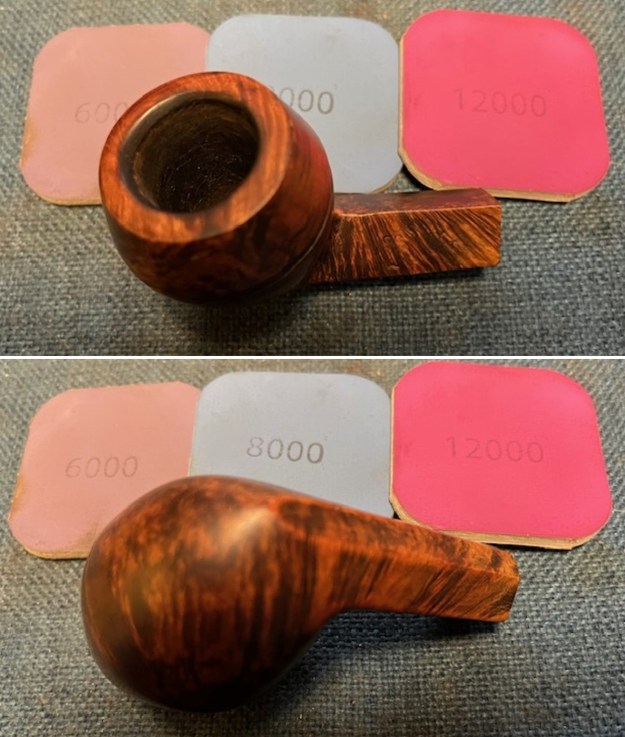
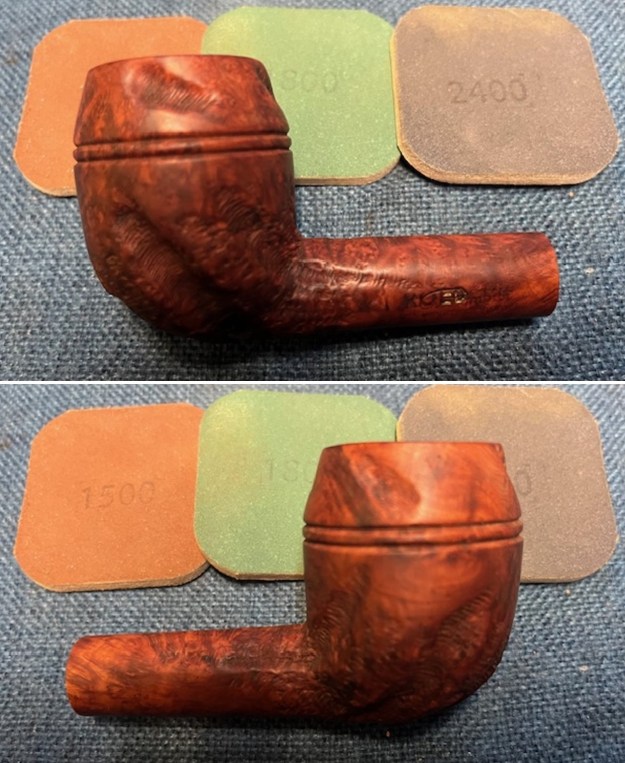
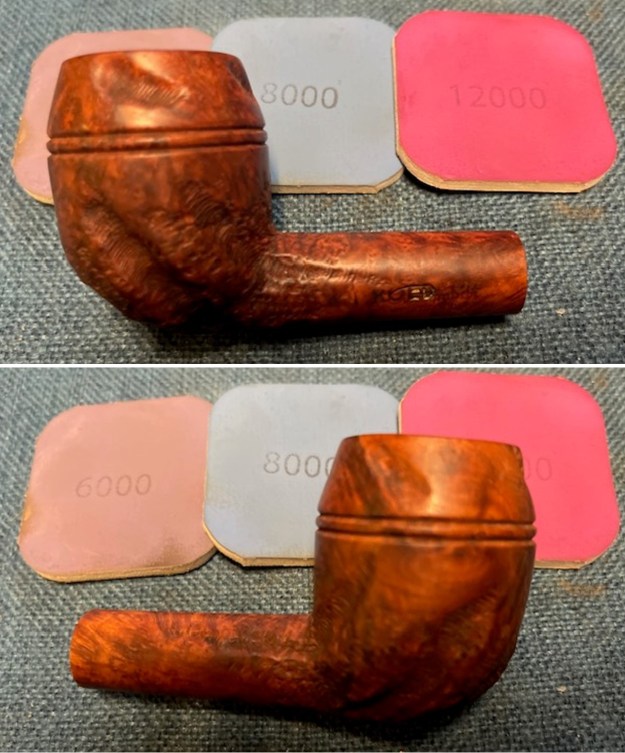
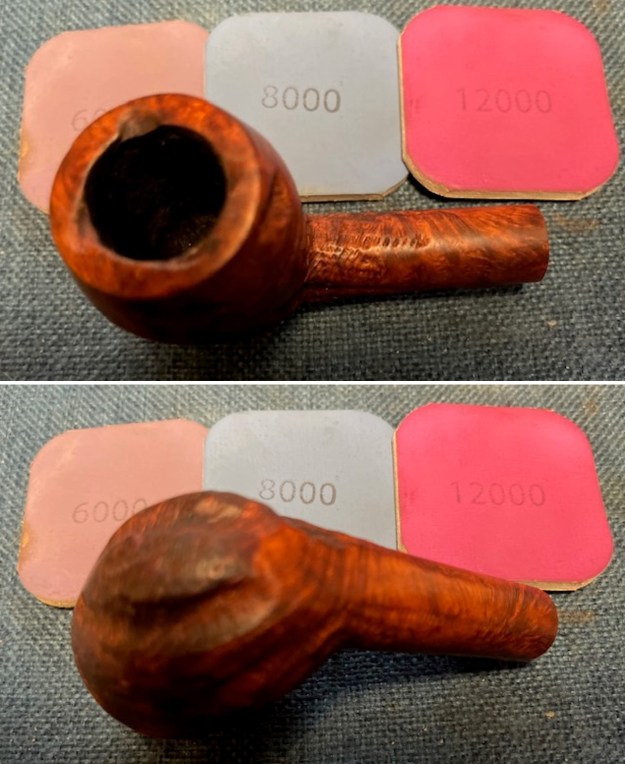
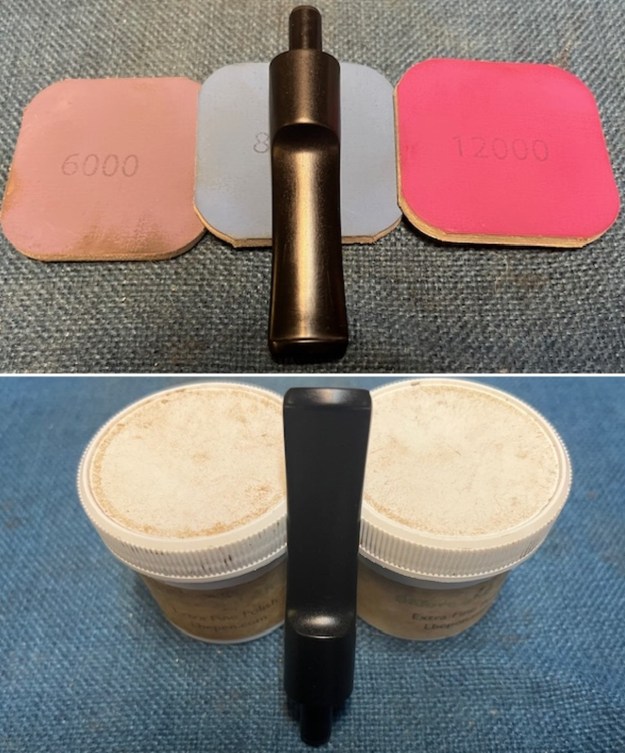
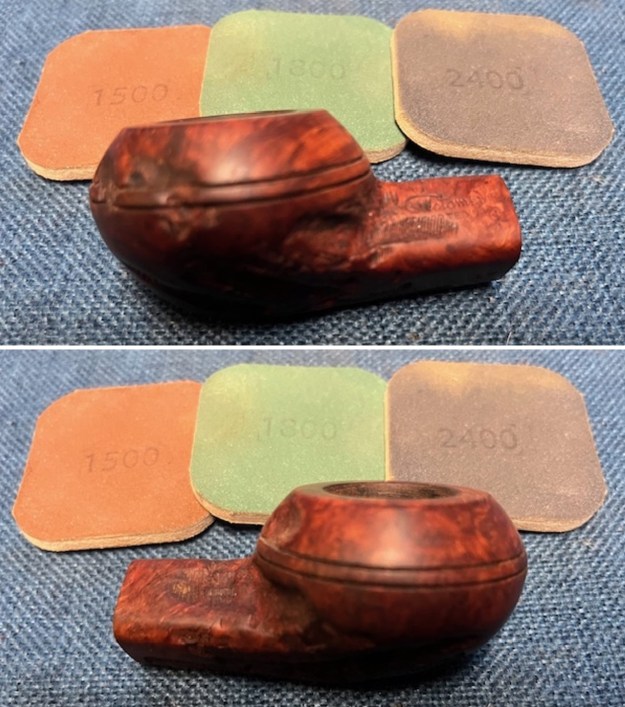
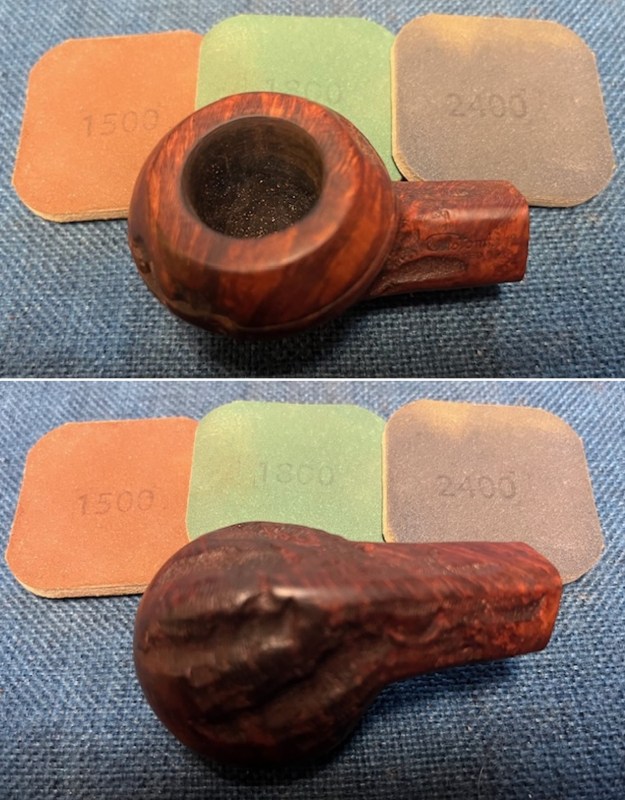
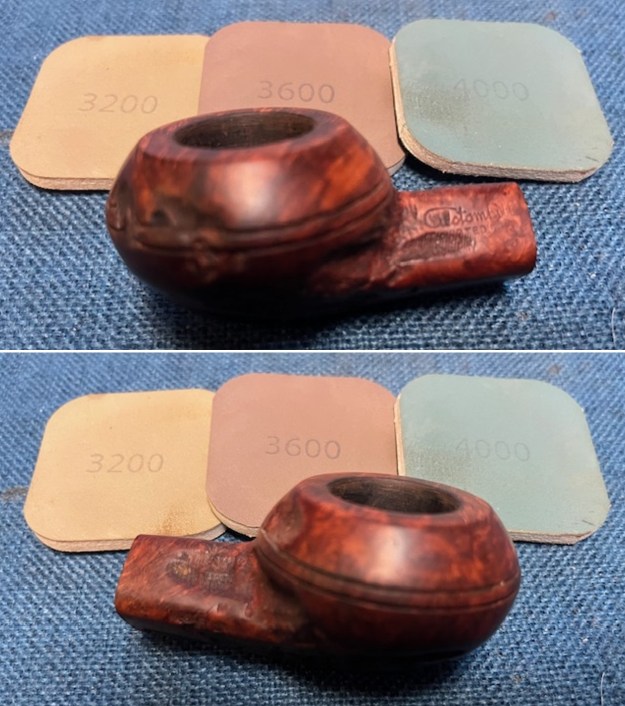
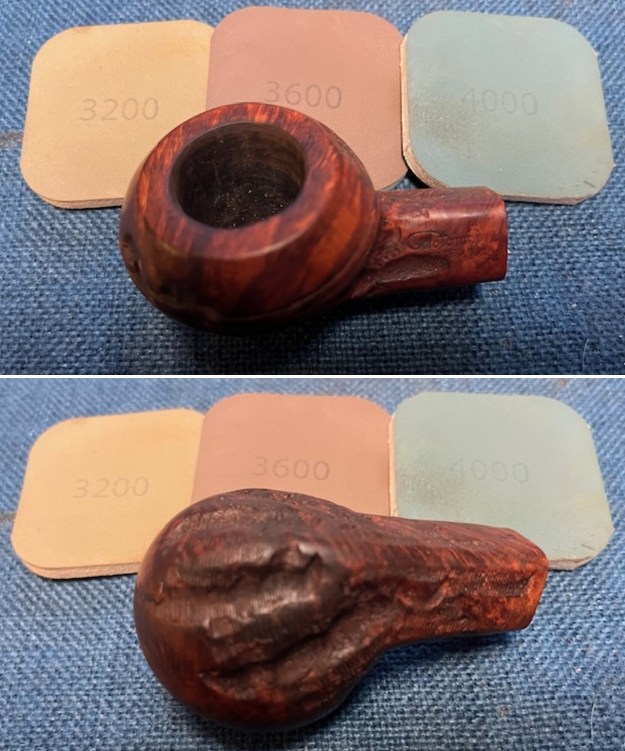
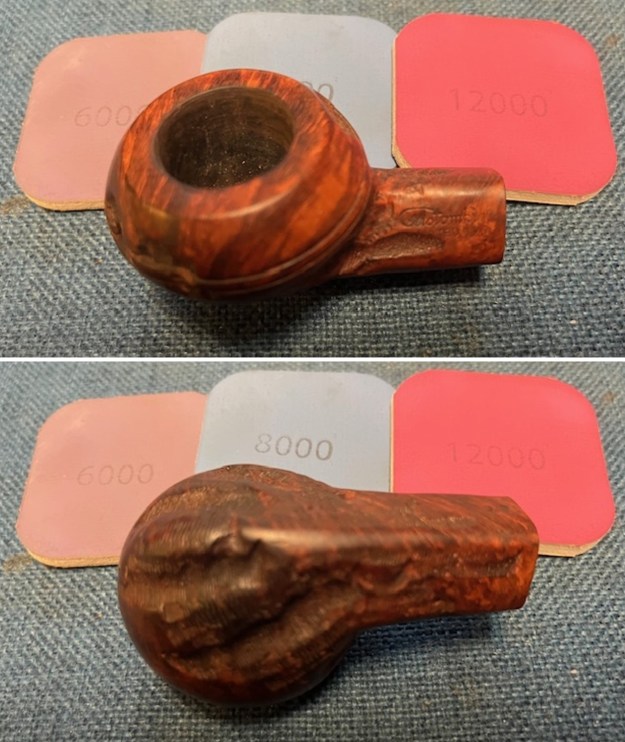
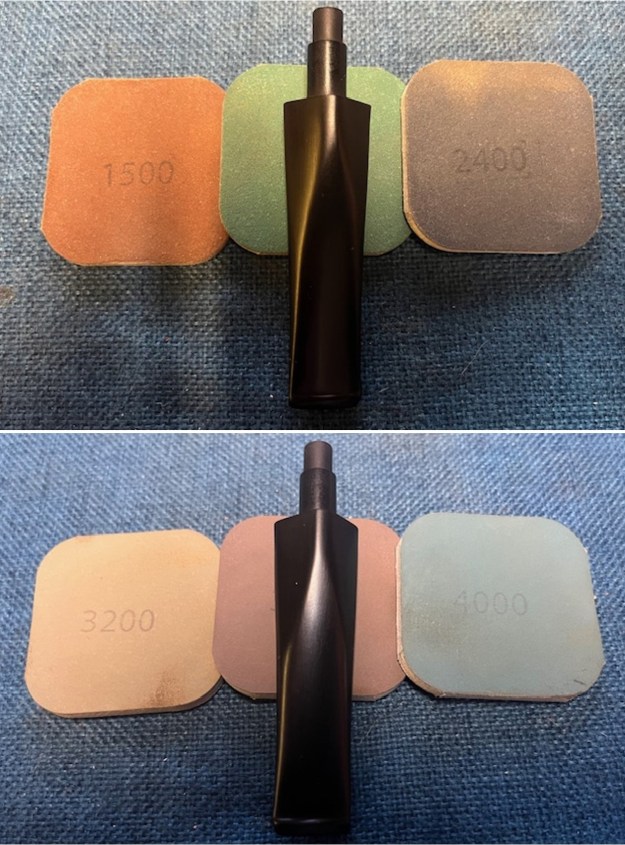
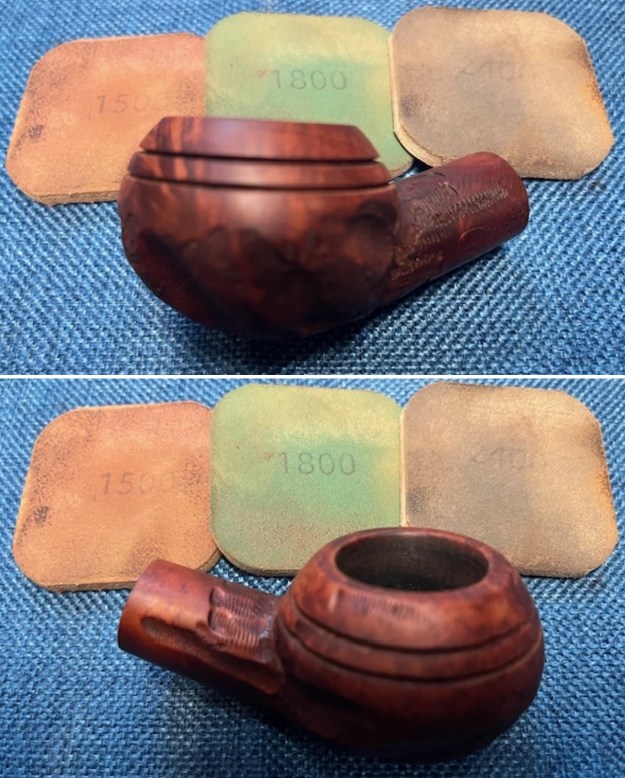
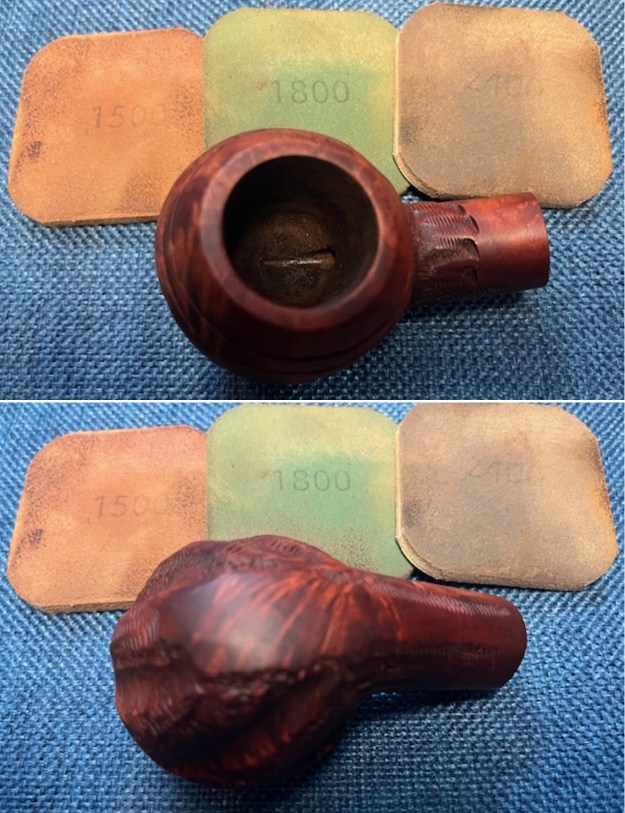
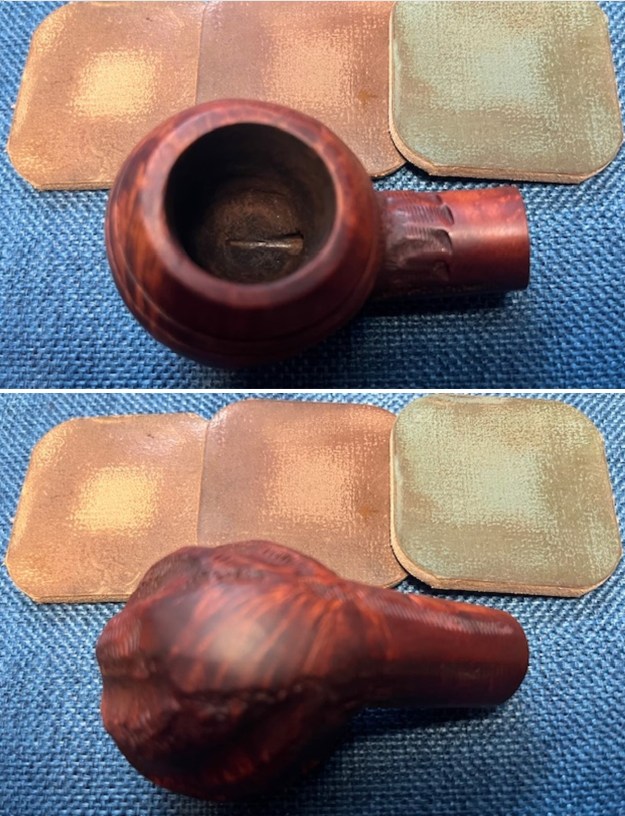
 I polished the smooth briar around outside of the bowl and the rim top with micromesh sanding pads. I sanded it with 1500-12000 grit pads and wiped the bowl down with a damp cloth to remove the sanding dust.
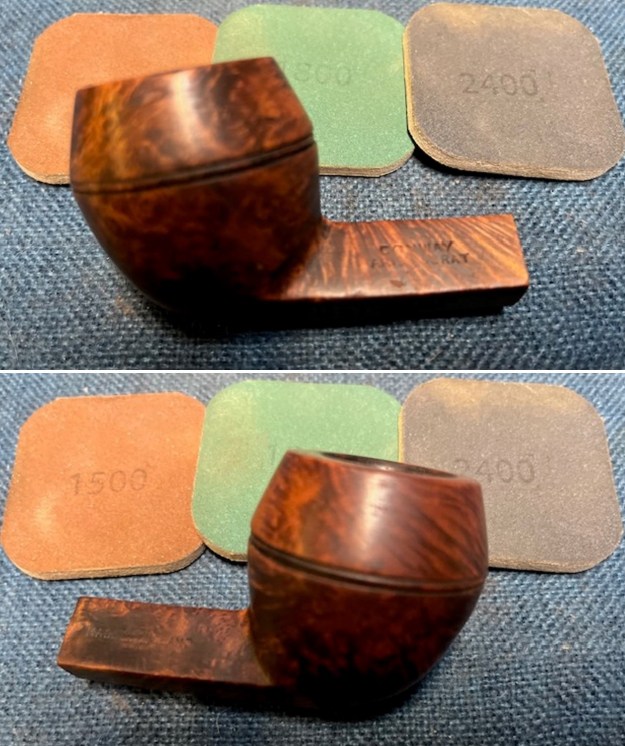
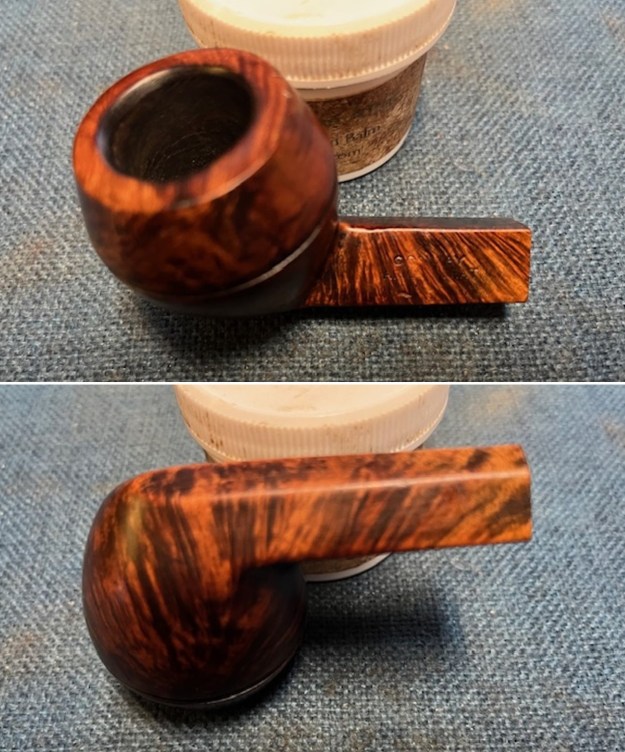
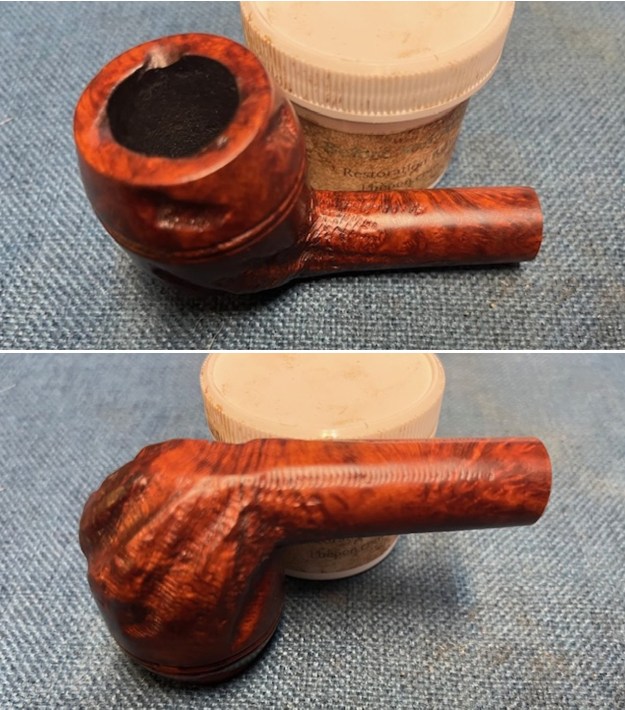
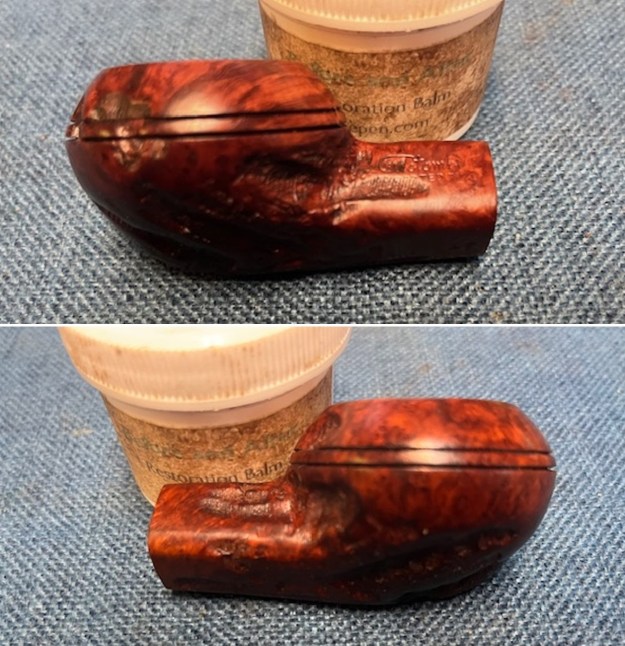
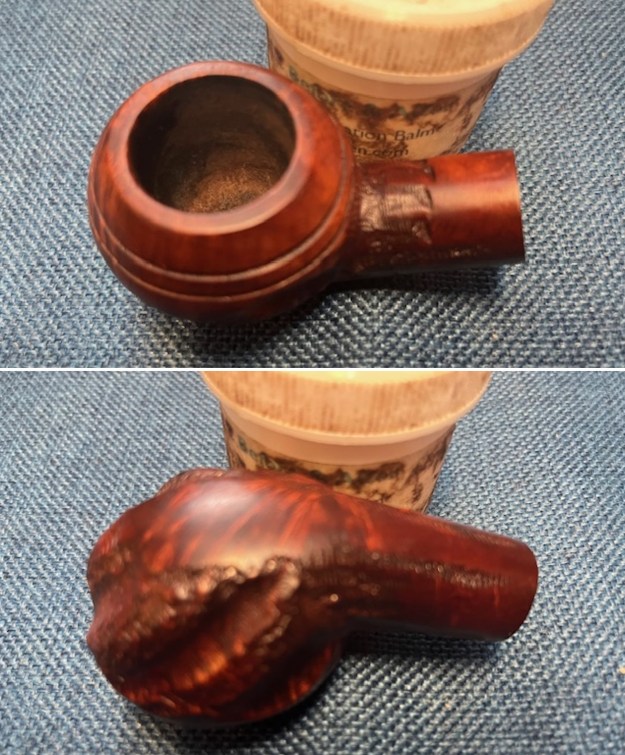
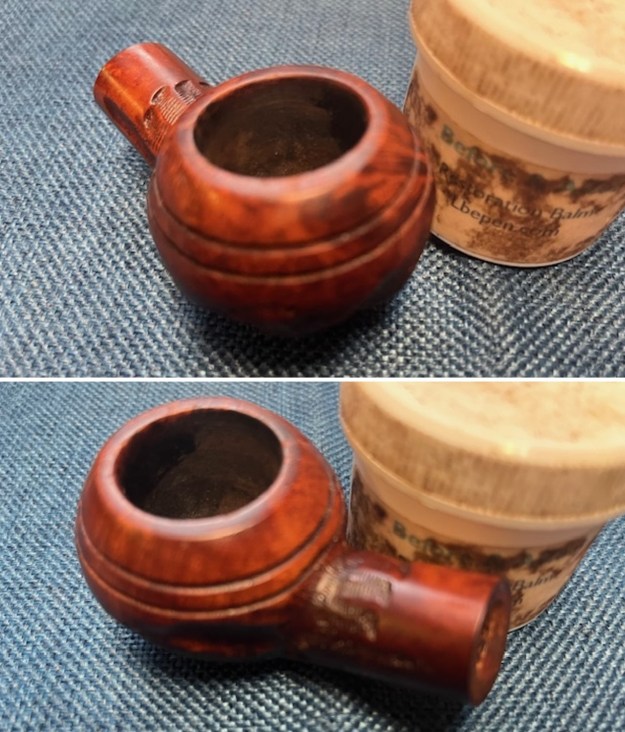
 I rubbed the bowl and shank down with Before & After Restoration Balm. I worked it into the surface of the bowl sides and shank with my fingertips and a horsehair shoe brush to get it into the rings and rustication. It works to clean, enliven and protect the briar. I let the balm sit for 15 minutes and buffed with a cotton cloth to raise the shine. The grain and the rustication came alive.
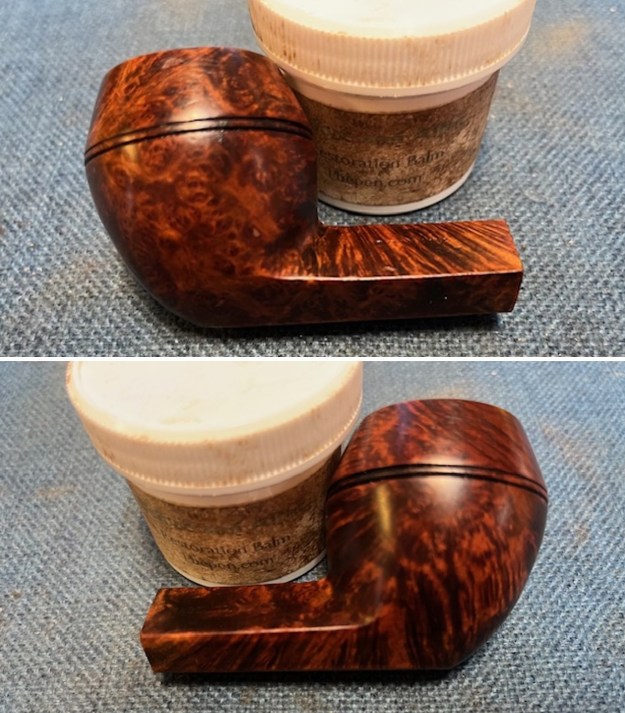
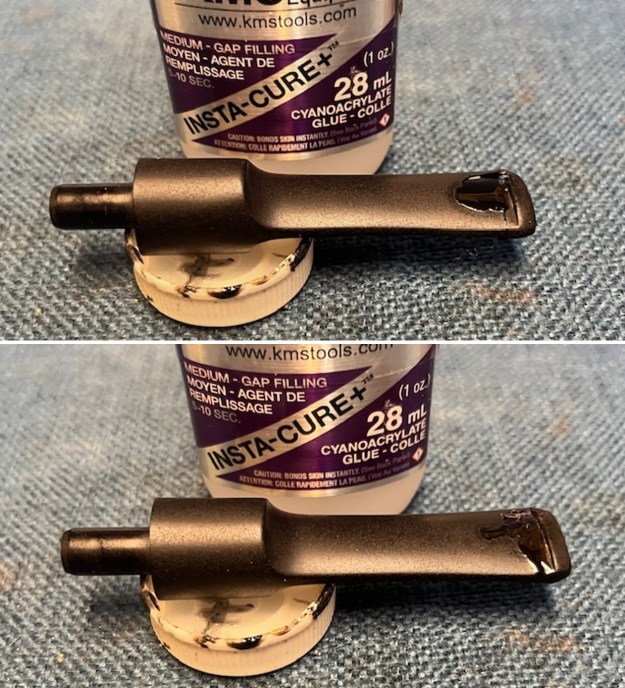
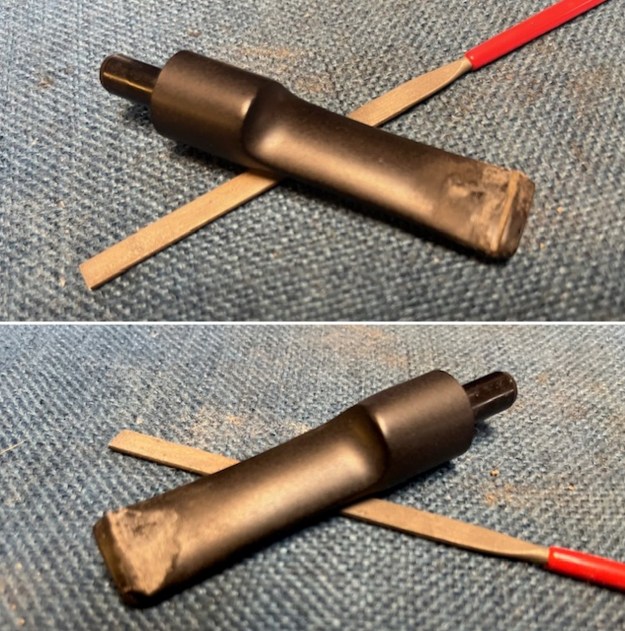
 I set the bowl aside and turned my attention to the stem. I “painted” the tooth marks with the flame of a lighter to lift them (forgot to take photos). The heat did a great job lifting all of them. The marks and chatter that remained I filled in with black CA glue strengthened with carbon and rubber. Once cured I flattened them with a file and blended them into the surface by sanding with 220 grit sandpaper.

 I touched up the Circle C logo on the left side of the stem with white acrylic nail polish. Once it cured I scraped off the excess and polished the stem.
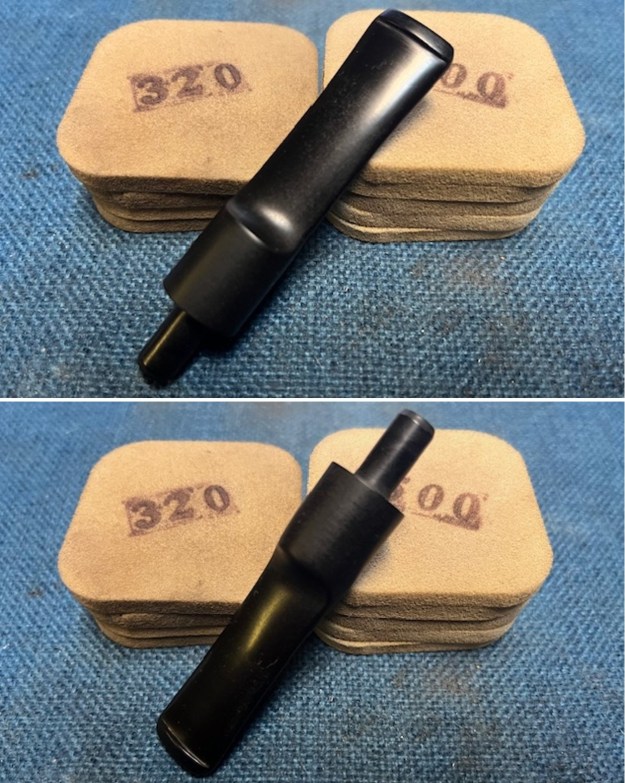
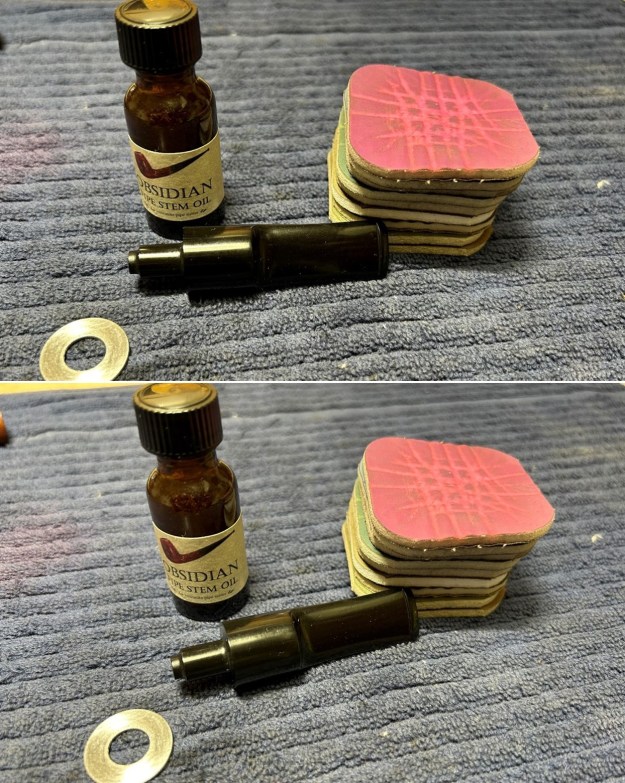
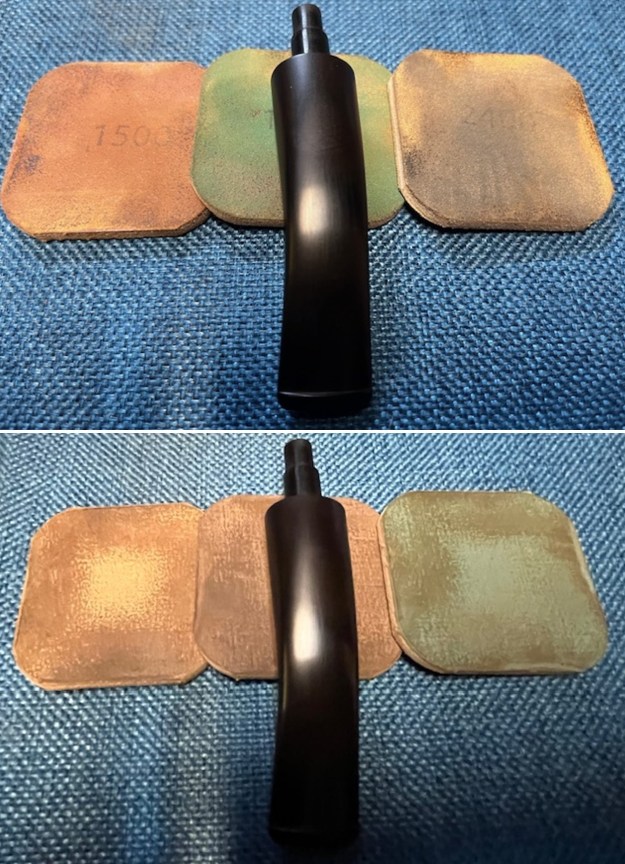
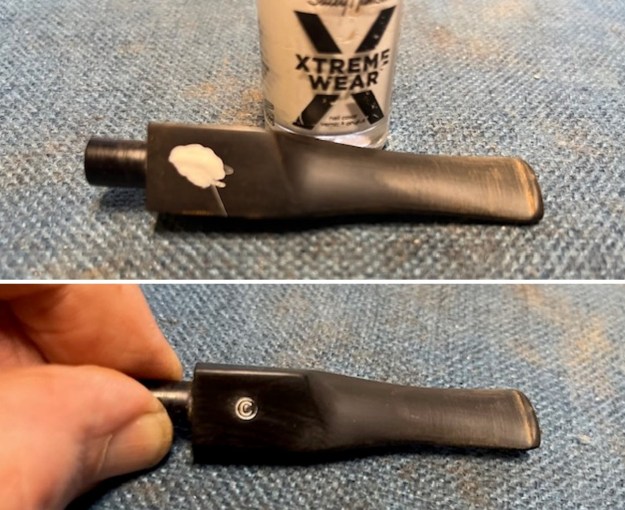 I polished the roughness, scratch marks and smoothed the stem with 320-3500 grit sanding pads. I wiped the stem down after each sanding pad with an Obsidian Oil impregnated cloth. It removes the dust and also gives the sanding pads some bite. By the final pad it was looking quite good.
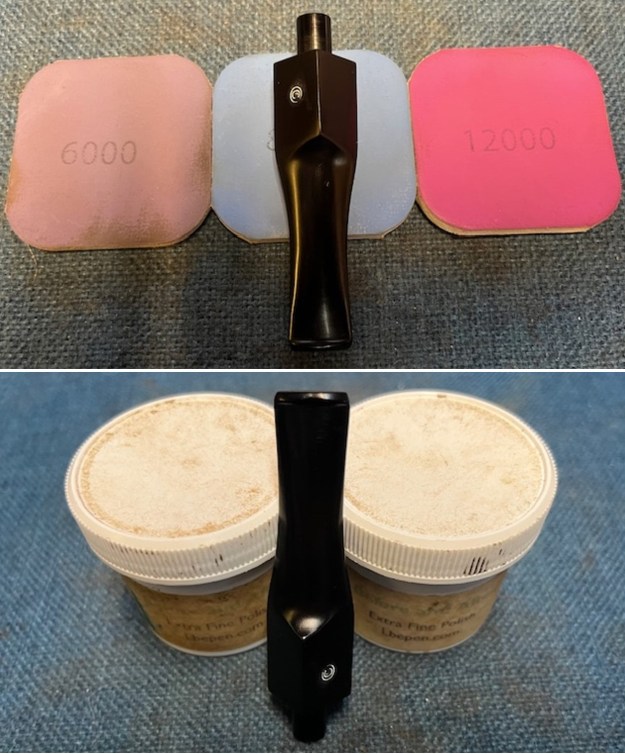
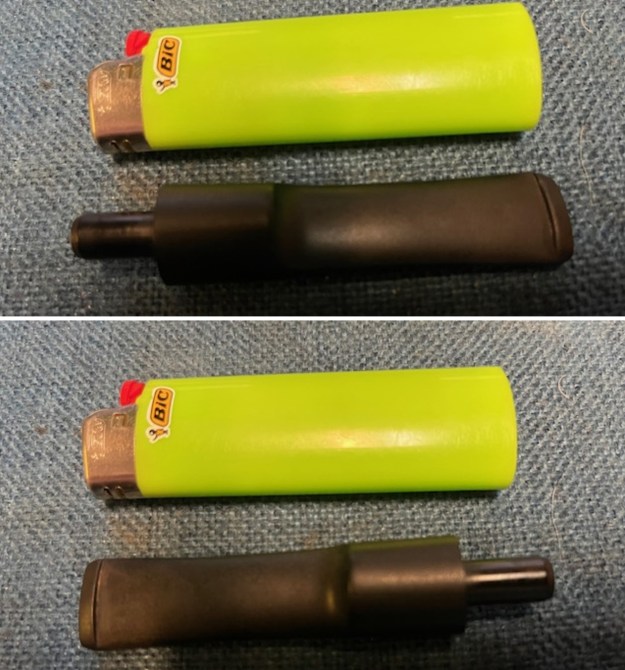
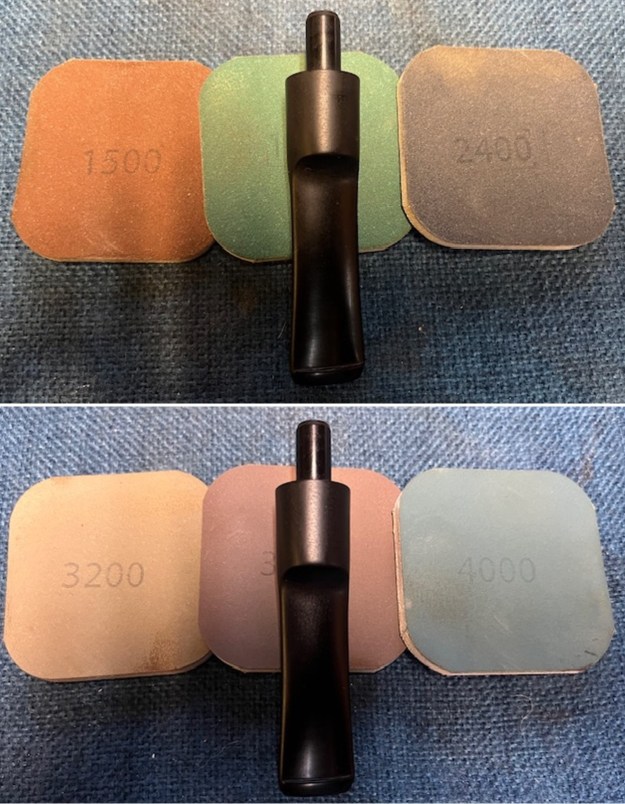
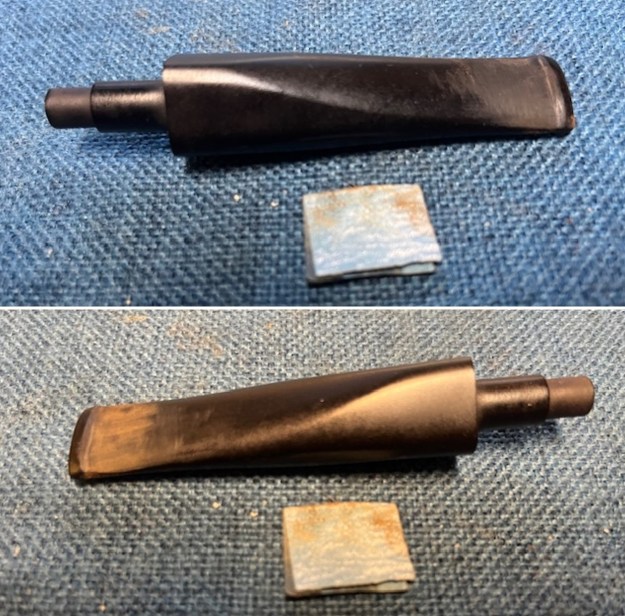
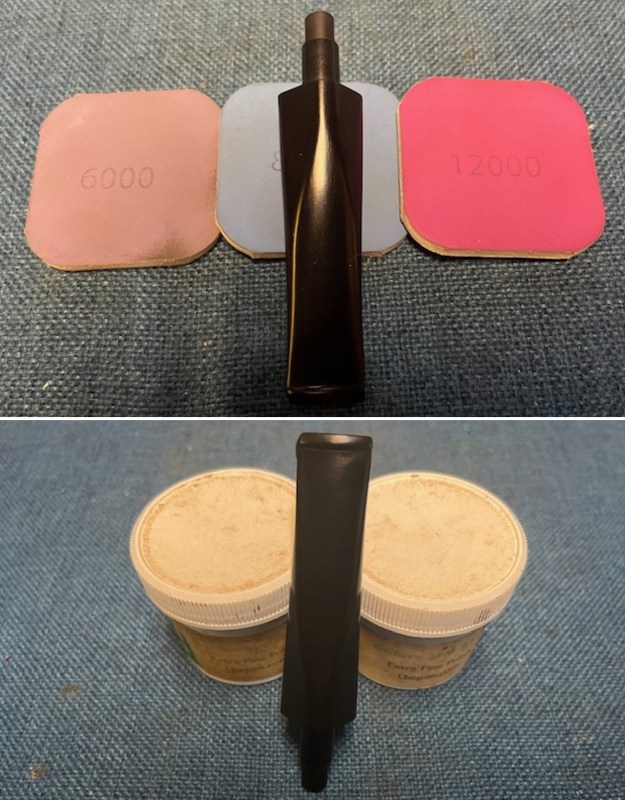
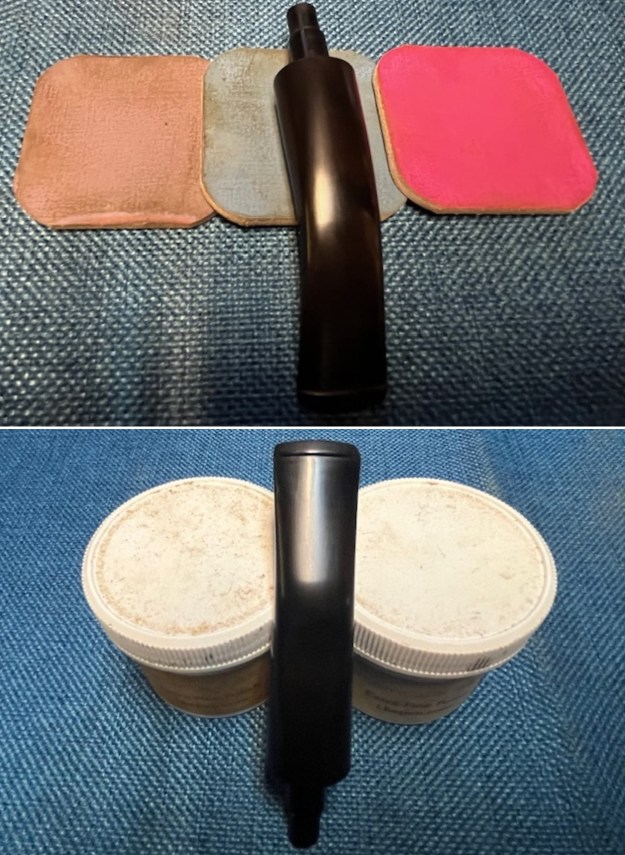
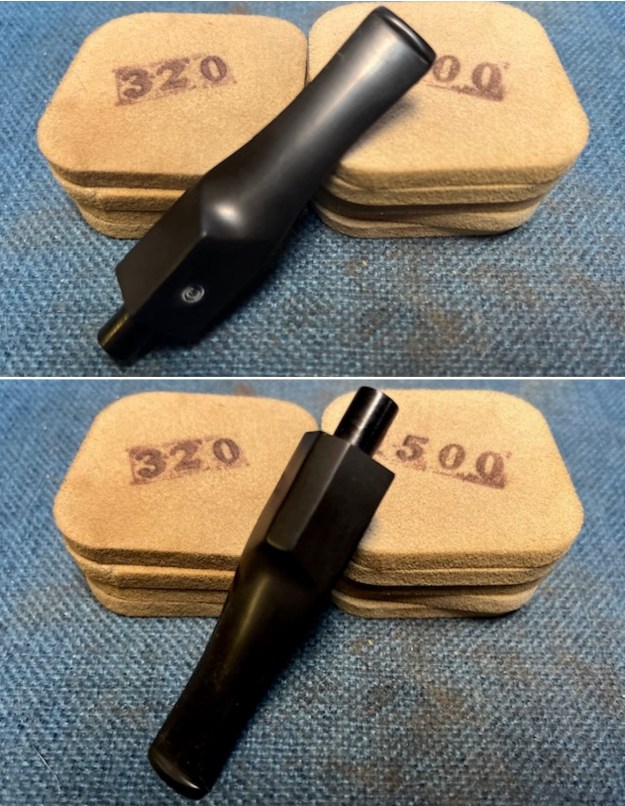 I polished the vulcanite stem with micromesh sanding pads – 1500-12000 grit pads. I wiped it down with Obsidian Oil after each sanding pad. I used Before & After Pipe Polish – both Fine and Extra Fine to further polish the stem. I rubbed it down with a final coat of Obsidian Oil and let it dry.
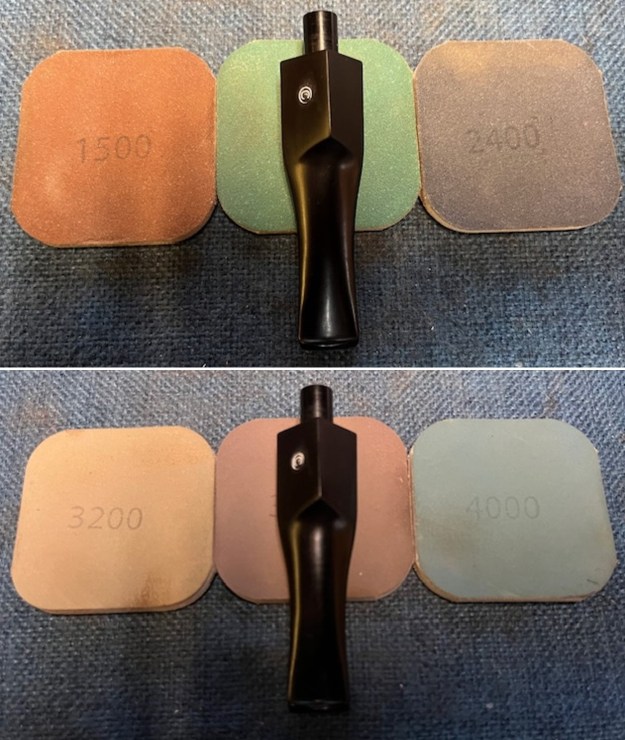
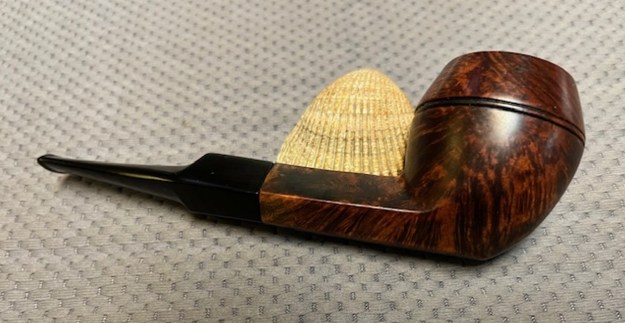
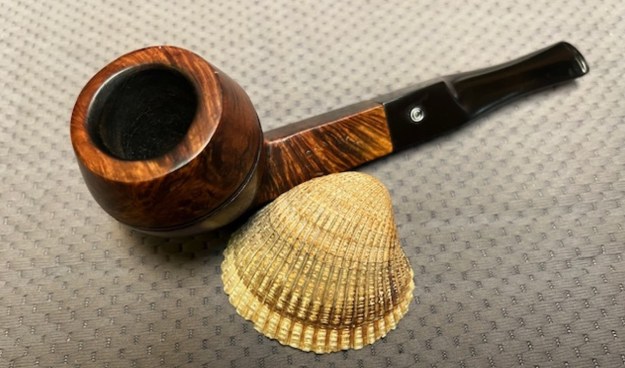
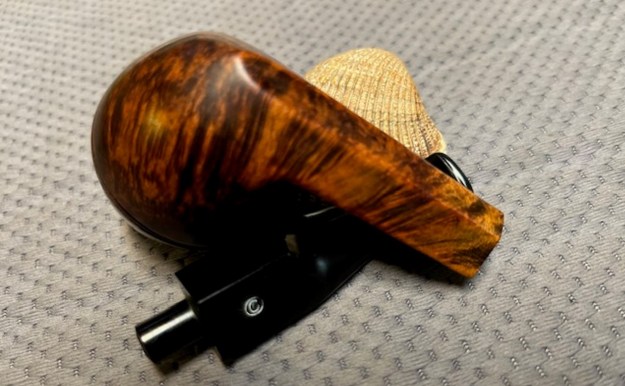
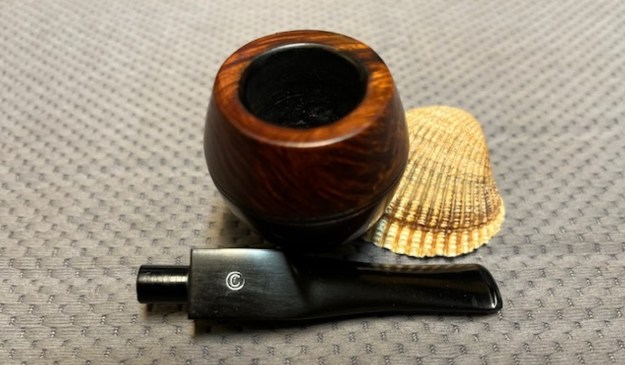
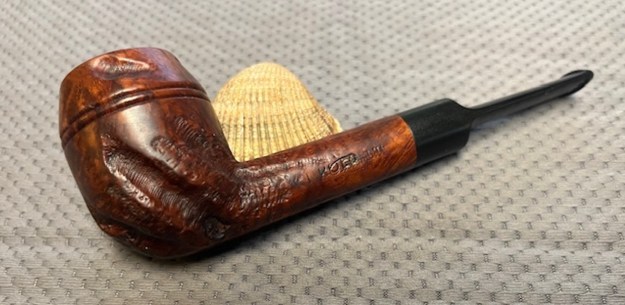
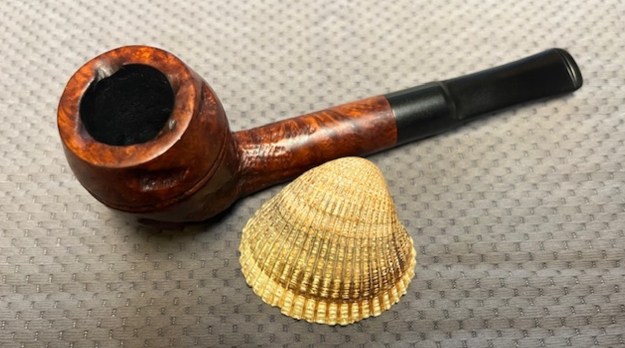
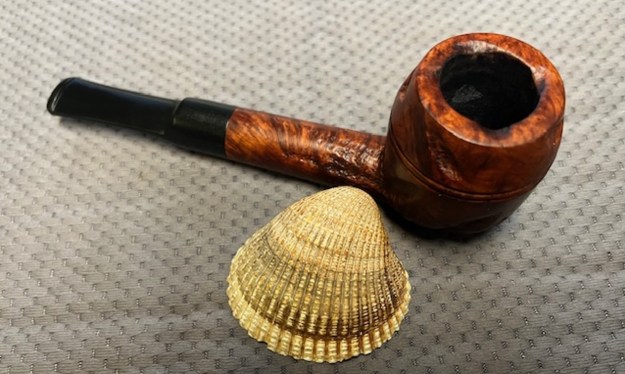
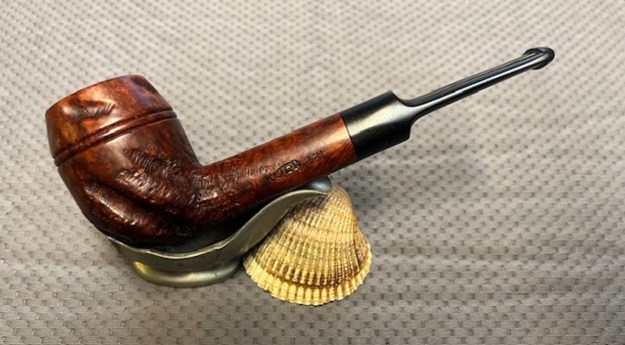
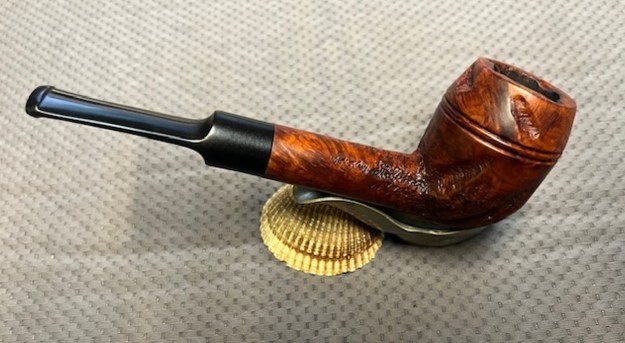
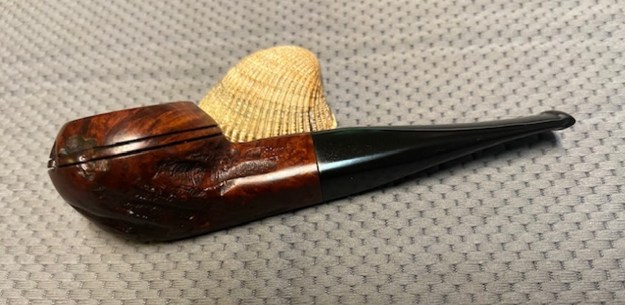
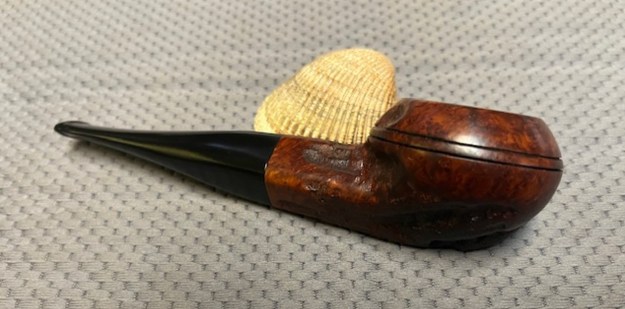
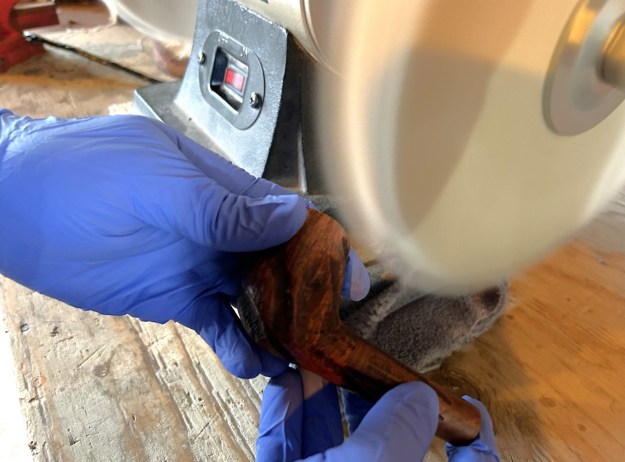
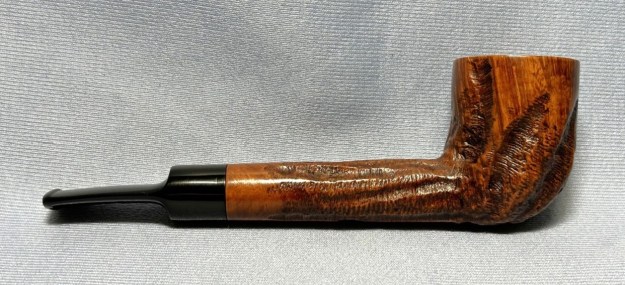
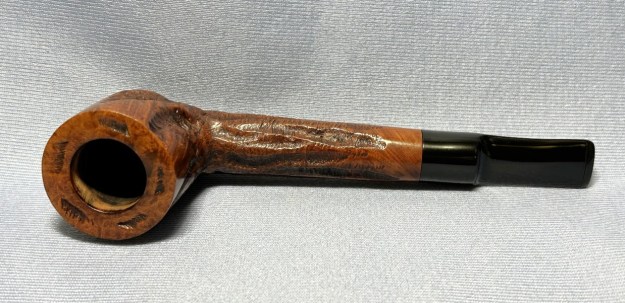
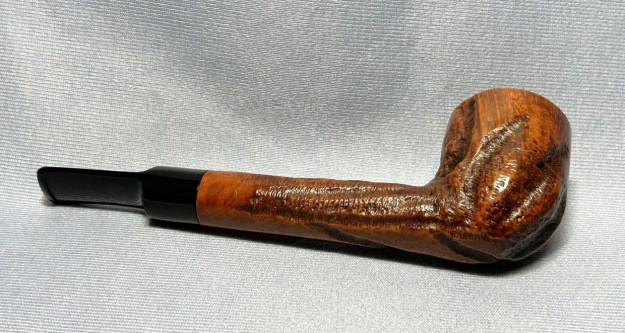
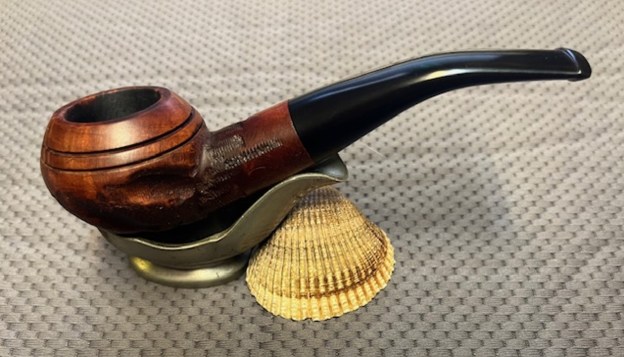
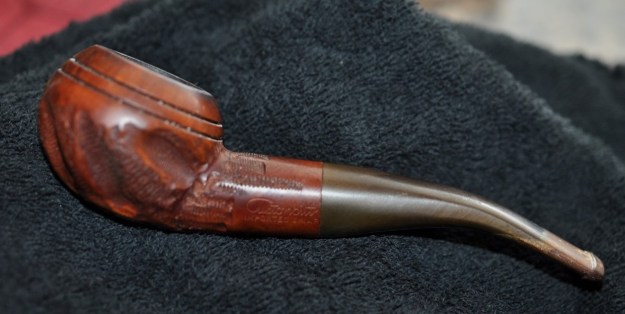
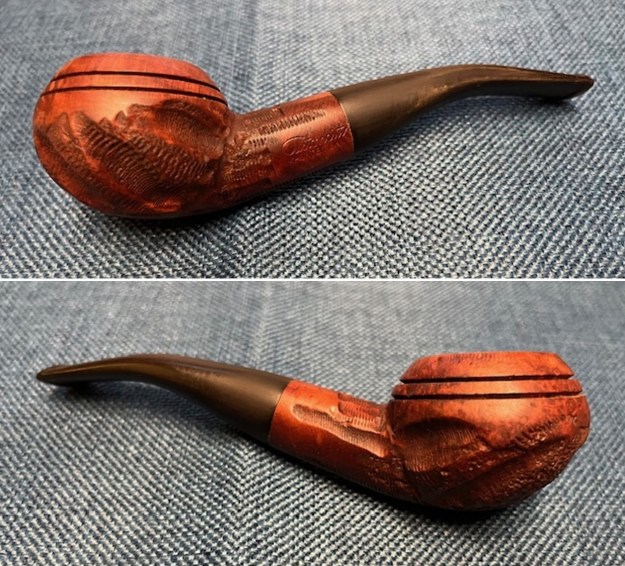
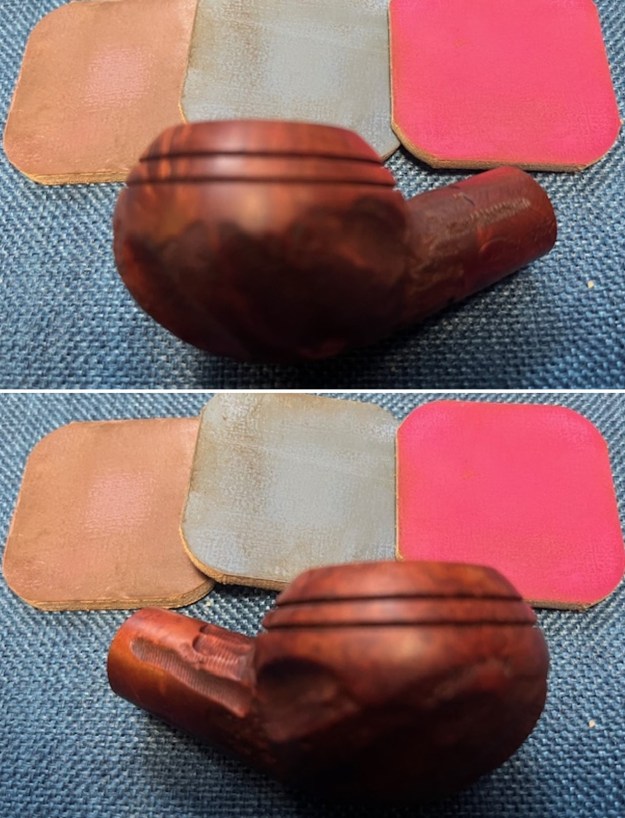
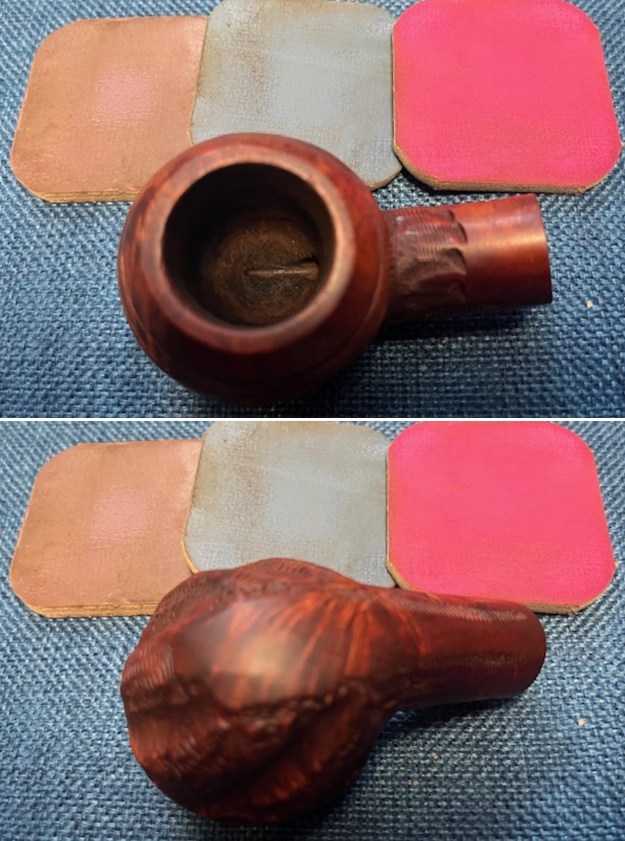
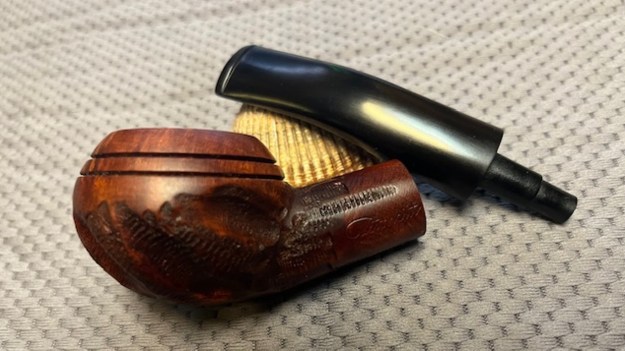
 This Conway Aristocrat Straight Bulldog is a great looking pipe now that it has been restored. The style of rustication that is used around the bowl is quite beautiful and works well with both the shape and the polished vulcanite taper stem. I put the stem back on the bowl and carefully buffed the pipe with Blue Diamond on the buffing wheel using a light touch on the briar. I gave the bowl and the stem multiple coats of carnauba wax on the wheel and followed by buffing the pipe with a clean buffing pad. I hand buffed the pipe with a microfiber cloth to deepen the shine. The finished Conway Aristocrat Bulldog fits nicely in the hand and feels great. Give the finished pipe a look in the photos below. The dimensions of the pipe are Length: 5 ¾ inches, Height: 1 ¾ inches, Outside diameter of the bowl: 1 ¼ inches, Chamber diameter: 7/8 of an inch. The weight of the pipe is 47 grams/1.66 ounces. I will be putting it on the rebornpipes store in the British Pipemakers Section shortly. If you are interested in adding this pipe to your collection send me a message or an email. Thanks for reading this blog and my reflections on the pipe while I worked on it. I appreciate your support and time!
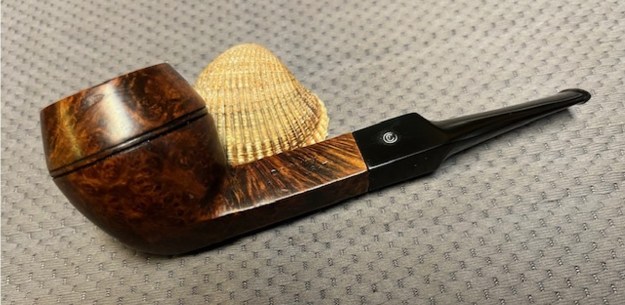


