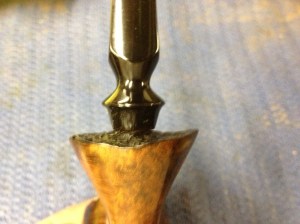
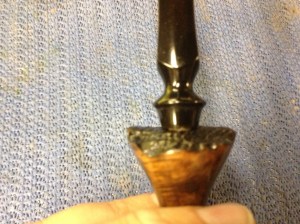
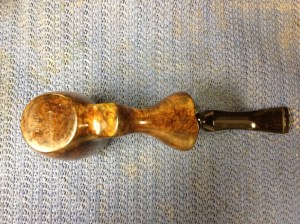
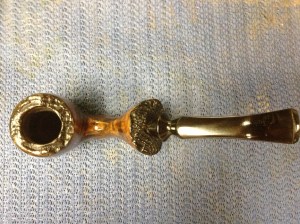
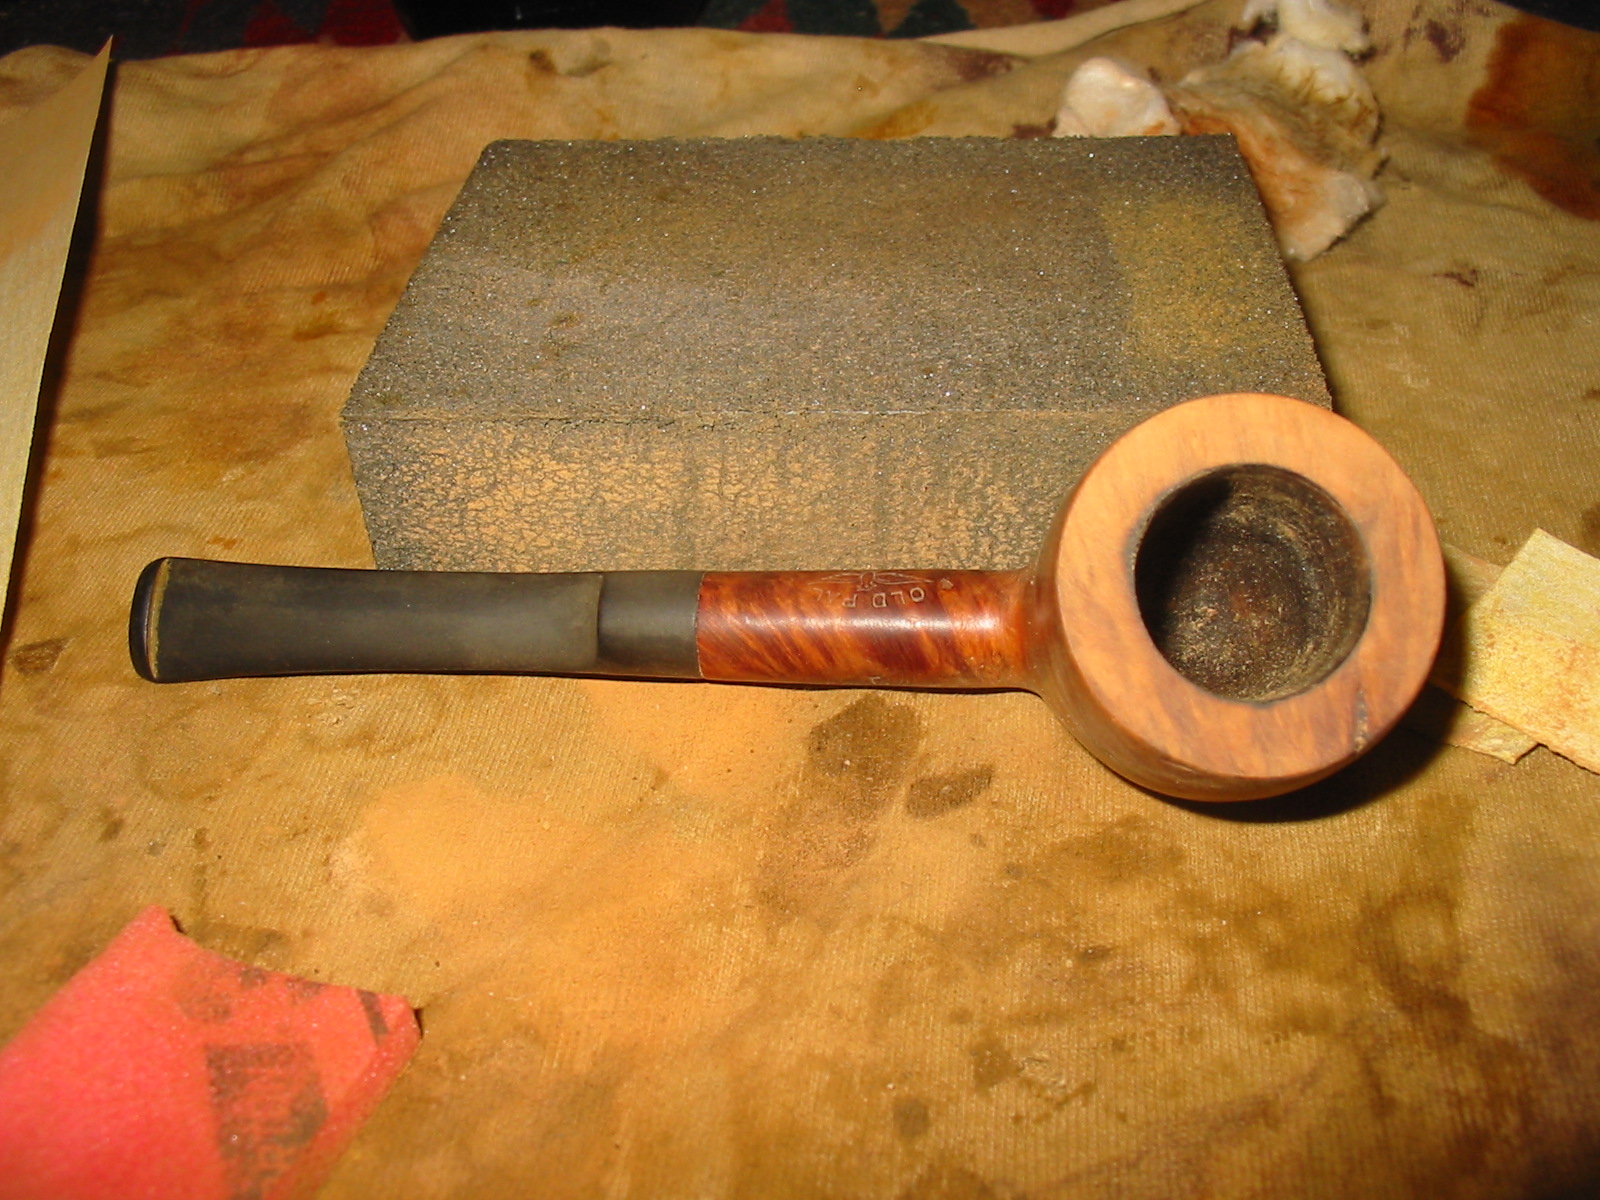
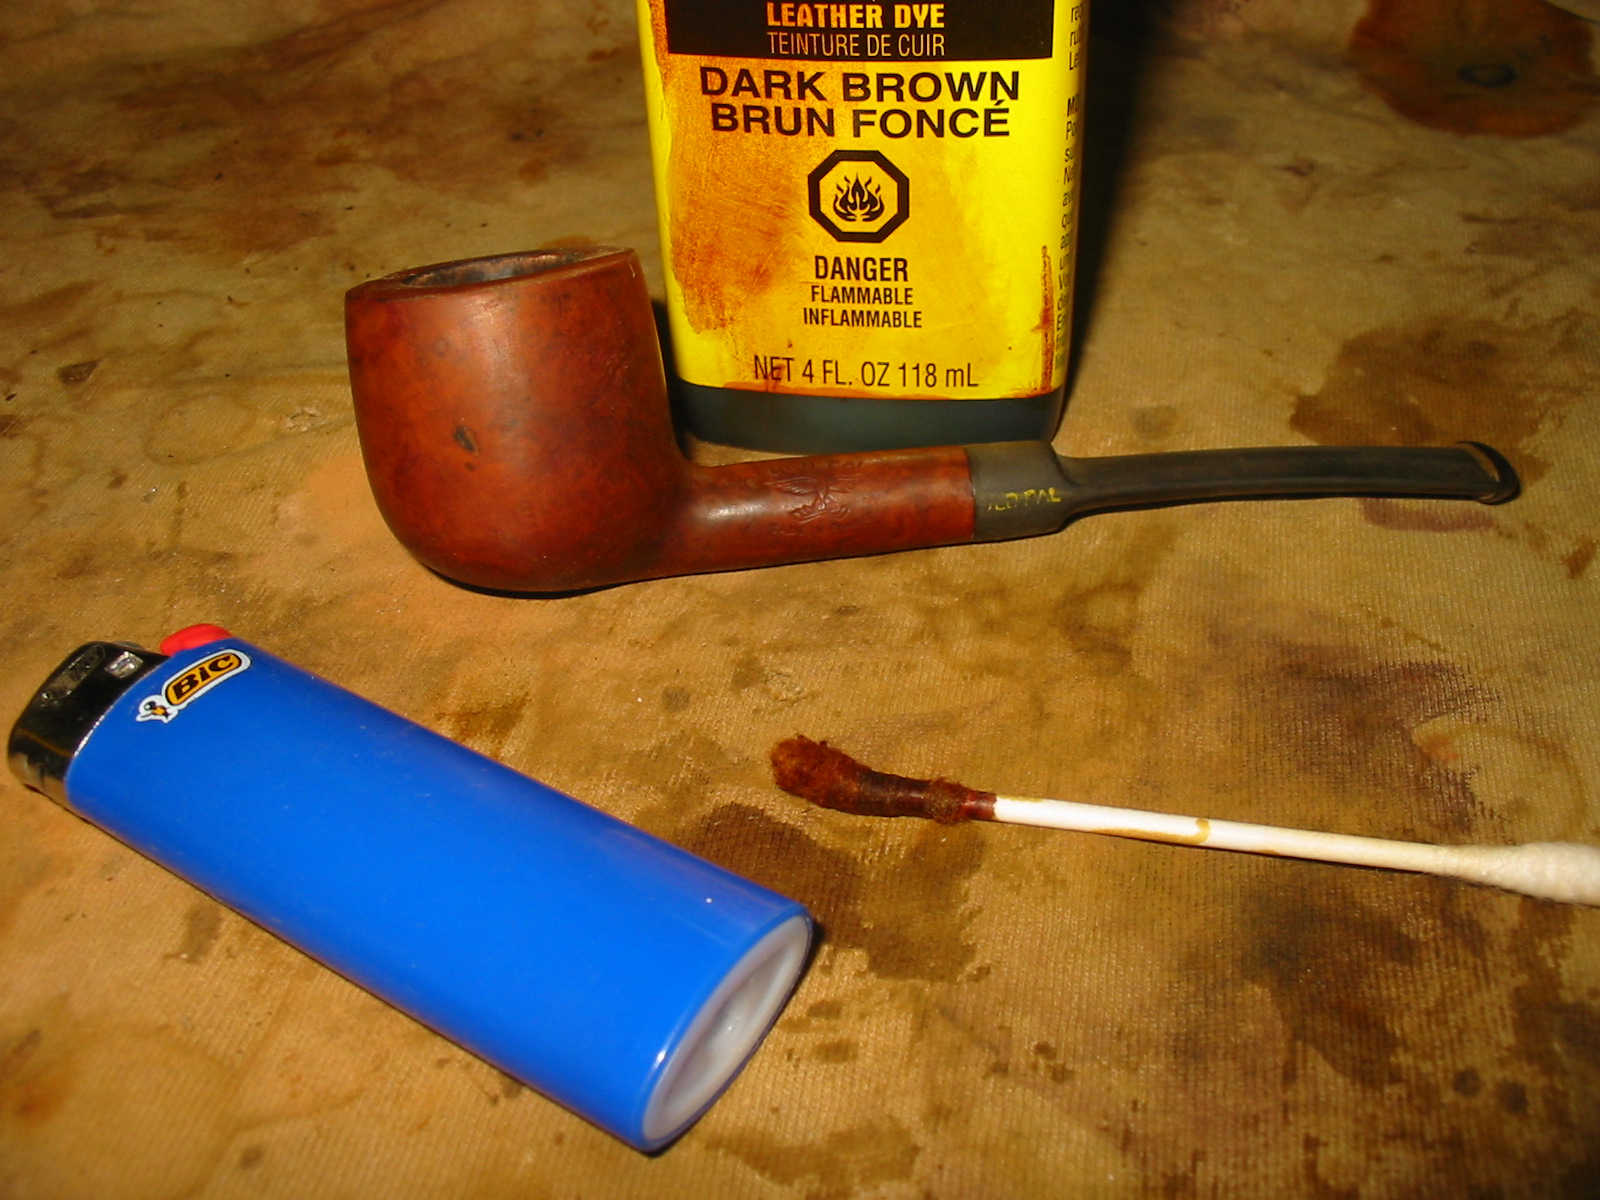
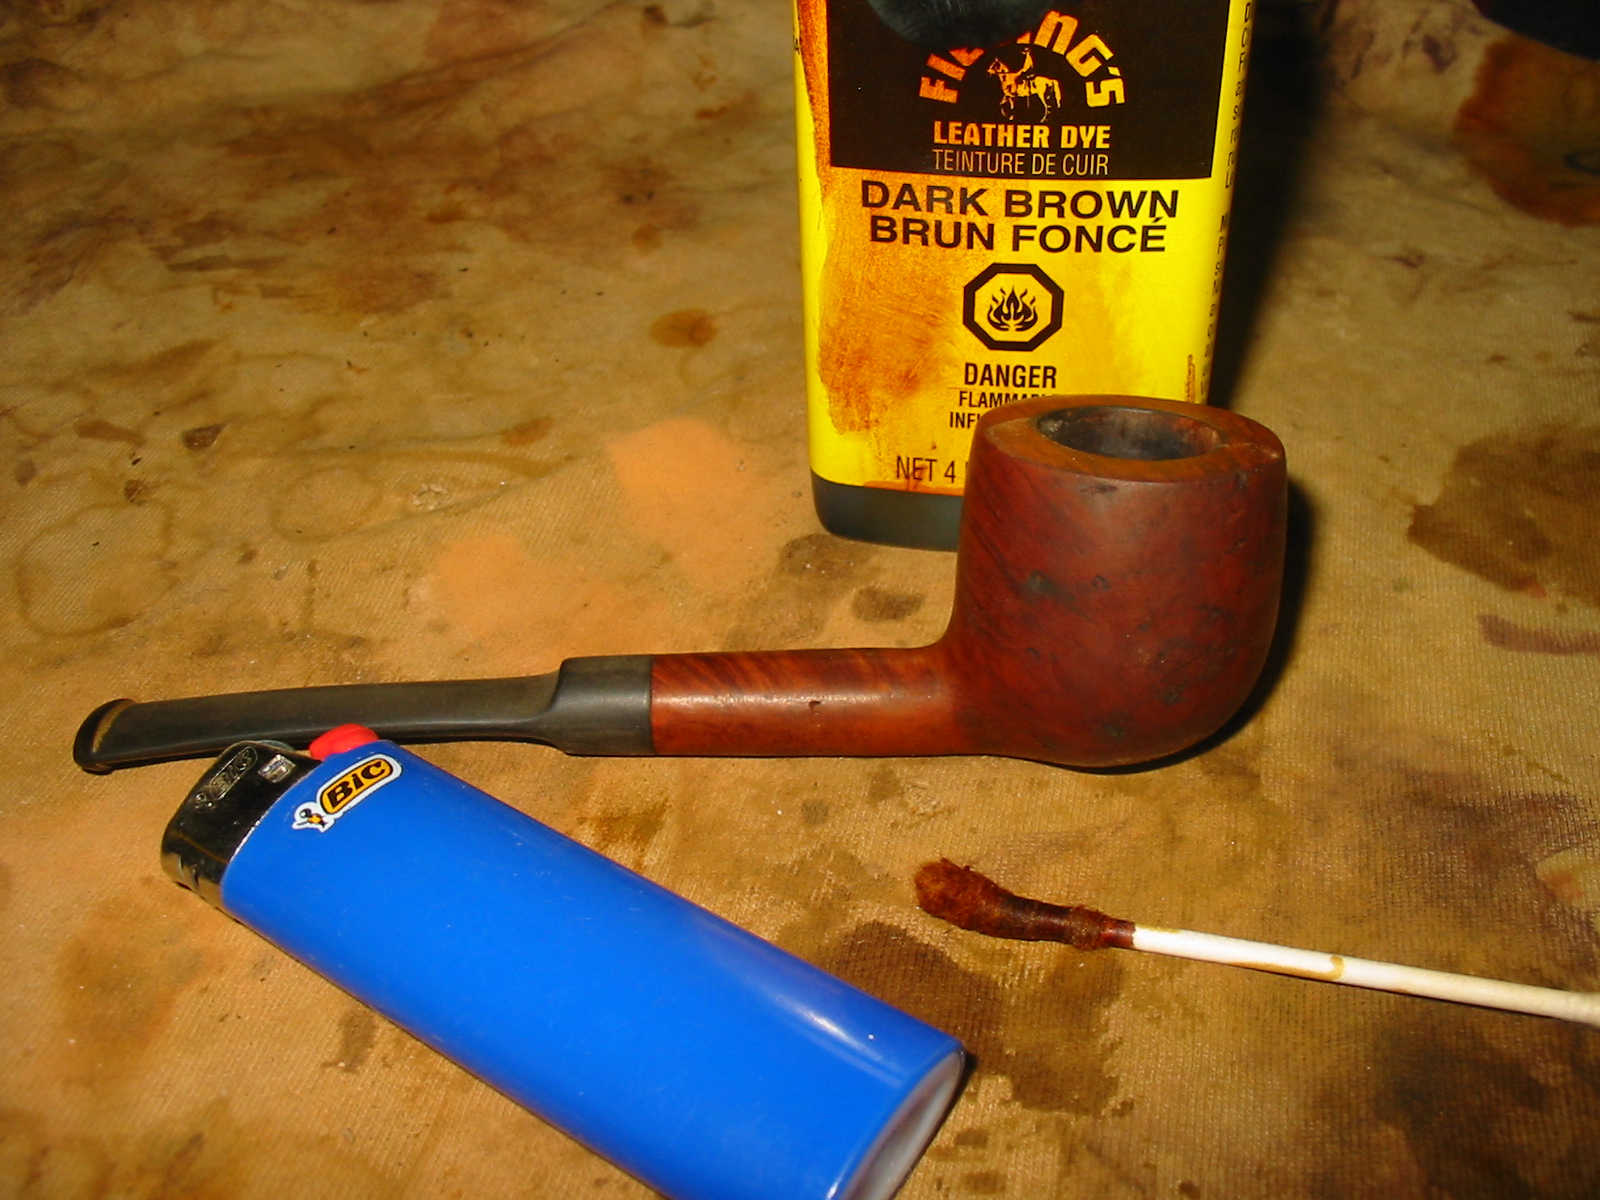
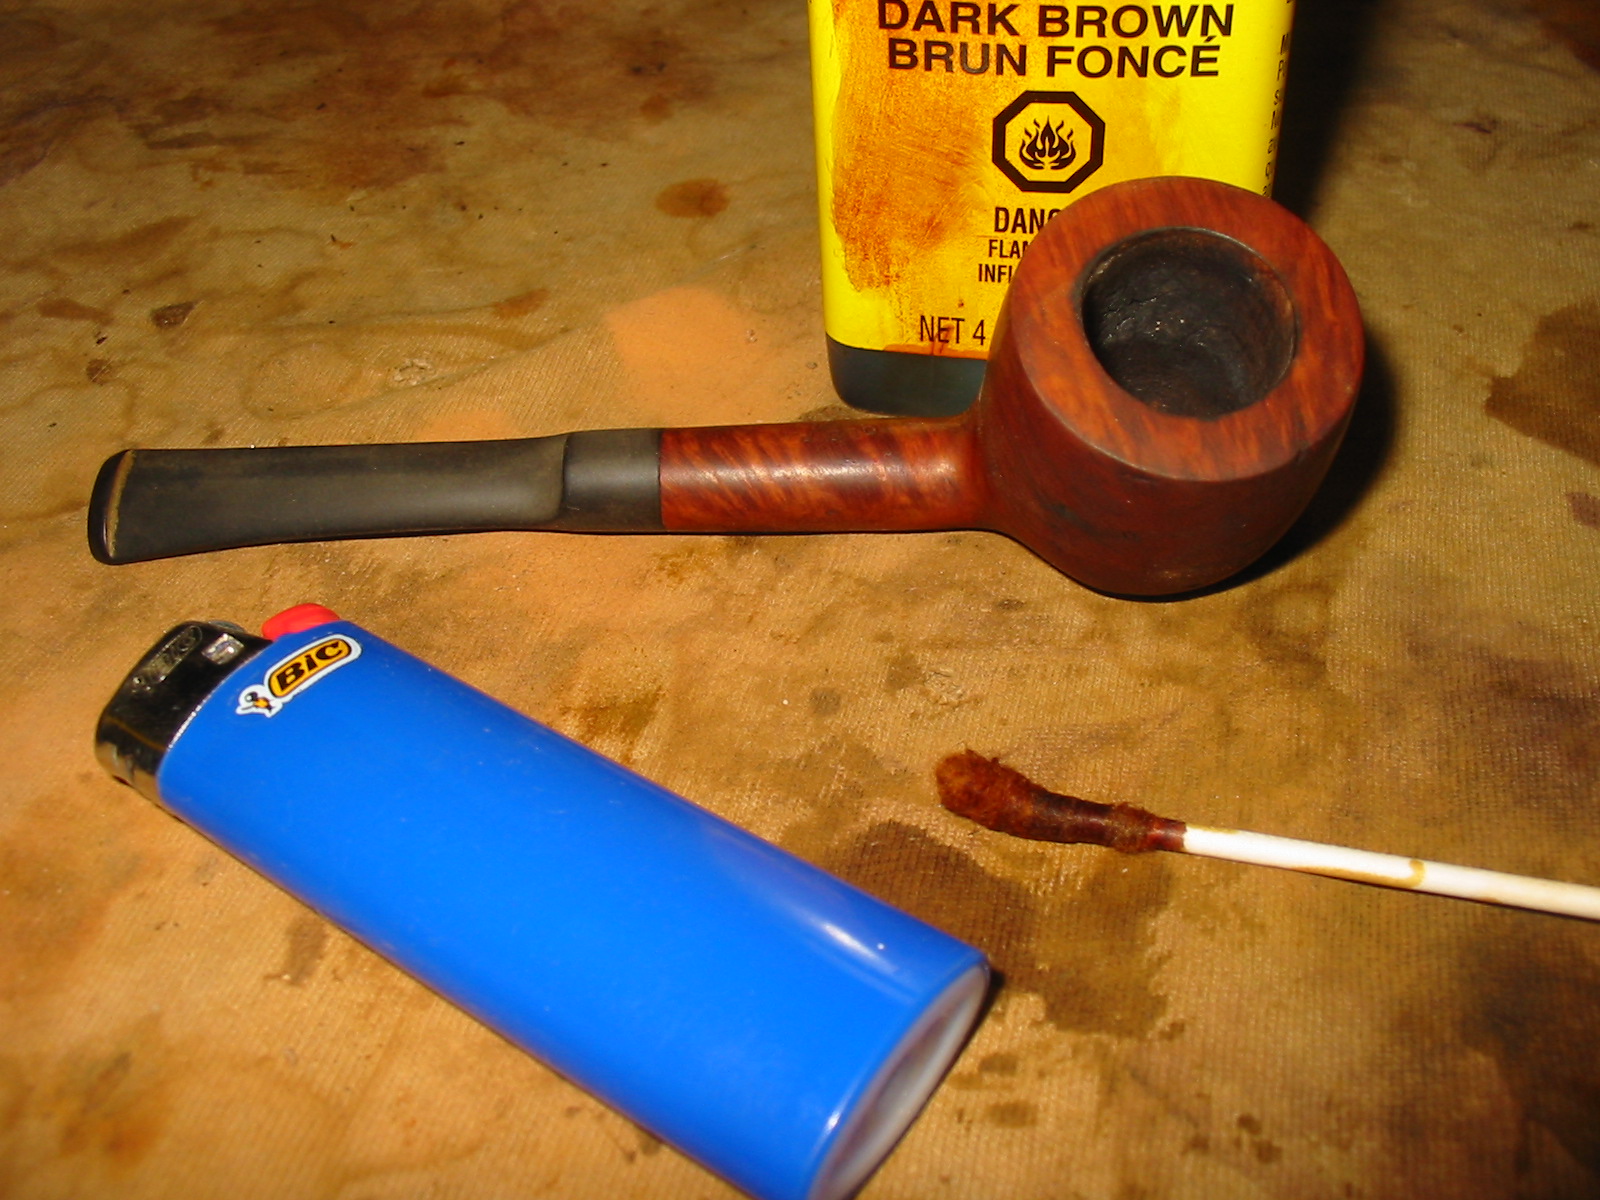
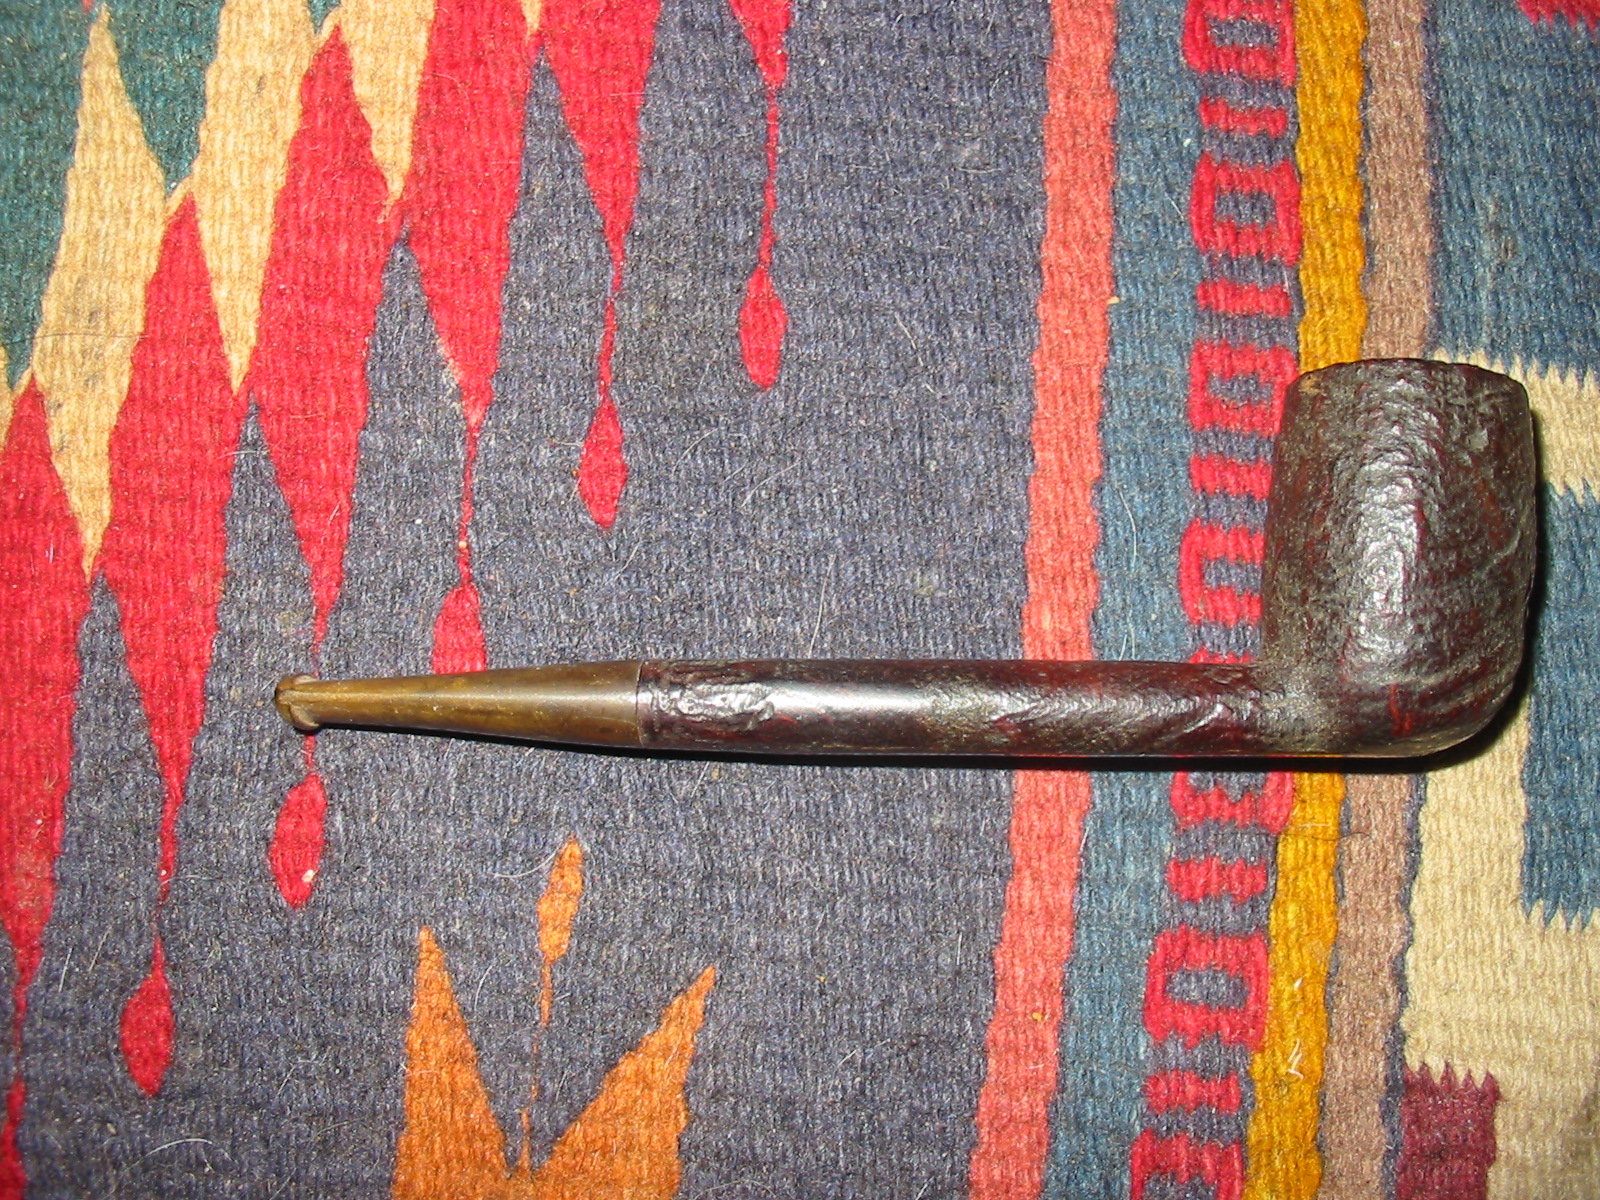
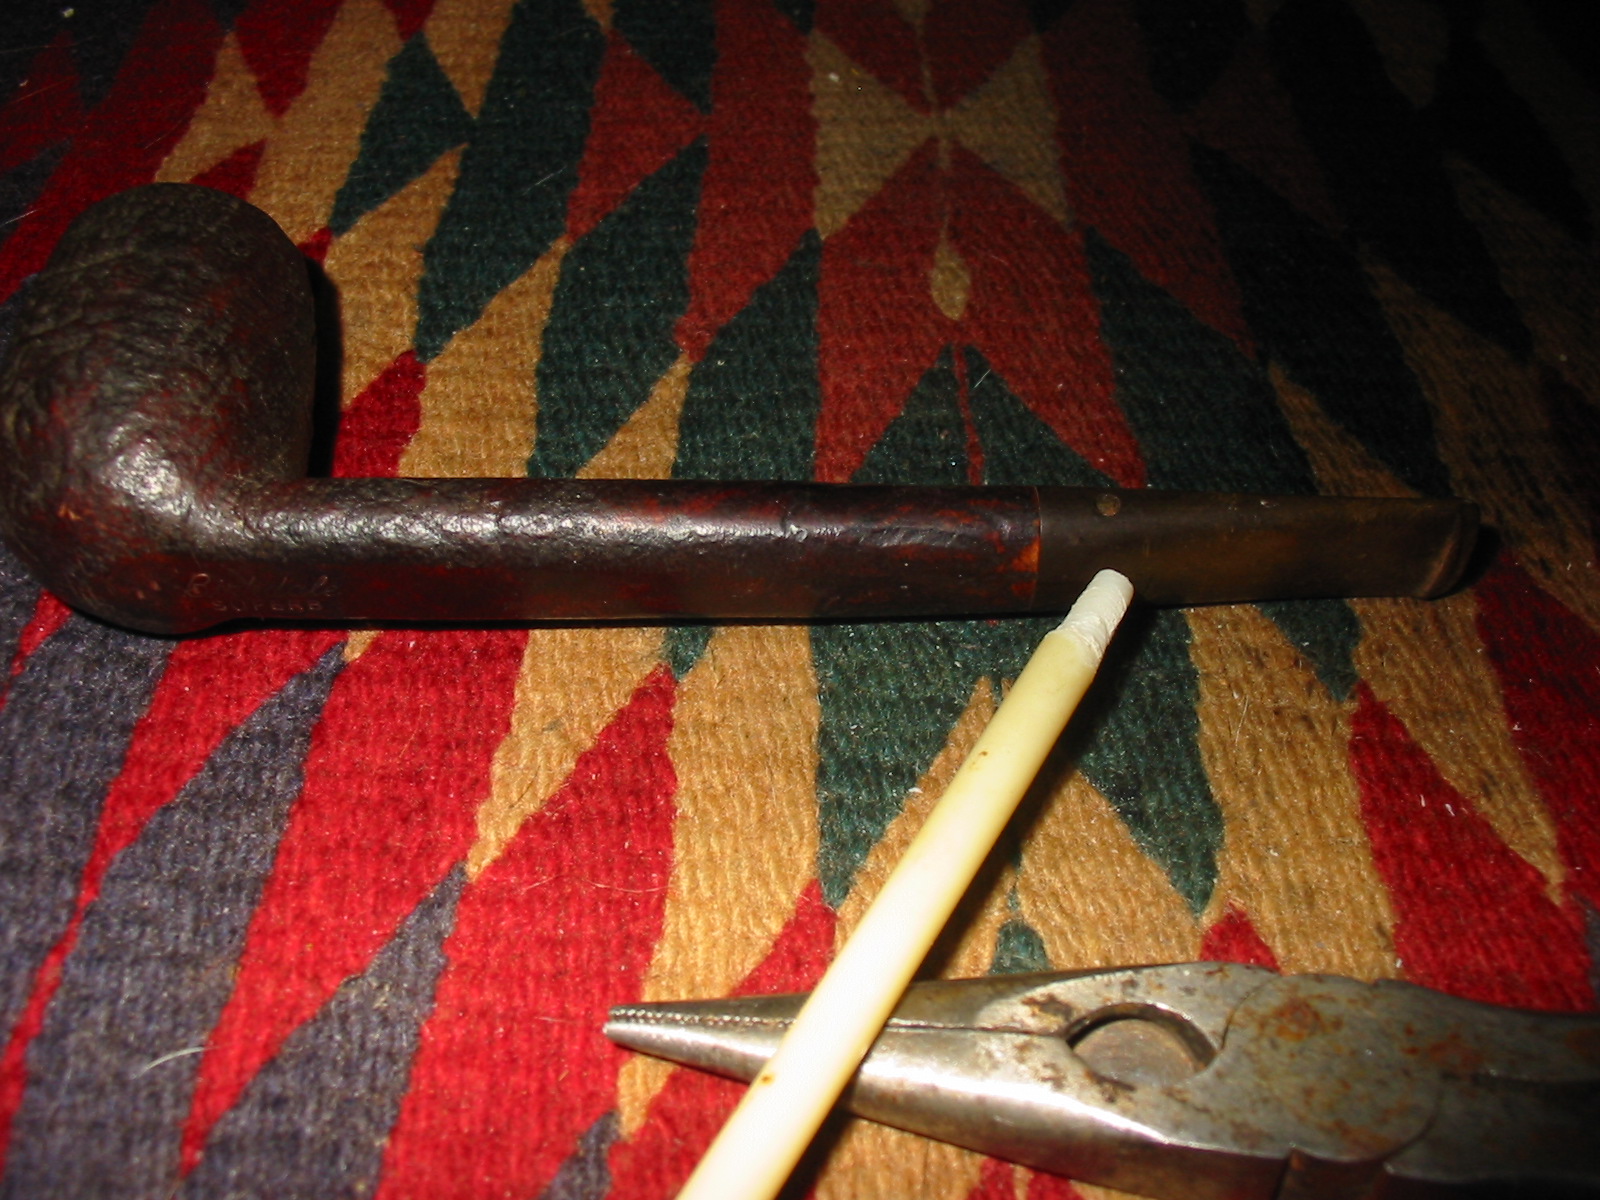
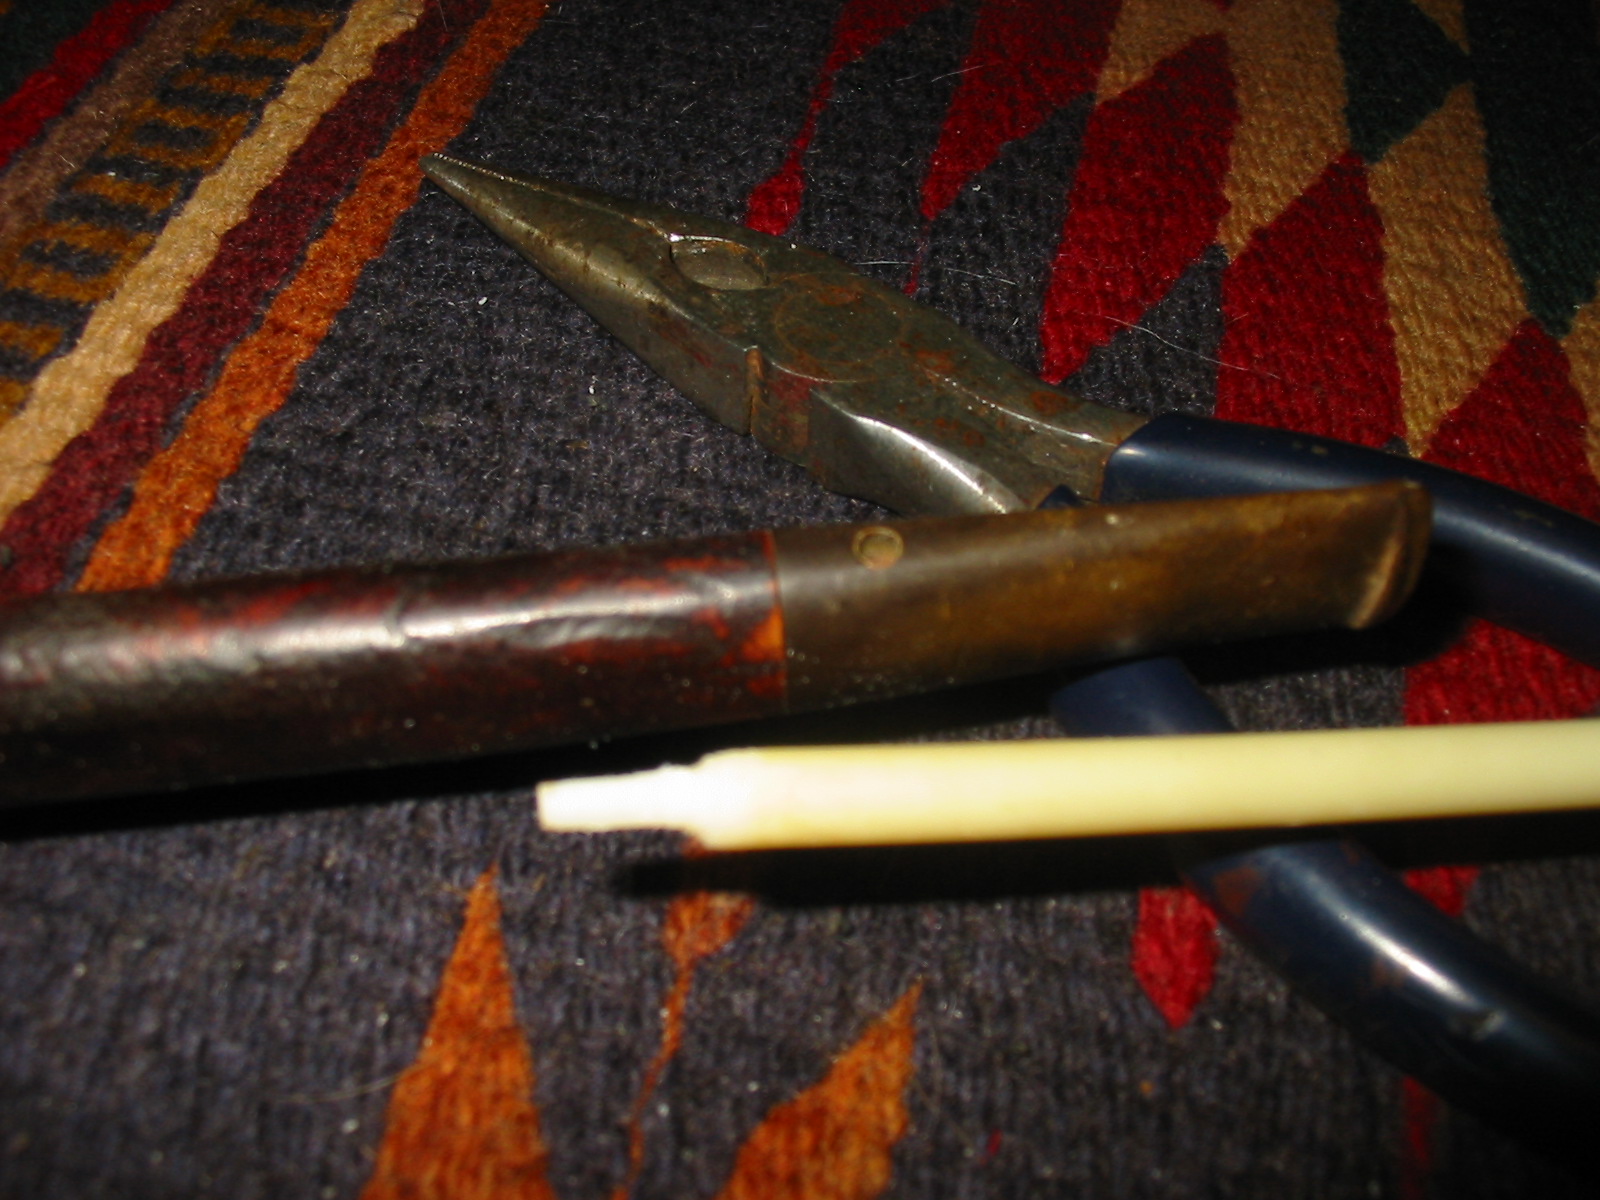
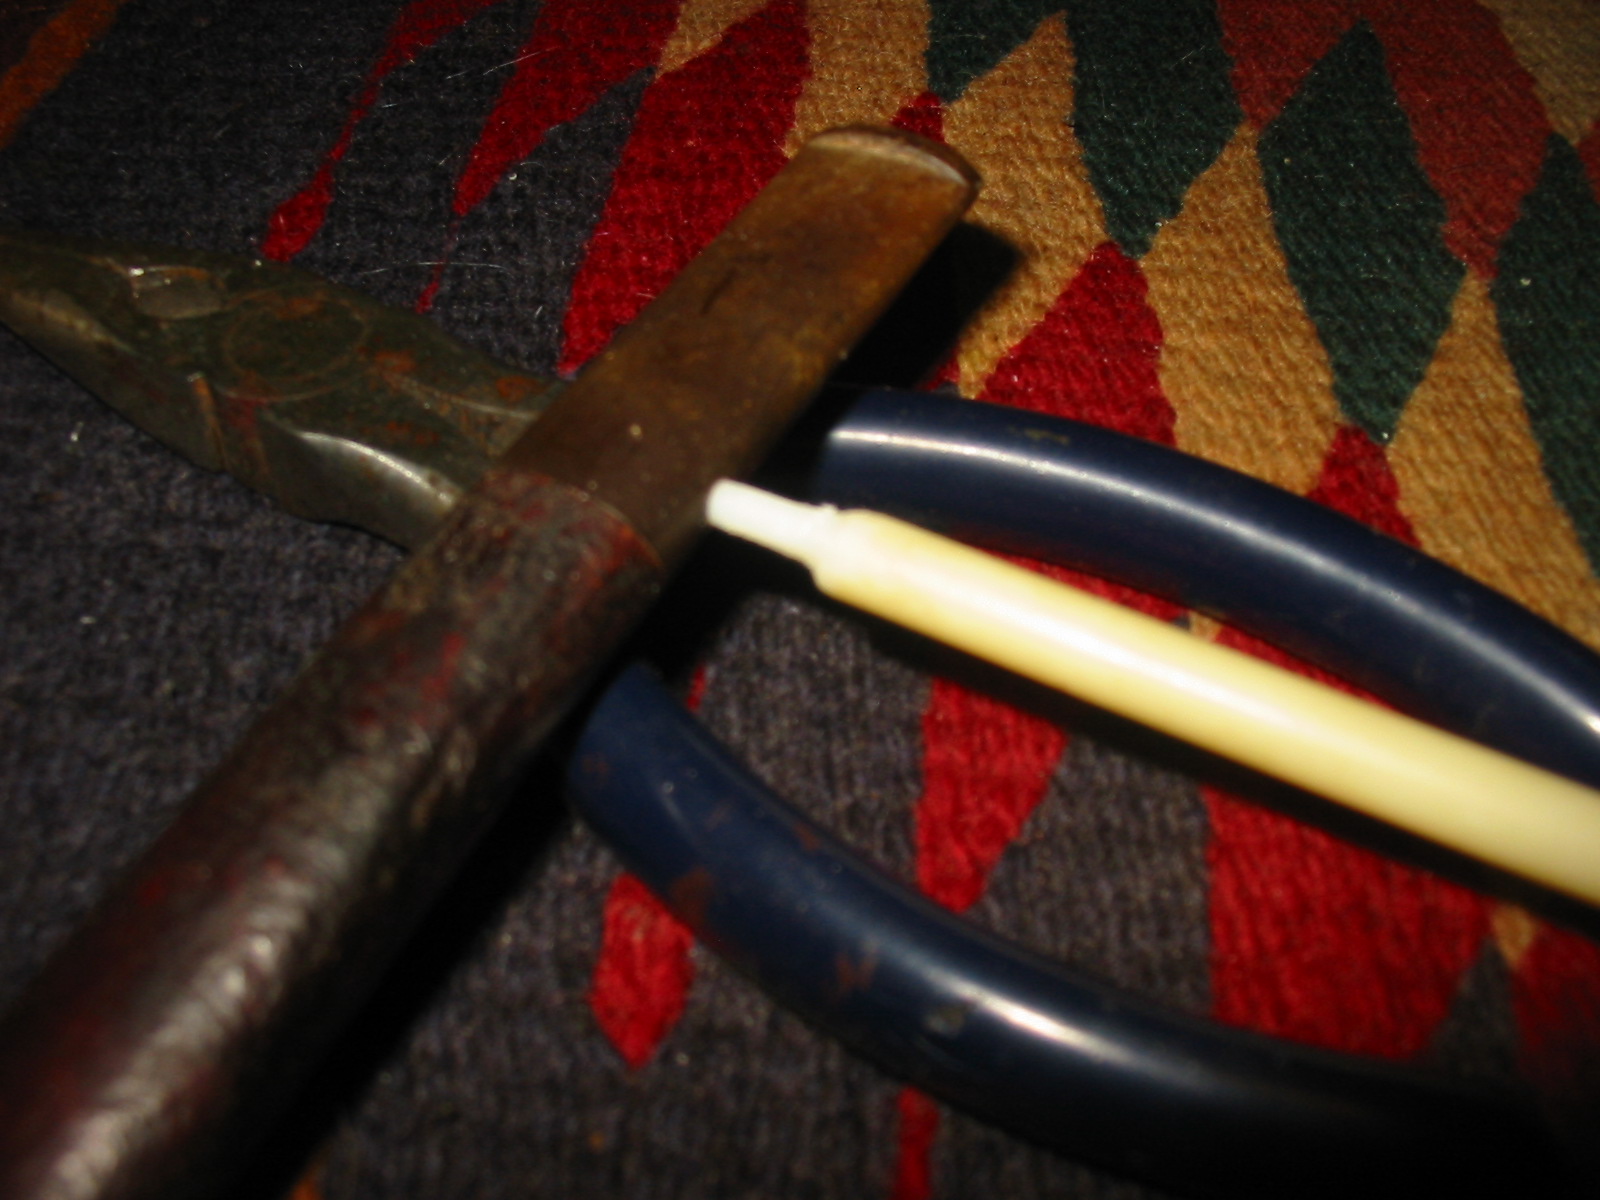
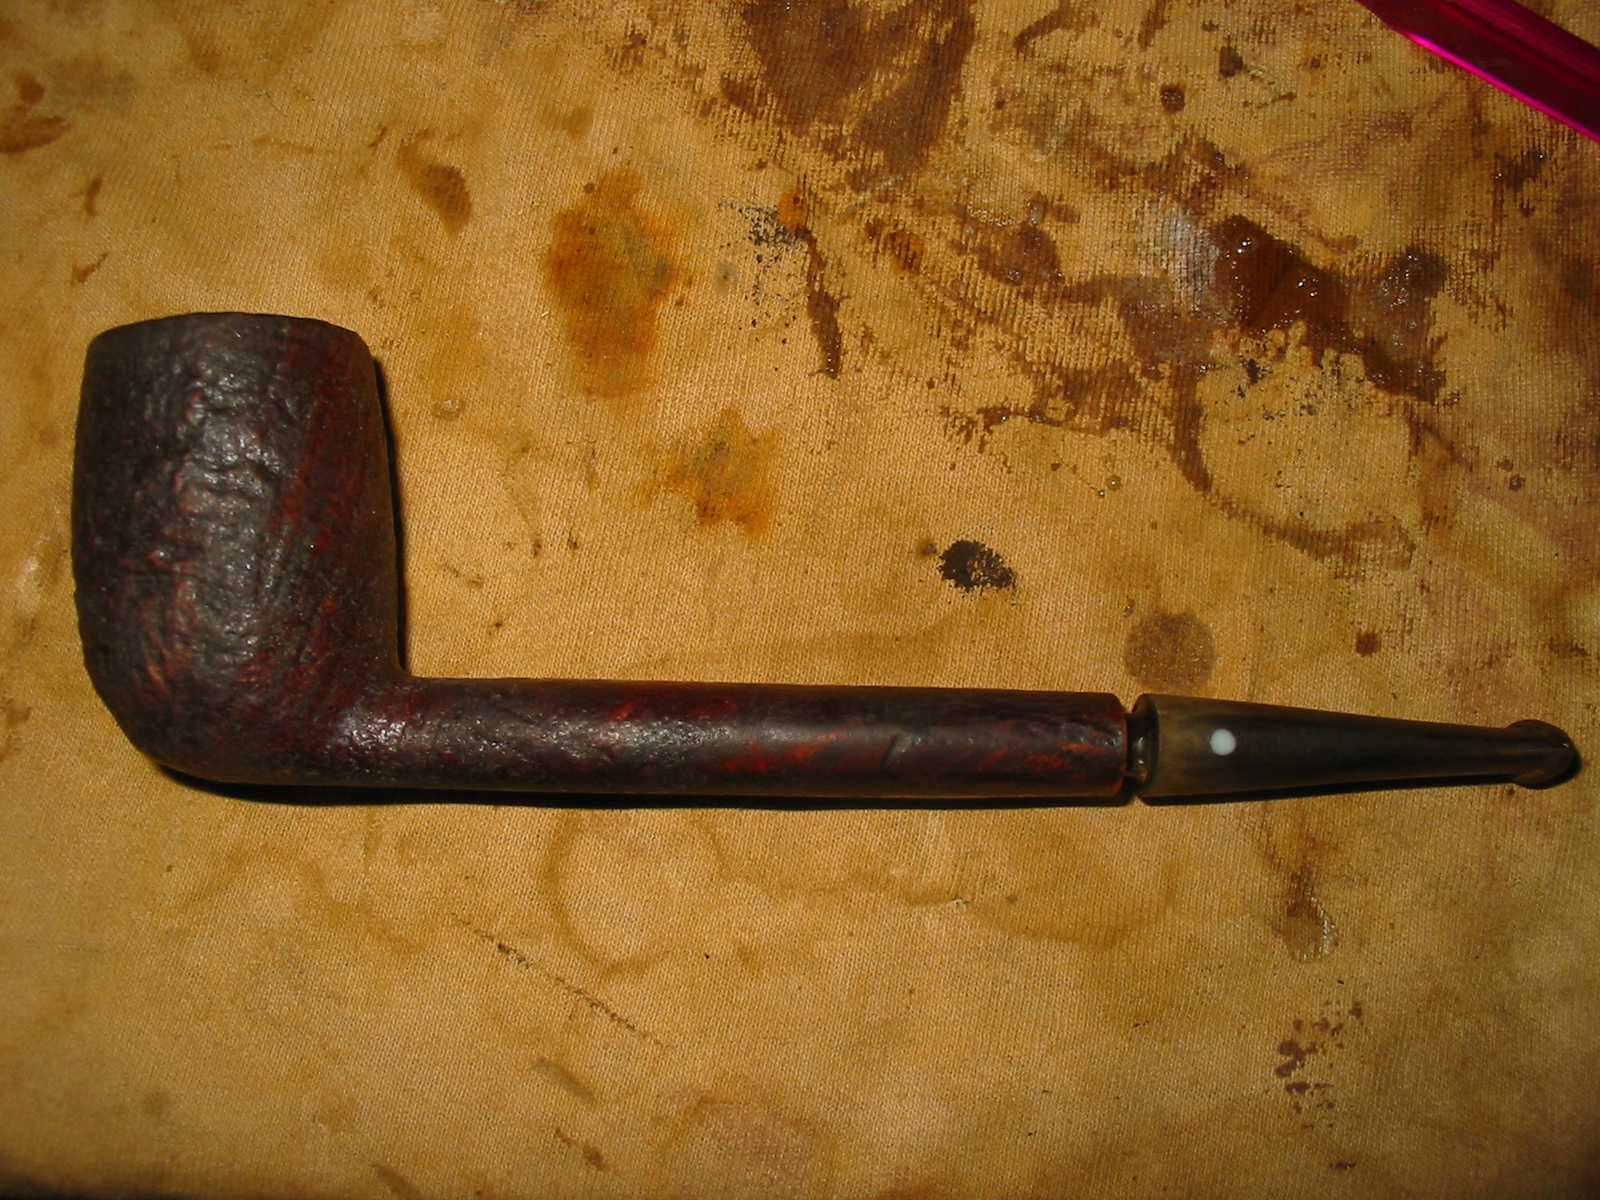
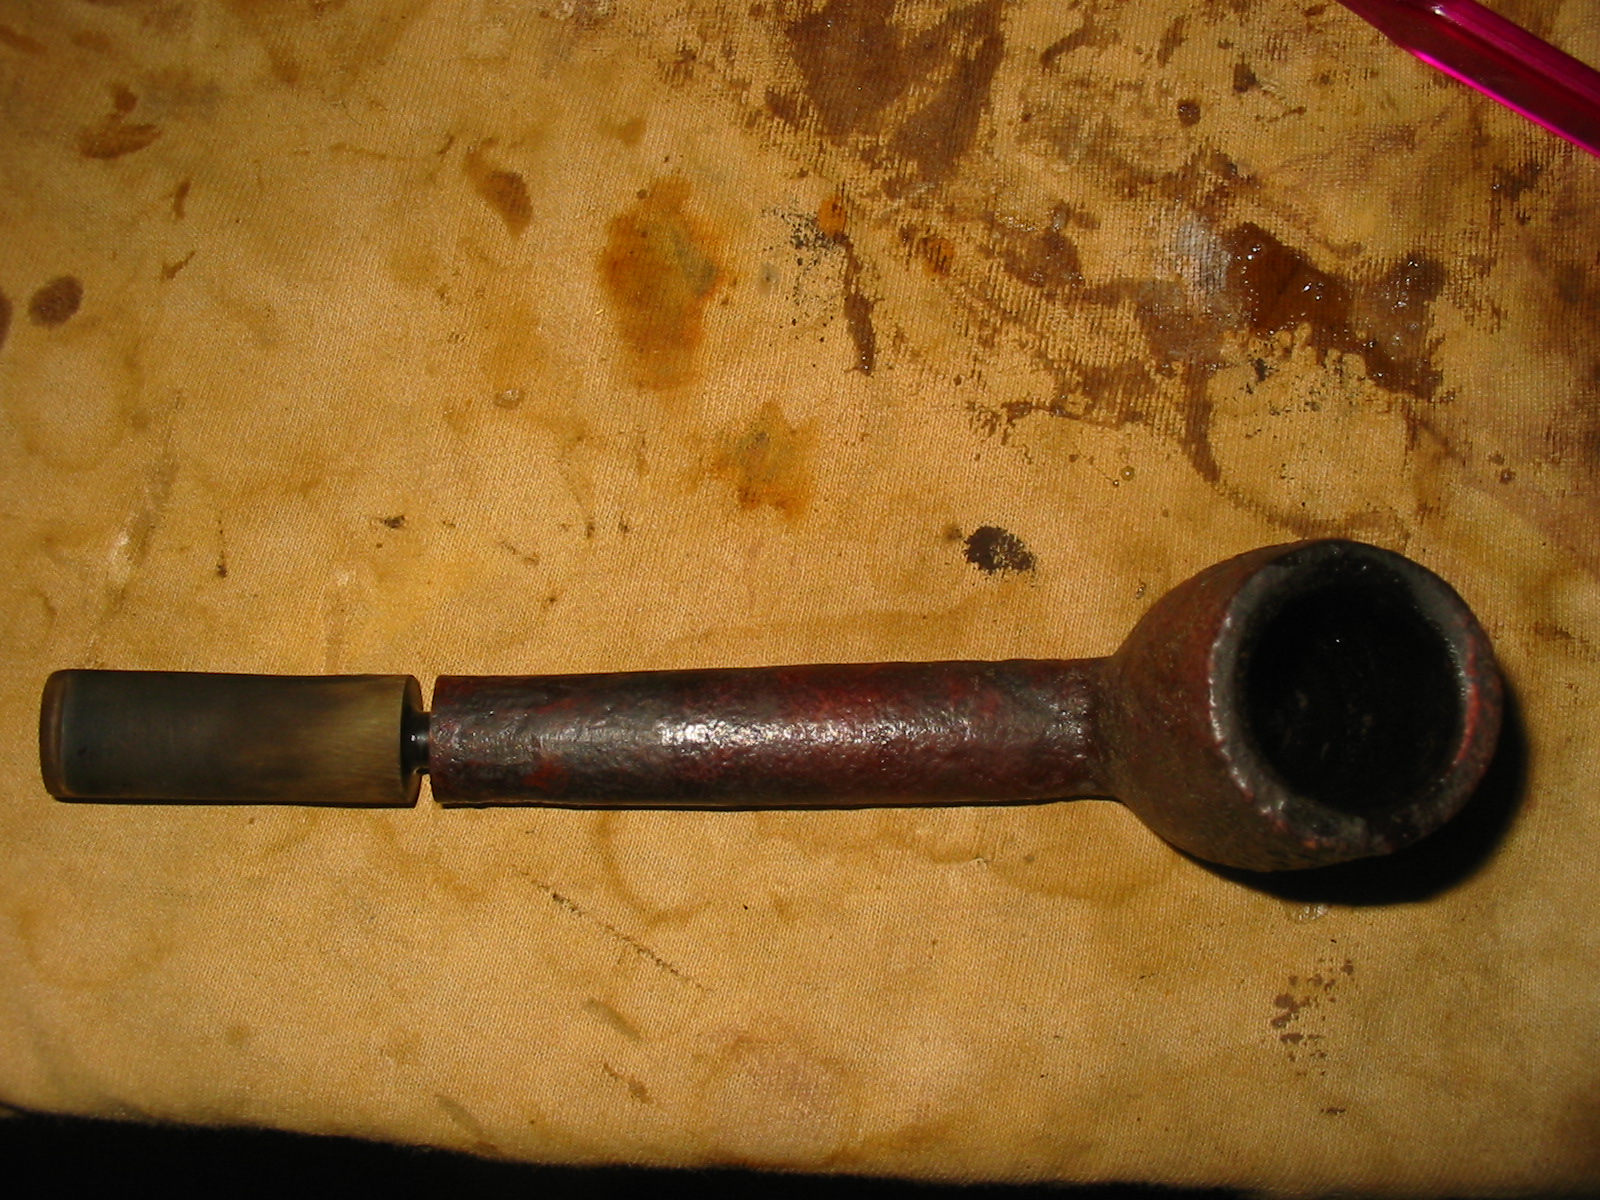
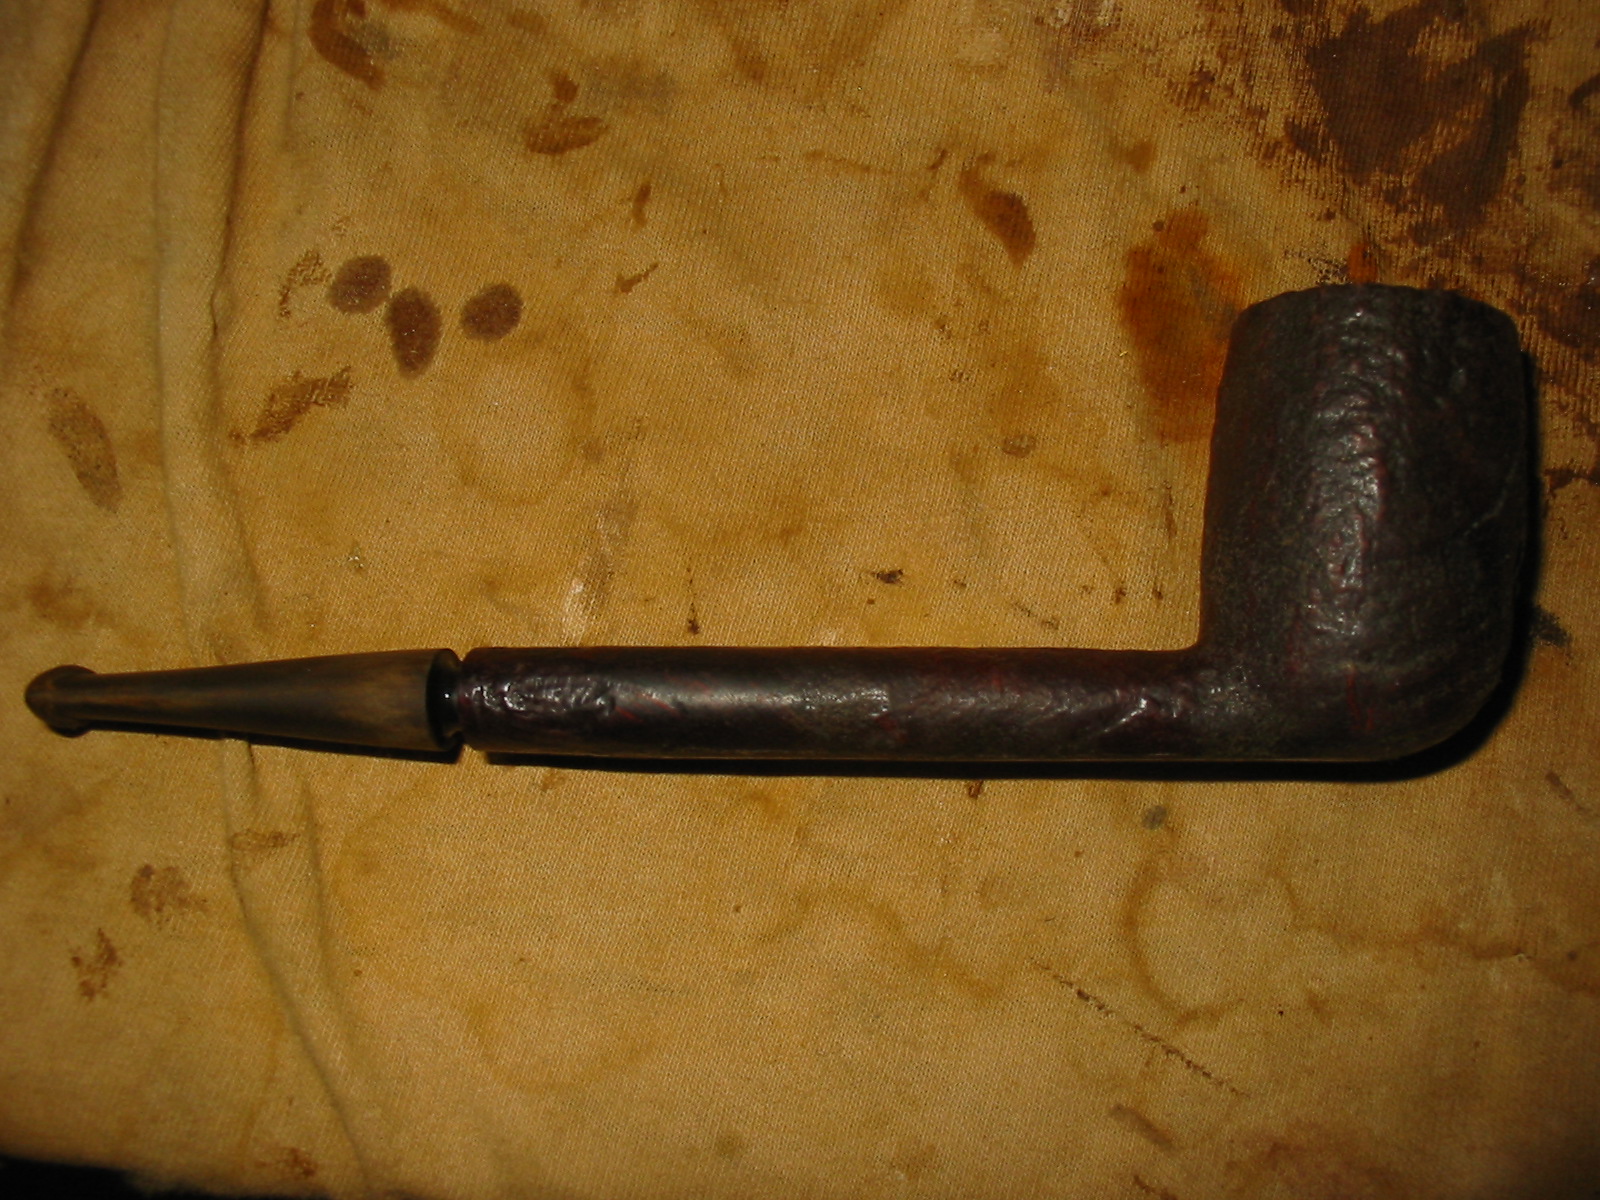
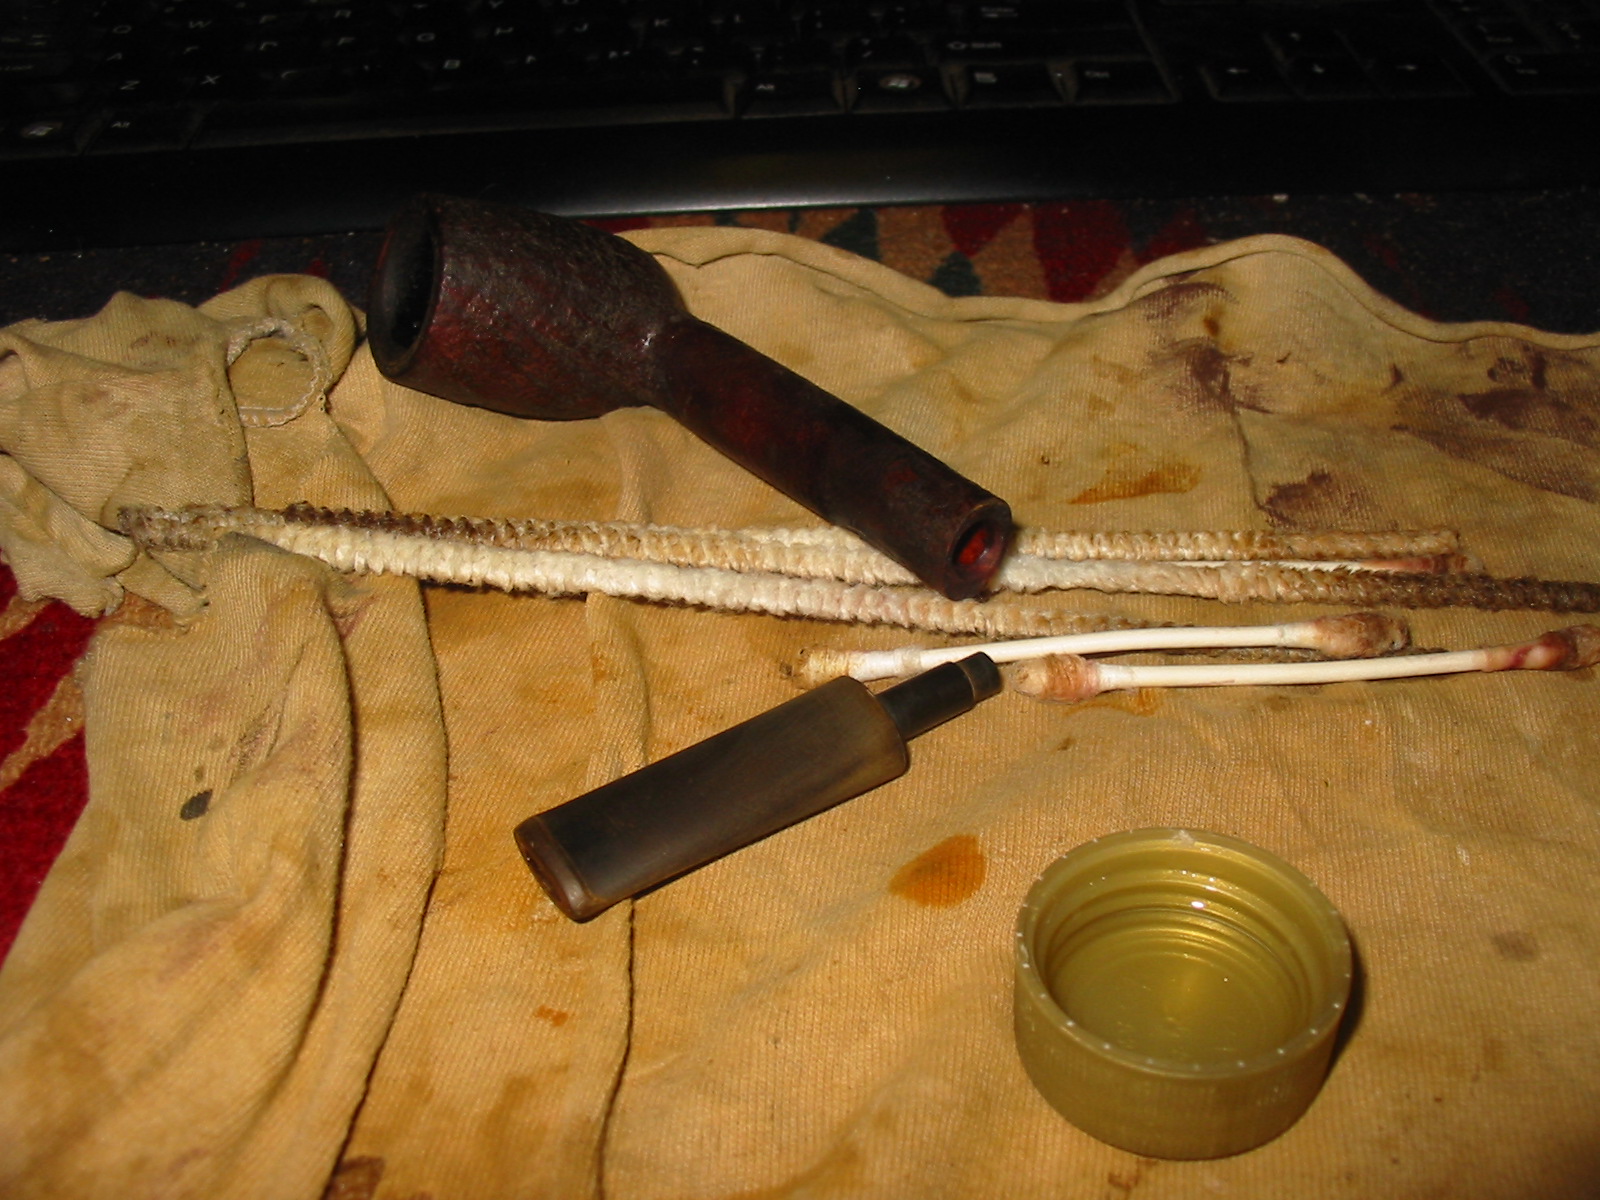
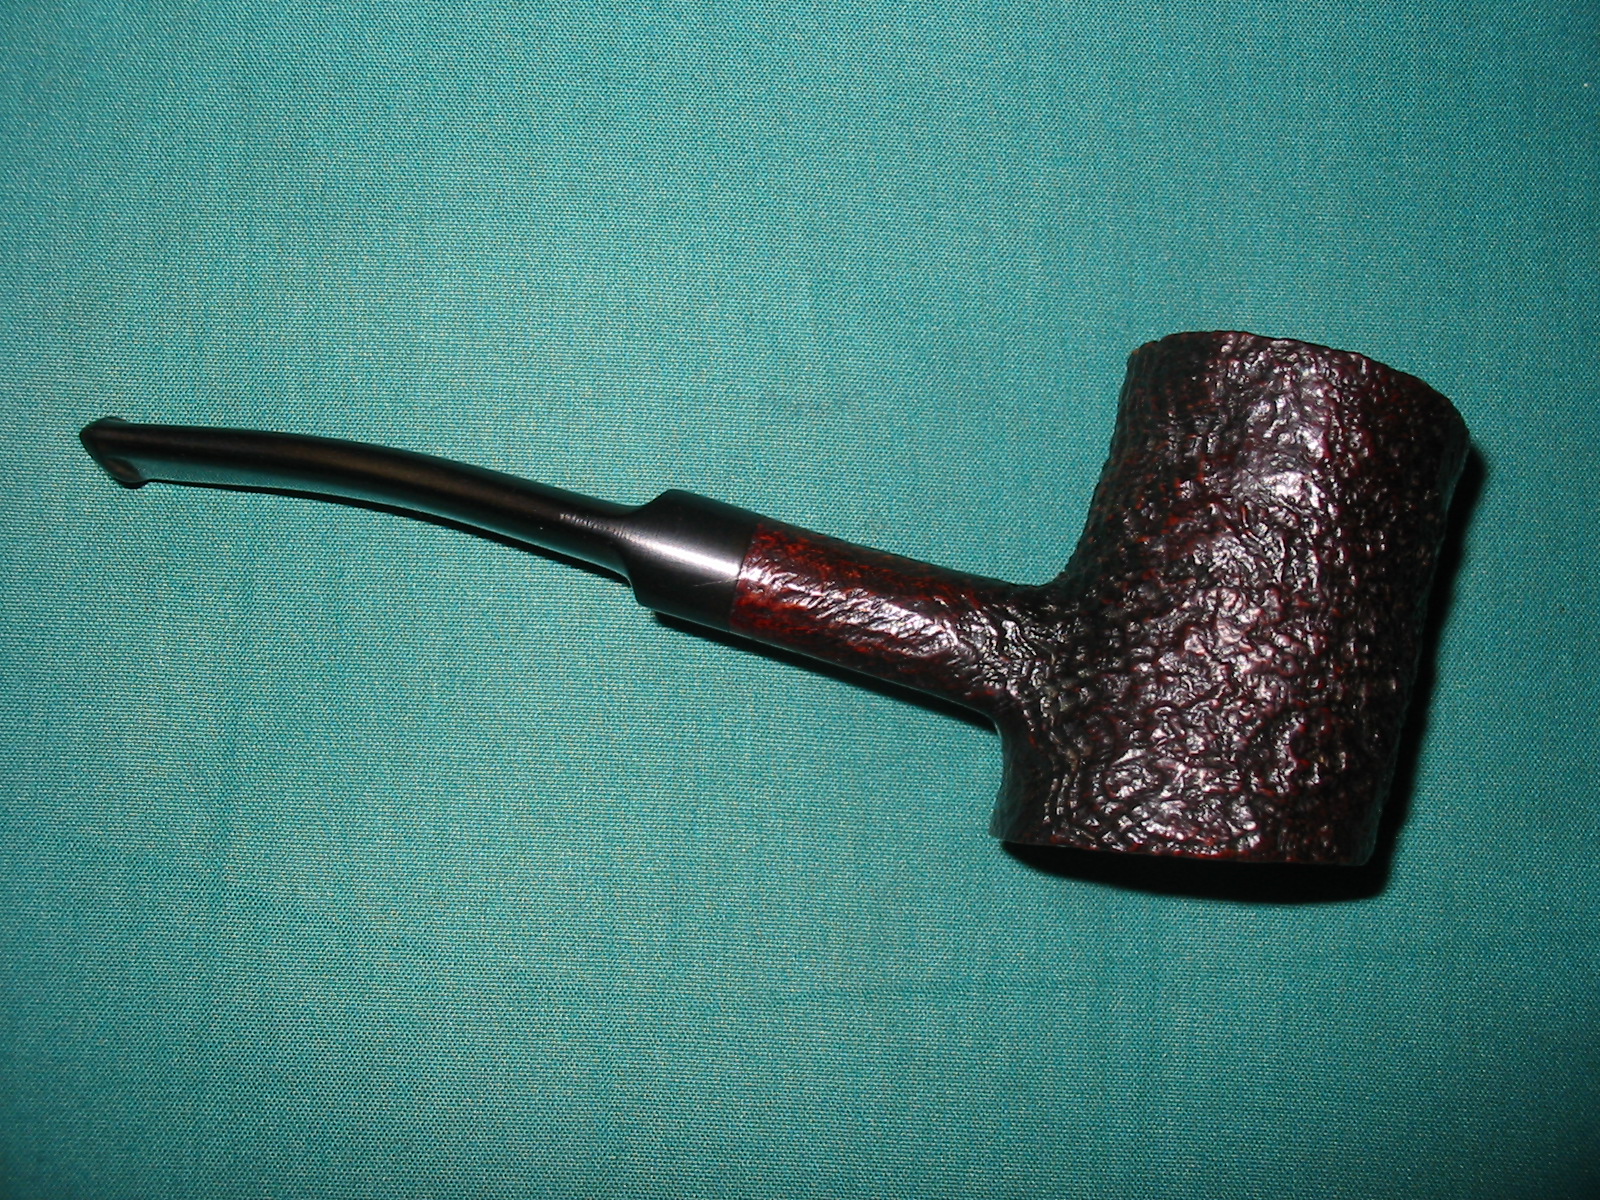
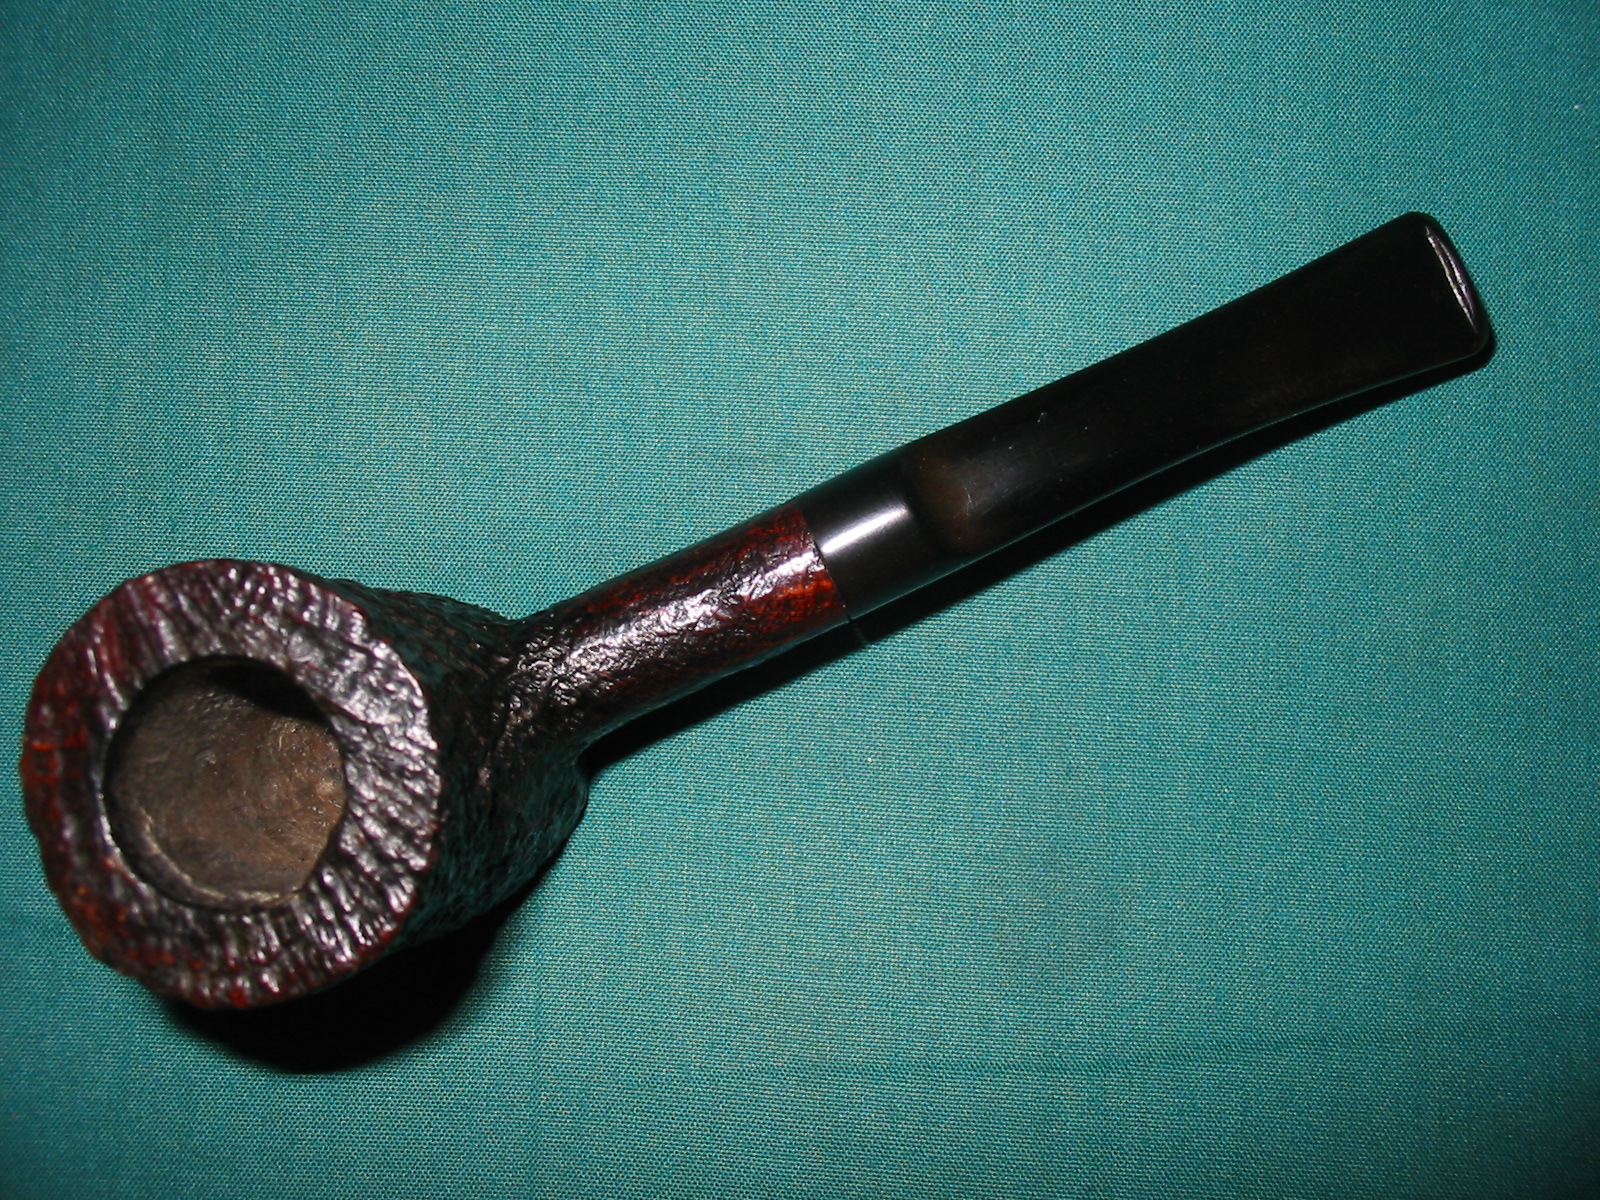
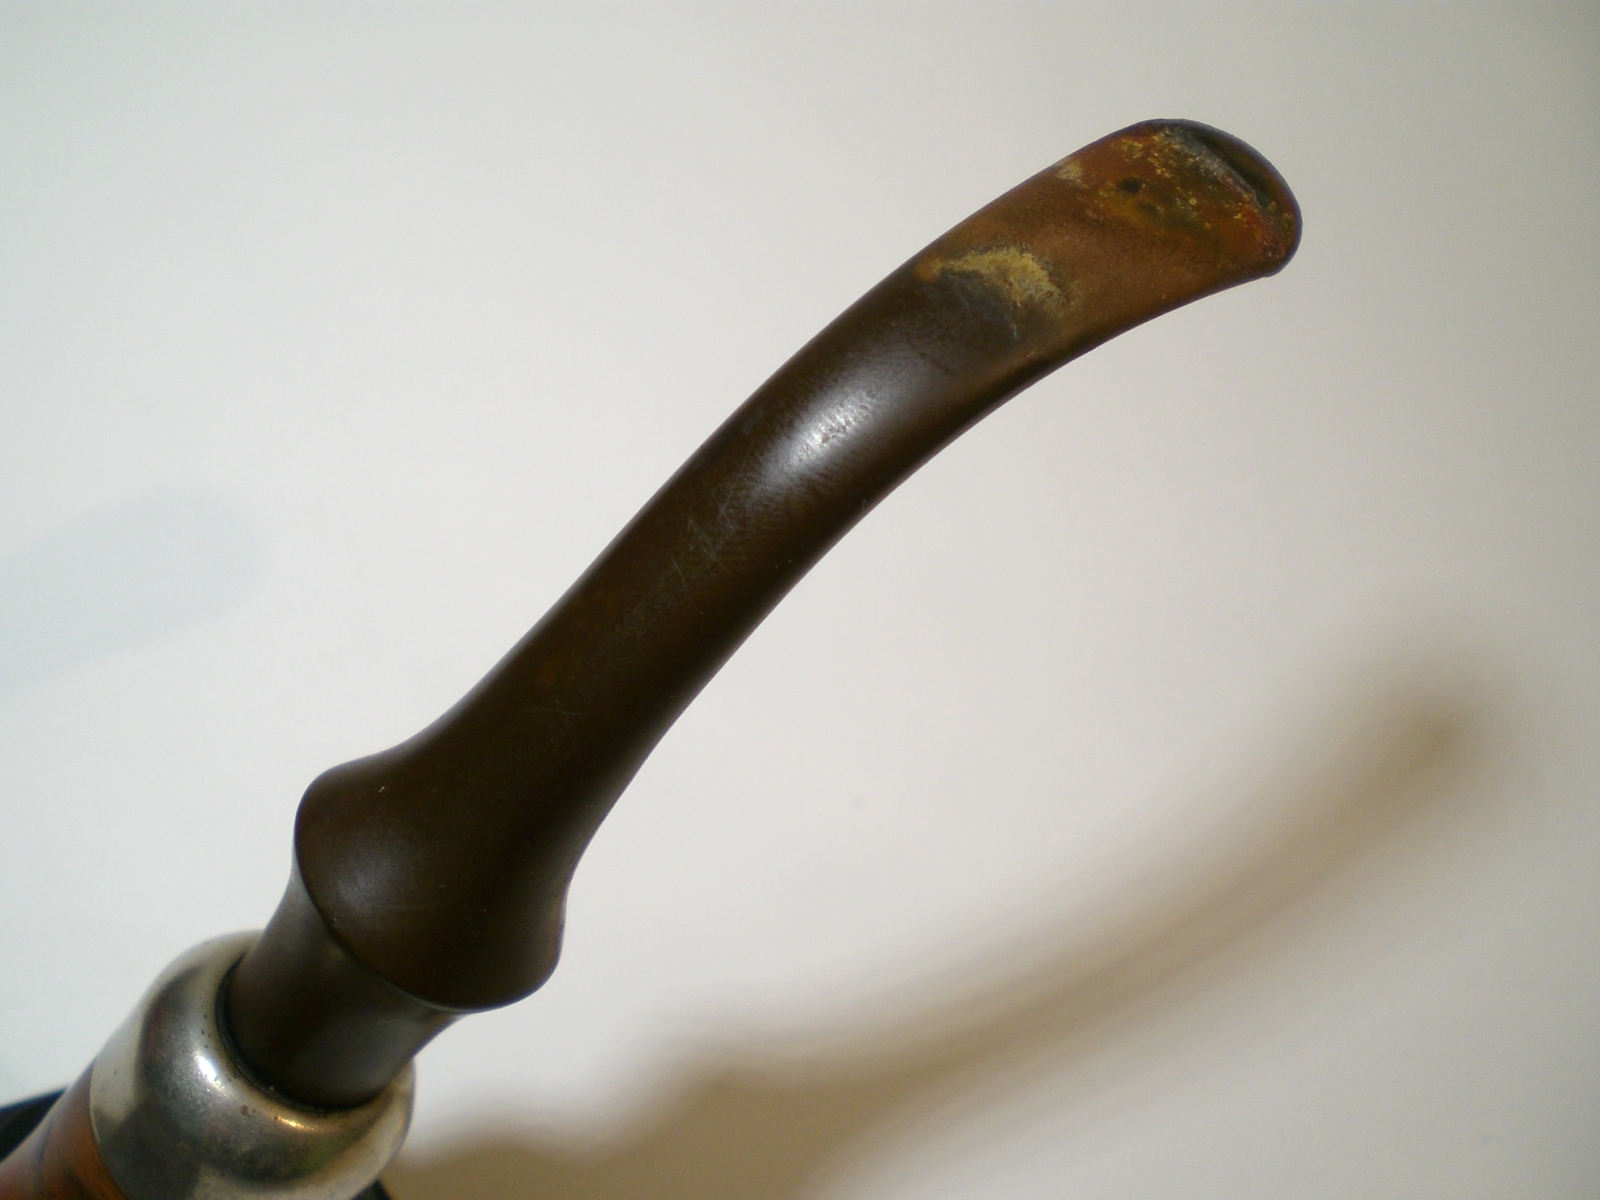
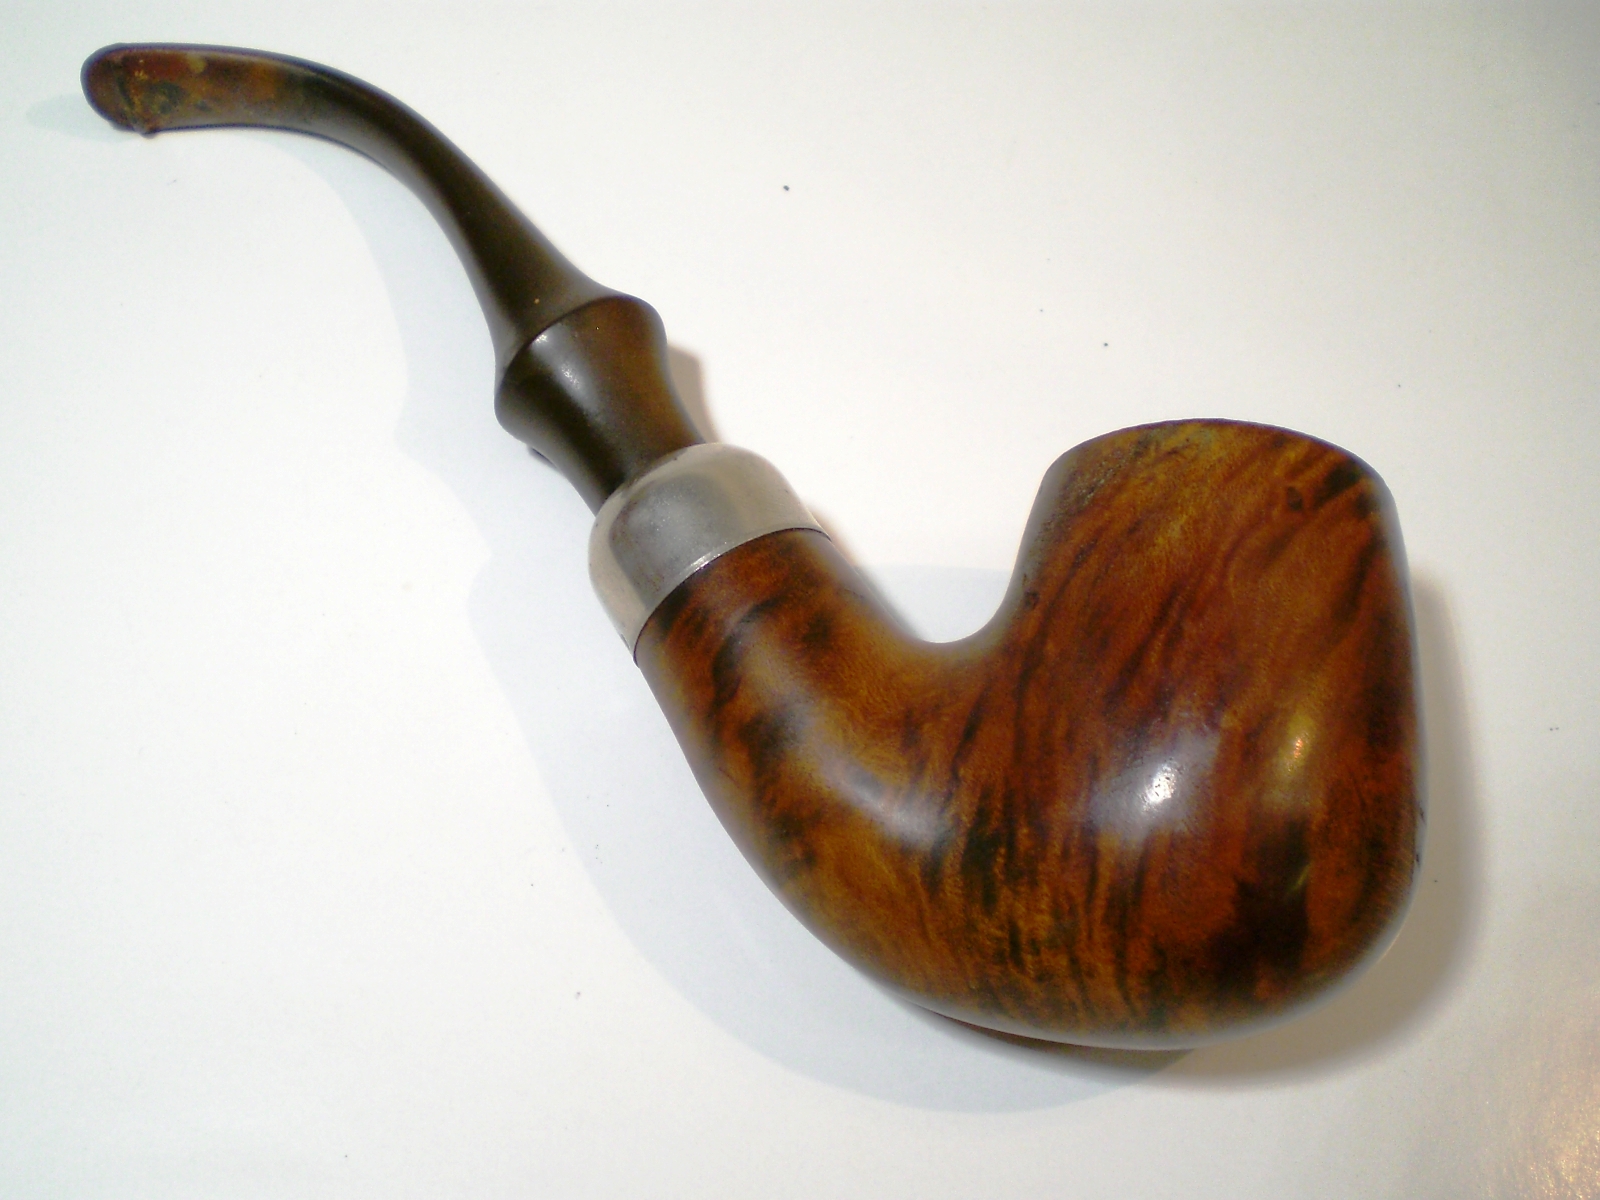
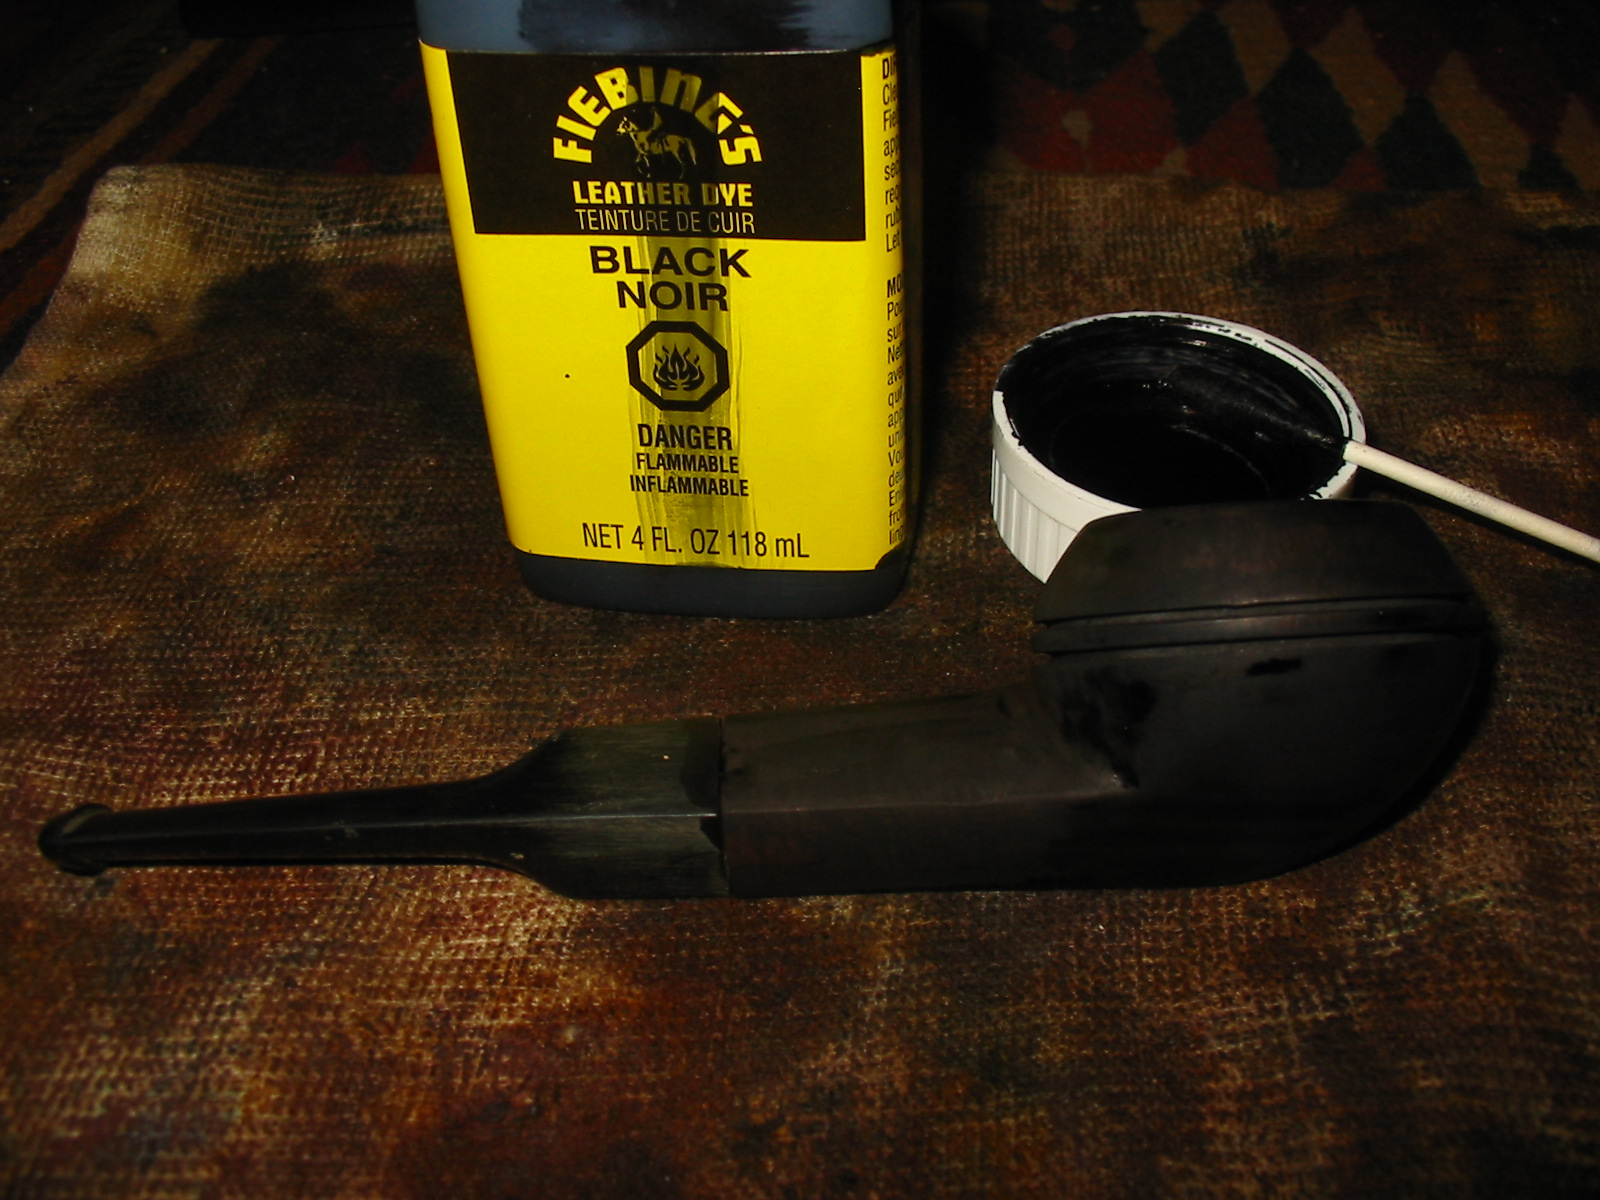
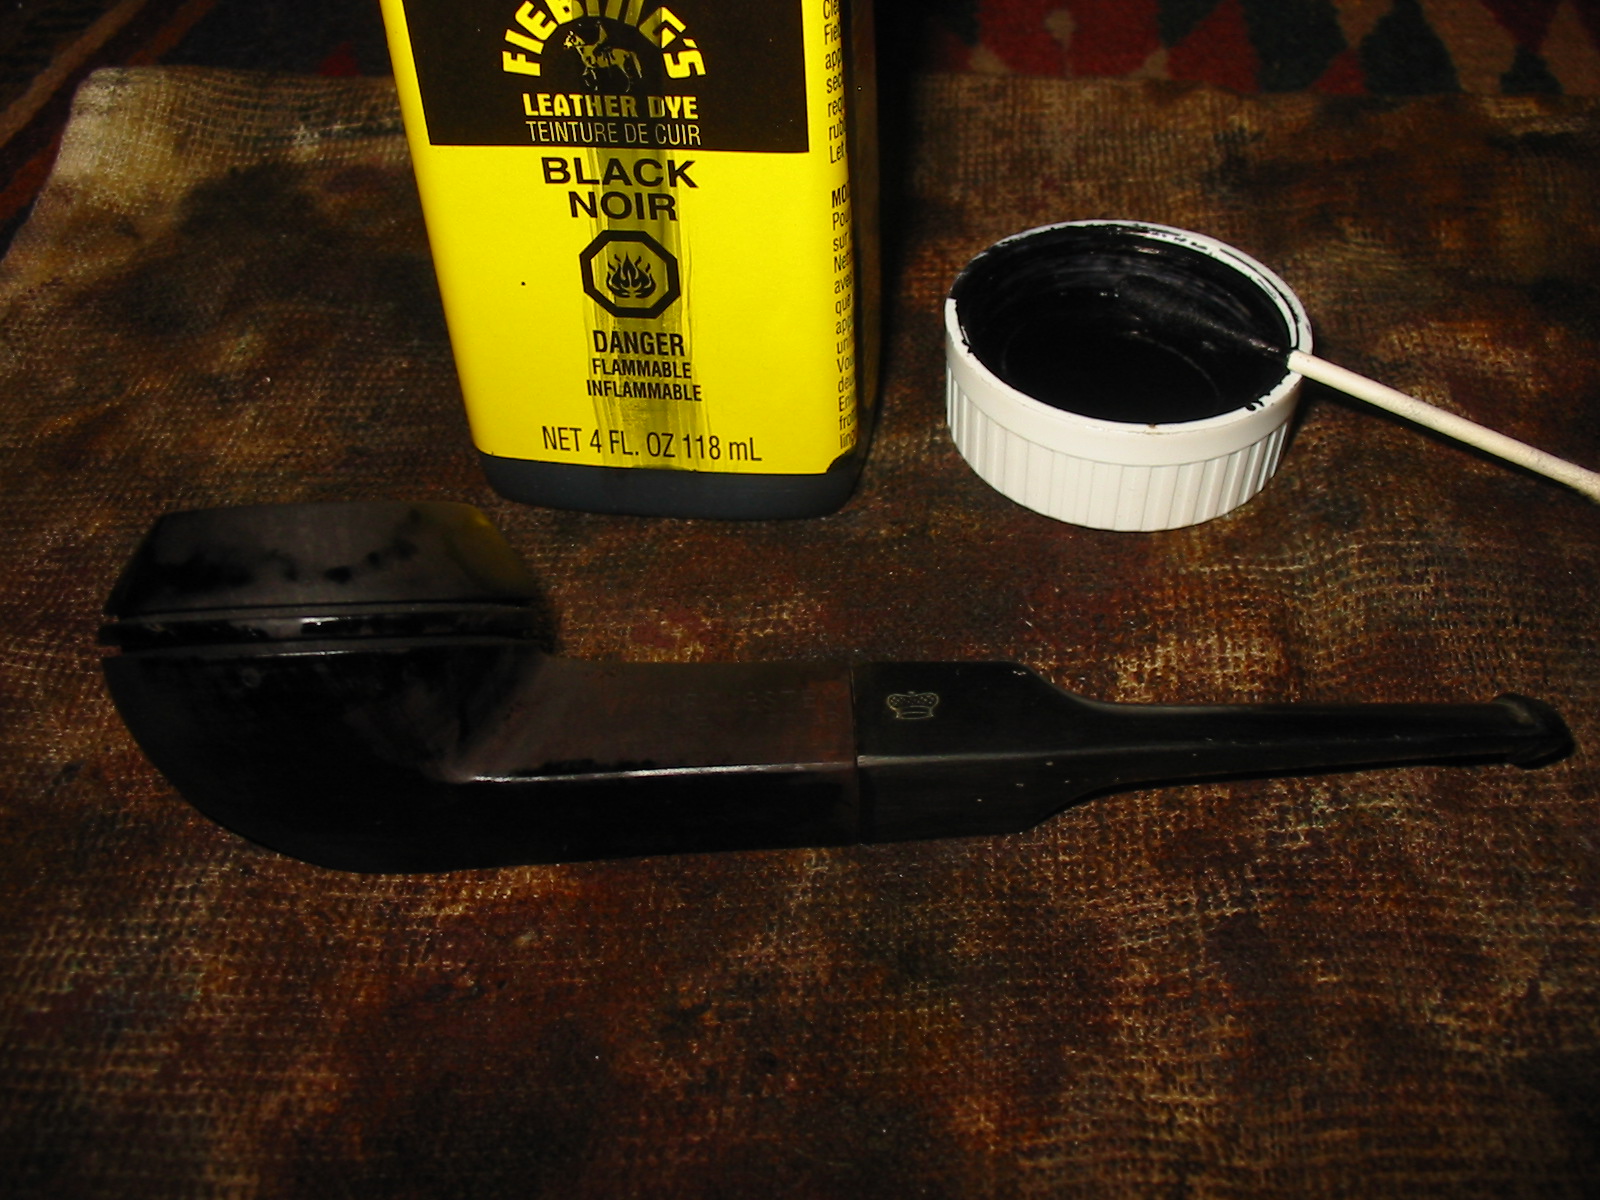
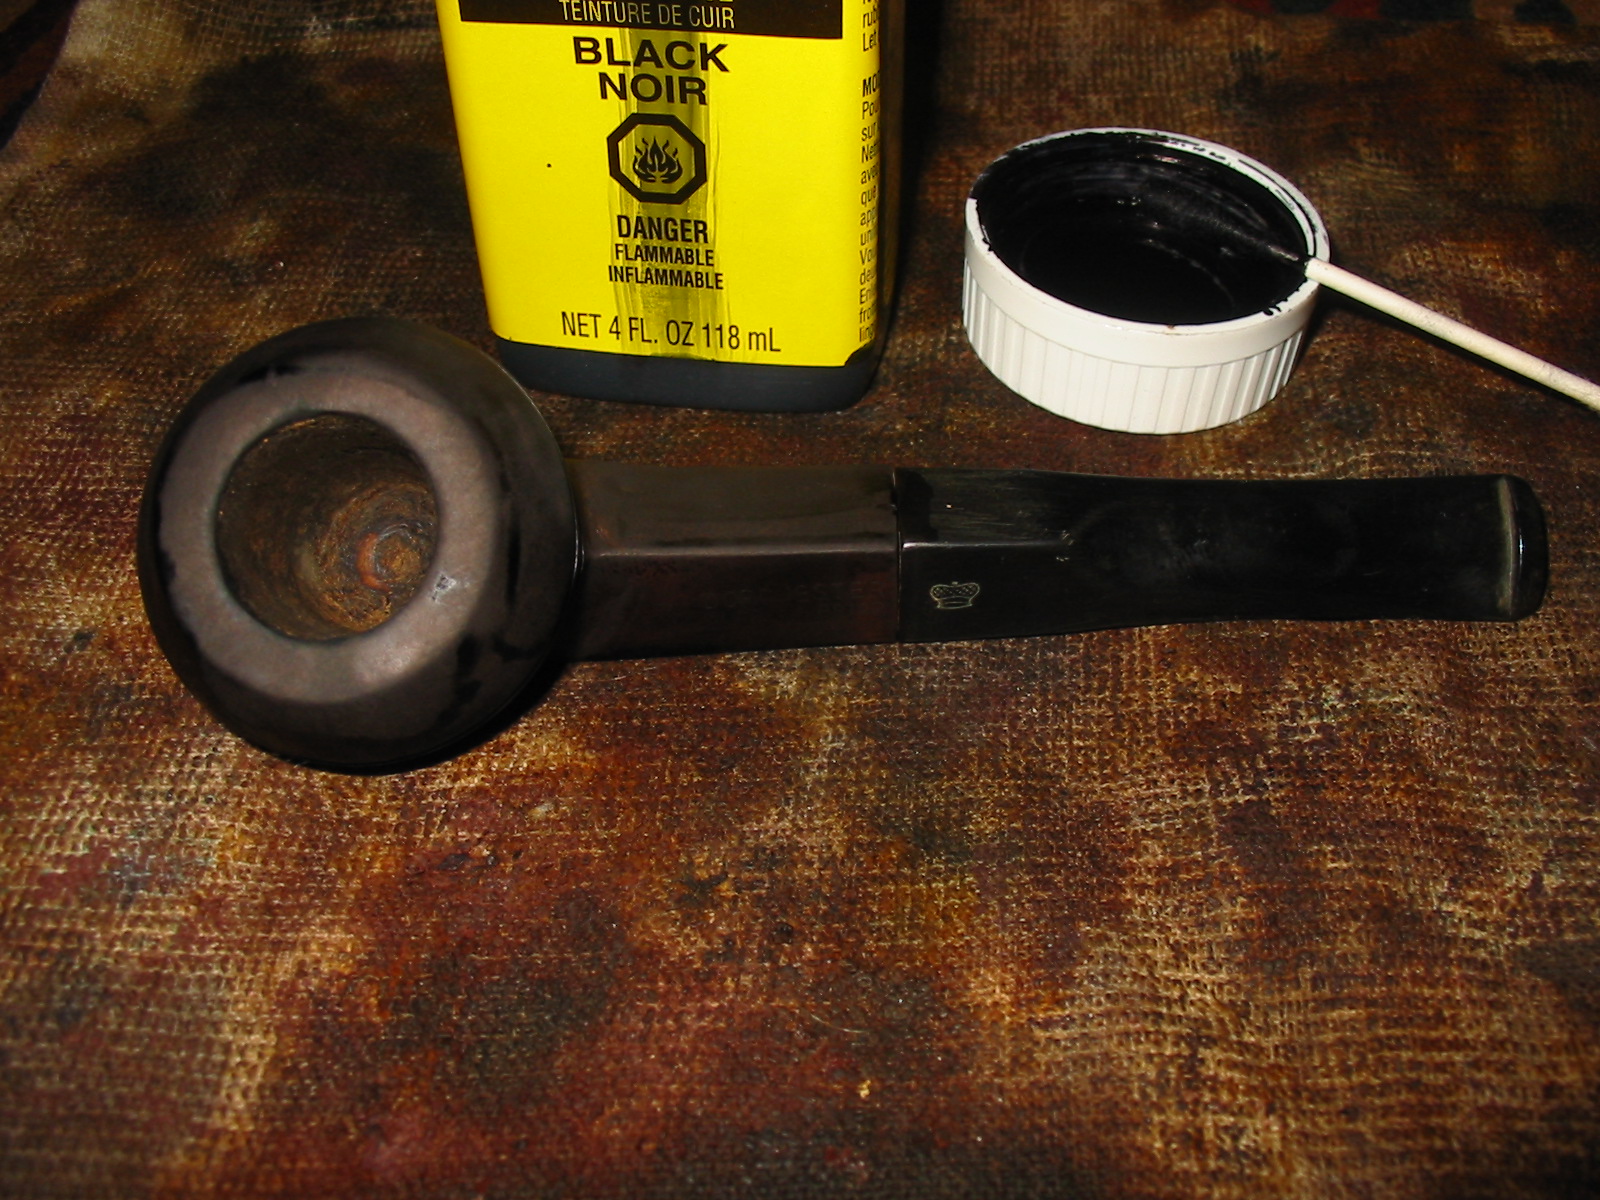
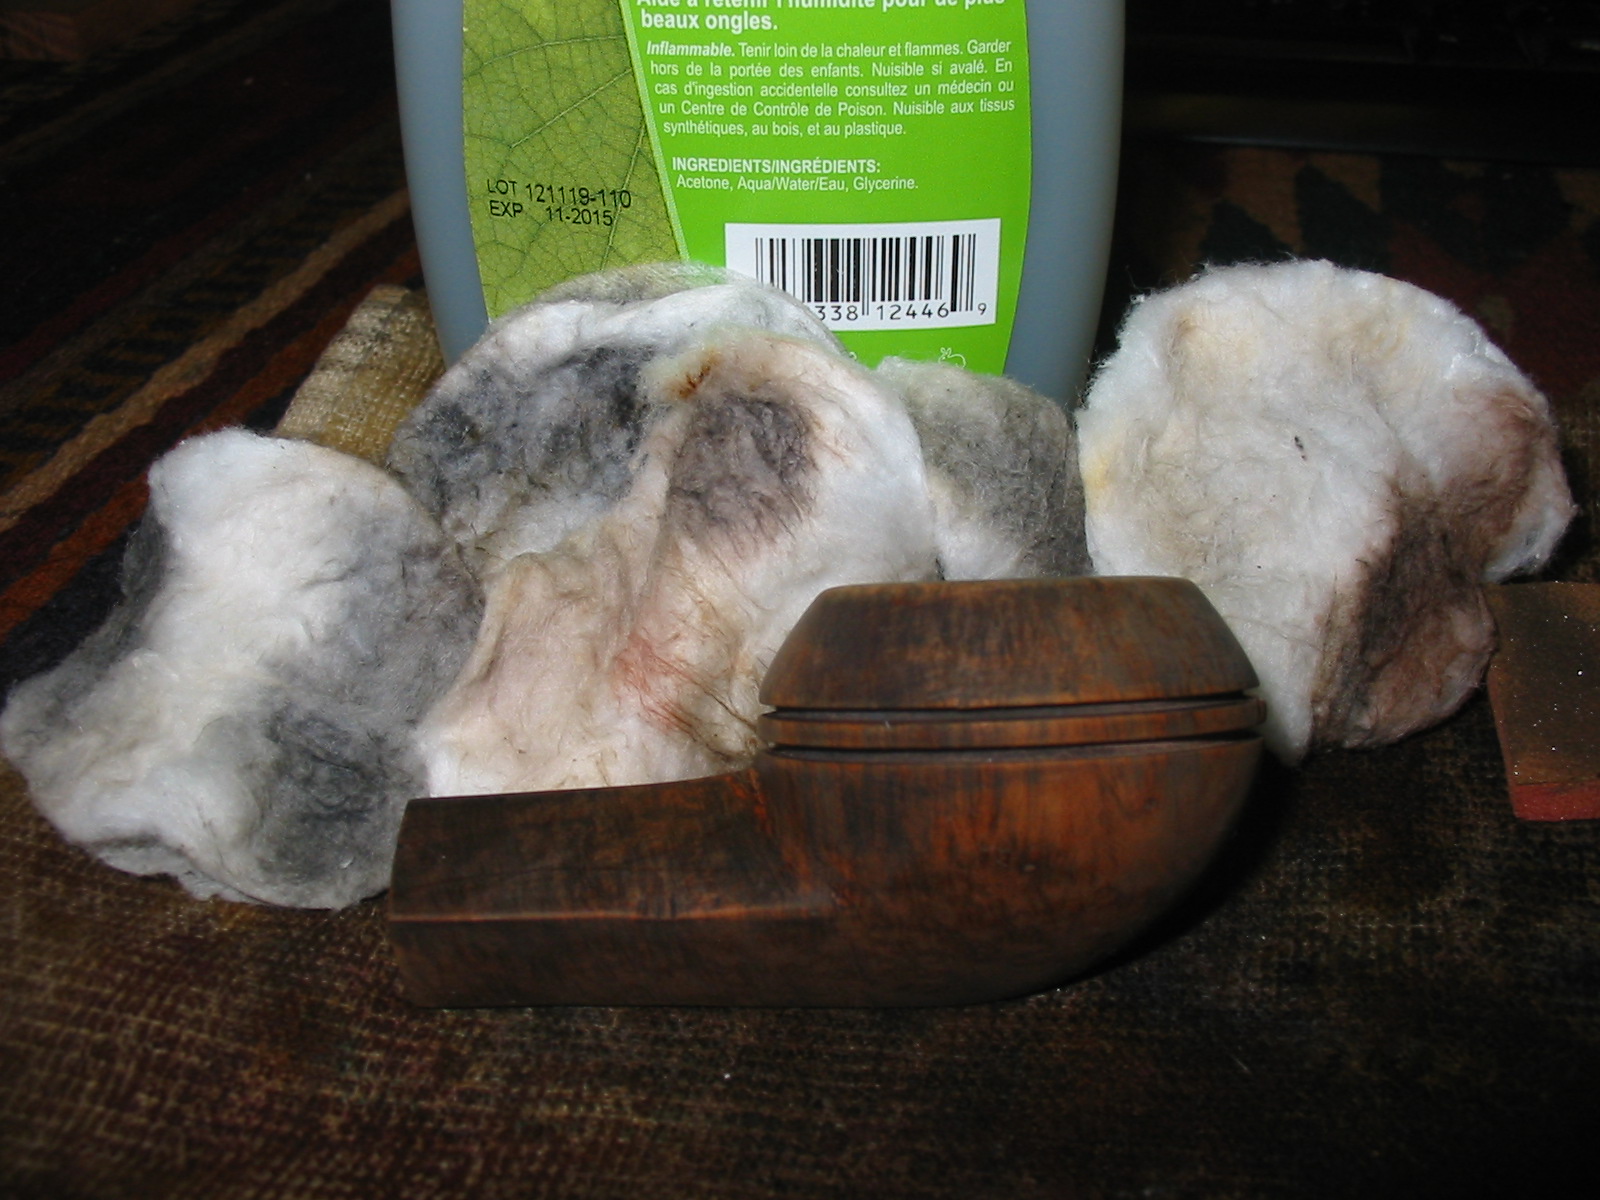
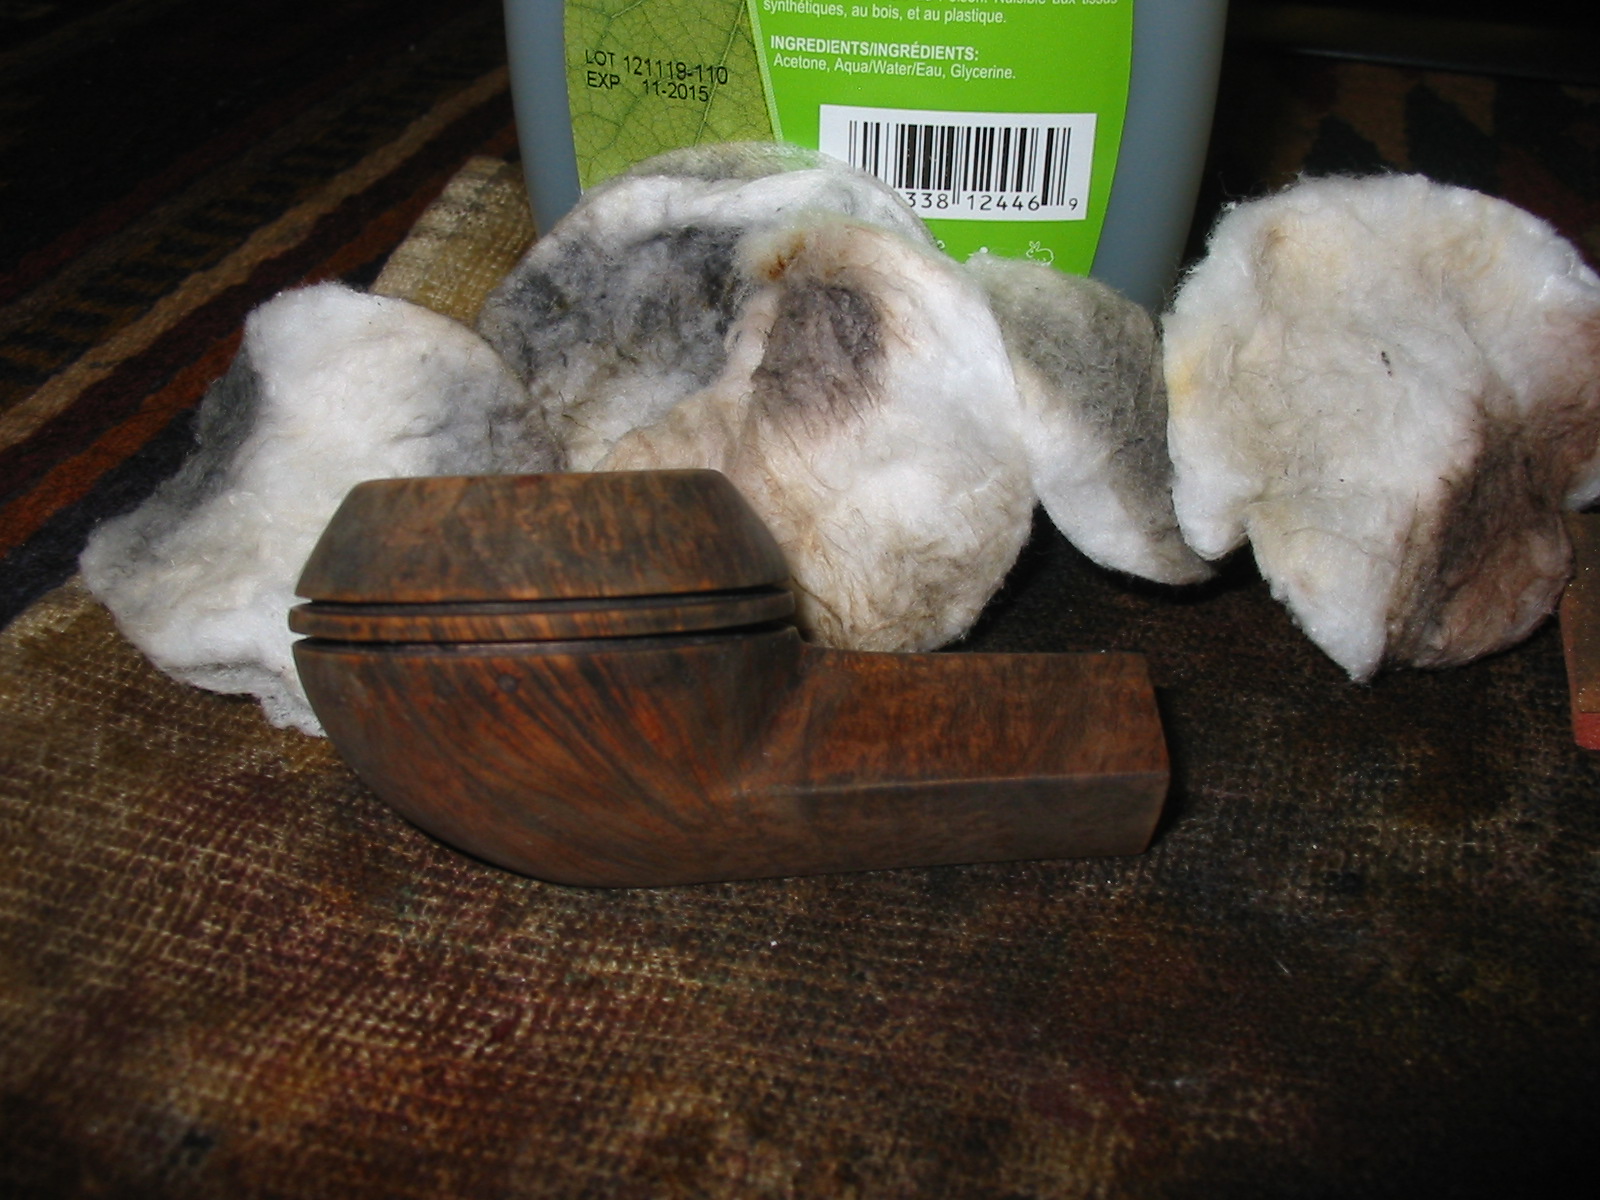
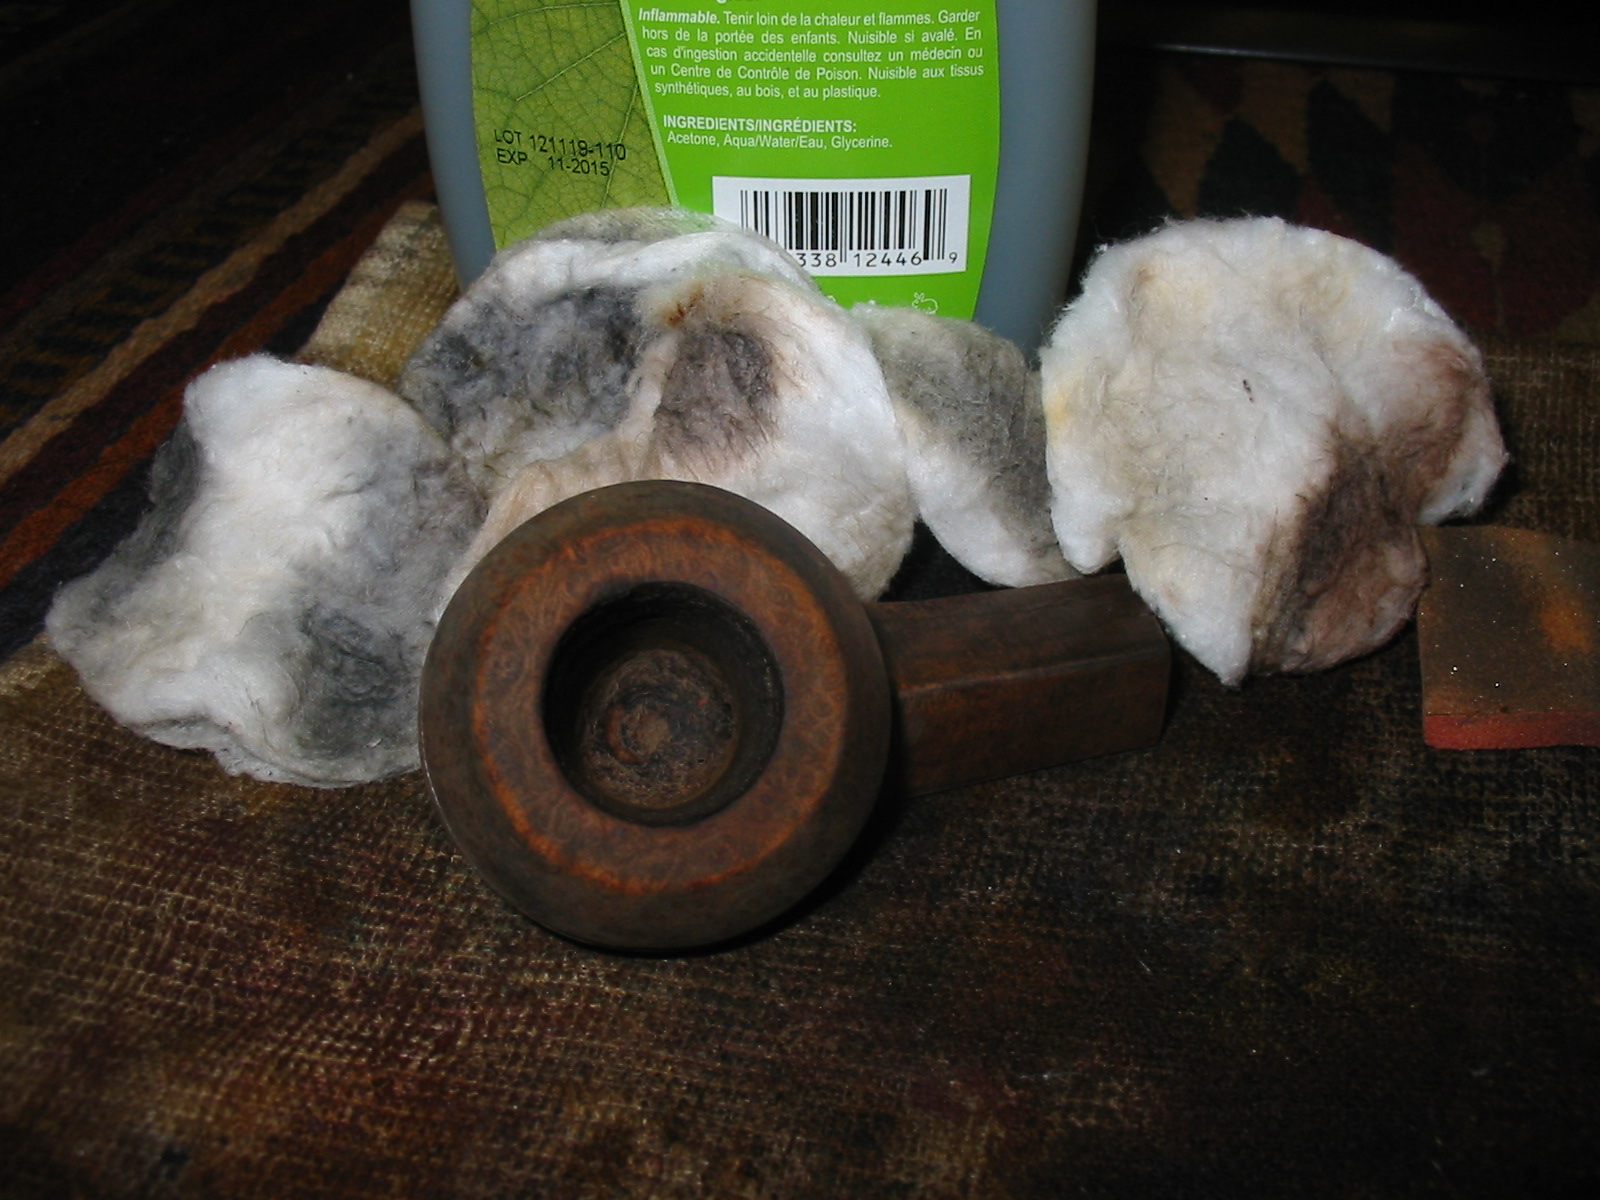
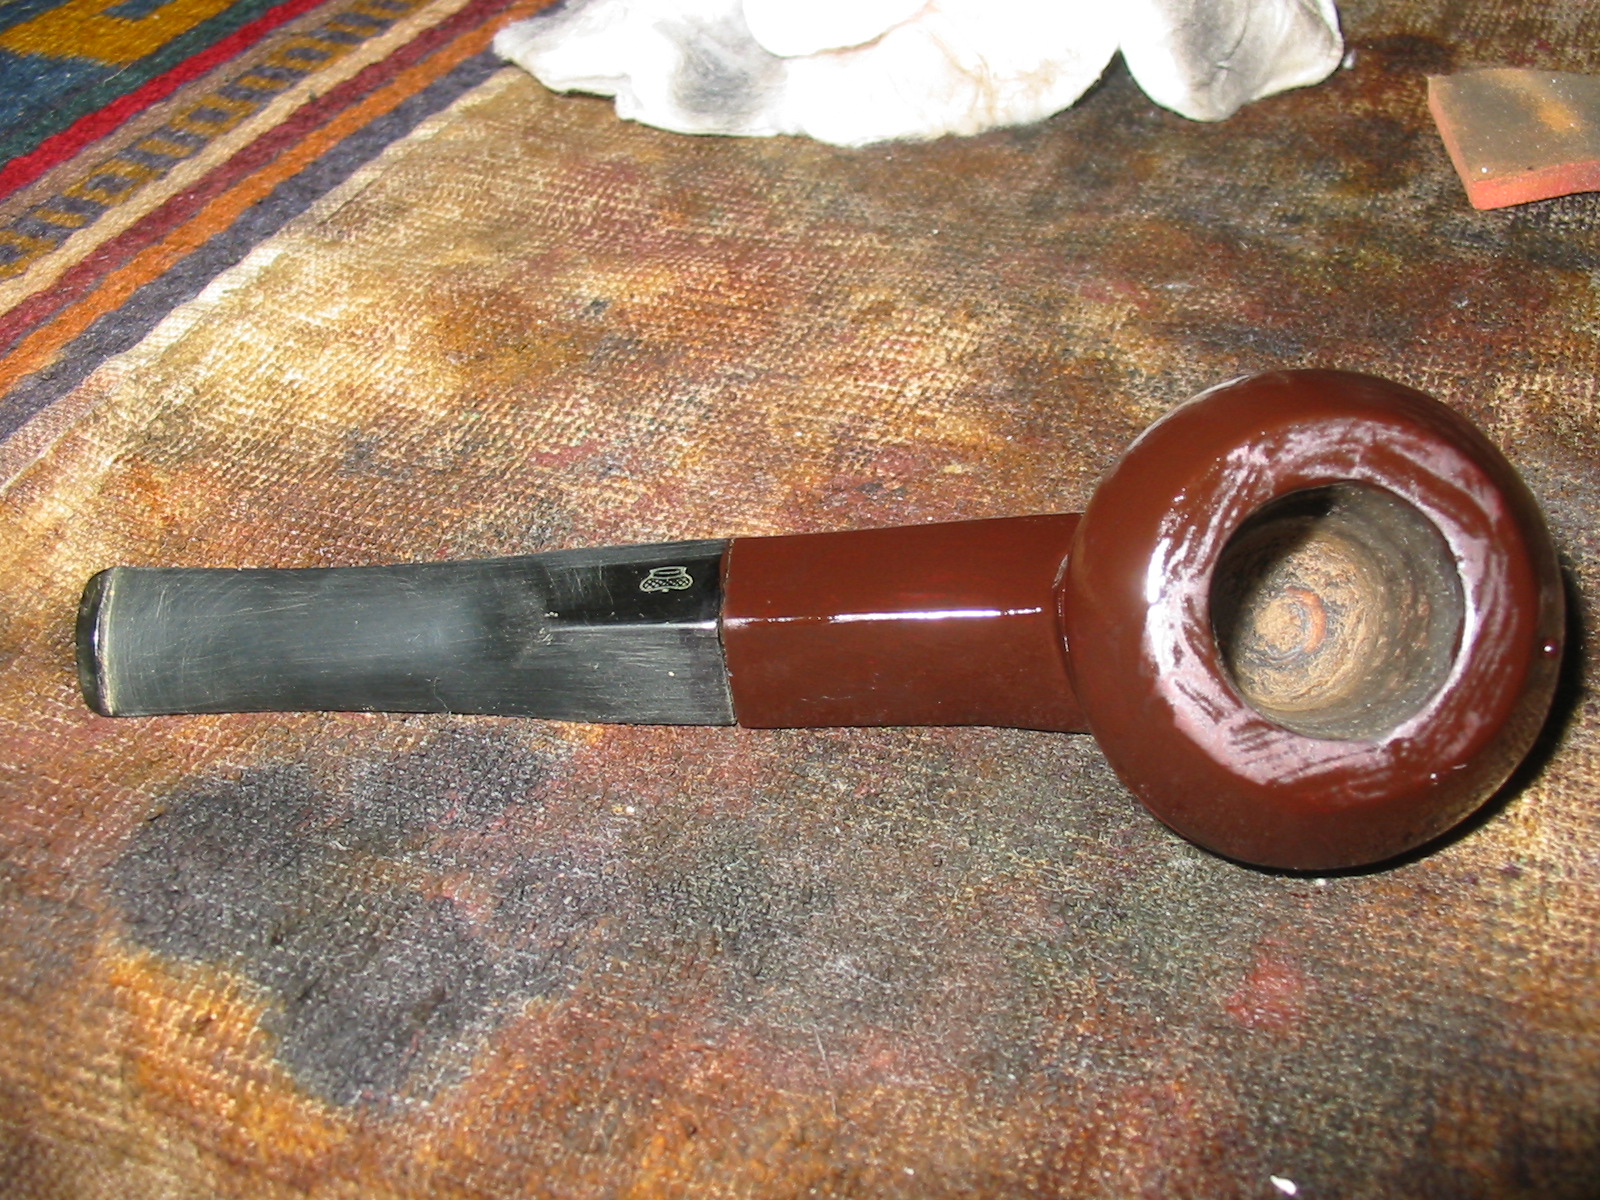
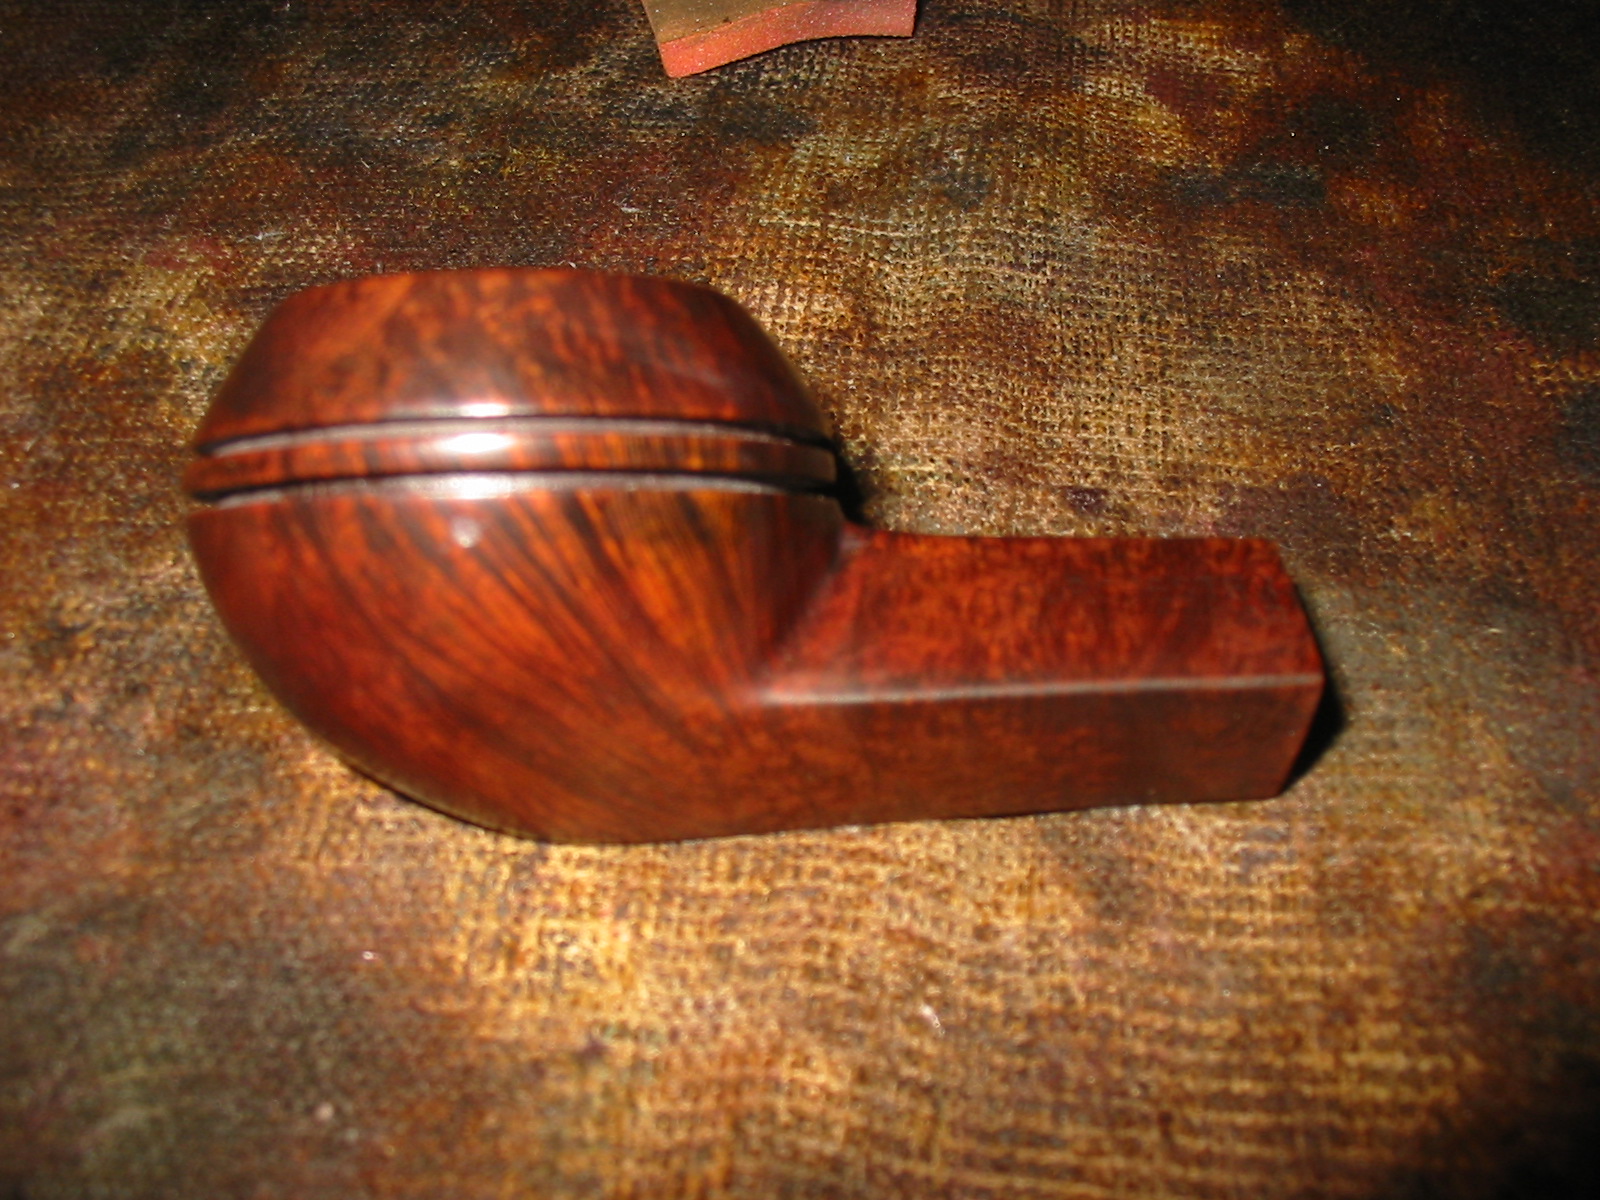
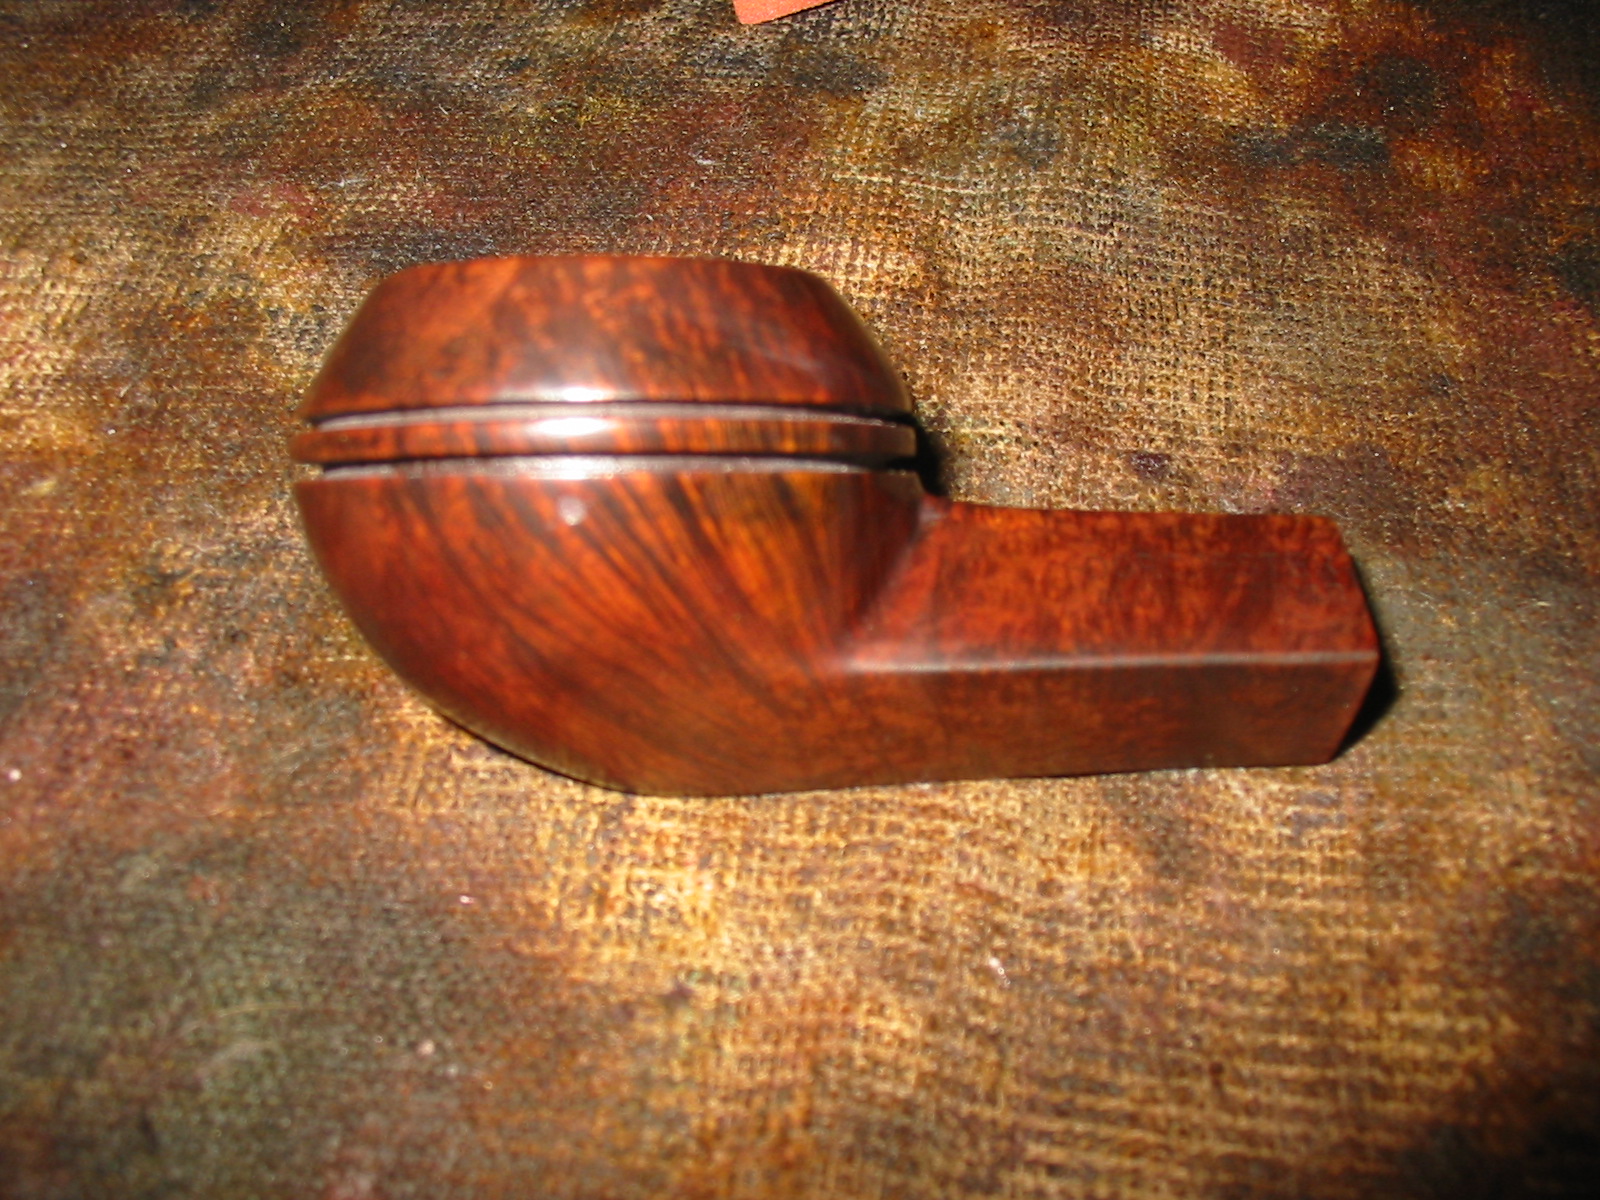
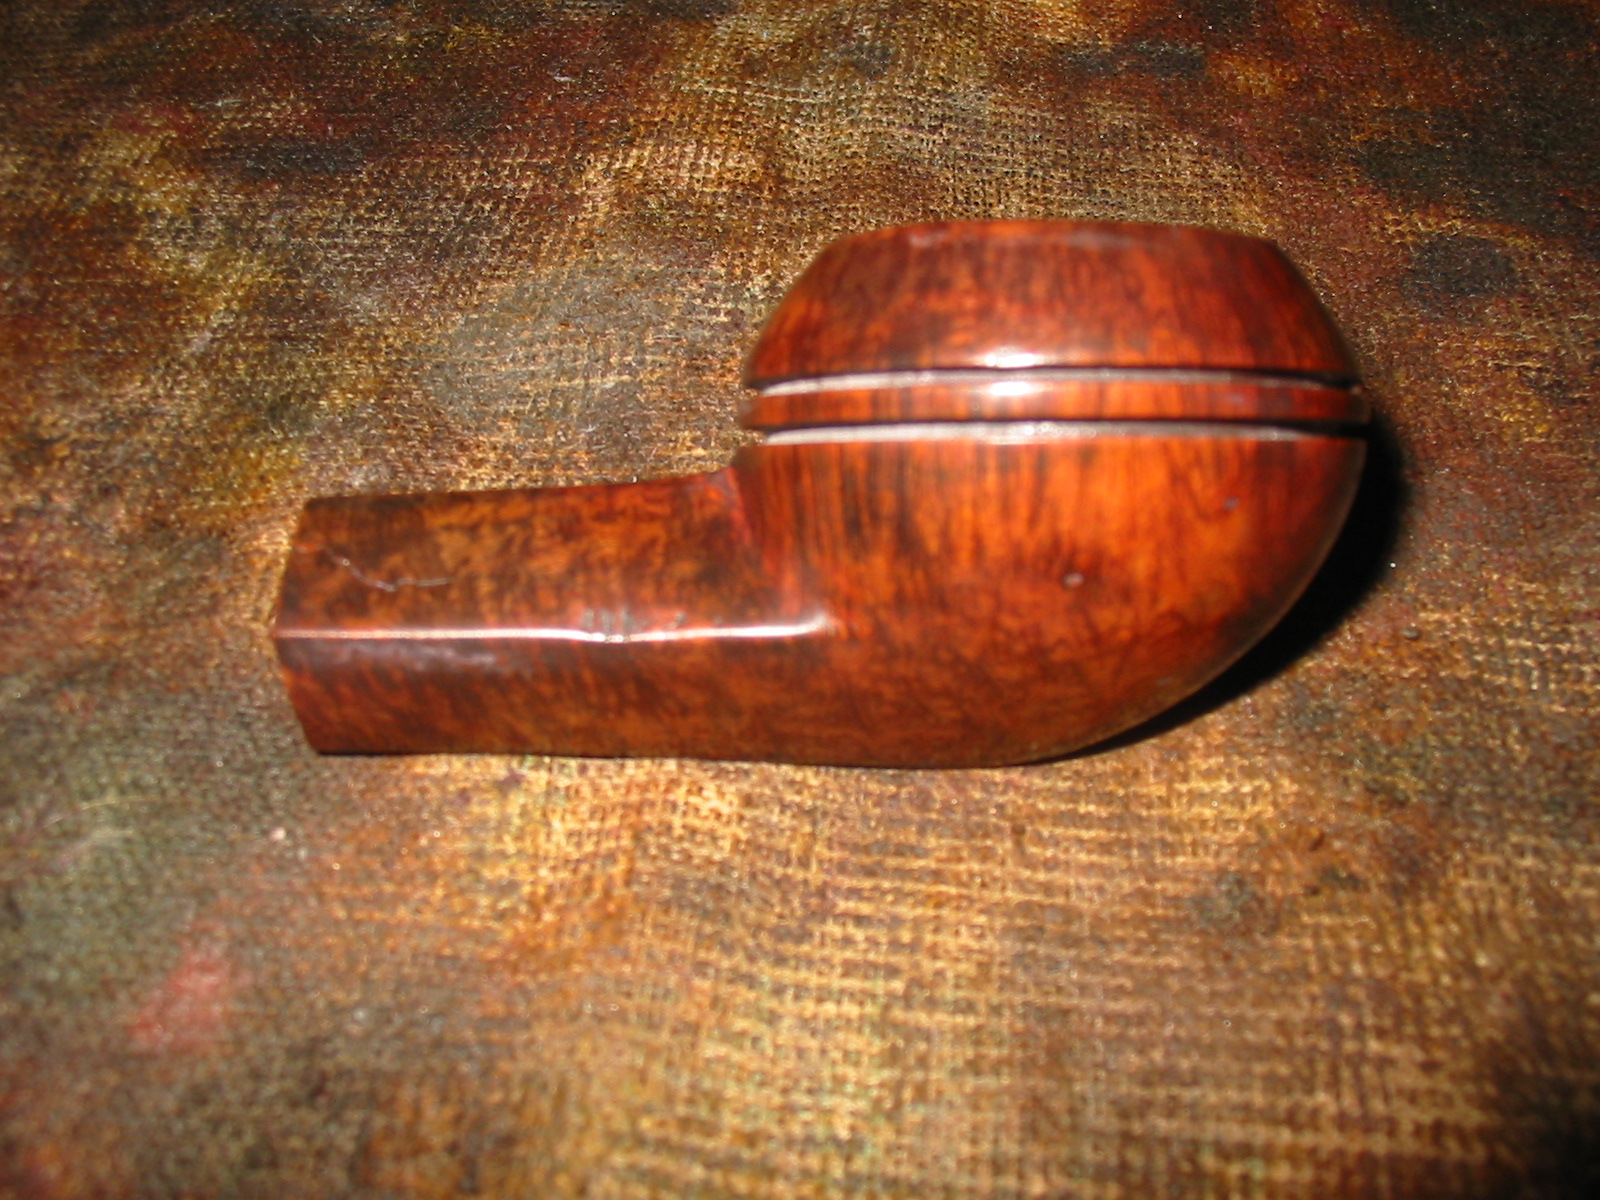
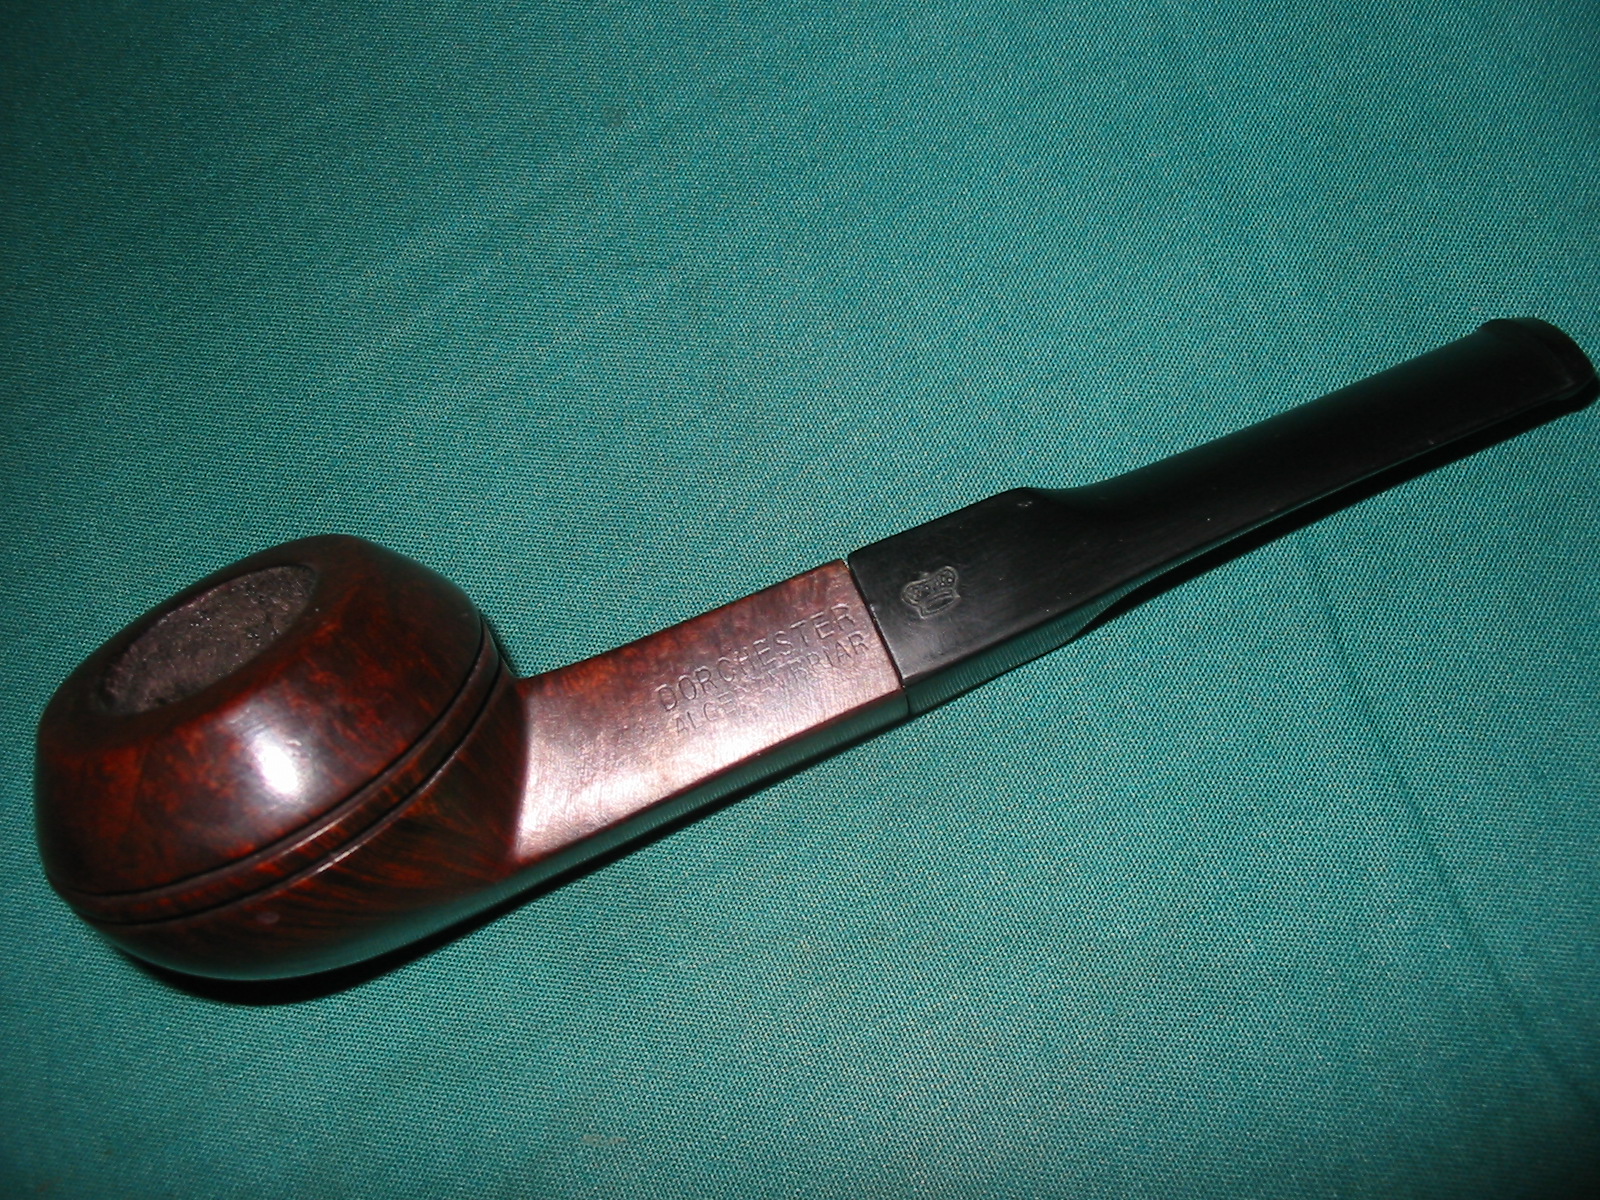
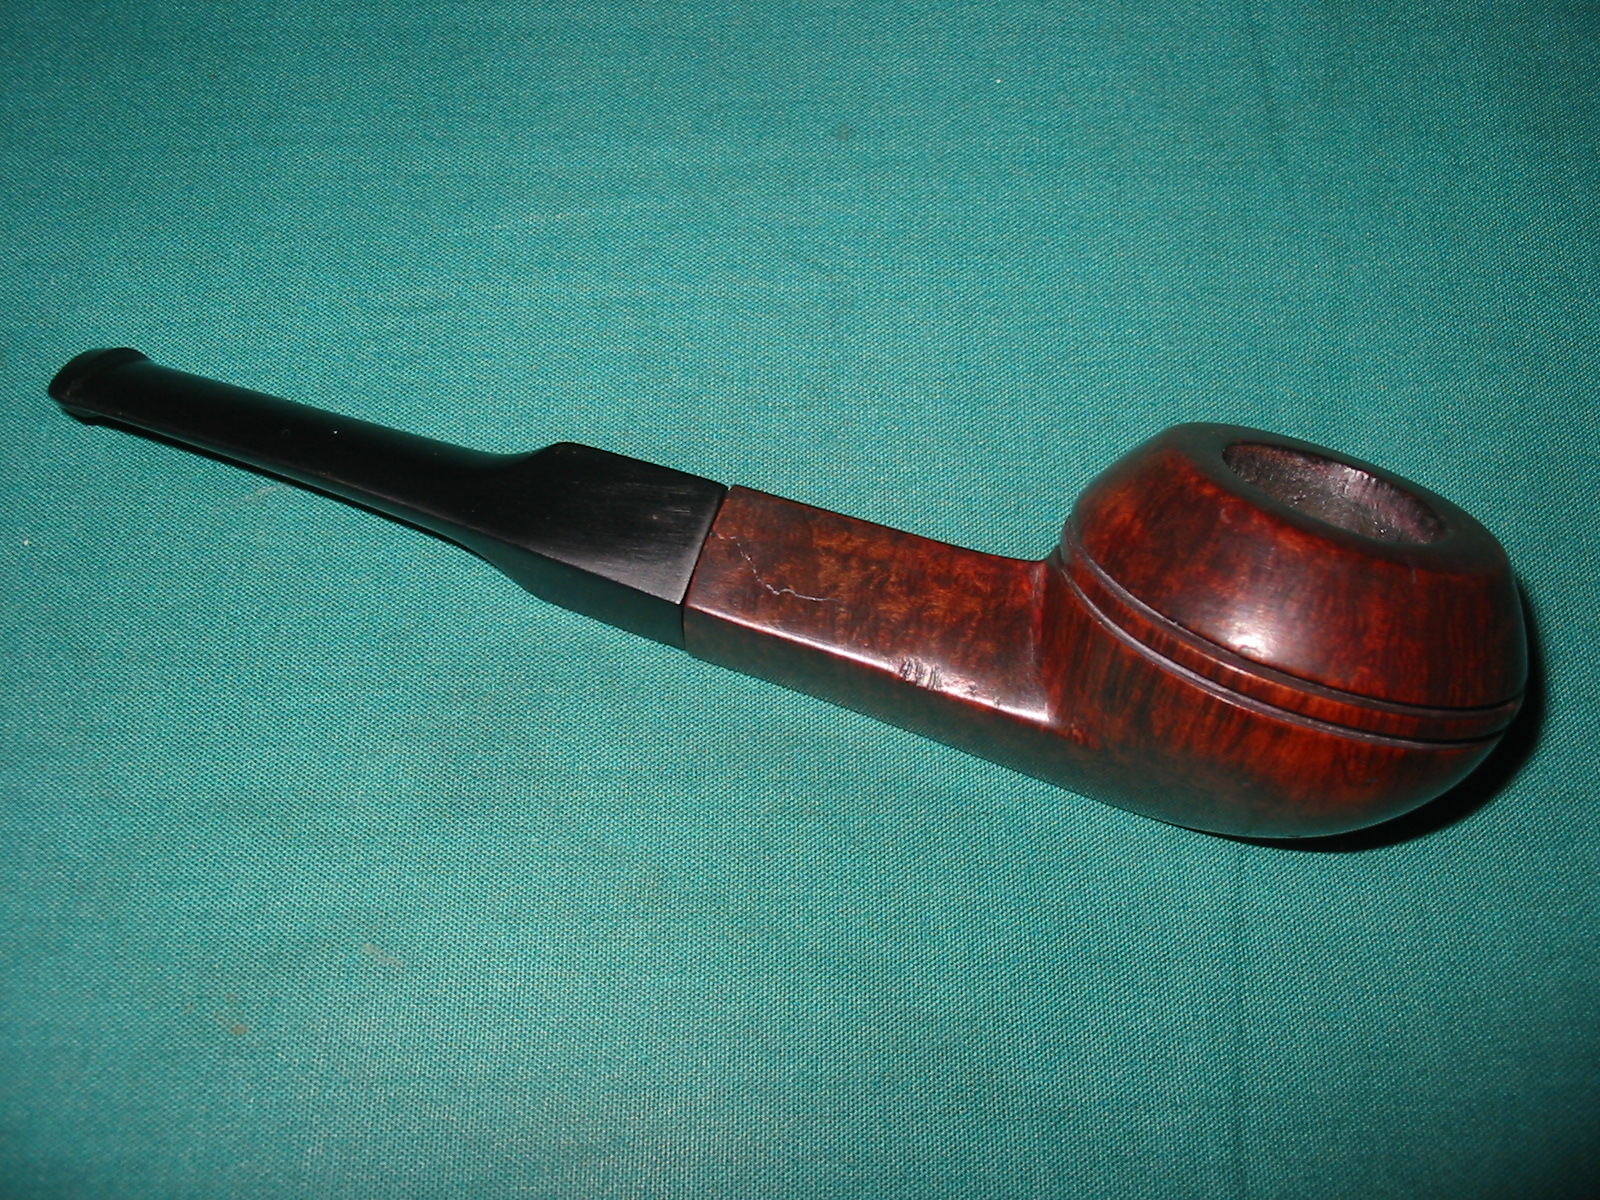
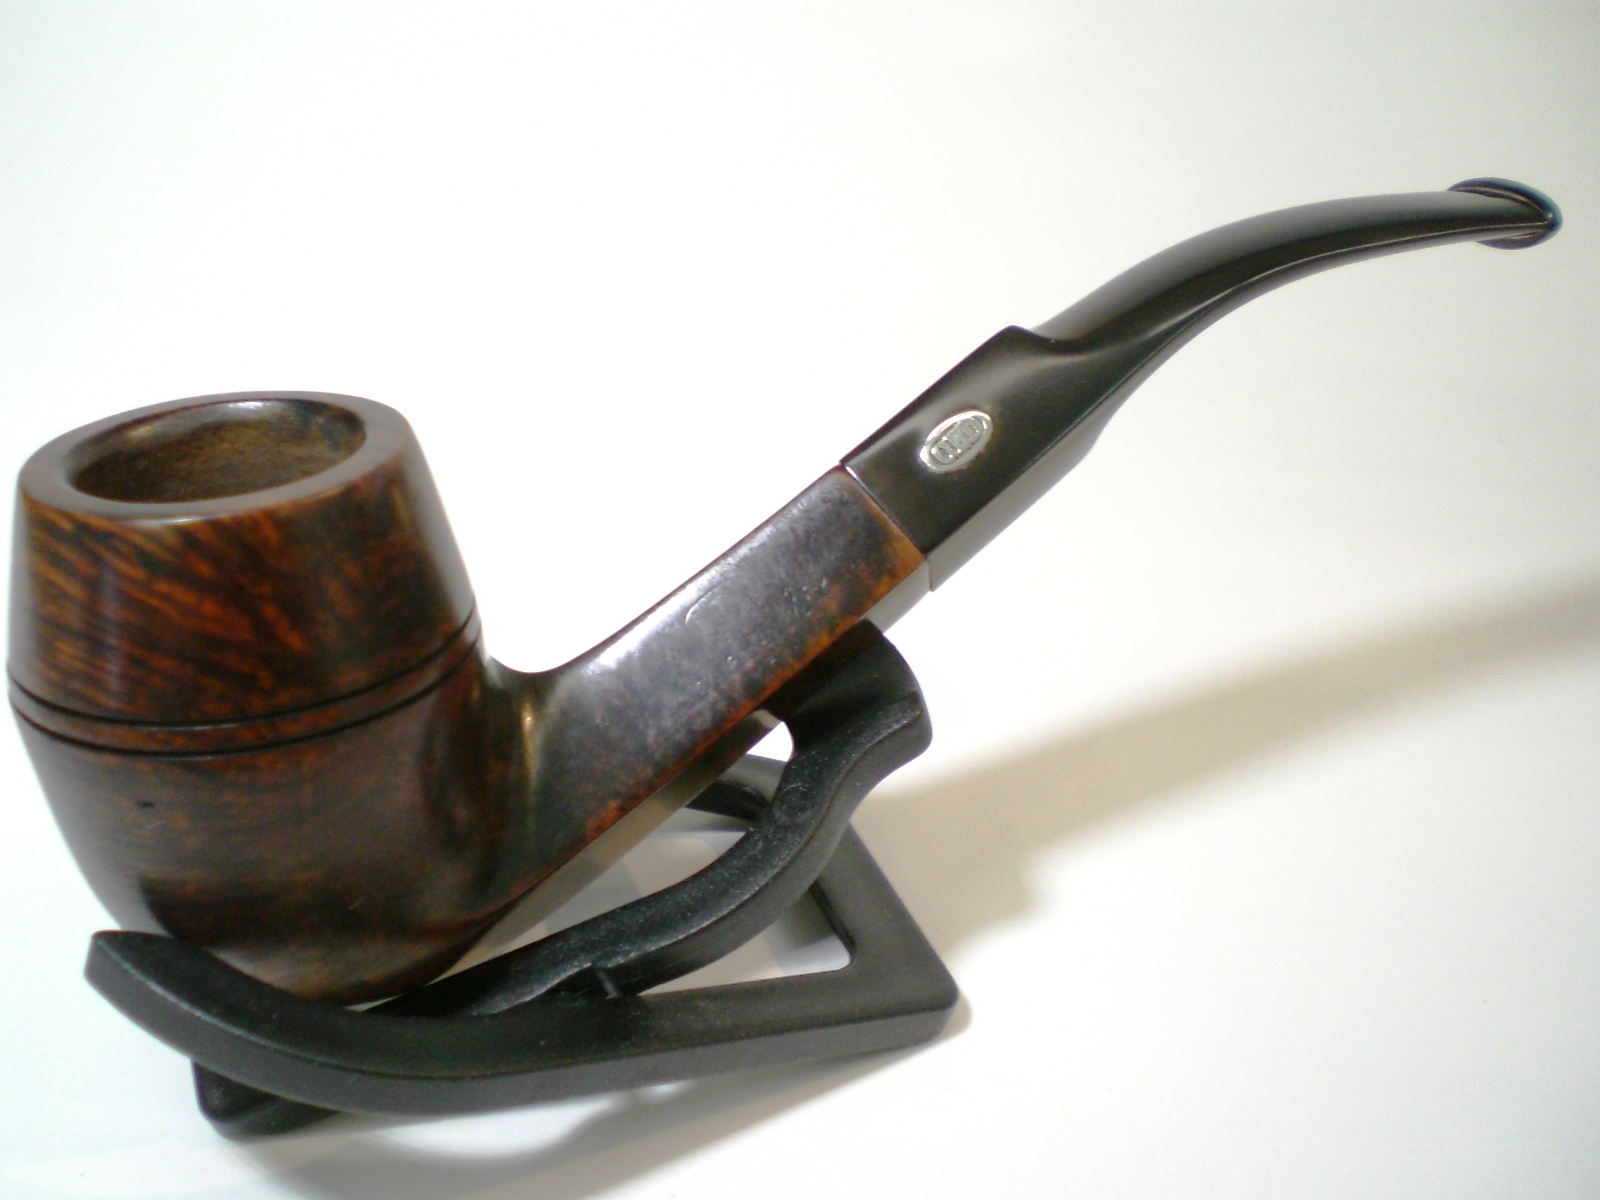
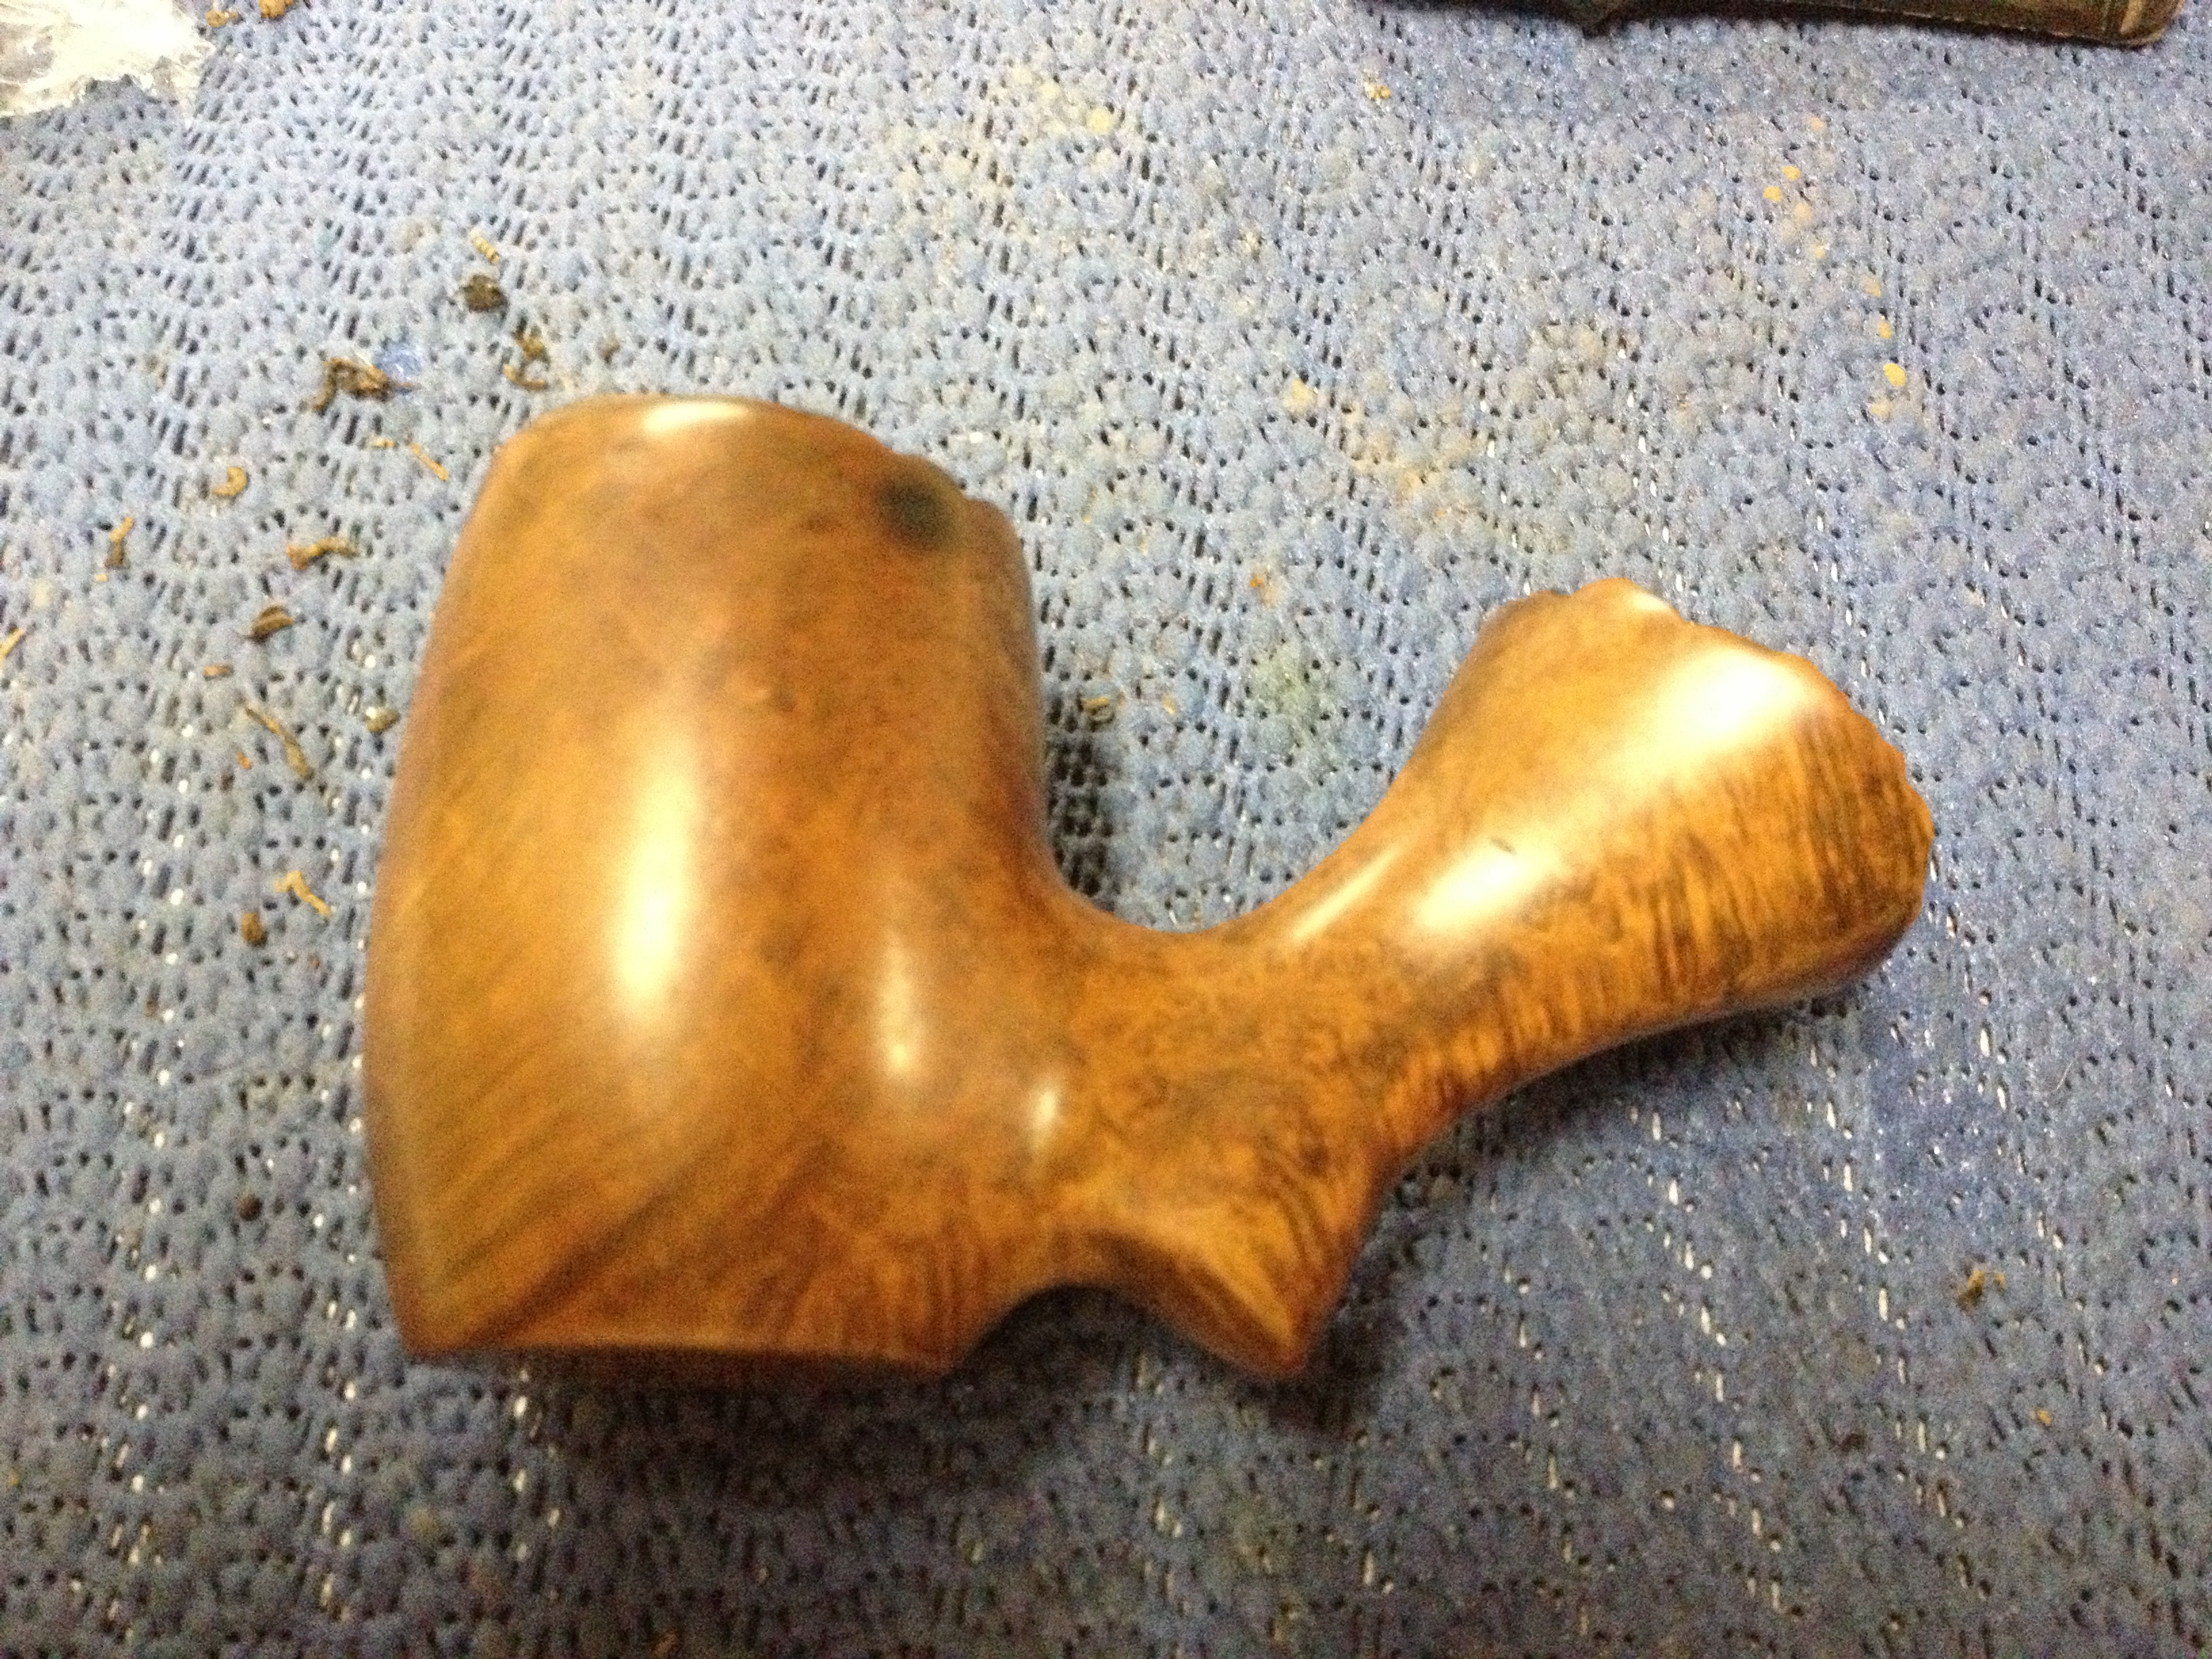
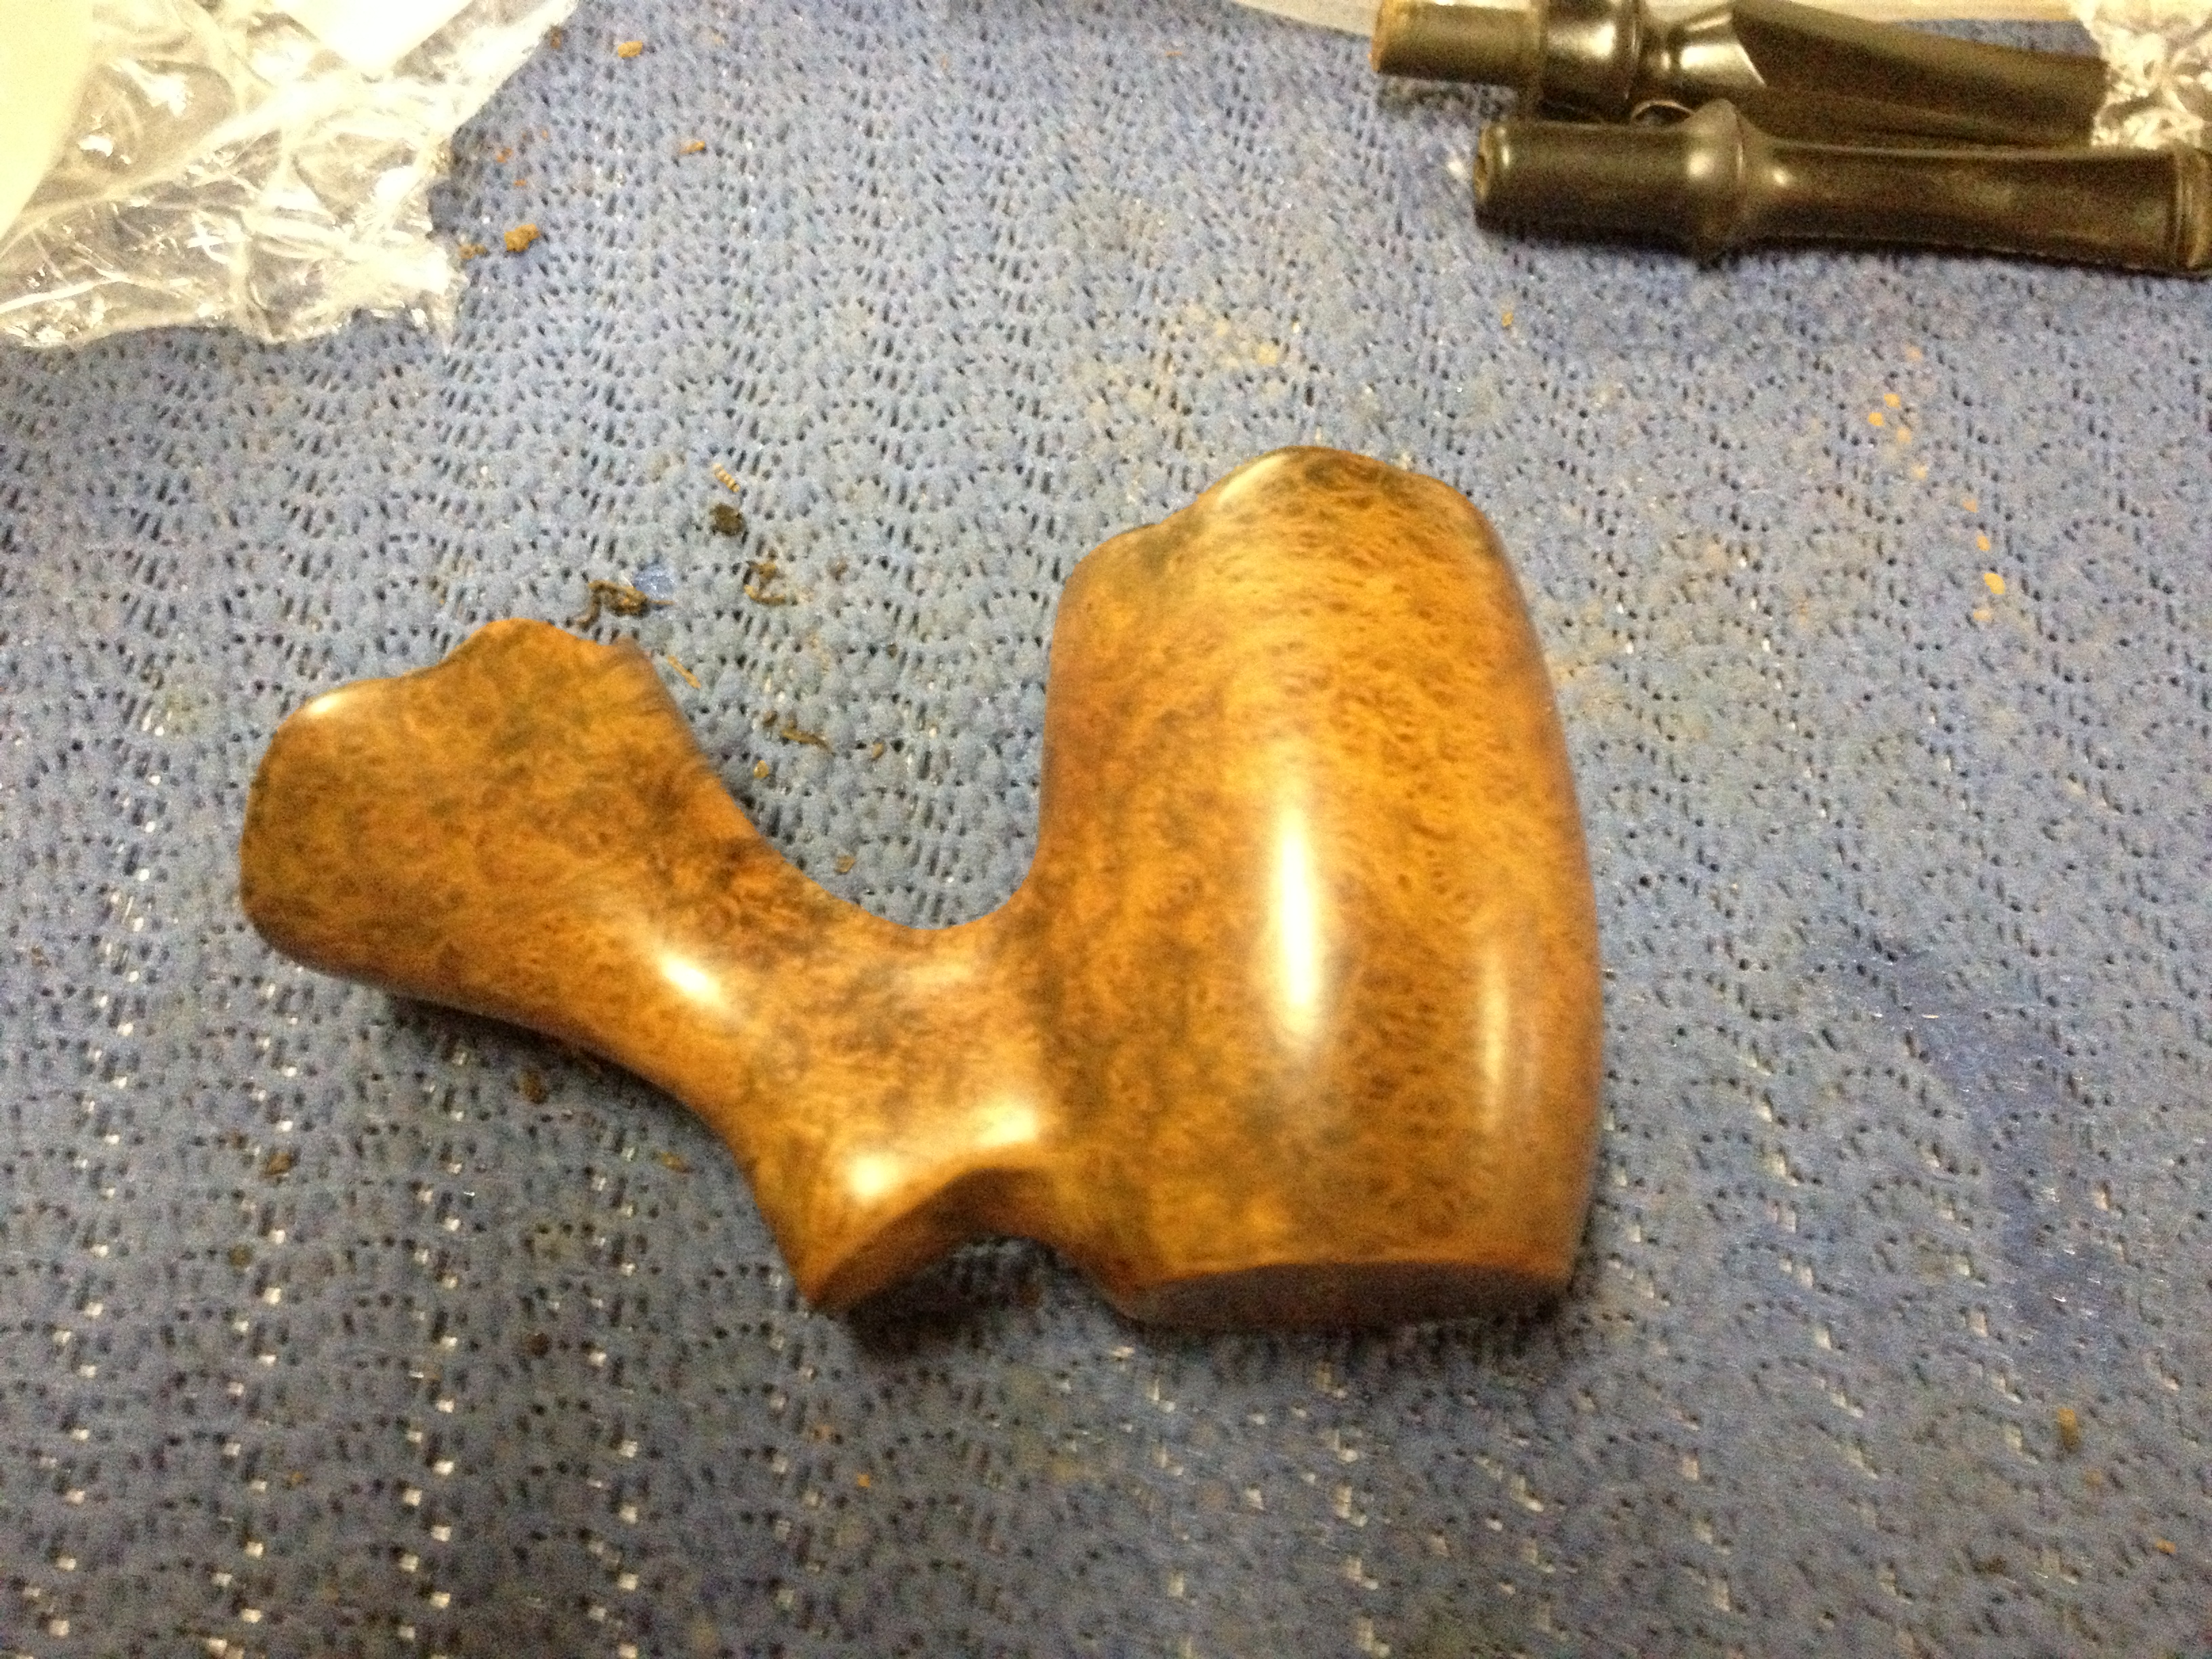
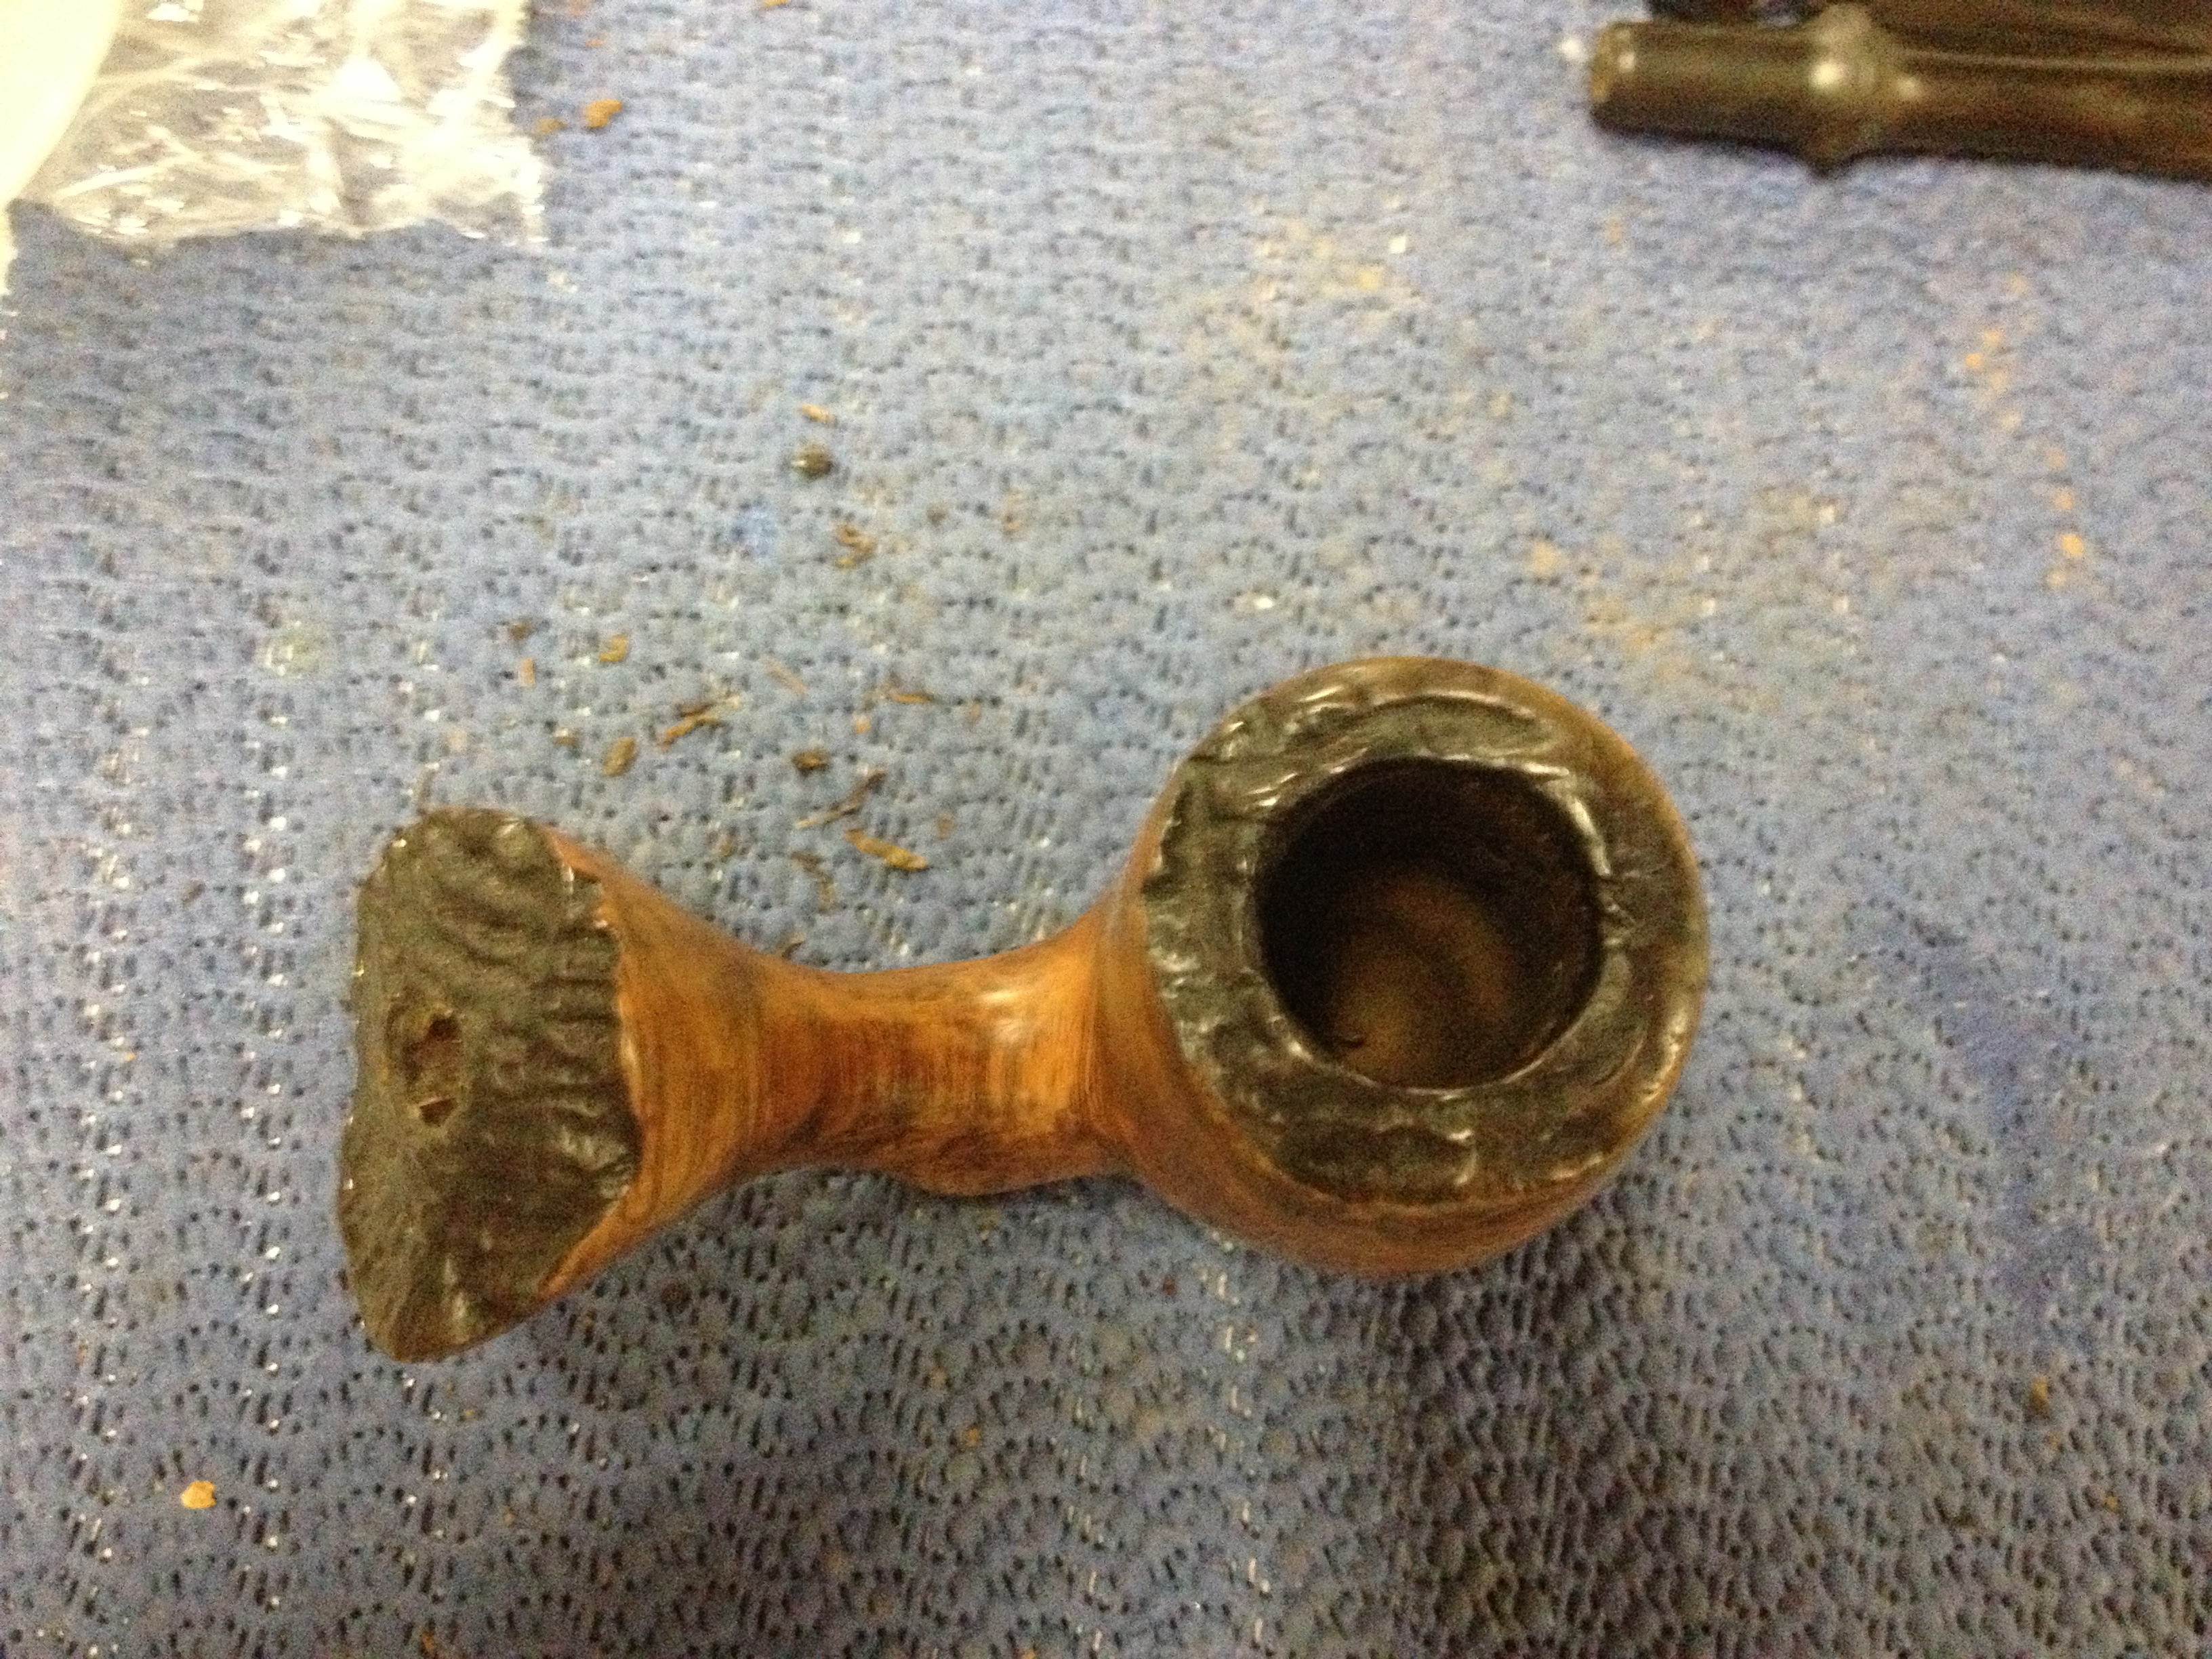
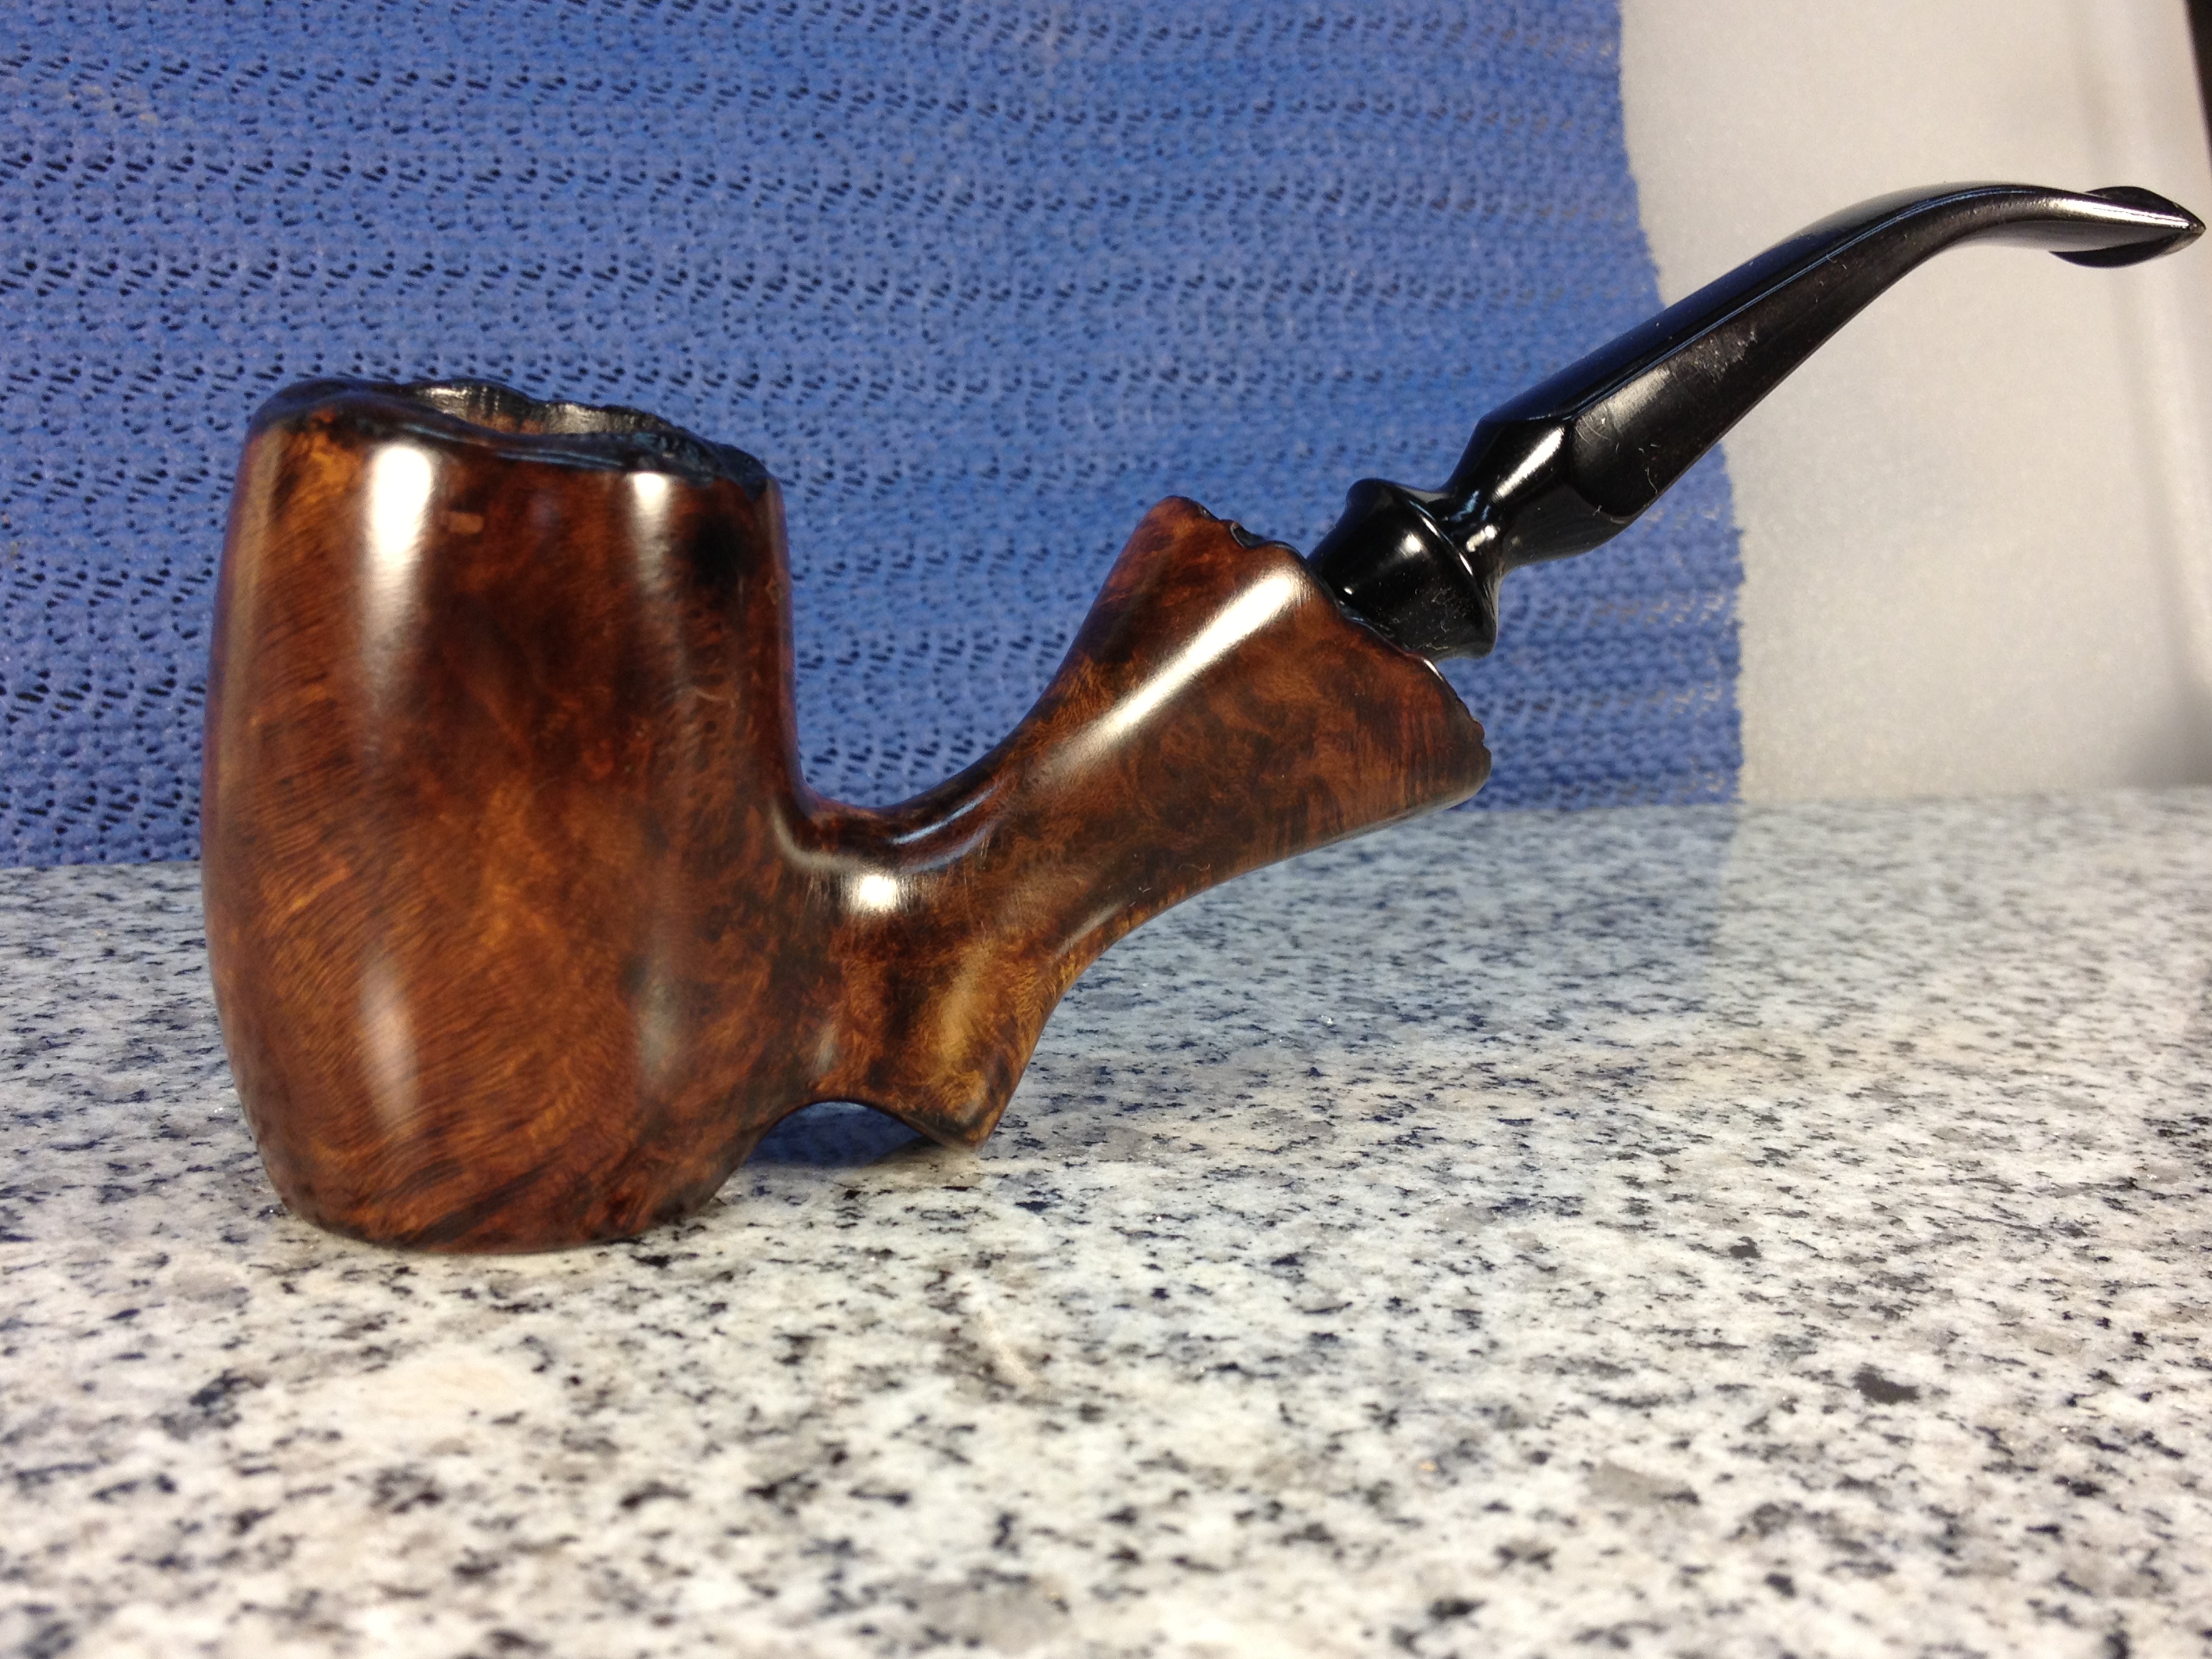
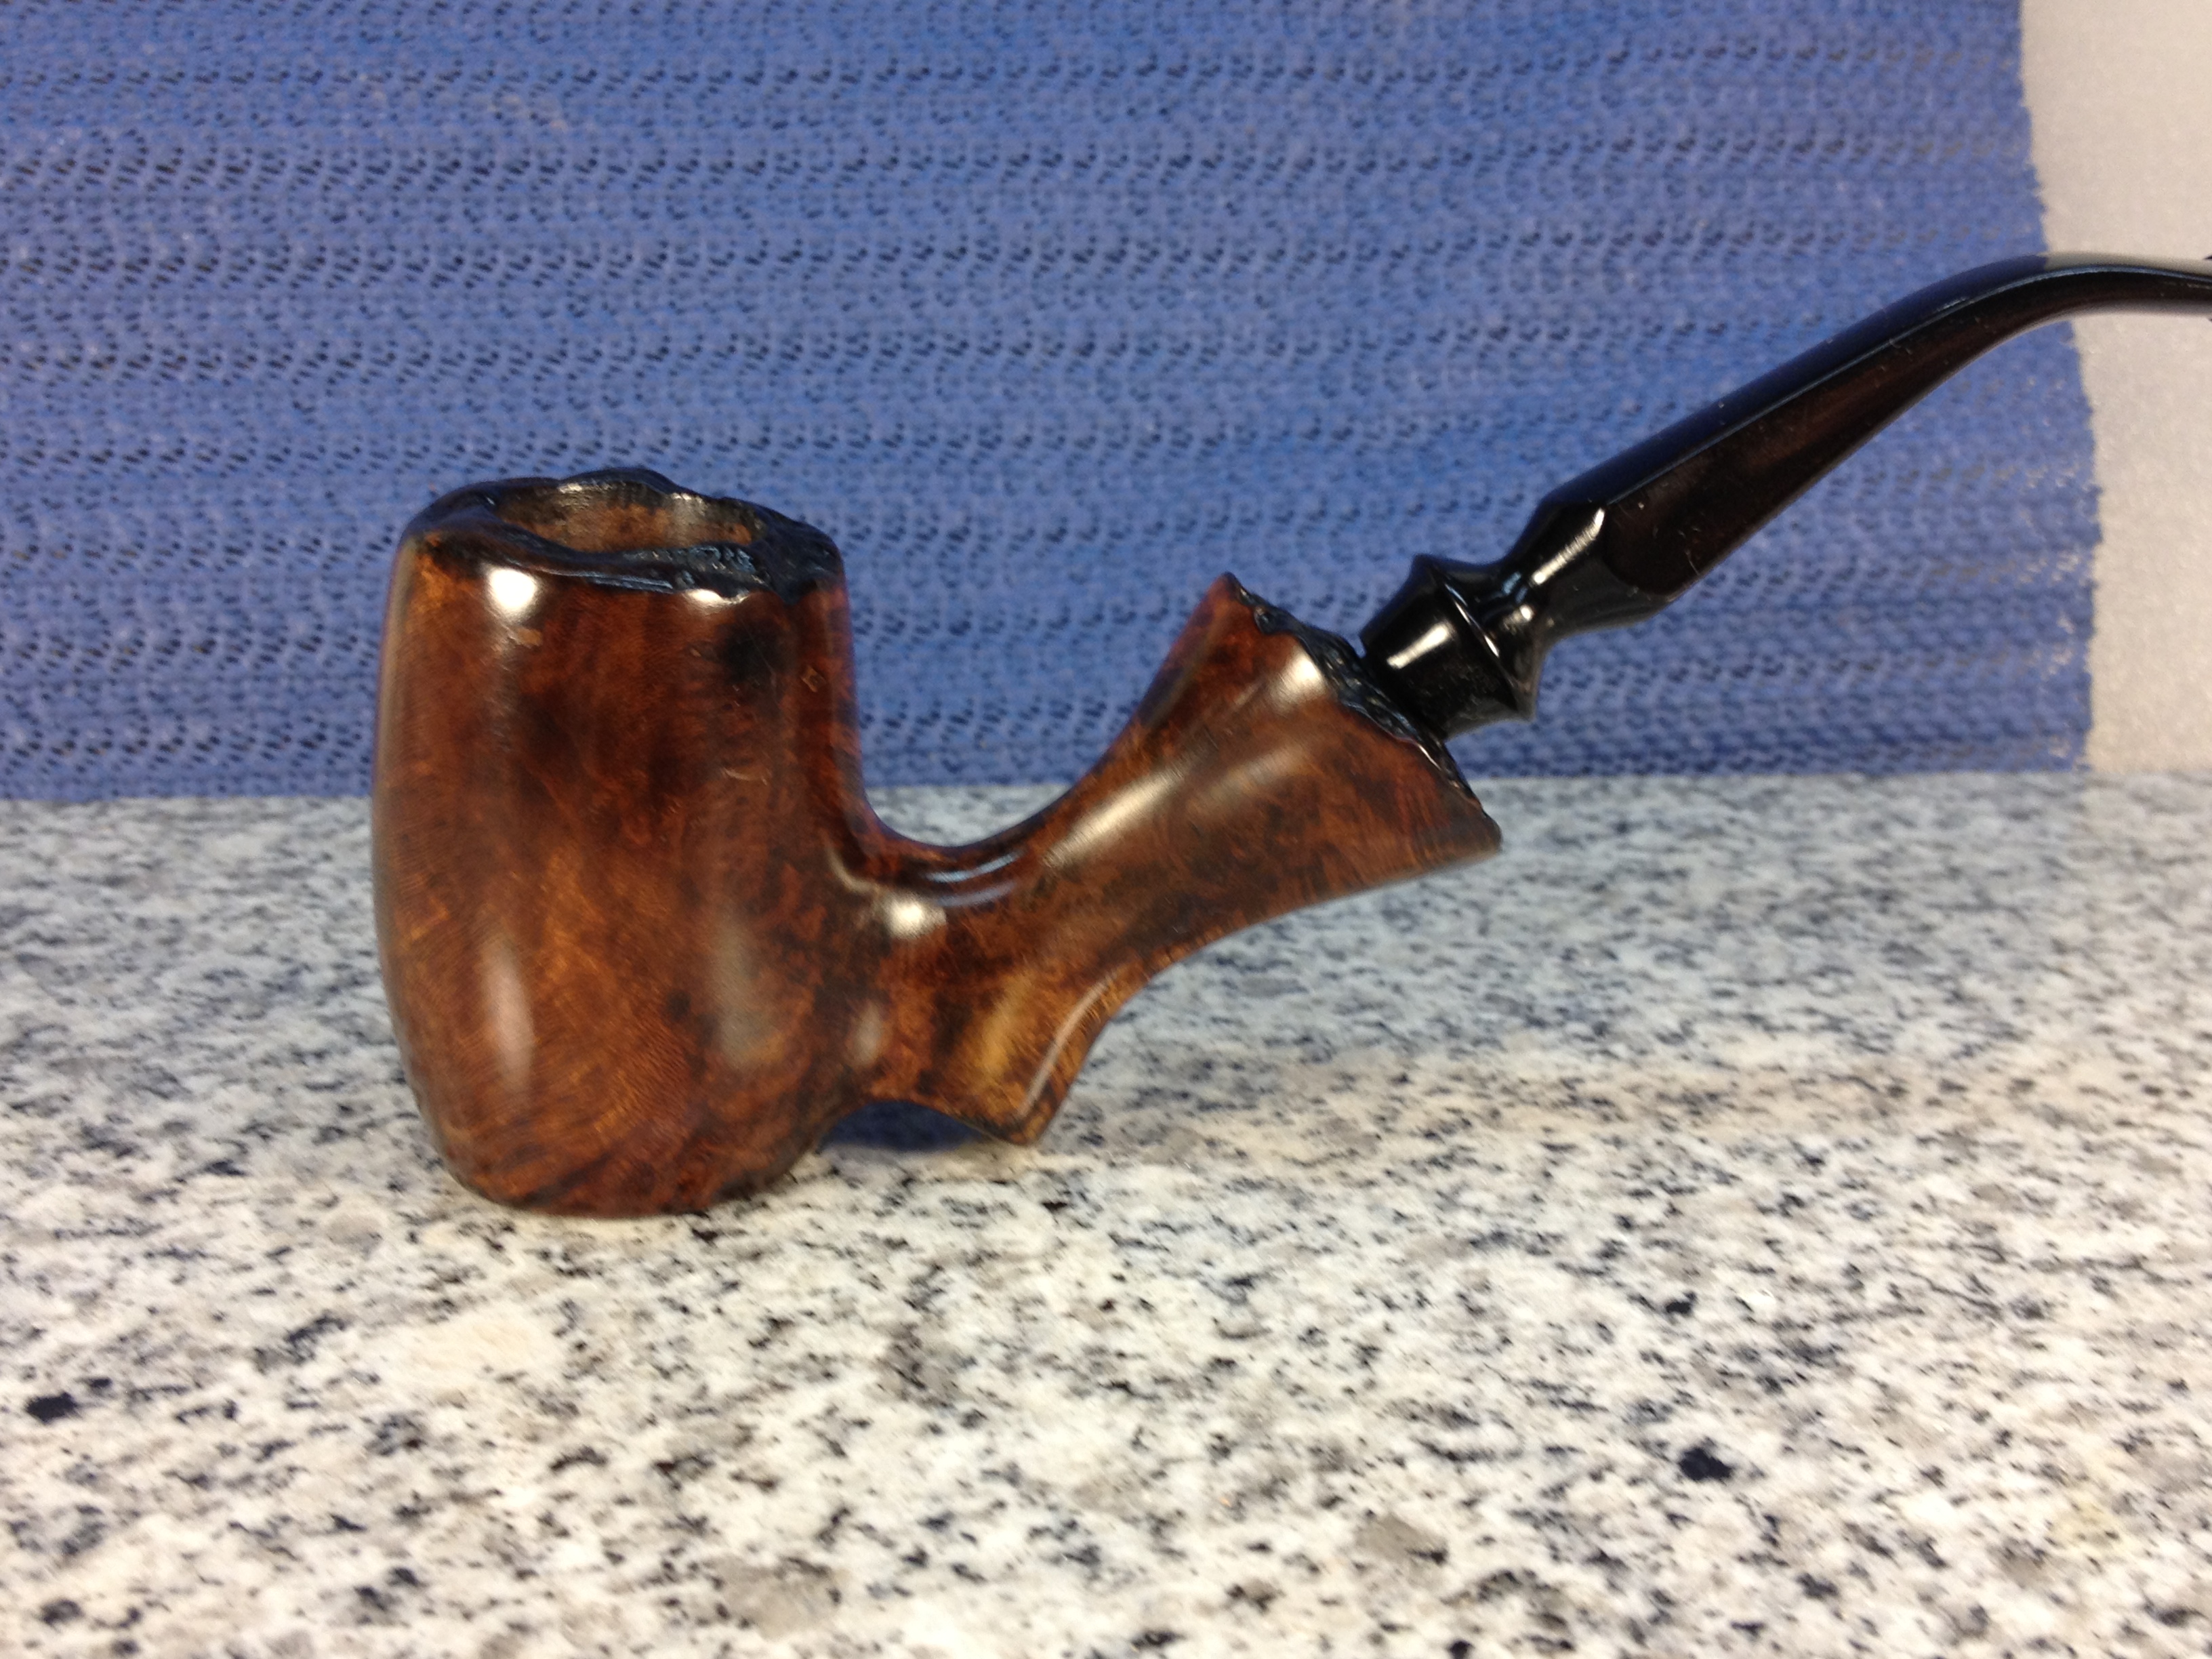
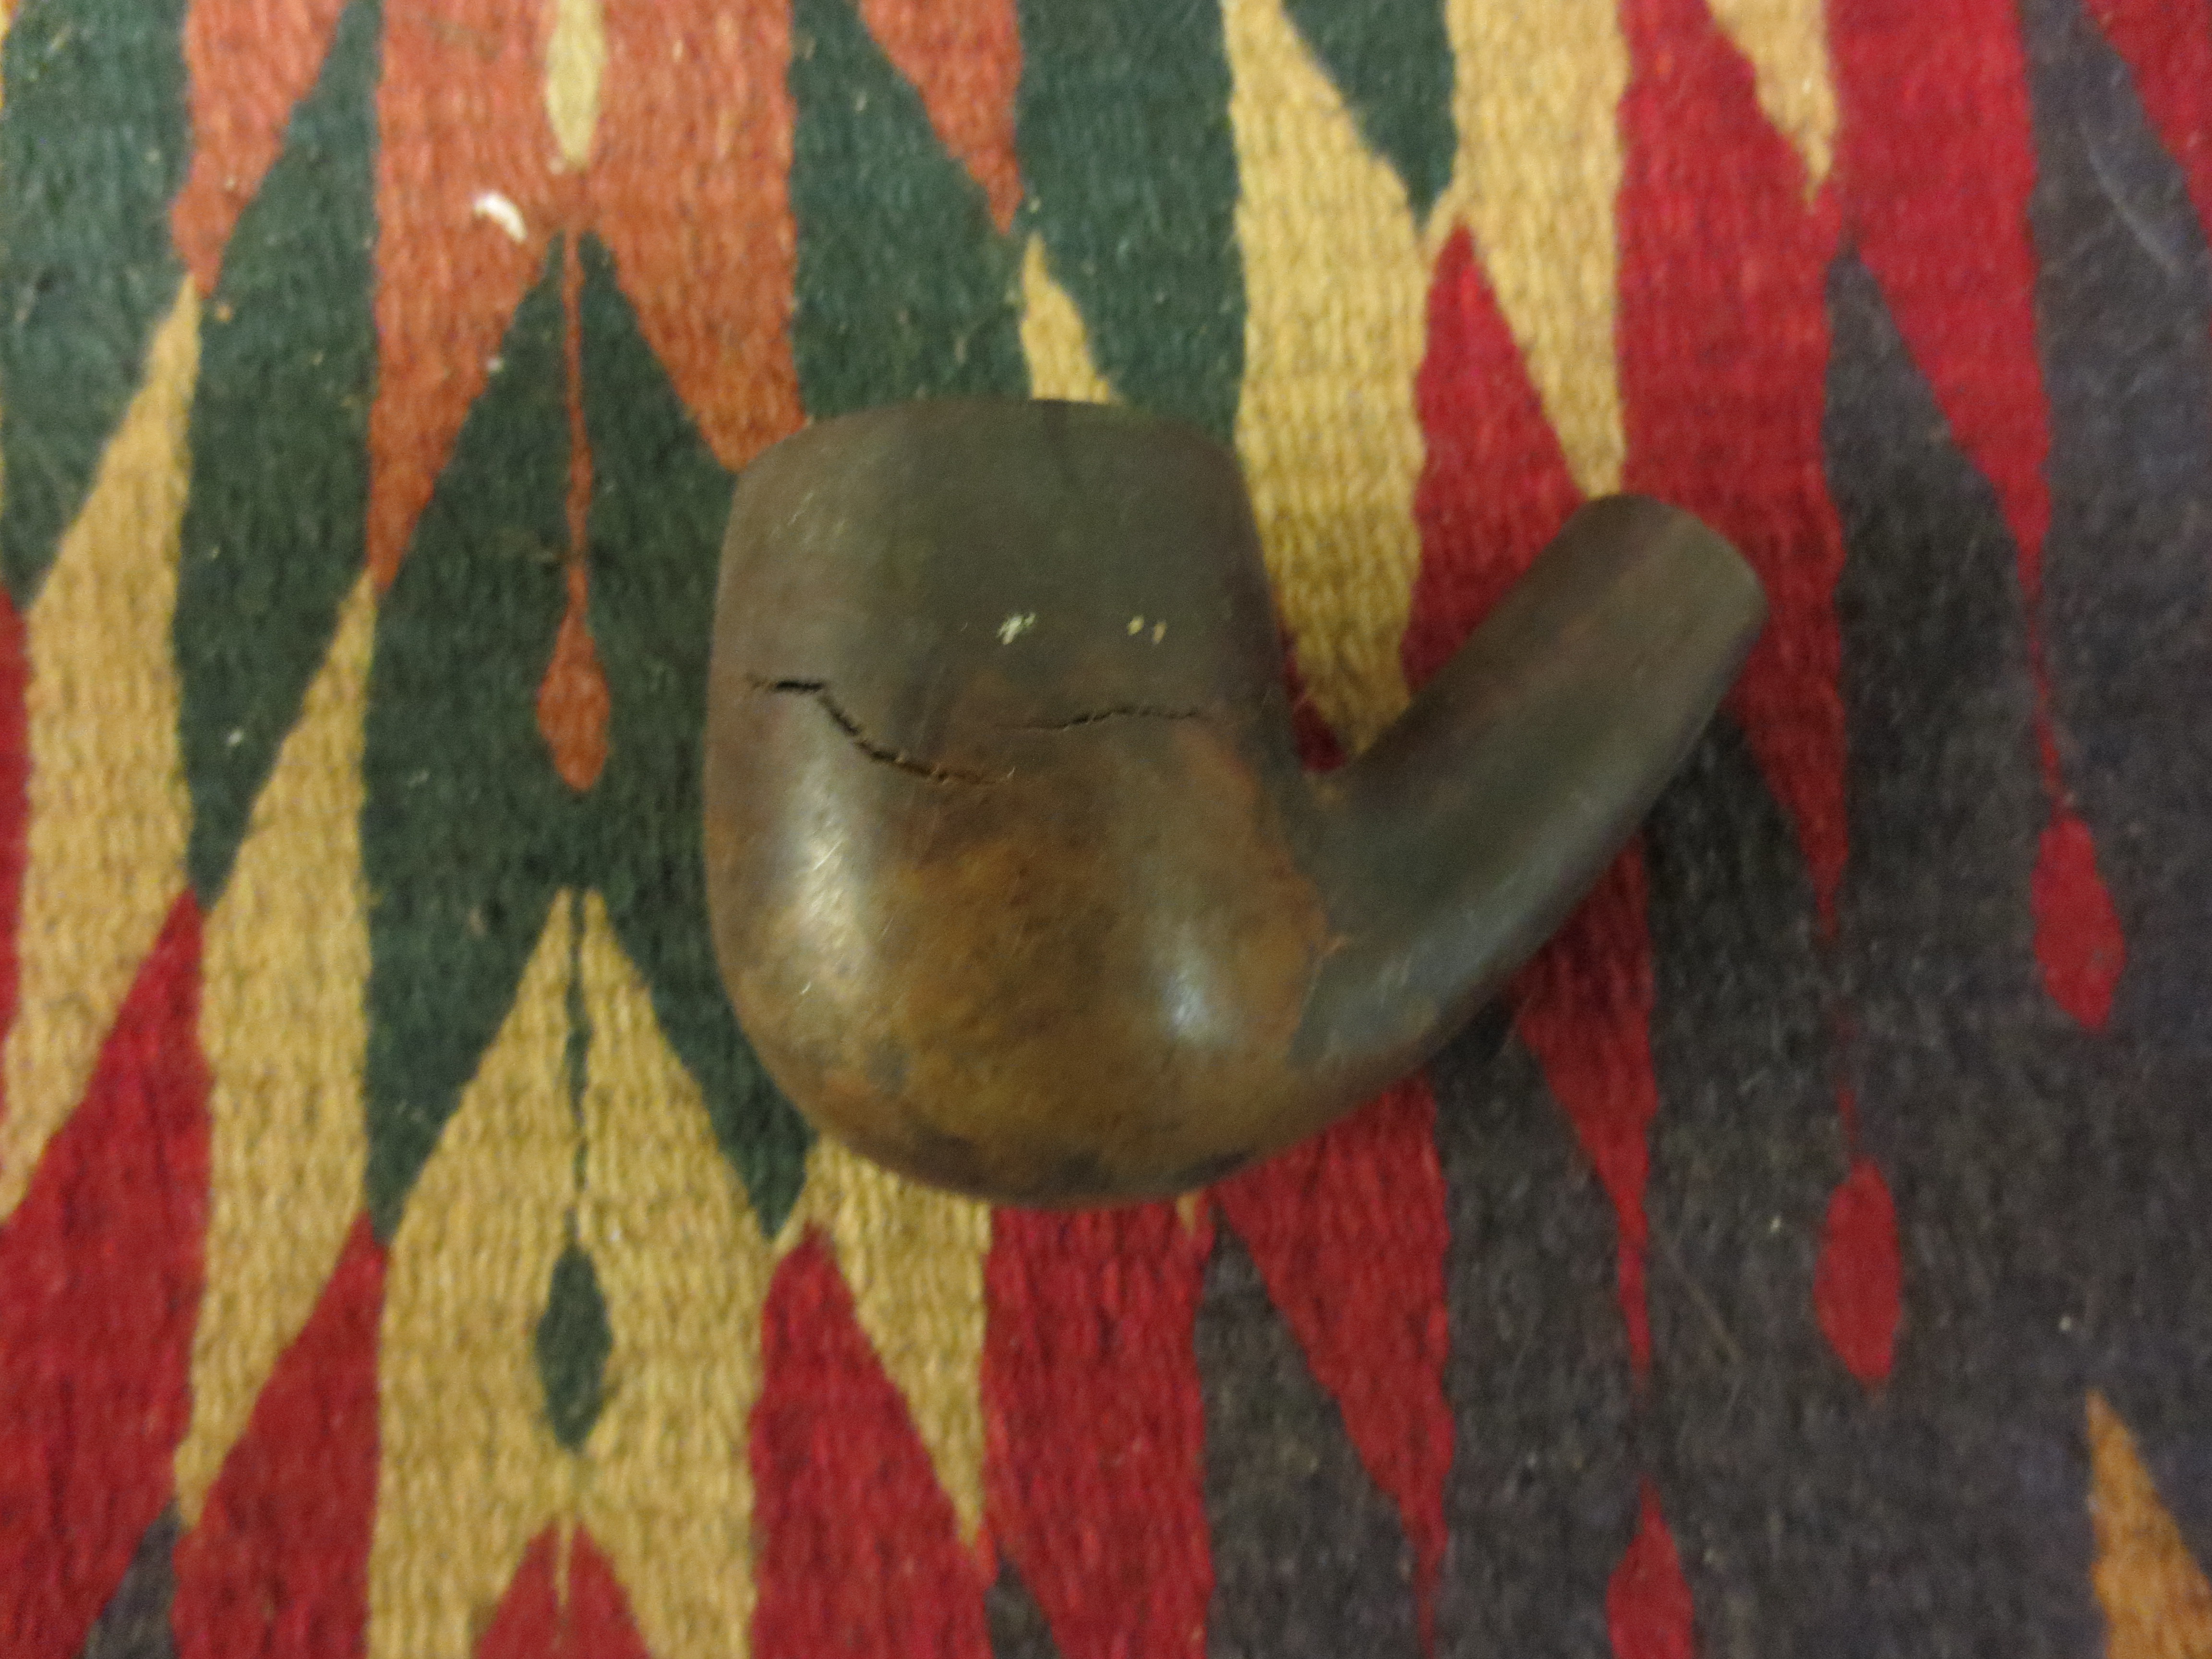
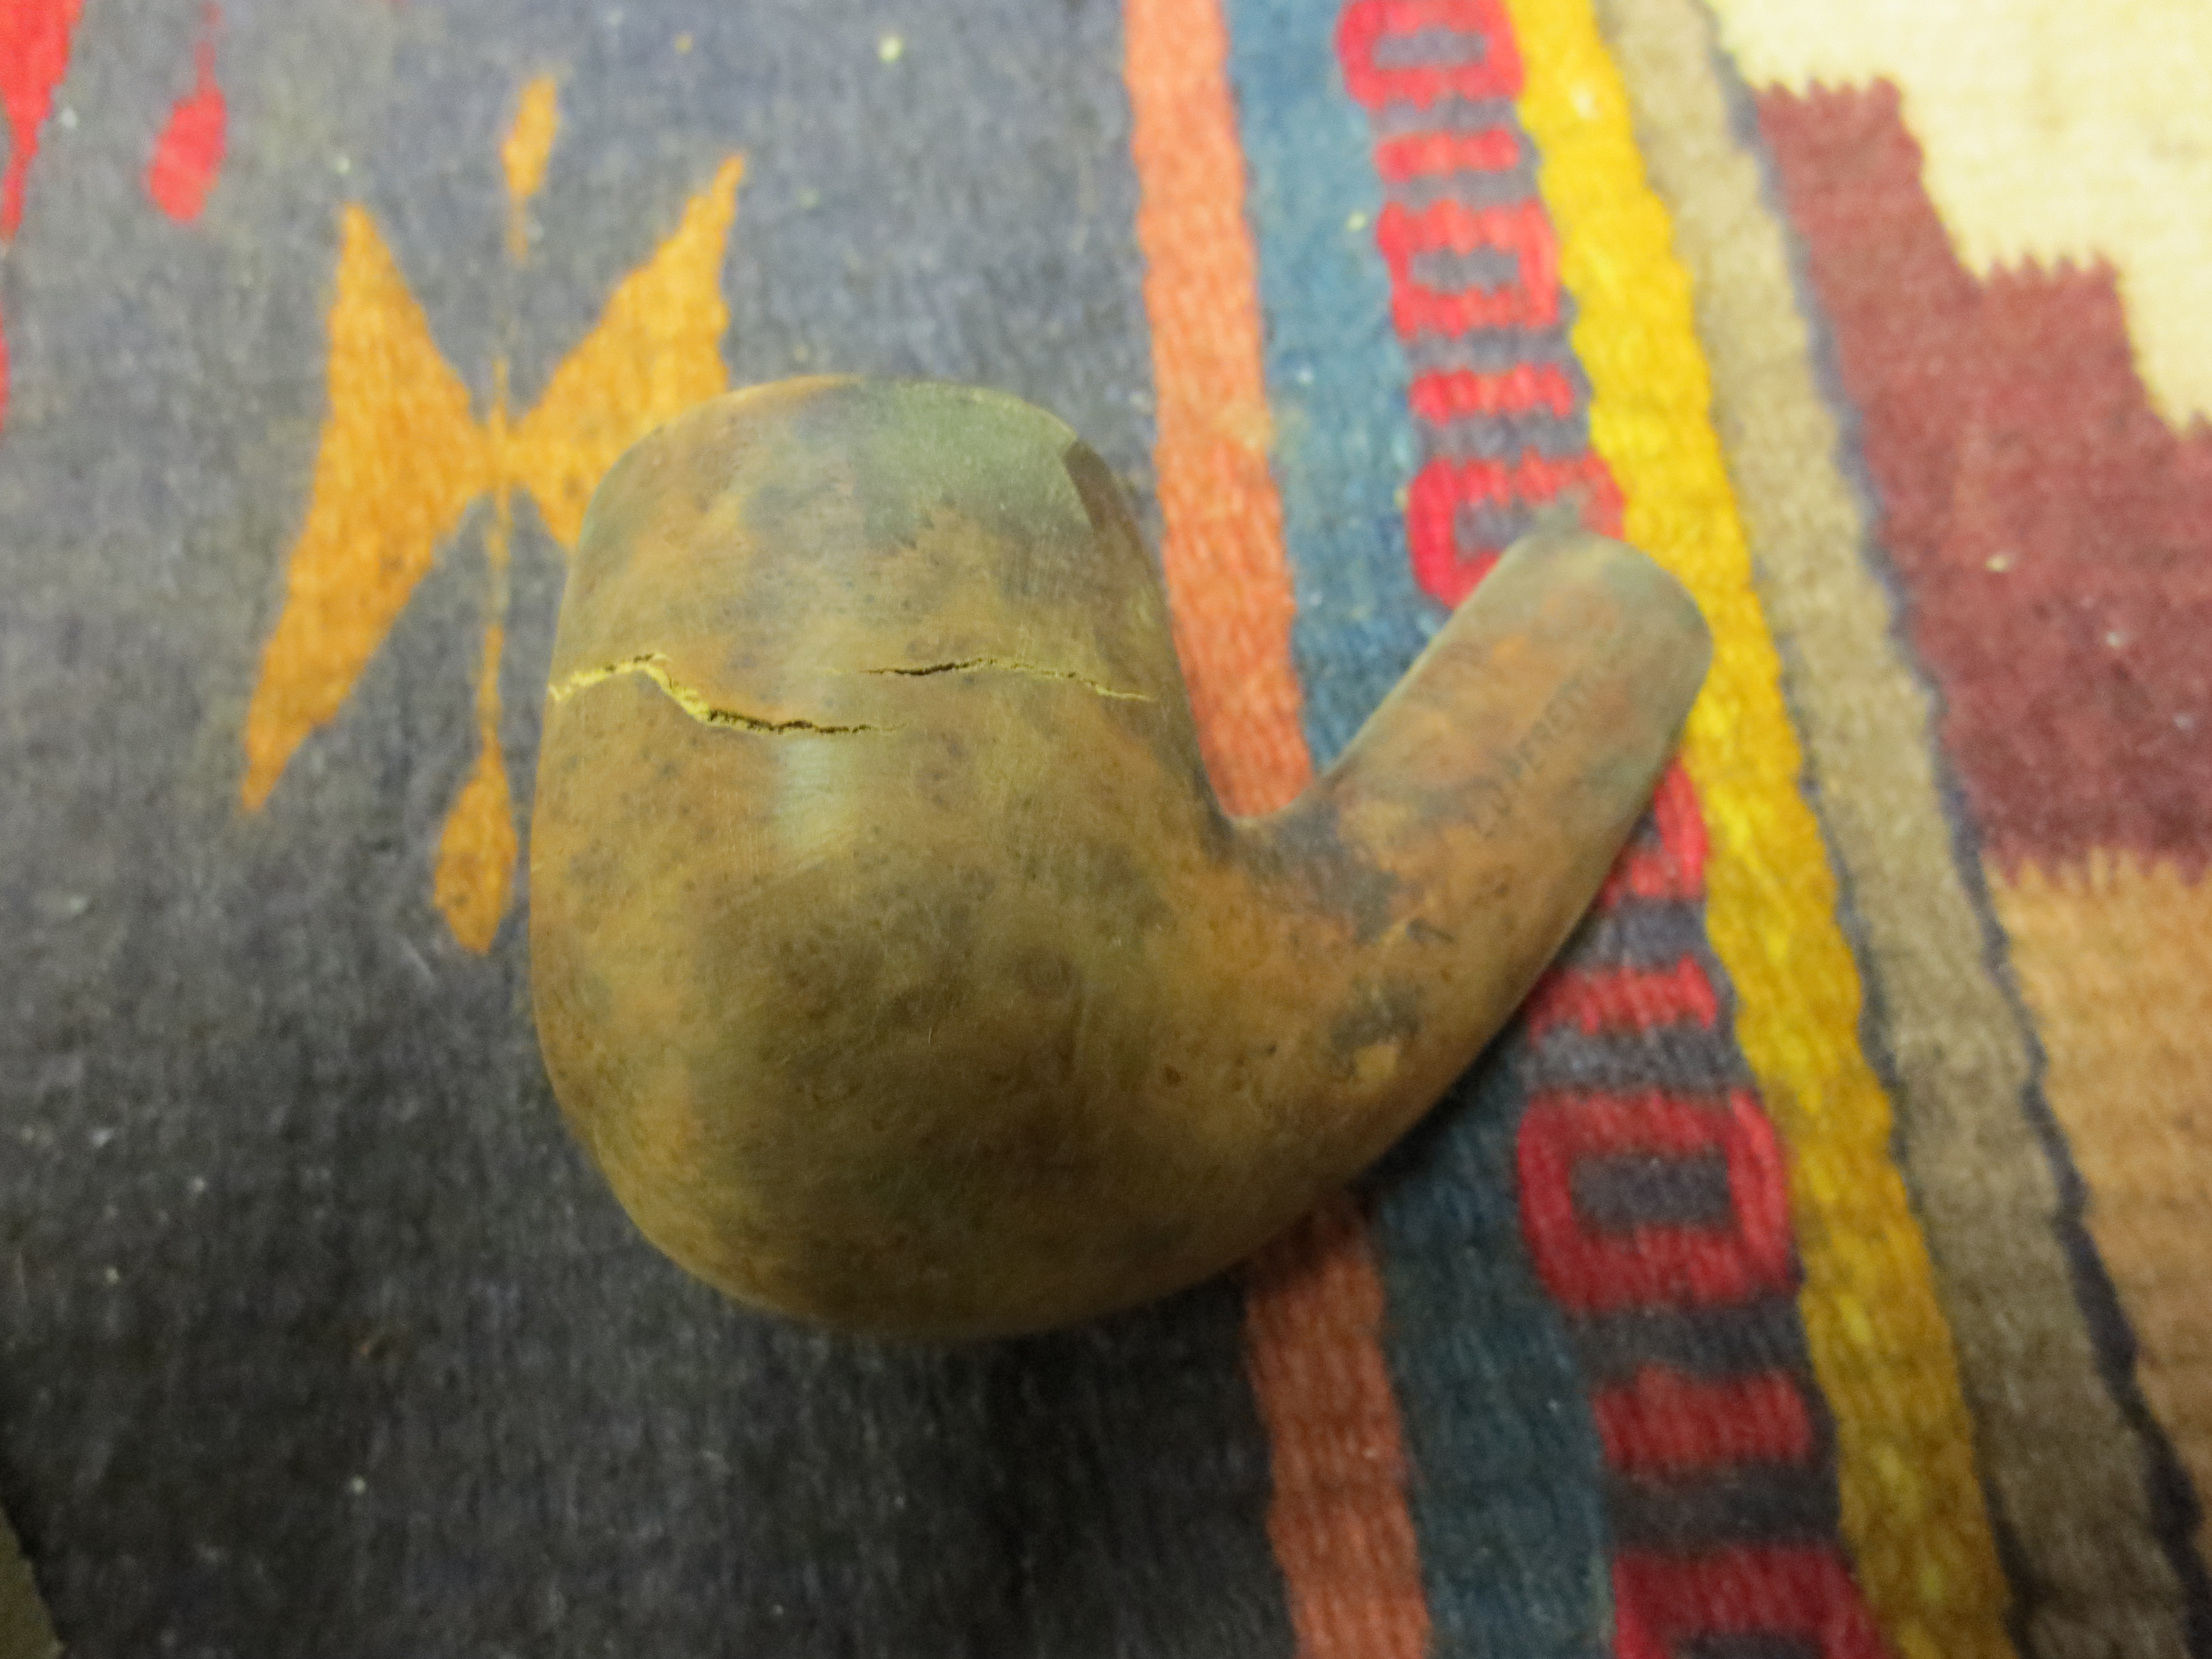
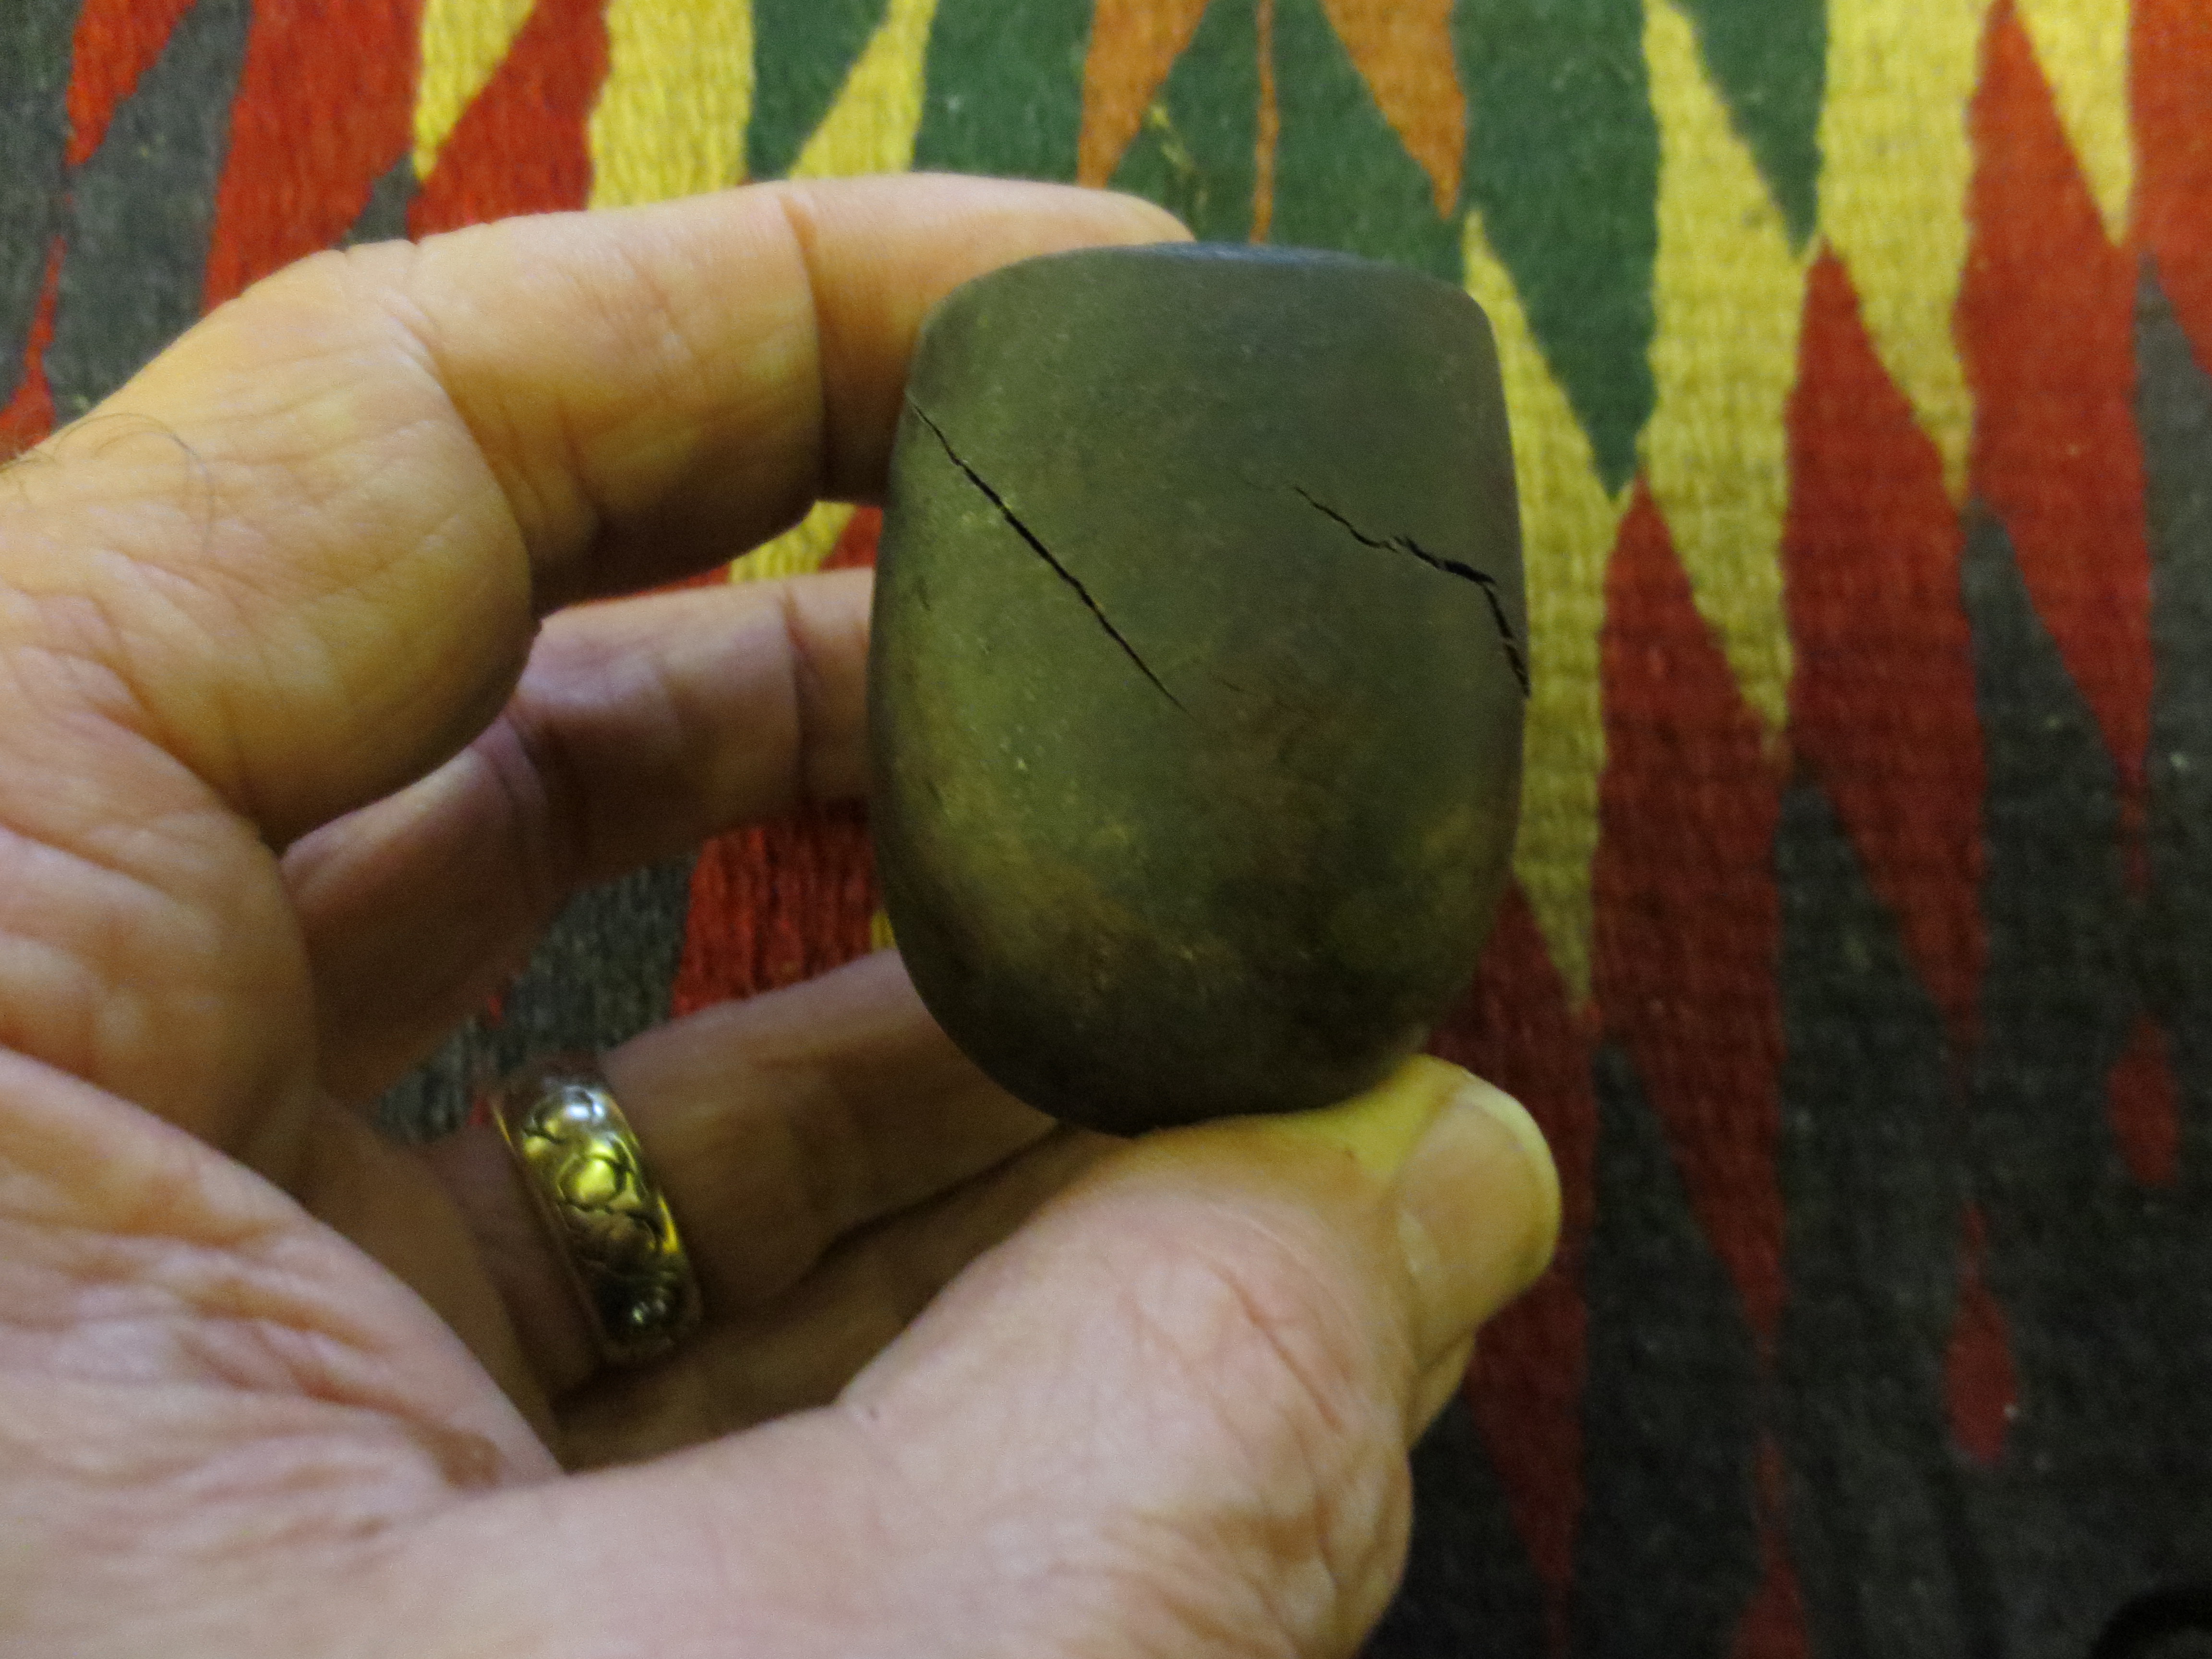
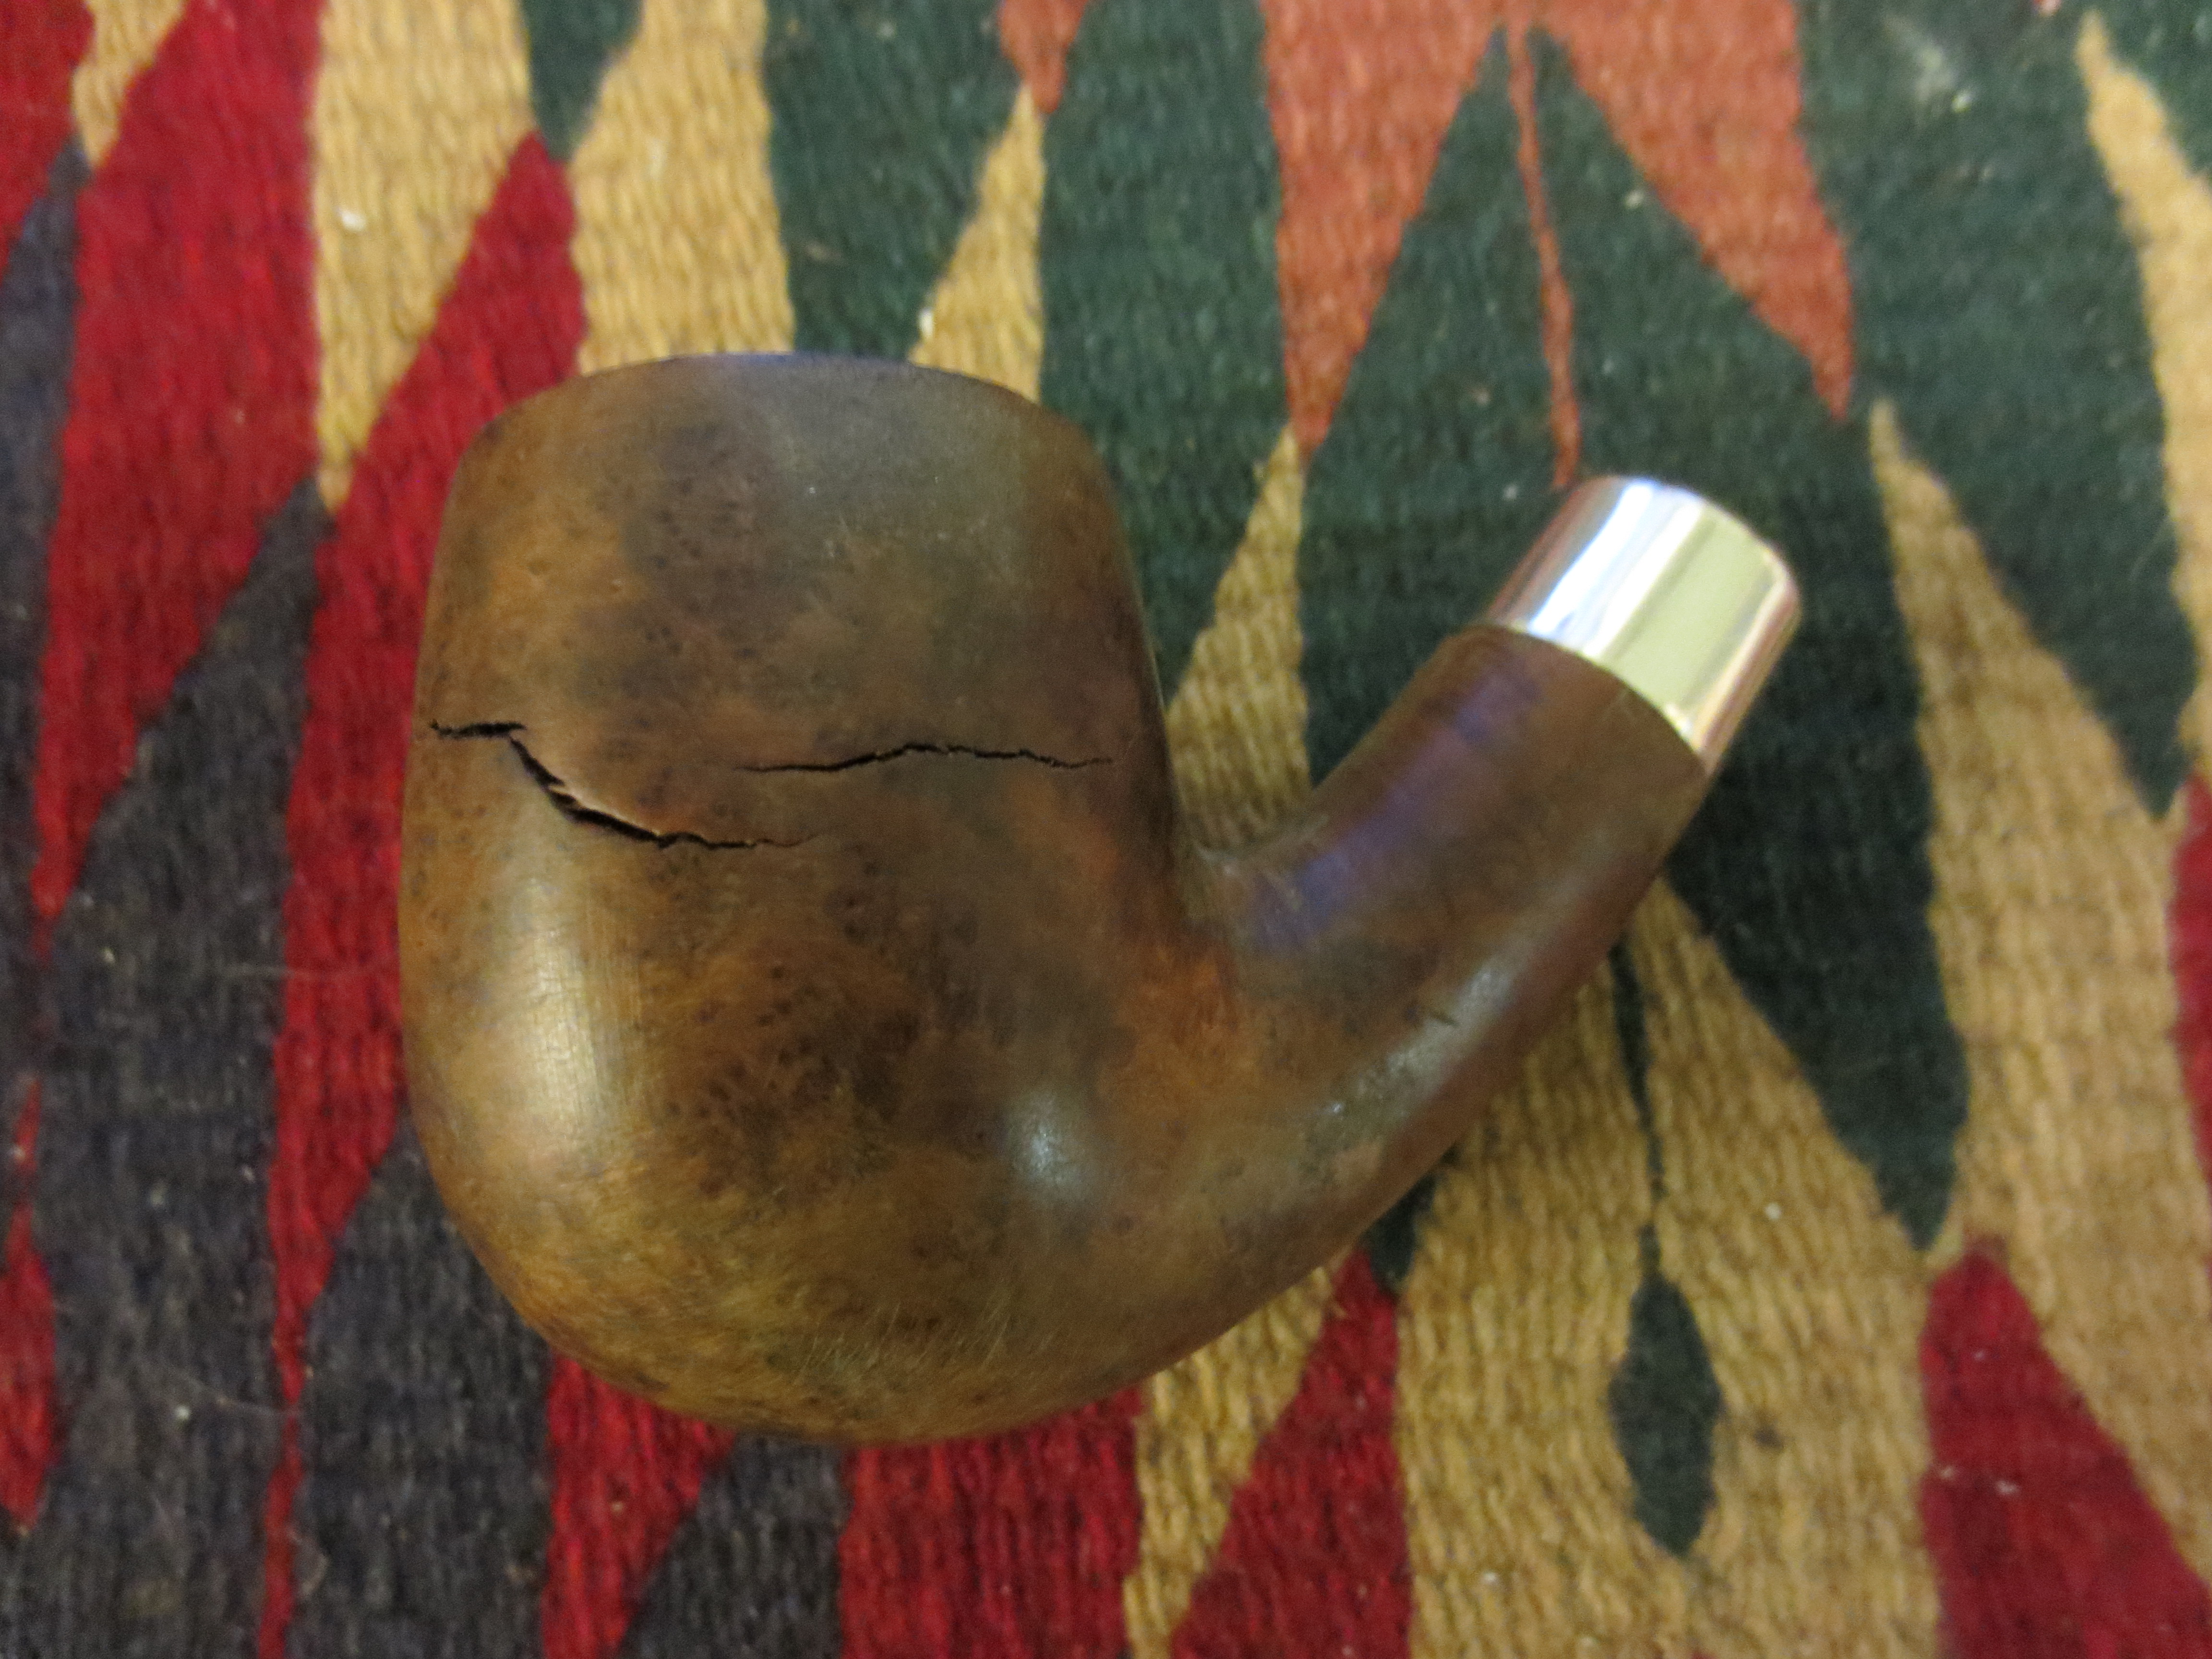
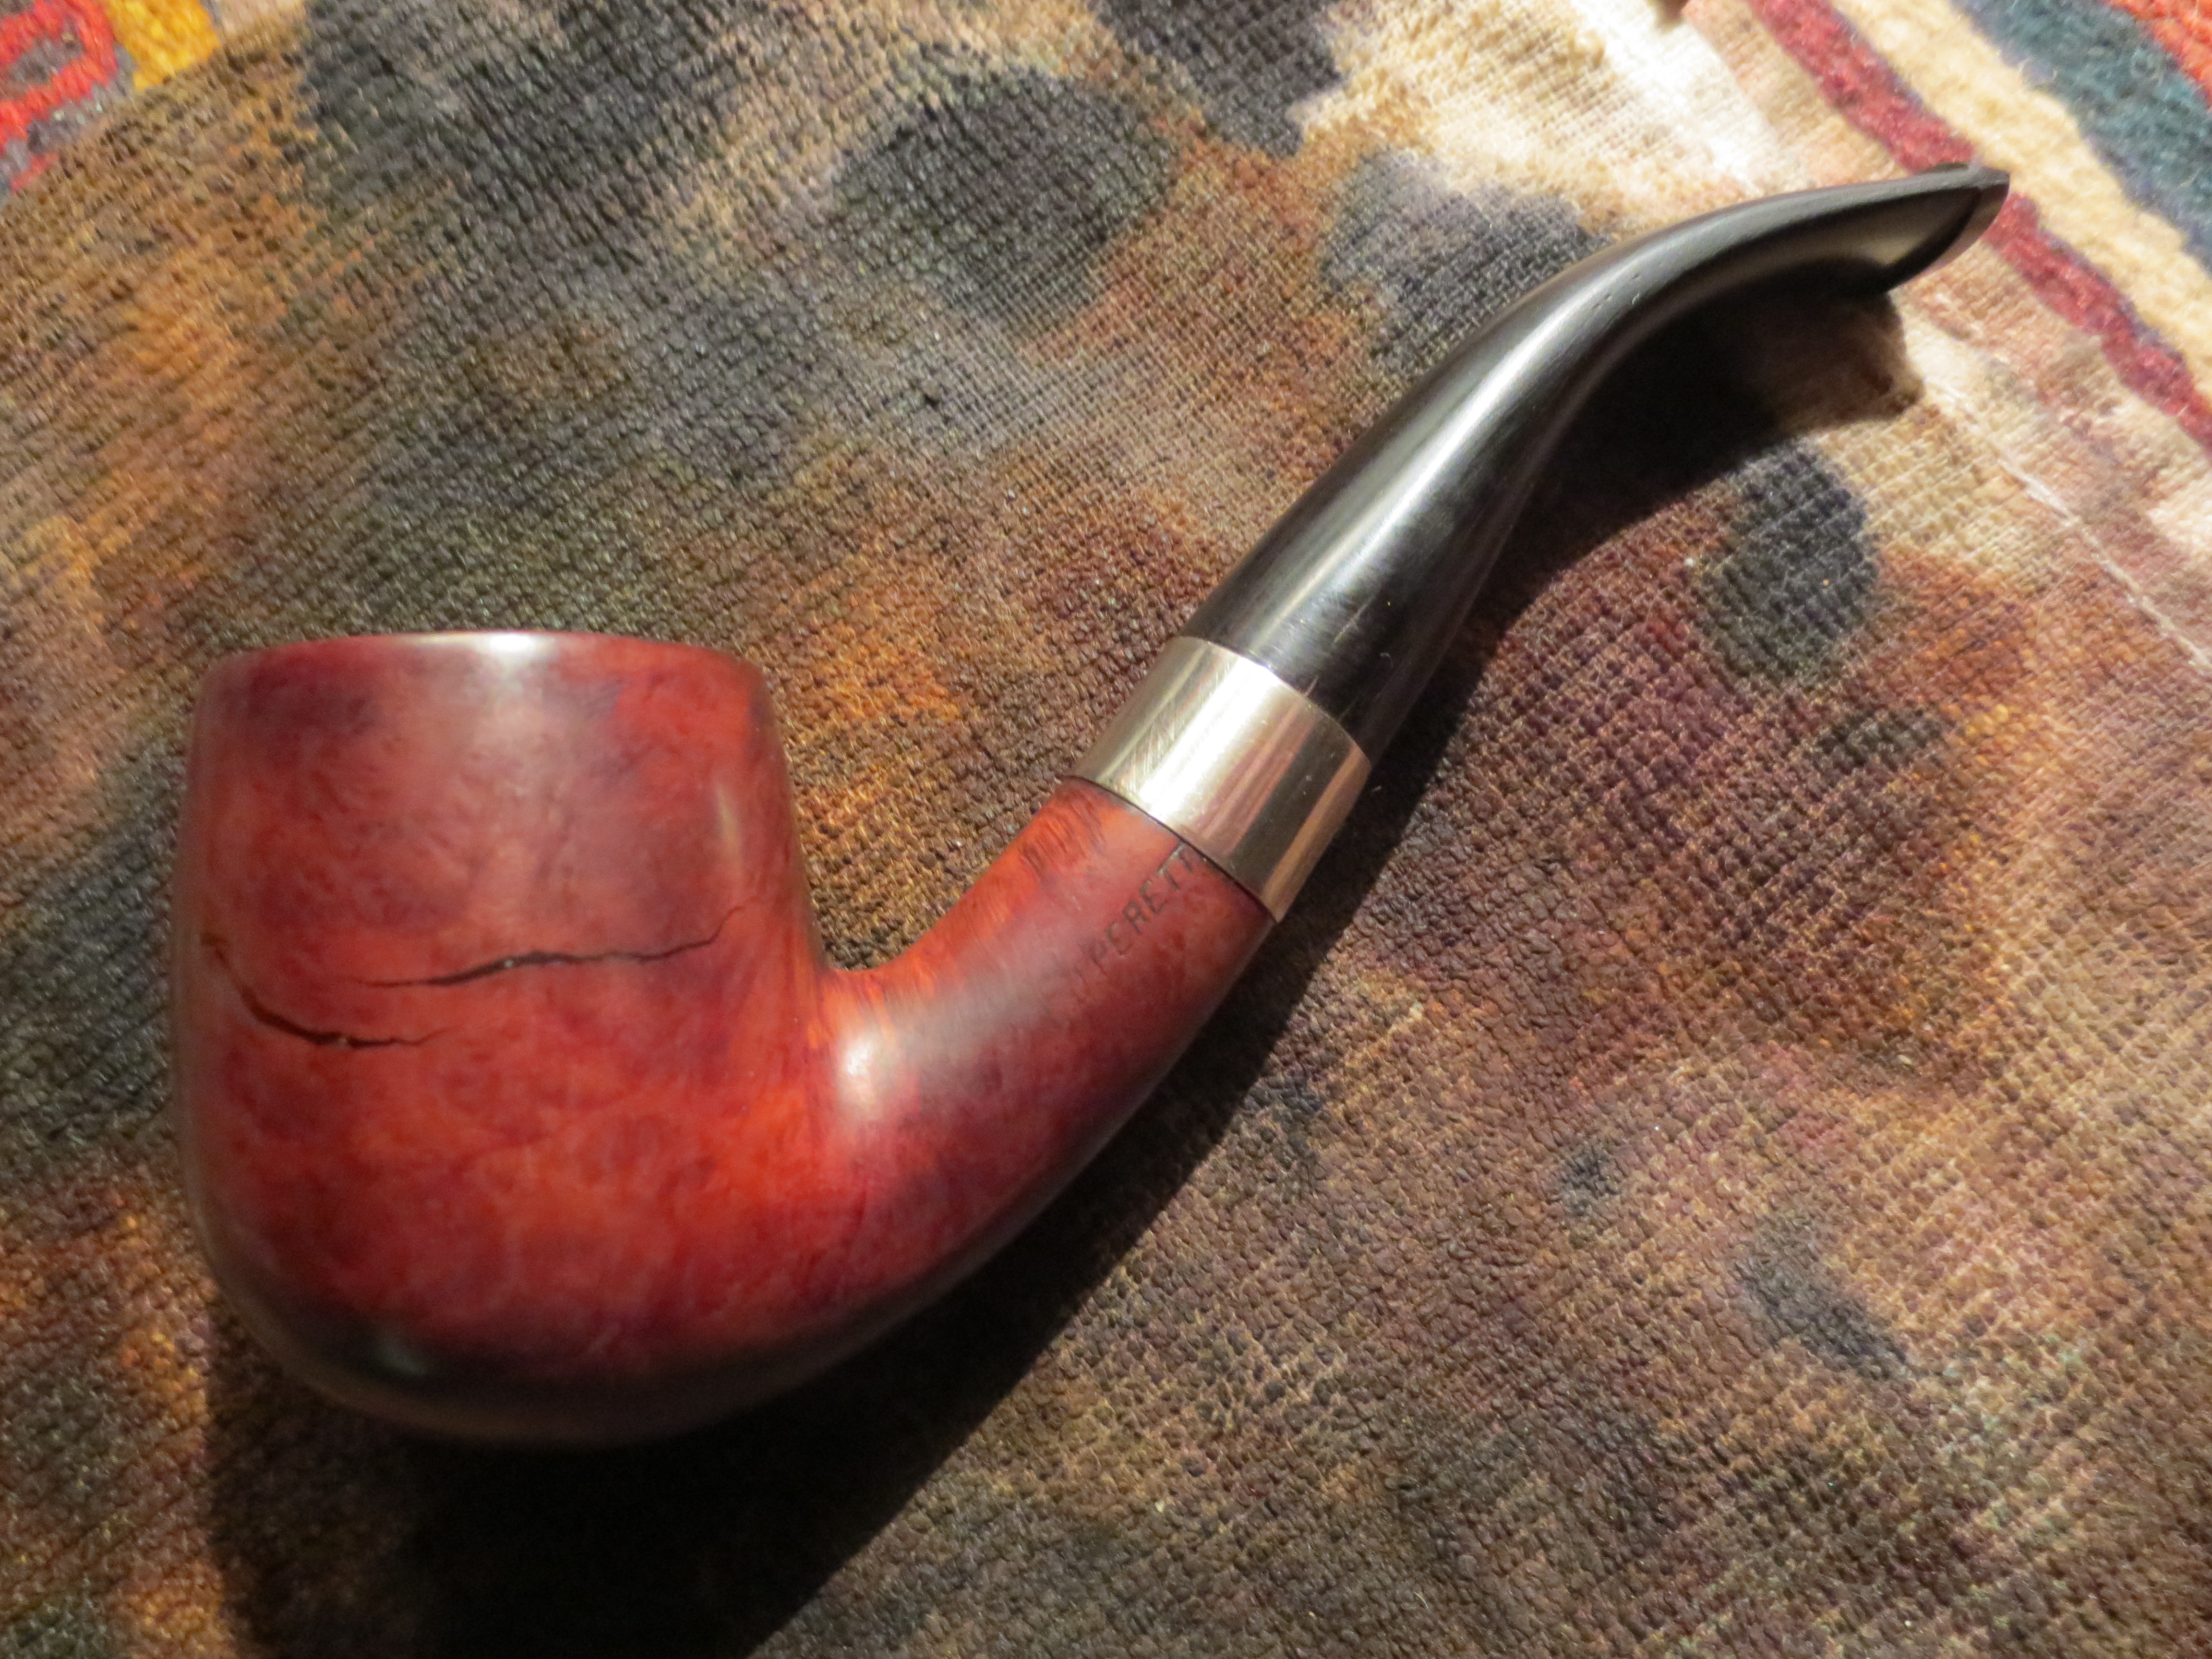
Tag Archives: contrast staining

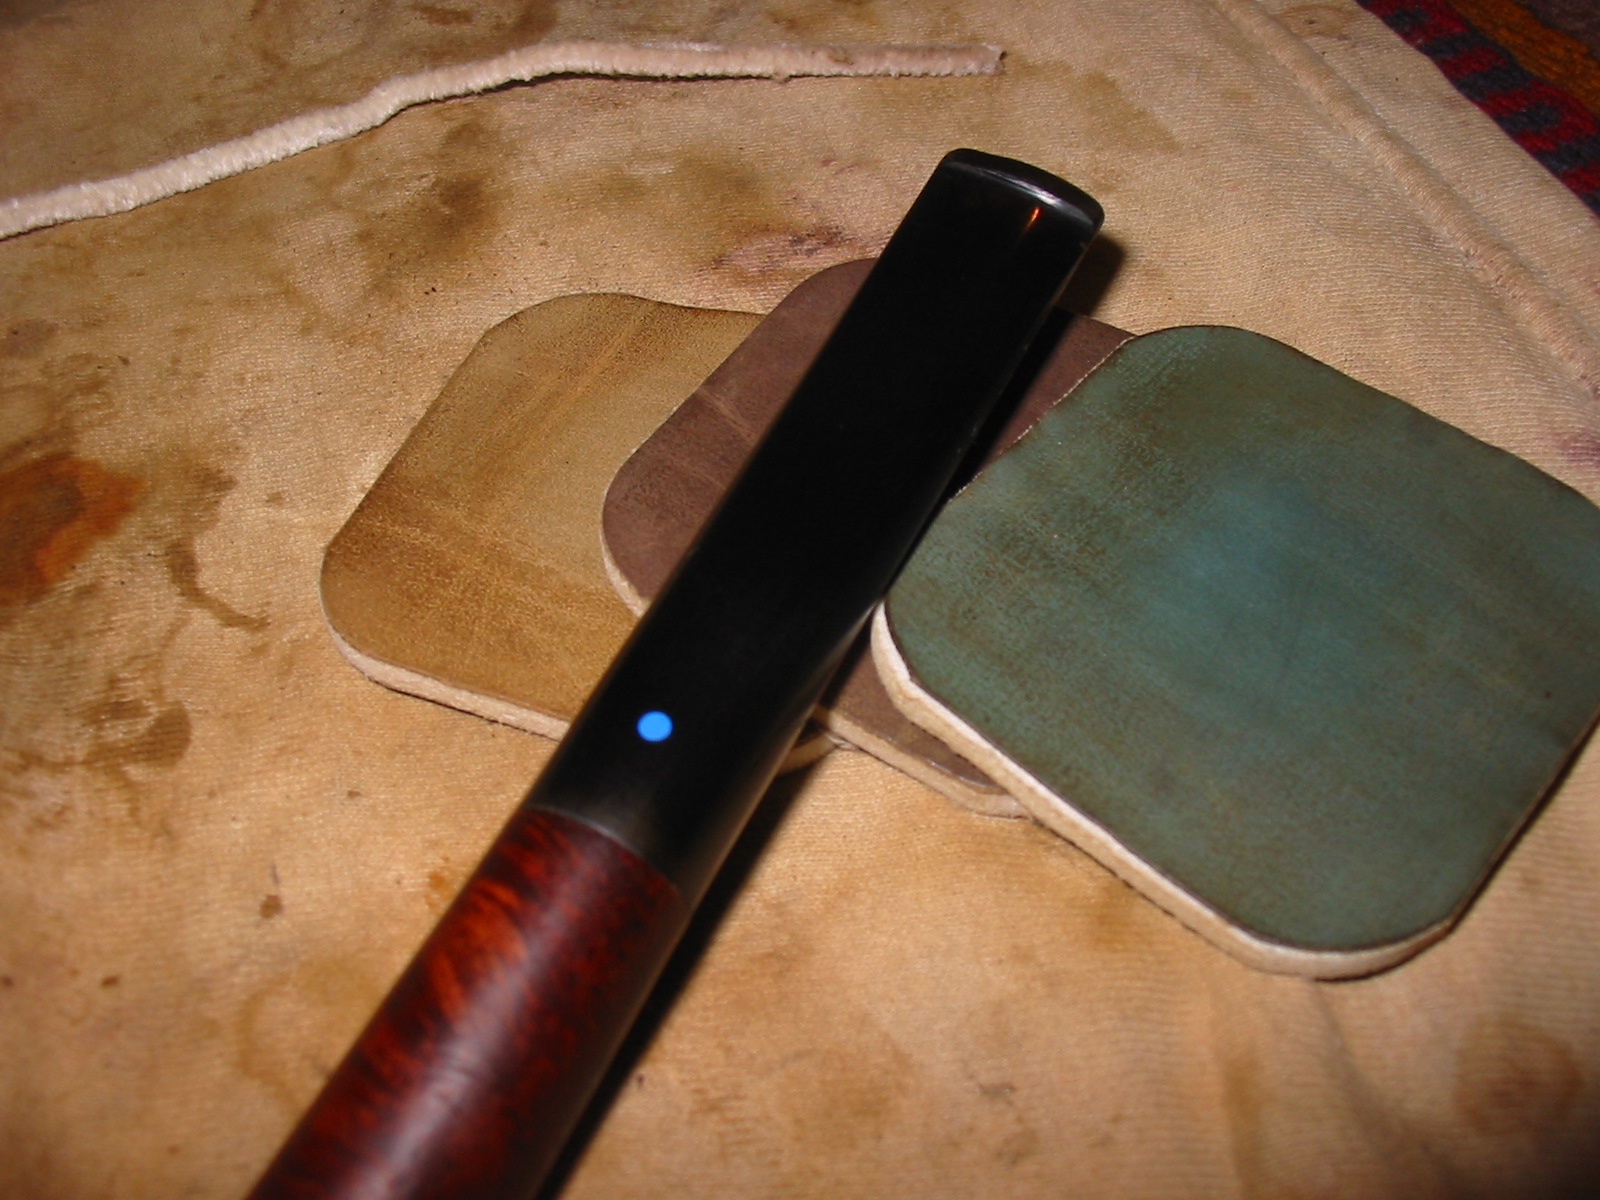
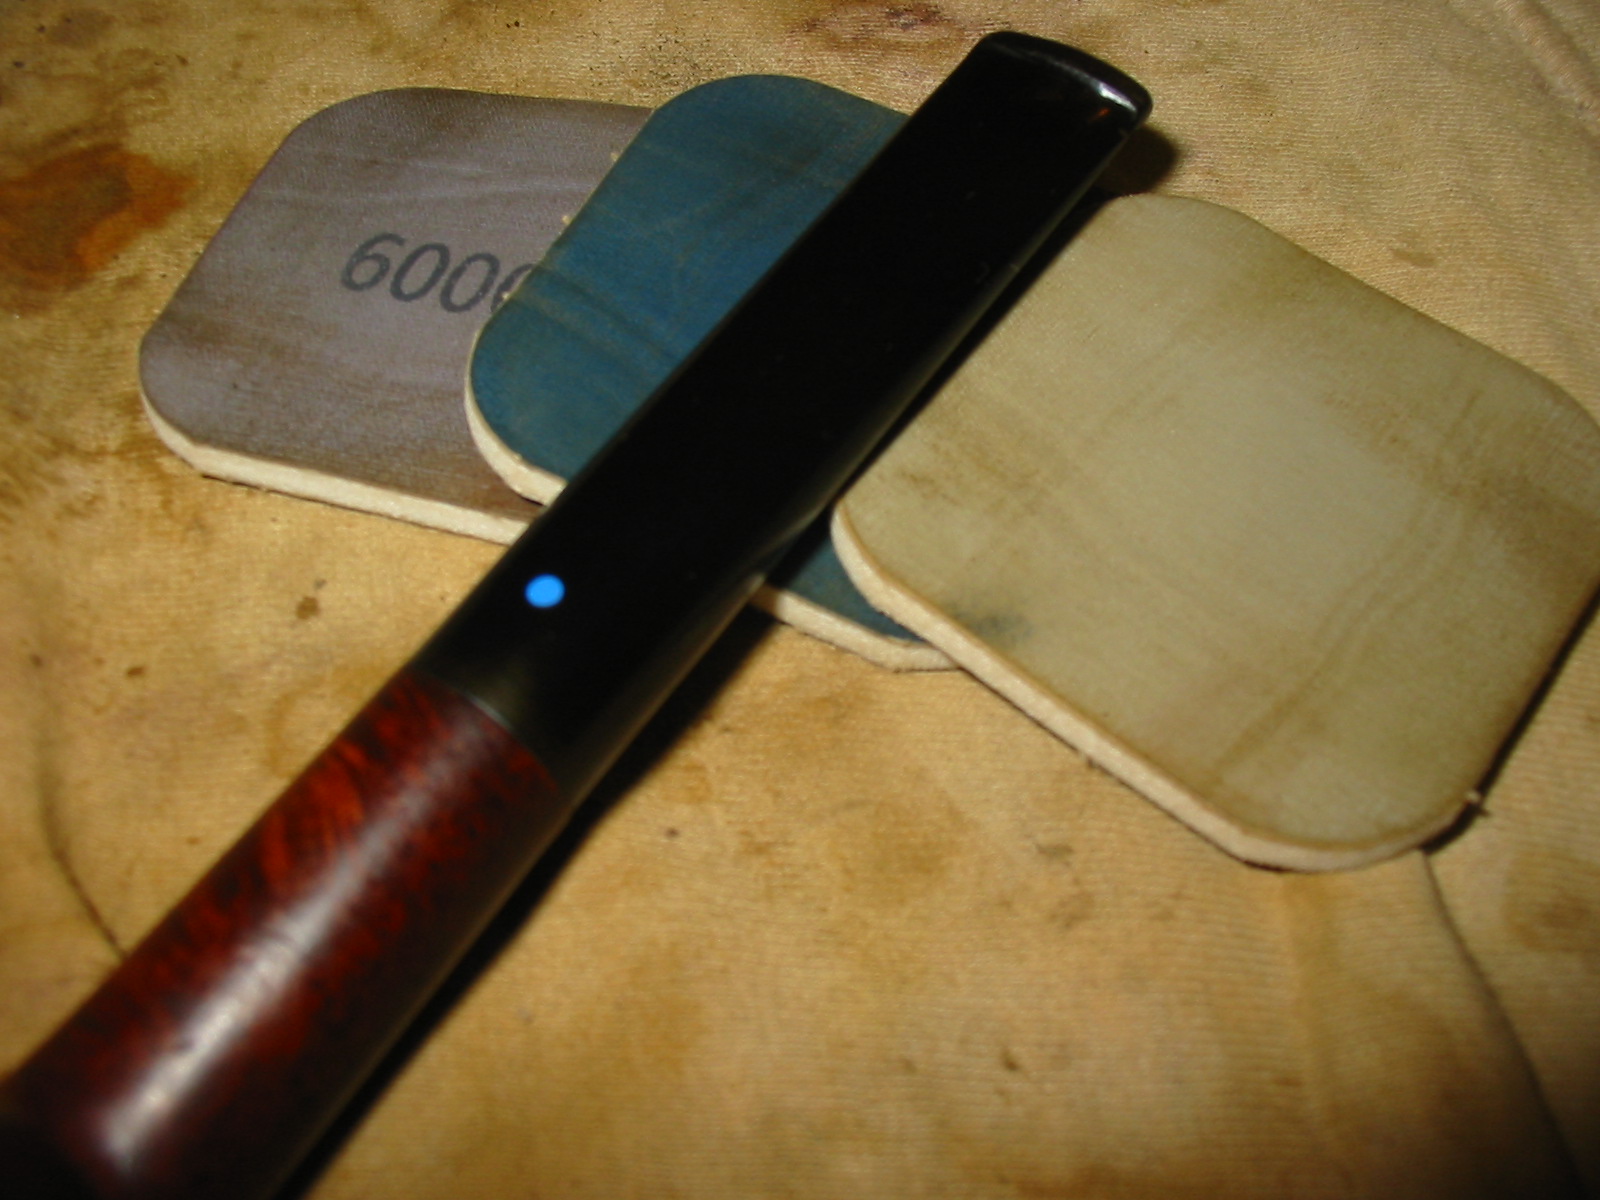
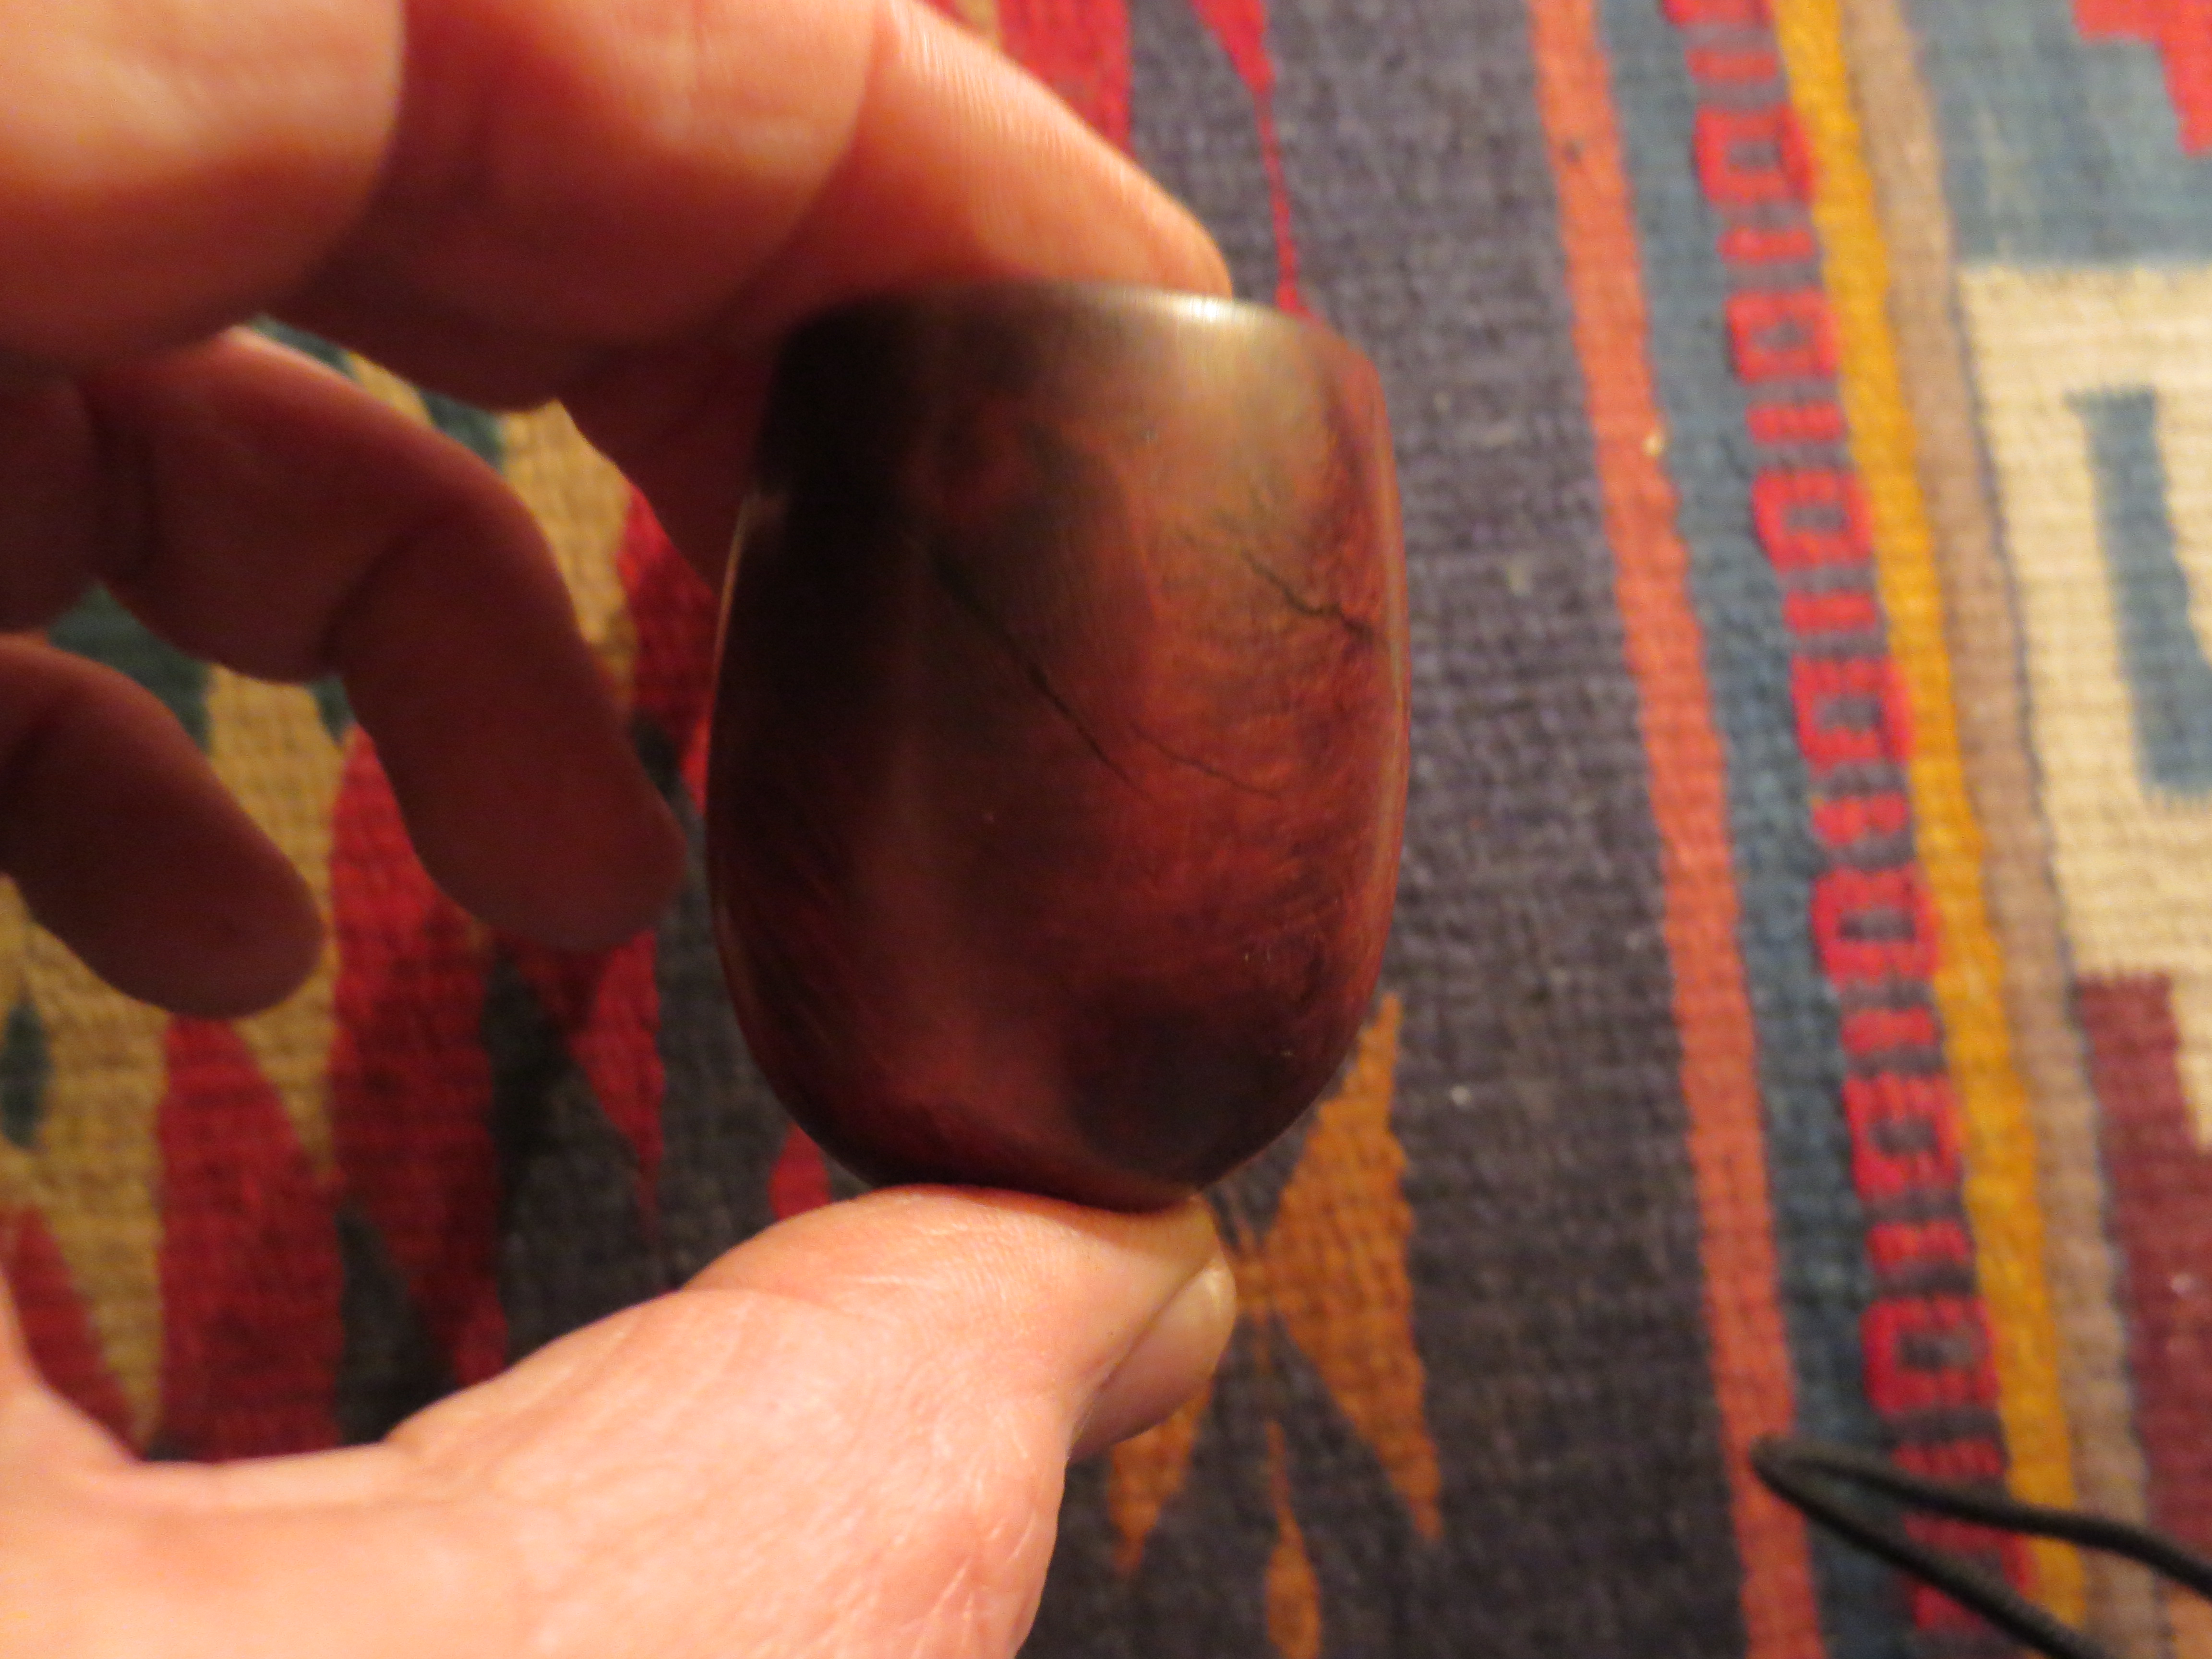
When I saw it I thought it was a Sasieni one dot billiard


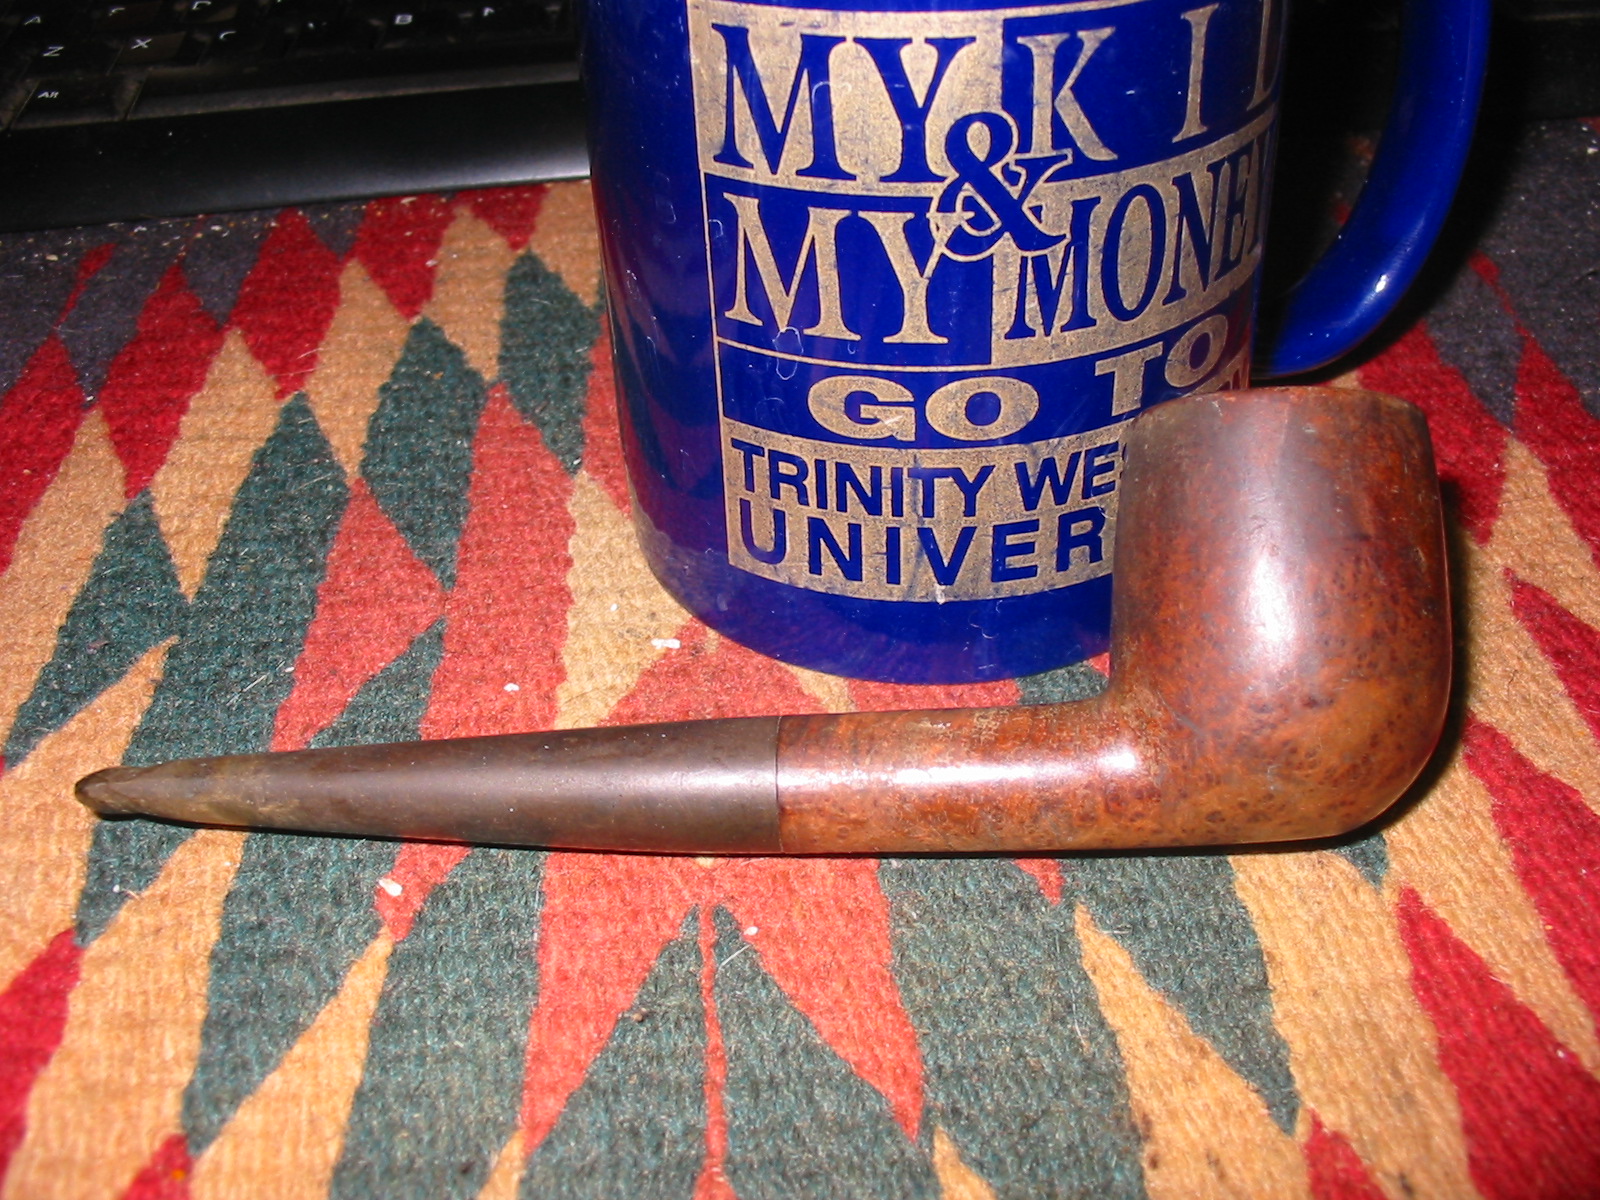
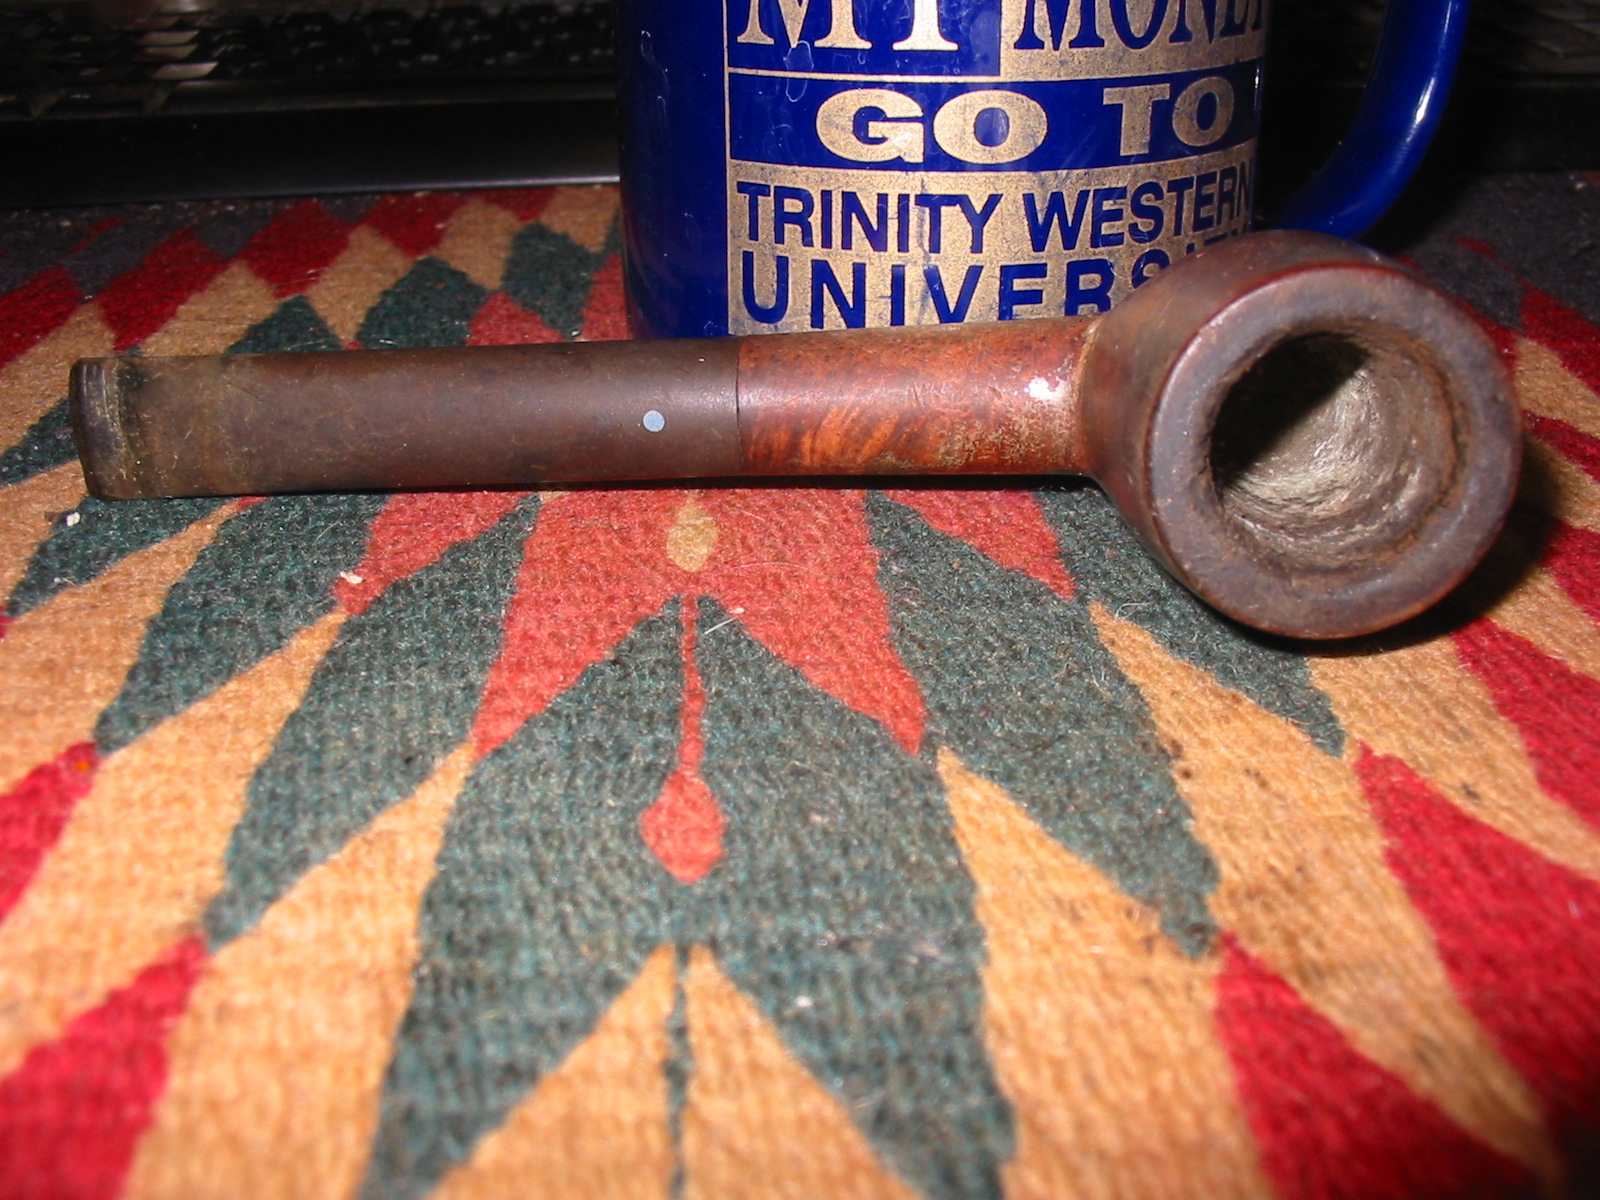
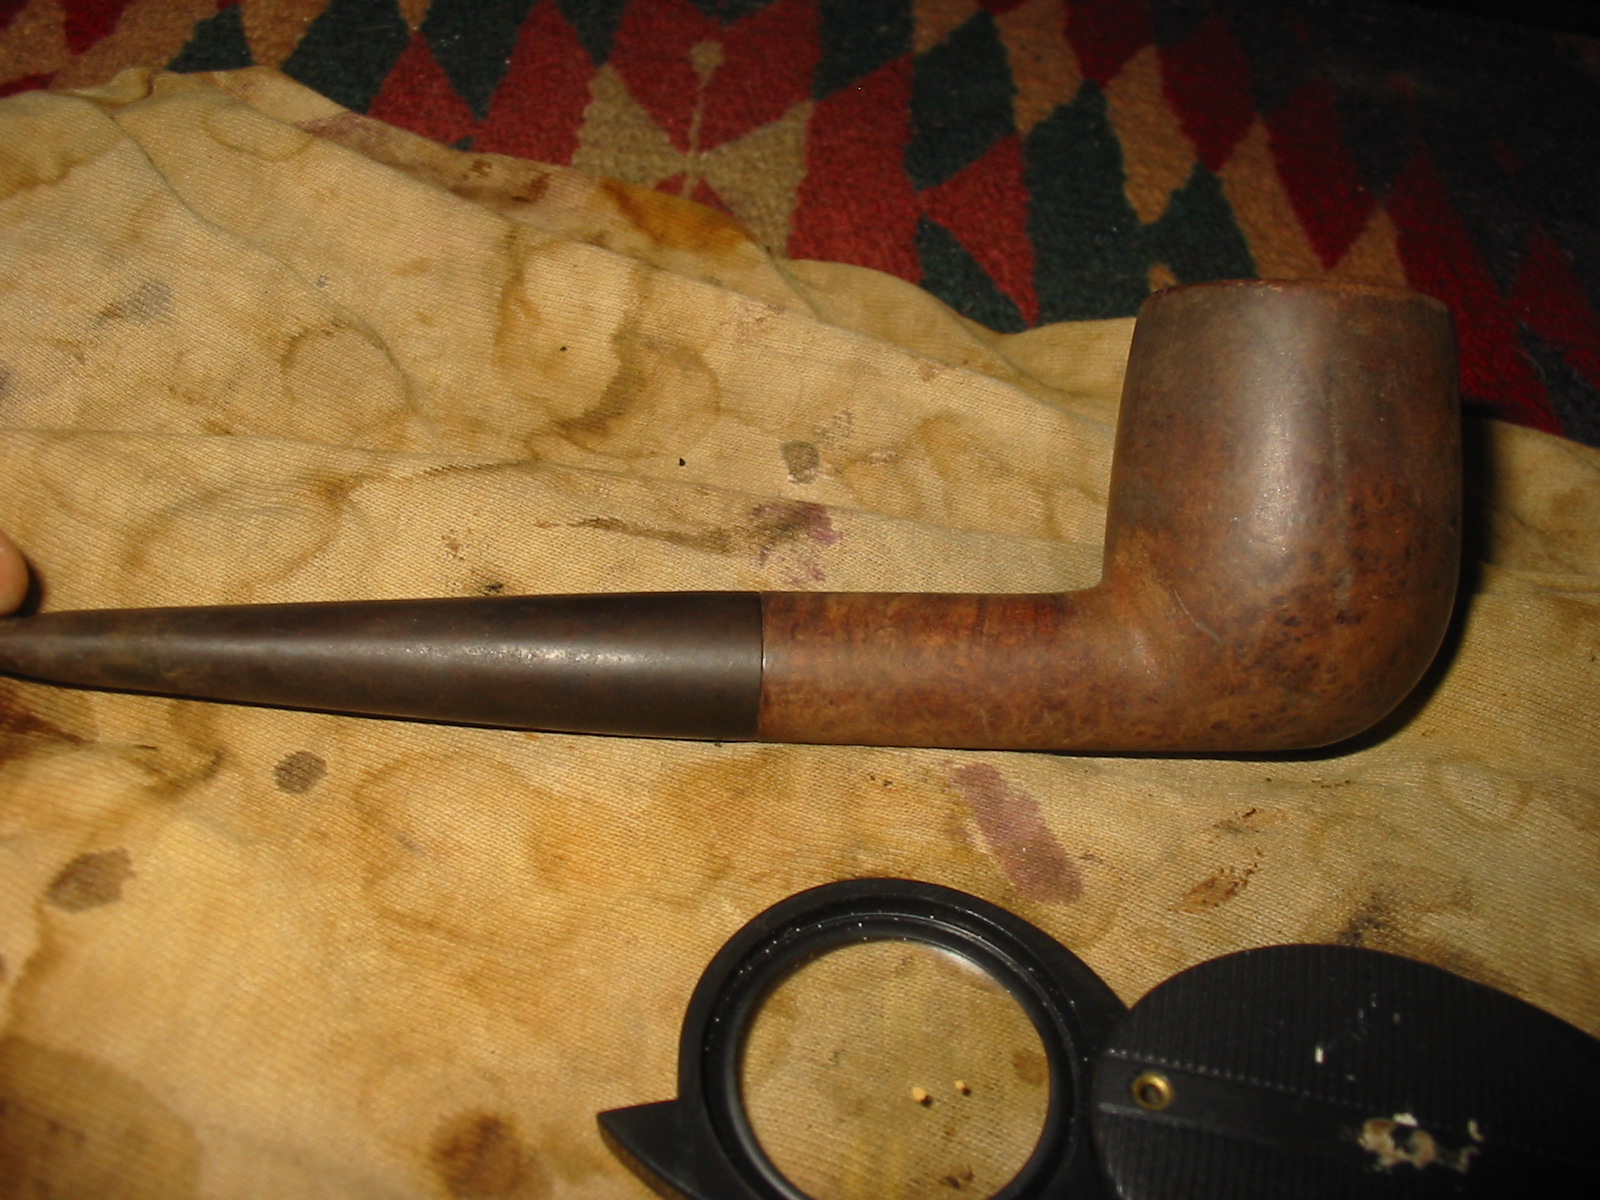
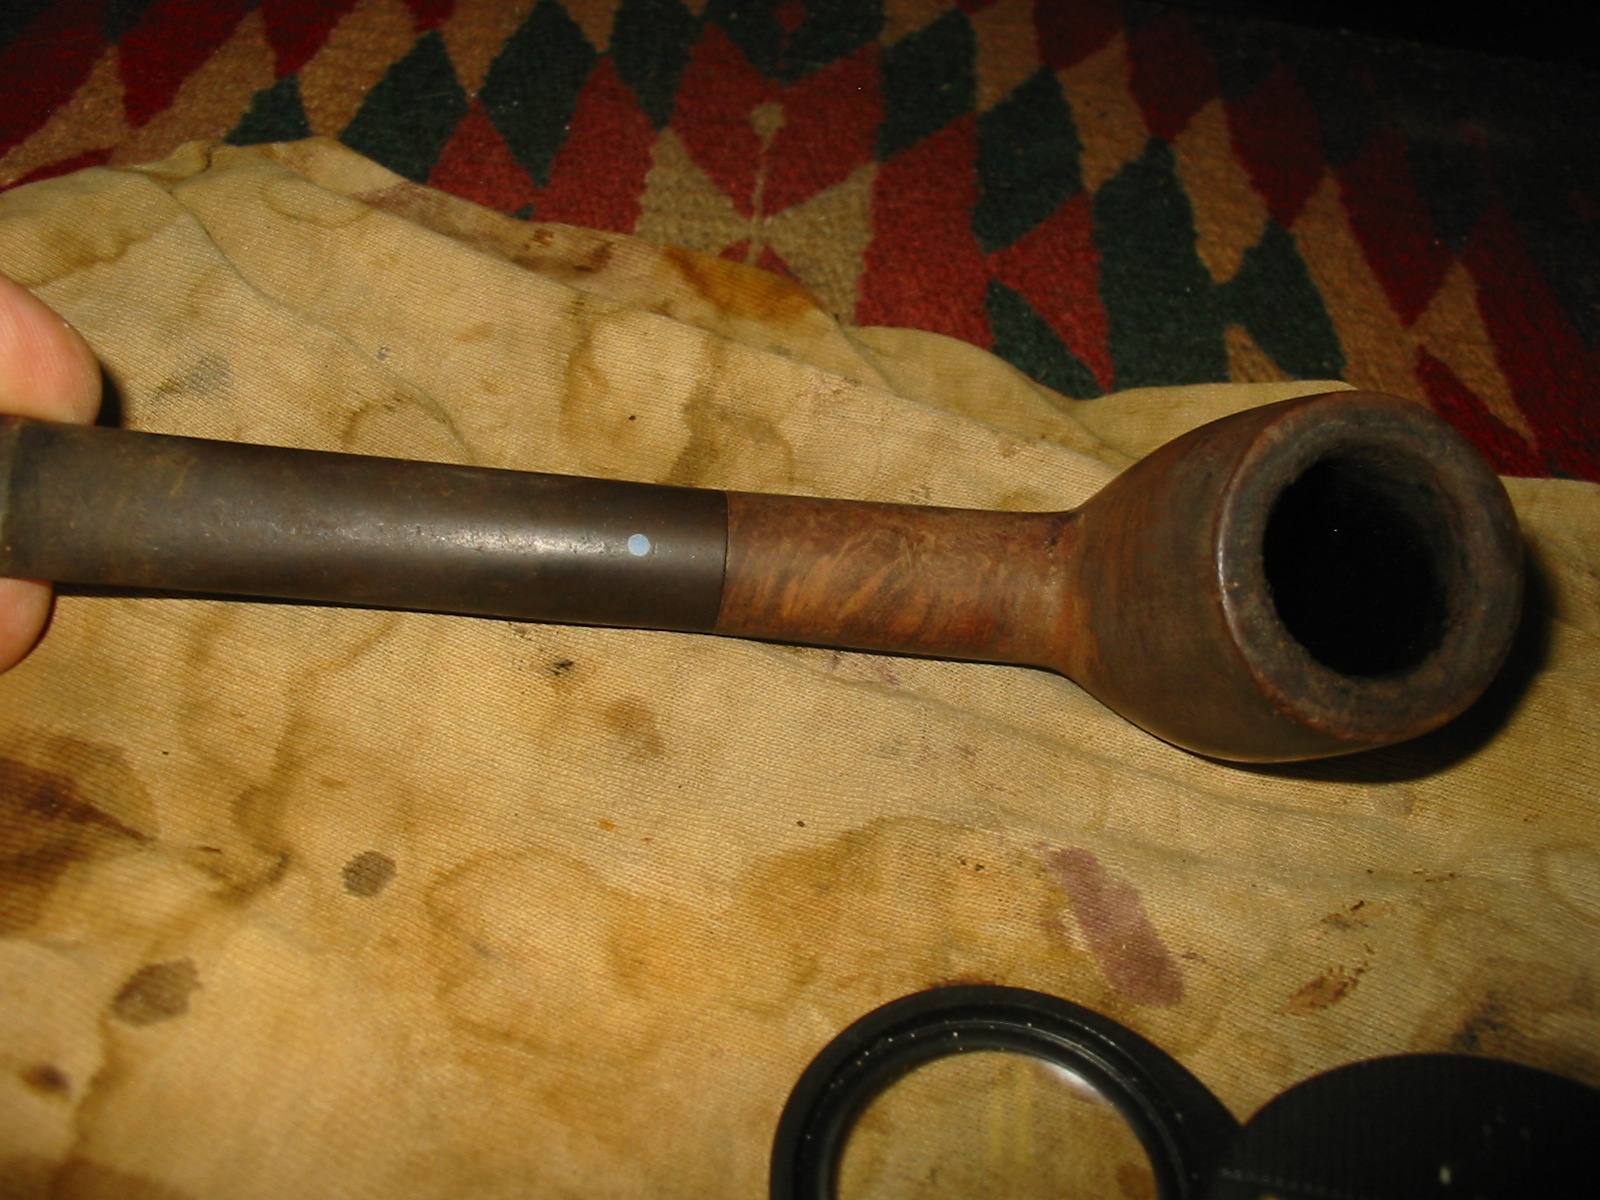
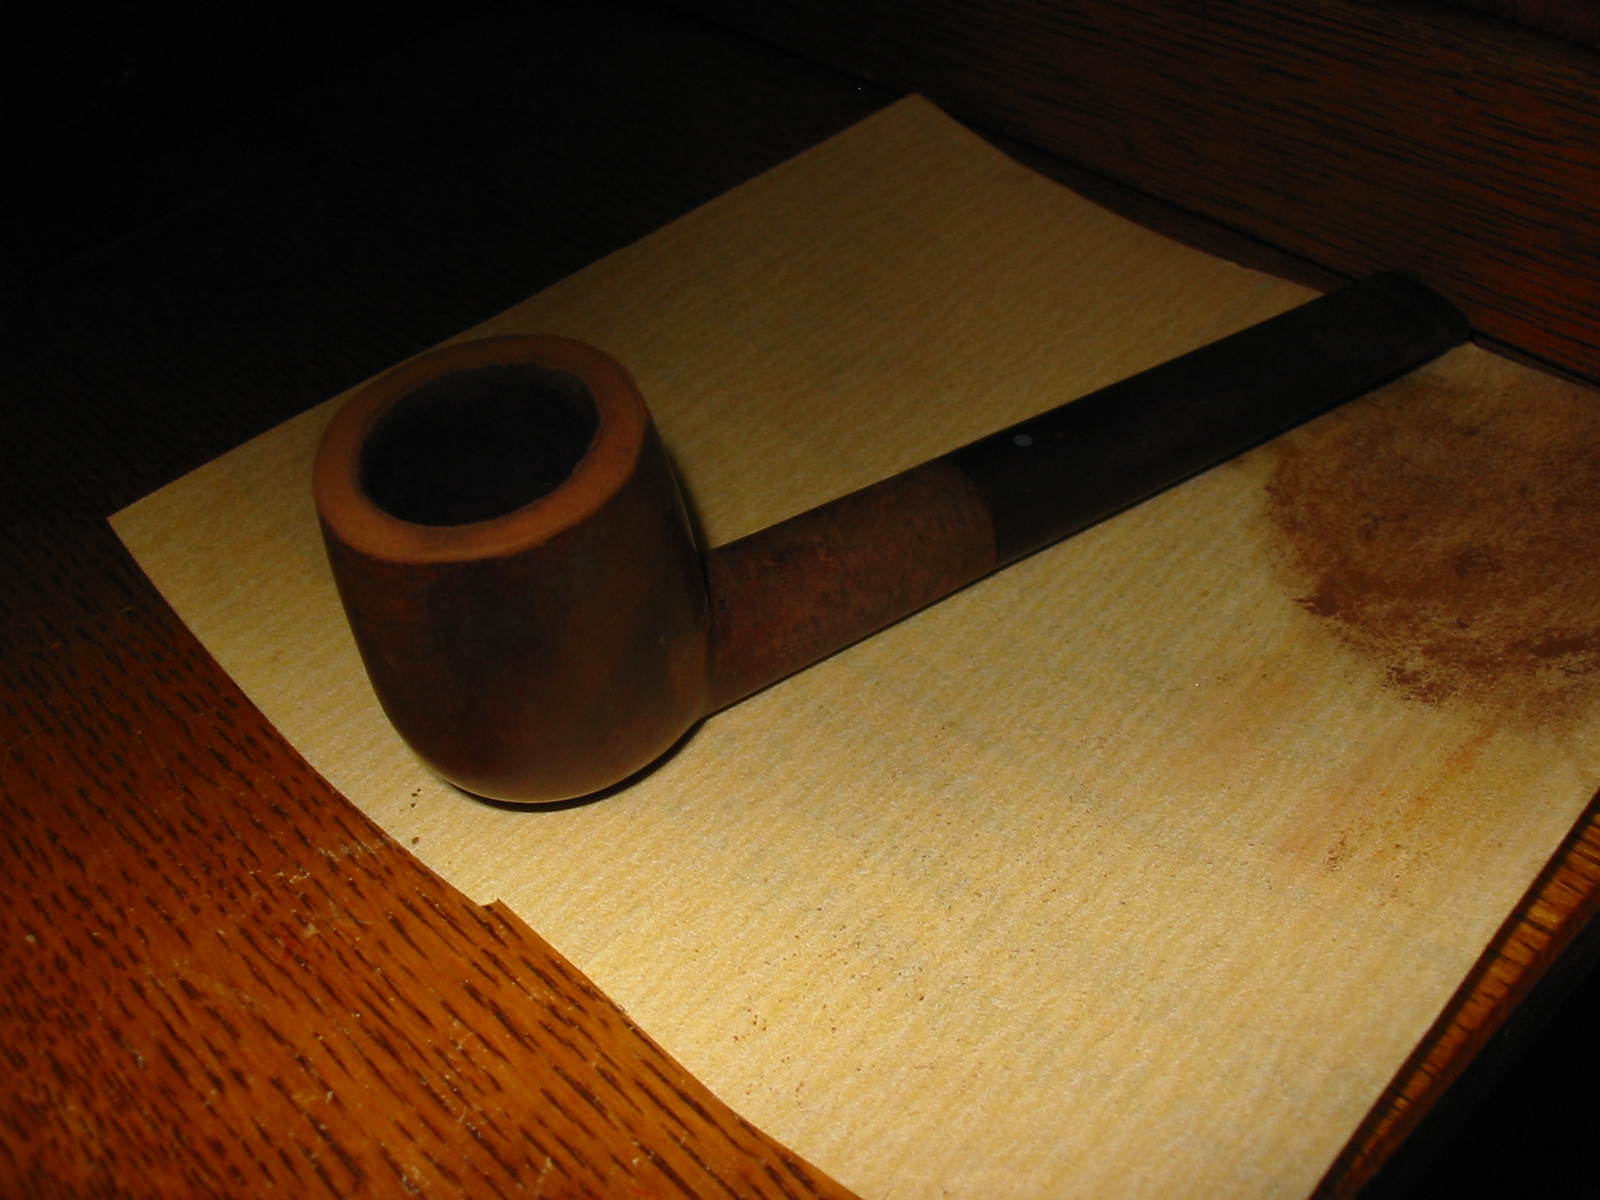
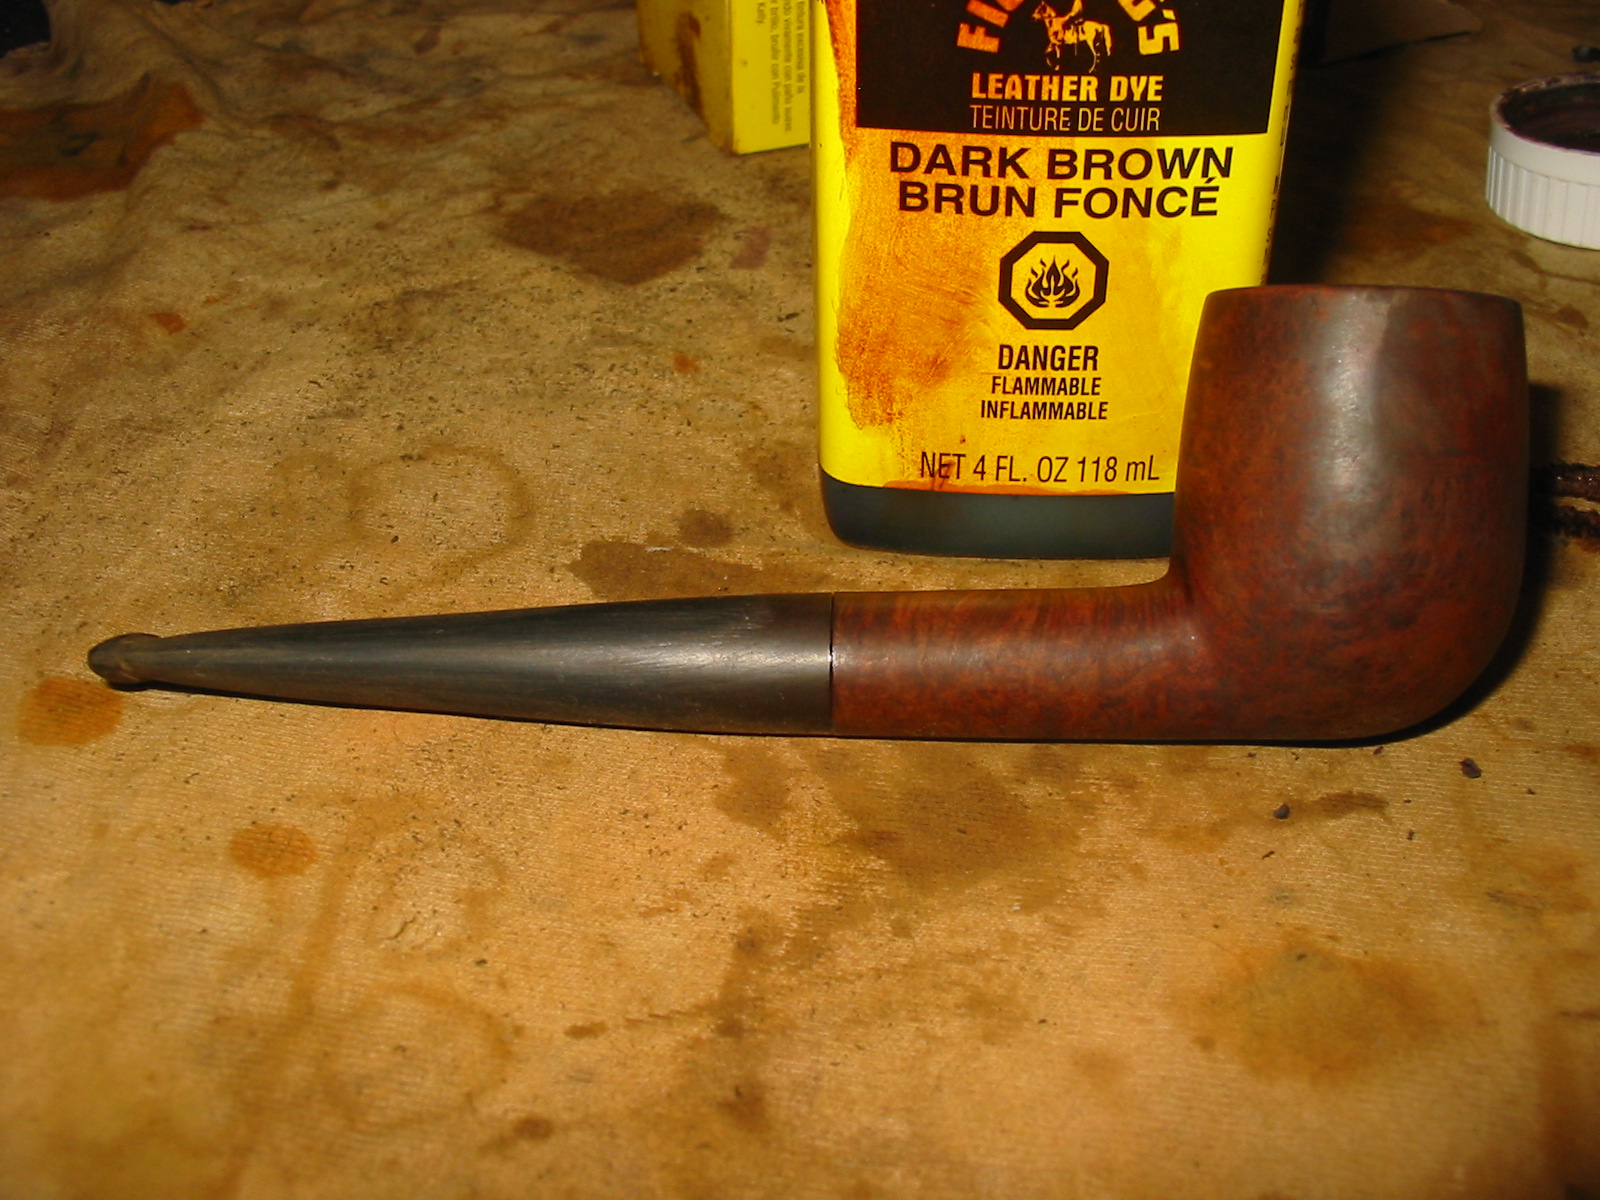
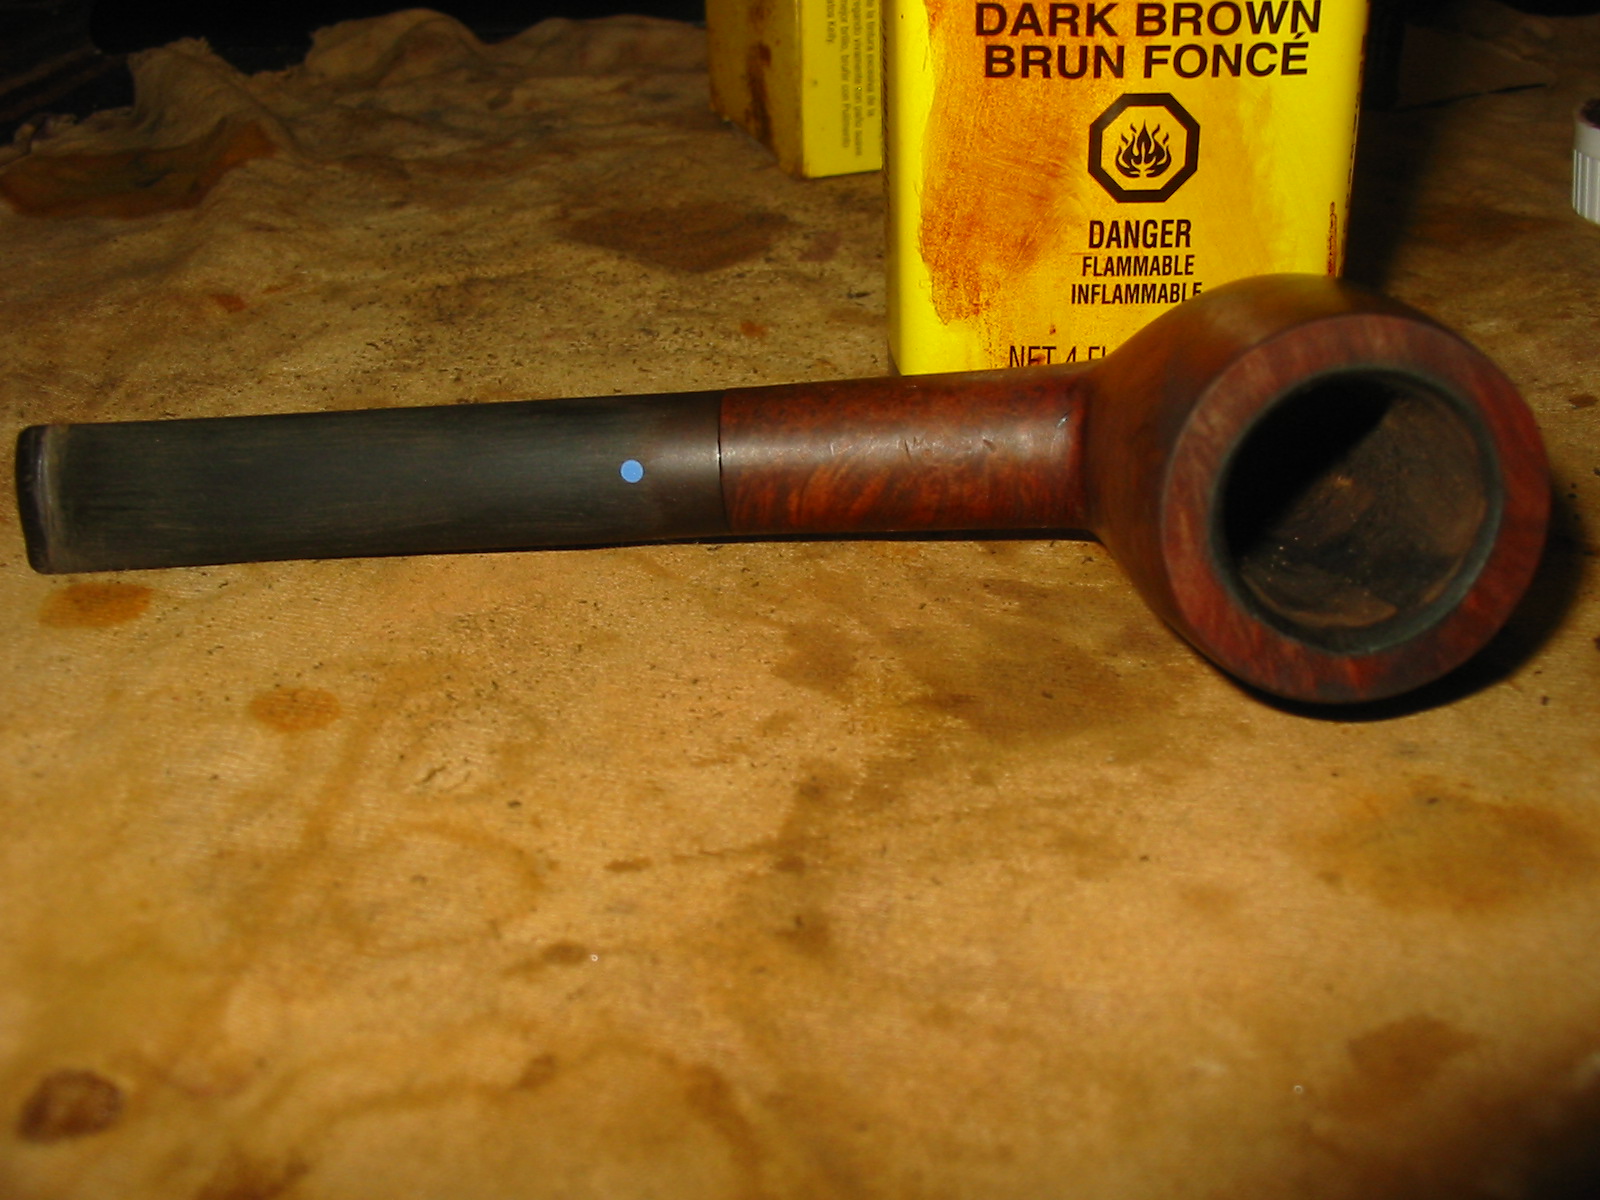
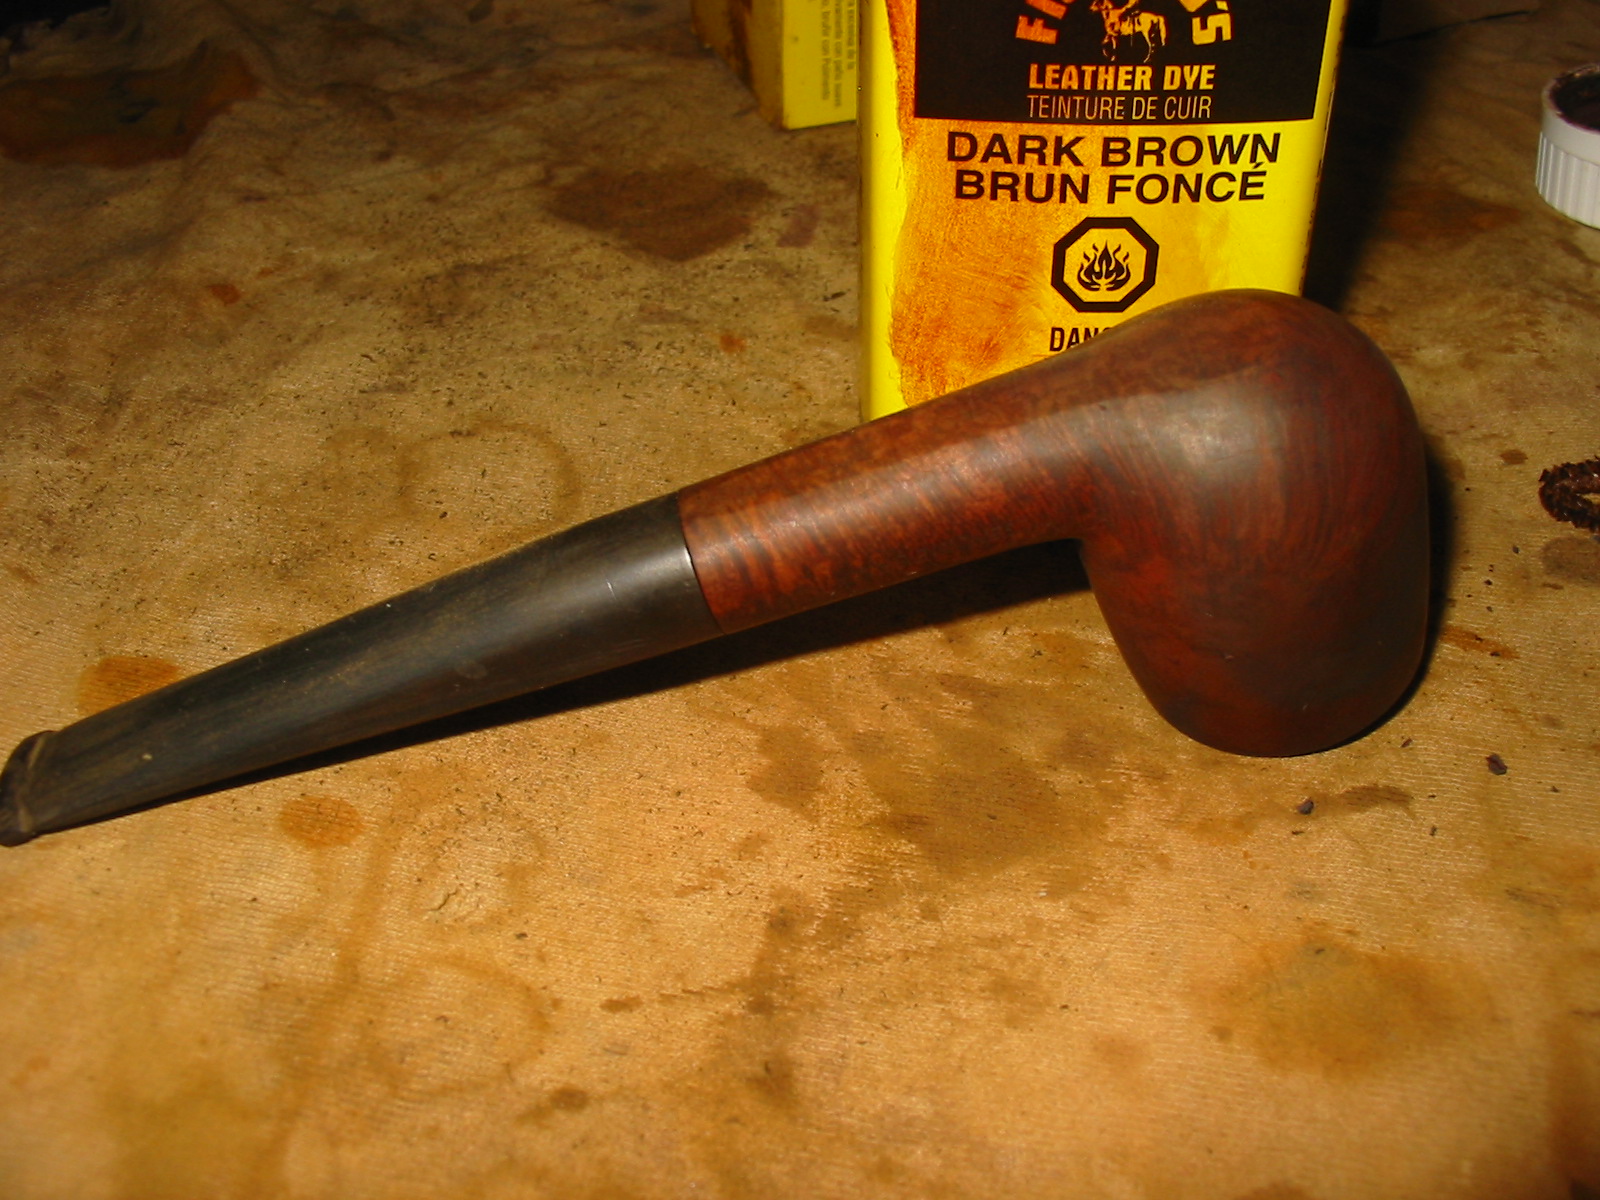
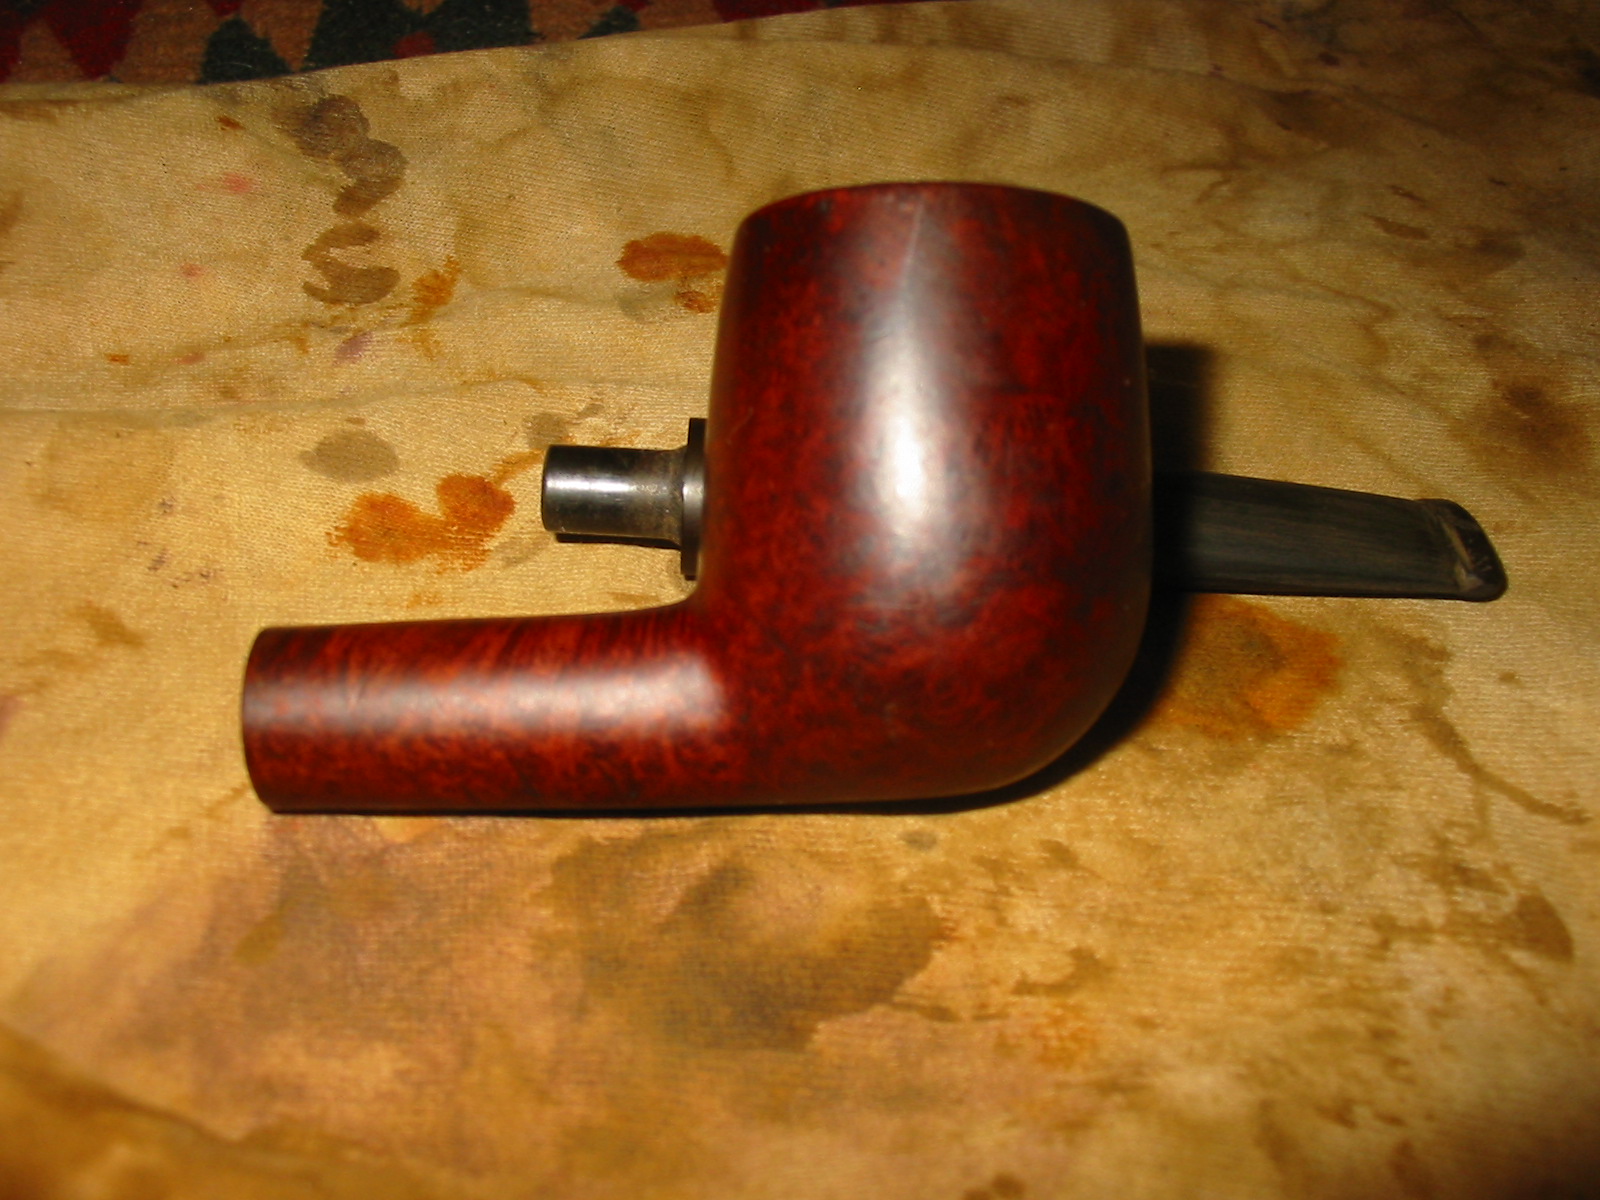
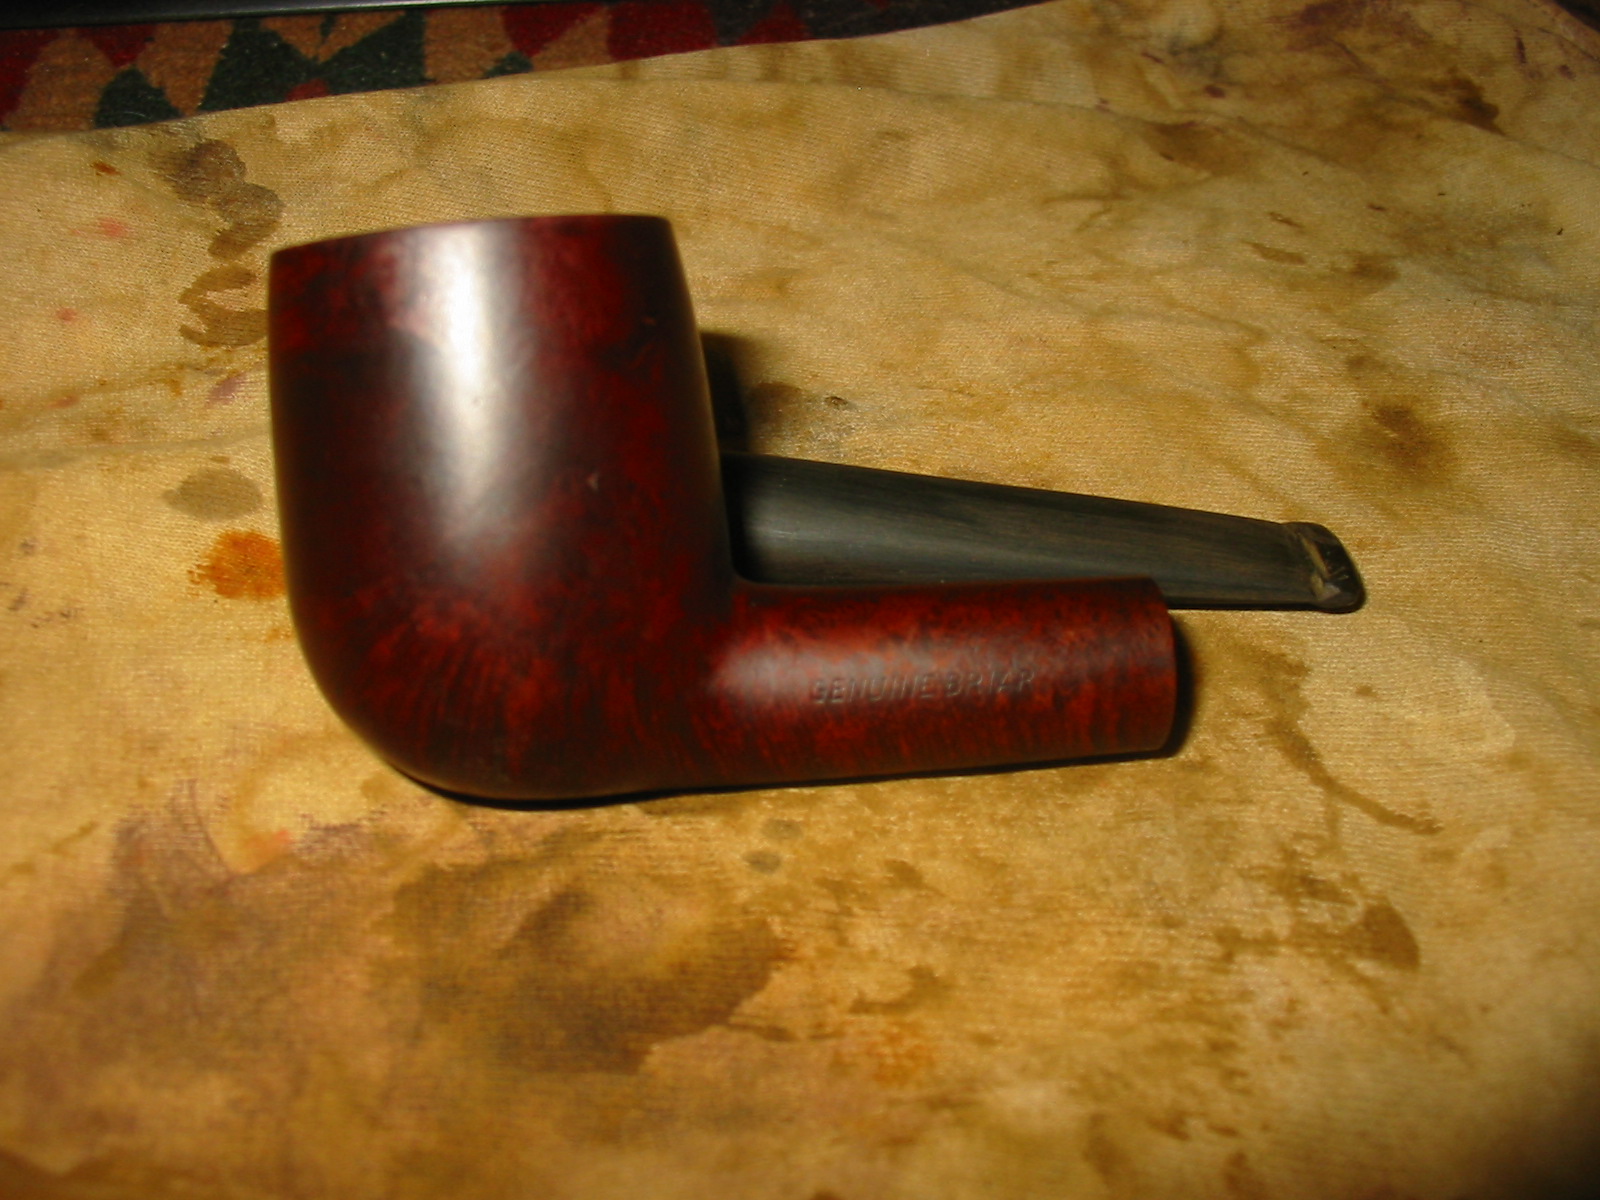
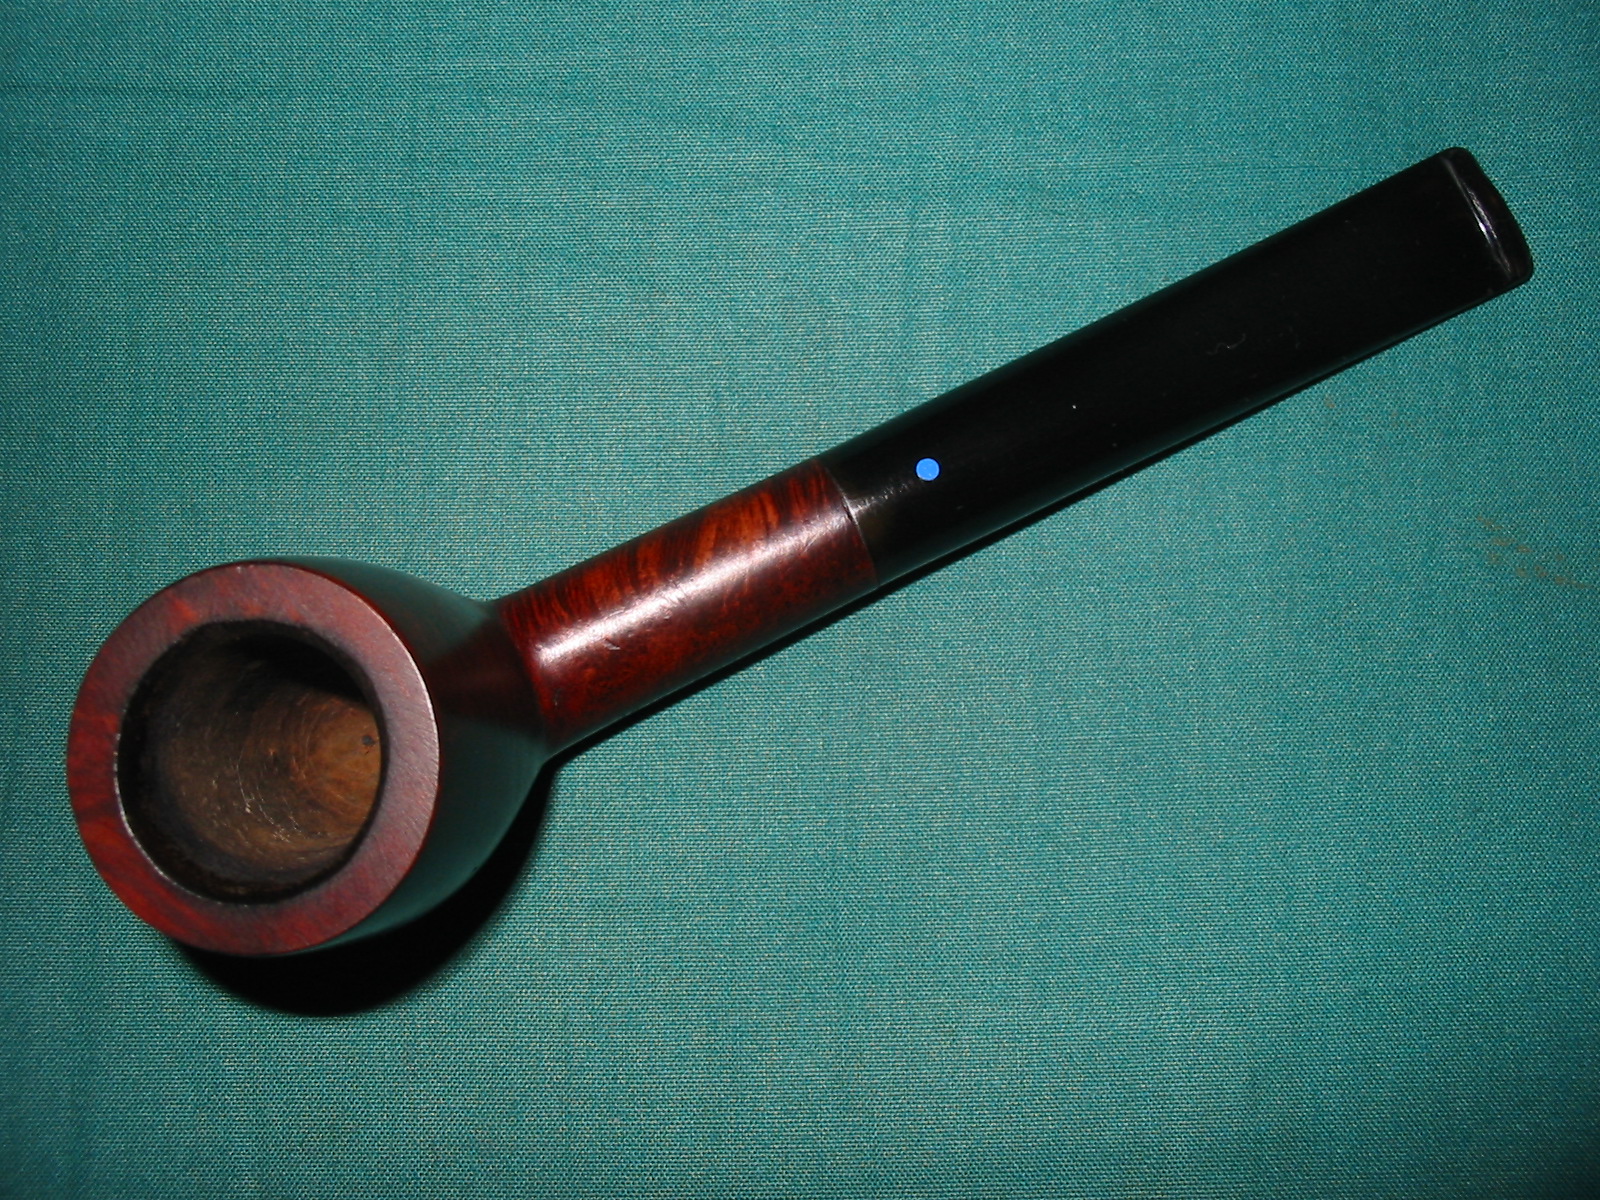
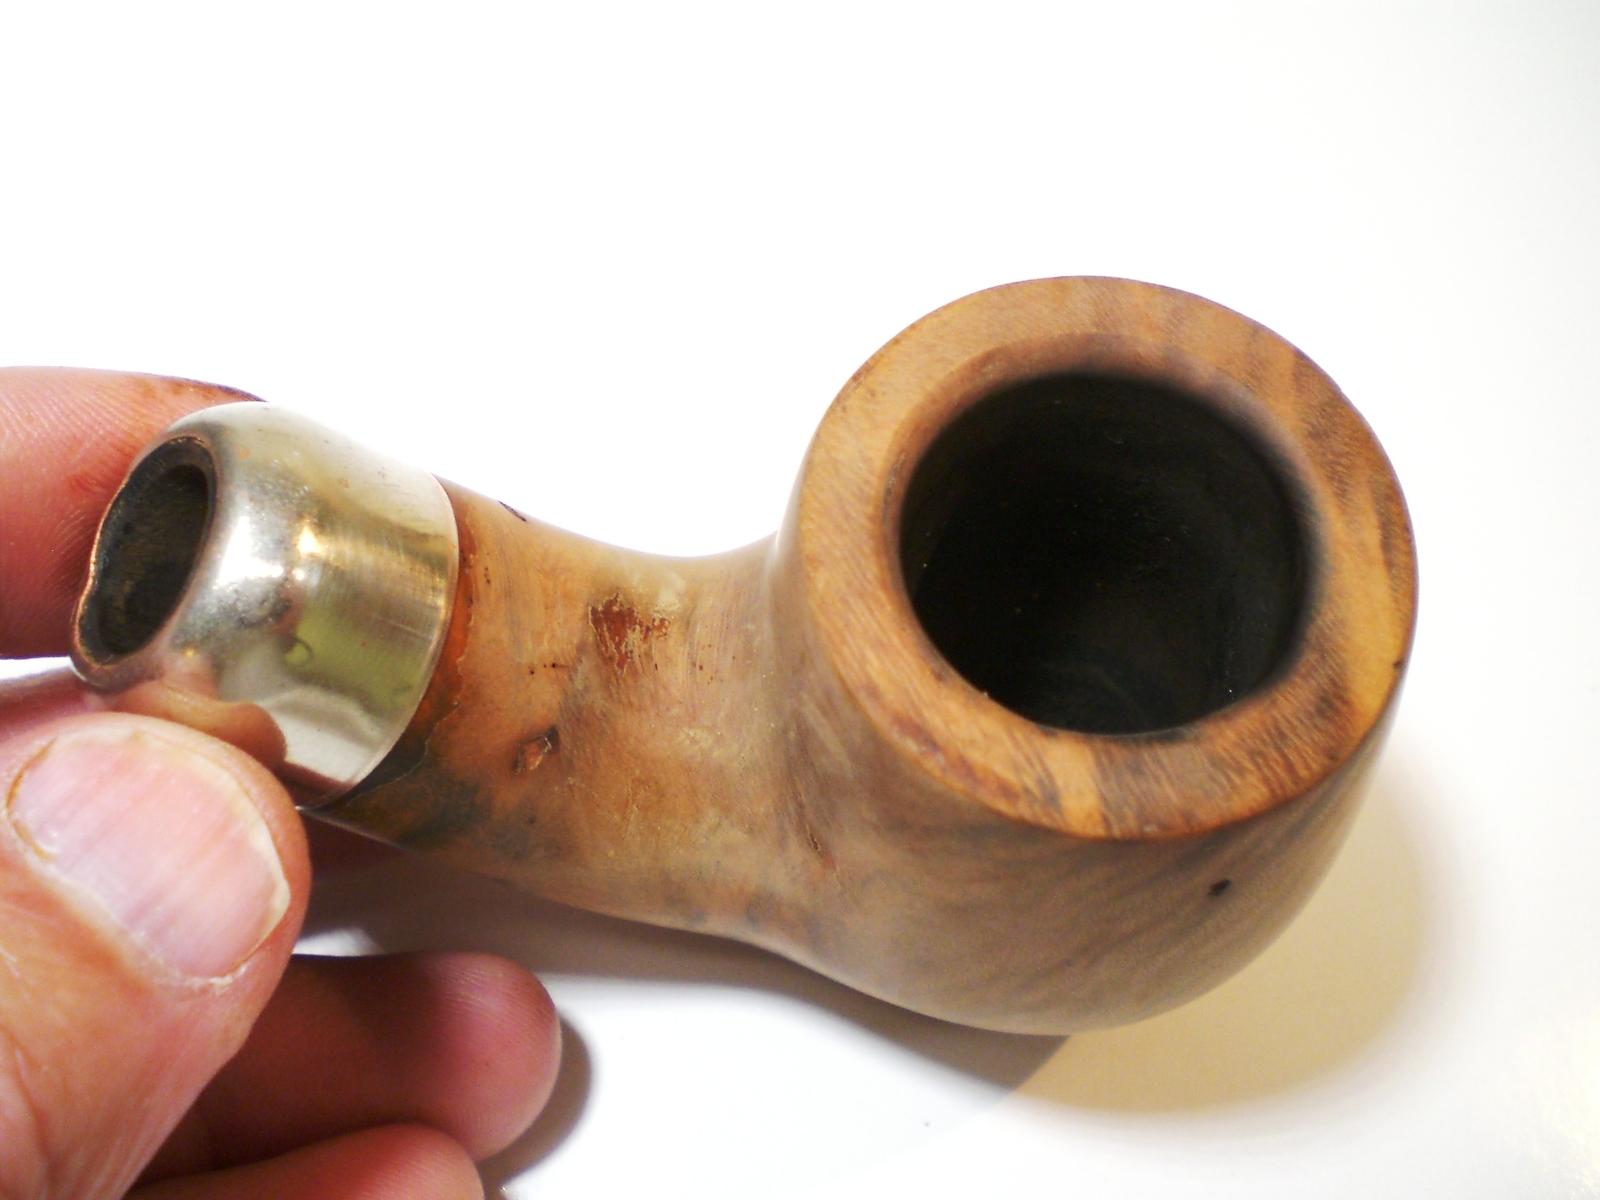
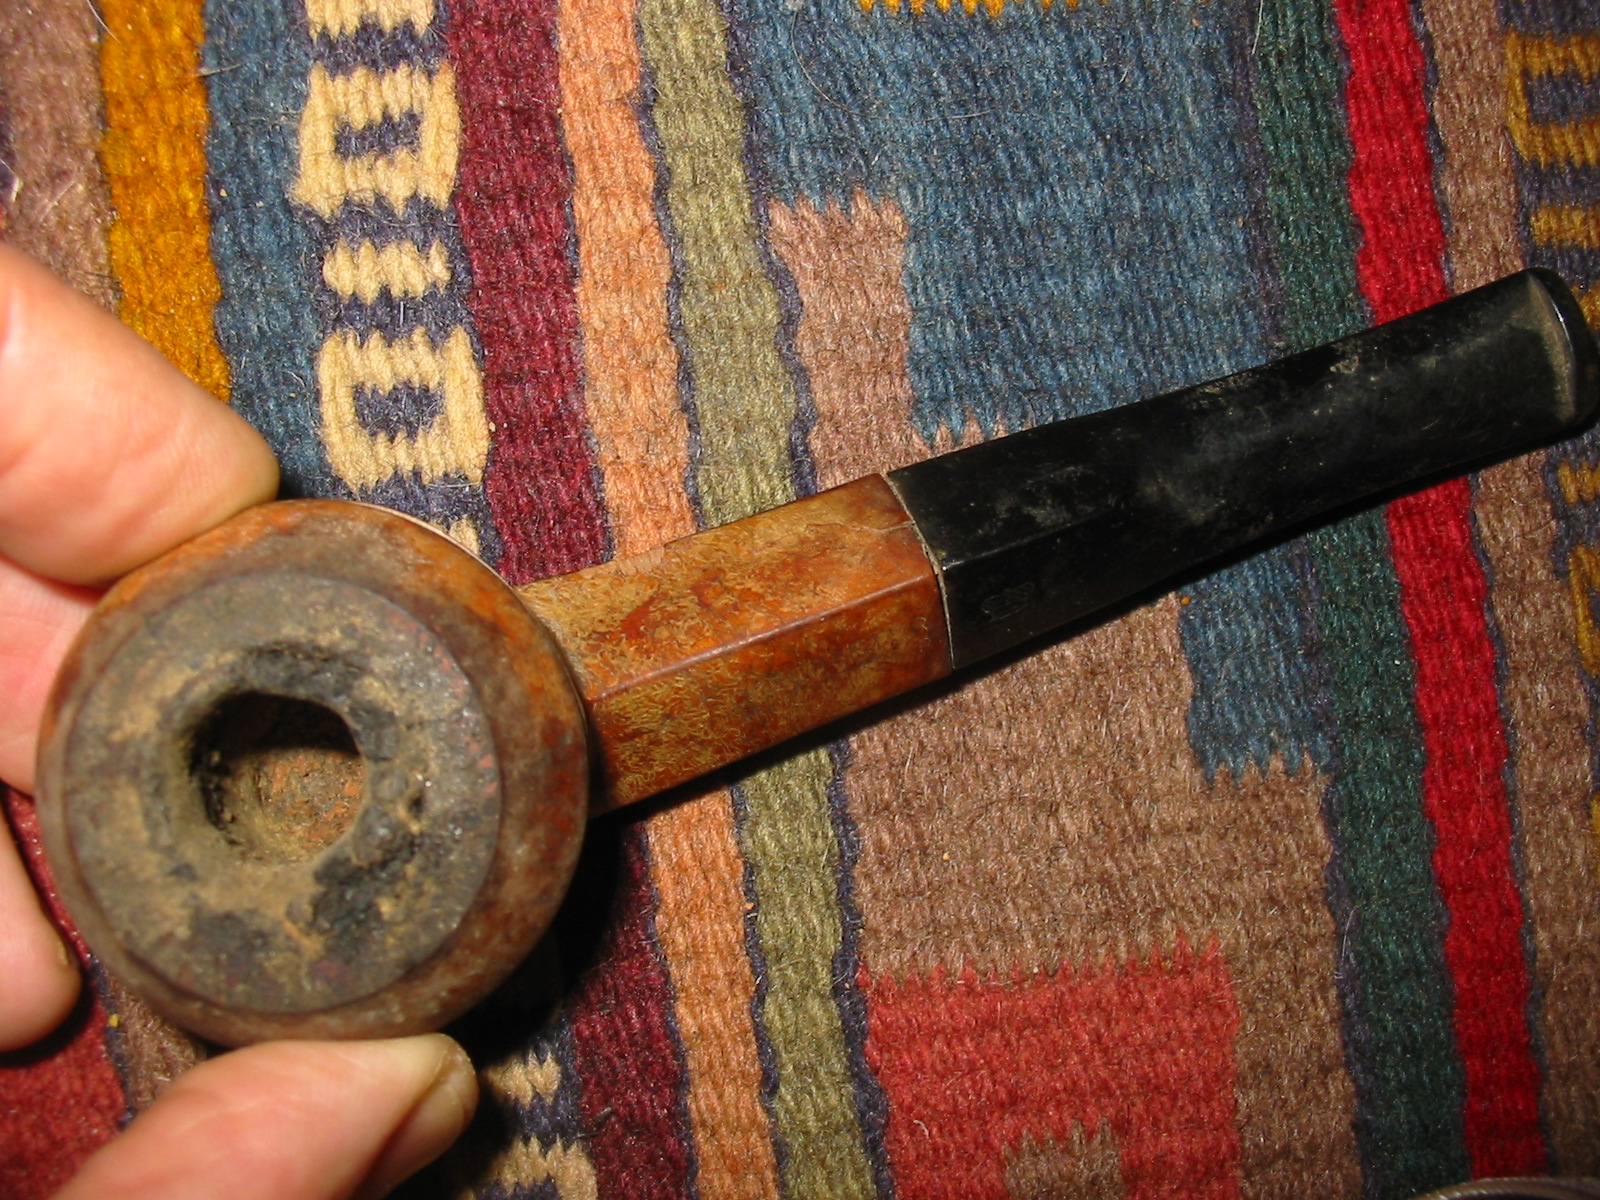
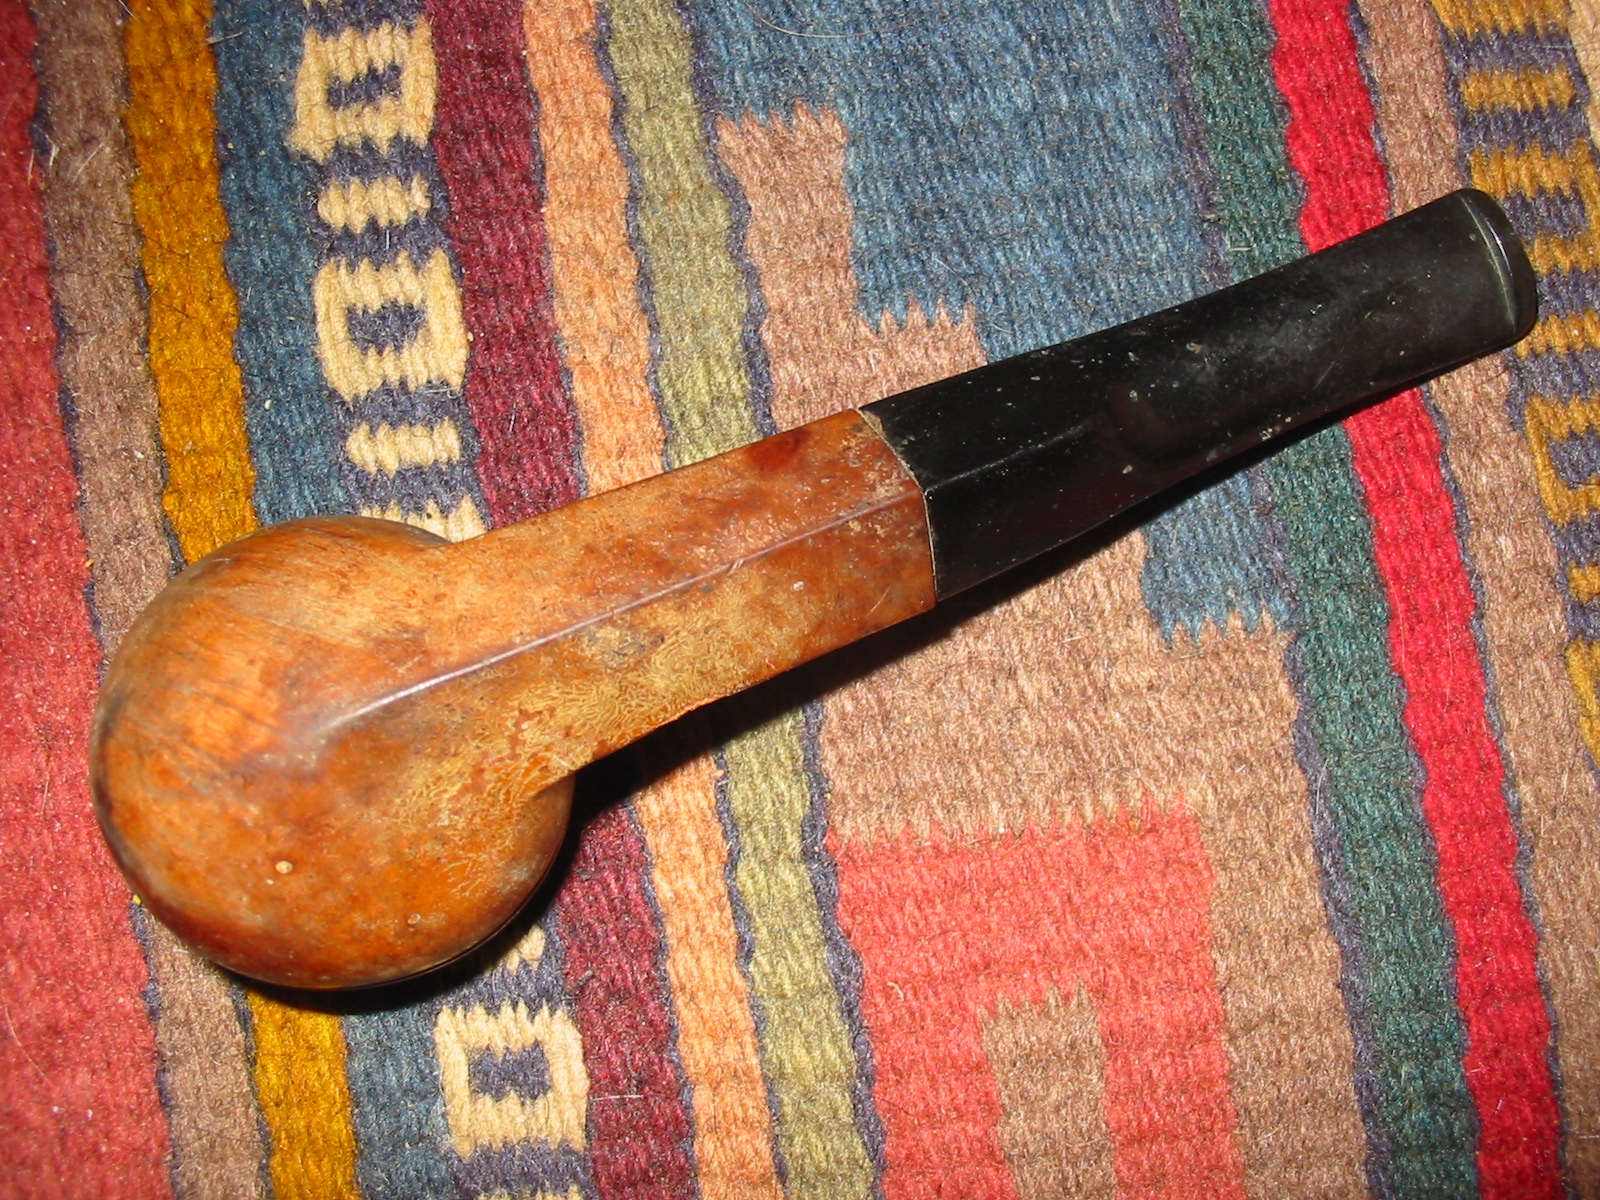
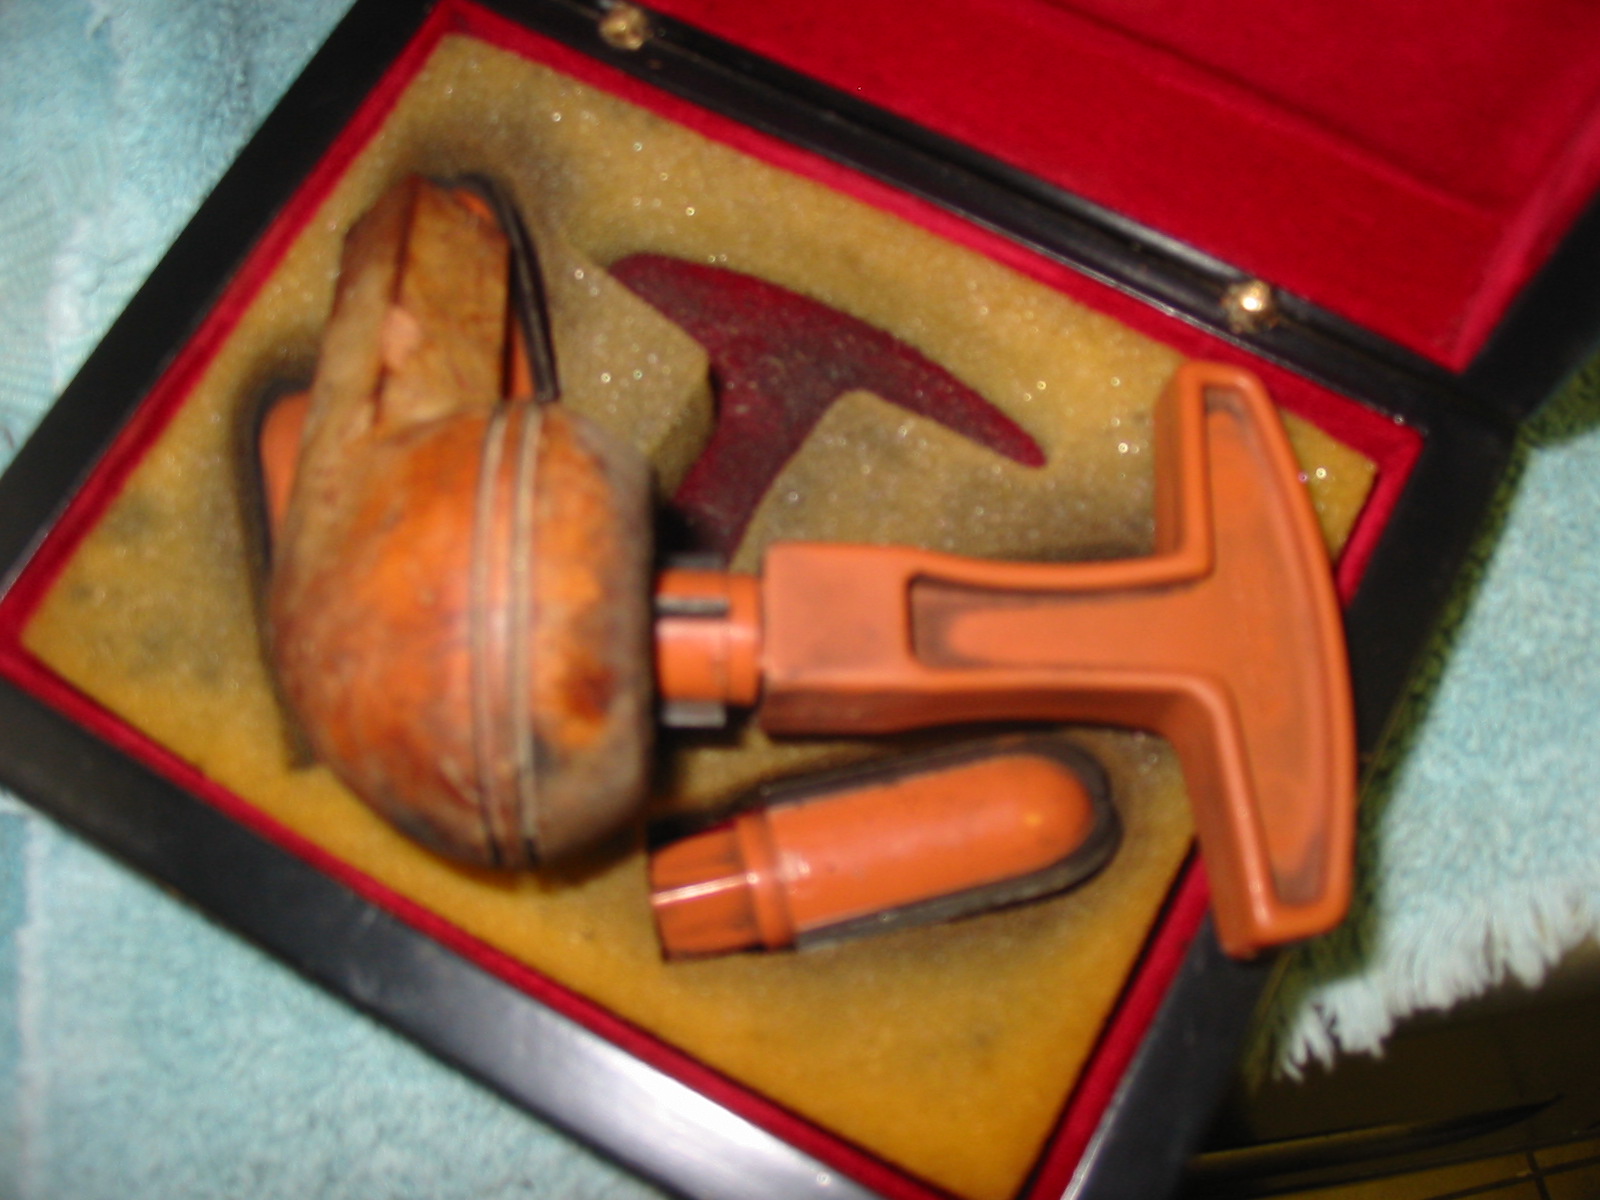
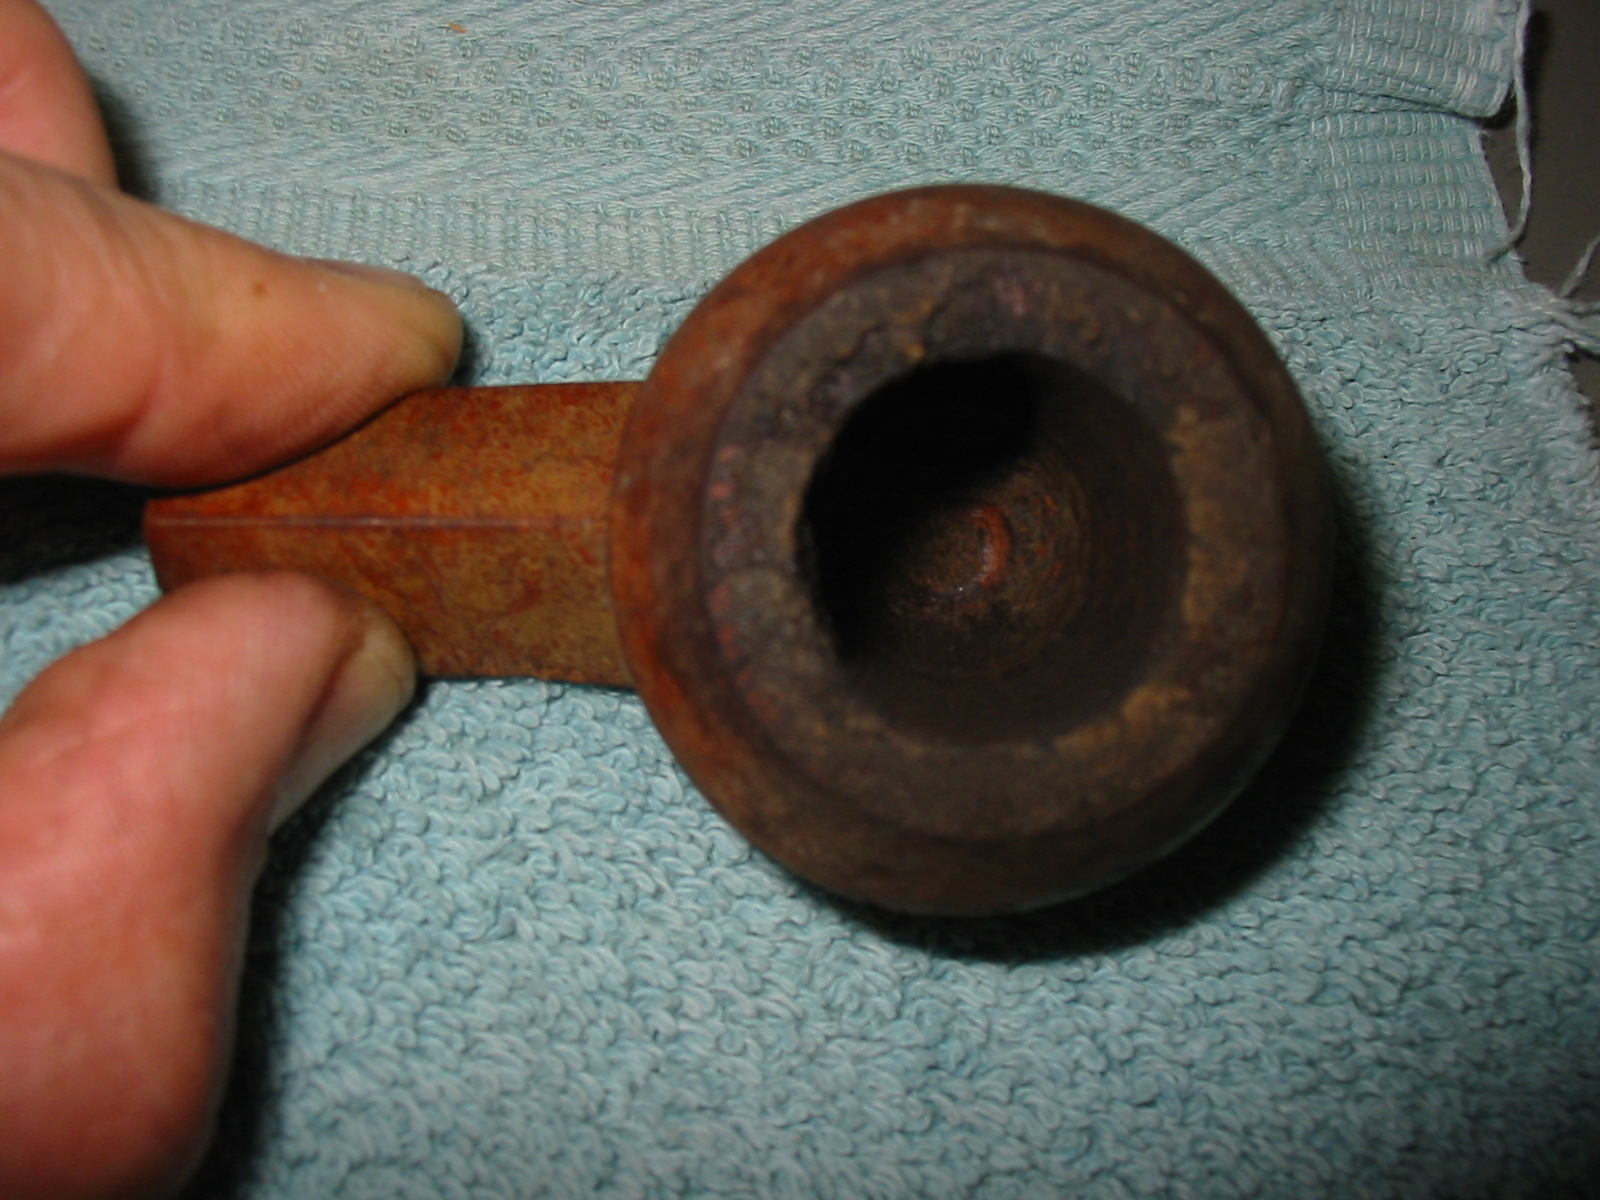
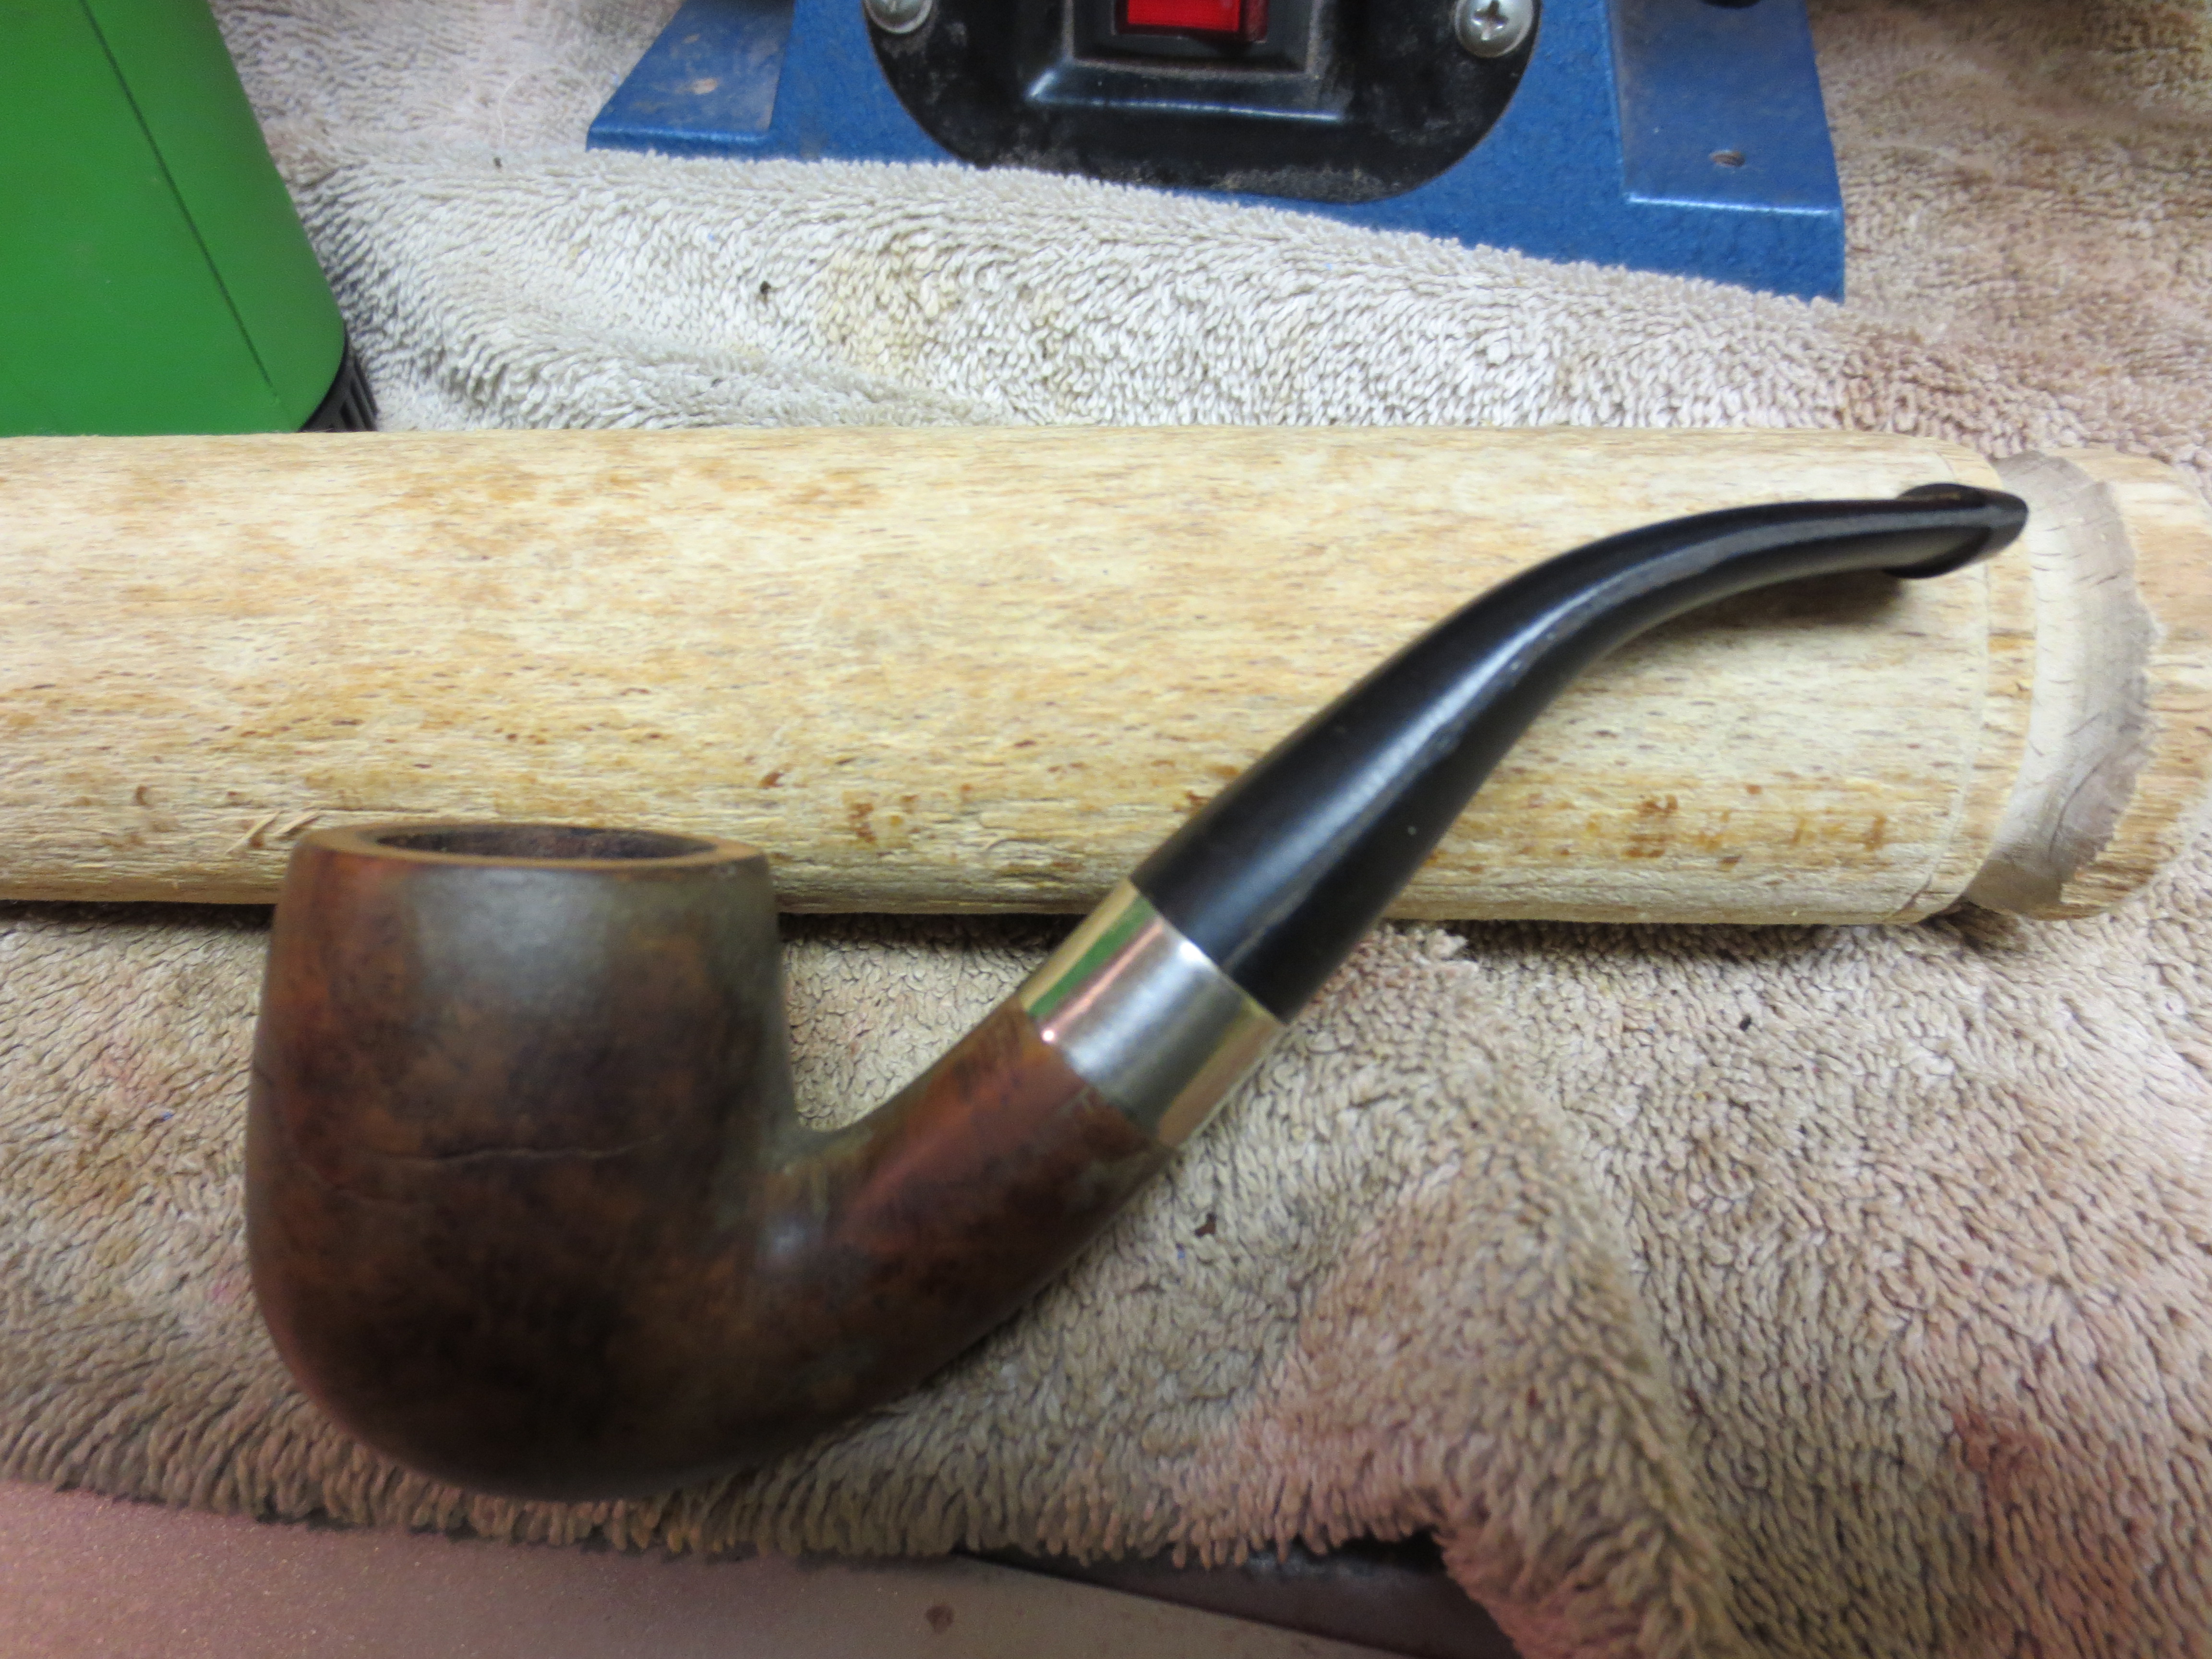
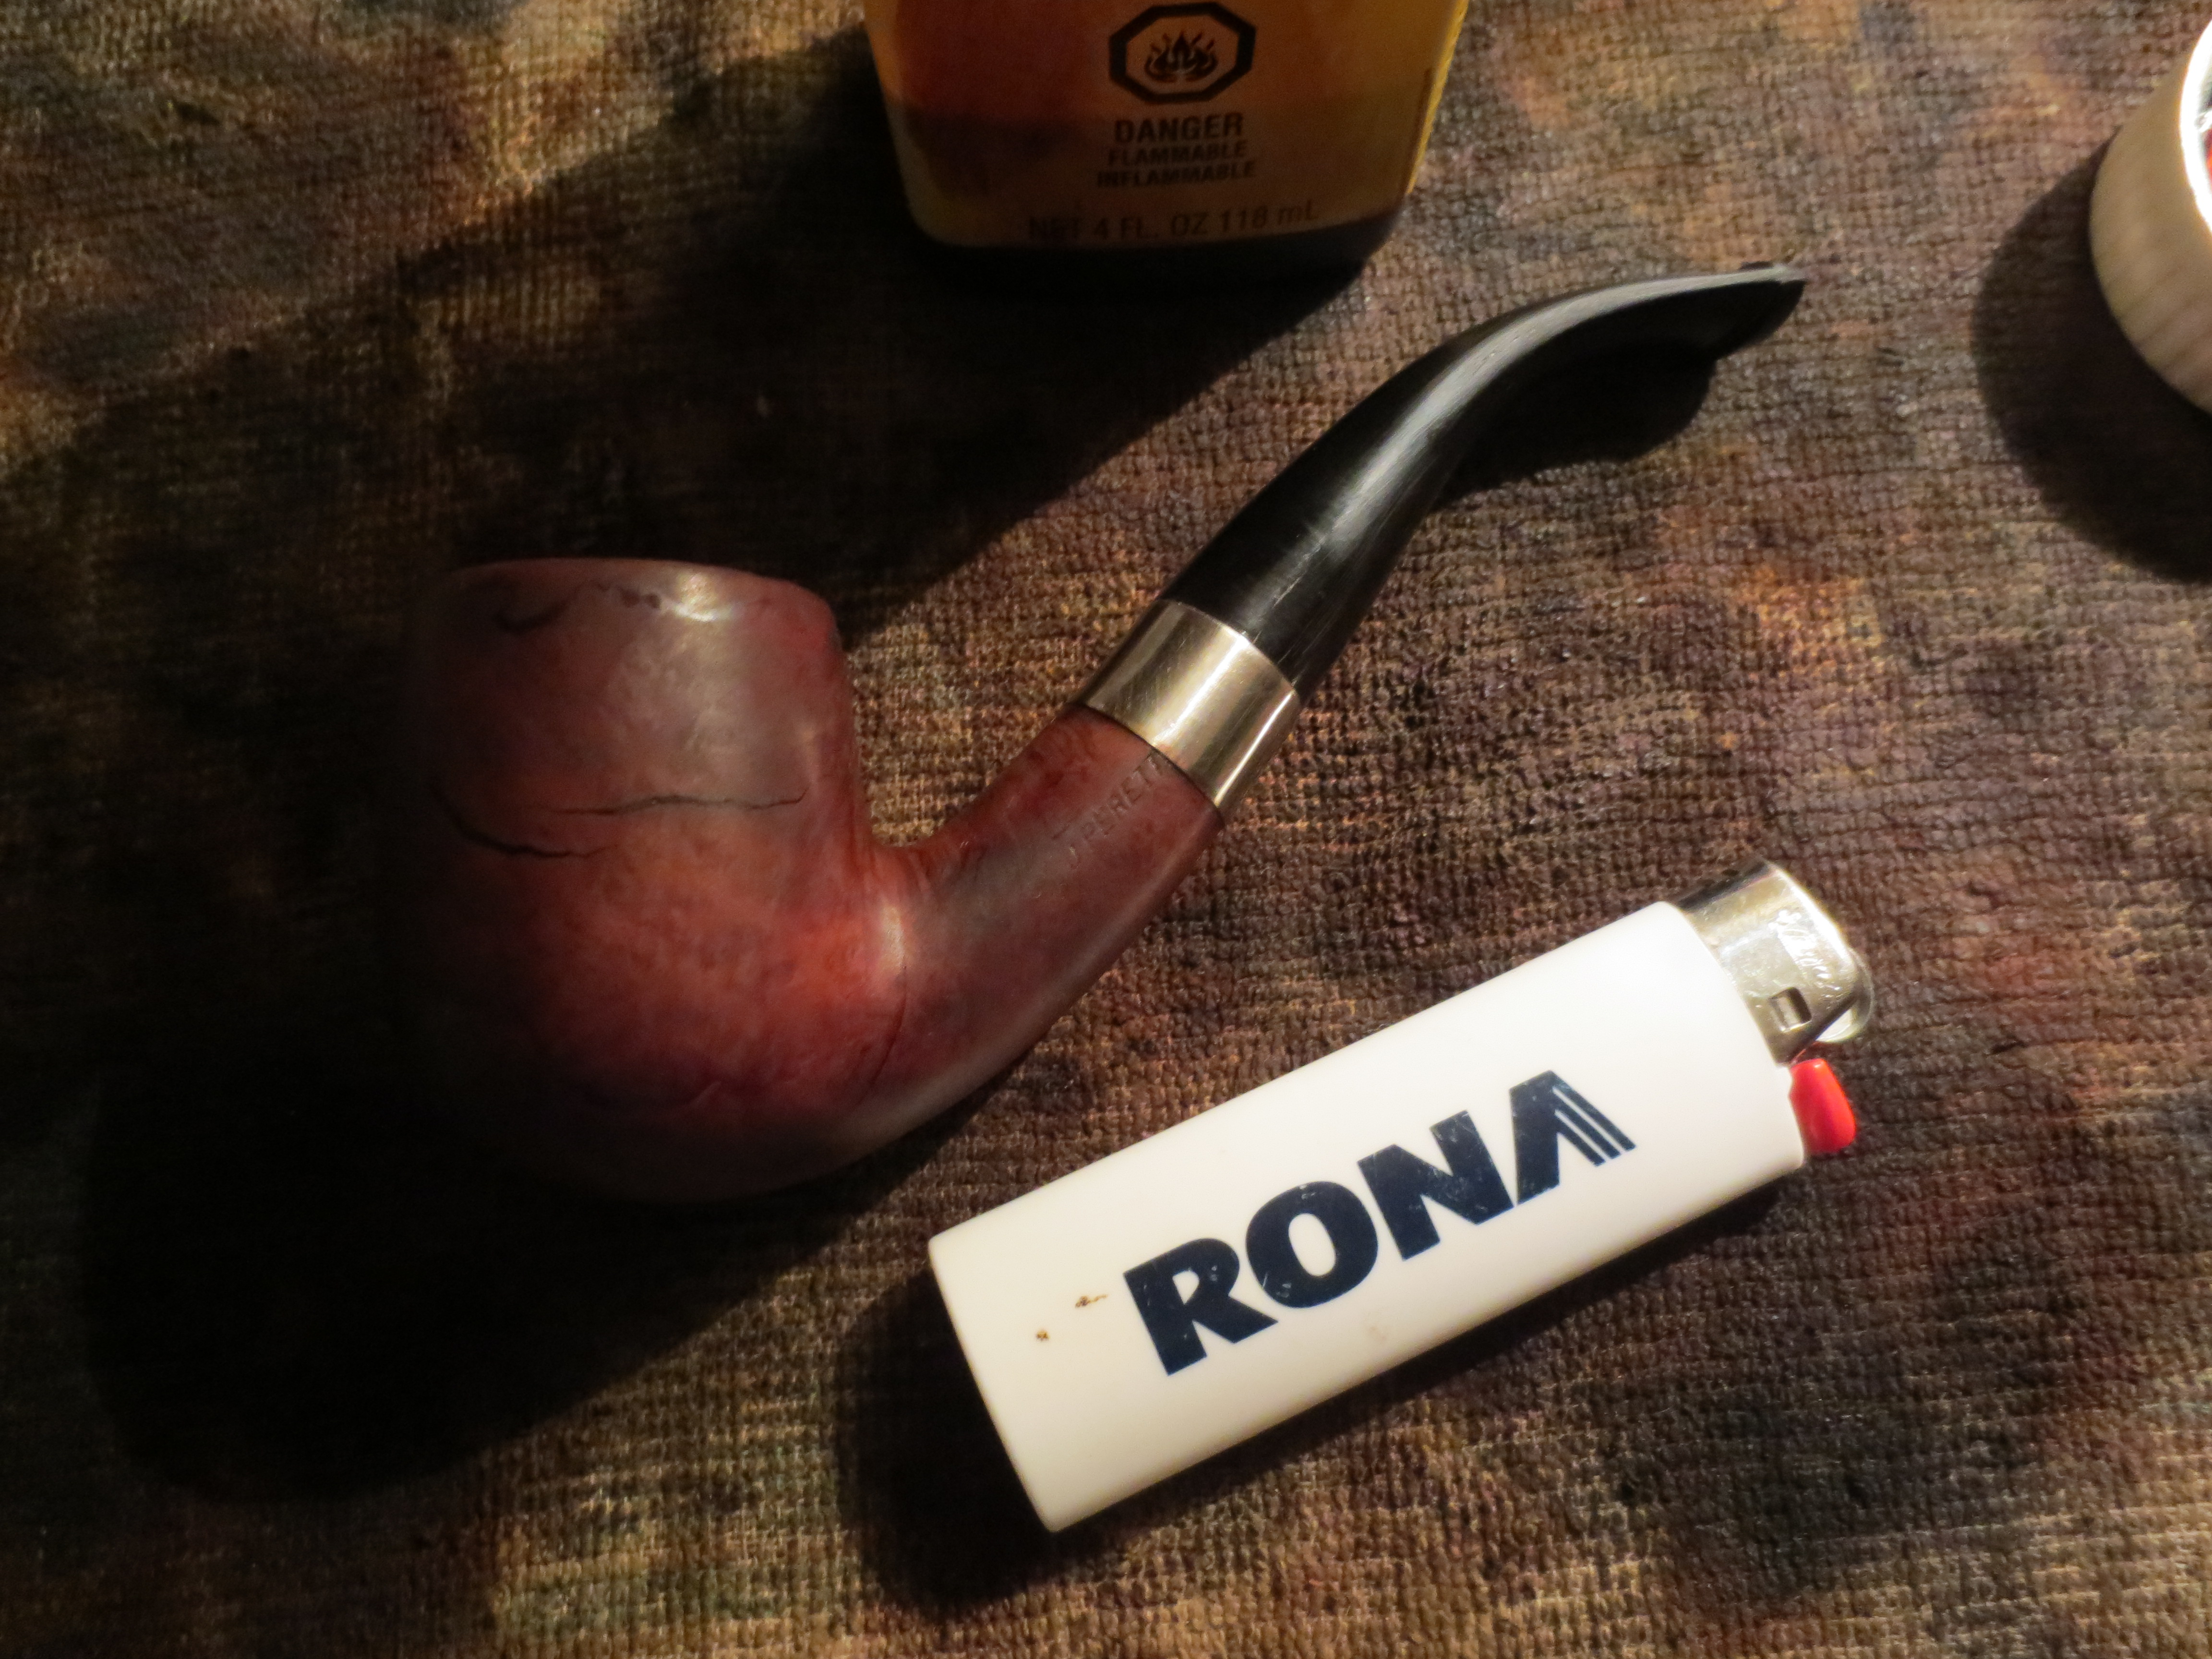
I came across this little billiard in an antique shop last weekend and when I saw the blue dot on the stem and saw the classic English shape of the bowl I truly thought I had found an elusive Sasieni one dot pipe. Lots of things about it seemed to signal that is what I had. The stamping was hard to see under the grime but there were i’s and an e. I was hopeful and I guess also wishful in my thinking. The pipe was dirty as can be seen below. The stem had obviously been damaged and cut off by the previous owner and a new button filed into the stem. The bowl was badly caked and the rim was damaged with dents and chips. I took the picture below while I was relaxing in a pub near the shop and looking over the finds of the afternoon.
IMG_0489

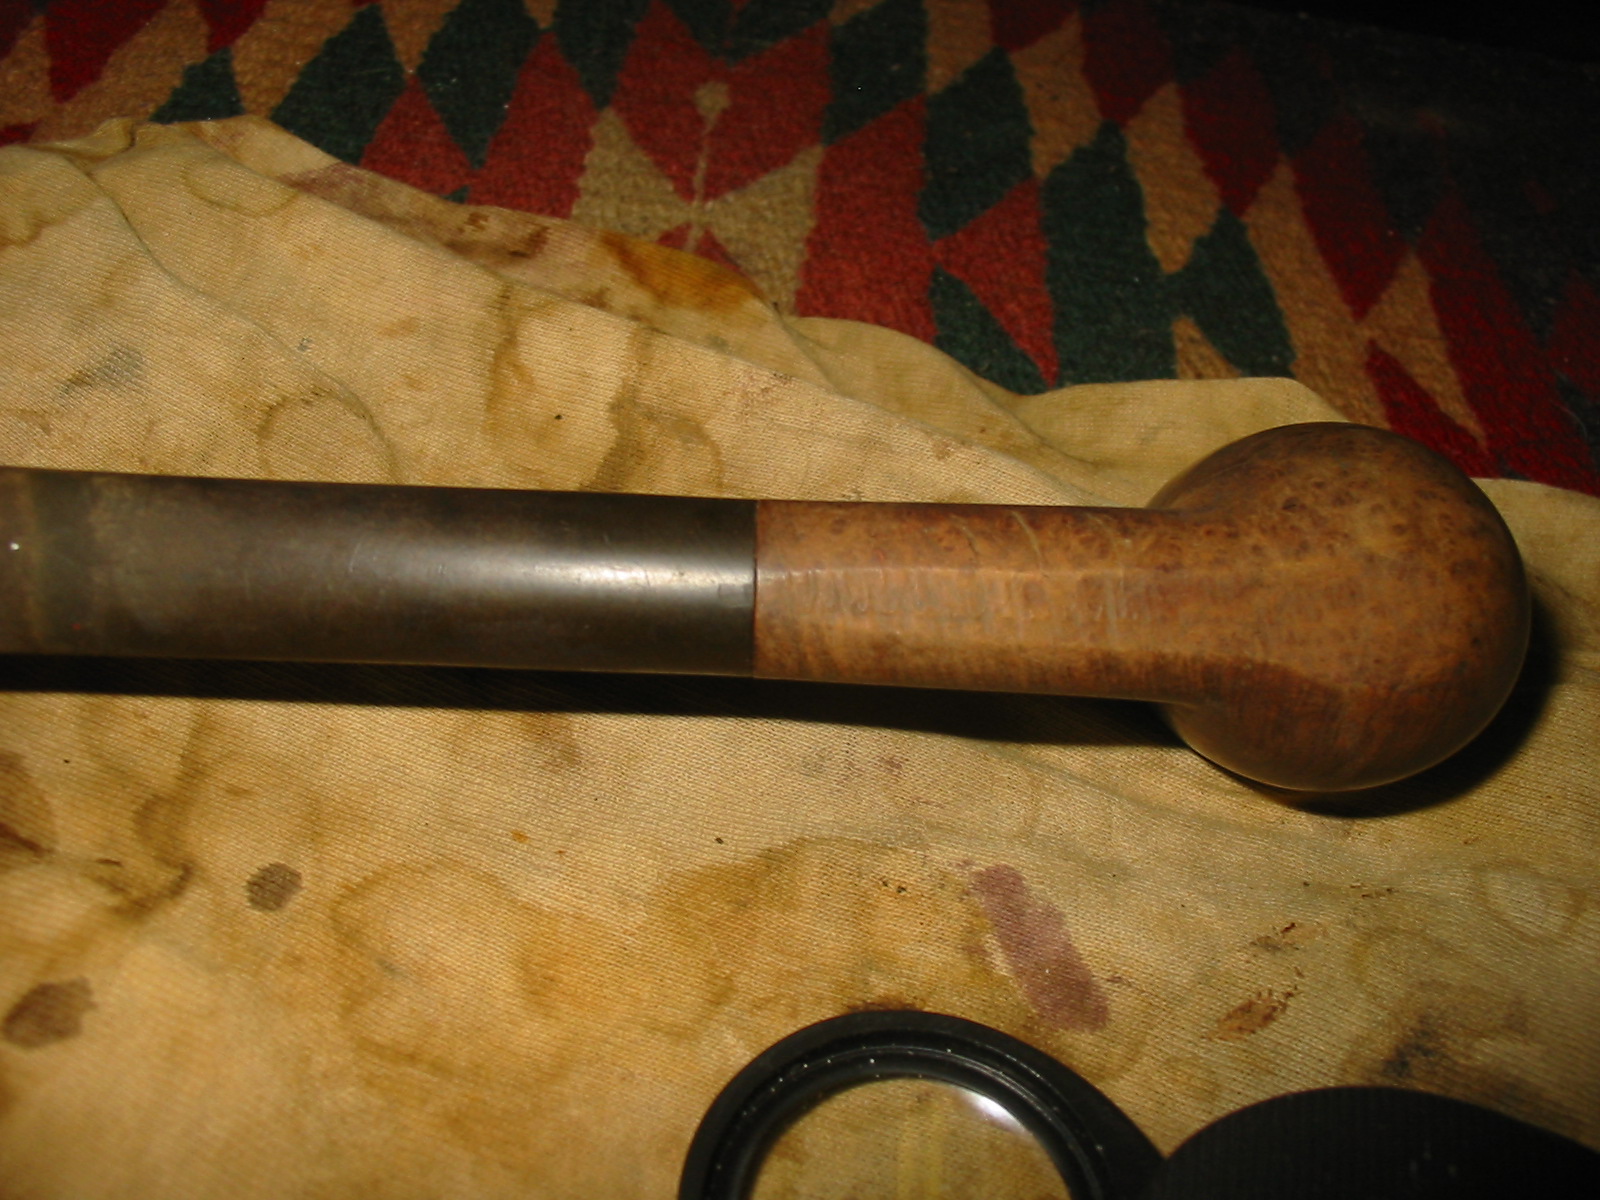
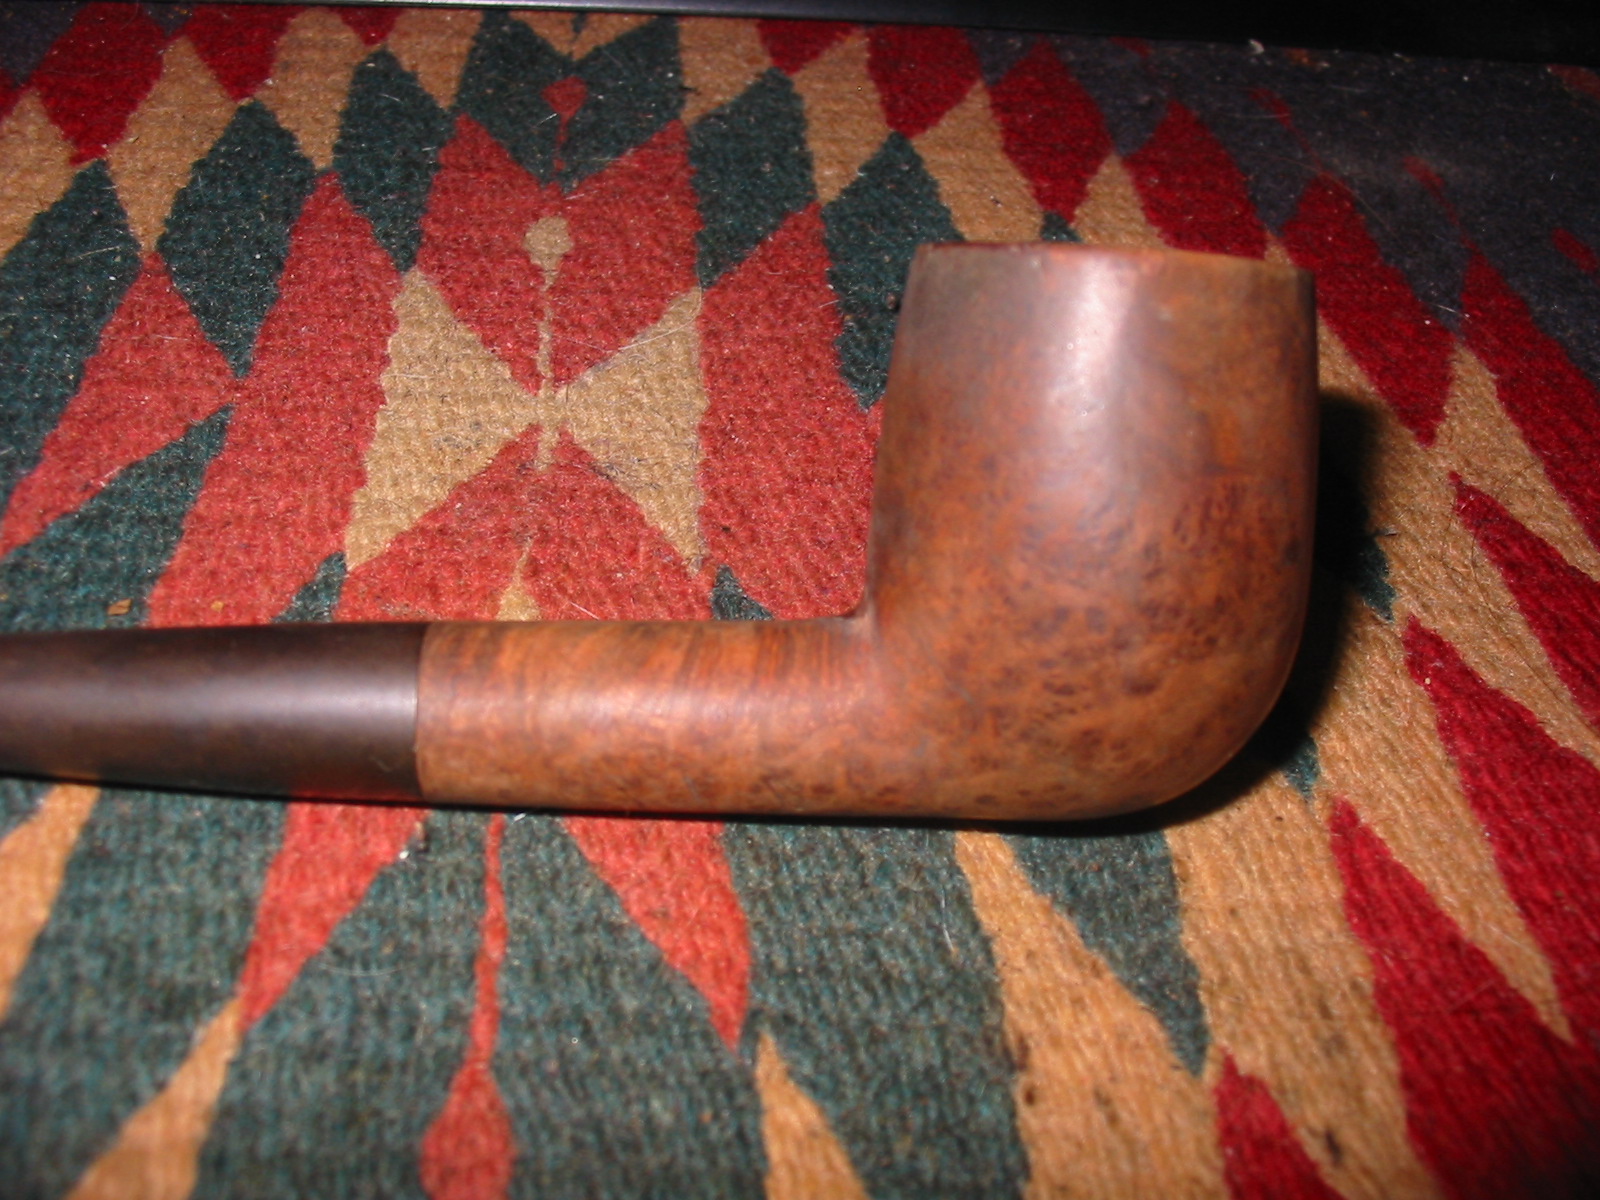
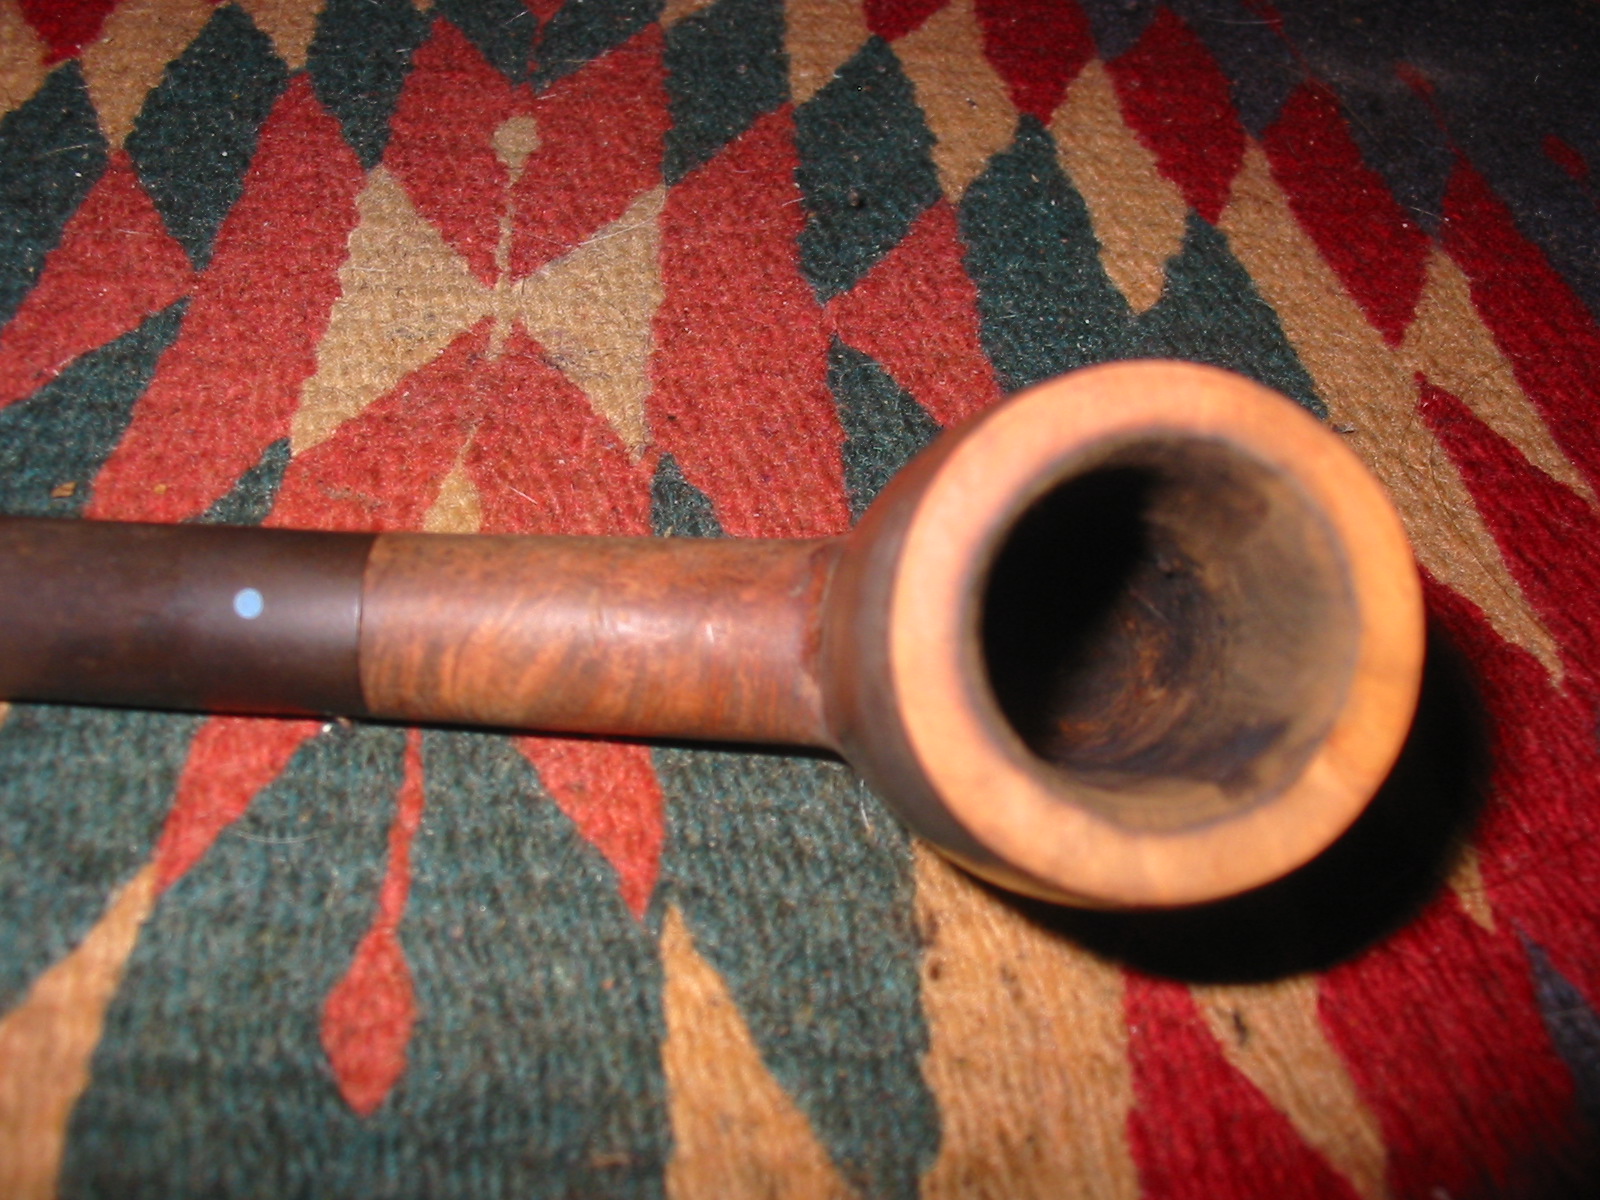
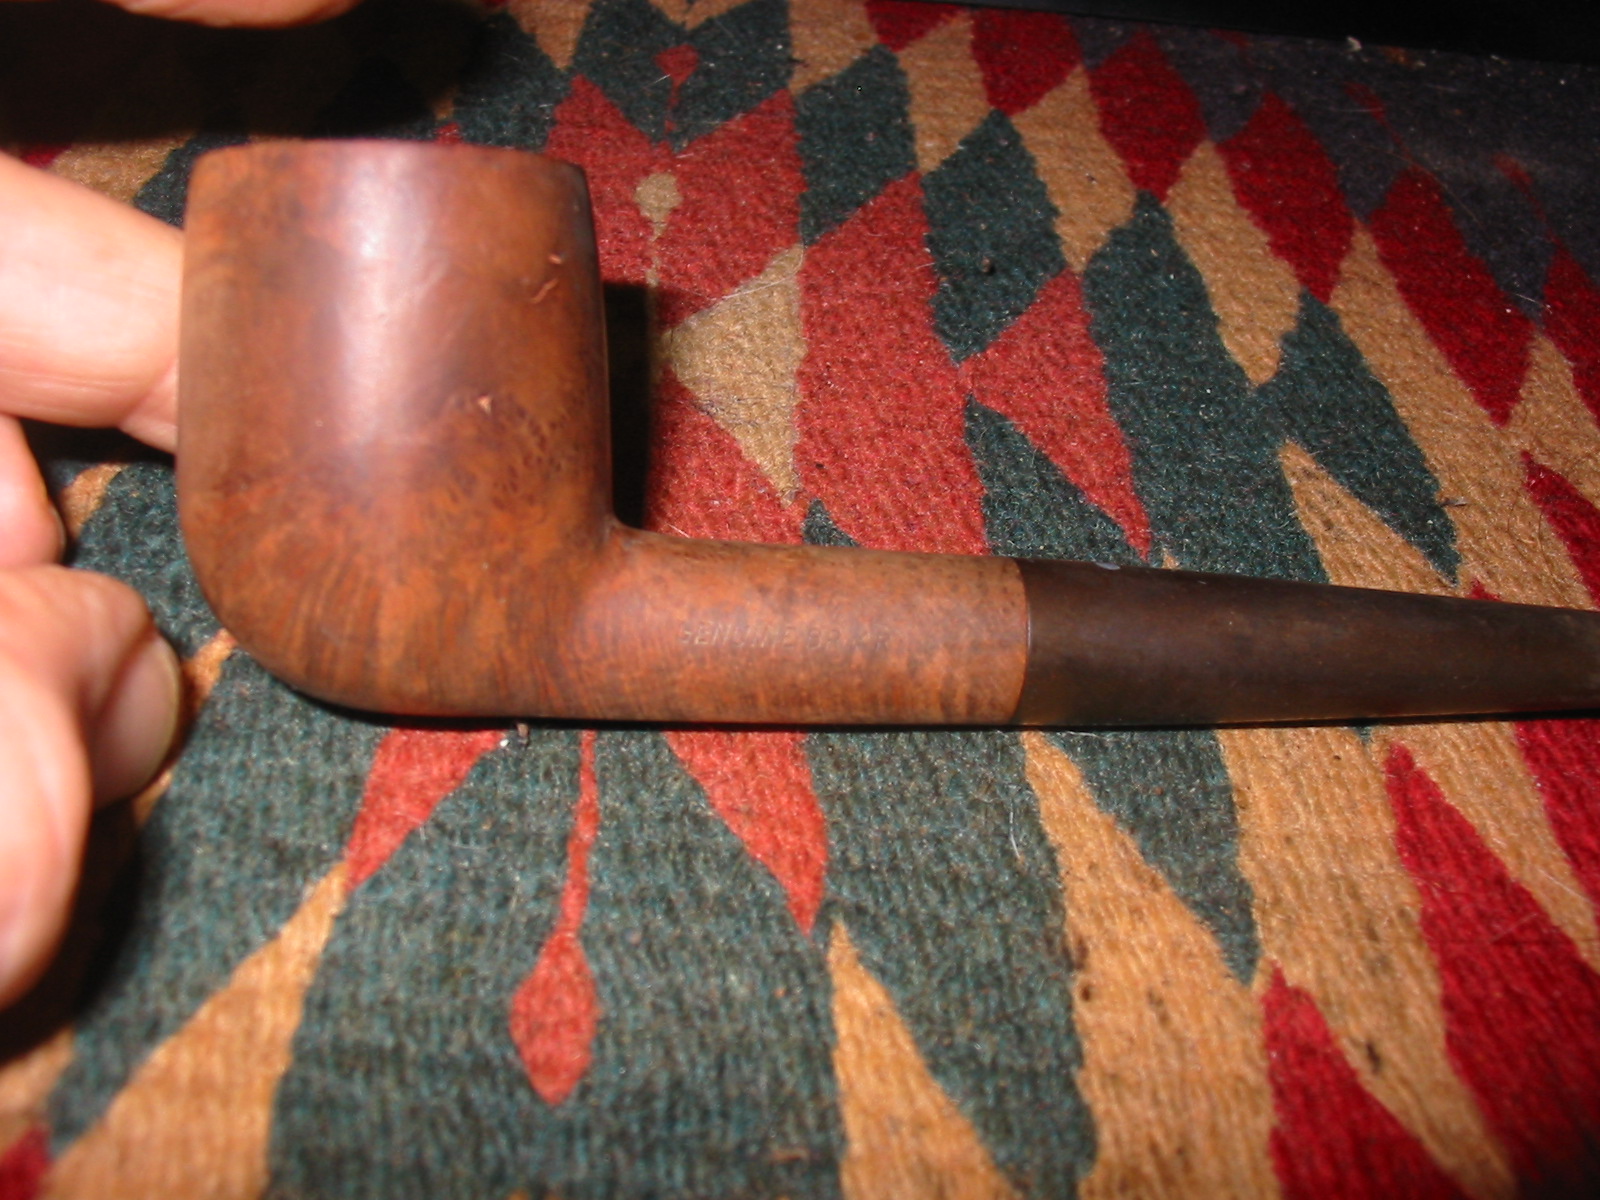
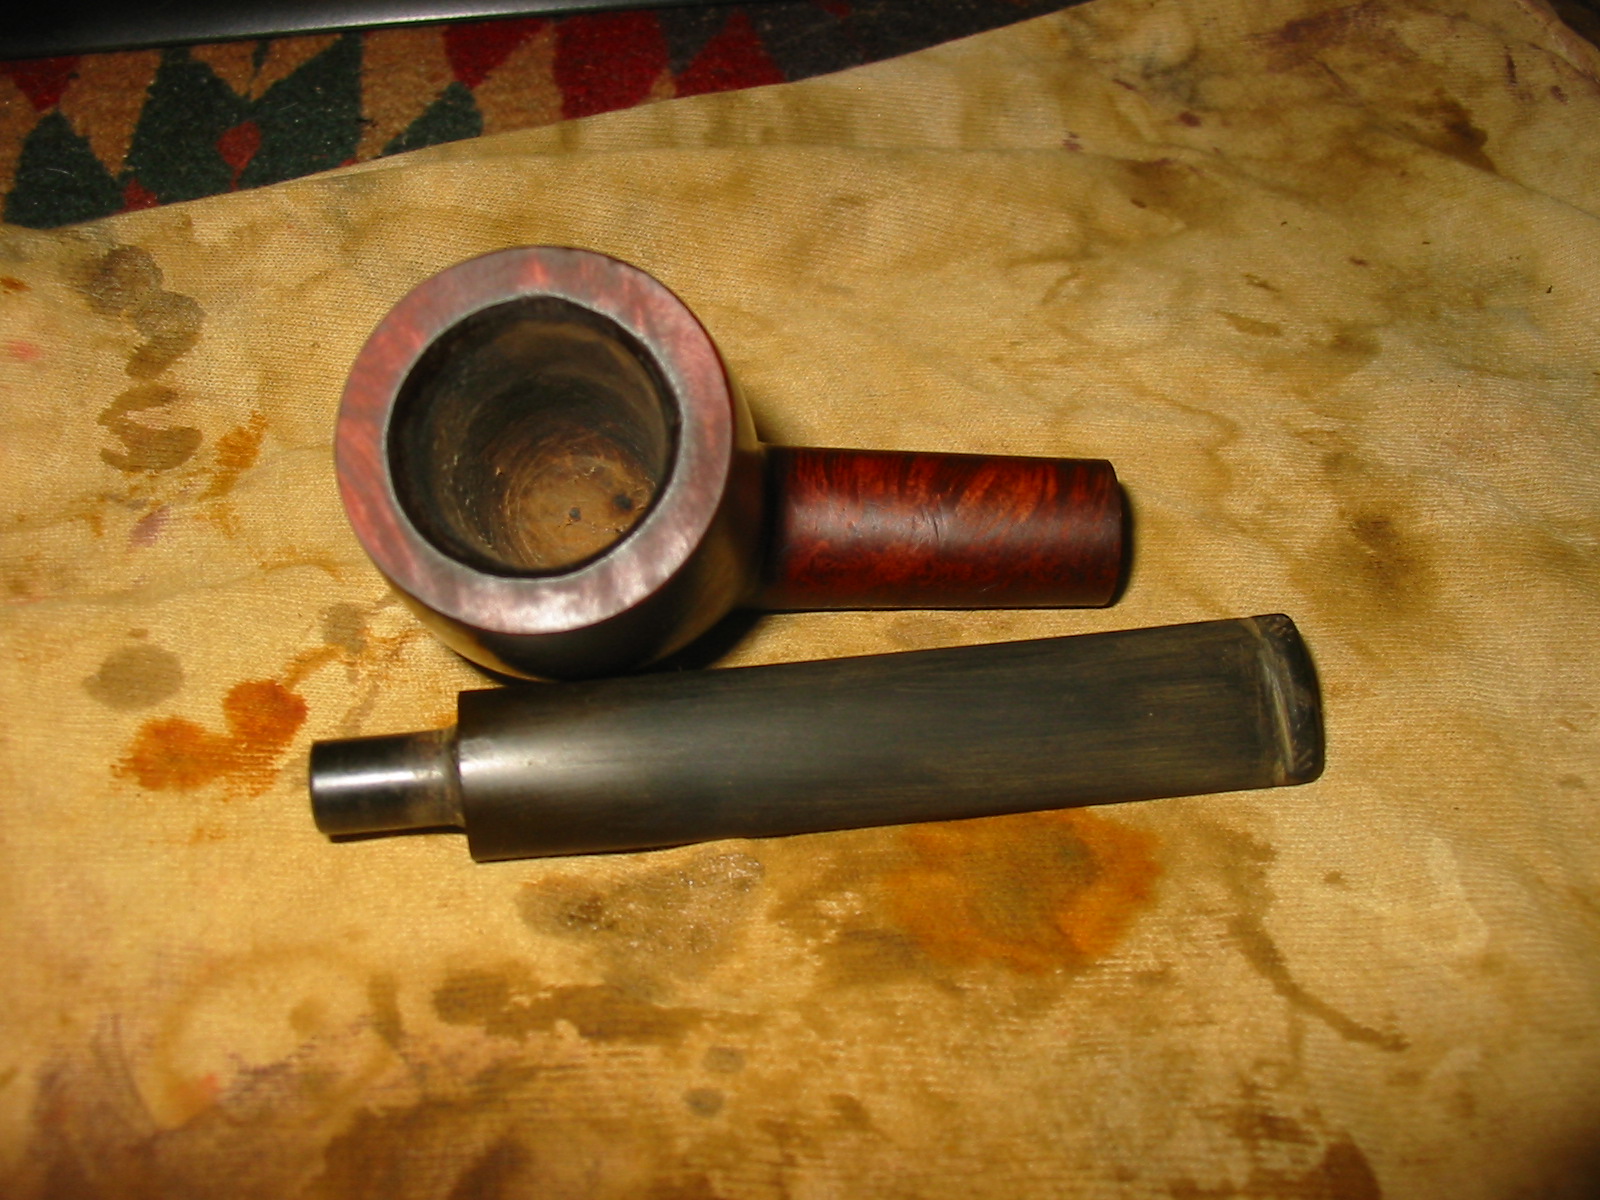
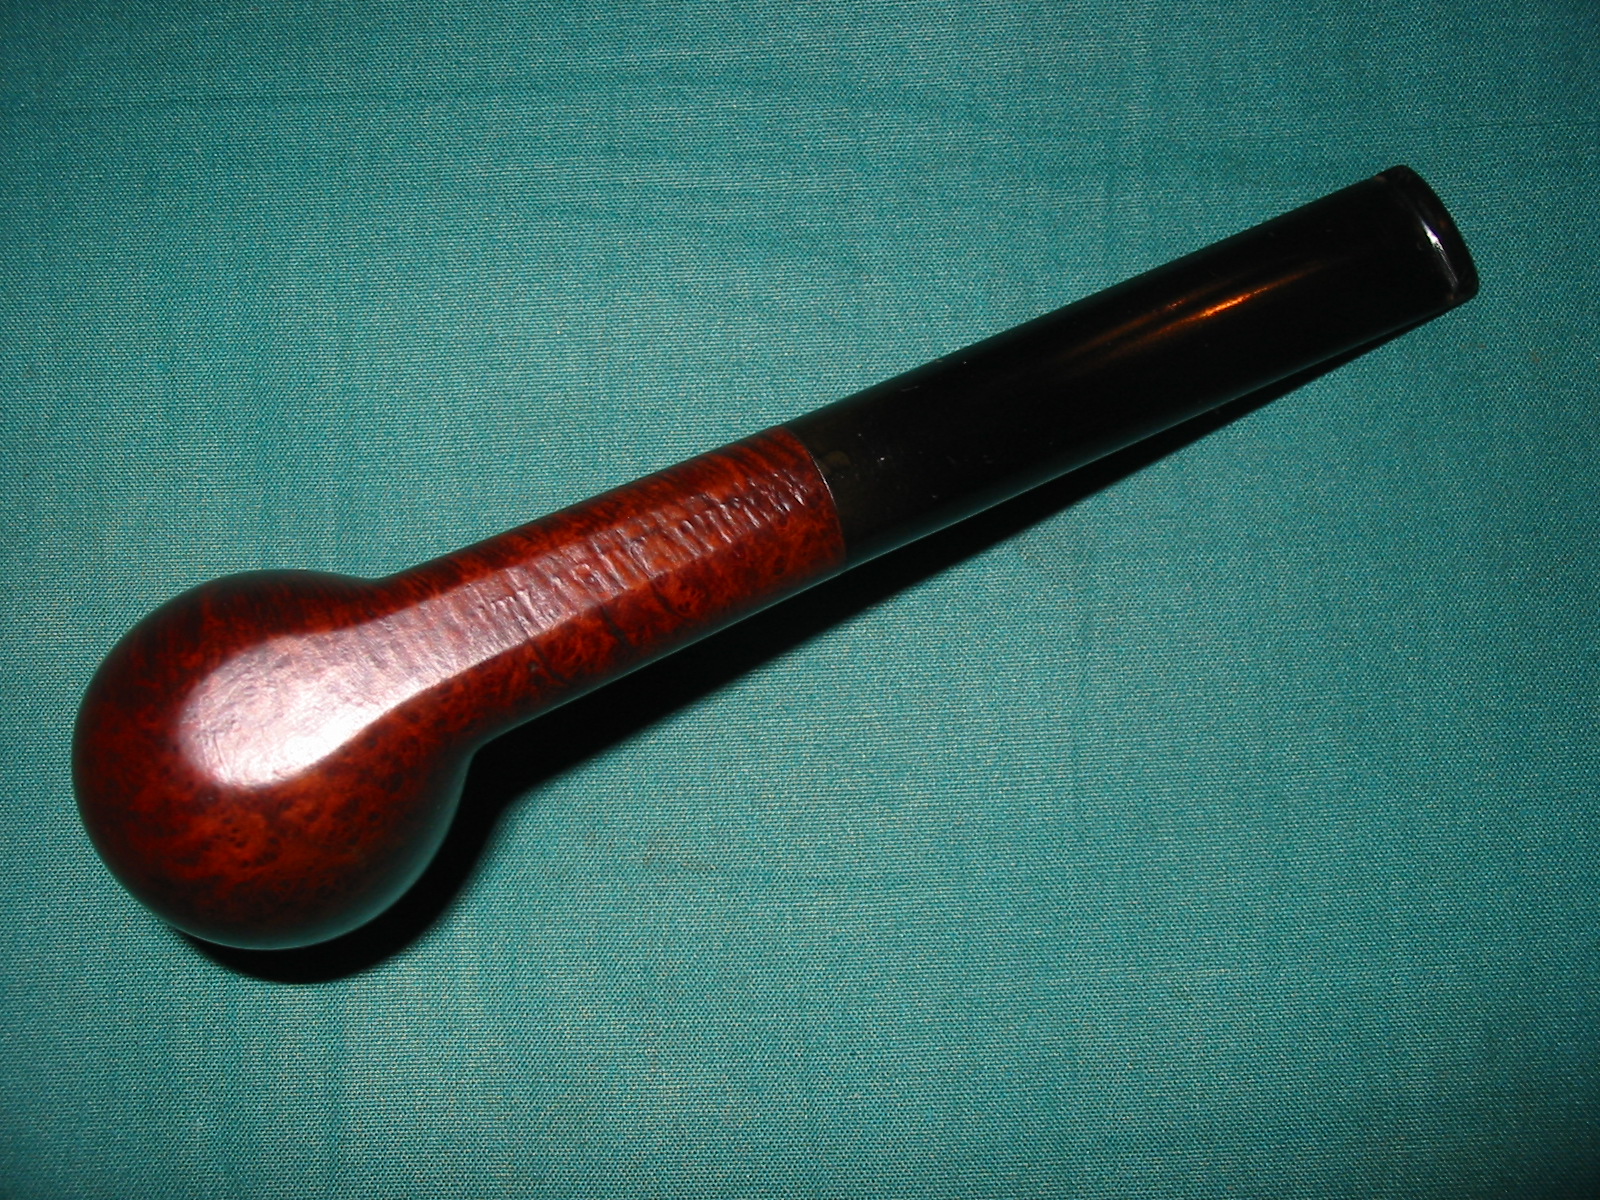
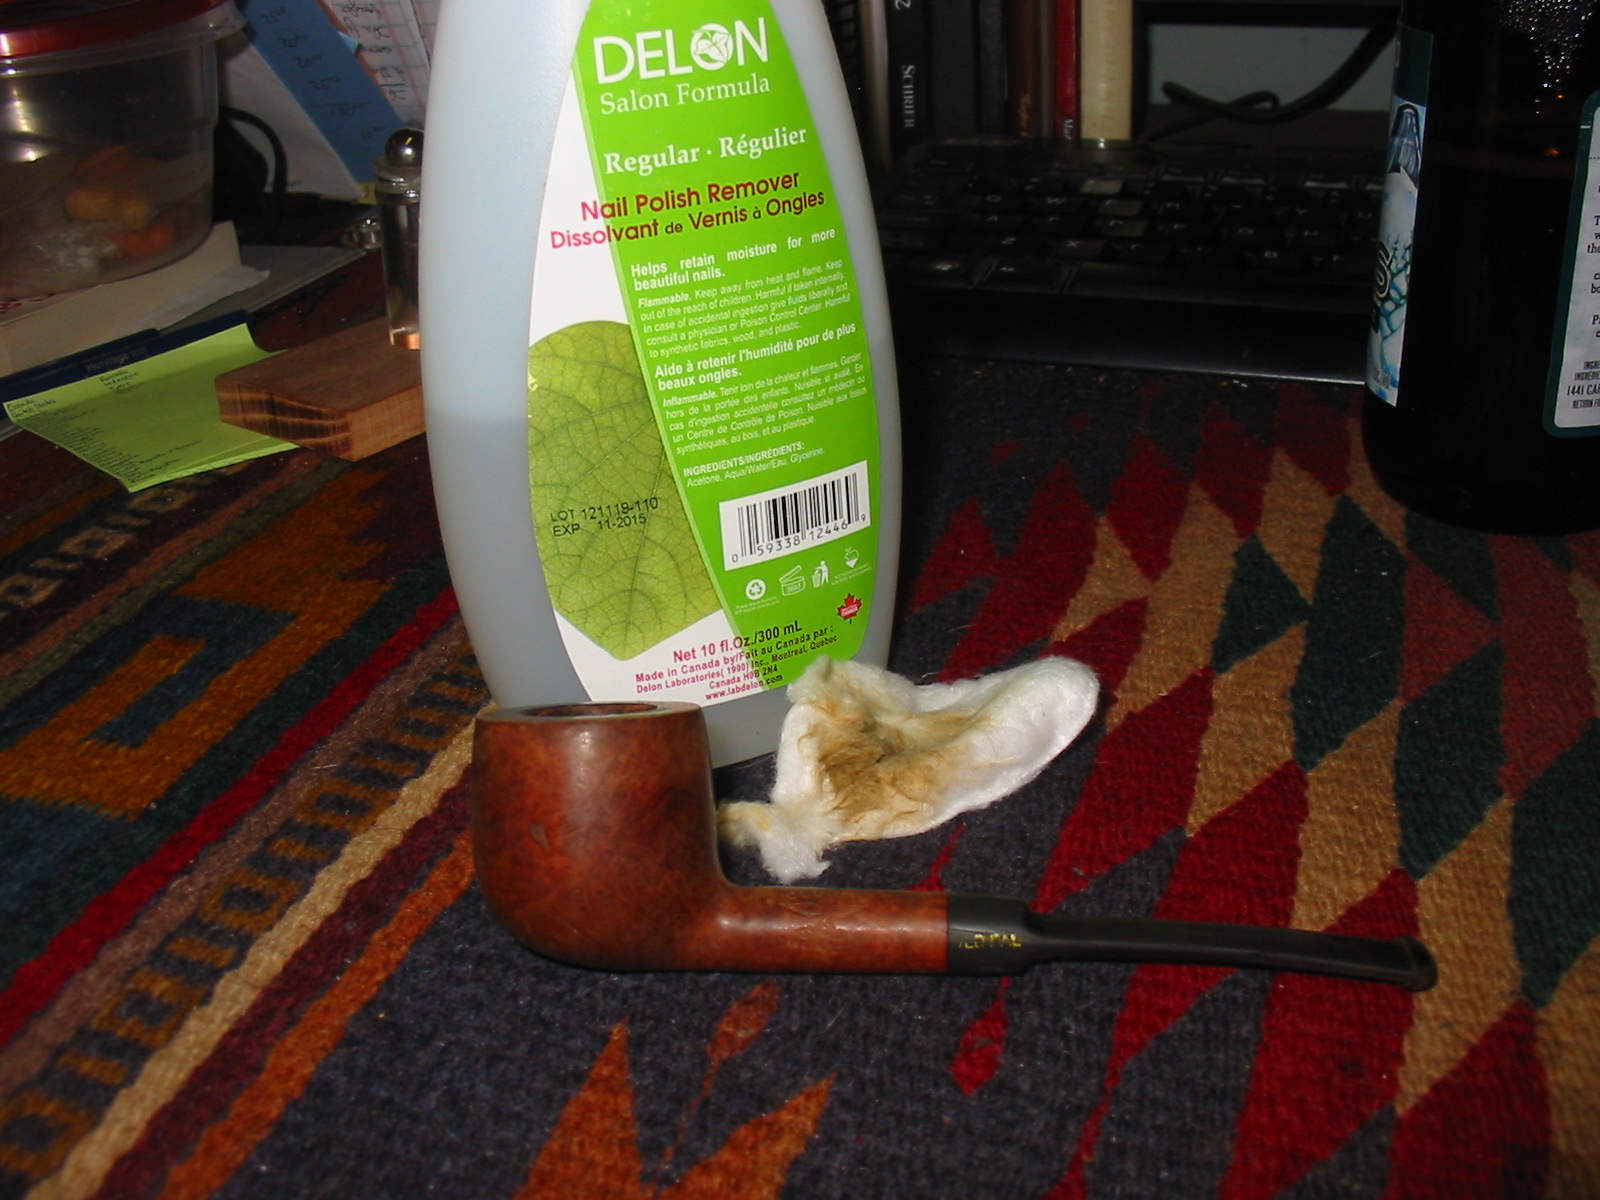
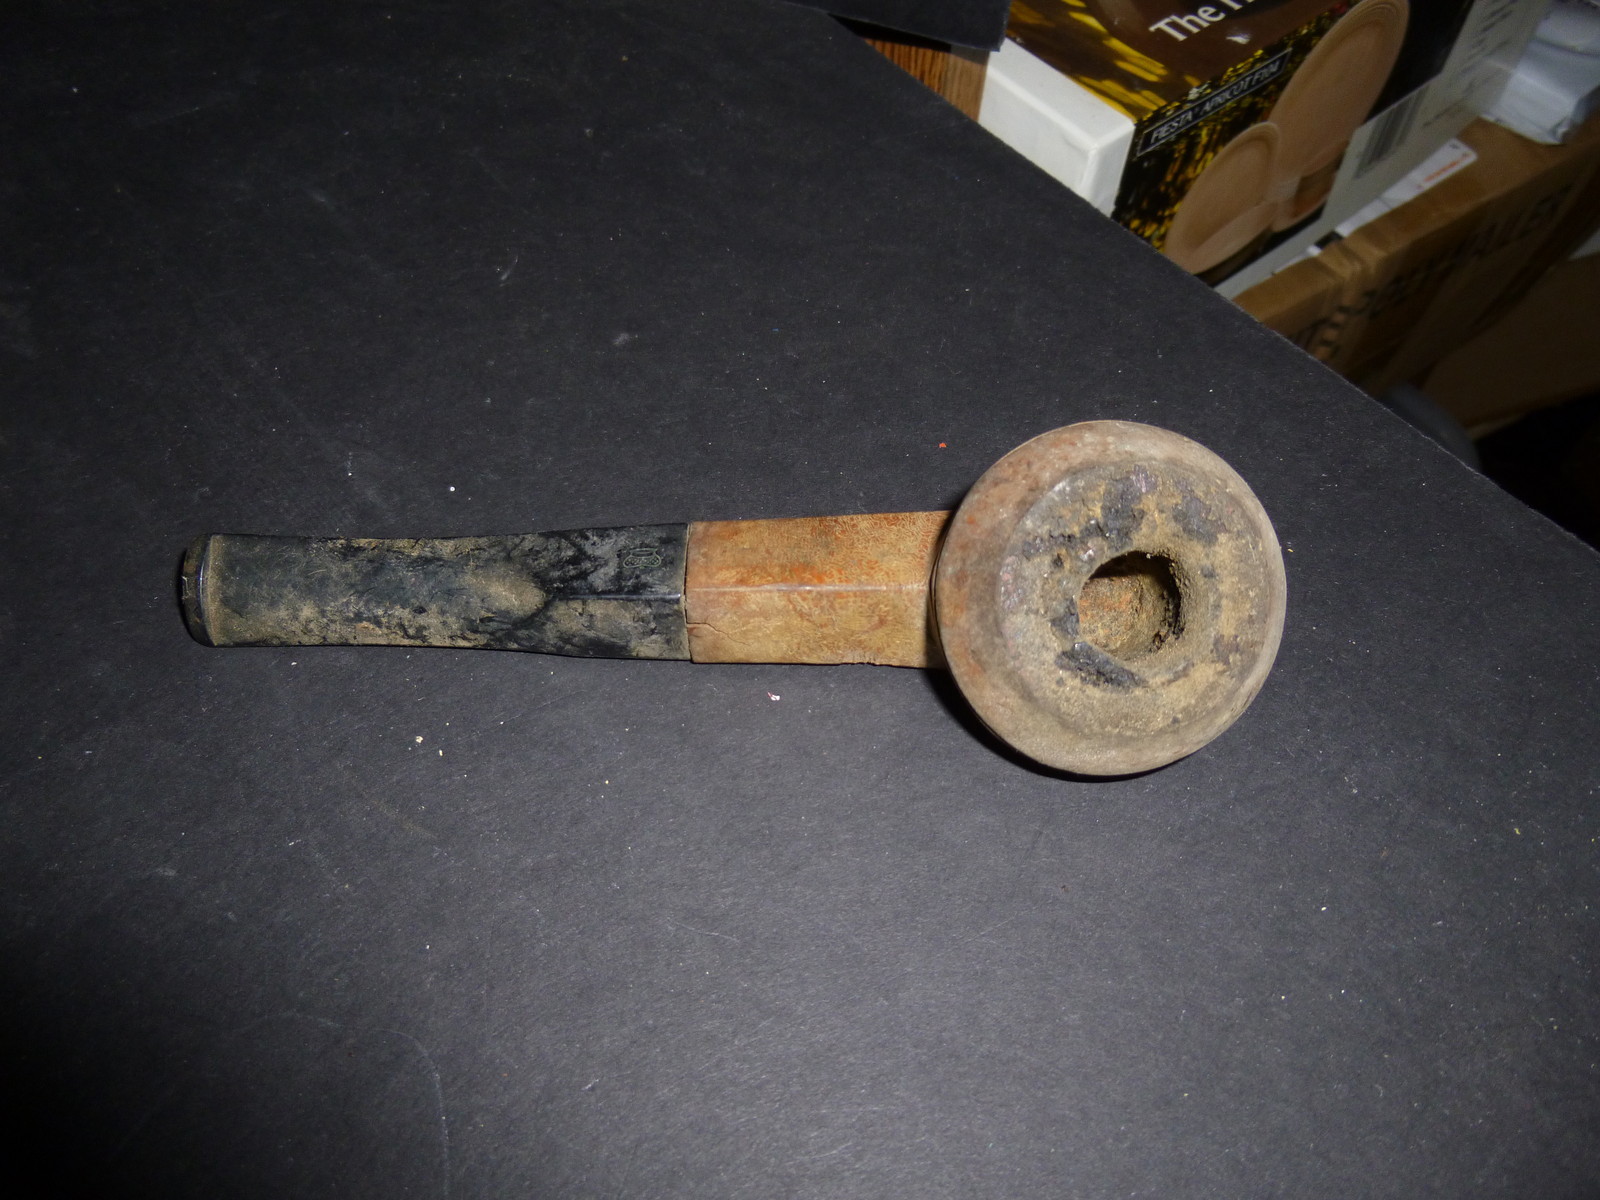
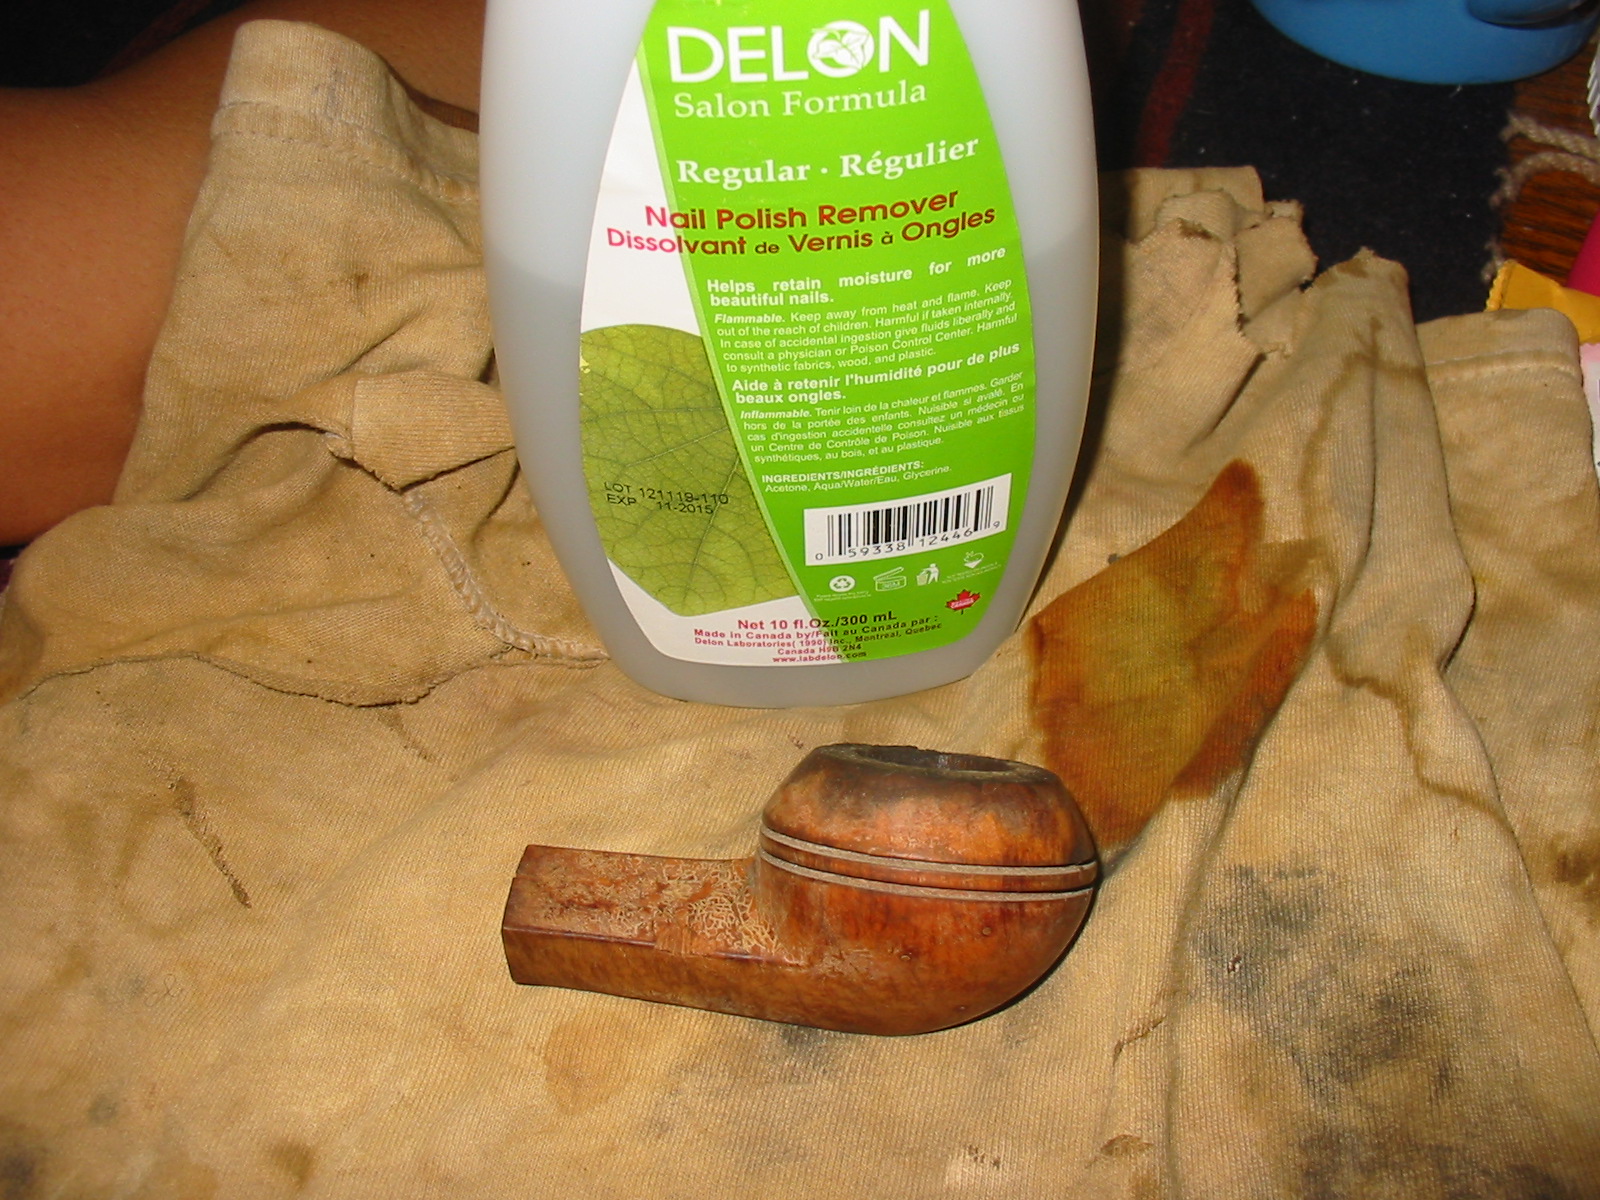
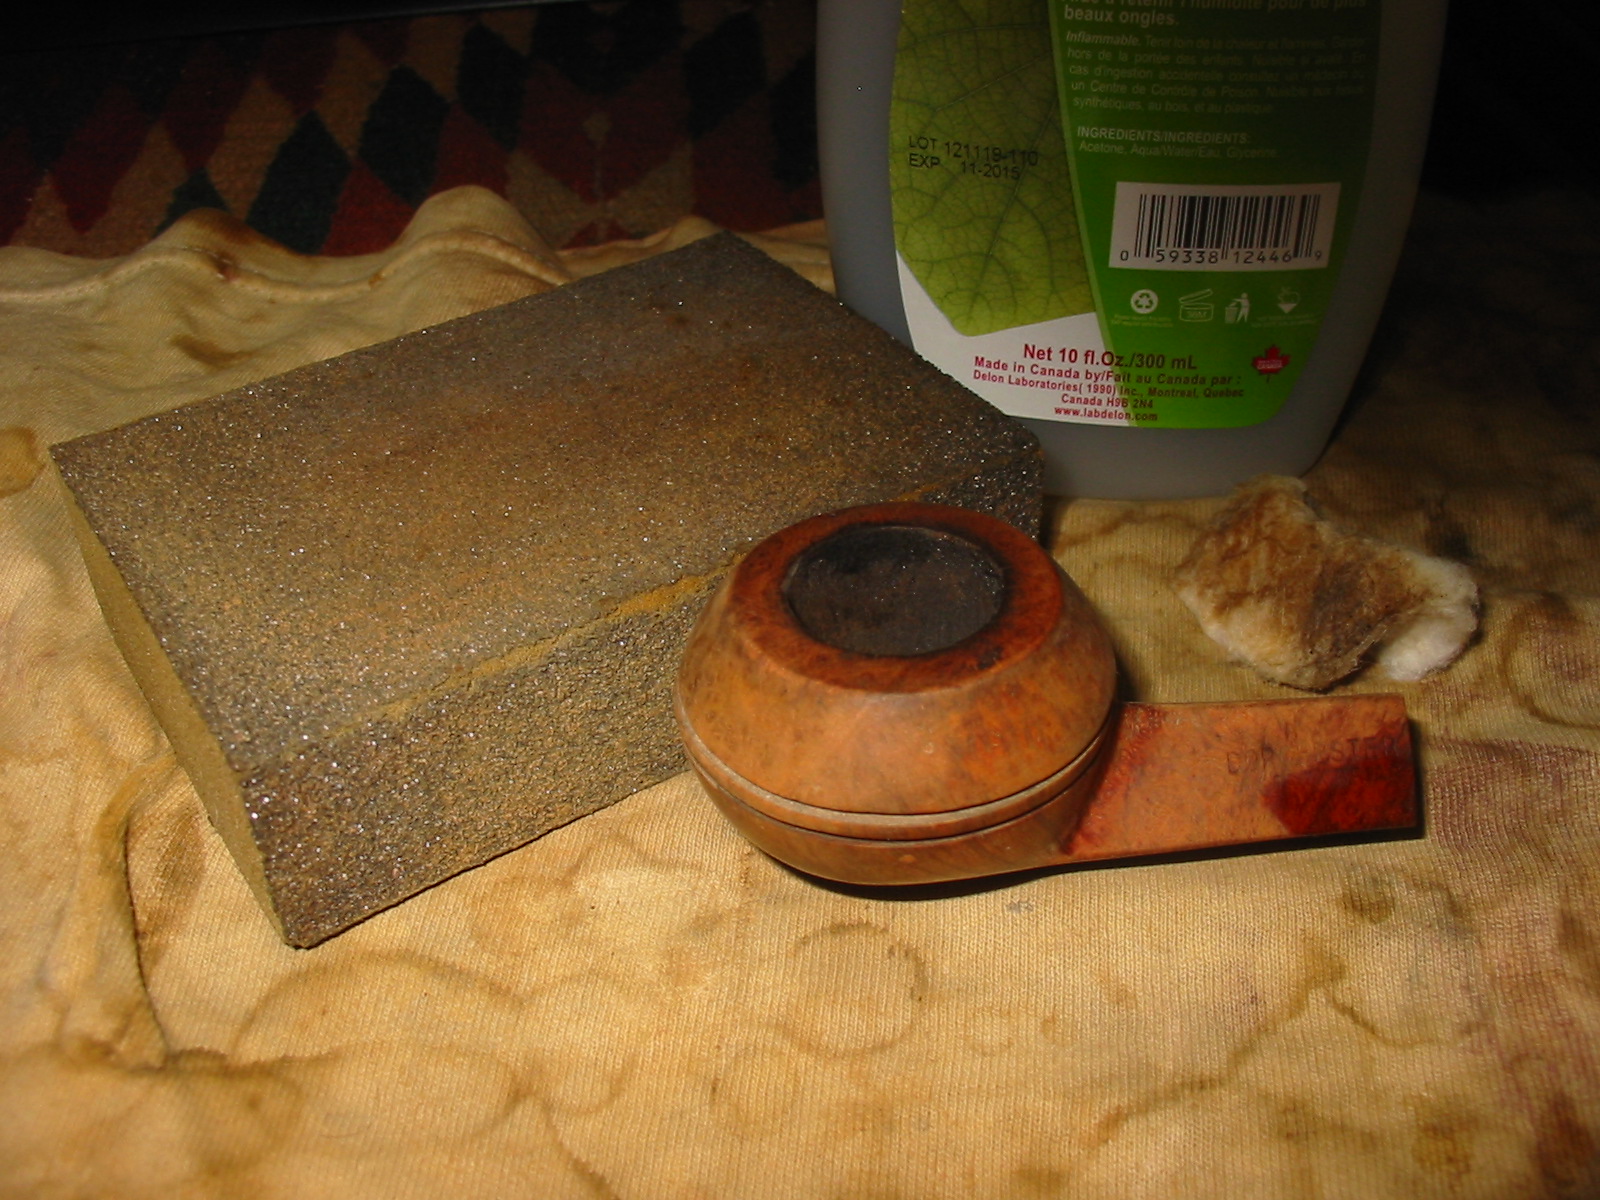
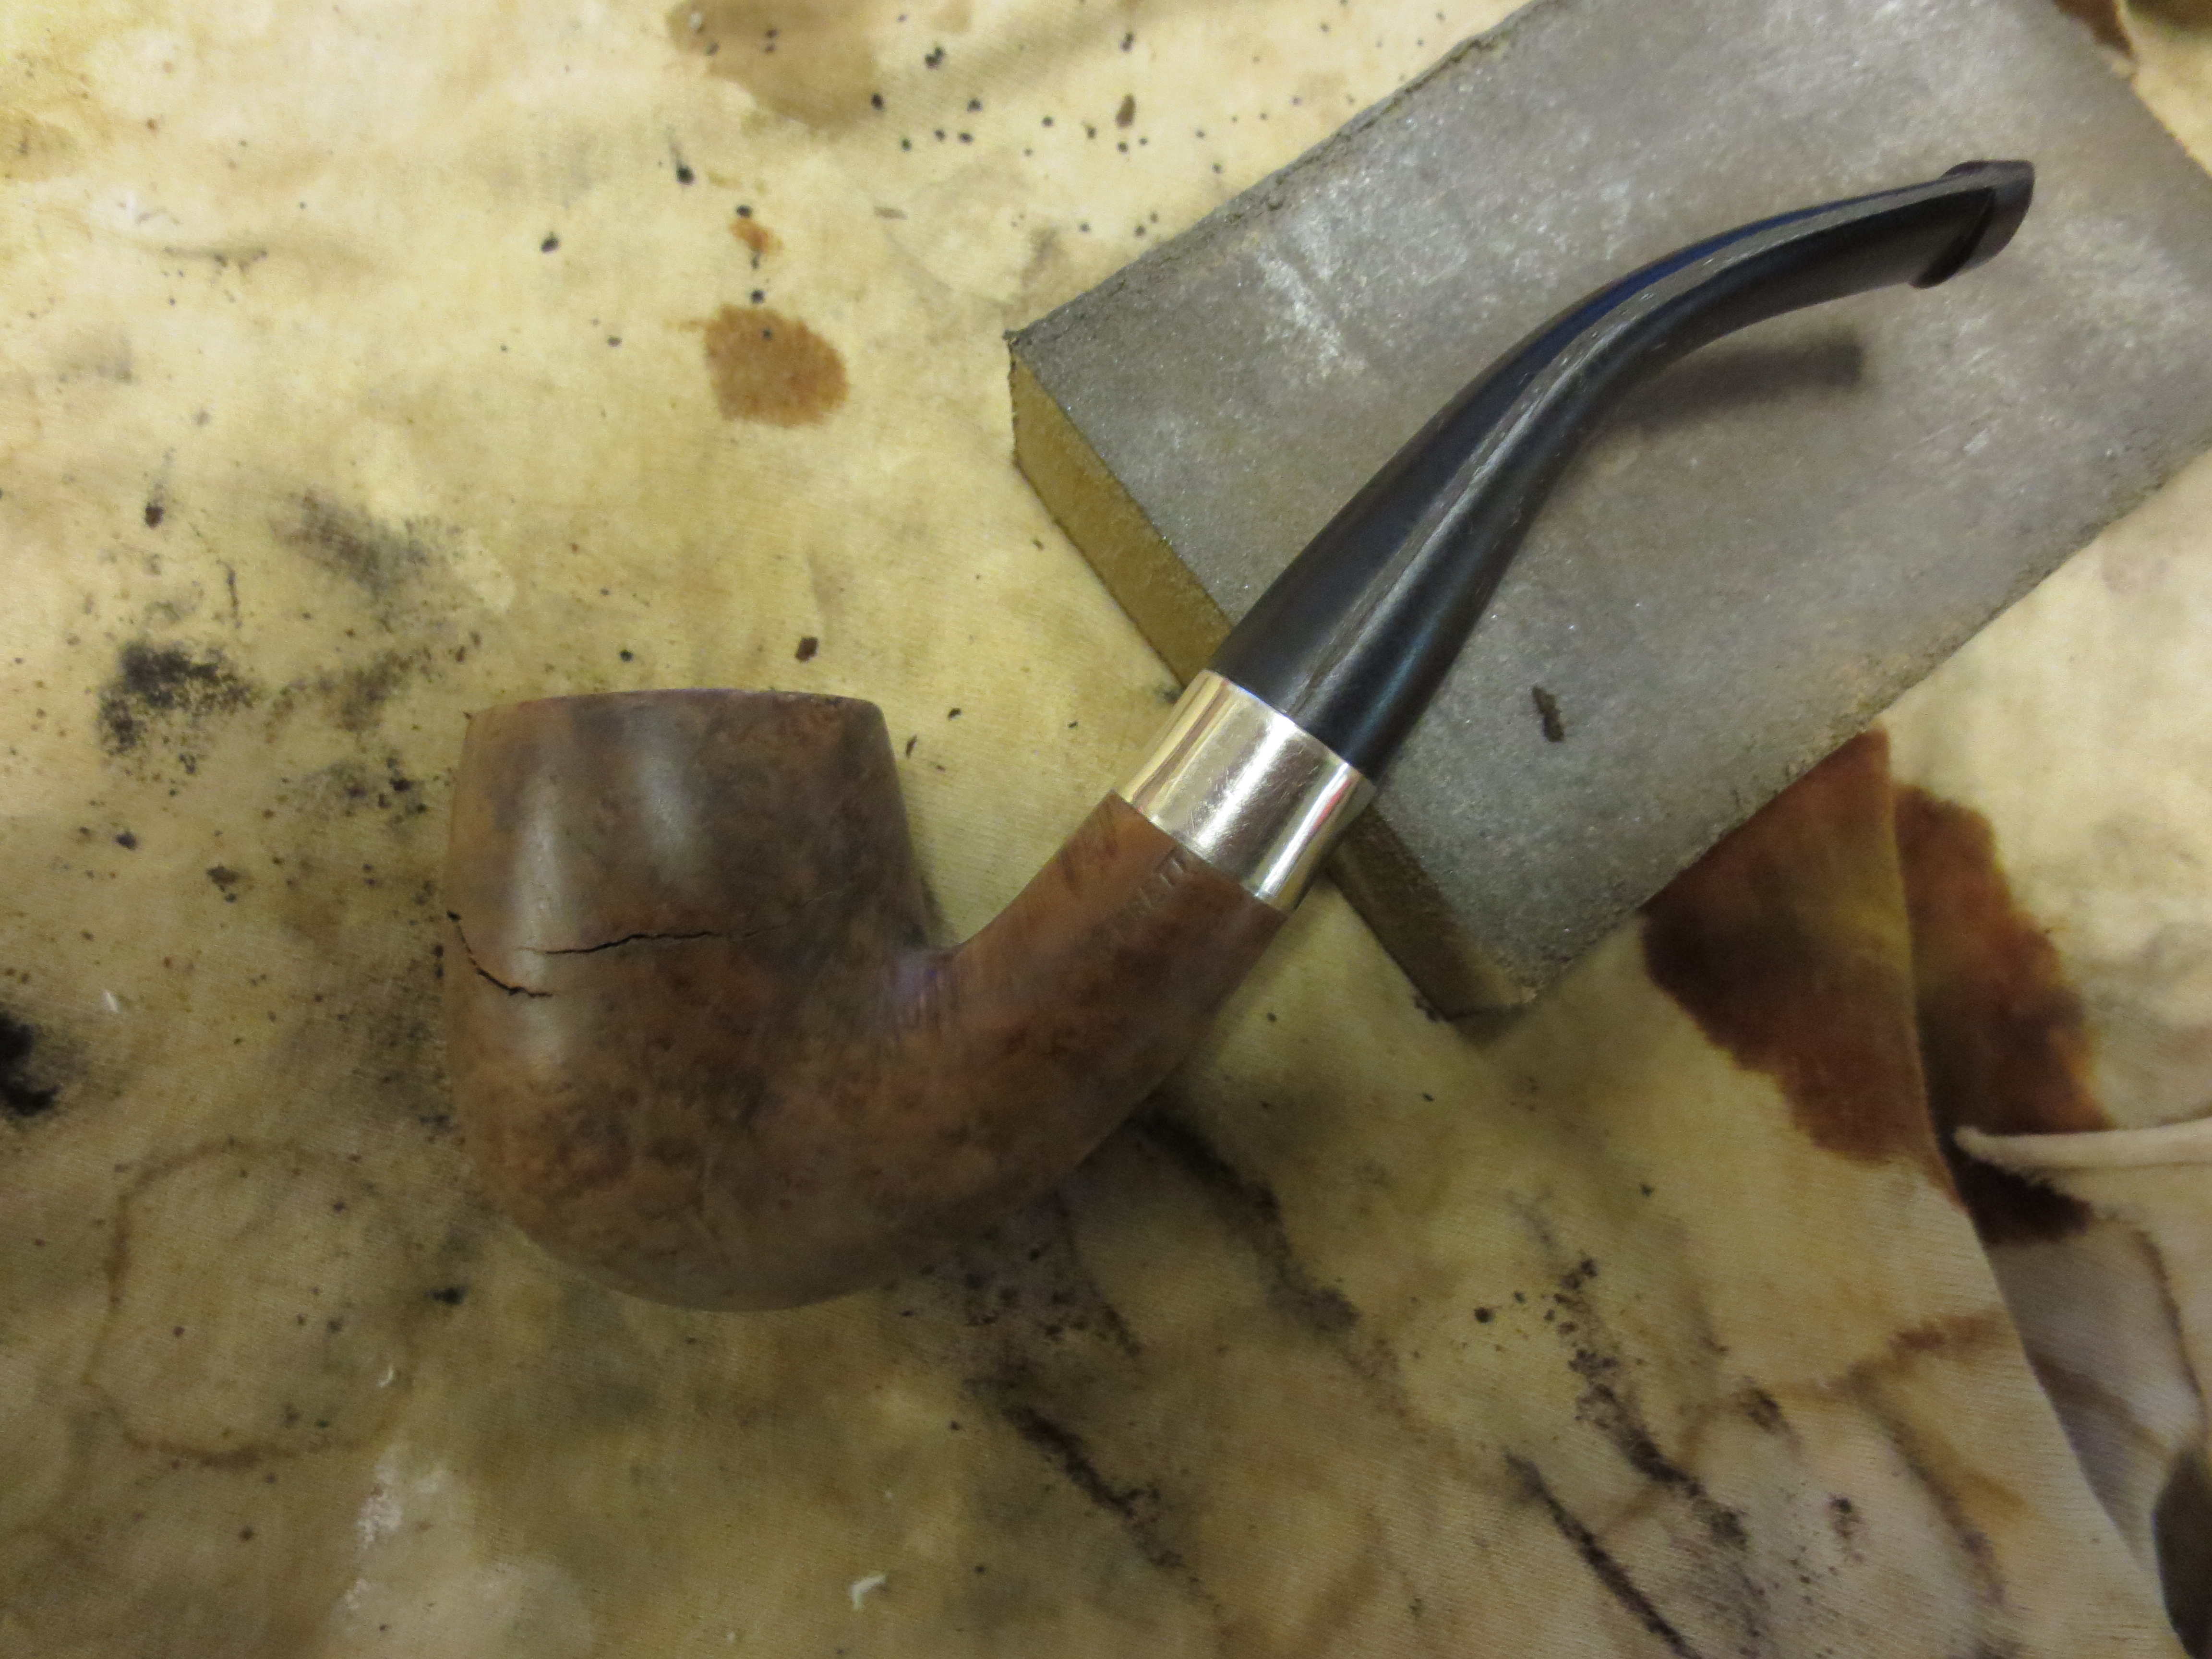
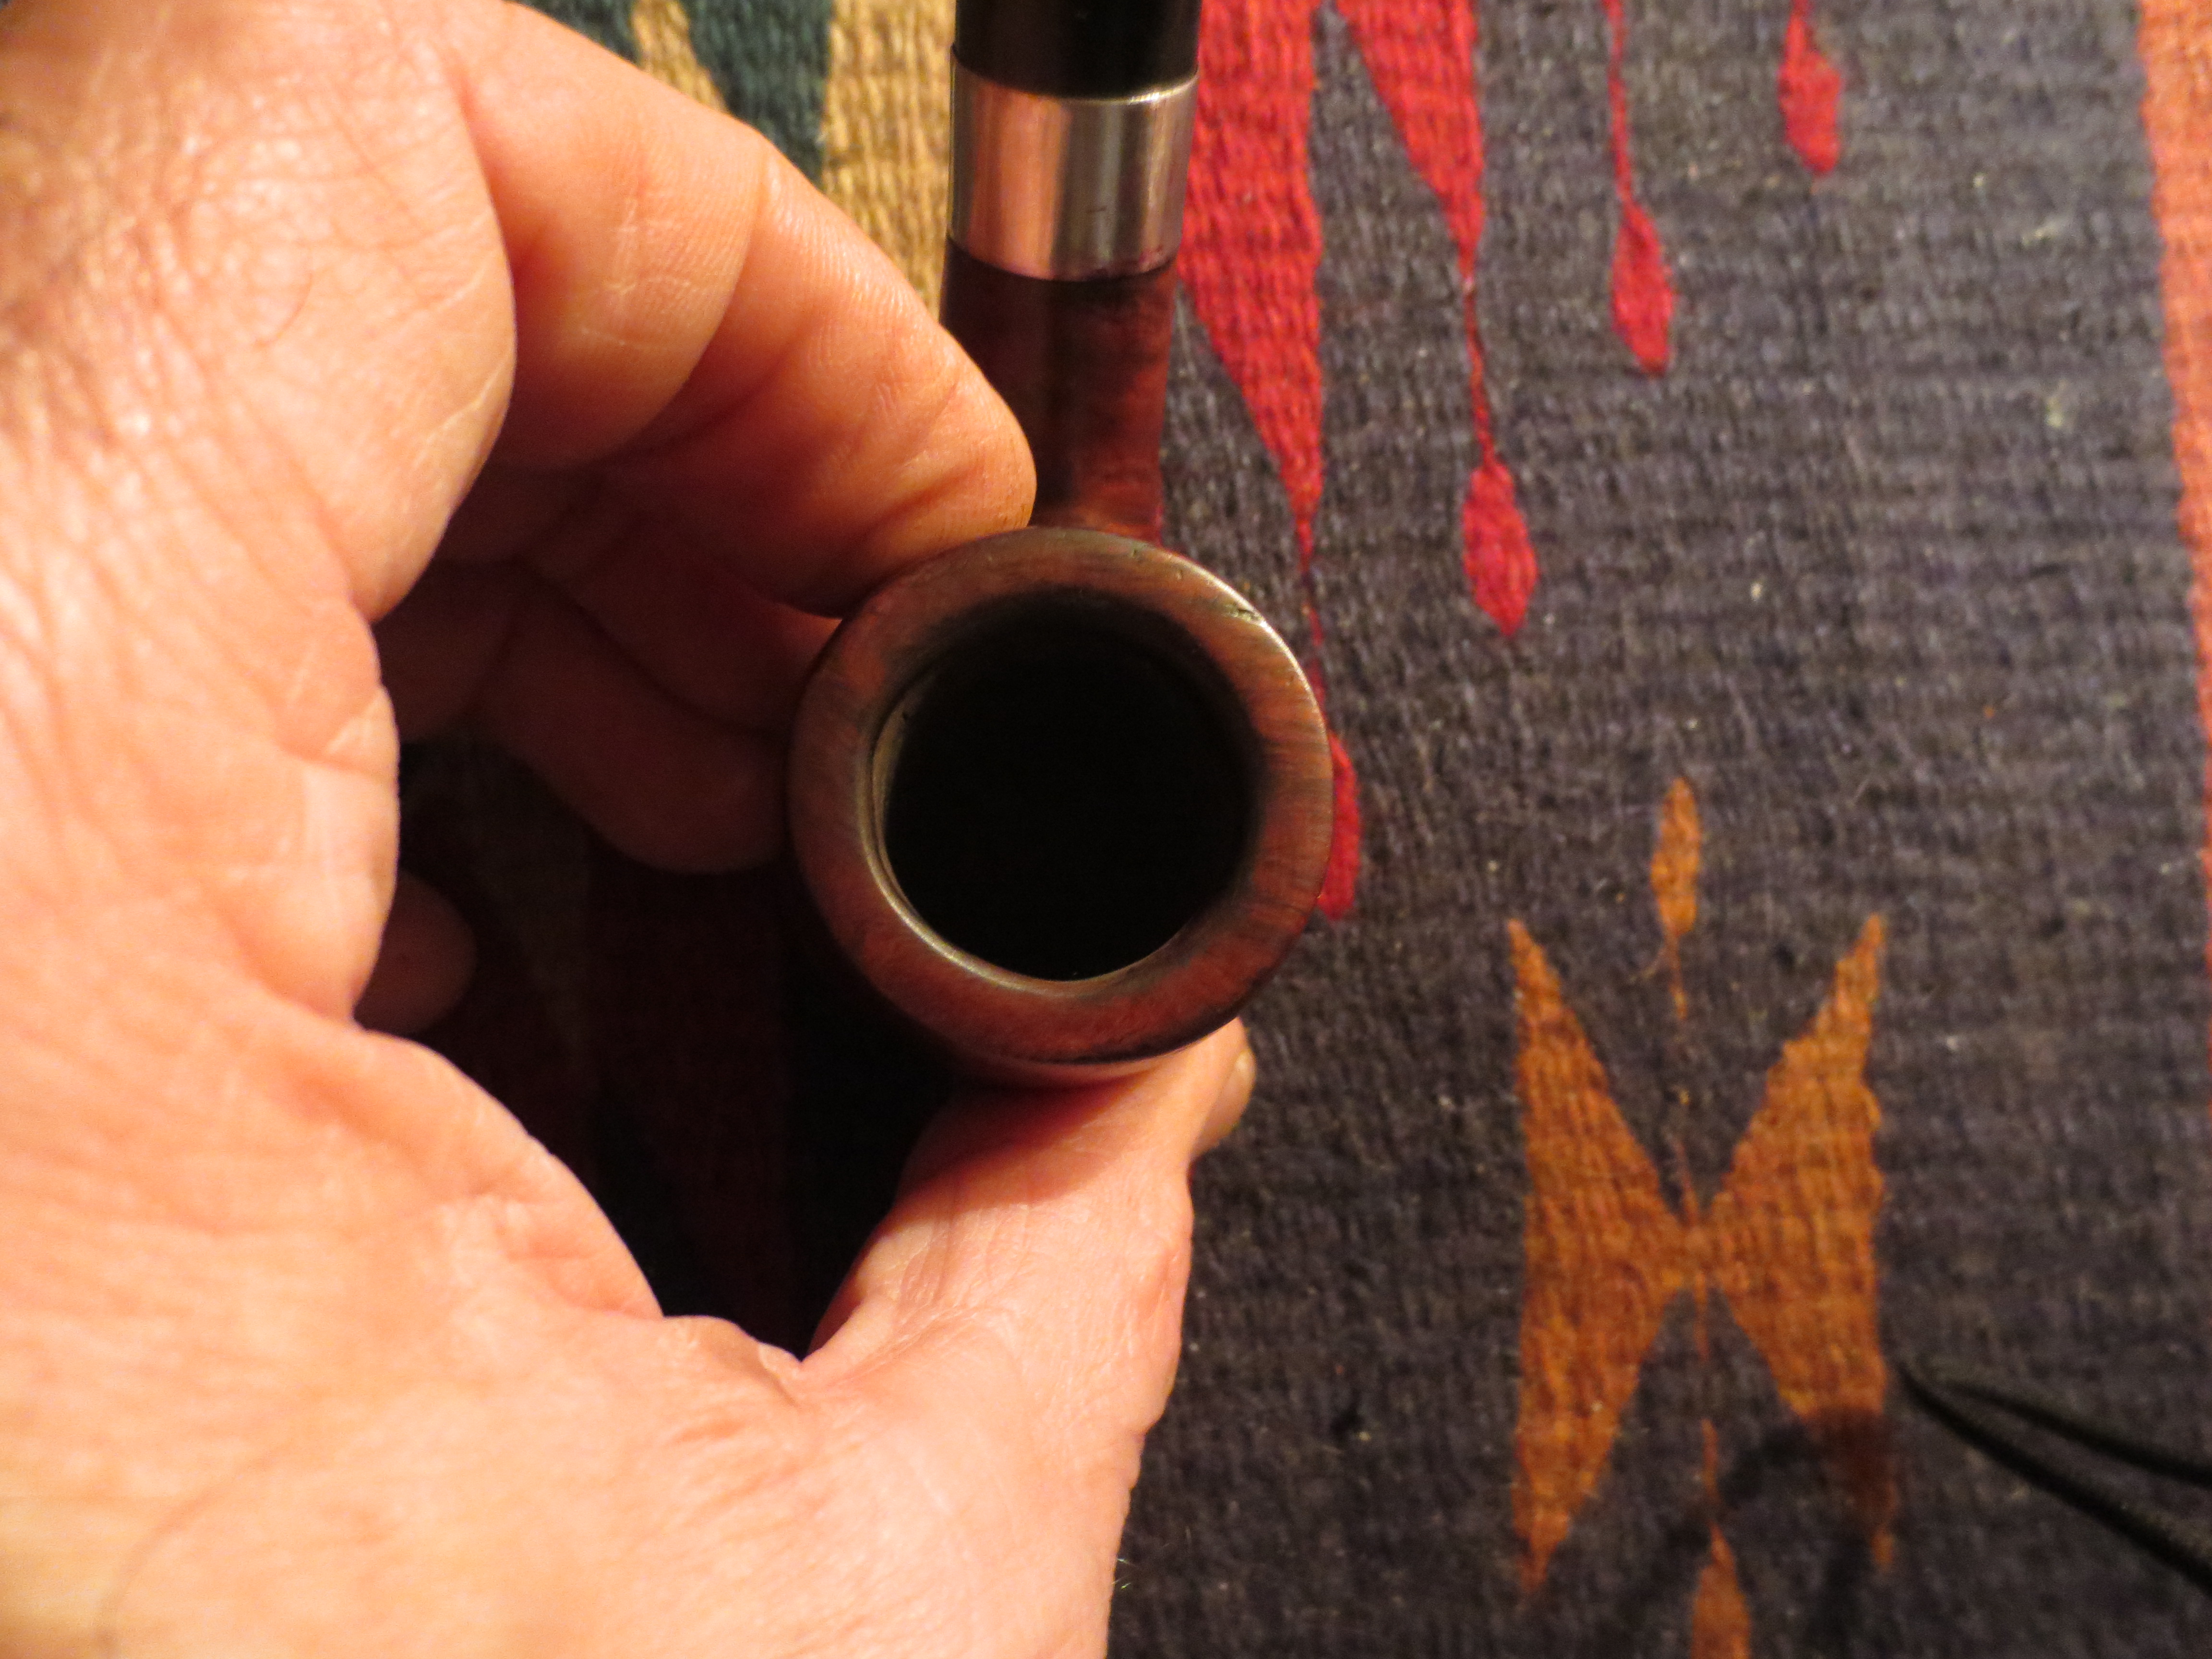
When I got home I took it to the basement and wiped down the bowl with acetone on a cotton pad to remove some of the grime. Once the outside was wiped down I tried to read the stamping with a magnifying lens. I could not make out the stamping – it was too faint. There was no stamping on the right side of the shank. On the underside it appeared that there had been stamping but it was no longer visible. The next three photos give a good idea of what the pipe looked like before I did a cleanup on the bowl and stem.
IMG_2192

IMG_2193

IMG_2194

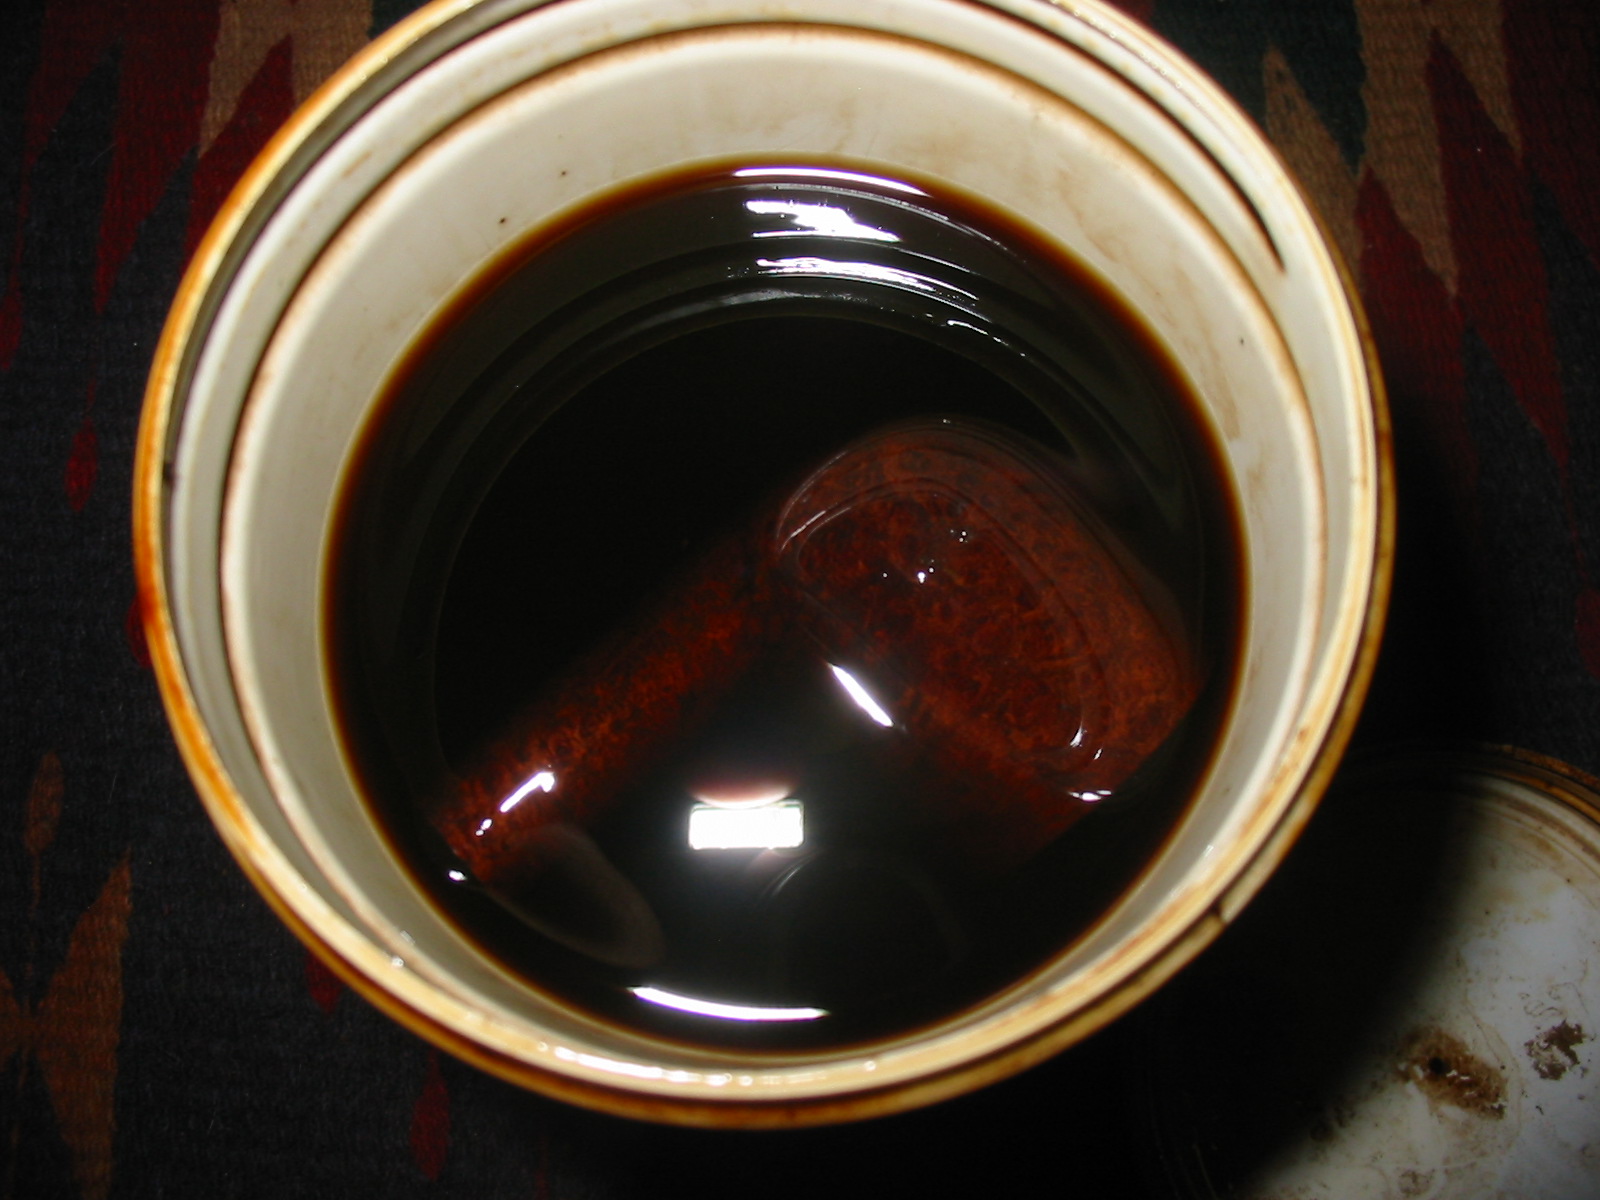
I reamed the bowl with a PipNet reamer and took it back to bare wood. I picked at the inside of the bowl to check out the solidity of the walls and to check for potential burns. Everything looked and felt like it was solid so I dropped the bowl in an alcohol bath to soak over night.
IMG_2066

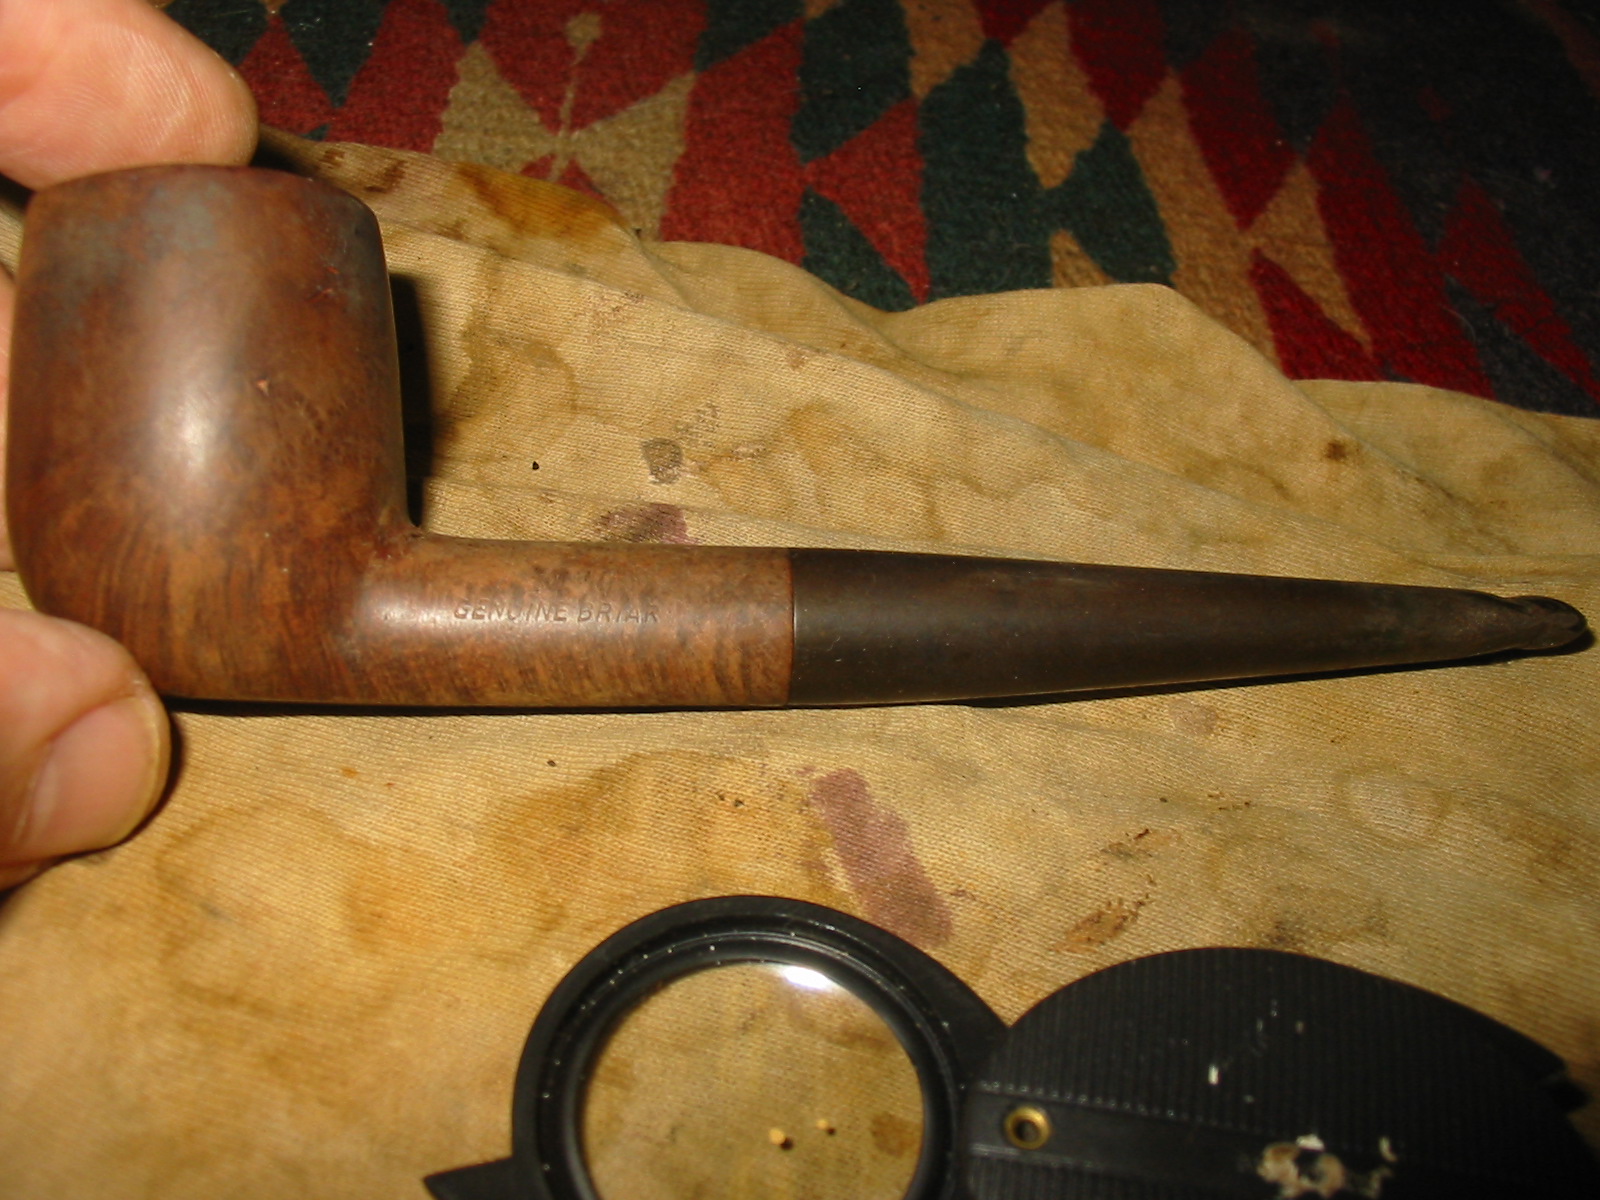
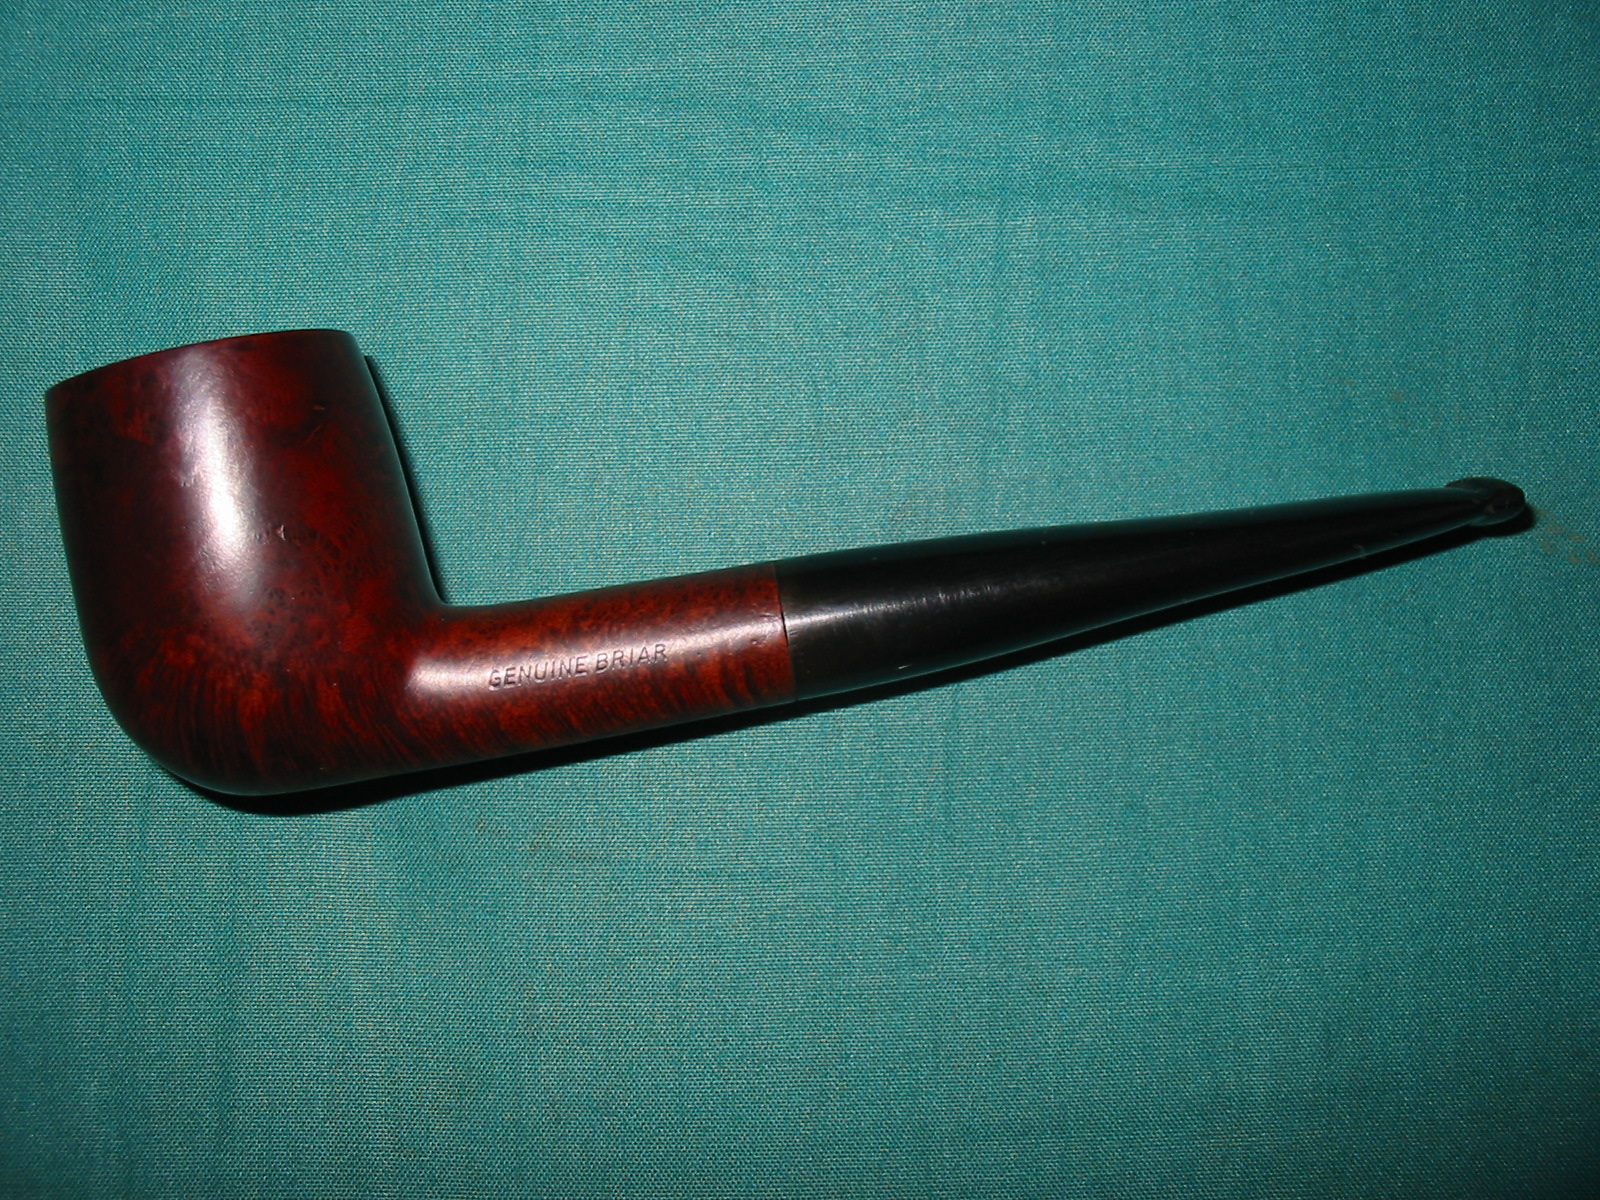
The next day I took it out of the bath and dried it off. The bath had removed the old finish for the most part. I finished by once again wiping it down with acetone on a cotton pad. After soaking part of the stamping had become visible. I was disappointed that it appeared that the pipe was not a Sasieni. The stamping that showed up after it was dry read Genuine Briar, which seemed to point to an American made pipe post WW2. I believe it is post war as that is when it became necessary to identify genuine imported briar in contrast to the Manzanita and other alternatives used by American manufacturers during the war years due to a shortage in briar. The briar was a nice piece – birdseye on one side, nice grain on other parts of the pipe and a clean shape to the bowl. I knew it would clean up nicely.
IMG_2217

IMG_2218

IMG_2219

IMG_2220

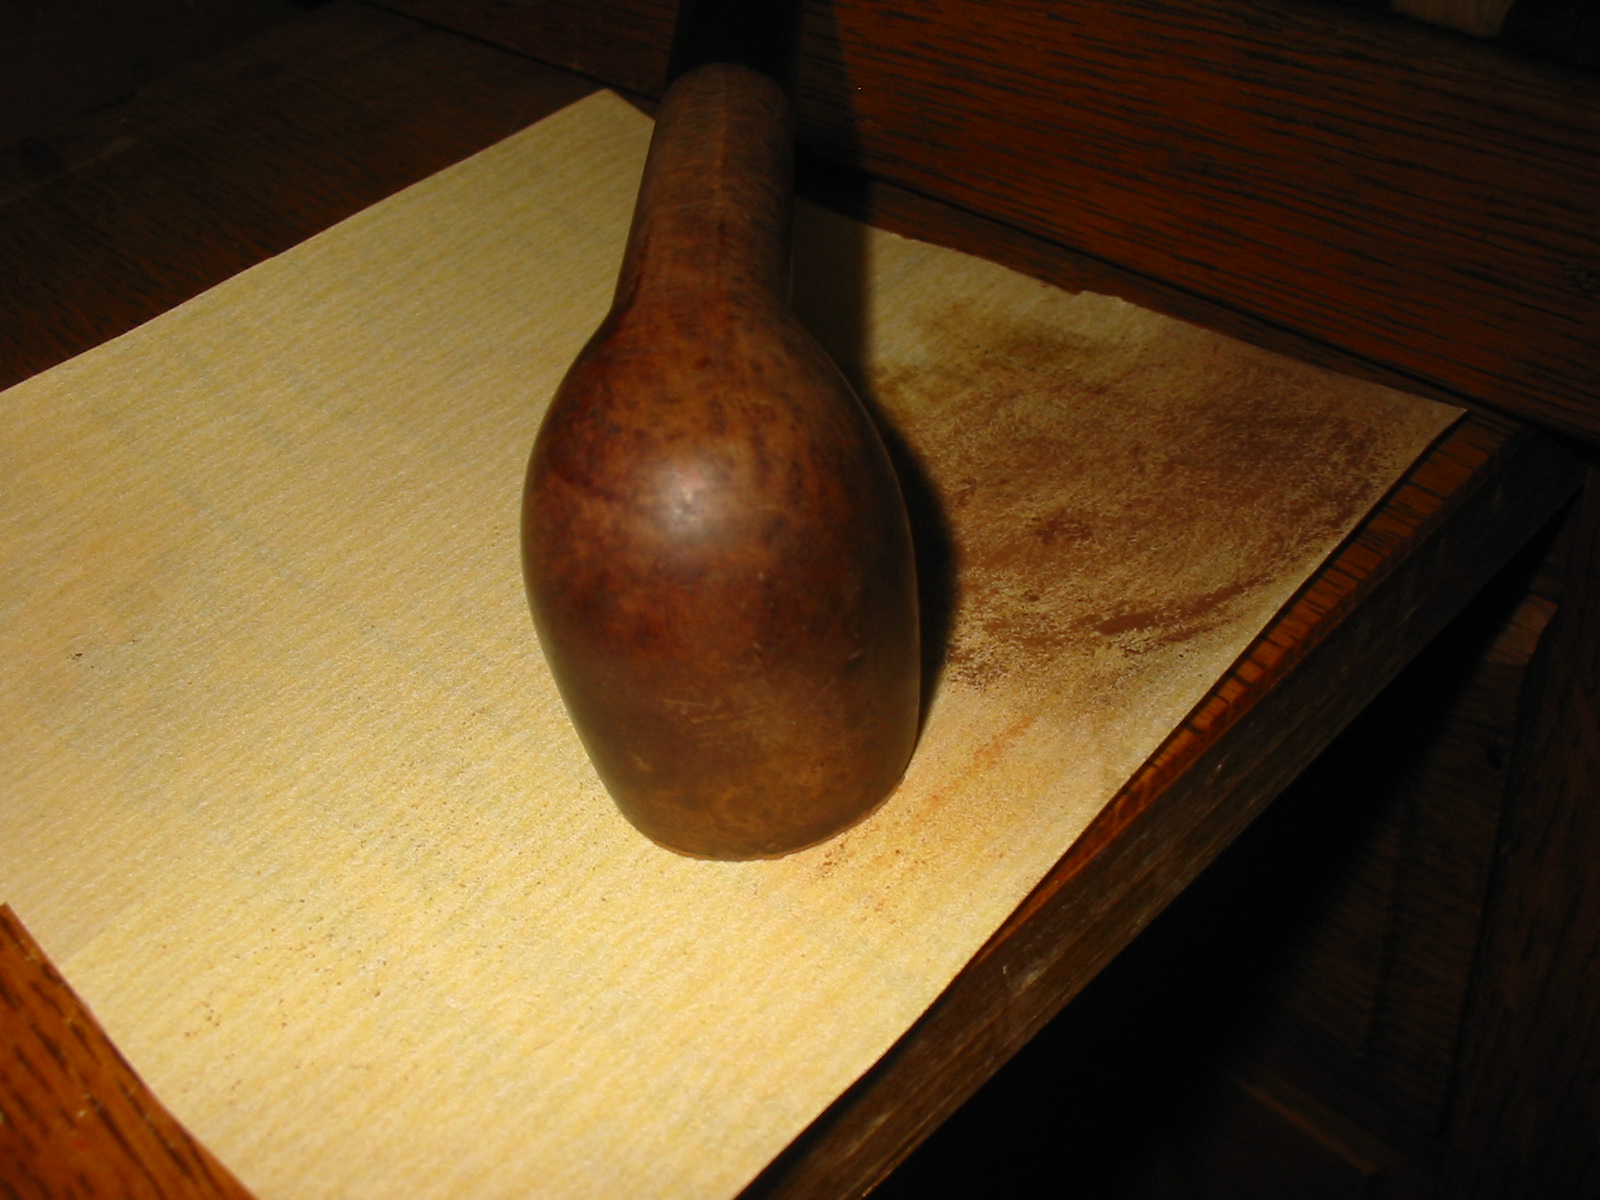
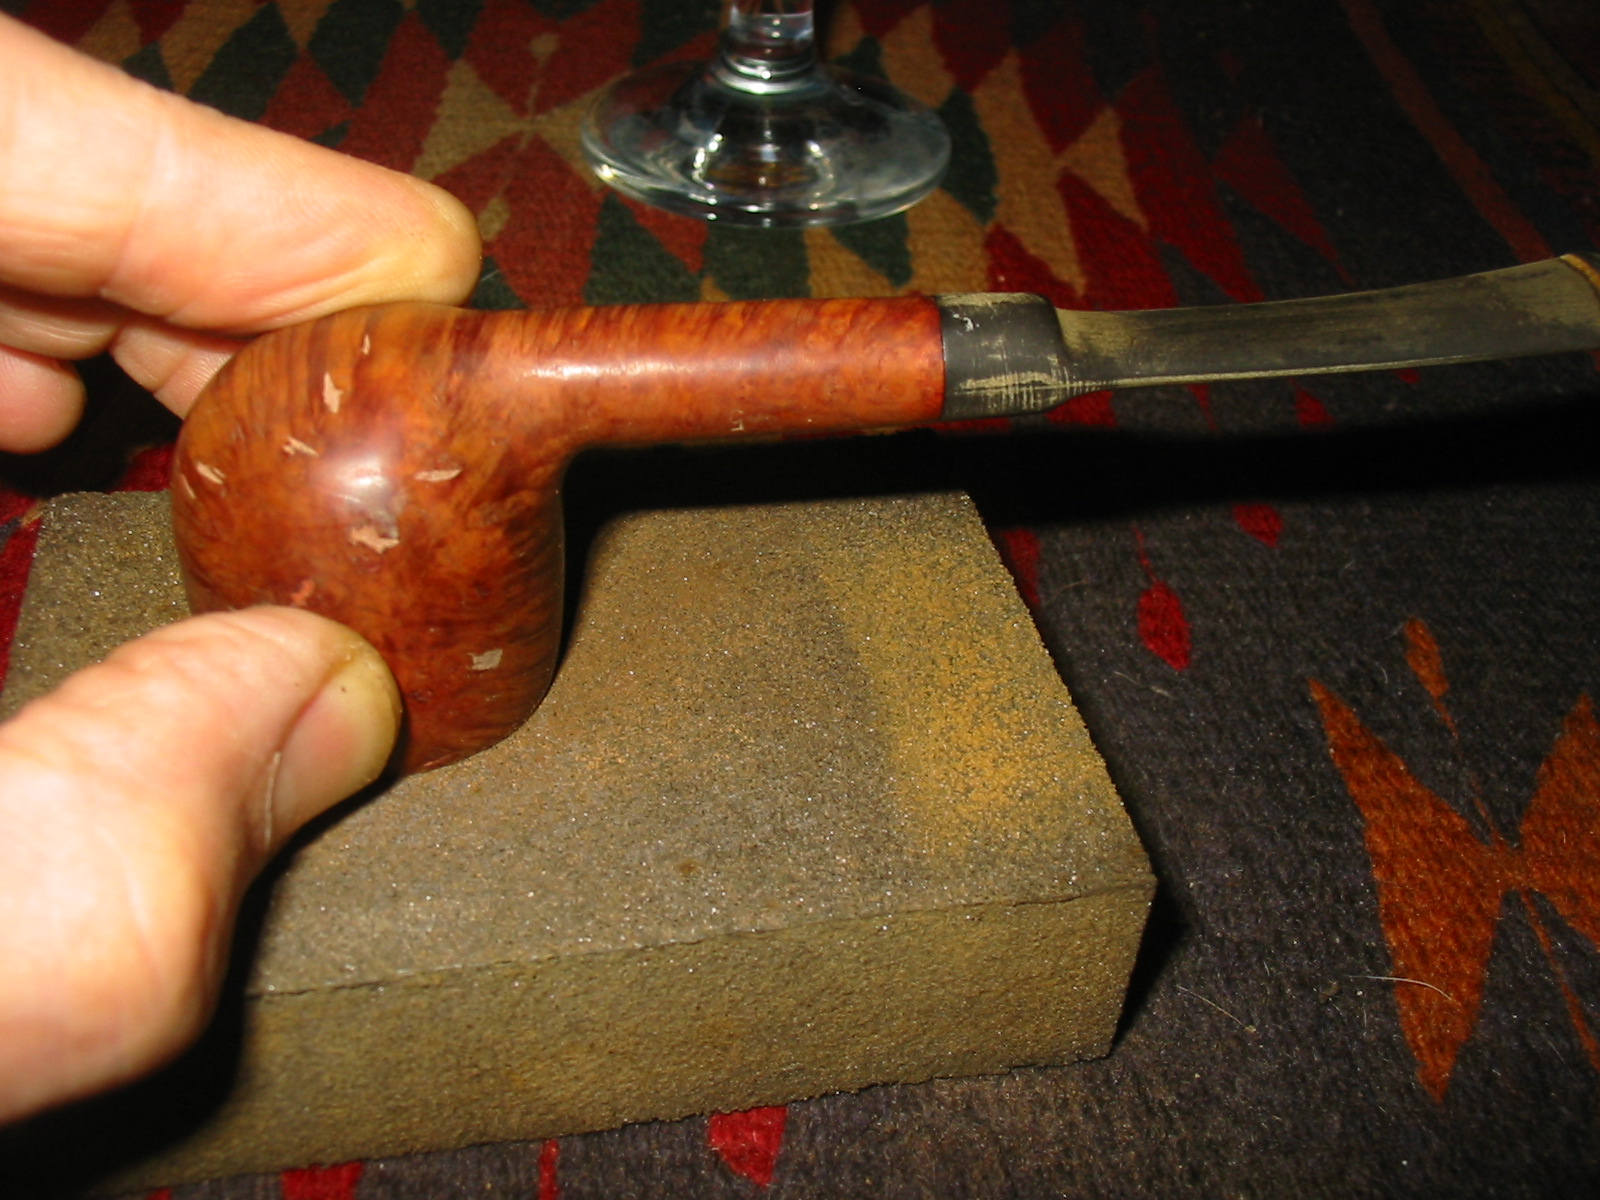
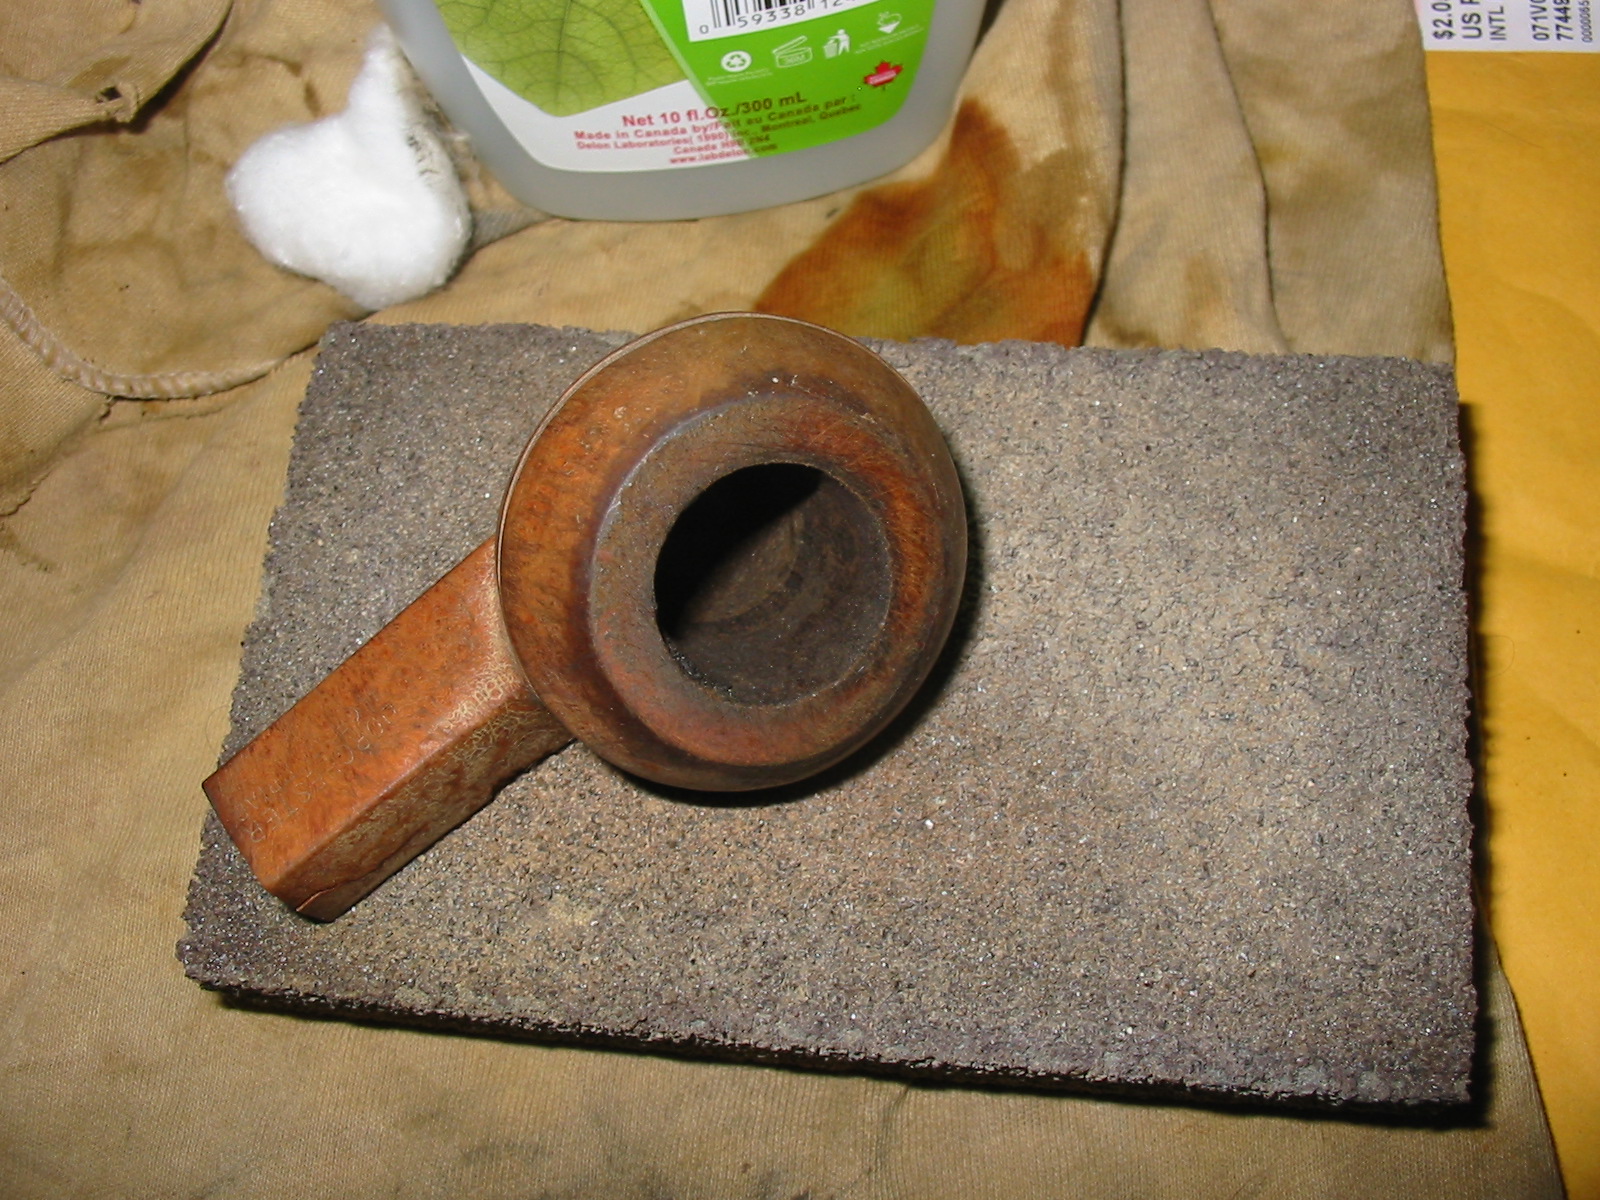
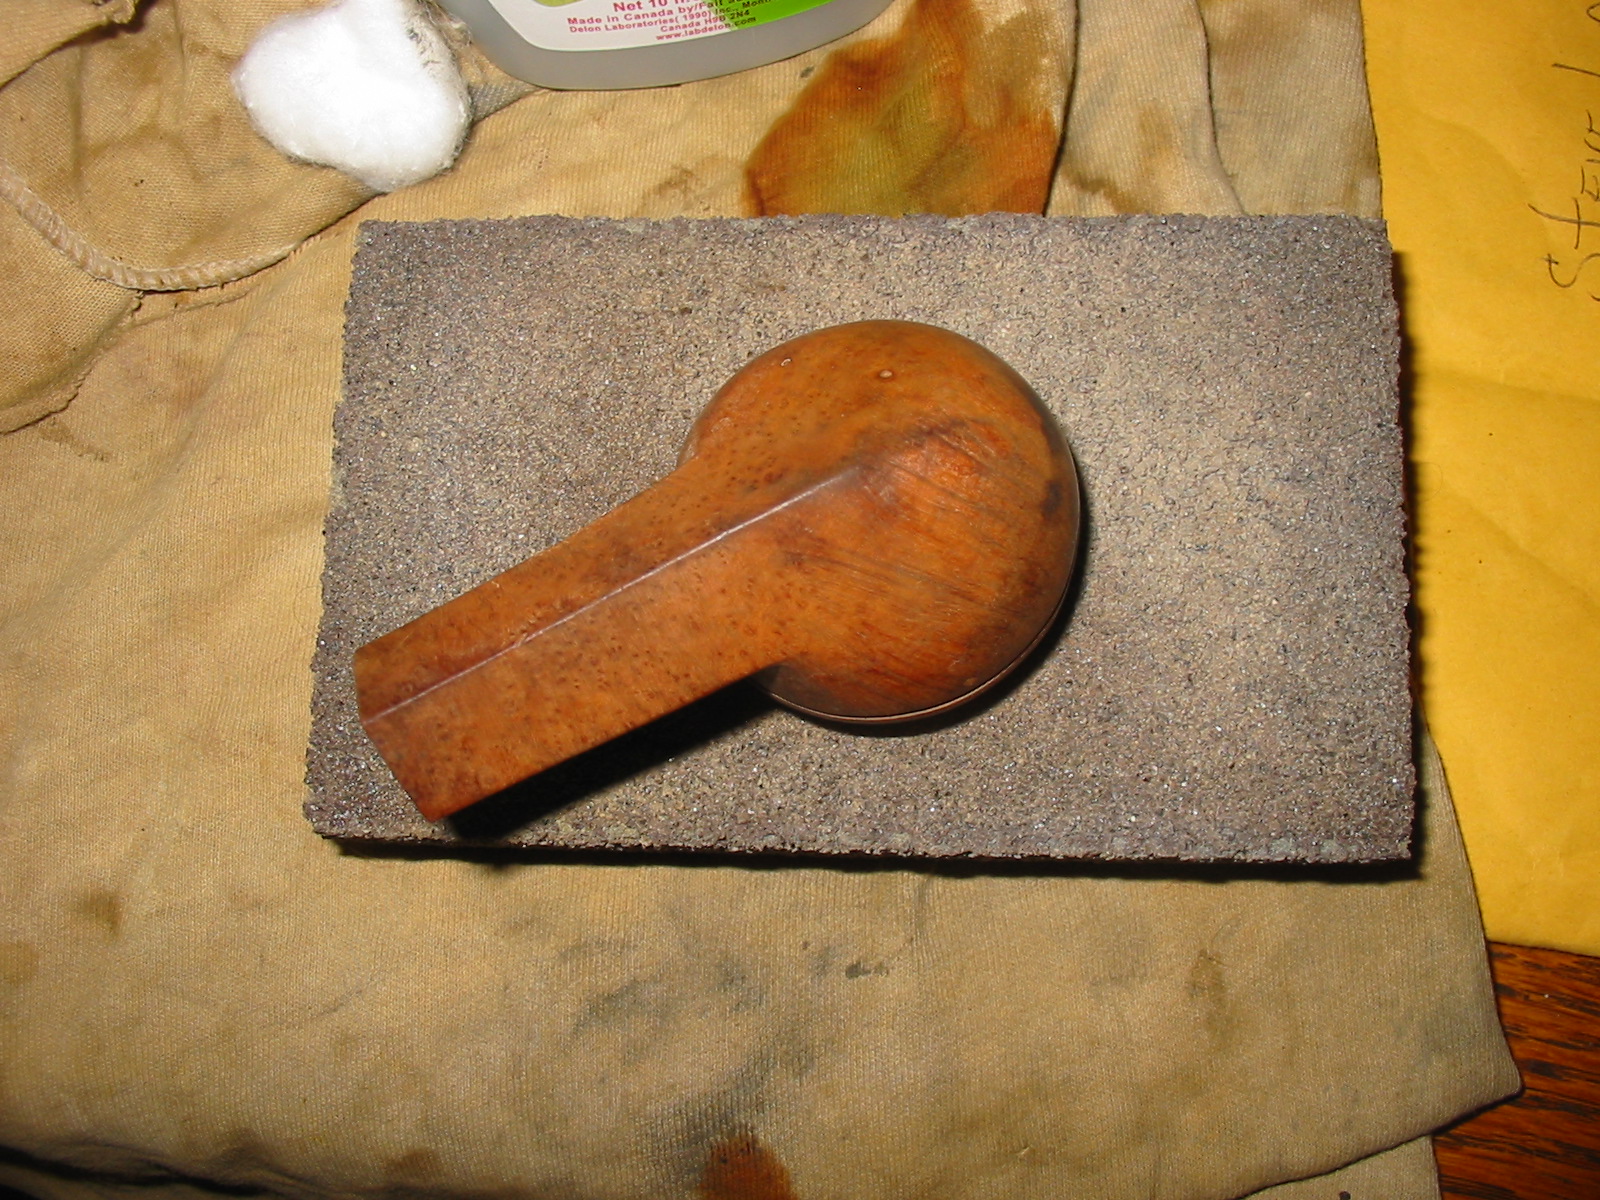
I topped the bowl using my normal method of anchoring a piece of sandpaper on a flat board and twisting the top of the bowl into the sandpaper until the top is smooth. I started with 220 grit sandpaper and then used a medium and fine grit sanding block to smooth out the rim.
IMG_2221

IMG_2222

When I had finished topping the bowl I wiped it down with acetone and a soft cotton pad to remove the sanding dust and the grime from the topping process.
IMG_2223

IMG_2224

IMG_2225

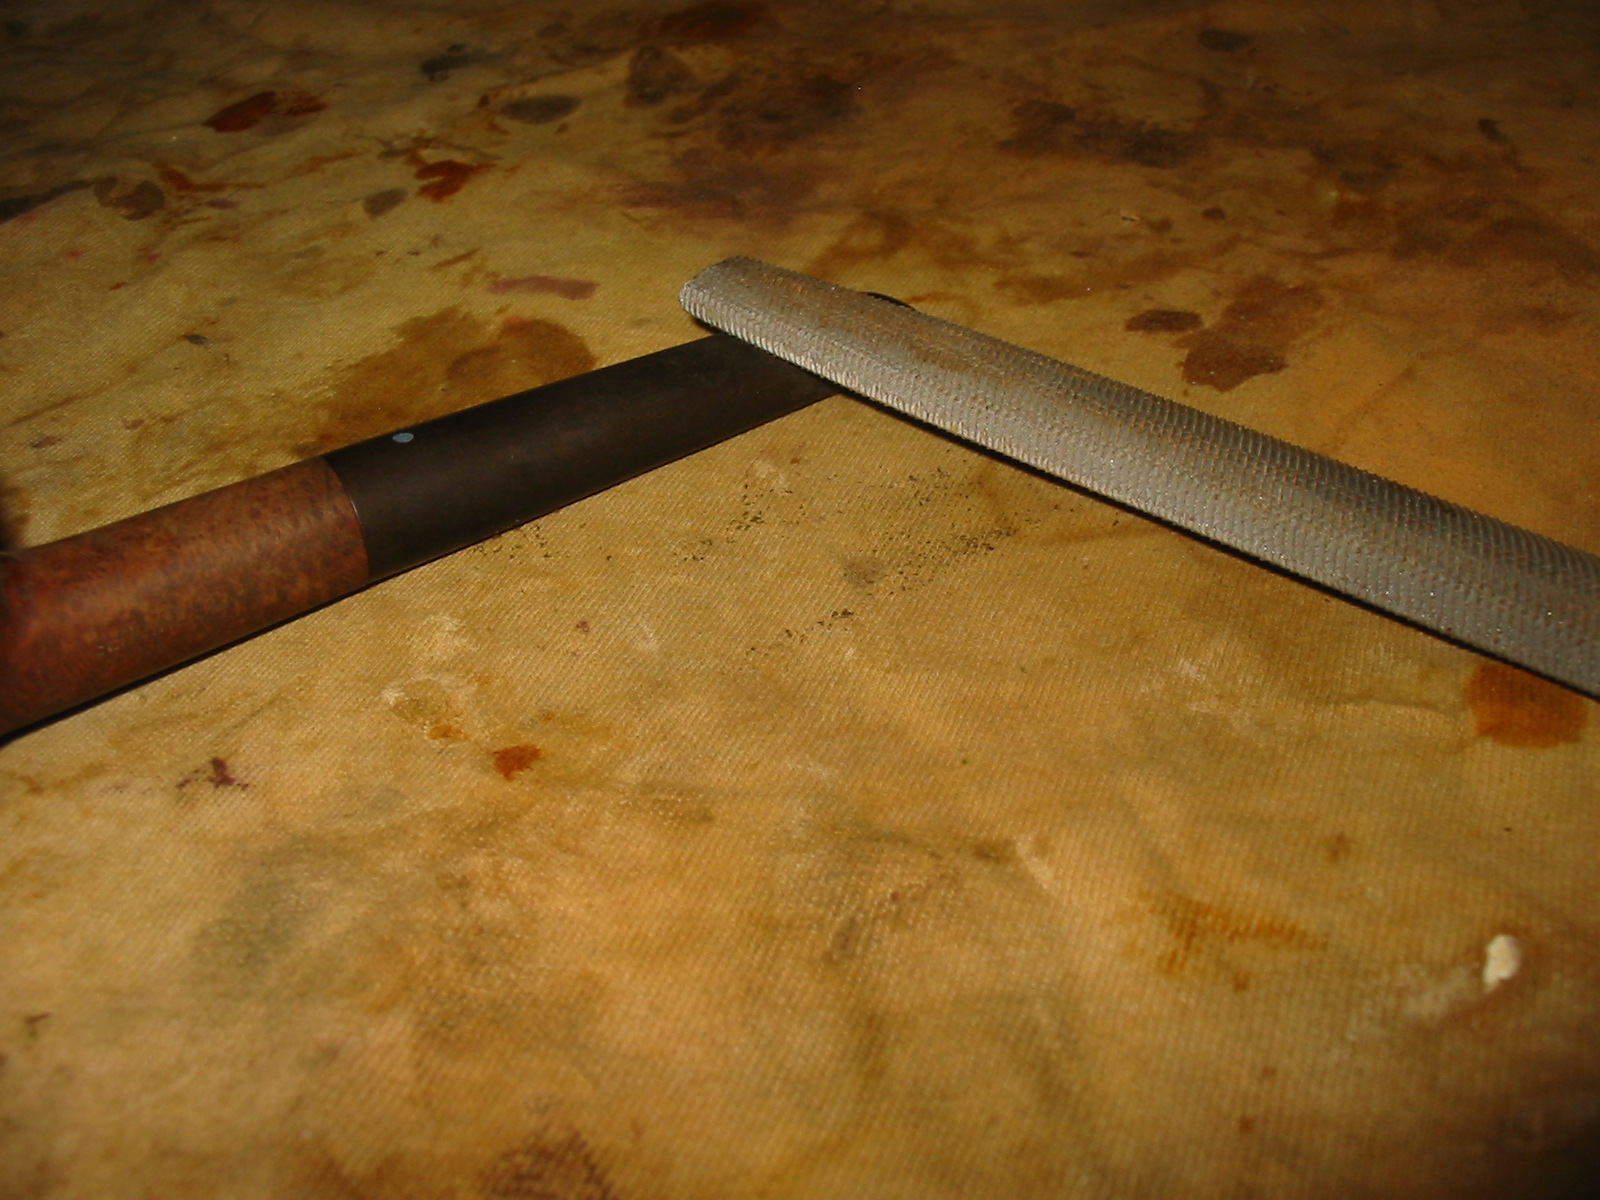
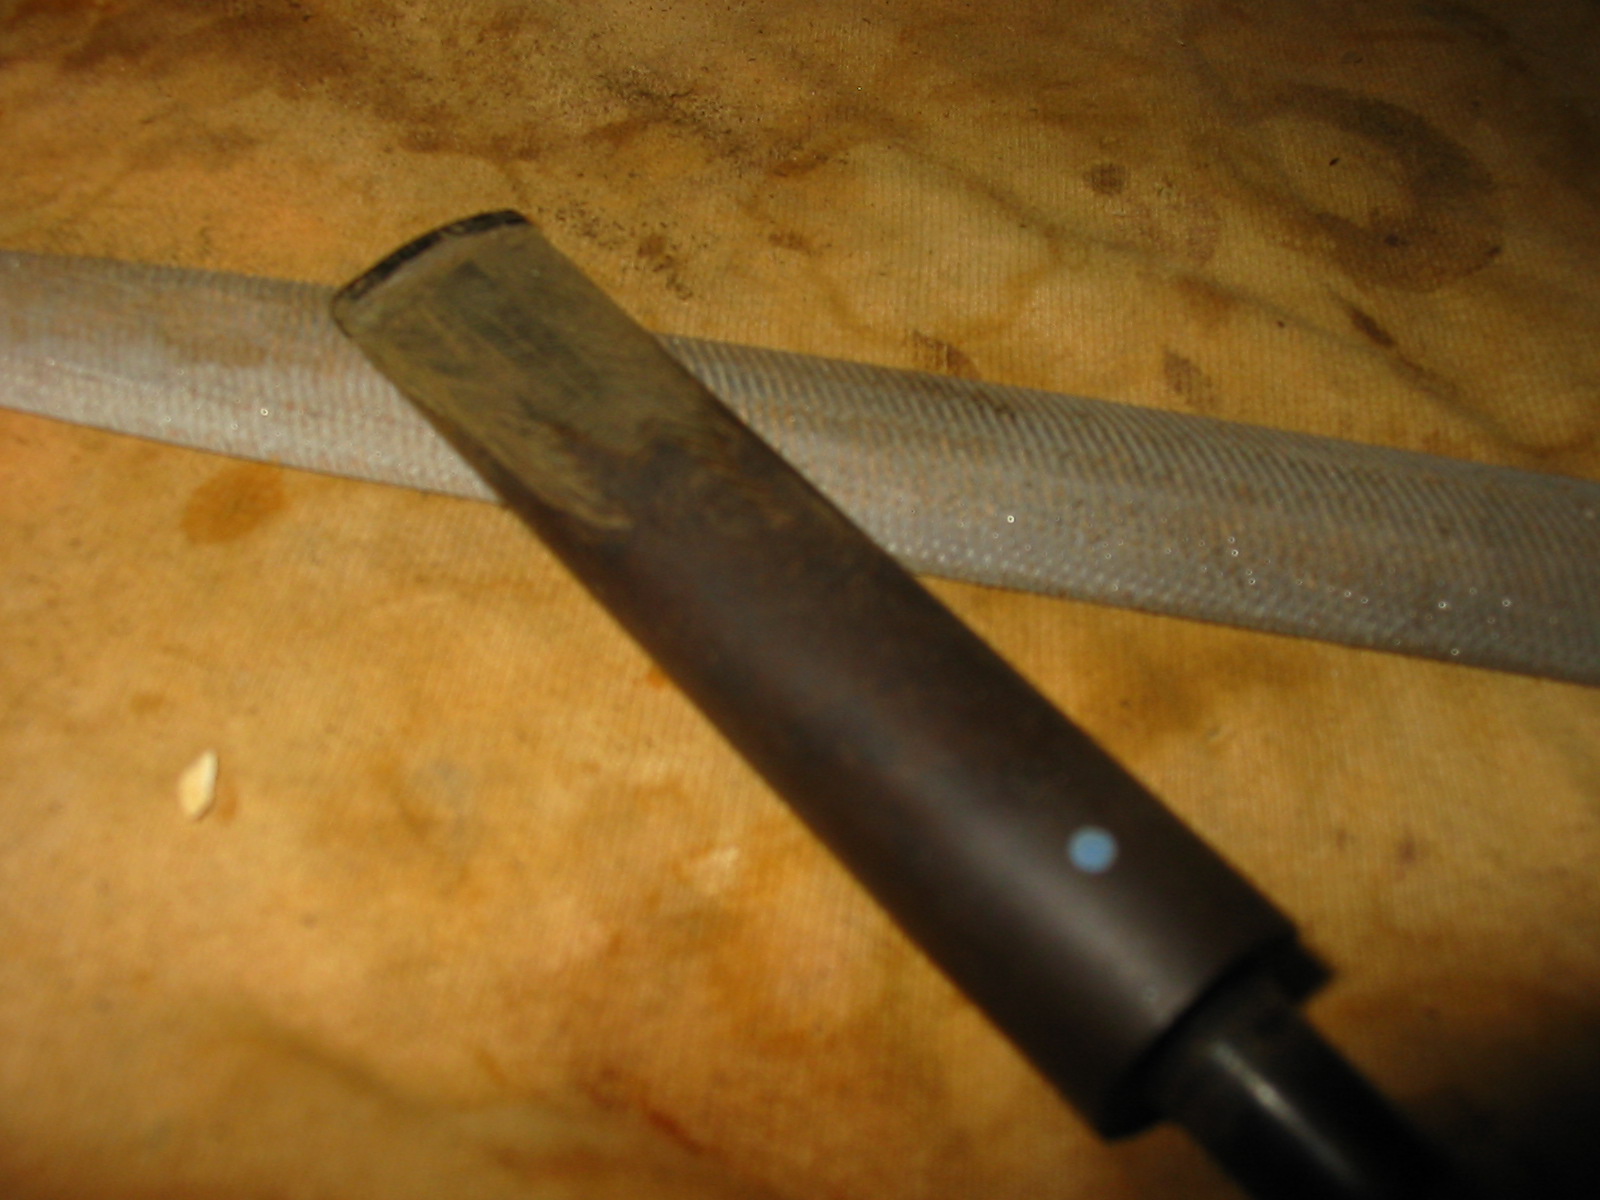
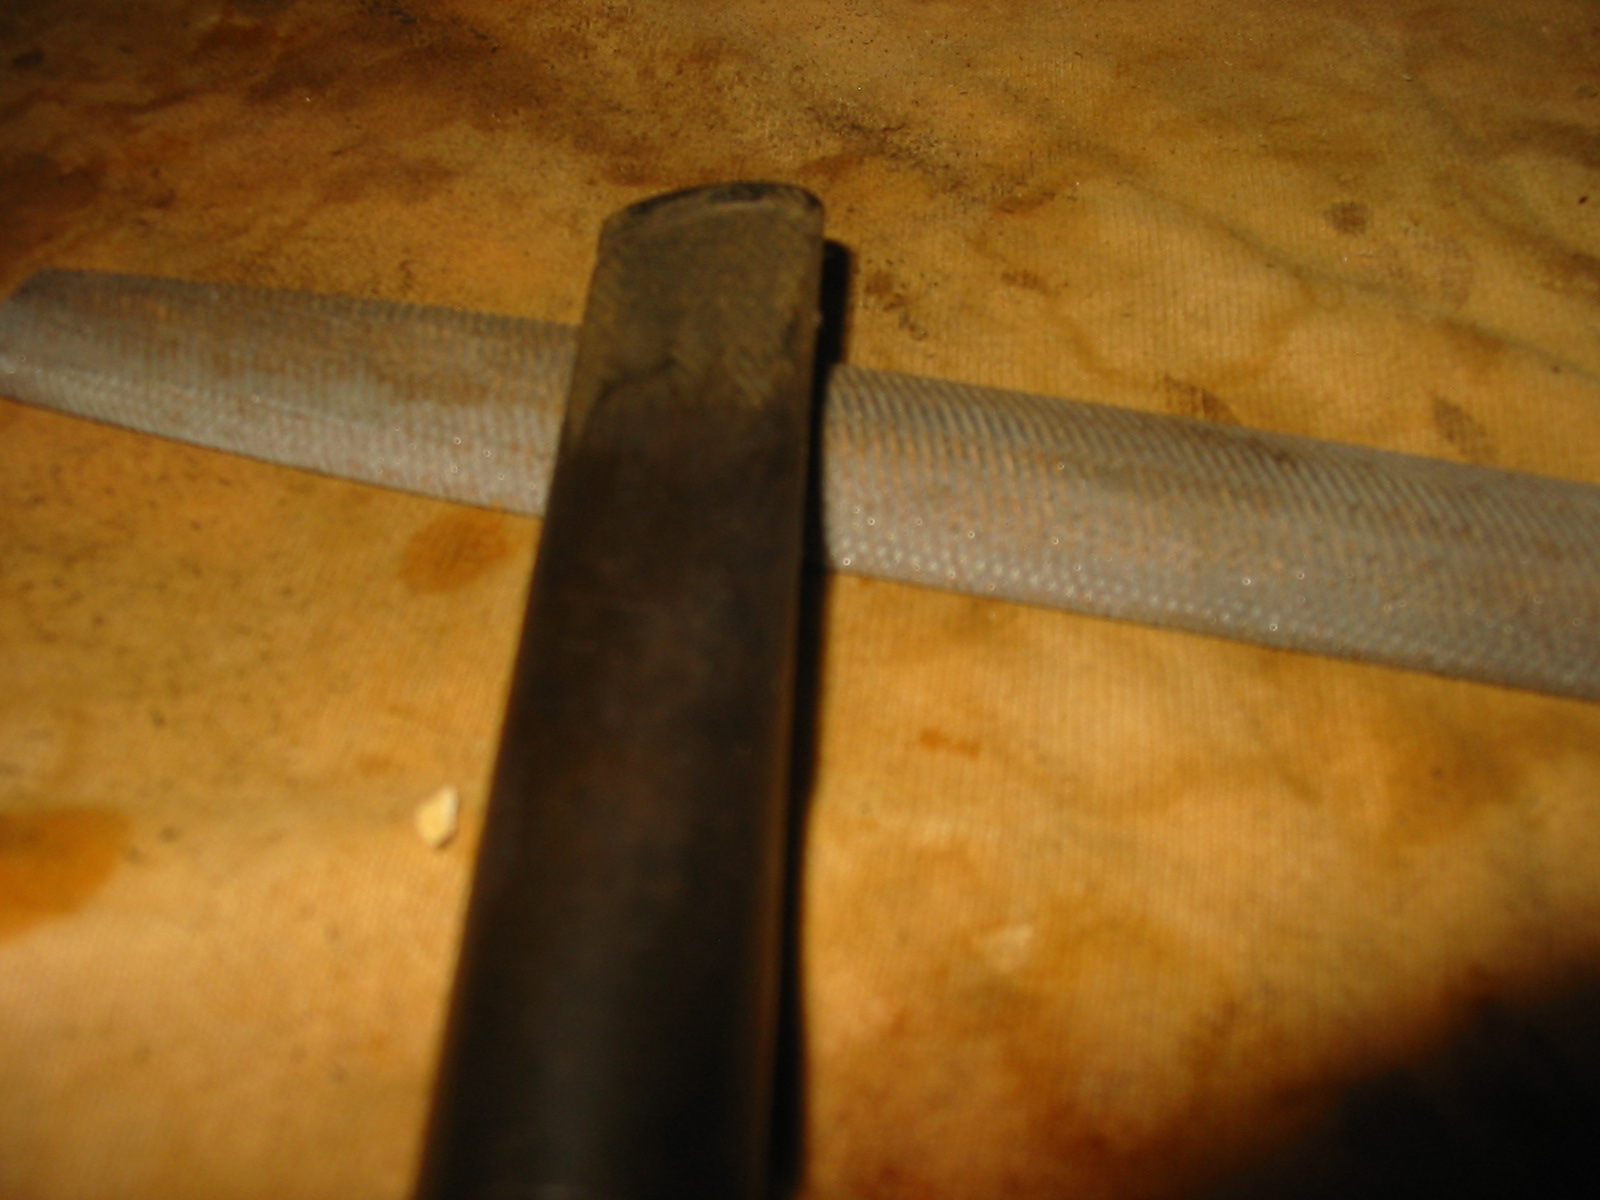
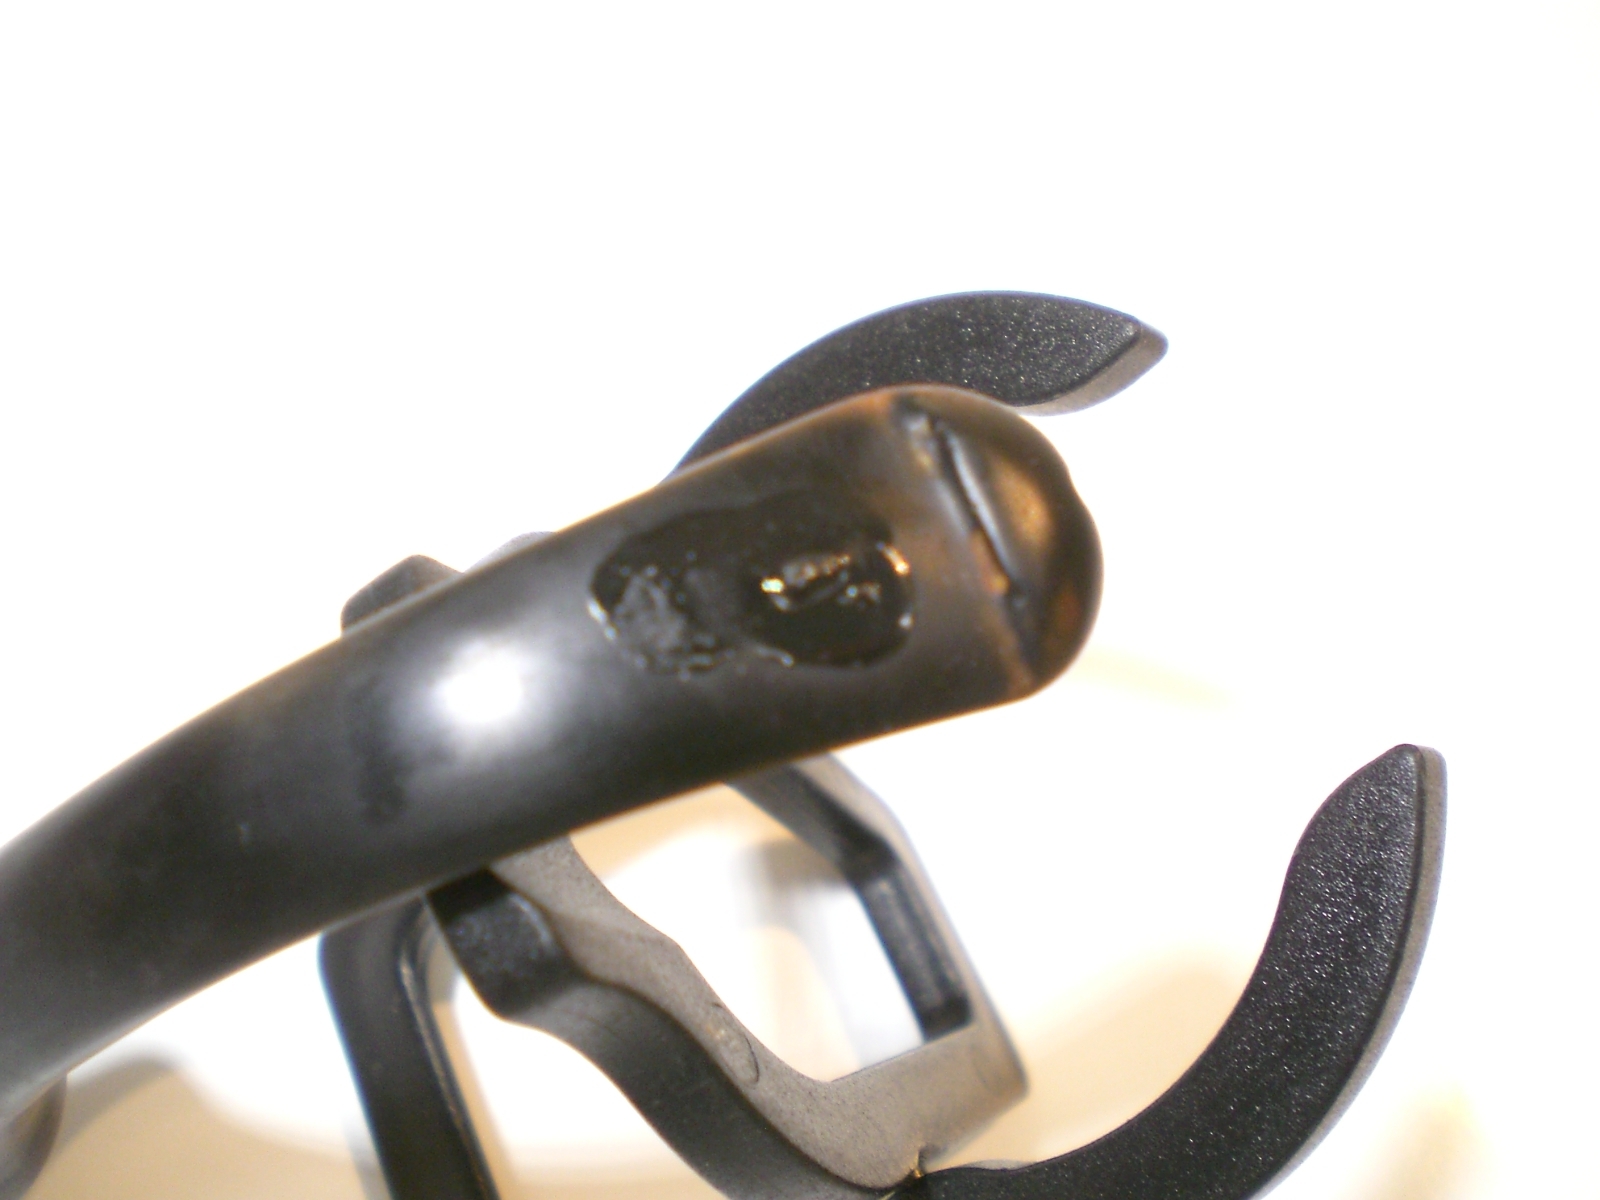
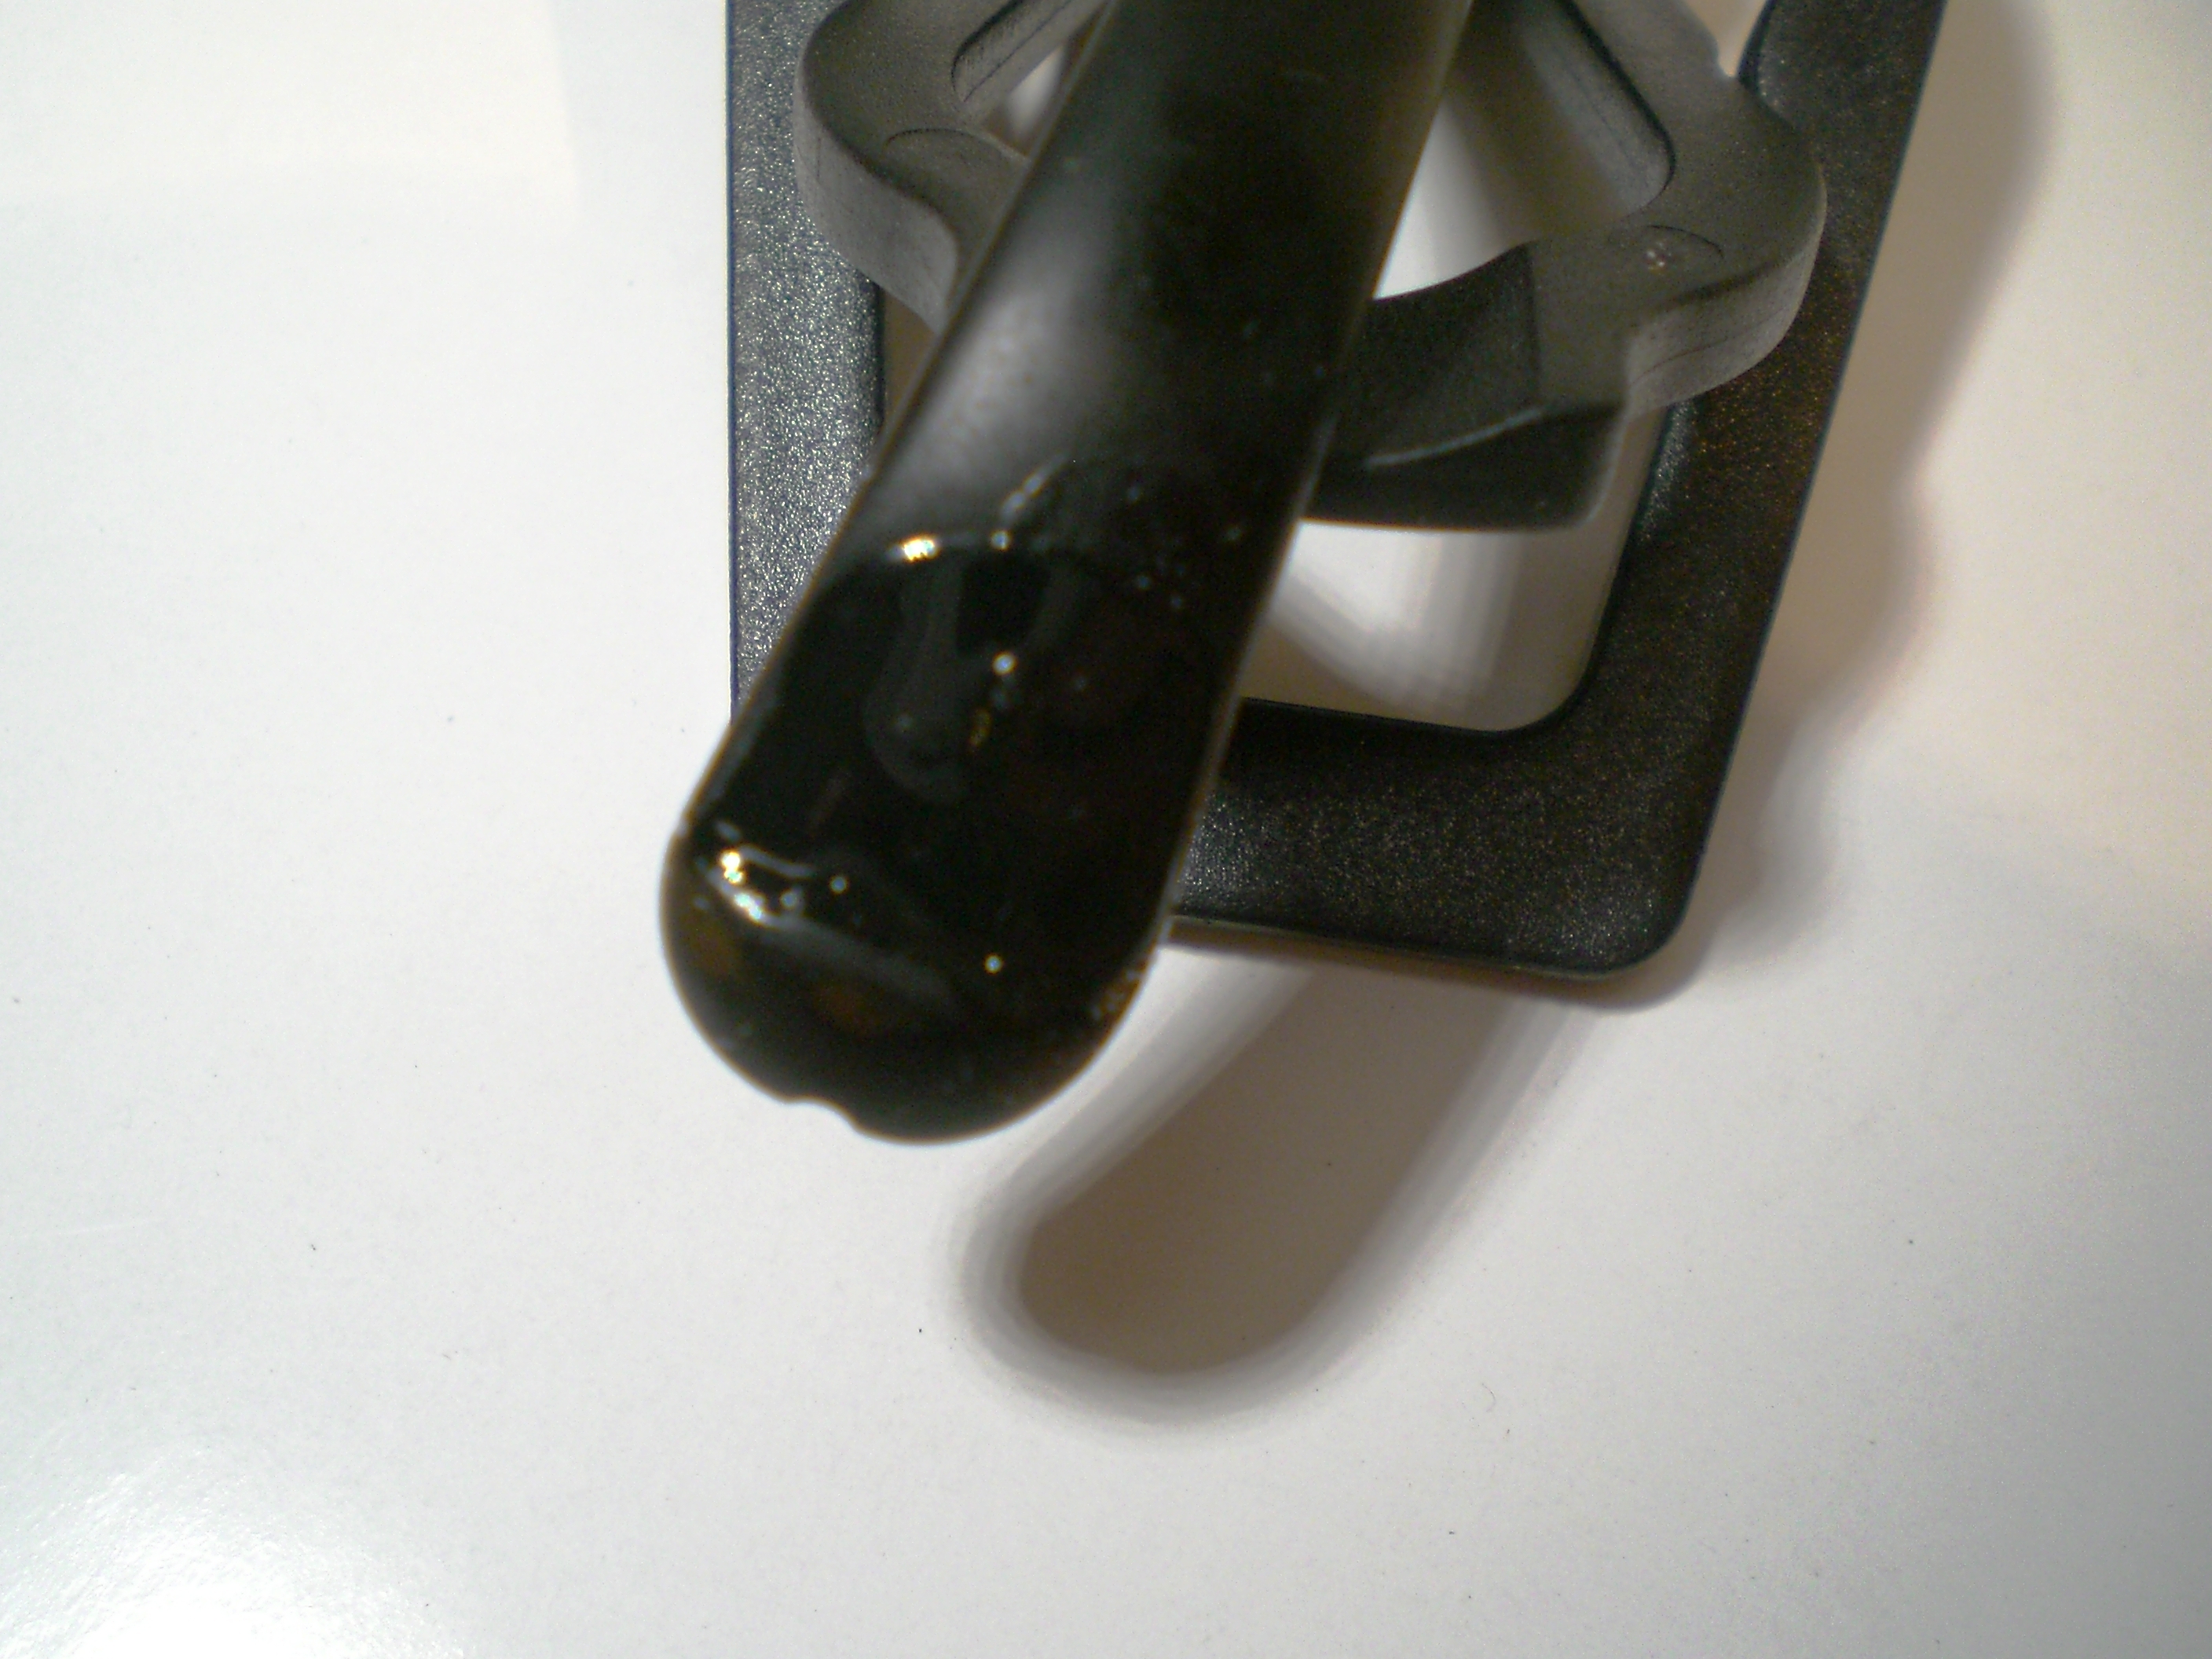
The stem had a poorly cut button on the end and the button as well as the taper on the stem needed to be reworked. I used a rasp and file to shape the taper on the stem and to take out the pinched look of the angle to the 90 degree cut on the button. The button was also not straight and not squarely cut so I also straightened out the flat edge of the button while I worked with the rasp and files. The next three photos show only the initial work on the stem and not the finished work. I removed quite a bit of the material and smooth out the slope of the taper so that it flowed evenly into the button on both the top and the bottom of the stem.
IMG_2226

IMG_2227

IMG_2228

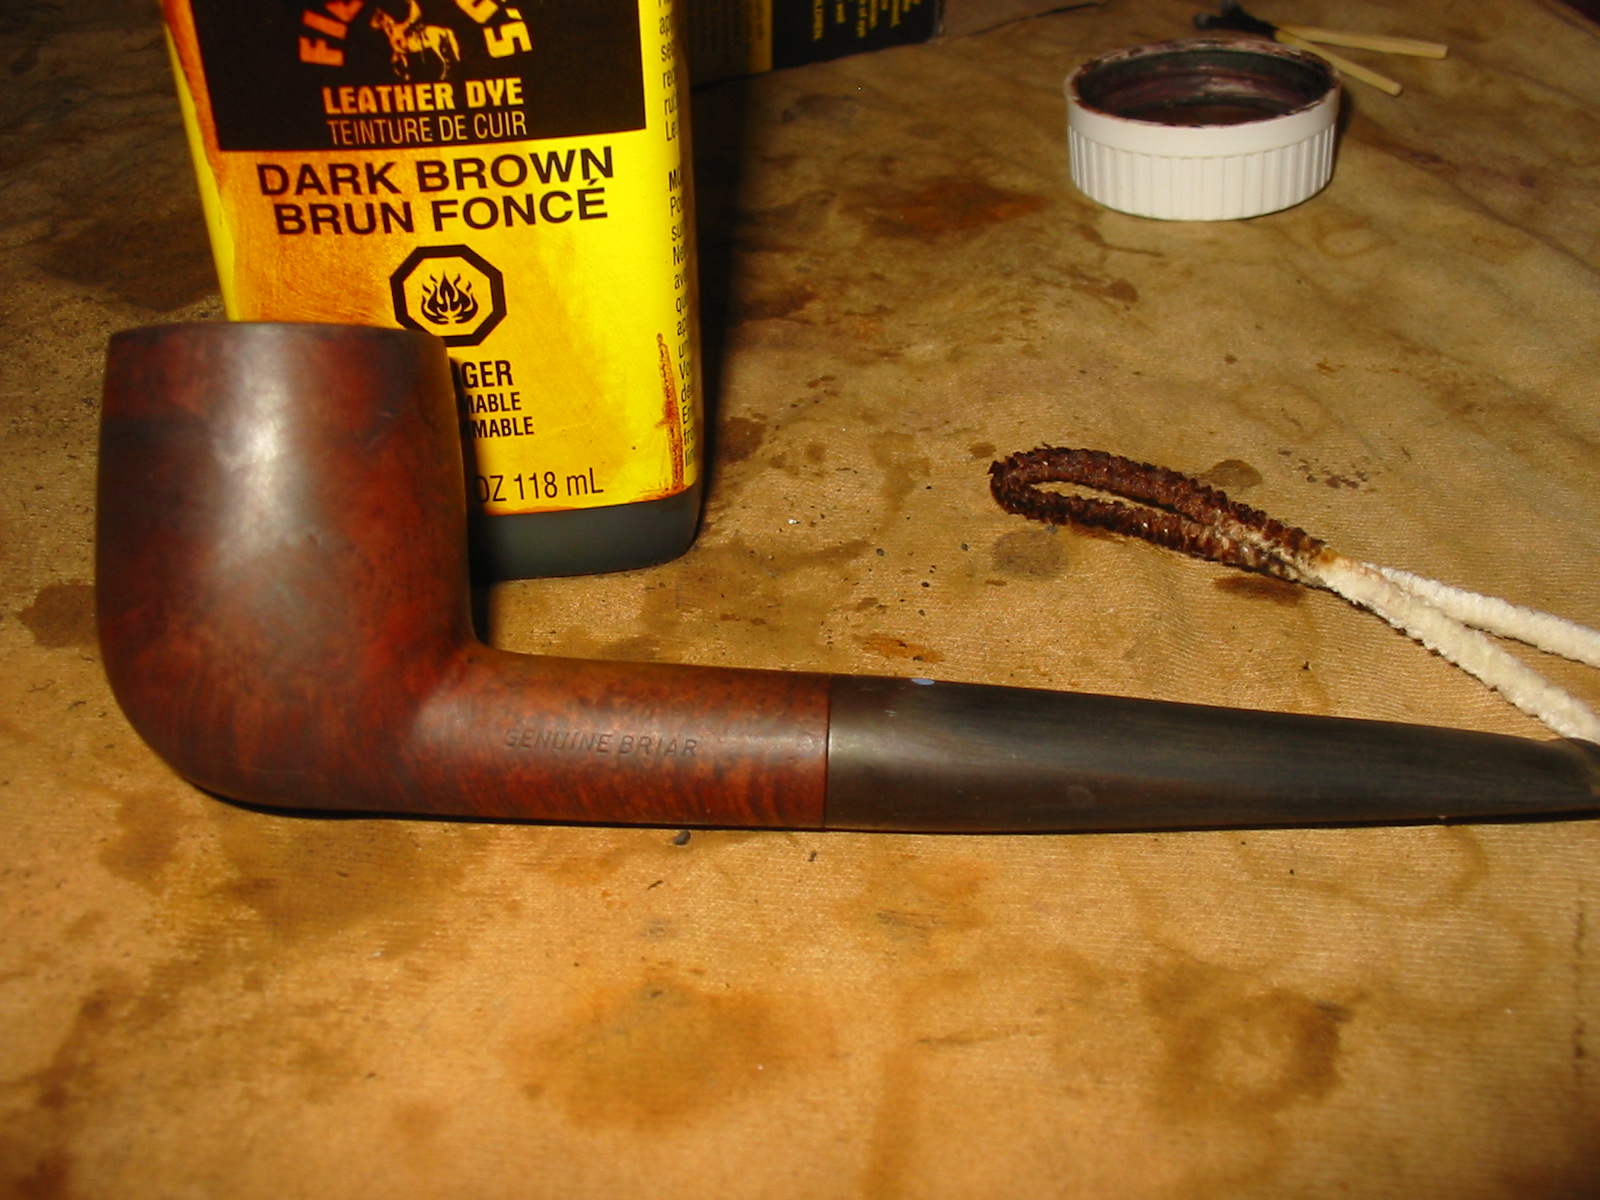
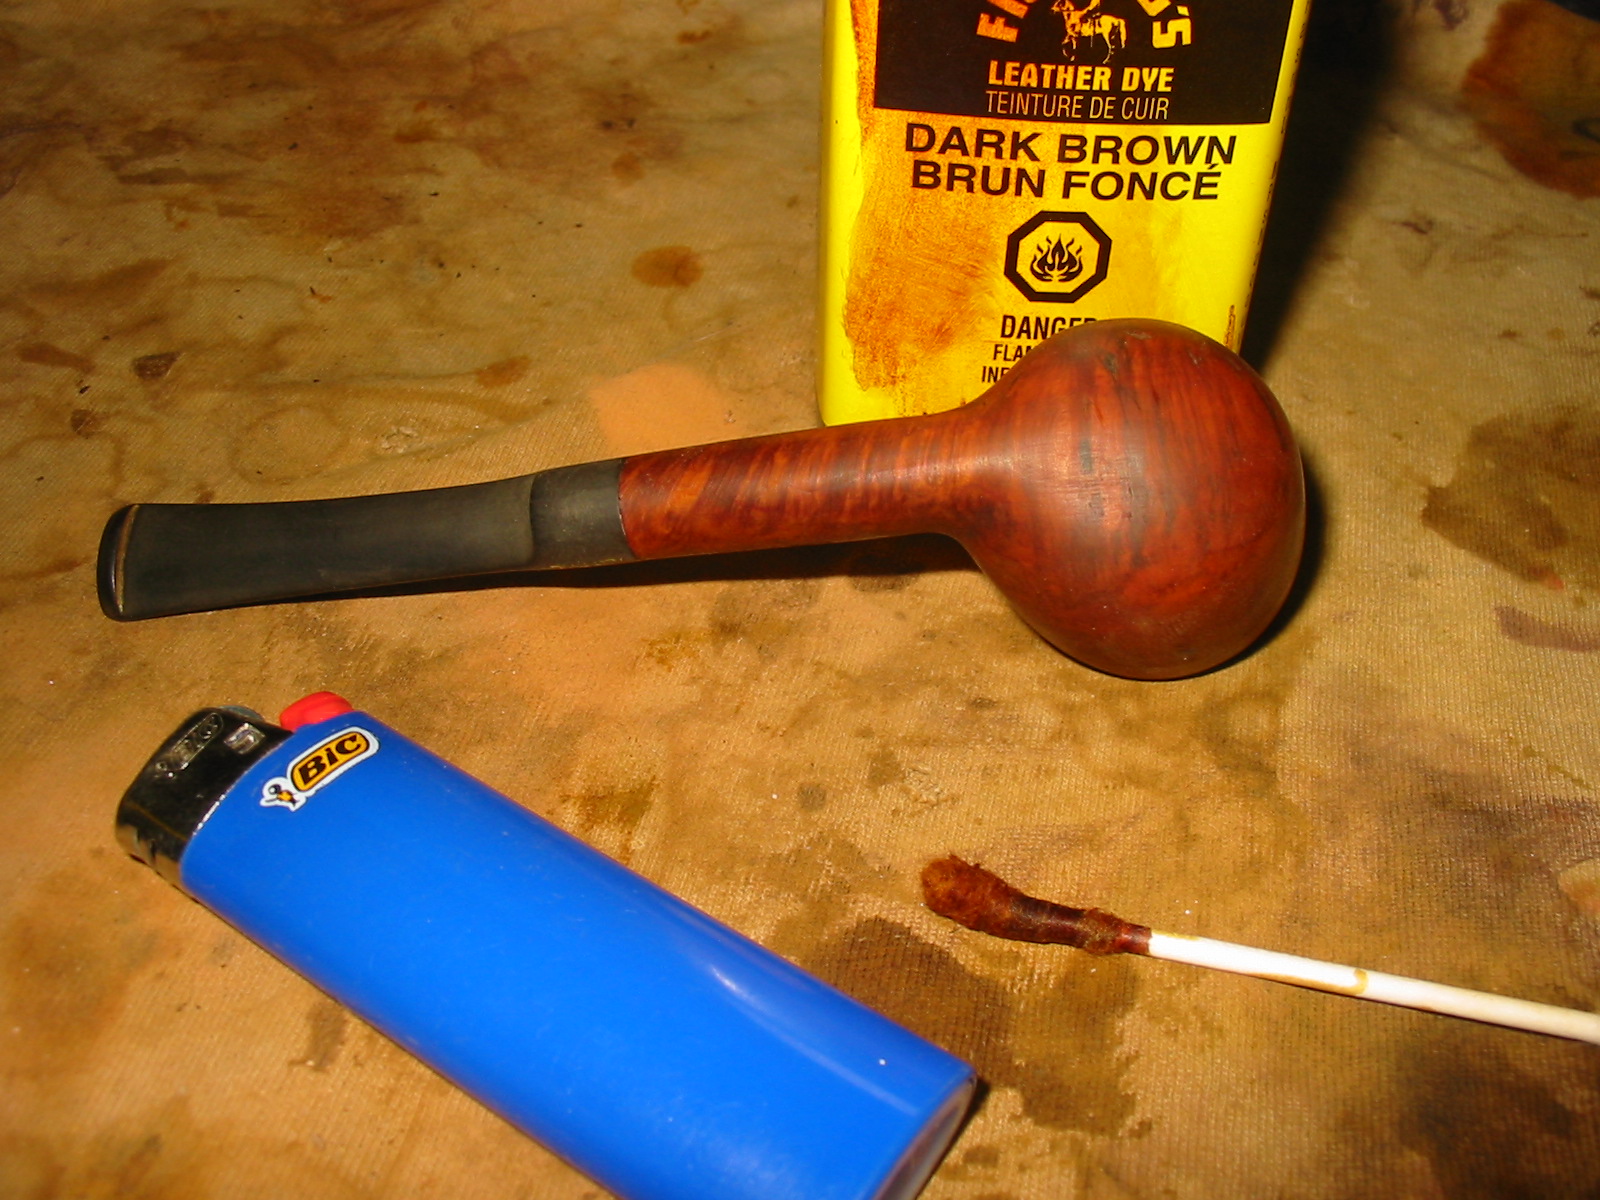
I sanded the newly shaped stem with 220 grit sandpaper and a medium grit sanding sponge to remove the scratches left by the rasp and files. Once I had the basic shape in place I decided to restain the bowl. I warmed the briar and then gave it several coats of a dark brown aniline stain thinned 1:1 with isopropyl alcohol. I flamed it between each coats to set the stain. The rim took extra coats to match the colour of the rest of the bowl.
IMG_2240

IMG_2241

IMG_2242

IMG_2244

I buffed the newly stained bowl lightly with White Diamond and then gave it a coat of a light cherry coloured Danish Oil. Once dry I buffed it by hand and then also gave it a light buff with White Diamond to polish it.
IMG_2245

IMG_2246

IMG_2247

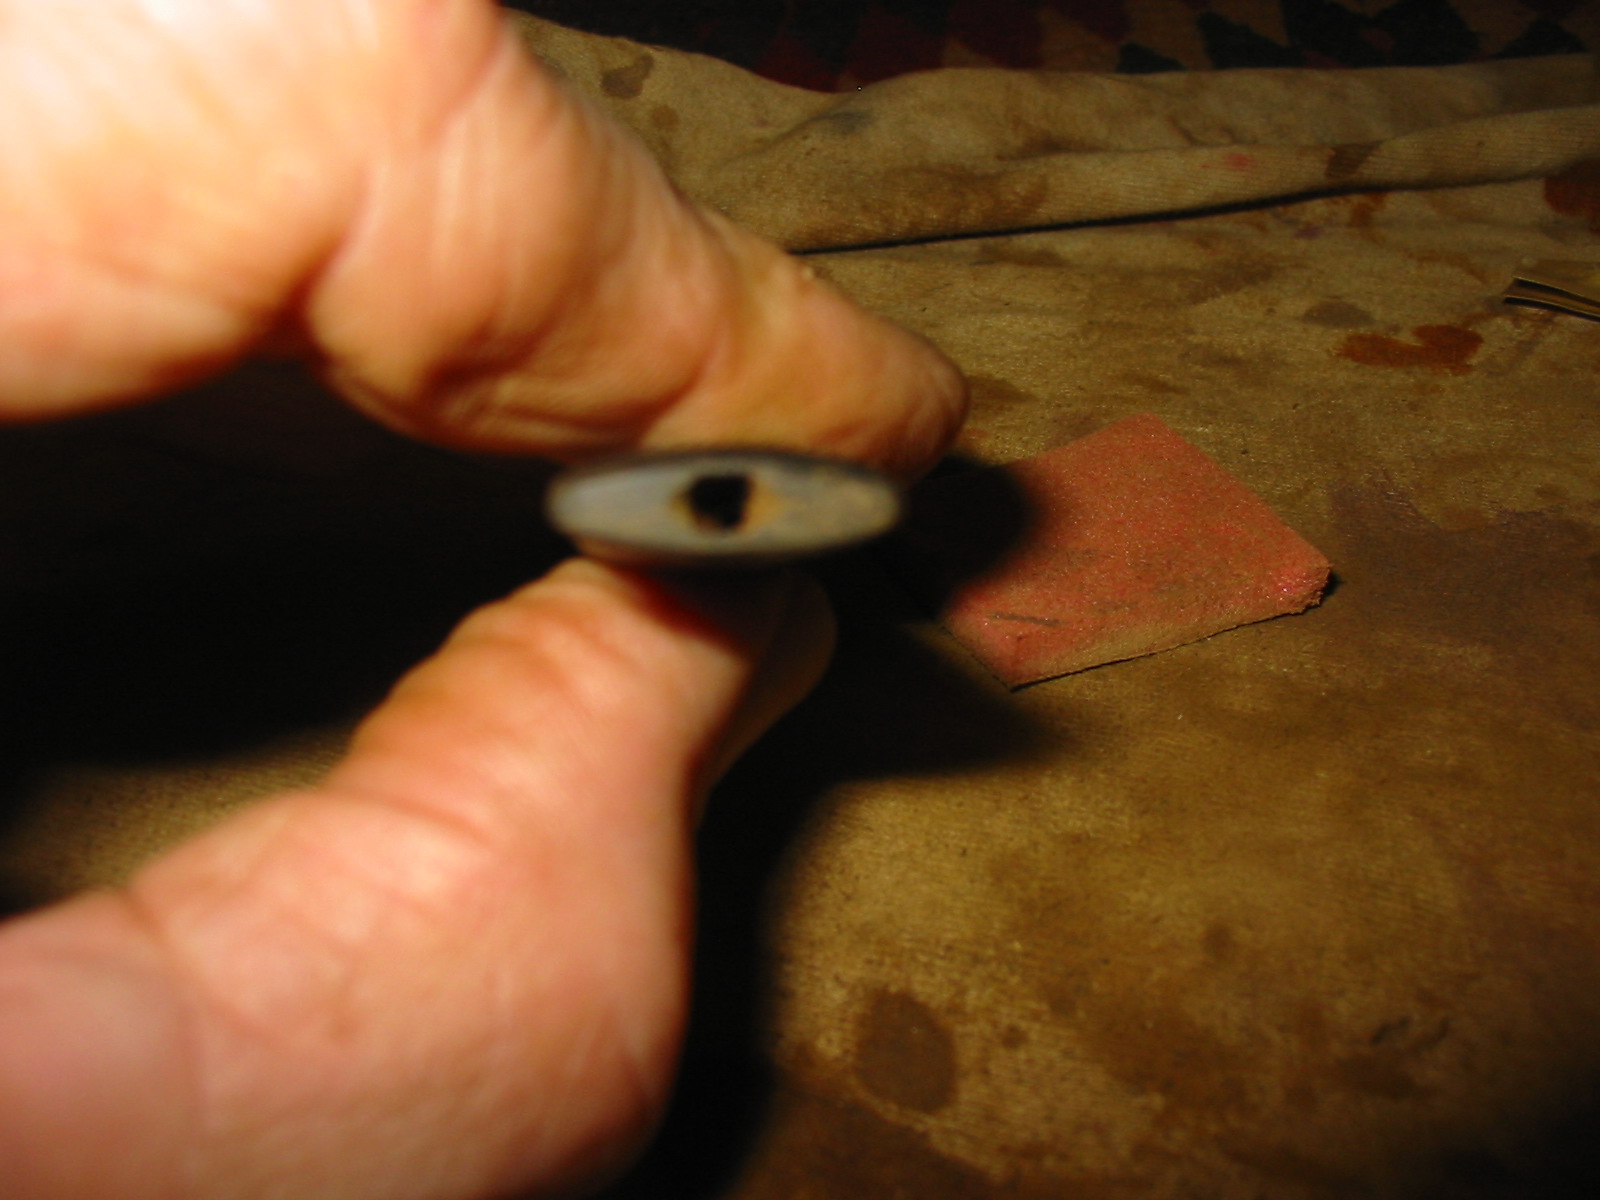
I then removed the stem and worked on the slot in the button. When the end of the stem had been cut off some of the flair of the original airway remained leaving the end of the button with a small rectangular opening. I used needle files to open the flair and widen the slot into more of an oval that extended the width and height of the button end.
IMG_2248

IMG_2251

IMG_2252

Once I had the slot opened the way I like it I sanded the inner edges with a folded piece of sandpaper to smooth it out. I also did some more shaping with files to the taper of the stems. I sanded it with 220 grit sandpaper until I had the slope well-defined from the tenon back to the button. I also shaped the externals of the button to clean up the angle at the point the button and stem taper met. I also sanded it with a medium grit sanding sponge to remove the scratches left behind and to also remove the oxidation at the stem shank junction.
IMG_2249

IMG_2250

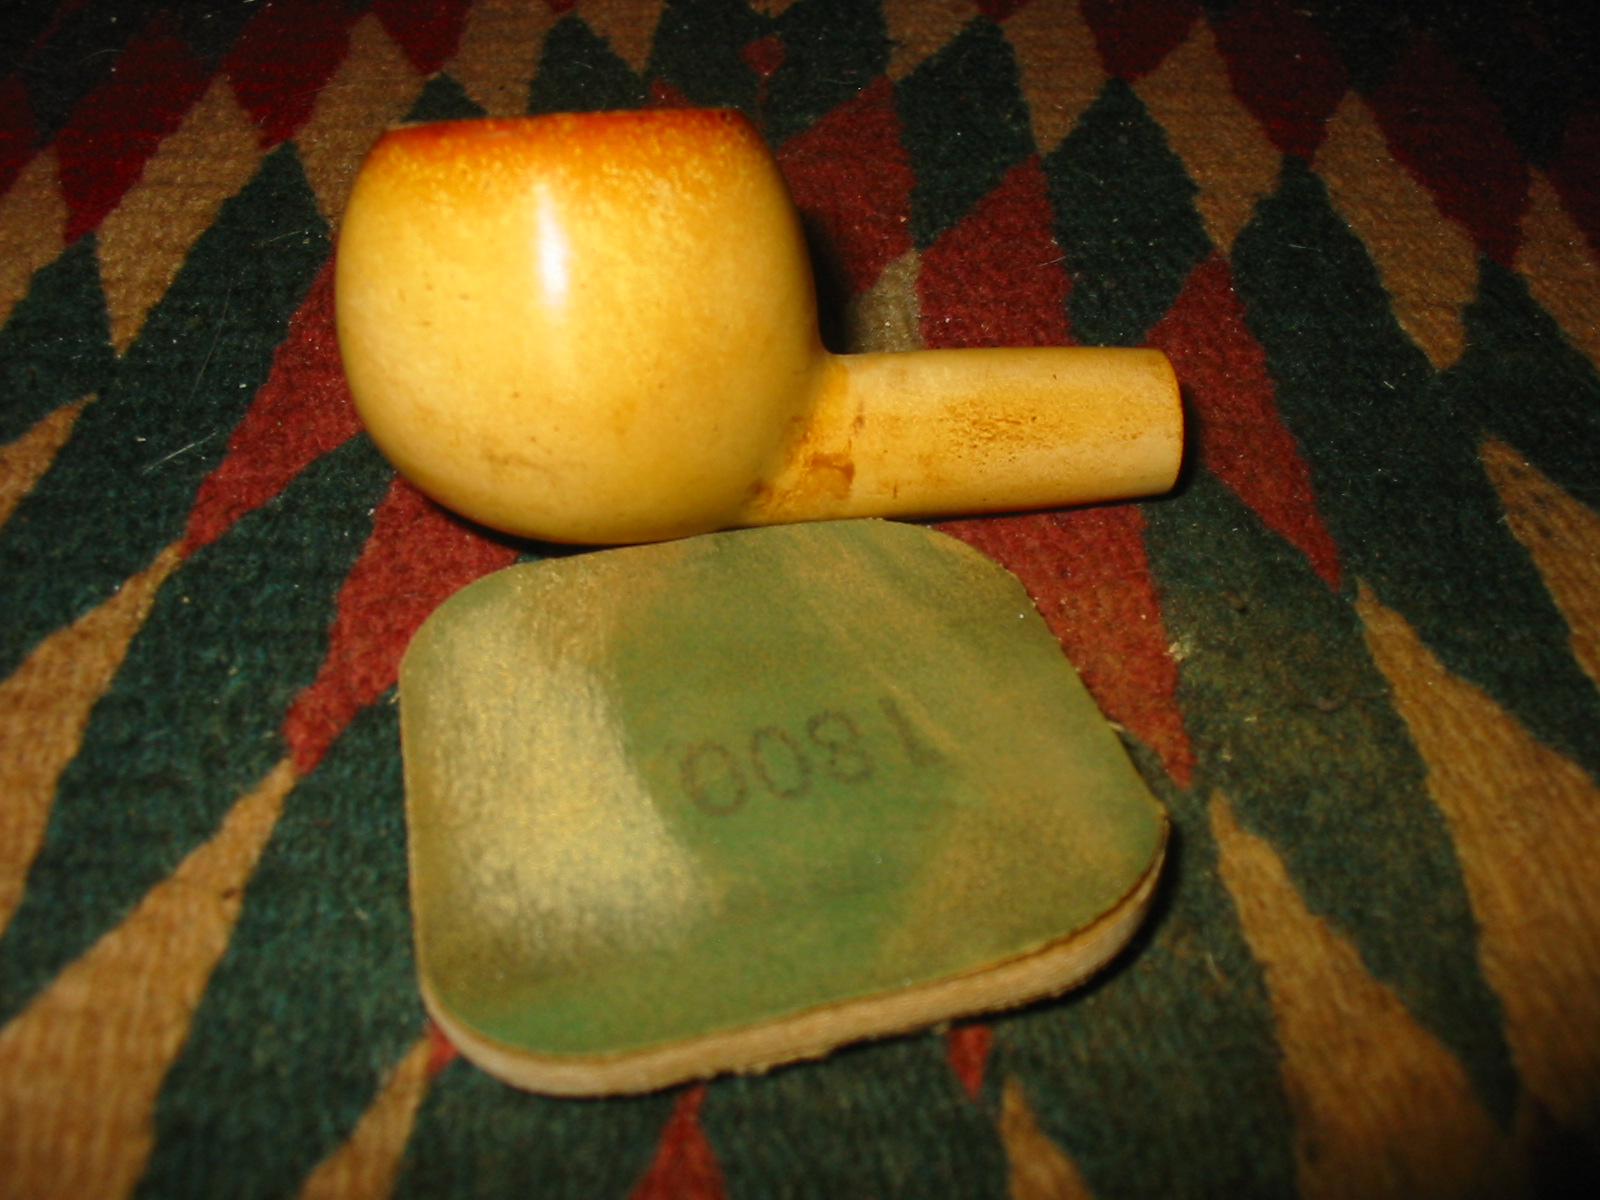
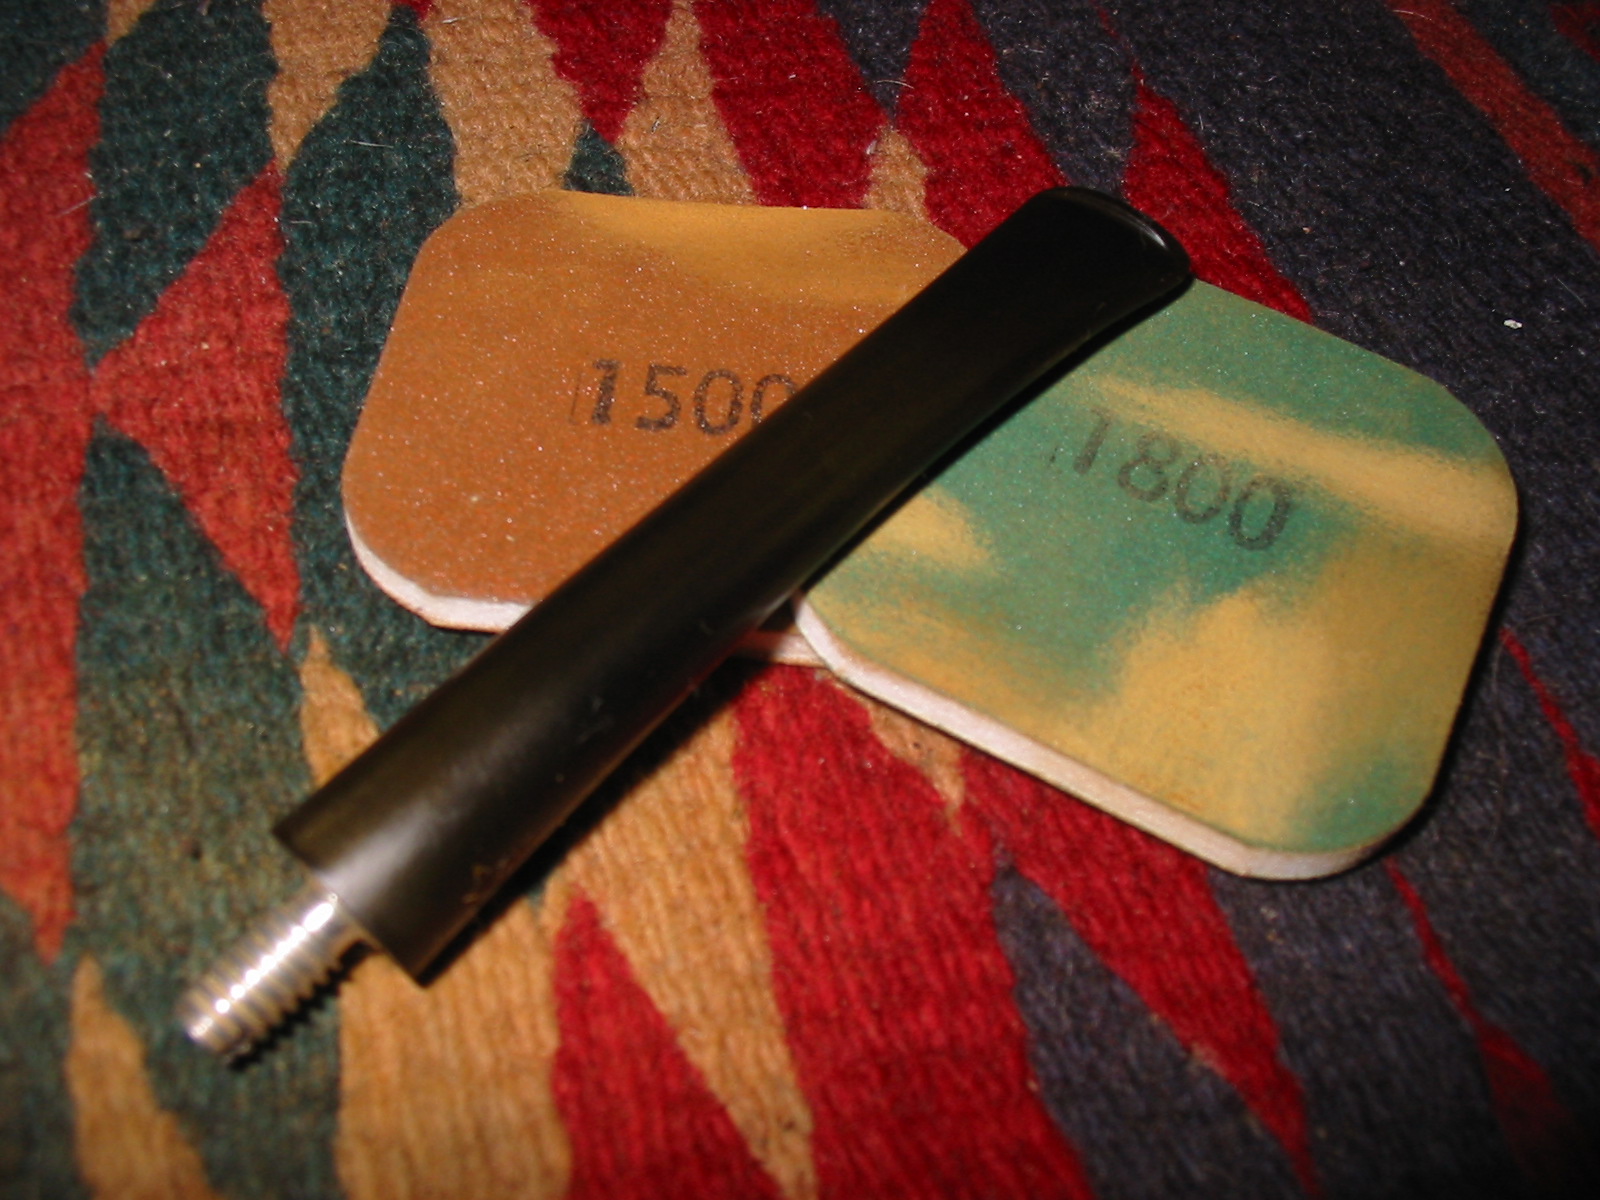
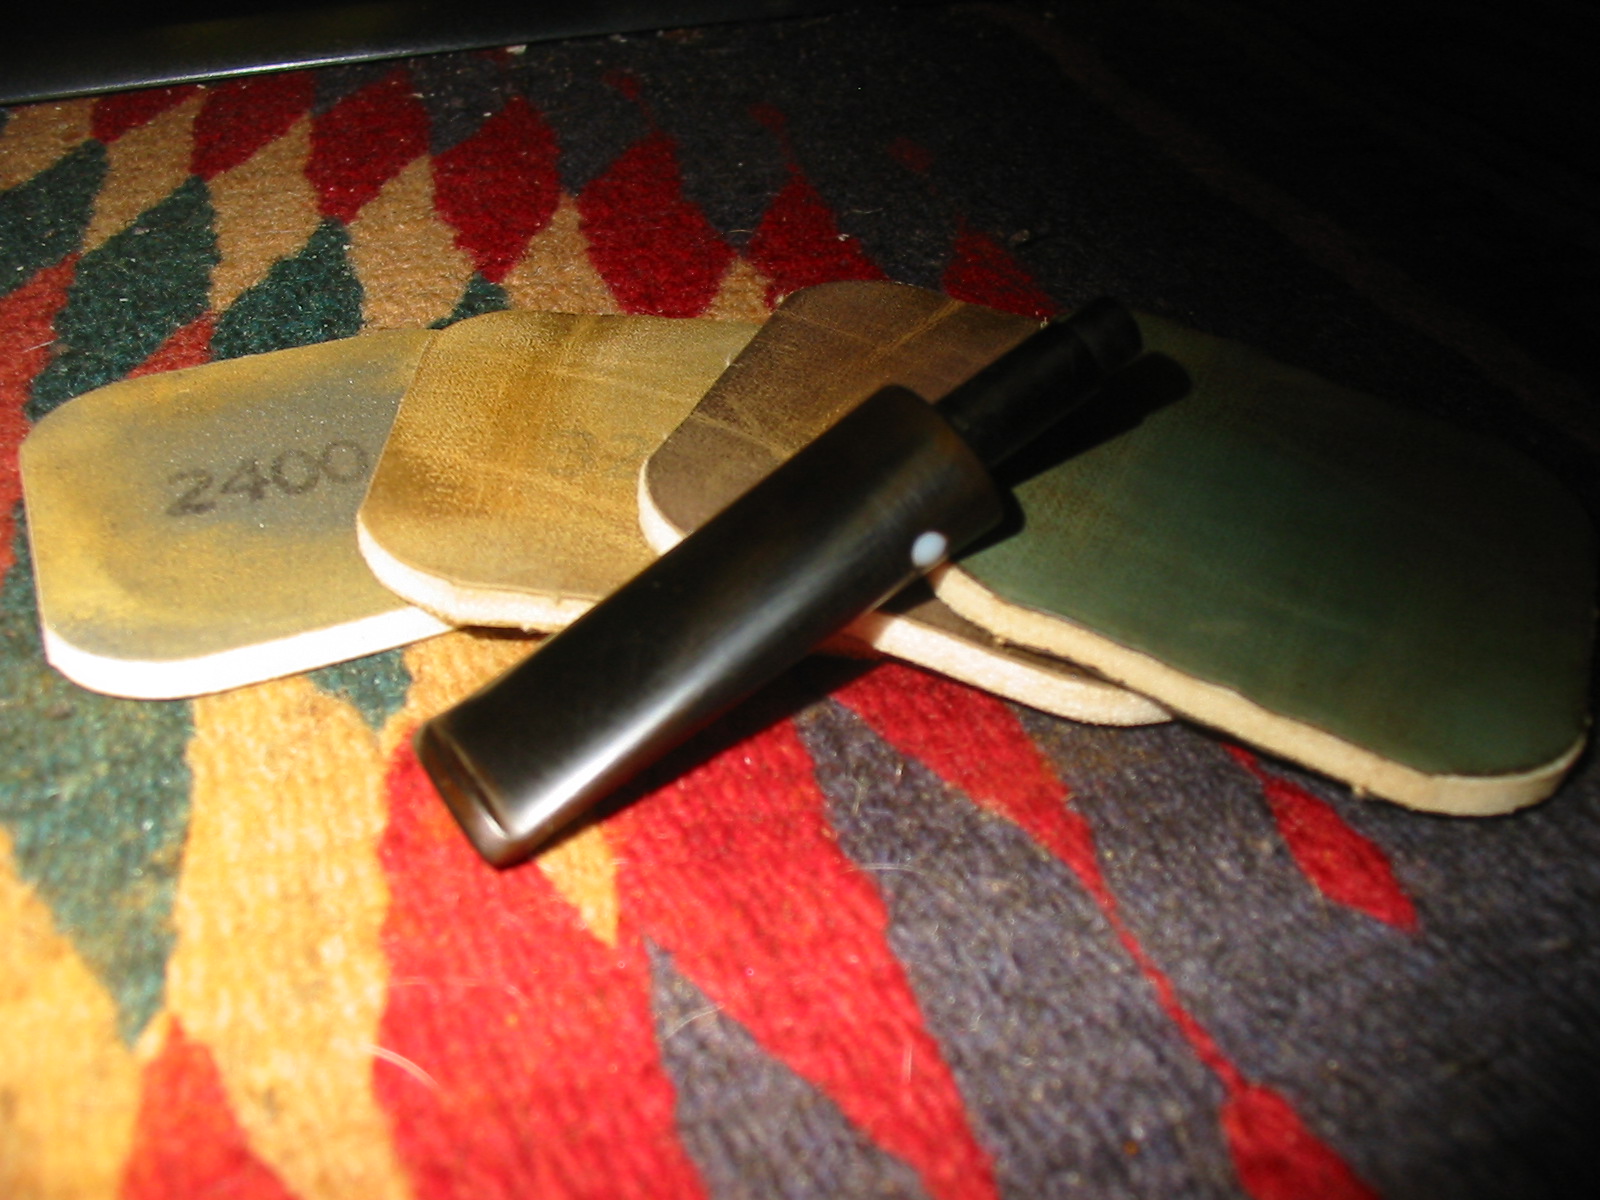
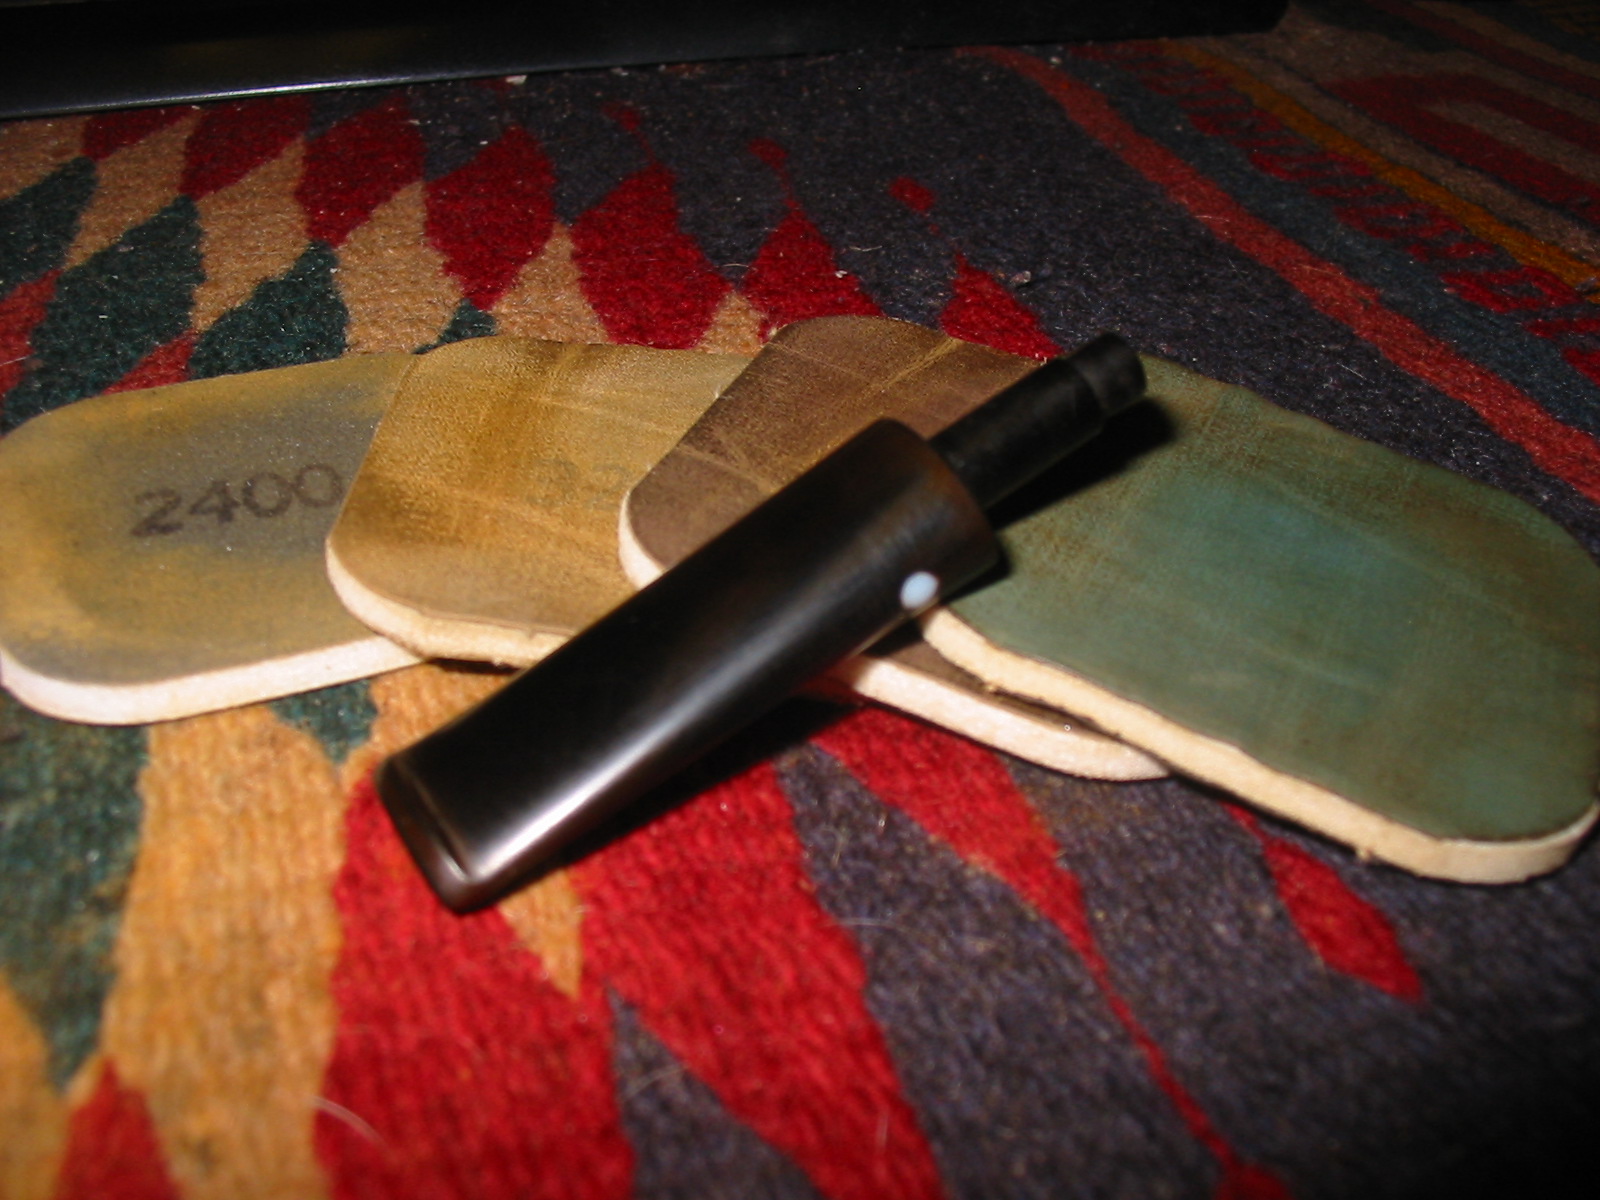
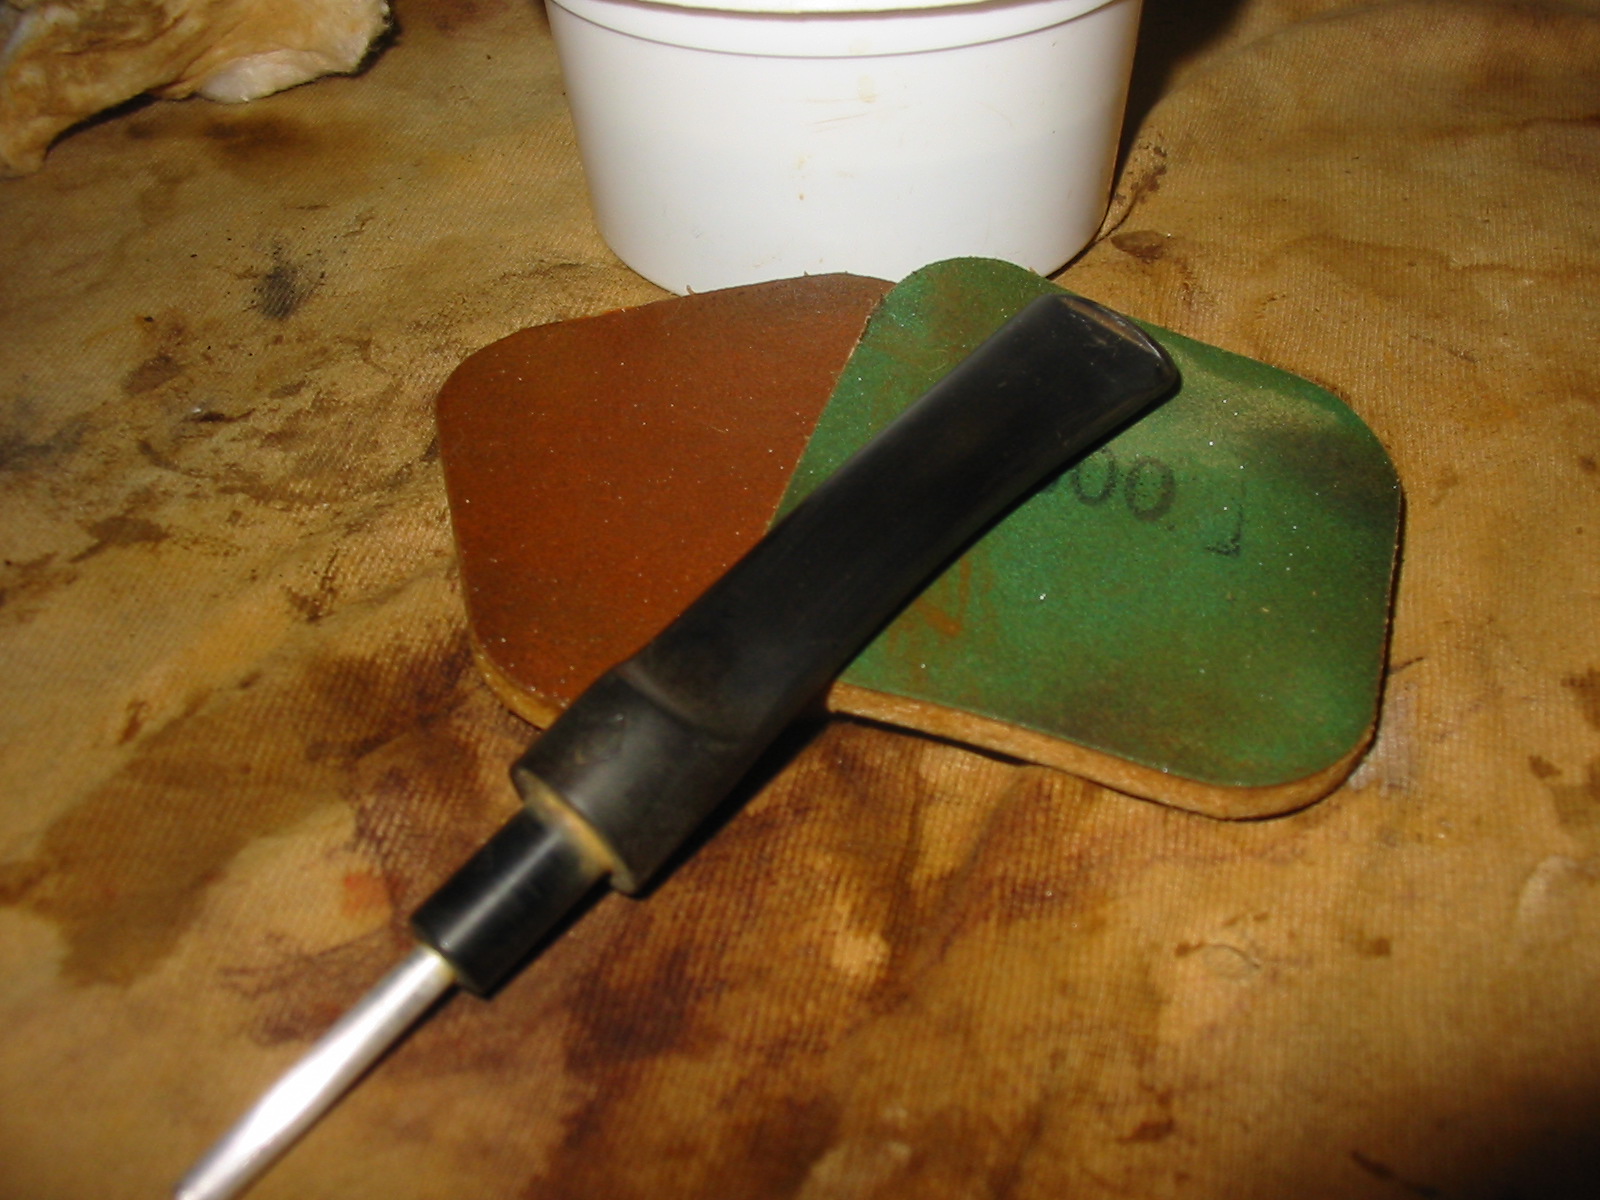
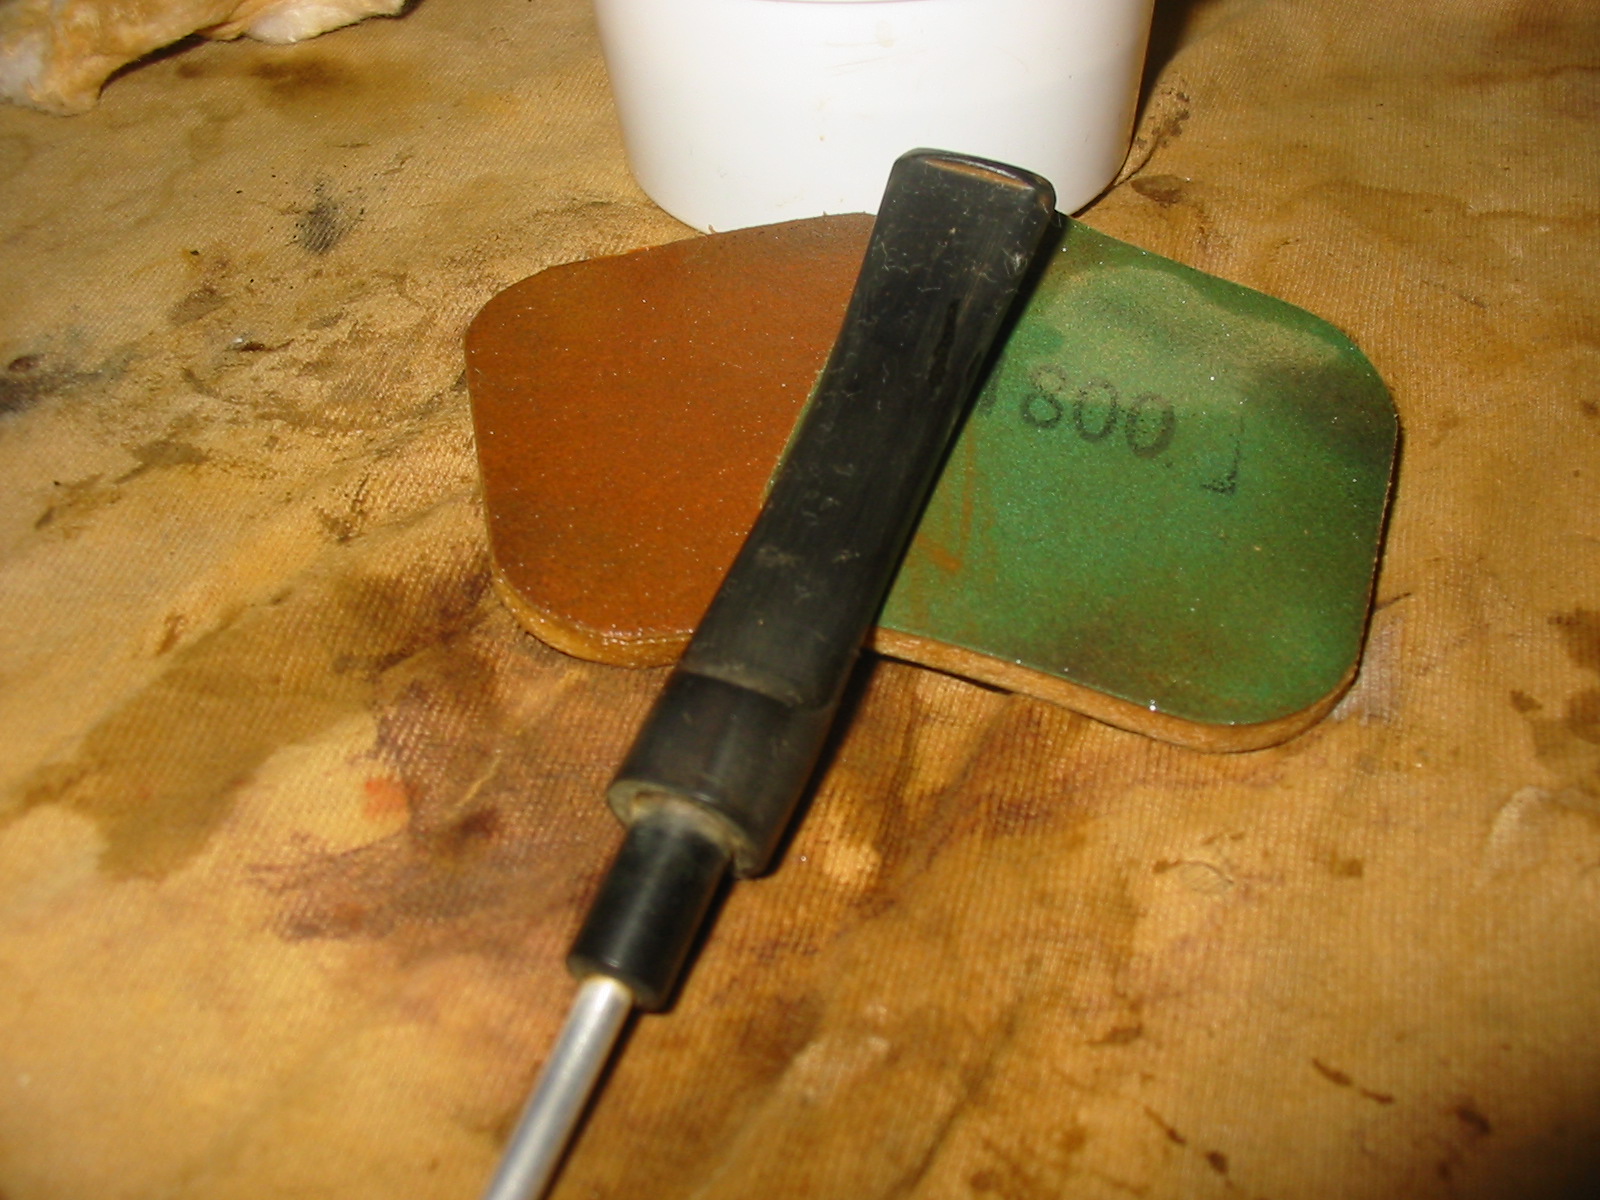
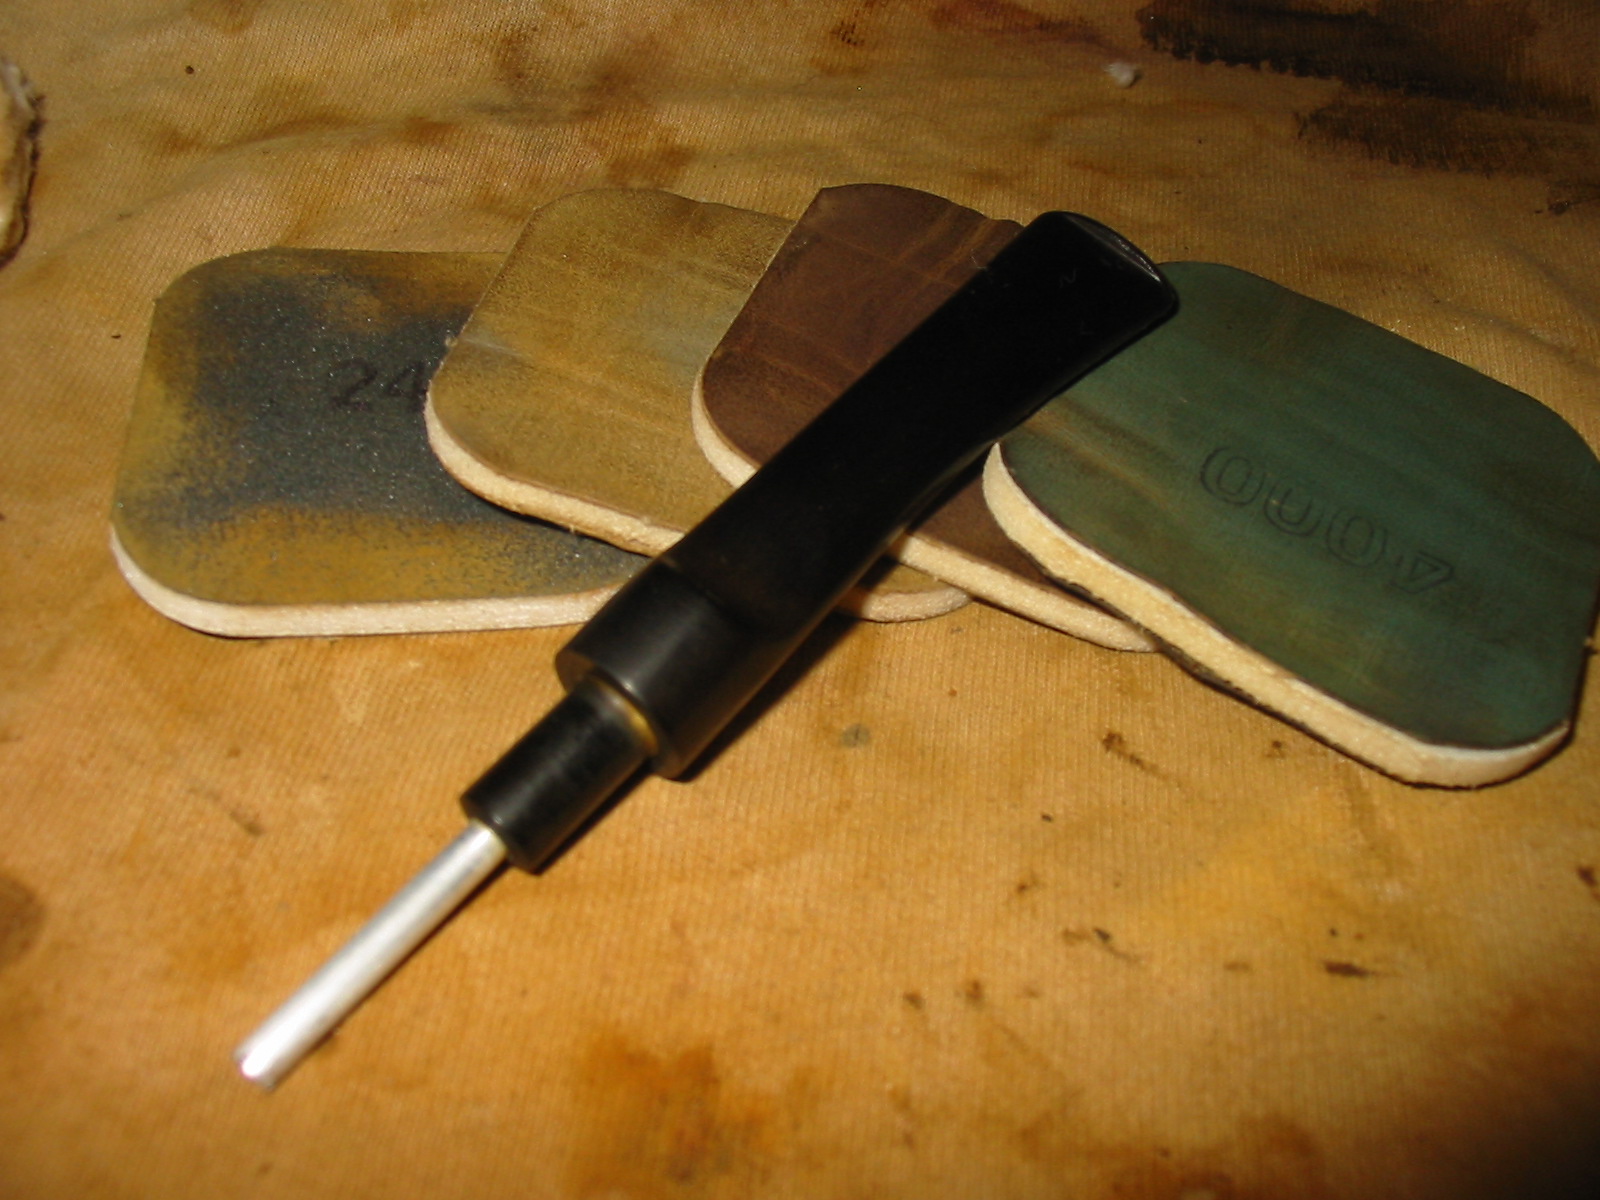
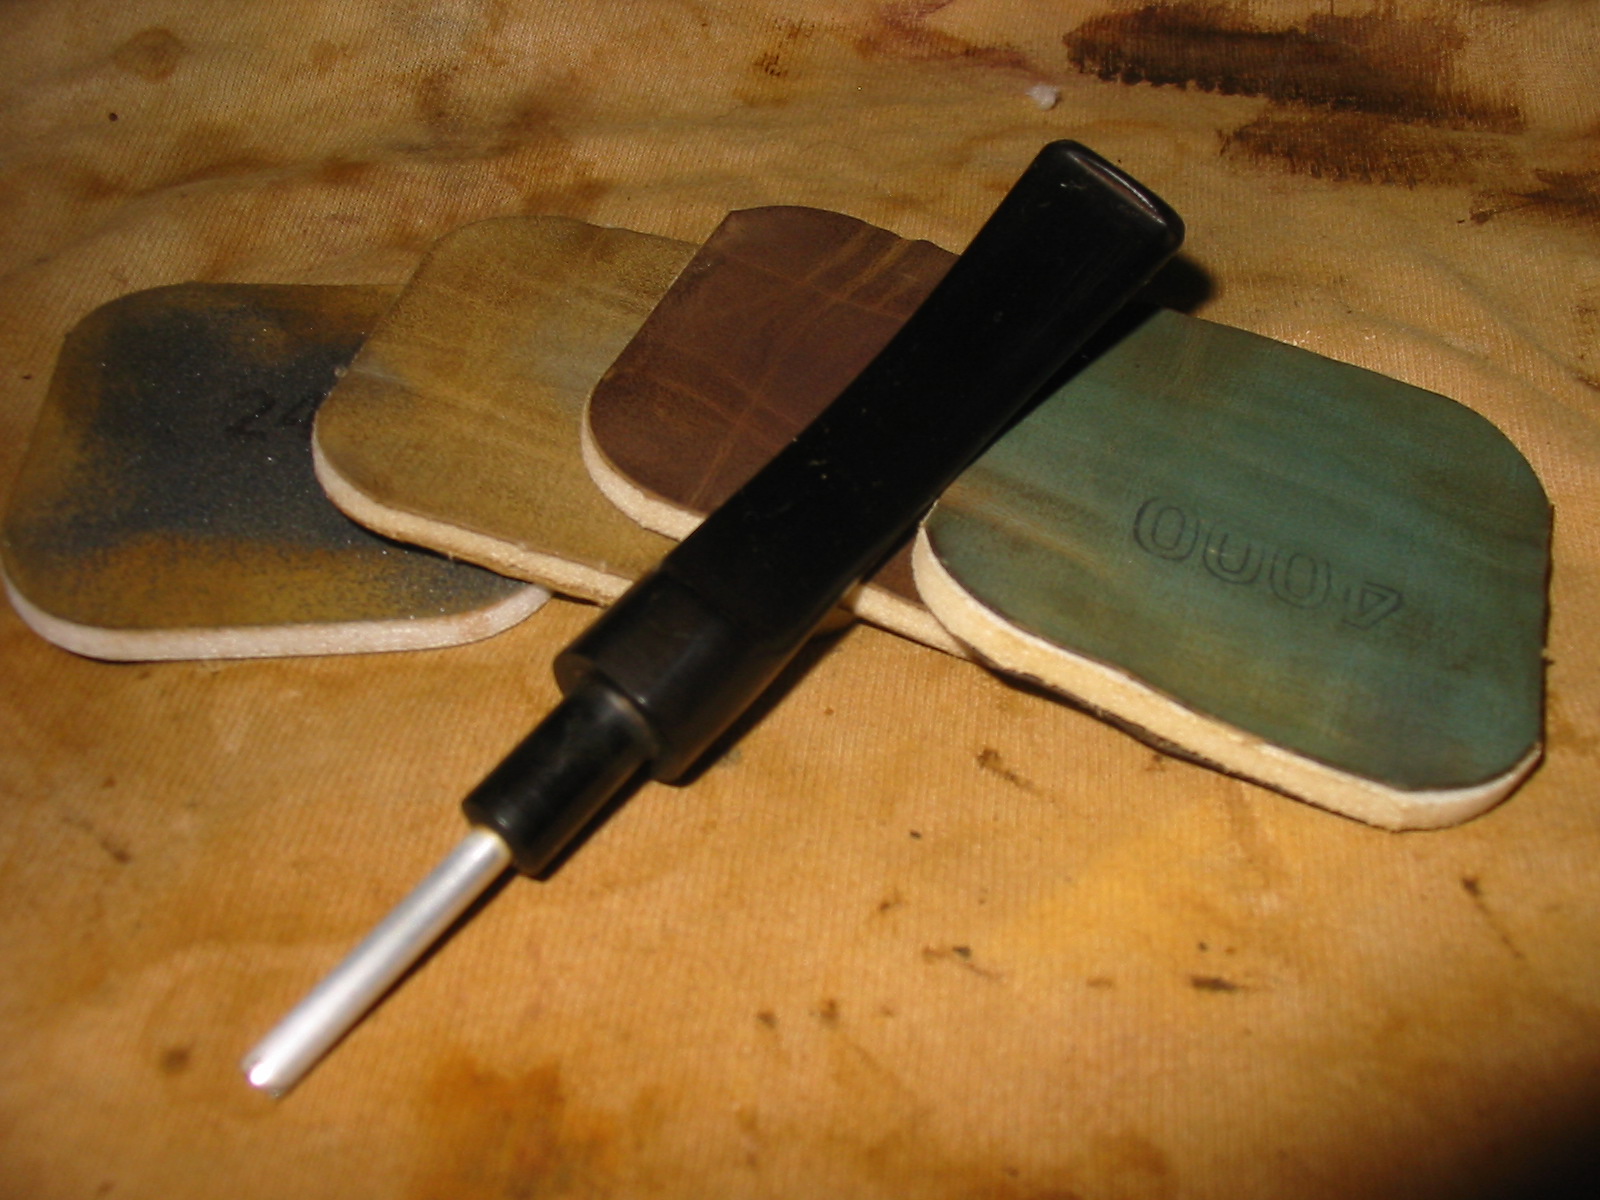
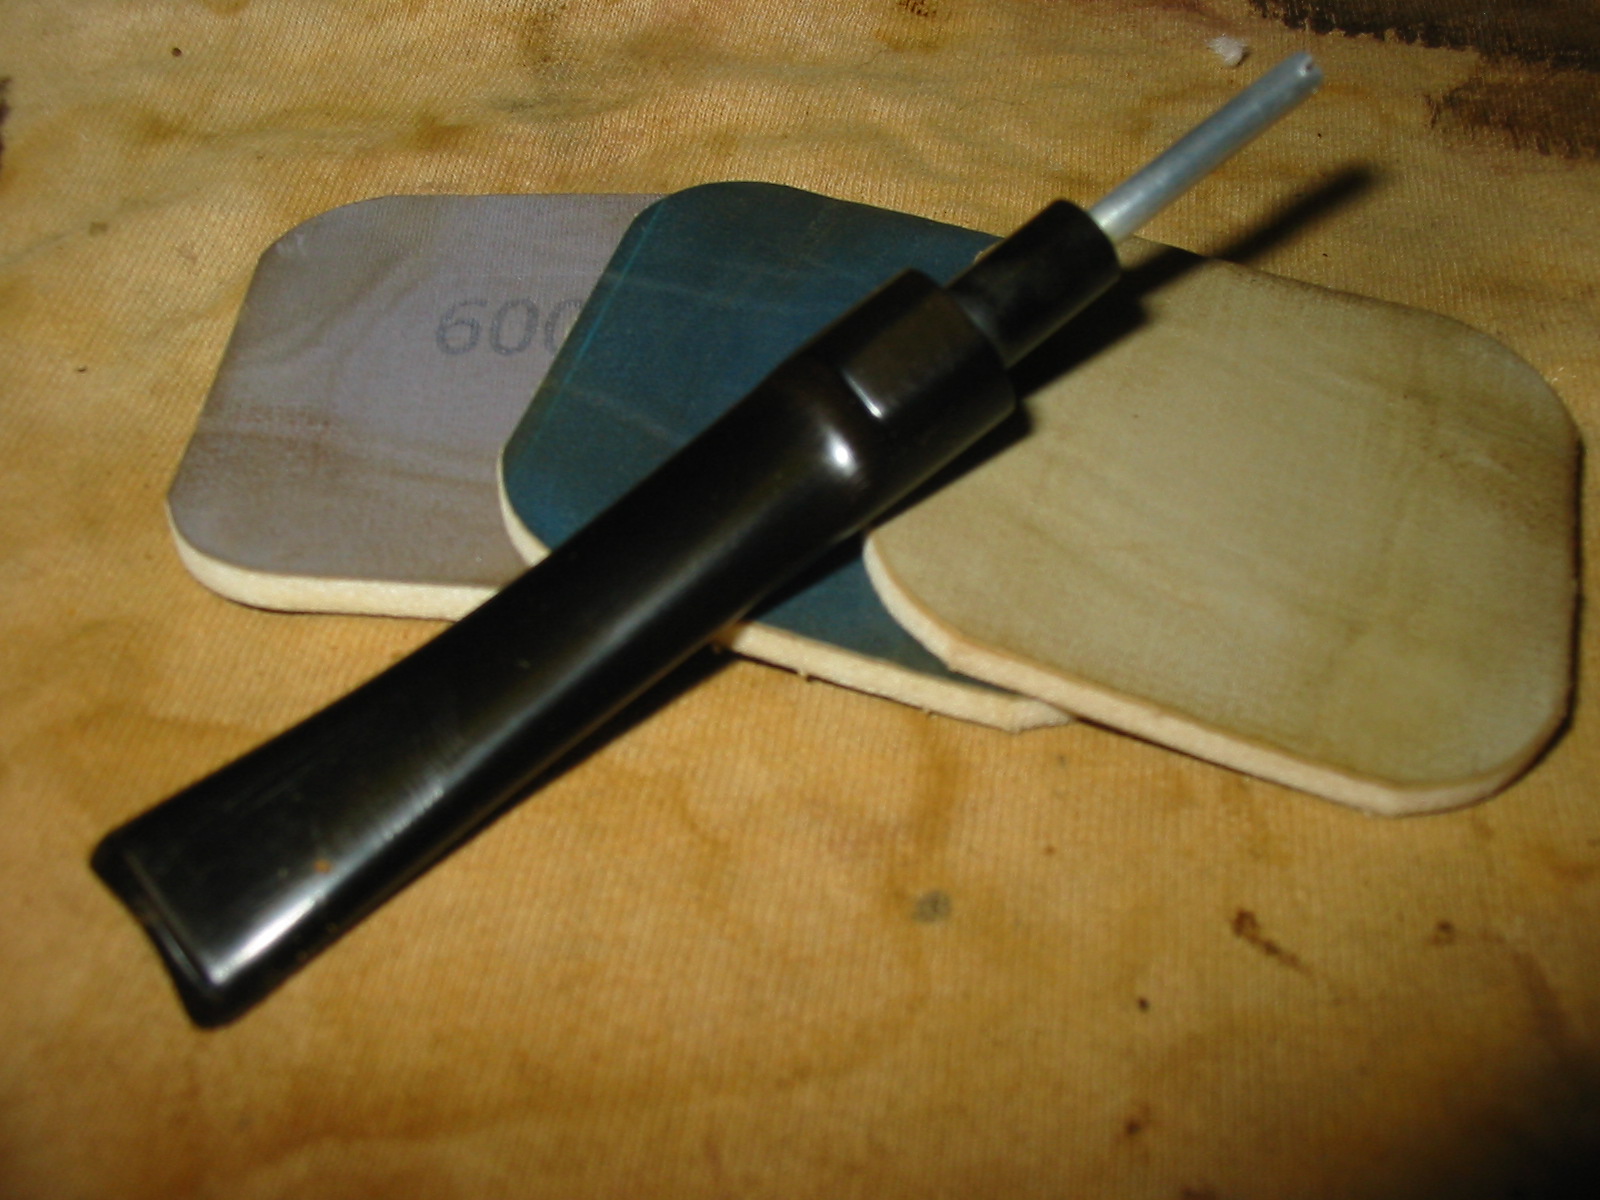
When I had the scratches removed as far as possible with the sanding sponge I went on to sand the stem with micromesh sanding pads. I wet sanded the stem with 1500, 1800 and 2400 grit sanding pads and the dry sanded with the remaining grits.
IMG_2253

IMG_2254

IMG_2255

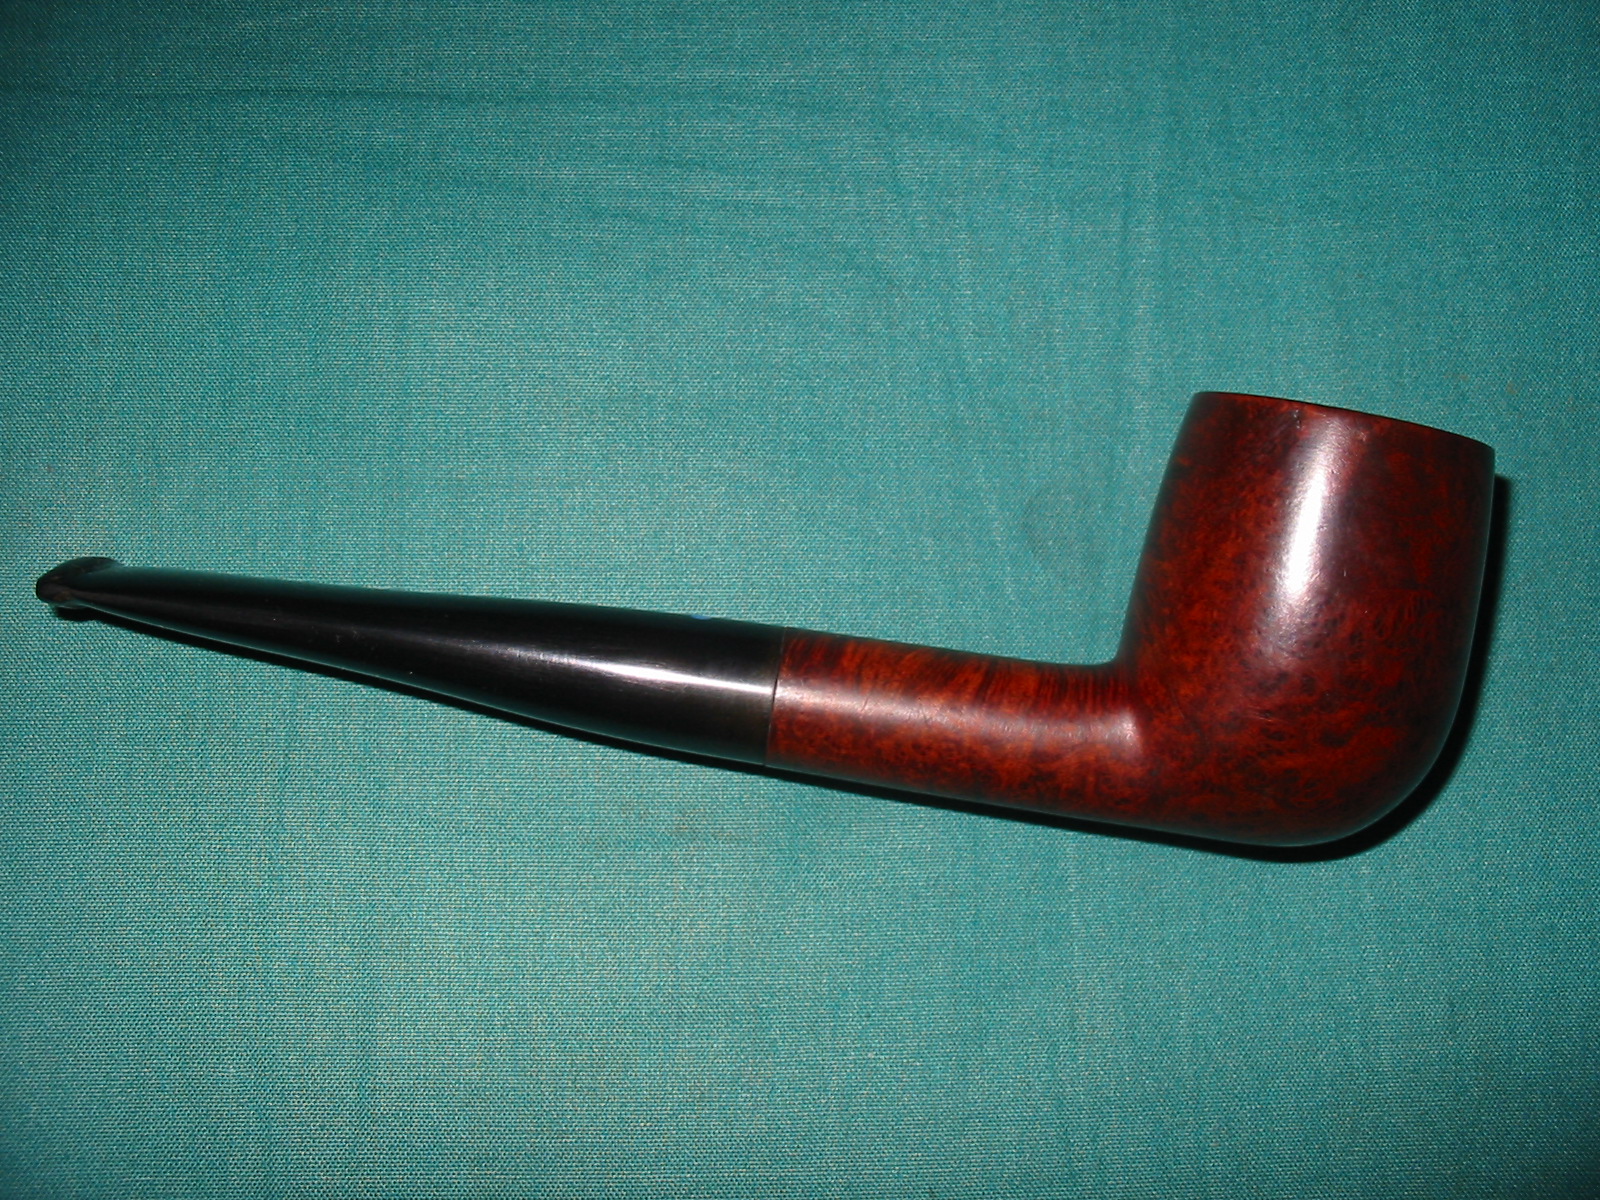
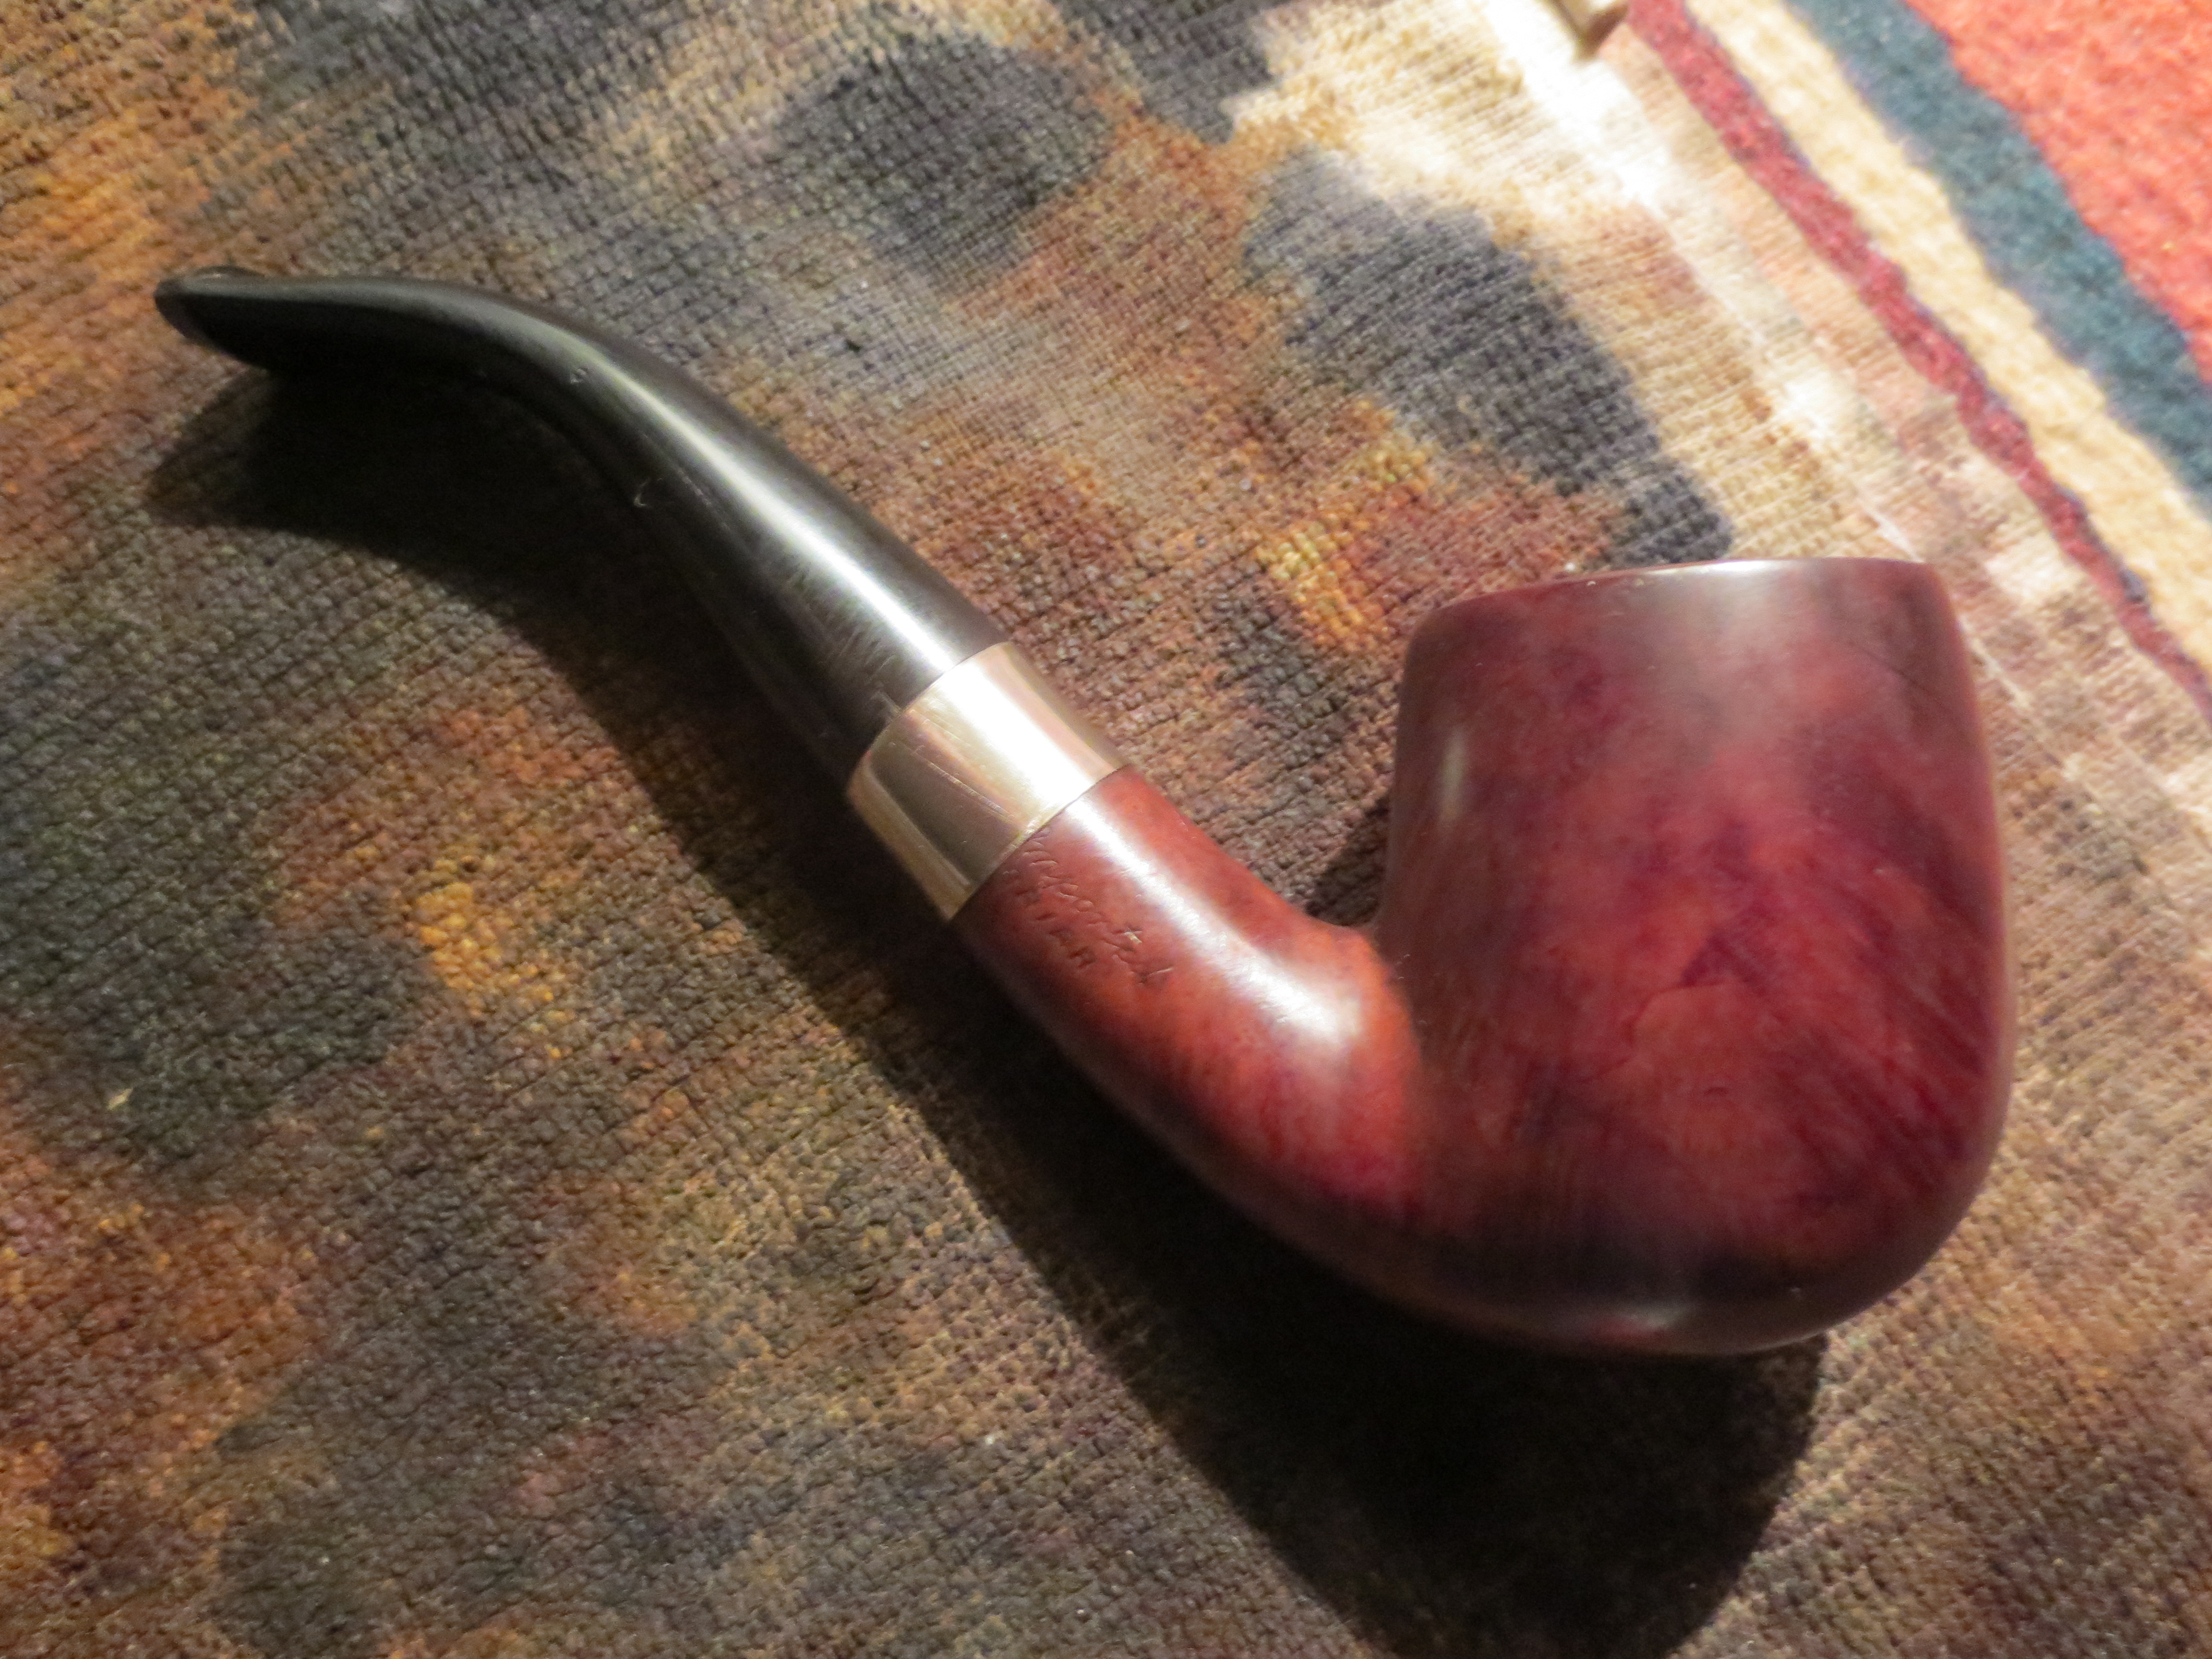
I rubbed the stem down with Obsidian Oil and rubbed it into the surface of the vulcanite. I took it to the buffer and buffed the stem with White Diamond. I gave the bowl and the stem multiple coats of carnauba wax and polished the pipe with a clean flannel buff to bring up the shine. The finished pipe is pictured below. I still wish I knew what the stamping says in full. That blue dot certainly is a symbol of some unknown to me brand of pipe. The mystery remains but in the mean time I have a great little billiard to enjoy.
IMG_2256

IMG_2257

IMG_2258

IMG_2259

Reworking an Old Pal Pencil Shank Pot


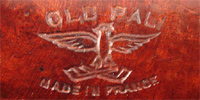
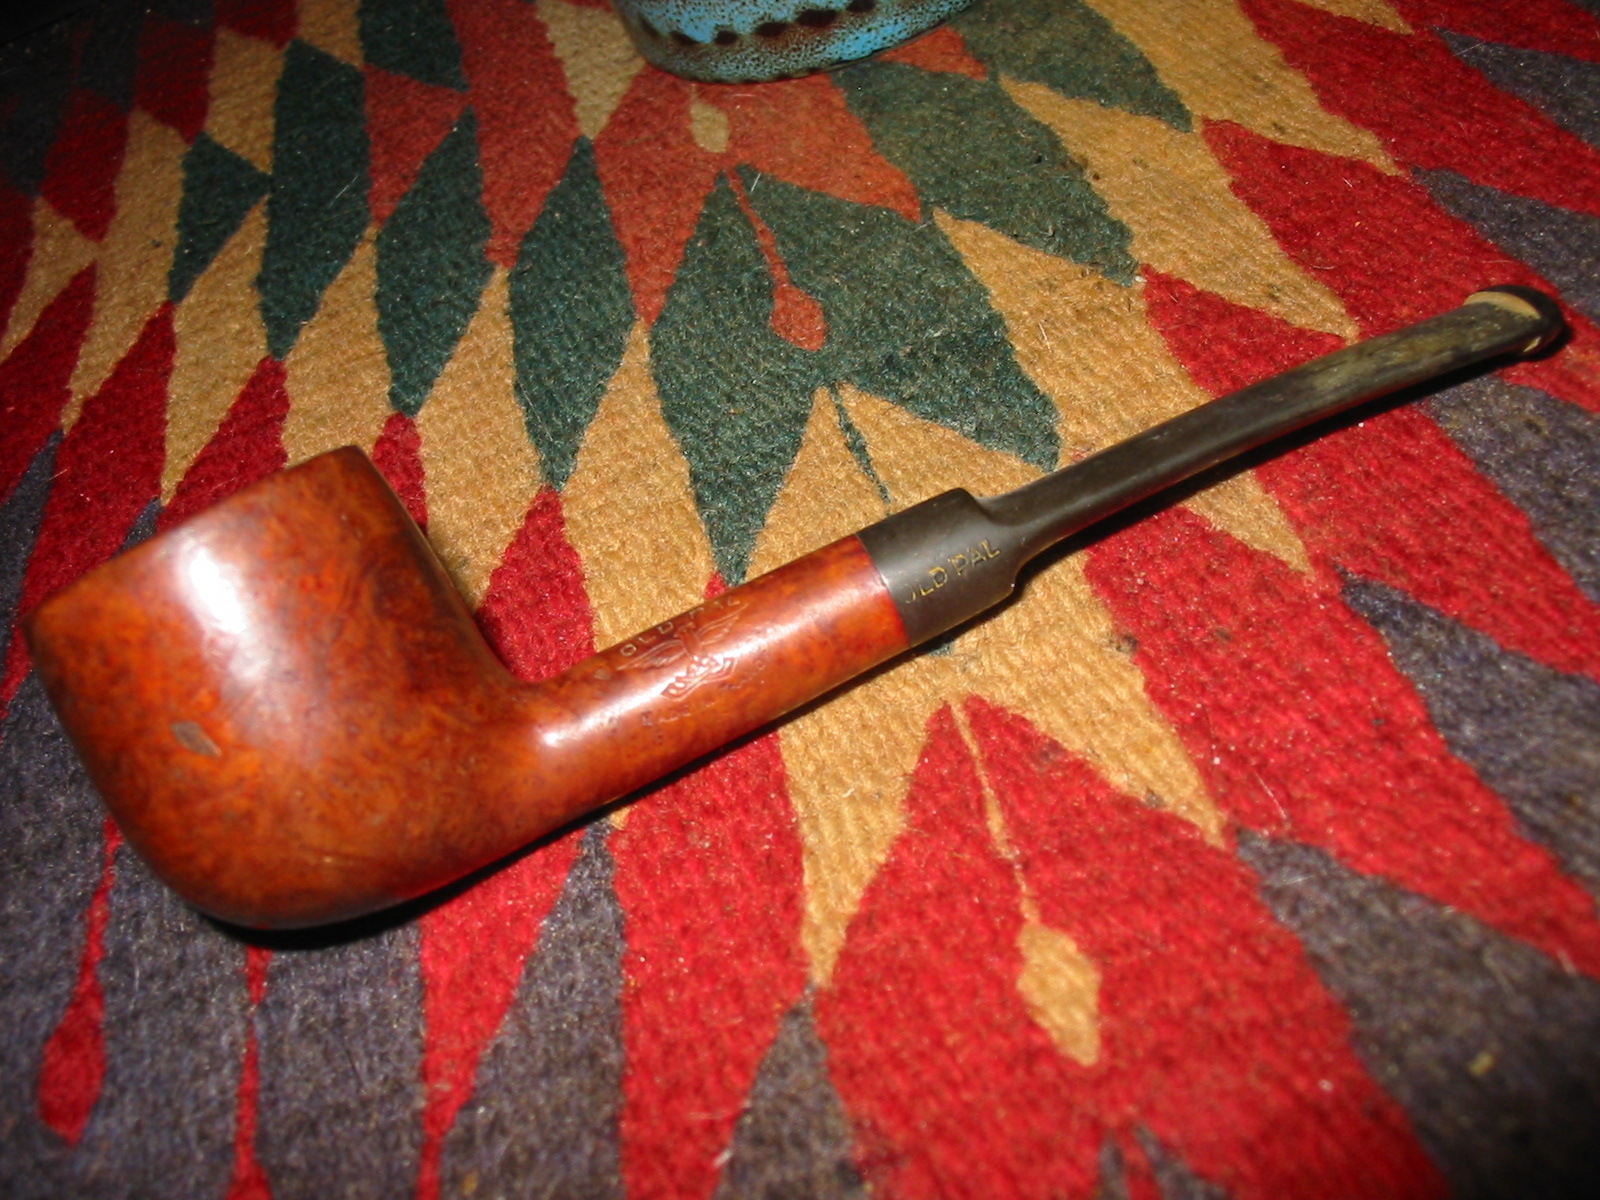
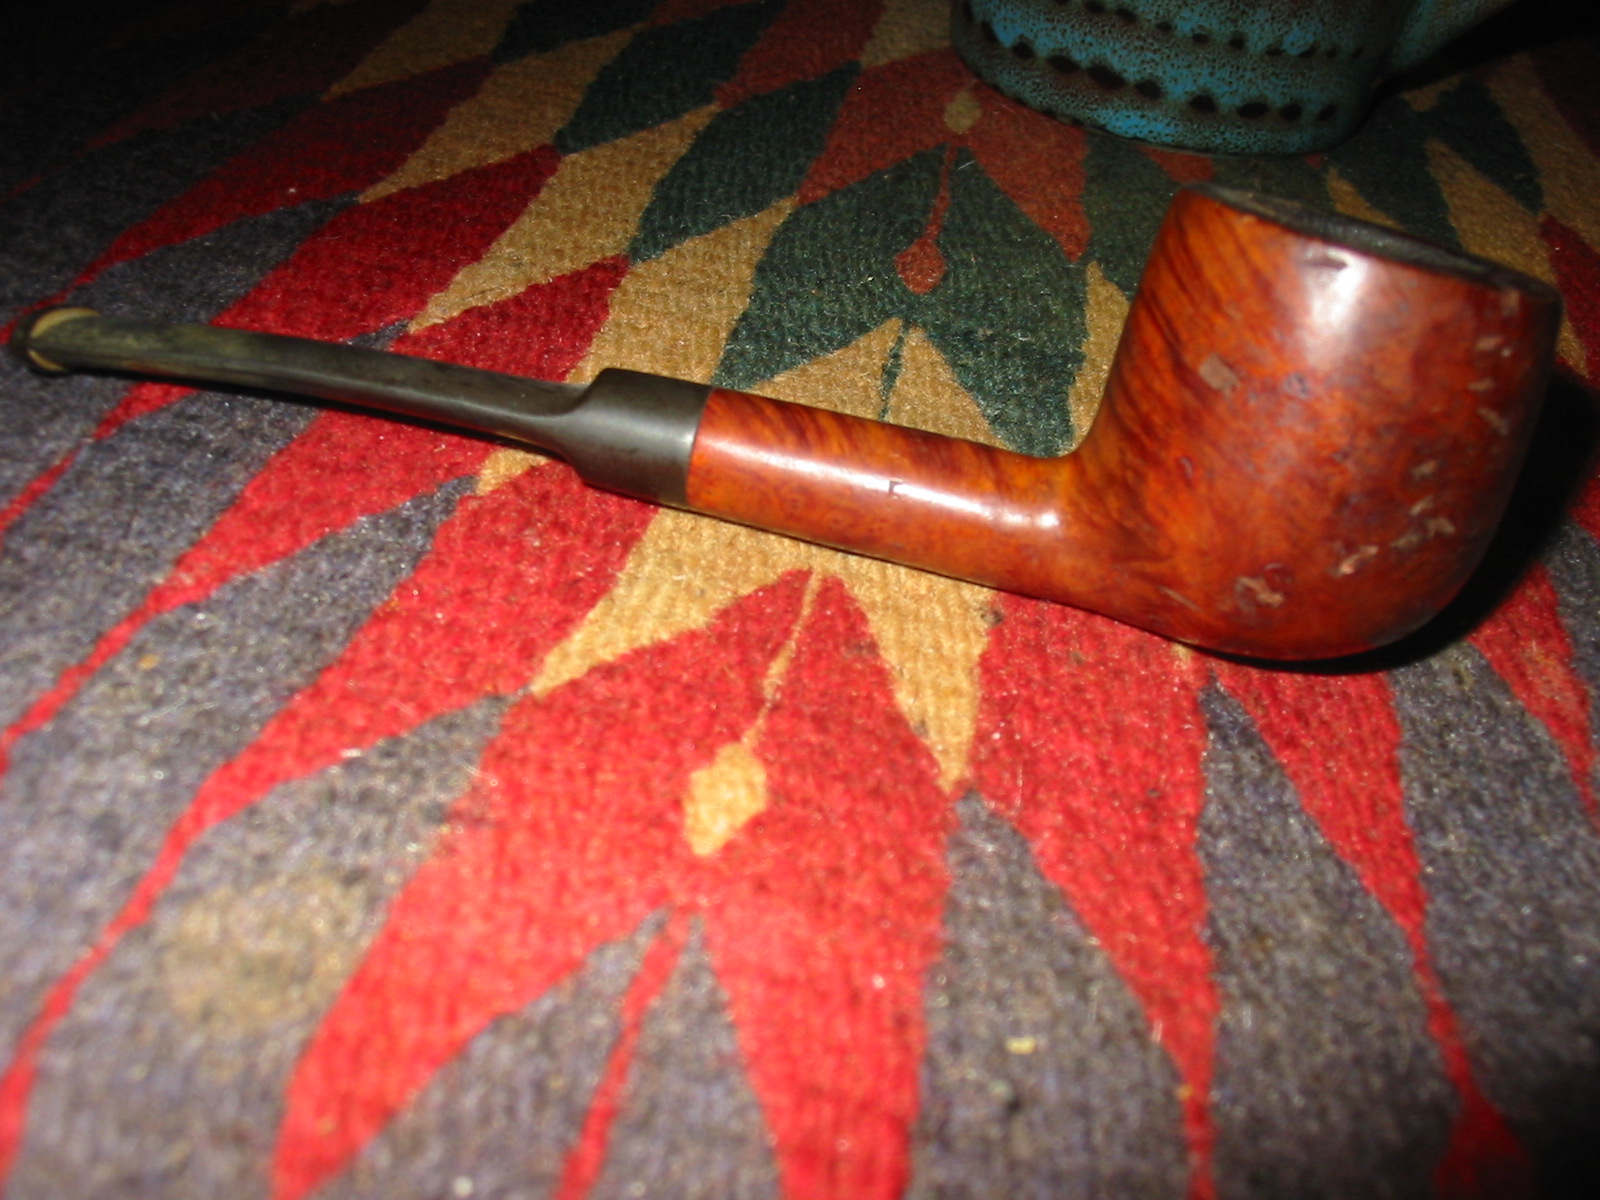
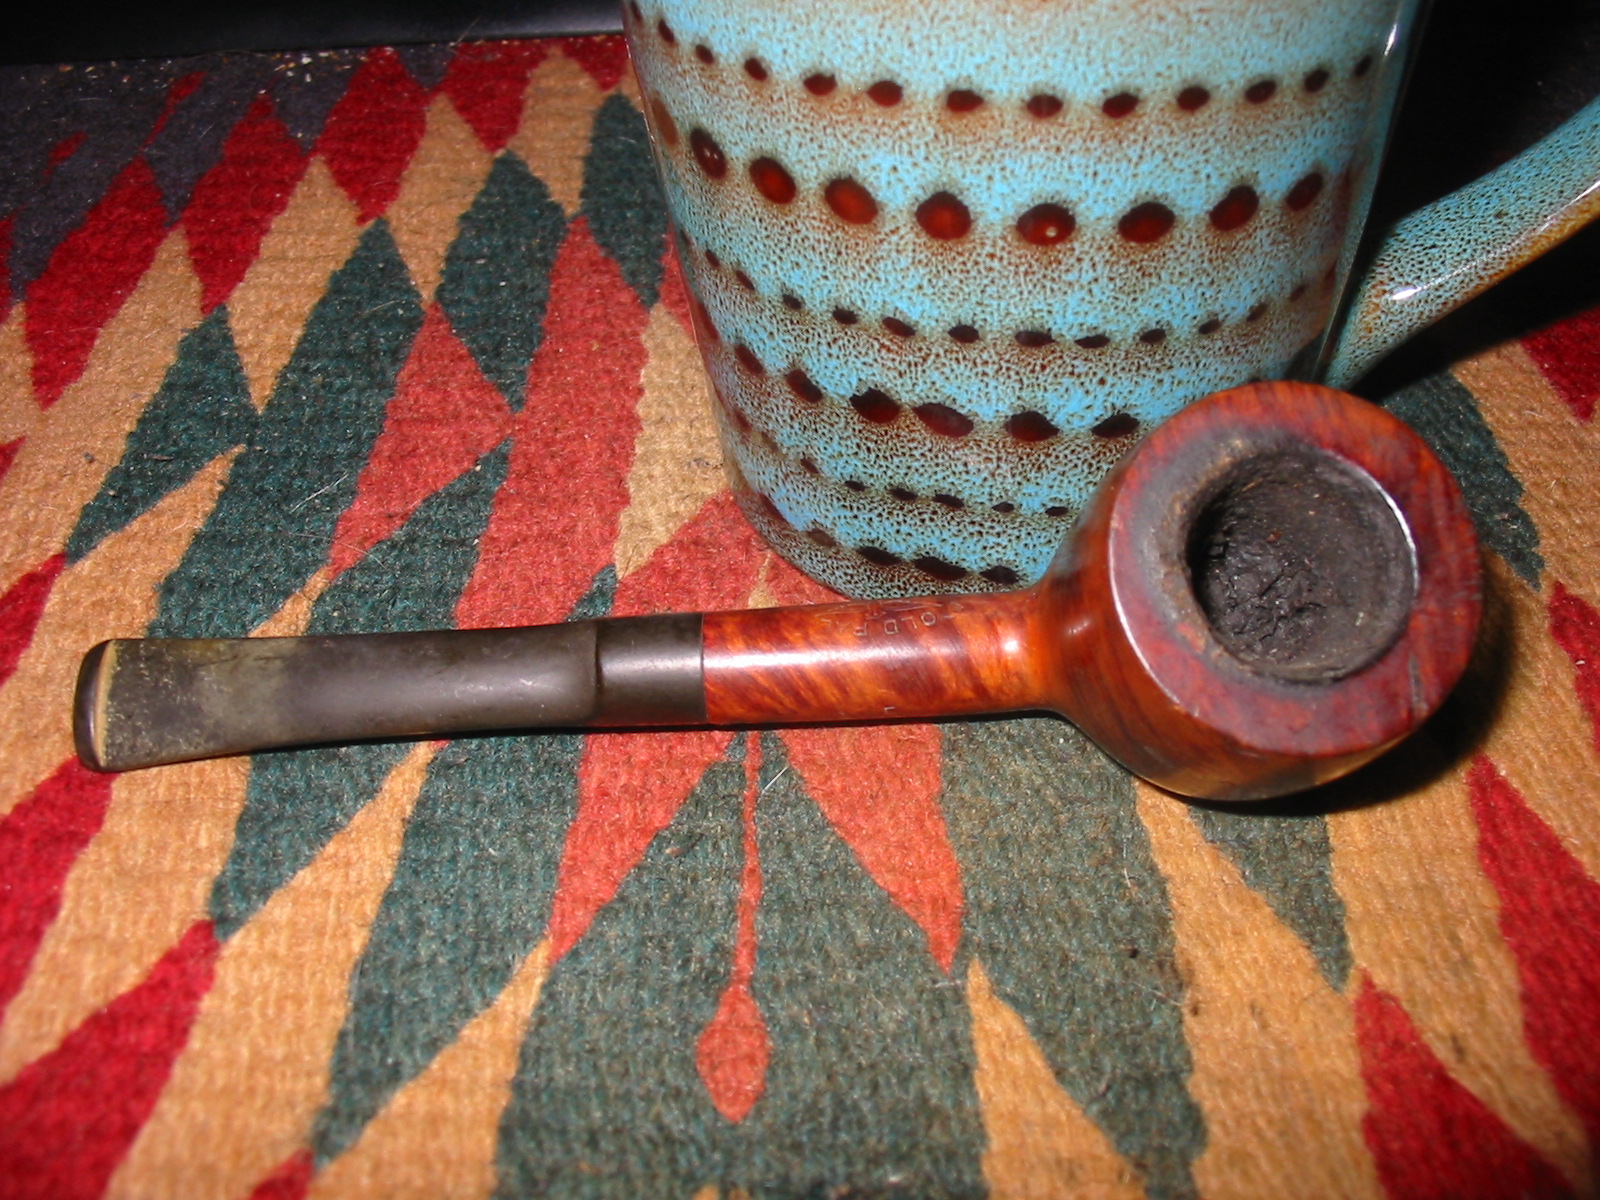
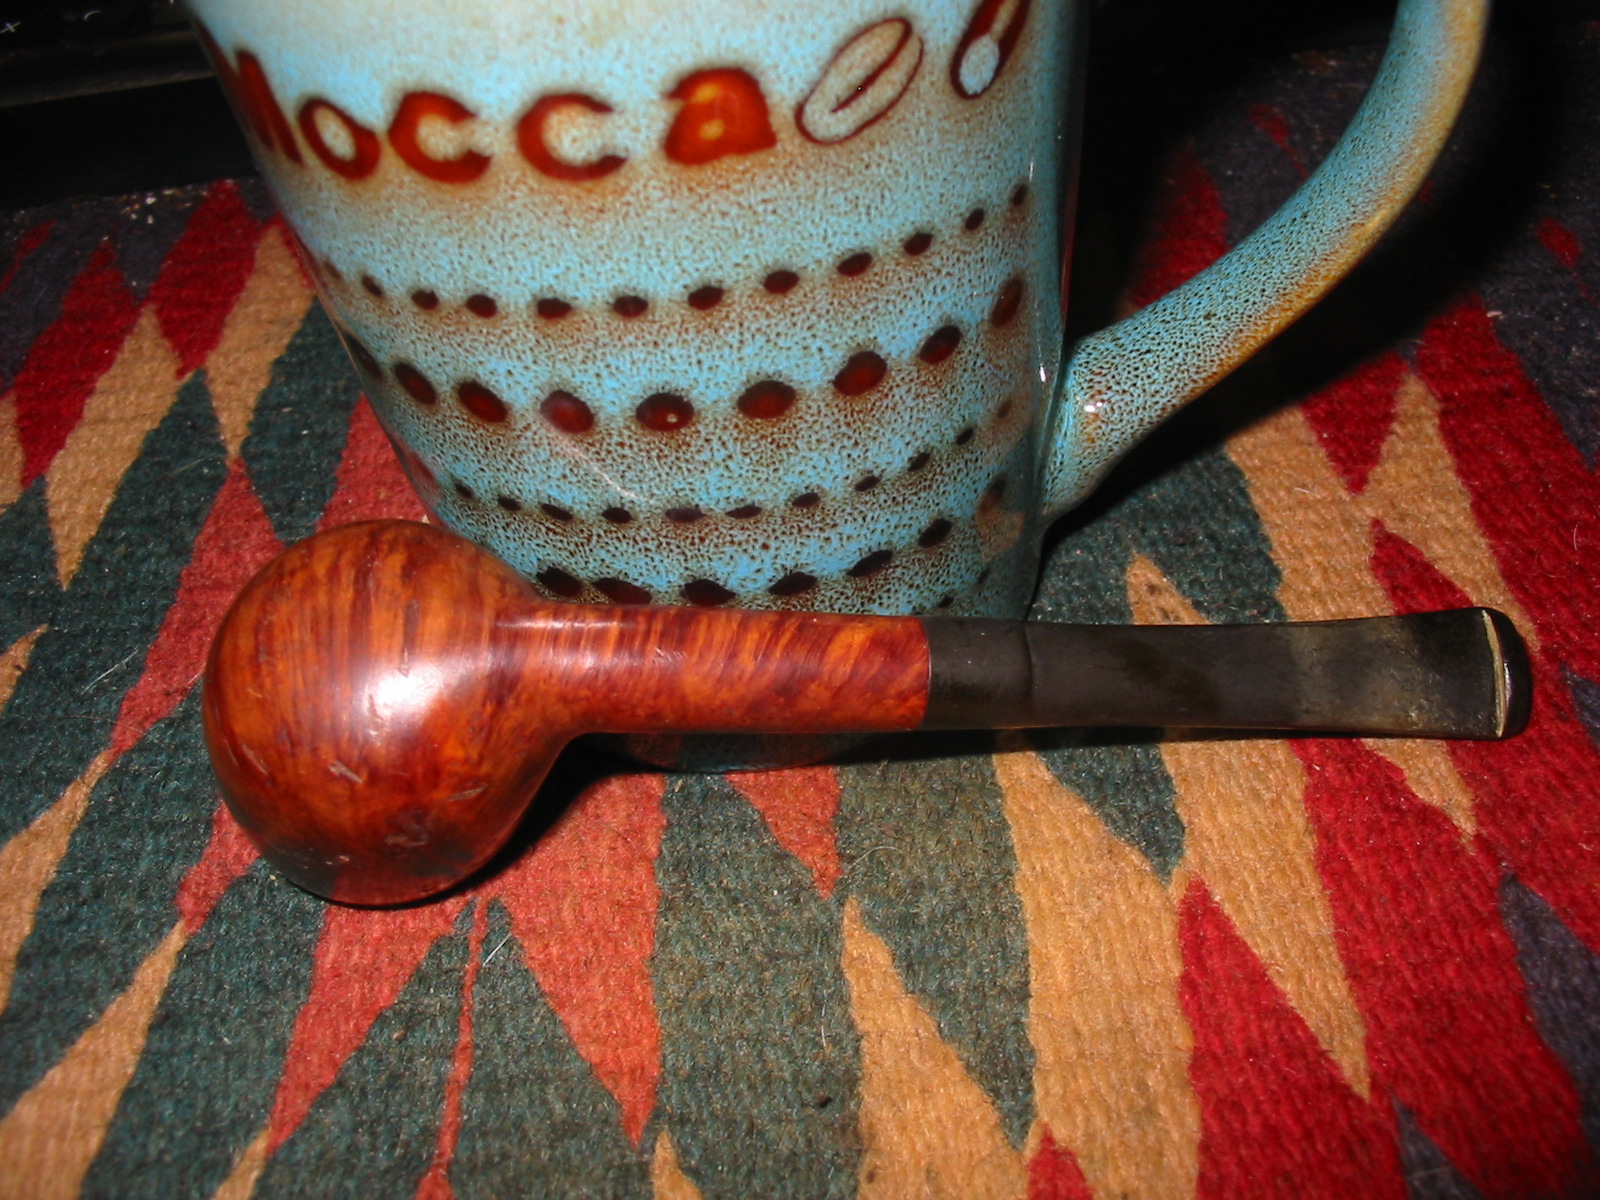
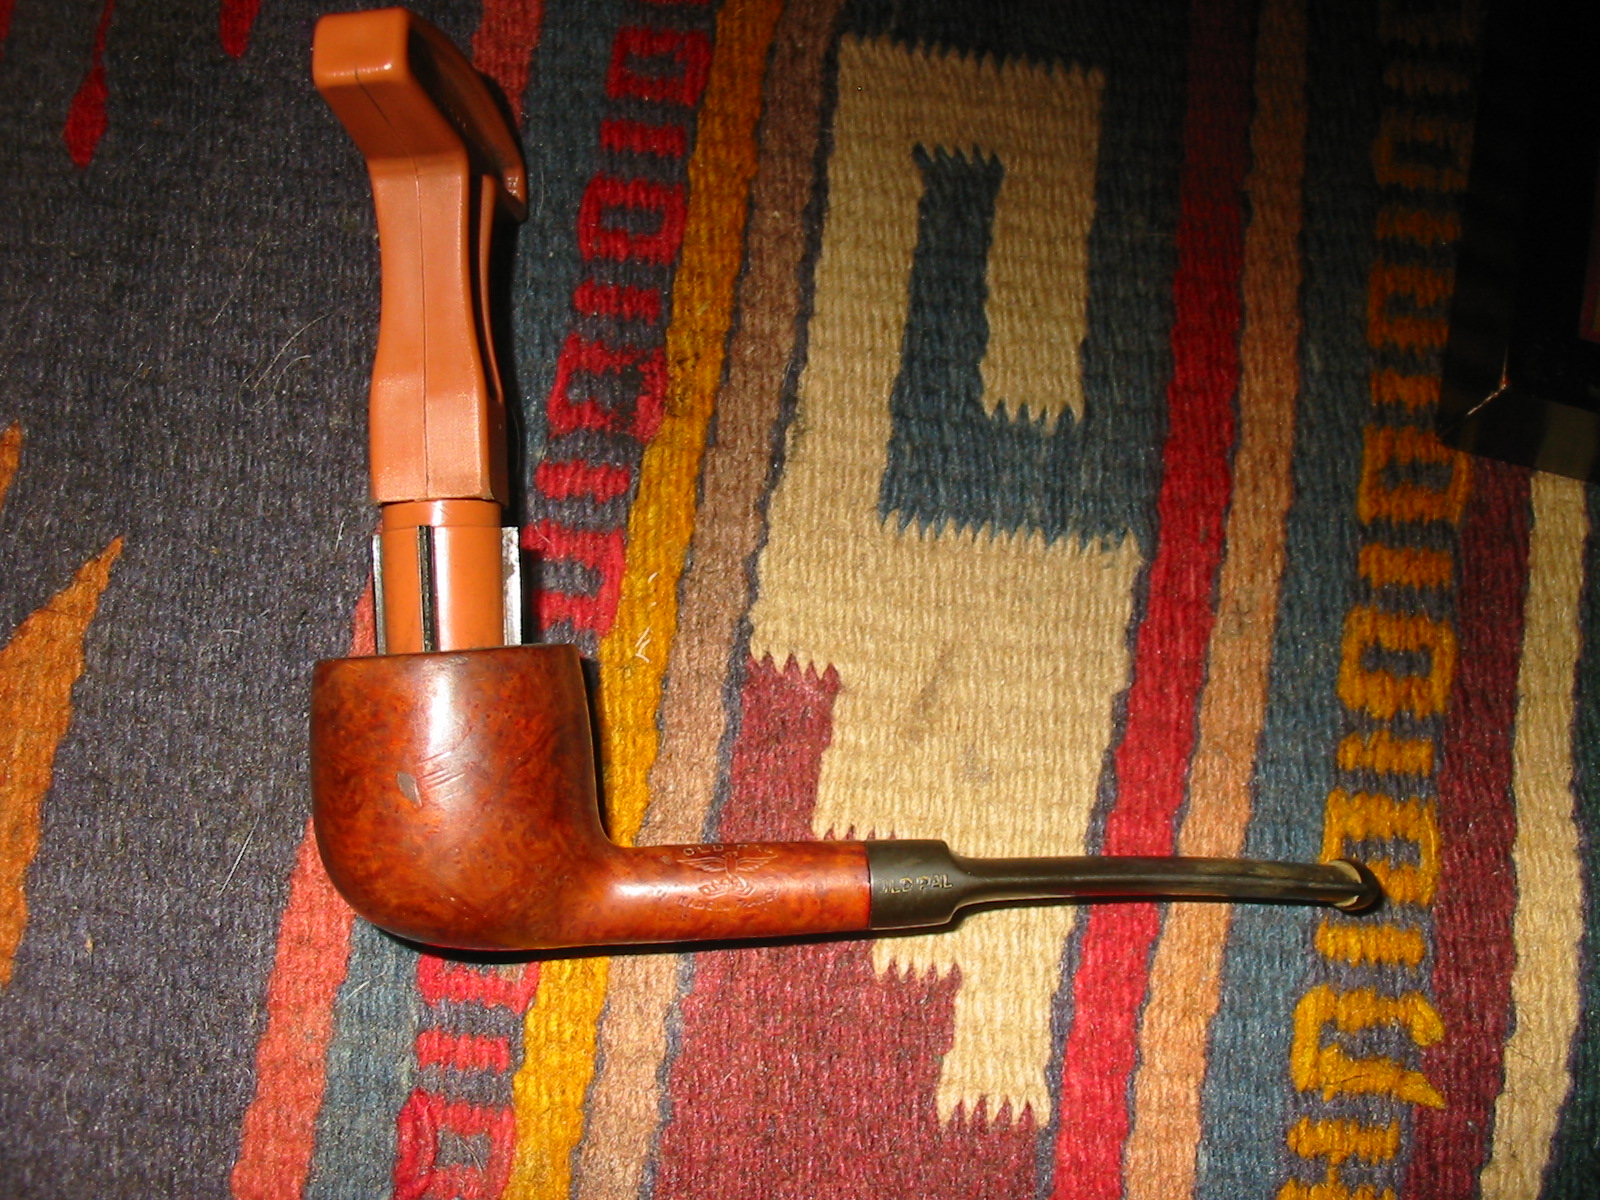
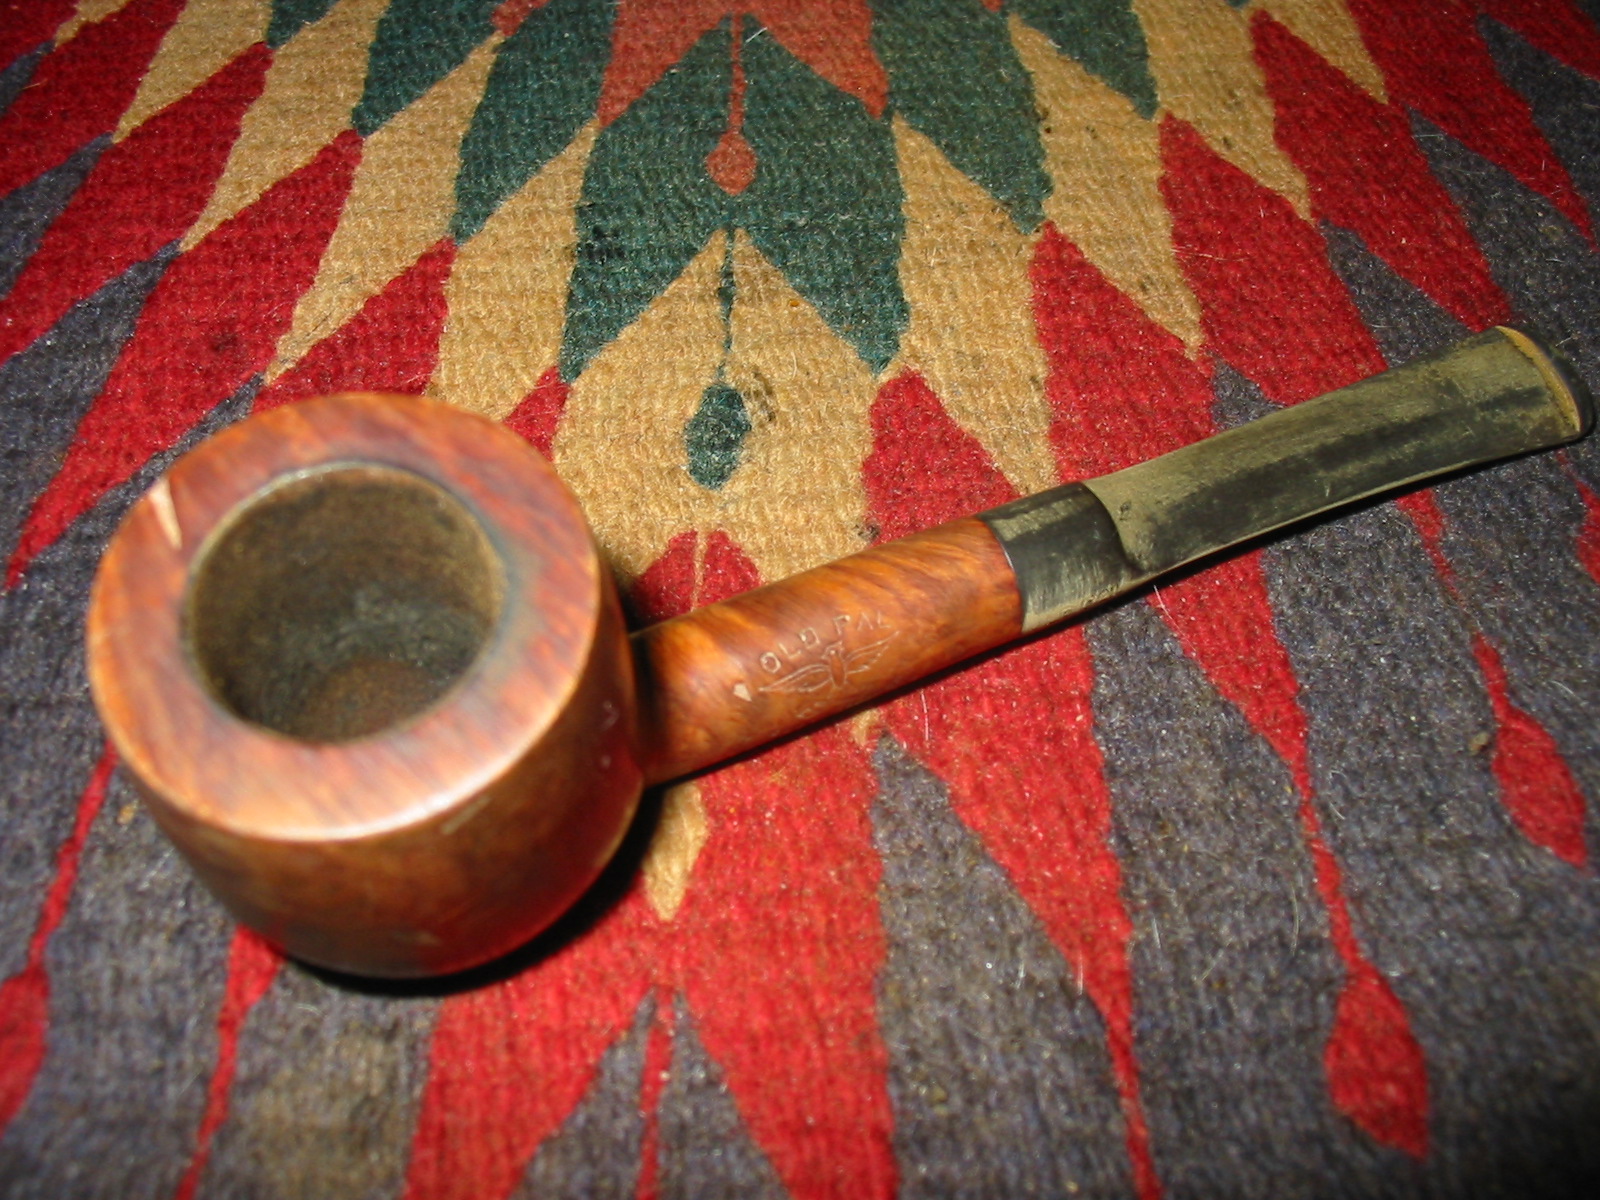
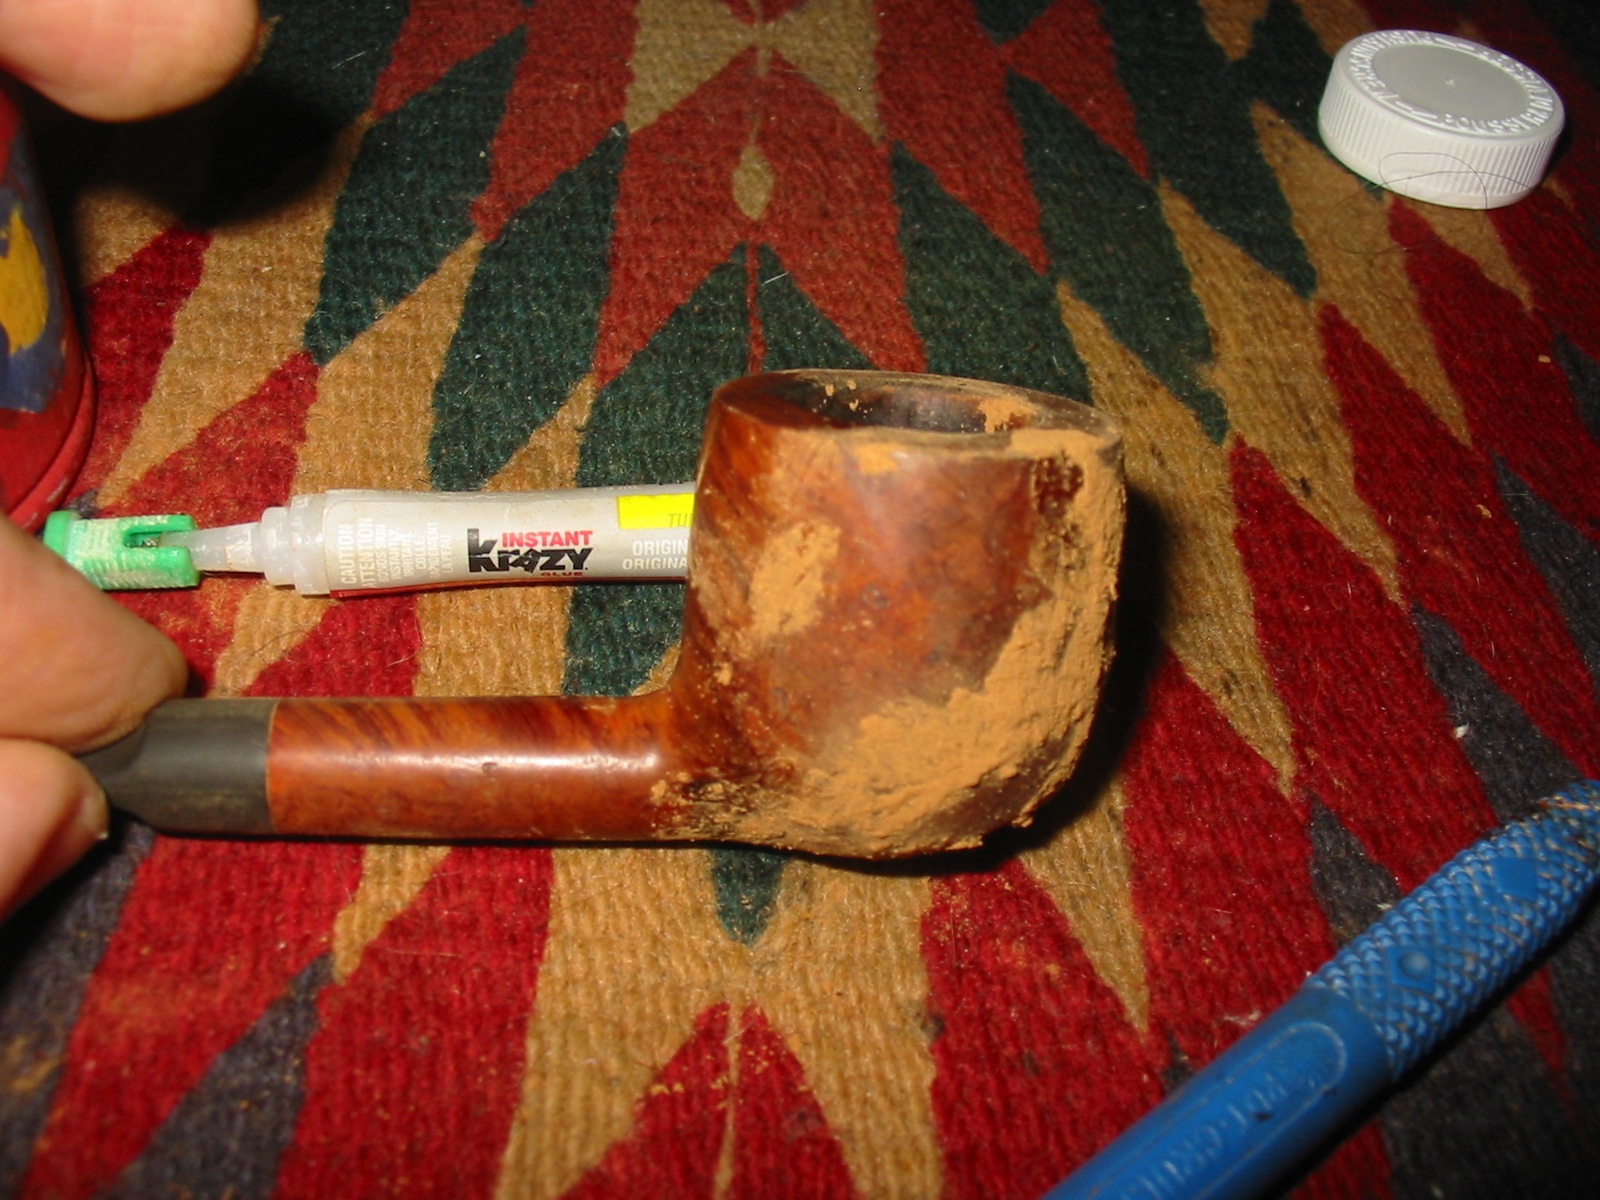
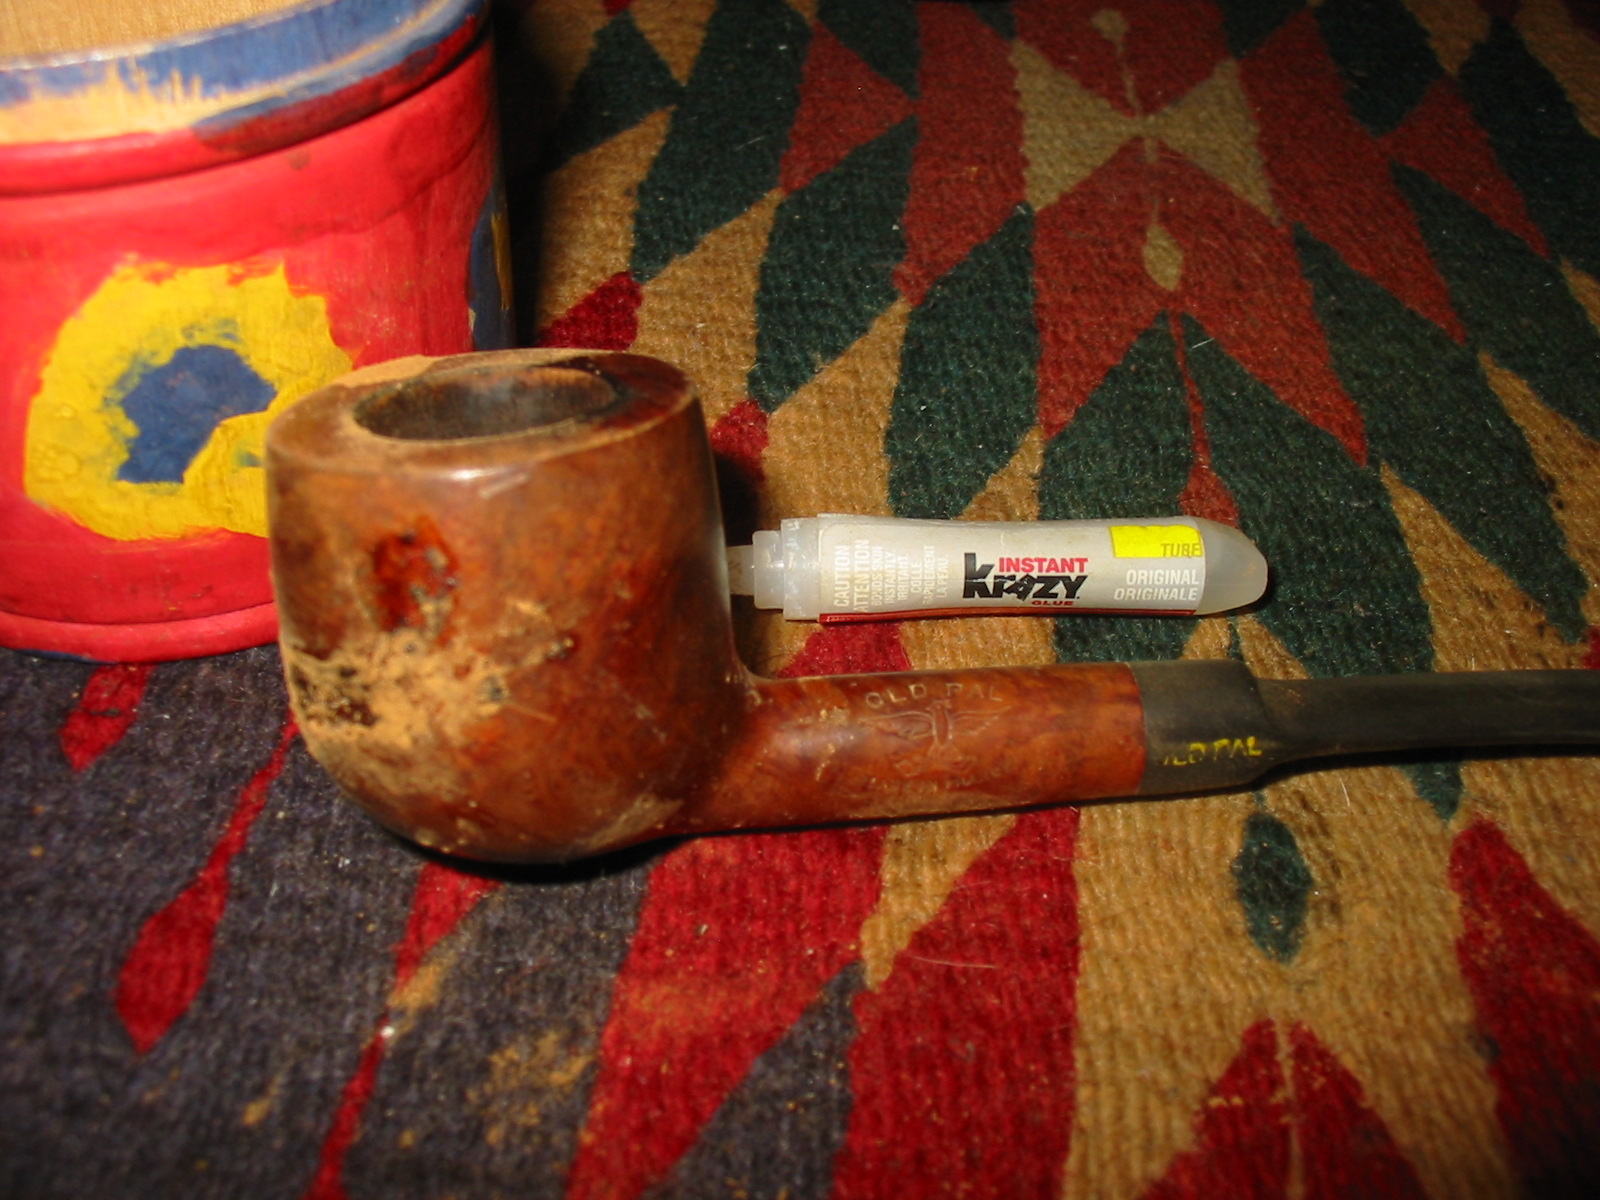
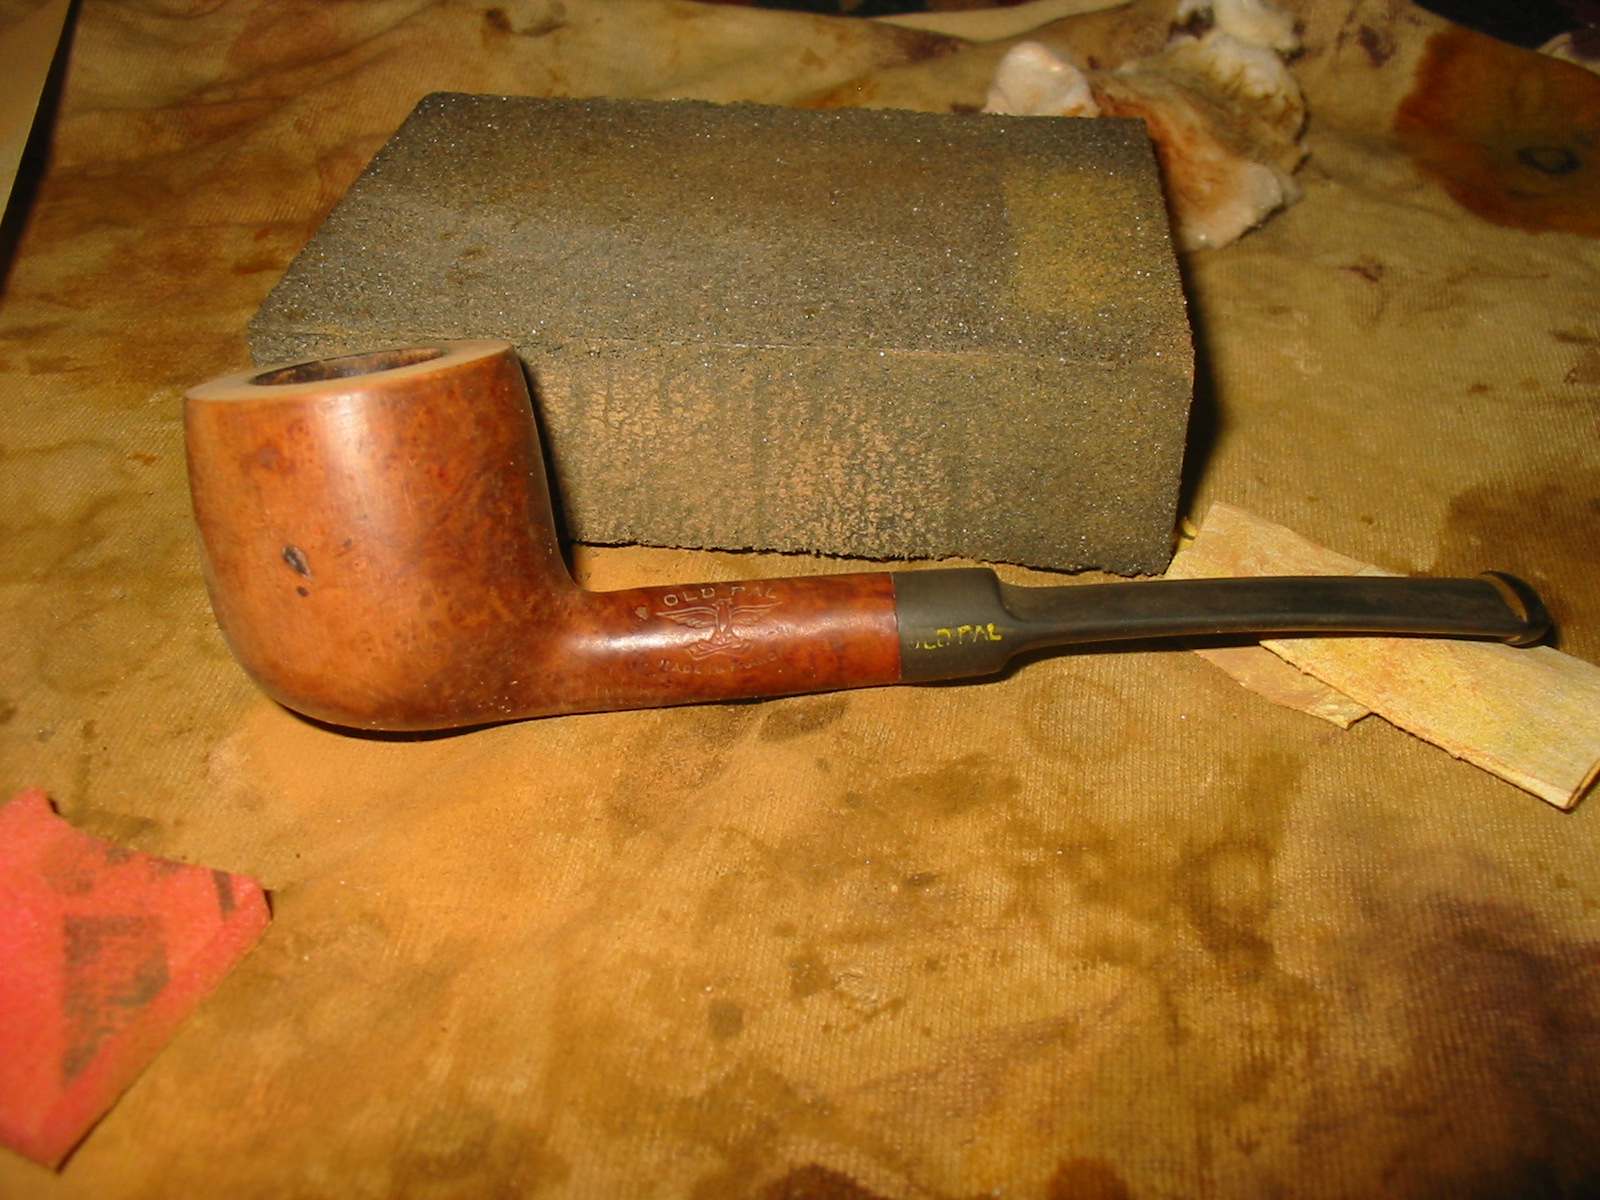
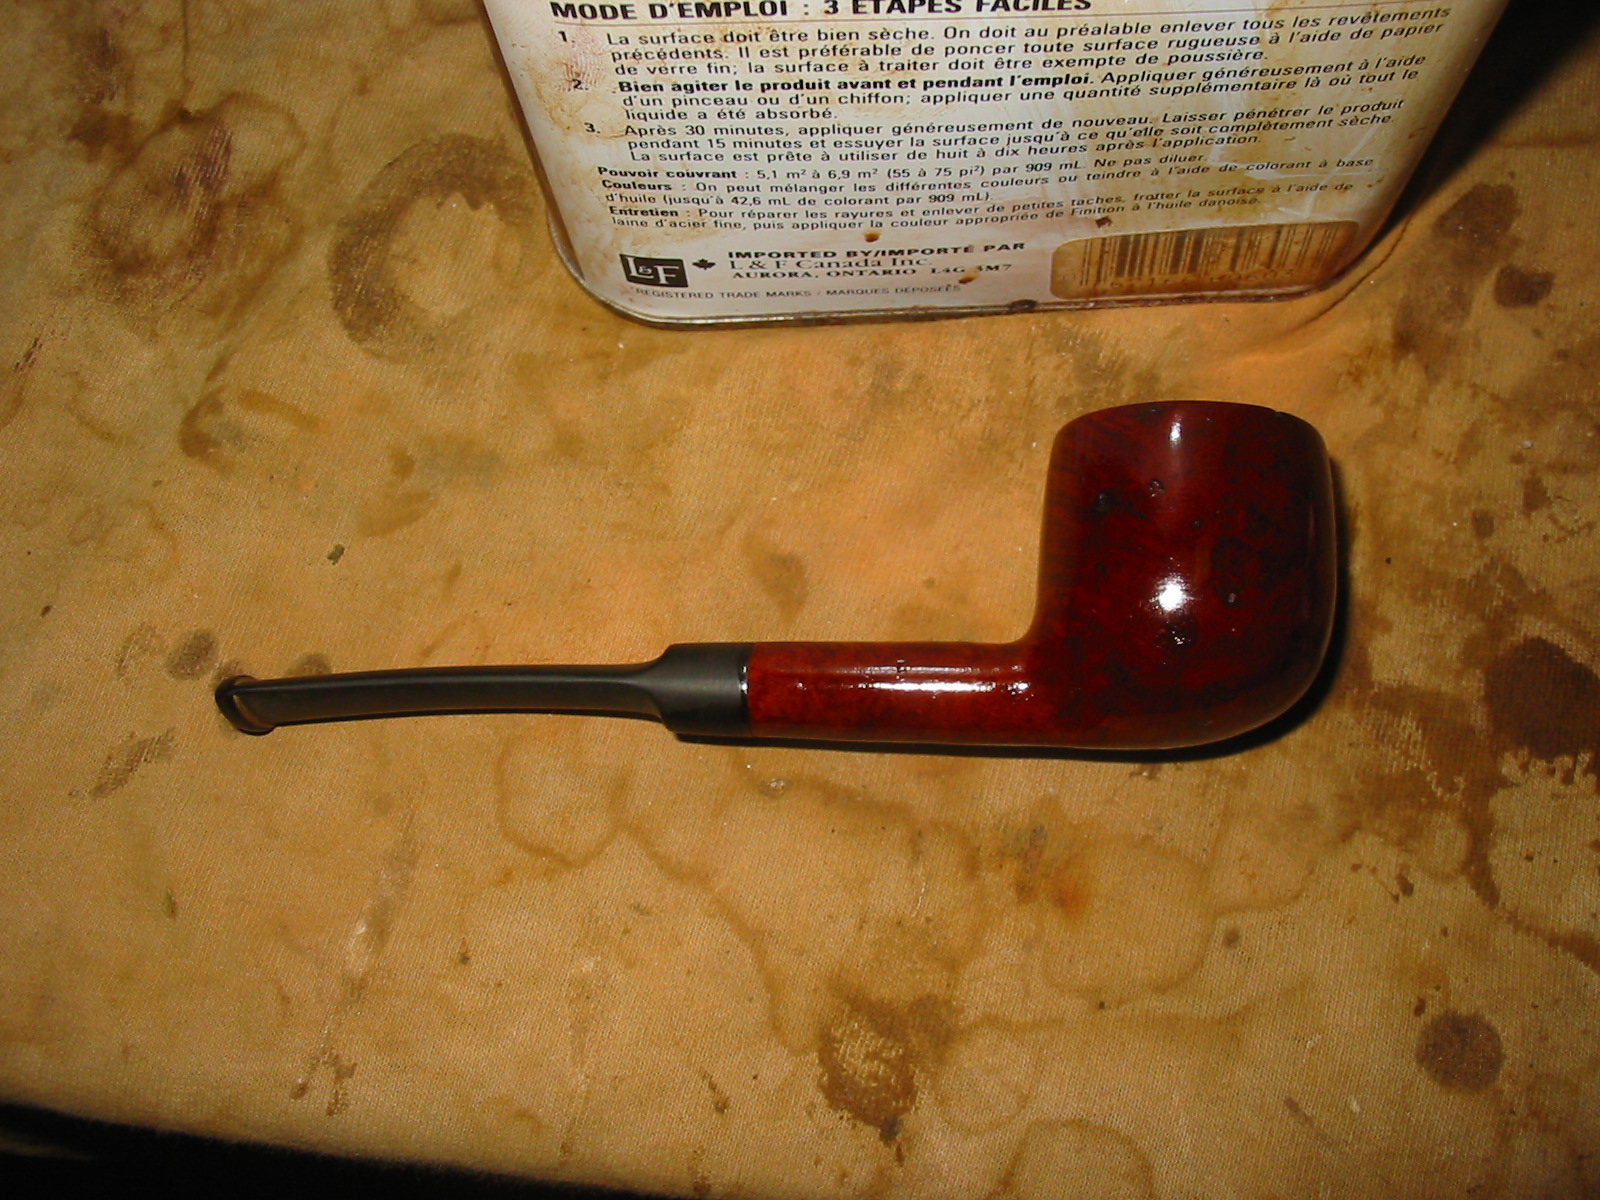
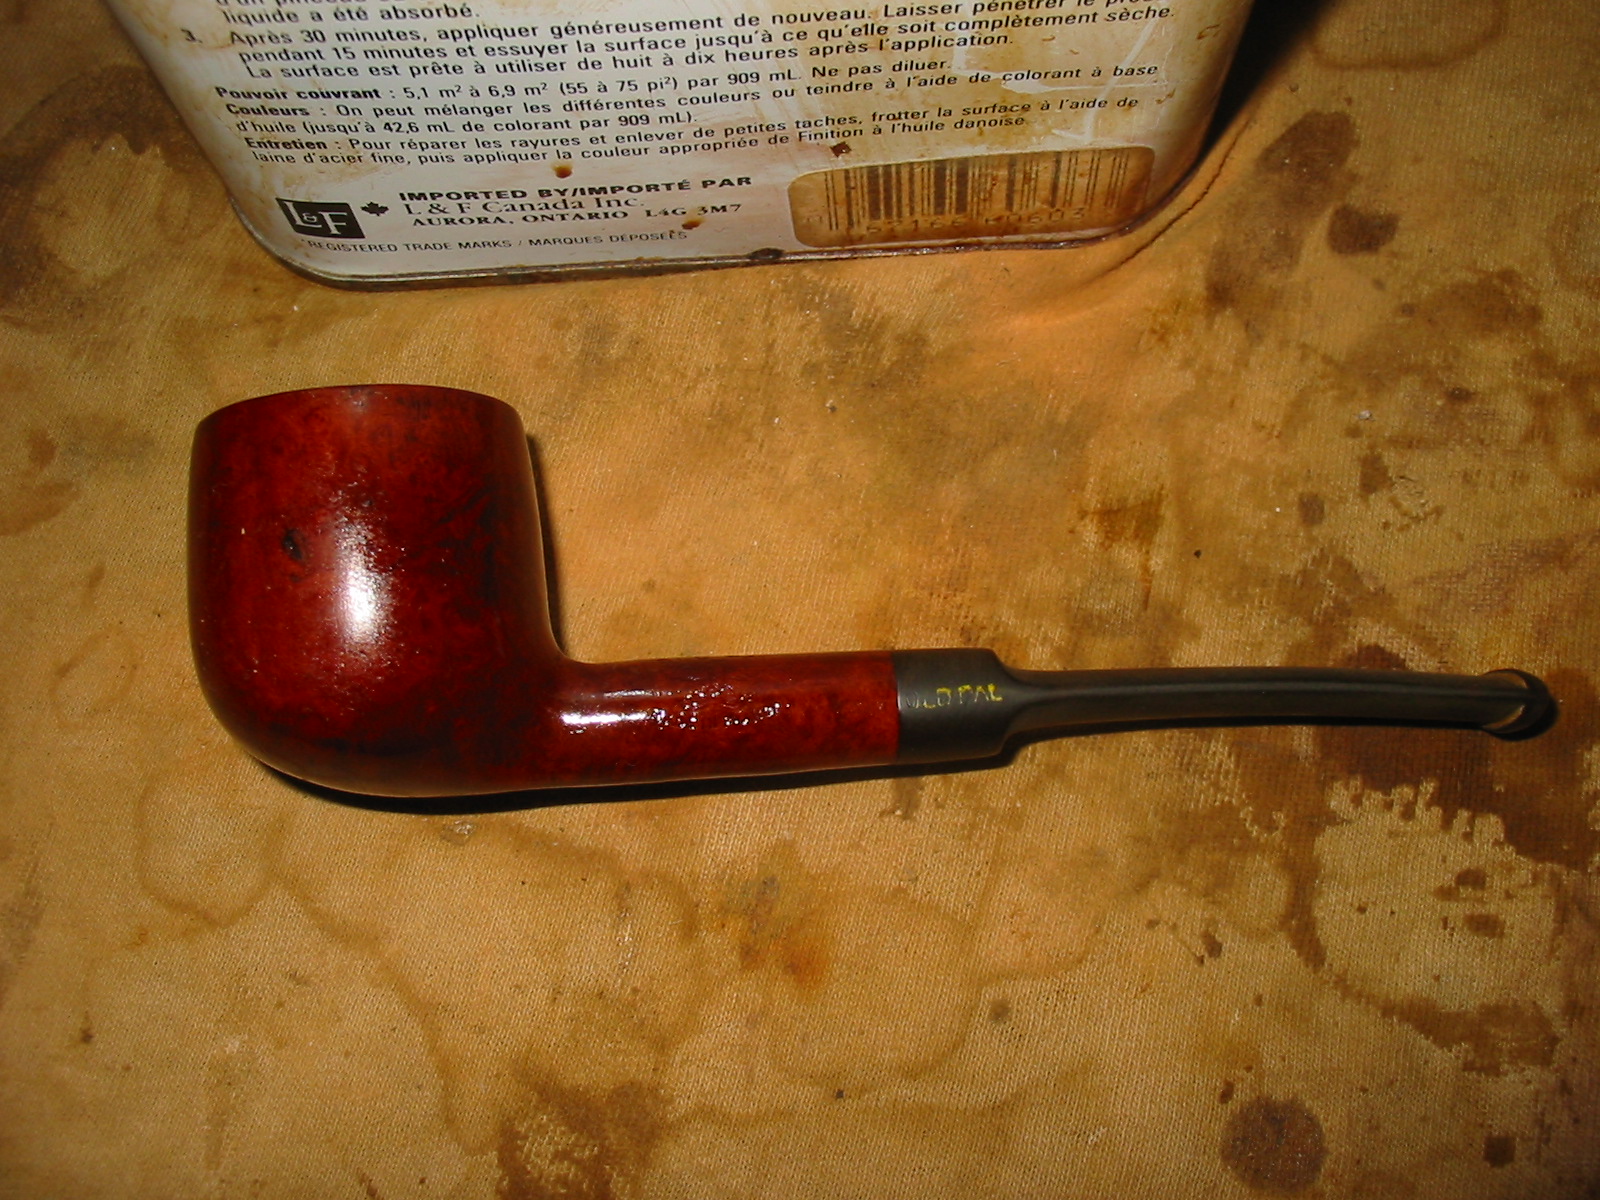
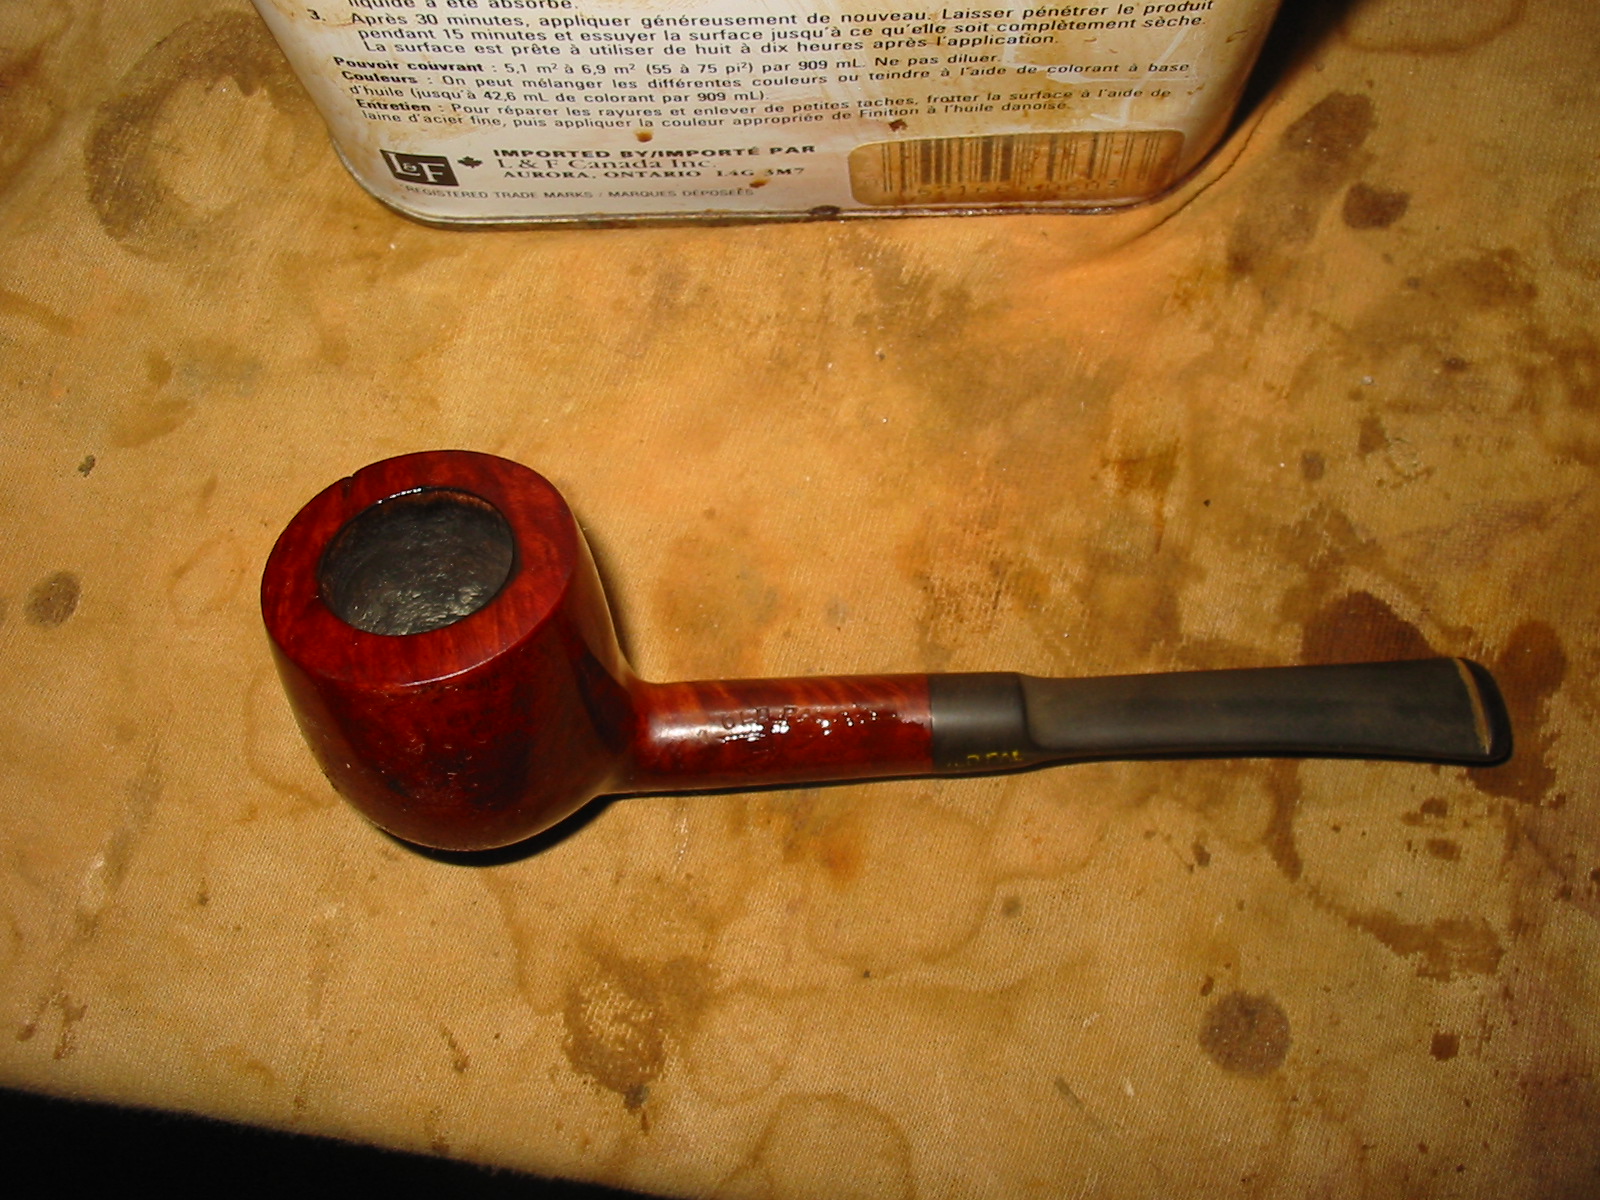
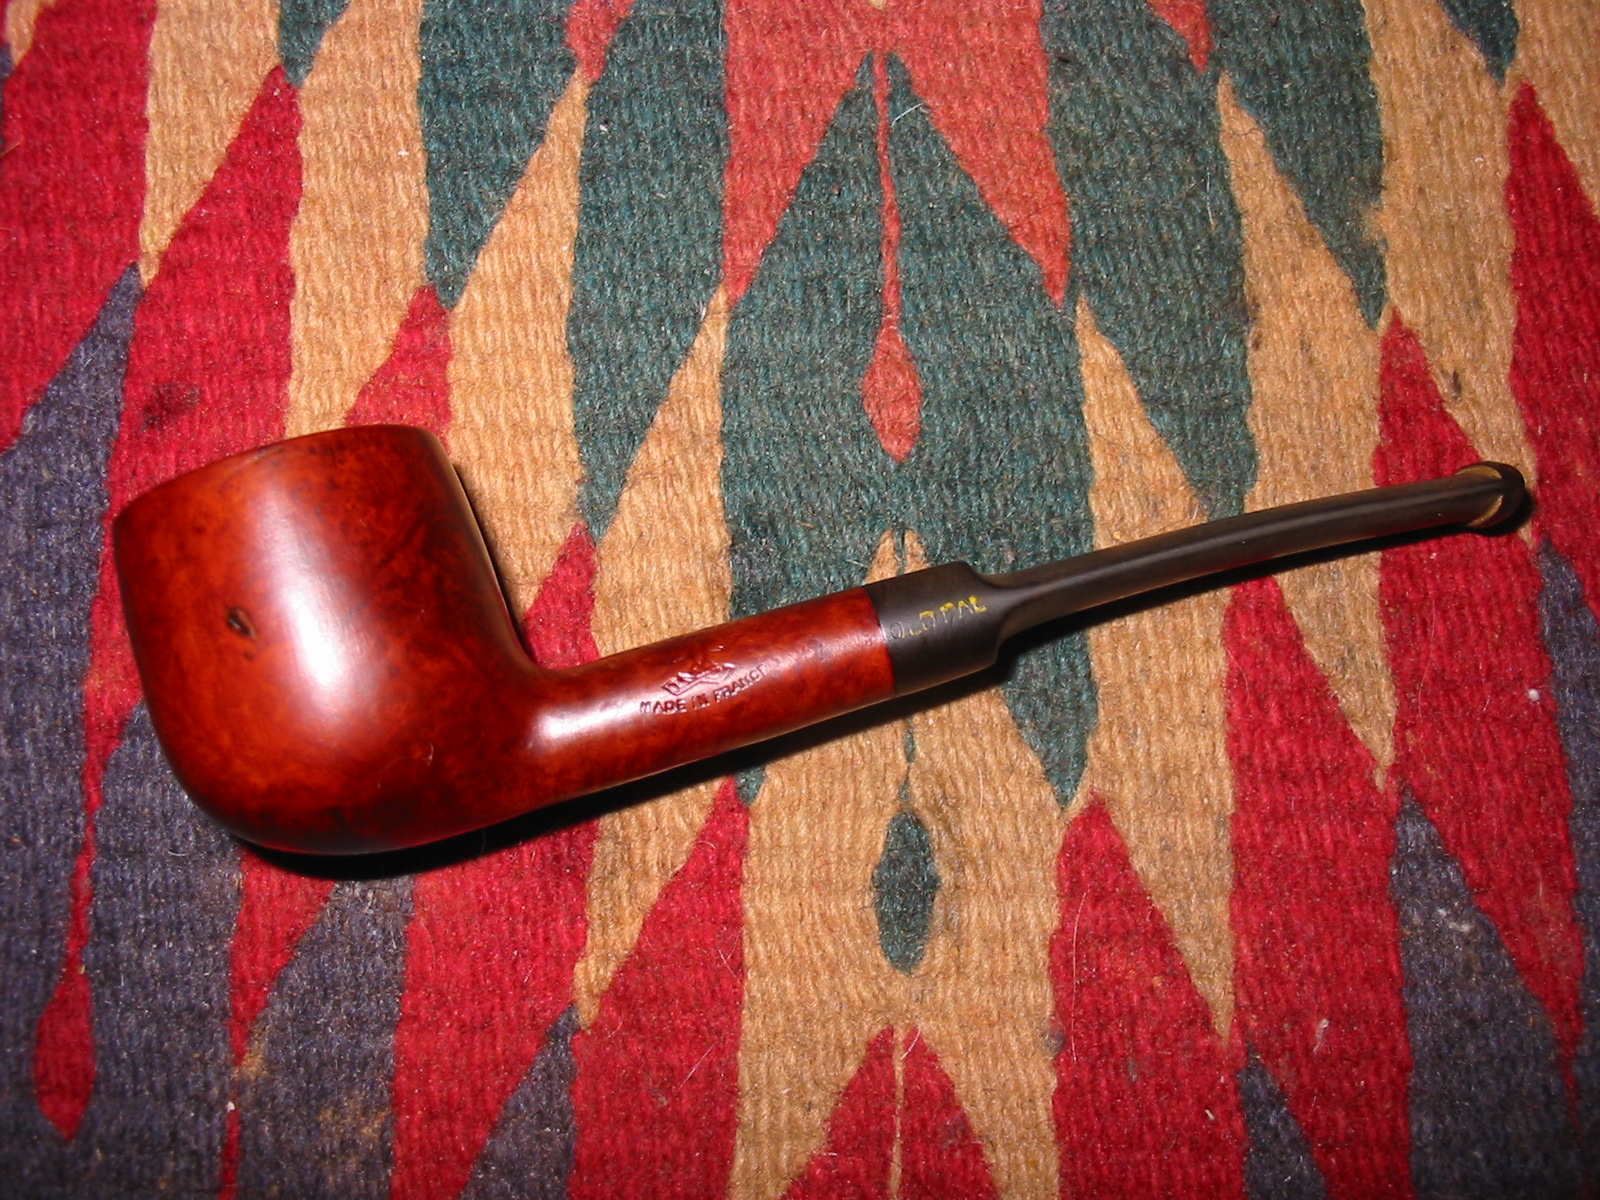
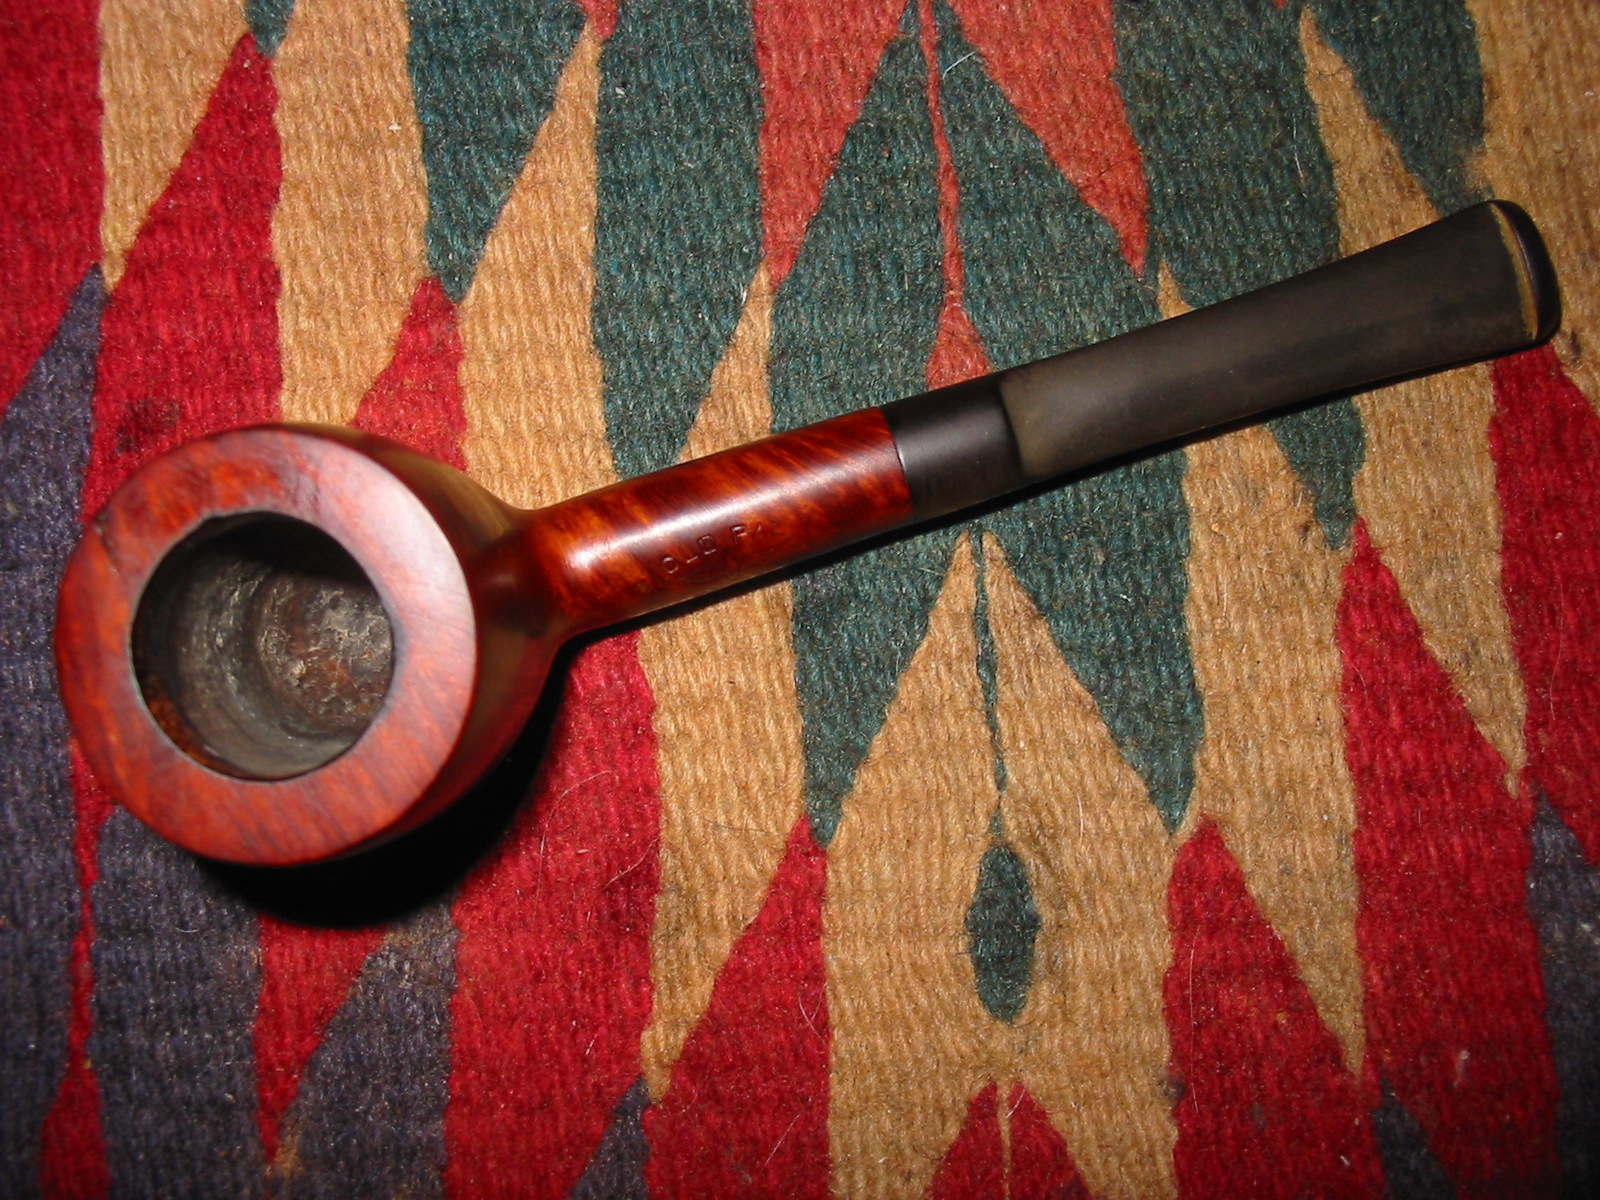
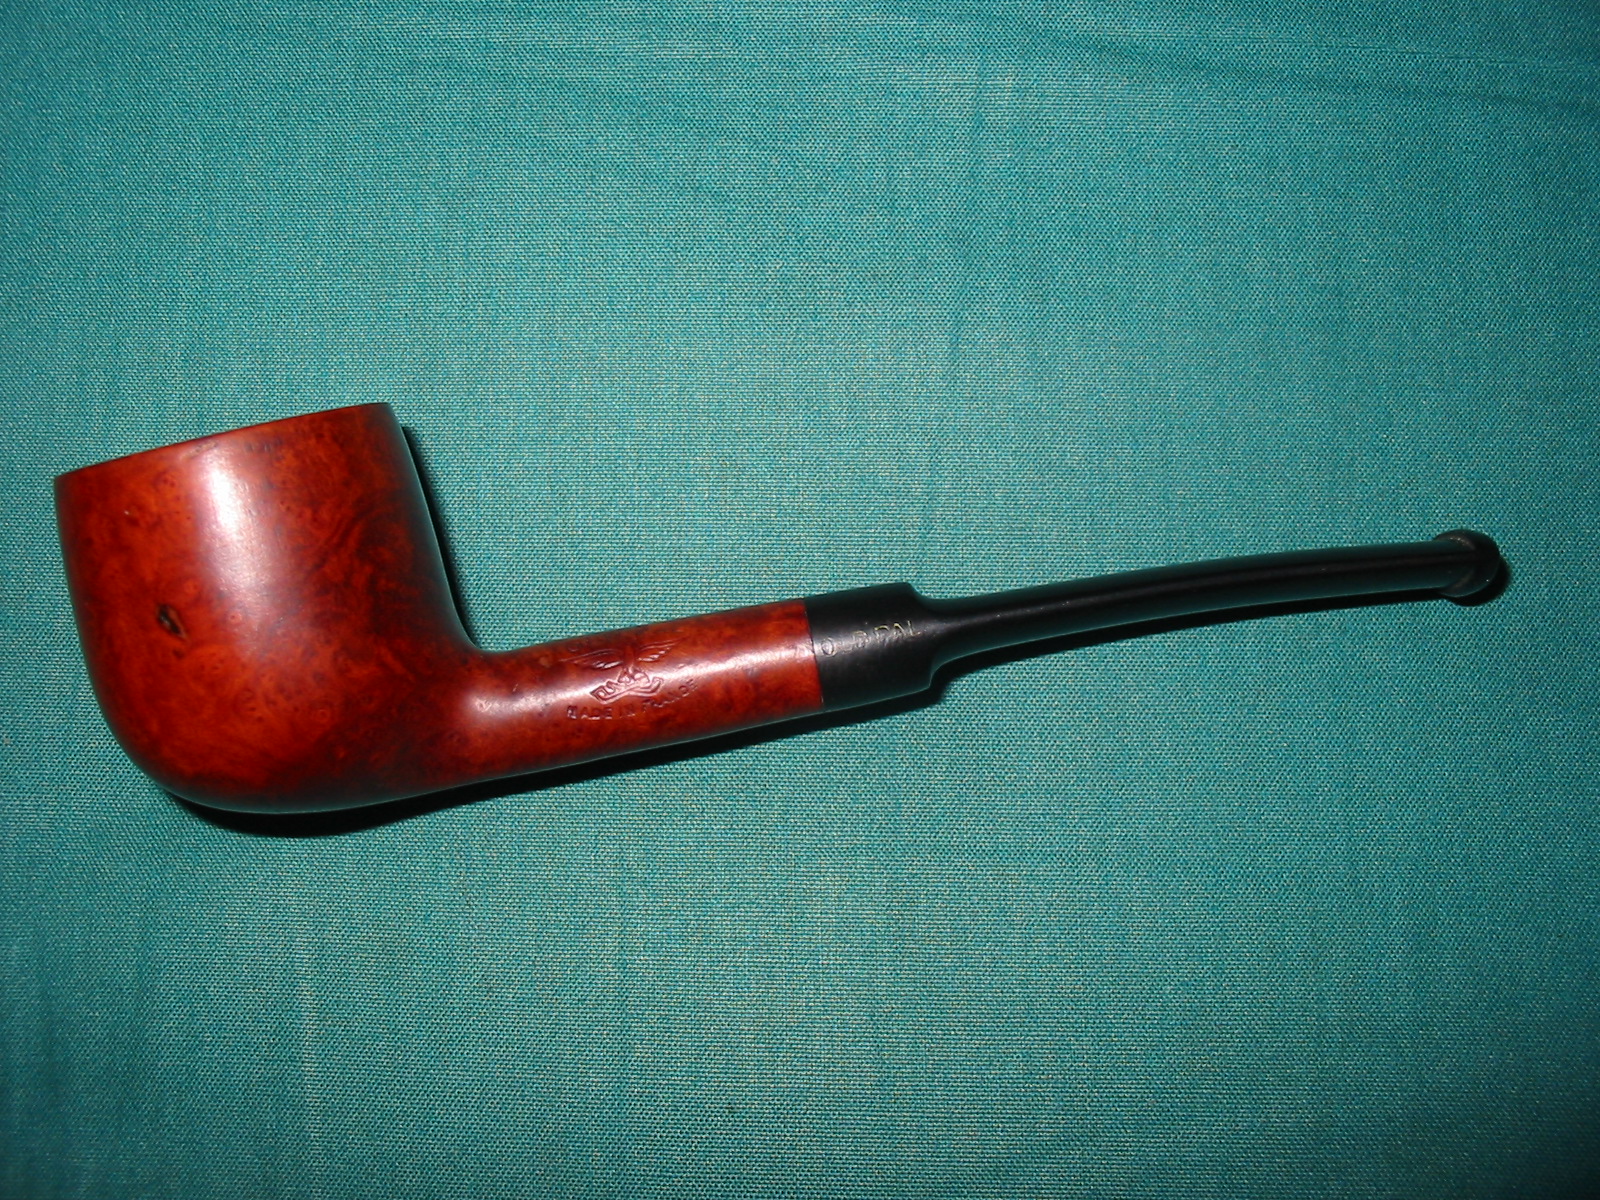
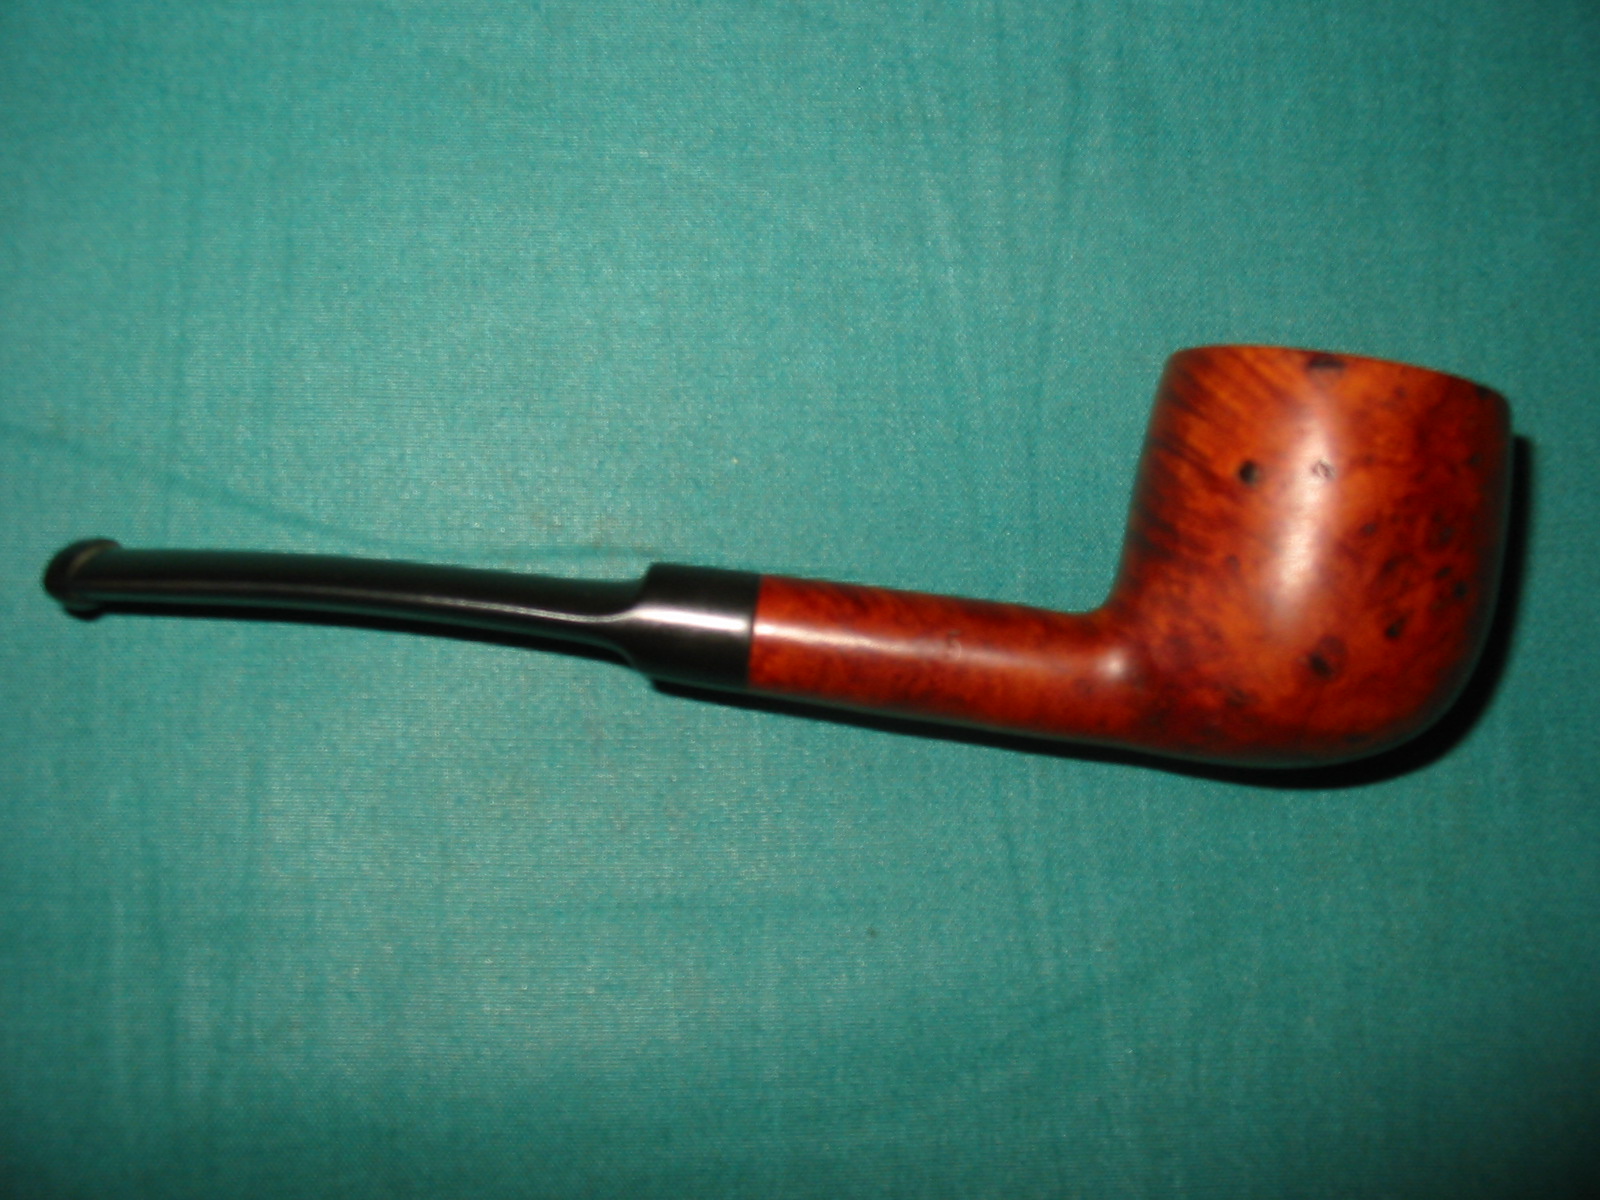
I just finished cleaning up another of the old pipes I found on my trip. It is a petite pot shaped pipe with a pencil shank. The overall length is barely over 5 inches and the weight is negligible. It is stamped on the left side of the shank in arc – Old Pal, over an Eagle with spread wings and then underneath Made in France.
oldpal2b
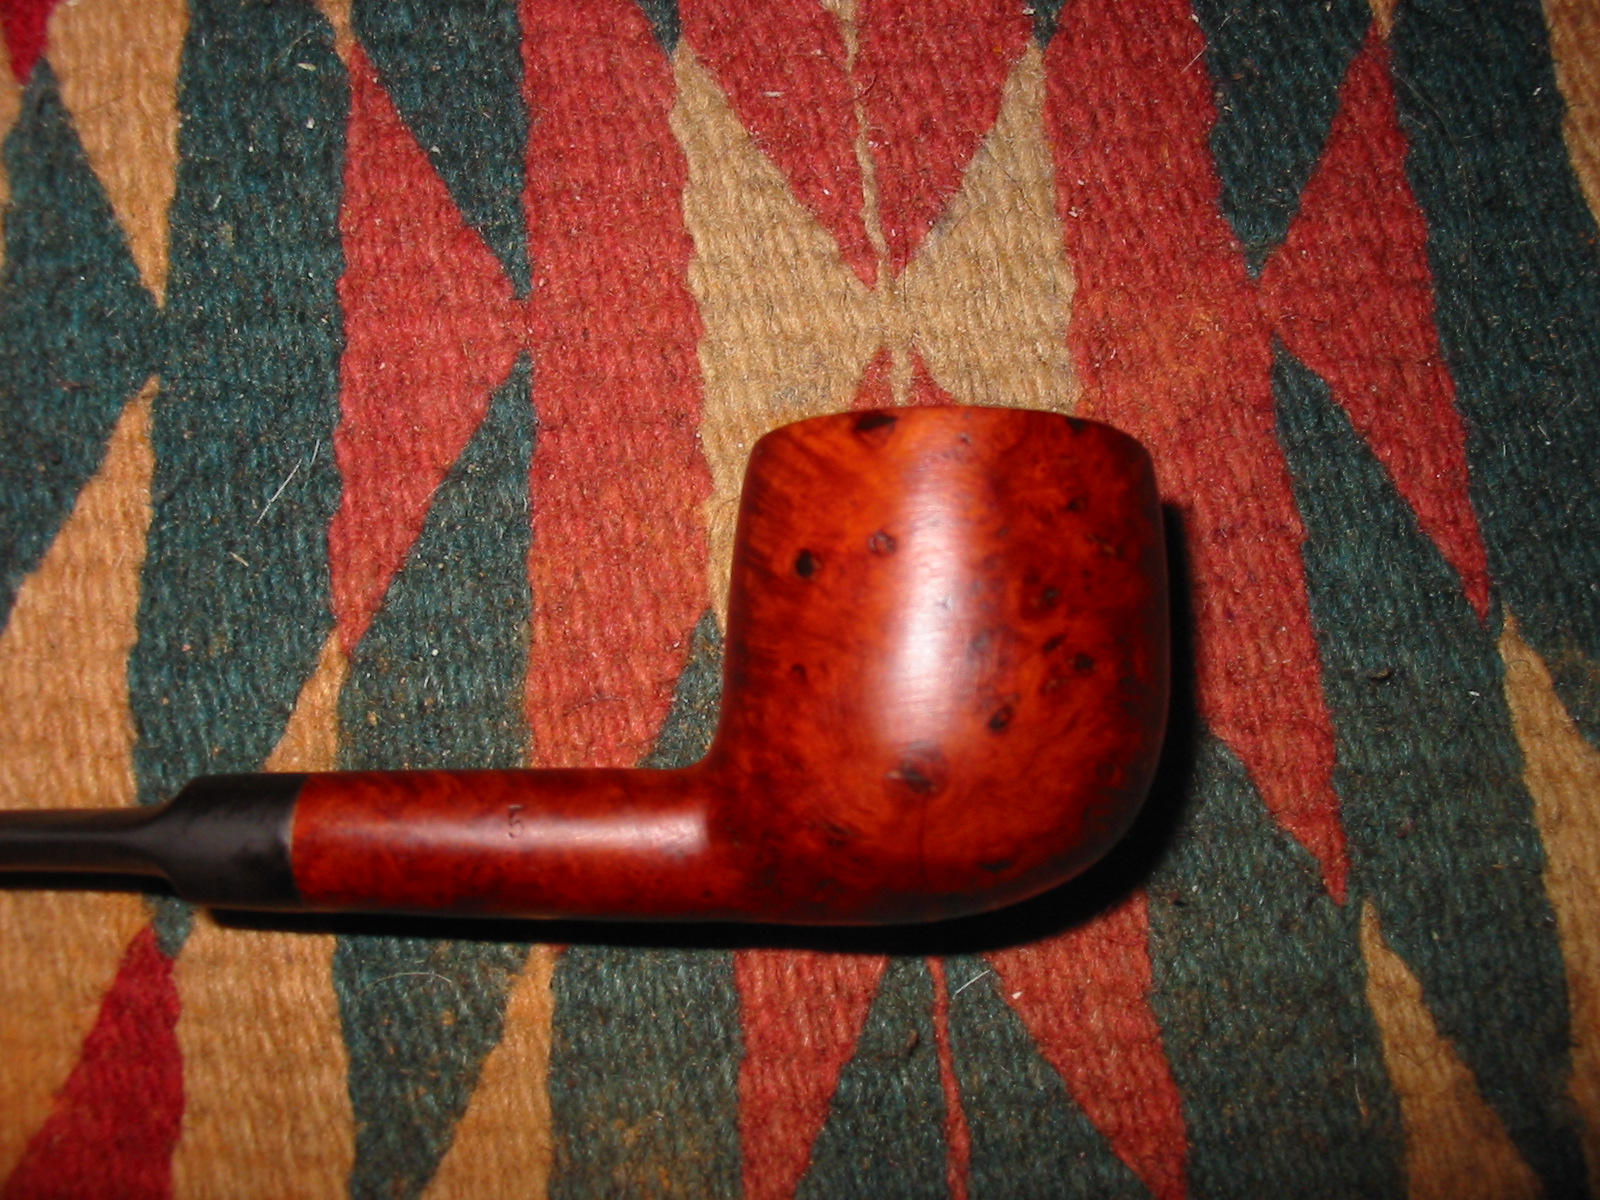
On the right side of the shank it is stamped 5 which I assume is the shape number. The stem is also stamped with the words OLD PAL on the left side of the saddle portion. On this particular pipe it is faint. In checking on the background information on “Who Made That Pipe” I found that it had two French makers for Old Pal listed. The first of those is Marechal Ruchon and Cie. (Incidentally it is the company that owned the GBD brand). The second maker listed is Rubinovich & Haskell Ltd. The bird emblem is probably the key, but I can find no reference to it. My own thinking is that the brand was made by Marechal Ruchon & Cie. I was able to dig up this brief summary of the MR&C brand. Ganeval, Bondier and Donninger began making pipes in 1850 and rapidly gained prominence in briar pipe making. Of the three, Bondier survived the others by 30 years, but new partners took their places. The name of the company changed to Bondier Ulrich & Cie, then Bine Marechal & Cie and finally to A Marechal, Ruchon & Cie. August Marechal and Ferdinand Ruchon saw the firm into the 20th century, their names being used for the company for well over 50 years.

Prior to 1899, Marechal, Ruchon & Co. became A. Oppenhiemer’s sole agent for cigarette papers but still remained in the pipe making business. Then in 1902, Marechal, Ruchon & Co.. owners of GBD and referred to as French pipe makers, merged with A. Oppenhiemer. In the 1915 London Directory of briar pipe makers one will find: “”Marechal, Ruchon & Co. – 38 Finsbury Sq. E.C.; London works, 15 & 16 Featherstone St. E.C. and Oppenhiemer, A. & Co. – 38 Finsbury Sq. E.C. listed separately.

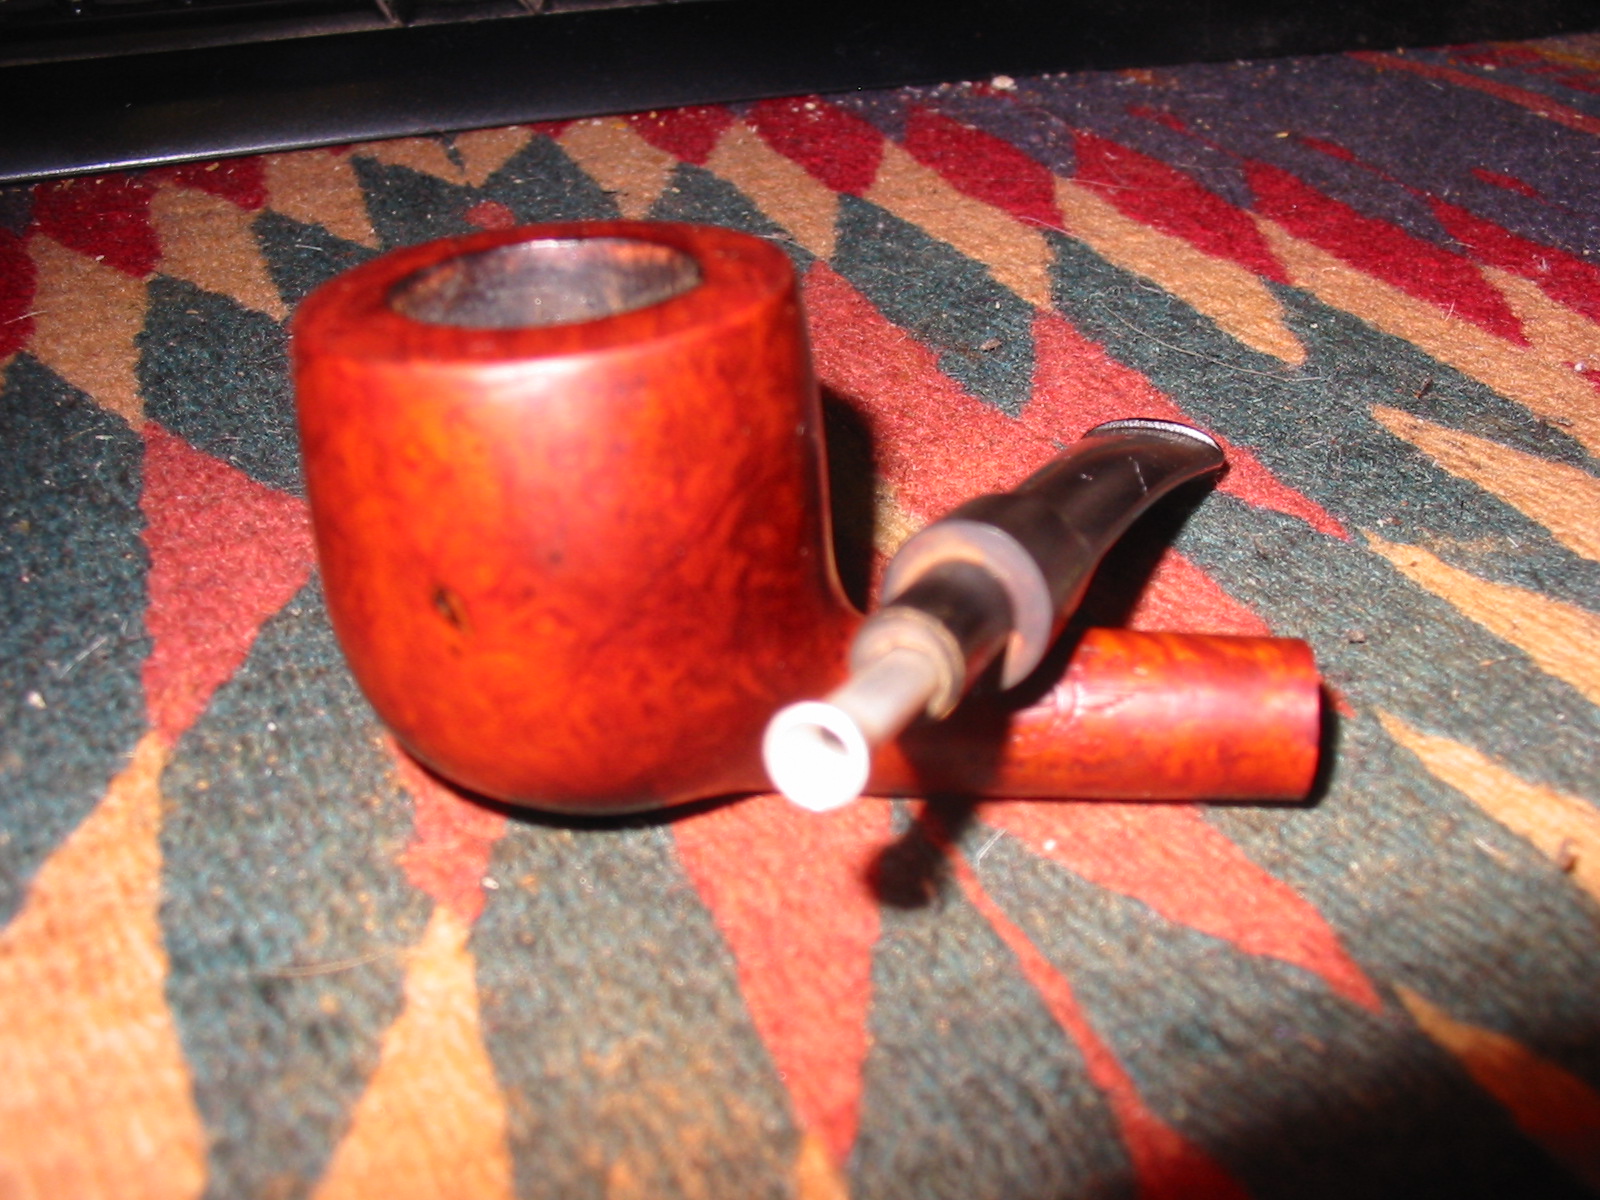
With that background information I worked on this old pipe to clean it up and restore it. When I picked it up the bowl was badly caked and packed full. The rim was dirty and tarred with what appeared to be a fill on the top of the rim right side. The entire right side of the pipe was full of fills of various sizes and shaped. There was one fill on the left side as well. The grain on the bowl was mixed and the finish was pretty beat up. The fills were shrunken and they left small pits in the surface of the pipe. The stem was oxidized and had tooth chatter on both sides near the button. The shank and airway were dirty and tarry. When the stem was removed there was an interesting flared tube that extended into the shank from the end of the tenon. The end looked like the bell of a horn. This was badly tarred and the inside of the tube was packed with debris.
IMG_2048

IMG_2049

IMG_2051

IMG_2052

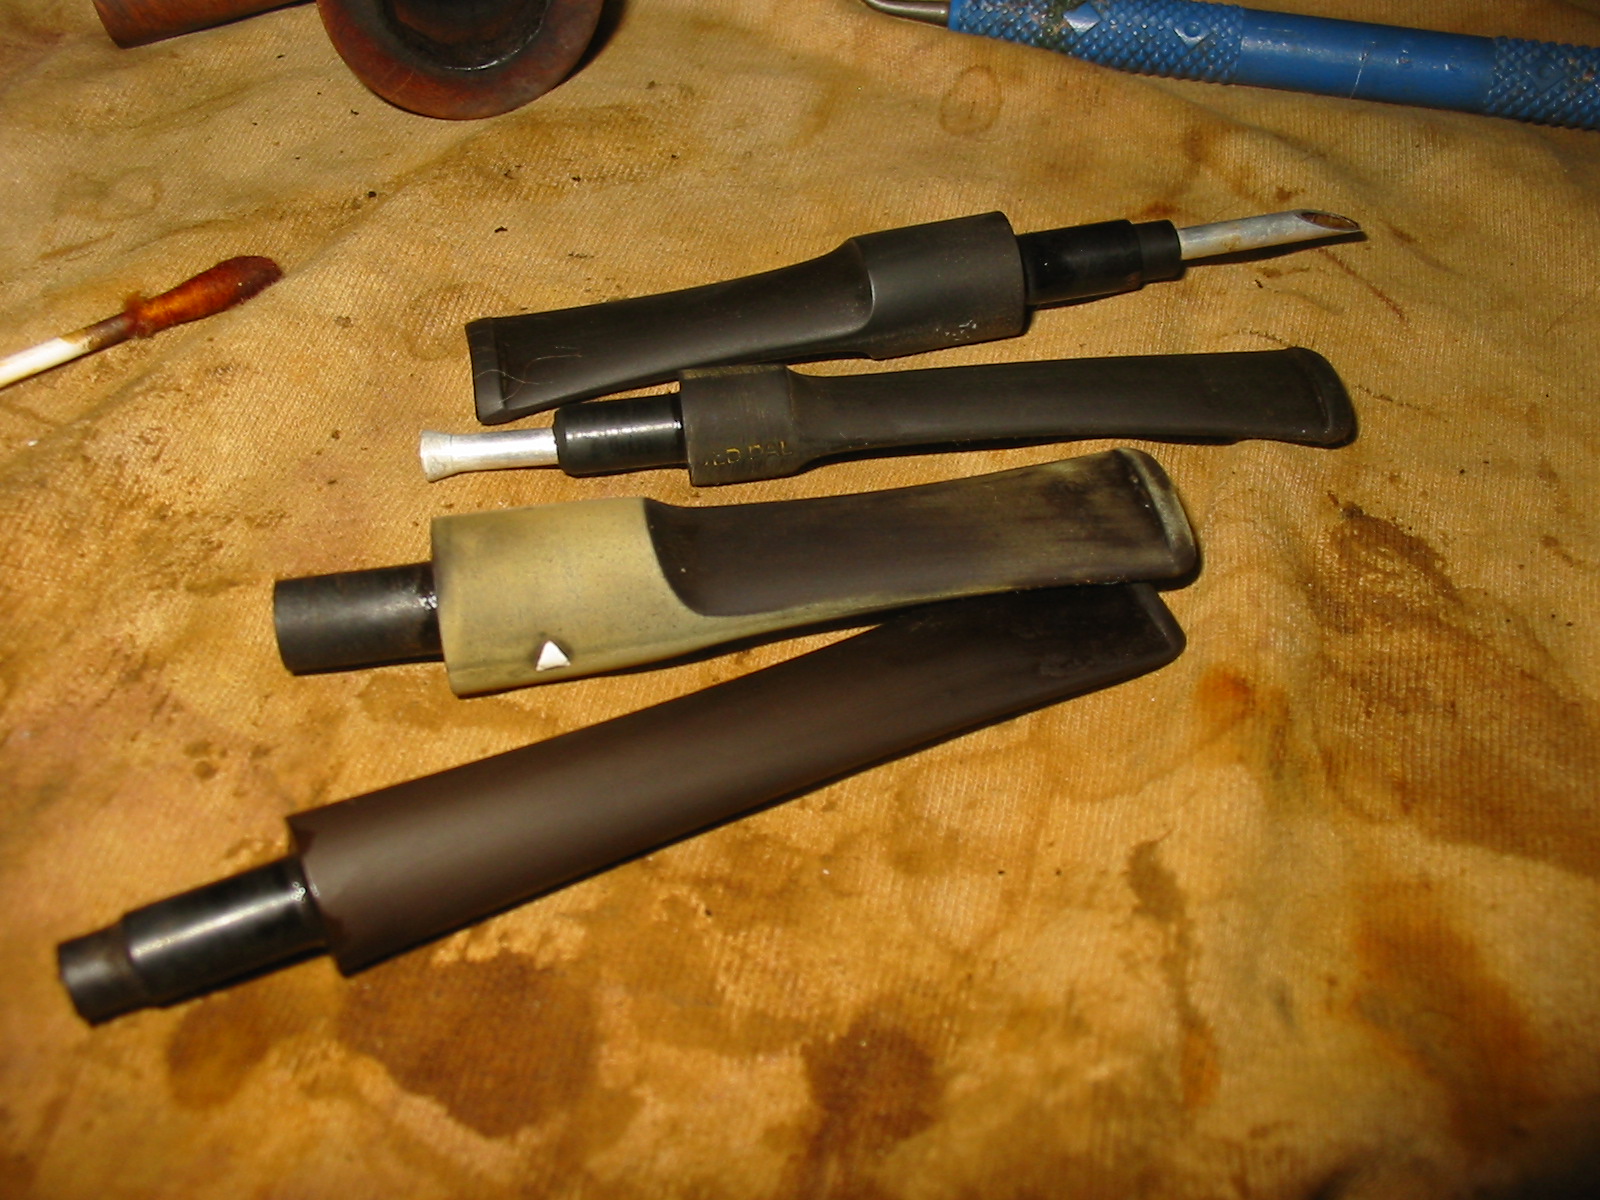
I separated the stem and the bowl. The bowl was reamed with a PipNet pipe reamer back to a thin cake. Then I dropped the bowl in an alcohol bath to soak away the grime and to soften the fills. I drop the stem in an Oxyclean bath to raise the oxidation and soften it. I scrubbed both while in their respective baths to loosen the grime and buildup on the surfaces. I removed the bowl from the alcohol bath after two hours of soaking. I cleaned out the inside of the shank and the bowl as well as the inside of the stem. The trumpet like tube came out of the tenon and I cleaned it inside and out and reset it in the tenon. It is an interesting contraption as it is flared and the flared end rests against the end of the mortise directing the smoke directly into the mouthpiece. I have not seen that design before (see the photo below after the stem cleanup paragraph).
IMG_2067

IMG_2053

IMG_2066

IMG_2068

IMG_2071

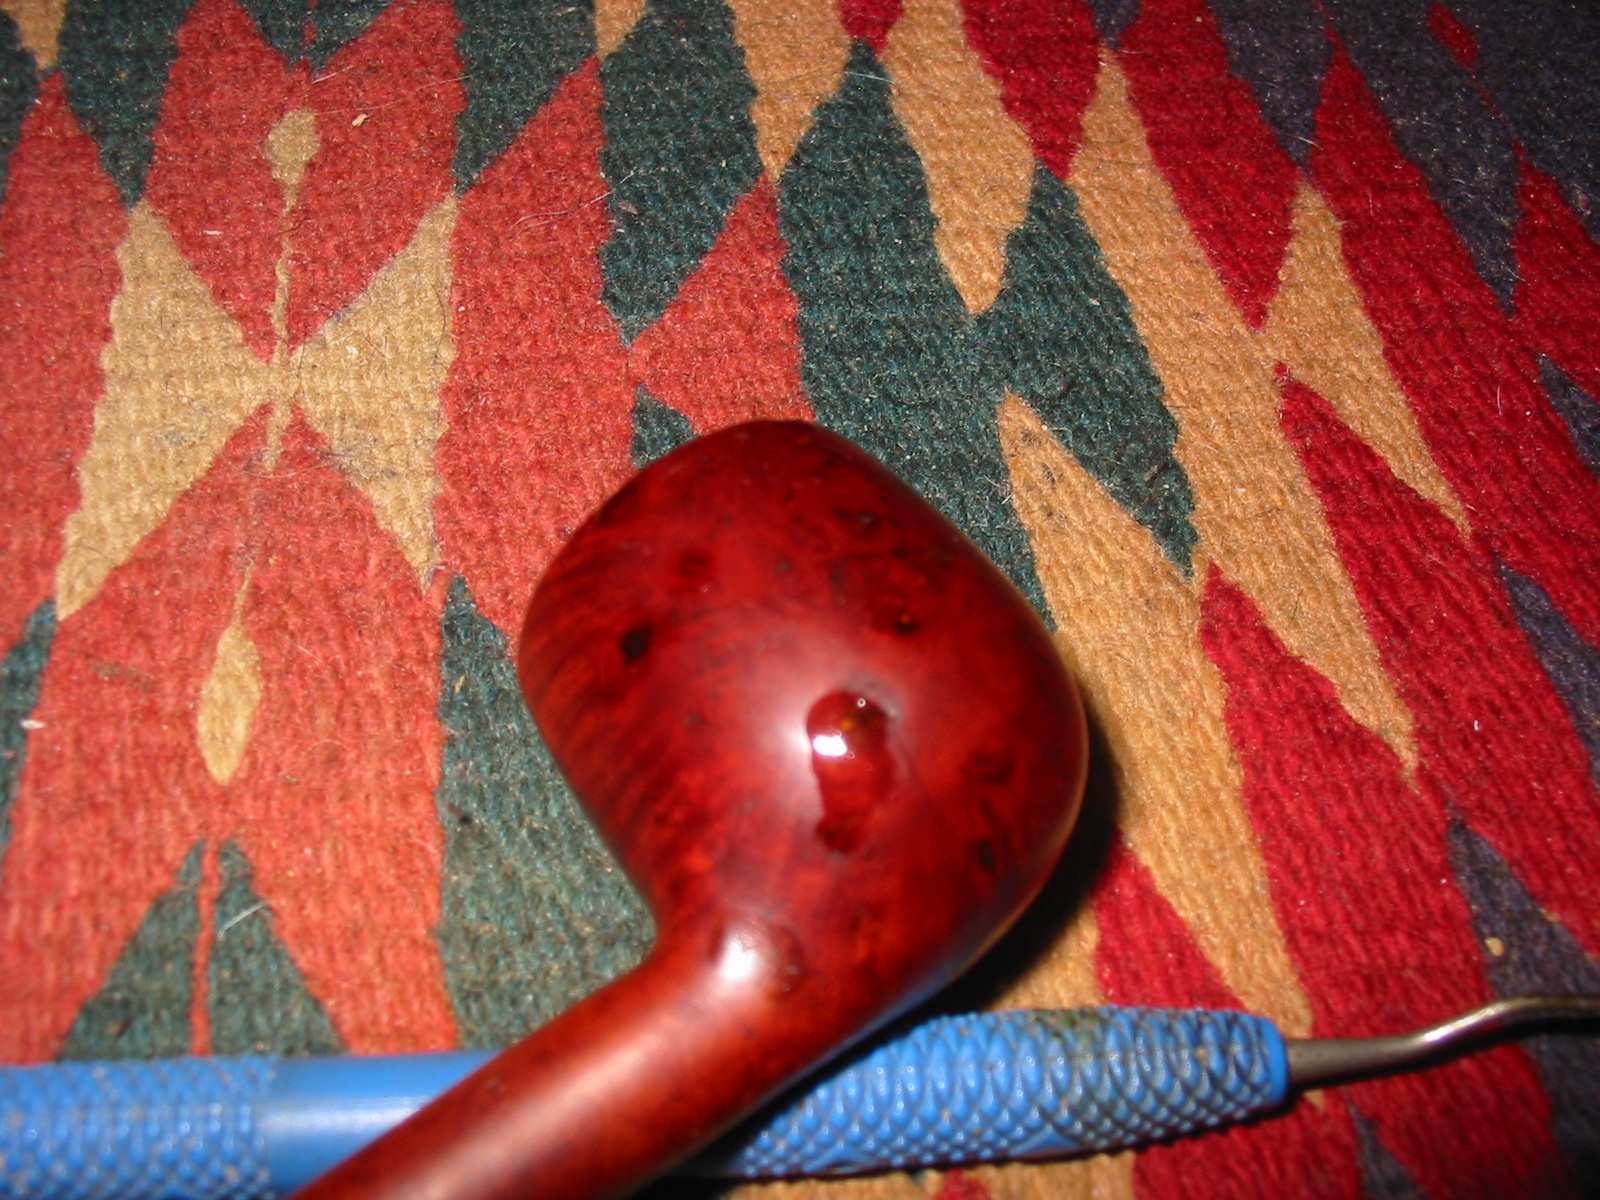
I used a dental pick to dig out the fills that had softened in the bowl. My objective was to remove them altogether and replace them with a briar dust and superglue fill that turns black and gives a different look than the red putty fills.
IMG_2079

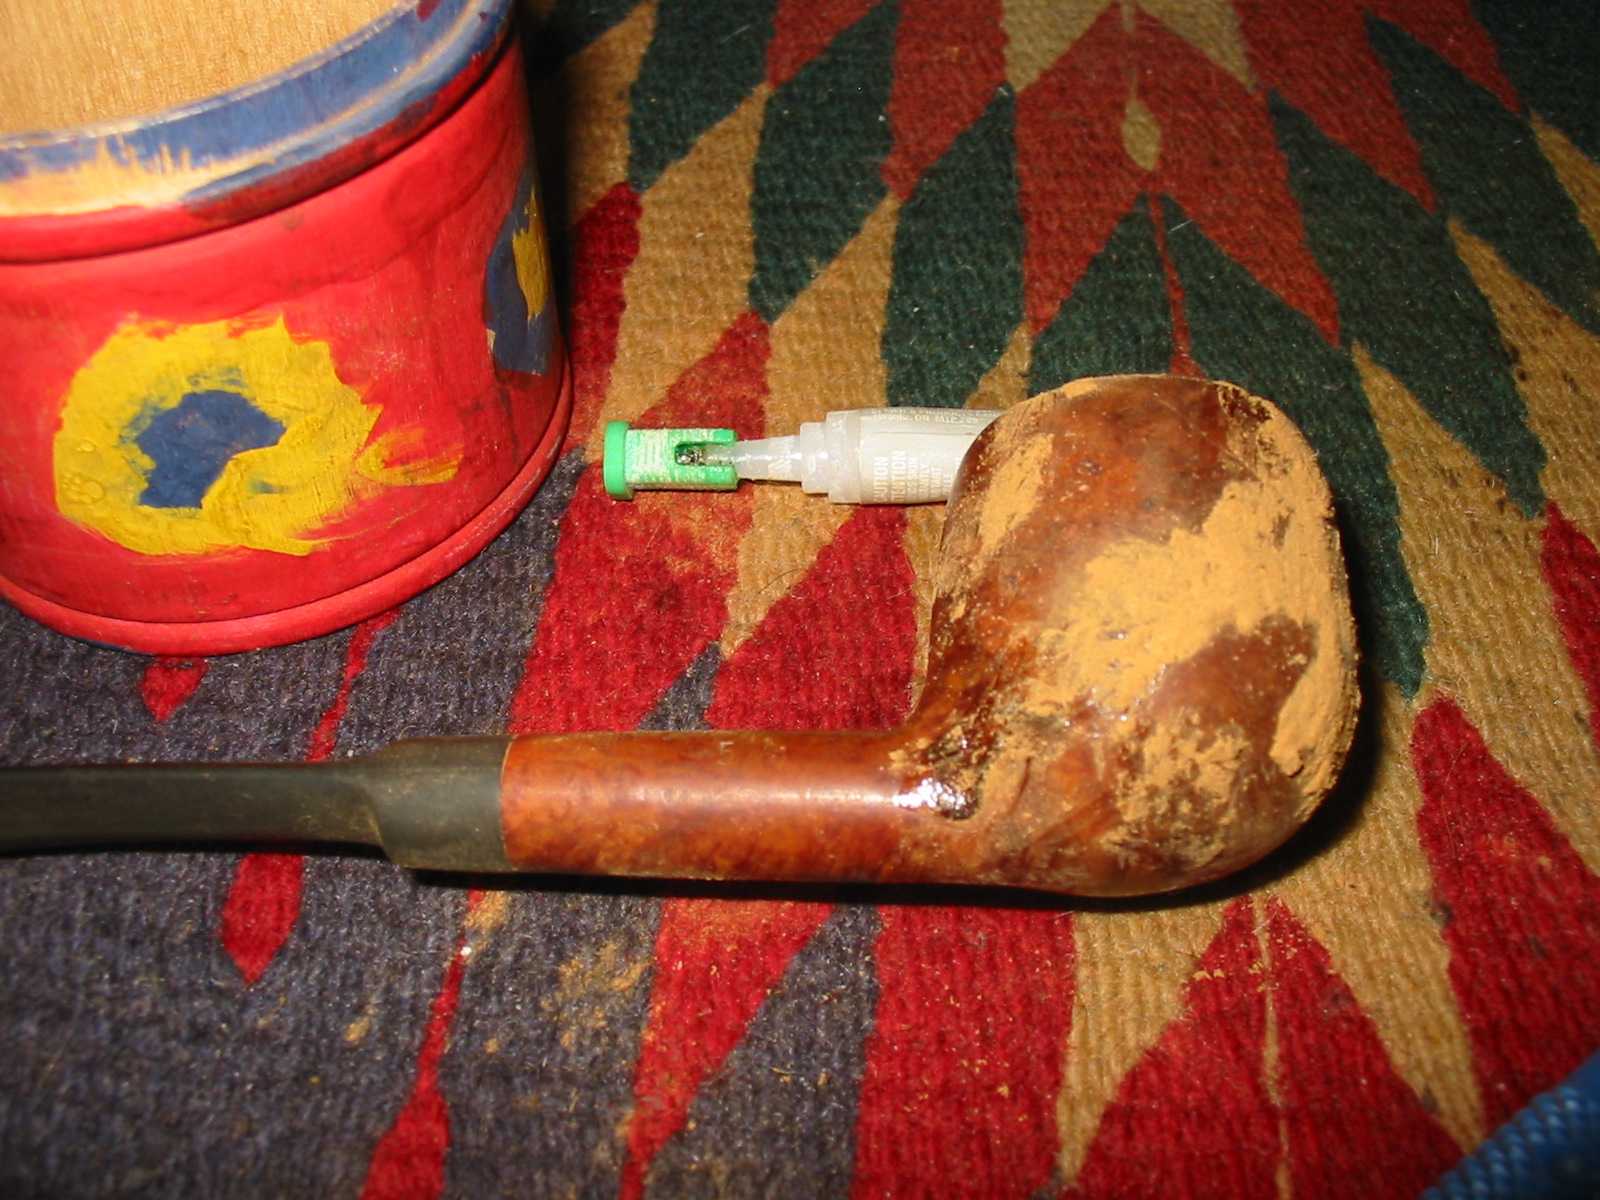
After removing the fills I wiped down the bowl with acetone on a cotton pad to remove the finish from the bowl and to remove extraneous dust from the holes where the fills used to be. I repeated this process until the bowl was clean. Once finished I used a drop of superglue in each pit and then pressed briar dust into the holes using a dental pick. I repeated the process until the fills were repaired. I then sanded the bowl to remove the excess briar and superglue fill material with 220 grit sandpaper, medium grit sanding sponges and a fine grit sanding block.
IMG_2081

IMG_2082

IMG_2089

IMG_2090

IMG_2091

IMG_2092

IMG_2093

The black marks on the right side of the bowl highlight the fills in the bowl. I have often used a permanent black marker to blend in the fills to the grain. I decided to try that with this pipe as well.
IMG_2094

IMG_2095

I gave the bowl several coats of dark brown aniline stain mixed 1:1 with alcohol. I applied the stain, flamed the bowl, reapplied and reflamed until the colour was even over the entire surface. I then took it to the buffer and buffed the bowl with red Tripoli and White Diamond to polish the stain. I also wanted to see how well the fill material was working. I have found that as it dries it can still shrink.
IMG_2098

IMG_2099

IMG_2100

IMG_2101

I brought it back to the work table and gave it a coat of linseed oil.
IMG_2102

IMG_2103

IMG_2104

The fills had shrunk and left divots in several spots so I reapplied the superglue and briar dust (less this time around). I sanded the bowl with a sanding sponge and a fine grit sanding block to smooth out the surface. I reapplied the stain and the linseed oil and then buffed the bowl.
IMG_2105

IMG_2110

IMG_2109

IMG_2108

IMG_2107

IMG_2106

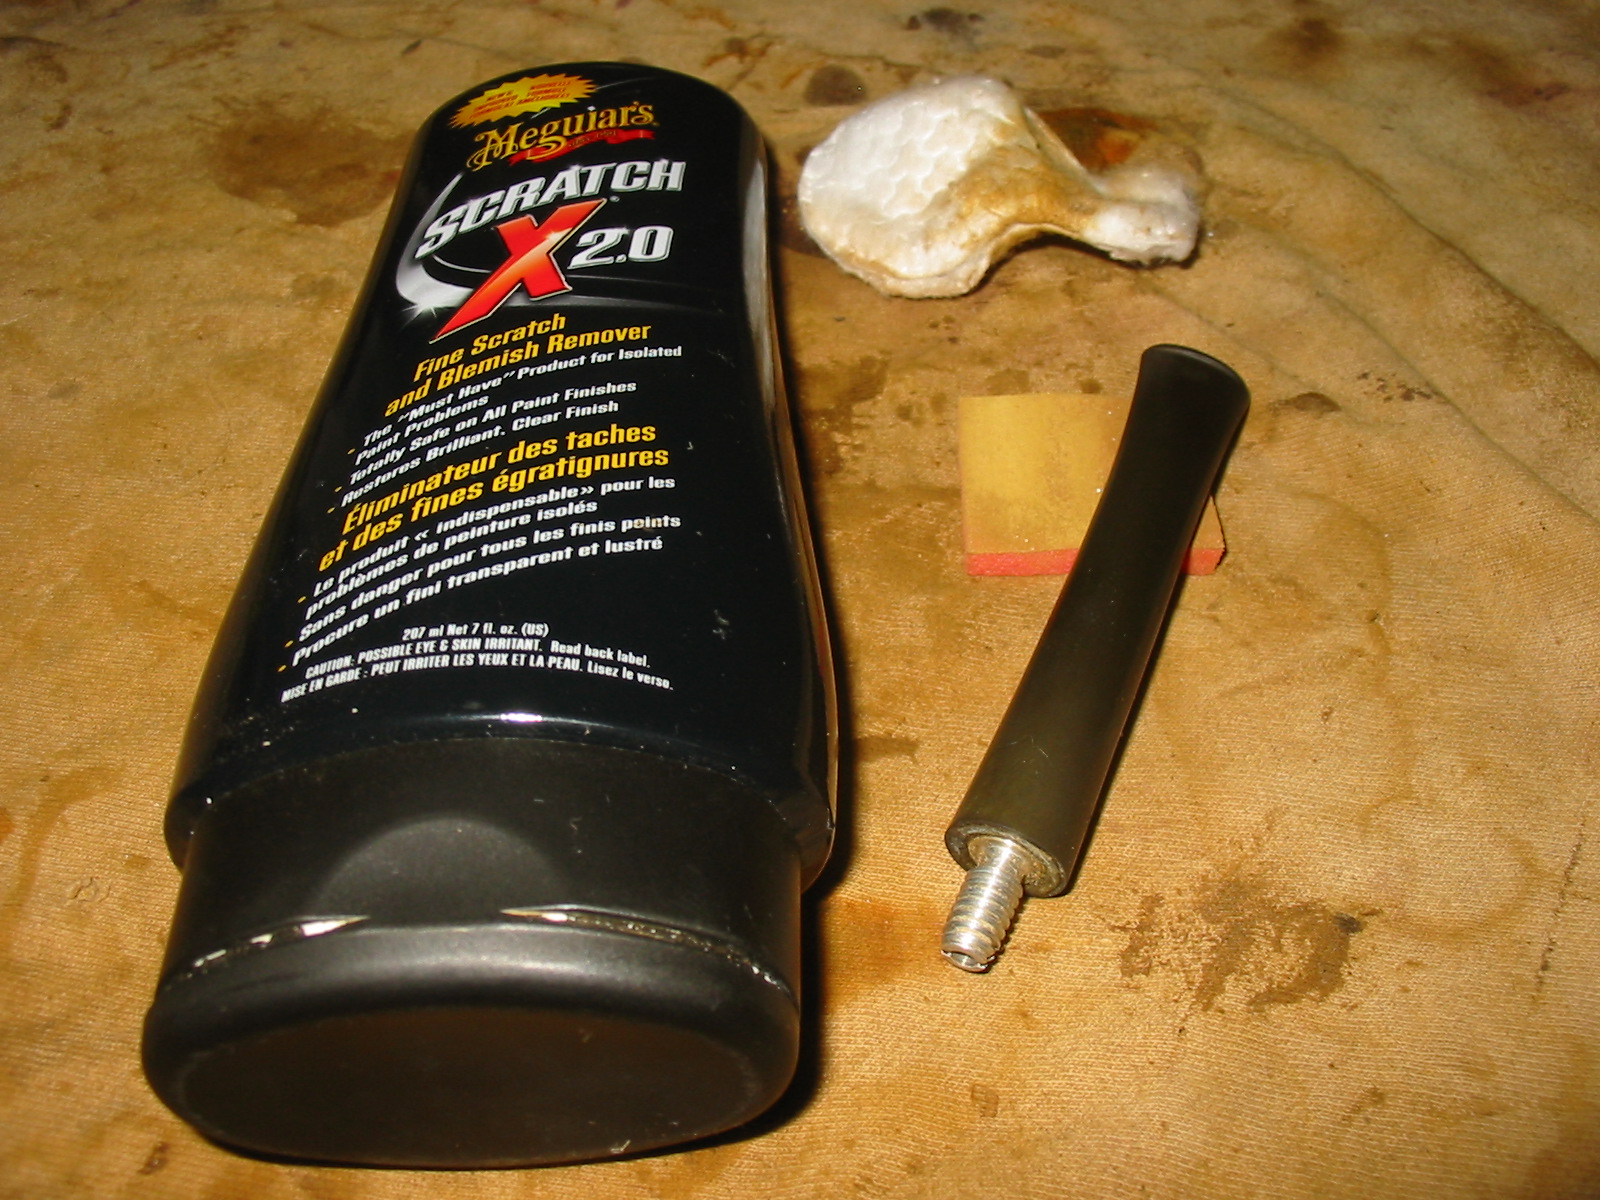
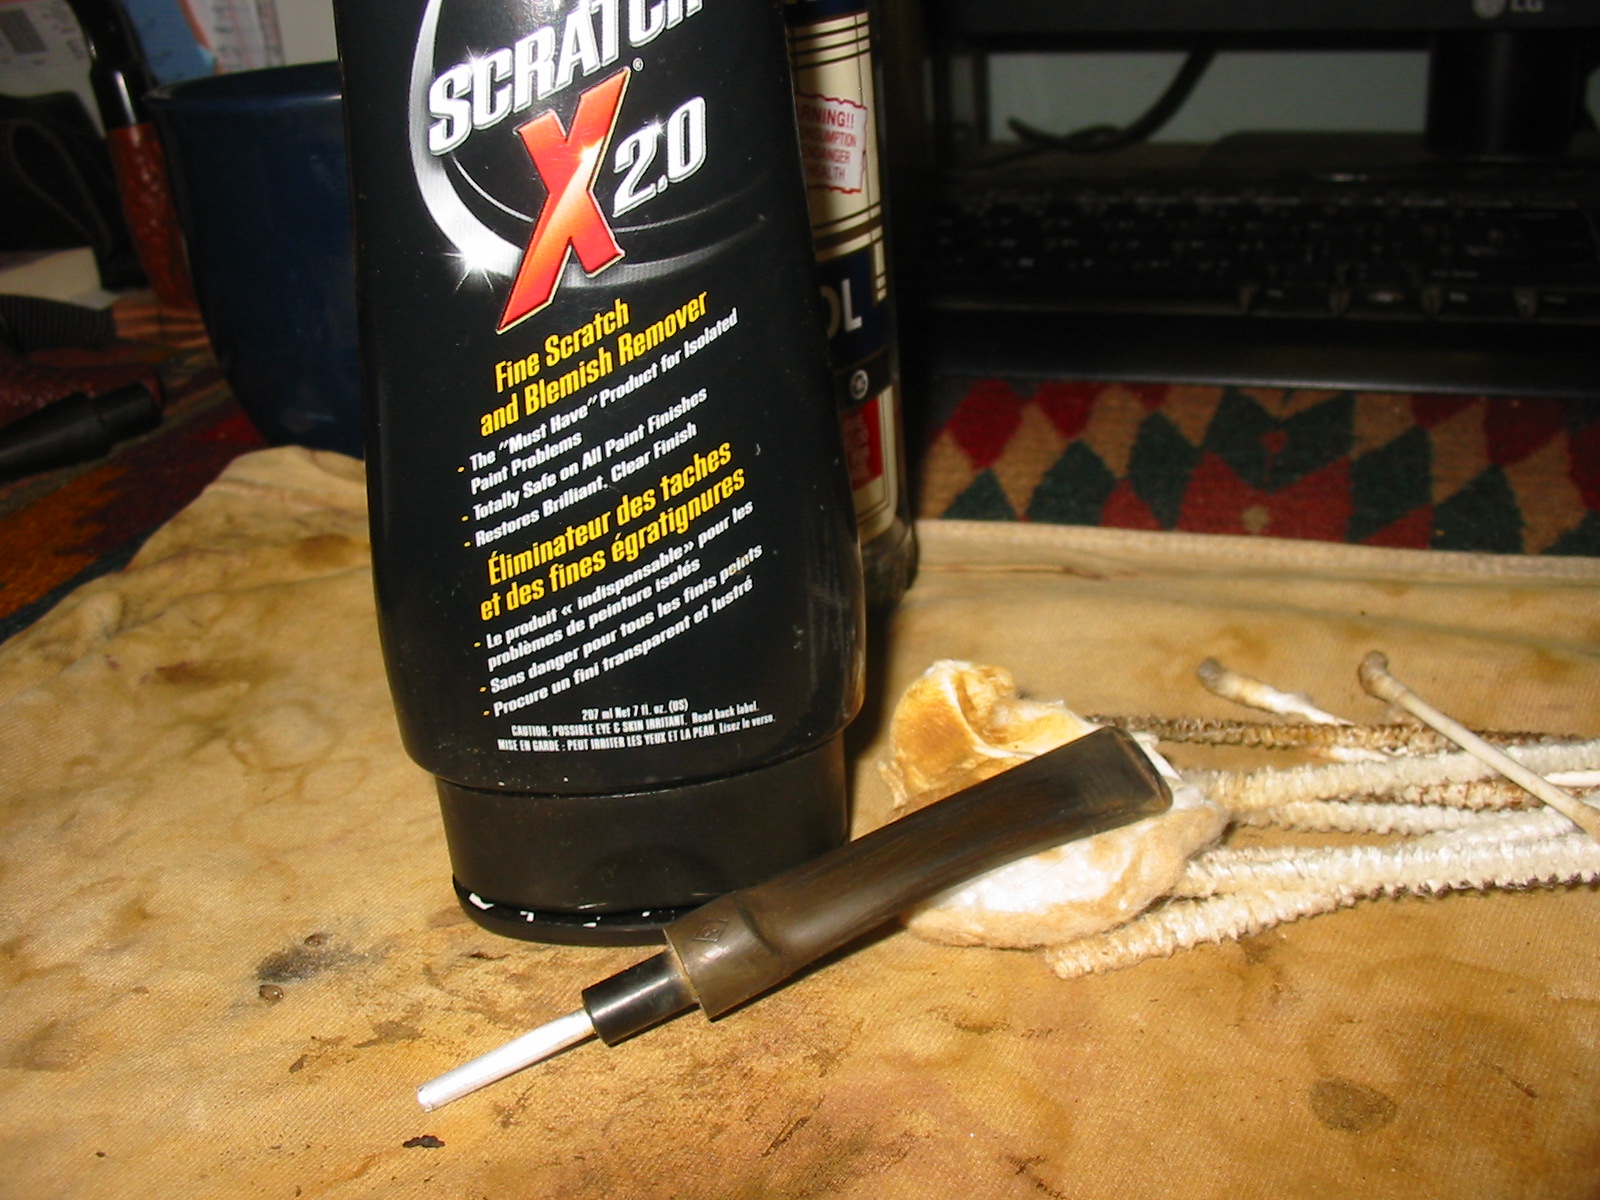
I took the stem out of the bath and wiped it down. The majority of the oxidation wiped off with a damp cloth and then I polished it with Meguiar’s Scratch X2.0 and wiped it off the stem. I wiped the stem down with a polishing cloth and buffed it with White Diamond.
IMG_2080

IMG_2111

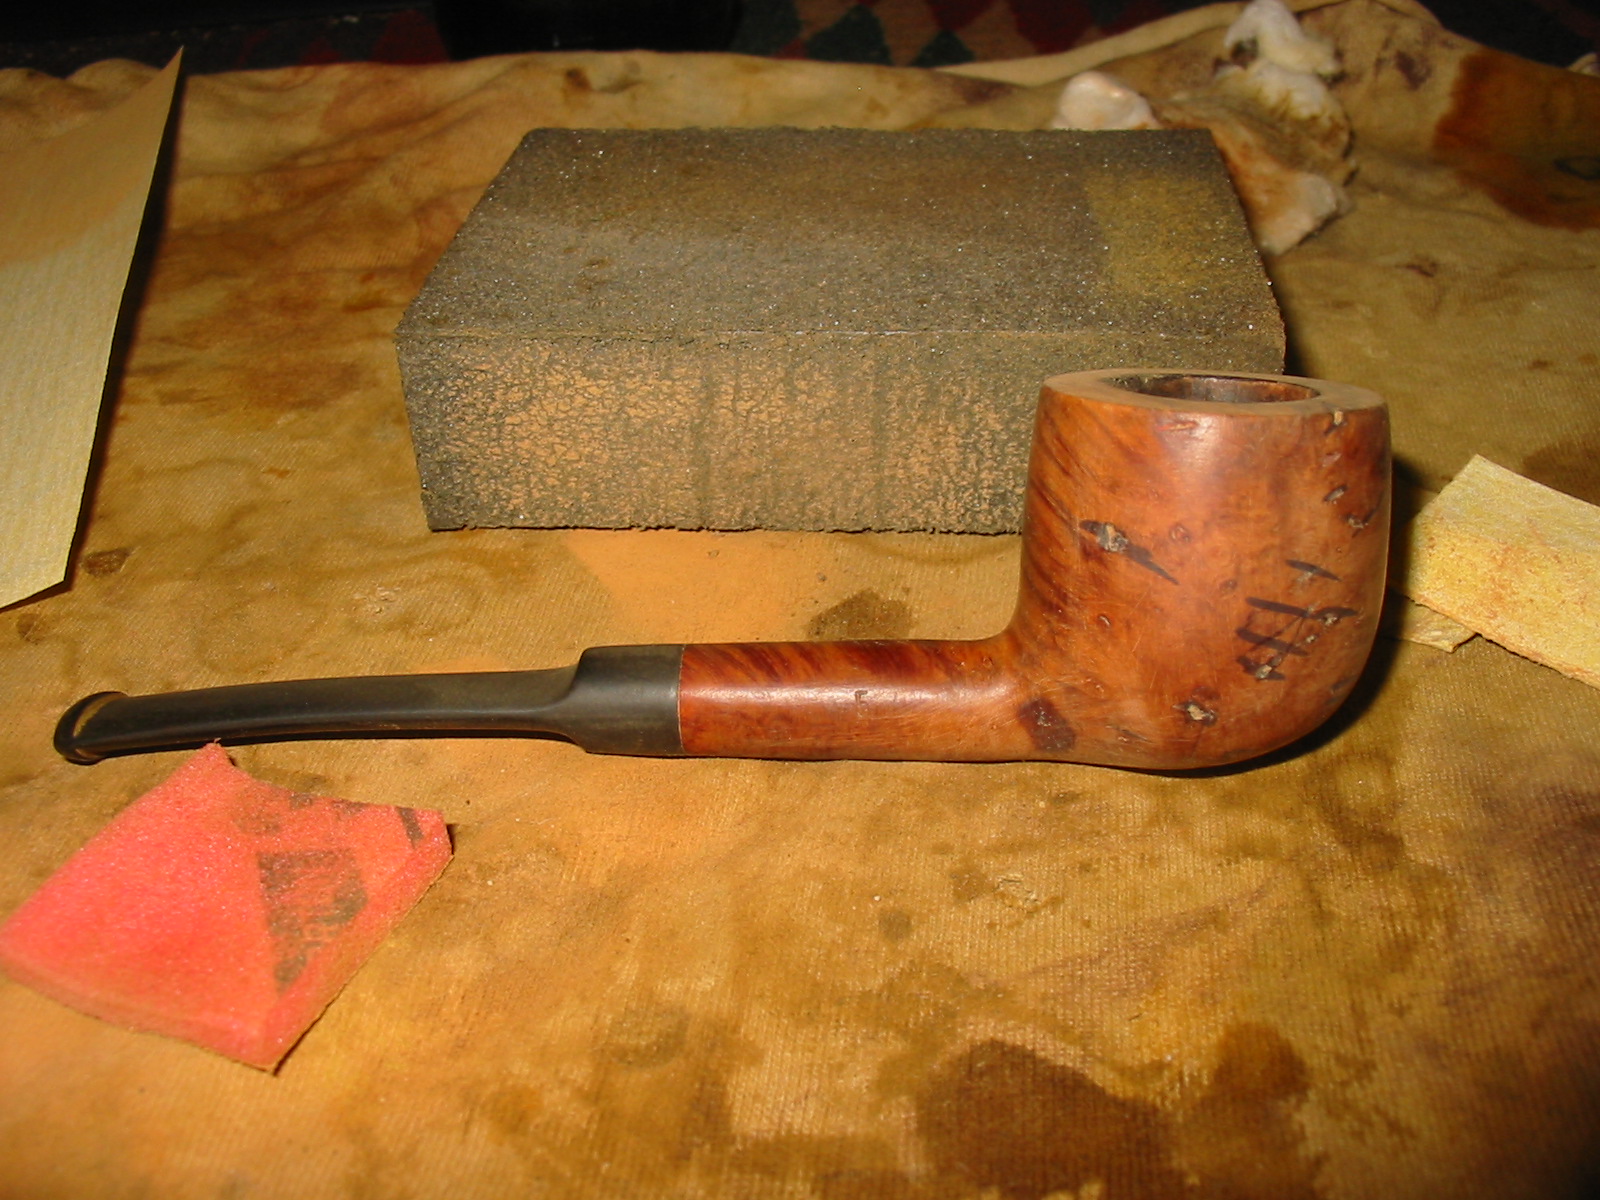
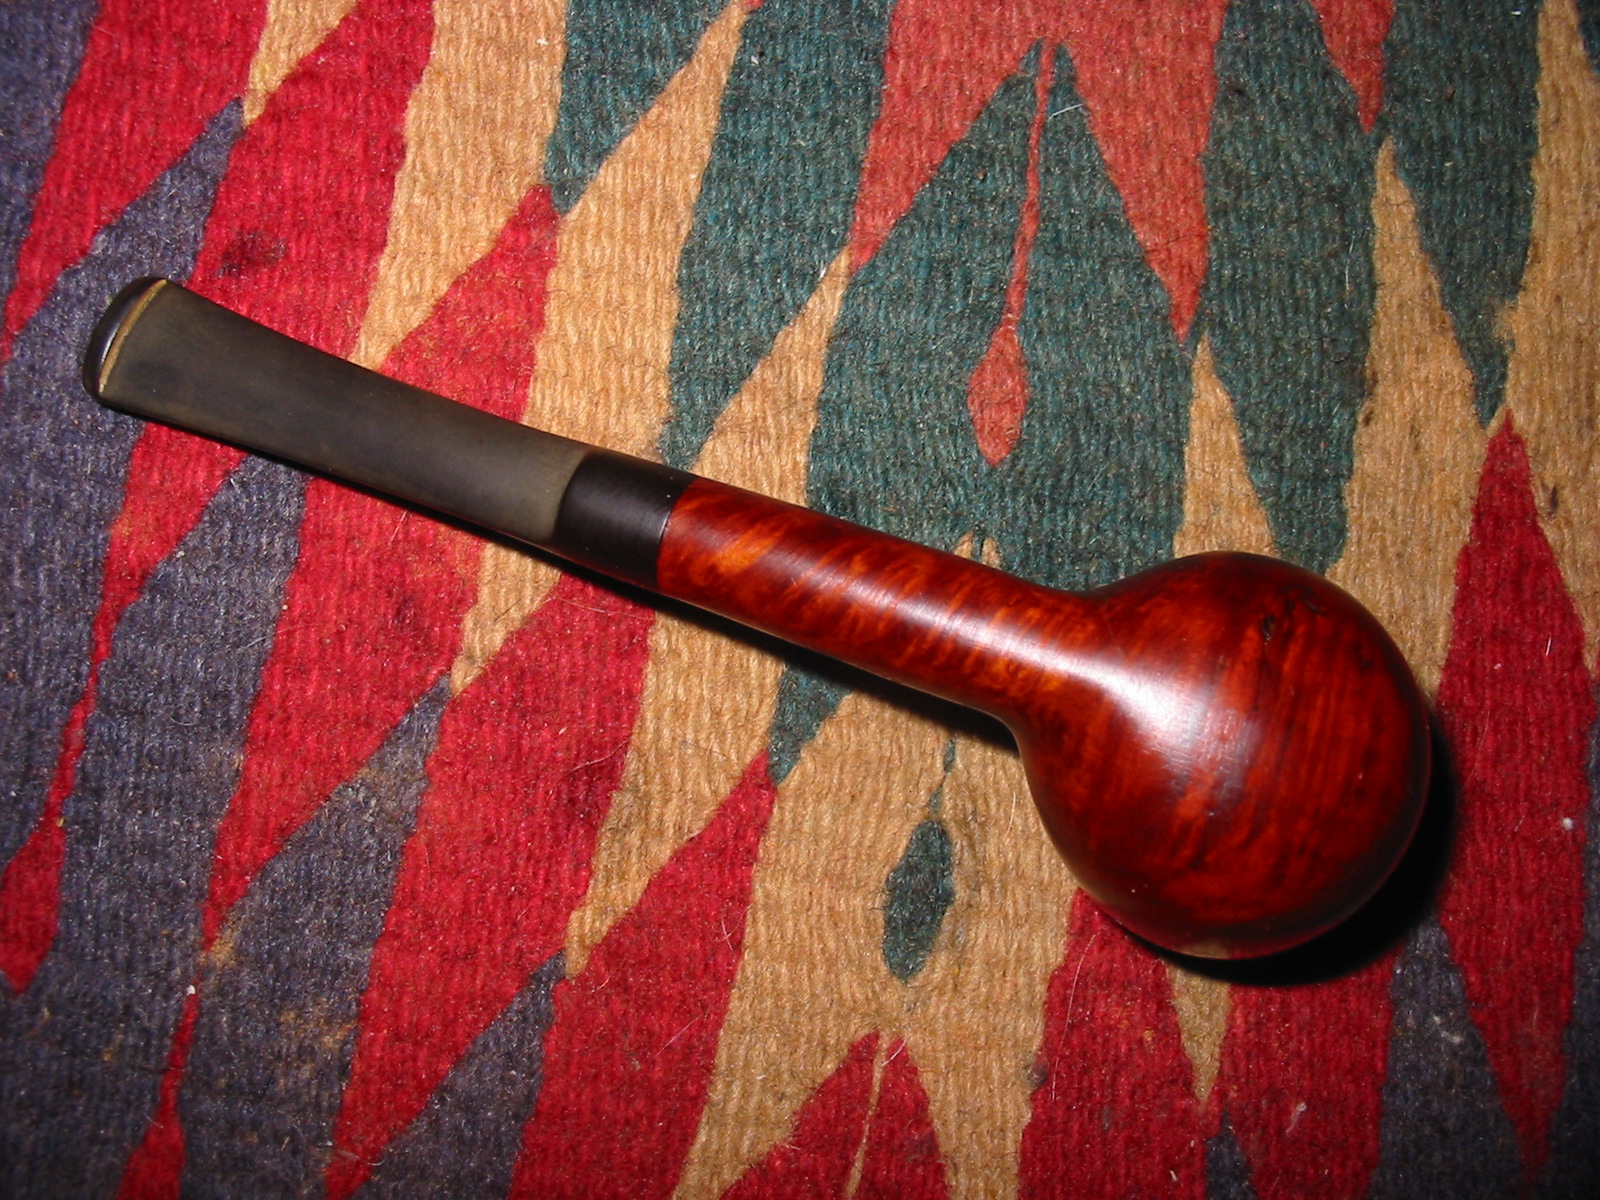
I applied a coat of Obsidian Oil and when dry rubbed it off. I reinserted the stem and buffed the stem with multiple coats of carnauba wax. I took the pipe to the buffer and buffed the entirety with carnauba wax and a soft flannel buff to a shine. The following pictures show the finished pipe.
IMG_2112

In the bright flash of the camera the fills on the right side of the bowl appear to stand out more than they do in the natural light. They tend to look dark spots in the birdseye of the grain. They do not stick out as badly as they appear in the photo below.
IMG_2113

IMG_2115

IMG_2114

The final picture I have included is one of the Old Pal pipe with a package of Old Pal Pipe Cleaners that I picked up at an antique shop in Edmonton. The two form a nice complement to one another.
IMG_2117

Refurbed a Tanganyika Meerschaum Prince


Blog by Steve Laug

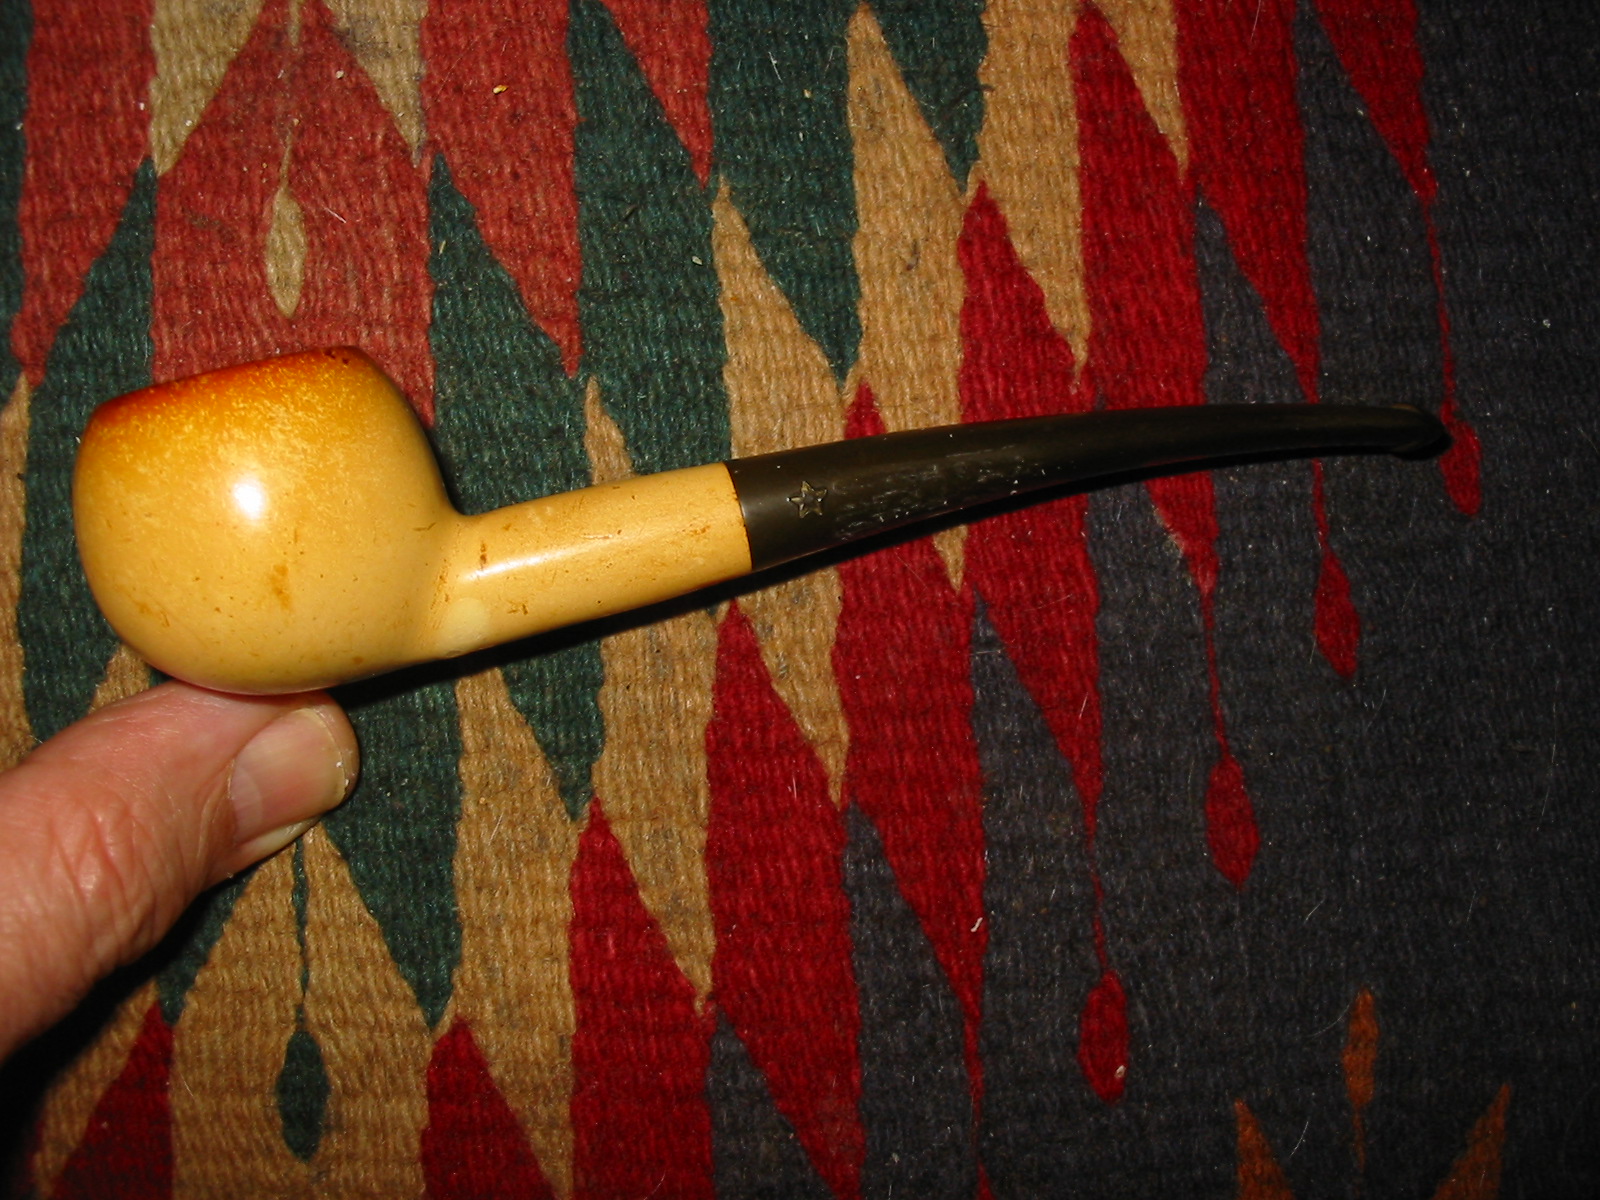
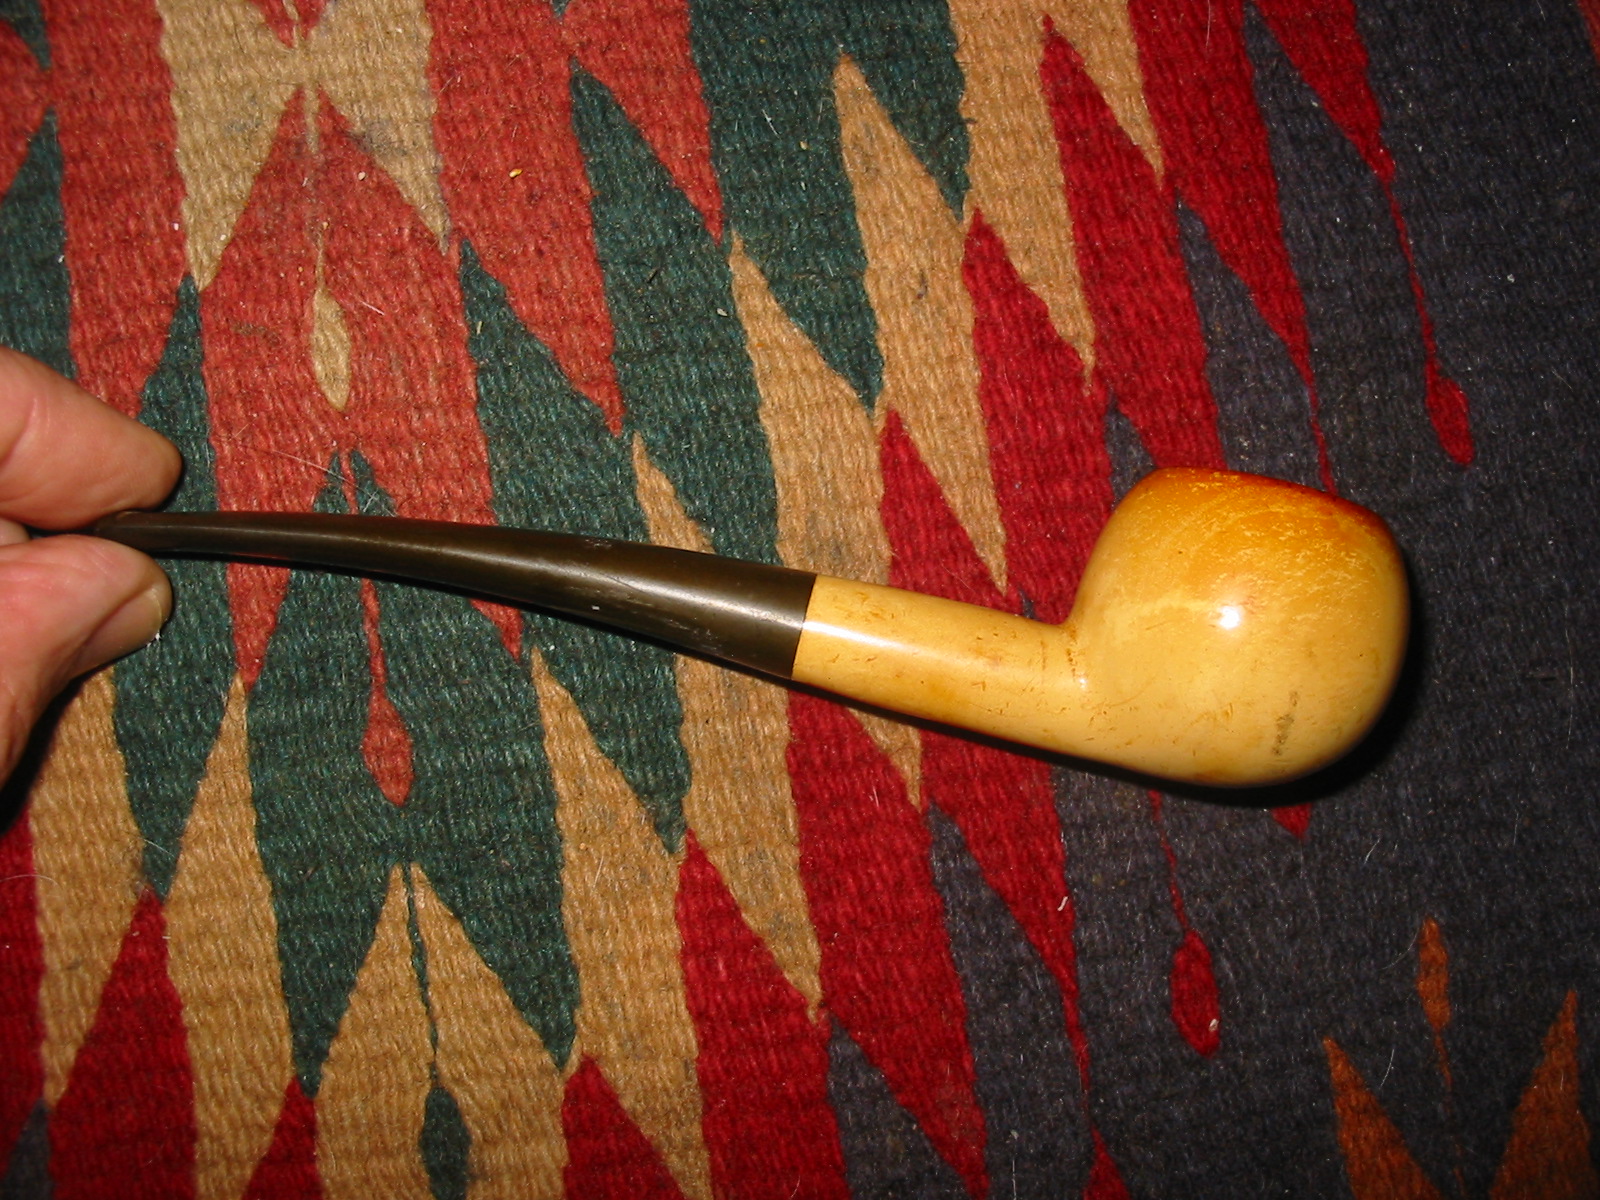
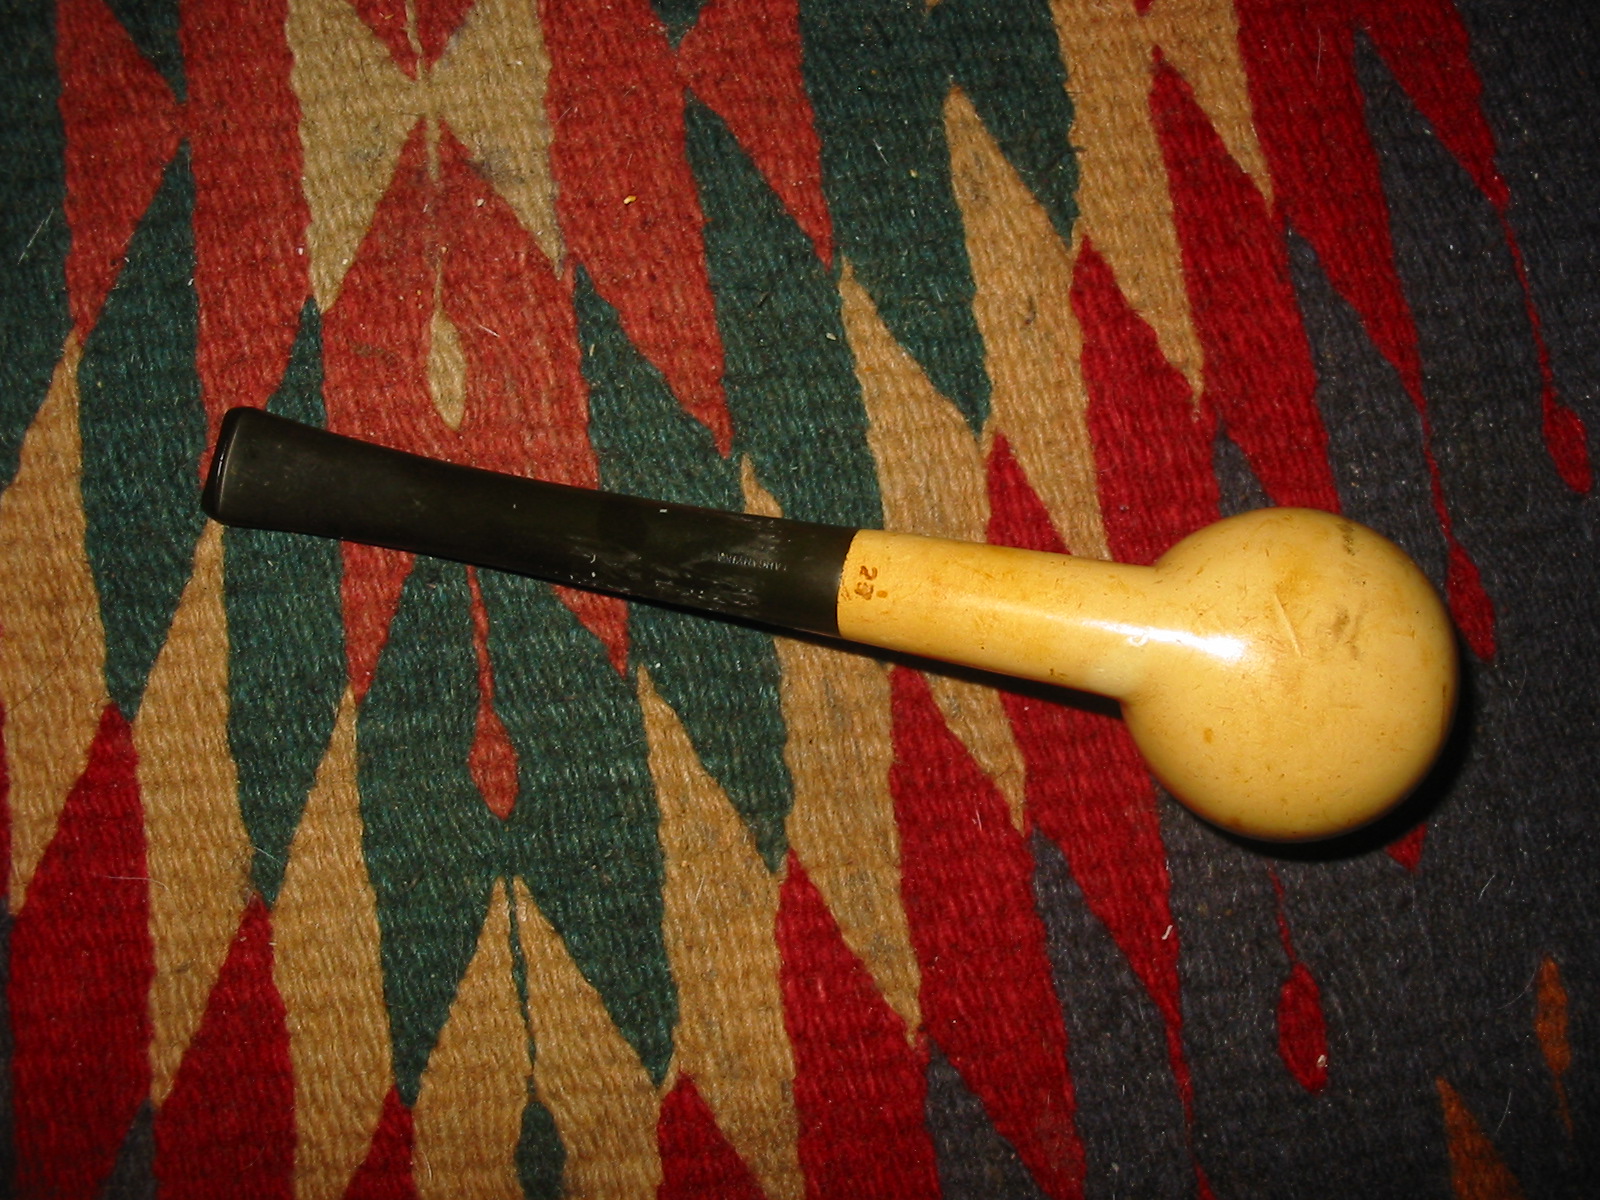
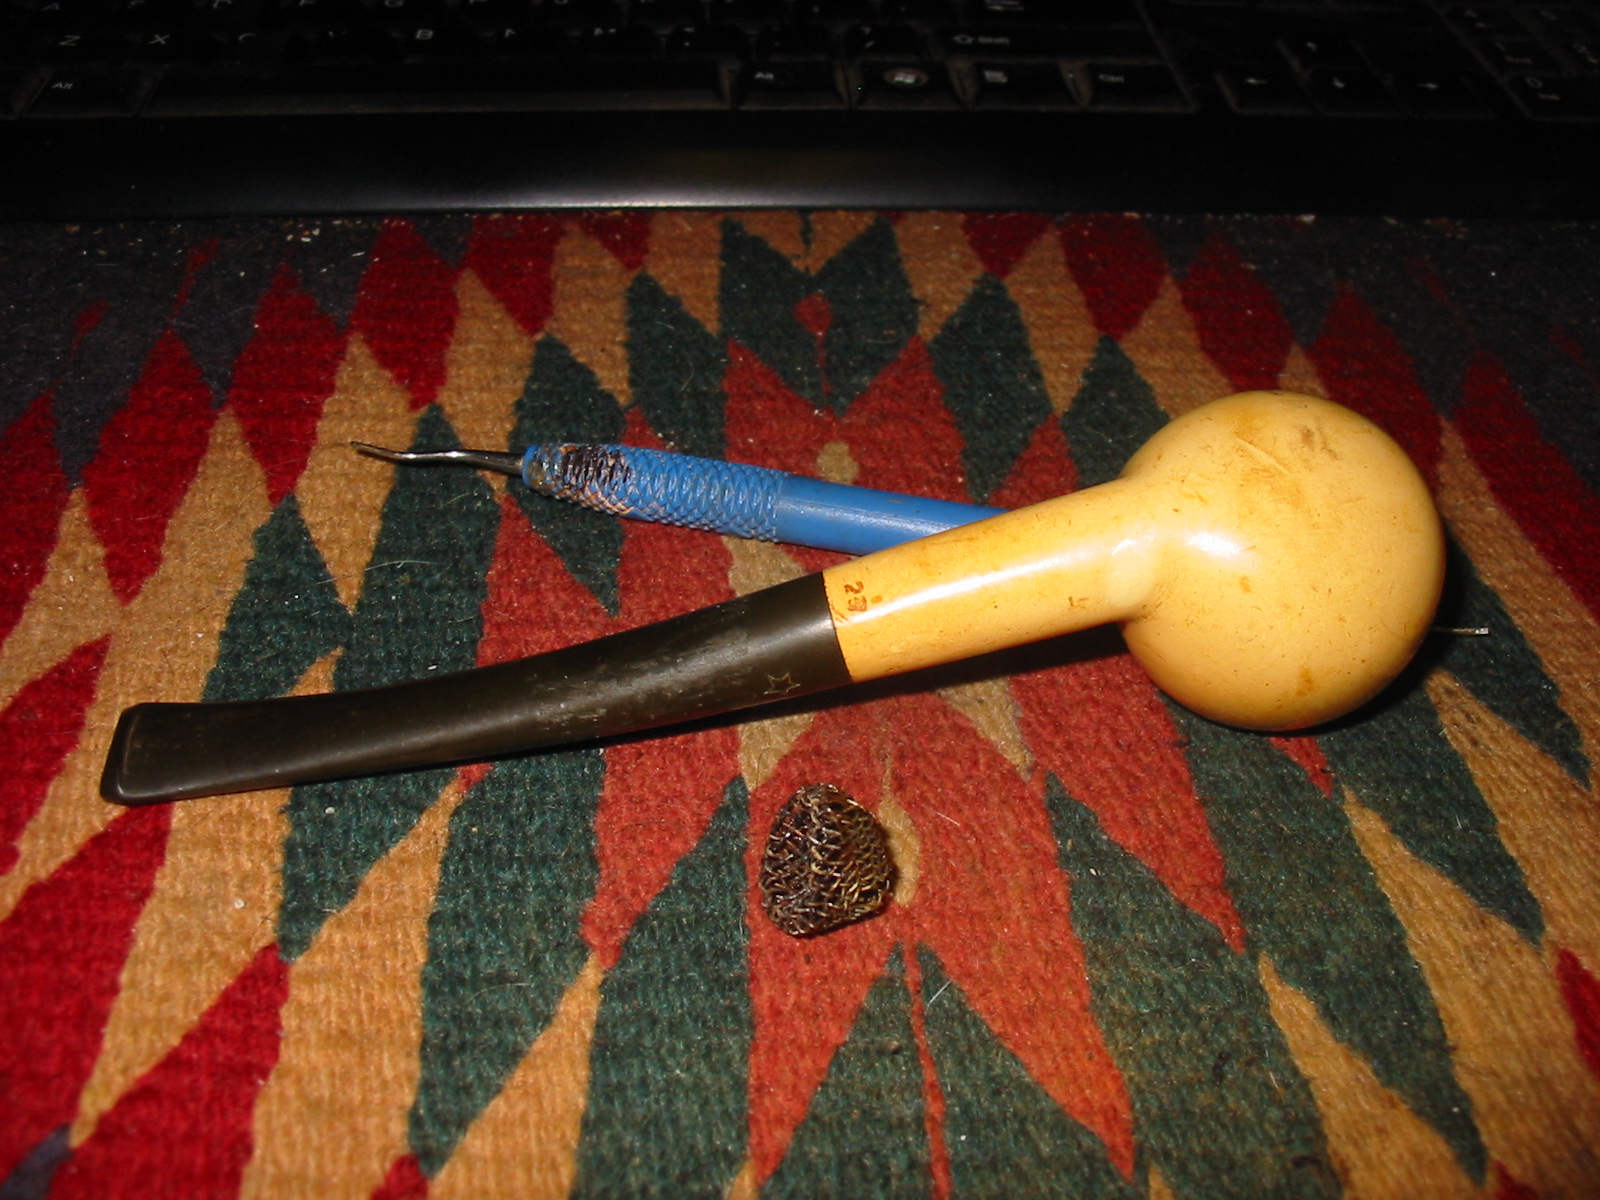
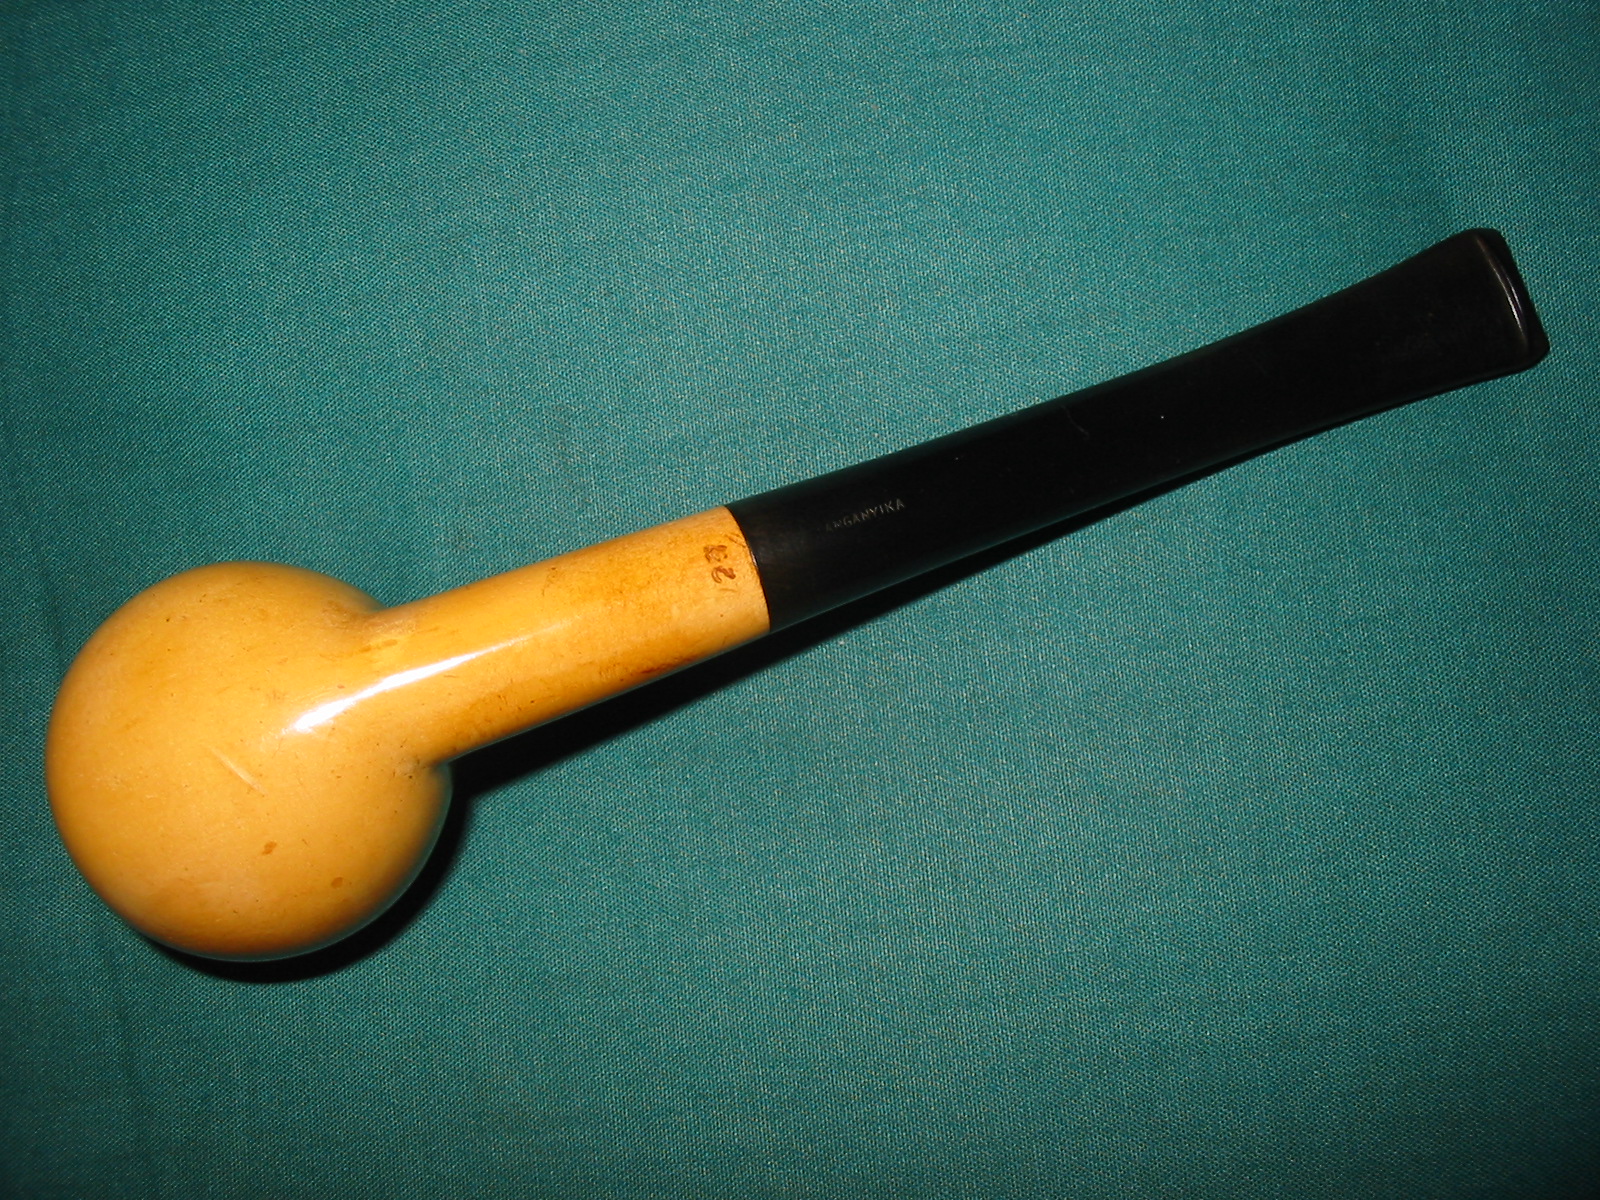
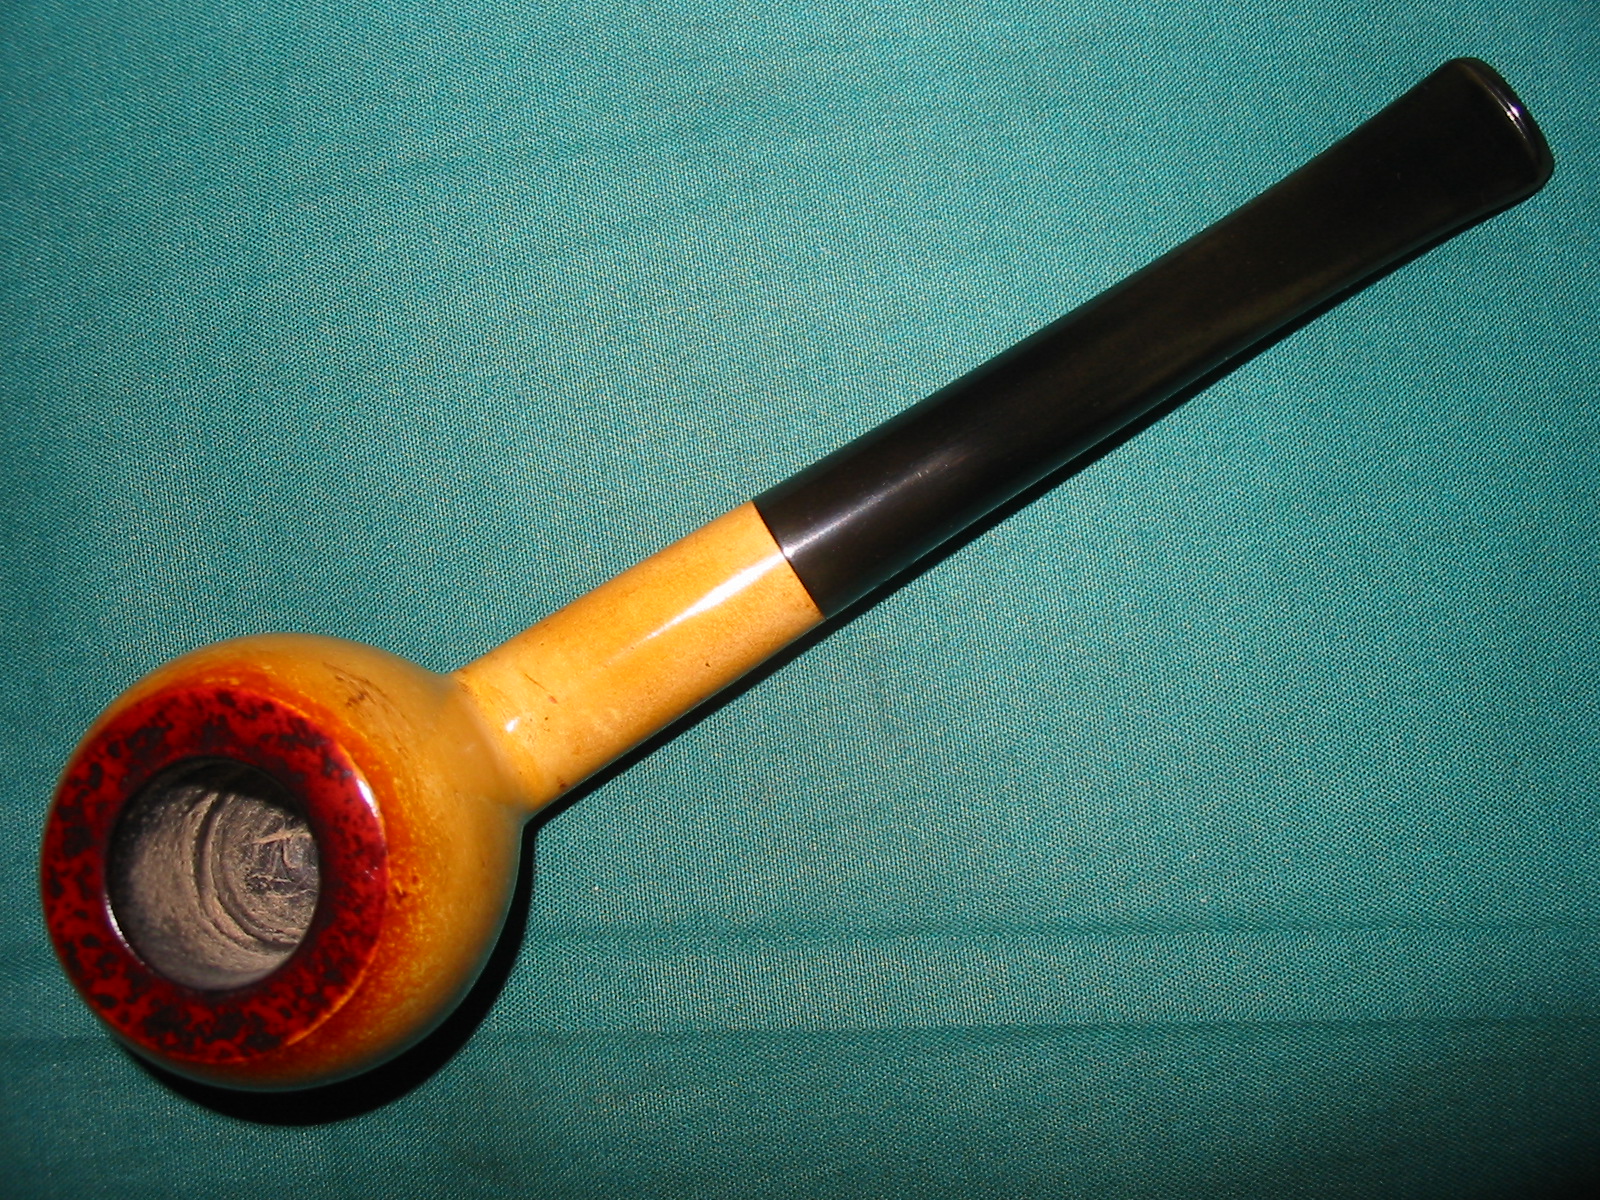
This morning I got around to cleaning up another one of the pipes I found on my trip – a little Tanganyika Meerschaum prince. The stampings on the pipe were simple, only a shape number that looked like a 27 on the underside of the shank and the block letters Tanganyika on the underside of the stem. The star logo on the left side of the stem is different from the typical elephant, giraffe or running man, which have come to be associated with Tanganyika Meerschaums. I wanted to see what I could find out about the little pipe so I did a search on Pipedia and was able to find some information on the pipes made from Meerschaum that was mined there. The following is a synopsis of the article found there.

Kiko, meaning “pipe” in Swahili-Kiswahili to English translation, is probably the best known of the various brands of meerschaum pipes from there. In East Africa Meerschaum is found in Tanganyika, once known as German East Africa, and since 1964 part of the United Republic of Tanzania. The main deposit comes from the Amboseli basin surrounding the Lake Amboseli. Tanganyika Meerschaum is normally stained in shades of brown, black and yellow, and is considered to be inferior to Meerschaum from Turkey. Even though, the raw material is mined by the Tanganyika Meerschaum Corporation and to a large extent used for pipe making. Uncounted pipe makers throughout the world were supplied with Amboseli Meerschaum, preferentially used for Meerschaum lined briars or leather-clad pipes. In Tanganyika the Kilimanjaro Pipe Company Ltd. produced the following brands: Caveman, Countryman (Elephant logo), Kiko (Elephant logo), Kikob (Elephant logo), Kilimanjaro (Rhinoceros logo), Kudu (Giraffe Logo), Makonde (Rhinoceros logo), Merlin (Flying bird or Antelope logo), Sportsman (Elephant logo), Tembo, Townsman, Twiga (Giraffe Logo), White elephant (Elephant logo)

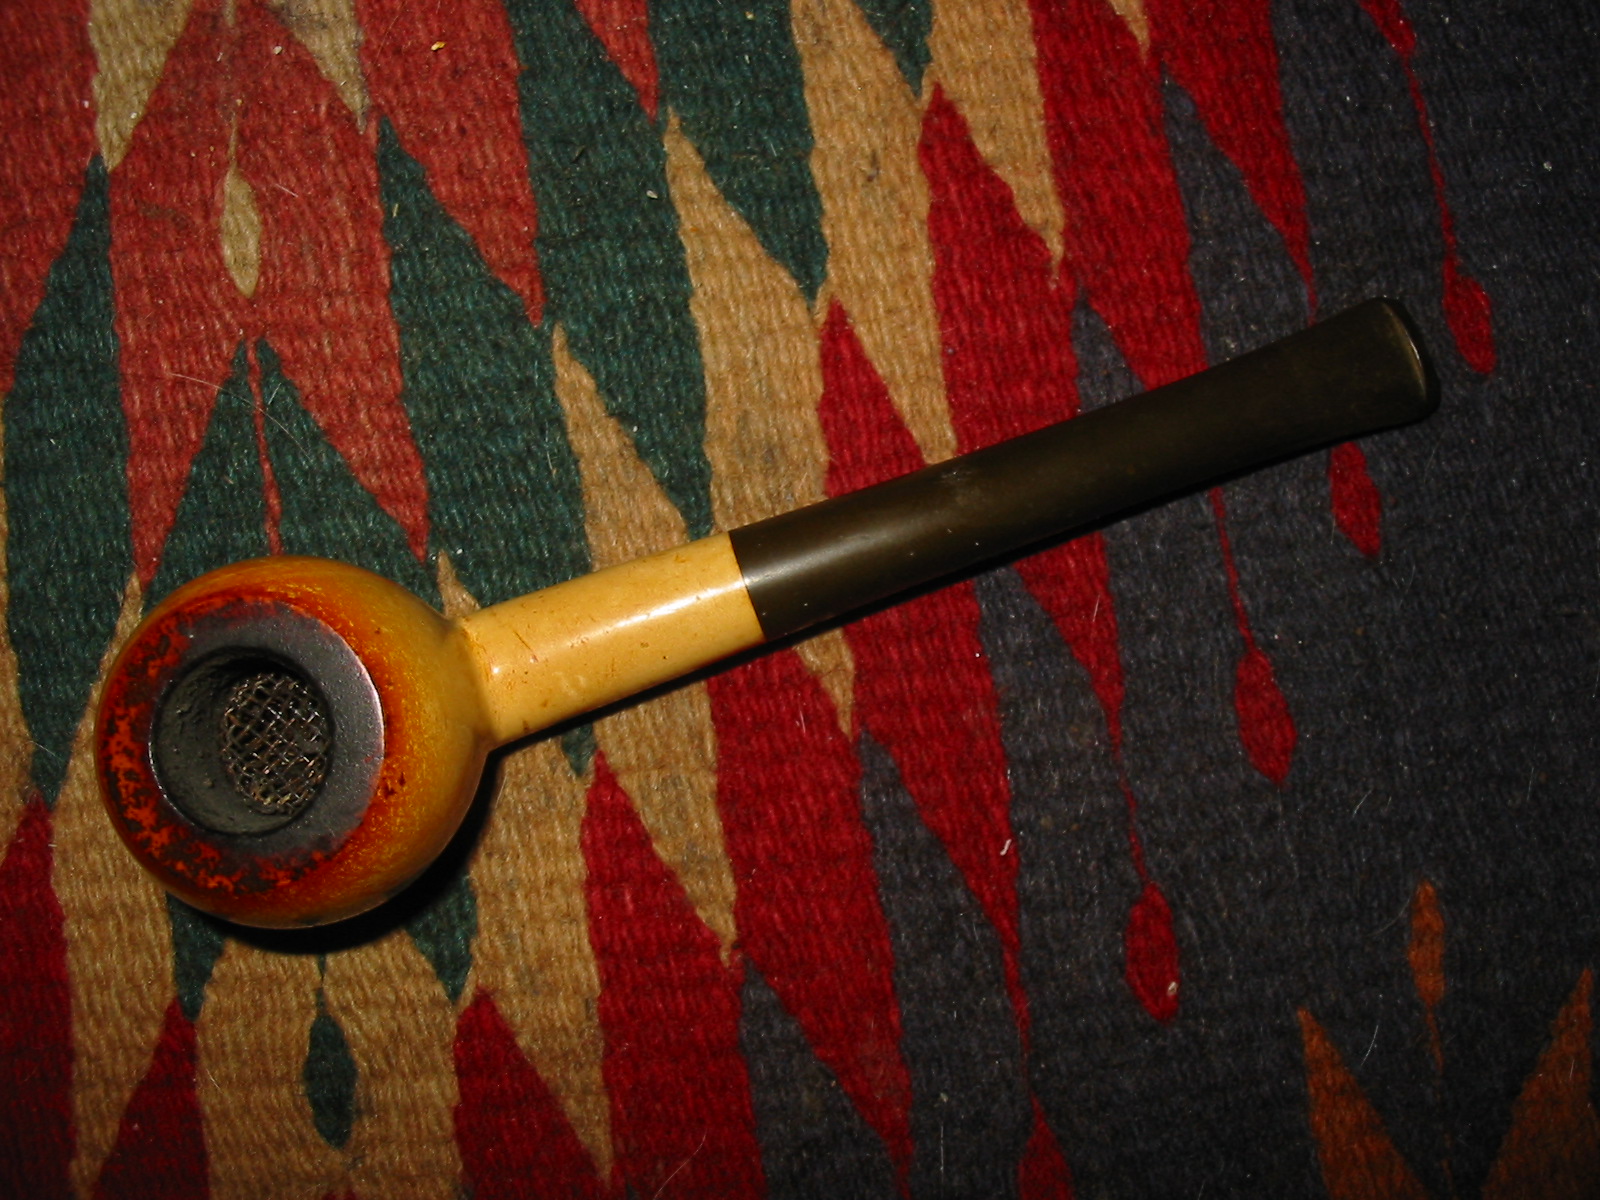
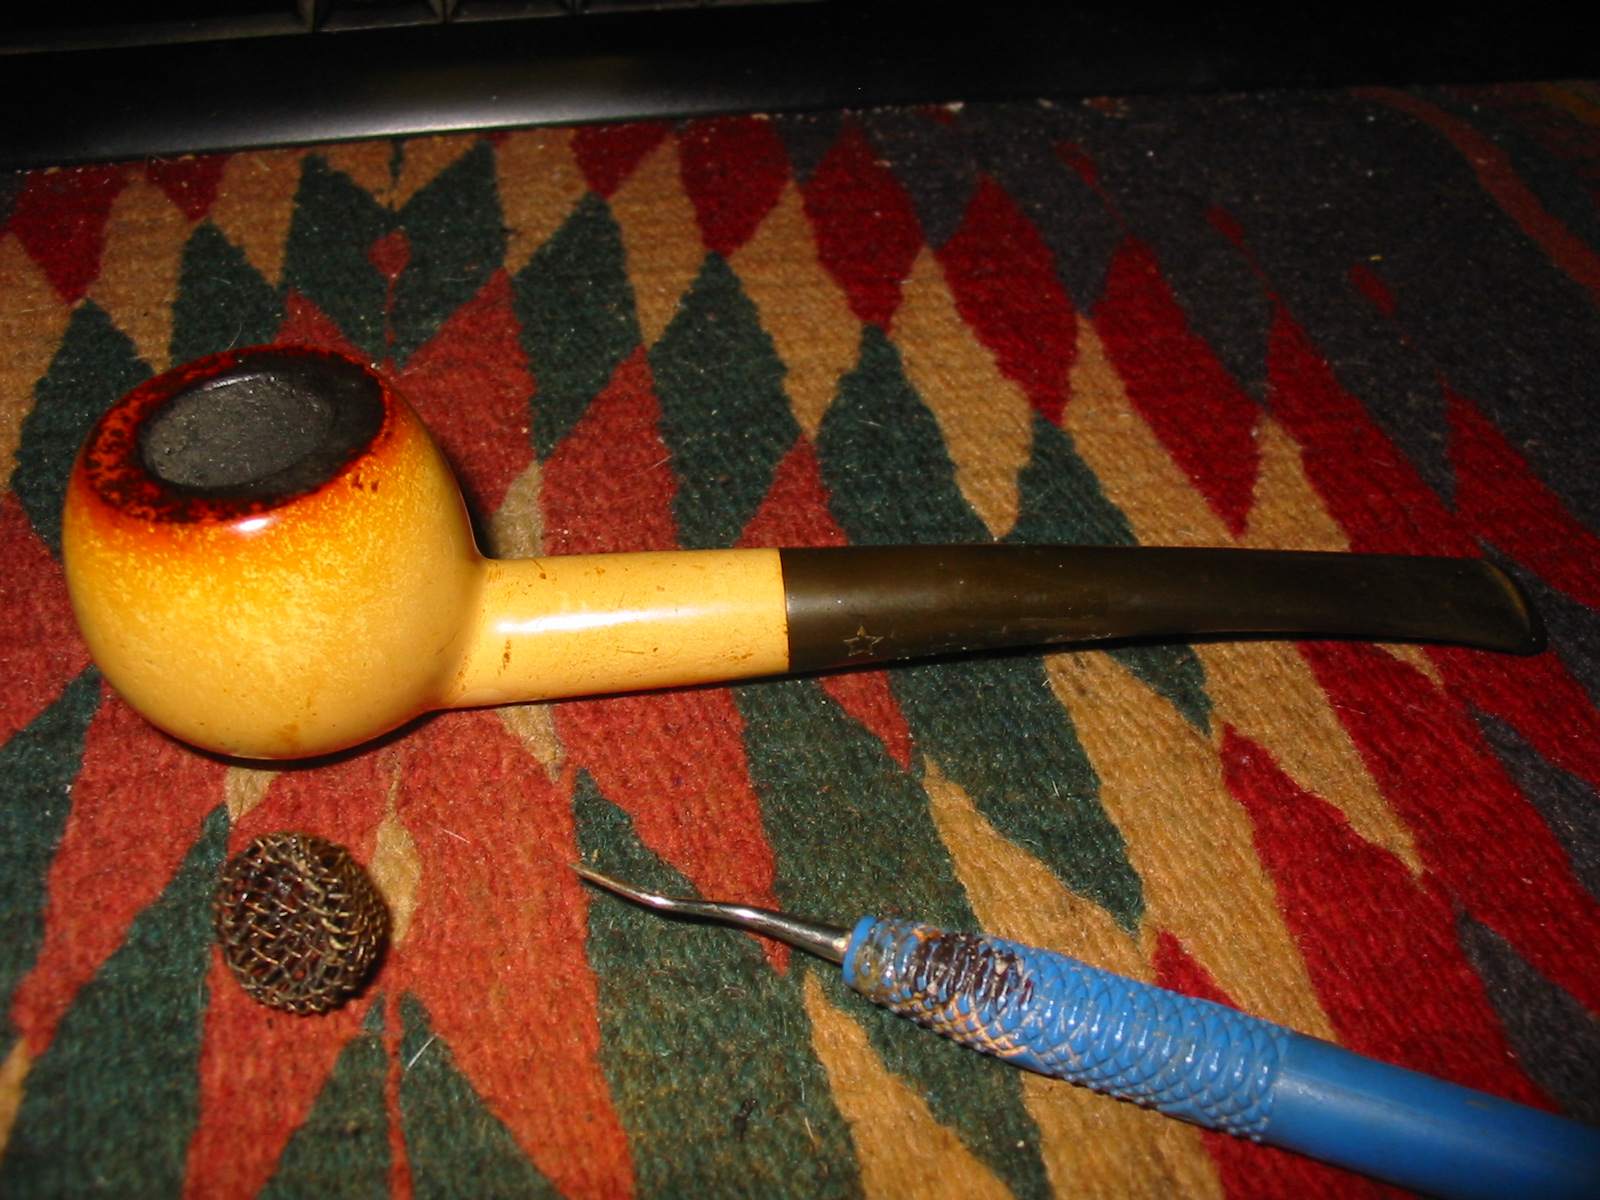
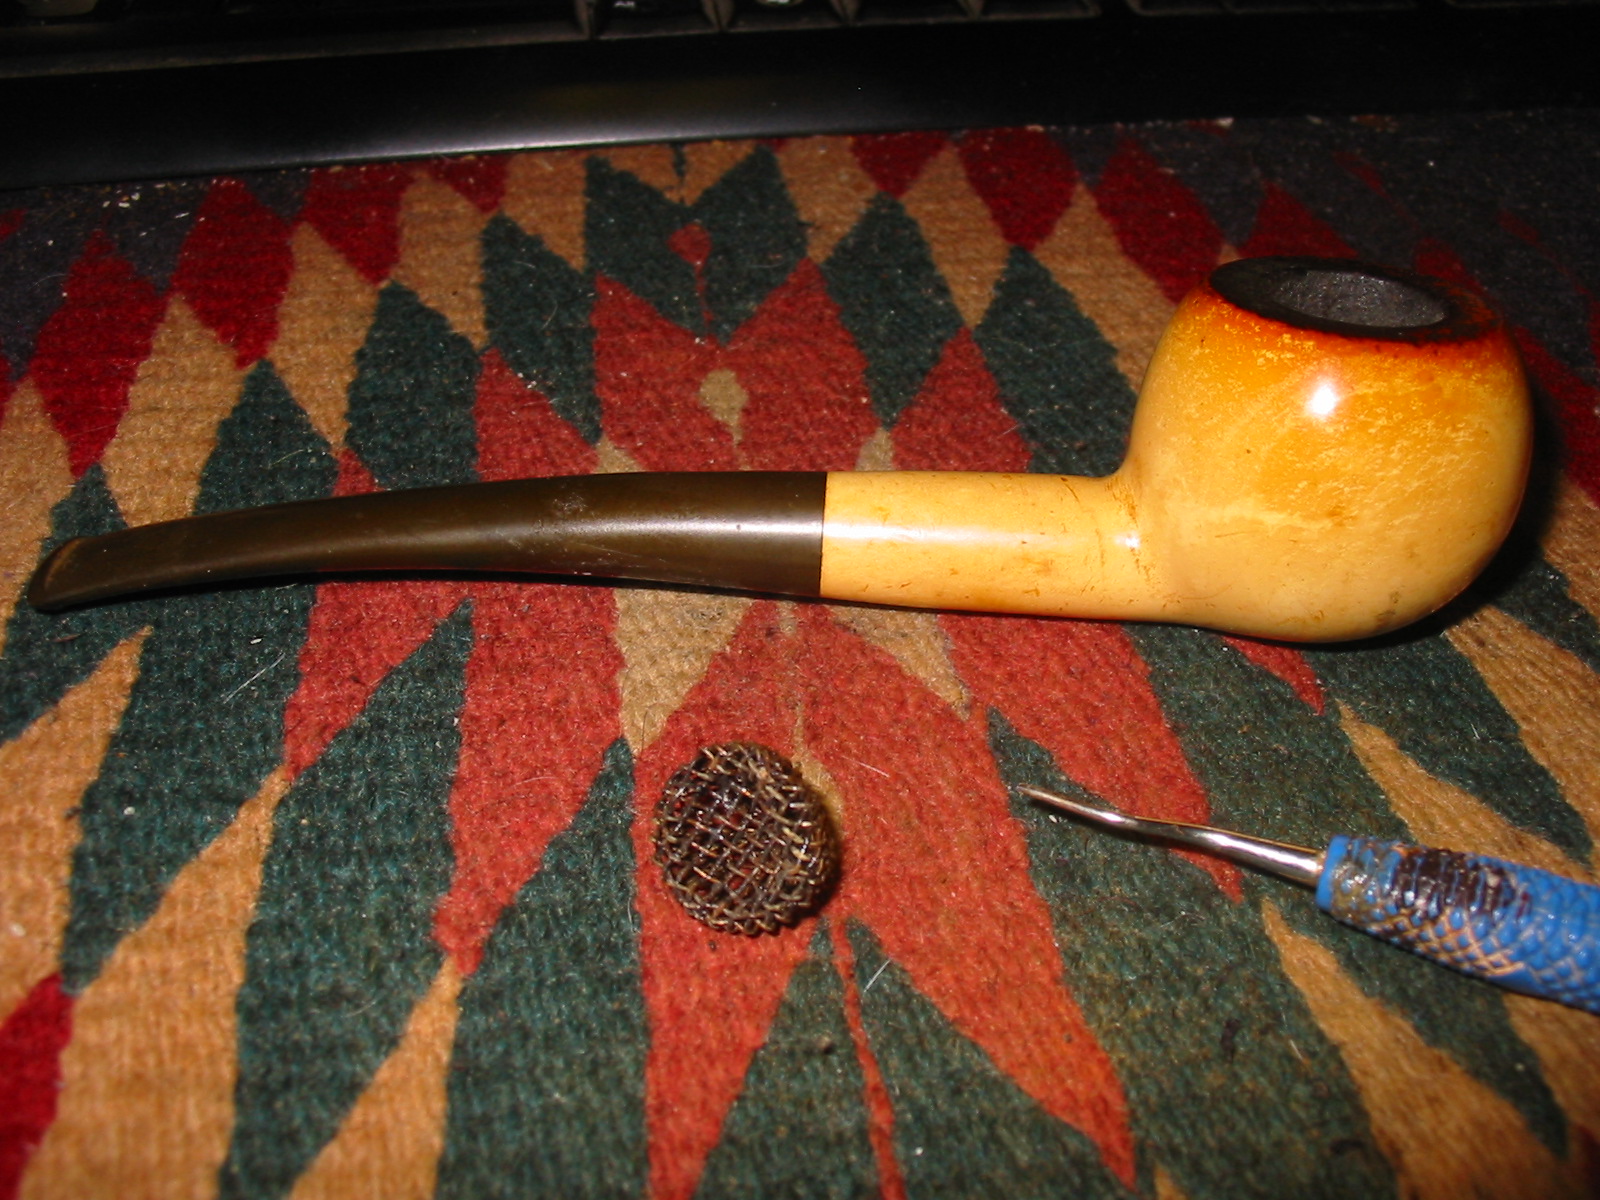
This little prince I had was dirty and there was a screen contraption in the bottom of the bowl. It did not smell of anything other than strong Lakeland style tobacco so I am guessing this was a contraption to keep the bowl from getting moist in the bottom. Not sure about that however. The exterior was dirty and had sticky gum on it from the sales label. The rim top and down the top edges of the bowl had been darkened prior to smoking to give it a classic aged look like the pictures below.
Kiko meers

The top of the rim was darkened as were the edges when it left the factory. In this case they were spotty and uneven. The bowl had a slight build up of cake. The shank was dirty with tars but smelled strongly of tobacco. The stem was slightly oxidized and also very dirty inside and out. The metal screw in tenon was dirty and had tarry buildup on the threads. The stem was slightly overturned.
IMG_1879

IMG_1880

IMG_1882

IMG_1883

I used a dental pick to pry the screen ball from the bottom of the bowl. It had been squashed into shape and the top indented to mirror the bottom of the bowl. The side of the screen had been opened toward the airway in the bowl bottom as well to facilitate smoke getting through. I wiped down the exterior of the bowl with alcohol dampened cotton pad to remove the grime and the buildup of gum on the stem and the bowl.
IMG_2031

IMG_2032

IMG_2034

I sanded the meerschaum bowl with 1500 and 1800 grit micromesh sanding pads and then buffed the bowl with Tripoli and White Diamond to get a shine on the meerschaum.
IMG_2035

IMG_2036

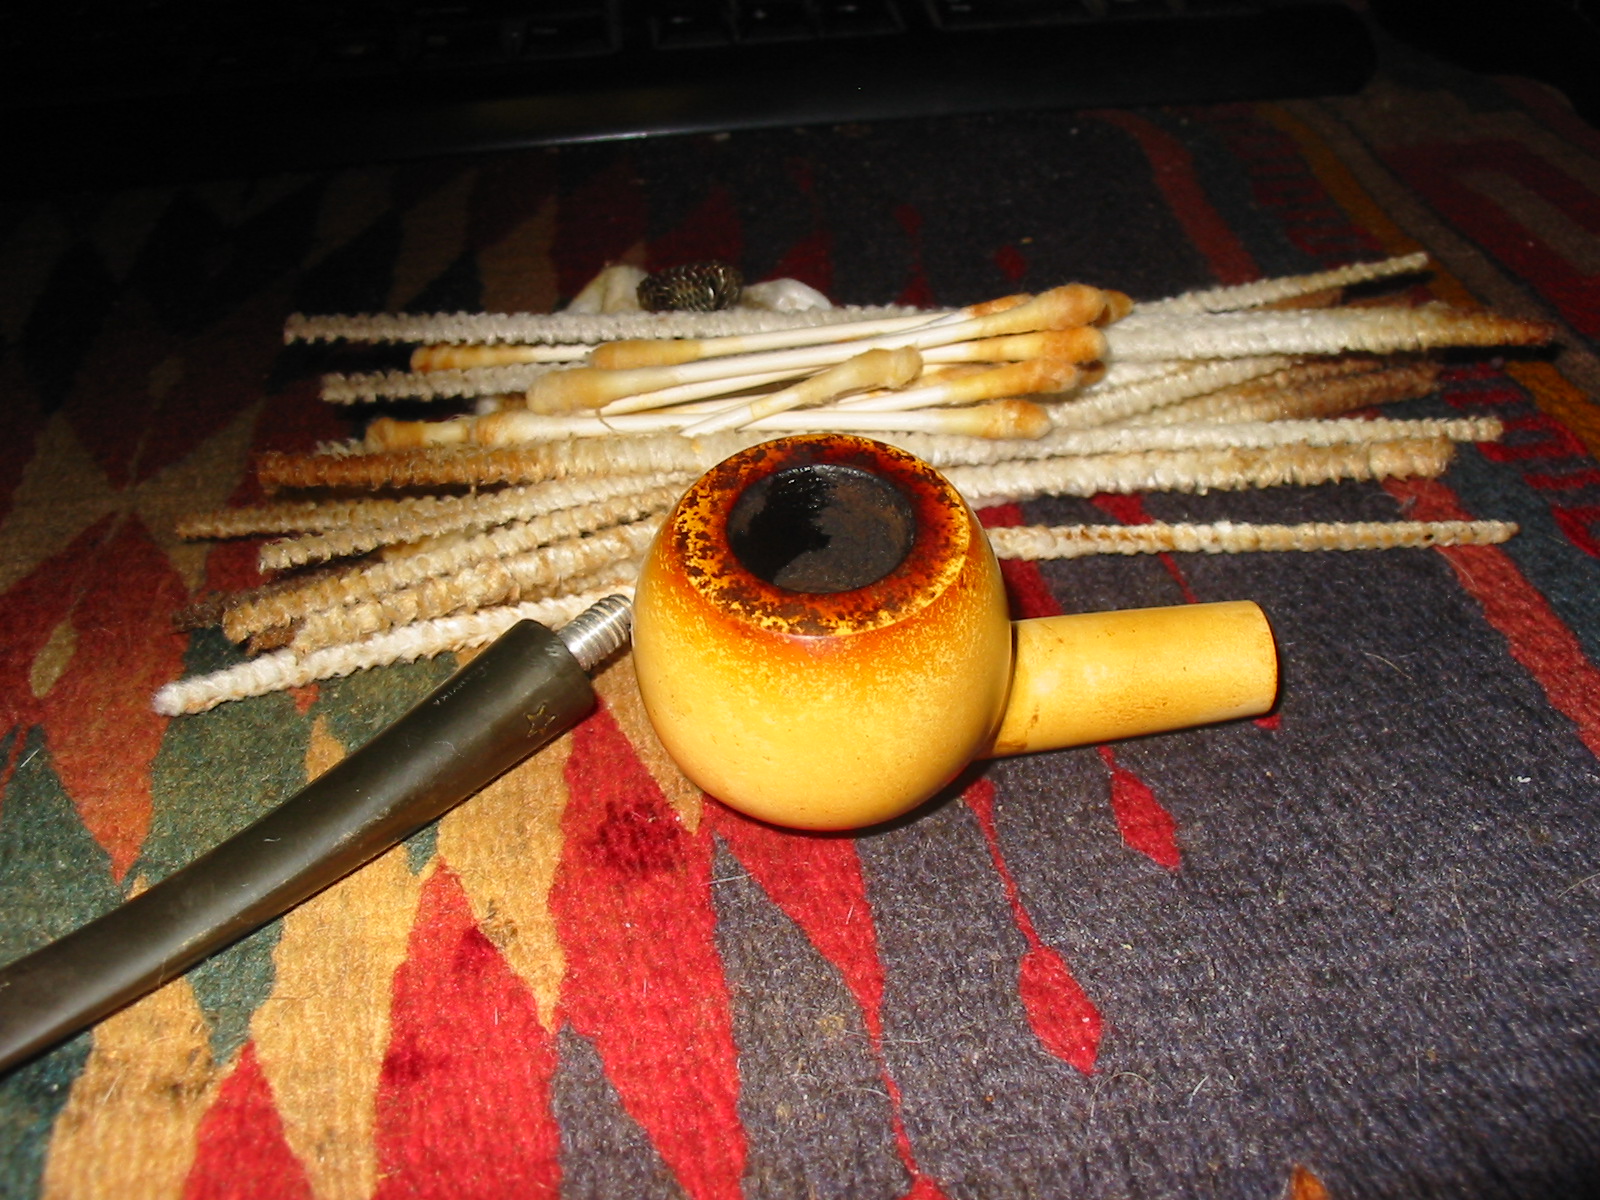
I cleaned out the shank and the bowl as well as the stem with pipe cleaners and cotton swabs dipped in Everclear. I kept cleaning until the pipe cleaners came out clean and unstained.
IMG_2037

Once finished with the inside I sanded the outside of the stem with a medium grit sanding sponge and then wipe it down with Meguair’s Scratch X2.0 on a cotton pad. Then I sanded the stem with micromesh sanding pads from 1500 – 12,000 grit. I wet sanded the stem with the 1500-2400 grits and then dry sanded with the remaining grits.
IMG_2038

IMG_2040

IMG_2042

I then buffed the stem and bowl with White Diamond on the buffing wheel. The four pictures below show the finished pipe. In the fifth picture, I decided to sand the rim down some more before finishing and then stained it with a dark brown aniline stain to get the darkened look back to the pipe edges and rim. When I had finished that I flamed it and restained until it was as dark as I could get it and then I buffed it again with White Diamond and coated the stem with carnauba wax and the bowl with a beeswax mixture.
IMG_2043

IMG_2044

IMG_2045

IMG_2046

IMG_2047

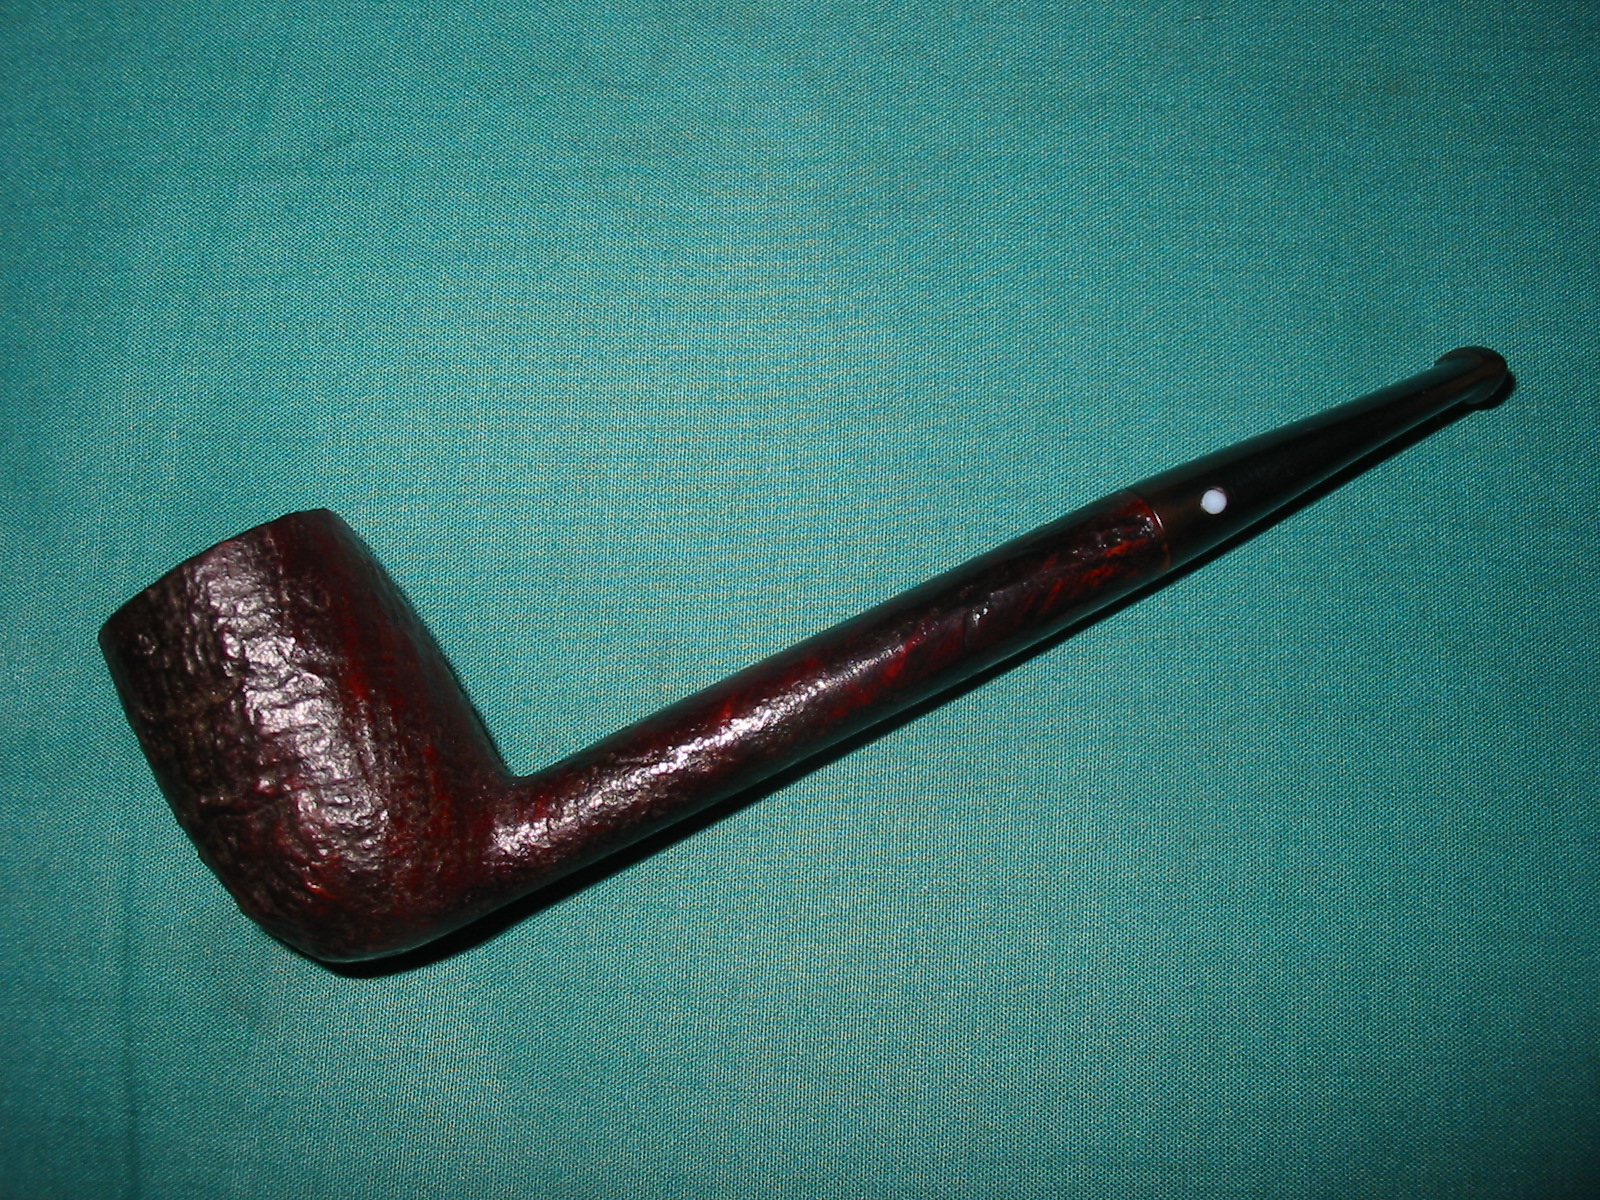
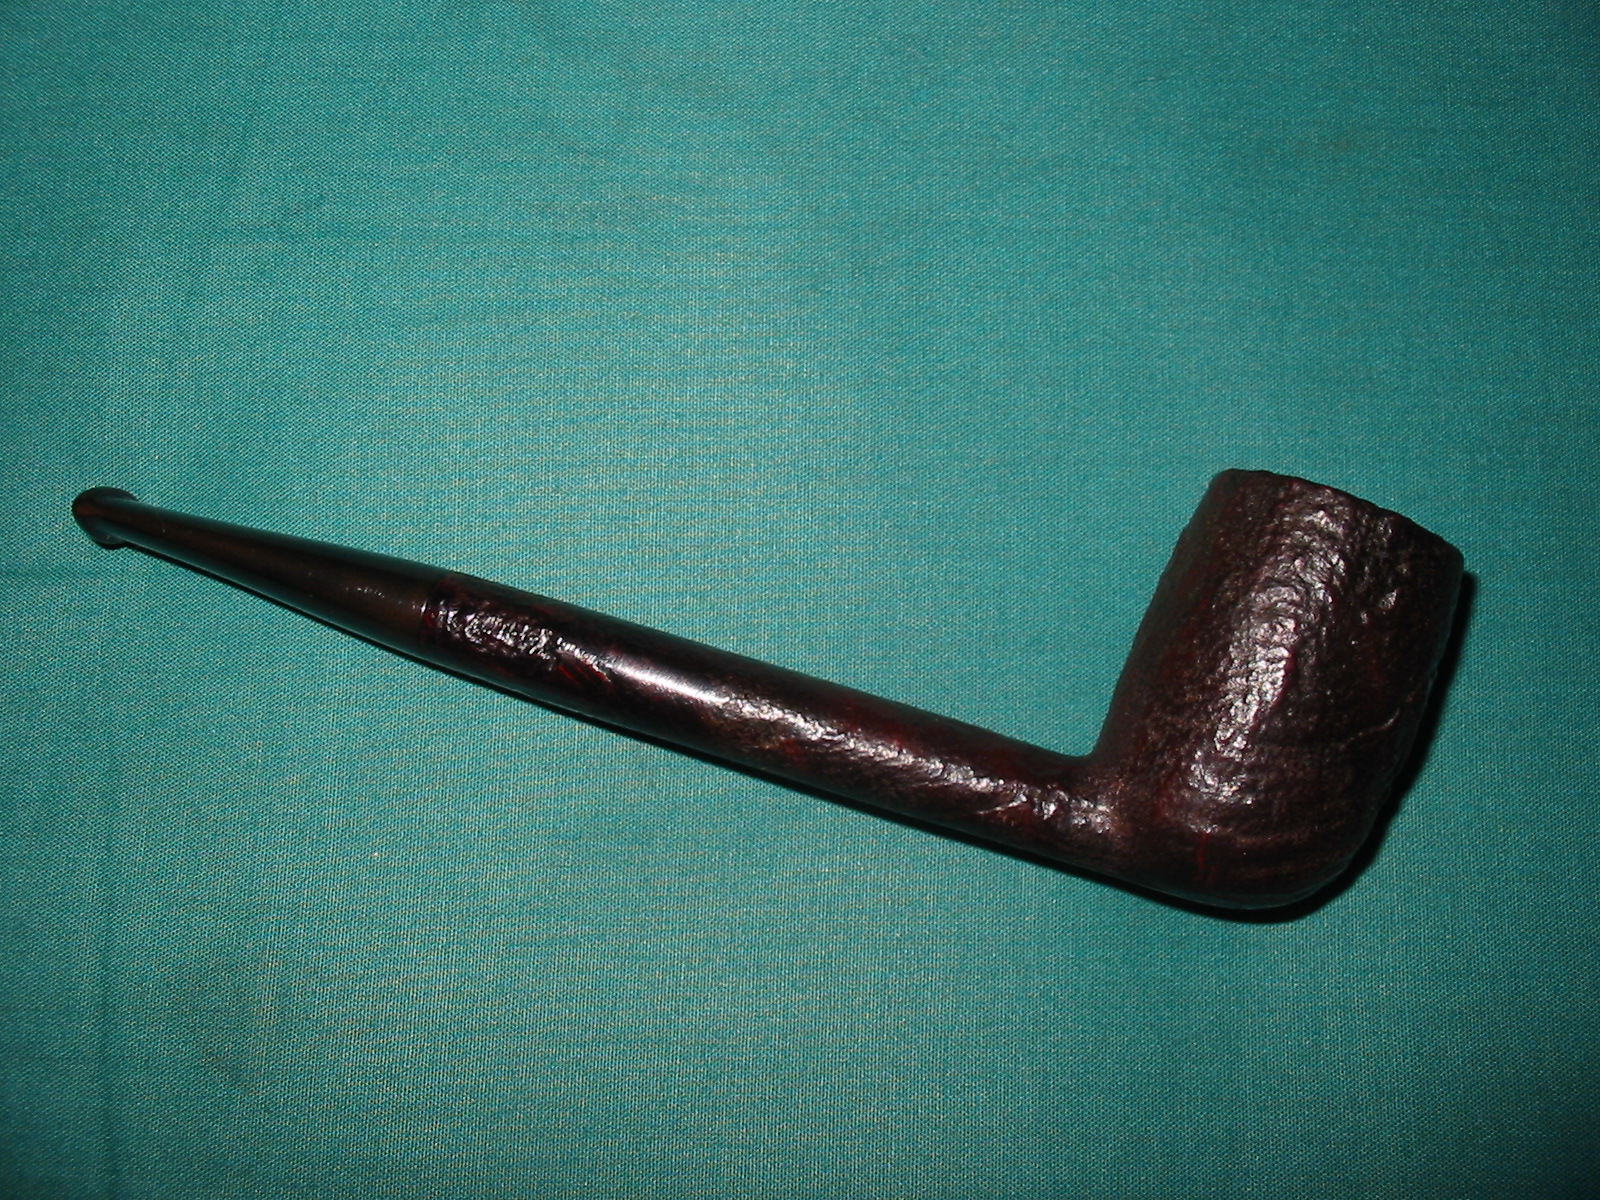
Refurbed Birkdale Canadian – Made in London England Shape # 296


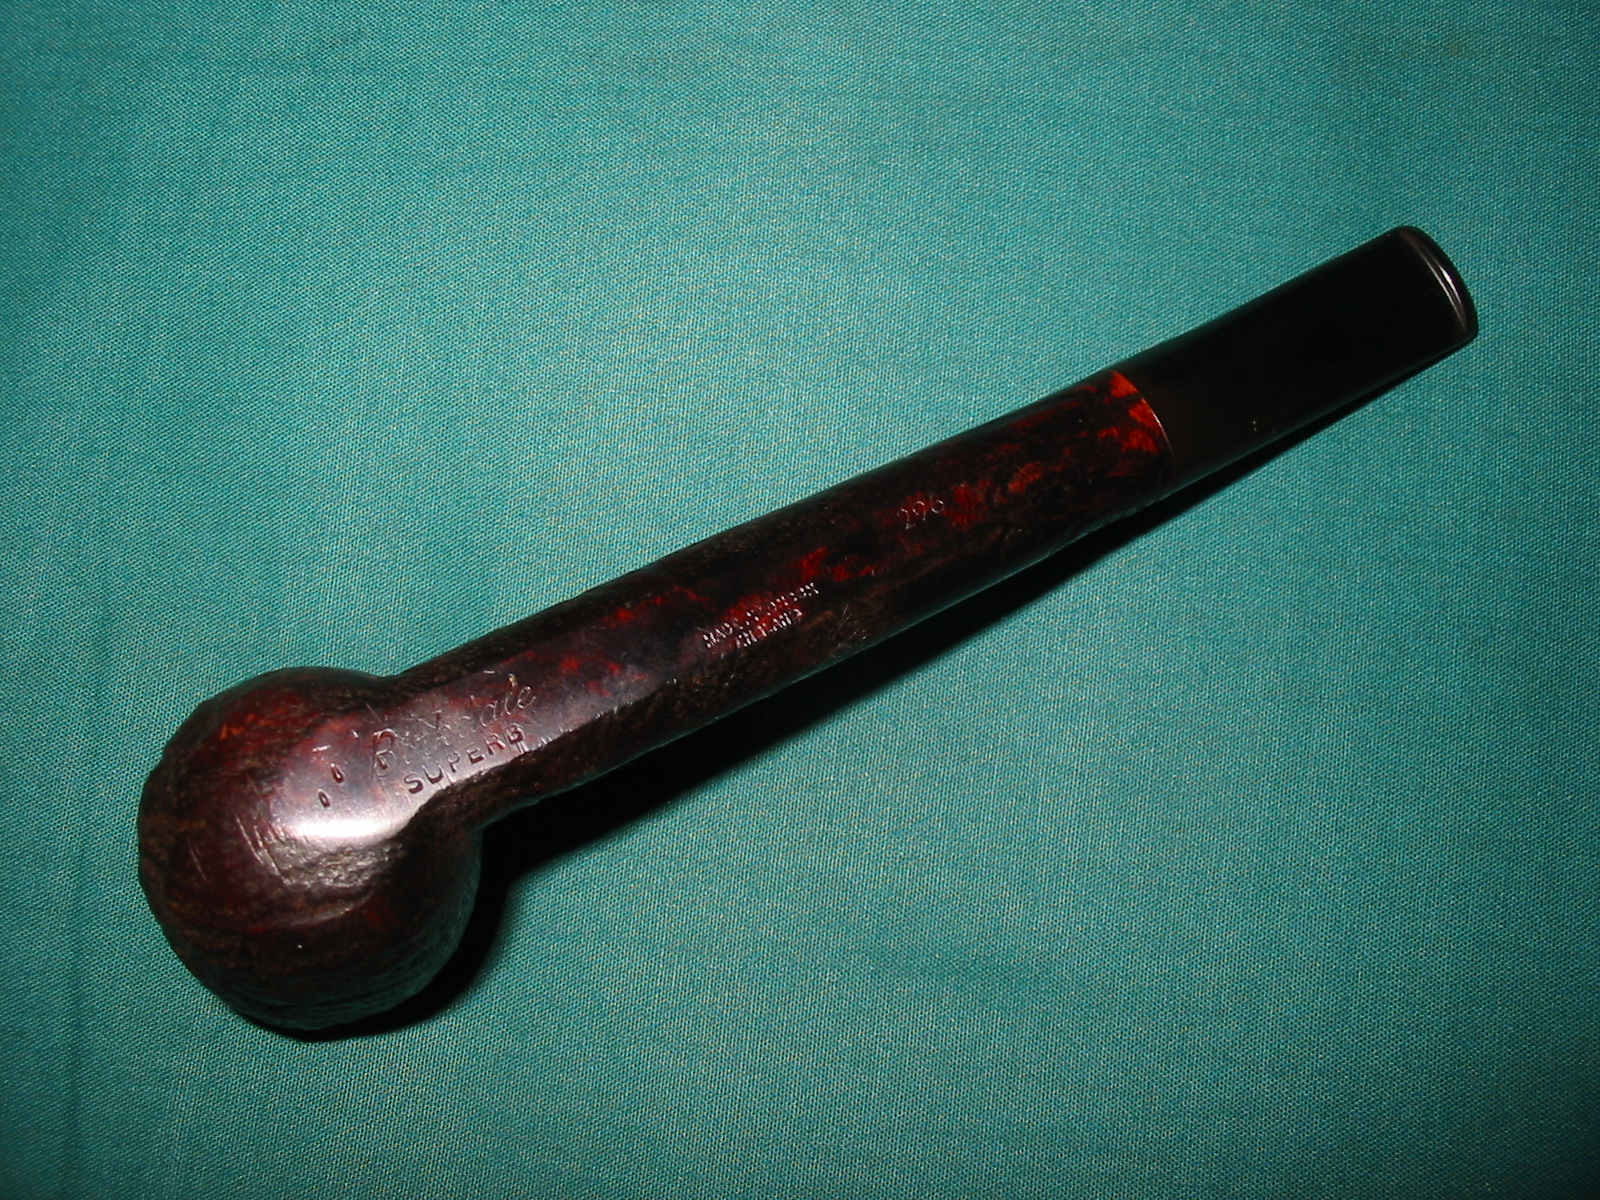
On my trip in Northern Alberta, Canada I picked up this older Canadian with a sandblast finish. The blast is not deep and craggy but is fine nonetheless. It is stamped on the smooth bottom of the shank Birkdale in script over SUPERB. Next to that it is stamped Made in London over England and then a shape number – 296. I have not heard of the Birkdale brand so I Googled it on the net to see what I could find out about it. There was not much there in terms of solid information. There were numerous posts on various forums requesting information. The information on the brand showed some confusion. From Pipedia Birkdale is a brand of the German pipe company named Wolsdorff. In turn Pipephil pegs Wolsdorff as a chain of tobacconists that had their pipes made by different German companies like Design Berlin and Oldenkott. However, the one I found has the made in London England stamping that removes the German connection. Something about the shape and shape number made me do a search in the Comoy’s shape and number charts available online. I found that the 296 shape for Comoy’s is an oval shanked Canadian, exactly like this one. Thus it appears that the pipe was made by Comoy’s. I am wondering if the Birkdale (which is a region in England) is not one of a line of English regionally named pipes made by Comoy’s. Does anyone have any information on this possibility?

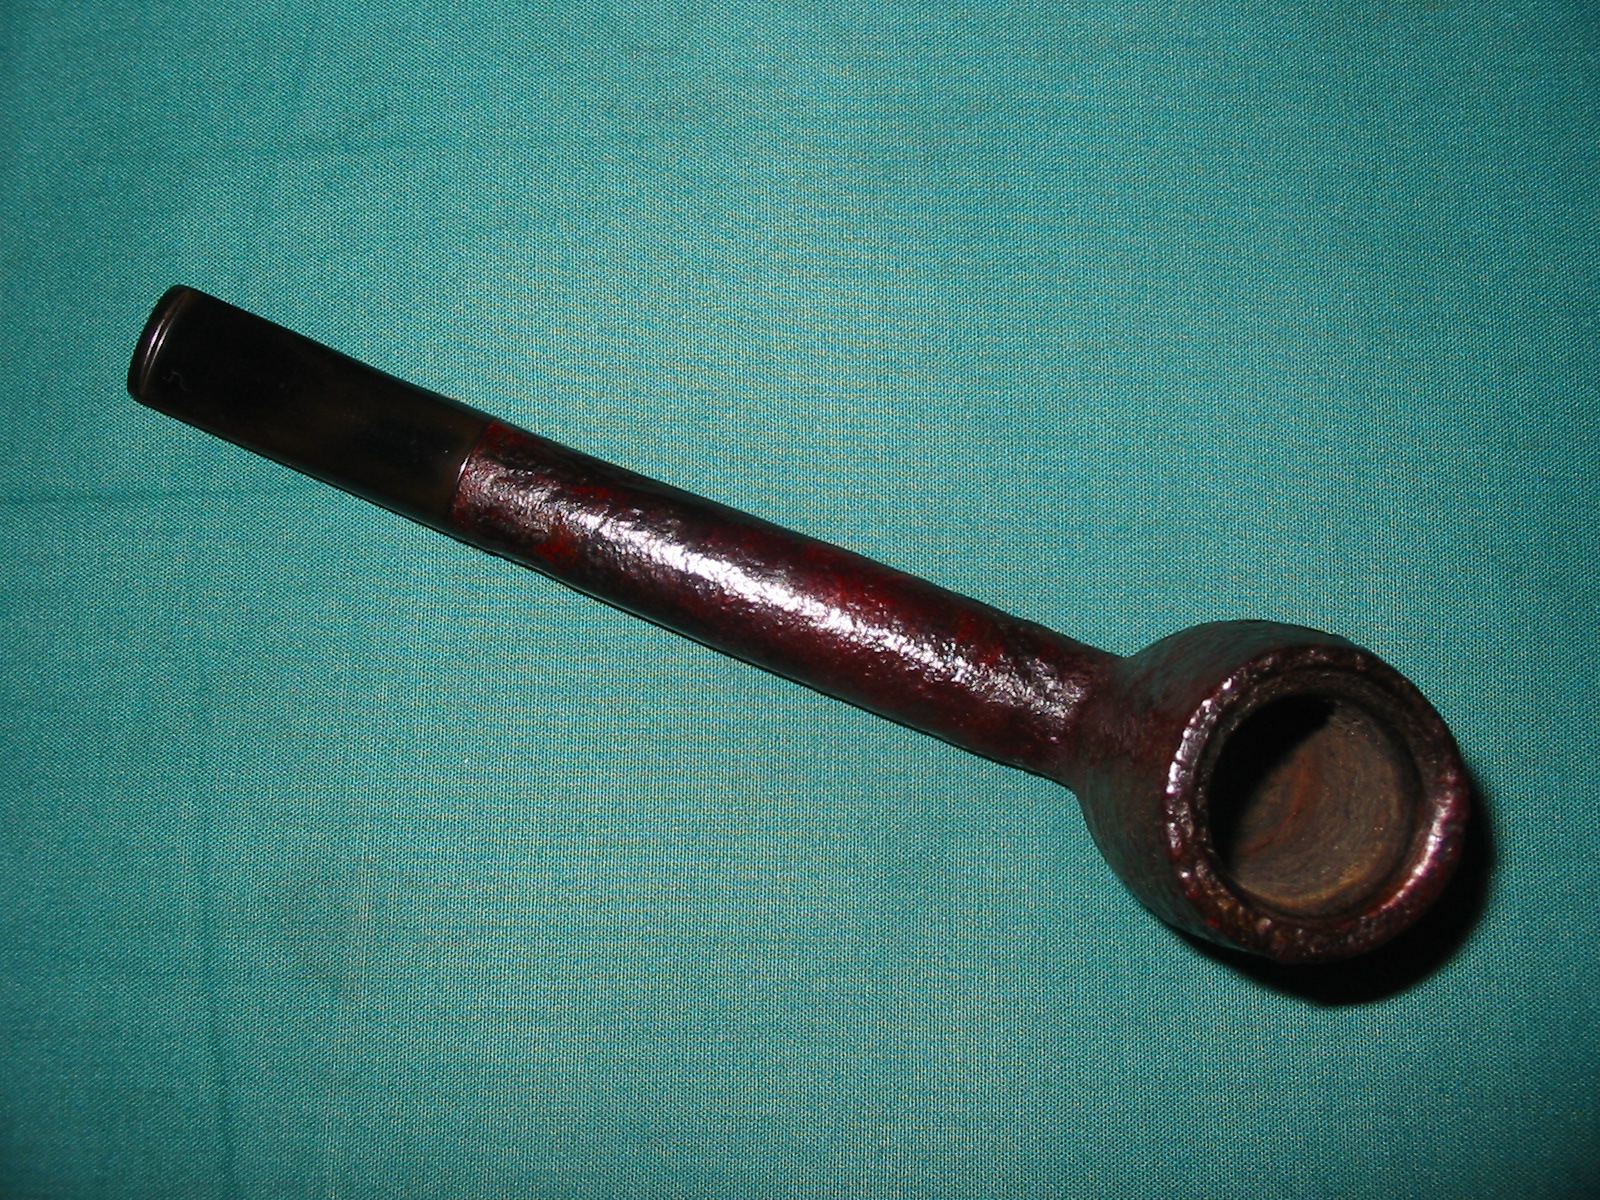
As for the pipe’s condition – the finish was dirty and somewhat worn. The rim was worn and showed some wear on the inner edge. It was partially beveled inward. The cake was broken and thin on the inside of the bowl. The stain was worn and spotty on the shank near the stem. The stem itself was oxidized and had tooth chatter on the top and underside near the button. The insert logo was missing. From what I can find online the insert design was in the air. The hole was round and like the space for a dot. I suppose it may have had the Comoy’s C with the circle at one time but I am not sure. The tenon on the pipe was an older step down version like the Comoy’s. The pipe was worn and dirty but very salvageable. The three photos below show the state of the pipe when I brought it to the work table.
IMG_1866

IMG_1867

IMG_1868

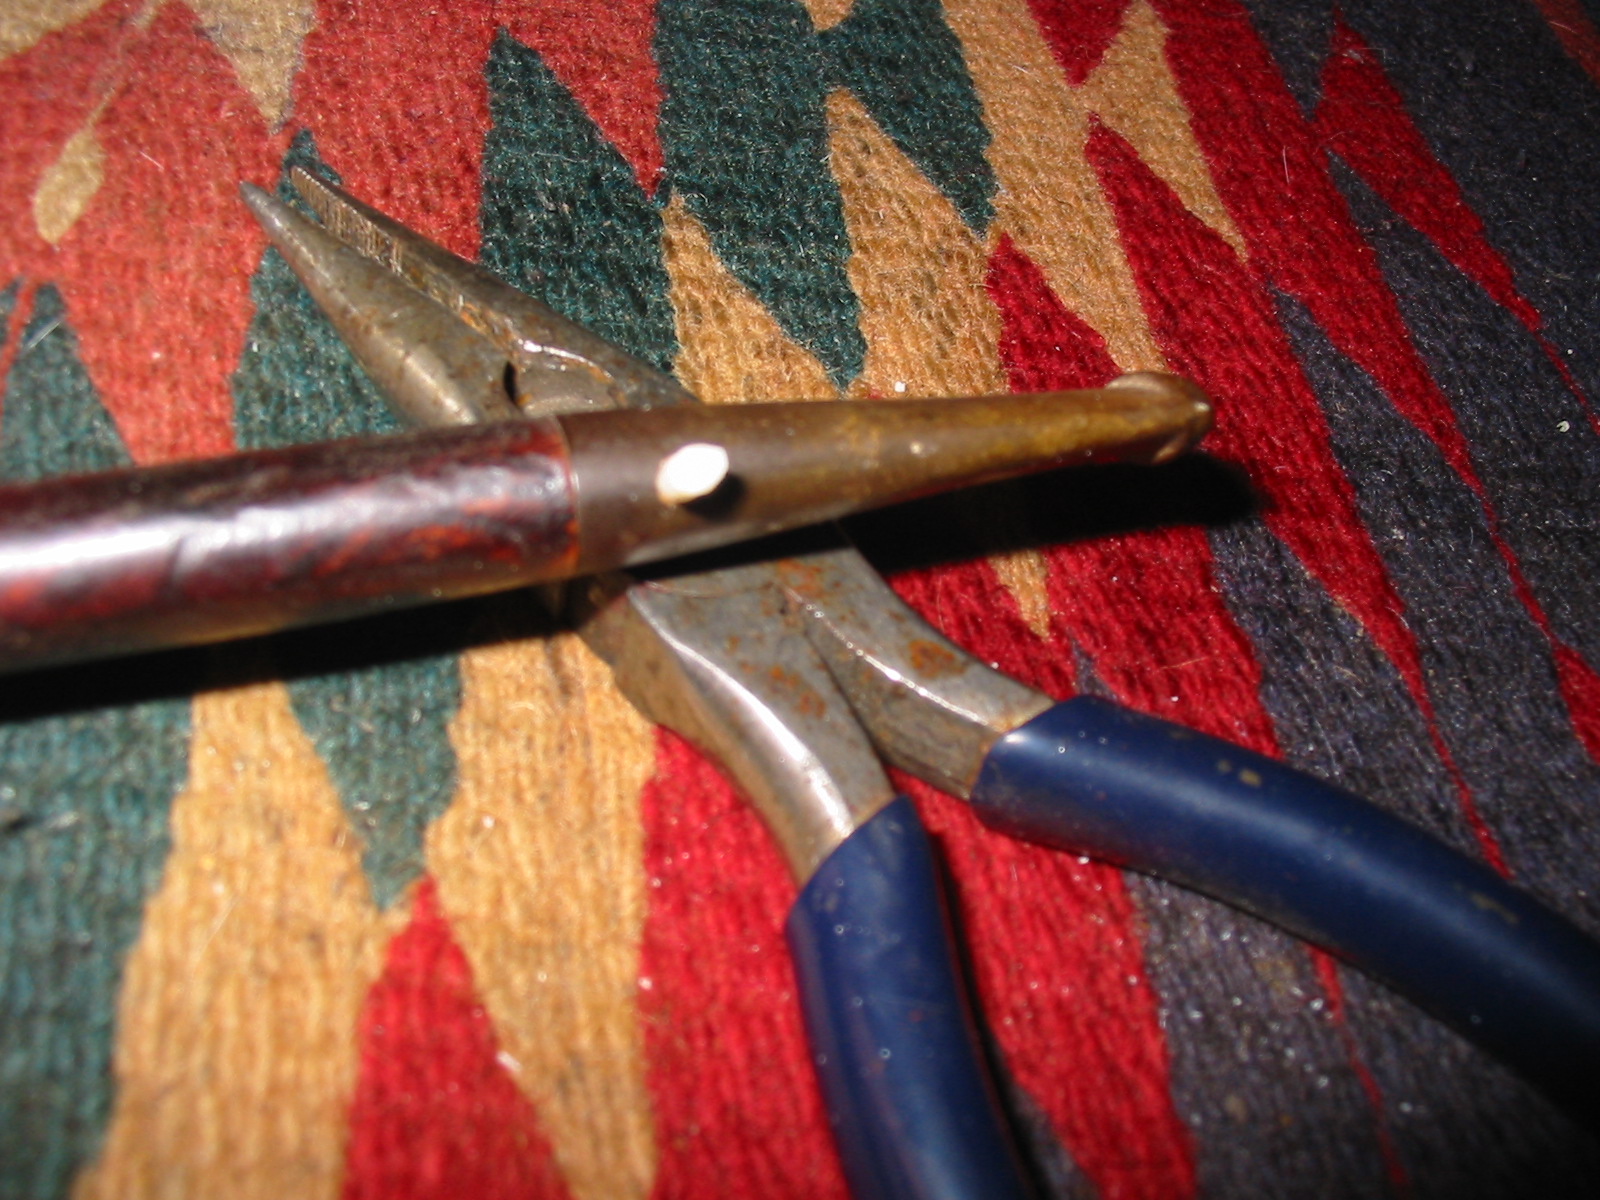
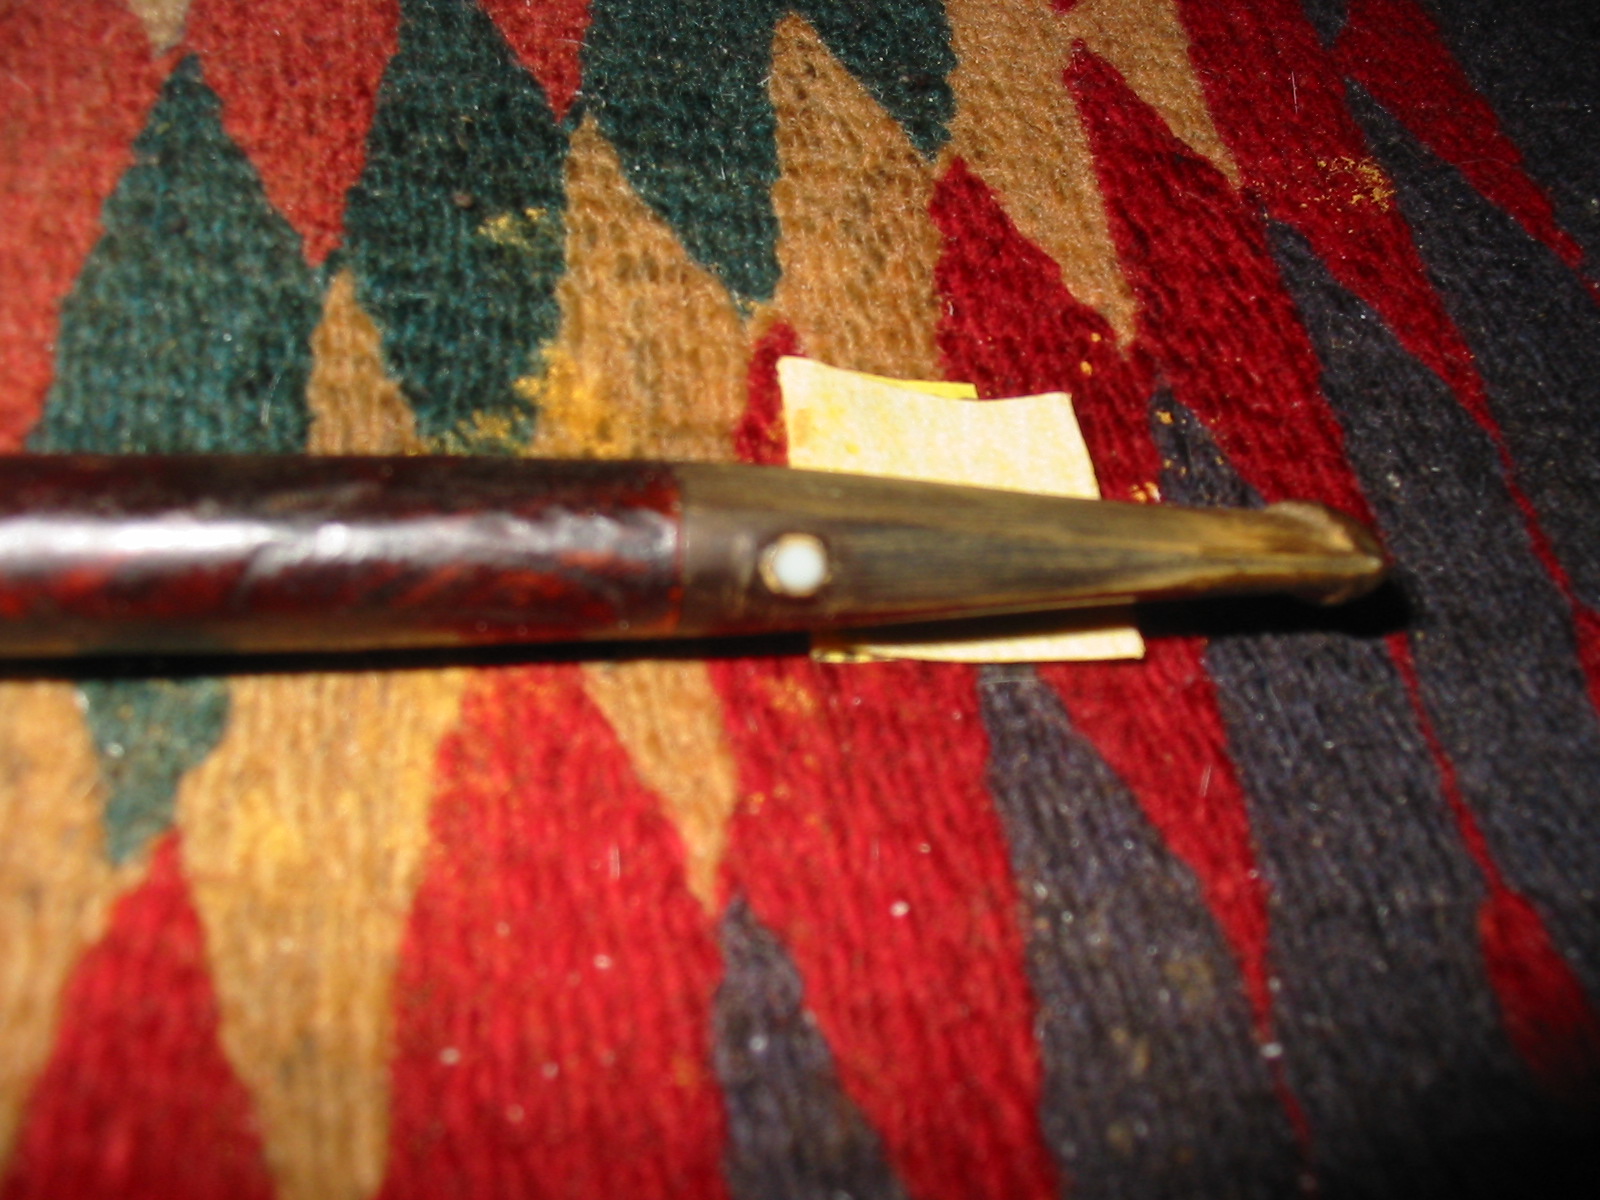
I decided to make an off white insert for the hole in the stem (the hole did not go into the airway). To make the replacement I have a knitting needle that I use for replacement dots. I used a Dremel to turn the end of the needle down to the size of the hole in the stem. The next six photos show the process of shaping the new dot for the stem. The first four photos show the shaping of the dot stock. The last two photos show the inserted dot.
IMG_1972

IMG_1973

IMG_1974

IMG_1975

Once the newly turned end fit into the hole in the side of the stem I cut it off with a pair of needle nosed pliers and began the finishing work on the dot. I glued it in place in the hole with superglue and when it was set sanded it down with a Dremel. When the surface of the dot matched the surface of the stem I sanded it with 220 grit sandpaper until it was smooth. The remainder of the finishing on the dot would be done when I cleaned up the oxidation on the stem.

IMG_1976

IMG_1977

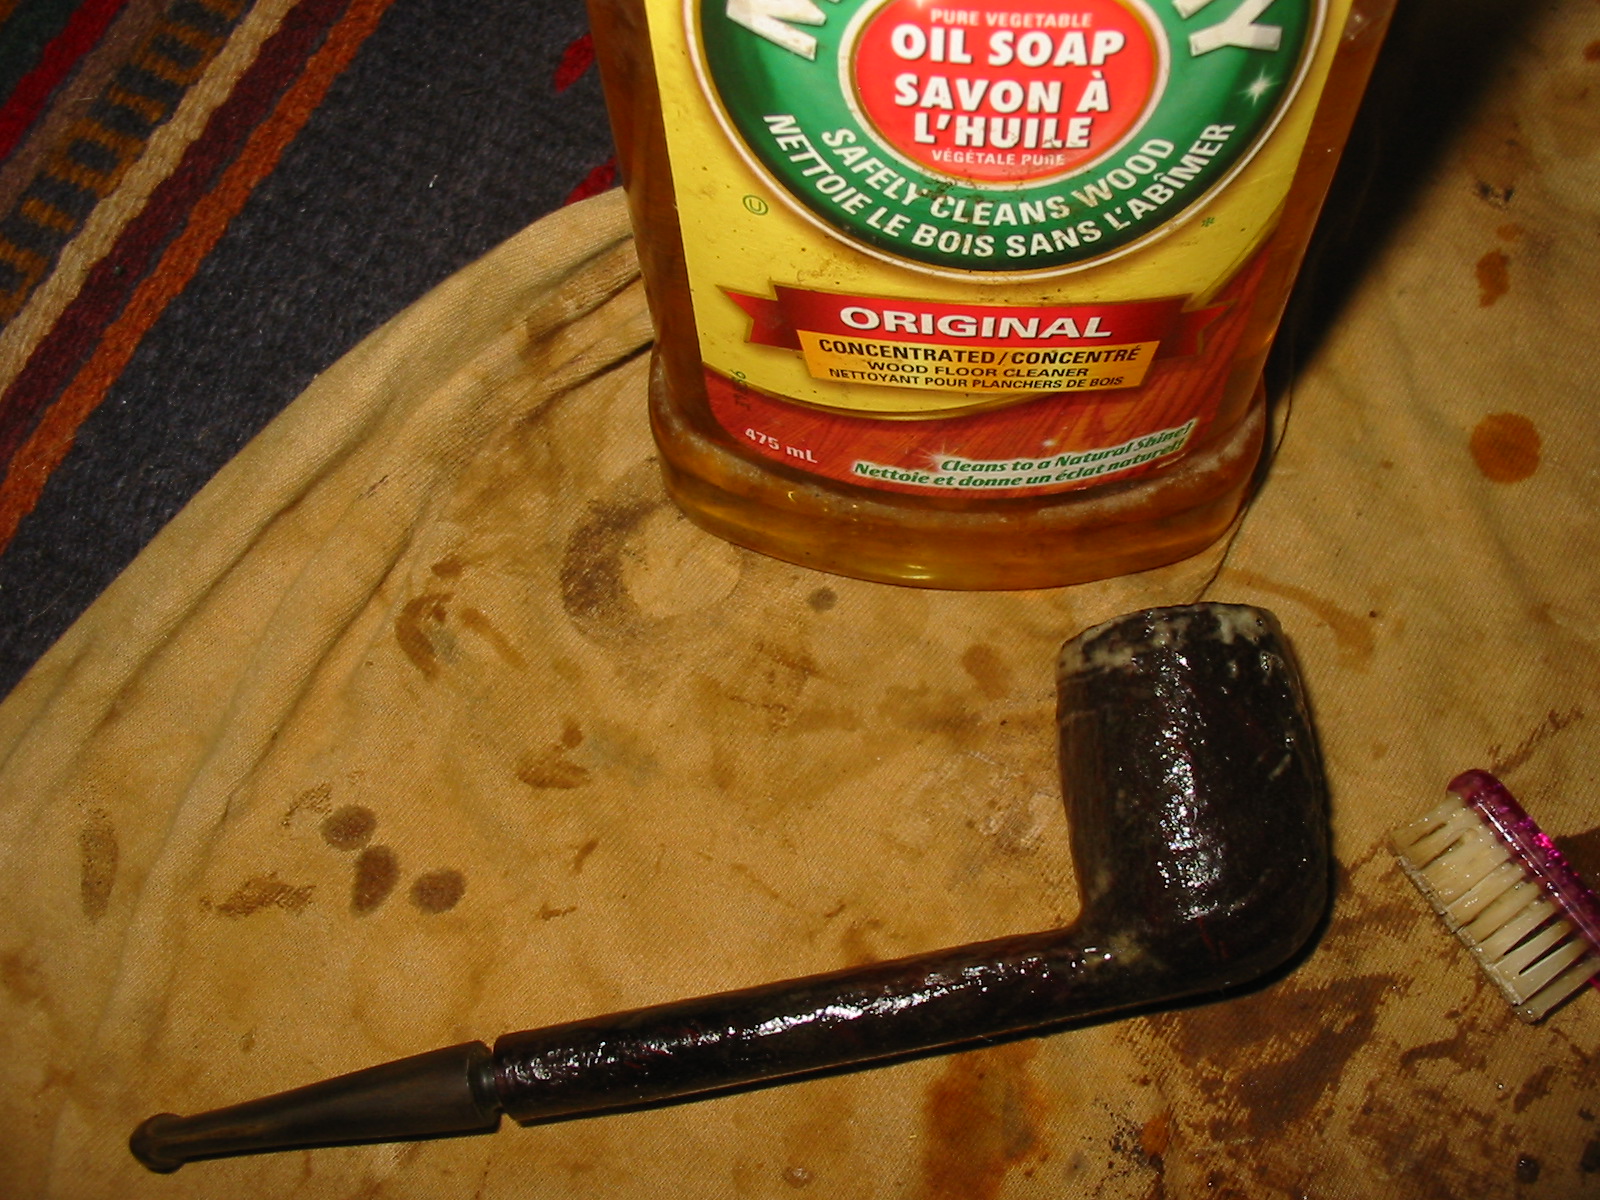
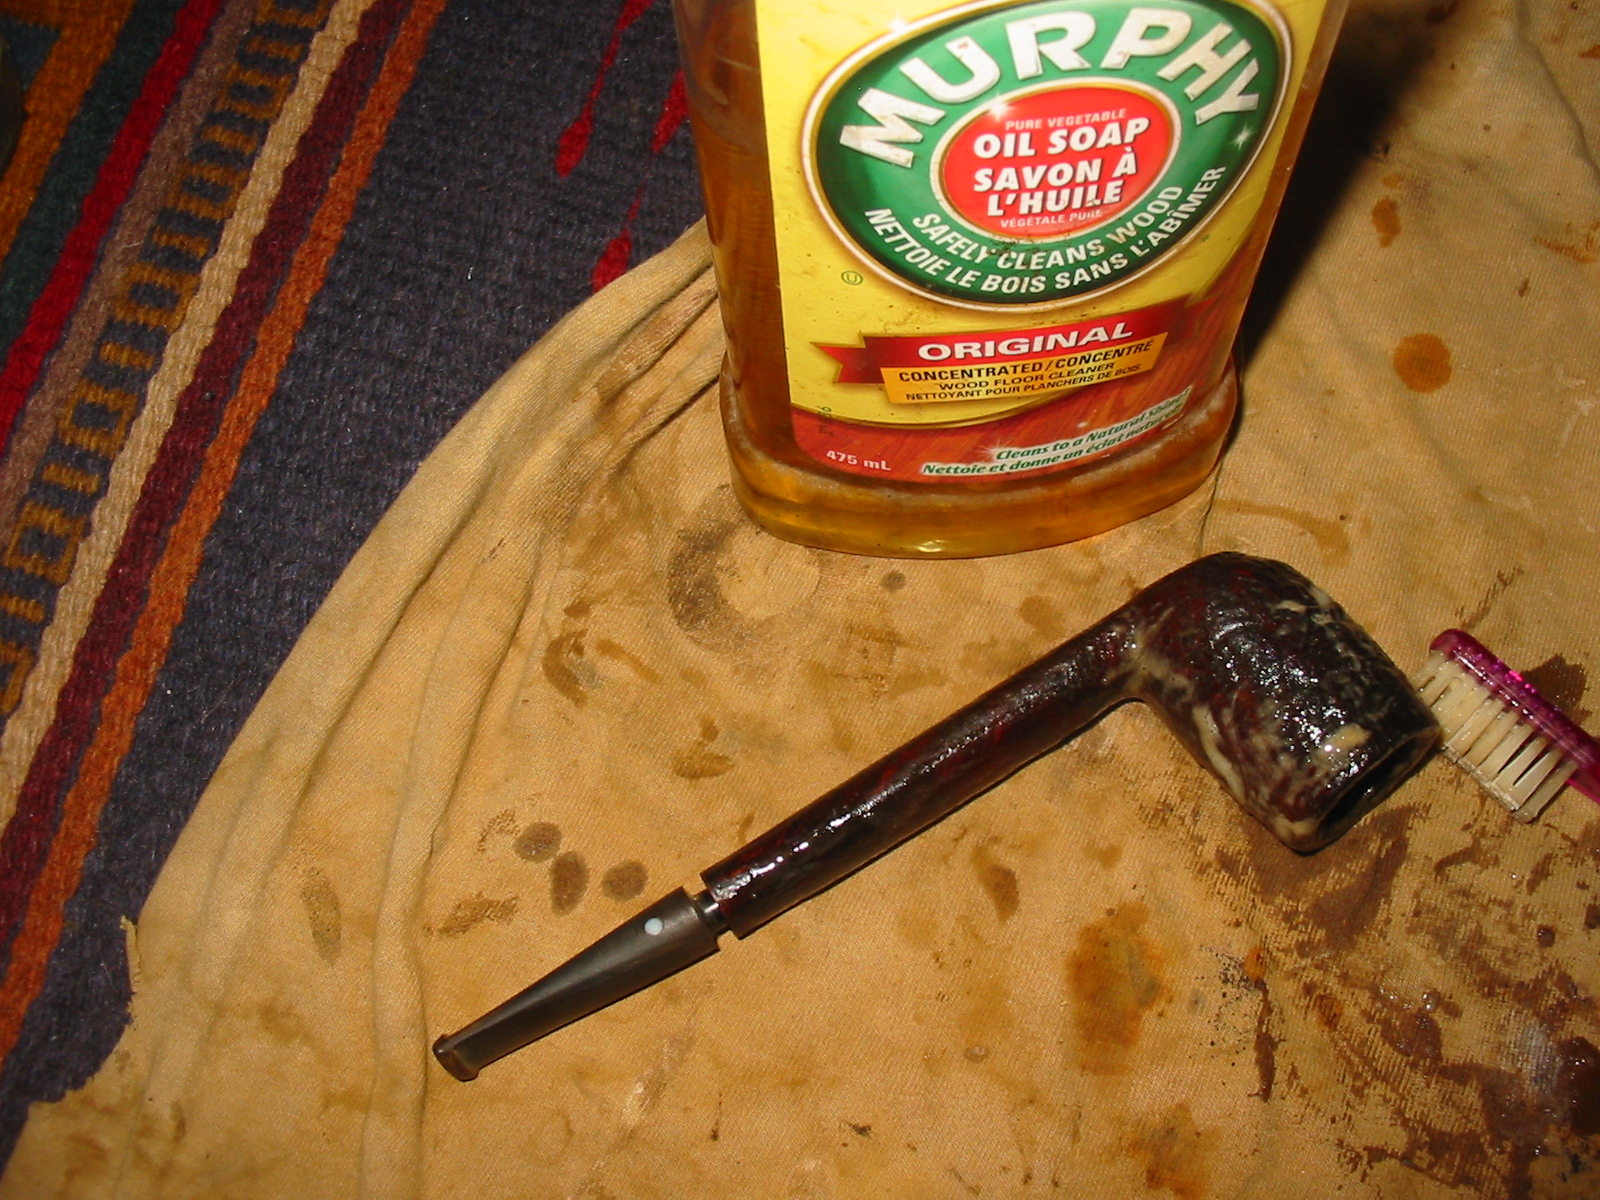
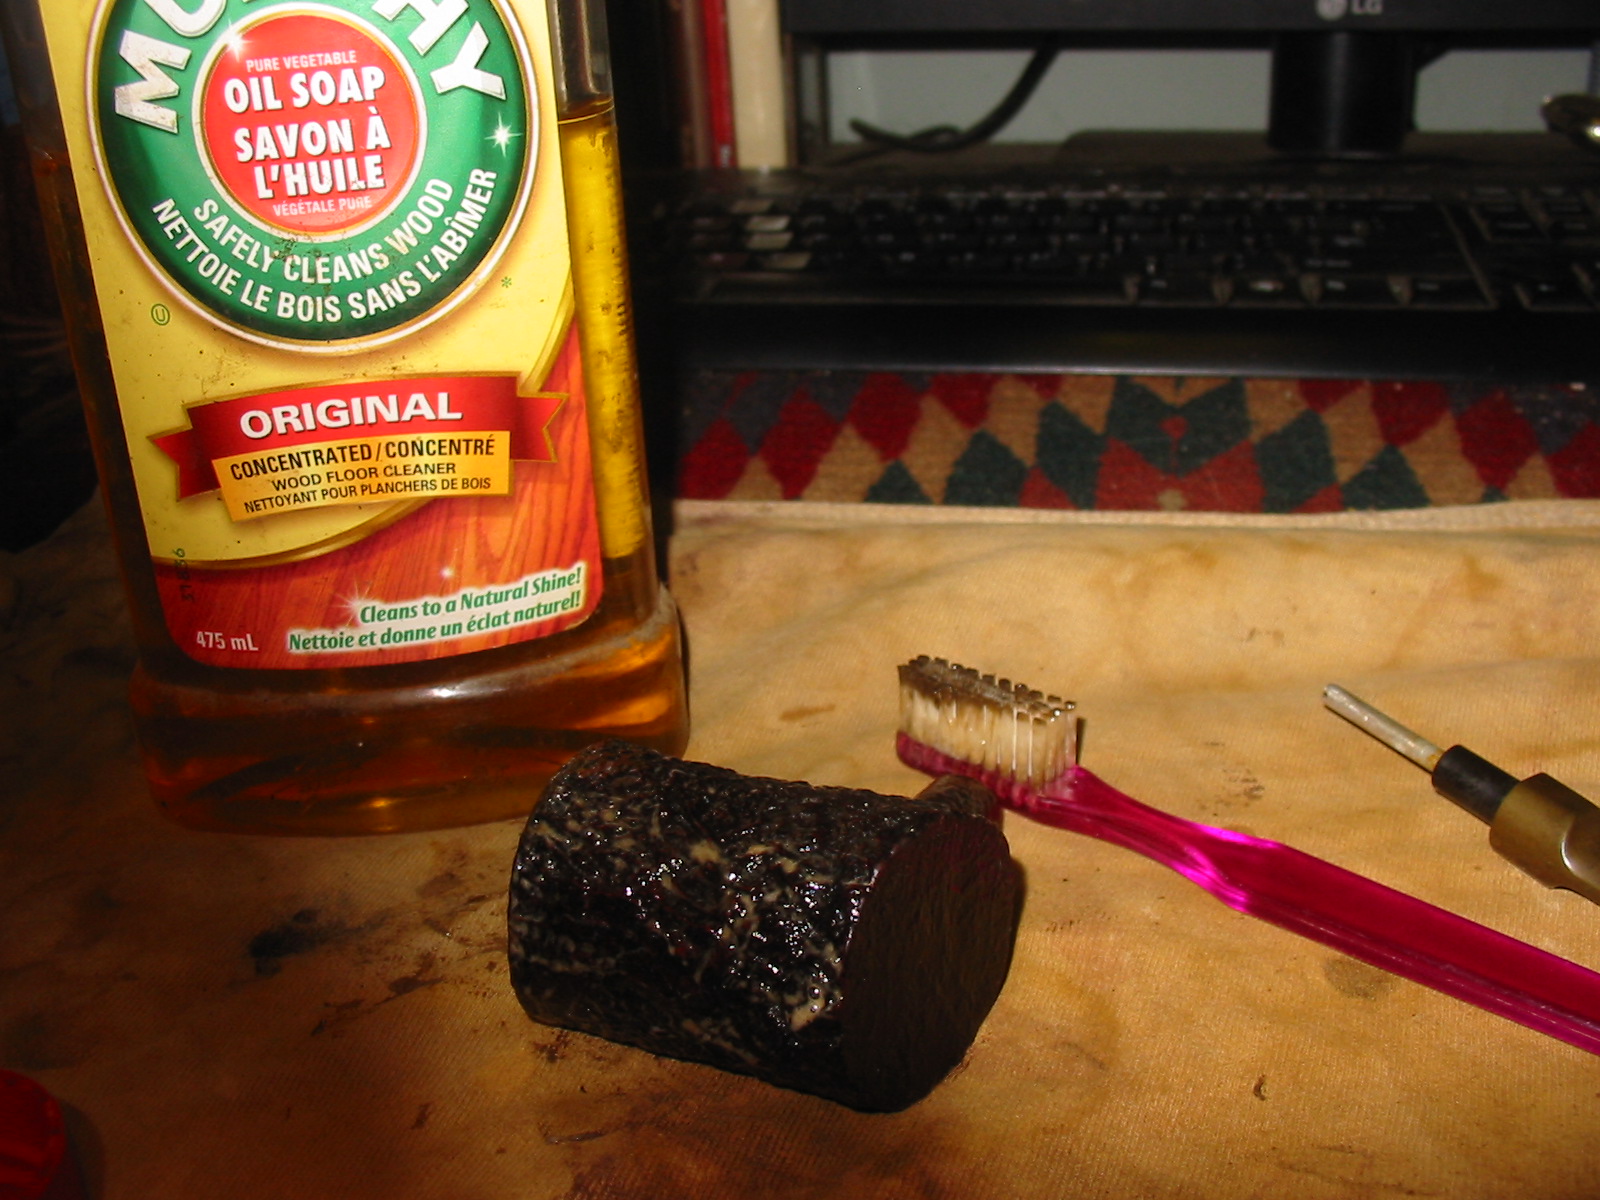
I reamed the pipe with a PipNet reamer to clean out the bowl and remove the broken cake. I scrubbed the exterior of the bowl and shank with a soft bristle tooth brush and undiluted Murphy’s Oil Soap. I scrubbed it until all the crevices were clean and then rinsed it under warm tap water being careful to not get water in the bowl or shank. I patted the surface dry. The first two photos below show the scrubbing process. The third, fourth and fifth photos show the bowl after being dried off. The surface is clean and ready to work with.
IMG_1979

IMG_1980

IMG_1981

IMG_1982

IMG_1983

I cleaned out the internals of the stem and shank with pipe cleaners and Everclear as well as cleaning out the mortise area with cotton swabs. Interestingly the inside of the shank not only had minimal tars but also there was some of the red undercoat stain in the shank. I was able to remove all of the stain and the tars.
IMG_1984

I restained the pipe with a dark brown aniline stain, flamed it and restained and flamed it again until the spots without stain on the edge of the rim and near the stem were well covered. I mixed the stain one part stain to one part alcohol as I wanted it to cover the briar but allow the undercoat of the red to come through once it was buffed and waxed.
IMG_1985

IMG_1986

I used 1500 and 1800 grit micromesh sanding pads and wet sanded the stem to remove the surface oxidation. I also “painted” the stem with a Bic lighter to burn off the oxidation. The picture I took of this failed to come out so I do not have photos of this step. I then dry sanded the stem with the remaining grits of micromesh from 2400-12,000 grit.
IMG_1988

IMG_1989

IMG_1990

I gave the stem a coat of Obsidian Oil and rubbed it into the vulcanite. Once it was dry I hand buffed the stem and then gave it a coating of carnauba wax by hand using some Paragon wax. I reinserted the stem in the pipe and then took it to the buffer. I buffed it with White Diamond and then gave the bowl and stem a light buff with carnauba wax. I repeated the waxing until the pipe was well covered. I gave it a final buff with a soft flannel buff. The photos below show the finished pipe. The topcoat of brown stain lets the red undercoat show through and adds dimension to the finished look of the pipe.
IMG_1991

IMG_1992

IMG_1993

IMG_1994

Parker Super Briar Bark Cherrywood Restored


Blog by Steve Laug

The first of the latest lot I picked up on my trip to Northern Alberta was brought to the work bench this afternoon. I decided to work on little Parker Super Briar Bark Cherrywood. It is stamped on the underside of the shank Parker over Super in a diamond over Briar Bark. Next to that is Made in London England with both a size number – 4 – and a shape number – 283.
IMG_1862

The bowl had a lot of cake build up in the bowl and had some nicks in the briar around the outer edge of the rim. The finish was dirty with grime in the deep crevices of the sandblast on the outside of the bowl and a buildup of tars on the top of the rim. The stem was oxidized and had some tooth damage on both the top and bottom sides near the button. The Parker logo “P” in a diamond was partly visible on top of the stem. It was merely a painted on logo and not stamped in the vulcanite so it would be hard to clean and leave in place.
IMG_1863

IMG_1864

IMG_1865

I reamed the bowl with a PipNet pipe reamer – a T handle and different cutting heads. The smallest diameter cutting head trimmed back the cake to a thin coat. I dumped the carbon buildup in the rubbish and then cleaned out the bowl with a cotton swab dipped in Everclear to remove any leftover loose carbon.
IMG_1946

IMG_1947

I removed the stem and found that the pipe had an inner tube like the Dunhill Inner Tube that was used as a method of keeping the shank clean from tar buildup.
IMG_1948

I scrubbed the surface of the bowl and shank with a soft bristle tooth brush and undiluted Murphy’s Oil Soap. I scrubbed it until the soap was dirty and then rinsed it off under warm running water and patted it dry. I kept the water out of the bowl and the shank as I did not want those areas wet.
IMG_1949

I cleaned out the shank and the bowl with pipe cleaners and cotton swabs and pipe cleaners dipped in Everclear. Once the inside was clean I worked on the oxidized stem. I sanded it with 220 grit sandpaper to break up the calcium buildup around the button area and to also minimize the tooth marks on the top and the bottom side of the stem. After the initial sanding I scrubbed the surface of the stem with Meguiar’s Scratch X2.0 to remove the surface oxidation and to soften the oxidation deep in the stem.
IMG_1950

IMG_1951

I scrubbed the inside of the stem with pipe cleaners and Everclear and used 0000 steel wool on the aluminum inner tube. I sanded the stem with micromesh sanding pads from 1500-12,000 grit. I wet sanded with the 1500 and the 1800 grit and afterward applied some white out to the area of the logo. I decided to try and build it up a bit. The logo appeared to be stamped in the stem but as I looked at it I could see that it was a painted on logo. In the polishing of the stem I sacrificed the logo. I dry sanded with the remaining grits of micromesh from 2400-12,000.
IMG_1952

IMG_1953

IMG_1954

IMG_1956

IMG_1957

IMG_1959

IMG_1960

When the sanding was completed I gave the stem a rub down with Obsidian Oil and let it soak into the vulcanite. I buffed it with a soft cloth and gave the stem a coating of carnauba wax by hand. I restained the bowl with a dark brown stain that had been diluted with one part alcohol to one part stain. I wanted to cover some of the nicks in the outer rim and some of the light spots on the shank that showed wear and tear. I applied it with a cotton swab and then flamed it with a lighter. I reapplied the stain and reflamed it until I had the colour match I was looking for.
IMG_1961

IMG_1962

IMG_1963

IMG_1964

I reinserted the stem and gave the bowl and the stem a coat of Halcyon II wax and hand buffed it with a soft cotton cloth and a shoe brush.
IMG_1965

IMG_1966

IMG_1967

To finish the pipe I buffed the stem with White Diamond and lightly buffed the bowl with the same. After the buffing I gave it a light coat of carnauba wax and buffed it with a clean flannel buff. The finished pipe is pictured below and awaits its inaugural smoke.
IMG_1968

IMG_1969

IMG_1970

IMG_1971

Father Tom’s Briar – Reborn – by Al Jones


Blog by Al Jones

Followers of this blog are no doubt very familiar with Steve Laug’s wonderful “Father Tom” short stories. For those not familiar with Father Tom, he is fictional well seasoned, pipe smoking minister.

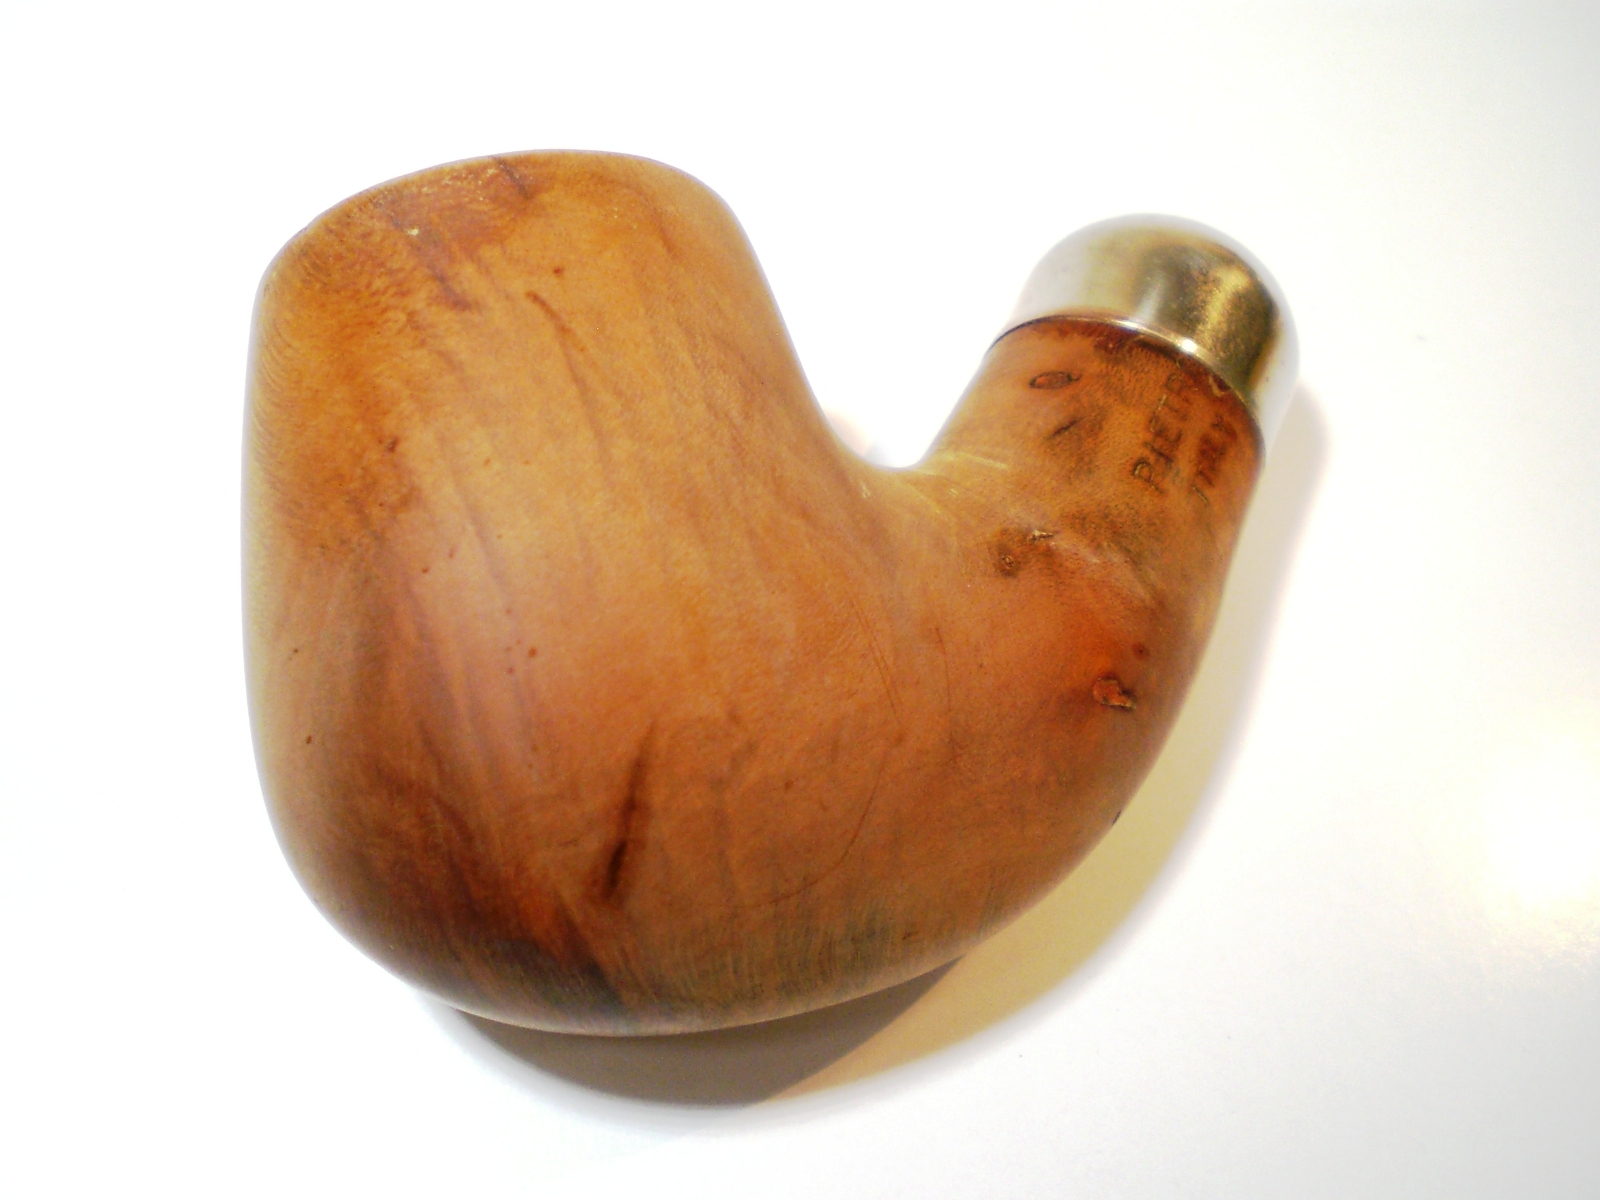
On the “Brothers of Briar” pipe forum and we are fortunate to have a real life “Father Tom” as a member. Father Tom is an Episcopal priest in Northern Indiana. He taught for 32 years before leaving the classroom for full-time parish work. He has been a pipe smoker since college, and most of his college pipes are still in the rotation. The pipe is one he bought in the late 70’s in South Carolina. Tom posted a picture of this pipe earlier this summer on the forum and wondered if the finish could be restored. Tom had recently returned from a church assignment to the Honduras. The pipe was very much well-loved and the varnished finish was worn off in the handling areas. The stem was also heavily oxidized. Tom reported that it smoked Granger quite well. Here is the pipe as it was delivered.

Fr_Tom_Before (3)

Fr_Tom_Before

Fr_Tom_Before (1)

Fr_Tom_Before (2)

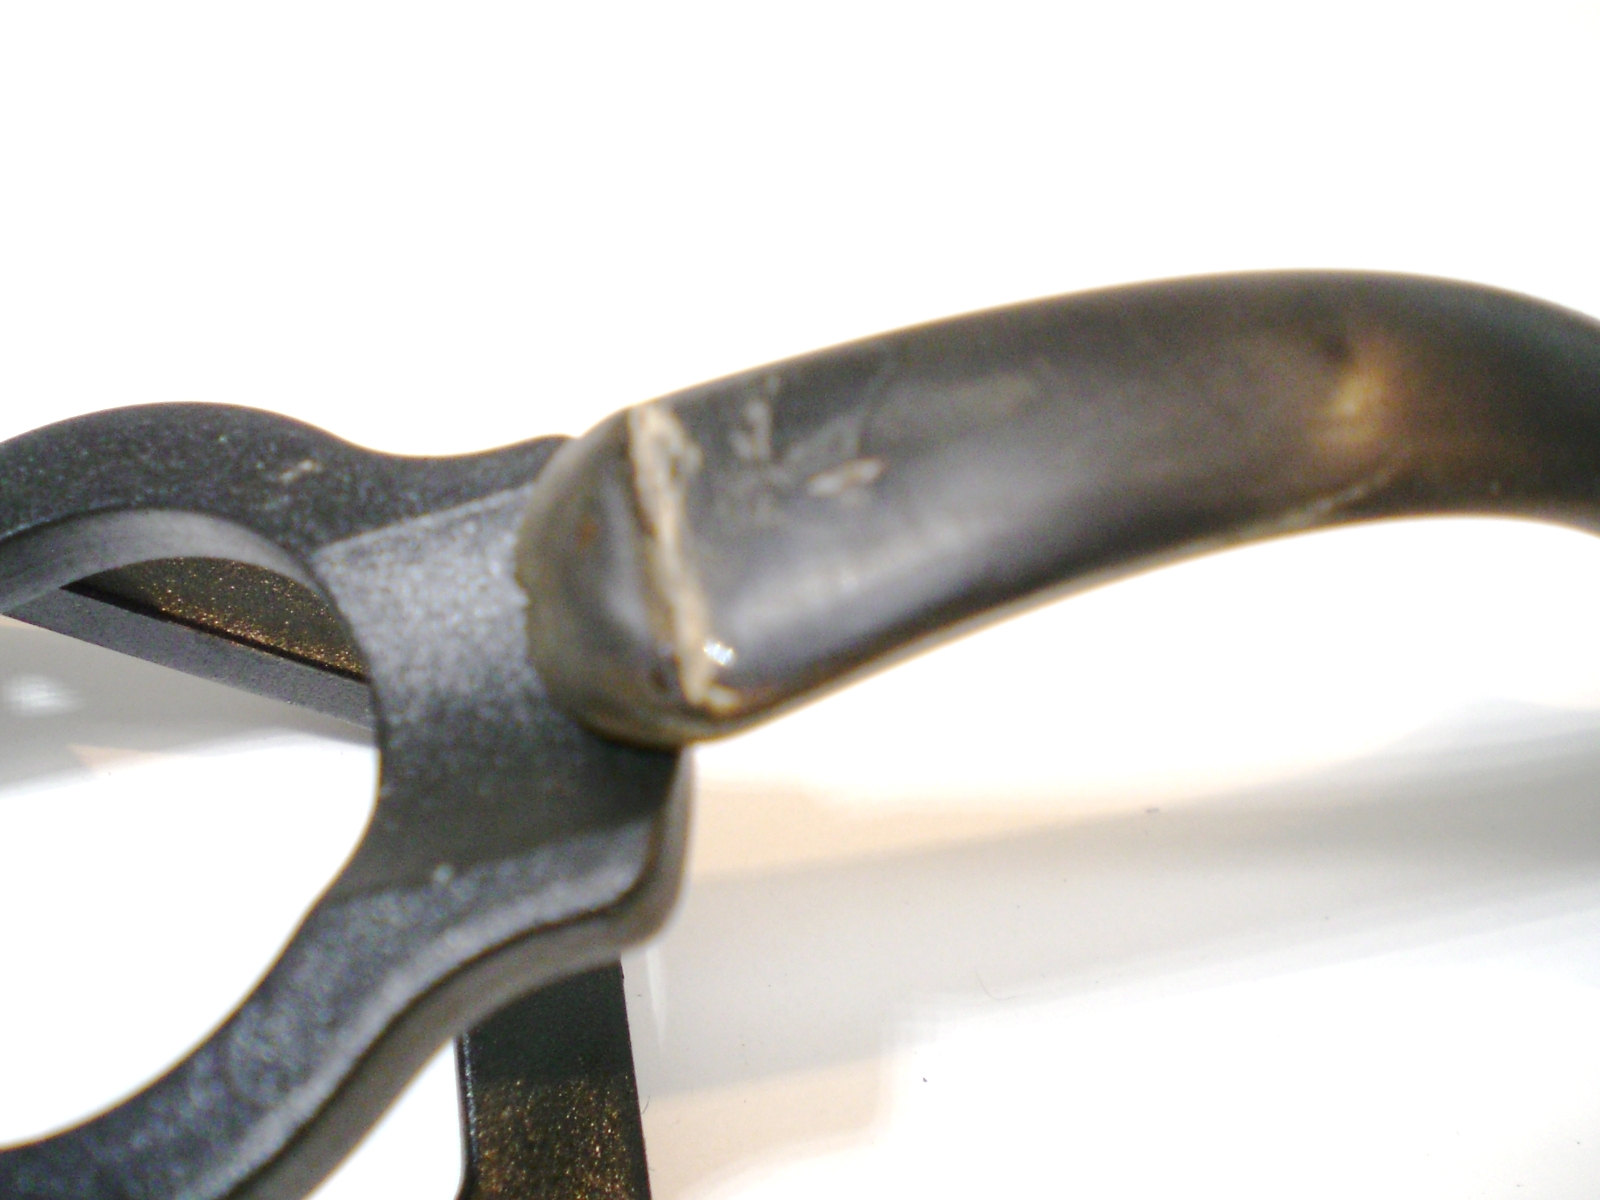
Steve sent me some information on a Wellington brand pipe and this one appears to be a reproduction of that and the Peterson system pipe, including a p-lip military stem. The pipe is stamped “Pietro”. Steve told me that these stems had a reputation of being drilled close to the edge of the stem near the bend. As such, over time, the use of a pipe cleaner wears the stem material thin. Sure enough, after I started to remove the oxidation, there was a small hole and crack on the top of the stem bend. I wasn’t sure the stem could be saved but I thought that perhaps several layers of black superglue blended in would rebuild that area. In total, I applied four light coats of the superglue, raising the surface about 1 mm and covering the hold. The crack still shows thru the material but I think it should hold up to some use. But, I advised Father Tom to be careful clenching that one. At some point a new stem will have to be made for the pipe.

This shows the repair in progress with the black superglue (purchased from Stewart-Mac, a guitar repair supply house).

Fr_Tom_Process_Stem2

Fr_Tom_Stem3

Fr_Tom_Stem4

I finished the stem by removing the heavy oxidation first with 600 grit wet sandpaper, than moving to the 800, 1000, 1500 and 2000 grades. I used 8000 and 12000 grades of micromesh to complete that step. Than, with the stem mounted in the briar, it was buffed with white diamond rouge, than a automotive plastic polish.

I then moved my attention to the briar. I first soaked the briar in an alcohol bath in an attempt to soften the varnished finish. That had some effect, but it was necessary to sand most of the shiny varnish off by hand. I used 600 grit paper and progress up to 1500 grade wet paper. There was one large gash on the bottom of the bowl and one large fill spot, where the putty had fallen out. Not surprisingly, there were other fills on the briar under that finish. I was able to lift out the dent using a heated kitchen knife and steam. I repaired the fill hold with some of the black superglue. Sometimes I think covering the fills looks worse than leaving them and I thought the others lent some character to the pipe that Tom had given the briar (they might have also been handling dings, etc.)

Fr_Tom_Process4

Fr_Tom_Process1

Fr_Tom_Process2

Fr_Tom_Process3

I used a two step process to apply the stain to the briar. First I warmed the bowl with a hair dryer and then brushed on a coat of black stain. I lit the stain with flame to set it into the grain. The black stain was then sanded off with a series of sandpaper, starting again at 800 grit. I then applied a very light, almost neutral brown stain over the black. The bowl was then buffed with white diamond rouge and several coats of carnuba wax. While hand buffing the carnuba wax, I almost had a tragic accident with the pipe – it slipped out of my hands and bounced off my concrete workshop floor. I was horrified but was somewhat relieved to see no visible damage. It was only in the final hand polishing did I notice that the fall had put a dent in the metal cap. Steve shared with me a technique to heat the cap (once removed) and use a wooden dowel shaped into the half-circle to work out dents. Unfortunately, even using heat, I was unable to remove the cap. After discussion with the gracious Father Tom, it was decided to leave well enough alone. I will be picking up a padded piece of carpet to place in front of my work bench.

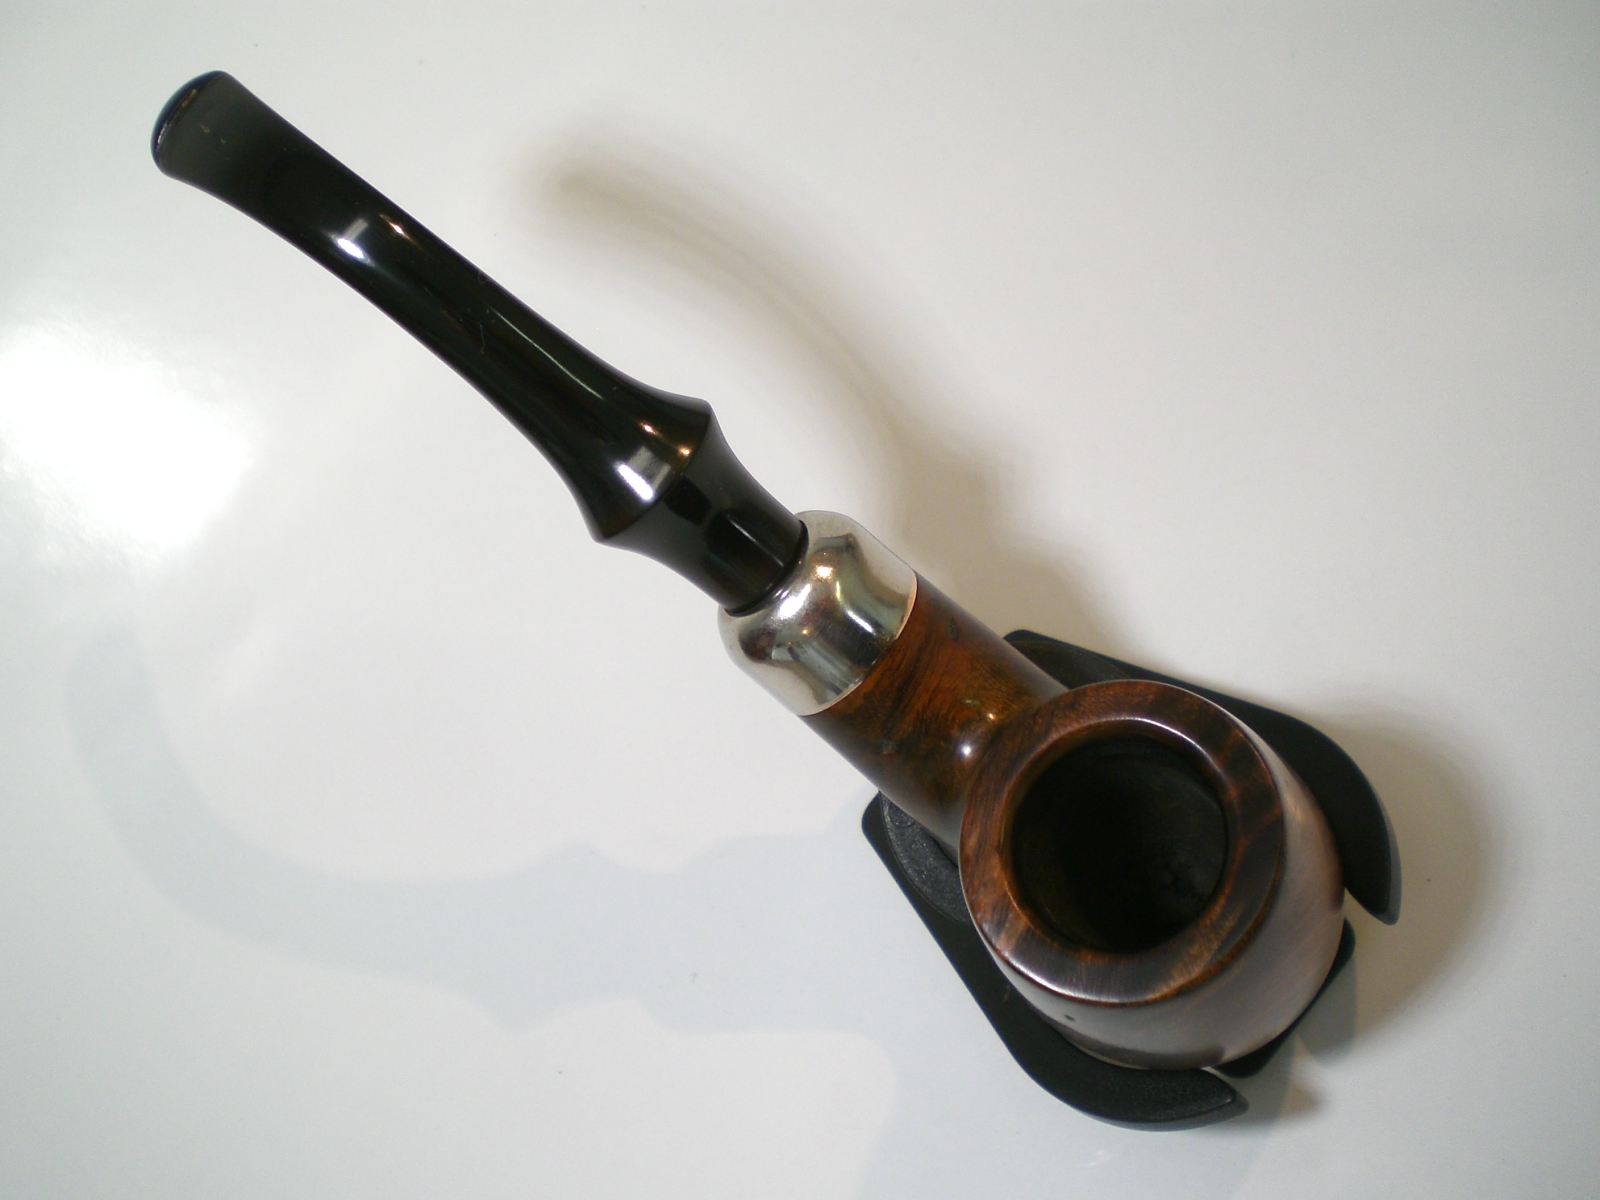
Below is the finished pipe. My grandfather was also a minister, but didn’t smoke a pipe. I would often watch him in his study poring over notes for his next sermon or wrestling with the day-to-day issues that a pastor faces. While working thru this restoration, I could picture Father Tom thoughtfully puffing on pipe as he completed his pastoral duties. I imagine it has been with him thru many weighty challenges faced by a modern minister. I hope this reborn pipe will be with him for many more years and help work thru the challenges of that endeavor.

Fr_Tom_Finished (9)

Fr_Tom_Finished

Fr_Tom_Finished (1)

Fr_Tom_Finished (2)

Fr_Tom_Finished (4)

Fr_Tom_Finished (5)

Fr_Tom_Finished (6)

Fr_Tom_Finished (7)

Fr_Tom_Finished (8)

It appeared to be a hopeless case, but was it really?


Blog by Steve Laug

This pipe was posted on Smokers Forums as one that was in rough shape. http://www.smokersforums.co.uk/showthread.php?273-Whew! As soon as I saw it I thought it would be fun to take on as a challenge and see what could be made of it. It was truly in very rough shape. So I put in a low bid on EBay and it was mine. Only the wait remained before I would see what I got myself into.

Worchester Dog

When it arrived I opened the box and took it out to see what I had to deal with on it. The stem was stuck in the shank and it was off center. I made a guess that it was a screw in stem – metal tenon and some kind of condenser. The finish was absolutely ruined. There was an opaque film all over the bowl and shank of varnish that had gone bad. There were crackles in the finish. The shank was crack badly and the shank was no longer square – the crack had expanded away from the angles of the pipe. The rim was invisible and the bowl was caked with a thick cake but upon examination it was full of cracks and crevices rather than a hard cake of carbon. Looking at what I could see of the inner edge of the rim it seemed like it was not damaged – at least not by reaming! There were several burn spots on the outside of the bowl around the rim and left side of the bowl from laying the pipe in an ash tray with a cigarette. It would indeed be a challenge and one that I wondered seriously about for a few moments.

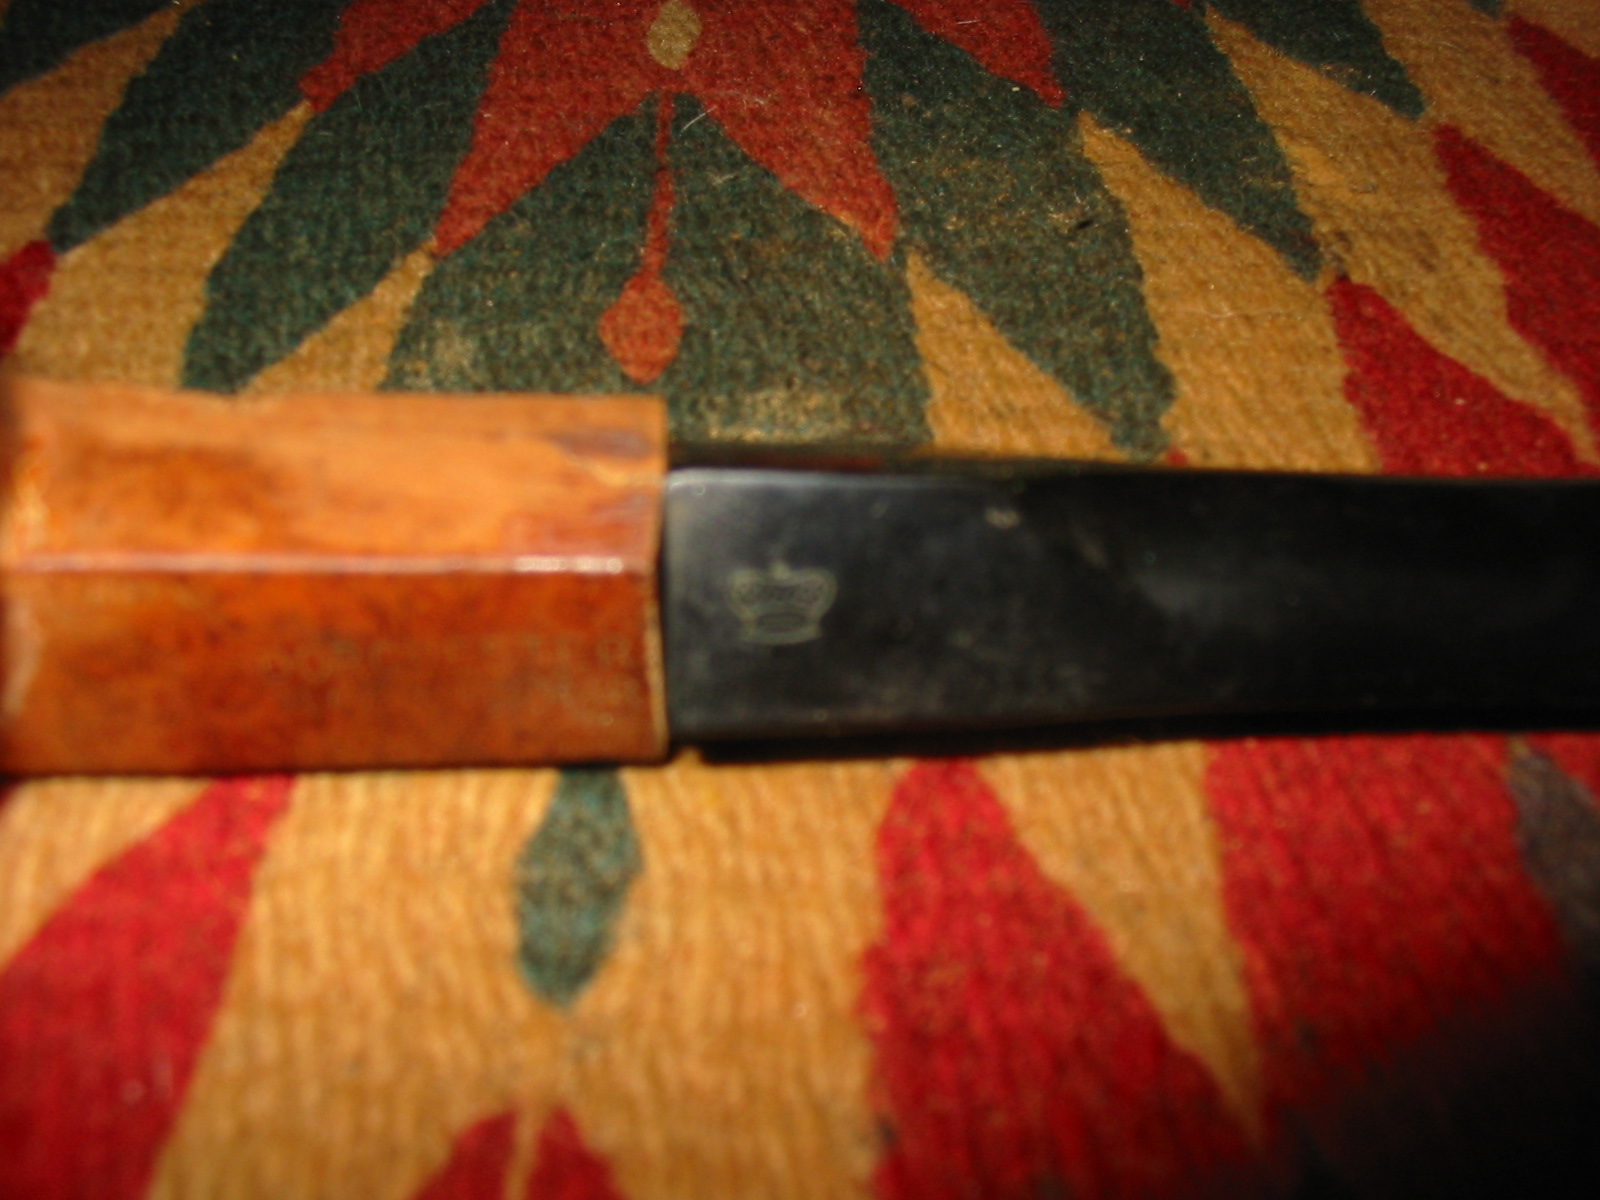
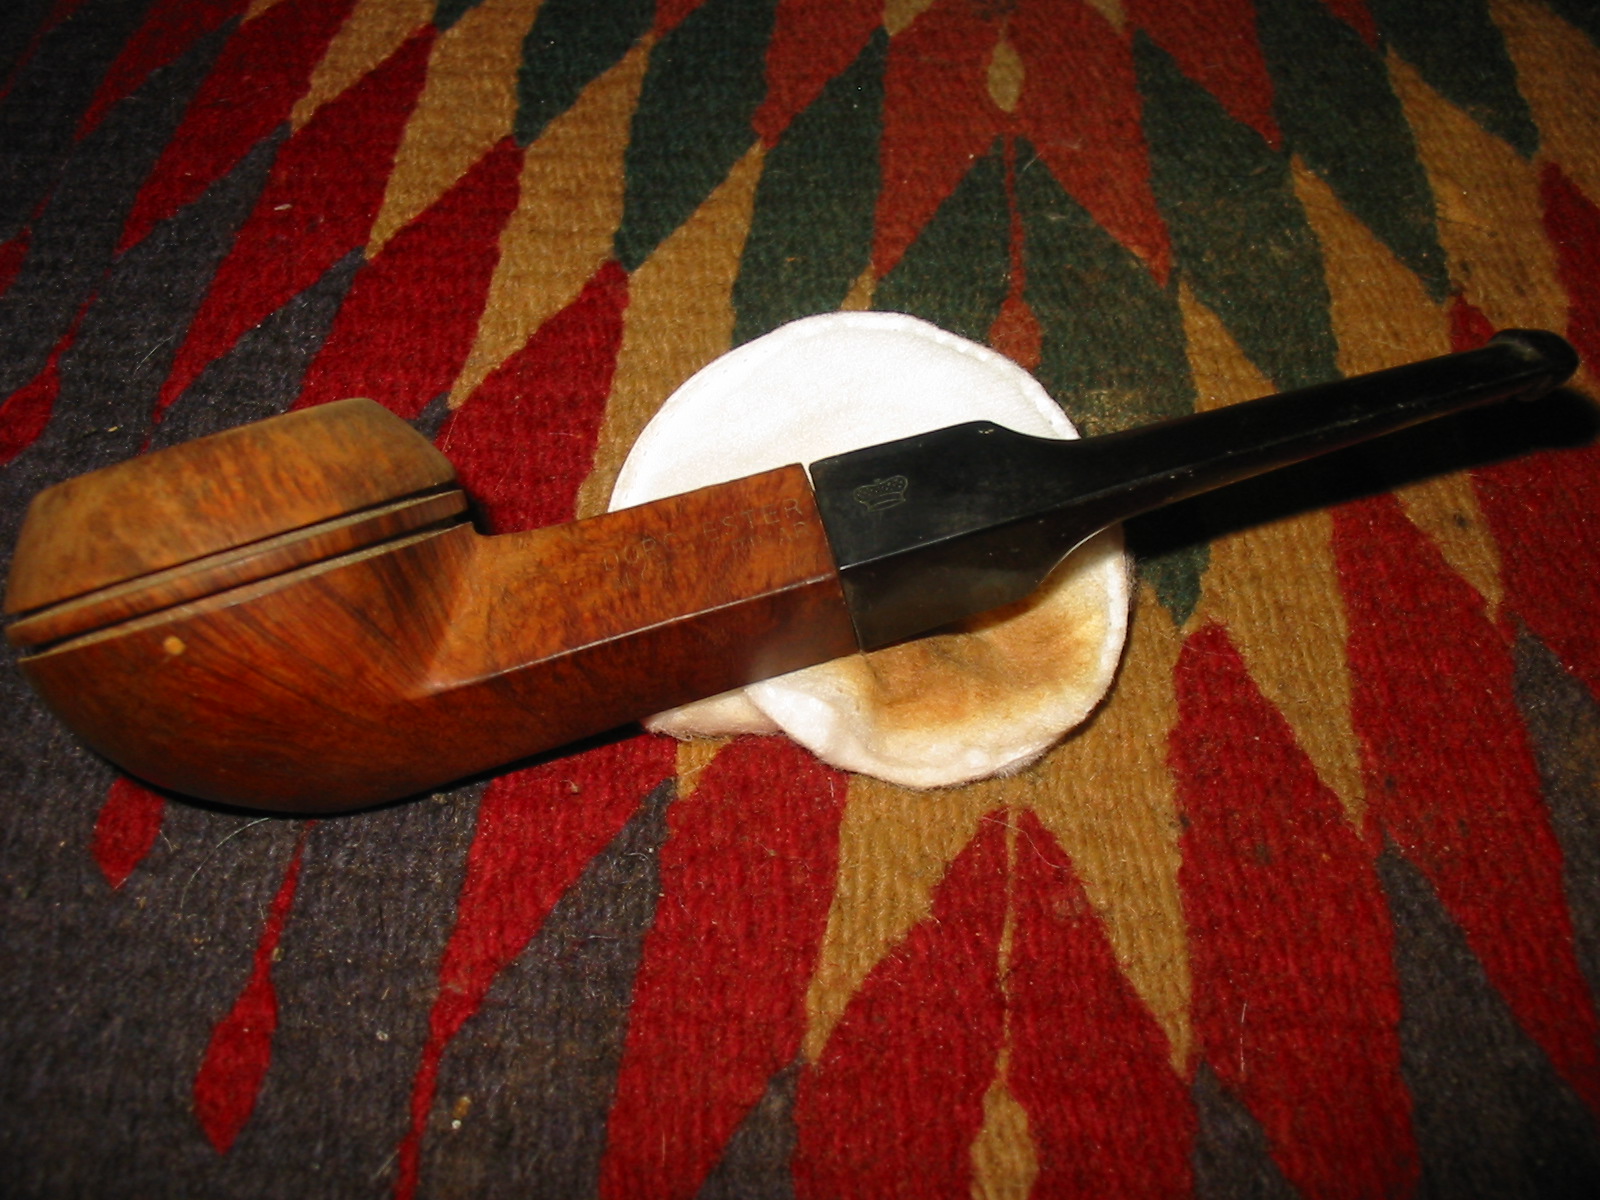
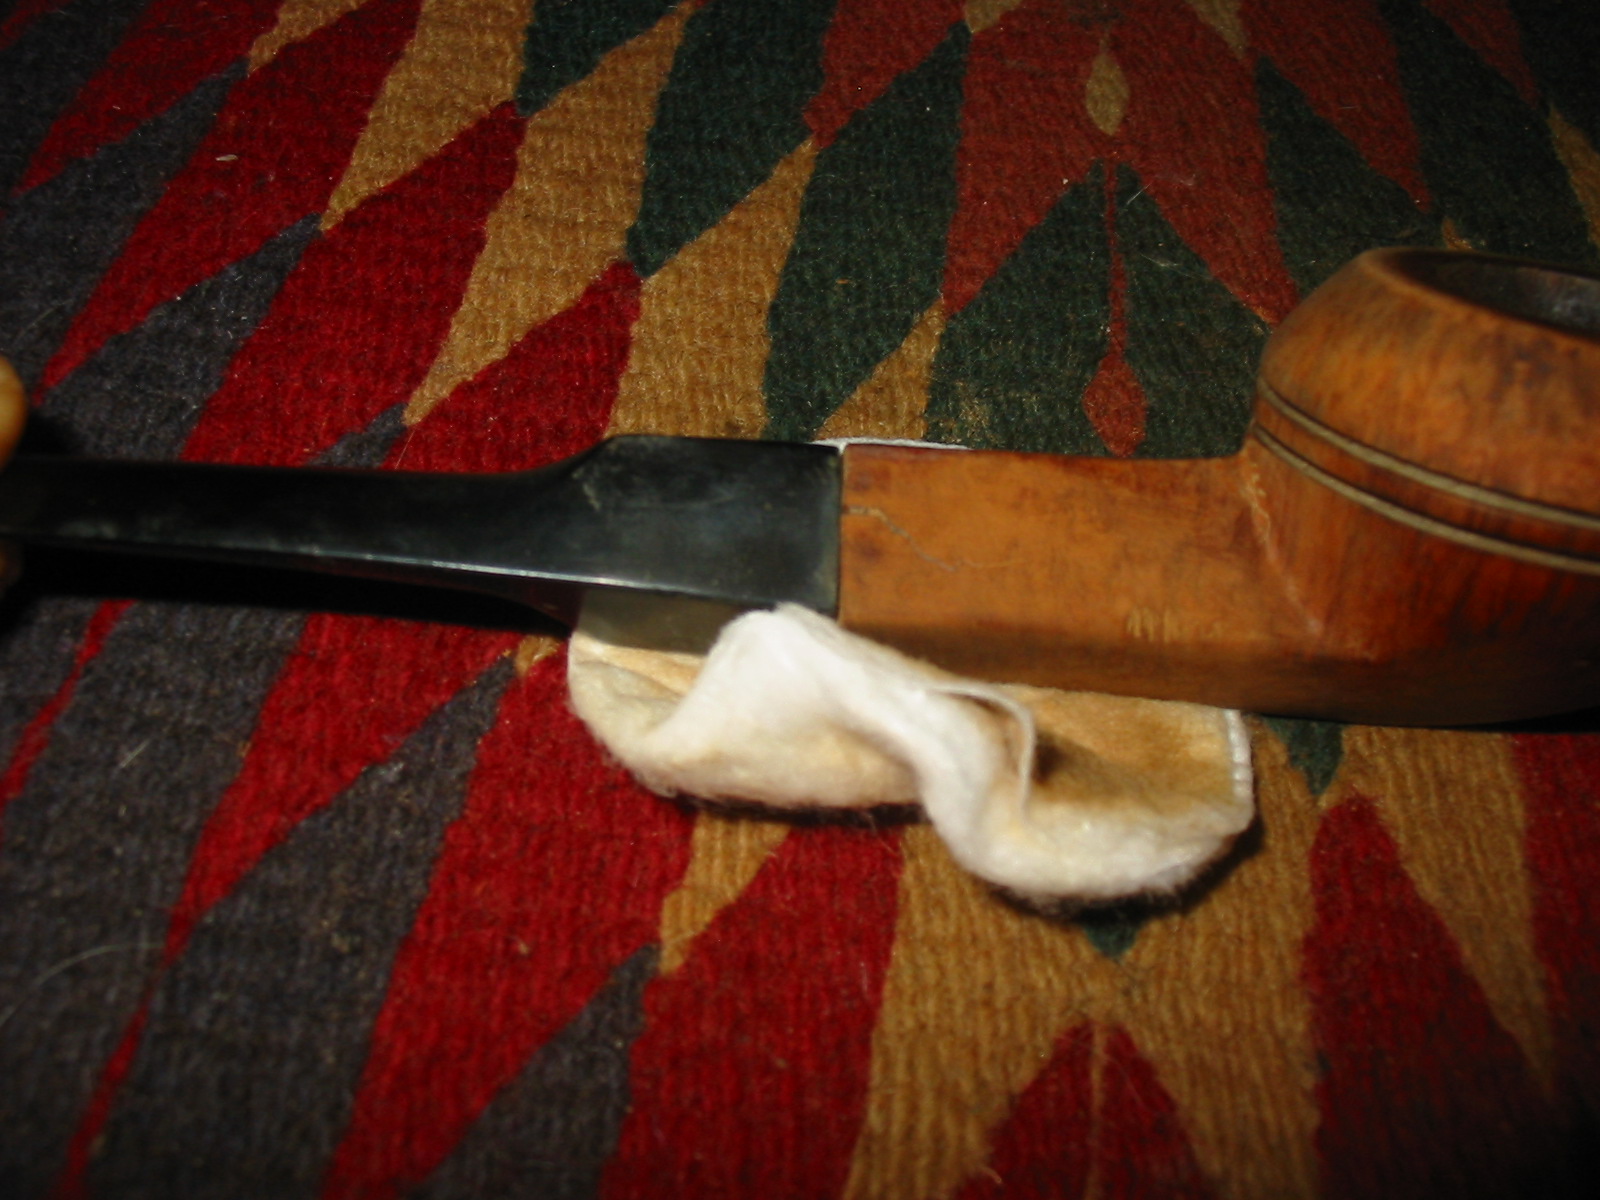
I immediately put it in the freezer for a half an hour to see if I could loosen the stem from the shank. Once I took it out I was able to twist off the stem and remove it from the shank. I took it to my work table and examined it to see what I had to work with. I was quite happy to see that the shank had a metal tube inside that was threaded to receive the tenon. The tube extended into the shank about an inch. This would make a repair on the crack quite simple and not require that I band the pipe. The stem was overturned and the tenon would need to be heated until it was loose and then realigned on the shank. The insert in the shank extended further than the end of the shank and kept the stem from seating correctly against the shank. I also noted that the stamping did not read Worchester as the seller had listed it but that it read Dorchester and underneath that Algerian Briar. There was also damage on the shank near the bowl on the right side where the edge was pretty chewed up by what looked like a pair of pliers used to try and remove the stem from the shank. The slot in the button was clogged with oils and tars so I was assuming that insides were the same way. The stem had white spots on it that at first appeared to be paint but were actually pits in the stem. It appeared to be made of something other than vulcanite. I was not sure what it was but it was not rubber. All of the issues with this pipe, and they were many, but it was very repairable.

IMG_1583

IMG_1584

IMG_1585

IMG_1586

I reamed the bowl with a PipNet reamer using the smallest cutting head first and gradually working up to the diameter of the bowl. I wanted to ream the pipe back to bare briar to give a fresh start and be able to see if there were any burn out issues in the bowl. There were none.

IMG_1588

IMG_1589

IMG_1590

With the bowl reamed and the cake gone it was time to clean the exterior of the bowl and rim. I wiped it down with acetone to remove the finish and break up the crackled varnish that is visible in the above photos. I also lightly topped the bowl with a sanding block to remove the crumbly build up on the rim. I was guessing from my examination that the rim itself was not damaged so a light topping to remove the buildup would be all I would need to do. The next series of photos show the process of wiping down the bowl, topping it and wiping it down a second time after topping. While most of the varnish finish was gone, not all of it would come off with the acetone wash. So in the last picture below you can see the crackly finish on the shank and at the bowl junction.

IMG_1591

IMG_1596

IMG_1595

IMG_1594

IMG_1593

IMG_1592

I decided to drop the bowl in my alcohol bath to soak while I worked on cleaning up the stem. I use an alcohol bath to soak the pipe bowl and get underneath the varnish coat. Once it comes out of the bath it is relatively simple to wipe off the remaining finish. While it soaked I scrubbed the stem with Everclear and a soft bristle tooth brush. I scrubbed off the surface grit and grim and also worked on the button and slot to loosen the grit. I scrubbed the condenser as well with the Everclear and also used 0000 steel wool to polish it. I cleaned out the inside of the stem with thick and bristle pipe cleaners. Once it was clean it was time to take the bowl out of the bath.

IMG_1600

IMG_1601

I removed the pipe from the bath and scrubbed it with the tooth brush. I worked on the grooves in the bowl and also at the shank bowl junction. I dried it off and prepared it for work on the cracked shank. The crackled finish was finally gone and the pipe was clean.

IMG_1602

IMG_1603

IMG_1604

I scrubbed the area around the crack in the shank and picked out dust and particles with a dental pick. I dripped clear superglue into the crack and packed in briar dust with a dental pick. I clamped the cracked area and set it aside to cure for about a half hour.

IMG_1613

Once I removed the clamp the crack was sealed and the shank was returned to its original shape. I sanded the shank area to remove the excess superglue and the briar dust that was on the surface. The photo below gives a clear picture of the end view of the repaired shank and how it was squared up.

IMG_1614

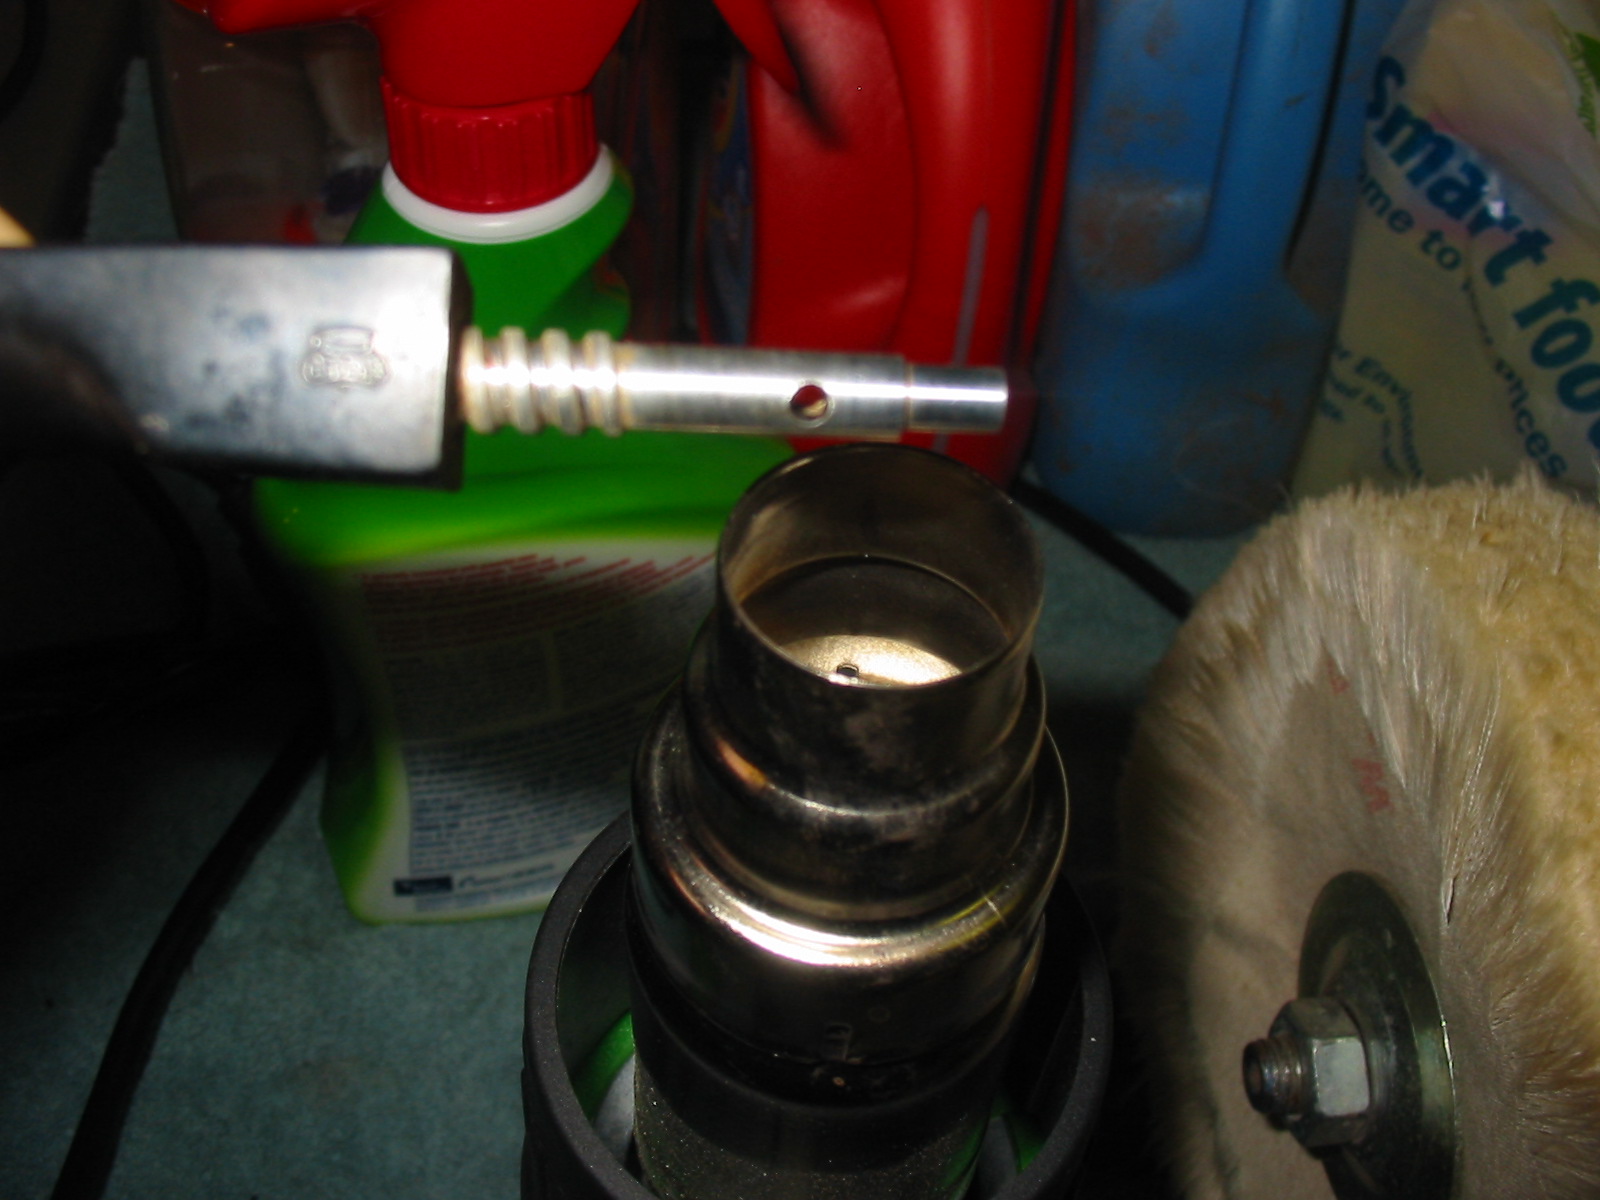
The next step in the repair process was correcting the overturned stem. I removed the stem and sanded the metal end of the mortise insert flush with the shank end. Then I heated the tenon over a heat gun and when it was warm screwed it on to the shank and turned it until it lined up well with the shank.

IMG_1615

IMG_1616

IMG_1617

With the stem and shank aligned I sanded the shank area to clean up the damage to the right side where the marks were from someone’s pliers. I also sanded the stem shank junction and the repaired crack with a sanding block until the sides were all smooth in their transition from stem to shank. I wiped it down with an acetone wet cotton pad to remove the sanding dust and prepare it for staining. I used a black permanent marker to cover the fills in the bowl. I have found that when I follow the grain pattern with the marker before restaining the stain works well to mask the fills.

IMG_1618

IMG_1619

IMG_1620

IMG_1621

I chose to do a contrasting stain on this pipe, a black understain and an oxblood/mahogany top stain. I heated the briar and then applied a black aniline stain to the pipe. I applied it with a cotton swab and flamed it with a lighter. I reapplied the stain and also flamed it again to set the stain in the briar.

IMG_1622

IMG_1623

IMG_1624

I wiped the bowl down with acetone to lighten the black stain and make the grain stand out on the pipe. I also sanded it with a fine grit sanding sponge.

IMG_1625

IMG_1626

IMG_1627

From the above photos you can see the coverage of the black stain and the way in which the black permanent marker blends into the grain of the pipe. I wiped the pipe down repeatedly until it was the colour I wanted before I put on the next coat of stain. For the top coat I chose to use an oxblood or mahogany coloured aniline paste stain. I rubbed it on with cotton swabs and wiped it off with a soft cloth.

IMG_1628

IMG_1629

IMG_1630

IMG_1631

IMG_1632

IMG_1634

At this point I wiped the bowl down a second time with acetone wetted cotton pads and lightened the reddish finish. The fills are slightly visible but once the pipe is buffed and polished they will be blended in better. I buffed the bowl with White Diamond to remove more of the excess stain and help the contrasting under stain to show. I sanded the stem with a fine grit sanding pad, and then with micromesh sanding pads from 1500-12,000 grit until it shined. I then gave it a rub down with Obsidian Oil and finally with multiple coats of carnauba wax. Here is the finished pipe. It is ready to smoke and will in all likelihood last longer than I will. The lightweight aged Algerian briar evidently made this a great smoking pipe for the previous owner and it will remain that I am sure for the owners to come.

IMG_1636

IMG_1637

IMG_1638

IMG_1639

An Engagement Pipe (GBD 548 Seventy-Six)


My family had a pretty big life event here last week. My daughter came home from New Orleans for a week of vacation, with the boyfriend of two years in tow again. He had called us a few weeks prior to ask permission to marry her, the first of our daughters to get engaged. This young man is quite a gentleman, as you might have guessed (who knew guys still ask for permission?). He and I share a number of interests, including pipes. I enjoyed my week with him and we were able to spend some time in the shop where I shared with him some estate pipe restoration techniques. He left here with a few briars that he cleaned. I miss him and her already.

As they were getting ready to depart, I found this GBD Seventy-Six, shape 548, on Ebay. I later learned it was sold by our own Bob Landry. The pipe had some issues and I was a bit skeptical that a good outcome could result. I’m a fan of the Seventy-Six line and I liked the tall bulldog shape. The bowl top had some chips on it but the tall bowl looked like there was plenty of briar there to top it just a bit. The stem was in great shape, just oxidized and I rationalized that if it didn’t work out, at least I had a brass rondell for the parts box. The big concern was the two burn marks on the briar (photographed and described well by Bob). I knew it would require a restain. Here is the pipe as it was received.

GBD_584_76-Before

GBD_584_76-Before (1)

GBD_584_76-Before (2)

GBD_584_76-Before (3)

GBD_584_76-Before (4)

I reamed the bowl and found it to be in great shape. I used a sheet of 800 grit paper on my flat work bench to top the bowl and work past the damaged area. That fix came out great and the tall bowl definitely lent itself to that repair. Next up, I soaked the bowl in alcohol to remove the stain. This really exposed the burned areas. I tried to sand past them, but that was not possible and I was afraid of putting a flat spot on the bowl, particularly on that right side. This work exposed some other nicks on the bottom of the bowl. I was able to buff/sand out most of those.

GBD_548_76_Work (4)

GBD_548_76_Work (3)

GBD_548_76_Work

GBD_548_76_Work (2)

The GBD Seventy-Six line used a two stain process that I really like, much like Comoys used. I stained the bowl black but must have put it on too heavy, as I had a hard time getting the black off. The plan was to sand off the black, leaving it to highlight the grain and then apply a very light brown stain. I mulled over just leaving it black, but that didn’t set well with me either. I was a bit frustrated at this point and almost bagged the whole project and save the stem for a future project. I left it on the bench for the better part of a week, working on other projects. I decided to soak off the black stain and left it in an alcohol bath for several days. That finally did the trick and afterwards, I sanded the briar smooth with some 2000 grit paper and then 8000 grit micromesh.

GBD_548_76_Work (5)

GBD_548_76_Work (6)

GBD_548_76_Work (9)

GBD_548_76_Work (8)

GBD_548_76_Work (7)

I then applied a very light brown stain using Feiblings Medium Brown heavily diluted with alcohol (20:1 ratio or so?) The combination of the black and brown stain finally hid the burn marks rather well and I was pleased with the outcome. The bowl was then polished with White Diamond and then several coats of carnuba wax was applied.

With the bowl completed, I turned my attention to the stem, which didn’t require nearly as much work. Using a piece of plastic, cut into a round shape I inserted it as a shield between the stem and the briar for the sanding work. I sanded the stem with 800, 1500 and 2000 grit paper, all wet. I then moved to 8000 and 12000 grit micromesh sheets. The stem was then buffed with White Diamond and an automotive plastic polish.

This shows the plastic shield.

GBD_584_76_Work (10)

As I was finishing the pipe and thinking about my daughters marriage, it struck me that there were some similarities in this pipe project and a successful marriage. Like a marriage, at times things don’t always go the way you anticipated and being patient with your spouse or a project always pays off. I sent the pipe off to my future son-in-law with a note welcoming him to our family. I hoped when smoking the pipe, he would remember the week he spent here and his proposal to my daughter.

GBD_584_76-Finished (4)

GBD_584_76-Finished (3)

GBD_584_76-Finished (2)

GBD_584_76-Finished (1)

GBD_584_76-Finished

Big Ben Freehand: Re-Stemmed and Reborn


Blog by Greg Wolford

This stummel was gifted to me by a friend from Louisiana. We met via one of the pipe smokers forums probably near a year ago and he recently sent me two stemless pipes, this one and one I have yet to get to, to restore. These are interesting pieces, in my opinion, because of their history, a little of which I will share with you before I get into the “meat and potatoes” of the work.

RJ, my friend, inherited a large quantity of pipes, near 100 if memory serves me. They were given to him by an aunt, I think it was, after her father passed away. Her father was Major in the US Army and served overseas in World War 2 (again, some of these details may be a tad off but they are close enough for our purposes). He was an avid pipe smoker and acquired many of his pipes while deployed overseas.

The Major’s wife was involved in a serious car accident many years ago. Her injuries were serious, leaving her with diminished mental, and to a lesser extent, physical capabilities. THe Major, as they affectionately called the man, took care of her himself after this accident. Sadly, the Major began to develop Alzheimer’s with dementia in his latter years, though he continued to care for his beloved wife; they were separated from their daughter, who gave the pipes to RJ, by miles, geographically.

The Major called his daughter the day after Valentine’s Day, 2005, and told her, quite confusedly, that her mother had gone missing. After much questioning, she called the police, local to her parents, and they dispatched a unit to the couple’s home. Shortening the story some, the Major had, in a state of mental confusion brought on by his disease, killed his wife. He was never found competent to stand trial for the killing of his wife 50-years. As far as I understand it, he was in a mental hospital for the rest of his life. A tragic story to be sure but an interesting one to go along with these unique pipes!

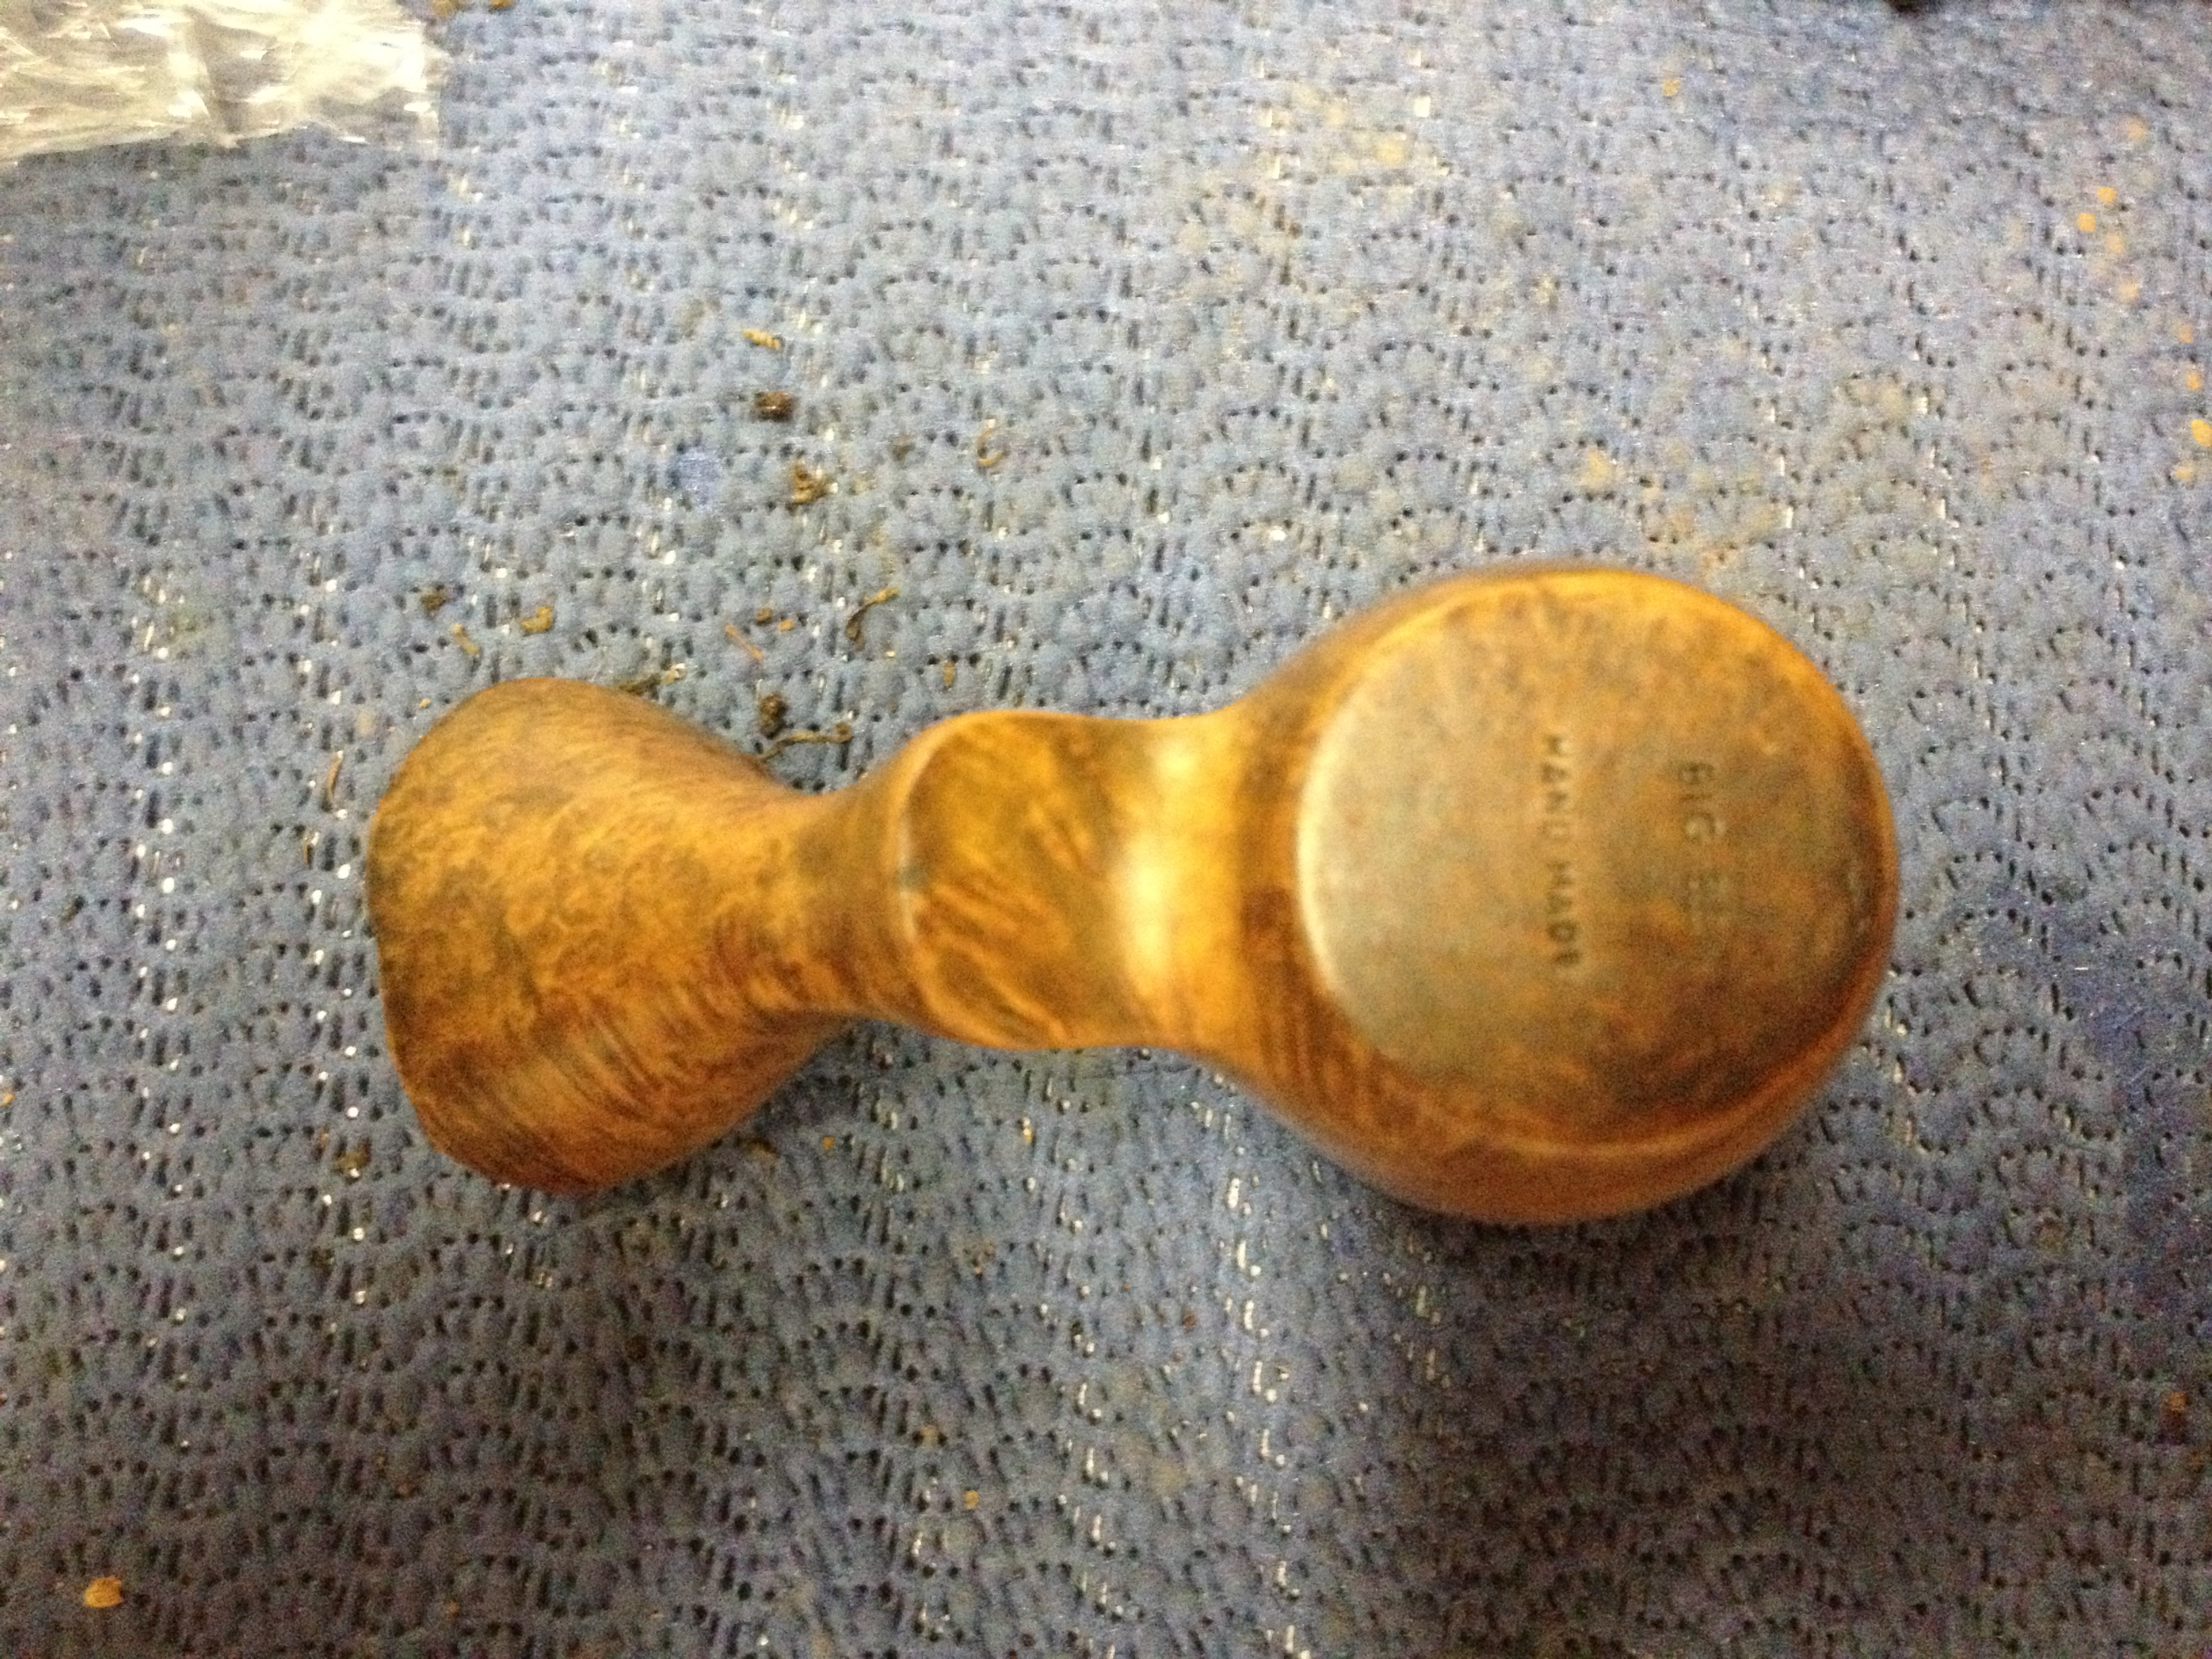
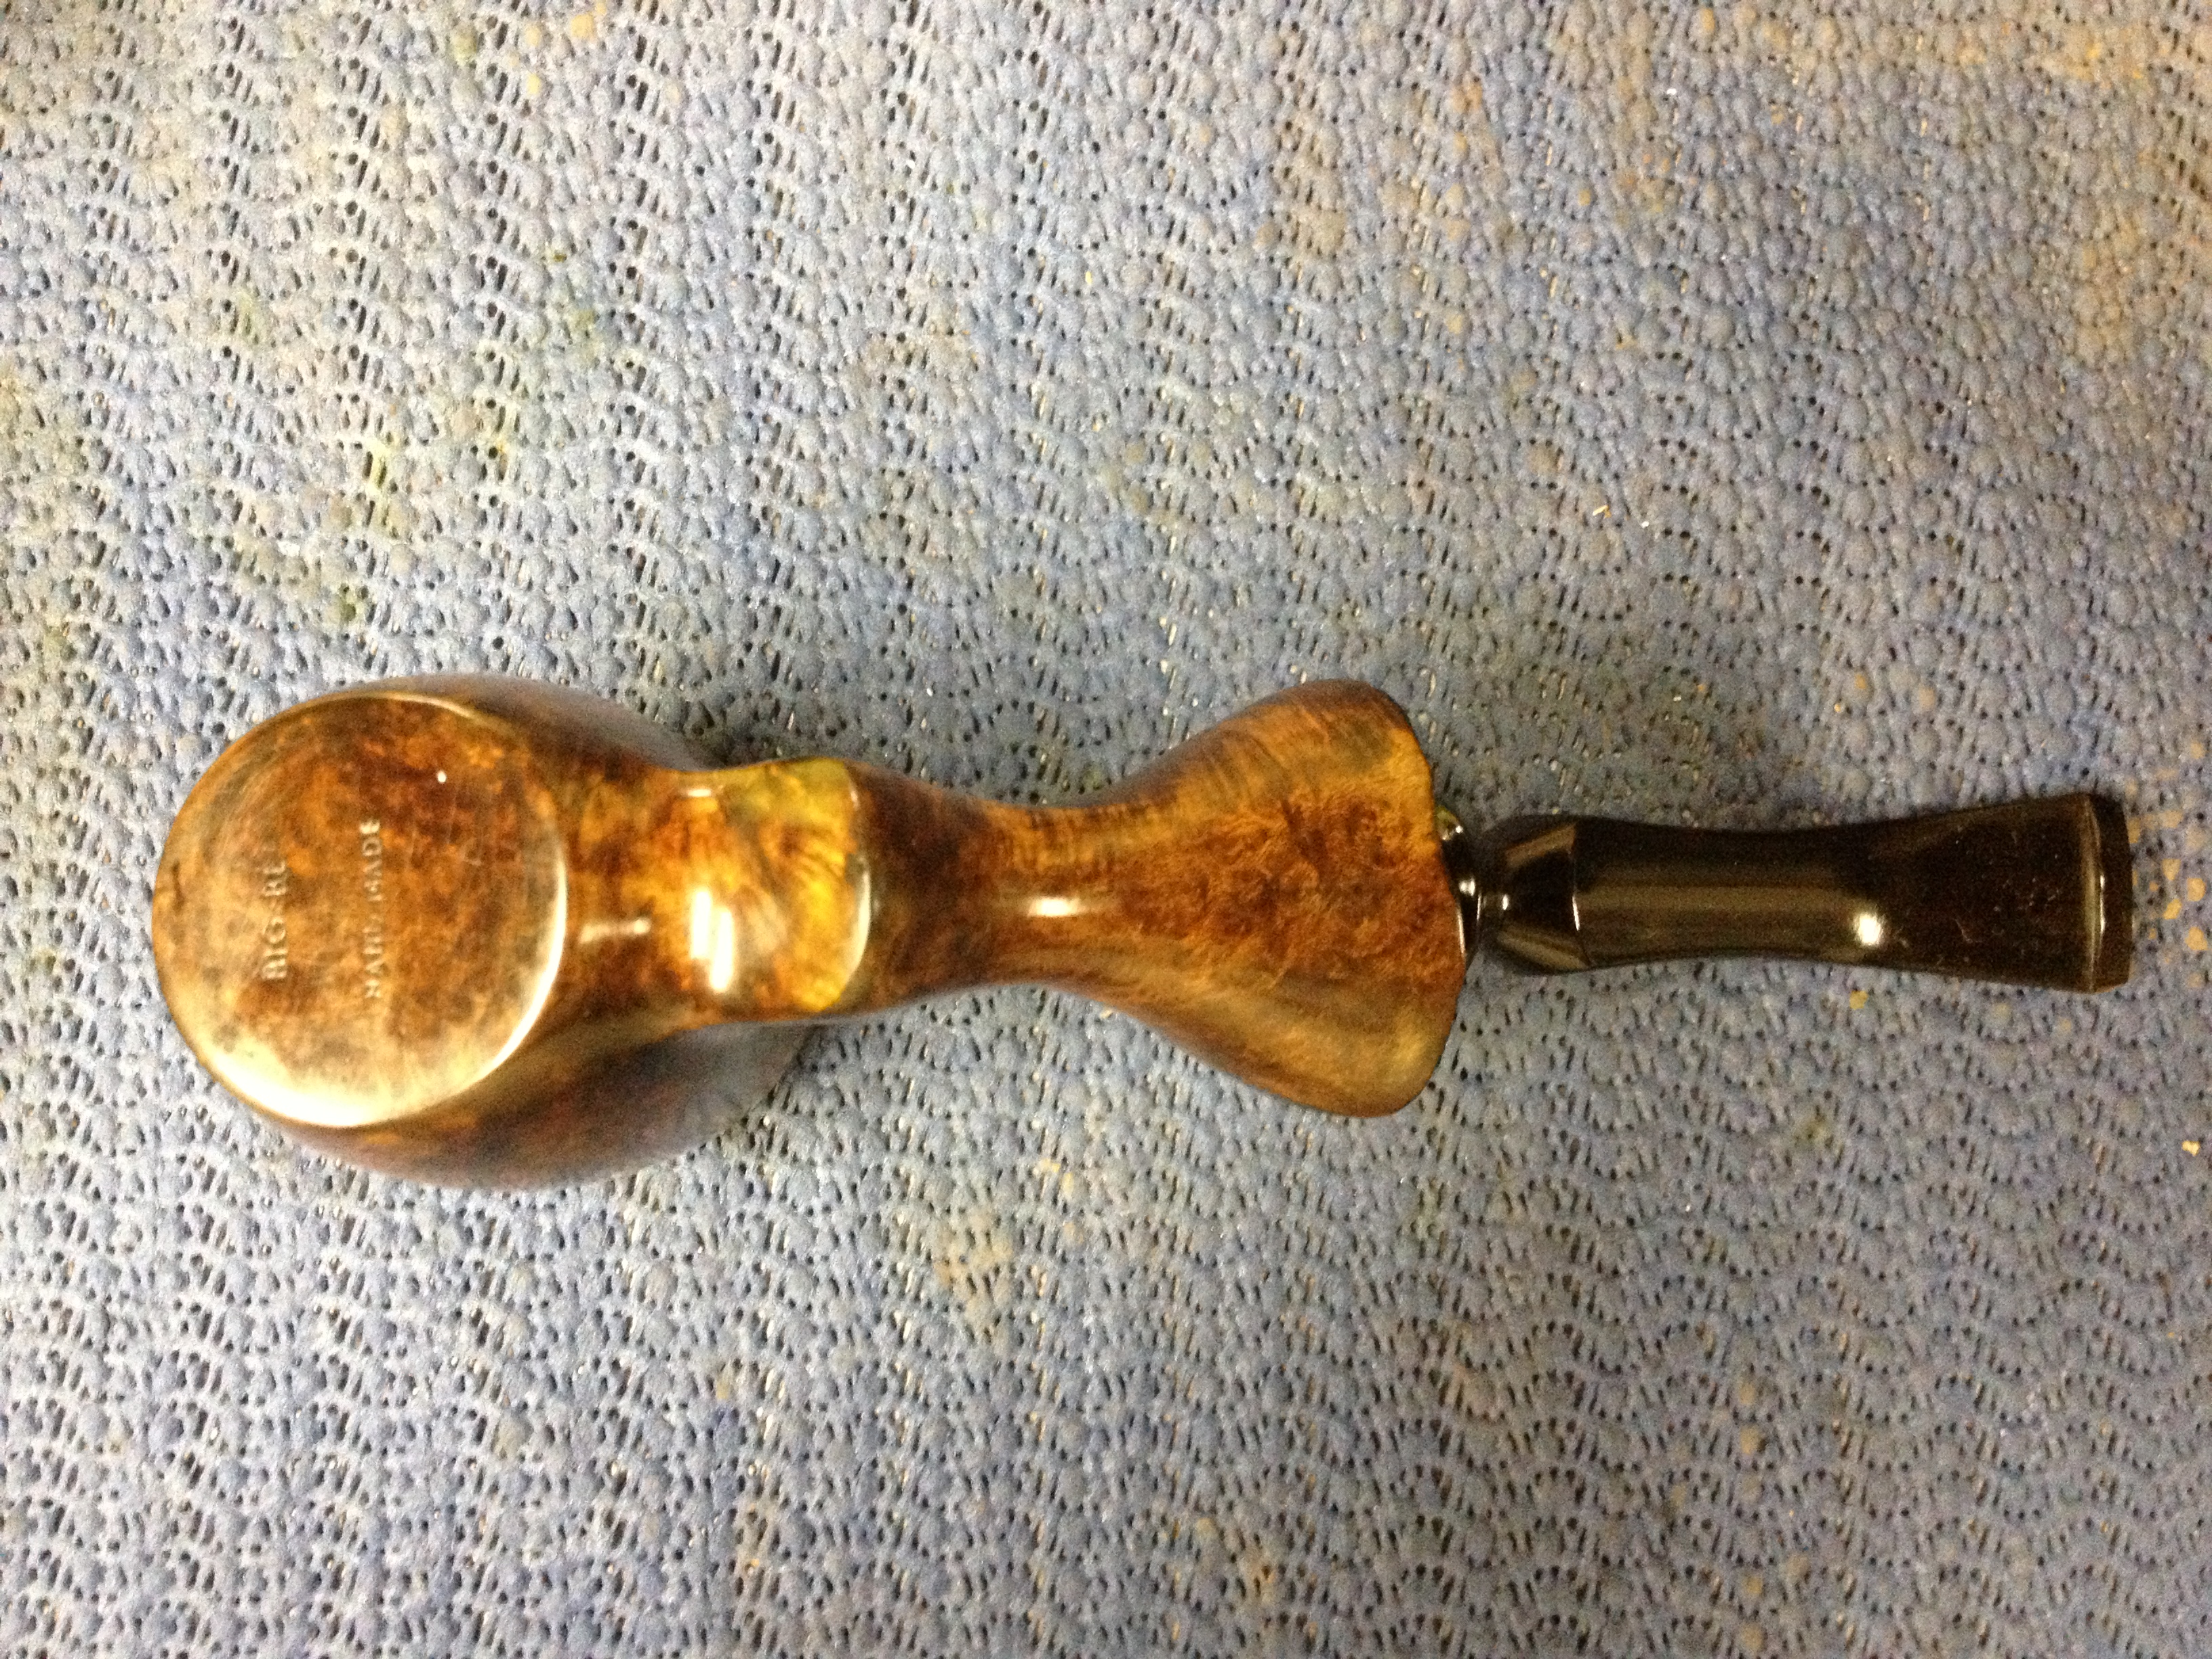
When the stummel arrived it was dull and dirty and, as I said, without a stem. The bottom of the pipe is stamped “Big-Ben” over “Handmade” and the stamping is pretty good overall. Doing a quick search on http://pipephil.eu, it seems that the Big-Ben brand is a brand of the Elbert Gubbels & Sons -Royal Dutch Pipe Factory. Here are a few photos of it before I began any work.
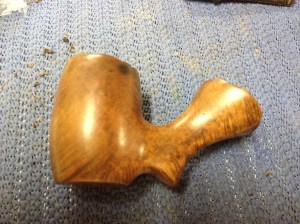
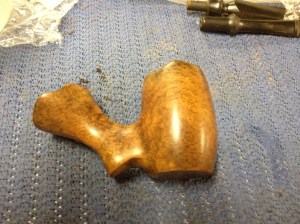
IMG_6726 IMG_6727 IMG_6728 IMG_6729

I actually began this restoration with the stem, finding the pipe a new one that is. I had planned on using an acrylic stem but changed my mind for a couple of reasons: I was turning my first tenon with my brand new Pipe Makers Emporium tenon turner and know that acrylic is more finicky than vulcanite and I thought, after looking at it, that the rubber stem would look better on this stummel.

The PME tenon tool is, by all accounts, essentially the same tool as the one offered by PIMO. I chose the PME tool because it was about $10 cheaper and they happened to have a couple of acrylic stems I liked on clearance for cheap. I plan on writing about my thoughts on the tool in a separate article.

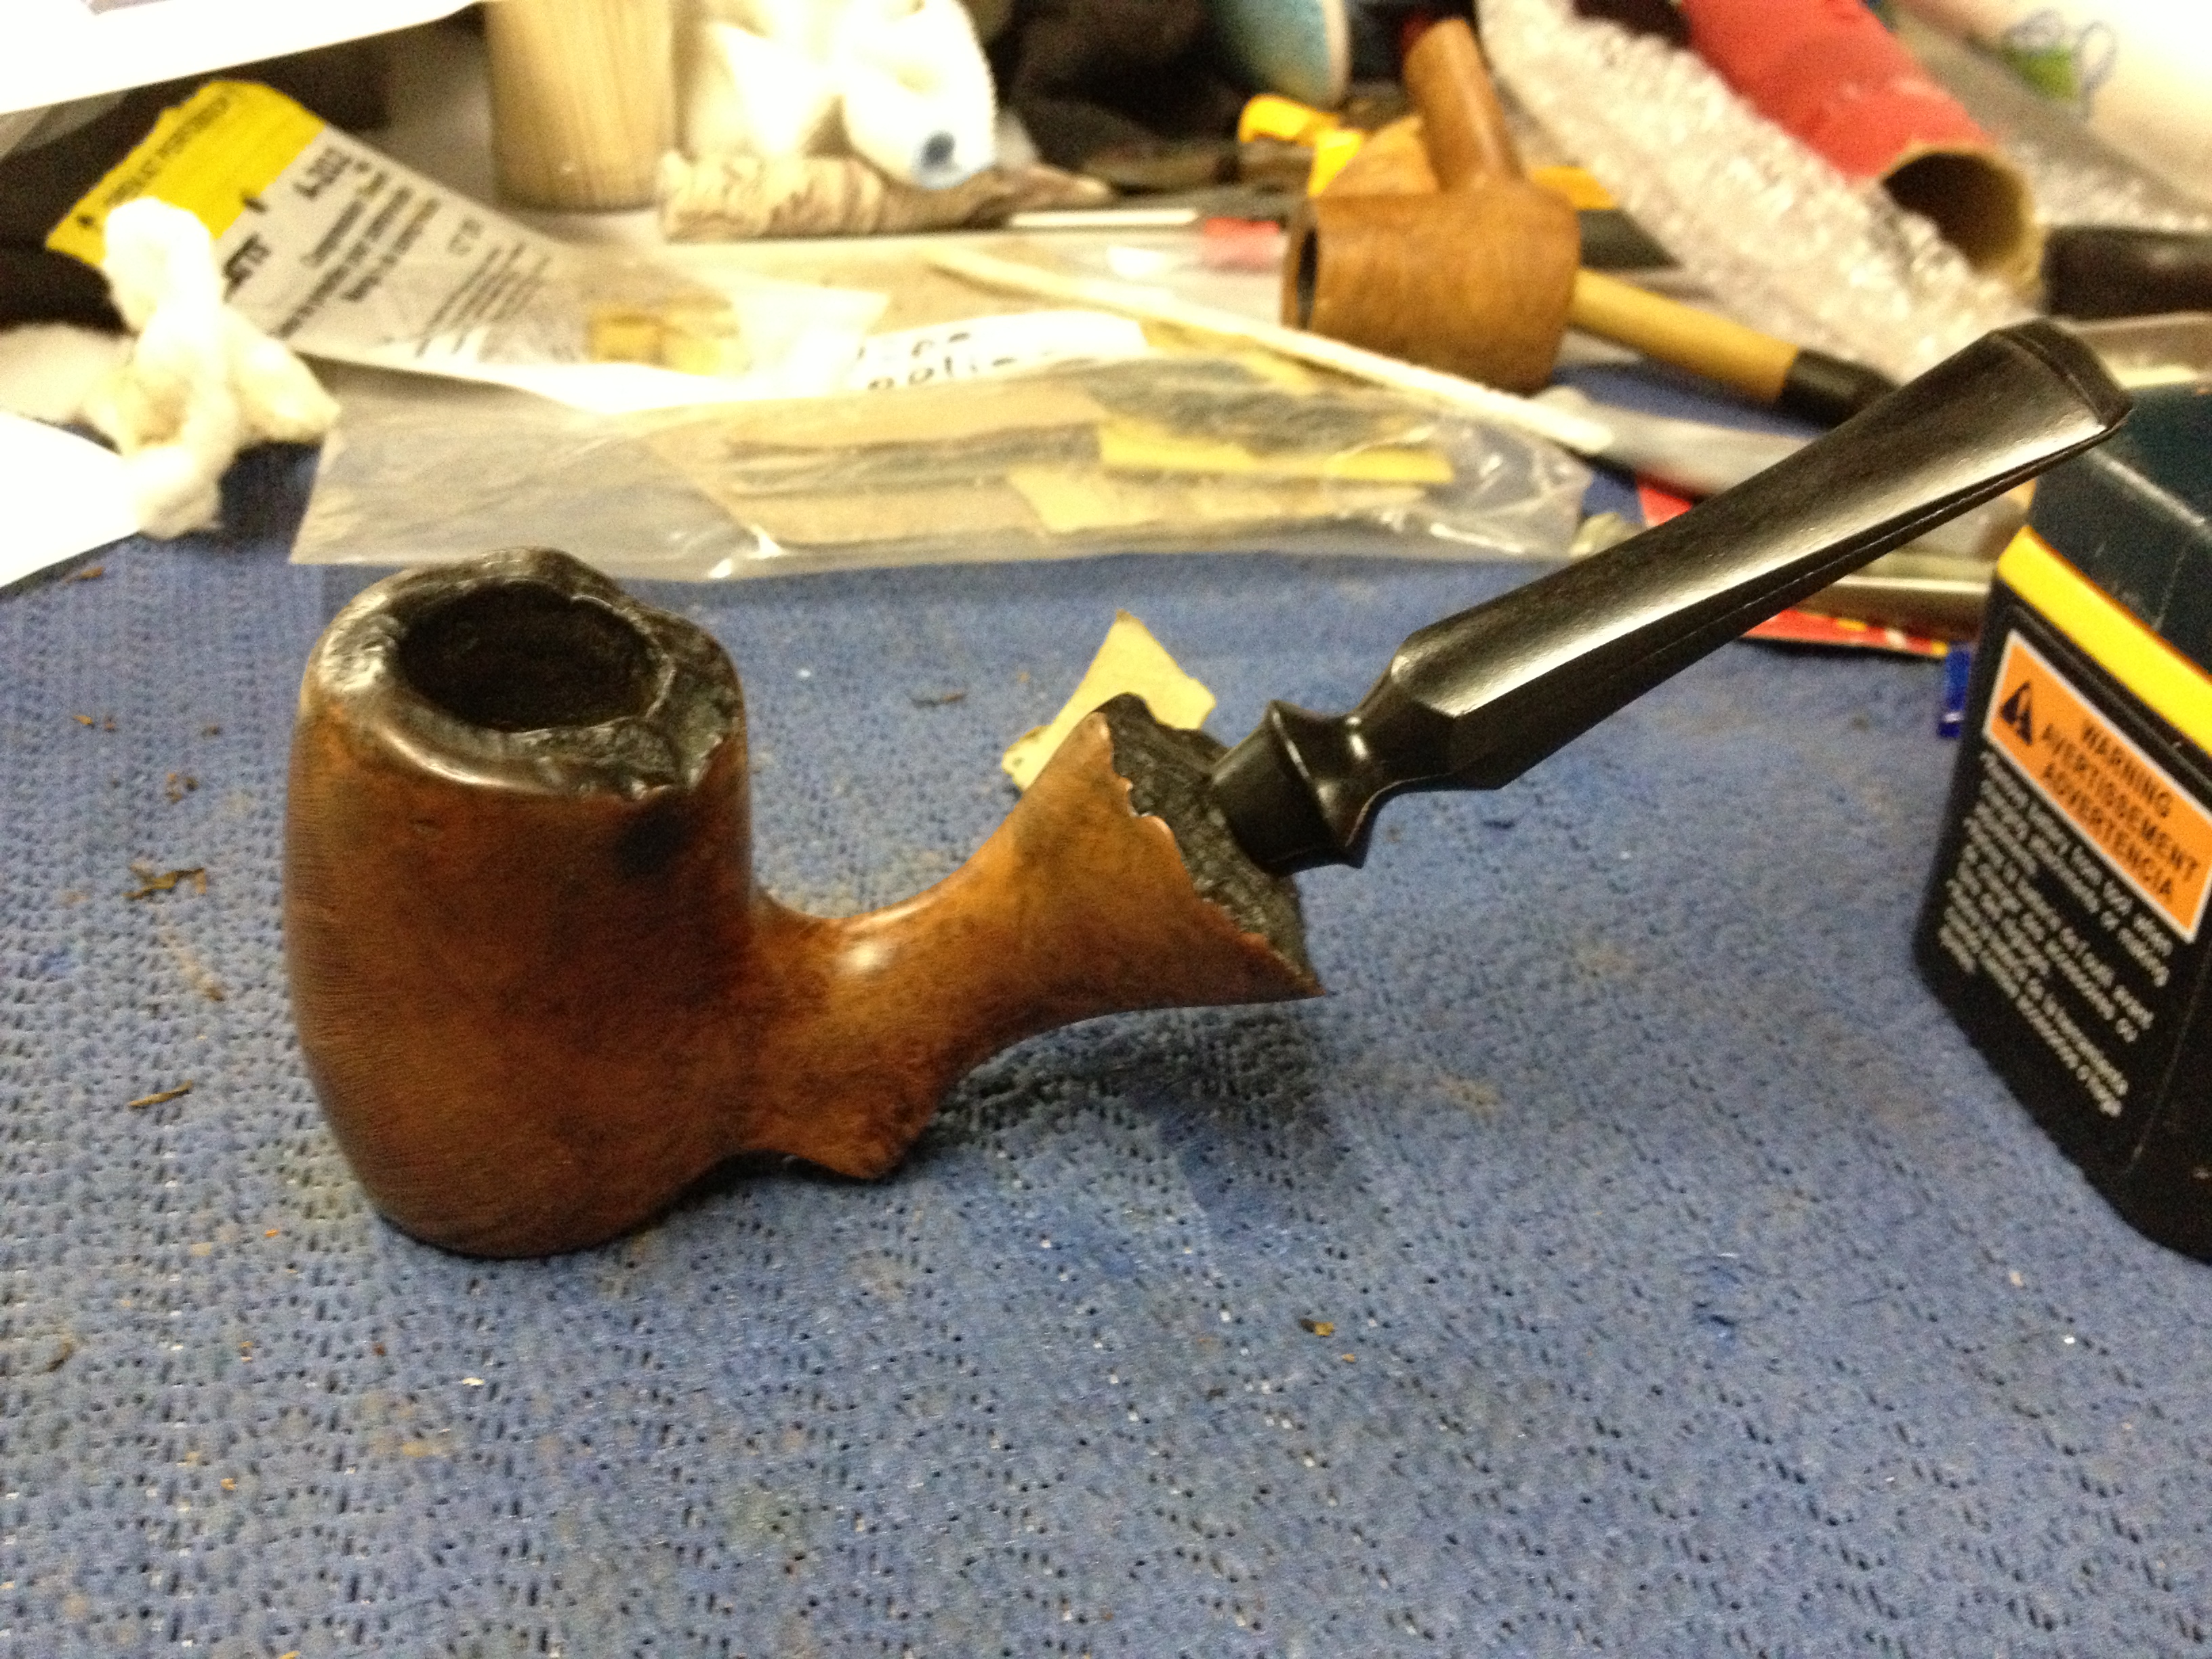
I choose a pre-formed Italian ebonite freehand-style stem for this stummel. To my eye it looked like it would be something very close to what the pipe would have originally had. I took my time turning the tenon down to fit since it was the first time I had done this and I didn’t have another stem like this one to use if I fouled up. After I got the tenon very close with the tool I hand sanded the tenon to get to the final fit; I know from reading Steve’s articles that it is easy to over-turn a tenon and you can’t put the material back on once it is gone! Here is a photo of the stem placed in the stummel after getting it fit:
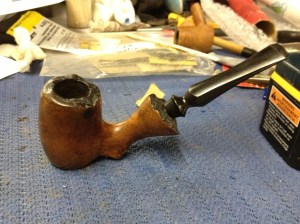
IMG_6717

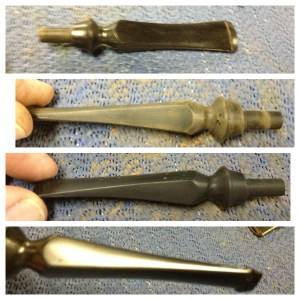
I decided to not bend the stem until after I had sanded and polished it. In retrospect, I probably should have bent it before I did all the sanding; there are some very small “marks” on the stem where the bend is now that I had not anticipated. Next time I will bend after the initial sanding is done I think,

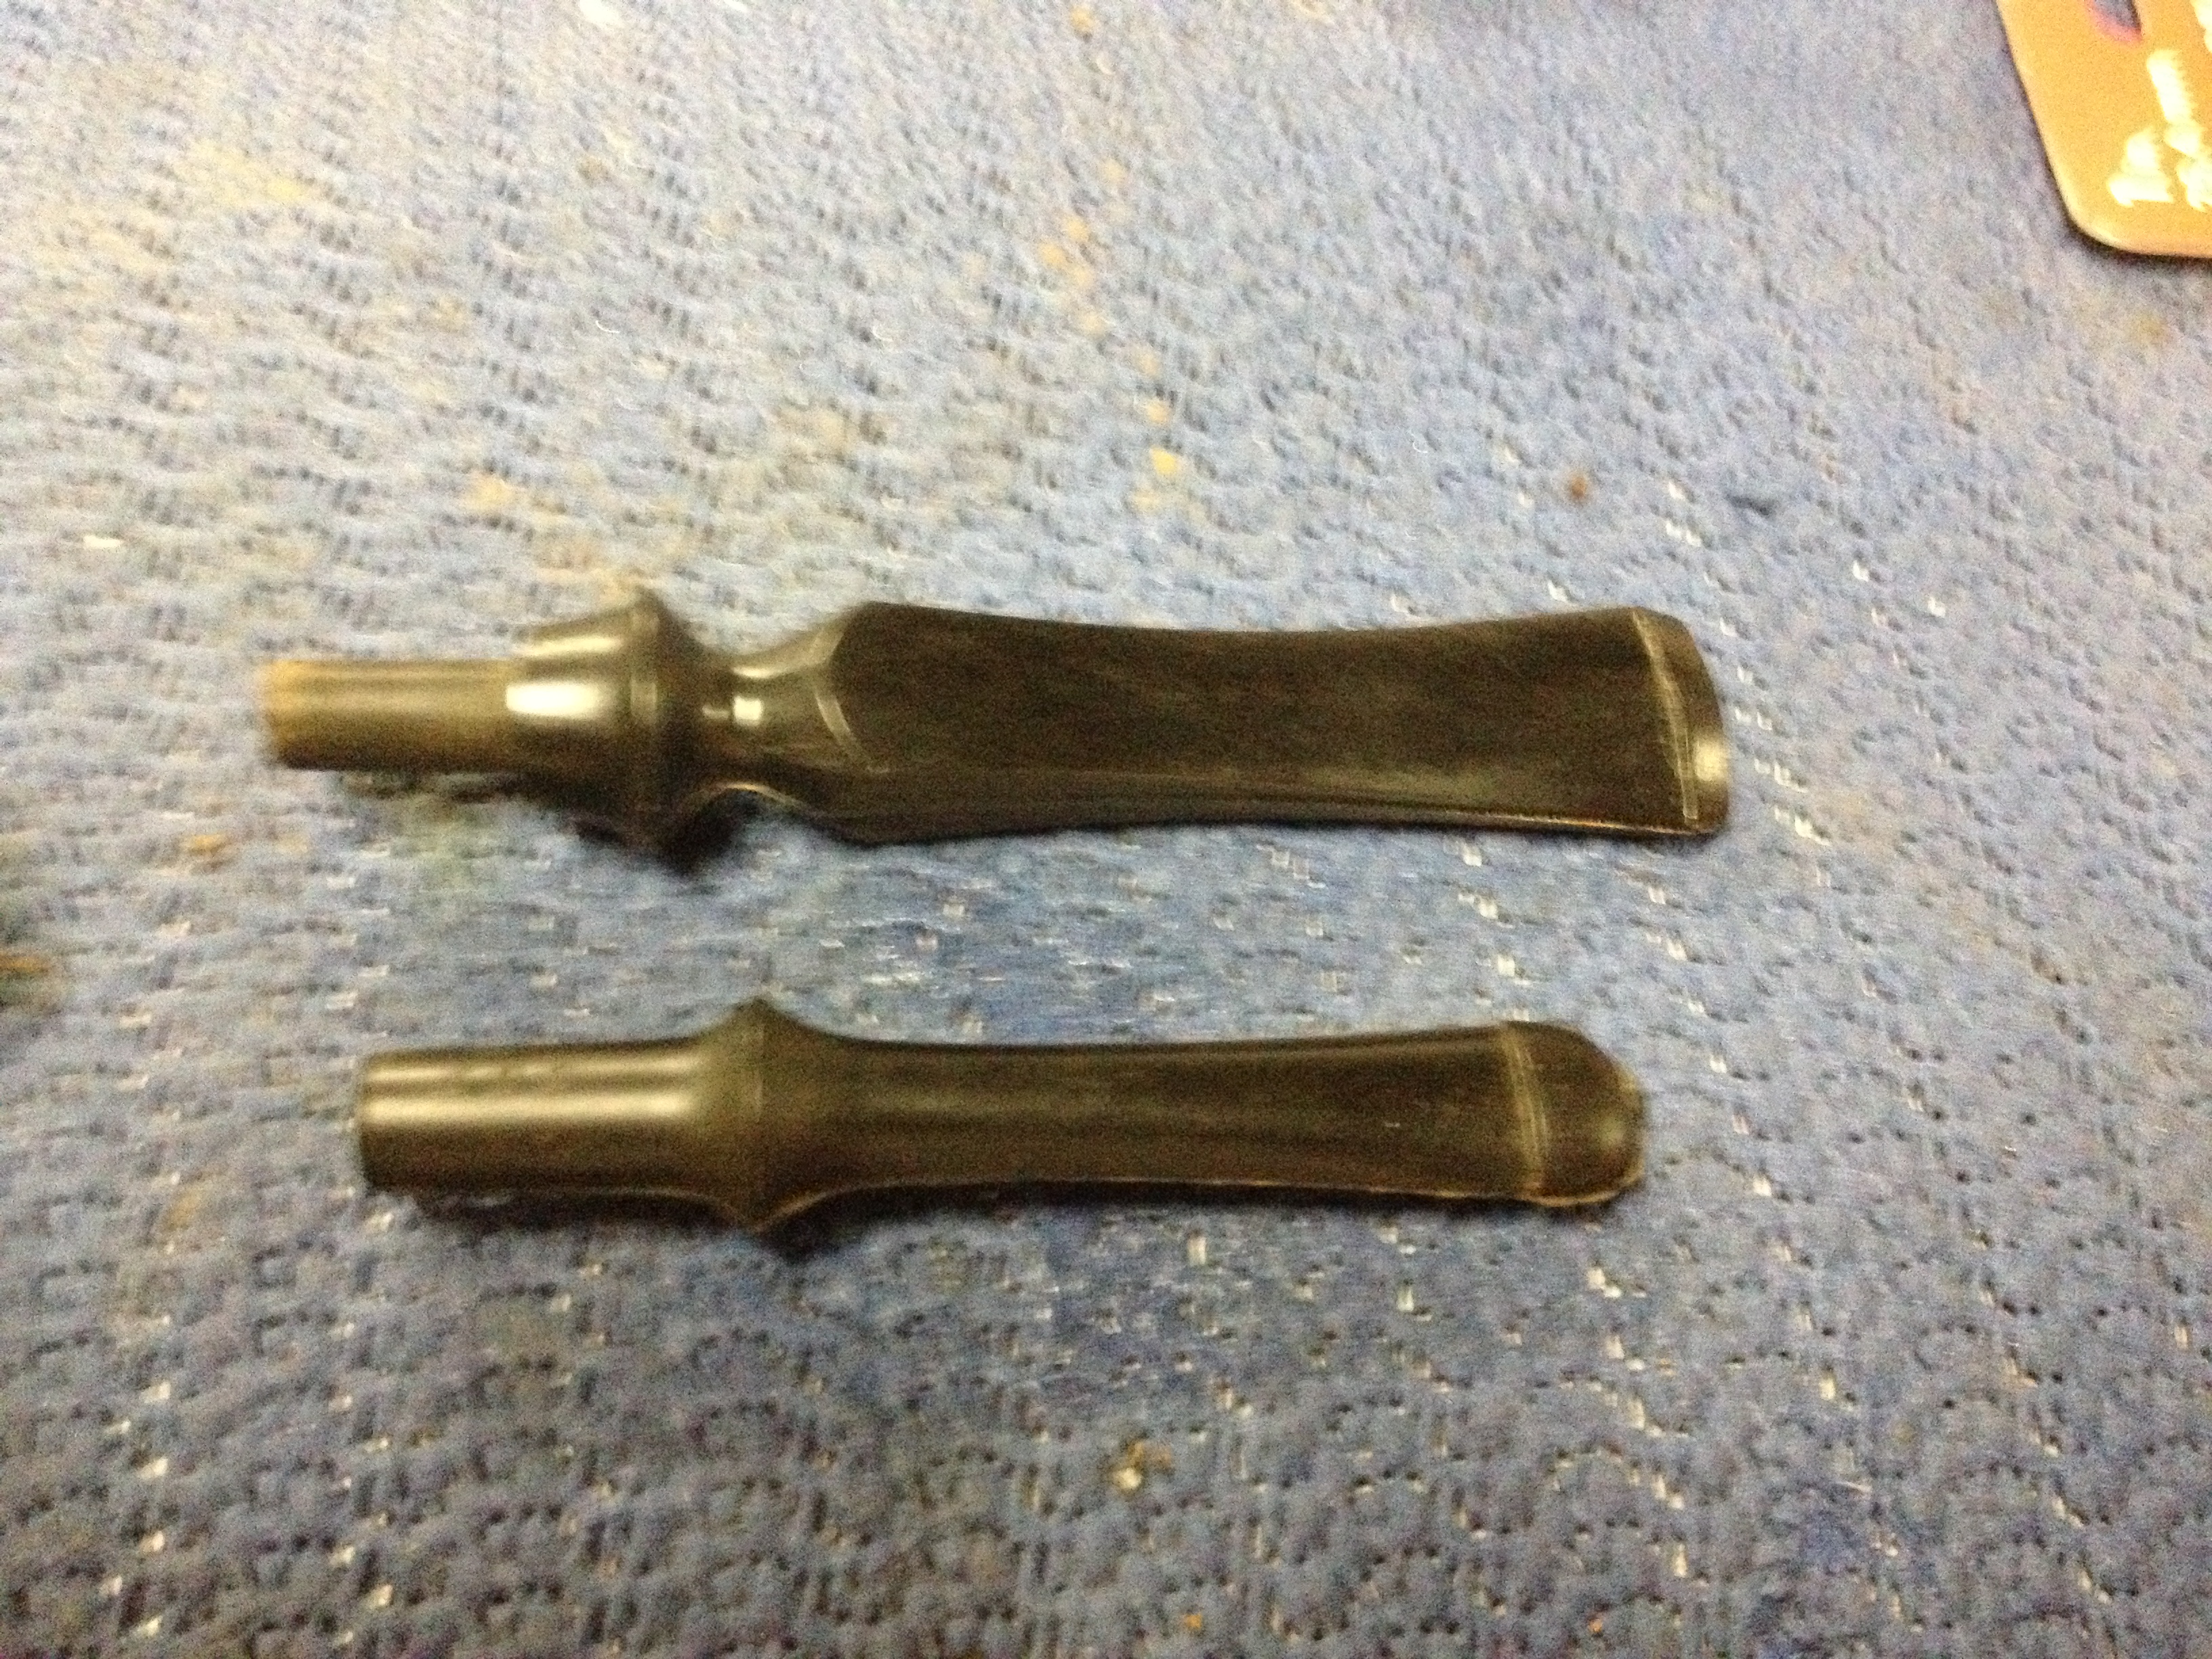
I began the sanding with 220 grit sandpaper to take out the casting/molding lines on the sides. I forgot to photograph the stem before I had started to sand it. This shows it early on and beside a smaller ebionite stem from the same lot to try to give you an idea of what the lines looked like from the start:
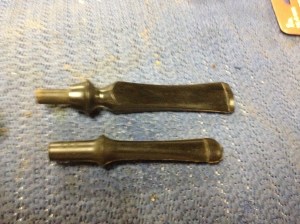
IMG_6725

I sanded out the marks with 220 then 320 grit paper. The stem had some, but not many, small sots on it that made me decide to go head and use the 320 wet/dry paper on the entire stem. I progressed to 400 grit wet/dry and then micro mesh 1800 through 12000 (I also used the plastic polish several times between grits to make sure I wasn’t missing any scratches). Here is a progressive photo along the way from rough through 12000 grit micro mesh.
IMG_6736

The stem didn’t fit flush at the top and bottom due to the angle of the shank so I had to do a considerable amount of file work to get it almost completely flush to the shank on the top and bottom. At this point I stopped working on the stem and turned my attention to the stummel.

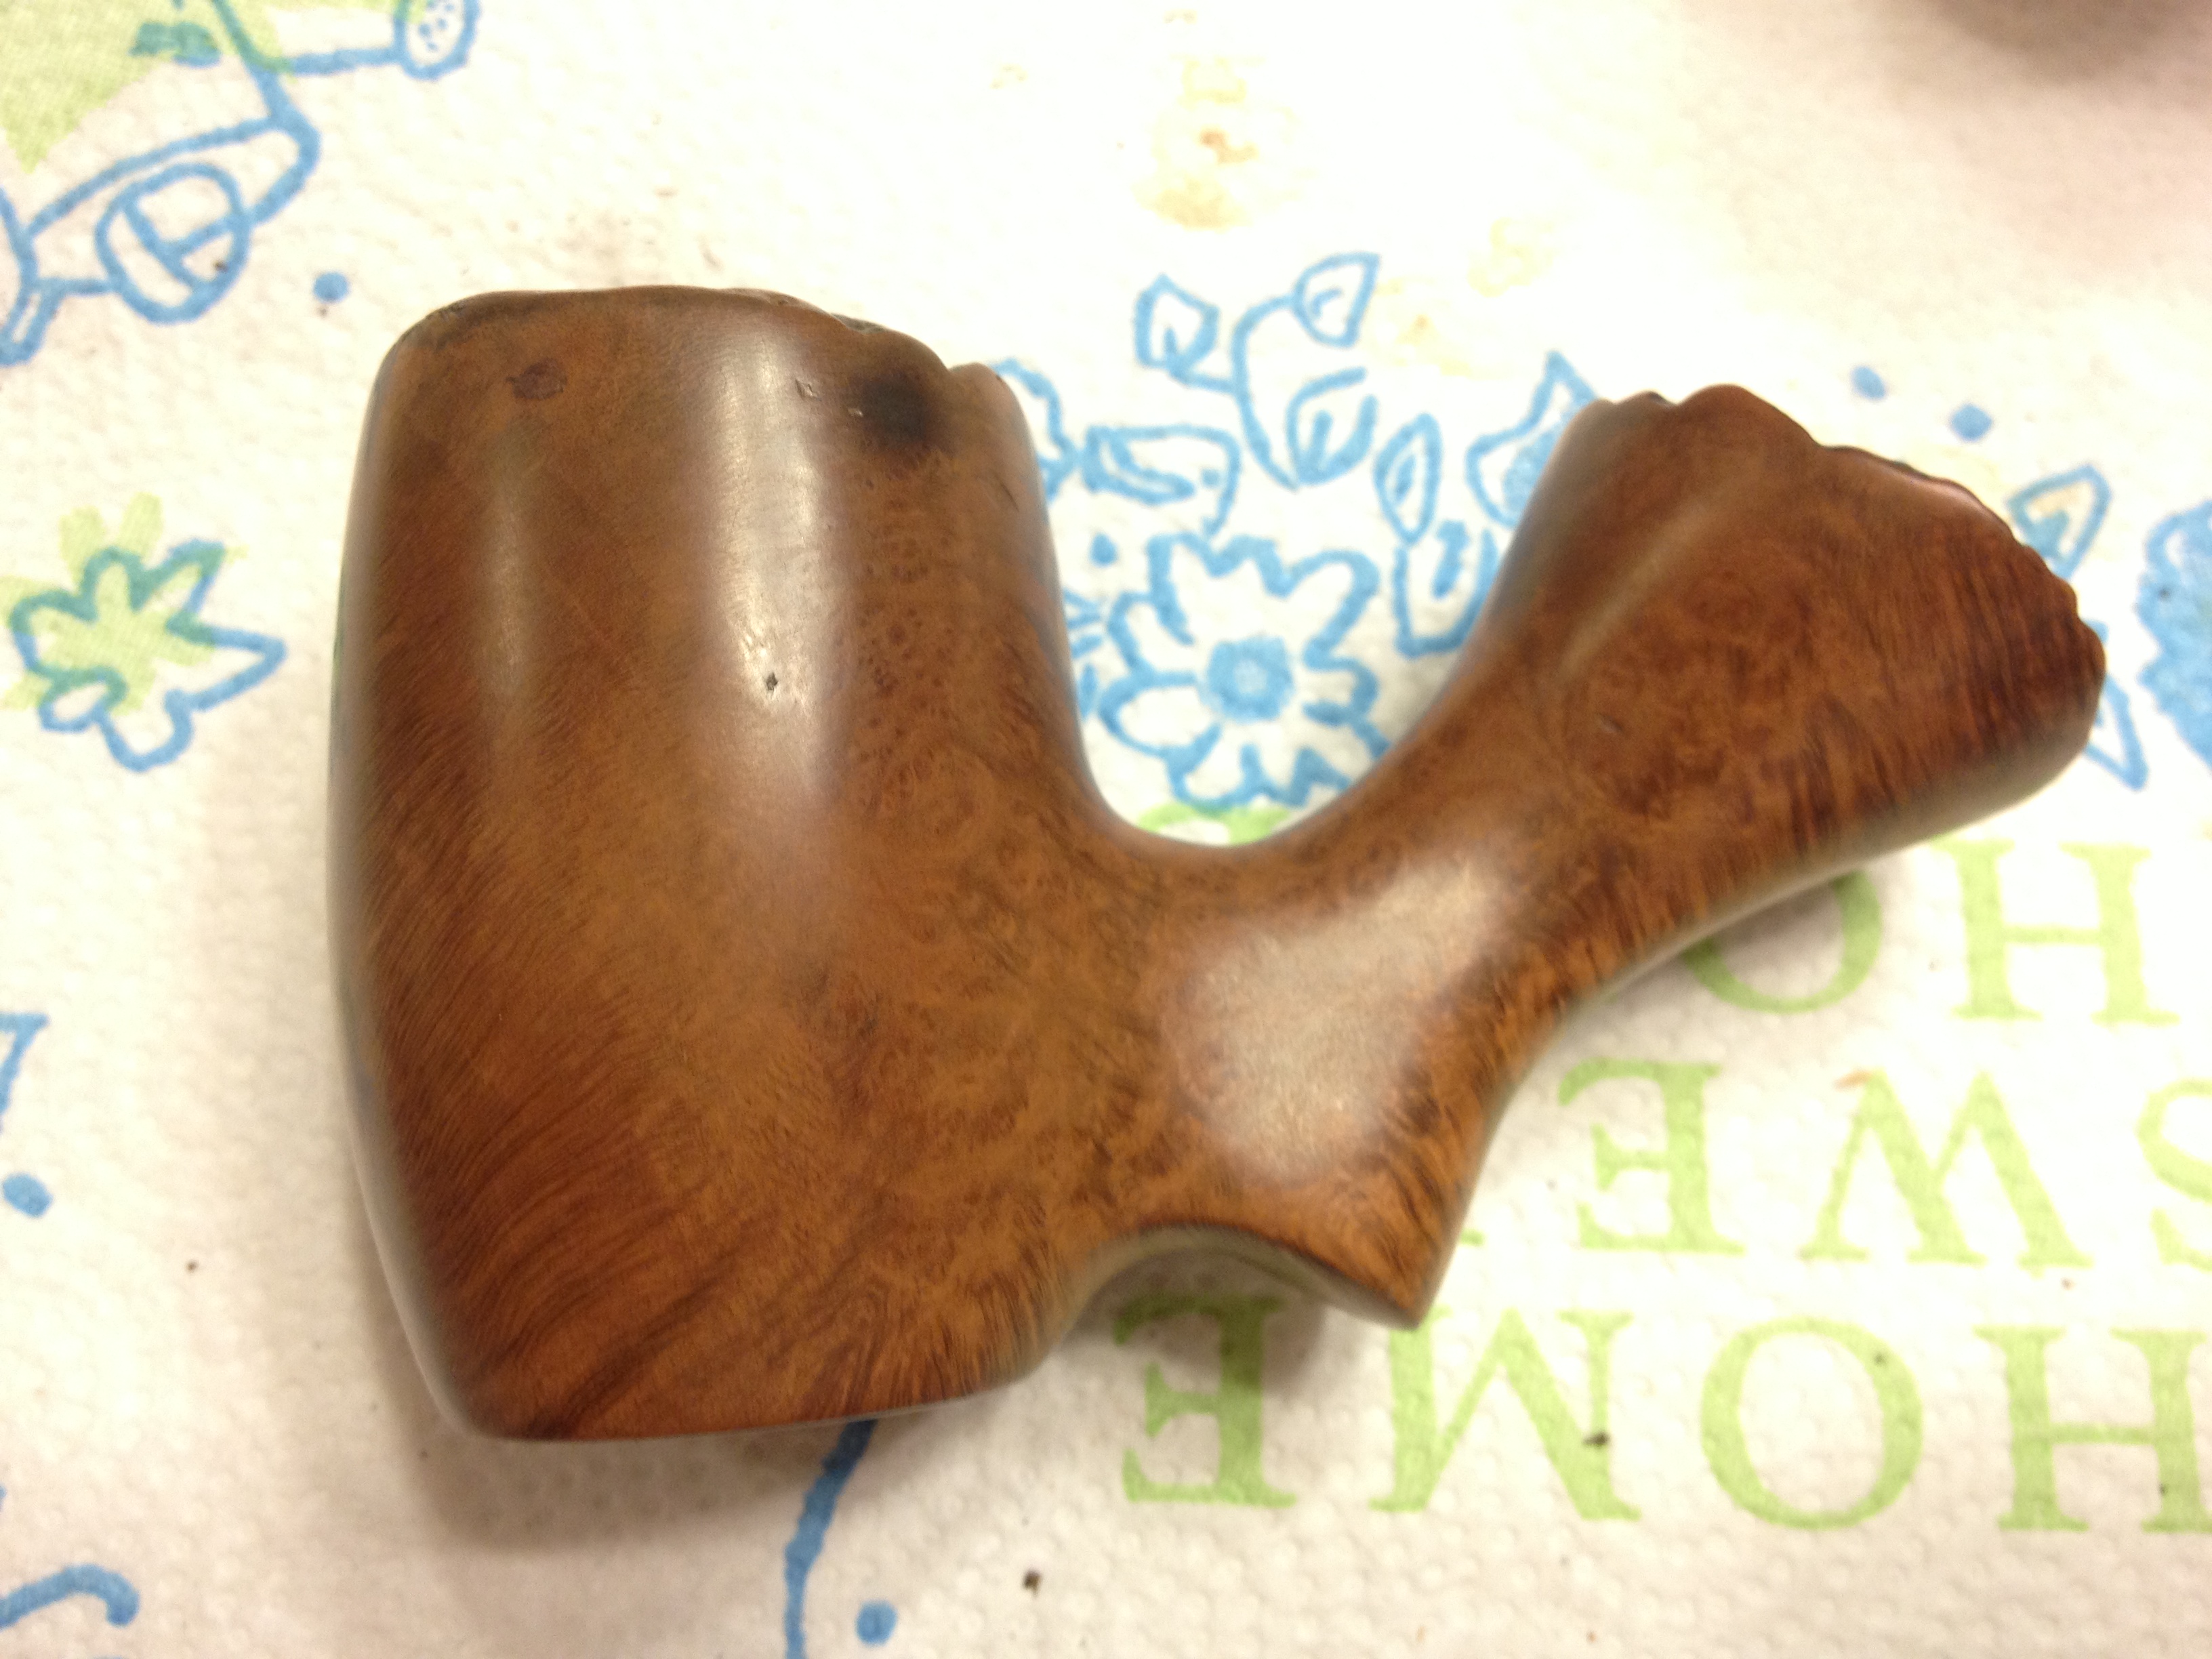
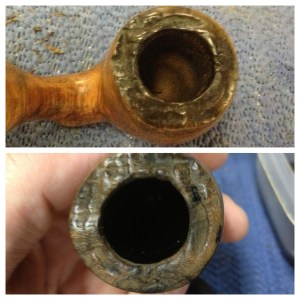
I wiped the pipe down with an alcohol soaked cotton pad. There was little wax left on the pipe and the wipe down removed what remained as well as some surface dirt. While the pipe was wet with the alcohol I could see there was a nice grain hiding under there, one that I hoped to bring out with a contrast stain. But first it would need an alcohol bath. So, I soaked the stummel a couple of in an alcohol bath. When I removed it I realized that the rim had a lot of build up on it; the rim, I thought, was stained black but that was just dirt, grime, and tar, and it was actually not stained black. I then scrubbed the rim with a brass bristle brush lightly to loosen the grime, with not a lot of success so I put the pipe back in the alcohol bath and left it overnight. The next afternoon I removed it from the bath and wiped it down then took it over another container of alcohol that I use for cleaning and dipped in my wire brush and started to scrub gently again. This time I saw much more removal of grime; the extra time in the alcohol has paid off in really softening the buildup. I switched to a toothbrush and scrubbed out all the remaining grime. I found that there were some rim char under there that the gunk had hidden. Below is a photo of before and after the 12-plus hour soak and scrubbing.
IMG_6754

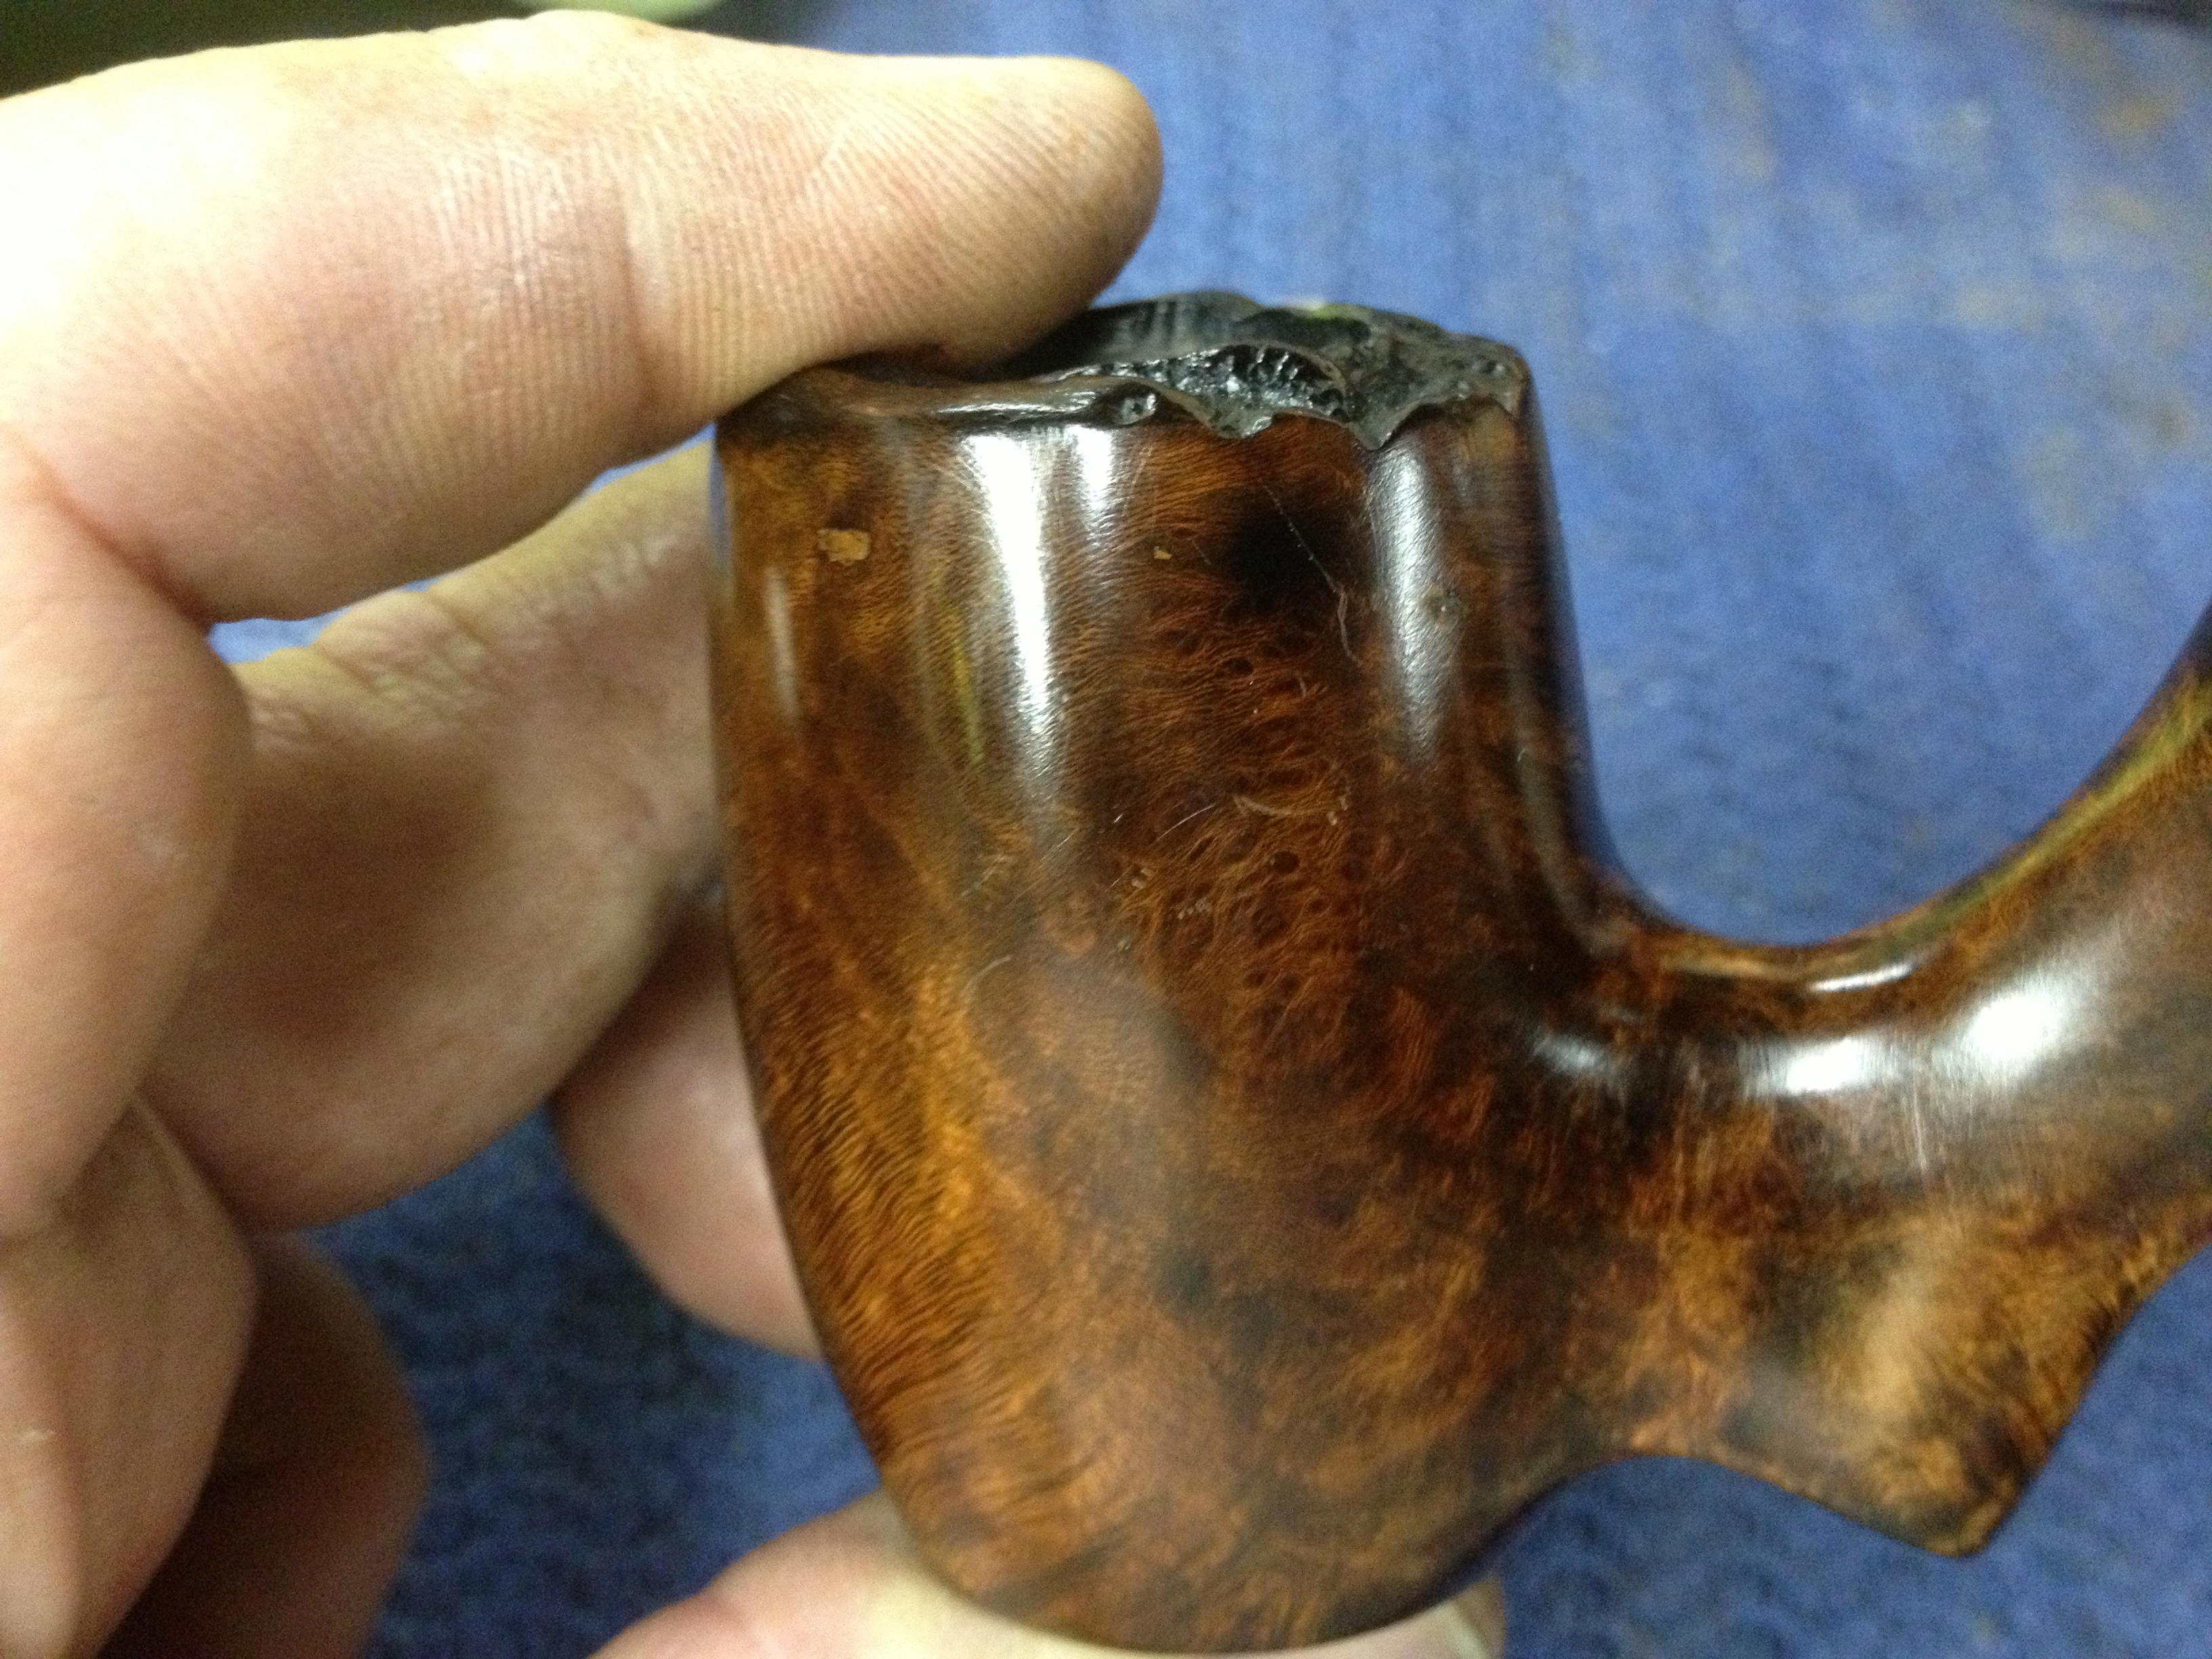
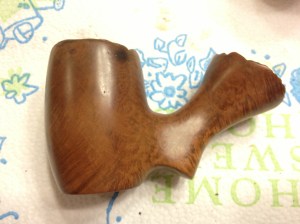
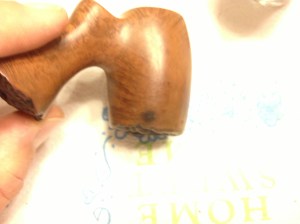
The charring made me decide that the rim would need to be stained black now. The large shank end was stained black so this would match and look good I was sure. But there was also a fairly large burn on the back, left side of the bowl that would have to be addressed. There were two fairly large fills near the burn but I didn’t plan on removing and/or refilling them; I planned on leaving them and seeing how they covered with the contrast stain. I had recently read a post suggesting that fills should be done with carbon dust, not briar dust, and super glue. The idea was that the pipe would darken over time with use and the black fills would blend in more naturally. I don’t know if that is a fact but I thought on this pipe I would stain the existing fills black and see how it ended up looking. Here are a few photos:
IMG_6766 IMG_6770

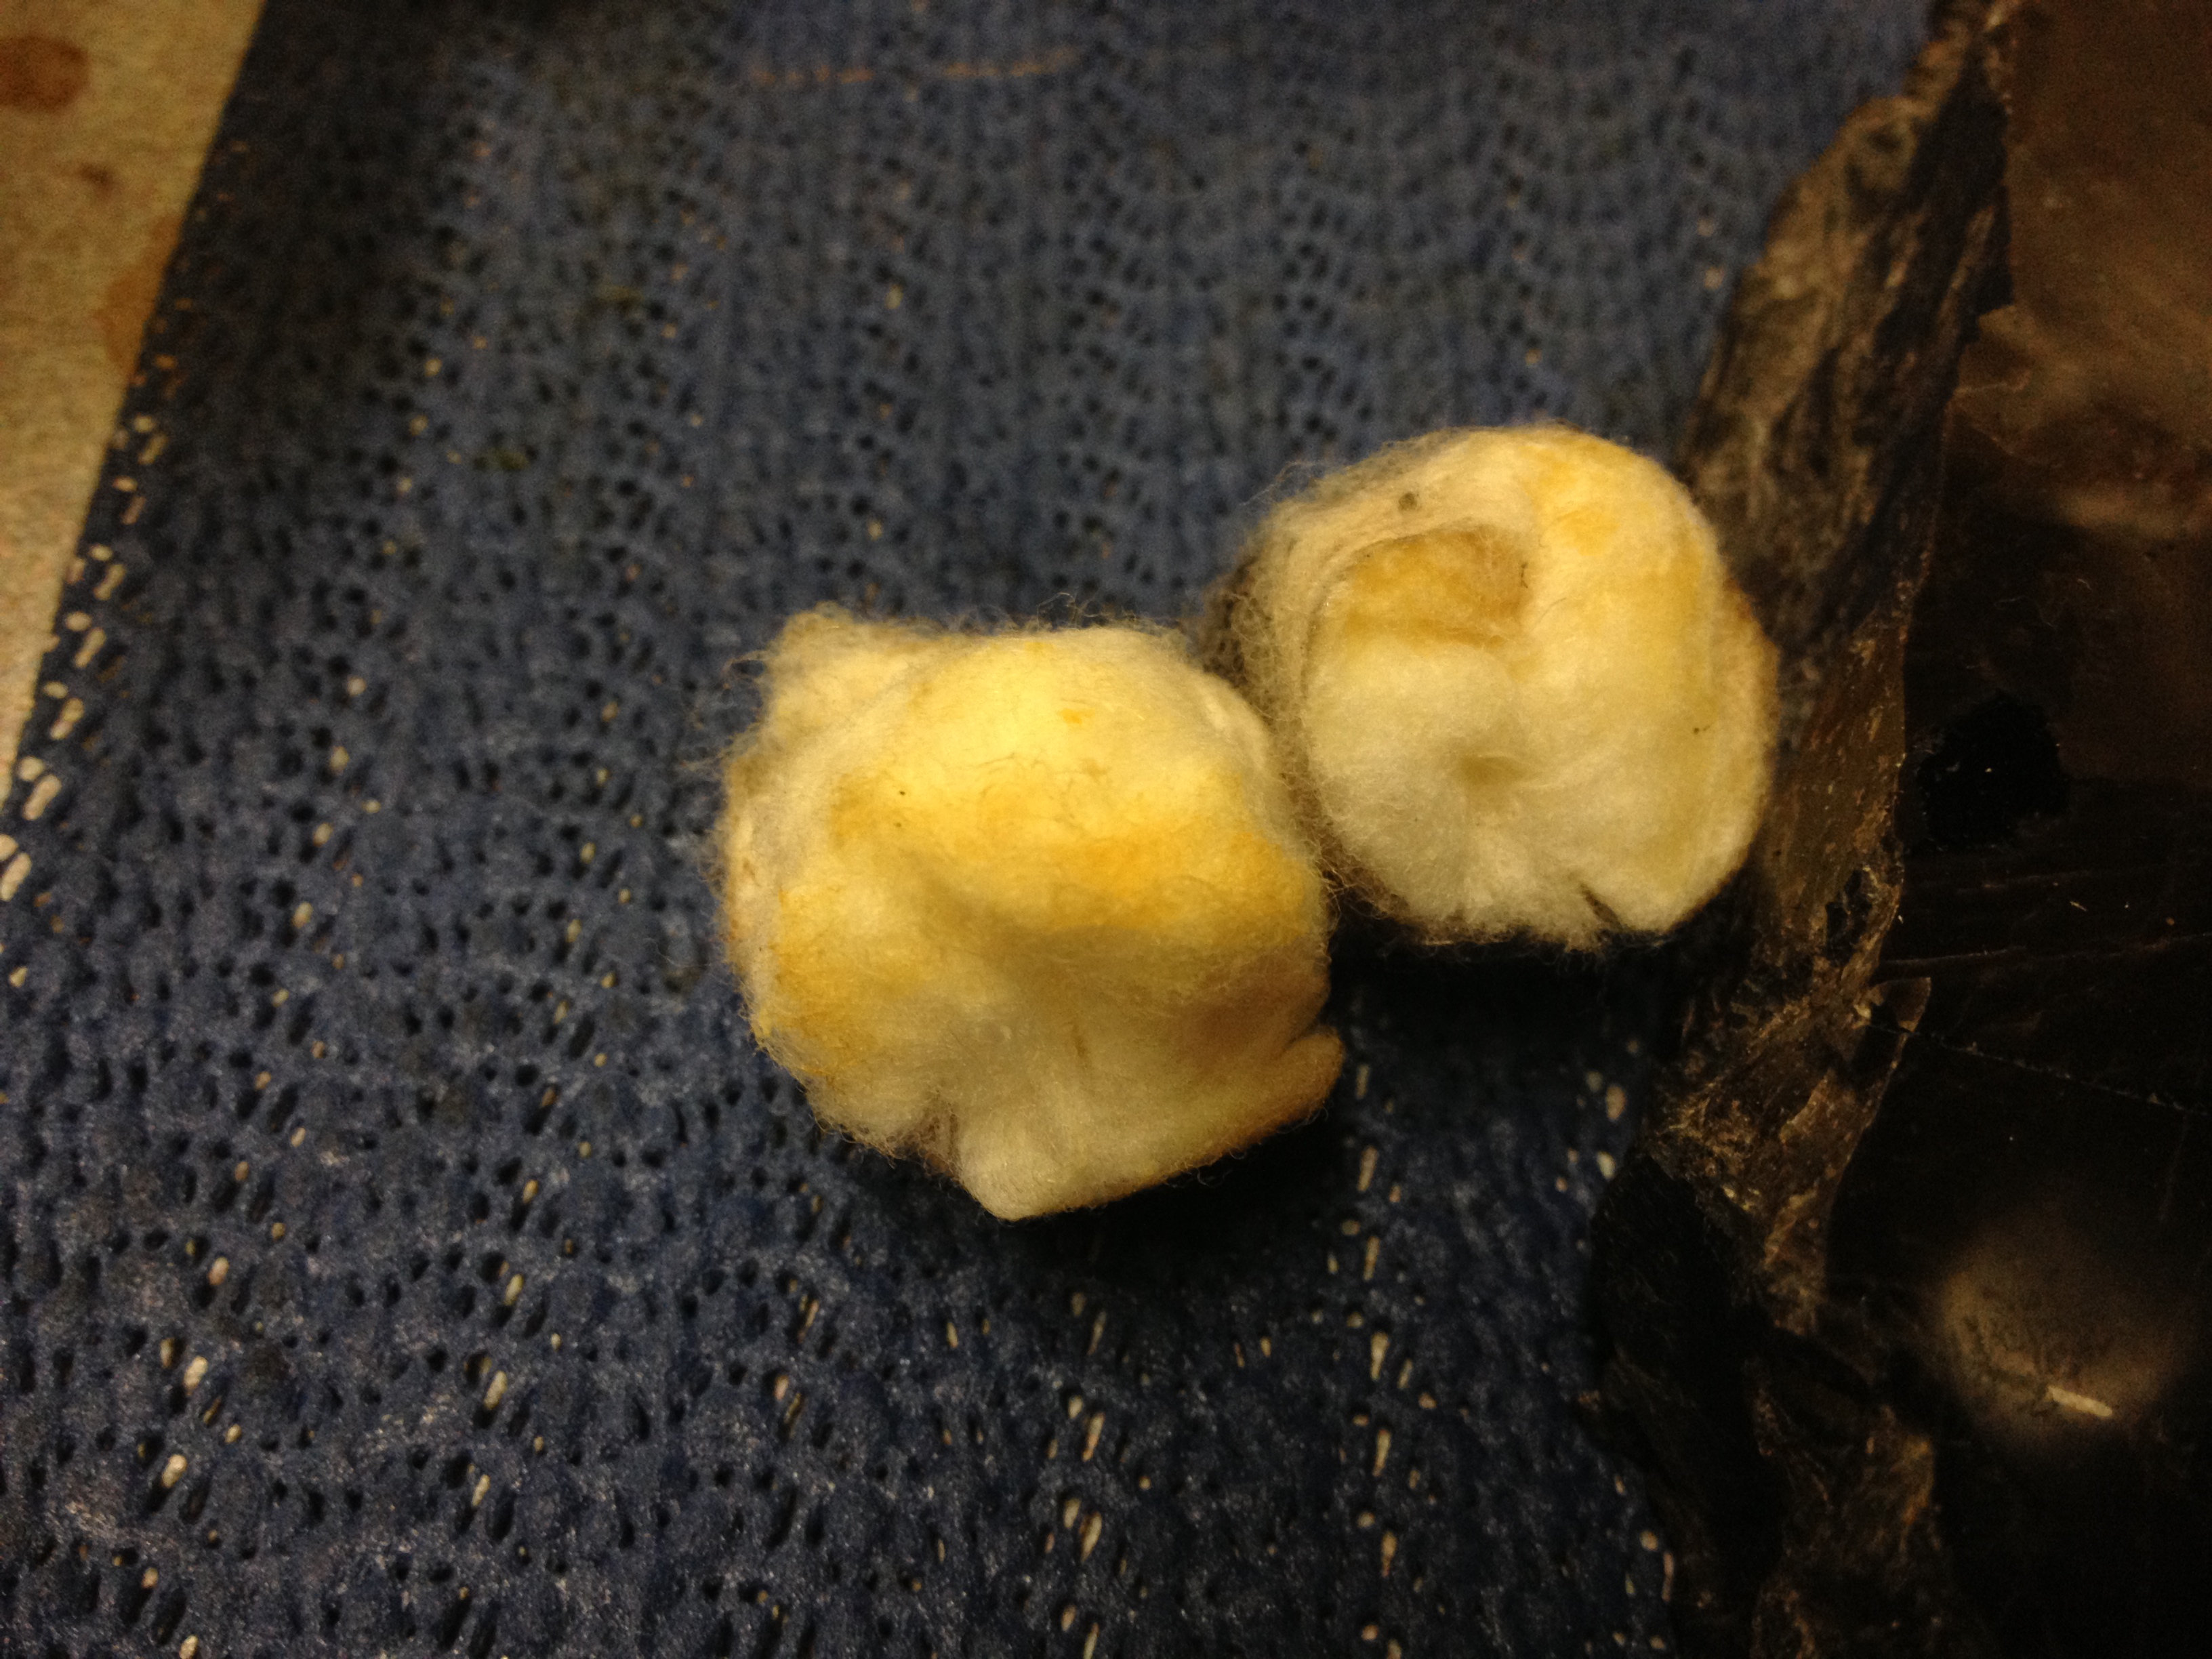
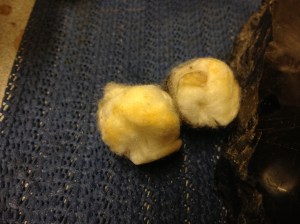
It was at this point that I decided to clean and ream the pipe. Knowing this pipe had more or less been in retirement for almost a decade, I expected it probably would be fairly dirty; I was right. The alcohol bath had softened the cake some, I suspect, and it was fairly thick and not very even so reaming was definitely in order. I used a Castleford reamer to do the job, using the second largest bit to ream the bowl; the two smaller sizes didn’t touch the cake in this large bowl. After reaming I began to clean the shank, which was terribly gunked up. I used the drill bit-tool on my Kleen-Reem to open up the shank, both with and without pipe cleaners on it. After many pipe cleaners, both on the drill bit and doubled over off of the bit, I finally decided that I needed to do an alcohol and cotton ball treatment; this is the same as a salt and alcohol treatment only you use cotton balls instead of salt. I put two large cotton balls in the bowl and, using an old medicine syringe, I filled the bowl with 91% isopropyl alcohol. Then I took the syringe and filled the shank; since this pipe is a sitter with such a large shank this idea worked very well and was quite easy to do. I topped off the bowl with a bit more alcohol and left it till morning. This is what the cotton balls looked like when I came back the next day:

IMG_6764 IMG_6765

The photos don’t really show how much tar leached out into them; they were really quite brown. The shank was much cleaner now as I went back to it, only taking less than a dozen pipe cleaners to get it clean now.

Back to the burn on the bowl, I started out with some course emery boards to remove some of the charred area. I had three different grits, from a package I bought at the local dollar store, and I worked through all three grits on it. The burn mark was reduced in size a fair amount but would need more, which I planned on doing with sandpaper. I thought the emery boards would be a good way to keep the more coarse sanding confined to a smaller area and it seemed to work fairly well.
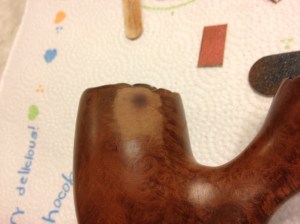
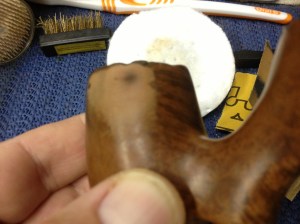
IMG_6774IMG_6775

From here I went to 220 grit paper and got out the biggest part of the burn, feathering out the sanding a little, too. I then went to 320 wet/dry paper and sanded the entire pipe, except for the bottom; I didn’t want to sand any where the nomenclature was if I could keep from it. I then moved up to 400 wet/dry paper, wiping ever so often with an alcohol pad to see how the pipe looked, making sure it was smooth and scratch free. After I got the pipe to where I thought it would be good I took it to the buffer and buffed it with black compound; I find that this buffing highlights any small scratches or dents that may have been missed during the sanding. Here is what the pipe looked like at this point:
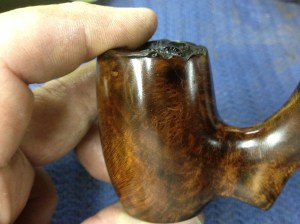
IMG_6798

I saw one small scratch I had missed so I took the 400 grit paper to it and got that one out, along with lightening the burn mark a bit more. Now it was time to bend the stem.

I heated the stem with my heat gun on low until it was pliable, after putting a pipe cleaner in the stem to keep from closing off the airway accidentally. I had set up my maul as my bending guide on my table. I heated and bent it and eyeballed it; it wasn’t quite what I wanted. So, I heated it again and bent it a little more and looked it over carefully; now it was more to my liking:
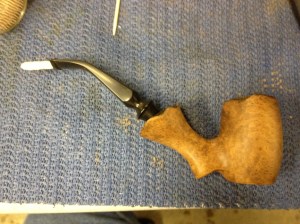
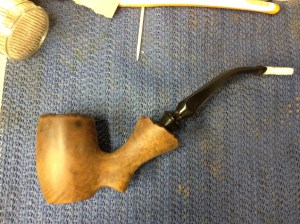
IMG_6784 IMG_6783

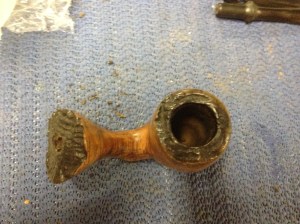
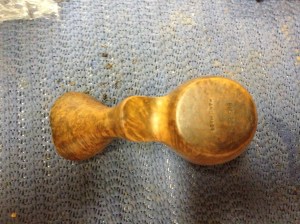
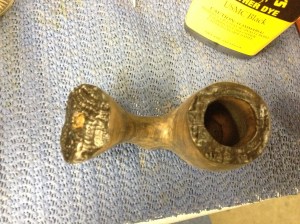
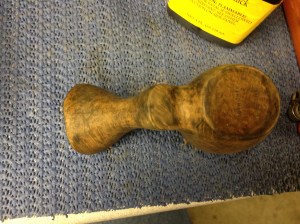
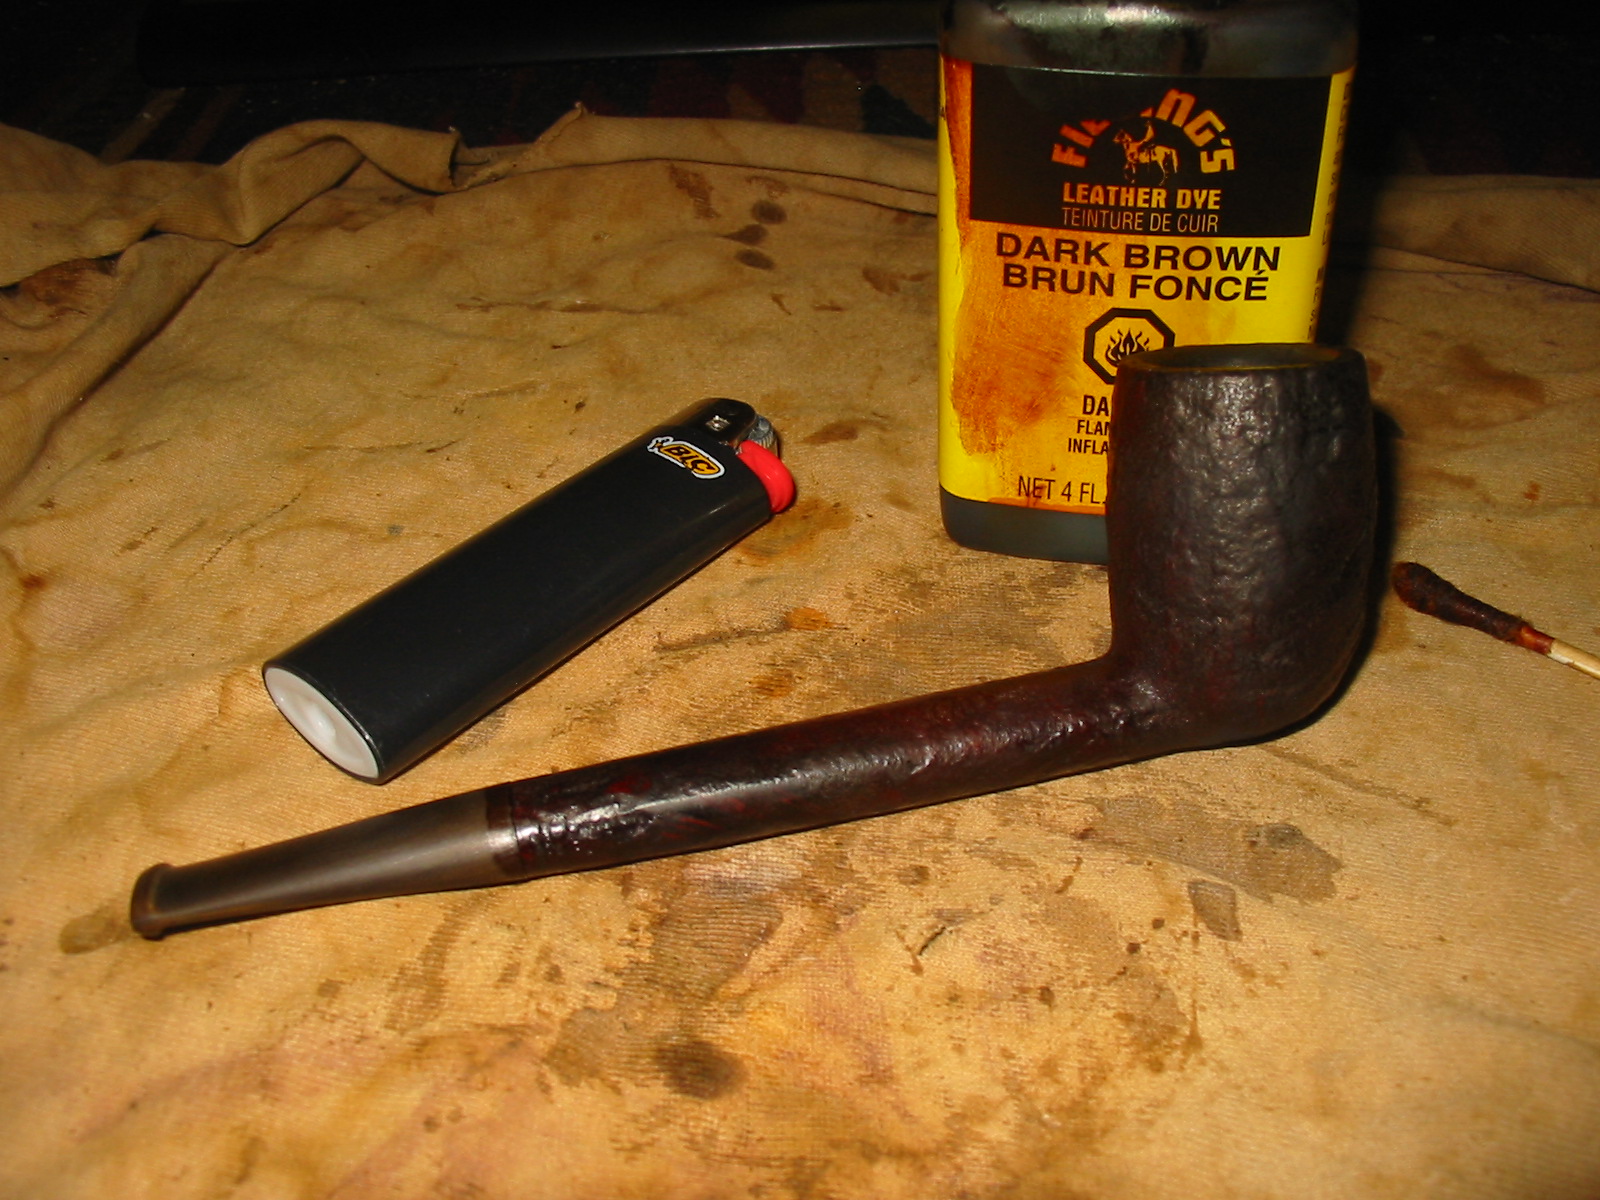
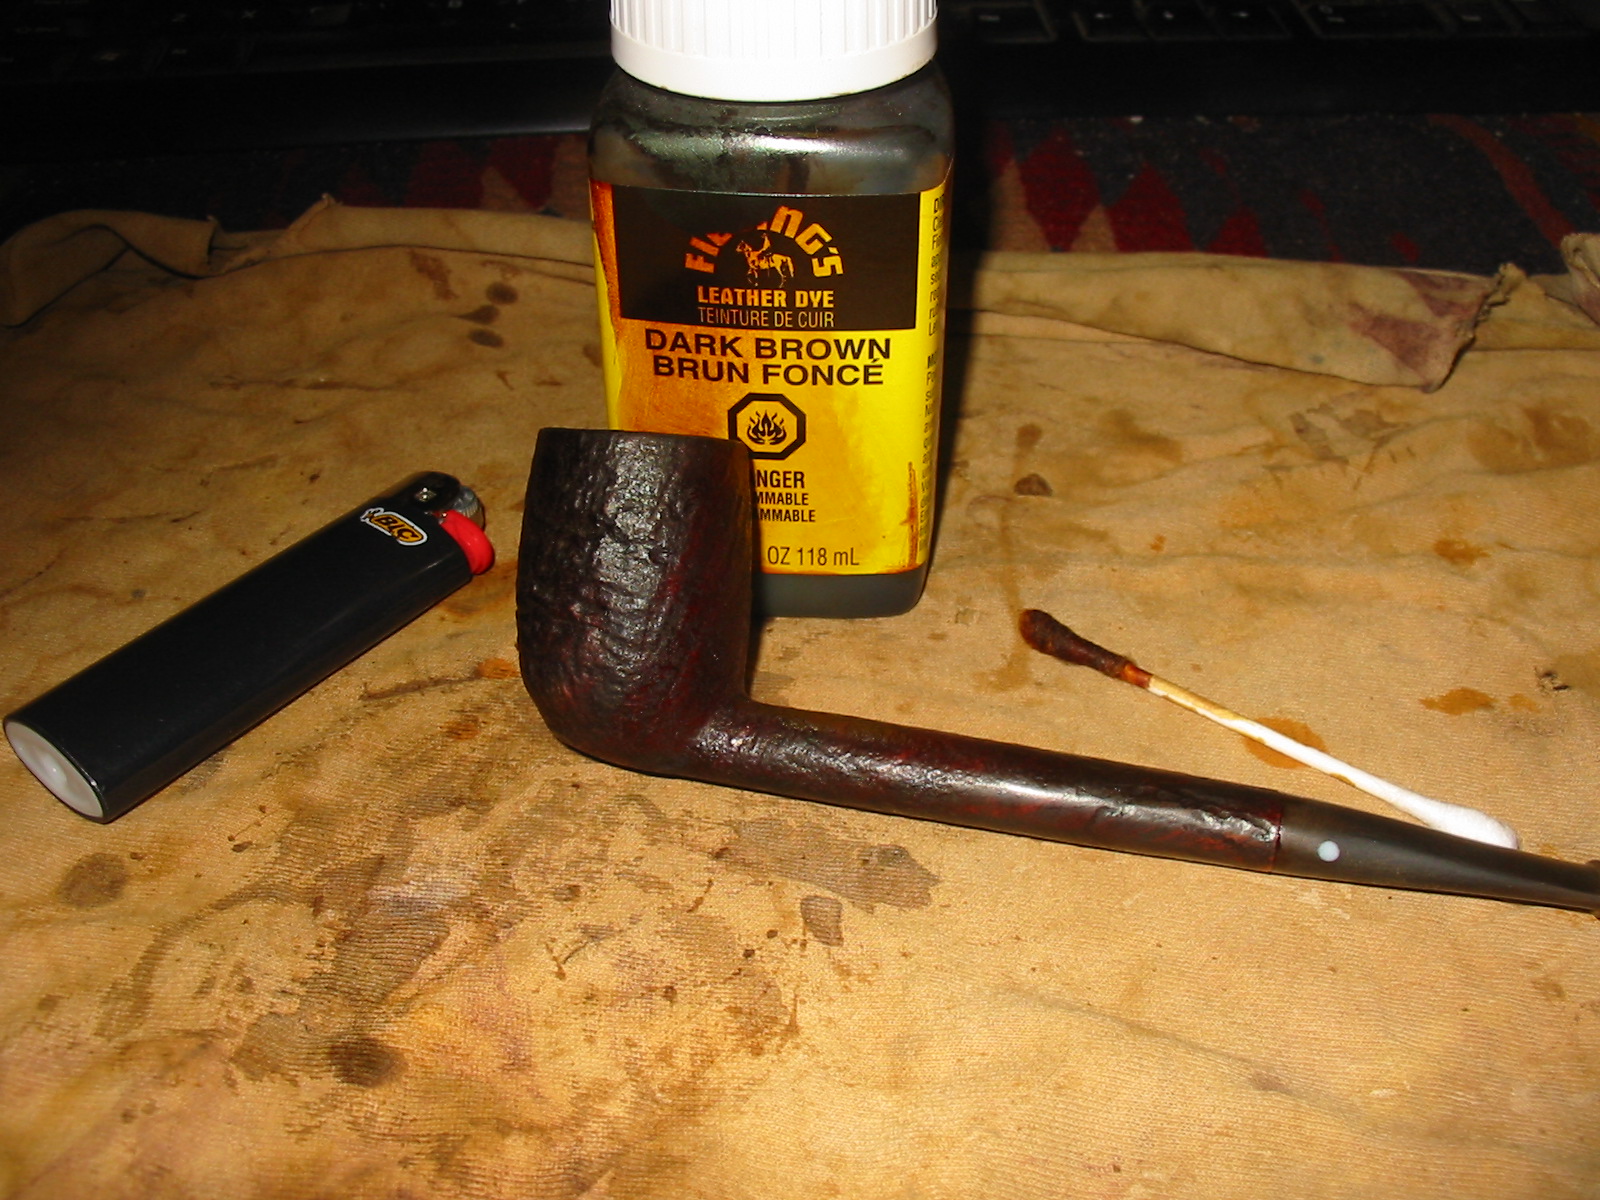
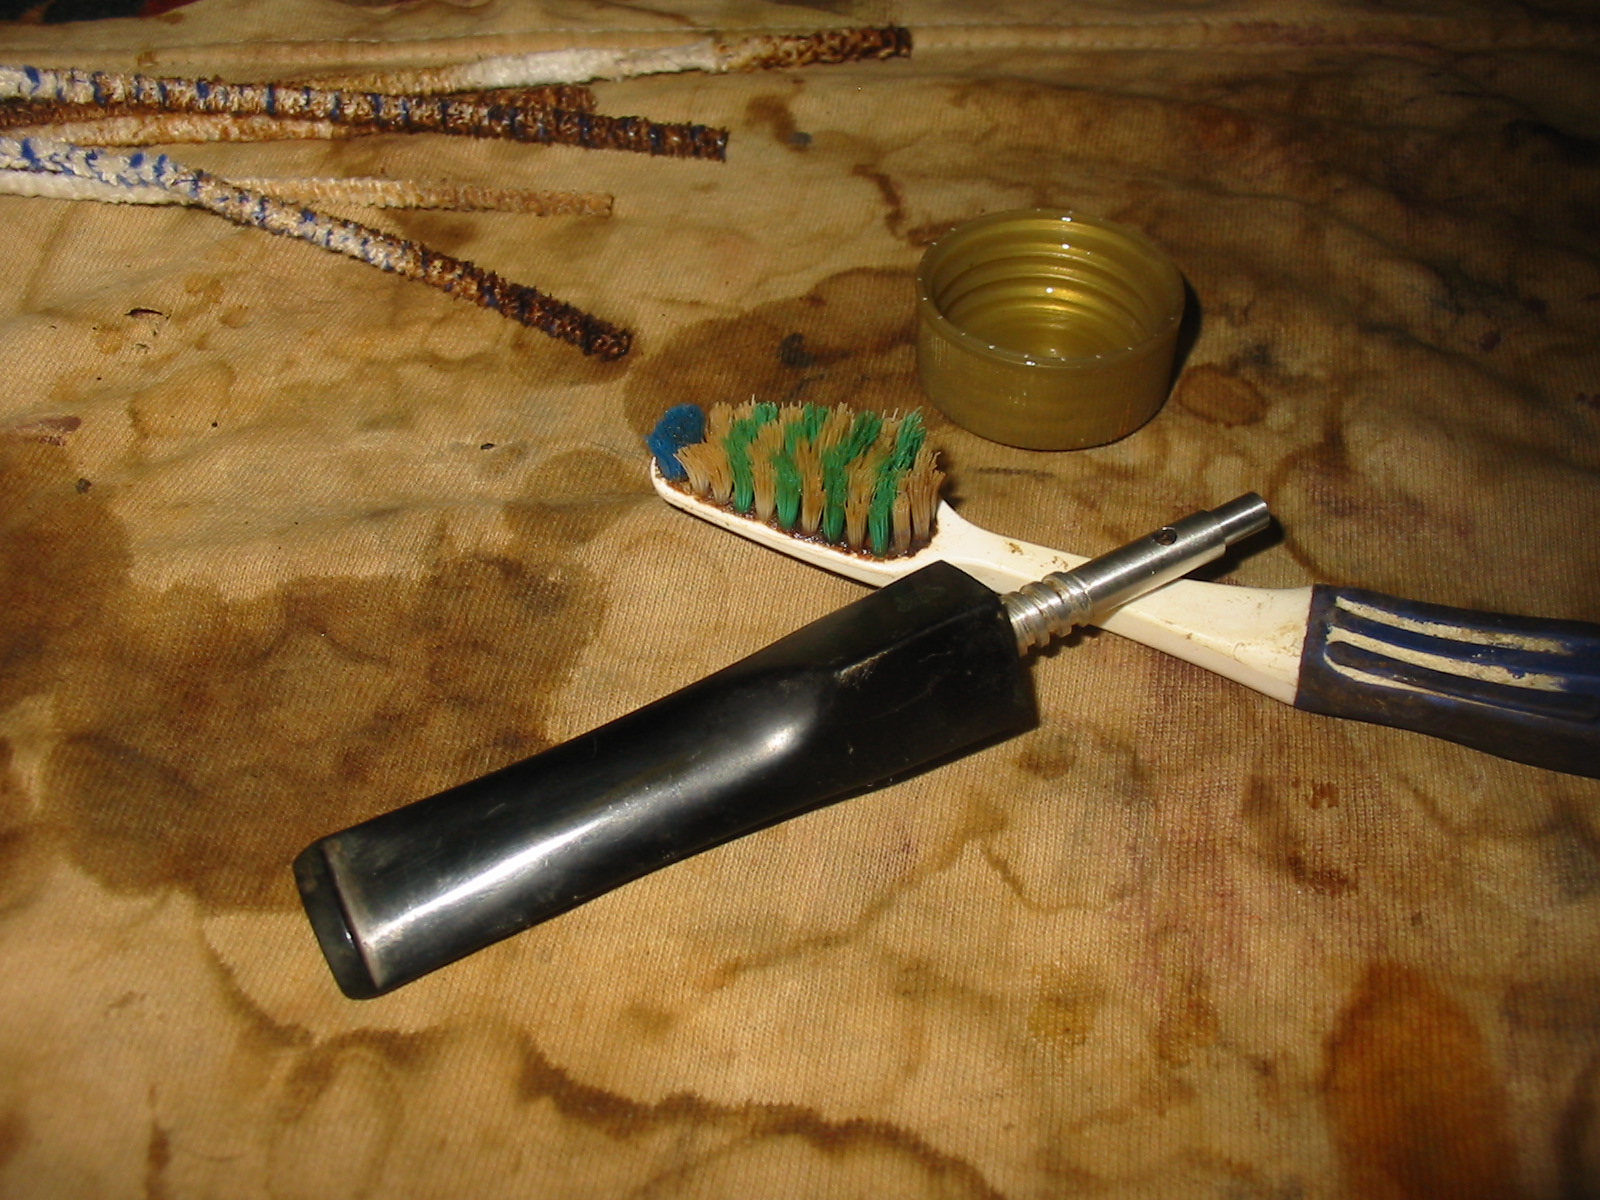
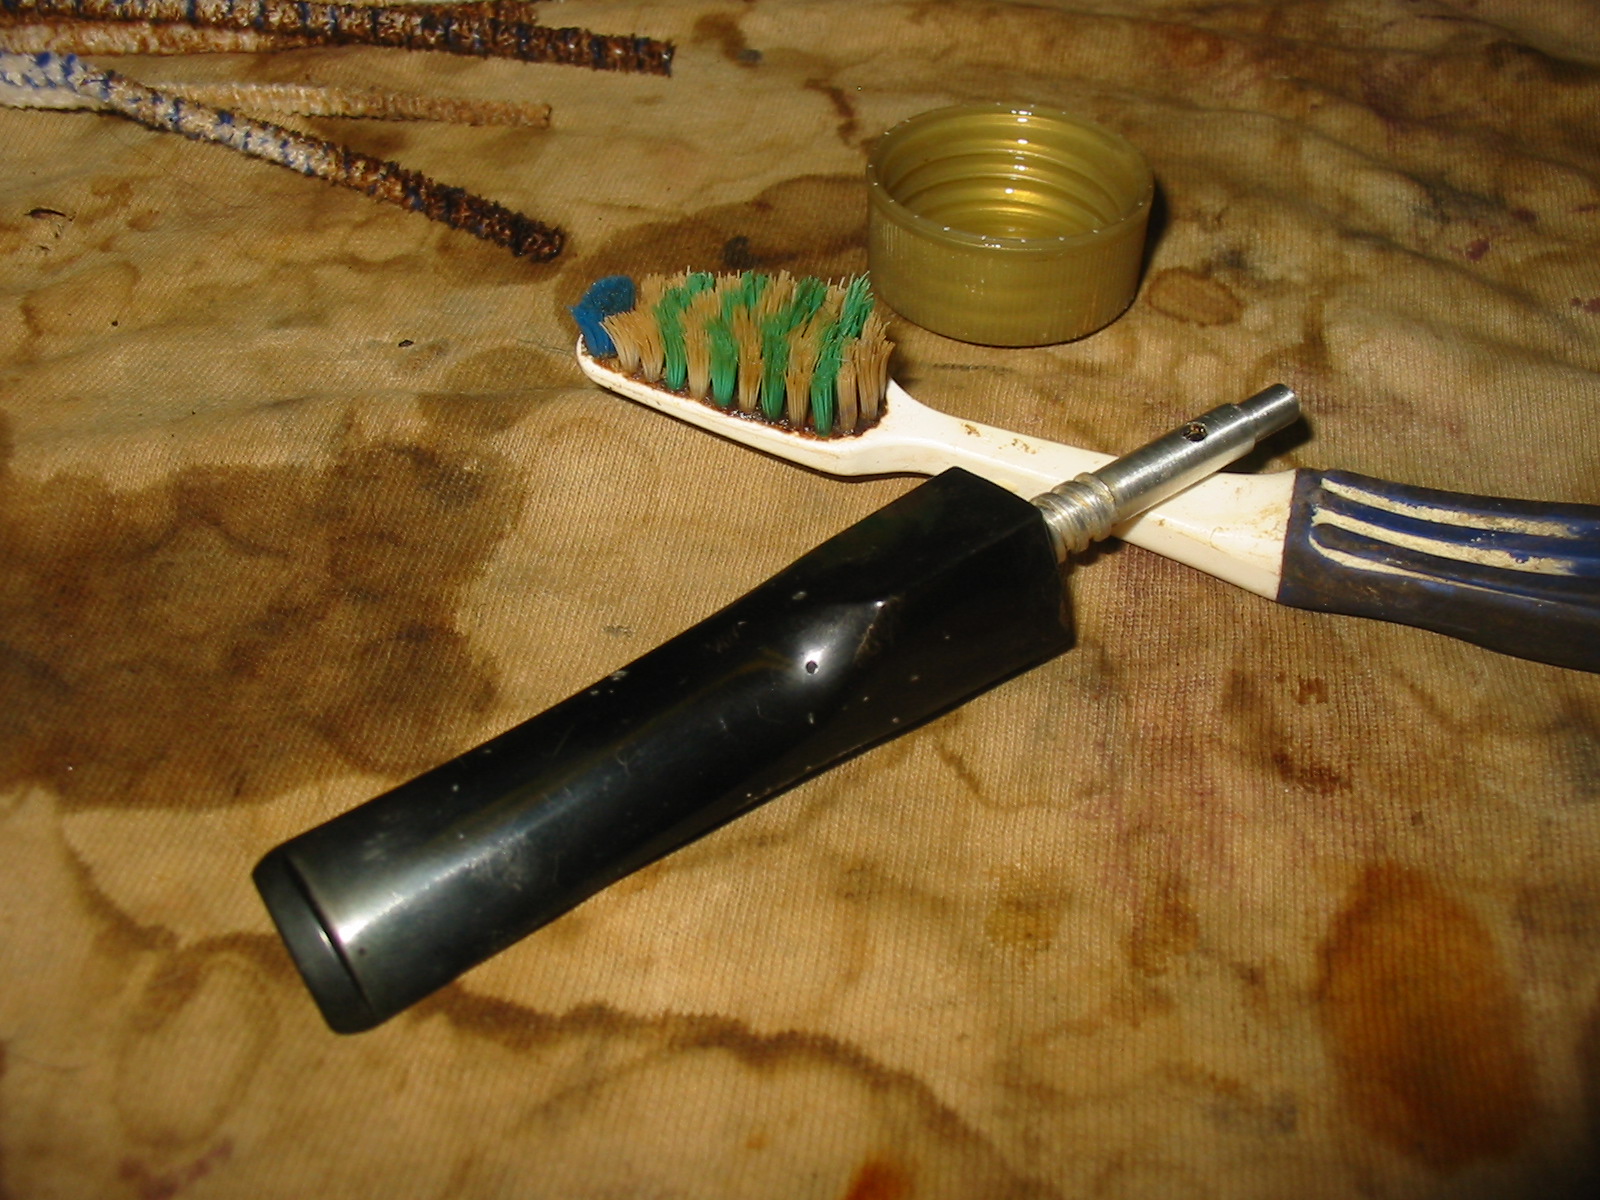
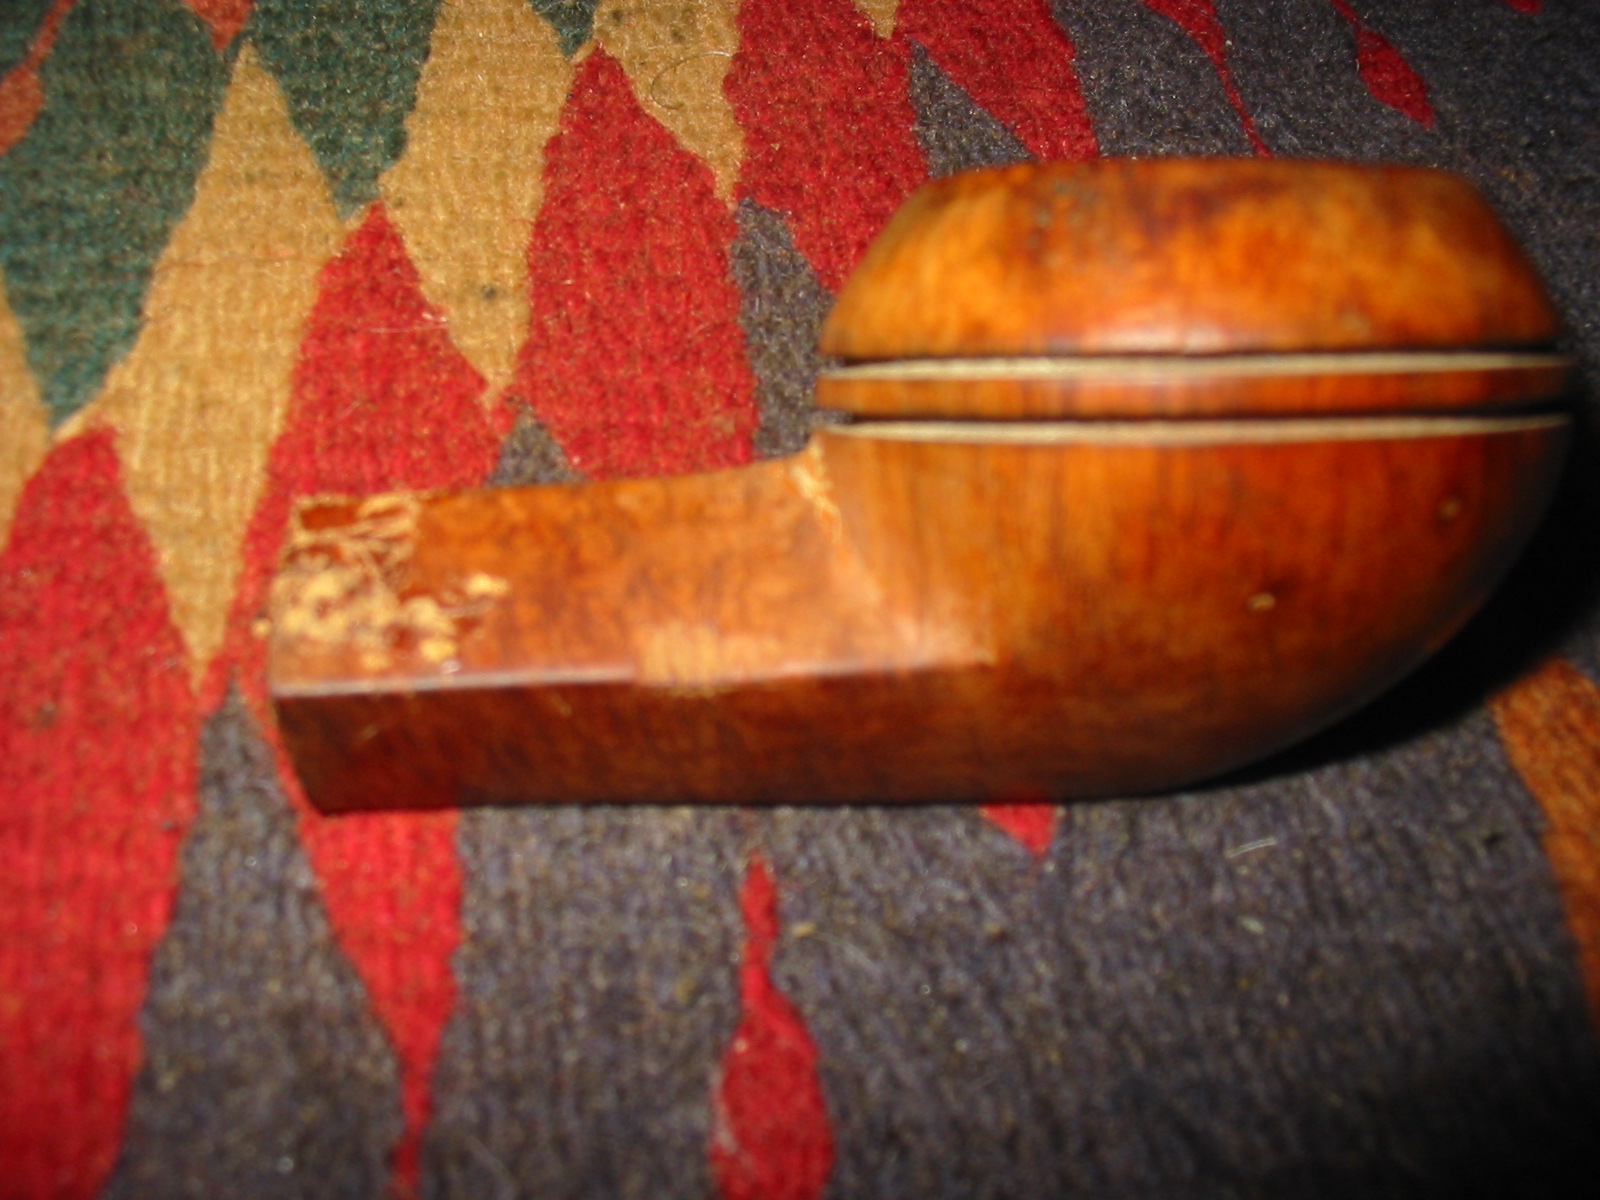
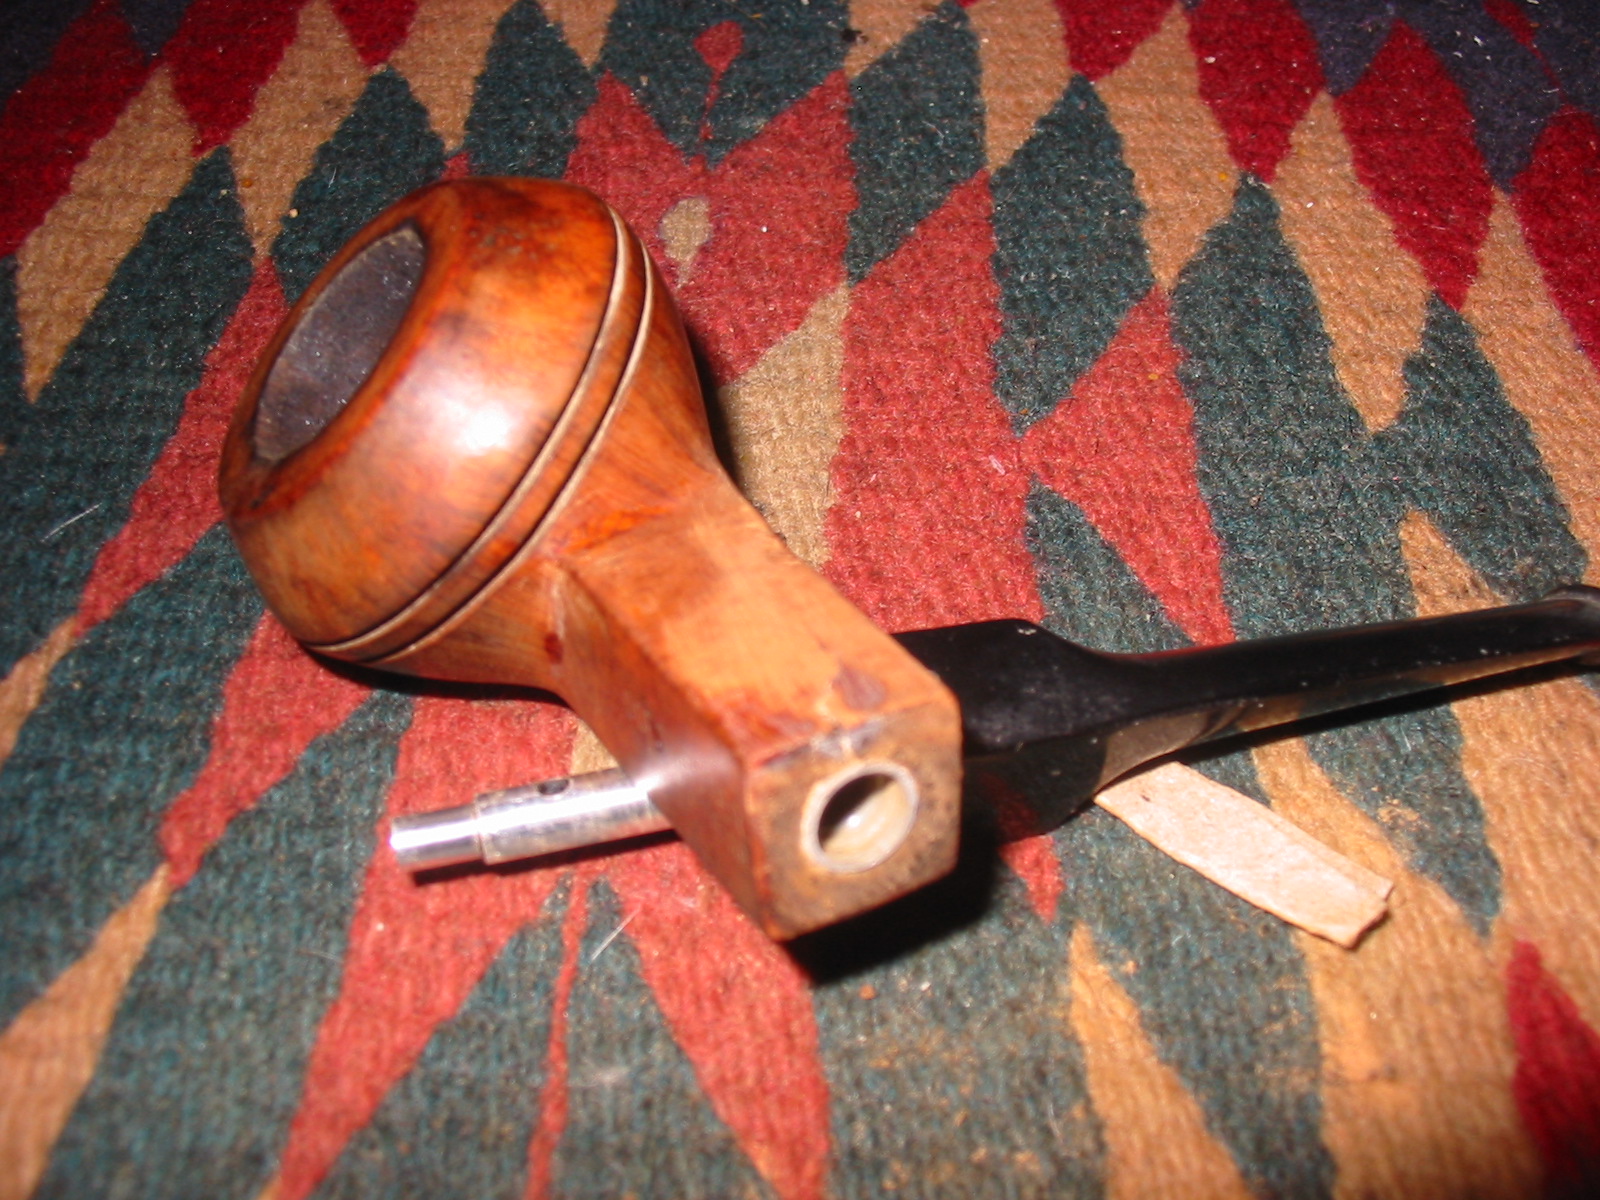
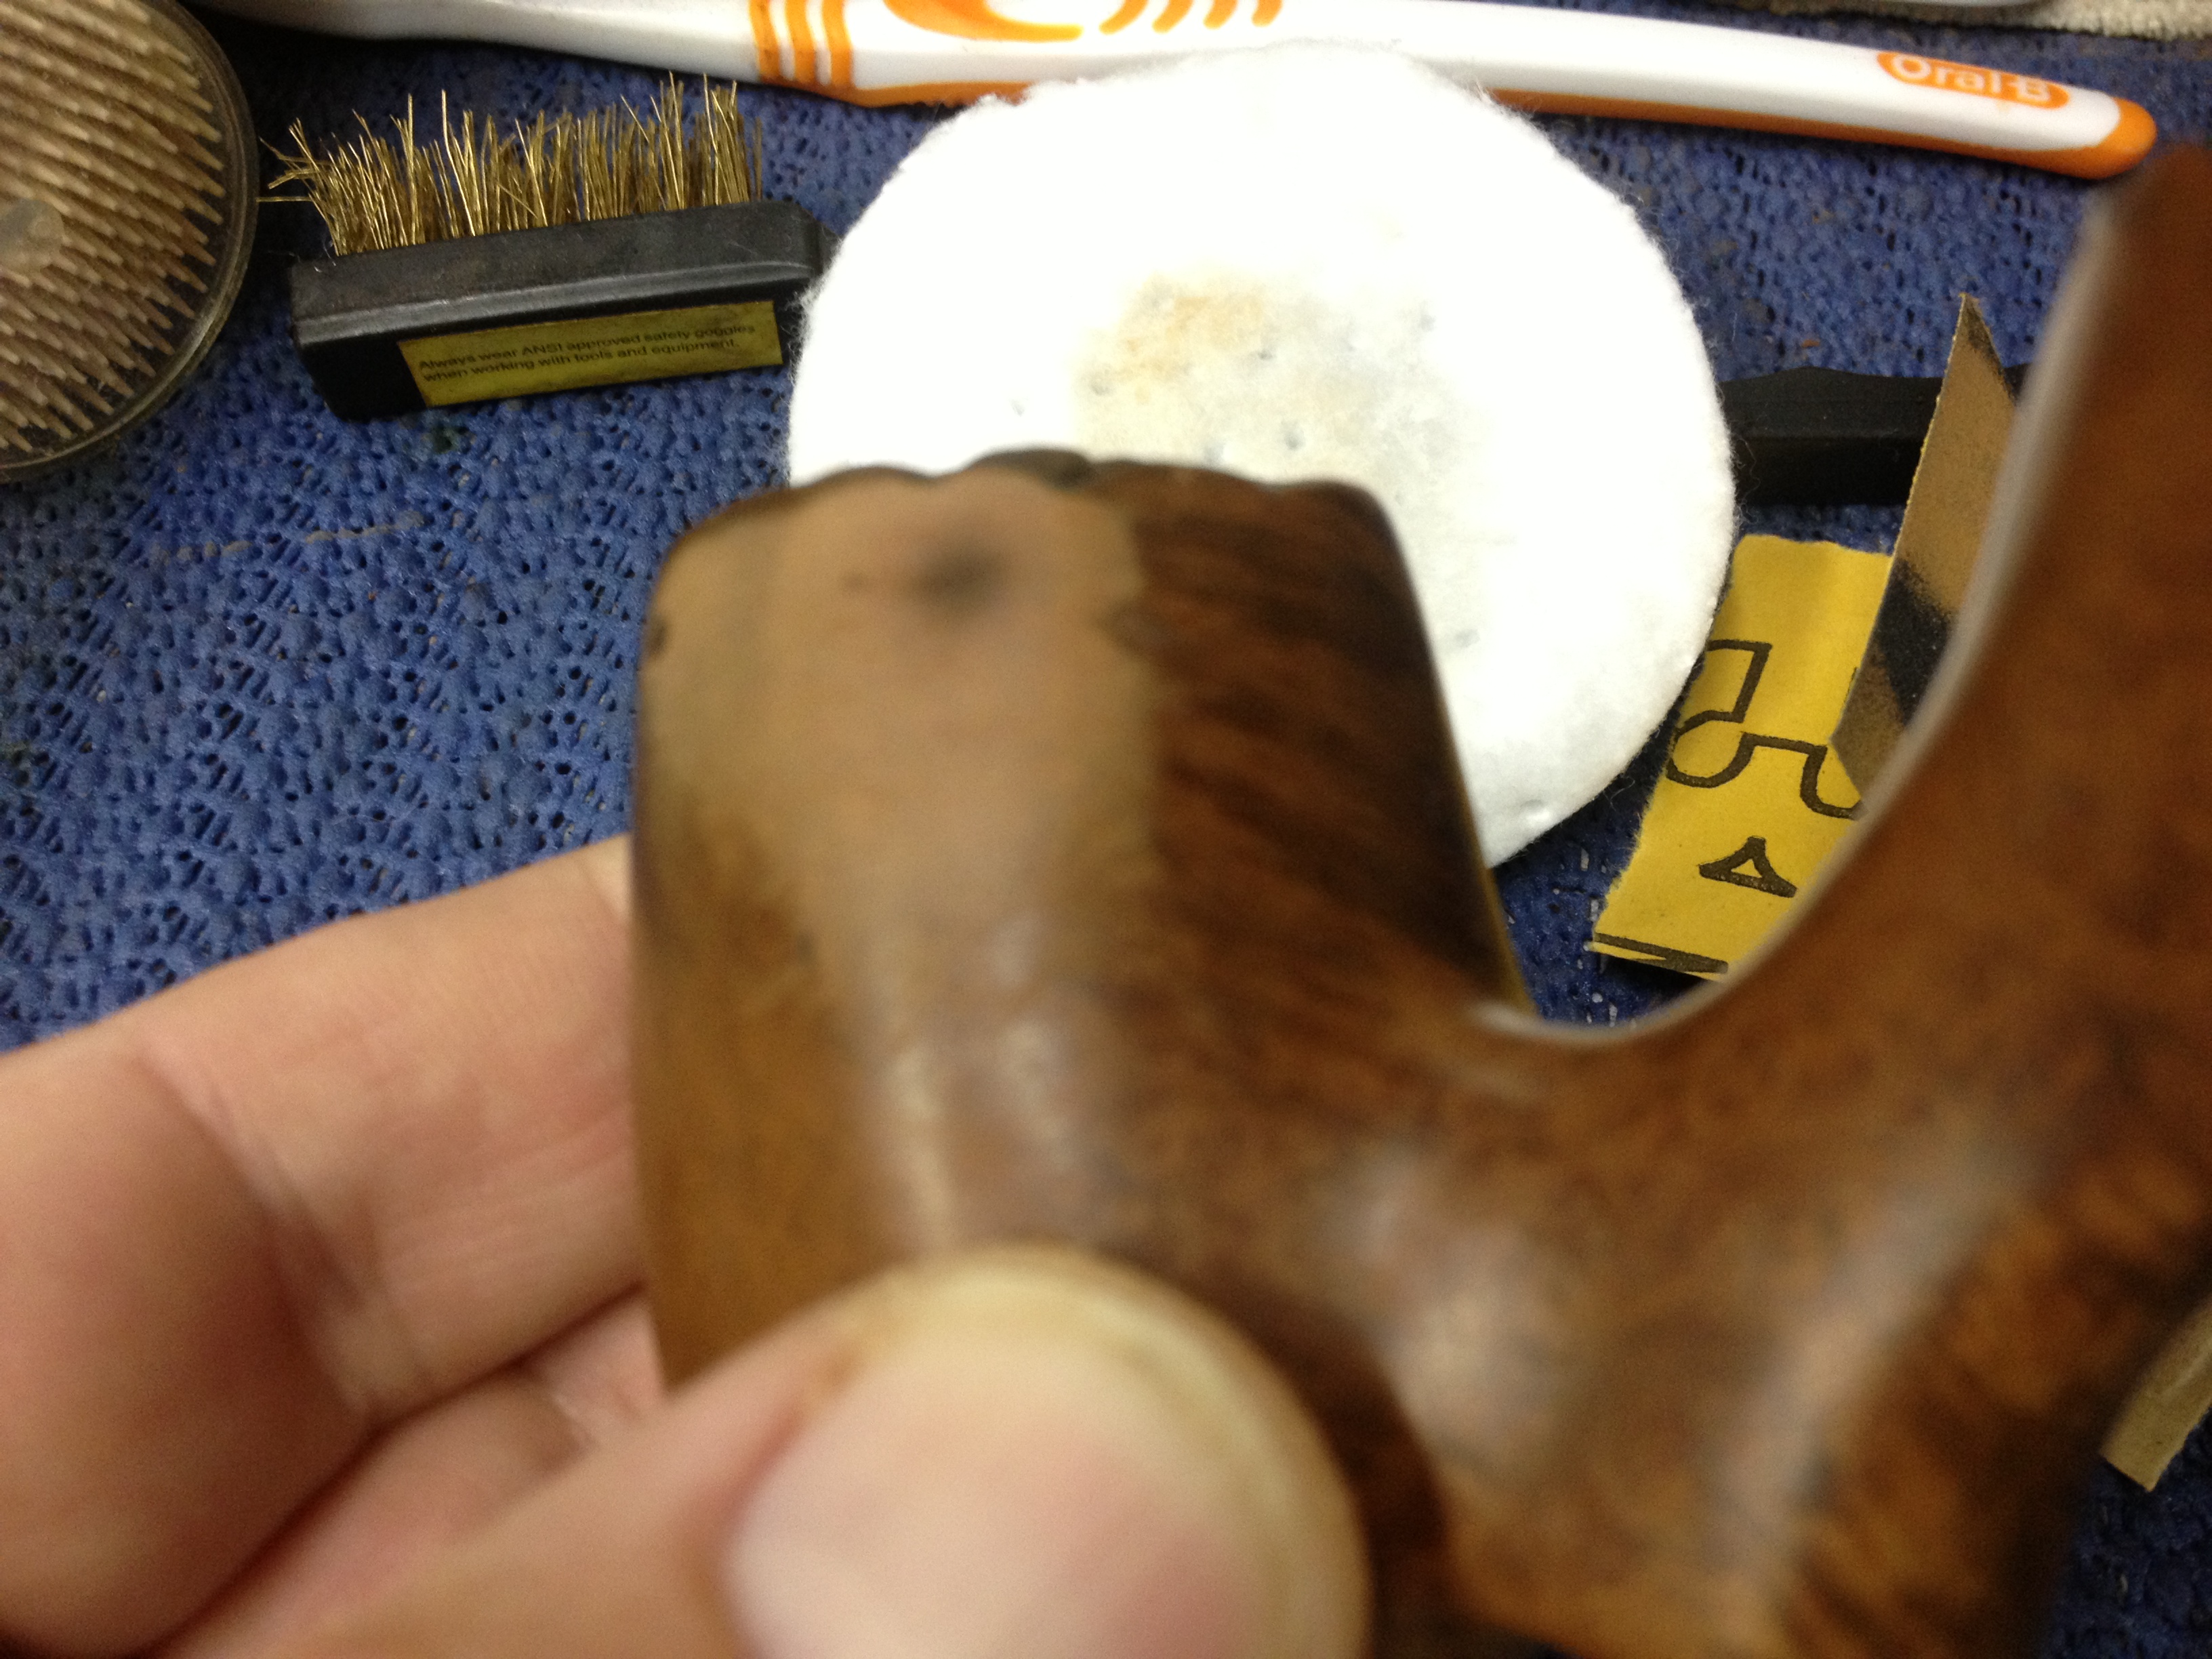
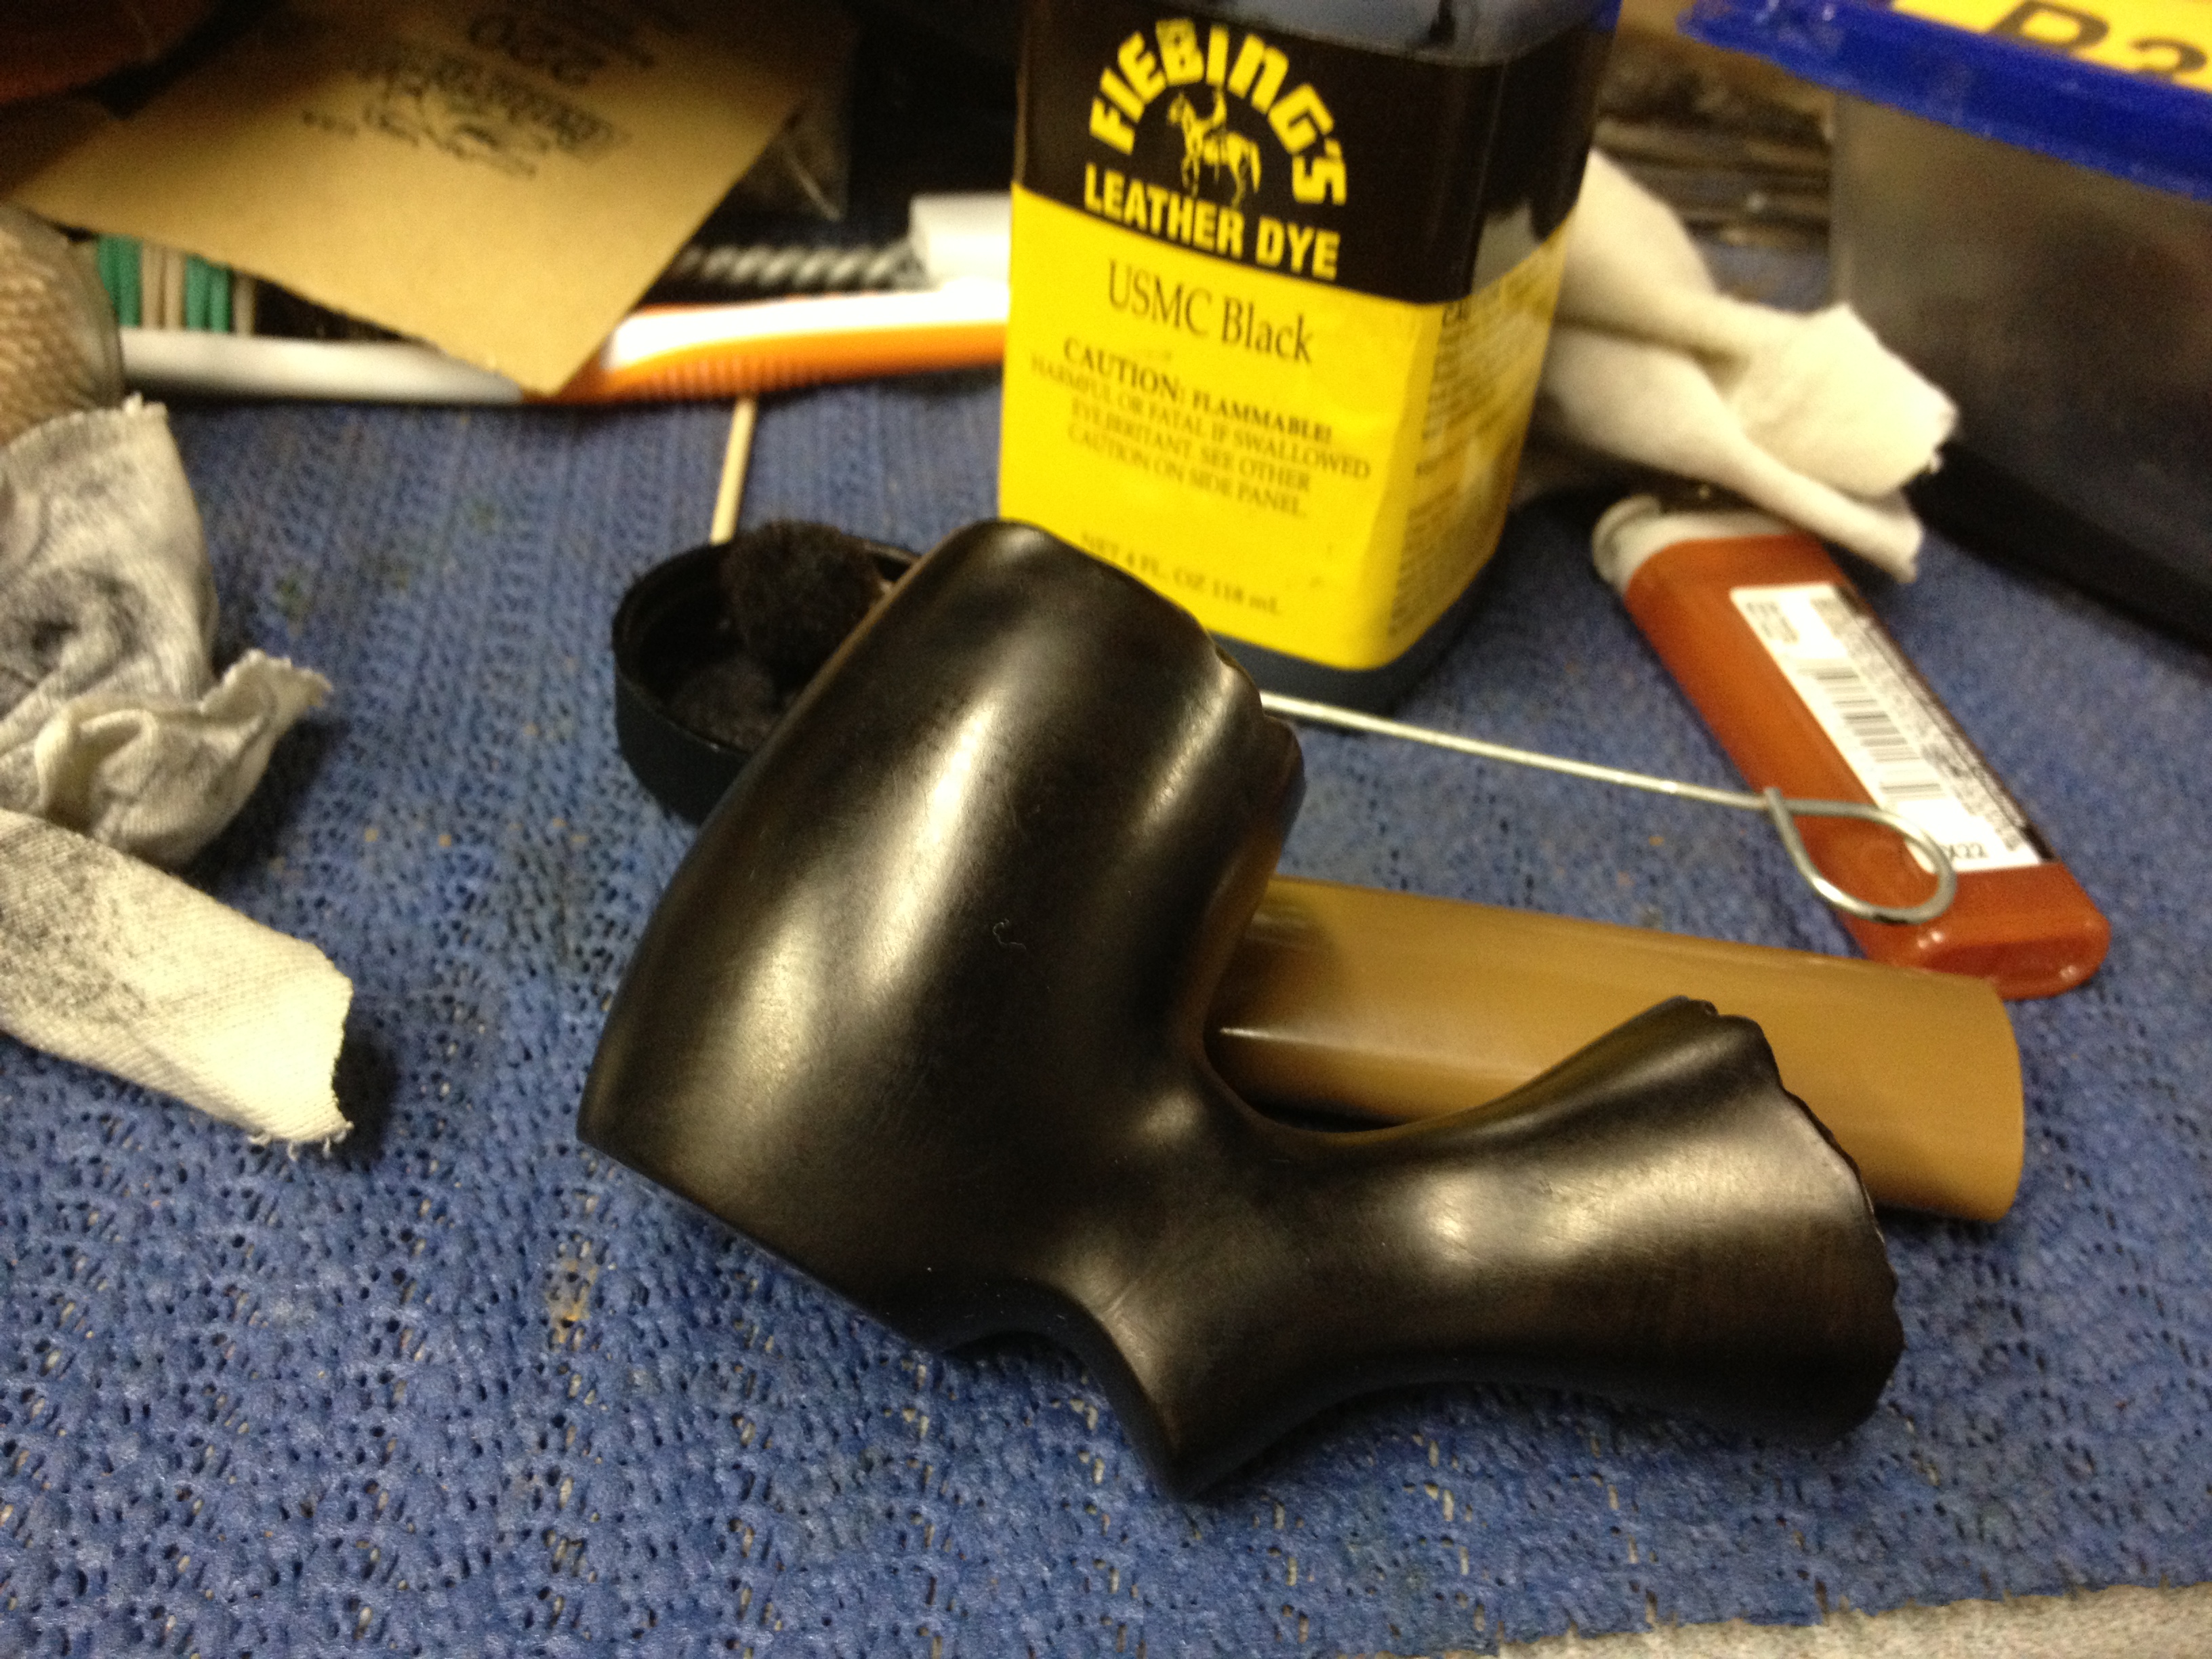
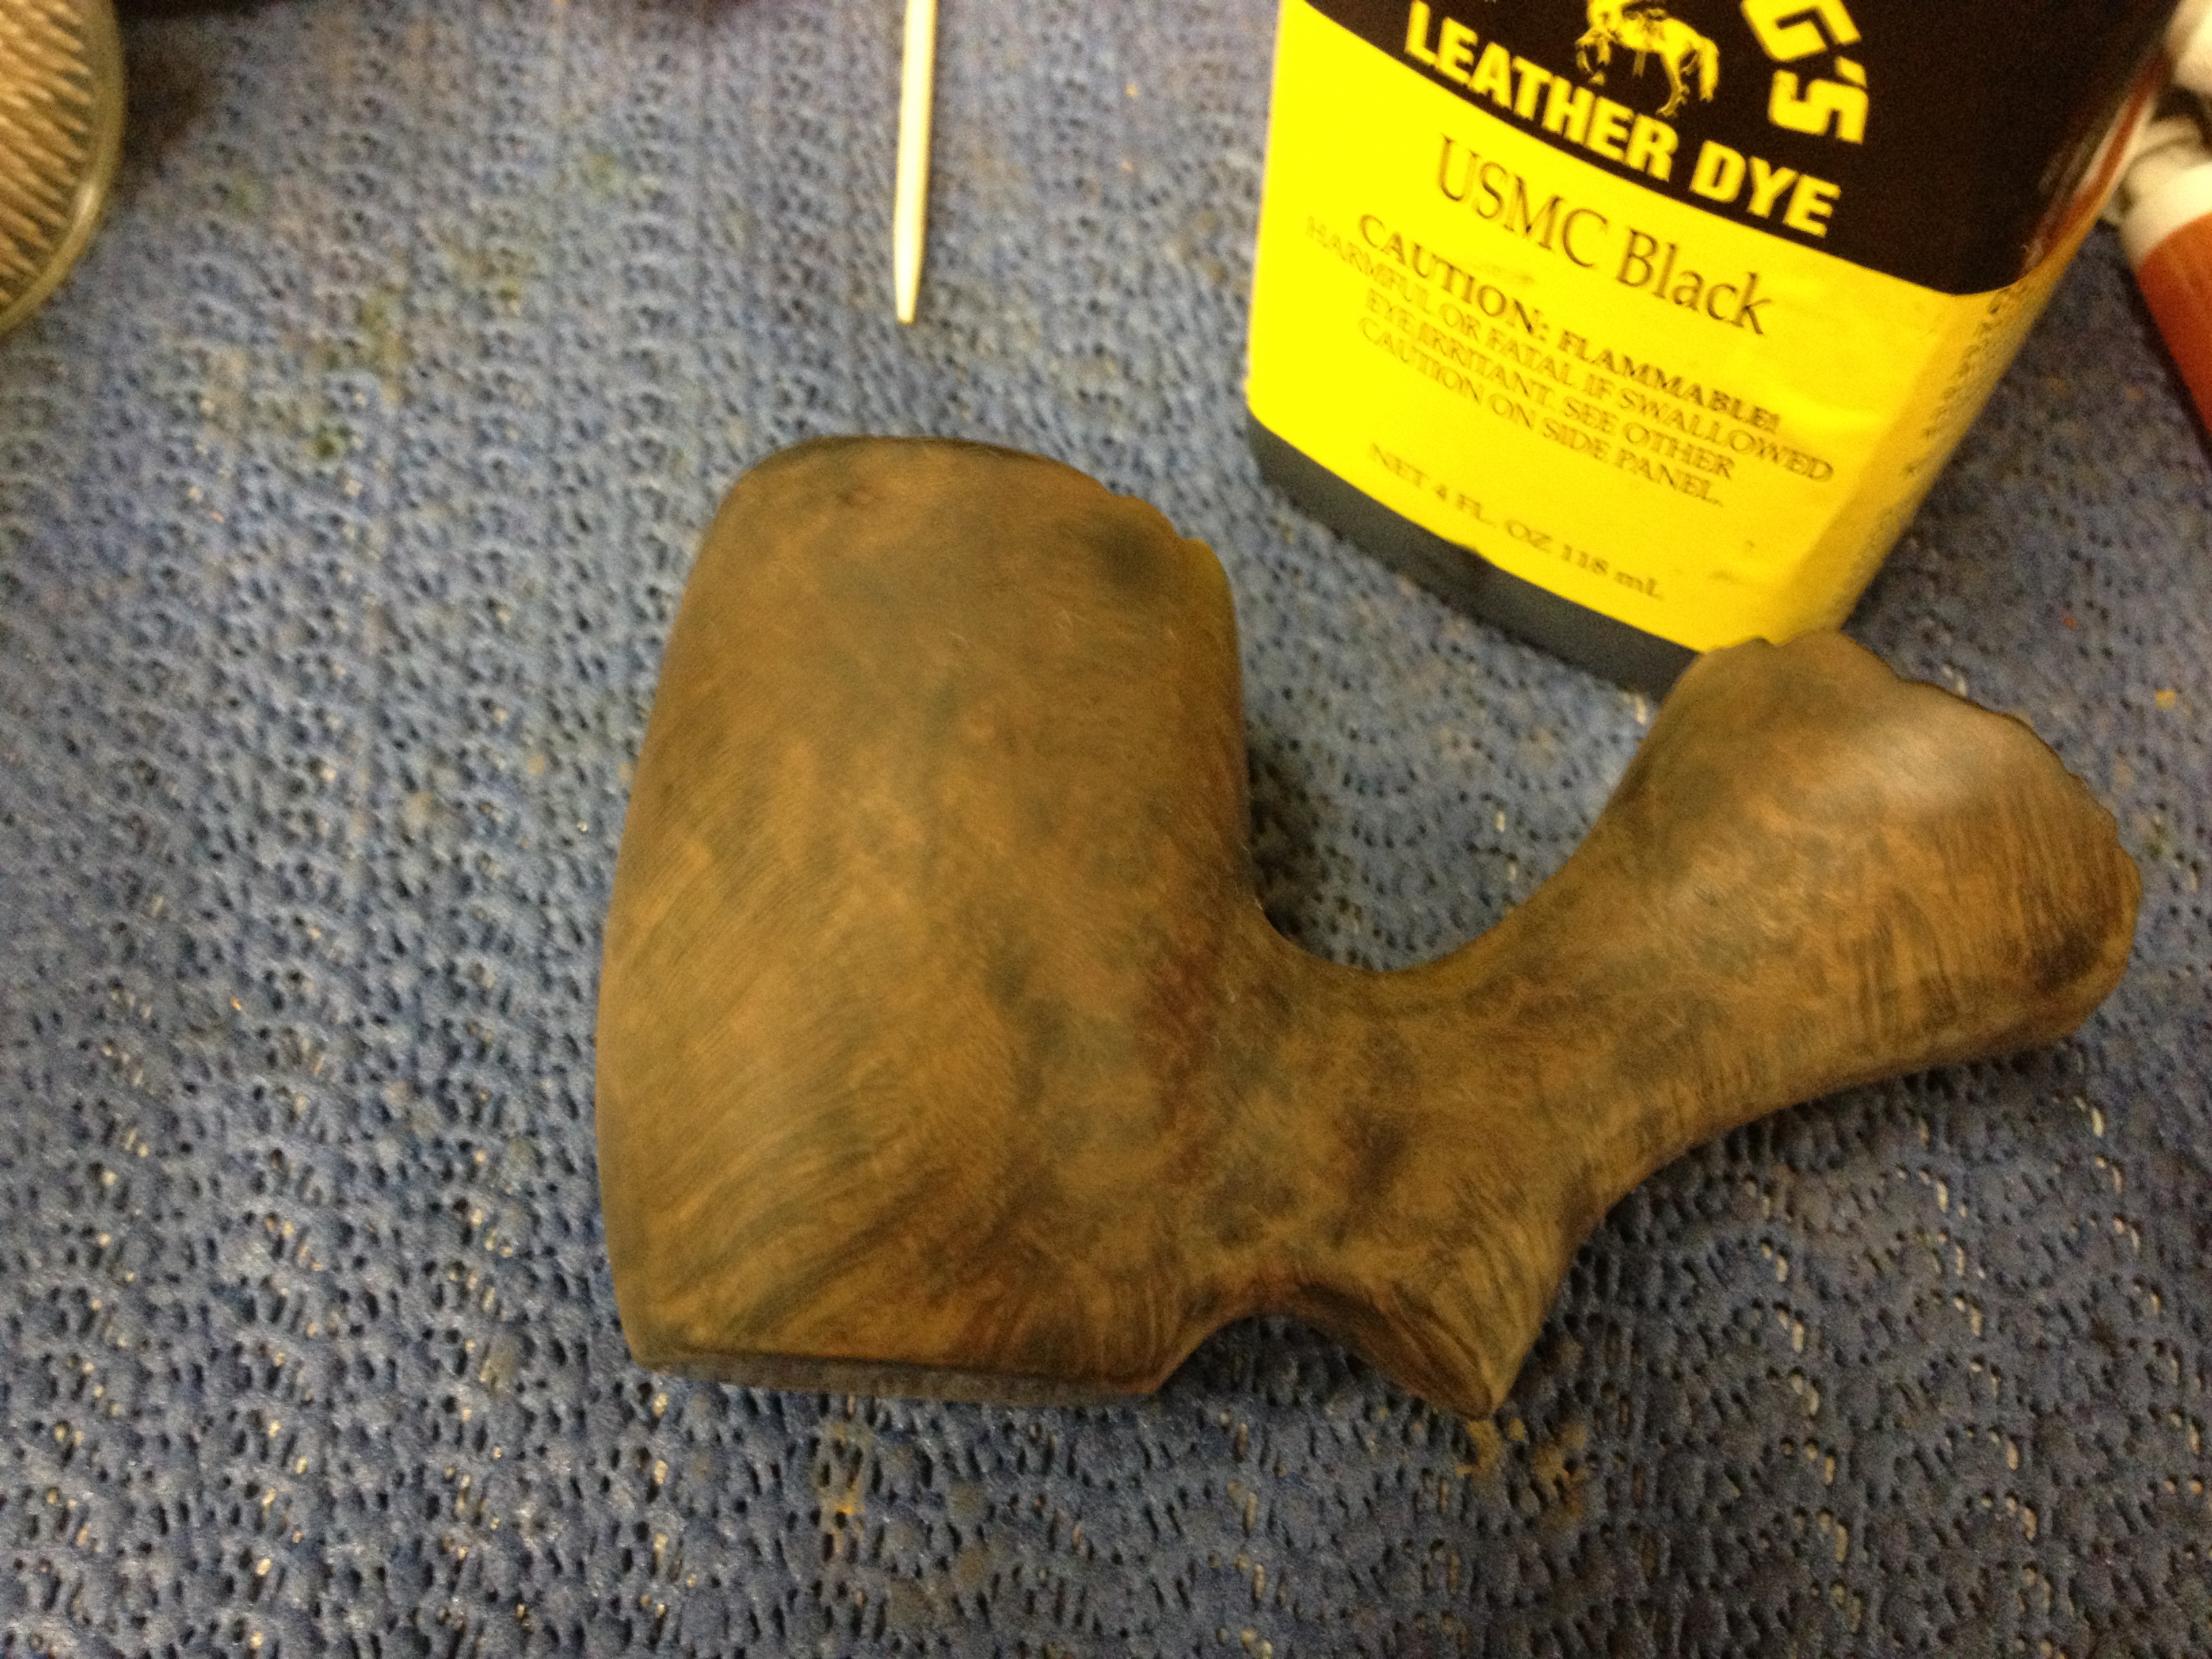
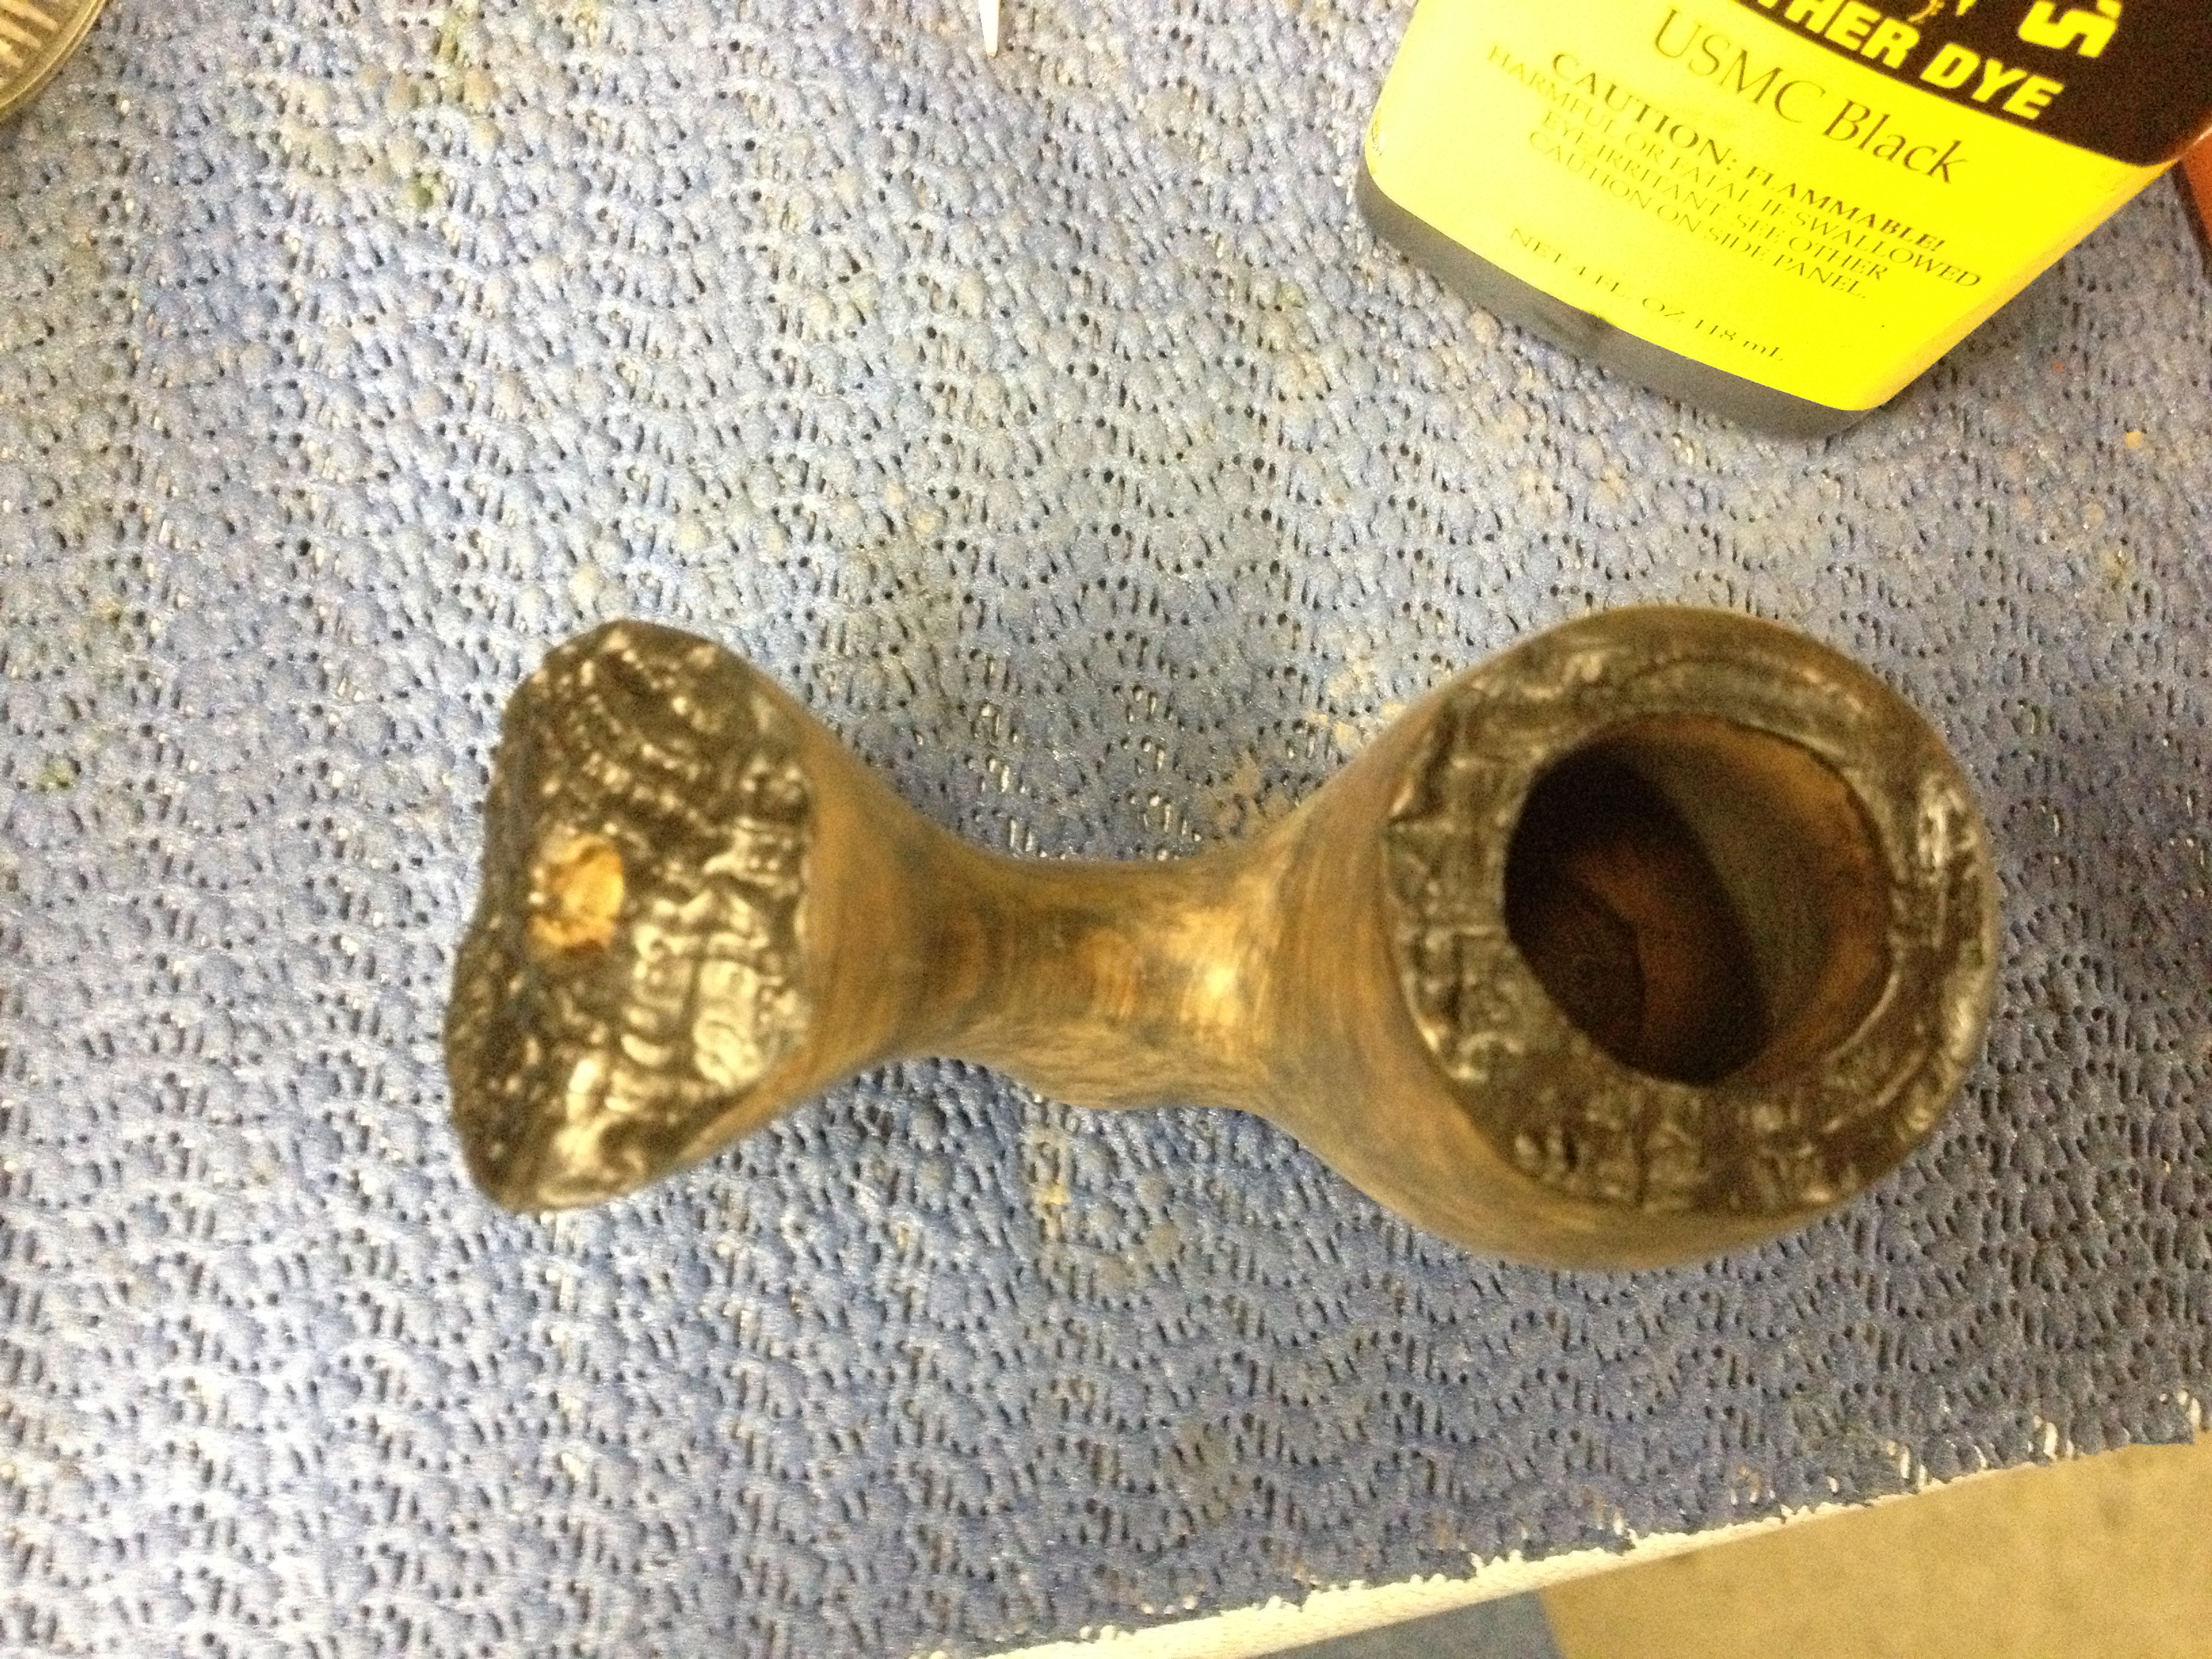
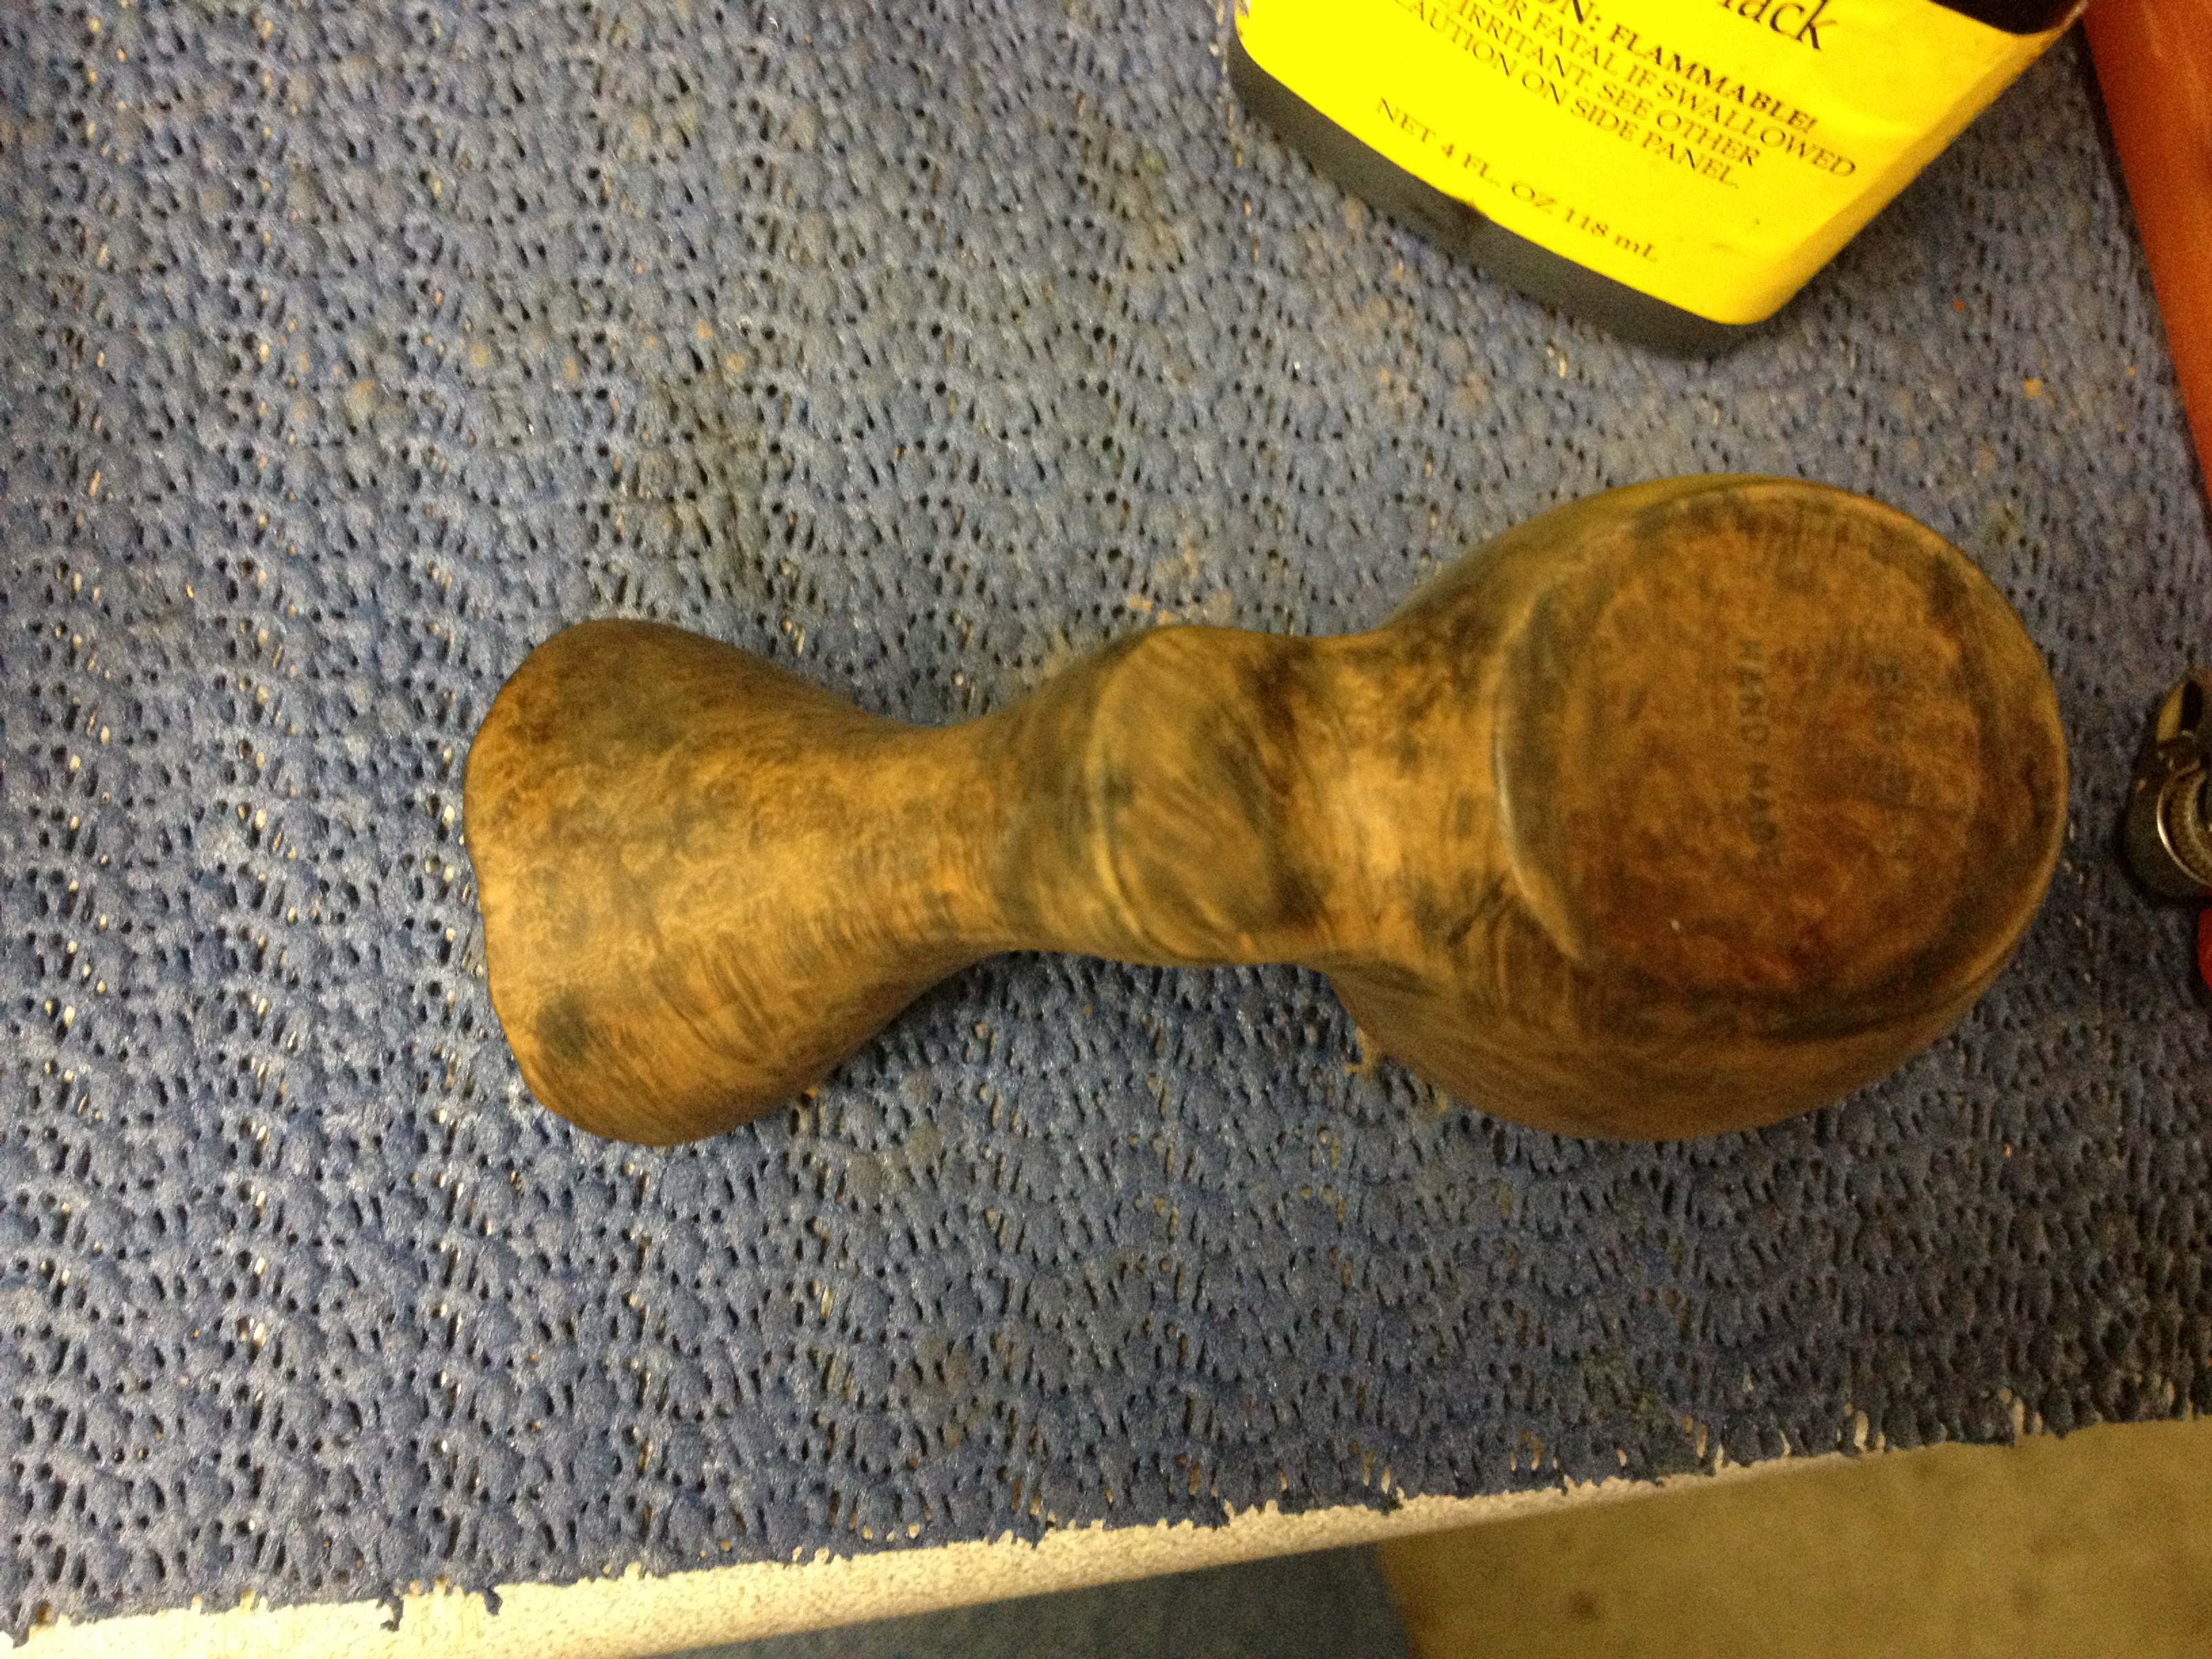
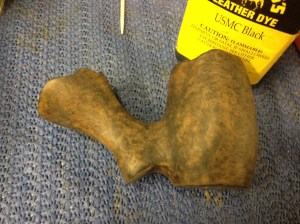
I used Fiebing’s USMC Black leather dye to the rim and shank end, since I knew these would need deeper penetration of color since they would remain black. I applied the stain, flamed it in and then repeated. I then heated up the stummel, setting the stem aside, to start the contrast staining. I got the stummel nice and warm, wearing leather gloves to protect my hand. I then applied the dye to the entire pipe, flamed and repeated. Next I hand buffed the pipe with an old cotton t-shirt leaving it at this point:
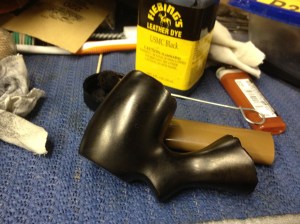
IMG_6788

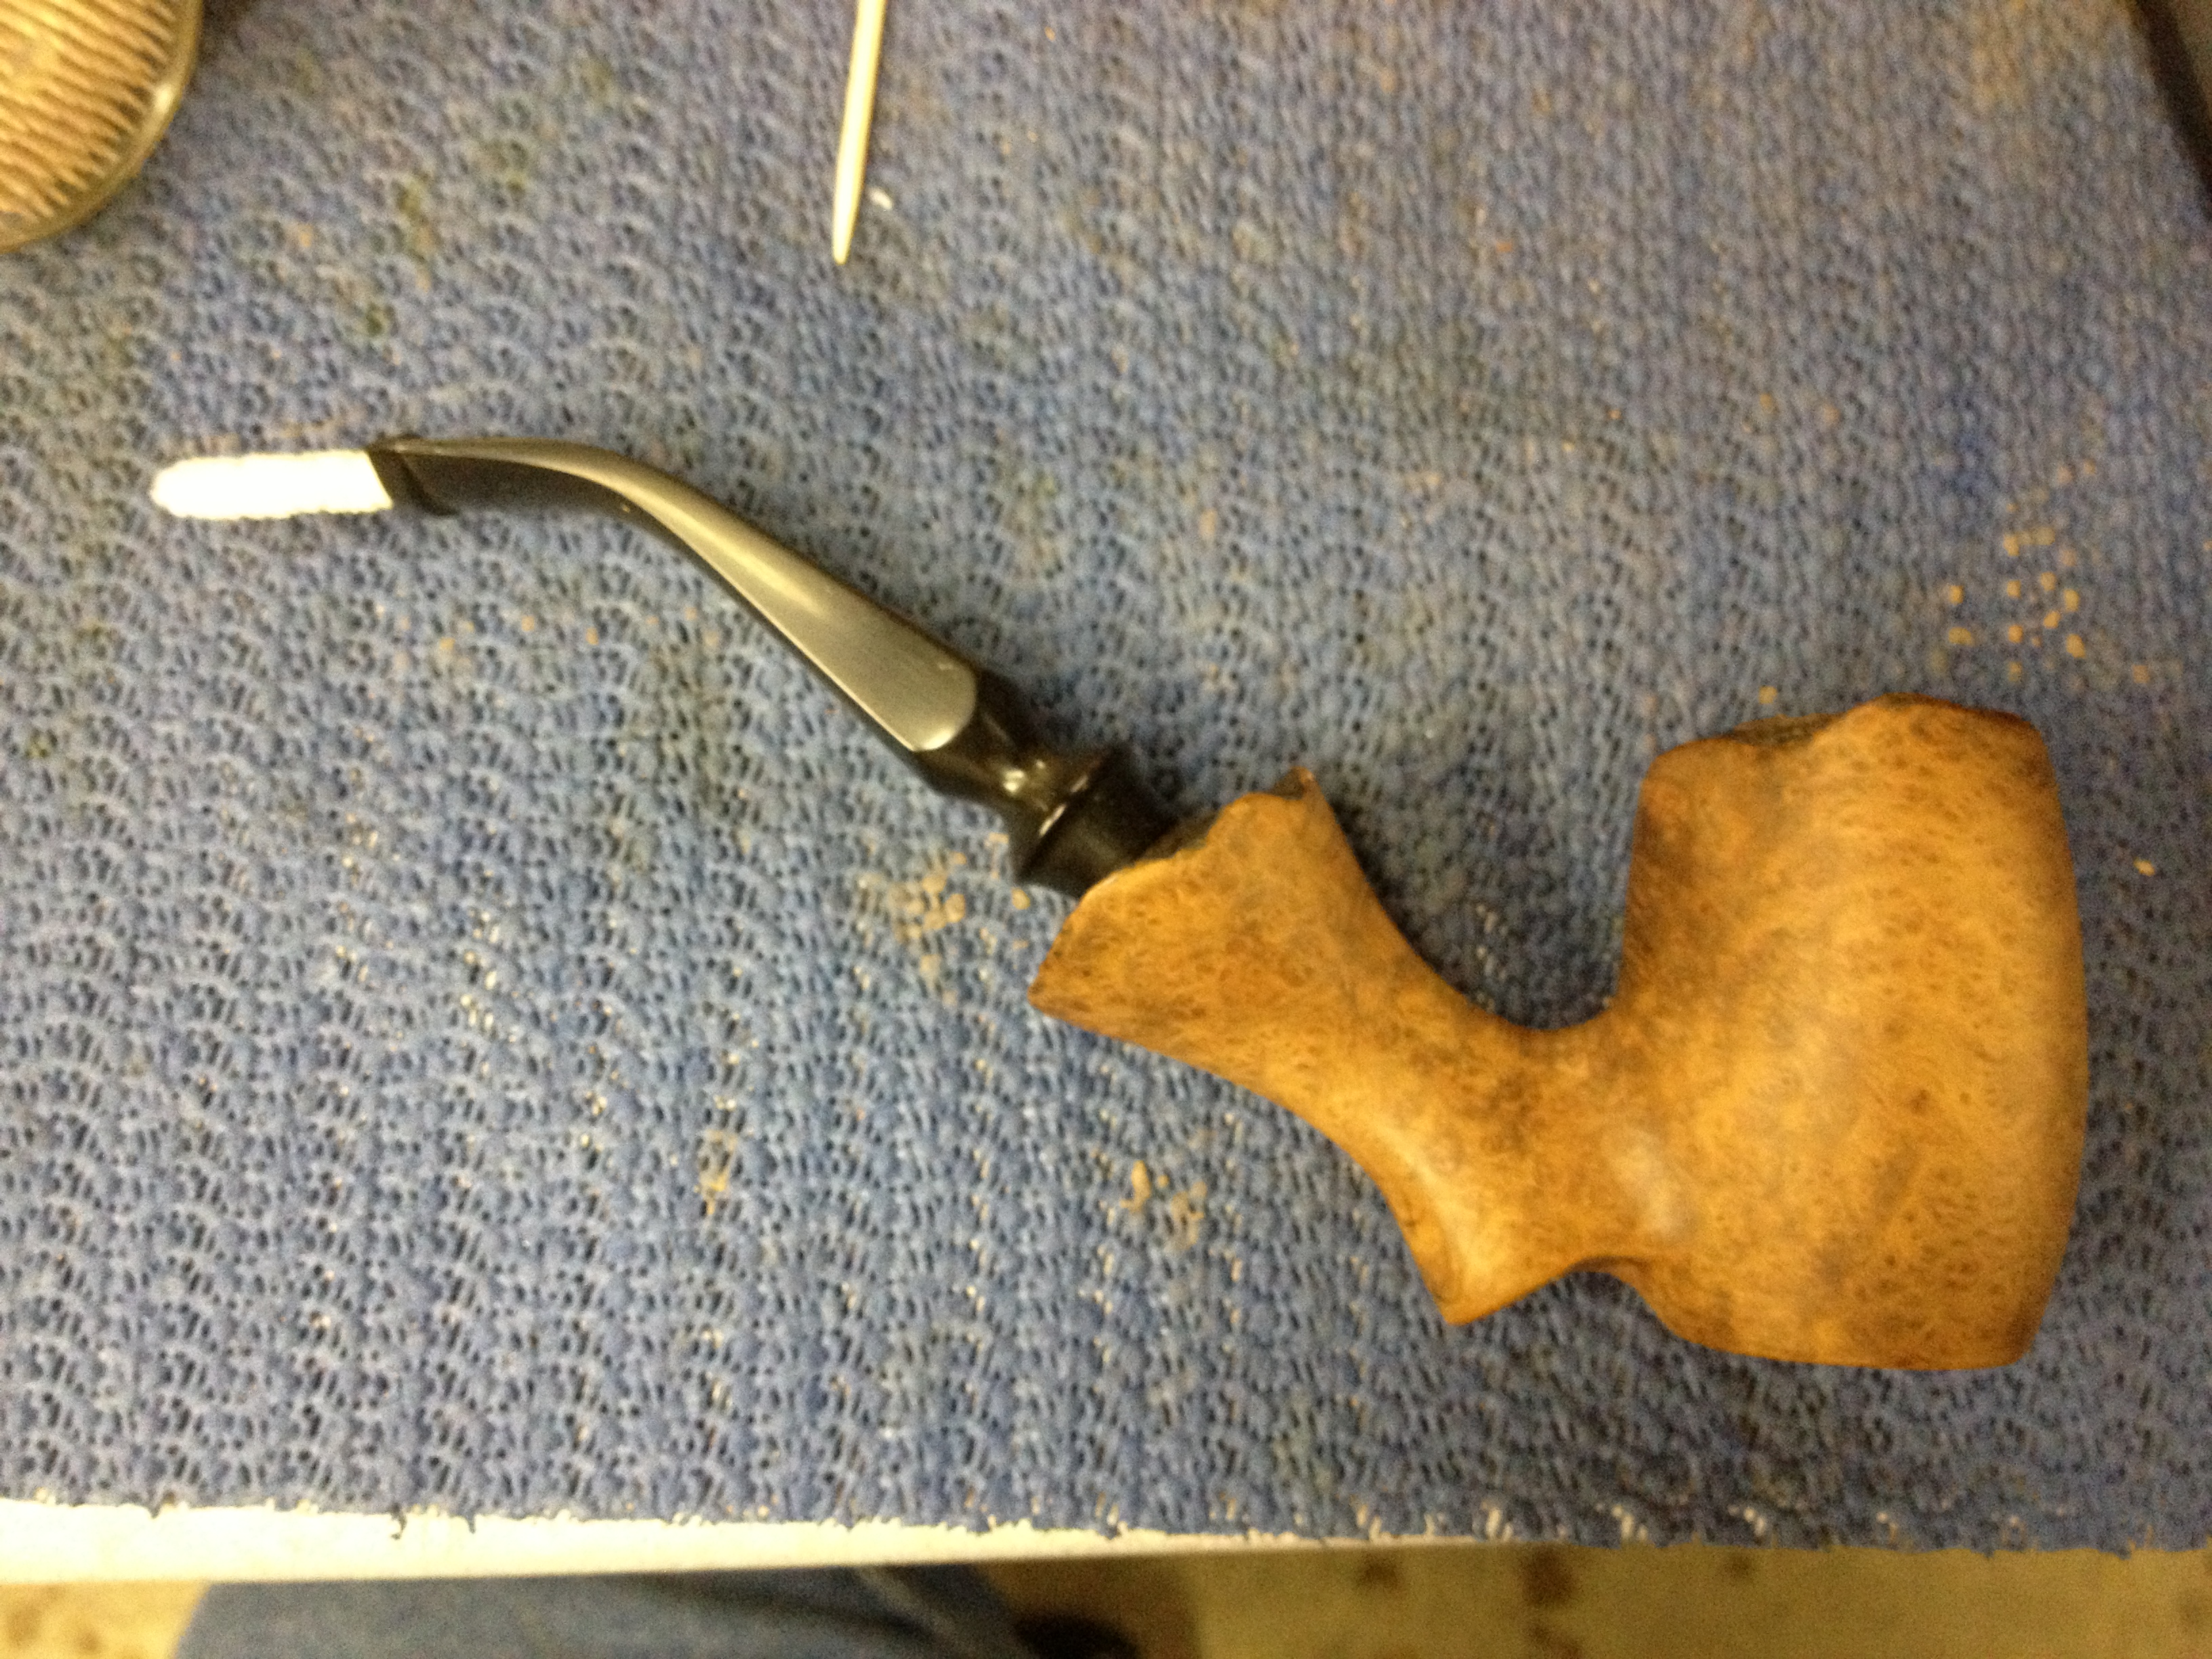
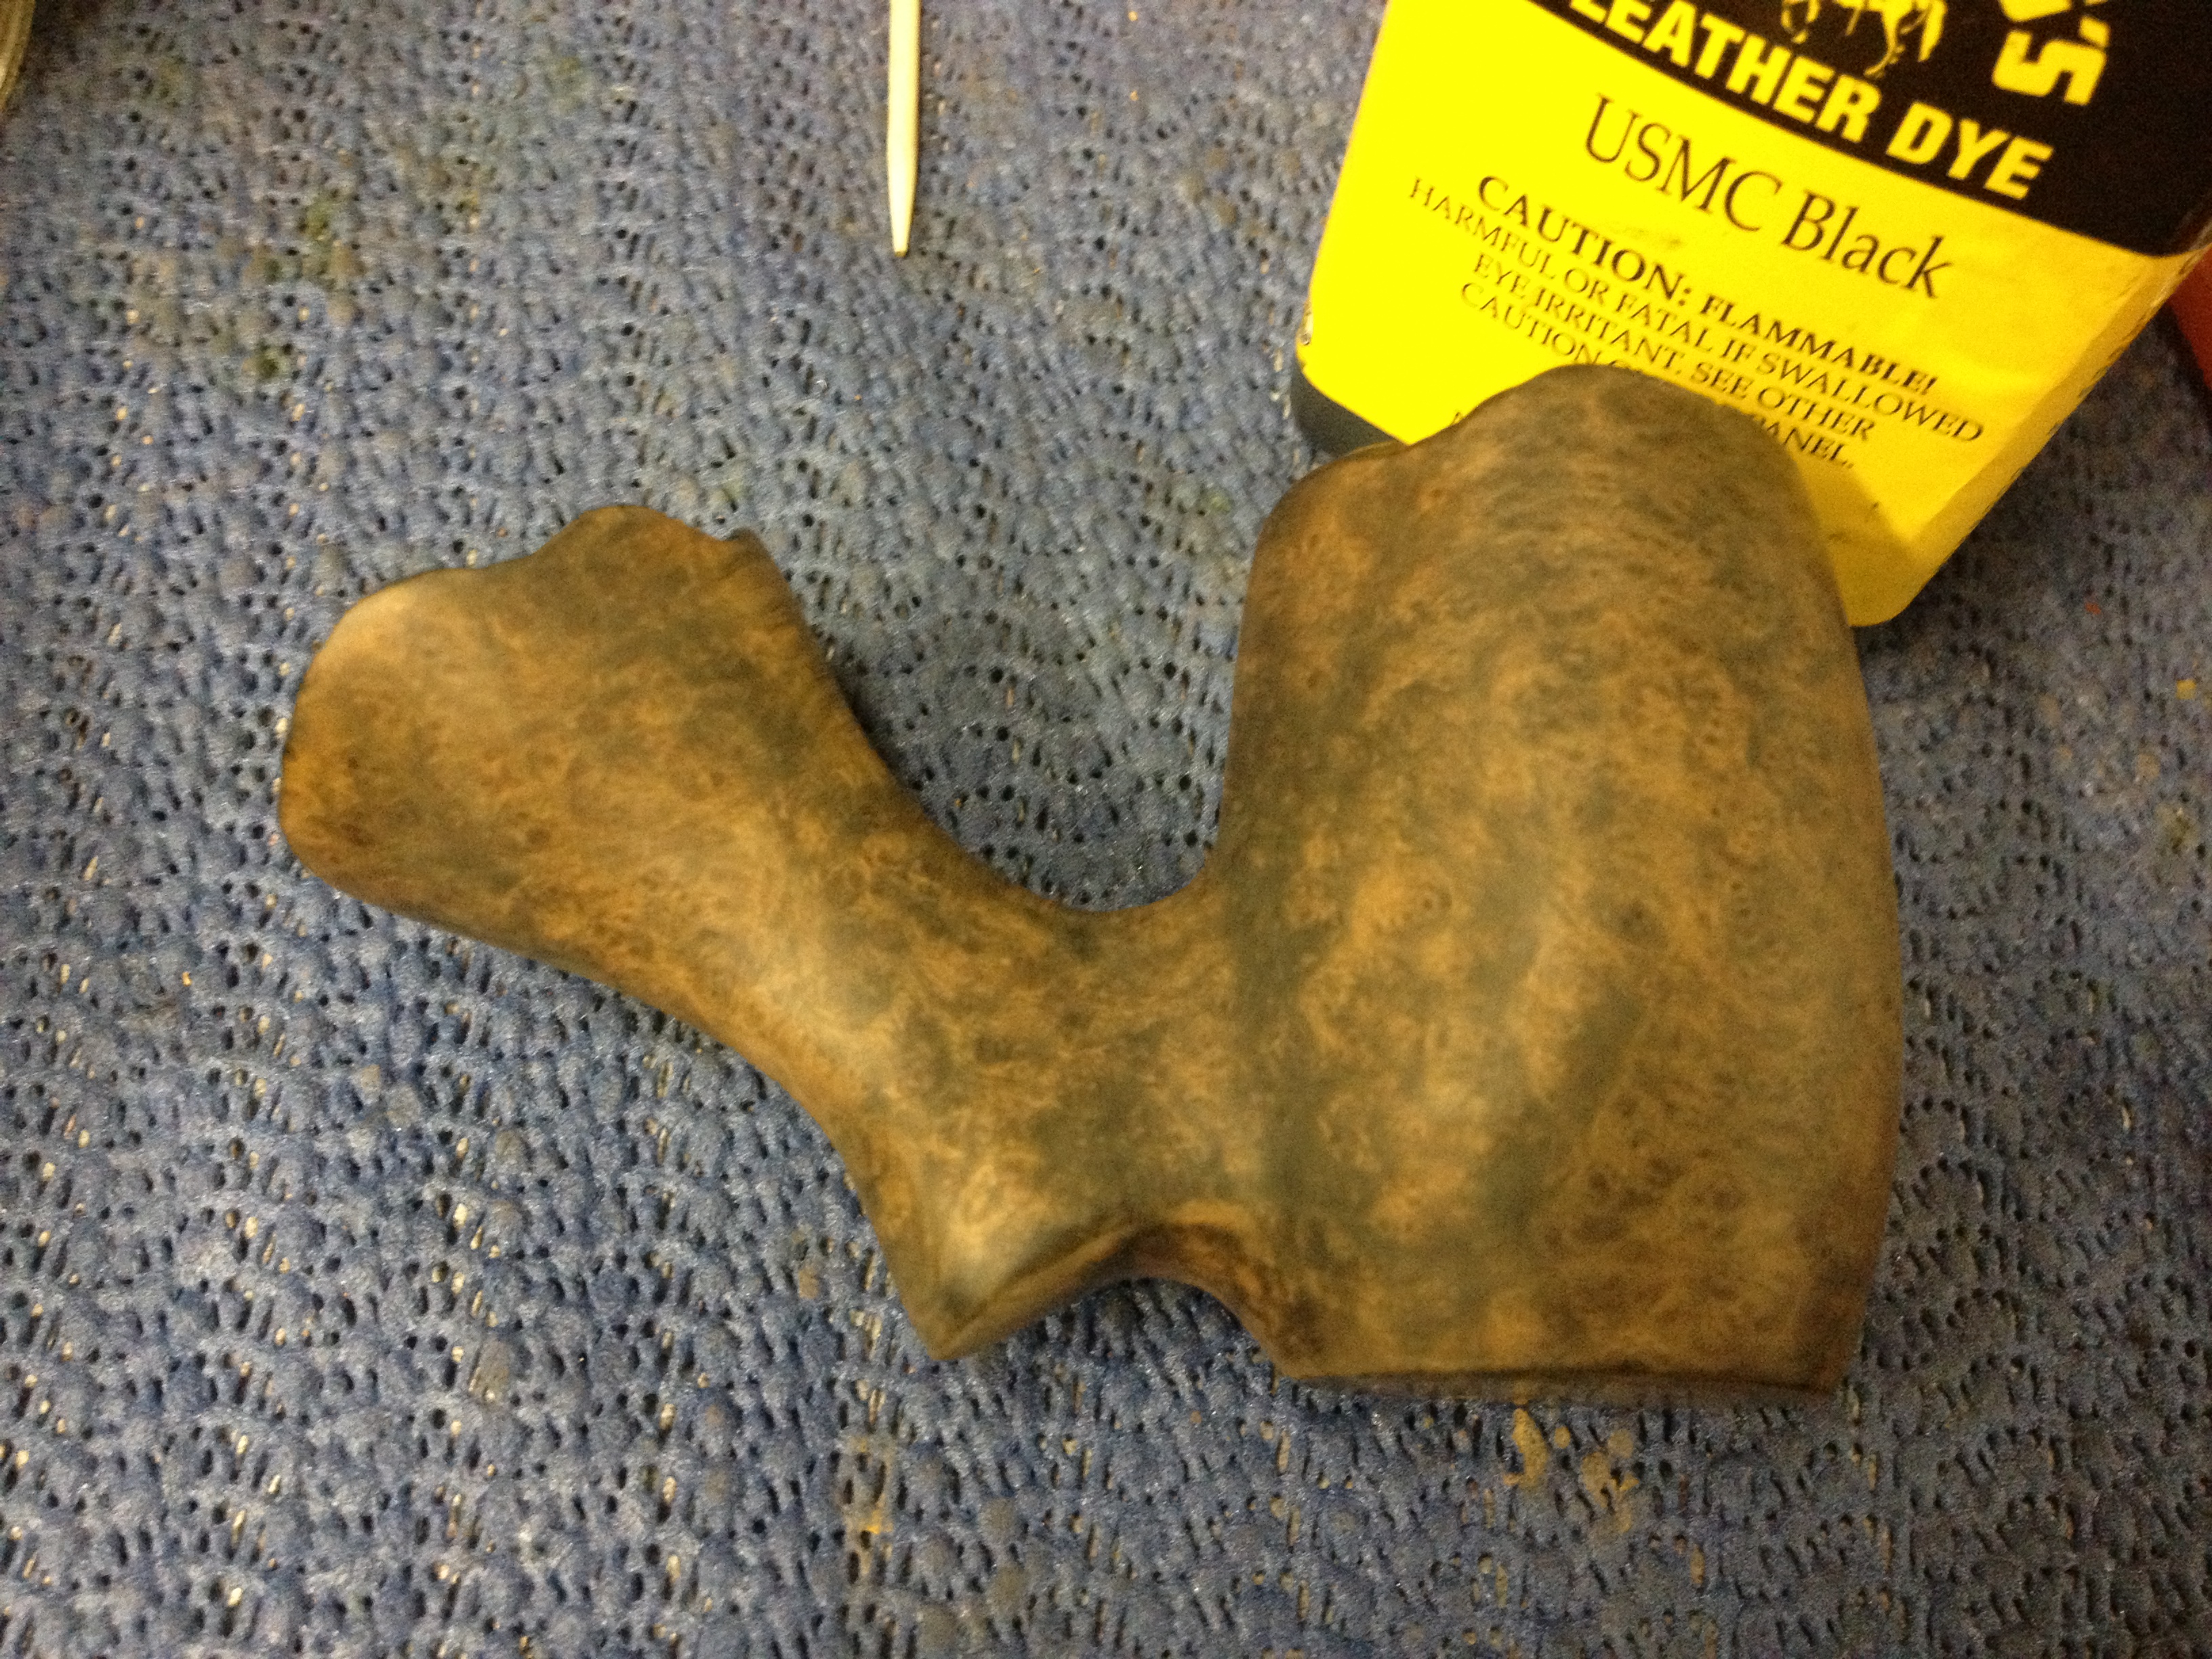
After the pipe had cooled for 10-15 minutes and was no longer warm I began to sand off the black; I wanted to remove the majority of the black but leave it in the grain areas as much as possible. I also wanted to try to blend in the burn as much as possible. I sanded and wiped it clean with a dry cotton pad until I thought I was getting close to where I wanted it to be; I didn’t want to use an alcohol pad until I had to in order to not lift any stain that I wanted left on the pipe. I think I sanded it over about three times before I wiped it with an alcohol pad. As the dust came off the alcohol wet pipe began to look more like what my mind’s eye had thought it would:
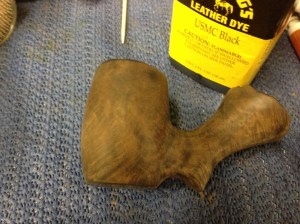
IMG_6789 IMG_6790IMG_6791 IMG_6792

Now I applied a brown stain that I had mixed up earlier for another project; to be honest, I don’t recall what color I used or what I diluted it to. I applied the stain, flamed and repeated. After buffing it off with the old t-shirt I realized it was too dark for what I had wanted so I took an alcohol pad to it and removed some stain. But it was still too dark so back to the 400 grit I went. I sanded it over, wiped with an alcohol pad, and repeated until I was happy with the color; I think it took about four cycles to get it where I left it. I then buffed it off with the t-shirt one last time before heading to the buffer.

I buffed the stummel with Tripoli and then the stummel and stem, separately due to the way this pipe is made, with white diamond. Both parts then got several coats of carnauba wax, buffed on a clean soft wheel and finally hand buffed with my flannel gloves; I don’t know the flannel glove-buff is needed but it seems it adds a little “something” though it may only be in my head. But since it only takes a few extra minutes, and gets any stray threads of the pipe that the wheel may have left, I almost always finish this way.

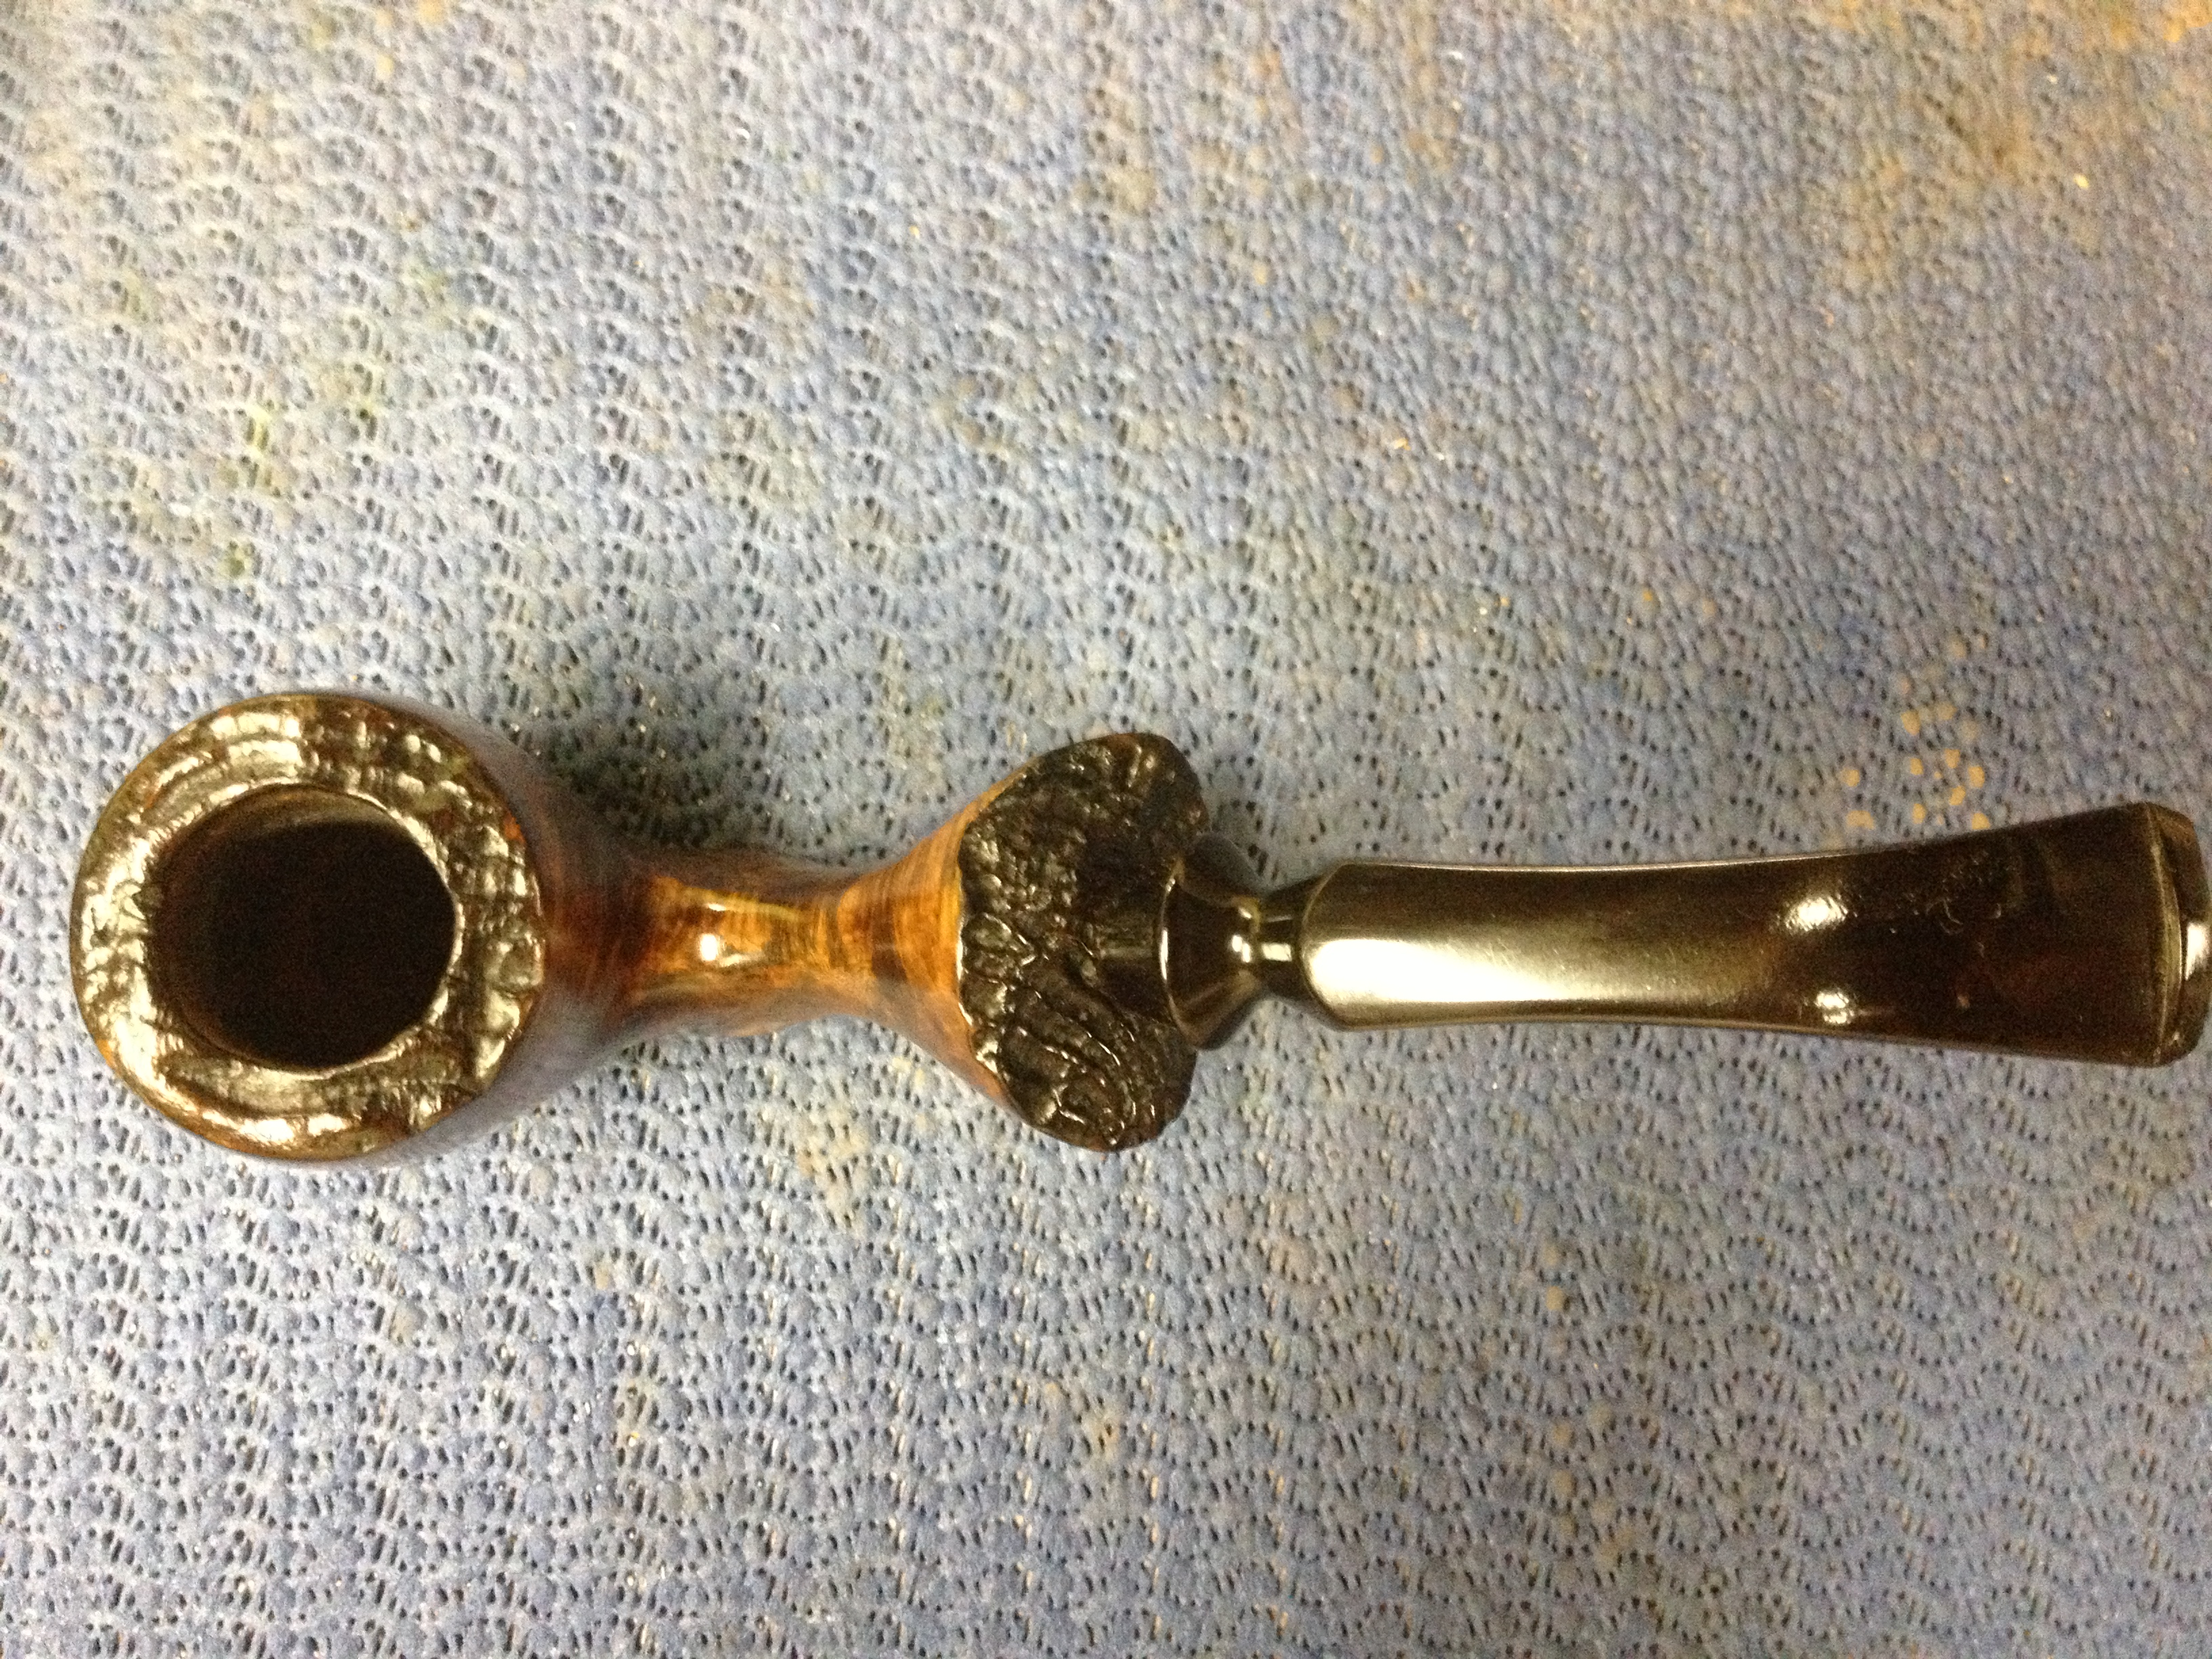
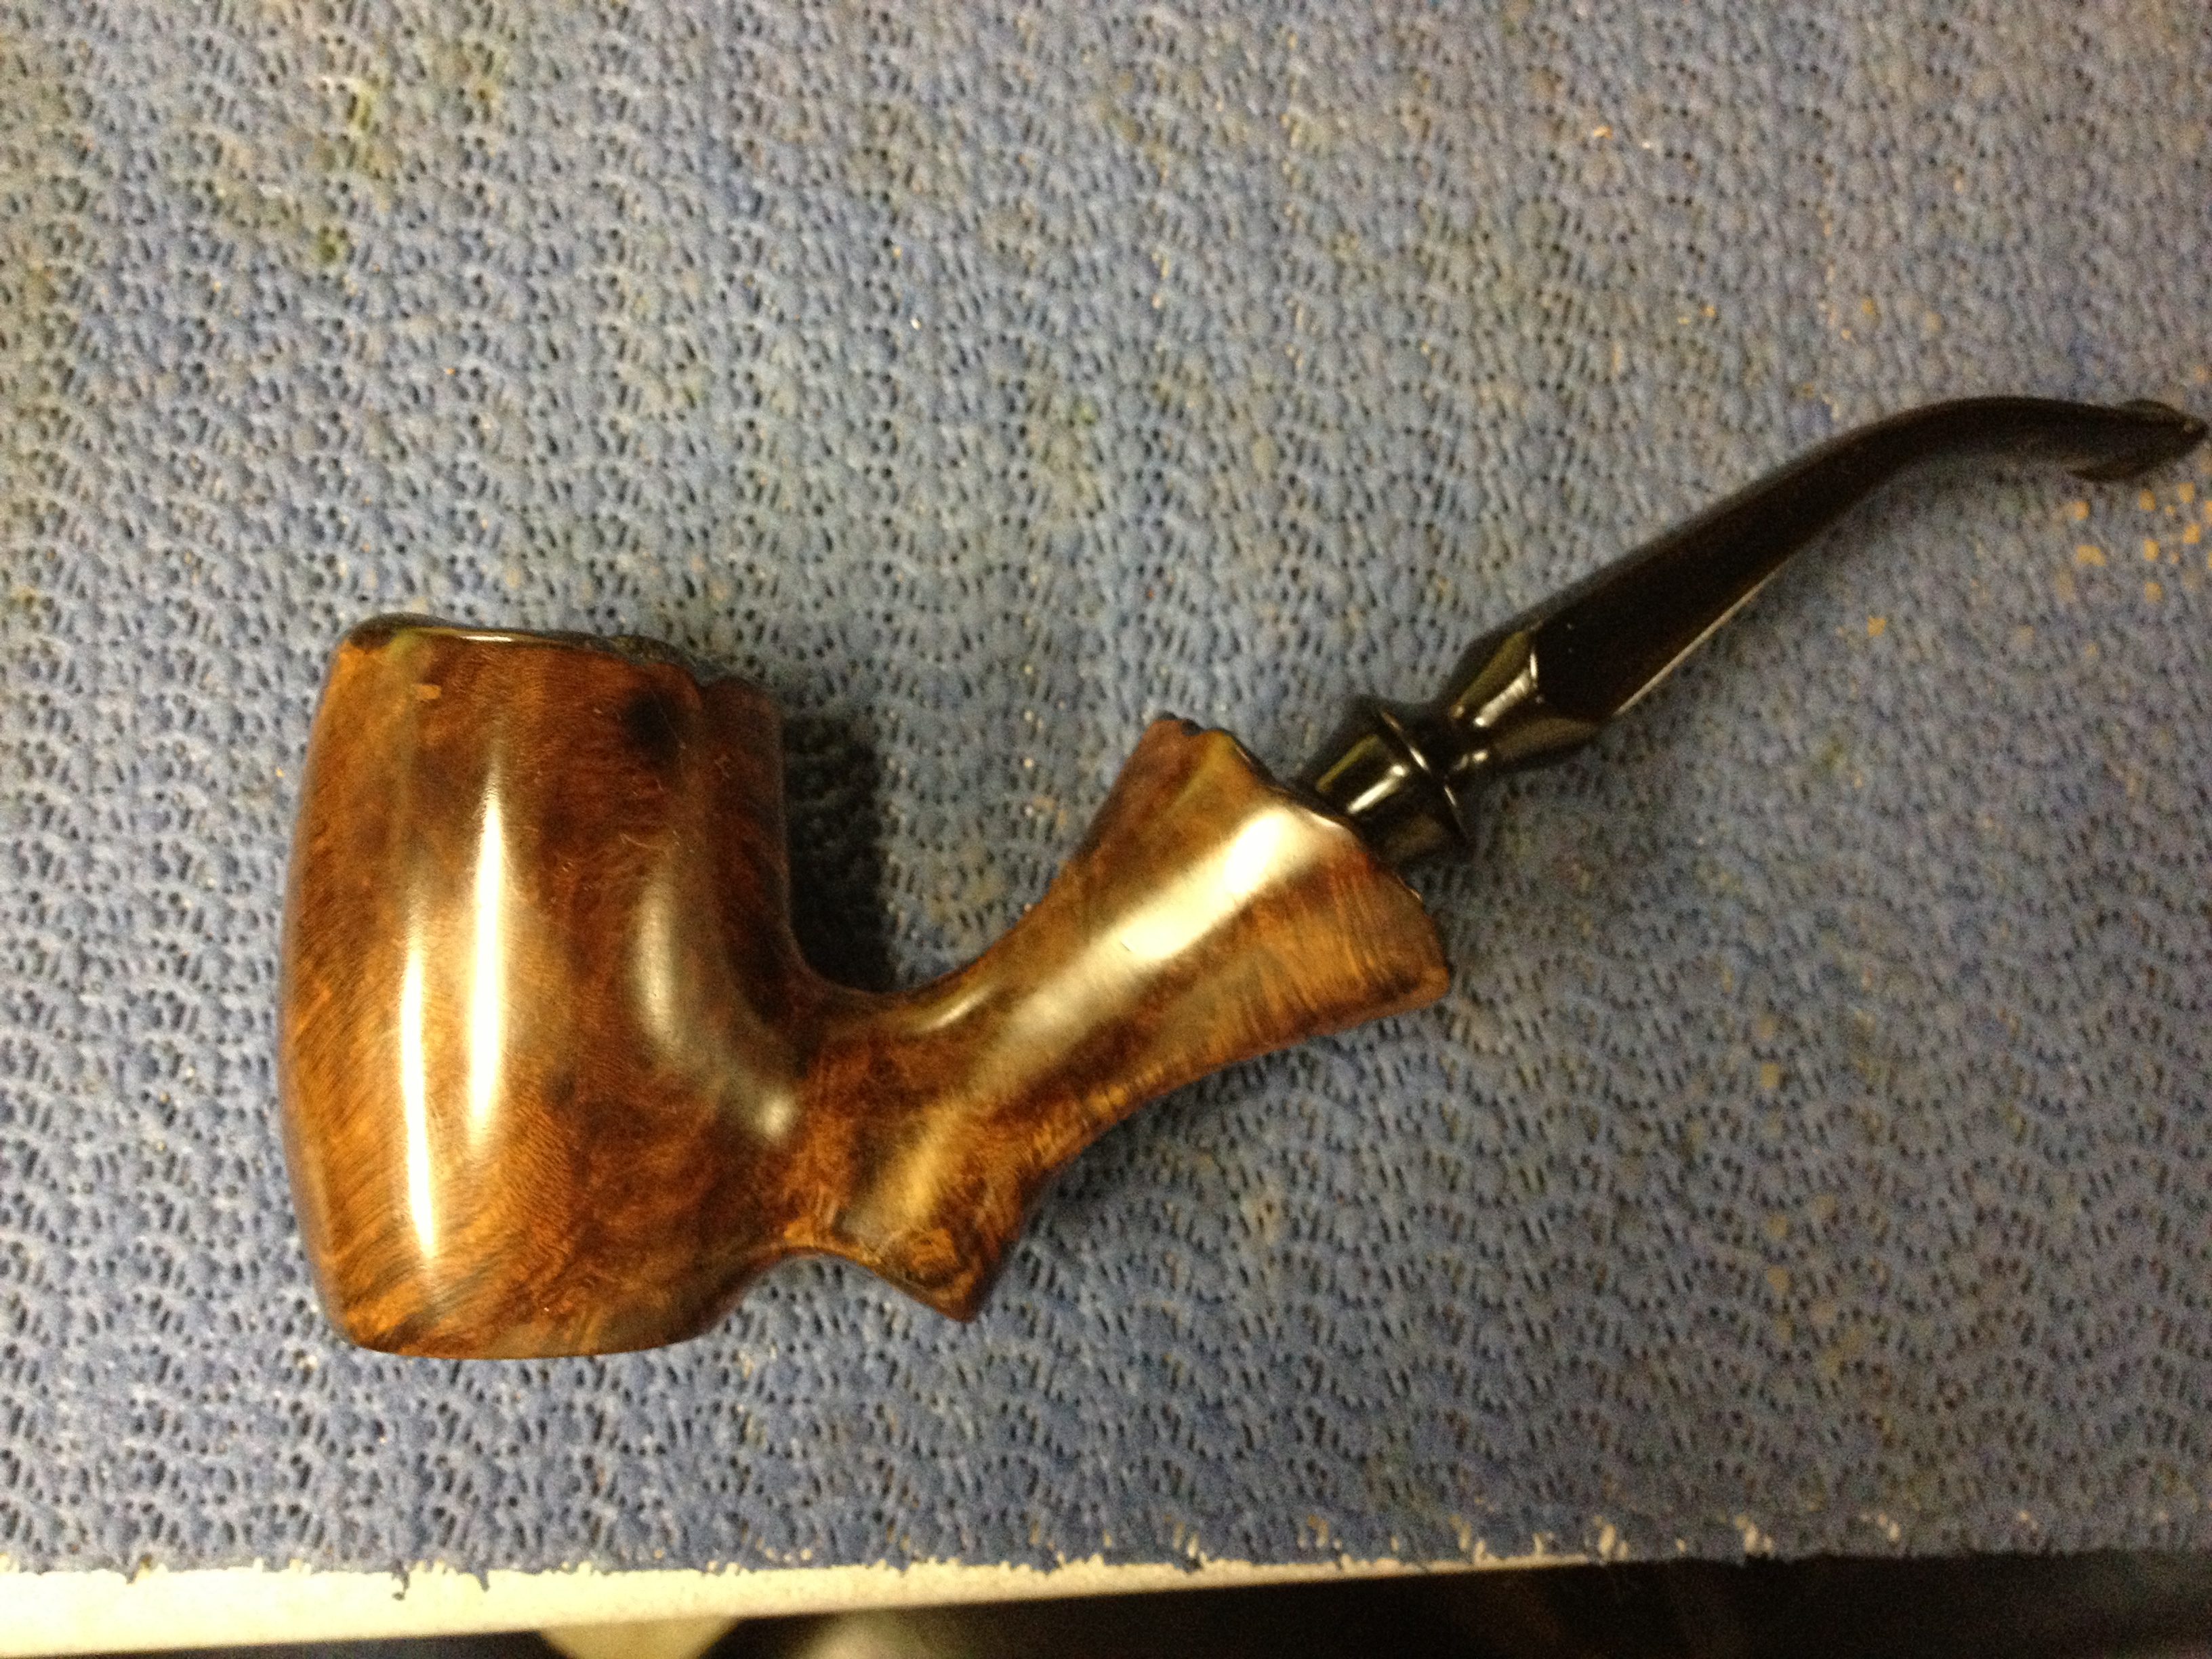
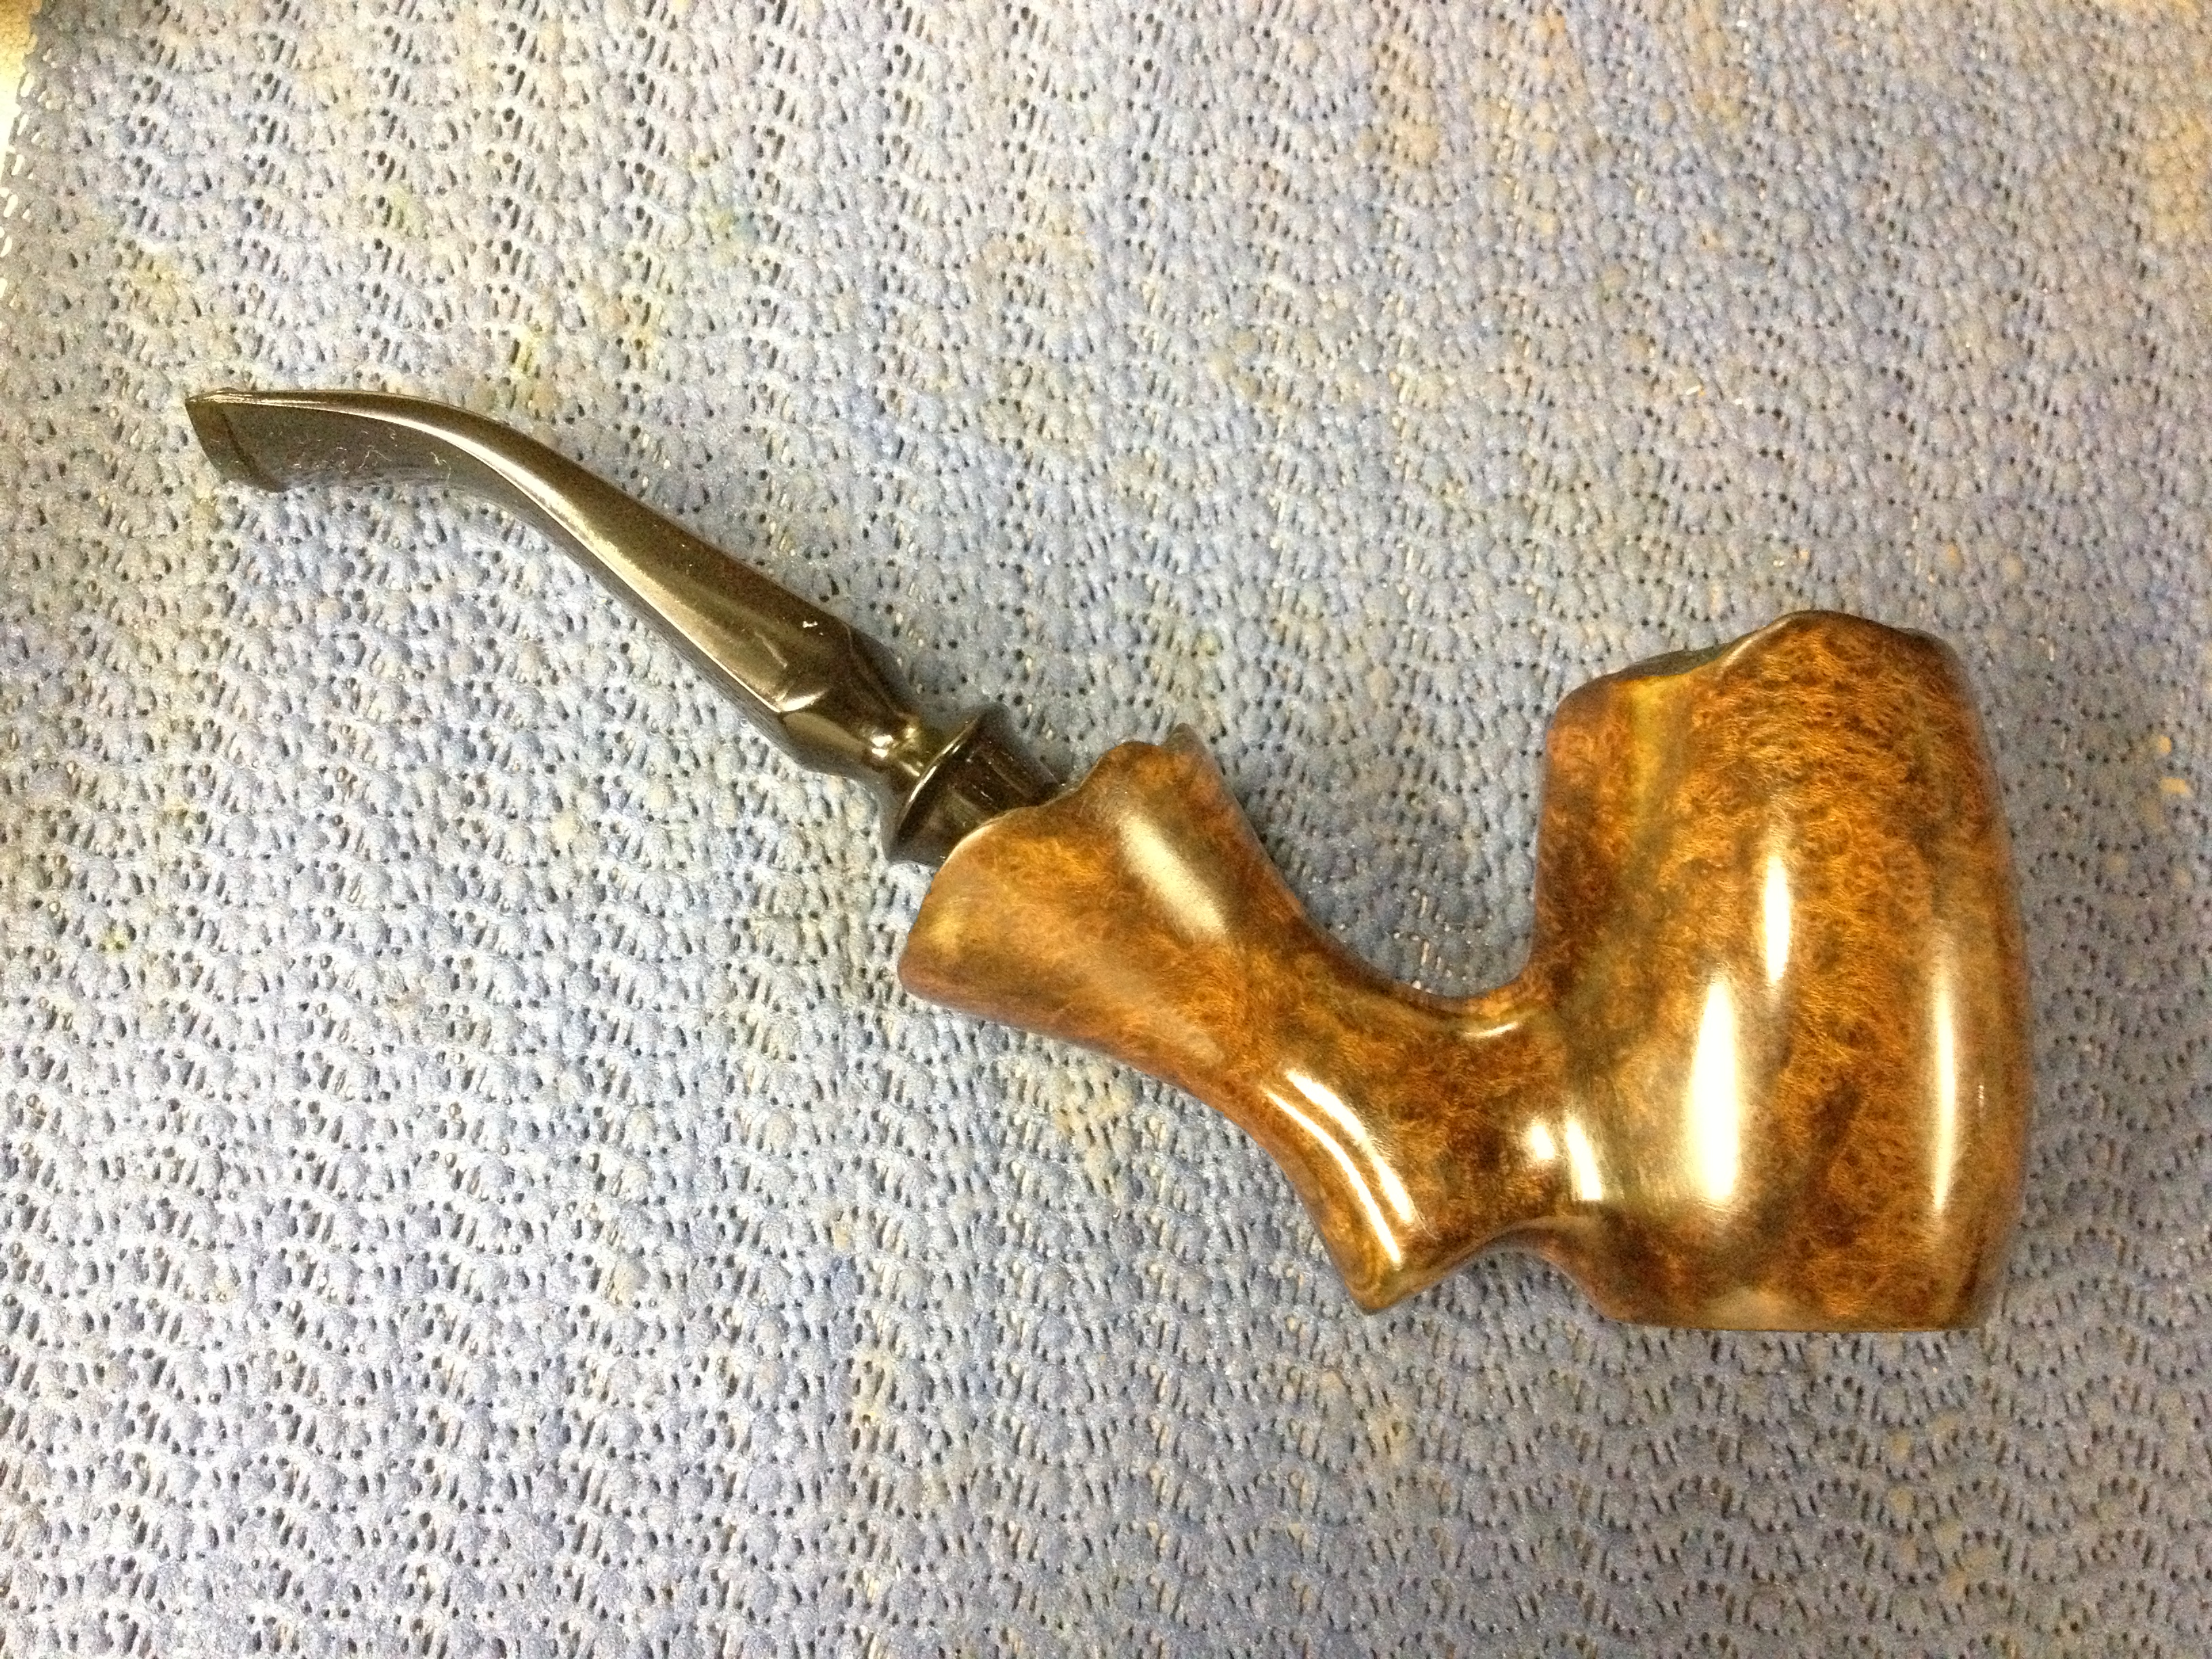
I am really happy with how this old pipe came out. The new stem was a success, both in fitting it and in the look, and I really like how the contrast staining came out. The rim looks much better now stained black with dye not tar. The fills didn’t hold the stain as well as I’d hoped but are much less noticeable now. And the and burn mark is almost invisible, which really pleases me. The only thing that I am not happy about, really confused about more than unhappy, is that the stem has loosened from the tight fit it had the day I turned it. I don’t know if the humidity (it had been extremely humid here the last two weeks), the alcohol soak, the extended time of separation for stem and stummel or what caused that. Hopefully a few days seated together and/or some use will remedy that. If not, I’ll likely heat and gently expand the tenon a tad to get the fit better. At any rate, here is the final result:
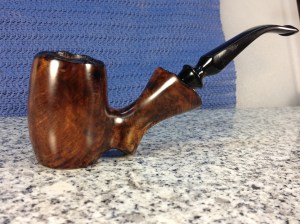
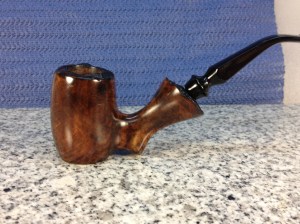
IMG_6802 IMG_6801 IMG_6800 IMG_6799 IMG_6796 IMG_6795 IMG_6794 IMG_6793

Can a Cracked Bowl be Repaired? – Taking a Lesson from Gan Barber’s Work


Blog by Steve Laug

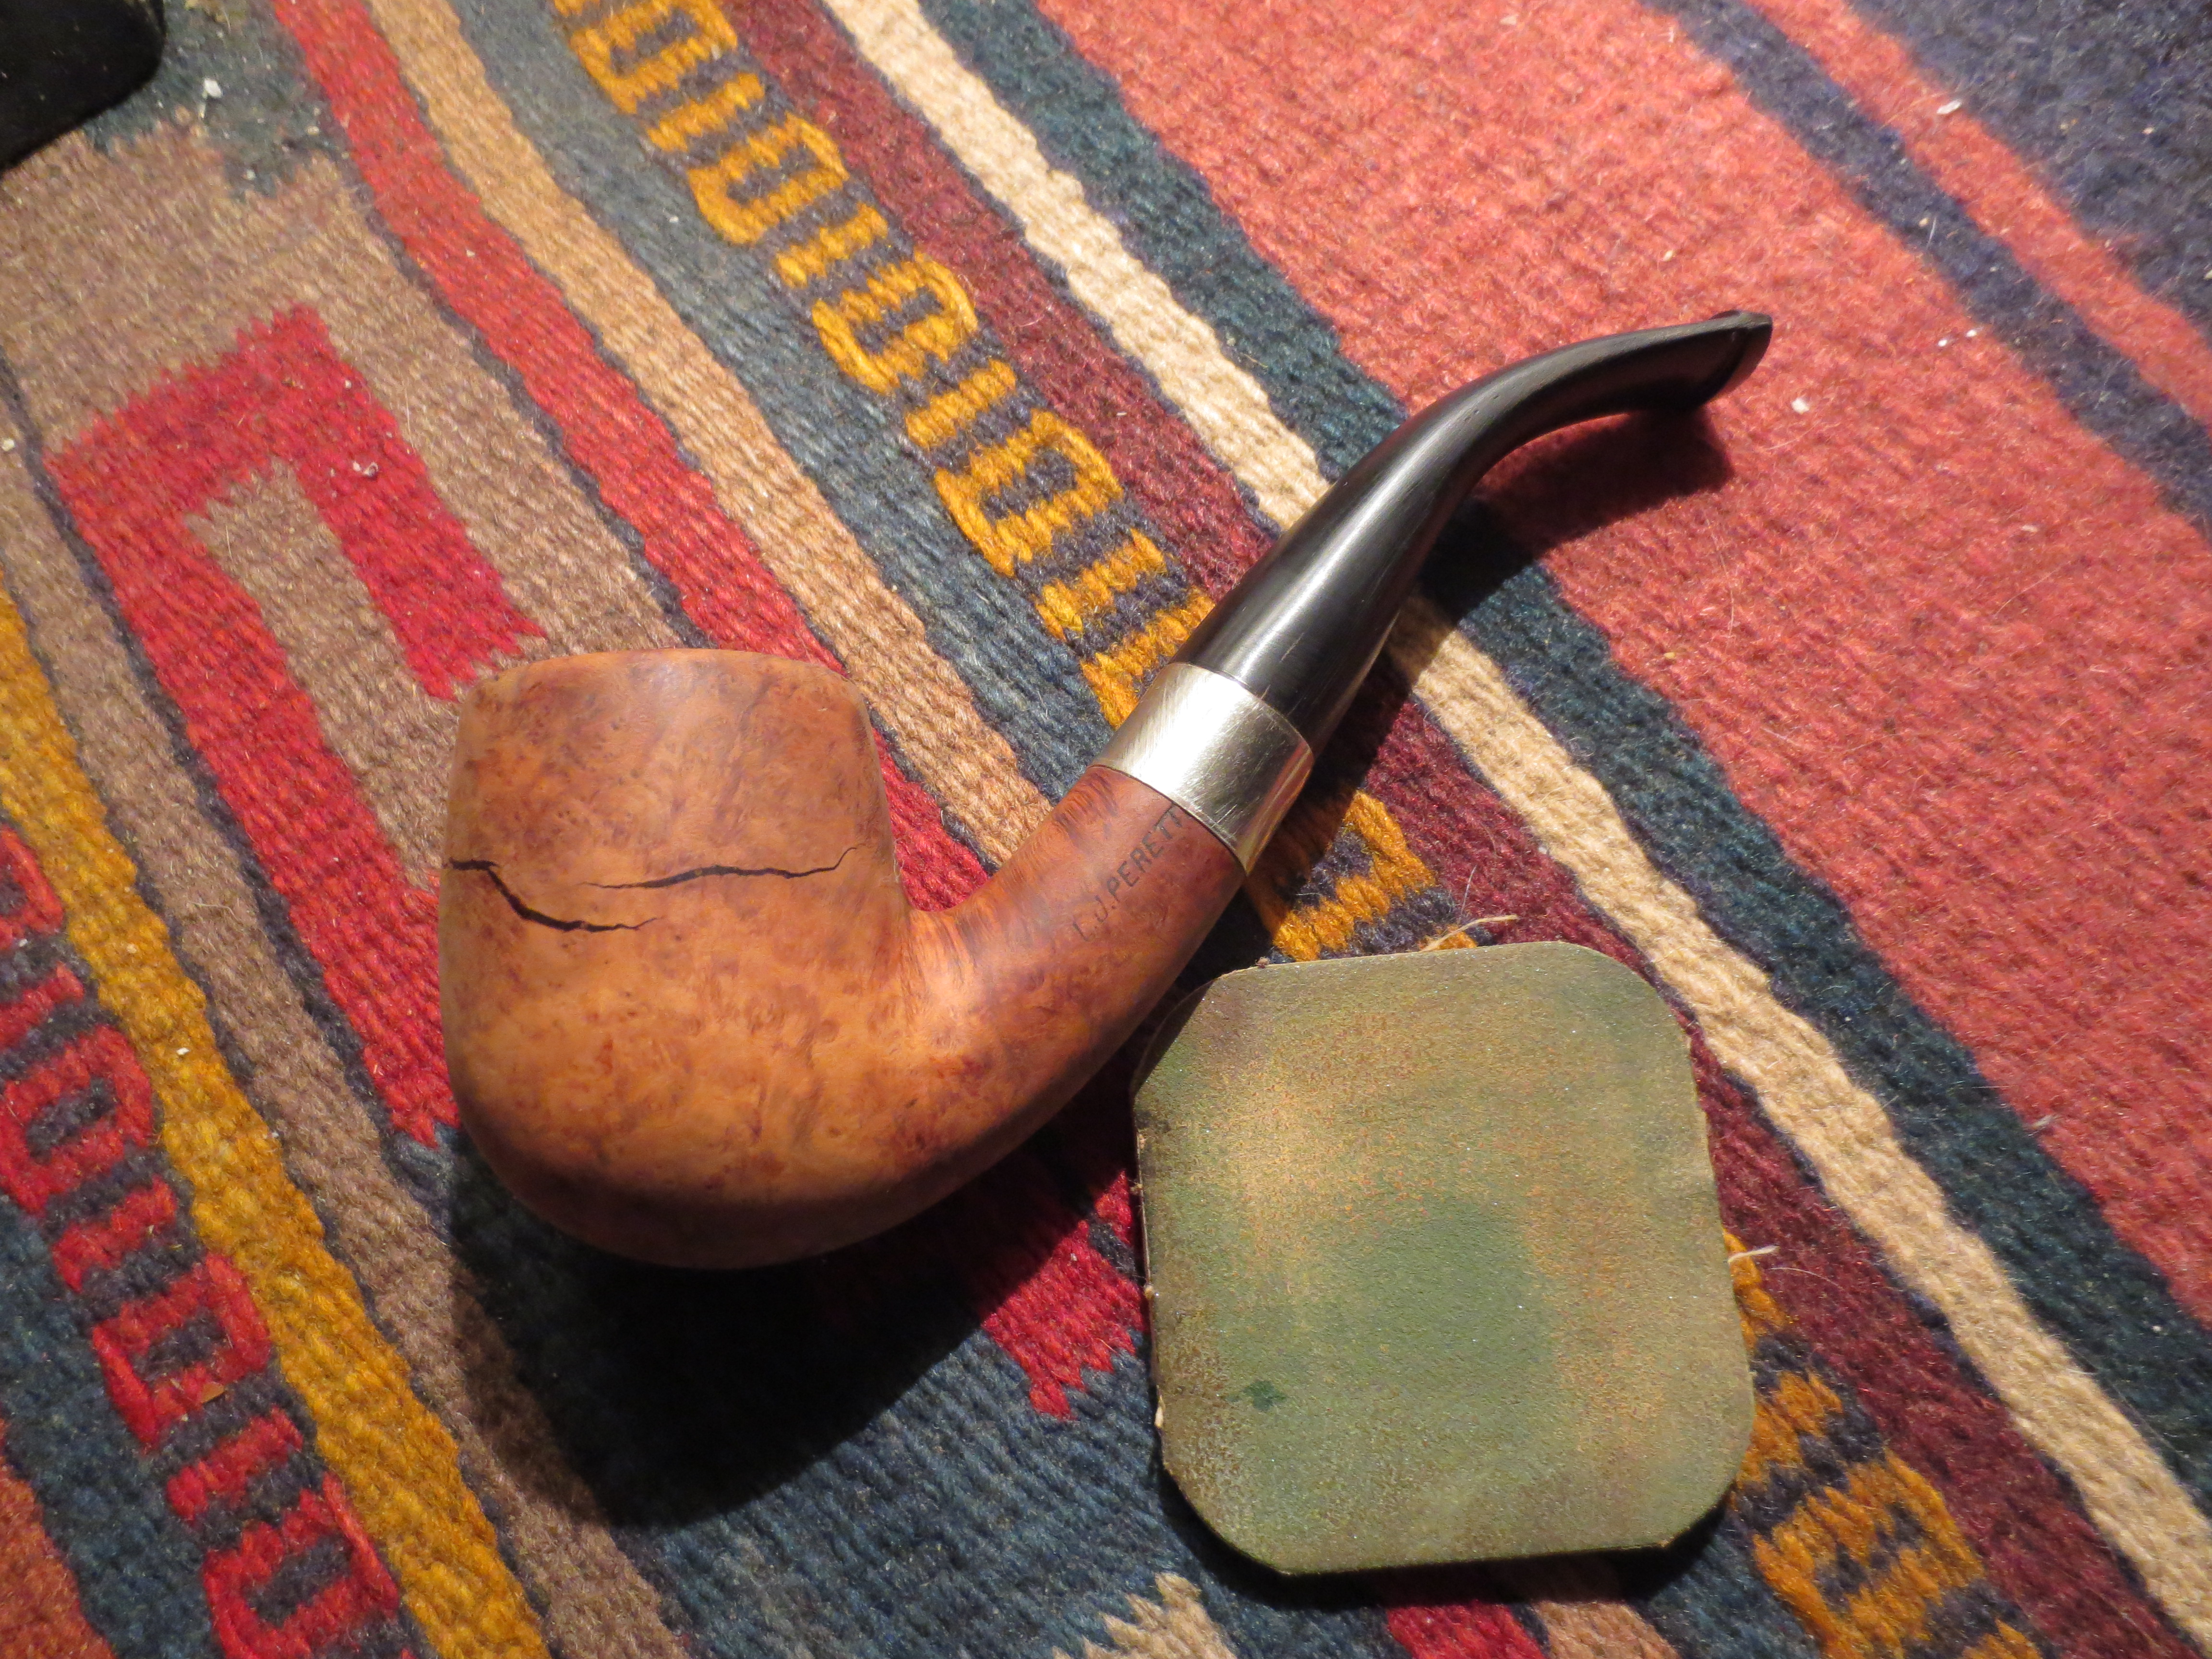
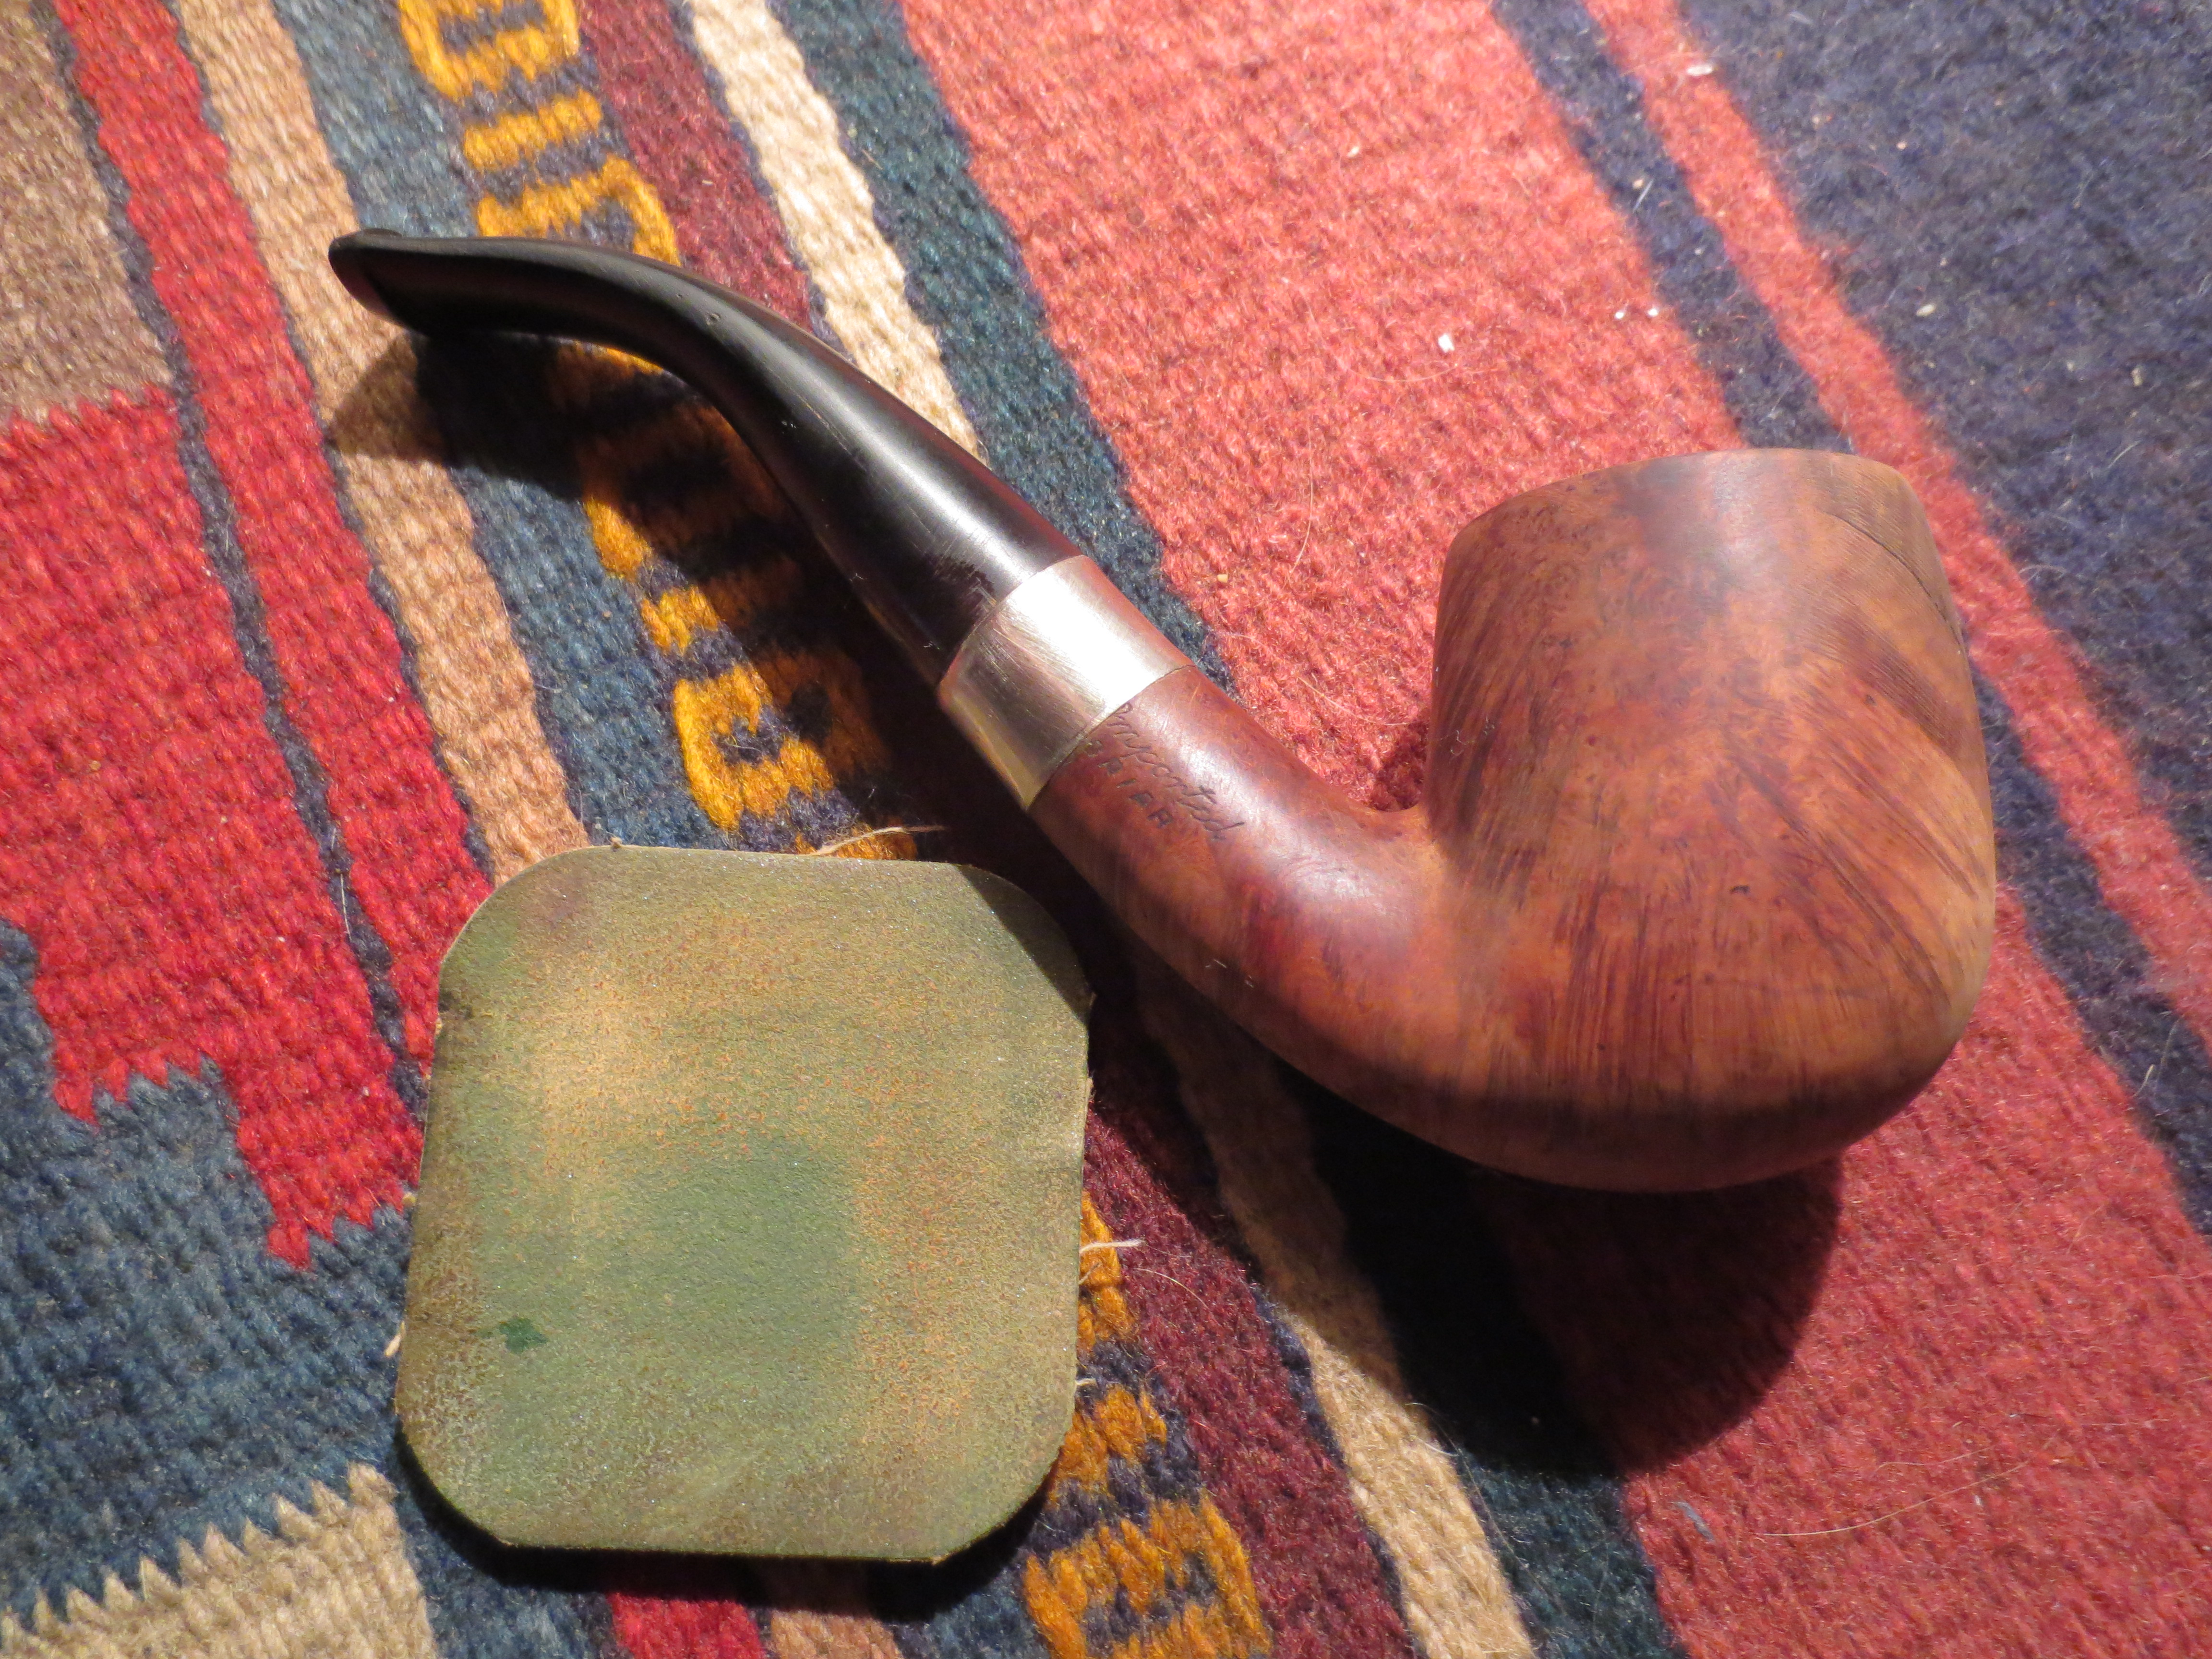
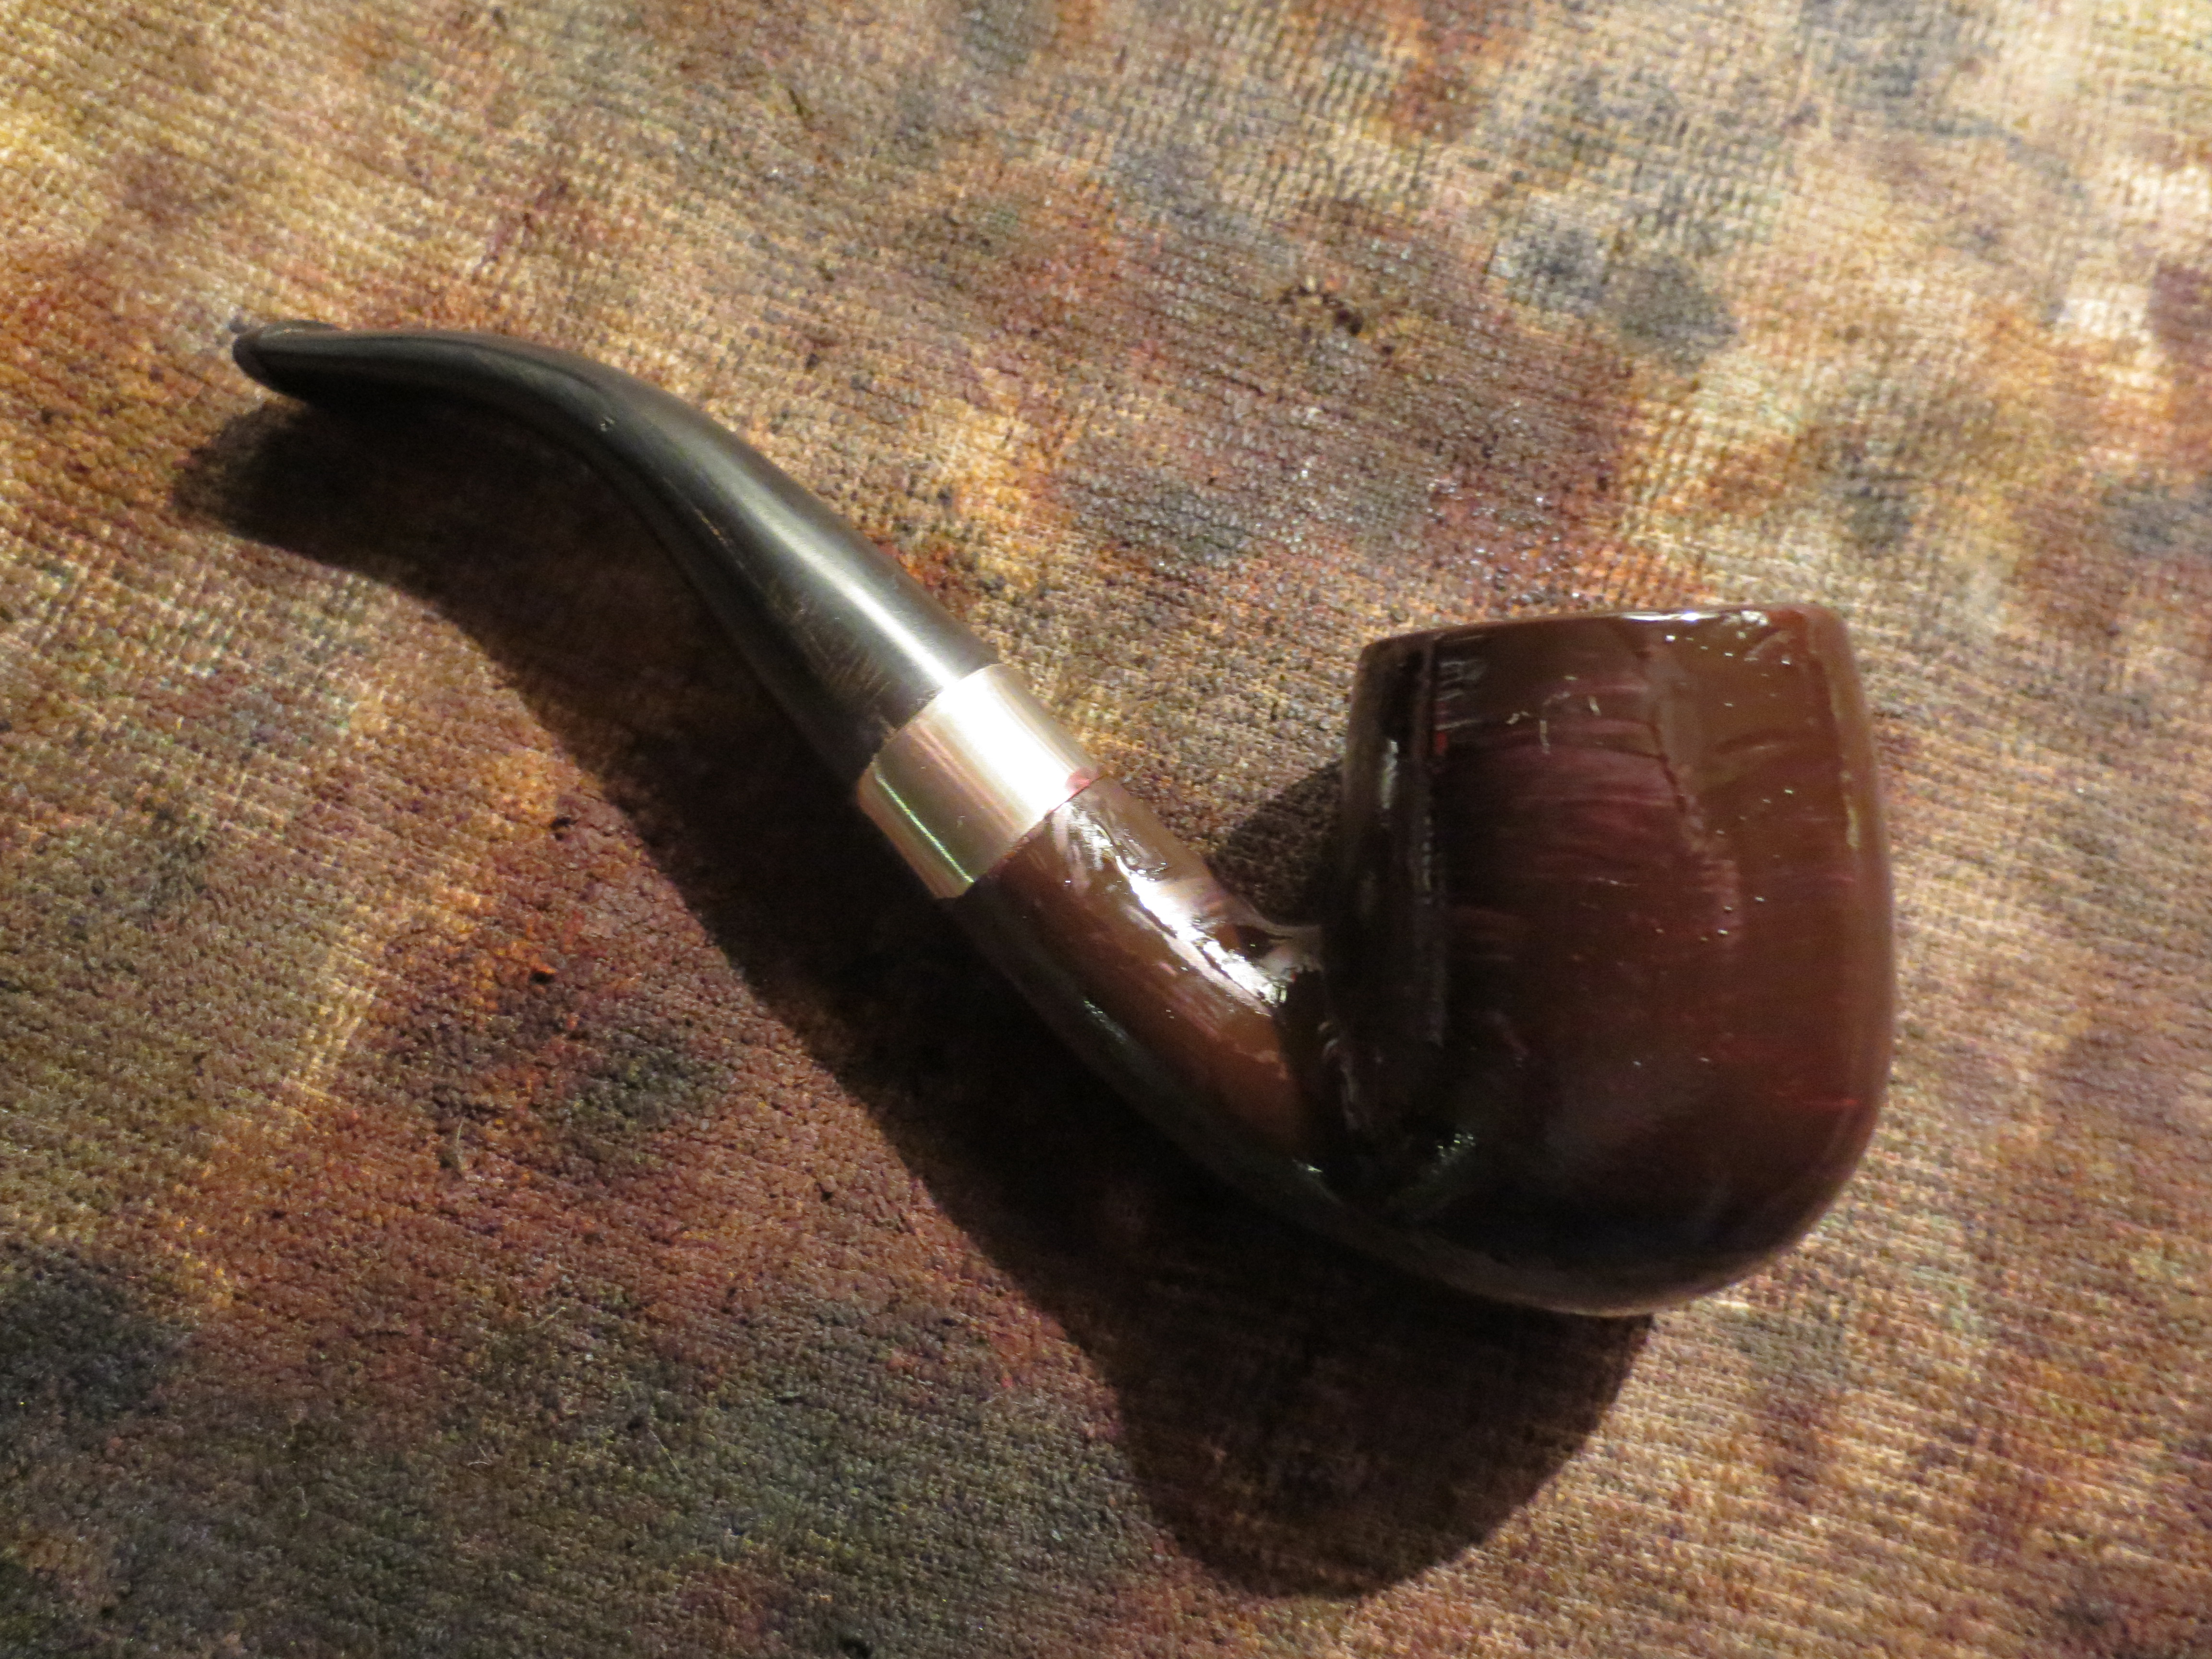
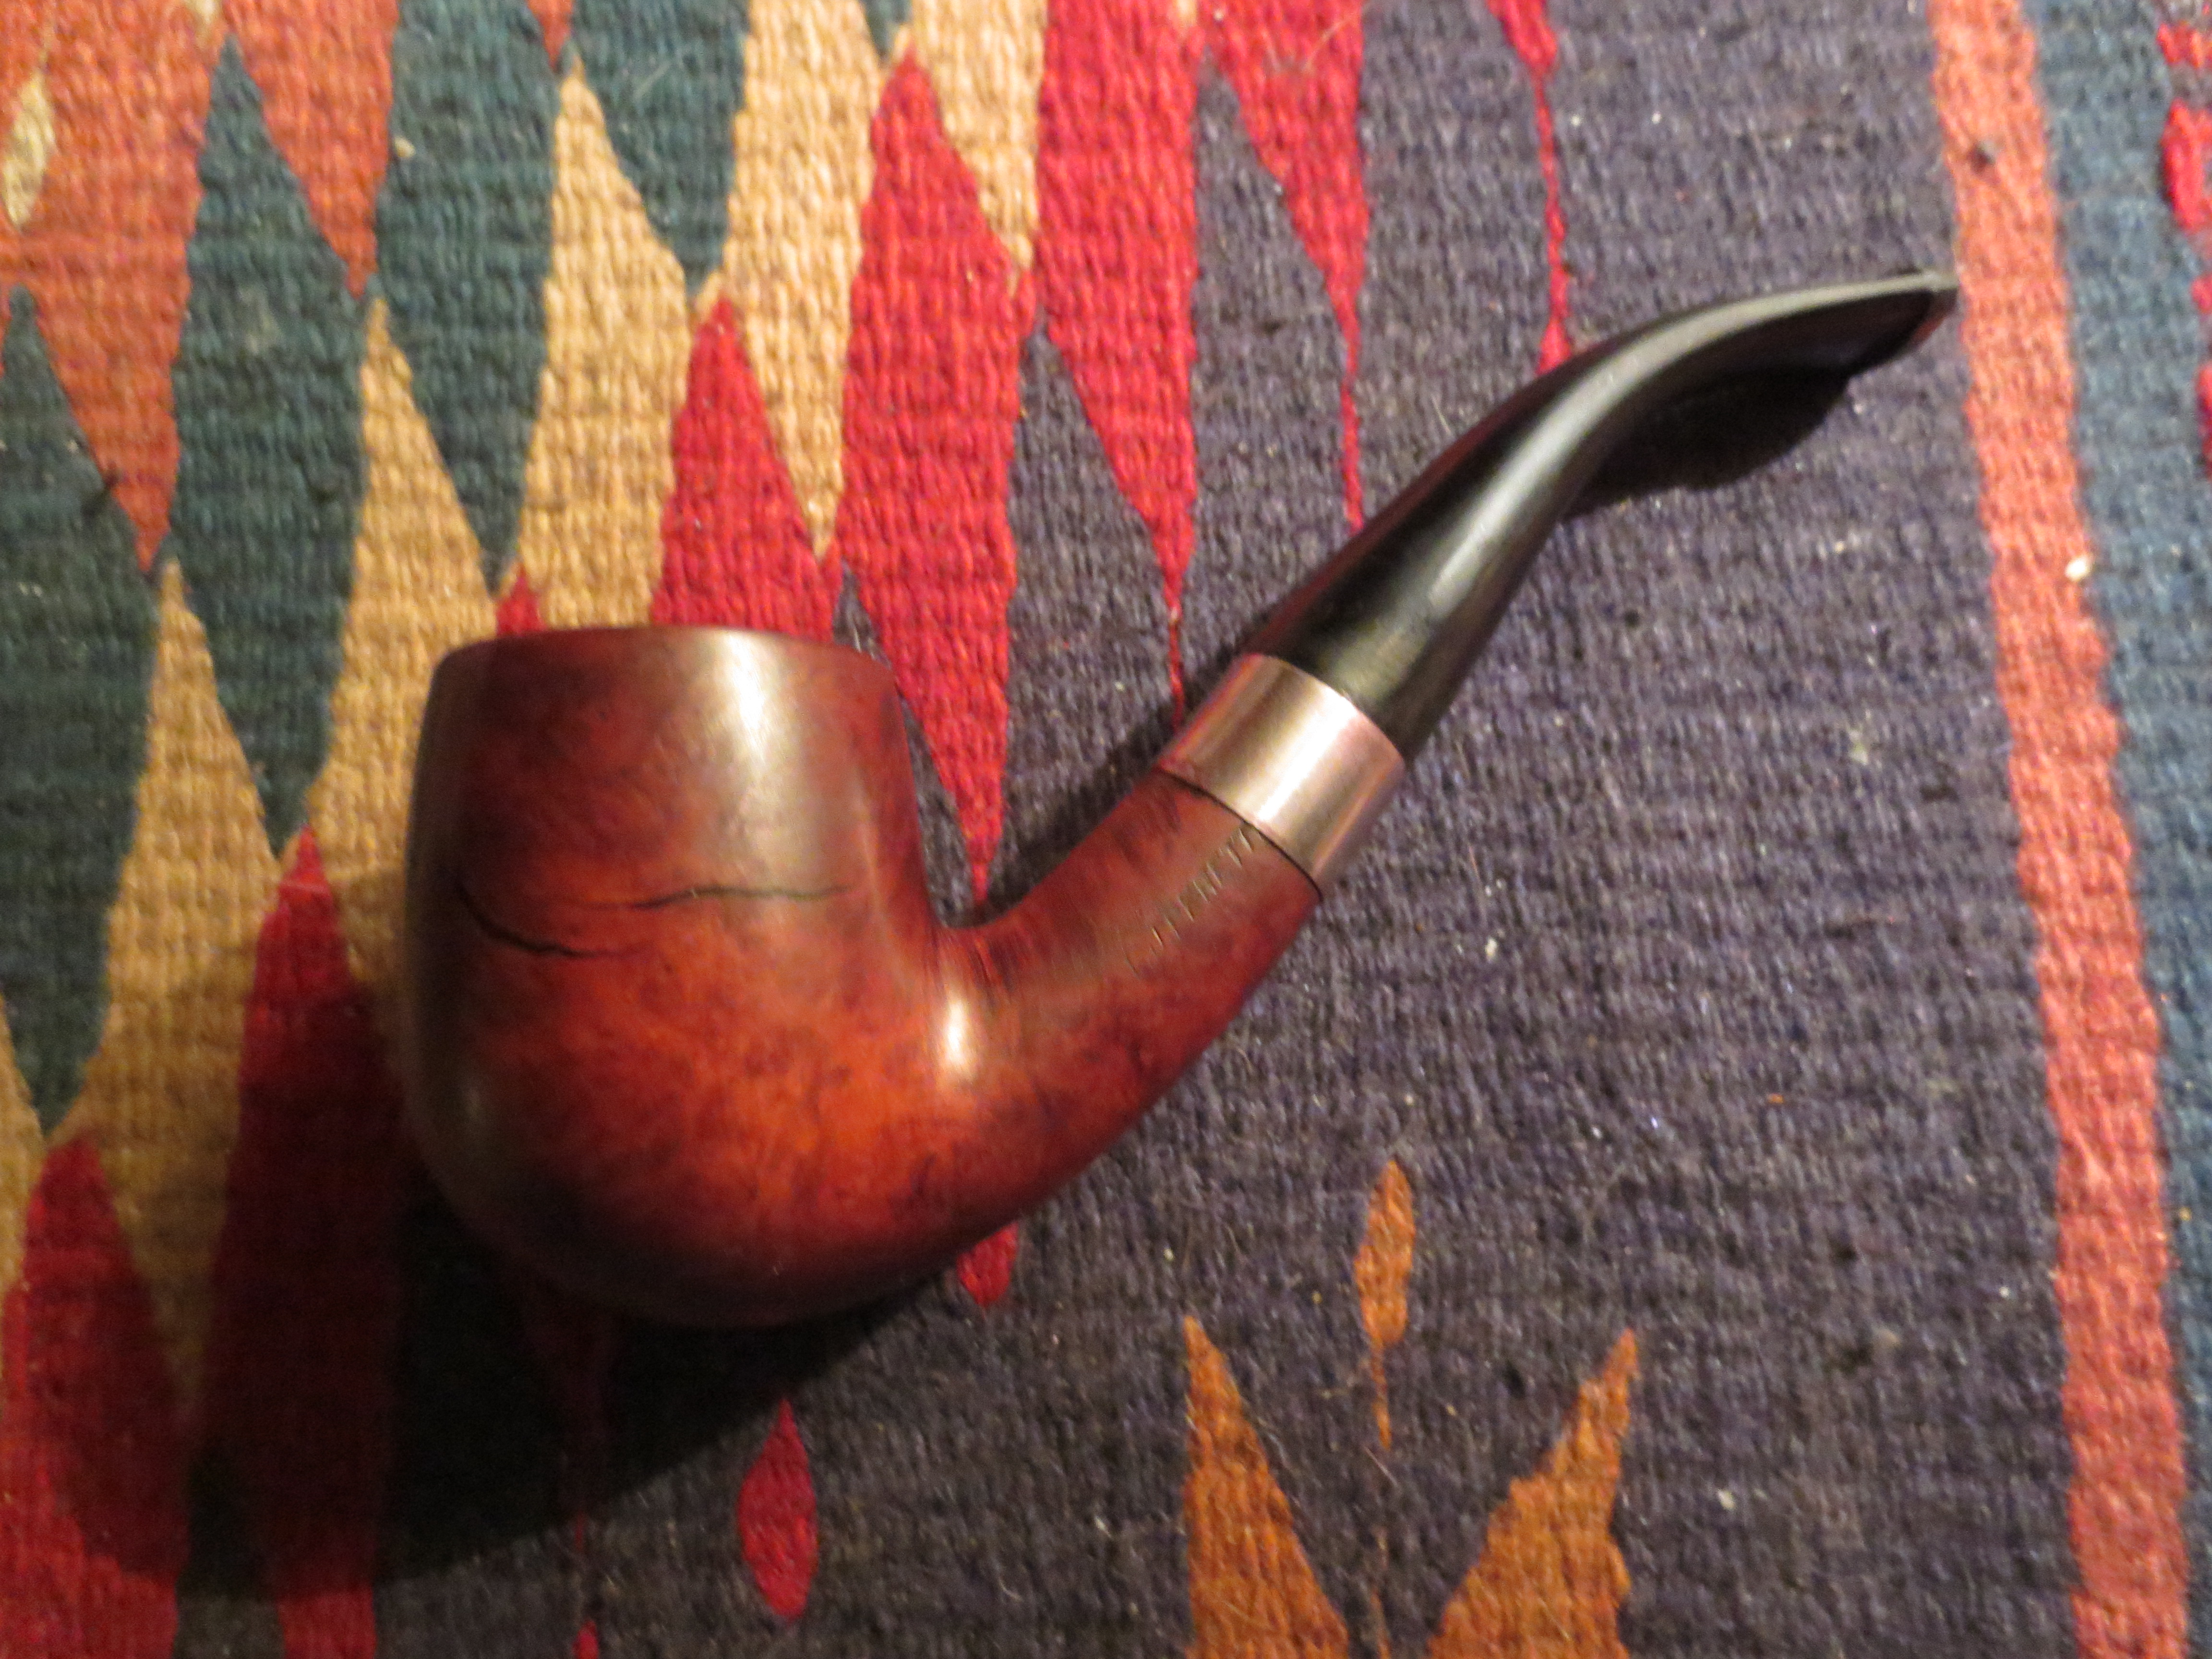
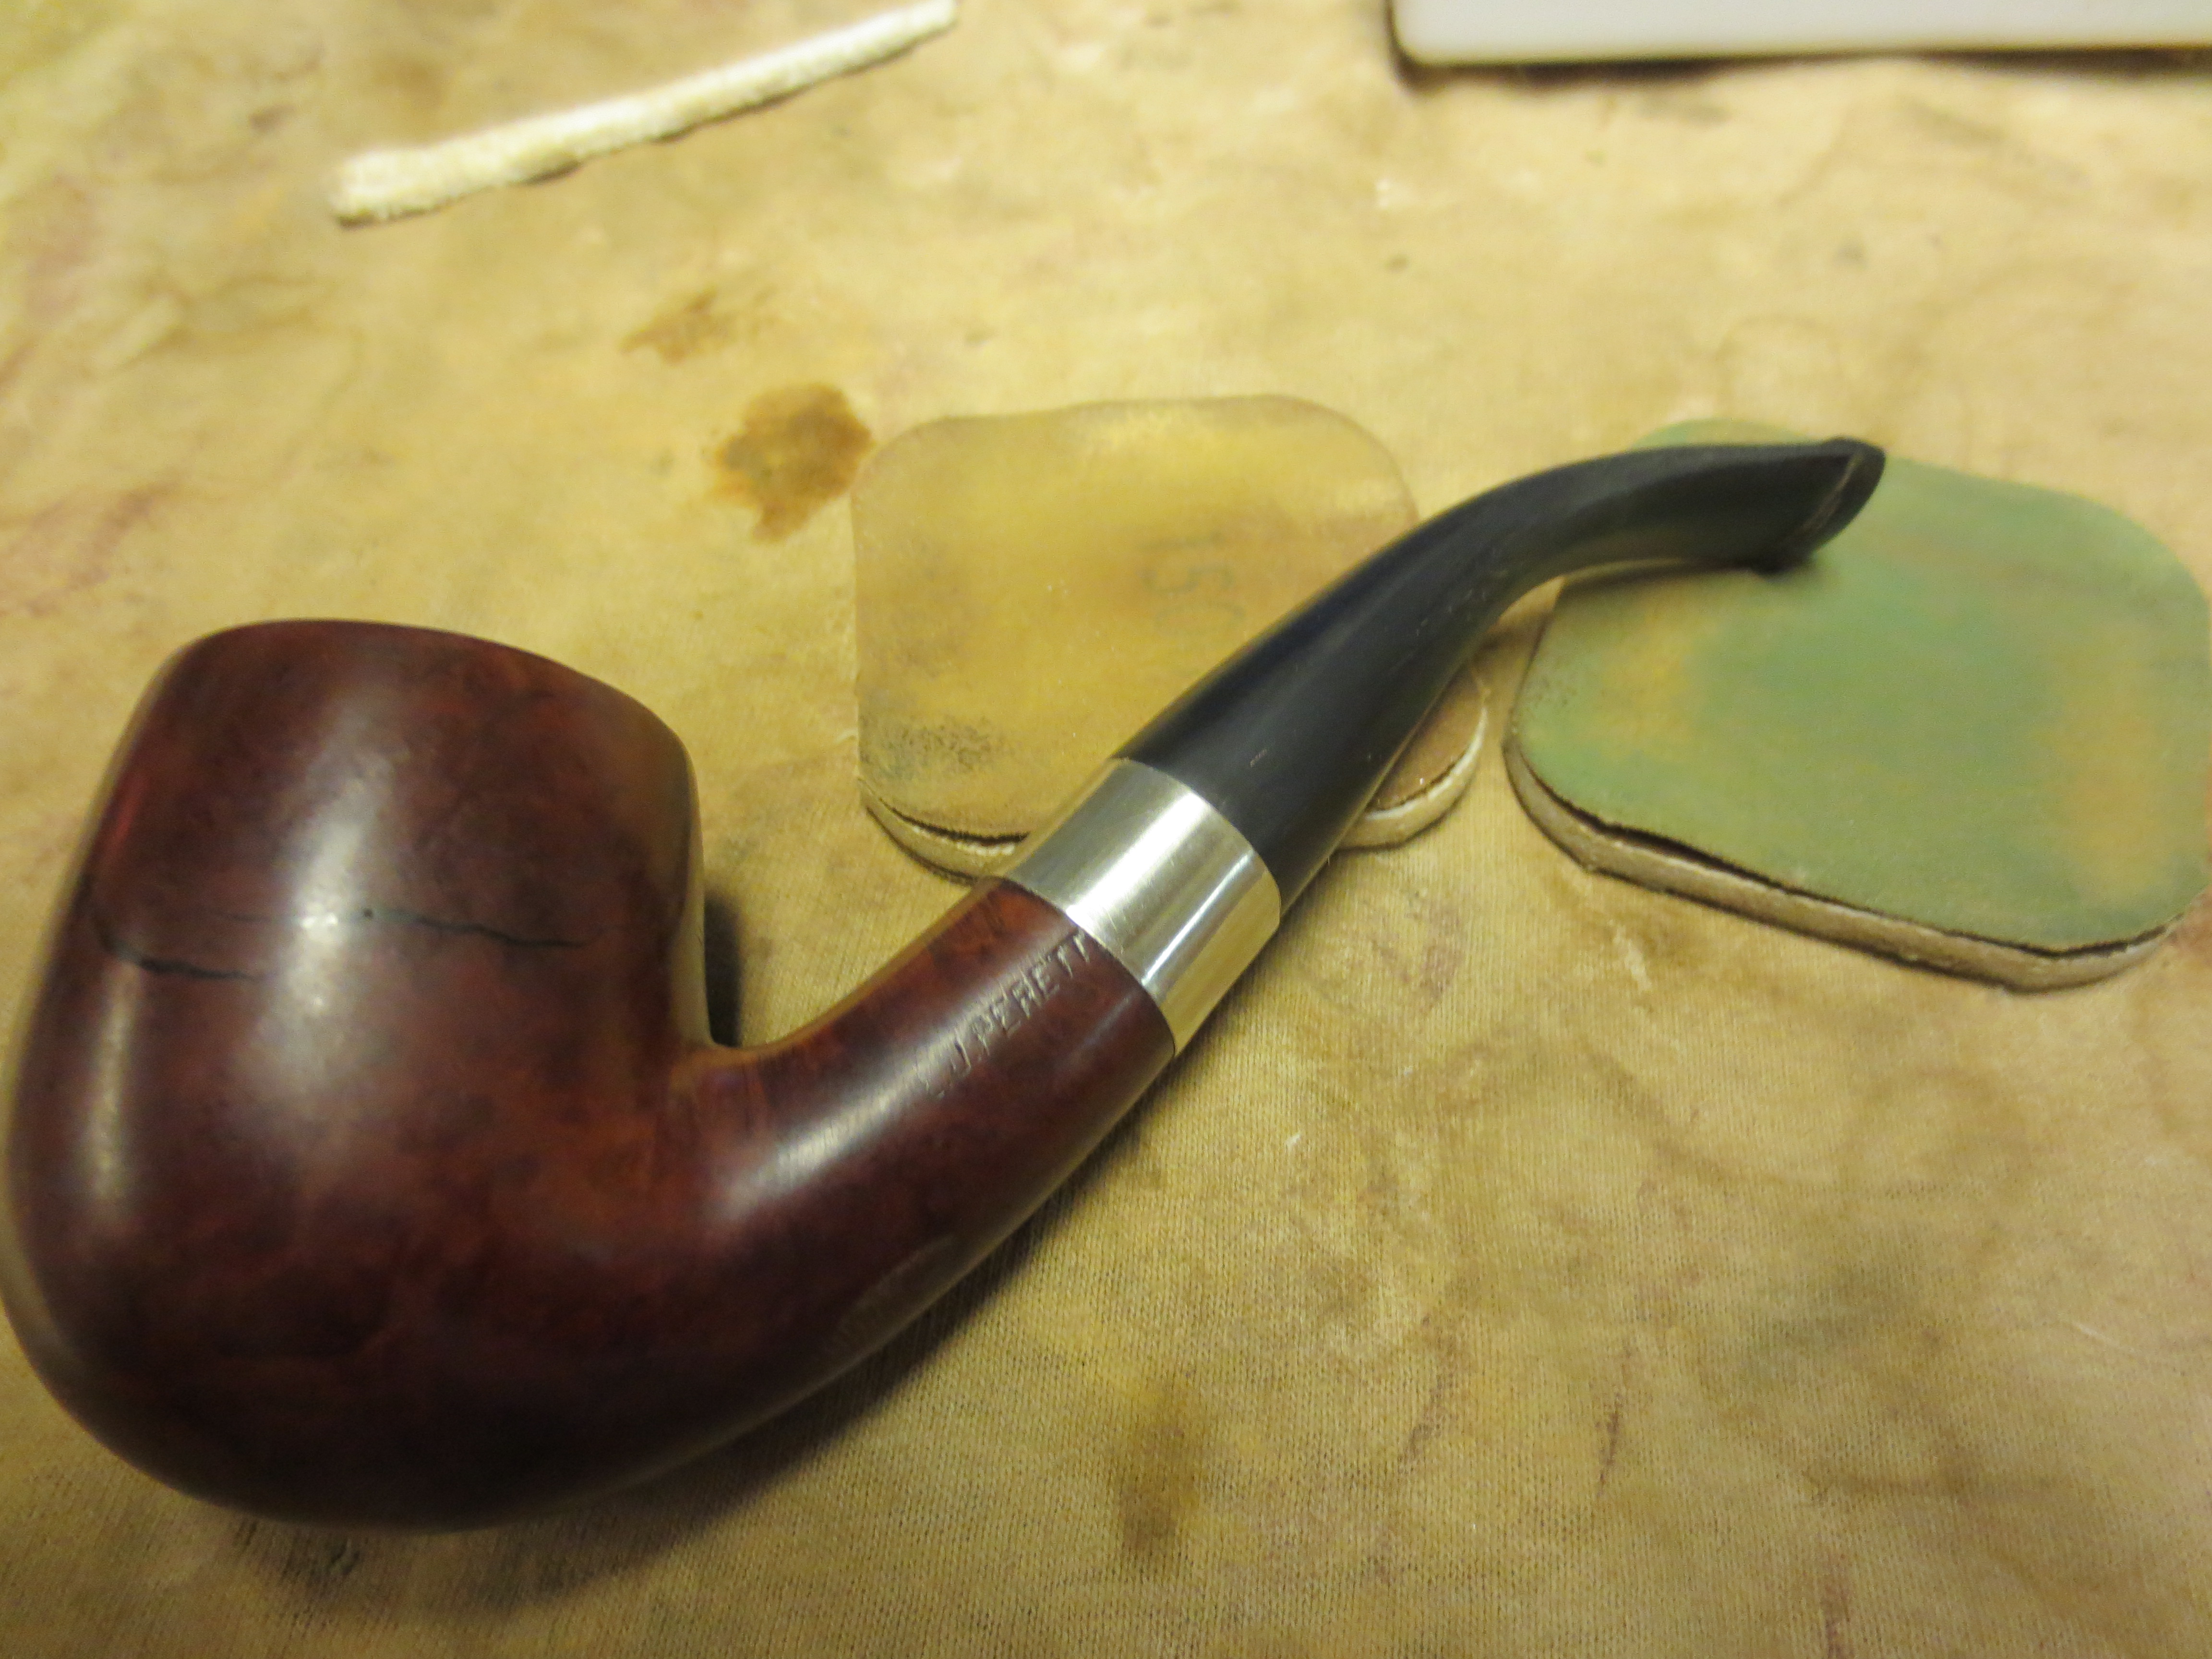
Many of you have read the piece that Gan wrote on “All the King’s Horses and All the King’s Men – A Peterson Adventure” https://rebornpipes.wordpress.com/2012/10/03/all-the-kings-horses-and-all-the-kings-men-a-petersen-adventure-gan-barber/ In it he described the process of reconstructing a Peterson that was in pieces. It arrived with cracks and he put the pieces back together. Since interacting with Gan on that pipe and rereading his article I have wanted to try my hand at repairing a cracked bowl. Finally I picked one up in an EBay lot that I purchased. It was an L. J. Perretti Smooth Bent Billiard. It was in rough shape and needed a stem. I figured I would practice some of the magic Gan used on the Peterson pipe he wrote about on this one.

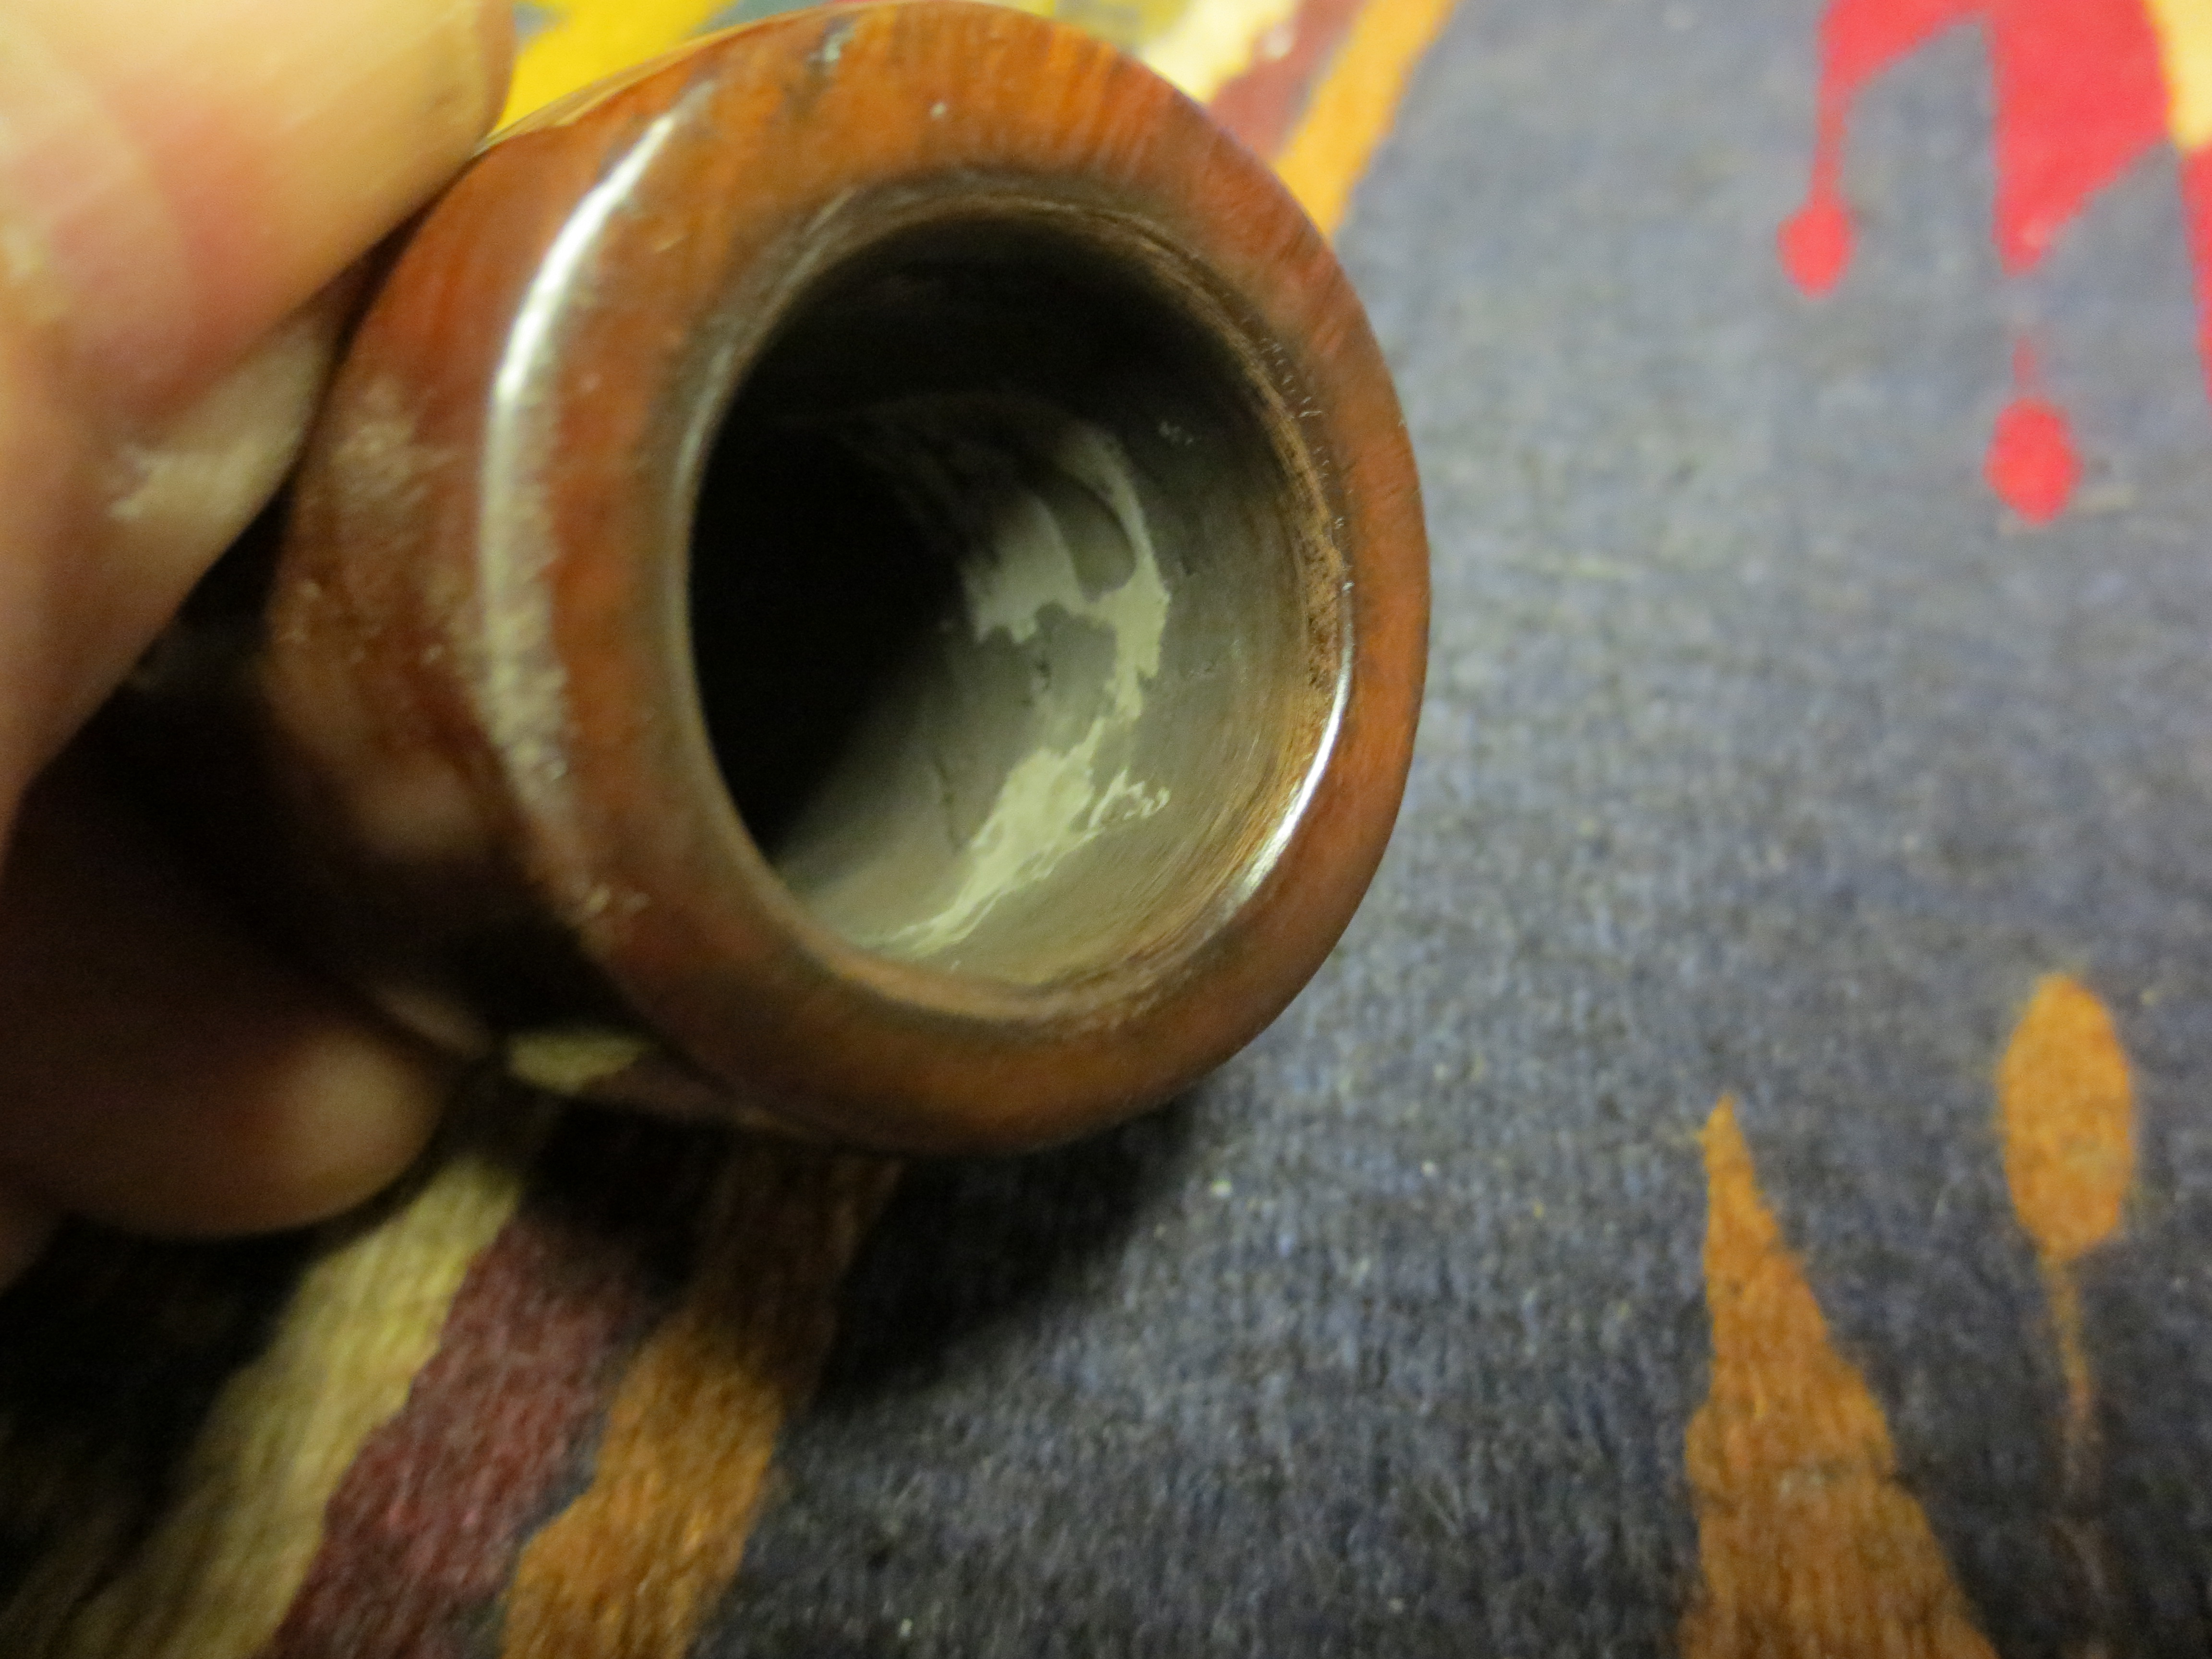
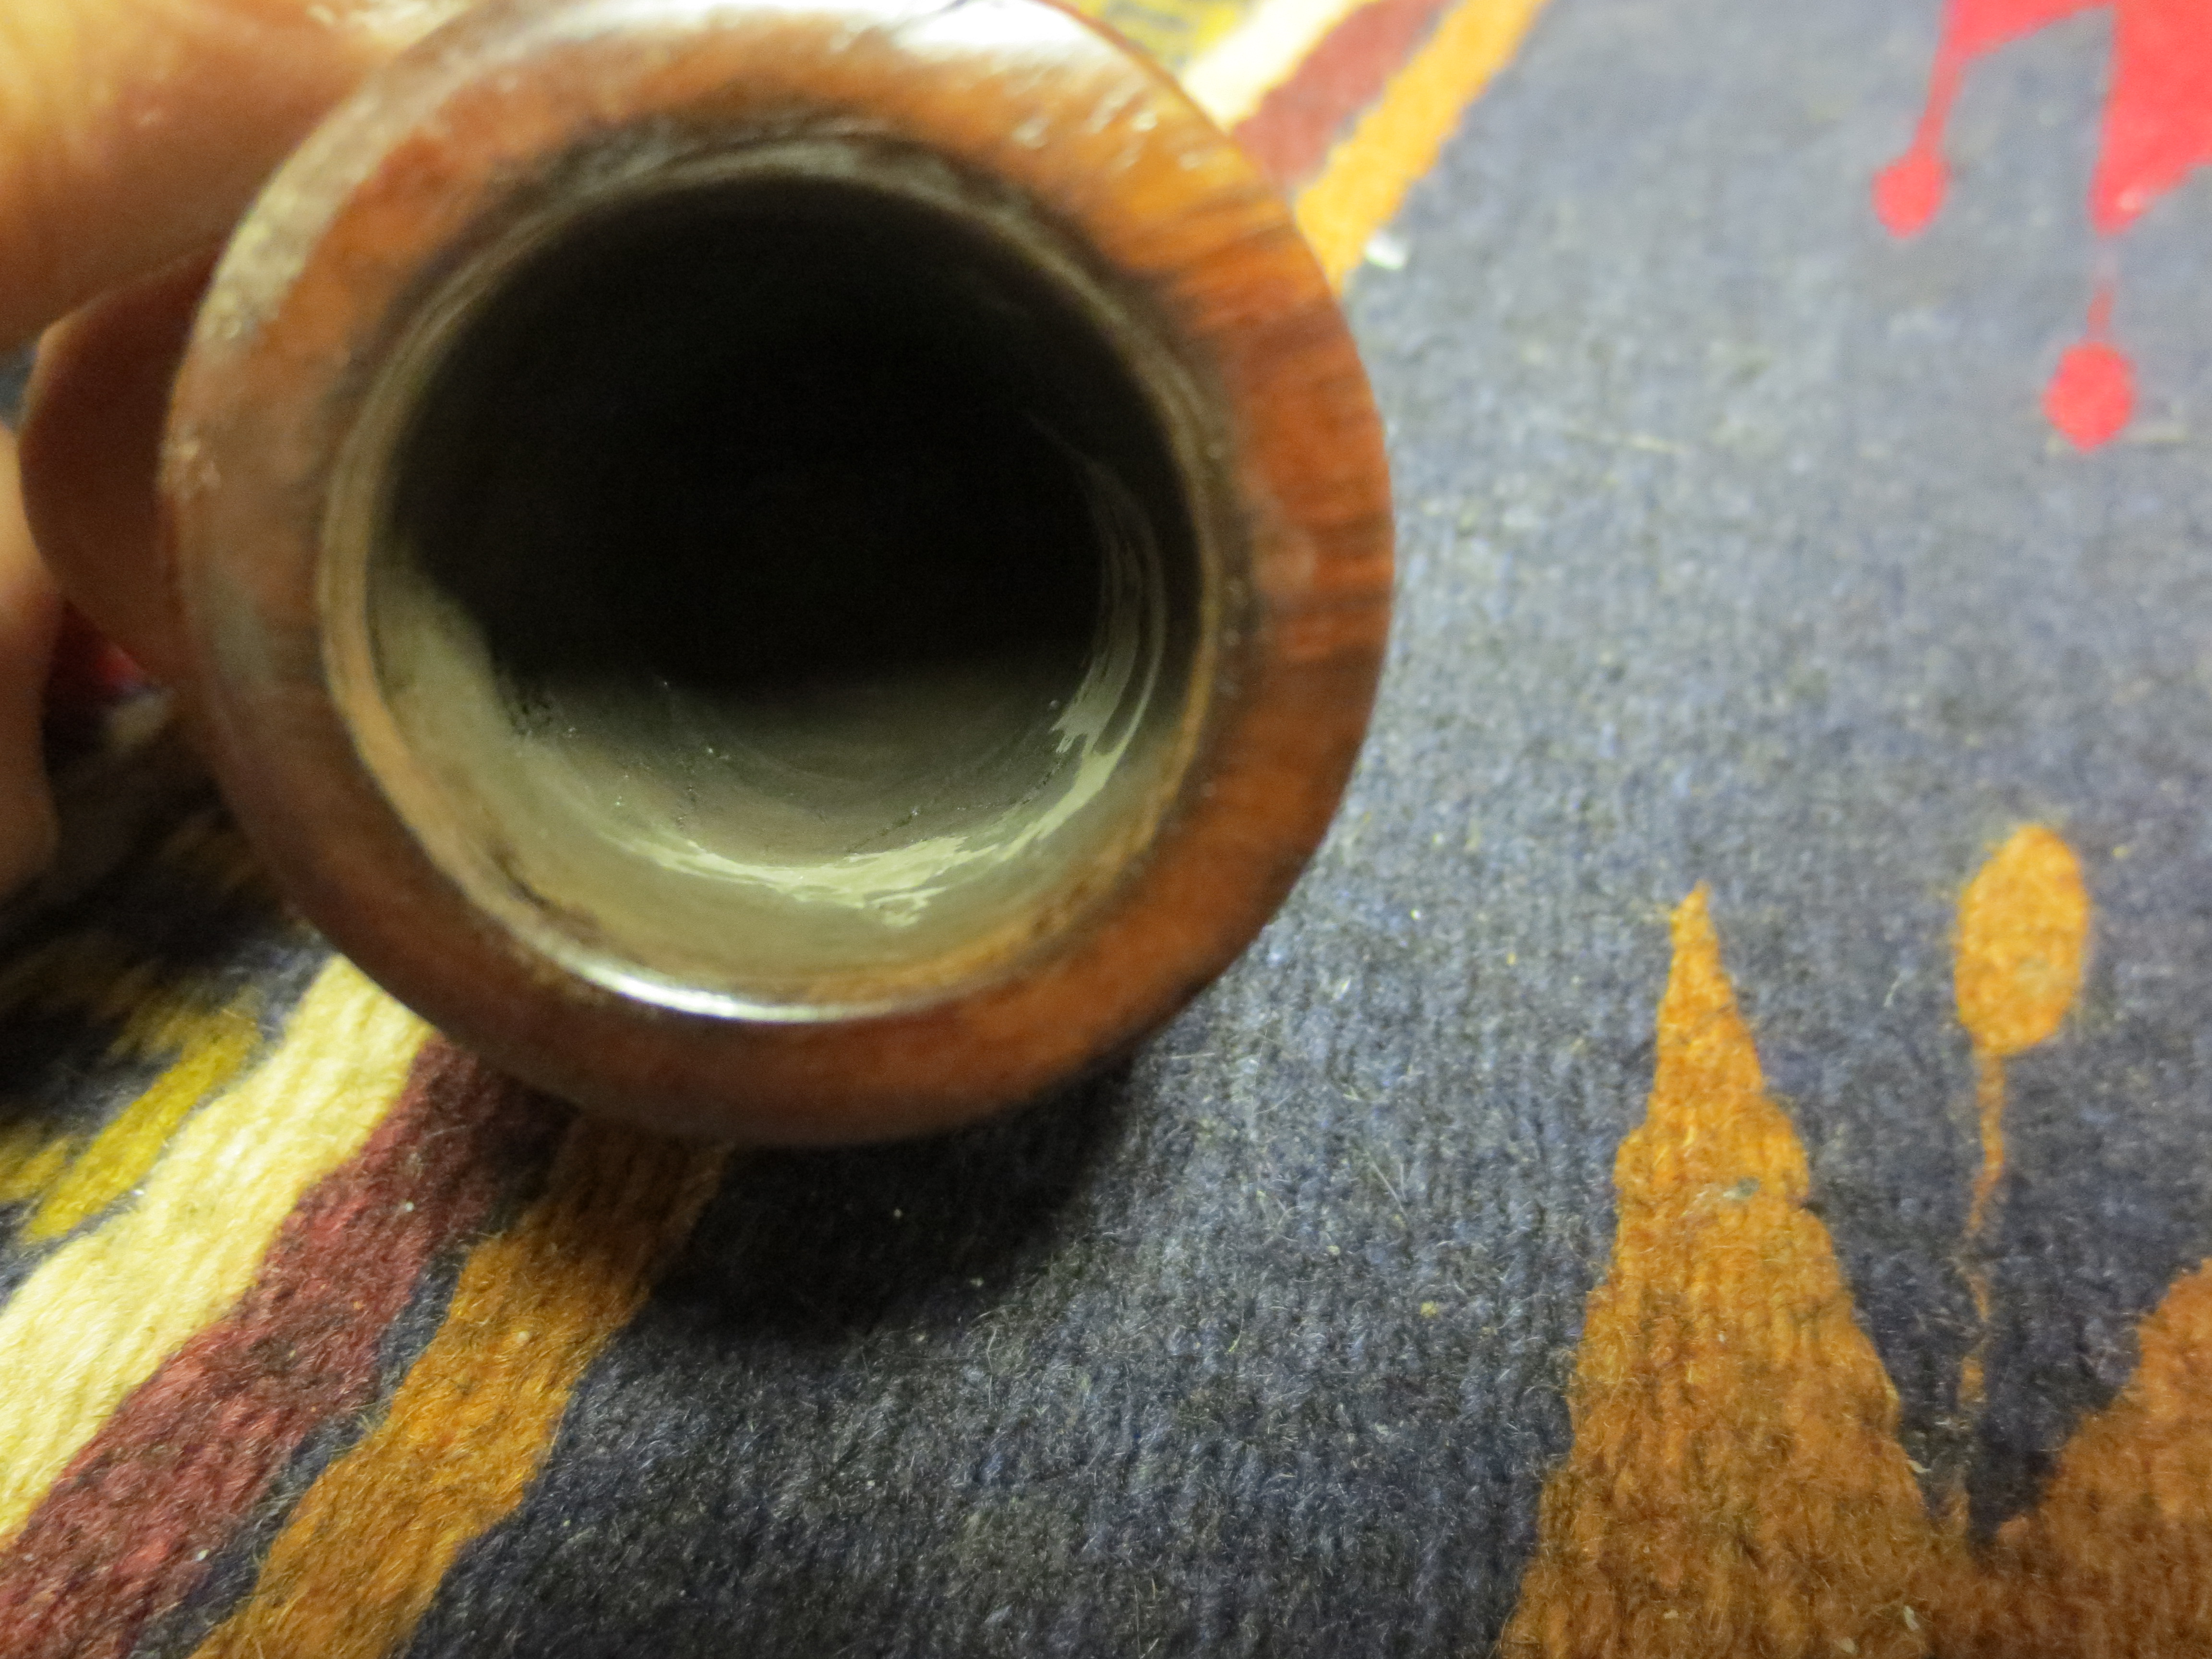
This Perretti had some deep cracks that ran through the bowl from outside to the inside. Once I had reamed the extremely thick cake out of the bowl I could see that the cracks went all the way through the briar. There were deep gouged areas on the inner walls of the bowl directly behind the cracks. The wood was not charred so it was not a true burnout. I think that a combination of too thick a cake and possible flaws in the briar made these cracks appear. Interestingly the cracks follow the grain all the way through the pipe. I shined a light through the cracks and I could see light on the opposite wall of the pipe bowl. There were two large cracks on the left side and one running with the grain on the front of the bowl. The one on the front was not as open and it did not go all the way through the briar. The ones on the left side were quite open and cavernous.

The first series of seven photos shows the state of the bowl when I began the experiment. I figured I had nothing to lose on this one. If it fell apart or did not work out it was not a great loss at all, but it would fun giving it a try. I wanted to try out some of the methods that Gan used in his reconstruction of the Pete on this one and see what I could do with it.

IMG_0880

IMG_0881

IMG_0957

IMG_0961

IMG_0958

IMG_0959

IMG_0960

After reaming thick cake back to the bare wood I sanded the exterior with 240 grit sandpaper to clean off the finish and get a better look at the nature and depth of the cracks. I wanted to be able to more clearly see how far across the bowl they stretched and if the cracks followed the grain. I had already seen the state of the inside bowl walls. The left side interior showed damage from the crack extending into the bowl. The front side was less damaged. It had some very minor cracks on the inside walls. I blew air through the shank into the bowl and plugged the top of the bowl to see where the air came through the walls. The only one that really allowed airflow was the larger crack on the left side toward the front of the bowl. The next three photos show the sanded bowl. I left sanding dust in the cracks to highlight their depth and the extent of damage.
IMG_0961

IMG_0962

IMG_0963
I decided to put the bowl in the alcohol bath. I wanted to soften the remaining cake in the cracks and crevices inside the bowl and also soften the grime within the cracks. I had no idea what would happen to the bowl as it soaked. I almost expected it to come out of the bath in several pieces. I got busy with work and other demands and ended up leaving it in the bath for over 24 hours. When I finally removed it and let it dry for several days I figured that the drying would probably make the cracks worse.
IMG_0964

IMG_0965
When I removed the bowl from the bath it was not in pieces but the cracks did open a bit wider on the side of the bowl. The finish and grime was gone and I could clearly see what I had to do if I was going to repair this bowl. The end of the shank had also been damage and chipped so I decided to band it to give me a smooth edge for the new stem I was going to turn for it. I used a nickel band, heated it with the heat gun and pressure fit it on the shank of the pipe. The one bonus in the process was that the grain on this pipe was actually quite nice. The next three photos show the dried and banded bowl and shank. There was still a lot of sanding that would need to be done to prepare the bowl for the repairs and even more sanding once those were done.
IMG_1037

IMG_1036

IMG_1038
I selected a stem that had the same diameter as the shank and turned the tenon on the Pimo Tenon Tool. I finished the fit by hand with a little help from the sanding drum on the Dremel. Once I had a good fit I set up the heat gun and heated the stem to bend it to match the bend of the bowl and bring the tip even with the top of the bowl. The next three photos show the heating and bending process as well as the finished look of the pipe with its new stem.
IMG_1039

IMG_1040

IMG_1041
After I restemmed the pipe I did some more sanding on the bowl. I wanted a clean surface to work with when I did the patches on the cracks. I also cleaned out the inside of the bowl with sandpaper and a dental pick. I wanted to clean out the interior cracks in the bowl as well as the exterior ones. Each would use a different kind of patch but each needed a clean surface to work with. The next five photos show the cleaned exterior of the pipe and two photos of the interior. Still more work needed to be done to clean them up before I patched them.
IMG_1042

IMG_1043

IMG_1044

IMG_1045

IMG_1046
For the exterior cracks I decided to use a patch mix of briar dust and superglue. I cleaned the cracks out with my dental pick and some Everclear. Once they were clean I packed them with briar dust, tamping it into the cracks with both the flat head of a tamper and also the tip of the dental pick. Once they were filled the first time I dripped the superglue into the cracks. The glue binds the dust and the surrounding briar and also compacts the briar dust. I then retamped in some more briar dust and repeated the process until it was filled. The next six photos show the process of filling the cracks around the bowl.
IMG_1047

IMG_1048

IMG_1049

IMG_1050

IMG_1051

IMG_1052
Once all the cracks were filled I sanded the bowl with 240 grit sandpaper to remove the excess material on the surface of the bowl. You will note the scratches in the surface of the briar. These would be removed in the successive sanding that still would be done to the bowl. The cracks are filled and the surface hard. The briar dust and superglue form a good bond with the crack and when dry are dark black in colour. They are hard to the touch even with the dental pick. The next four photos show the bowl after sanding. The surface is smooth to the touch.
IMG_1053

IMG_1054

IMG_1055

IMG_1056
The scratches on the bowl have been minimized with the fine grit sanding sponge pictured above. I continued to sand until the marks were gone using 320 grit sandpaper. Once I had the bowl to that point I wiped it down with Everclear on a cotton pad. The three photos below show the bowl after the wash.
IMG_1057

IMG_1058

IMG_1059
I continued to sand the bowl with micromesh sanding pads from 1500-12,000 grit to smooth out the surface of the bowl. The micromesh left the surface ready to be stained. The cracks are still visible in terms of the black lines but the cavernous gaps are filled and repaired.
IMG_1058

IMG_1060

IMG_1061
I decided to stain the bowl with a rich oxblood aniline paste stain. I applied it to the bowl, flamed it and applied it a second time and flamed it. Once it was dry I wiped it off and hand buffed the surface. My purpose was not to hide the flaws but to minimize the glaring nature of the repairs. The next six photos show the staining and rubbed down bowl. I was not happy with the coverage but I buffed it quickly with White Diamond to see what I had to work with. The final photos in the series of six show the buffed and polished look of the bowl.
IMG_1063

IMG_1064

IMG_1065

IMG_1066

IMG_1067

IMG_1068
I decided to give the bowl a second staining of a dark brown aniline colour. This was a mix of dark brown and alcohol 1:1. I applied it and flamed it. I repeated the process to darken the colour of the bowl. The four photos below show the result of the application of the brown stain.
IMG_1069

IMG_1070

IMG_1071

IMG_1072
After the stain had dried it was time to address the inside of the bowl. I sanded it out quickly with a Dremel with a sanding drum attachment. I was careful not to change the shape of the bowl but to merely remove any carbon cake that still remained. I wiped the inside down with Everclear and then flamed it to dry out the surface of any moisture. I then mixed a batch of JB Weld. This would be the first step in doing the interior repairs. I packed it into the cracks on the inside of the bowl using the spoon end of the pipe nail. I continue to pack it into the bowl cracks until they were smooth. The four photos below show the mix and the patch in the bowl. It has a drying time of 6 hours to dry to touch and 24 hours to cure.
IMG_1073

IMG_1074

IMG_1075

IMG_1076
While the bowl was drying I worked on the new stem. I sanded down the castings on the side of the stem and polished it with micromesh sanding pads. I used 1500-12,000 grit micromesh pads on the stem. I pictured three photos below to show the process.
IMG_1077

IMG_1078

IMG_1079
The next series of eight photos show the patch after it had dried. I also reapplied the JB Weld after the initial 12 hours so that it filled in the places where it had shrunk as it dried. The patch dried a fine grey coloured. I sanded it down until it was only in the cracks themselves and not in the clean briar. I wanted to give the briar as much absorption area as possible as the JB Weld does not absorb moisture at all. It dries to a neutral, hard metallic material that has no taste.
IMG_1080

IMG_1081

IMG_1082

IMG_1083

IMG_1084

IMG_1085

IMG_1086

IMG_1087
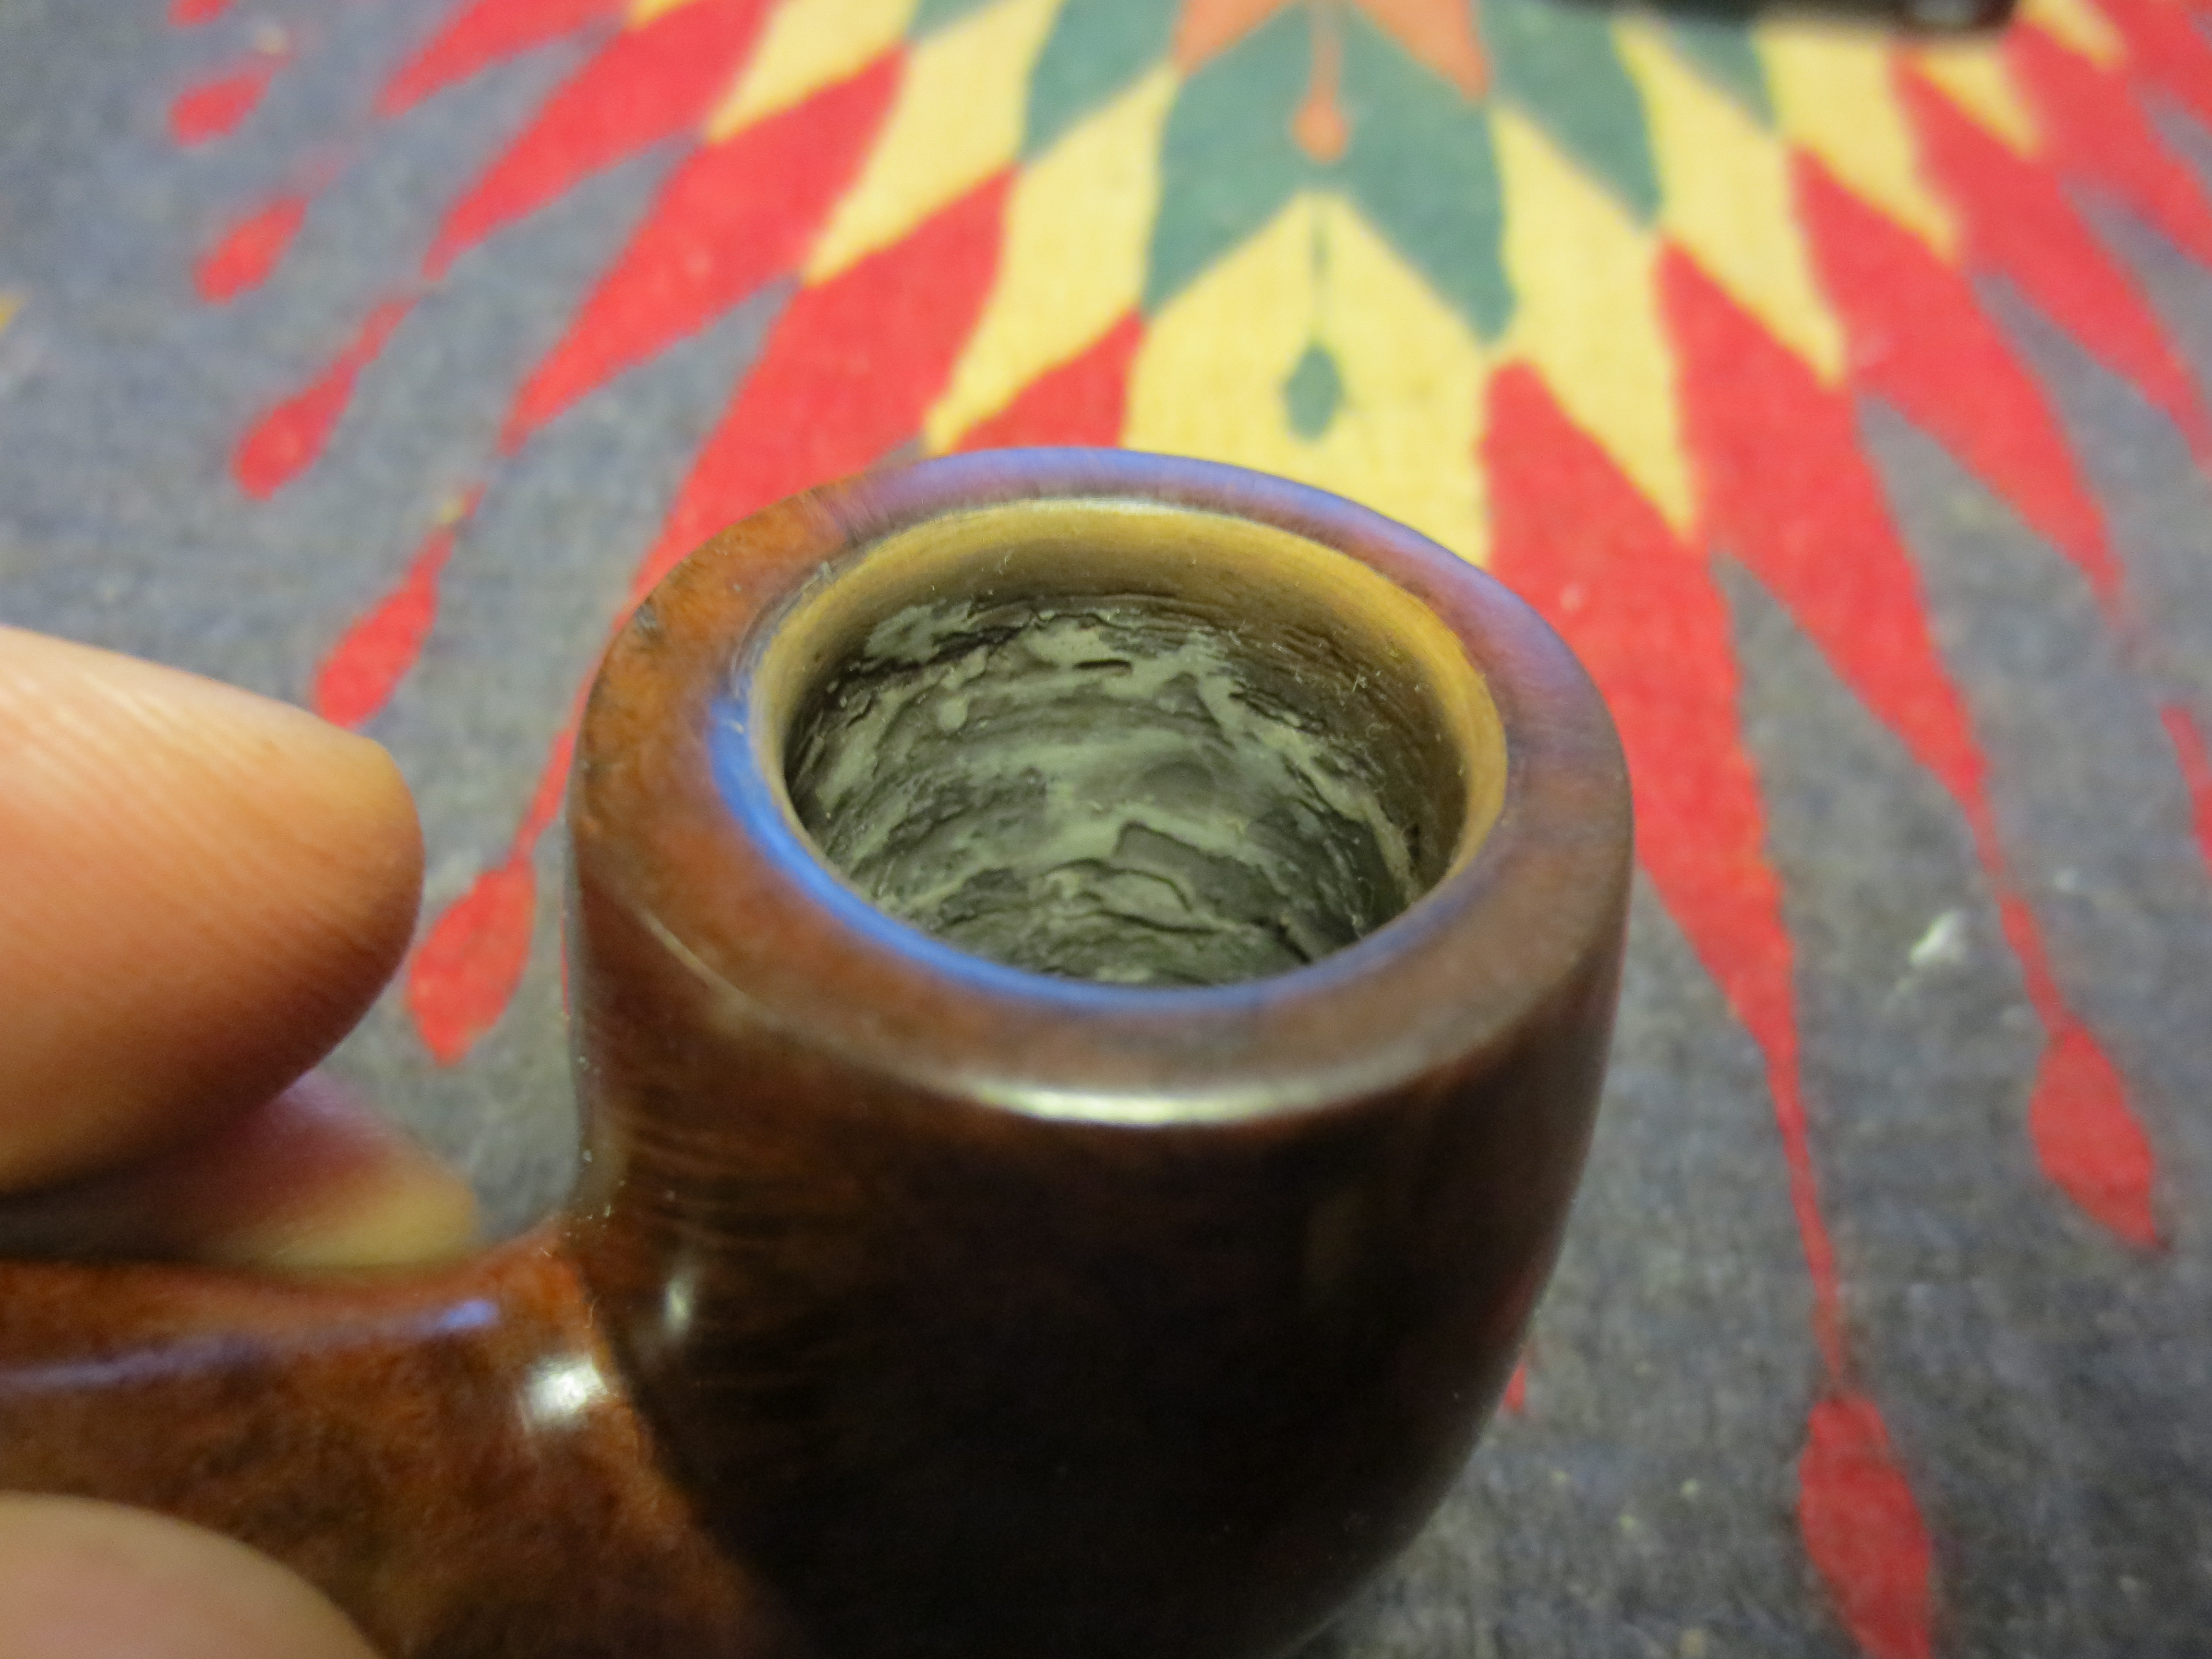
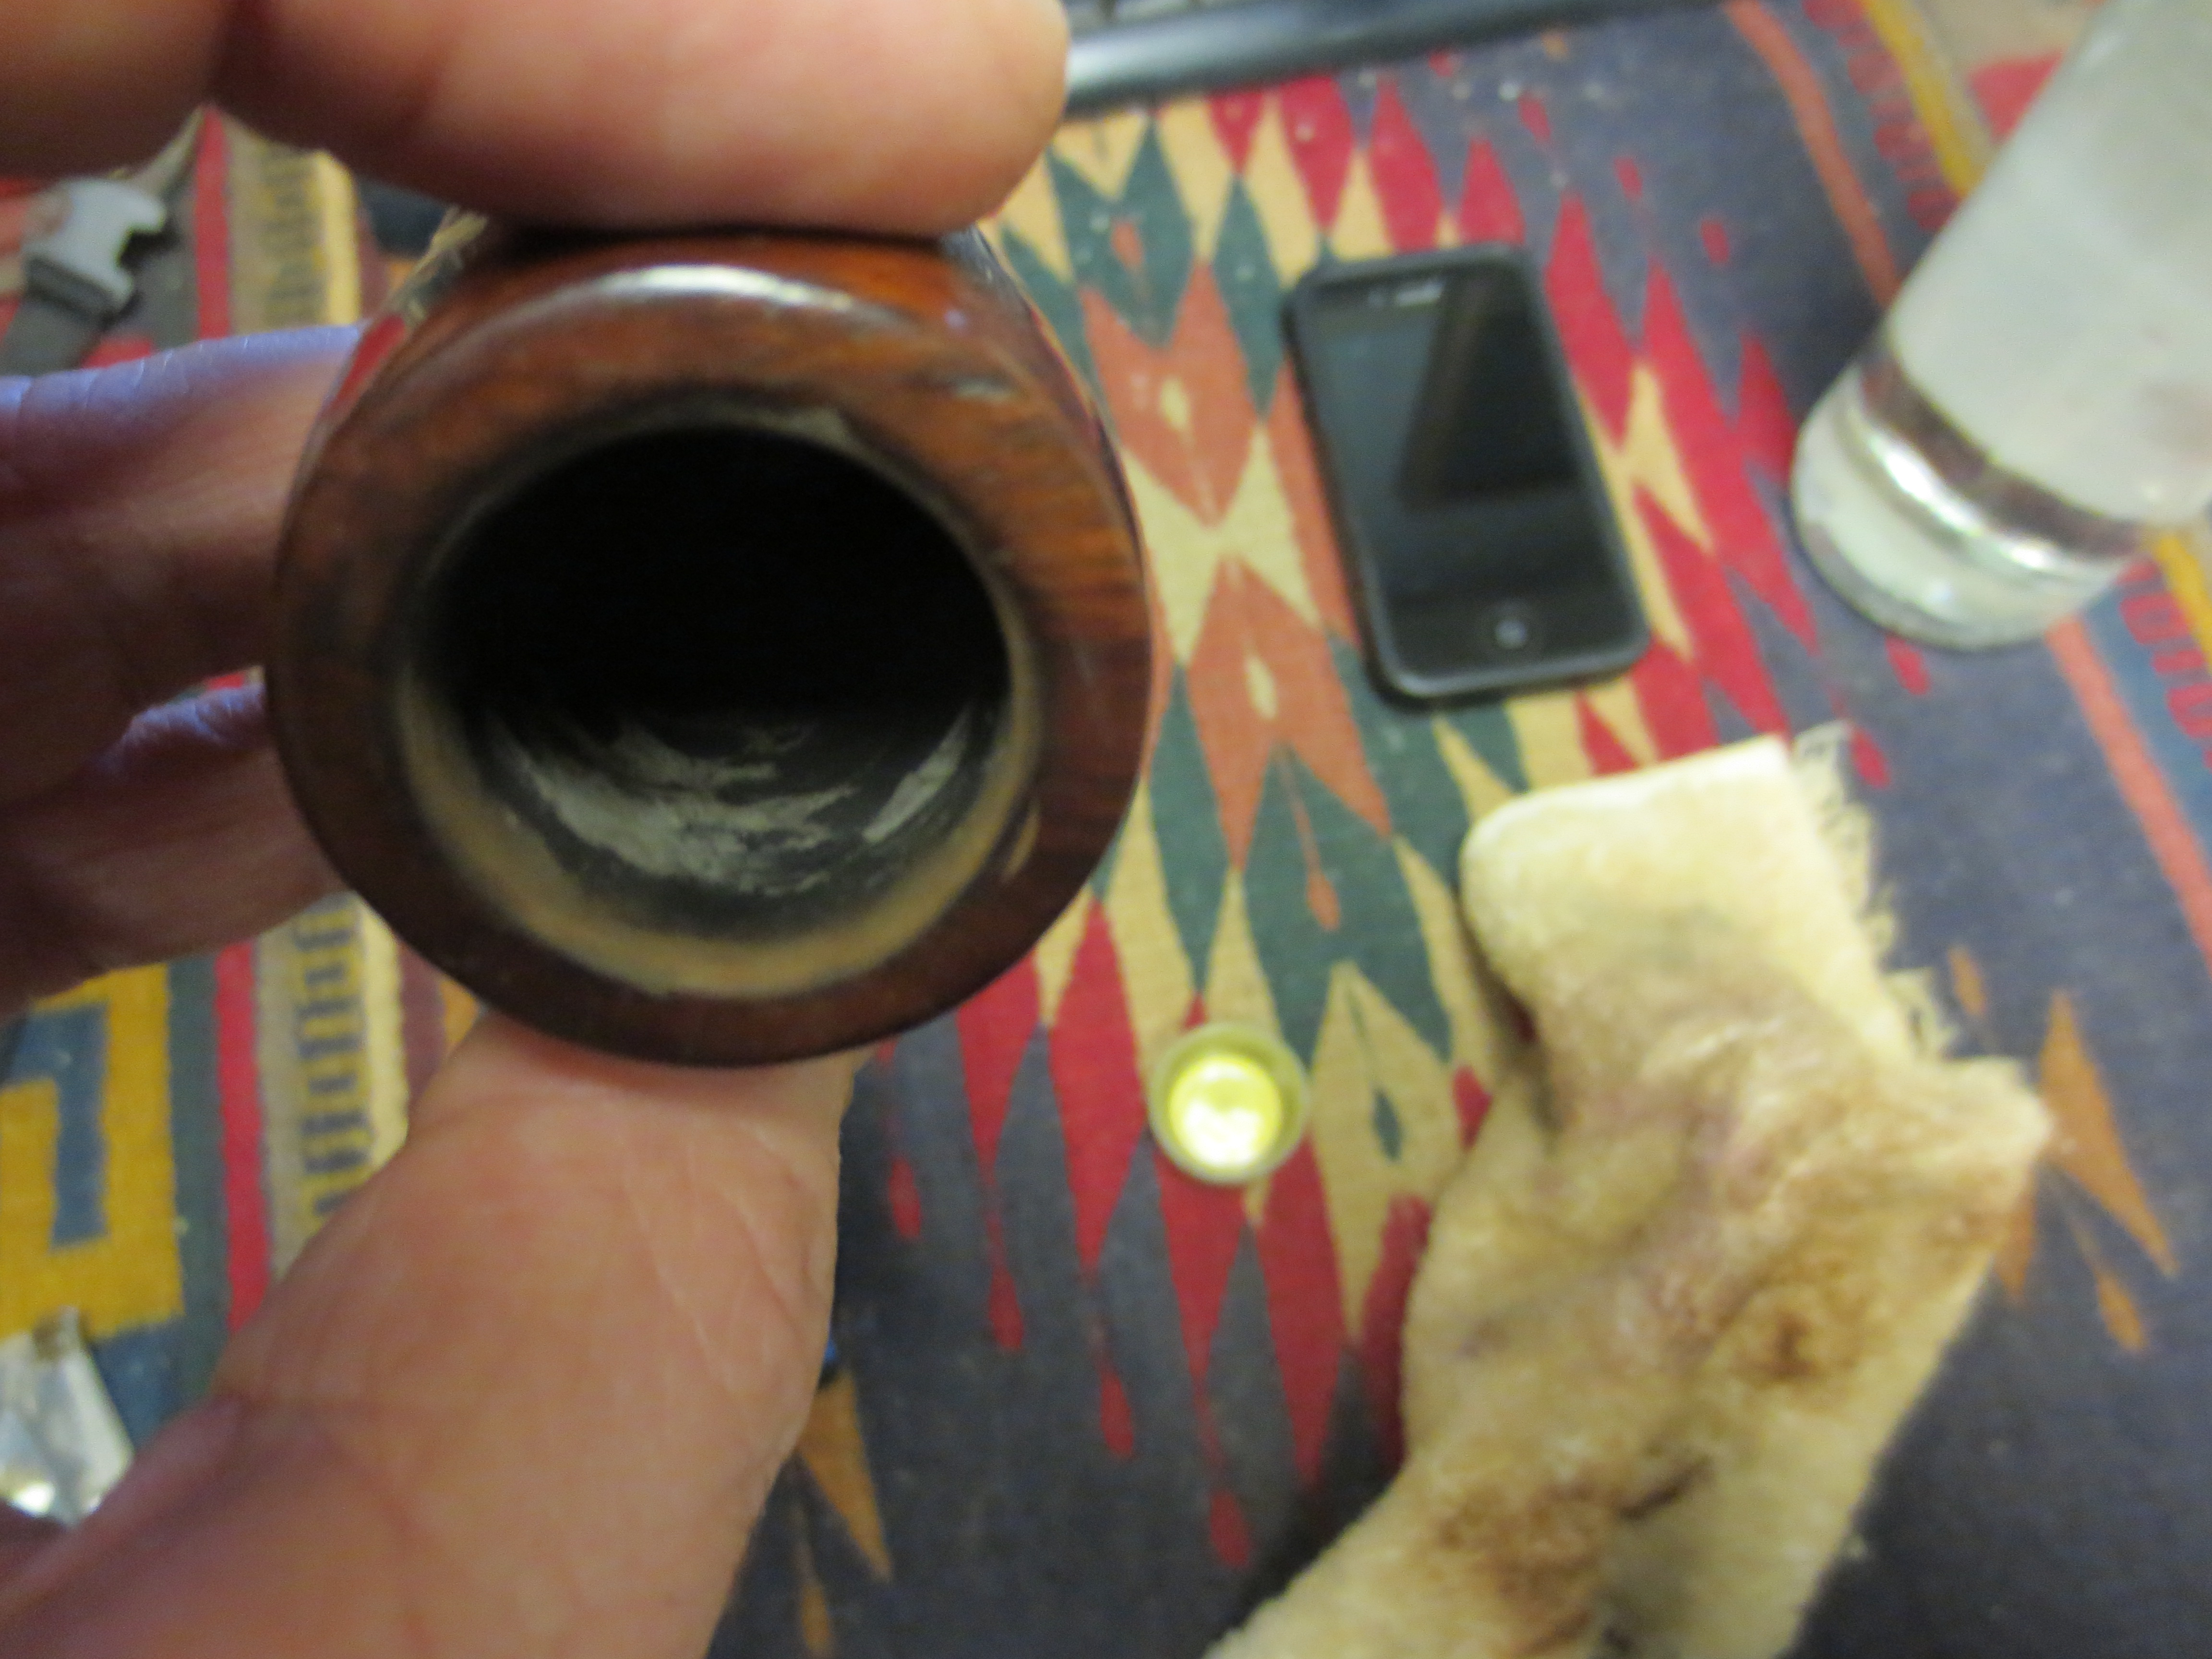
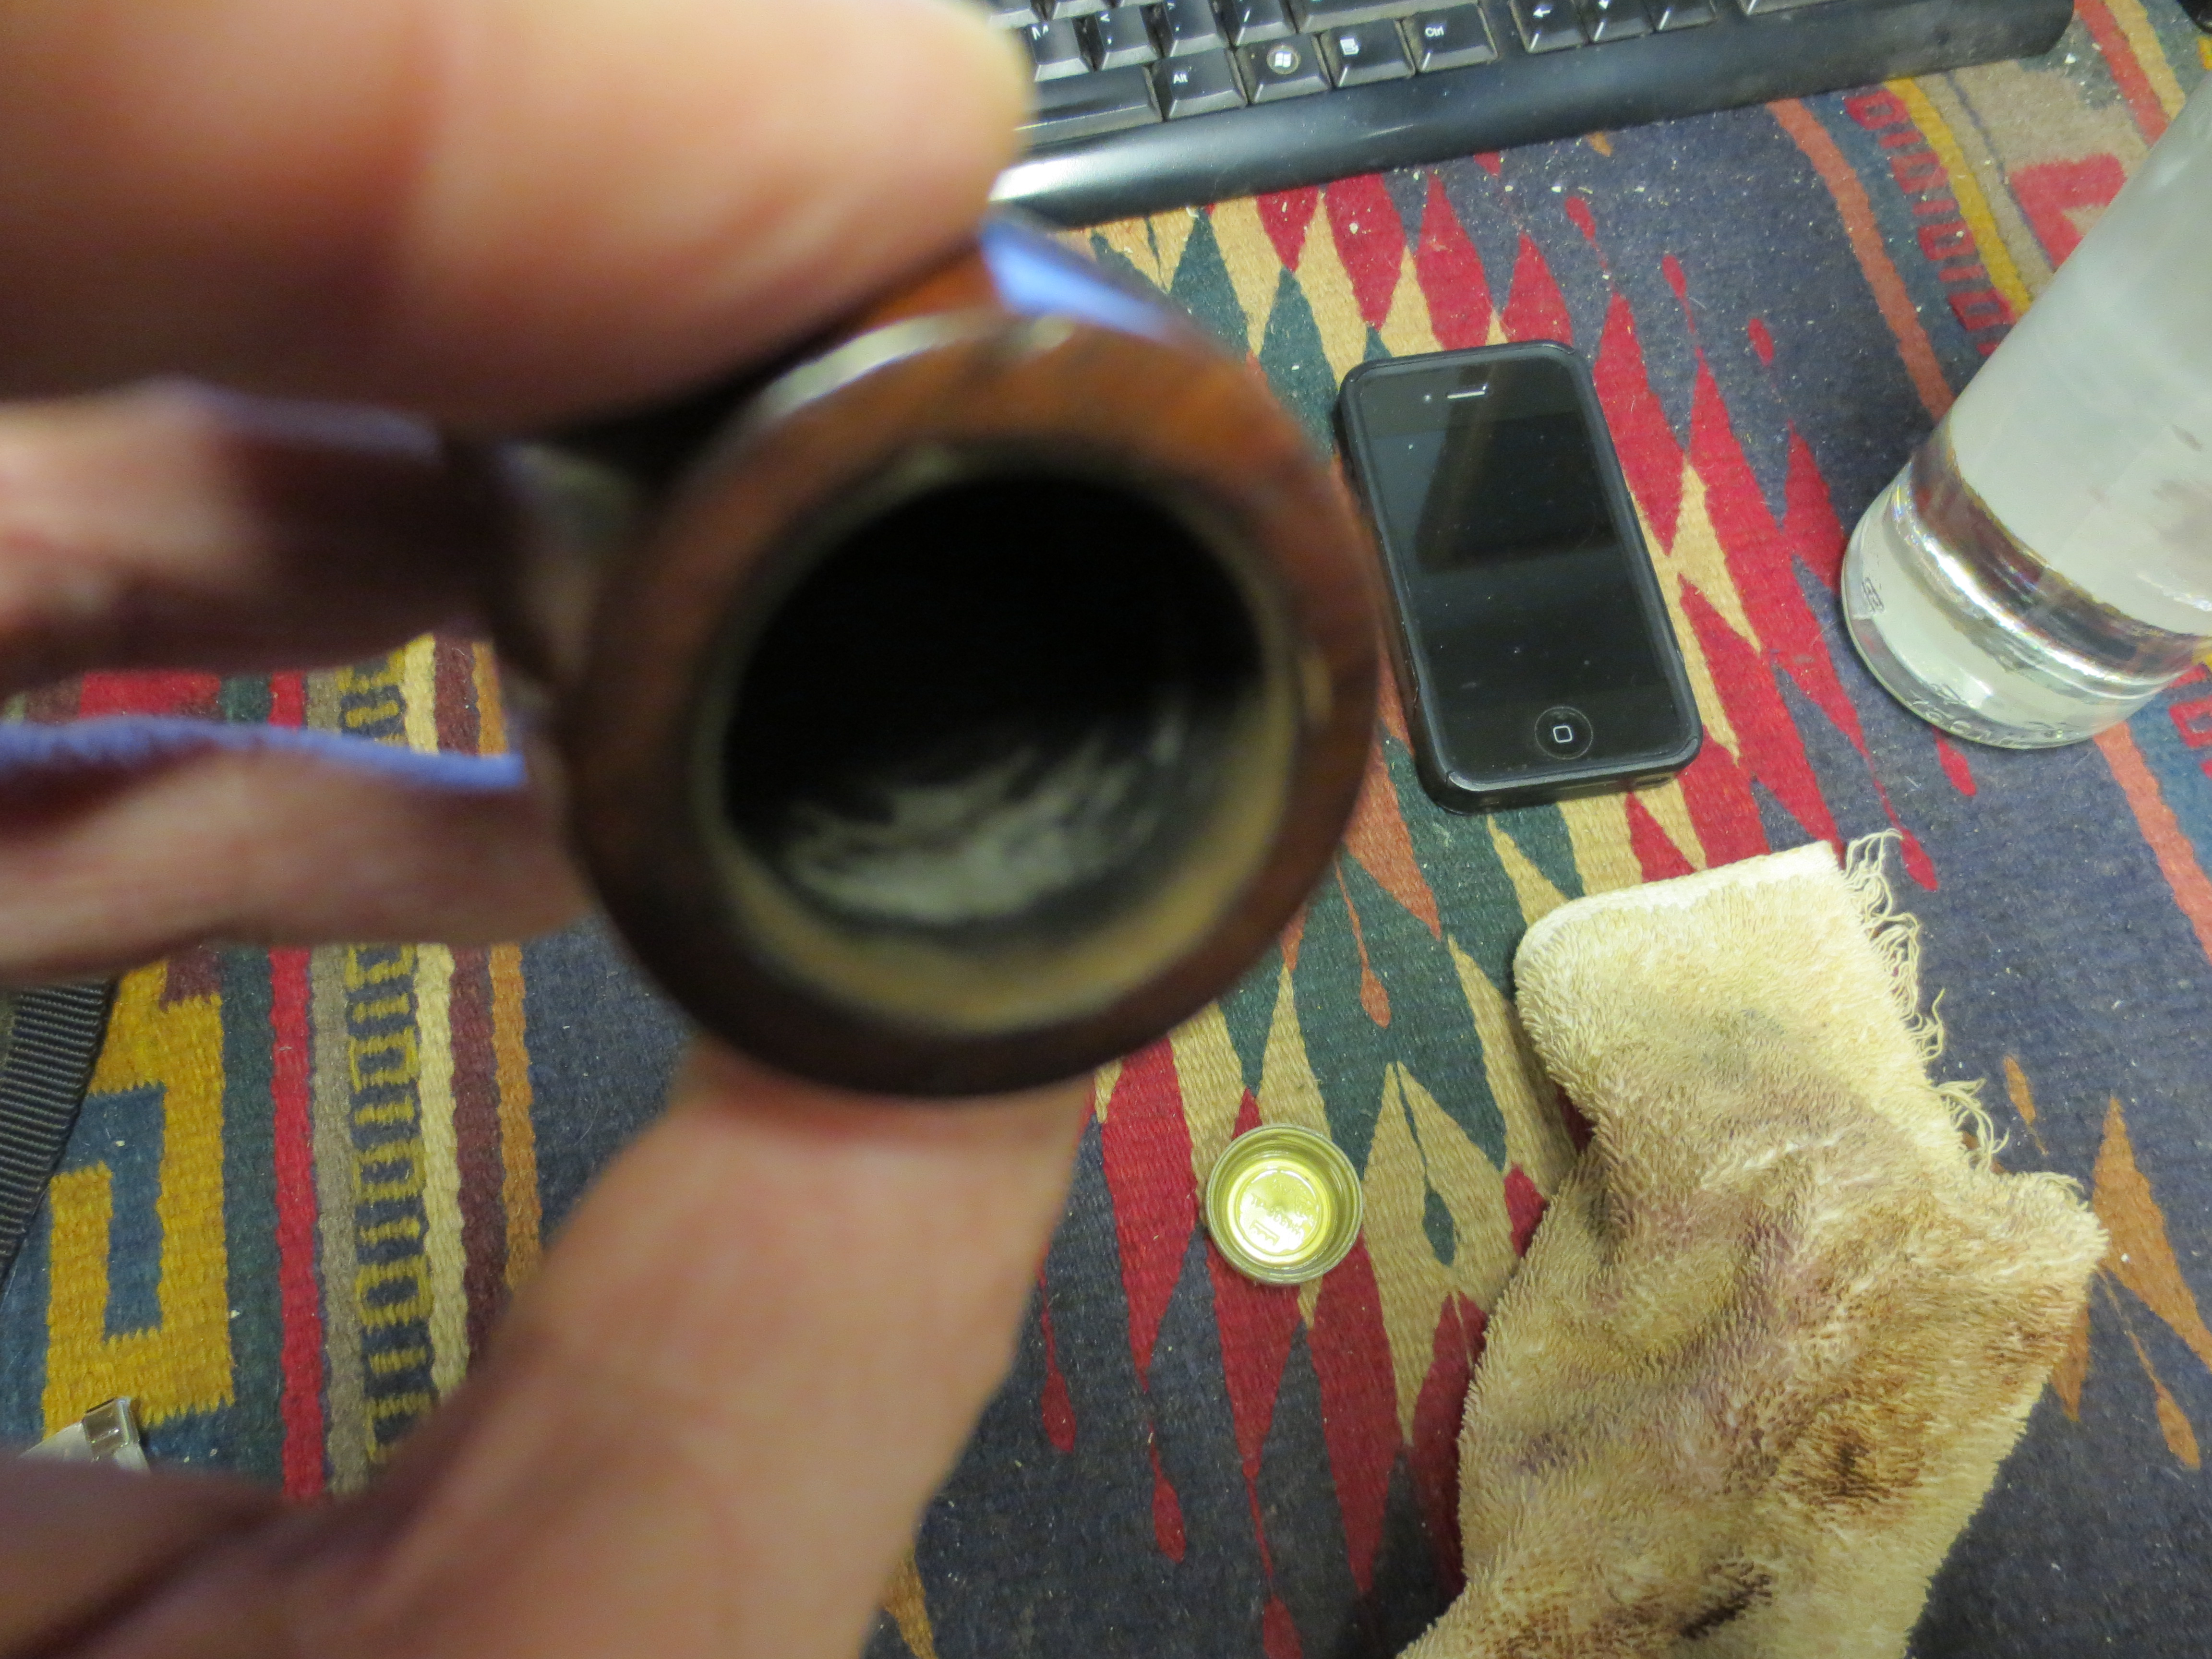
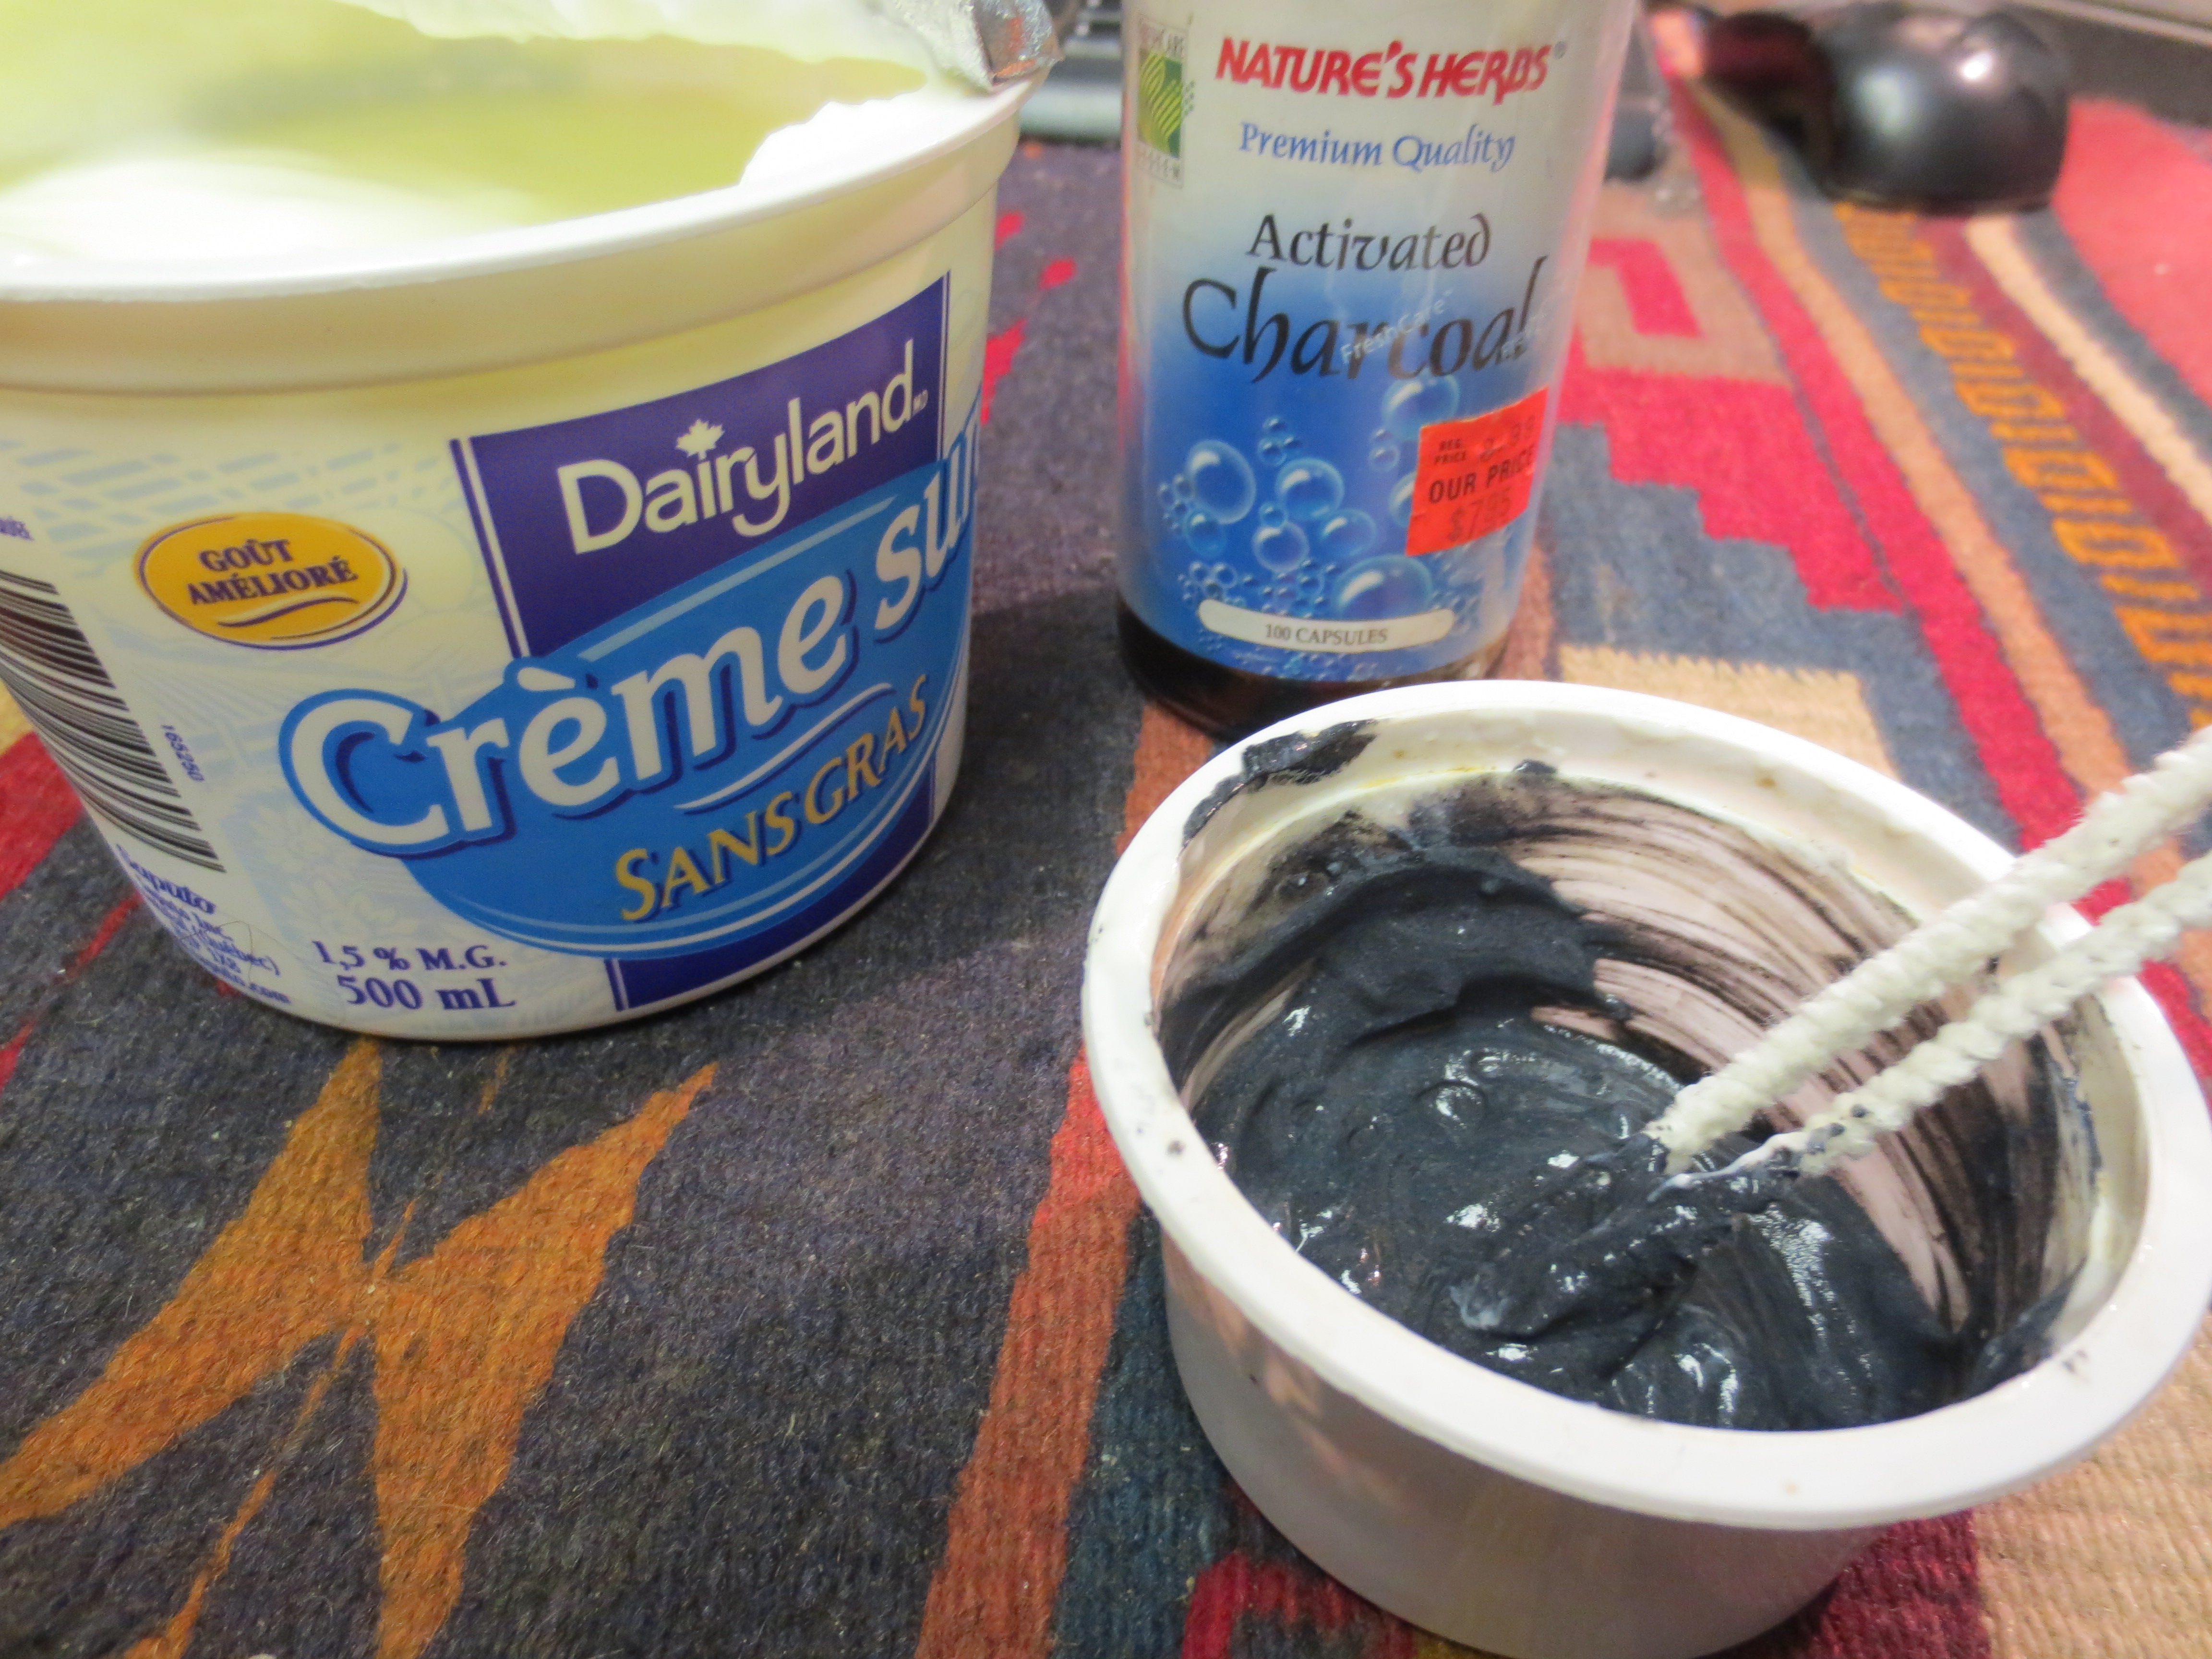
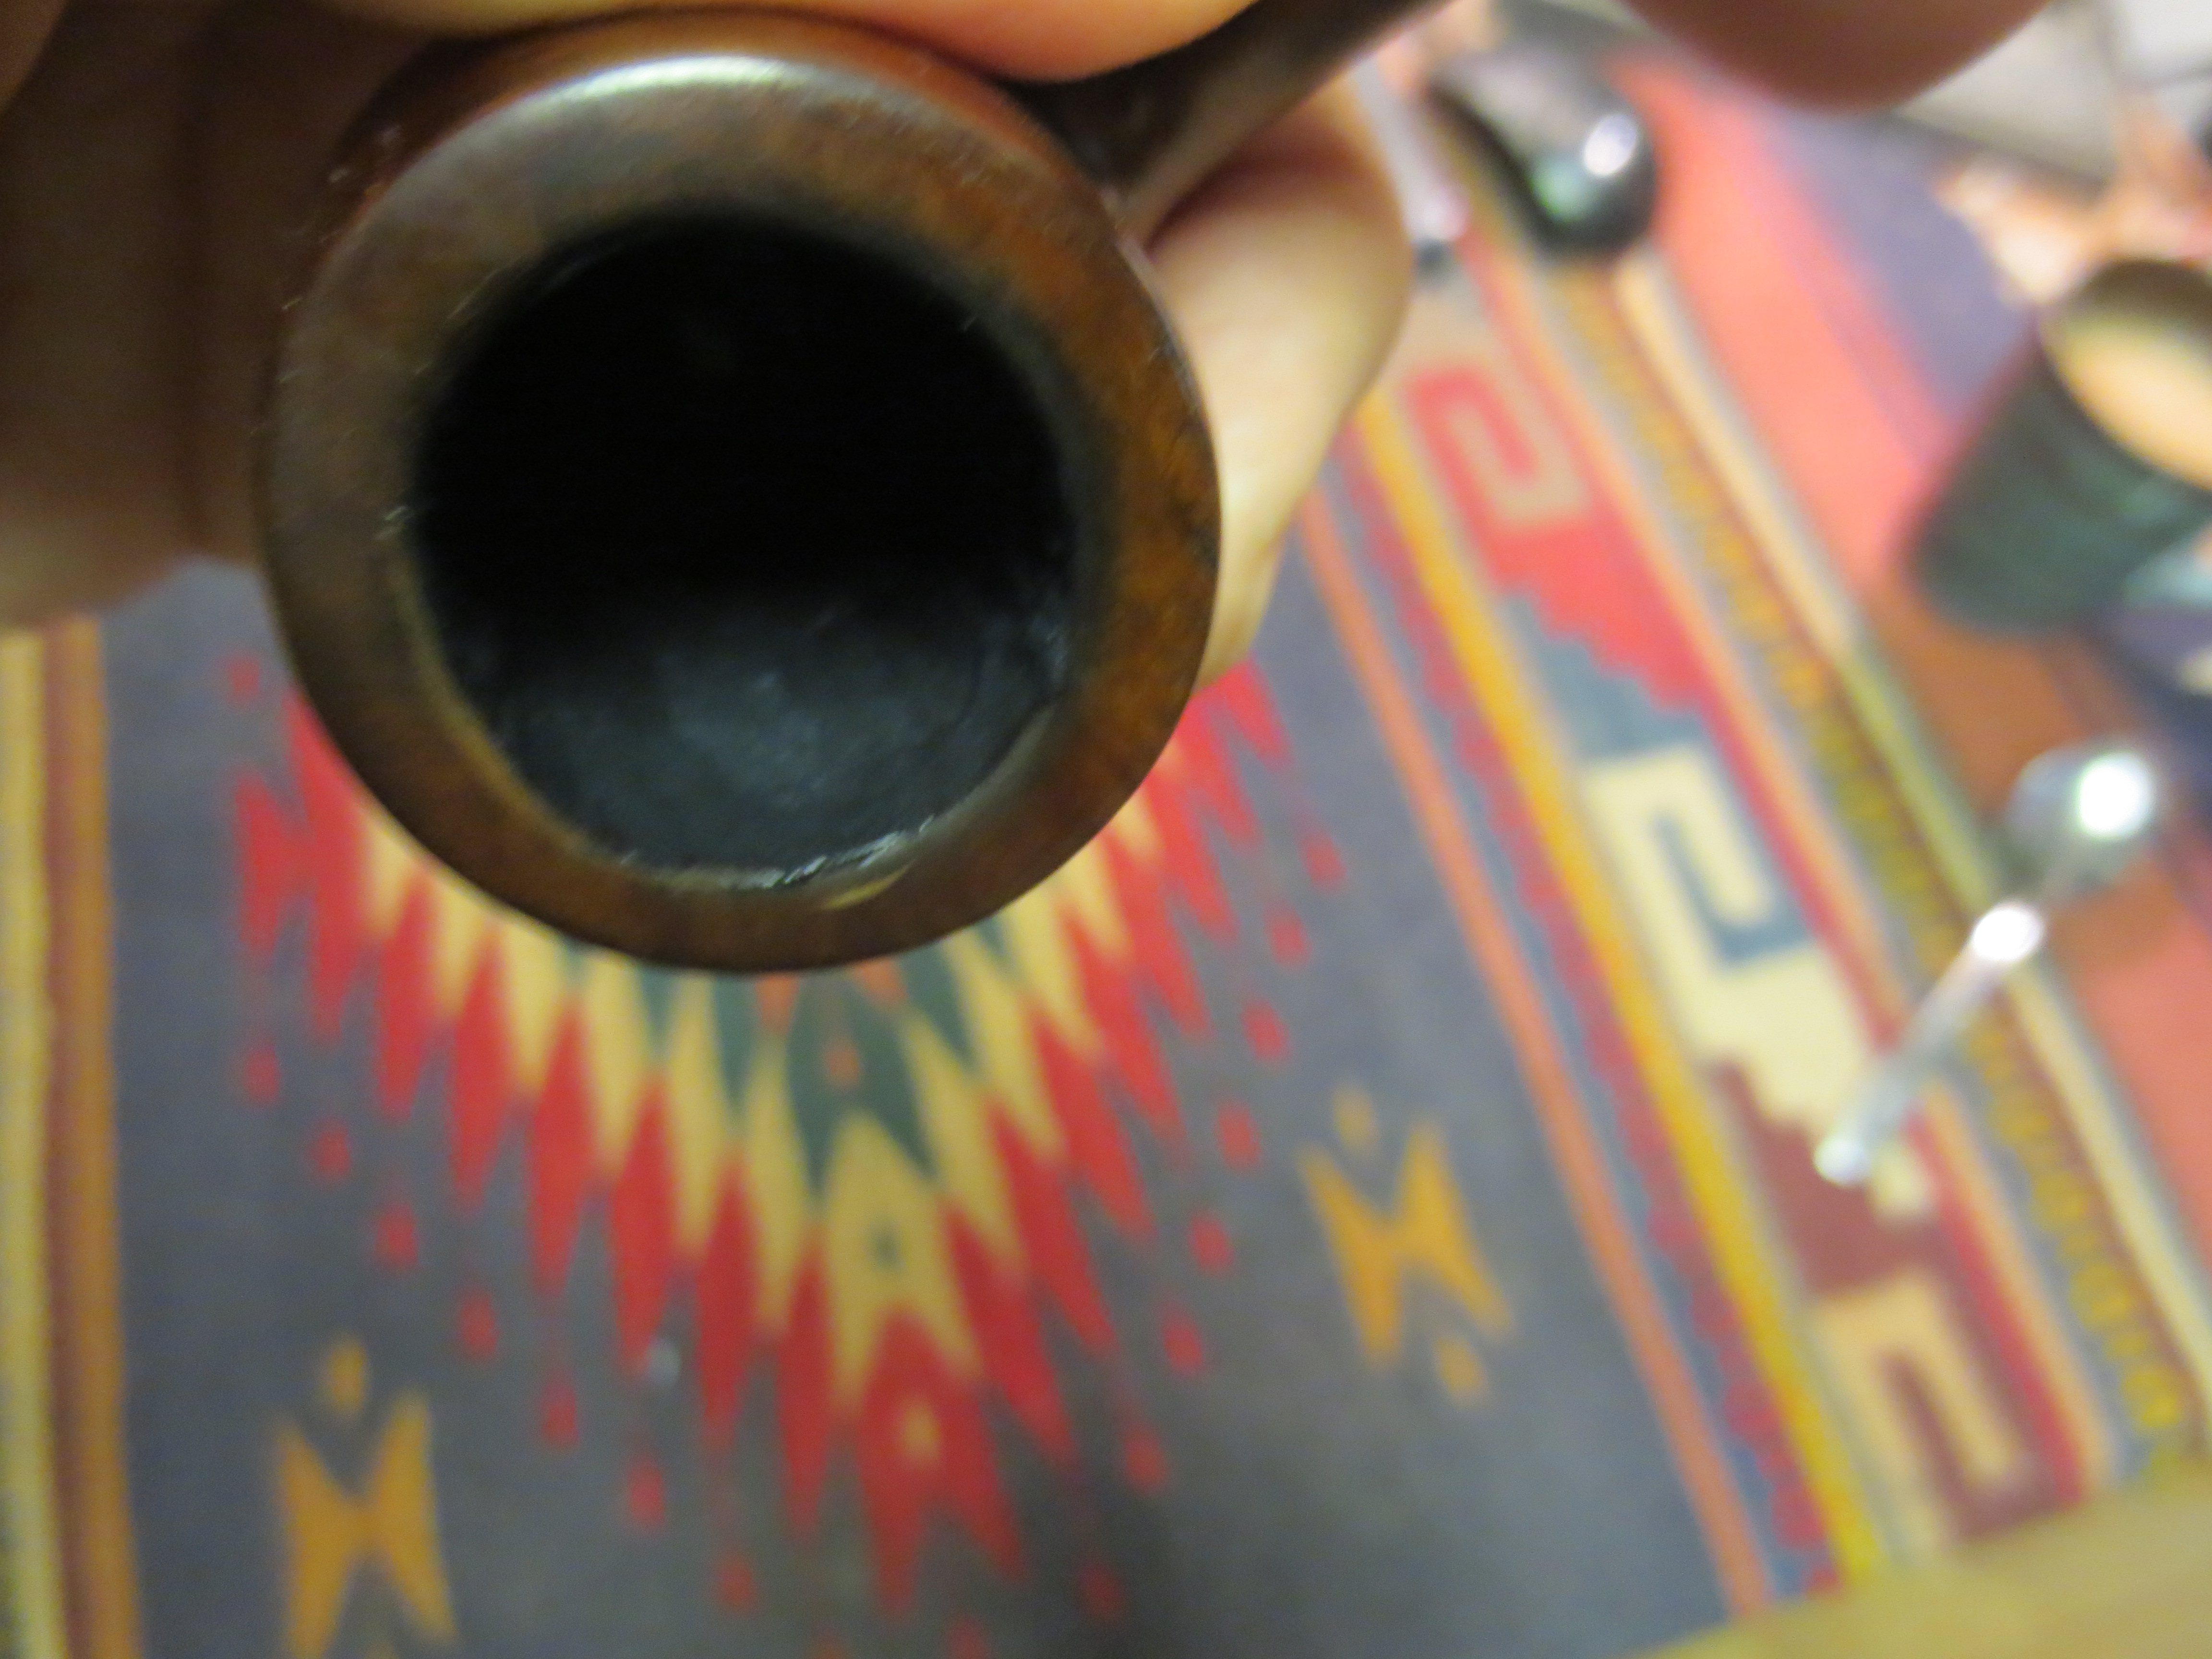
Once the JB Weld was cleaned up and reduced to only filling the cracks it was time for the second step of the bowl interior renewal. I mixed a batch of bowl coating composed of activated charcoal powder and sour cream. I stirred the batch until it was a consistent blue/black grey colour. I applied it to the entire bowl from top to bottom with a folded pipe cleaner. Once it dries it is a solid black colour and neutral in taste. It gives the bowl an additional layer of protection until the cake builds up. The next three photos show the mix and the application in the bowl.
IMG_1105

IMG_1107

IMG_1108
With that done, both the inside and the outside cracks are repaired and the pipe is back in service. I gave the entire pipe a final buff with White Diamond and then applied multiple coats of carnauba wax for protection. The final photos below give you an idea of how the pipe looks today. It is still curing from the bowl coating but I will load it and smoke it once that has cured. The finish of the two stains worked well to blend in the repairs but not hide them. The surface is smooth and the open cracks have been repaired. Now the ongoing test begins. Will the patches hold up or will the new heat from the fired tobacco open them a second time? Time will tell but it is worth the experiment in my opinion.
IMG_1089

IMG_1090

IMG_1091

IMG_1092

IMG_1093

IMG_1094