Blog by Steve Laug
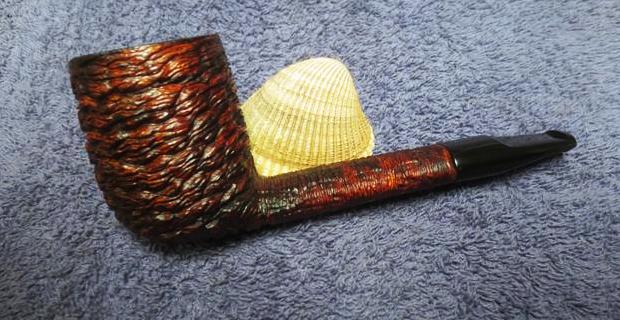
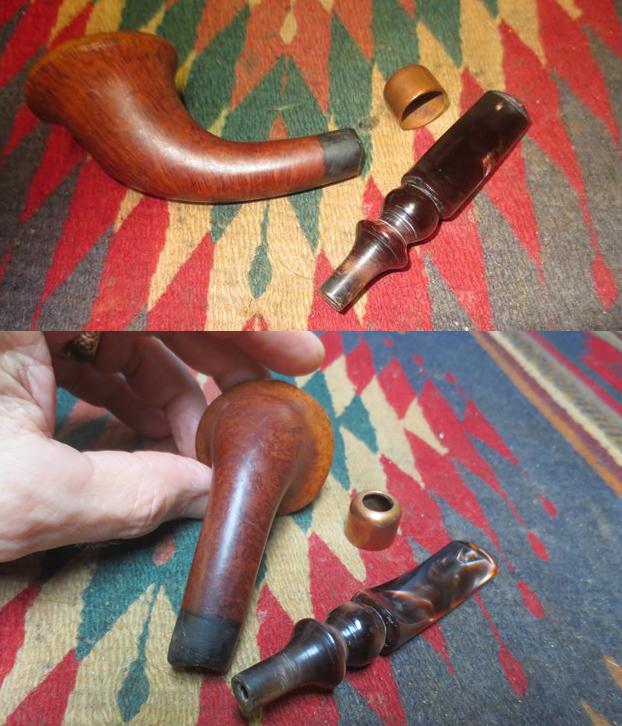
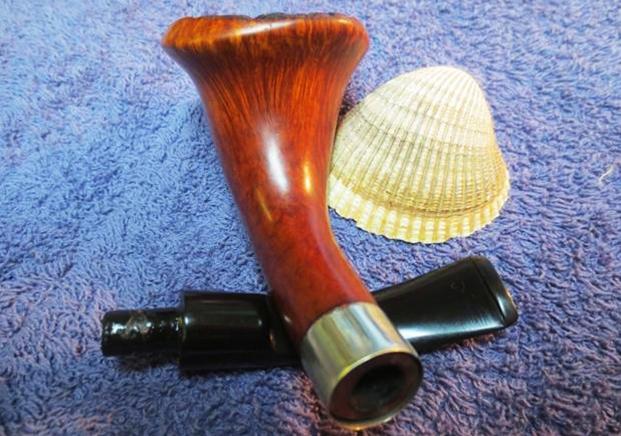
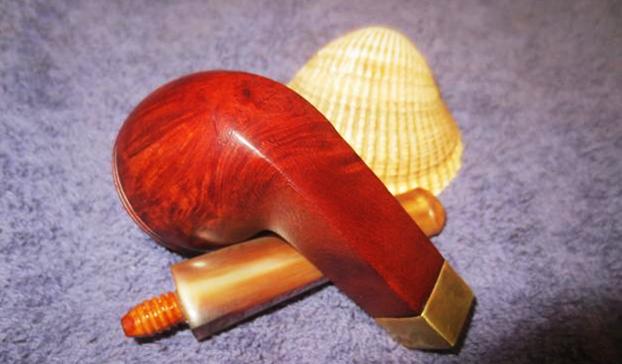
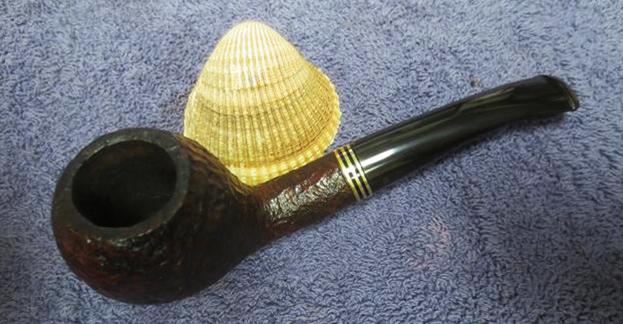
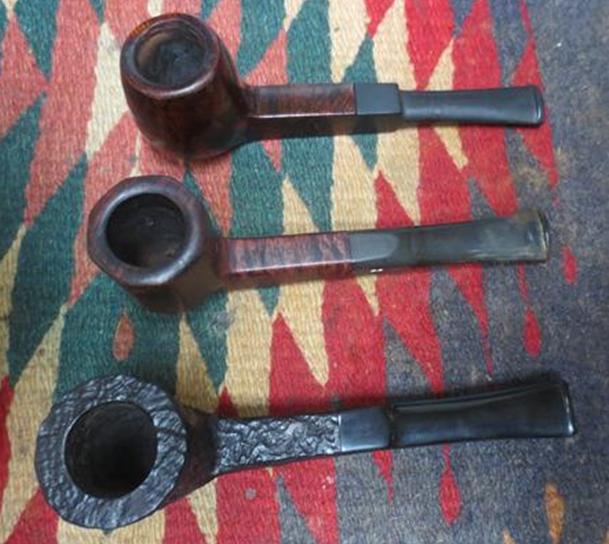
As I mentioned in the first blog I did on the Heritage threesome – the 45S Antique, earlier this summer I was relaxing and surfing Ebay on my iPad and I came across three listings for Heritage Pipes. All were square shank pipes and all were in decent condition. Two of them had original stems while the third had a stem I was not sure about. Several years ago I had learned about the brand through Andrew Selking who writes for rebornpipes. Since then I have kept an eye out for them. There do not seem to be too many showing up on Ebay but every so often there is one. This time there were three. I contacted my brother with the links and he bid and won the threesome. I have finished the middle and bottom pipe and have written blogs about them (The Heritage Antique – https://rebornpipes.com/2017/10/08/cleaning-up-the-first-of-three-heritage-pipes-45s-dublin/, The Heritage Diplomat – https://rebornpipes.com/2017/10/14/new-life-for-heritage-diplomat-8-panel-billiard/). The last of the threesome is what is on the work table now. It the top pipe in the photos below.
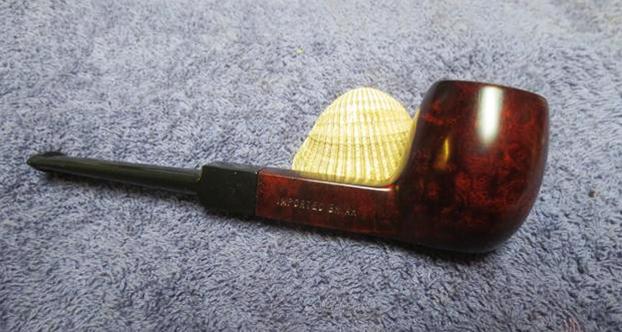
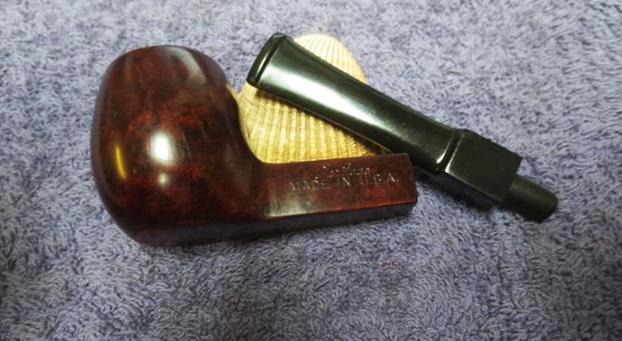
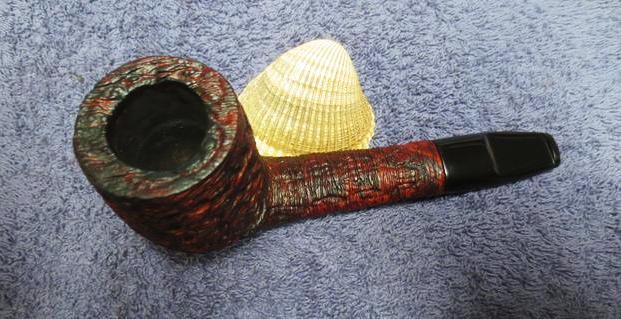
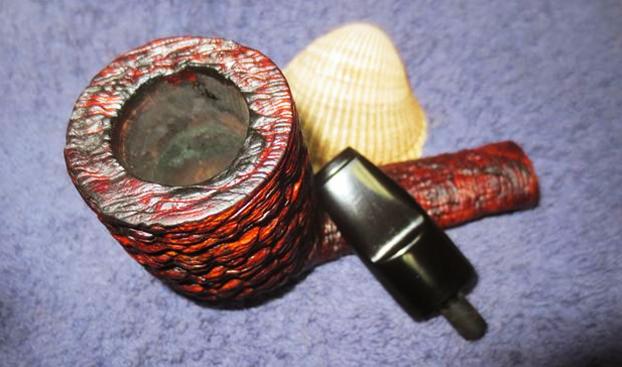
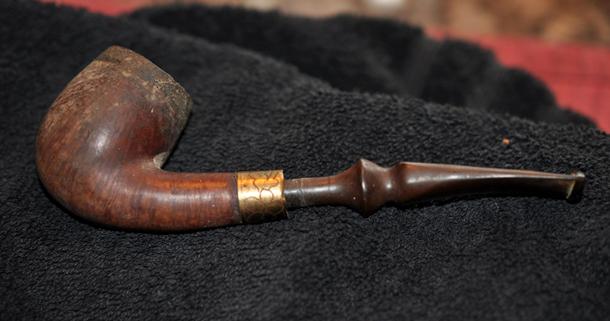
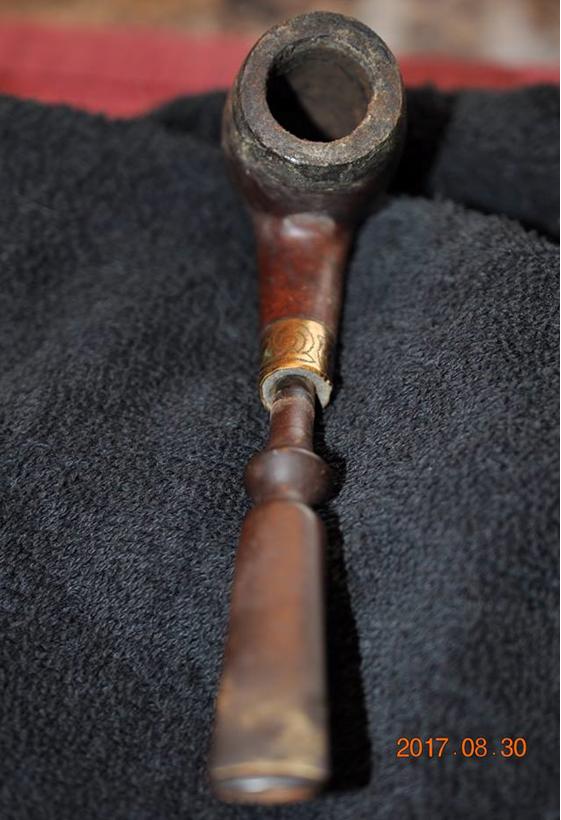
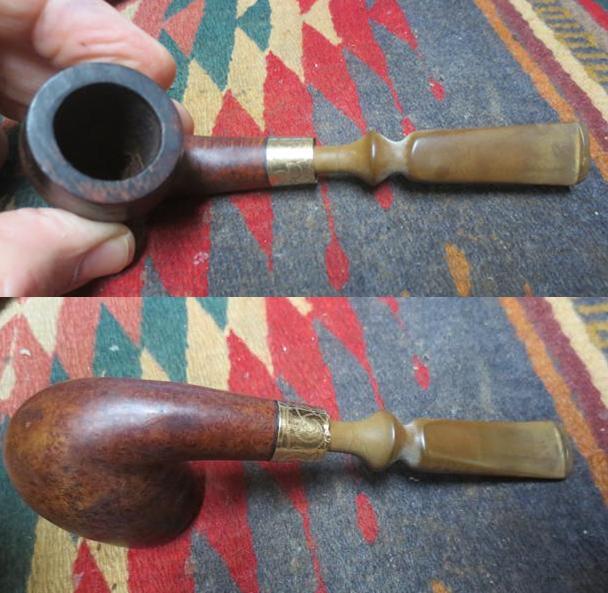
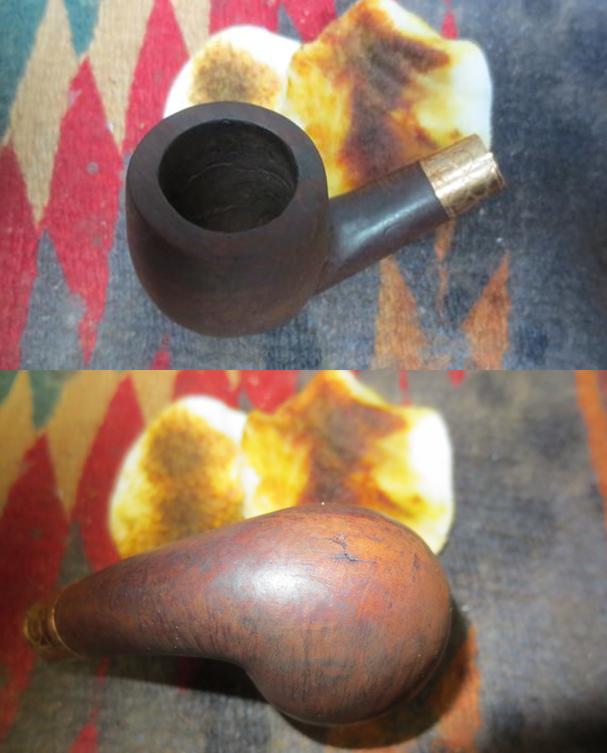
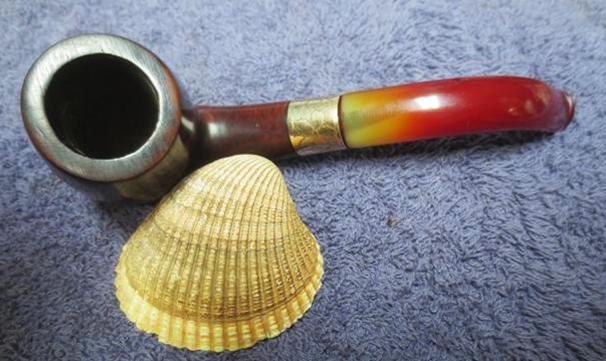
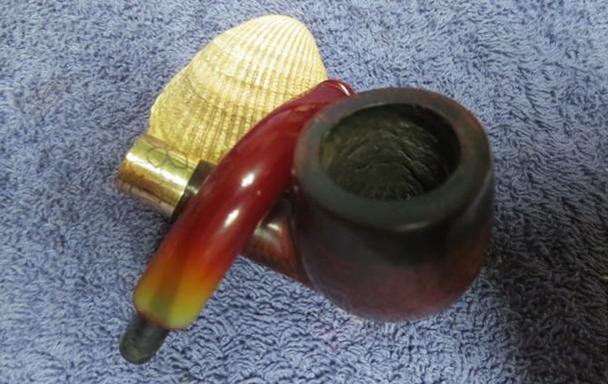
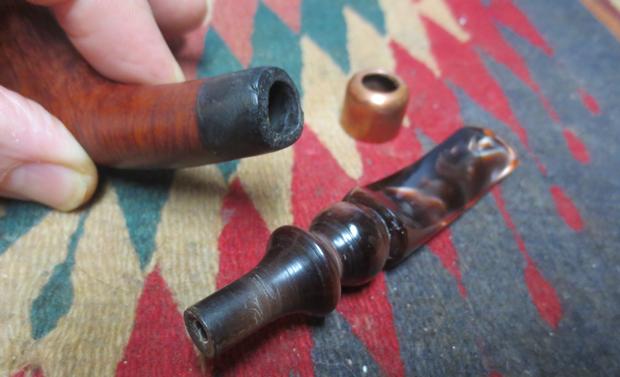
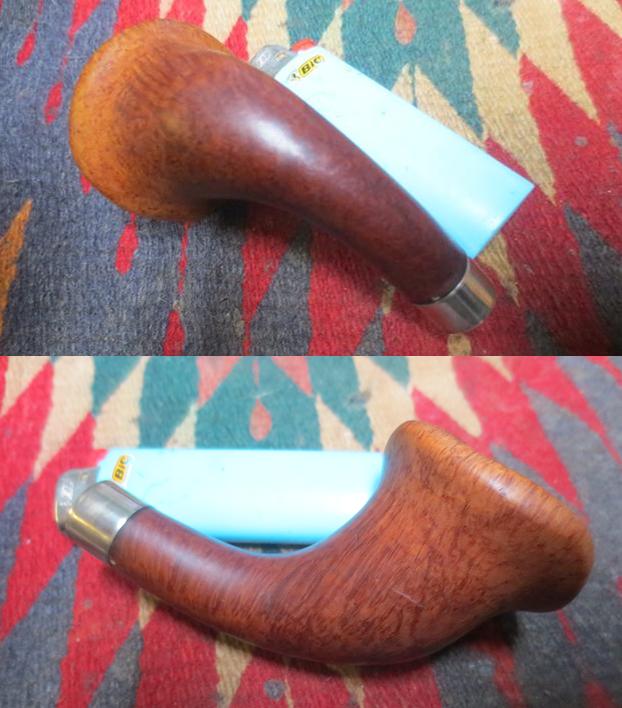
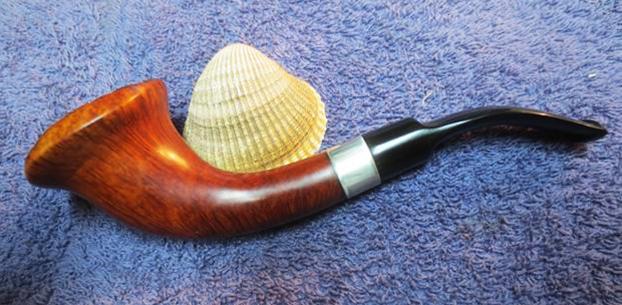
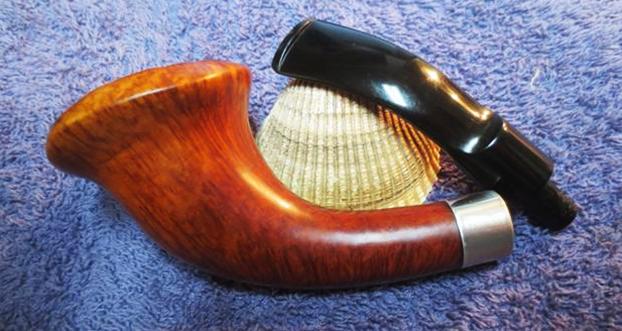
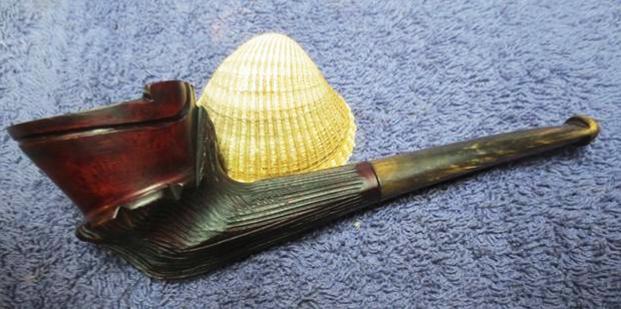
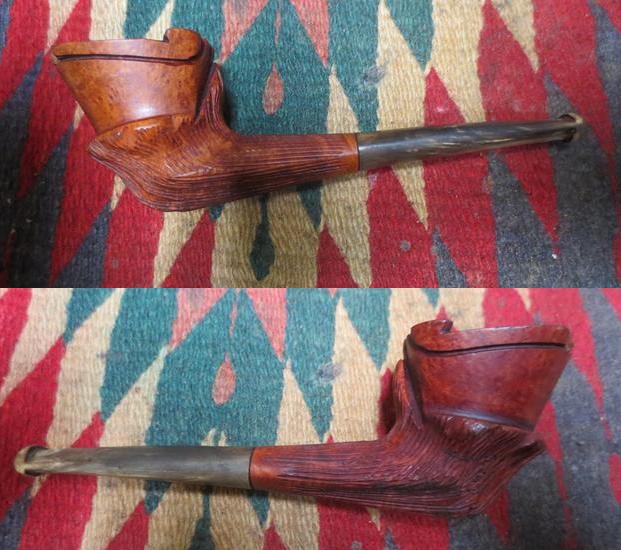
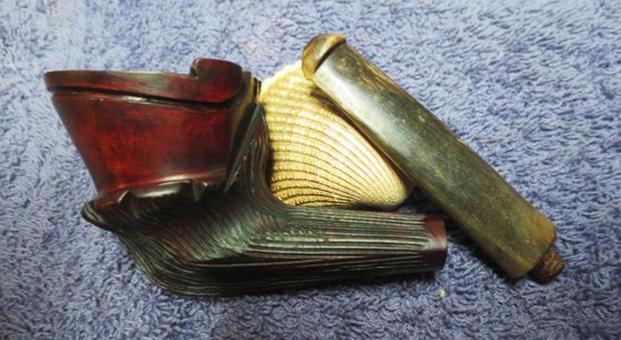
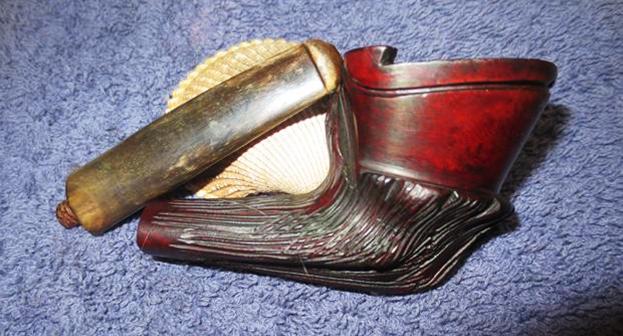
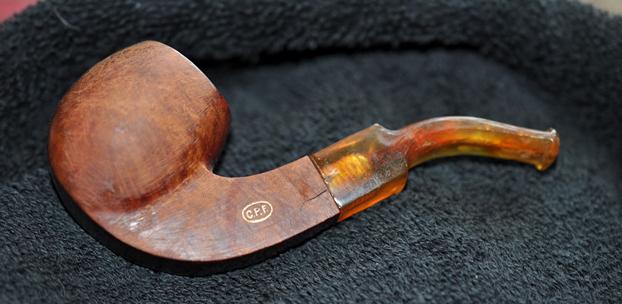
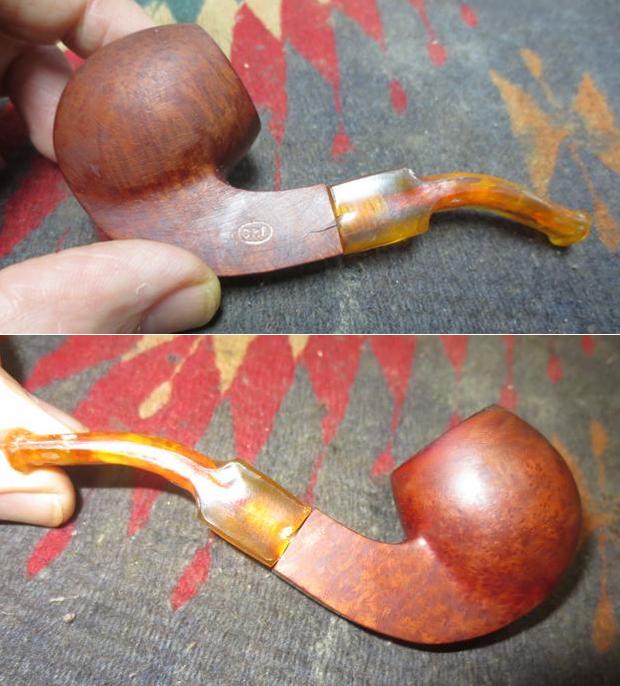
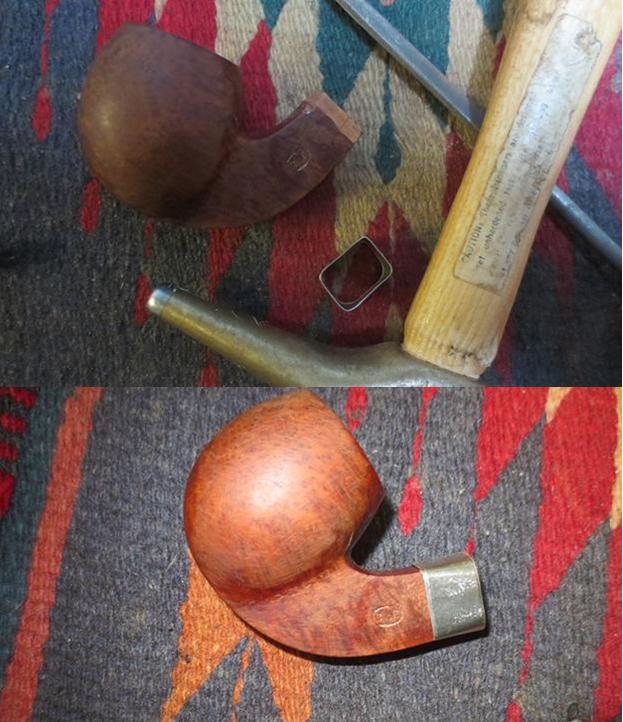
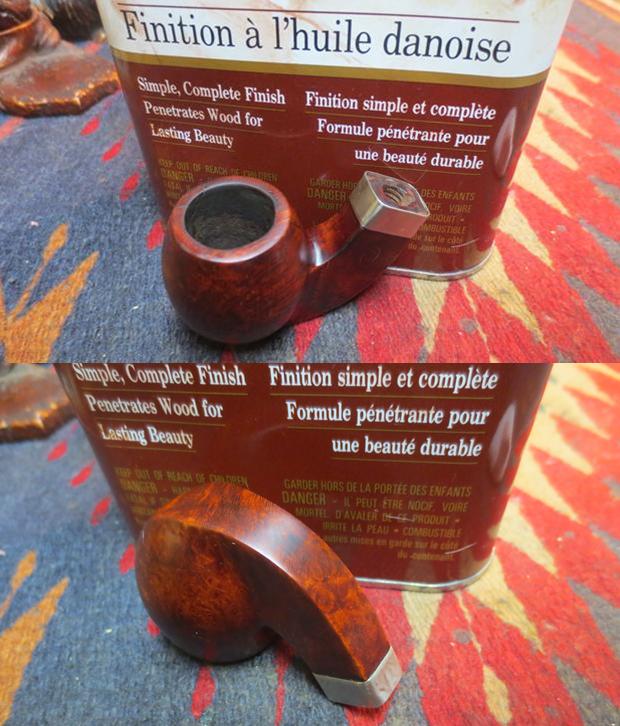
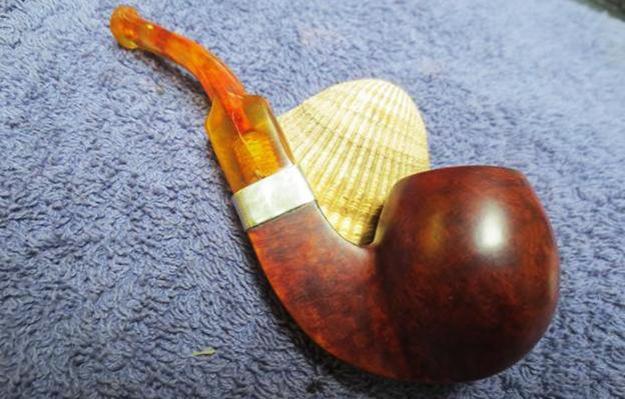
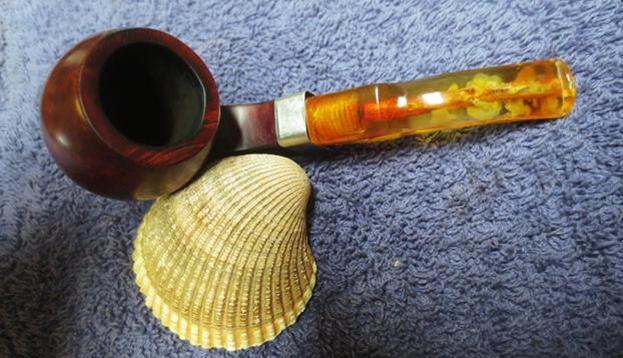
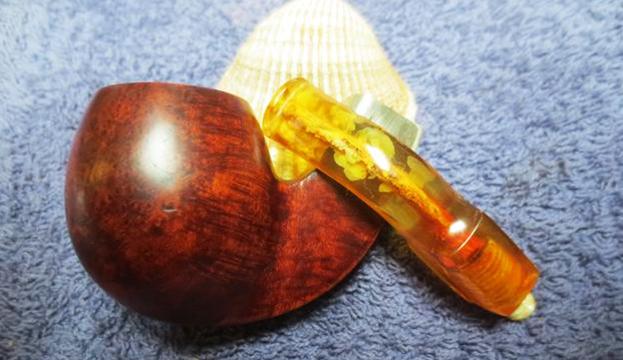
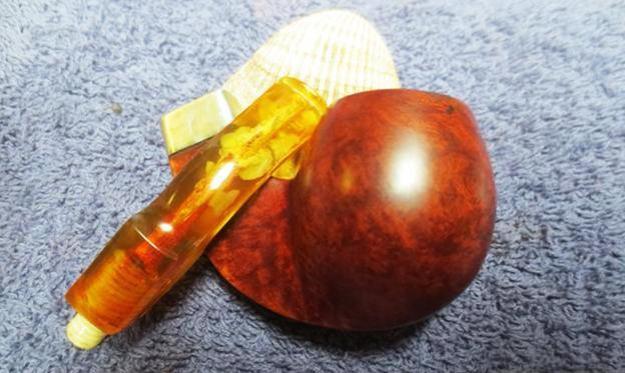
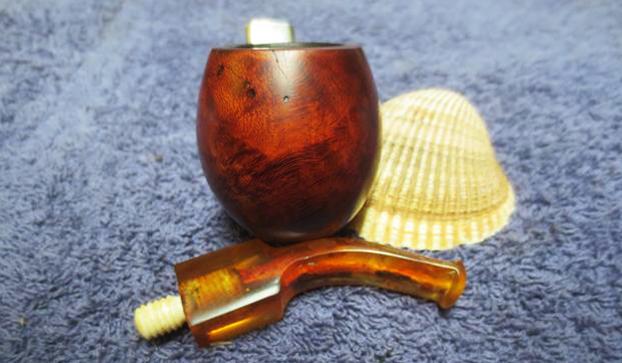
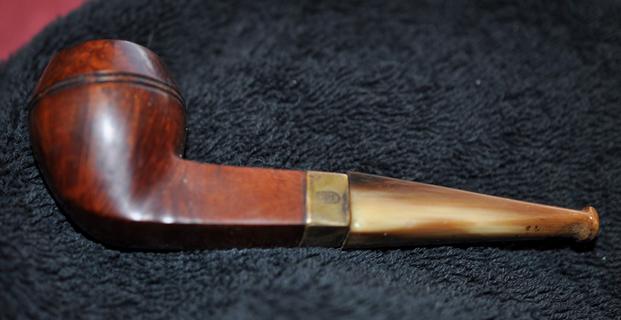
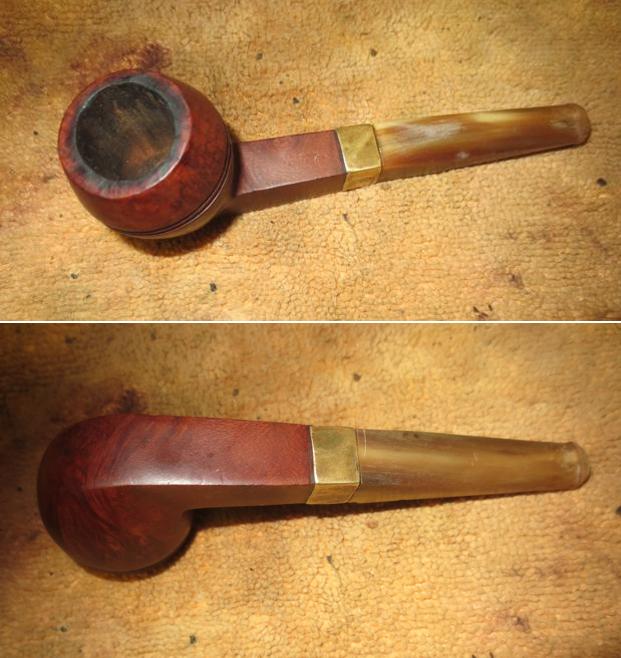
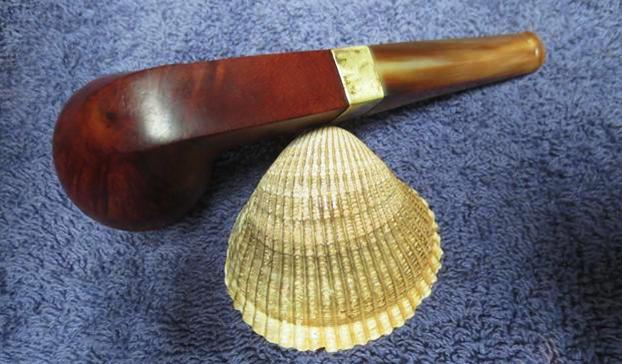
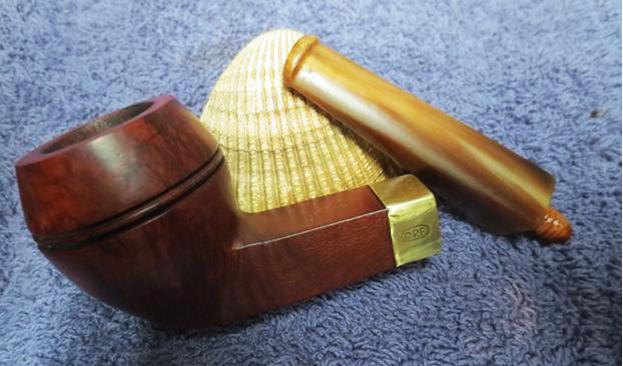
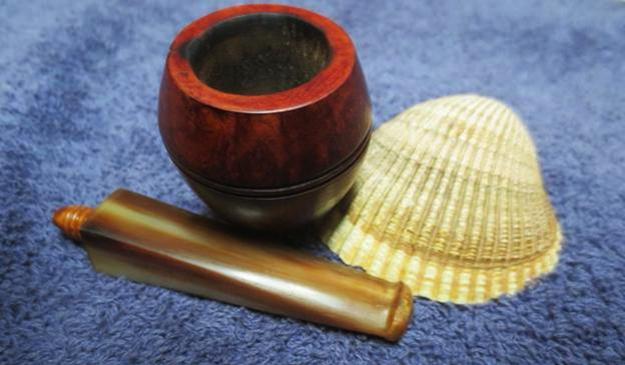
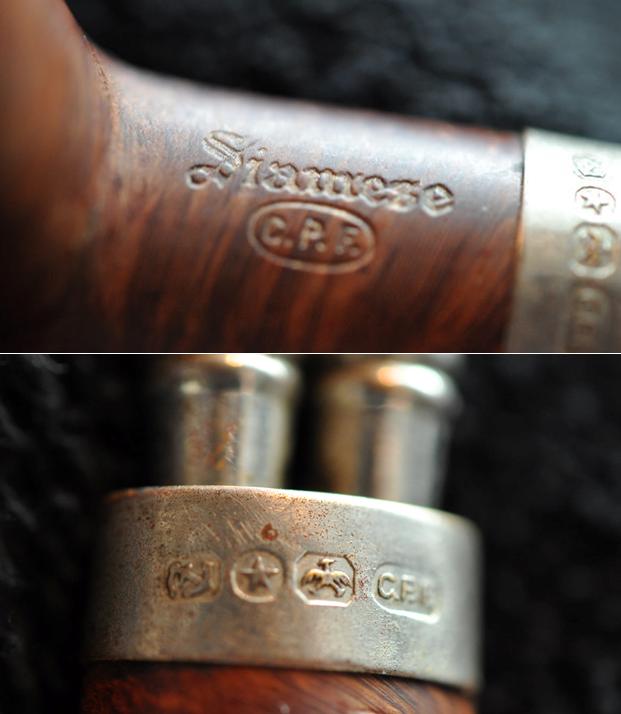
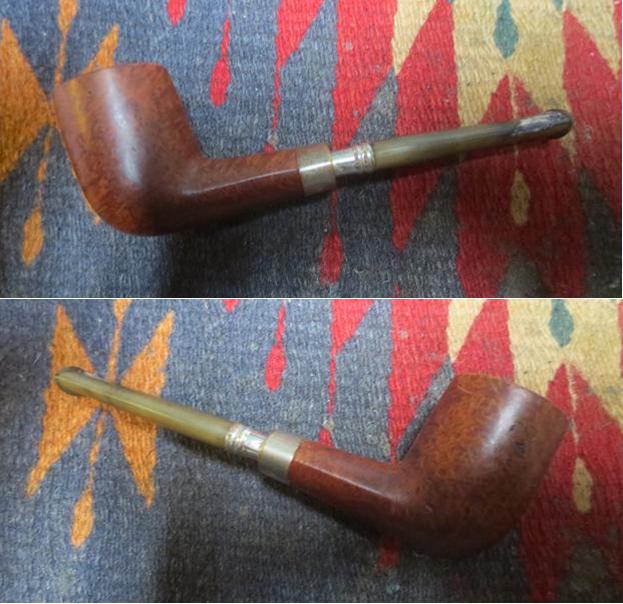
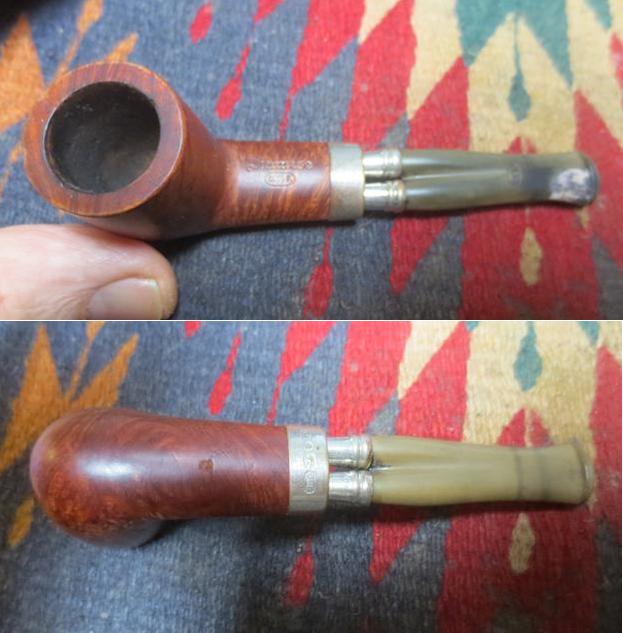
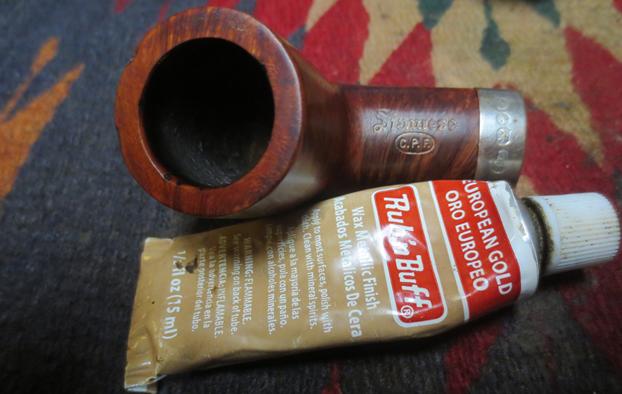
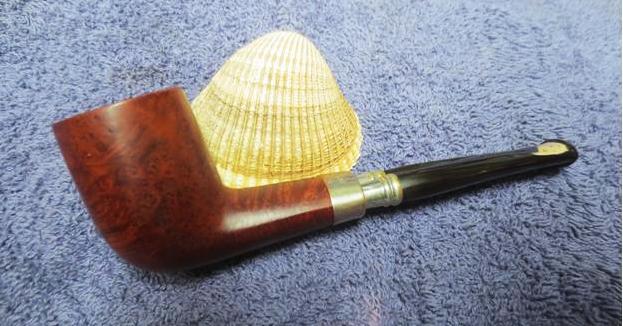
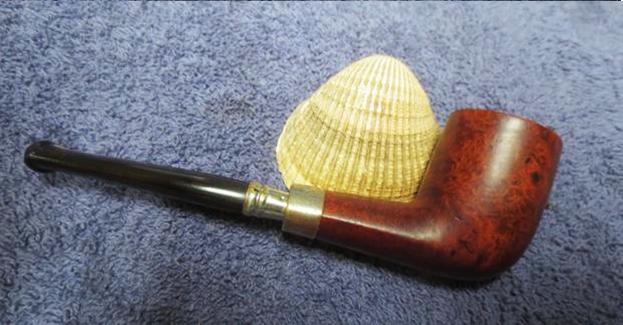
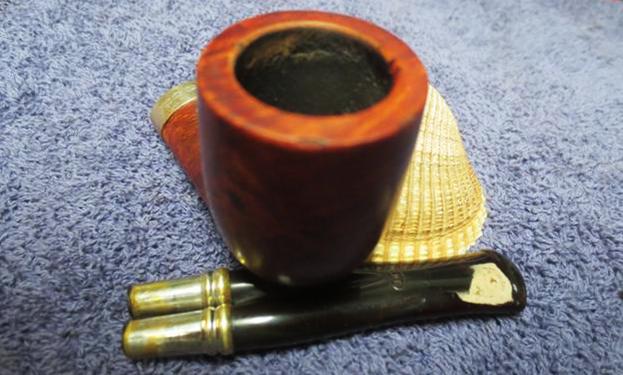
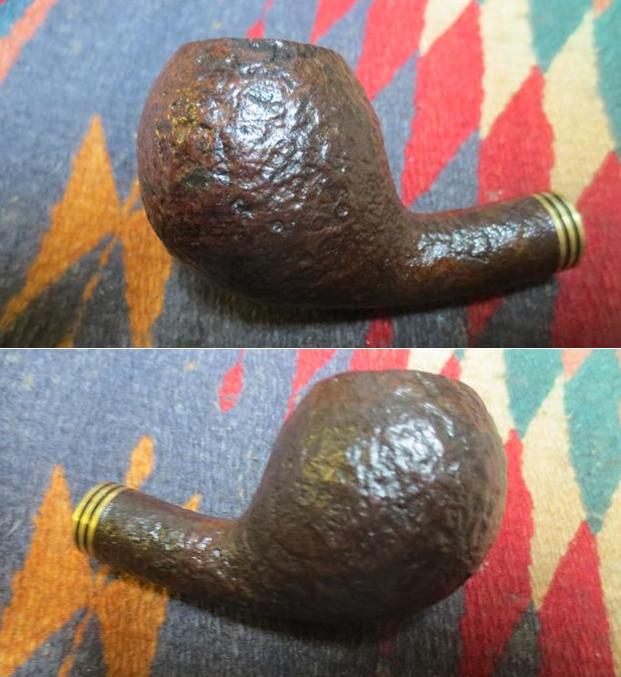
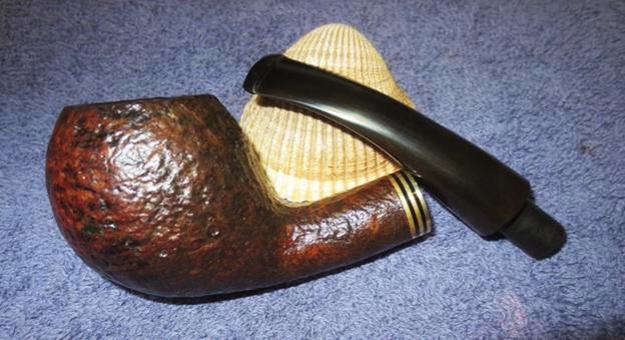
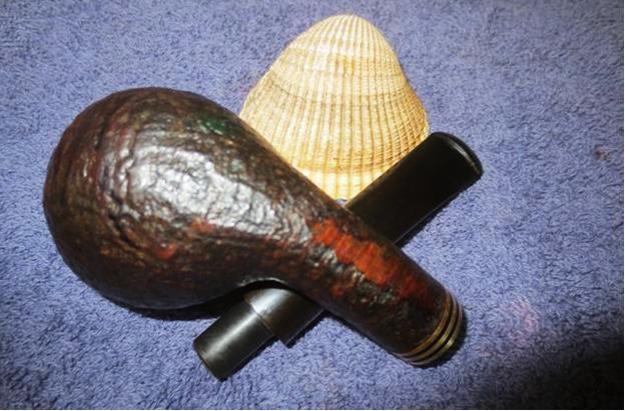
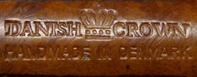
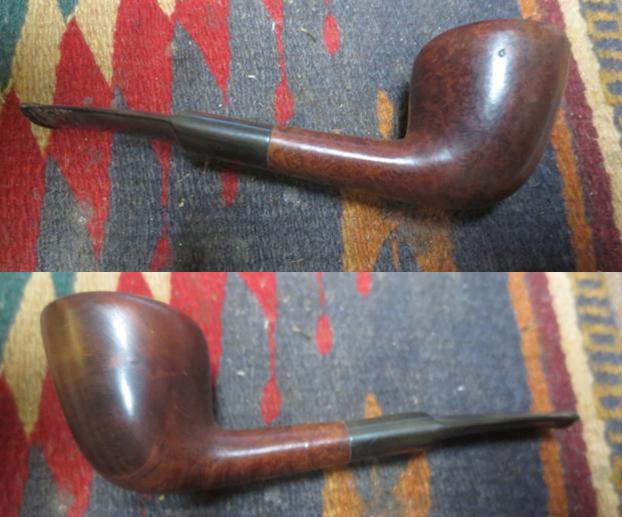
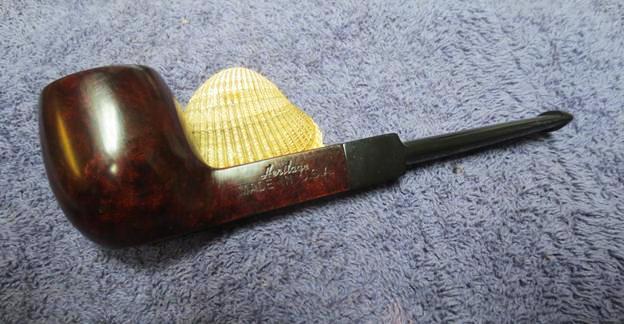
 When I got to looking carefully at this pipe I immediately saw some differences from the other two Heritage pipes. Though it is stamped Heritage with a similar font on the left side of the shank, it also is stamped Made in USA under that. The stamping is more like the Kaywoodie pipes I have worked on. The right side of the shank is stamped Imported Briar. The finish on this pipe is nowhere near as nice as the other two pipes. The quality is good but not stellar like the others. The stem fit and shape is different from the other two and seems to be a stem blank rather than a custom made stem. It is not a replacement as I first thought but is the original stem. I also cannot find it on the Heritage Brochure that Andrew provided. The overall look and feel of the pipe leads me to think that this pipe was made later than the other ones and is probably a Kaywoodie of lesser quality. Even though that is true I think it has value in that it is a historical piece that may be transitional in nature. I am including the next two photos as they show the condition of the pipe when my brother received it and the stamping on the shank.
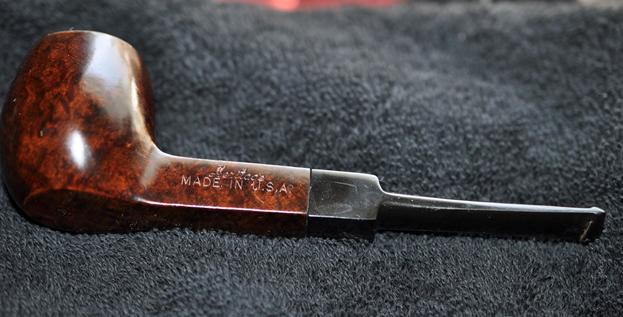
 For your reference if you are interested I am including a summary of the history of the brand that Andrew wrote on a previous blog on rebornpipes. I find that it is helpful and clear. There is not a lot of information on the brand available on-line so anything helps fill the gap. Here is the link: https://rebornpipes.com/2014/12/23/refurbishing-a-heritage-heirloom/.
Heritage pipes were Kaywoodie’s answer to Dunhill. According to one of their brochures, Heritage pipes were made from “briar burls seasoned and cured for up to 8 months,” with only “one briar bowl in over 300 selected to bear the Heritage name.” “Heritage stems are custom fitted with the finest hand finished Para Rubber stems. Mouthpieces are wafer thin and concave.”
The Heritage line began in the early 1960’s, with the trademark issued in 1964. The line was started at the request of Stephen Ogdon, (who worked for Kaywoodie in 1962). Mr. Ogdon had previous experience working for Dunhill, either running the New York store or working for Dunhill North America. Mr. Ogden was made President of Heritage Pipes, Inc., Kaywoodie Tobacco Co.,Inc. and Kaywoodie Products Inc. as well as a Vice President of S.M. Frank & Co. Heritage Pipes were produced from 1964 until 1970 (Source Kaywoodie.myfreeforum.org).
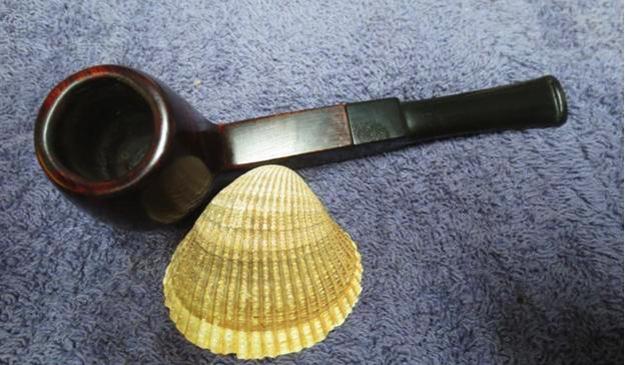
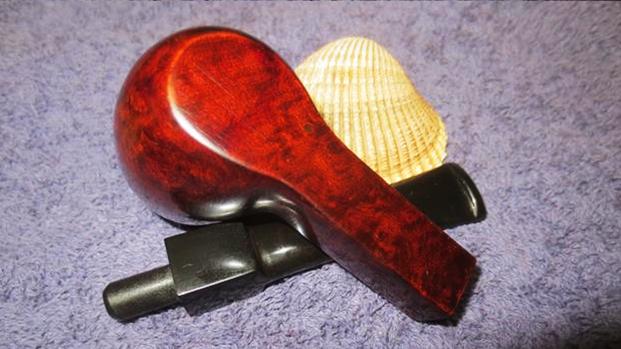
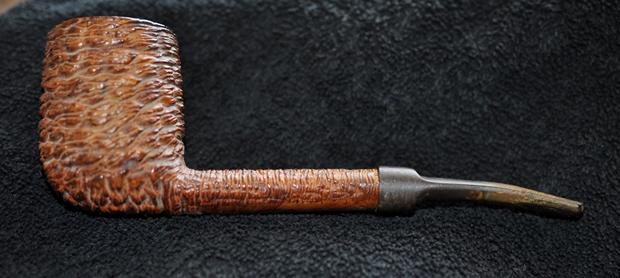
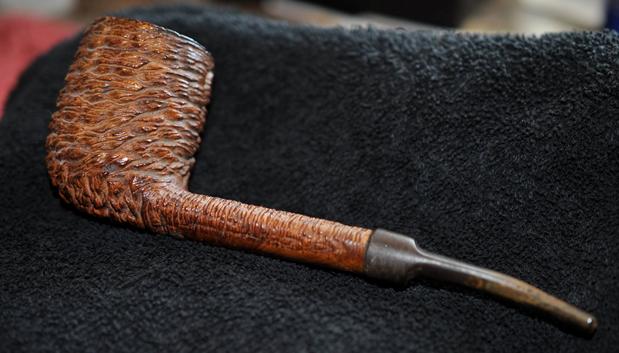
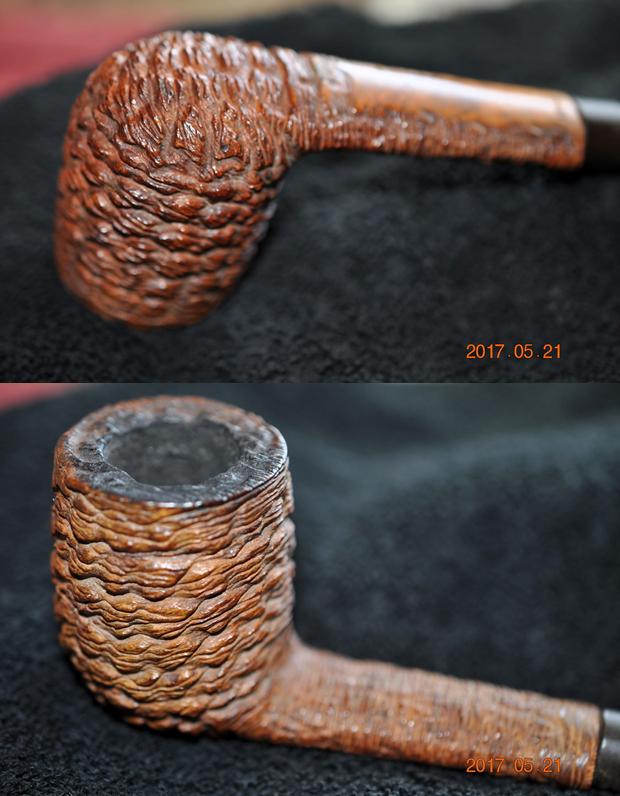
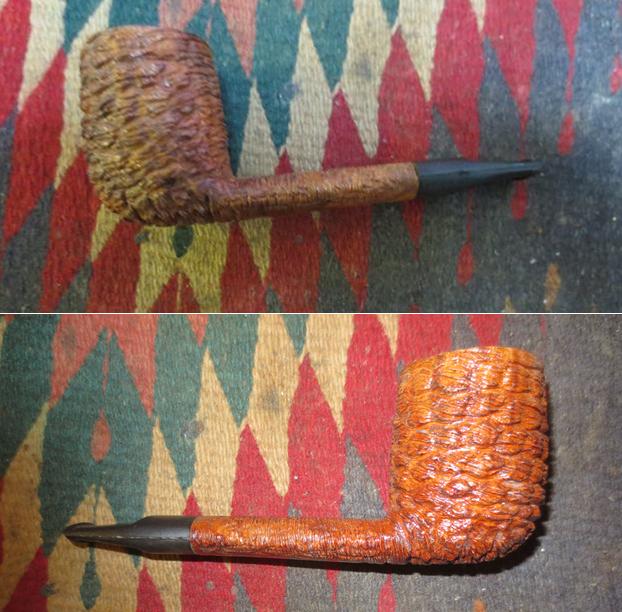
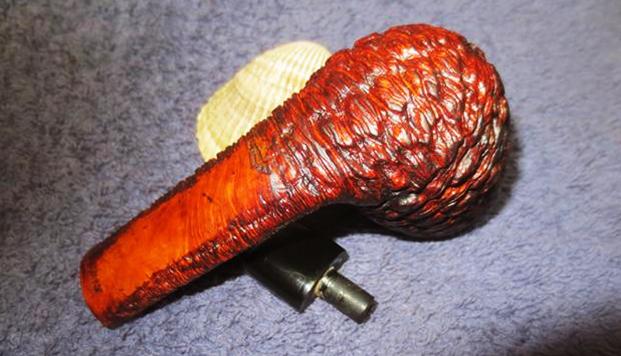
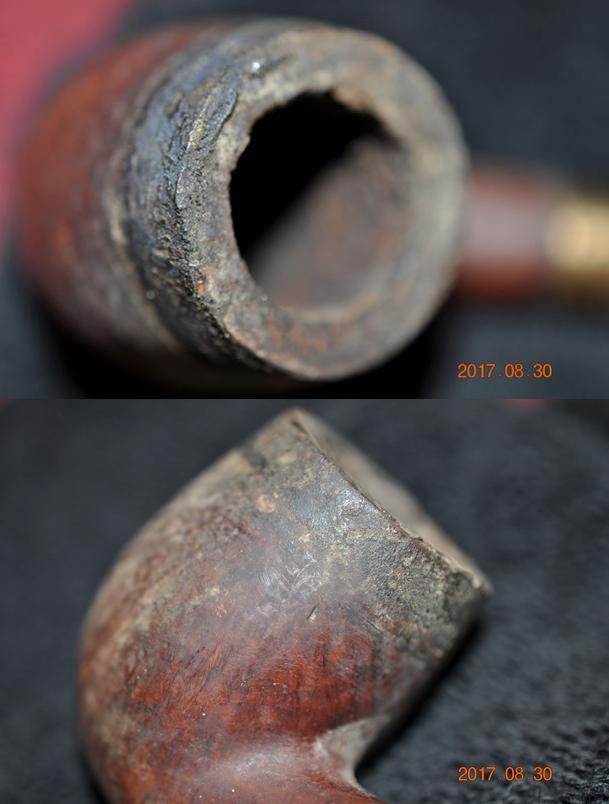
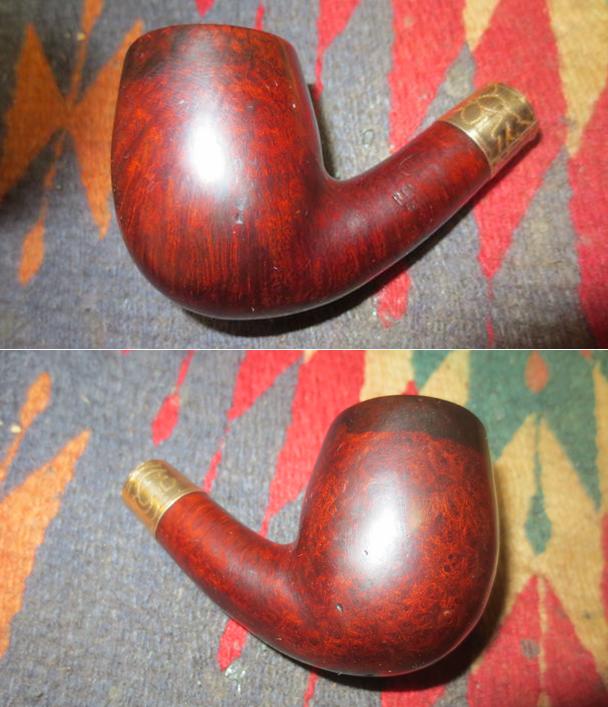
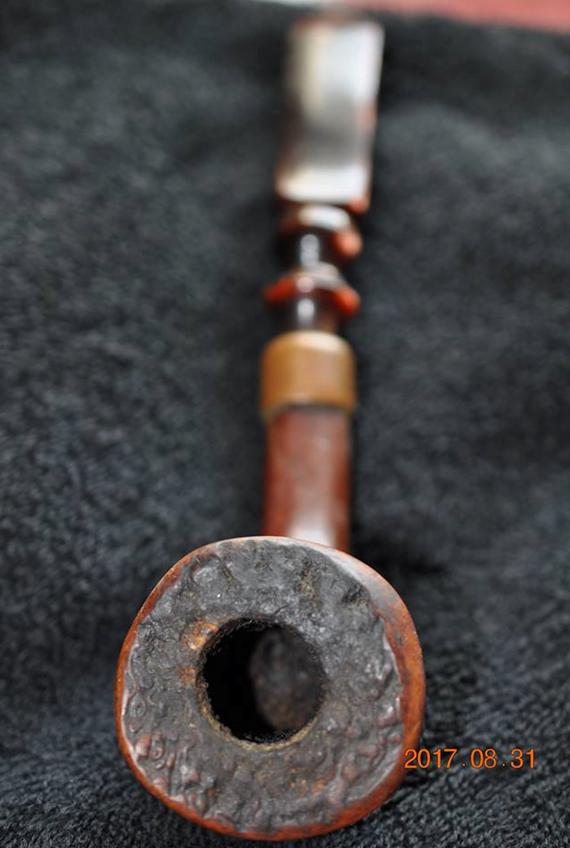
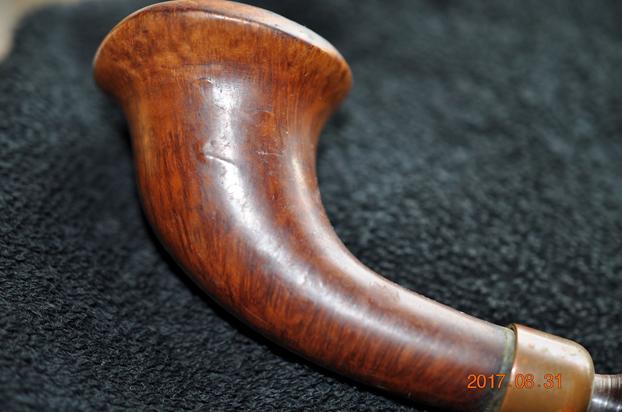
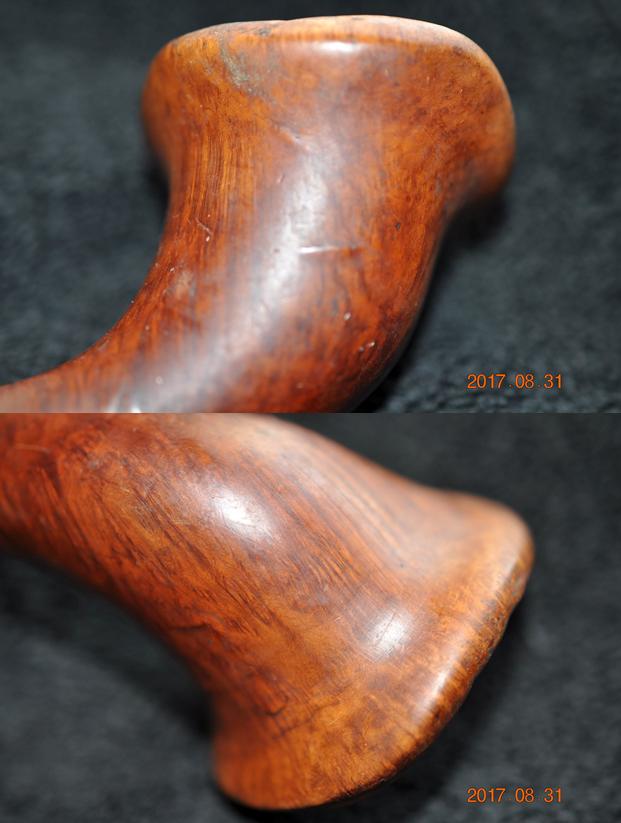
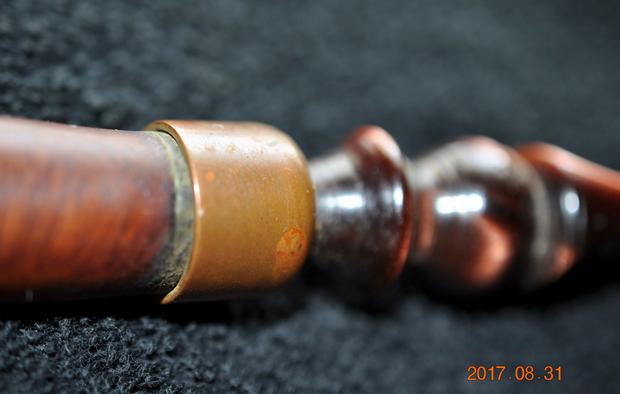
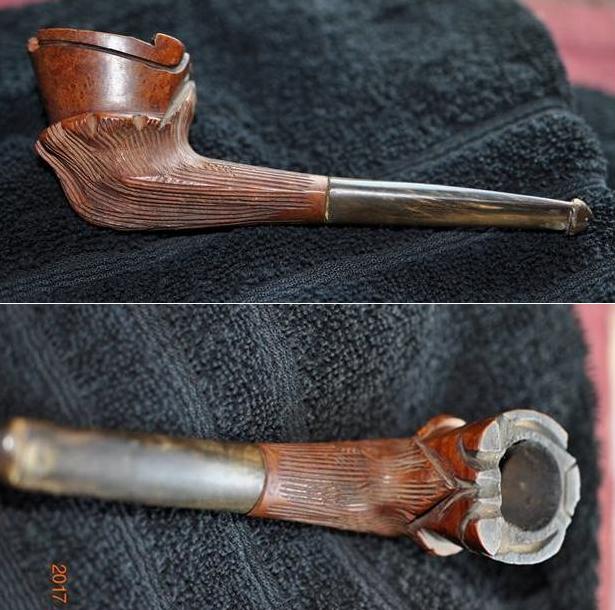
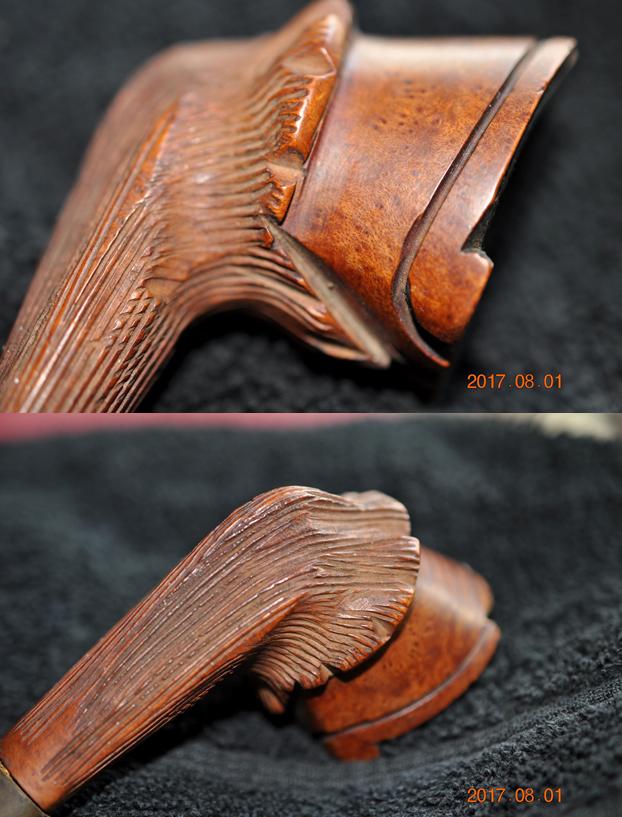
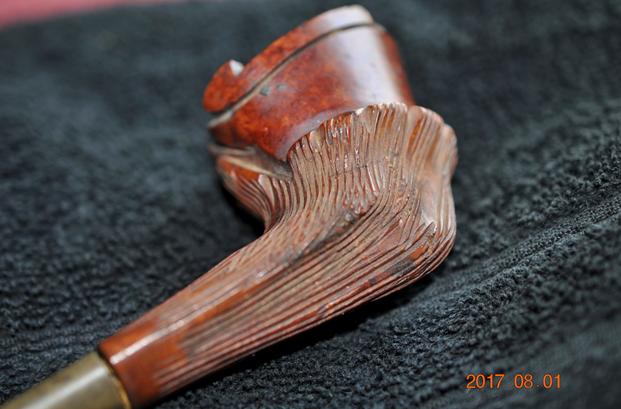
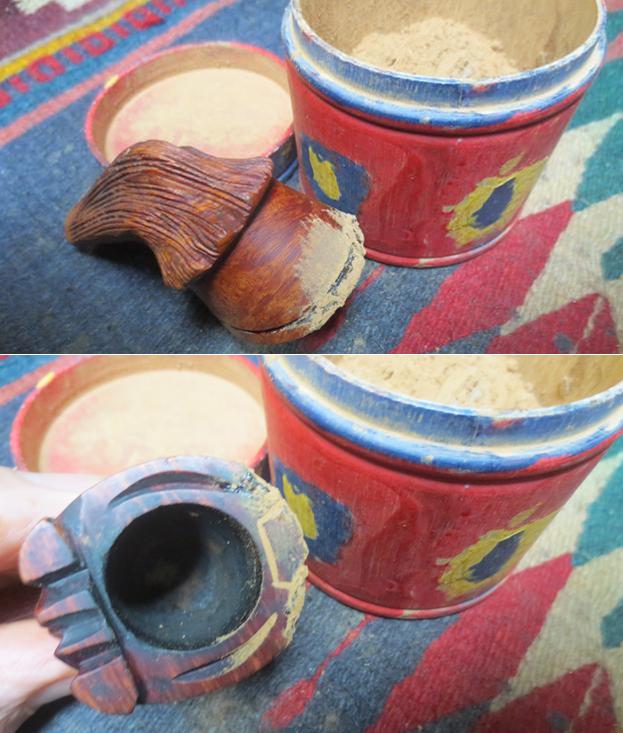
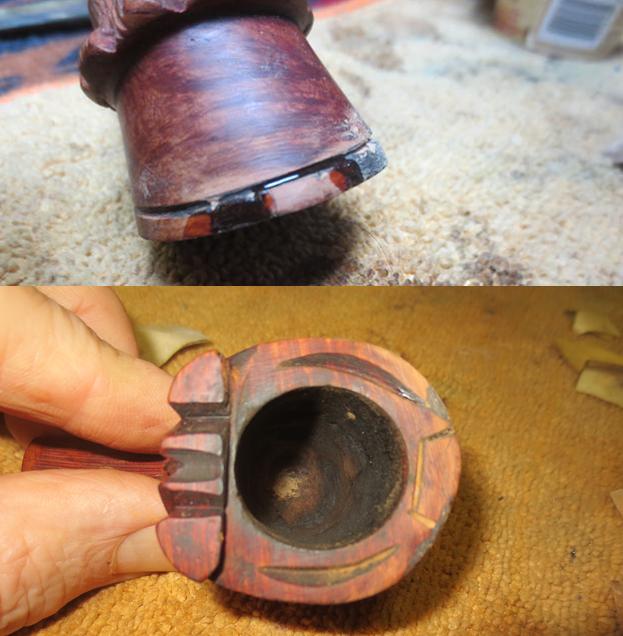
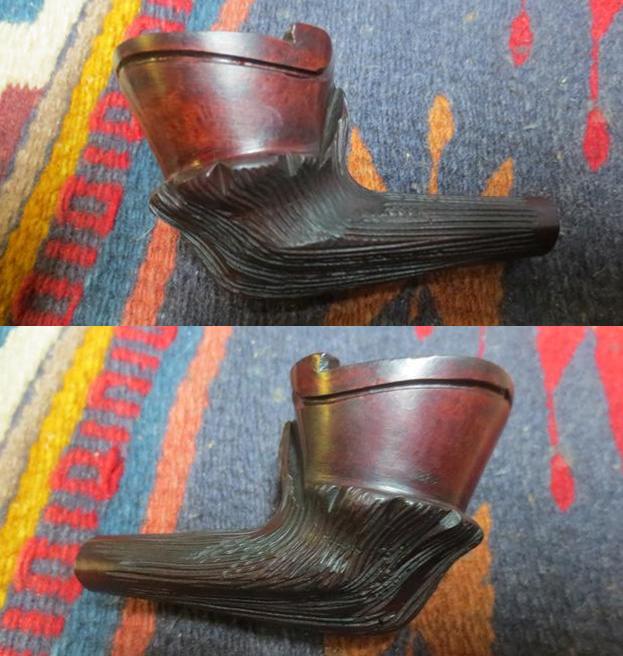
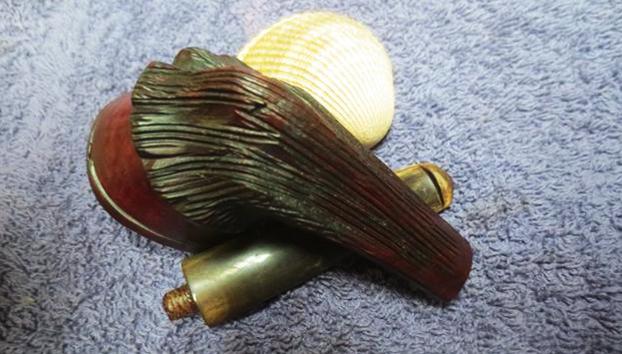
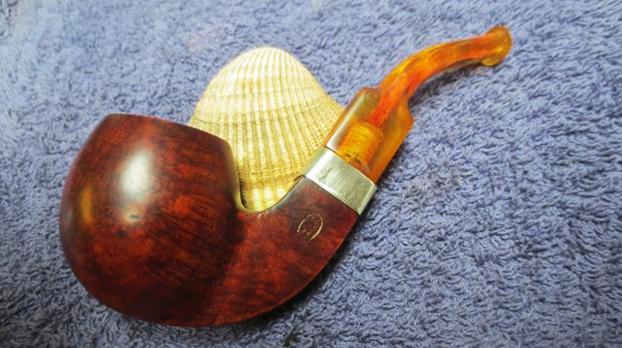
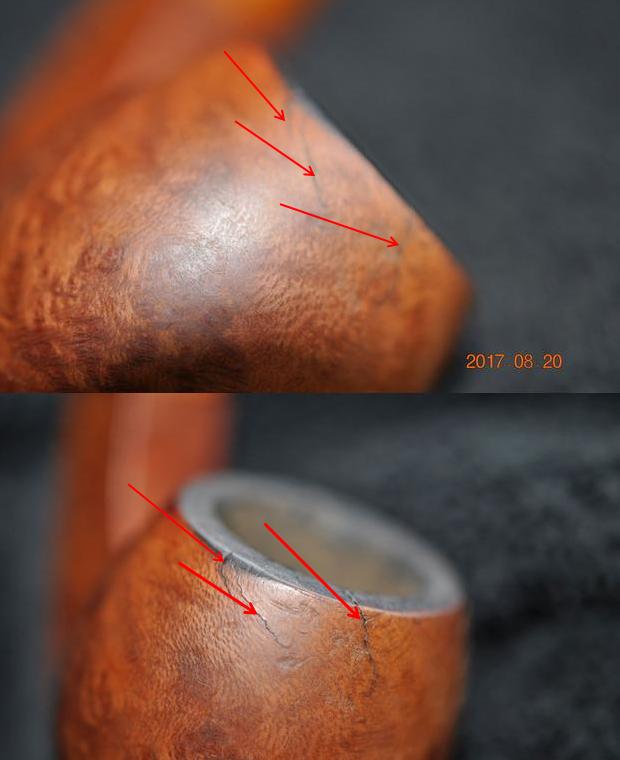
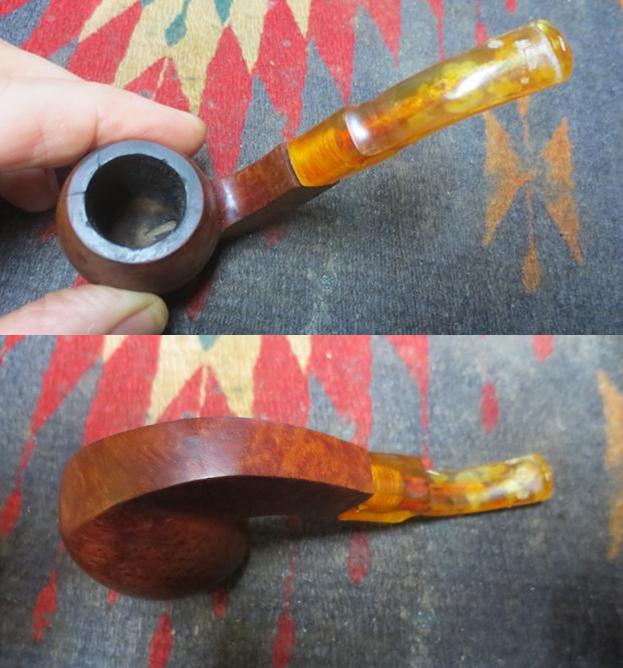
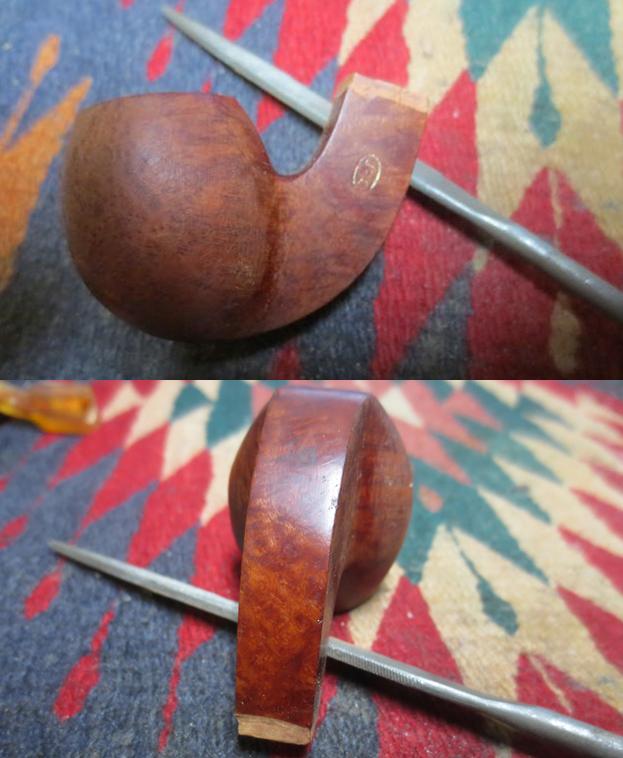
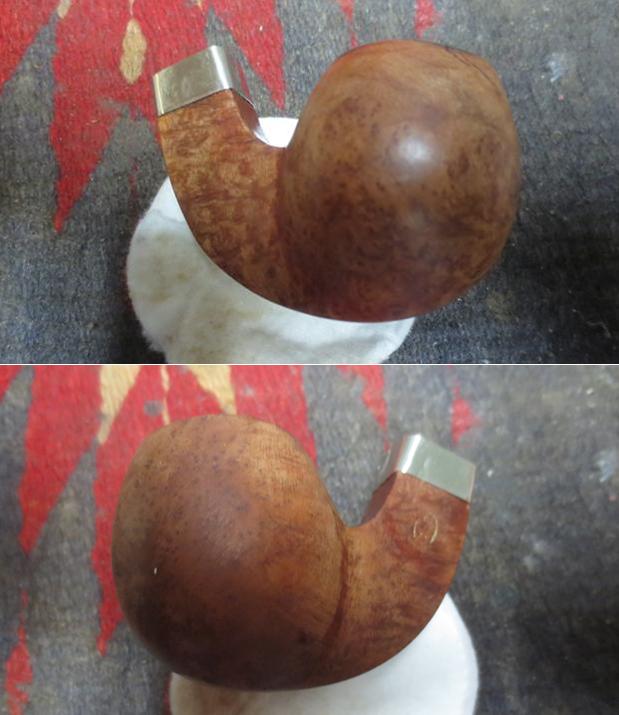
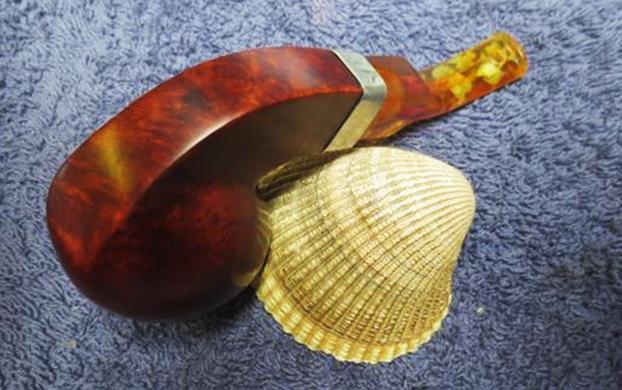
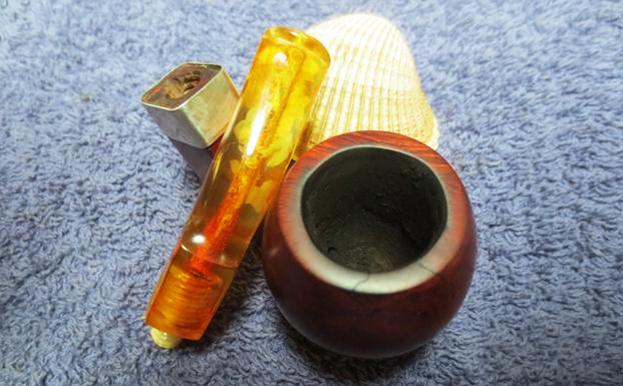
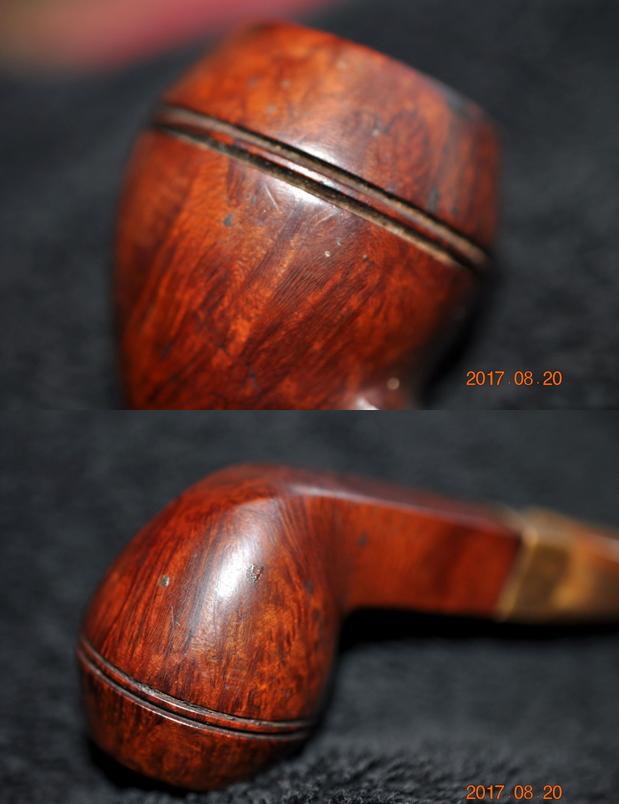
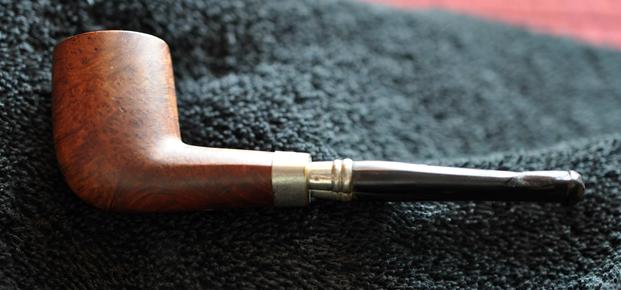
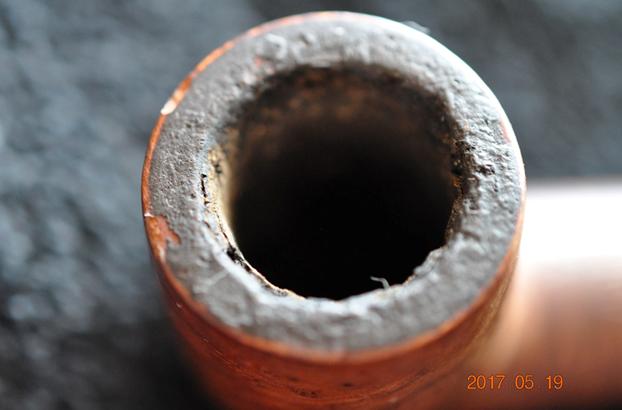
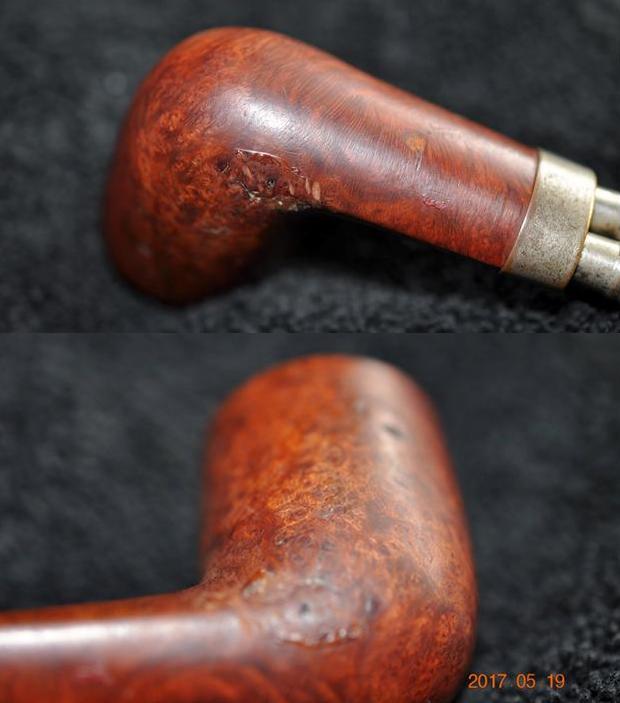
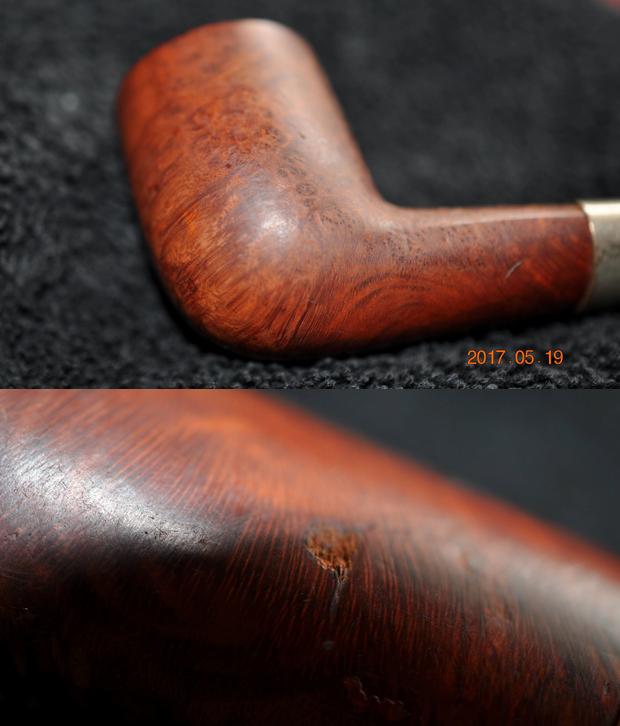
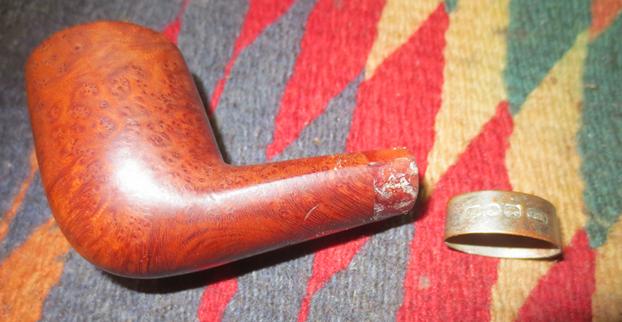
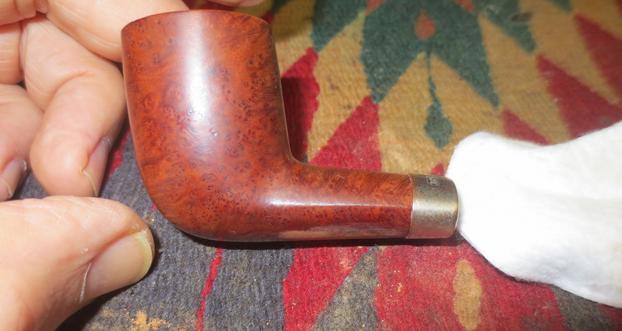
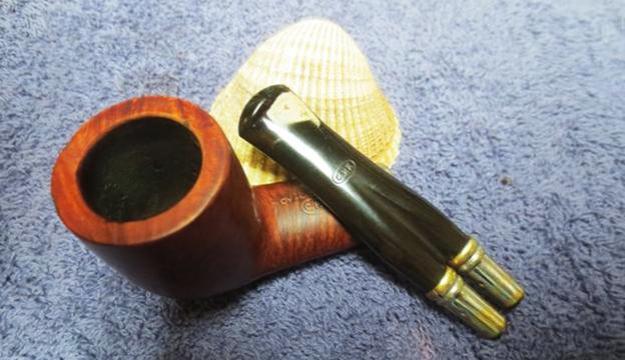
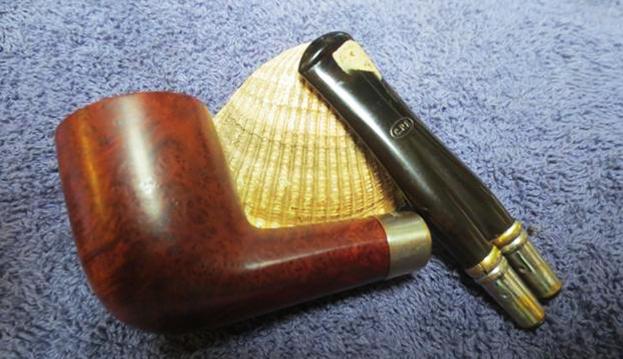
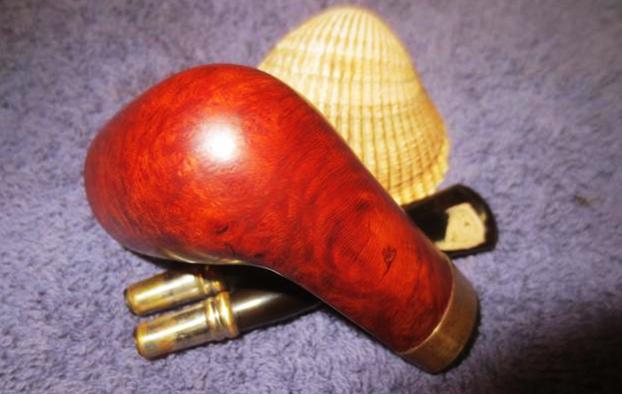
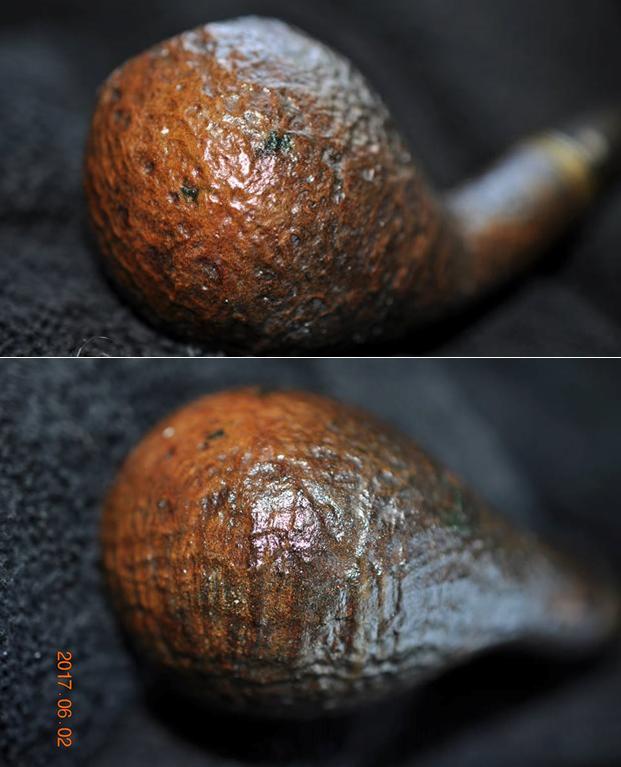
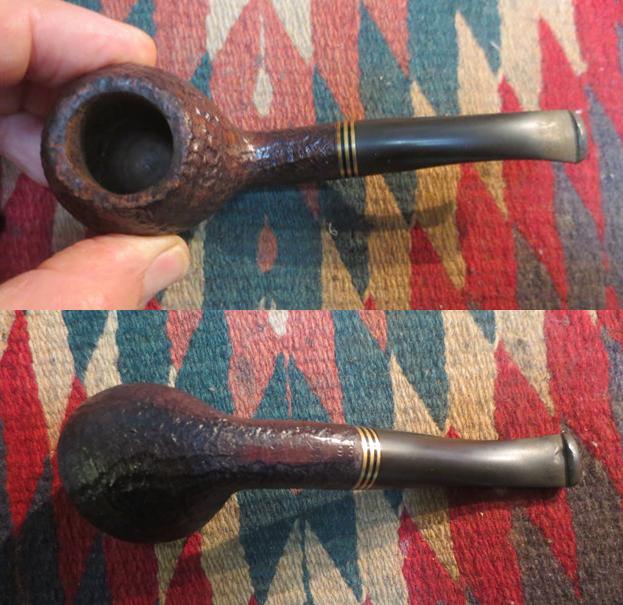
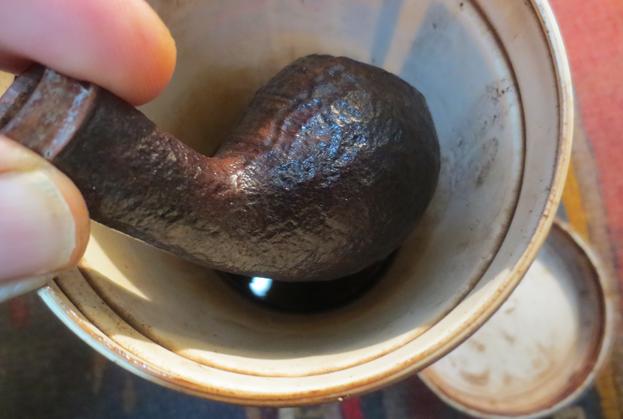
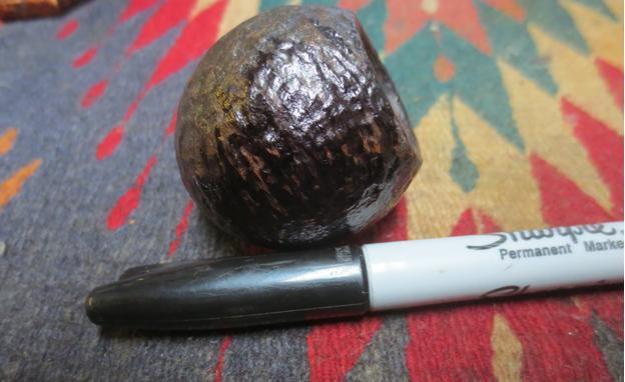
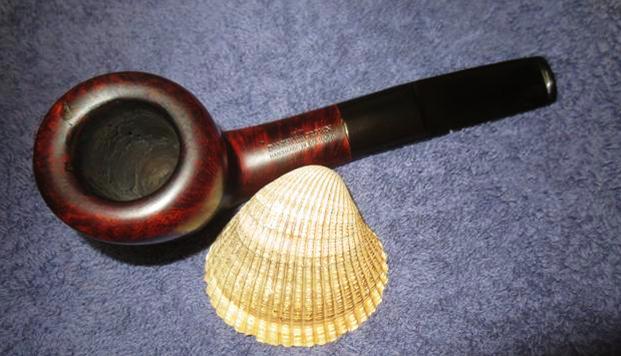
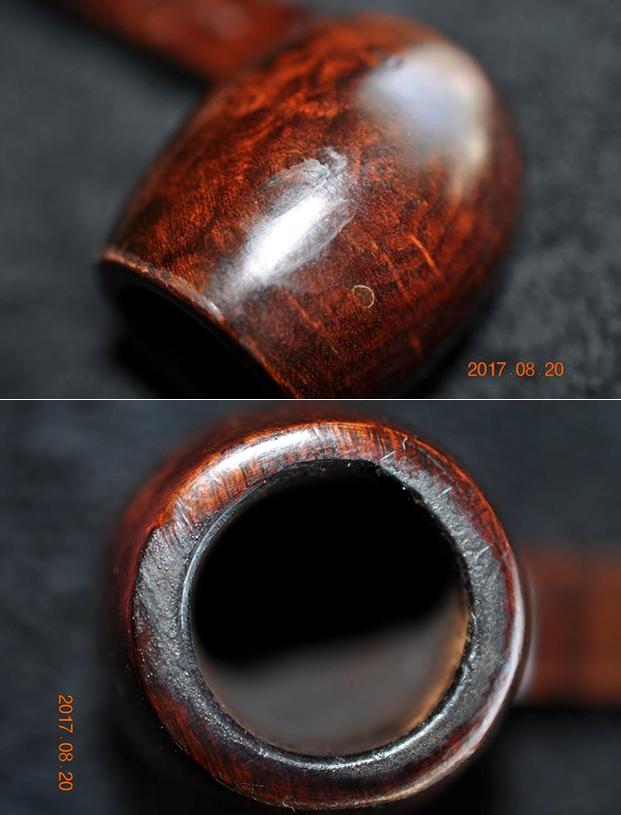
From Andrew’s helpful blog I would put a 1970s date on this one. It may well have been done after the closure of the line. Jeff took photos of the grain around the bowl to give an idea of the quality of the briar. While it was dirty and scratched there was some nice grain on the pipe. The photos show some slight wear on the outer edge of the rim and on the inner edge. The rim top shows some wear and some lava buildup. It is hard to know from these photos how much damage there is to the inner edge of the rim. I will know more once the grime and lava are removed. Time will tell. 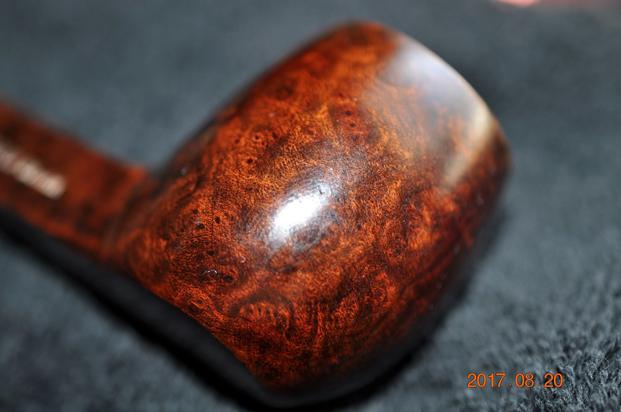
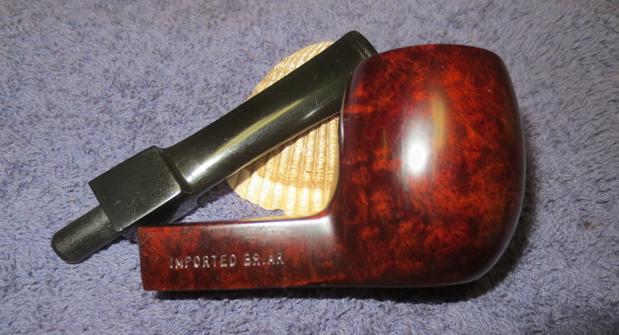
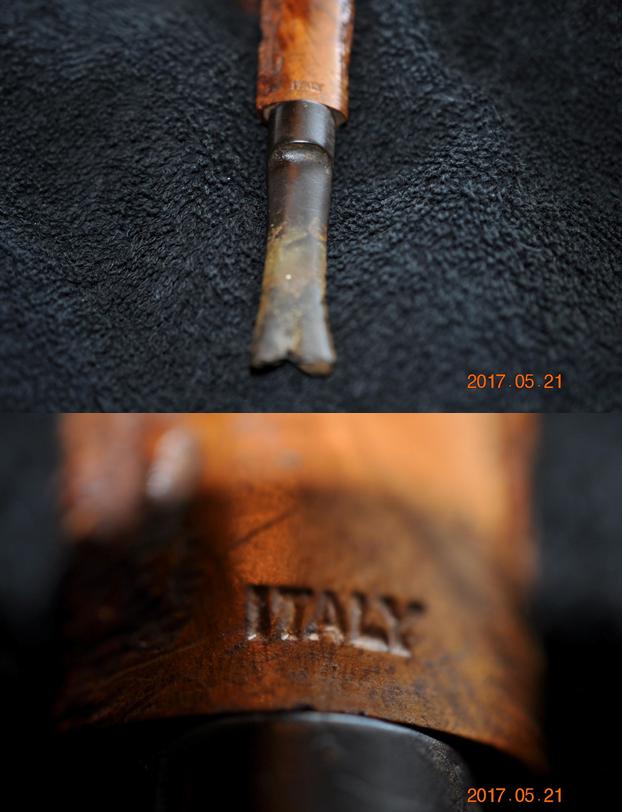
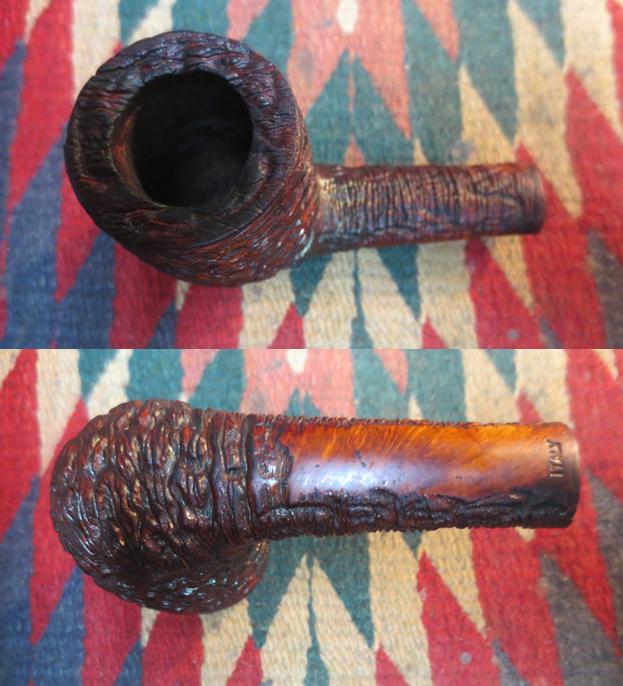
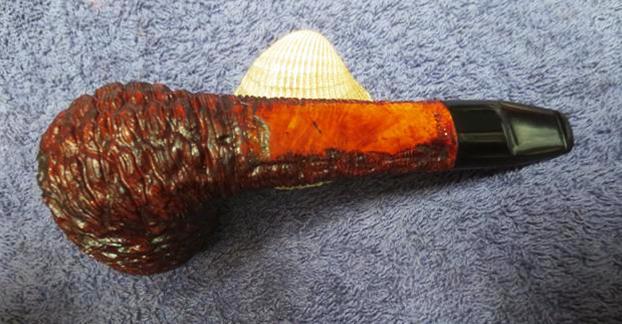
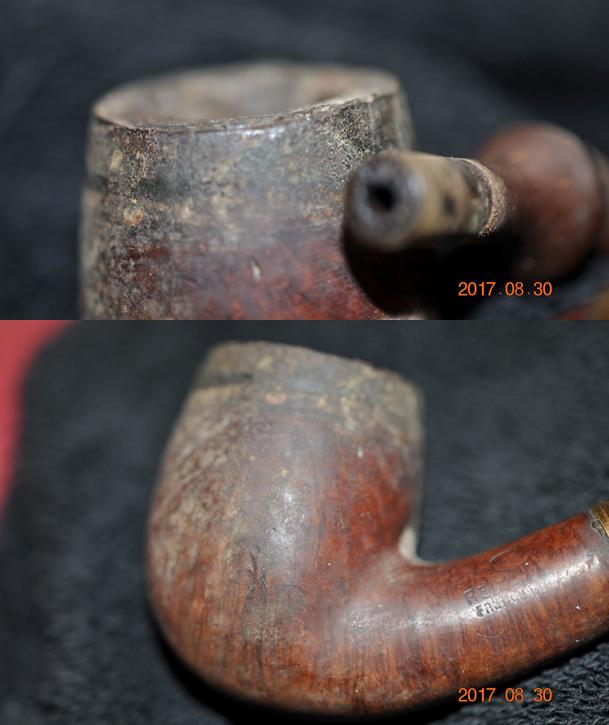
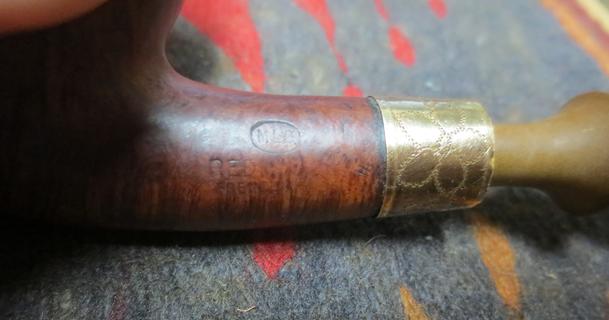
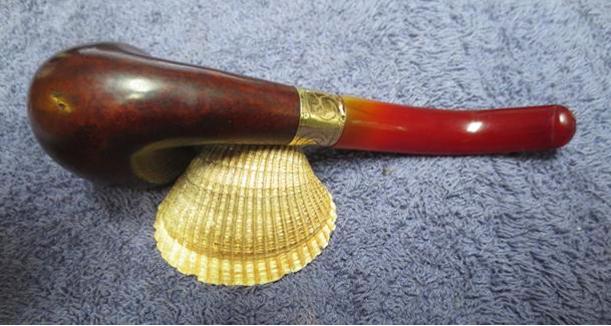
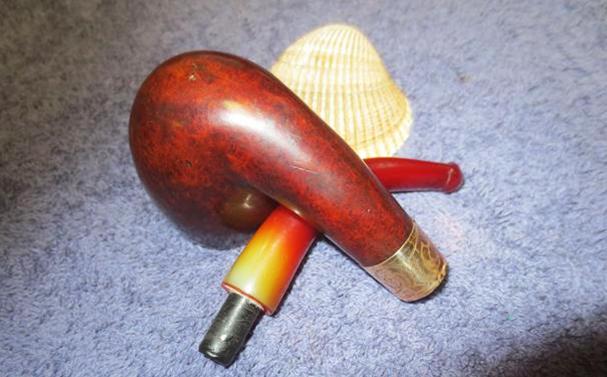
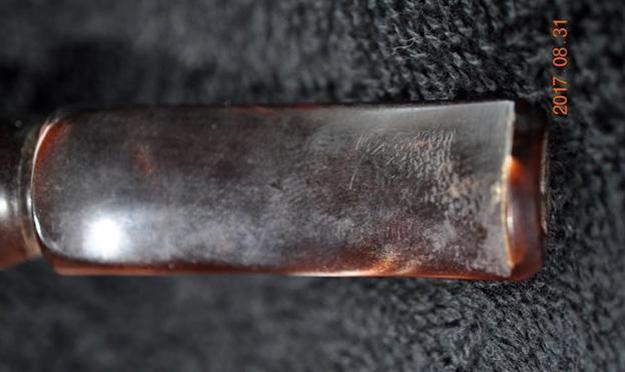
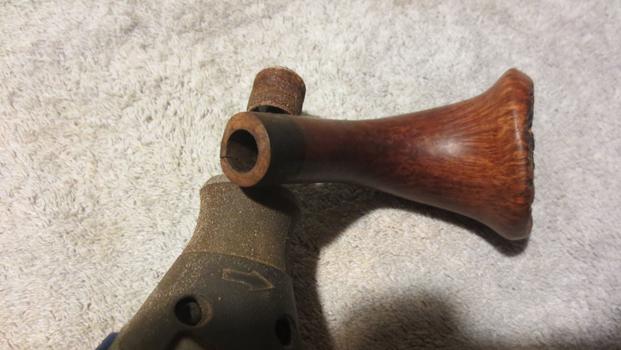
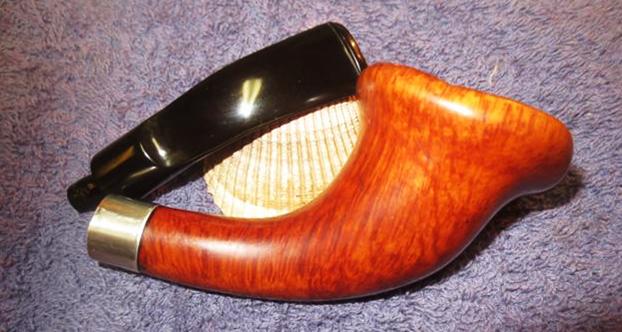
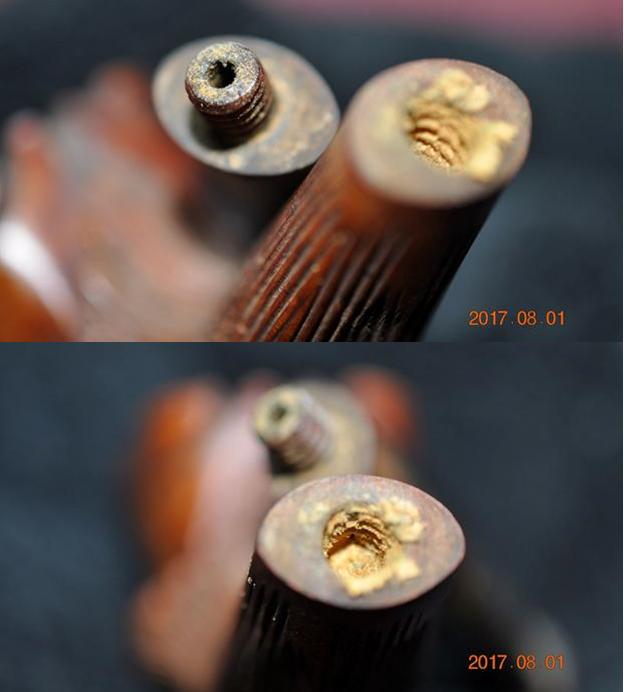
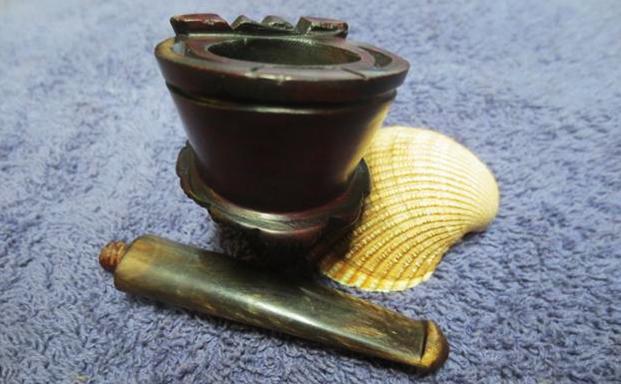
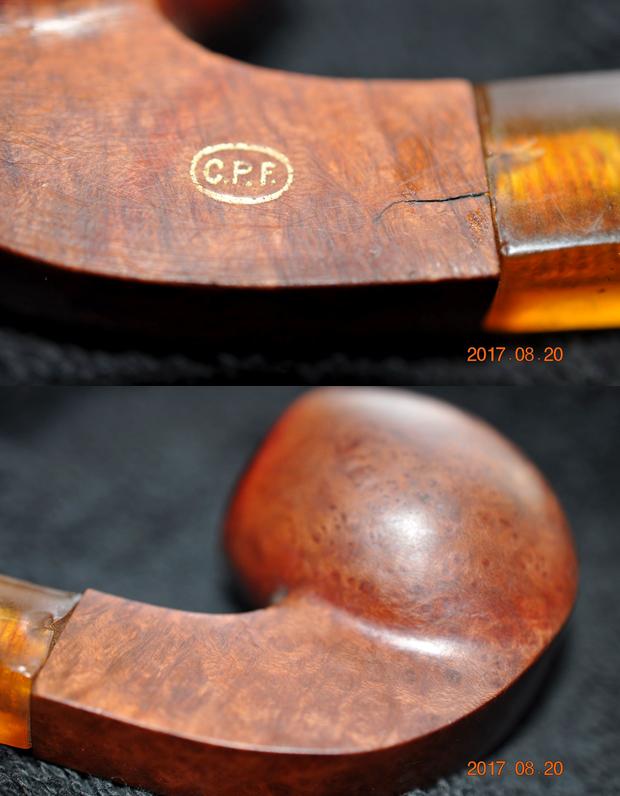
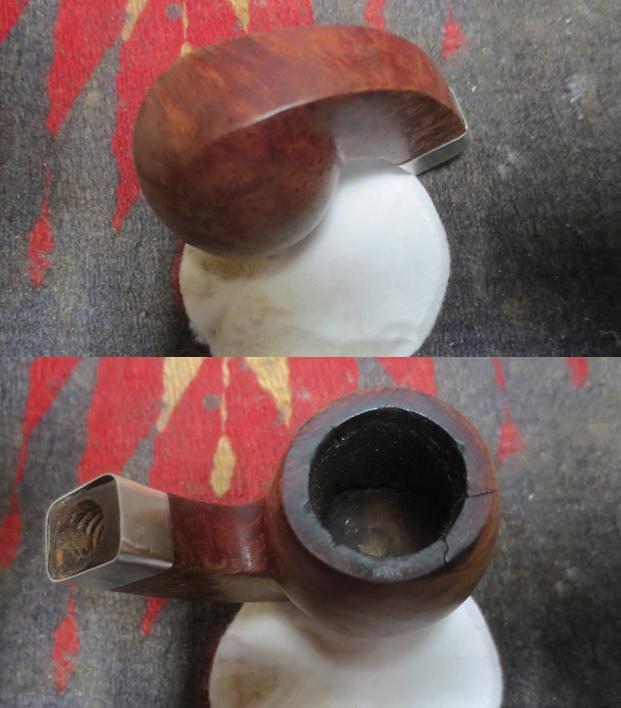
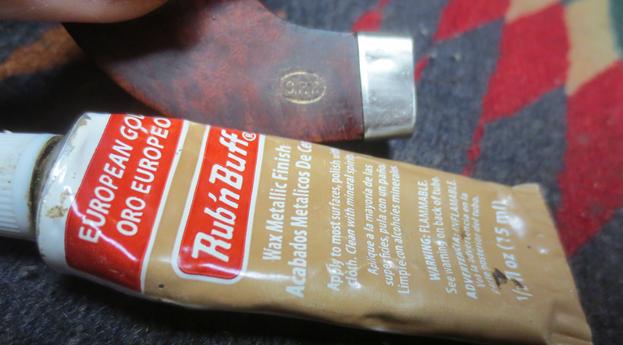
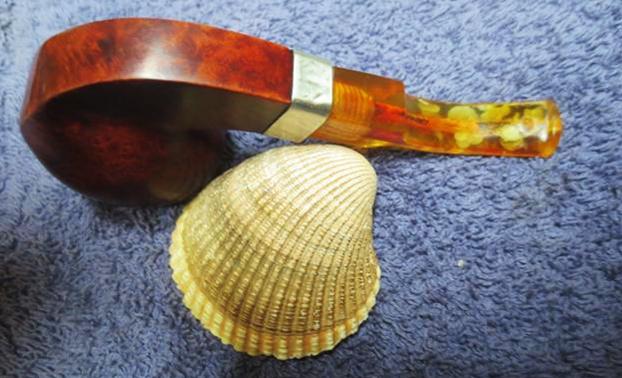
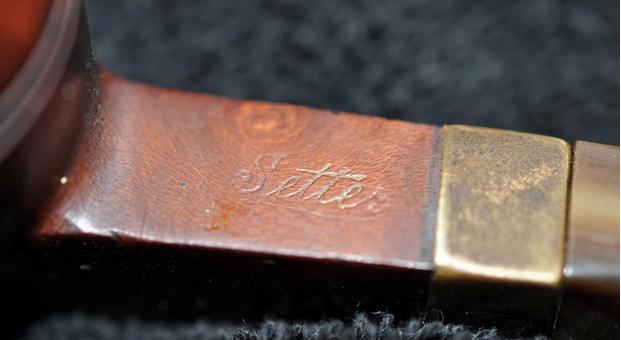
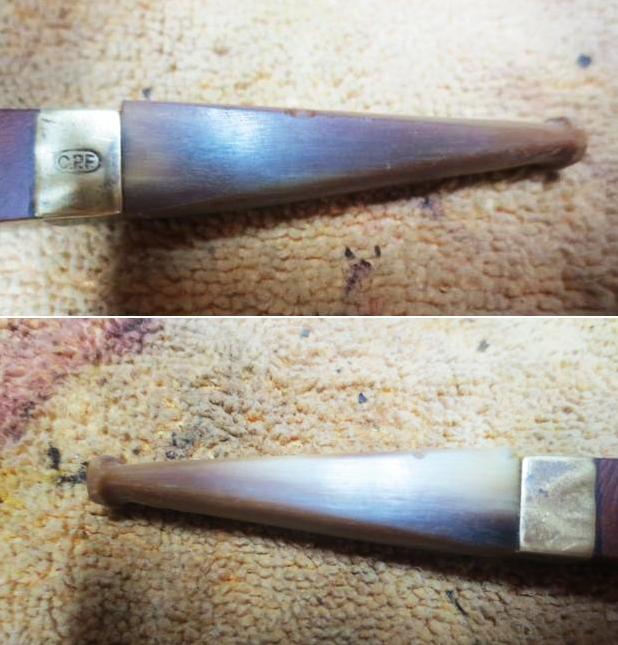
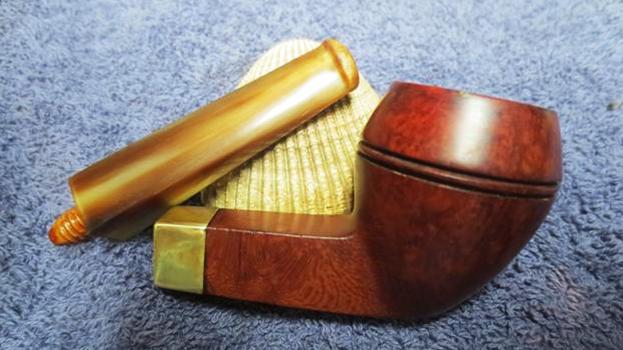
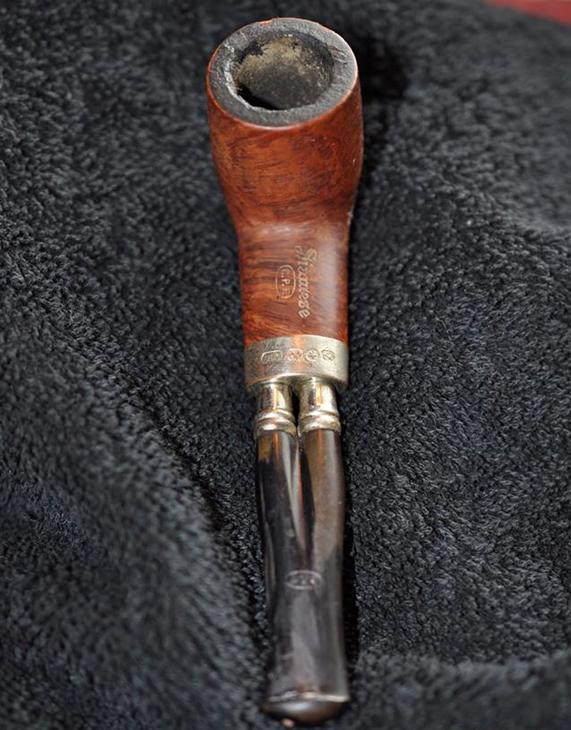
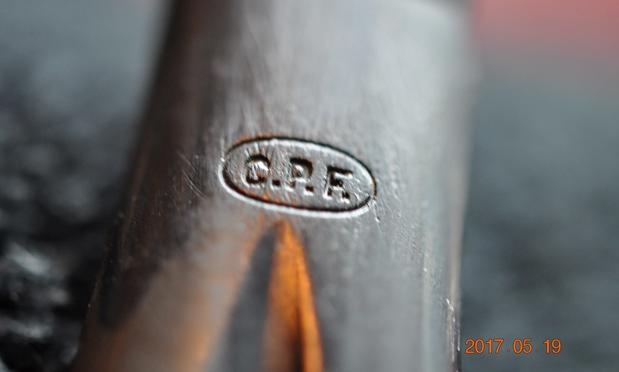
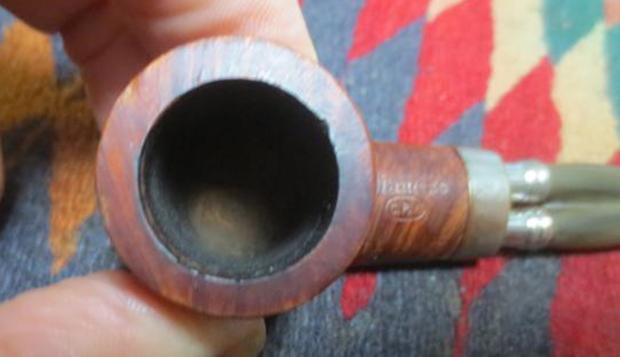
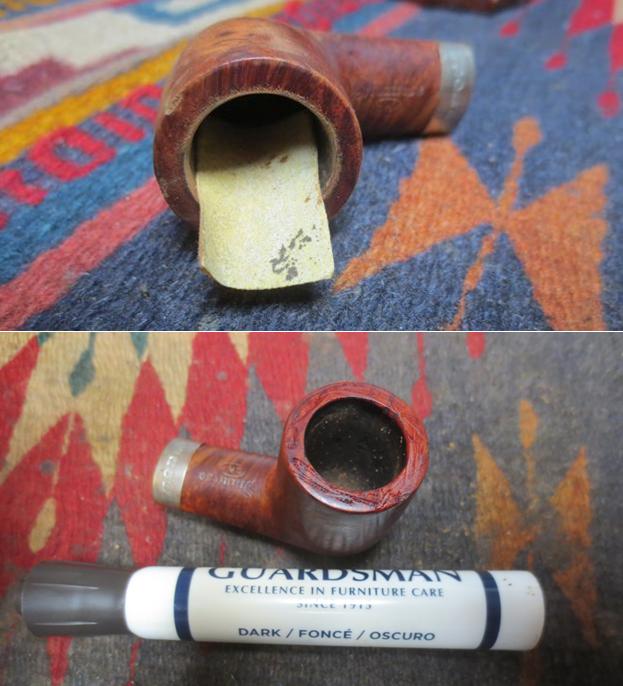
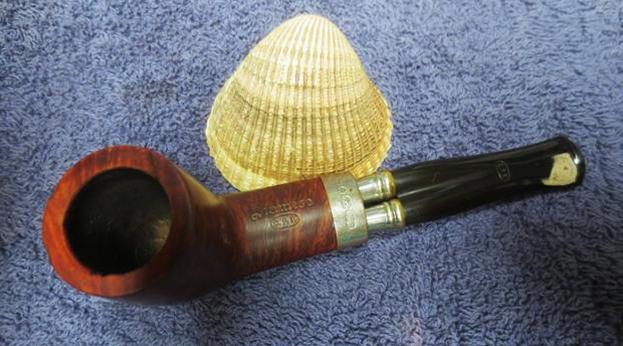
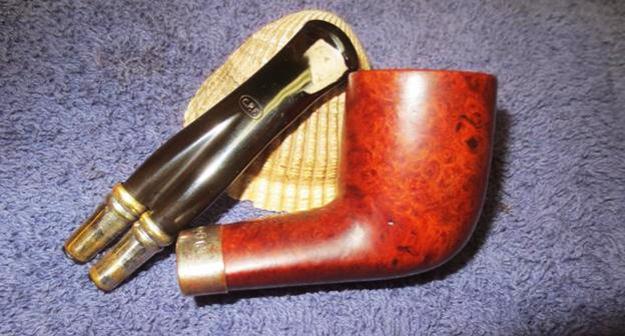
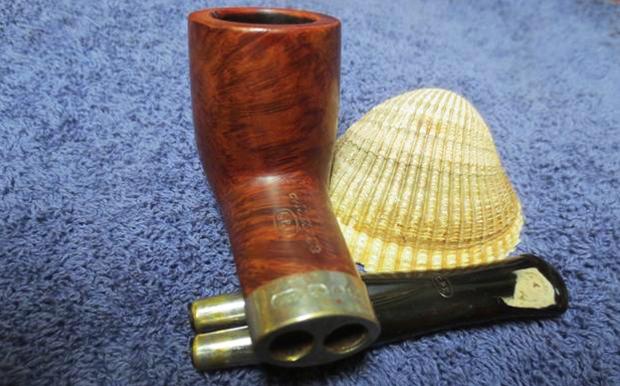
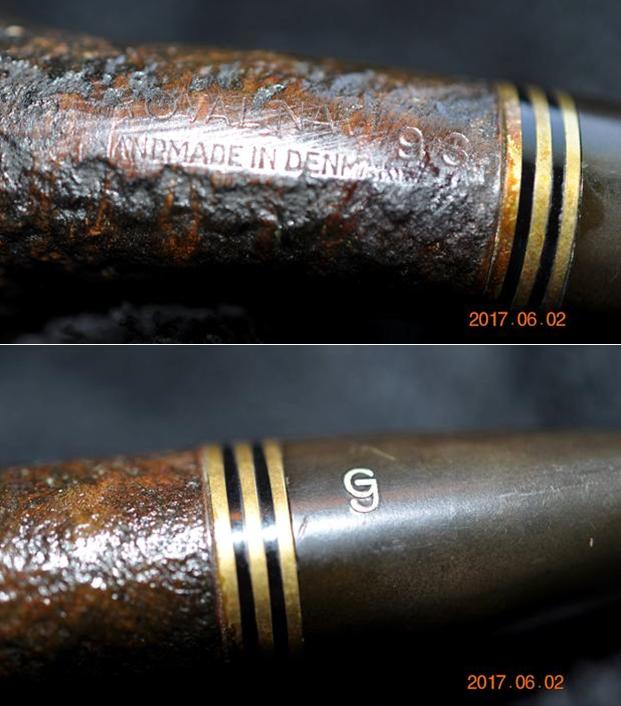
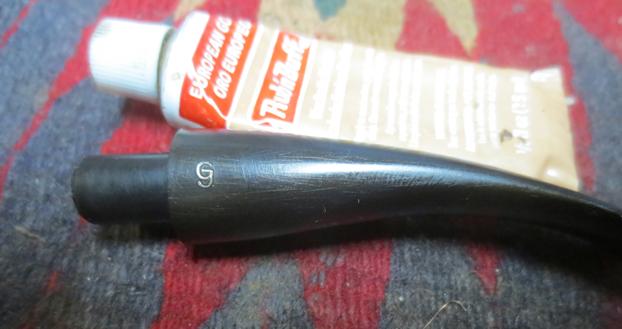
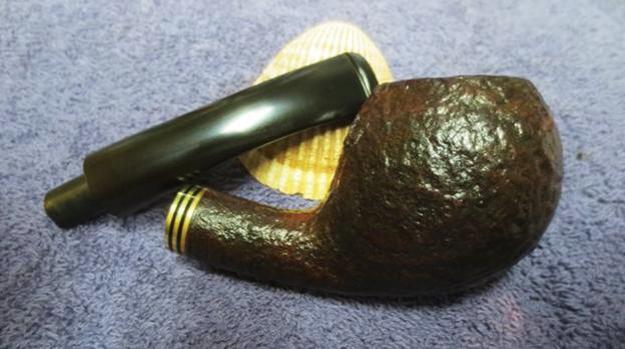
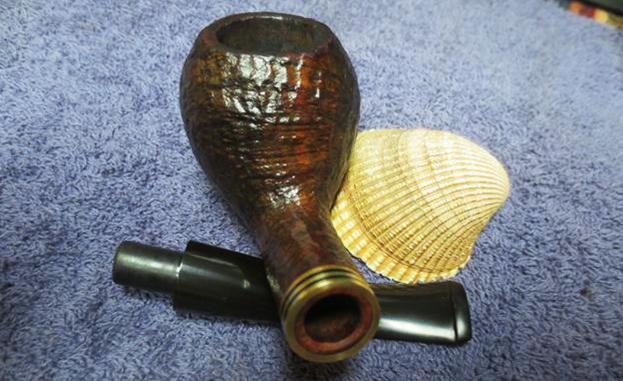
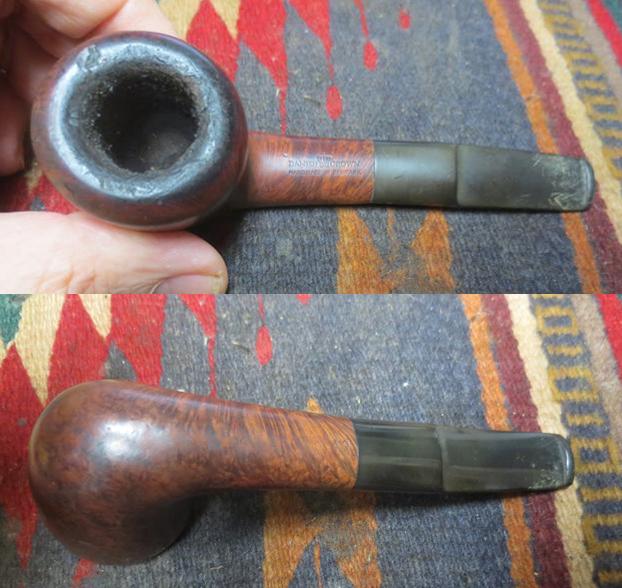
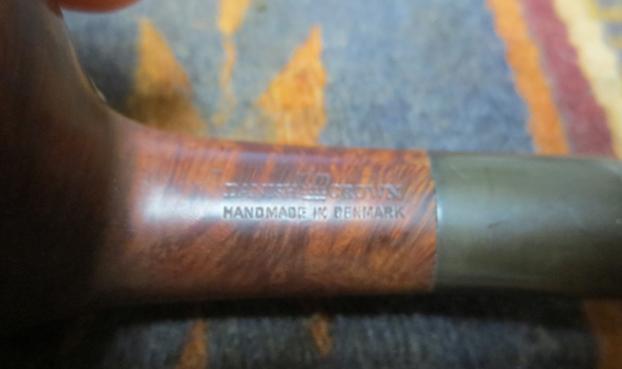
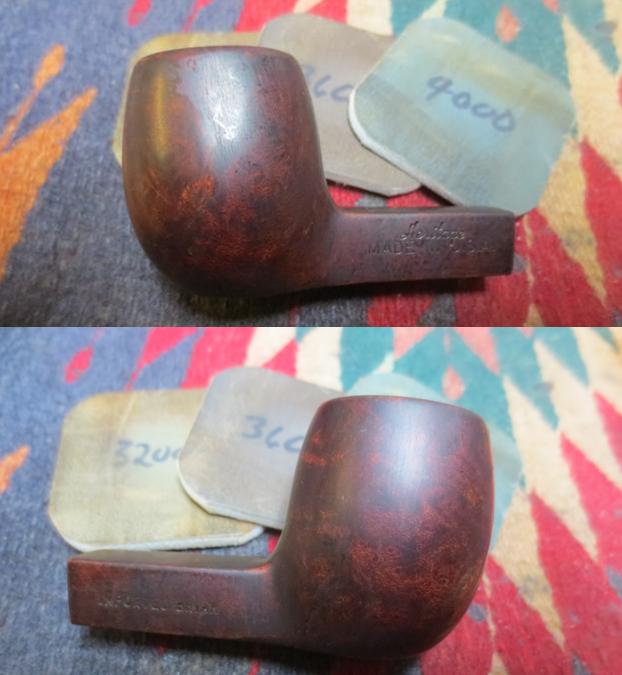
 The next two photos show the stamping on the shank. There are some subtle differences to the Heritage font and the not so subtle differences of the Made in USA and Imported Briar stamp that were not present on the other two pipes of this threesome.
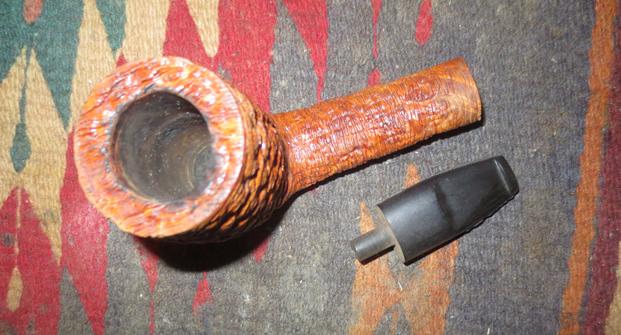
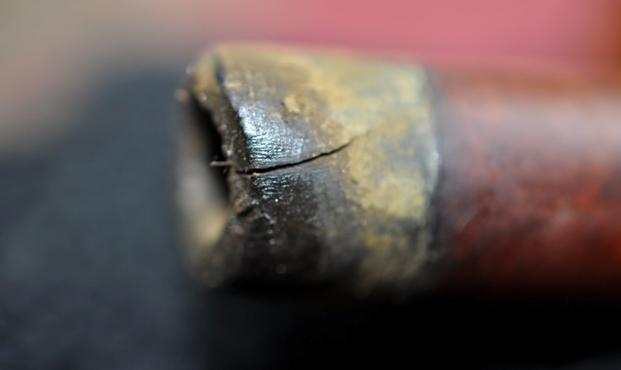
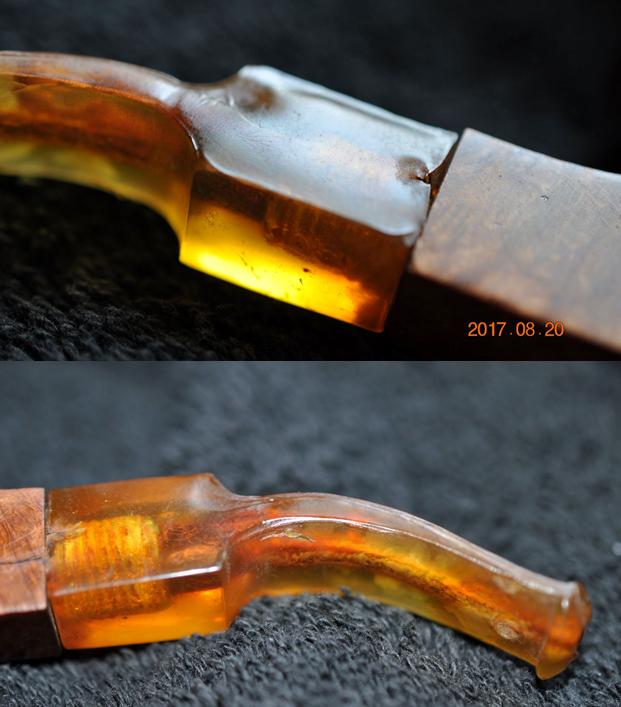
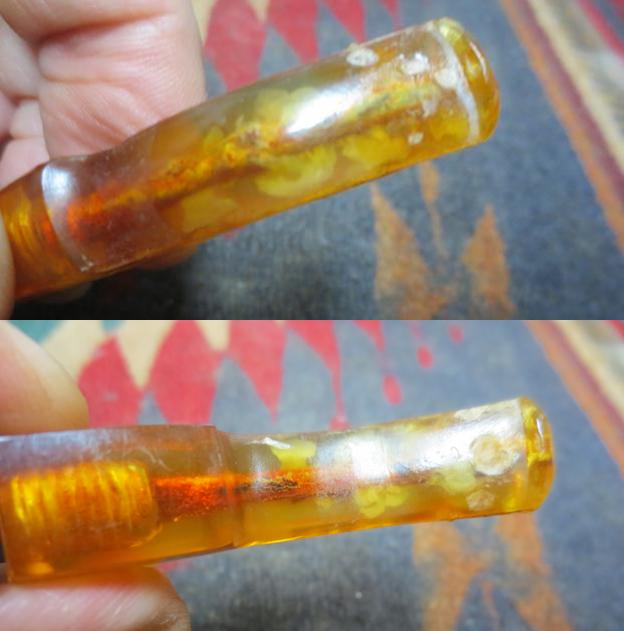
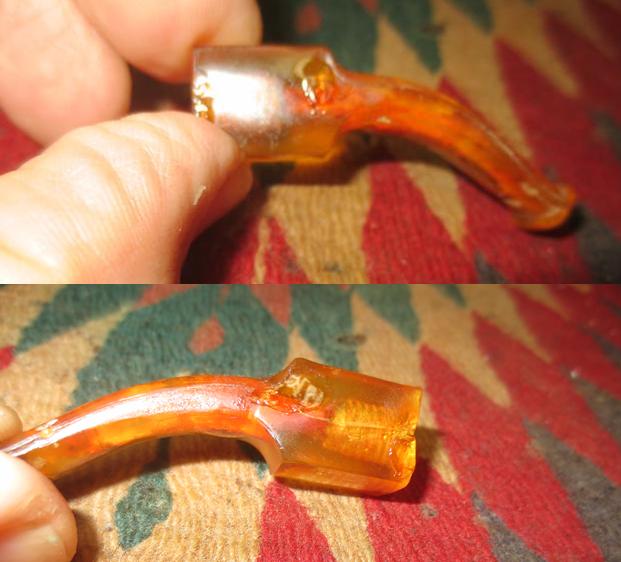
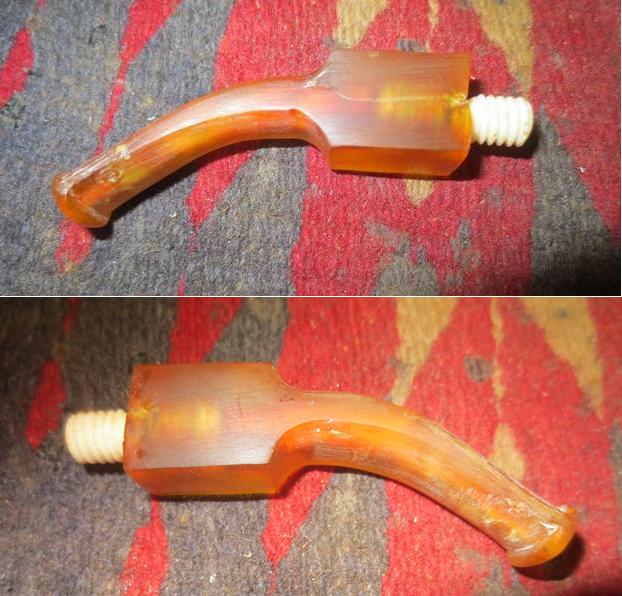
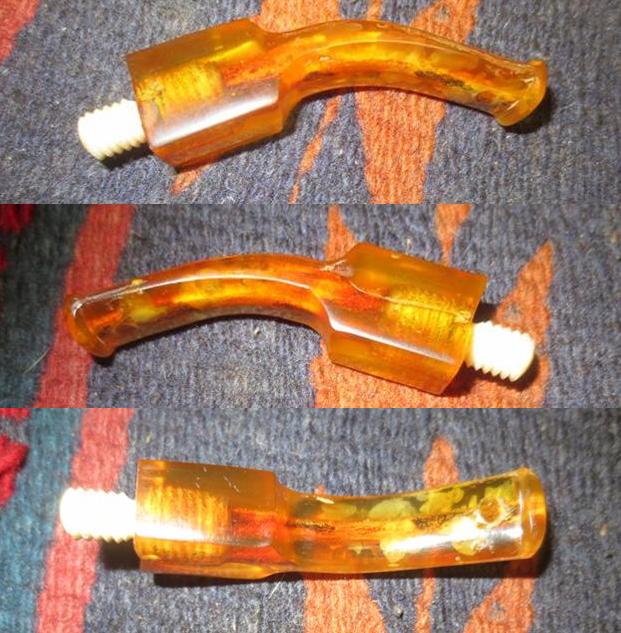
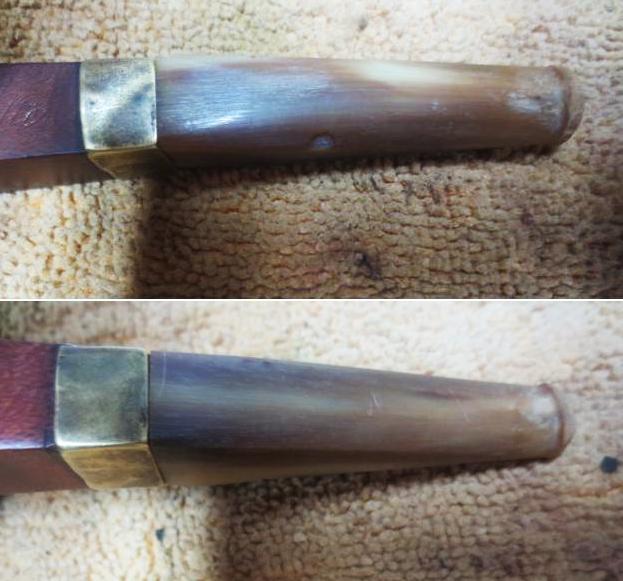
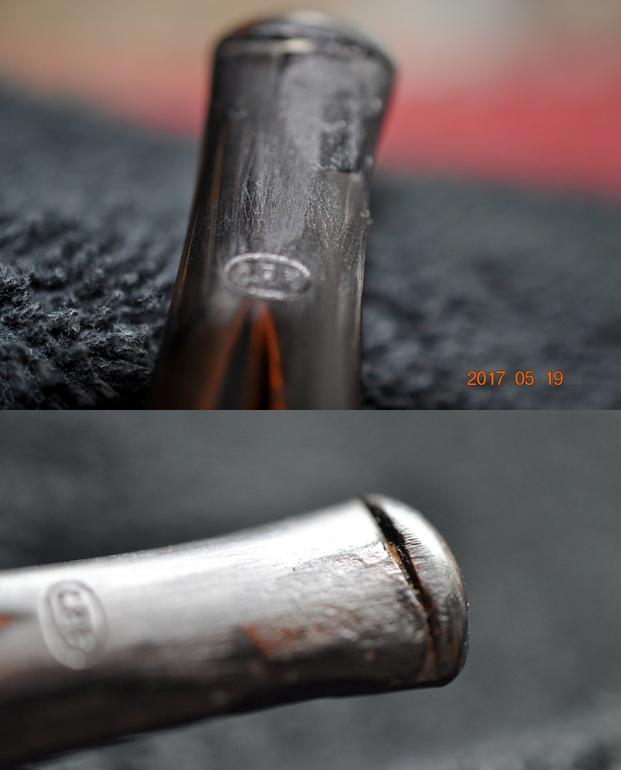
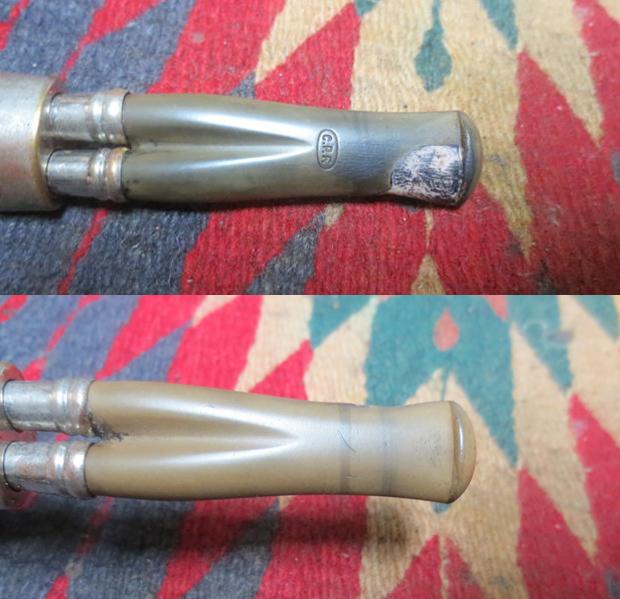
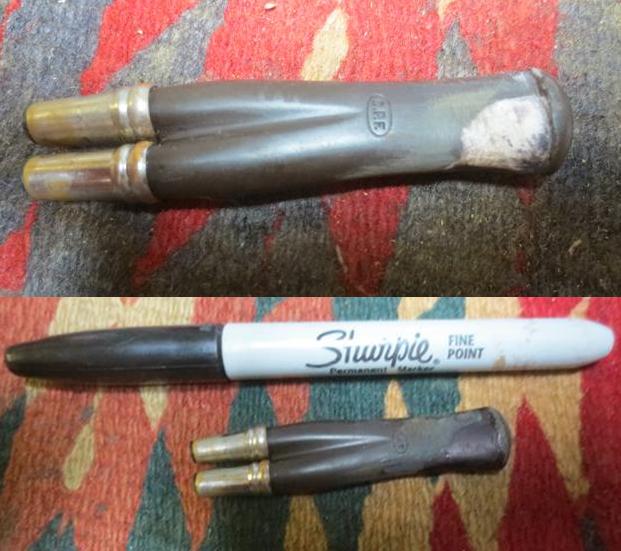
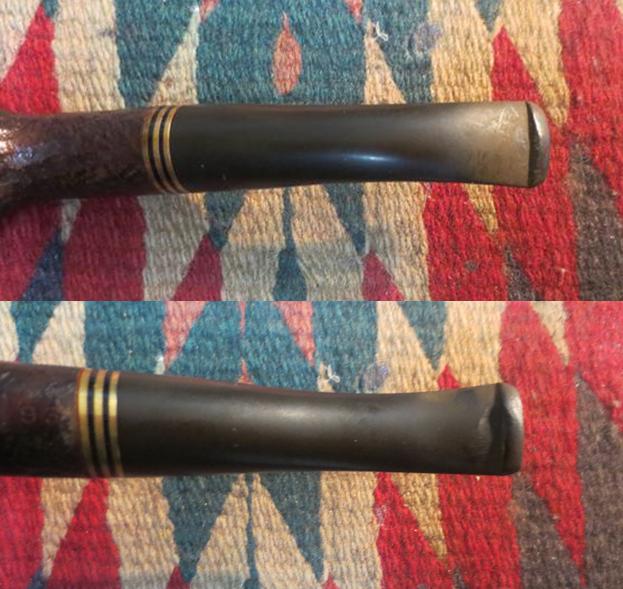
 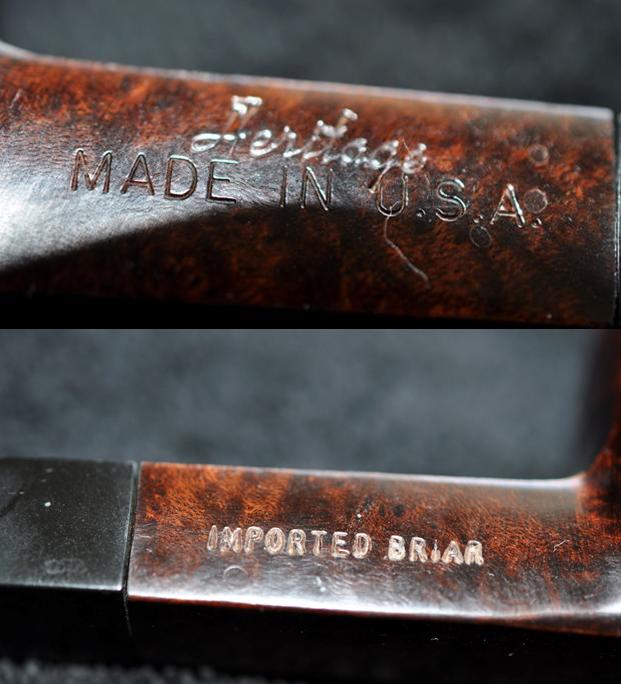 The stem did not have the PARA Hard Rubber stamping of the other two and did not bear the Heritage logo on the left side of the saddle. This could either point to a replacement stem (which is possible) or to a later version of the brand that did not include those items. I am not sure which is the case. The stem was good quality rubber and did not show too much oxidation. There was tooth chatter and some tooth marks on both sides of the stem near the button. There was also some wear on the sharp edge of the button on both sides.
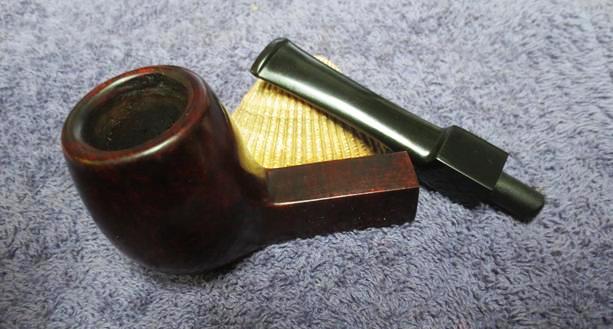
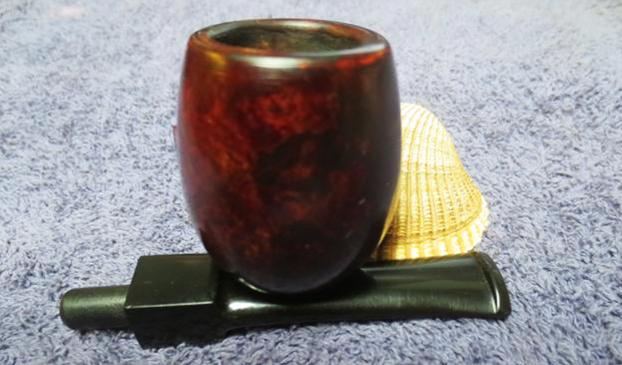
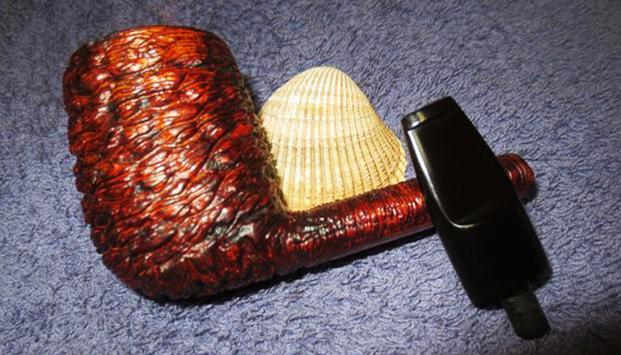
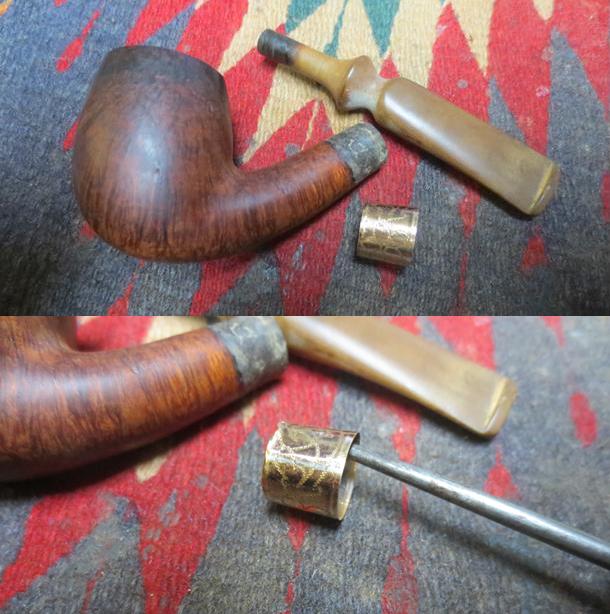
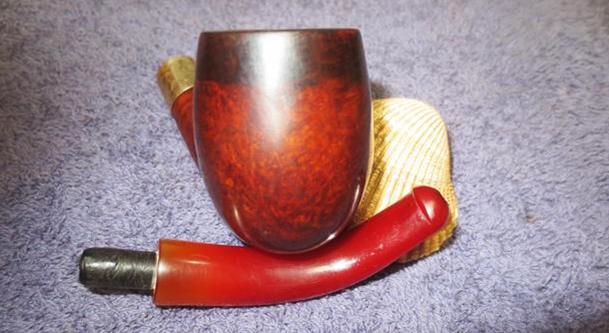
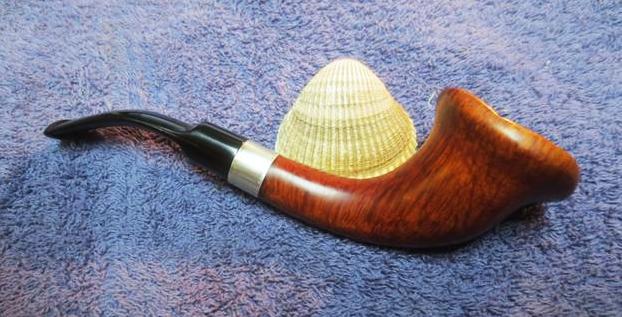
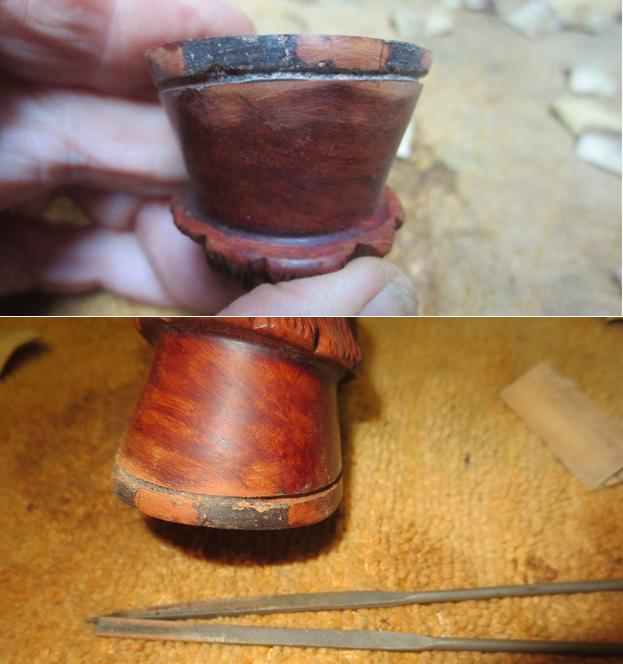
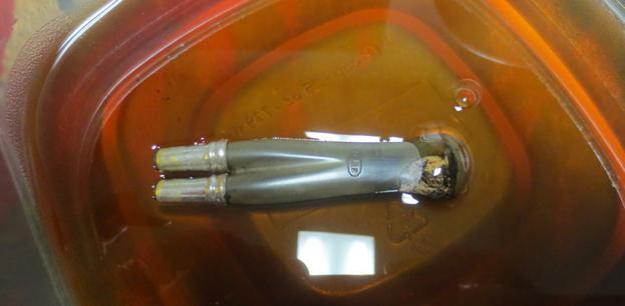
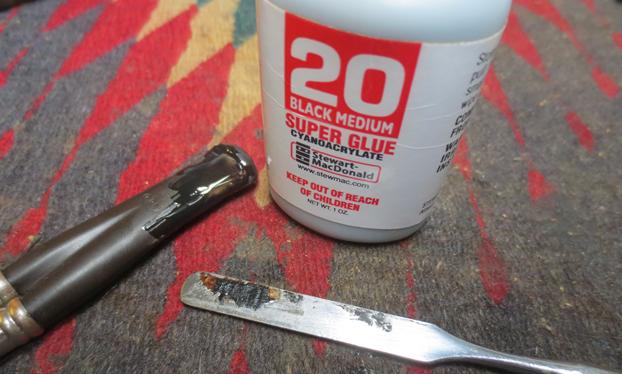
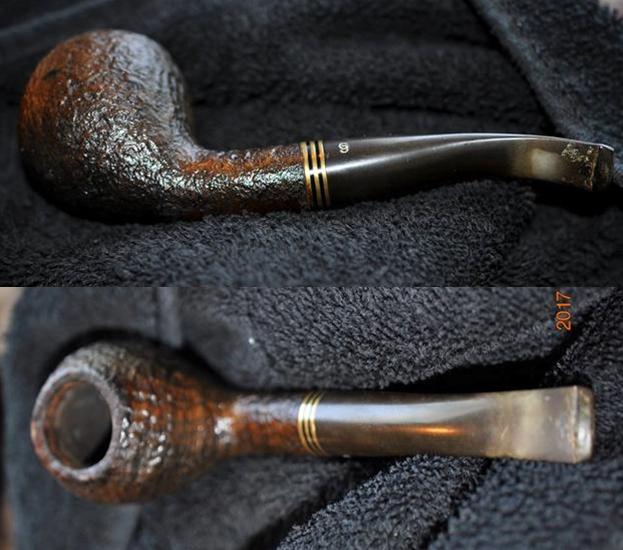
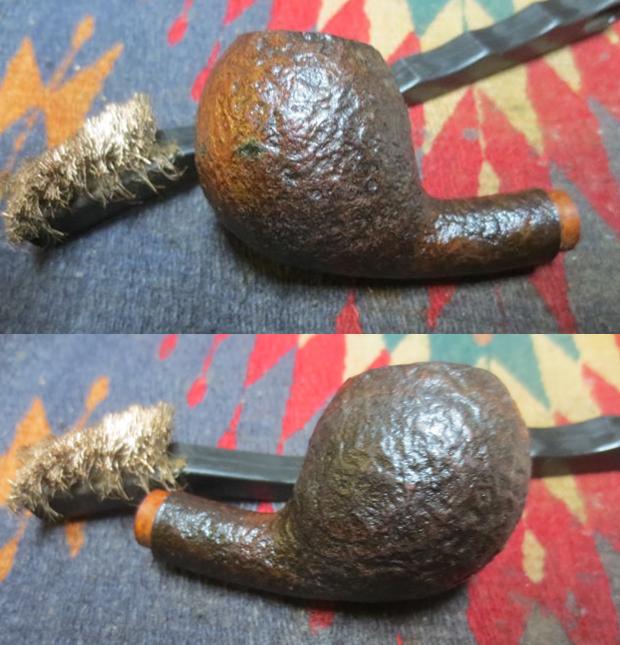
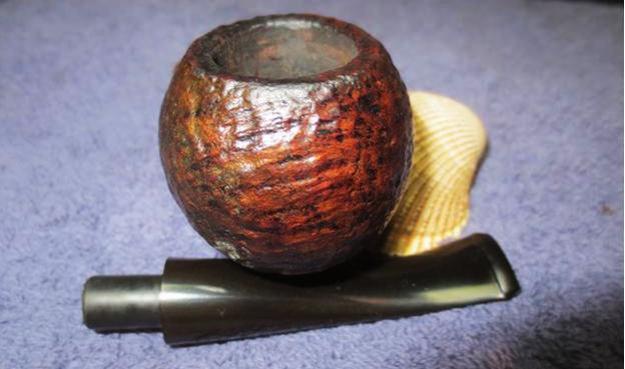
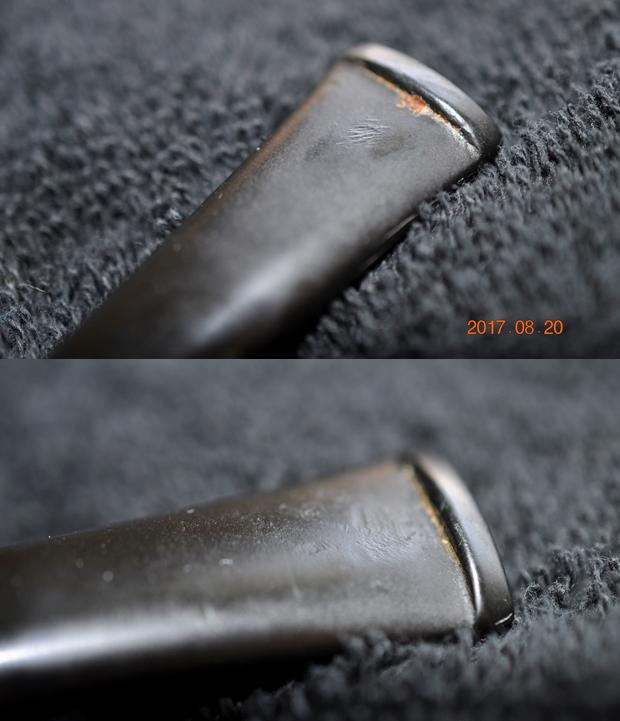 Jeff worked his magic in cleaning up this pipe. He reamed it with a PipNet reamer and smoothed the walls of the bowl with a Savinelli Fitsall pipe knife. He scrubbed out the mortise and the airway in the shank and the stem with alcohol, cotton swabs and pipe cleaners. He scrubbed the exterior of the bowl, rim and shank with a tooth brush and Murphy’s Oil Soap to the oils and tars on the bowl, rim and shank. He rinsed it under running water. He dried it off with a soft cloth. Once the grime was removed the finish seemed to be coated with a varnish coat. It was peeling around the outer edges of the rim and also there were some damaged spots on the sides of the bowl where the finish was slightly peeling. There was some wear around the edges of the rim top and the inner edge showed some burn damage on the right side. The cleaning of the stem did not raise any oxidation in the vulcanite. The tooth marks were clean but visible. I took photos of the pipe to show its condition before I started my work on it.
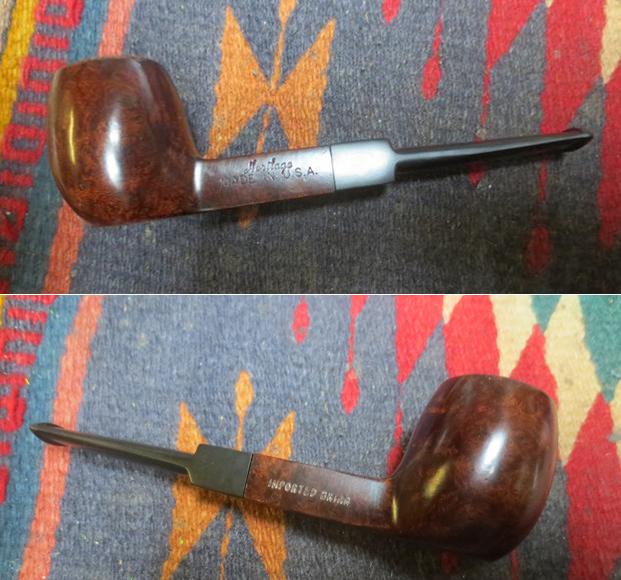
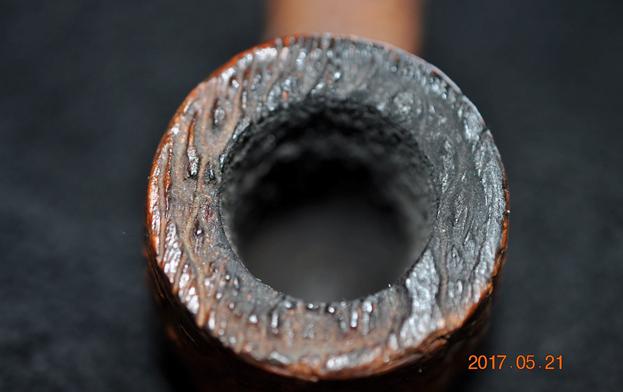
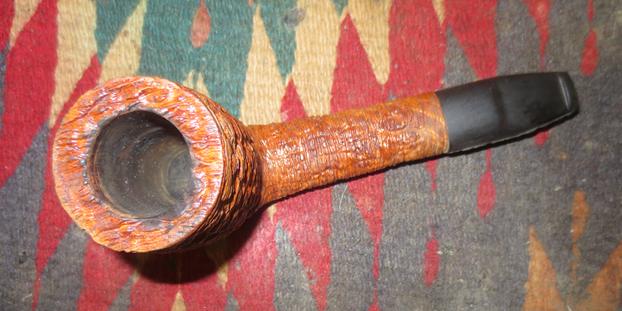
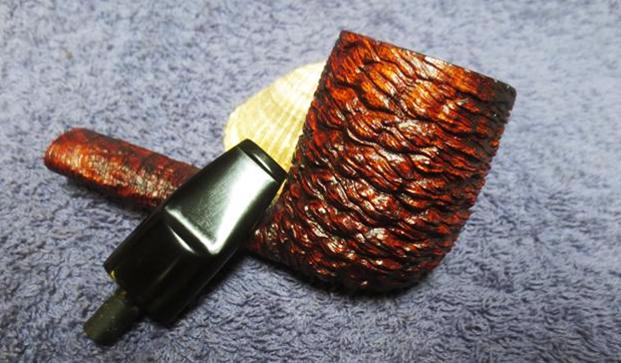
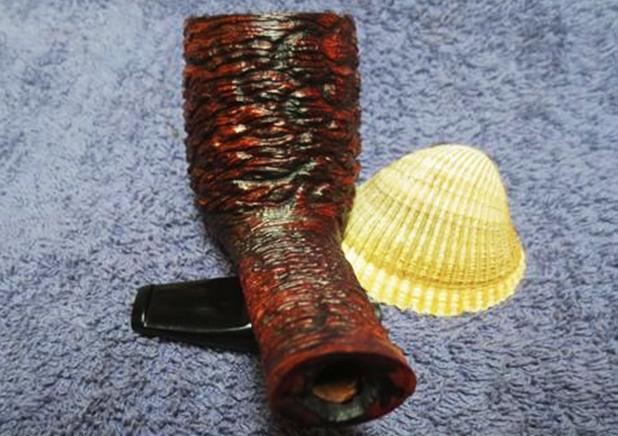
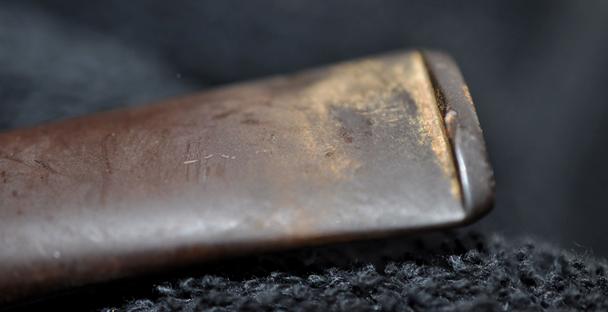
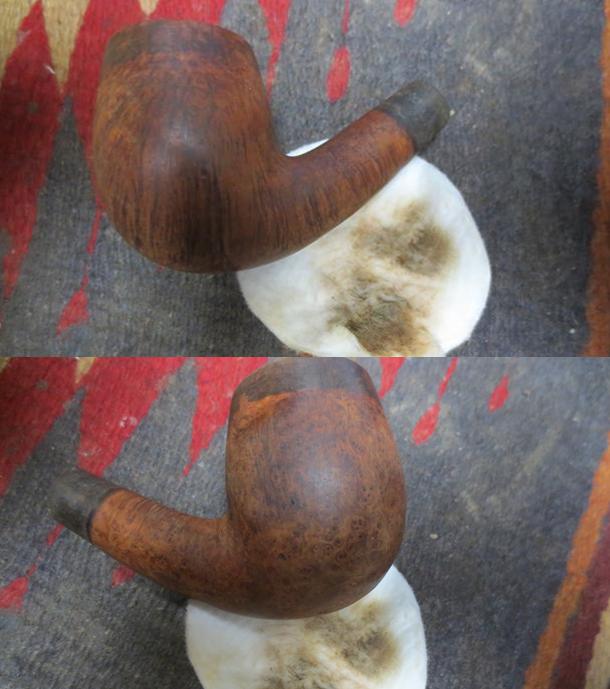
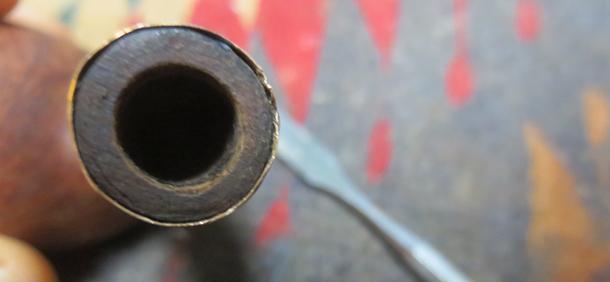
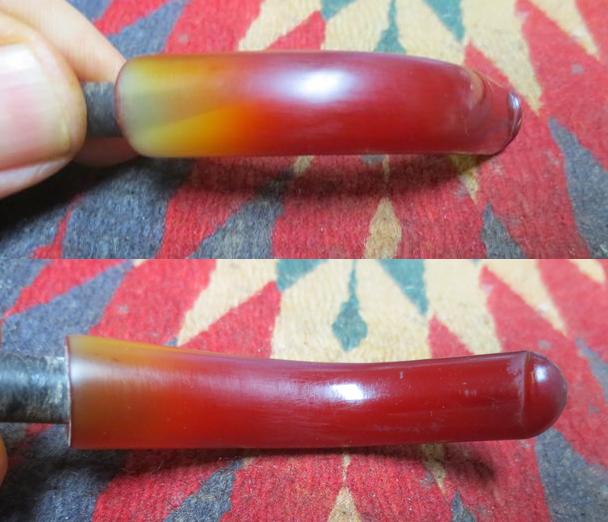
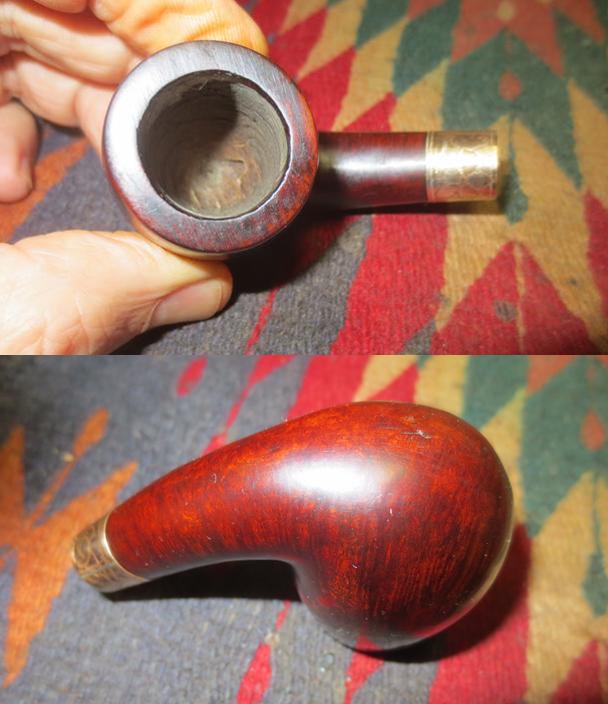
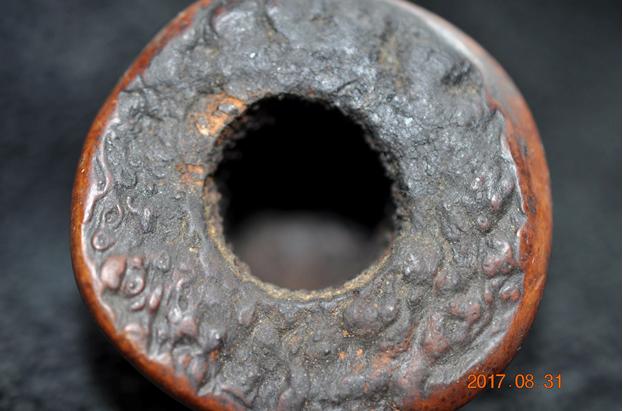
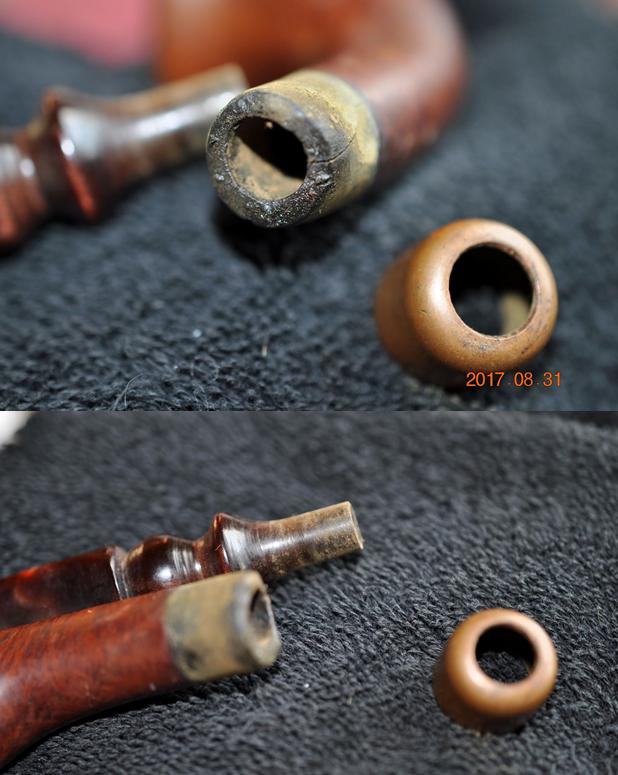
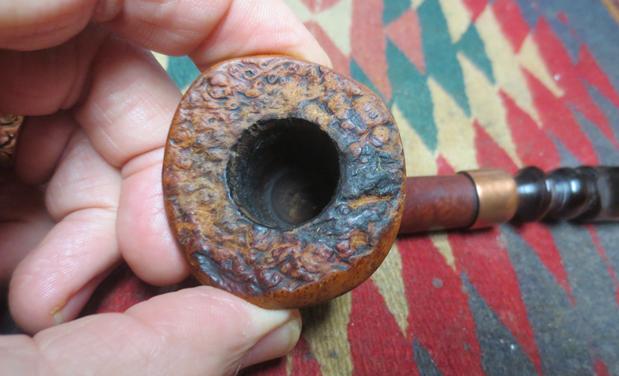
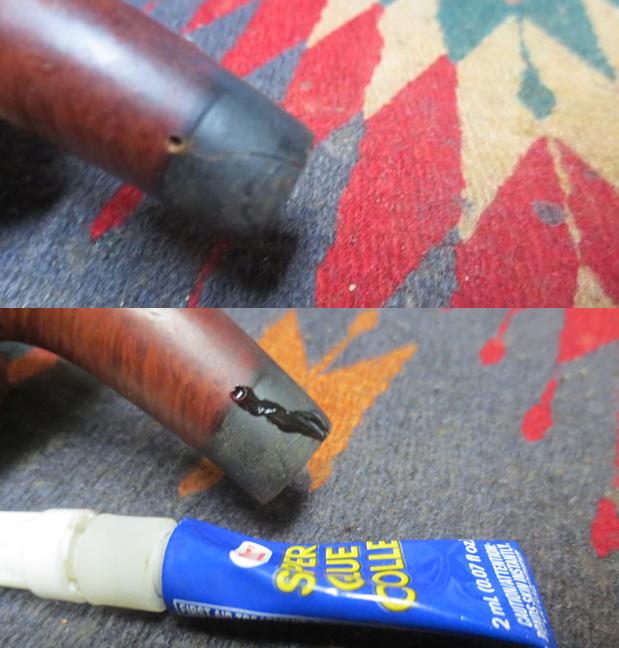
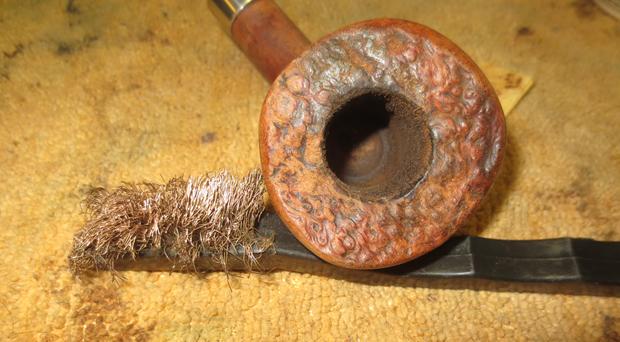
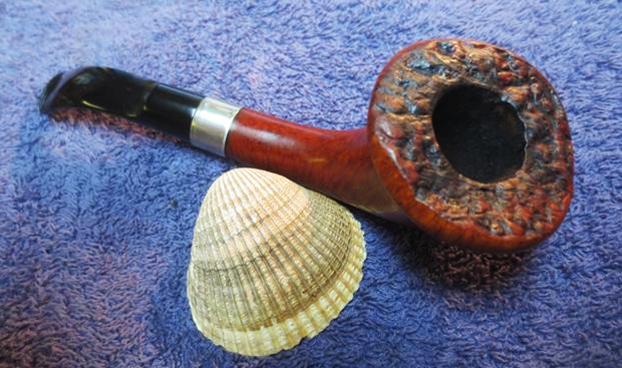
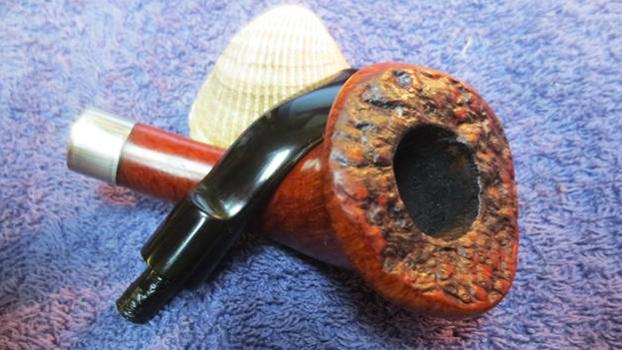
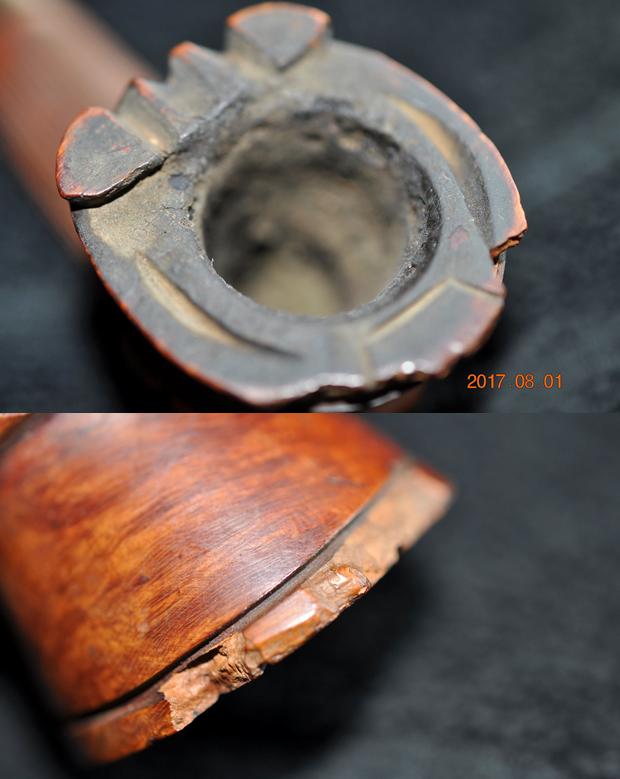
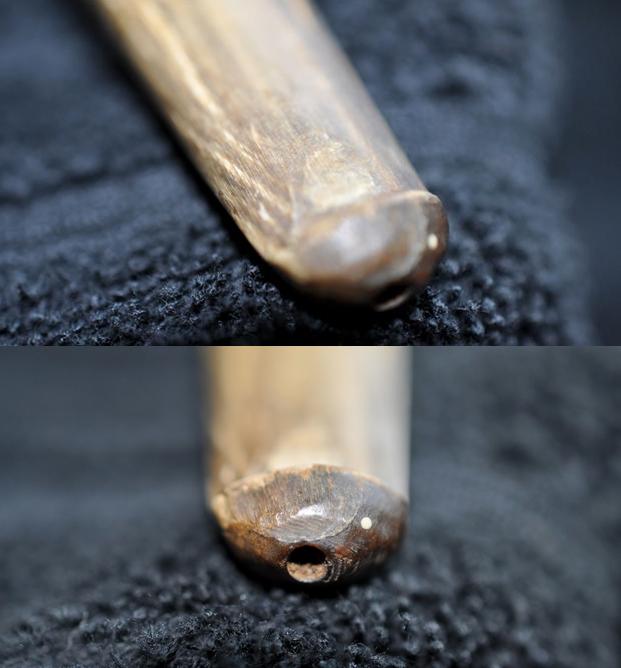
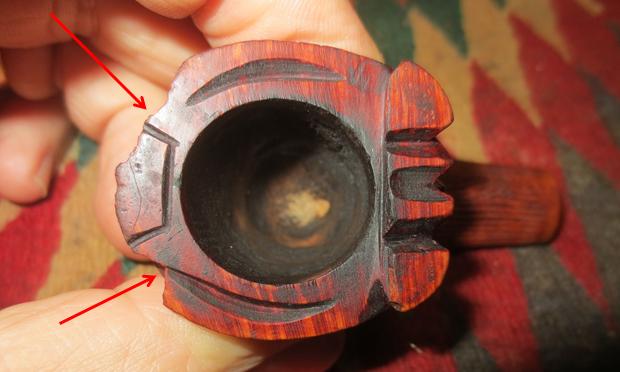
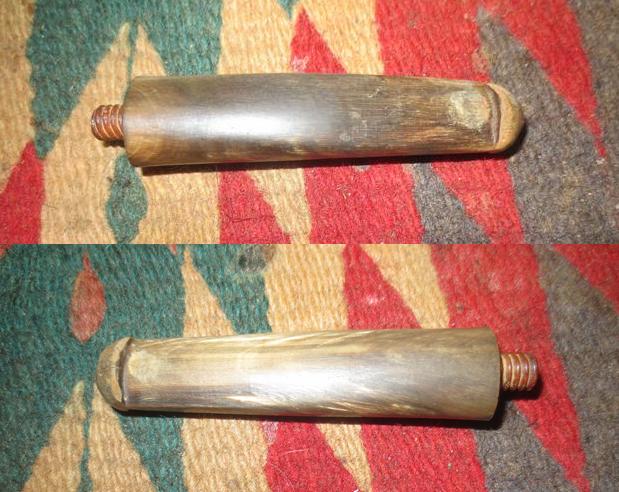
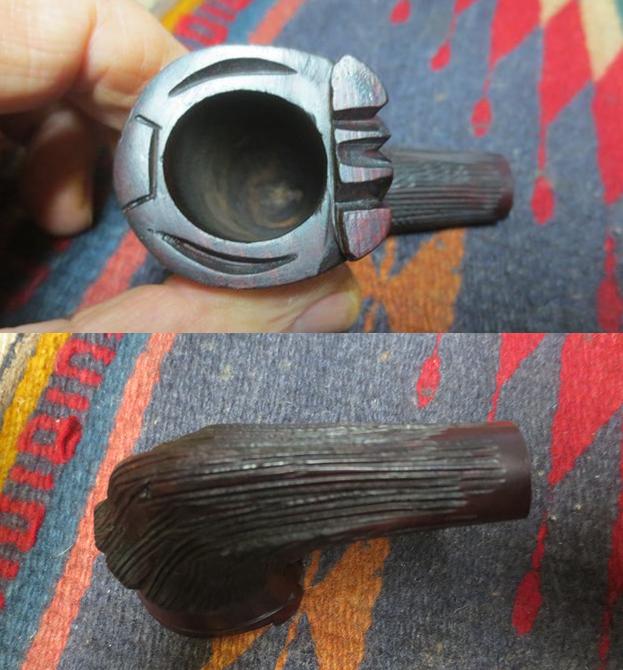
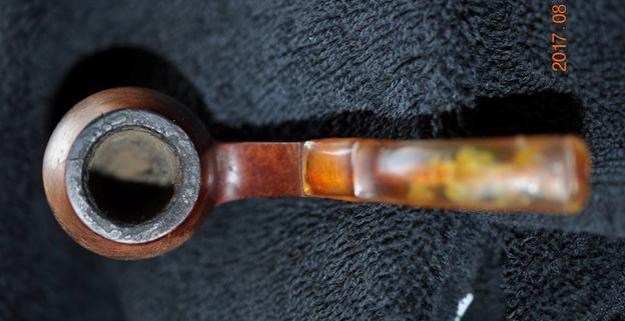
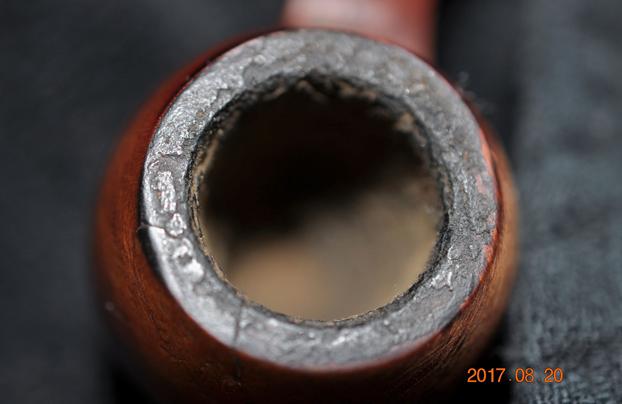
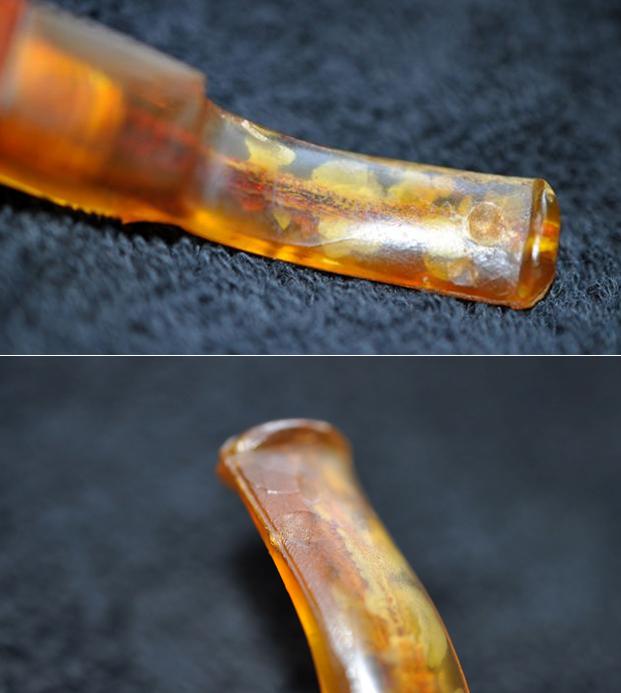
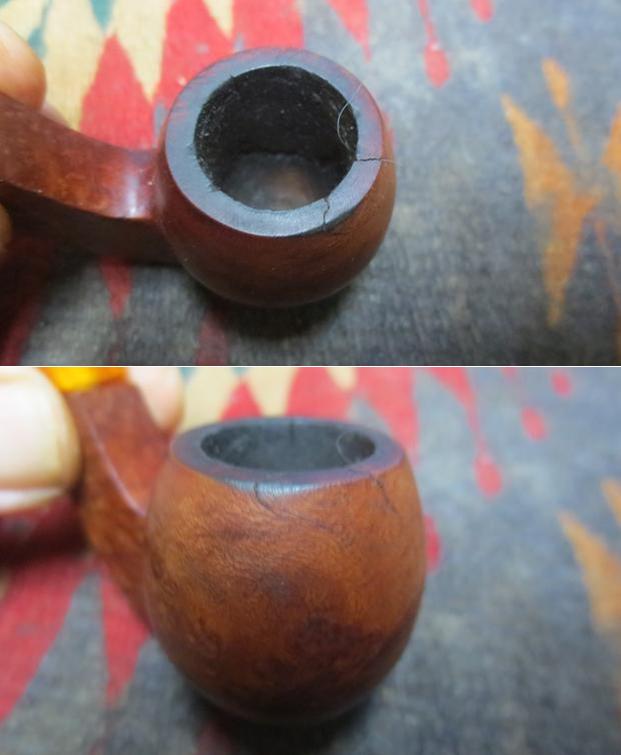
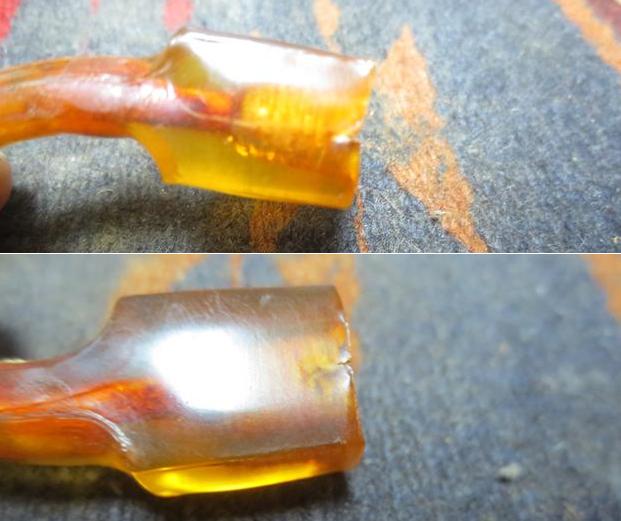
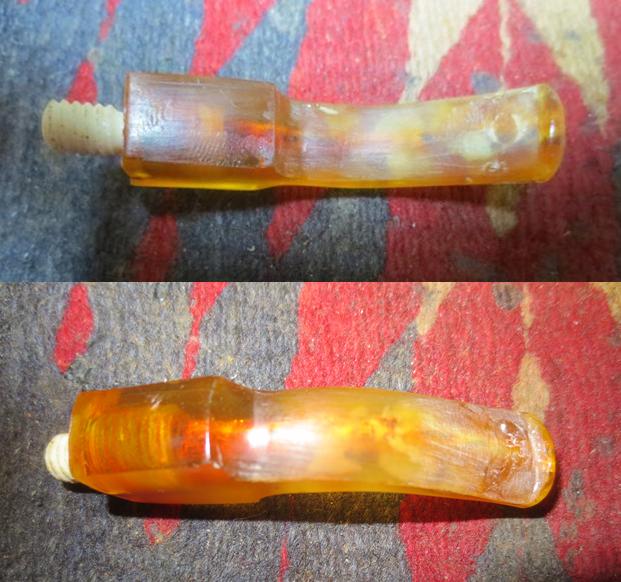
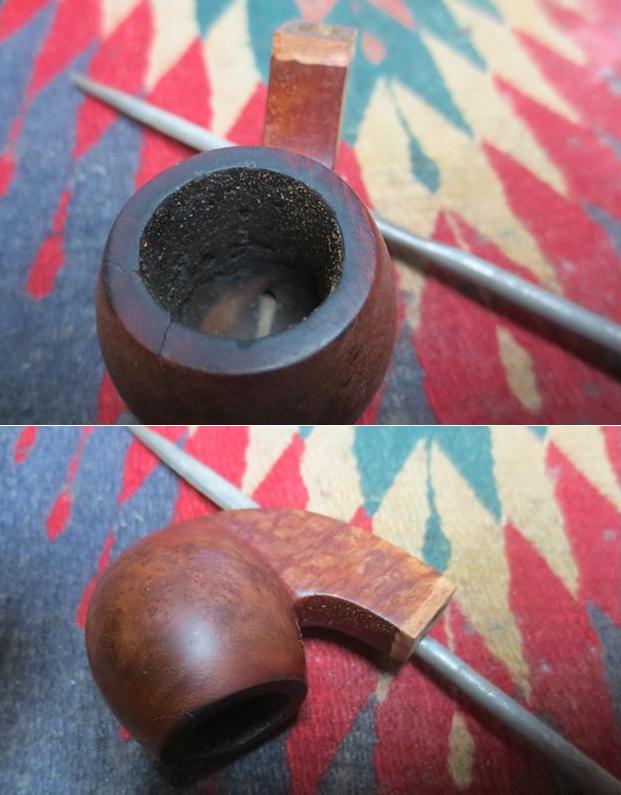
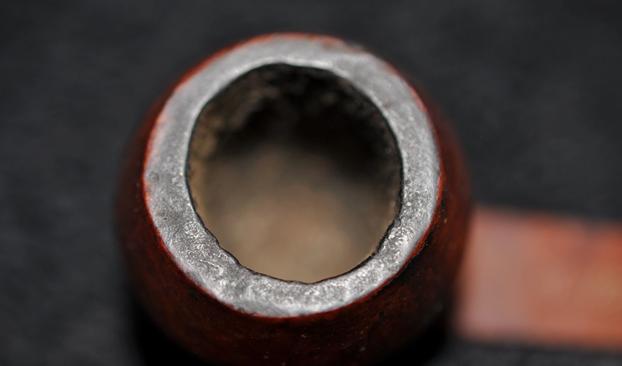
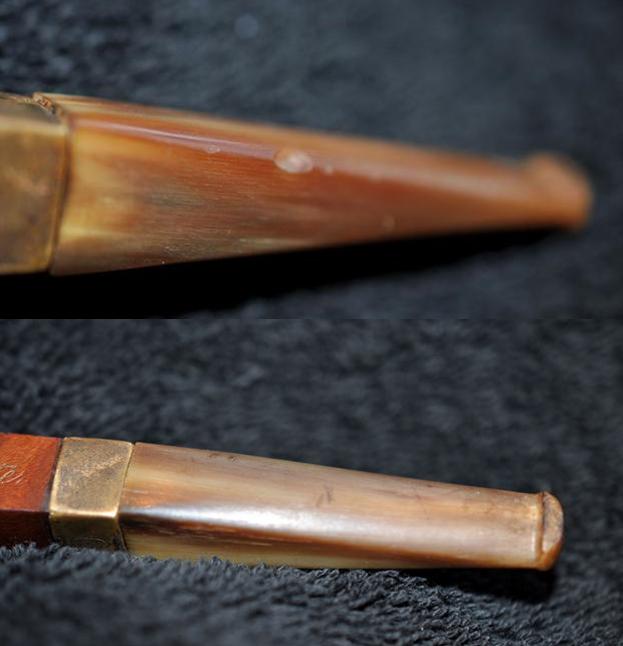
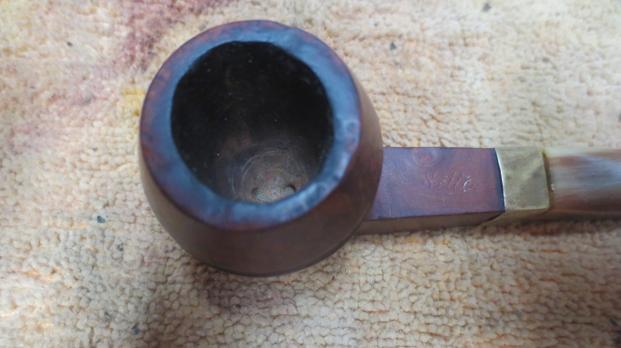
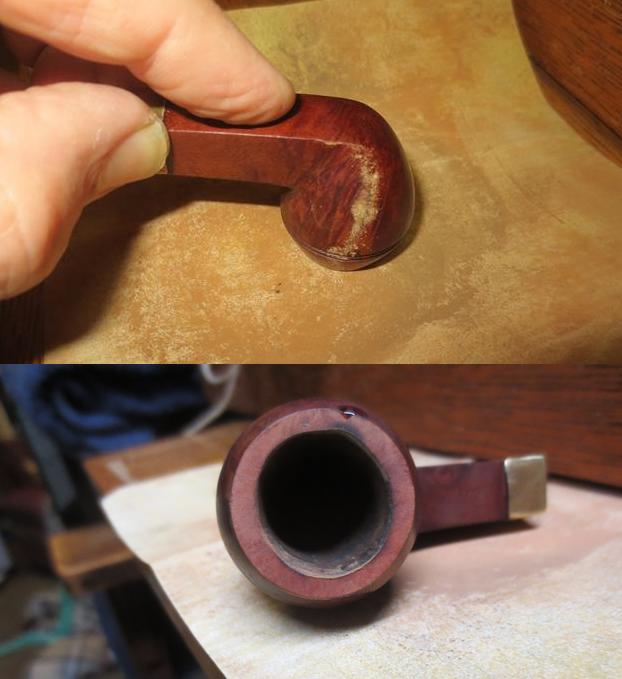
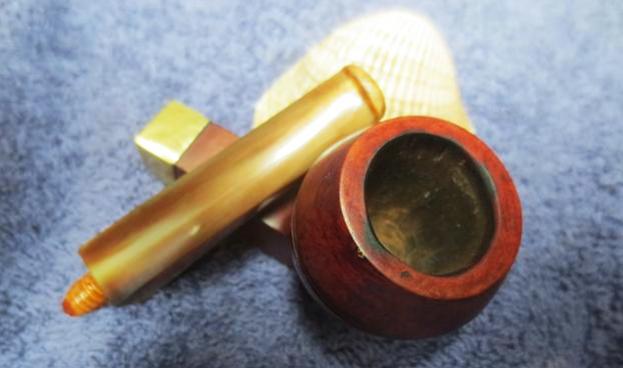
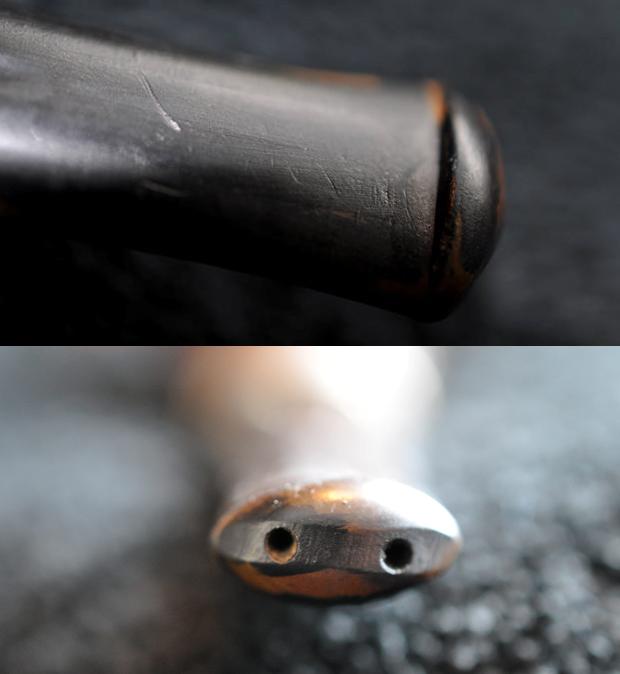
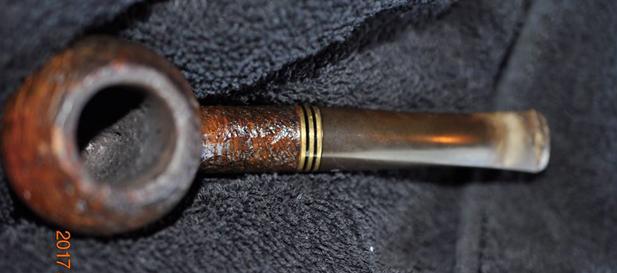
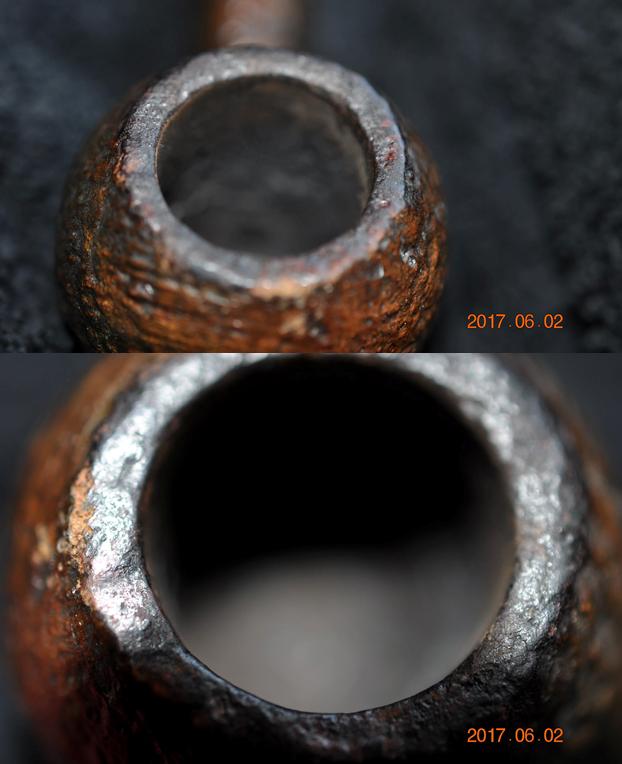
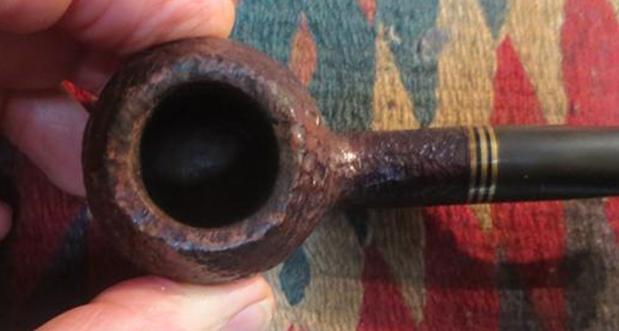
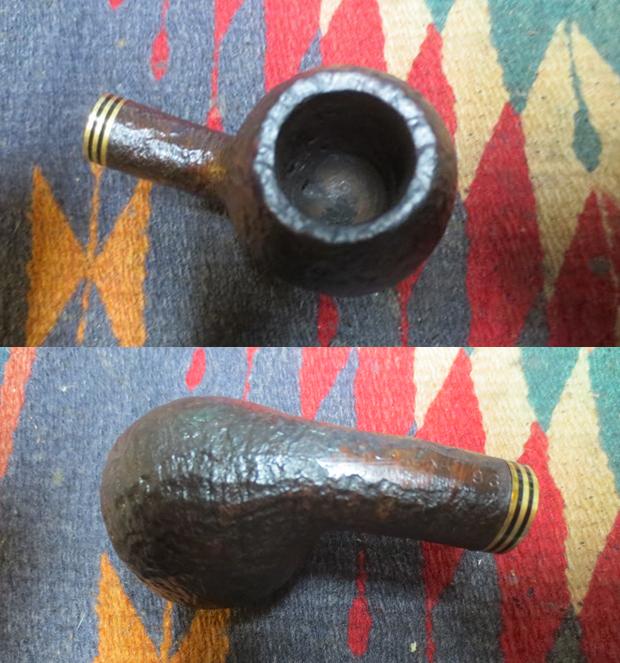
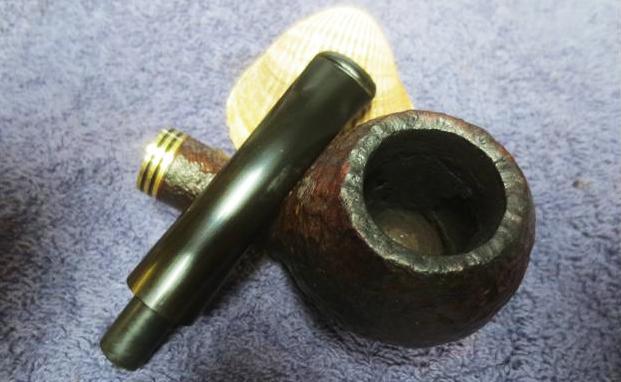
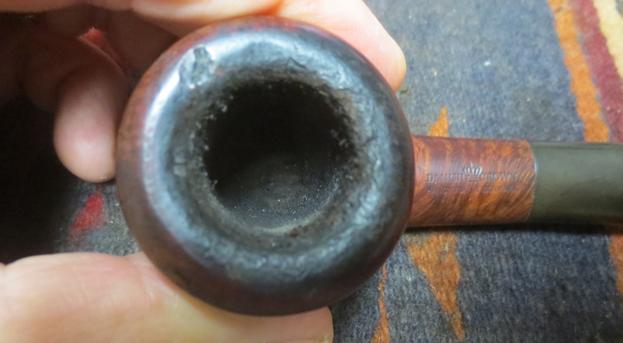
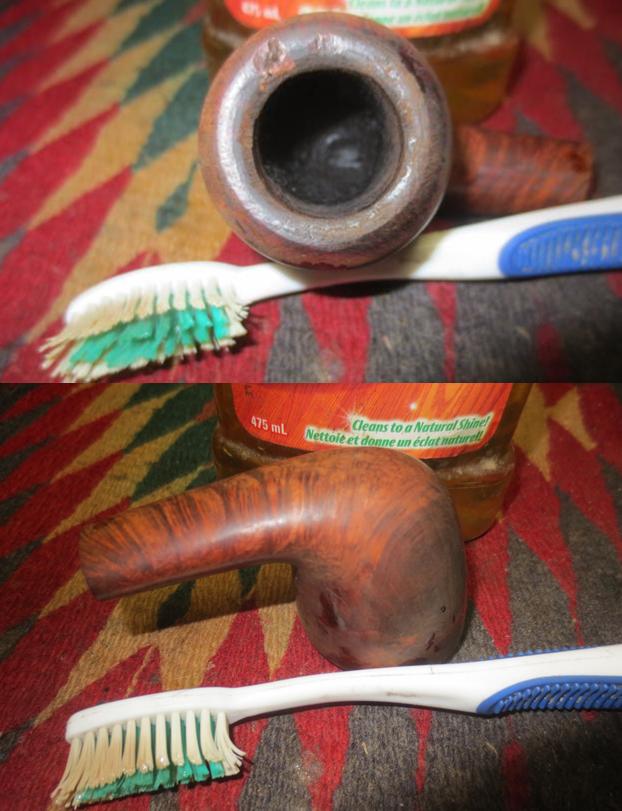
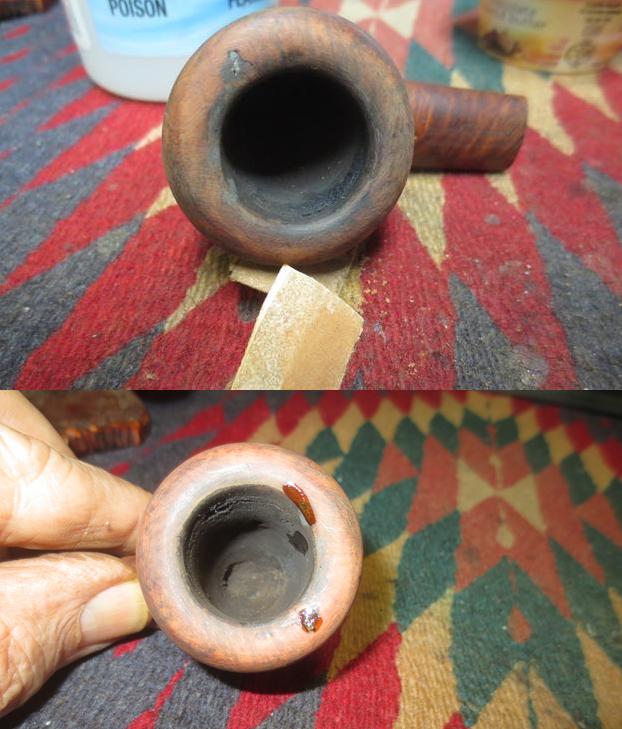
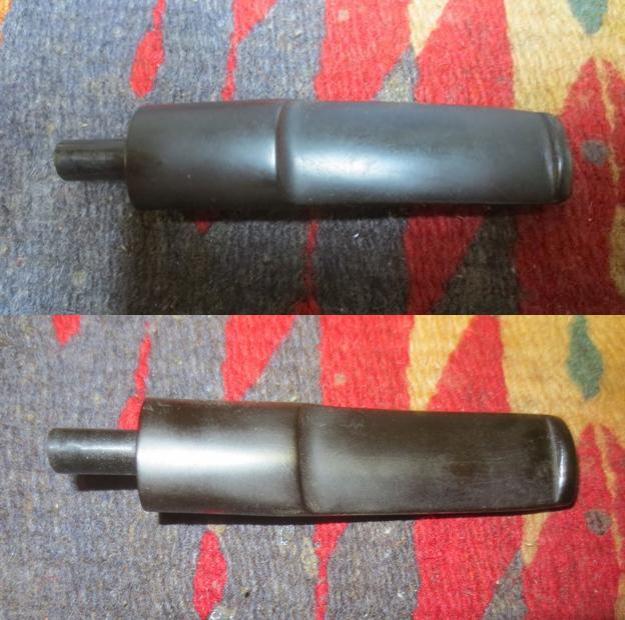
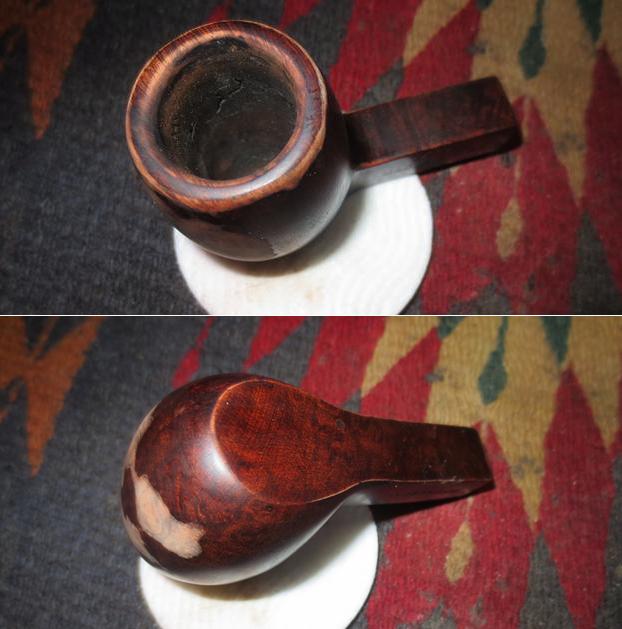
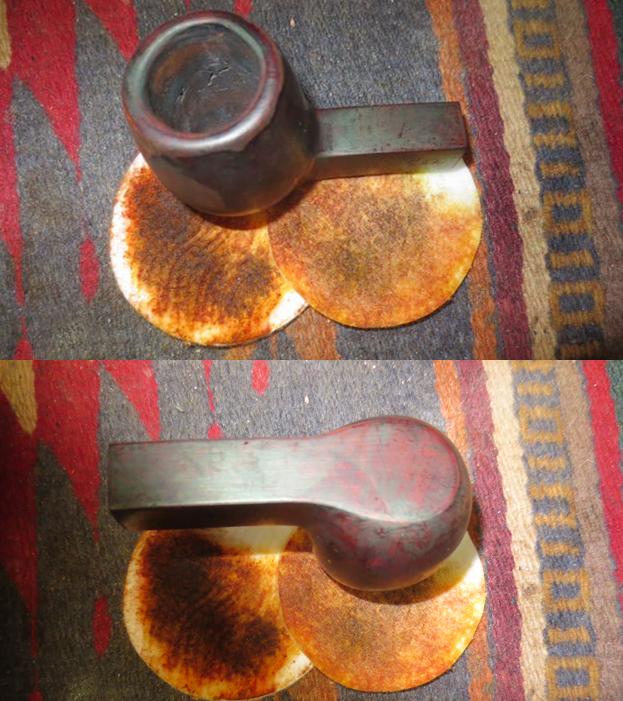
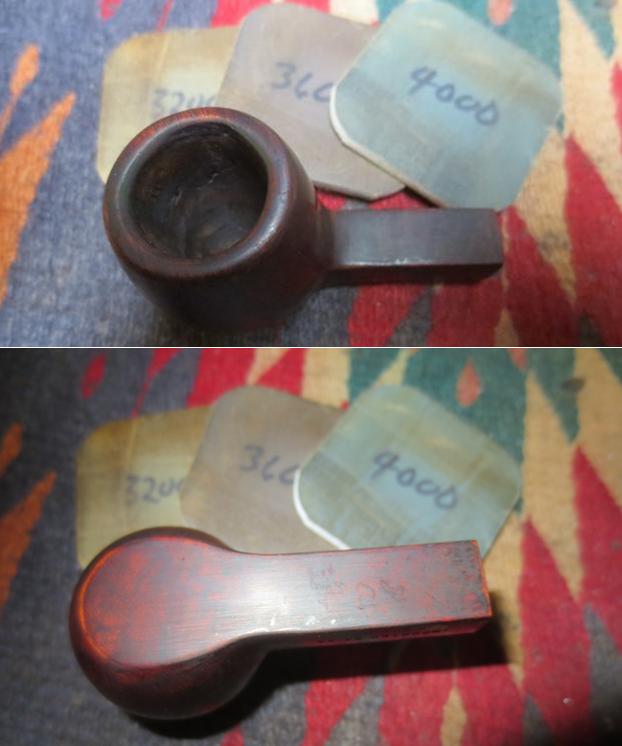
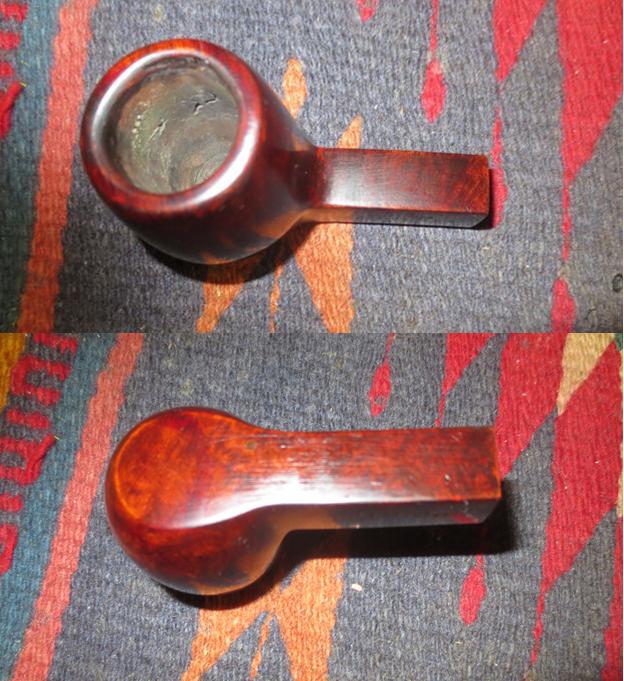
 I took some close up photos of the rim top and the stem to show the condition of both before I worked on them. The photo of the rim top shows the damage on the inner edge of the right side of the rim and the wear on the outer edge around the bowl. Other than the tooth chatter and tooth marks the stem was in good condition with no oxidation that I would need to worry about.
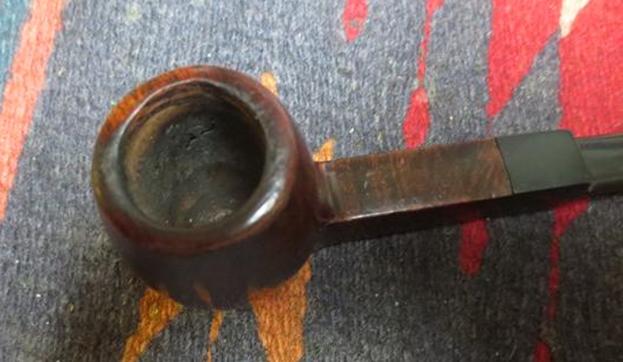
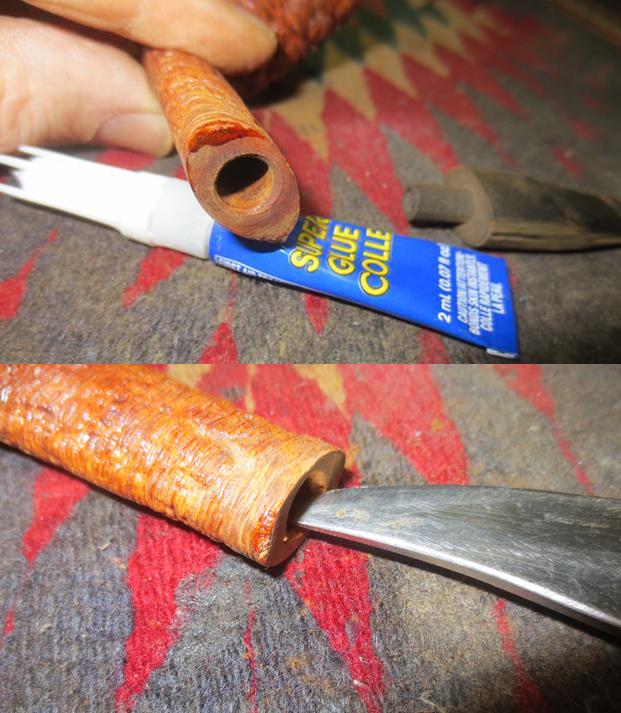
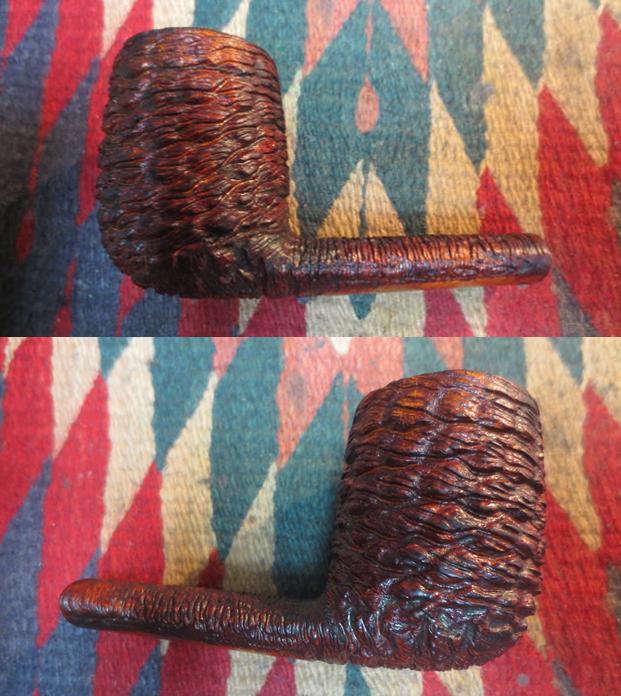
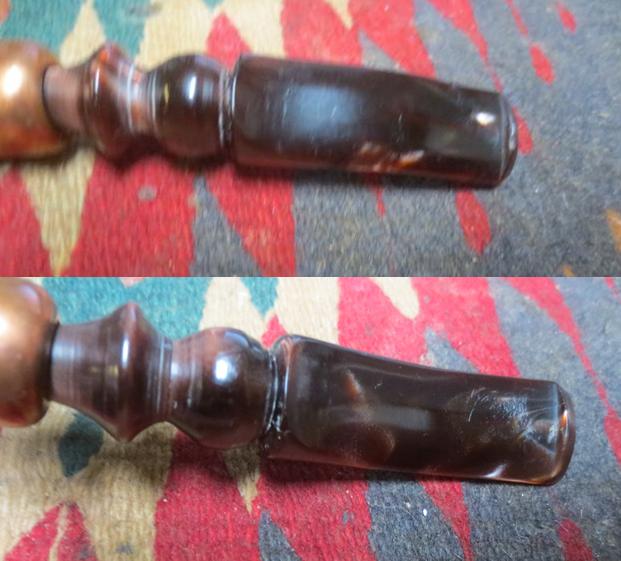
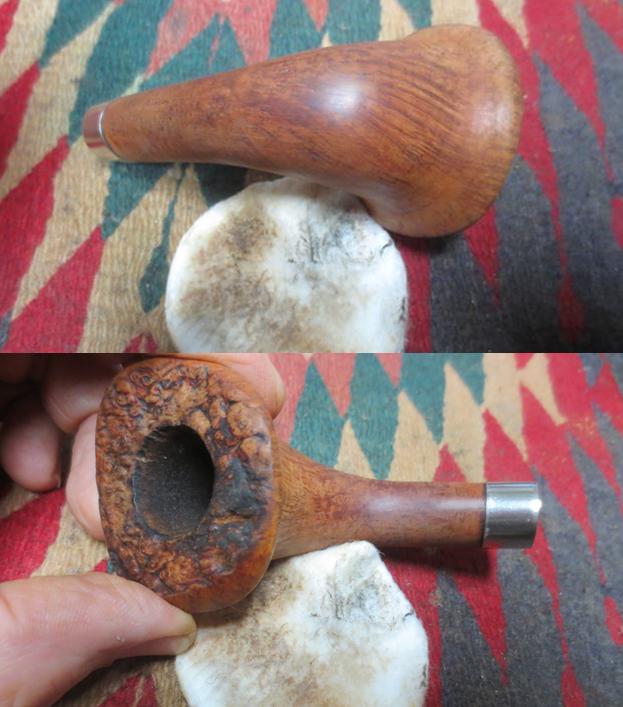
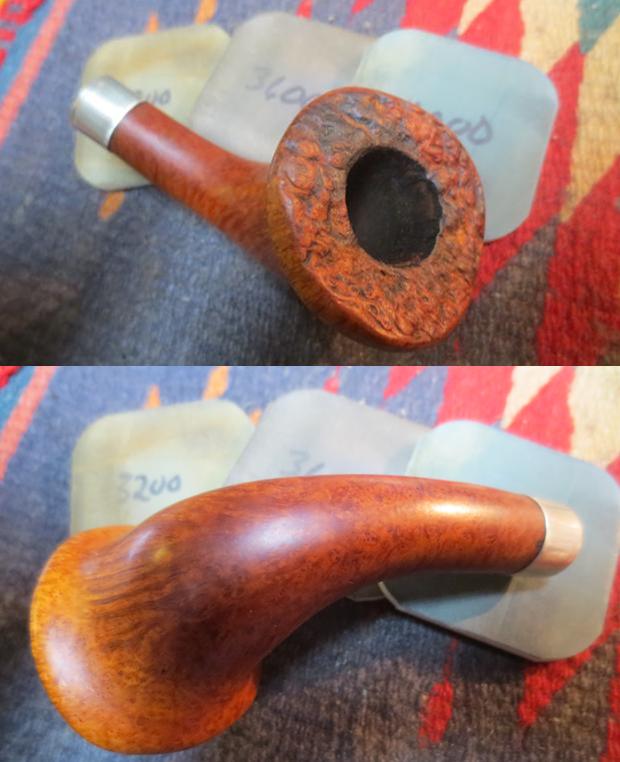
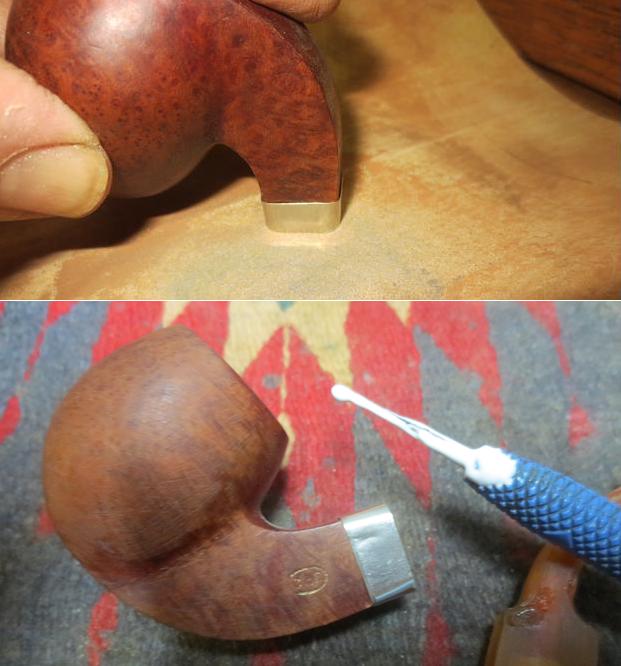
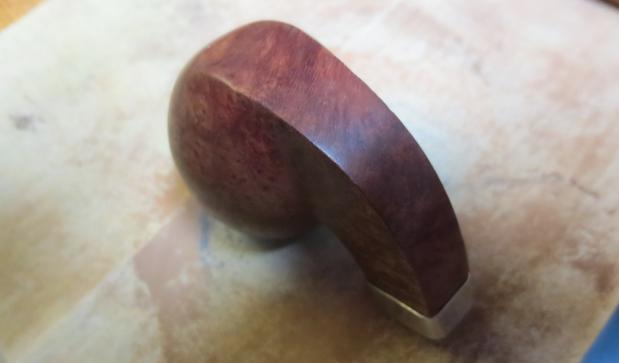
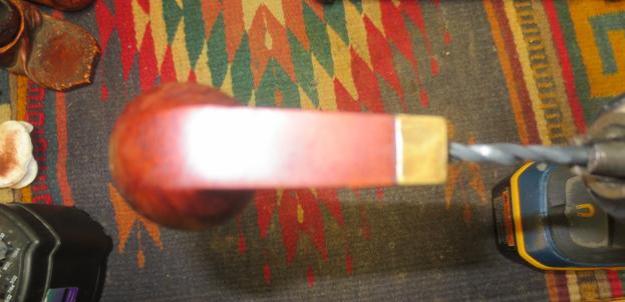
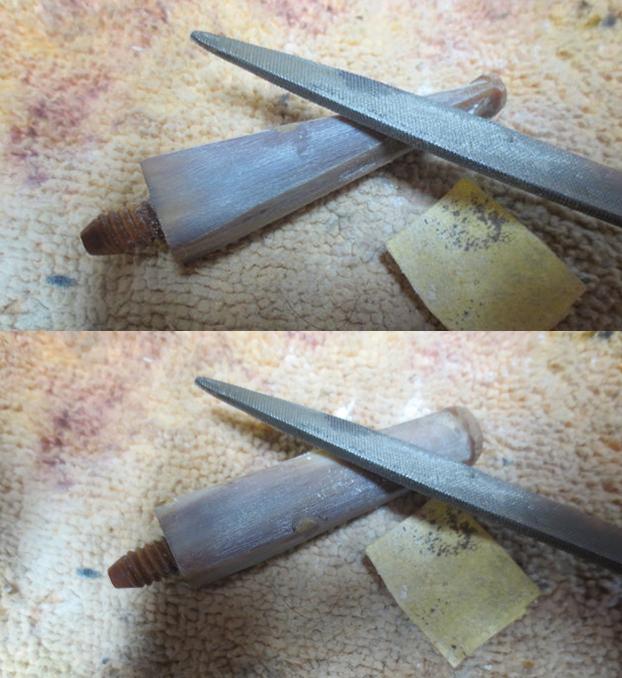
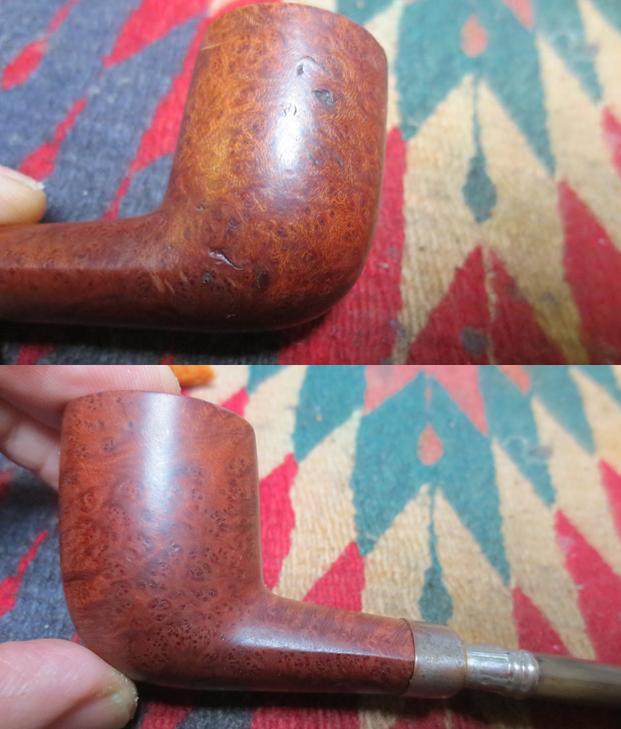
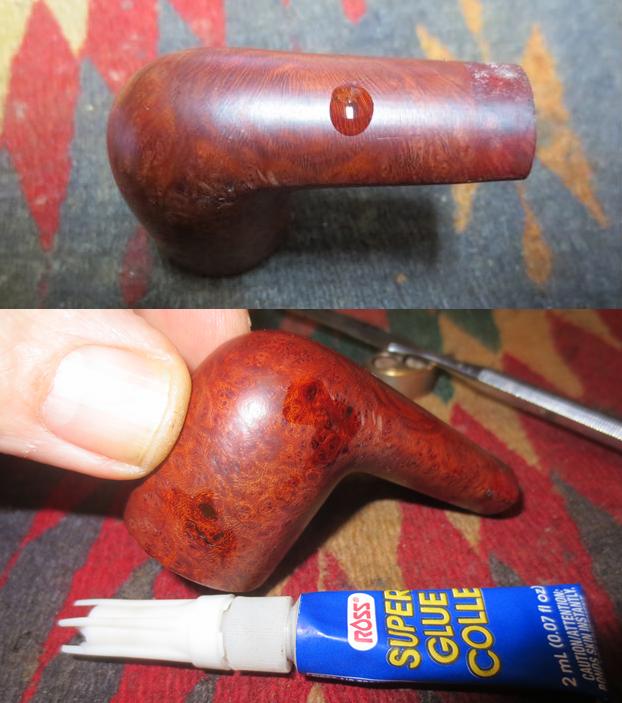
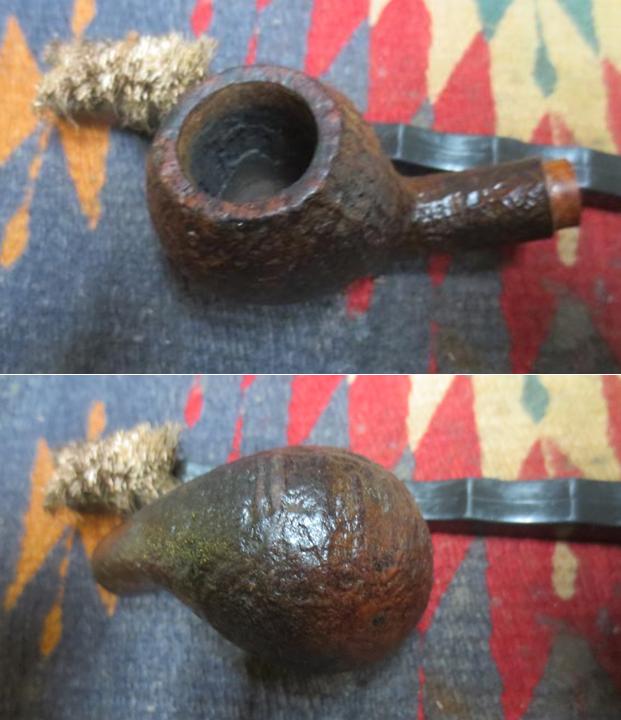
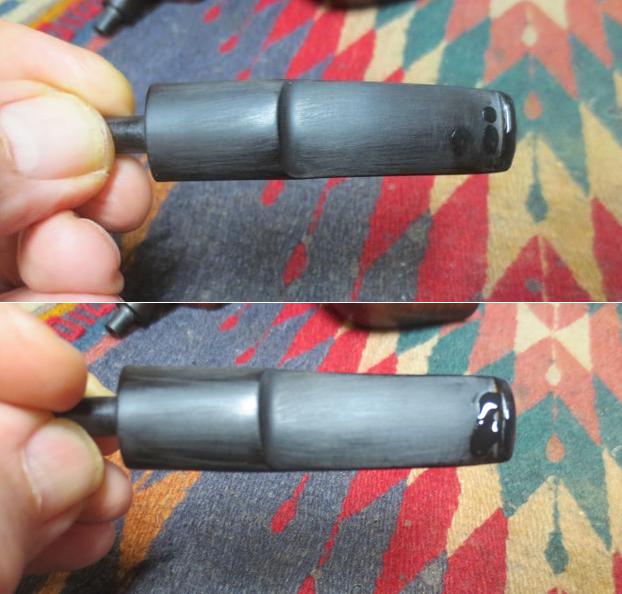
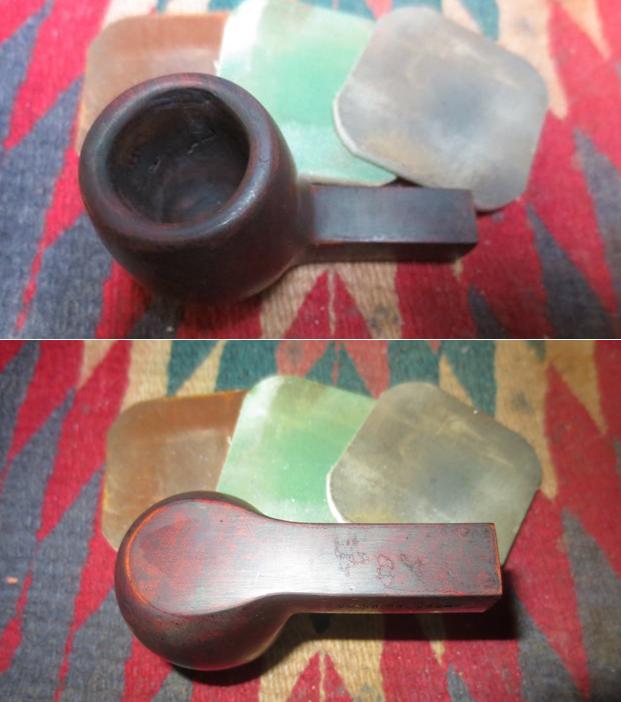
 I decided to start on the bowl and address the rim damage. I used a folded piece of 220 grit sandpaper to slightly bevel the inner edge of the rim and blend in the damaged area with the rest of the bowl. I wanted to bring it back to round as much as possible and remove the damage. The second photo shows the reshaped rim edge. I think the process worked pretty well!
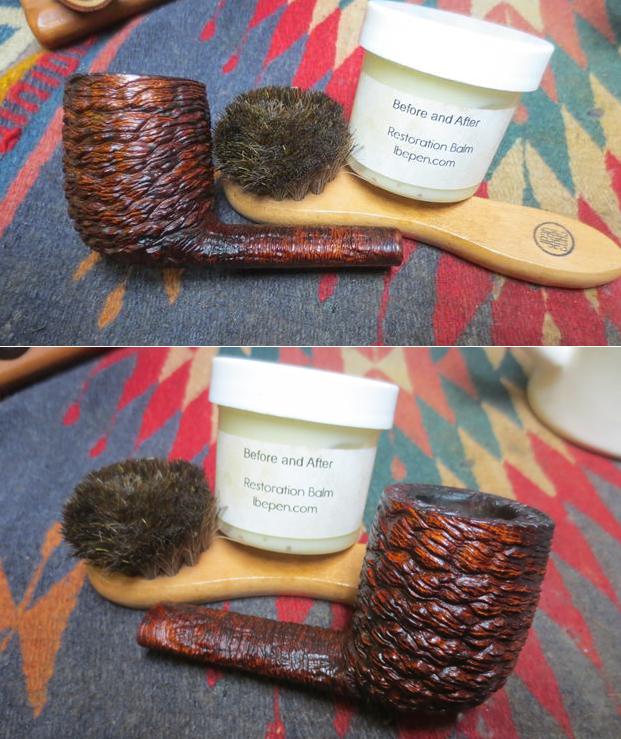
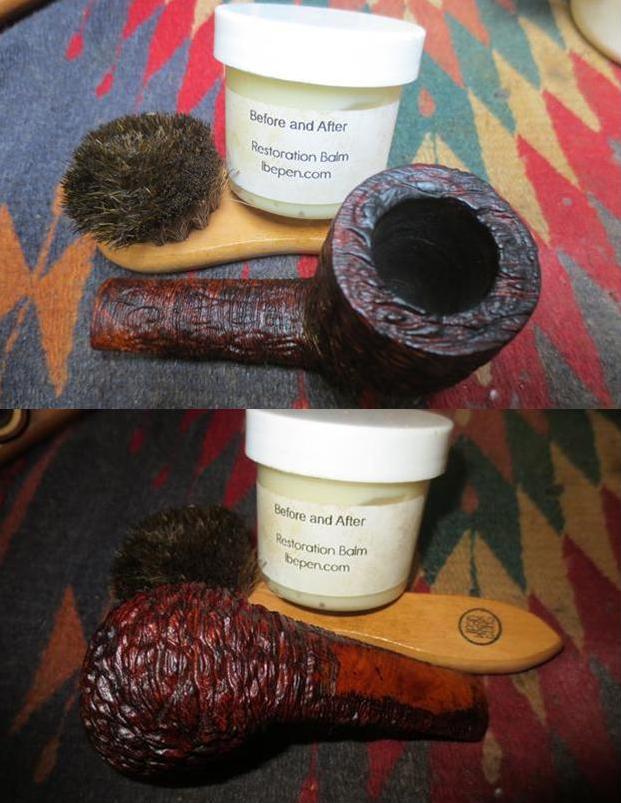
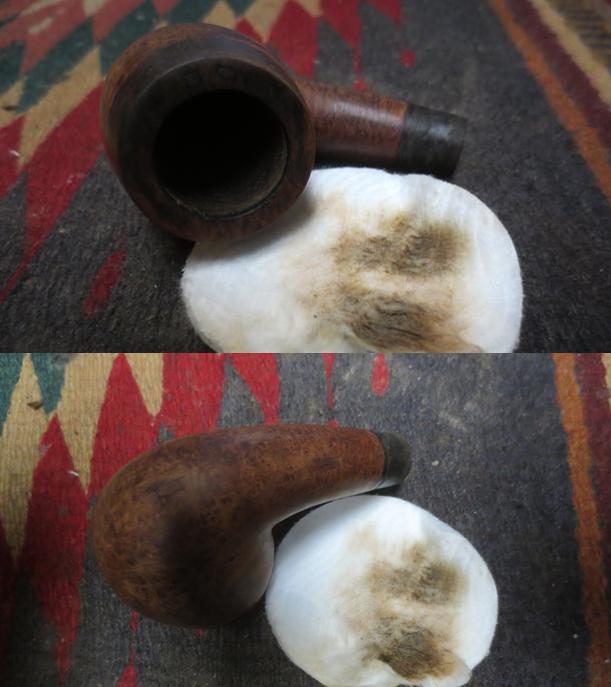
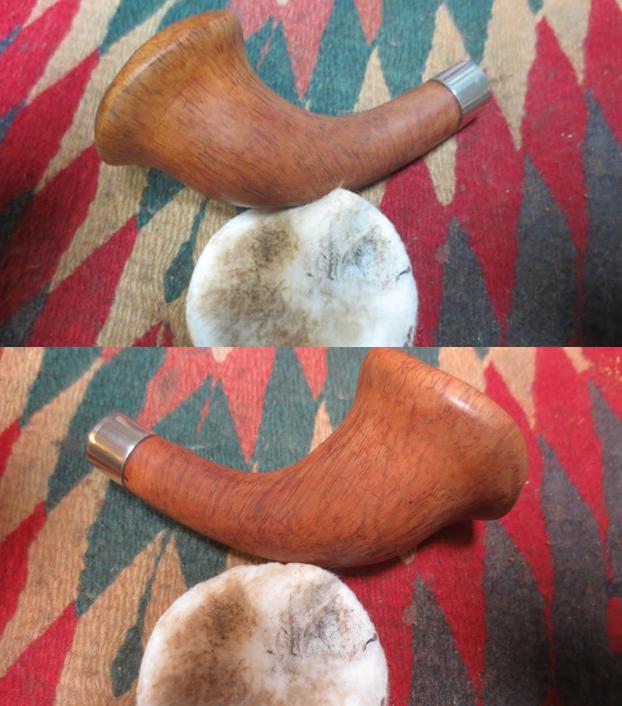
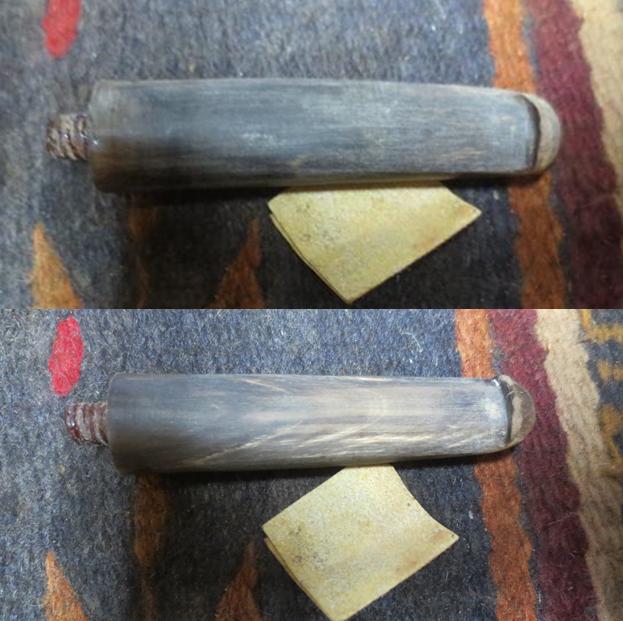
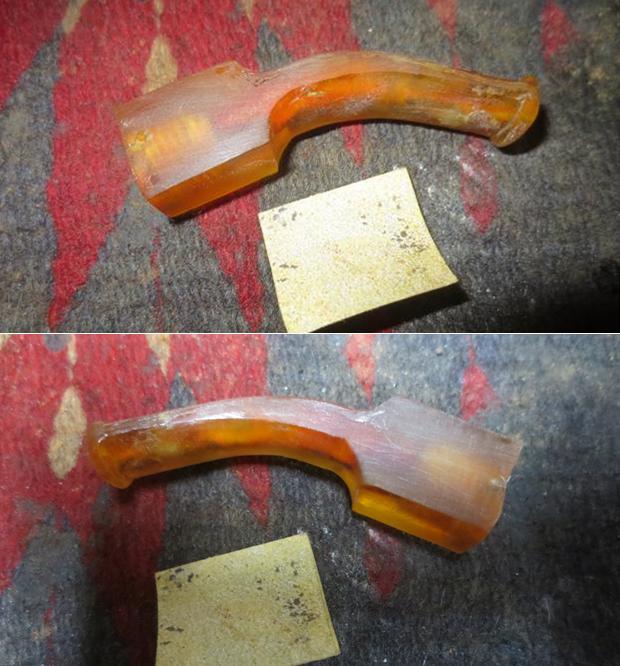
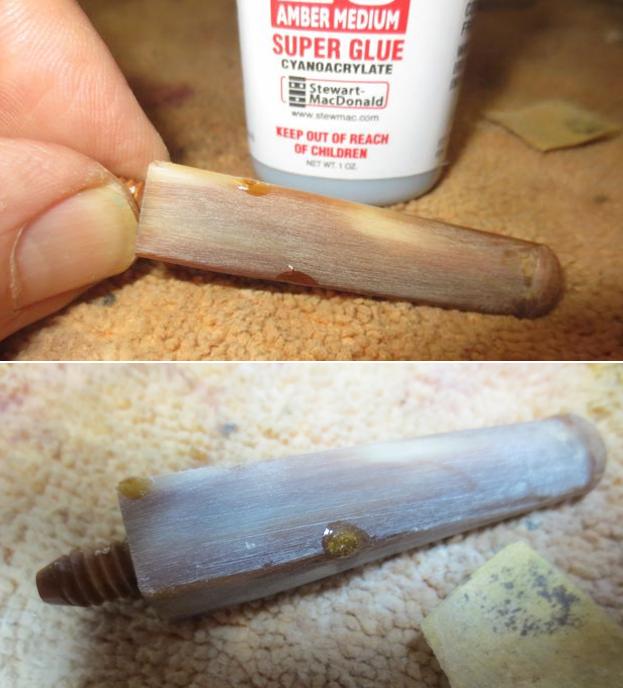
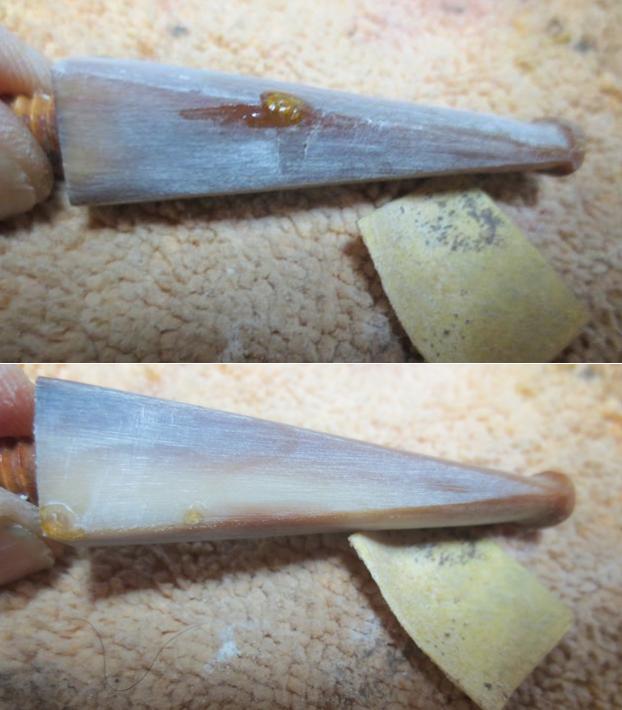
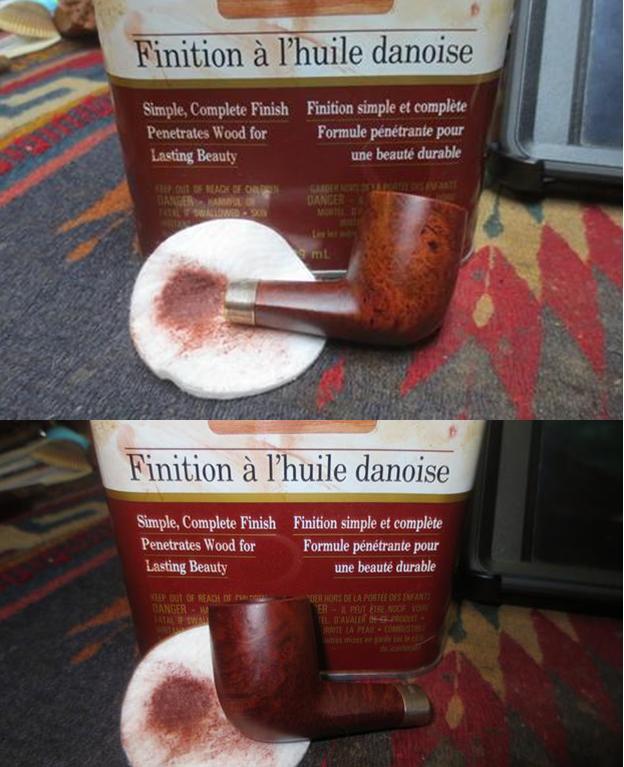
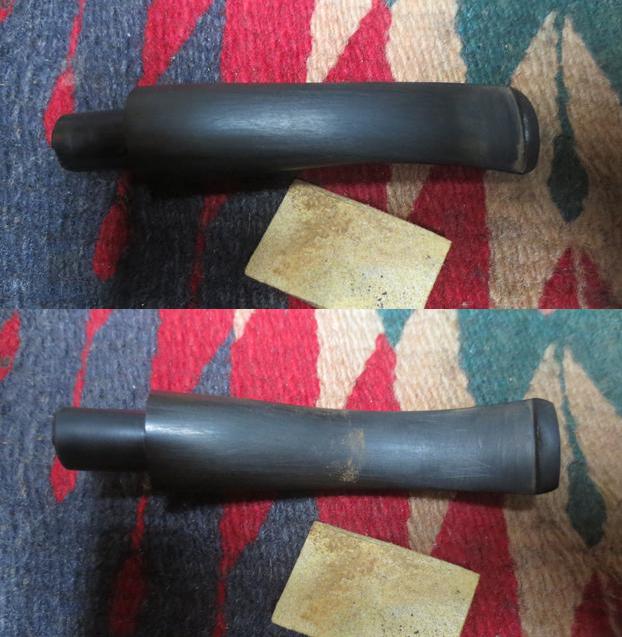
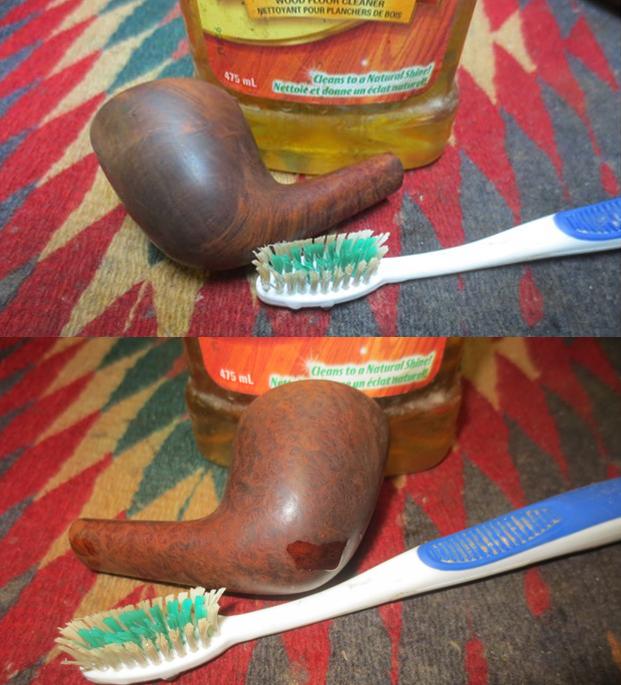
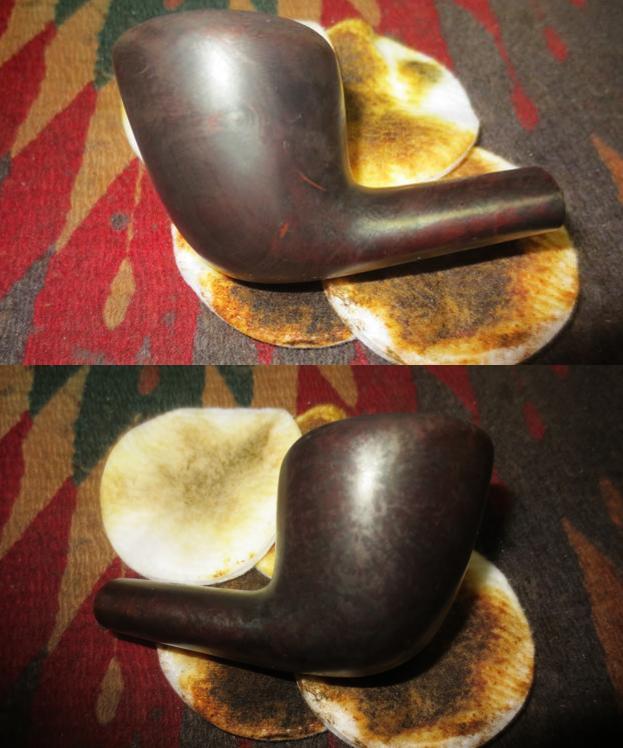
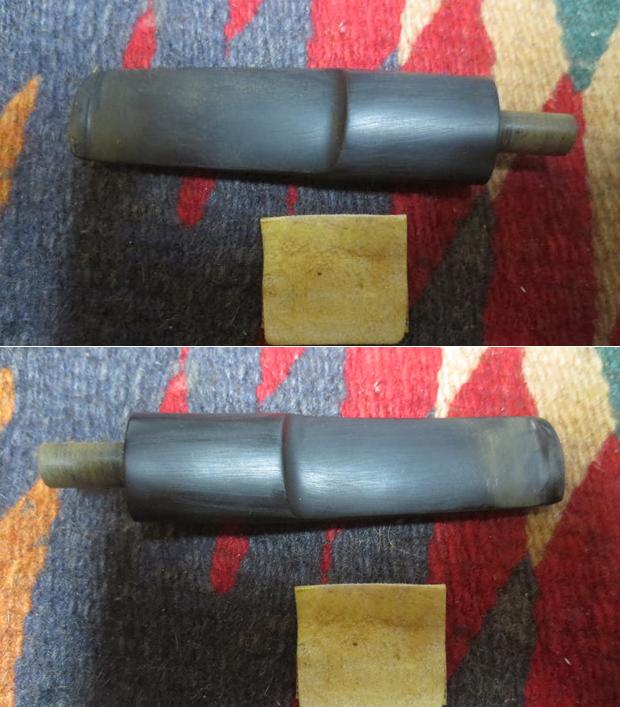
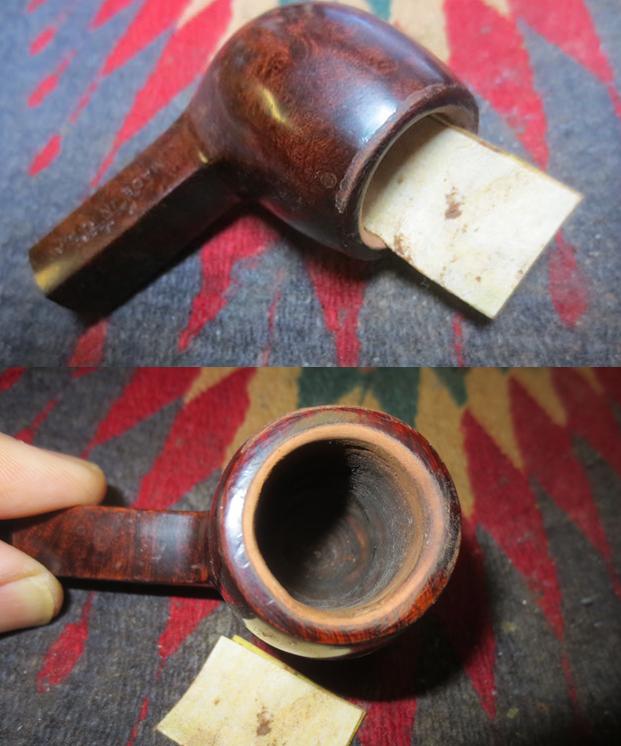 I decided to use Mark Hoover’s Before & After Restoration Balm. I have written a review about the product in an earlier blog. I rubbed it into the surface of the briar and scrubbed it with a cotton pad. Mark has said that the product was designed to pull the dirt off of the briar as well as polish it. He added some anti-oxidants to keep the briar from getting damaged from both UV rays and water. It worked very well as you can see from the following photos that show the cleaned briar and the grime on the cotton pad. Remember that this pipe had already been scrubbed with oil soap and rinsed. It appeared to be clean for all intents and purposes but it still had residual grime in the pores of the briar.
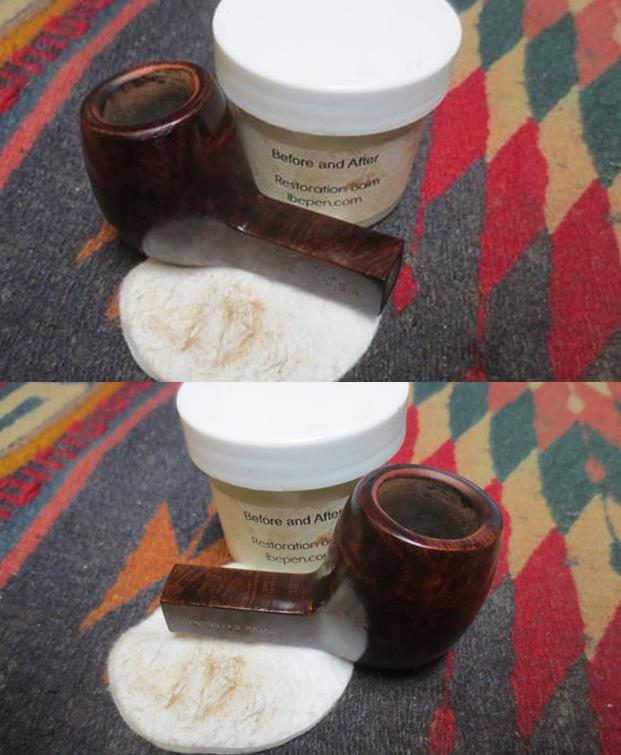
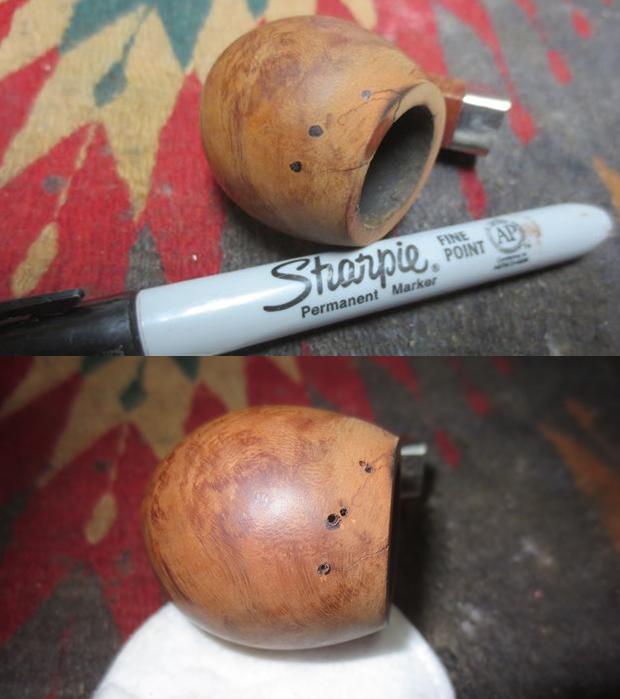
 I blended black Sharpie Marker and a Dark Brown Stain pen to colour the inner edge of the rim and the repaired area on the rim top. The combination matched the colour of the stain on the bowl perfectly.
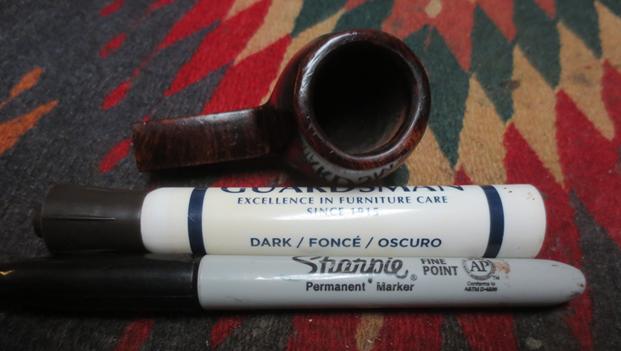 It is at this point a couple of things caught my eye. There were what looked like water spots on the front and the left side of the bowl. I looked closely and they were very odd. Almost like some of the varnish finish had bubbled and been removed. The longer I looked at it the more ugly it looked. What had looked like an easy restore suddenly looked a lot harder. I was going to have to remove the varnish coat and restain the entire pipe. Just a little discouraging when things were moving ahead so well. But, chin up and do the job!
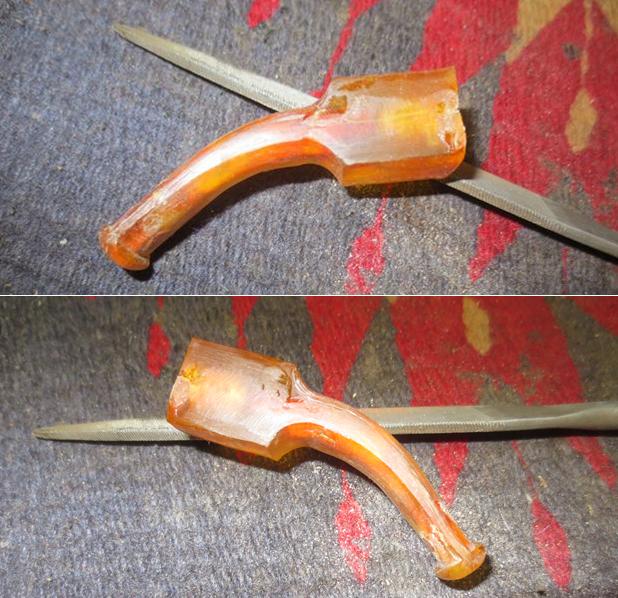
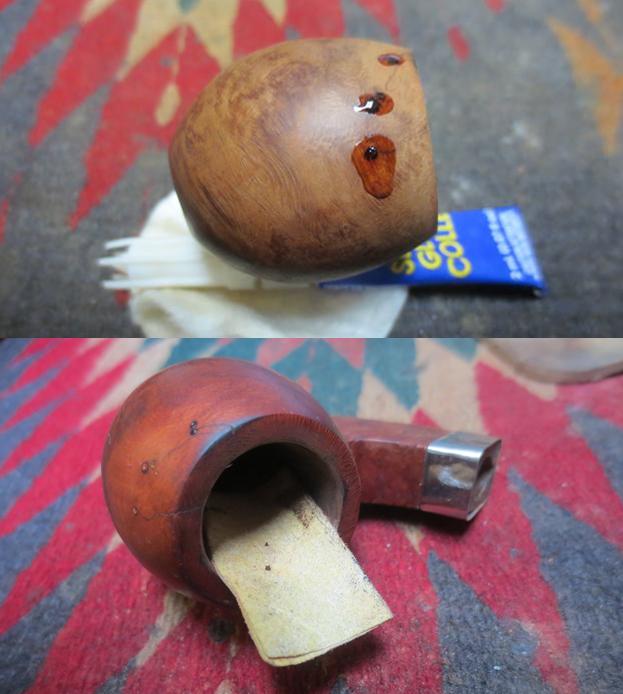
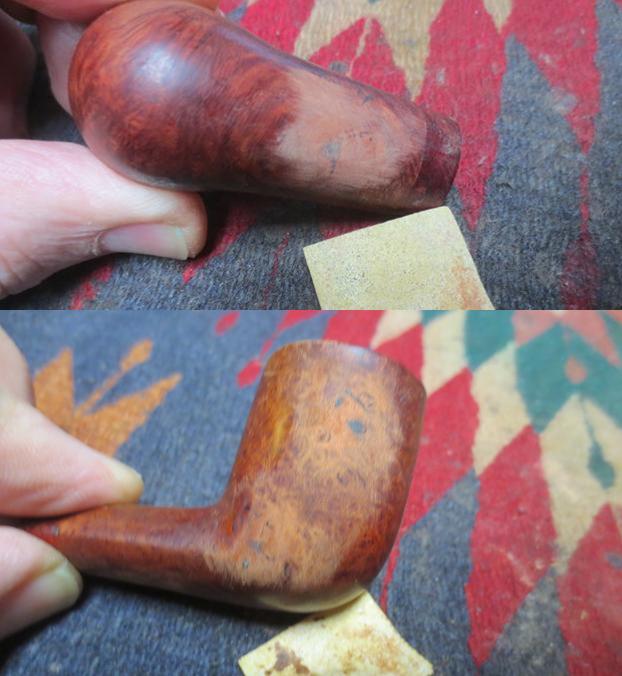
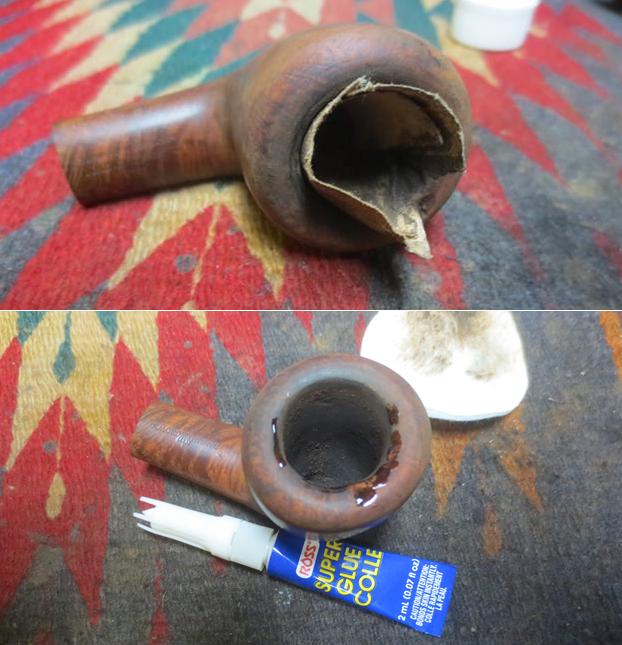
I wiped the bowl down with acetone to try to cut through the finish. It did not budge! Oh man, that meant I was dealing with some kind of plasticized coating and it would be a bit more difficult to remove. I sanded the bowl and shank with 220 grit sandpaper to break through the surface of the topcoat. I wiped it down repeatedly with the acetone to see if I was making progress. It was slow going. I sanded it with a medium and a fine grit sanding sponge and was able to make more progress. I wiped it down again. The photos below show the pipe when I had removed all of the plastic coating. It was odd in that there were two large spots on the front of the bowl and around the rim edges where the finish came off as well as the plastic. The rest of the finish was deeply set in the grain. I have only seen that on pipes where there was some oil in the briar that was not properly removed before staining and finishing.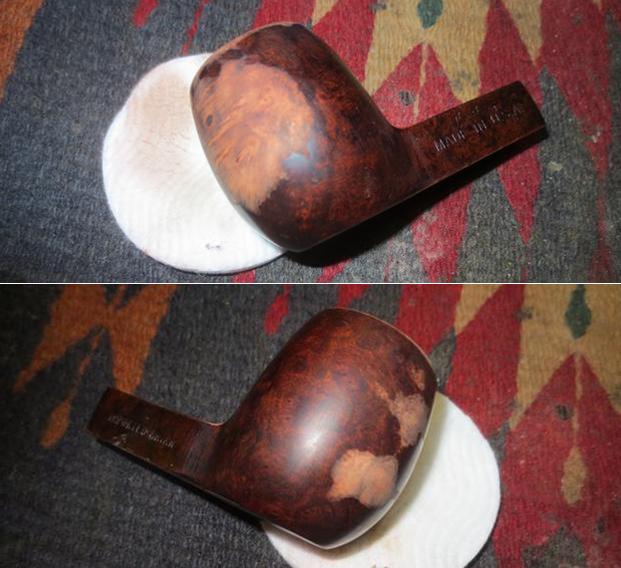
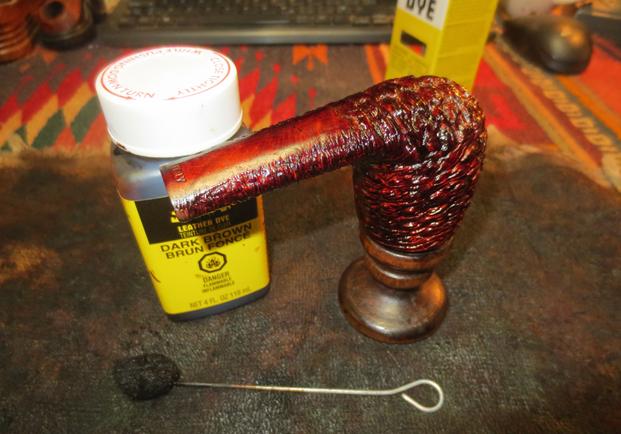
 I wiped the bowl down with acetone a final time scrubbing the unstained portions with extra care. I wiped it down with alcohol in those areas and heated the briar to see if I could open the pores before staining. I used a dark brown stain pen to precolour the briar before restaining the entire pipe. I wanted to get deep coverage on the briar.
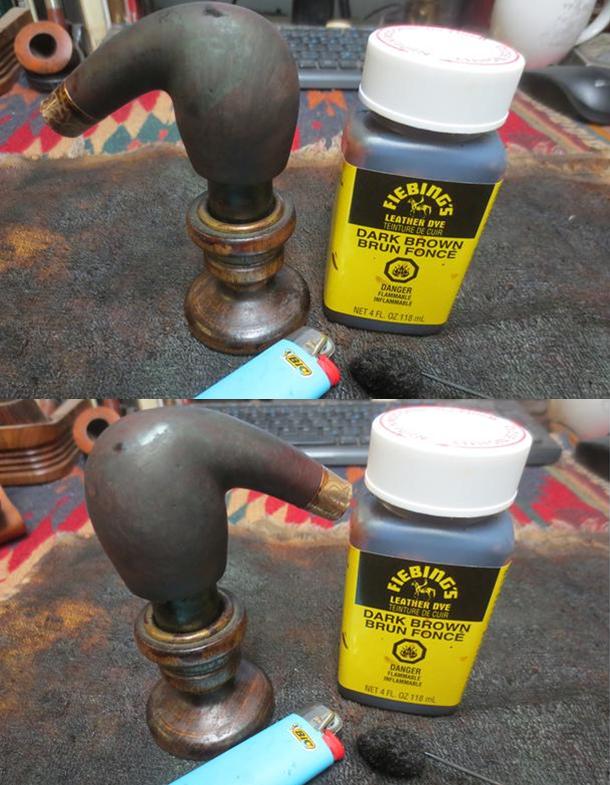
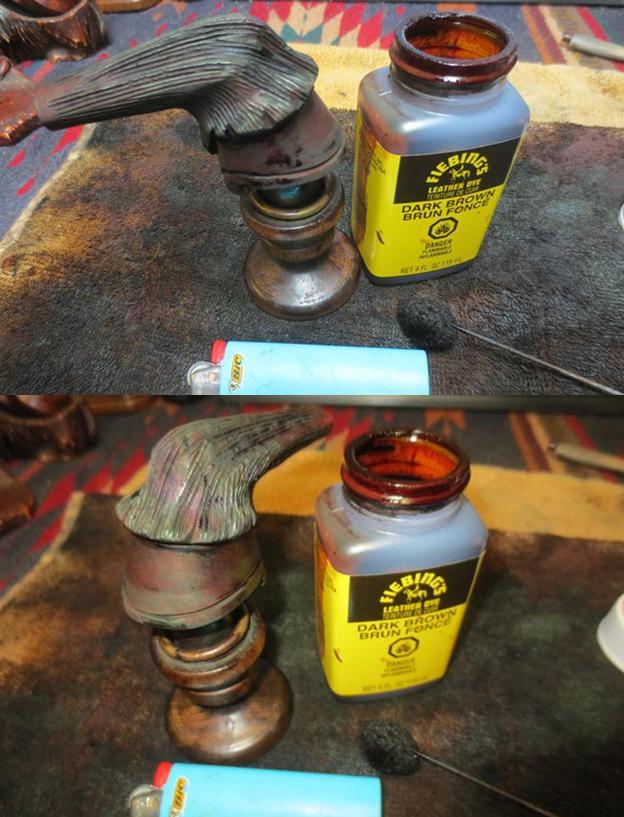
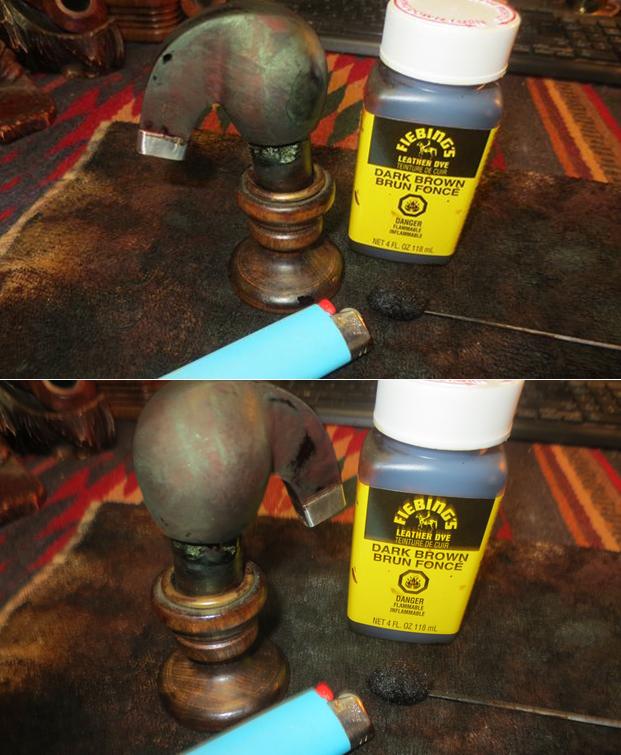
 I warmed the briar once again by painting it with the flame of a lighter. I stained the entire bowl with dark brown aniline stain and set it in the grain with a lighter. I repeated the process particularly on the front, sides and rim top until the coverage was even all around the bowl. I set the bowl aside to cure overnight.
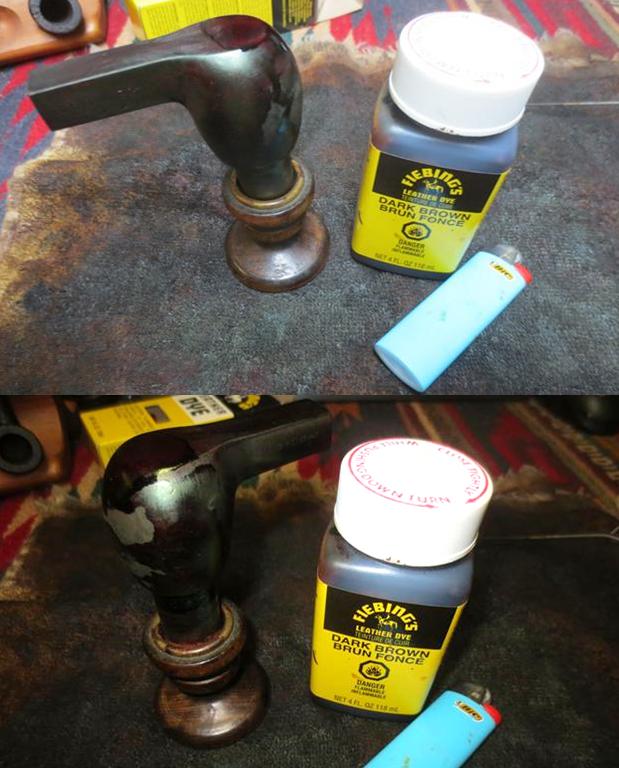 Work and general busyness kept me from working on the pipe again for several days. When I finally got a moment I wiped the bowl down with alcohol and cotton pads to even out the finish and give it a bit more transparency.
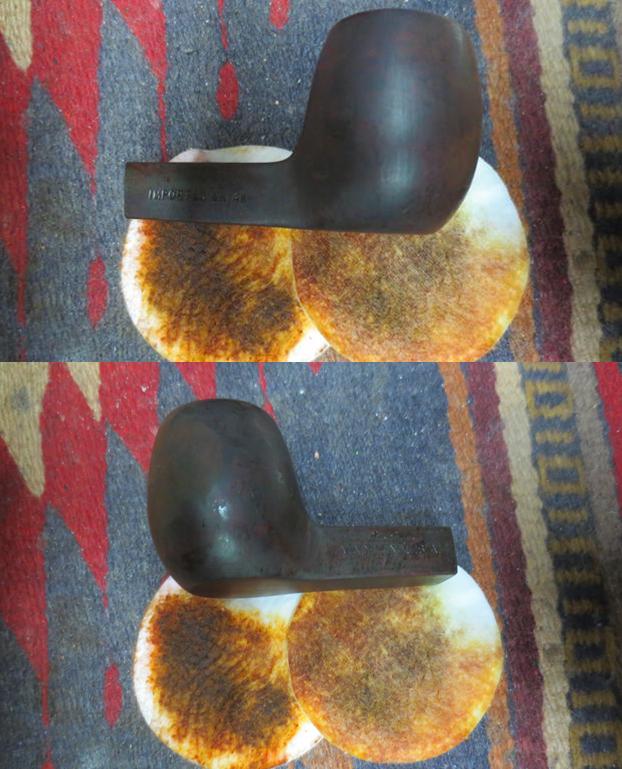
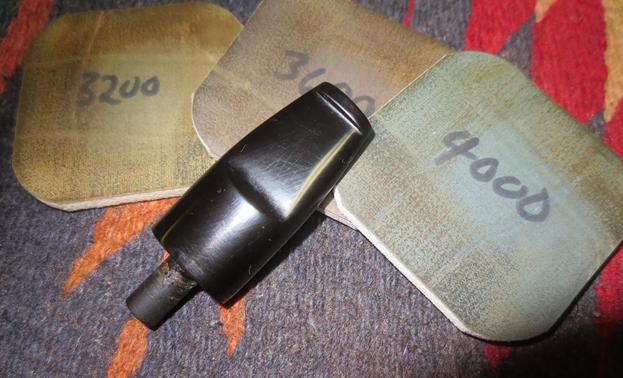
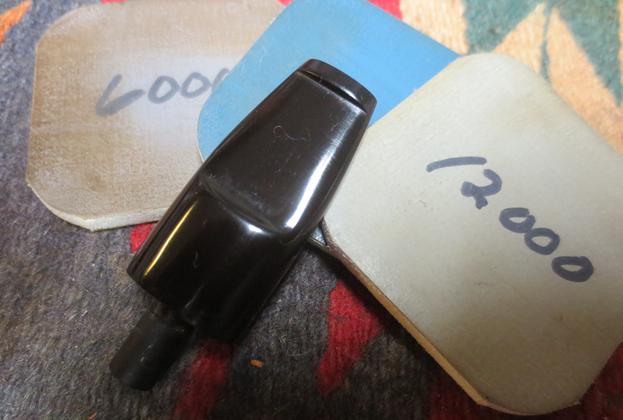
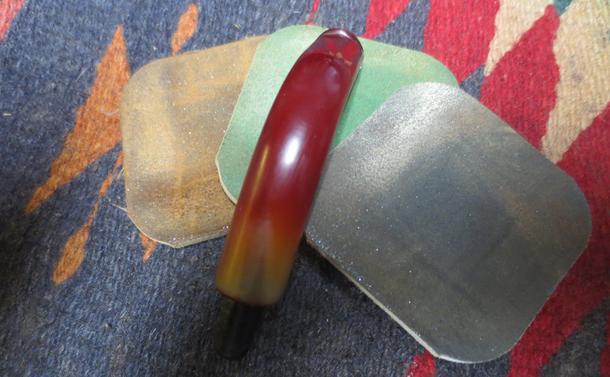
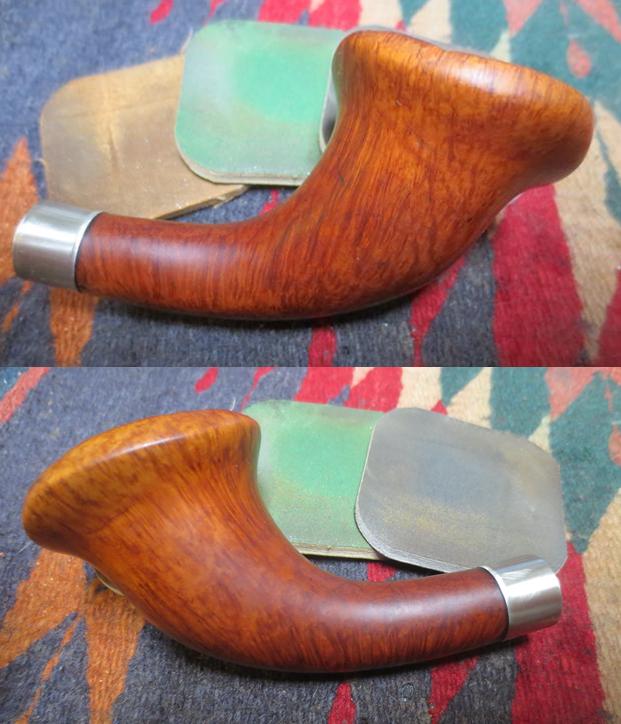
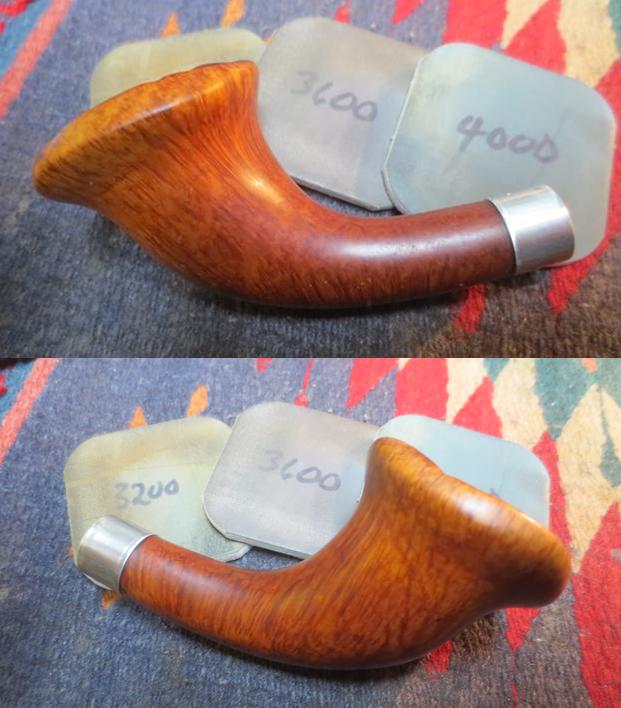
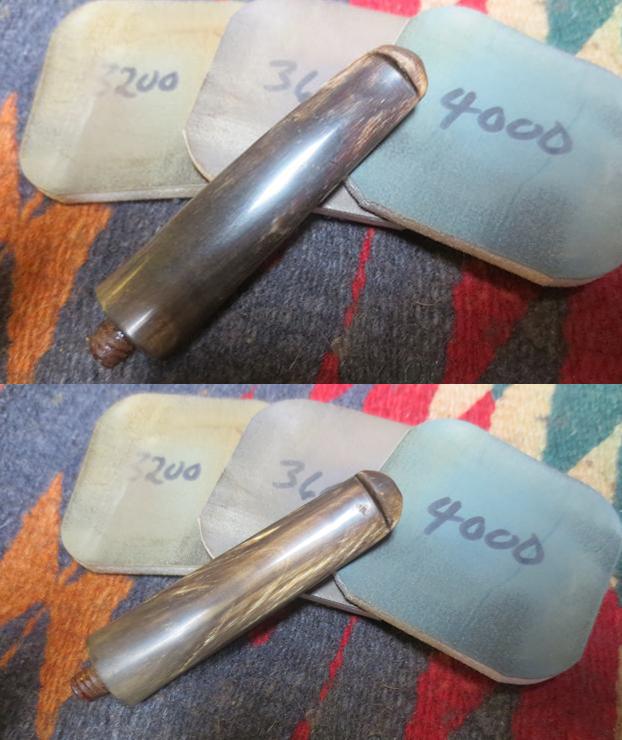
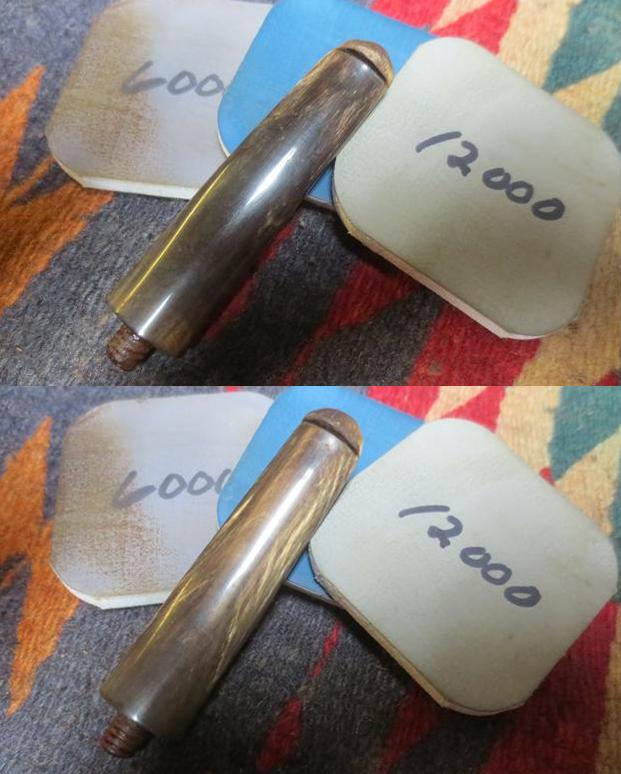
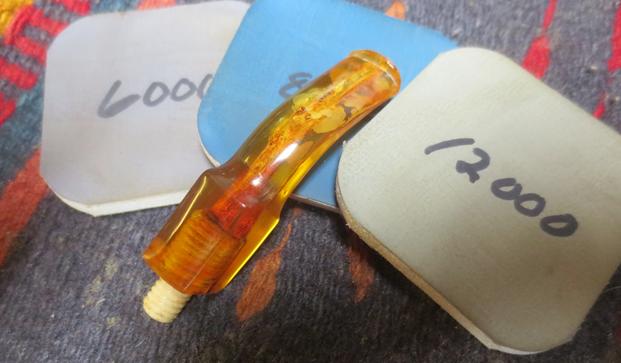
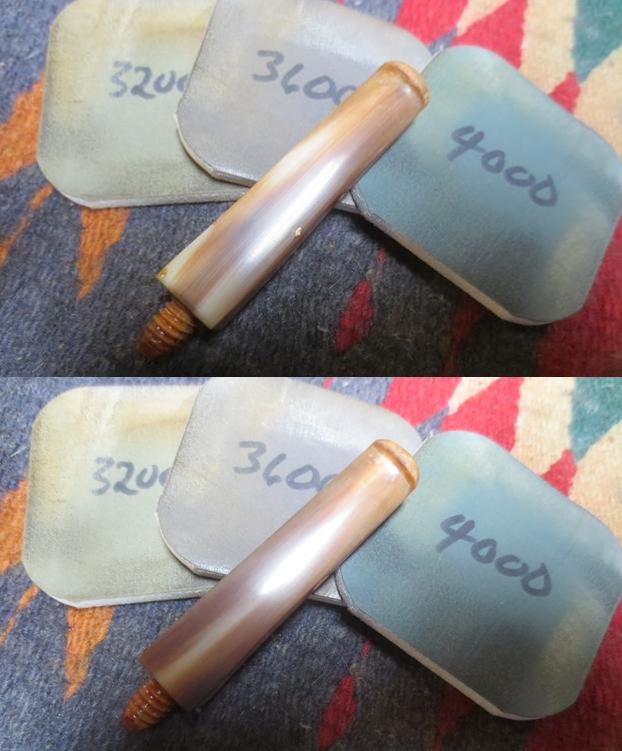
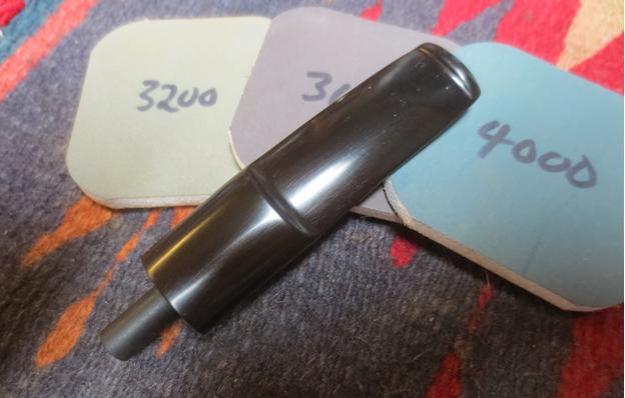
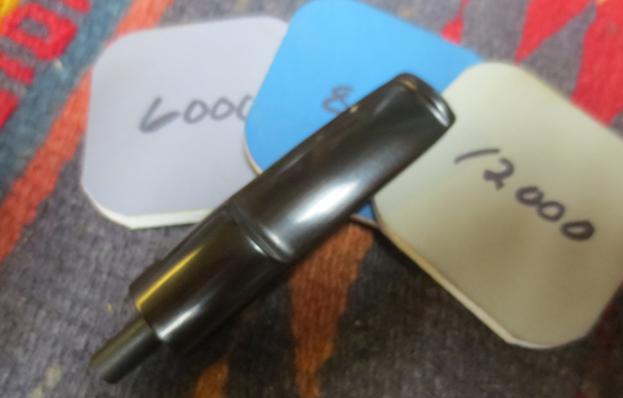
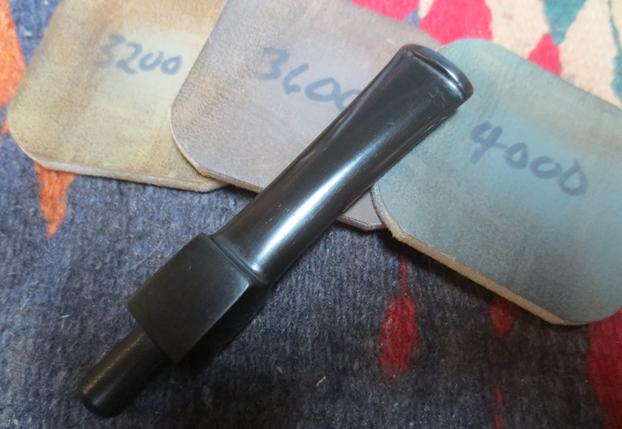
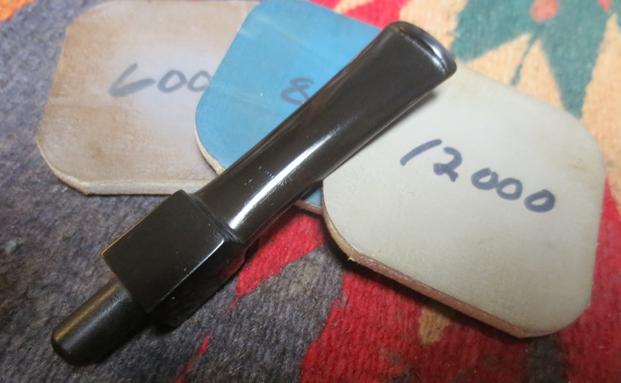
 I sanded the newly stained bowl and shank with micromesh sanding pads – wet sanding with 1500-2400 grit pads and dry sanding with 3200-12000 grit pads. I wiped the bowl down after each pad with an alcohol dampened cotton pad.
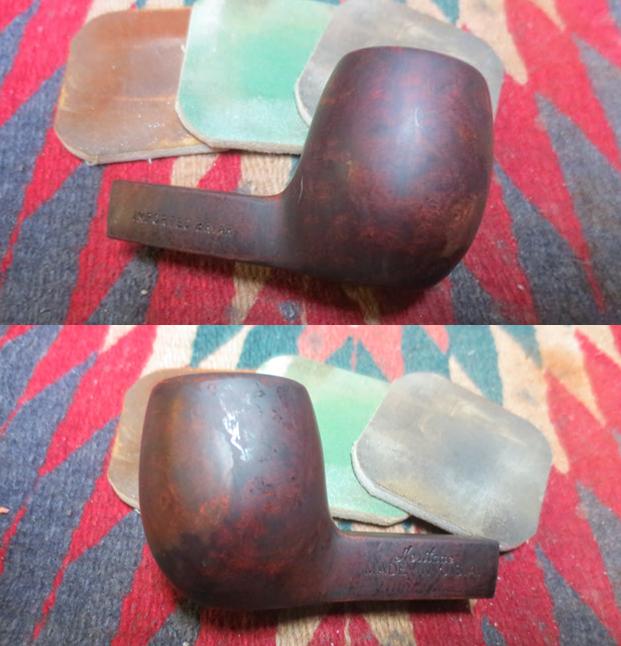

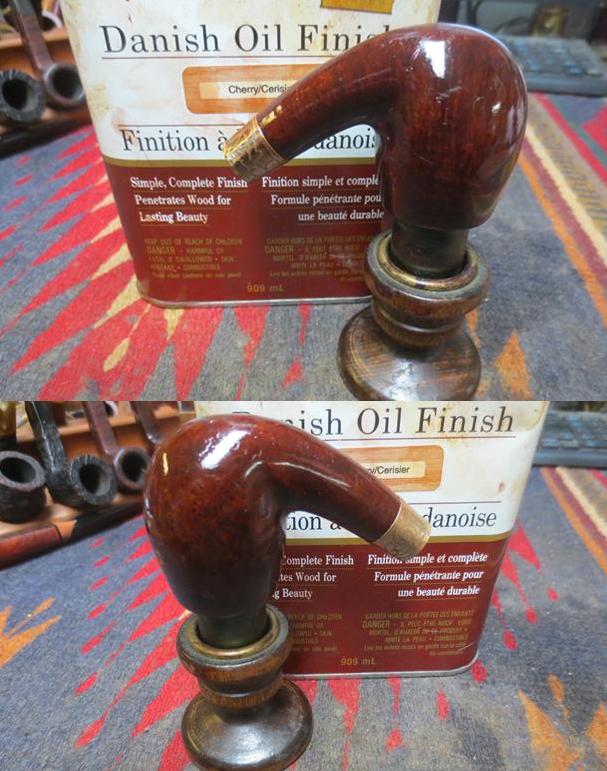
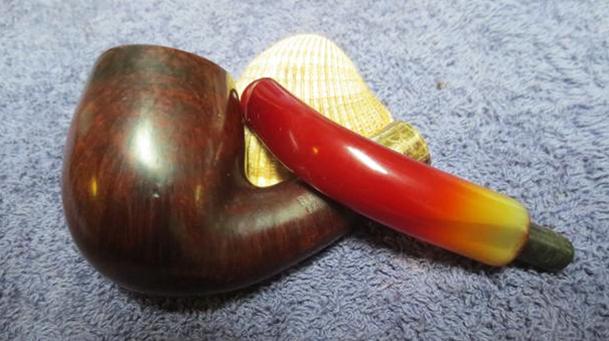
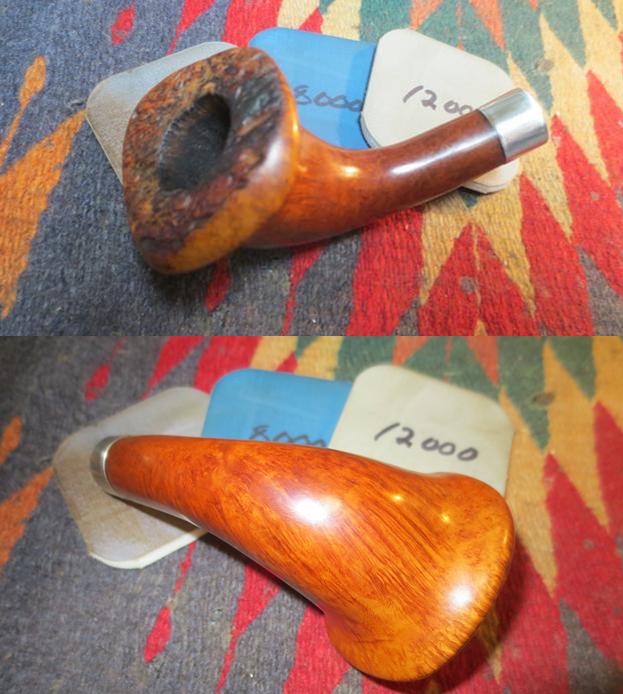
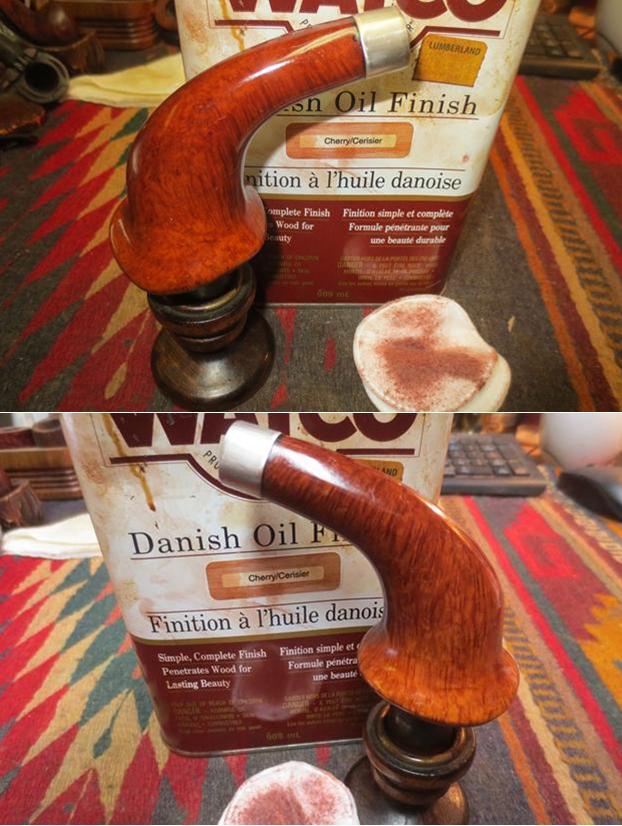
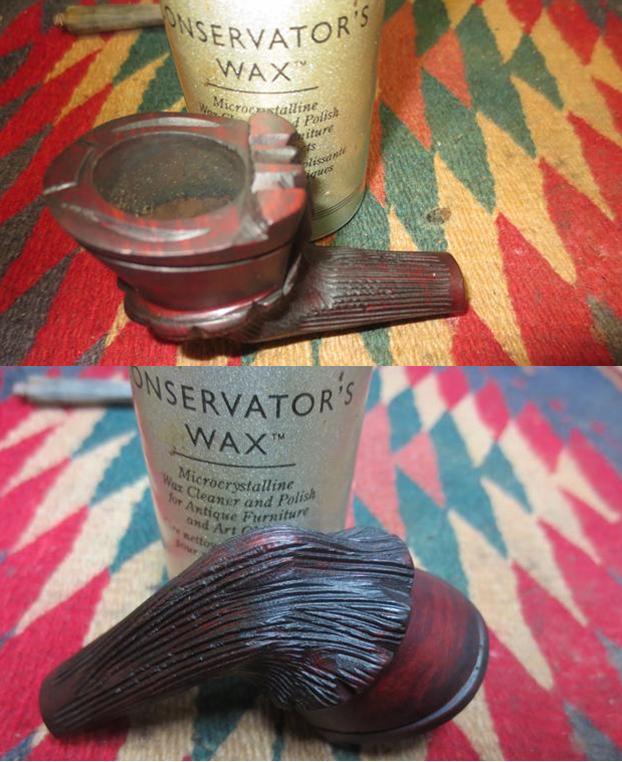
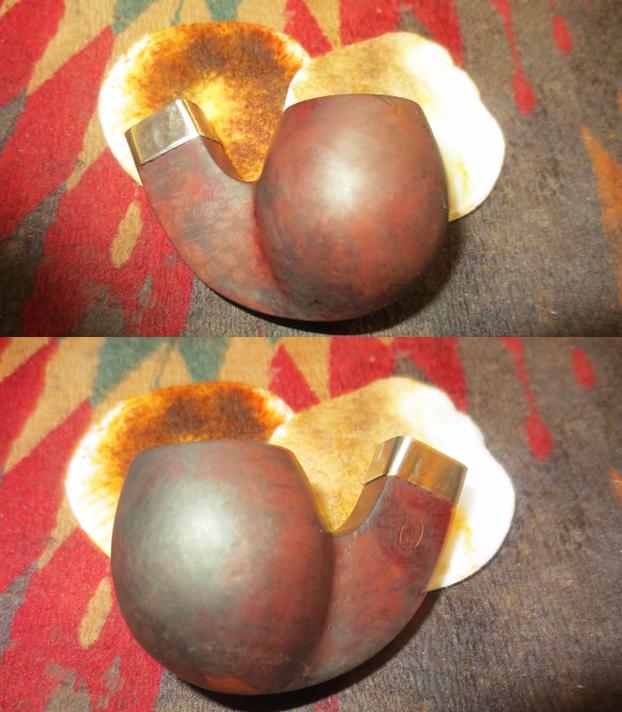
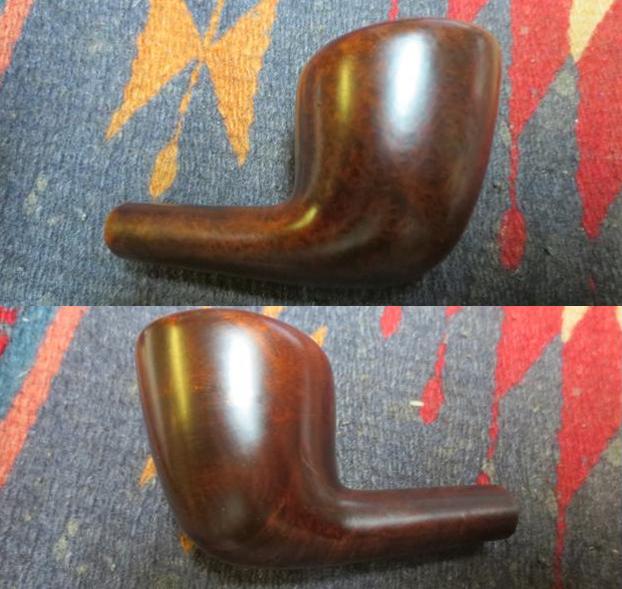
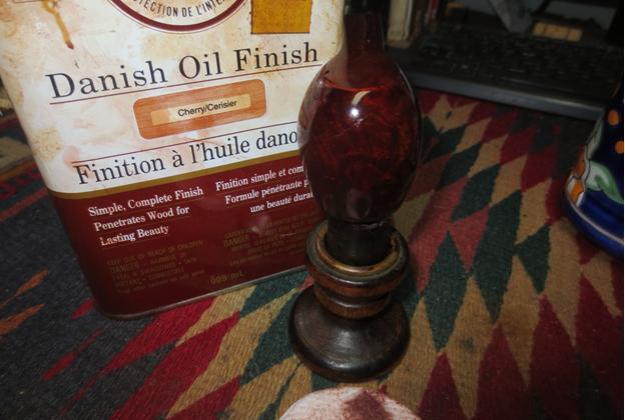
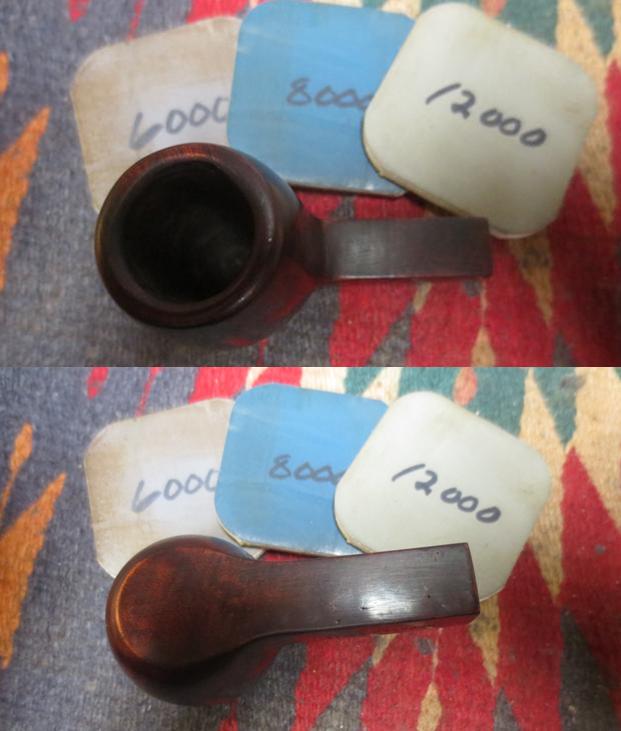 I buffed the pipe with Blue Diamond to further polish out the scratches and then gave it several coats of Danish Oil with a Cherry Stain to give the bowl a rich finish similar to the one on the Heritage Diplomat that I restored earlier. The pipe is beginning to look really good in my opinion and in many ways is far better than when I started.
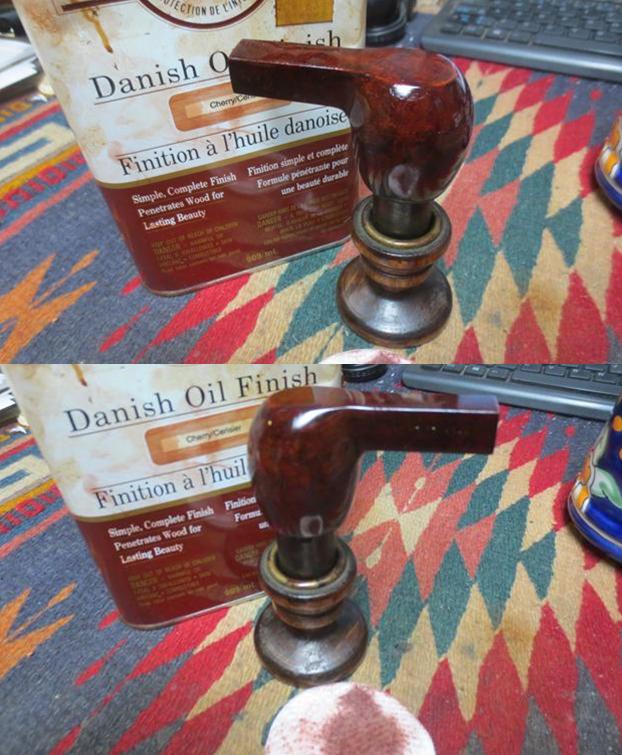
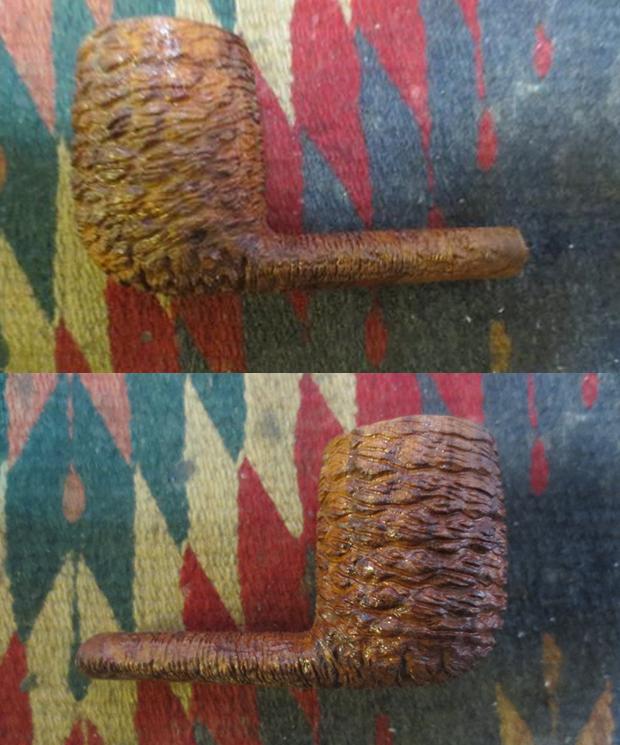
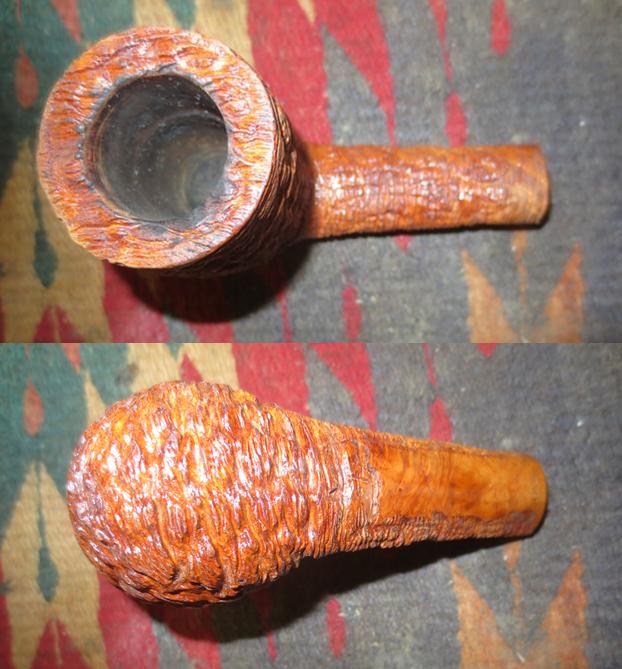
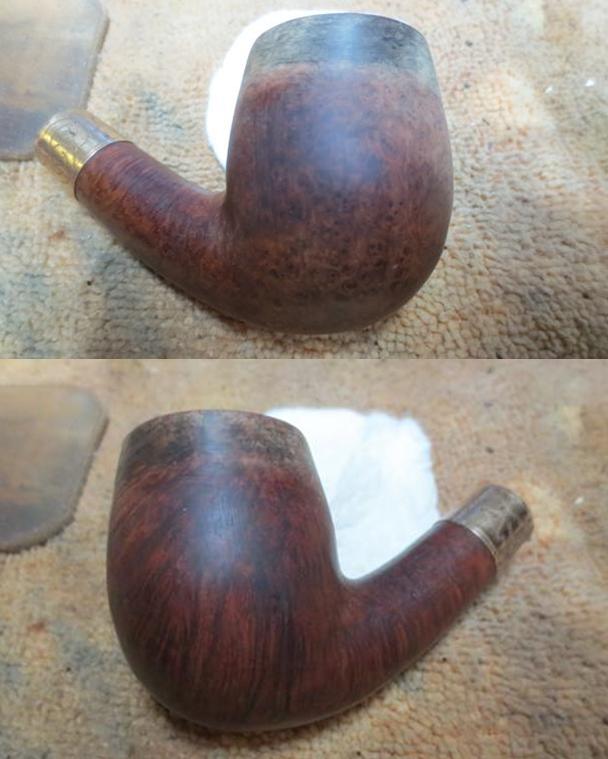
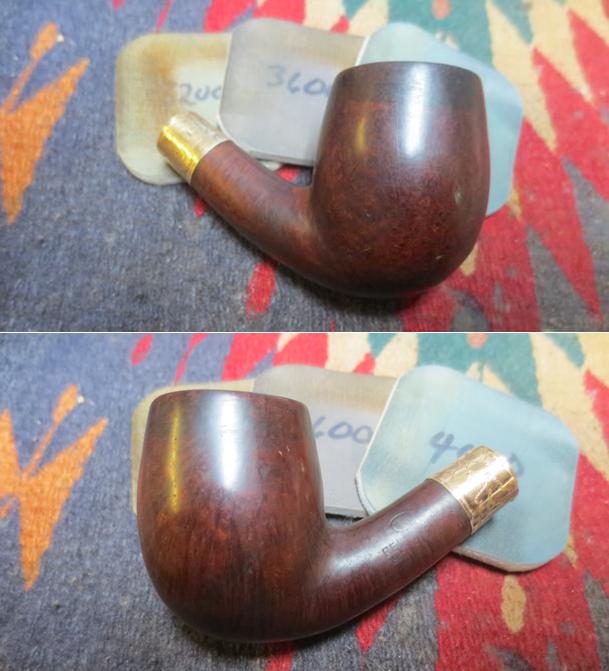
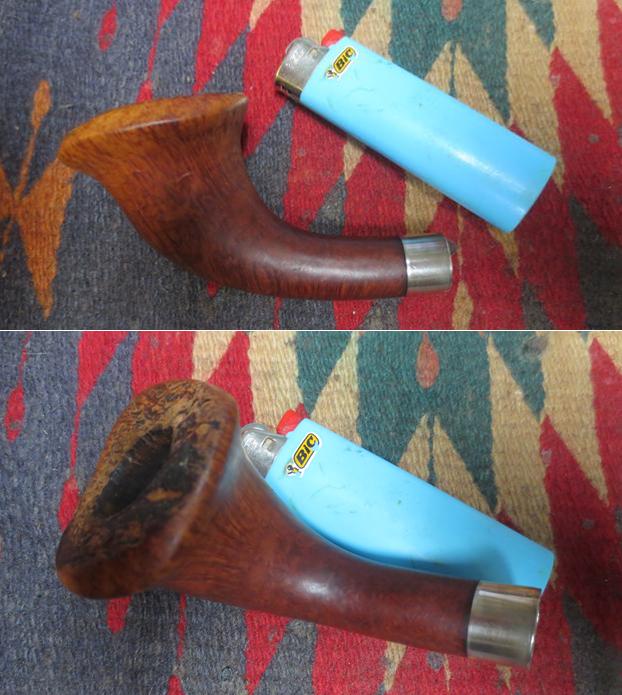
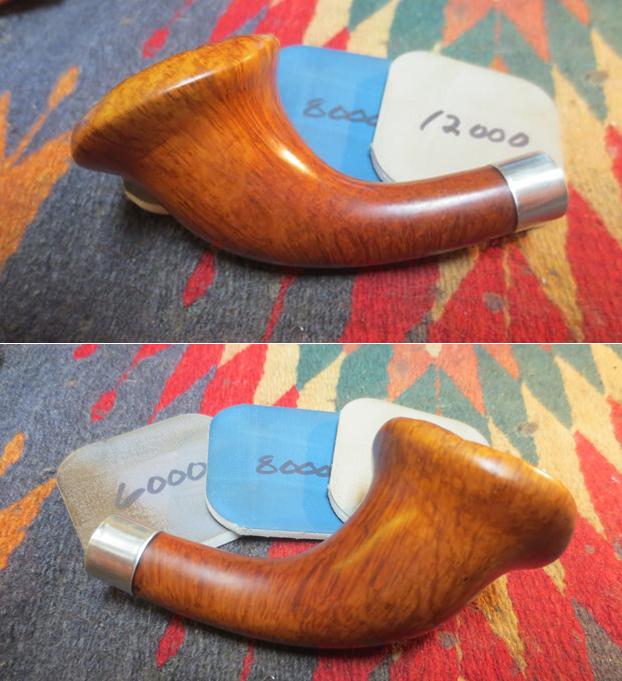
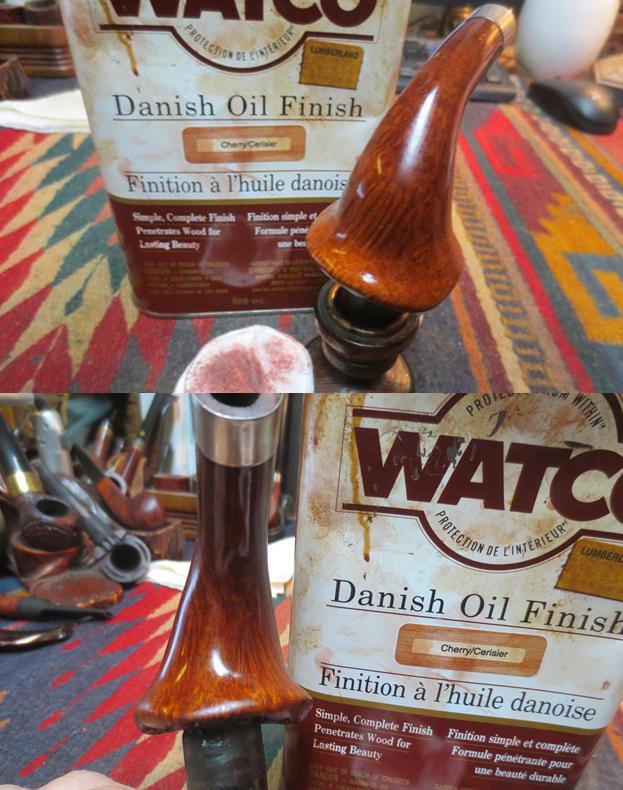
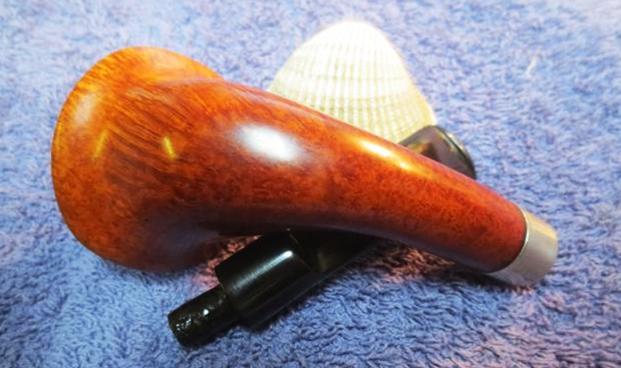
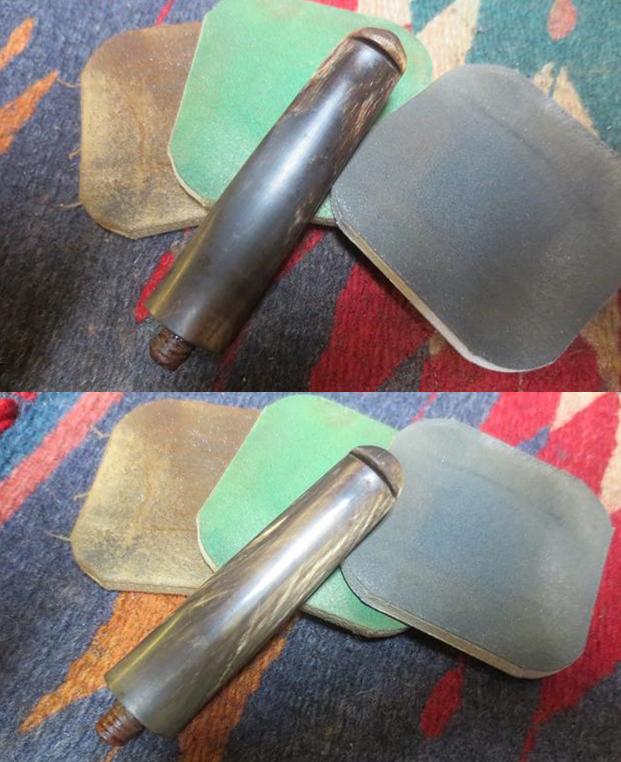
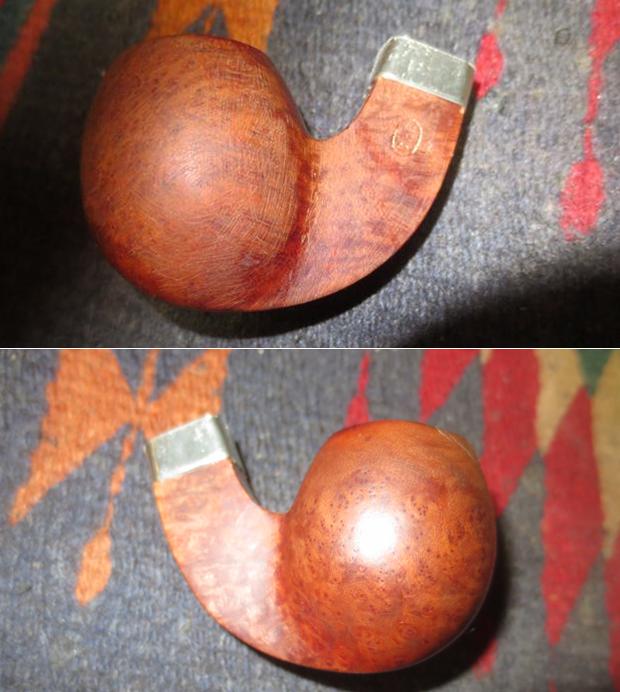
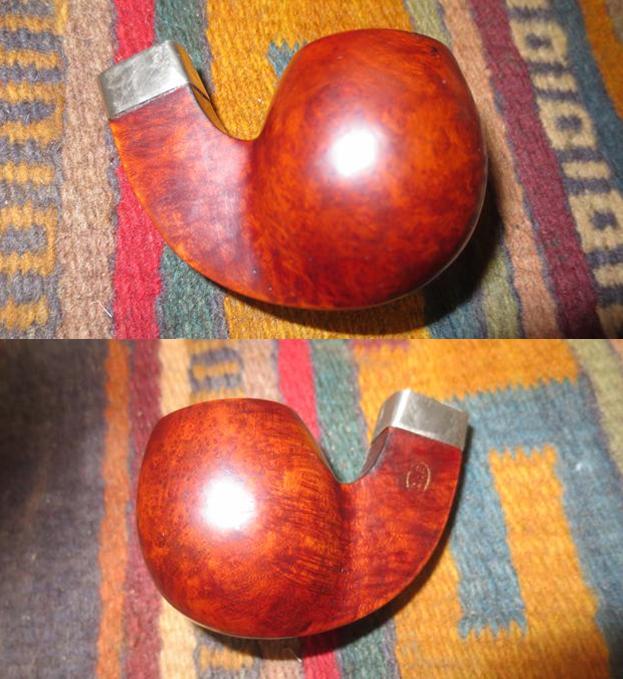
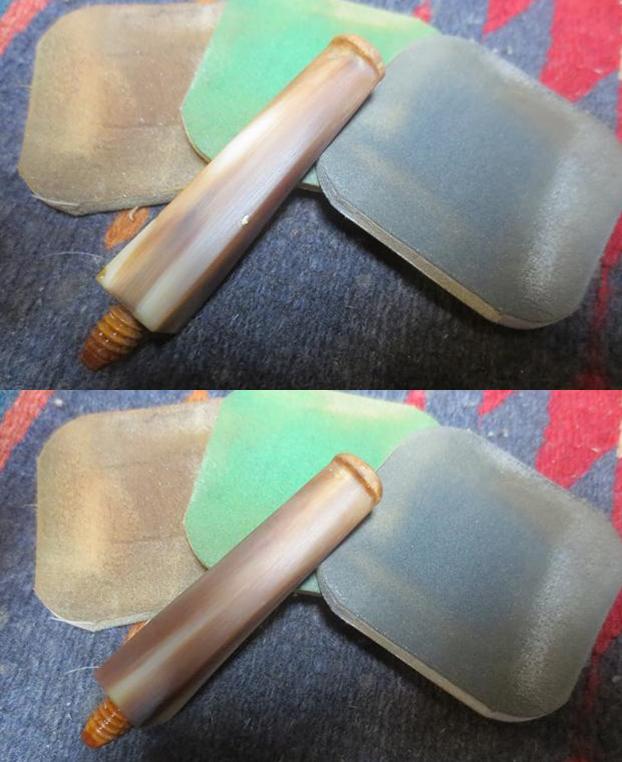
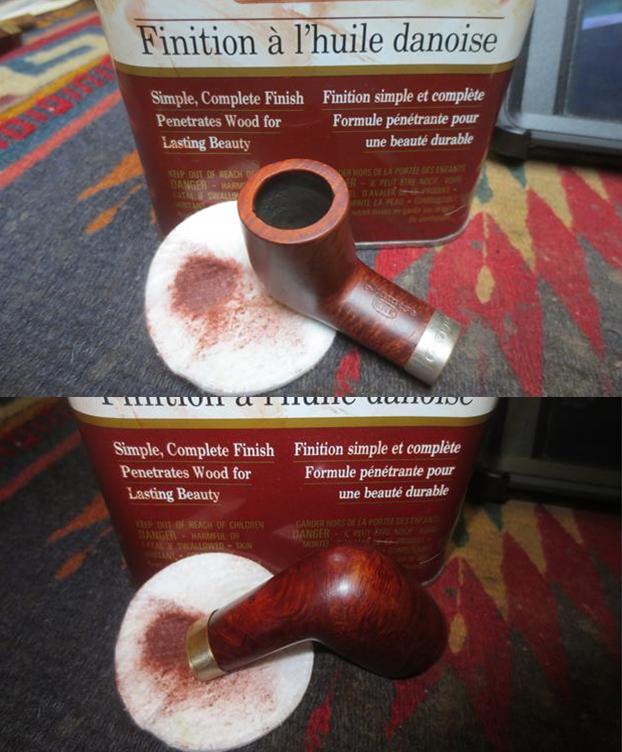
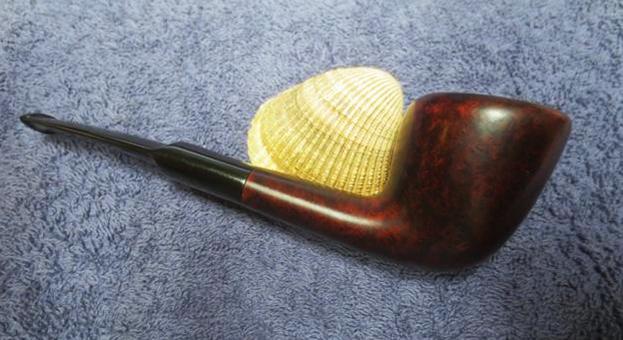
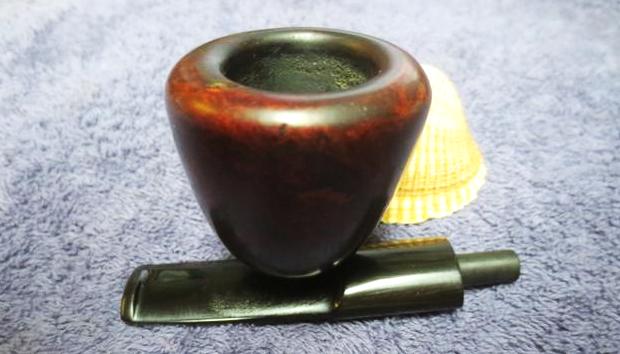
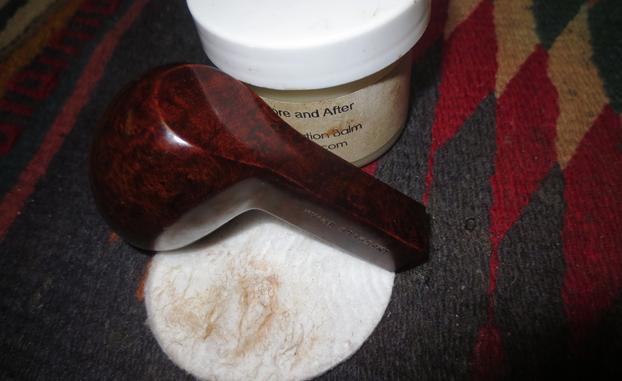
 I buffed the bowl with a soft cotton cloth to polish the Danish Oil. I took the following pictures to show the bowl at this point in the process. I still need to buff it again on the wheel and give it multiple coats of carnauba wax.
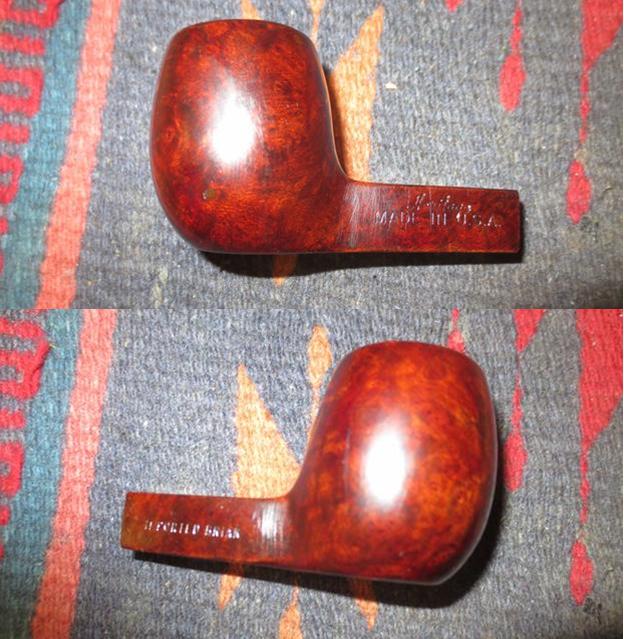
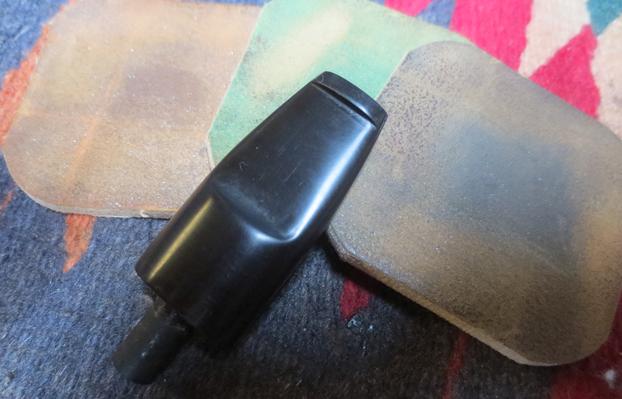
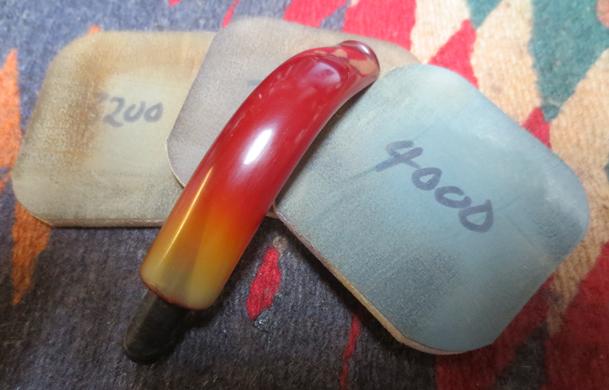
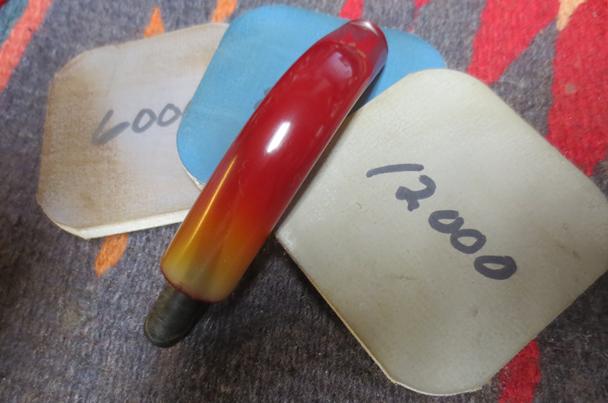
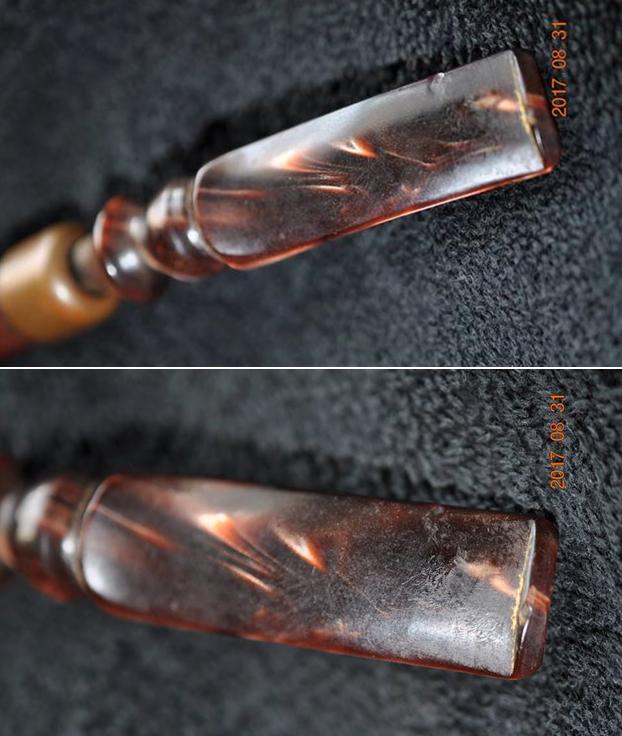
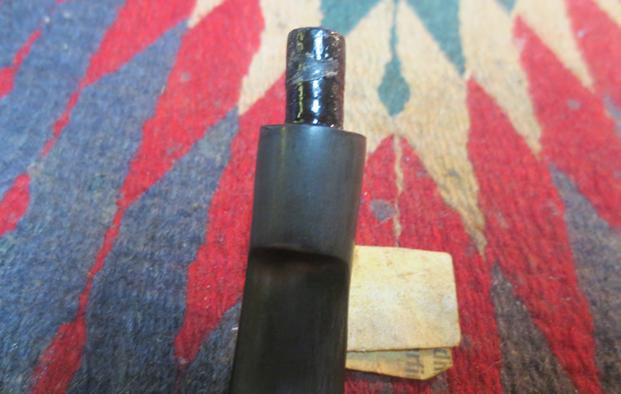
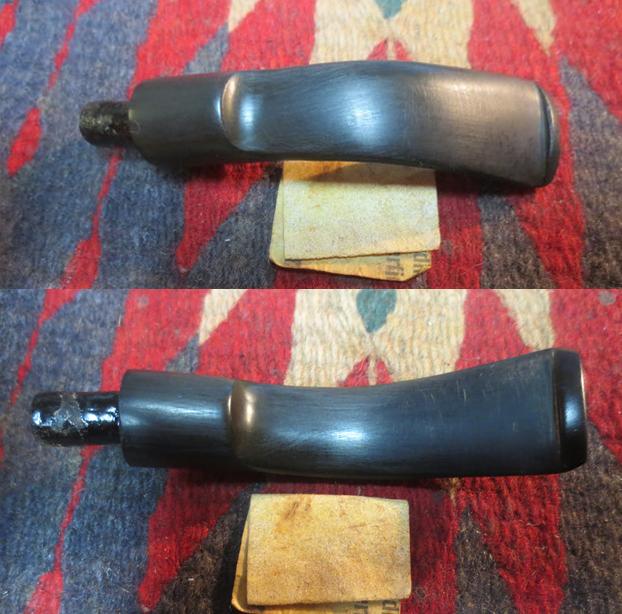
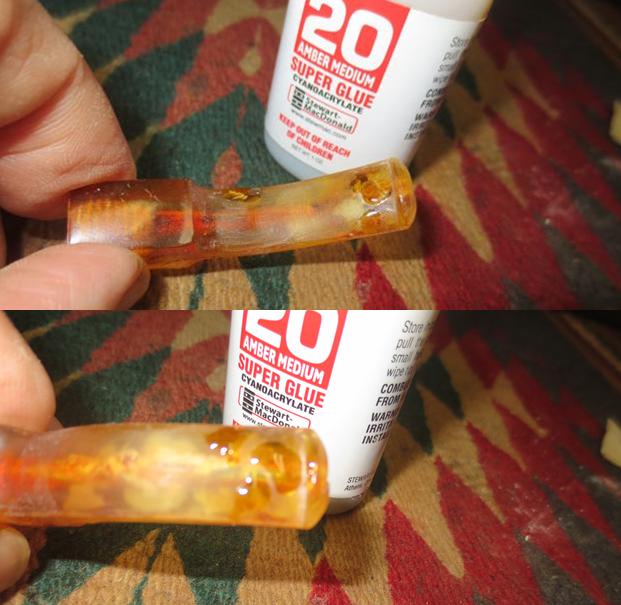
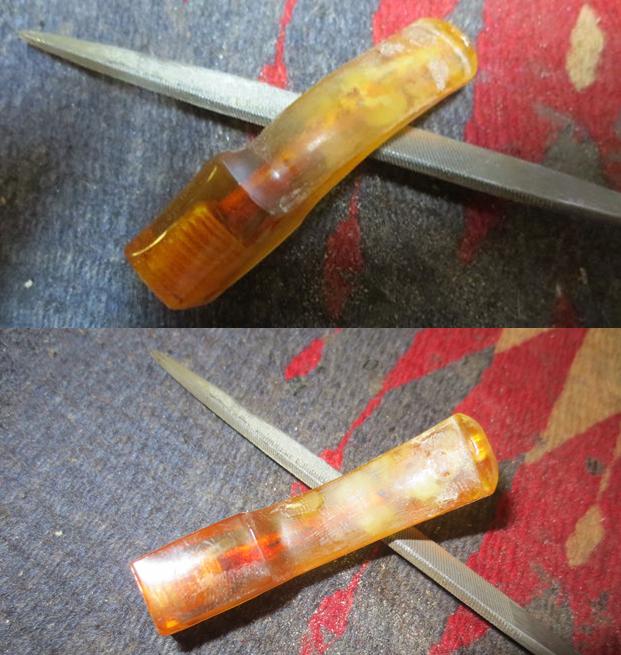
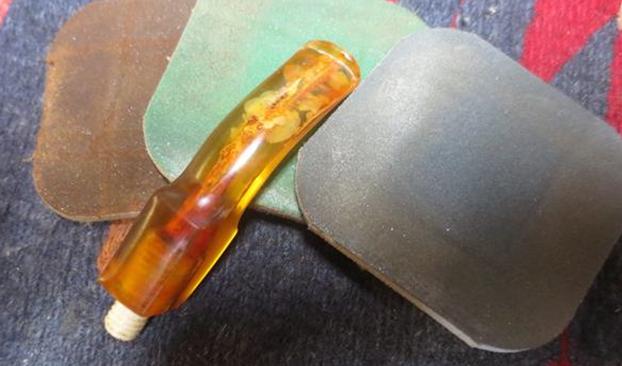
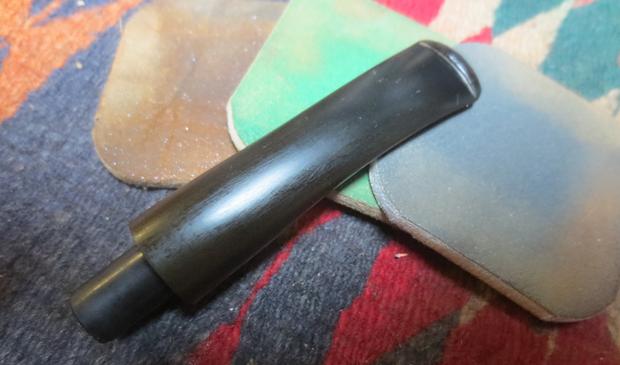
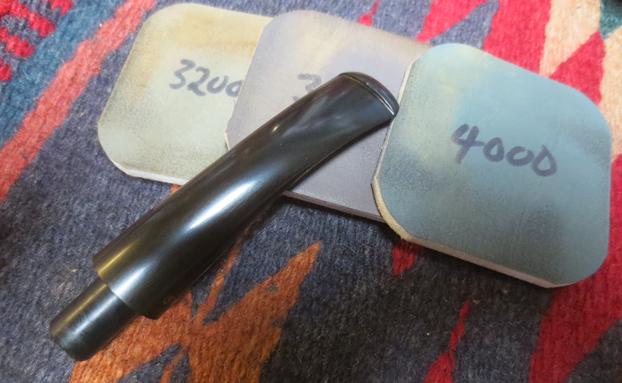
 I set the bowl aside and turned my attention to the stem. I sanded out the tooth marks and chatter with 220 grit sandpaper. I carefully blended them into the surface of the vulcanite. I also worked over the sharp edges of the button to clean up the marks that were left behind there. The sanding dust left behind on the sandpaper was a rich, dark black which spoke well of the quality of the vulcanite that was used on this stem. To me it also was further proof of the stem being original rather than a later poor quality replacement.
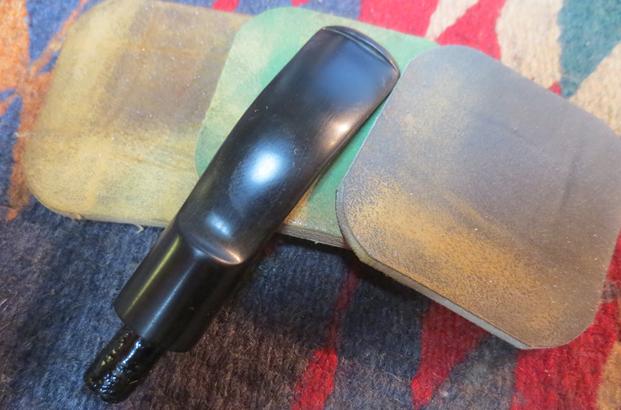
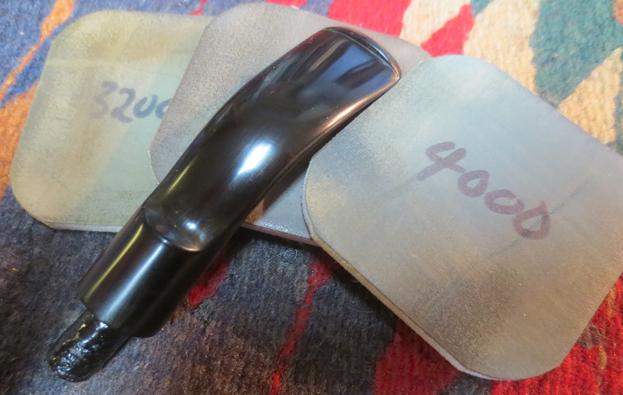
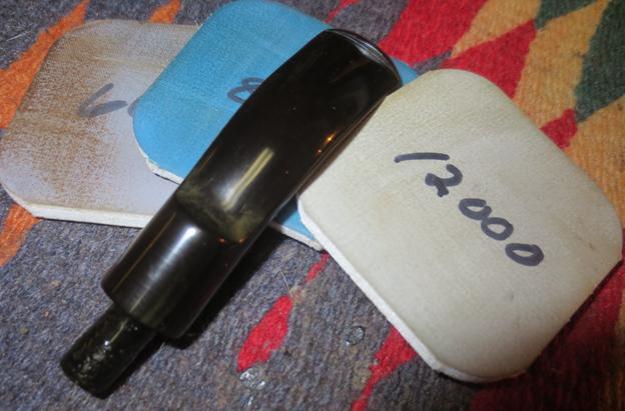
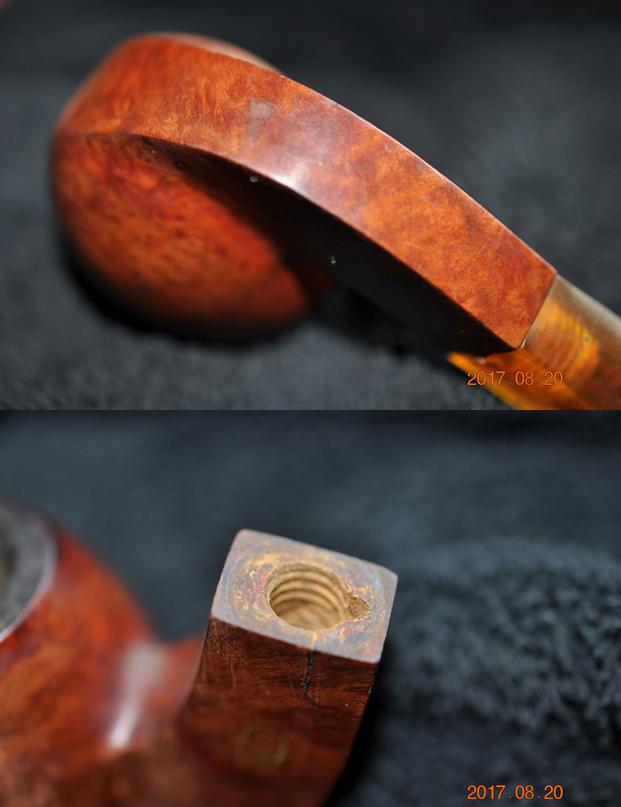
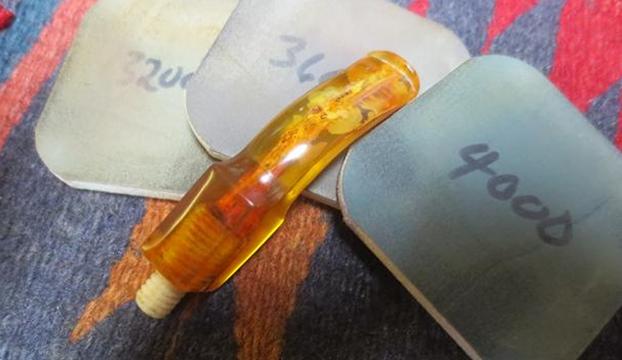
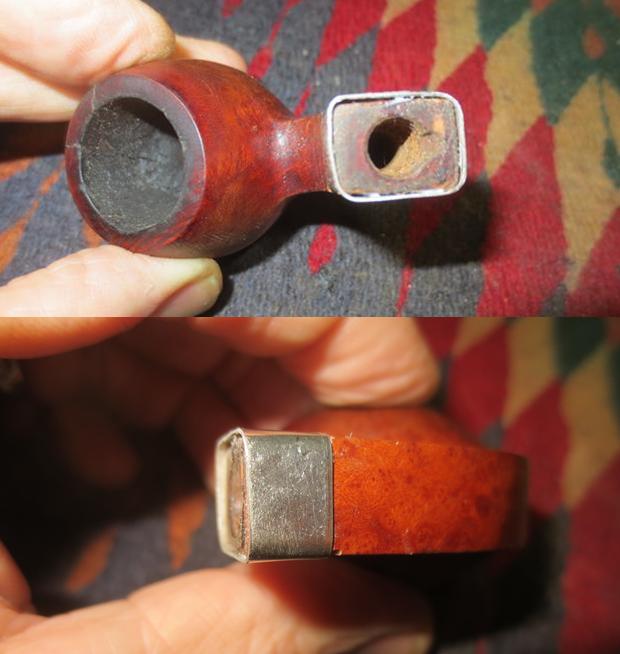
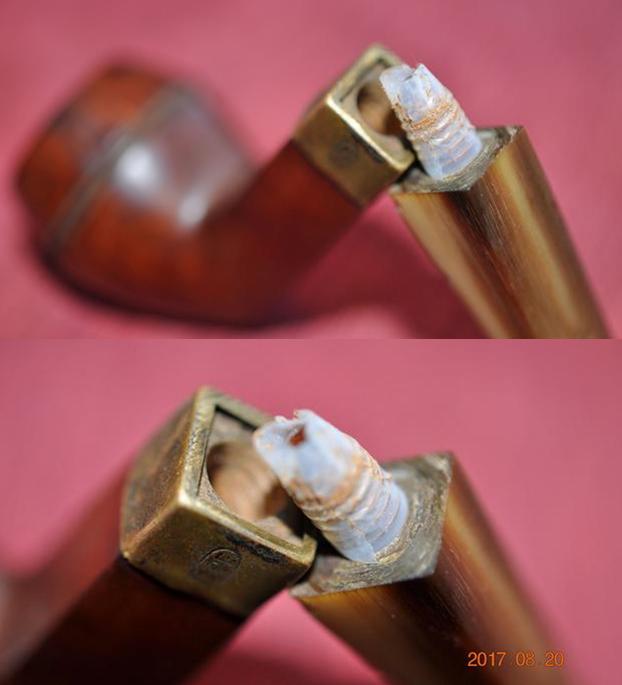
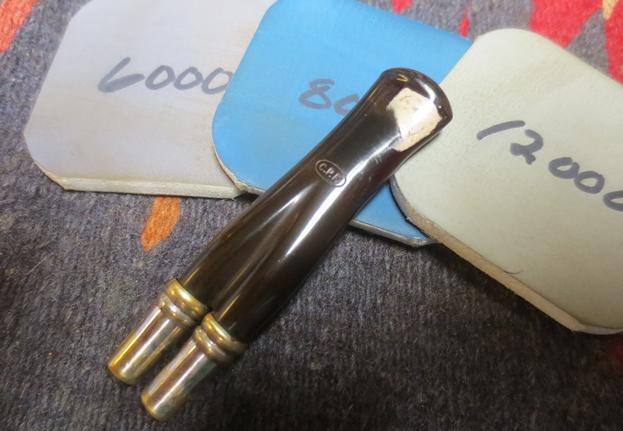
 The one oddity to the pipe was that the shank was thinner on the right side than the left. The mortise was drilled straight but it was definitely not centered in the shank. Due to that the tenon on was slightly off to the right side of the shank to match. I polished the stem with micromesh sanding pads. I wet sanded it with 1500-2400 grit pads and wiped it down with Obsidian Oil after each pad. I dry sanded with 3200-12000 grit pads and again wiped it down with Obsidian Oil. I finished the polishing with the pads and gave it a final coat of the oil and set it aside to dry.
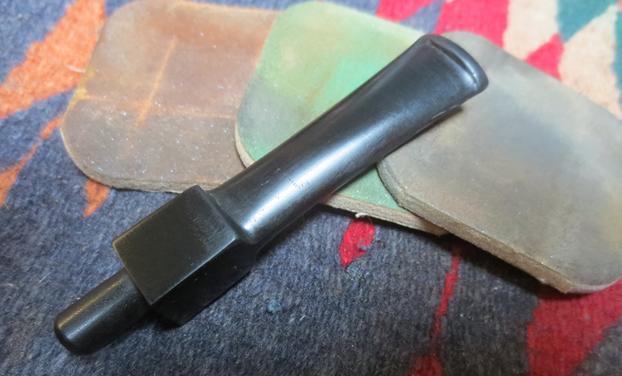
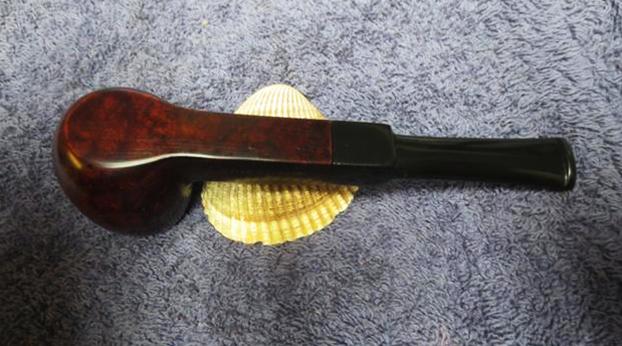
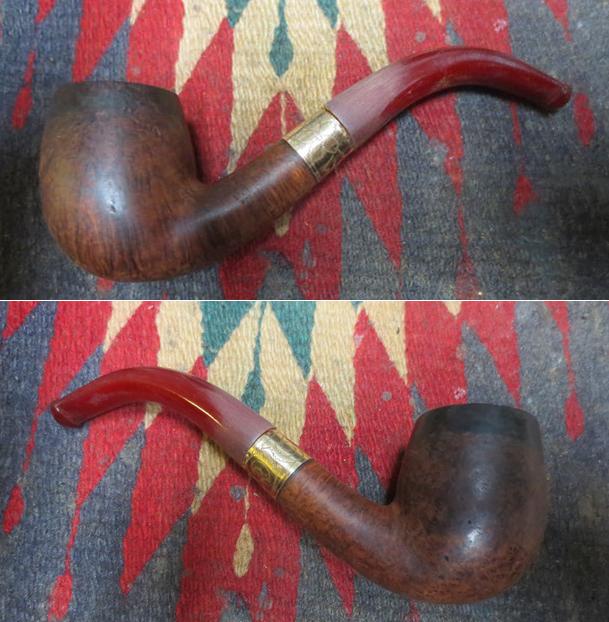
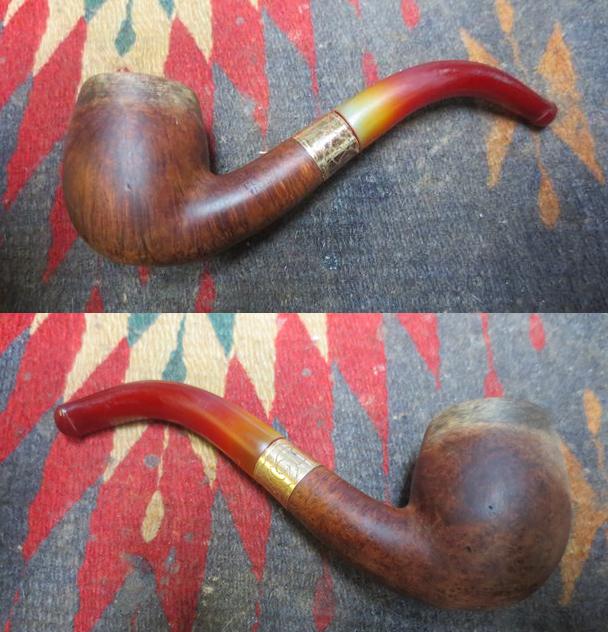
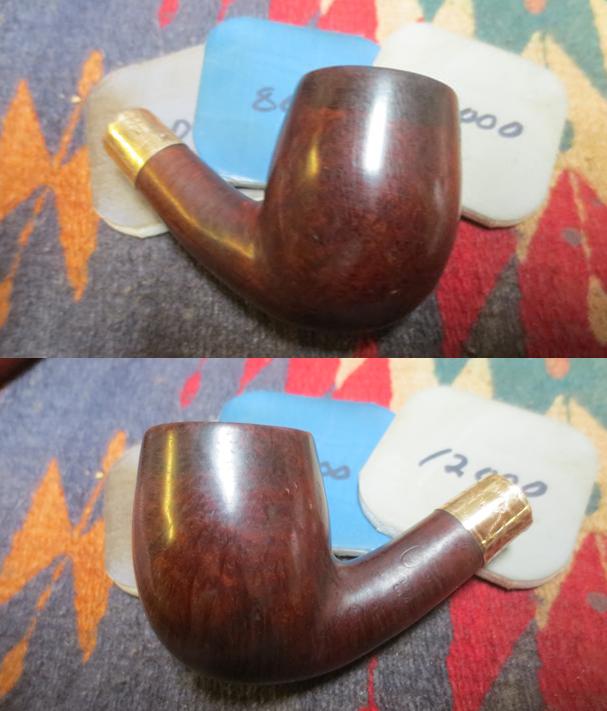
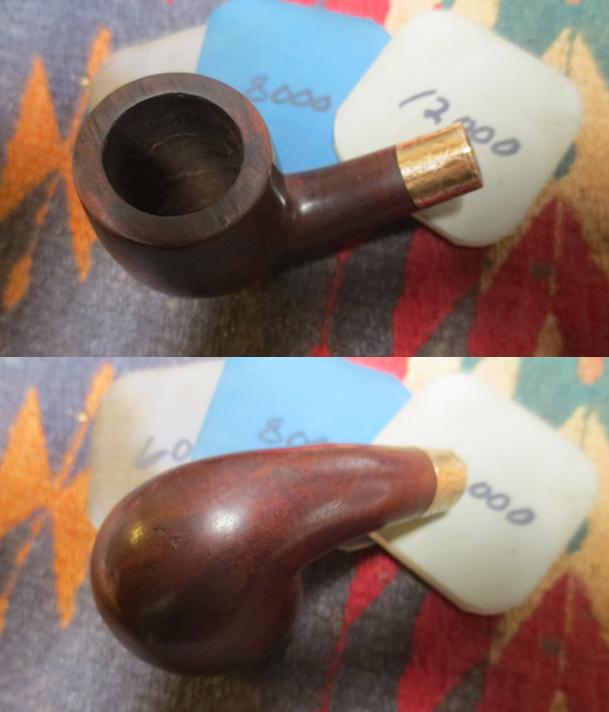
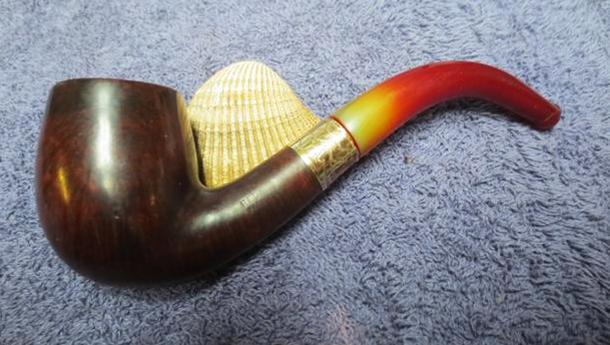
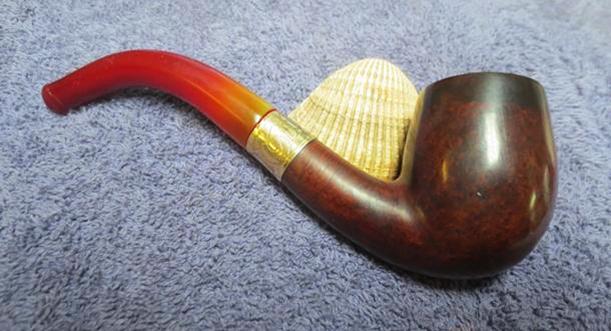
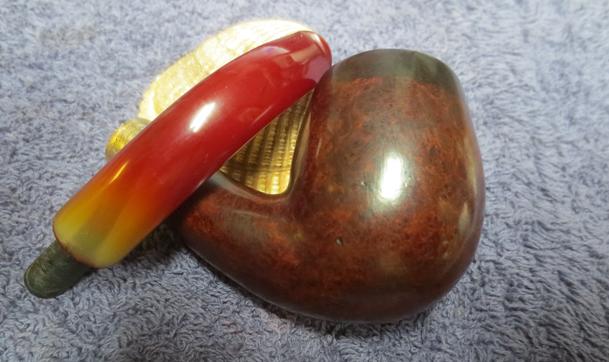
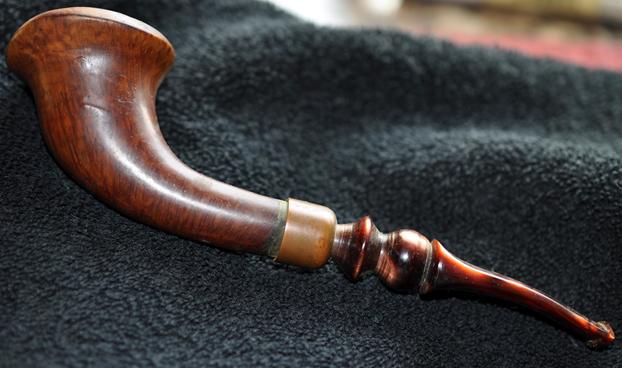
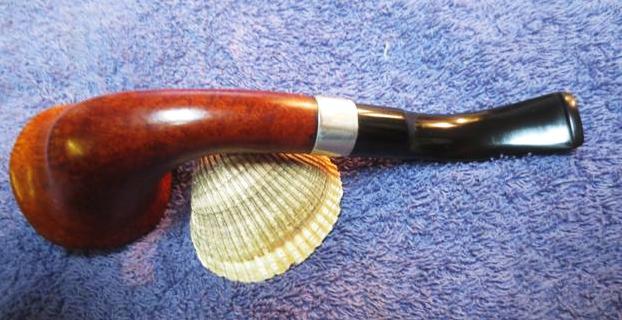
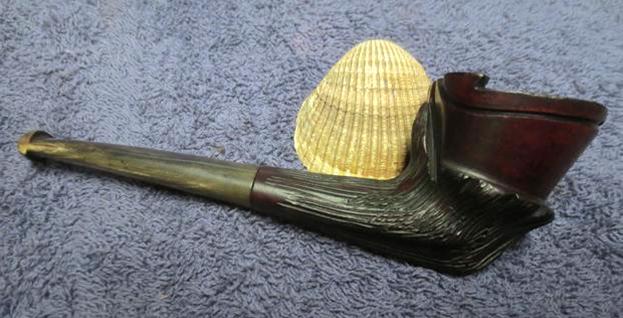
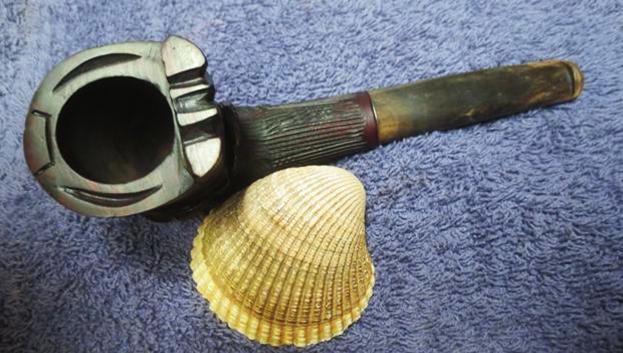
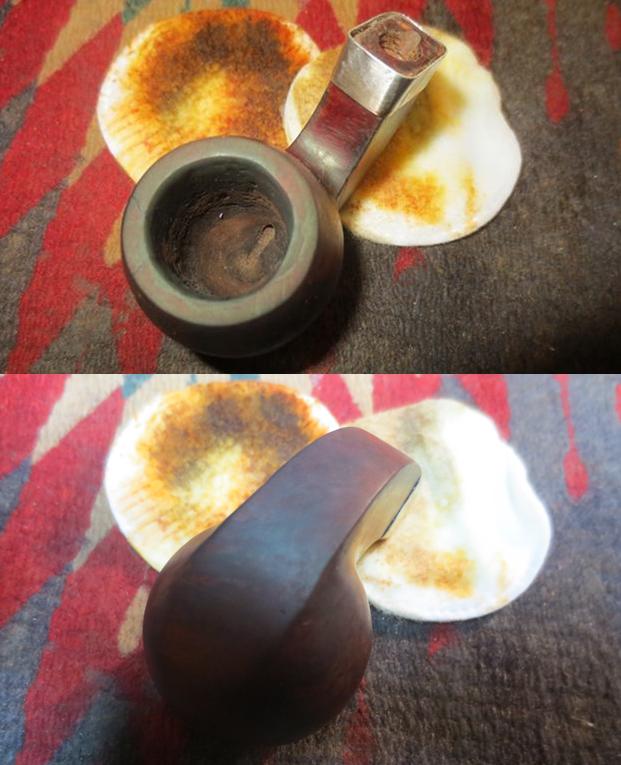
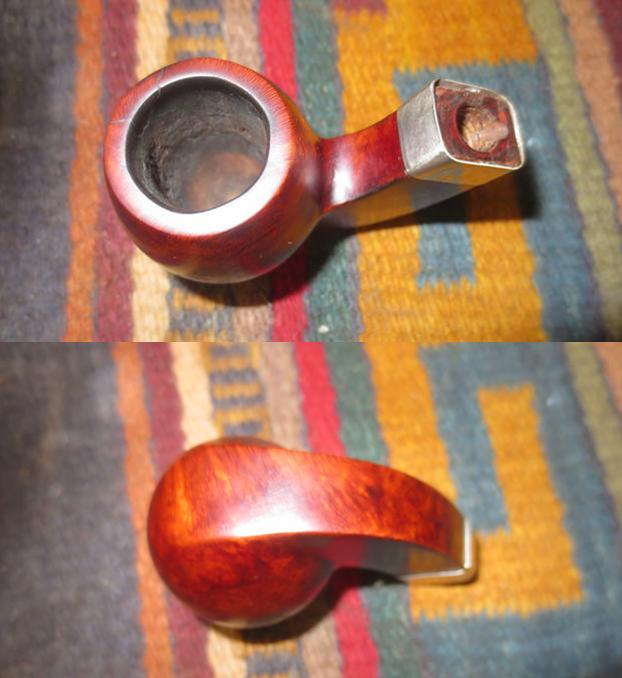
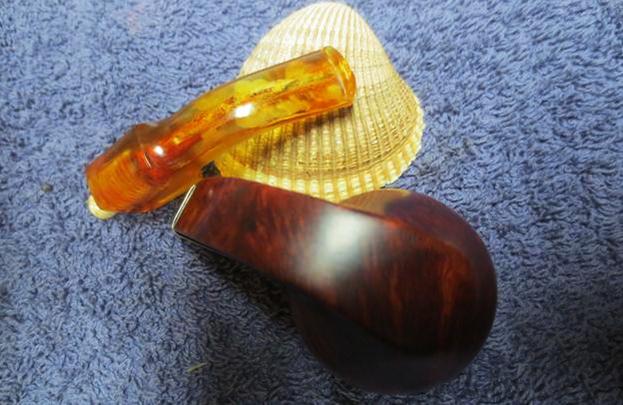
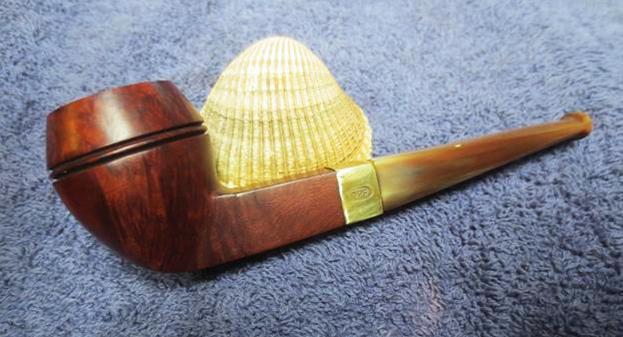
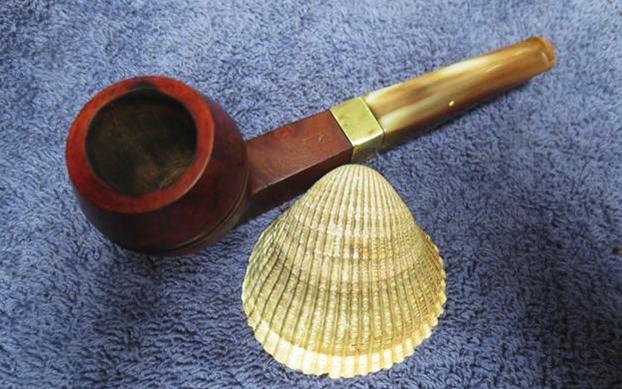
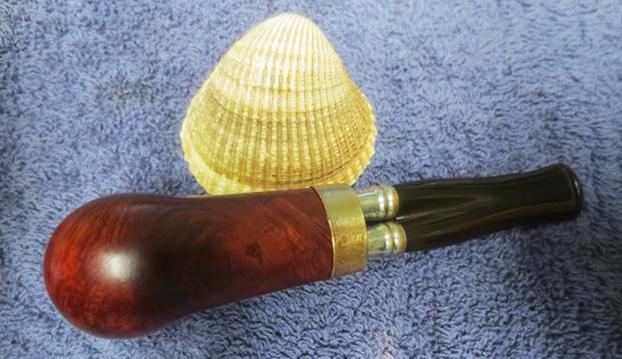
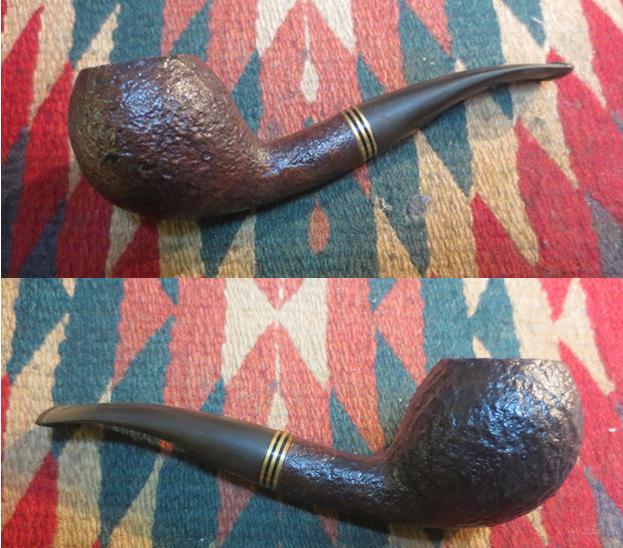
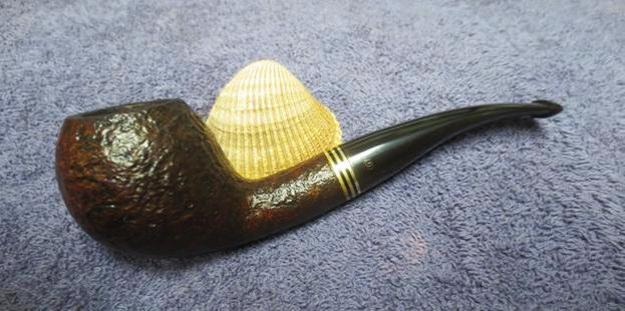
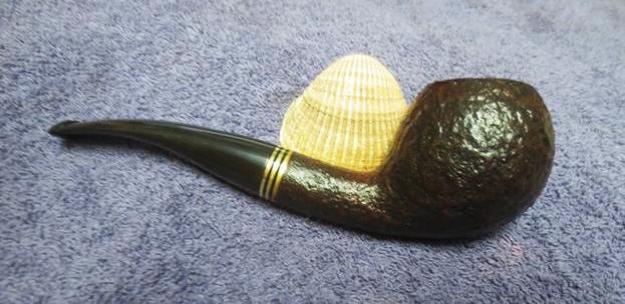
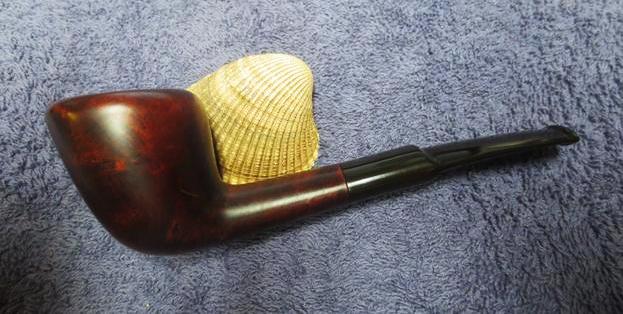
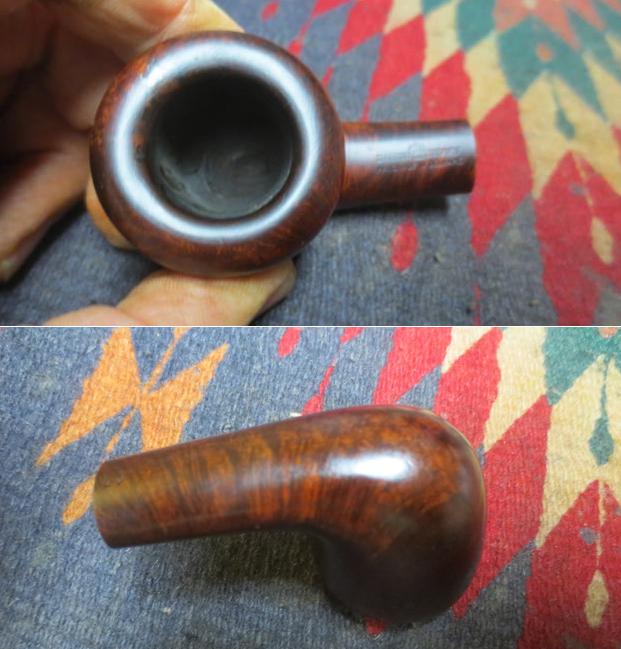
 I put the stem back on the bowl and worked the pipe over on the buffing wheel using Blue Diamond polish to further remove scratches on the bowl and shank. I gave the bowl and stem multiple coats of carnauba wax and buffed the pipe with a clean buffing pad to raise the shine. I hand buffed it with a microfiber cloth to deepen the shine. The finished pipe is shown in the photos below. It looks better than it did in the beginning. I still think it is a transitional piece between the classic higher end Heritage line and the later line that came out when the classic line ended. It is still a beautiful pipe. The finish is good but not nearly as well done as the classics. The dimensions of the pipe are: Length: 5 ½ inches, Height: 1 ¾ inches, Diameter of the bowl: 1 1/8 inches, Diameter of the chamber: ¾ inches. Thanks for looking.