Blog by Steve Laug
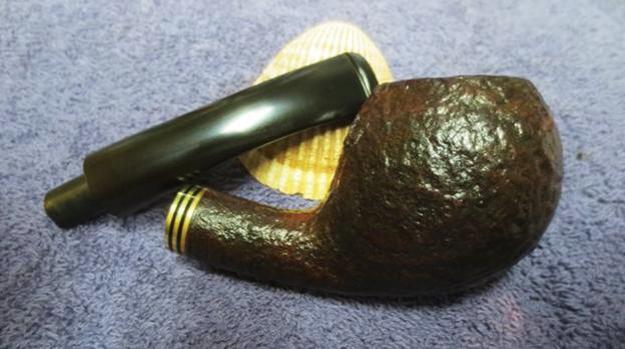
The photos of this Georg Jensen bent apple made the pipe look pretty good. The sandblast finish look pretty good and the stain is mottled but look like it may have been intended to look that way. The bowl had a cake but not too thick and the lava overflow on the rim top appeared average and not much work. The stem was lightly oxidized with most of the oxidation occurring around the button. There was the characteristic GJ stamp on the left side of the stem. It looked like the stem had worn one of the rubber bite guards as the sludge that usually accompanies the removal of those was on the stem. There was tooth chatter on both sides of the stem and a deeper tooth dent on the underside near the button. The pipe was stamped Royal Navy over Hand Made in Denmark with the shape number 93 on a flat smooth band on the underside of the shank. There was a black and brass band on the shank end. My brother took photos before he did his cleanup work on the pipe.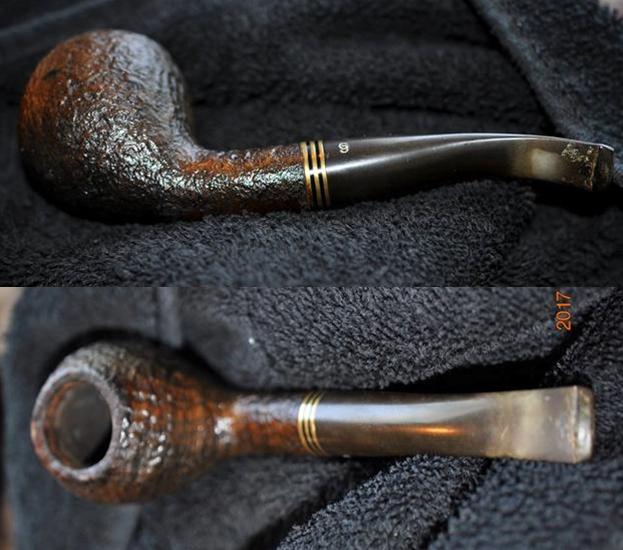
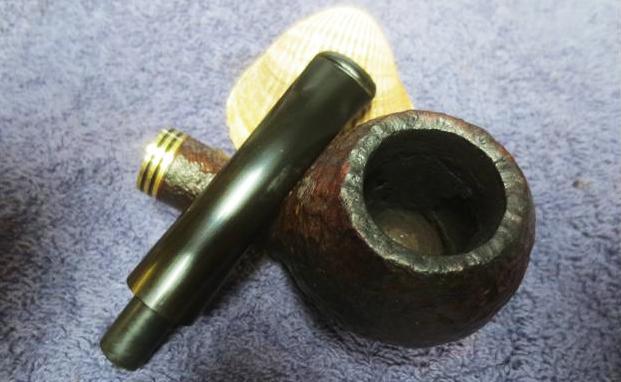
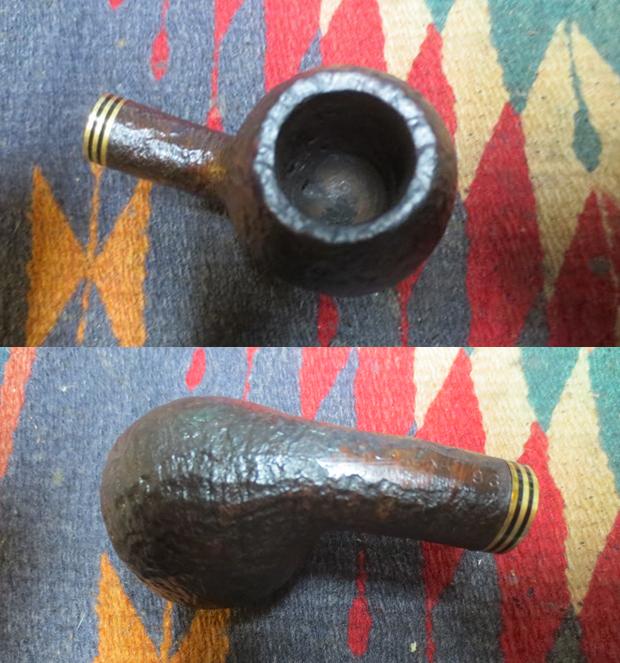
 The next two close up photos of the rim and bowl show the general condition of the pipe. You can see the buildup of tar on the rim filling in the details of the sandblast. You can also see the damage to the outer edge of the rim where it had been banged out against a hard surface.
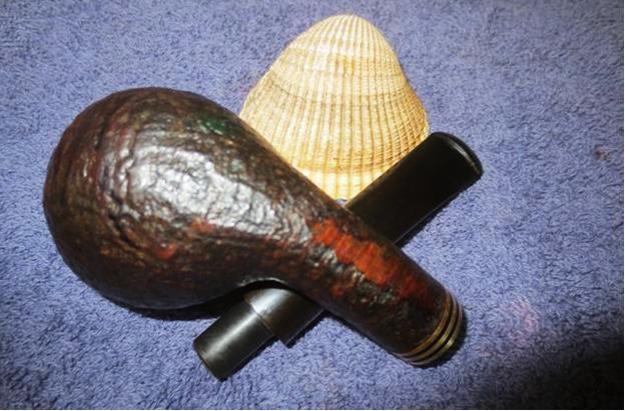
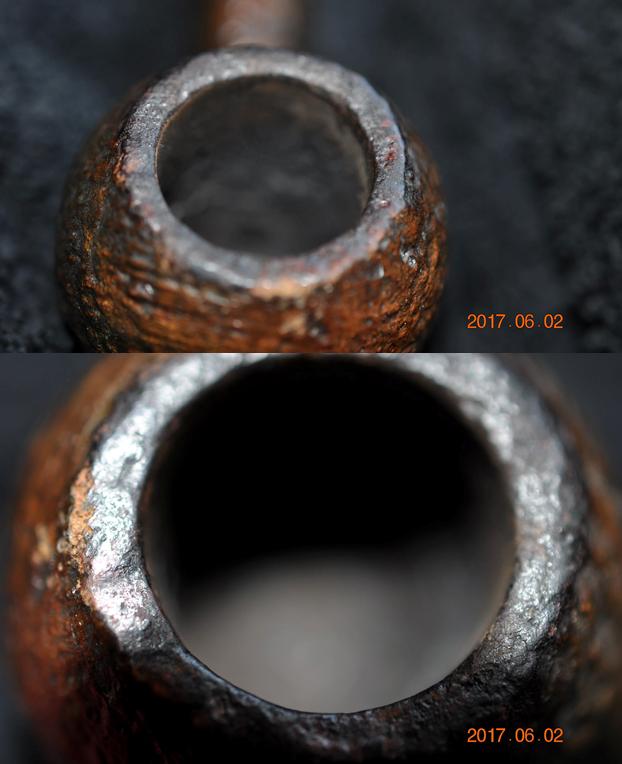 Jeff took some close up photos of the sides and bottom of the bowl to show the condition of the finish. It was dirty and spotty. It appeared to be a heavy plasticized finish on top of the stain coat. There were some dark spots on the front and bottom of the bowl.
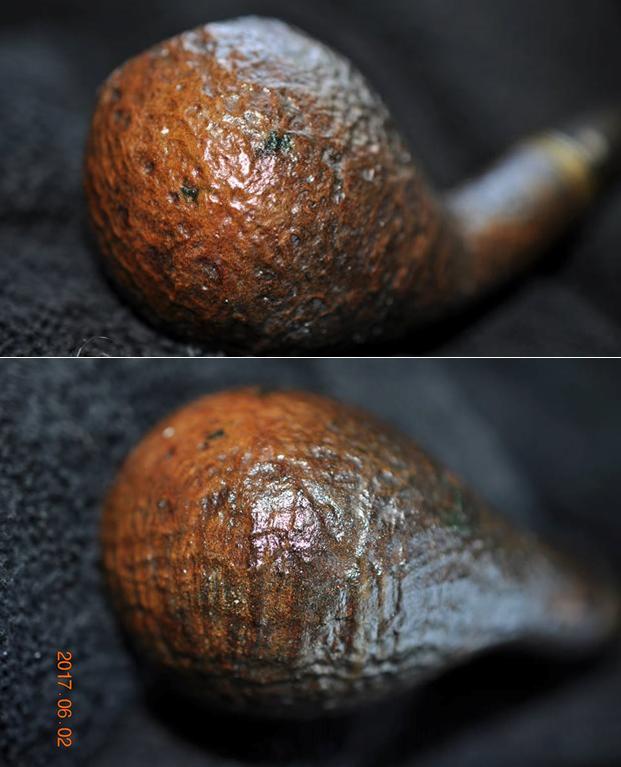 Jeff also took photos of the stamping on the underside of the shank and the stamping on the left side of the stem.
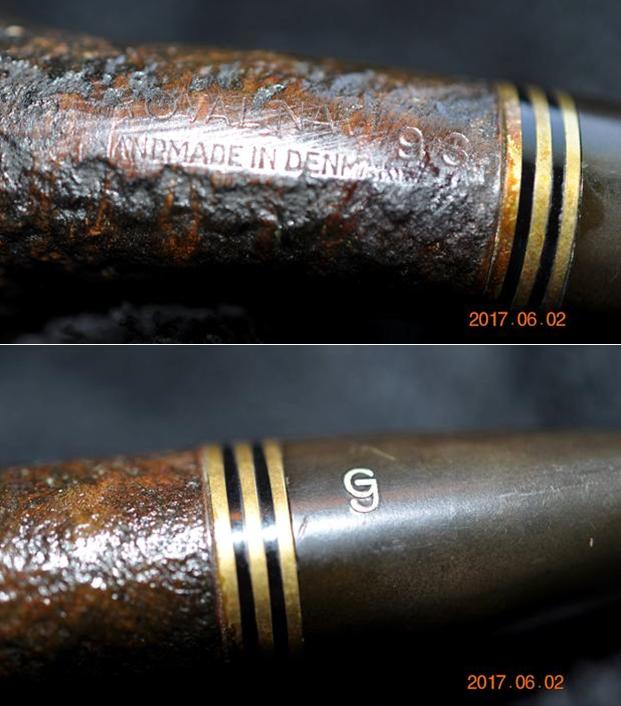 The next two photos show the condition of the stem. The first one shows tooth chatter and wear on the button face as well as the top side of the stem. The second one shows a deep tooth mark on the underside against the button. There is also a deep mark on the sharp edge of the button next to the tooth dent.
 This Georg Jensen Hand Made Royal Navy 93 came to me clean and ready to restore. Jeff had reamed the bowl with a PipNet pipe reamer and cleaned it up with a Savinelli Fitsall Pipe Knife. He scrubbed out the 9mm filter mortise and the airways in the shank and filter holder in the stem with alcohol, cotton swabs and pipe cleaners. He scrubbed the bowl and rim top with a tooth brush and Murphy’s Oil Soap. He rinsed it with running water to remove the grime and the soap. He soaked the stem in an OxyClean bath to remove the oxidation. I took photos of the pipe before I started restoring it. One of the most frustrating things for me in pipe restoration is bowls that have been coated with a thick coat of some kind of plastic finish. That is what was covering the briar on this Jensen. The brass band with two black rings on the shank added a nice touch but I could hardly see if for the shiny plastic coat over the surface of the briar.
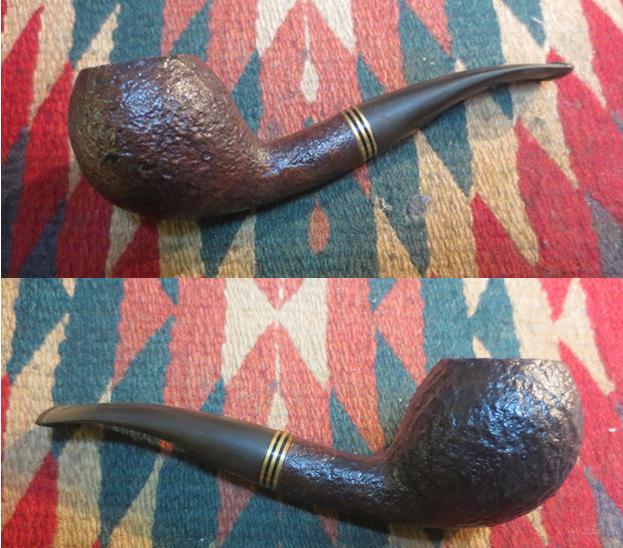
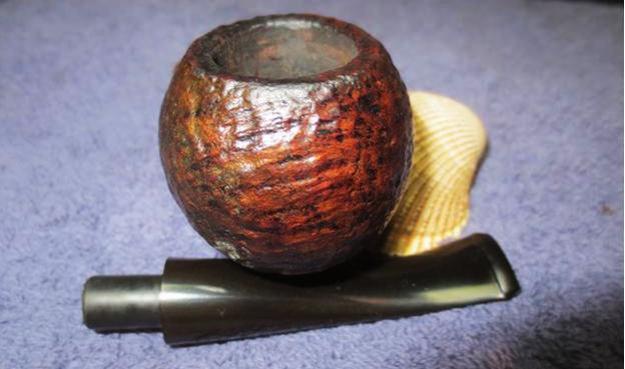
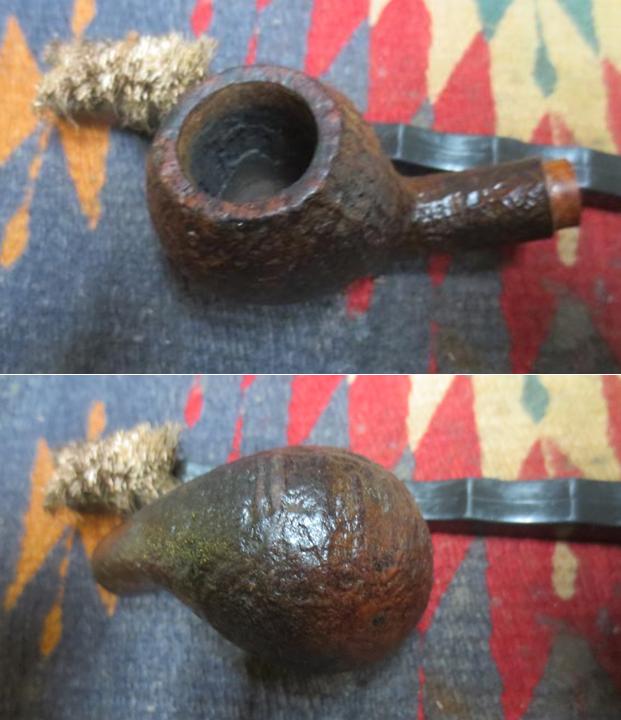
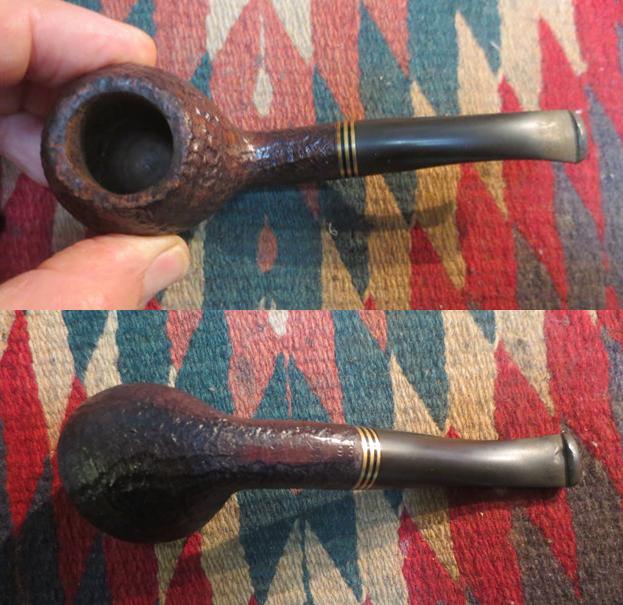 I took a close up photo of the rim top and bowl after the cleanup Jeff had done. He did a great job removing the debris from the rim top it was clean and the sandblast finish was visible.
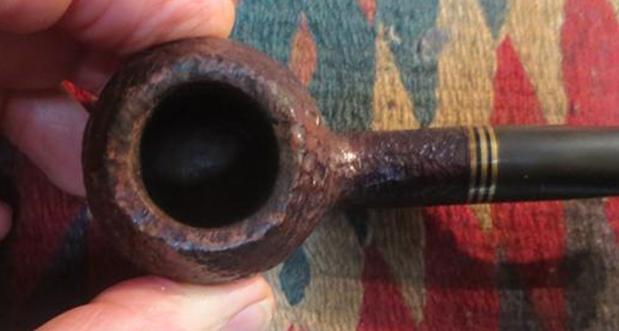 The oxidation on the stem was mostly at the end near the button. The photos show the tooth mark on the underside very clearly.
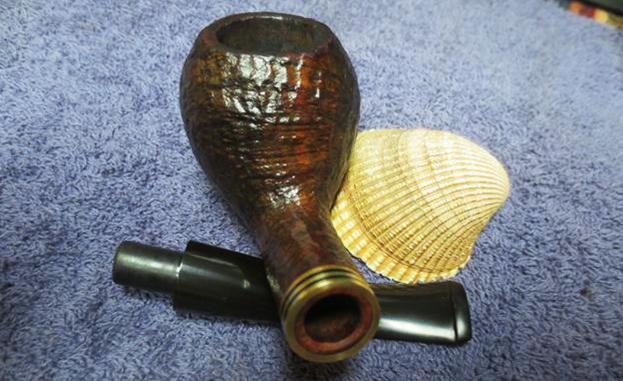
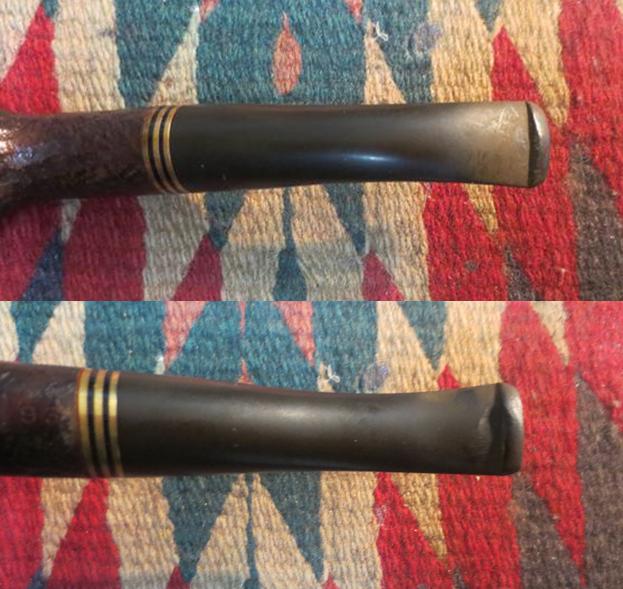 I took the stem off the shank and the band fell free of the shank end. It would need to be reglued and held in place until it dried.
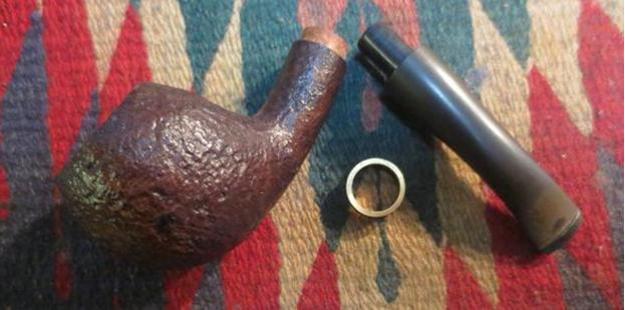 I dropped the bowl in an alcohol bath to soak. I was hoping that the alcohol would soften the topcoat on the bowl and let me work over the finish. I was not sure it would but it was worth a try. I left it to soak and addressed the stem.
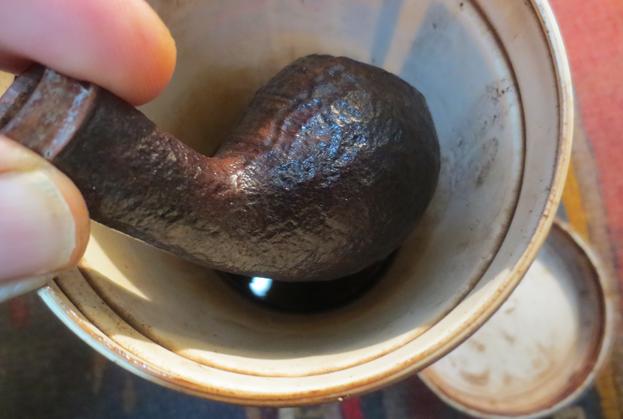 I sanded the stem with 220 grit sandpaper to remove the oxidation and the tooth chatter on the surface of the stem. The dent on the underside of the stem was deep enough that I wanted to see if I could heat the dent to raise it. I used a Bic lighter to paint the surface of the stem with the flame. The heat raised the dent to the surface.
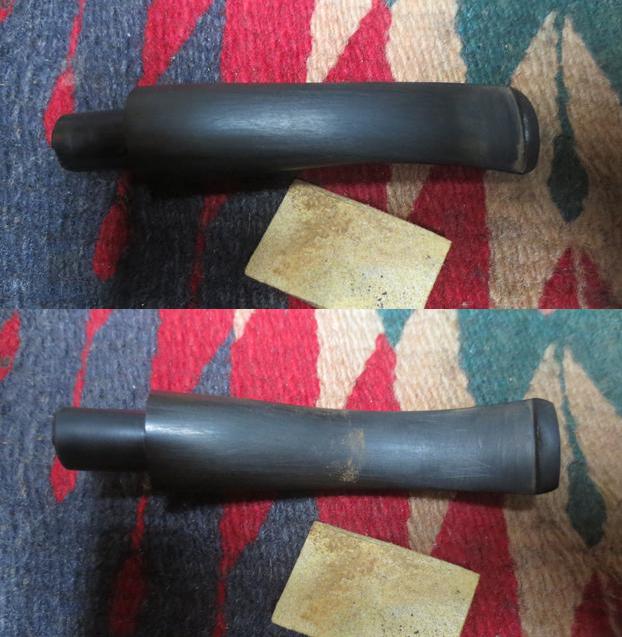
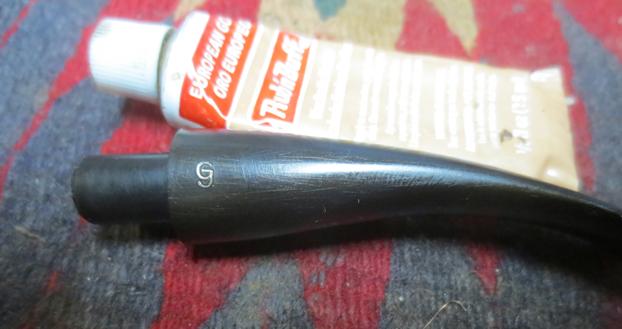
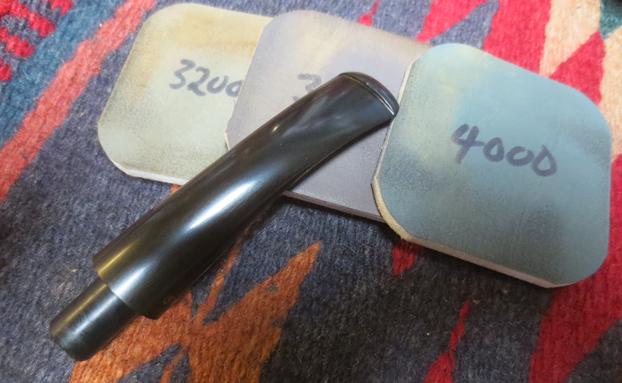
 I polished the stem with micromesh sanding pads – wet sanding it with 1500-2400 grit pads. After the first set of three pads I used some Rub’n Buff European Gold to fill in the GJ stamp on the side of the stem. I applied it with a cotton pad and rubbed off the excess. Once it dried I used the 3200-12000 grit pads to dry sand the stem. After each micromesh sanding pad I rubbed the stem down with Obsidian Oil to enliven the vulcanite. After the 12000 grit pad I set the stem aside to dry.
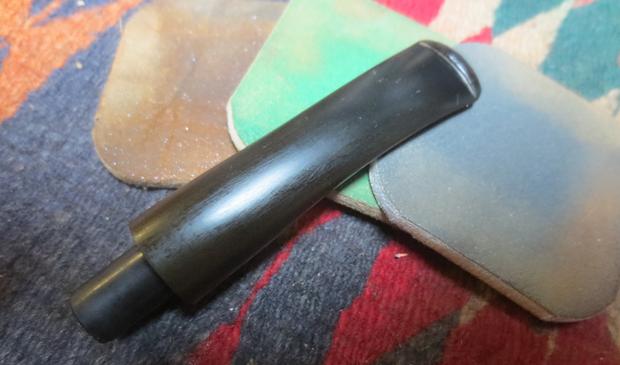
 I took the stummel out of the alcohol bath and used a brass bristle wire brush to break down the plastic coat on the briar. I worked at it until the surface of the bowl was dull and lifeless. I wiped it down with acetone and a cotton pad and repeated the process until I had removed the majority of the plastic coat.
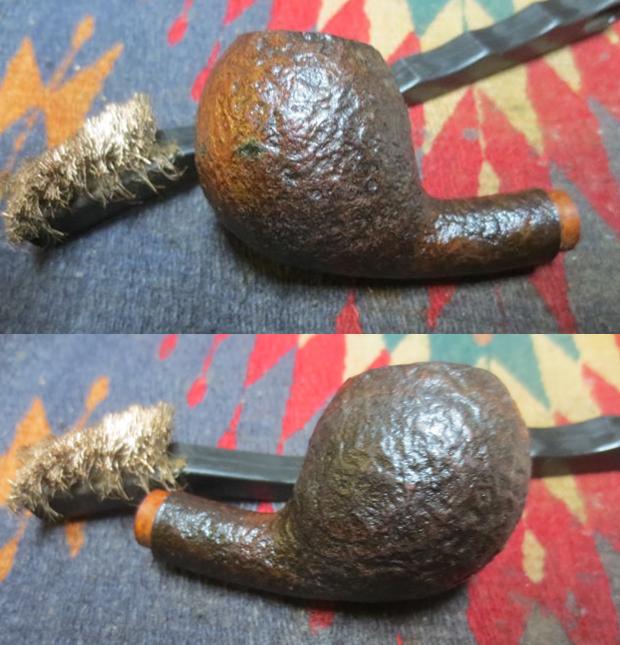
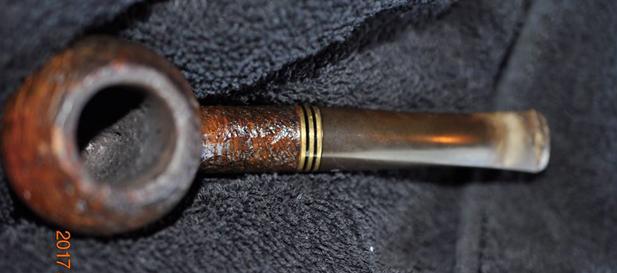
 I put some all-purpose glue on the end of the shank and spread it around the perimeter of the inset made for the band. I pressed the band in place on the shank end and wiped away the excess glue. It did not take too long for the glue to set and the band to be solidly in place on the shank.
 Now it was time to address the lighter areas on the front and the back of the bowl. I decided to use a black Sharpie Pen to colour in the low spots on the grain in between the ridges. I ran the pen across the flow of the sandblast to highlight these spots on the rim and the back and the front of the bowl. It would be a nice contrast with the rich chocolate brown stain that was on the bowl.
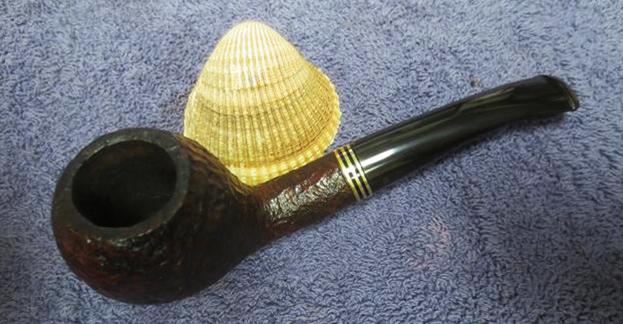
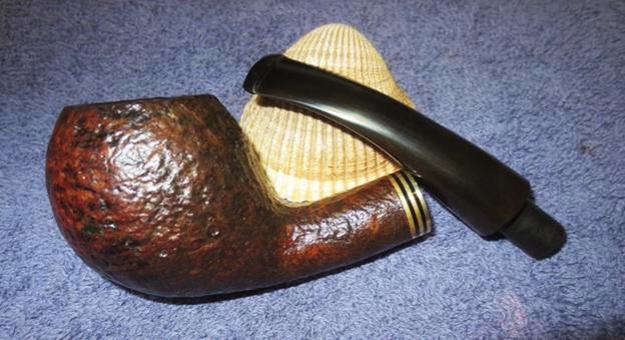
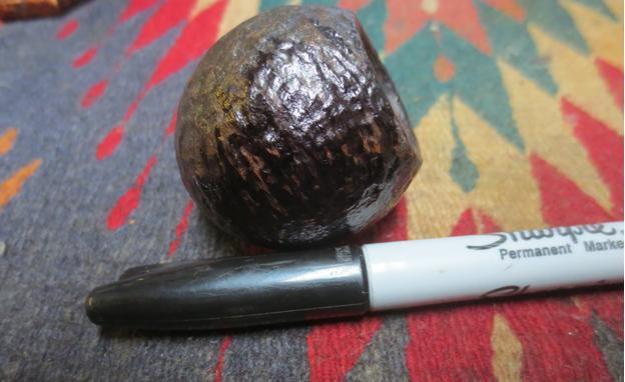 I buffed the bowl with Blue Diamond on the buffing wheel to blend in the black of the pen and the chocolate brown of the rest of the bowl. I took the following photos to show how well it blended into the finish.
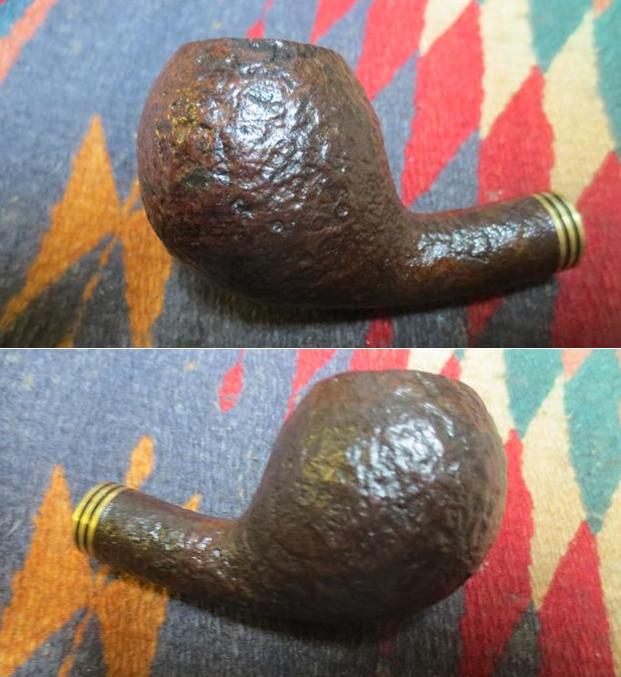
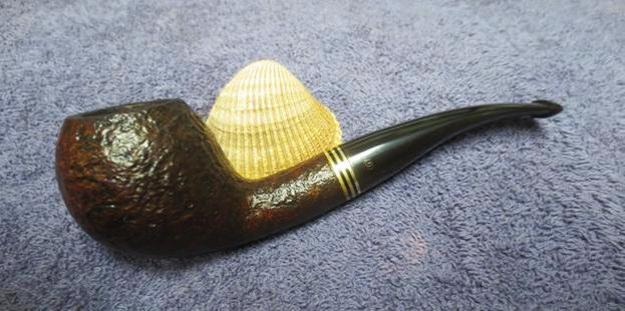
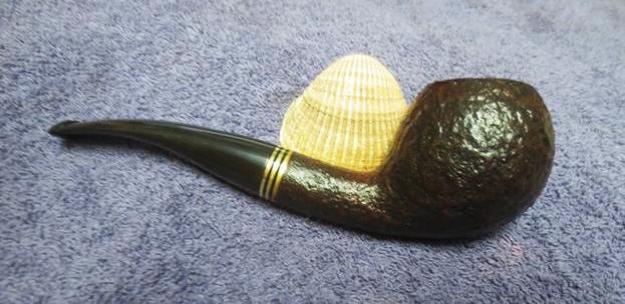
 I put the stem back on the bowl and buffed the entire pipe with Blue Diamond once again. I gave the bowl multiple coats of Conservator’s Wax and the stem multiple coats of carnauba. I buffed the pipe with a clean buffing pad to raise the shine. I hand buffed the pipe with a microfibre cloth to deepen the shine. The photos below show the finished pipe. The reflection of the polished brass band on the black of the vulcanite stem looks really good. The contrast of the blacks and browns in sandblast finish are really quite stunning. The dimensions of this pipe are Length: 6 inches, Height: 1 ¾ inches, Bowl diameter: 1 ¼ inches at the top of the rim, Chamber diameter: 7/8 inches. It a great looking pipe and one that will make a good smoker. It is drilled for a 9mm filter but can easily be used without one or a converter can be purchased from various online sources to slide into the 9mm tenon and change it into a regular pipe. If you are interested in this pipe send me an email to slaug@uniserve.com or a message on Facebook. I will be putting it on the rebornpipes store later today. Thanks for looking.