Blog by Steve Laug
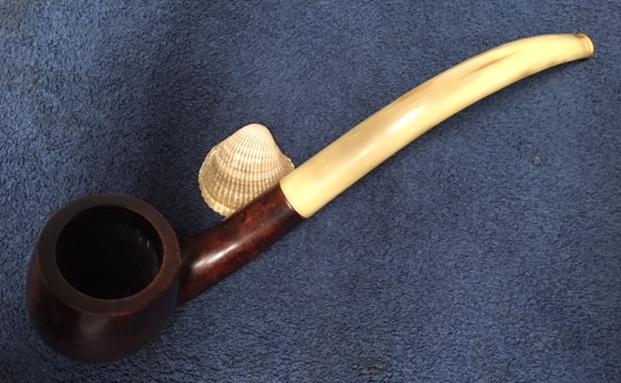
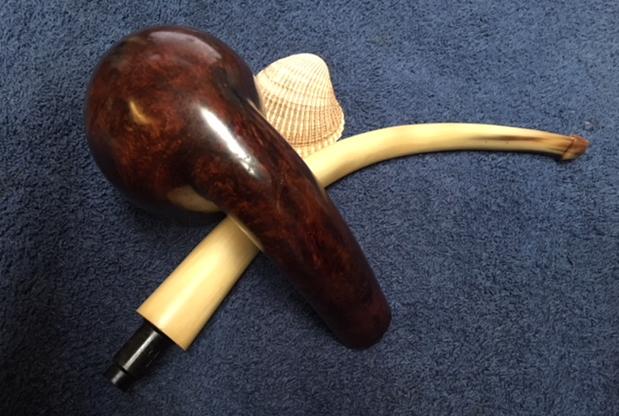
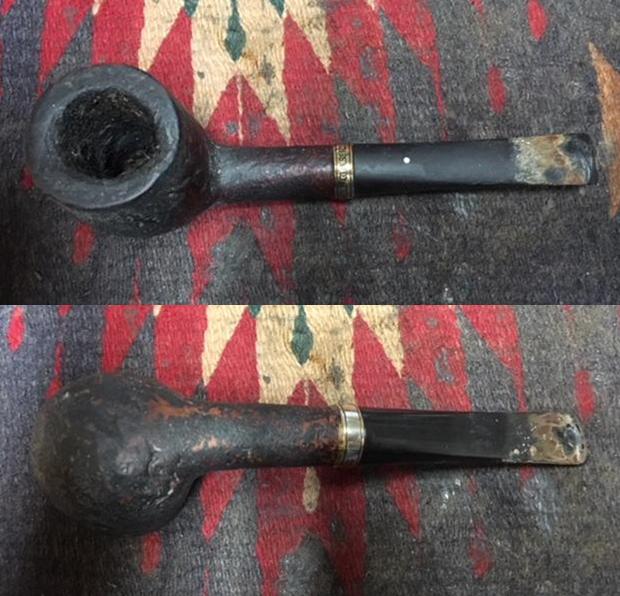
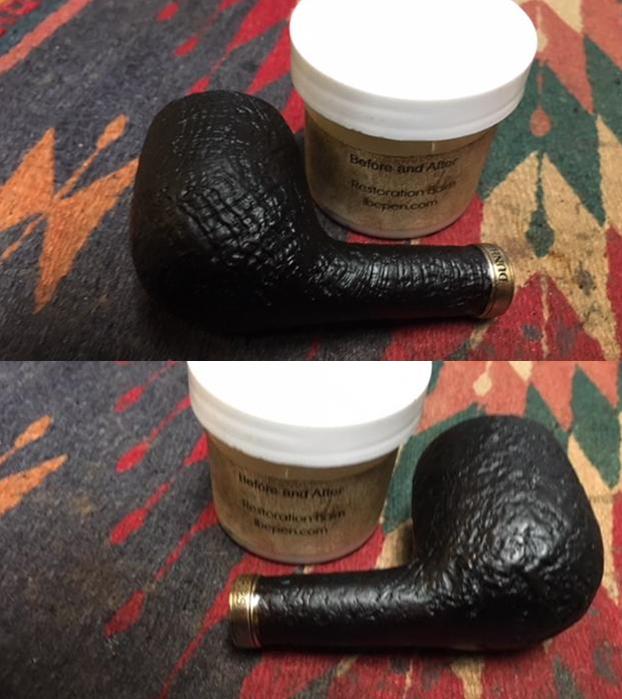
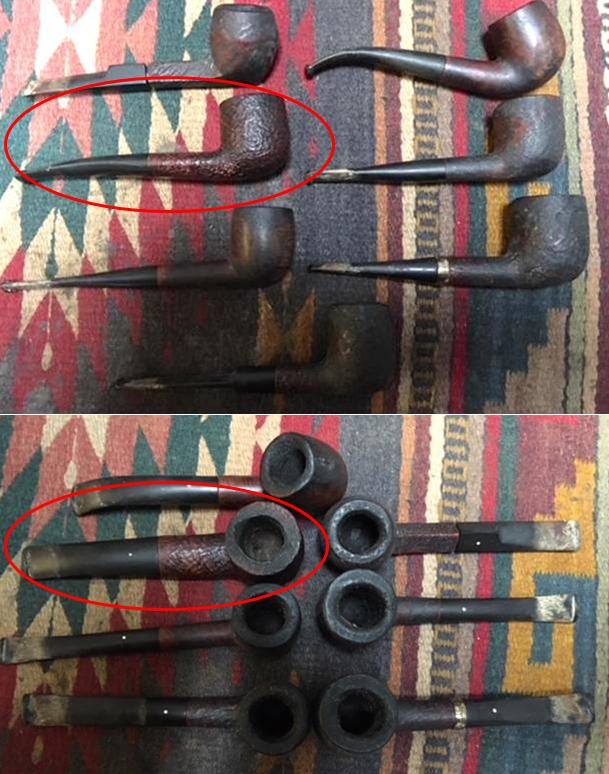
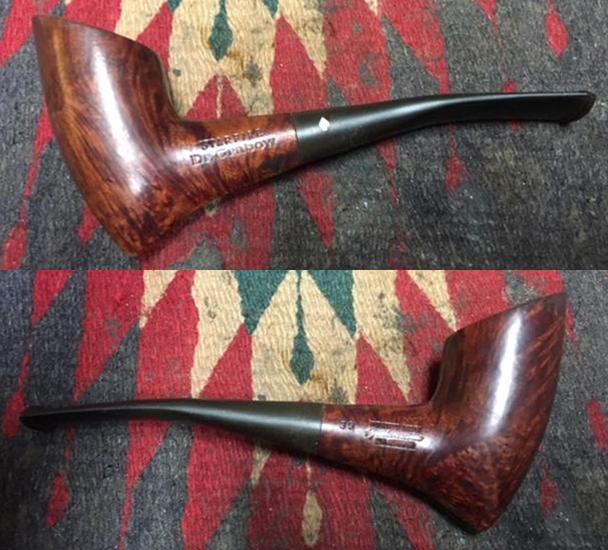
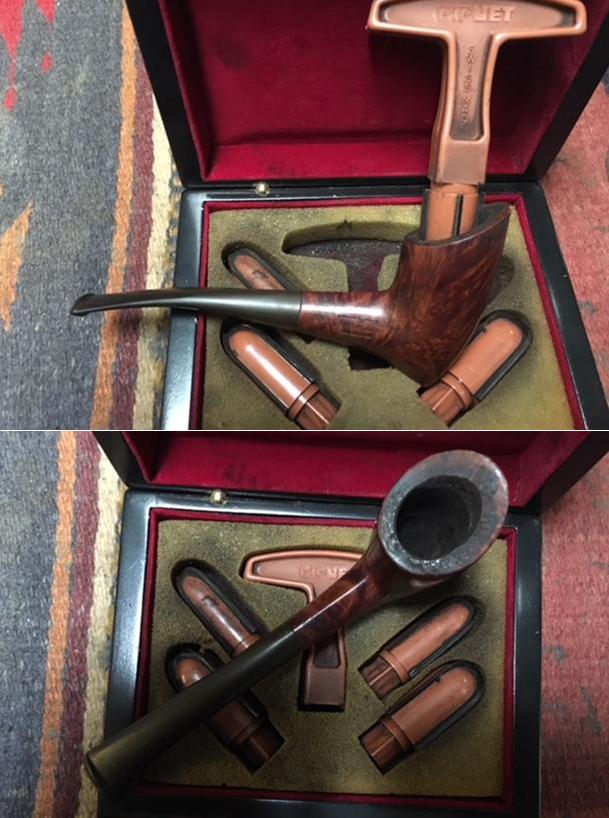
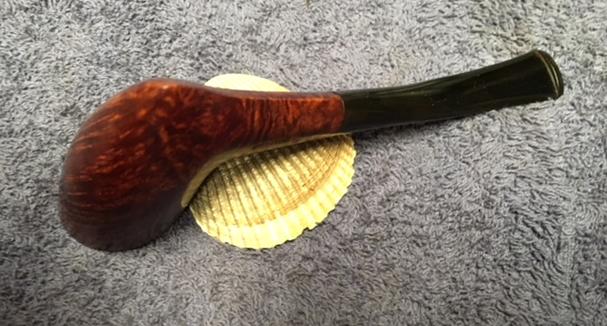
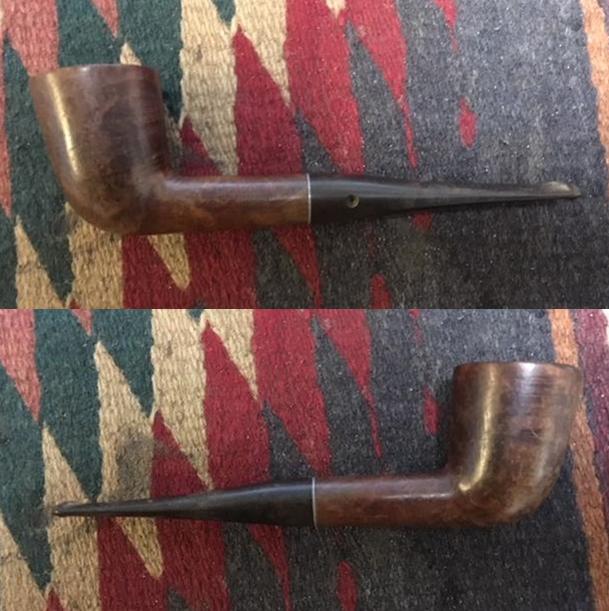
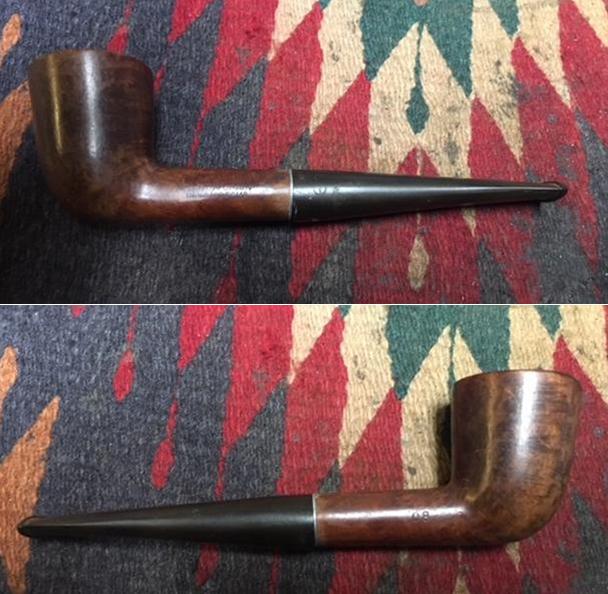
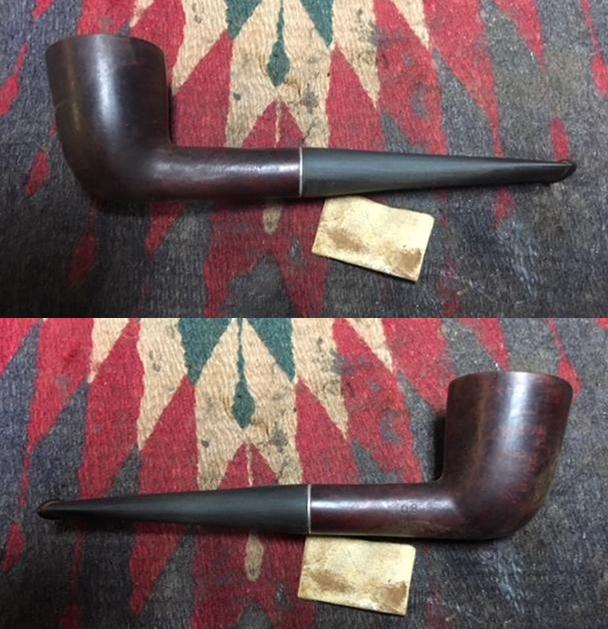
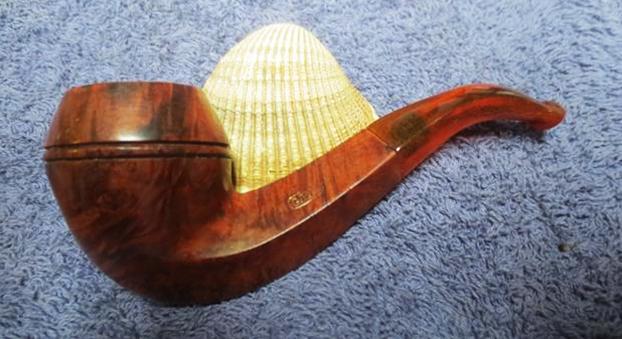
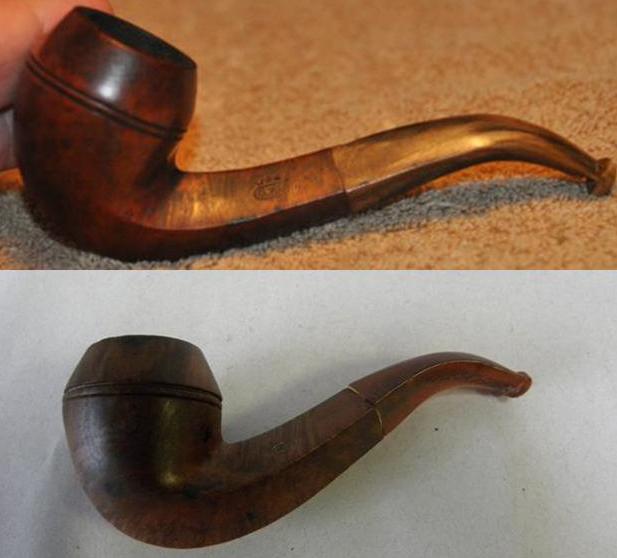
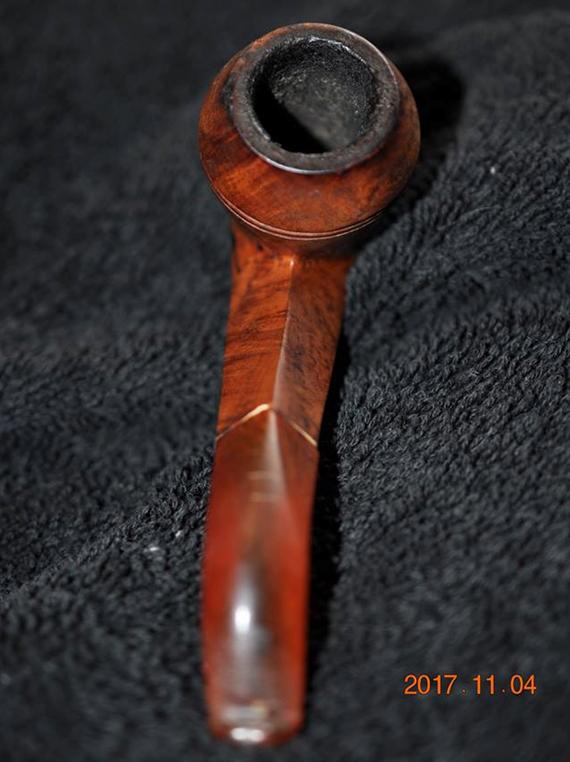
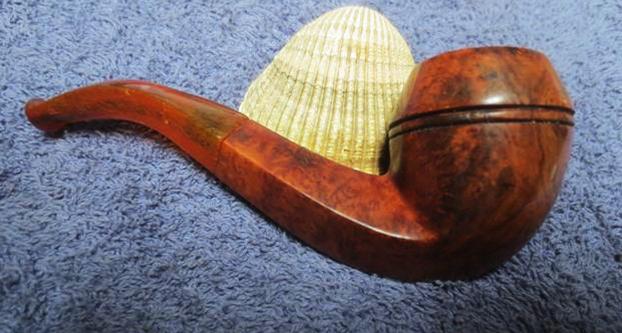
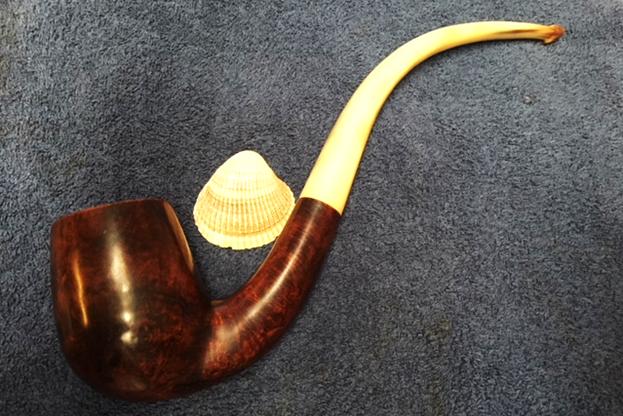
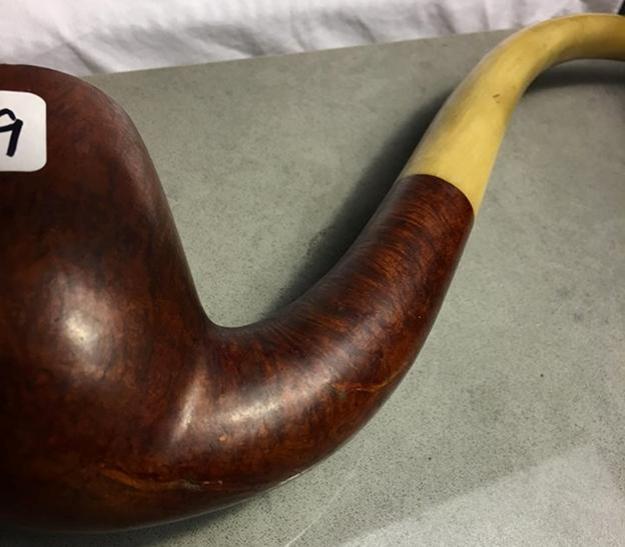
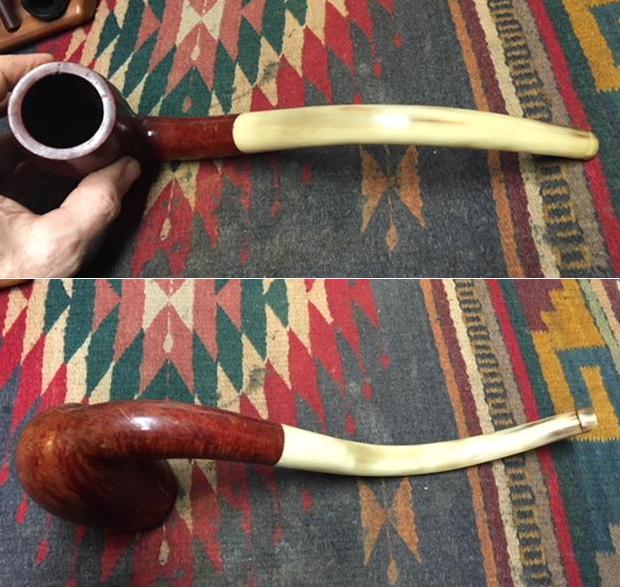
Several weeks ago I got a Facetime call from my brother Jeff. He was in Bozeman, Montana at an antique shop and had found a pipe that intrigued him. The seller wanted $49 for it and it was a large chunk of briar, well carved with a horn stem. He showed me photos on Facetime and it was indeed intriguing. It had gentle curves both from the bend of the shank to the curve of the horn stem. The horn stem appeared to be in good condition overall. The button and slot were damaged but it would not take too much work to clean up the slot and the nicks at stem/shank junction. We decided to pick it up and restore it. I have to tell you I had no idea how big the pipe was.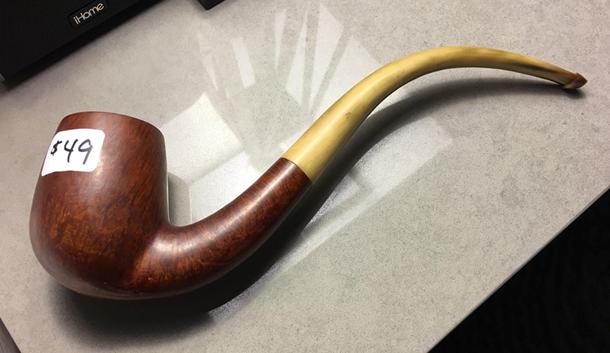 Jeff took some photos of the pipe before he cleaned it up. It was in pretty good condition. The bowl had a light cake but there was no lava overflow on the rim top. The varnish finish on the bowl was peeling and spotty. The grain on the sides of the pipe was really nice. There were a lot of fills on the bottom and back sides of the bowl and all along the sides of the shank. On the underside of the shank and on part of the bottom of the bowl there were some very large fills that were chipped and damaged.
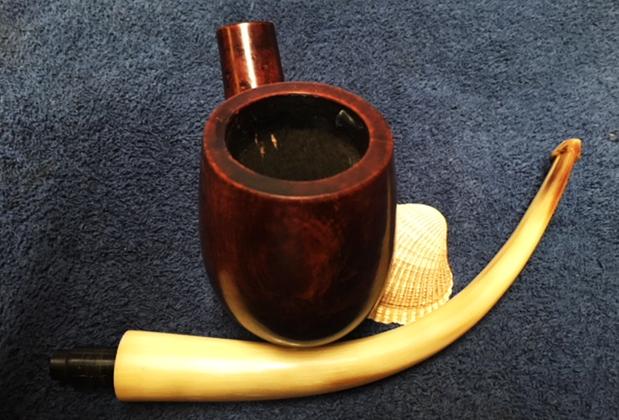
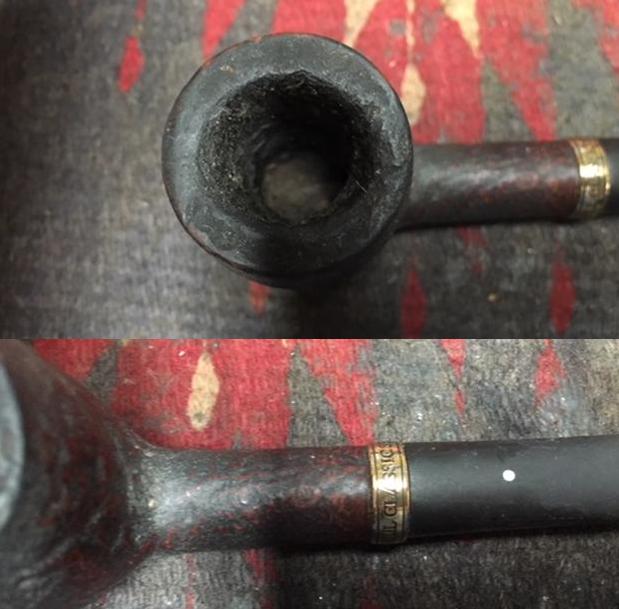
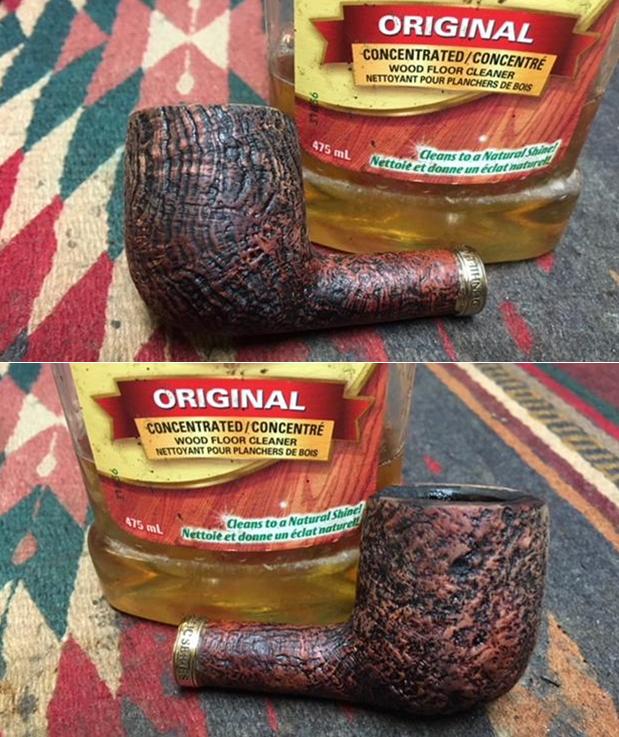
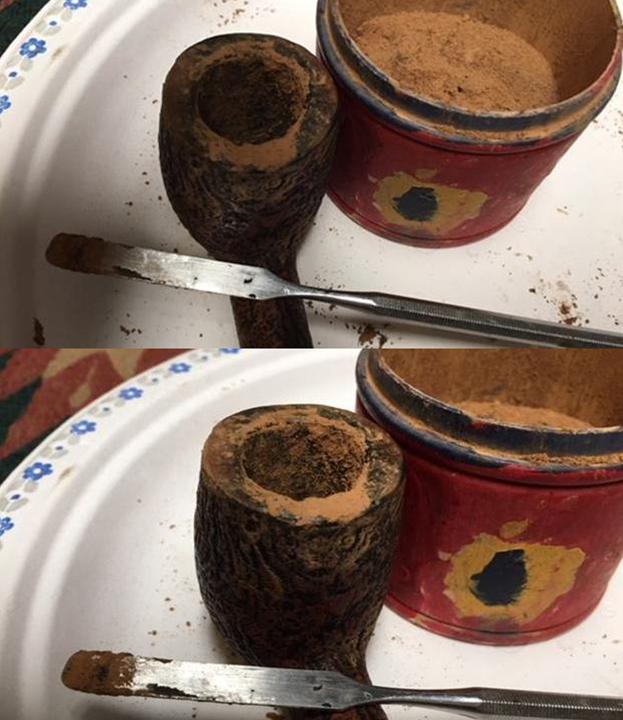
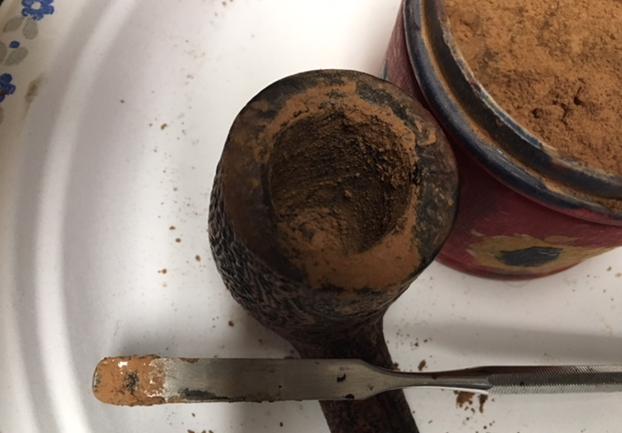
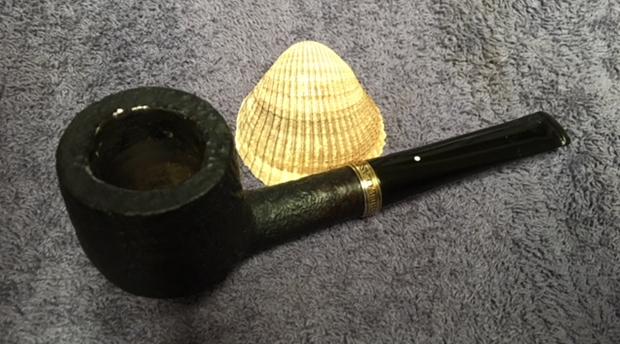
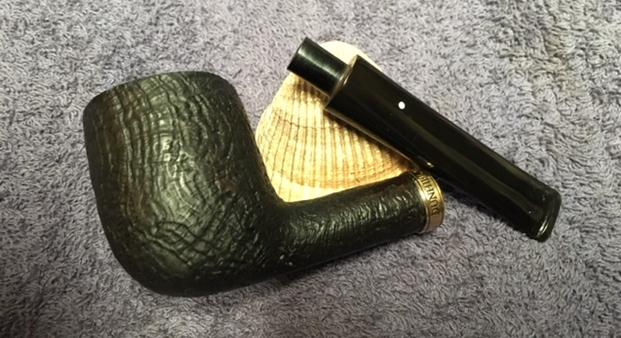
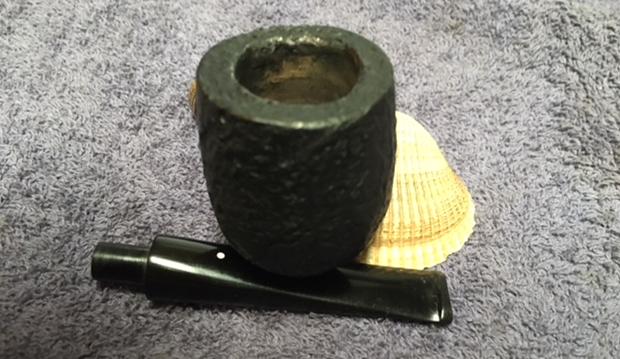
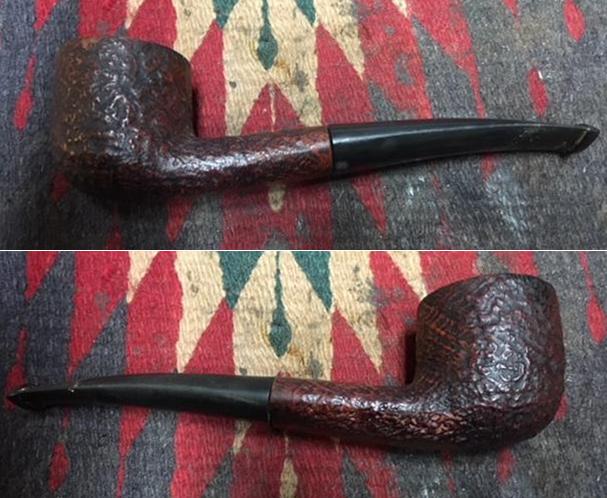
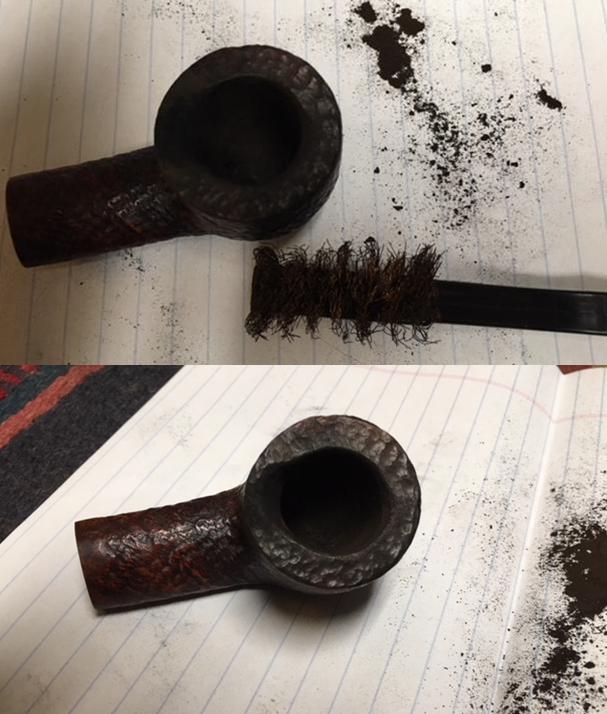
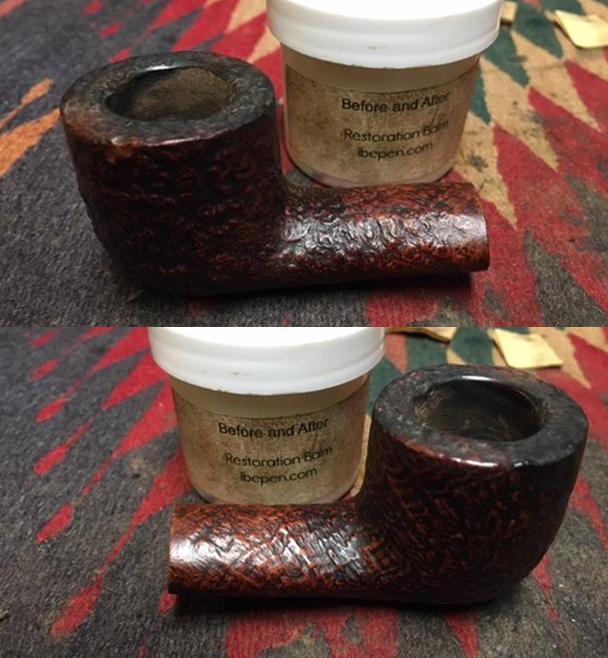
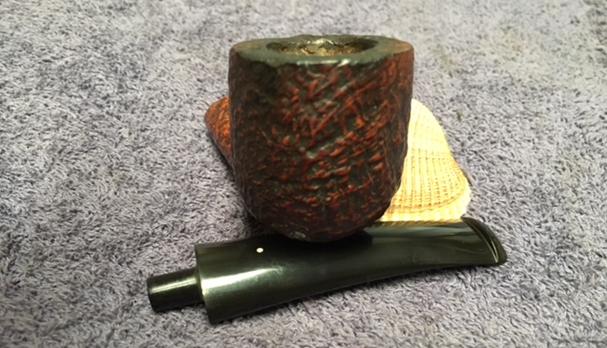
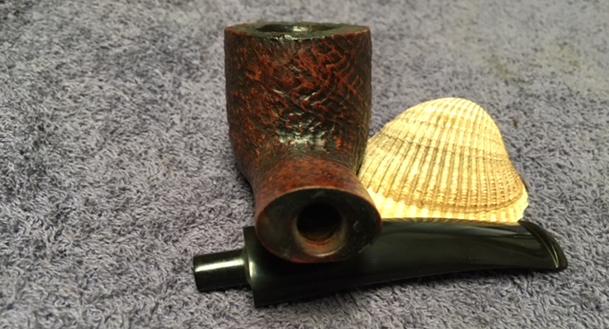
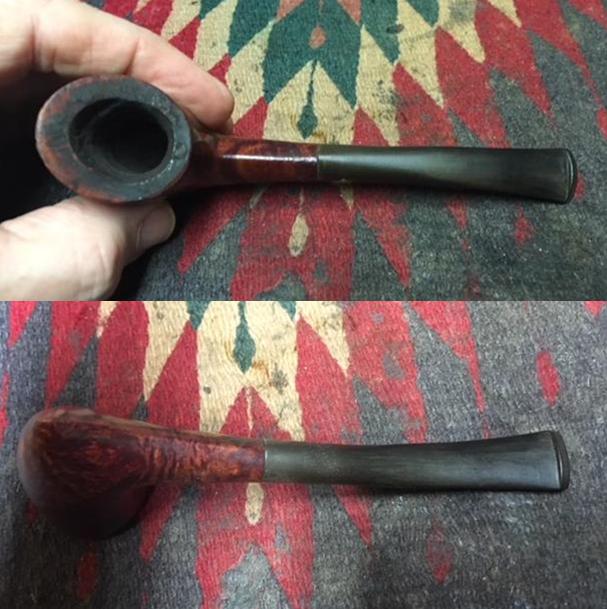
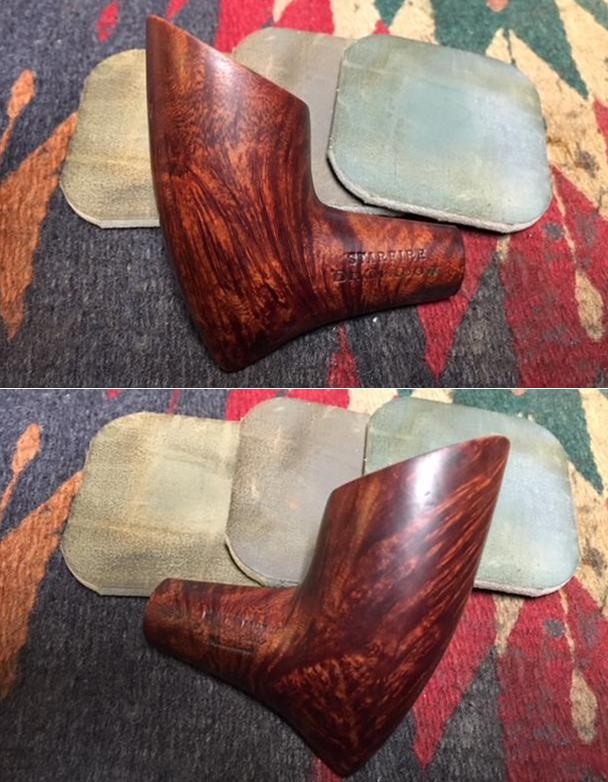
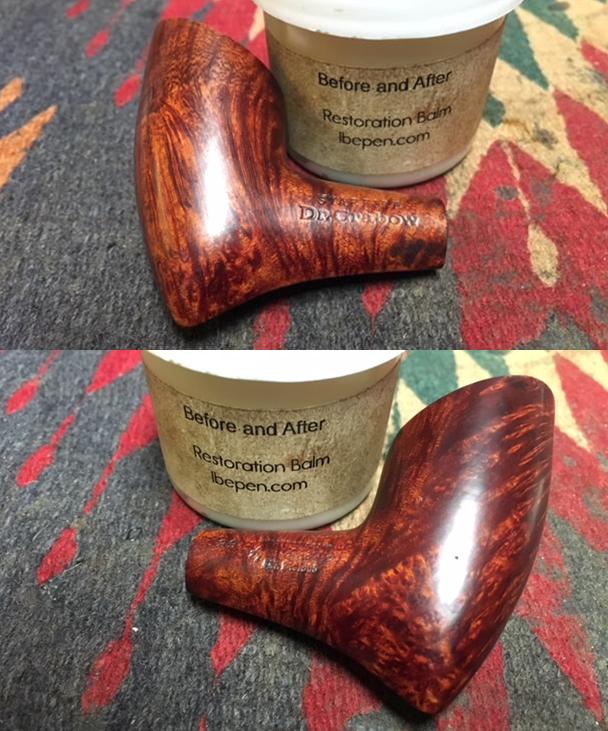
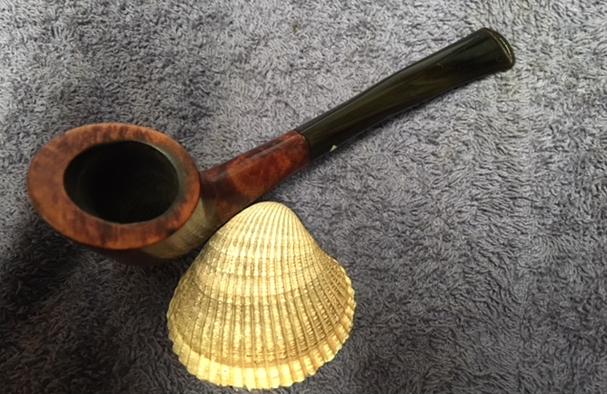
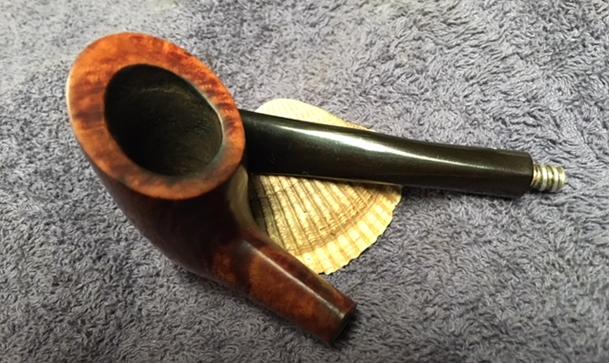
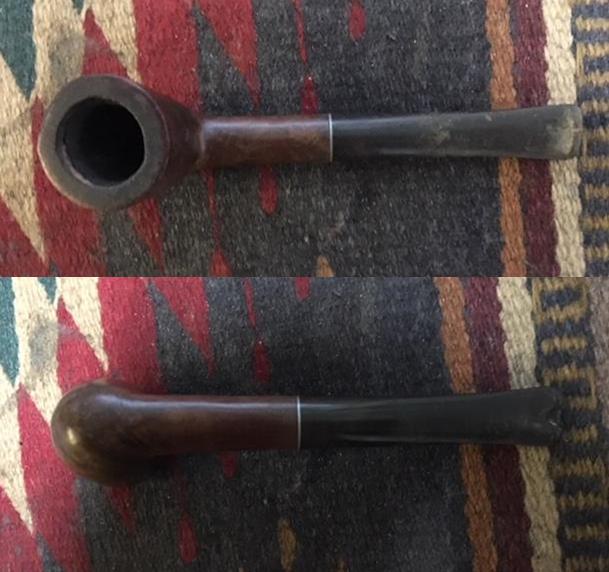
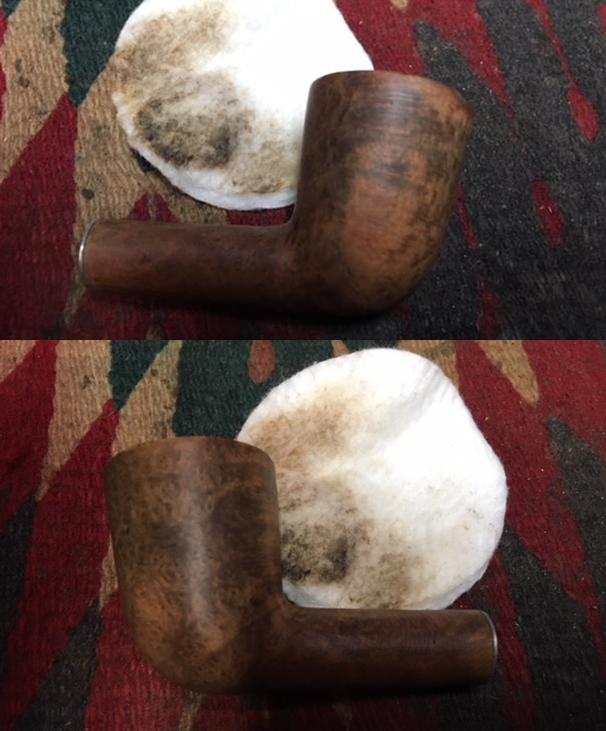
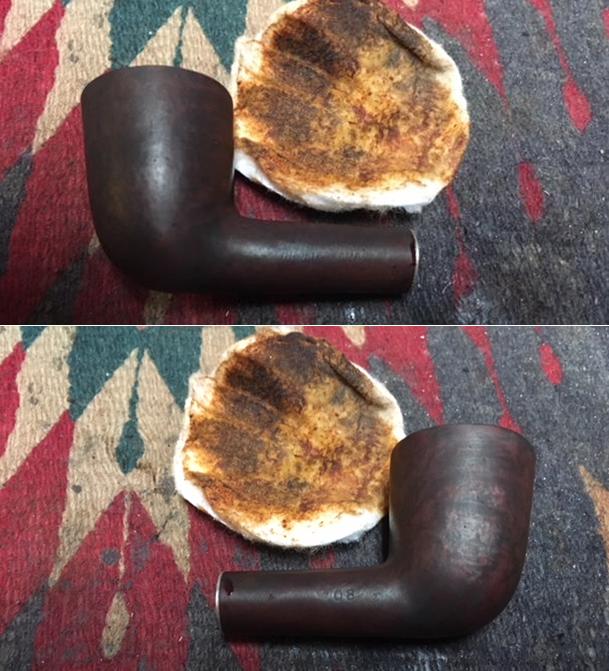
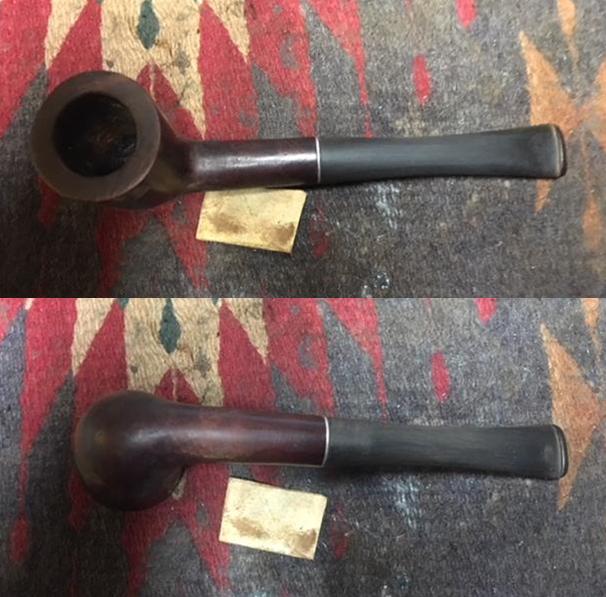
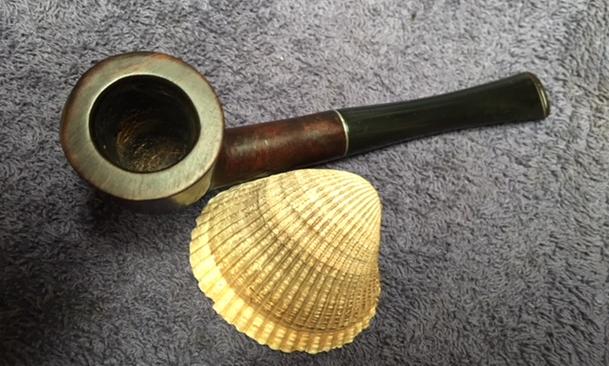
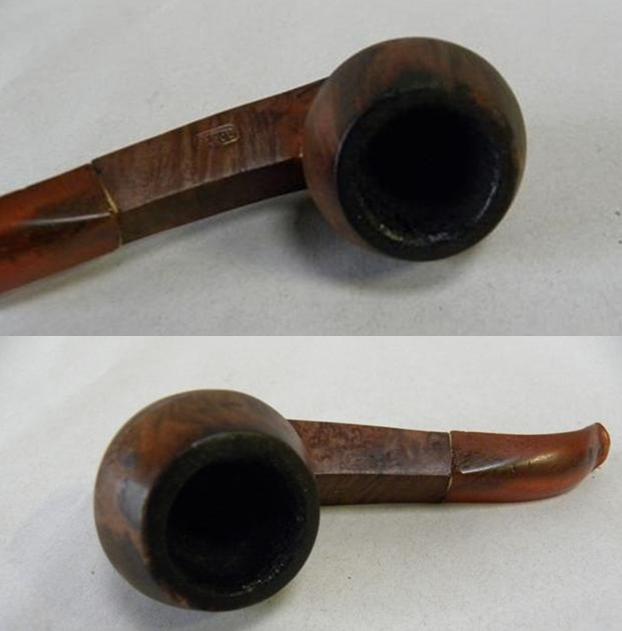
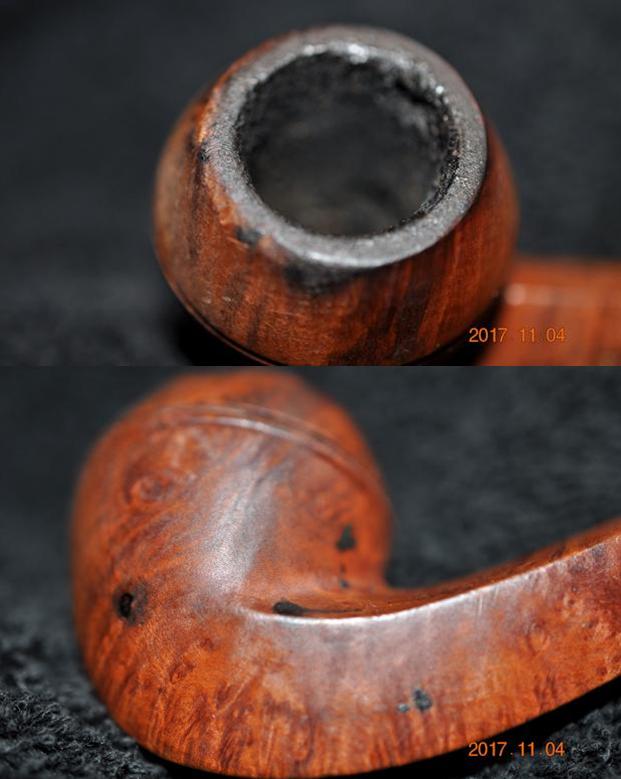
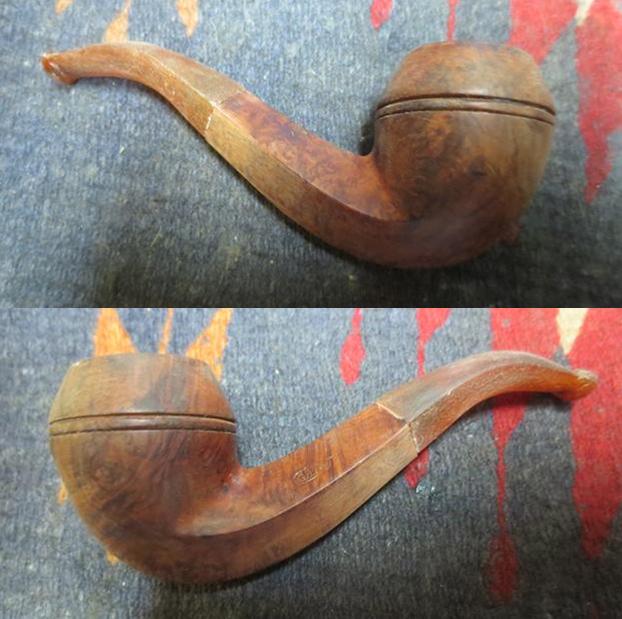
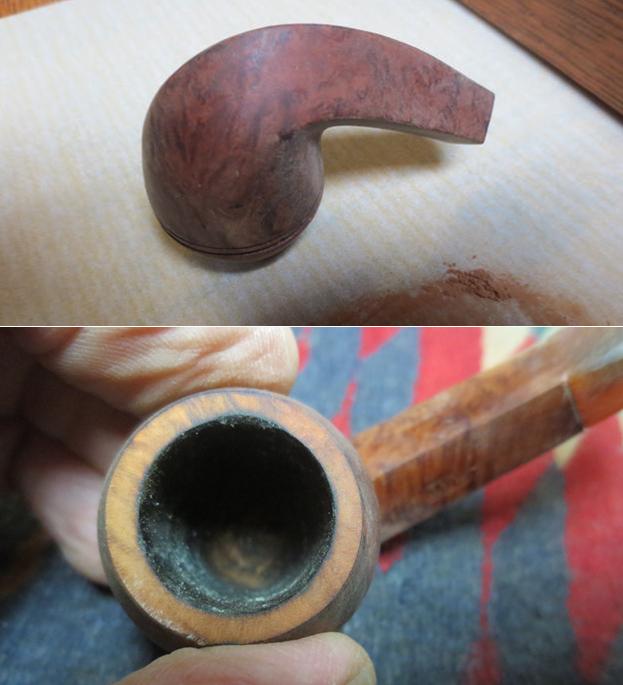
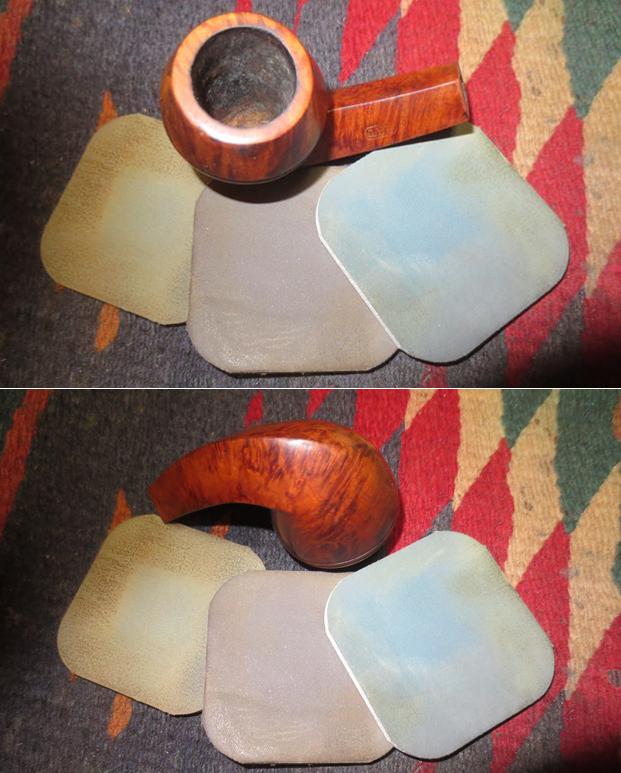
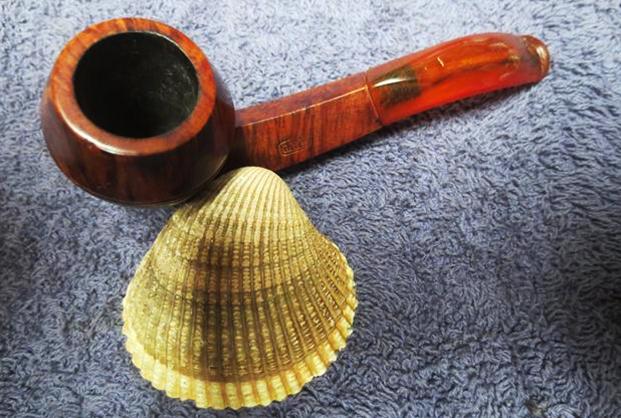
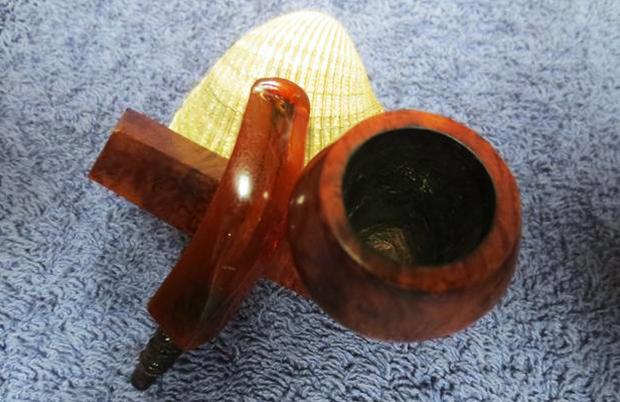
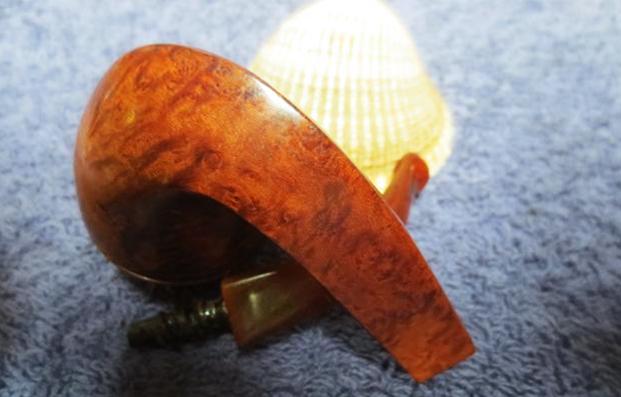
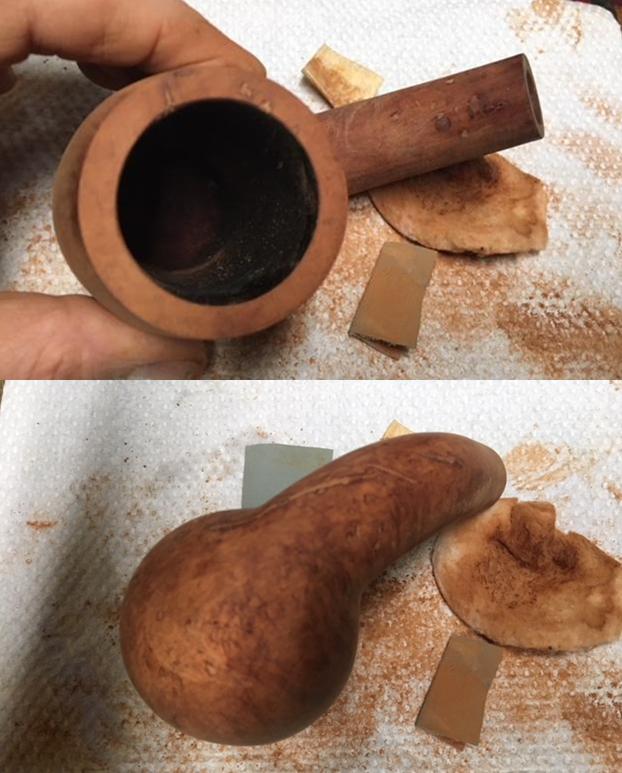
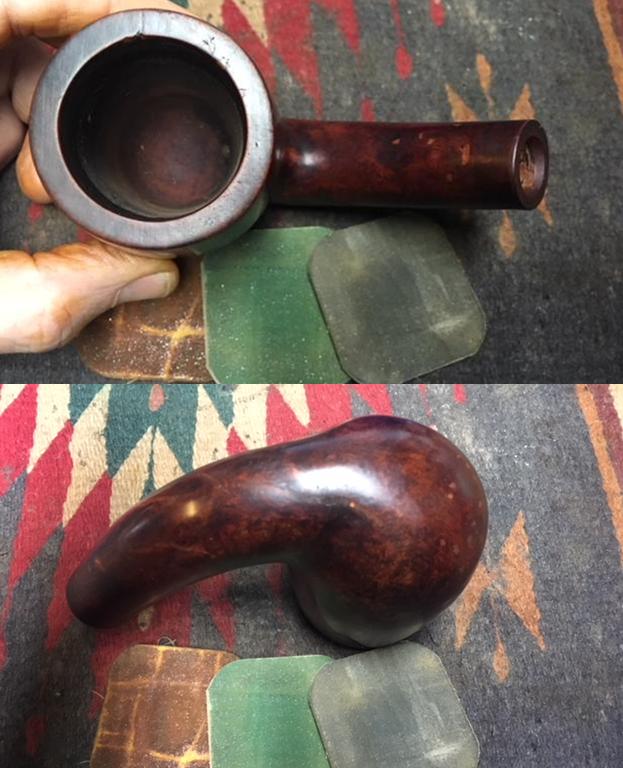
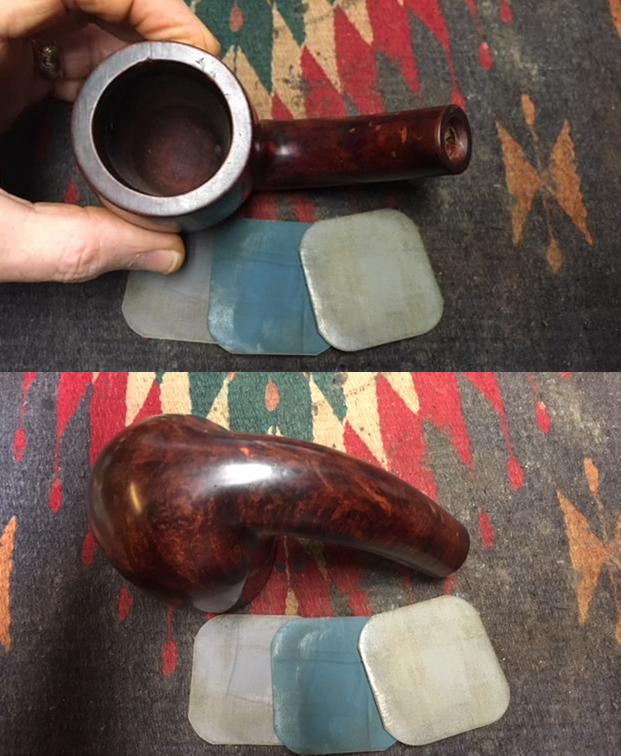
 The next series of photos show the rim top and the sides and bottom of the bowl. The cake in the bowl is not thick. The rim top is clean and there are fills that are chipped and nicked on the flat surface. The grain on bowl sides is really quite nice.
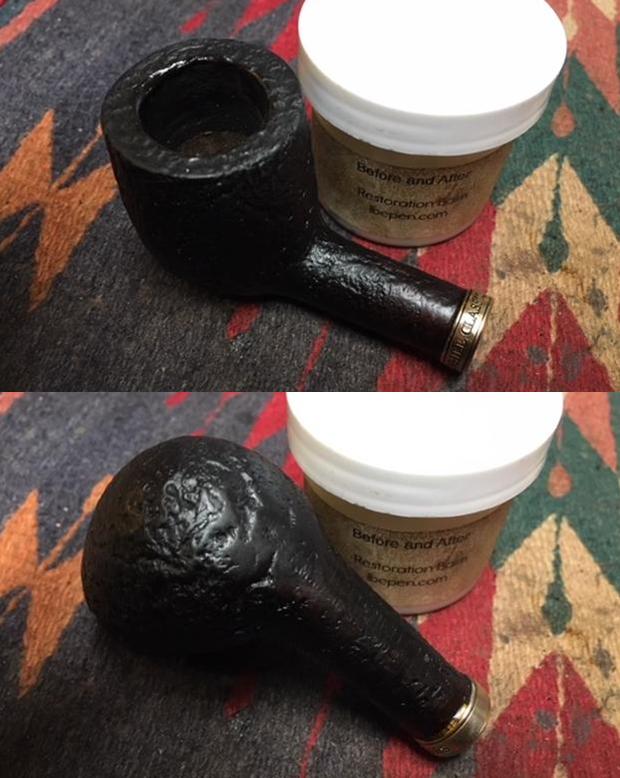
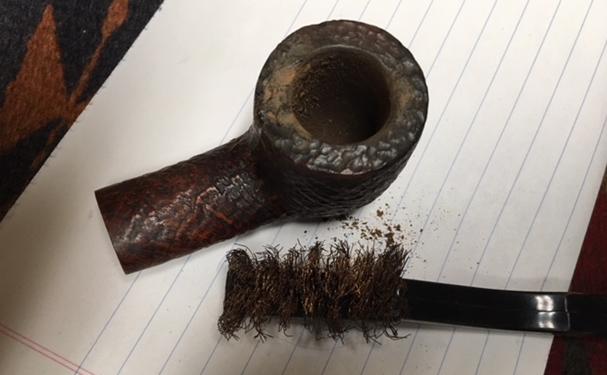
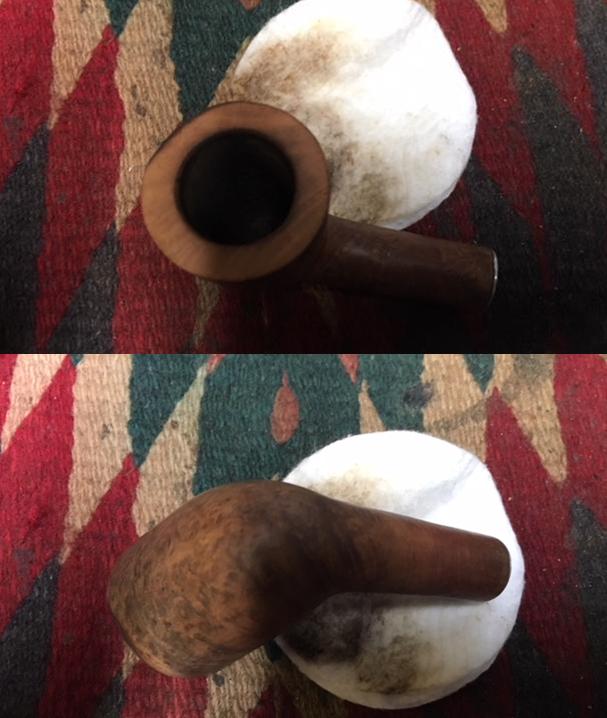
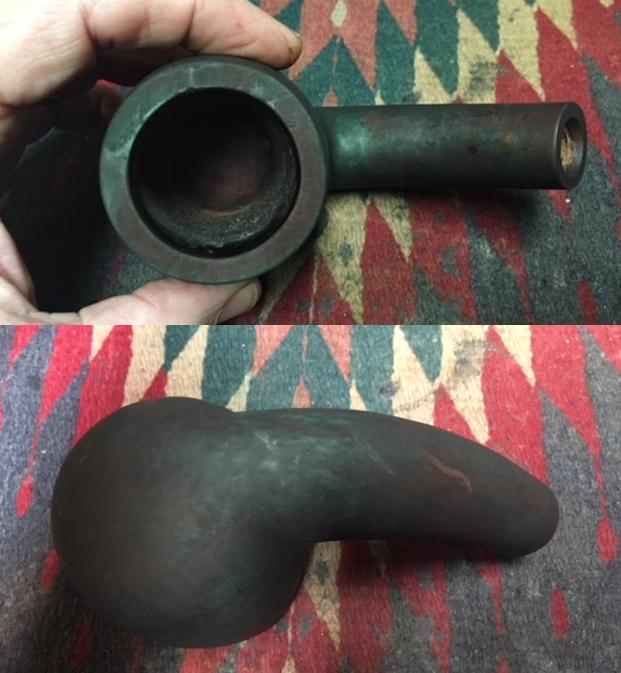
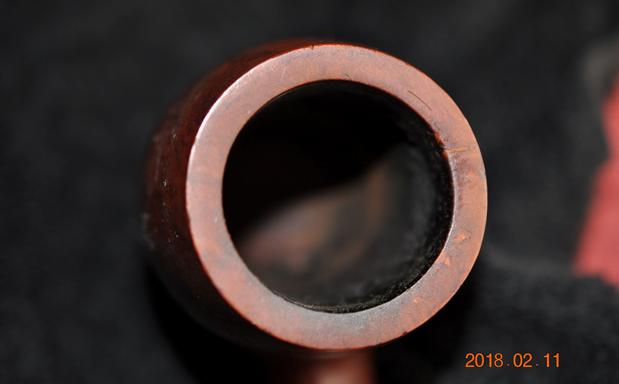
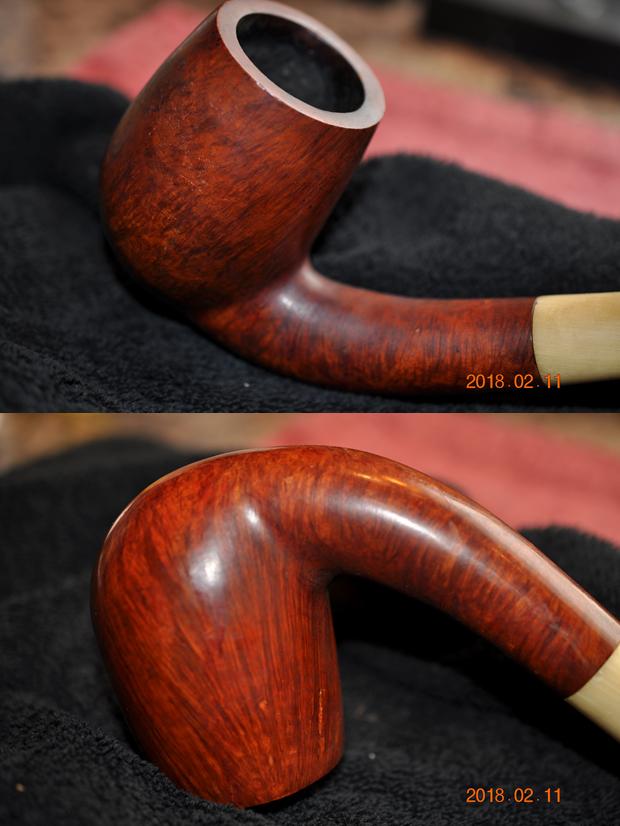

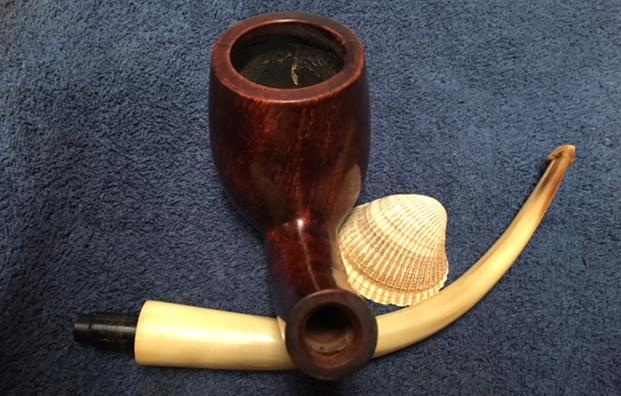
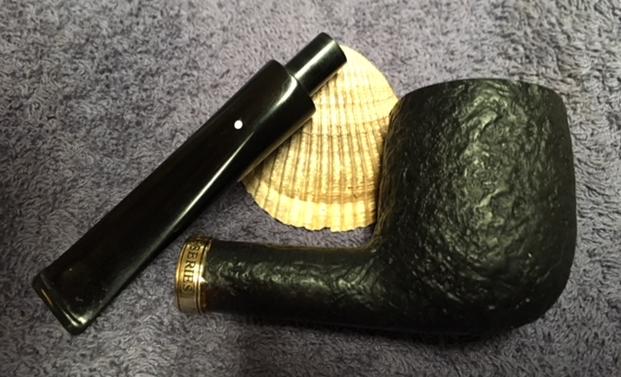
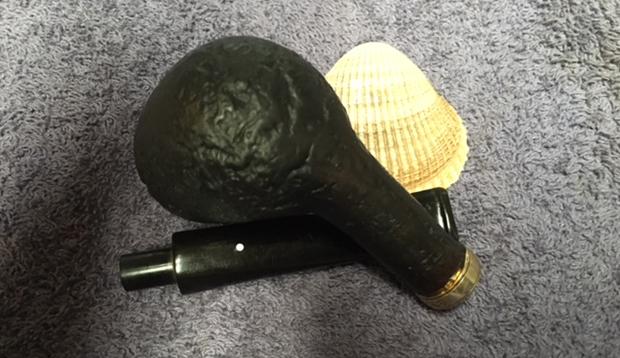
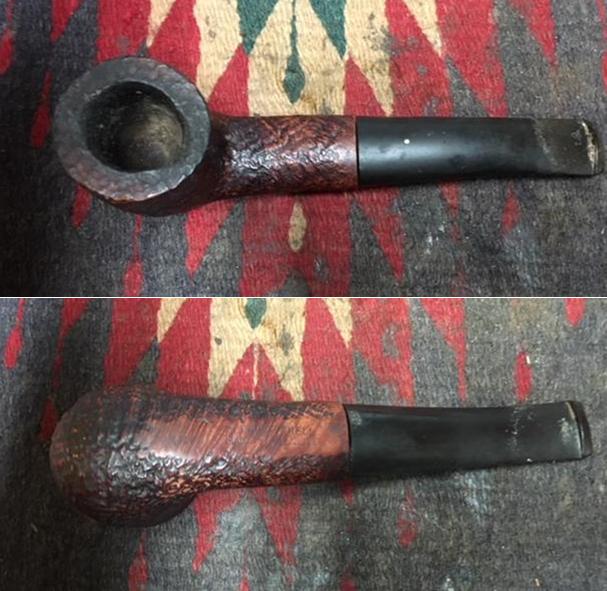
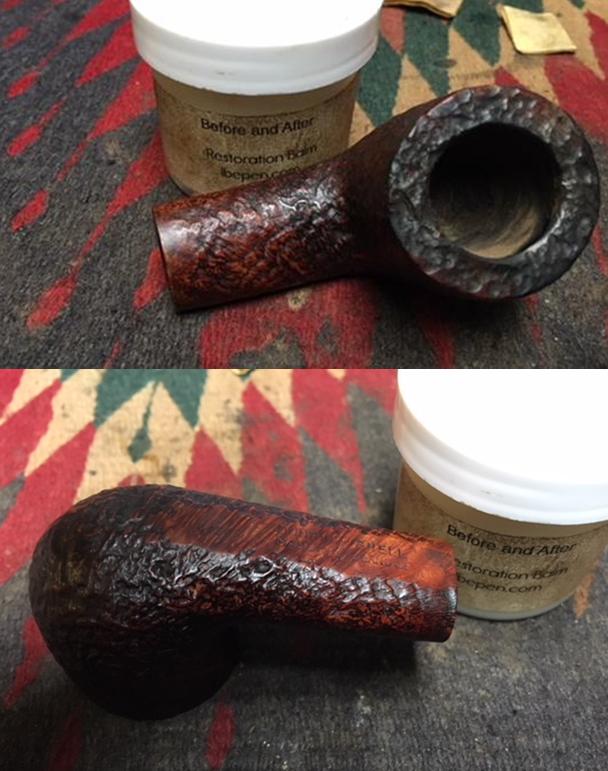
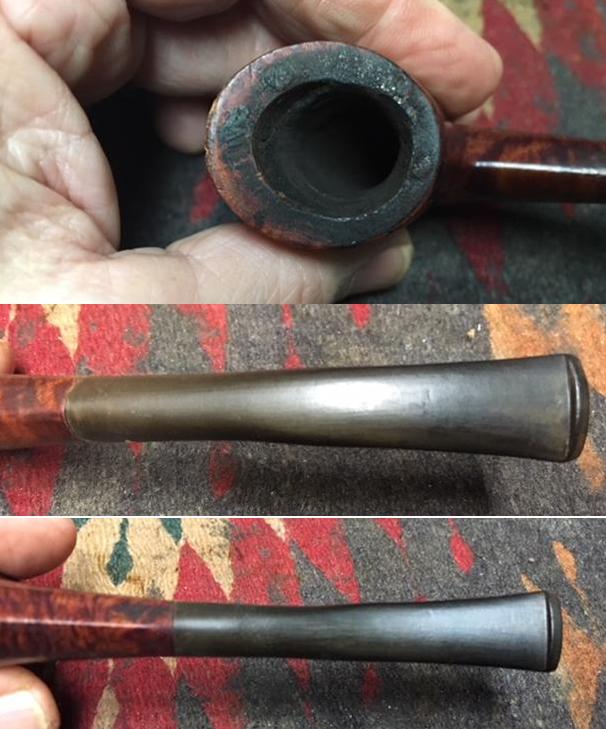
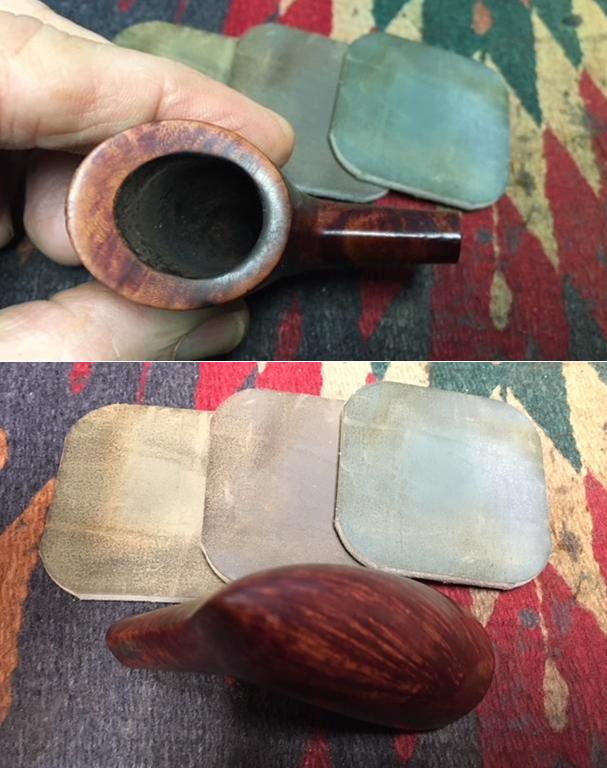
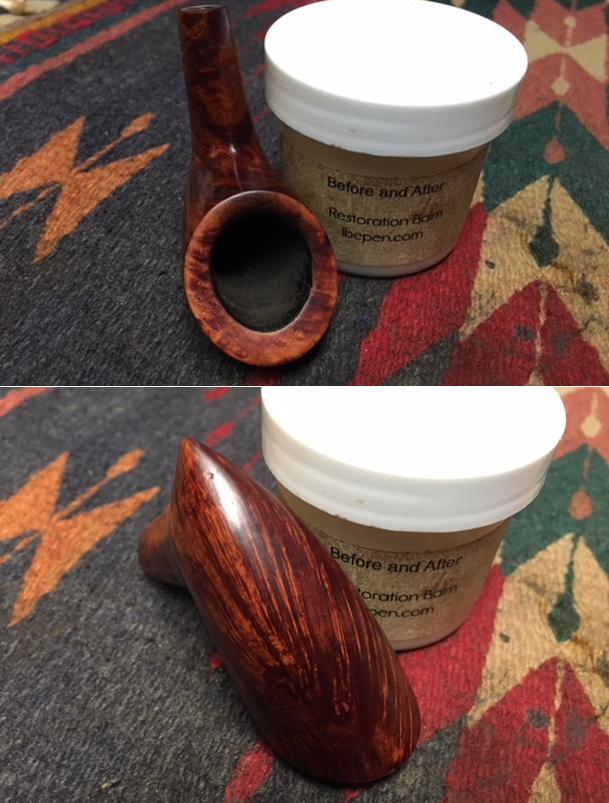
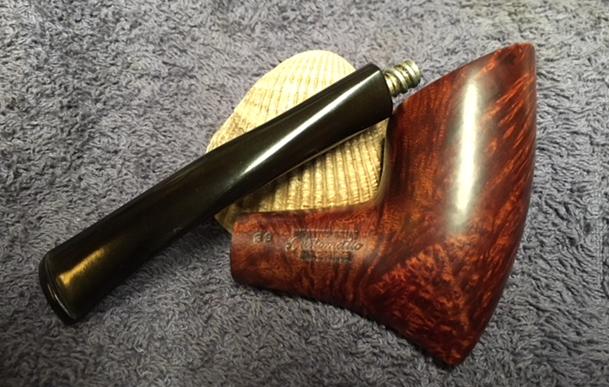
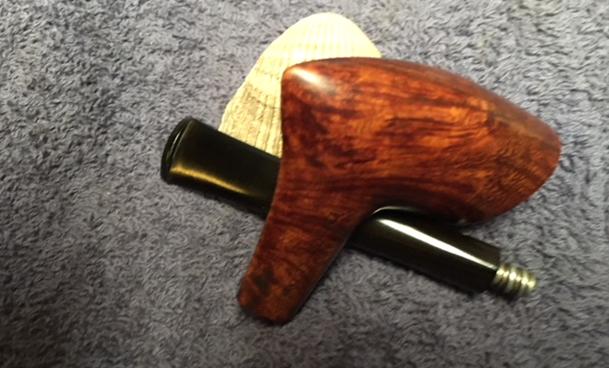
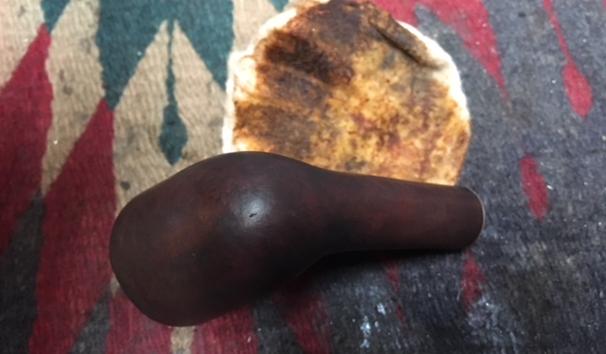
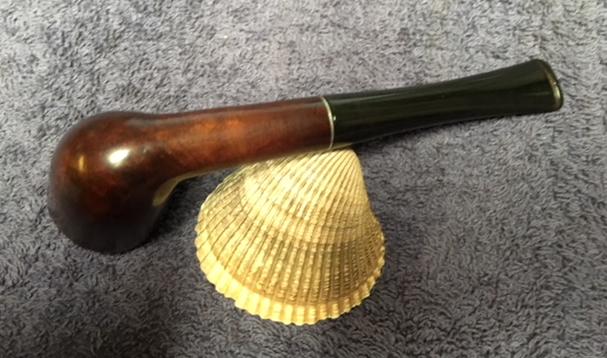
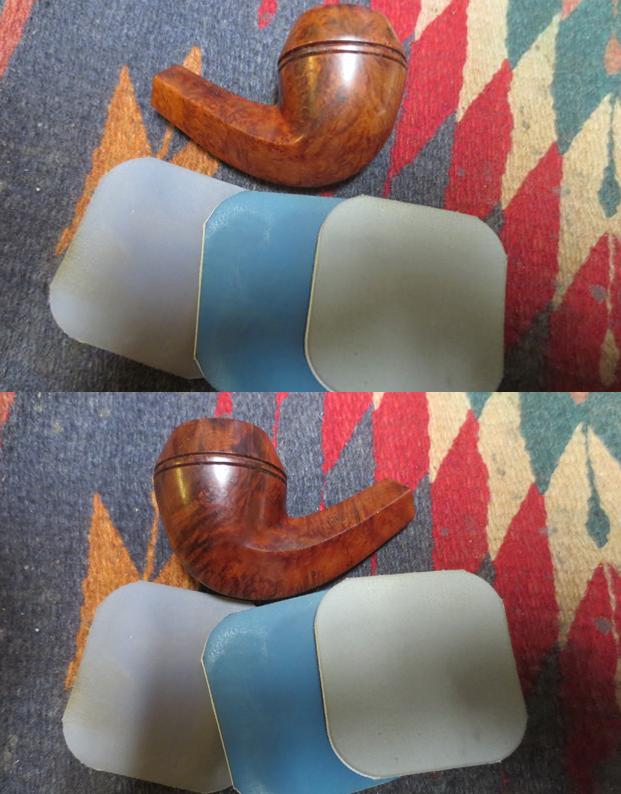
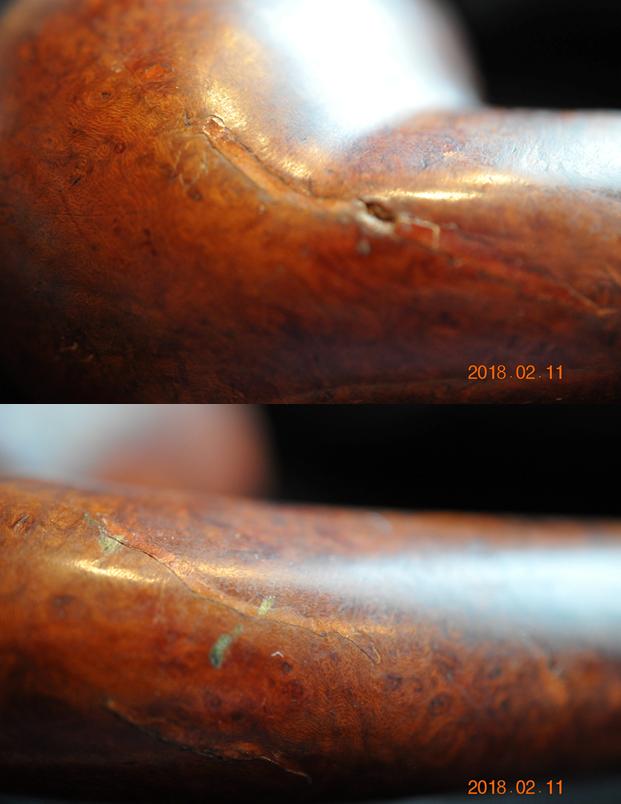
 The photo below of the bottom of the bowl and shank show the damaged fills. They are quite long and extend all along the shank bottom. The second and third photos below show the damaged areas of the fills.
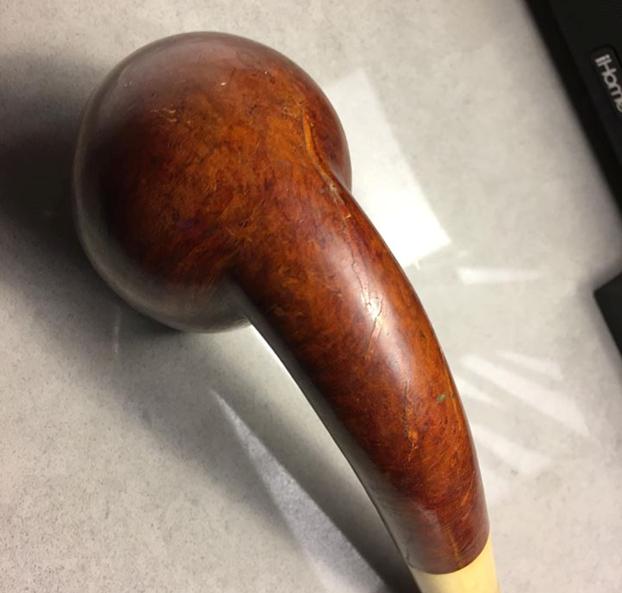
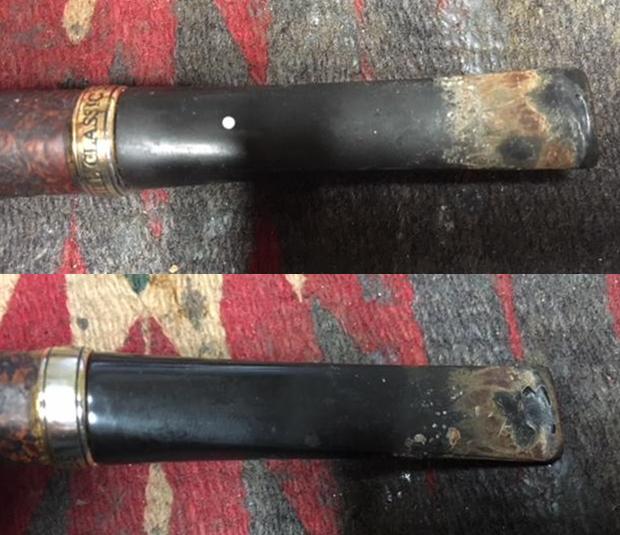
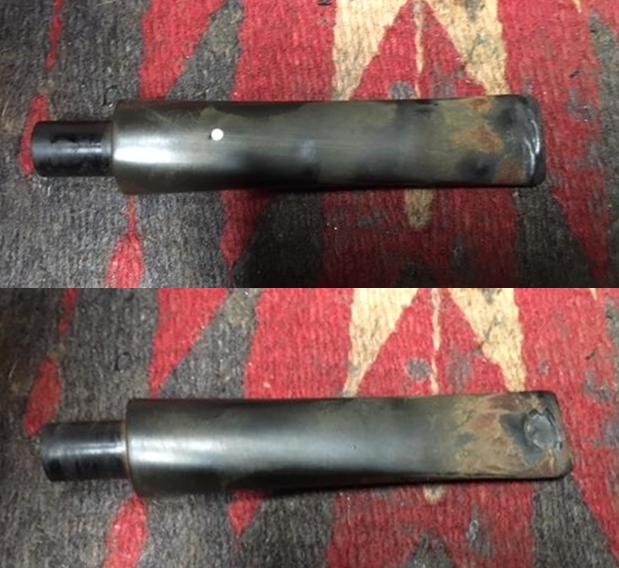
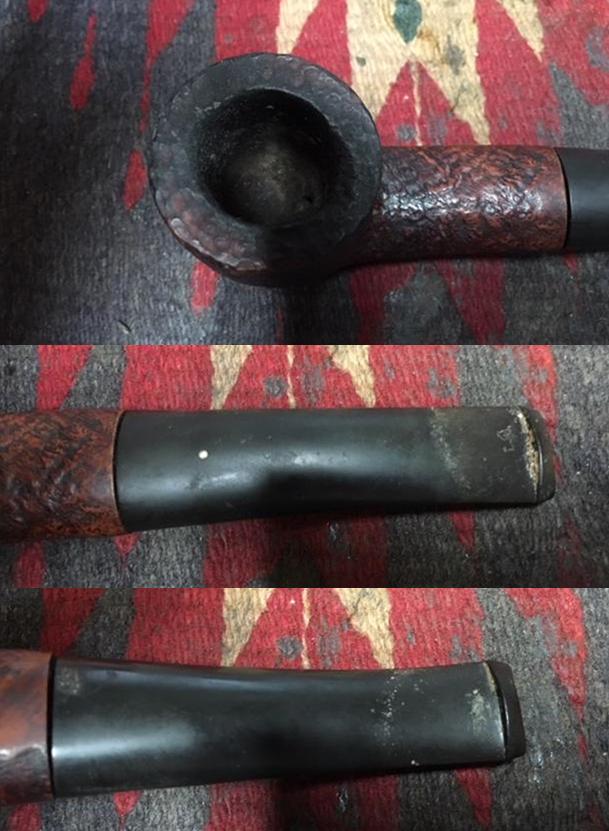
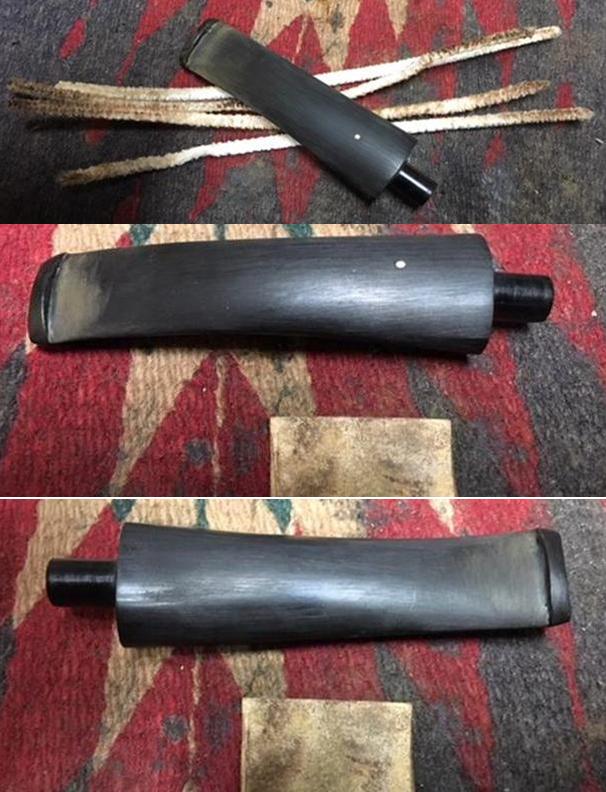
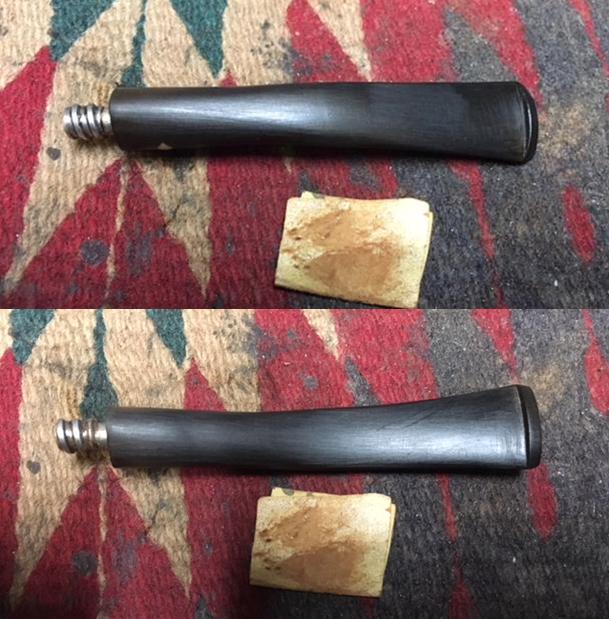
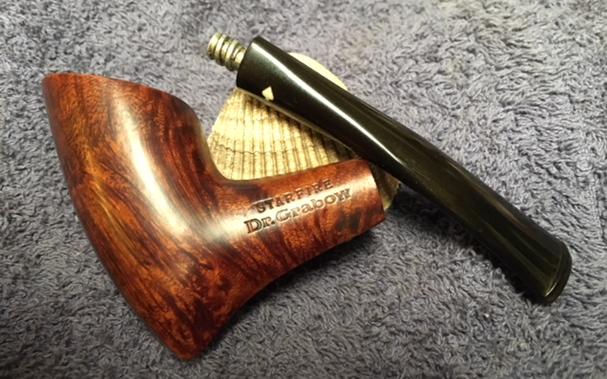
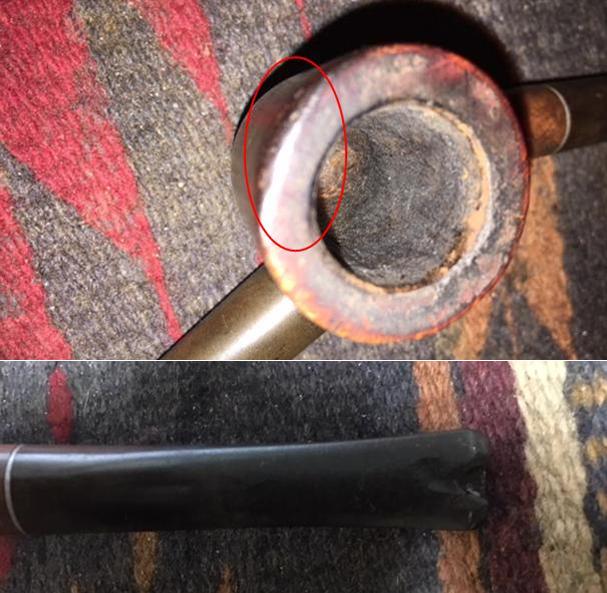
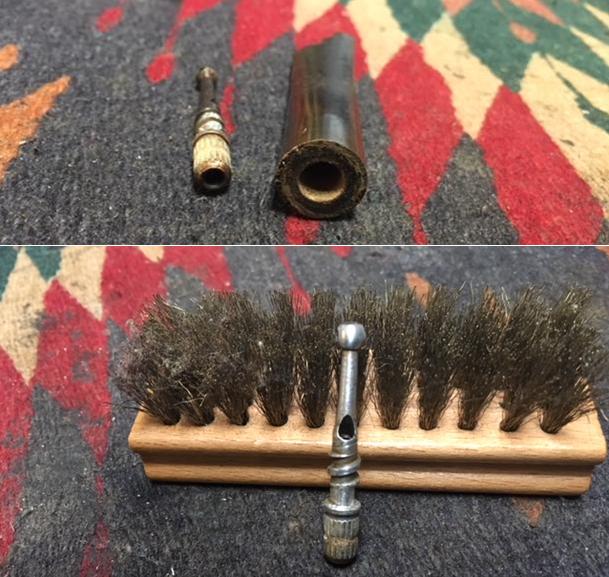
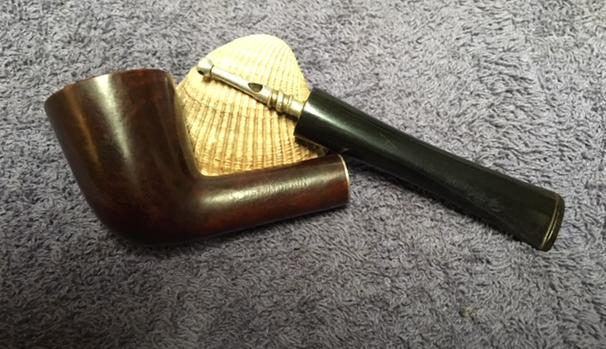
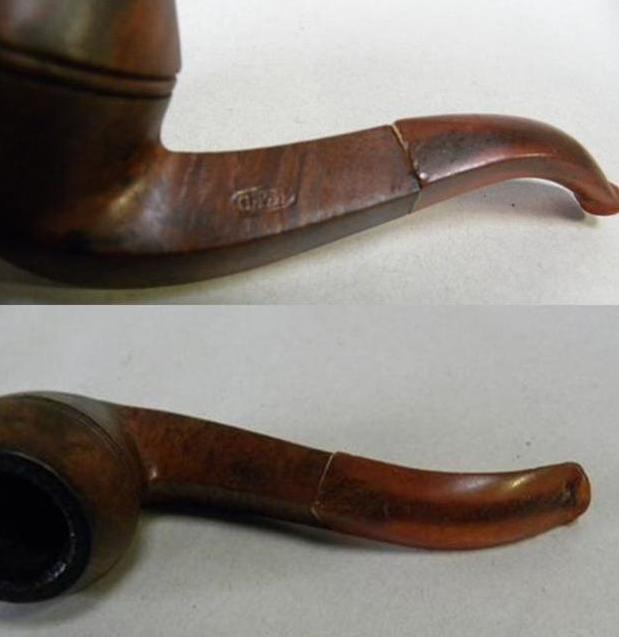
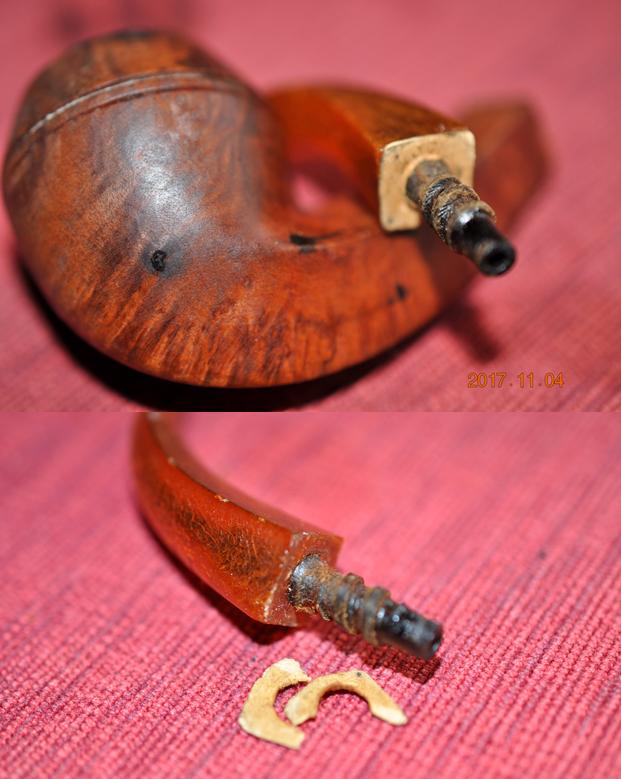
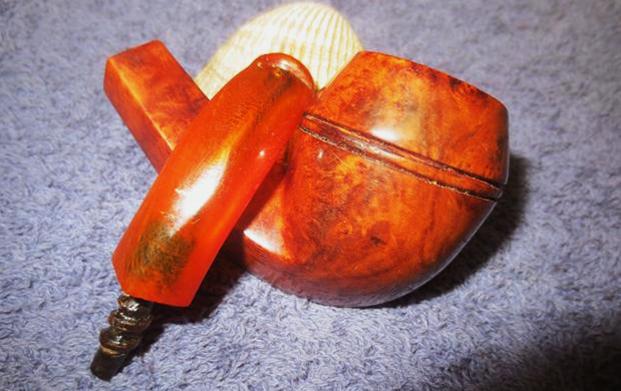
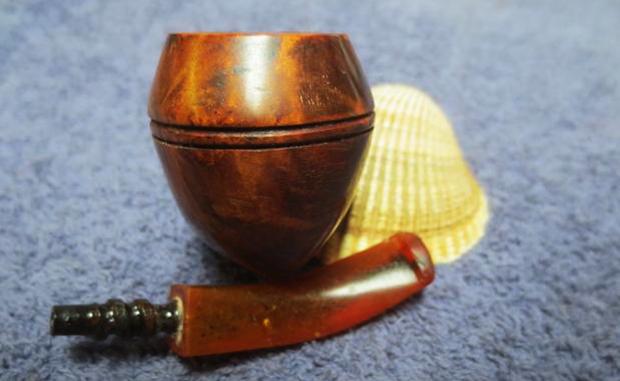
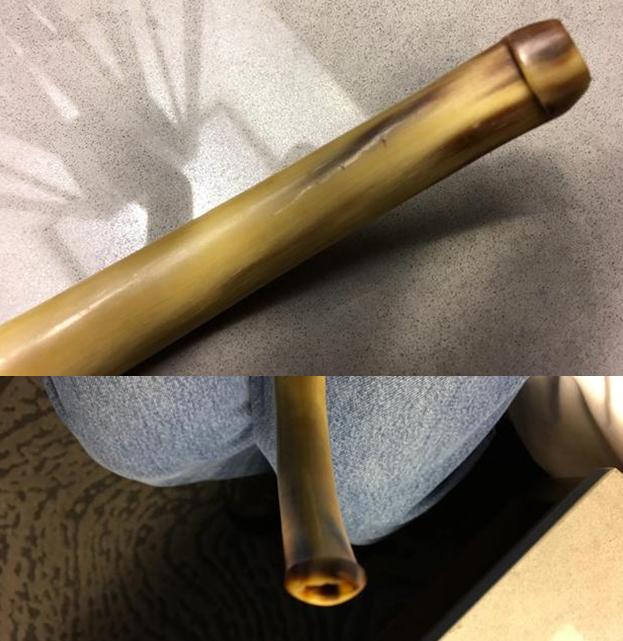
 The fit of the stem to the shank was snug. There were a couple small nicks in the horn stem.
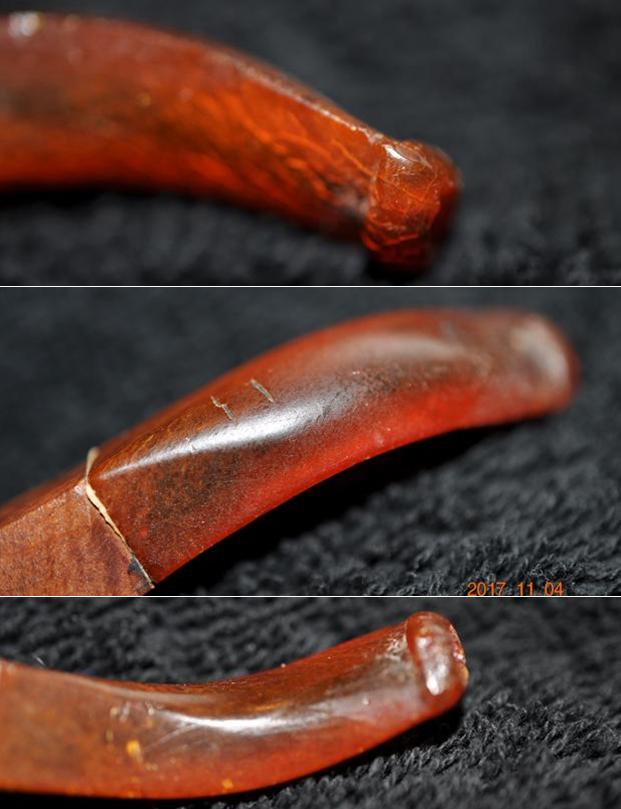
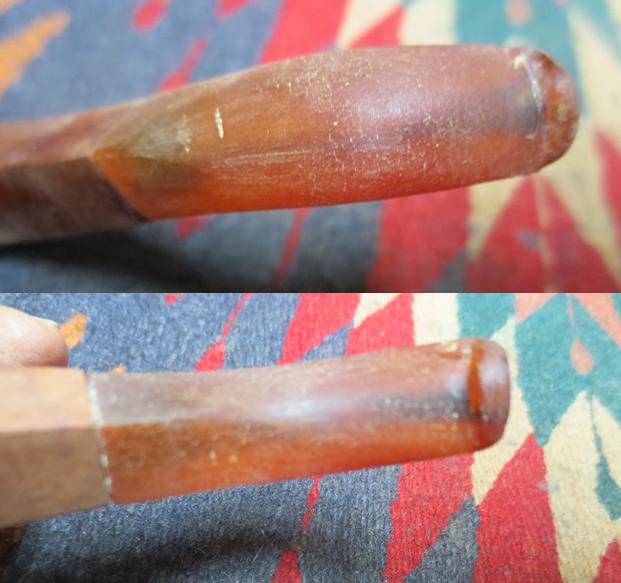
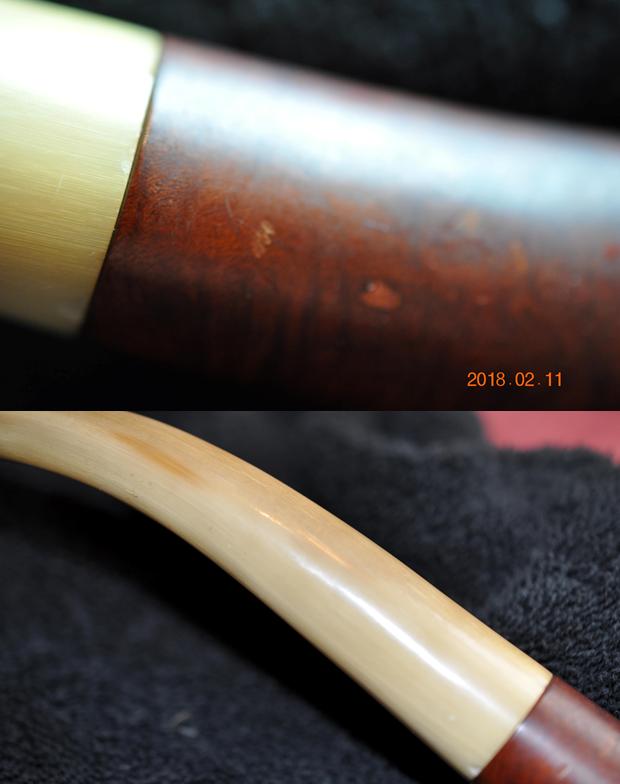 The slot in the button end was damaged. On the top and the bottom edges the horn was missing. The second photo gives perspective on the damage along the edges of the button. The good thing was that the button itself was quite deep and I would be able to “top” it and remove much of the damage to the end.
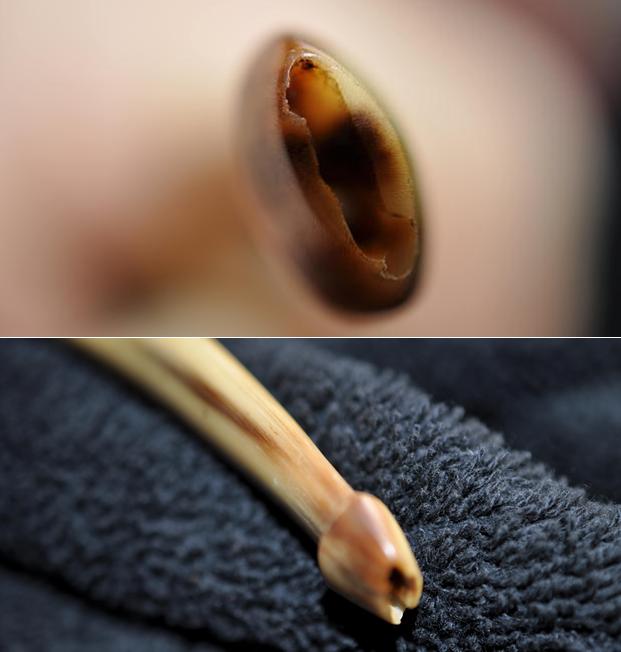
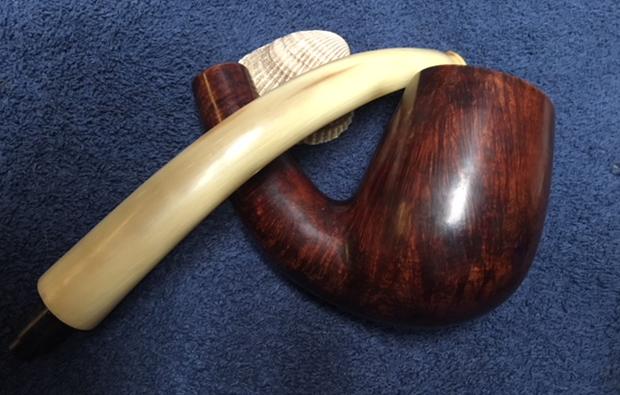
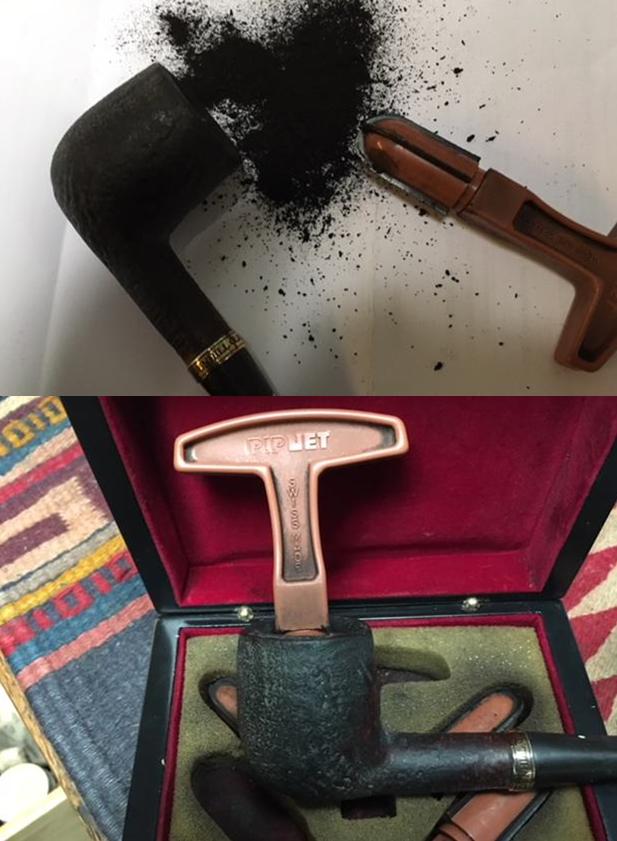
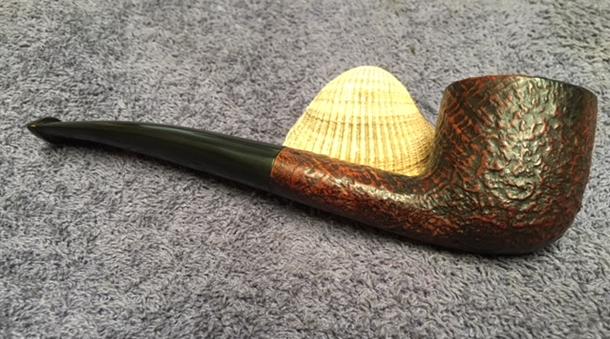
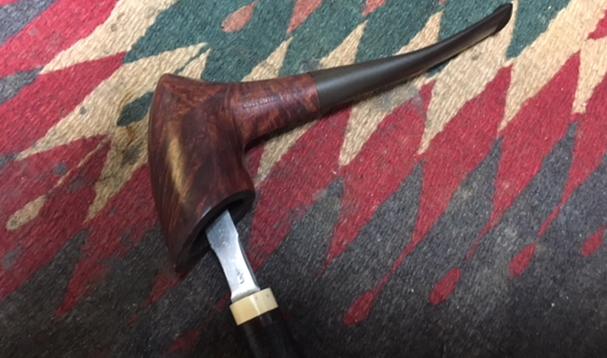
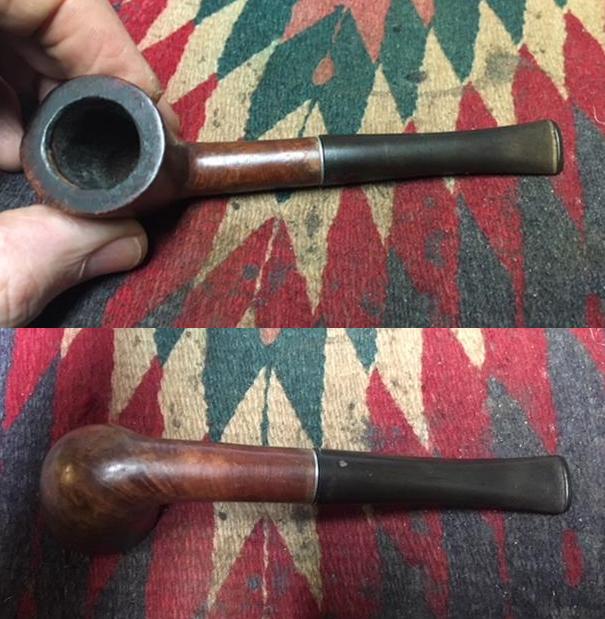
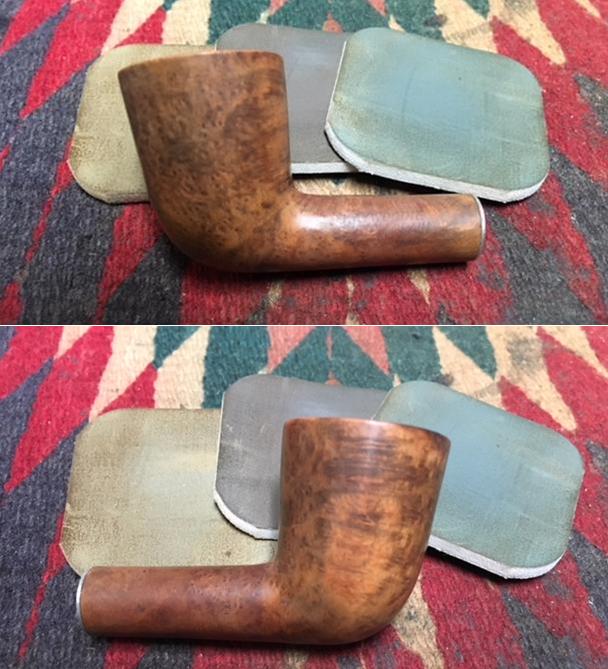
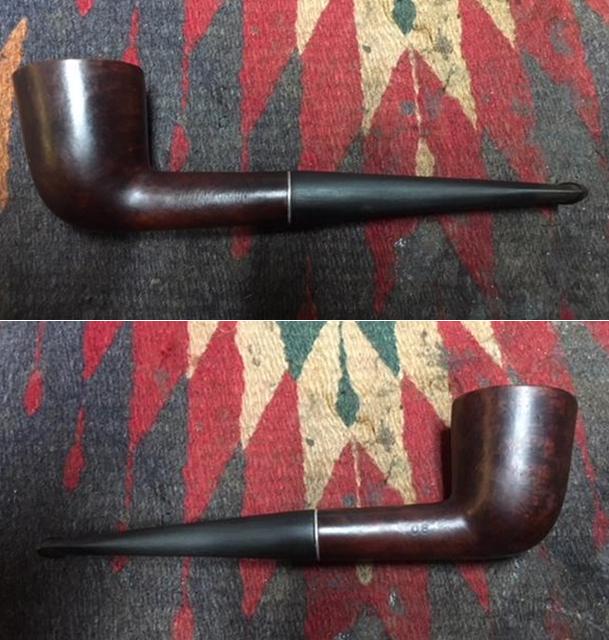
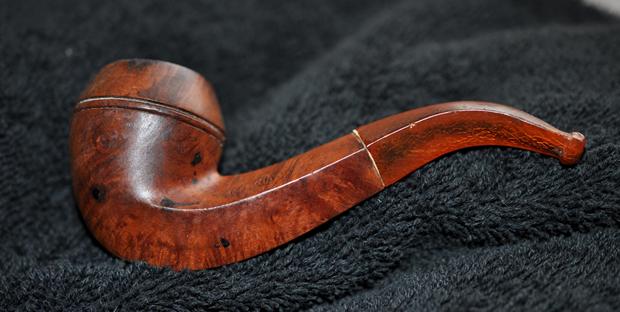
 Jeff did his usual great job cleaning the pipe before he sent it to me. He reamed the bowl with a Savinelli Fitsall Pipe Knife. He scrubbed out the mortise and the airway in the shank and the stem with alcohol, cotton swabs and pipe cleaners. He scrubbed the exterior of the bowl, rim and shank with a tooth brush and Murphy’s Oil Soap to remove the peeling varnish coat on the bowl and shank. He rinsed it under running water. He dried it off with a soft cloth. Once the peeling varnish debris was removed, the finish was in decent condition. When it arrived it was in a vinyl bag that had been made for it. I had no idea how large the pipe was. I slowly took it out of the bag and took photos of the pipe to show its condition before I started my work on it.
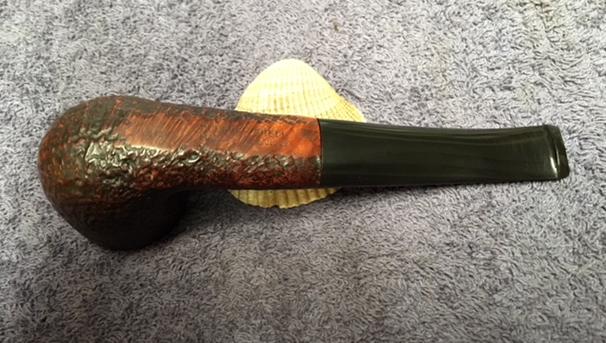
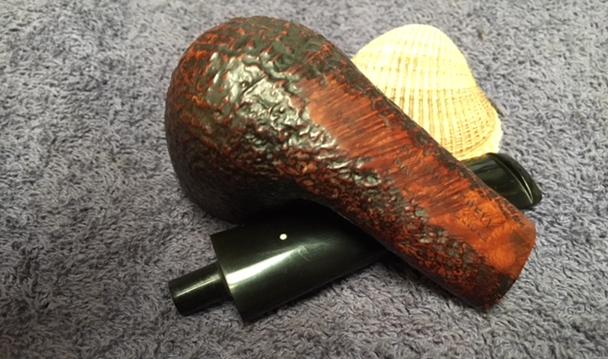
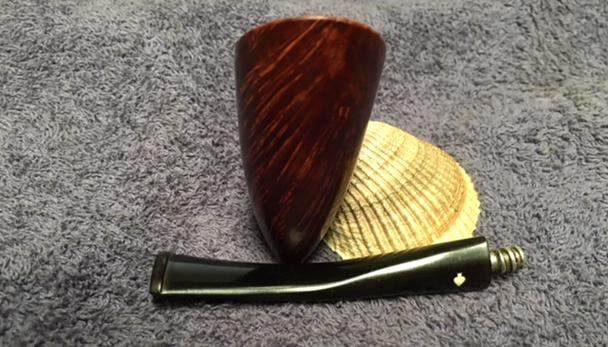
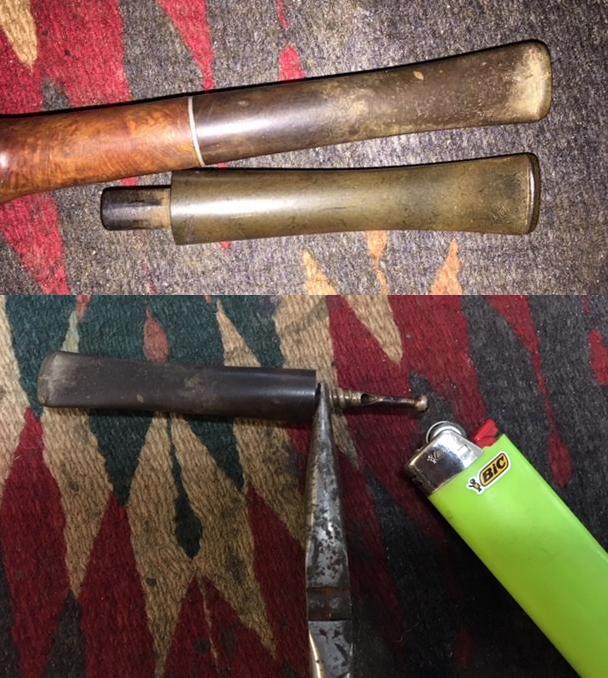
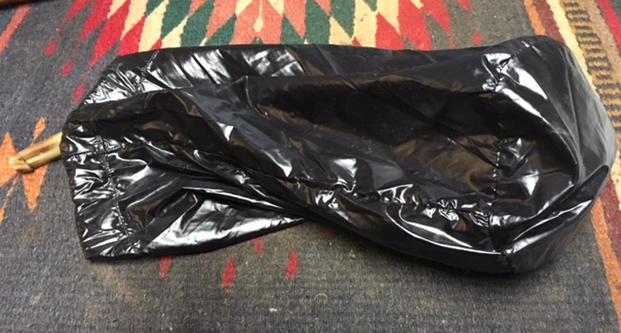 It was large enough that I can honestly say I have never seen a pipe this large. To get a better idea of the size I measured it for myself. The dimensions were Length: 12 inches, Height: 3 ½ inches, Outside Diameter of the Bowl: 2 inches, Diameter of the Chamber: 1 ½ inches. Later I will take a photo of the pipe with a regular sized bent billiard. I took some photos of the pipe to show what he had done in the cleanup work. It was a beautiful pipe.
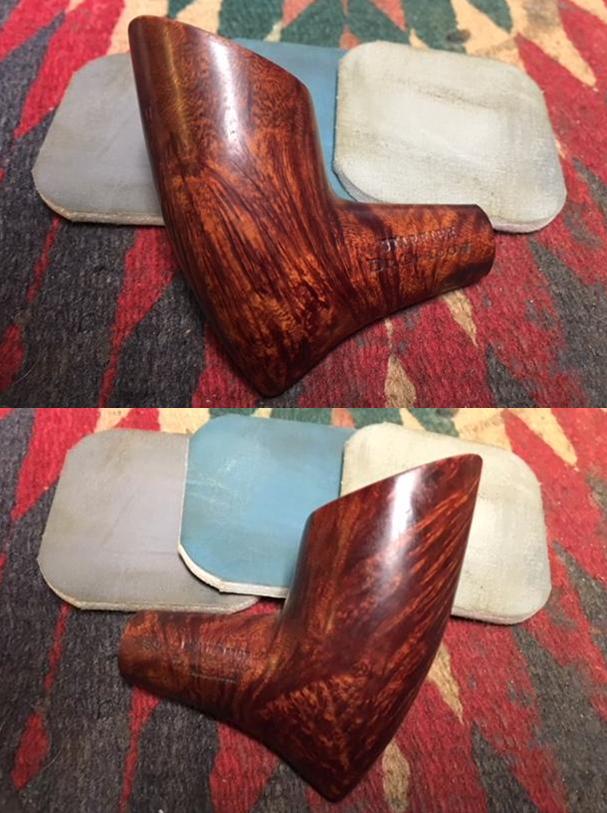
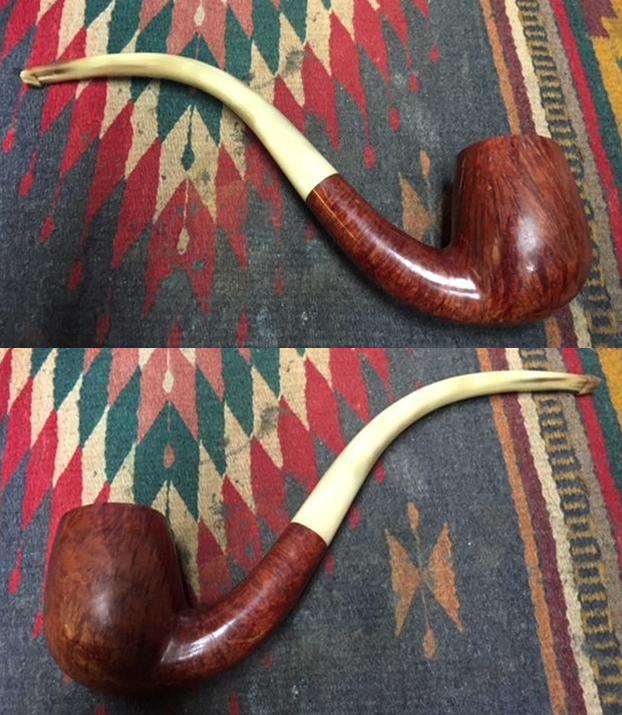
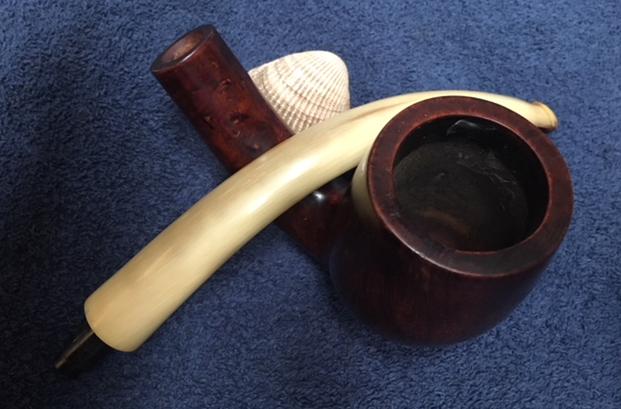
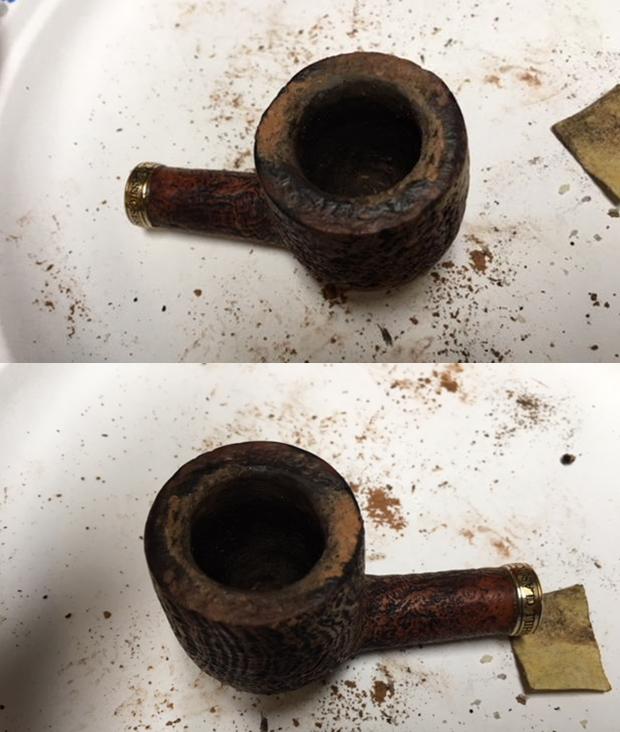
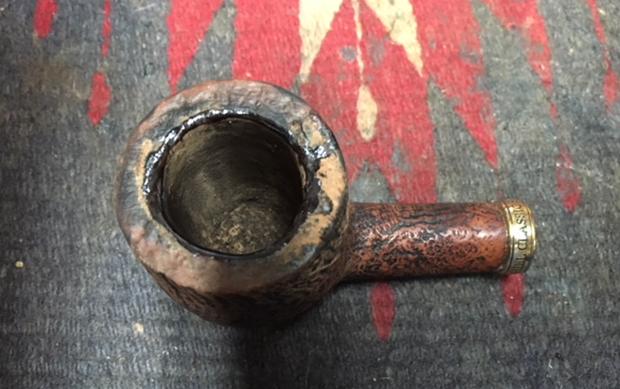
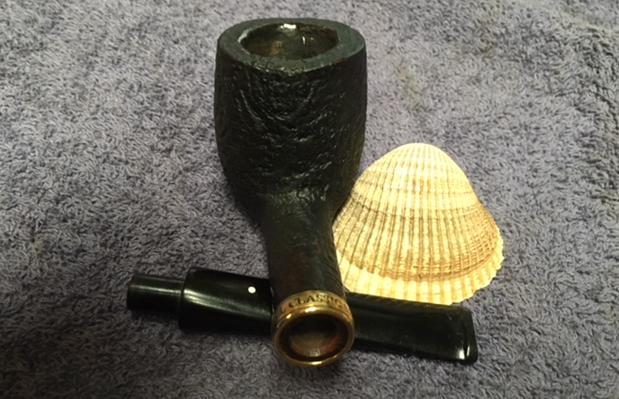
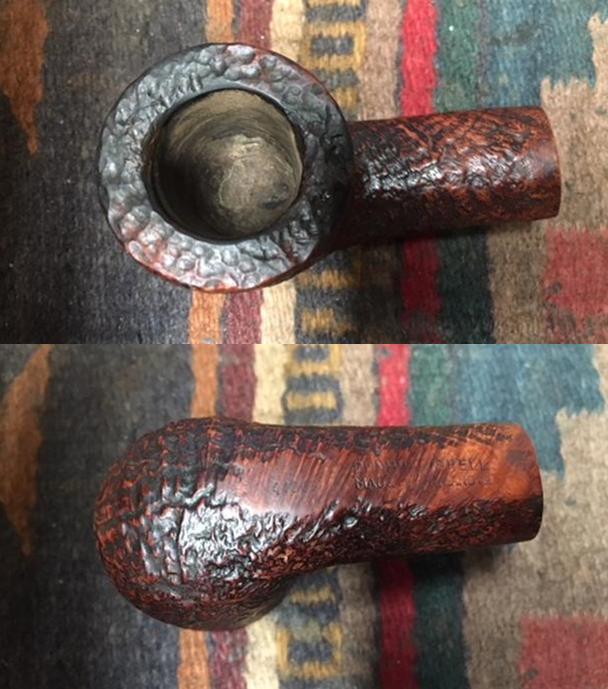
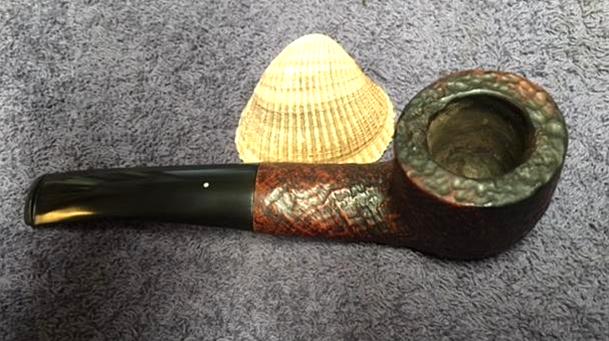
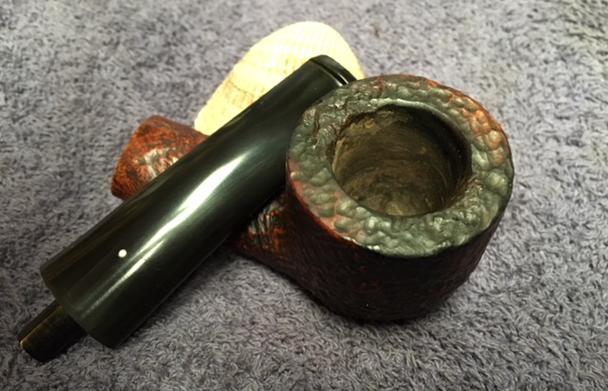
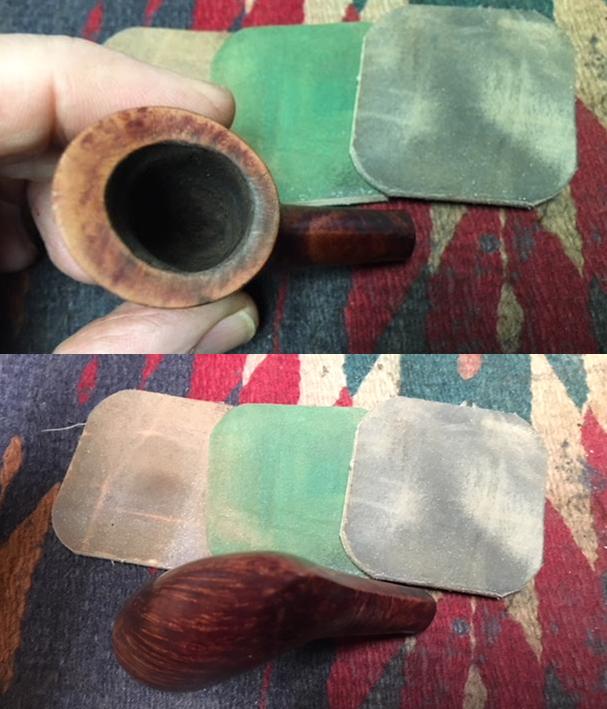
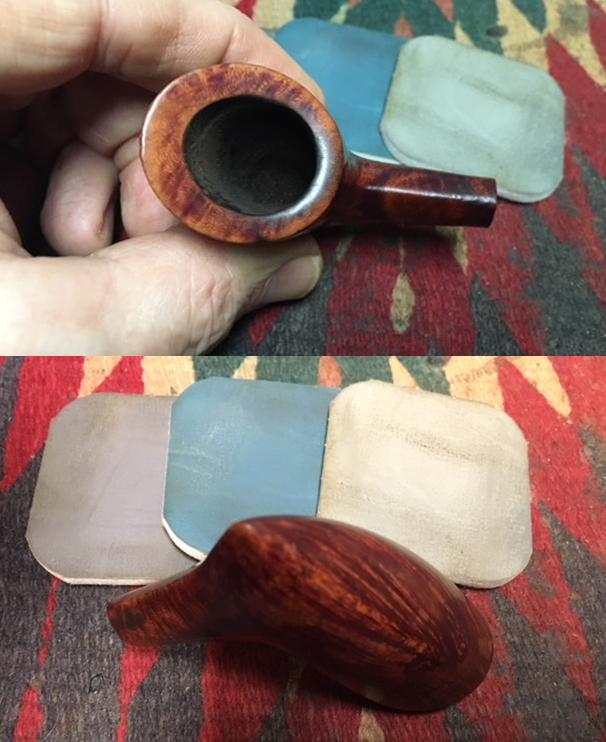
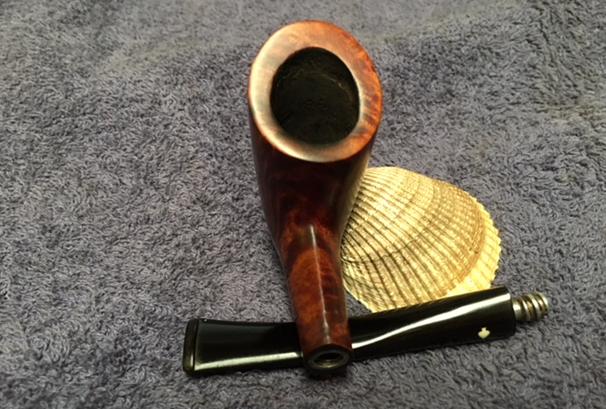
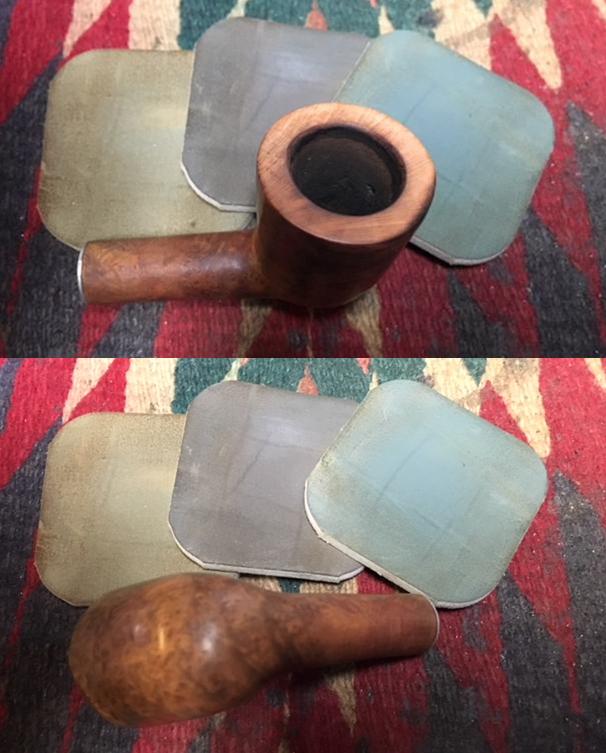
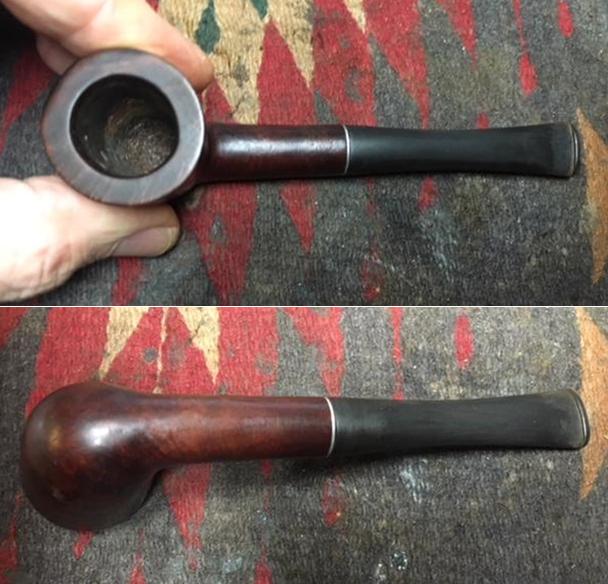
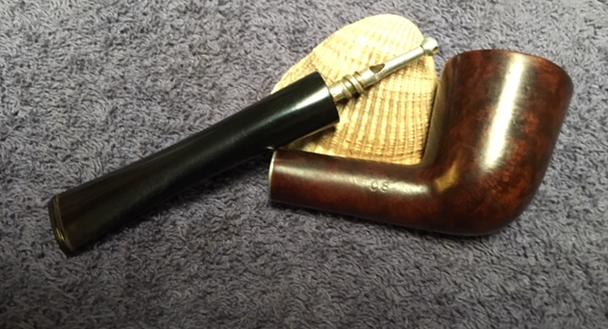
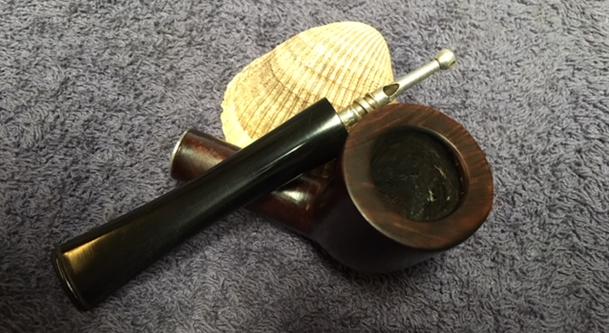
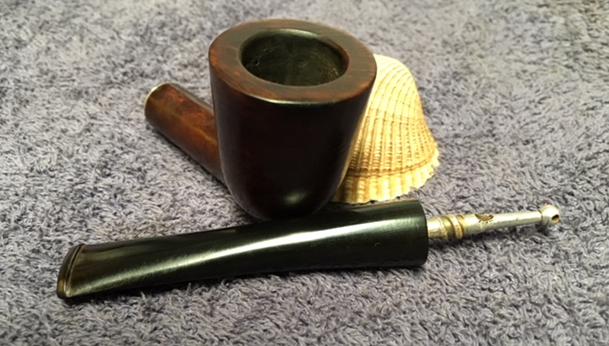
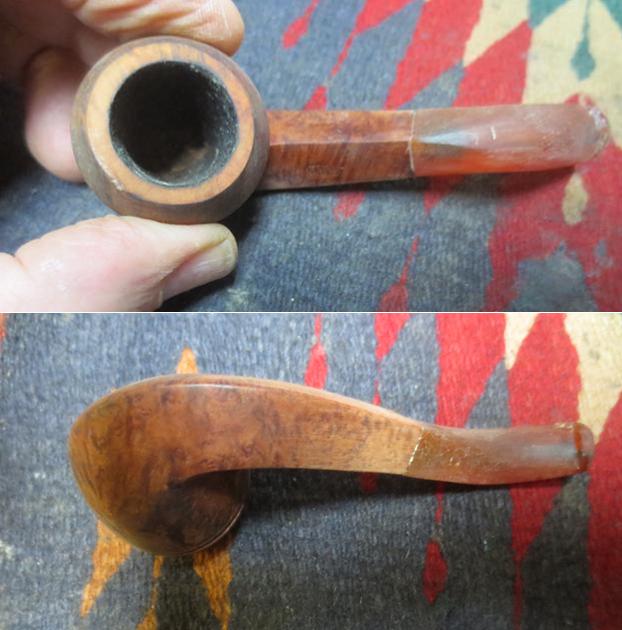
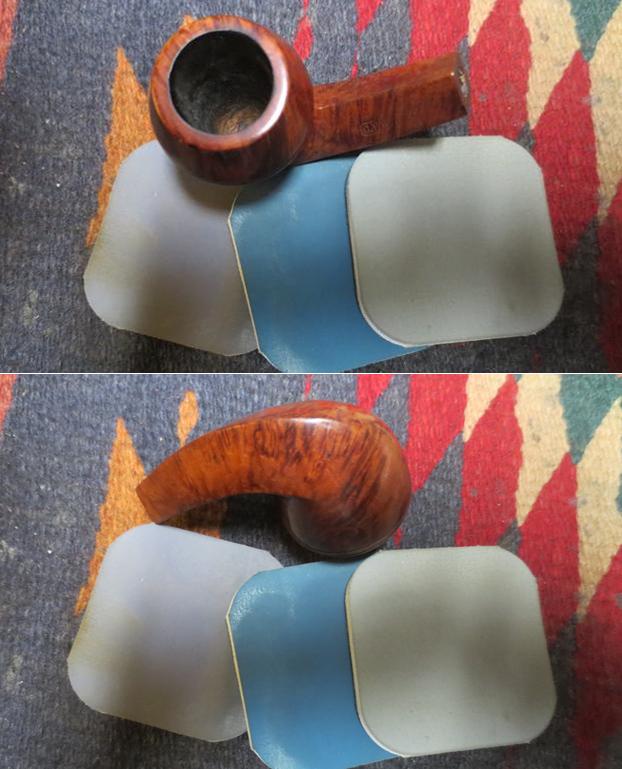
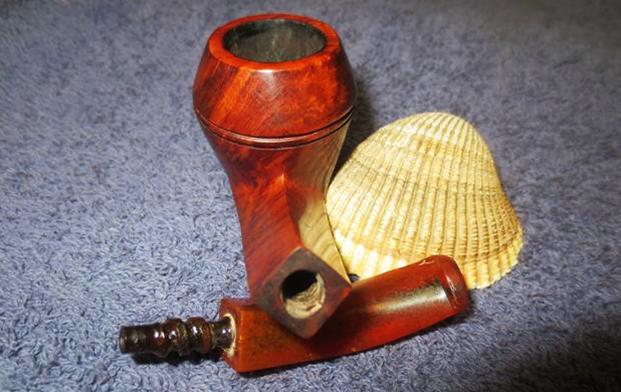
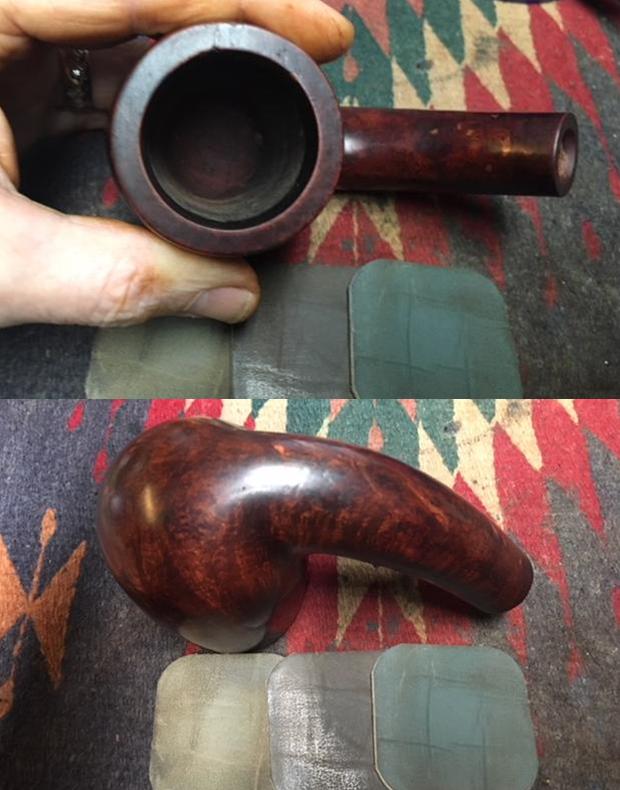
 I took a close up photo of the rim and bowl to show the condition after the cleanup. You can see the fills on the top and inner edge of the bowl as well as the damage on the front inner edge. The stem itself looks to be in great condition other than several chips around the end next to the shank and the damage to the slot in the button.
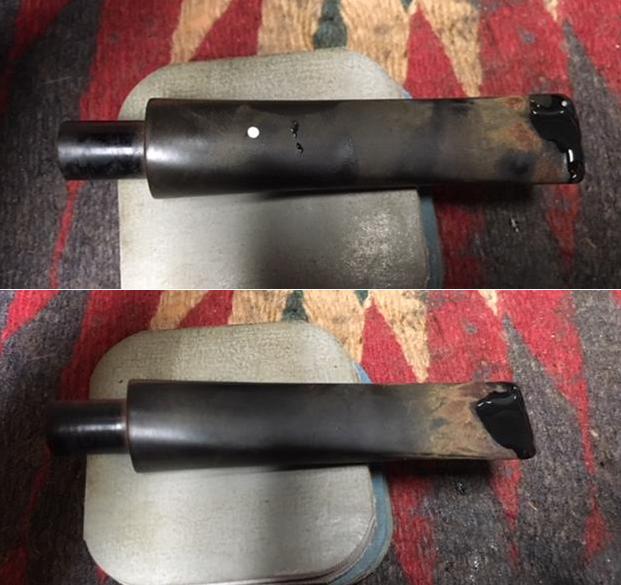
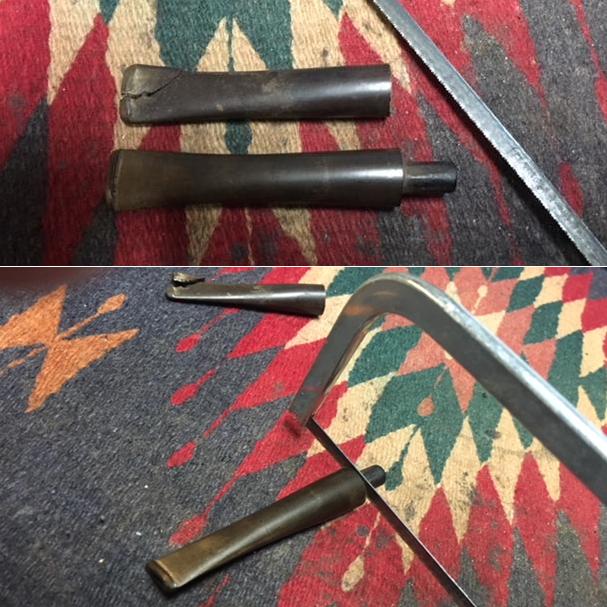
 I took close up photos of the slot in the button to show the damage. In the photos you can see the damage to the edges of the slot on the sides and the top and bottom.
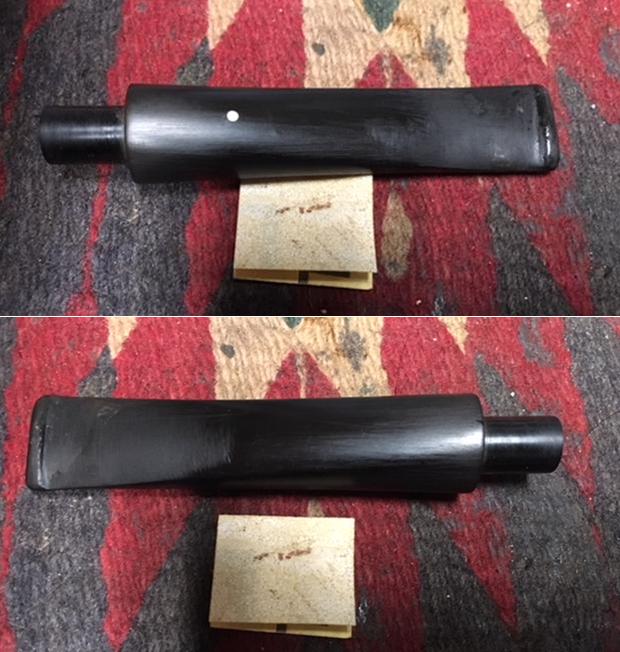
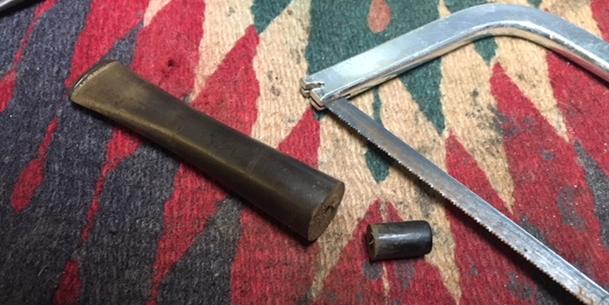
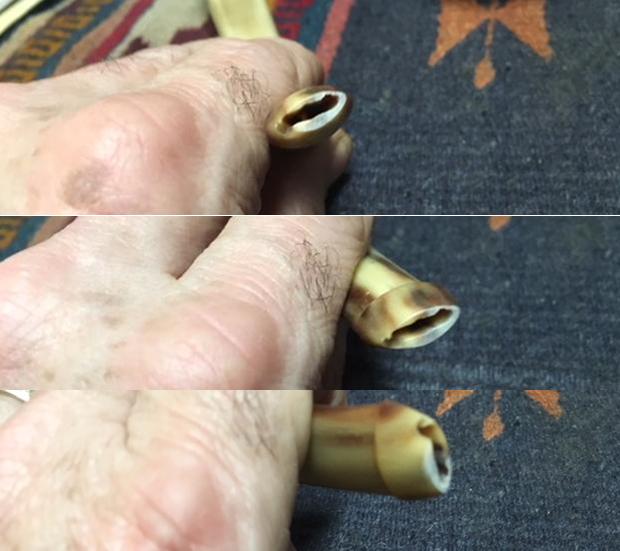 Because of the depth of the button, the thickness of the stem end I decided to start on that first. I used the topping board and 220 grit sandpaper and topped the end of the button to remove the damaged areas as much as possible.
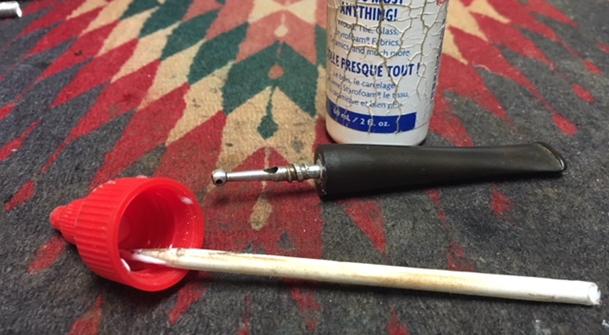
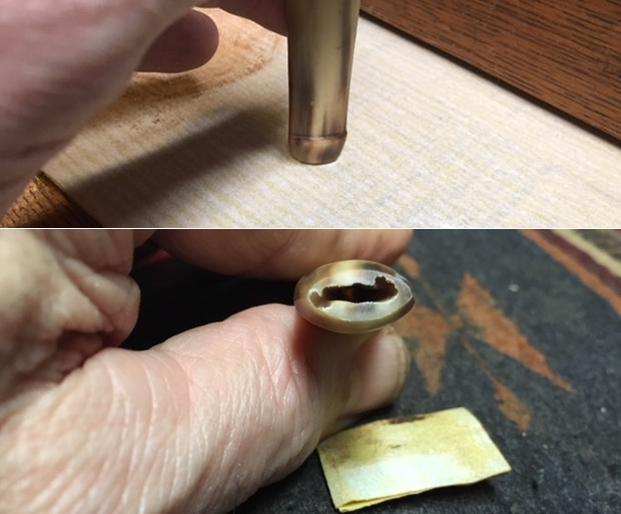 I filled in the notches in the slot with clear super glue. I worked on them to repair the damages in those areas. I sanded the end of the button and slot to remove the excess and used a needle file to clean up the slot edges.
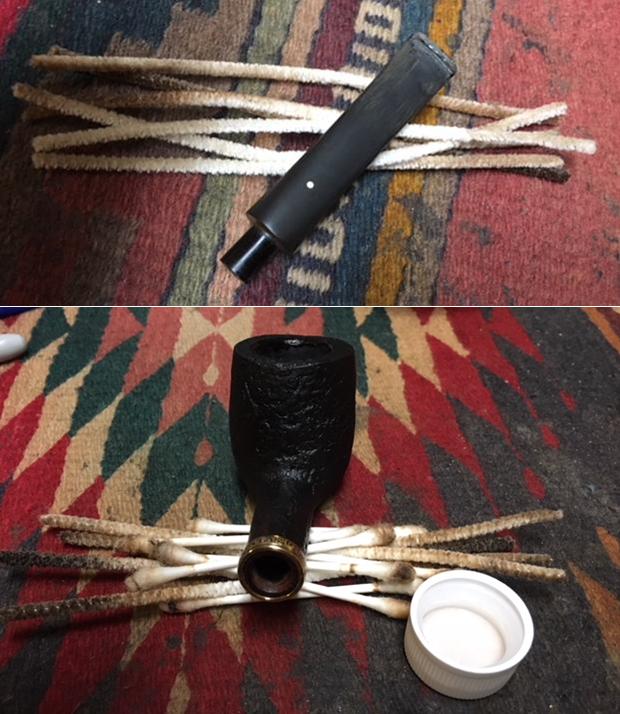
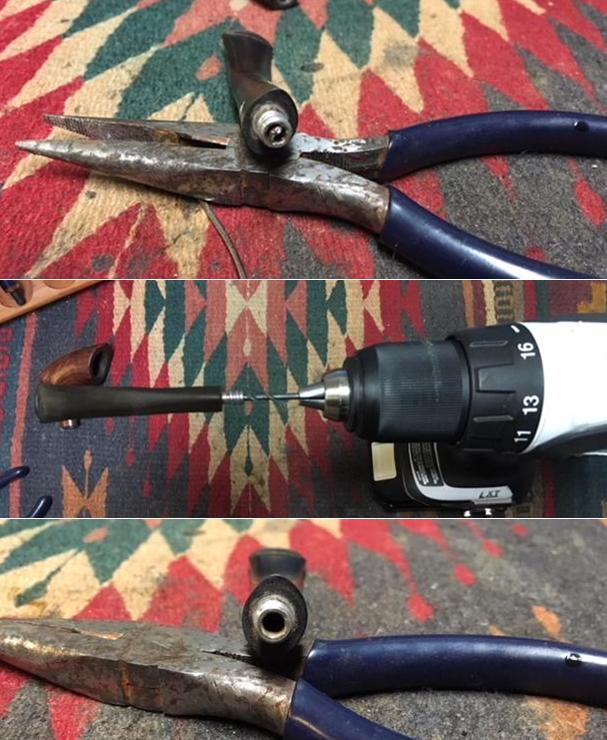
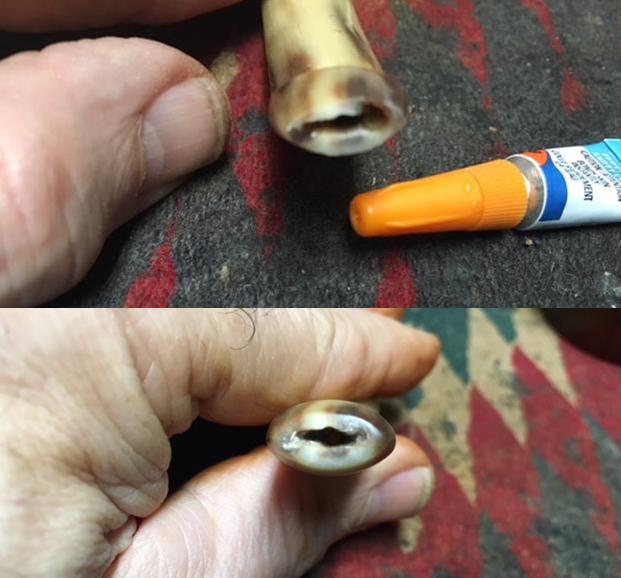 I blew air through the stem and found that the flow was constricted. I pushed a pipe cleaner into the airway from both end and found that it hit a clogged or constriction at the midpoint of the stem. I pushed a flexible wire through the airway and pushed out thick tars and hardened oils from the stem. I used long churchwarden pipe cleaners dipped in alcohol through the airway to clean out the debris. Once I had cleaned it out the flow of air through the stem both ways was unrestricted.
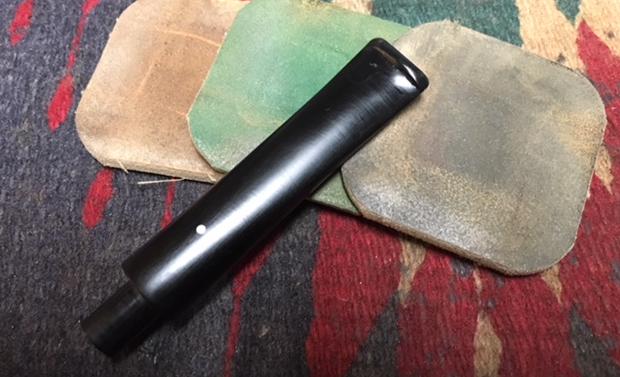
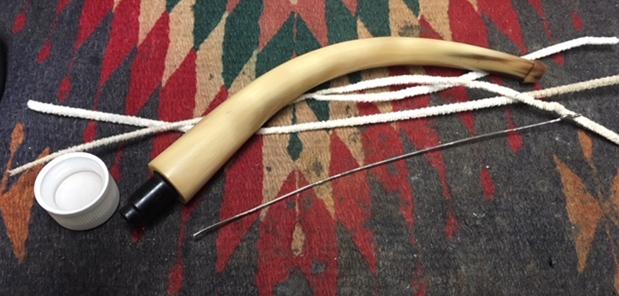 I repaired the chipped areas on the tenon end of the stem with clear super glue. Once the glue had cured I sanded the repaired areas to remove the excess and blend it into the surface of the horn.
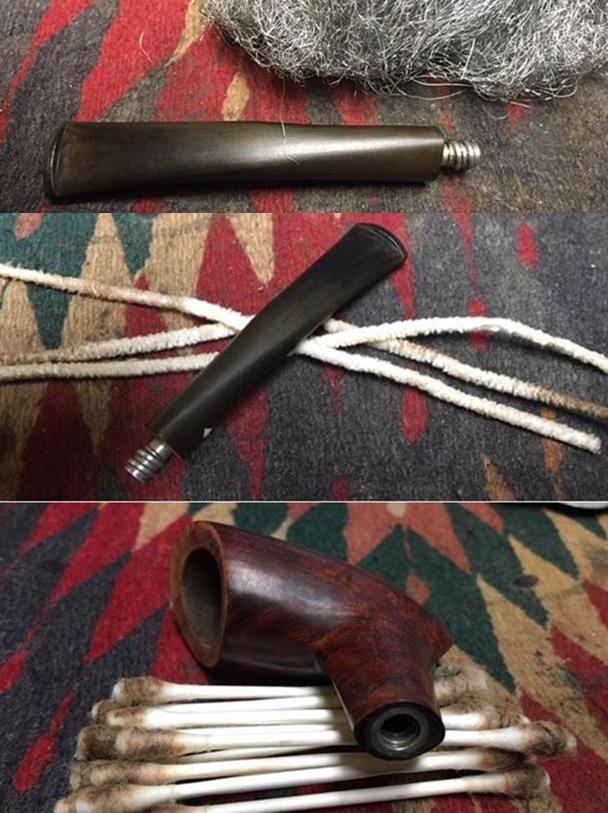
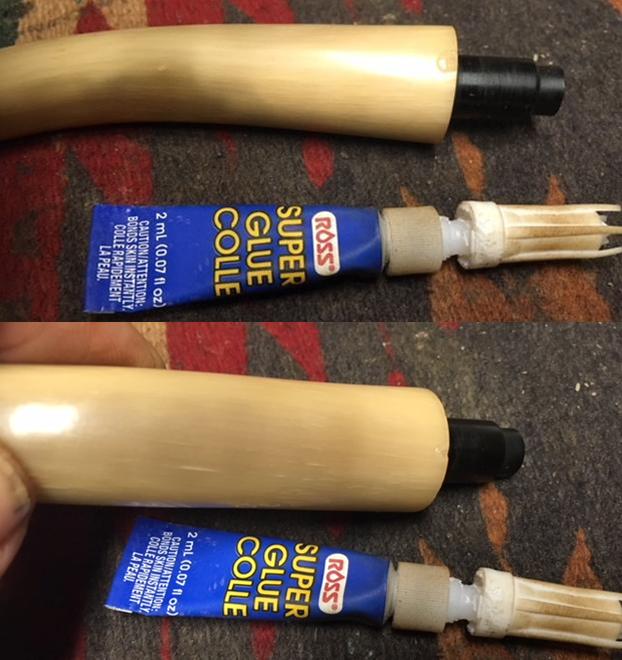
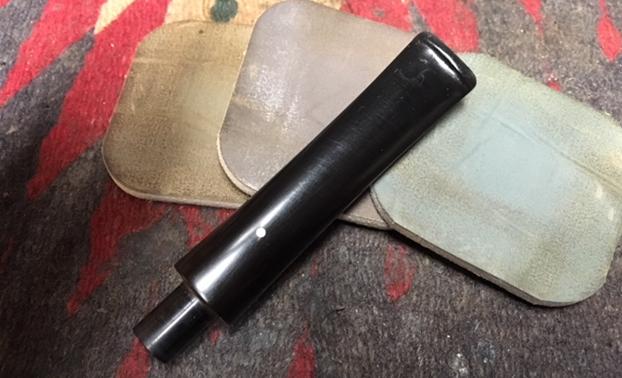
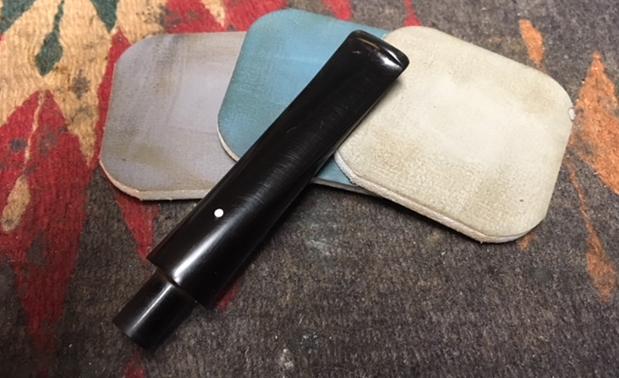
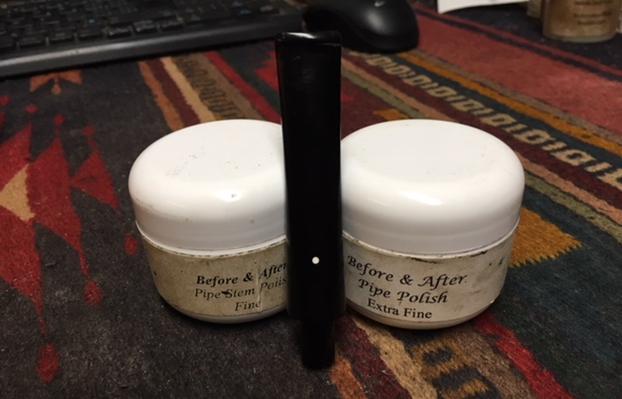
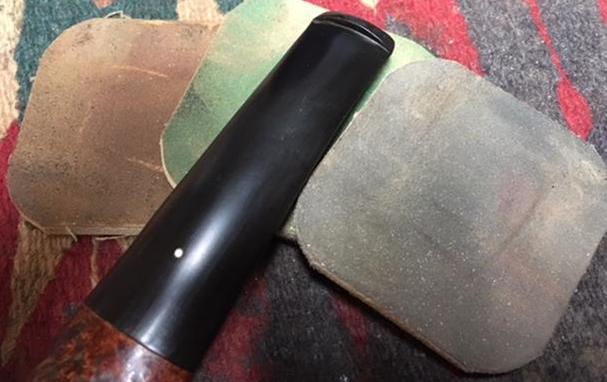
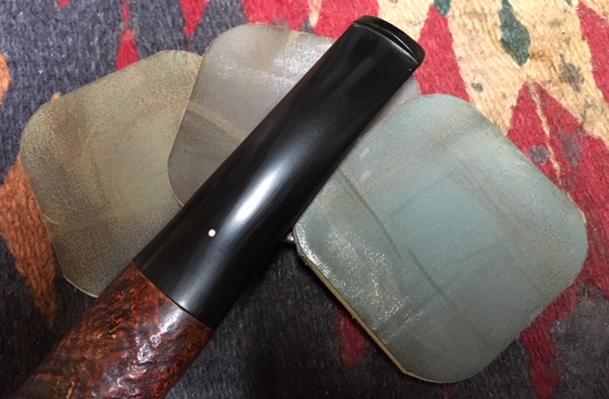
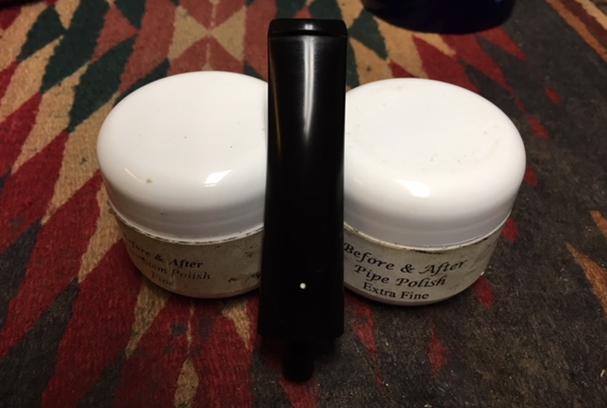
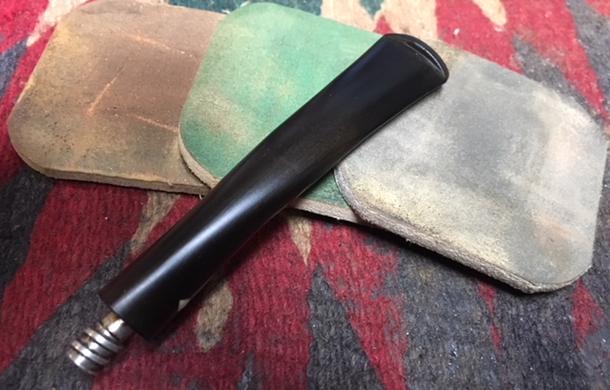
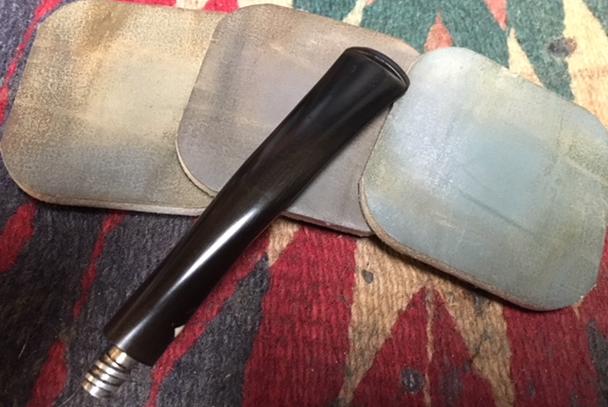
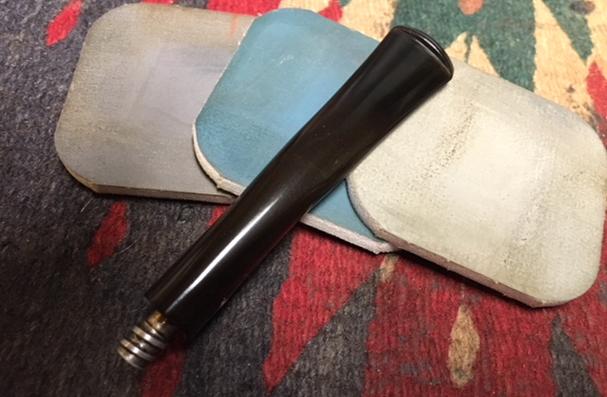
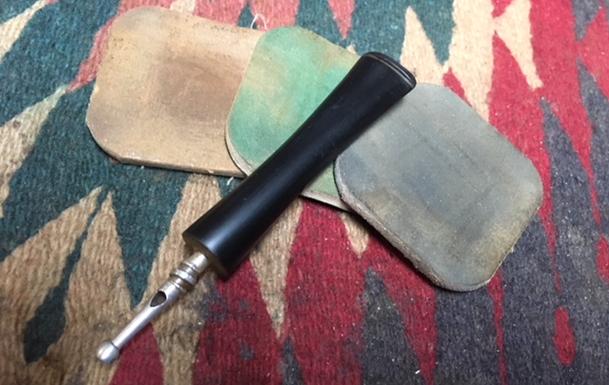
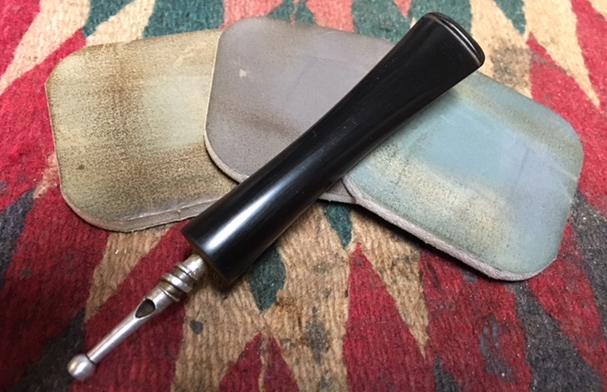
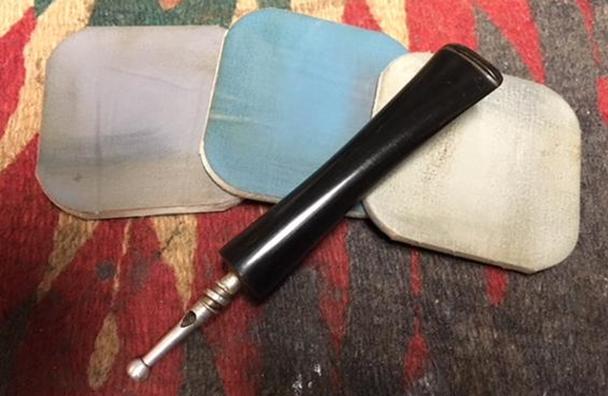
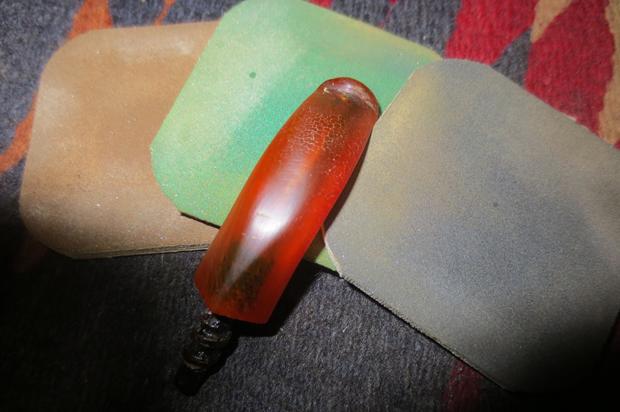
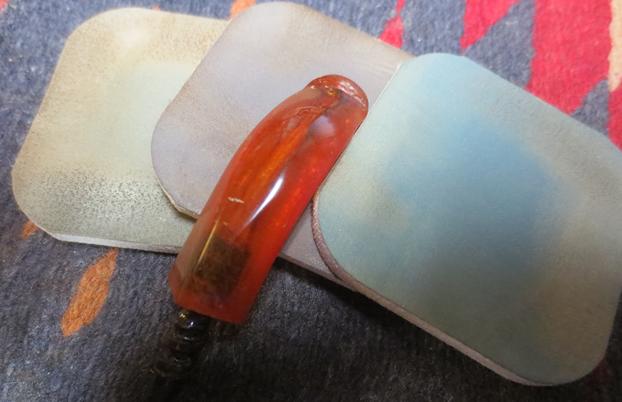
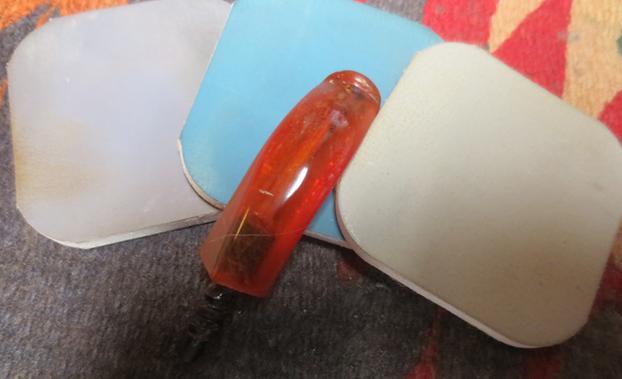
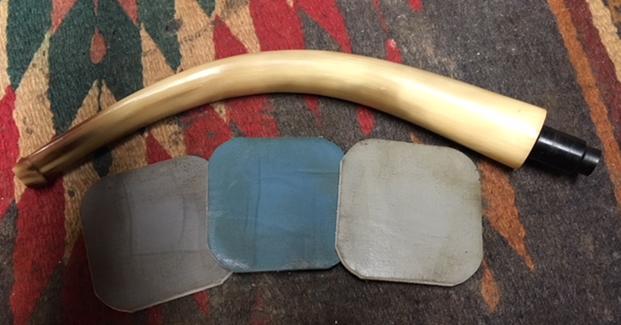
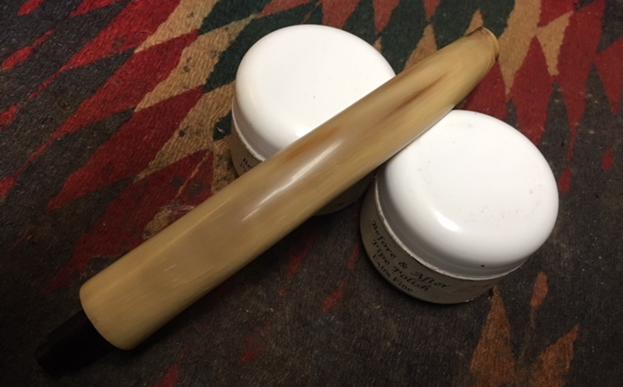
 I polished the stem with micromesh sanding pads – wet sanding with 1500-2400 grit pads and dry sanding with 3200-12000 grit pads. I wiped the stem down with Obsidian Oil after each pad. I polished it with Before & After Pipe Polish and rubbed it down with a cotton pad to deeply polish the horn.
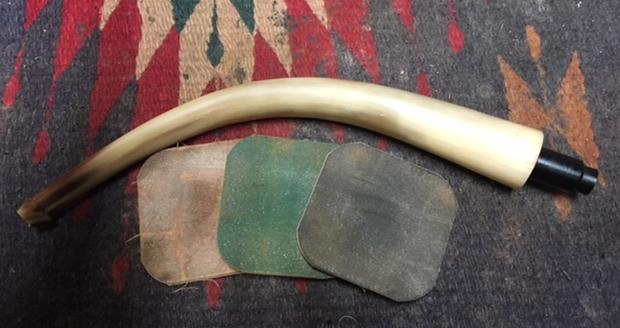

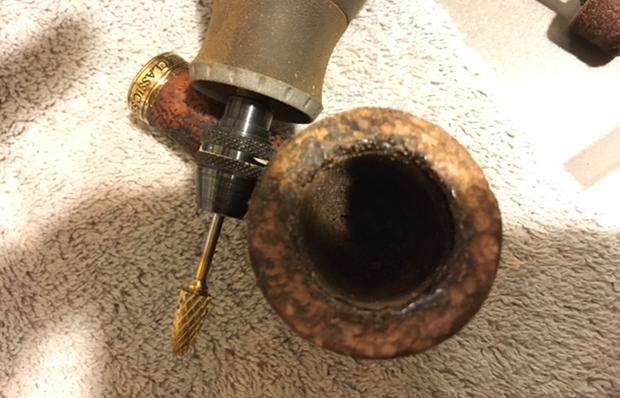
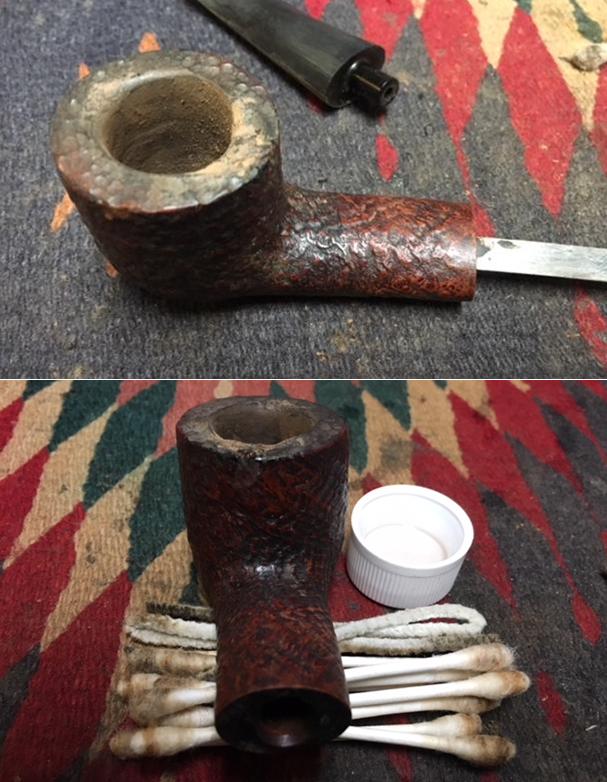
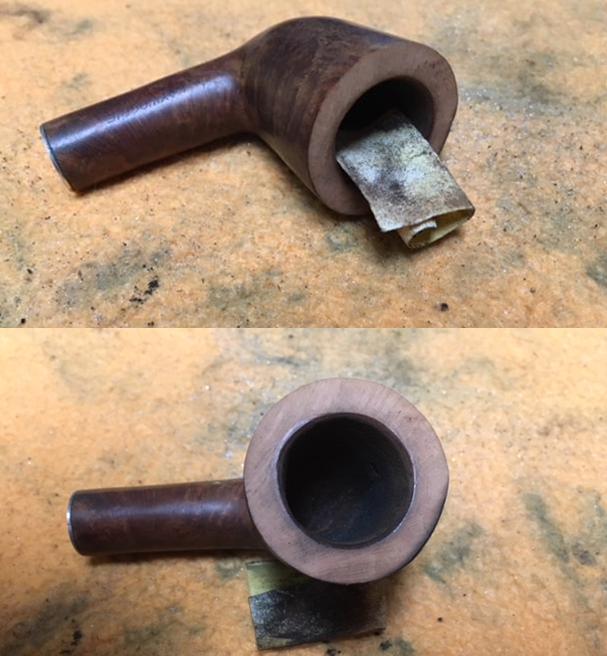
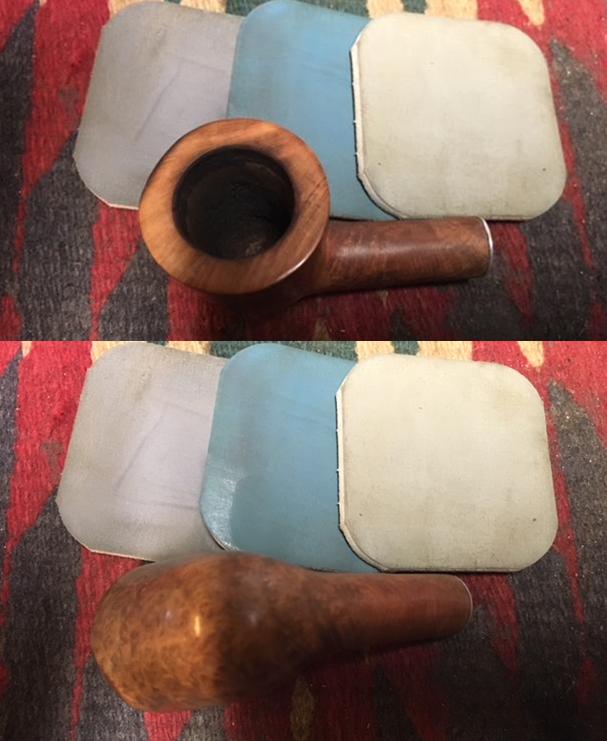
 I set the stem aside and worked on the bowl. I decided to top the bowl to remove the damaged areas from the surface and edges of the rim. I used 220 grit sandpaper to clean it up. I topped it until the rim top was clean.
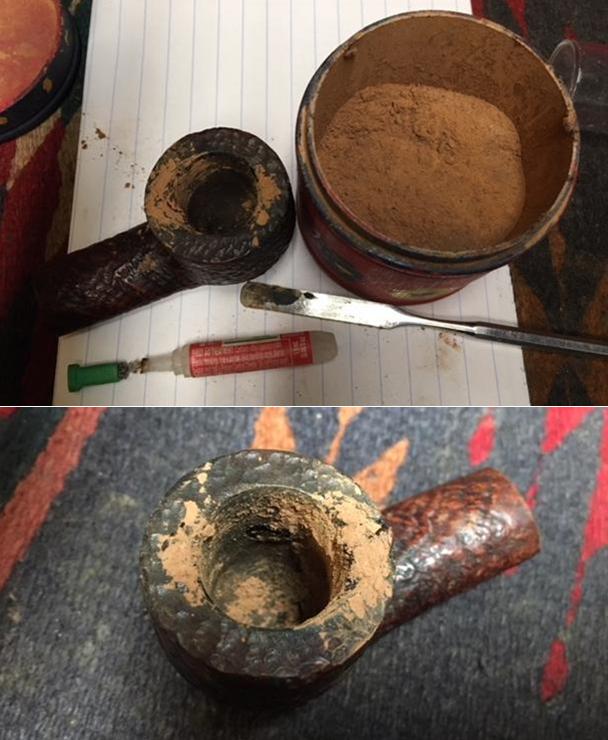
 I repaired the fills in the briar with clear super glue. I filled them until they were slightly over filled so that as the glue cured it would not shrink and require a second coat.
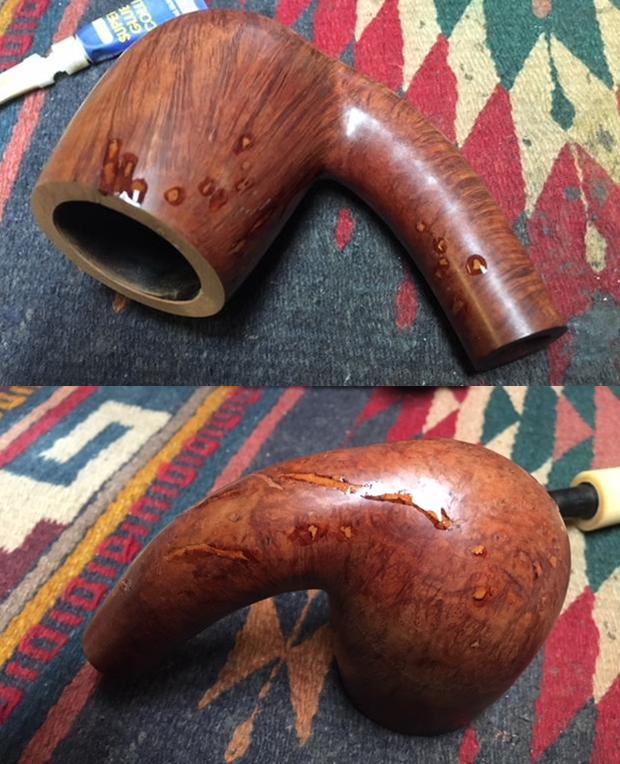 When the glue dried I sanded the bowl with 220 and 380 grit sandpaper to blend the fills into the surface of the briar. I wiped the sanded briar down with alcohol on a cotton pad.
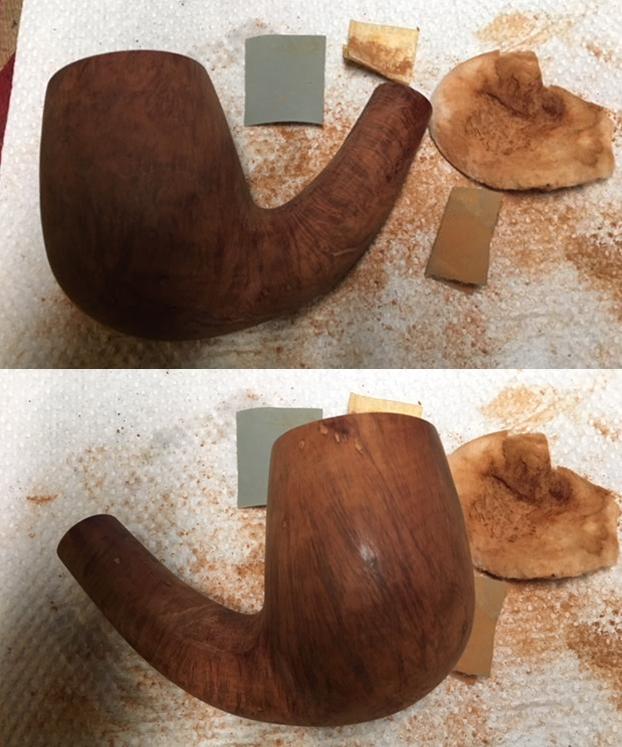
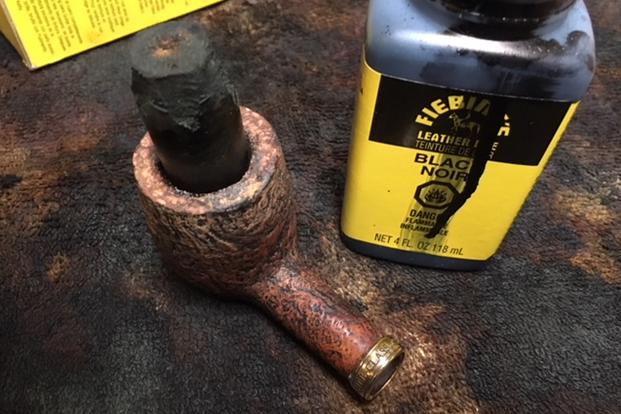
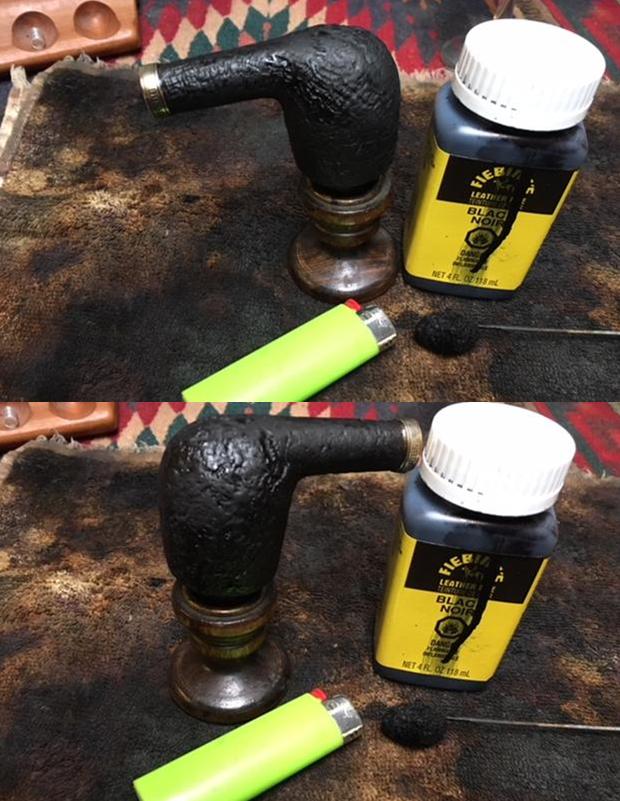
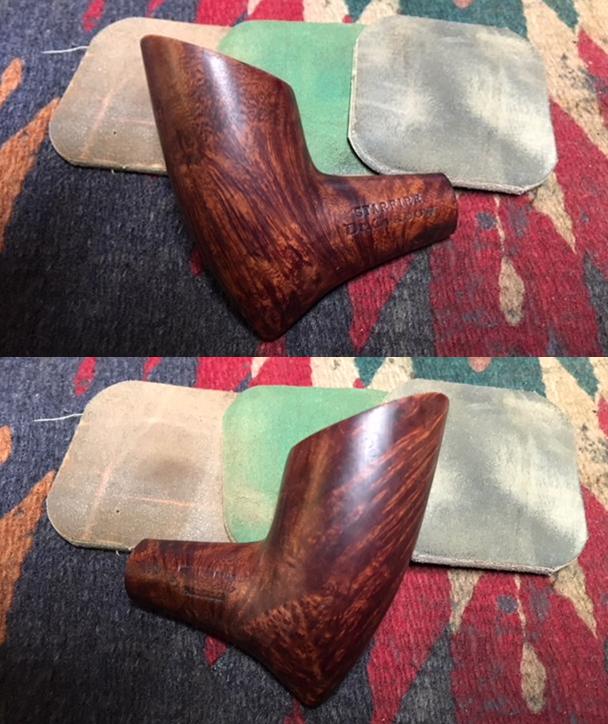
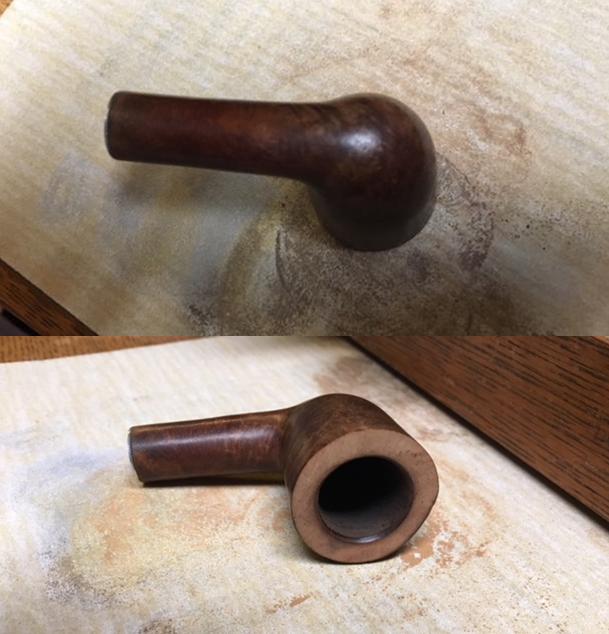
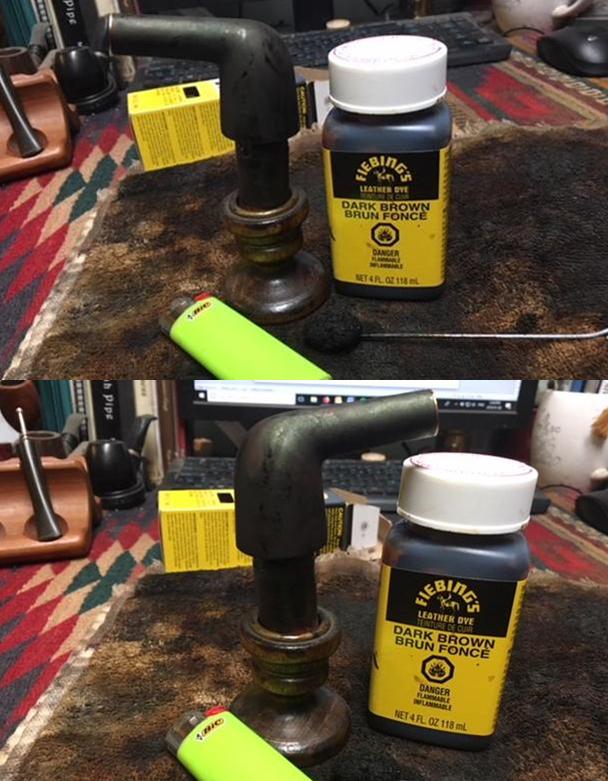
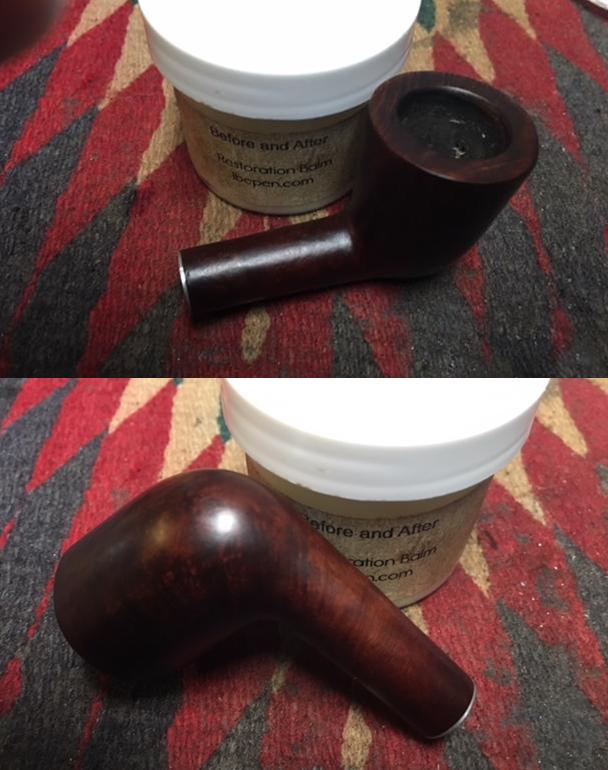
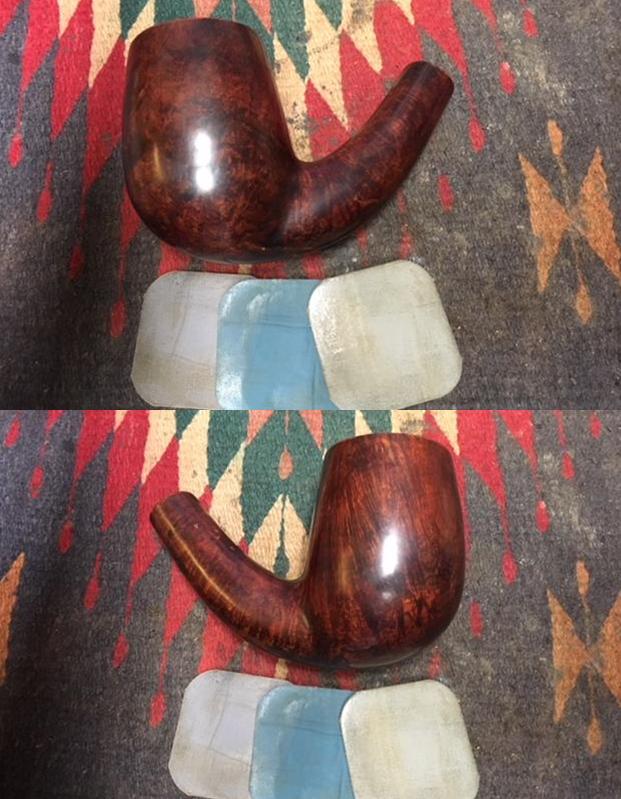
 I sanded the bowl with a medium and a fine grit sanding sponge and then stained it with a dark brown stain. I flamed it and repeated the process until the coverage was even. You might wonder why I stained it with such a dark stain… my reason was quite simple. I wanted to mask the fills – particularly the large ones on the underside of the shank. I set the bowl aside to let the stain dry and called it a night.
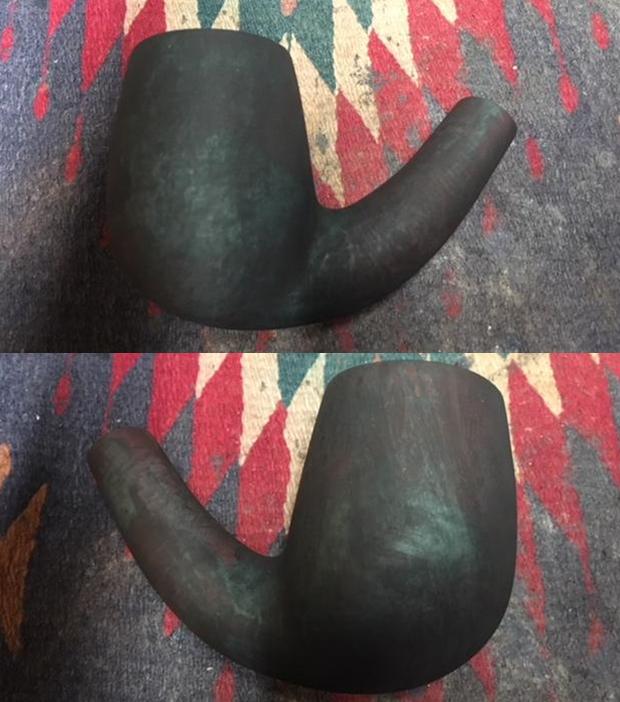
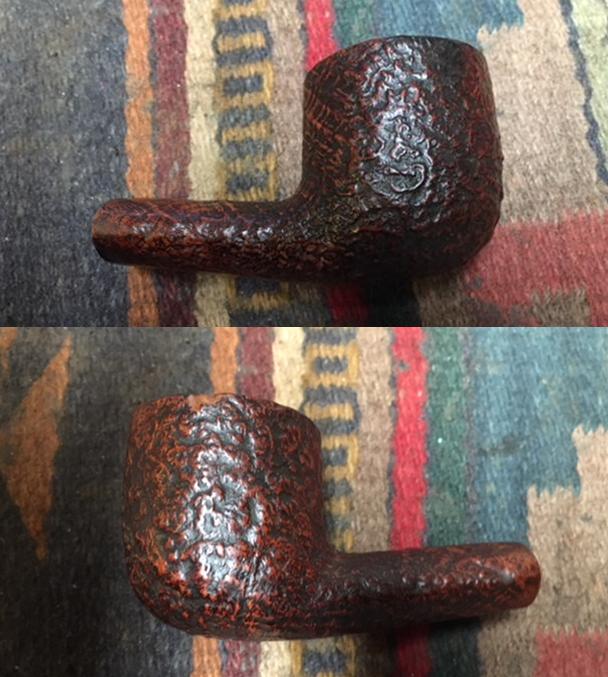
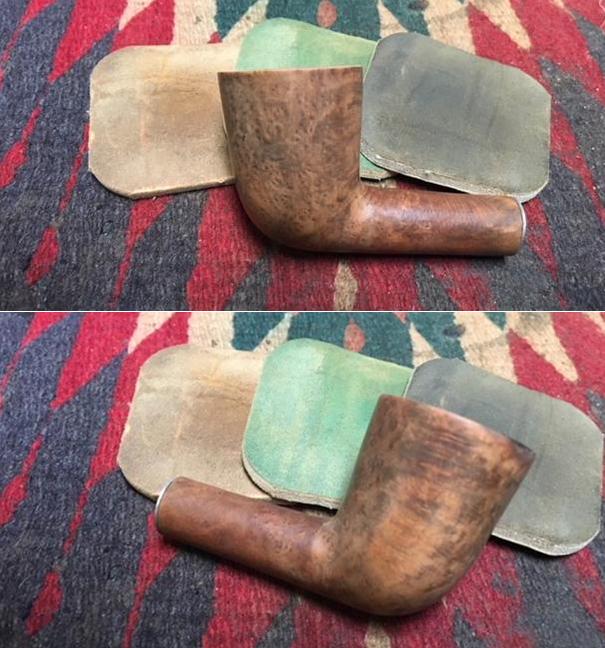
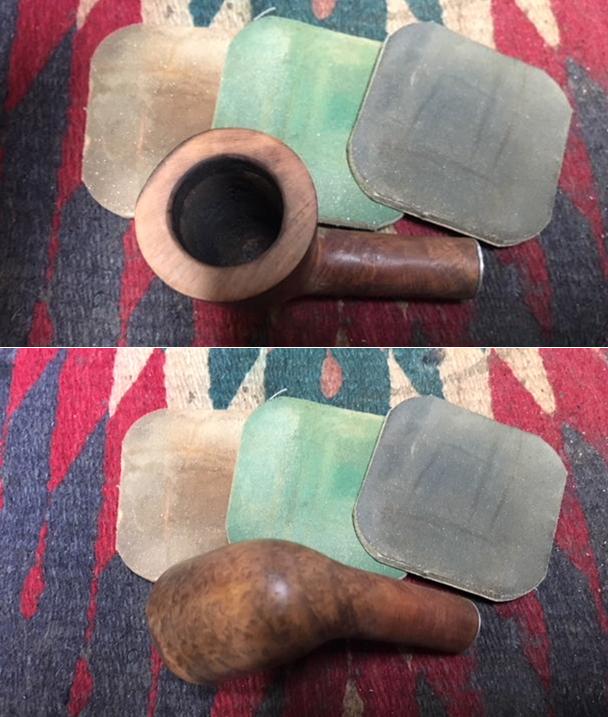
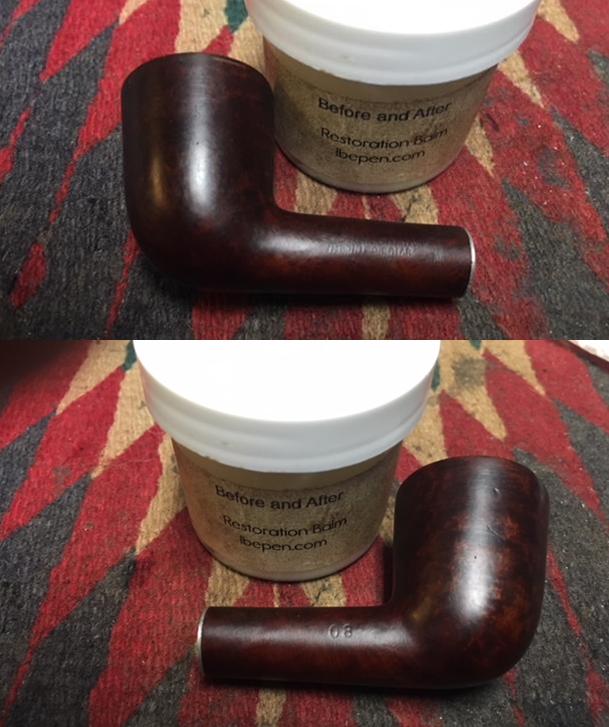
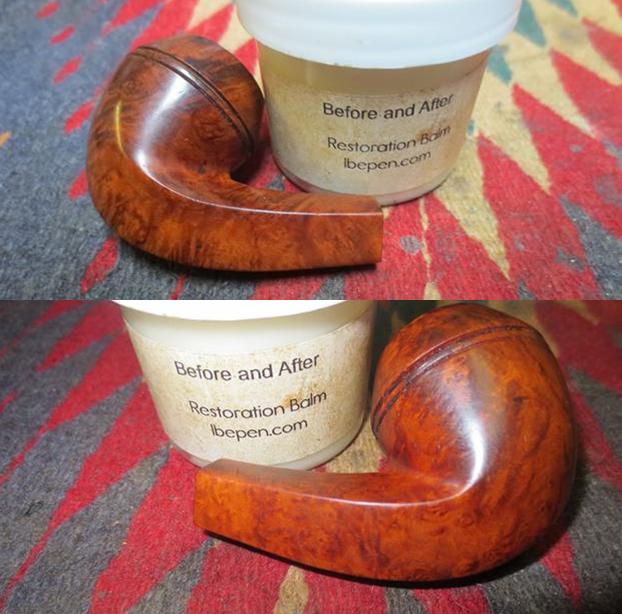
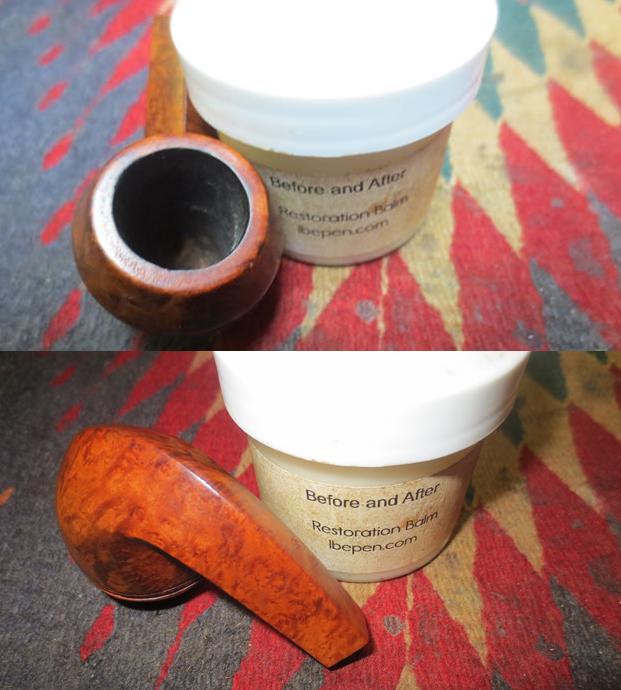
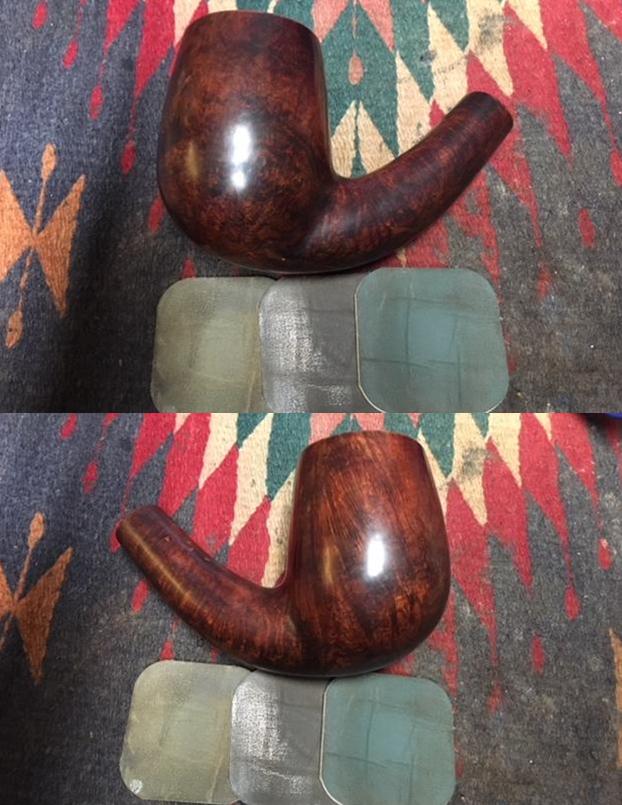
 In the morning I wiped it down with alcohol on cotton pads to make the dark brown stain more transparent and allow the grain to pop through the finish. The fills though still present were in better condition and less obvious.
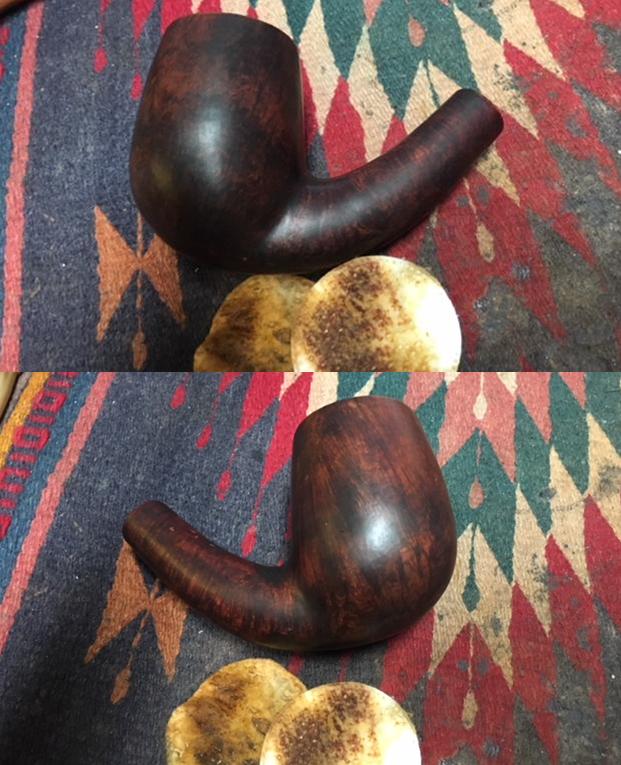
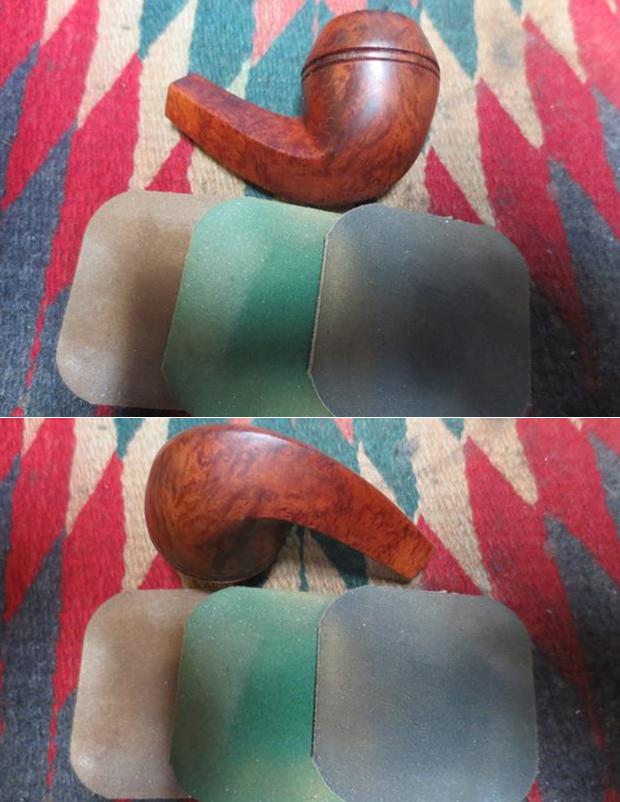
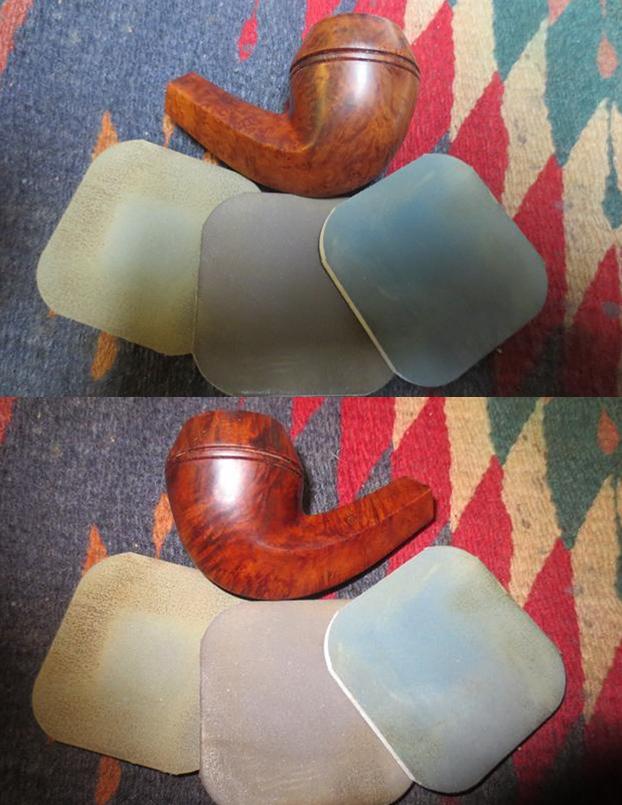
 I polished the briar with micromesh sanding pads – dry sanding with 1500-12000 grit pads. I wiped the bowl down with an alcohol dampened cotton pad after each grit of micromesh.
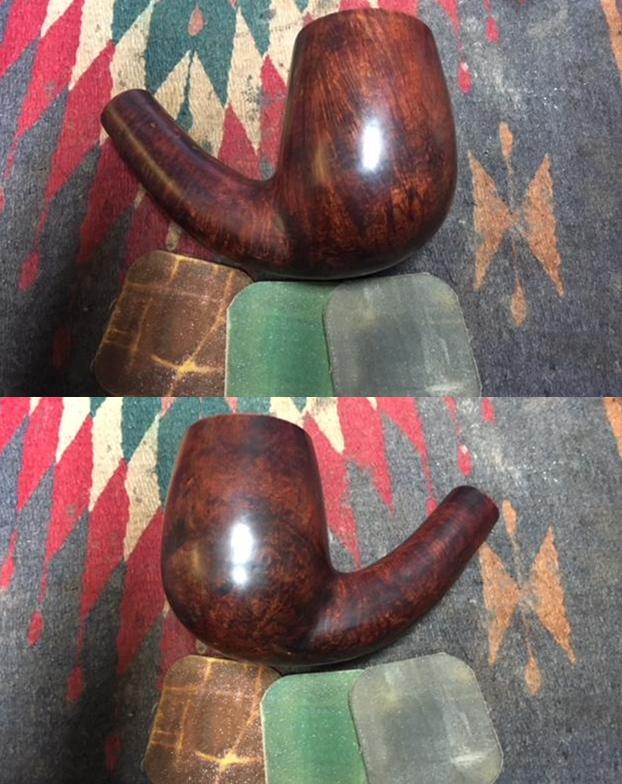
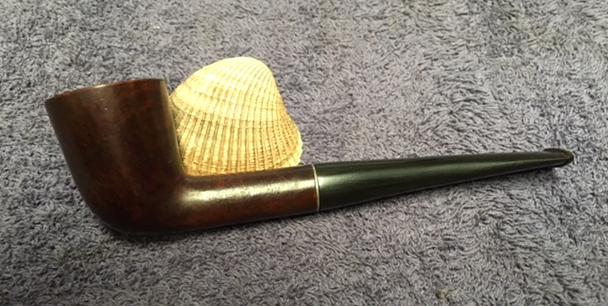
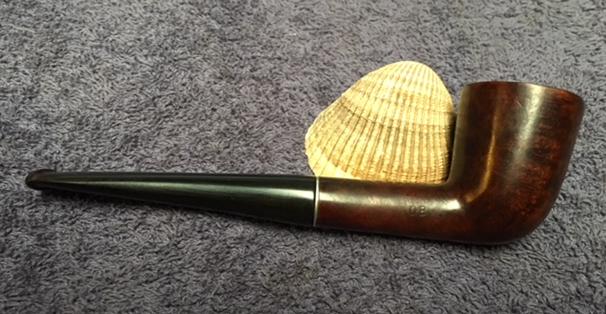
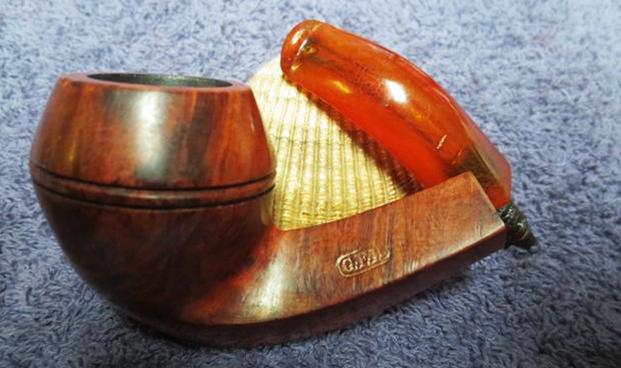
 I put the polished stem back on the shank and took a photo of the pipe next to a Peterson’s London Made Kapruf 9BC to give an idea of the sheer size of this giant pipe. The Peterson is an average sized pipe and it appears almost like a nosewarmer next to this big one.
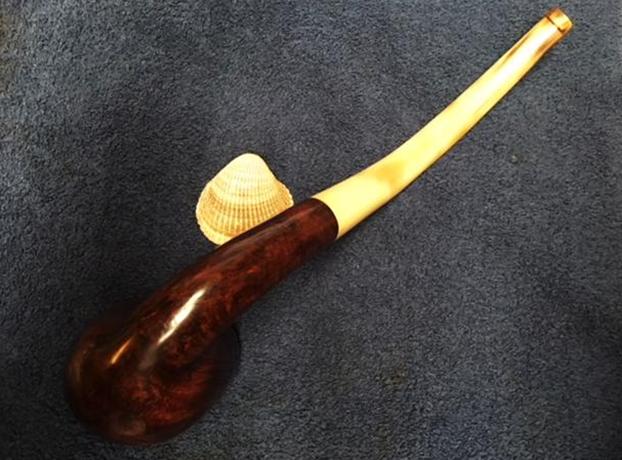
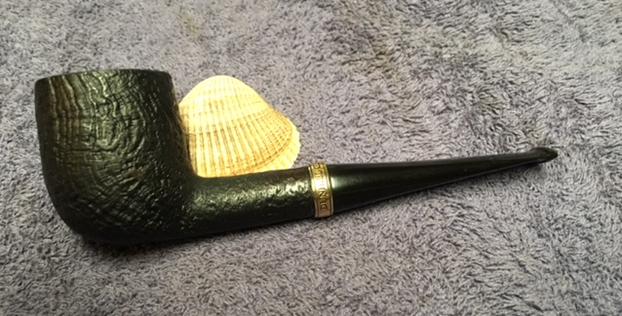
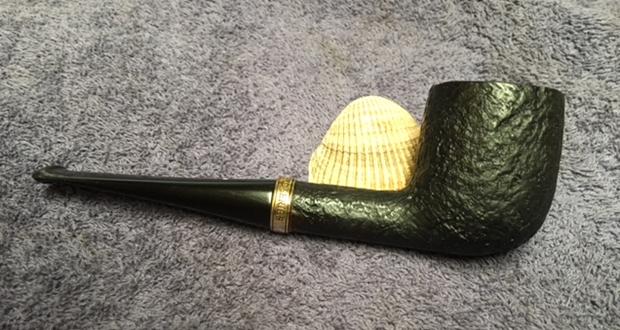
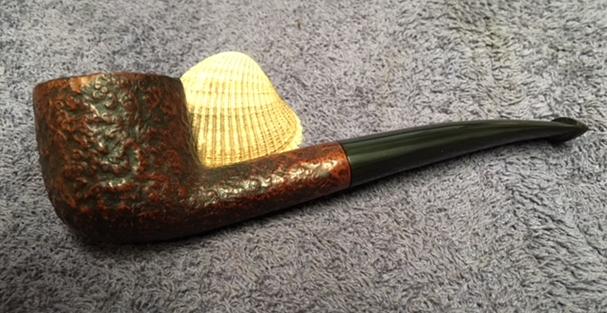
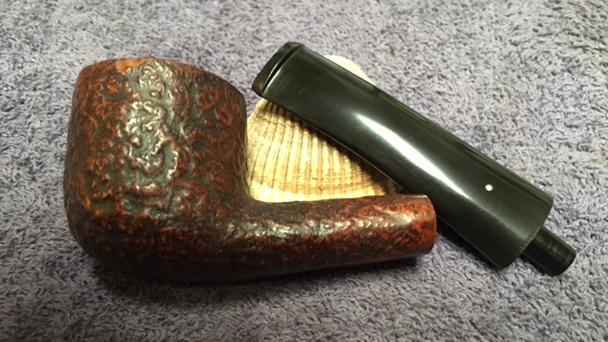
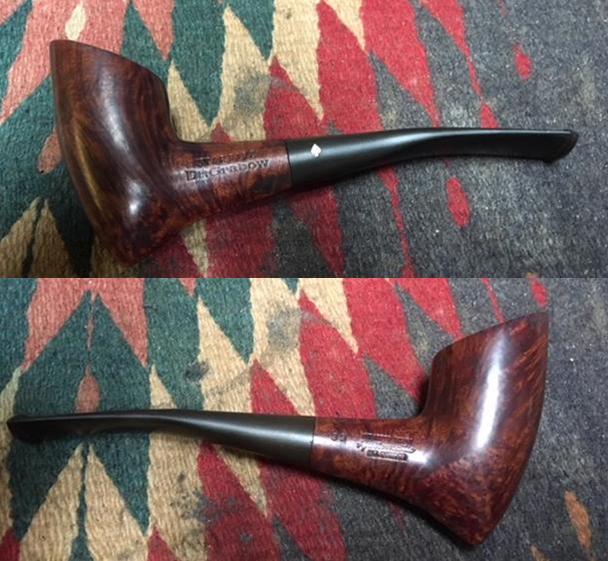
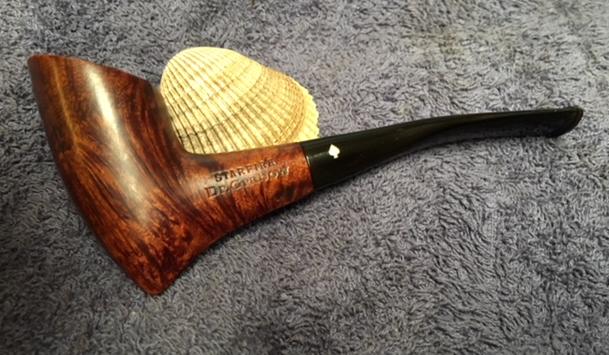
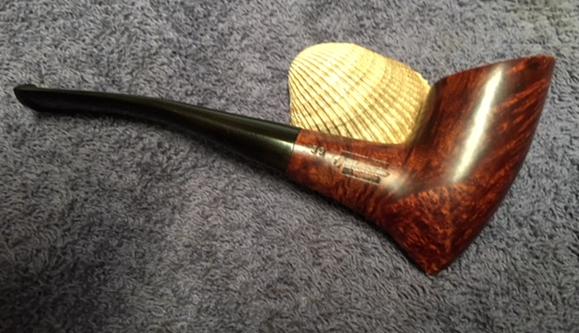
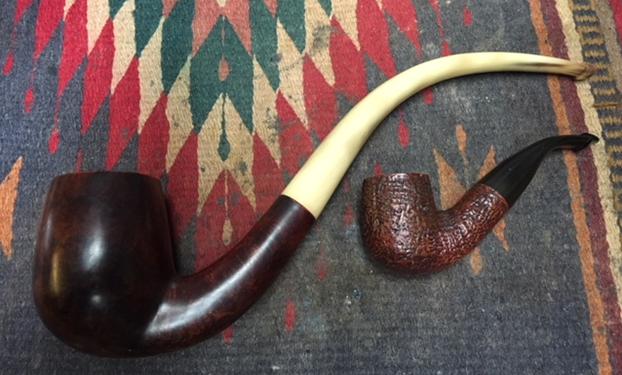 I took the pipe to the buffer and worked it over on the buffing wheel using Blue Diamond to polish it. I buffed the entire pipe to raise the gloss on the briar and really bring shine to the horn. I gave the bowl and stem multiple coats of Carnauba Wax. I buffed the entire pipe with a clean buffing pad to raise the shine. I hand buffed it with a microfiber cloth to deepen the shine. The finished pipe is shown in the photos below. The dark brown stains on the bowl do not hide the grain and the fills though present do not stand out as much. The bowl and the rich striated colours of the horn work really well to create a rich looking pipe. The pipe is so big that I want to once again give you the dimensions; Length: 12 inches, Height: 3 ½ inches, Outside Diameter of the Bowl: 2 inches, Diameter of the Chamber: 1 ½ inches. This humongous briar and horn stem pipe is truly a beauty. I have never seen a pipe this big before and it makes me wonder if it was not originally made as a display pipe. I don’t think I will ever know for sure but I do know that it was smoked and it is available to anyone who is interested in adding big pipe to their own collection. I would have said rack but it is too big to fit even a large rack. I will be putting it on the rebornpipes store shortly so if you are interested let me know. Thanks for walking through the restoration with me.