Blog by Steve Laug
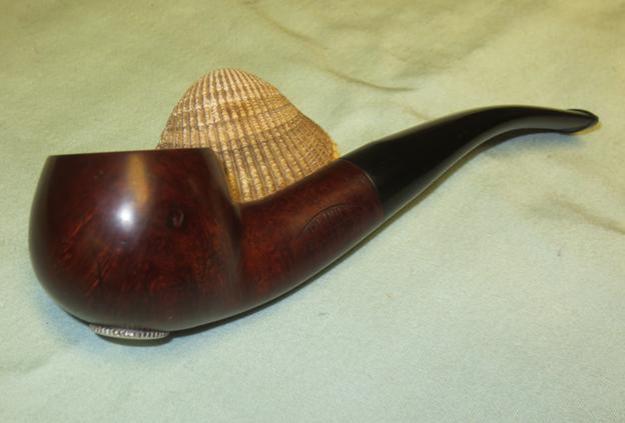
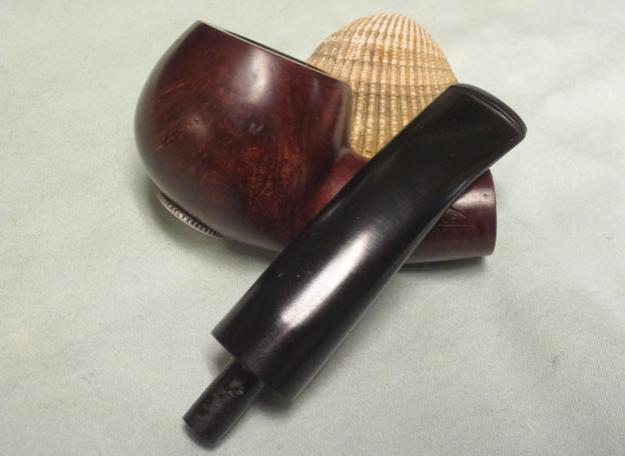
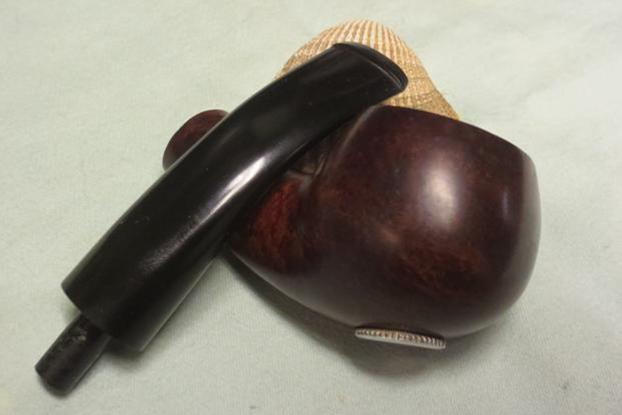
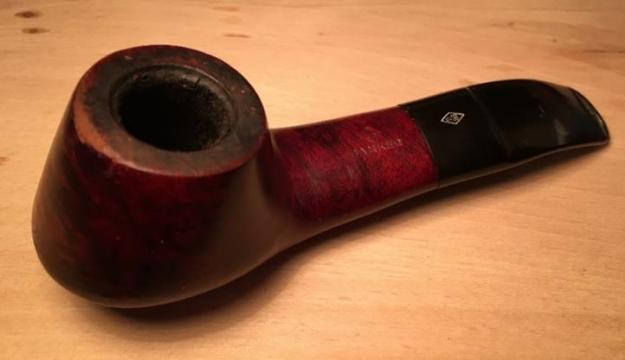
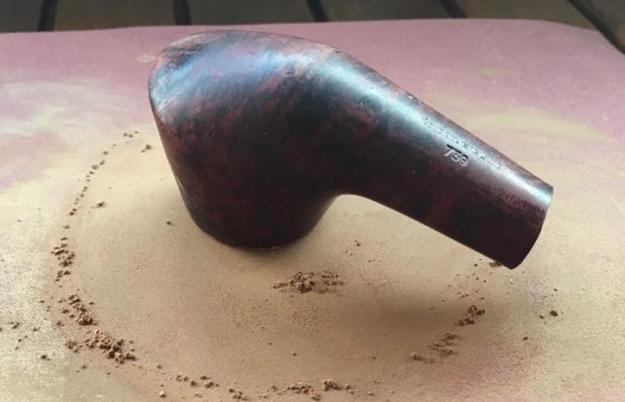
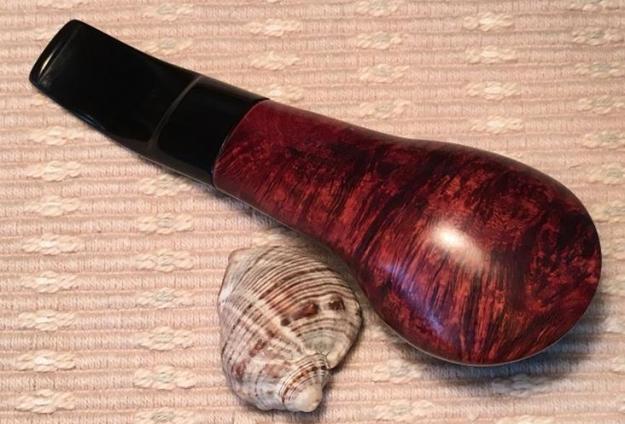
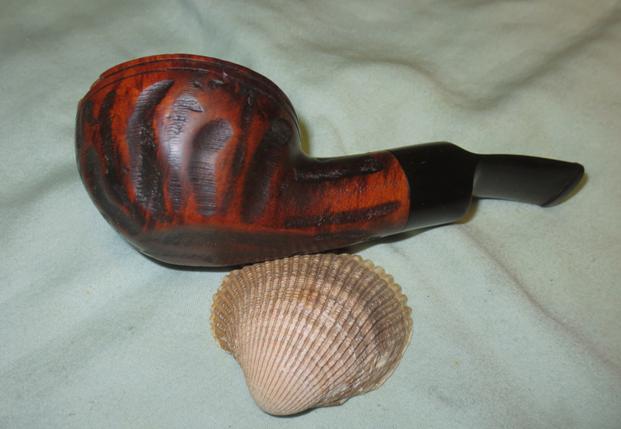
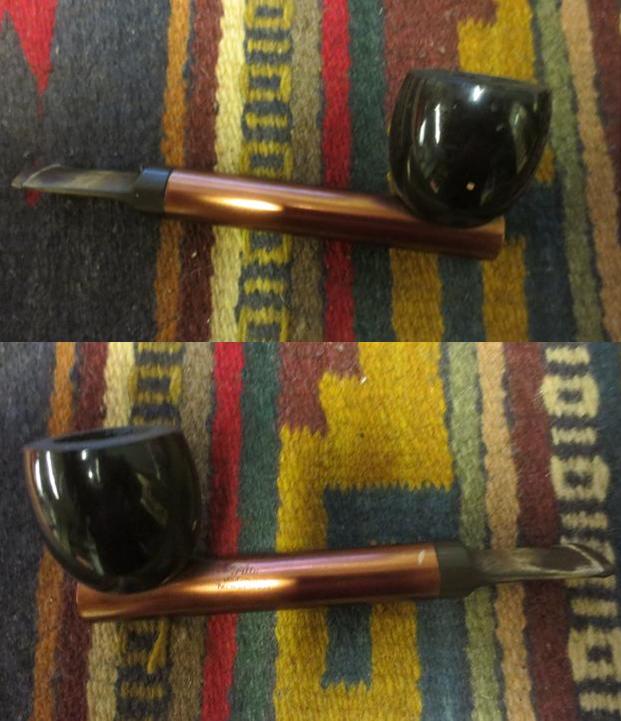
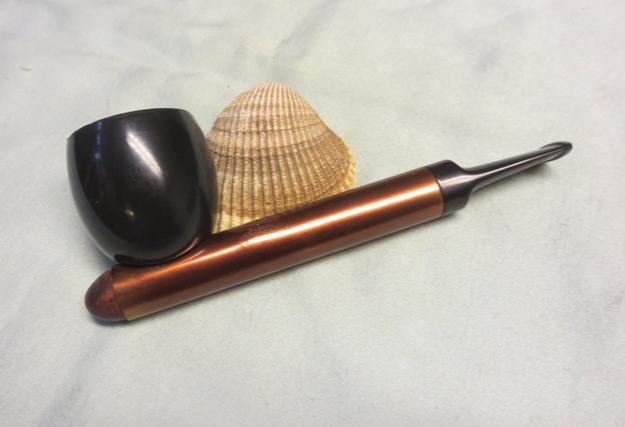
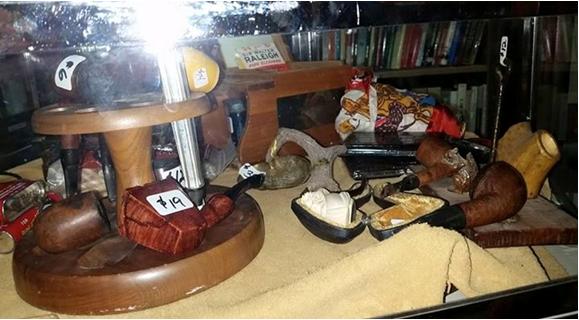
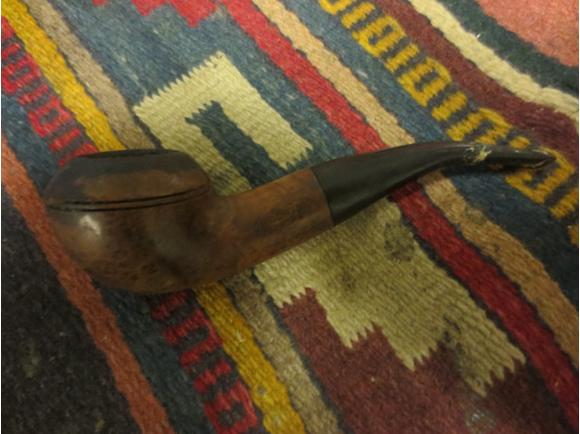
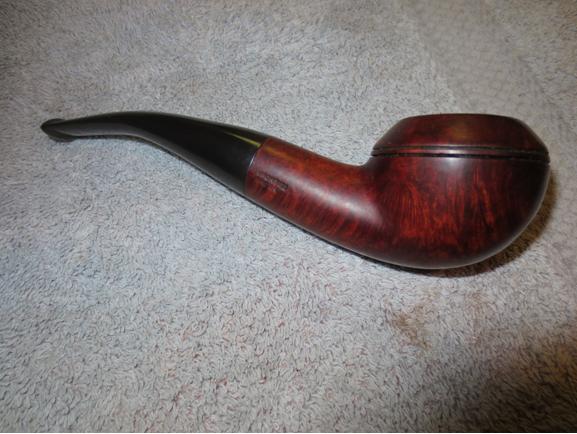
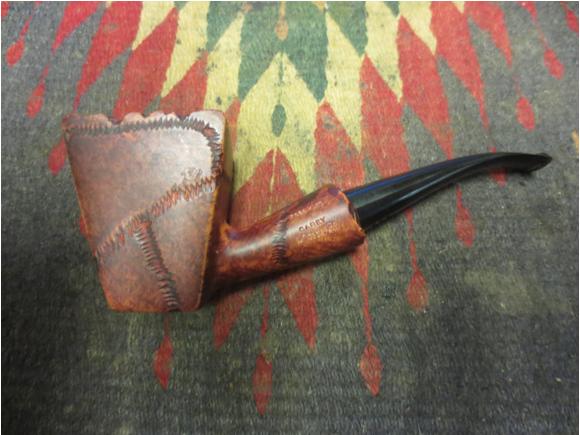
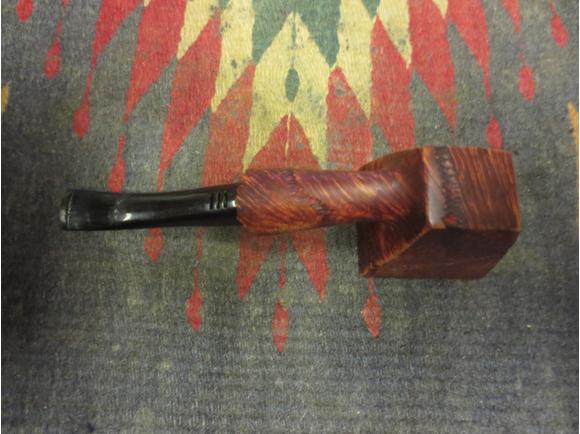
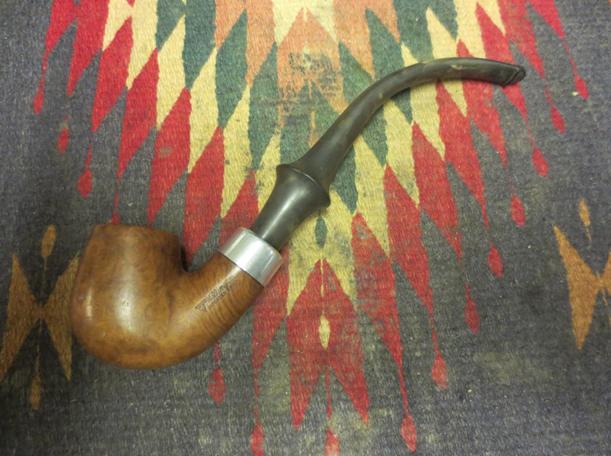
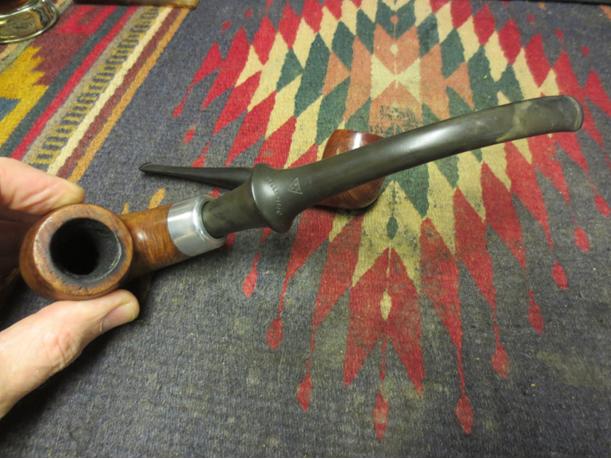
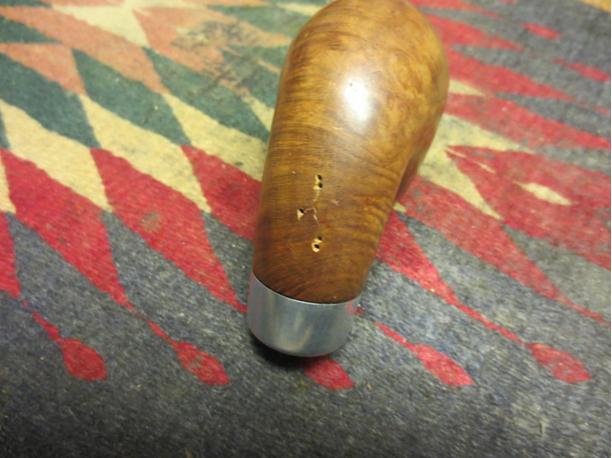
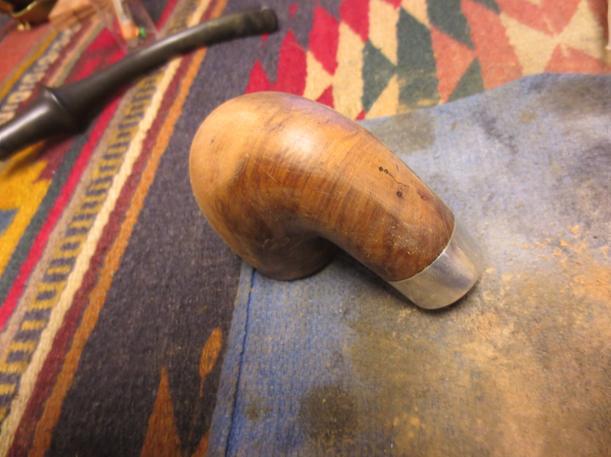
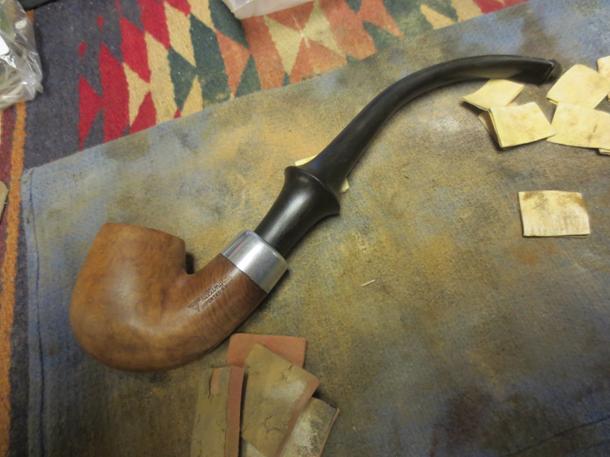
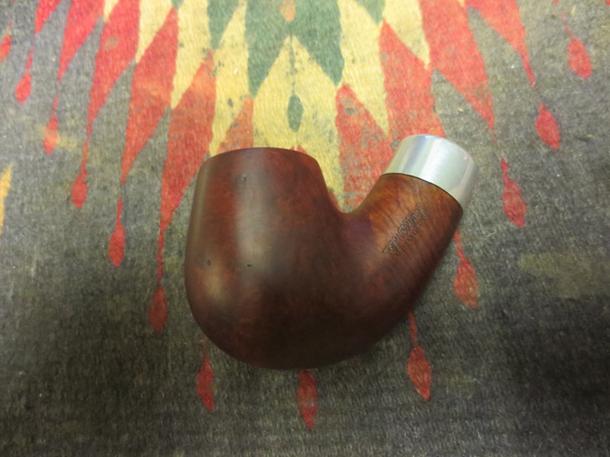
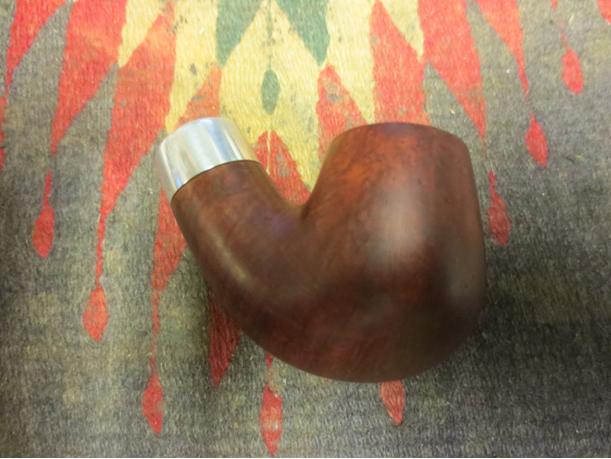
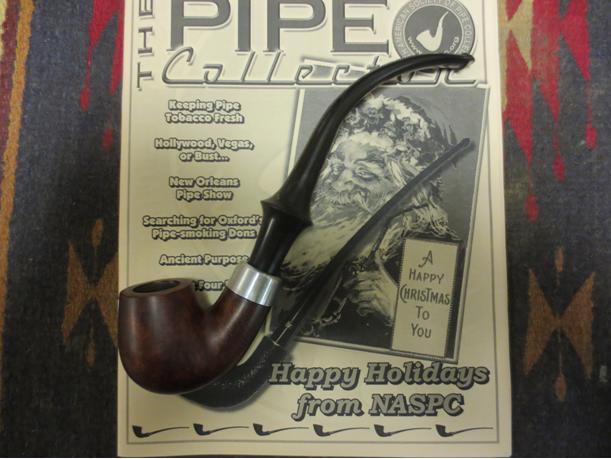
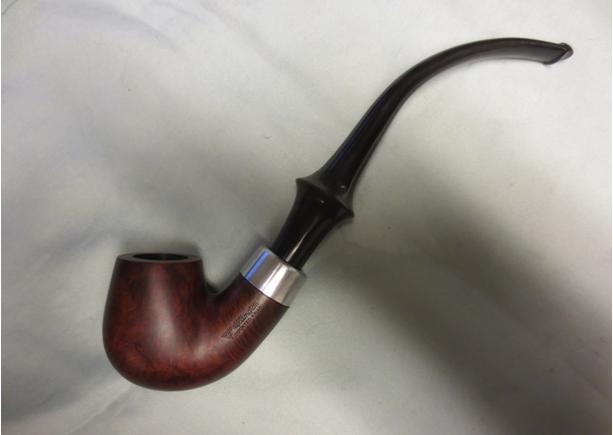
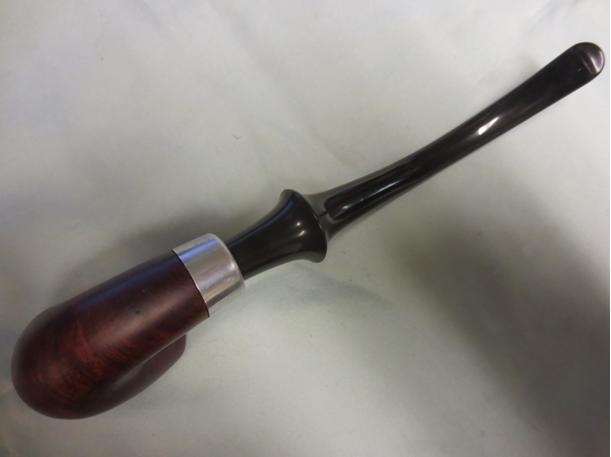
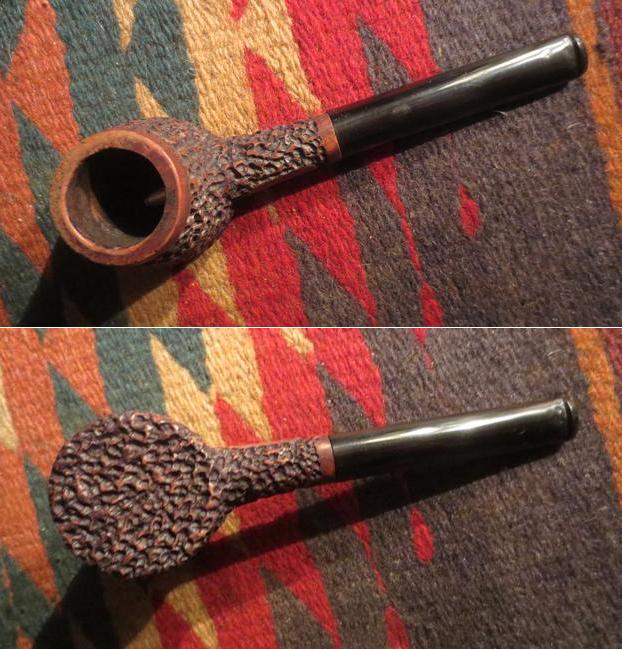
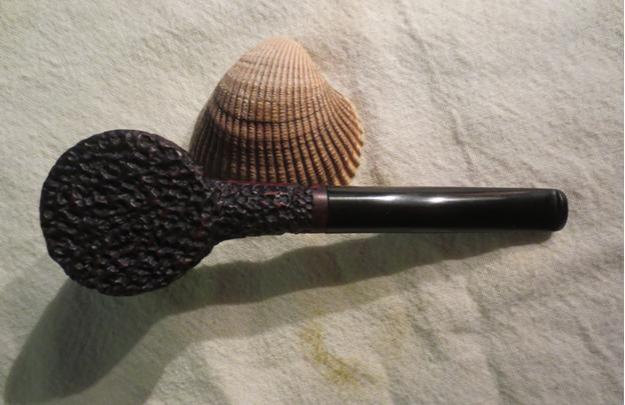
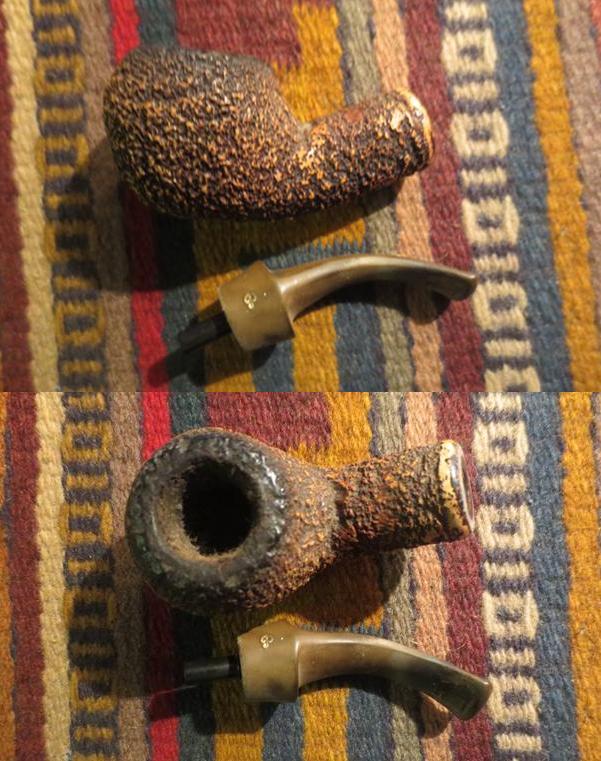
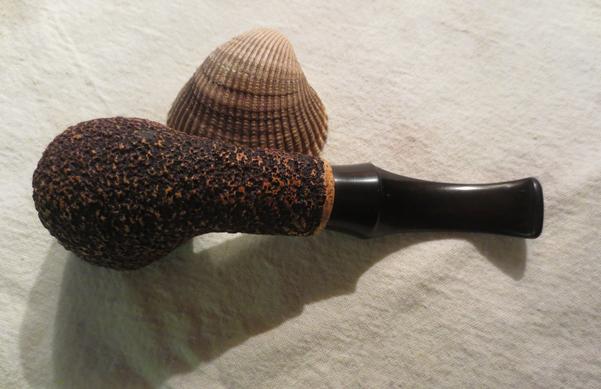
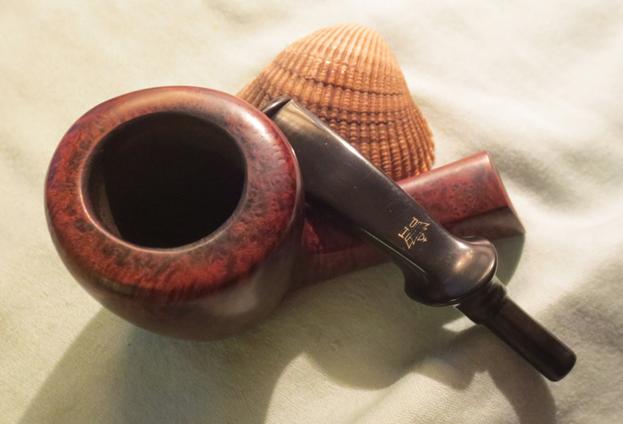
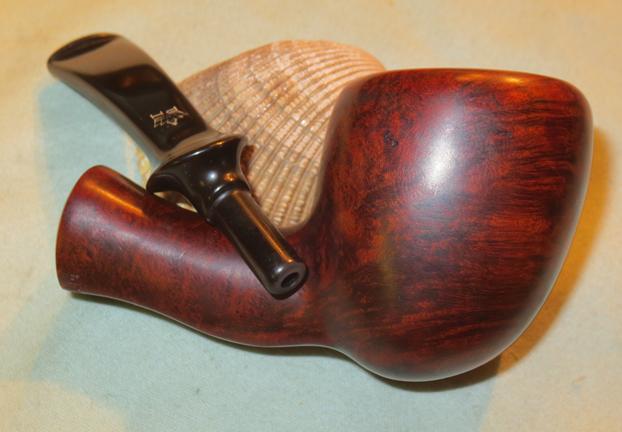
When I saw this one on eBay I sent a message to my brother and asked him to bid on it. He did and we got it. I love the rustication on the Turin Rustic series. It is rough and yet dignified at the same time. The seller billed it as restored/refurbished and clean. By and large that was true. The shank and the inside of the stem were very clean. The rim had been knocked about a bit and the inner edge of the rim was rough and uneven. The bowl had been reamed. The stem was polished though there were deep tooth marks on the top and underside of the stem next to the button.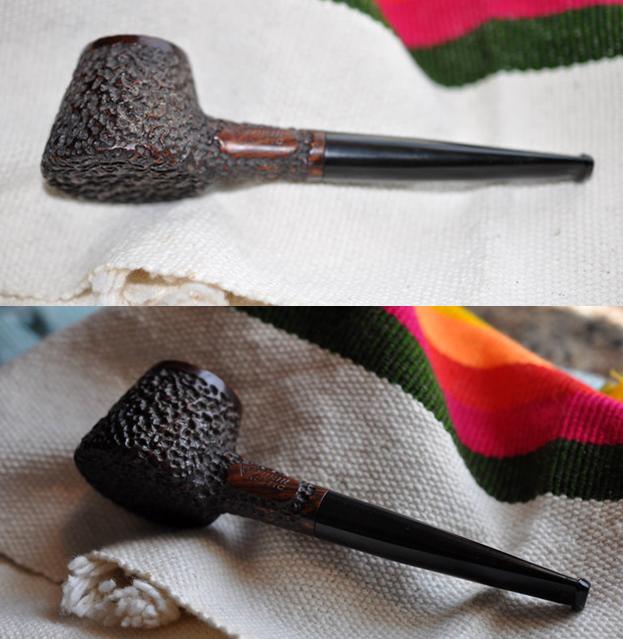
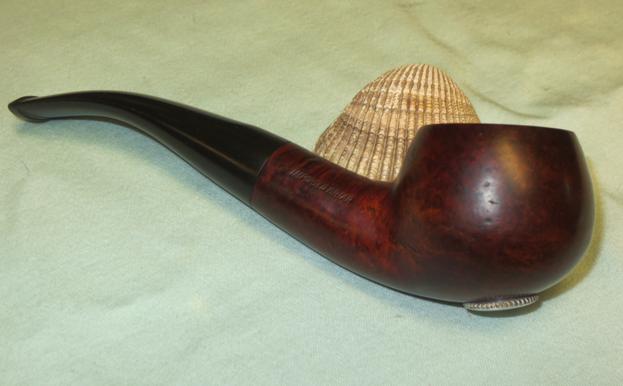
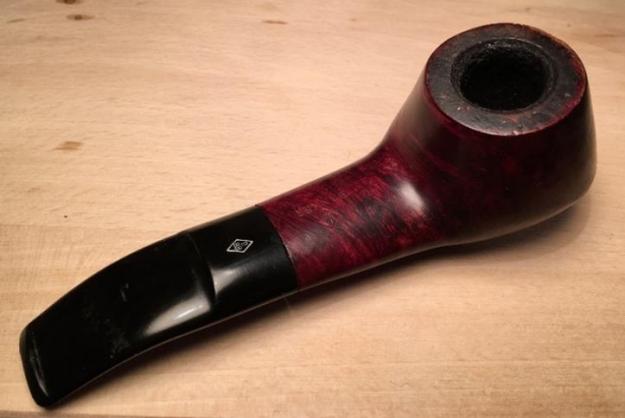
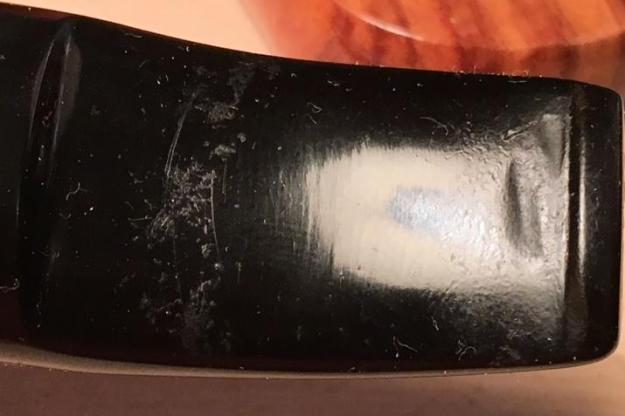
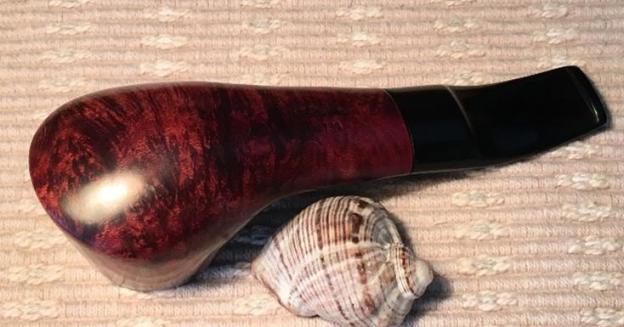
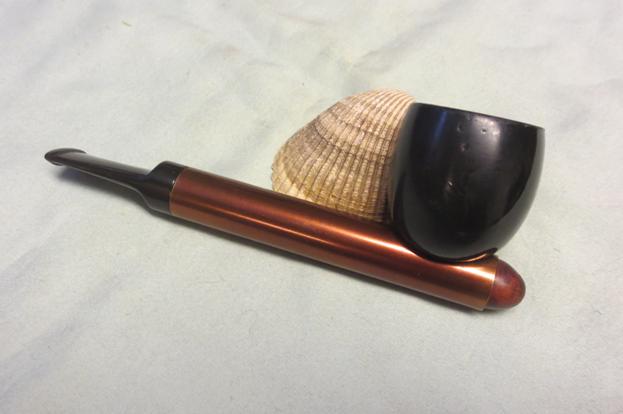
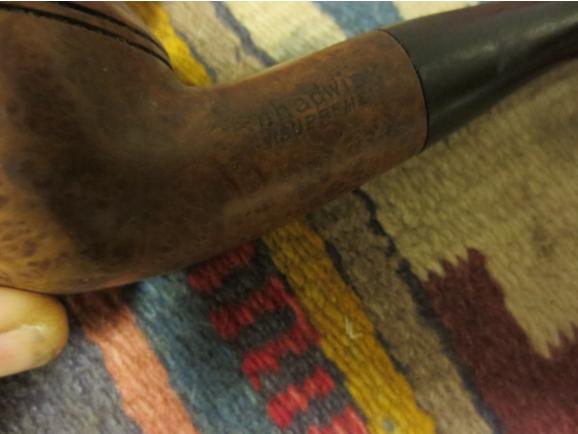
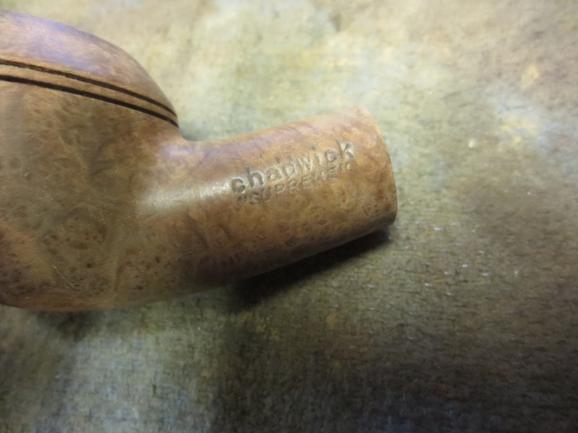
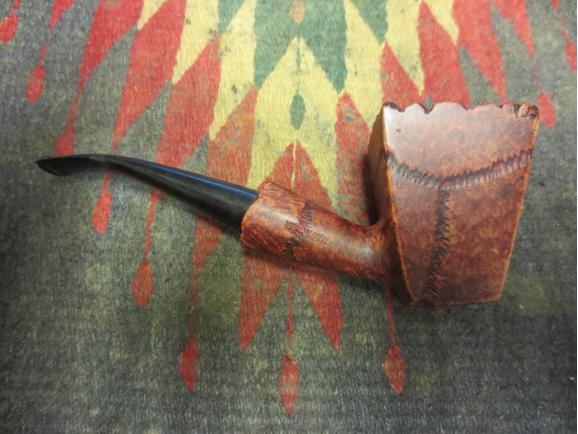
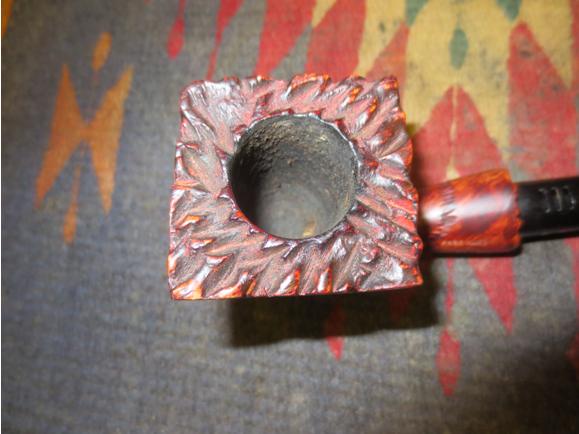
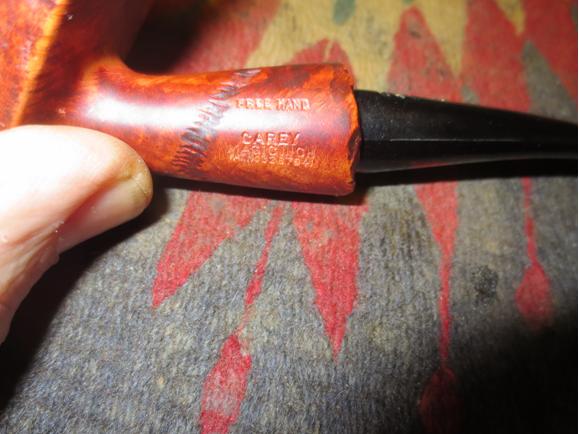
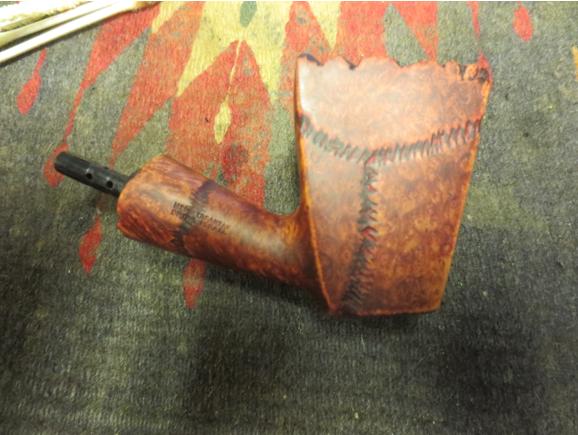
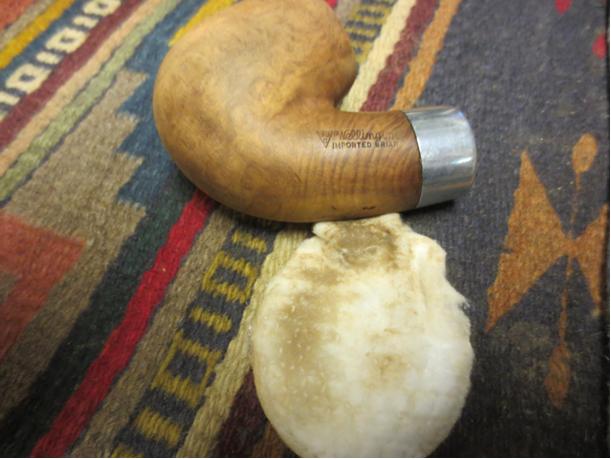
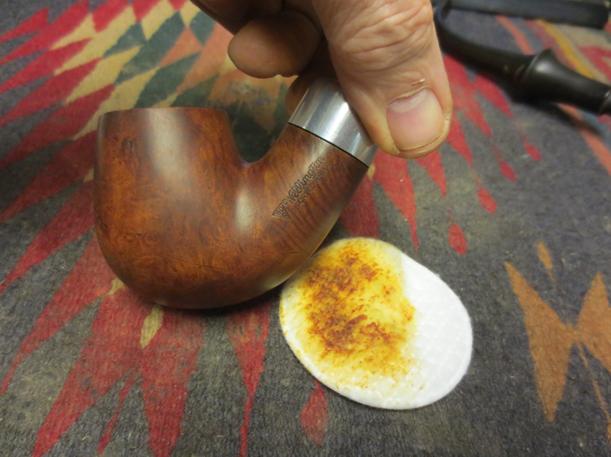
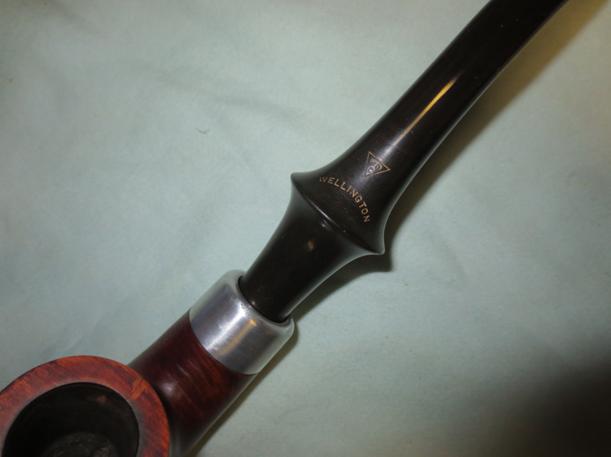
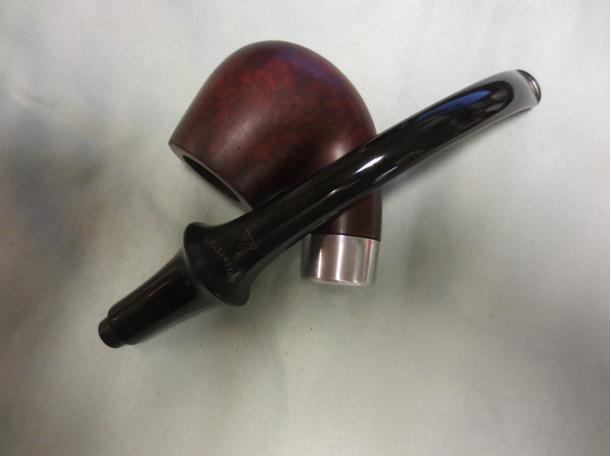
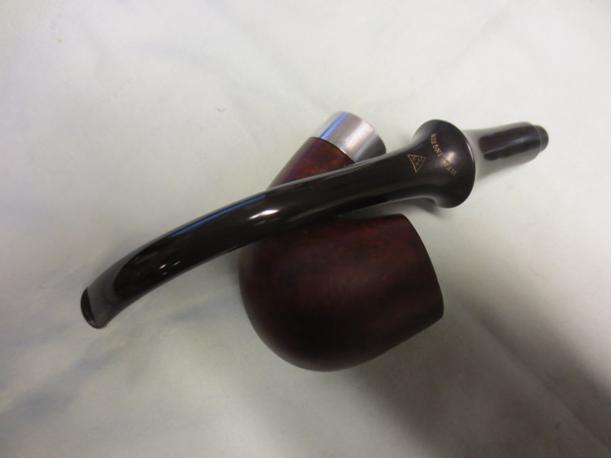
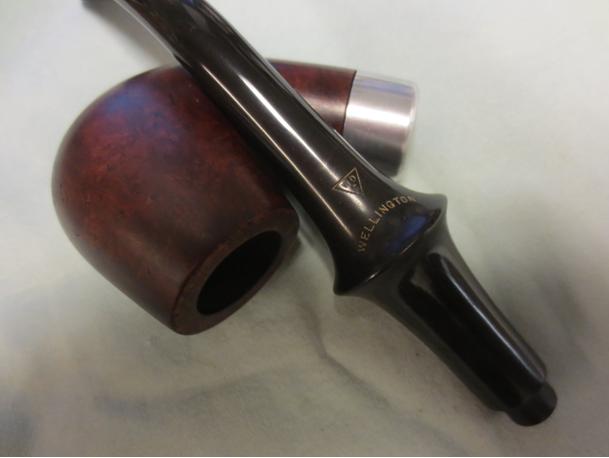
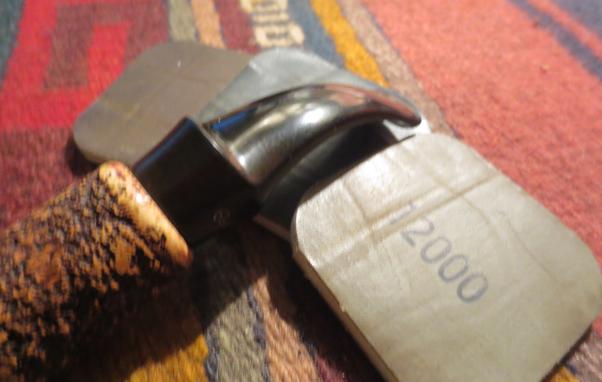
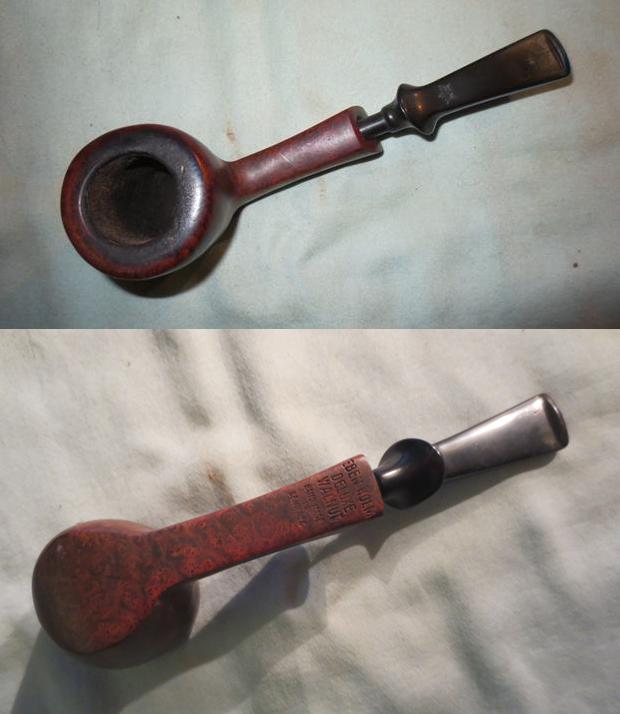
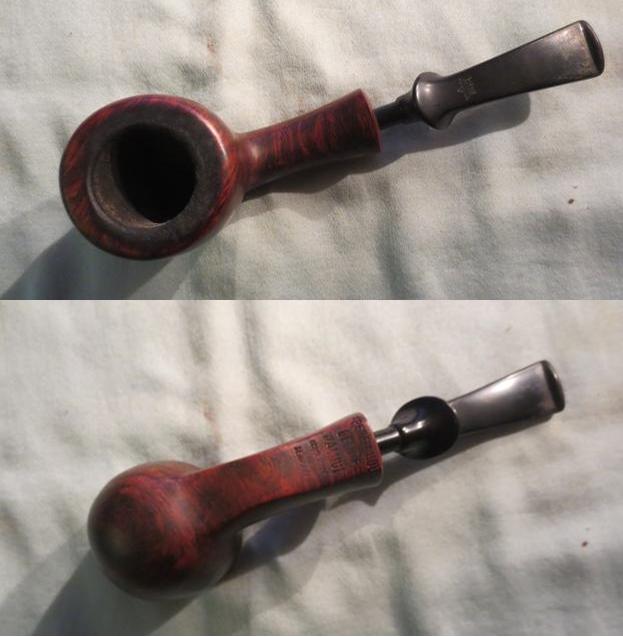
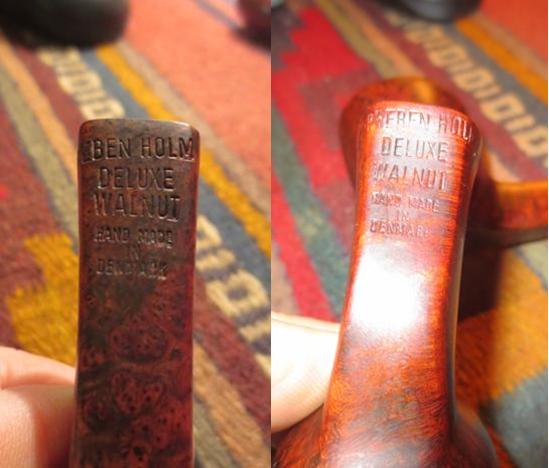
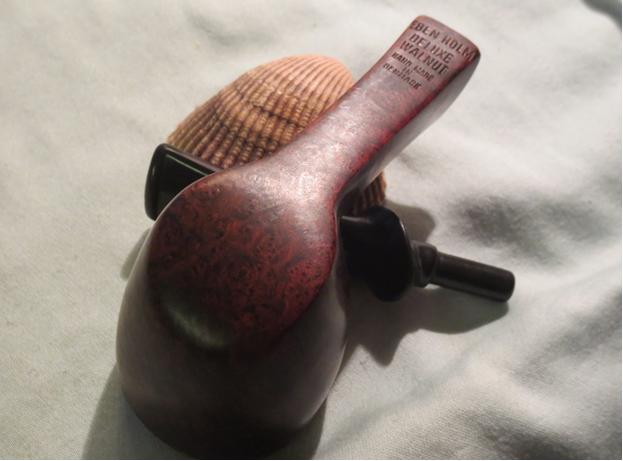
 My brother took the above photos and the following ones before he cleaned the pipe. You can see the damage to the rim top and the inner edge in the next photo. The second photo shows the stamping on the left side of the shank.
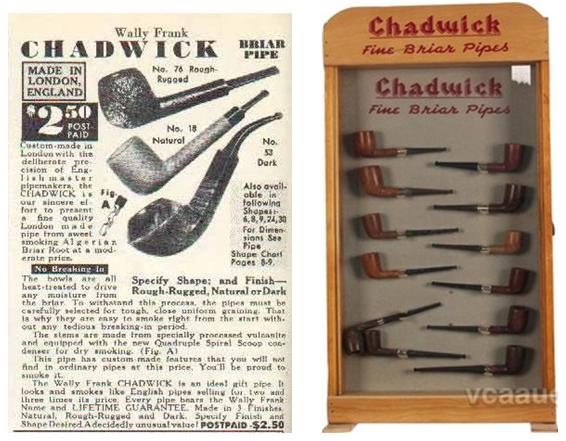
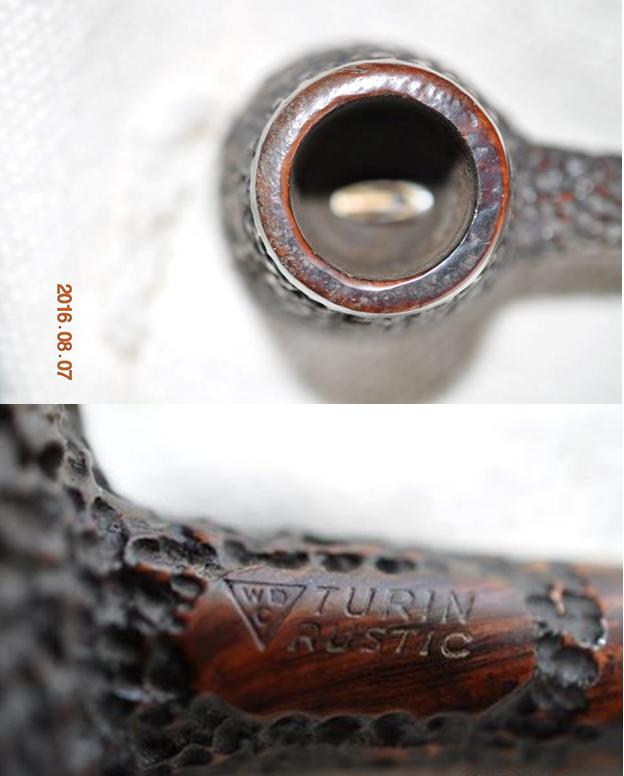 Though I knew a bit about the WDC pipe maker and the William Demuth Company I thought it might be good to review the history before I started restoring the pipe. I googled the Turin Rustic to see what I could find. It immediately referred me to a post on the Kaywoodie Forum that in turn was an excerpt from pipedia.org. Here is the link.
http://kaywoodie.myfreeforum.org/archive/w.d.c.-master-list__o_t__t_191.html
William Demuth, a native of Germany, entered the United States at the age of 16 as a penniless immigrant. After a series of odd jobs he found work as a clerk in the import business of a tobacco tradesman in New York City. In 1862 William established his own company. The William Demuth Company specialized in pipes, smoker’s requisites, cigar-store figures, canes and other carved objects.
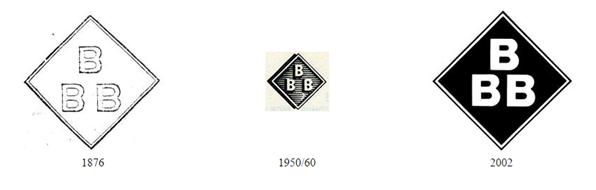
The Demuth Company is probably well known for the famous trademark, WDC in an inverted equilateral triangle. William commissioned the figurative meerschaum Presidential series, 29 precision-carved likenesses of John Adams, the second president of the United States (1797-1801) to Herbert Hoover, the 30th president (1929-1933), and “Columbus Landing in America,” a 32-inch-long centennial meerschaum masterpiece that took two years to complete and was exhibited at the World’s Columbian Exposition in Chicago in 1893.
The Presidential series was the result of Demuth’s friendship with President James A. Garfield, a connoisseur of meerschaum pipes. Demuth presented two pipes to Garfield at his inauguration in 1881, one in his likeness, the other in the likeness of the President’s wife. Later, Demuth arranged for another figurative matching the others to be added to the collection as each new president acceded to the White House, terminating with President Hoover.
In 1897 Ferdinand Feuerbach joined the Demuth Company and by 1903 had become the production manager. Feuerbach is credited with developing Demuth’s popular Royal Demuth and Hesson Guard Milano pipelines. He left in 1919, when Sam Frank Sr. needed an experienced pipe man to run his pipe factory, located at 168 Southern Blvd., in the Bronx. Feuerbach and Frank had been close friends since Frank started his own business in 1900 and was closely associated with the sales staff of WDC, selling their line of pipes.
In early 1937, the City of New York notified S.M. Frank & Co. of their intent to take by eminent domain, part of the land on which the companies pipe factory was located. This was being done to widen two of the adjacent streets. As a result of this, Frank entered into negotiations to purchase the Wm. Demuth Co.’s pipe factory in the Richmond Hill section of Queens. It was agreed upon that Demuth would become a subsidiary of S.M. Frank and all pipe production of the two companies would be moved to Demuth factory. New Corporate offices were located at 133 Fifth Avenue, NYC.
Demuth pipes continued to be made at the Richmond Hill plant till December 31. 1972. Then the Wm. Demuth Company met its official end as a subsidiary company by liquidation. Demuth’s mainstay pipe, the Wellington continued to be offered in the S.M. Frank catalog until 1976. In the mid-80’s, the Wellington even made a brief return as a direct to the consumer offer.
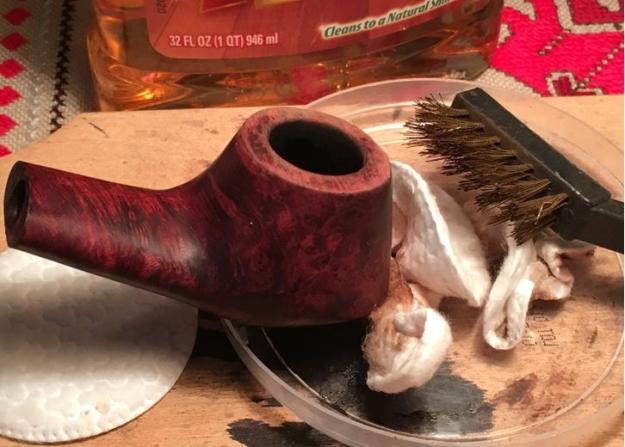
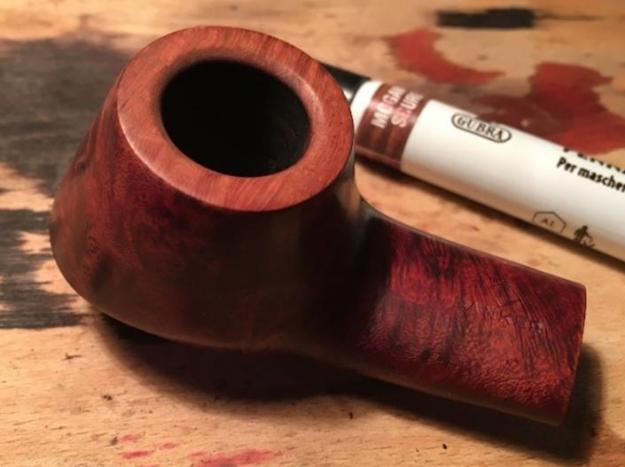
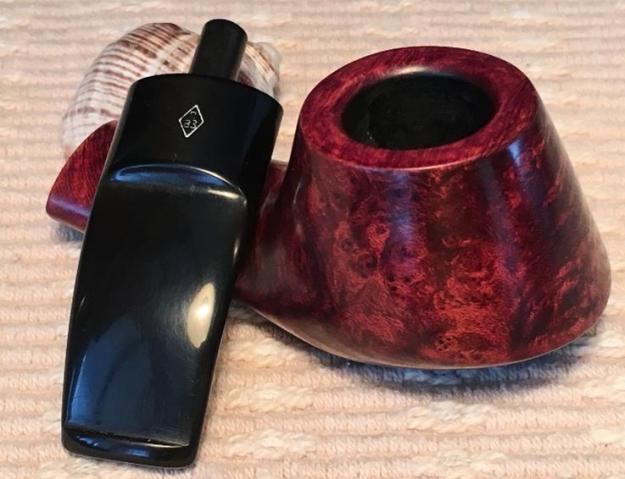
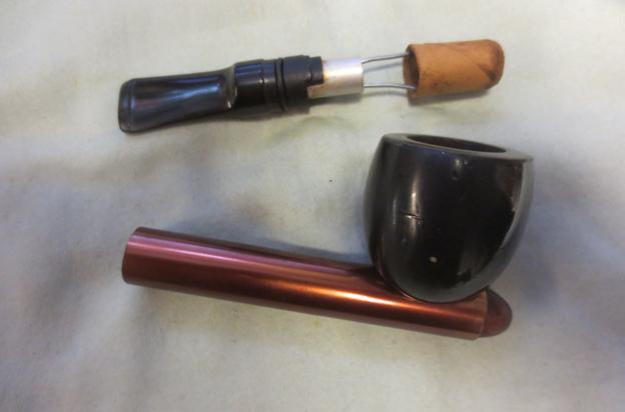
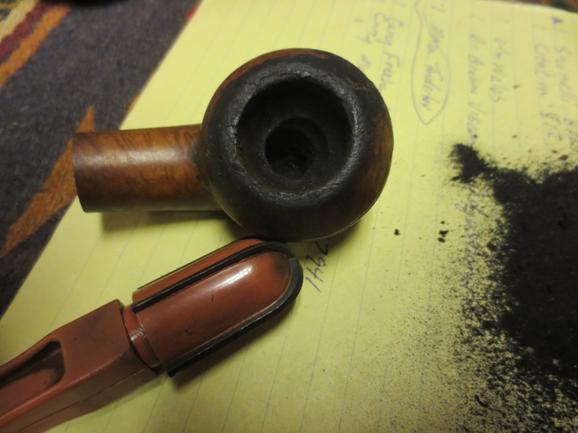
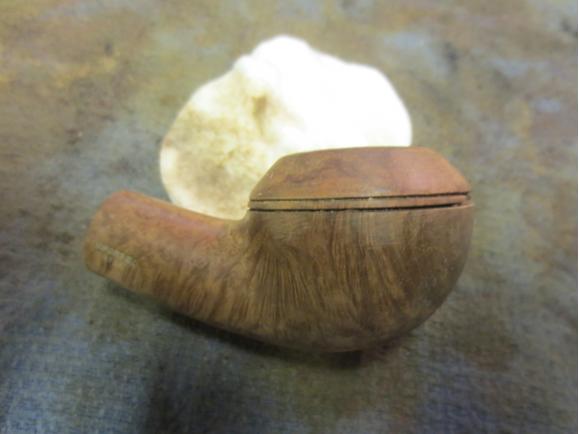
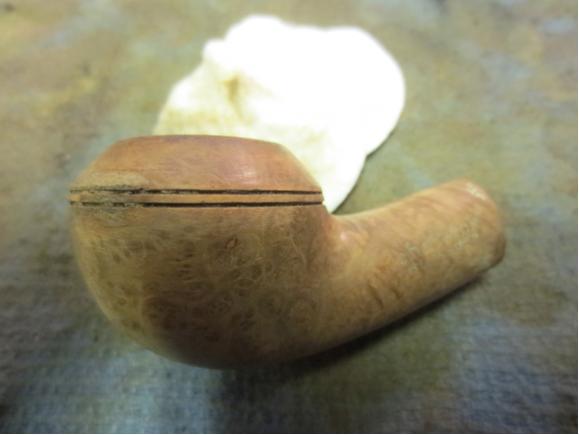
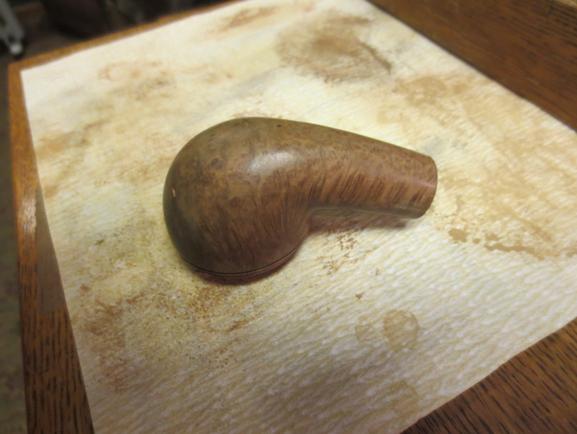
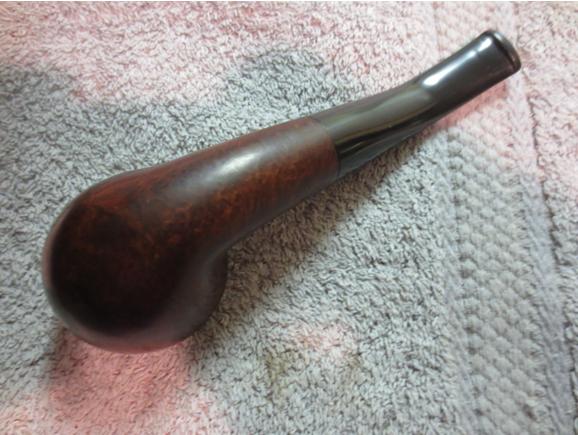
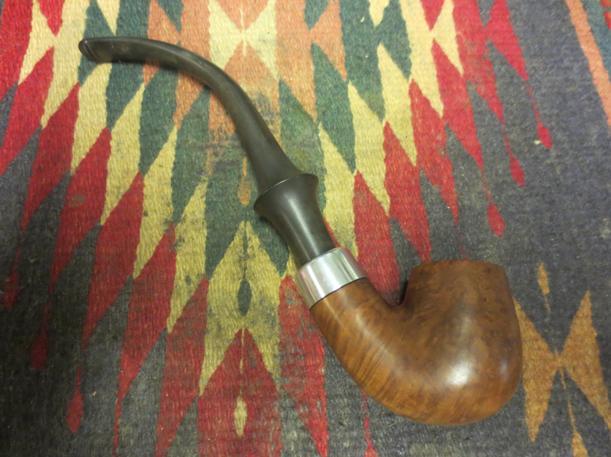
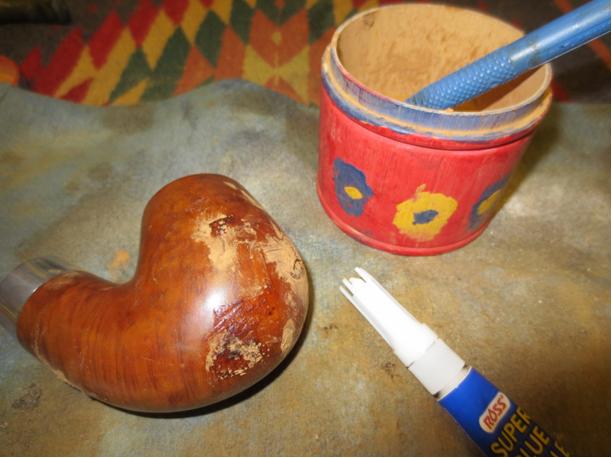
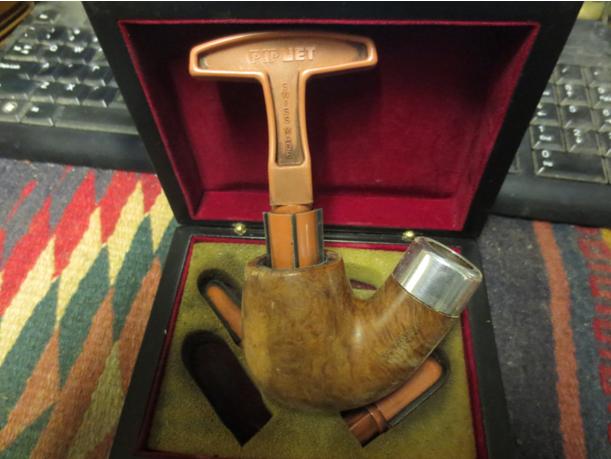
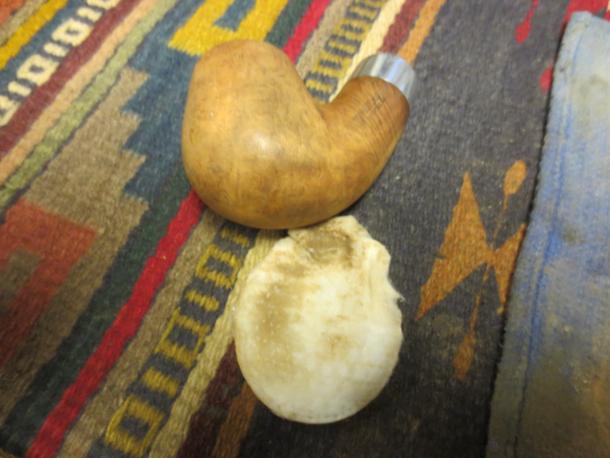
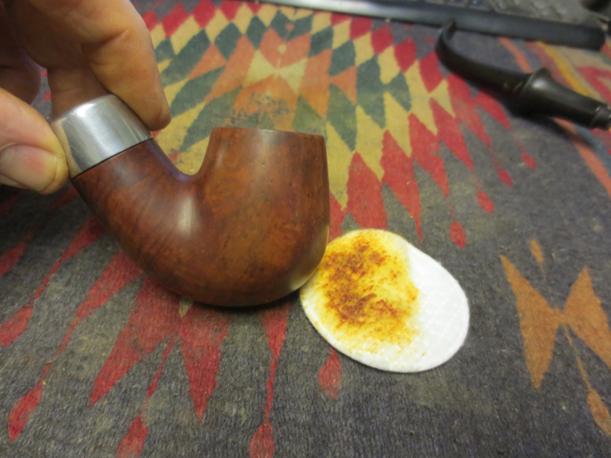
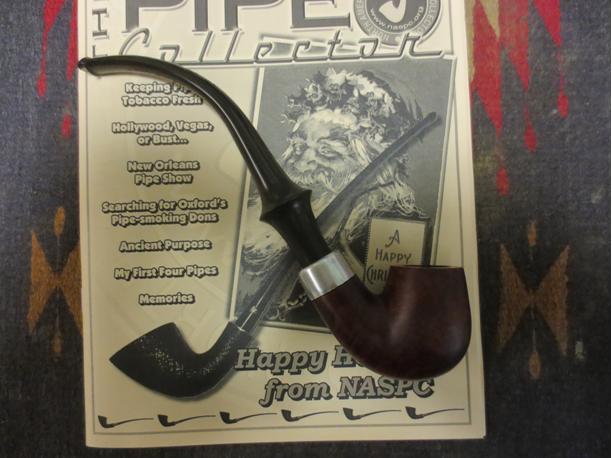
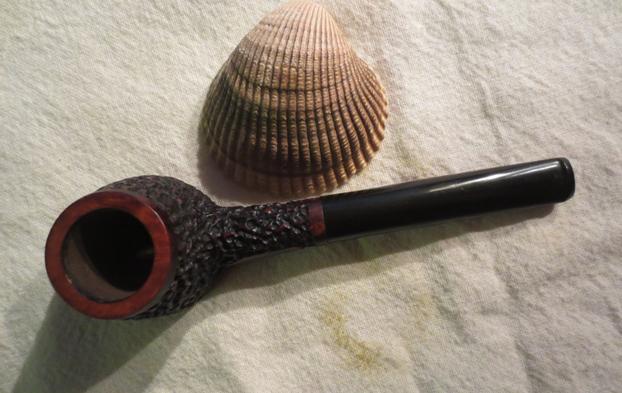
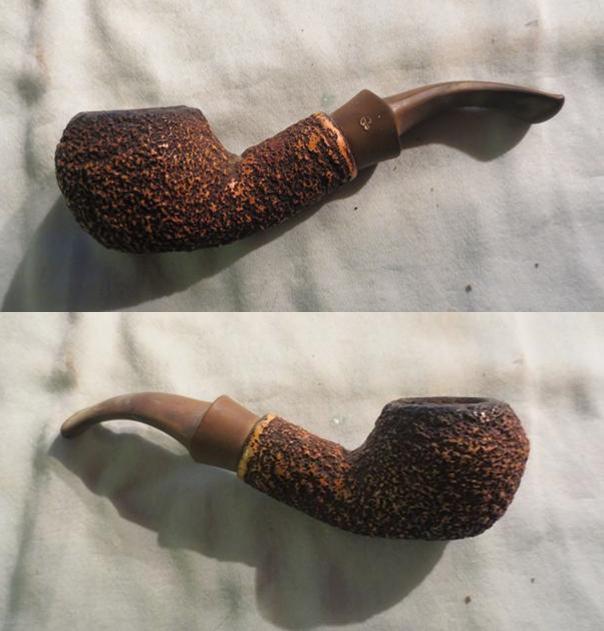
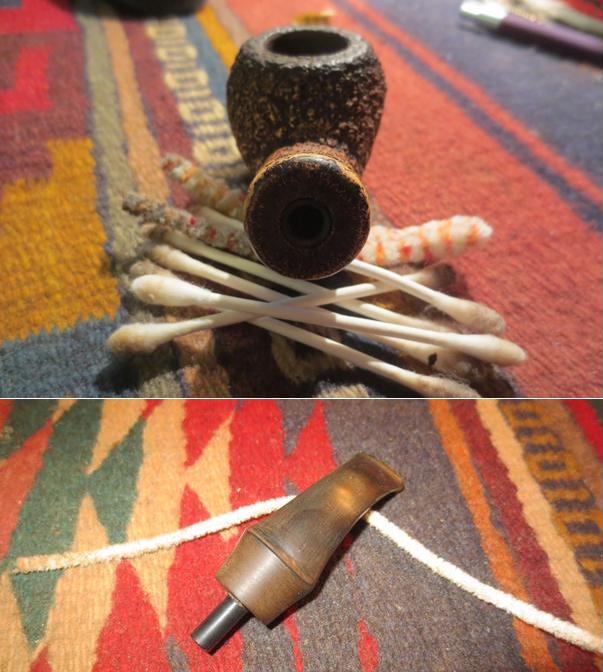
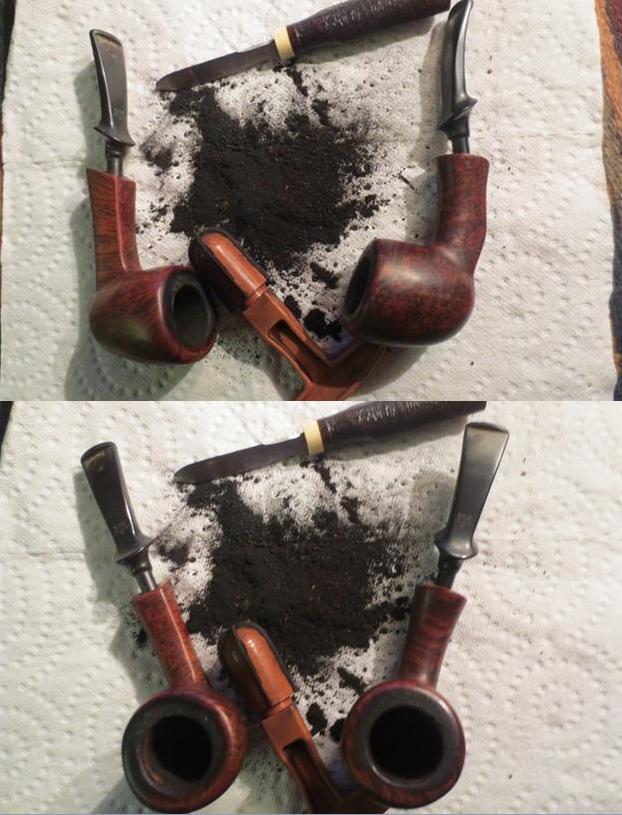
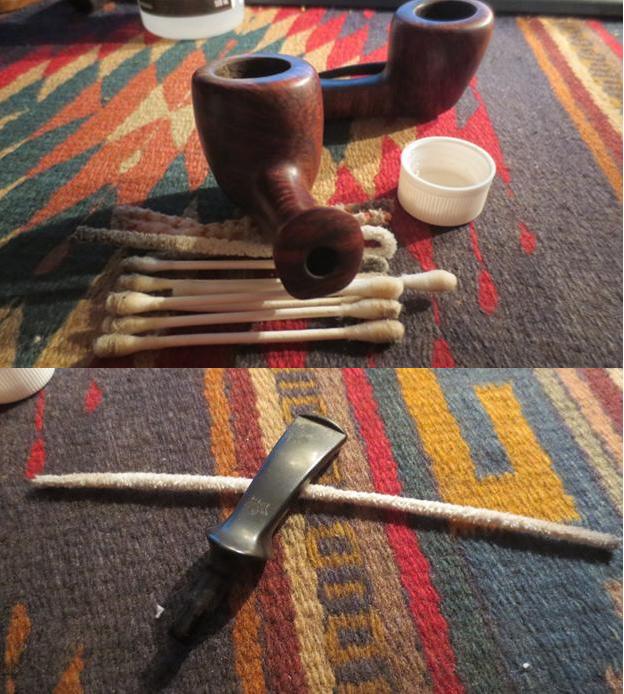
When the pipe arrived from Idaho it was quite clean and ready to work on. I took some photos of it before I started.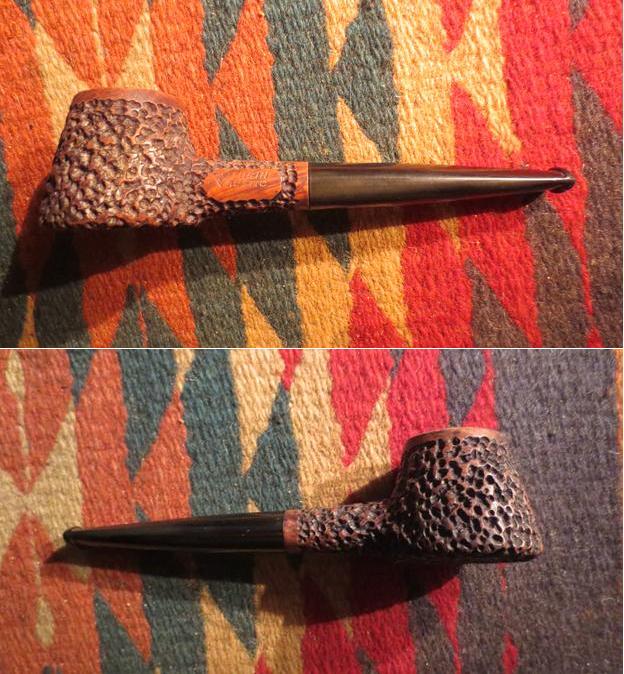
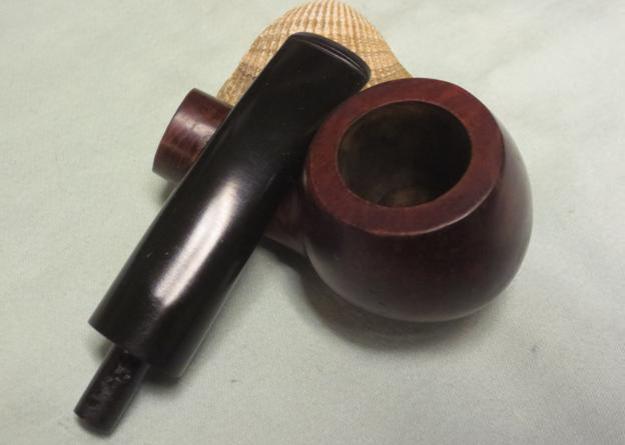
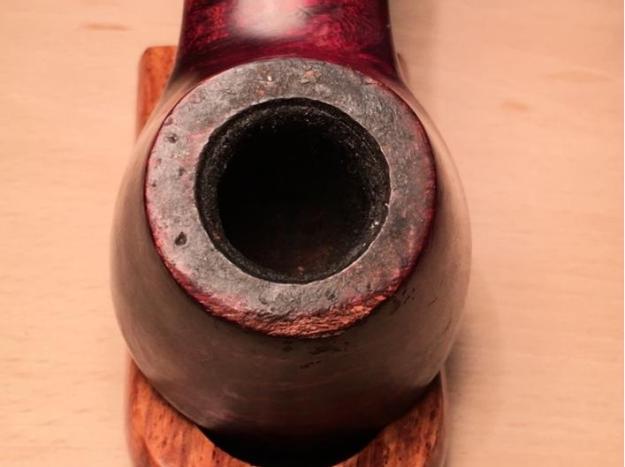
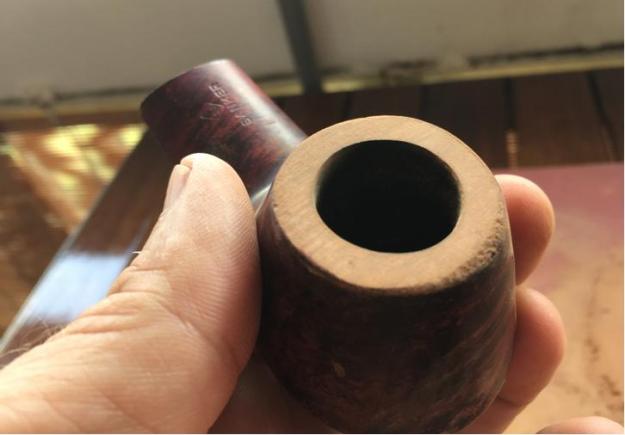
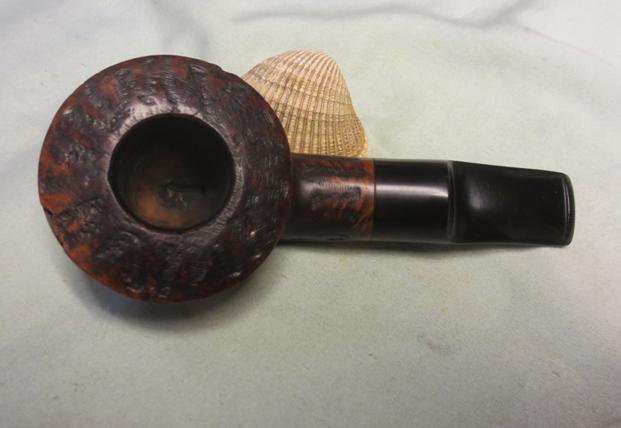
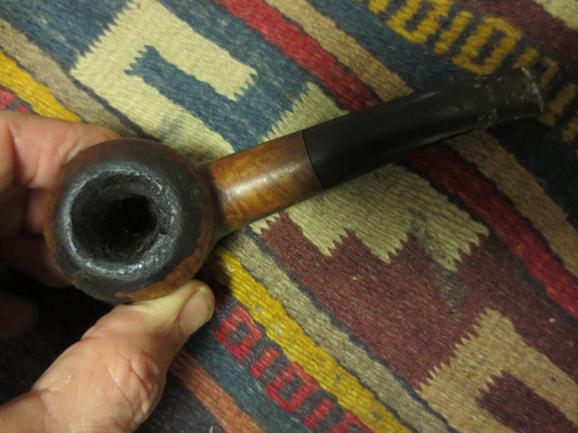
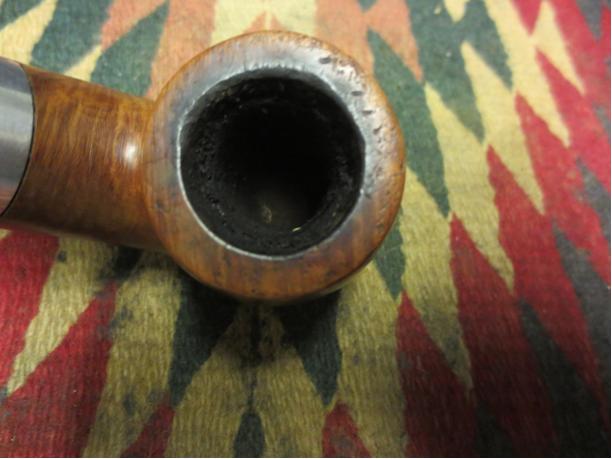
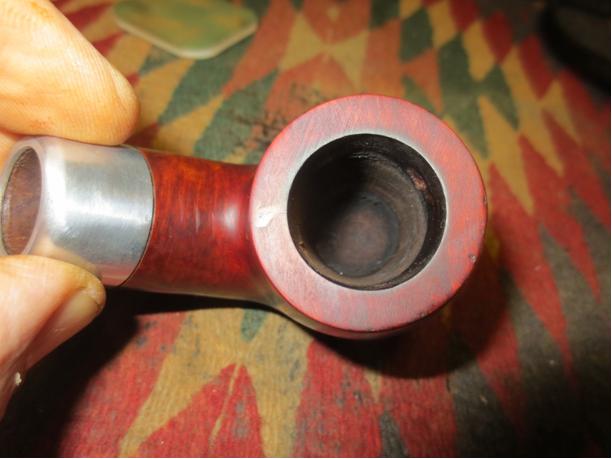
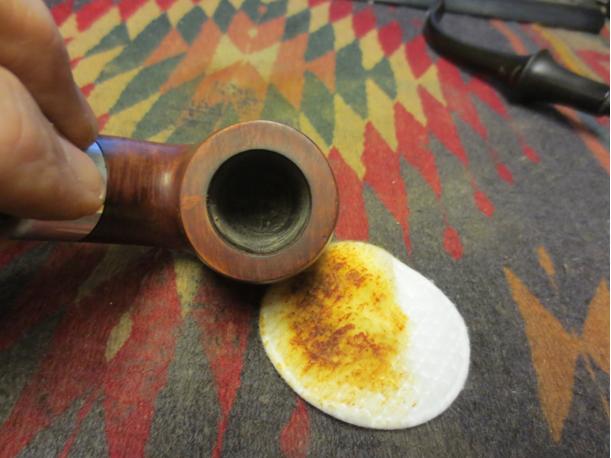
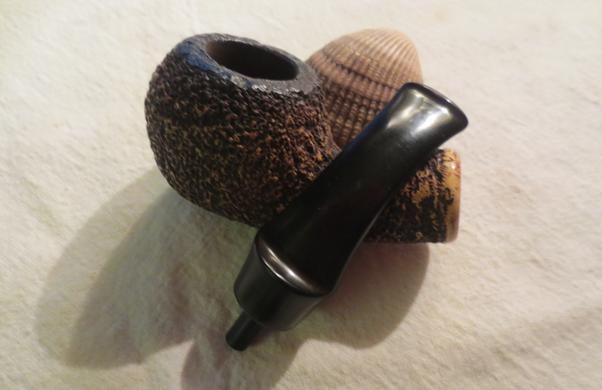
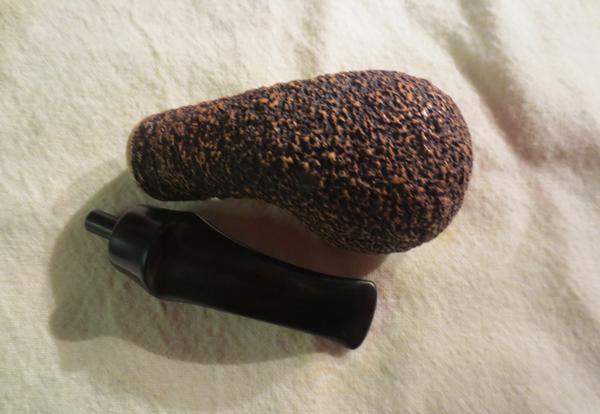
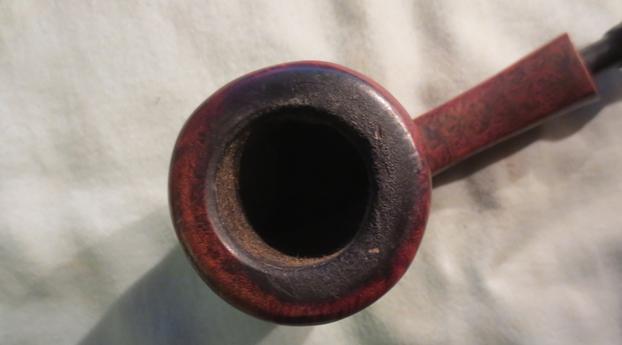
 The next photo shows the rim and the damage to the surface. There were a lot of dents and dings as well as some roughness on the right side toward the front of the bowl. The inner edges was also worn and rough.
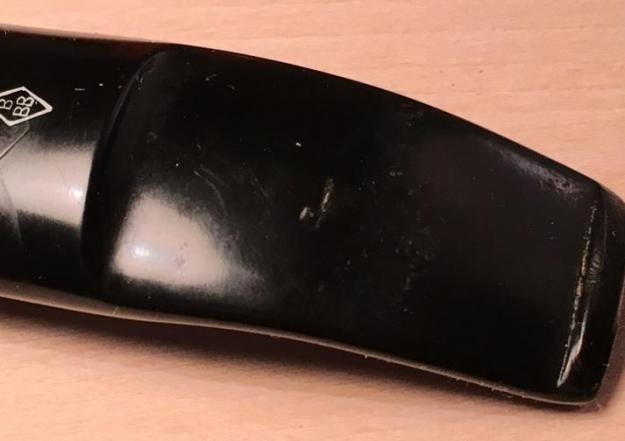
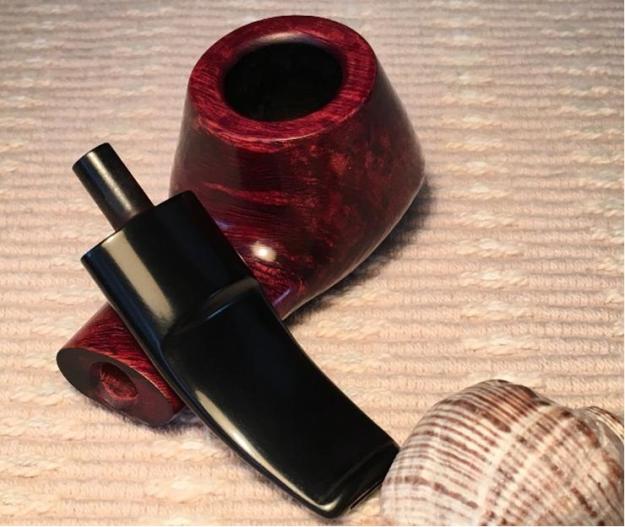
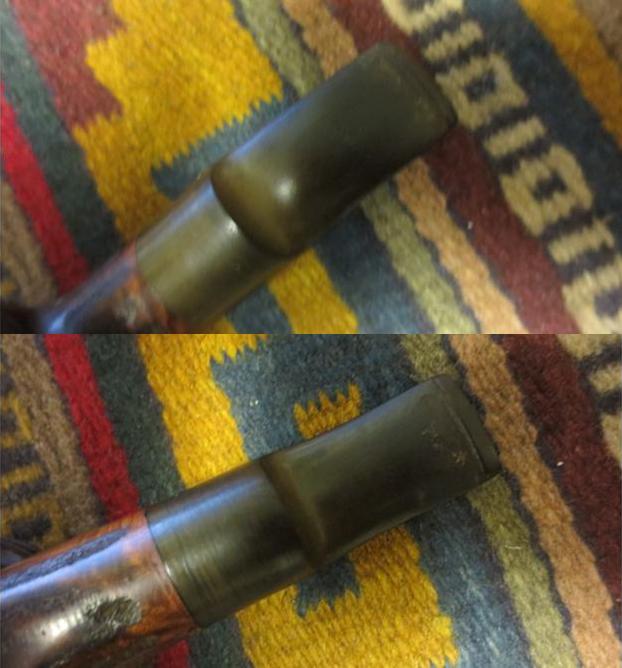
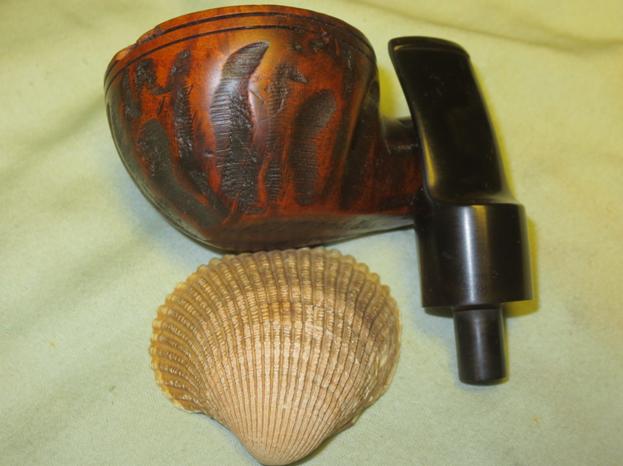
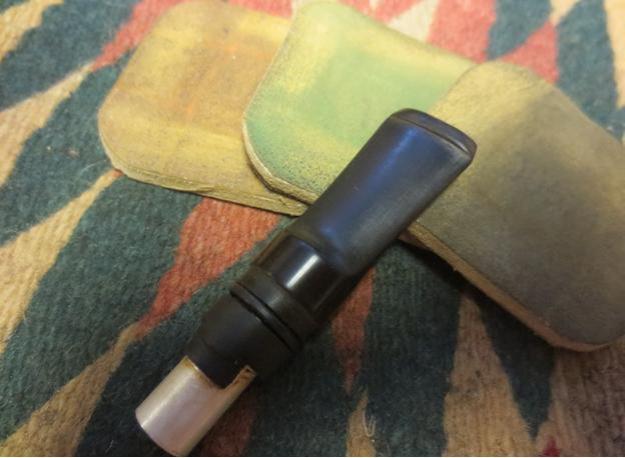
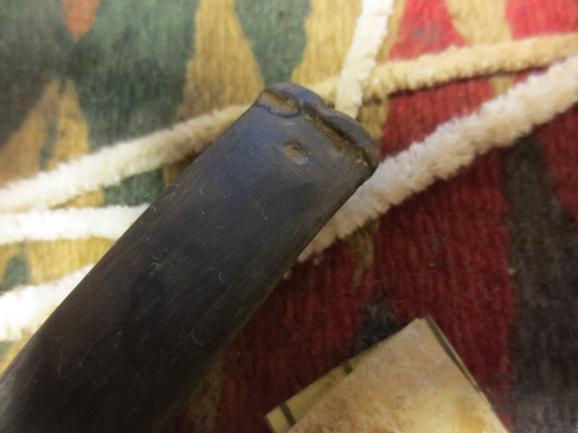
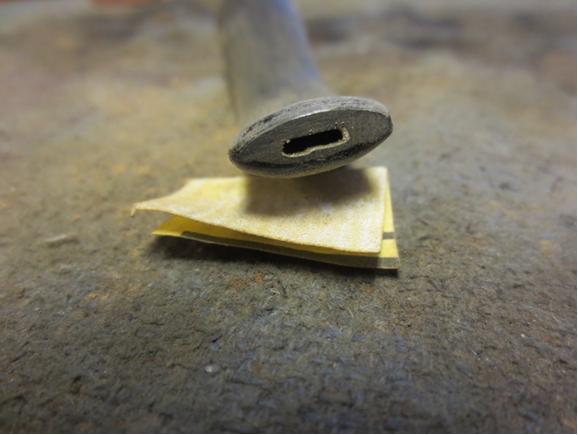
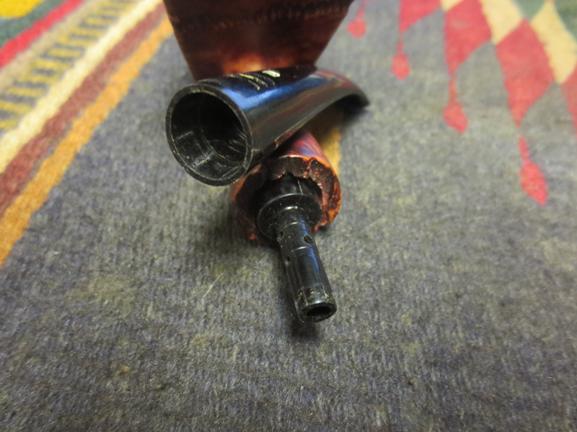
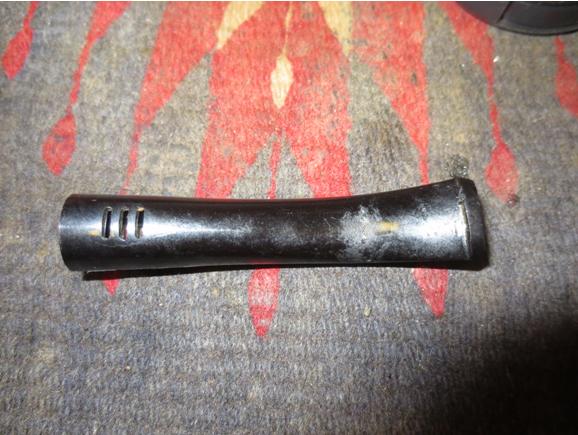
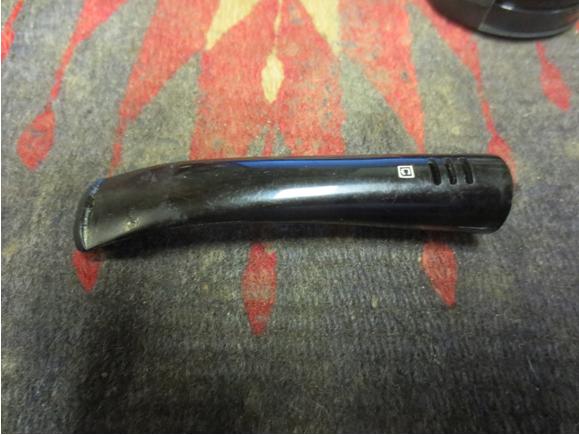
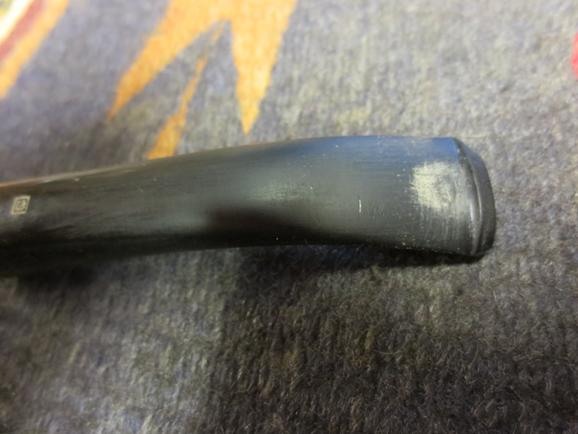
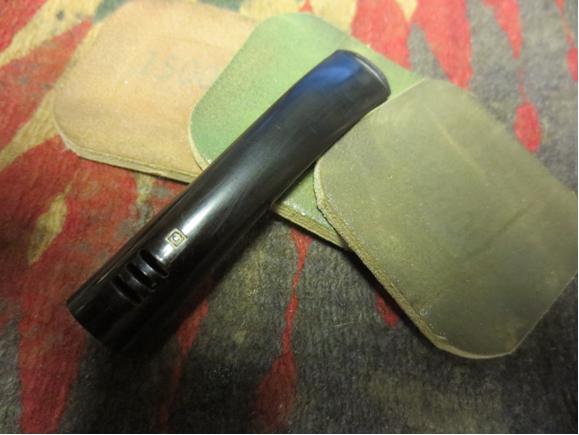
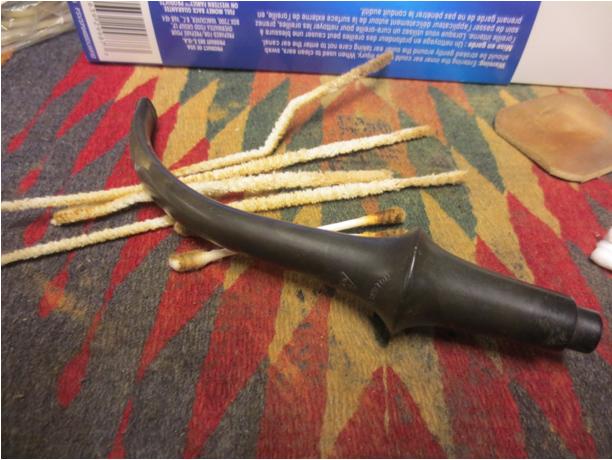
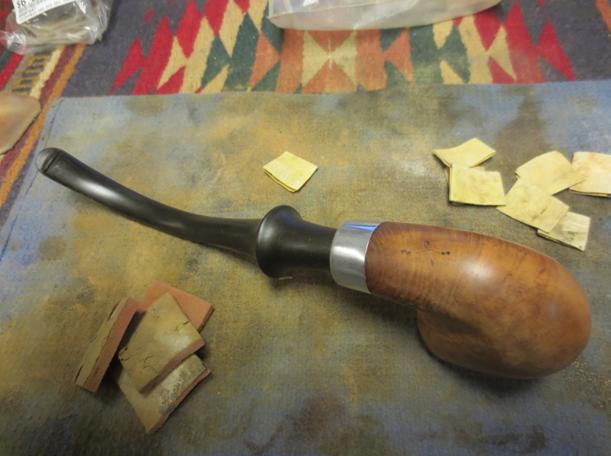
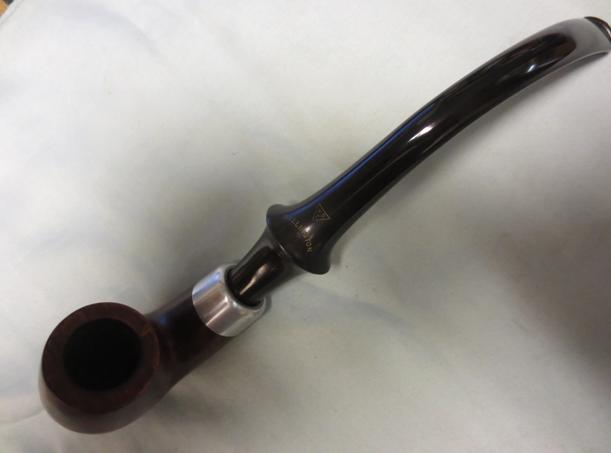
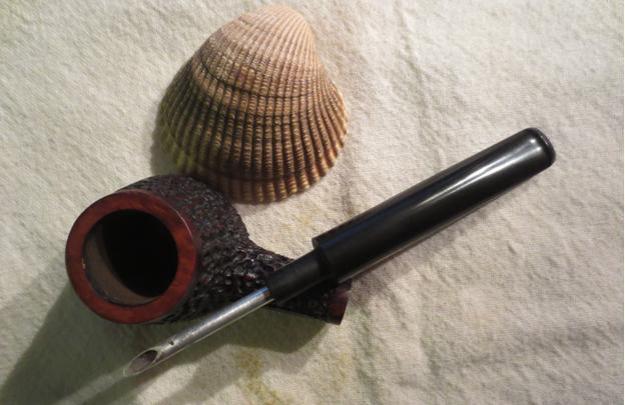
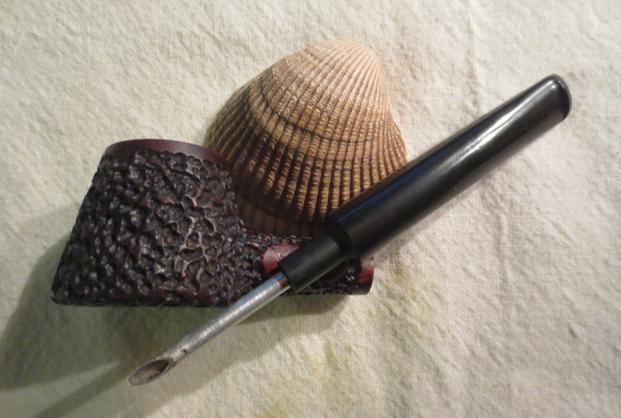
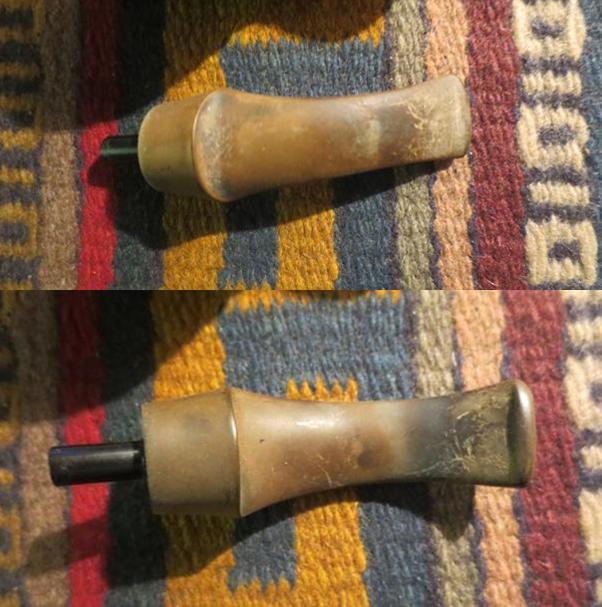
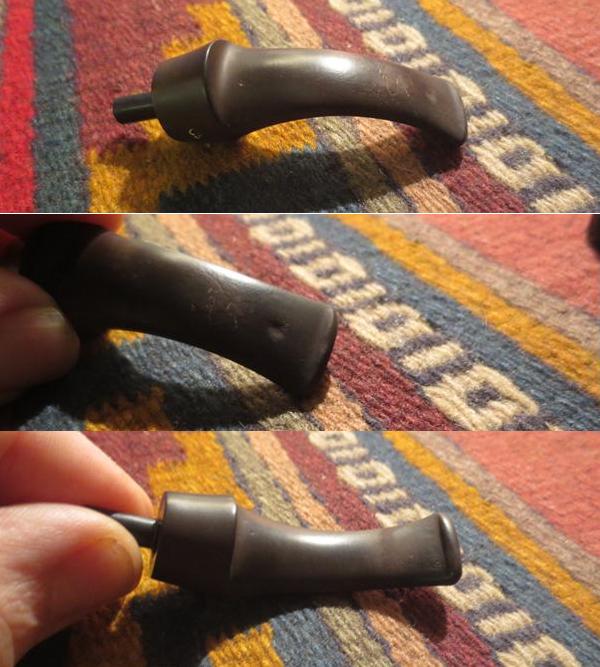
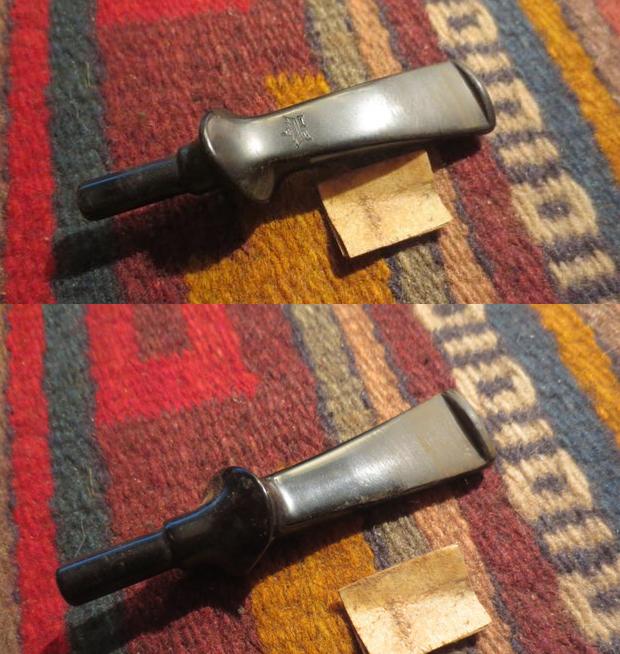
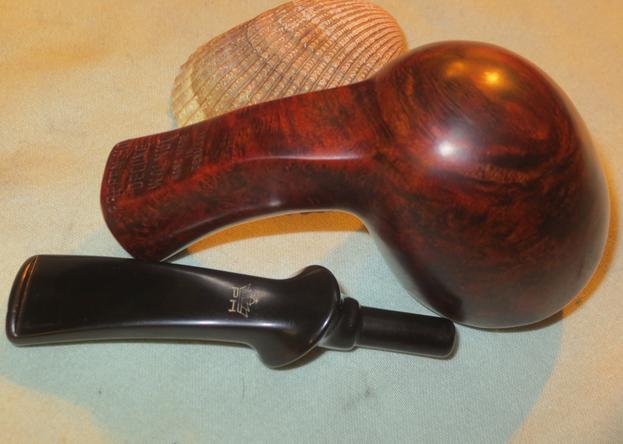
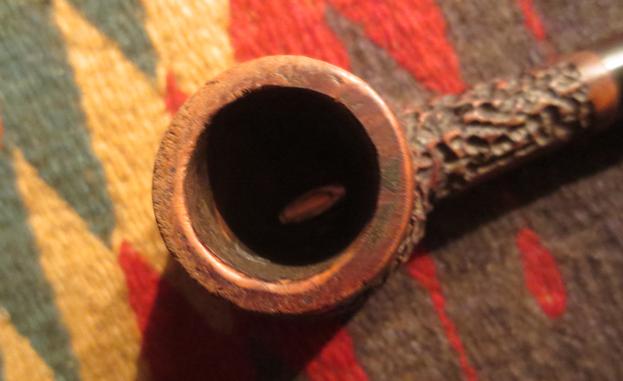 The next photos show the condition of the stem – it had some deep tooth marks on the top and underside that are visible in the photo below.
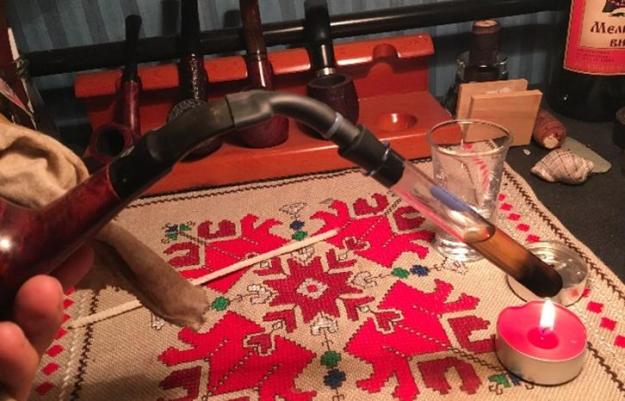
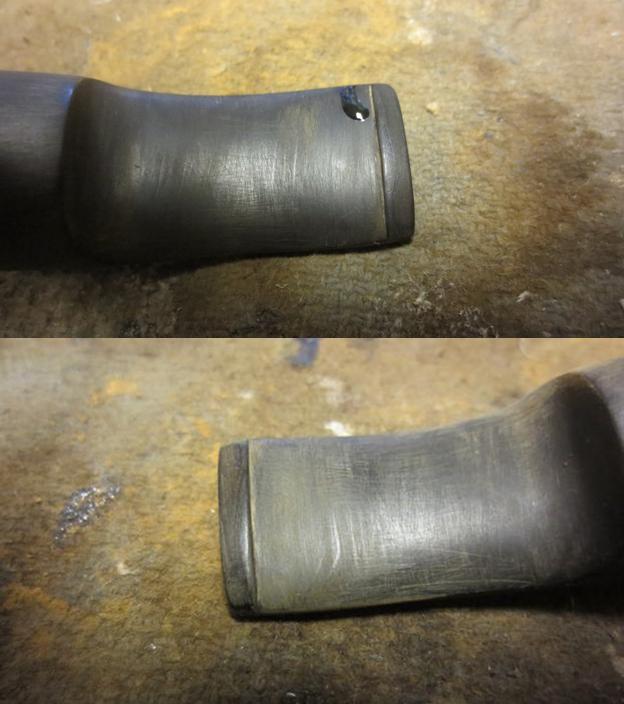
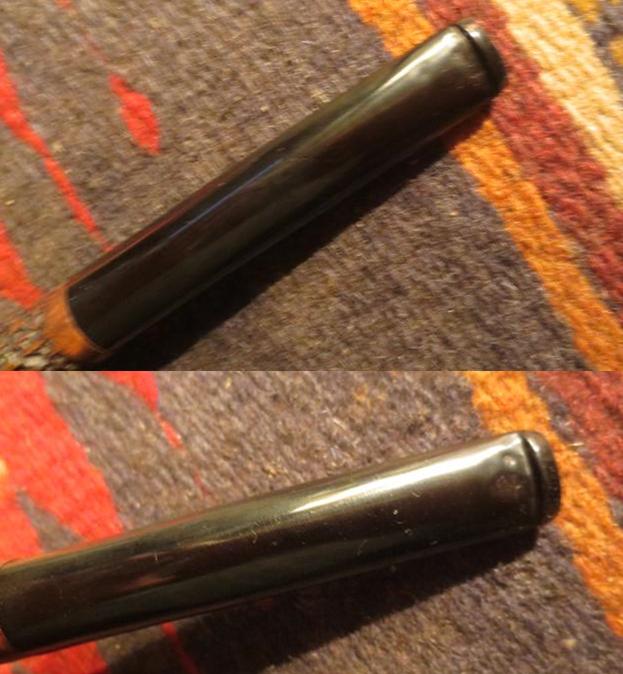 I “painted” the surface of the vulcanite with the flame of a Bic lighter to lift the dents and I was able to raise all but one of them completely. Even the worst one on the underside came up so that is only needed a little patch. The rest of them I was able to sand smooth with 220 grit sandpaper.
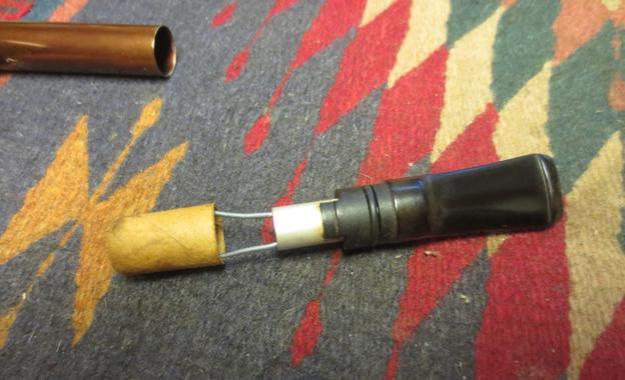
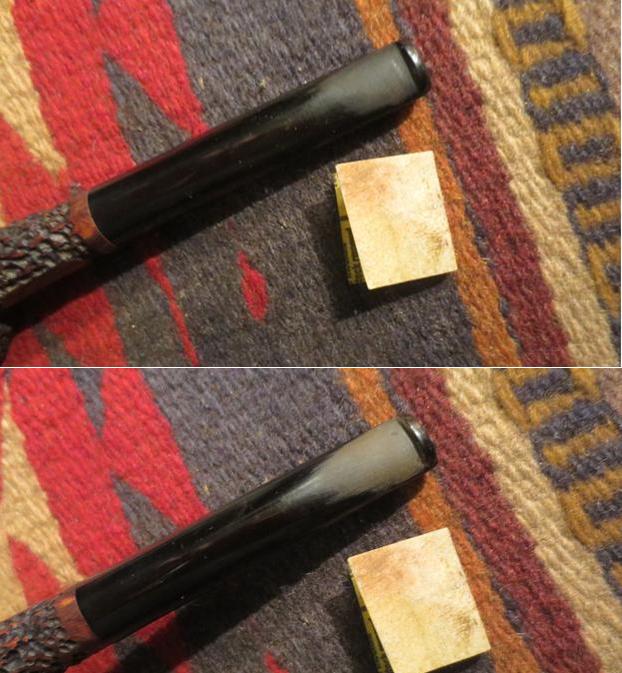 I cleaned the sanded area on the underside of the stem with alcohol and then filled in the remaining tooth mark with a spot of clear super glue. Once it dried I sanded it smooth with 220 grit sandpaper and blended it into the surface of the stem.
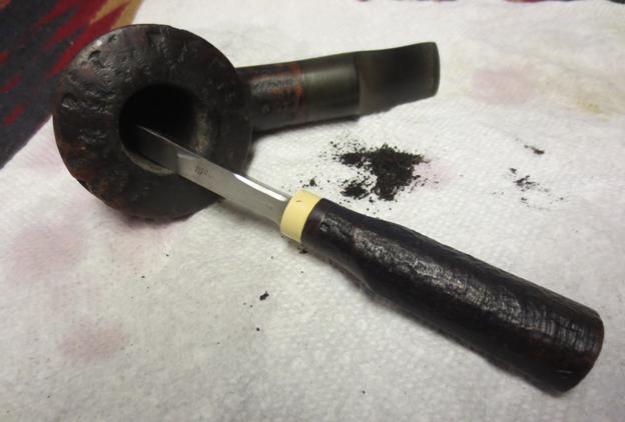
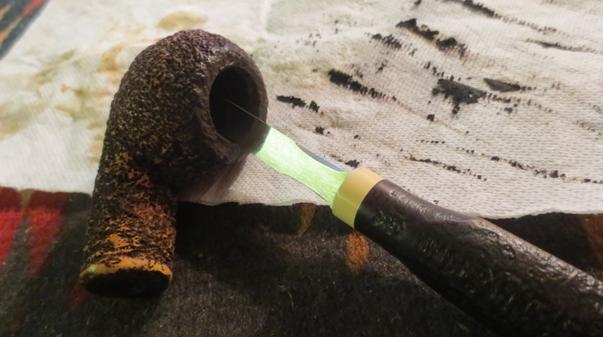
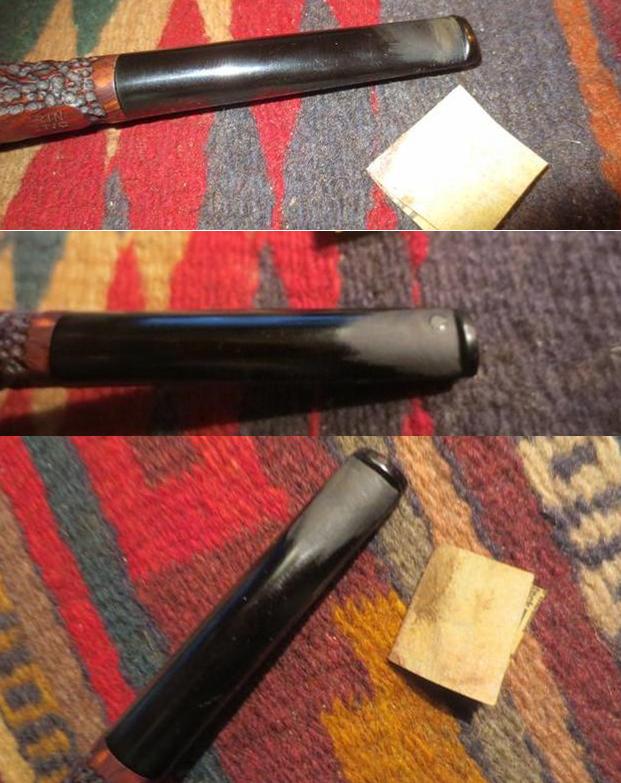 I rolled a piece of sandpaper and sanded out the inside of the bowl and the inner edge of the rim to smooth out the damage.
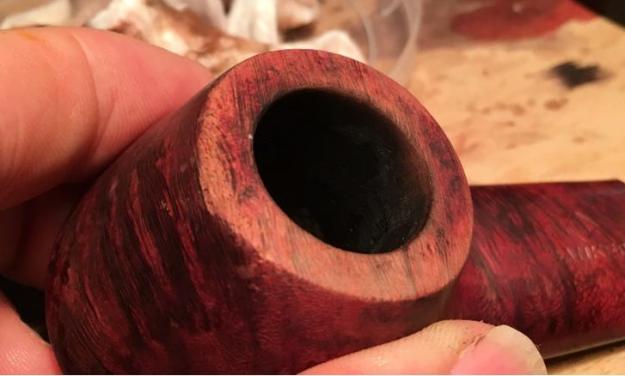
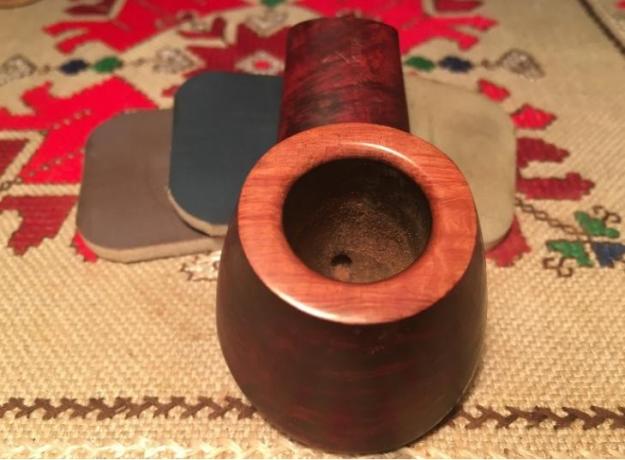
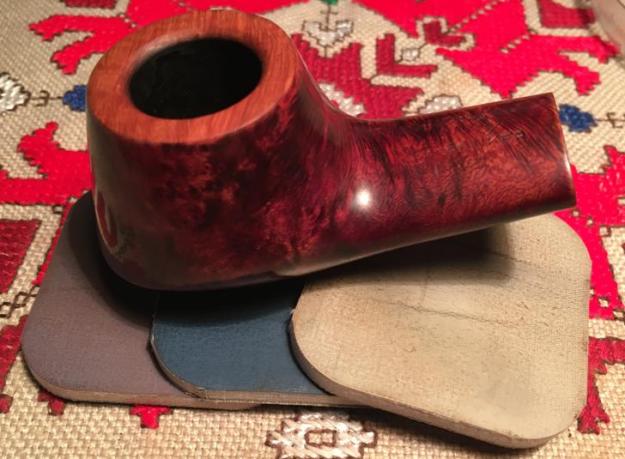
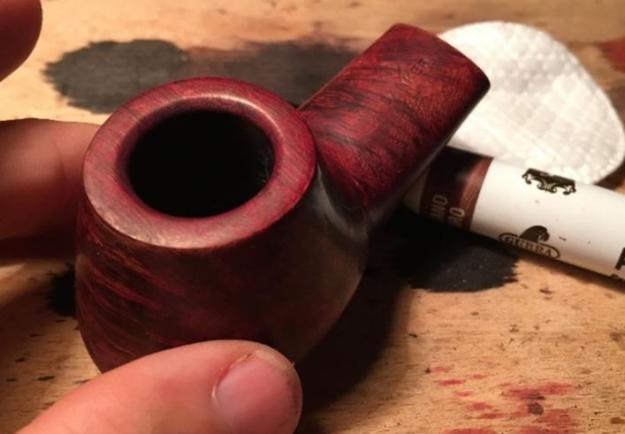
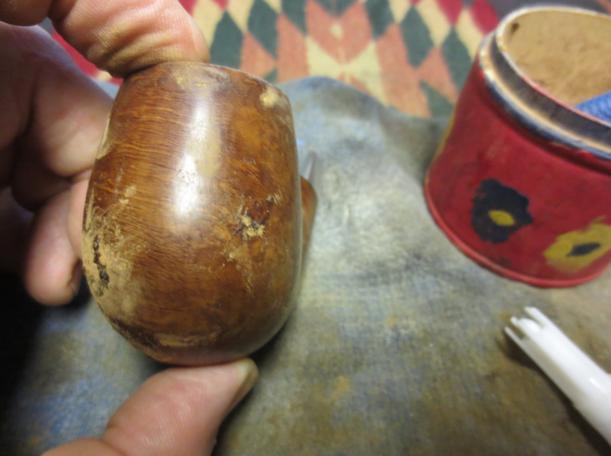
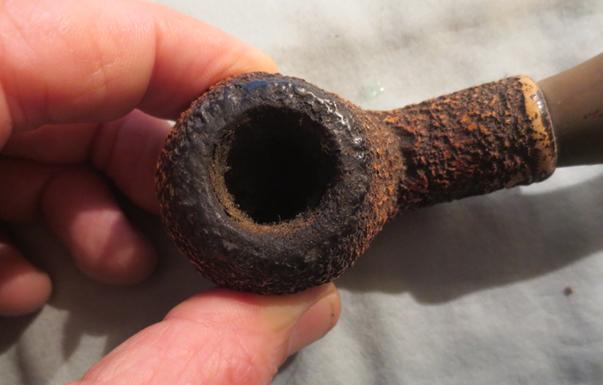
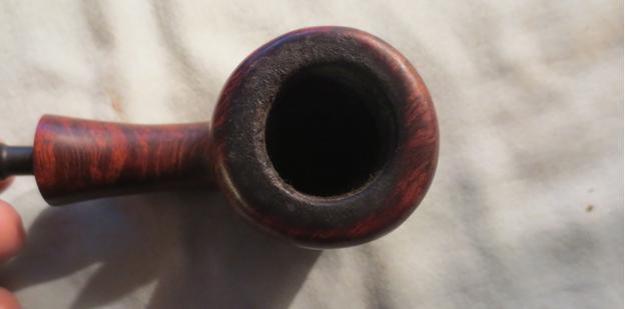
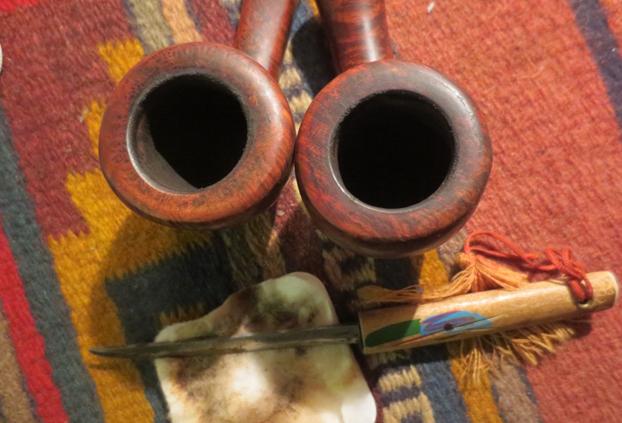
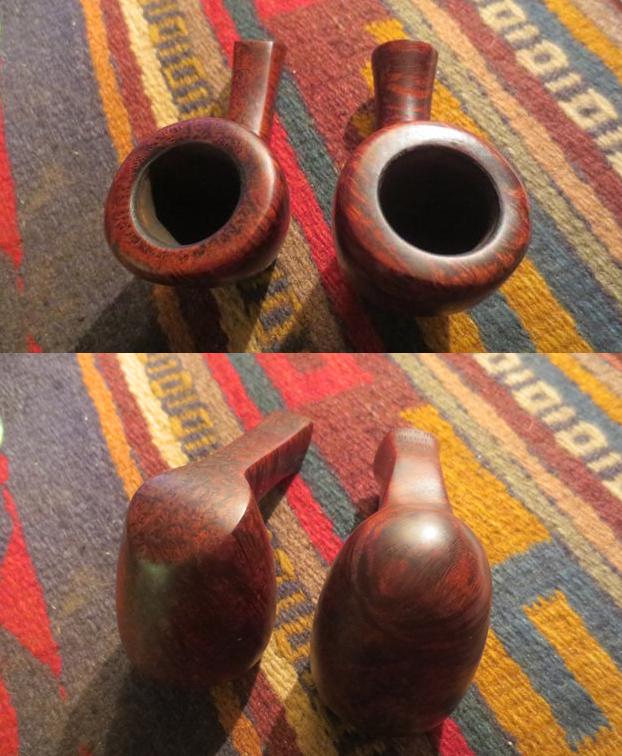
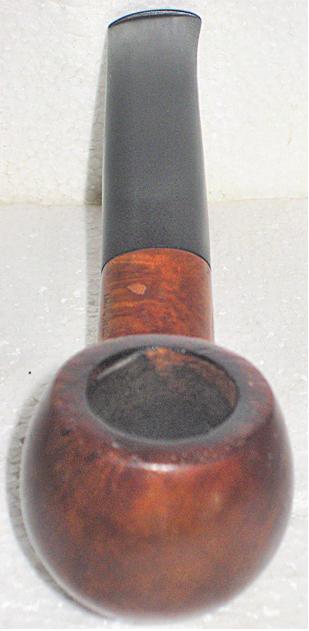
I touched up the rough spots on the inner edge with a piece of 220 grit sandpaper and smoothed out the edge until it was back in round. In the photo below you can see the damage to the top and outside edge of the bowl toward the front. It looked like it had been knocked out on concrete. I decided to lightly top the bowl on the topping board with 220 grit sandpaper until the rim top was smooth and clean of damage.
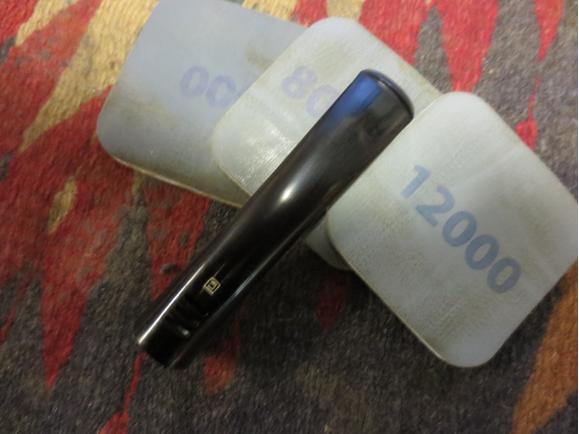
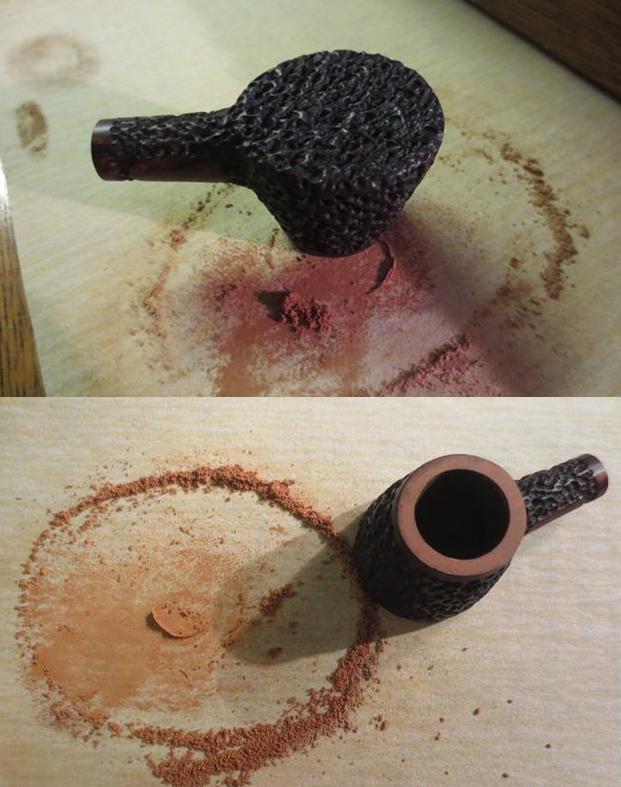 I sanded the rim top with micromesh sanding pads from 1500-12000 grit until the surface of the rim was clean and smoothly polished.
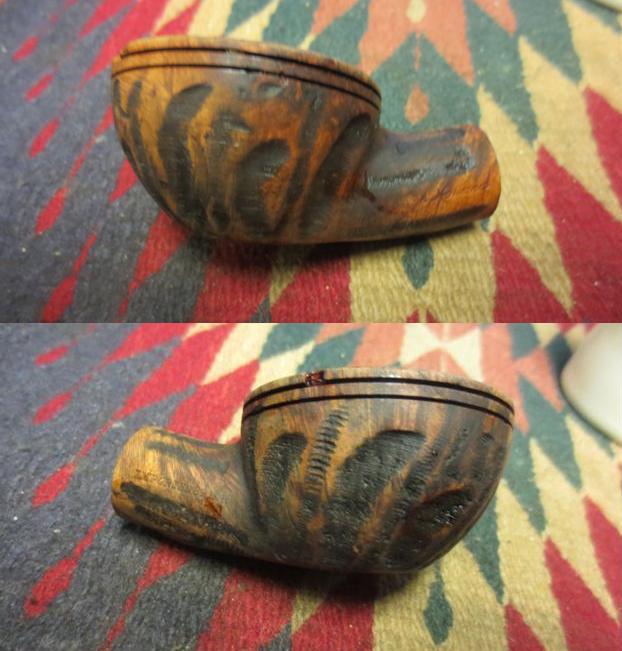
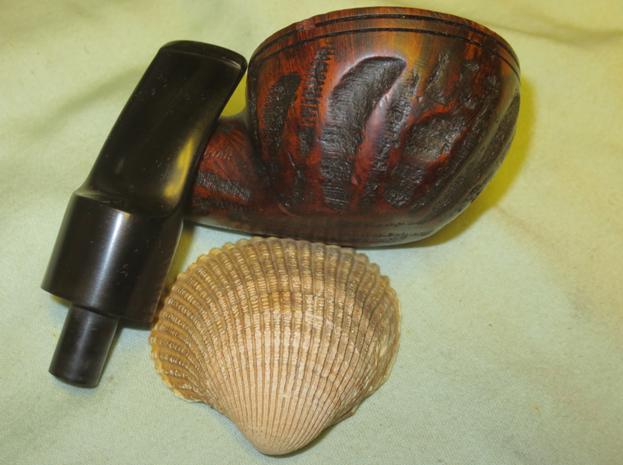
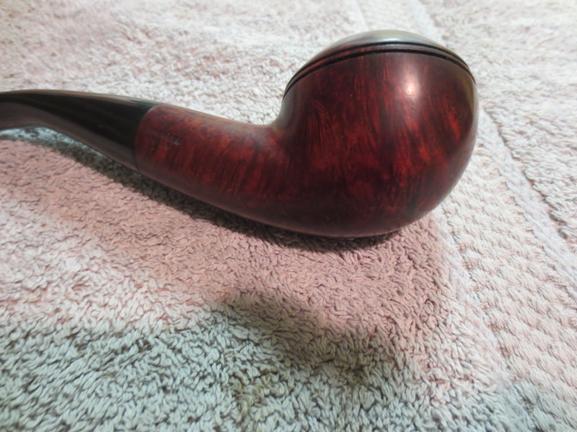
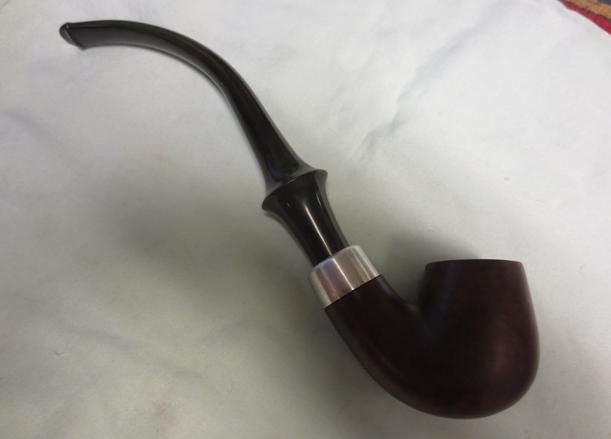
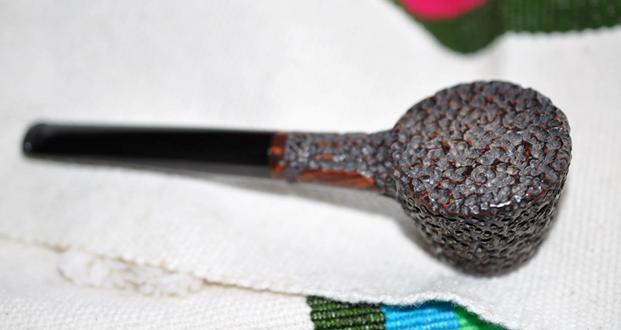
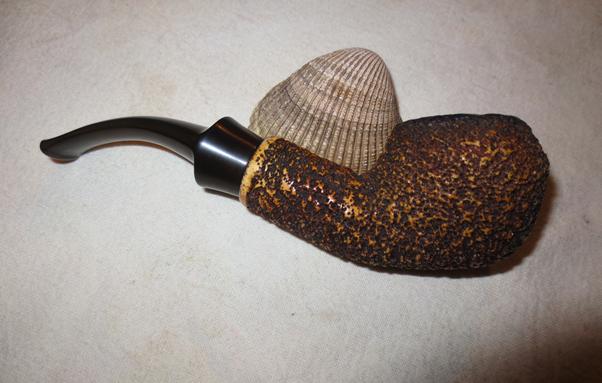
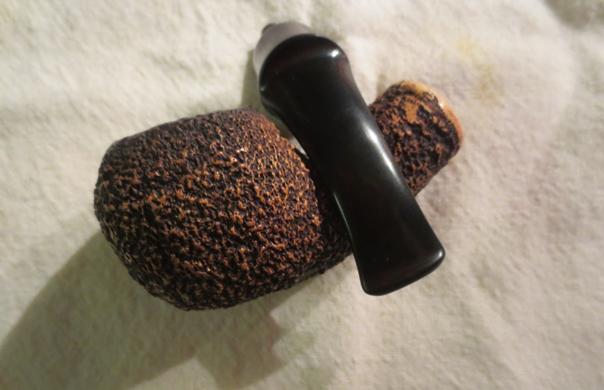
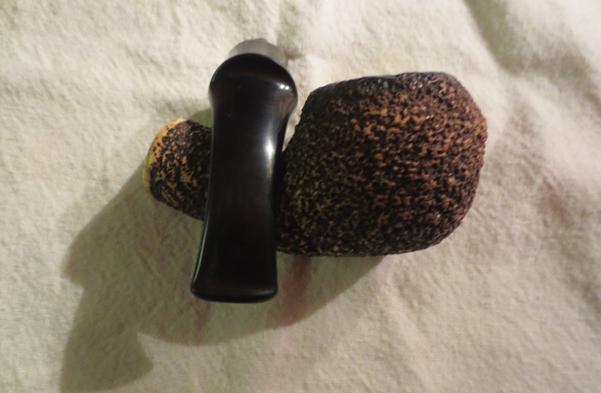
 I used a light brown stain pen and touched up the rim top. The next four pictures show the bowl after I had rubbed it down with a light coat of olive oil. I love the rustication on the bowl sides and bottom. It really is a unique pattern.
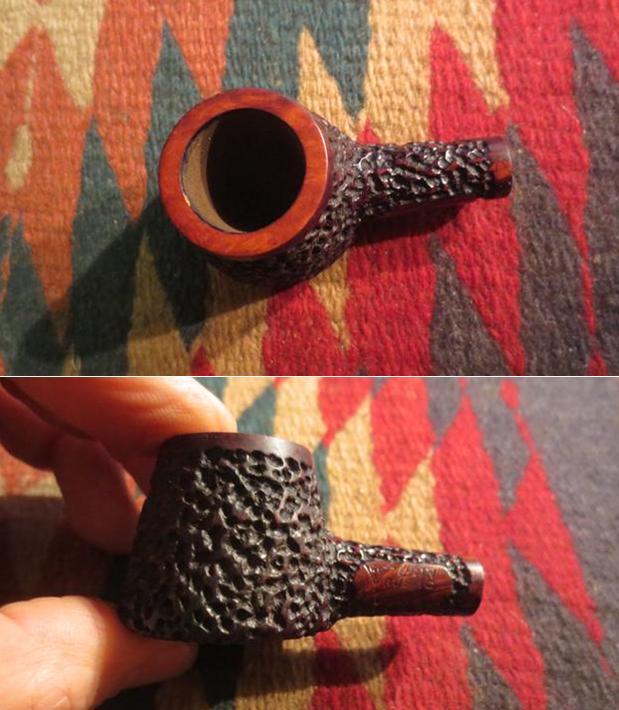
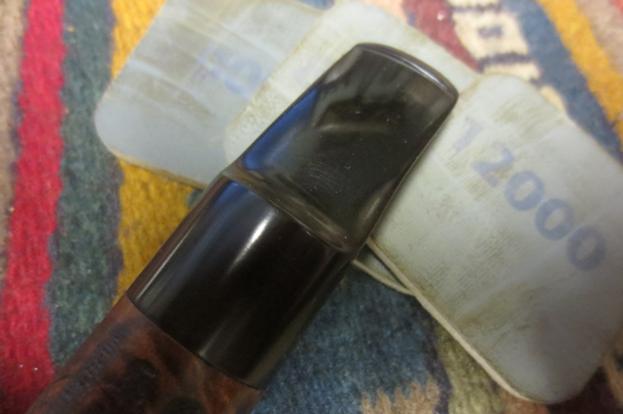
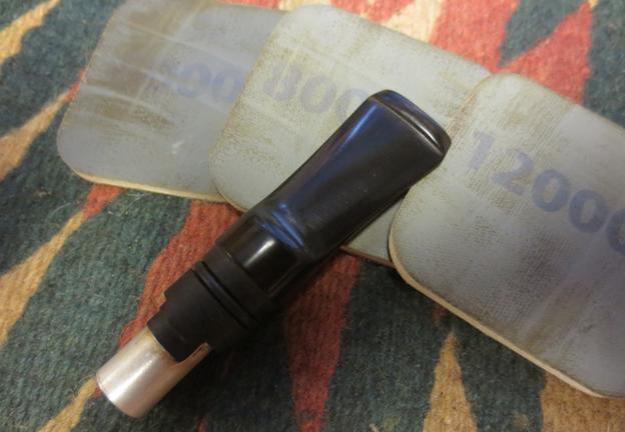
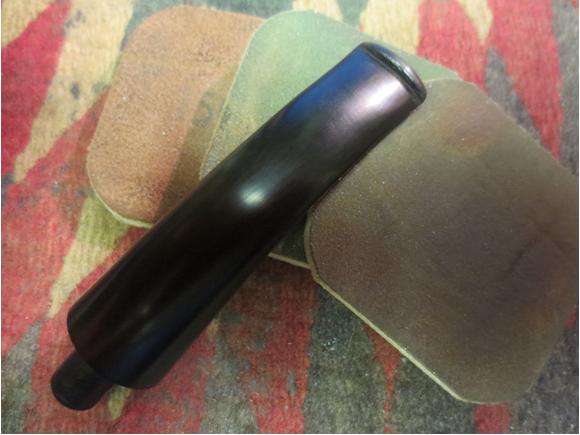
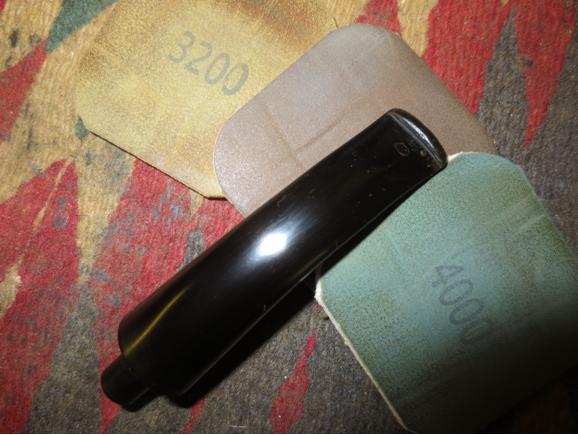
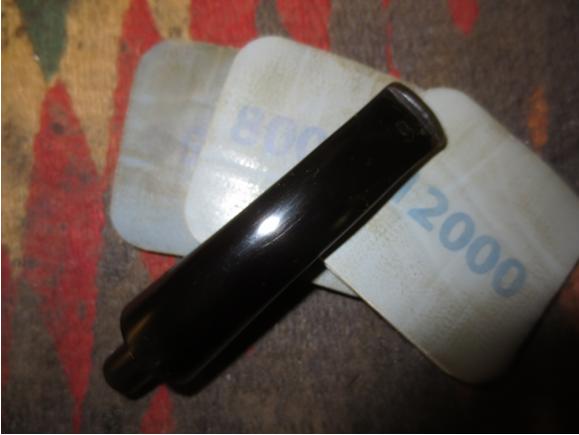
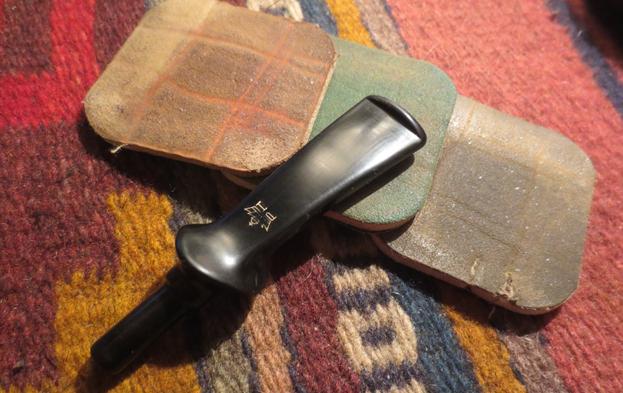
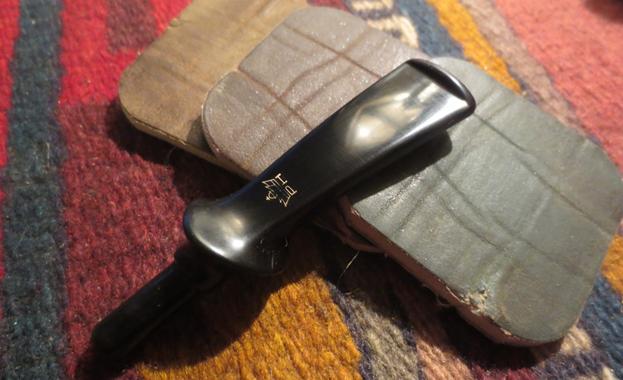
 I polished the stem with micromesh sanding pads – wet sanding with 1500-2400 grit pads and dry sanding with 3200-12000 grit pads. I rubbed the stem down with Obsidian Oil after each set of three pads. After the final rub down I set the stem aside to dry.
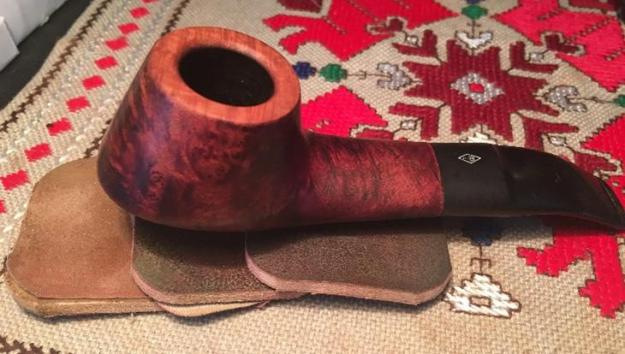
I buffed the bowl and stem with Blue Diamond on the buffing wheel. I gave the stem multiple coats of carnauba wax and buffed it with a clean buffing pad to raise the shine. I hand wax the bowl with Conservator’s Wax and buffed it with a clean buffing pad. The finished pipe is shown in the photos below. The finish shines and the pipe belies its age. It is a beauty. Thanks for looking.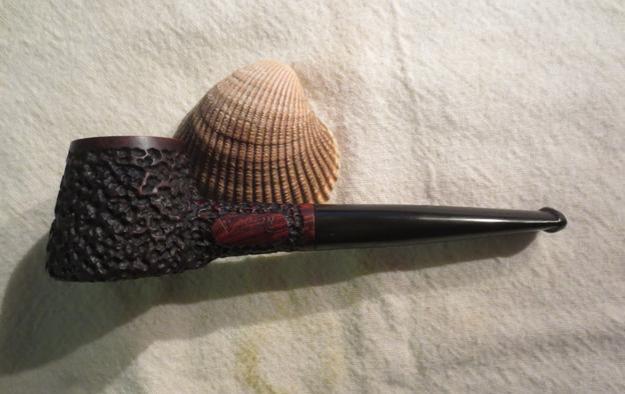


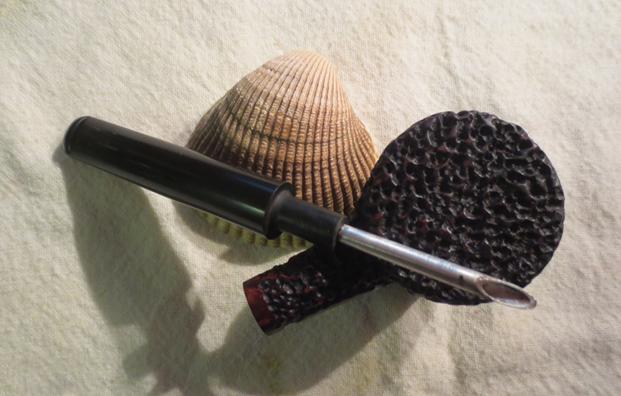

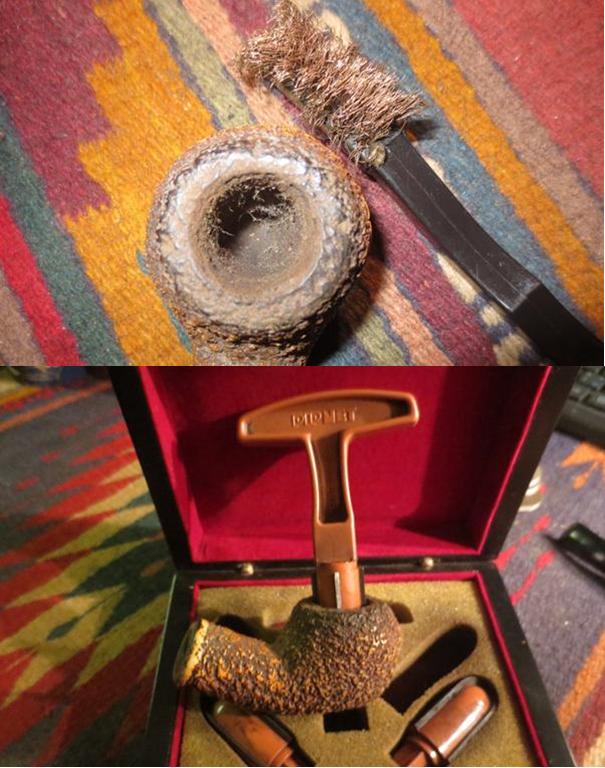


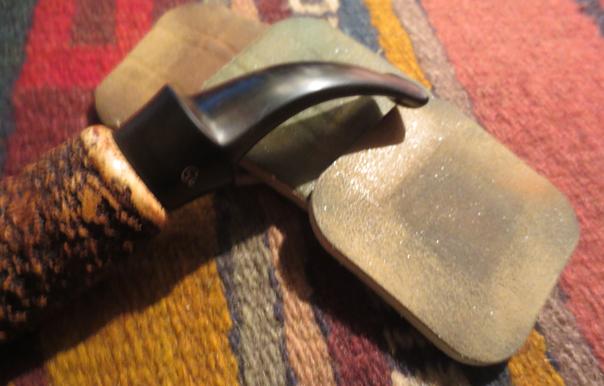


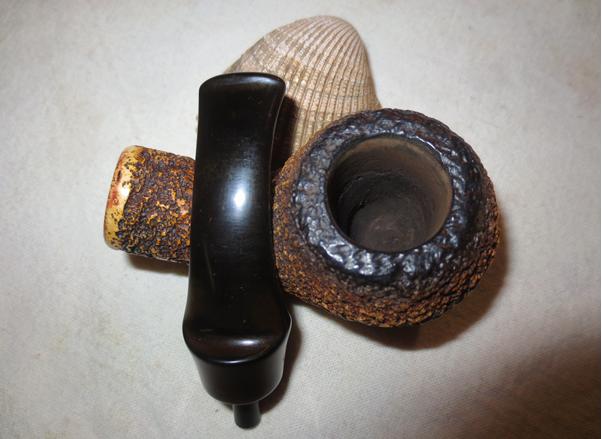
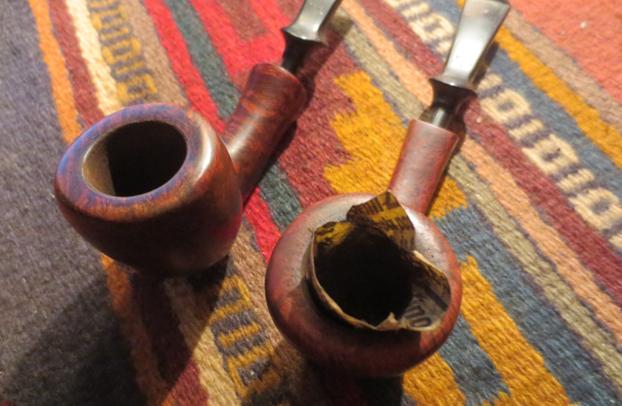


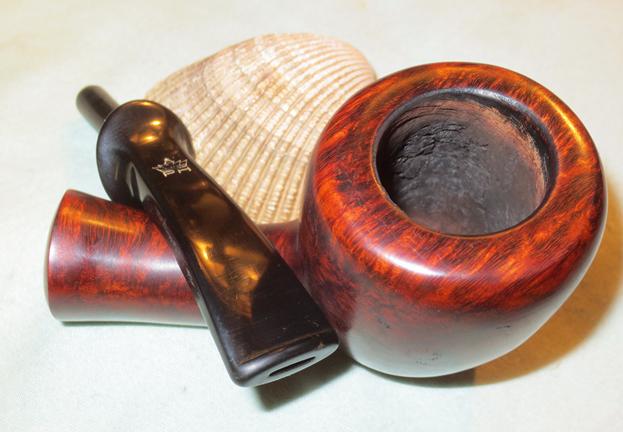


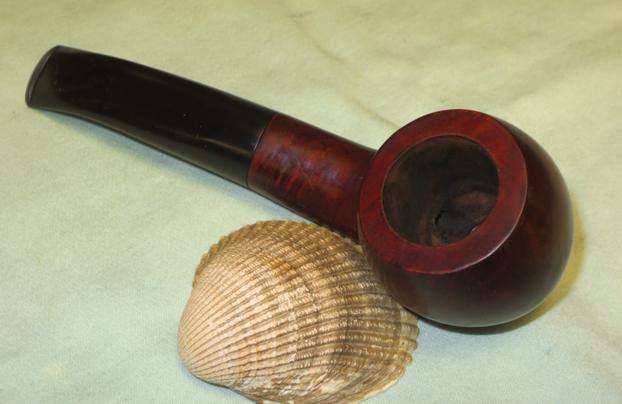
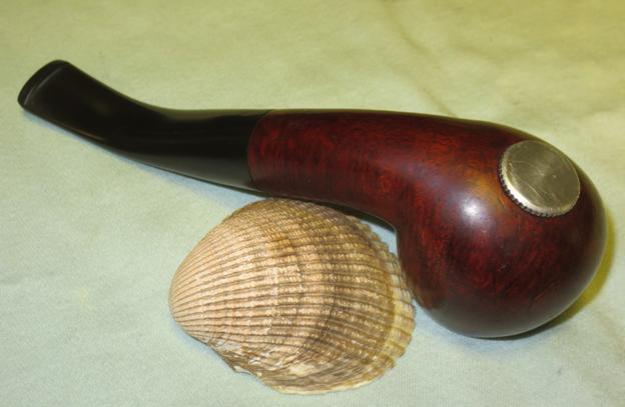
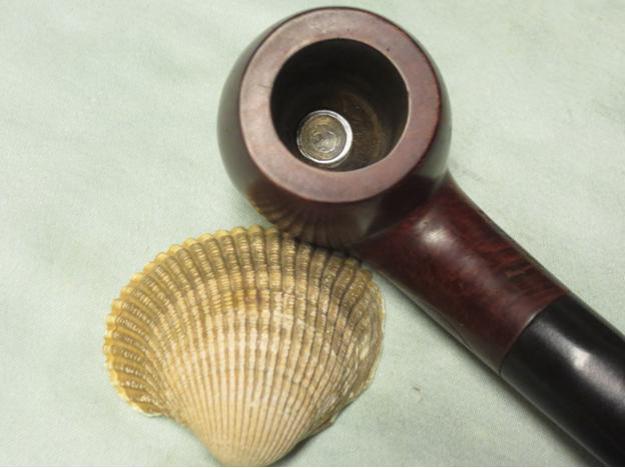
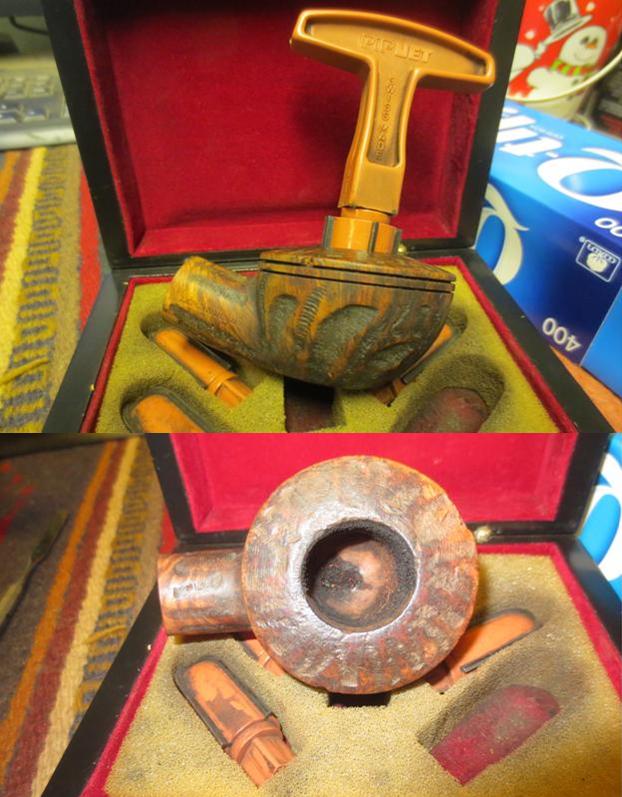
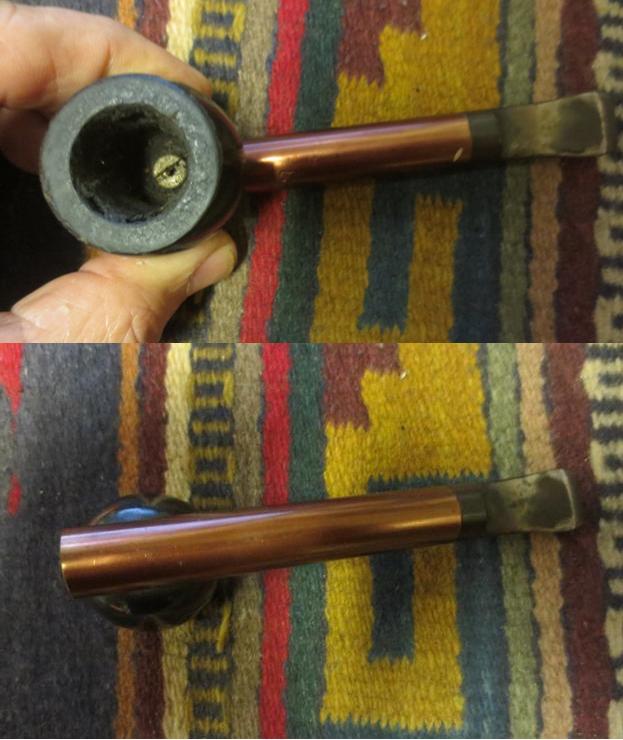
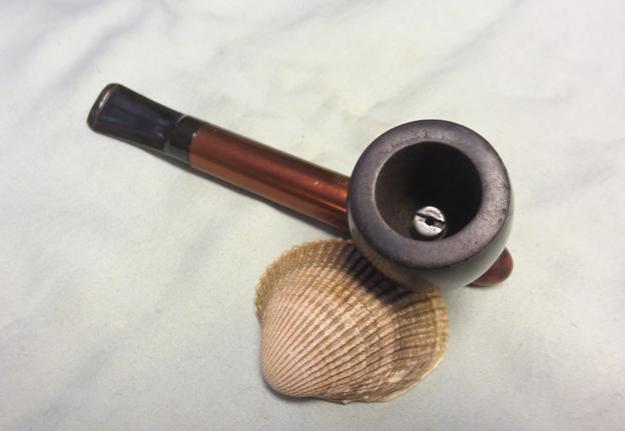
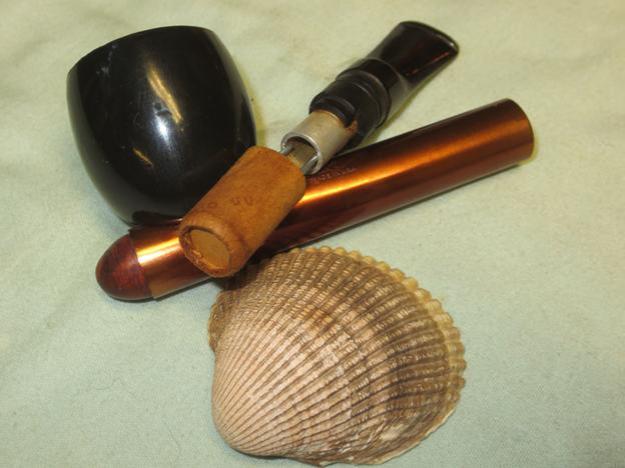
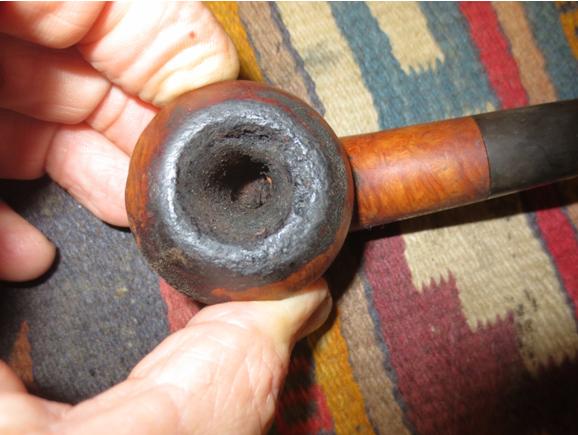
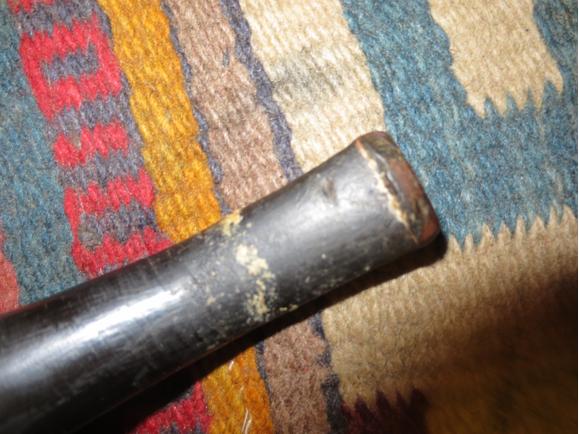
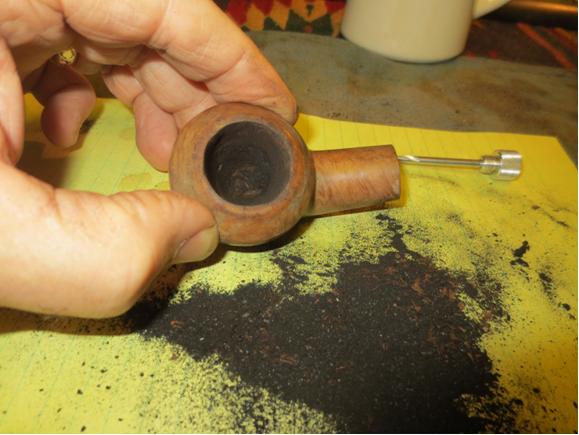
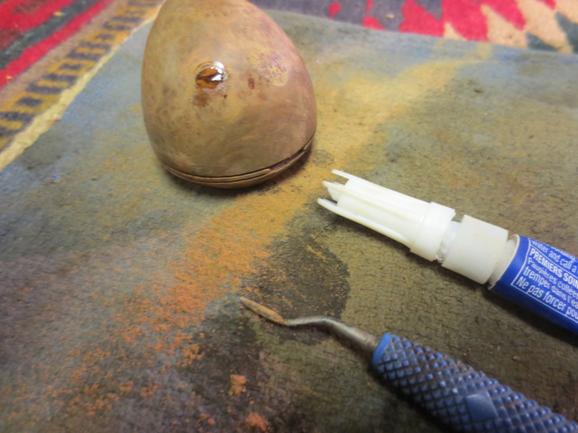
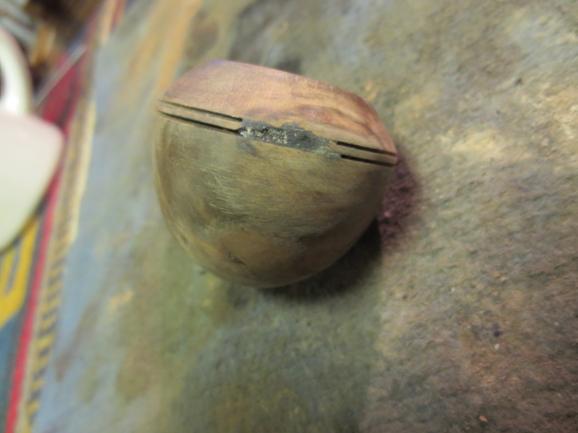
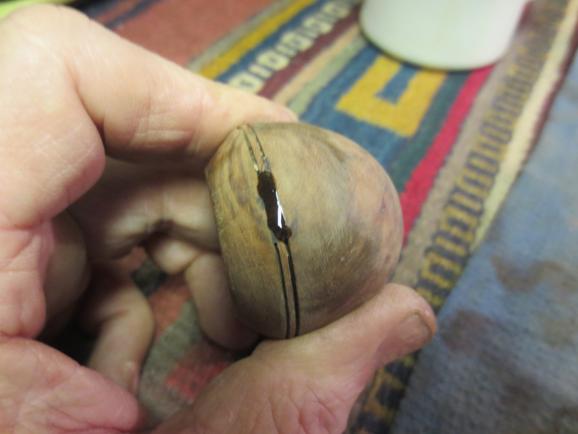
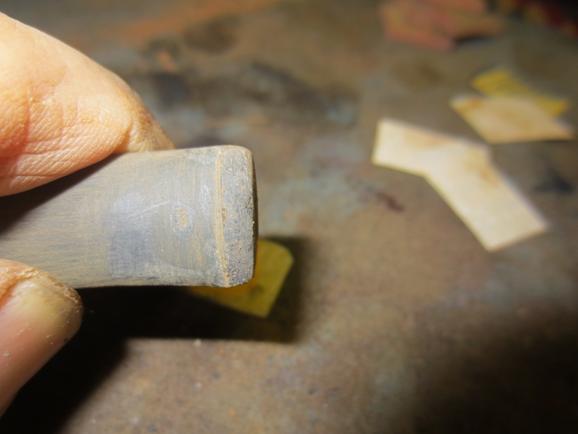
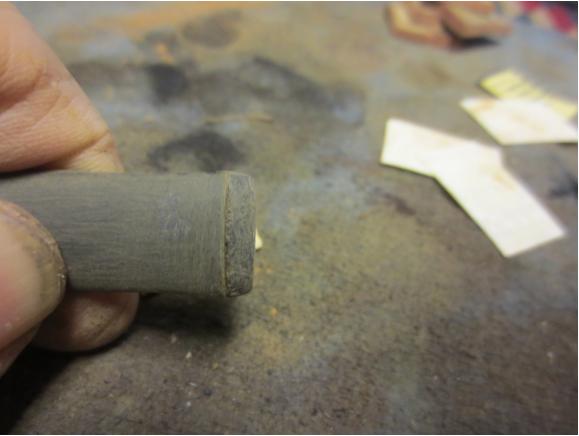
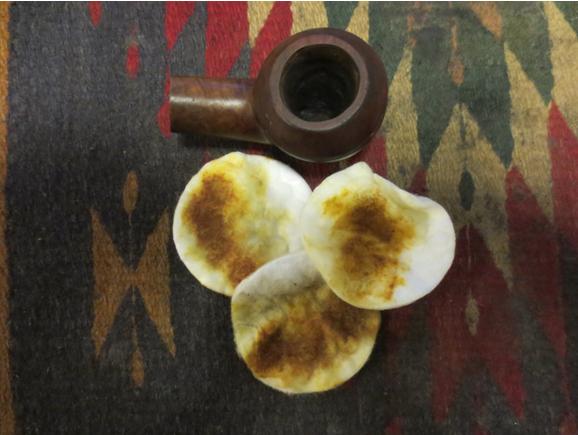
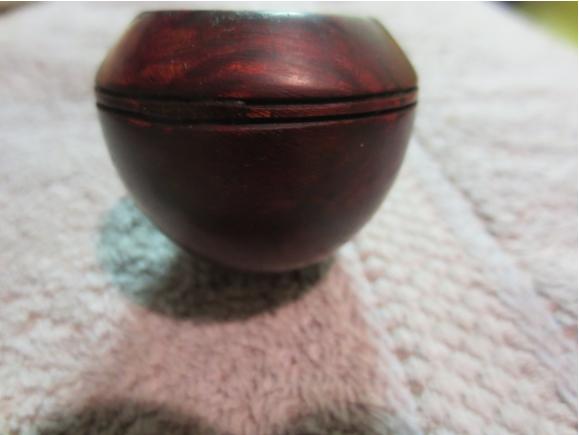
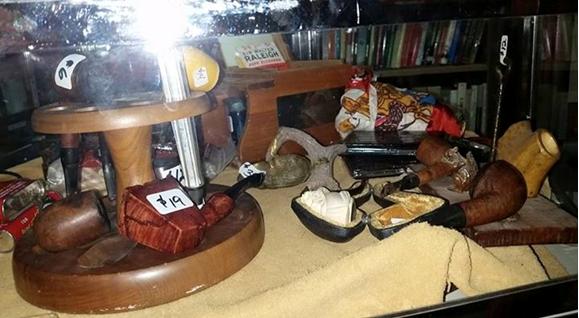
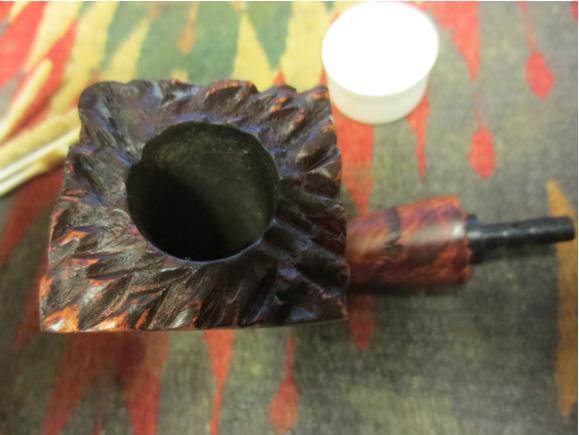
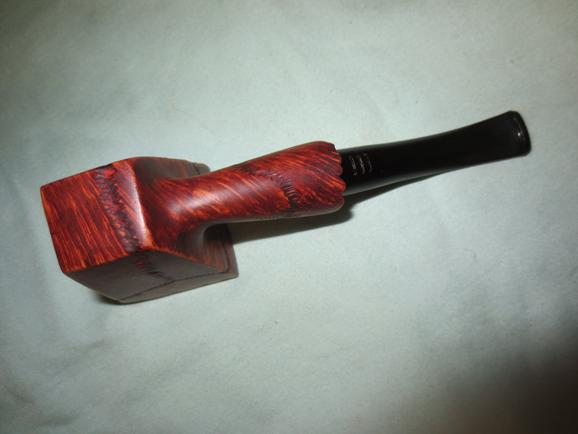
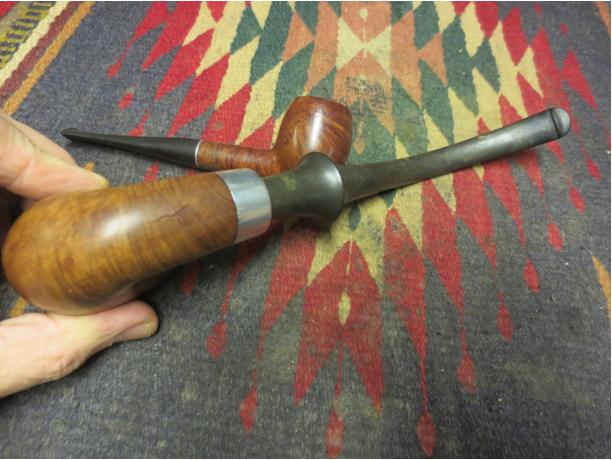
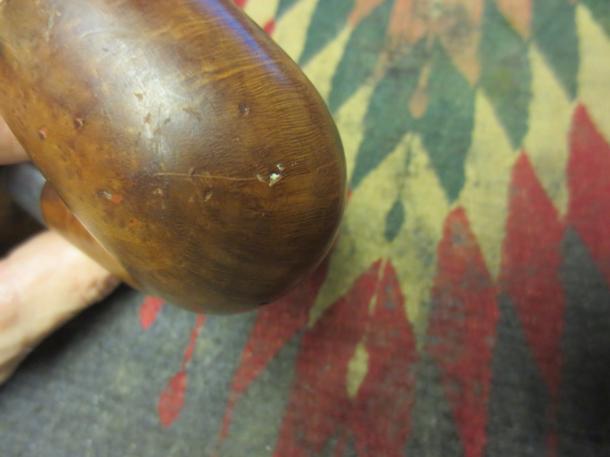
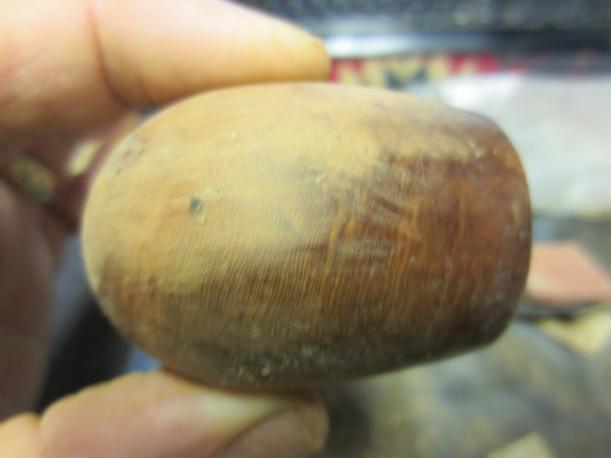
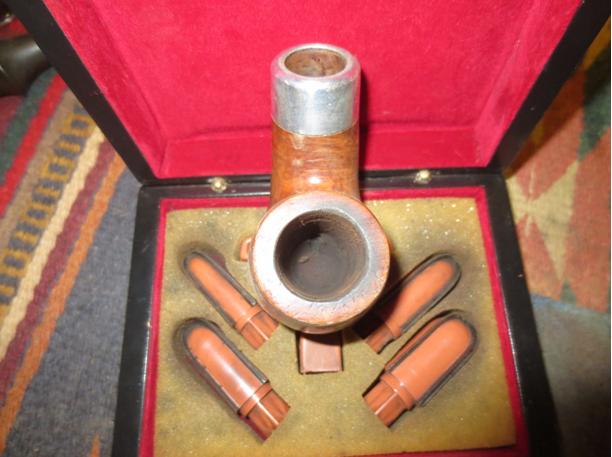
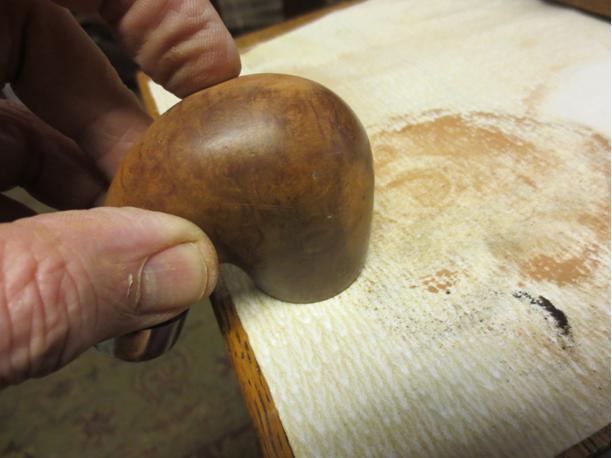
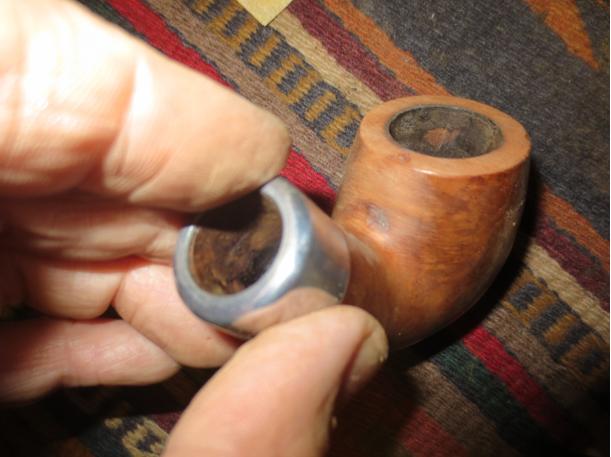
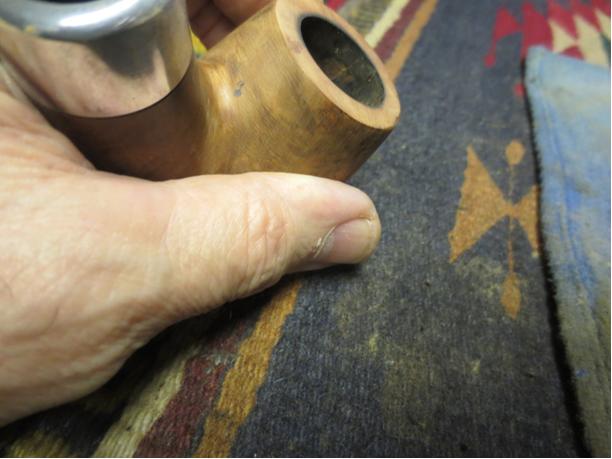
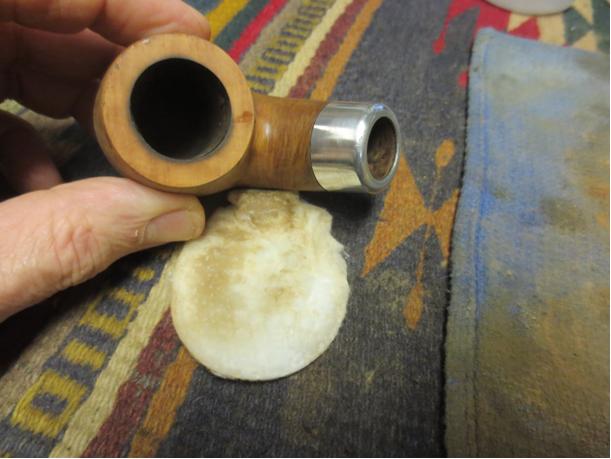
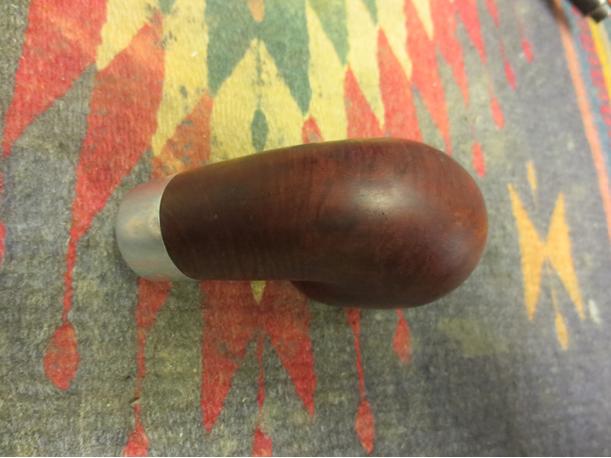
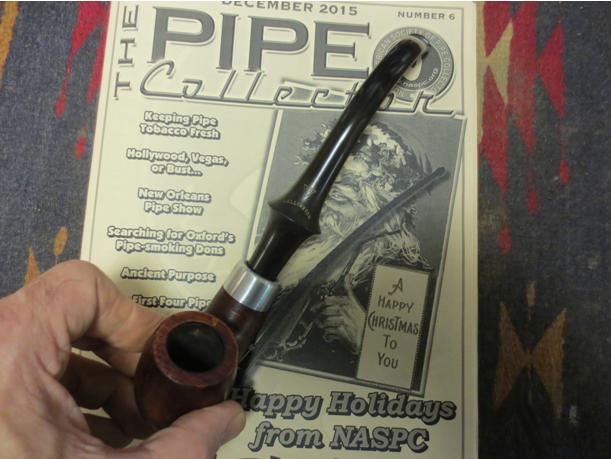
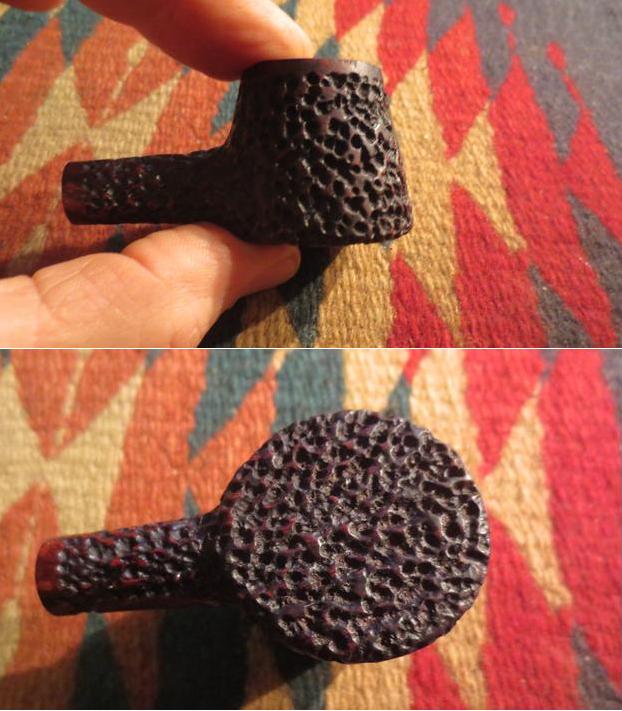
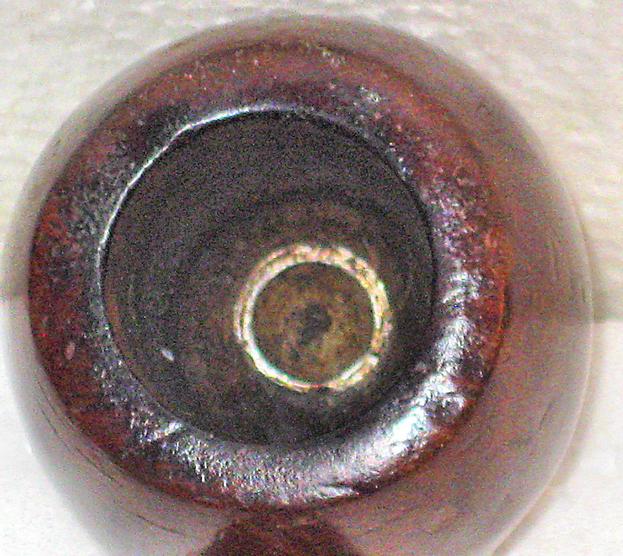
 The fourth and fifth pictures remove the mystery of the knurled edge on the bottom of the bowl that showed in the first photo. You can see in that photo of the bowl bottom that the silver disk looks like it was made to be rotated. We talked and my brother bid and won the pipe (I can’t wait for the pipe to get here so I can check this out). The fifth photo shows the inside of the bowl. The top of the disk appears to be a cup intruding into the bowl bottom. It was really odd looking.
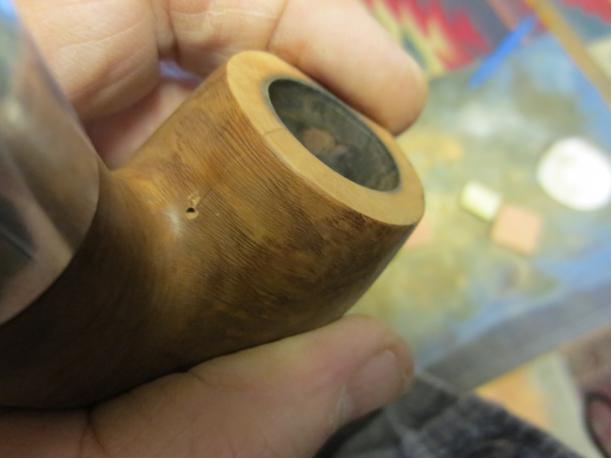
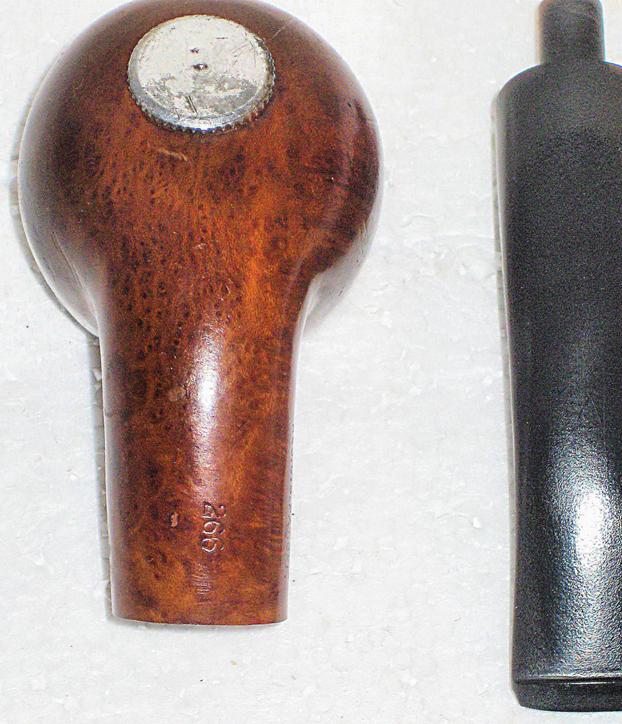
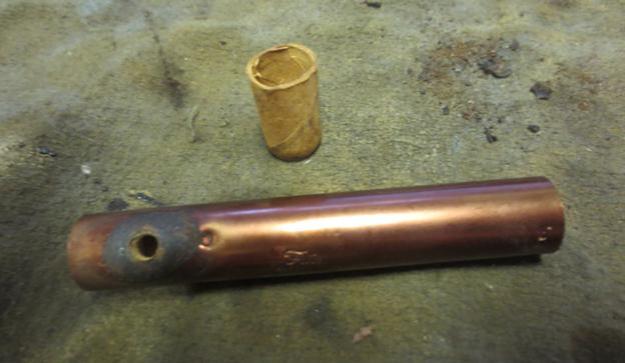
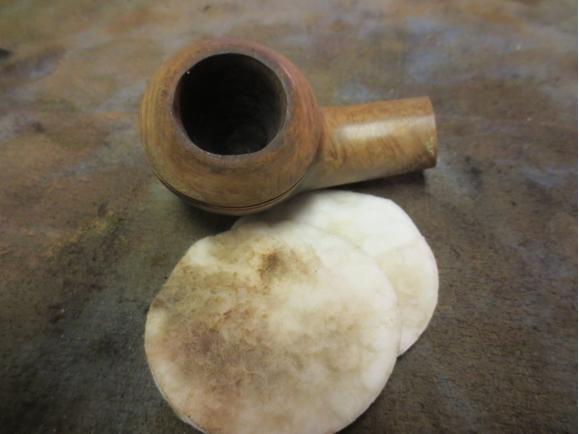
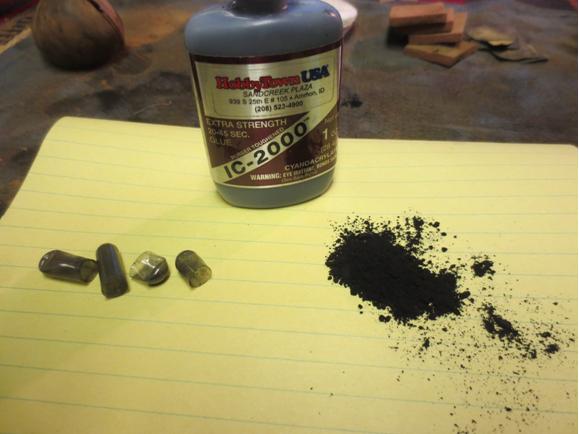
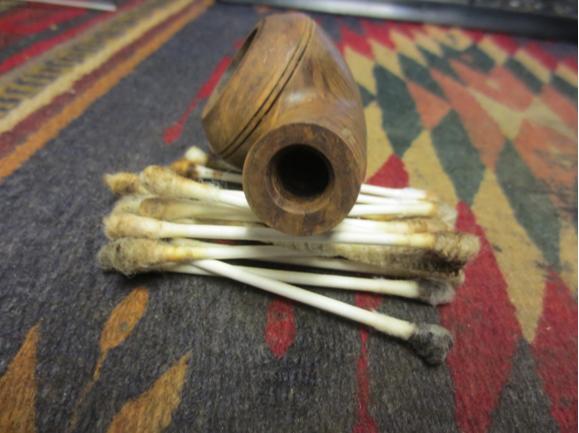
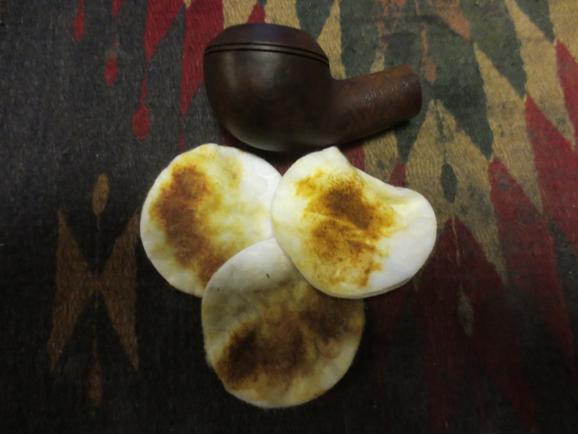
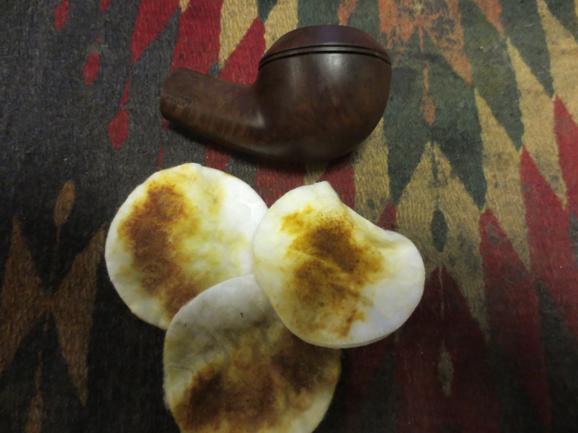
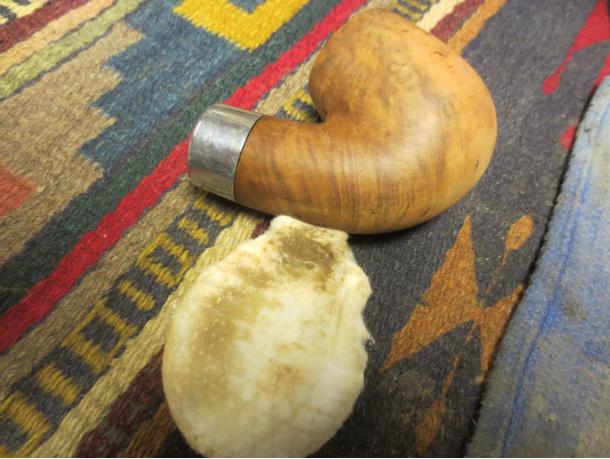
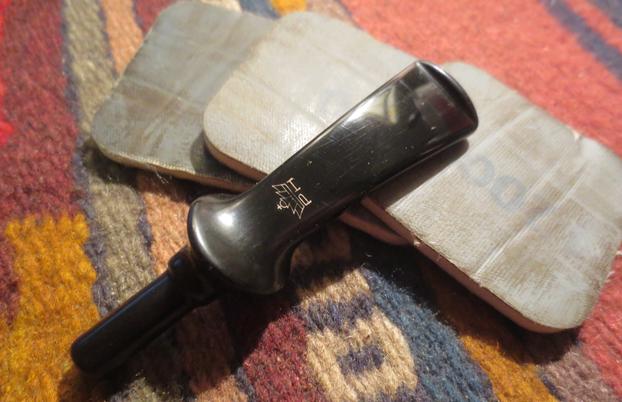
 That information was helpful on many levels. He did not however have any photos or drawings of the pipe or pictures of the advertisements. I wanted to know if the bottom “sump” as he called it was pressure fit or threaded and screwed into the briar. I wanted to know if the bottom of the bowl was damaged or if the “sump” sat as it was supposed to flush with the bottom. It was hard to tell from the photos. I wanted to know was the “wads” were that sat in the sump. From the look of the bowl bottom it appeared that the “wads” may well have been lozenges that fit in the curved cup and then sat flat in the bottom of the bowl. But what did they look like? More research would be needed to answer these questions. But at least the mystery of the knurled edge peaking from the first photo was solved. It was a single unit with a cup on the inside of the bowl. I could not wait to see this in person and “fiddle” with it.
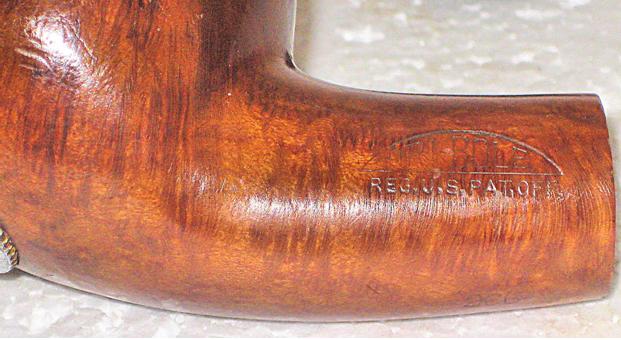 He gave the dimensions of the pipe as follows: overall length: 5 ½ inches, bowl height: 1 ½ inches, diameter of the bowl: 1 5/8 inches, bore diameter: 7/8 inches, bore depth: 1 1/8 inches and the weight: 44 grams or 1.6 ounces
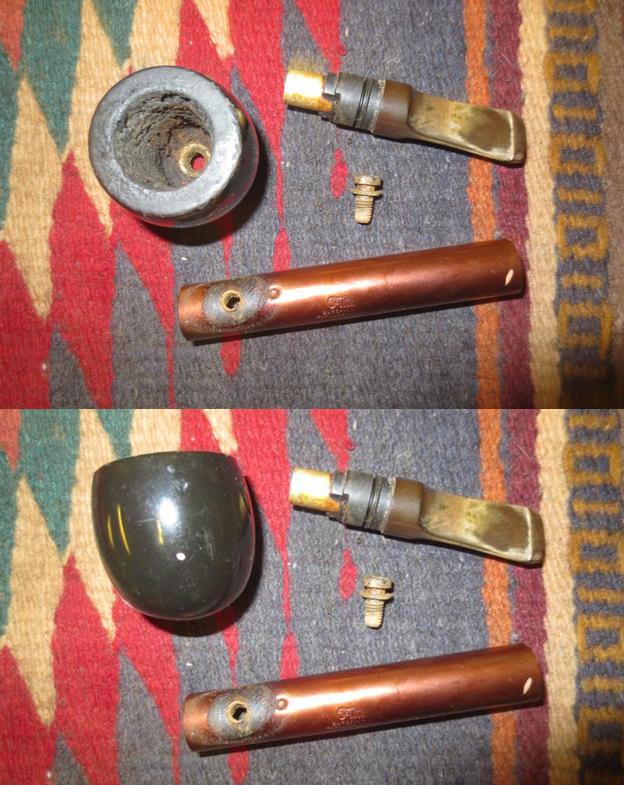
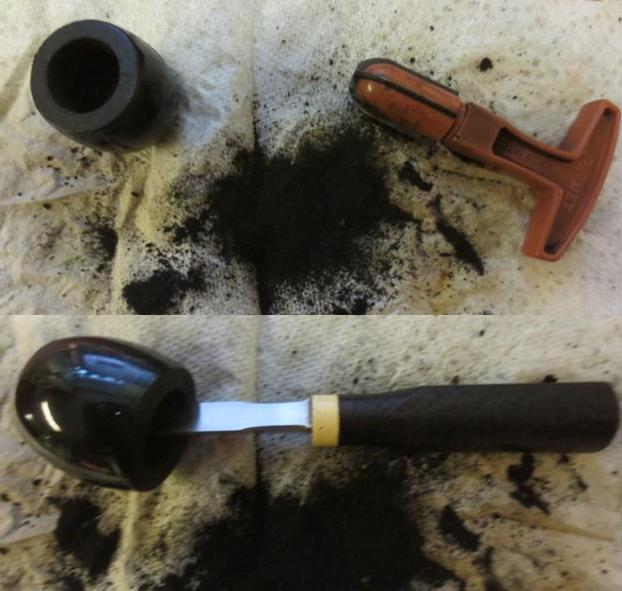
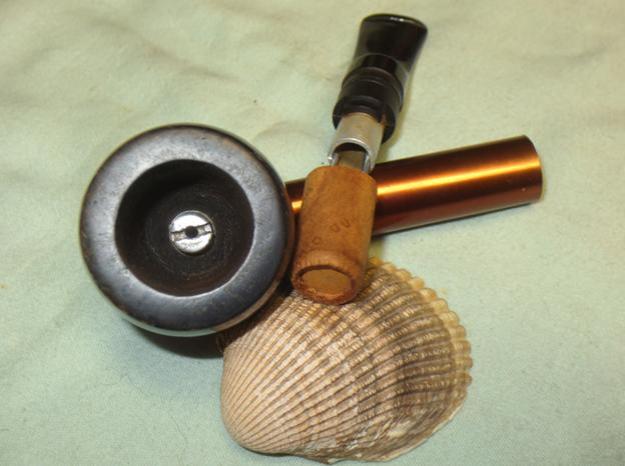
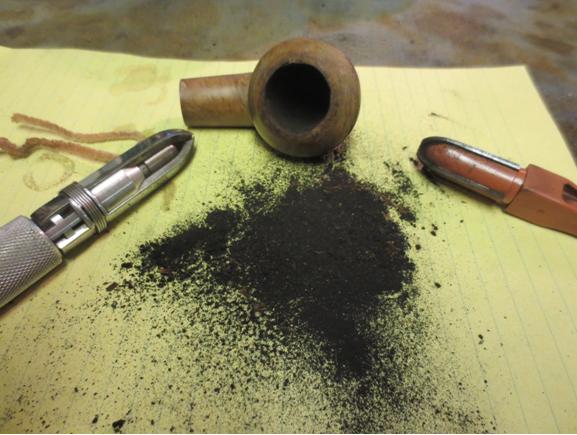
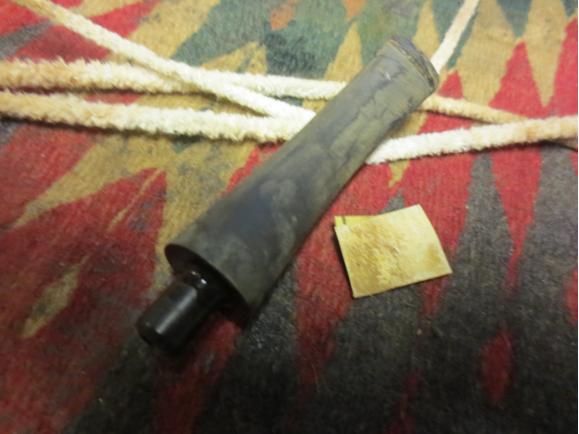
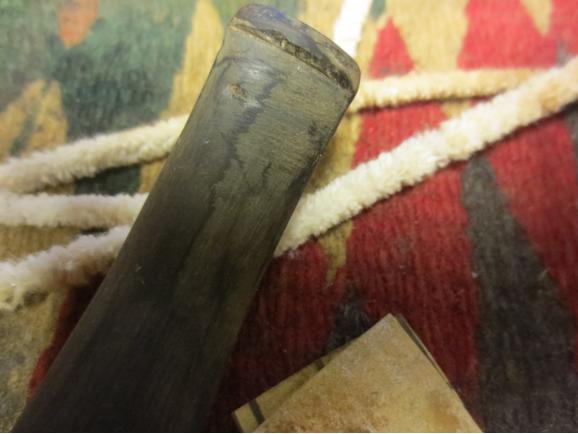
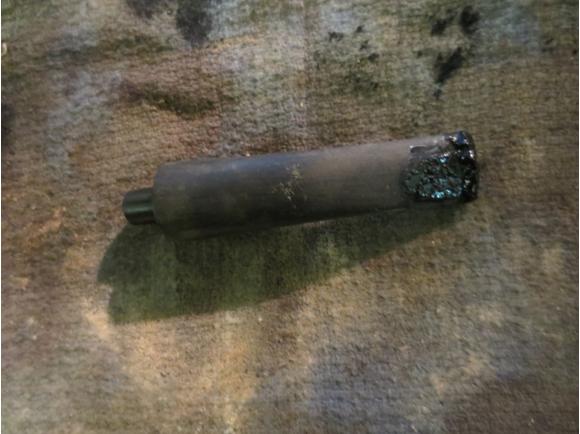
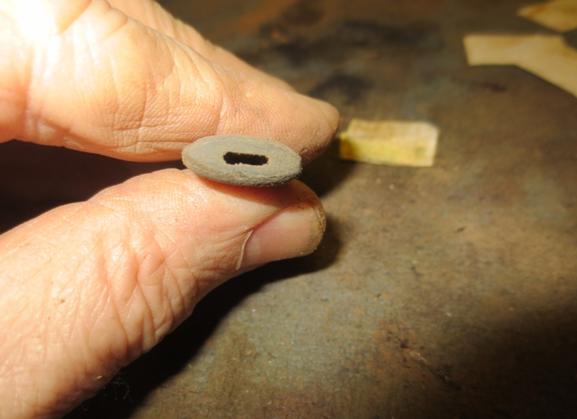
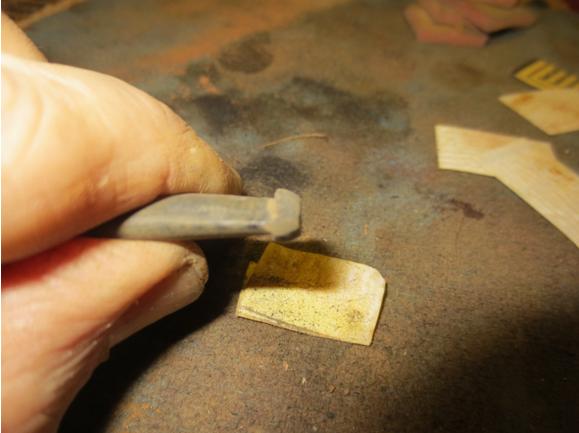
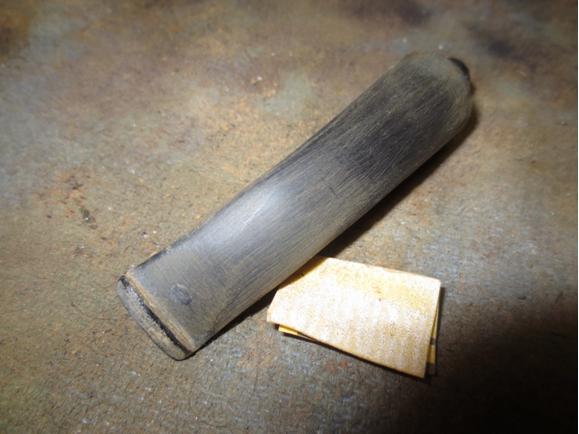
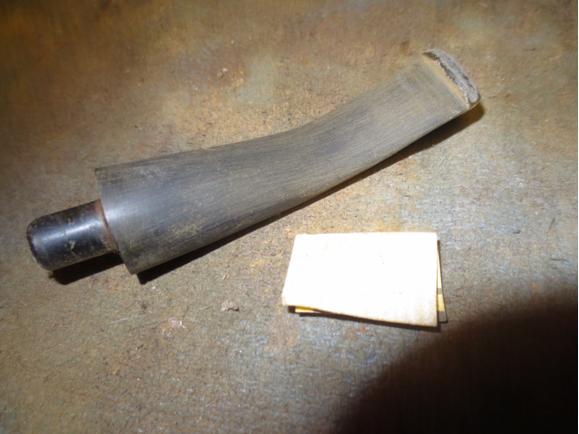
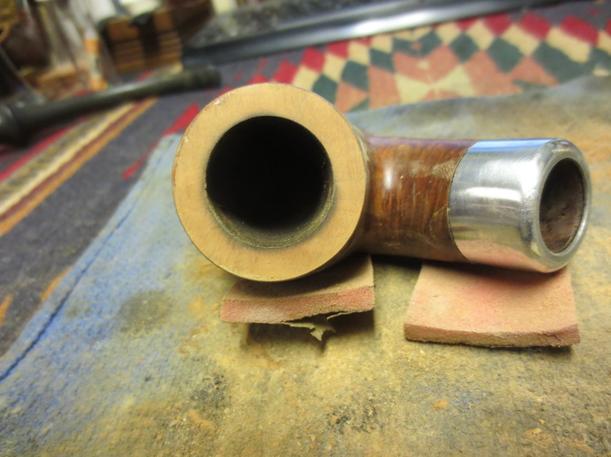
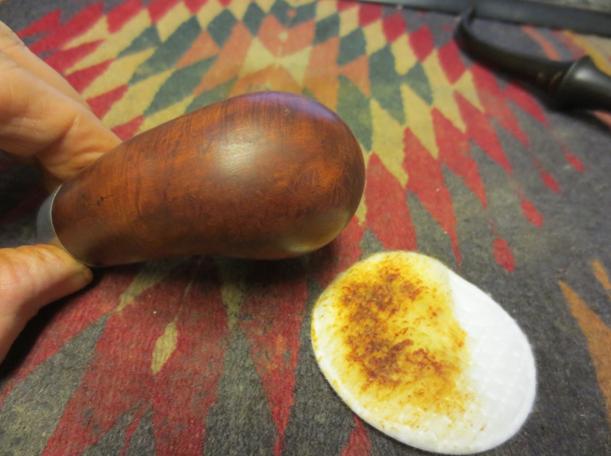
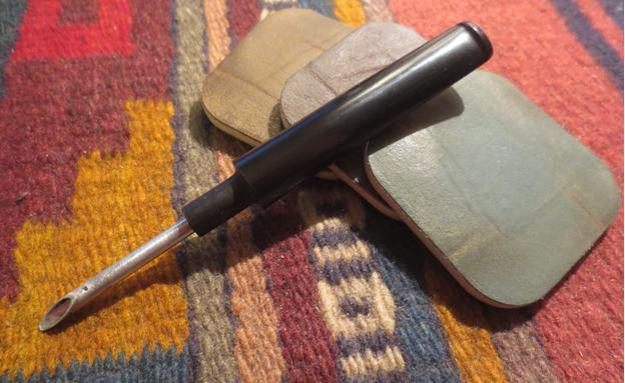
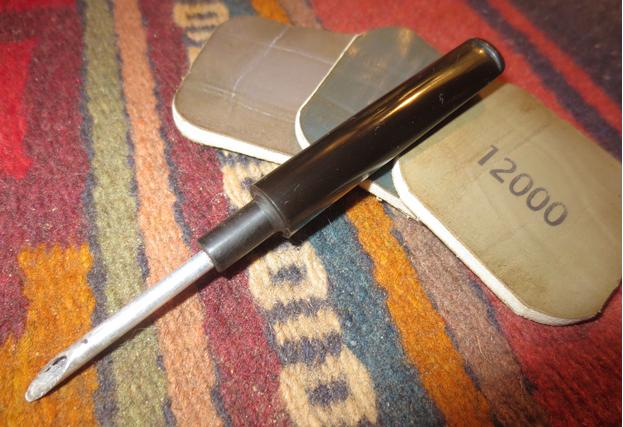
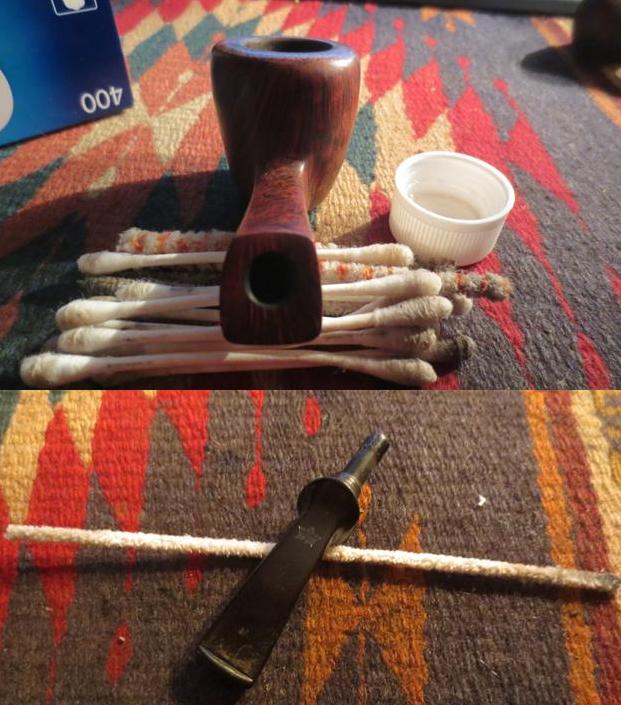
 I took it out of the alcohol bath and heated the disk with the flame of a lighter. I used a pair of pliers to hold tightly to the edge of the disk and I was able to twist it out of the bowl. Once it popped free I could undo it by hand. The first photo below shows the inside of the silver disk. The second shows the knurled outside.
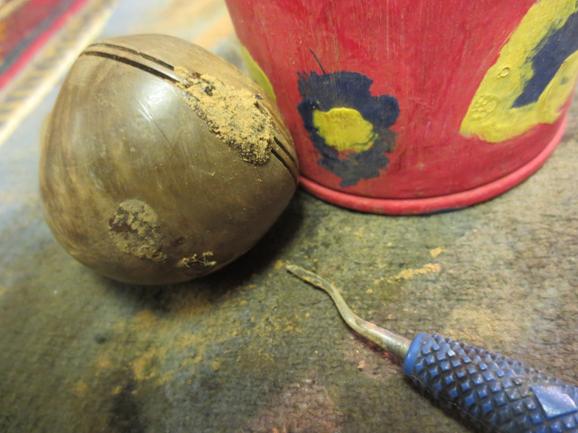
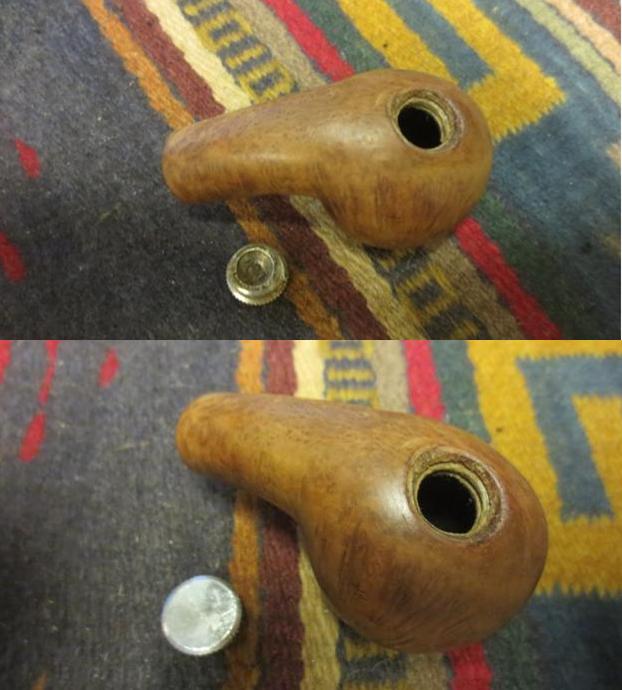 To remove the damage to the rim top and edges I topped the bowl on a topping board with 220 grit sandpaper.
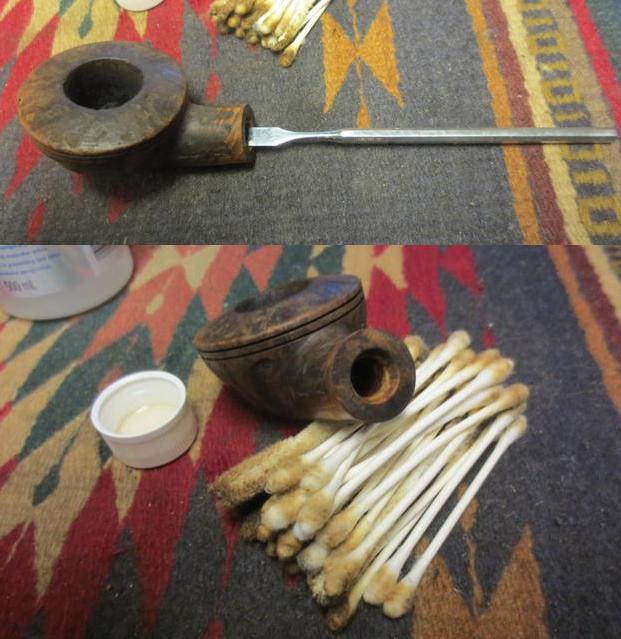
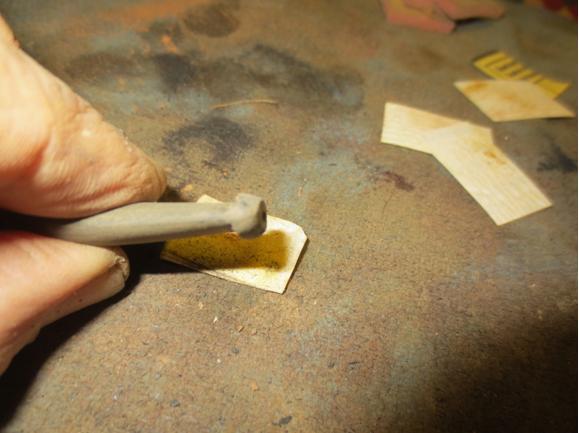
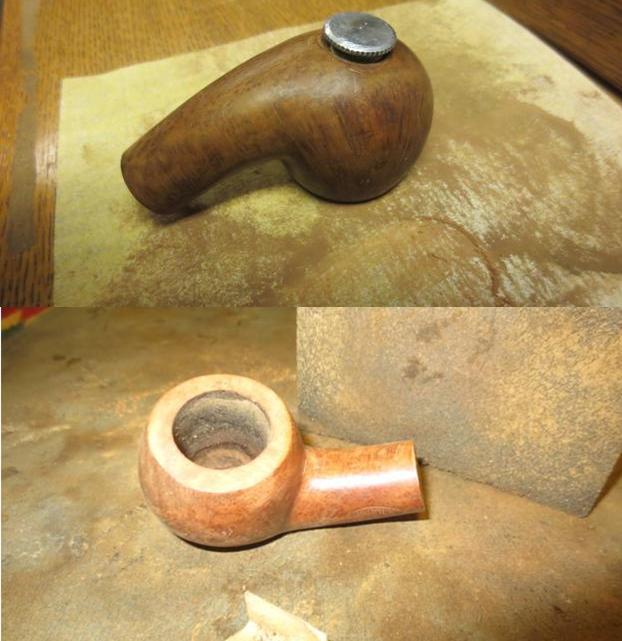 There were some nicks around the hole in the bottom of the bowl so I sanded those smooth with sandpaper and then cleaned out the threads in the briar with a cotton swab and alcohol.
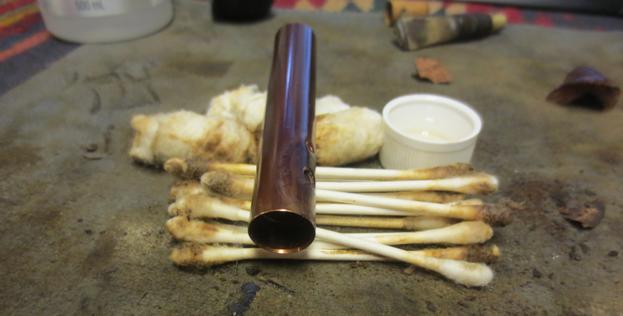
 I used the brass bristle brush to scrub the threads and the cup on the disk. I cleaned it afterwards with cotton swabs and alcohol.
 I used a cotton swab to coat the threads on the disk with Vaseline and turned it into the bottom of the bowl. I wanted to make sure that I could easily turn the disk by hand.
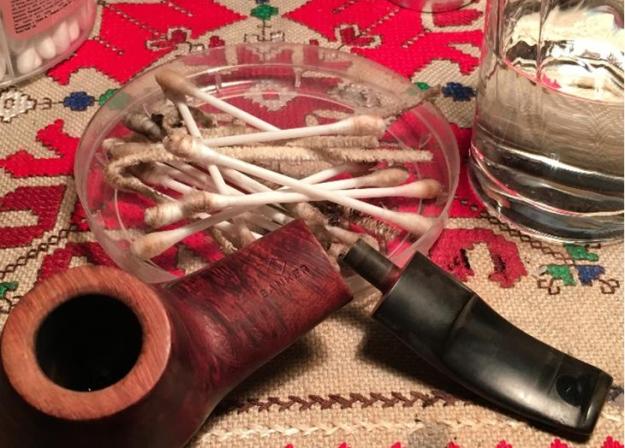
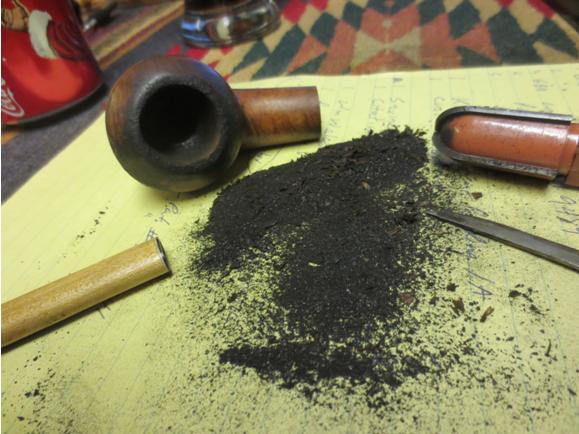
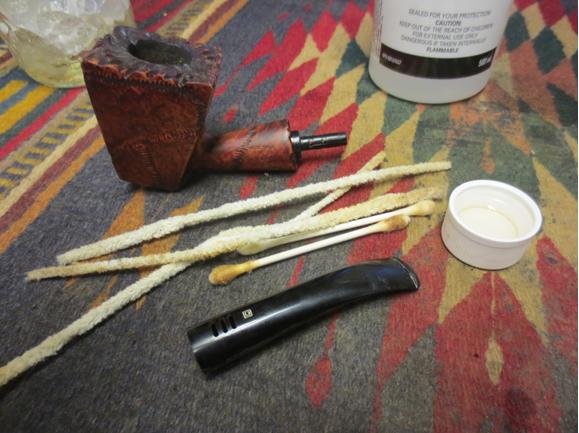
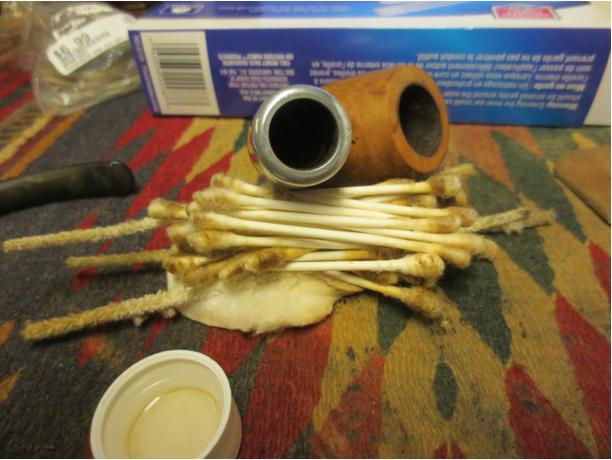
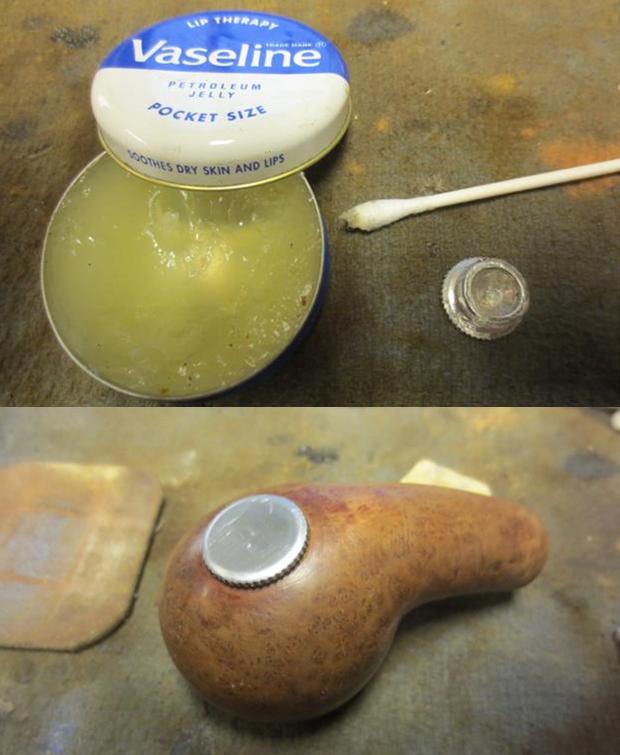 I cleaned out the internals with pipe cleaners, cotton swabs and alcohol. It was pretty clean thanks to my brother. It did not take too many to clean it out.
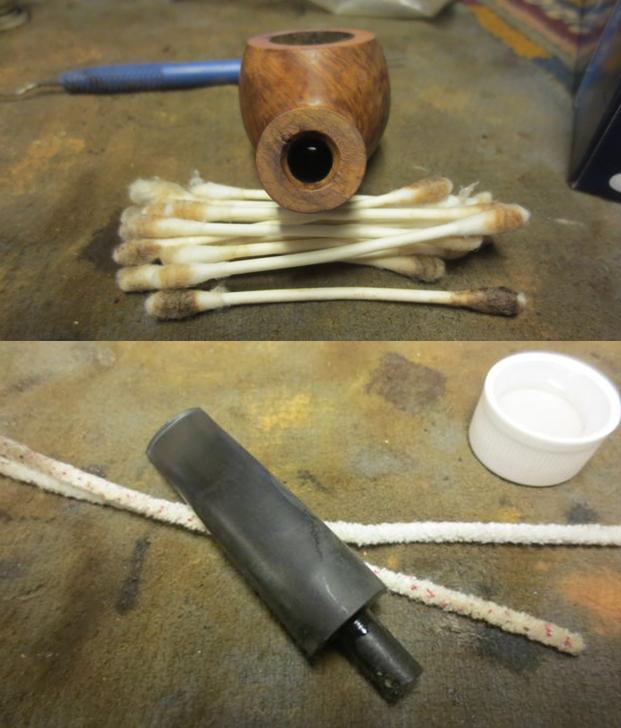 I sanded the bowl and stem with a medium and a fine grit sanding block. The pipe is beginning to look really good. I had to make a decision how far to sand the bowl and how many of the original dings and dents to remove without changing the “story” and character of this old timer.
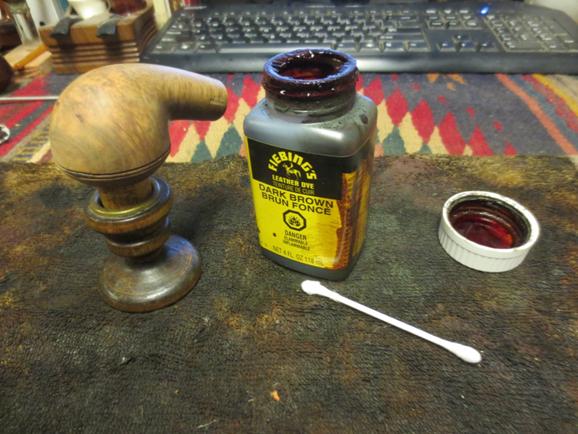
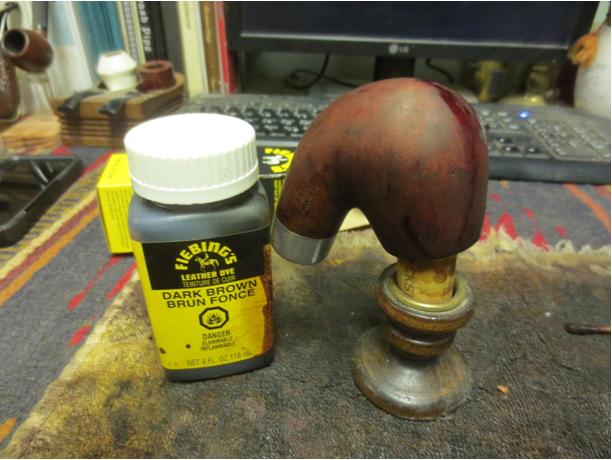
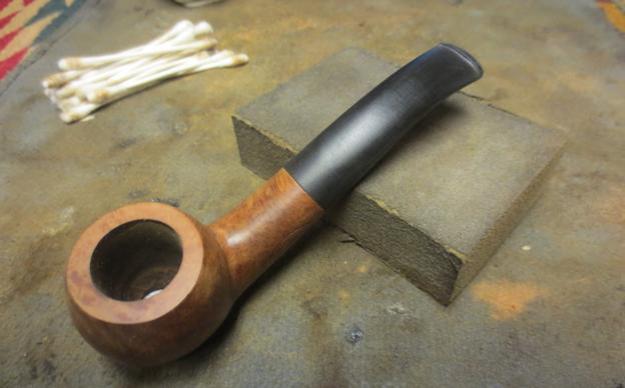 I heated the briar and then stained it with dark brown aniline stain cut by 50% with isopropyl alcohol. I flamed it to set the stain and repeated the process.
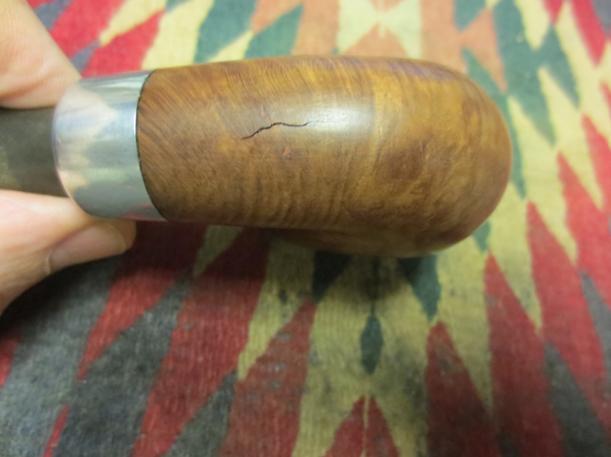
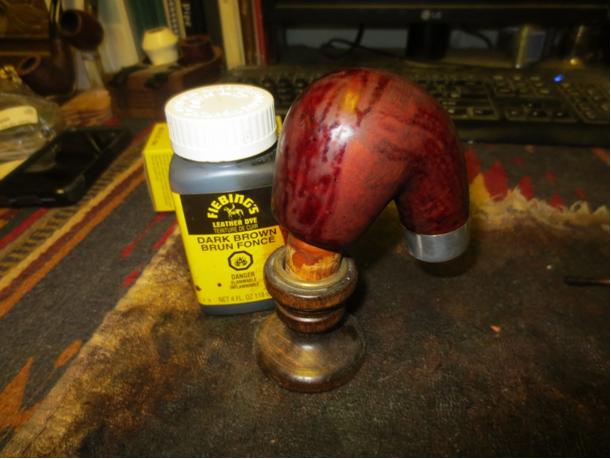
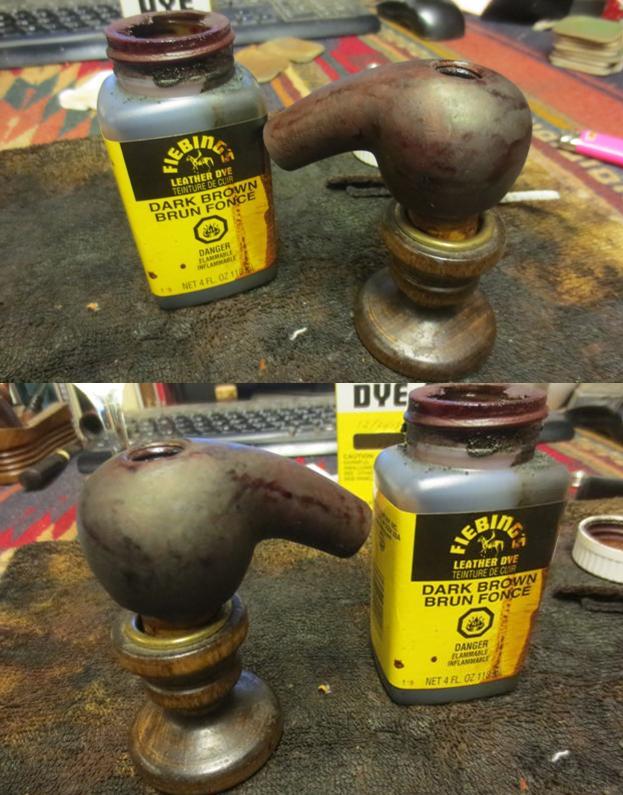 I wiped down the stain with alcohol dampened cotton pads to make it more transparent and make the grain stand out. At this point the fills stood out and I would need to address them a bit differently.
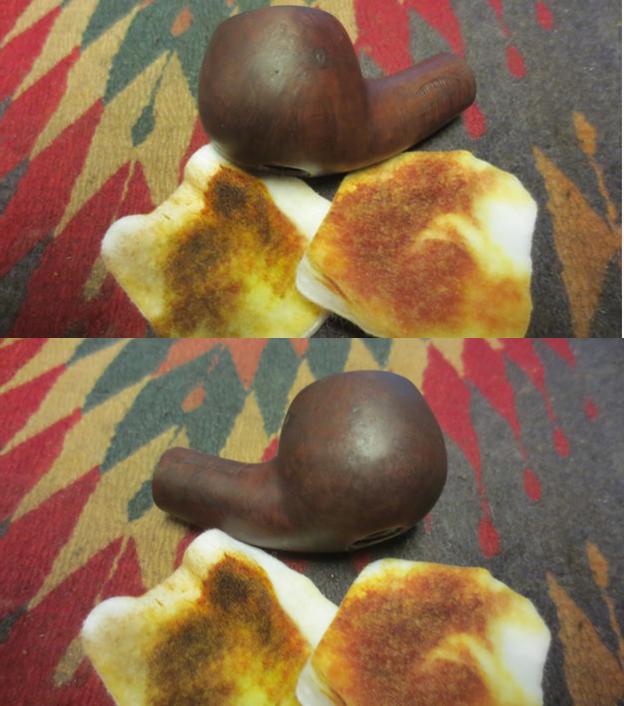
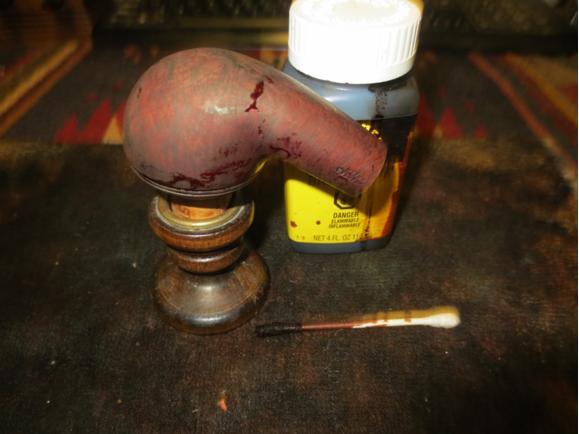
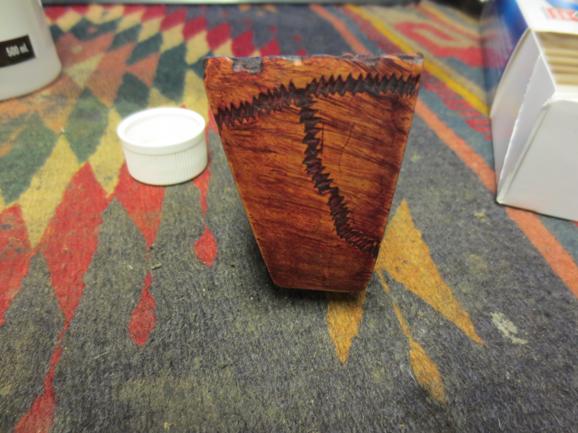
 I used a black Sharpie Permanent Marker to draw some lines across the fills and blend them into the grain on the pipe. I then chose to give the bowl a second contrast staining using a Cherry Danish Oil stain. I find that the combination of the black marker and the cherry stain blends the fills better than a brown stain. The combination of the brown and the cherry stains gives depth to the finish so I like using them together.
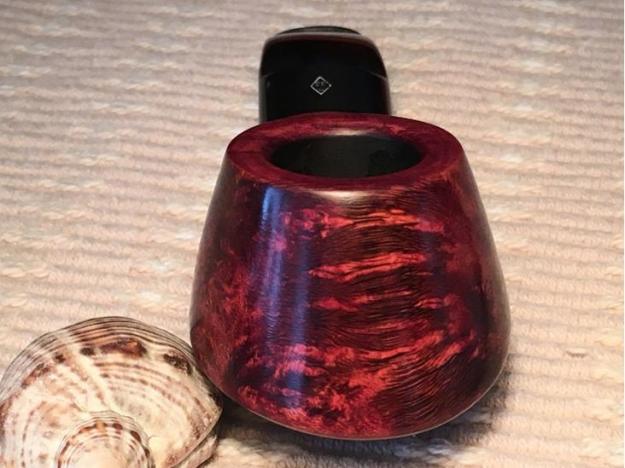
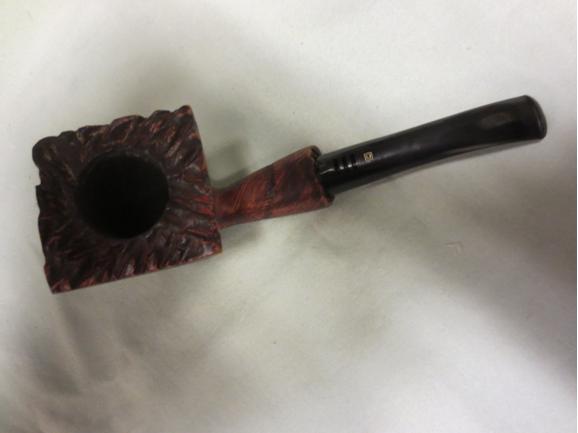
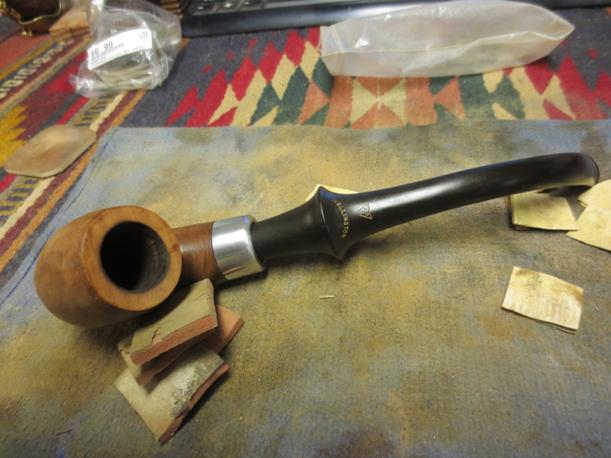
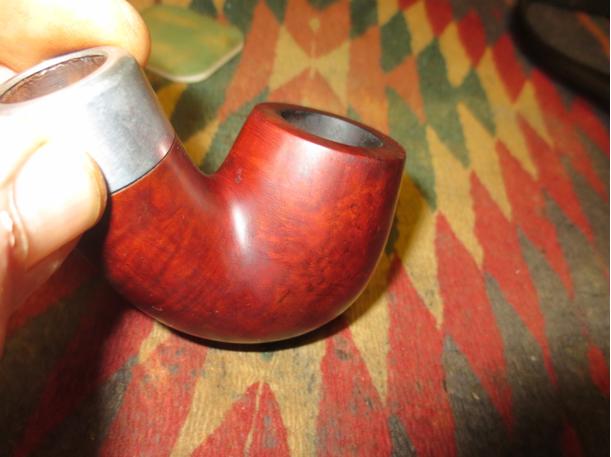
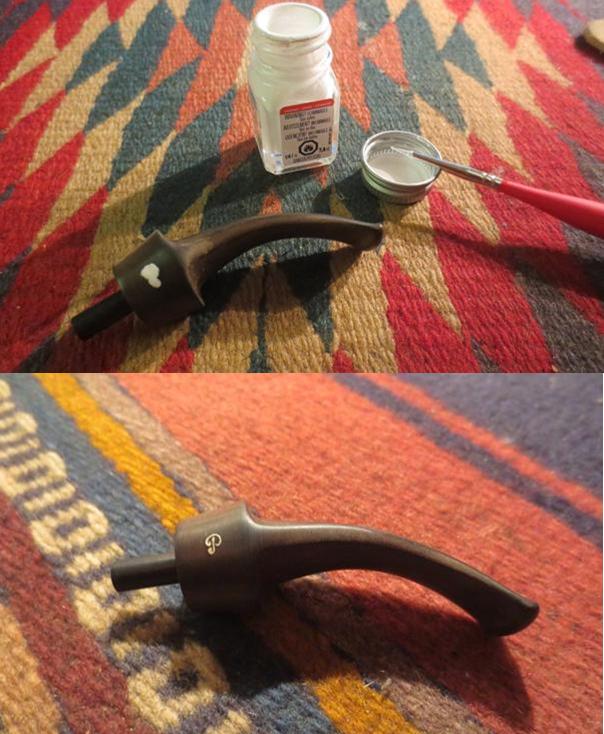
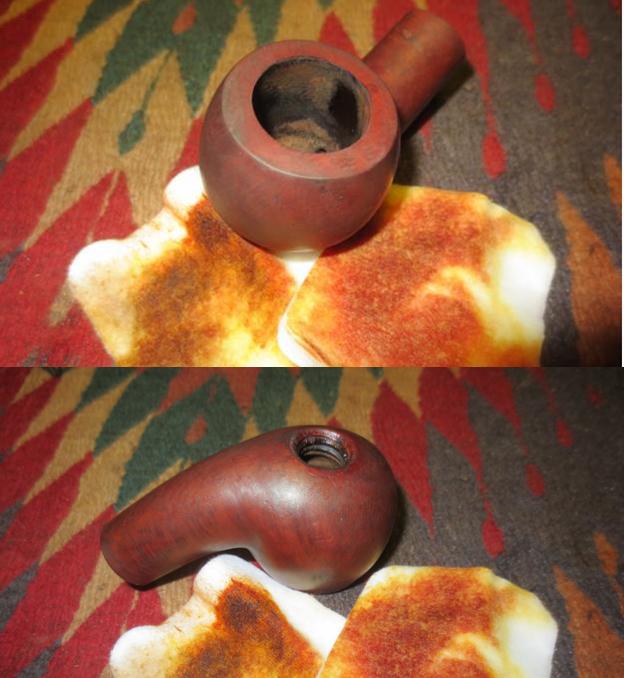
 Once the cherry Danish Oil stain dried (overnight) I buffed it lightly on the wheel with Blue Diamond and then gave the bowl a coat of carnauba wax. I hand buffed it with a microfibre cloth. You can see the small dings that I left in the bowl sides rather than change the look. I polished the silver disk with a silver polishing cloth. The next series of photos shows the bowl at this point in the process.
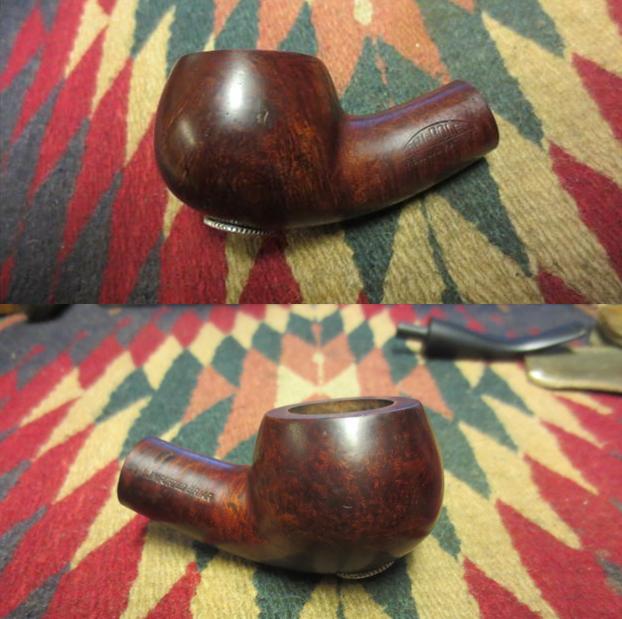
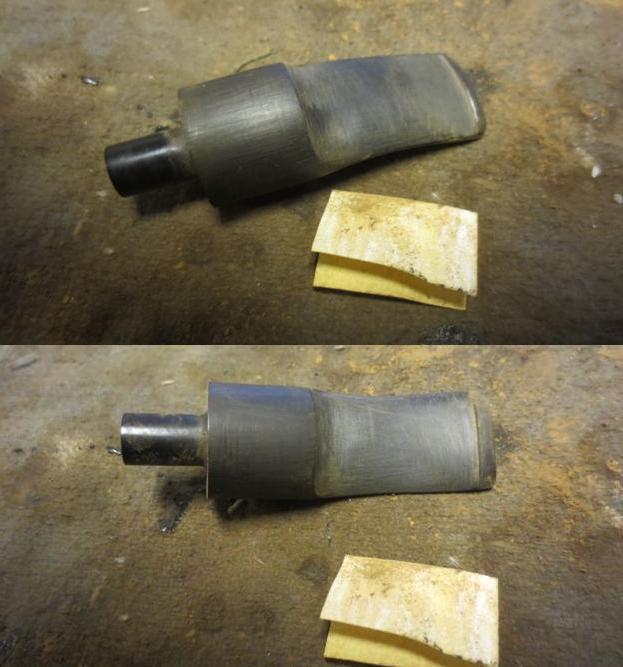
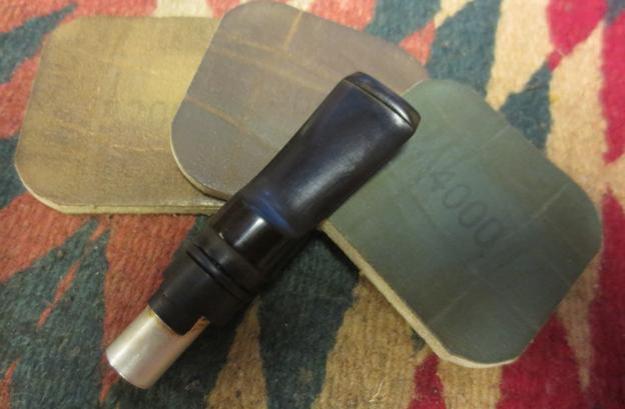
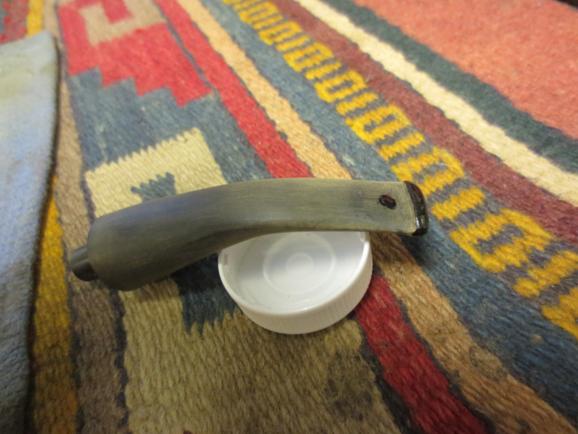
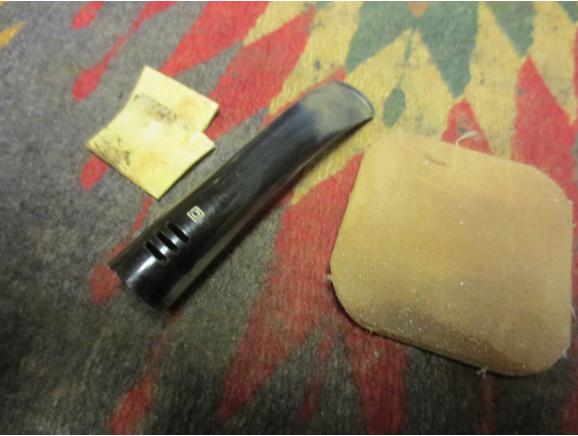
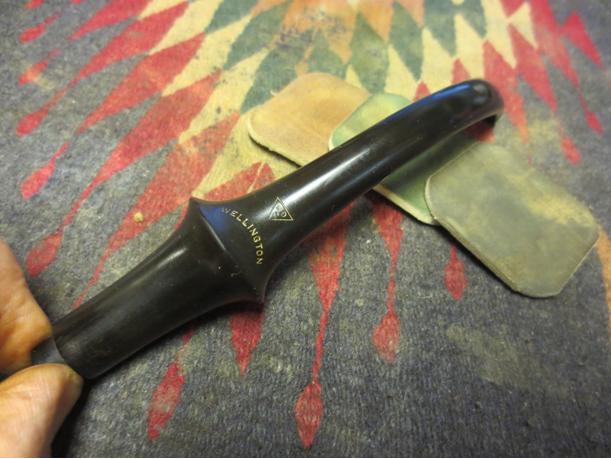
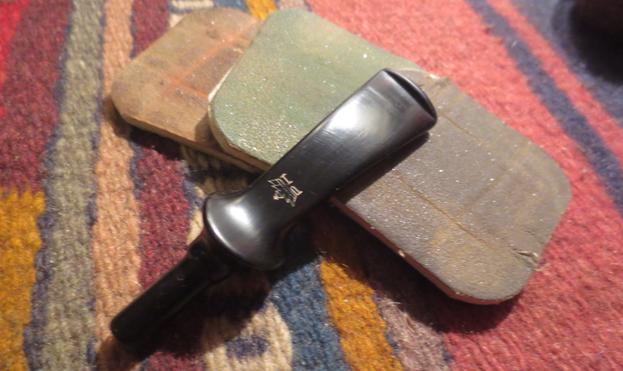
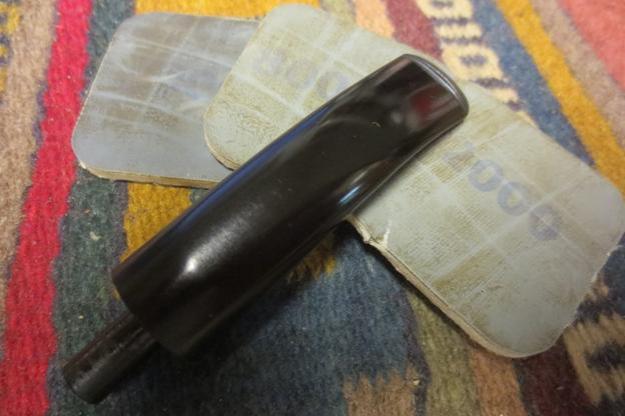
 I set the bowl aside and worked on the stem. The old hard rubber that was used on this stem was good quality. There was very little oxidation if any on it. The main issue was the pitting that covered the surface of the stem. I sanded it with 220 grit sandpaper to address the pitting and smooth out the surface and then began my normal sequence of micromesh sanding pads. Between each set of three grits (1500-2400, 3200-4000, 6000-12000) I rubbed the stem down with Obsidian Oil. I gave it a final coat of the oil and let it dry before I buffed the pipe.
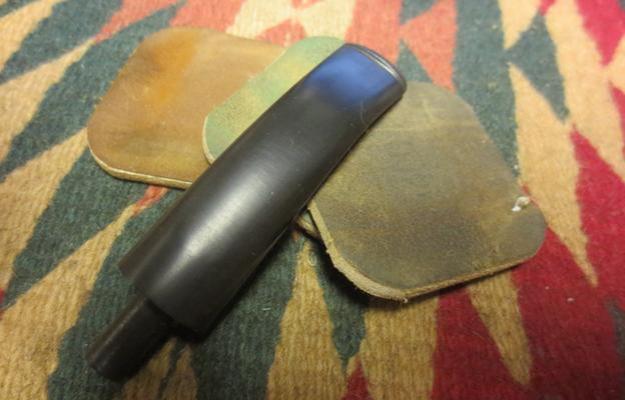
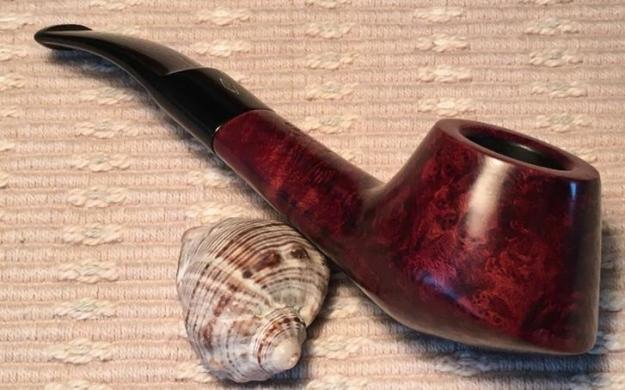
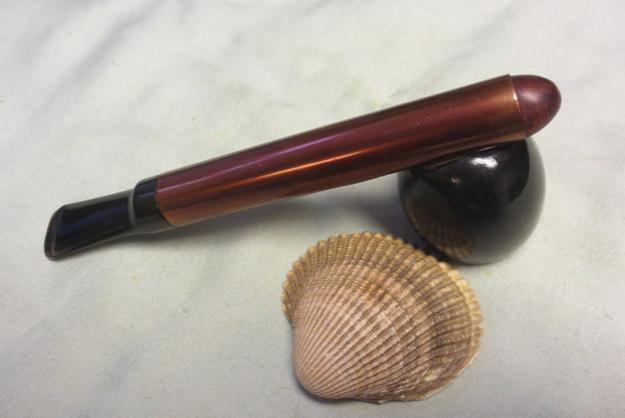
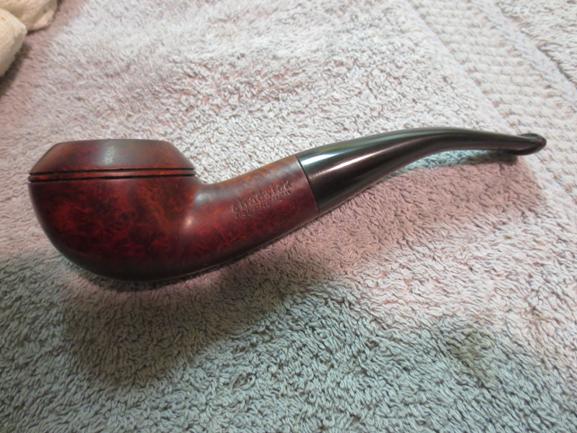
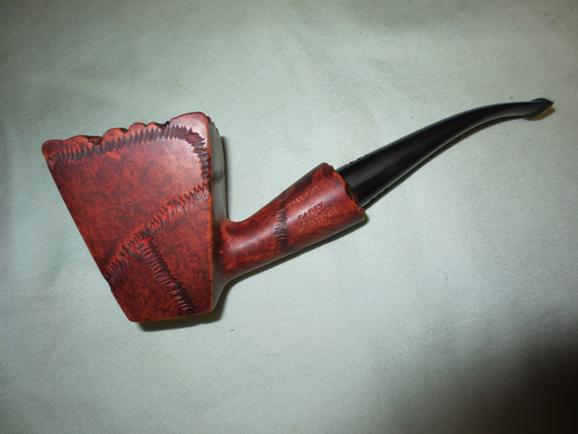
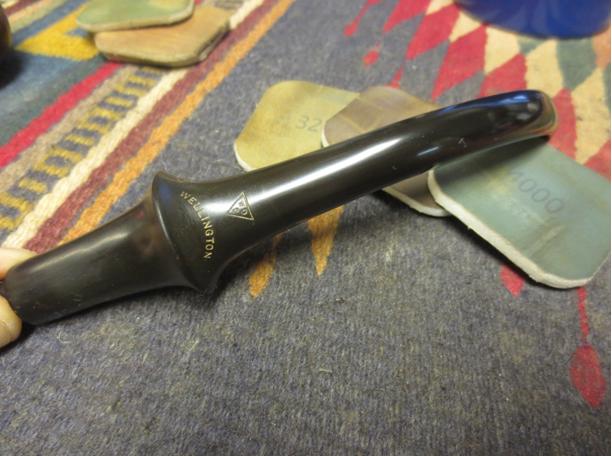
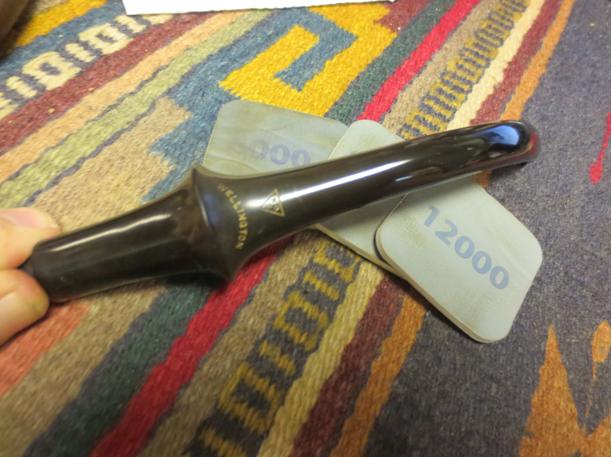
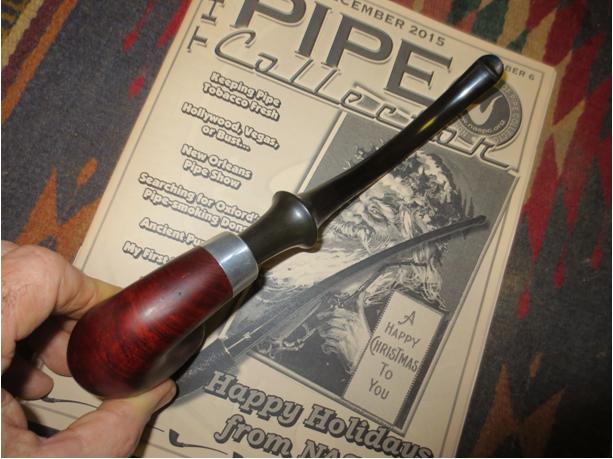
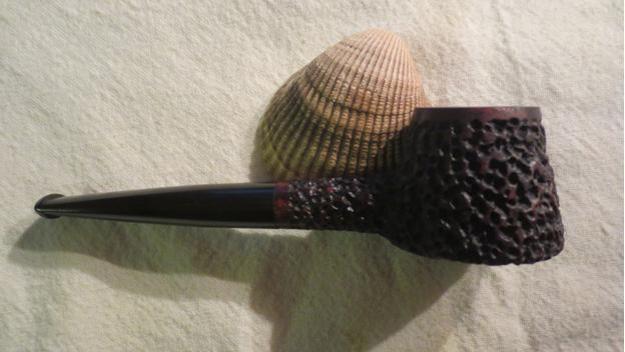
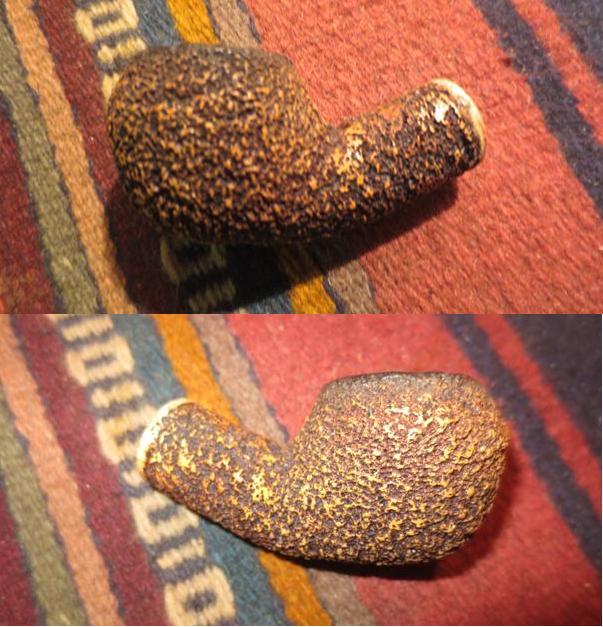
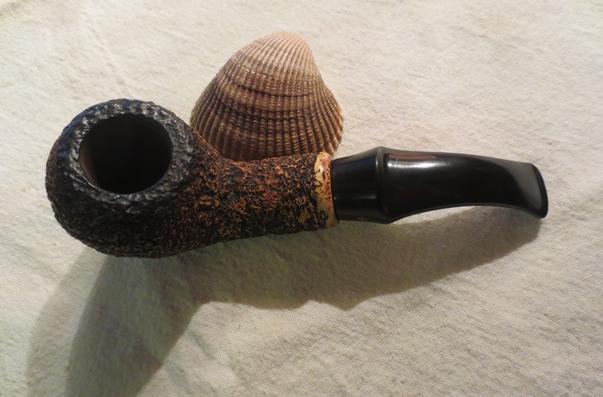
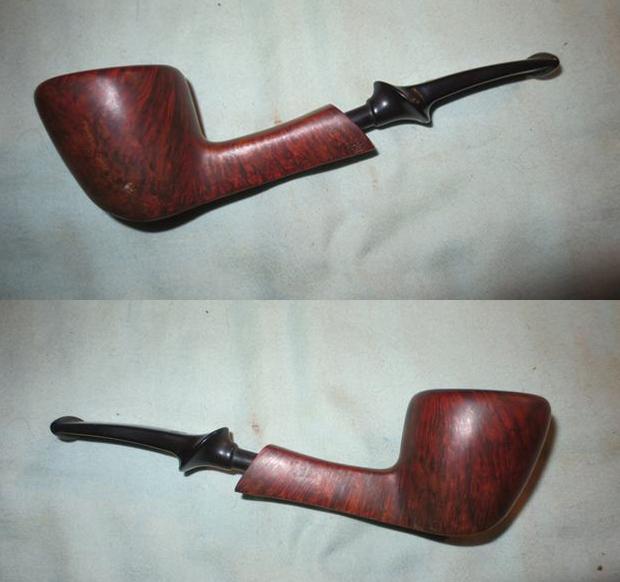
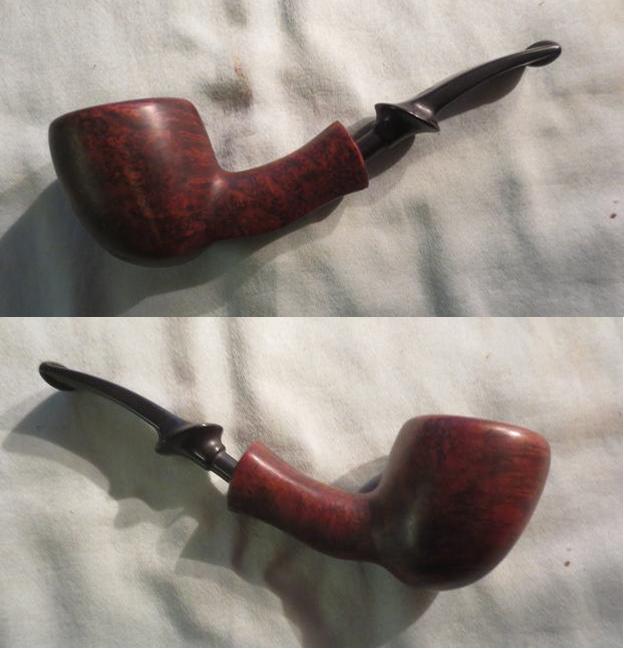
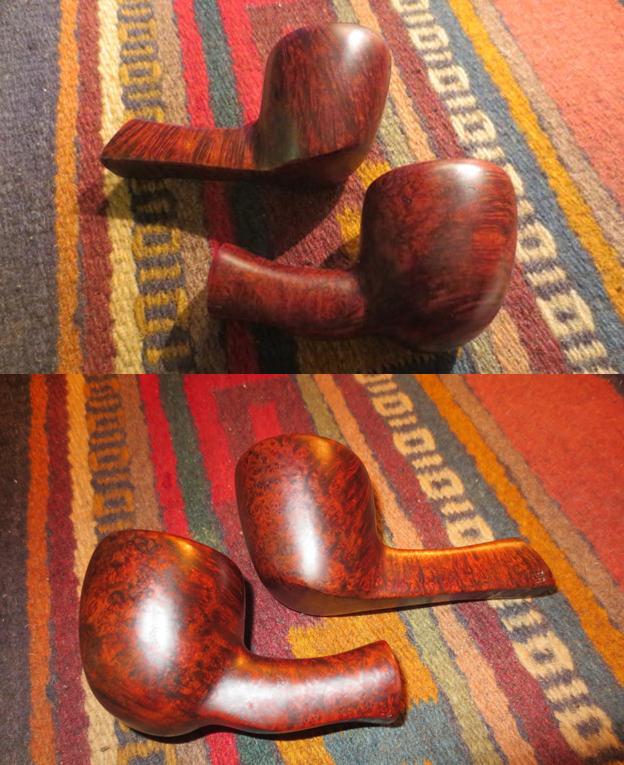
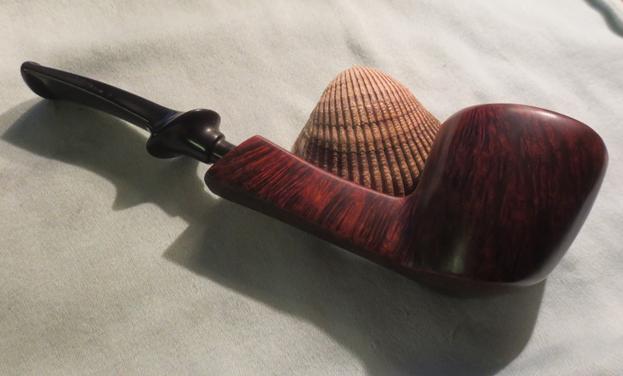
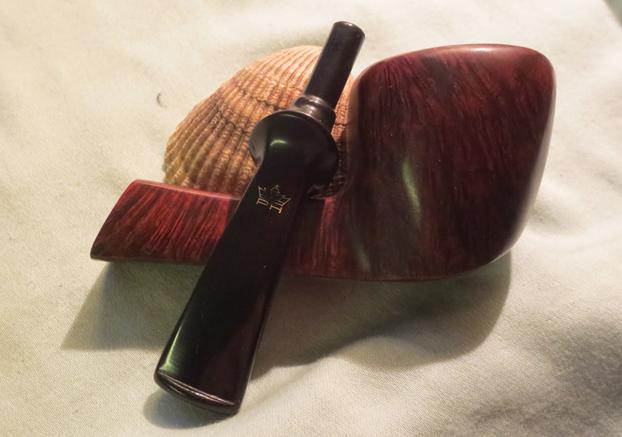
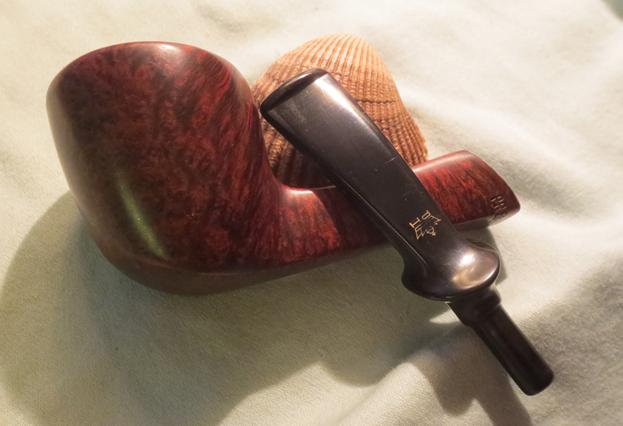
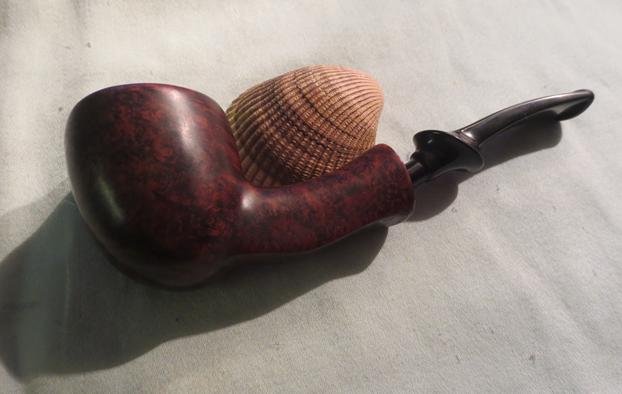
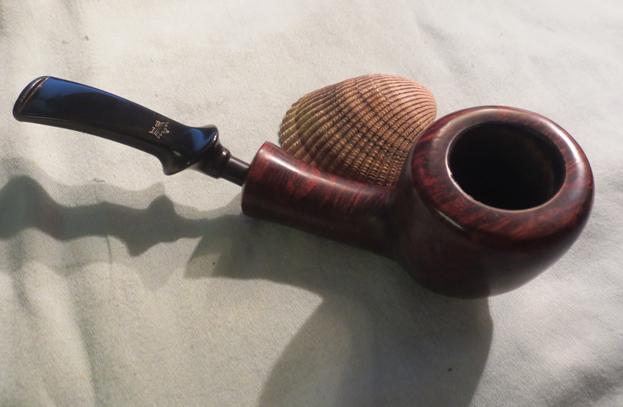
 I buffed the pipe and stem with Blue Diamond and gave it several coats of carnauba wax. I buffed it with a clean buffing pad to raise the shine. I hand buffed it with a microfibre cloth to put the finishing touches on the pipe. The finished pipe is shown in the photos below. Thanks for looking.